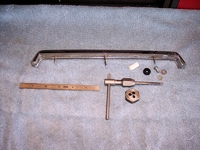
I decided to refurbish a set of 240Z tail lights that came off a parts car and quickly hit the problem of removing the push locks on the back of the lights. Suffice to say, the pin snapped off flush with the back on each unit as I worked on them. Once the lens was separated from the back, removing the push locks from the other pins was pretty straightforward and nothing else broke. After the cleanup was done, it was time to figure out how to re-attach the chrome strip to the lens - including the center post.
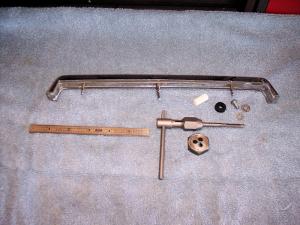
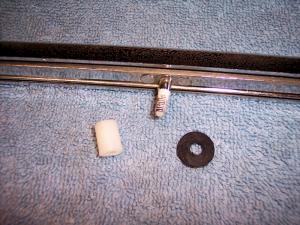
I checked this site and reviewed some efforts by other members but decided to go with something of my own design. The idea of a coupling nut was my focus but I could not locate anything suitable already pre-made so it was off to Ace Hardware for some on-the-fly engineering. Here's what I came away with: two nylon spacers, 3/4" L X 3/8" OD with a #8 hole; two M5-80 X 10 screws; two flat washers.
Here's the process I came up with:
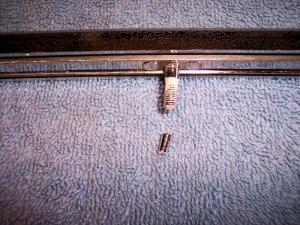
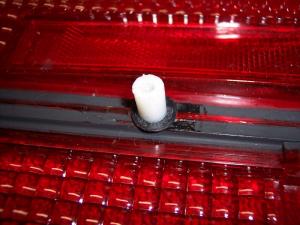
Thread the center post with a 5mm-80 die down to 1/4" from the base, clip the post to 3/4" long and dress the end flat:
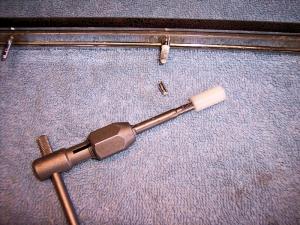
Thread the nylon spacer with a 5mm-80 tap, The #8 hole is a perfect pilot size:
Cut the spacer / coupling nut down to 1/2" L and fab a thin washer. I cut a slice ( <1/16" thick) from a faucet washer. The thin washer is important because a thick one will reduce the space available for your new coupling nut:
Position the chrome strip on the lens, slip on the washer. Important: plastic on plastic can bind and you could snap the post when screwing on the coupling nut. Lube the threads on the post before installing the coupling nut:
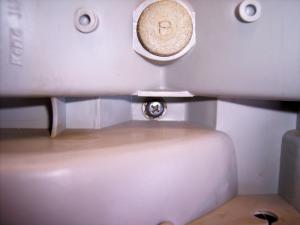
The 10mm screw is just a bit long for the thread available in the coupling nut so you can either grind off a bit of the screw or add a star washer to the stack. Assemble the lens and back unit, install the M5-10 screw with the washers and you are done:



Recommended Comments
There are no comments to display.
Create an account or sign in to comment
You need to be a member in order to leave a comment
Create an account
Sign up for a new account in our community. It's easy!
Register a new accountSign in
Already have an account? Sign in here.
Sign In Now