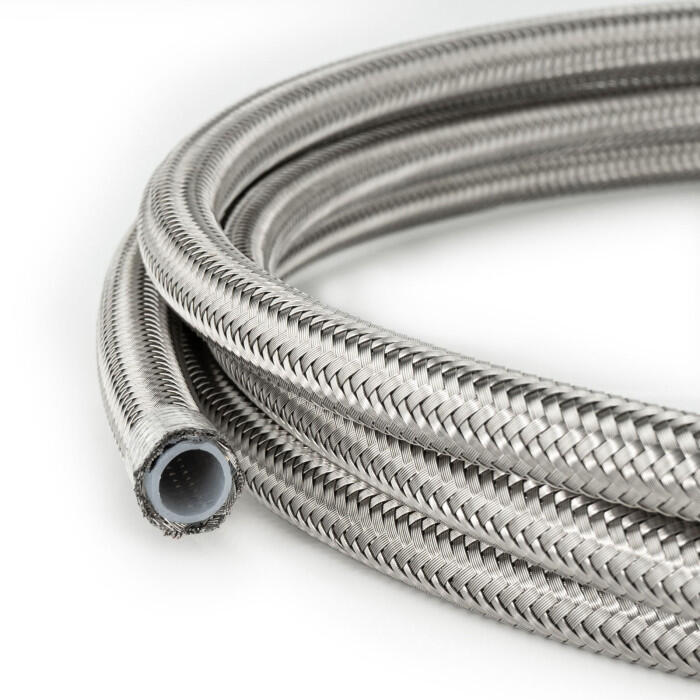
New Braided Fuel Lines
I will warn everyone up front that this is likely to be a long post. When I decided to install braided fuel lines in my 260Z I did not find a lot of info on this on the forum' date=' so I thought that I would write up my experience so that others wanting to do this could benefit from what my son and I have just completed.I had been planning to change out the old rubber fuel lines in my engine compartment with braided SS for some time, and also did not find a lot of info on the site for this upgrade. I did contact Frank in Houston (D240zx2) who has done this and received some good guidance from him, but ended up having to make some design mods to make this work with my late model 260Z.
The primary reasons that I wanted to make this change was to:
1. replace the old worn rubber lines
2. re-configure my electric fuel pump so that it would run at any time that the car was in the "on" position
3. add a more precise and better mounted fuel pressure regulator
4. bring individual fuel lines to each of the triple Webers I have installed
5. improve the overall look of the fuel distribution system in my engine compartment
With the triple Webers on my car I have found that after prolonged periods of non use, the car was very diffcult to start. I believe that this was caused by a low / no fuel situation in the bowls of the Webers due to evaporation, and wanted to develop a solution that would allow me to pump fuel to the carbs without waiting for the mechanical pump, which seemed to take an excessive amount of time.
So I put a plan together for the installation of a new electric pump, new pressure regulator, fuel log, as well as the SS lines themselves.
At the start of this exercise both my son and I were complete novices when it came to AN plumbing and I found the multitude of different plumbing options to be very confusing. So I did quite a bit of research on this topic and found the following site to be very useful in terms of tutorials as well as a source for many of the products I needed to complete this exercise:
[url']http://www.anplumbing.com/
I also found that actually putting my plan down on paper with all of the necessary components was extremely useful as you could easily see all of the different adapters, connectors, etc that were needed for the installation. I have attached a PDF of the document that represents the final install that we completed over the weekend so hopefully this will help anyone else that wants to try this.
There were 3 primary challenges to this project:
1. learning the ins and outs of AN plumbing
2. electrically connecting the new fuel pump by utilizing the existing wiring in the car
3. going from the OEM fuel hard lines in the engine compartment to an initial AN fitting
I already mentioned a few things about basic AN plumbing but one other key thing to note is that all of the fittings utilize a 37 degree flare as opposed to the more common 45 degrees which I believe is used on standard NPT fittings. In order to connect to the existing hardline, you will need to flare it to mate to the appropriate 37 degree connector. This requires that you have a 37 degree flaring tool. (Sorry if this is boring to those that may already know this).
Next the fuel pump.
So on my late 260Z, the OEM fuel pump was configured to only run when the car was in the "ON" position and the engine was running at a minimum of 600 RPM's. Unfortunately this configuration did not allow me to address one of the key issues I was trying to solve, which was the abilty to pump fuel to the carbs with the car in the ON position but not yet running. I used my FSM to unravel the rather complex factory wiring and was able to locate the power wire that was routed to the OEM pump from the relays installed above the fuse box on the passenger side of the car. I ended up tapping into this and powered it through an inertia switch which I located in the glove box, so I still maintained the safety of killing the pump in the event of an accident. Now the pump will run anytime the key is in the ON position. Challenge #2 solved.
The third challenge was actually the hardest and my son and I spent 3-4 hours getting an AN adapter on the stock OEM line. (I decided not to replace the hard lines all the way back to the tank as my lines were in pretty good shape). Unfortunately I was not 100% sure of the size of the OEM line, but I measured approx 5/16 inch with calipers. I didn't really know if this was a true 5/16 or some close metrric equivalent. I ended up using a "tube nut" and "tube sleeve" from Earls that supported a 5/16 inch hard line and it was a perfect fit. At that point we thought we were out of the woods, only to find that the hard line where we were going to connect had a slight bend in it and the sleeve would not slide over. We ended up having to cut the hard line further back (on top of the frame rail) where we had about 3-4 inches of straight pipe and could get sufficient room to install the nut and sleeve and have room to make the required 37 degree flare. This also proved a little challenging as the space was very tight and the flaring tool barely fit, but we managed to make it work after 3 or 4 tries. We did have to remove the clamp which held the fuel line as well as the 2 OEM return / evaporation lines to get enough room to make the flare but this was relatively straight forward.
After that was completed, it was pretty much smooth sailing. We ran adapters / lines up to the new fuel regulator which we mounted where the carbon canister had once been installed. This was a perfect spot for it and the holes were already there. My son fabricated a bracket for the fuel log which we mounted on the center mounting studs of the intake manifold. I was a little concerned about heat and vapor lock with this position, but so far no sign of that and I hevan't even installed the heat shield yet.
A few other noteworth items:
1. It was really hard to find a fuel regulator that supported the low pressure required by the Webers and had the AN fittings I was looking for. I finally located one on Summit Racing (P/N 220065)
2. The inertia switch I used was sourced from Advanced Auto and is made by Intermotor (P/N S9300). It was a little pricey at $80 or so, but I felt that this was worth it for the safety it provided.
3. I found a fuel pump that was nearly identical to the OEM one from Datsun and supported a pressure range that was consistent with the Weber requirements. It is made by Facet / Purolater (P/N FEP 60SV)
4. I needed an inexpensive flaring tool and found one also at Summit Racing under their own brand.
5. Finally, althouhg I am very happy with the results of this project, I will say that the AN pluming parts are very expensive. I believe that I spent somewhere in the neighborhood of $250 for all of the bit and pieces I needed as well as the SS hose itself. I would do it again, but just a warning for those who may not know.
I've attached a few before and after pictures so you can see for yourself. I also apologize for the state of the rest of my engine compartment. I am in the early stages of doing a complete refresh and still have a lot of work ahead, but I at least have the fuel system done.
If anyone needs any further info on this, please feel free to contact me. Hopes this helps out a few other forum members.
Mike.
[ATTACH=CONFIG]48068[/ATTACH][ATTACH=CONFIG]48067[/ATTACH][ATTACH=CONFIG]48065[/ATTACH][ATTACH=CONFIG]48066[/ATTACH][ATTACH=CONFIG]48069[/ATTACH][ATTACH=CONFIG]48070[/ATTACH]


Recommended Comments