Topics Last 30 Days
Showing topics, images, events and files posted in for the last 28 days.
- Yesterday
-

-
 Why not contact “junkyard Jenny” She probably has what you need to replace your existing mechanism. Sounds like you might need both sides. Good people.
 -
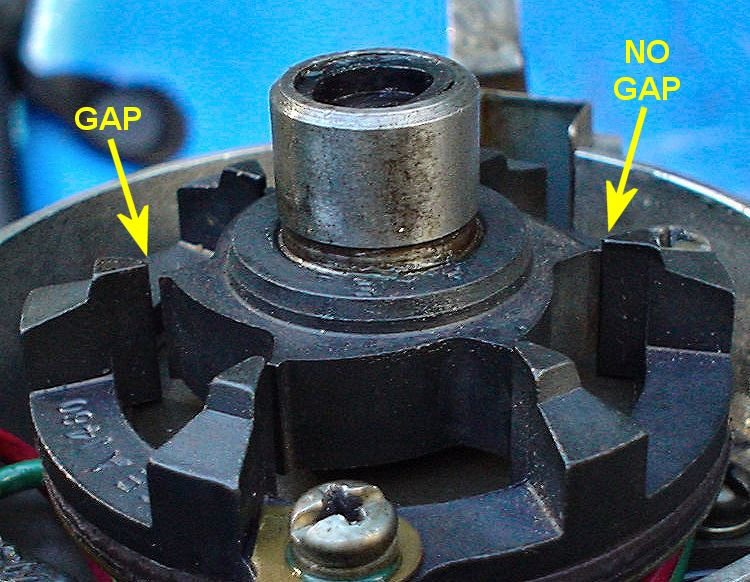
 I think that might be a YEC brand rotor. OE ones are Hitachi, they have a different logo.
 -
 It's been a while since I posted an update on the restoration! I have been driving the car - I have 488 miles on it. I reset both front and rear floats using the method in the factory workshop manual. To do so, I cut some "3d" finishing nails to the approximate lengths of 14 mm and 15 mm and then finished them to size with a benchtop grinder. The procedure from the factory workshop manual: Holding the assembly in its installed orientation (not upside down), I first place the 15 mm nail section in between the flat metal part of the float and the underside of the float chamber cover. I put it in place using needle nose pliers so that it is straight vertically. I pinch it to hold it in place by lightly squeezing the float and the chamber cover together. Note that when held in the installed orientation, the needle in the needle is in "free fall" and is in a fully open position. Then, using a magnifying glass, I inspect the area of the float tab and the tip of the needle. I verify that the tip of the needle is not touching the curved arm (tab) of the float. It does have to be within 1 mm of it however. If not, when you swap to the 14 mm nail section, the tab will still not touch the tip of the needle. I adjust the tabs so that both carburetor floats contact the tip of the needles with the 14 mm section of the nail in place. Interestingly, after I had set the floats this way, I noticed that with the 15 mm section of the nail in place, I could blow through the fuel inlet tube, and with the 14 mm section of the nail in place, I could not. So, what I found was that from fully open, to seated, the needles have less vertical movement than 1 mm. While I have been driving the car to break the engine in, I have been looking at air fuel ratios (AFR) using a wideband 02 sensor. I swapped from what I believe to be stock N27 needles to some SM needles. But, I have observed AFRs moving around a bit which is unusual and not expected, and which I think may be due to the engine still breaking in. I started a separate thread that details more about what I was doing and seeing here: https://www.classiczcars.com/forums/topic/69292-choosing-an-su-needle-if-i-have-needle-station-info-and-real-world-afr-can-i-use-that-to-find-the-right-needle/ This weekend I plan to do a leak down test on the engine to confirm break in is complete, change to standard oil (instead of break in oil), and adjust the valves. If the engine is fully broken in, I will do some more AFR testing and determine how to proceed. I may need to modify the SM needles in the cruising and pick up stages by some very light "sanding" - removing material by chucking them up in drill and using 2500 grit sandpaper only in a certain area of each needle. With the driving I have done, I also noticed a vibration at higher speeds. I started a separate thread for that issue: https://www.classiczcars.com/forums/topic/69334-how-vibration-free-is-your-70-71-240z/#comment-675670 Today, I am going to buy a digital angle gauge so I can check some angles in the driveline. I am hopeful doing this will help me determine the cause and fix that issue.
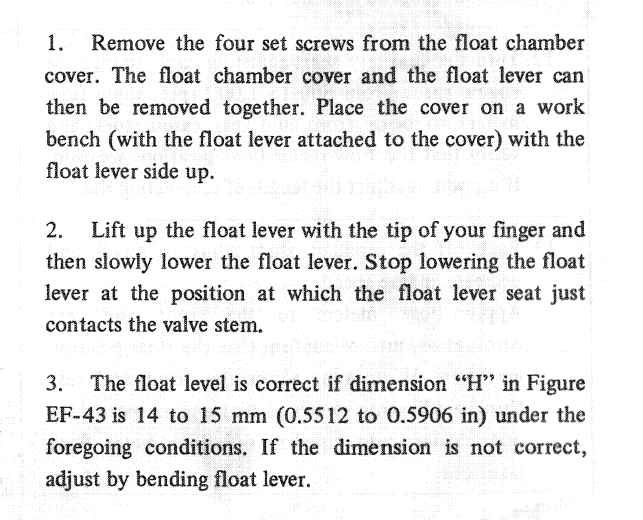
- Last week
-
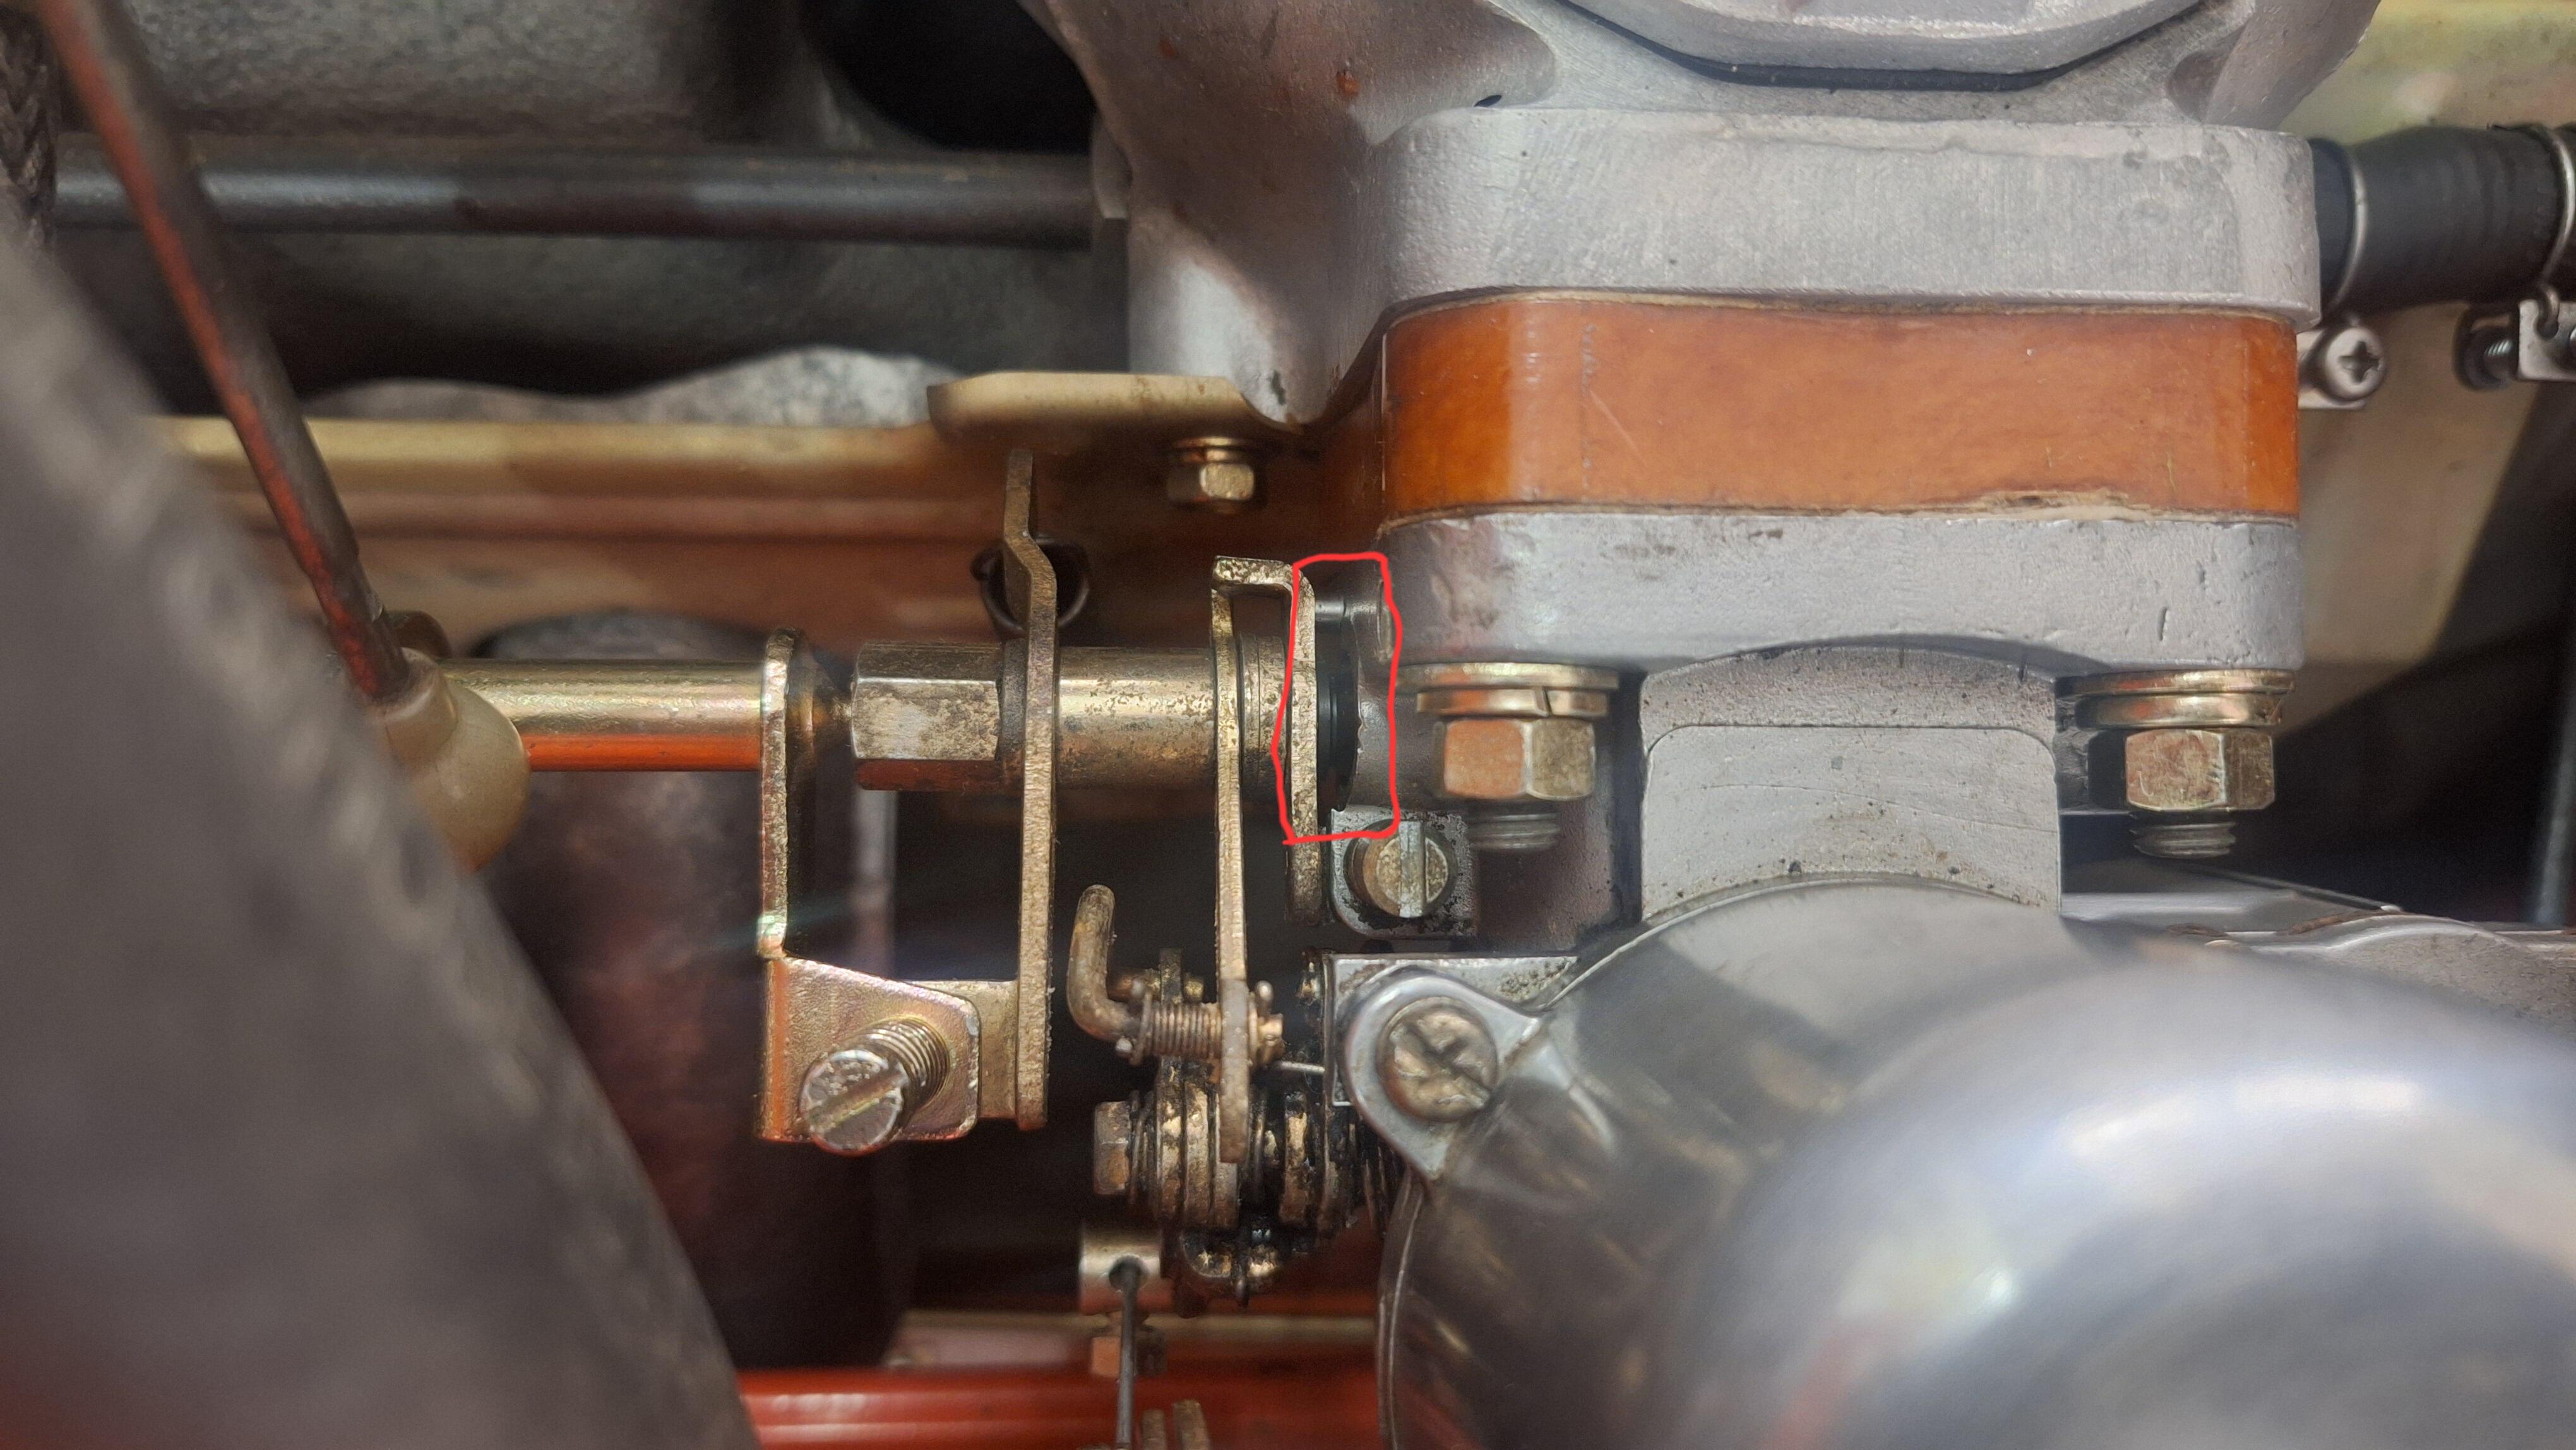
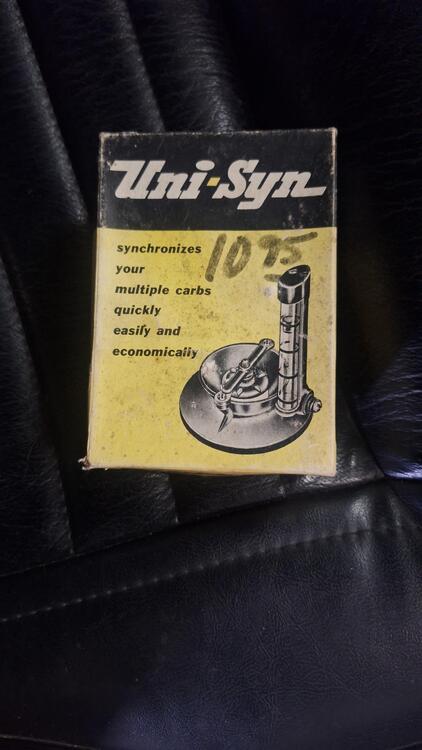
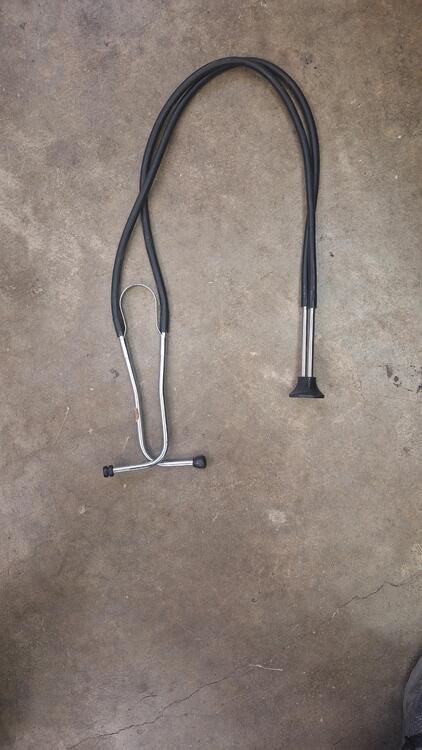
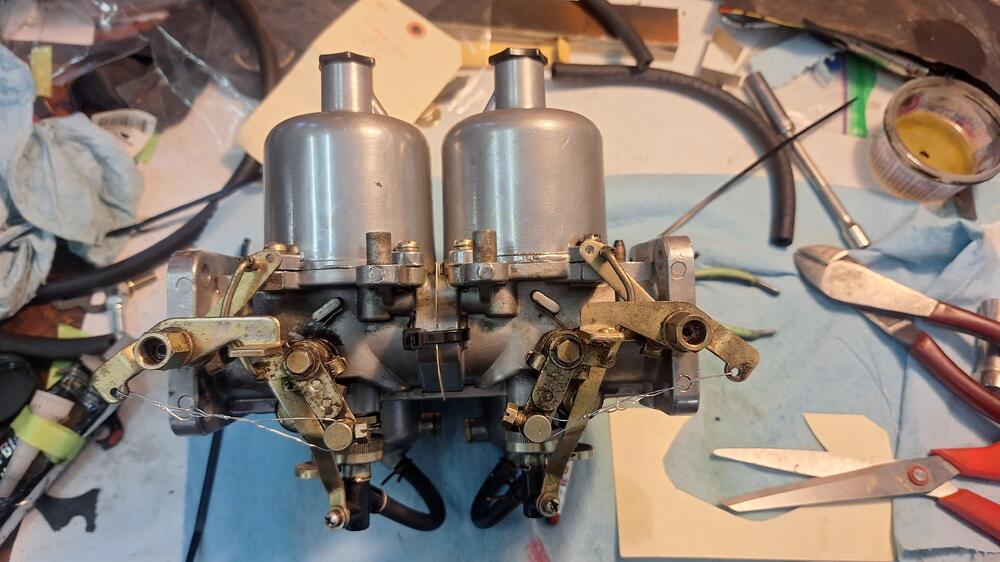
 After adjusting the valve lash a couple times, I timed the distributor which was really close. I tried my hand at tuning the carbs. This video VHS and flowmeter came with the car. I backed everything off, but still was getting a 1,000 rpm idle. Seemed a bit high. I would put the flow gauge on the front carb and adjust it so the ball was in the middle. Then go to the rear carb, the ball was way high, no way to back down the idle screws anymore. I figured there must be a vacuum leak somewhere. I squirted brake clean around but didn't make any noticeable difference. I couldn't get them the same. The next day, while fiddling around with it, I grabbed my broken stethoscope, and started poking 1 of the hoses around when whaaam! There it is. The rear carb is leaking around the throttle shaft. These carbs were just done by ZTherapy 2 or 3 years before the car was parked some 22 years ago. I had a chat with them, boxed them up, and they are now in their hands. I hope it's an easy fix.....
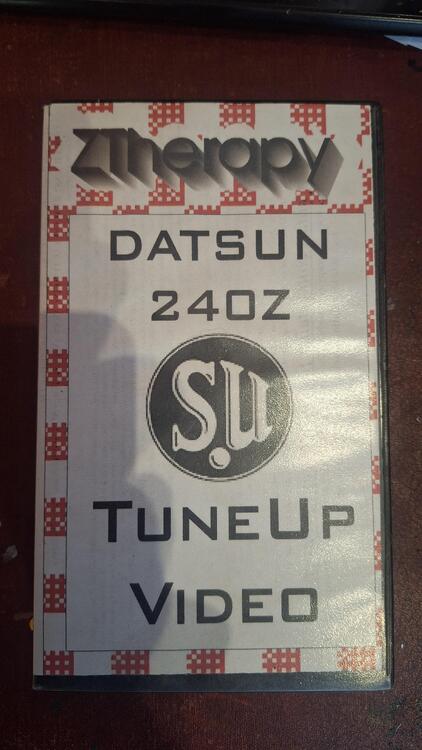

-

-
 Any time! LOL
-
😇Good ole Blue! I miss that rascal.
-
I used piggy back connectors on the nail head studs on the top of the sending unit. Coverd it all with liquid electrical tape. Worked good for me, the rubber boots fell all to pieces on my '72.
-
 Yep, that guy's got some writing and acting talent. A really good communicator. Very enlightening and entertaining! I think he probably could/should have included an explanation as to how/why the two sides of an unaligned U-joint can turn at different and varying speeds. Maybe it would have been too much, but I think it could involve a little trigonometry, and who wouldn't like that?!
 -
 Disconcerting that your AFM numbers went a little leaner when you tightened everything up. The tightening might be related, or it might be a red herring. But disconcerting either way. So did you ever try giving it a little bit of choke enrichment with the lever while you're driving? Does it react as expected and the numbers come down?
 -
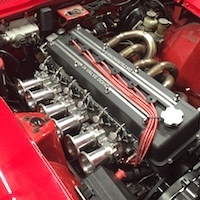
 Trying to setup my Jenvey ITB's without a linkage rod. I have seen some people use a throttle wheel for a cable setup that bolts up to the side of one of the ITB's. Does anyone know where I can find something like that? Jenvey does not seem to sell anything like that. I would prefer that setup as it keeps everything really clean without a linkage rod. Thank you!
 -
Man that is a sexy z car
-
It's more indecision than anything. I'm not usually prone to indecision, but I'd really like to stick with a fiberglass scoop, and couldn't convince myself to go metal. I also think you're better off selling the four pieces together, than having two fenders and one scoop, so it probably works out OK. I do appreciate you checking on them for me. Good luck! As a friend of mine likes to say, "My wife loves that sh*t!". @CanTechZ I'll send you a PM and hopefully we can move this forward!
-
@jfa.series1 That certainly didn’t take long!!
-
 Yes, a great read and many thanks to @JDMjunkies.ch for putting that together. Great job, as always, to Kats and Alan.
 -
 Perfect, thanks Ernest
 -
You might have to use some sealant on the inside. I believe "Seal-all" would be my first choice https://www.amazon.com/Seal-All-380113-Adhesive-2-Ounce/dp/B0015AE0AU/ref=asc_df_B0015AE0AU?mcid=73fbe515071334428dde54fff0cb8519&hvocijid=2708339363523471354-B0015AE0AU-&hvexpln=73&tag=hyprod-20&linkCode=df0&hvadid=721245378154&hvpos=&hvnetw=g&hvrand=2708339363523471354&hvpone=&hvptwo=&hvqmt=&hvdev=c&hvdvcmdl=&hvlocint=&hvlocphy=9010452&hvtargid=pla-2281435177578&psc=1
- Earlier
-
Are you buying these from a supplier? If so it should state the fitment parameters. Gotta know more details. Is this exhaust new or used?
-
 I found the option to click to get the site back to the thread title view. Upper right, next to the auto-update comment, pasted an image below. I guess that the default is post-by-post. Not sure if it sets a cookie or not. Might have to click it each time.
-
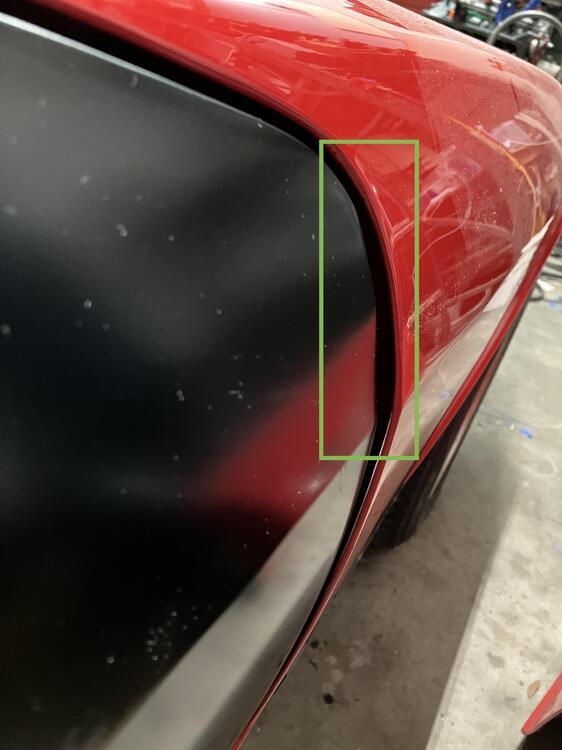
Update time. So I lost my window of opportunity to finish the car when the doors wouldn't work but I finally took care of other commitments and I'm able to get back on the car. I skinned my old doors and did a test fit on the passengers side. just as a comparison here is the first door Max sent me. And here is an aftermarket skin on my old shell. I think at this point it's pretty obvious that the doors supplied to me from Resurrected Classics are garbage. Max if you are still following this you really need to step up and refund my money. I'm not sure how much more I have to show you that the problem is on your end and not my car.

-
-
-
I haven't heard of these guys before. They missed the boat on the ZX distributor swap. SkillardSkillardFind what you need to build your vision at Skillard.com We specialize in aftermarket parts for the Datsun and Nissan automotive enthusiast communities. Custom car parts, designed and manufactured i...
-
 I've been busy dealing with life recently, but that doesn't mean I forget spending money on more or less useless automobilia :-) First, the Japanese L-series Service manual. I have it in various language, but never had "the original" one from JP. And since it popped up for a reasonable price, I had to have it. Then i got another Datsun Switzerland price list. This time from April 1980. As usual, you can find all of them scanned in high-resolution for free download, here Some may know my List of various Japanese L6 Intake manifolds, carb kits and Turbo / Surge tank kits. And thanks to a hint, I recently acquired this lovely Japanese printed ad from the very first FET / HKS Turbo Kit. You can read a lot about it in my Intake / Turbo surge tank post, here. Thanks to a hint from Mymechanix, i got a beautiful Differential strap. The originals are usually worn out, and this replacement belt from Aliexpress has the perfect fitments and dimensions. All other alternatives come either in a leather look or rubber, this one is much closer to the original design. Unfortunately the surface is glossy and has some prints on it (see the one on the left) so i will try to sand it down, to get as close to the original look as possible.