Topics Last 30 Days
Showing topics, images, events and files posted in for the last 28 days.
- Today
-
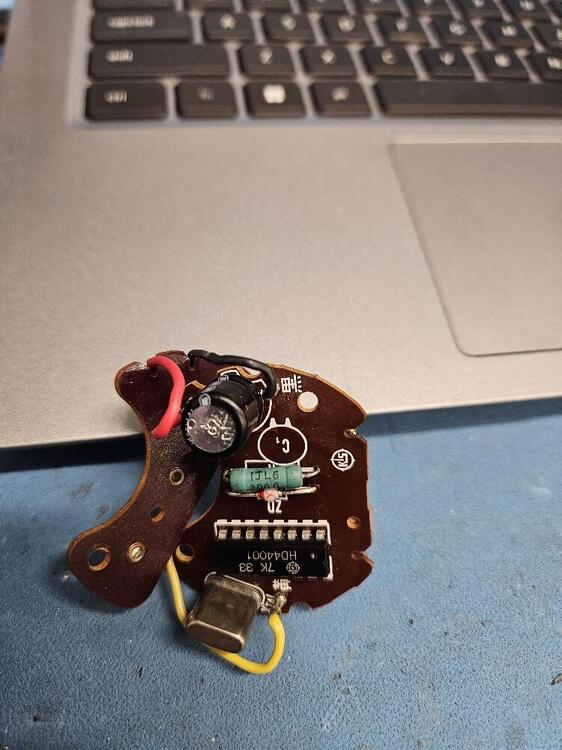
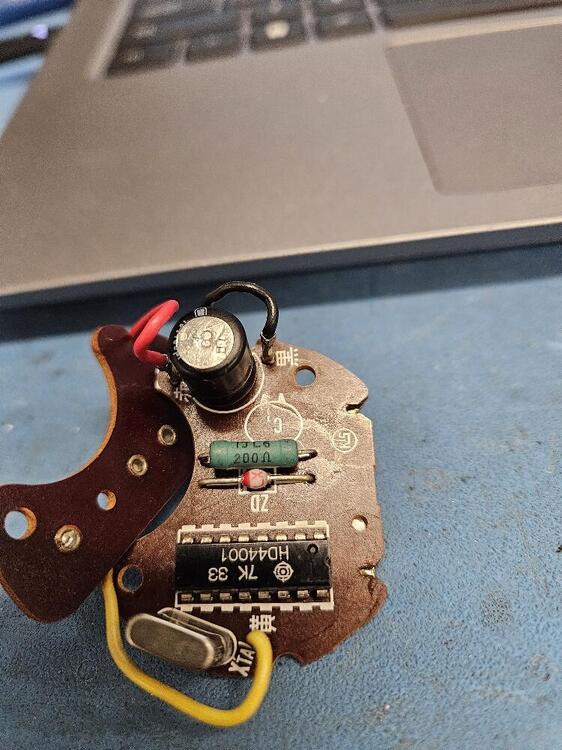
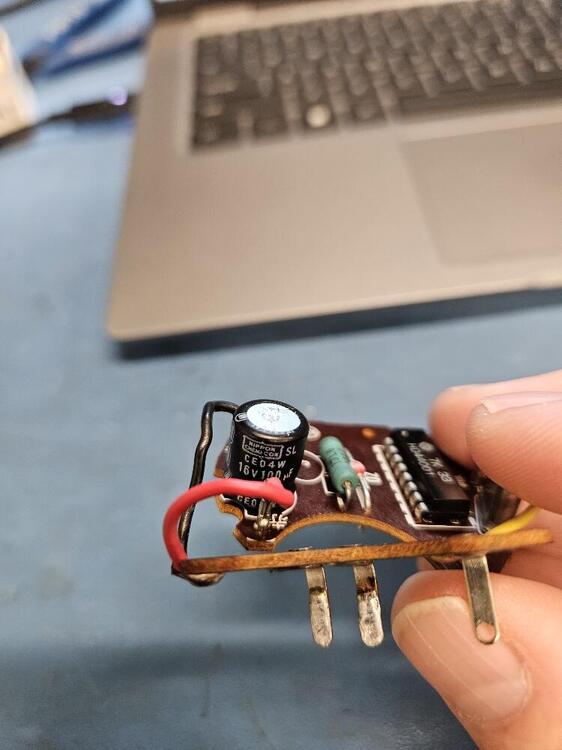
 Thanks for the post, I'm trying to get a spare clock working now. My 1978 quartz clock started losing time last summer. I had a spare, so took it apart to see what could be changed. There are only 5 components on the circuit board as follows: 1. 16v 100uF capacitor (Nippon chemi con CEO4W) 2. 200 ohm resistor. (Cant figure out the exact specs. It has 200 ohms and either I or 1 JL6 printed on it and its green. Its about 11 or 12 mm long, which from read I have read may mean its a 1 watt??? and 3 or 4 mm wide. Under it on the board is printed R for resistor presumably.) Not sure what kind of resisitor it is. 3. Next to that is what I'm guessing is a Zener Diode as it has ZD printed on the board next to it, and has a band on one end. Its white with a red band and has either LX or X7 written on it. 4. I think a crystal oscillator labelled 4194.5 TOYO COM 7C4. It has XTA printed on the board next to it. 5. A 16 pin chip that I think the symbol on it may be hitachi? HD44001 7K 33. The capacitors are all over Amazon, so not a problem to find. Does anyone know if any of these other parts can be sourced anywhere? I would like to replace with new as much as possible while I have it apart. Thanks.
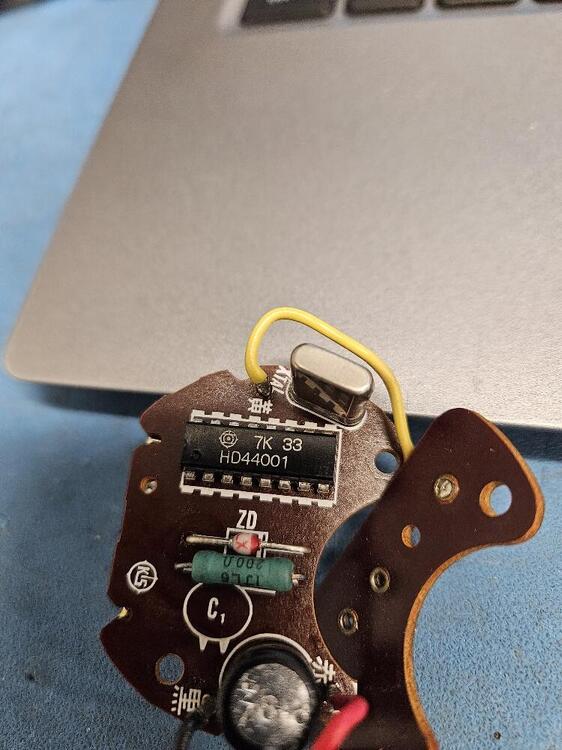

-

-
 Thanks alot! It is a manual. I have been searching alot and this is very helpful.
 -
 More piling. Sorry, but now that the original question has been answered I'm just following this new thing. Edit - there is a lot in this Hybridz thread. Answers some questions. Way beyond my skill level, couldn't even try to fake it. Just curious. HybridZre-mapping and live tuning L28ET 1982/83 S130 ECCSEdit for latest information; See posts further down for full details on modifying 1982/83 ECCS for re-mapping and live tuning. All information related to reproducing this project can be found on Gi...
 - Yesterday
-
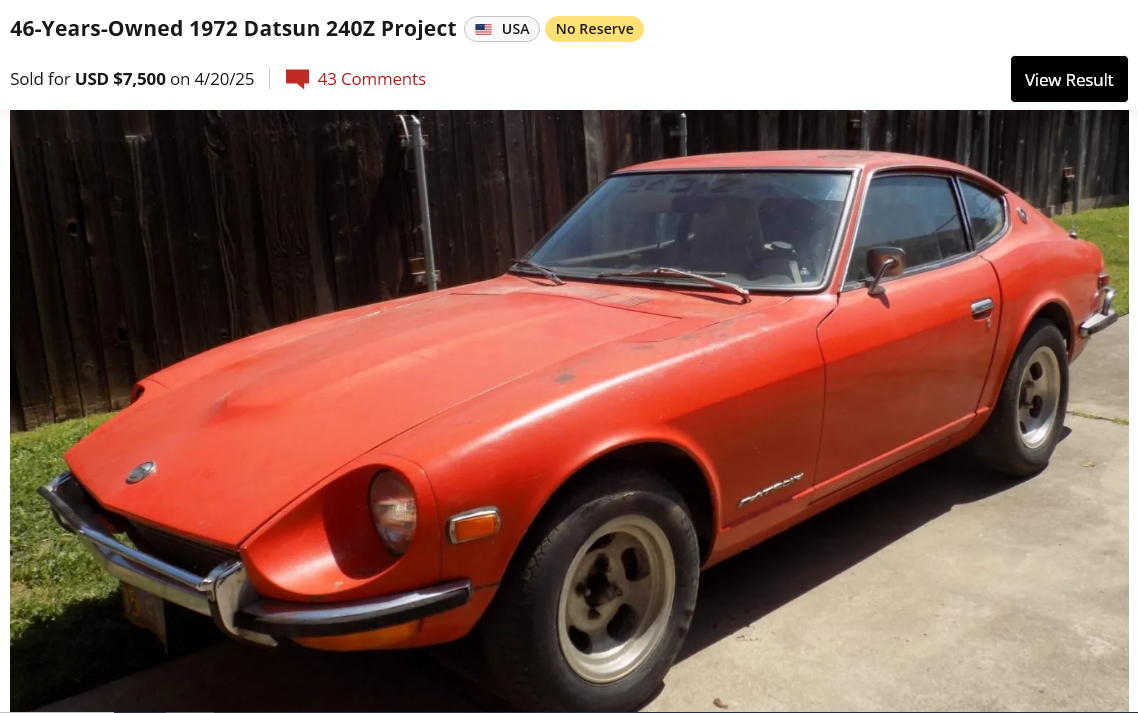
Not bad. There are still good Z project opportunities popping up out there. https://bringatrailer.com/listing/1972-datsun-240z-357/

-
 The odometer clicked over 500 miles on Friday night, so I took the valve cover off yesterday and did both the leak down test and adjusted valves. Here were my leak down percentages: #1 = nearly 4% #2 = 2-3% closer to 2 #3 = 4% #4 = 4% #5 = 3% #6 = a little over 1% For my Iskenderian cam, the valve lash is .006" on the intakes and .008" on the exhaust. I set each so that the feeler gauge was a snug fit while the engine was cold. All of the cam lobe surfaces looked great! The next time I fire it up and get the oil warm, I'll change the oil. Today, I removed a portion of the exhaust and the driveshaft and measured the angles of the front engine dampener and the pinion flange on the differential. I believe I will be able to lower the transmission rear crossmember to bring the engine/transmission assembly to the same 87.1 degrees that the pinion flange is at. I will just need to add shims between the transmission crossmember and the car body. Oh! And I just remembered that I should check the angles in the horizontal plane (not just vertical) as well.

-
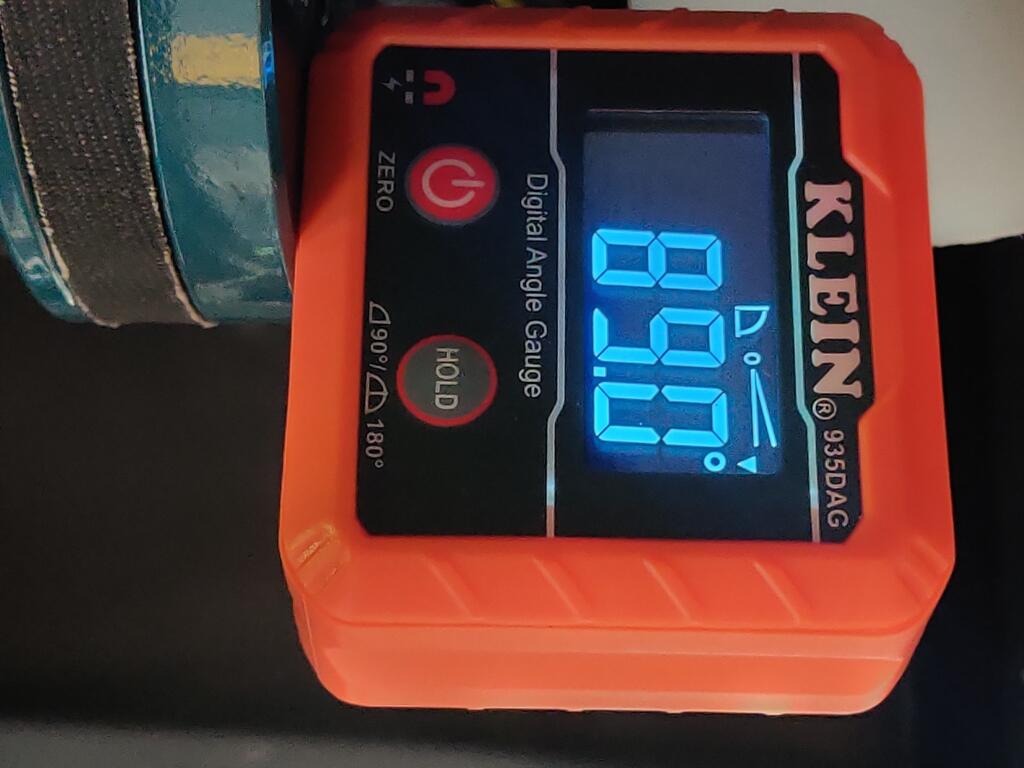
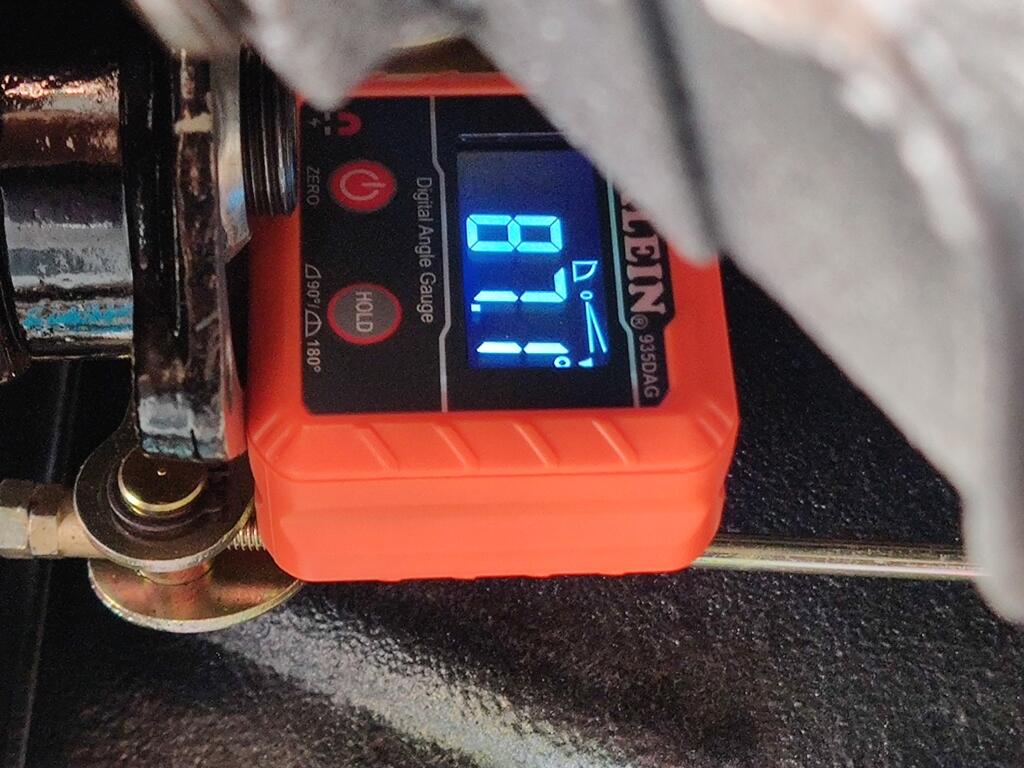
I found the angles today of the front dampener and the pinion flange: I measured these with the car on the lift. The rear moustache bar is locked in solid - there is no vertical movement at the mounting location. Same for the front. So, I don't have to consider suspension movement (doing this with the suspension loaded). The angle at the differential pinion flange is 87.1. And the angle at the engine dampener is 89. I should be able to drop the rear of the transmission, hopefully a small amount, to get the angle at the dampener to match. I am glad I didn't use the original motor mounts, which were shorter, and would make this problem worse.


-
 That's awesome. You totally nailed it!!
 - Last week
-
 Why not contact “junkyard Jenny” She probably has what you need to replace your existing mechanism. Sounds like you might need both sides. Good people.
 -
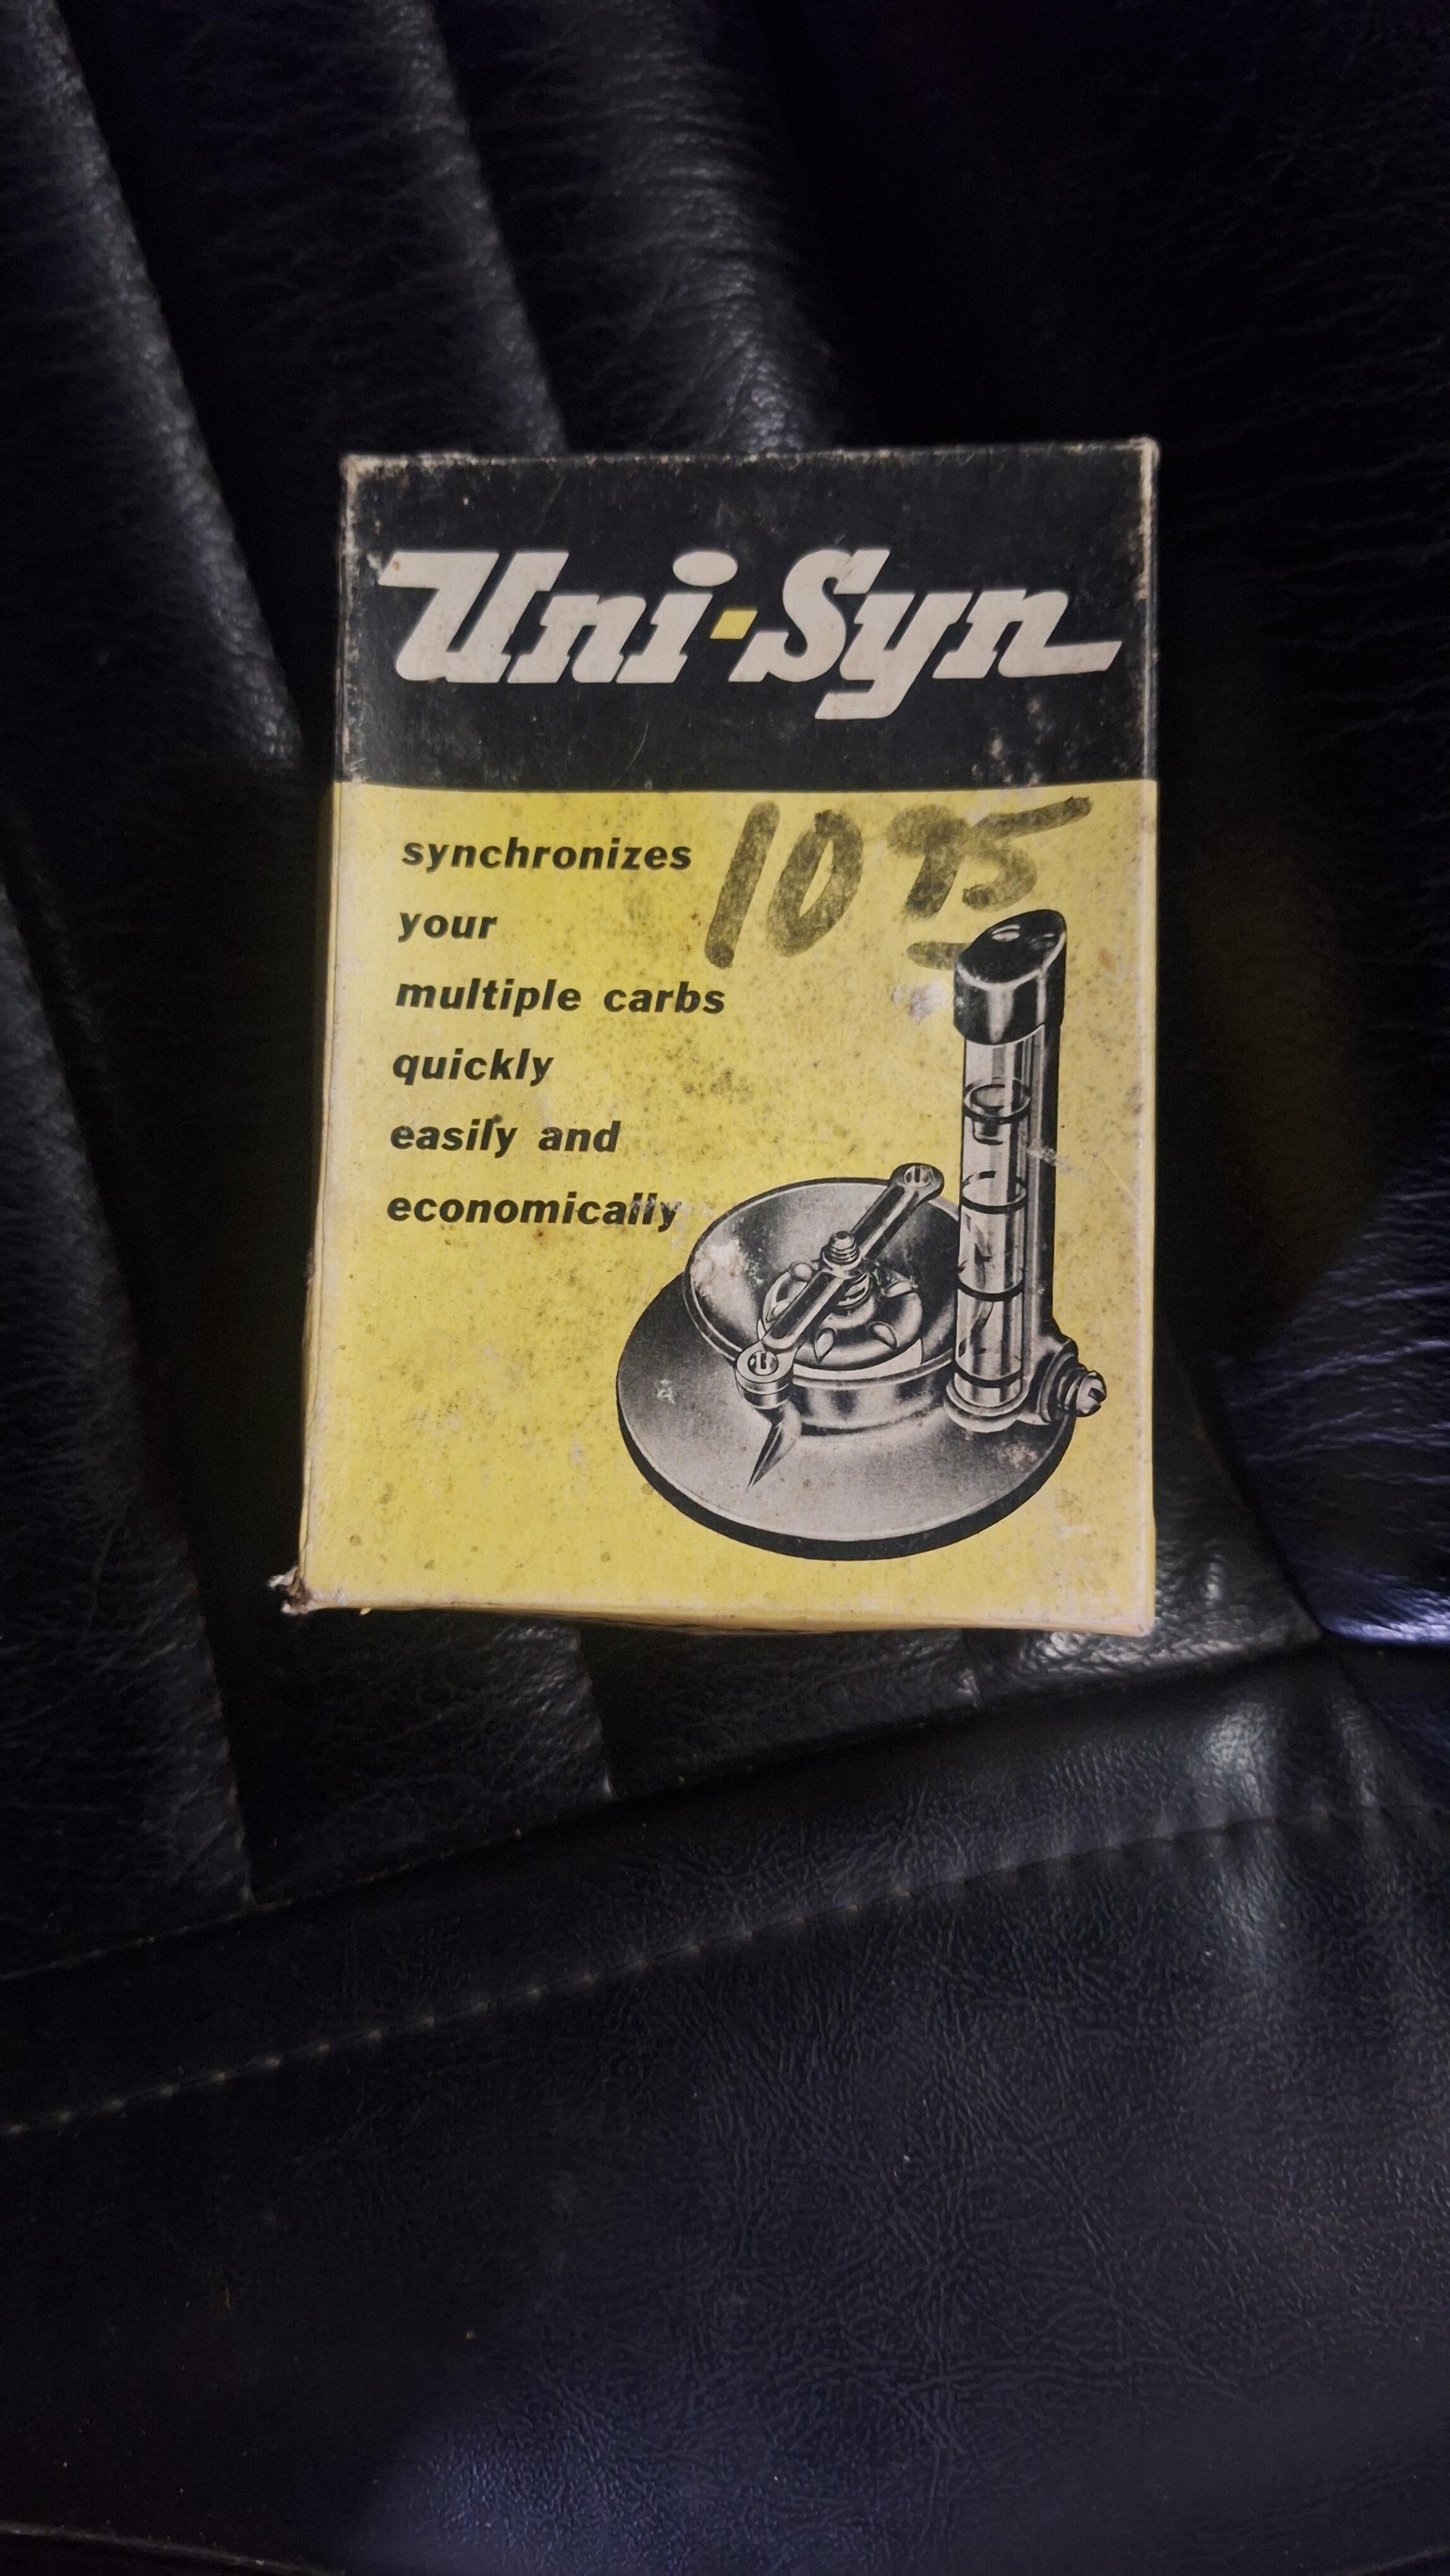
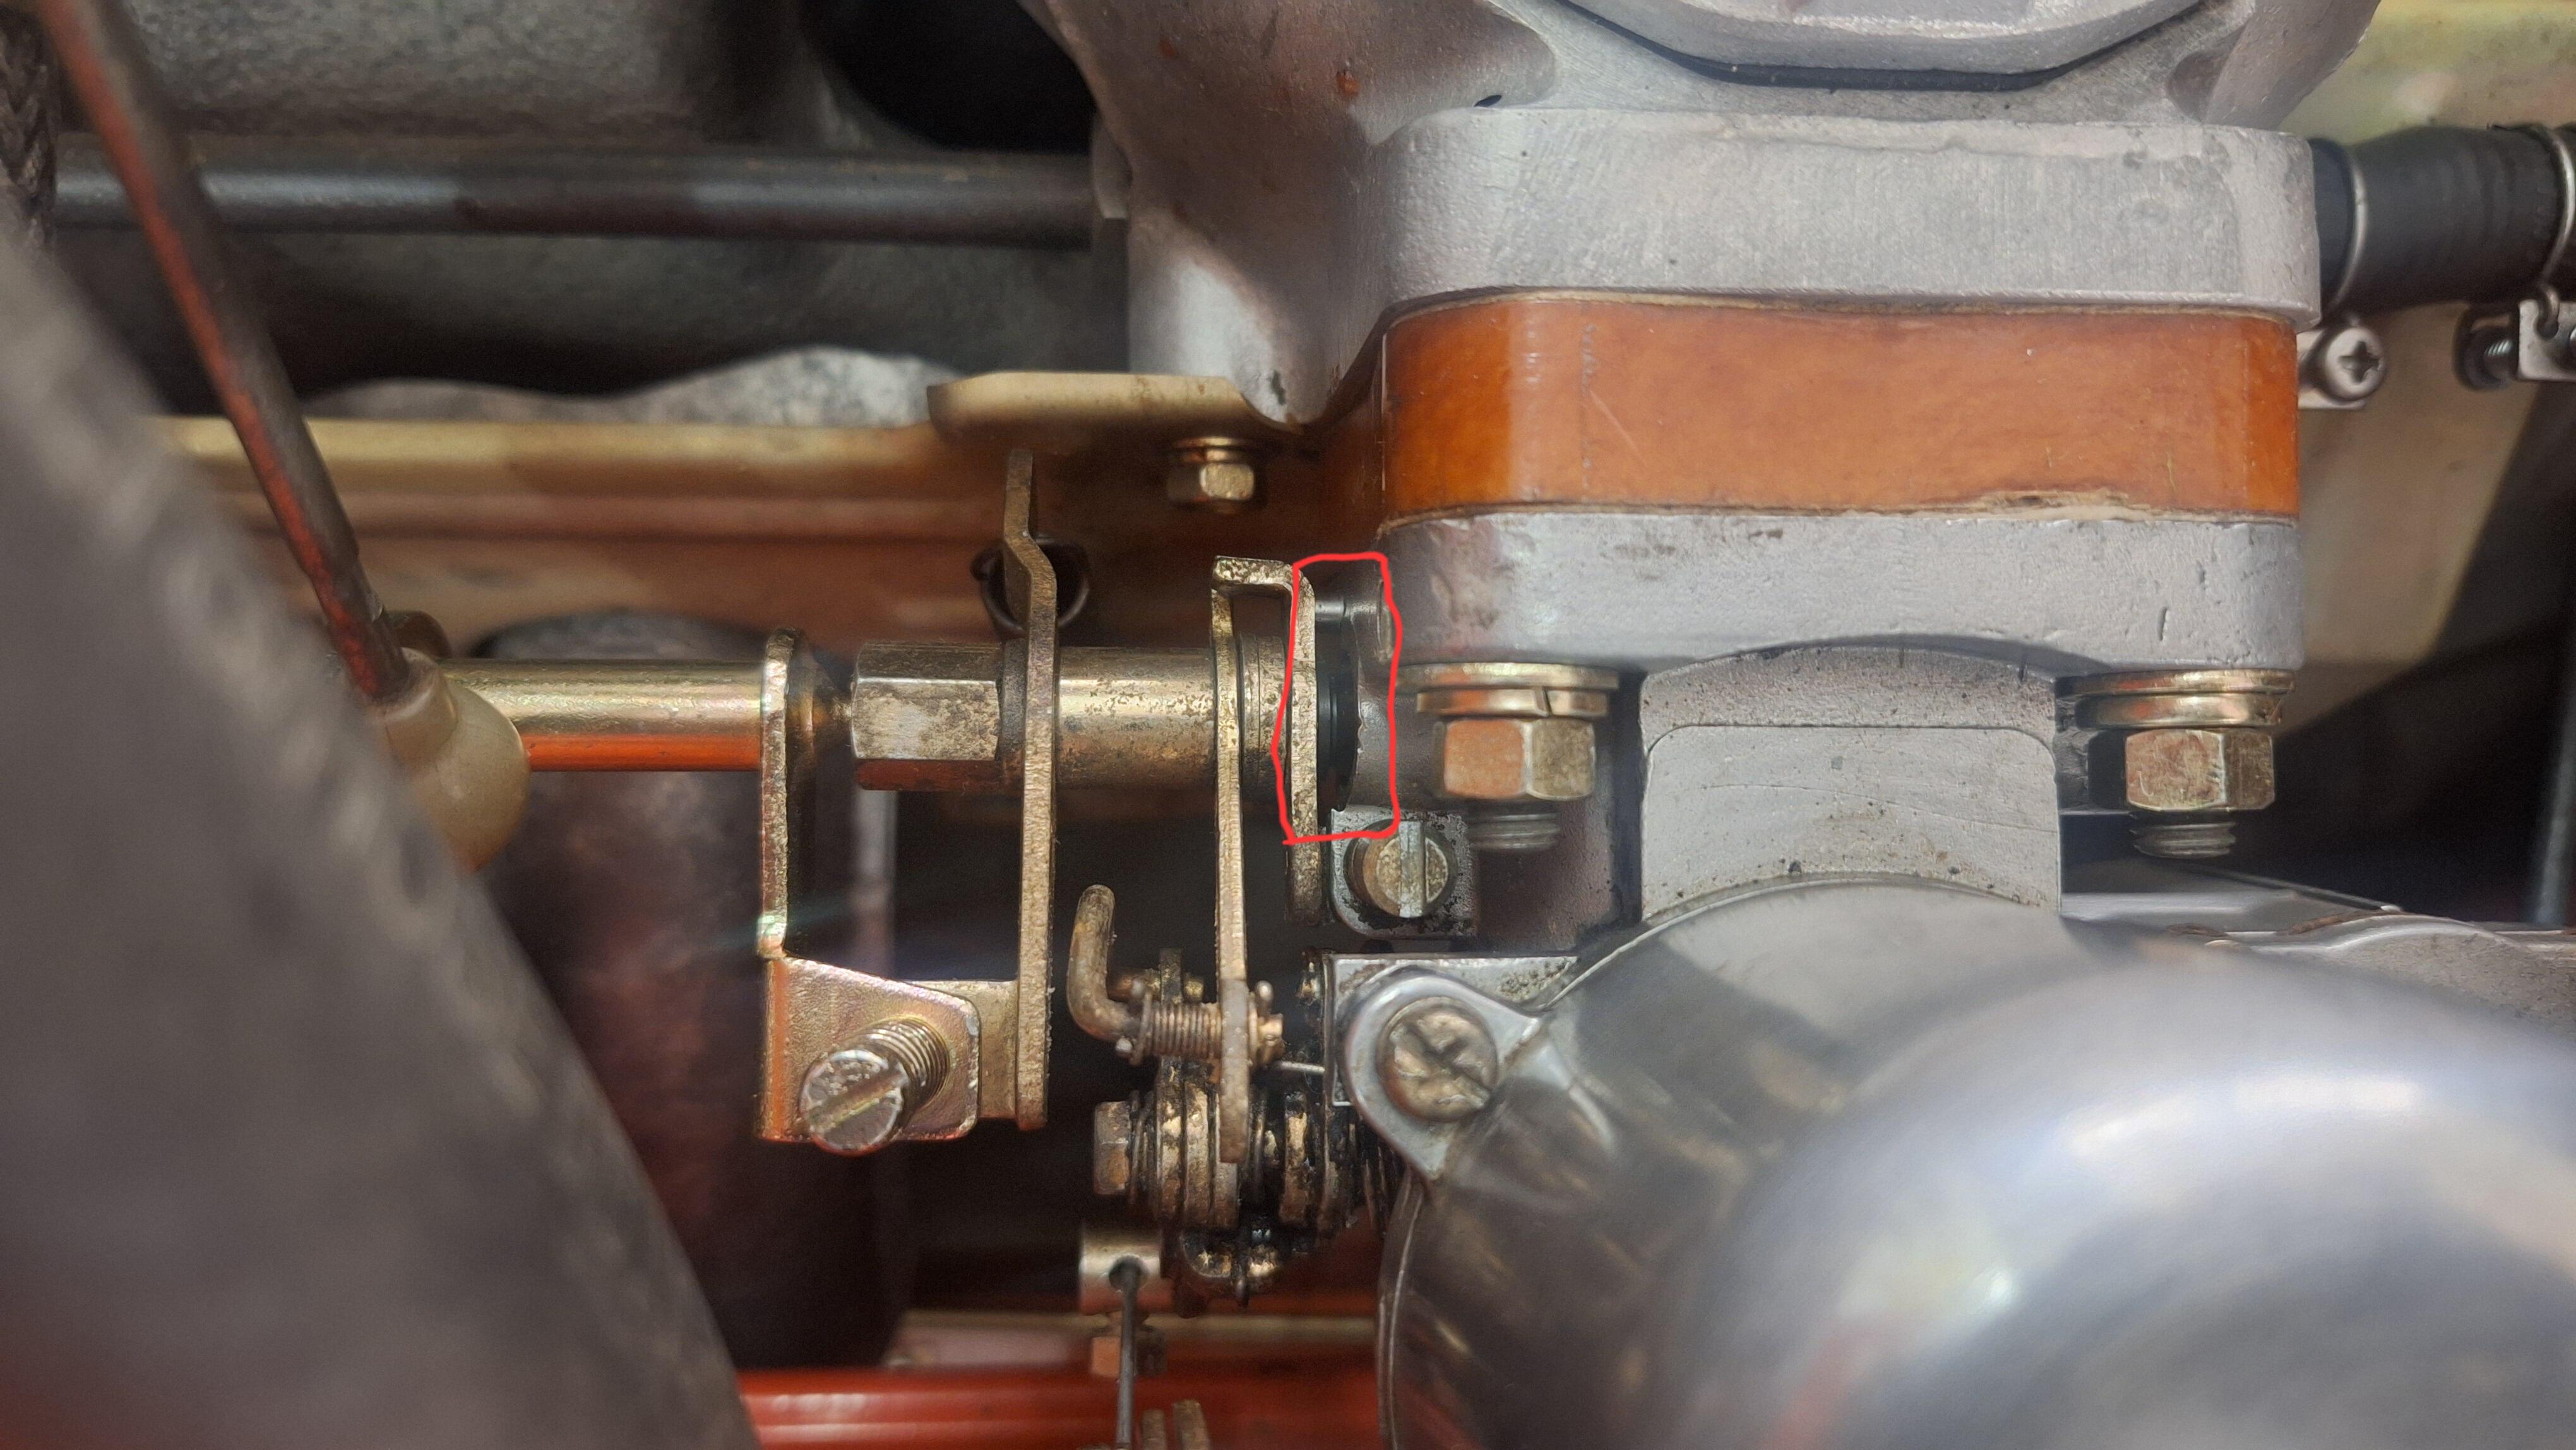
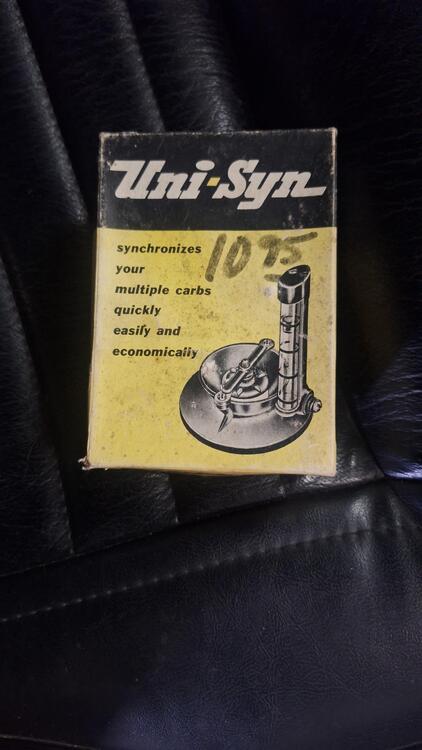
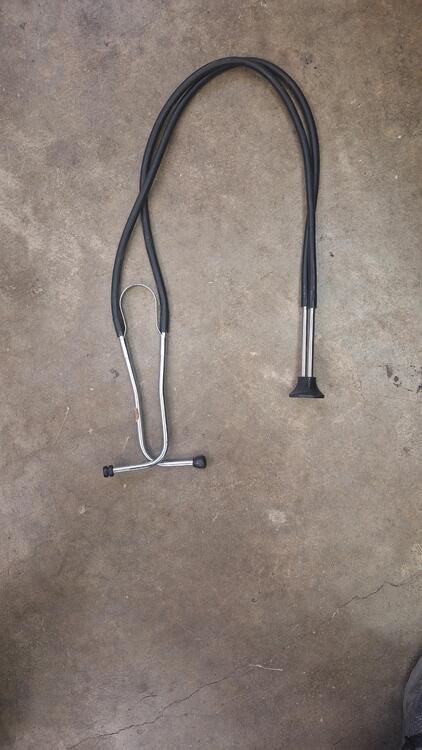
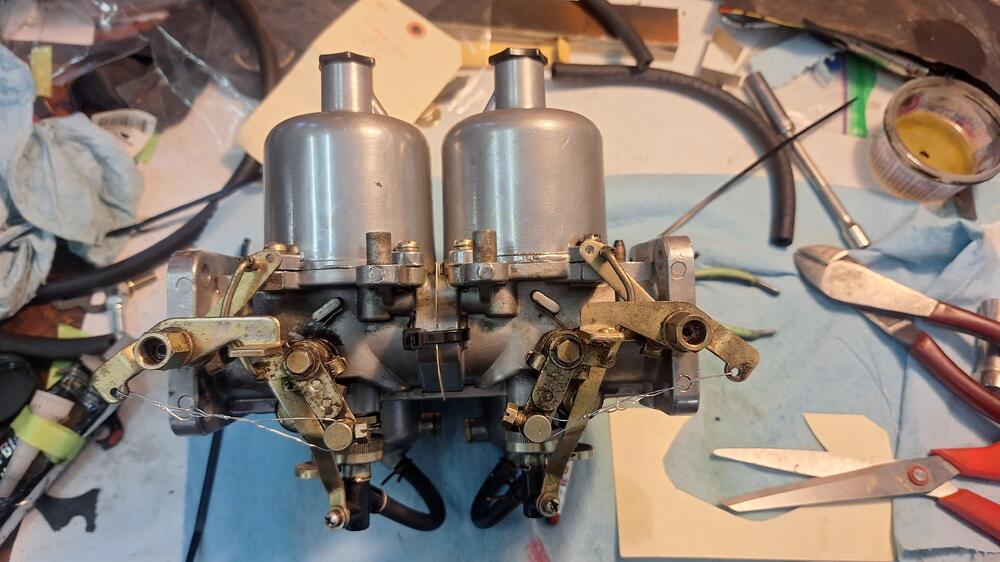
 After adjusting the valve lash a couple times, I timed the distributor which was really close. I tried my hand at tuning the carbs. This video VHS and flowmeter came with the car. I backed everything off, but still was getting a 1,000 rpm idle. Seemed a bit high. I would put the flow gauge on the front carb and adjust it so the ball was in the middle. Then go to the rear carb, the ball was way high, no way to back down the idle screws anymore. I figured there must be a vacuum leak somewhere. I squirted brake clean around but didn't make any noticeable difference. I couldn't get them the same. The next day, while fiddling around with it, I grabbed my broken stethoscope, and started poking 1 of the hoses around when whaaam! There it is. The rear carb is leaking around the throttle shaft. These carbs were just done by ZTherapy 2 or 3 years before the car was parked some 22 years ago. I had a chat with them, boxed them up, and they are now in their hands. I hope it's an easy fix.....
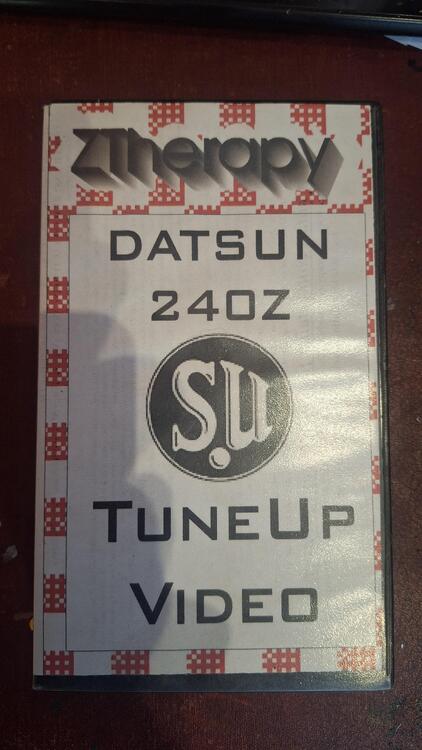

-
 Any time! LOL
-
😇Good ole Blue! I miss that rascal.
-
I used piggy back connectors on the nail head studs on the top of the sending unit. Coverd it all with liquid electrical tape. Worked good for me, the rubber boots fell all to pieces on my '72.
-
Disconcerting that your AFM numbers went a little leaner when you tightened everything up. The tightening might be related, or it might be a red herring. But disconcerting either way. So did you ever try giving it a little bit of choke enrichment with the lever while you're driving? Does it react as expected and the numbers come down?
-
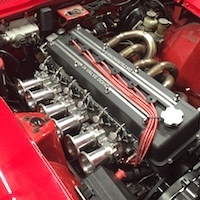
 Trying to setup my Jenvey ITB's without a linkage rod. I have seen some people use a throttle wheel for a cable setup that bolts up to the side of one of the ITB's. Does anyone know where I can find something like that? Jenvey does not seem to sell anything like that. I would prefer that setup as it keeps everything really clean without a linkage rod. Thank you!
 - Earlier
-
Man that is a sexy z car
-
 It's more indecision than anything. I'm not usually prone to indecision, but I'd really like to stick with a fiberglass scoop, and couldn't convince myself to go metal. I also think you're better off selling the four pieces together, than having two fenders and one scoop, so it probably works out OK. I do appreciate you checking on them for me. Good luck! As a friend of mine likes to say, "My wife loves that sh*t!". @CanTechZ I'll send you a PM and hopefully we can move this forward!
 -
@jfa.series1 That certainly didn’t take long!!
-
 Yes, a great read and many thanks to @JDMjunkies.ch for putting that together. Great job, as always, to Kats and Alan.
 -
 Perfect, thanks Ernest
 -
You might have to use some sealant on the inside. I believe "Seal-all" would be my first choice https://www.amazon.com/Seal-All-380113-Adhesive-2-Ounce/dp/B0015AE0AU/ref=asc_df_B0015AE0AU?mcid=73fbe515071334428dde54fff0cb8519&hvocijid=2708339363523471354-B0015AE0AU-&hvexpln=73&tag=hyprod-20&linkCode=df0&hvadid=721245378154&hvpos=&hvnetw=g&hvrand=2708339363523471354&hvpone=&hvptwo=&hvqmt=&hvdev=c&hvdvcmdl=&hvlocint=&hvlocphy=9010452&hvtargid=pla-2281435177578&psc=1
-
Are you buying these from a supplier? If so it should state the fitment parameters. Gotta know more details. Is this exhaust new or used?
-
I found the option to click to get the site back to the thread title view. Upper right, next to the auto-update comment, pasted an image below. I guess that the default is post-by-post. Not sure if it sets a cookie or not. Might have to click it each time.

-
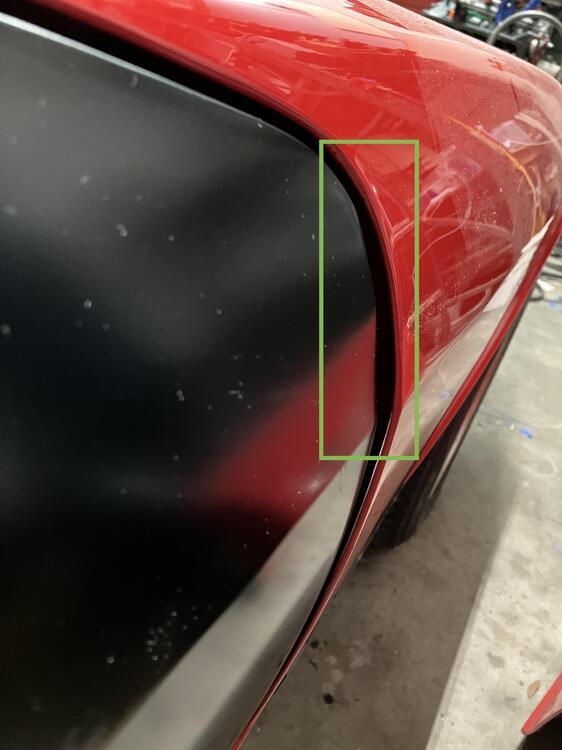
Update time. So I lost my window of opportunity to finish the car when the doors wouldn't work but I finally took care of other commitments and I'm able to get back on the car. I skinned my old doors and did a test fit on the passengers side. just as a comparison here is the first door Max sent me. And here is an aftermarket skin on my old shell. I think at this point it's pretty obvious that the doors supplied to me from Resurrected Classics are garbage. Max if you are still following this you really need to step up and refund my money. I'm not sure how much more I have to show you that the problem is on your end and not my car.

-