Leaderboard
-

nomuken
Free Member6Points34Posts -

Mike
Administrator1Points23,065Posts -
madkaw
Free Member1Points4,370Posts -
Martzedcars
Free Member1Points158Posts


Popular Content
Showing content with the highest reputation on 12/21/2015 in all areas
-
2 pointsThanks Mart for the confirmation. It isn't that easy to find good parts here in Europe :-/ As for my datto, got the parts back from powdercoating :-) And immediately began reassembling the front axle. I love the result, and in the same time I hate it. Because money and time won't let me restore every single part on the car to this stage.2 points
-
1 pointHope everyone has a great week! Enjoy the festivities and happy new year! Sent from my iPad using Tapatalk1 point
-
1 pointLooks good! I did those parts also about 15 years ago, sandblasted them and then zincpainted them. they still look good after many winters.. Yeah, in the summer i drive a 300zxTT as new.. and in the winter my 240z is the banana! the dupe.. the honor to drive me trough the snow.. IT'S FUN! "Normaly people change the tires/wheels when winter comes, i change simply cars, the 240z is Always on wintertires.. and Original high on its wheels. I to have restored my 240z myself and it was a lot of work.. but i'm driving the beast now for 15 years and it's still going strong. Mart.1 point
-
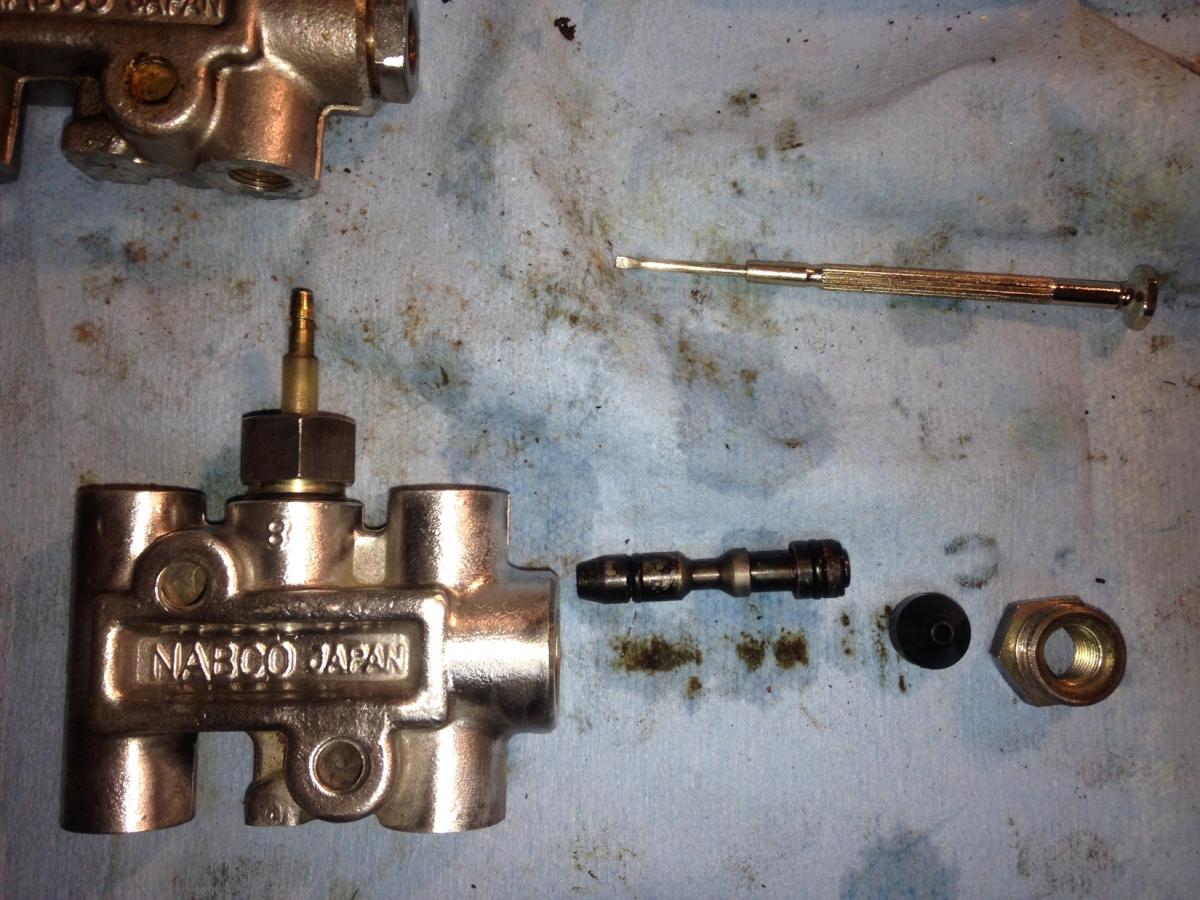
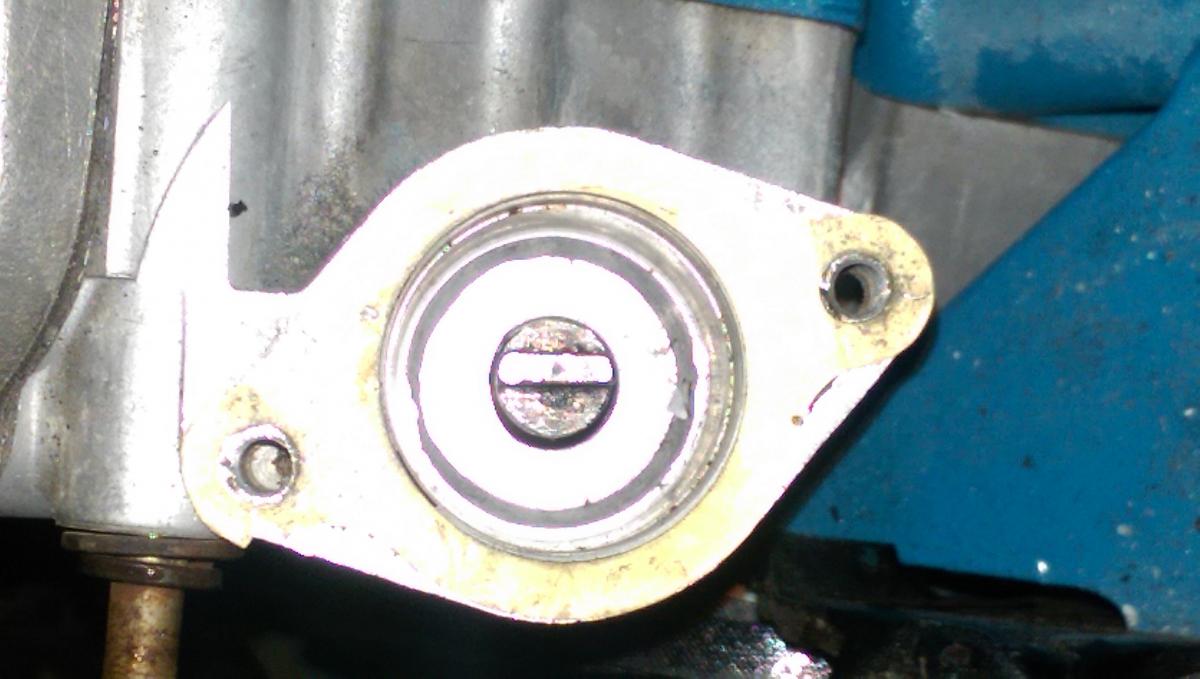
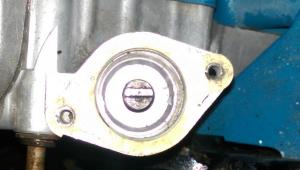
The bore doesn't look too bad. It was gunky and dirty but I really can't see any pitting. I'm just going to clean and maybe lightly run a Dremel with a wire brush in it. I did wire brush the outside already. That aluminum shines up bright!
 1 point
 -
1 pointThe main problem changing the fluid is about half of it will be in the pan and the rest will stay in the torque converter. However it's easy to get it all out: 1. jack it up, pull the pan (carefully so the fluid doesn't spill), and remove the fluid, clean or replace the screen and clean the pan, and adjust the bands if they haven't been done recently. Adjusting the bands is way easier than it sounds, but you need a small torque wrench, since it's supposed to be torqued "exactly" what it says in Haynes/Chilton. 2. Replace the pan and pull the "out" cooler line off the radiator and direct it into a container. Run the engine about 20 seconds and it will pump the fluid out of the torque converter into the container. 3. Hook the cooler lines back up, and put a little less trans fluid than book says. Then start the car and let it idle in drive or reverse for about 30 seconds until the torque converter fills up. You can't drive until it fills up. Then put a little more fluid to get it the right level on the stick. While you're at it, check the little hose from the hard vacuum line that connects to the trans modulator. Mine was old and fell off frequently, resulting in crappy trans performance. Put a new vac hose, now it's fine. I run synthetic ATF (145 K miles on the car) and the trans feels great. Edit: Use jackstands or preferably ramps for safety !1 point
-
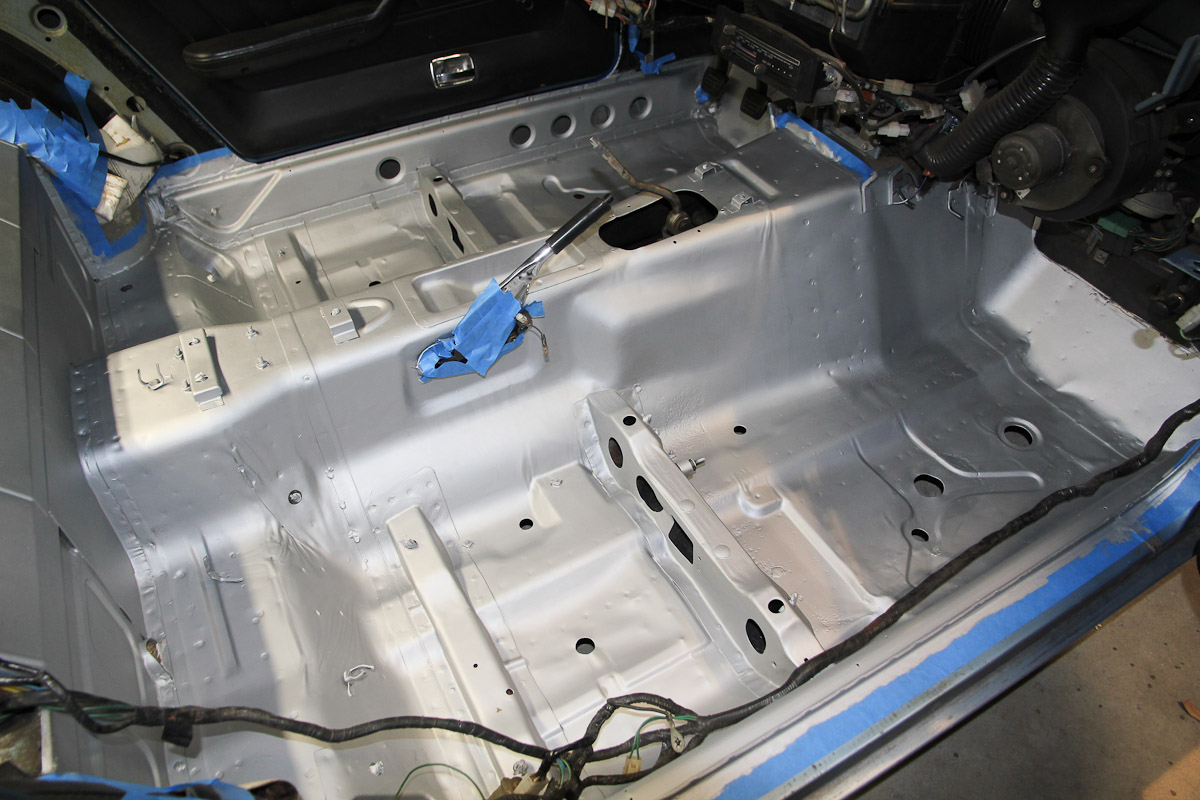
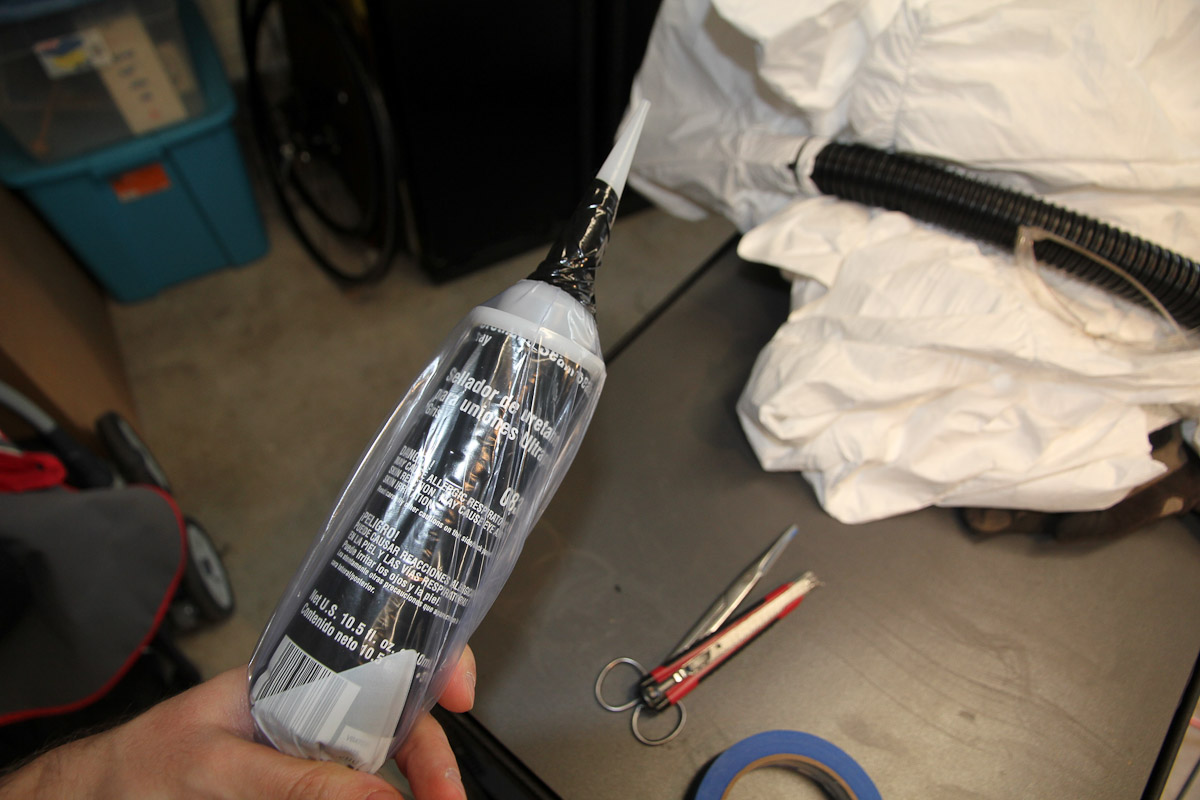
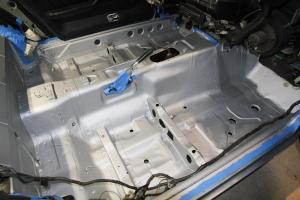
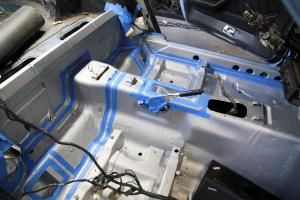
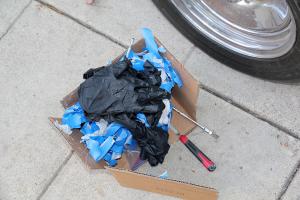
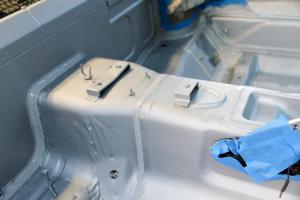
Progress! Two coats of the Masterseries Silver have been applied and it looks a lot prettier now. I spent yesterday evening masking off all the areas that needed seam sealer, which ended up being a ton of work I probably didn't need to do. Since I don't have a gun for the 2k sealers, I chose the 3M Ultrapro. I also don't have a gun for that, but thought I could do the old homemade pastry bag trick. Turns out that seam sealer is way thicker than frosting! Spoiler alert: it didn't work I ended up digging the stuff out and applying it with my fingers, which made a pretty horrible mess and isn't something I really feel like doing again, but it came out nice enough. Hopefully on Wednesday I'll have time to put on the black finish coat.

 1 point
 -
You need some space to work. Like it or not you're going to have to take the manifolds off. Get some REALLY good penetrating spray. PB -Blaster or Kano Kroil is very good. ( WD-40 is Meh ) Interestingly a home brew of 50% ATF and 50% Acetone keeps coming up to the top of the penetrating list preferred by Machinists. Let it soak in for at least 24 hours. Another very good bolt removing spray is CRC Shock Spray. This cools the bolt down to -30c and shrinks it. This breaks the rust crystals and allows the penetrating fluid to wick in between the threads. Used a lot in heavy industry, Turbo applications and Marine applications. I'd use a combo of the two. Then use a brand new left hand drill bit ( Cobalt steel ) to remove the old stud. Once you drill out the center, that will relieve the wall tension and it should come right out. Pilot hole with 3/32" right hand drill bit. Then switch to LH 1/8" drill bit and move up to LH 3/16" as necessary. You don't have to drill all the way through. Just enough to release the wall tension. You can also use a center punch to " tap " the stud out by turning it. Edit: After a good penetrating oil soak and maybe the CRC Shock Spray, try the old " center punch " tapping technique. Sometimes you get lucky and don't have to drill. Nissan did come up with a field fix with 9mm studs... not 10mm. The important thing is that the hole in the manifold should be at least 1 to 2 mm greater in diameter than the actual stud. This is to allow for expansion of the long 6 cylinder exhaust manifold. Later 260z and 280z exhaust manifolds used larger " clearance" holes than the 240z, at the ends of the manifold. That's because the ends move more than the center of the manifold. Use 260Z or 280Z 9mm studs if you have to enlarge the thread holes. To tight of a stud clearance hole on 240Z exhaust manifolds is what caused the original bolt shearing. It's not a fastener strength issue, but rather a problem with the cast iron manifold getting longer when it gets really hot. The manifold grows in length, puts a sideways load on the stud and shears it off. Some Big Block Chevies have the same problem. If you can get the 8mm stud out with the threads in the head intact, you can still use 8mm studs. Buy the factory Nissan studs or high grade 10.9 or 12.9 grade Metric studs. Next enlarge the clearance holes in the cast iron 240z exhaust manifold by 1 to 2 mm on cylinders #1,#2, #5 and #6. That should solve the problem permanently. BTW,headers usually do not have an issue with the 8mm studs getting sheared off, as the header flange does not grow as much with heat.1 point
-
You might have to just bite the bullet of reality and pull off the exhaust. Why take the chance of possibly boogering up a bad situation by making it worse. I know it's a PITA for one bolt, but being able to see it better might open up more options. With it off you could penetrant in there better and maybe pay someone with a welder to weld a bolt to it and just back it out. You drill it and then you've committed to that option1 point
-
Found the problem, oil pump shaft is 180 degrees off. So, distributor would settle in 180 degrees off. Bad news is I dropped my 19mm socket down the engine cover. I tried magnets coat hangers, etc. I have to take the cover off....good times.
 1 point
 -
1 pointSo, progress is a bit slower these last days, but I done some of the boring and time consuming stuff, like changing all the heater hoses, greasing choke cables, sorting and removing all sorts of wires from all the previous owners (what a mess). Redid a blower motor loom as mine was butchered,... I also changed the inner glovebox for a new part from MSA. I really think this part was never meant to be changed without removing the dash, what a PITA! Some refreshening of the blower motor: Same for the steering: Replaced this leaky bastard: And my BC Racings showed up. Welded them to the spindles already. New balljoints and tie rods are in to. And all 8 wheel bearings will be replaced, I prepare myself for a day full of pain and shouting with the hammer, press,...1 point
-
1 pointWhile the interior paint was drying, I did some suspension work. So I removed the front axle, engine crossmember and steering to refresh some parts: Oh and I did pretty much the same for the rear: After the paint had dried I started rebuilding the interior layer by layer. Sound deadening: Some more insulation and some new vinyl from MSA: Oh and I rebuilt the drivers side door with a brand spanking new NOS door card1 point
-
1 point
-
1 pointGot two rolls of this and some of this Wich will be installed before the new carpet comes in1 point
-
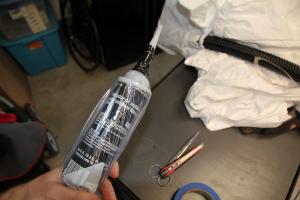
Yesterday I got an Arizona title for the car. I used the Bonded Title process and it wasn't that bad, the Bond is for $2,000 and cost me $75. I never got the car to my friends shop, I kept it in my driveway so I could tinker with it. I have a vehicle storage problem and had to park my daily driver in the street, I've since moved the 280Z to my friends shop. While waiting for the title process, I was able to get the car running. I did the Marvel Mystery oil, PB Blaster, WD-40 soaking in the cylinders each day for about a week. New ignition wires, points, oil/filter, clean & gapped the plugs with fresh gas fed directly into the pump and she fired up after about 15seconds of cranking. A little rough at first but after a few minutes the idle smoothed out somewhat and I let the car run until it was warmed up. The following day, I let the car warm up again then did a compression test. The numbers ranged from 155 to 160 and the exhaust is clean with no smoke. I think I got really lucky here!! I'll have a leak down test performed as soon as I can get the car to my mechanic. I removed the valve cover to oil everything before I tried starting the car and was surprised that the top end was pretty clean with no discoloration or buildup of any gunk. At this point I'm going to start removing everything from the car so I can have the metal media blasted. Here's a question for those of you that have done this; What process have you used to seal the metal after blasting? After I weld/repair any rust, do I POR 15, phosphate wash, primer, paint, undercoat the metal? Do I have the bottom and floors powder-coated? My goal is to preserve/encapsulate the metal so tha car will survive for many, many years. I'm in virgin territory here and appreciate any feedback, thanks in advance! BD
 1 point
 -
BD280Z, Congratulations on winning the auction! As you read through this thread, a number of us were all hoping that someone like you would win the auction and restore this sub-5000 Series I with its matching engine. I hope that you are able to get that all-important title for this car and join a select few that own one of the first 5000 HLS30's. Please keep us updated on the progress and post pics when you can. As you can see by the numbers of posts and views on this thread, your car has had a lot of member interest! :classic:1 point