Leaderboard


Popular Content
Showing content with the highest reputation on 01/01/2016 in all areas
-
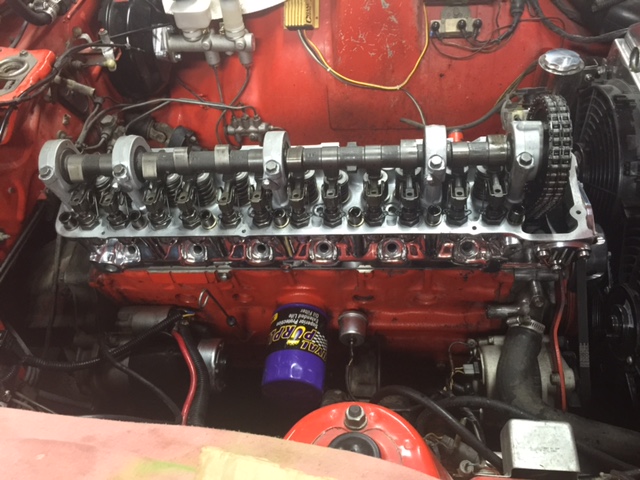
I removed my P90 head off my 1974 260z (N42) and I installed a polished E88, with performance cam, to raise the compression. Tomorrow I'm installing the ceramic coated 3-2 header and rebuilding my dual webers. Hopefully it will work nice with my 4.10 rear gears and 5 speed trans. This is how I'm spending my two week Christmas vacation. I hope to get everything completed before I go back to work.
 2 points
 -
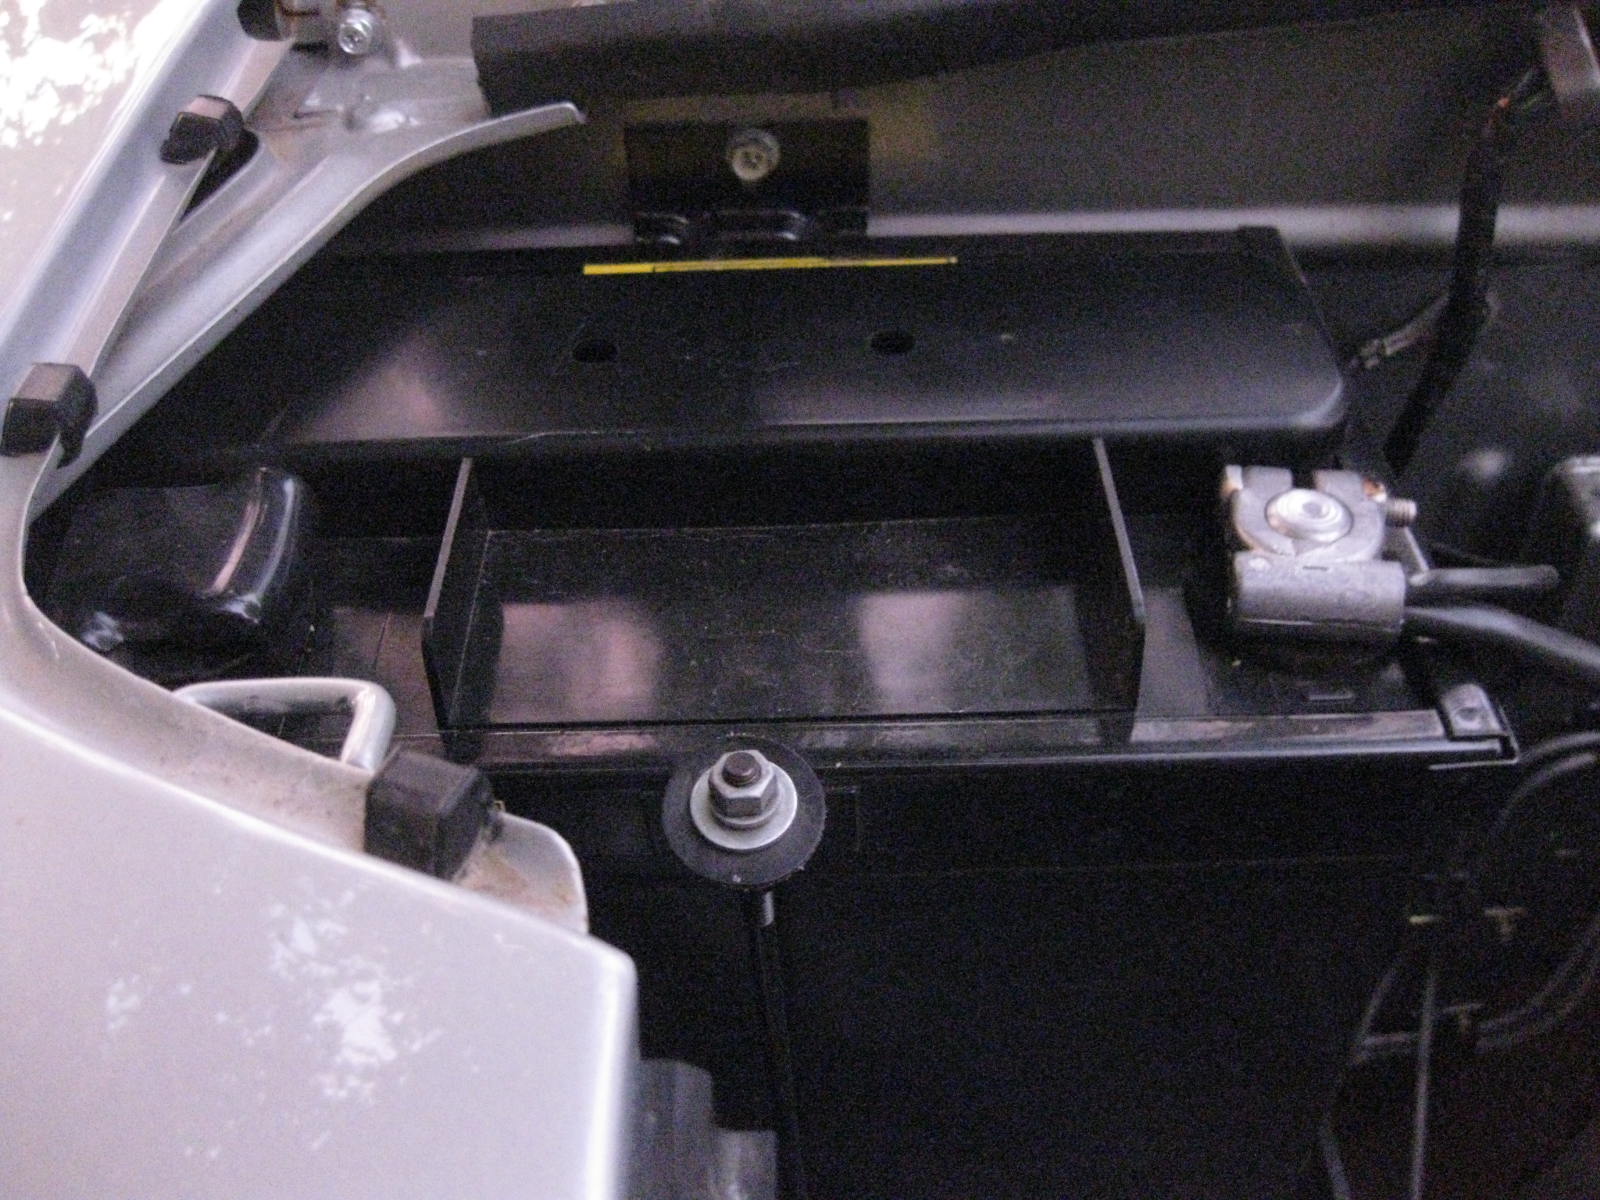
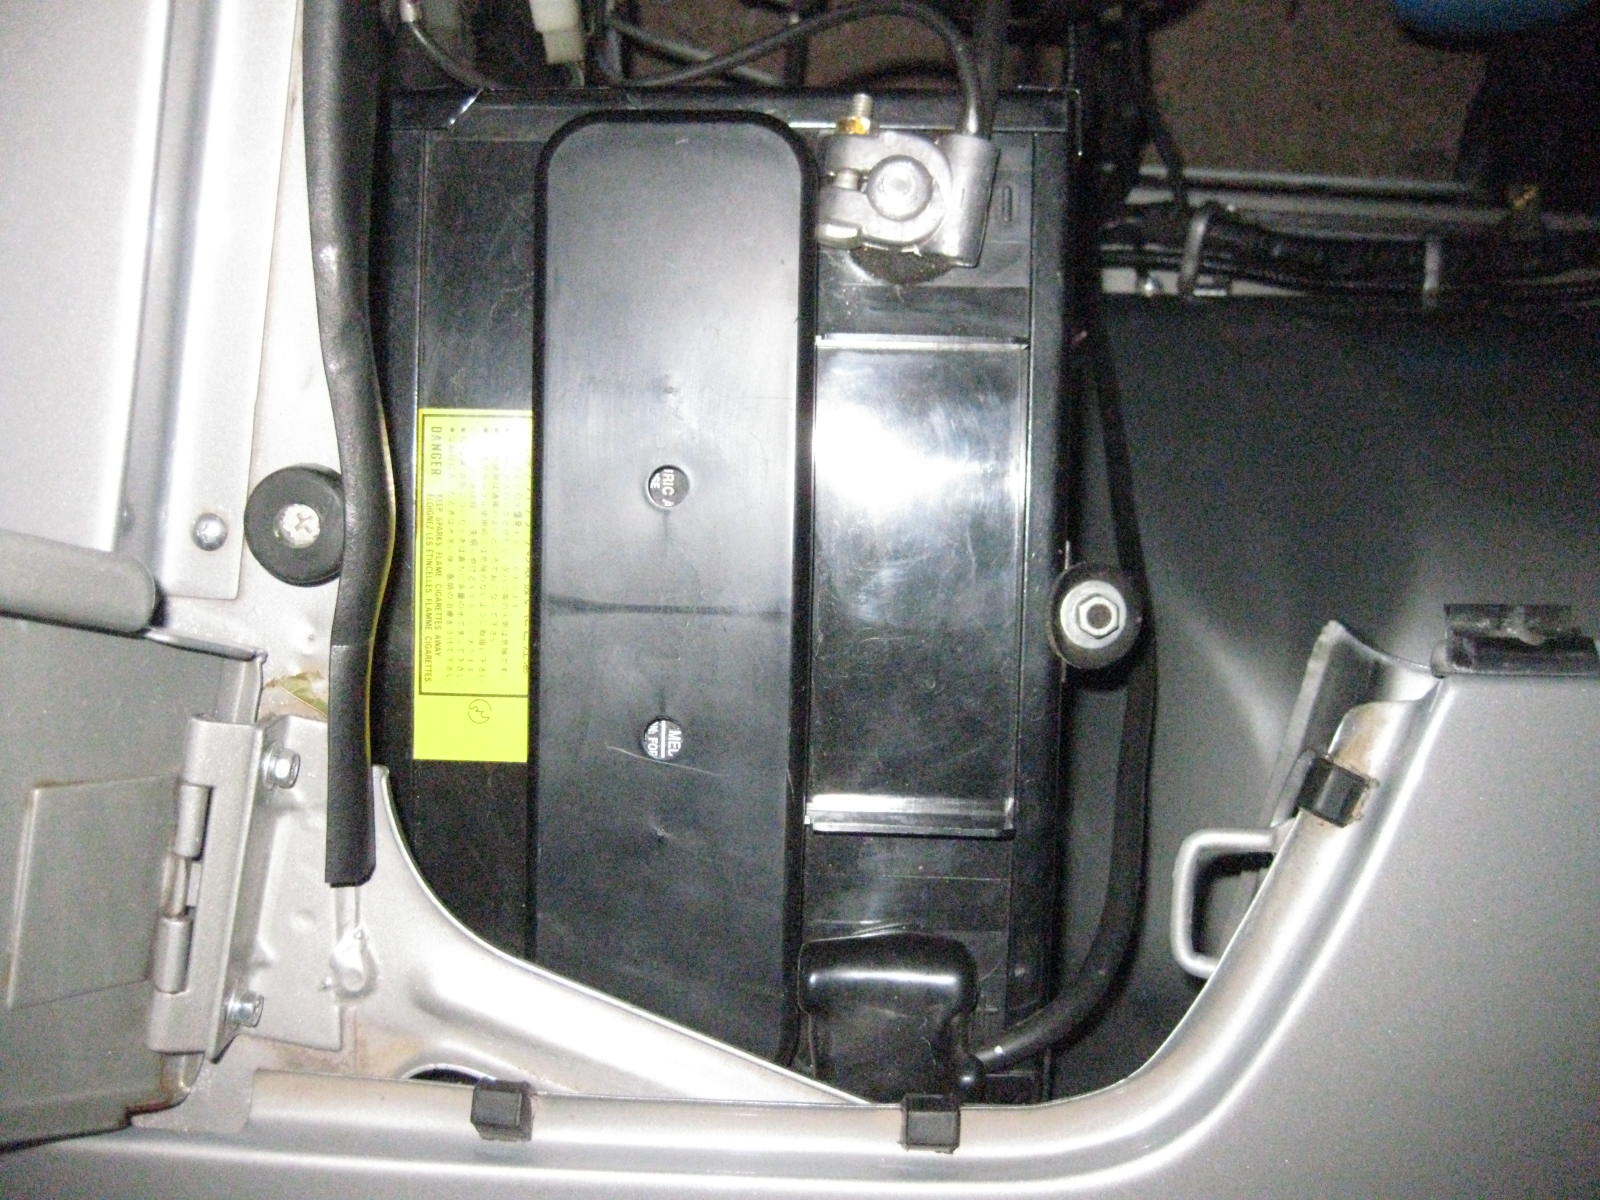
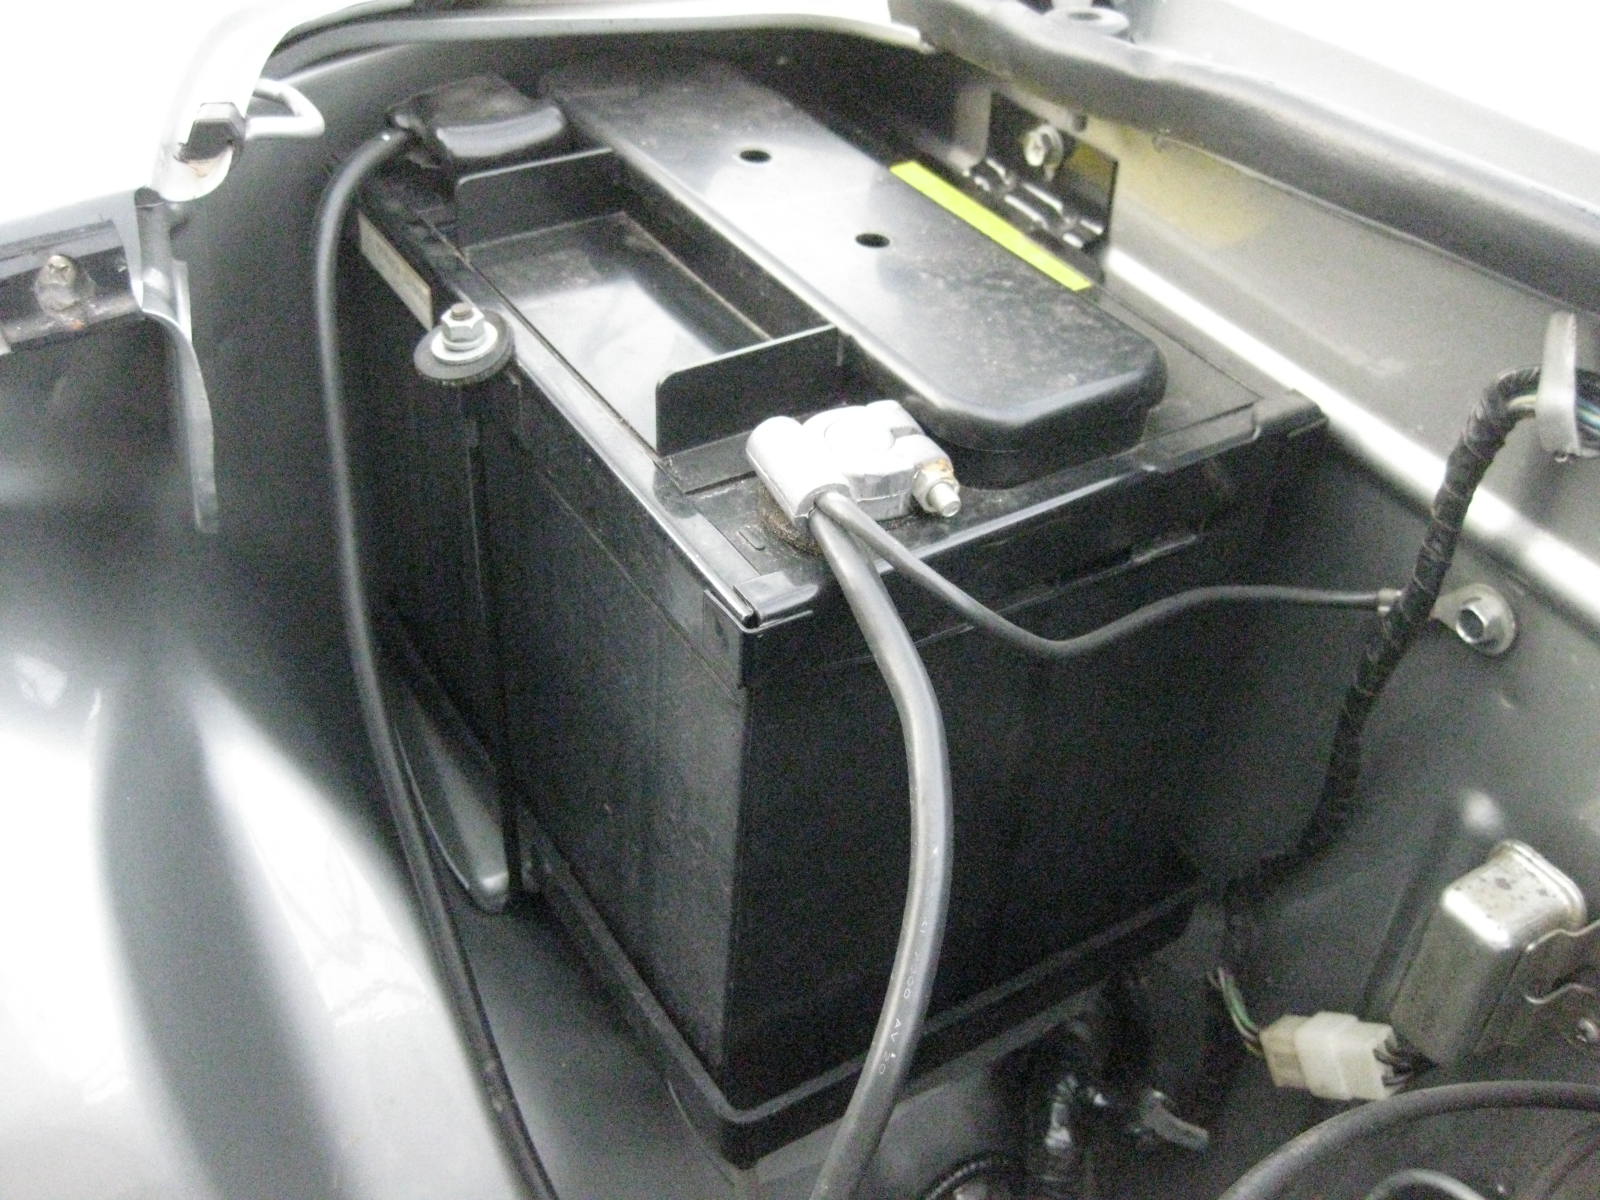
Here are some photos of the battery setup in my 73. Nissan sells the proper sized battery in an all black case. It is a group 24 battery. Part number 999M1-NB24F. This part number places the positive terminal to the engine side. Originally (correctly) the positive terminal should be to the fender side under the inspection lid of the fender. This changes the part number to 999M1-NB24C. I am not completely sure of this second part number as it is currently covered by the battery cover/cap assembly in my car and it is cold outside. I know I wanted the positive terminal where it originally was supposed to be so I had to return the NB24F and get the one with the terminal to the opposite side. They sell both. Steve now reproduces both the cover and the cap as mentioned above. The caps came both with and without the 2 holes. He and I discussed this when I sent my "unholy" cap to him for reproduction. It is uncertain which came first---with or without the holes. My thoughts were that the cap without holes came first and that possibly out of concern for corrosion or combustion Nissan decided to revise the cap with holes to provide ventilation----a way of allowing sulfuric acid gases and moisture to dissipate or evaporate. Of course this could be complete bull$hit on my part.


 2 points
 -
Mini-restoration project for 2016
 1 point
 -
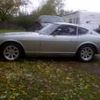
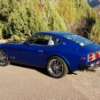
My new toy: 2010 Aston Martin V8 Vantage Roadster. Only 4700 miles. Automated manual tranny. My poor 40+ year old Z is relegated to the storage barn.
.thumb.jpg.0ced016cbc2edc673f7151212ddcf748.jpg)
.thumb.jpg.a496fbeab7d3d8a4acedbf2a5e19bd48.jpg) 1 point
1 point -
It's why I had made (and sell) single point jack plates. I can go to an autocross event and change one side at a time. The plates weld to the rocker lip and floor about mid point of the door. Of course if your rockers and/or floors are rusted jacking them with a plate is no different than jacking them from the rocker lip. I too have experienced the joy and sound of a jack going through a Z. Not pretty...1 point
-
Wishing each of you a wonderful 2016, With much happiness driving your Z !!! Jai1 point
-
The great part is I can blast clean all the way up into the suspension towers and behind the spare tire well between the frame and well.1 point
-
I used a similar (possibly the same) gun and media when I did my suspension components. Messy, but worked well enough, especially considering the whole setup was only about $40. One thing that I found helped was cutting some length off the feed hose; it was a bit too long out of the box.1 point
-
Results look good. Once you get it flowing keep it flowing. I have a pressure pot so it's a different setup...1 point
-
Thanks for the video! (those female Datsun rally fans really new how to root on their favorite cars ....)1 point
-
Hi, Just received my u-joint from 'Joe' at Simmons...great service BUT a killer delivery charge. The little joint cost $ 48.44 with tax and ground shipping A little online looking around and I found the exact same joint for $22 (ALL IN)!!. For those in need the joint is made by Motor Master and the specific unit is: Kawasaki ATV700 Cheers, George1 point
-
You can actually use the vise and socket method to press out the U-joint cup by placing the drift for one cup in one side of the jaw and big spacer over the shaft flange on the other jaw. Closing the vise will press out the cup to the spacer side. This avoids the mistakes associated with beating things with a hammer, like bruised fingers and broken flanges.1 point
-
Yep, I changed more U-Joints in Z's than I care to remember. . The tools required are: 1) a big vise (BIG) 2) a sledge hammer, 3) a socket set that you aren't too fond of.4) a punch or chisel So the process is: 1) Remove the half shafts. They are 14mm bolts, use a boxed end wrench so you don't strip the head. 2) Put the half shaft in the vise and secure so you can see the U-Joint. Next tap out all 4 retainer c-clips on the inside of the U-Joint cap 3) Again, with the shaft secured in a vise and the shaft side U-Joint going up/down, pound down on the u-joint to knock the bottom cap out. Turn the half shaft 180 deg and pound the U-Joint the other way knocking the opposite cap out. Repeat the process with the other part of the U-joint and flange. 4) Get new U-Joints out of box and take off caps on opposite sides. Fit both the caps on the outside of the shaft flange and set the middle part of the U-Joint in place. Put the whole assempbly in the vise (this is why you need a big one) and press fit the caps inward toward the middle part of the U-Joint. Be careful not to disrupt the needle bearings inside the cap. I usually set the middle part in the cap that is moving to hold the needle bearings in place. Also be careful to keep the caps going in straight so they don't bind. Once the caps are close take you socket set and find one that is about the size of the cap in diameter. Open the vise and put the socket between the cap and the shaft and close the vise again using the socket to seat the cap far enough in so you can see the C-clip ridge on the inside of the cap. Put the C-Clip in and repeat socket trick on other side. Do the same to the other half of the Ujoint. 5) Always replace both U-Joints at once 6) When replacing the shafts in the car, use the Emergency Brake to hold the shaft in place to put the final tightening on the bolts :classic: :classic:1 point


.jpg.ac815c2181ff5ccc89d6c0a63fcb76a7.jpg)
.jpg.ade5f60b0681f47c7f0d43b5a8991a4b.jpg)


-
-
Forum Statistics
-
Total Topics66.4k
-
Total Posts664.8k
-
-
Gallery Statistics
-
Blog Statistics
-
Total Blogs167
-
Total Entries251
-
-
Download Statistics
-
Vehicles Statistics