Leaderboard
-


d3c0y
Member3Points19Posts -


siteunseen
Member1Points14,879Posts -

240znz
Member1Points1,076Posts -

sweatybetty
Member1Points1,119Posts
Popular Content
Showing content with the highest reputation on 06/05/2016 in all areas
-
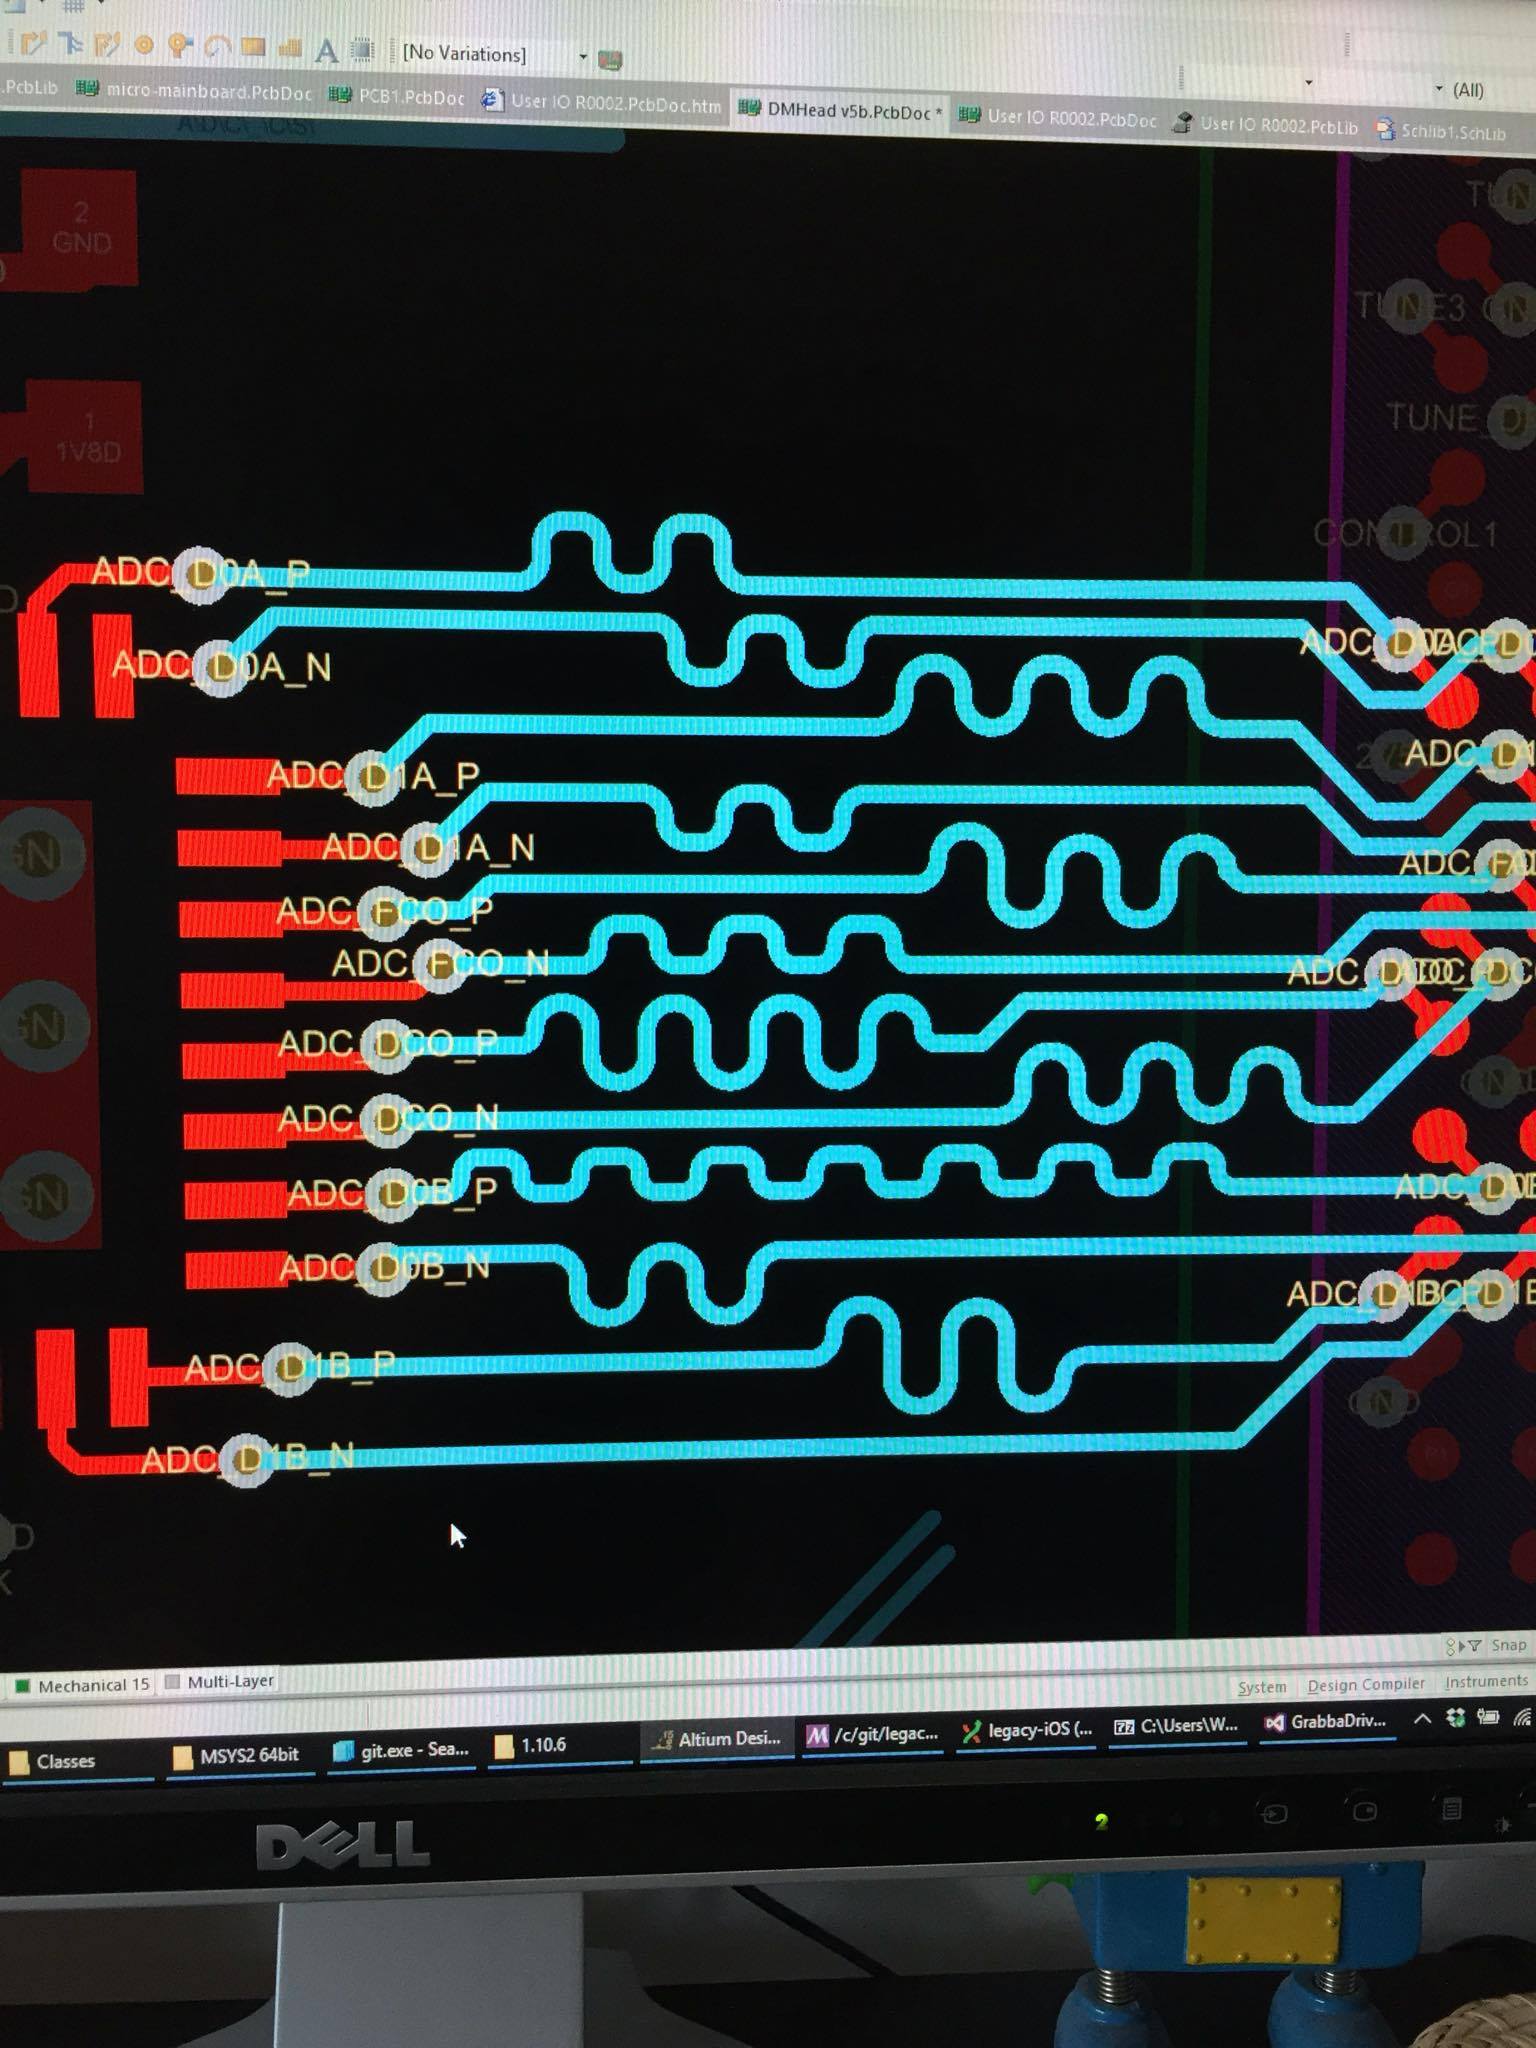
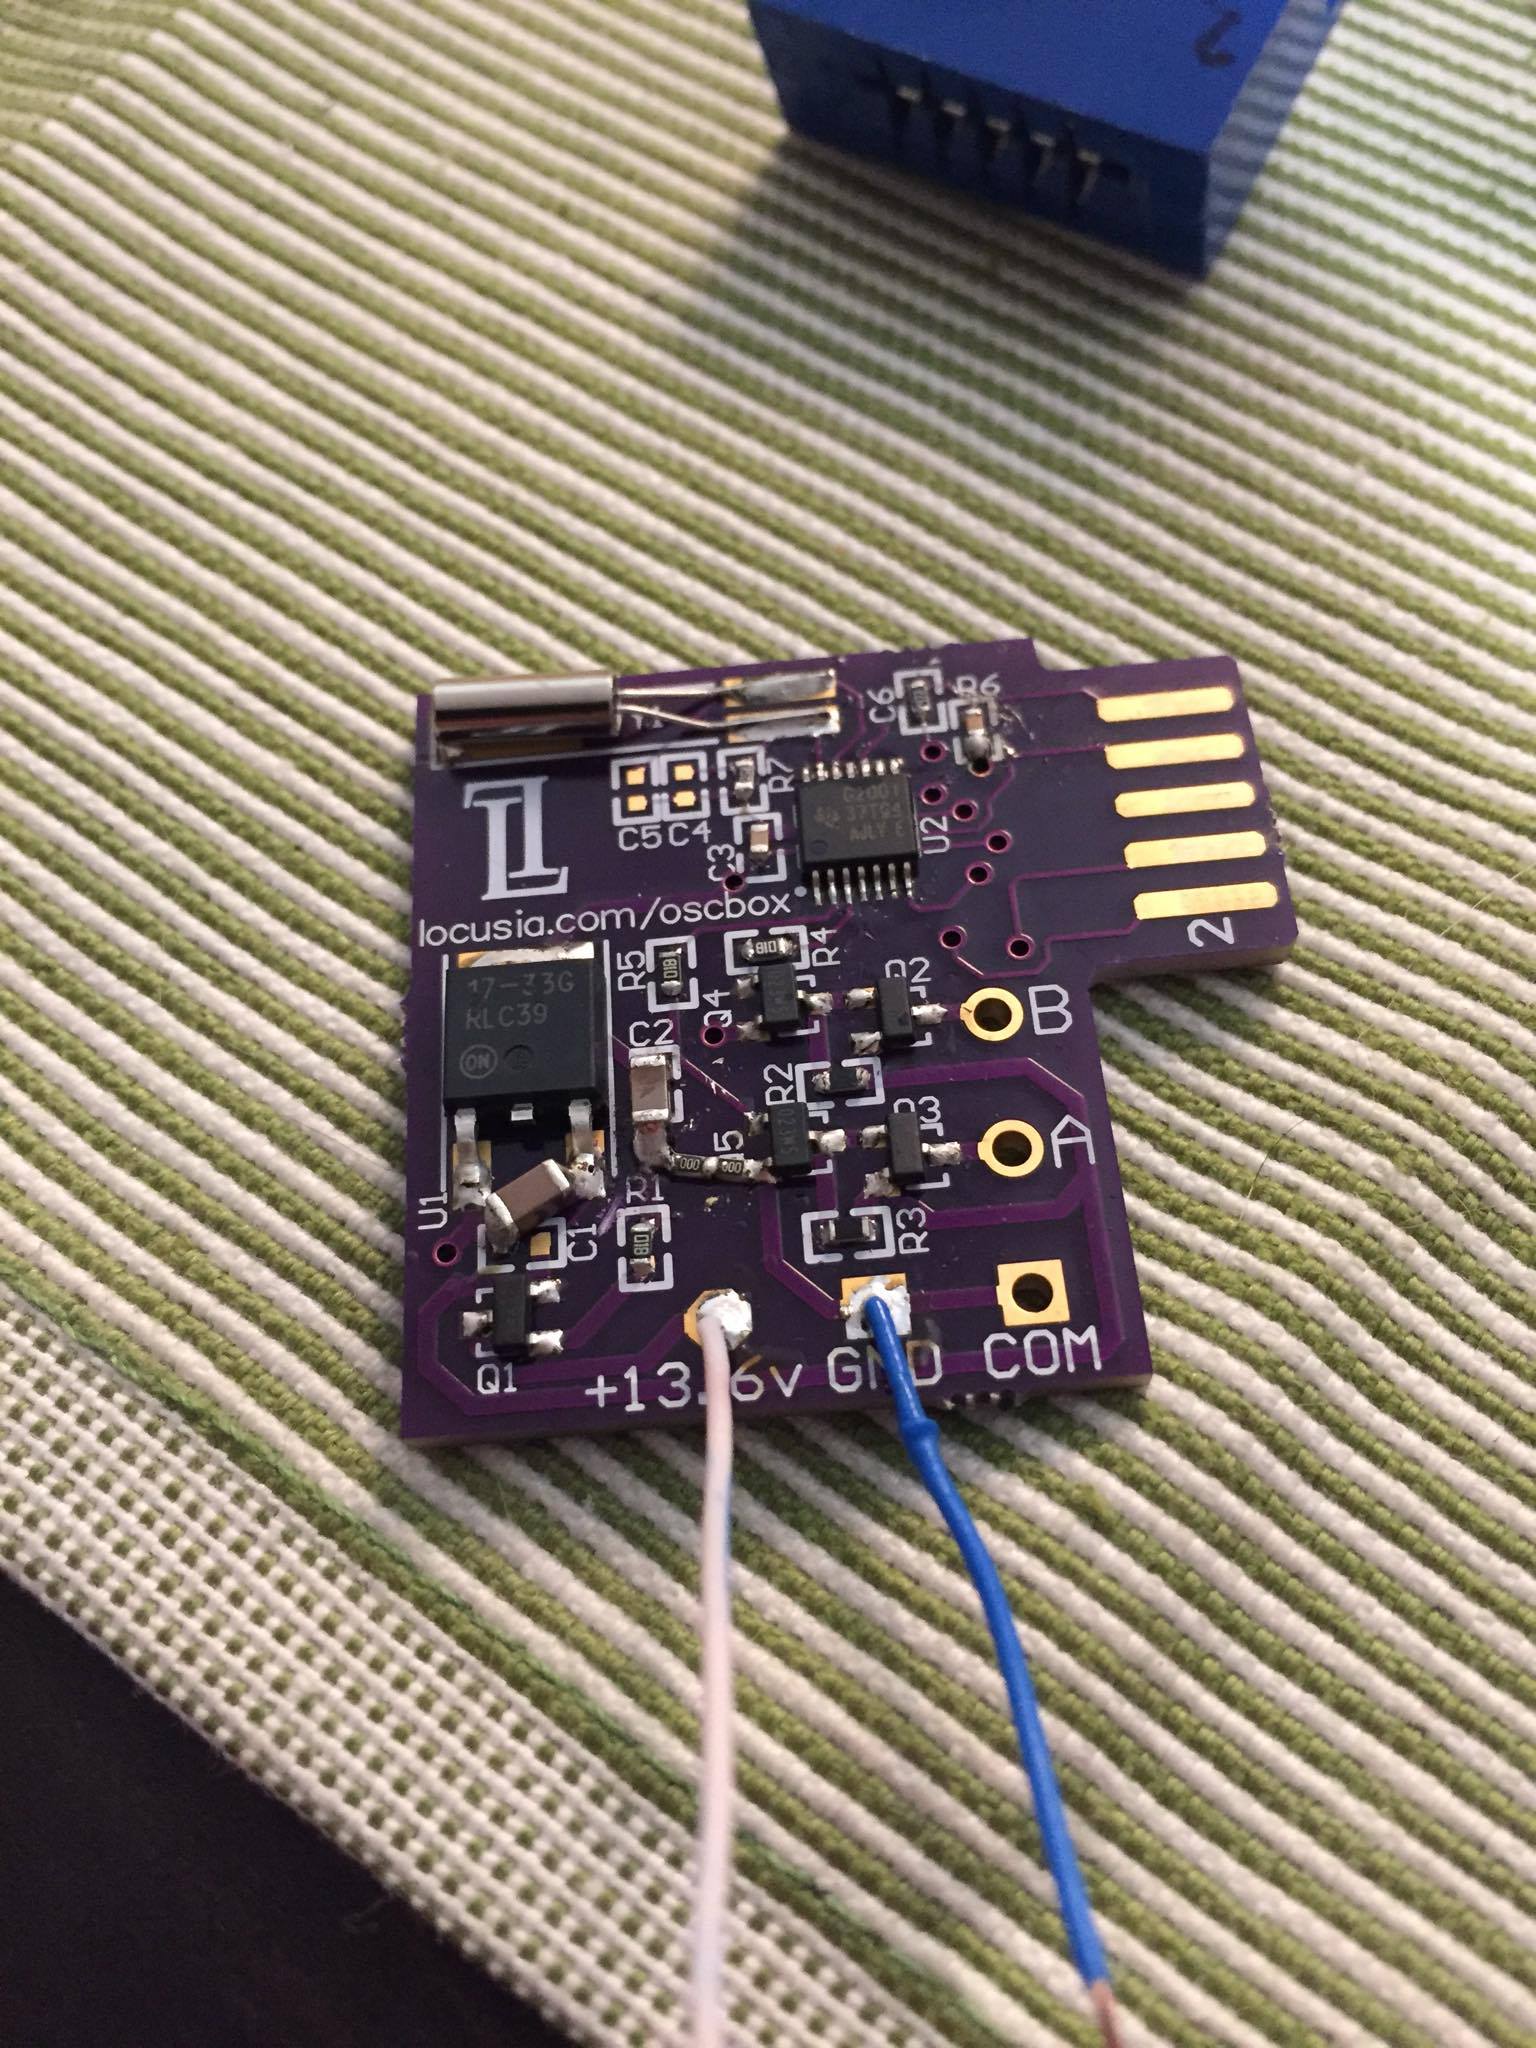
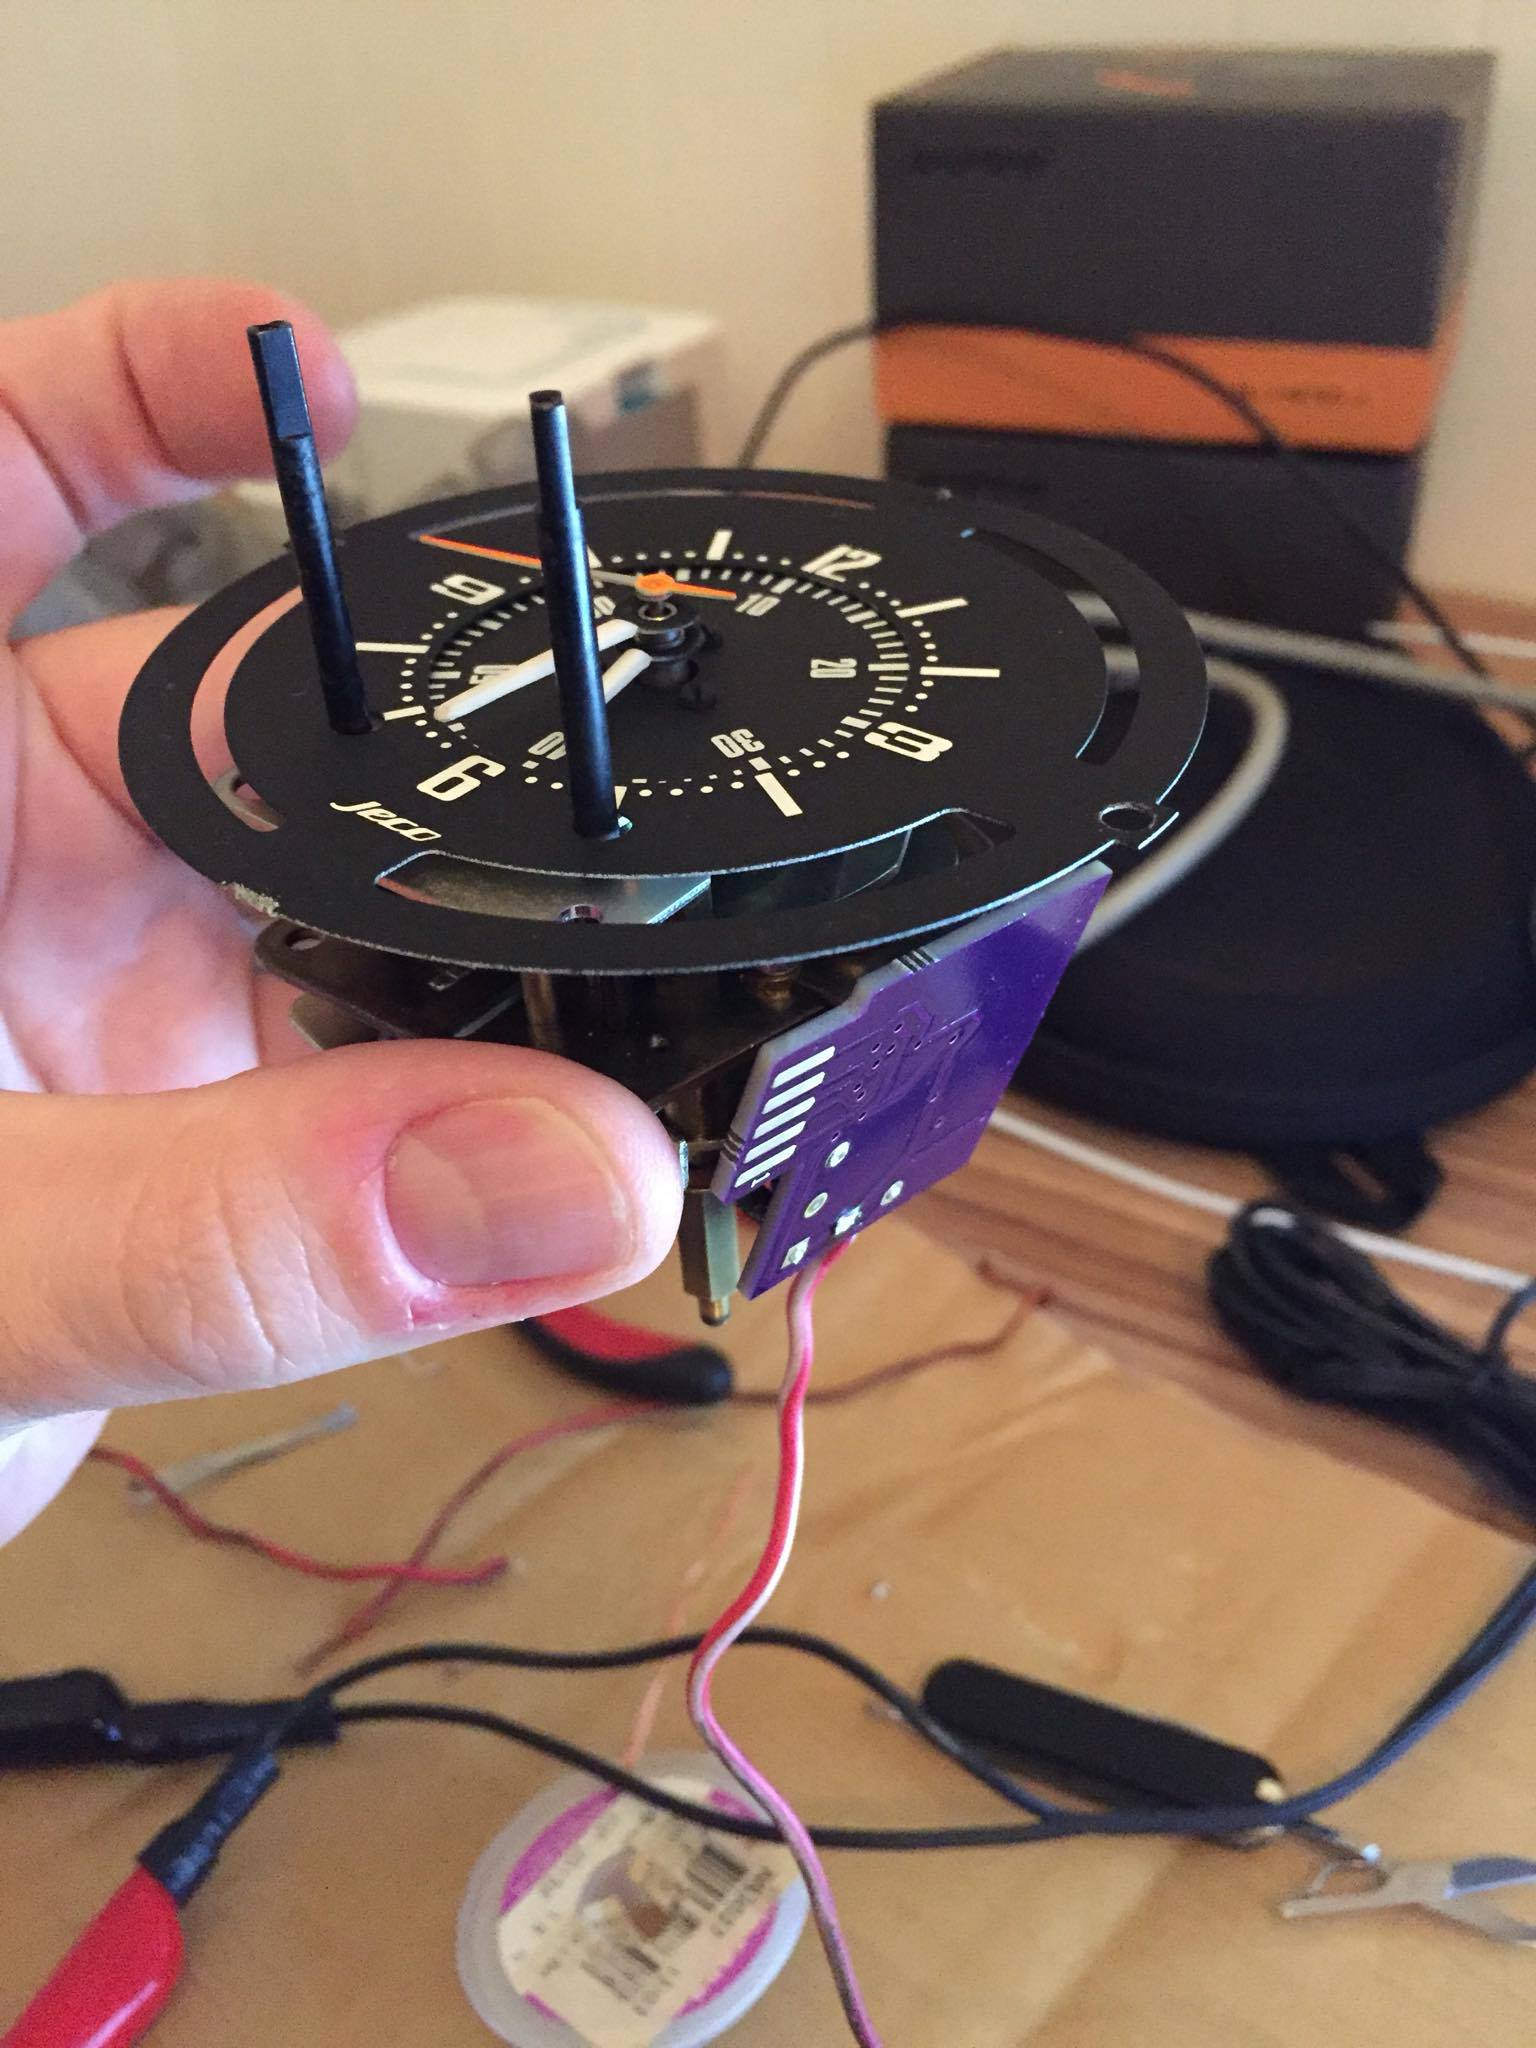
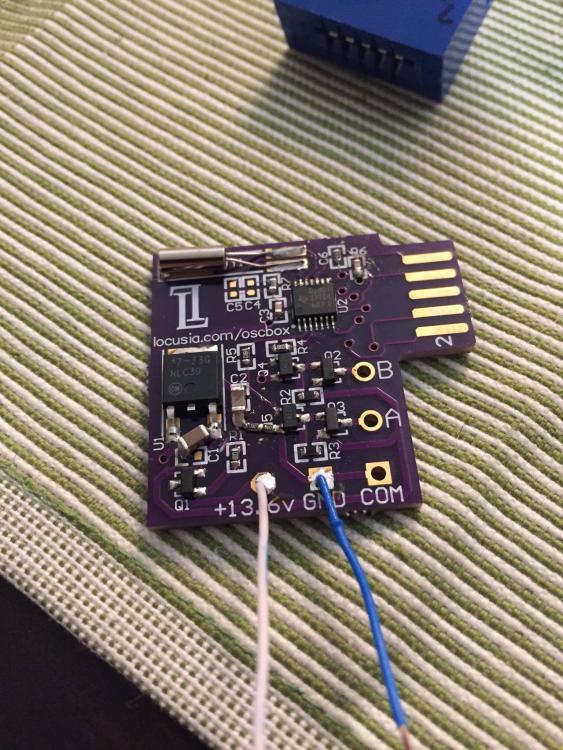
Epic thread dig i know... BUT i read this thread recently and then went about actually getting it done! Here is the long awaited modern replacement to the oscillator box for the 240Z rally clock. The clock has exactly the same movement as the stock setup. This circuit completely replaces your old oscillator box and is driven by a super accurate microprocessor, instead of a tuning fork. We have a full working example after reverse engineering my own rally clock. It now keeps time more precisely than the factory unit and will be very reliable, with no moving components. We have also located a plug that will be compatible with the OEM harness for people wanting a plug in solution. You can see from the pictures that you can actually mount this PCB inside the clock it is so small. If you are interested, we are happy to supply just the circuit or an installed board depending on what you want. If you want a metal box from jaycar we can do that, or post us your original oscillator box and we can convert it. Let me know what you want! First run will be about 10 units so get in quick! PCB cost is $99AUD each which is 1/4 of the price of the actual oscillator box which may not work! https://youtu.be/FXkWDCBmsII https://youtu.be/hwJEogI84pw

.png.ae0f62fbefb2e0eff4899bfd9341b9ba.png)
 3 points
 -
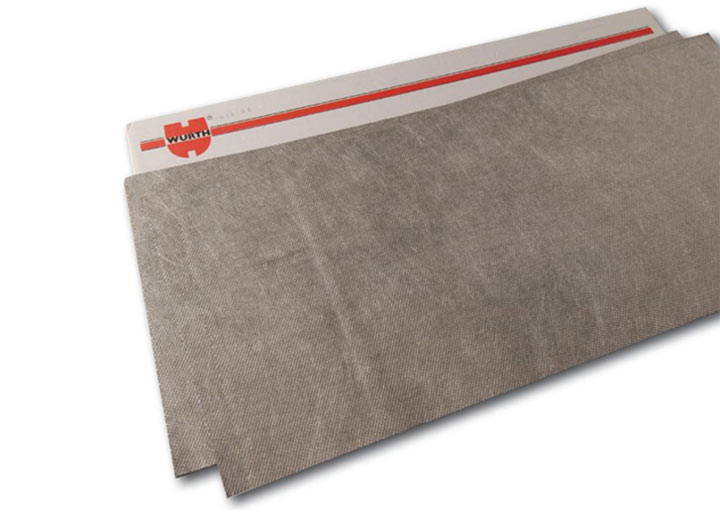
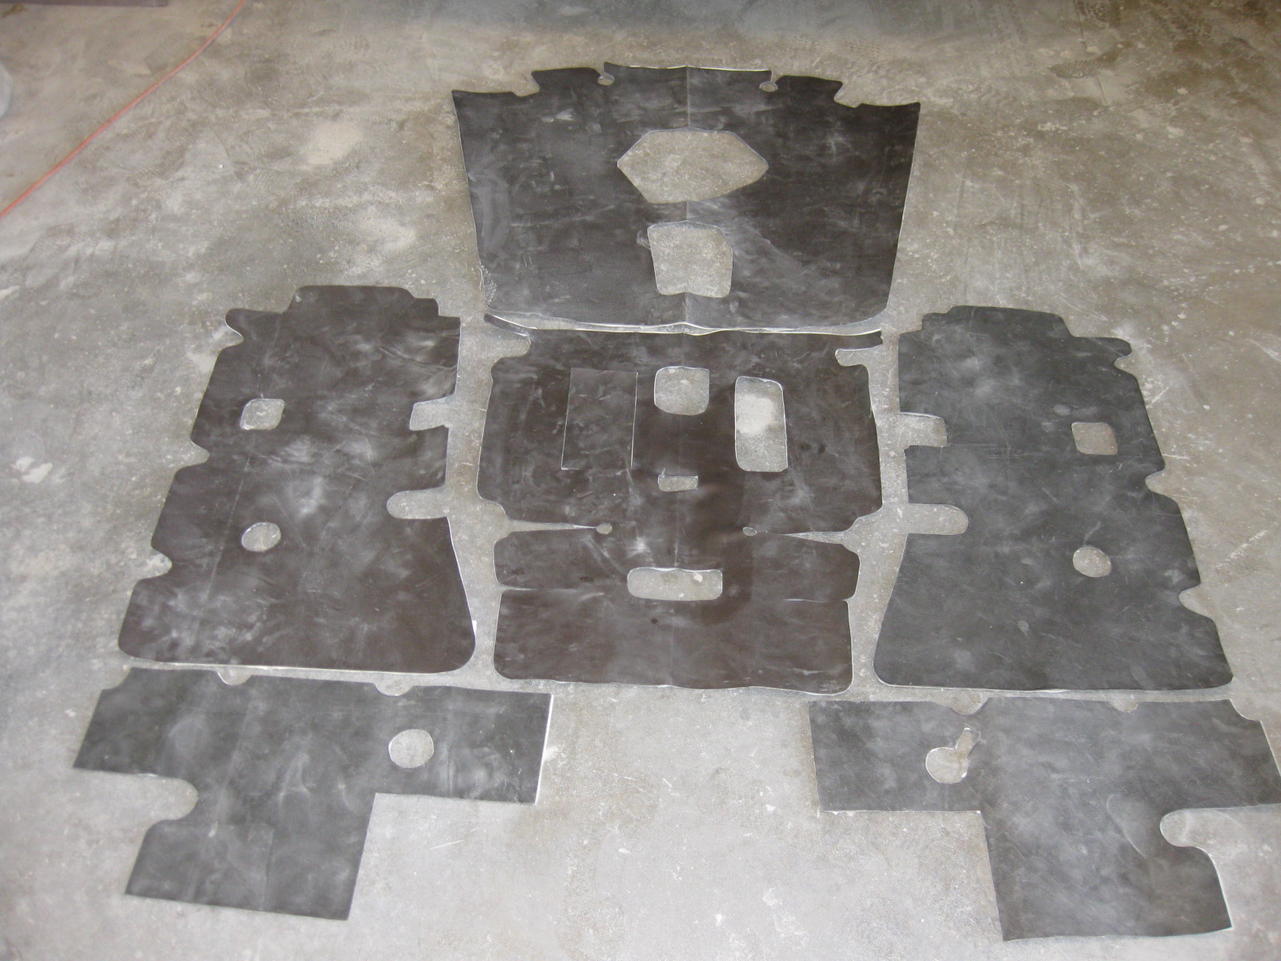
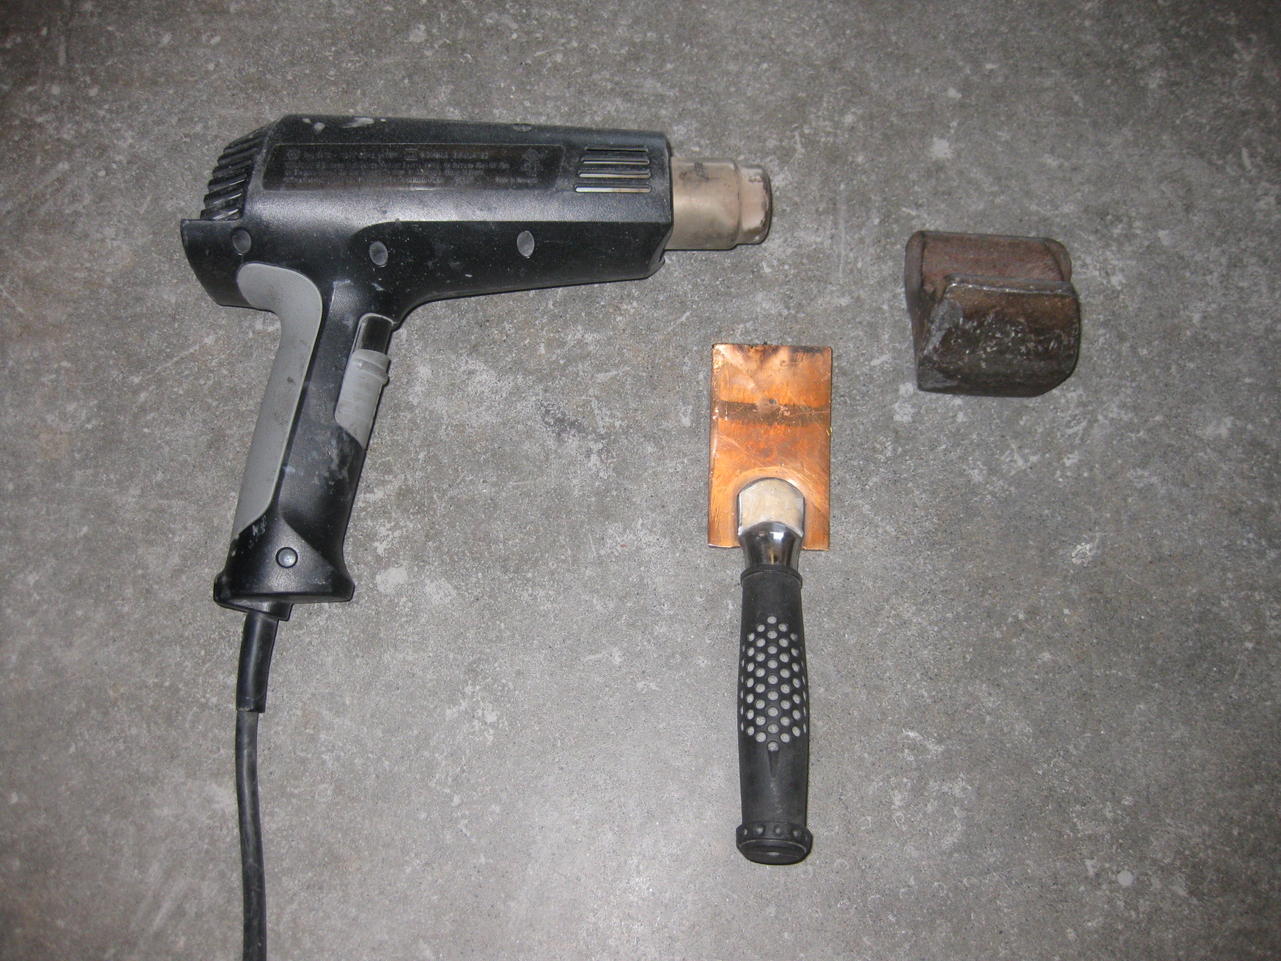
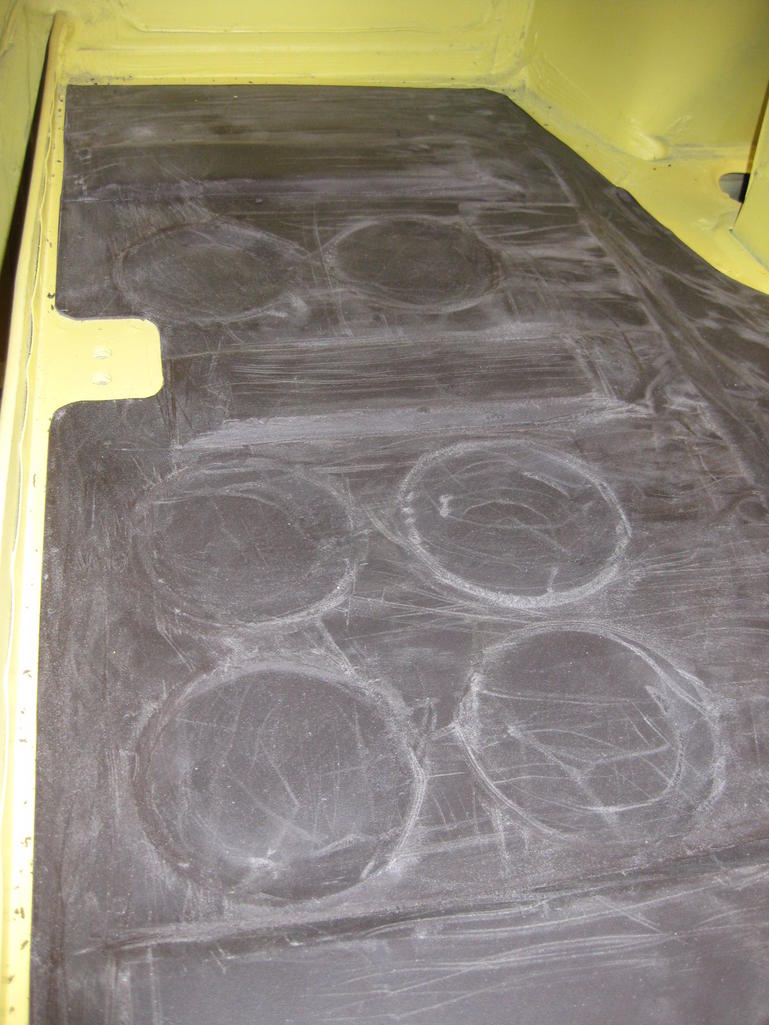
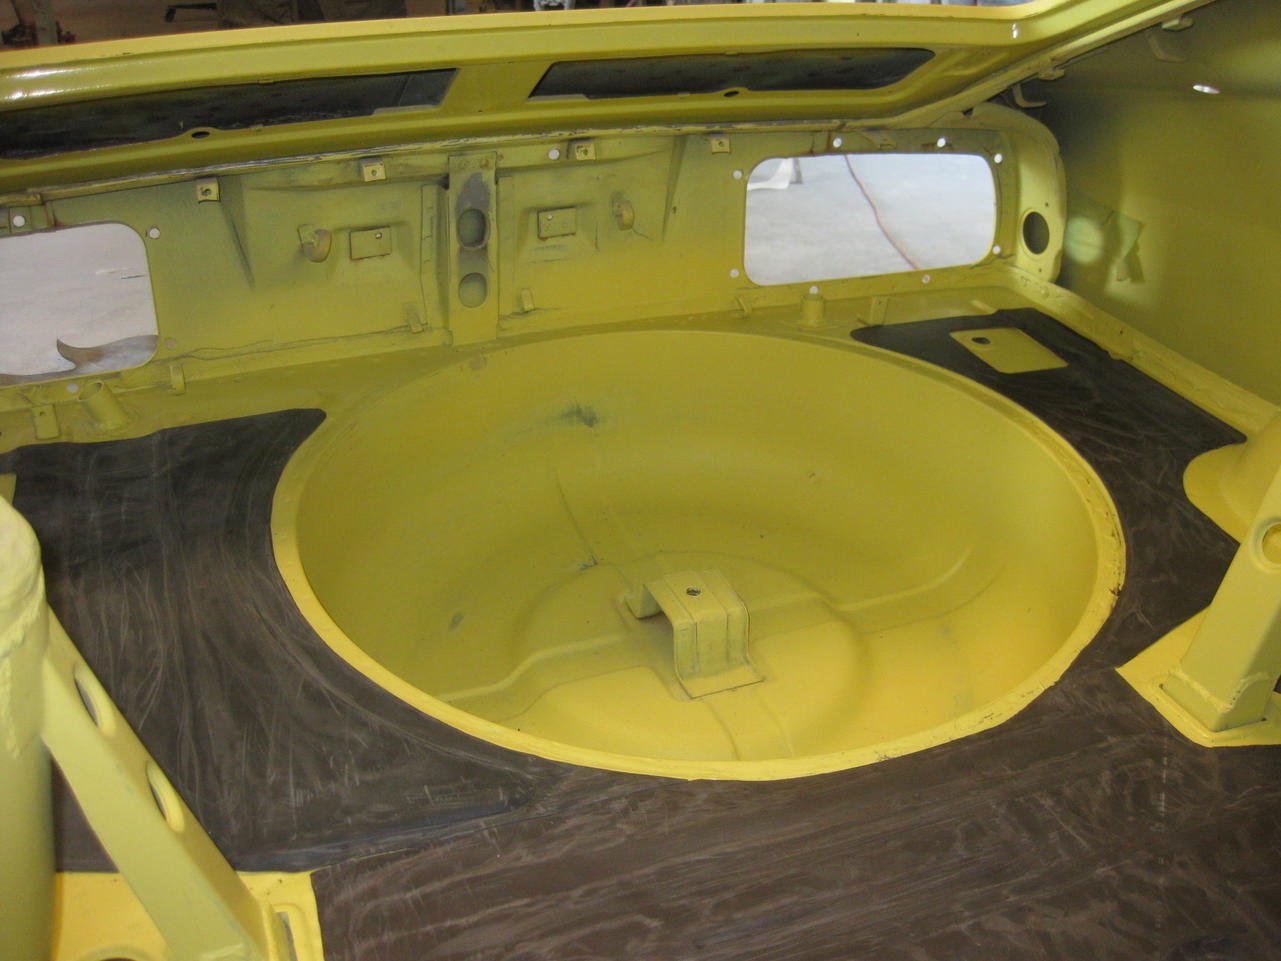
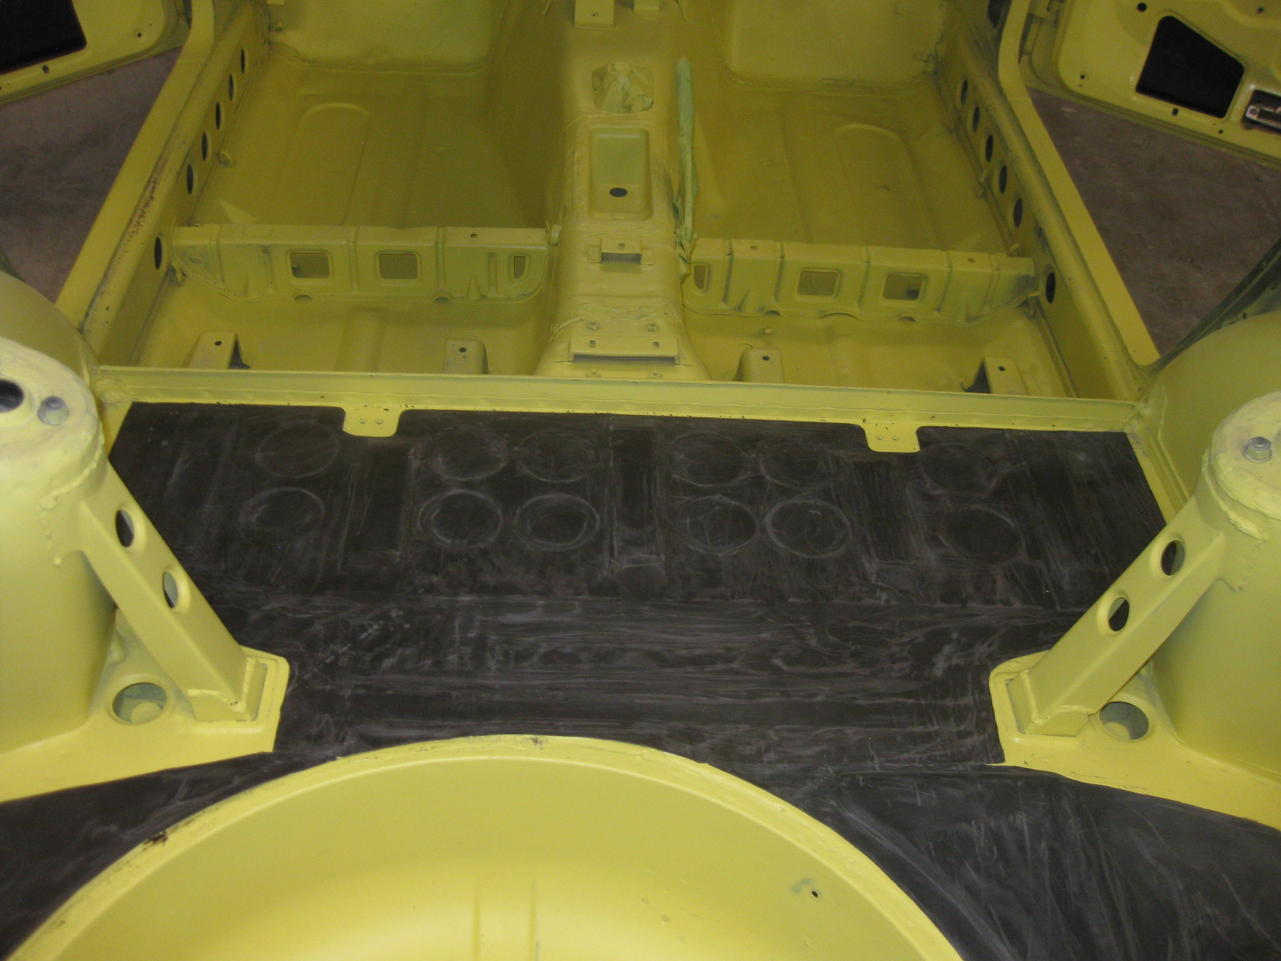
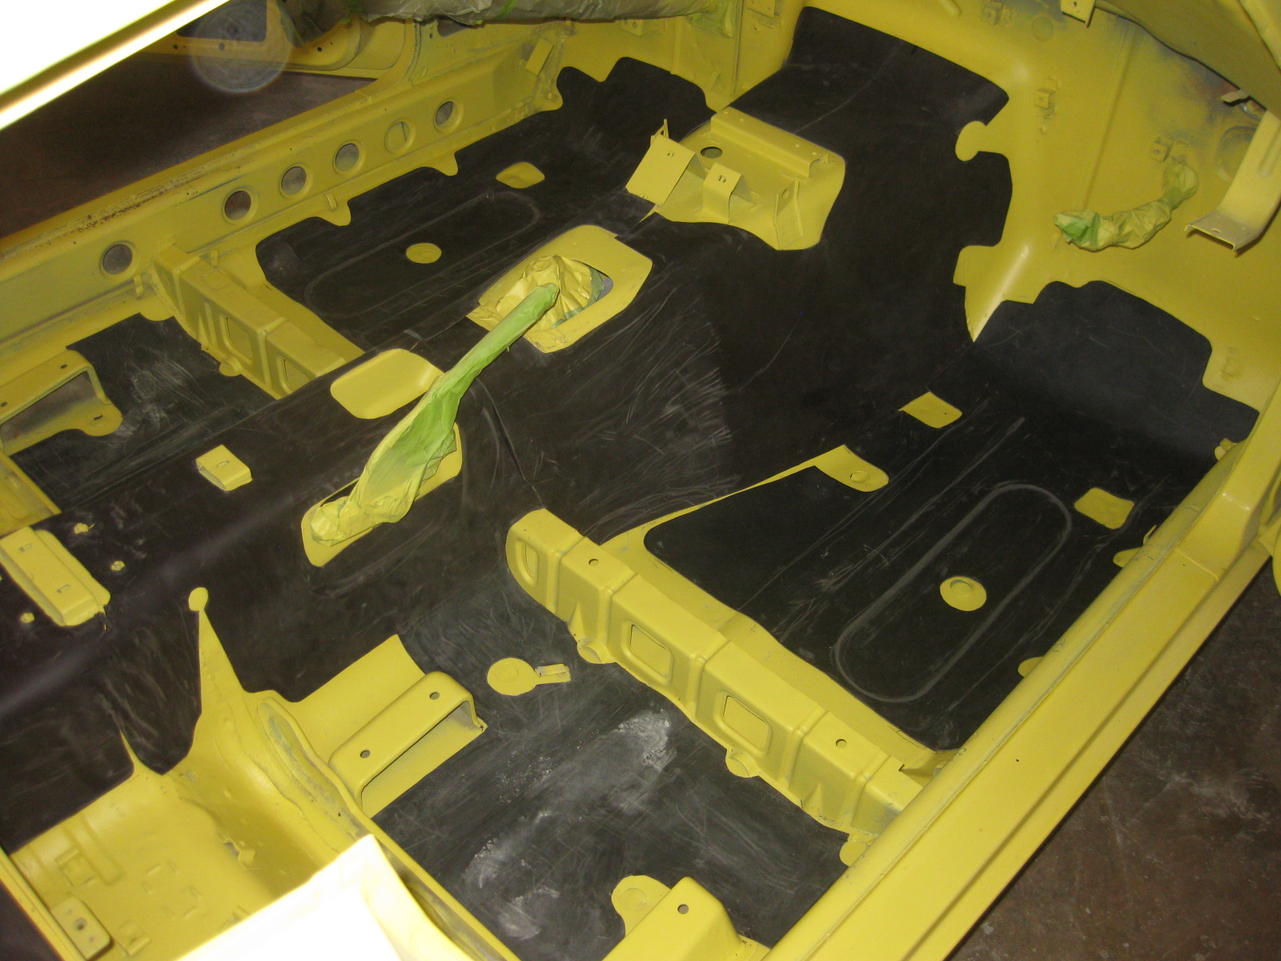
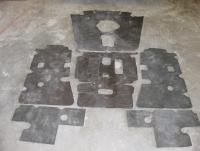
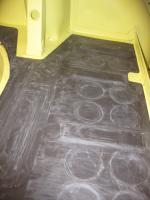
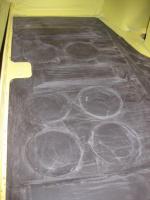
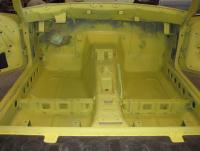
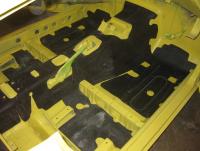
 1 pointAfter 8 years of fits and starts restoring "Buttercup", a 7/70 build date 240Z (#7032) it has come down to the interior, which was completely stripped and the old tar mat removed. While "Murdermat", "Fatmat", and the like are what are commonly used as upgrade/replacement--- I wanted the original deal--- as close to the factory fitment as possible. After lots of net searching I finally found what I thought would be as near the original asphaltic mat as I was apt to find. I bought the mat from AutoAtlanta FOR PORSCHE: WU890100, WU8 901 00 - READY TO SHIP - (WURTH FLOOR PAN TAR SOUND DEADENING INSULATING KIT) , a purveyor of restoration parts for Porsche autos: I used a roll of rosin paper to trace the original floor mat outlines---- from the interior of another '70 240Z I had purchased as a parts car---- and cut out the patterns , traced it again and cut the new mat out with scissors. Here's how that looks: Next I proceeded to install the mat using a heat gun and a couple of hand tools to shape the mat to the sheet metal contours of the floor pans, transmission tunnel and rear hatch floor: The mat has an adhesive and a release paper and when heated can be formed easily to the contours of the metal. It took several hours to create the patterns and do the install. I deviated from installing the mat on bare metal by painting all of the interior first, but the mat will be painted the body color as was done originally with a complete re-spray of the interior . All in all I am satisfied with the product and offer this to assist to anyone wanting to do the same in the restoration of their Z. Paint should follow in the next few days and I will post up a few photos when that has been completed. Jim D. "Zup"
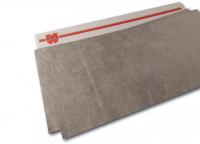


 1 point
 -
 Update for earlier today, Classic Z Cars member Mike W & Zup continue their winning ways! Mike W - Best in Show Zup - 2nd Place 240 260 280z Stock Class - 1st Place 240 260 280 Modified Class - Best Paint Competition was fierce, more later with pictures ....1 point
 -
 the gaskets turn into a pringle the first time they get fuel on them and get increasingly difficult to keep in place when putting the lids back on. put a thin layer of fuel-proof adhesive/sealant on them when they go on for the first time and your life will be so much easier if you have to pop the lids off a dozen times to get the float levels just right.1 point
 -
1 point
-
1 pointInstead of cans, have your friends tie all the old parts onto the Z. A couple of distributors and the old radiator would be funny. 8^)1 point
-
1 pointNoooo, don't turn your your classic zed into a "TV resto" by putting in dynamat or something similar. Just put in the original tar paper like it was intended. Looks much better and very rewarding once you've slaved hours to put it in (burnt hands / sore back / am I selling it too you?). It took me two days to put all mine in properly and I put in a great deal more than stock just to keep it as quiet as possible. Over the tunnel, new modern sound absorbing matting over the tar and the original restored vinyl over that. Floors have tar/double matting and carpet. Hatch area is tar/matting and carpet. Should be quiet enough but nothing will stop the music the triples will make. Planning on making some sort of heat deflector where the exhaust goes from the engine bay into the tunnel to help deflect the heat somewhat as it gets warmish on the passengers side (RHD remember). But doubt it will do much bit it may help.
 1 point
 -
 Quick update Steve, I can't find and more discrepancies in your hazard, brake light diagram. Not that Im much of an expert on 240Z wiring, but Ill let you know if I find anything. BTW. Thanks for posting the link, it helped clear up some things Chas ColorWiring240Z1971Early_TerminalBlockExample09-mar-2015.pdf1 point