


Leaderboard
-


Mike
Administrator8Points23,018Posts -
.JPG.cfcada9cf1c1b502df3f5f2f2ca3ff36.JPG)

SteveJ
Free Member5Points9,567Posts -

motorman7
 Subscriber
 5Points2,208Posts
 -


siteunseen
Free Member4Points14,903Posts
Popular Content
Showing content with the highest reputation on 07/18/2016 in all areas
-
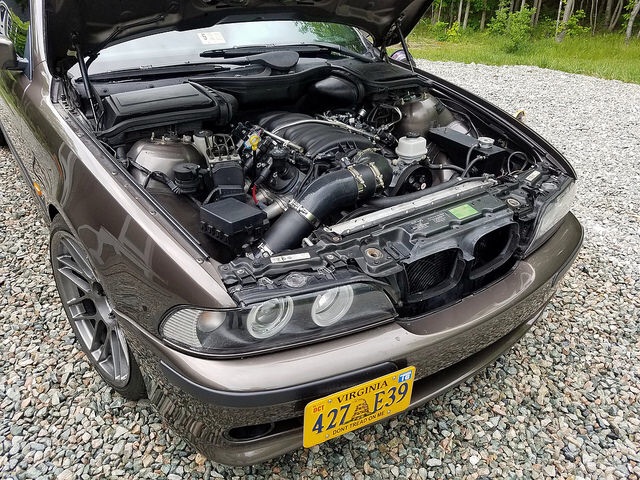
The one time I had an engine fire (and one time is still one too many) I pulled the hood release (secondary latch still holding), grabbed the fire extinguisher, and aimed for the gap. I didn't attempt to release the secondary latch until I was pretty sure the fire was out, so I could survey the damage I caused.3 points
-
2 pointsI finally took some time and timed my newly rebuilt 2.4. I initially had set the idle timing to 10 degrees and noticed it would flatten out around 5,000 RPM so I knew I had some more tuning to do. So today, a month later, I took some vacuum readings and actually used the $100 dial back timing light I got for Christmas. My results, 17 hgs of ported vacuum at 2,500, off the front carb's vacuum advance hose. Good I think. Set the static/idle to 17 degrees at 800 RPM then ran the dial back function up to 34, it's digital, and set the RPM to 2,500 and shot the pulley. Dead on 0, TDC mark on the pulley. Went for a drive, ran great. A brand new Corvette was out too. I pull up alongside him and we exchange thumbs up, he looks ahead I drop down to 3rd gear and floor it. You know how autos hesitate for a second while they spin up? I pulled ahead of him for that one second then he shot by me like an RPG. He slowed down to get beside me, gave me a salute and a smile as did I for him. Wonderful morning!2 points
-
 2 pointsHagerty did a nice write up with photos here. https://www.hagerty.com/articles-videos/Articles/2016/07/05/Z-Car-Garage?utm_source=ExactTarget&utm_medium=email&utm_term=&utm_content=&utm_campaign=Hagerty Weekly News 7-6-20162 points
 -
Or across the wiring harness when the battery shorts out because it wasn't secured properly...Not that I would know about this.2 points
-
 And as others have mentioned... you should be very careful opening the hood. That can create a very dangerous situation, If you don't know what you'te doing ( and most people don't ) call 911. Here's a thought,. Call your local Fire Depatment and see if they have any training services that they put on. FD's often perform these as a Community service and for Commercial companies that require some training as part of their Safety protocols.2 points
 -
I've had to fight several fires with a Fire Extinguisher ( all other peoples calamities ) and have had some training in proper use of a Fire extinguisher by our local Fire Department. 1: You should never be close enough to the fire to need gloves. Period. End of discussion. 2: Gloves are bulky and can interfere with your ability to operate the extinguisher, especially pulling the safety pin which is small and fiddly. 3: Glove take time to put on. Time is of the essence in putting out a fire. Get to a fire quickly when it is small and it can be extinguished relatively easily in most cases. Give it some time to take hold and it becomes exponentially harder. 4: Above all don't panic and don't put yourself in harms way.2 points
-
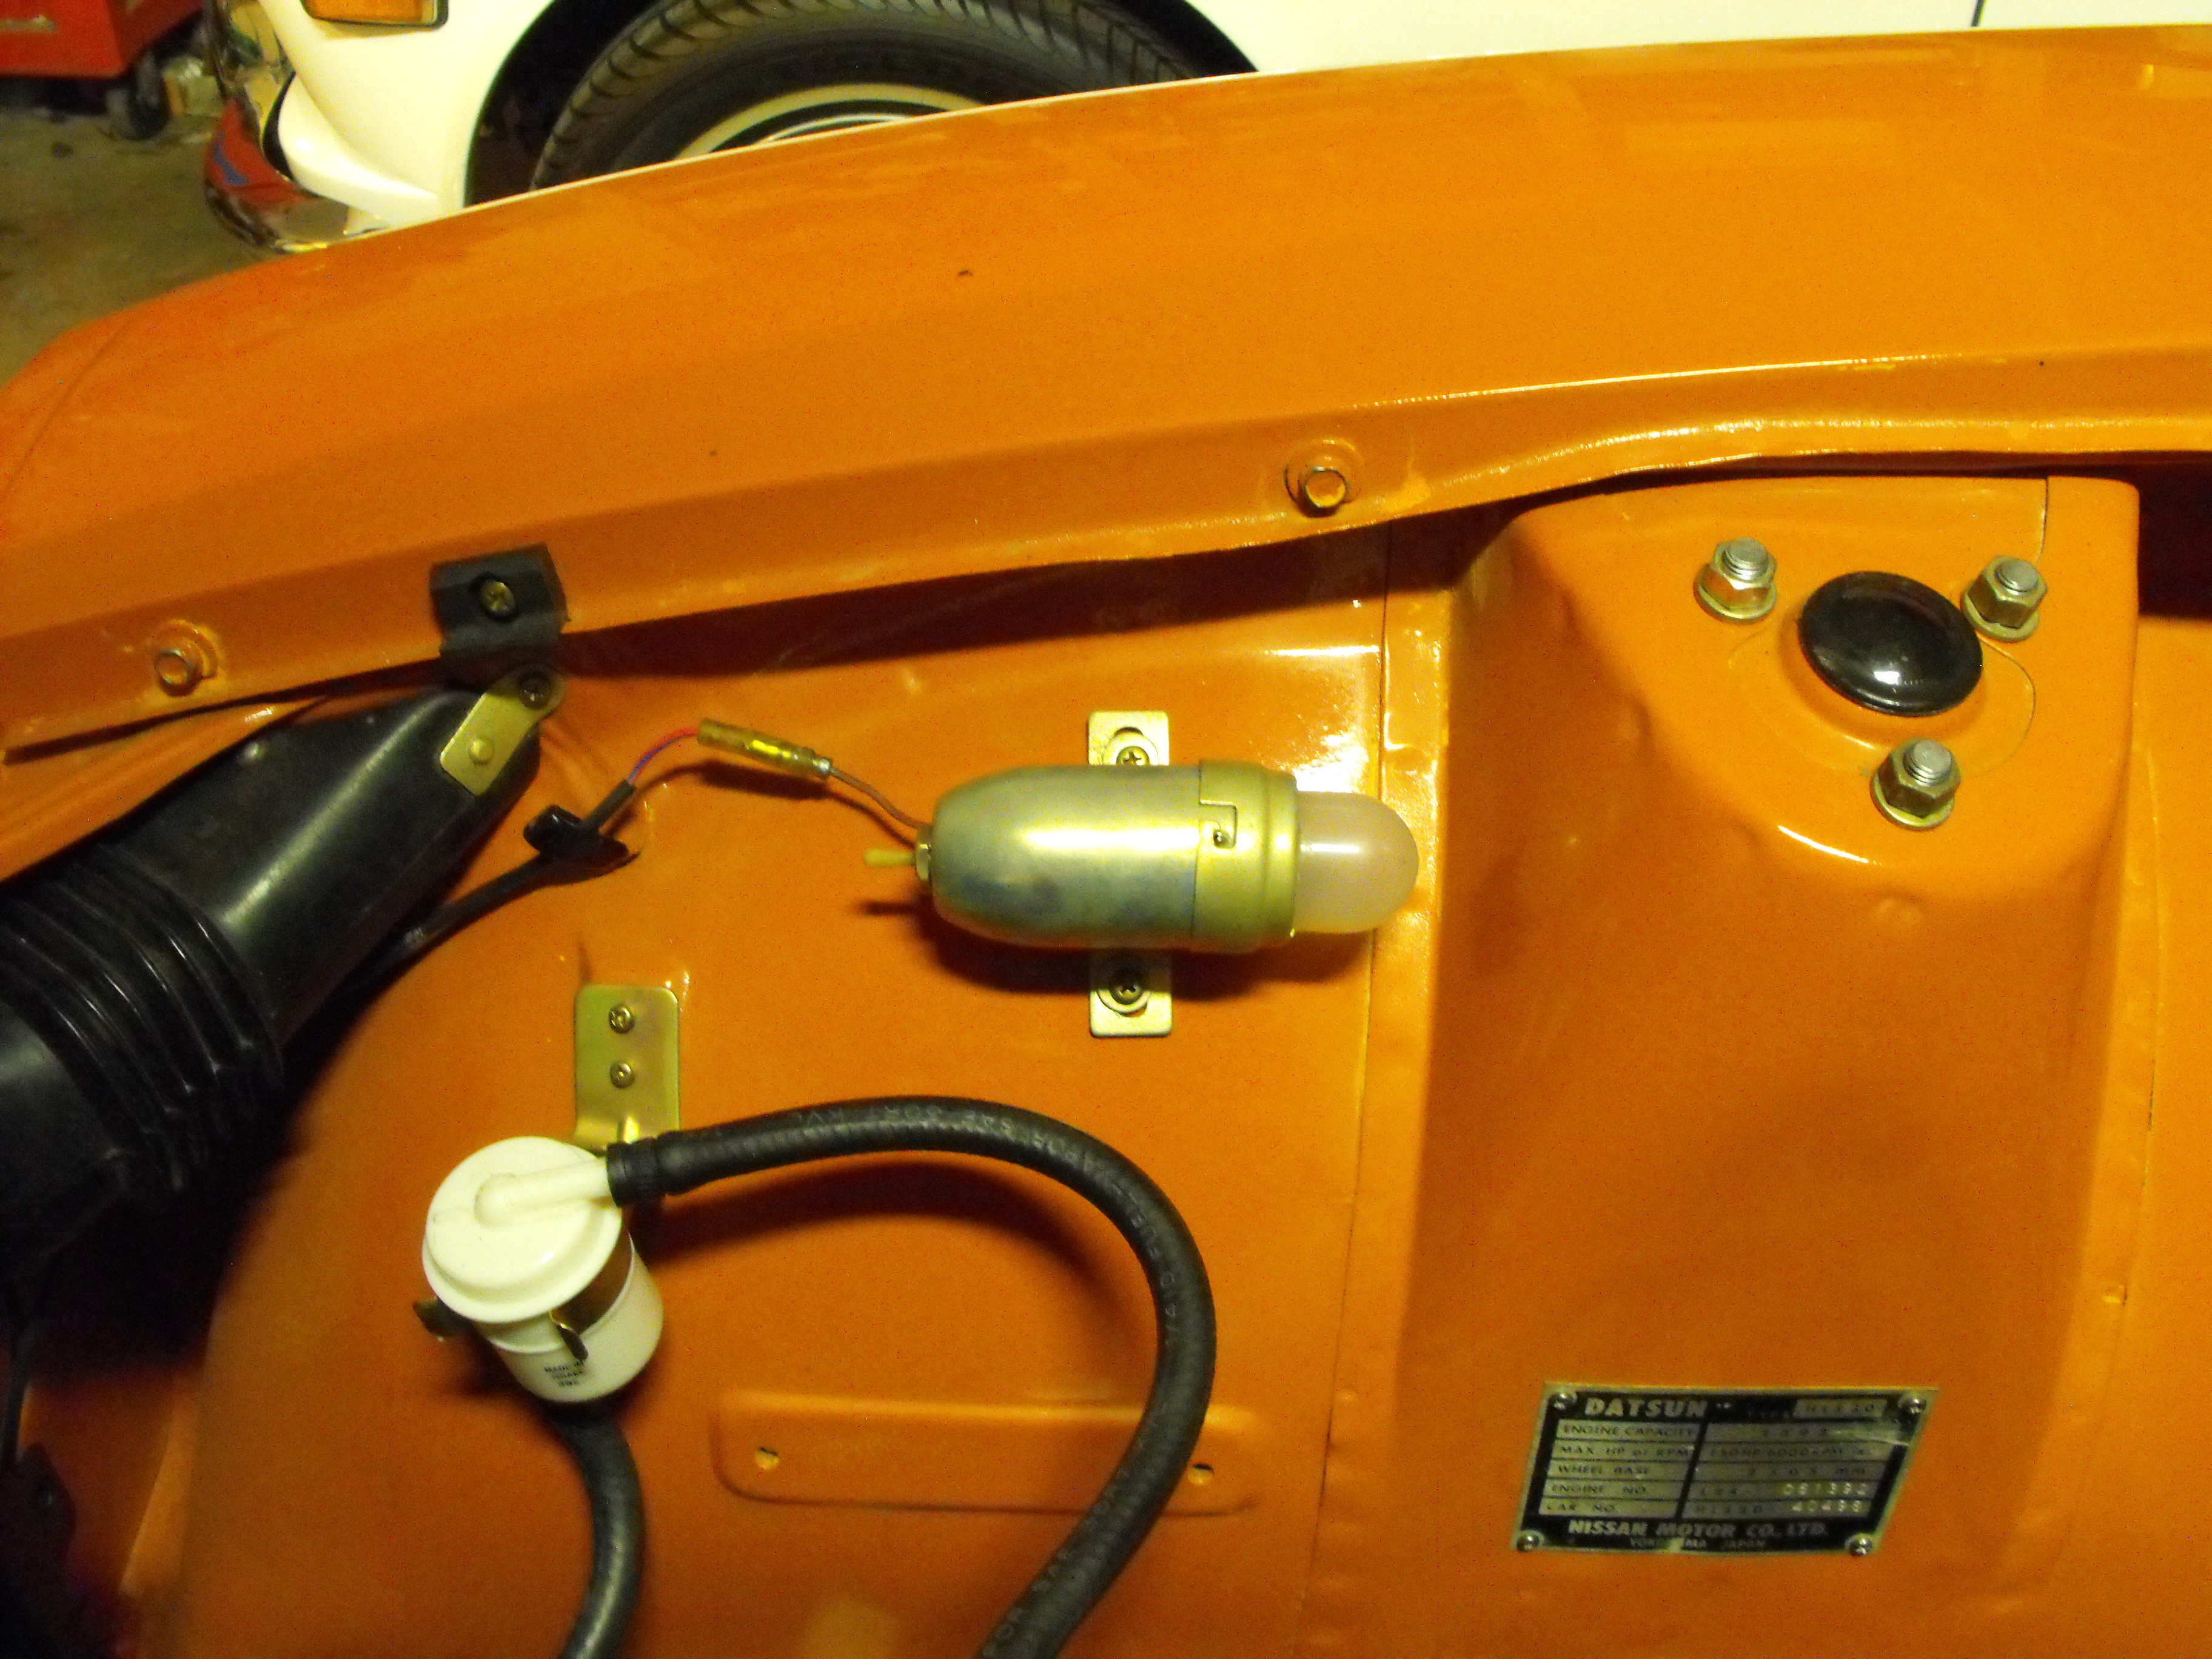
 2 pointsthe empty light comes up slowly as the thermistor warms up without the cooling effect of being submersed in a liquid. The thermistor resistance stays high limiting the current flow (and thus light from the indicator) current is always flowing thru the circuit but the high resistance of a cold thermistor limits the flow below what would cause the light to be seen. Current flow thru the resistance creates heat, with out the liquid to carry that away the thermistor begins to heat up, the resistance drops and the light comes on. Thermistors are resistors that change value with heat. You can test the resistance with a simple meter. typical will be in the hundreds of ohms IIRC, FSM will tell you. best test is to drain the tank and give it time (couple min even). If it comes on then all you have to do is make sure its set at a level that gets it out of the fuel before you run out of gas. the light comes on rather slowly. One thing to check is make sure the light is not burned out AND its not pushed out of the bezel (mine was the plastic socket had fallen out or was pushed out so even if it came on I would not see it). Test it by shorting the wires of the plug where the sending unit attaches. this will check the wiring, bulb and placement.2 points
 -
2 points

From the album: Peking to Paris 2016
All their hard work pays off...2 points -
2 points

From the album: Peking to Paris 2016
Standing on the rack and celebrating a victory!2 points -
 2 points
 The engine bay is also exposed from underneath. Behind the wheels for sure, everywhere if the splash pan is removed. I'd spray there first.1 point
1 pointYou could remove the gas cap and try air pressure at the outlet. 90 psi might pop the film off of the pickup end. Shouldn't hurt anything. A rubber tipped air nozzle should allow you to get full pressure in to the tube.1 point
That's what I was thinking. It pops up a couple of inches and you could spray the top of the motor where the injectors are.1 point
The engine bay is also exposed from underneath. Behind the wheels for sure, everywhere if the splash pan is removed. I'd spray there first.1 point
1 pointYou could remove the gas cap and try air pressure at the outlet. 90 psi might pop the film off of the pickup end. Shouldn't hurt anything. A rubber tipped air nozzle should allow you to get full pressure in to the tube.1 point
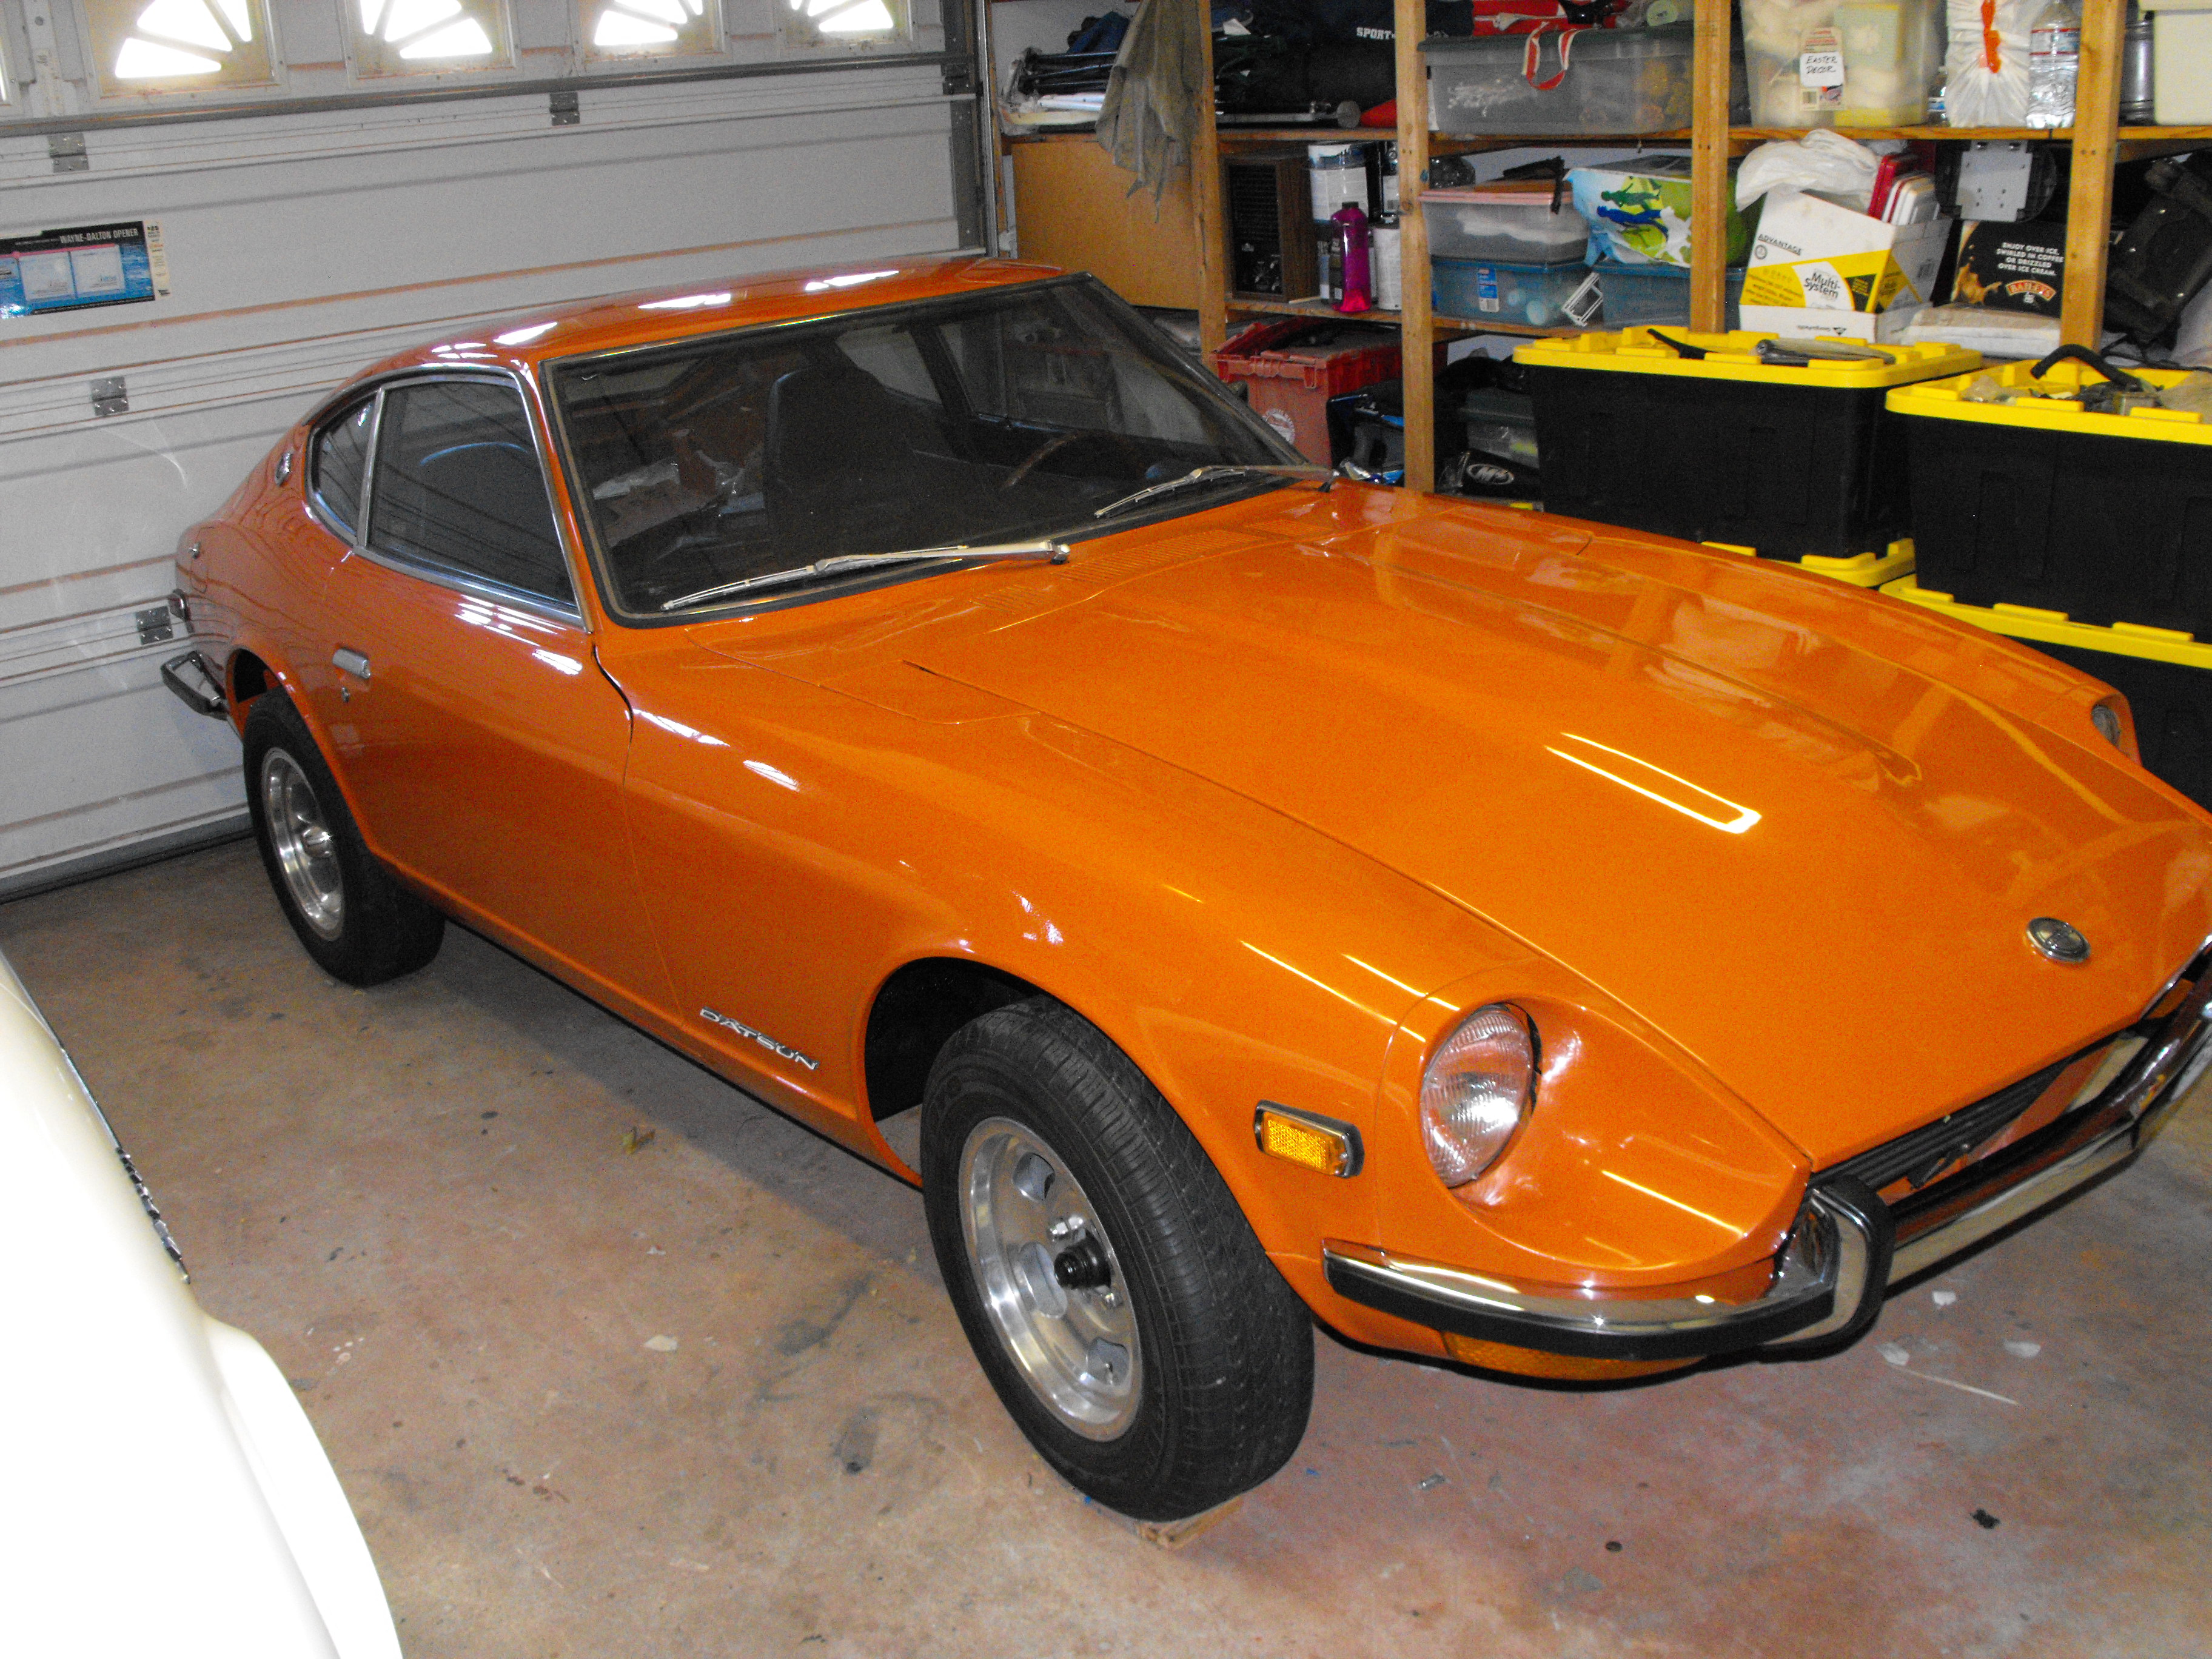
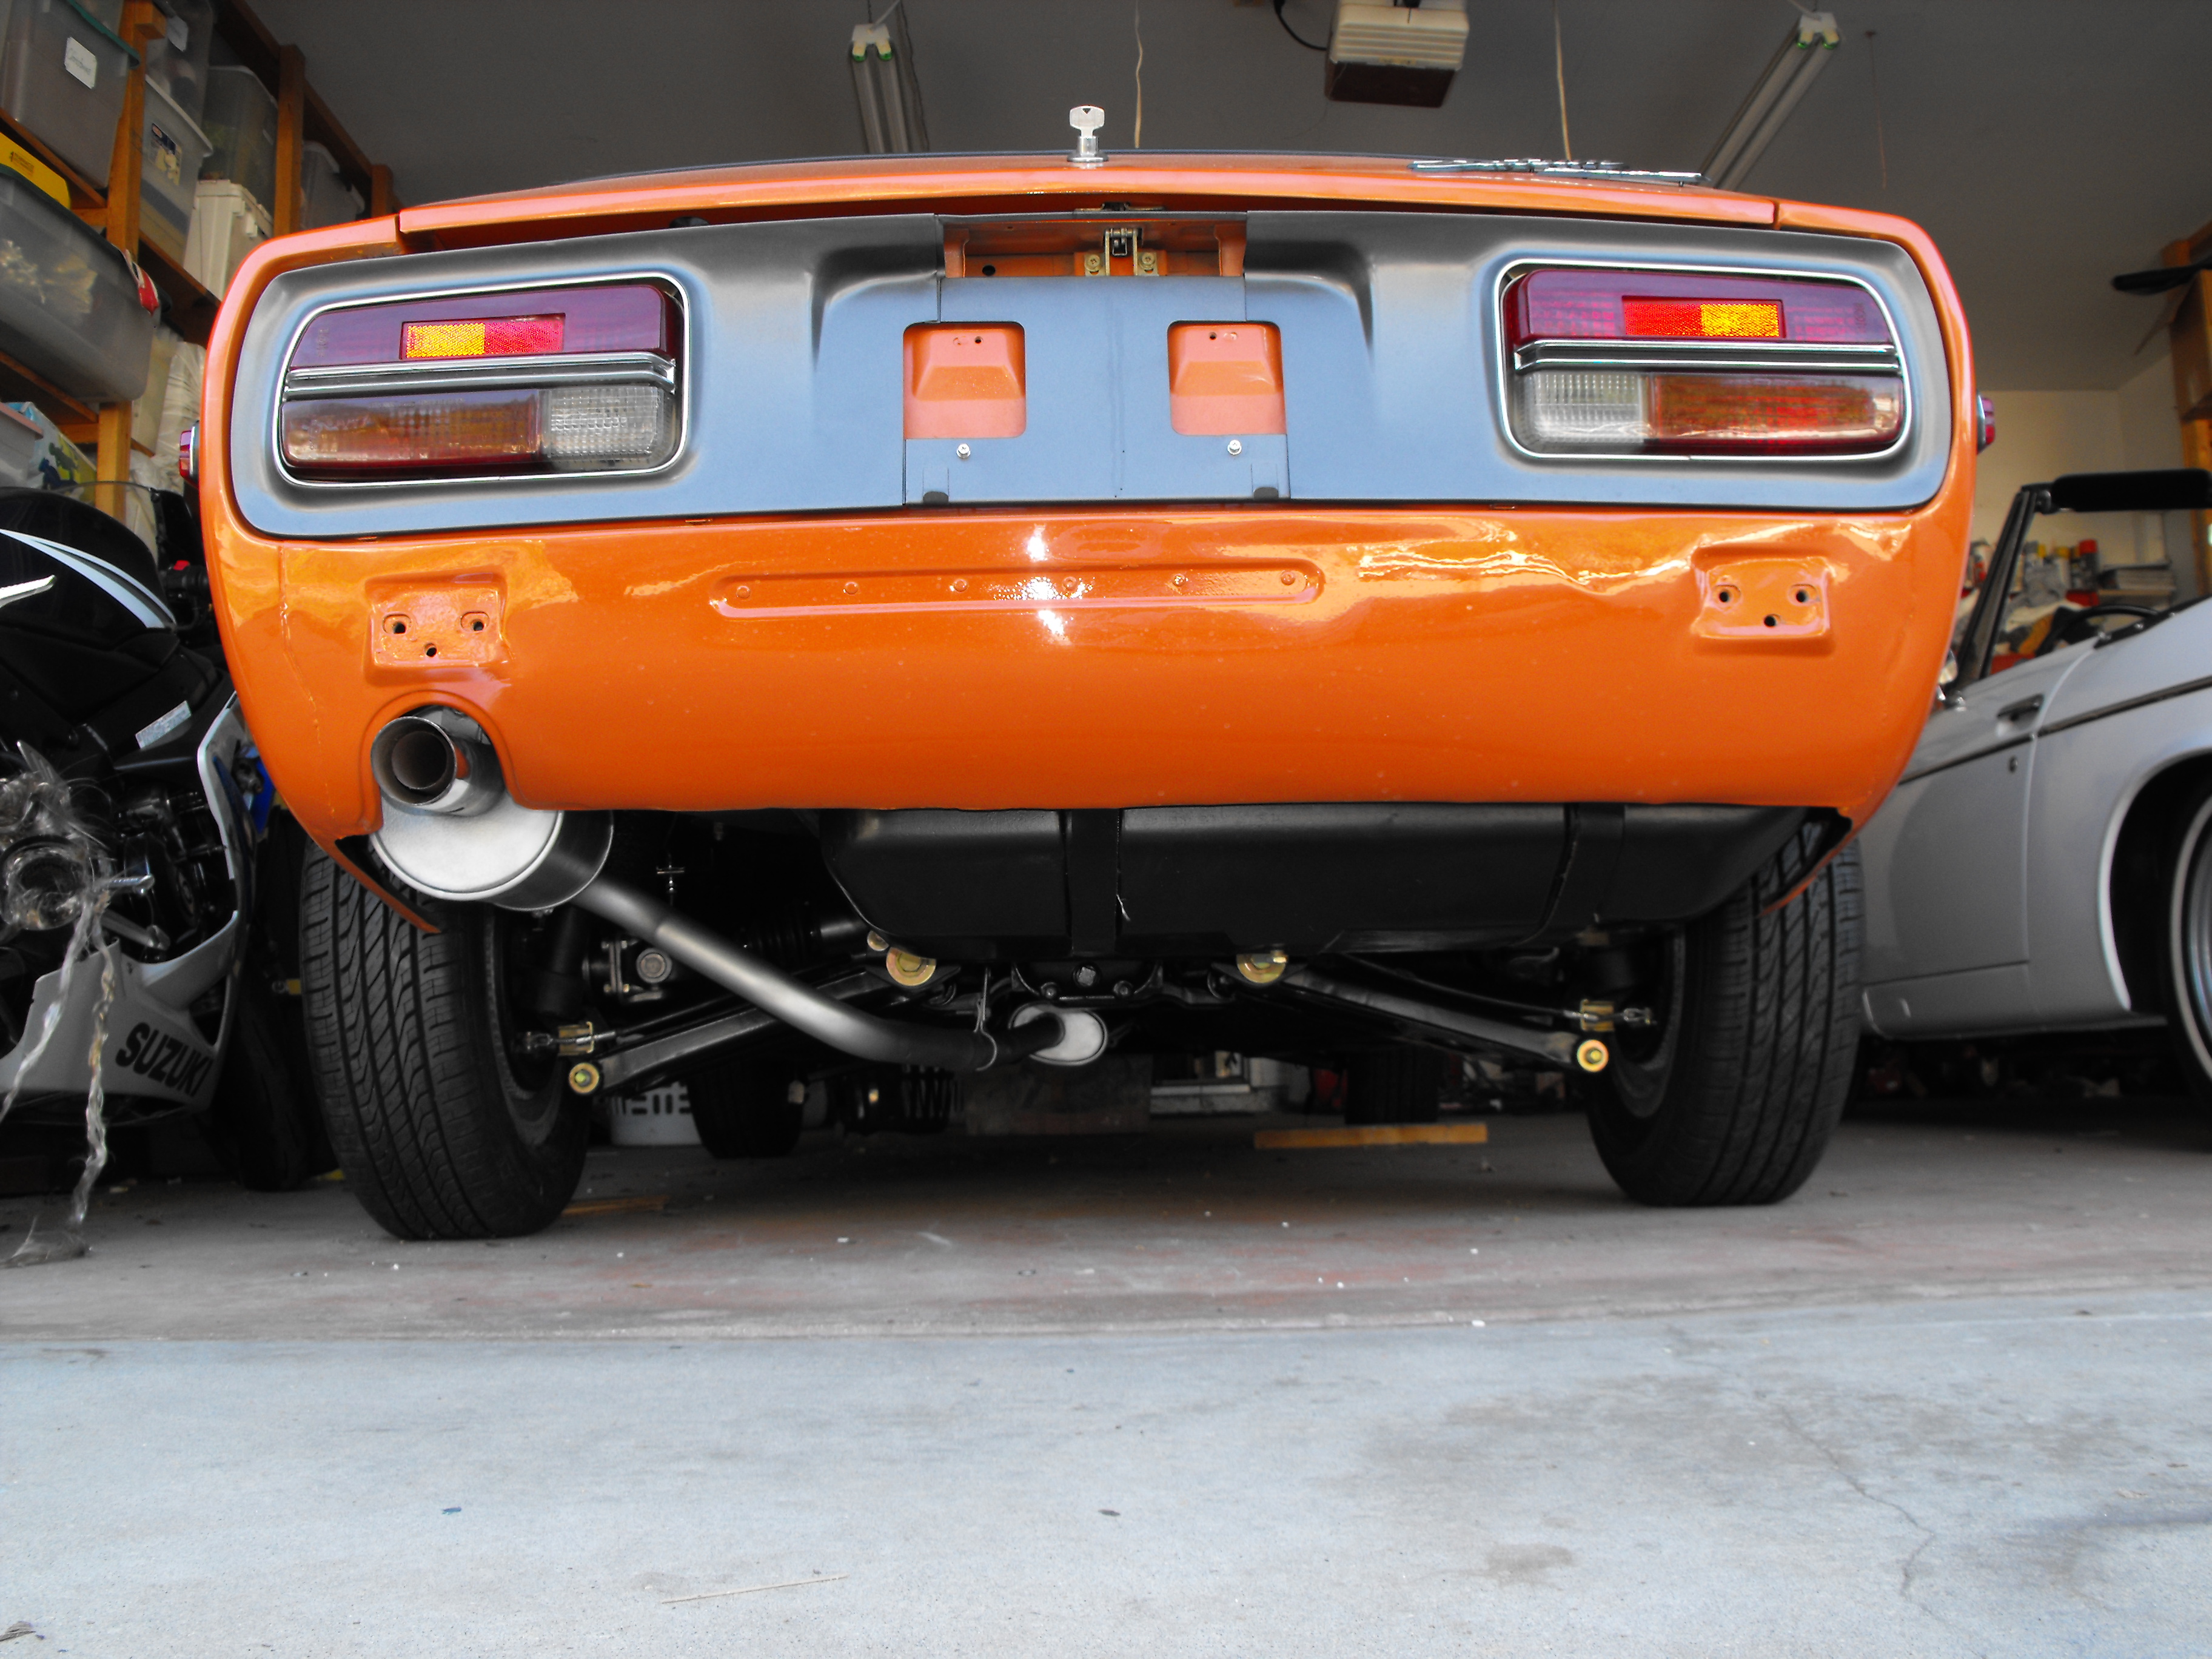
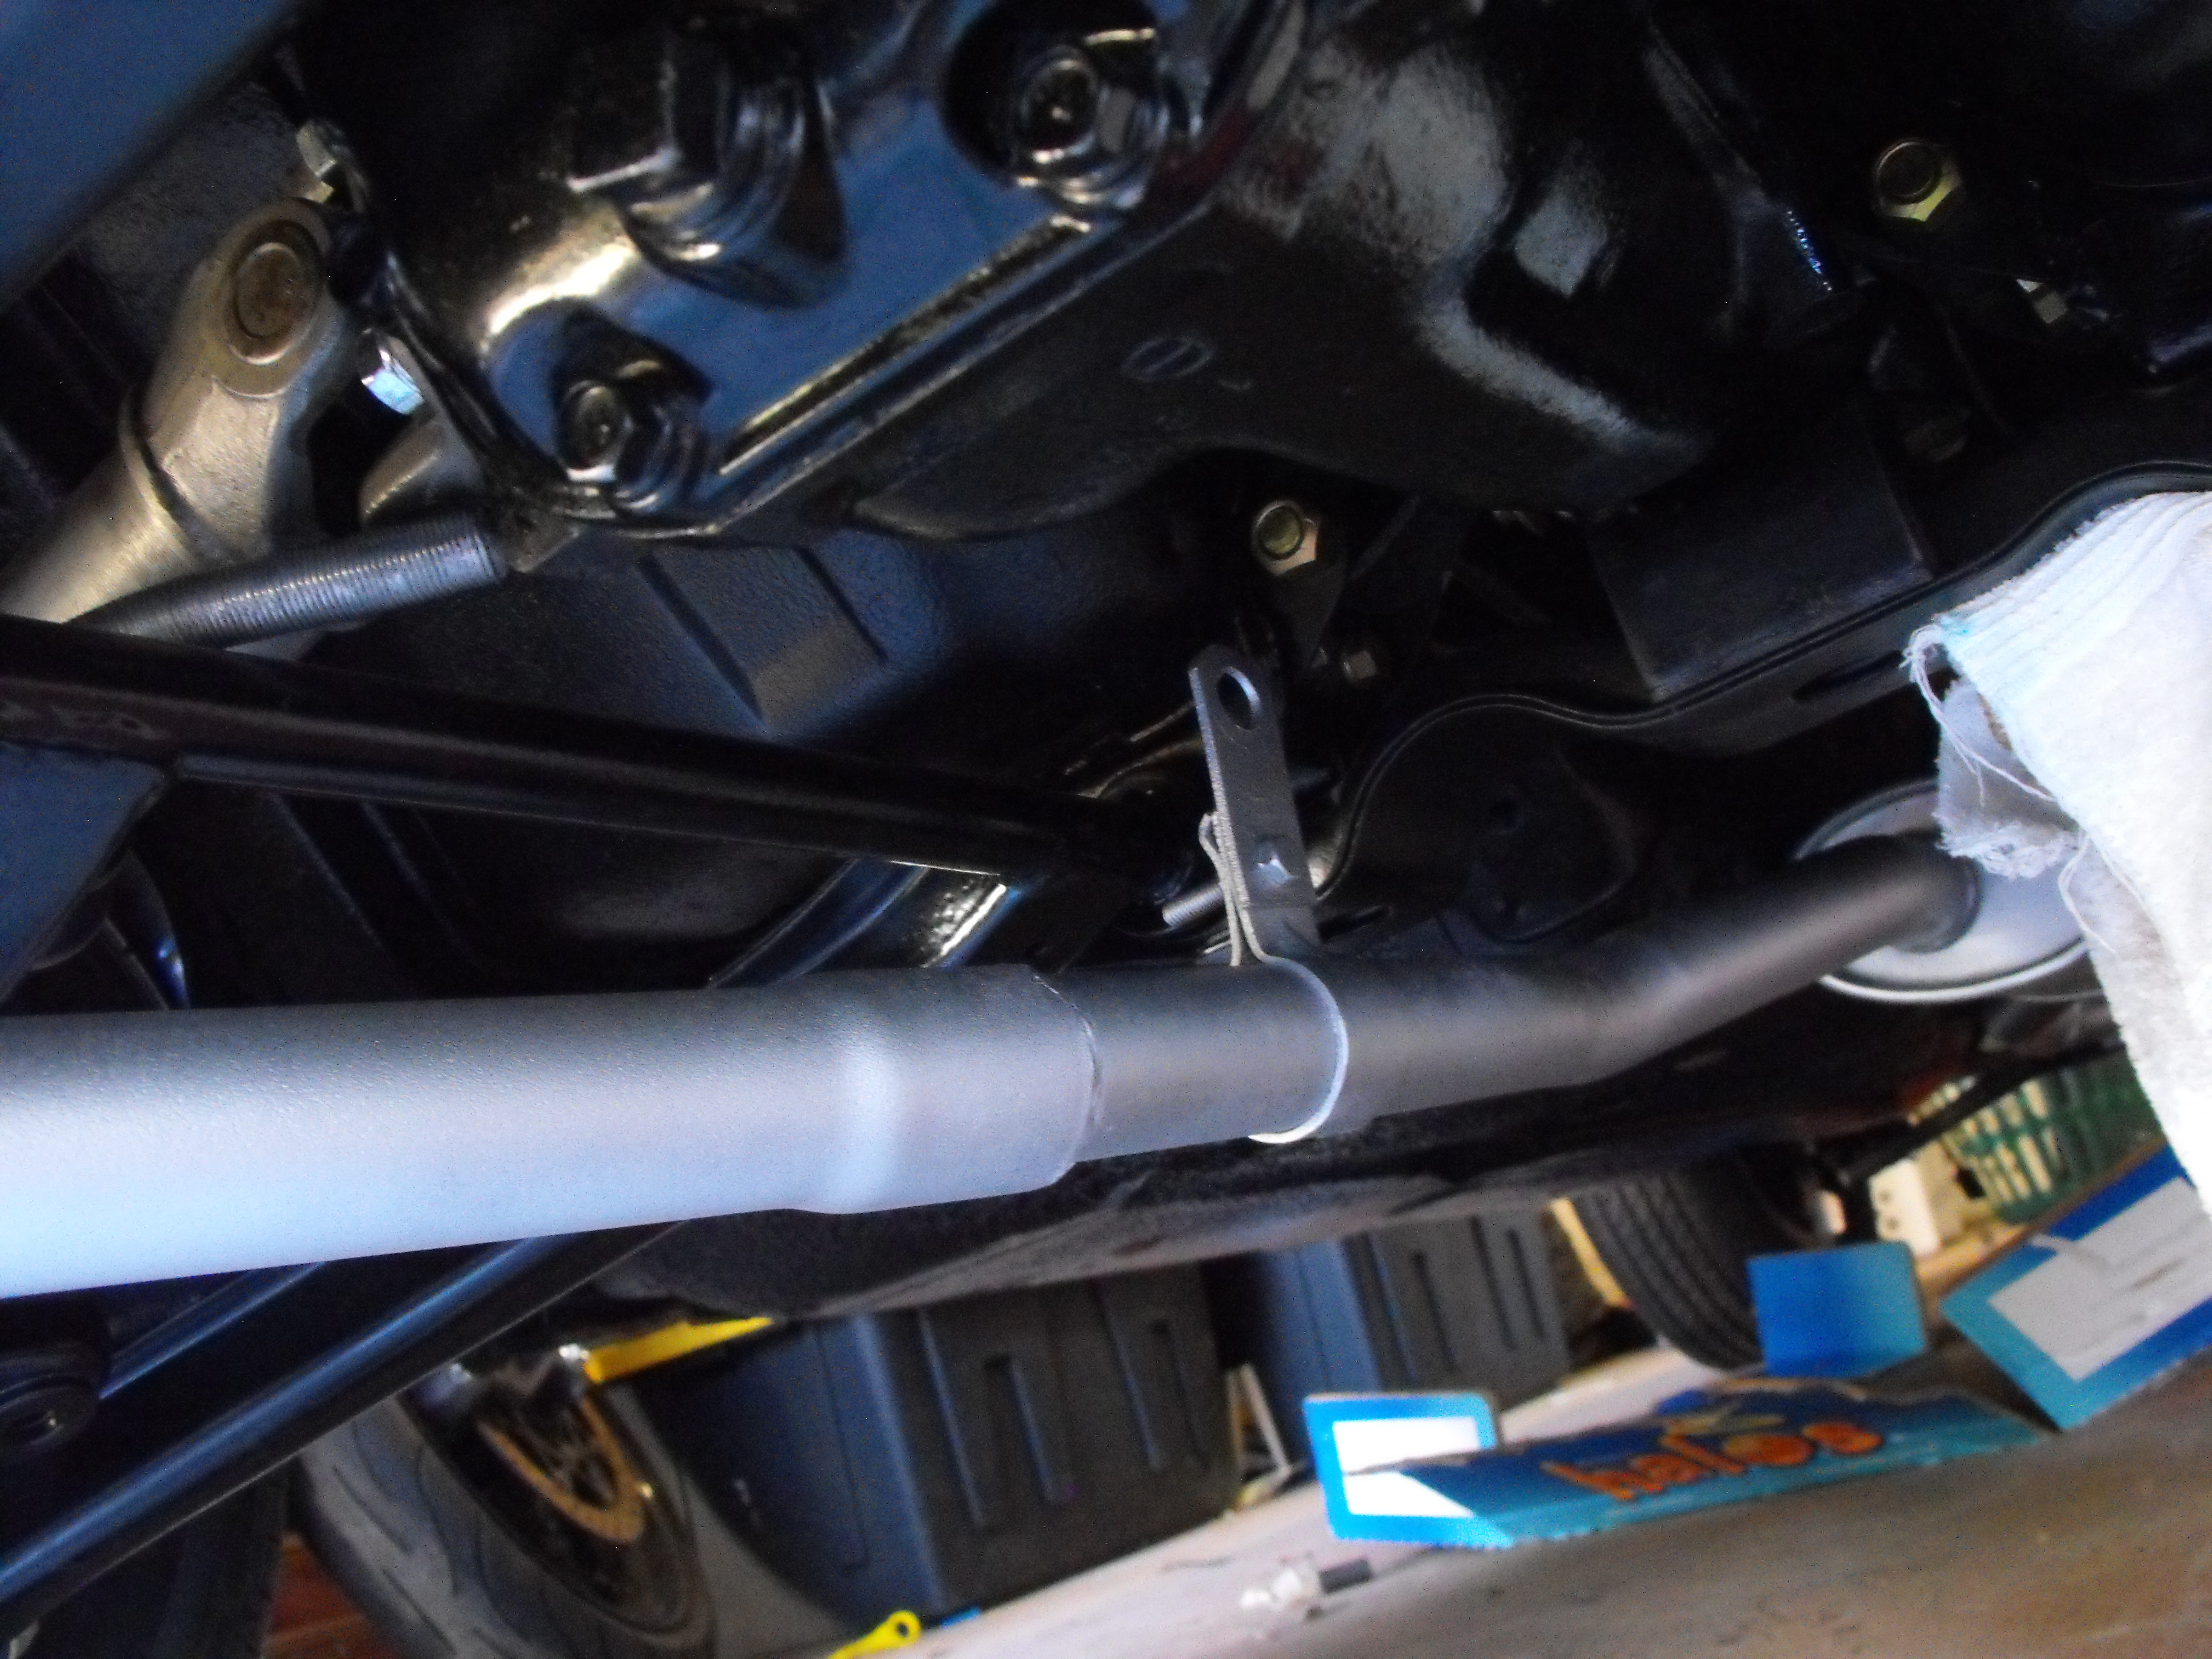
That's what I was thinking. It pops up a couple of inches and you could spray the top of the motor where the injectors are.1 point The last two Sundays have been spent replacing the clutch due to slipping caused by a leaking rear crankshaft seal. It was a fairly minor leak, but it caused the disc to slip at higher rpms. It took two Sundays as I just can't do the physical work without stopping to rest and recuperate. Fortunately for me my friend Kenny (kens240Z) has a fully equipped shop with a lift and another pair of younger hands. Finished up yesterday and the new Centerforce works great.. Cheers, Mike1 point
1 pointthe 280z with the indicator light has 3 term, a Black common and two others, shorting one to black will indicate full on the gauge, short the other to Black and the light will come on.1 point
1 pointMaybe he meant TIG wire? You could try the ground wire stripped out a piece of Romex, it's pretty flexible. Guitar string, piano wire...1 point
The last two Sundays have been spent replacing the clutch due to slipping caused by a leaking rear crankshaft seal. It was a fairly minor leak, but it caused the disc to slip at higher rpms. It took two Sundays as I just can't do the physical work without stopping to rest and recuperate. Fortunately for me my friend Kenny (kens240Z) has a fully equipped shop with a lift and another pair of younger hands. Finished up yesterday and the new Centerforce works great.. Cheers, Mike1 point
1 pointthe 280z with the indicator light has 3 term, a Black common and two others, shorting one to black will indicate full on the gauge, short the other to Black and the light will come on.1 point
1 pointMaybe he meant TIG wire? You could try the ground wire stripped out a piece of Romex, it's pretty flexible. Guitar string, piano wire...1 point A few years back my son's 81 RX7 caught fire while sitting in the driveway. Left side of the dash, electrical. If I'd had a glove next to the extinguisher, I wouldn't have gotten blisters from reaching through flaming dripping plastic to reach the hood latch. I was headed for the battery to disconnect it. I think a glove is a great idea. Not all car fires are gasoline. I've also wished I had a hot glove when doing roadside repairs on a hot engine. BTW, we saved the car. We had to replace the dash and rebuild the wire harness one wire at a time. It's his daily driver now.1 point
 I agree. If a fire starts while you're driving, pull over, turn off ignition, get out, run, call 911, call your insurance company. Fire extinguishers are handy if you're working on your car, with the hood open, and an engine fire starts. Dennis1 point
 Somewhere around this time, I glanced at the fuel pressure gauge .. WTF???? It's reading 0!. The engine is still running (if you call this running....).. Zero ???. Turn the car off, turn the pump on. Gauge reads a touch off 0, but not much. Dang the pump has died. Or is the gauge fried. The car is running, and long enough to empty the bowls too, so the pump MUST be supplying enough gas. Pressure can't be zero.. We stop and take the hose off the gauge and try to pump fuel into a pail to test it. Turn on the pump, yup, nice steady stream into the pail. It's not the pump, it's just fine. Stupid pressure guage.... Put the fuel line back on. Back to scratching my head about what the real problem might be. We cleaned the plugs, tried a different coil, drank beer, nothing helped. Okay enough torture. The fuel pump pressure being suspiciously low is bugging me. Never had a problem with this gauge before. Could it be the pump after all? Let's swap it out and see what happens. Changed the pump and like magic, the car runs like it's new. Smooth, powerful, no lag, torque out of the hole is amazing, this dang little Roadster is actually fun to drive!1 point
 1 pointDave, I took some sender resistance vs needle position measurements off a spare fuel gauge I just picked up. Granted, this is a sample size of one, but here's; what I got. Here's "running on fumes" empty at 100 Ohms: Here's "just topped off" full at 10 Ohms: And here's a whole bunch of points along the scale:1 point
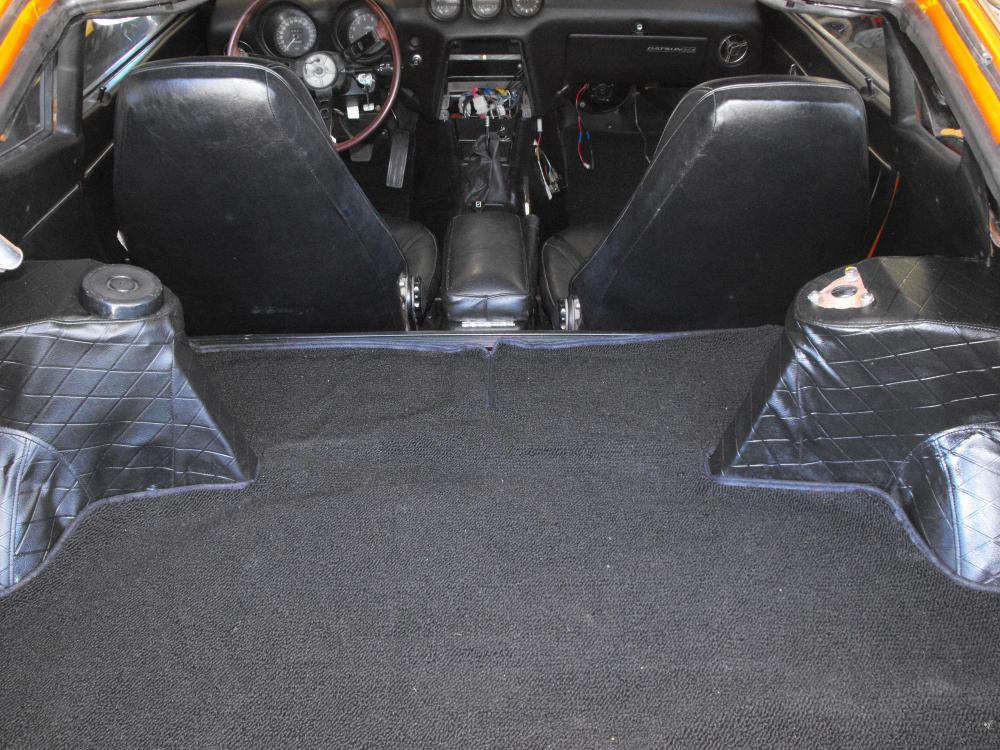
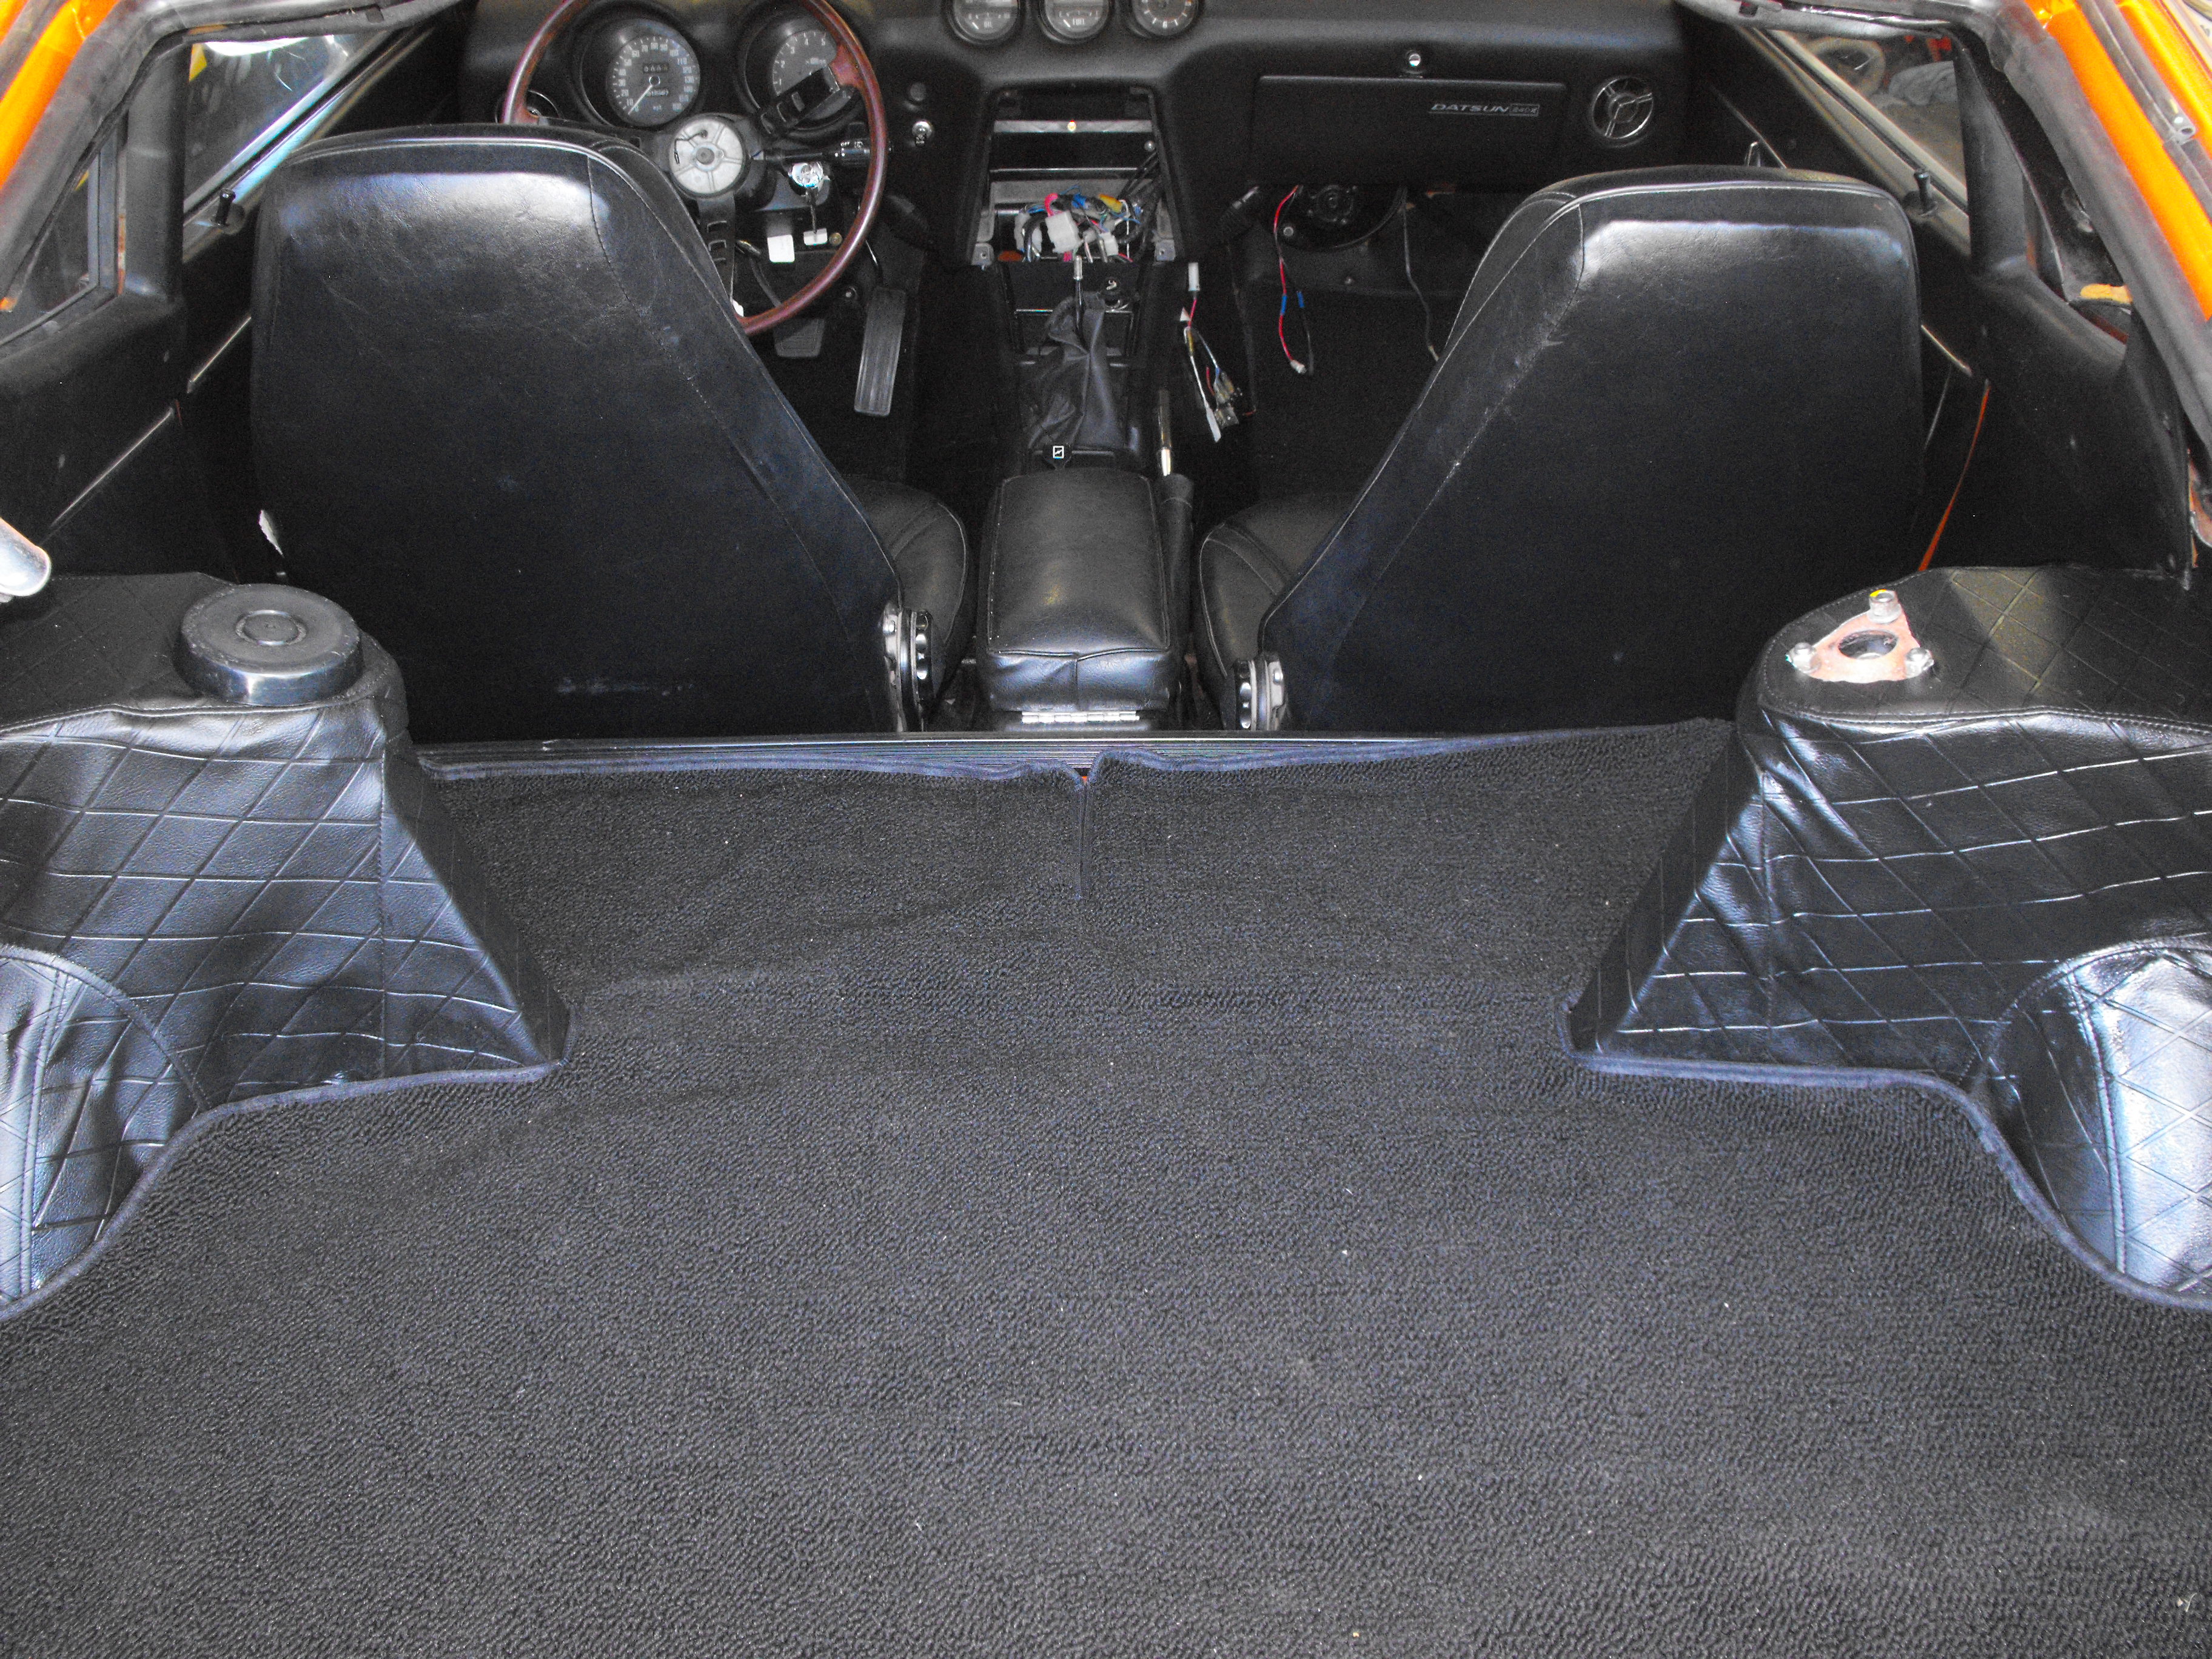
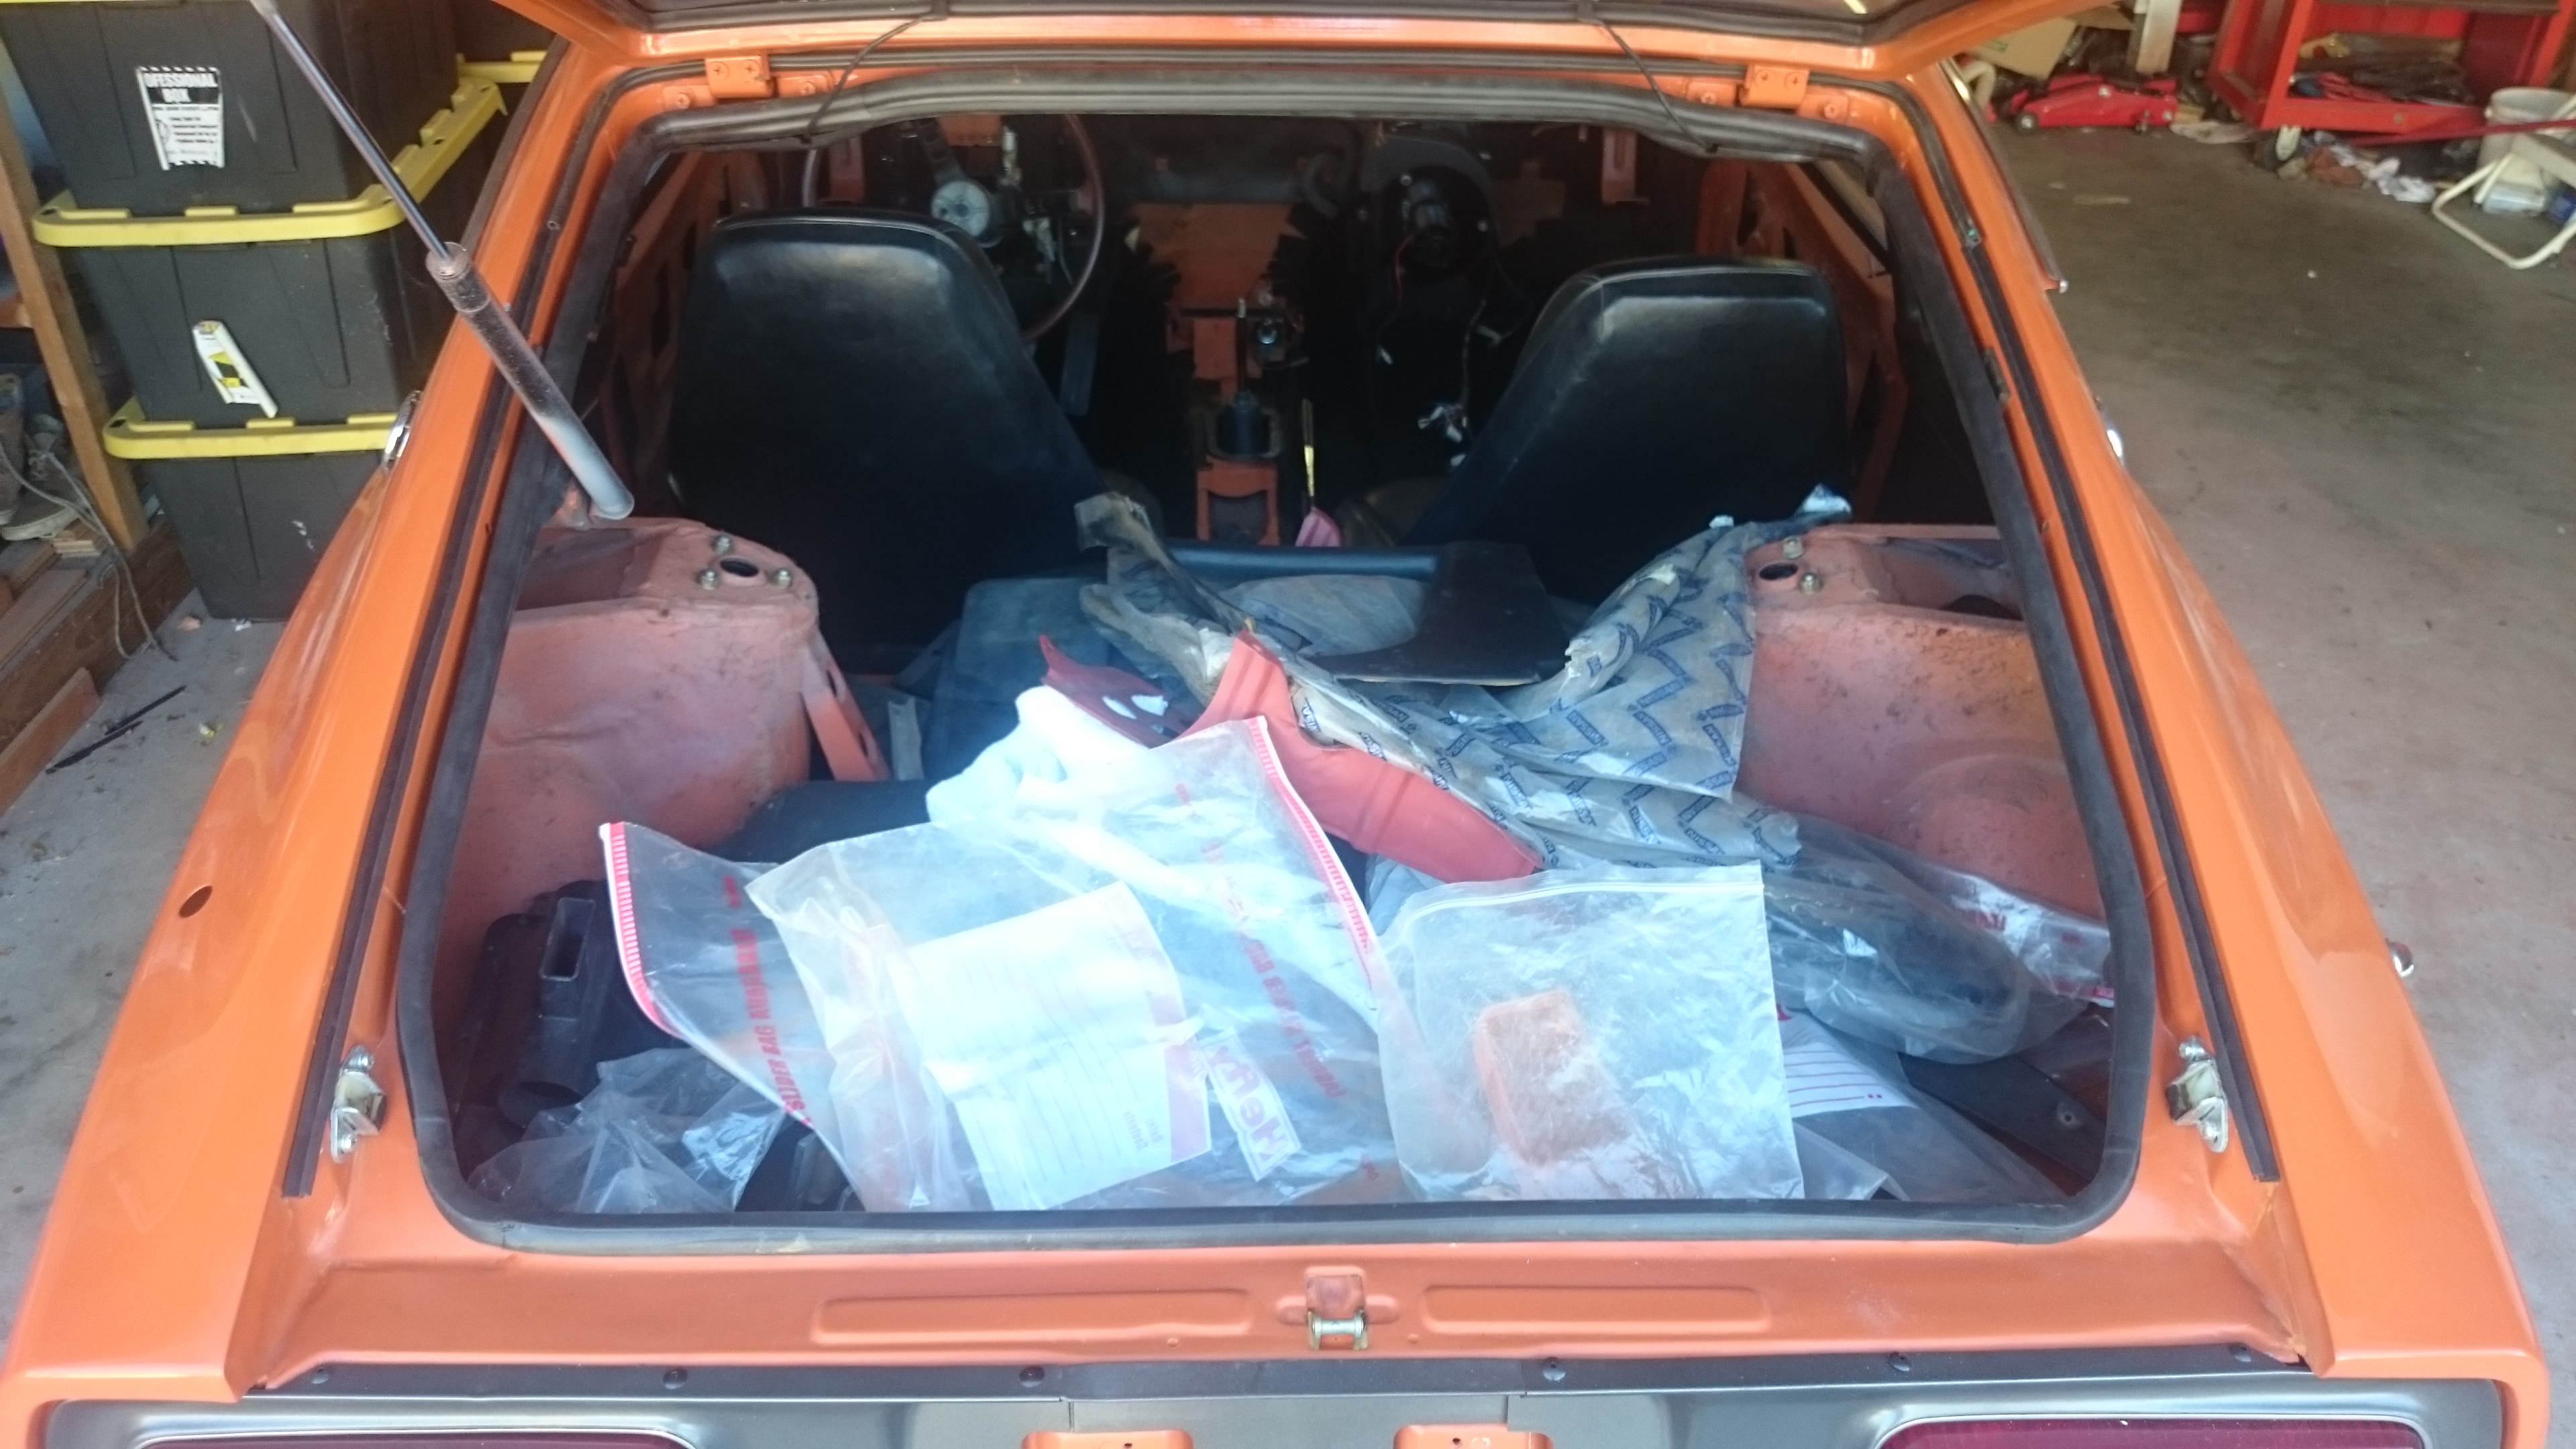
 Final photo of the seats in the car! I am very pleased. I also took the time to refinish my center console, and tried my hand at some fiberglass work to strengthen it and repair a crack. Not bad for my first go. I should have picked up some of that SEM texturizer to where I filled the tiny crack and sanded it smooth. But I can do that next time I have it off. Car looks and feels fresh and new again.1 point
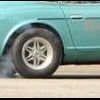 Real Leather gloves are naturally fire-resistant, but not that much, so it's better than bare skin, and should be enough to get the bonnet open for the application of an extinguishing agent- my favourite is the Flame Out fire extinguishing foam.1 point
 you can buy them at lowes or home depot...or order online1 point
 1 point
Well, I kinda got the car running today. I say 'kinda' because I had to hot wire the car to keep it running. Looks like I may have an open circuit on the Black/White wire that goes to the coil. The car would run when the starter was turned on, but died when left in the ON position. Looks like I will have to track down the electrical gremlins on that one. Otherwise, the car ran absolutely great with the hot wire. I set the air flow and adjusted the fuel mixture on the carbs. Also, set the timing so it is running nice. It sounds great with the original exhaust and the motor just purred. Very thrilled about that. If the 'ON' would have worked, it would have been a perfect day. Oh well, I will have to tackle that in the next couple day. Oh, also had a major oil leak. I think I put a roadster oil filter on the car and not the a Z oil filter. The gasket on the roadster filter is a smaller diameter and never sealed. Fortunately I had a number of Z filters available (Thanks Bob!) and was able to put the correct one on. Also had two small water leaks when the system pressurized, but just had to tighten the clamps on those. So, I will be testing circuits here and looking through schematics. Fortunately, I have other Z's to reference here, so it helps with the trouble shooting. Will keep everyone posted. Rich1 point
1 point
1 pointWell, I kinda got the car running today. I say 'kinda' because I had to hot wire the car to keep it running. Looks like I may have an open circuit on the Black/White wire that goes to the coil. The car would run when the starter was turned on, but died when left in the ON position. Looks like I will have to track down the electrical gremlins on that one. Otherwise, the car ran absolutely great with the hot wire. I set the air flow and adjusted the fuel mixture on the carbs. Also, set the timing so it is running nice. It sounds great with the original exhaust and the motor just purred. Very thrilled about that. If the 'ON' would have worked, it would have been a perfect day. Oh well, I will have to tackle that in the next couple day. Oh, also had a major oil leak. I think I put a roadster oil filter on the car and not the a Z oil filter. The gasket on the roadster filter is a smaller diameter and never sealed. Fortunately I had a number of Z filters available (Thanks Bob!) and was able to put the correct one on. Also had two small water leaks when the system pressurized, but just had to tighten the clamps on those. So, I will be testing circuits here and looking through schematics. Fortunately, I have other Z's to reference here, so it helps with the trouble shooting. Will keep everyone posted. Rich1 point 1 pointcongrats on the retirement. I did the same a couple of years ago and have no regrets at all. It was quite a drop in yearly income, but with a small pension, a few RRSPs and CPP coming up this year we have made a go of it. Not having to get up to a alarm clock every day has been on of the best parts. Enjoy.1 point

From the album: Peking to Paris 2016
The finish line in sight!1 point
1 point
1 pointThe race is over and congratulations goes out to the 240z teams. 4 golds and one silver. Check out the gallery I put together here.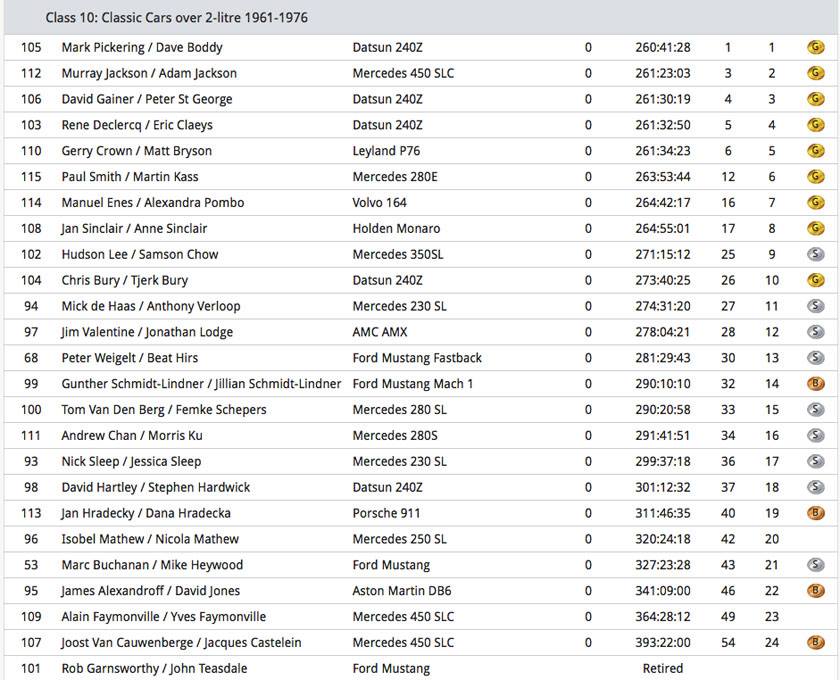
 1 point
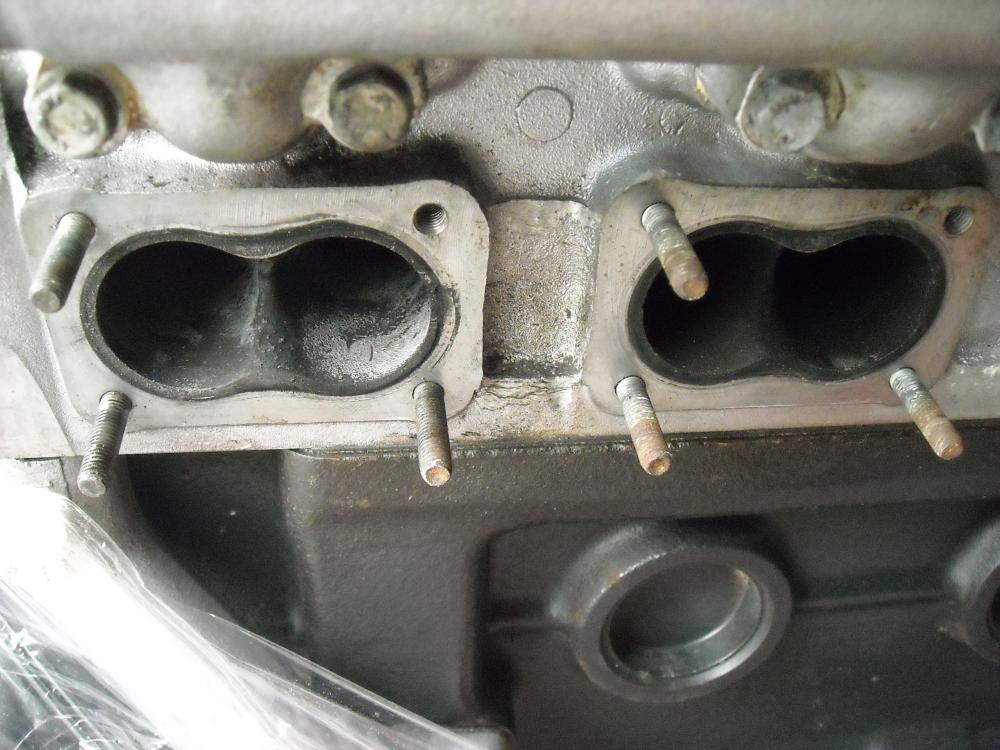
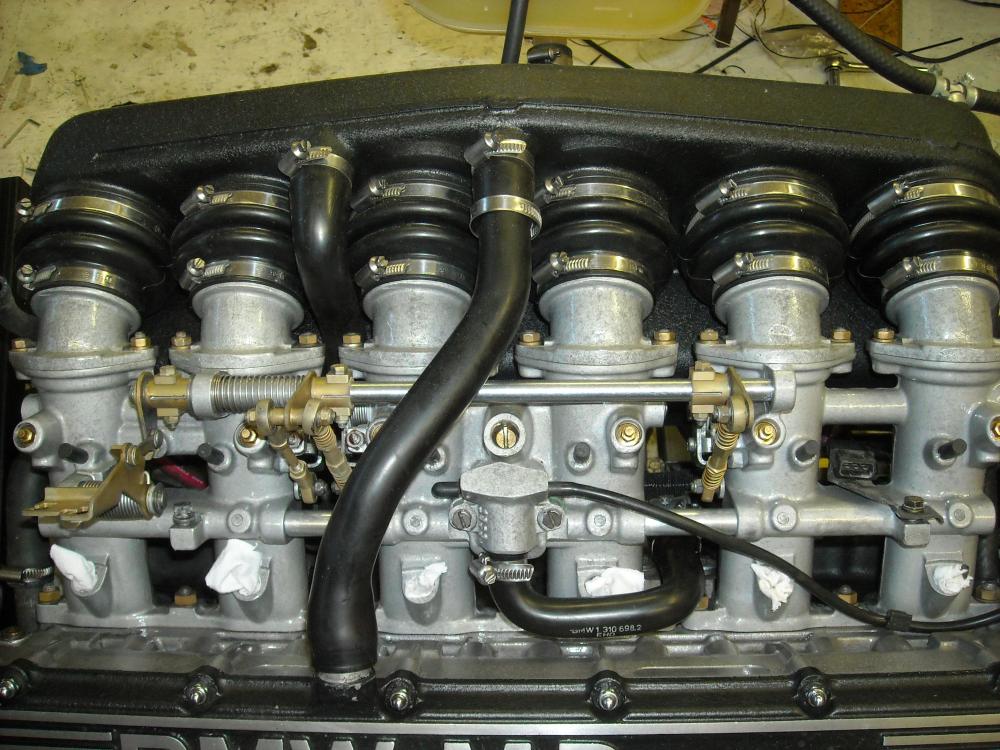
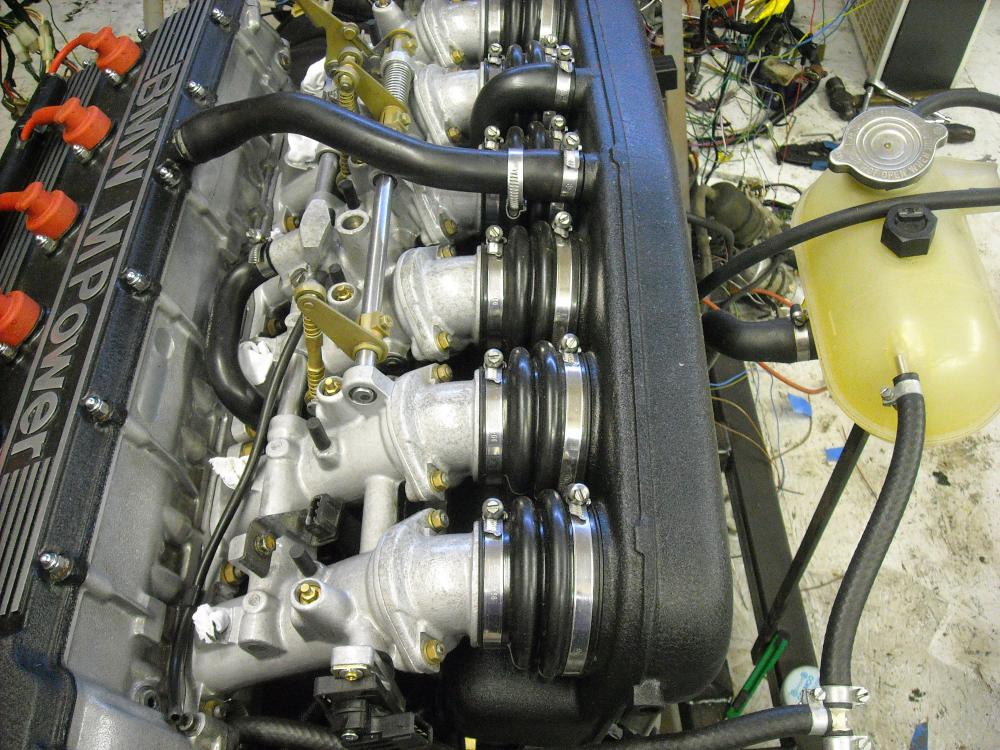
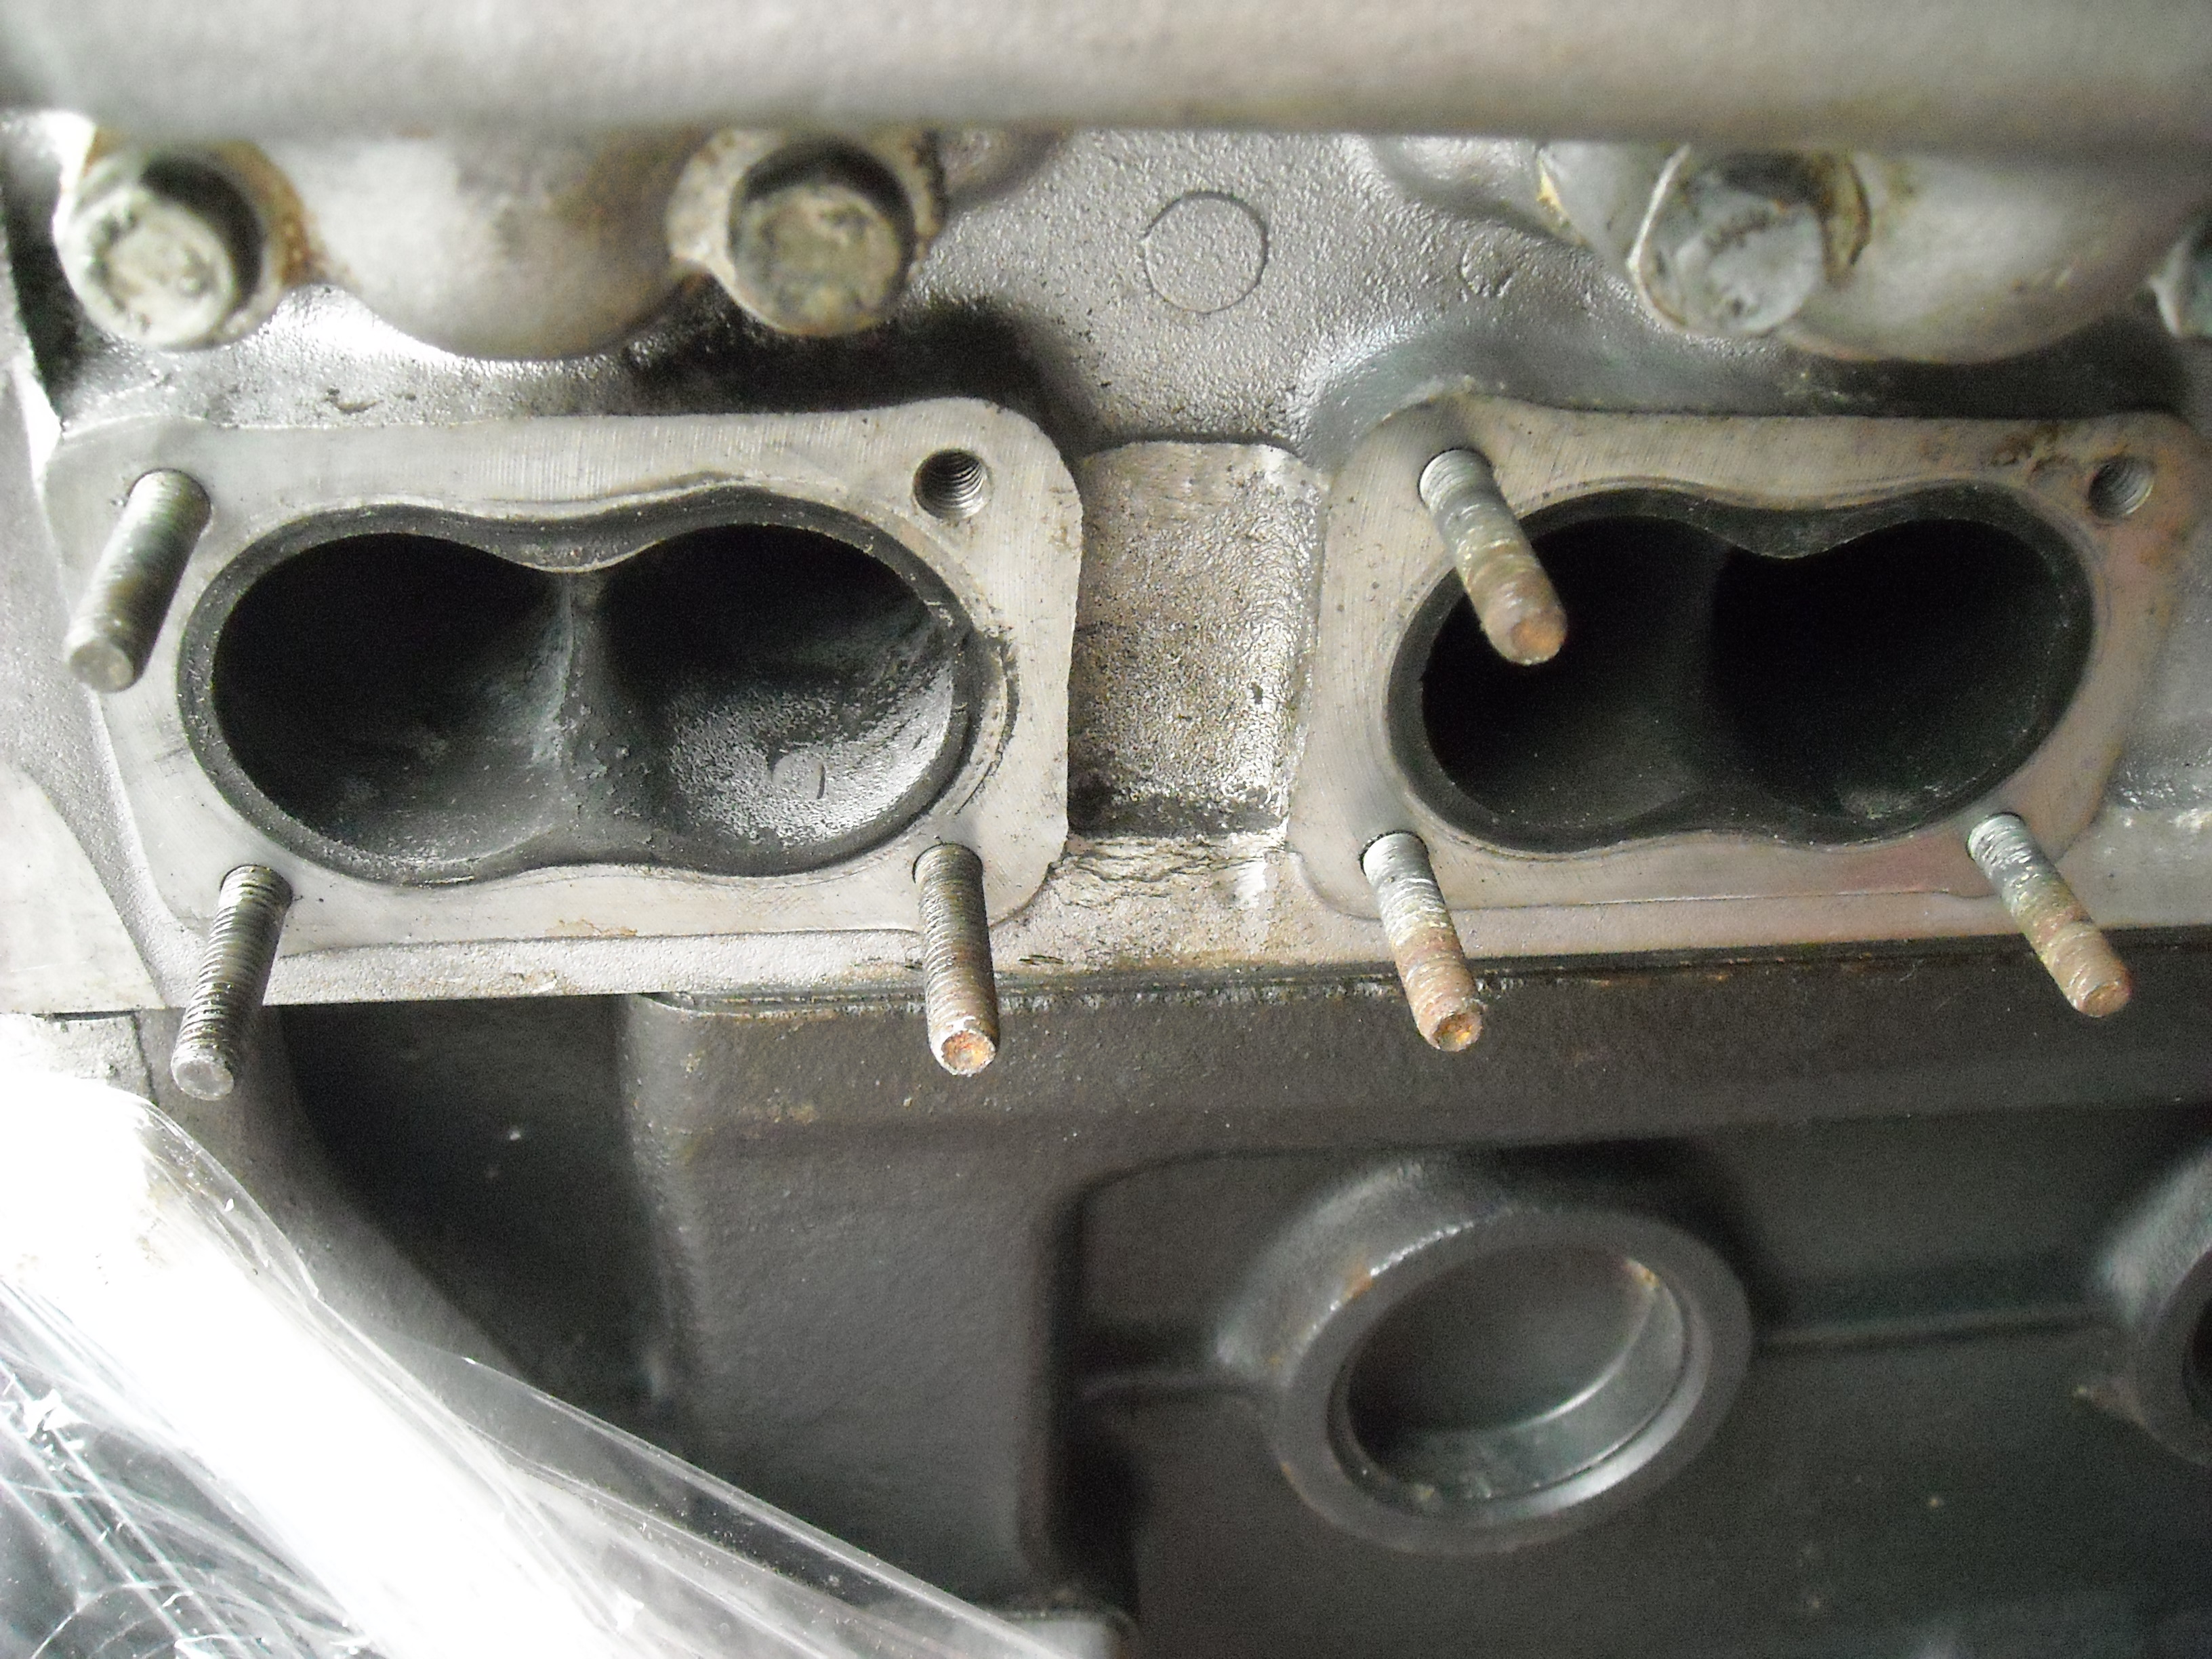
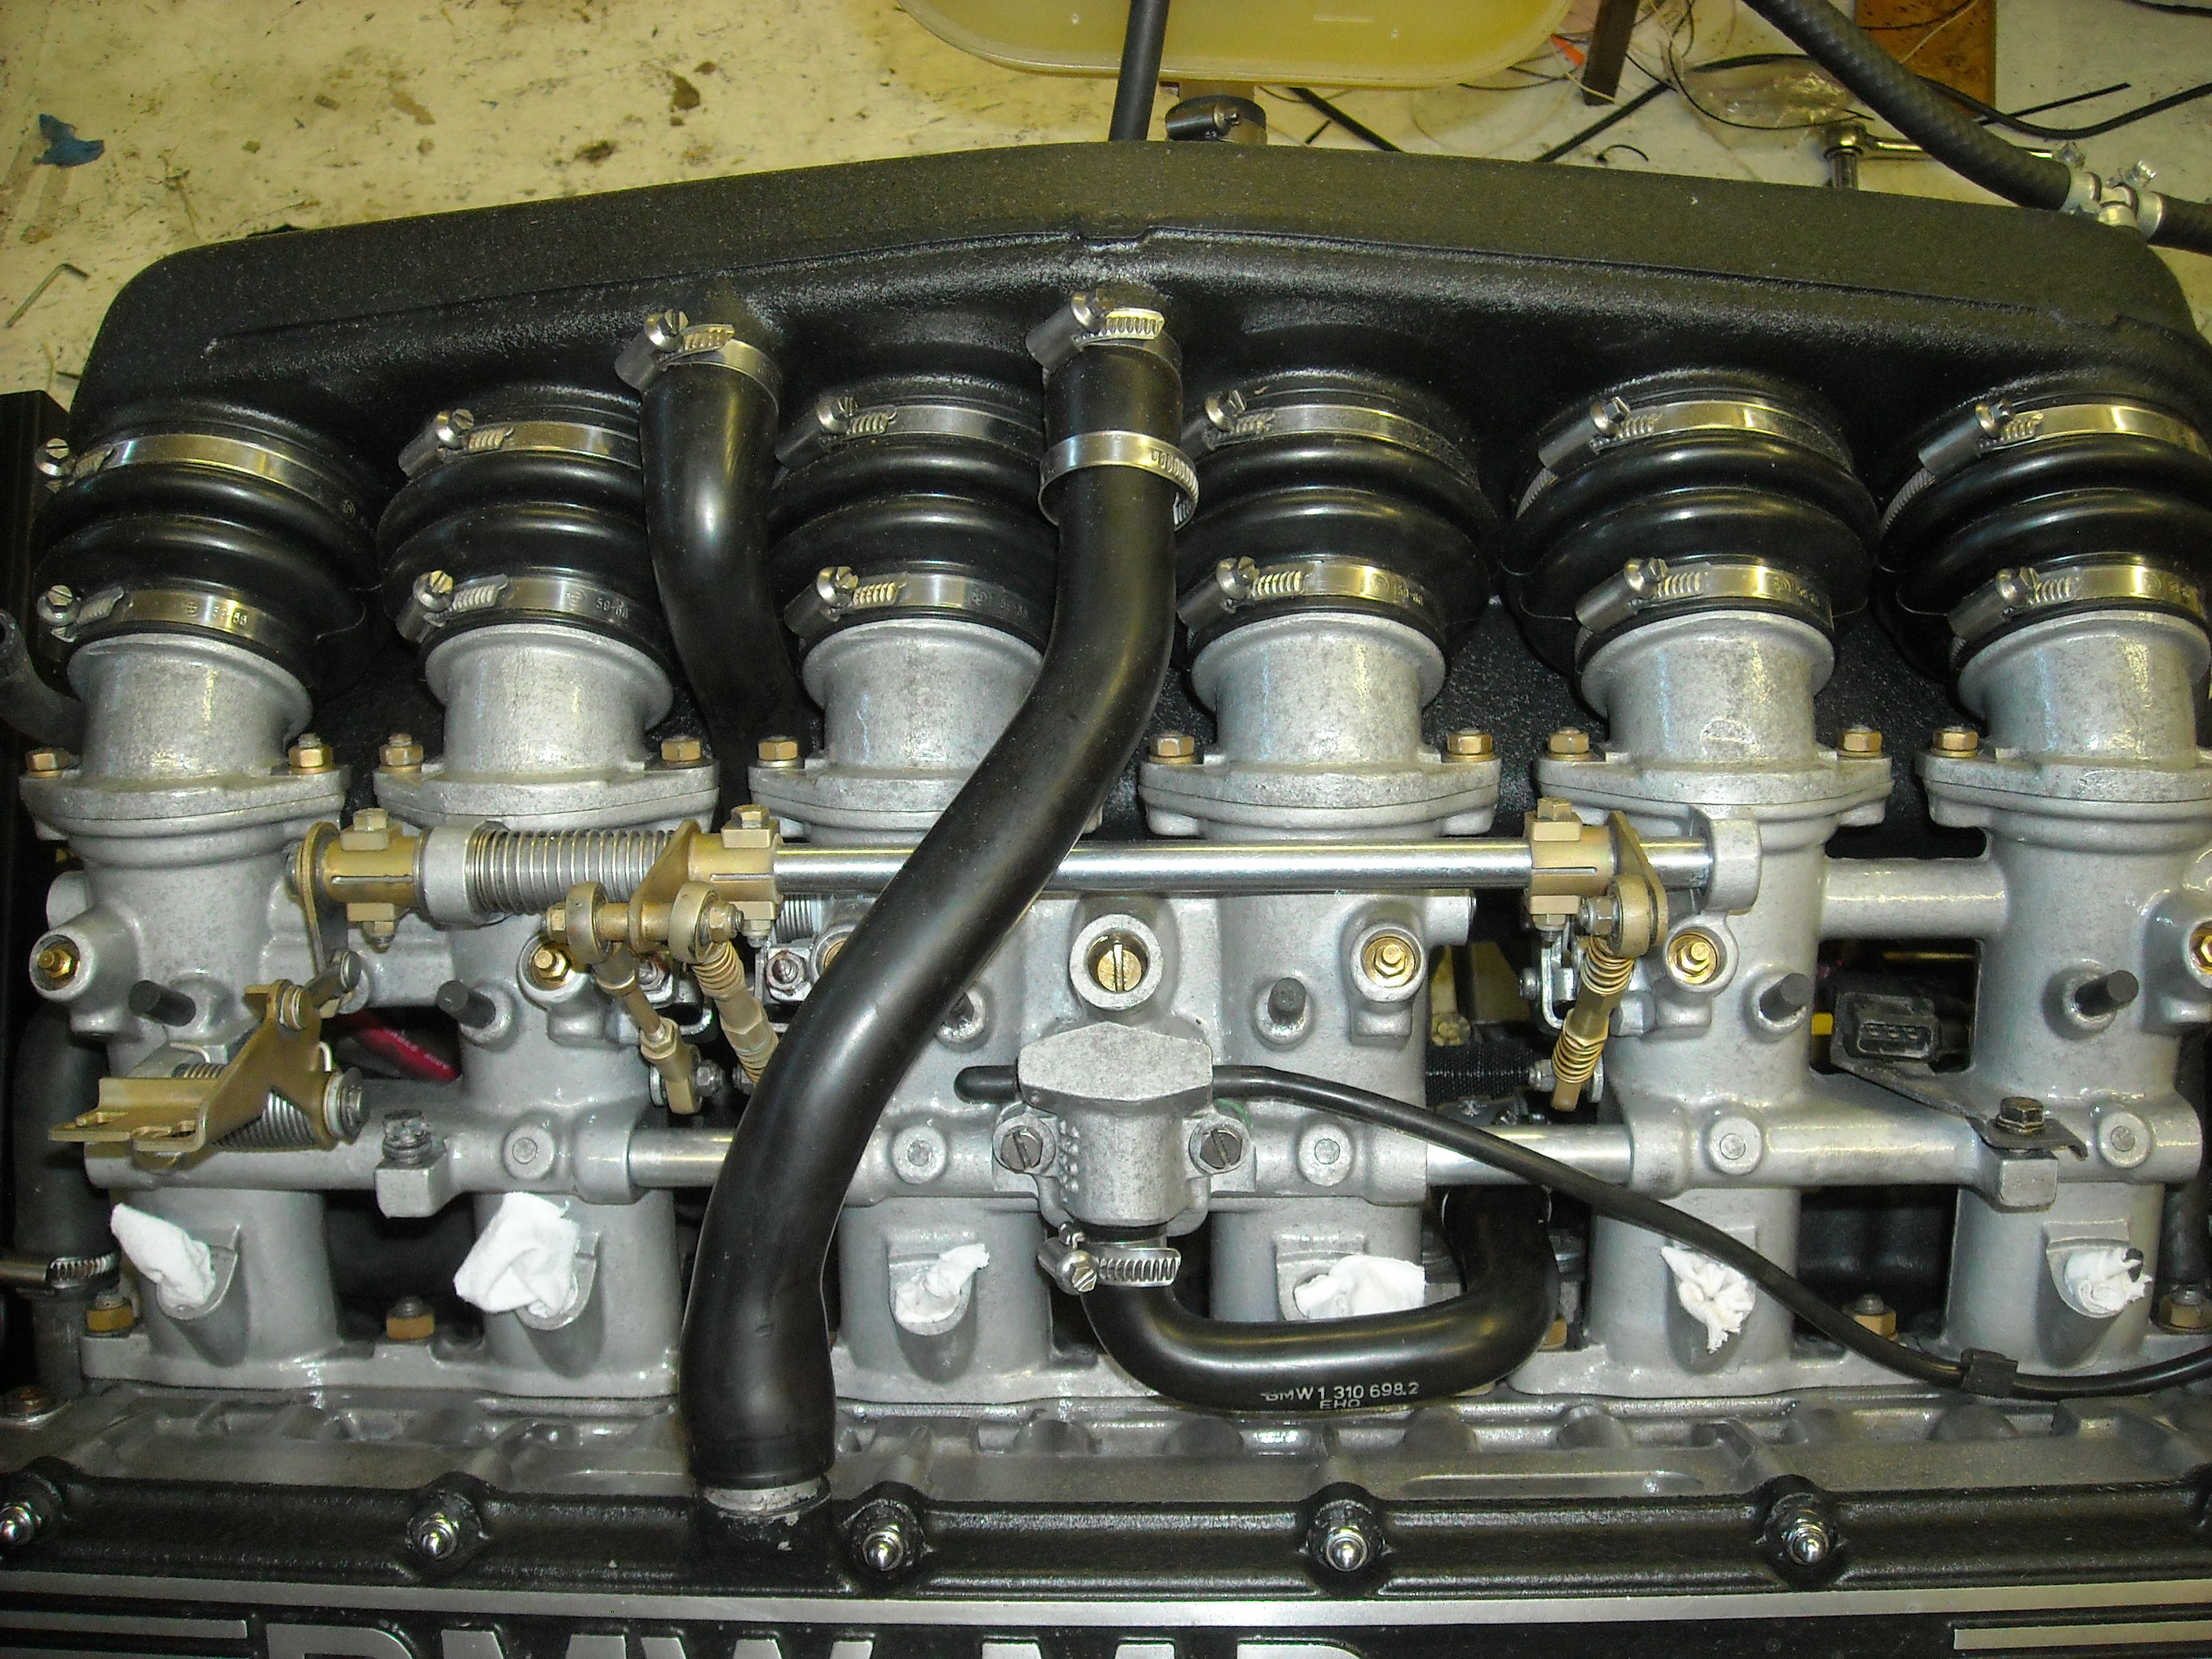
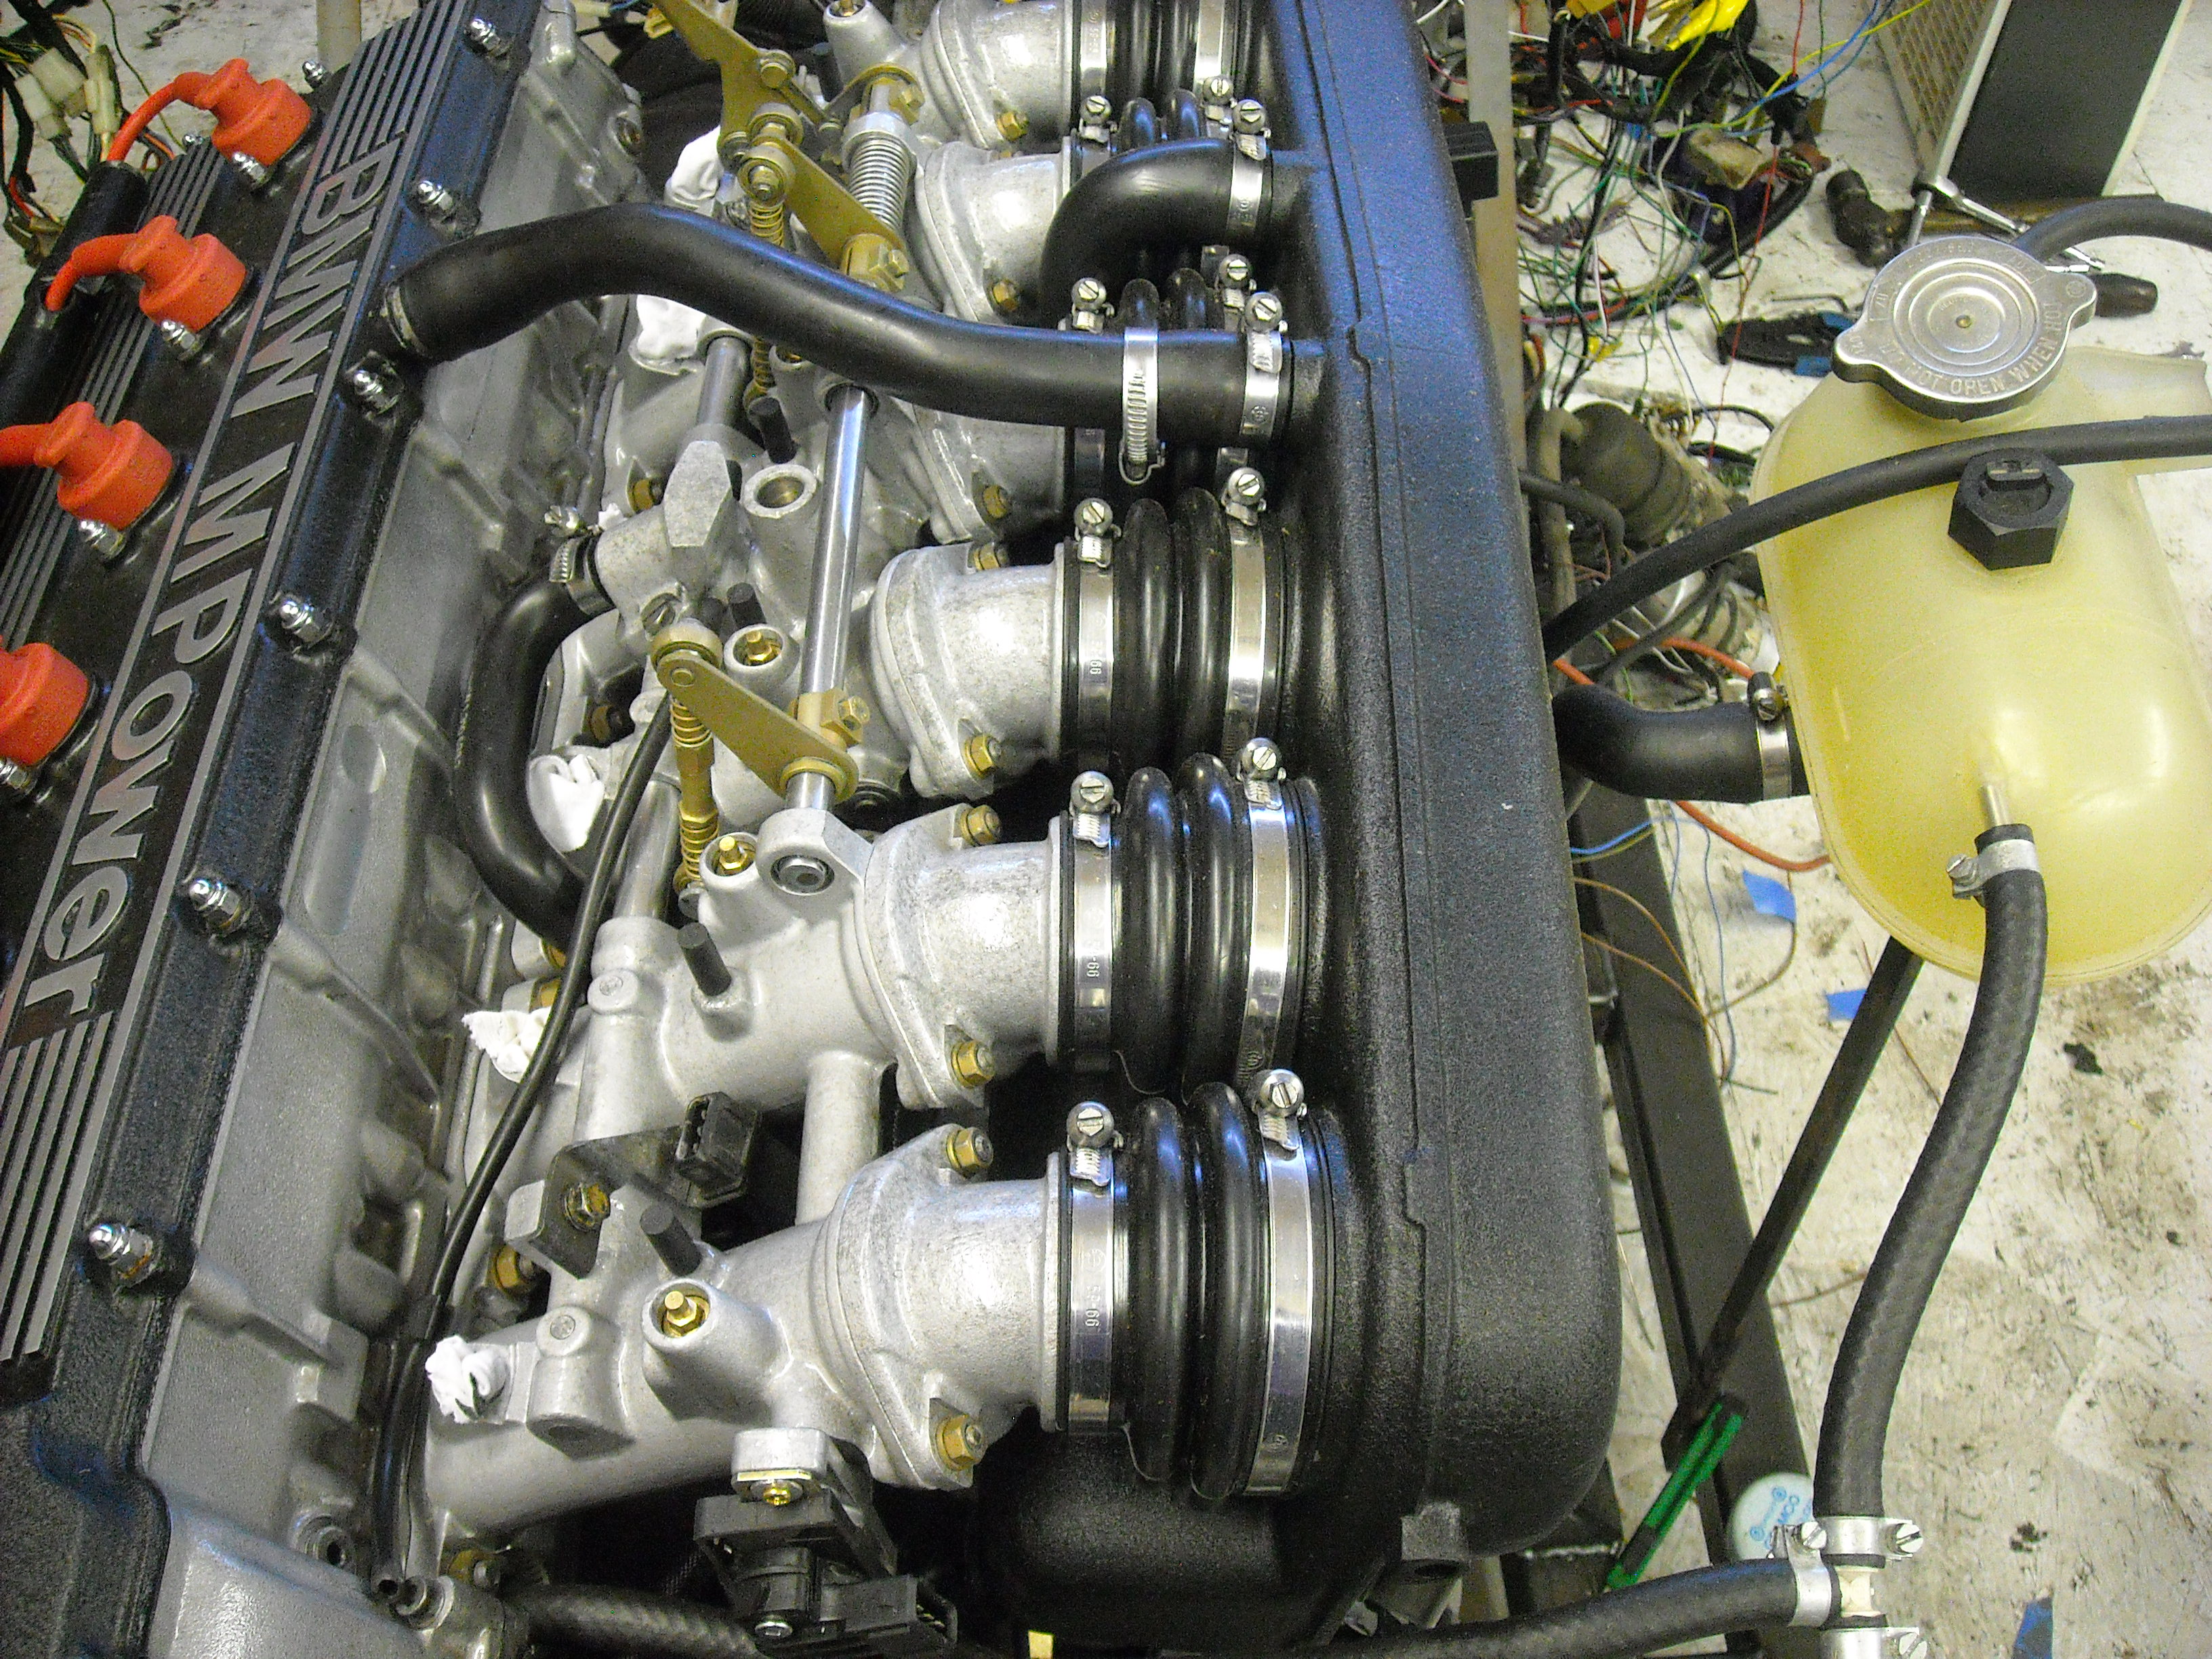
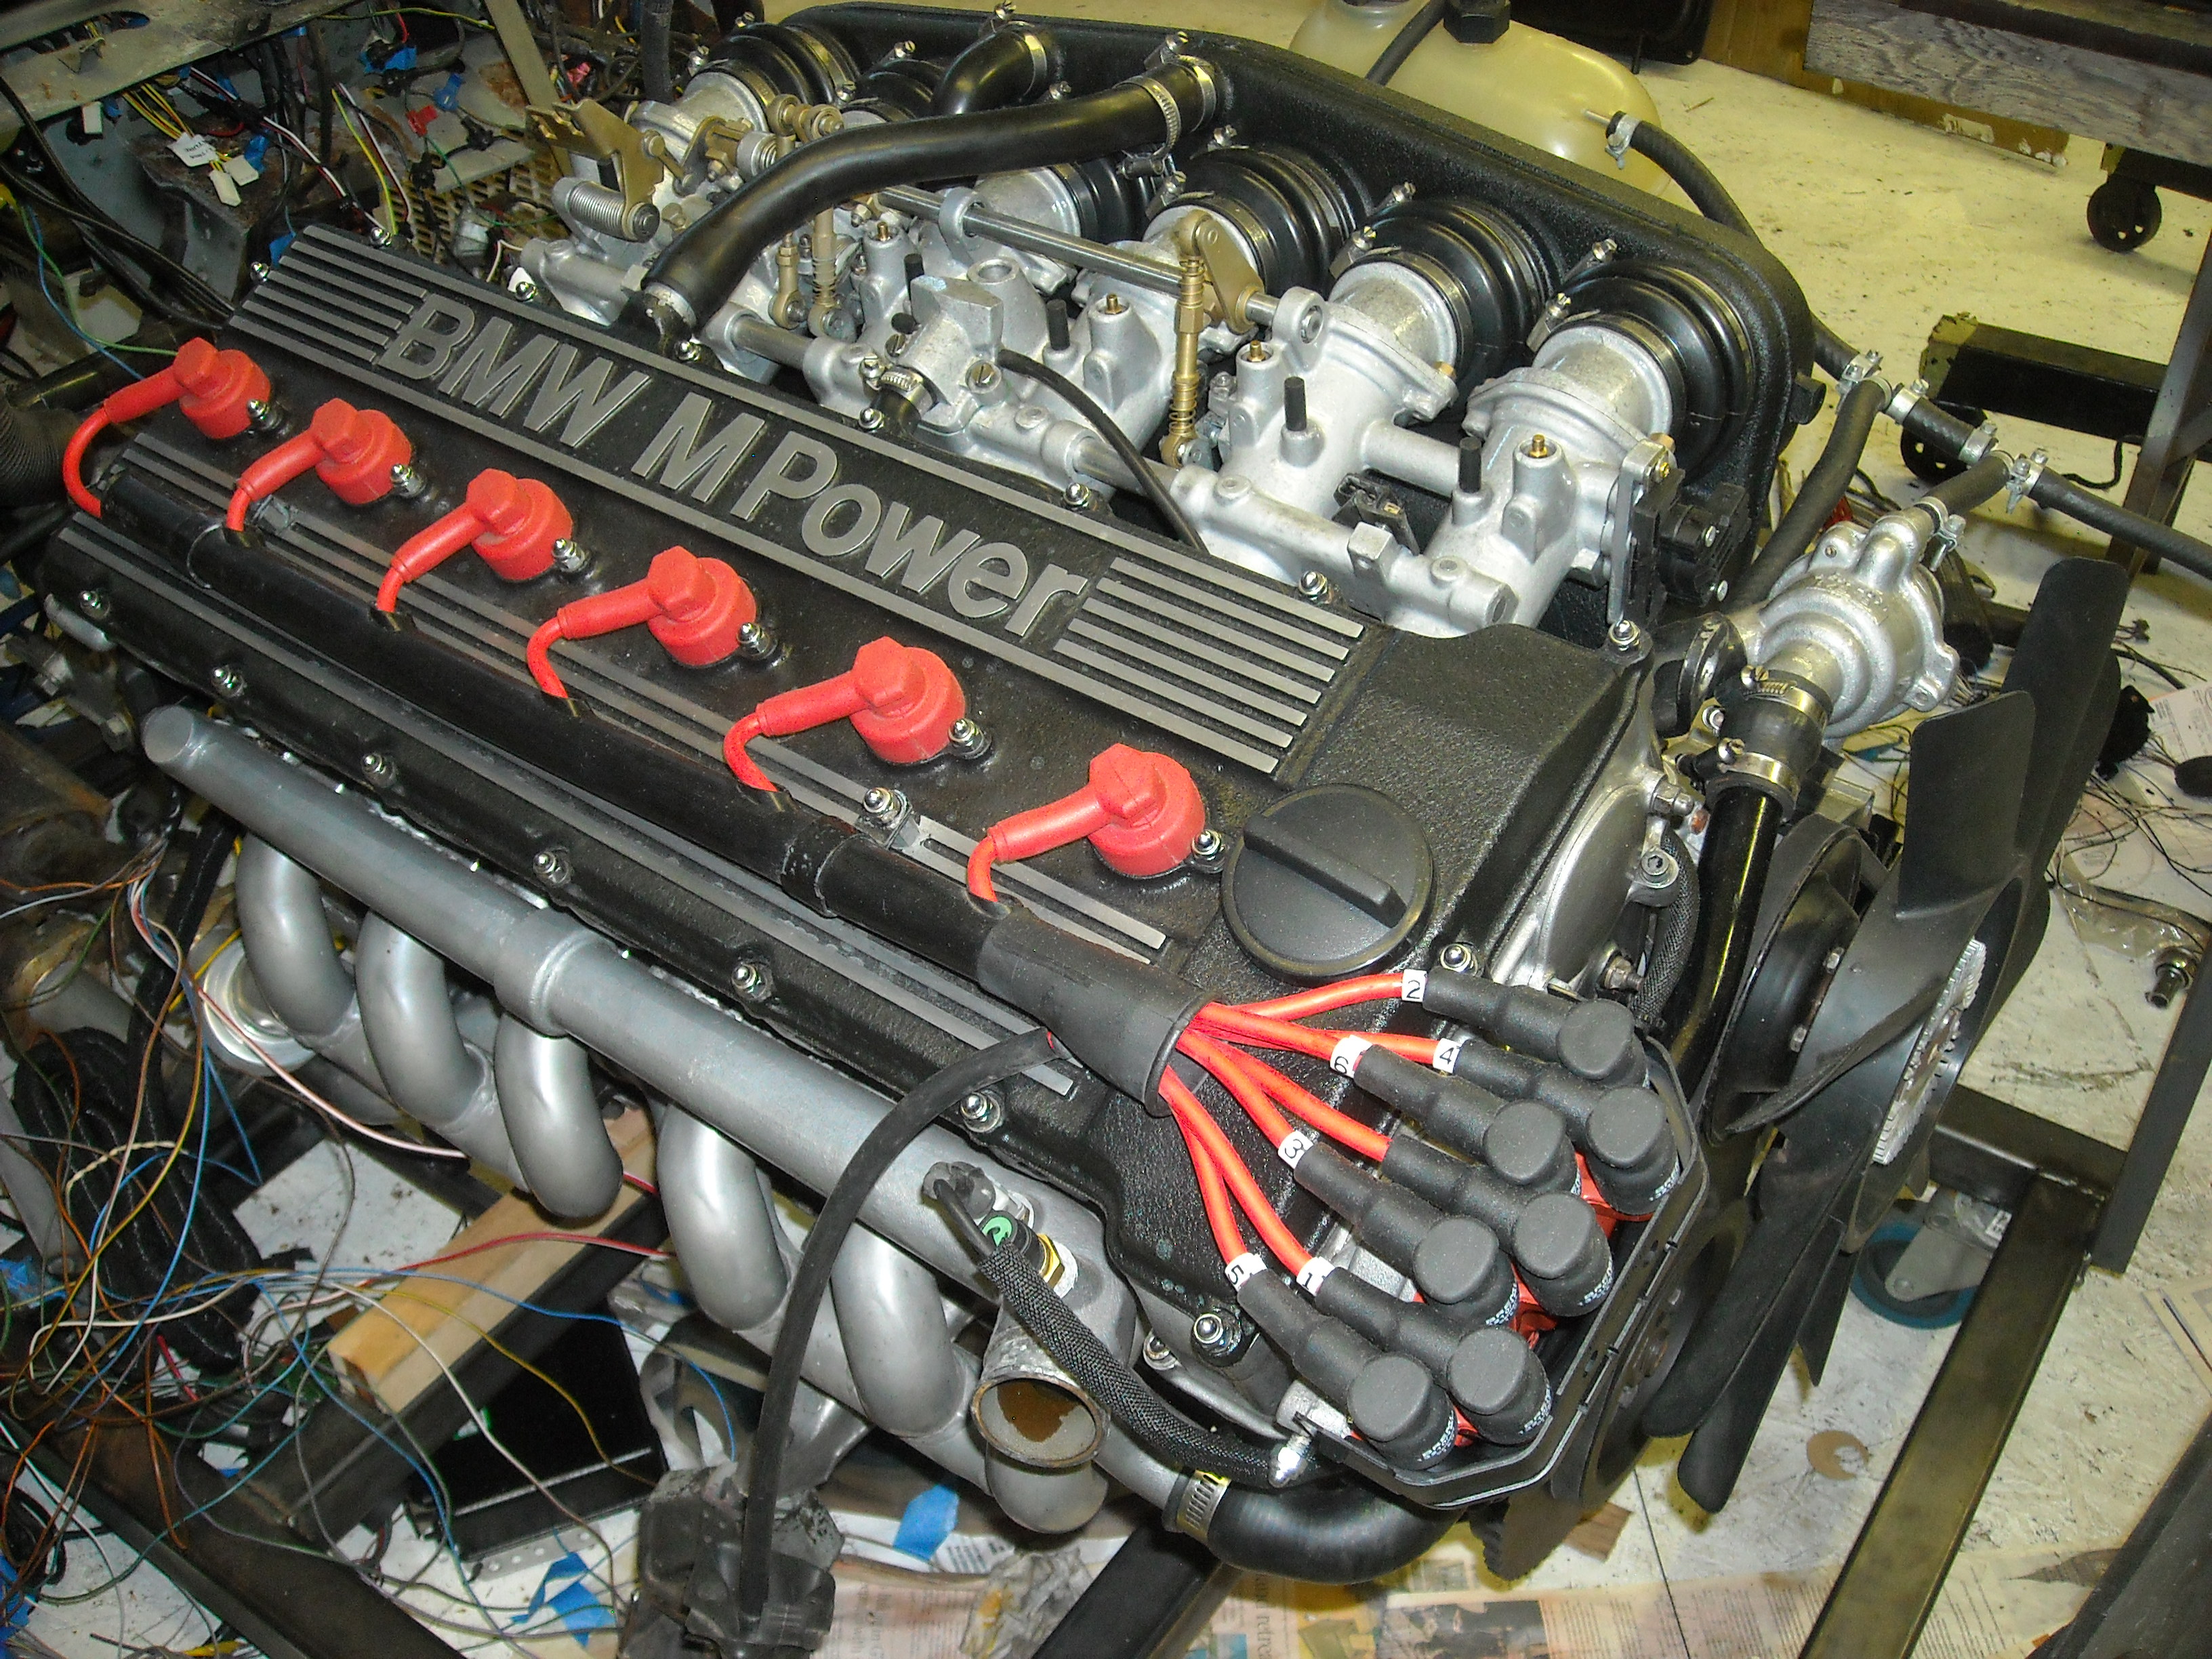
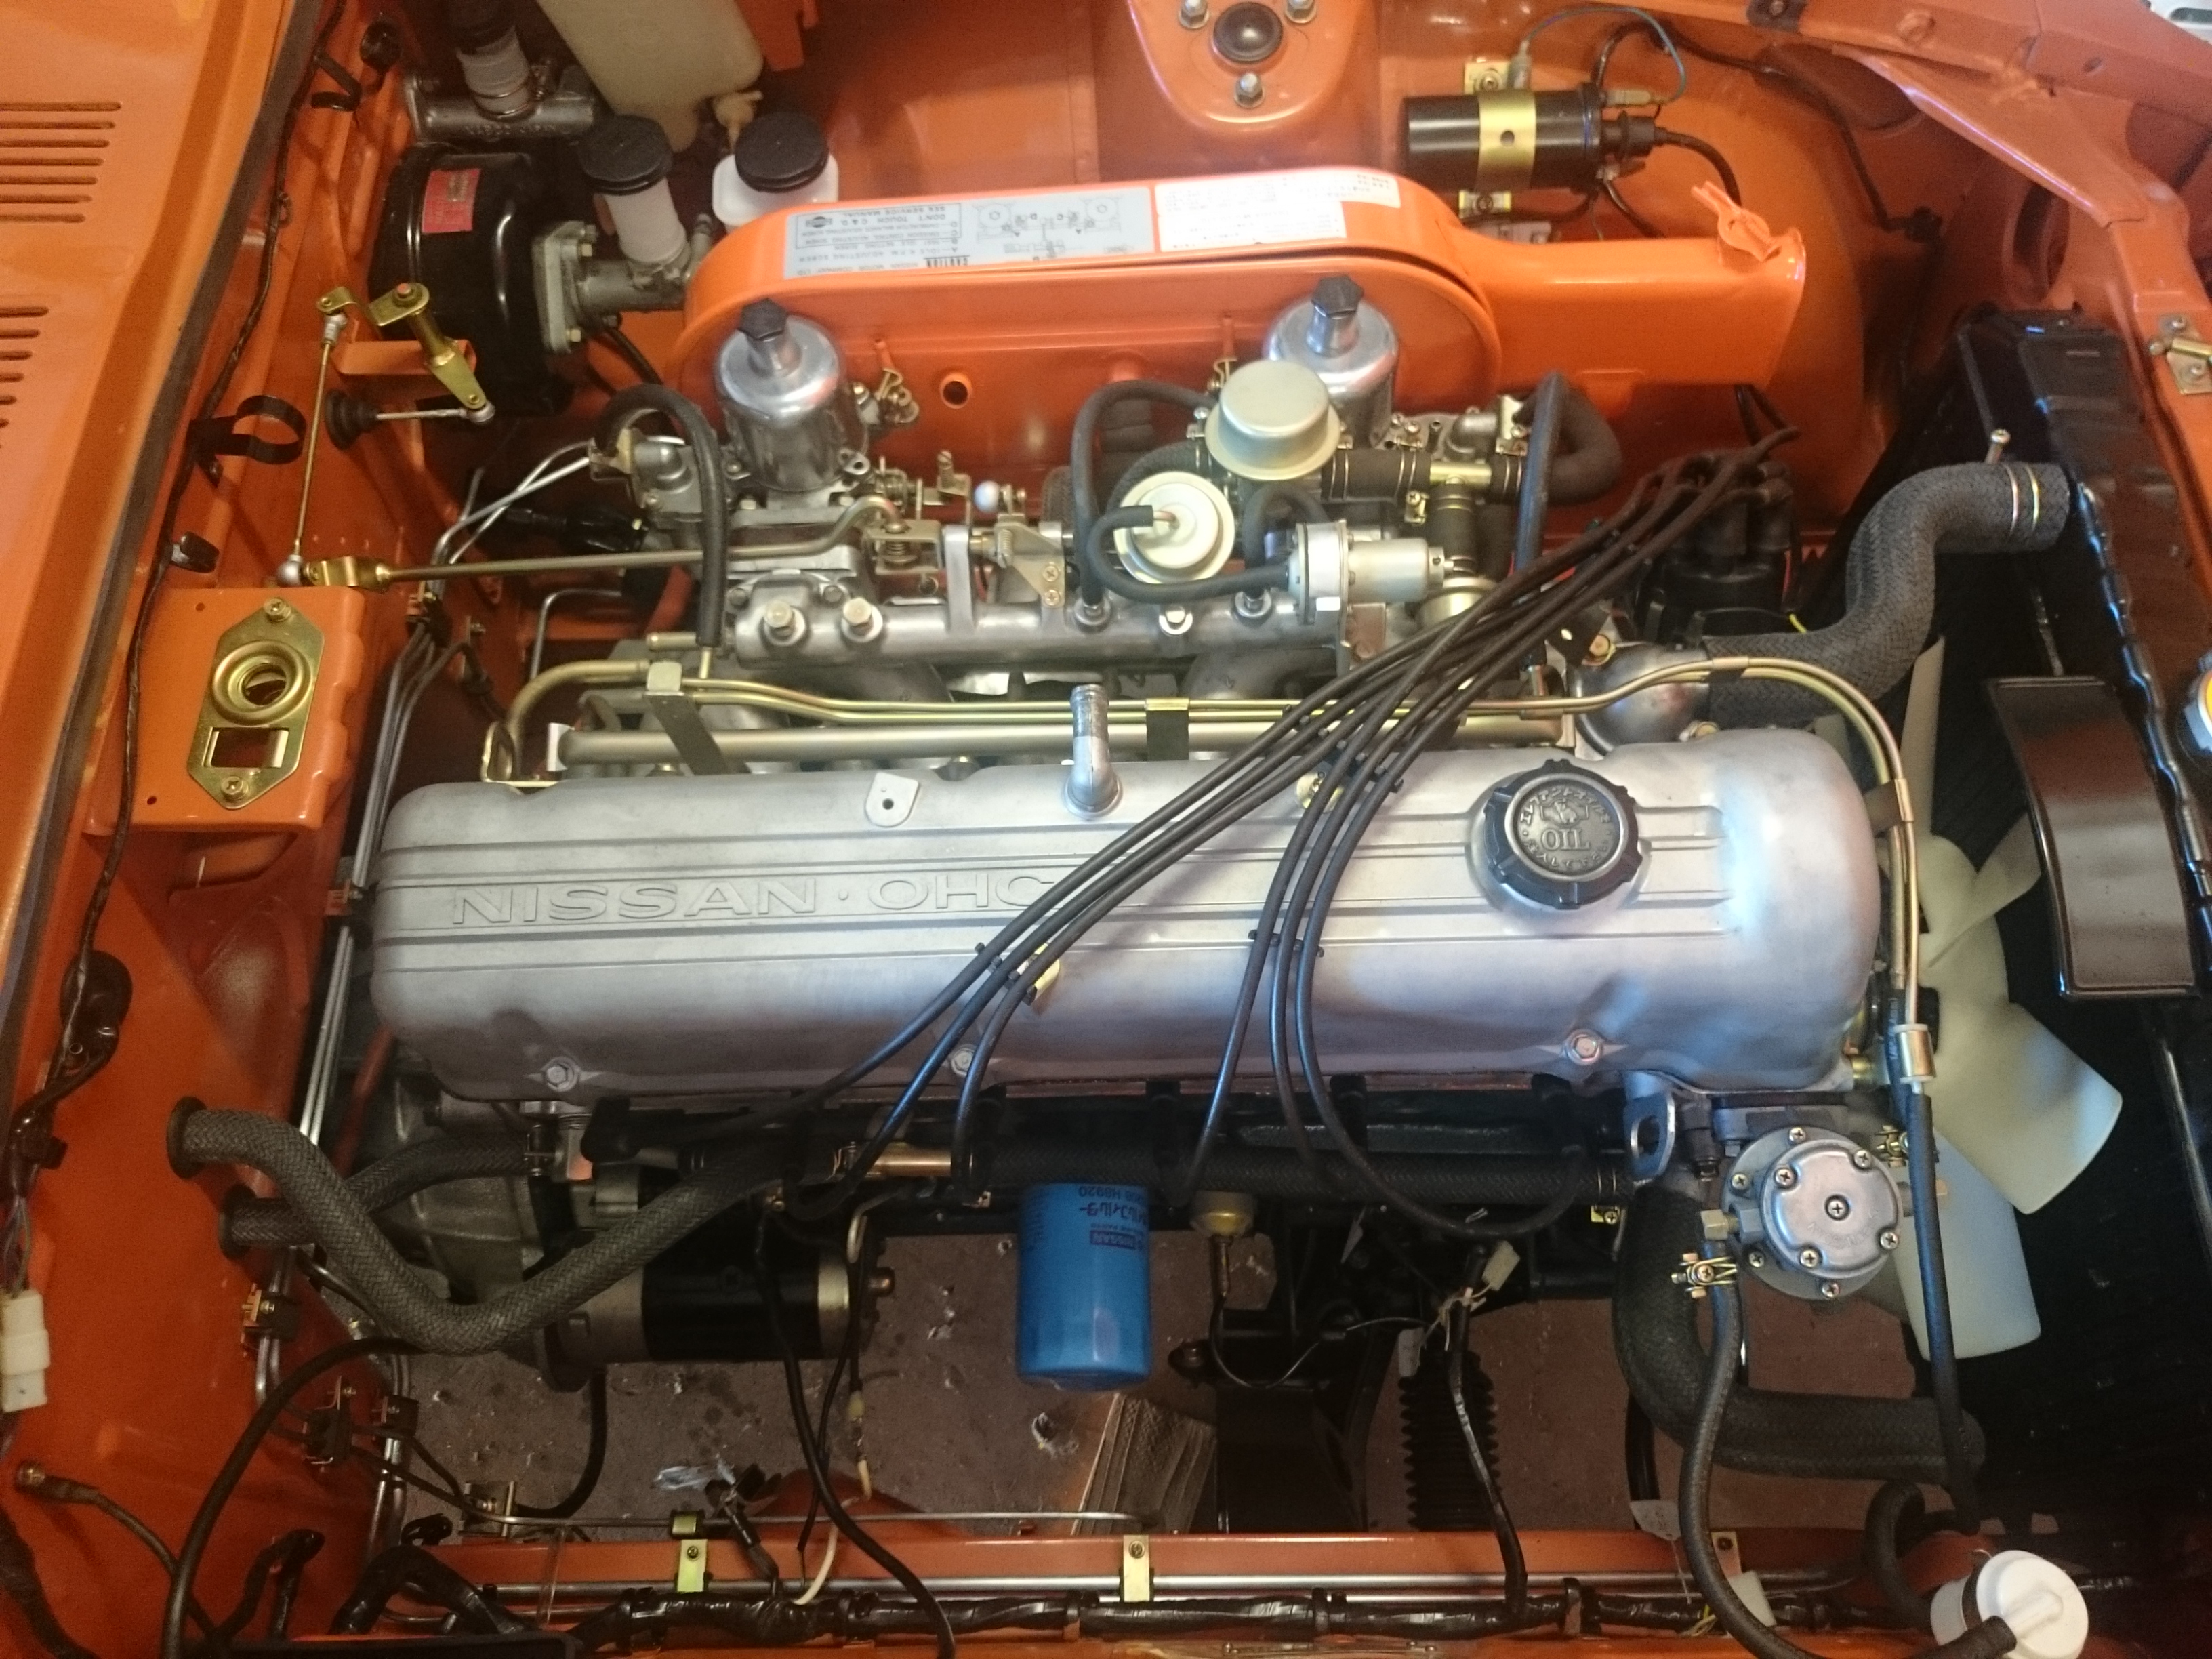
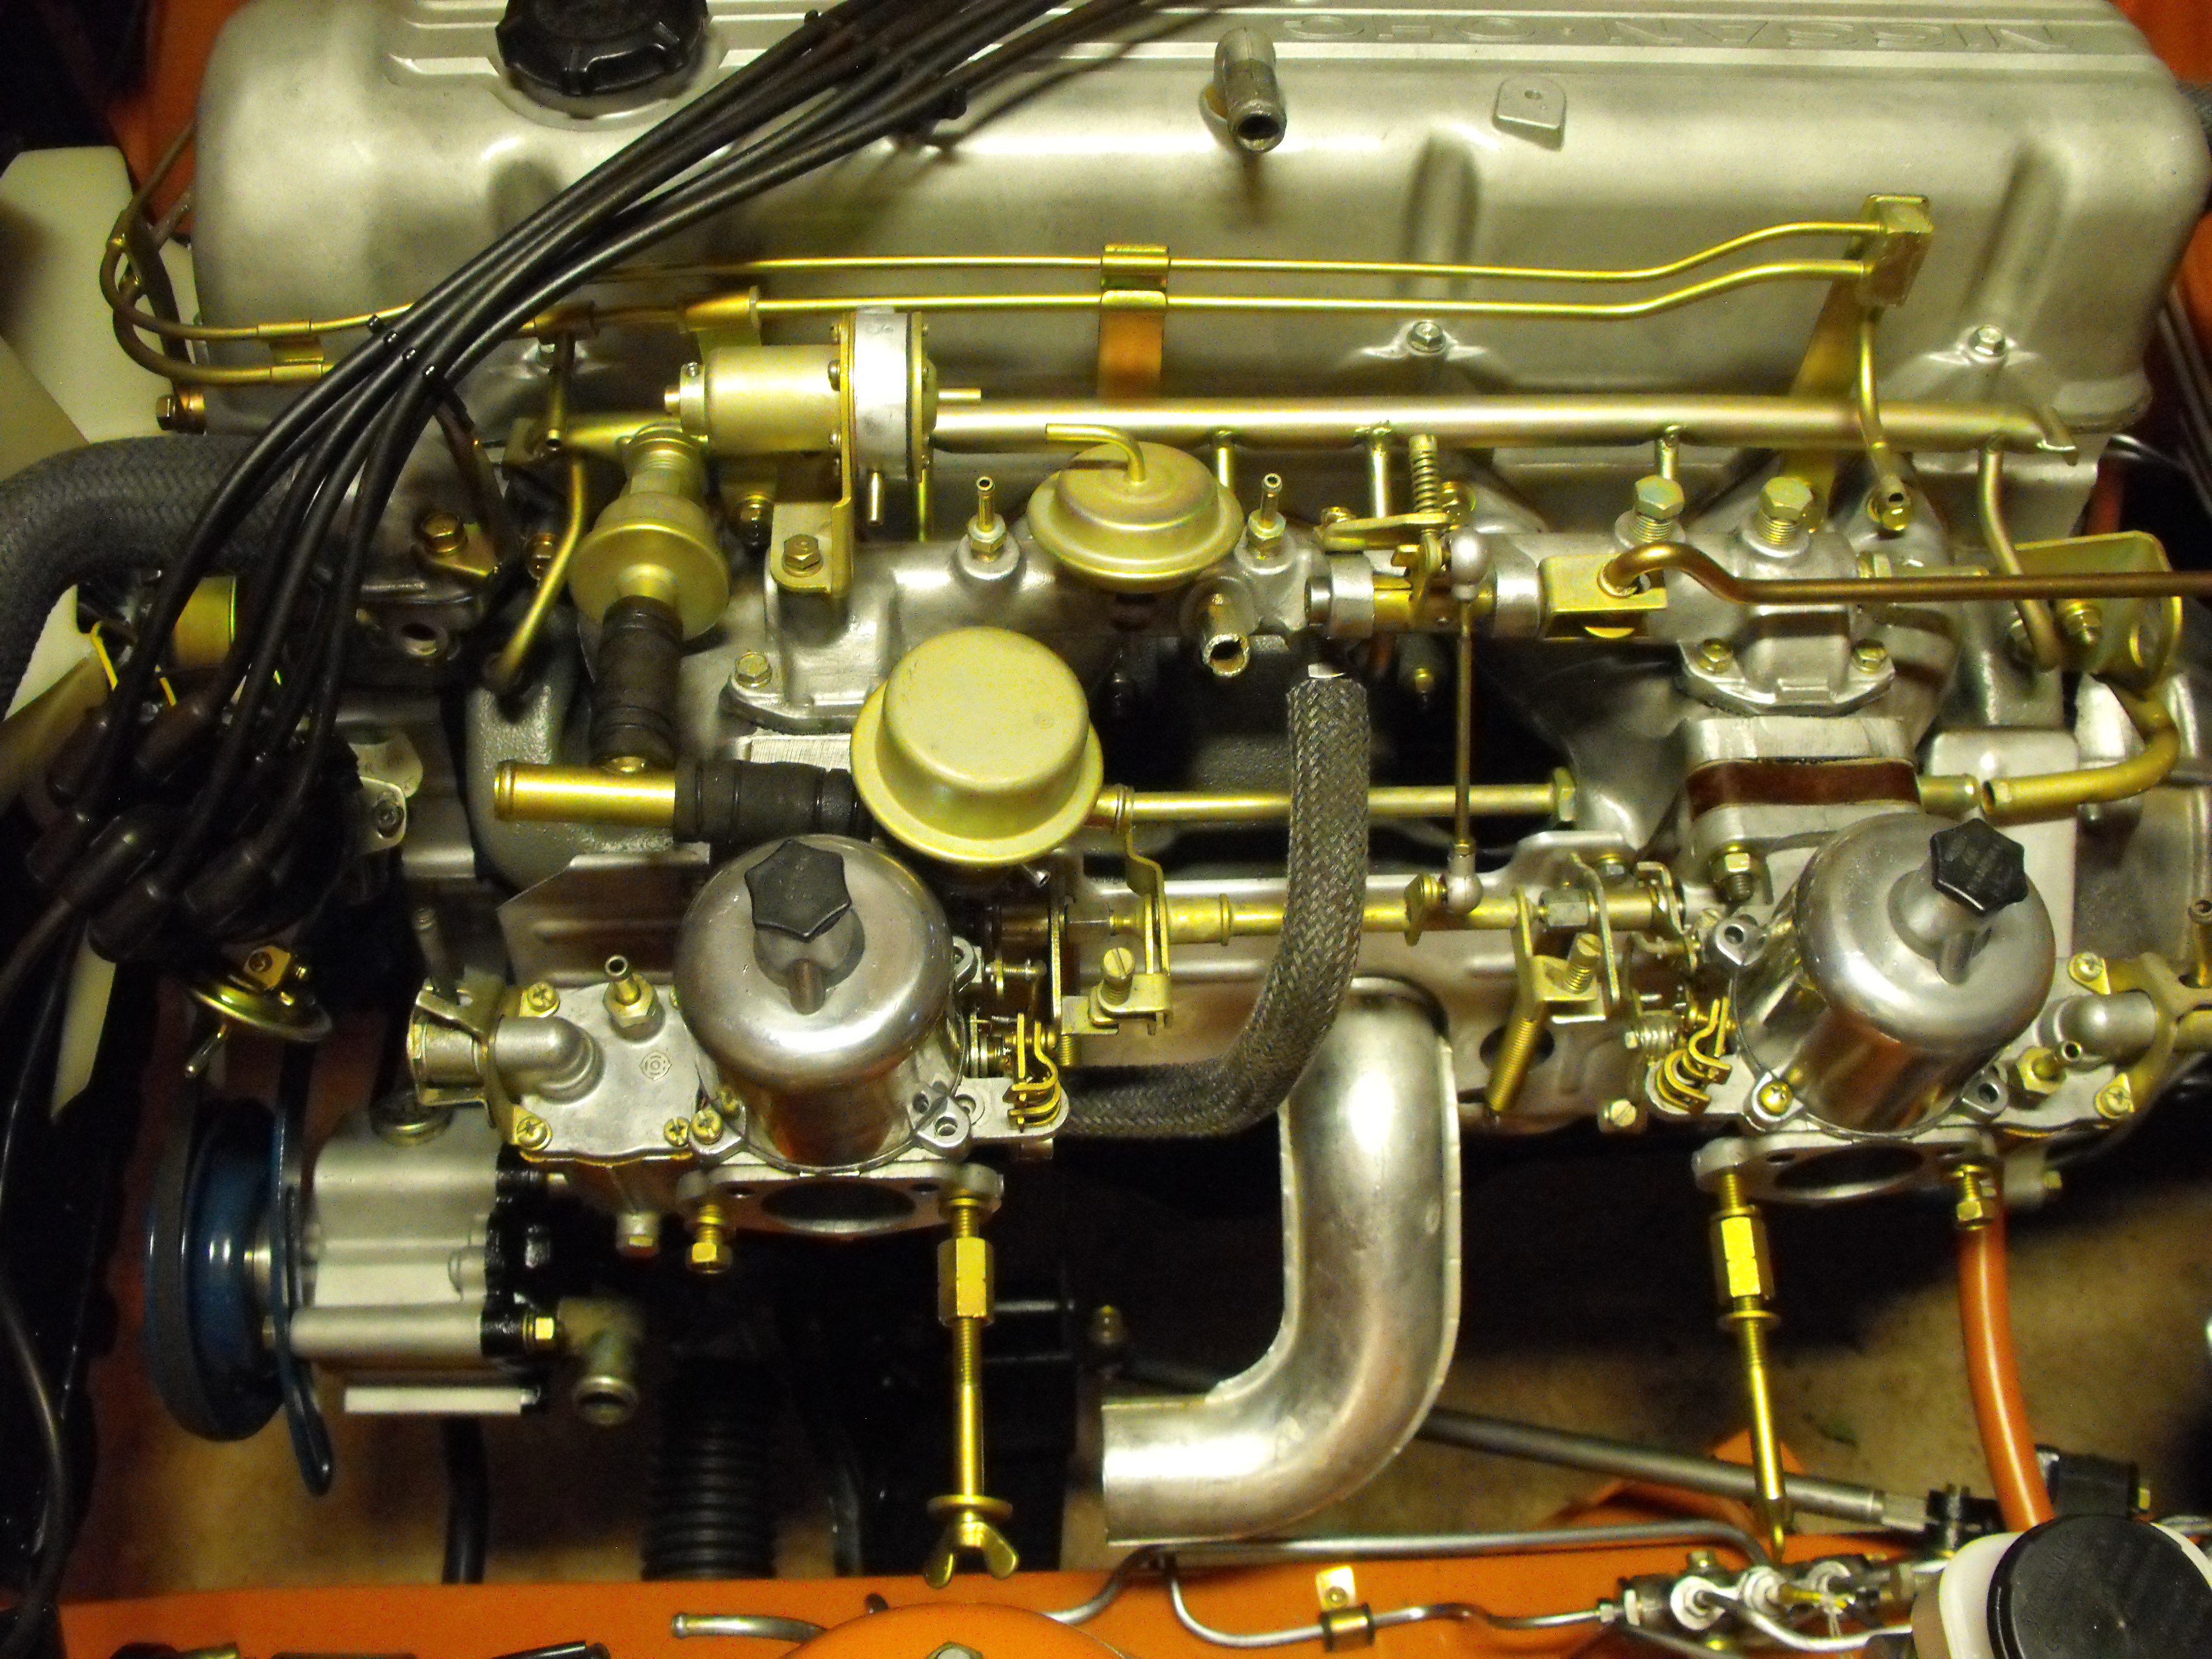
 They didn't have to Siamese the manifold runners but did Siamese both intake valves ports and both exhaust valve ports for each cylinder. The air horns extend into the air box and go as far as the long casting mark, you can see how they blended the long runner of the throttle body into the two intake valve ports. Exhaust headers on the other side of the head,
 1 point
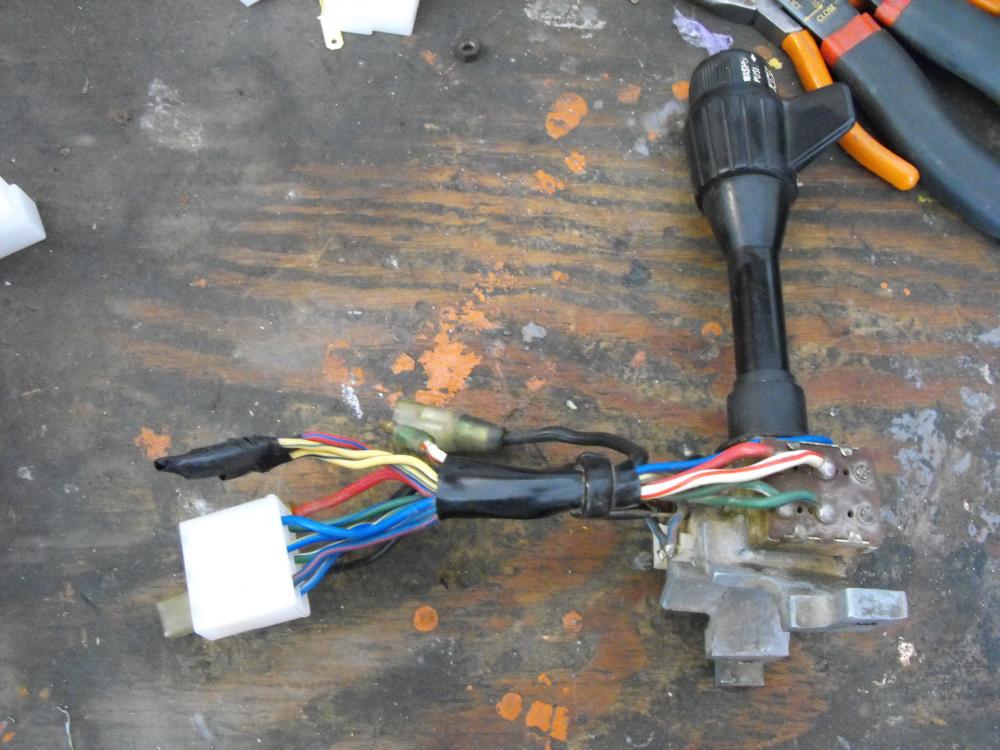
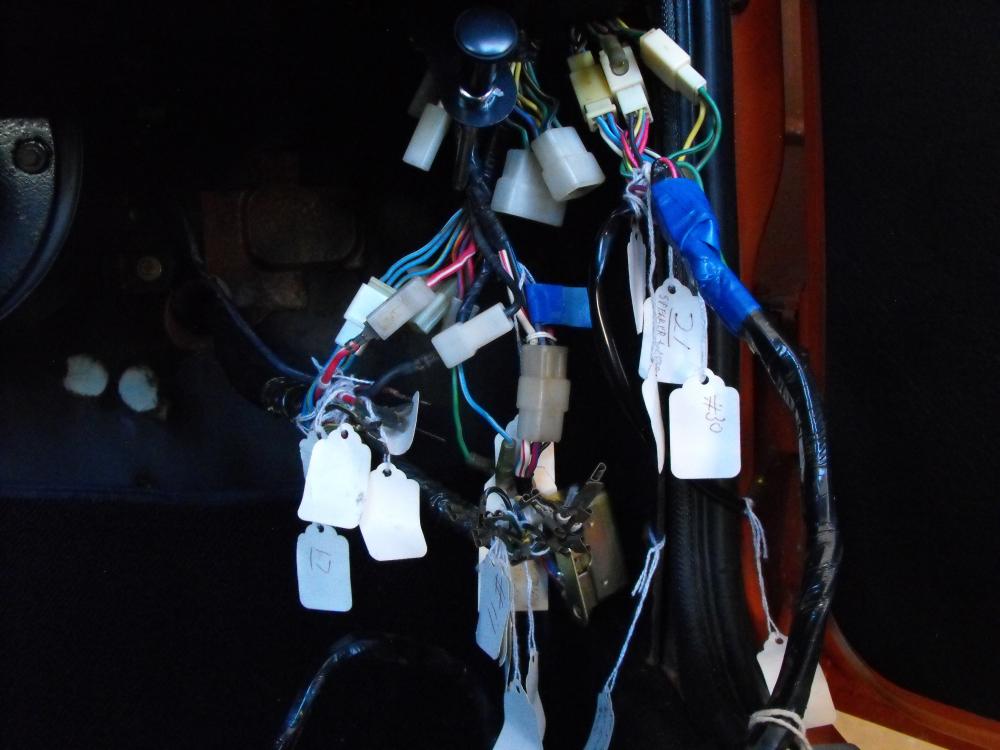
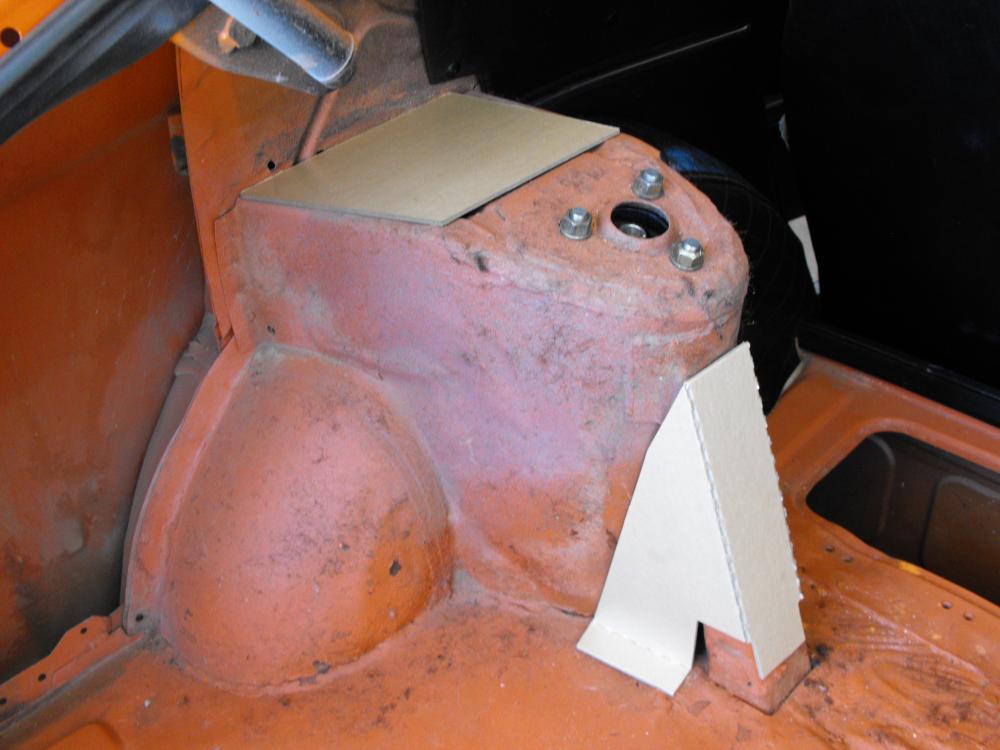
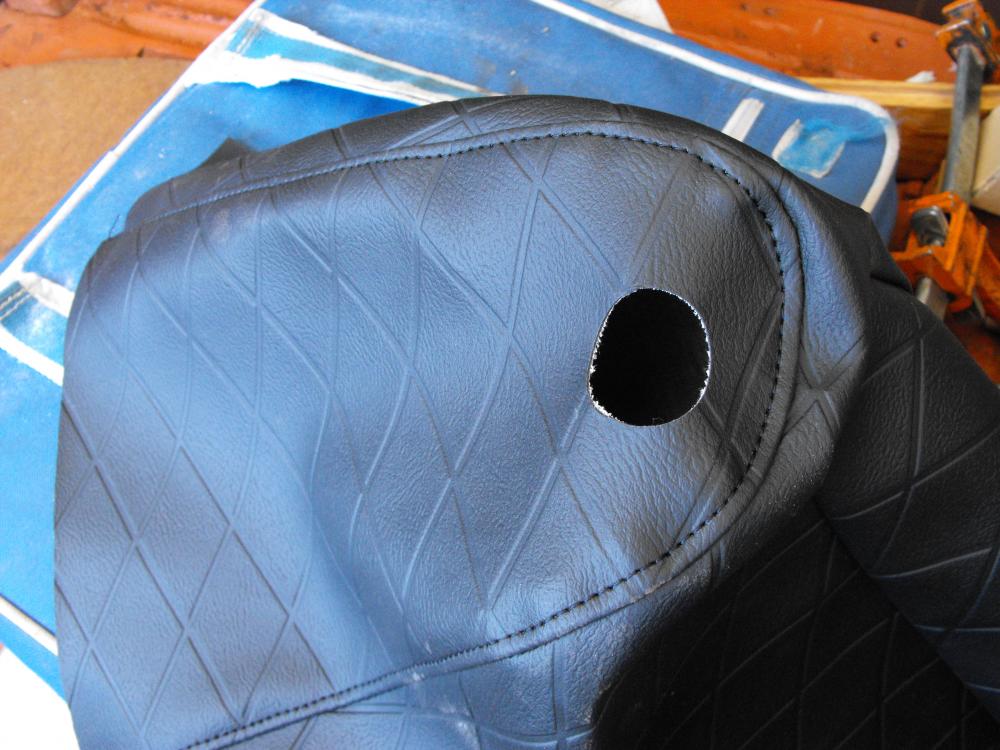
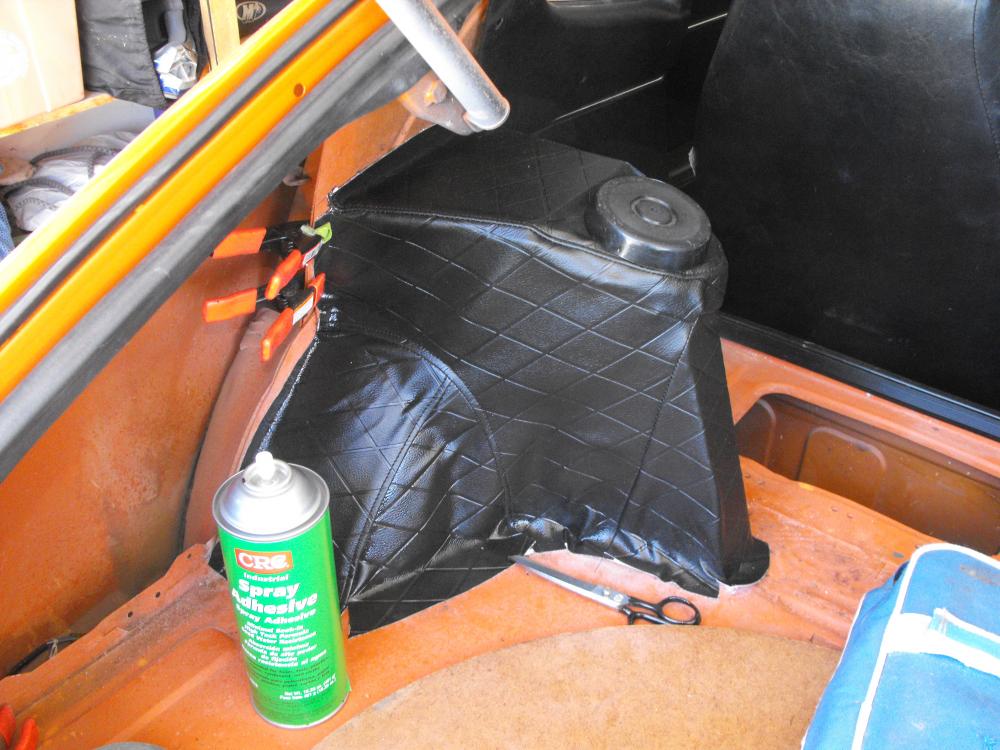
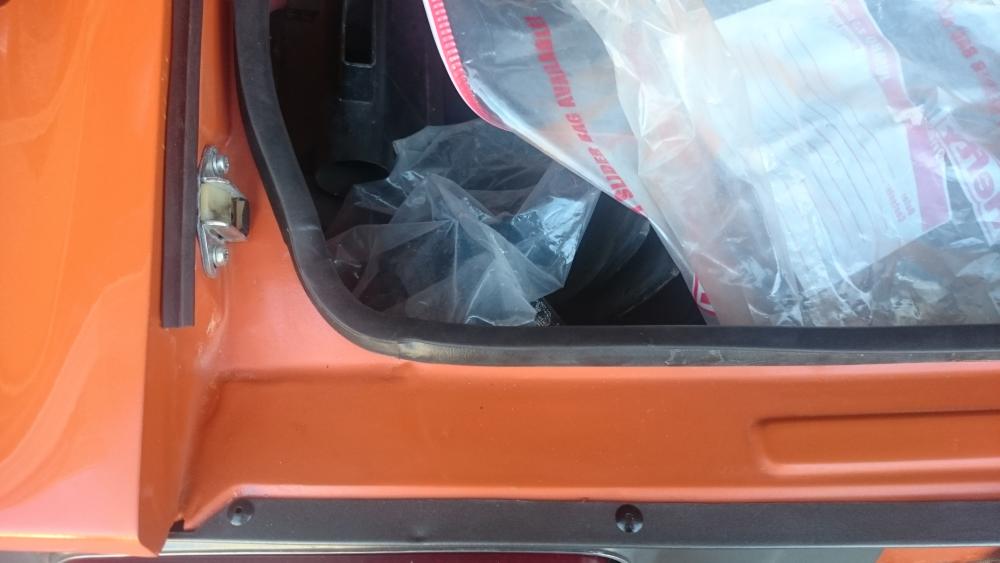
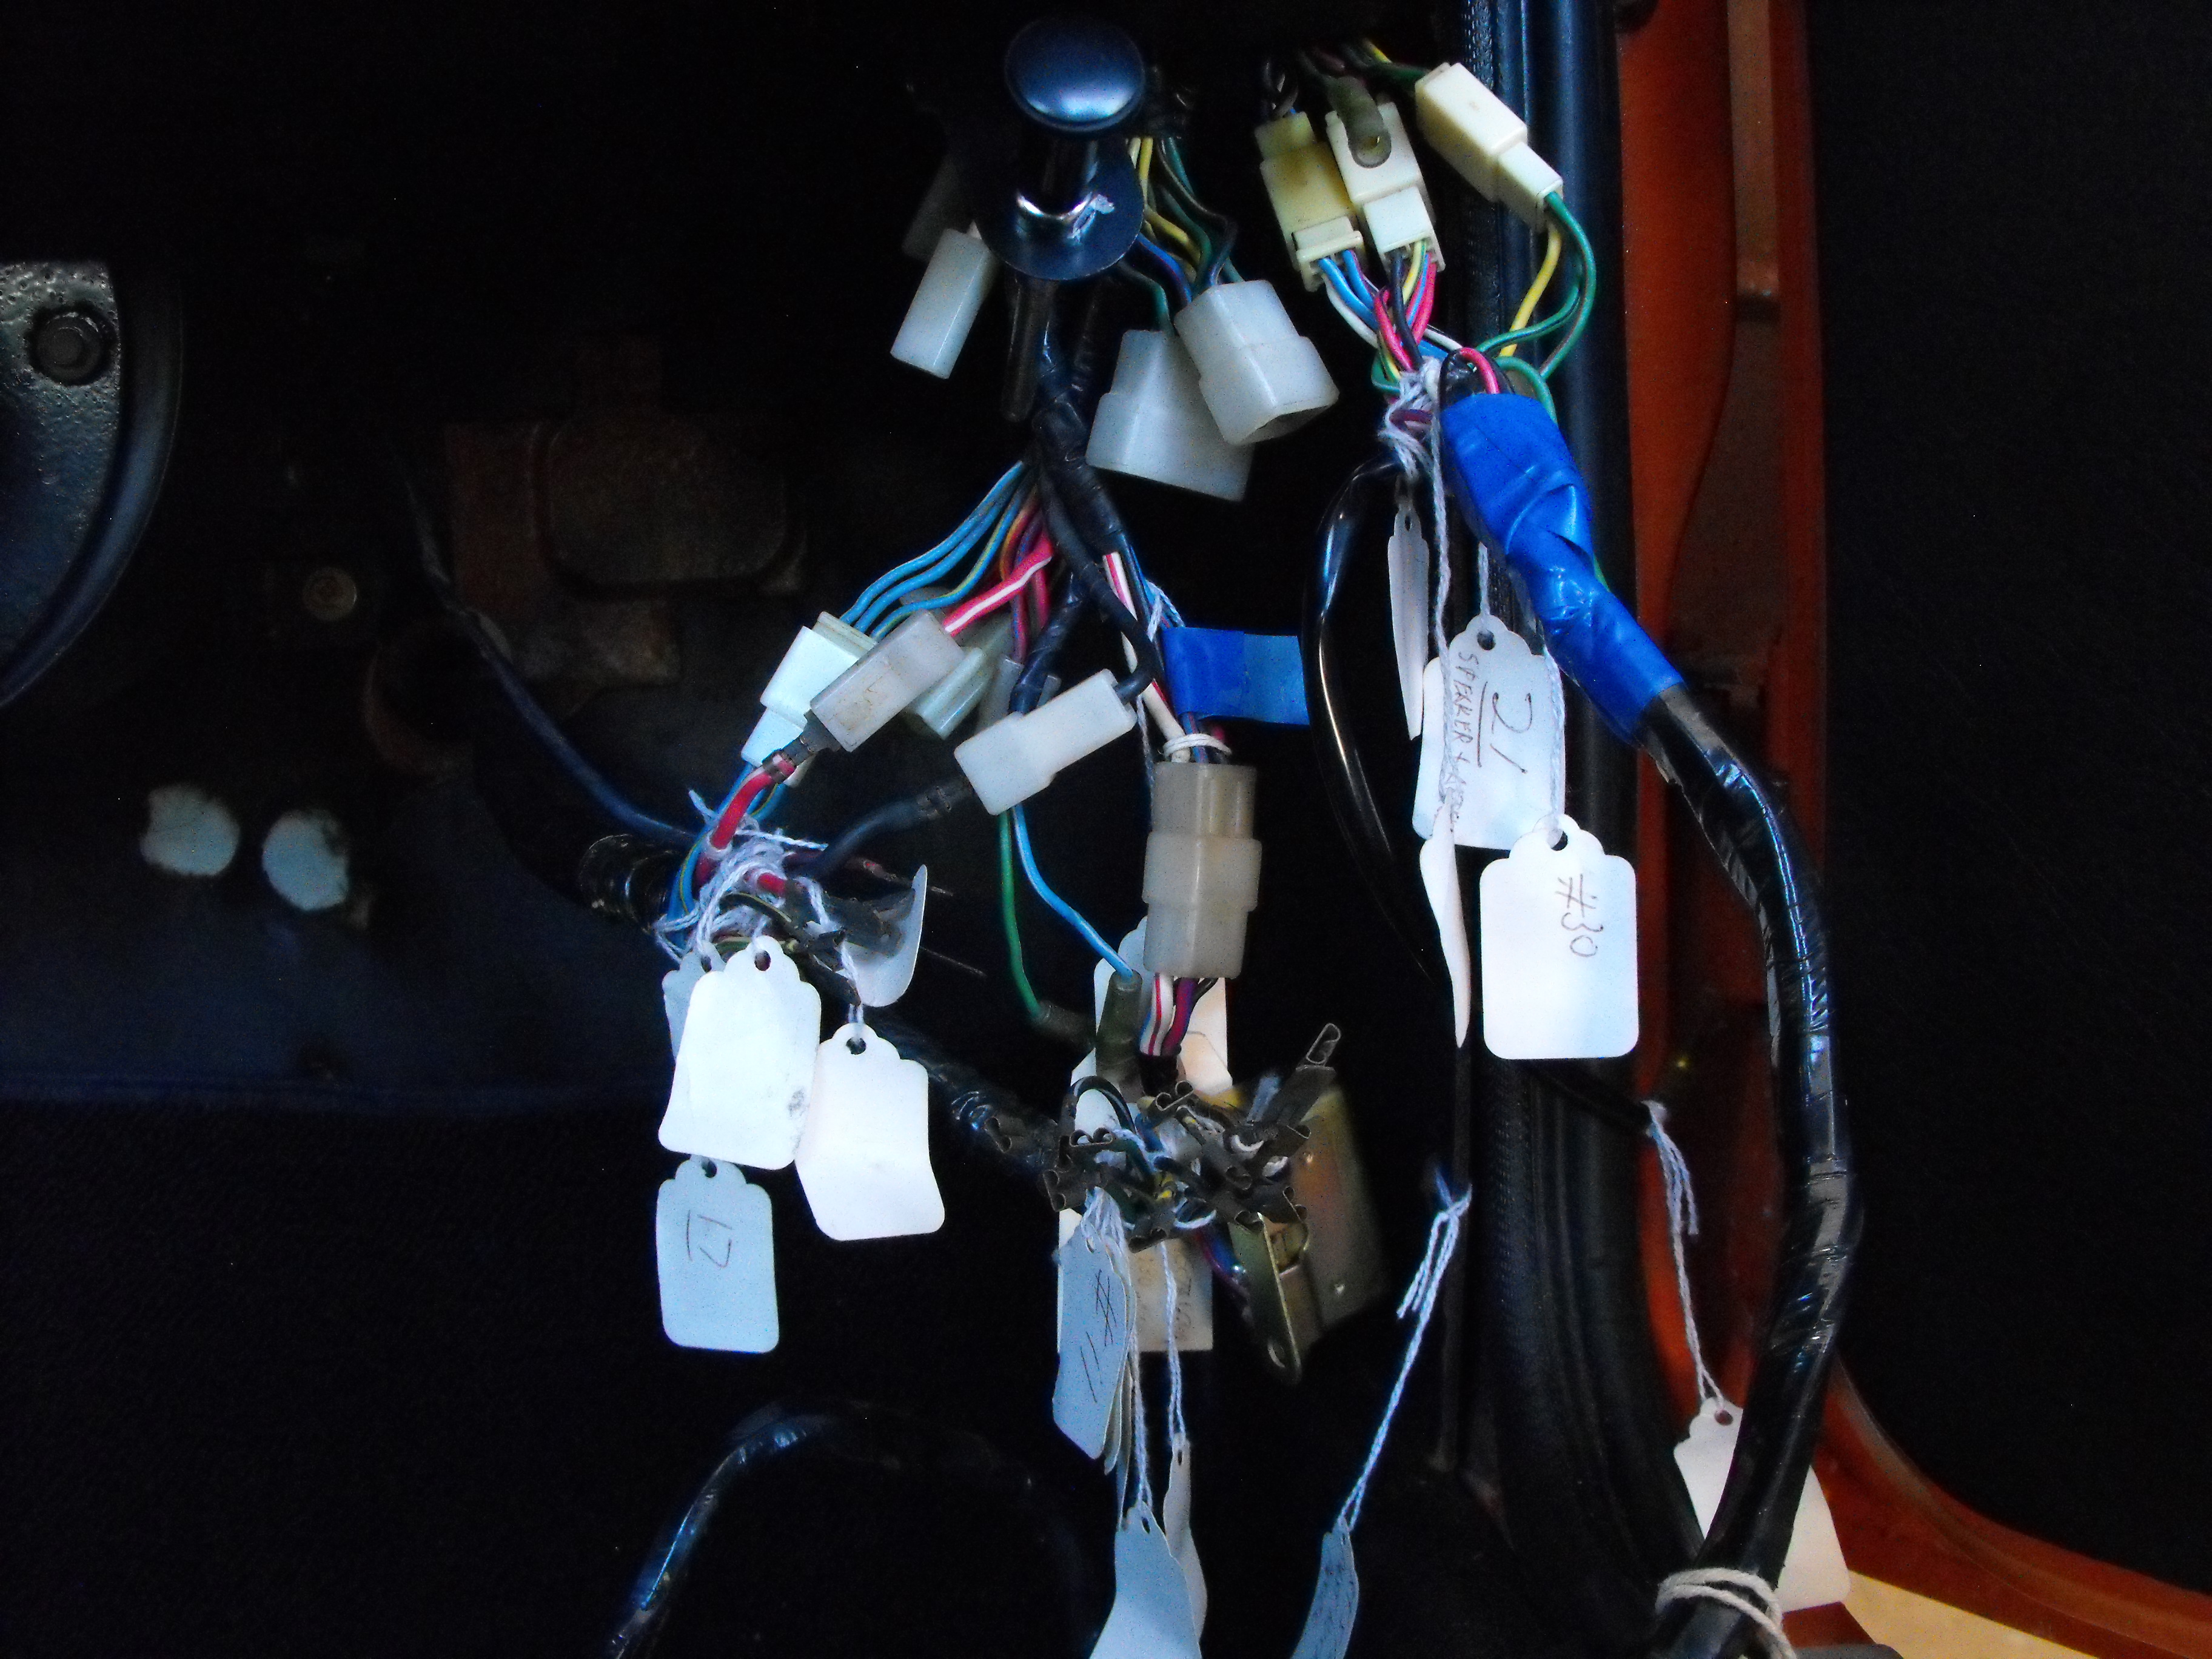
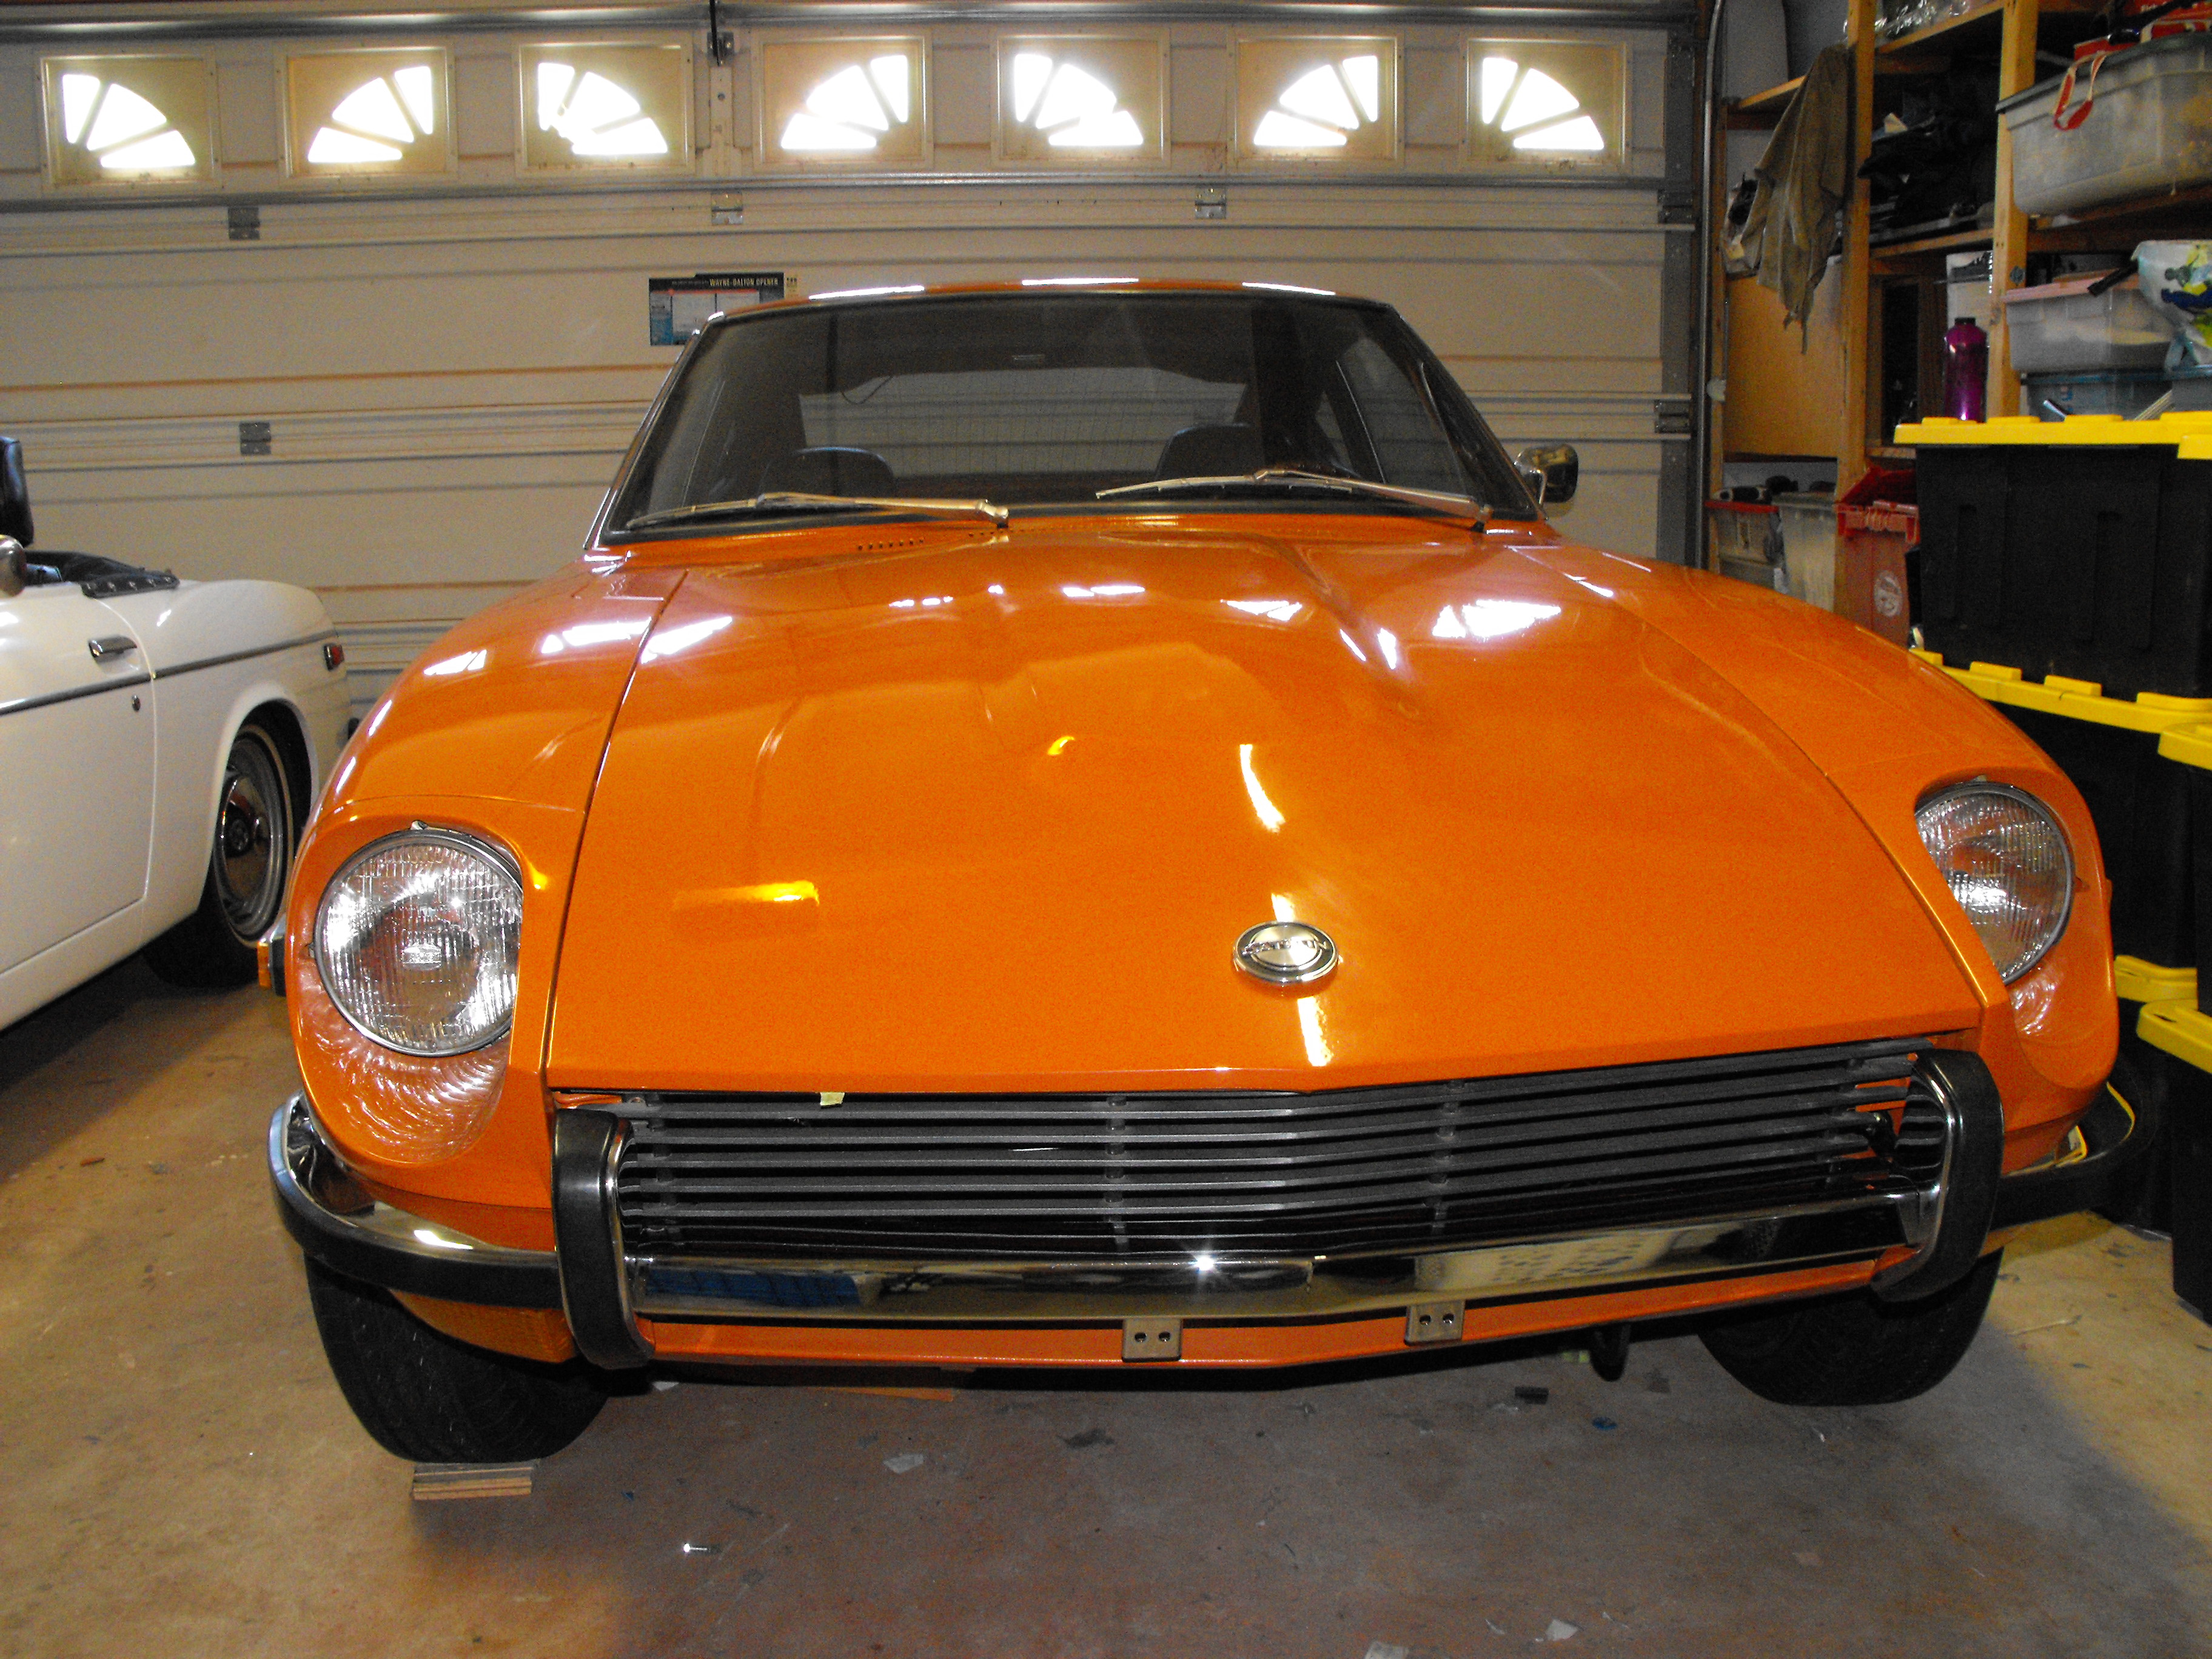
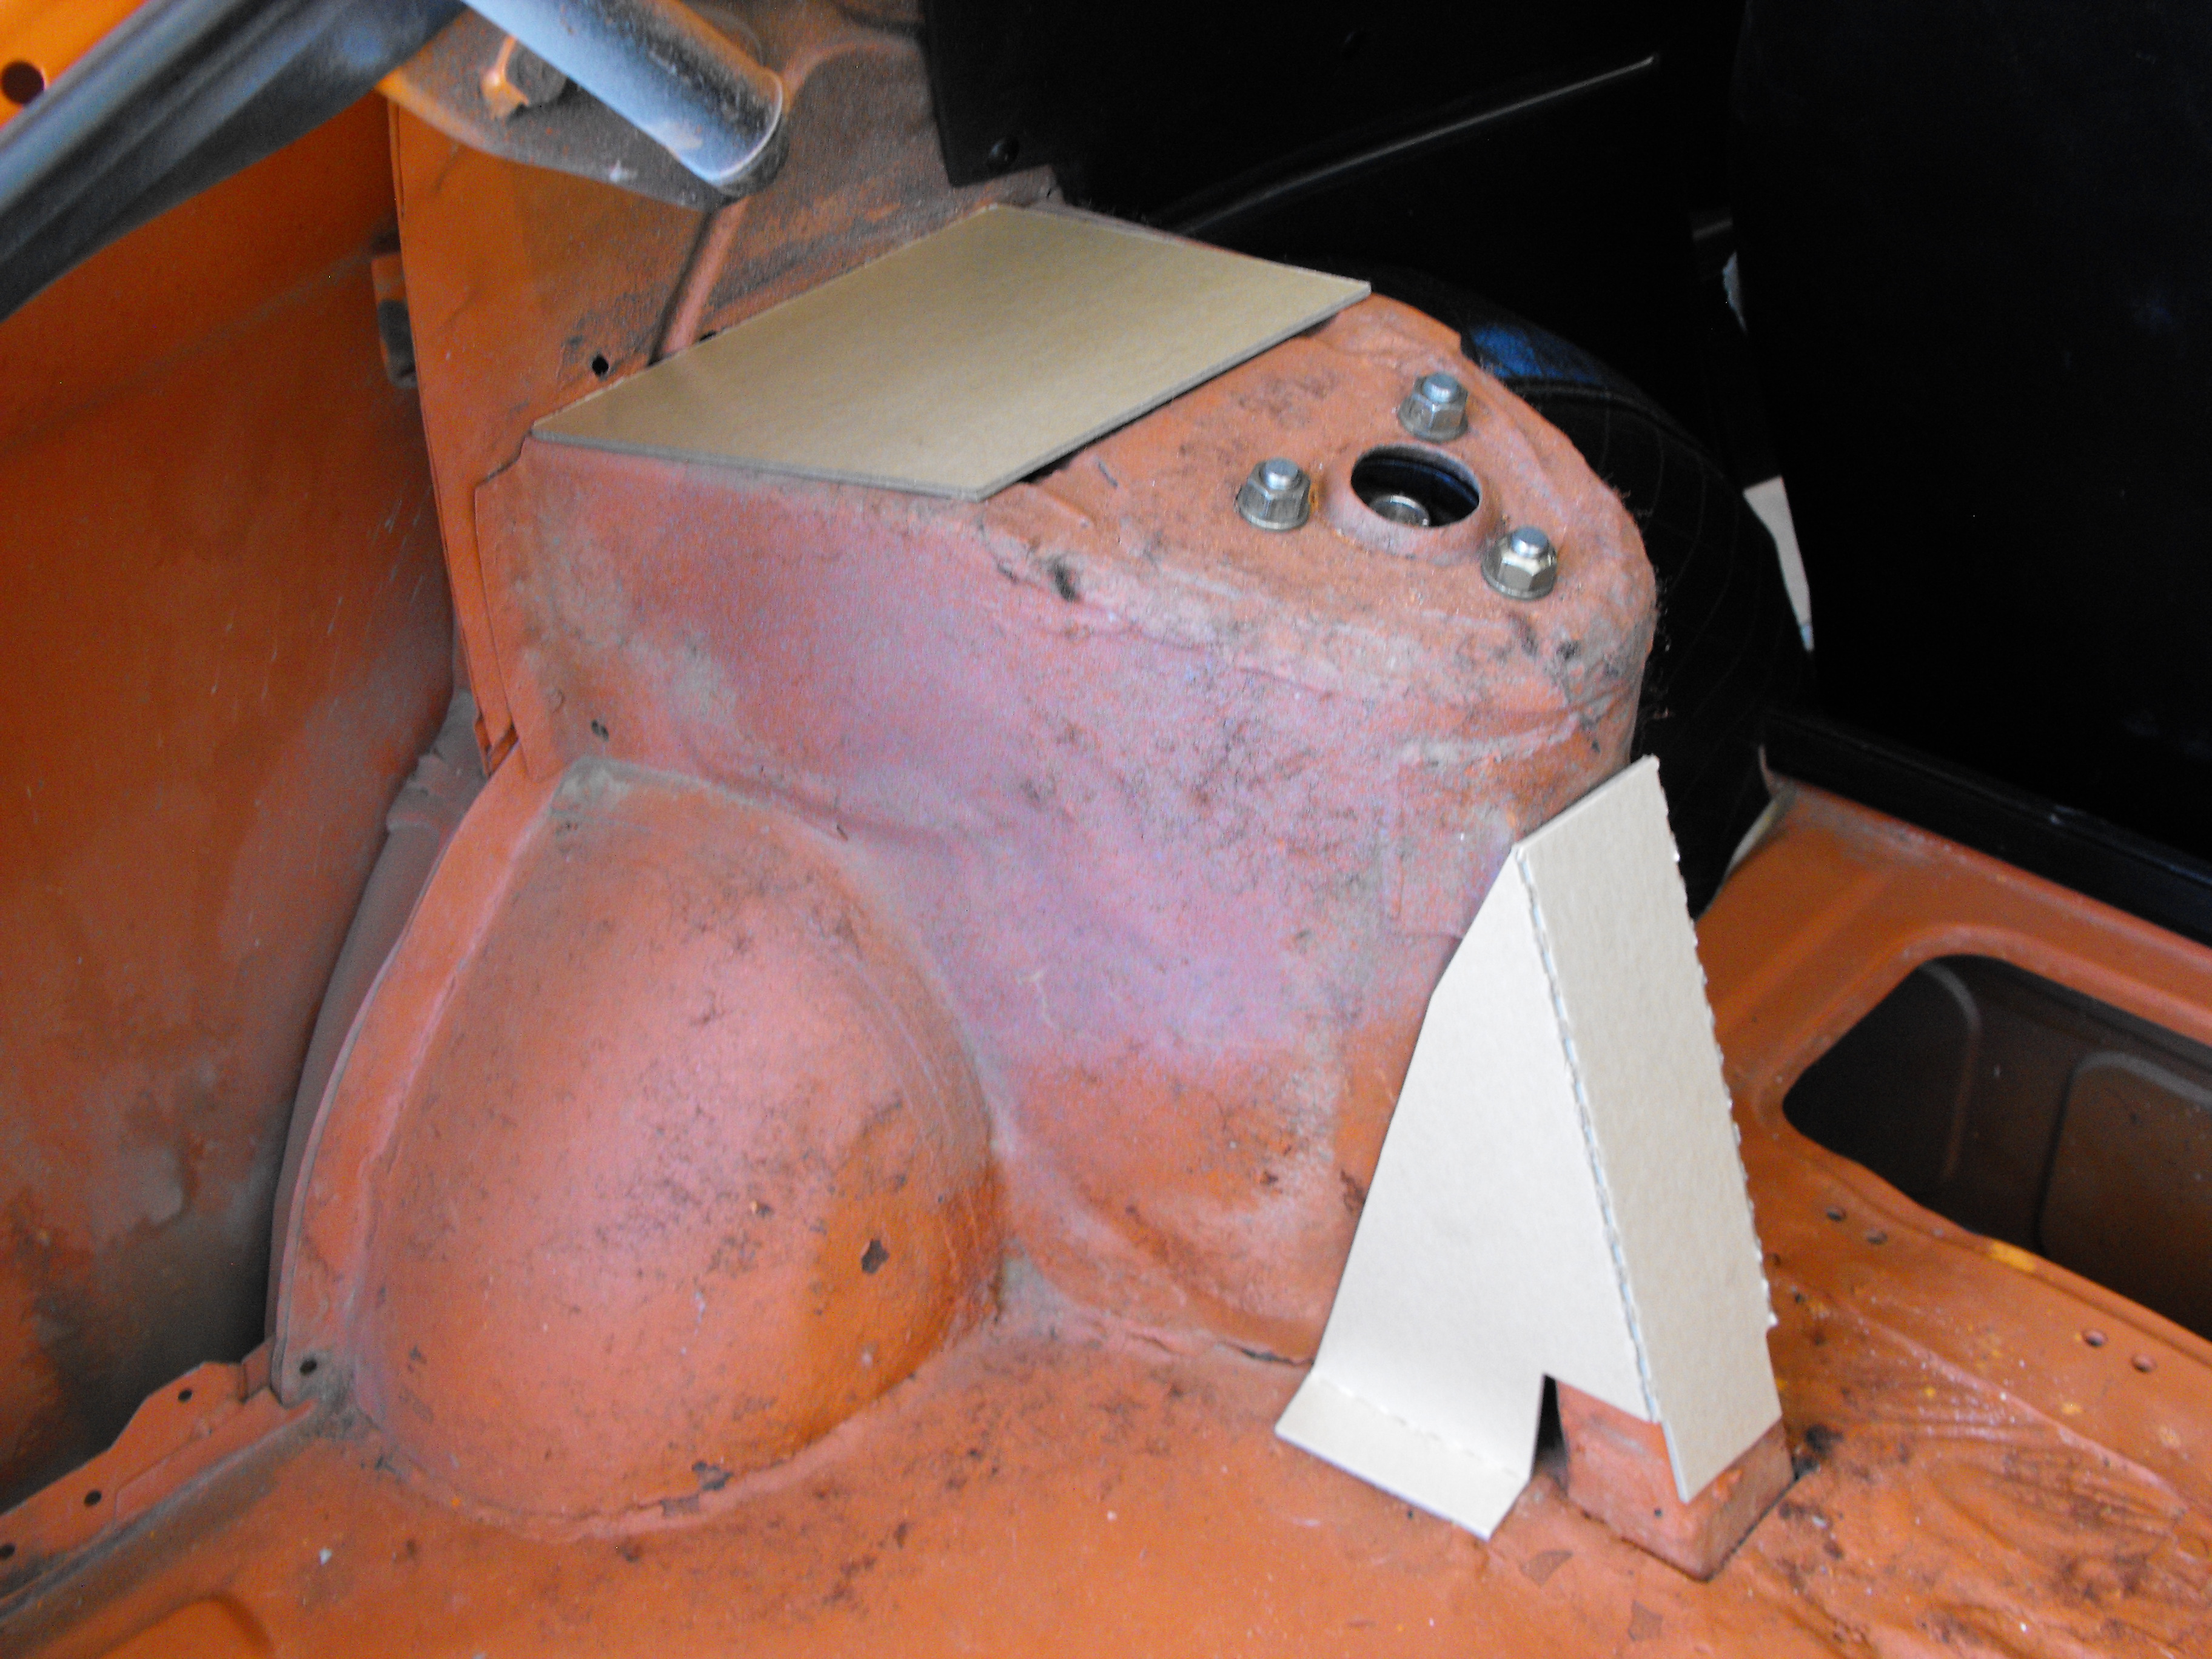
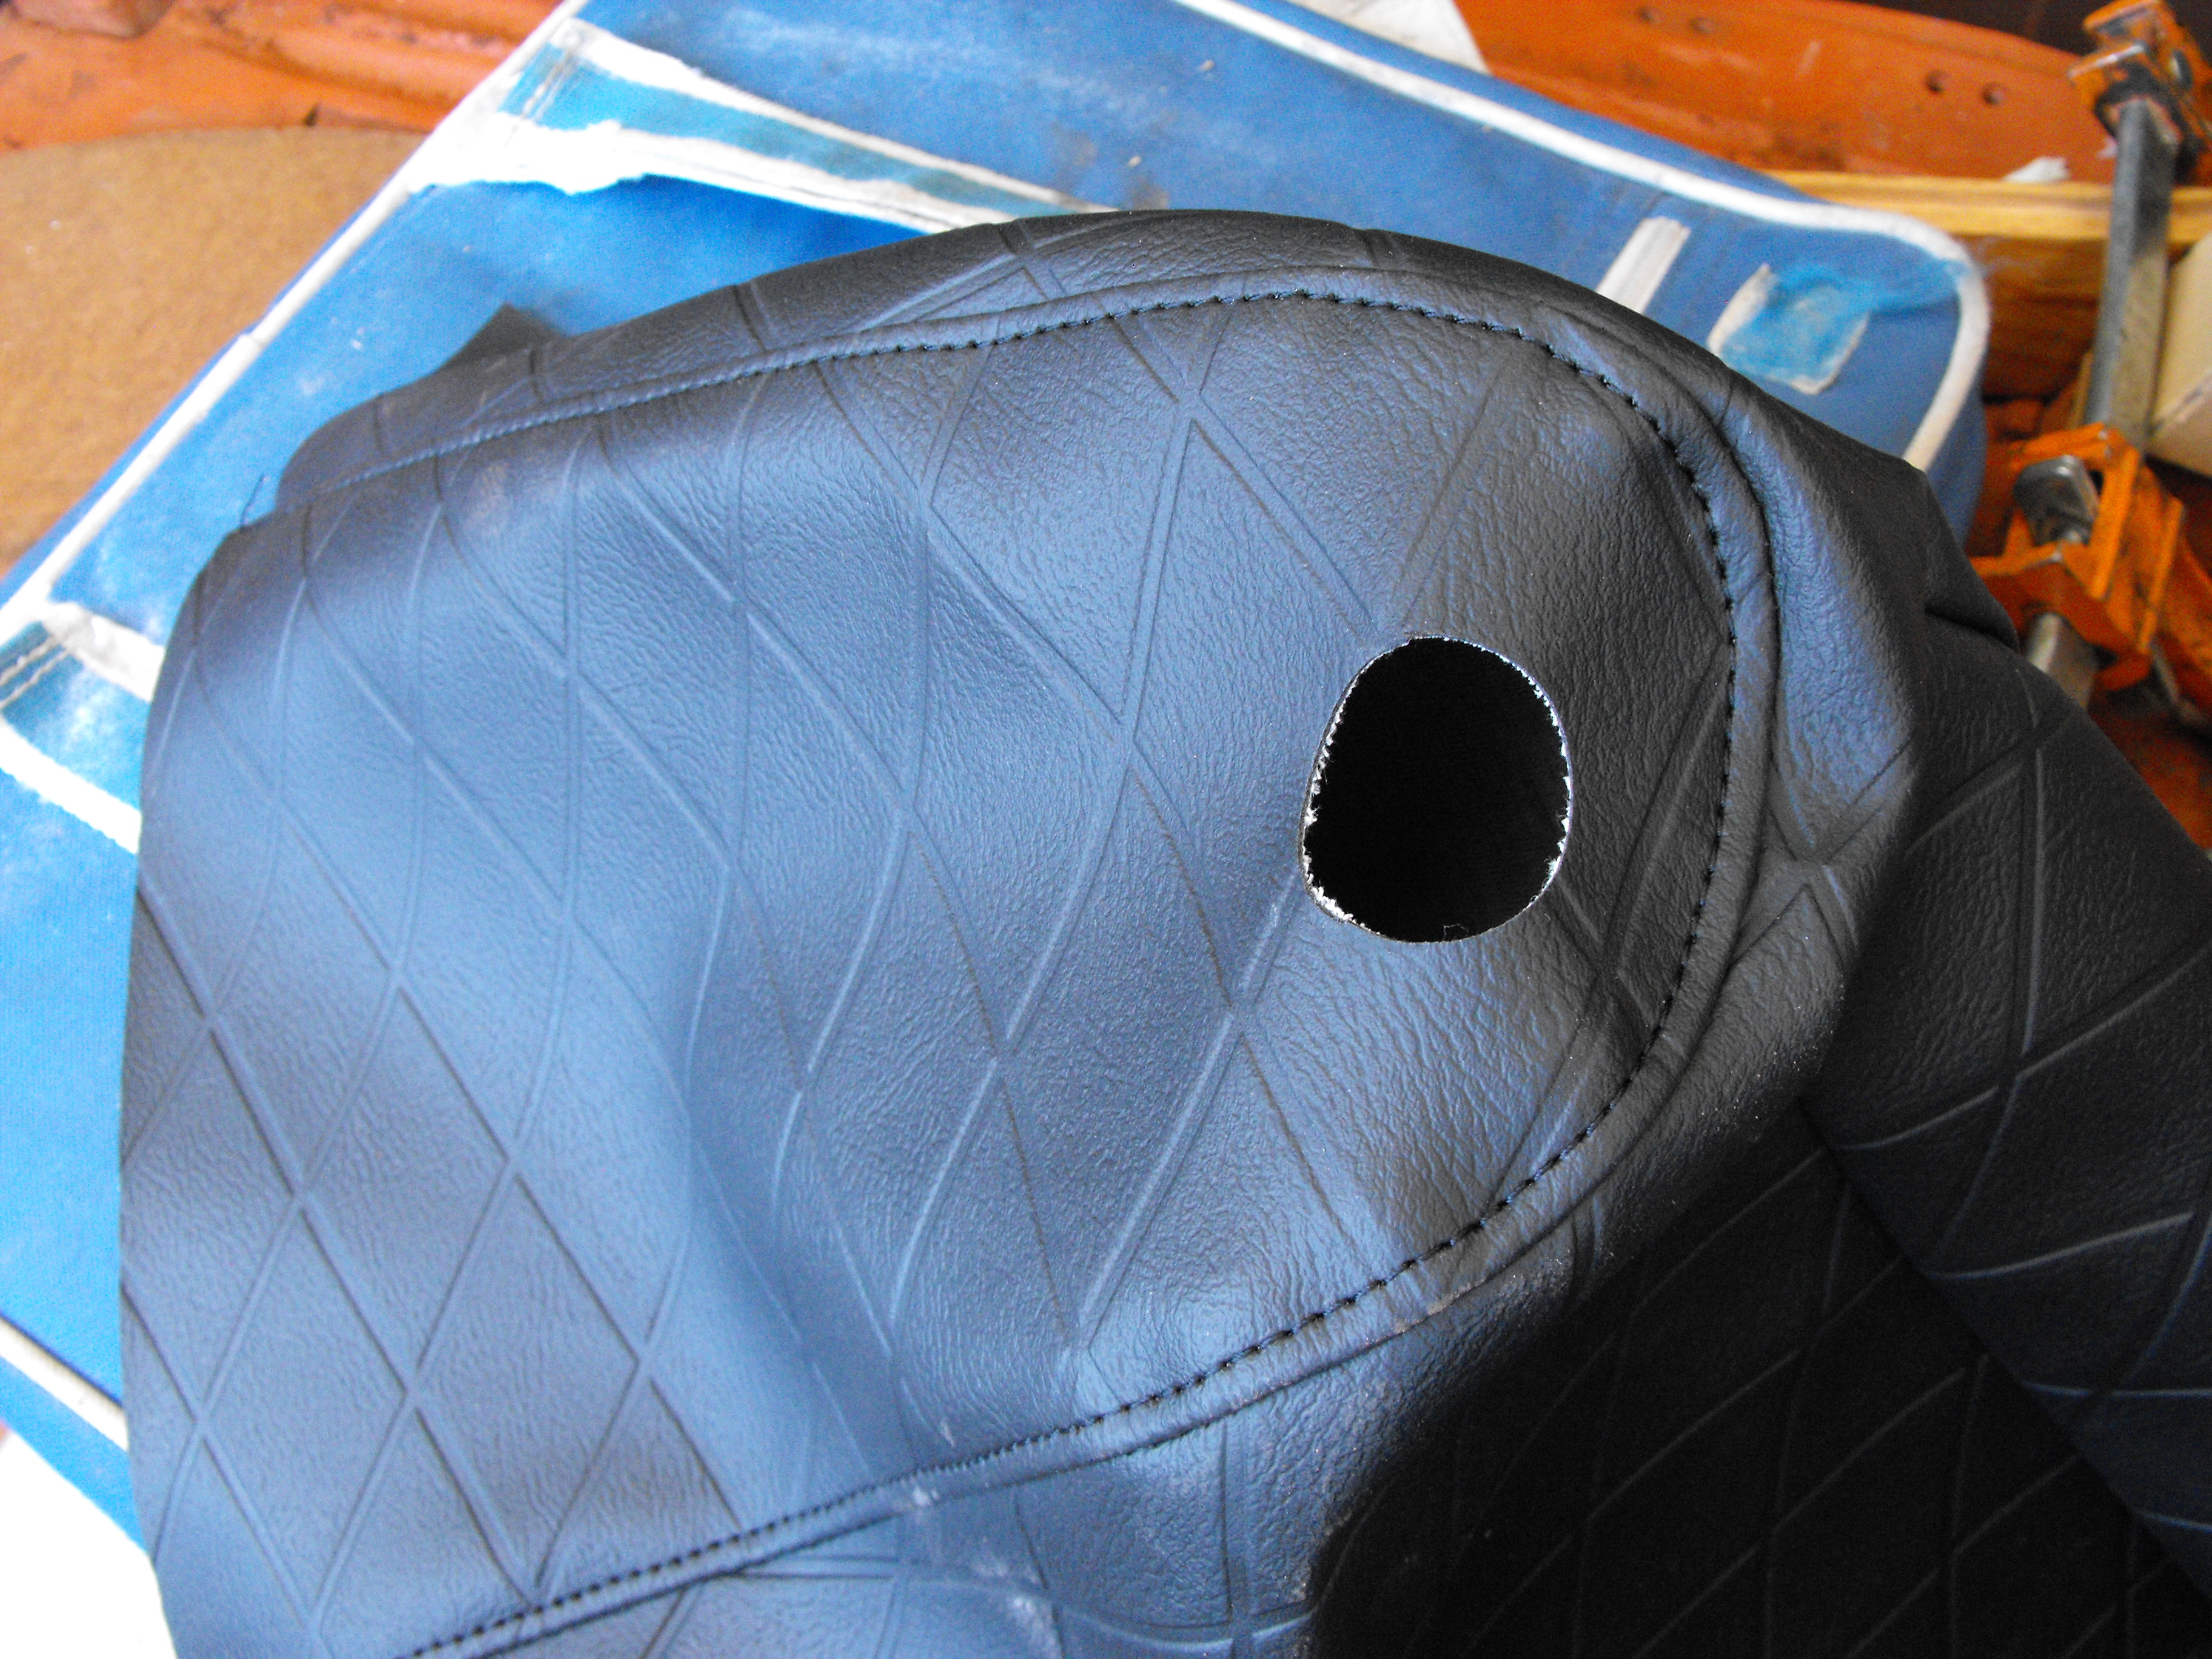
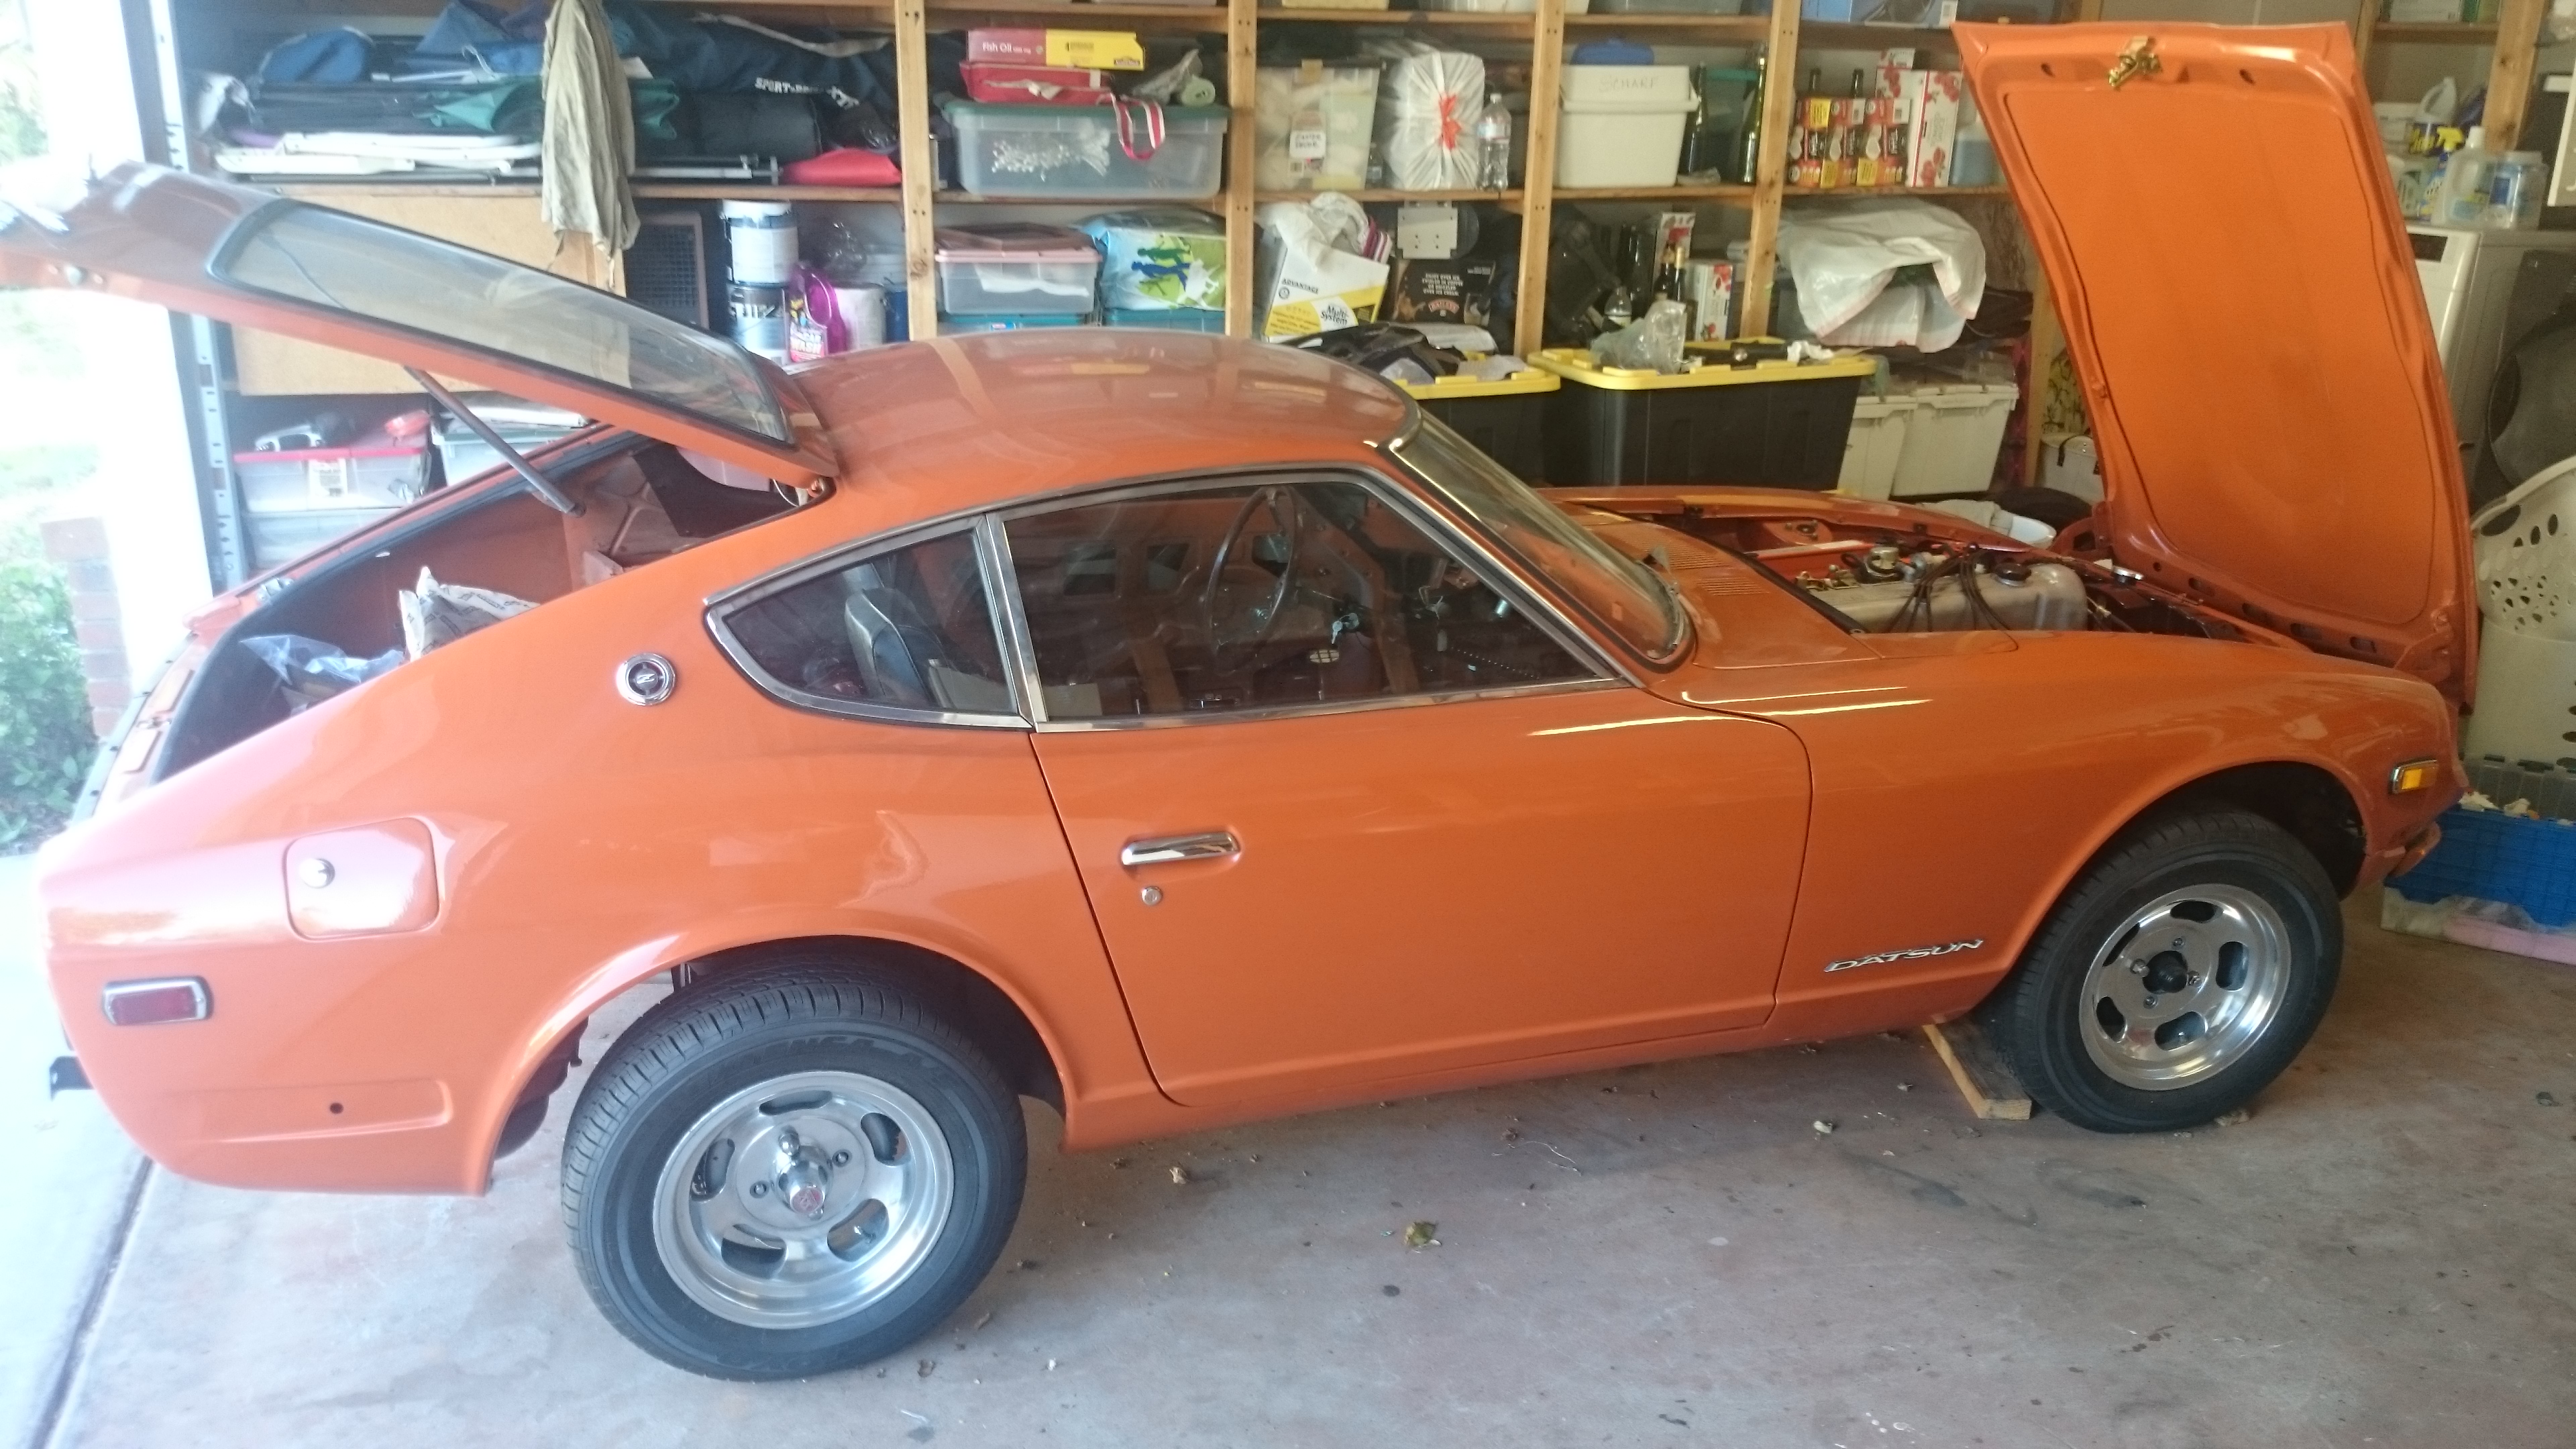
Made a lot more progress this weekend. Should be ready to turn the key in a week or two here. Very excited about that. I bought the wrong year light/wiper lever on ebay. My car is a '71 and the light/wiper lever is for a '74 or later and had a nine pin connector. The harness coming from my dash is a large 6 pin connector. So, I had an extra vintage connections 6 pin shell handy and set up the switch so it has only 6 pins, with wire colors matching the dash harness. The 'spare' wires were a red wire and two yellows. Hopefully they don't do anything important. My guess is that they operate a buzzed if you leave your lights on when ignition is off, but I could be wrong. I got the hood release cable in from ebay/Thailand. It is lame, but it works well. Lame because the handle looks cheap. I will have to get a correct one and replace it. So, now I can close the hood. I also adjusted the hood gap at the wiper panel so things line up well. Now I can take pics of the car with the hood closed. I got the wiring in the passengers foot well are about 95% complete. The engine harness did not have any connector shells on it, so I picked up the necessary shells from Vintage Connections. I thought the wiring would take several days to figure out but it was incredibly simple and only took about 30 mins. The PO had tagged and grouped the wires that went to each connector. All I had to do was get the correct shell and insert the wires int the shell matching the mating color. Such a relief that is was so simple. Got the vinyl in on the shock towers. It came out OK. It was a bit challenging as the material seemed to be a bit off on the pattern shape. Also, the hole in the vinyl was no where near where the center shock nut should be. So I used scissors to adjust the cutout, and also cutout around the 3 nuts that secure the strut. I also had to remove the panel around the rear quarter window to get the material in. So, things are moving along. Pics are below
1 point
1 pointMade a lot more progress this weekend. Should be ready to turn the key in a week or two here. Very excited about that. I bought the wrong year light/wiper lever on ebay. My car is a '71 and the light/wiper lever is for a '74 or later and had a nine pin connector. The harness coming from my dash is a large 6 pin connector. So, I had an extra vintage connections 6 pin shell handy and set up the switch so it has only 6 pins, with wire colors matching the dash harness. The 'spare' wires were a red wire and two yellows. Hopefully they don't do anything important. My guess is that they operate a buzzed if you leave your lights on when ignition is off, but I could be wrong. I got the hood release cable in from ebay/Thailand. It is lame, but it works well. Lame because the handle looks cheap. I will have to get a correct one and replace it. So, now I can close the hood. I also adjusted the hood gap at the wiper panel so things line up well. Now I can take pics of the car with the hood closed. I got the wiring in the passengers foot well are about 95% complete. The engine harness did not have any connector shells on it, so I picked up the necessary shells from Vintage Connections. I thought the wiring would take several days to figure out but it was incredibly simple and only took about 30 mins. The PO had tagged and grouped the wires that went to each connector. All I had to do was get the correct shell and insert the wires int the shell matching the mating color. Such a relief that is was so simple. Got the vinyl in on the shock towers. It came out OK. It was a bit challenging as the material seemed to be a bit off on the pattern shape. Also, the hole in the vinyl was no where near where the center shock nut should be. So I used scissors to adjust the cutout, and also cutout around the 3 nuts that secure the strut. I also had to remove the panel around the rear quarter window to get the material in. So, things are moving along. Pics are below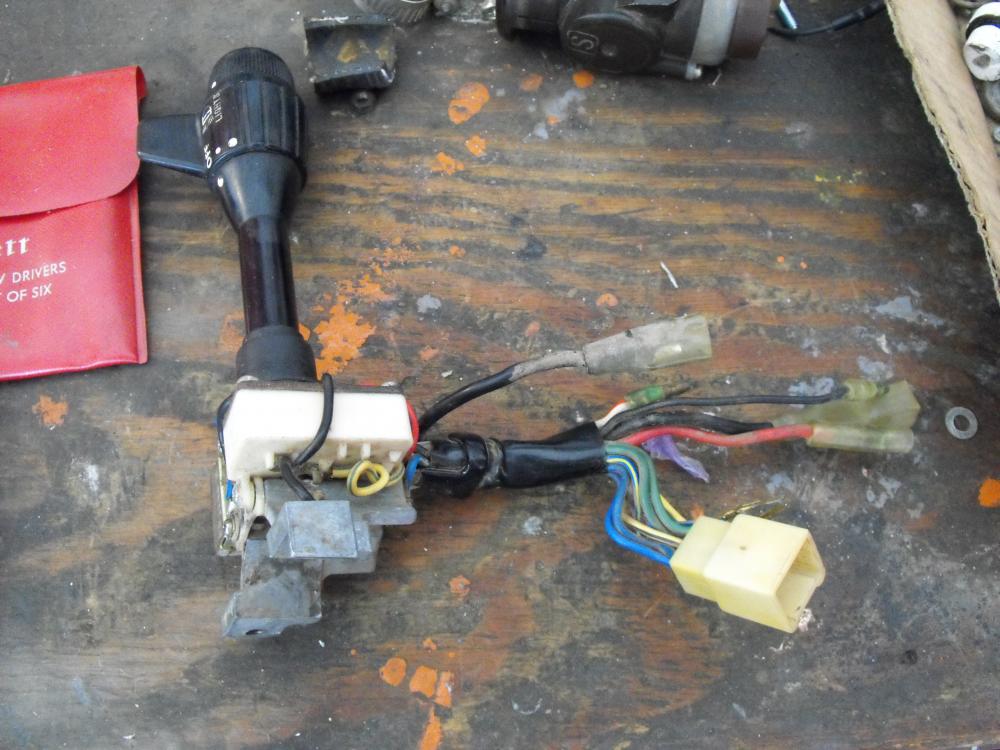


 1 point
Yesterday the low fuel light came on, I drove the gas station, indicator right at about 1/8th, 5 gallons to get to 1/2, 10 gallons to get to 3/4 and 14 gallons to fill (after restarting twice after 1st shut off. So I looks like the gauge tracks pretty well and give me prob 2 gallons left (say a gallon that never gets used) when the low fuel light comes on. I feel pretty good about the calibration now. Now that I trust my fuel indicator I am one step closer to a road trip.1 point
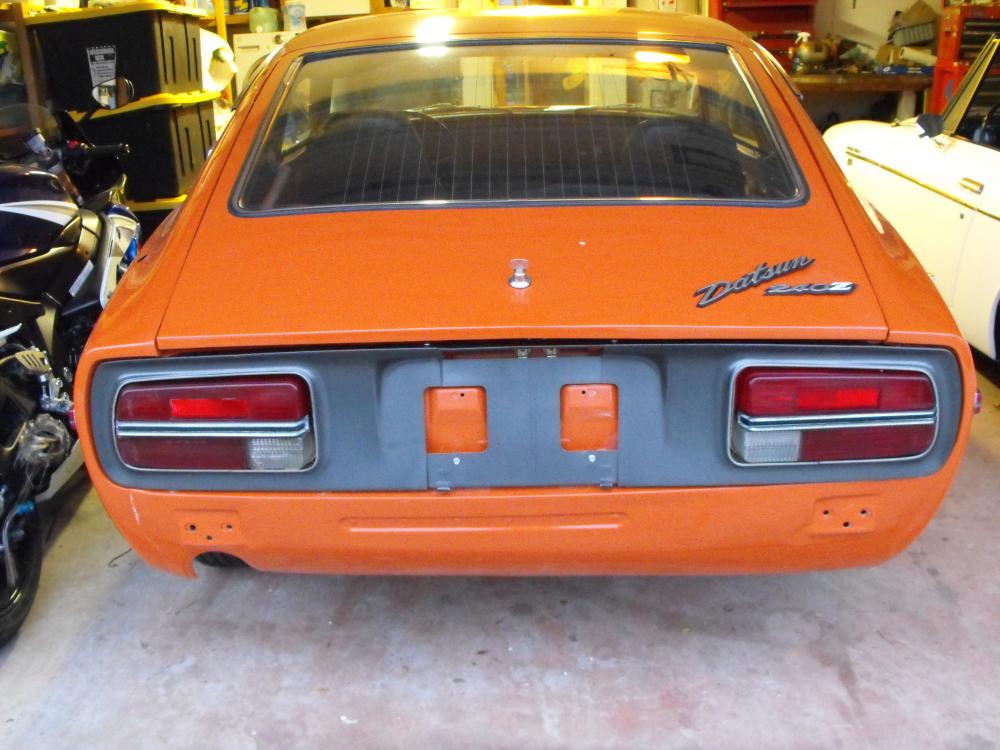
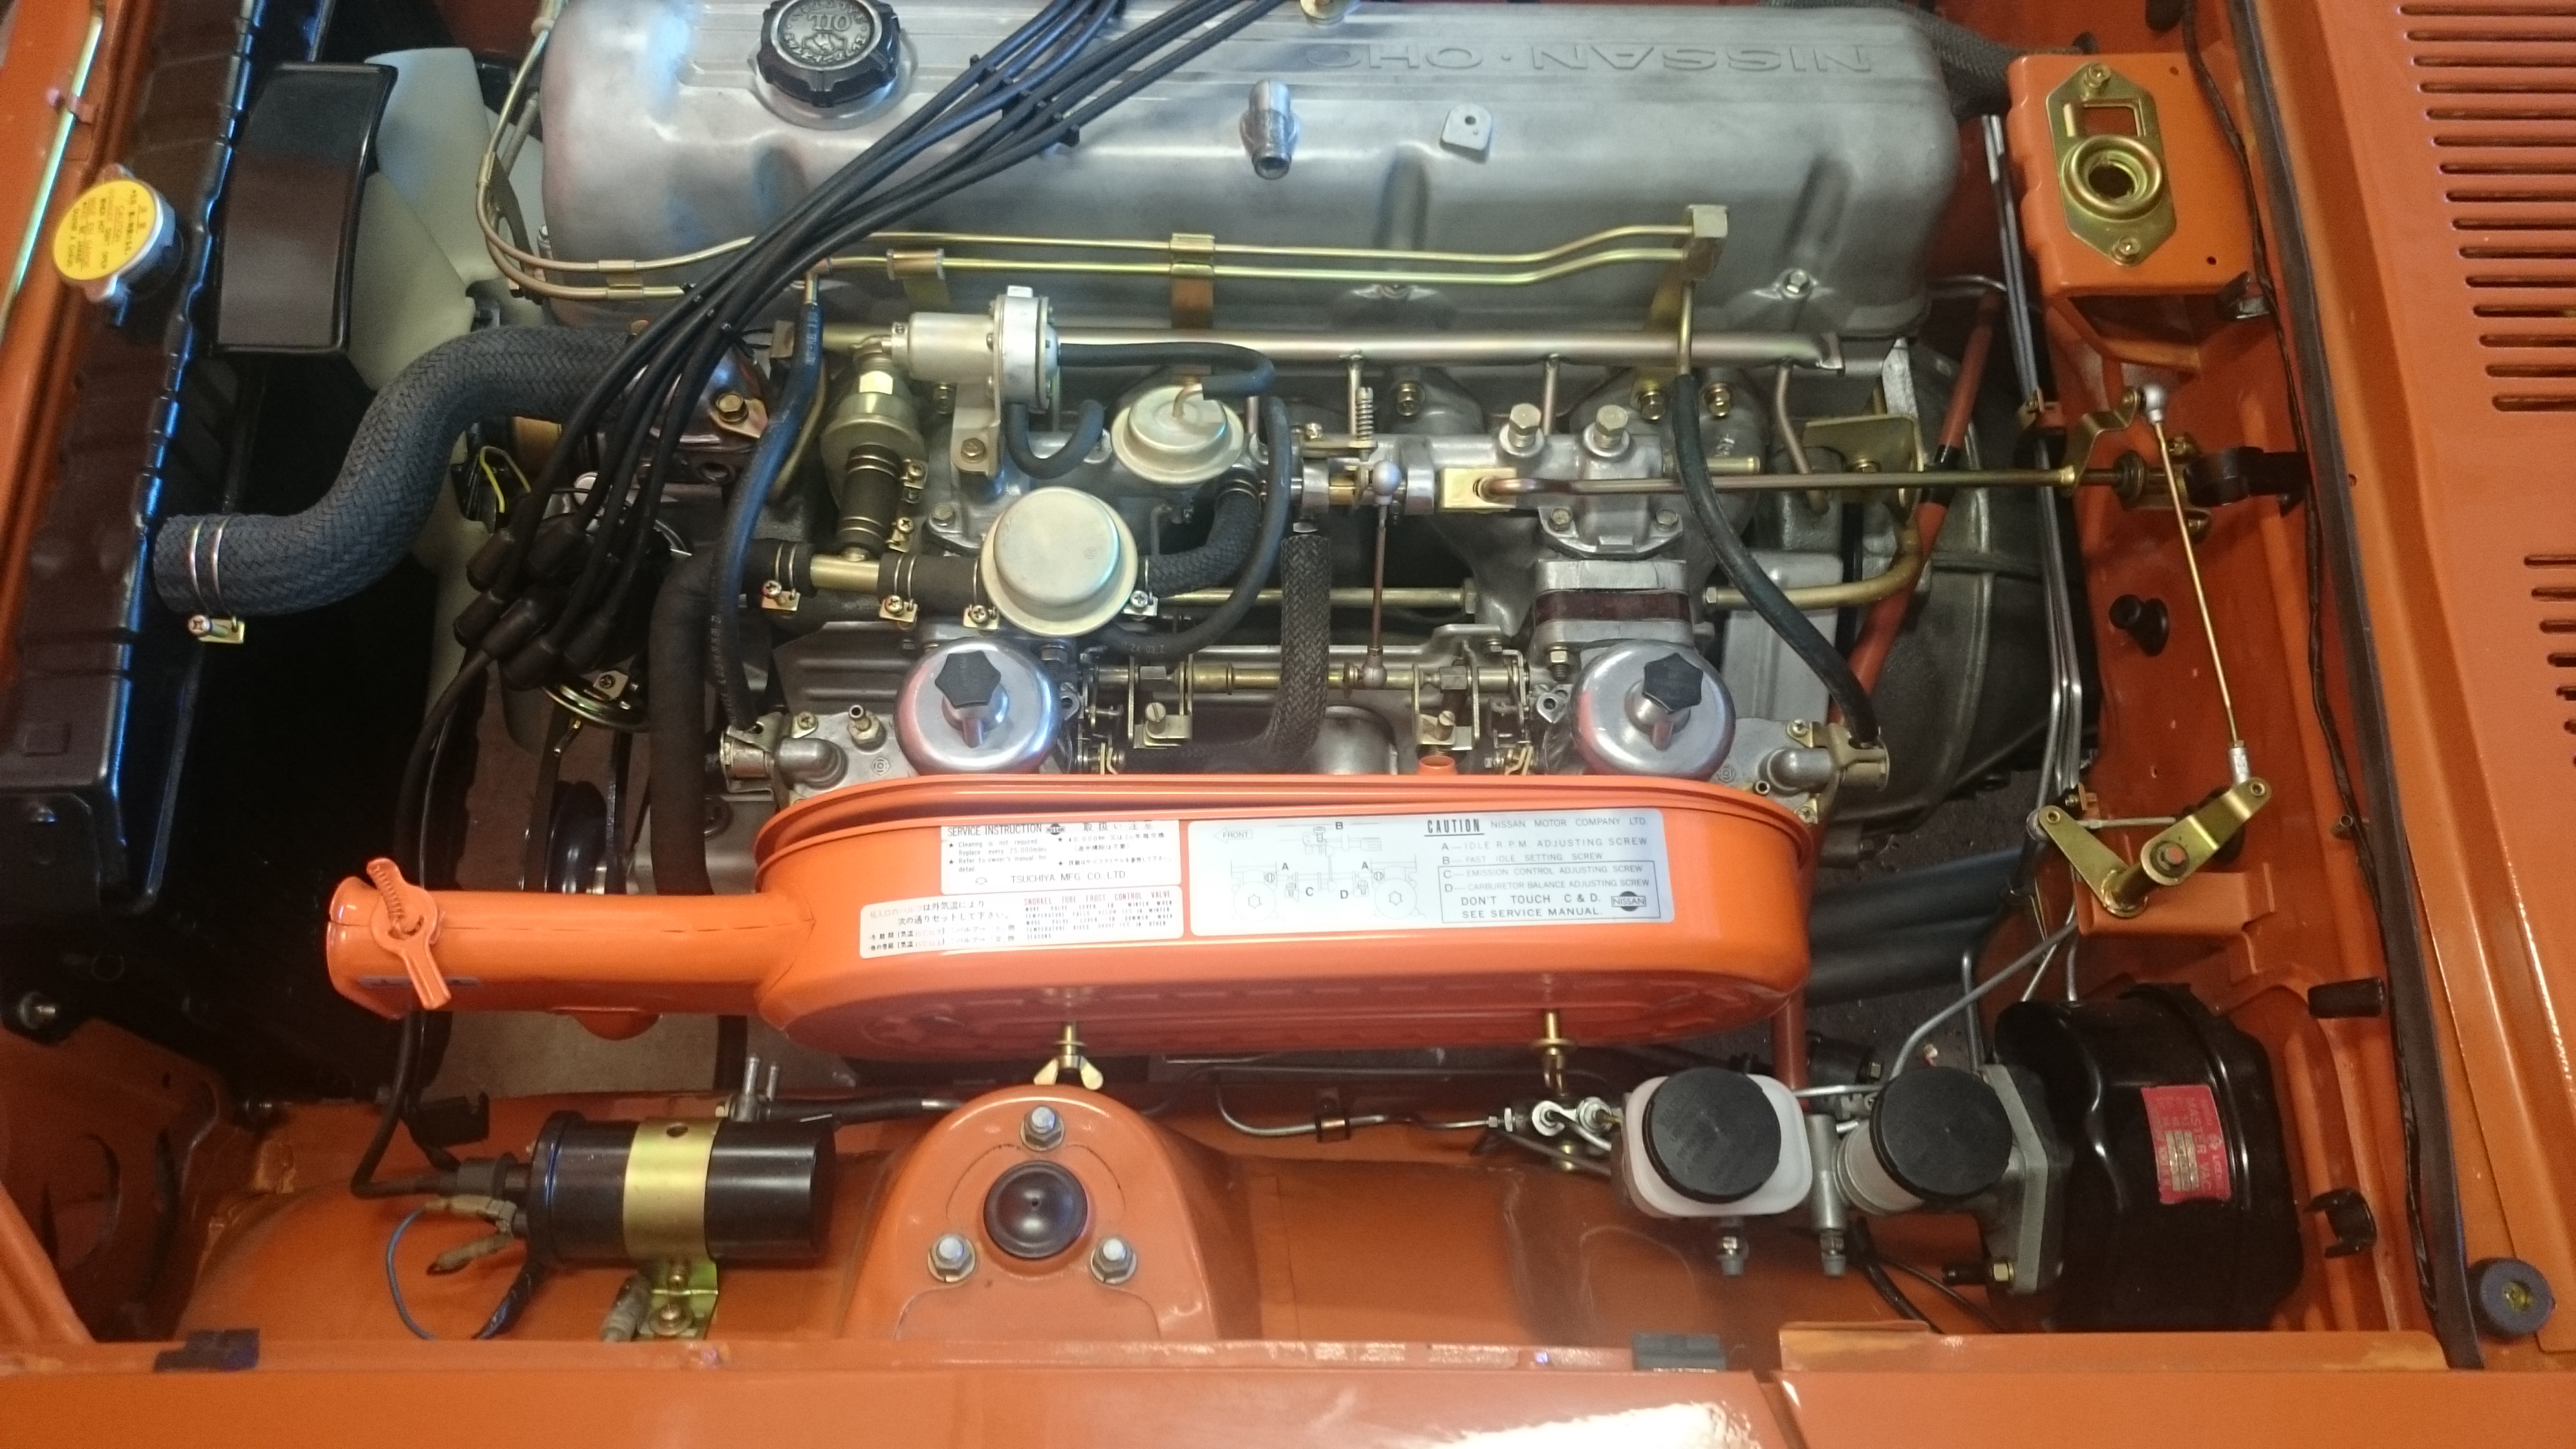
1 pointThanks Zedyone. It's the details that make the car. Makes everything go slow, but it looks nice and is easy to work on when it's done. I put the starter in along with the Battery cables. Did a bench test on the starter using the bench vice and 12 Volt battery charger. Both motor and solenoid worked well. Finished the smog parts, hoses and clamps. Will finish up the carbs over the next week or two. I threw on the air cleaner just for the pics. The air cleaner was powder coated and decals applied. Got the weather stripping in on the rear hatch. Went in easy enough, but I still hate doing weather stripping. The only part I like about doing the weatherstripping is peeling the glue off of my fingers. Cleaned up and painted the bumper support brackets and just picked up the freshly chromed bumpers this AM from West Coast Plating. Will attach those in the next week or two. Also got new rubber strips for the bumpers. They should look nice when done. Attached are latest update pics.
1 point
1 pointYesterday the low fuel light came on, I drove the gas station, indicator right at about 1/8th, 5 gallons to get to 1/2, 10 gallons to get to 3/4 and 14 gallons to fill (after restarting twice after 1st shut off. So I looks like the gauge tracks pretty well and give me prob 2 gallons left (say a gallon that never gets used) when the low fuel light comes on. I feel pretty good about the calibration now. Now that I trust my fuel indicator I am one step closer to a road trip.1 point
1 pointThanks Zedyone. It's the details that make the car. Makes everything go slow, but it looks nice and is easy to work on when it's done. I put the starter in along with the Battery cables. Did a bench test on the starter using the bench vice and 12 Volt battery charger. Both motor and solenoid worked well. Finished the smog parts, hoses and clamps. Will finish up the carbs over the next week or two. I threw on the air cleaner just for the pics. The air cleaner was powder coated and decals applied. Got the weather stripping in on the rear hatch. Went in easy enough, but I still hate doing weather stripping. The only part I like about doing the weatherstripping is peeling the glue off of my fingers. Cleaned up and painted the bumper support brackets and just picked up the freshly chromed bumpers this AM from West Coast Plating. Will attach those in the next week or two. Also got new rubber strips for the bumpers. They should look nice when done. Attached are latest update pics.


 1 point
 1 pointJohn Coffey spent nearly a year (maybe more) preparing one of those Zs. I'm sorry his isn't around to see how all that work and effort turned out.1 point
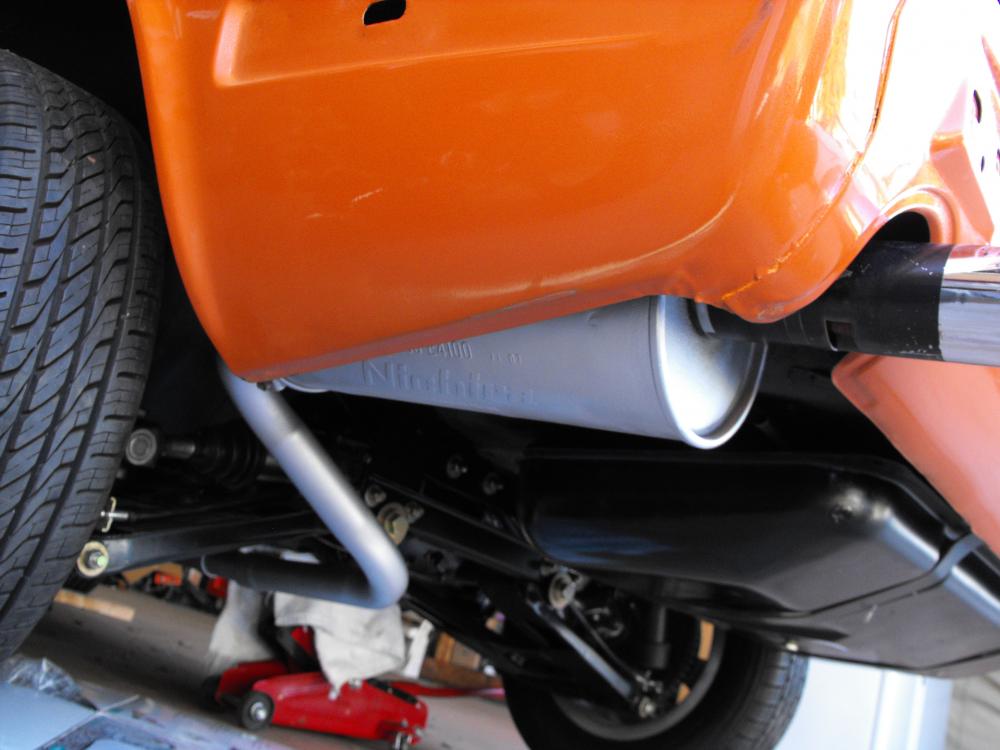
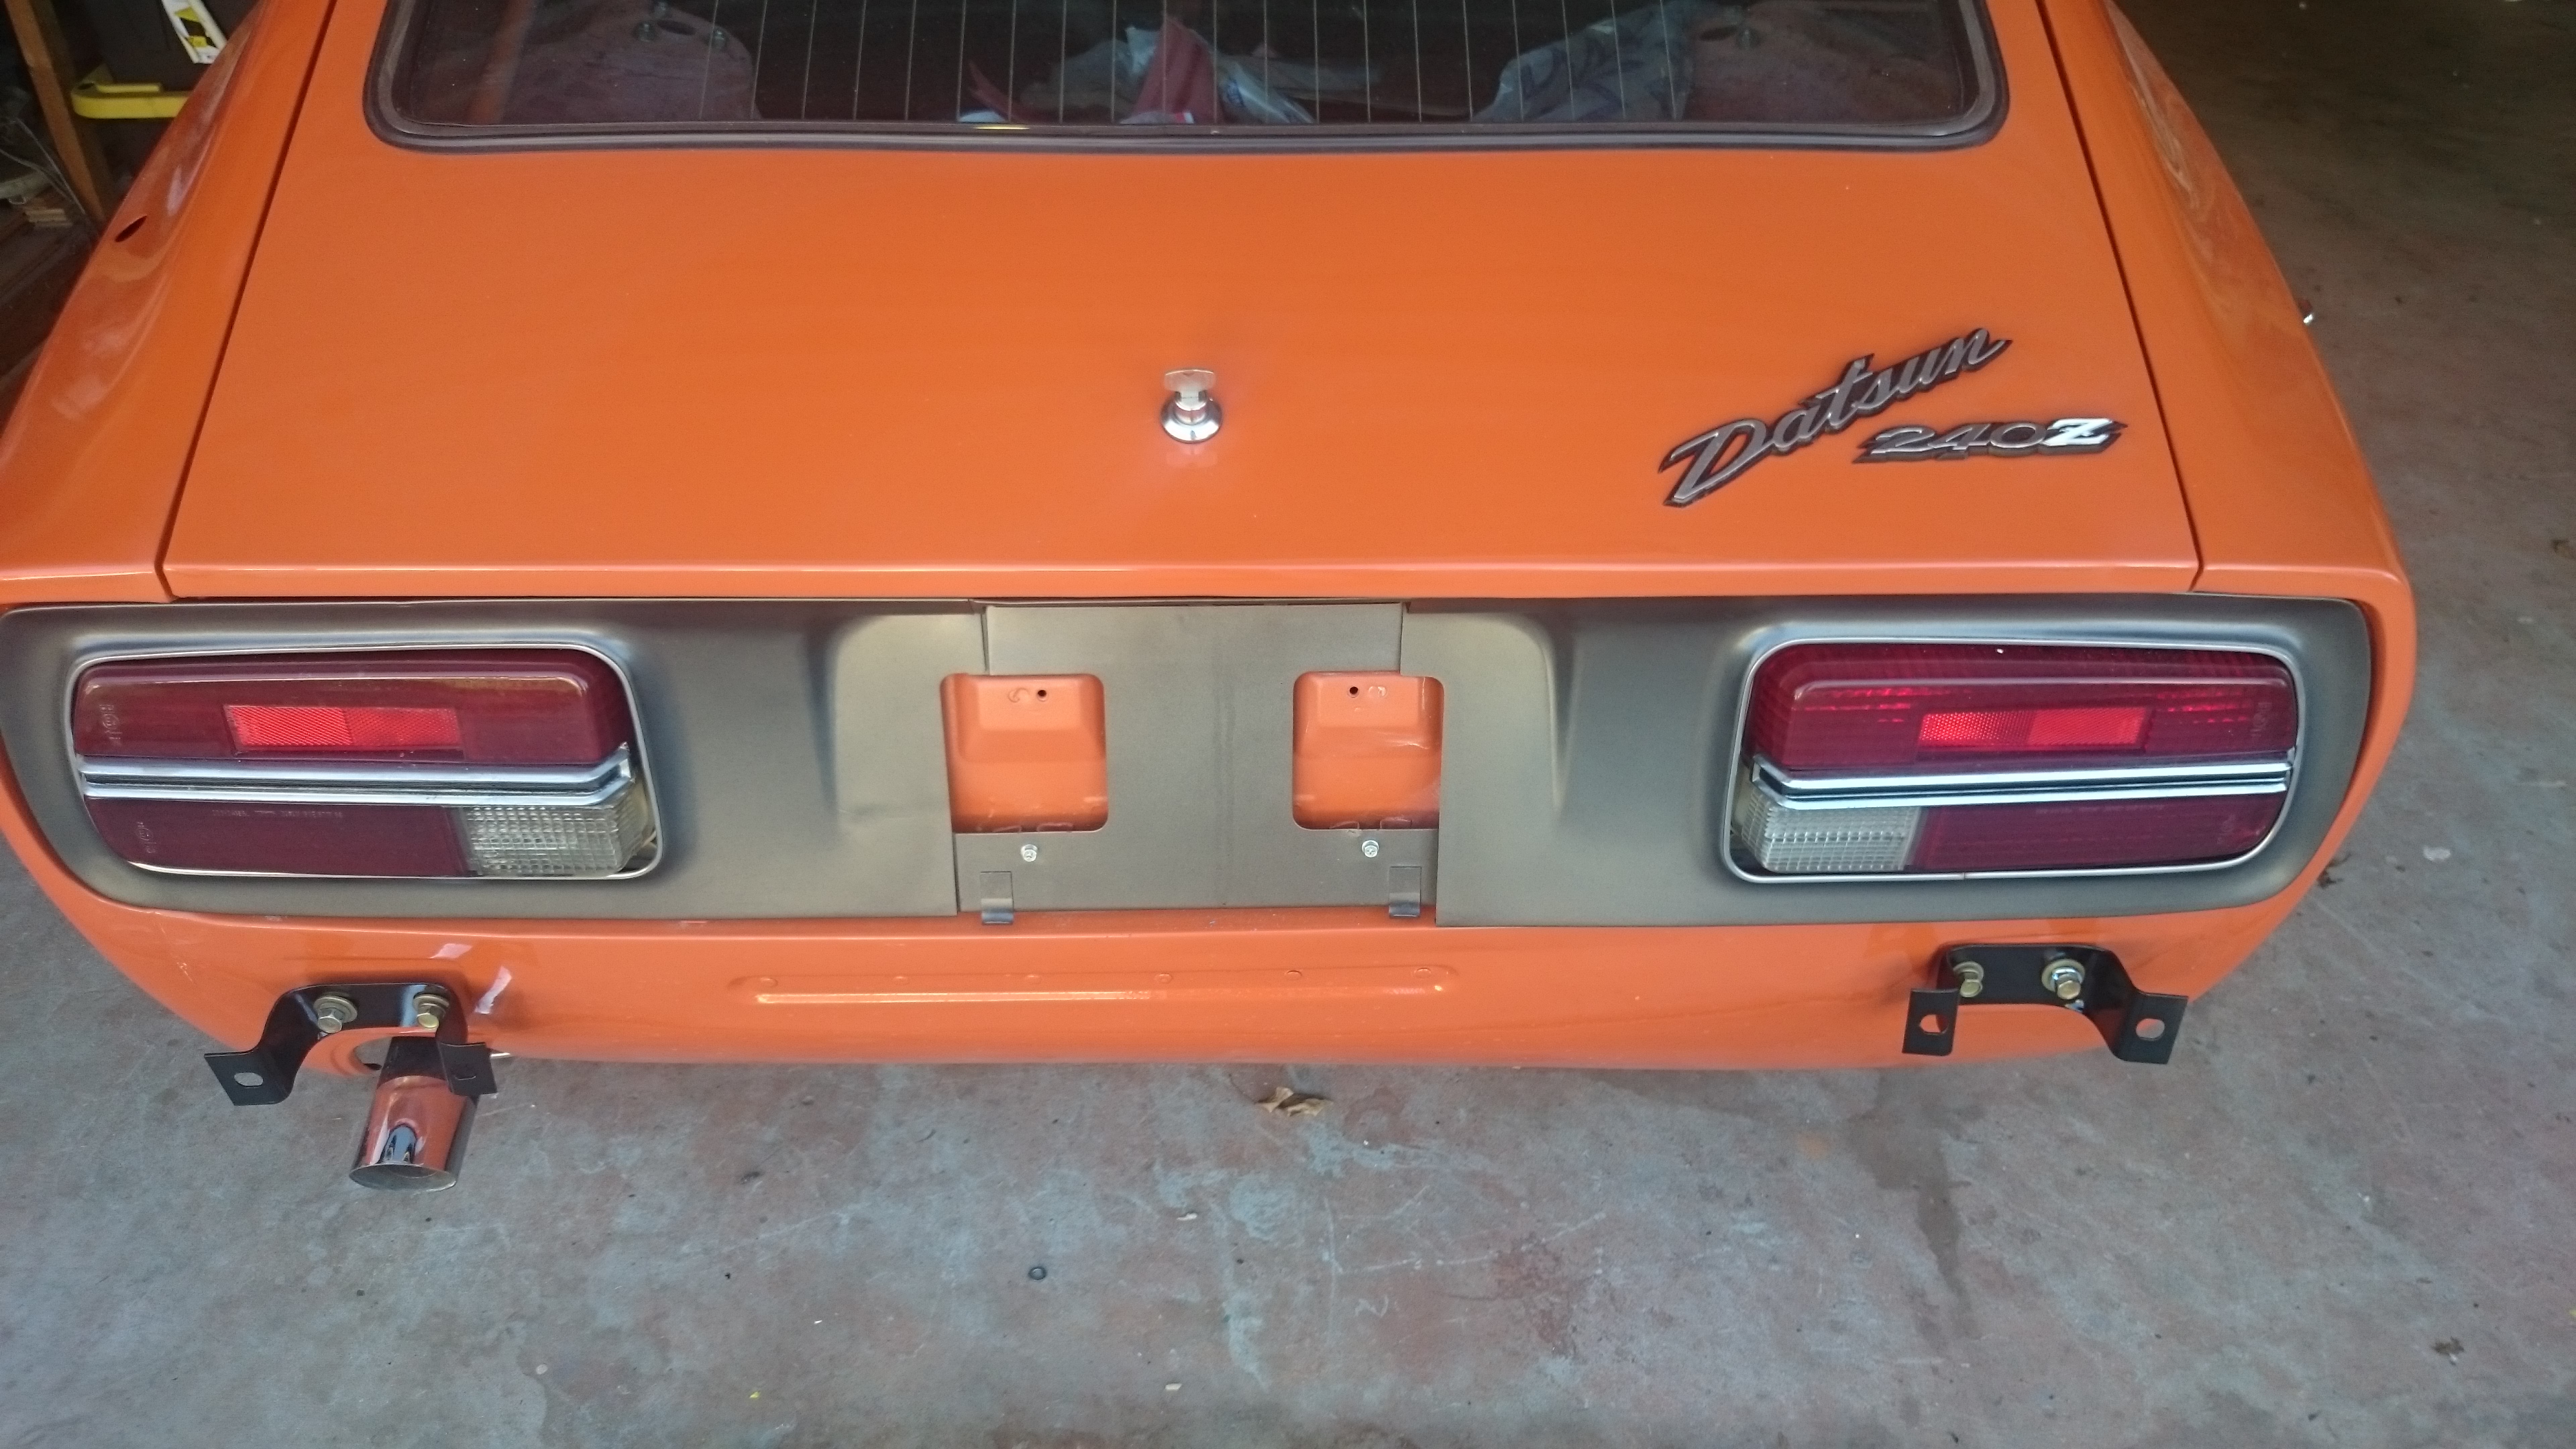
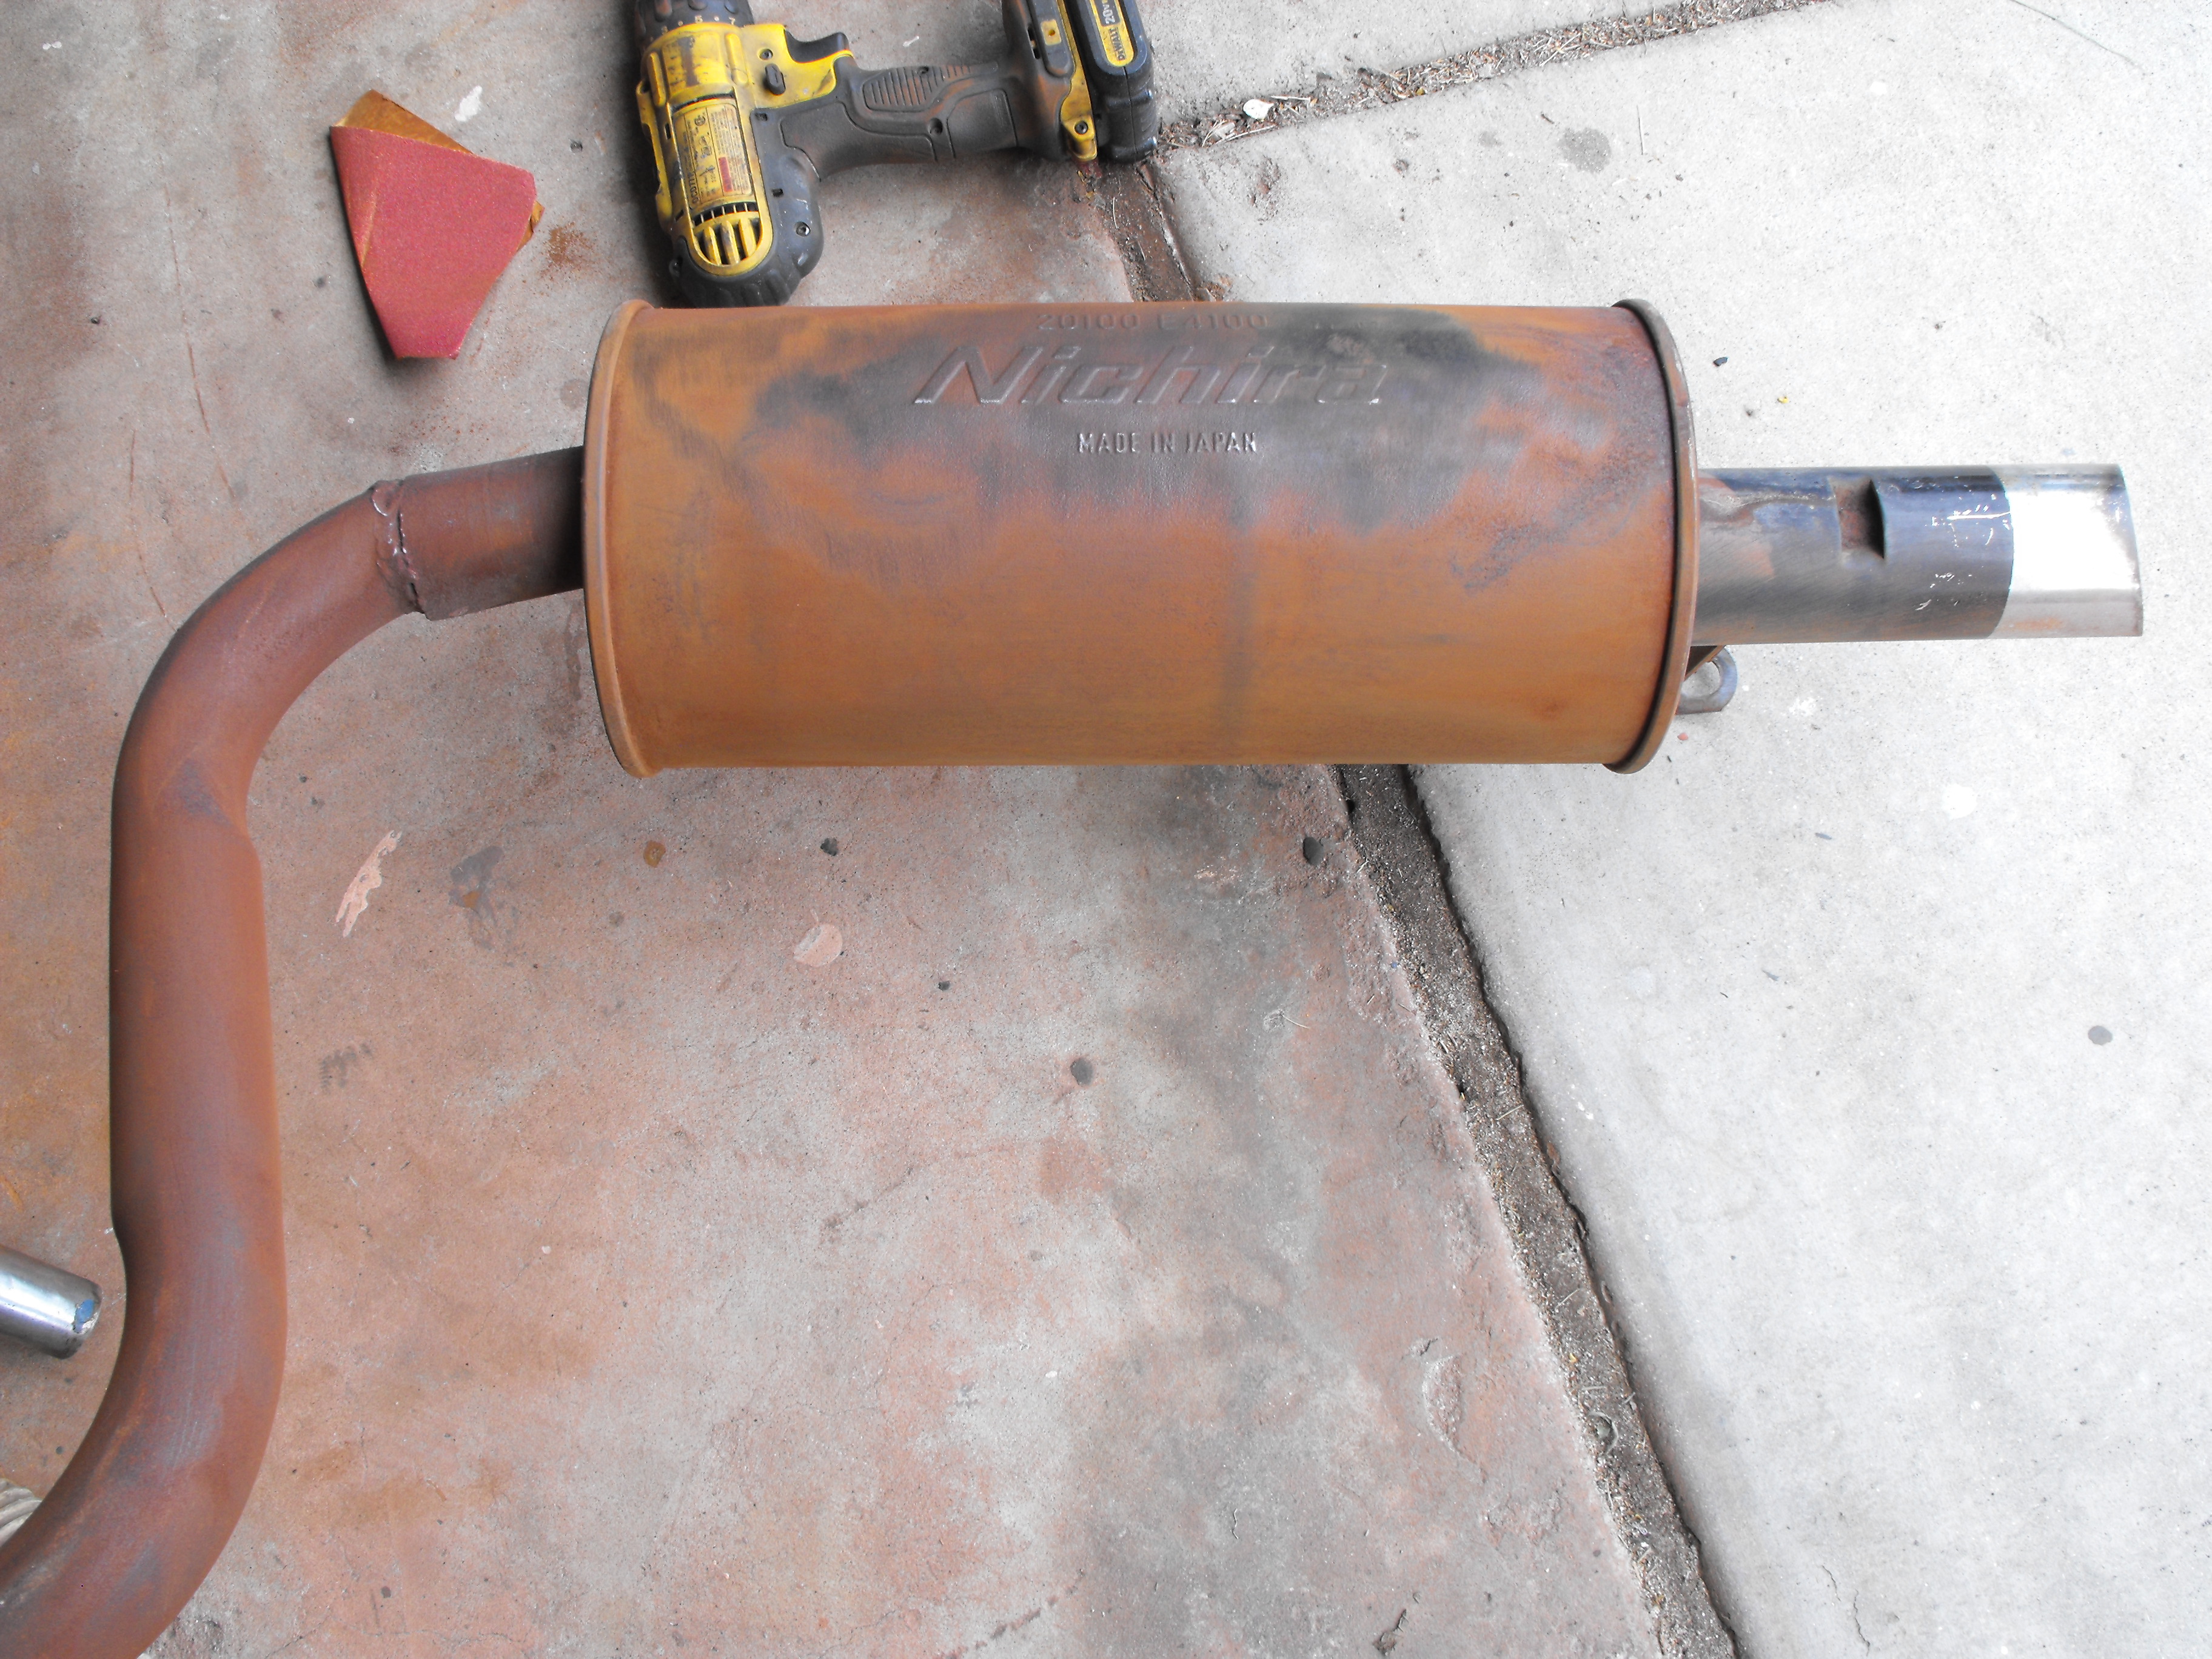
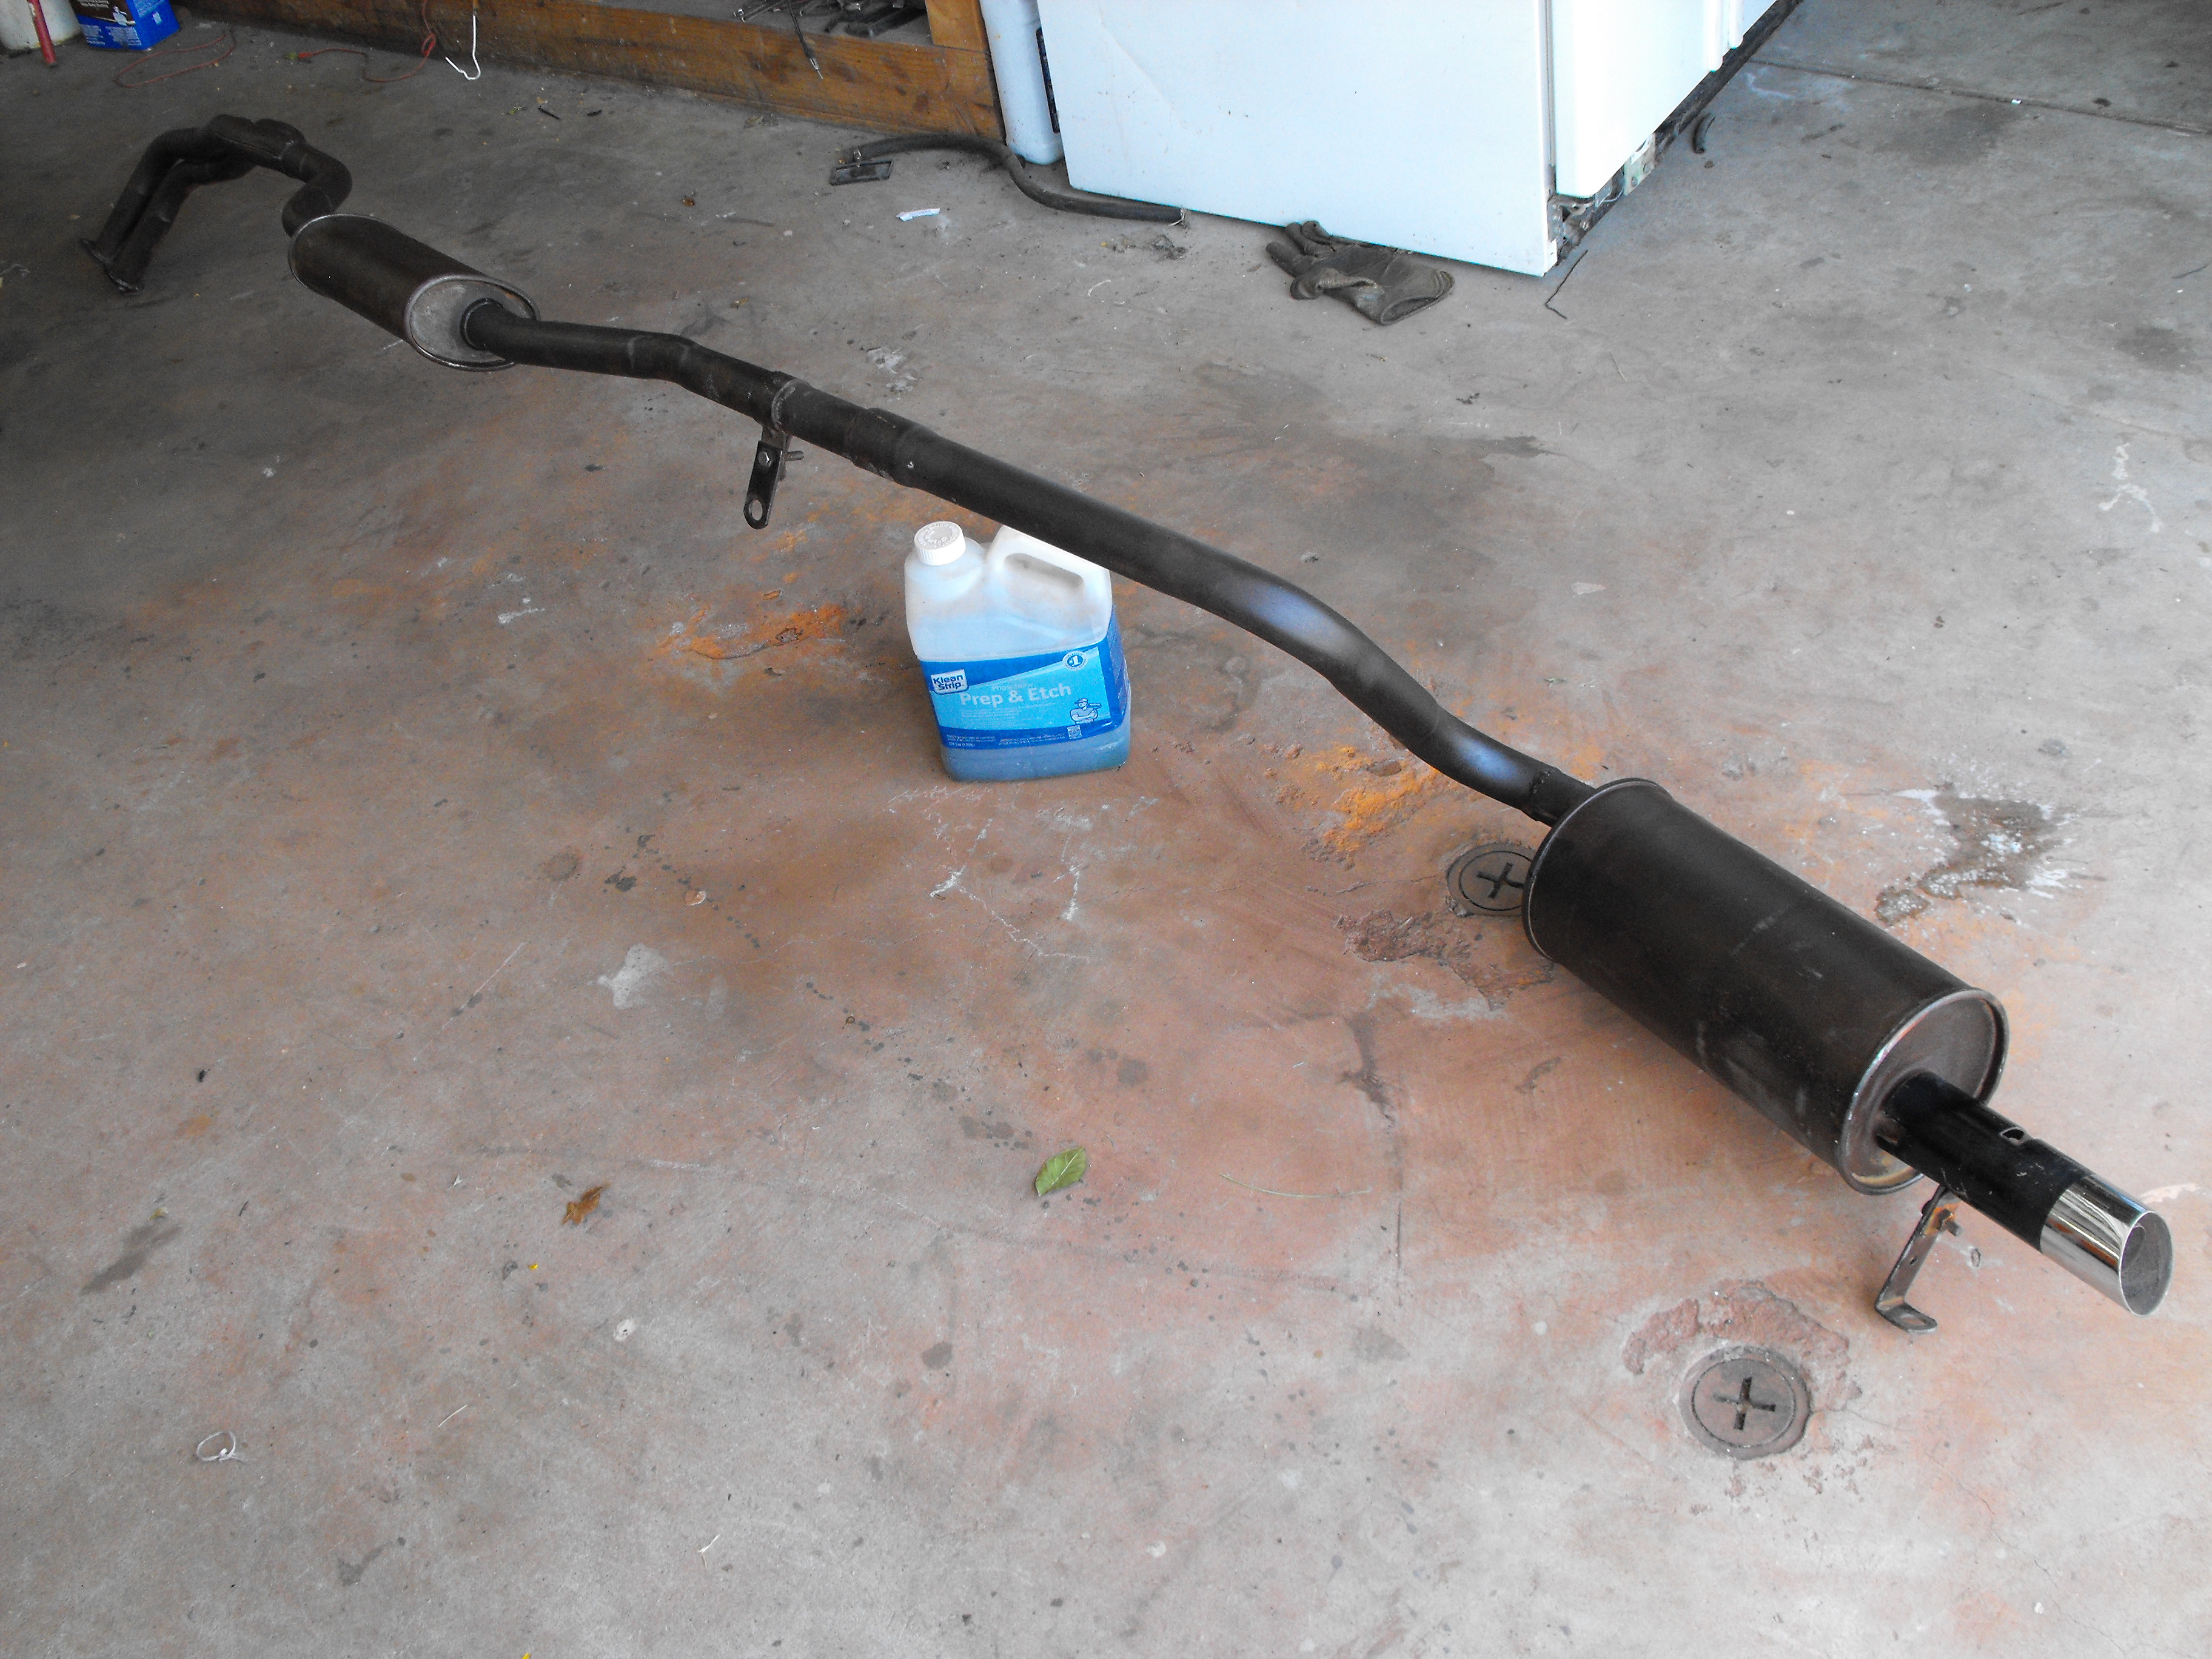
1 pointGot the exhaust system in today....very cool. It took about two hours of sanding and wire wheeling to clean the outside of the exhaust. After a final sand with 80 grit, I used the phosphoric acid to etch the steel and minimize further rust. The exhaust actually is very solid. After the etch, I did a clean with paint prep thinner and then sprayed with high temp aluminum paint. Nice to see the Nichira name on both mufflers. Now i just need to figure out how that one hanger attaches. Also cannibalized the original style fuel pump from my yellow Z and installed that. I had a new aftermarket pump laying around so put that in the yellow Z. Yellow Z will eventually get an LS motor, but that is down the road. Also got the Speedo cable installed, mostly.
1 pointJohn Coffey spent nearly a year (maybe more) preparing one of those Zs. I'm sorry his isn't around to see how all that work and effort turned out.1 point
1 pointGot the exhaust system in today....very cool. It took about two hours of sanding and wire wheeling to clean the outside of the exhaust. After a final sand with 80 grit, I used the phosphoric acid to etch the steel and minimize further rust. The exhaust actually is very solid. After the etch, I did a clean with paint prep thinner and then sprayed with high temp aluminum paint. Nice to see the Nichira name on both mufflers. Now i just need to figure out how that one hanger attaches. Also cannibalized the original style fuel pump from my yellow Z and installed that. I had a new aftermarket pump laying around so put that in the yellow Z. Yellow Z will eventually get an LS motor, but that is down the road. Also got the Speedo cable installed, mostly.


 1 point
Thanks everyone for the nice comments. Finally able to work on the car again here. Work was super busy the last two weeks so was not able to do as much as I wanted. I did get the emergency brake cable in sans retaining clips. Next time I will install this before the drive shaft goes in. I had to drop the shaft in order to get the cable into the hand brake mechanism. Got a passenger side taillight from 'Montezuma'. Thanks Dave, looks great. Now I am waiting for the bumpers to come back from the chrome shop to finish out the back end. Should get those back in a week or two. Got the smog parts that sit on the balance tube zinced today. That went well. Also got the inspection light zinced today. I was thinking of just buying a light, but the price for the lights has gotten insane. It was smarter just to plate the old one that I had laying around. It came out pretty well. Also got the air warmer tube in. Here are the latest pic If all goes well, I will have the exhaust system put in tomorrow.
1 point
1 pointThanks everyone for the nice comments. Finally able to work on the car again here. Work was super busy the last two weeks so was not able to do as much as I wanted. I did get the emergency brake cable in sans retaining clips. Next time I will install this before the drive shaft goes in. I had to drop the shaft in order to get the cable into the hand brake mechanism. Got a passenger side taillight from 'Montezuma'. Thanks Dave, looks great. Now I am waiting for the bumpers to come back from the chrome shop to finish out the back end. Should get those back in a week or two. Got the smog parts that sit on the balance tube zinced today. That went well. Also got the inspection light zinced today. I was thinking of just buying a light, but the price for the lights has gotten insane. It was smarter just to plate the old one that I had laying around. It came out pretty well. Also got the air warmer tube in. Here are the latest pic If all goes well, I will have the exhaust system put in tomorrow.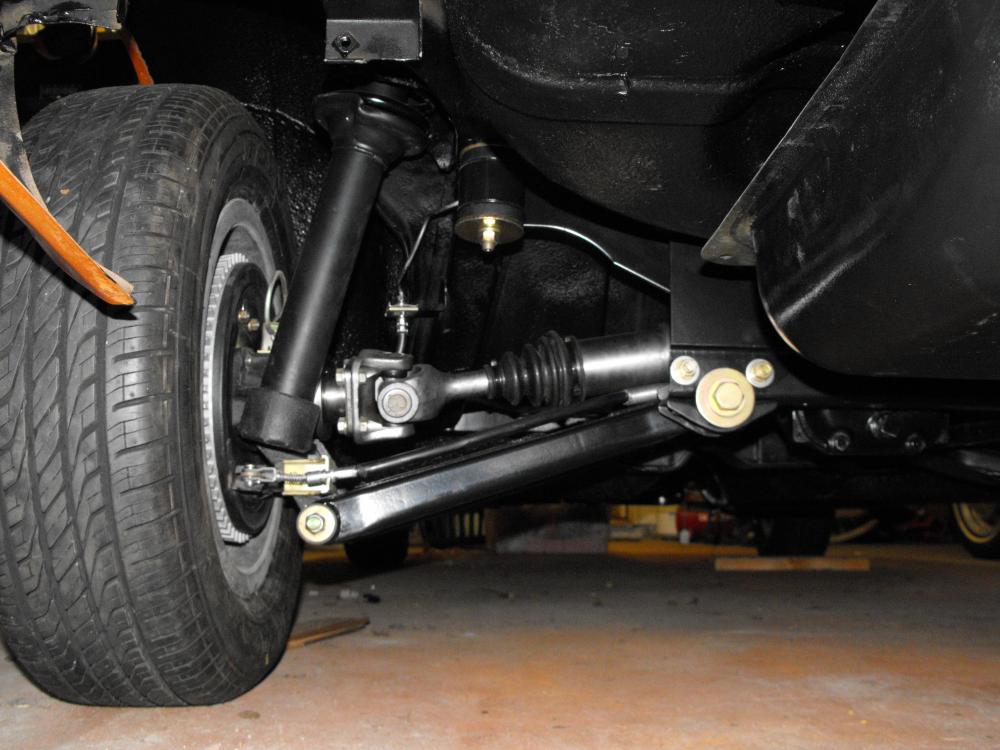

 1 point


Important Information
By using this site, you agree to our Privacy Policy and Guidelines. We have placed cookies on your device to help make this website better. You can adjust your cookie settings, otherwise we'll assume you're okay to continue.