Leaderboard
-
HaZmatt
Community Member2Points566Posts -
motivealloy
Community Member2Points37Posts -
conedodger
Community Member1Points13,001Posts -
grannyknot
Community Member1Points5,158Posts


Popular Content
Showing content with the highest reputation on 08/26/2016 in all areas
-
2 points
-
1 pointHey gang, I am going to share with you what I've done to rebuild a 240z fuel pump with great success. This is also (for the time being) an inexpensive solution to rebuilding an original Nikki 240-260Z mechanical fuel pump. What I have learned so far is; rebuild kits for our old fuel pumps have not been available in American for some time now. They are available in Australia and maybe Canada but importing them here isn't cost effective. Original NOS 240Z Nikki fuel pumps are extremely expensive, and the aftermarket fuel pumps look like crap. There are electric fuel pumps available cheap but they require wiring and fuel pressure regulators and I think they are unsightly. My background is in international manufacturing. The one thing i know about intl mfg is that a lot of parts suppliers HATE making 10 or 15 versions of the same damn part. So what they implement is, what is called in the manufacturing industry as, "part uniformity" or "part sharing". The term is exactly as it implies. Multiple similar items will share some of the same basic parts. This cuts down on overburdening the manufacturing process. It is far more cost effective and easier to pump out 100,000 of the same part than 1000 each of 100 slightly different versions of the same part. Japan is notorious for using this philosophy in it's auto industry. It was only about 10 years ago that US auto makers adopted part uniformity in their assembly lines. Okay, with that being said I began to do a little research on our Nikki fuel pumps. And voila, exactly as i suspected!! Nikki used the same exact castings and rubber gaskets in it's fuel pumps it supplied for many models of Datsun autos. What am I getting at with this primer you may ask? Simple, Nikki fuel pump parts from different cars are swappable. Here is a photo of an NOS 240Z Nikki fuel pump. They cost about $175 to $225 for an NOS example. Here is a Nikki fuel pump for a Datsun F-10 wagon next to our original "leaking" Nikki fuel pump. These cost about $25 to $60 for an NOS example. Notice that the F-10 and 240Z fuel pumps both have 271070 part numbers cast in the side. This number signifies the type of internal mechanism and components of the fuel pump. It is NOT the part number for a 240Z fuel pump as I have read elsewhere. A Nikki fuel pump from an F-10, 610, 710, 620, 510, 210, B210, 310, 240Z, 260Z all use the same fuel pump internal parts. Only difference between the pumps is the lower body casting (240z has three bolts to secure to engine the other only has two), actuator lever shape and size, and the fuel inlet location. The upper castings are the same on both fuel pumps. Except for where the fuel lines are tapped. TIP: Make sure to have a complete complement of flat blade screwdrivers handy. I used at least three different thickness of blades dismantling the fuel pump. Loosen all of the screws on the fuel pump while the fuel pump is bolted to the engine. This allows you to get much more torque on those stubborn screws. AVOID using a Philips head at all cost. They tend to strip out the screw heads very easily. The main fuel diaphragms are similar in construction. The newer one on the right is a better design. It has two membranes sandwiched together instead of one thick one like our original had. And the spring retainer cup holds the pump spring more secure. Notice that the tab that fits under the actuator arm is not the slotted style like what you would find on a rebuild kit. You will have to remove the fuel pump from the engine block to wiggle the diaphragm out. It's fairly easy. Just push down and slide the diaphragm housing away from the actuator lever. Dual diaphragm design. Upper casting with same internal fuel valves. New one is on the left. I didn't swap these parts out as the screws were stuck and I didn't want to damage anything. Also, the valves were in great shape so really no need to swap them. cont...1 point
-
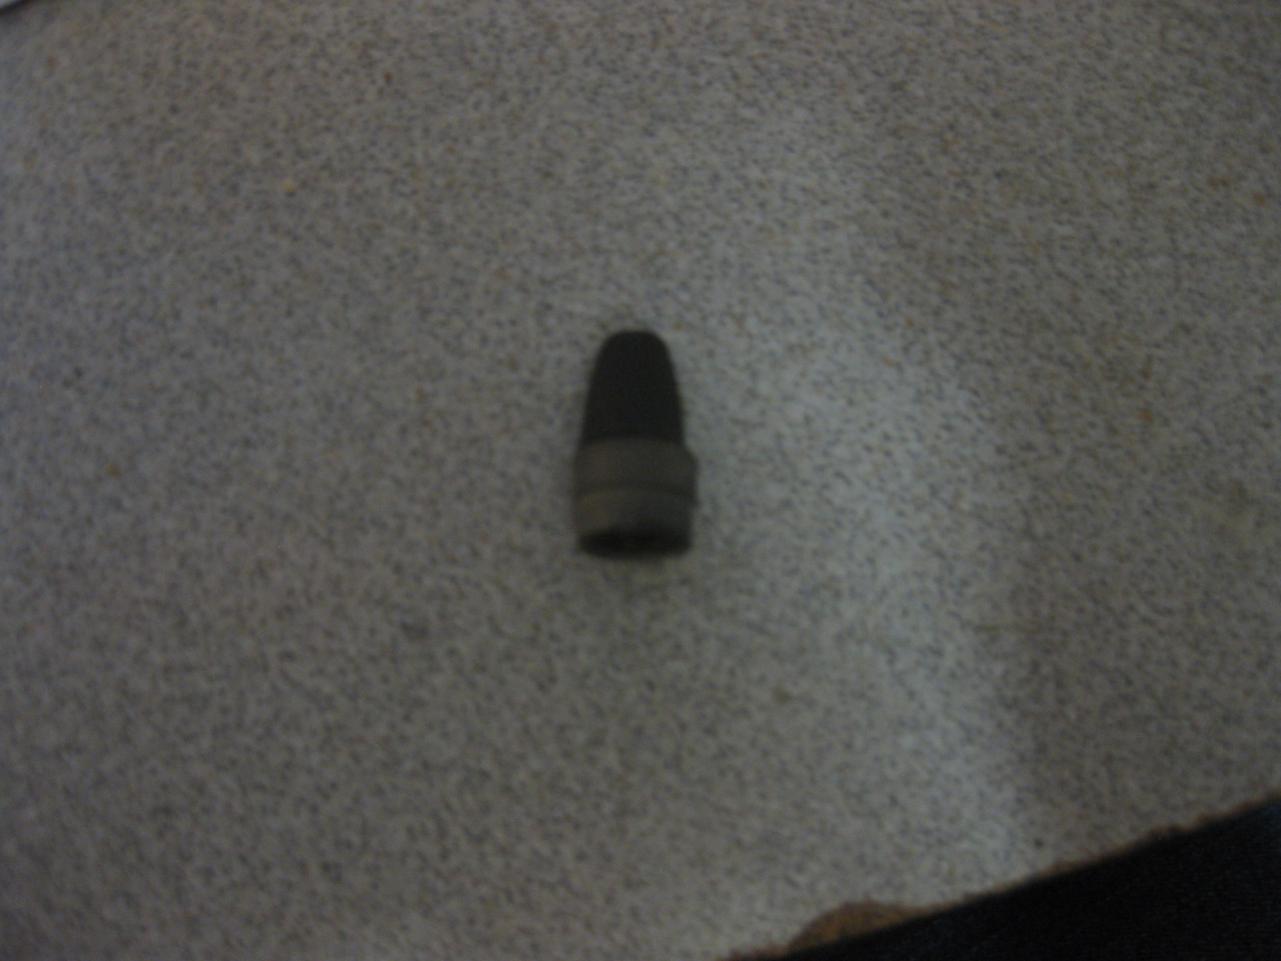
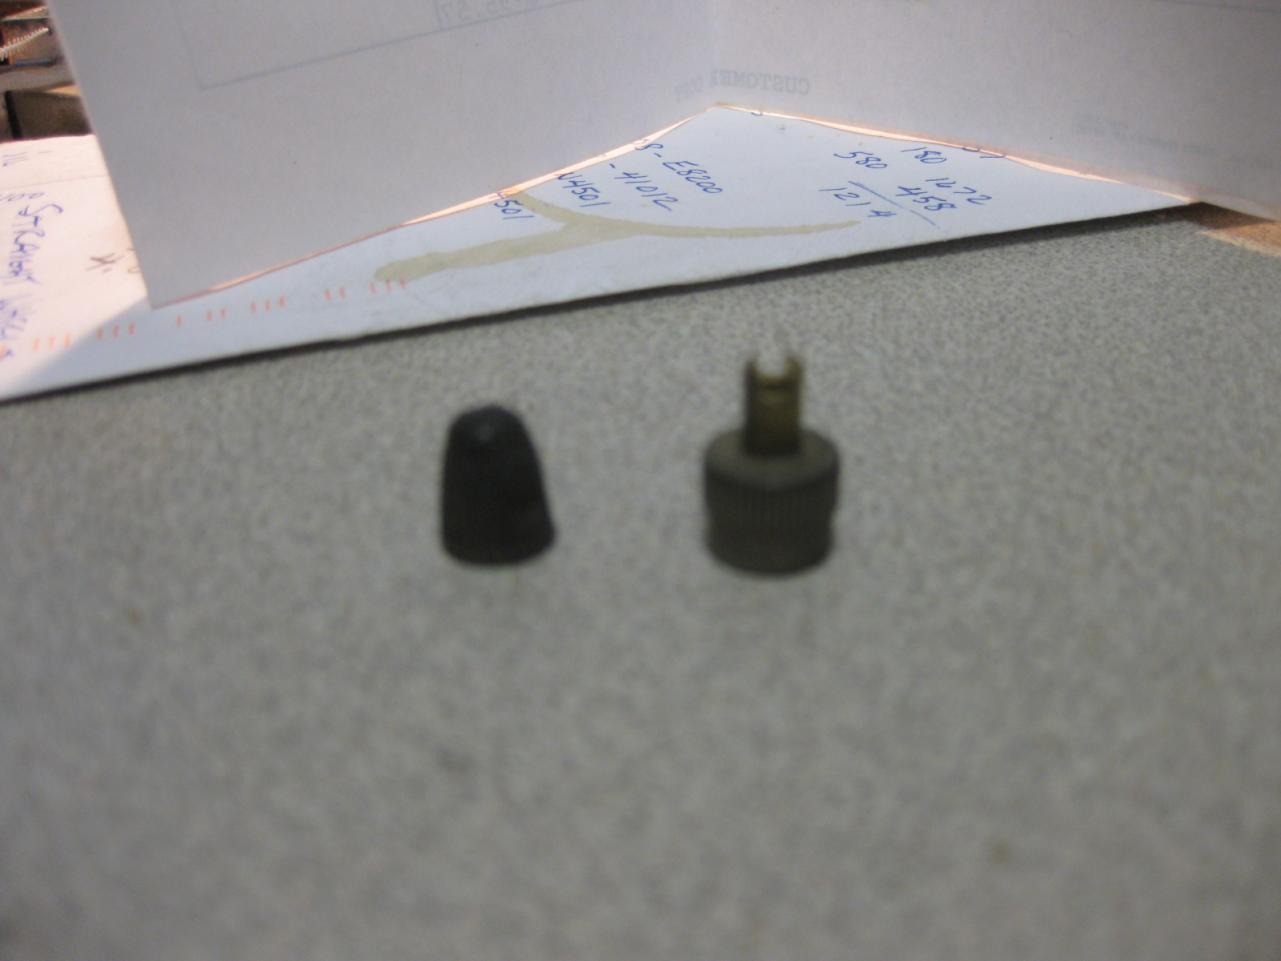
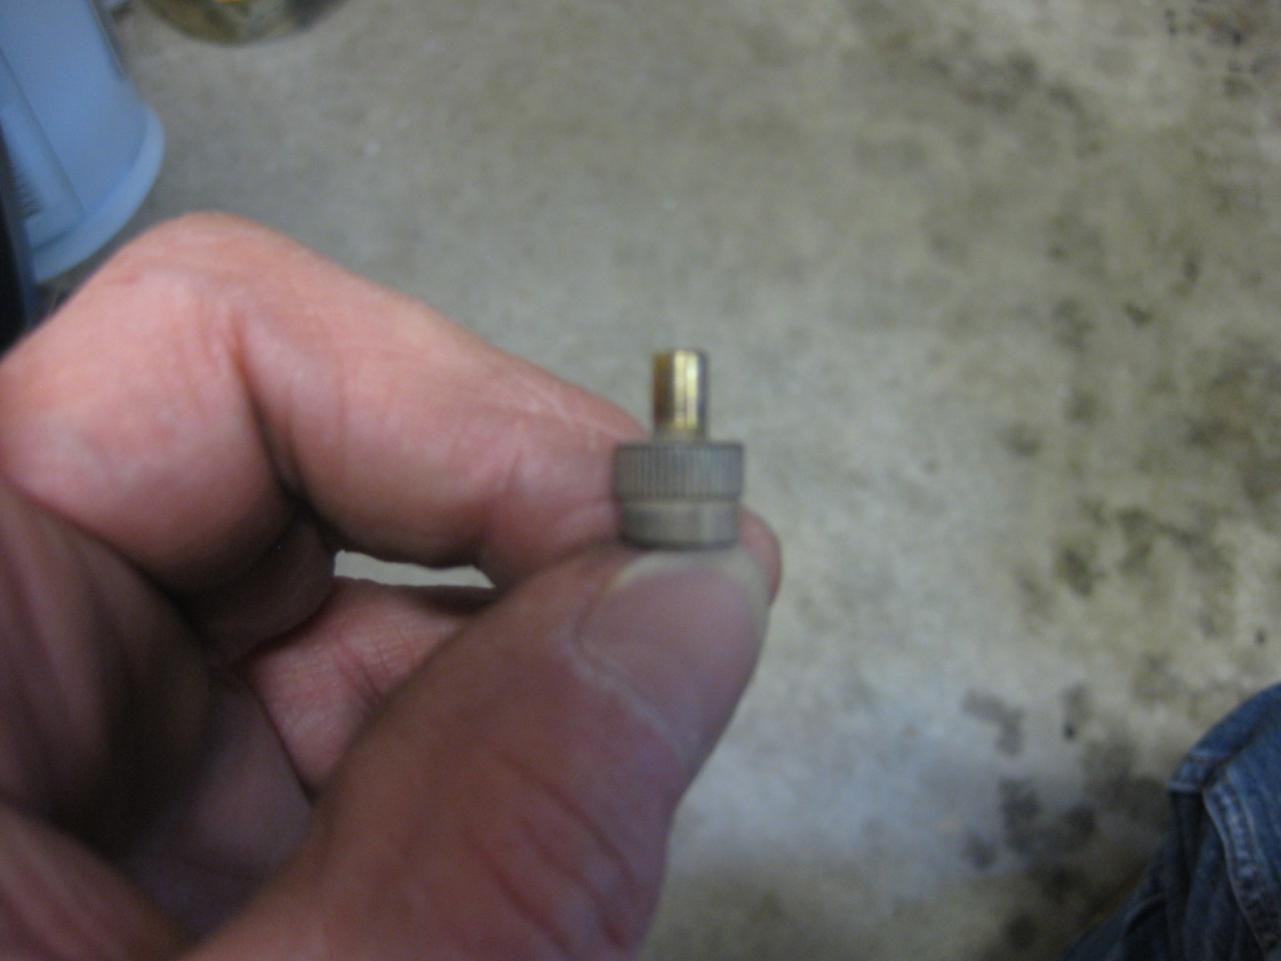
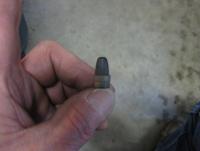
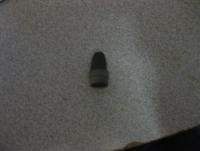
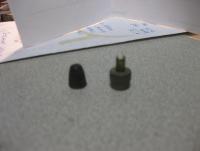
1 pointI had a conversation with Charlie Osborne at Zedd Findings the other day and he mentioned that he was looking for 4 early valve stem caps. This weekend I looked through stuff in my storage building and came across this: It is a two piece affair---brass body with rubber cap. It has a logo down near the base with a 5 pointed star on either side of text that reads "Pacific". I don't know if this is really original or not, but it came from an original tire to HLS30-00248. Unfortunately it is the only one, as it was on the spare (175R14). I can certainly understand why these would be hard to find, as valve stem caps would be thrown out as expendable--- without a thought given--- when a change of tires was required. Does anyone have what they believe to be "original" valve stem caps or photos of them? Jim D. "Zup"
 1 point
 -
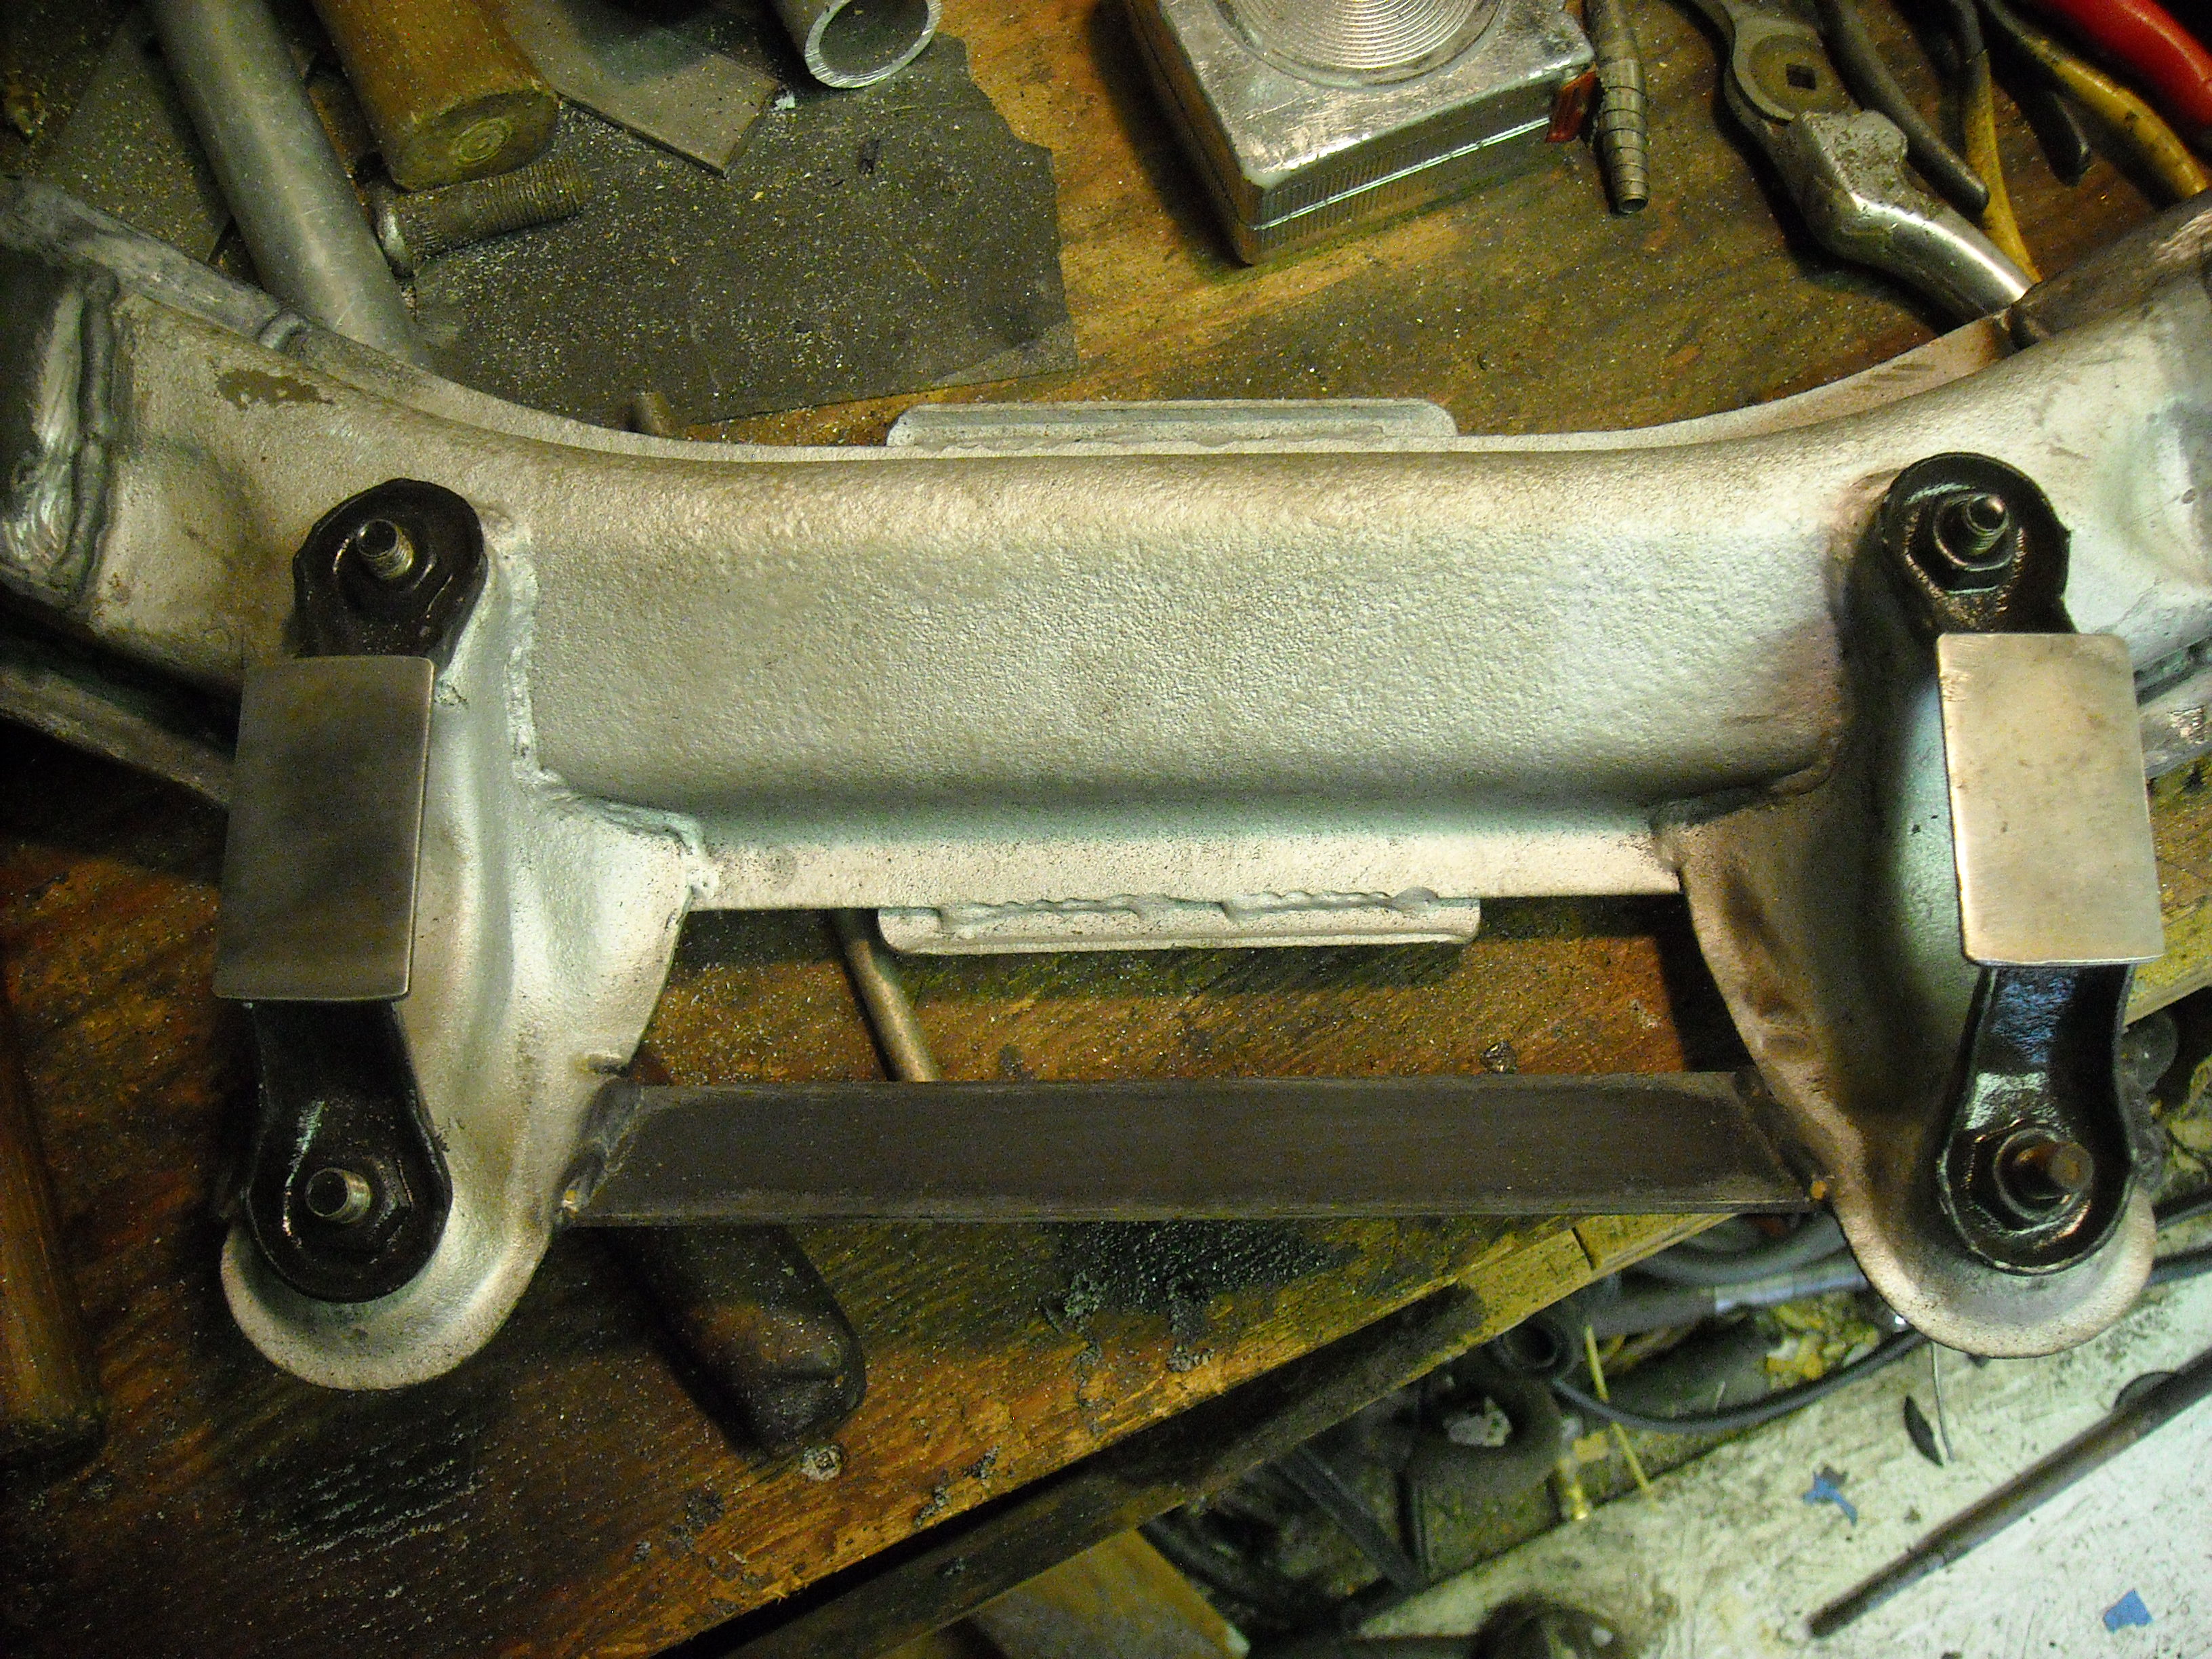
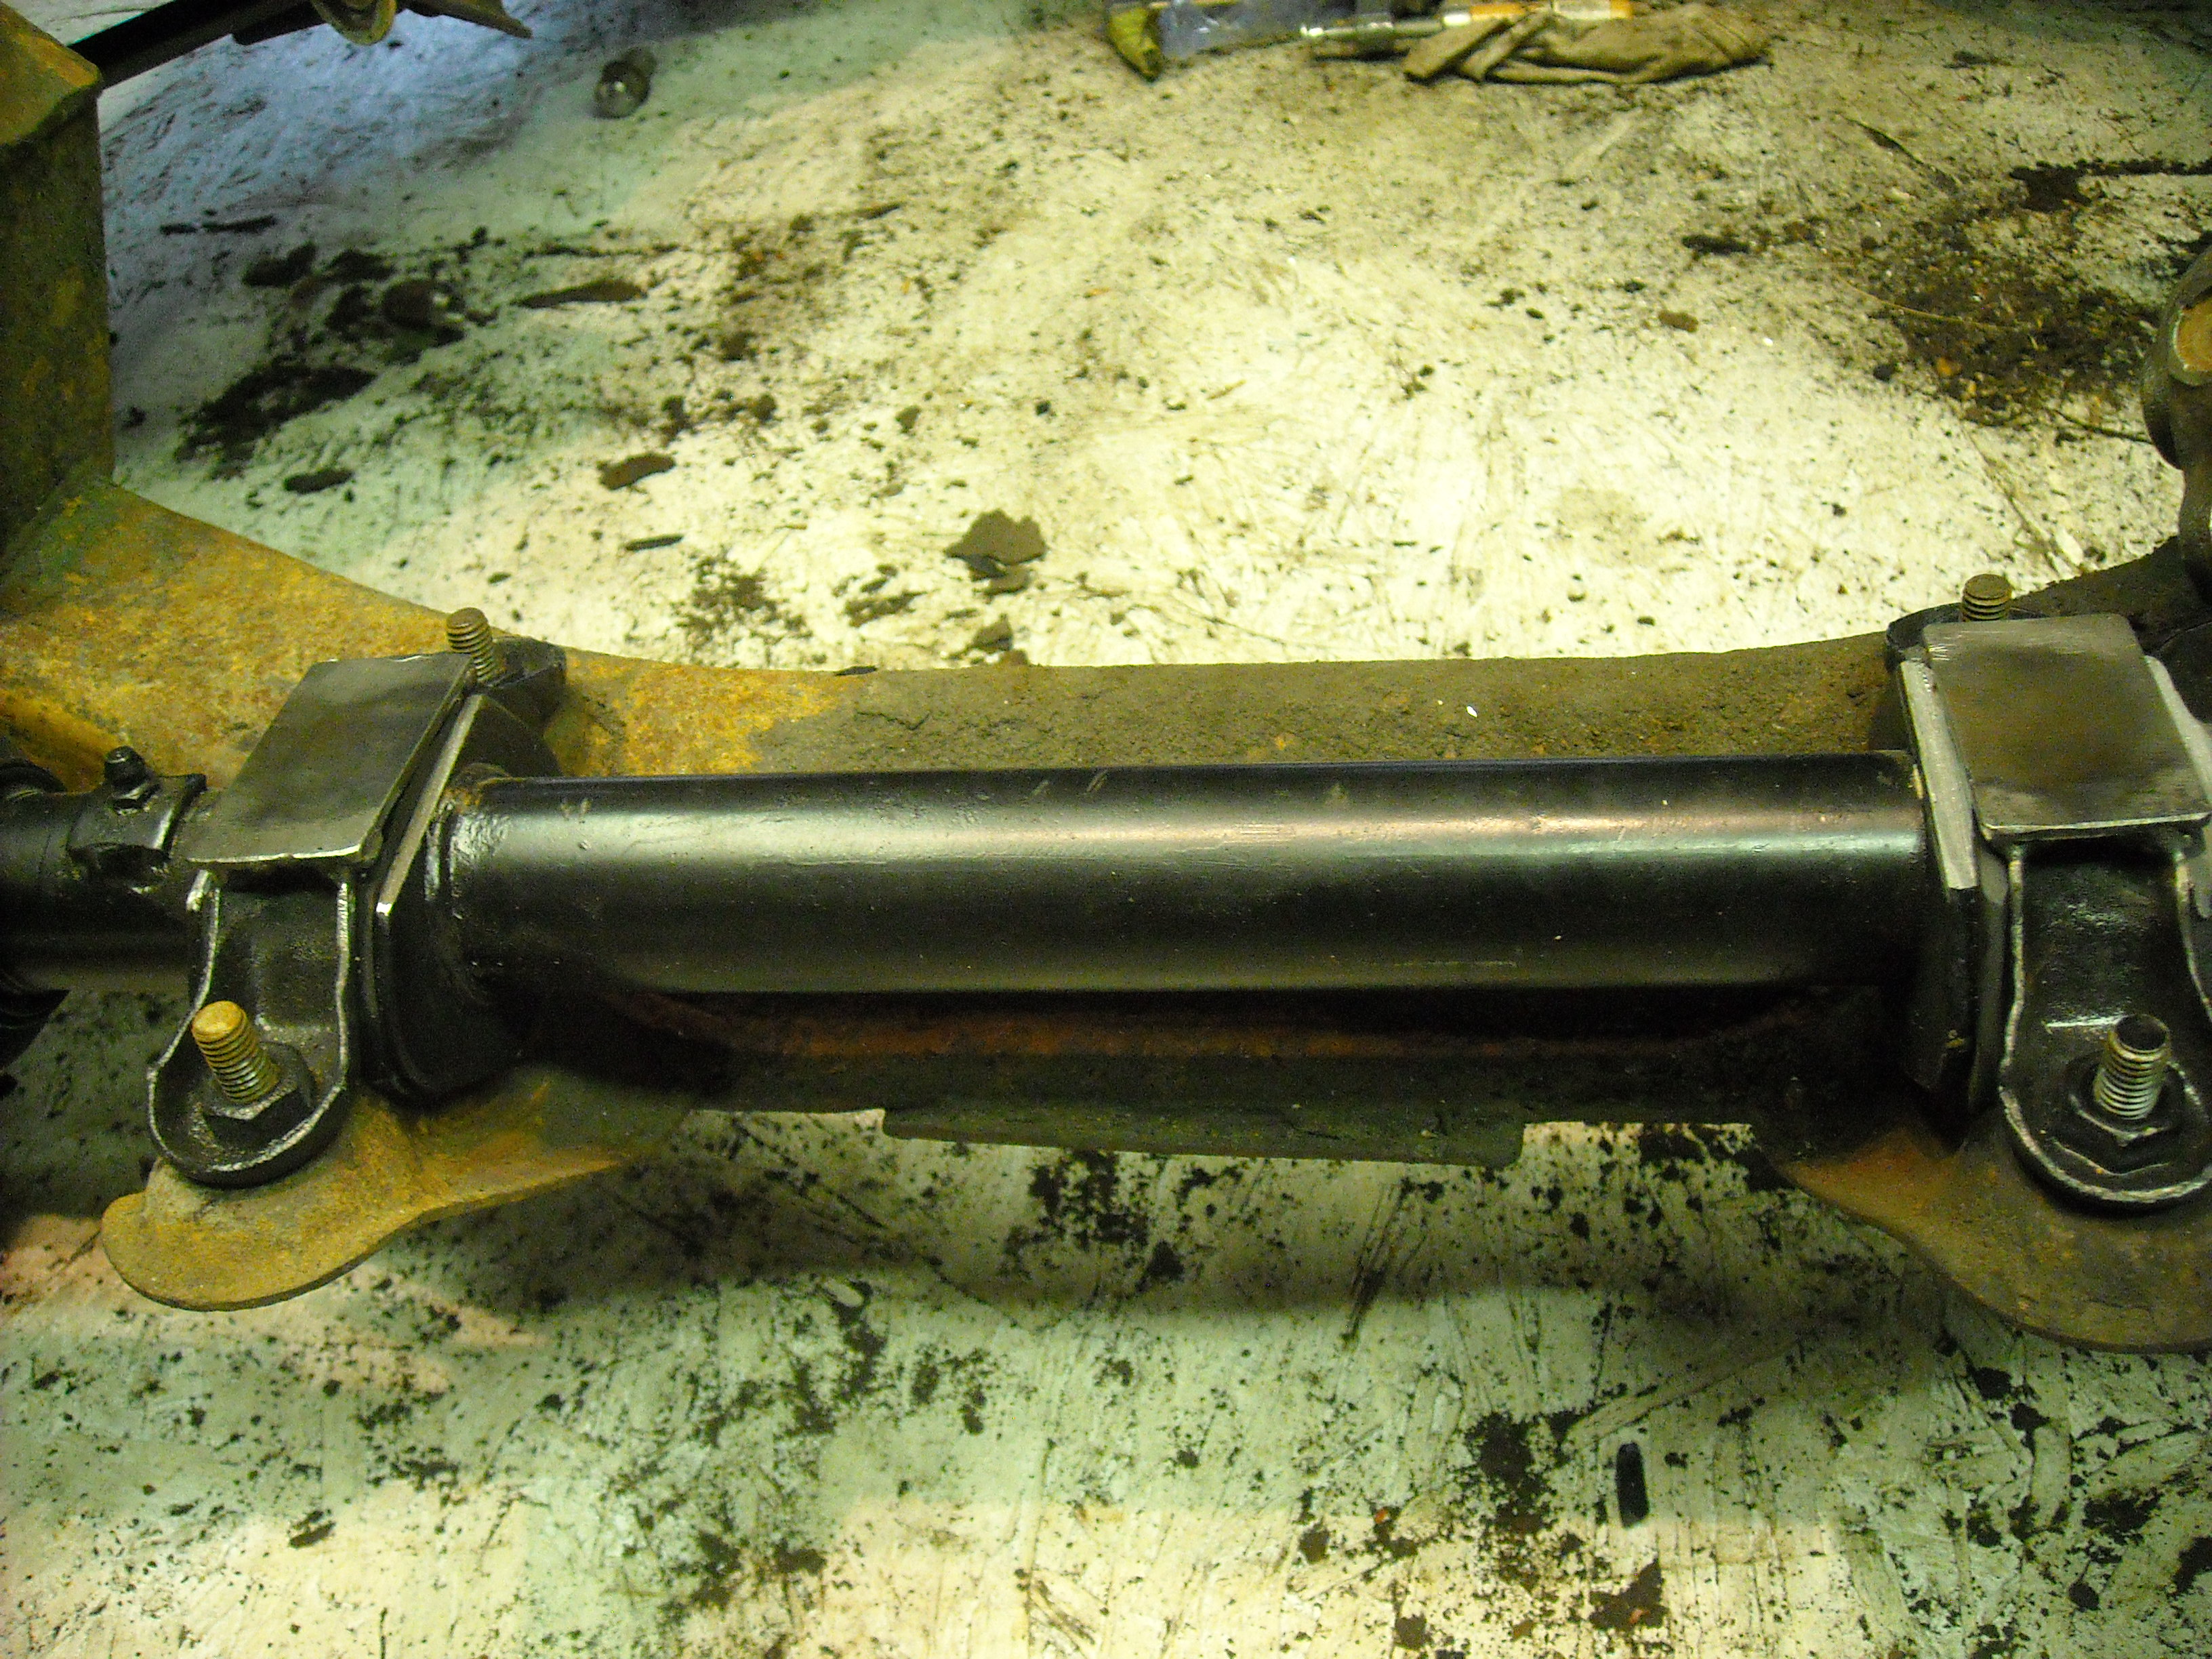
You could lower the steering rack and correct the geometry by replacing the tie-rods ends with straight ones. The originals are bent downwards. That would give you some room. I have some photos of the straight type. Not original datsun of course. Anyway, the tie-rod should be parralel with the lower control arm and the same length, othrwise they work on a diferent radius and your toe-in goes all over the place when the suspension moves up and down.1 point
-
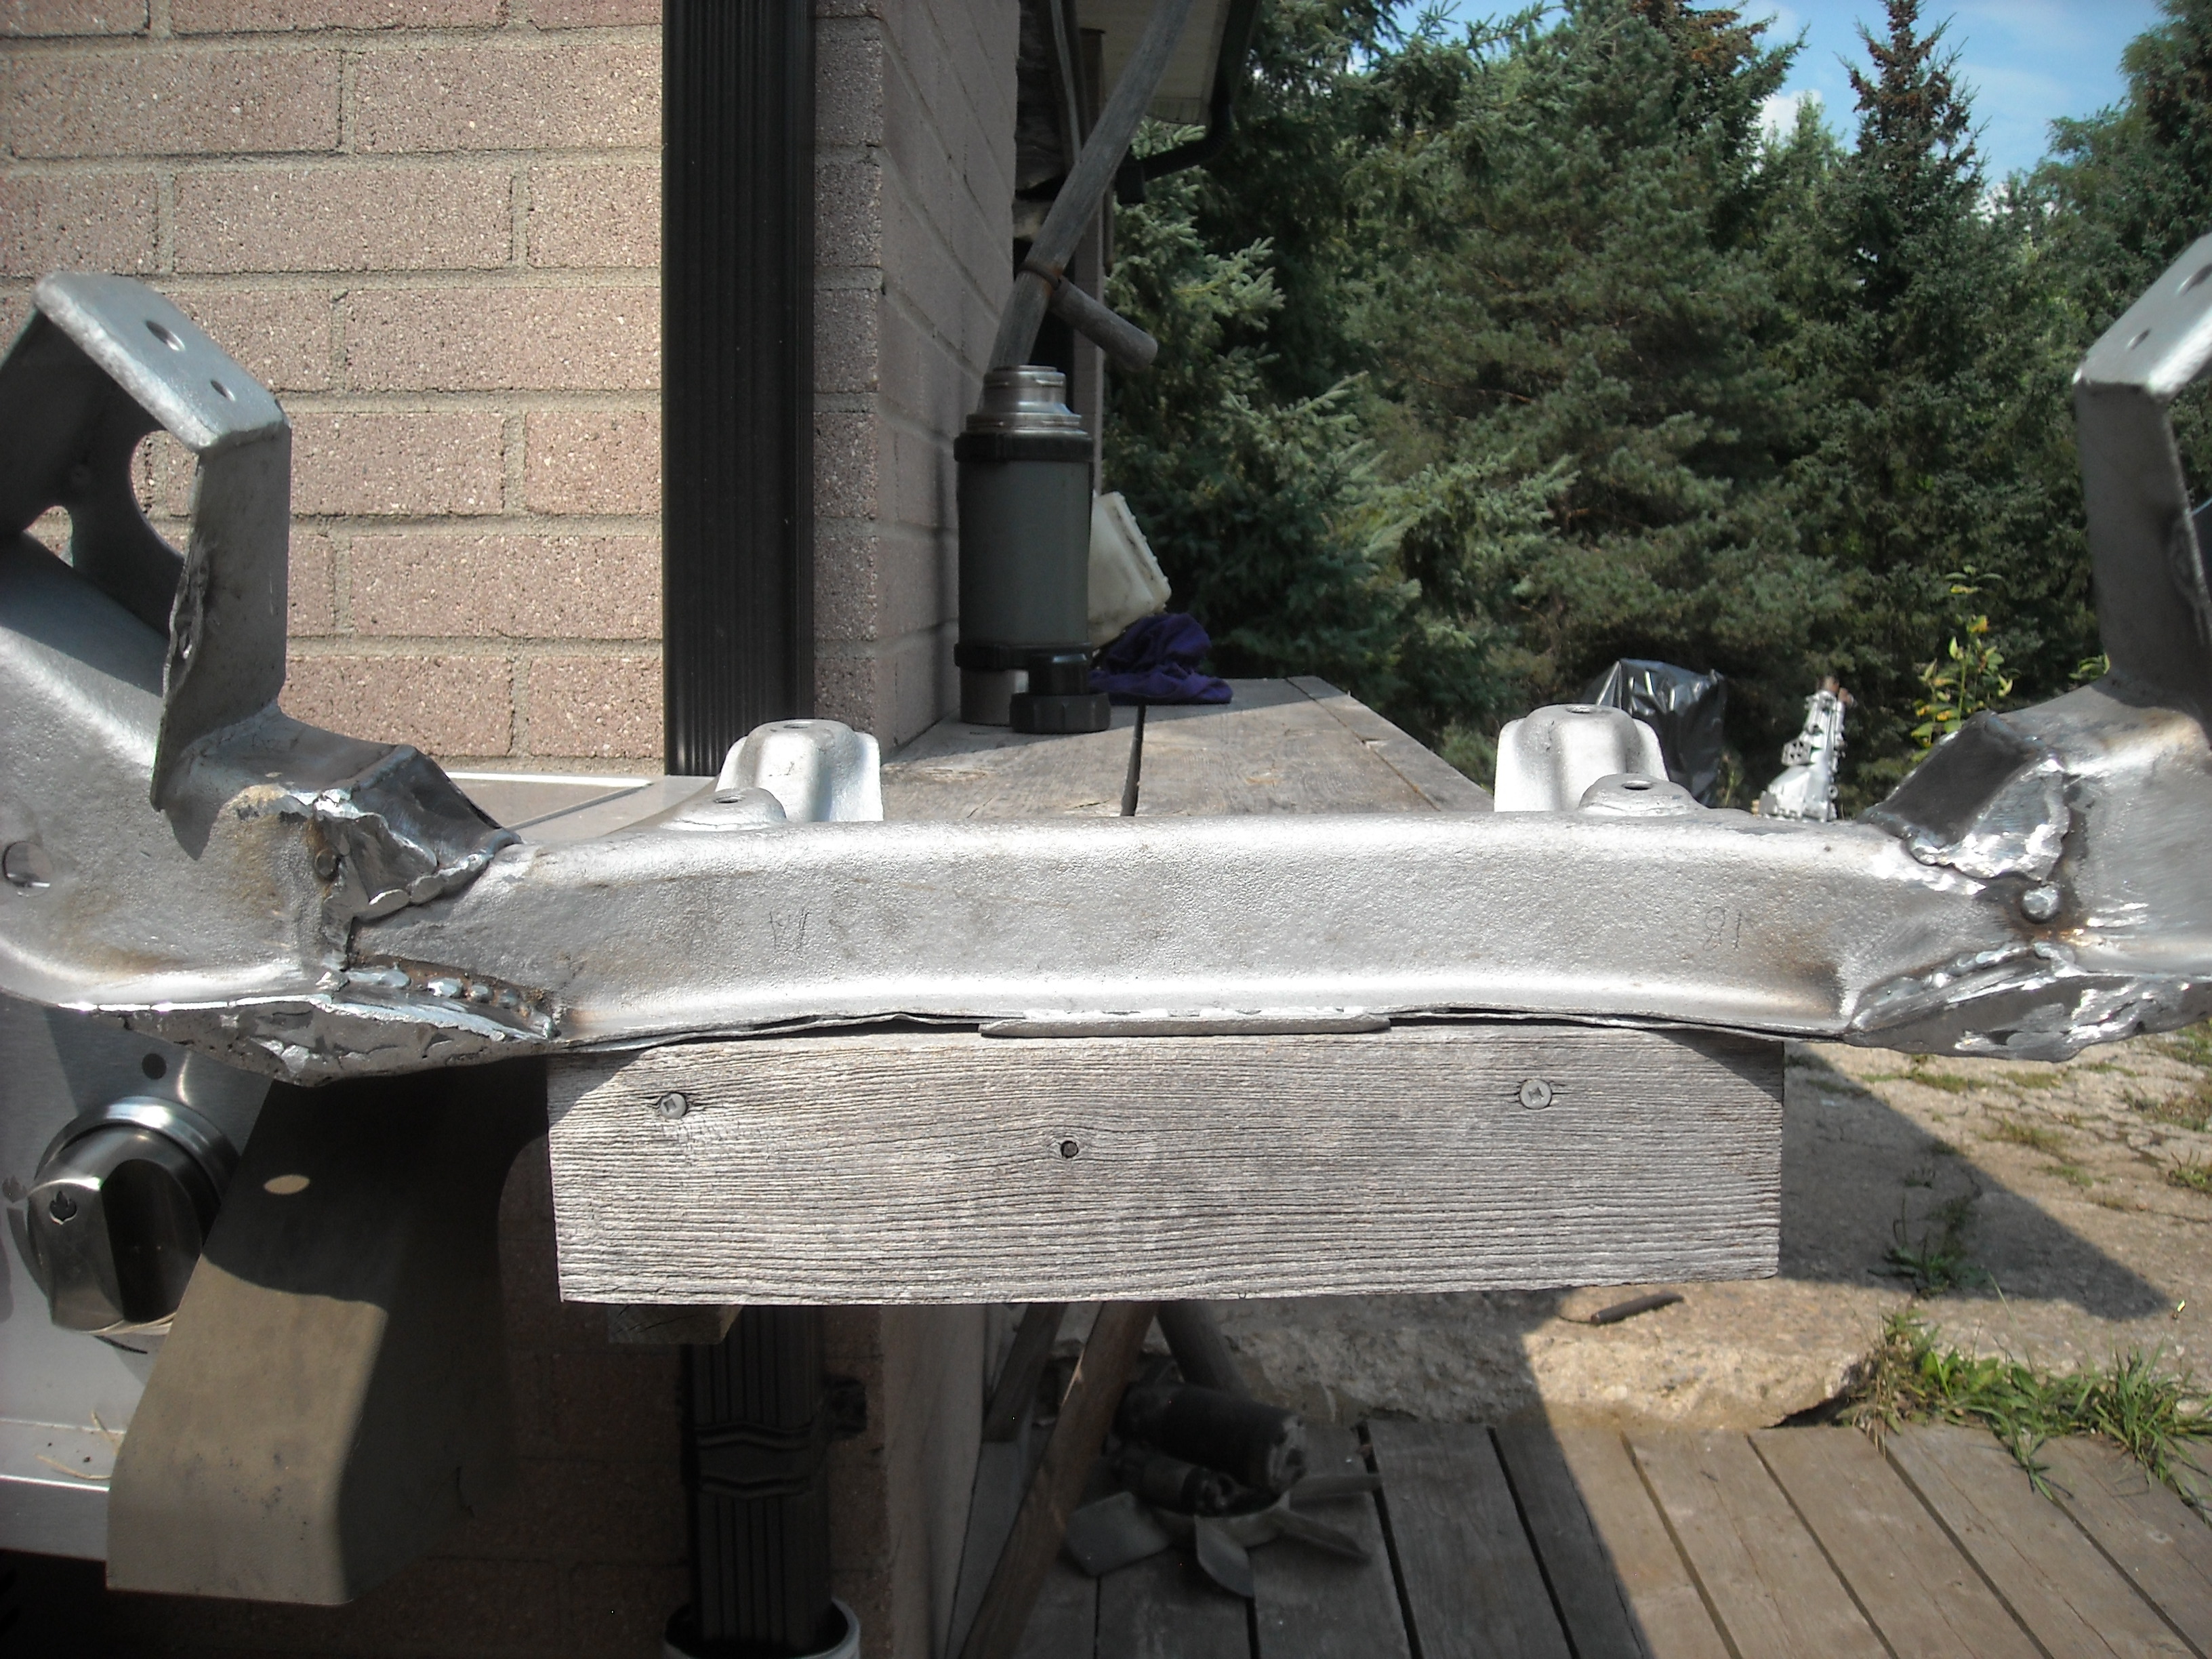
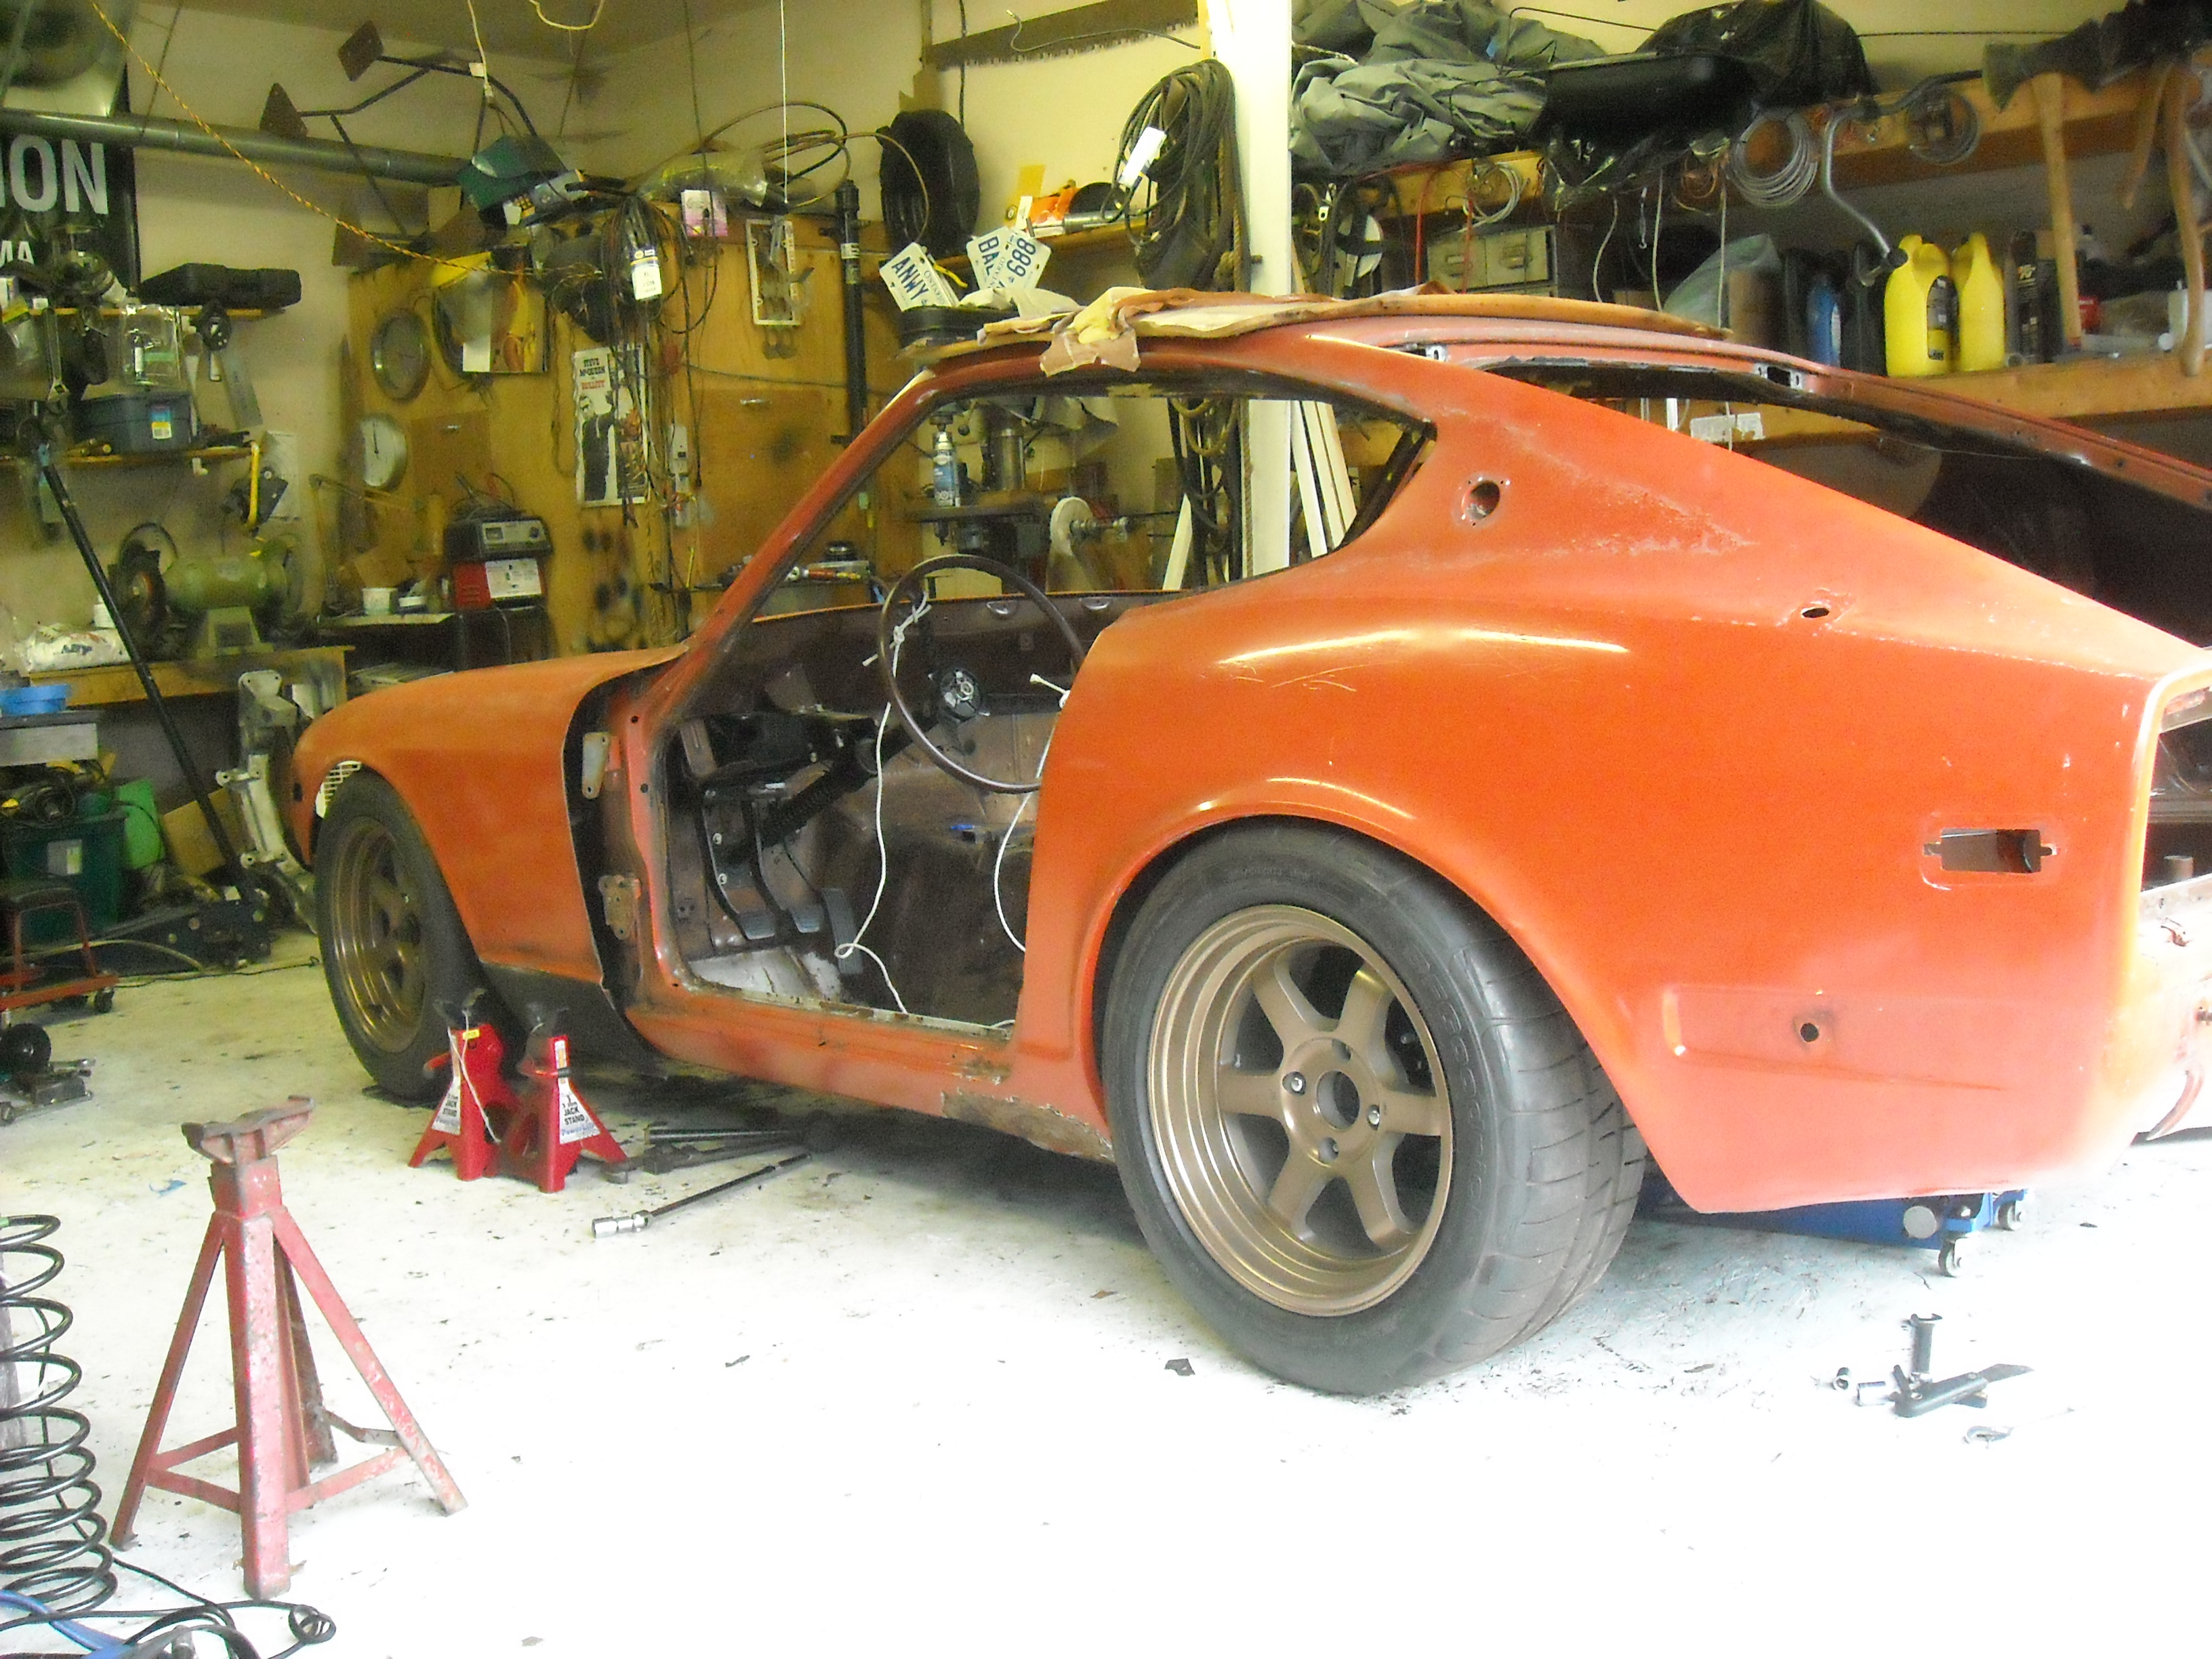
This whole contraption I built to buy more room for the engine - complete garbage, should have done a bit more research before cutting. Can't just screw with steering geometry and expect to get away with it. I will have to find that extra room some other way, I did find a 1/2" by removing the the top of the collars on the steering rack, cutting some of the urethane and modifying the hold downs. Not pretty but I can clean it up later. Got a great deal on a set of 16x8 Rota Grids with 225/50 BF Goodrich g-force Rivals, the tires still have 3-4 yrs life in them so maybe I'll get to smoke them a bit. The car isn't going to be this low when I get finished, just testing to see where it sits on bump stops with no springs.


 1 point
 -
1 point...part 2 cont. Inside the top of the casting. Notice that the 240Z casting has a little "SD" icon cast into it where as the F-10 pump lacks this detail. Identical casting otherwise. Here is how you swap the lower oil seal. Just fit a thin flat blade screw driver under the lip and pry up. TIP: Make sure to place a rag over the top when you do this as the pressure fit retainer clip will shoot out a few feet from where you are working. You can see that the retainer is already removed from the pump on the right. Oil seal comparison. Our old one on the left was torn and becoming brittle. Swap out the oil seals and replace the retainer by taking a socket about the same size a the inside of the retainer and tap it back in with a hammer. It might take a few times as the retainer wants to slip around. I had a helper when I did this operation. Line up the peen marks if possible. Install the diaphragm opposite how you took the old one out. You install the end of the rod diagonally so it can fit under the actuator arm. You may need to move the actuator arm down to allow the rod end to clear. It should pop into place. Install the pump back onto the engine block at this point. It's way easier this way trust me. Reassemble the upper casting using the bright new screws, top cover plate, and gasket from the new pump. Then screw the rebuilt fuel transfer housing onto the diaphragm base using the rest of the bright new screws. Reattach hoses and such. TIP: I did swap out the fuel inlet tube as the original one was much shorter and had a thinner OD tube diameter than the one from the F-10 pump. You may need to temporarily bolt the fuel transfer housing to the engine block to get enough torque to unscrew the inlet tube. These have tapered threads so they will seal against fuel leakage. No need to use plumbers tape or any sealer. The more you screw on the threads the tighter it will get. Crank up the engine and look for any leaks. All in all this took us about an hour to do and only cost me about $30.00. How awesome it that!!1 point