Leaderboard
-

Metalman5151
Member3Points24Posts -

Mike
Administrator3Points22,970Posts -

S30Driver
Member2Points1,580Posts -

grannyknot
Member2Points5,158Posts
Popular Content
Showing content with the highest reputation on 08/30/2016 in all areas
-
I agree, that would have been the route to go to solve the fitment problem in the dash area. Hopefully the new system lines can be adapted to it. What about the blower Jai? Did the new system retain the factory one? This would probably be a good candidate to consider the Honda blower motor upgrade.2 points
-
By the way, per this discussion I decided to add a new forum to the list called "Heat & Air Conditioning" on your behalf, Jai. I moved a bunch of other A/C related threads into this forum. You can also do a search to find other posts related to A/C in case I missed any. Click here to search our site for the words "air conditioning" for example.2 points
-
I don't know about the u shape Looks flatter than that like in the above pic. What I'll be making will be very close to those. All the water jet will do is cut out my forms so that I can shape them to fit a headlight bucket and my tracing. By forms I mean hammerforms. That is how I will make them once the forms are completed. As for the asymmetric part all the blanks will be oversize, I'll simply trim to fit. One side high, one side low. Then finish (very slight roll)the edges. Look I get that you don't think I can do it. Do I care what you think? Not really. . Spread your negativity somewhere else please. If you had any experience in sheetmetal fab you would know this is not anywhere near impossible. Google "Cass Nawrocki" He did stuff that most considered impossible. Hell most Ferraris in the 50's and earl;y 60's were formed with little more than a stump, hammers and a helve hammer. Crude basic tools but in the hands of someone who knows what they are doing they created beauty. Will I replicate the shape exactly? Probably not. Will it be a very nice approximation? I definitely think so, and I think that is what people will want.2 points
-
I GOT THE S.O.B RUNNING! Matt, the MS guru is coming up in a couple days so I was neatening up the wires so I didn't look like the complete backyard hack that I am and was checking them all again for power, grounds and continuity. That's when it occurred to me that the ignition coil positive wire was getting switched power but not when the starter was turning, I hadn't connected the coil to the ignition wire, what a twit. Switched it over and it started right up and idled pretty well. The strange thing is the laptop running TunerstudioMS says "Not Connected" and it is definitely connected. But that is something Matt can figure out. At least I can say it didn't beat me. As my Dad use to say "If one monkey can do it, another monkey can do it"1 point
-
 1 pointYou are so close to yanking the motor , just do it. The time you spend pulling the motor will be made up by the ease of painting an empty engine compartment.1 point
 -
 1 pointI painted mine with the engine in. I did't want to remove a perfectly running engine just to clean it up. Mine is more of a driver than a show car and since it is the engine bay and prone to future grease, oil and scratches, I felt like it did not have to be perfect but be better than the original factory finish. Yours sounds like it is already at a good starting point. Instead of a spray gun, I went to a automotive paint store and and had them mix my paint code (#240) in Acrylic and put it in a couple of Aerosol Spray cans. Much easier than getting a spray gun in there IMO. I could do the hard to reach spots like the battery tray area. You just have to be careful where the nozzle is aiming. Then I worked on one side at a time, cleaning, removing parts, and masking anything left Like AC hoses, wiring harness, etc. with masking tape and Paper shop towels. The trick with keeping it cleanable and shiny is to clear coat. It had to be compatible with the enamel. Got that at an Automotive store. The firewall was the hardest with the brake lines still attached. That is why I did one side at a time. Overall, I'm happy with the results considering nothing major had to pulled. As a bonus, I even painted the visible parts of the engine block with ford blue using the same method, I keep an extra can of paint since there is always something to do under the hood and I can retouch or re-do something if needed. I have posted before and after pictures on the AFM boot thread if you haven't seen them yet.1 point
 -
 1 pointAt this point you could have the engine out in 15-20 minutes. There's only 8-10 bolts to undo. With that out of the way painting will be much easier, better and faster. Chuck1 point
 -
Sorry to hear about your troubles Jai. Both Motorsport Auto and Zcardepot have parts for A/C systems in the early cars but I don't know if they have the controls. From what I understand, the controls for the early Z's were a small dial on the side of the dash. Hope you can find something that will work! Keep us posted. Edit, after browsing the MSA site I noticed they have a complete kit for the later model cars here. They don't have any pictures and it's somewhat vague if the kit includes all of the controls. You may need to call them to make sure. I also don't have any experience installing these kits, so, I don't know much about the actual install. Mike1 point
-
 Thanks, one of the Jims. Now I can find out if the components are all there that is if if he returns my email. Meanwhile I'll talk to Jai and figure out what RedBird needs.1 point
 -
Couple more things Alan, maybe if you had provided me some reference pics when I asked you for your help instead of telling me "I don't think you can do them so I'm not going to help" I might have a better grasp of them. Also you make a big deal of the asymmetric part. Of course they are going to be asymmetric, the inside edge of the trim ring is going to be shorter by the thickness of the cover. If not they wont fit on the cover correctly.1 point
-
 I think you have misunderstood what Gav was talking about. He wants a solution with an OEM plug so he can plug it on any clock, with the old or new oscillator. As you've stated you've used a tail light plug and mine comes with a plug or I have a link to source them for US based people as they are $3USD. Our circuit board comes with a wiring tail so you mount it inside the original box or one of your choosing and just put the plug on it that fits the original clock's loom or put it inside the clock if that is what you want. I figured most people would have the factory clock loom still and wouldn't want to open up their clocks.1 point
 -
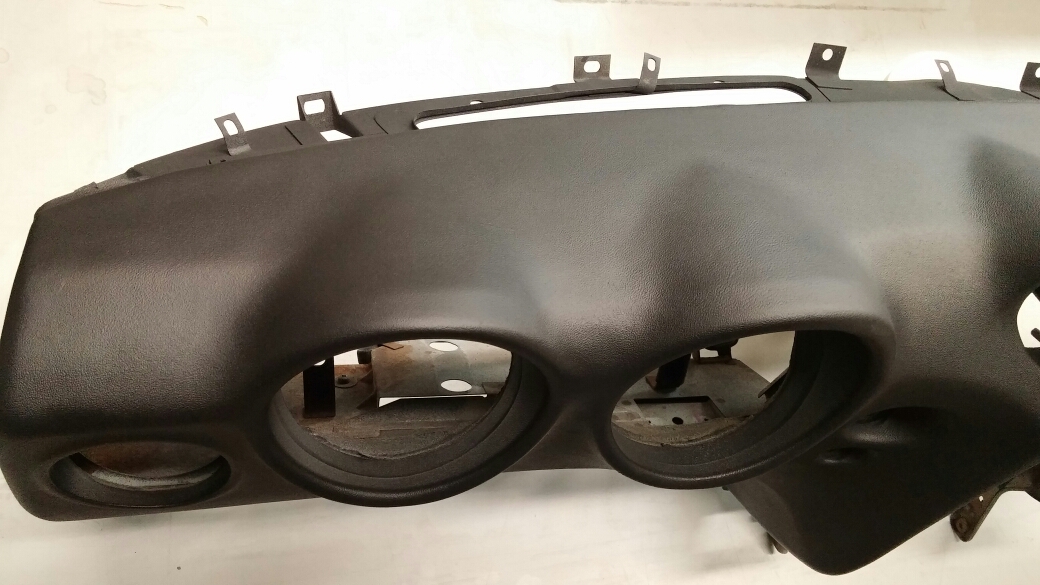
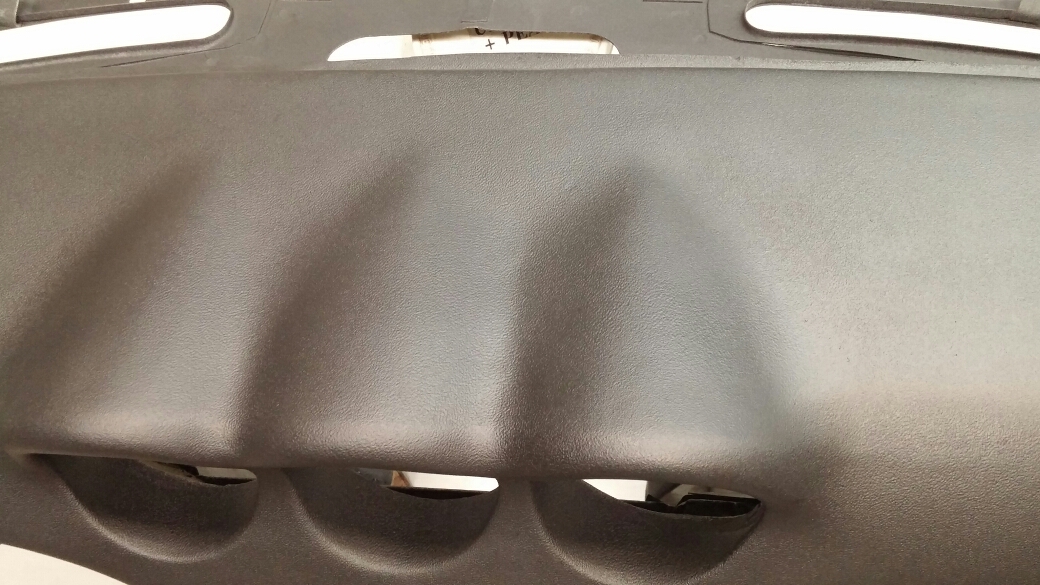
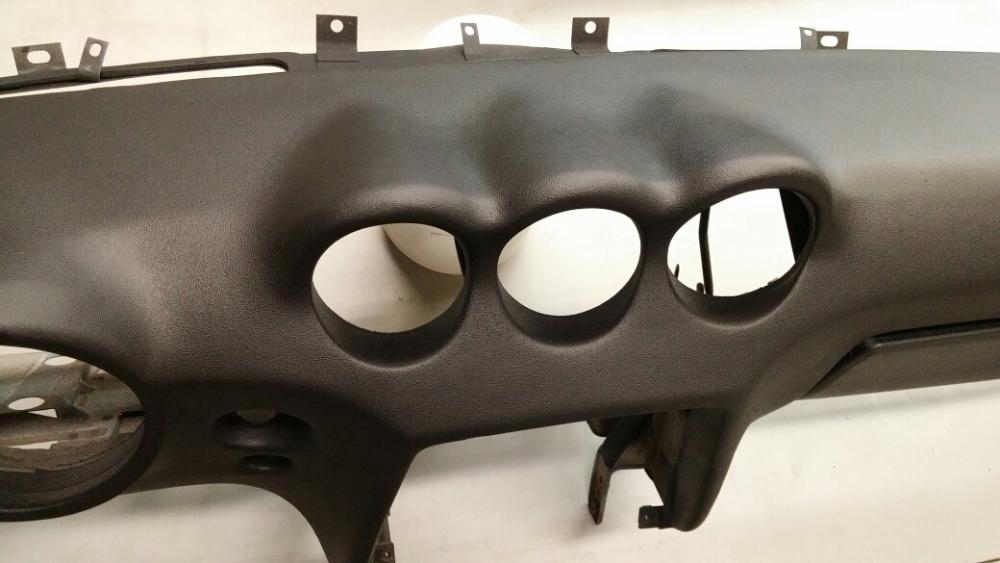
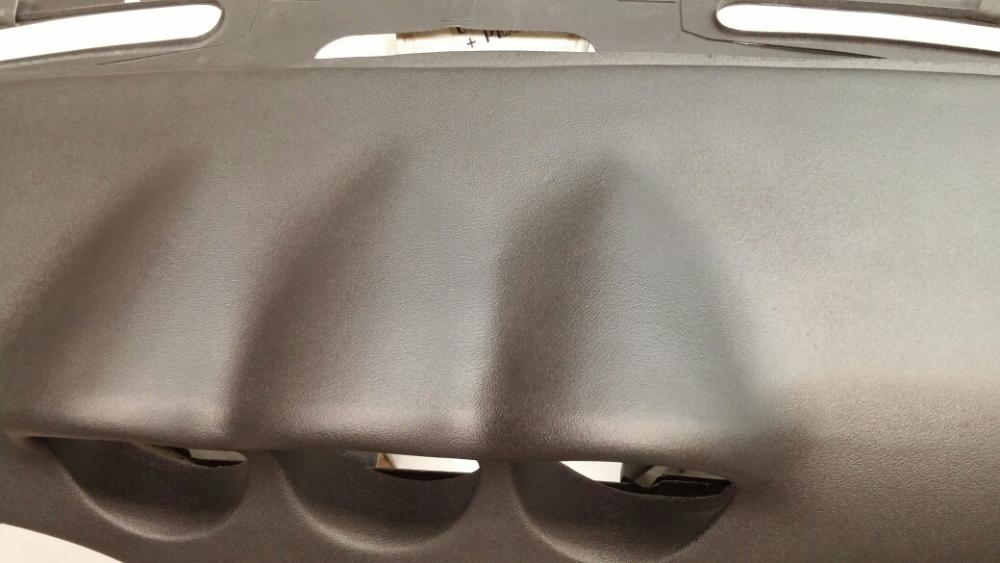
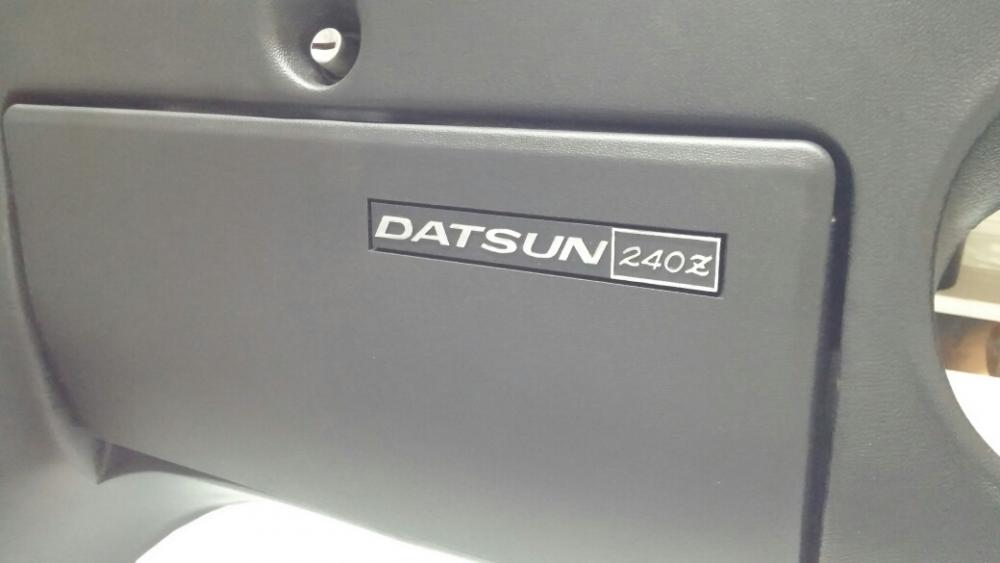
John, I had forgot those, what is really remarkable is they started as black. Talking about SEM products, a buddy of mine just re-finished a dash for me using the satin black.(I tried it doing it but it came out horrible) He has the patience for that kind of work, here have a look.

 1 point
 -
 We will be reproducing them within next 8 months, it will be 1971- production type. So stay tune! Jay Ataka1 point