Leaderboard
-

George_Zed
Free Member3Points112Posts -

Matthew Abate
Free Member3Points1,189Posts -


kats
Free Member2Points2,209Posts -

gwri8
Free Member2Points1,385Posts
Popular Content
Showing content with the highest reputation on 11/18/2016 in all areas
-
3 pointshello there... one year later and I still have a lot to do with my car... done few things though and I am happy I knew it was going to be a slow progress due to the lack of time... I do all the things alone and since I have a family with two little boys, the time for my Z is very limited. So, all this time I did the following tasks Removed the factory tar insulation to check for hidden rust Then painted original silver (the oem color is silver) New tar insulation On top of that I added an extra thermal/ noise insulation and I hope tomorrow find time to finish with the jute carpet padding on floors and tunnel I finished the dash, I am really happy with the result... before and after I hope this weekend to finish with the whole interior... lets see... I have told this so many times before3 points
-
 How co-incidental is this. I spent this week resurrecting the 10-15 year dormant fuel system on a 78. Every section of the hardlines, including the fuel rail, was plugged including the fuel pump. A lot of the old fuel sludge blew out with compressed air, but no such luck on the fuel tank itself. The tank had 40 litres of the smelliest grossest sludgy crap I've ever dealt with. I tried the poke it with a wire method with no luck, then I resorted to petro-chemicals (I used Laquer thinner) to melt the stubborn blockage in the return line. I hooked up a 3-4 foot chuck of 5/16 rubber fuel line to the return tube, and hung it vertically up beside the rear fender to get it higher than the tank. I then filled the hose with laquer thinner and gave it a couple of hours to work on the crud it was now in contact with. I tipped the hose down into a low pan and out poured first clear laquer thinner then browner and browner then dark rust/crud/sludge. I repeated this process one more time, got more crap out, then applied compressed air the line and PHOOOMMM blew out the last of the crap. The old Z now purrs like a kitten. Required a new fuel pump too.1 point
 -
1 pointNope, but I did just get a used Mini Cooper for my daughter…. So I'm kinda expecting it.1 point
-
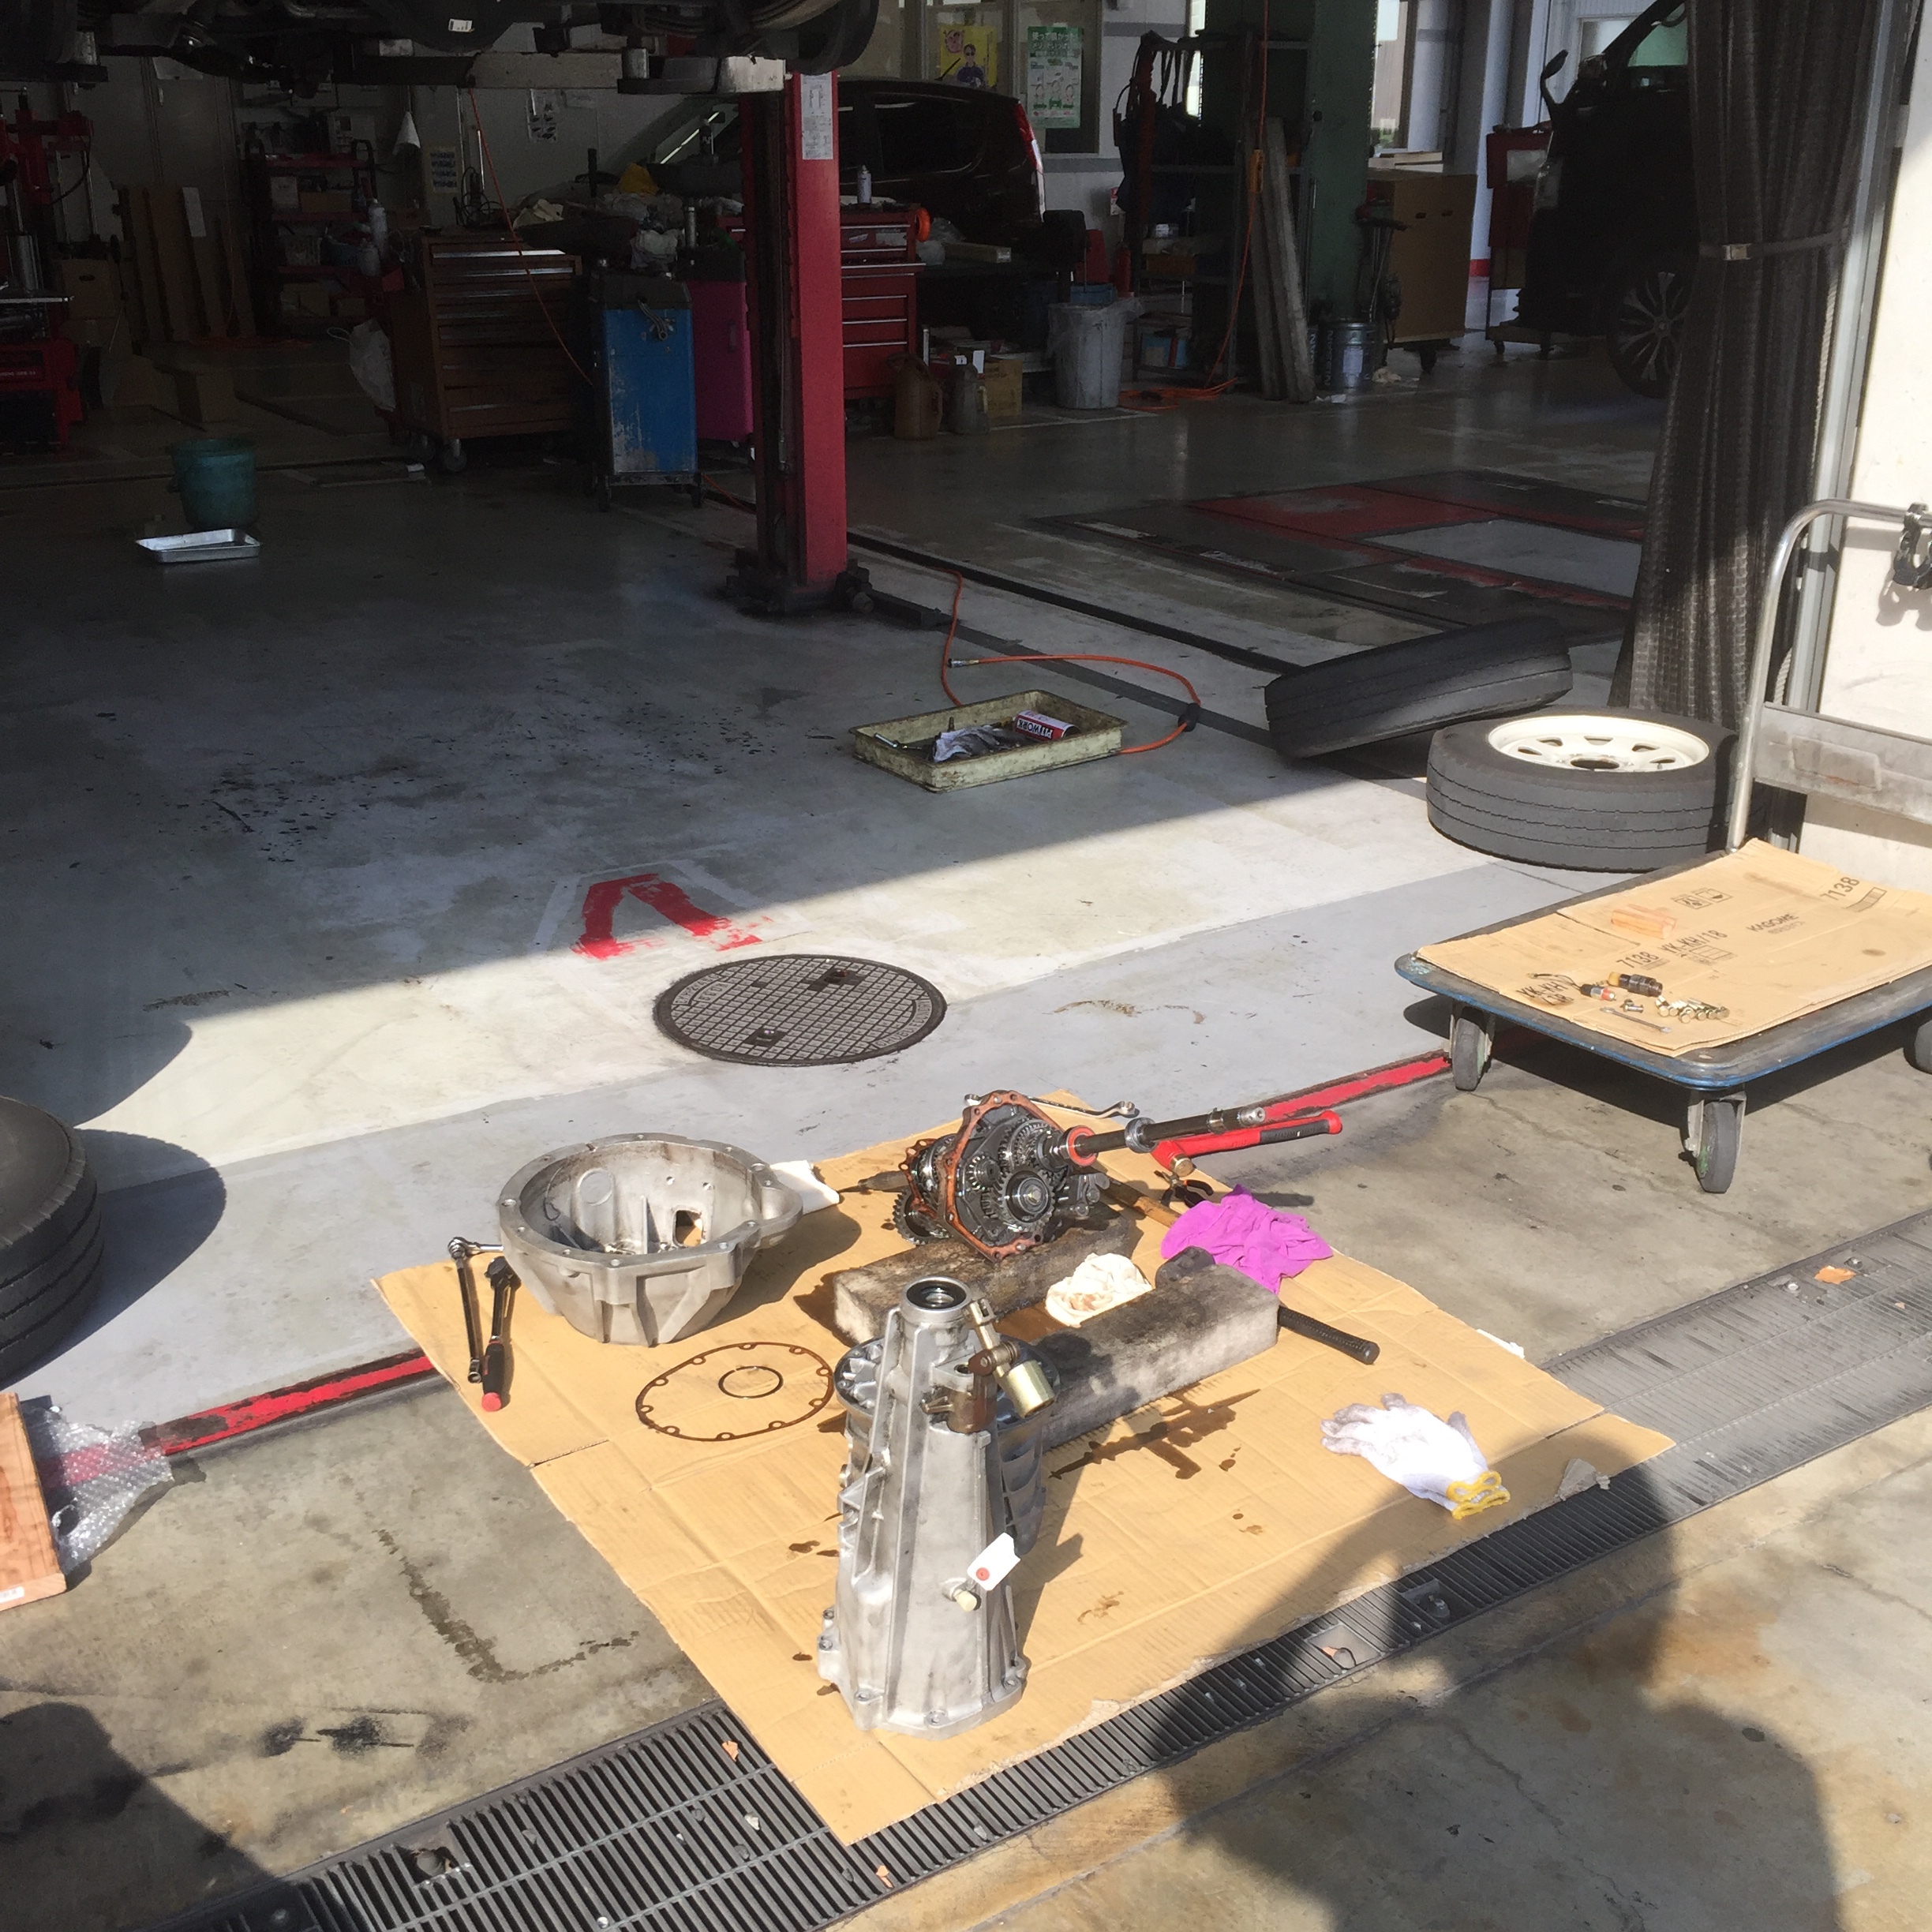
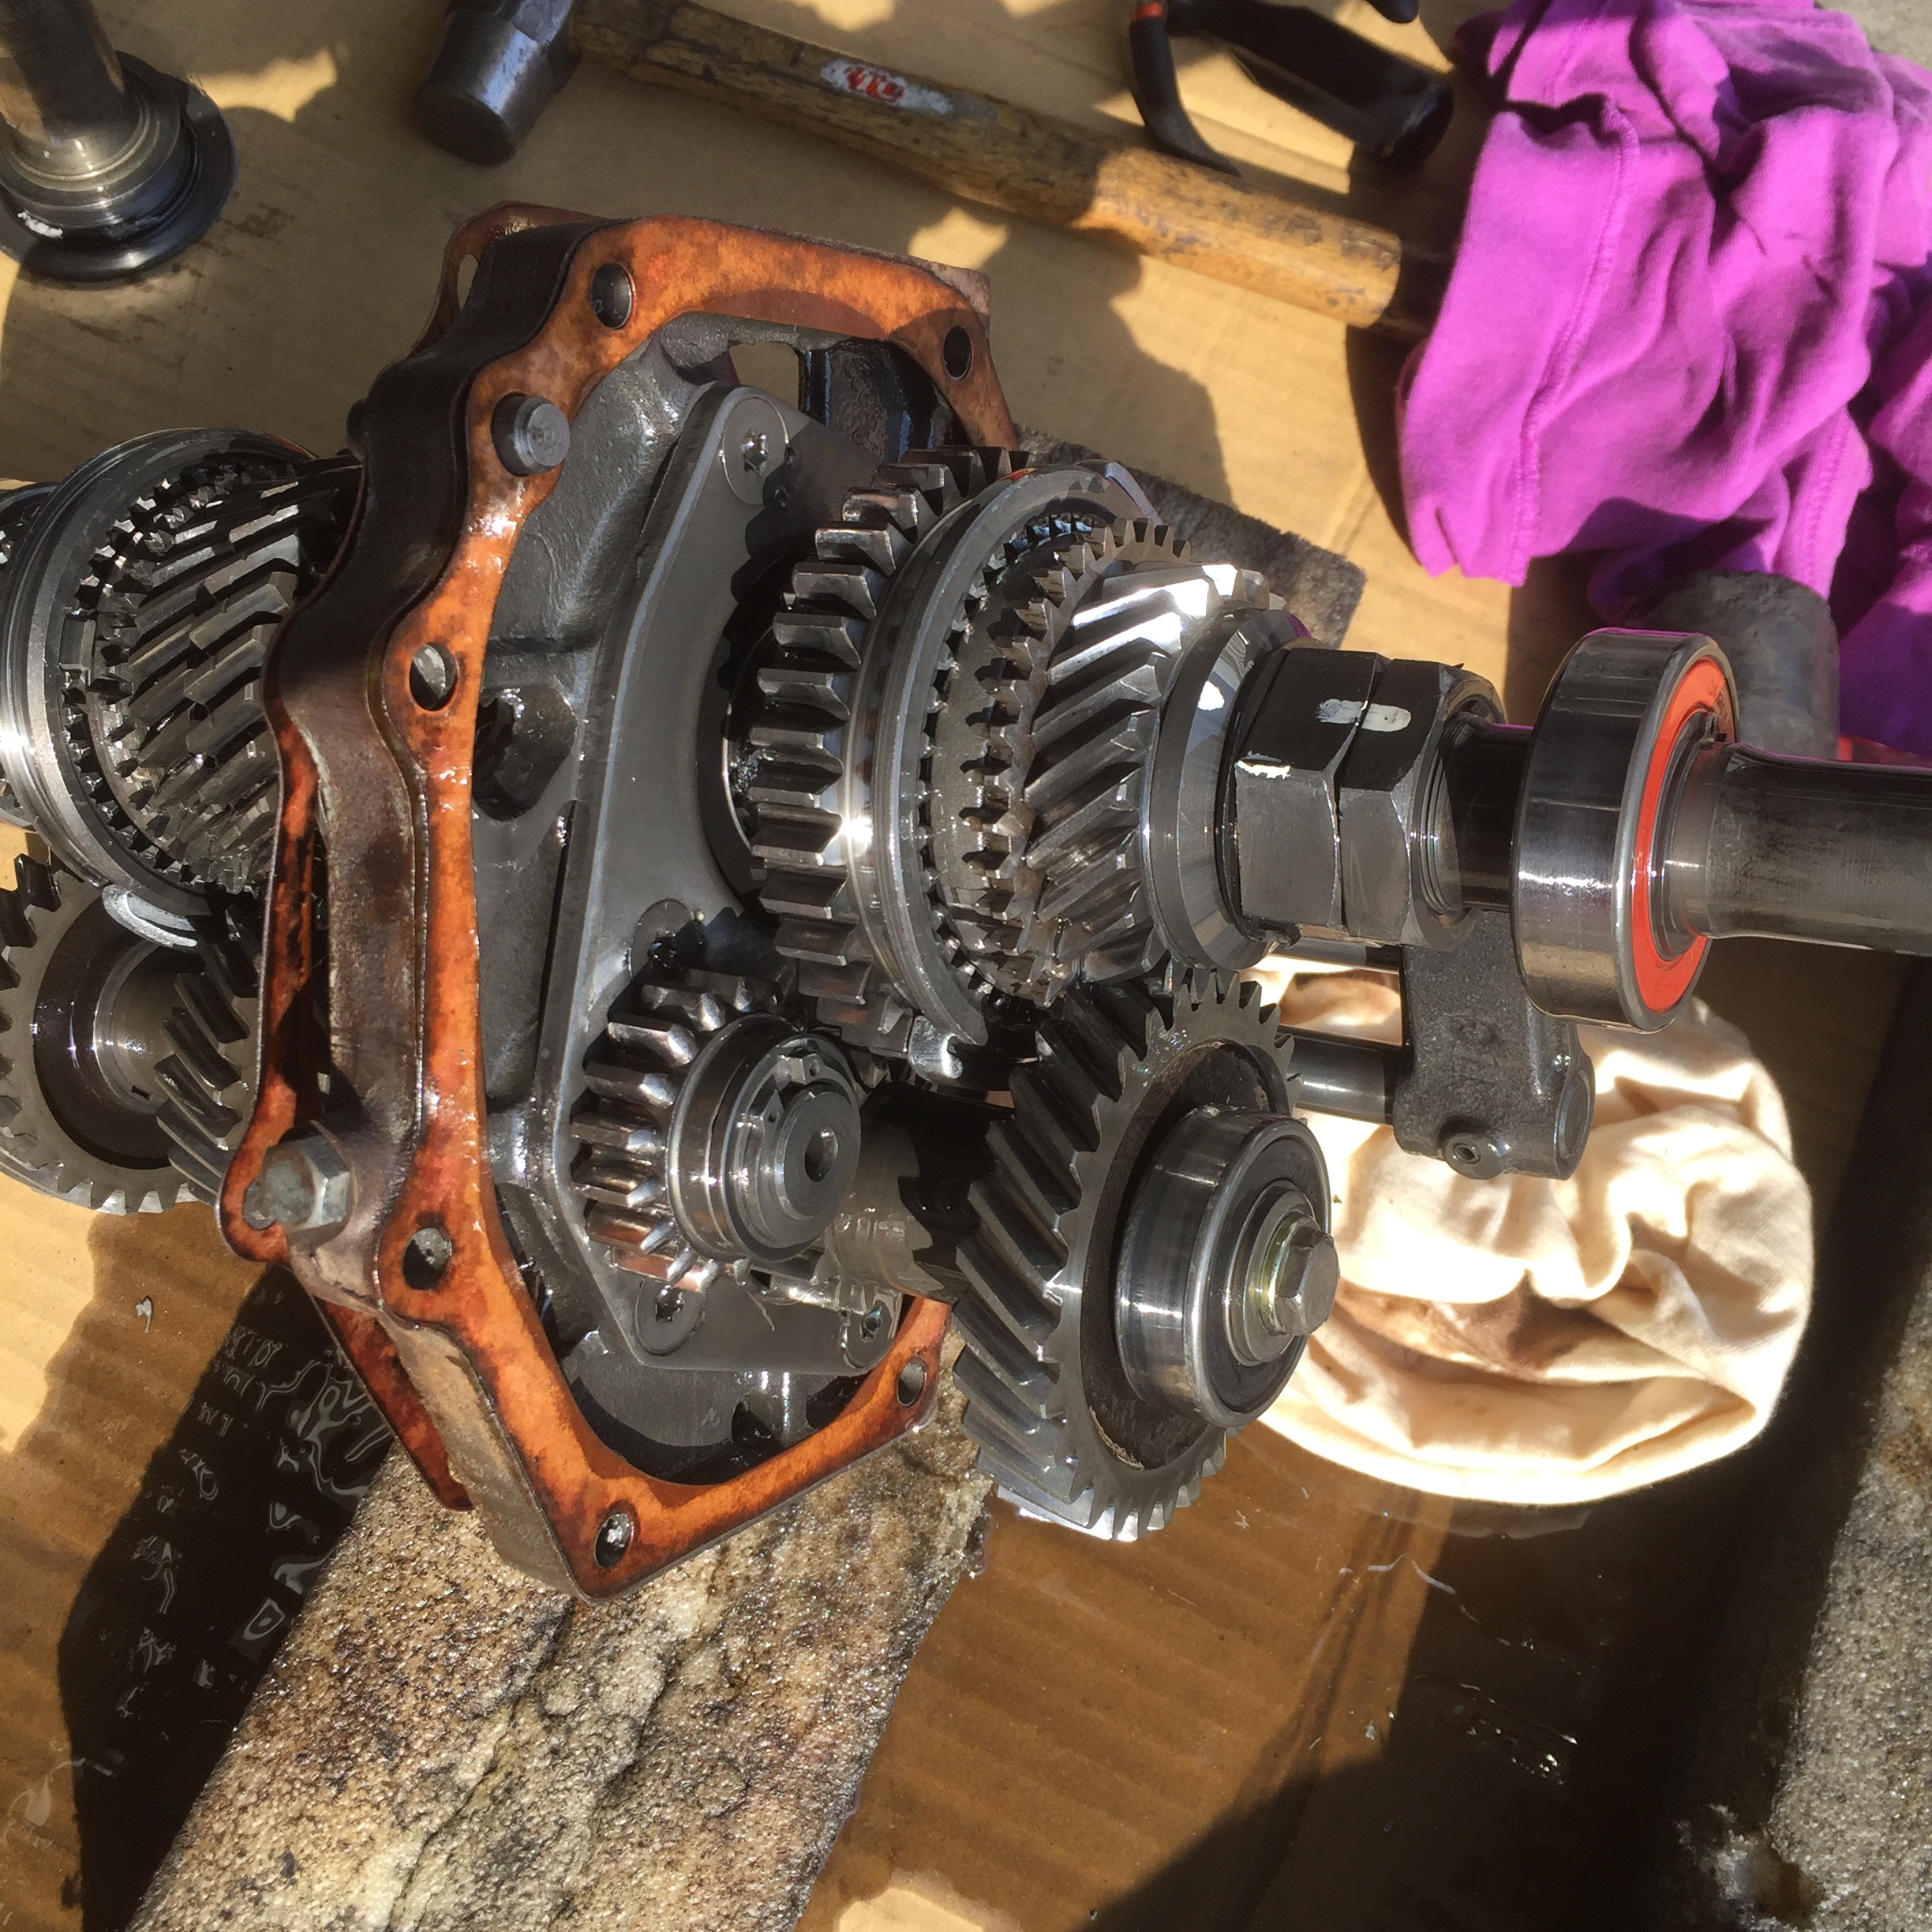
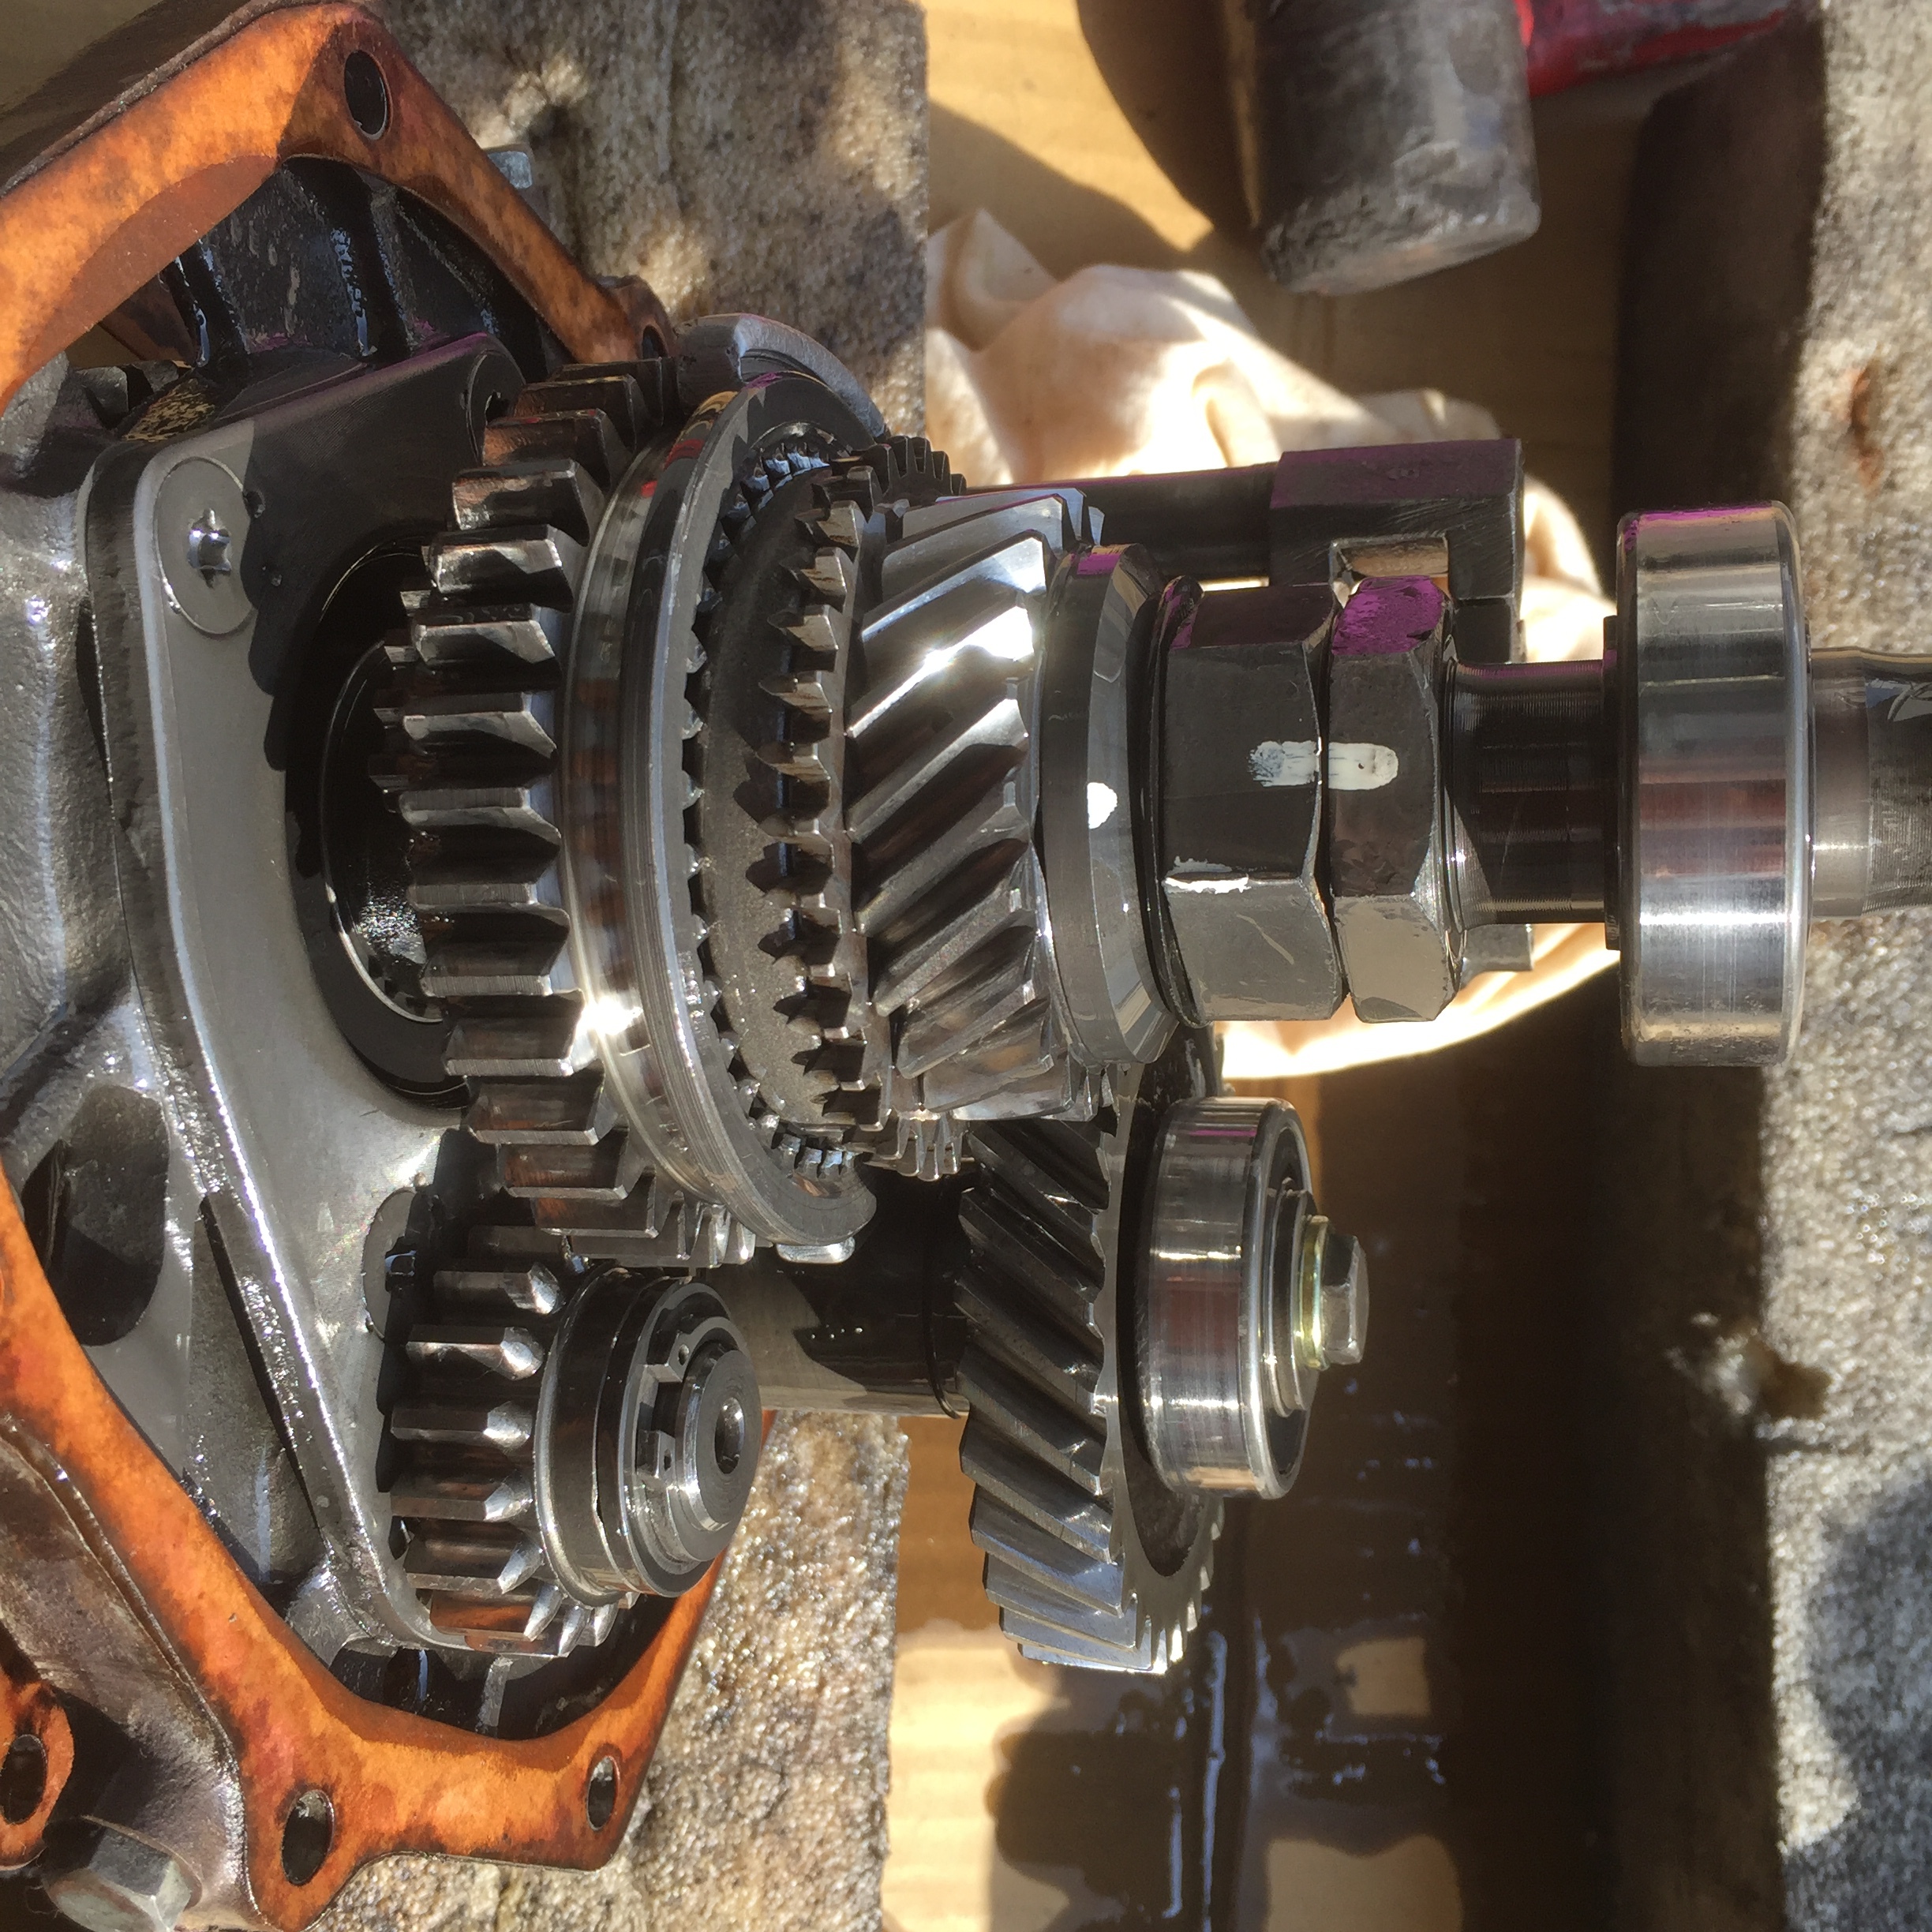
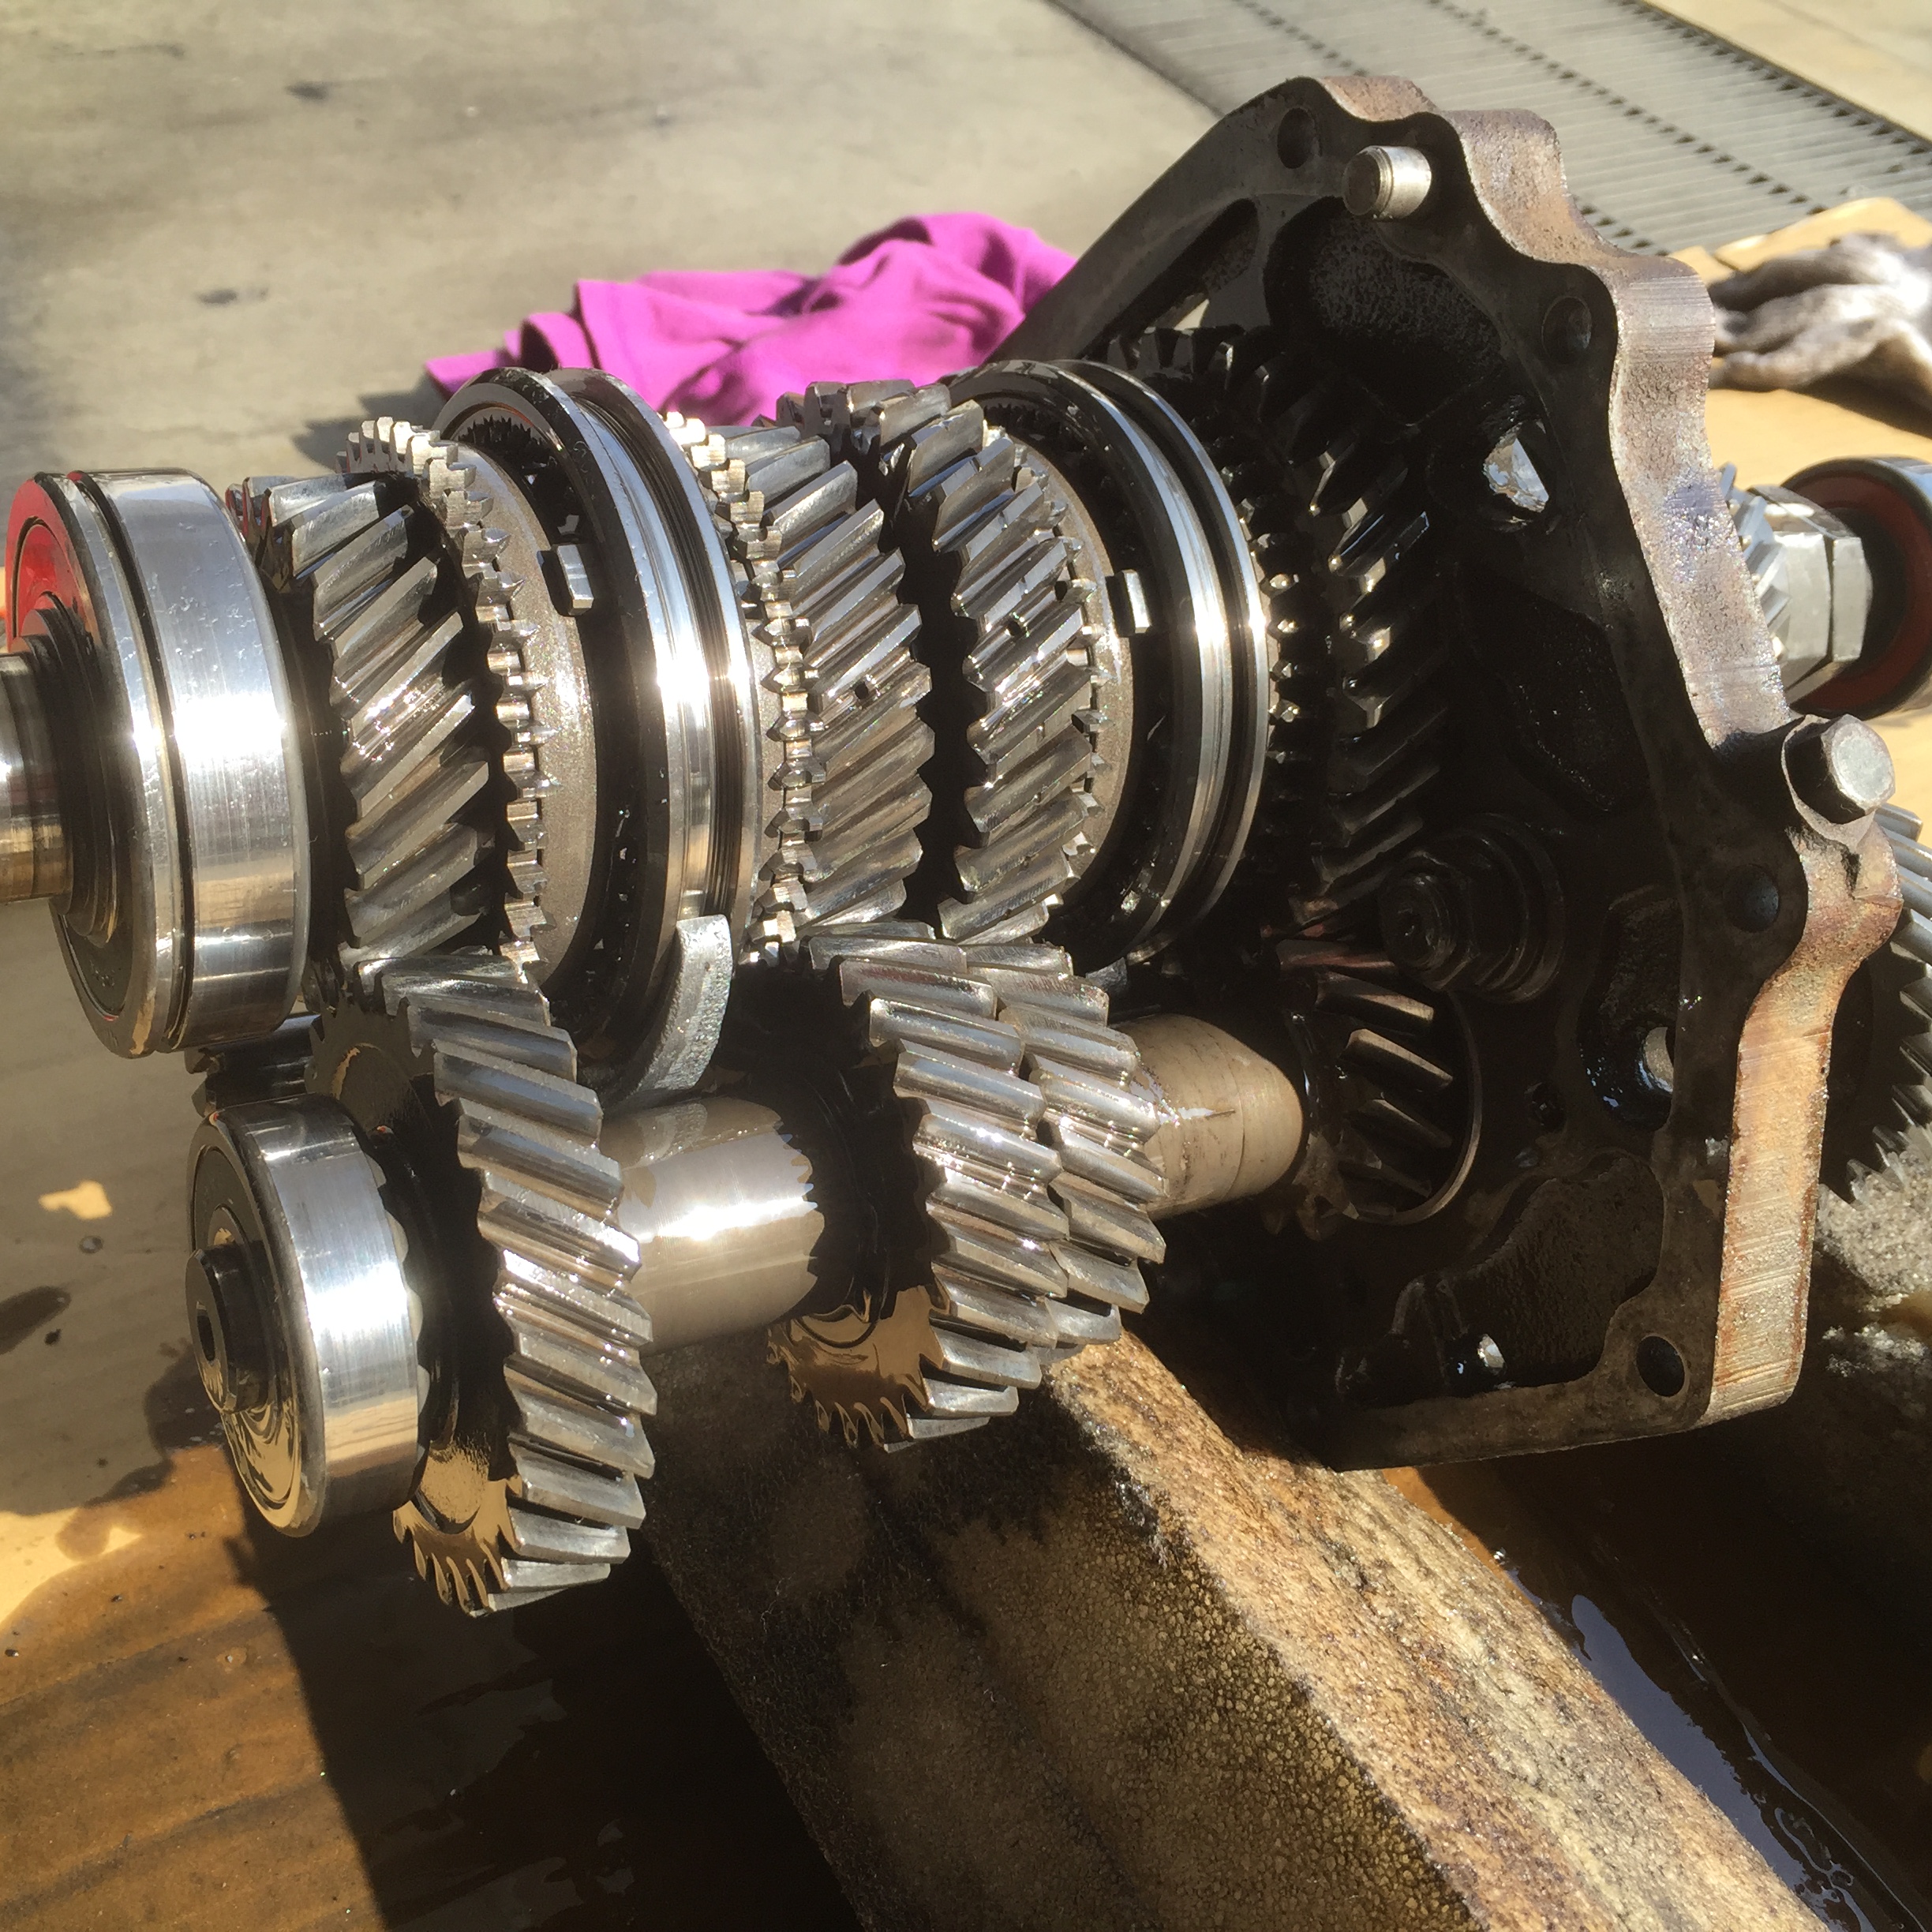
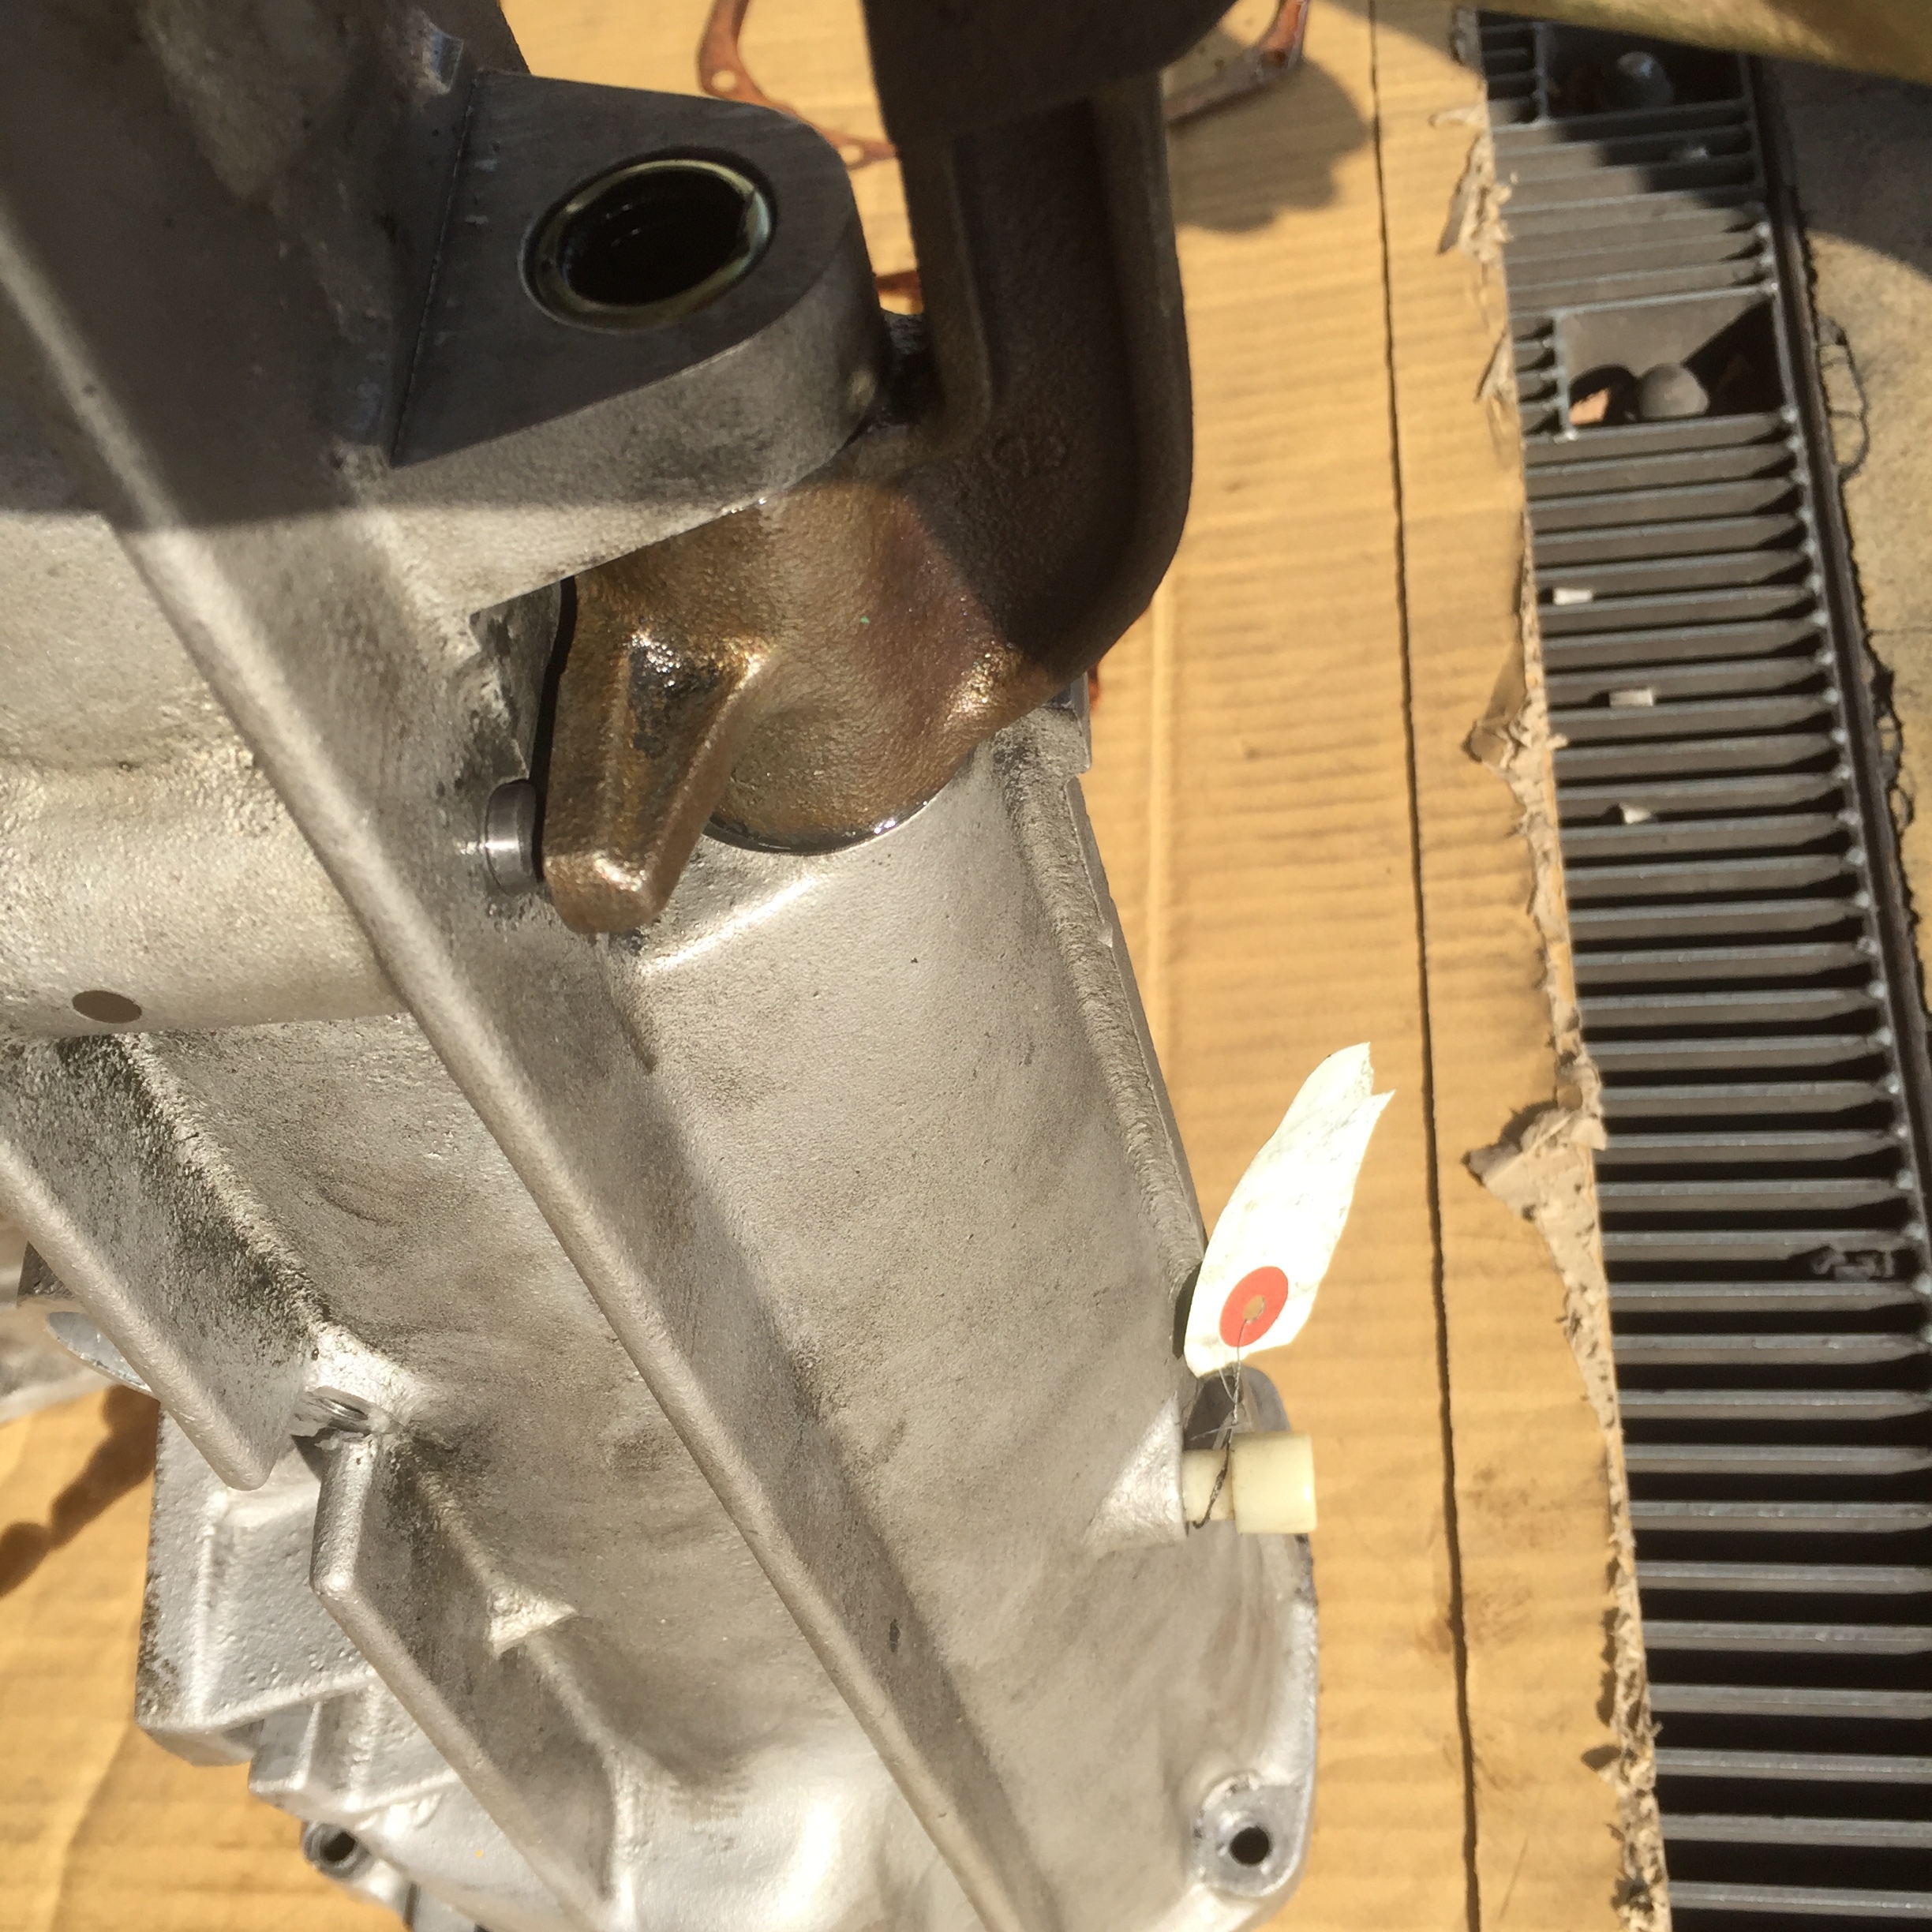
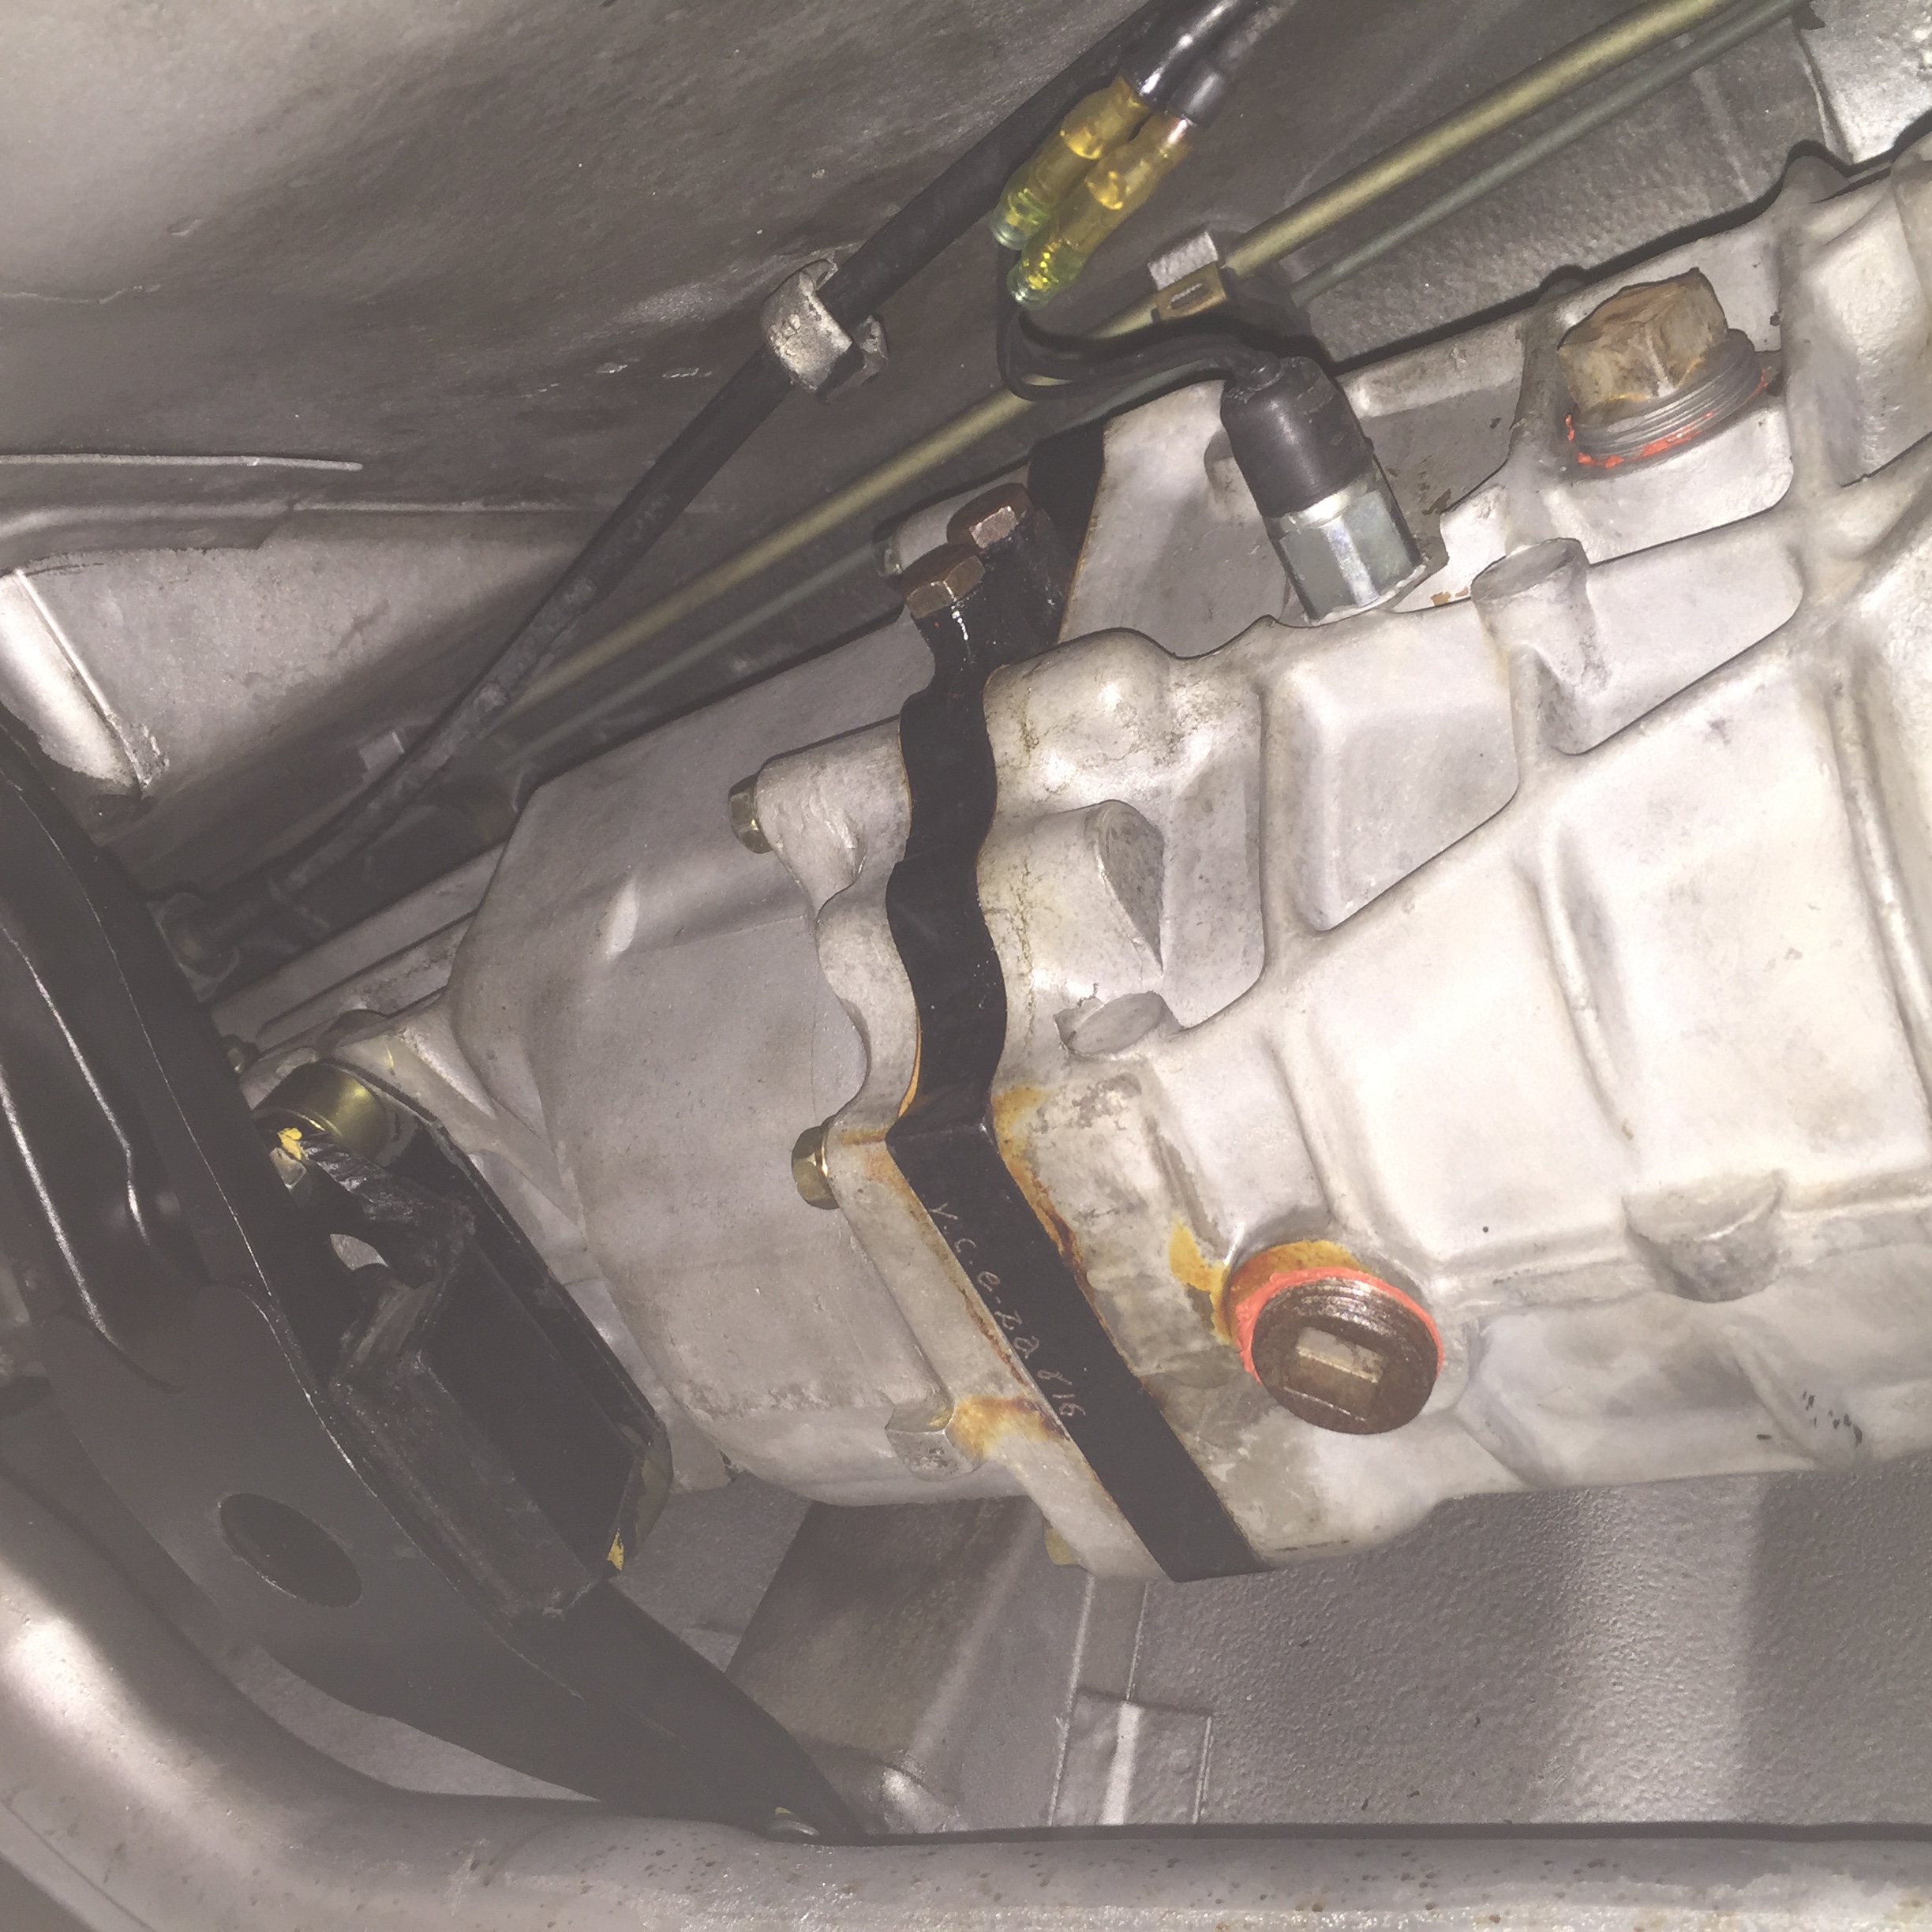
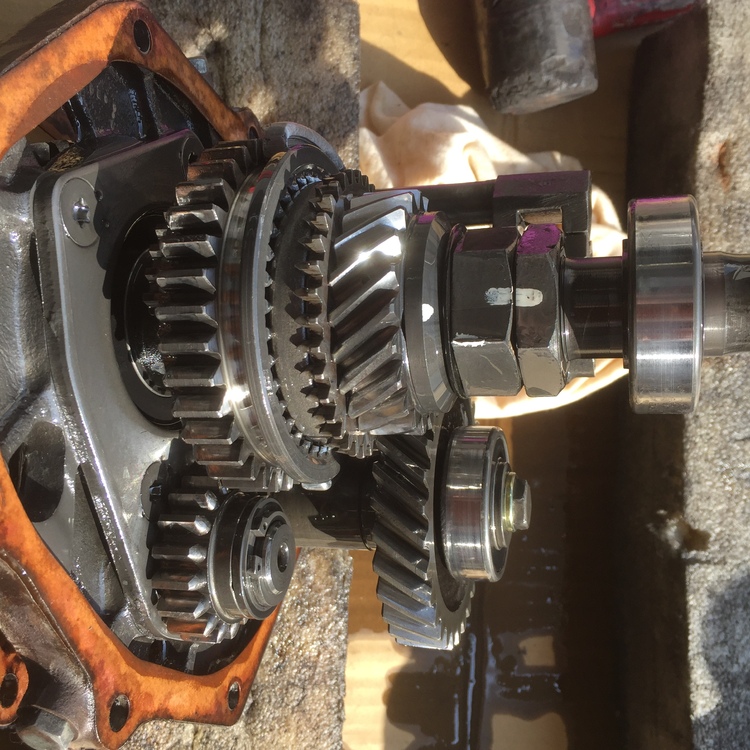
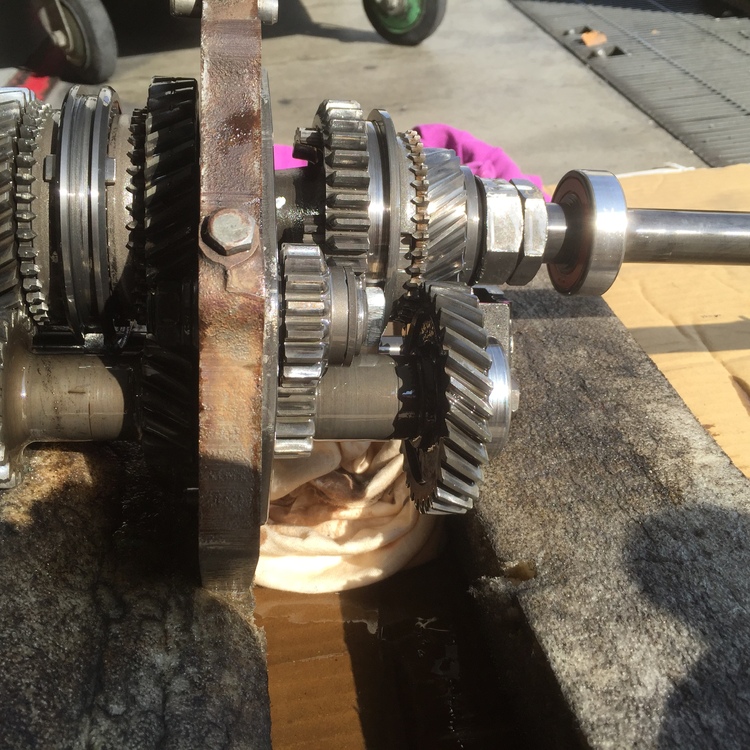
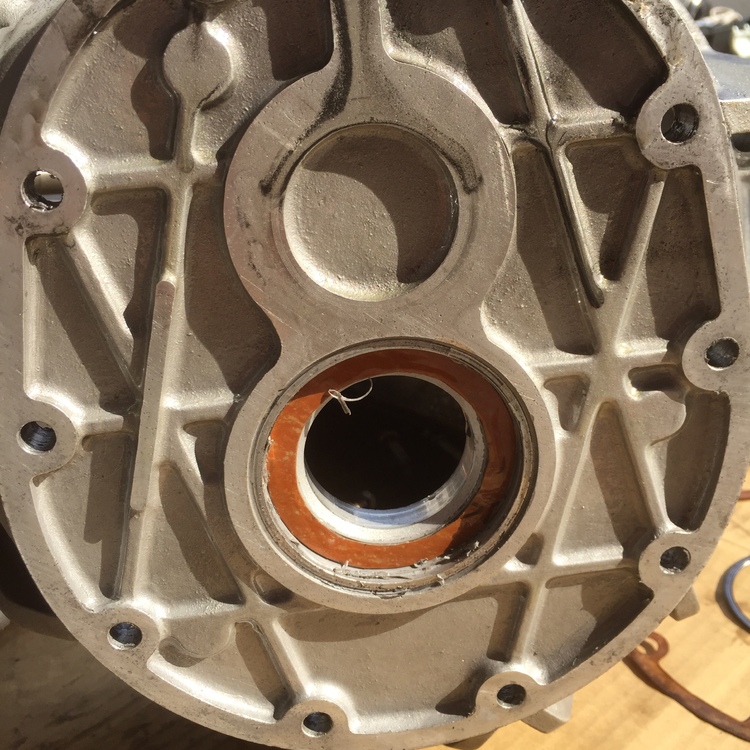
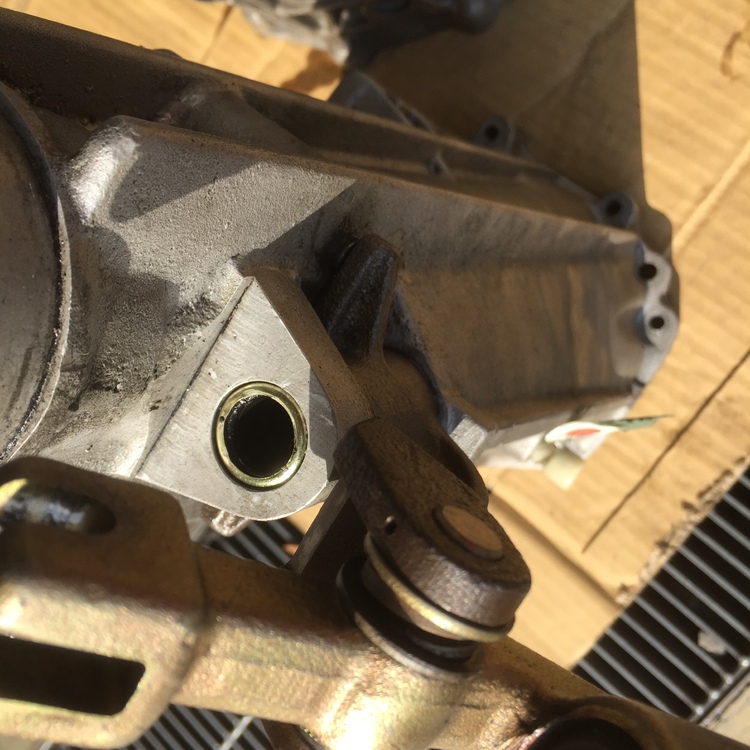
1 pointThey let me use some tools to disassemble the previous transmission, they are very generous for amateurs. This project was started to find a reason of oil leak around the center maffler. I noticed a steel tube which is working with clutch release bearing was loosen and turning. and two pins under the shift control arm, O rings did not do their job, so a lot of oil leaked from there. kats


 1 point
 -
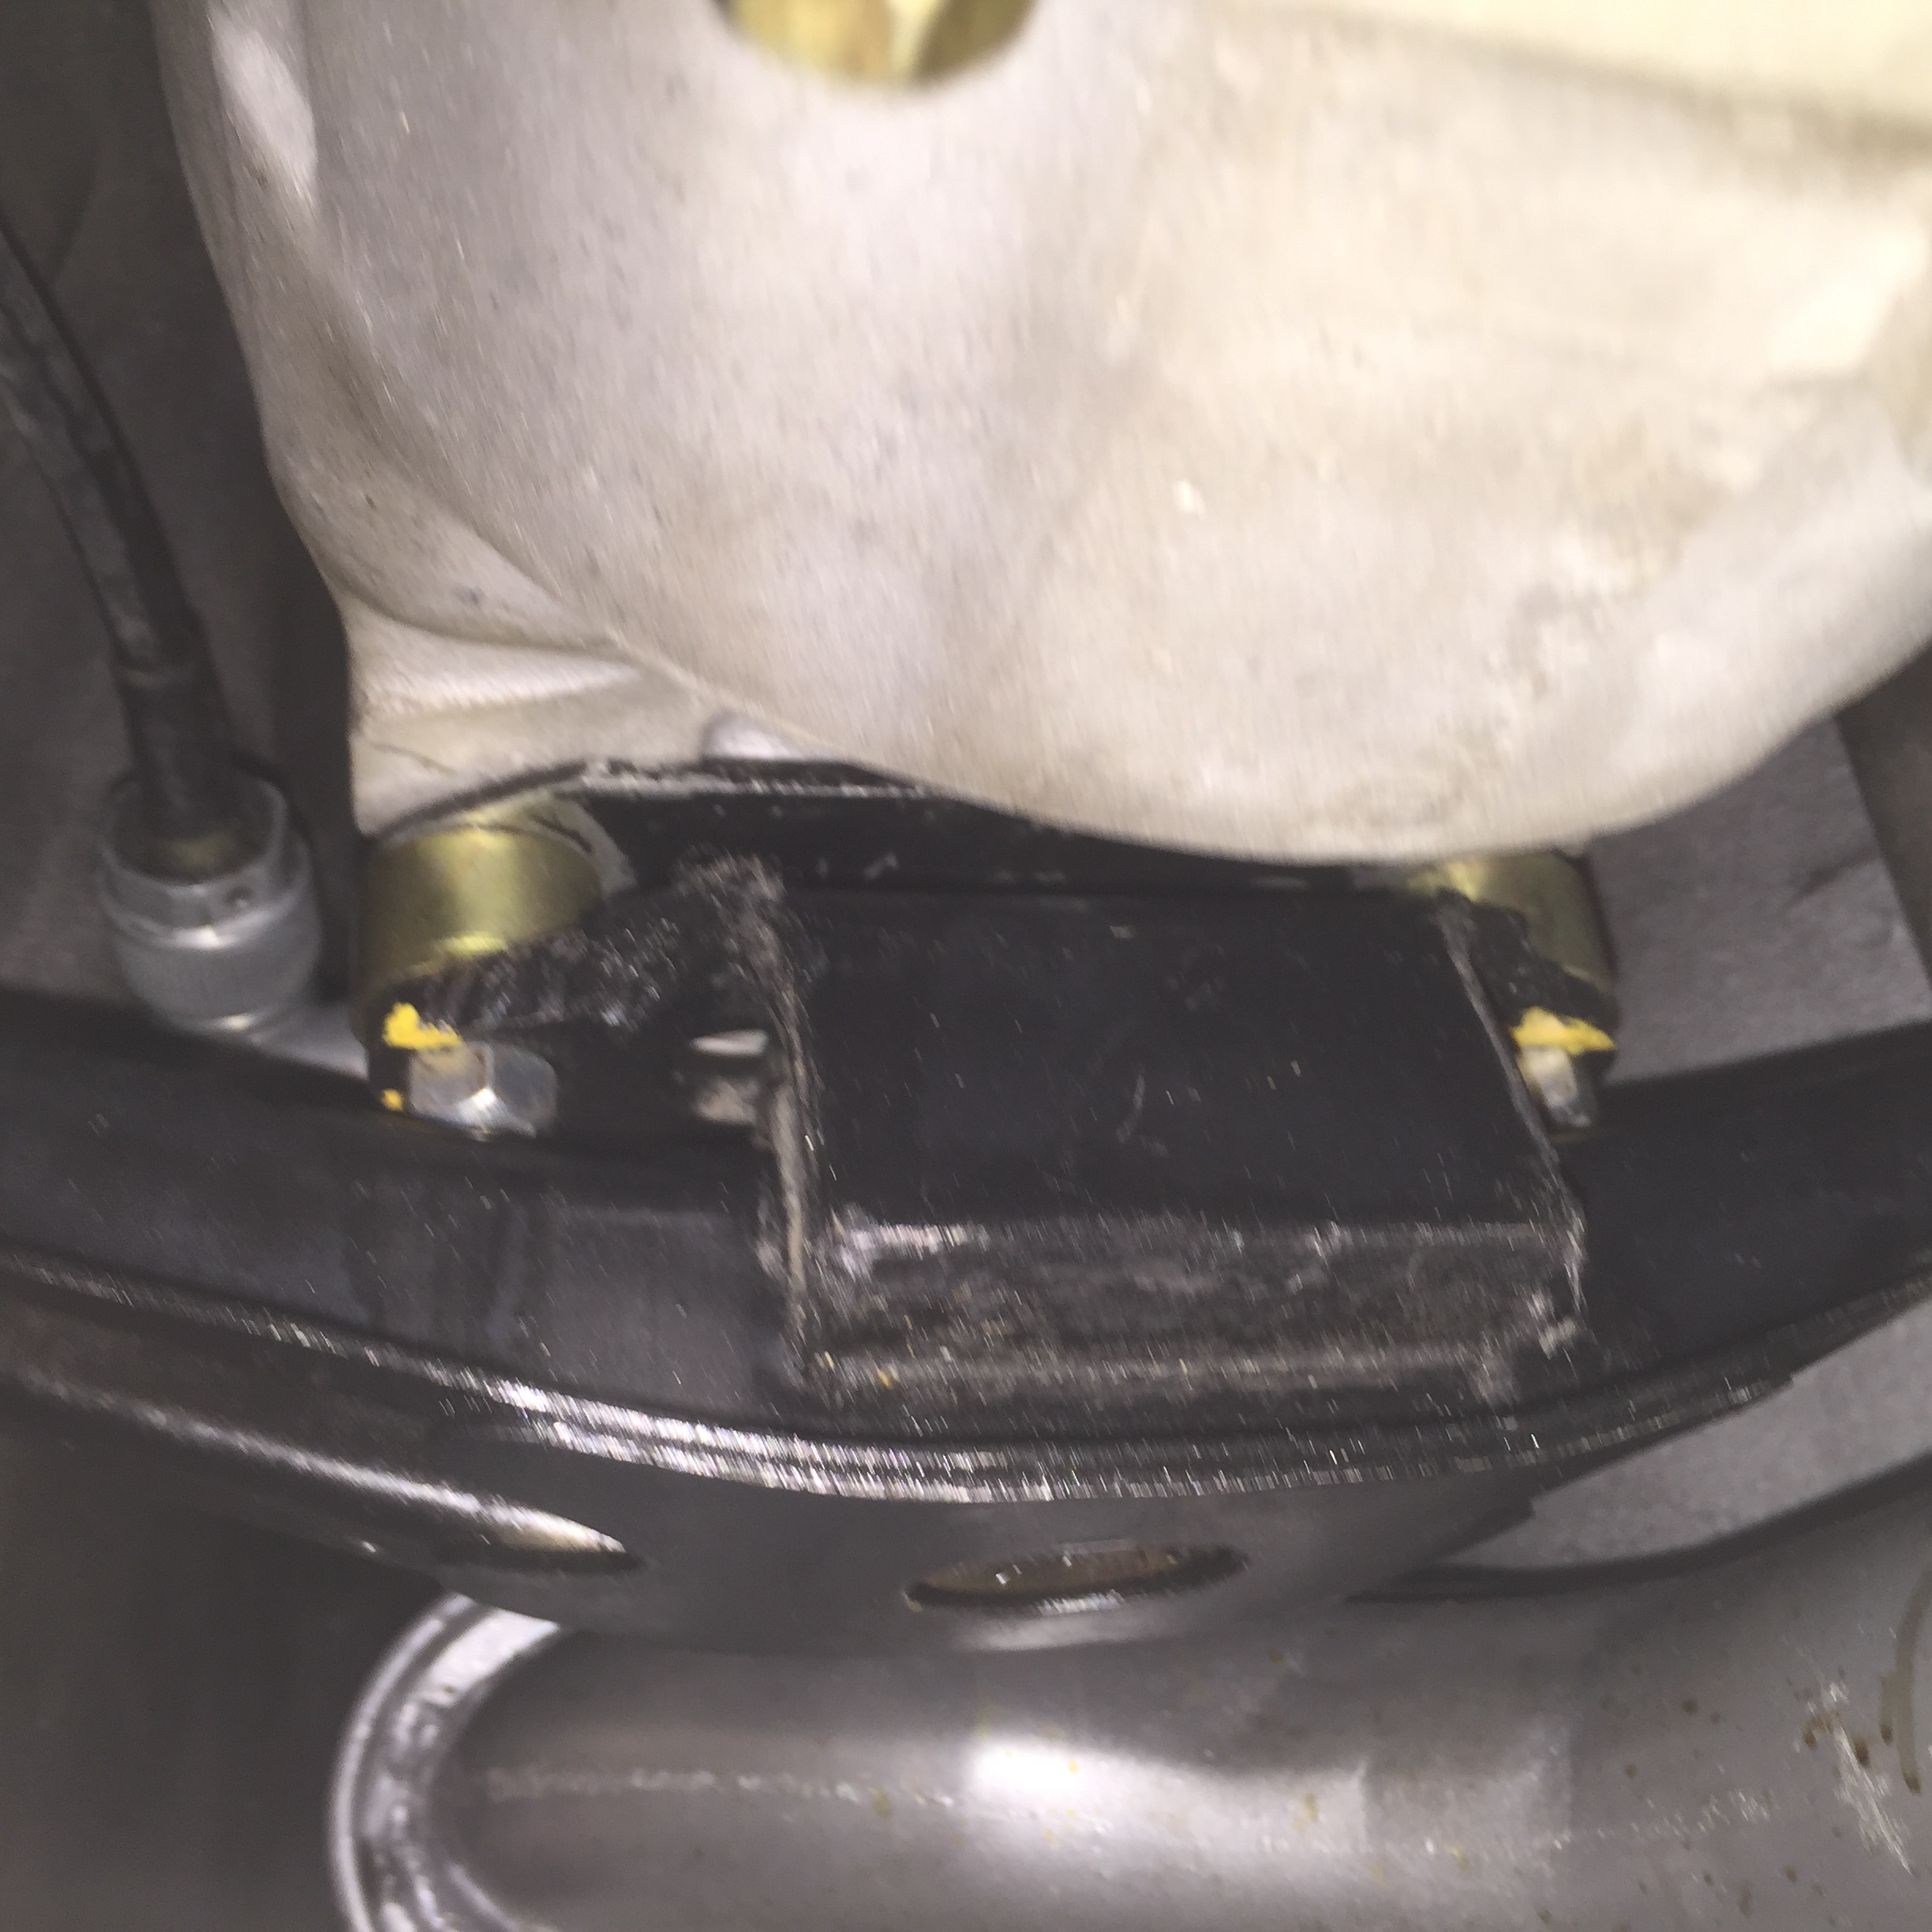
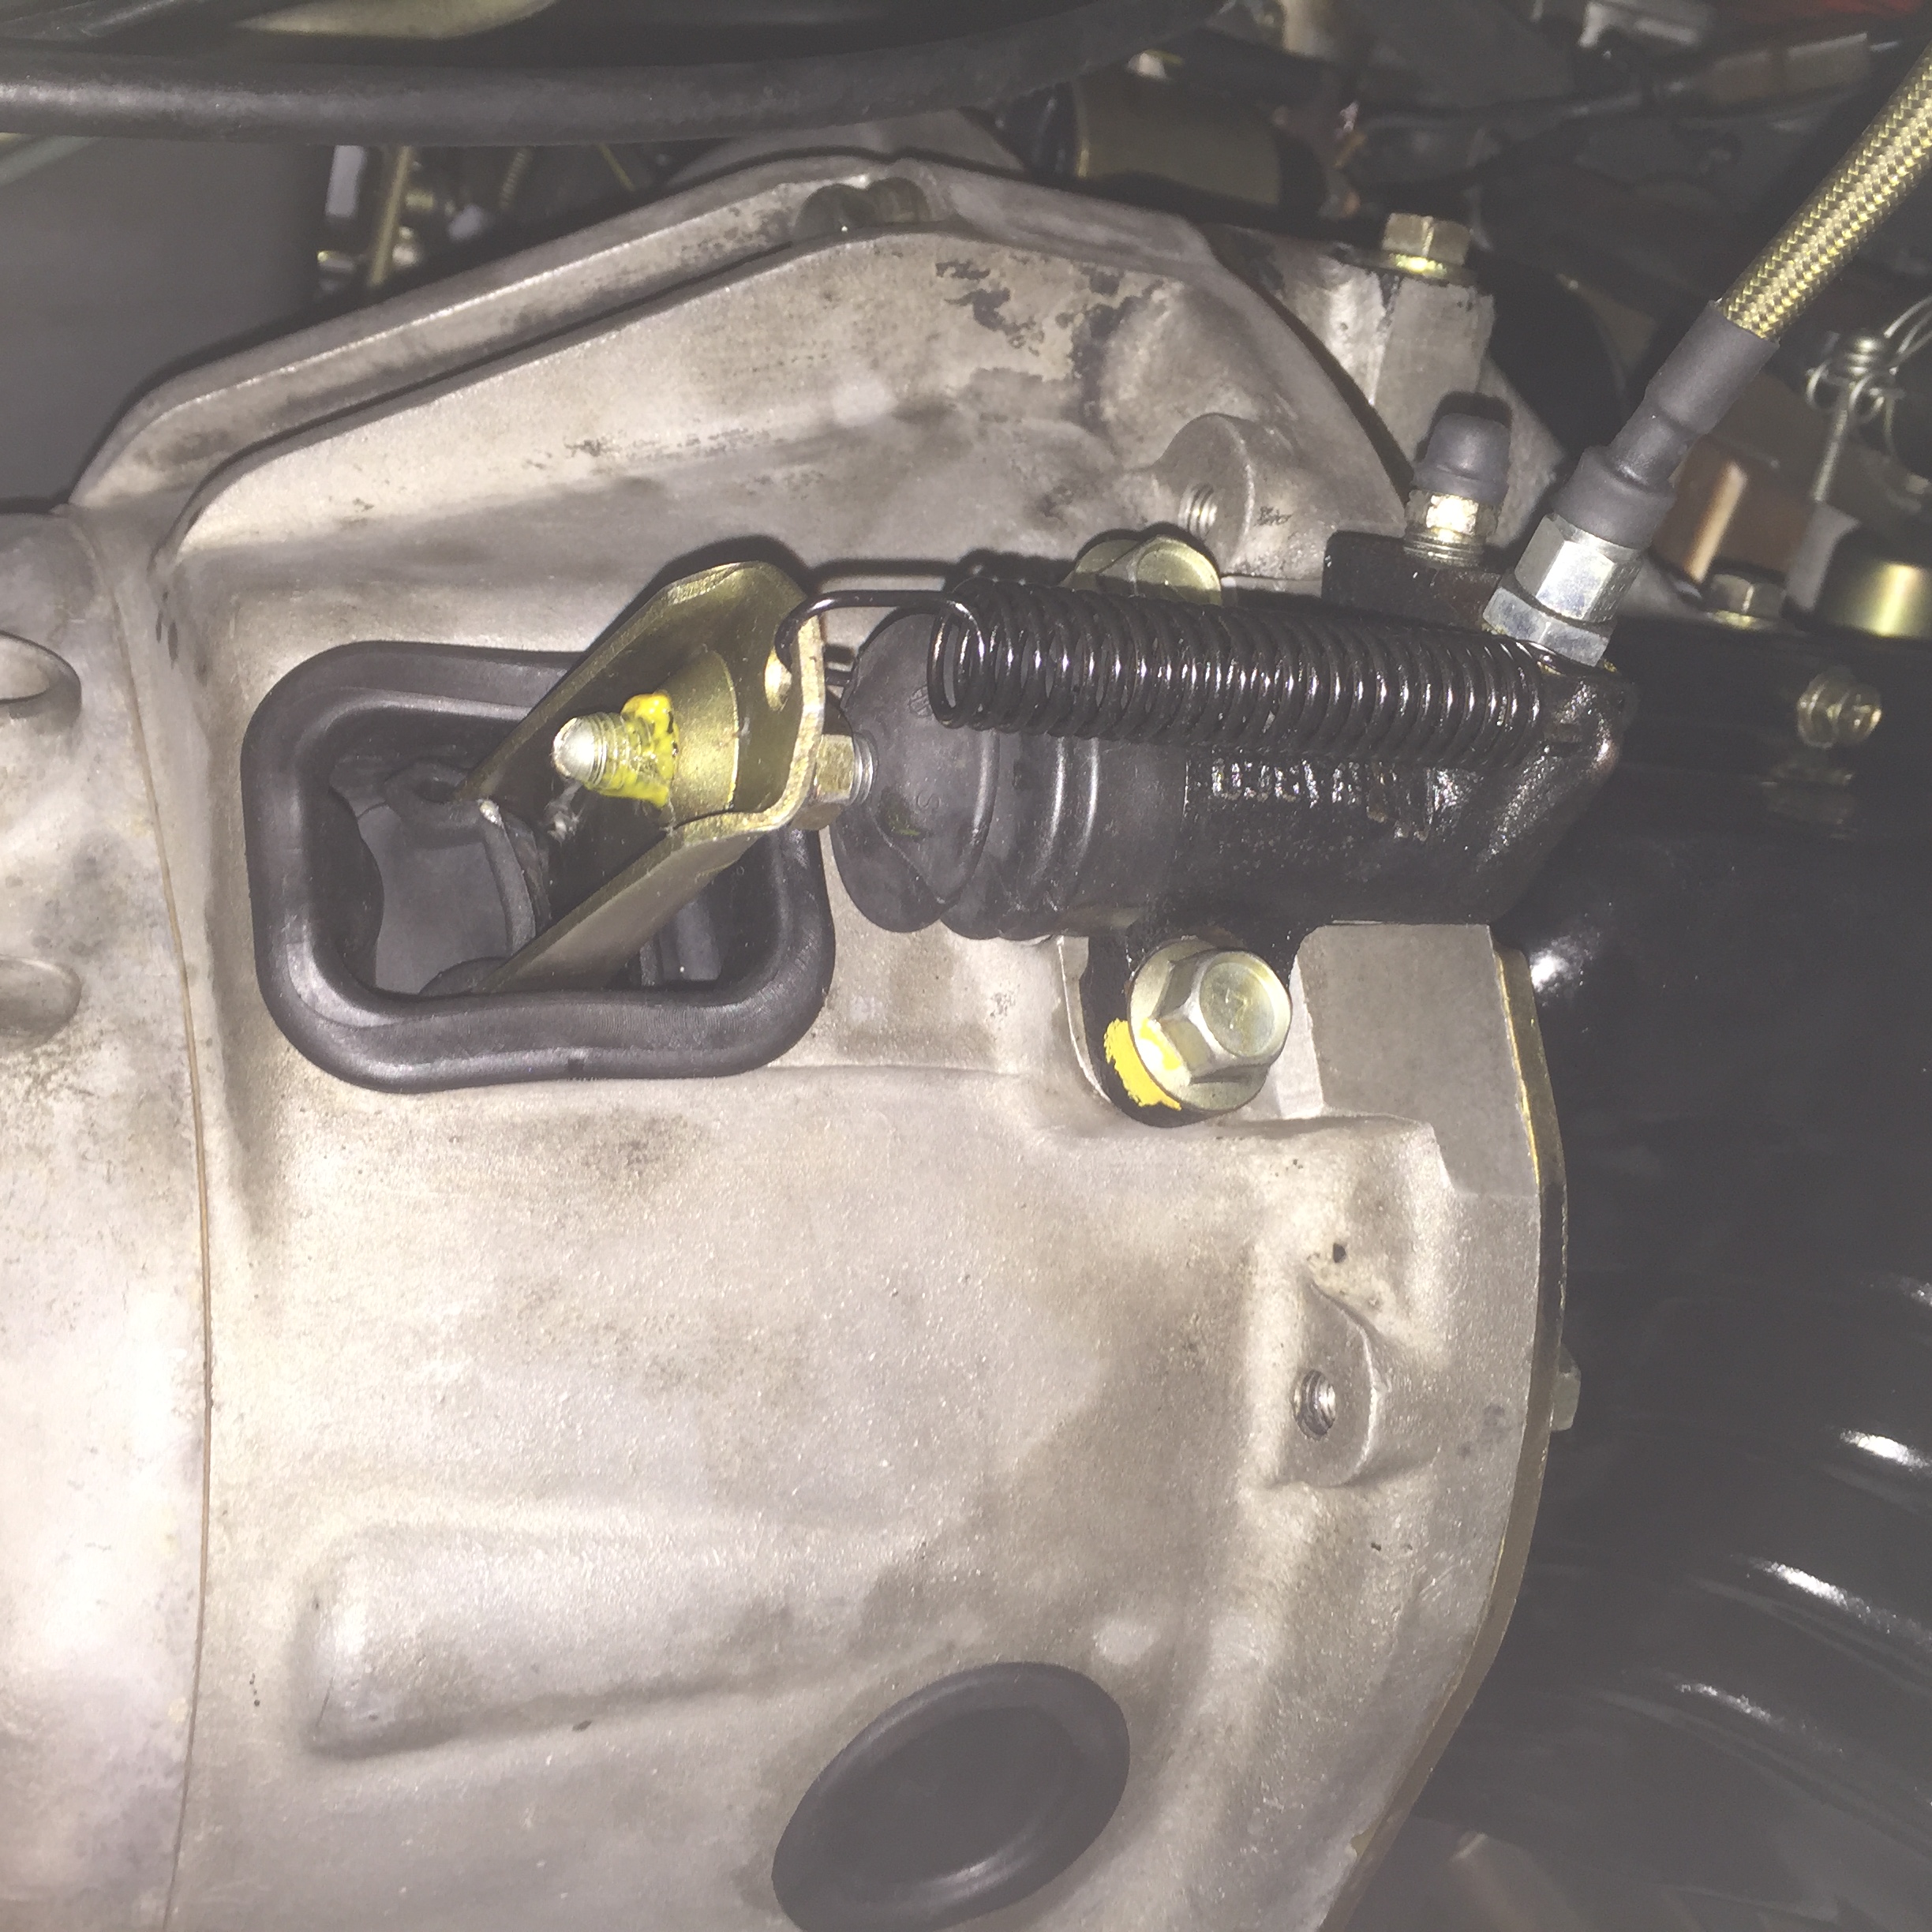
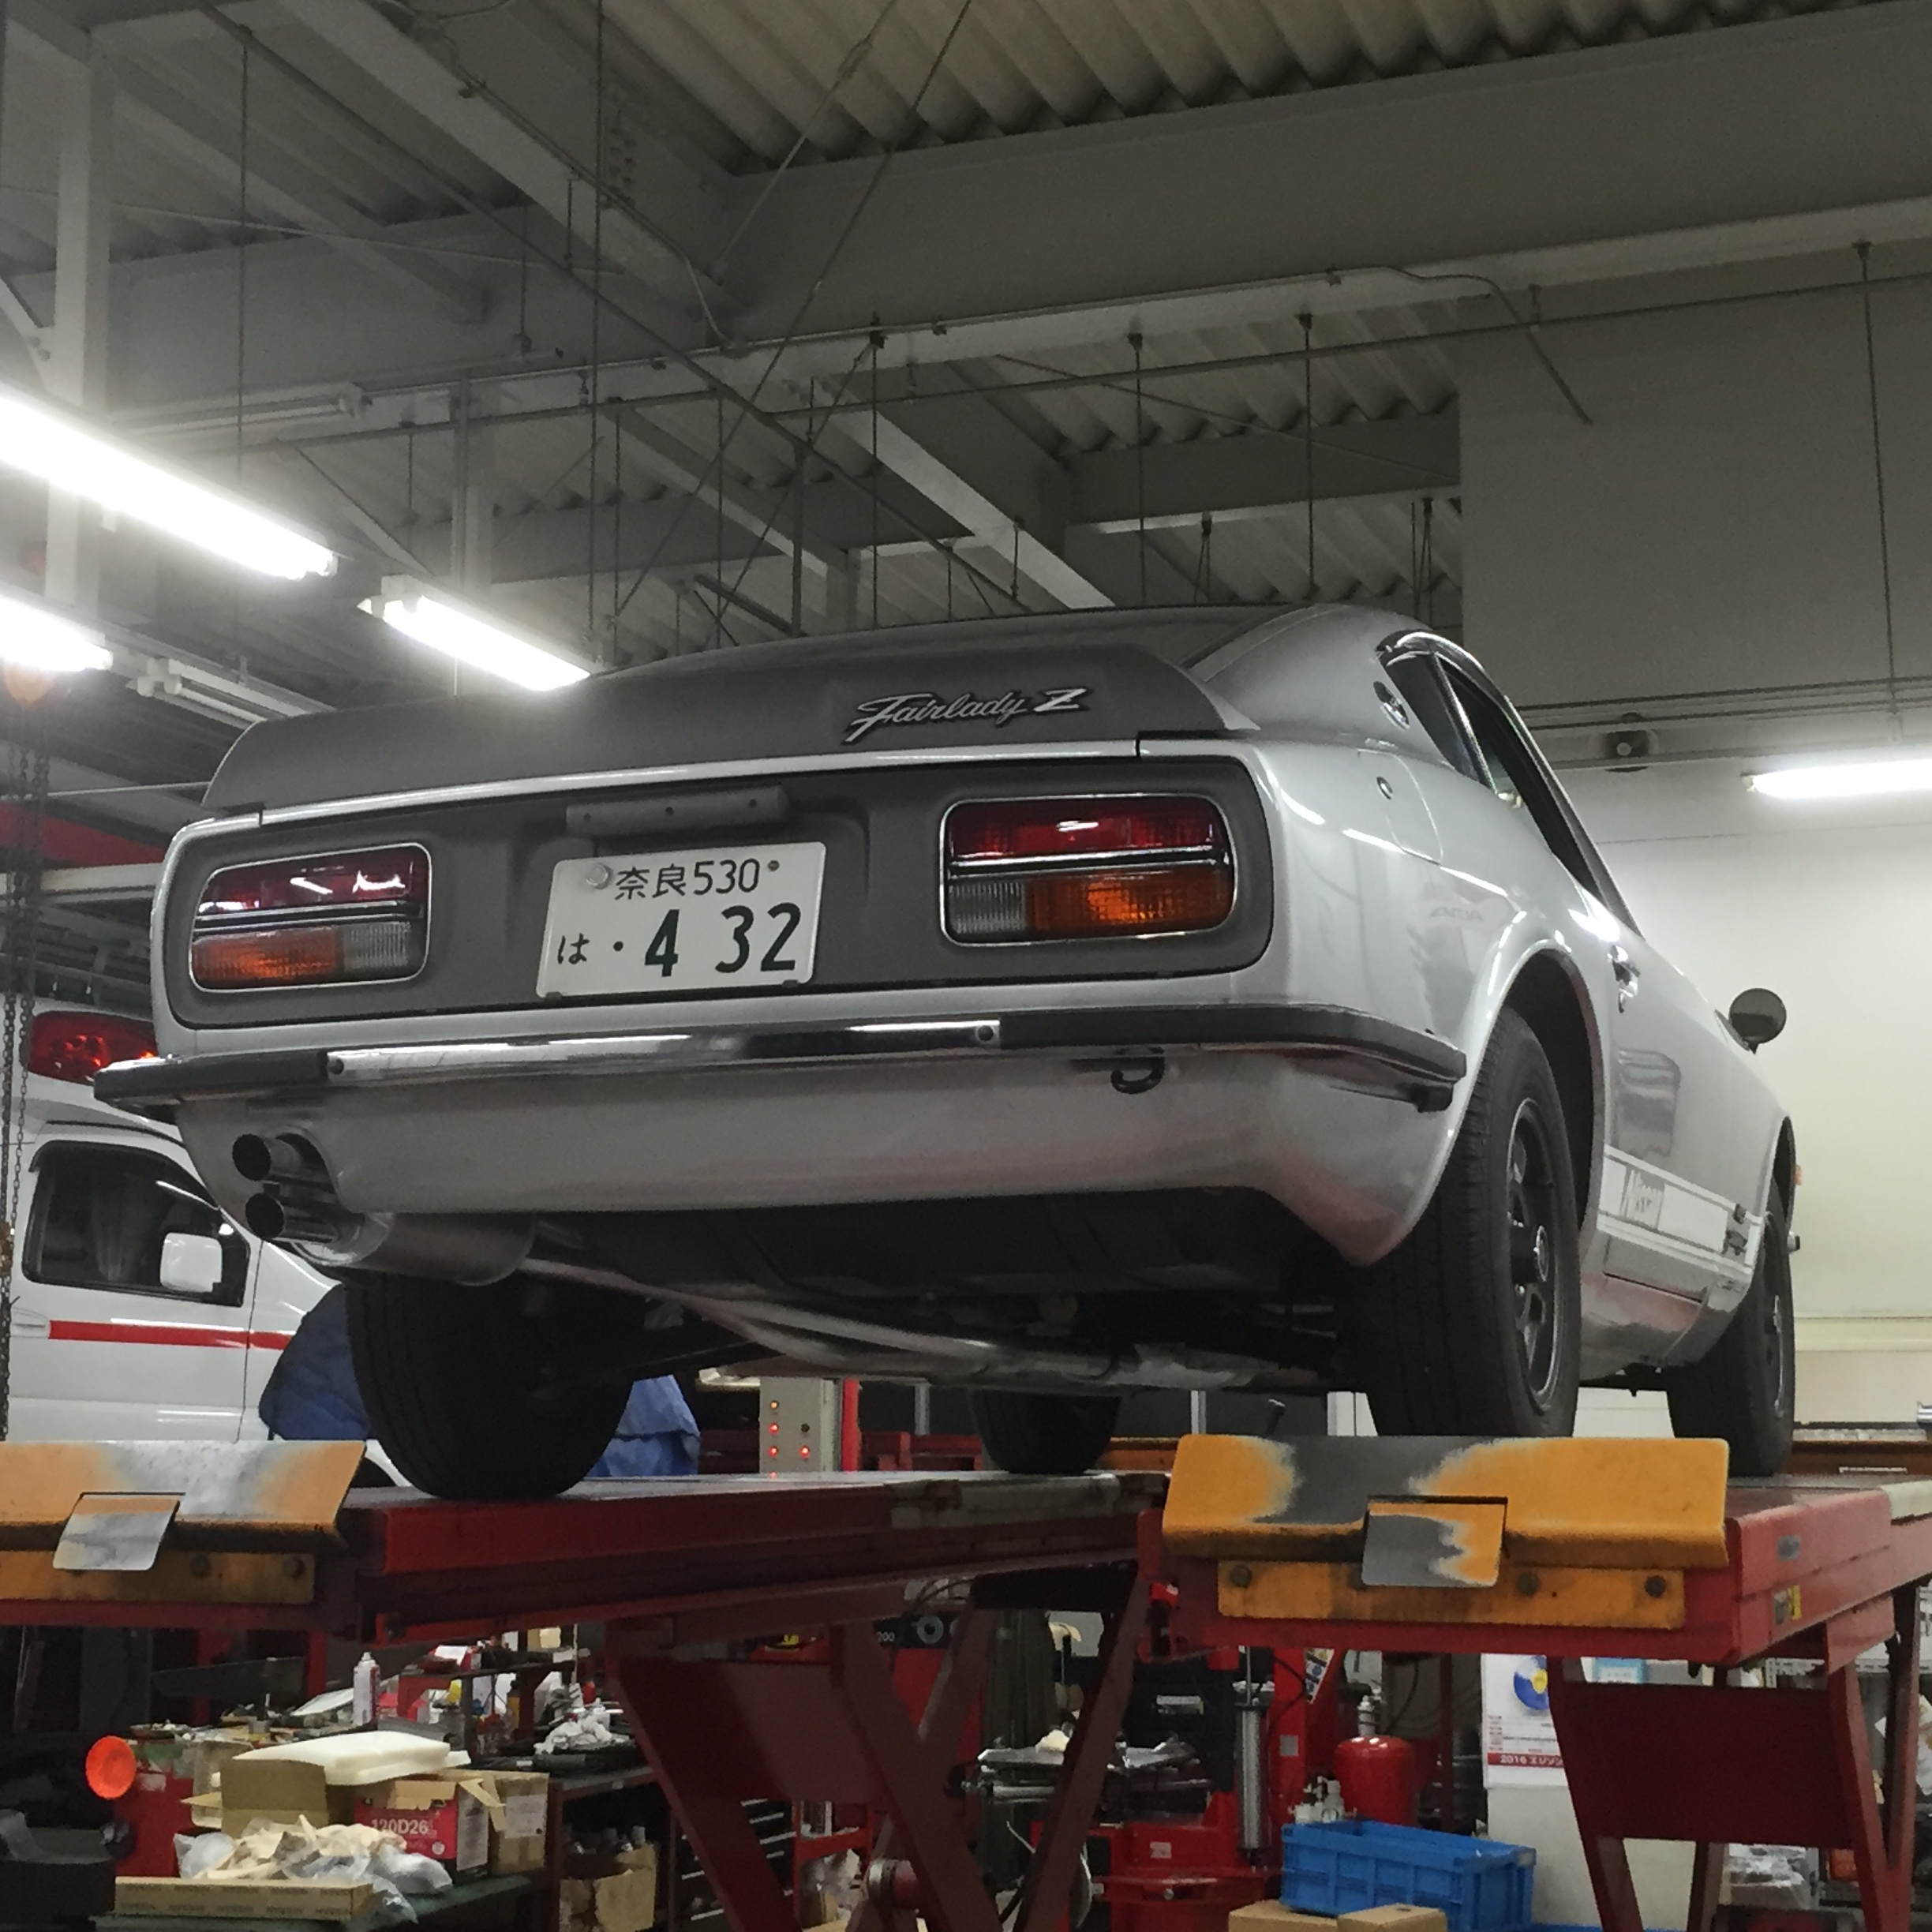
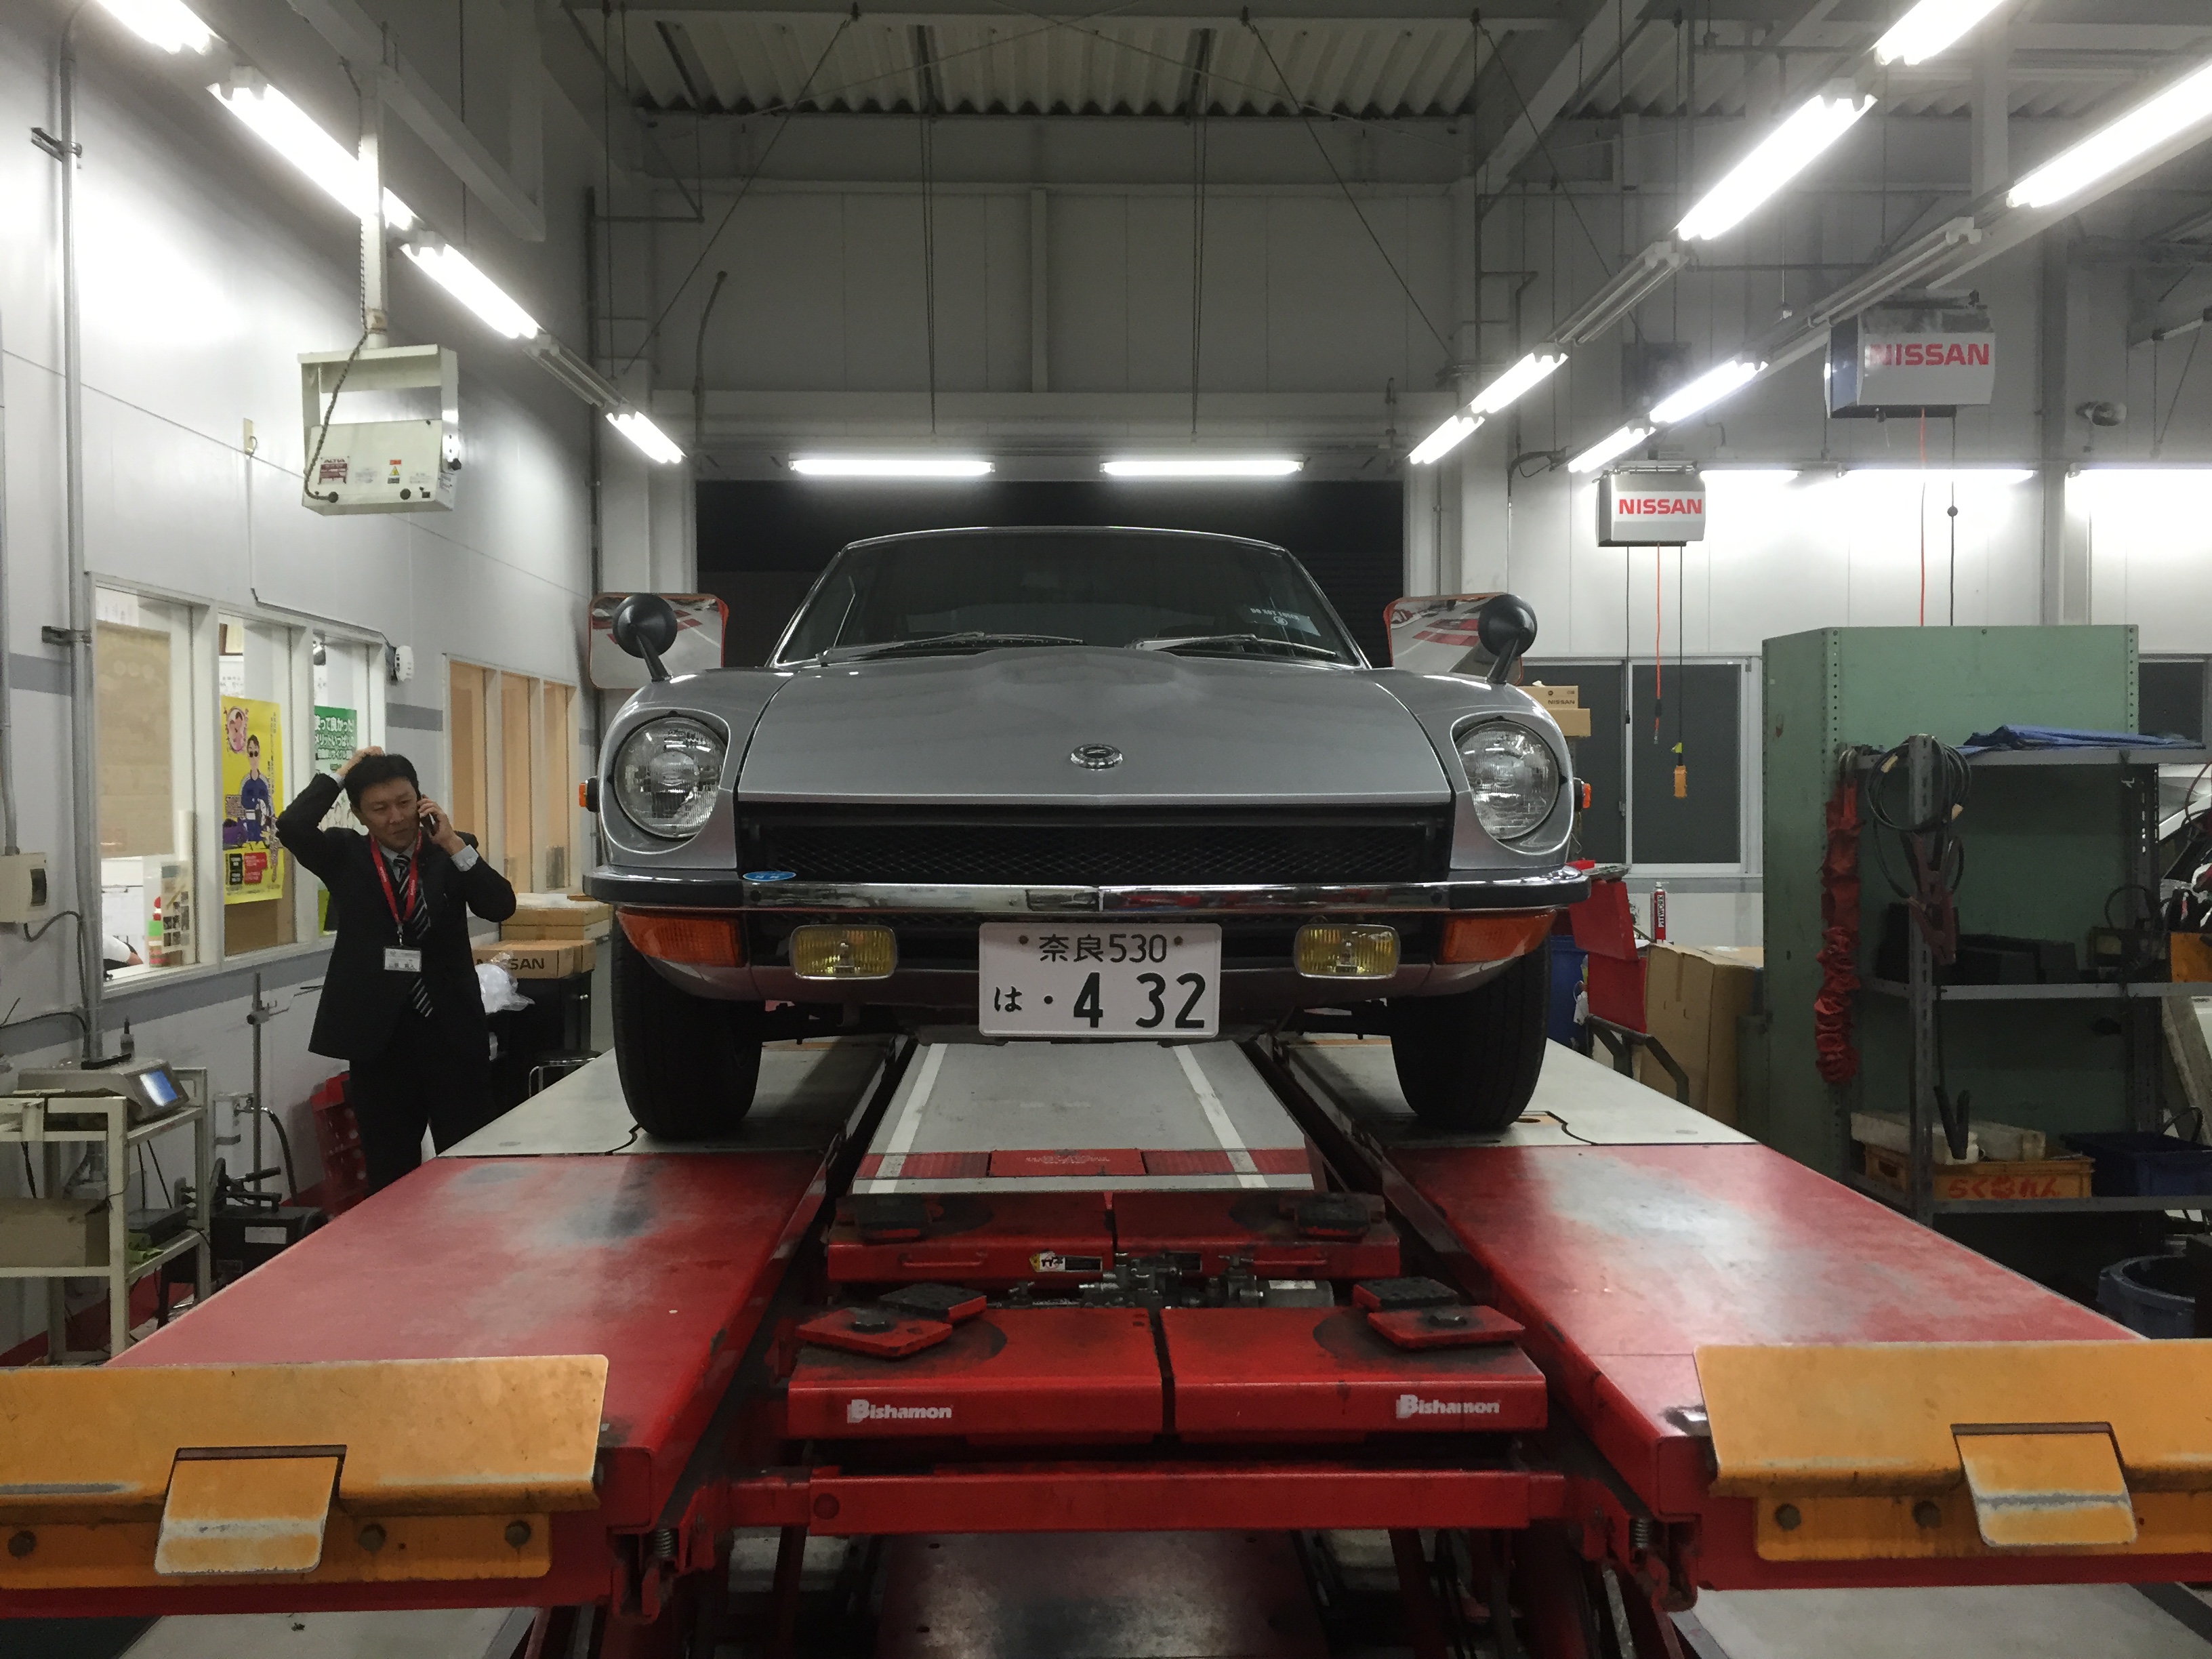
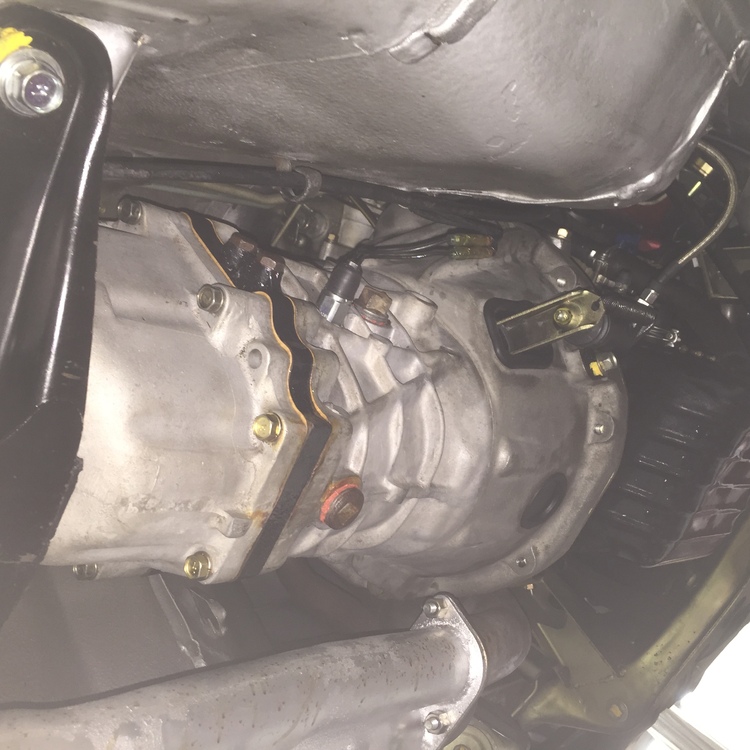
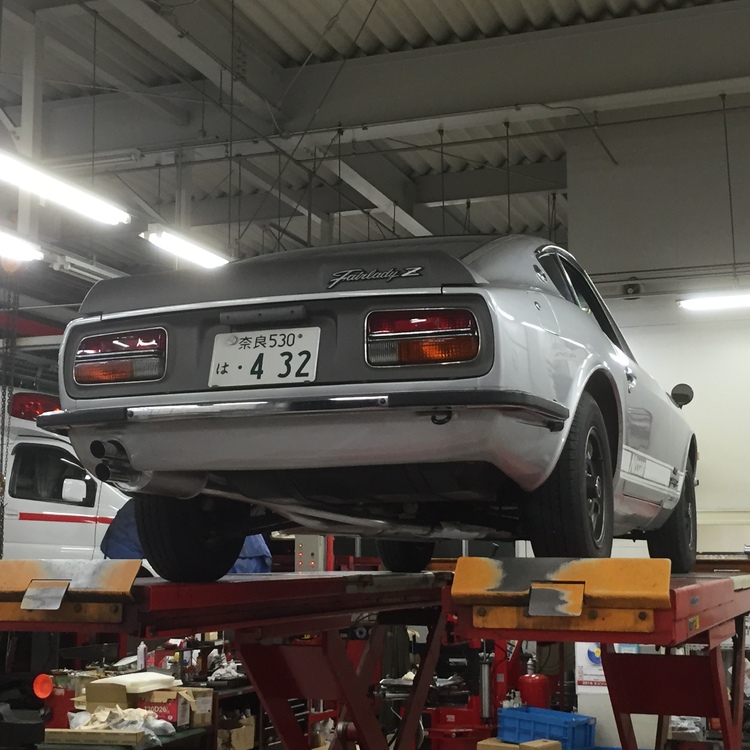
1 pointReplacing job has completed , the mechanic in the photo is Mr.Okajima , he is young but very skilled man.His toy is 1974 Ken-meri Skyline. I recommend maintenance at Nissan is very good if there is a mechanic who has good experience of an old car Kats


 1 point
 -
1 point
-
1 point
-
 I am ready to remount the Differential but need advice on what Thread Sealant, Perma-Lock or Anti-Seize that I should use on attaching the Rear Diff cover and bolts on reattaching Drive Shaft and Half Shafts.
 1 point
 -
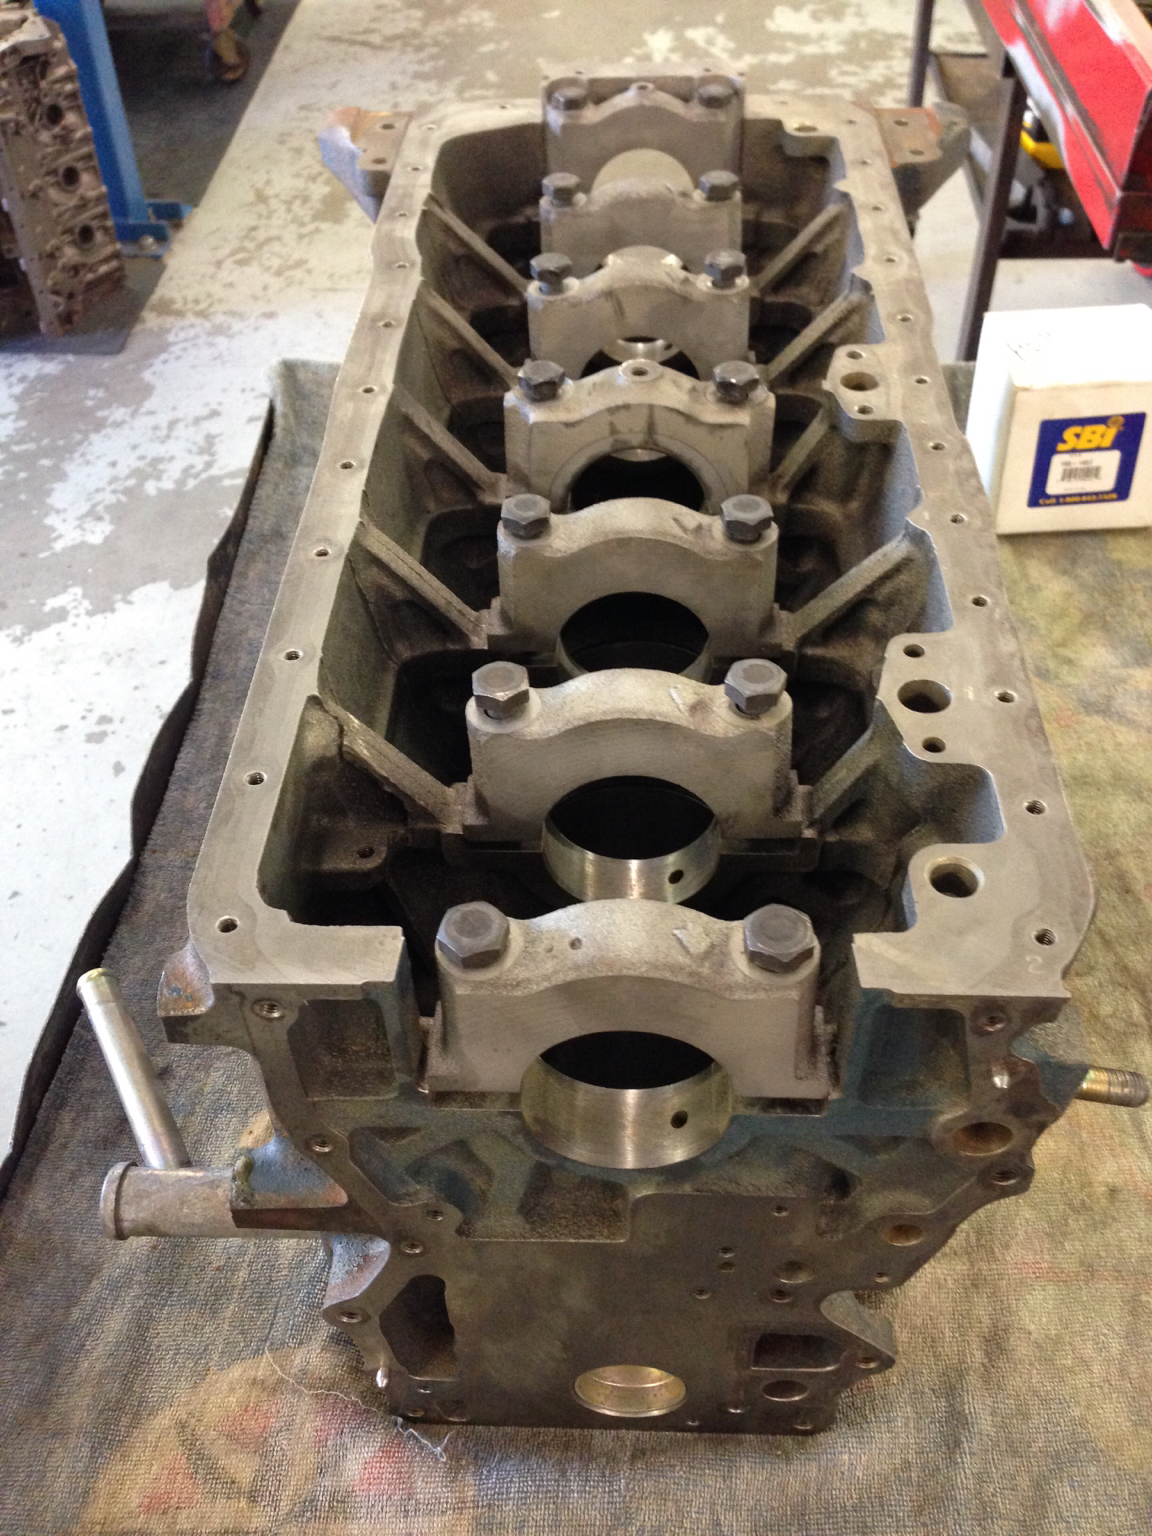
 1 pointIt's getting harder and harder to find anyone with experience on the engines anymore.1 point
 -
 I have been researching this some more and there are no shortage of antenna gaskets/grommets on Ebay for various cars. They run $5 - $10 shipped on average. Once I get some measurements of some of them I will order a few and see what works best. Once I have some results I will post them for everyone to see.1 point
 -
 1 point
 -
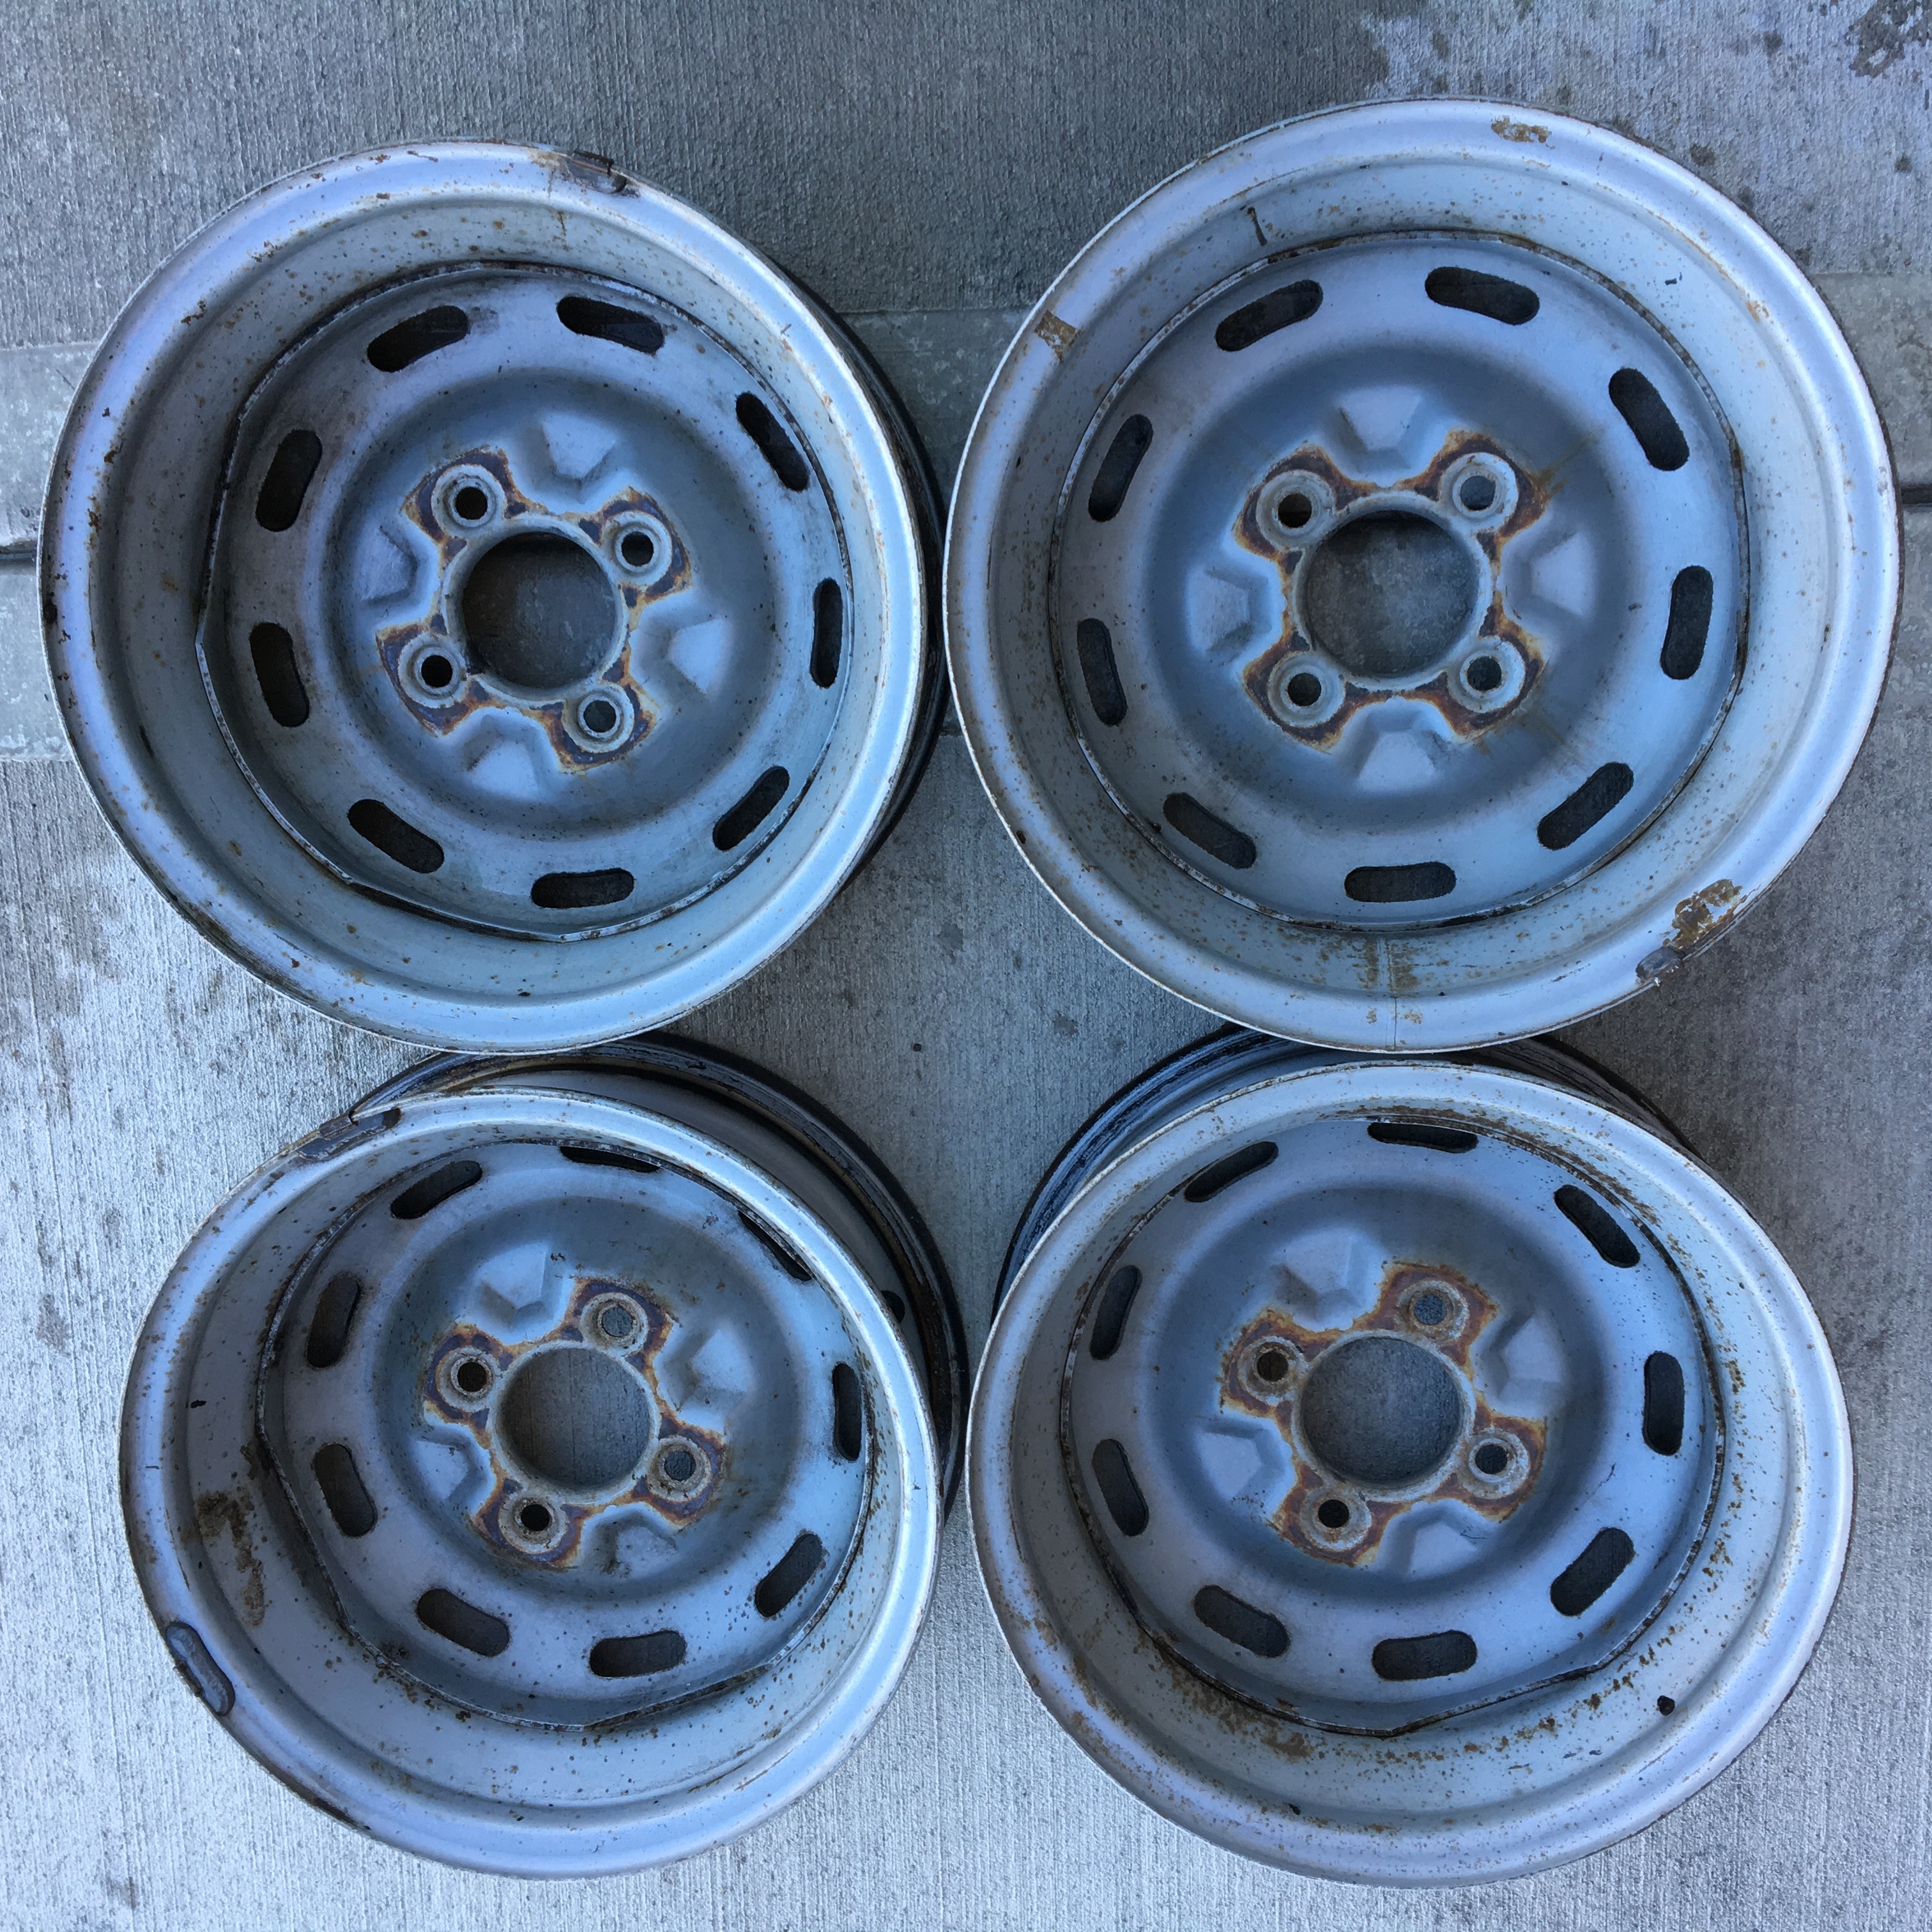
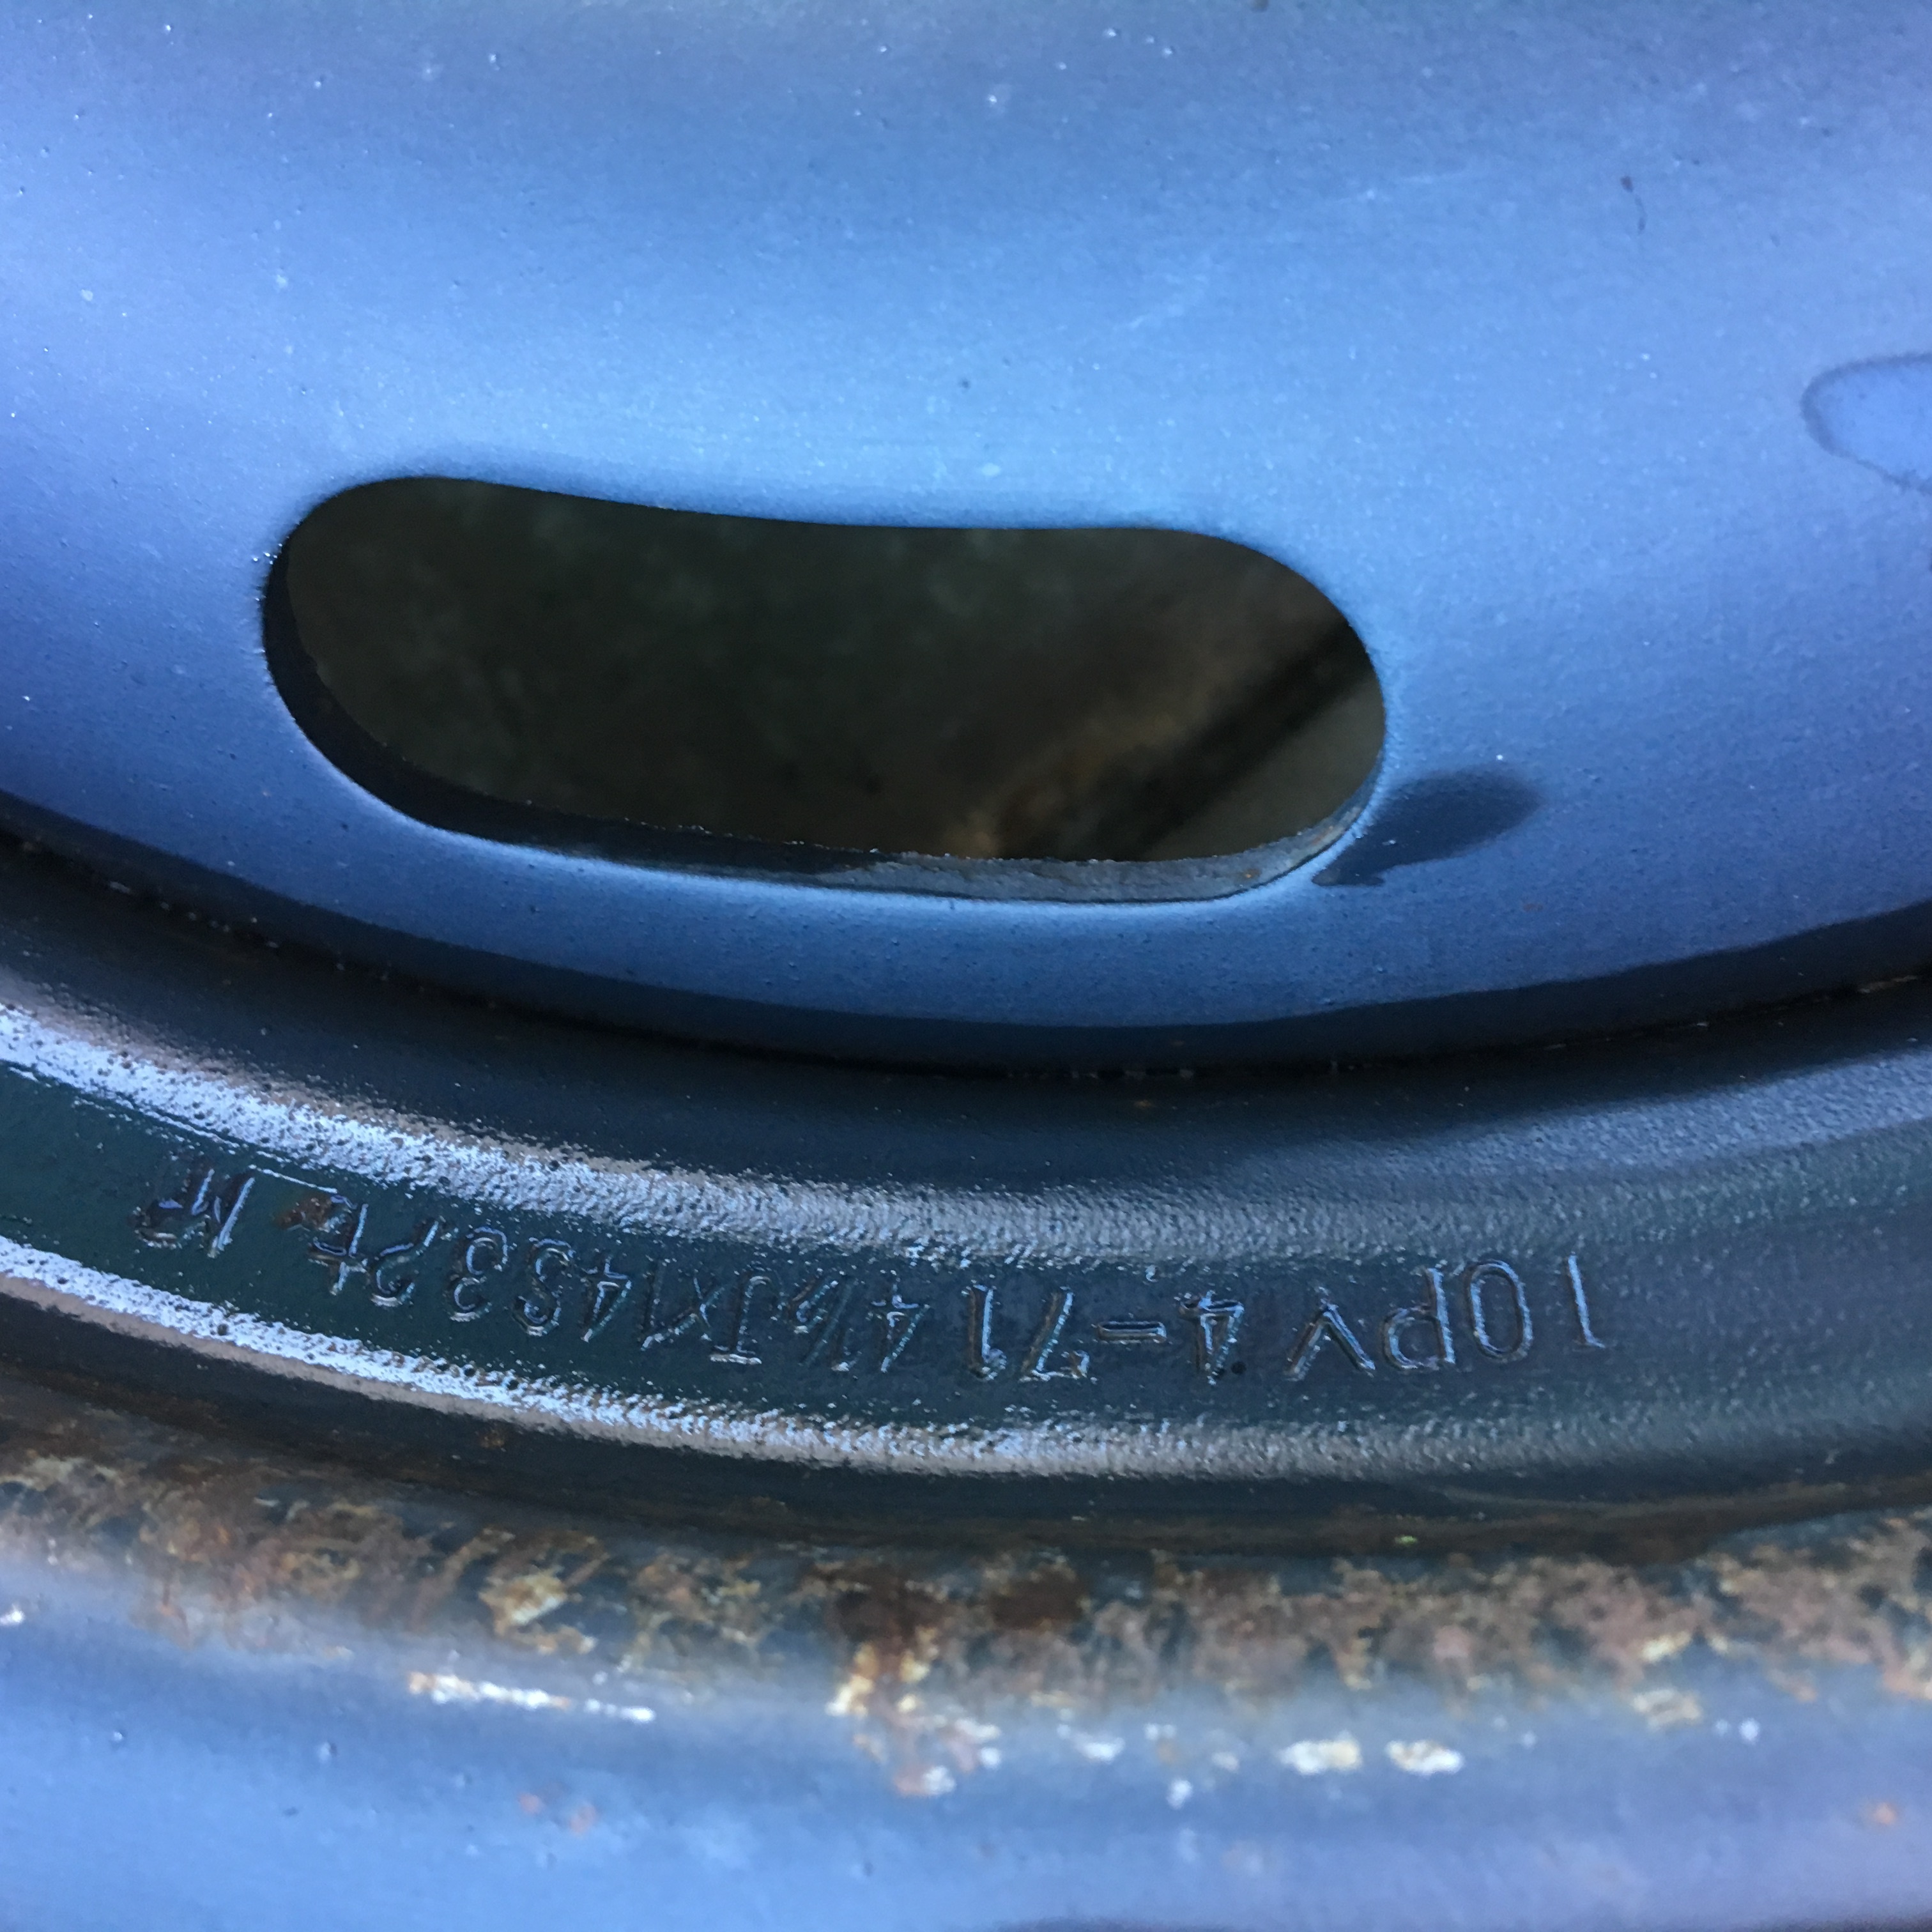
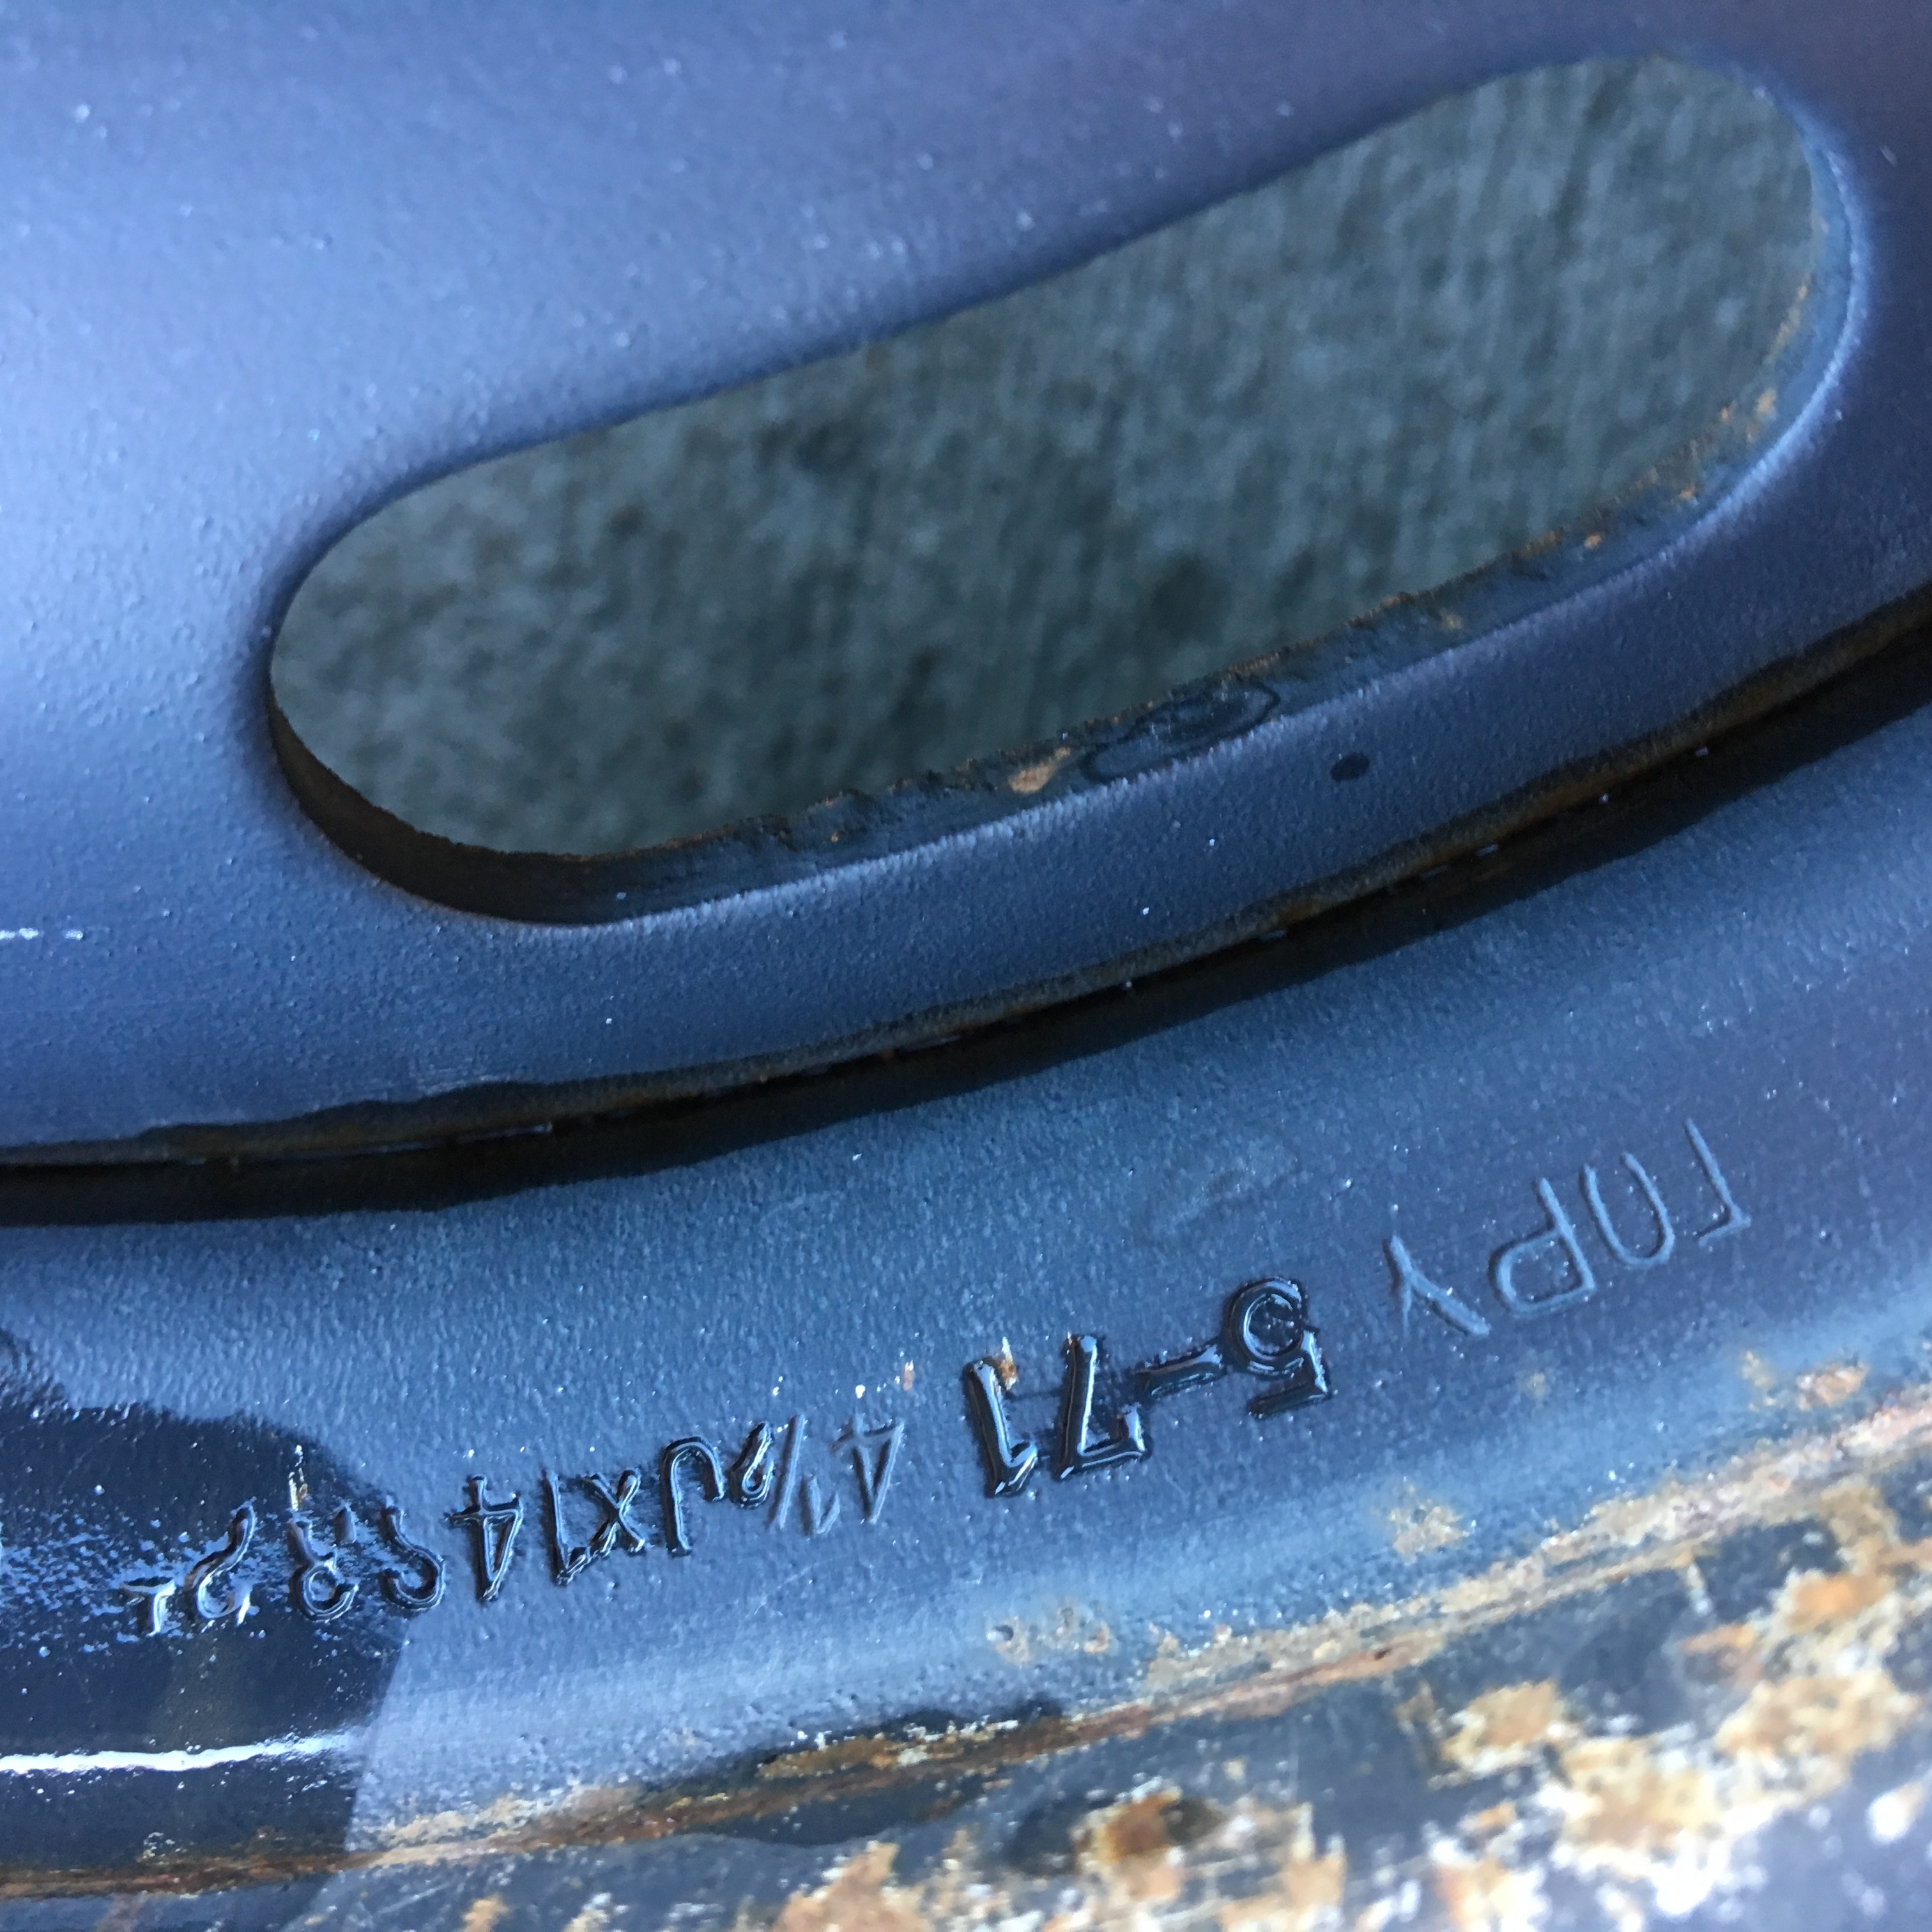
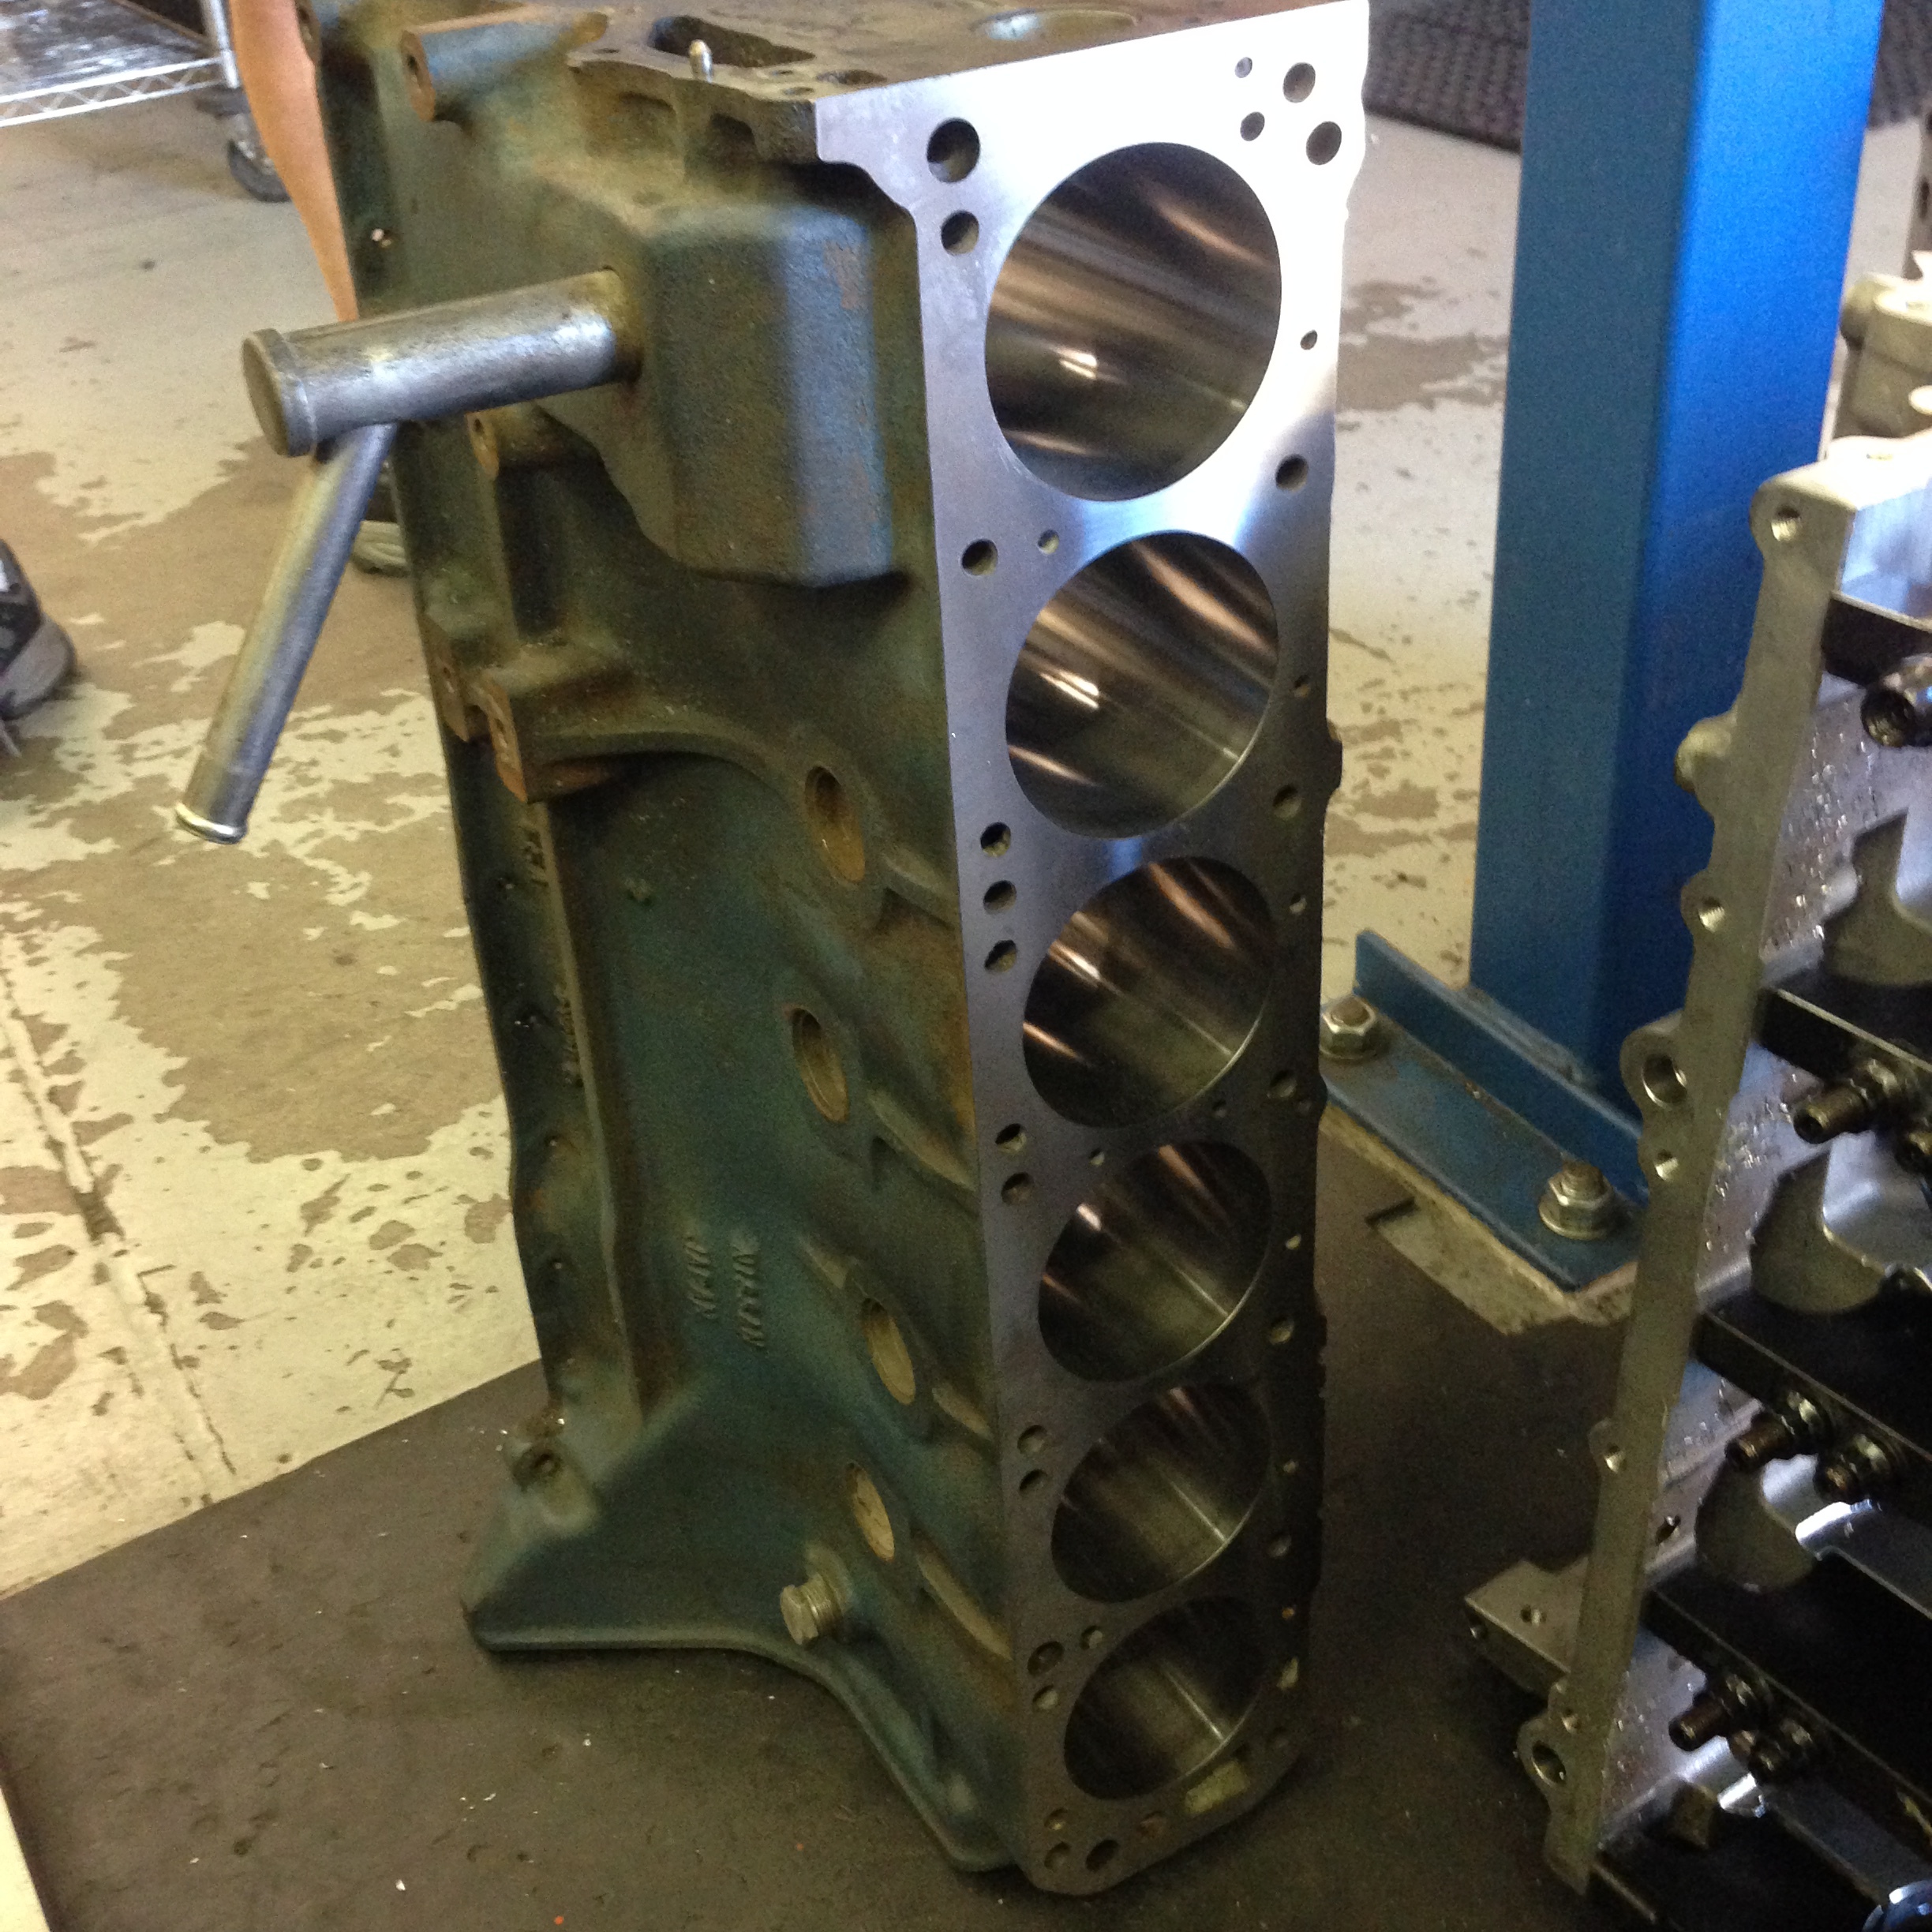
 1 pointMarkings on the wheels indicate two are 4-71 4.5 x 14, two are 5-71 4.5 x 14
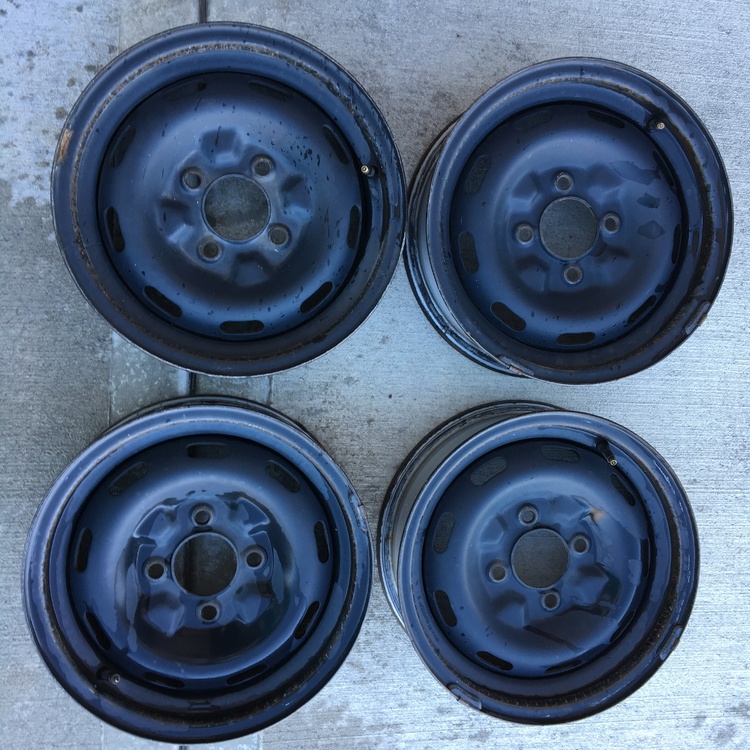


 1 point
 -
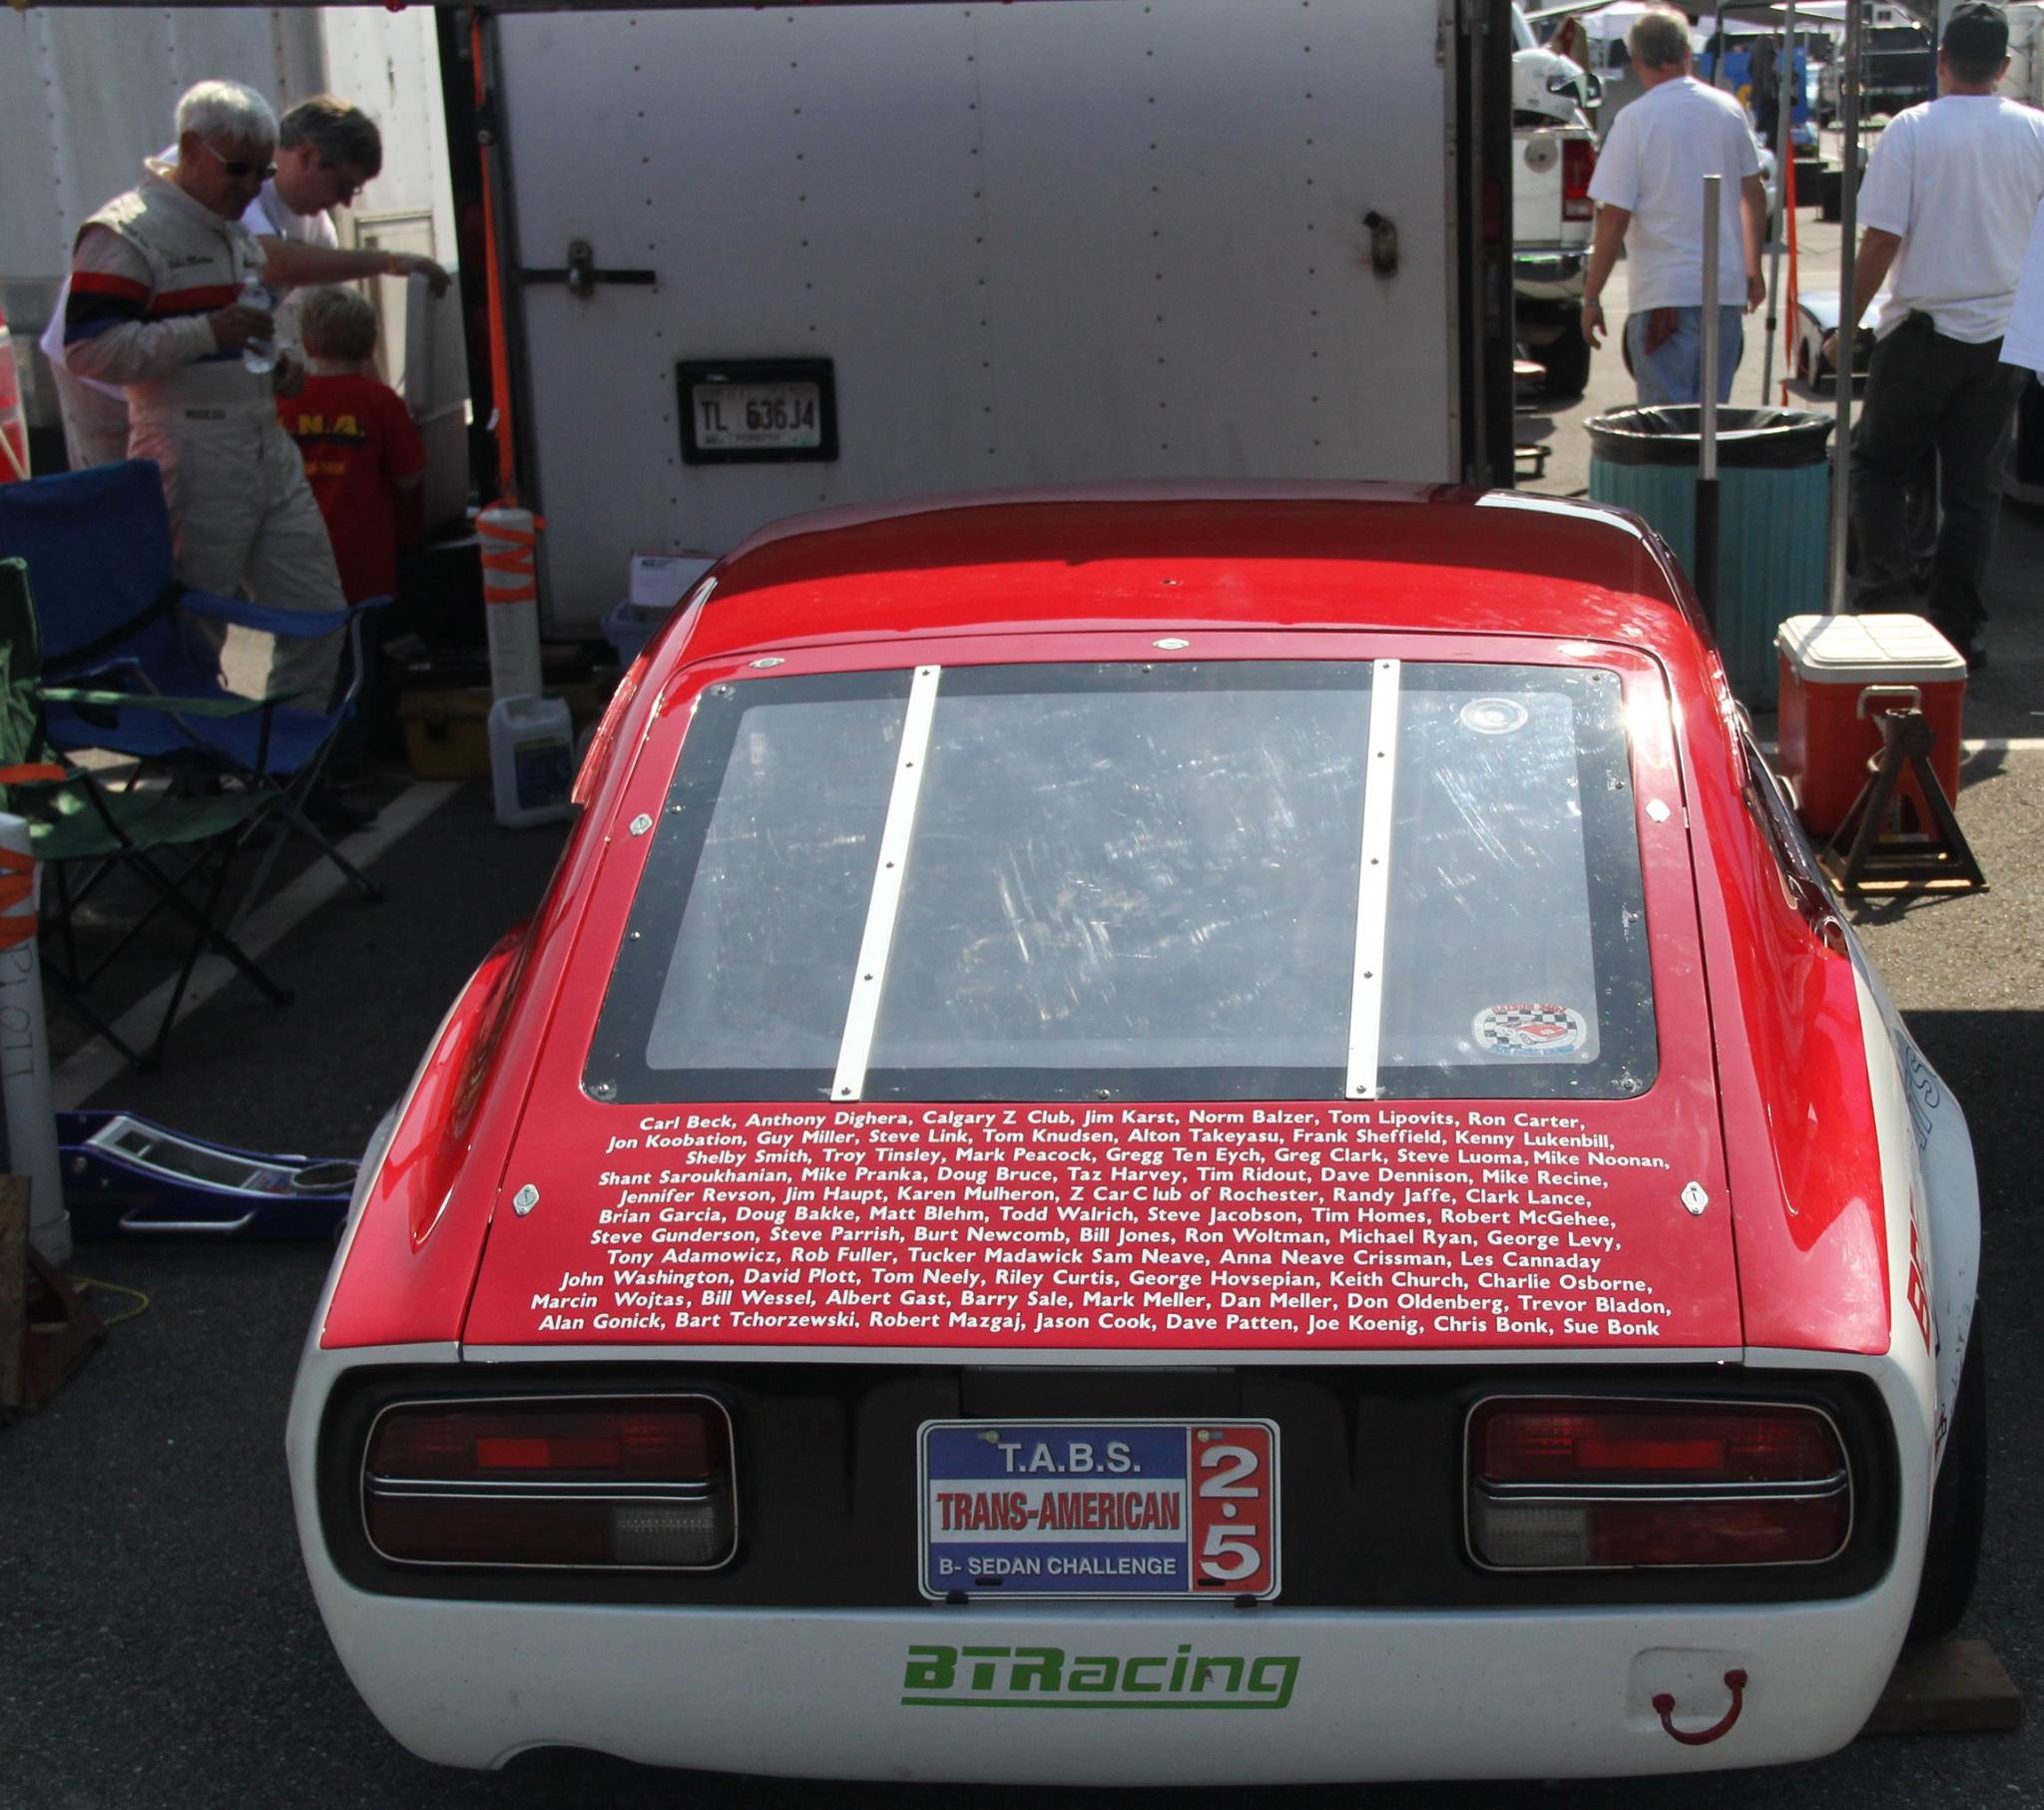
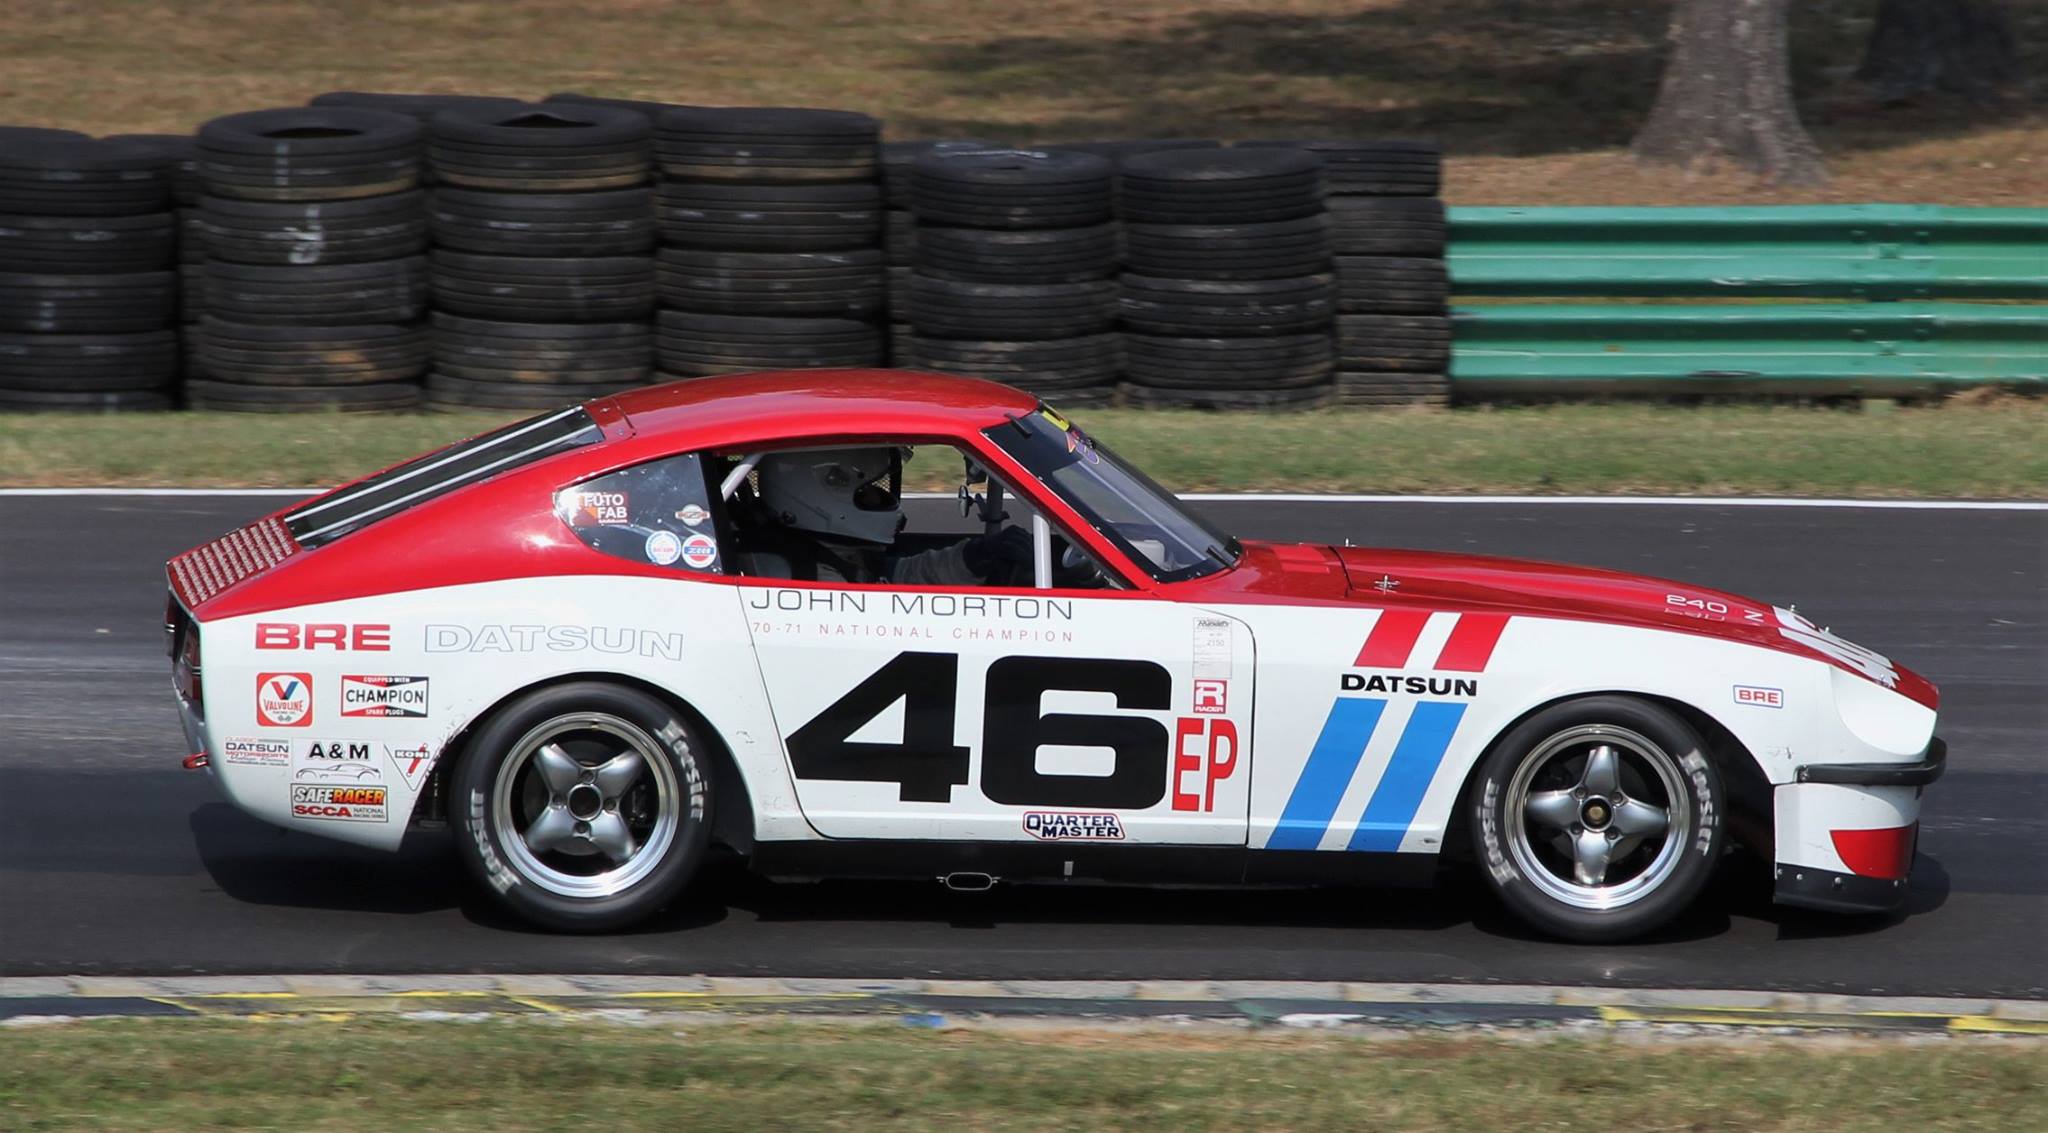
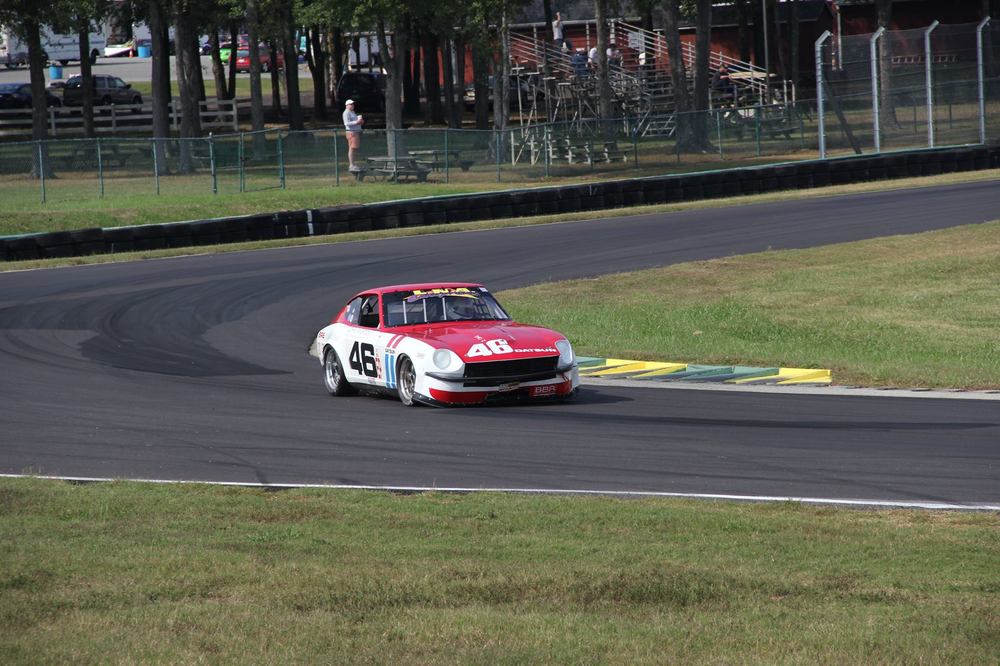
 Is last Sunday vintage? John finished first in a 46 car at VIR. Congrats Steve Bonk and Sam Neave too.
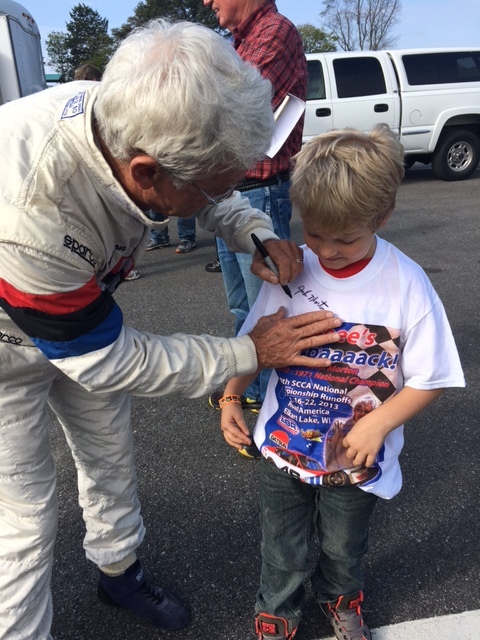

 1 point
 -
1 point
-
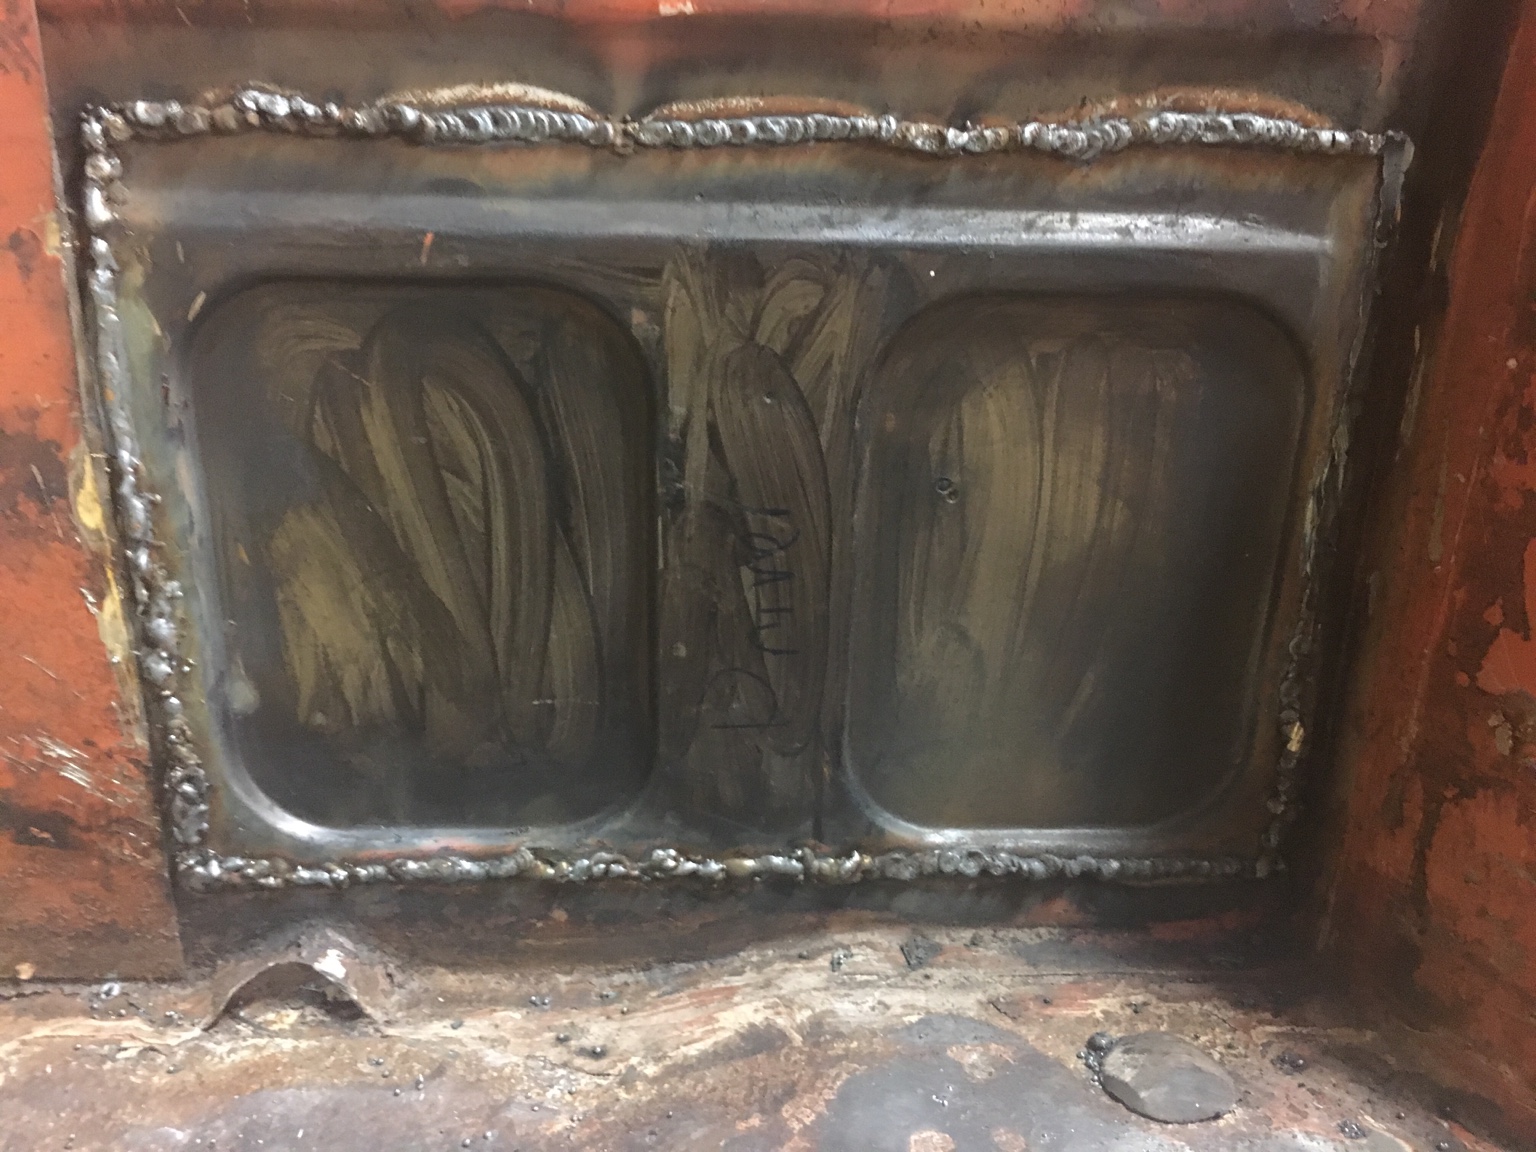
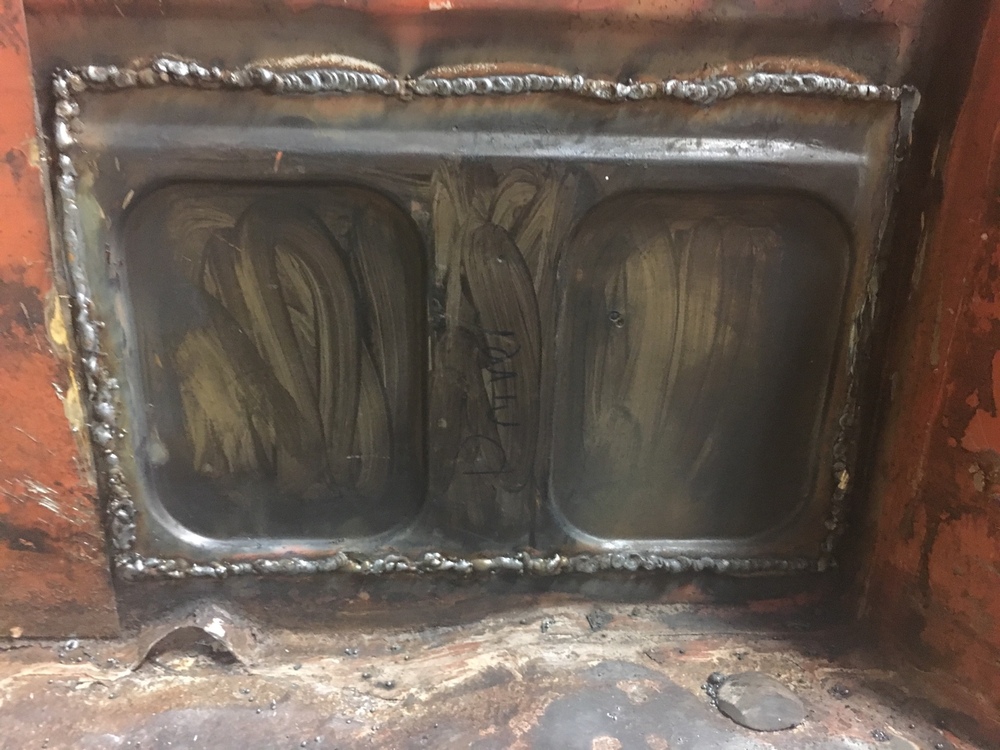
1 pointLooks like crap but it's in. Good thing it's not structural and will be covered by carpet. I had forgotten to turn on the gas until half way. Smooth after I realized that, but clearly I need a check list.
 1 point
 -
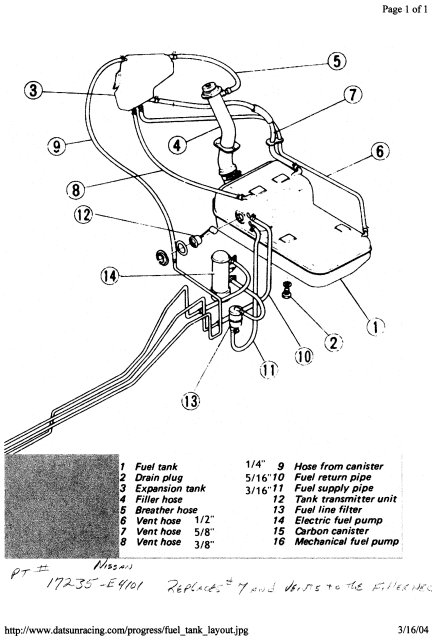
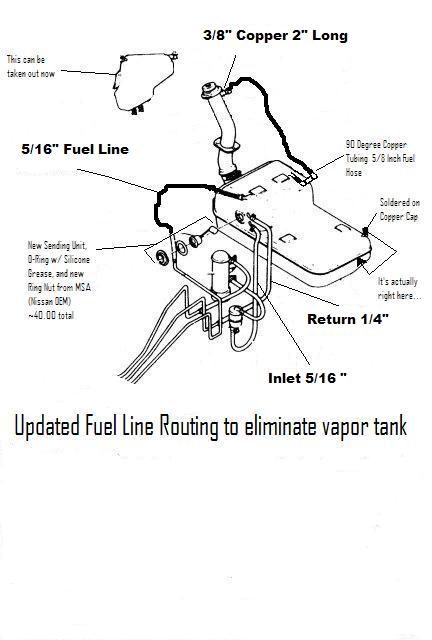
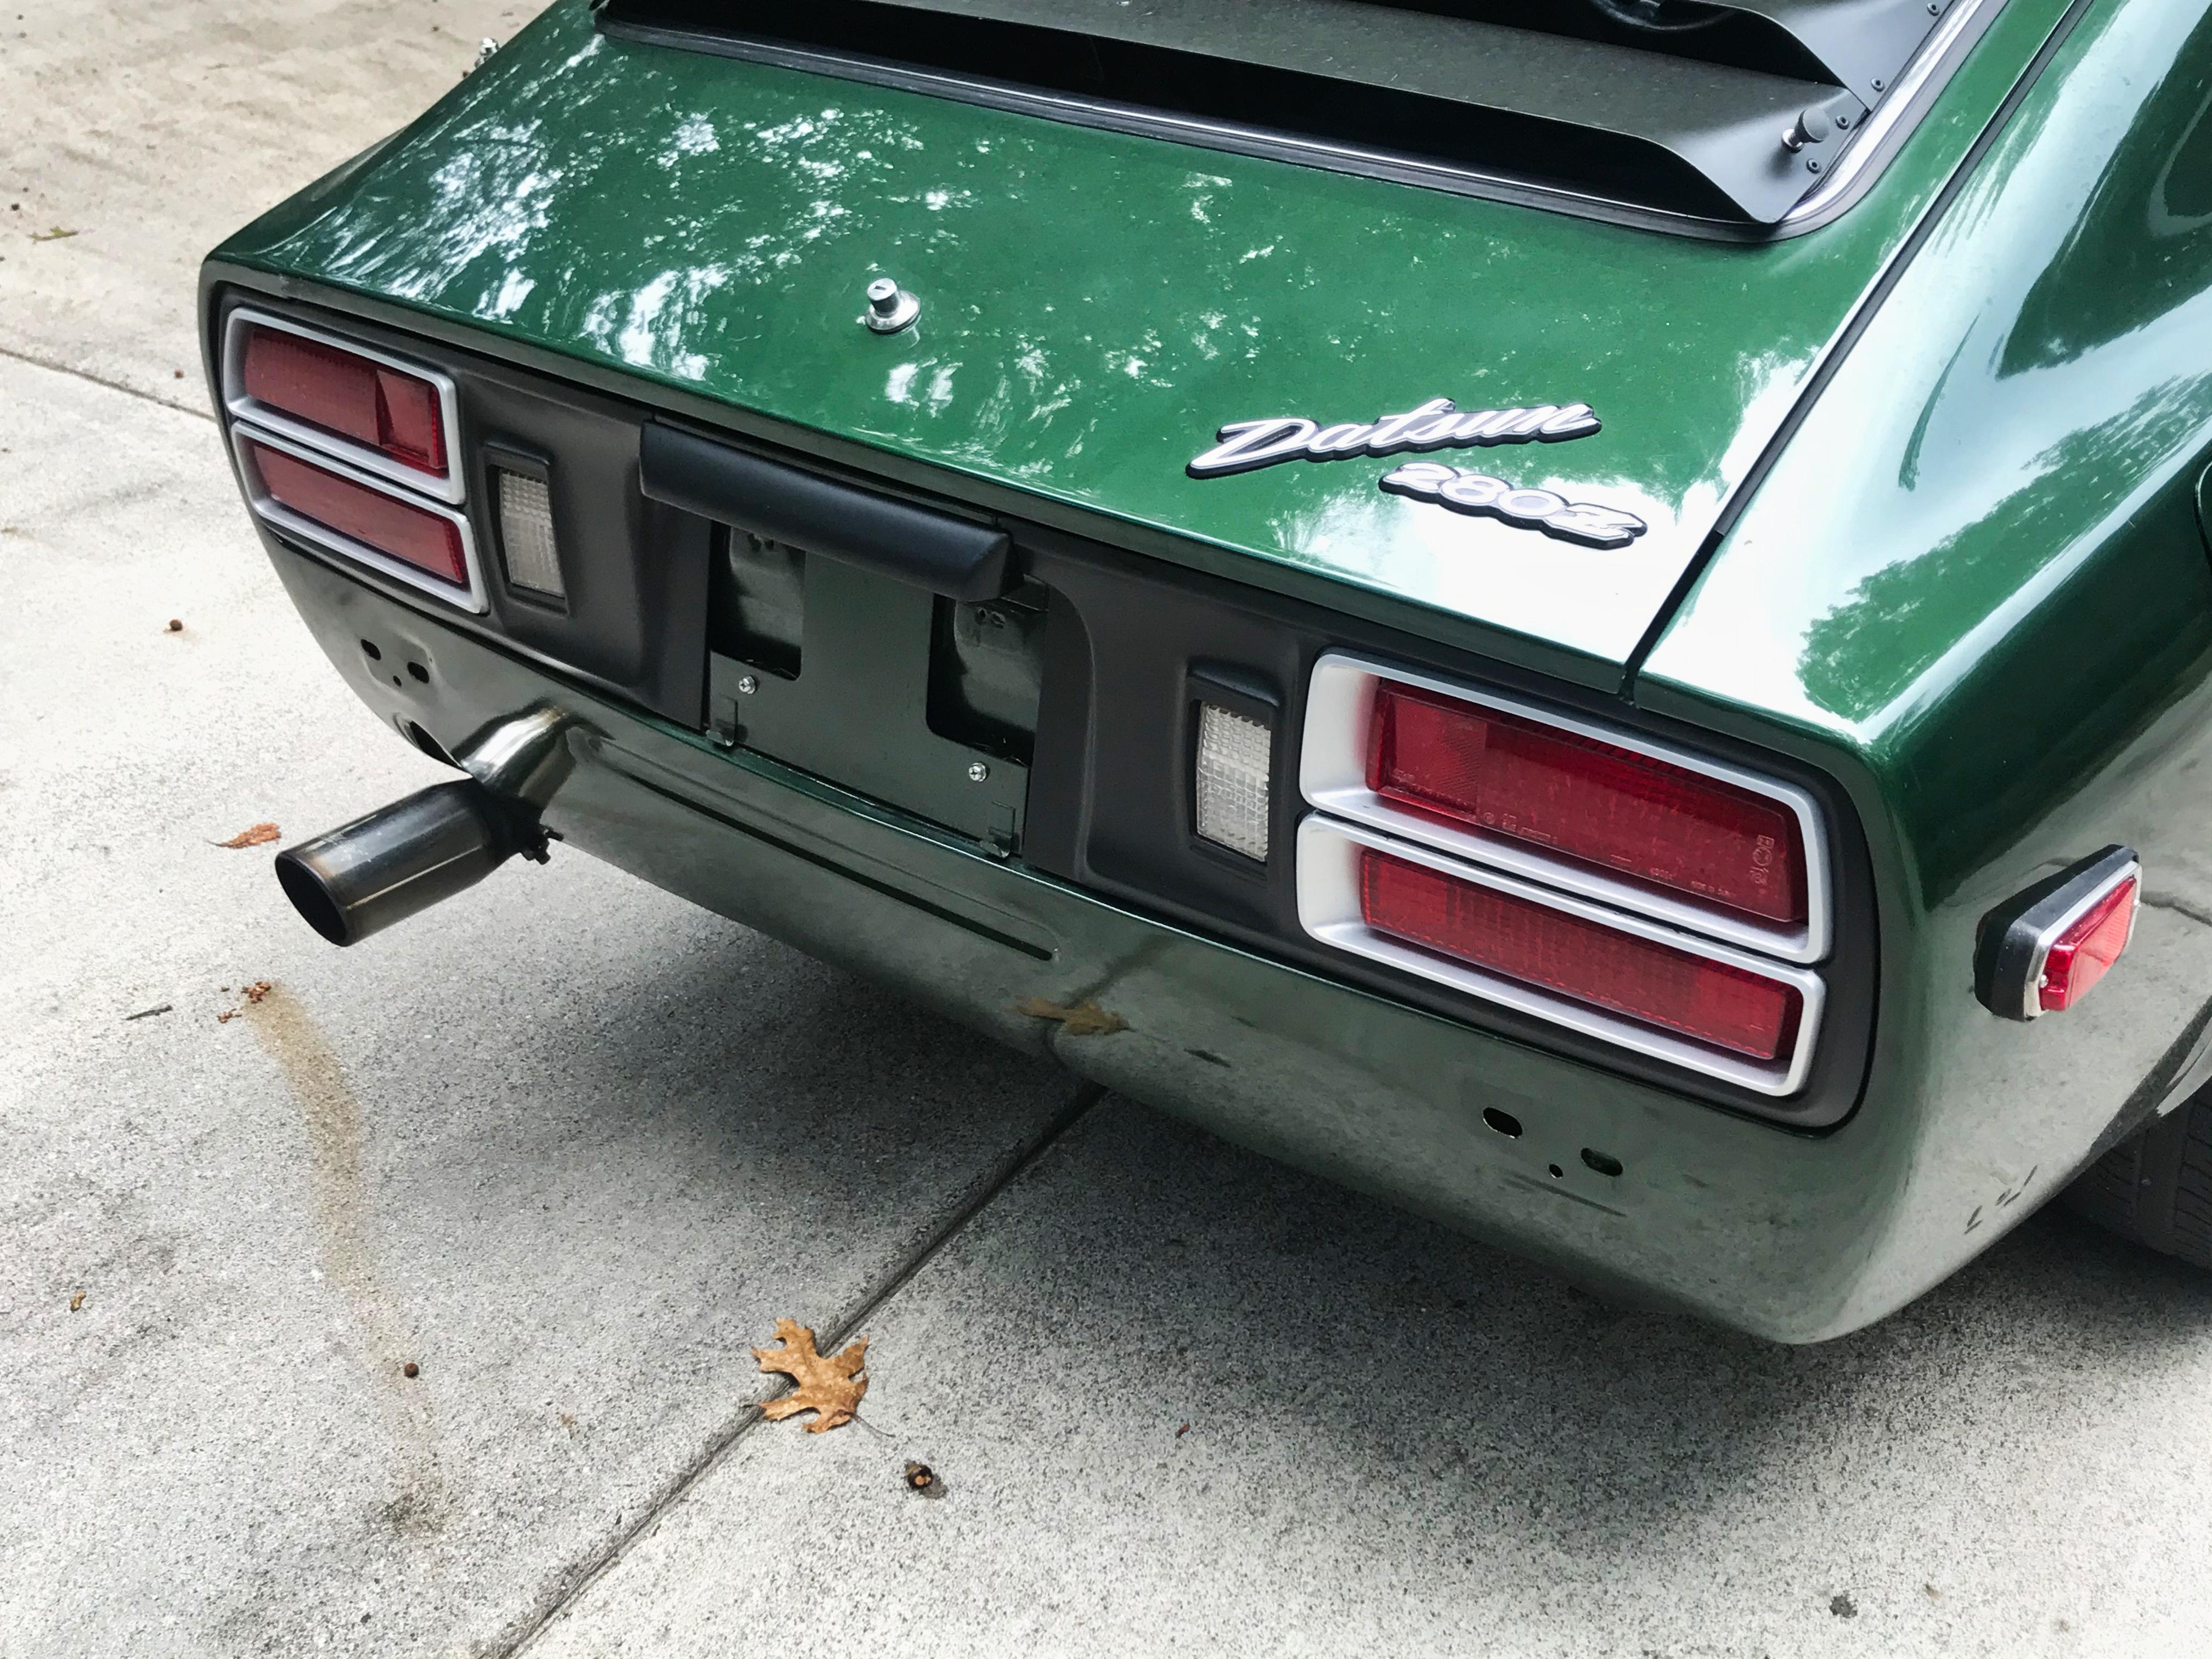
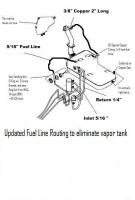
 Hello everyone! I hope this article is informative to you. Please refrain from posts until I am done, approximately 10 posts. The main reason for this project for myself was because: 1. Previous owner had replaced the 90 degree hose on top of the tank with non-fuel hose and it was rotted and leaking gasoline. This HAD to be fixed one way or another. 2. Gas tank was 35 years old and, although I have never had issues with rust in the fuel lines, I know if not treated, the tank on the outside and inside would eventually rust (further). I already knew the gas tank on the outside top was rusty. 3. I enjoy working on my Z and if I can make it stronger than original and keep it looking original, I will do that! This project I think accomplishes this, and also at the same time eliminates the evaporation tank, saving about 10 pounds. I am not going to say good/bad on the evap tank, all I know is that my fuel vapors are still being burned correctly and not entering the atmosphere. I will leave it at that. Coincidentally, if anyone needs a great shape Evap tank from a 10/71 I have one! I also have a bunch of the original hose clamps (I used good ol' American style ones--new). 4. Fuel sending unit was leaking a little fuel, and the gauge has always worked oddly, and since it's original I wanted to replace all items, including connection wires, rubber o-ring, retaining ring, and sending unit. My sending unit was jimmy rigged with the wires just twisted to the sending unit posts; I wasn't able to find any of the snapping connections, so I soldiered everthing together, and made some quick releases incorporated to make it better than new. NOT original, but better than new. 5. Learn something about POR15, because I've heard a lot about it, but have never used it and I wanted to see what it was all about. Hopefully some of my tips will help somebody out there. IT DEFINITELY IS THE REAL DEAL--THIS IS A GREAT COMPANY MAKING GREAT PRODUCTS. Get one of their sales magazines, they make some great stuff to keep our Zeds working and lasting! Much thanks go to EScanlon and Beandip, both of which were instrumental in making this project become reality; if not for them, I would not have seen what POR15 could do and how it could help (in person). First 2 pictures show the before and after pictures of tank and the hoses associated. All pictures are 1024x768 reduced to under 300 kb.
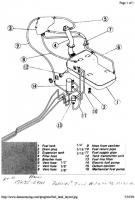
 1 point