Leaderboard
-

Captain Obvious
Free Member6Points9,862Posts -

zKars
 Subscriber
 4Points3,747Posts
 -


wheee!
Free Member4Points4,607Posts -

NVZEE2
Subscriber2Points3Posts
Popular Content
Showing content with the highest reputation on 12/23/2016 in all areas
-
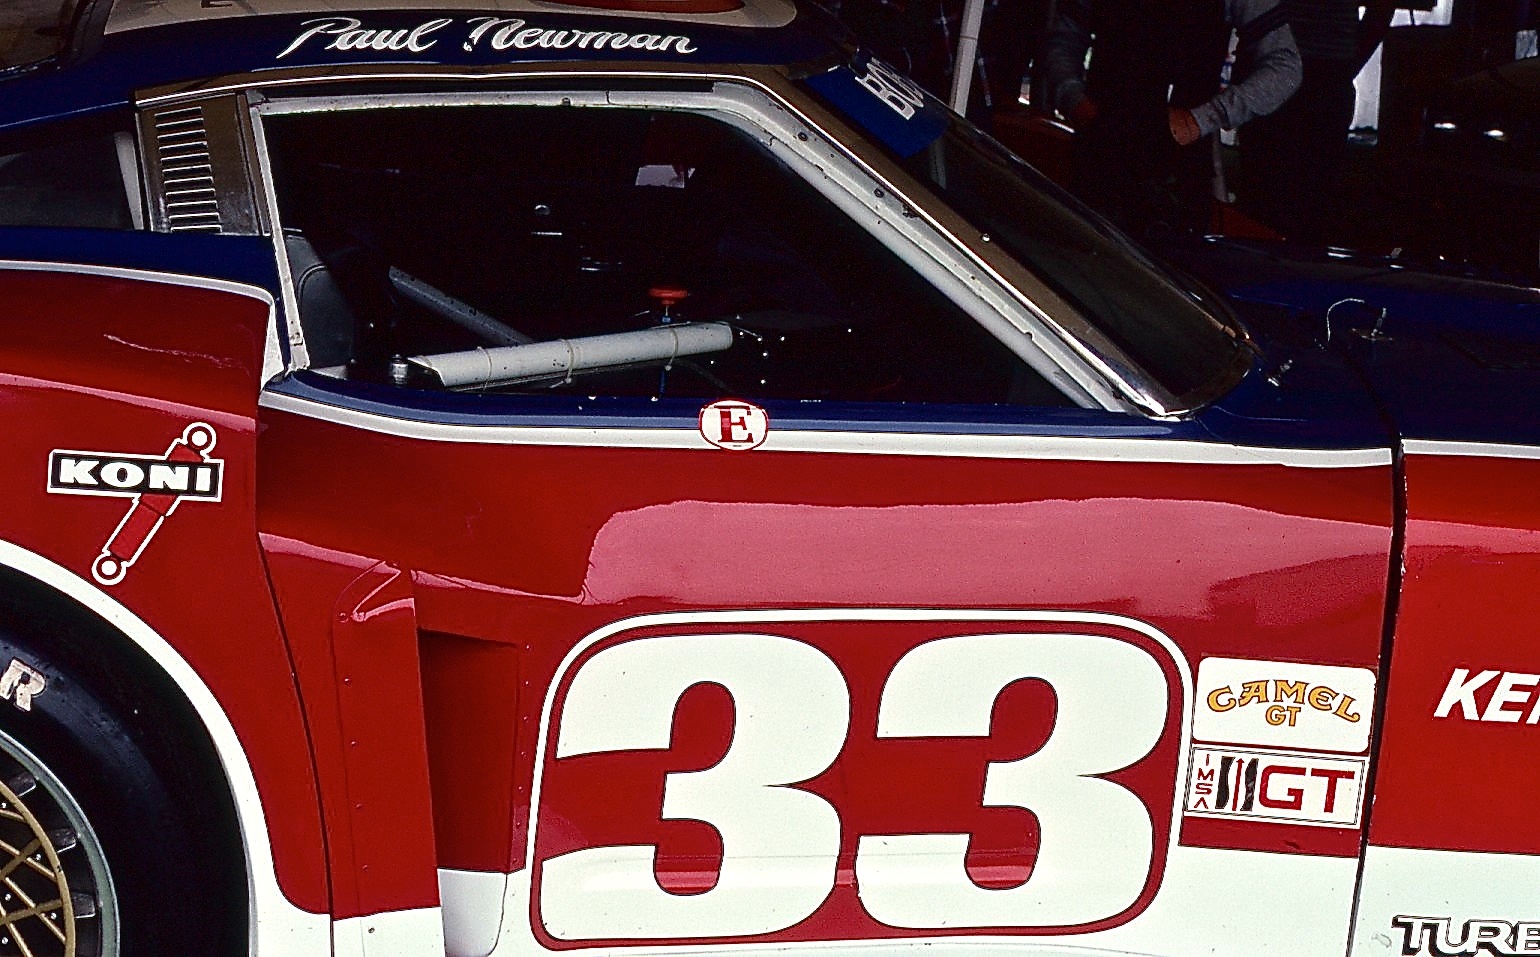
3 pointsThe resemblance to a real choir is un-canny! I'll bet their sound is kinda tinny though I sense a theme will develop here. Silly car related Christmas pictures. Here's mine. Merry Christmas everyone!
 3 points
 -
2 pointsHere's a variation on canned music so common this time of year -- in the spirit of the season (or at least ONE of them ) Merry Christmaz!
 2 points
 -
2 pointsYou too, huh? That's why I'm going to have to double check that SWMBO actually get me a round trip ticket!!2 points
-
2 pointsWell as luck would have it, I just may be able to make it to Austin after all. No promises, but my Z buddy Gary (who went to Toronto with me) and I have been hatching a plan for us both to go... My wife (with the prospect of getting rid of me for almost a week), has offered to use her frequent flier miles to get me a plane ticket. And in an incredible stroke of good luck, Gary has a brother who lives in Austin who says he would put he and I up for the duration. So there is still plenty of time for this whole thing to fall apart, but I might just make it! Things to do before the trip: Make sure my wife gets me a round trip ticket. Practice my Y'alls. Figure out how to keep Cliff and Gary apart, because the two of them together is probably trouble. Listen to Degüello and Tres Hombres at full volume. At least twice. Pack my suit and sunscreen for Hippie Hollow.2 points
-
 Take a look at this excerpt from a Singer sewing machine manual from 1949. I thought it would be fun to replace some key words Mad Libs Z-style. Prepare yourself mentally for ___________. Think about what you are going to do. Never approach ______________ with a sigh or lackadaisically. Good results are difficult when indifference dominates. Never try to _____________ with a _____________ full of _______________ or ______________. When there are urgent _________________ , do these first so that your mind is free to enjoy your ______________. When you _____________ , make yourself as ________________ as possible. Put on a clean _____________. Keep a little bag of ___________ near your _______________ to dust your _______________ at intervals. Have your _____________ in order, _____________ and ___________ put on. If you are constantly fearful that a visitor might drop in or your ___________ will come home, and you will not look neatly put together, you will not enjoy your ____________.
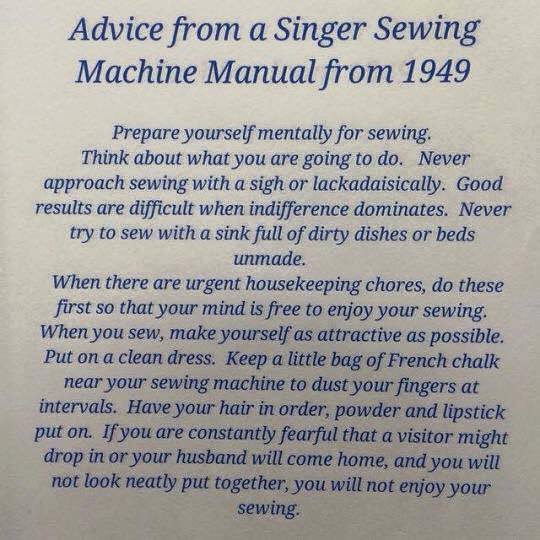 1 point
 -
 1 pointYup. Some of us are better than others at hiding our immaturity. Dennis1 point
 -
 1 point
 -
 1 pointI have used the nut on the end of the camshaft sprocket to turn the camshaft for checking lash. Taking the plugs out will make it easier.1 point
 -
 1 pointThe crank will always turn with the same ratio in relation to cam, regardless of chain length if the sprockets remain the same size. the issue of having incorrect cam/crank geometry or relation arises from not having the same available chain slack or tension on both sides of the chain as OEM once the head is shaved- which changes the cam phasing in relation to the crank. You can try all you want to align the dots on the chain on both ends of the motor and it just won't line up. There is no in-between by tightening or loosening the chain by using a different tension, or removing/adding links- which is what creates the problem. The length difference is so small (but has a definite effect) that using a different chain length won't fix it. the amount removed from the head is so minute that the proper tension still resides within the confines of the same belt/chain length as OEM, it's just not achievable with only a tighter factory tensioner because you'd have to put a tensioner on the opposite side to mimic the appropriate chain length on BOTH sides of the crank timing gear. you can play with pulley/belt sizing and distance here, and see that belt length or chain length does not change speed of either pulley: http://www.blocklayer.com/pulley-belteng.aspx Another way of looking at it is if you were to put a tensioner on either side of the crank, you could effectively change valve timing by making them controlled by an auxiliary device, as one loosens up, the other one tightens up. This will shift the phase of the cam in relation to the crank depending on which side is commanding more chain length (than OEM) from crank to cam, but the speed remains the same. The side that has the higher increase in cam chain length will have its teeth squeezed closer together (for lack of a better way of visualising it); tighten the left side to make the chain longer = retard timing. tighten the right side = advanced timing.. Since there's only one tensioner on one side of the motor, we can't use this idea to correct the cam geometry, it only allows us to make one side longer or shorter, and doesn't allow adjustment of both sides. essentially, it's not the speed that is altered by chain length, it's the relation between cam and crank phasing which is influenced by available chain length on either side of the two spinny bits. Tighten one, and it pulls everything closer on that side, but you have to tighten the other side to bring it back into phase. you would need a variable cam timing device like Nissan VTC sprocket hub, but there are none that work on the L-series motors. But that's pretty much what's happening inside one of those. Tooth phase is shifting from one direction to the other to change valve timing. Kaimeri makes a gear driven chain guide that is adjustable that corrects the geometry on both sides of the chain to account for a shorter motor and keep proper tension on both sides. You don't need to use shims in most cases if you use that product.1 point
 -
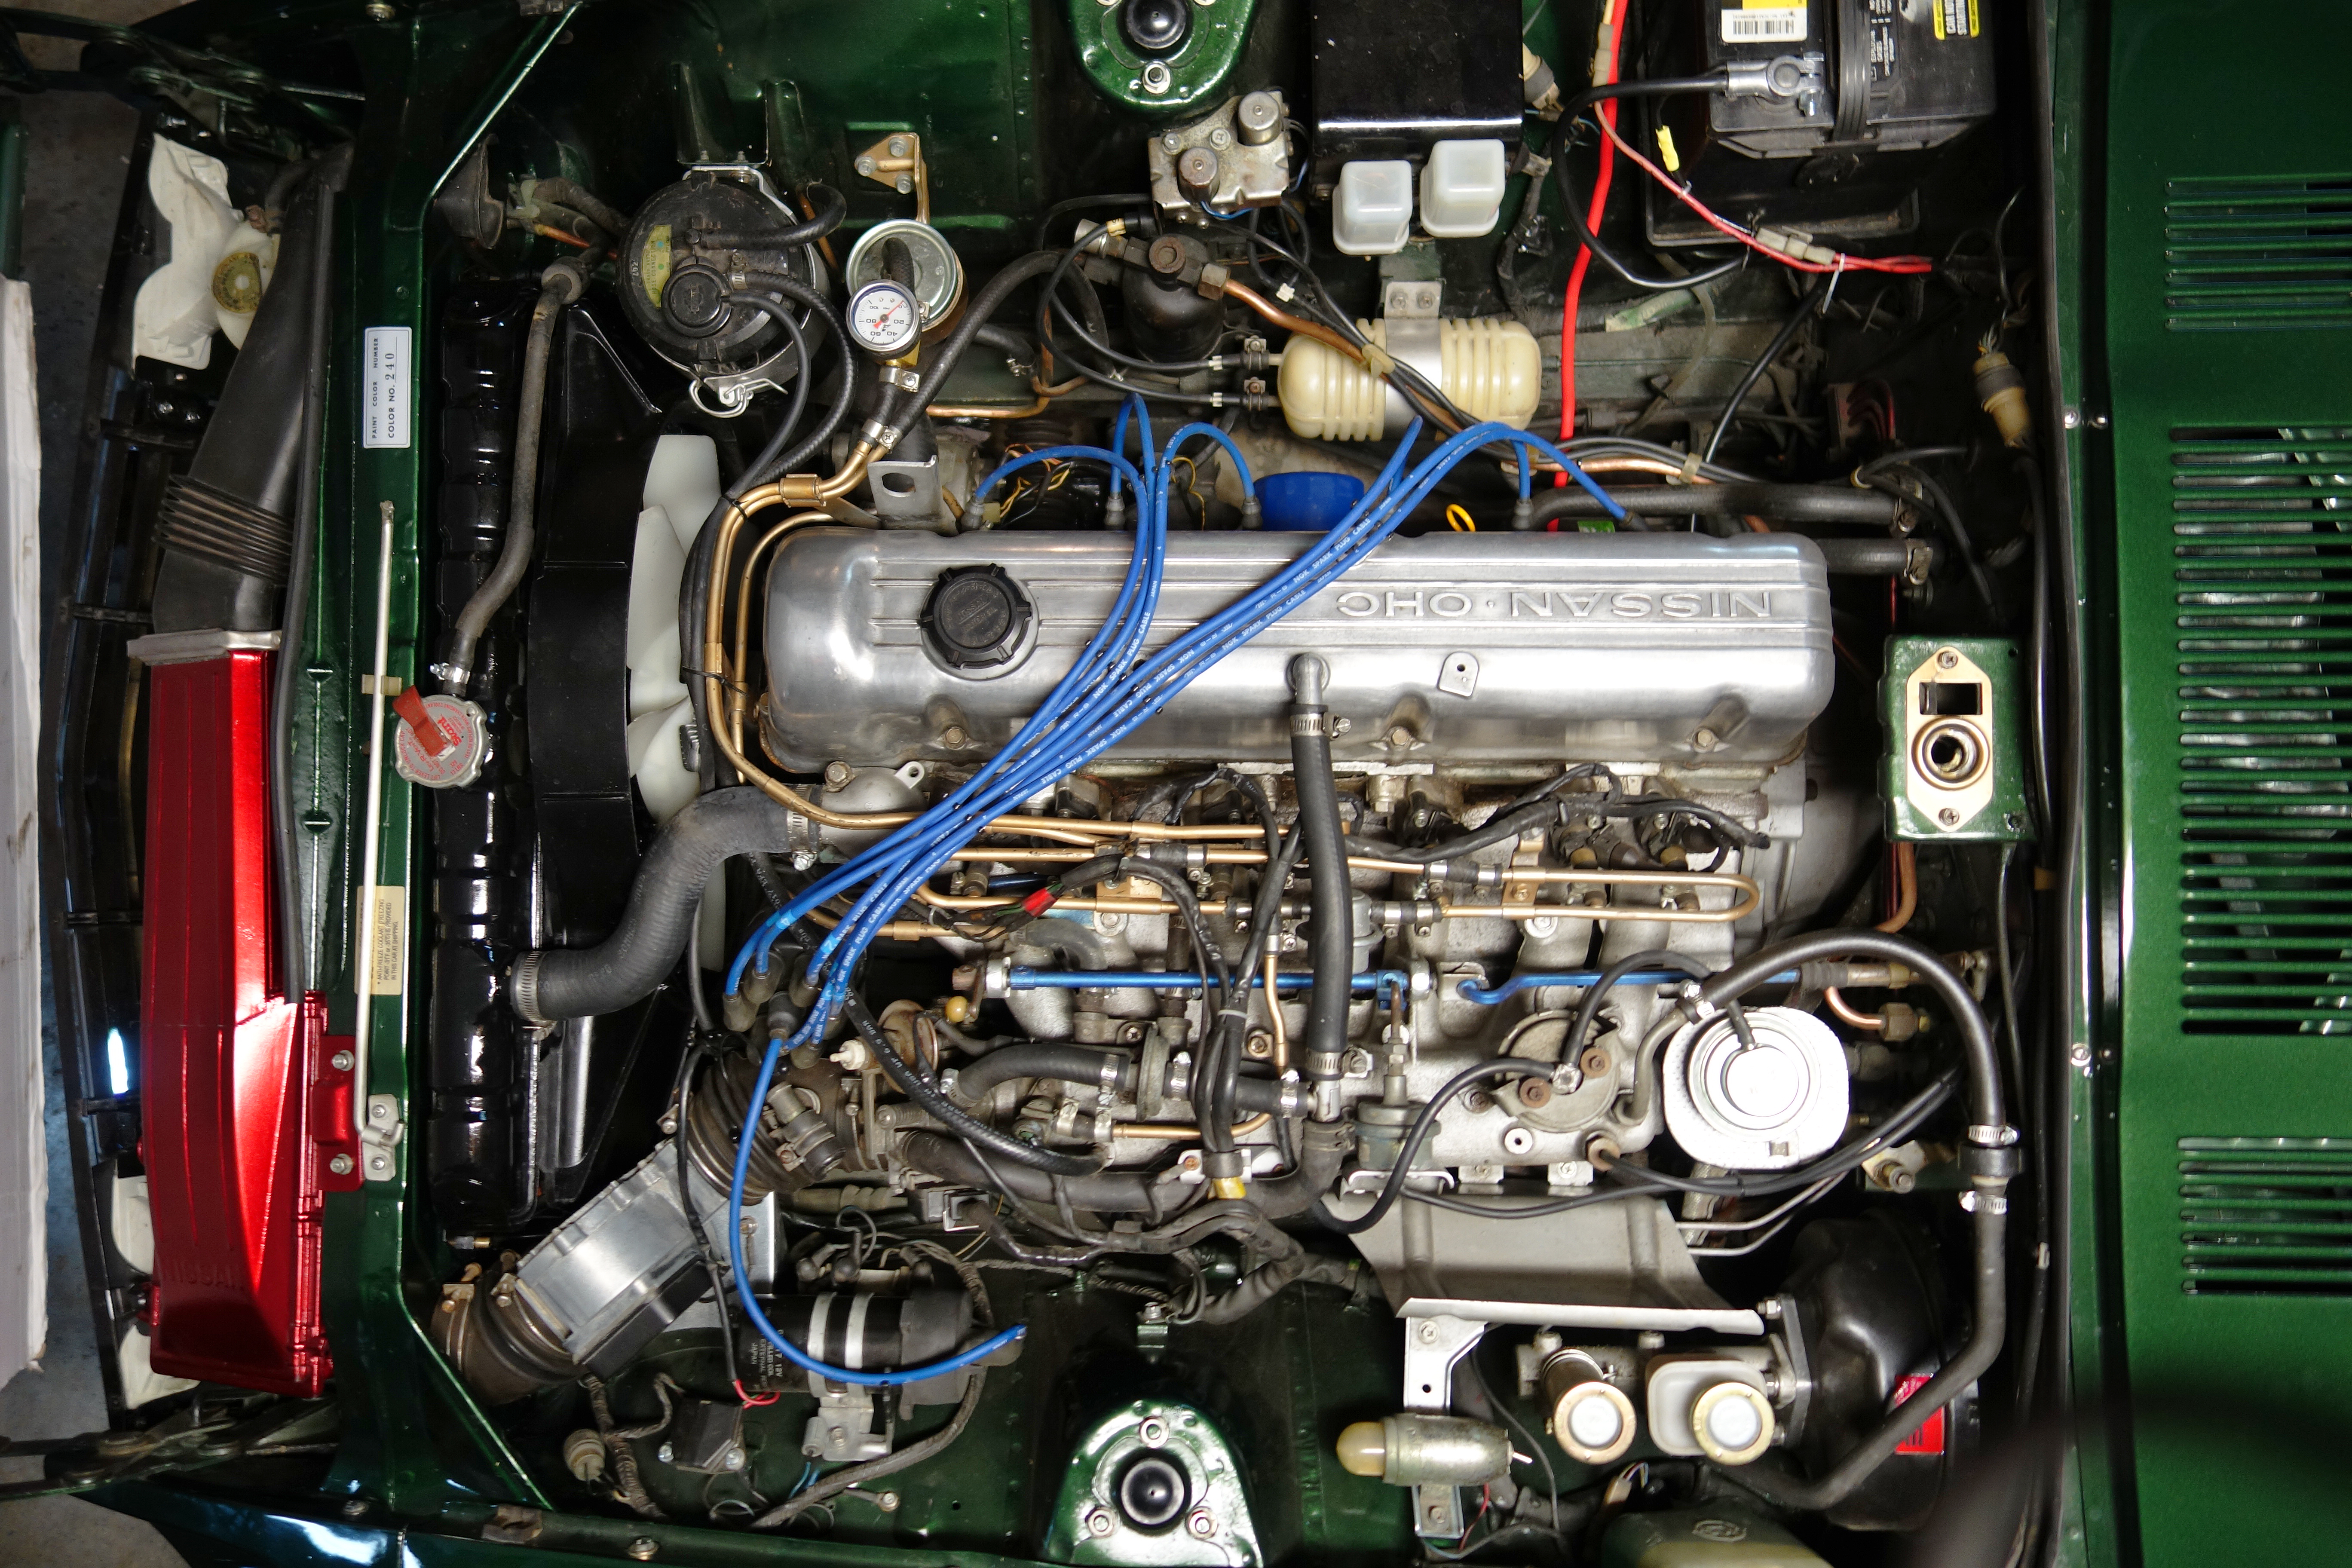
 1 pointI was a little concerned at first with my green car but decided on complementary colors to the green would be the most pleasing to me. Little splashes of color here and there, not too much of any one color. From my experience, red is a very strong color and a little bit goes a long way. Ford blue is the color of my block with NGK plug wires. These should give you some ideas.
 1 point
 -
1 pointBrought it up with the wives this evening at dinner. Didn't cause any sort of negative reaction at all. Not sure how to take that. I'll pretend it's a good sign for now. Haven't driven to Texas since 1980 in '69 510. It's about time to do that again I think. Just read the first sentence again. I do not have multiple wives. That's just silly. Had Persimmon240 and his wife out for dinner.1 point
-
Yeah, the prices on this thing were great. And the workmanship looks pretty good too. One thing to watch for though is there are some of these are brass and some are aluminum like I pictured. The first one I got was the slightly smaller brass version and I sent it back to Rock Auto. They sent a second one and it's the one I wanted. I never completely got to the bottom of what happened though. I'm still not positive it was simply misboxed, or a different manufacturer in the Spectra box. I know many of the manufacturers will second source eachother with the intention that the parts are form / fit / and function interchangeable. They accepted the brass one back without a fuss though, and I got the aluminum one as pictured. By your command. The length and width are very similar to the original. The biggest difference is the thickness. The Escort core is thinner: To be honest, with a layer of 1/2 inch thick foam along the perimeter of the Escort core, I think it fits the heater box better than the original. Of course, my "original" is an aftermarket core that came with the car, but I was not impressed with the fit.1 point
-
1 point
-
 1 point
 -
1 pointI doubt it ... I will make sure any pinholes and errors are given a nice coat of Fiberglas filler as well. Not taking any chances on water entry on any of my welds.1 point
-
 1 pointJust have Buddy drive while you make sure the beverages stay fresh from the passenger seat.1 point
 -
 Agree with Patcon, also, now you have those tall weld beads to grind off on the marker plate, try not to be too aggressive with your grinding, like don't do it too quickly. Sometimes if you really go at the grinding hard you can create almost as much heat in the panel as when you were welding it. I have screwed up a perfectly good door by grinding the weld beads until they were glowing red and warped the metal around itthen the four letter words start flying. Try for cool grinding, thin sheet metal heats up very quickly. Bad Dog's rear connector pieces are pretty much a perfect fit, very little trimming, a great product.1 point
 -
1 point
-
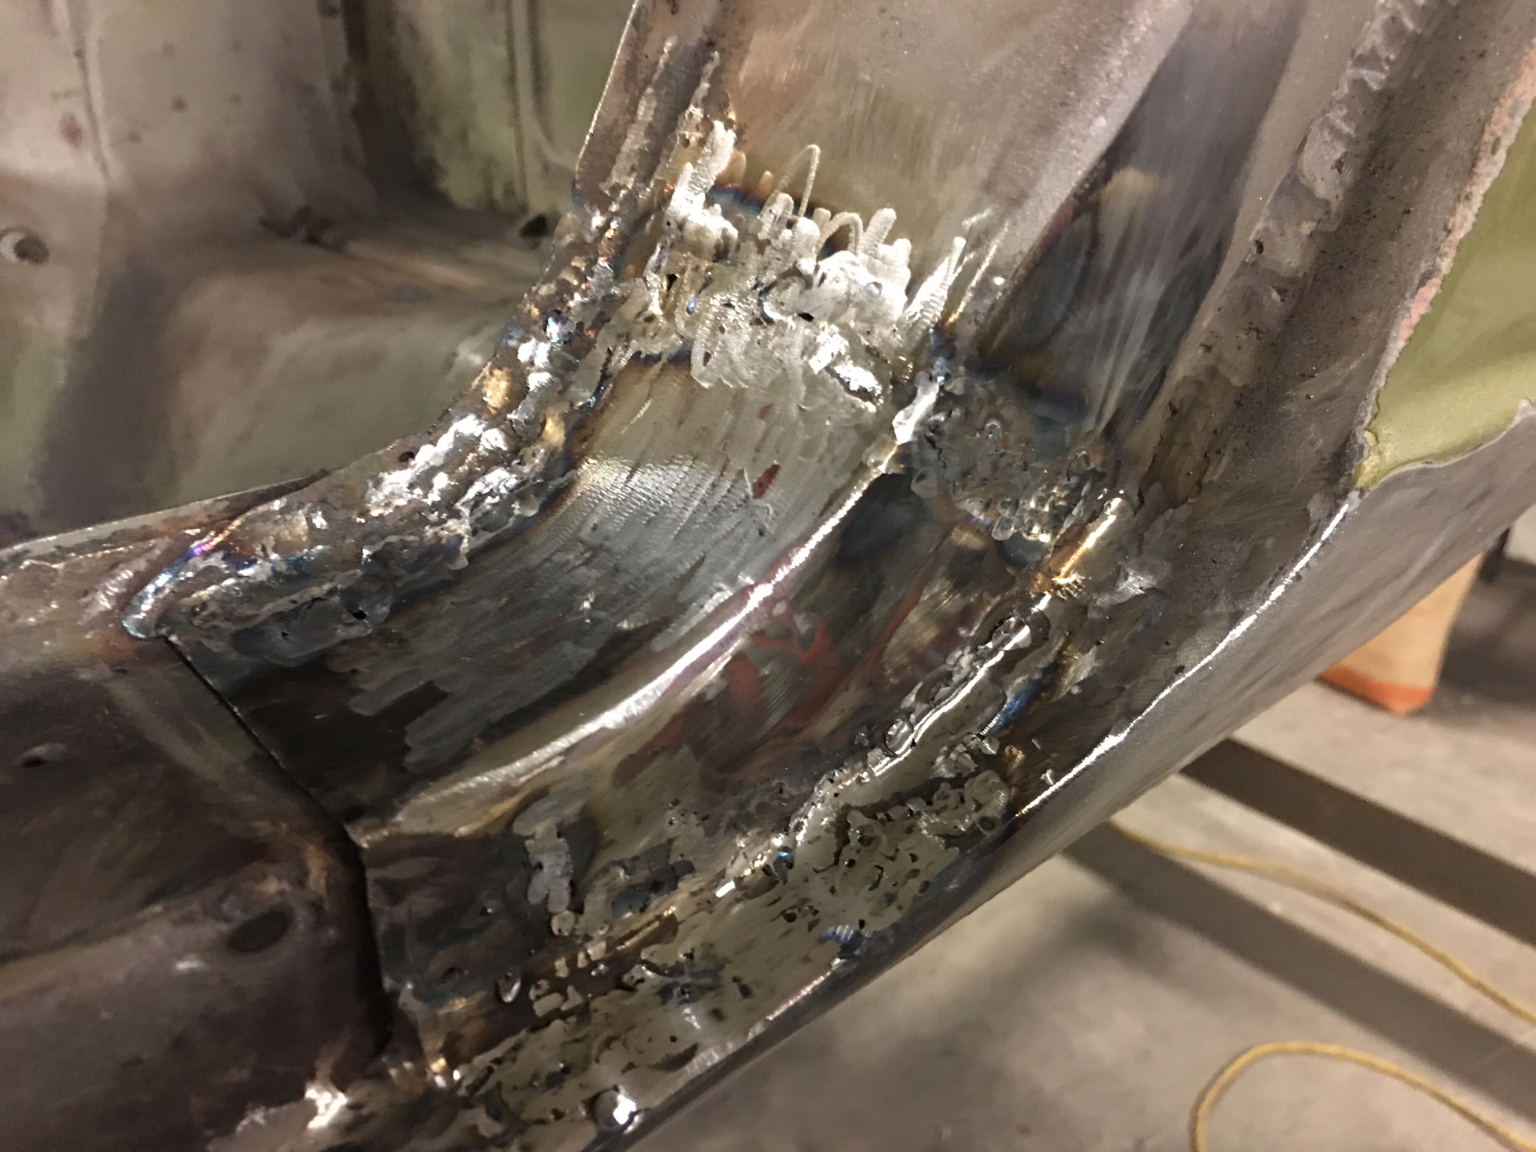
 The gaps in marker delete patches are a little large but not awful. If you hold a piece of copper behind the gaps where they are too large the copper backer will help prevent blowing through but not stick to the welds. Also your feed looks a little fast or your heat looks a little low. You are getting a lot of pretty ridgy looking welds without some of the flow they should have...1 point
 -
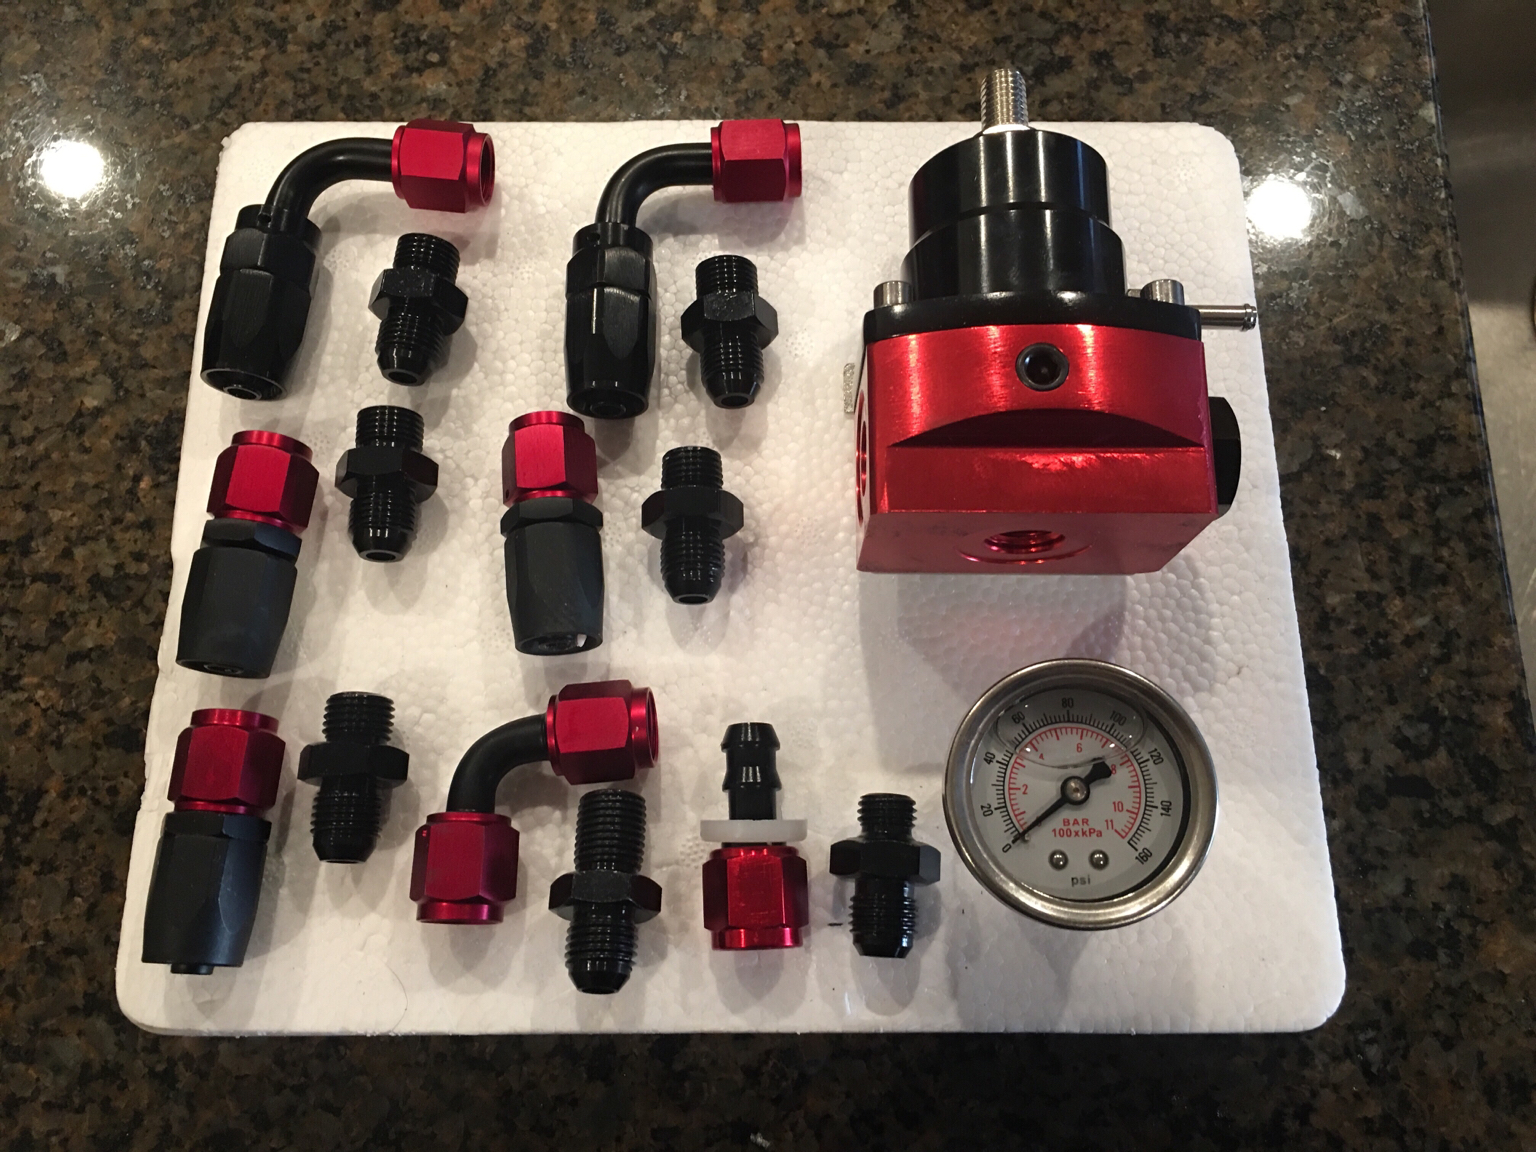
1 pointAnother package of goodies showed up! This will help finish the fuel rail setup nicely!
 1 point
 -
 Some news! I started with some more body work and welded the first time on the body! At first I was really intimidated as a welding beginner to weld on thin sheet metal, hearing all those stories about warpage and burning through! Of course they do happen if you’re not careful, but after some practice on scrap metal I got the hang of it! I’m by no means a professional welder, but pretty much all of my welds will be grounded down, so they only have to be strong, not look good! Even though every now an then some pretty once even came along!:) First task was the rusty metal under the hatch sheet metal. Sadly I did not take pictures in between, but this was what i begun with: And what I ended up with, already grounded down! The next task was the battery tray! Even though mine was in quite good shape, minus one rust spot, it had to go anyway since I’m relocating the battery under the passenger seat in my quest to clean up the engine bay and make it oh so pretty!:) Still “in”: And out it goes! So if anyone’s interested, the battery tray’s for sale as is (Europe!)! Maybe I’ll restore it later down the line, really come to like welding, and make some more profit out of it. To still be able to work inside the garage, where it was at most one or two degrees above freezing, I planned to weld in this new piece. But since my zinc spray decided to not work, albeit being completely full and unused had to postponed it. Definitely want something between metals when I put two on top of each other. Either zinc spray, or this red weld through primer. Haven’t had much luck finding some in Germany though yet. Today I beared the cold outside for some hours, shove the body out of the garage and further CSD-stripped the left rear where some body damage was fixed before with filler, and also some unrepaired damages. Got rid of almost all of the fillered areas, so I can see the damaged area, and try my best with hammer and dolly soon! I also stripped all the areas where I needed to weld, being the chrome trim holes, as well as around the side marker holes to delete them! And plug welded them shut! Actually pretty easy with a short rotating motion. To delete the side marker holes I purchased the delete plates from Skillard over Zcardepot, after a friend recommended them. To be utterly honest I’m not impressed by them at all! The gap around is huge(!) for being a CNC cut item and one corner even had quite the indent. The picture beyond doesn’t even do it justice, it looks even worse in reality:/. A lot of bridging the gap will be involved. I hope they already fixed it! And am curious how the delete plates will perform on the front fenders! Anyways, “butt welded” the plate in, again, not pretty but sufficient strong! Have to grind it down to properly weld the last gaps shut, as I wasn’t able to get in between the buildup properly. But that’s a task for the future, I got dark and more importantly utterly cold to keep on working! Once again, let’s see how fast I get the bodywork done!:) One last question though: I will be keeping the original frame rails, since they are in well enough shape still (minus some wrong jack up action, but not structurally critical), but I would like to extend them, maybe even connect them all the way back! What’s the best way without purchasing prefabbed frame rails, and not having a metal brake? Have a happy holiday all you guys!:)1 point
 -
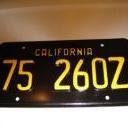
 Here's a picture at Summit Point, WV. The #6 240Z on the right is currently mine. It's currently a yellow #0 240Z. Chuck
 1 point
 -
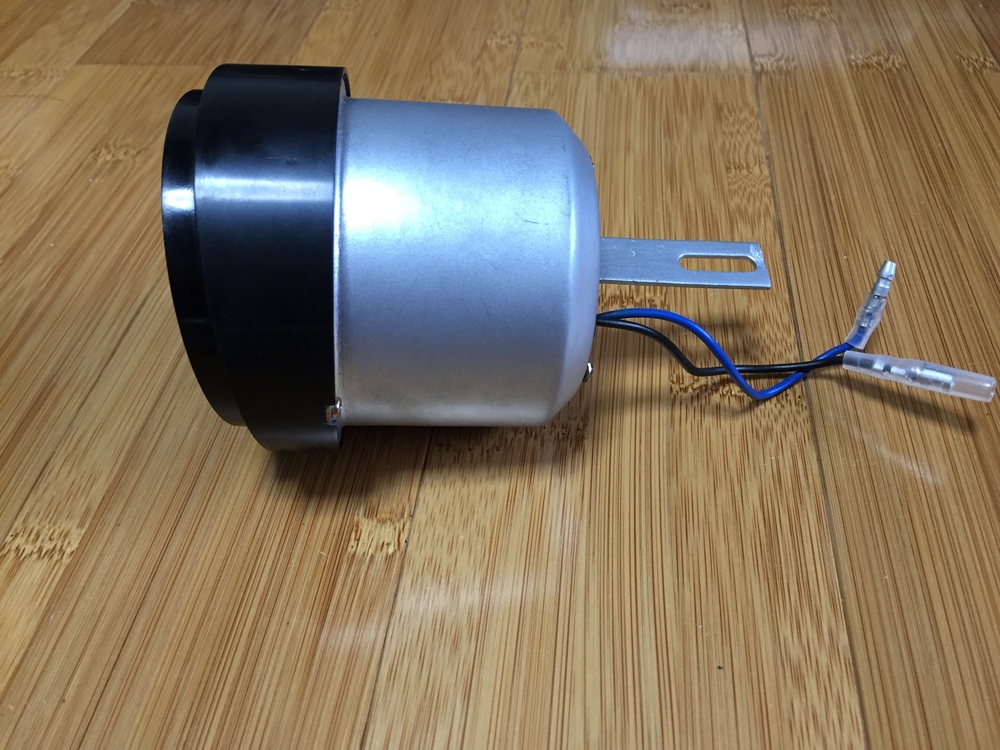
 1 pointOk, finally finished this project. Still interested? What do you think is a fair price? I can offer a 6 month guarantee from the time you get your car finished and running.

 1 point
 -

-
1 pointIf you're looking for a performance mod, I would pull the stock 2.7 liter v6 and drop in a 2.8 liter in-line 6-cylinder. Nissan made a nice torquey 2.8 that fits very well Only other suggestion would be to put aftermarket wheels on it. As for the hood being turbo or not... They used the same vented hood on all versions in 83. I don't know my ZX's enough to tell if that's an 83, but if it is, then that's the stock hood regardless if it's turbo or not.1 point