


Leaderboard
-
greekz
Free Member3Points4Posts -
foreignaffairs
Free Member2Points8Posts -

siteunseen
Free Member2Points15,169Posts -

wheee!
Free Member2Points4,607Posts


Popular Content
Showing content with the highest reputation on 02/20/2017 in all areas
-
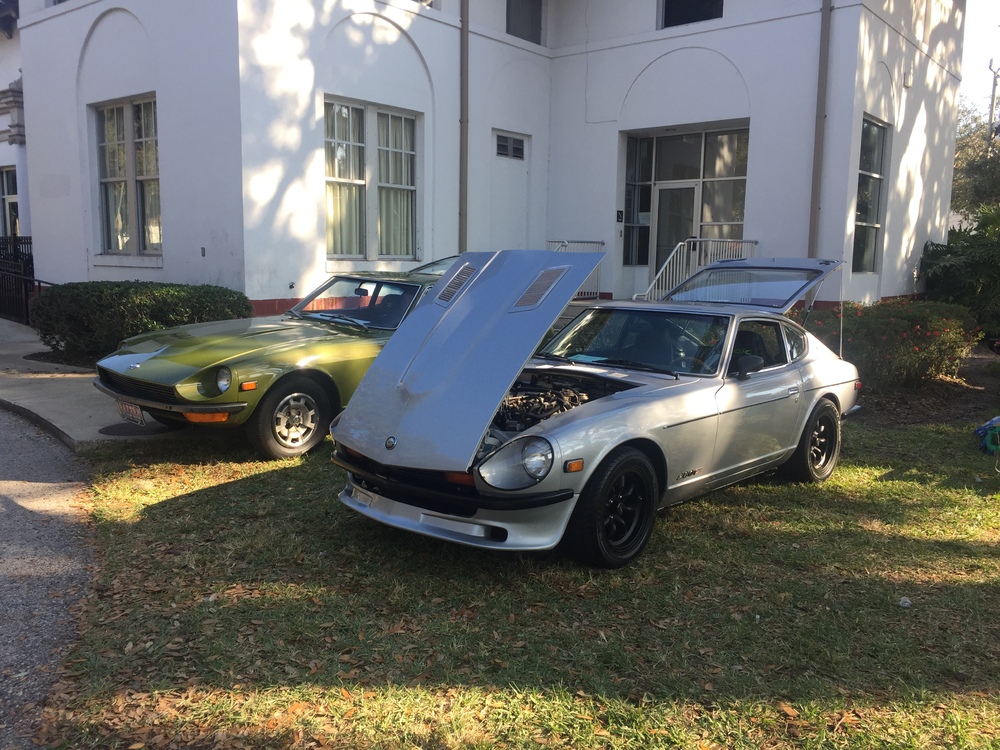
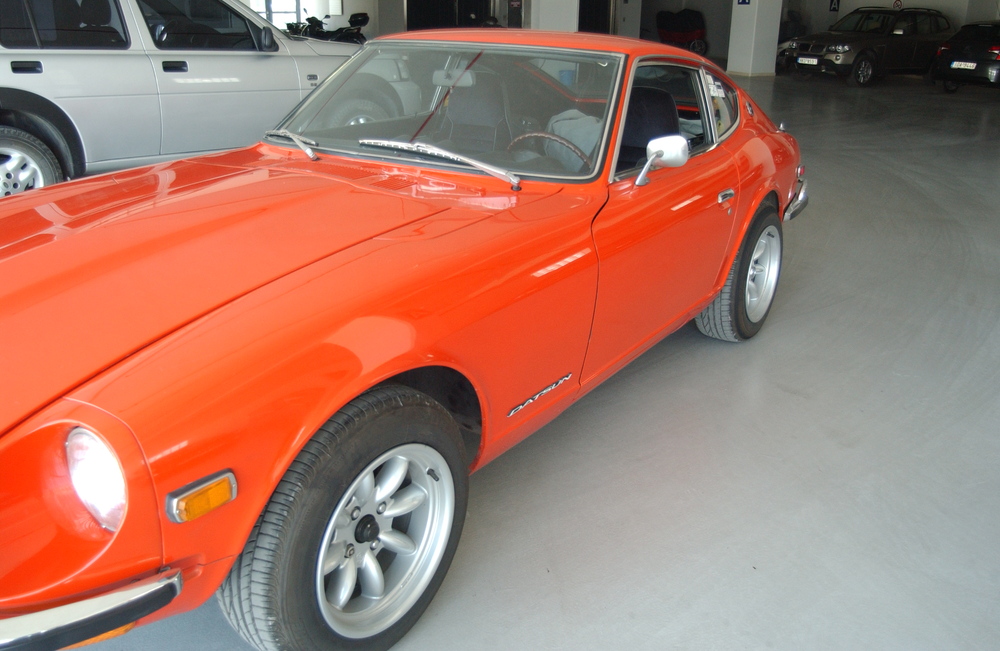
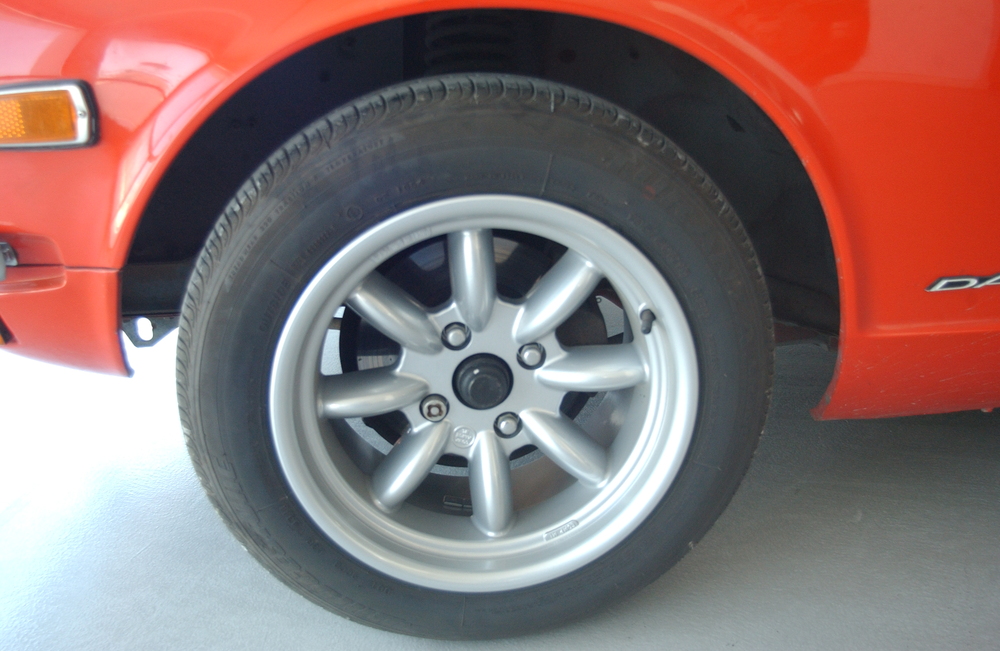
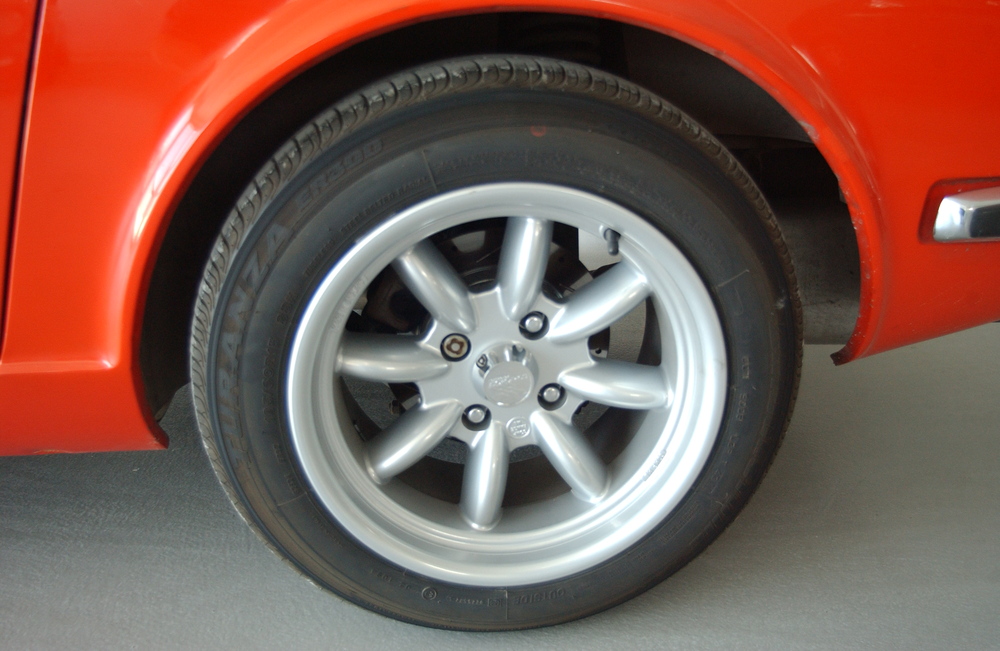
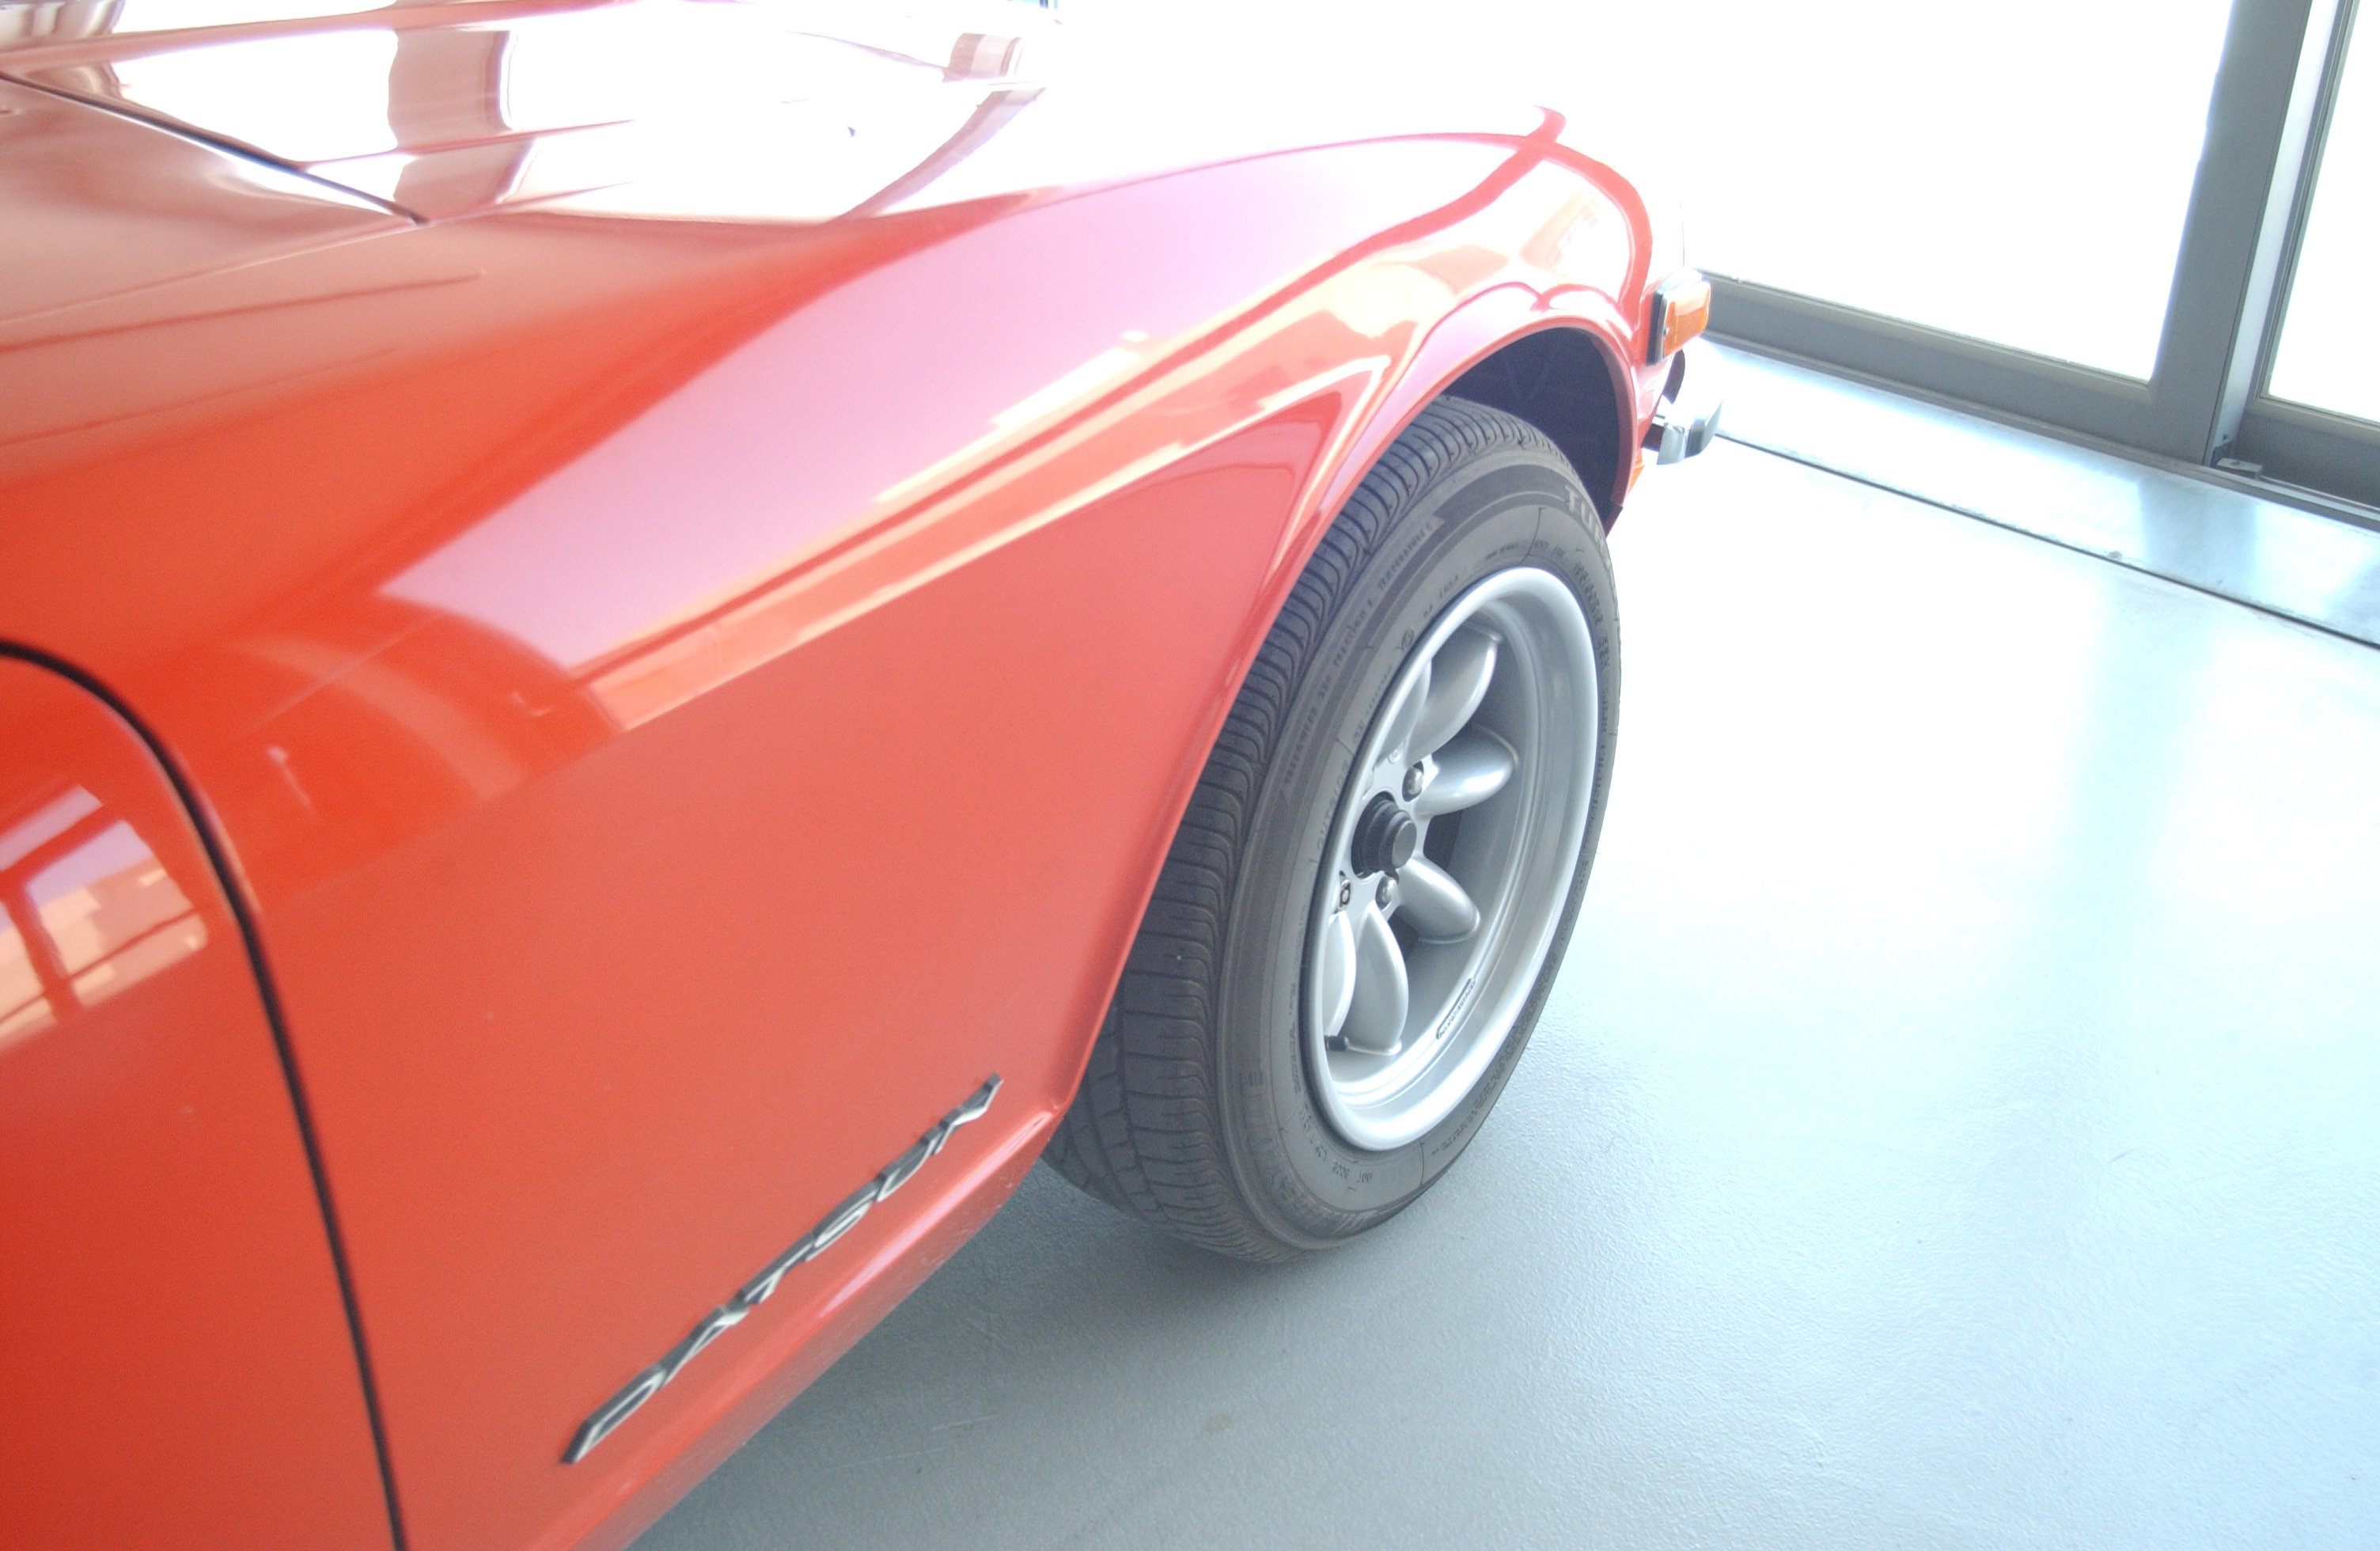
I have these wheels with 205-50-15's, car has 1" lowering springs, no clearance issues
 2 points
 -
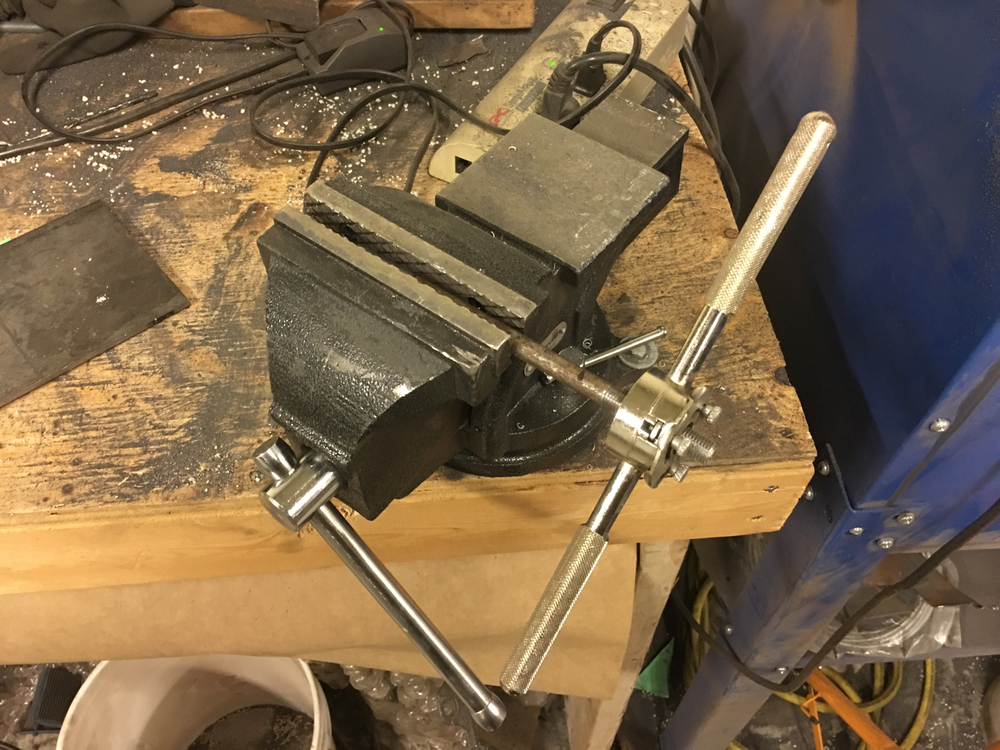
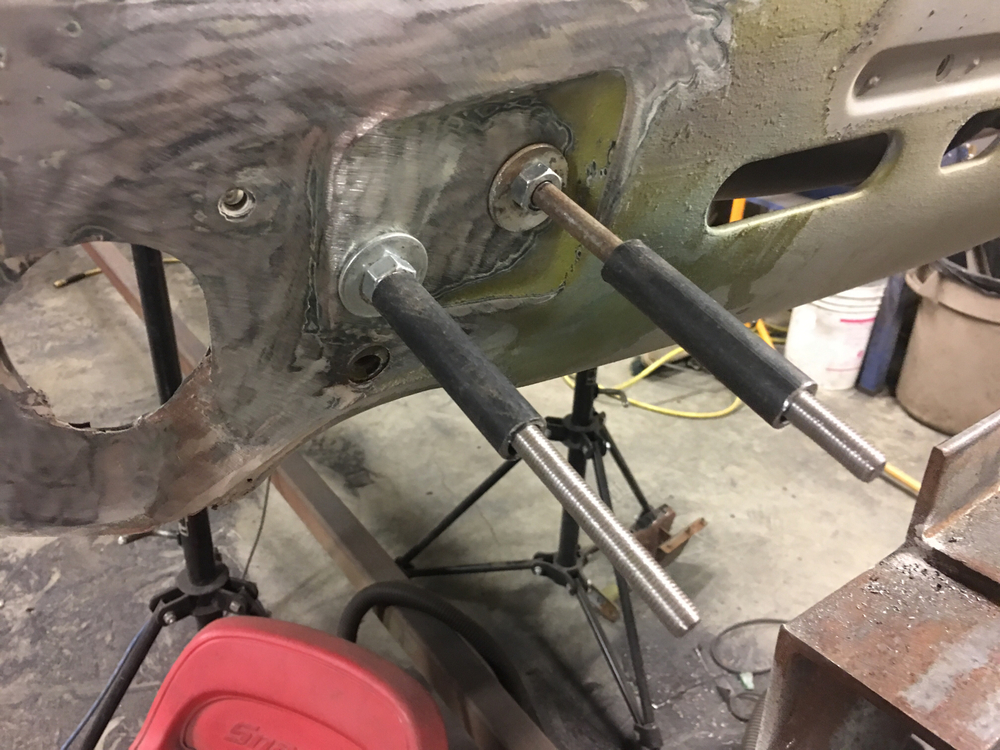
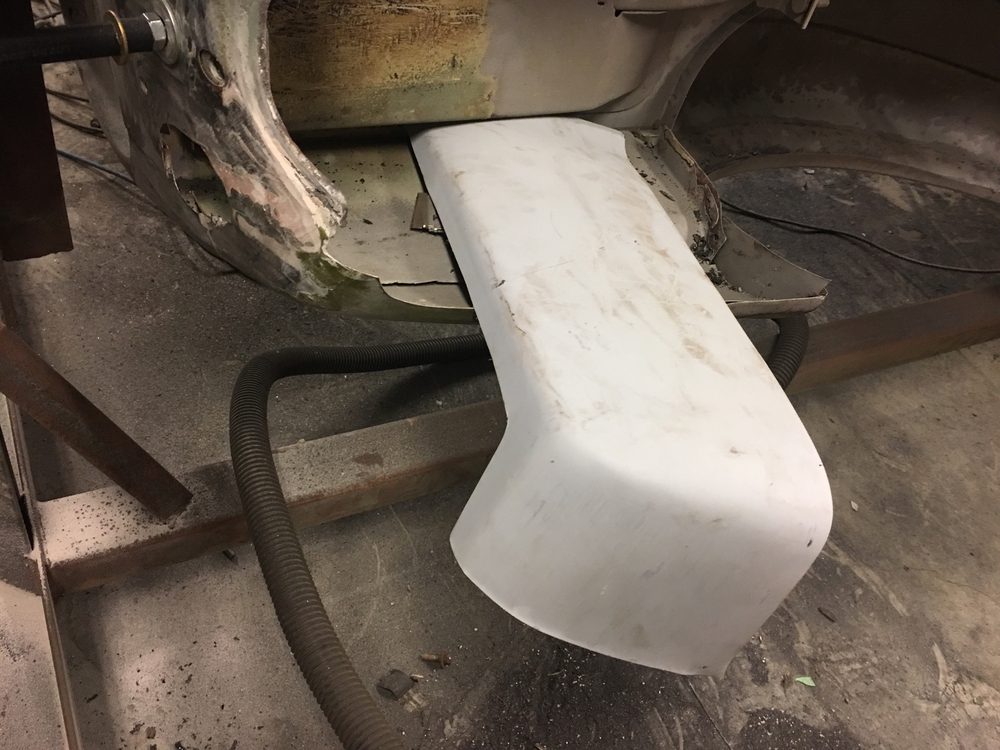
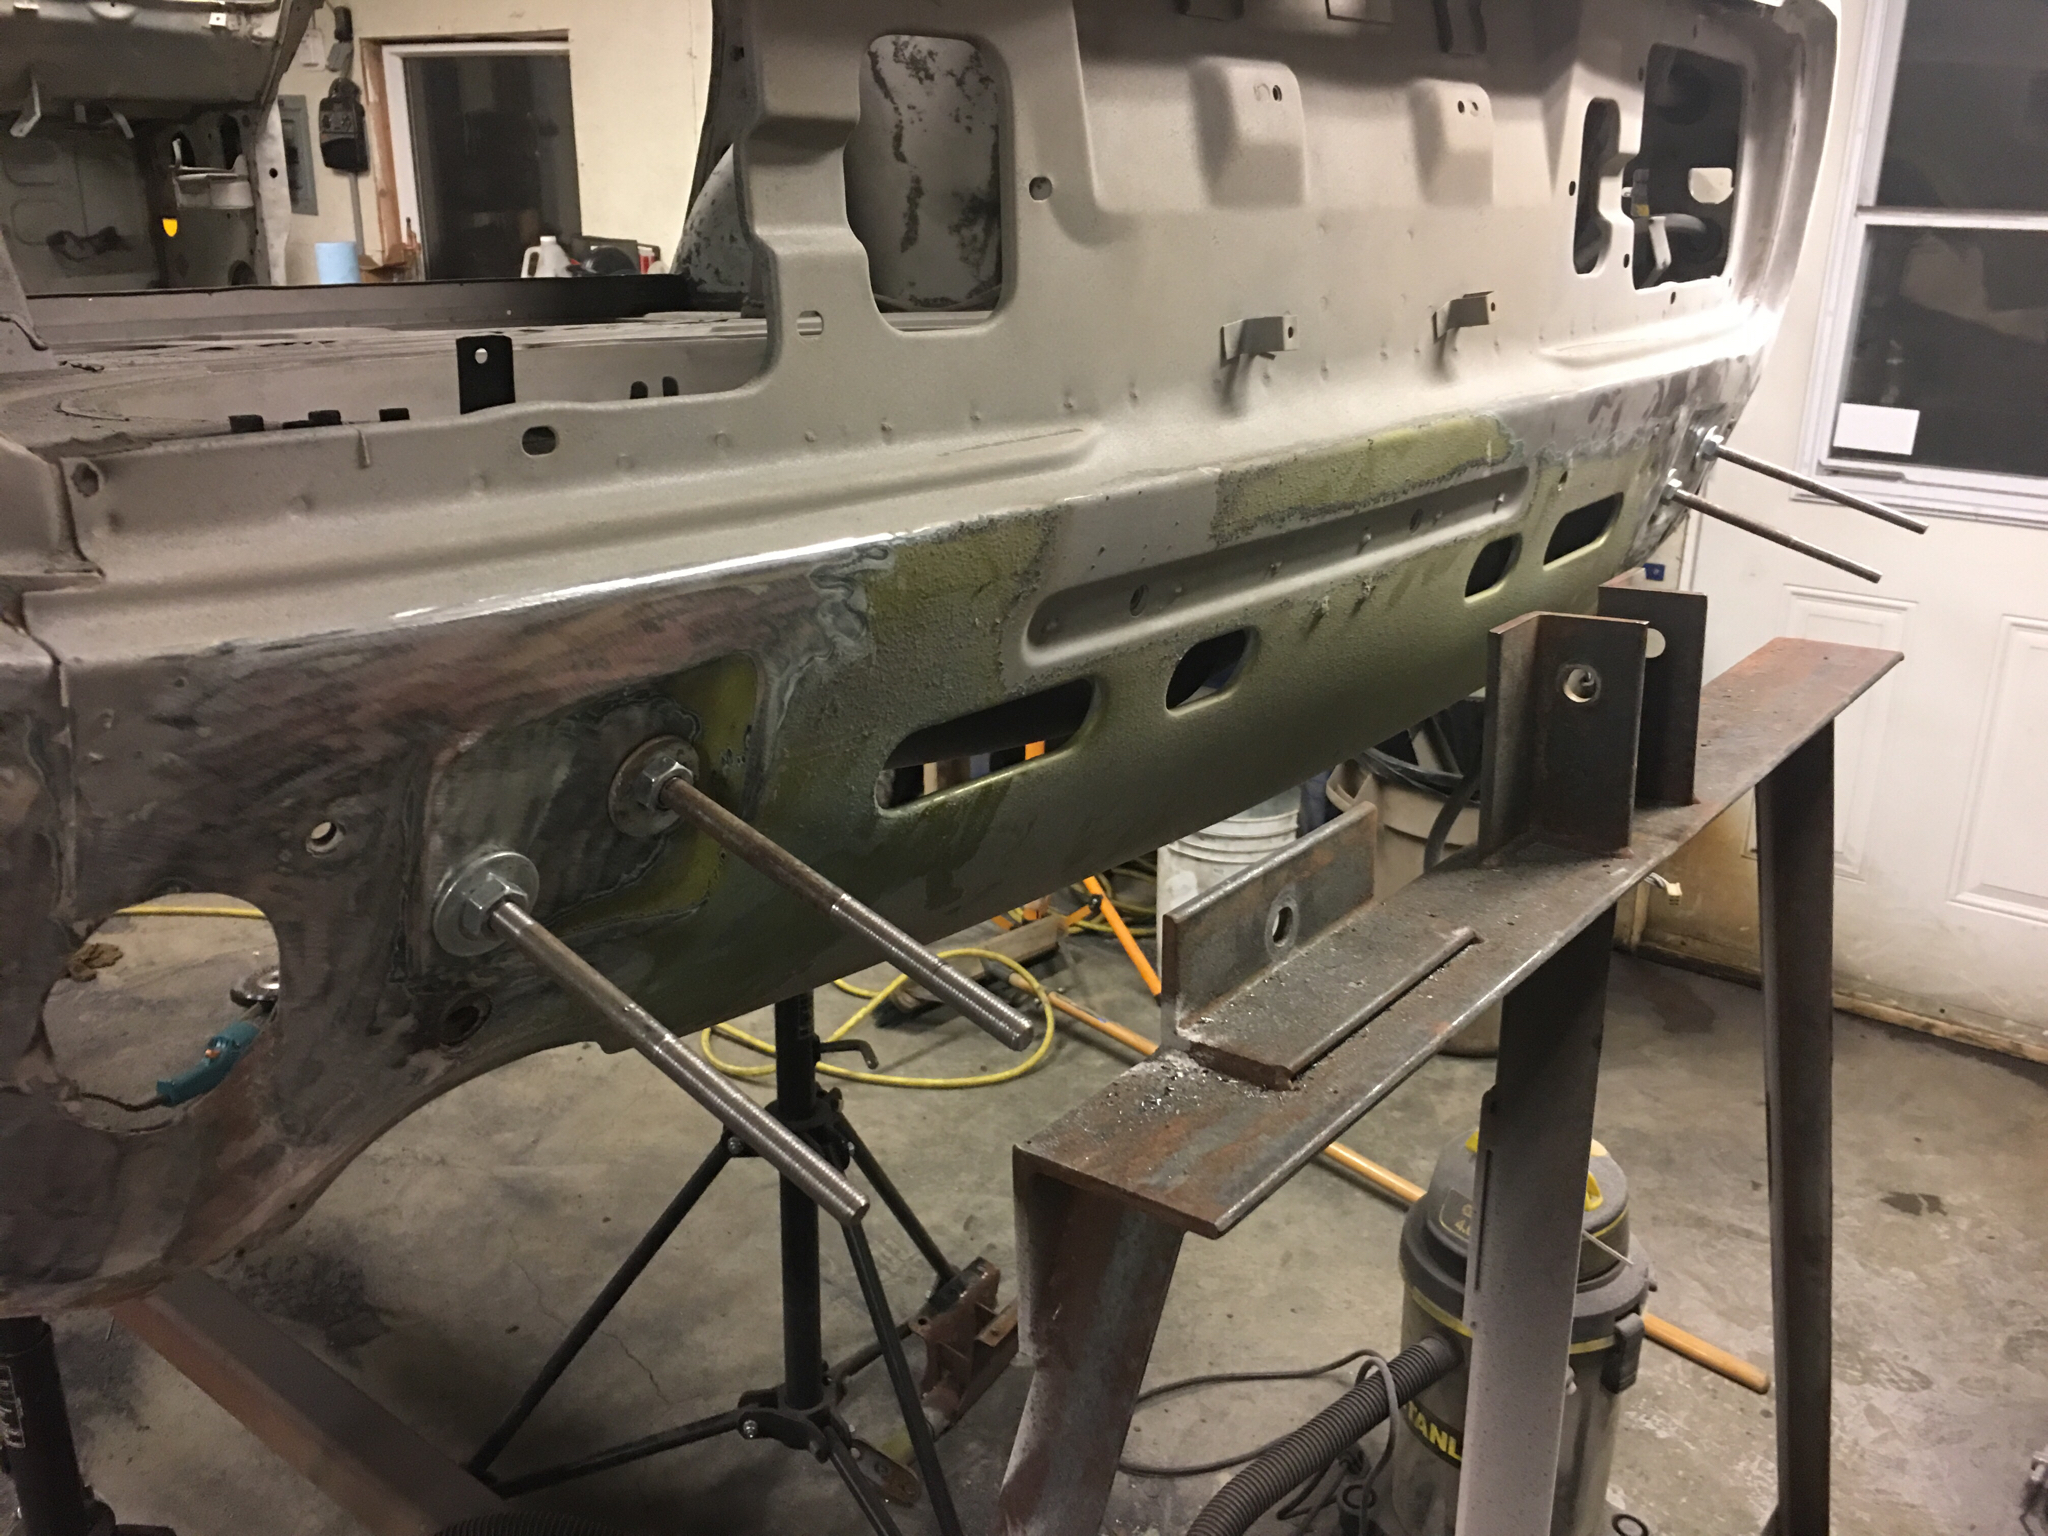
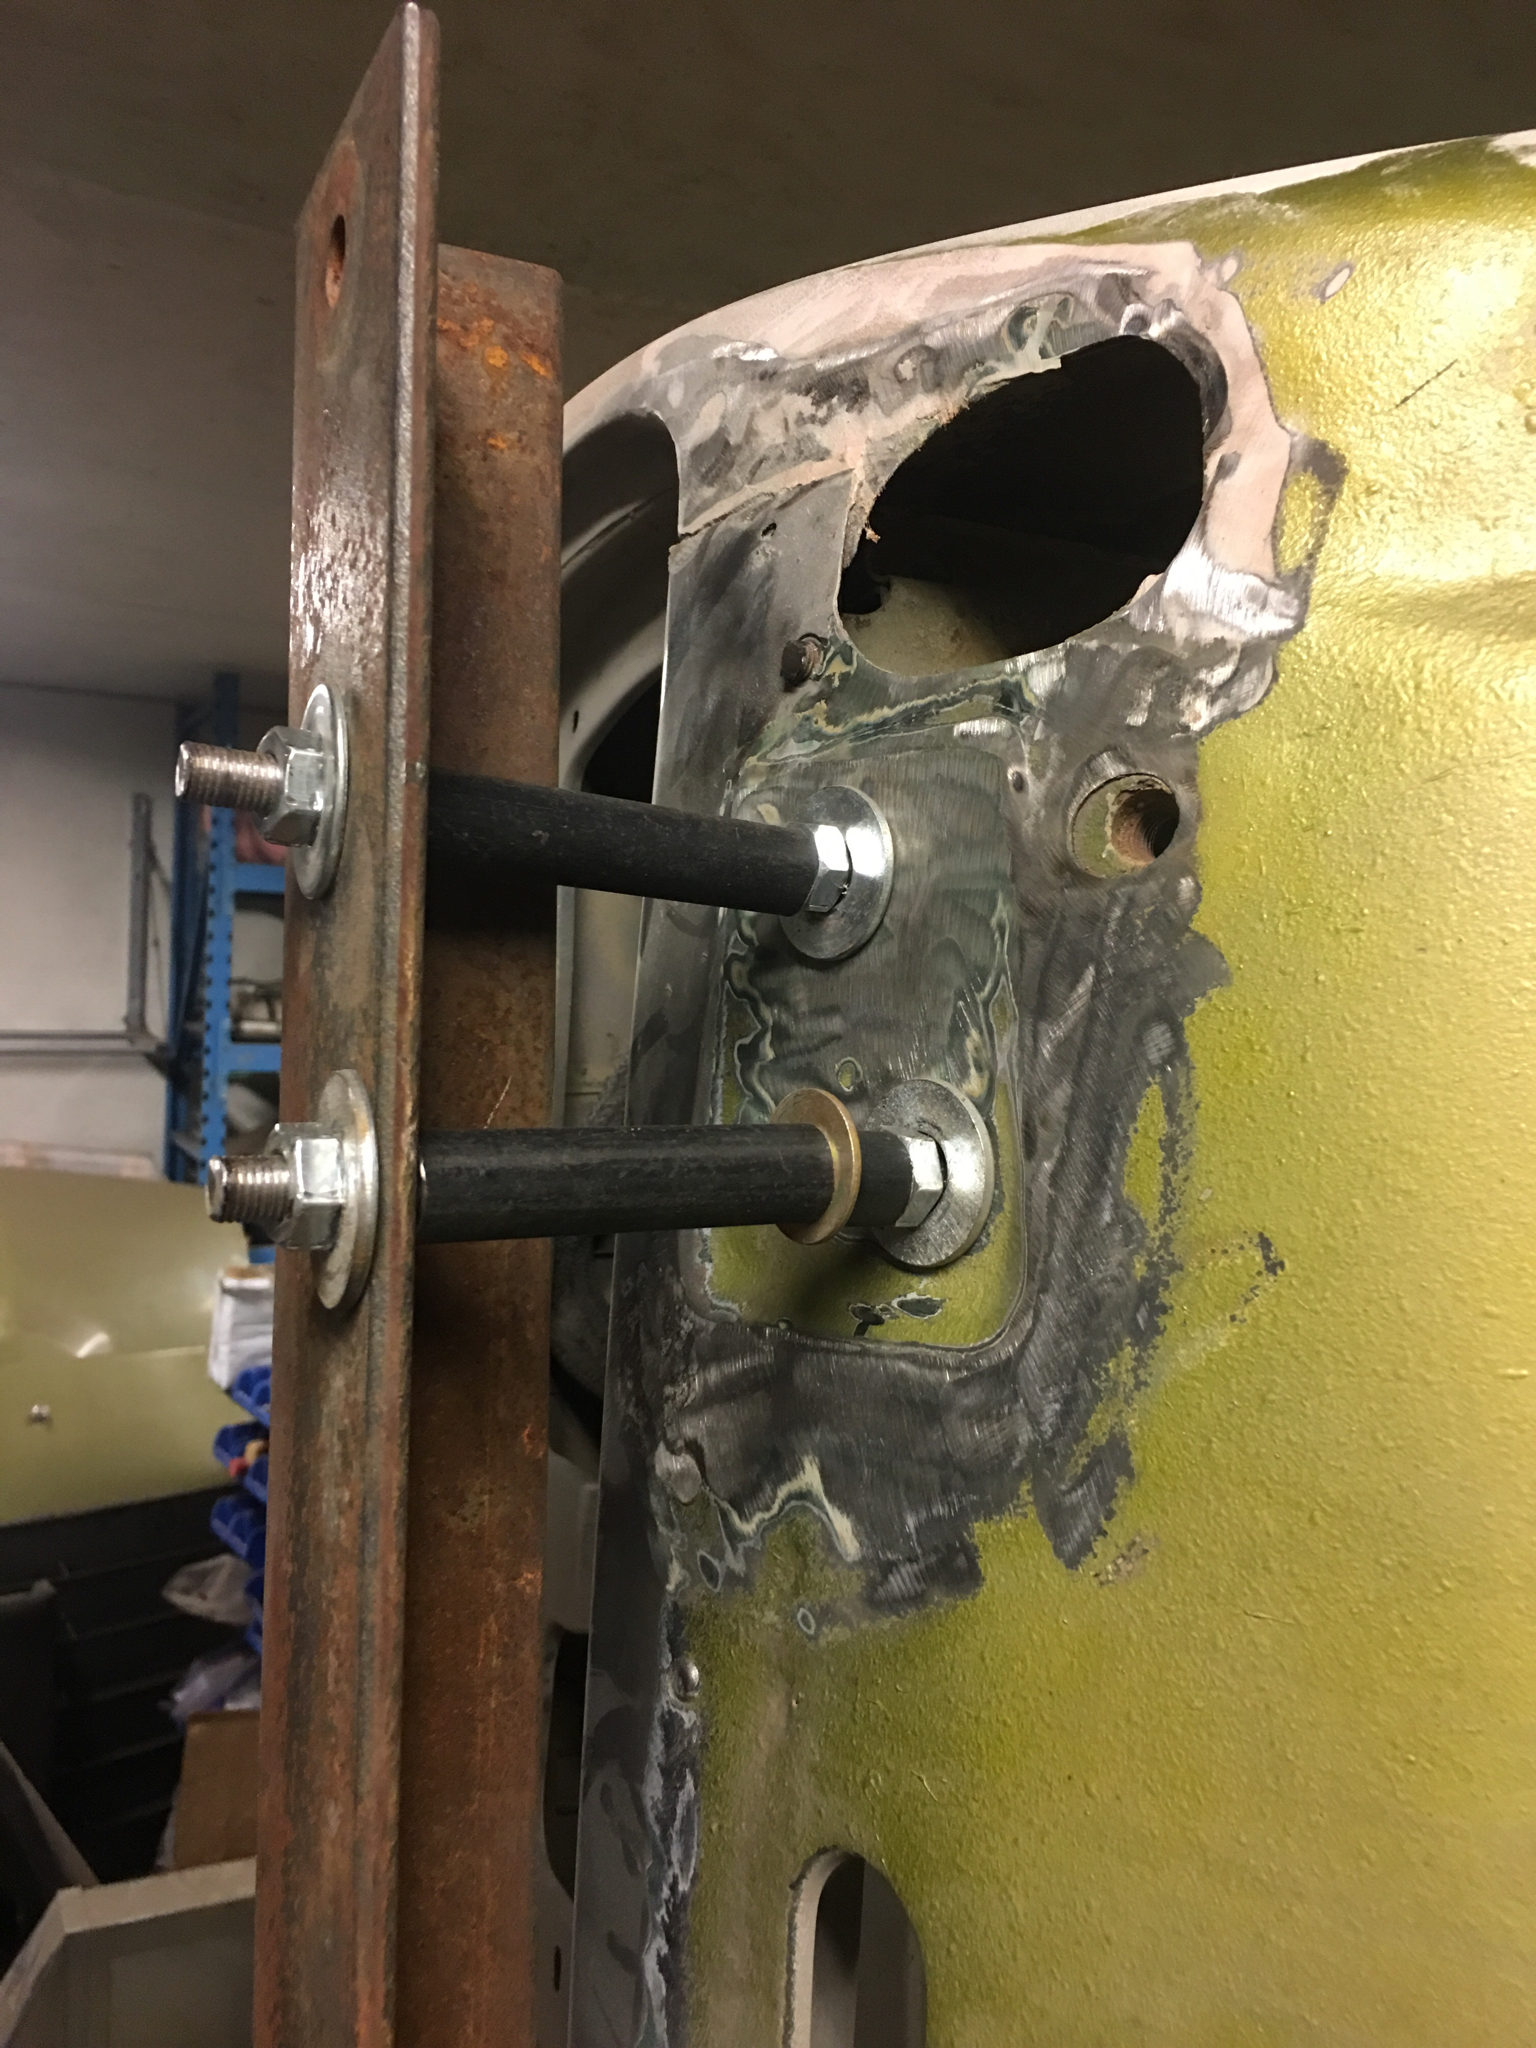
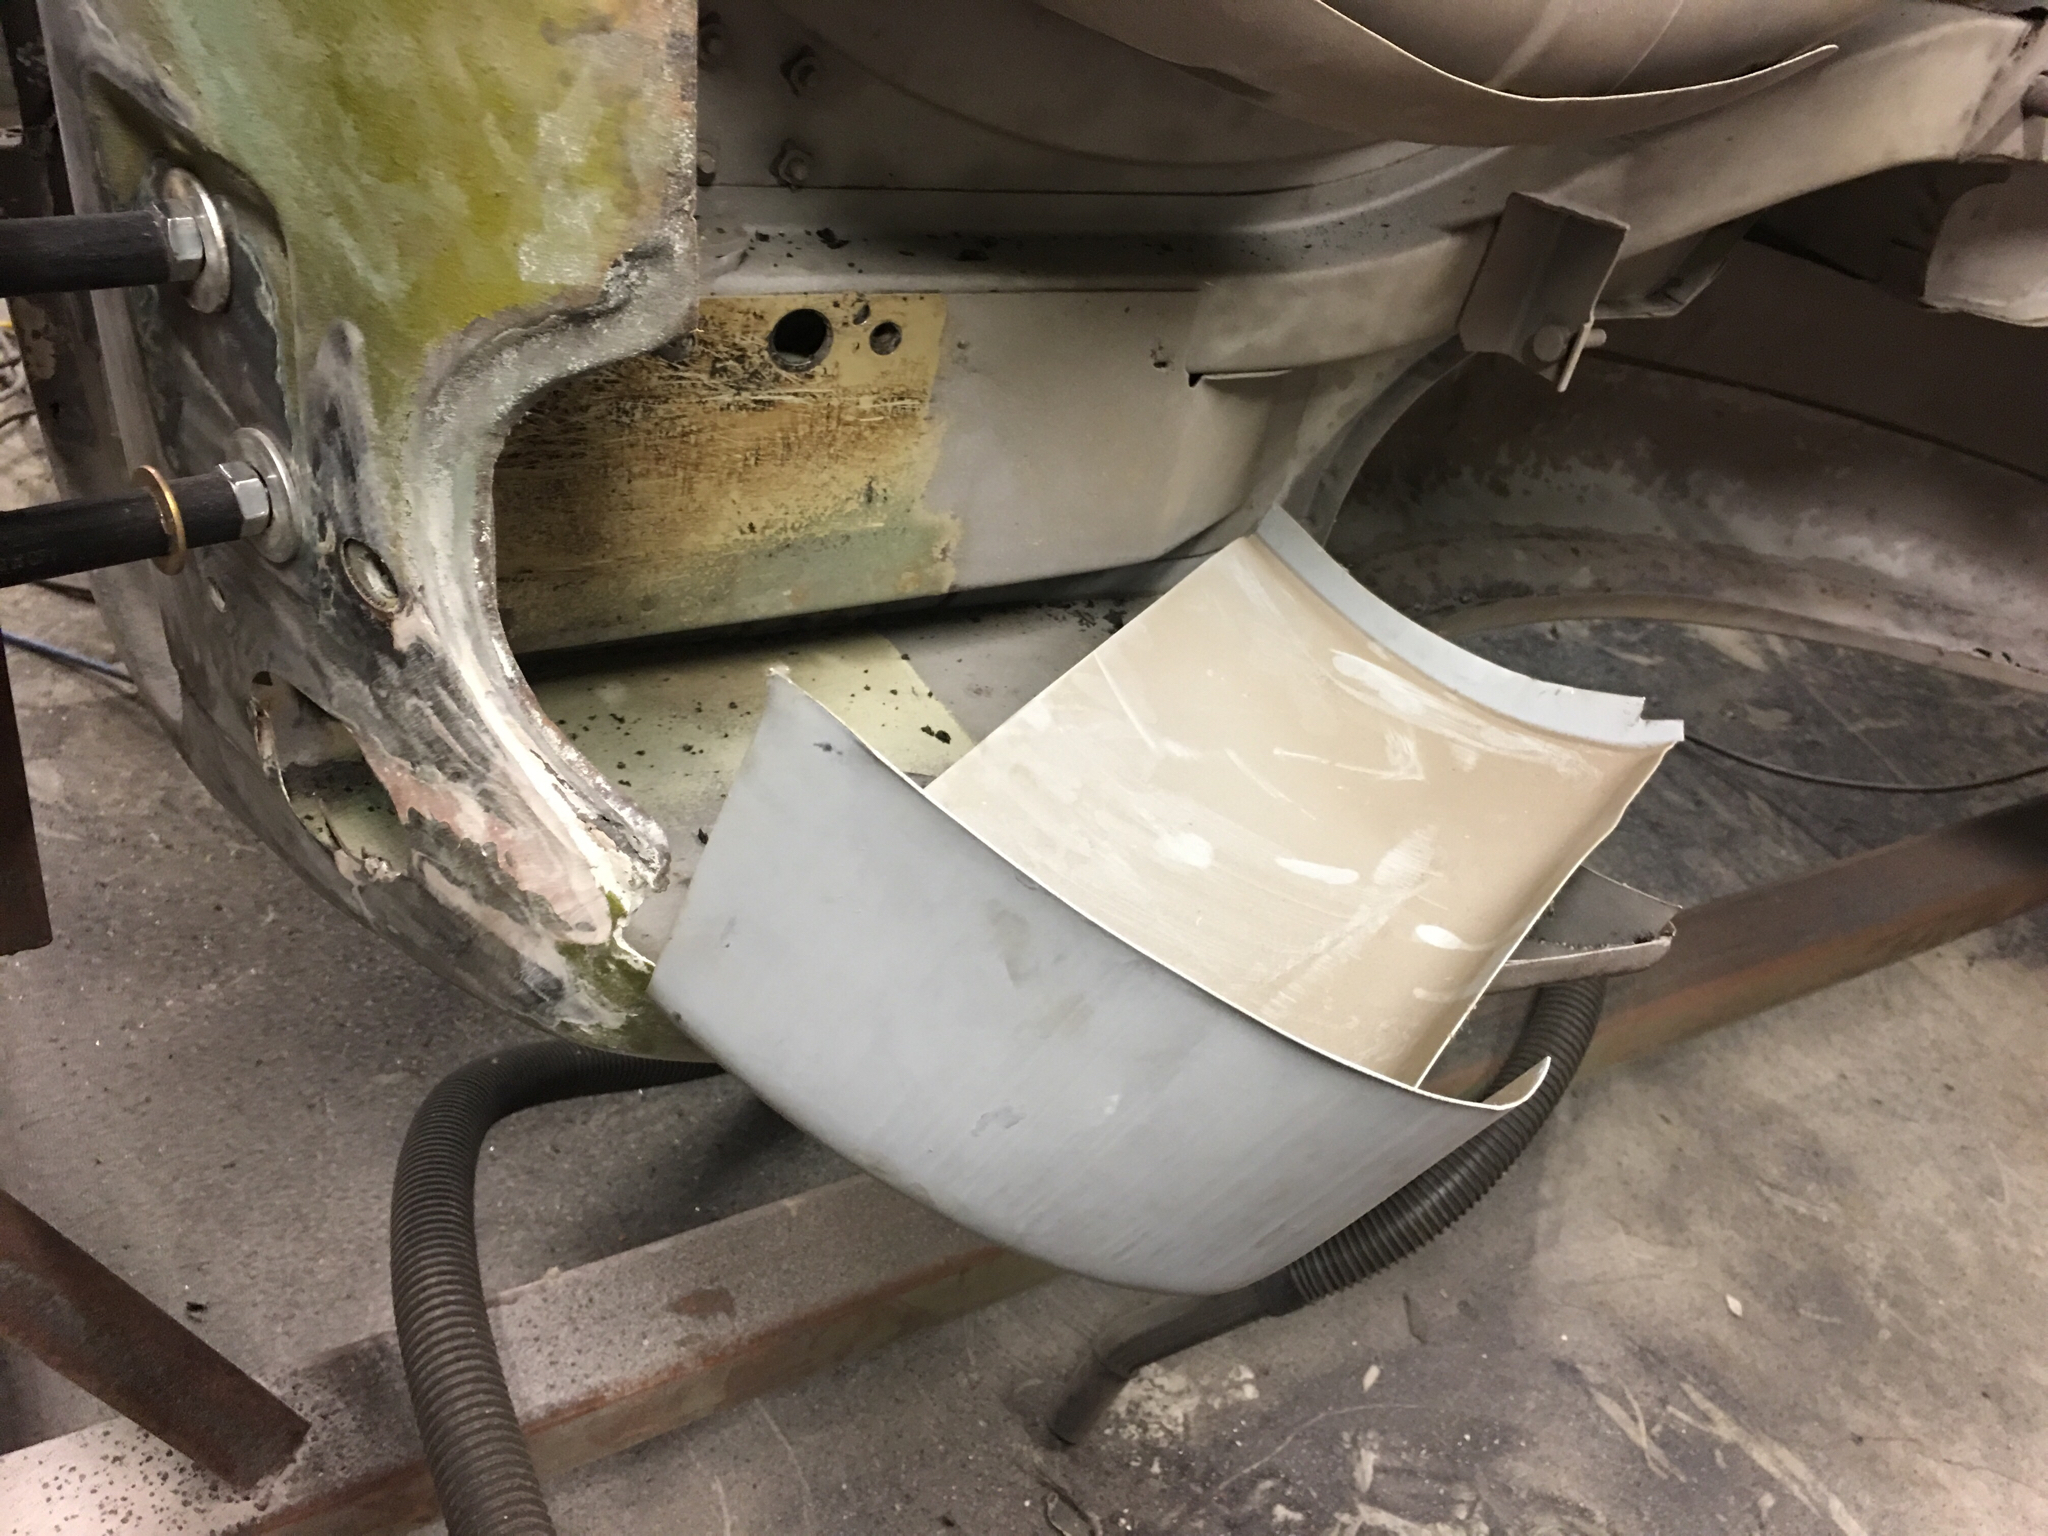
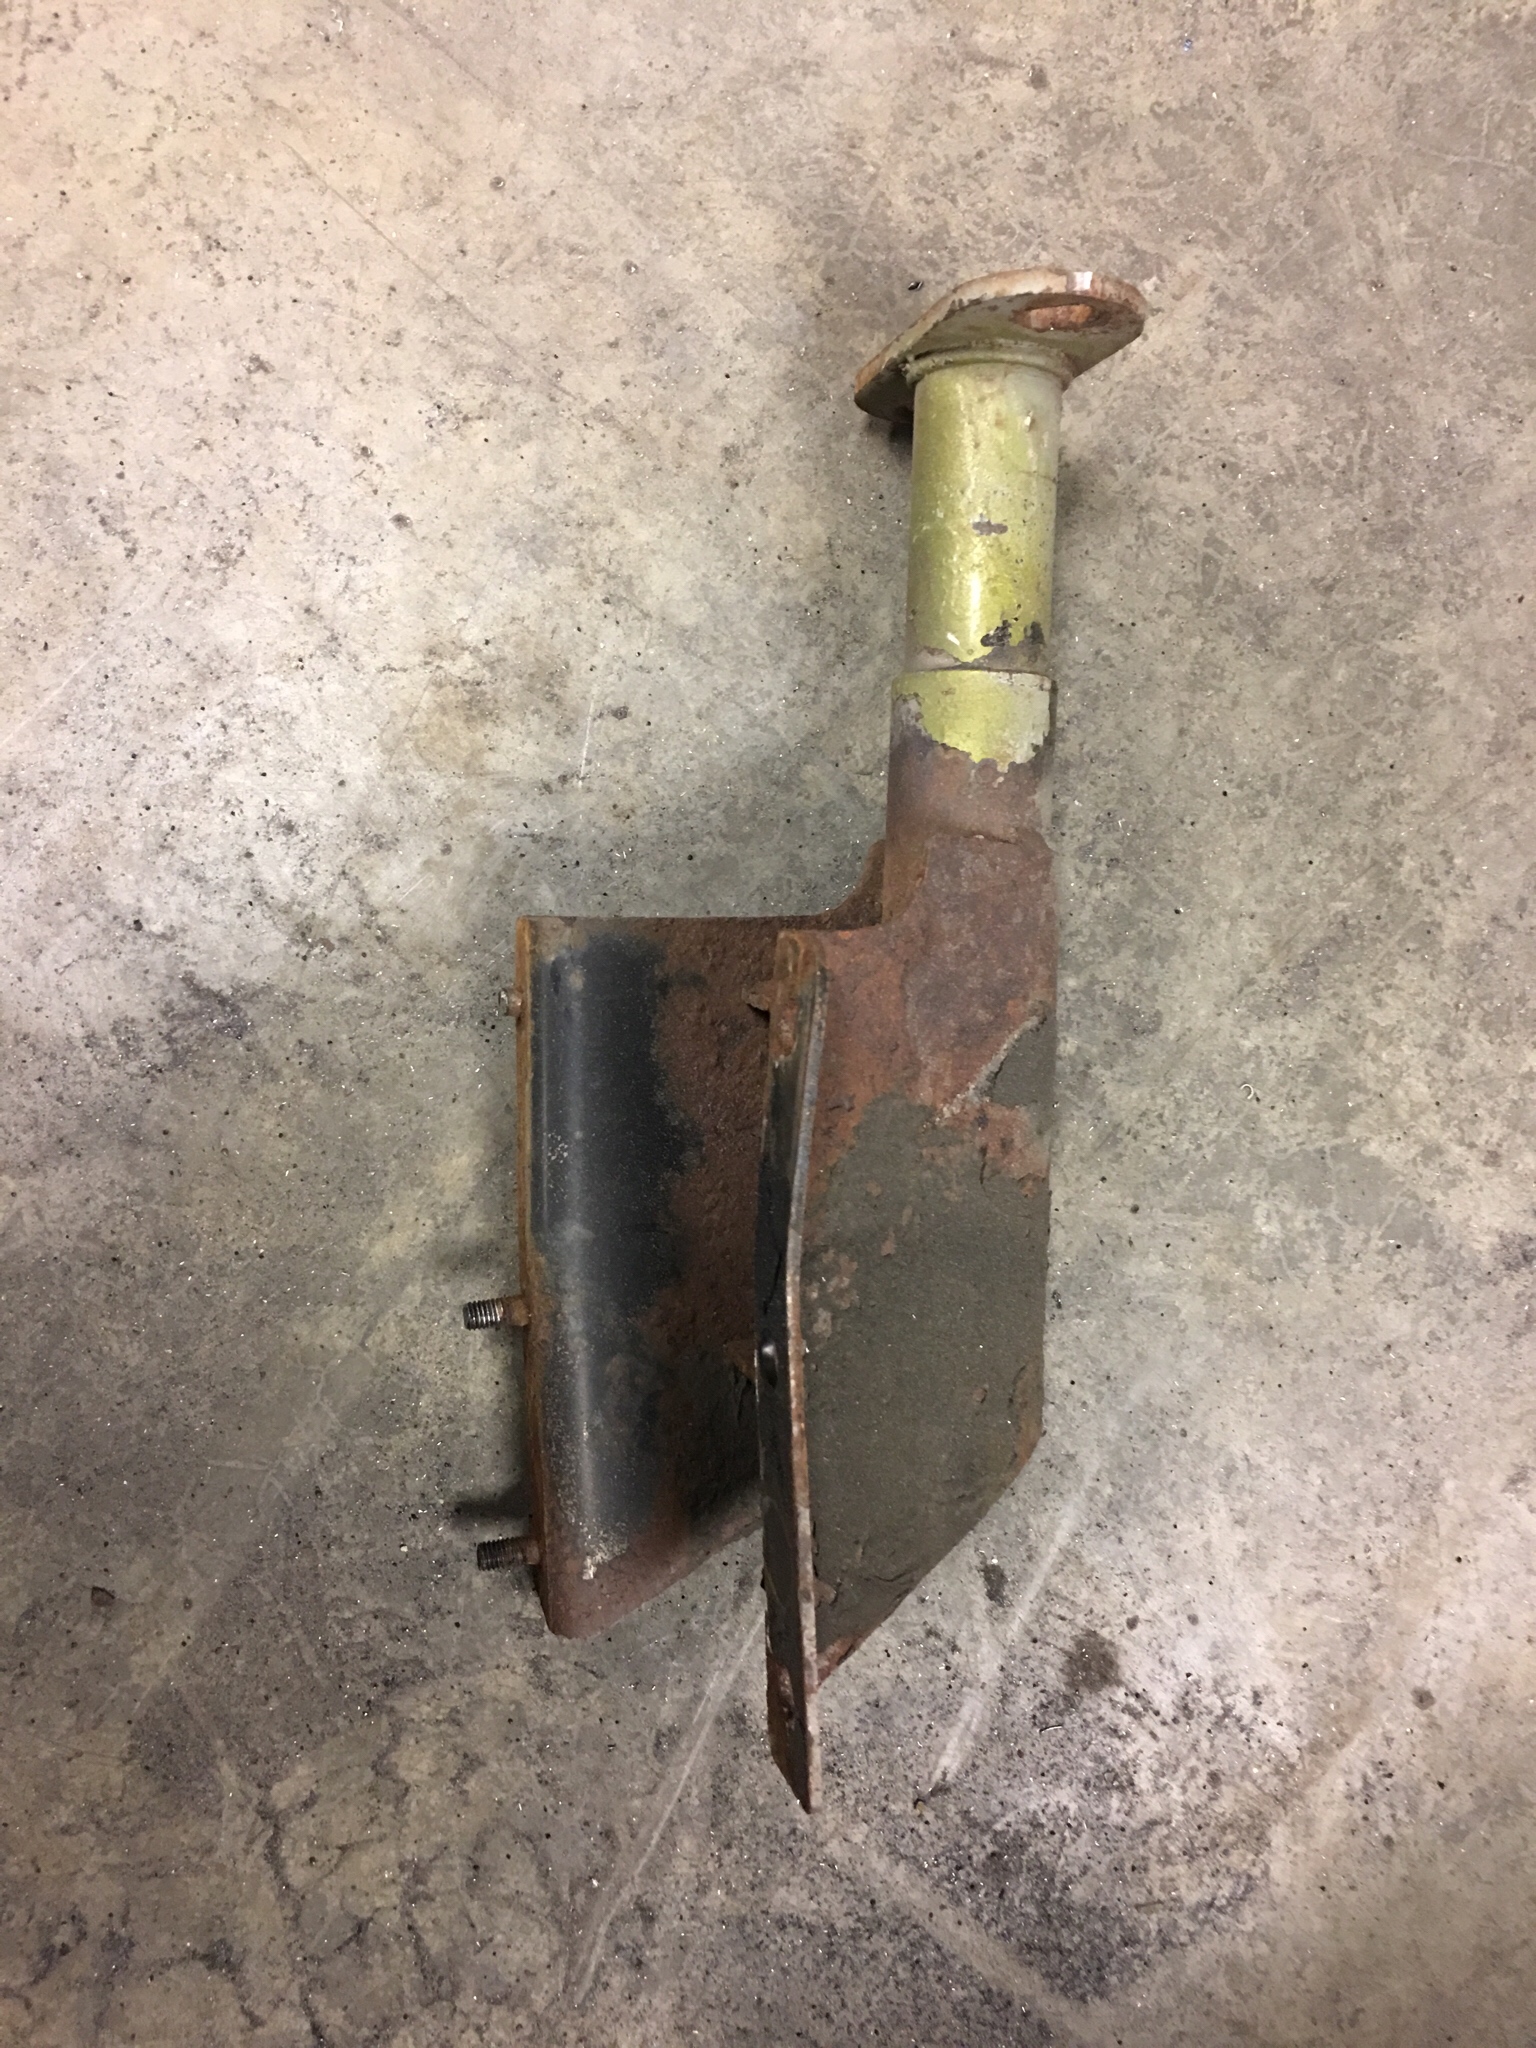
2 pointsSo I figured out a problem I was having with accessing the areas around the bumper shocks. I wanted them gone so I could clean up the area underneath them in order to prep for paint etc. The problem was the car was suspended by the bumper shocks on the rotisserie and I need the car on the rotisserie in order to paint the underside properly. So I decided to manufacture some rods threaded on both ends to bolt the car via the extra bumper mounts on the 280's. Threaded the 10mm rod with 1.25 die. threaded the rod into the bumper mounts and tensioned them with washers and nuts Added some piping to stiffen the bolts up and to provide standoff for the rotisserie added a small piece to adjust for the angle of the bumper mounts Now I can work on the bumper mount areas. The new Tabco panels will replace the back corners and fill in the old bumper shock locations too. And now I can toss these!


 2 points
 -
2 points
-
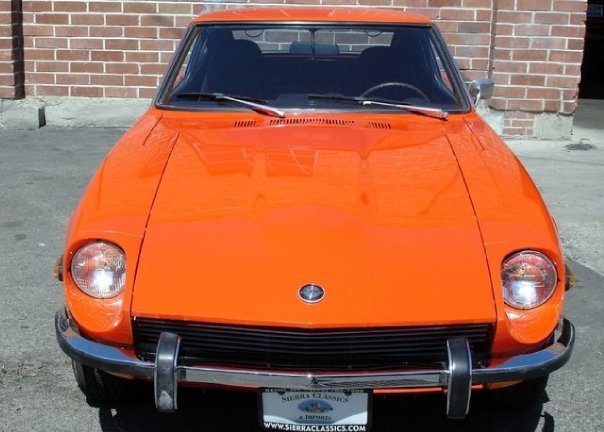
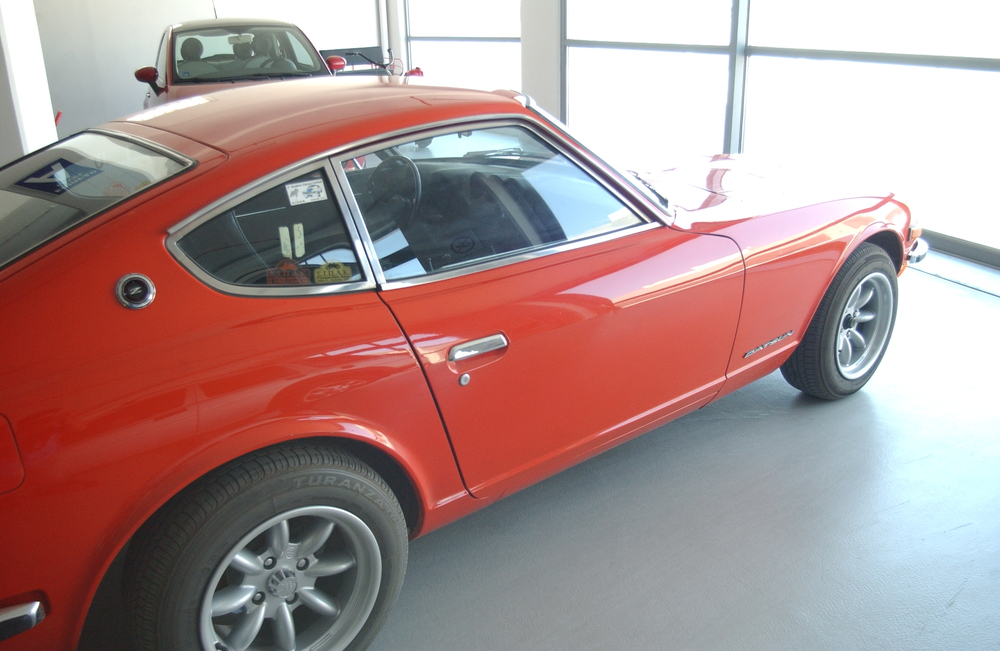
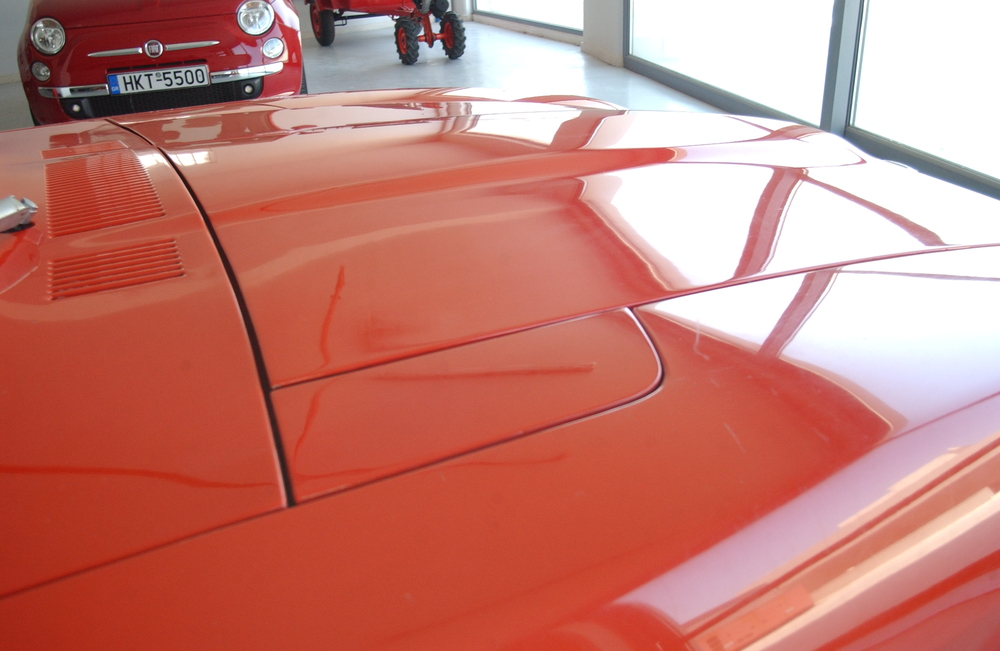
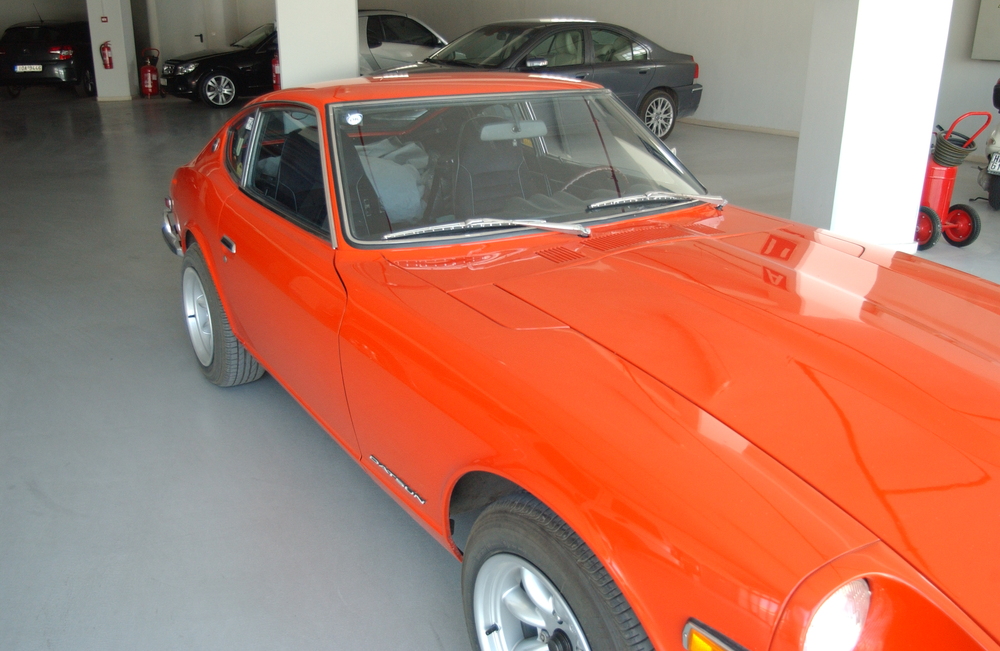
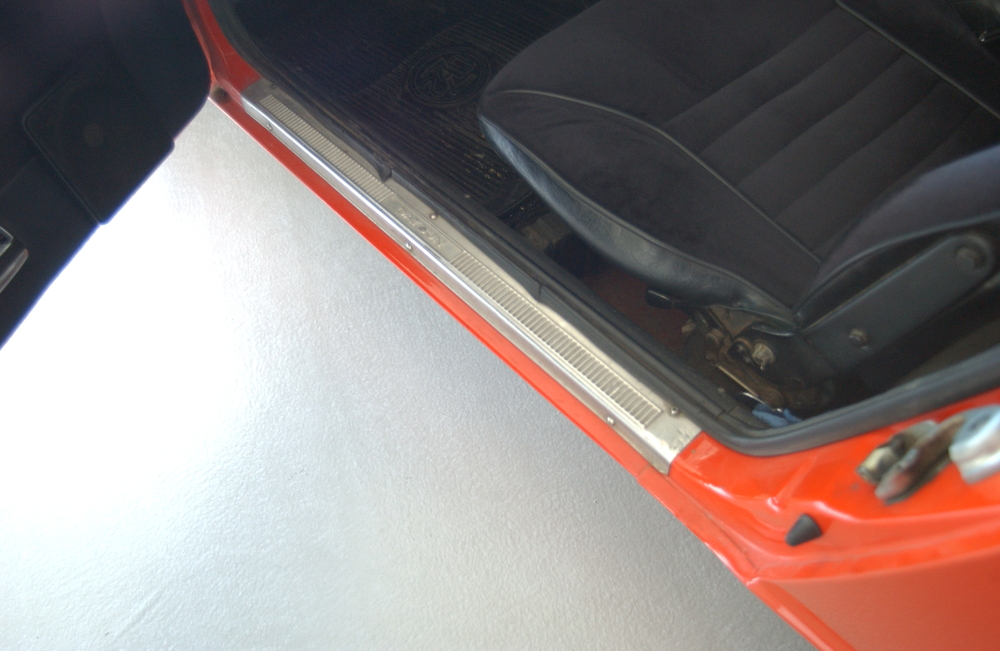
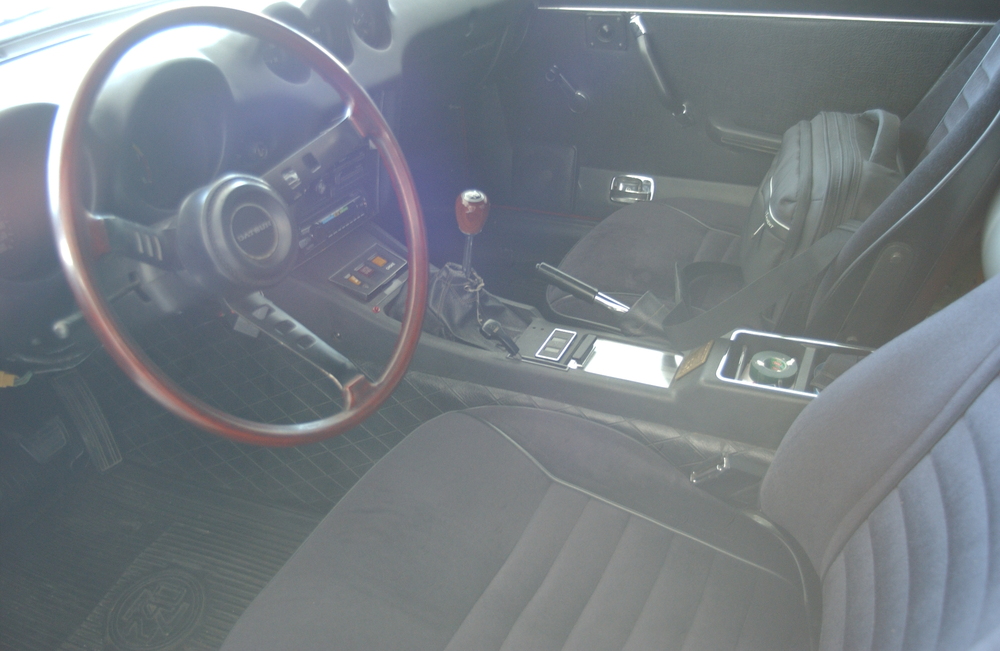
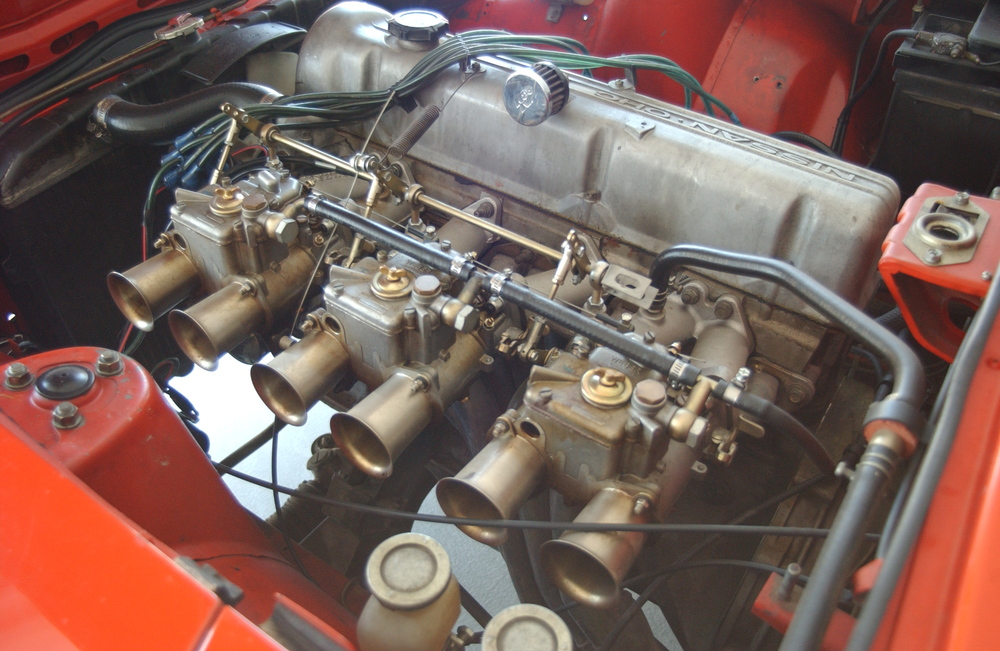
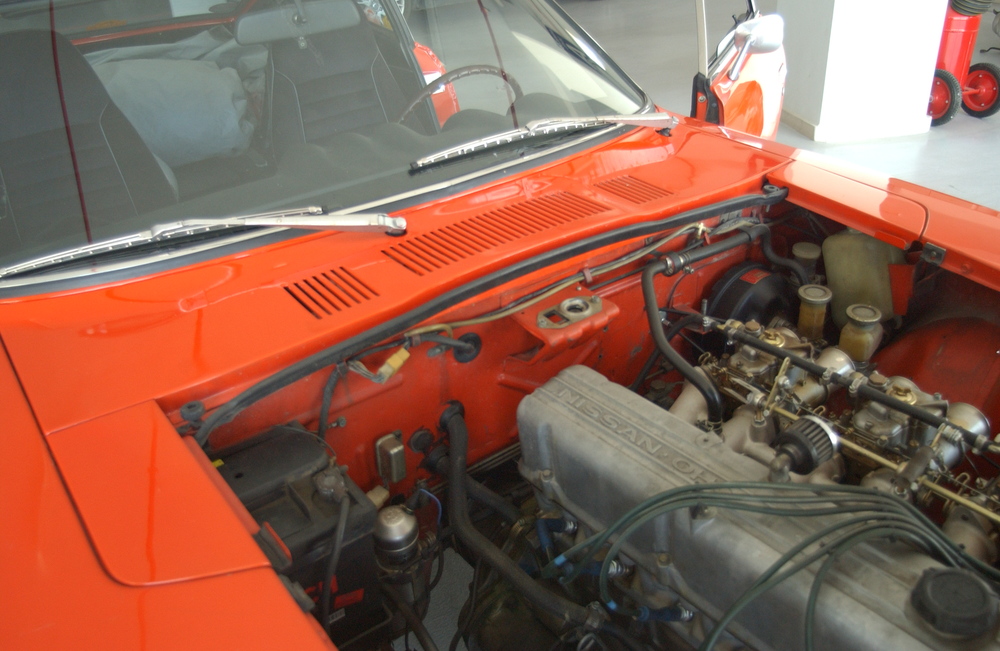
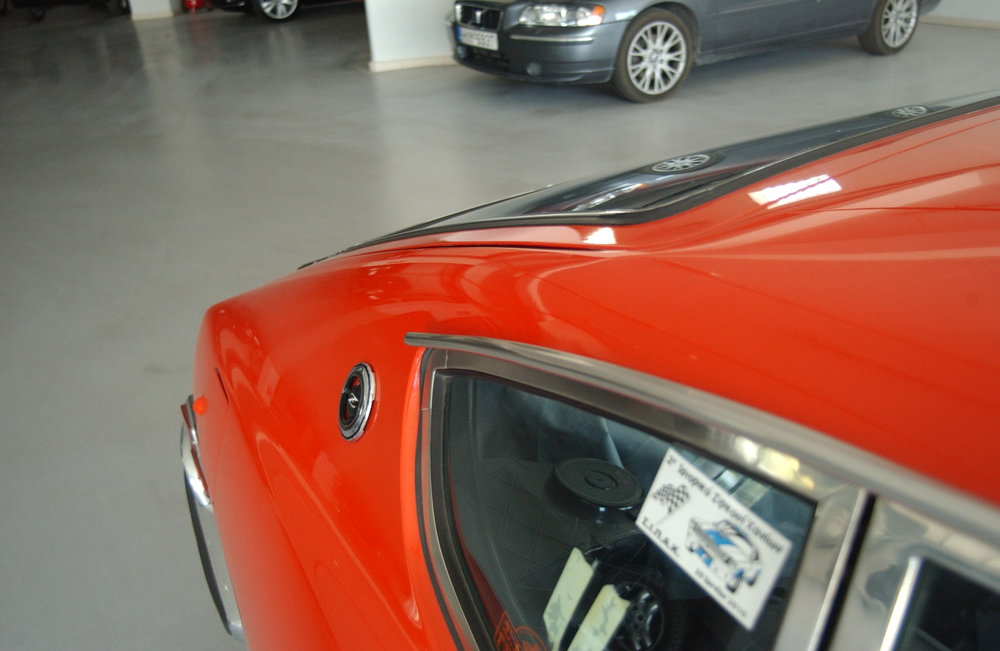
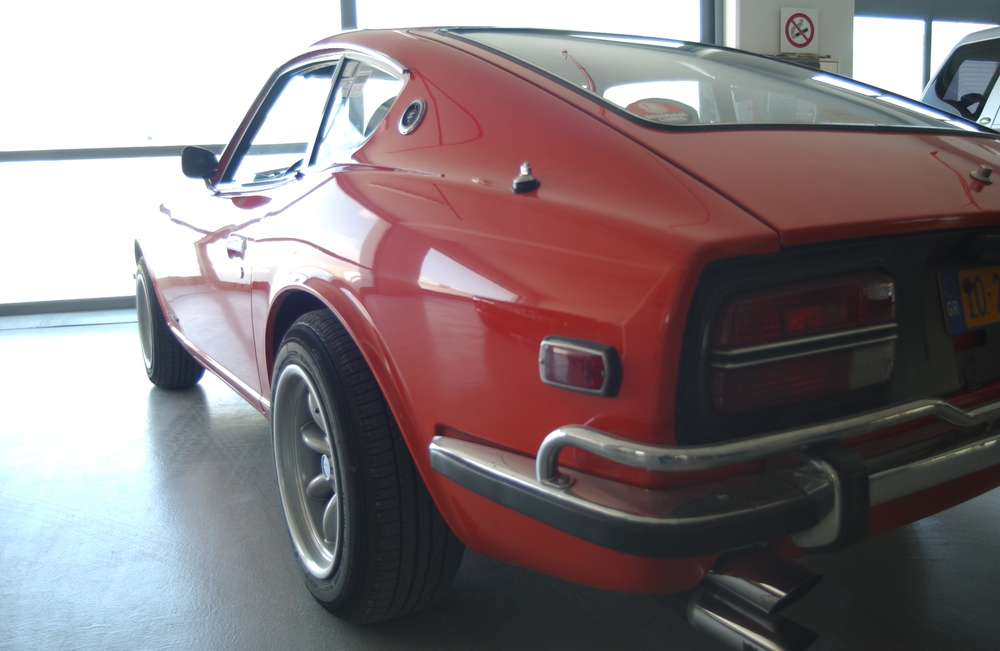
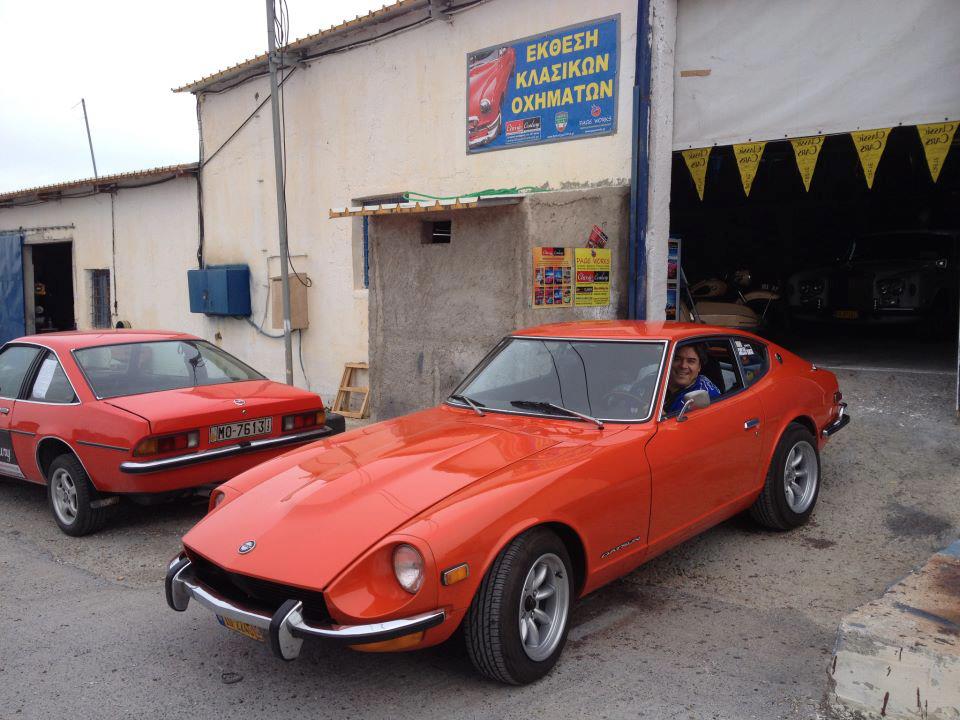
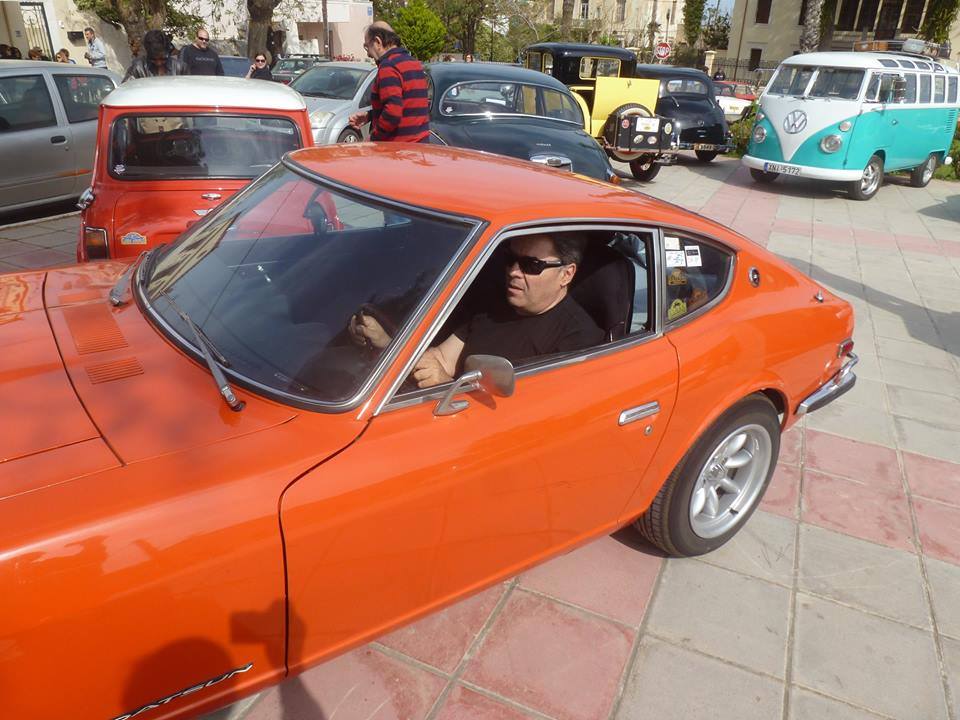
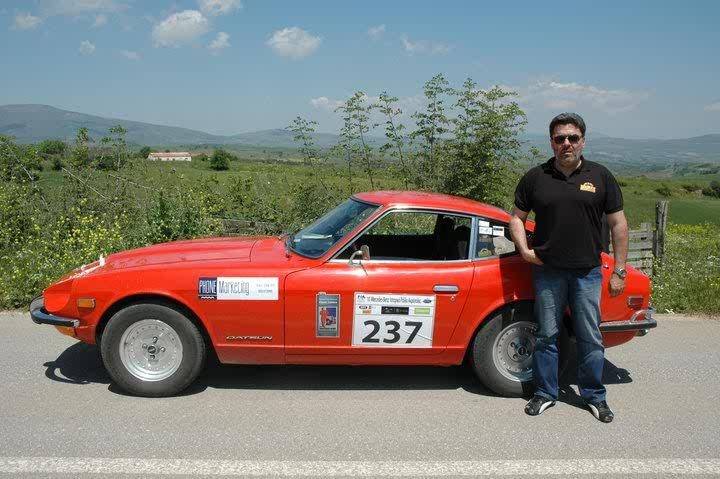
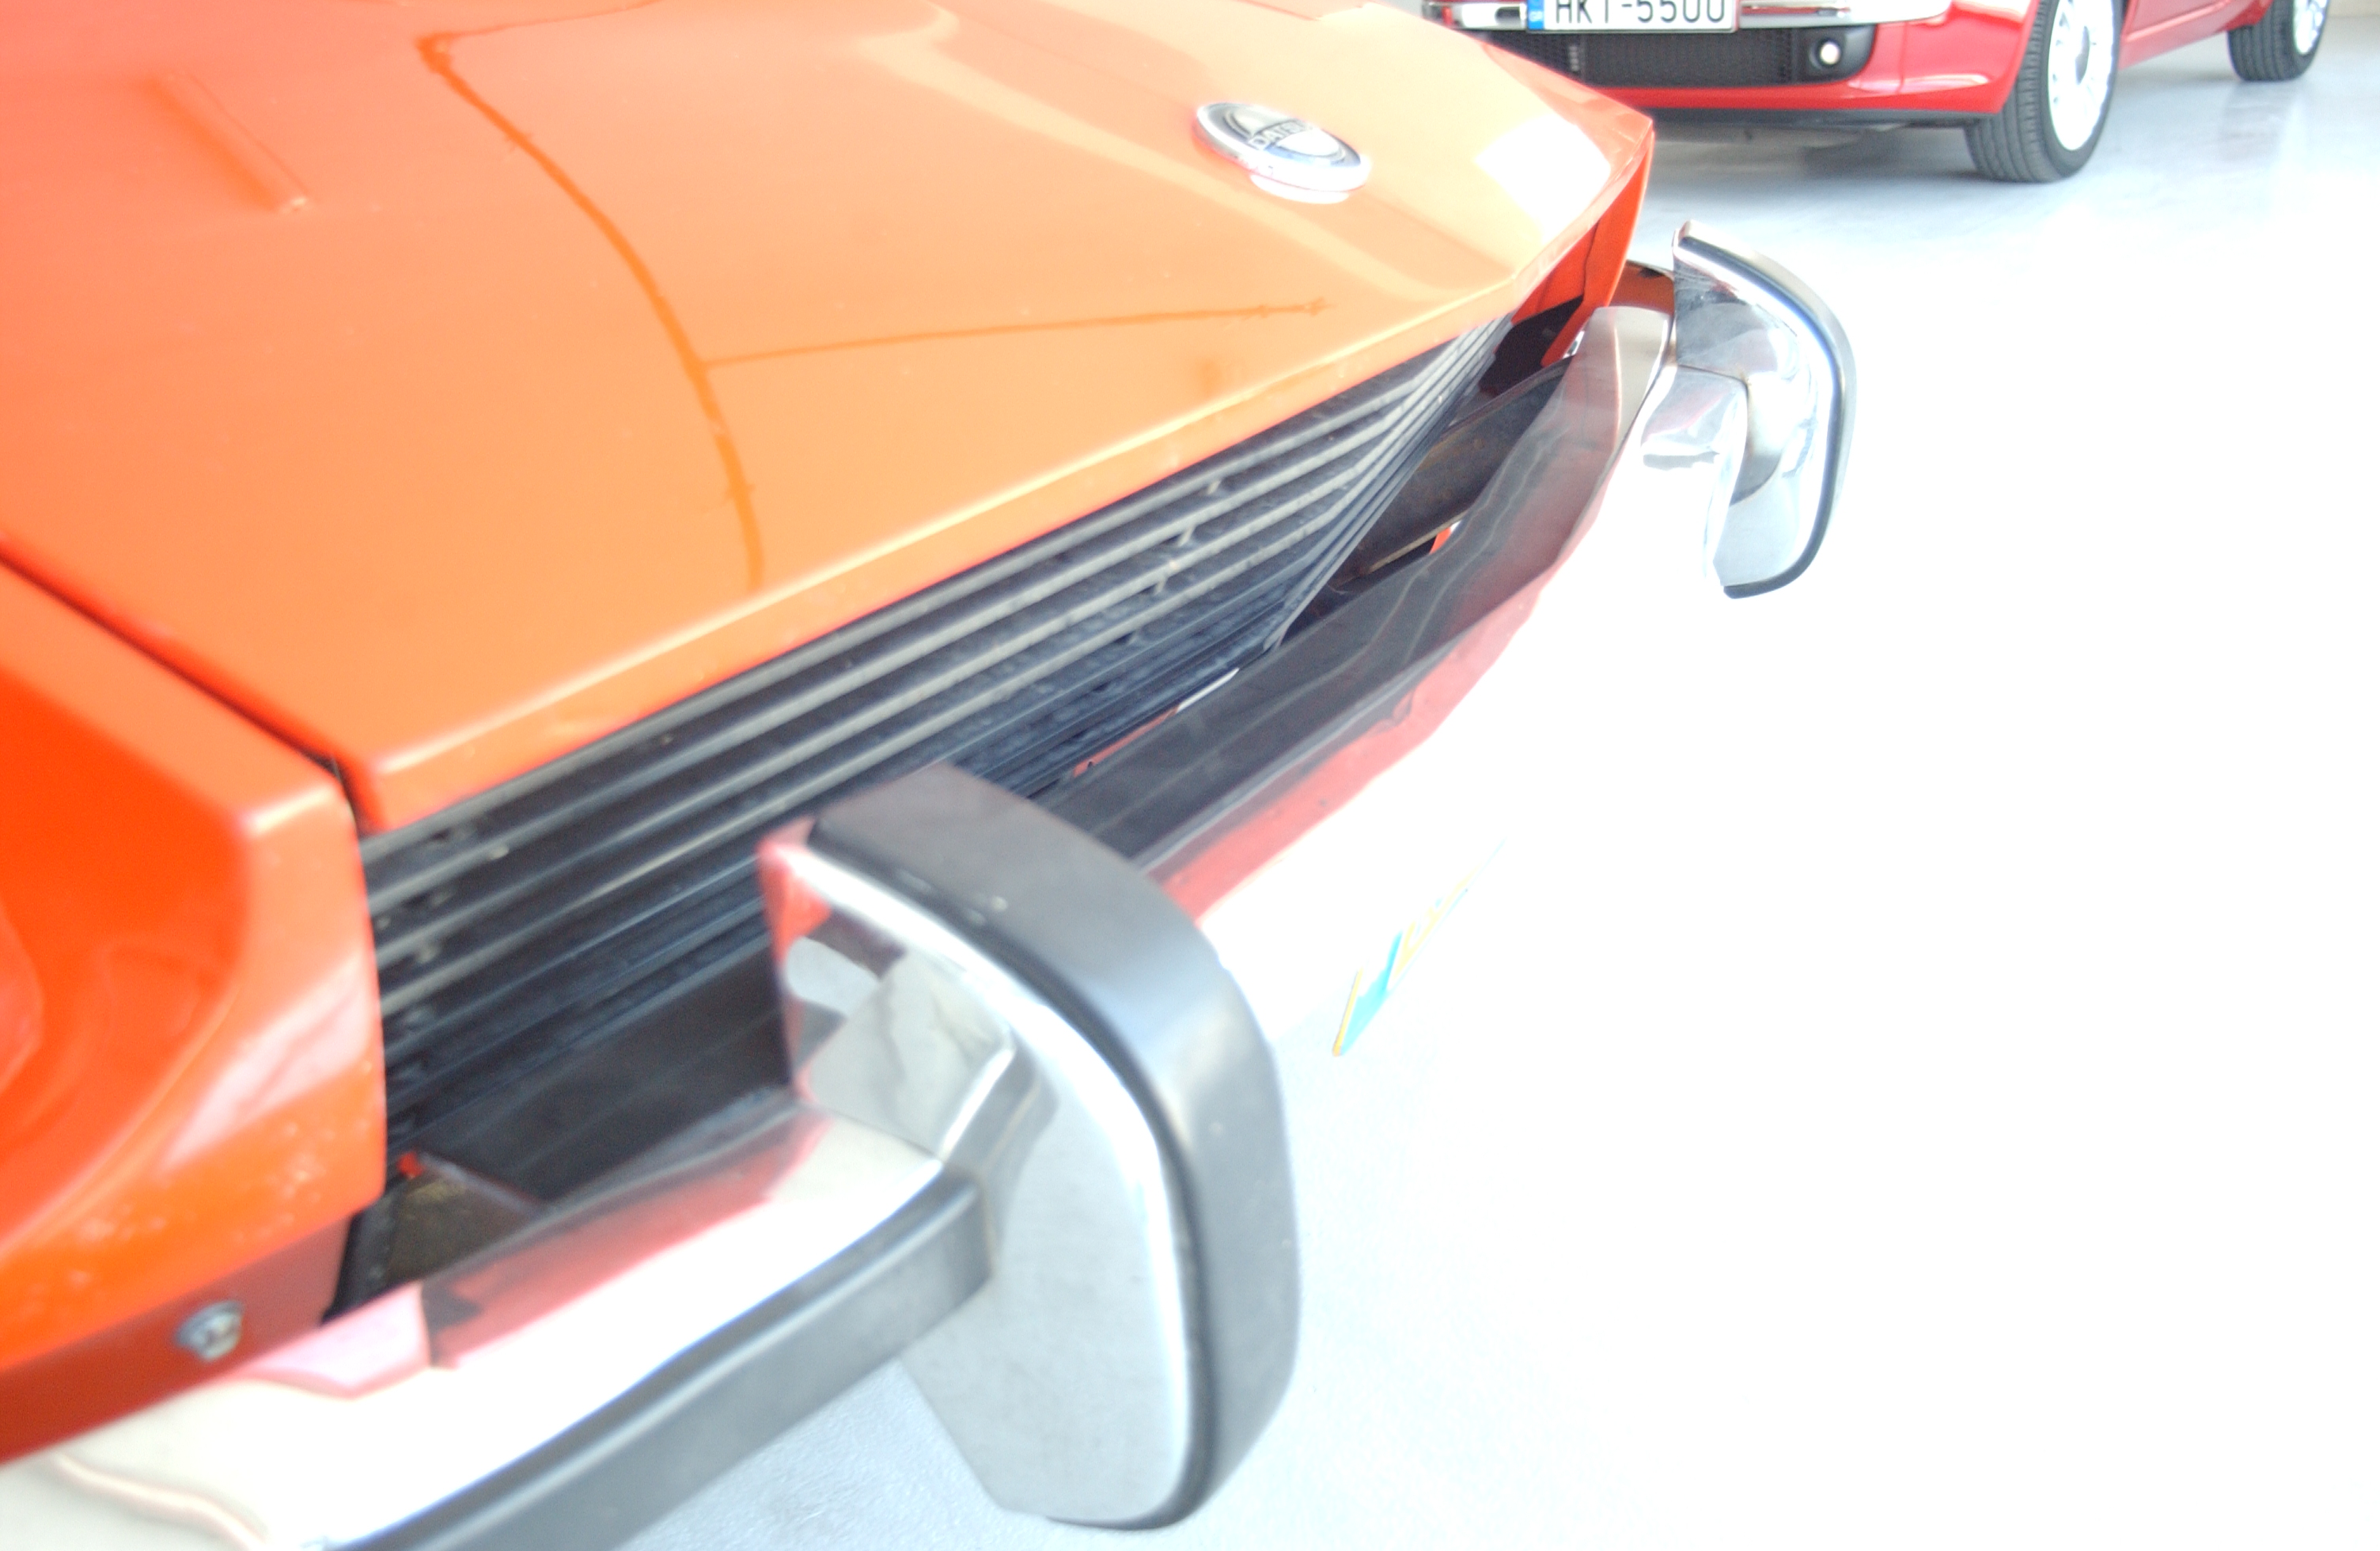
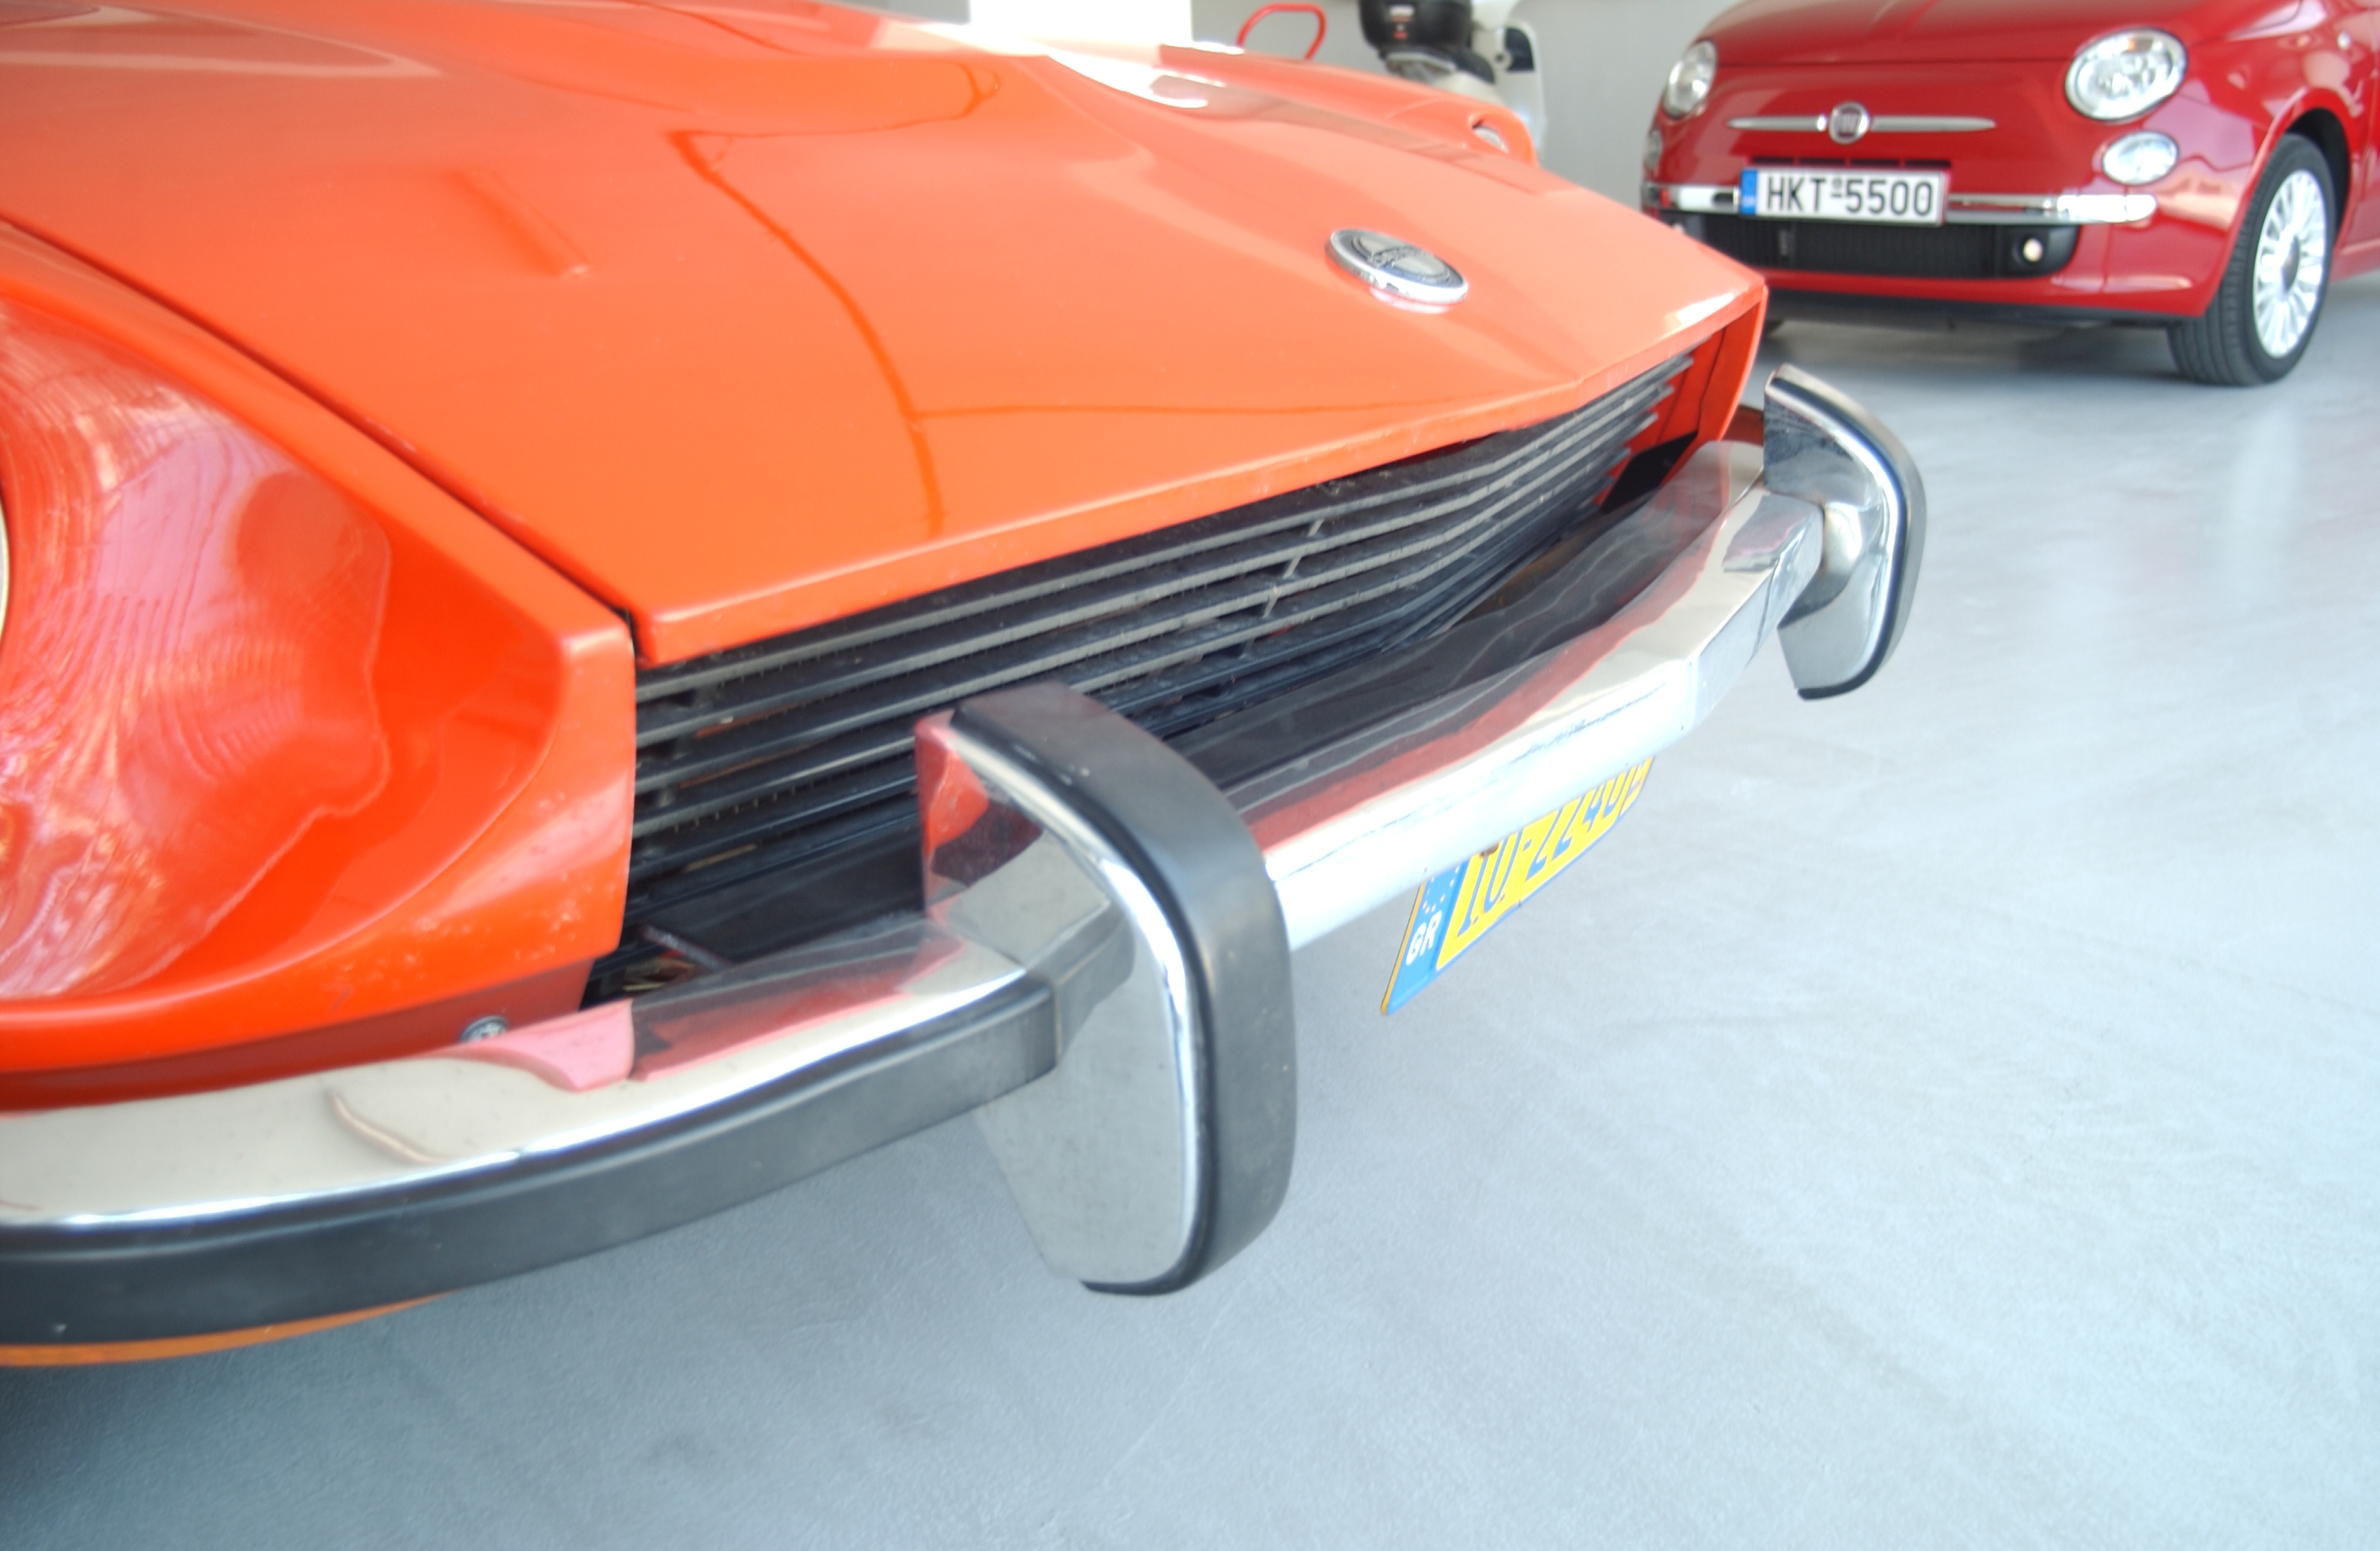
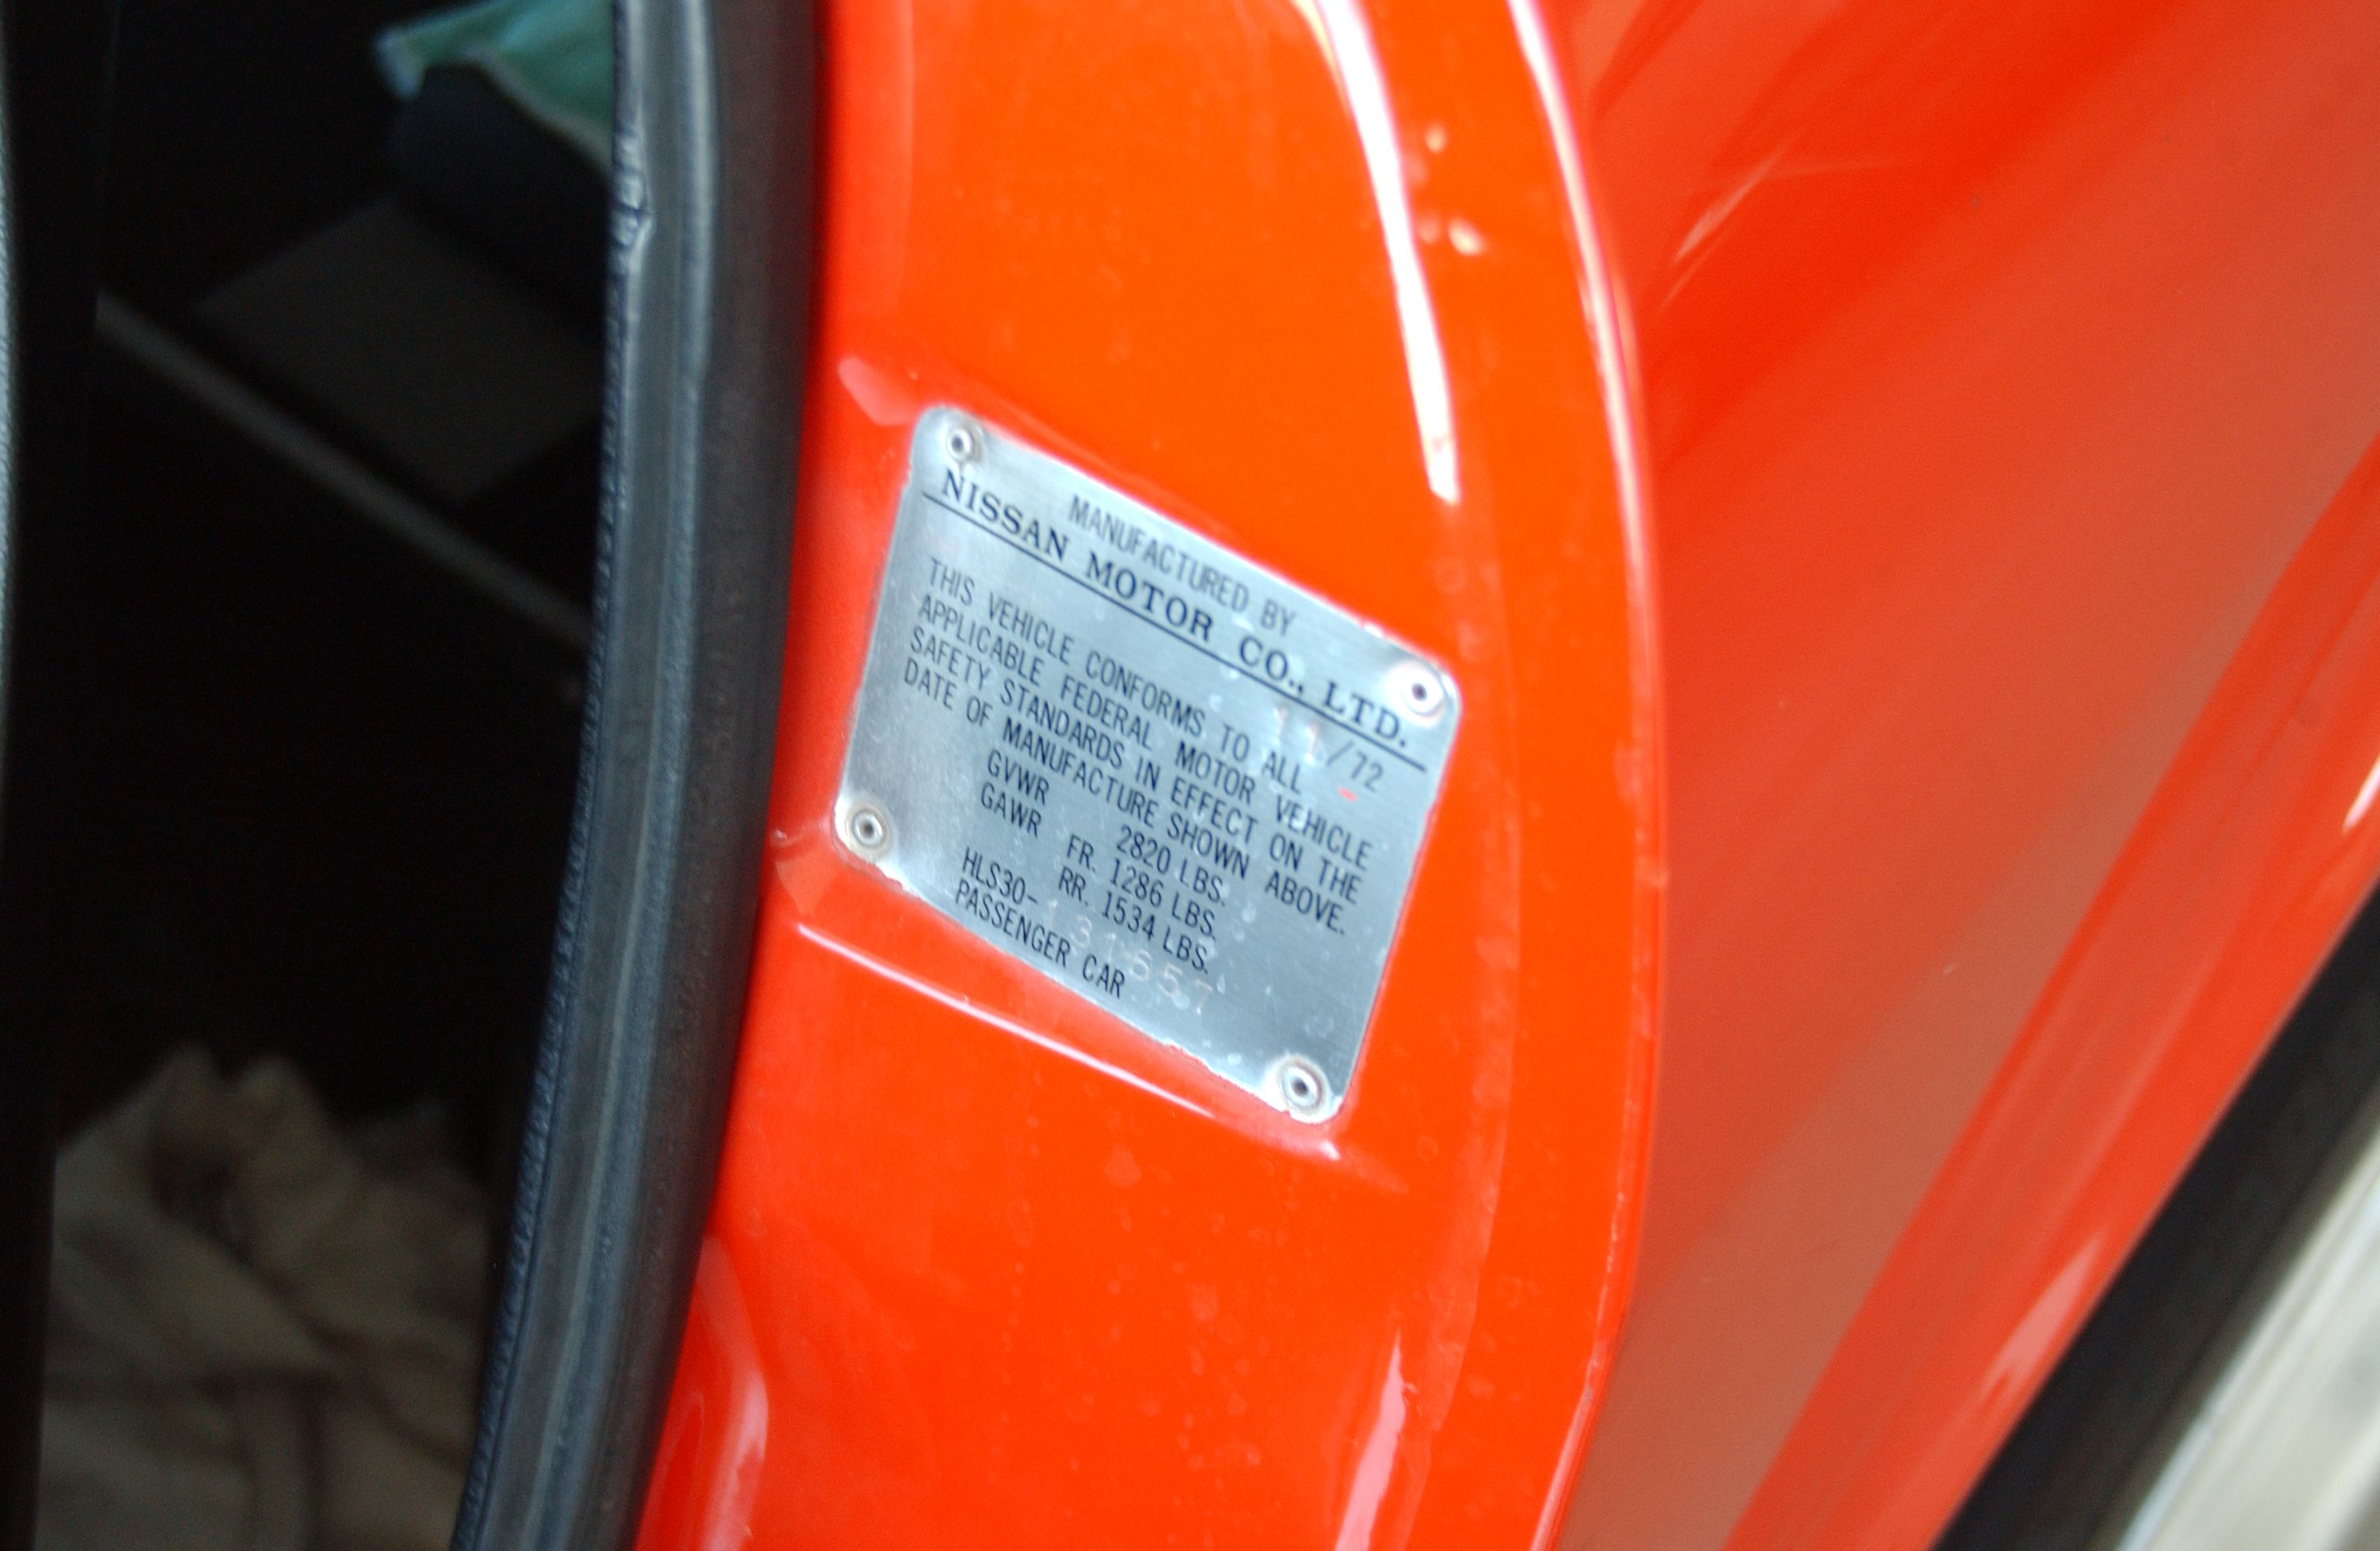
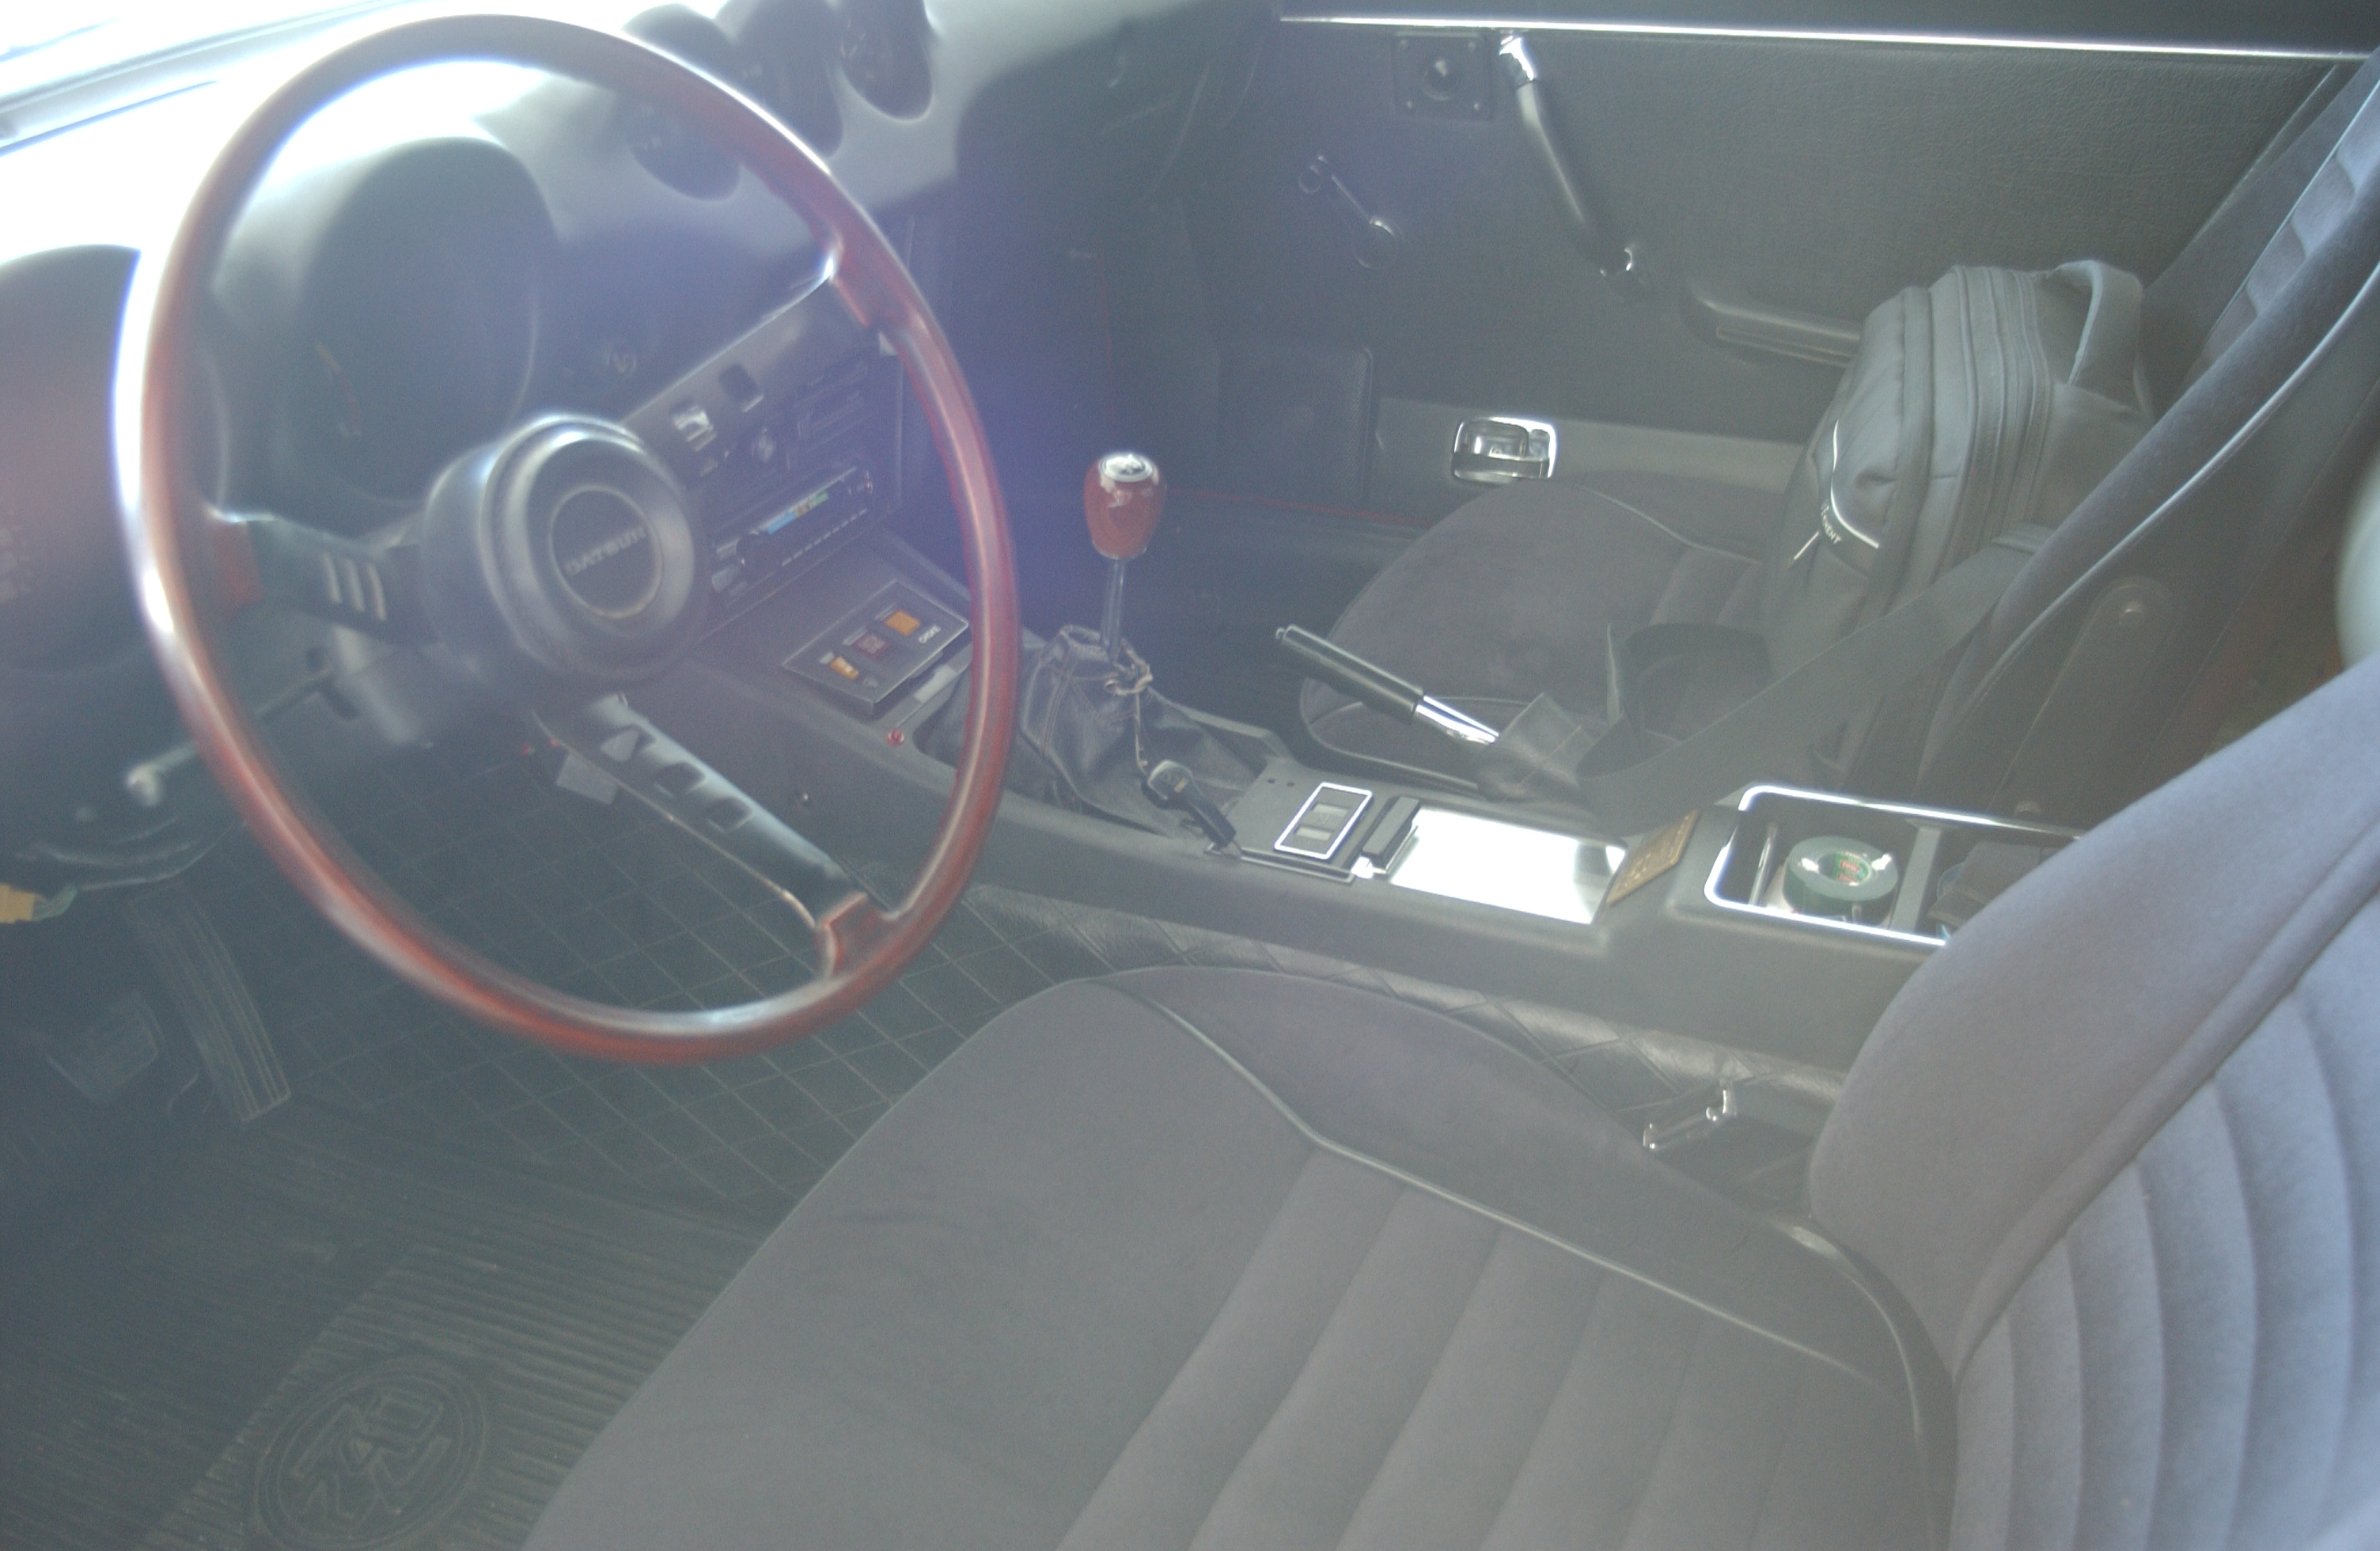
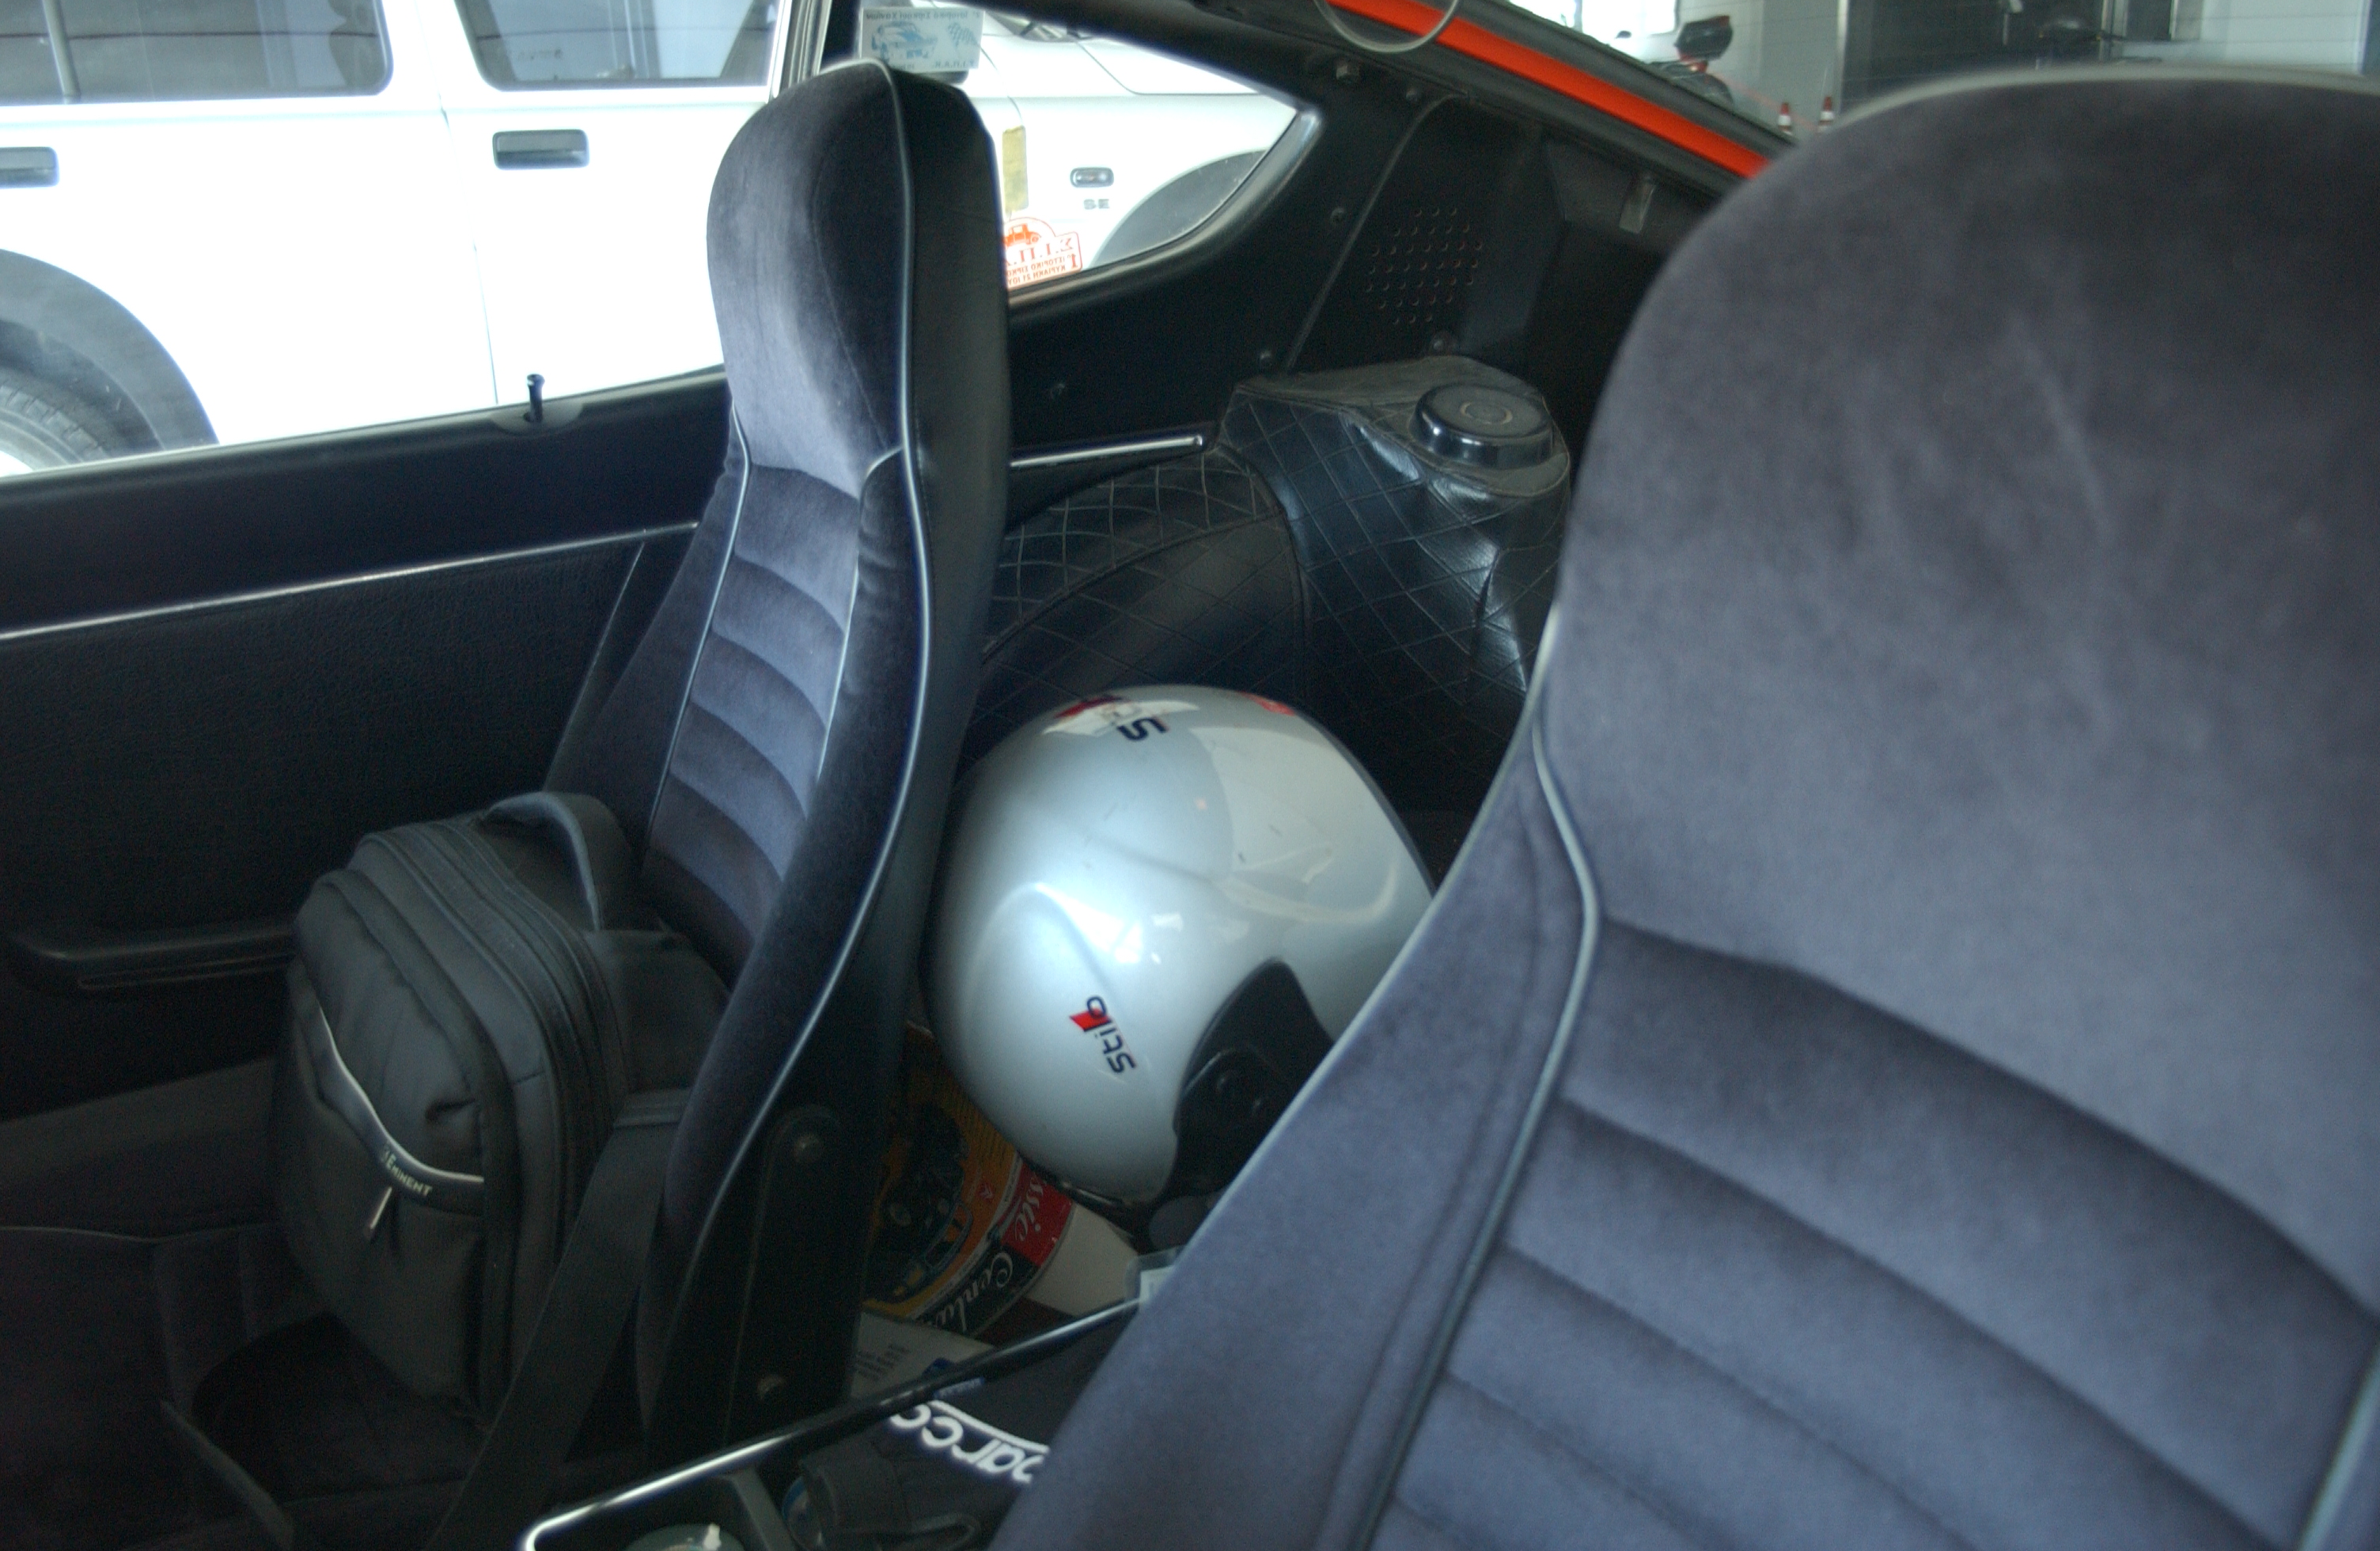
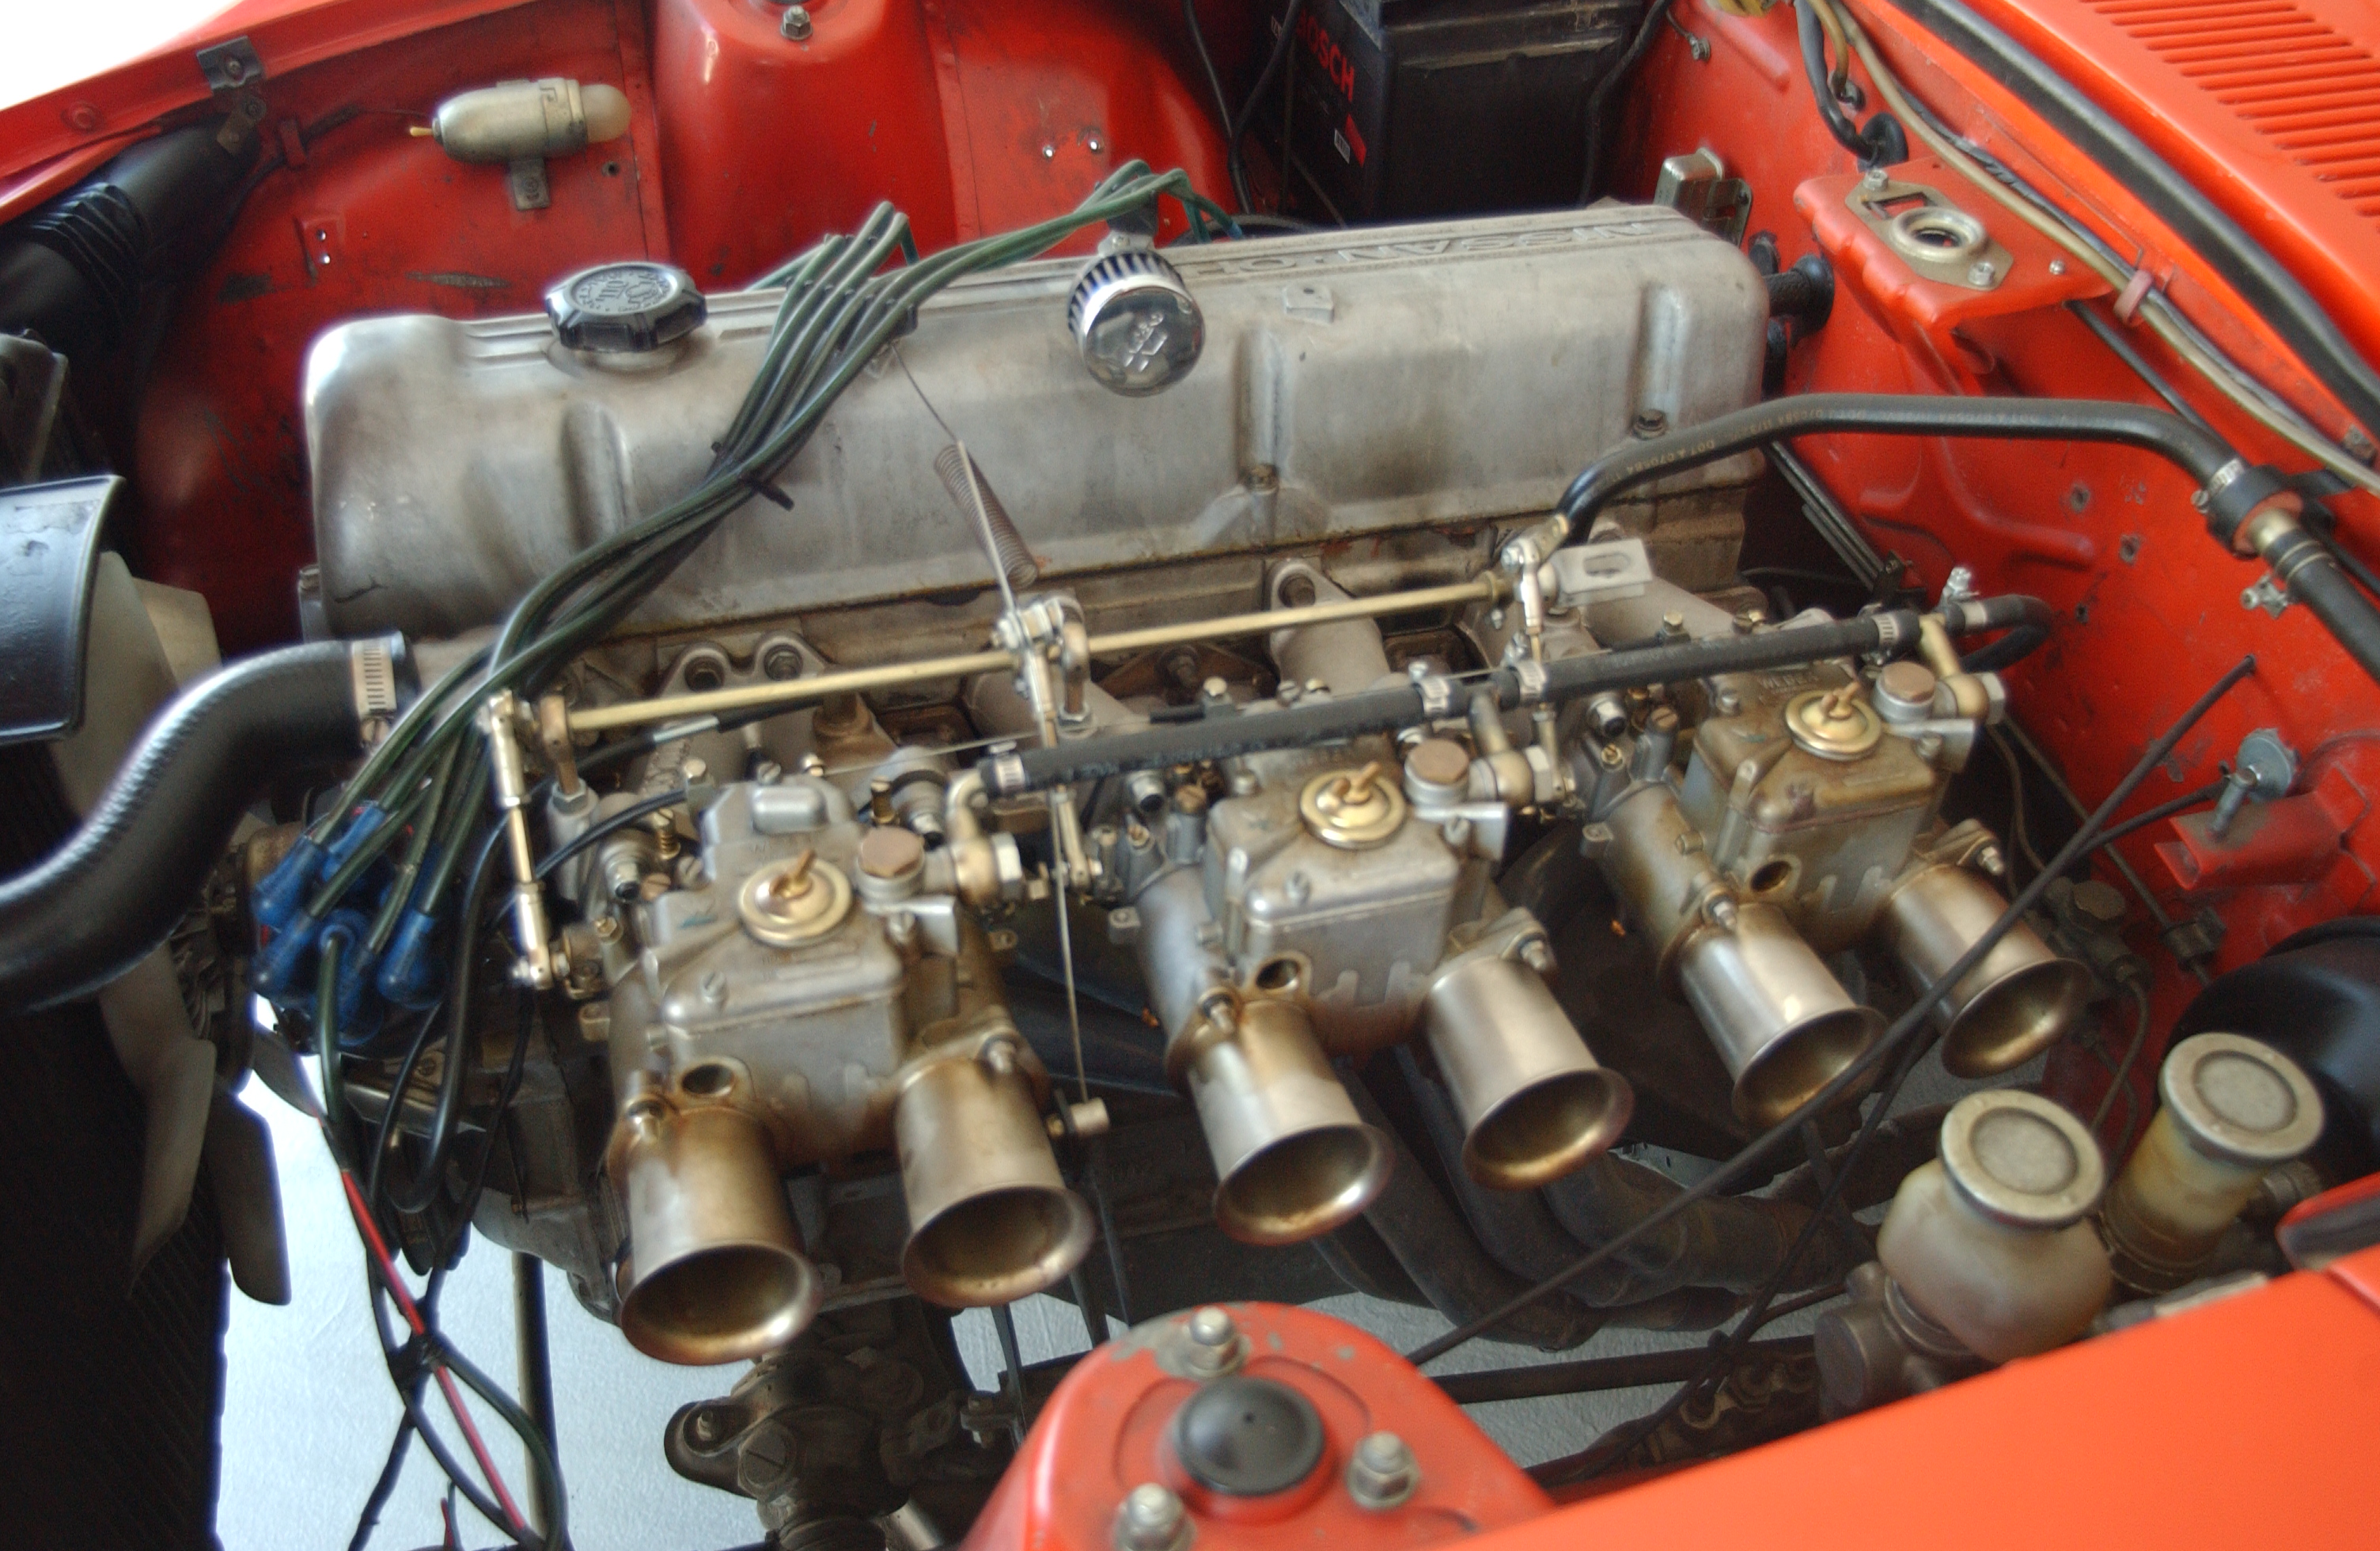
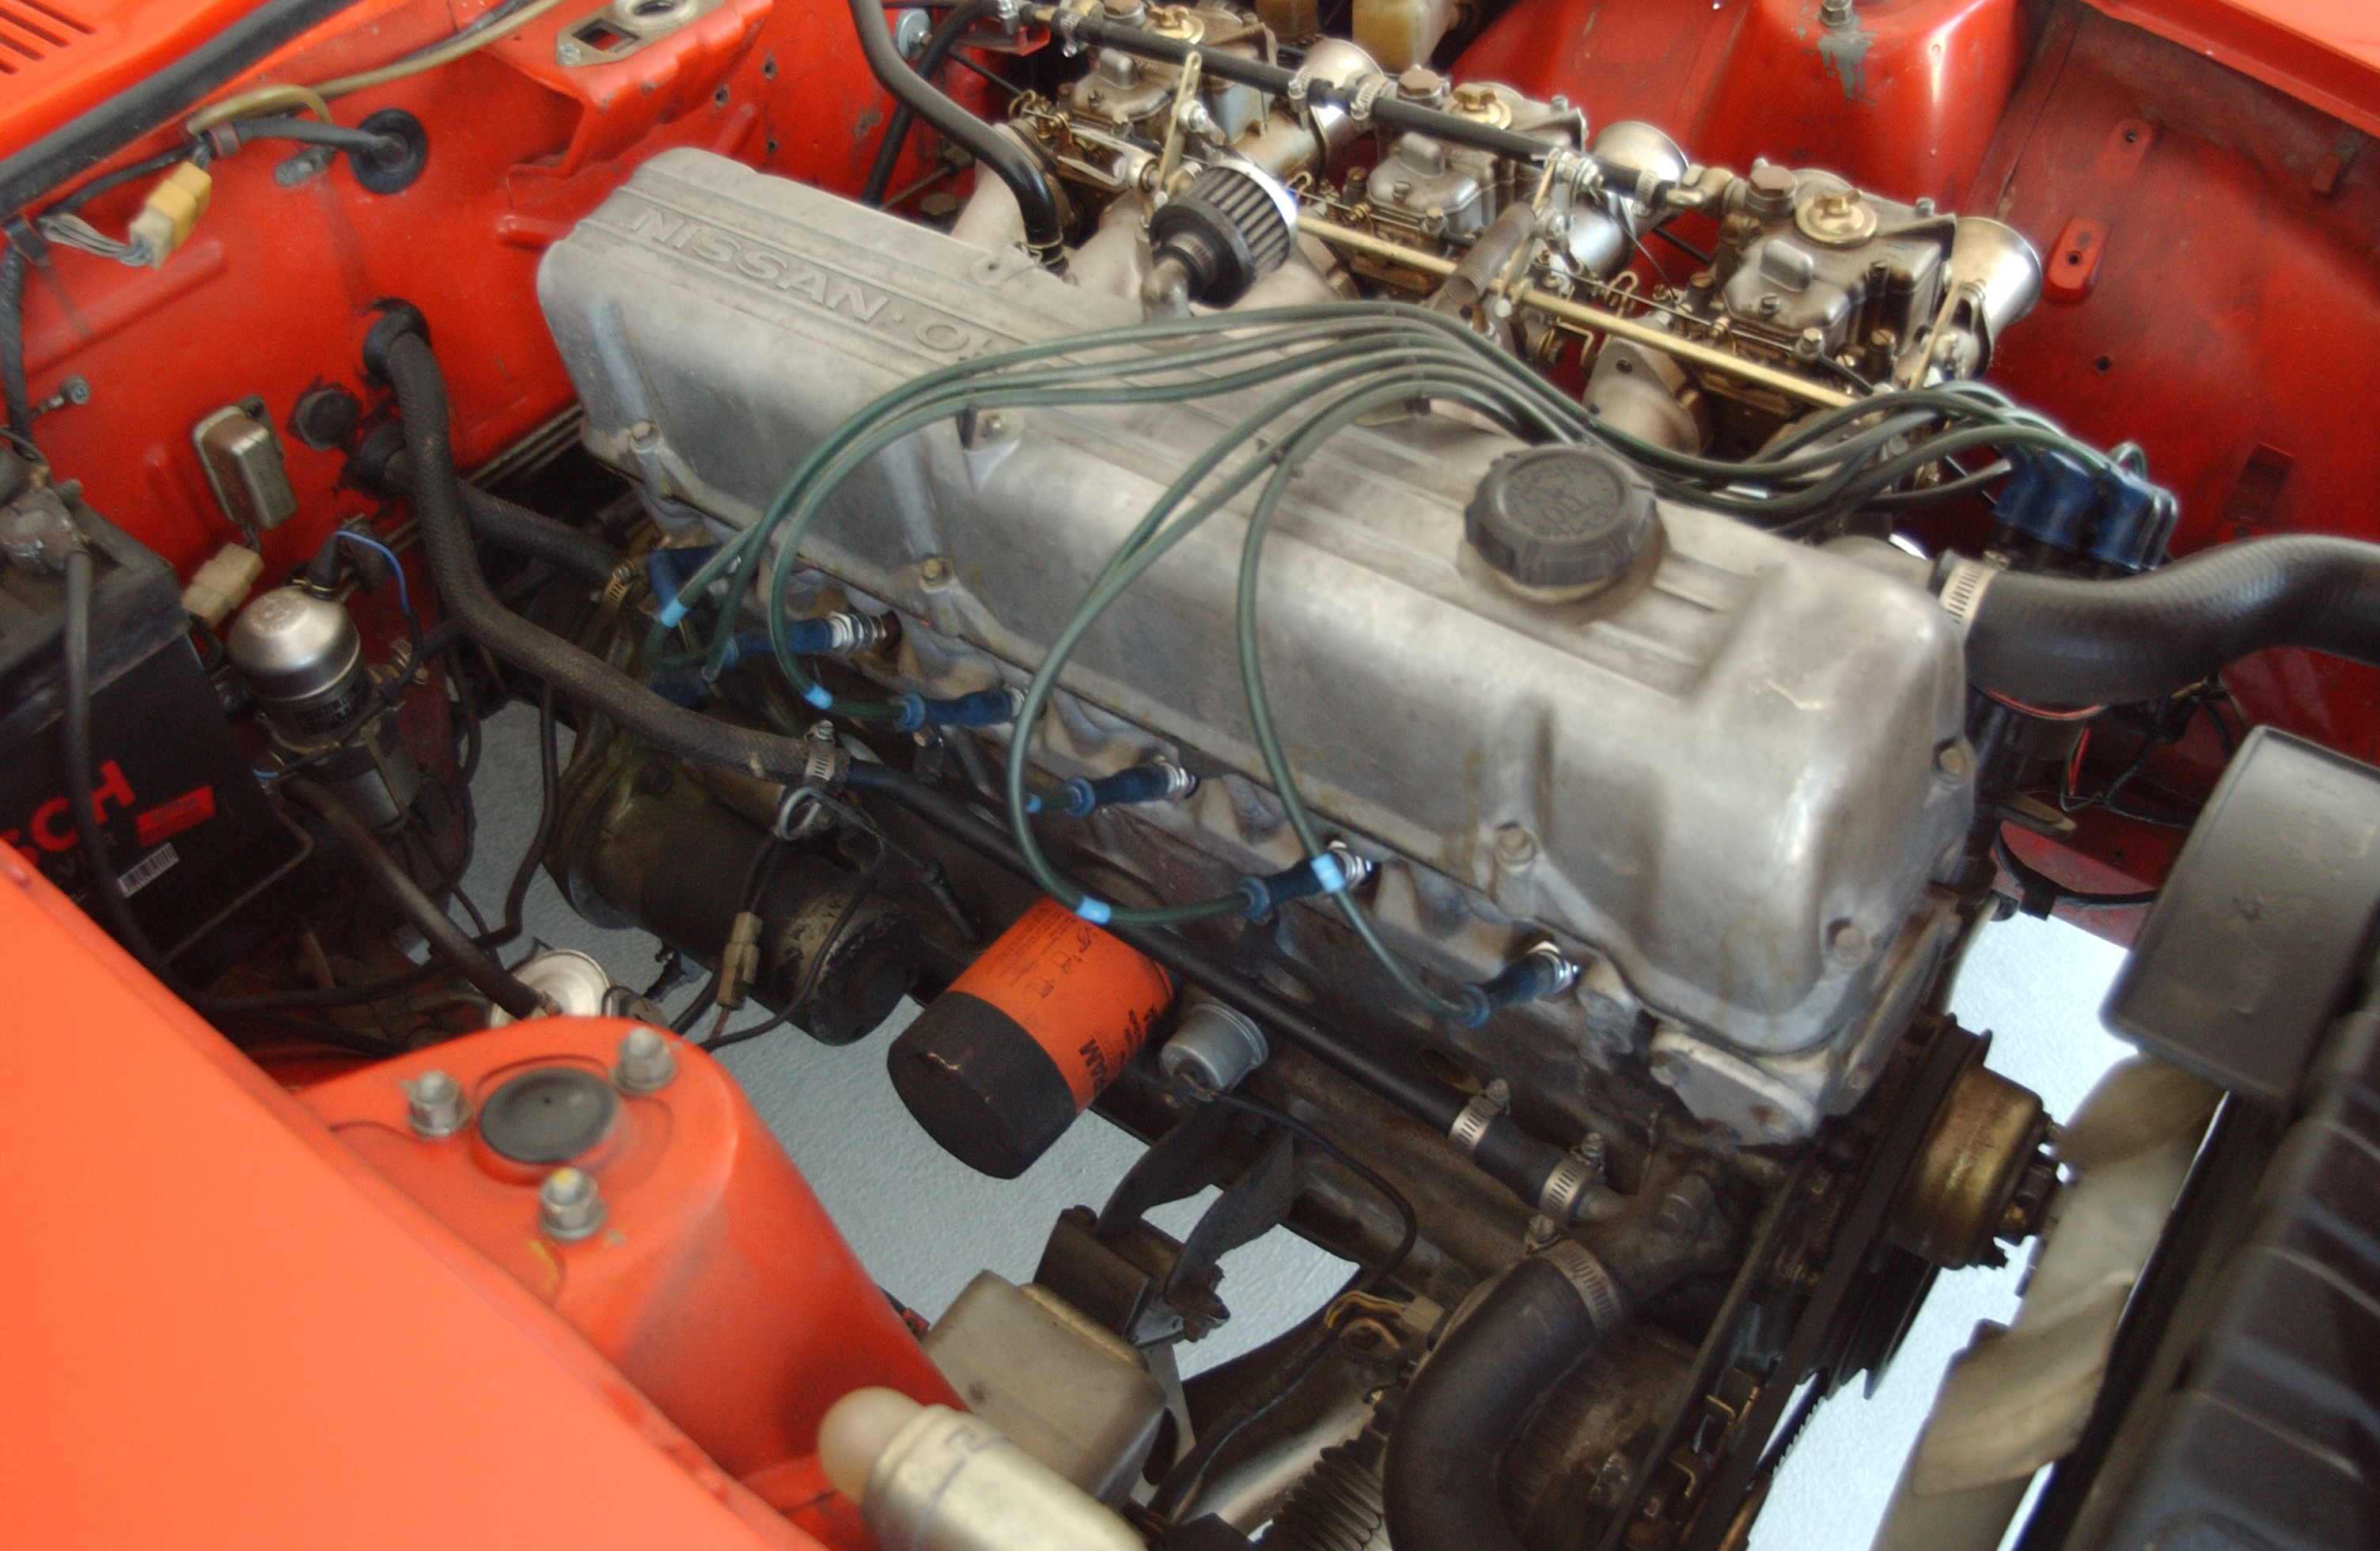
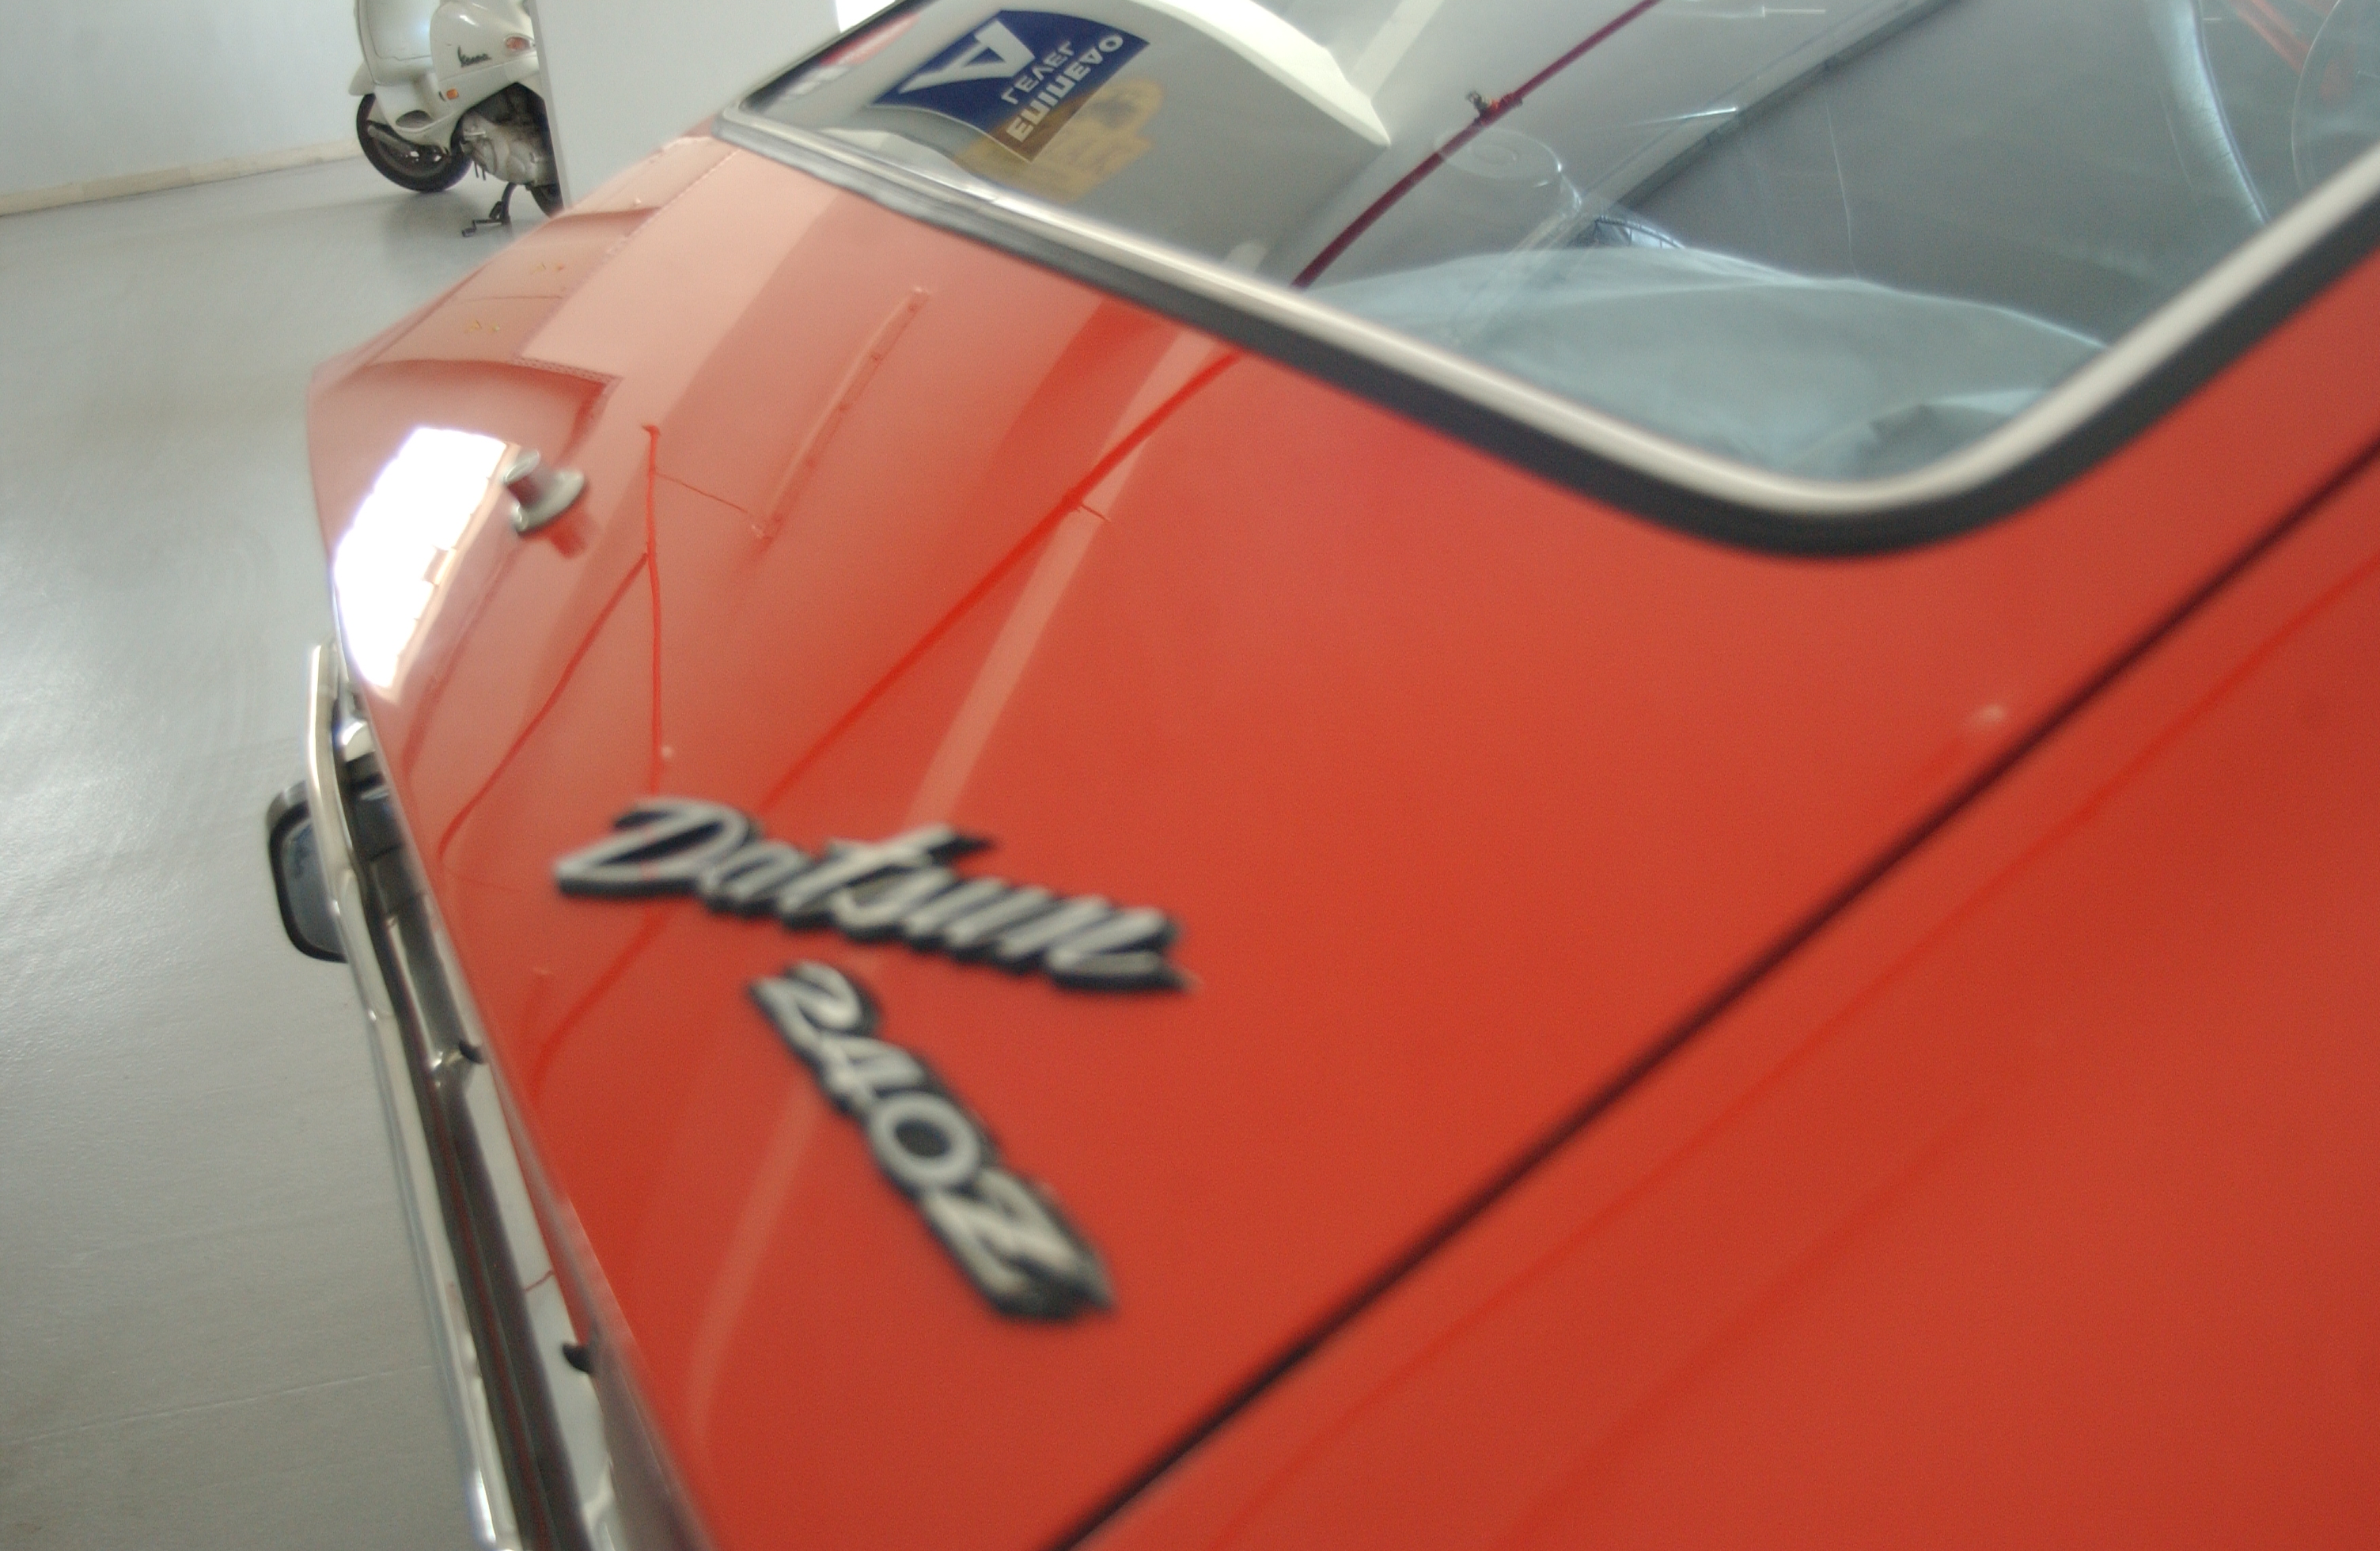
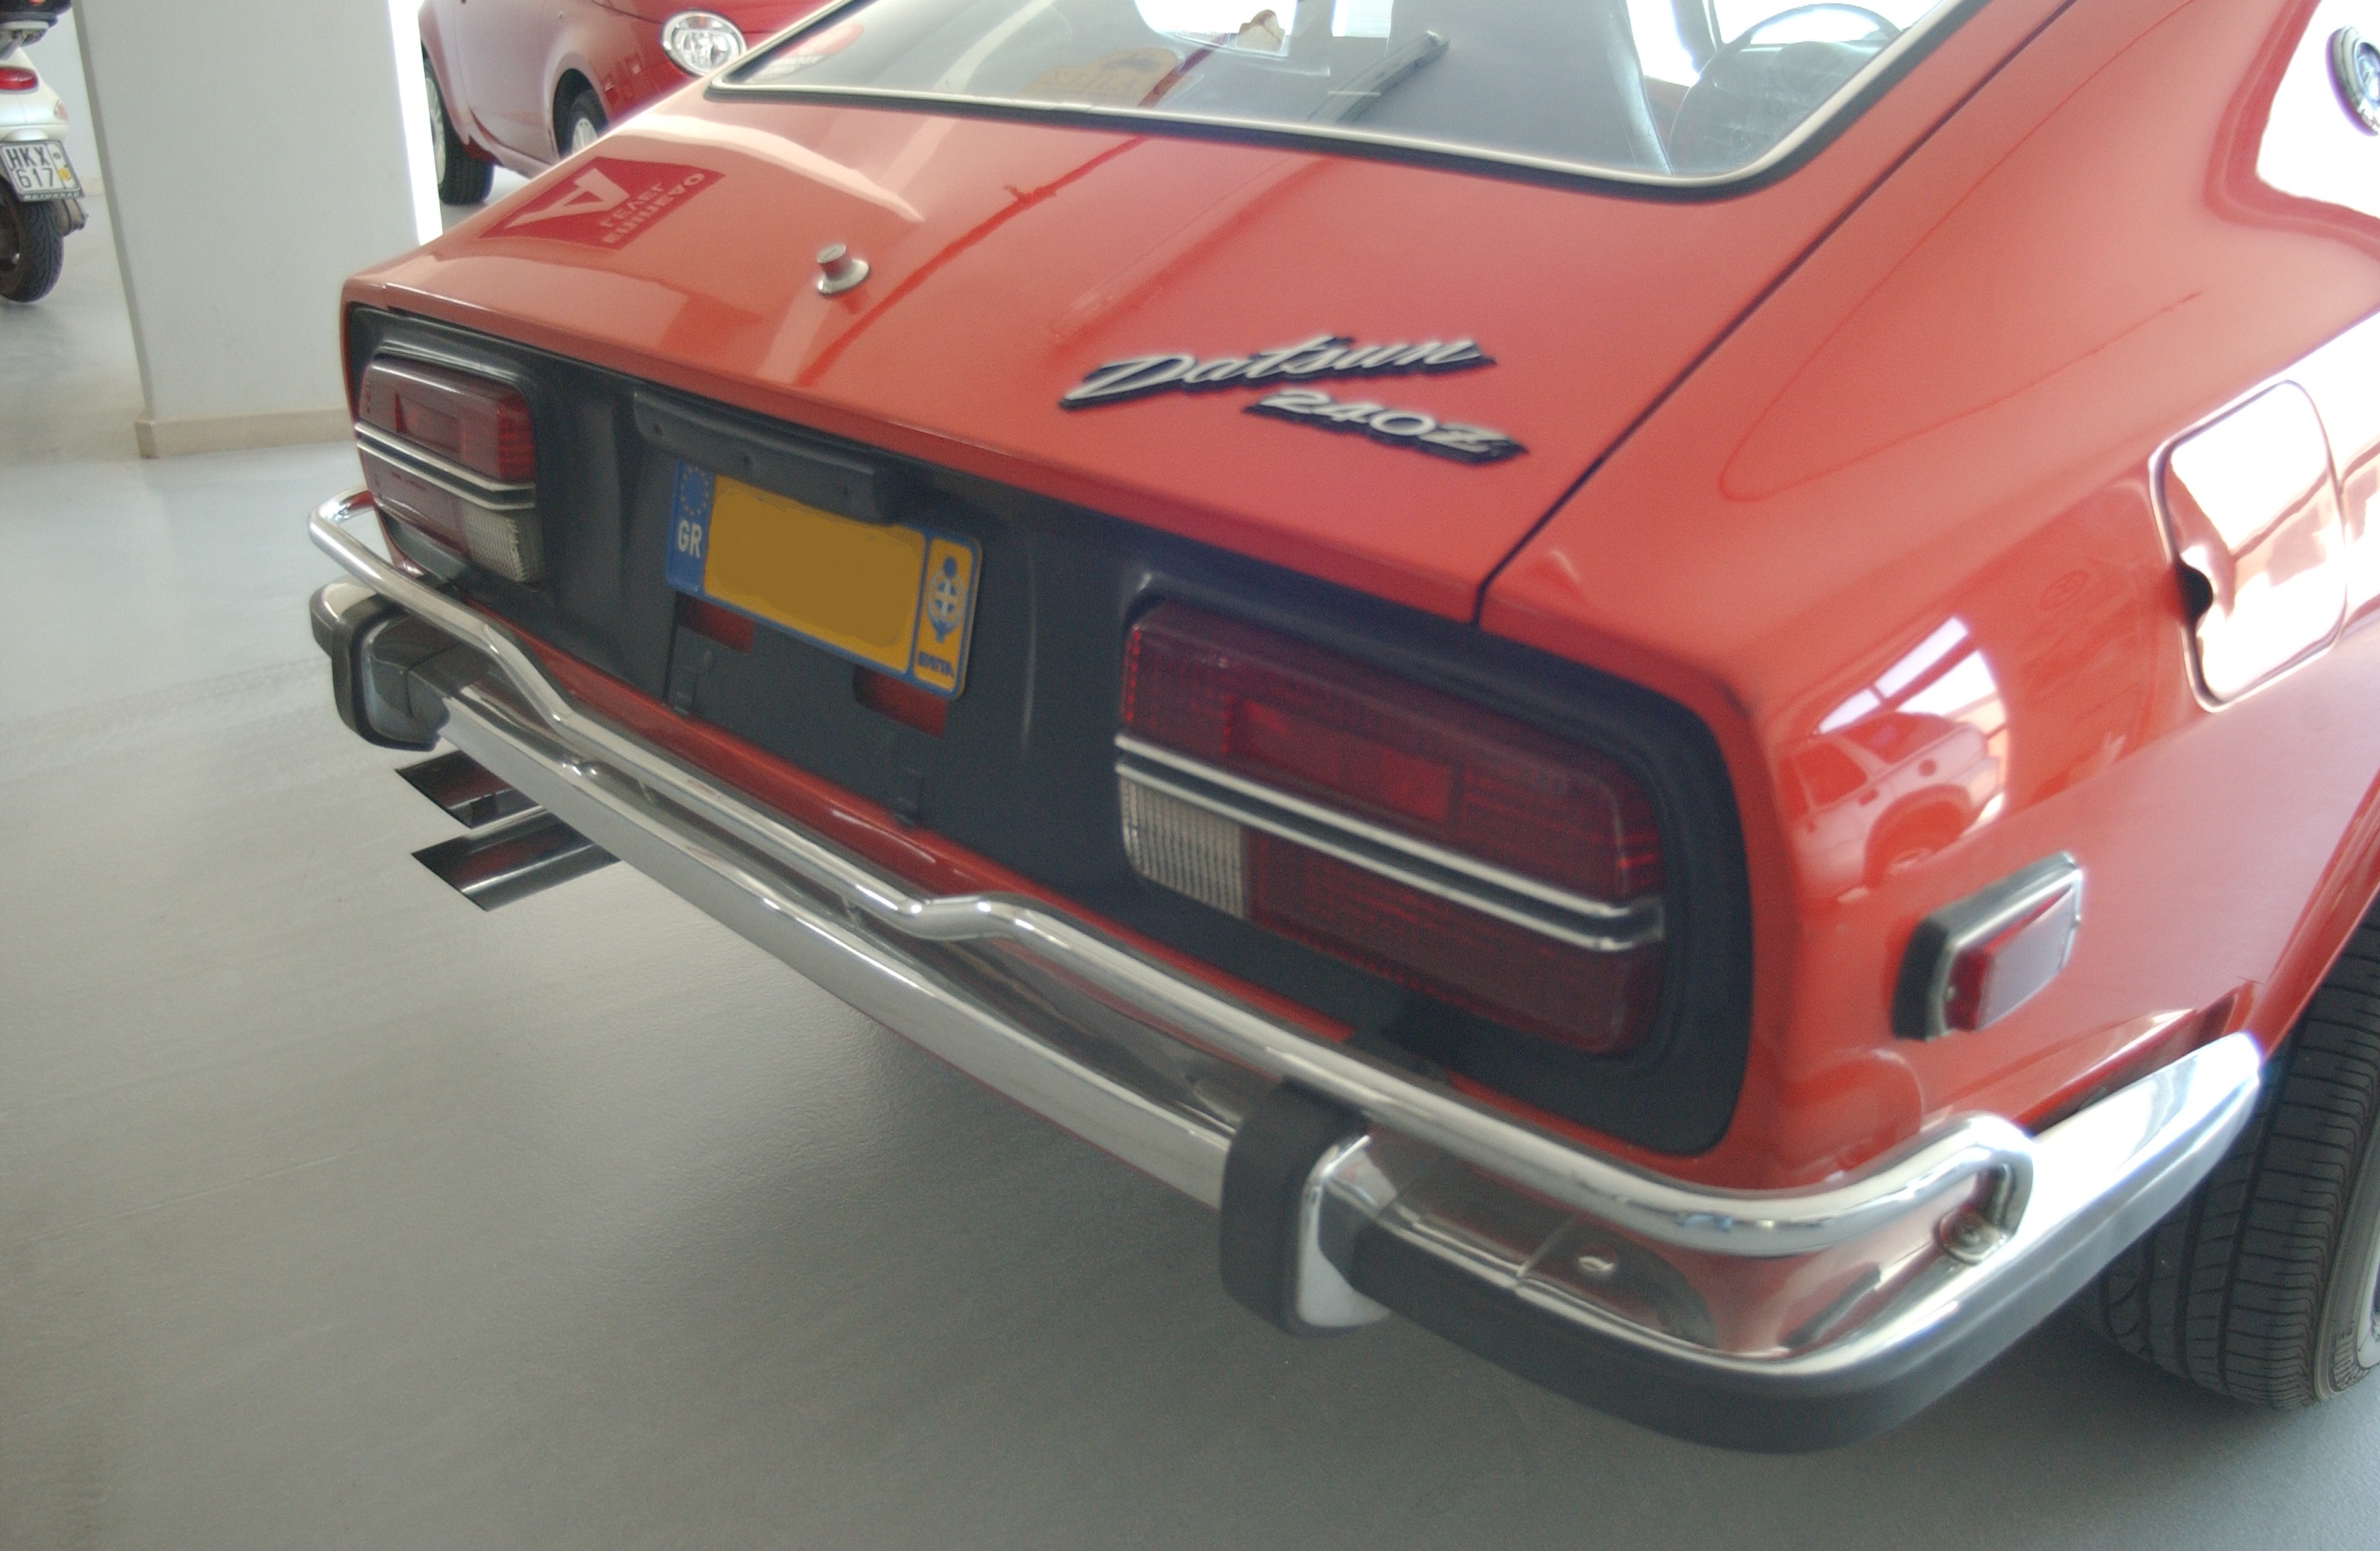
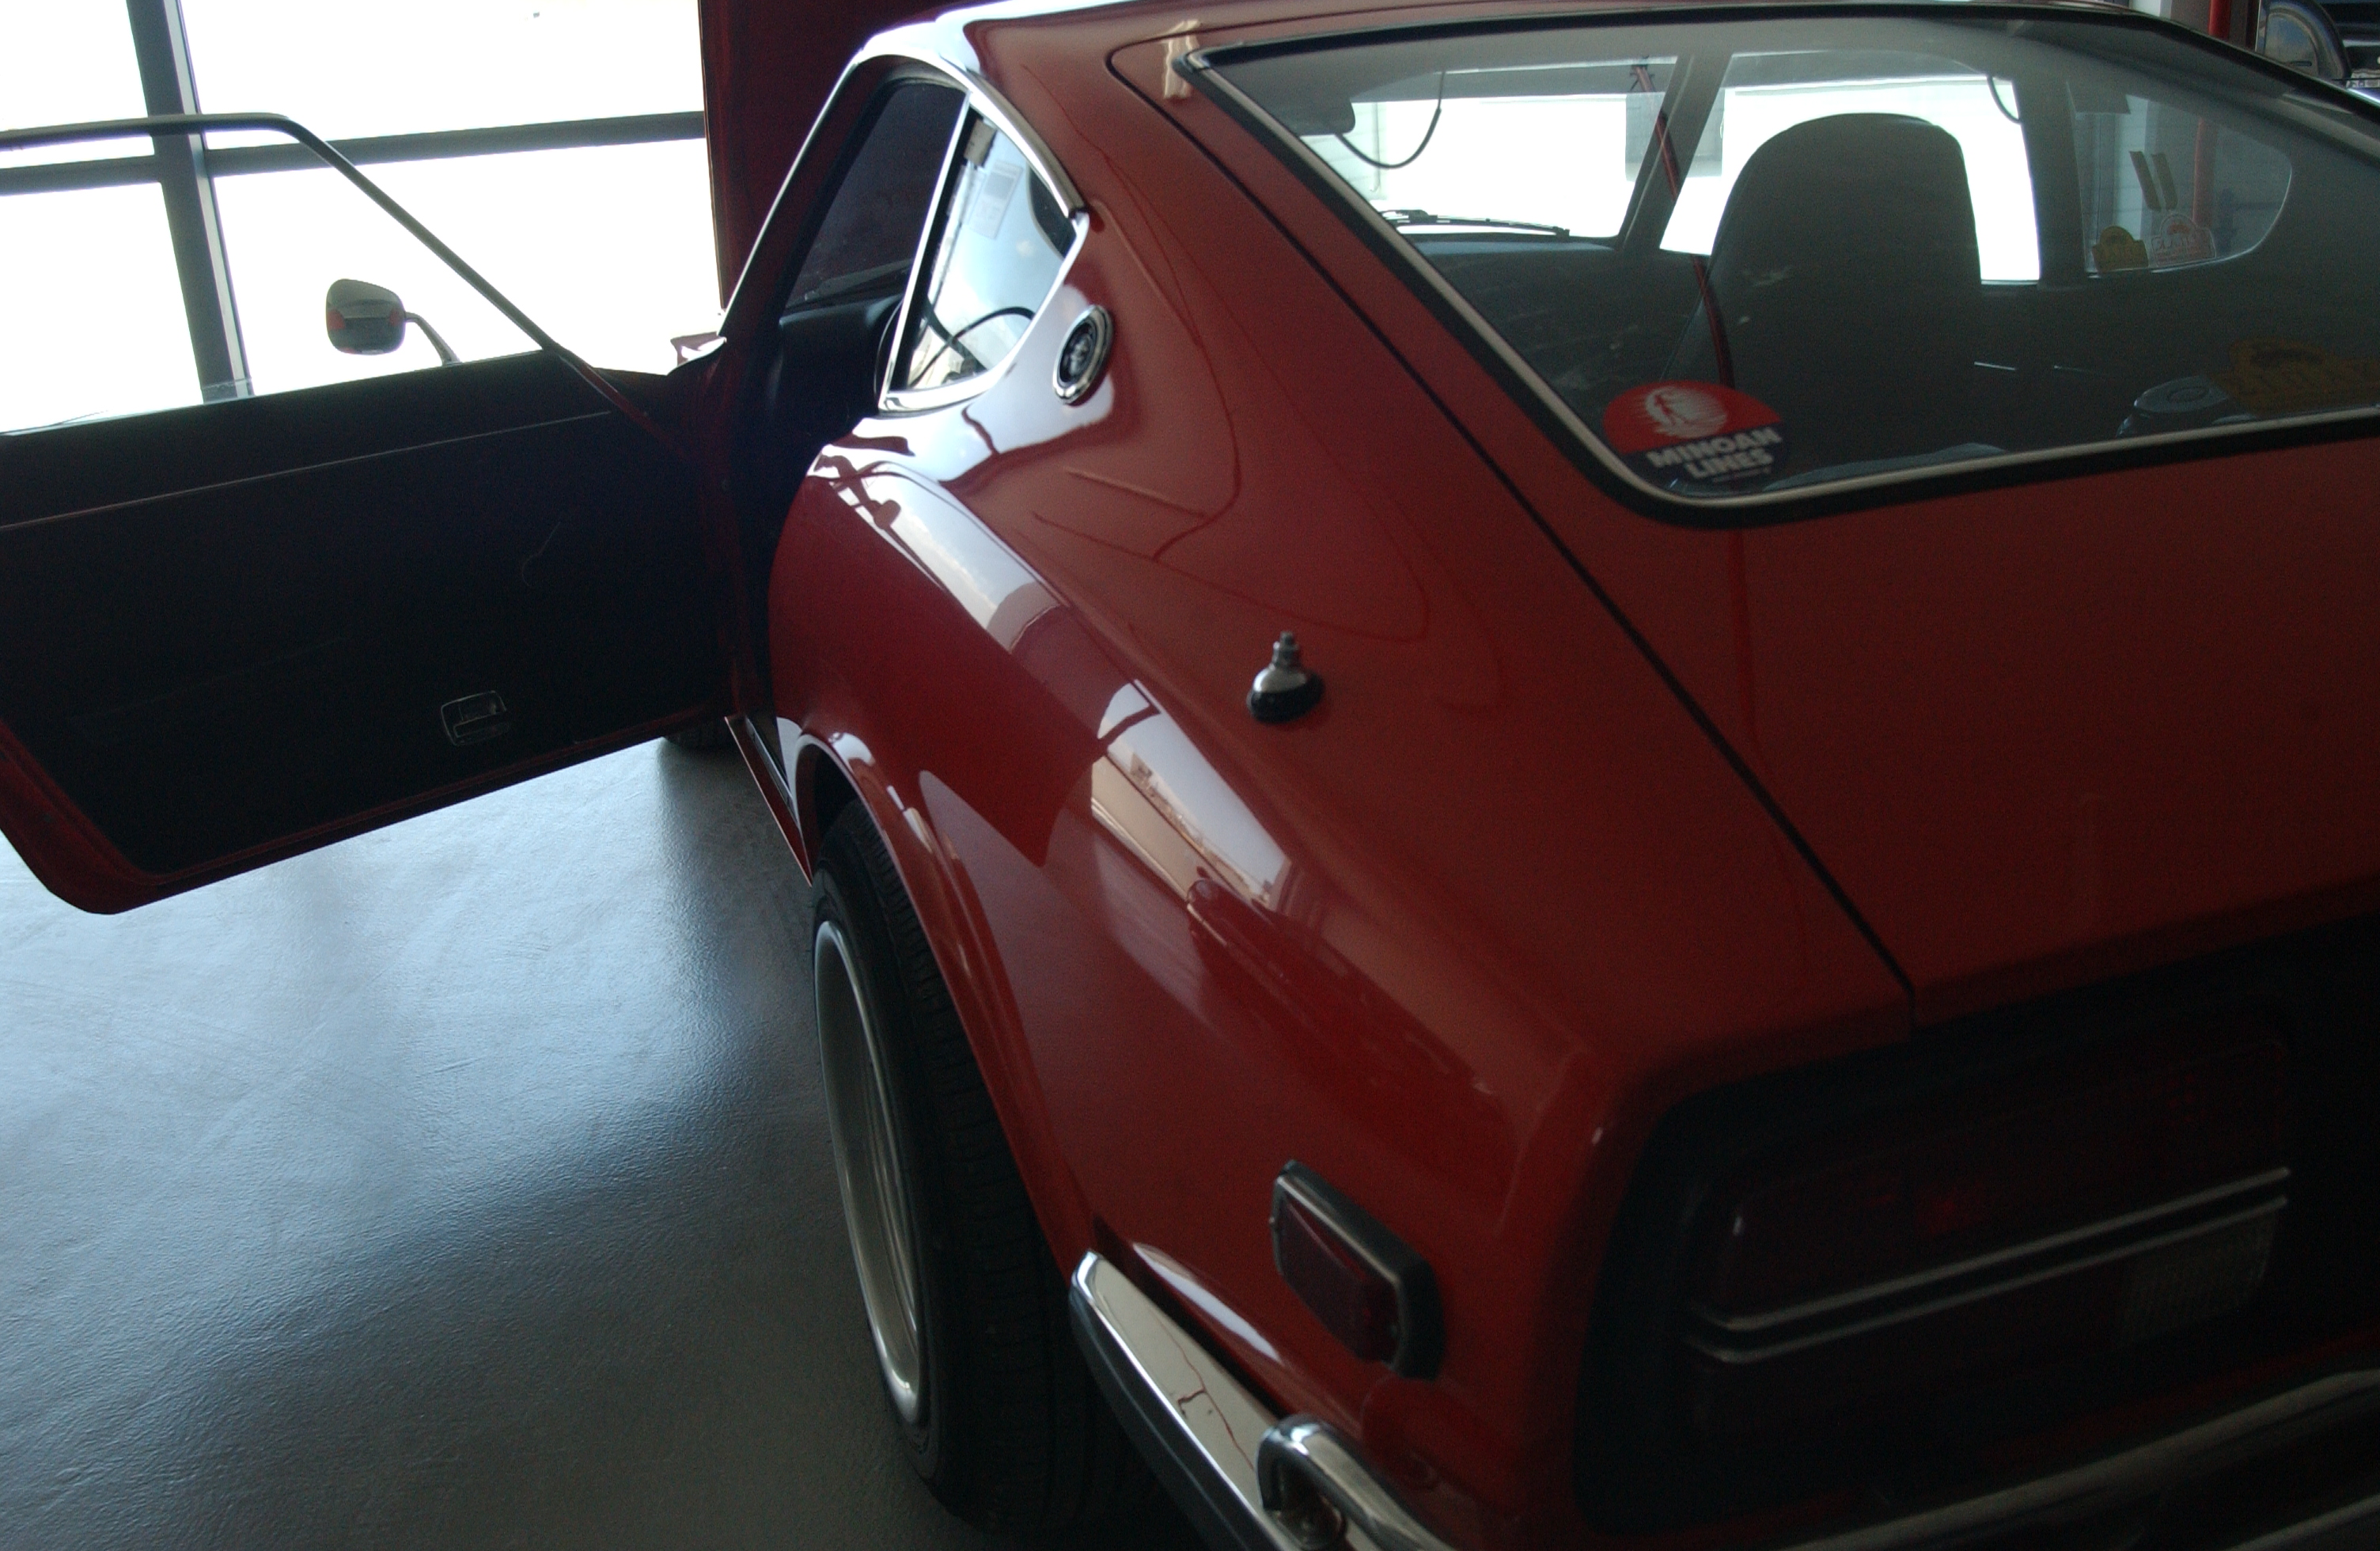
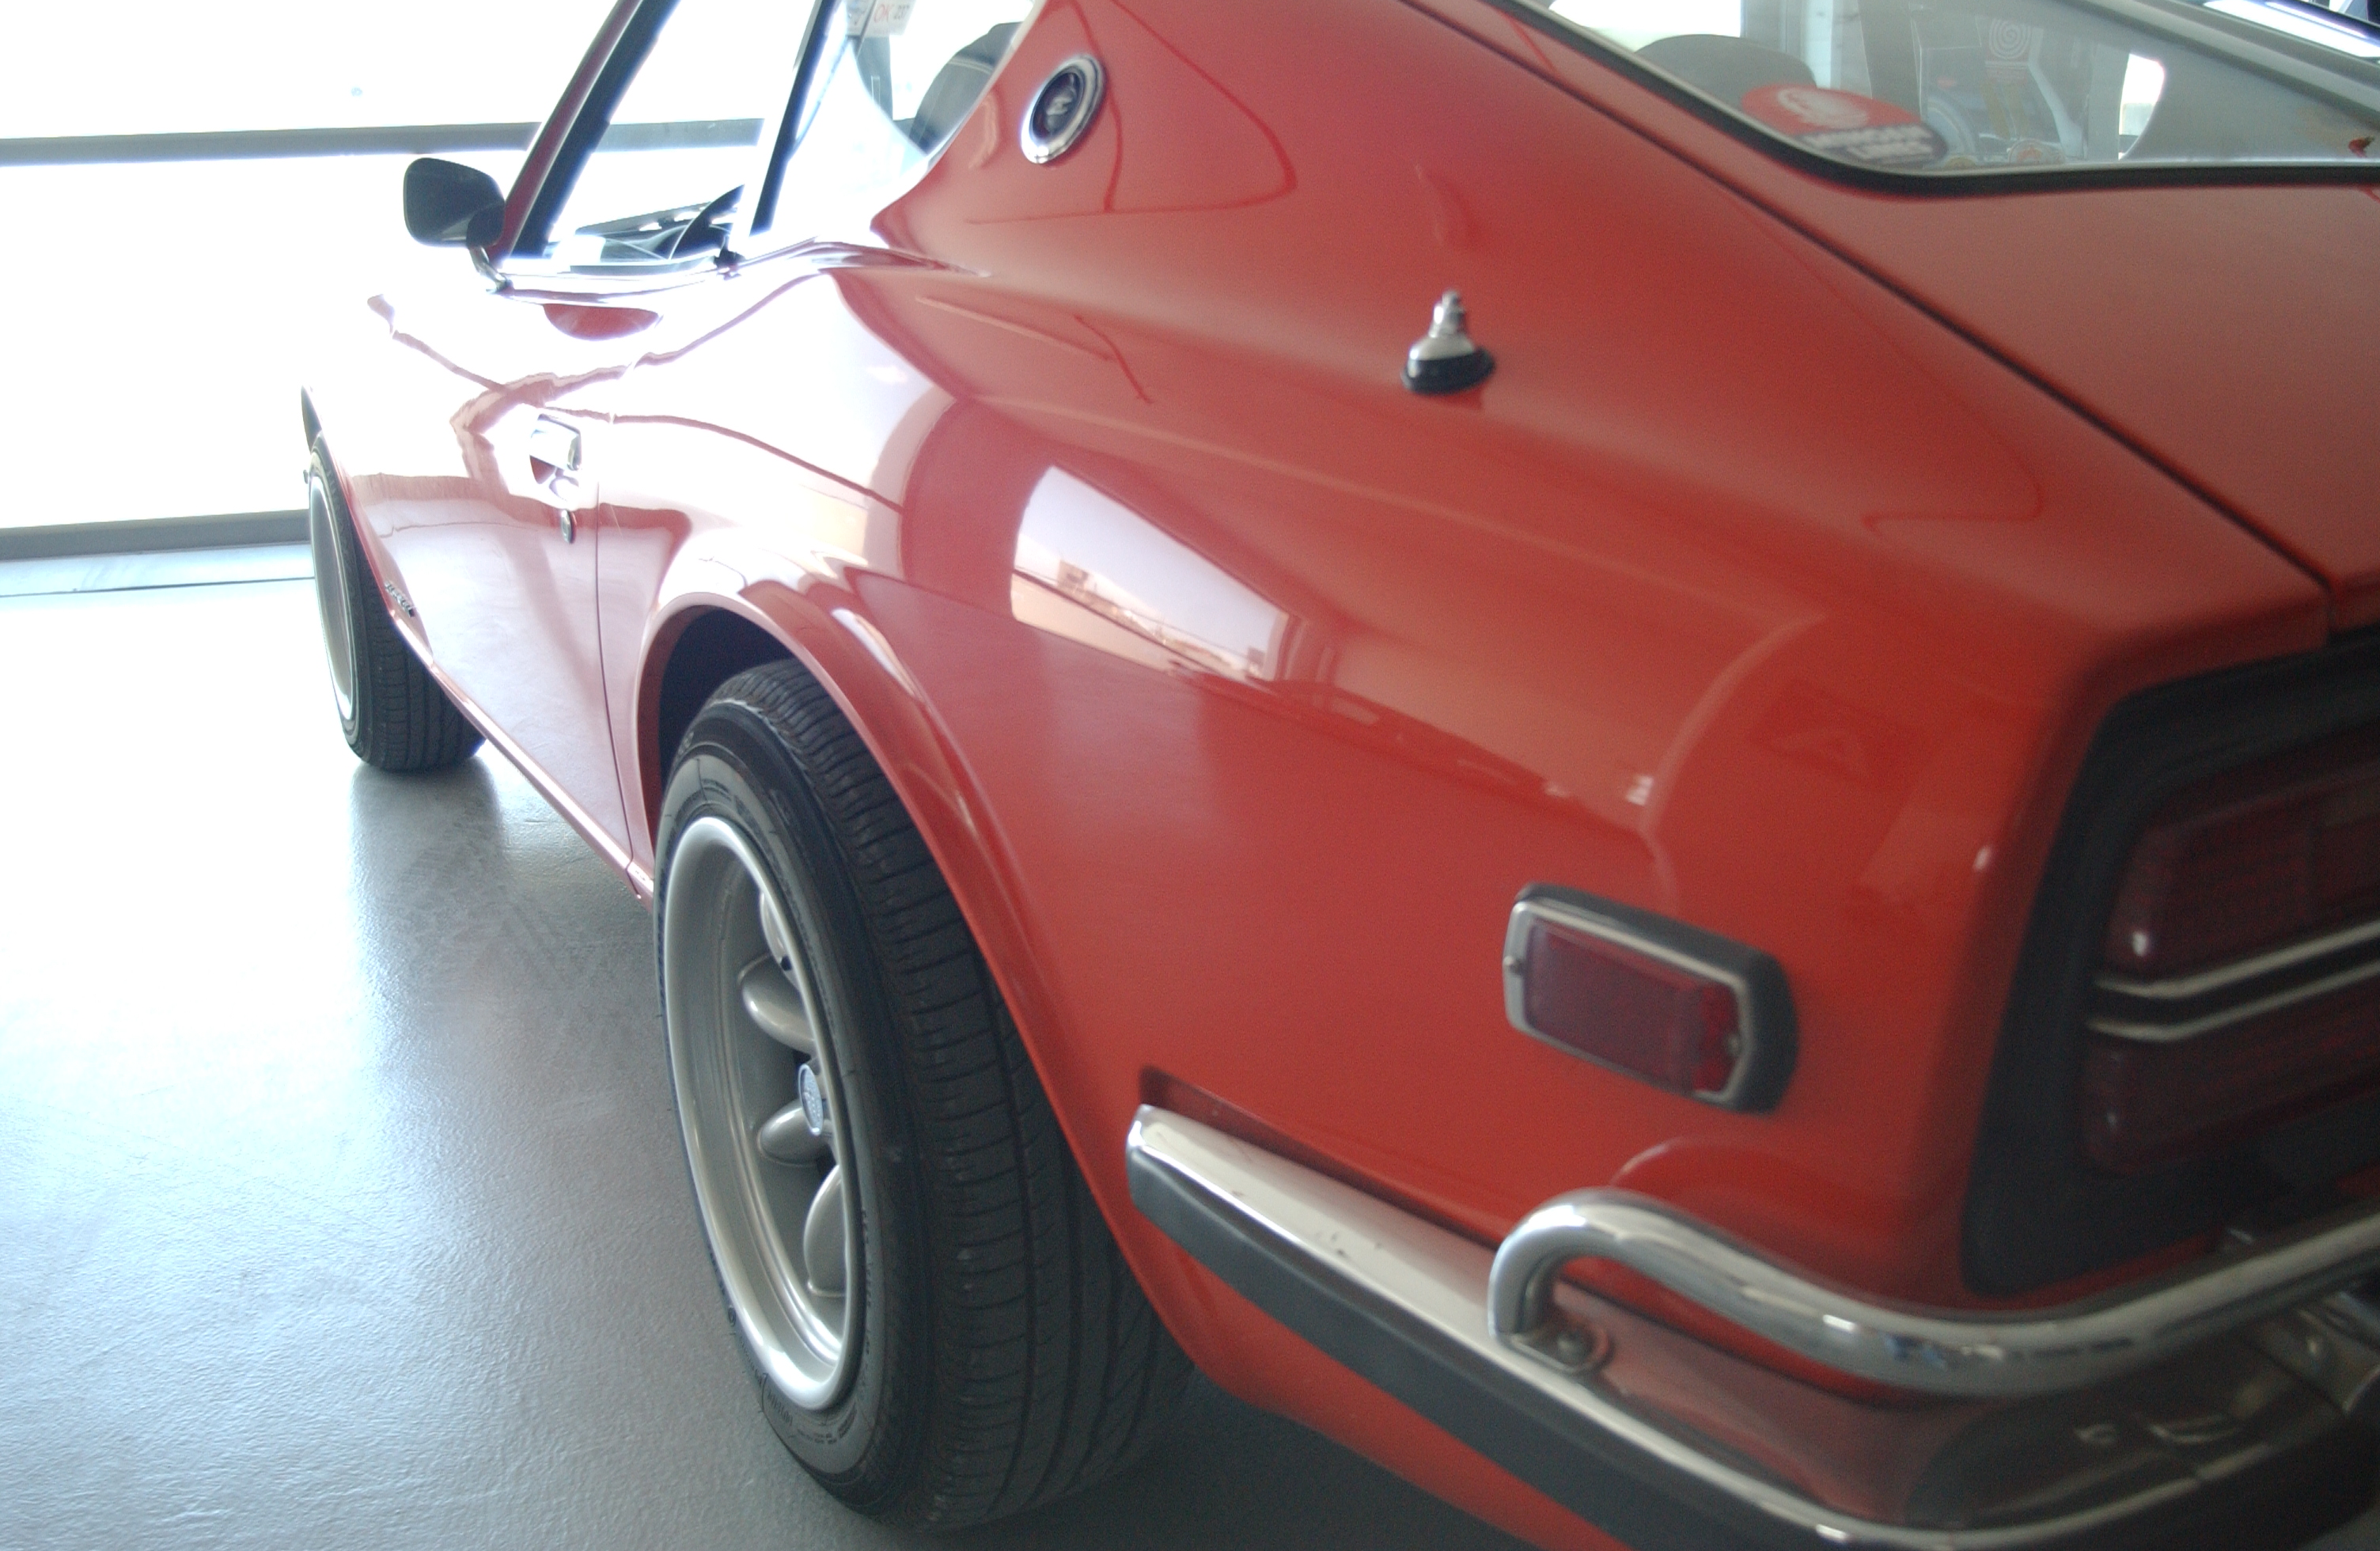
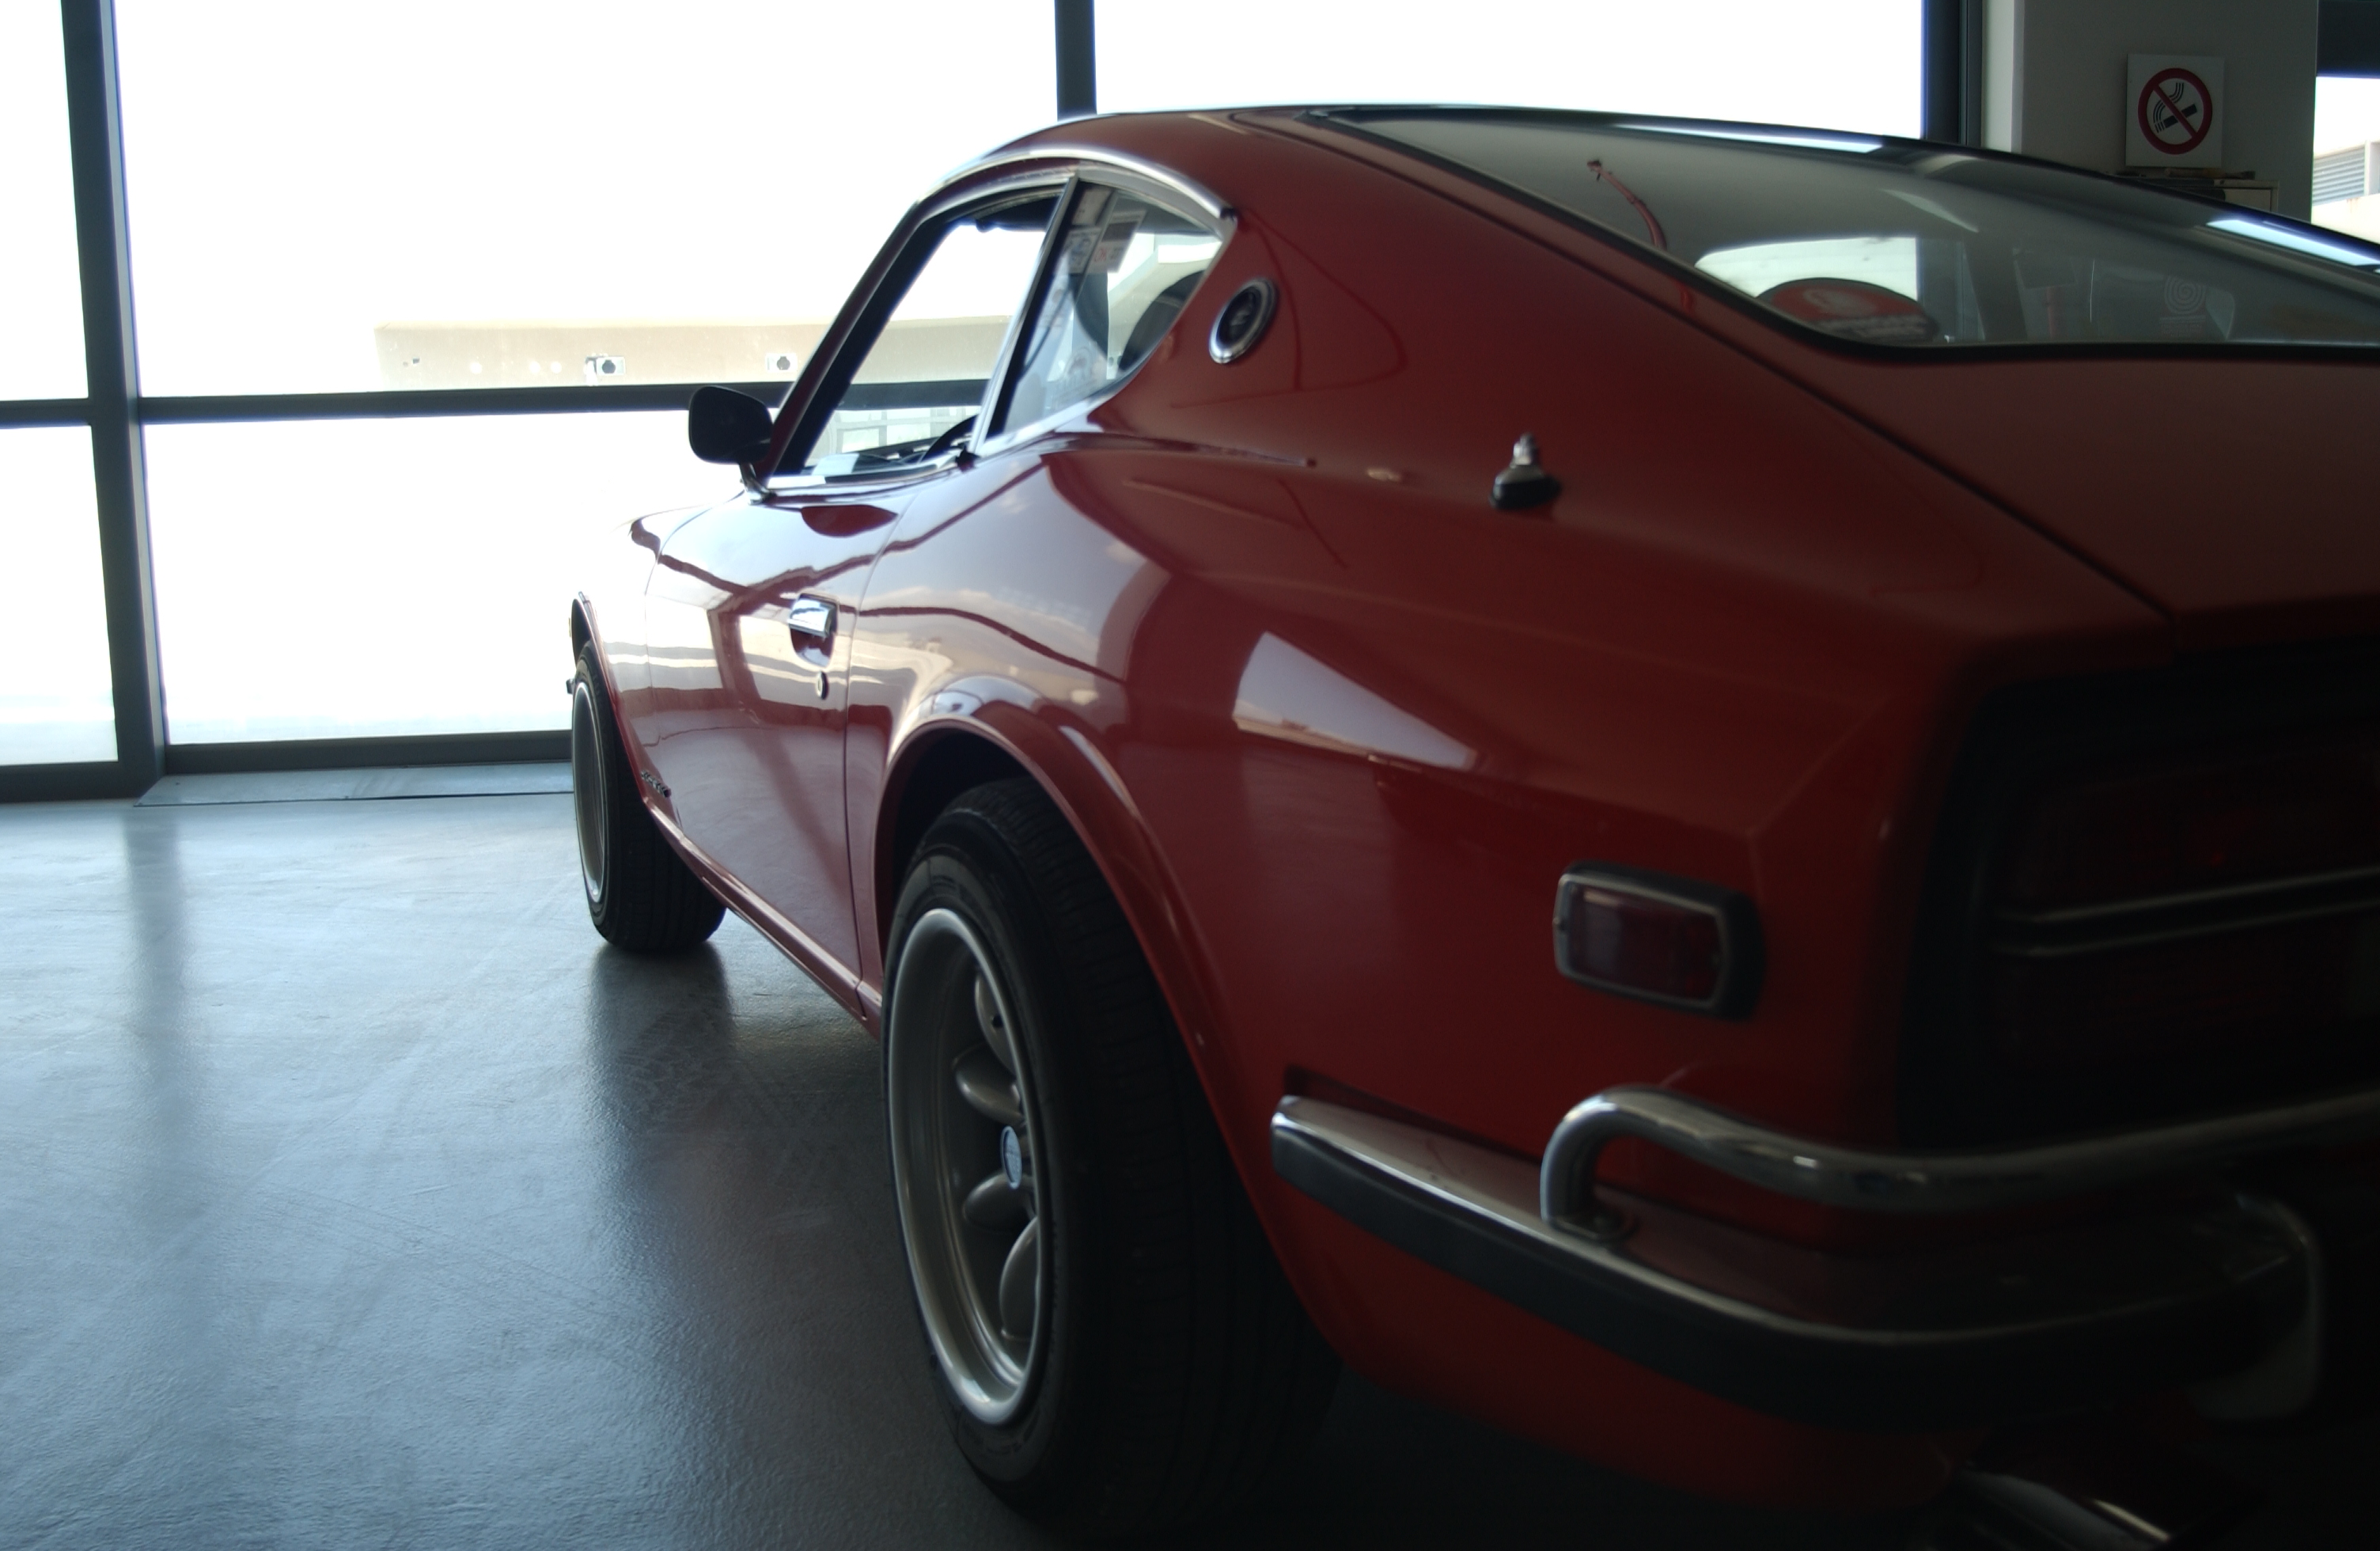
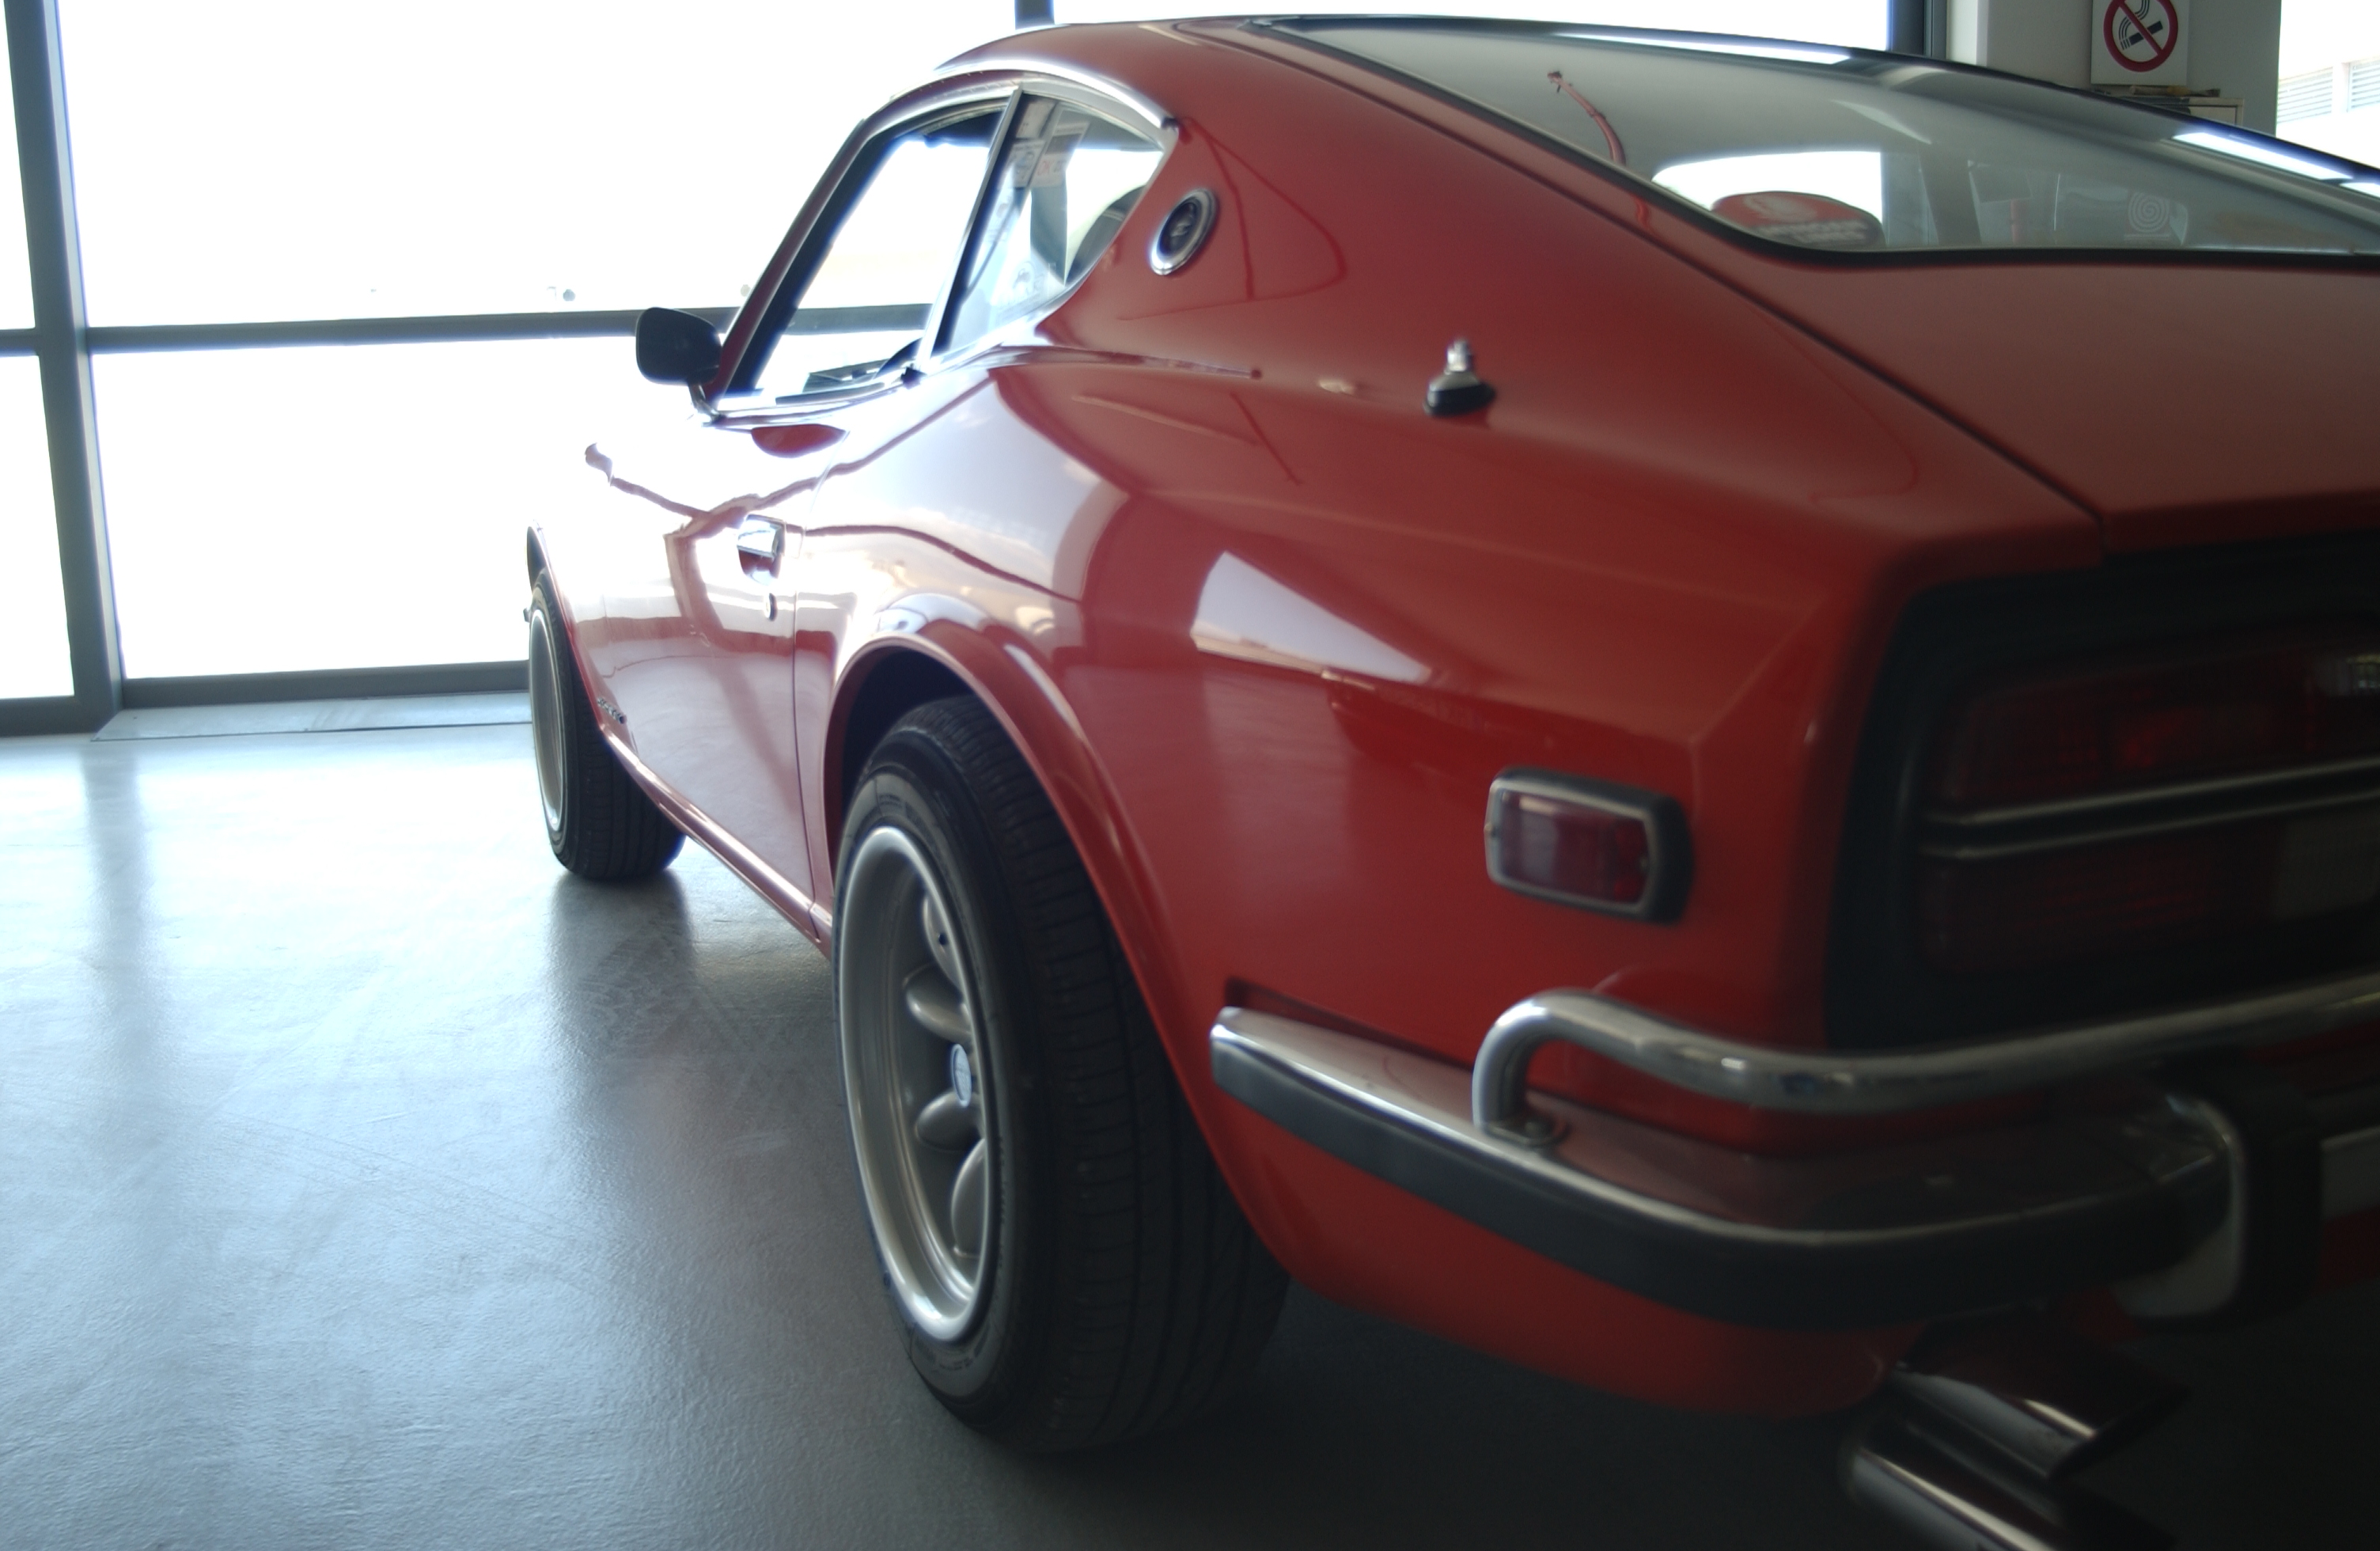
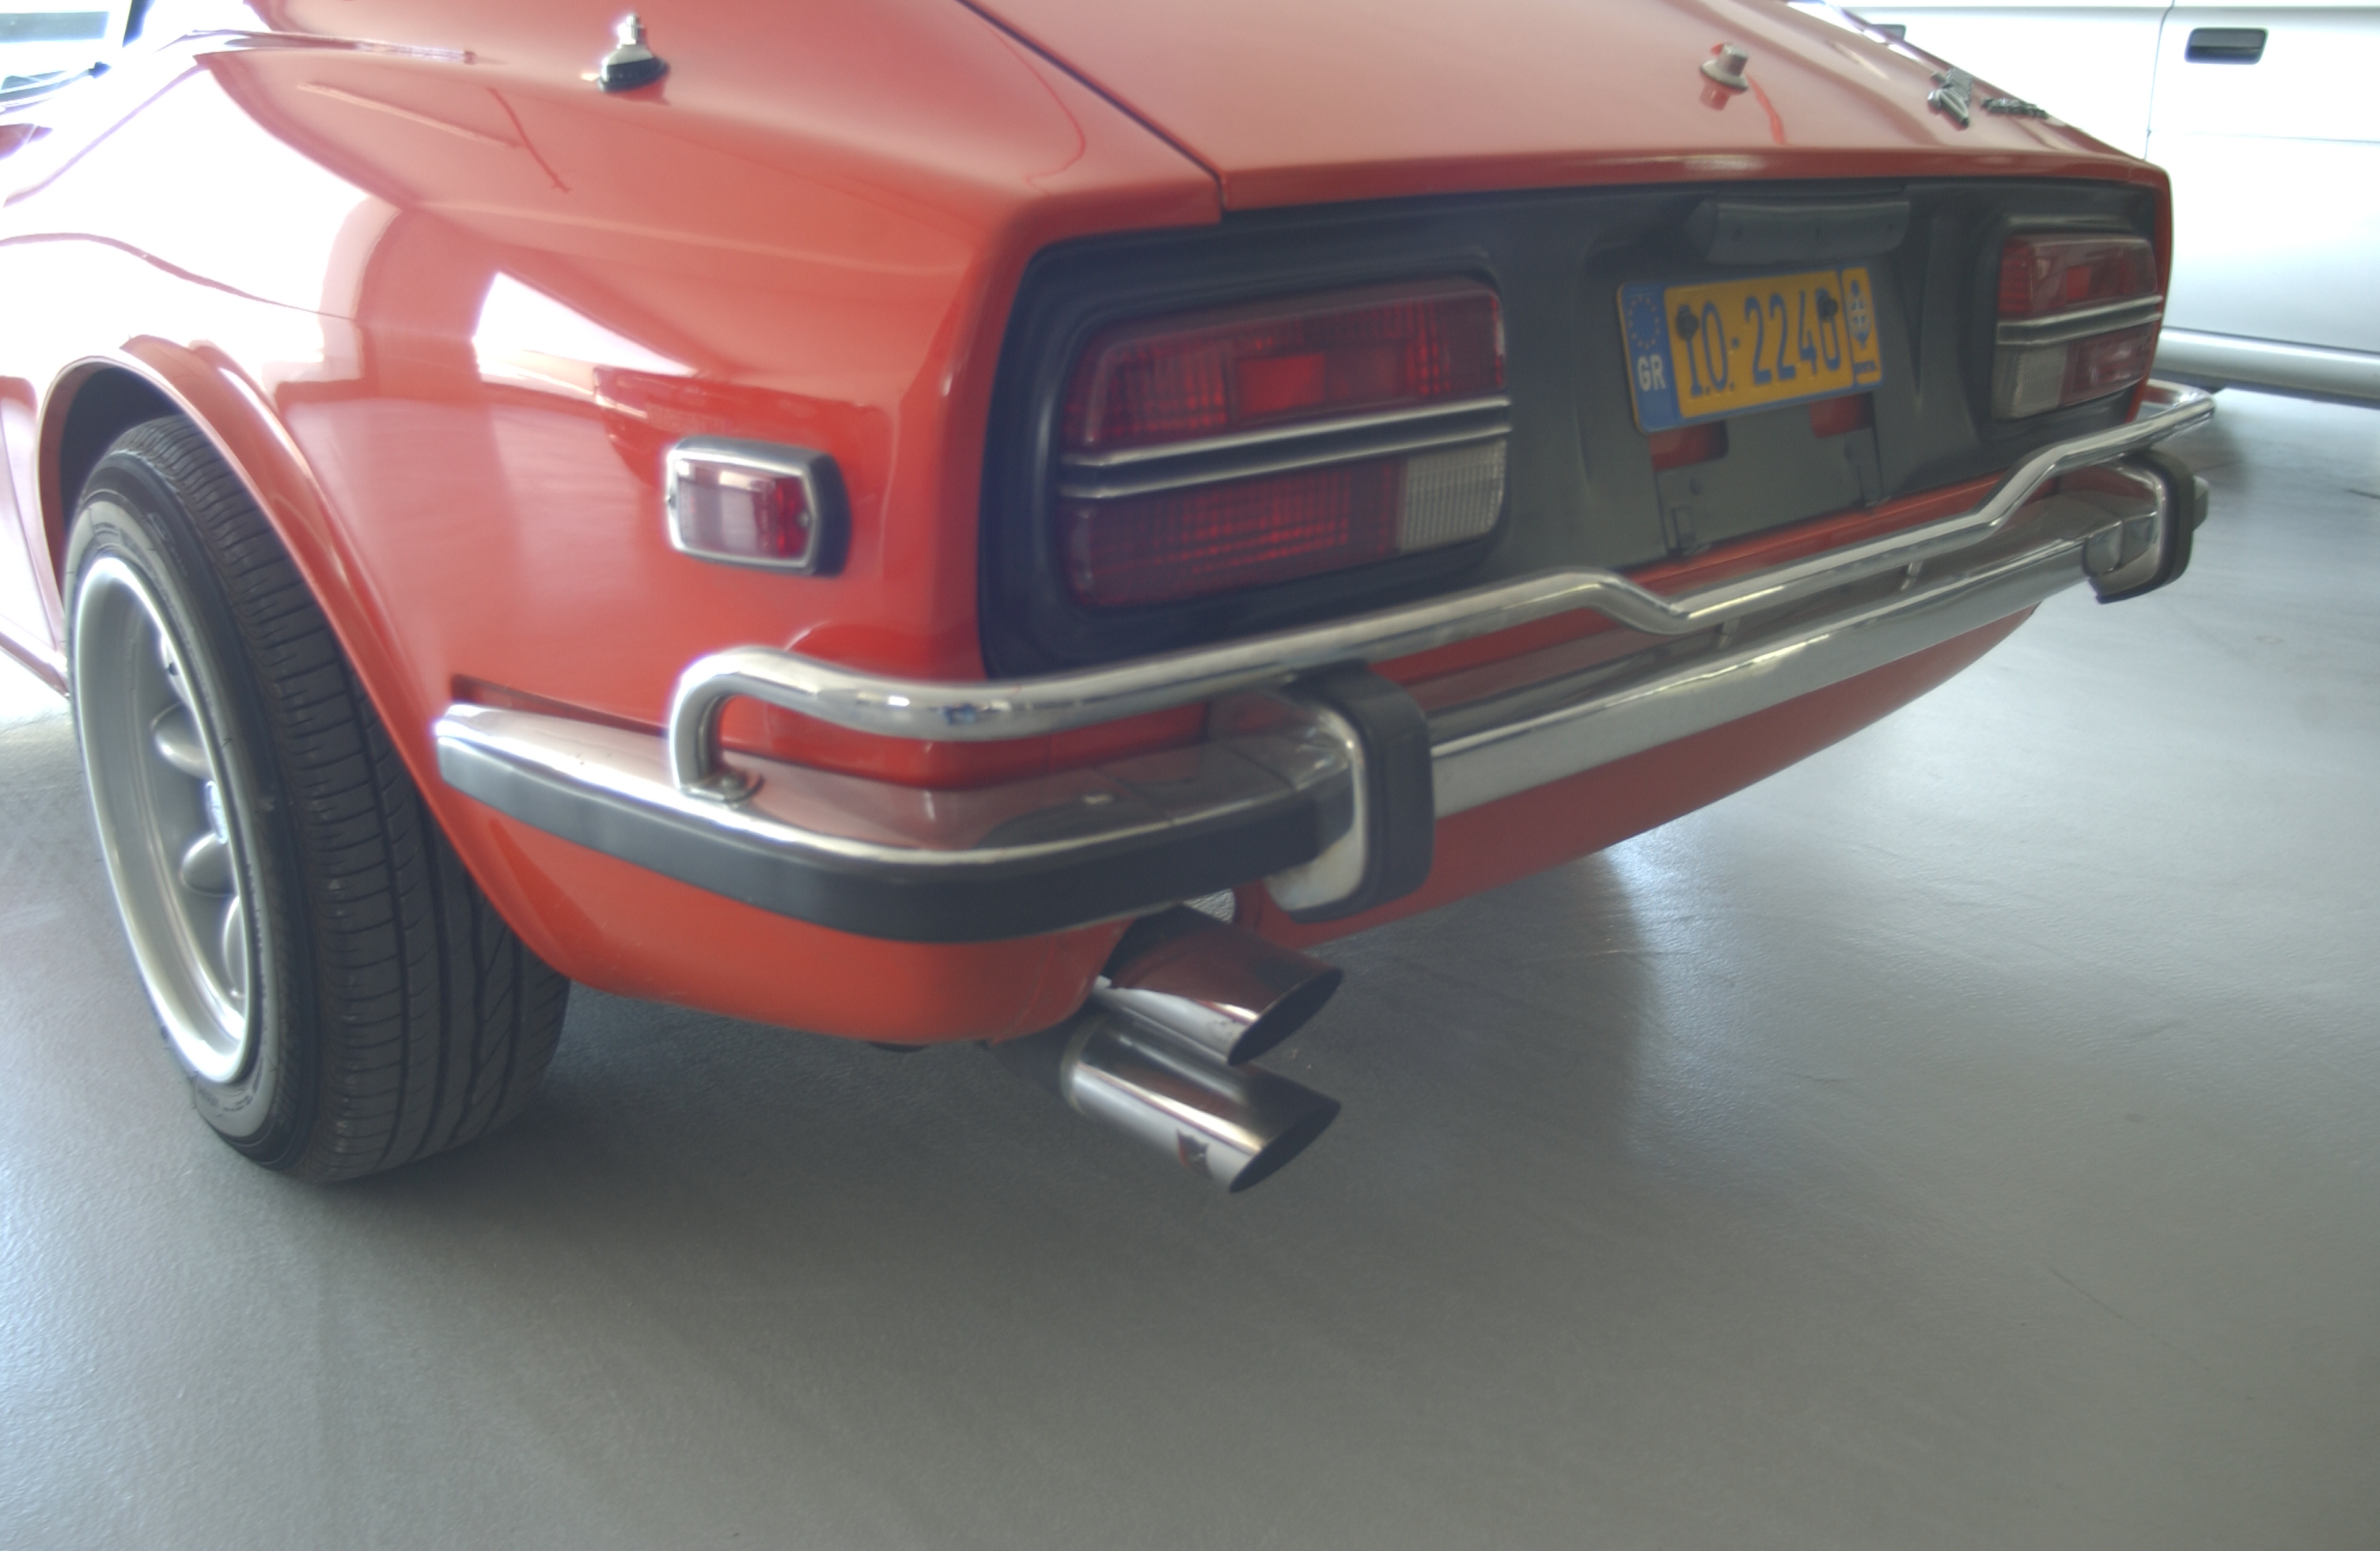
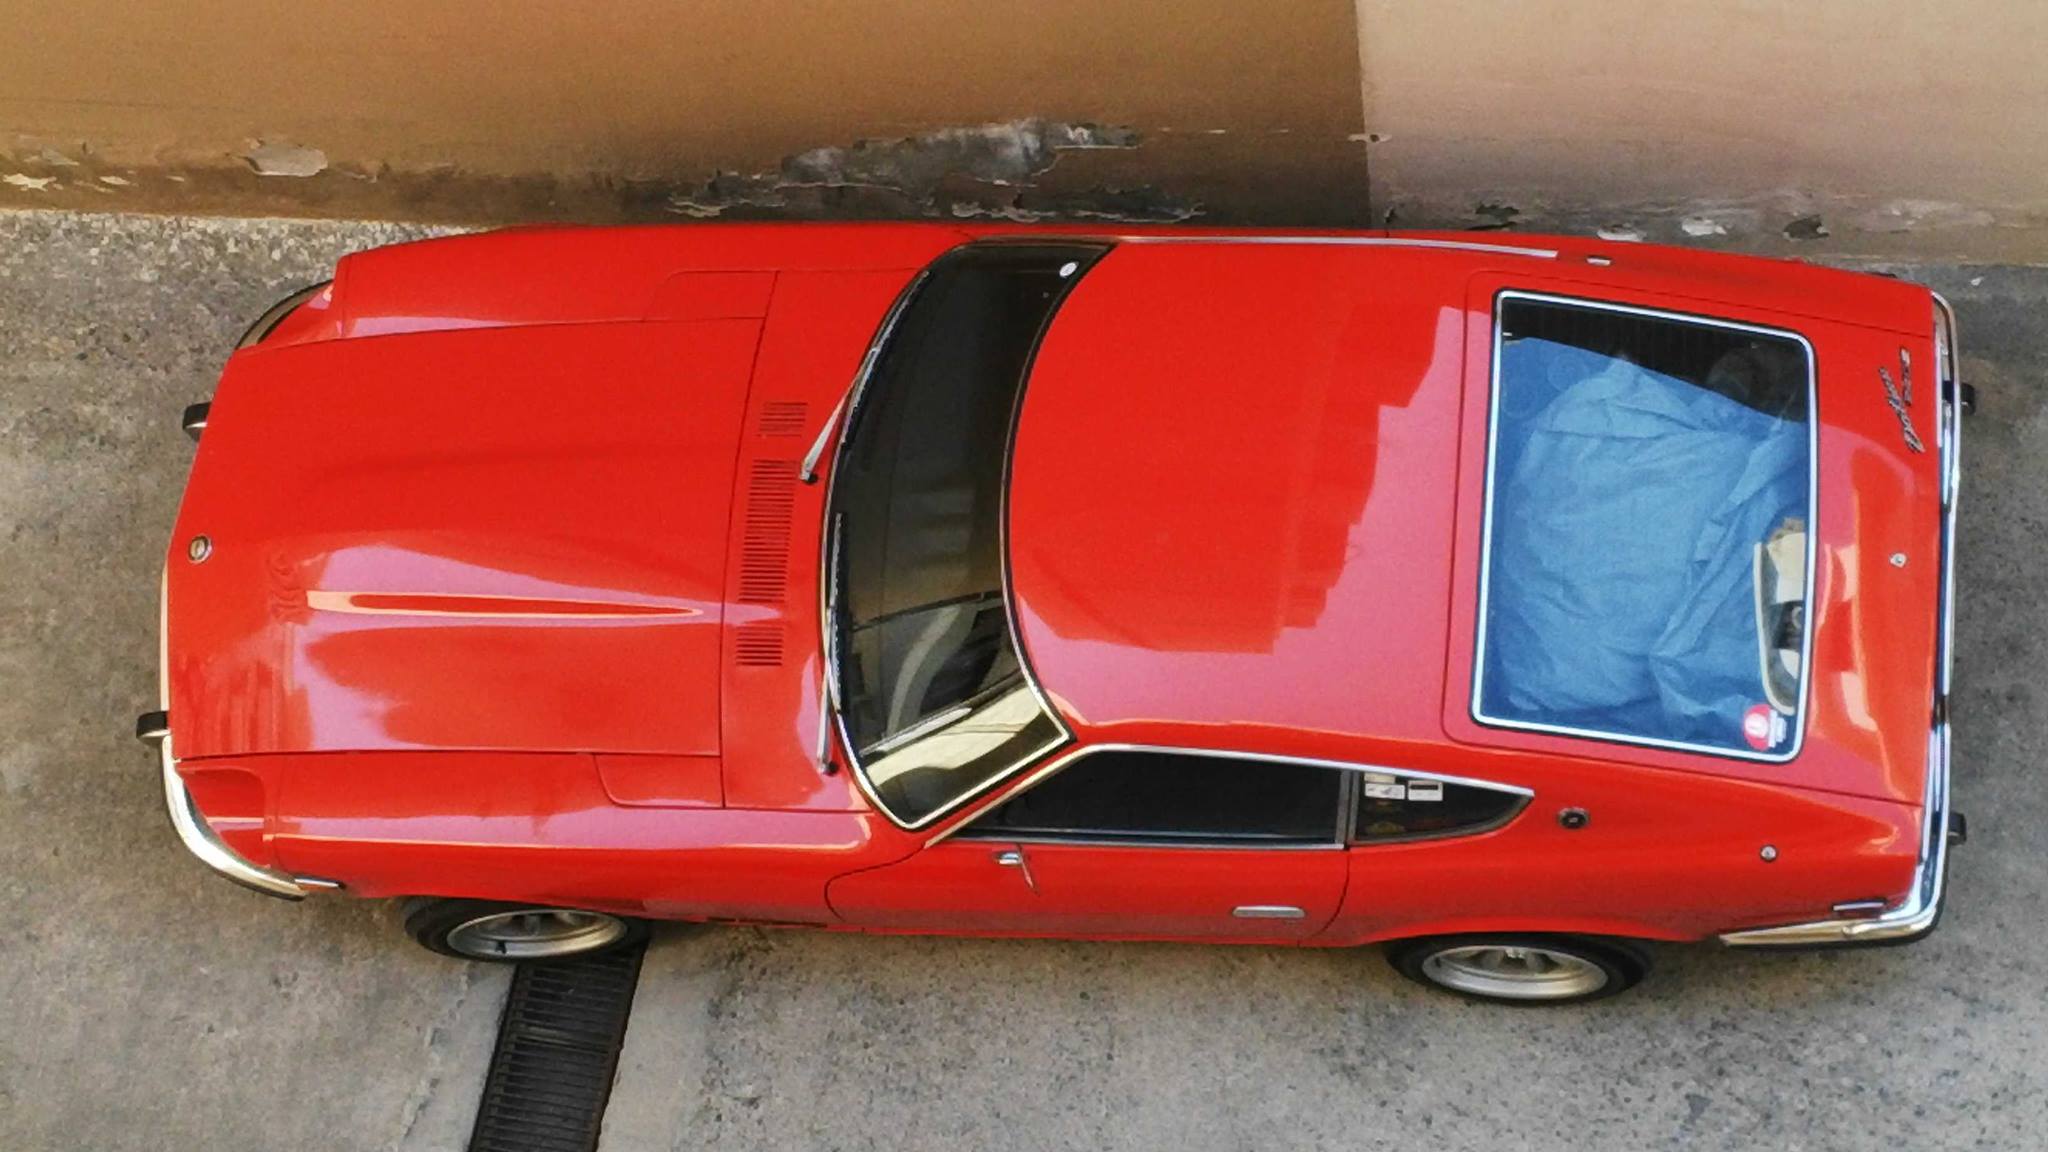
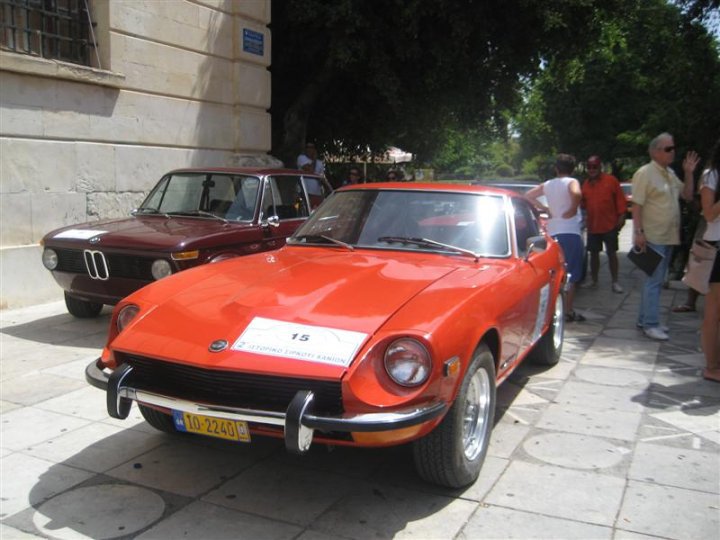
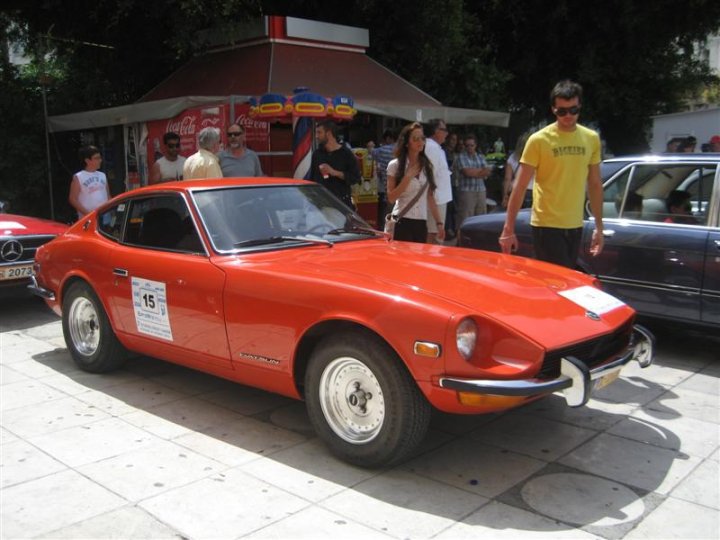
1 pointperfect 240z imported from the states in 2007 for sale fia registered as an antique vehicle always garaged no rust anywhere rear disk conversion and tripple webbers http://my.ebay.com/ws/eBayISAPI.dll?MyEbay&gbh=1&CurrentPage=MyeBayAllSelling&ssPageName=STRK:ME:LNLK:MESX


 1 point
 -
The Exedy kit is a very good oem replacement clutch. I have used them on two z cars without issue. Amazon is a great source for it. https://www.amazon.com/EXEDY-06009-OEM-Replacement-Clutch/dp/B001B5D7TE/ref=sr_1_1?s=automotive&ie=UTF8&qid=1487631287&sr=1-1&keywords=exedy+clutch+280z Her flywheel will definitely need to be resurfaced, if the labor price she was quoted holds, she might get away with about $4001 point
-
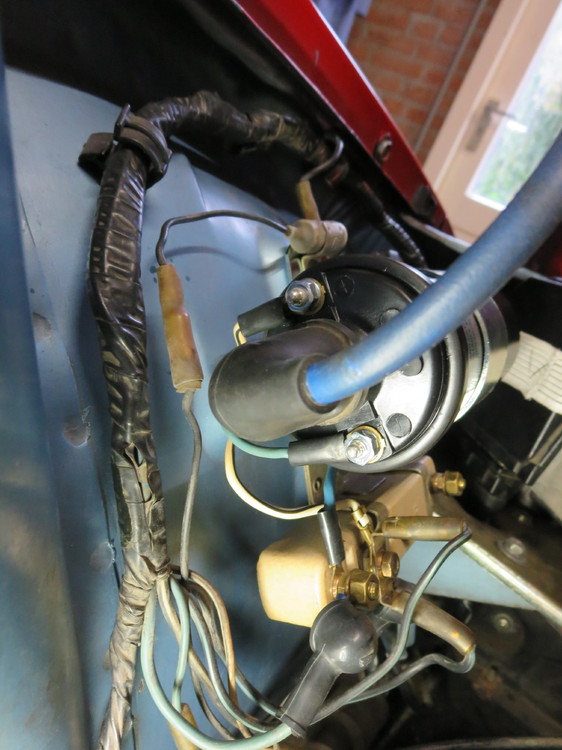
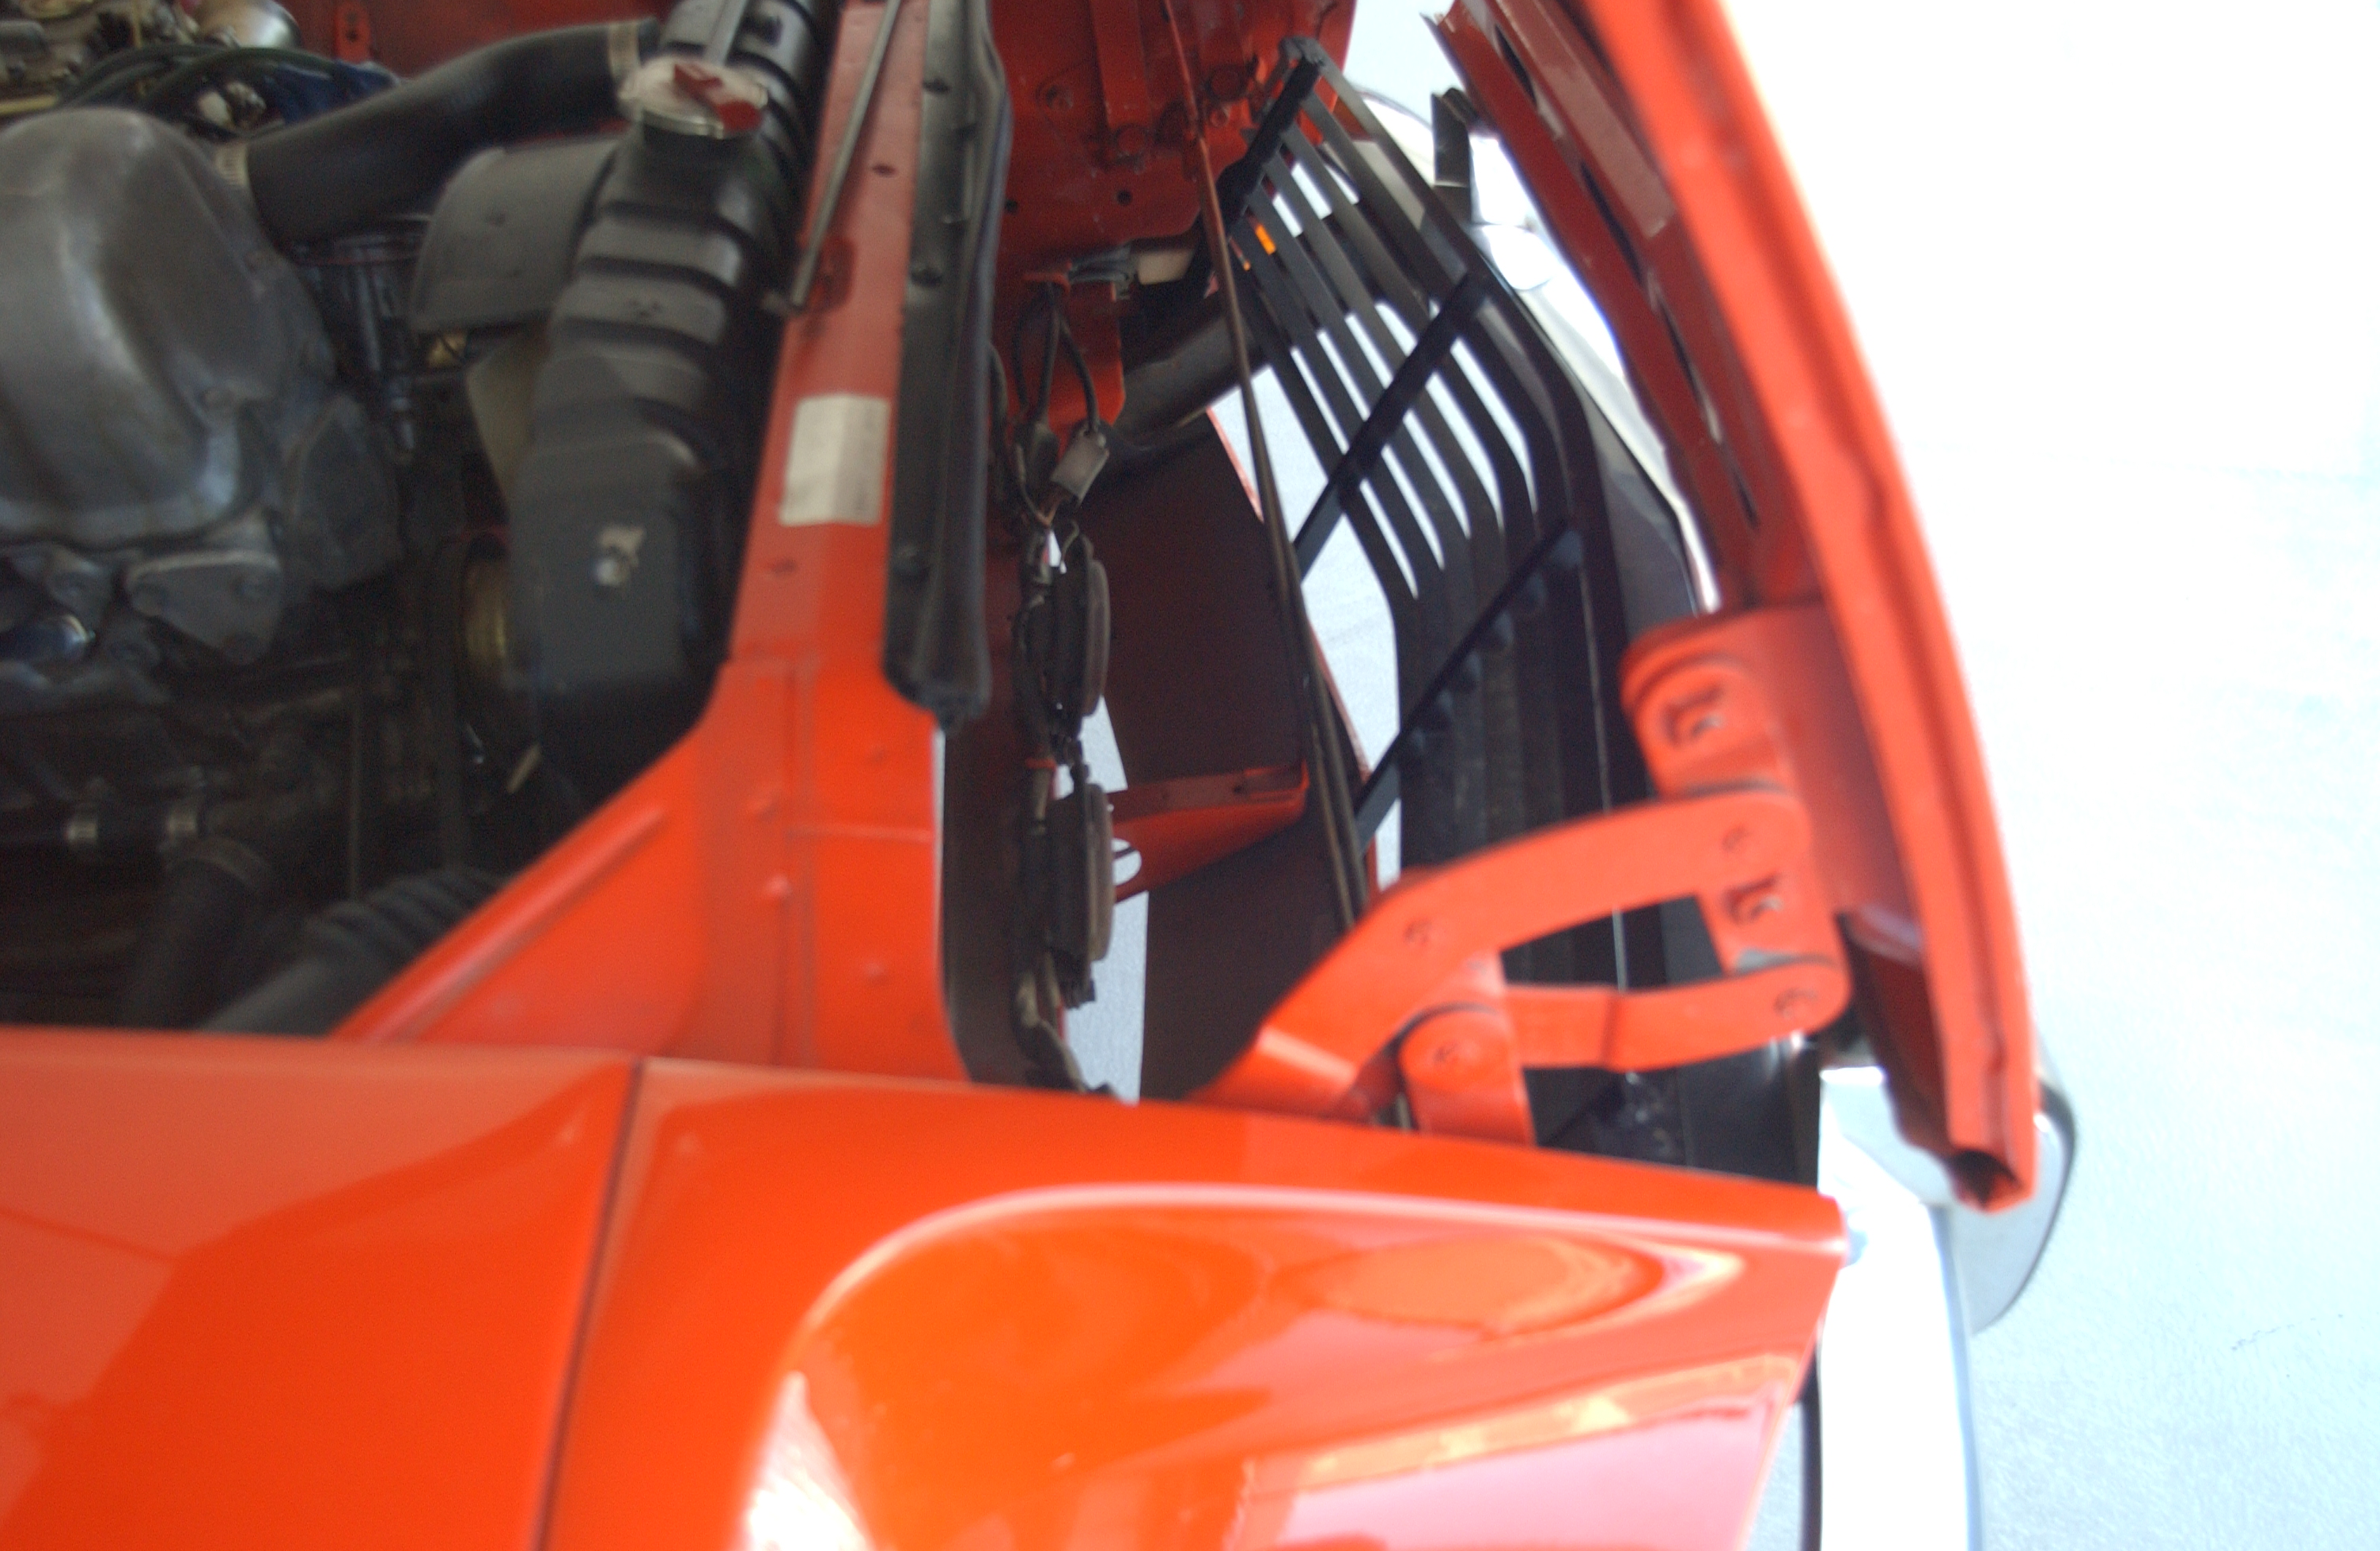
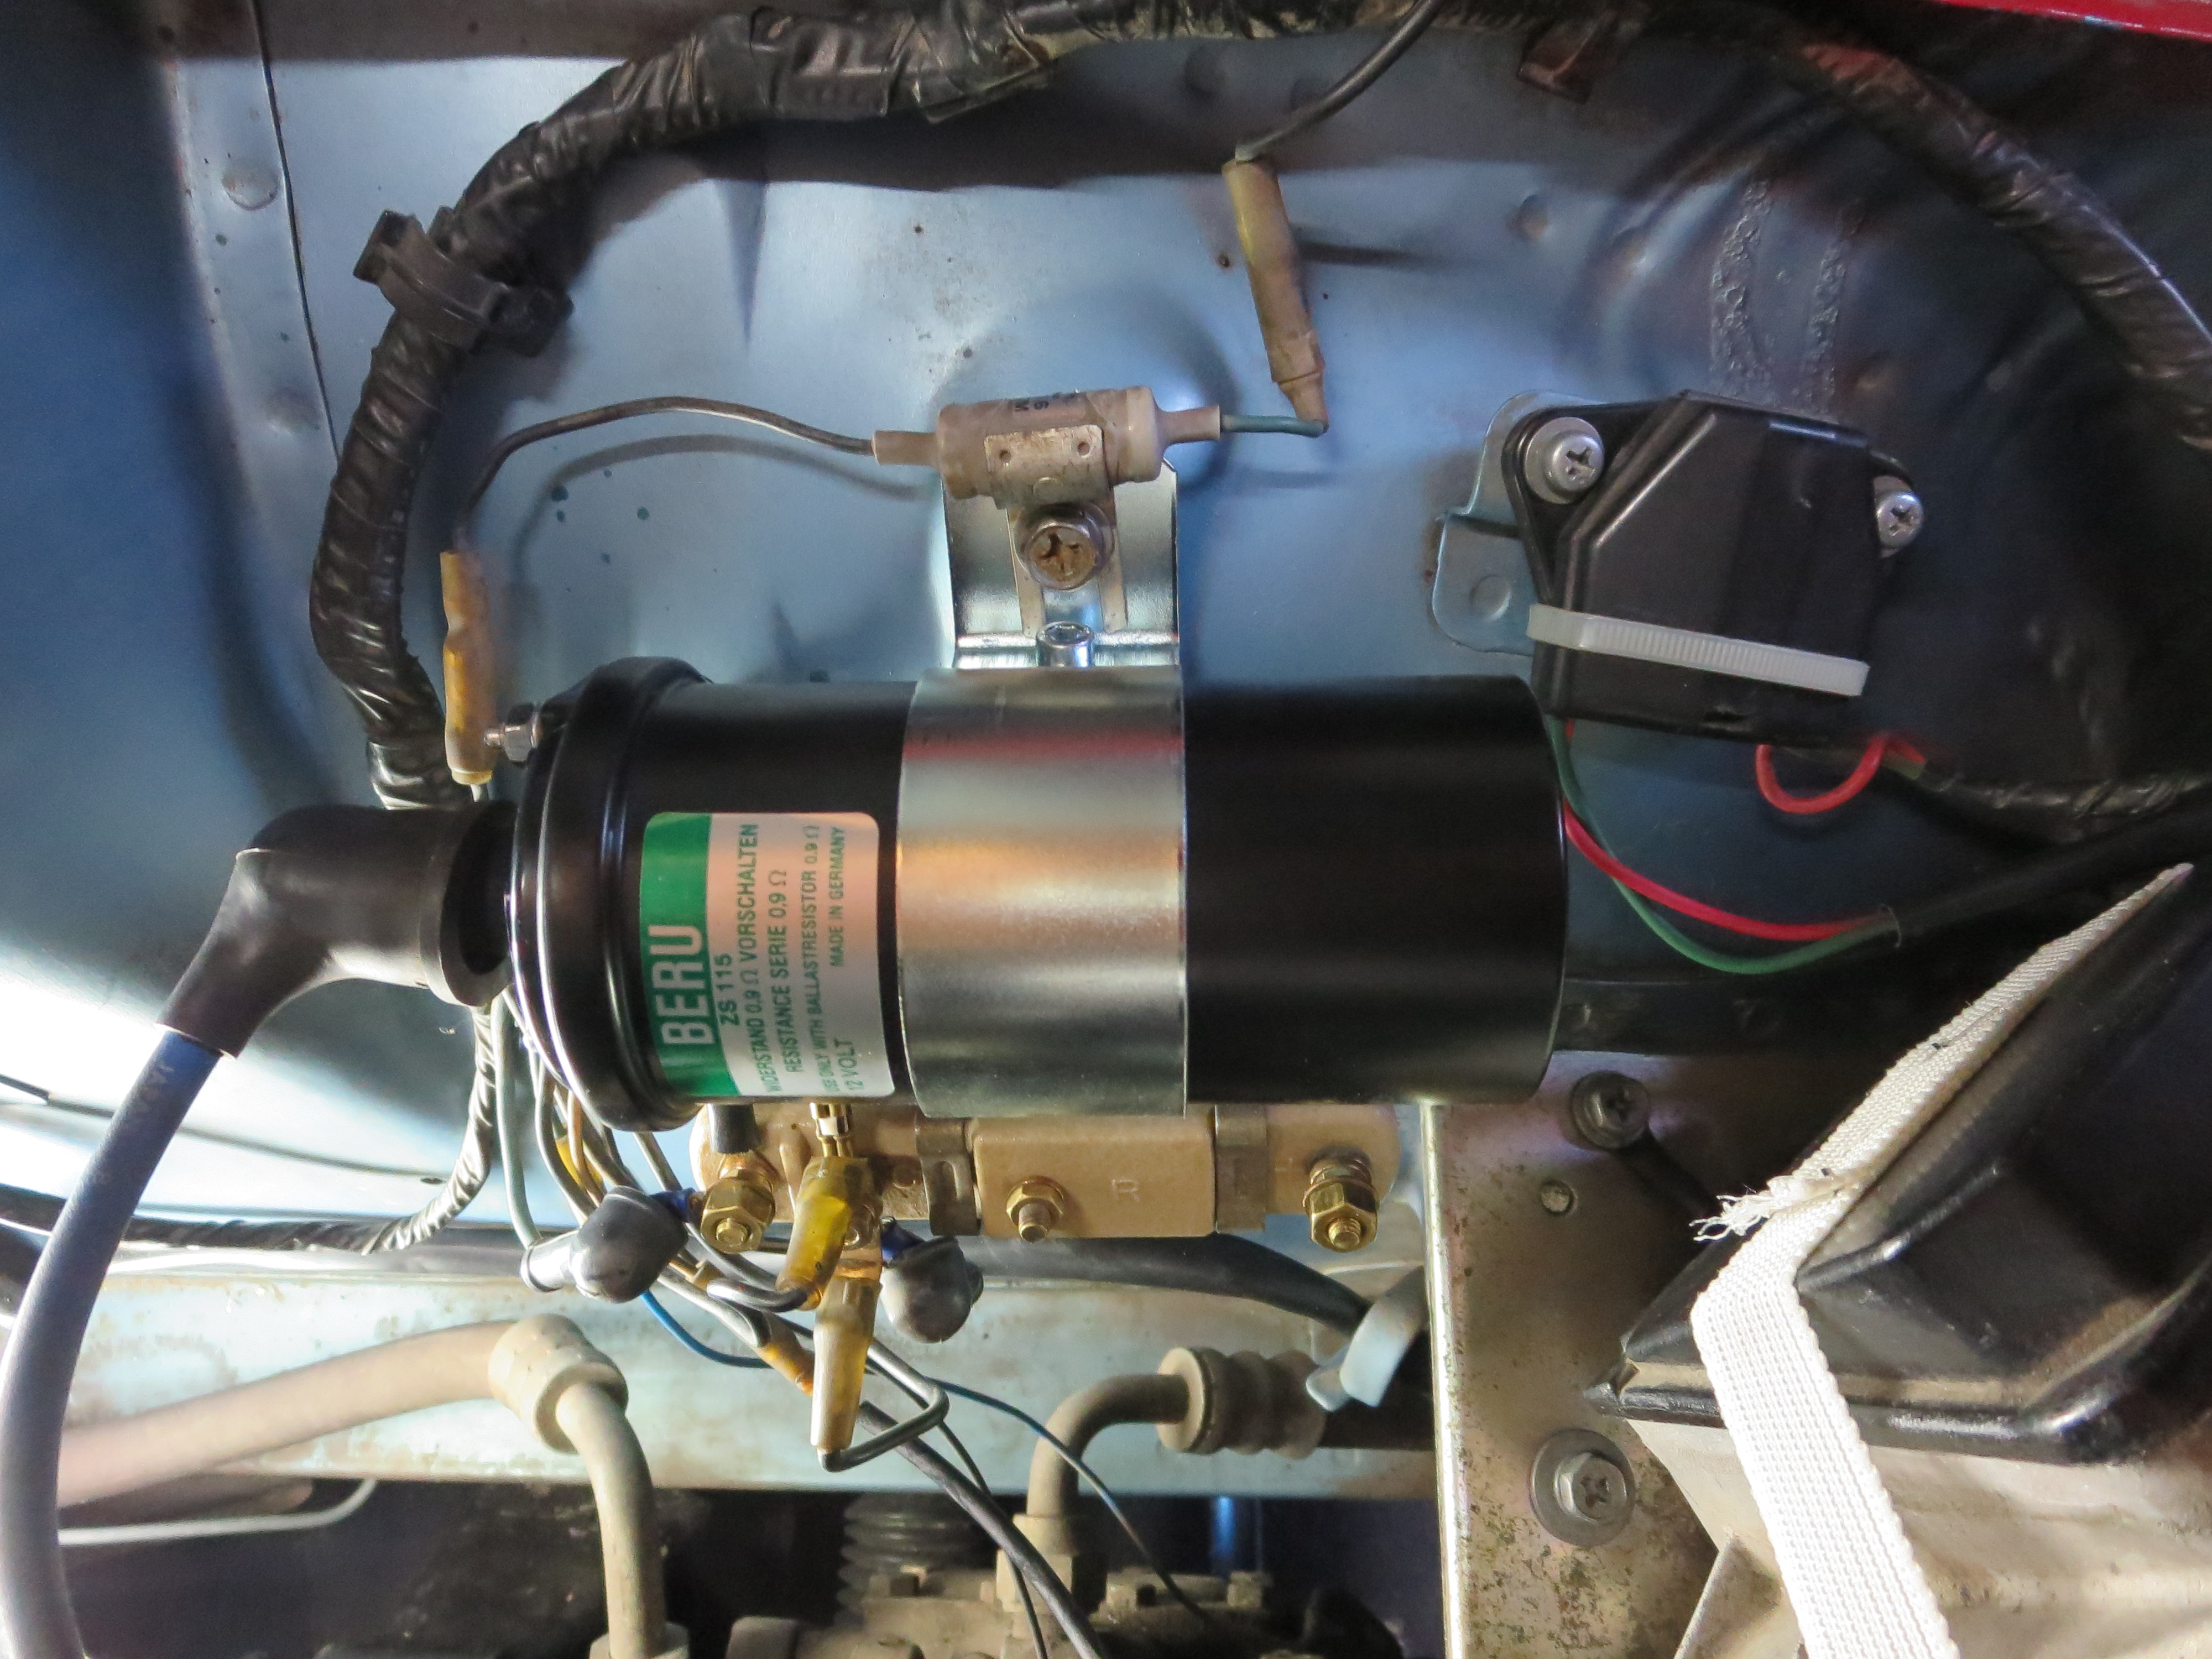
The wire coming out of the left side of the capacitor in your first photo goes to a plug in the wiring loom. It's not connected to the coil as such, and it's not causing you this problem.

 1 point
 -
1 point
-
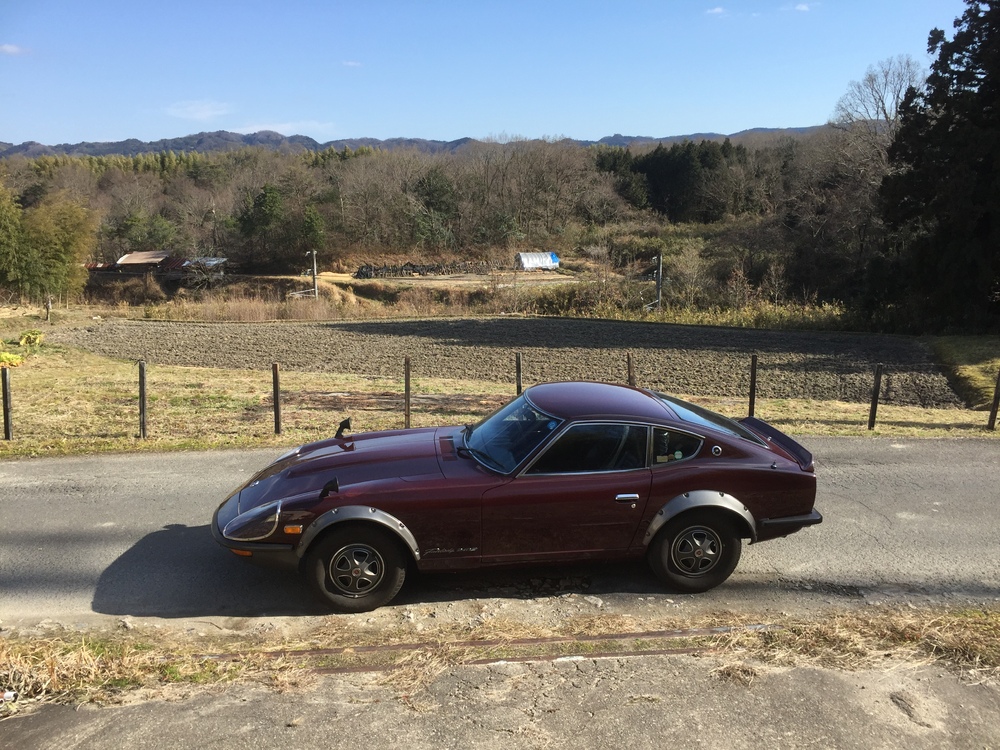
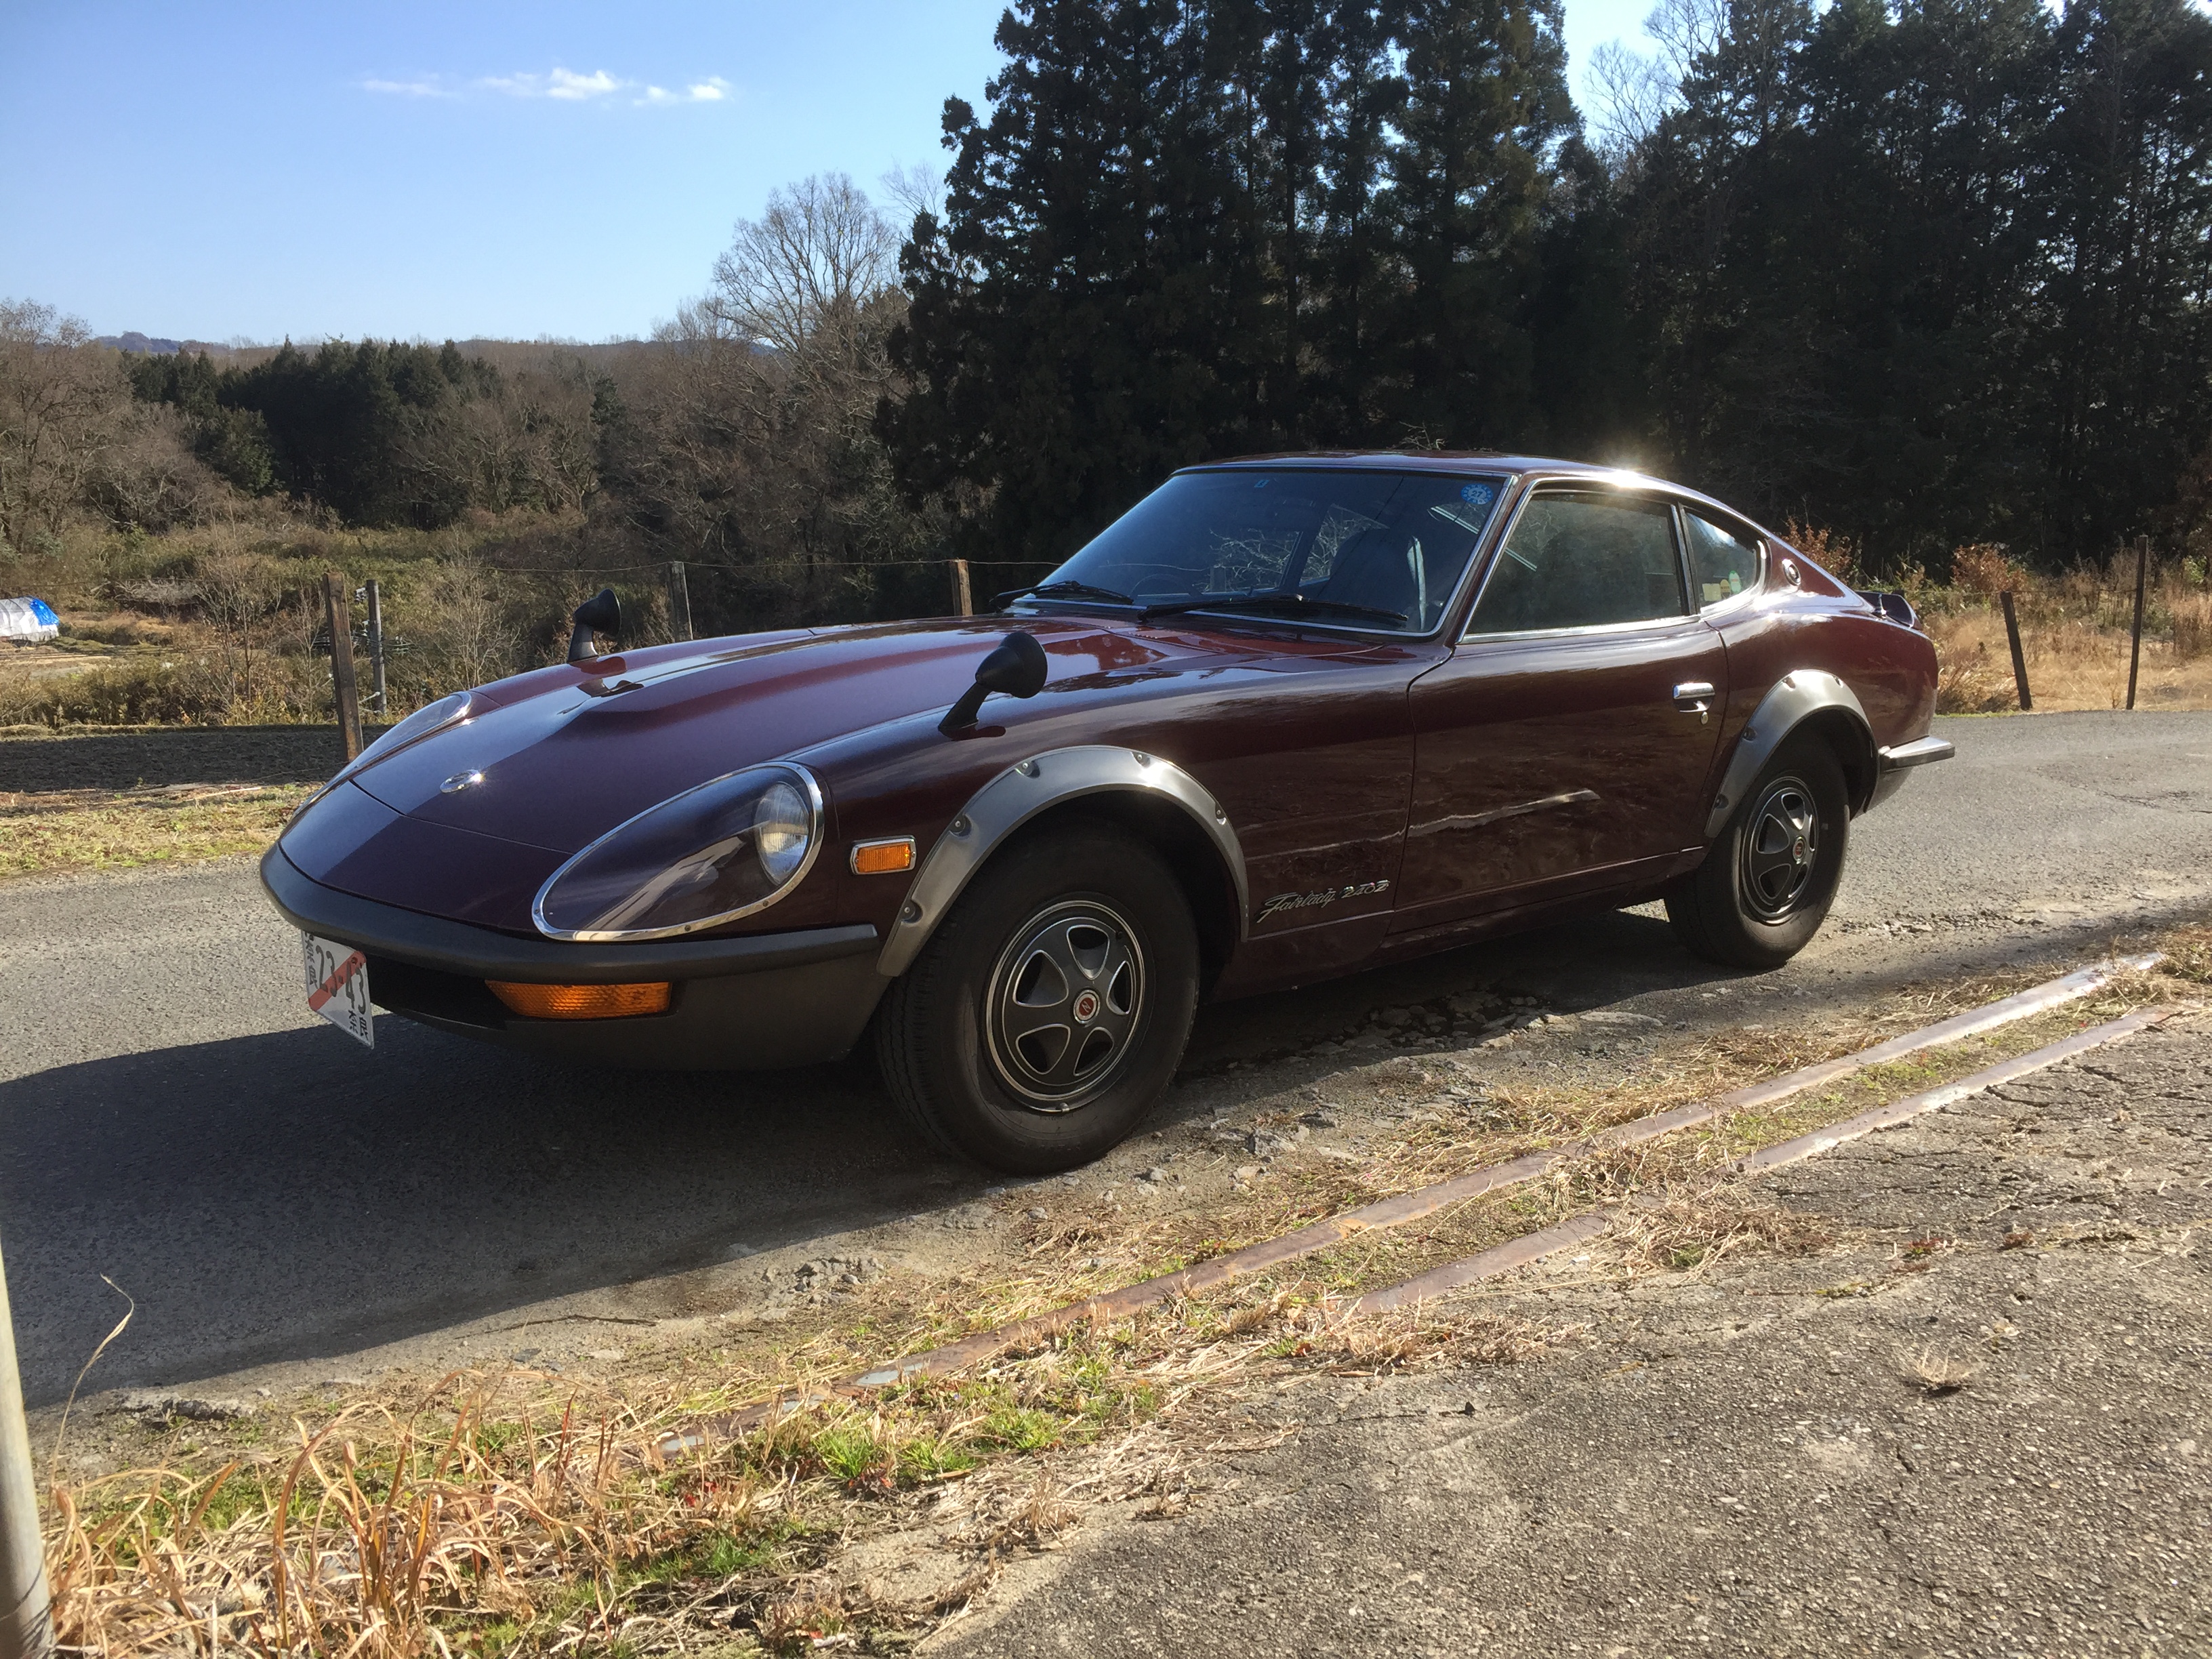
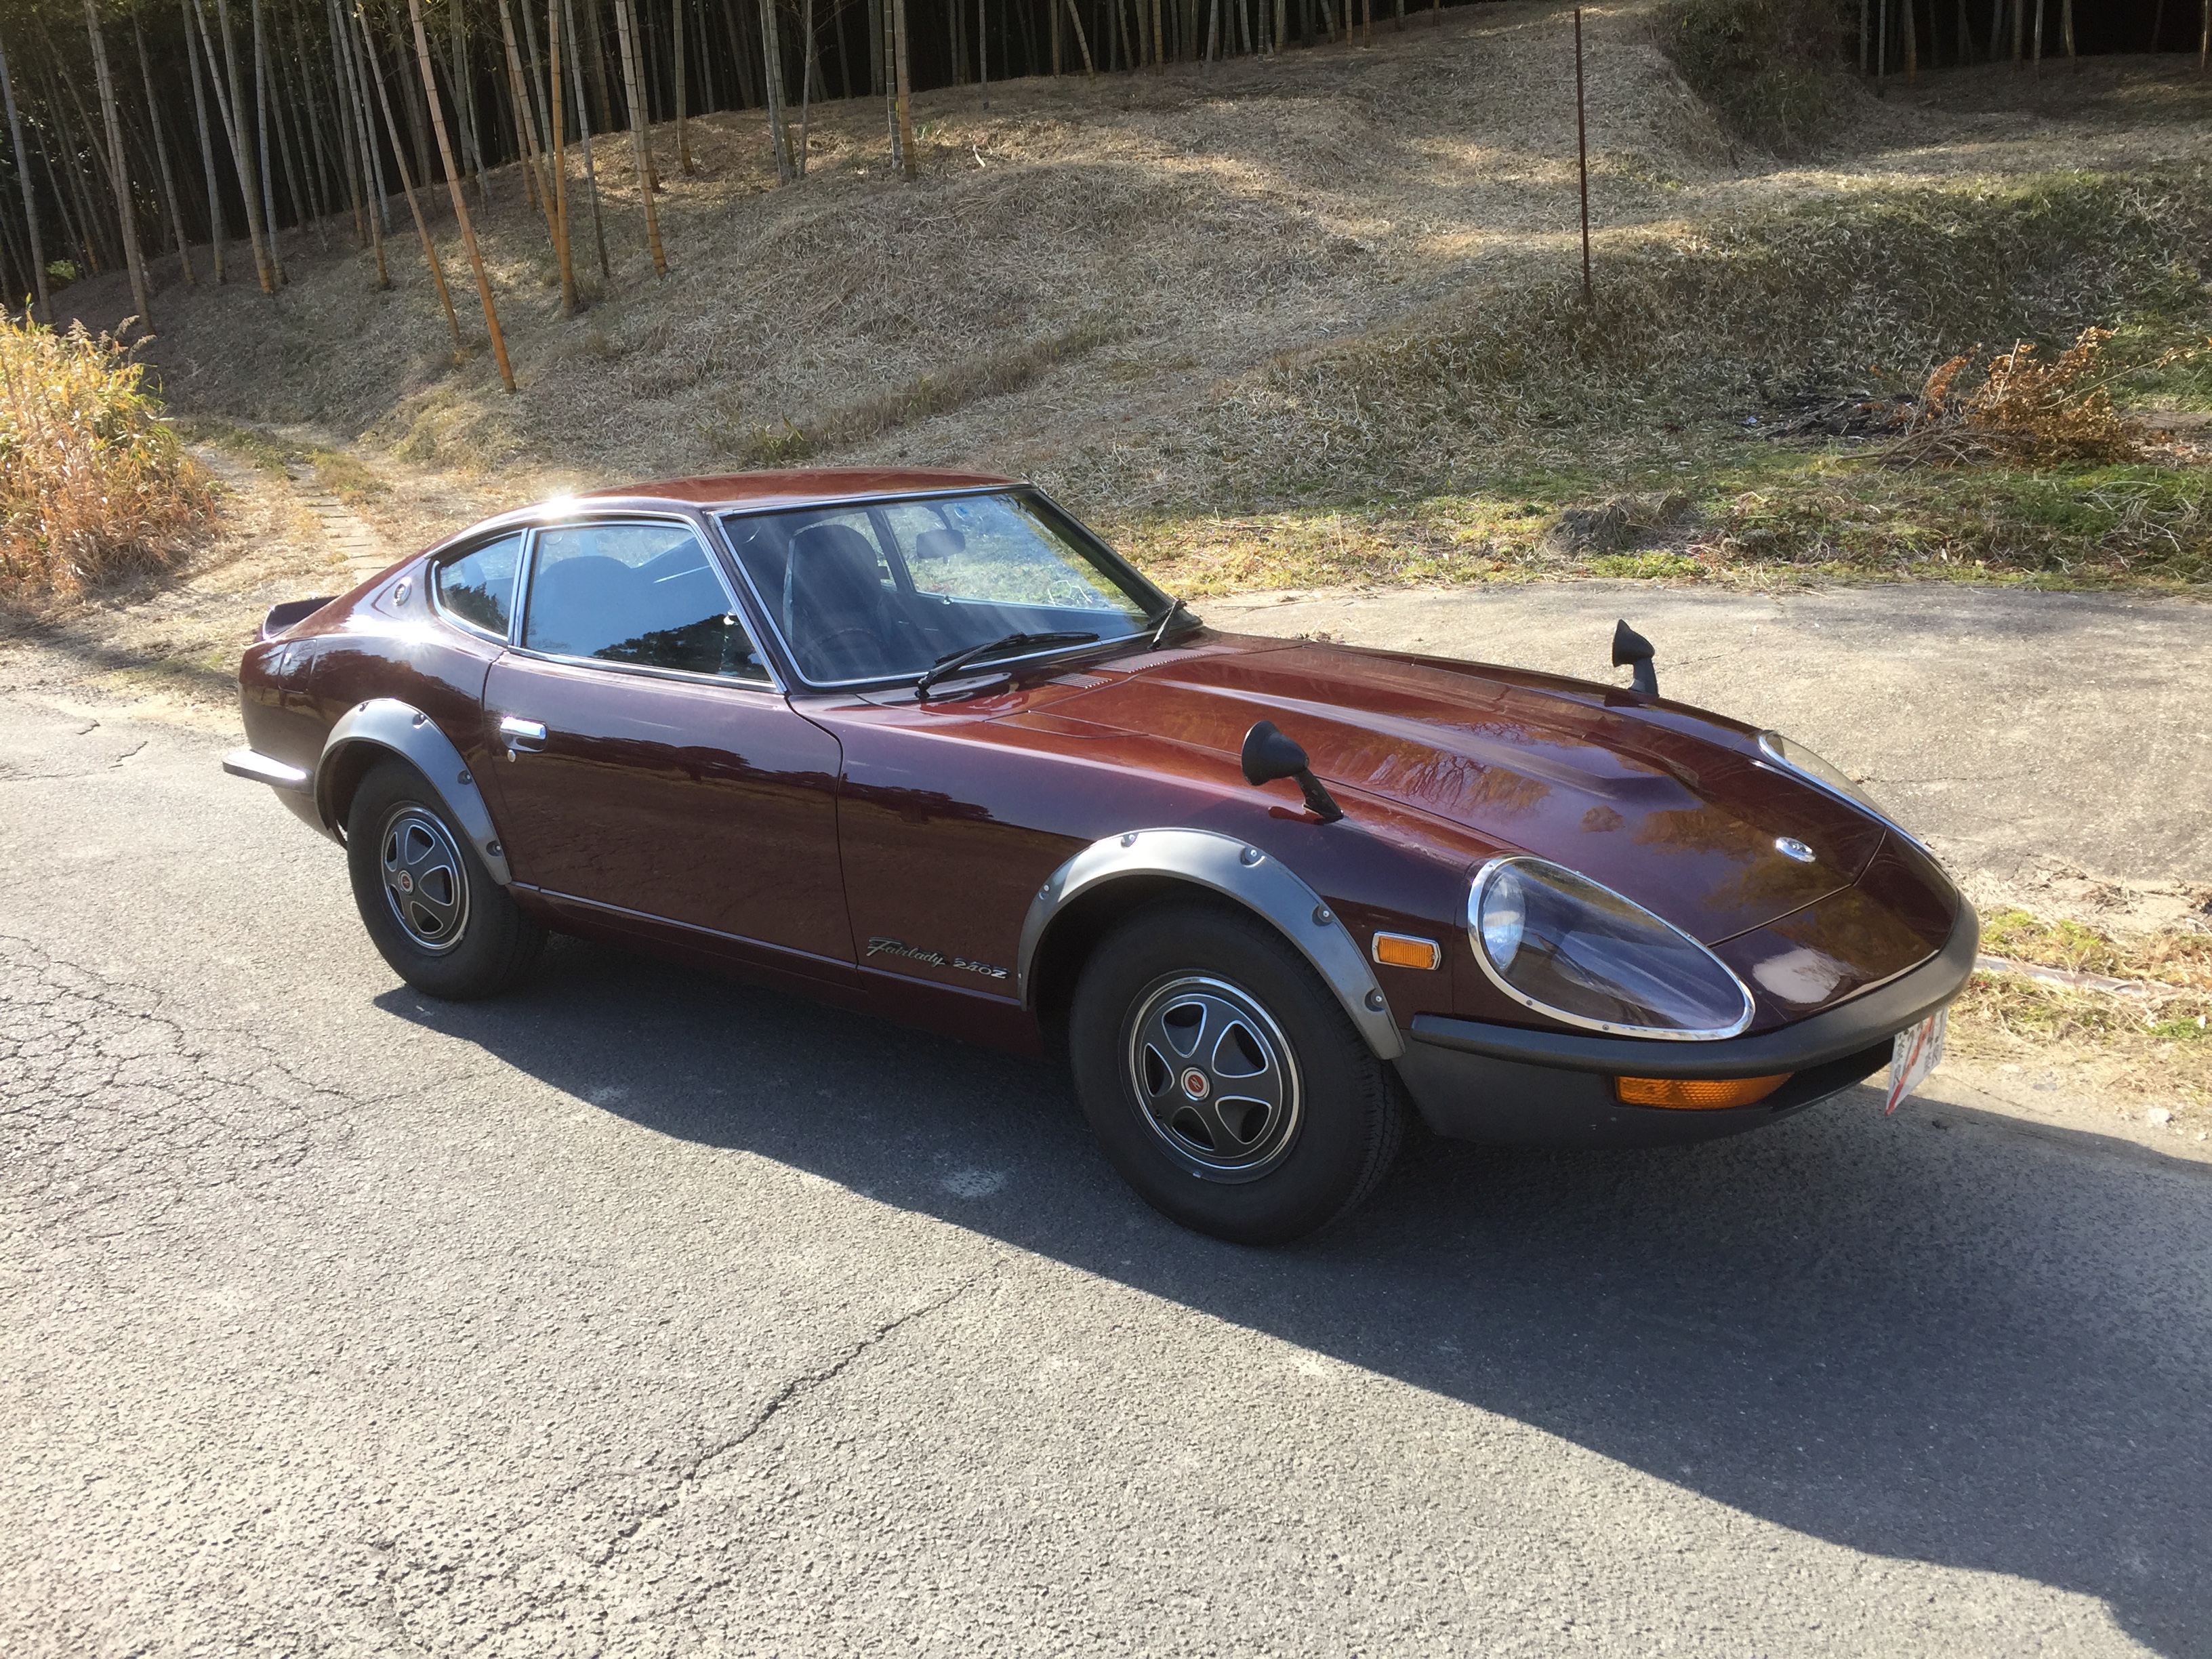
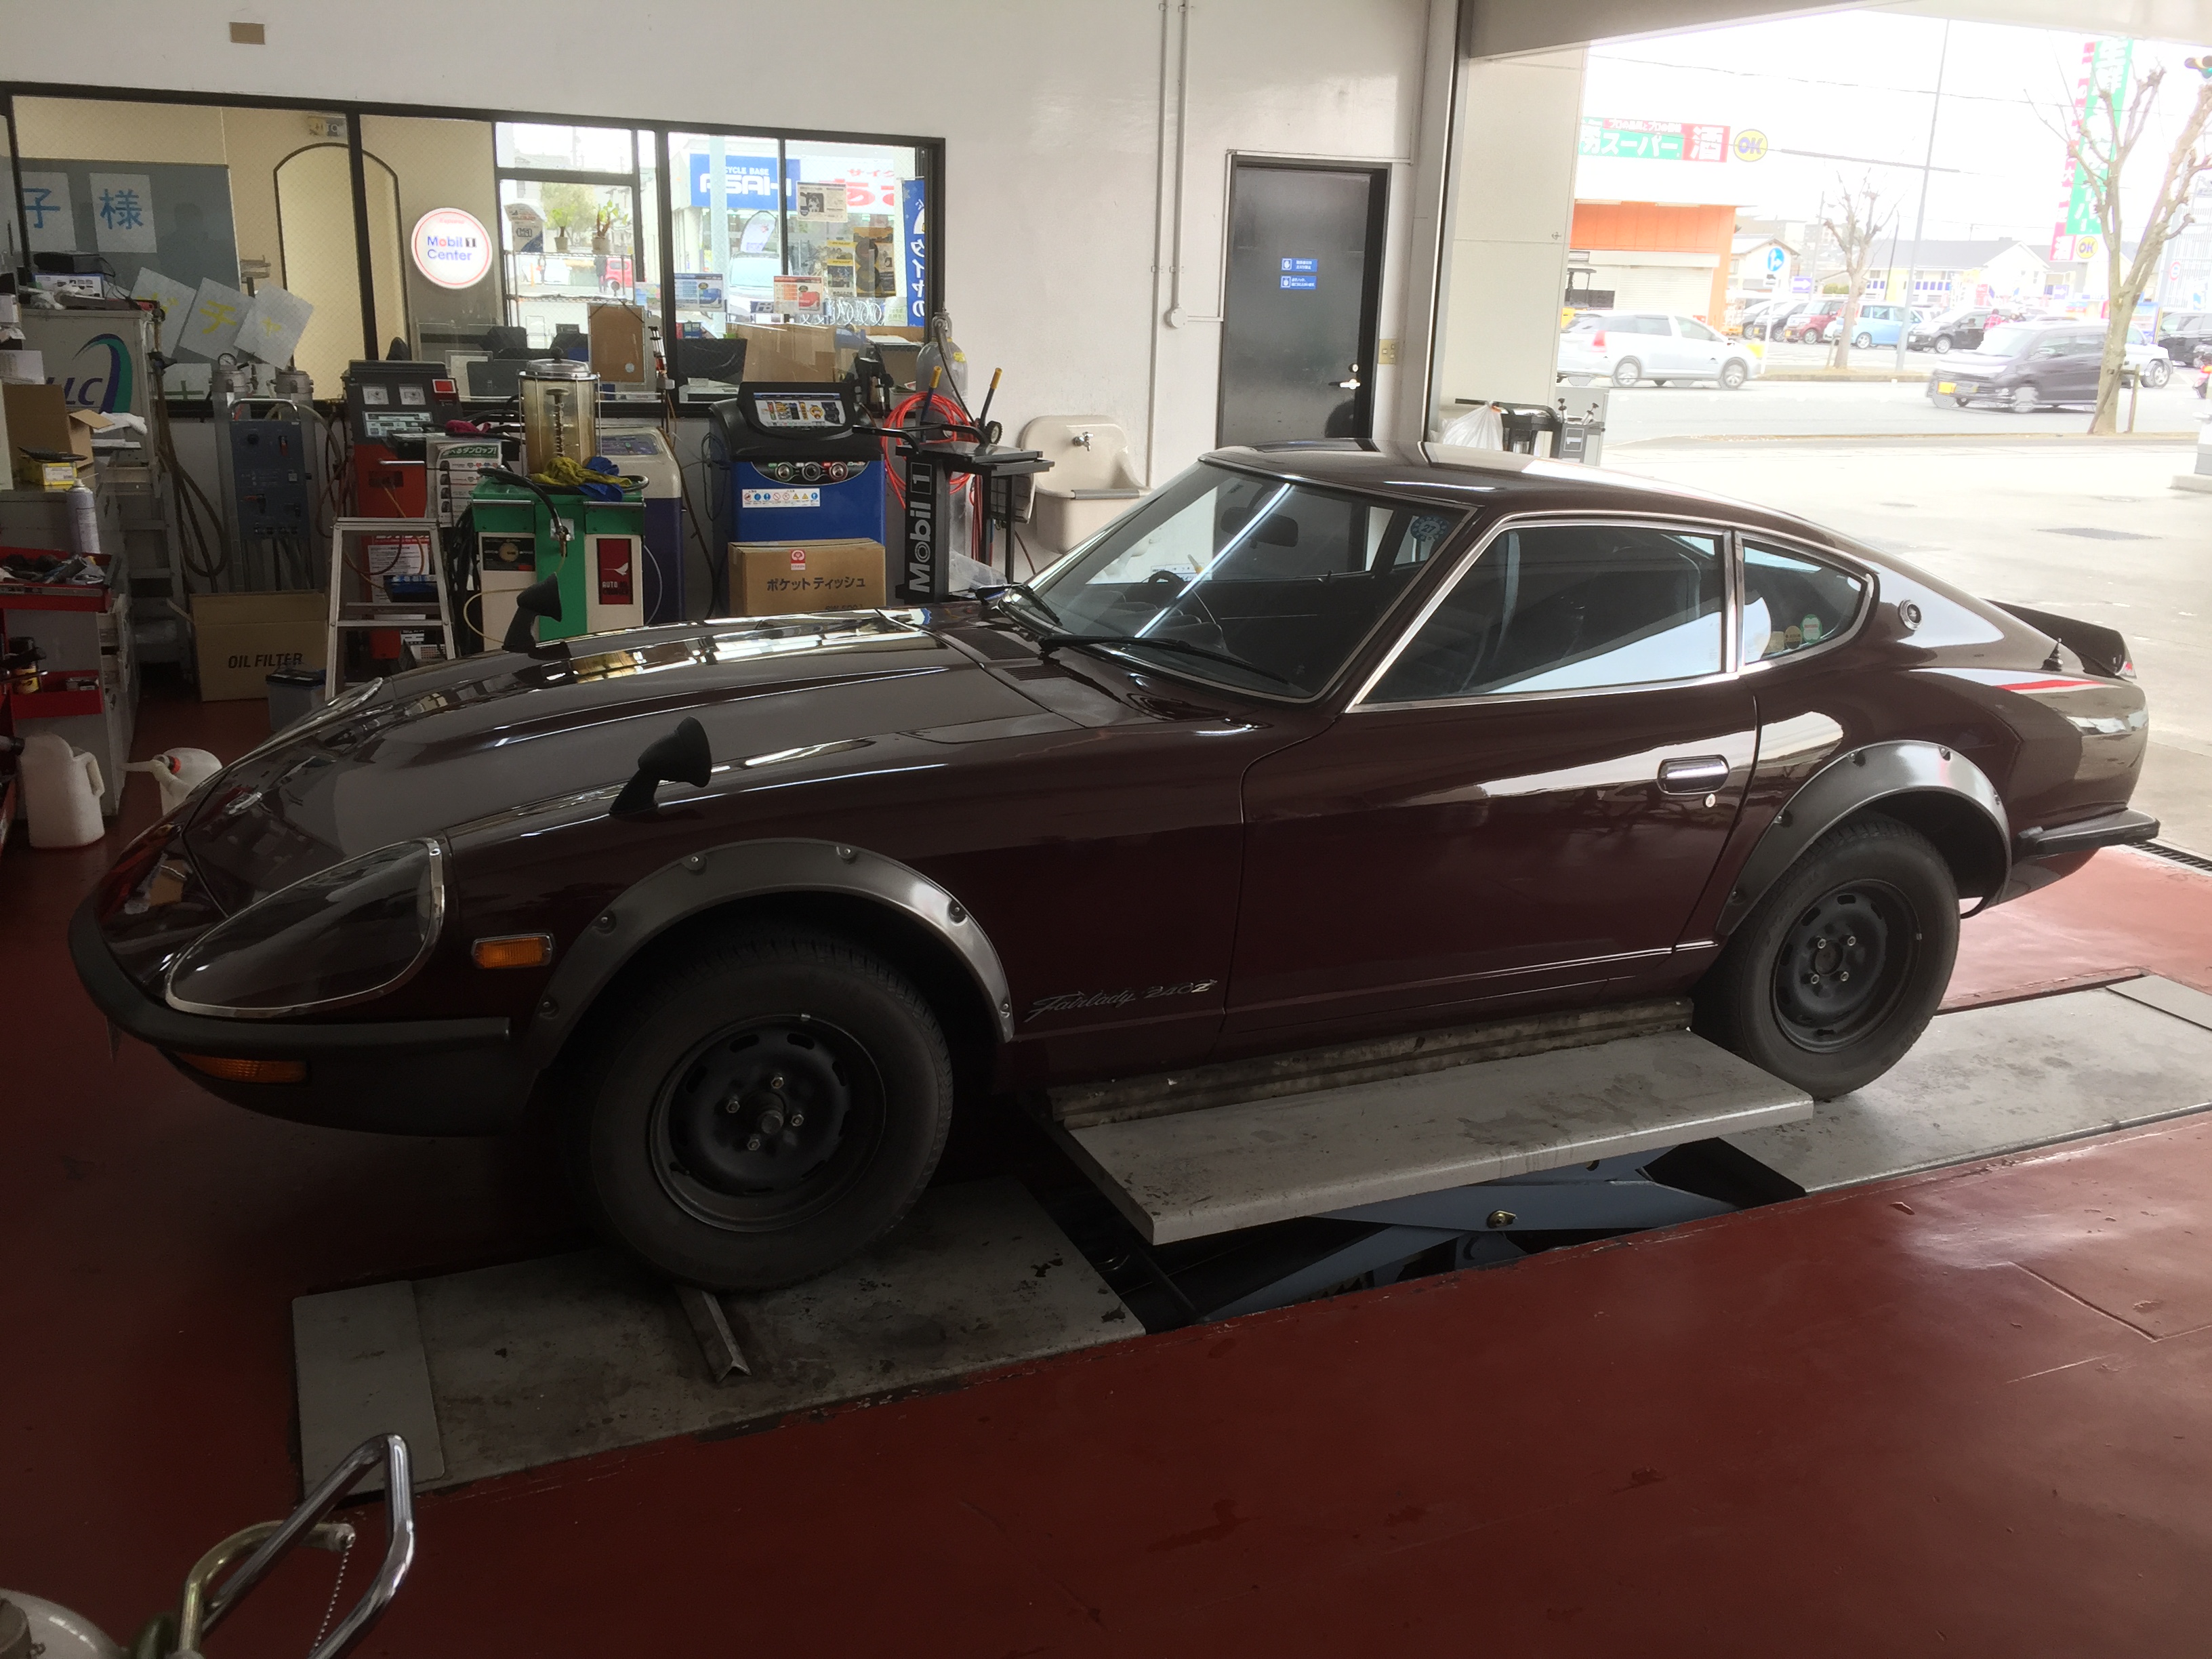
1 point1 pointDon't get crazy swapping parts. You're a little off on how the system works. There's not supposed to be voltage from the coil to the cap until spark happens. Then it's one giant blast of voltage that would blow up your meter if you tried to measure it. The fact that you have power to the coil implies that it's a module or triggering problem. The pickup coil inside the distributor does the triggering.1 point1 pointNice! Moved this to our classifieds for sale forum. Good luck with the sale, although I hate to see a Z owner sell such a beauty!1 point1 pointThe E7211 springs are paired with the E7213 struts because the spring lengths are matched to the (fixed) spring platforms on the struts. If you try to fit the E7211 springs onto stock struts - especially north American market struts - the ride height and geometry will be wrong. You could either cut and re-weld your spring platforms to suit the springs, or convert to adjustable platforms? The E7213 struts were hydraulic type and non-adjustable, so you can use any cartridge type insert that matches the springs.1 pointI just finished the PerTronix upgrade using the new Ignitor II electronic ignition with solid state dwell compensation plus Flame Thrower Coil on my '72 240Z, 11/71 production with original tach. I opted for the 1.5 ohm coil so I could retain the Ballast resister in order to mimic the original wiring as much as possible just to try and avoid tach issues. Plus (most importantly) I used the John Hull wiring diagram, see link. Carefully following the wiring diagram, and spending about 3 hours total, I buttoned everything up, turned the key and my car fired right up with the tach operating normally. My idle has increased to about 1100 over the original 900 which I will adjust but the car seems to run very smooth with better acceleration and no tach issues. Hope this helps... www.zhome.com/ZCMnL/tech/ZXPertronix.htm Sent from my SAMSUNG-SM-G900A using Classic Zcar Club mobile1 point1 pointCool. So they moved that hole. Wonder why. Anyway, glad you're back on the road. I've got a couple months to go yet before they stop salting the roads up here.1 pointWhat year air cleaner box are you looking for? Makes a difference. I have the late 71 / 72 / 73 available.1 point1 pointThis off current subject but Matthew couldn't see a picture I posted a few weeks ago so I took another.1 point1 pointToday I took my 240ZG for a couple of ours to enjoy windings near my house . At near the end of the driving , the shift lever did not want to engage , I found the clutch operating cylinder had a leak. I need to replace 11/16 adjustable cylinder. Kats


 1 pointKind of how I feel about it too Cap. I've done plenty of projects that are ostensibly harder, but none have given me this much trouble. Glutton for punishment that I am, I'm sanding it off again. Definition of insanity, right?1 point1 pointMy better half just showed me this, thought I'd share with our southern neighbours! http://videos2view.net/stronger-beer.htm1 pointIf you want to test the TIU, you can use the test section in an instruction I made for replacing the TIU with a HEI module. The test procedure will be the same for the TIU. The instruction is made for someone the has basic knowledge of the electrical system. Its basically a process of elimination since the TIU is a black box without special test equipment. Instruction - Fitting a 4-pin HEI module to 280Z 1977 RevD.pdf1 pointDid you also check the fusible links in front of the battery? Those are also fuses. Use a continuity tester don't just assume they look good.1 pointTransister Ignition Unit is not in engine bay. It is the passenger side footwell behind a plastic kick panel just in front of the door. Check all your fuses of course1 pointThis just in from Sports Car Market - A good write-up on the 70-78 Z's - 77 280Z - Original Paint, 87K miles, all original car - Metallic Brown - $44K. Their analysis is that 240Z's are pushing the $50K range.. So maybe I'm a little low on my estimate.. $35K reserve perhaps.. A Super Samuri sold in the UK for $61,240.00 as well. FWIW, Carl B.1 pointI submitted grannyknot's car to BAT, it was accepted, and the extra exposure I am sure helped drive the final price on Ebay. BAT has quite a following now, the S30's get a lot of attention. Worked out perfect. I think the op's car is a high 20's car. Comes with lots of provenance.1 pointDon't forget good old ebay, I sold my Z on ebay in the spring and I'm sure I got more for it there then I would have on BaT.1 pointDoes that mean a $40,000 asking price? does that seem reasonable to everyone else?1 pointWow. Thanks for all the info and encouraging words. I'm still planning on getting it on a lift to take pictures. SteveJ - Very cool that you remembered the car and have pictures of it at the show. I hope you can attest to the condition of the car to anyone that hasn't seen it. I'll look into Bring a Trailer. They picked up a Ferrari I was selling and the comments got out of control. There are a lot of "trolls" on there. I would really like to see the car go to a good home (I'm sure Mike would agree) and not to someone that is just going to try to resell it1 point1 pointMy apologies that it has taken me several weeks to get back to my thread. After some trial and error I determined the correct size ball bearing is 1/8 inch or 32mm. I found a local bearing supplier on Ebay and picked up a 25 pack for $5 shipped to my door. After getting the bubba solder glob off the spring I put some dielectric grease on it along with the switch mechanism itself. When I was putting it back together I could tell the spring & ball was applying more pressure to the switch mechanism so confidence was high as I was reassembling it. The picture below shows the ball on the spring but without the dielectric grease. Once reinstalled my confidence faded as the problem still exists. I did notice the action was smoother and more profound than before but the driver side brake light still does not light up even when jiggling the handle. Looking over the wiring diagram about 20 more times I am now at a loss of what is causing this. Based on the wiring diagram, since the neutral position on the turn signal switch sends power to both brake lights when the brake pedal is depressed, it makes me believe the turn signal switch is fine. The hazard lights work fine, each turn signal L&R works fine, with the brake depressed each turn signal flashes properly as well, just the driver side brake light does not stay on when the passenger side is flashing. Any input or advice is greatly appreciated!1 point


Important Information
By using this site, you agree to our Privacy Policy and Guidelines. We have placed cookies on your device to help make this website better. You can adjust your cookie settings, otherwise we'll assume you're okay to continue.