Leaderboard
-

Mike W
Free Member4Points453Posts -

moelk
Free Member3Points661Posts -


siteunseen
Free Member3Points14,903Posts -

HS30-H
Free Member3Points5,419Posts
Popular Content
Showing content with the highest reputation on 04/08/2017 in all areas
-
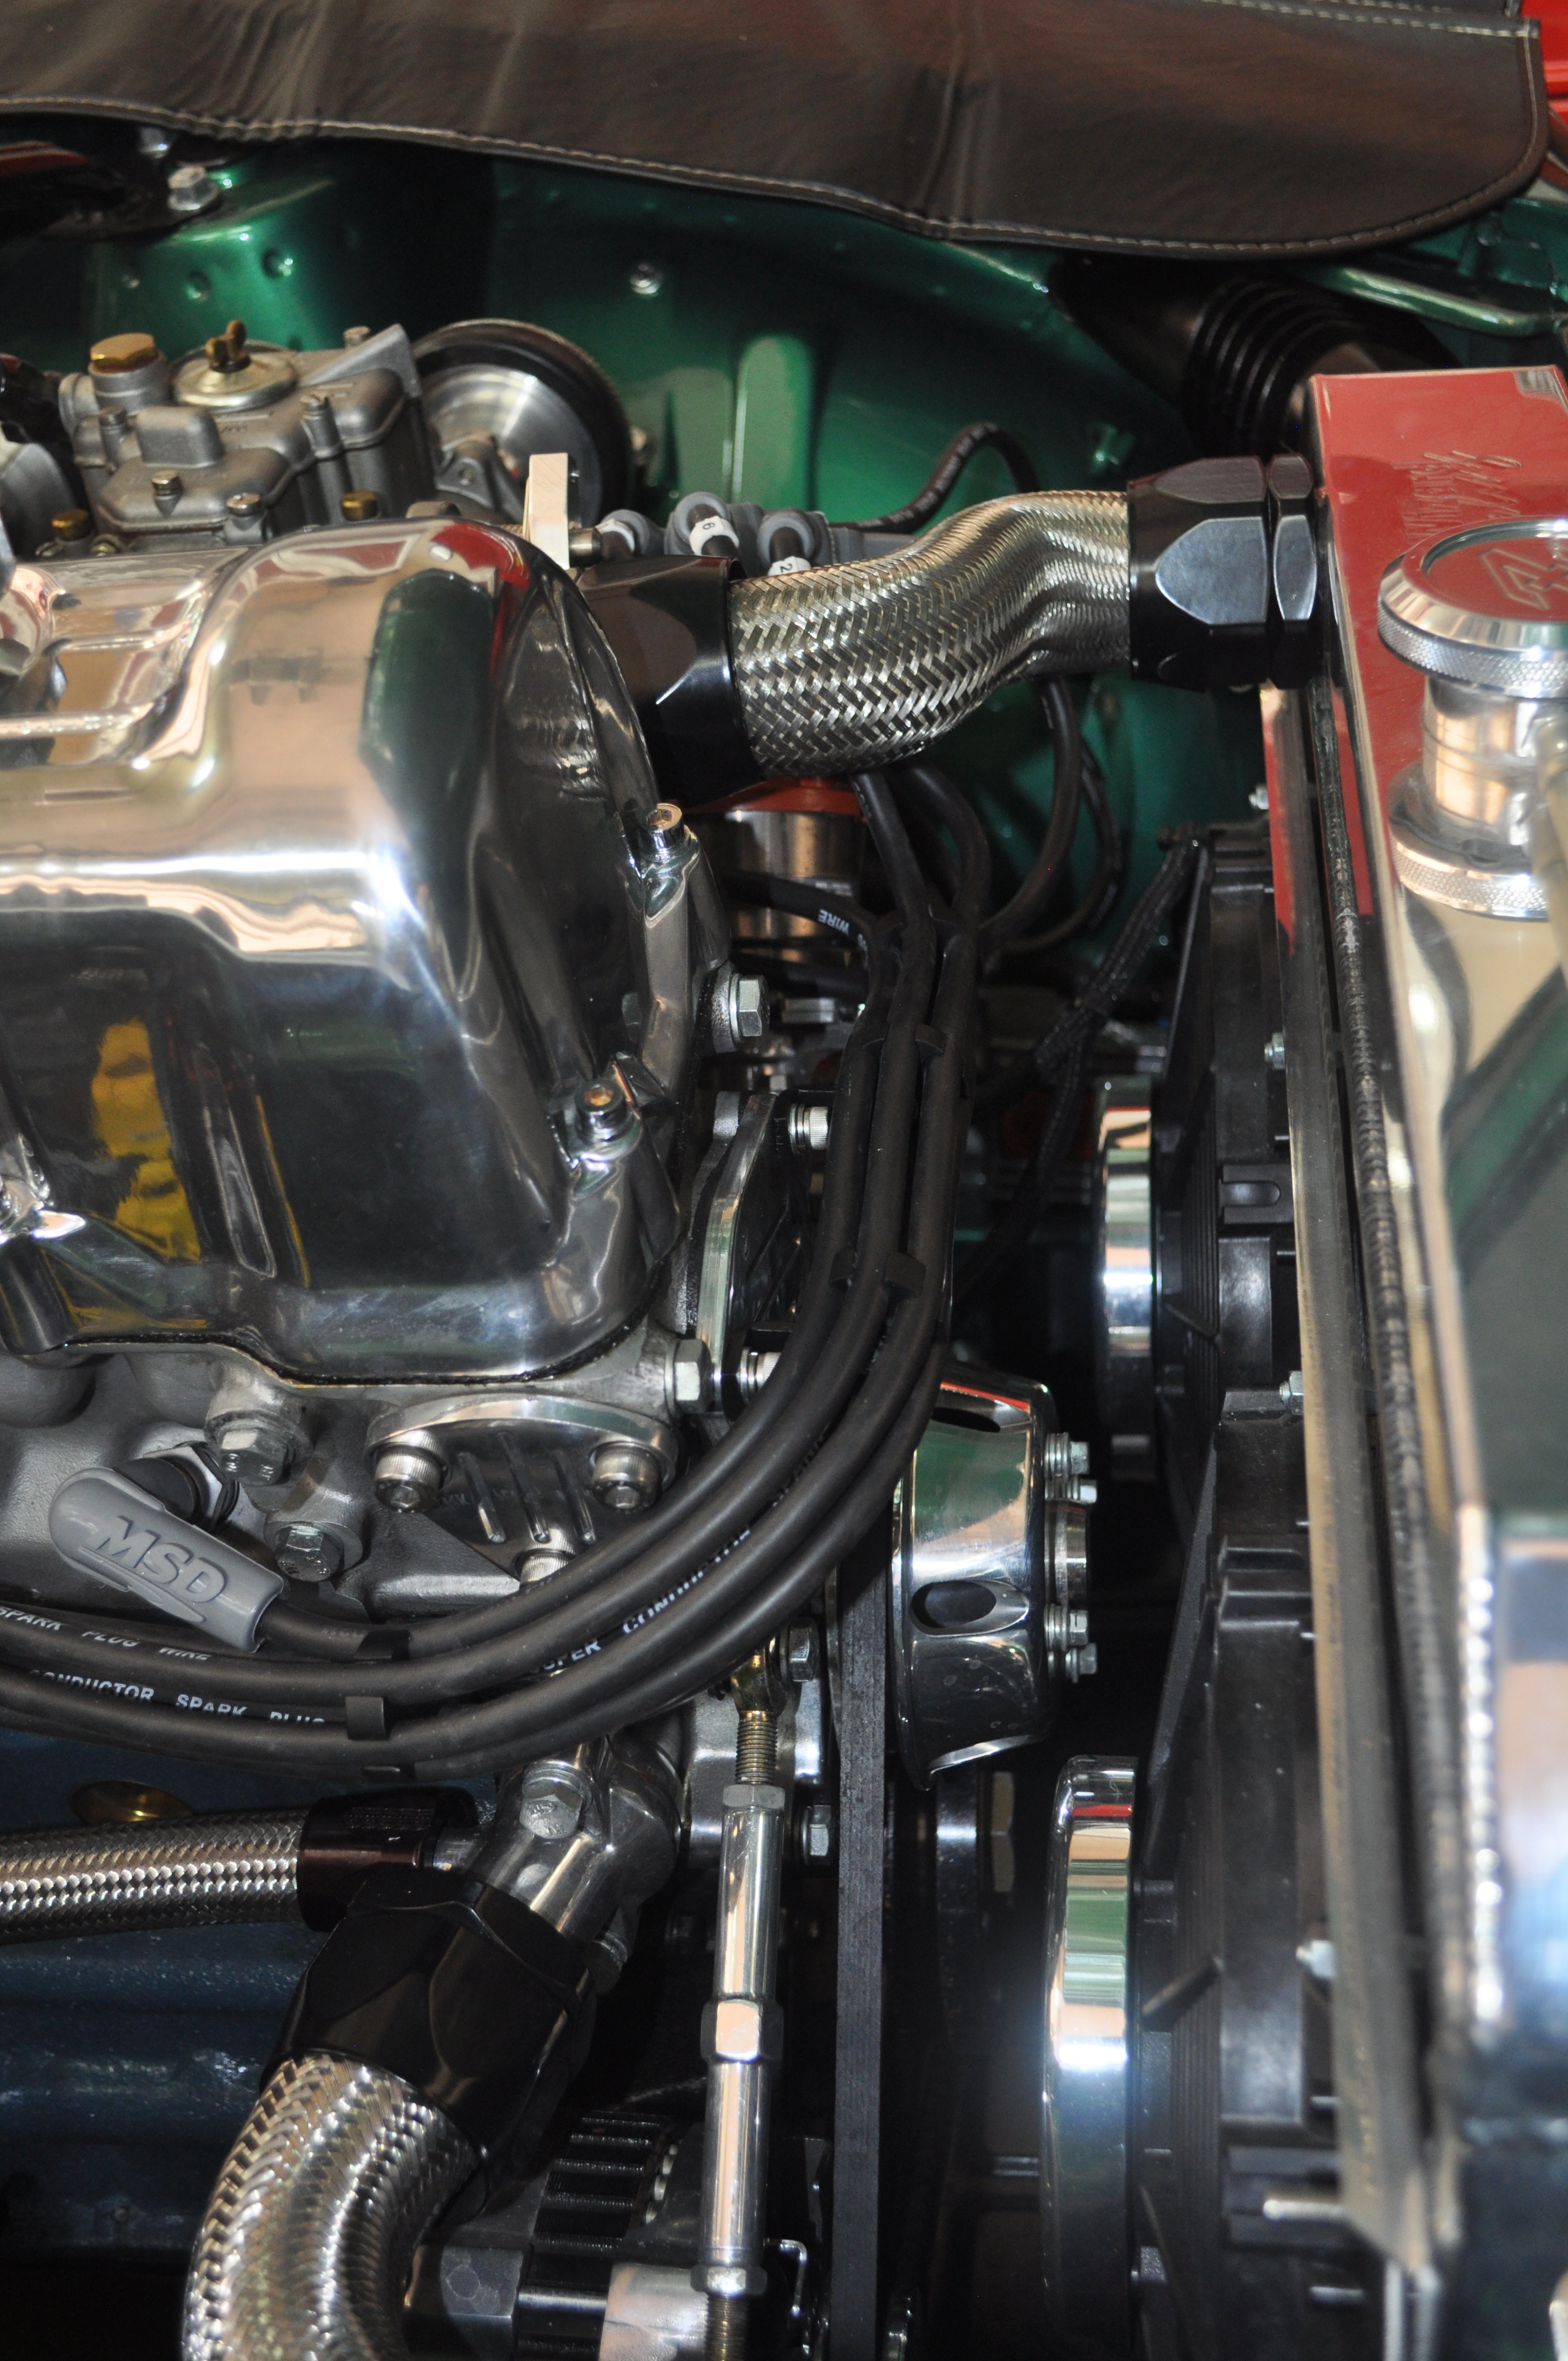
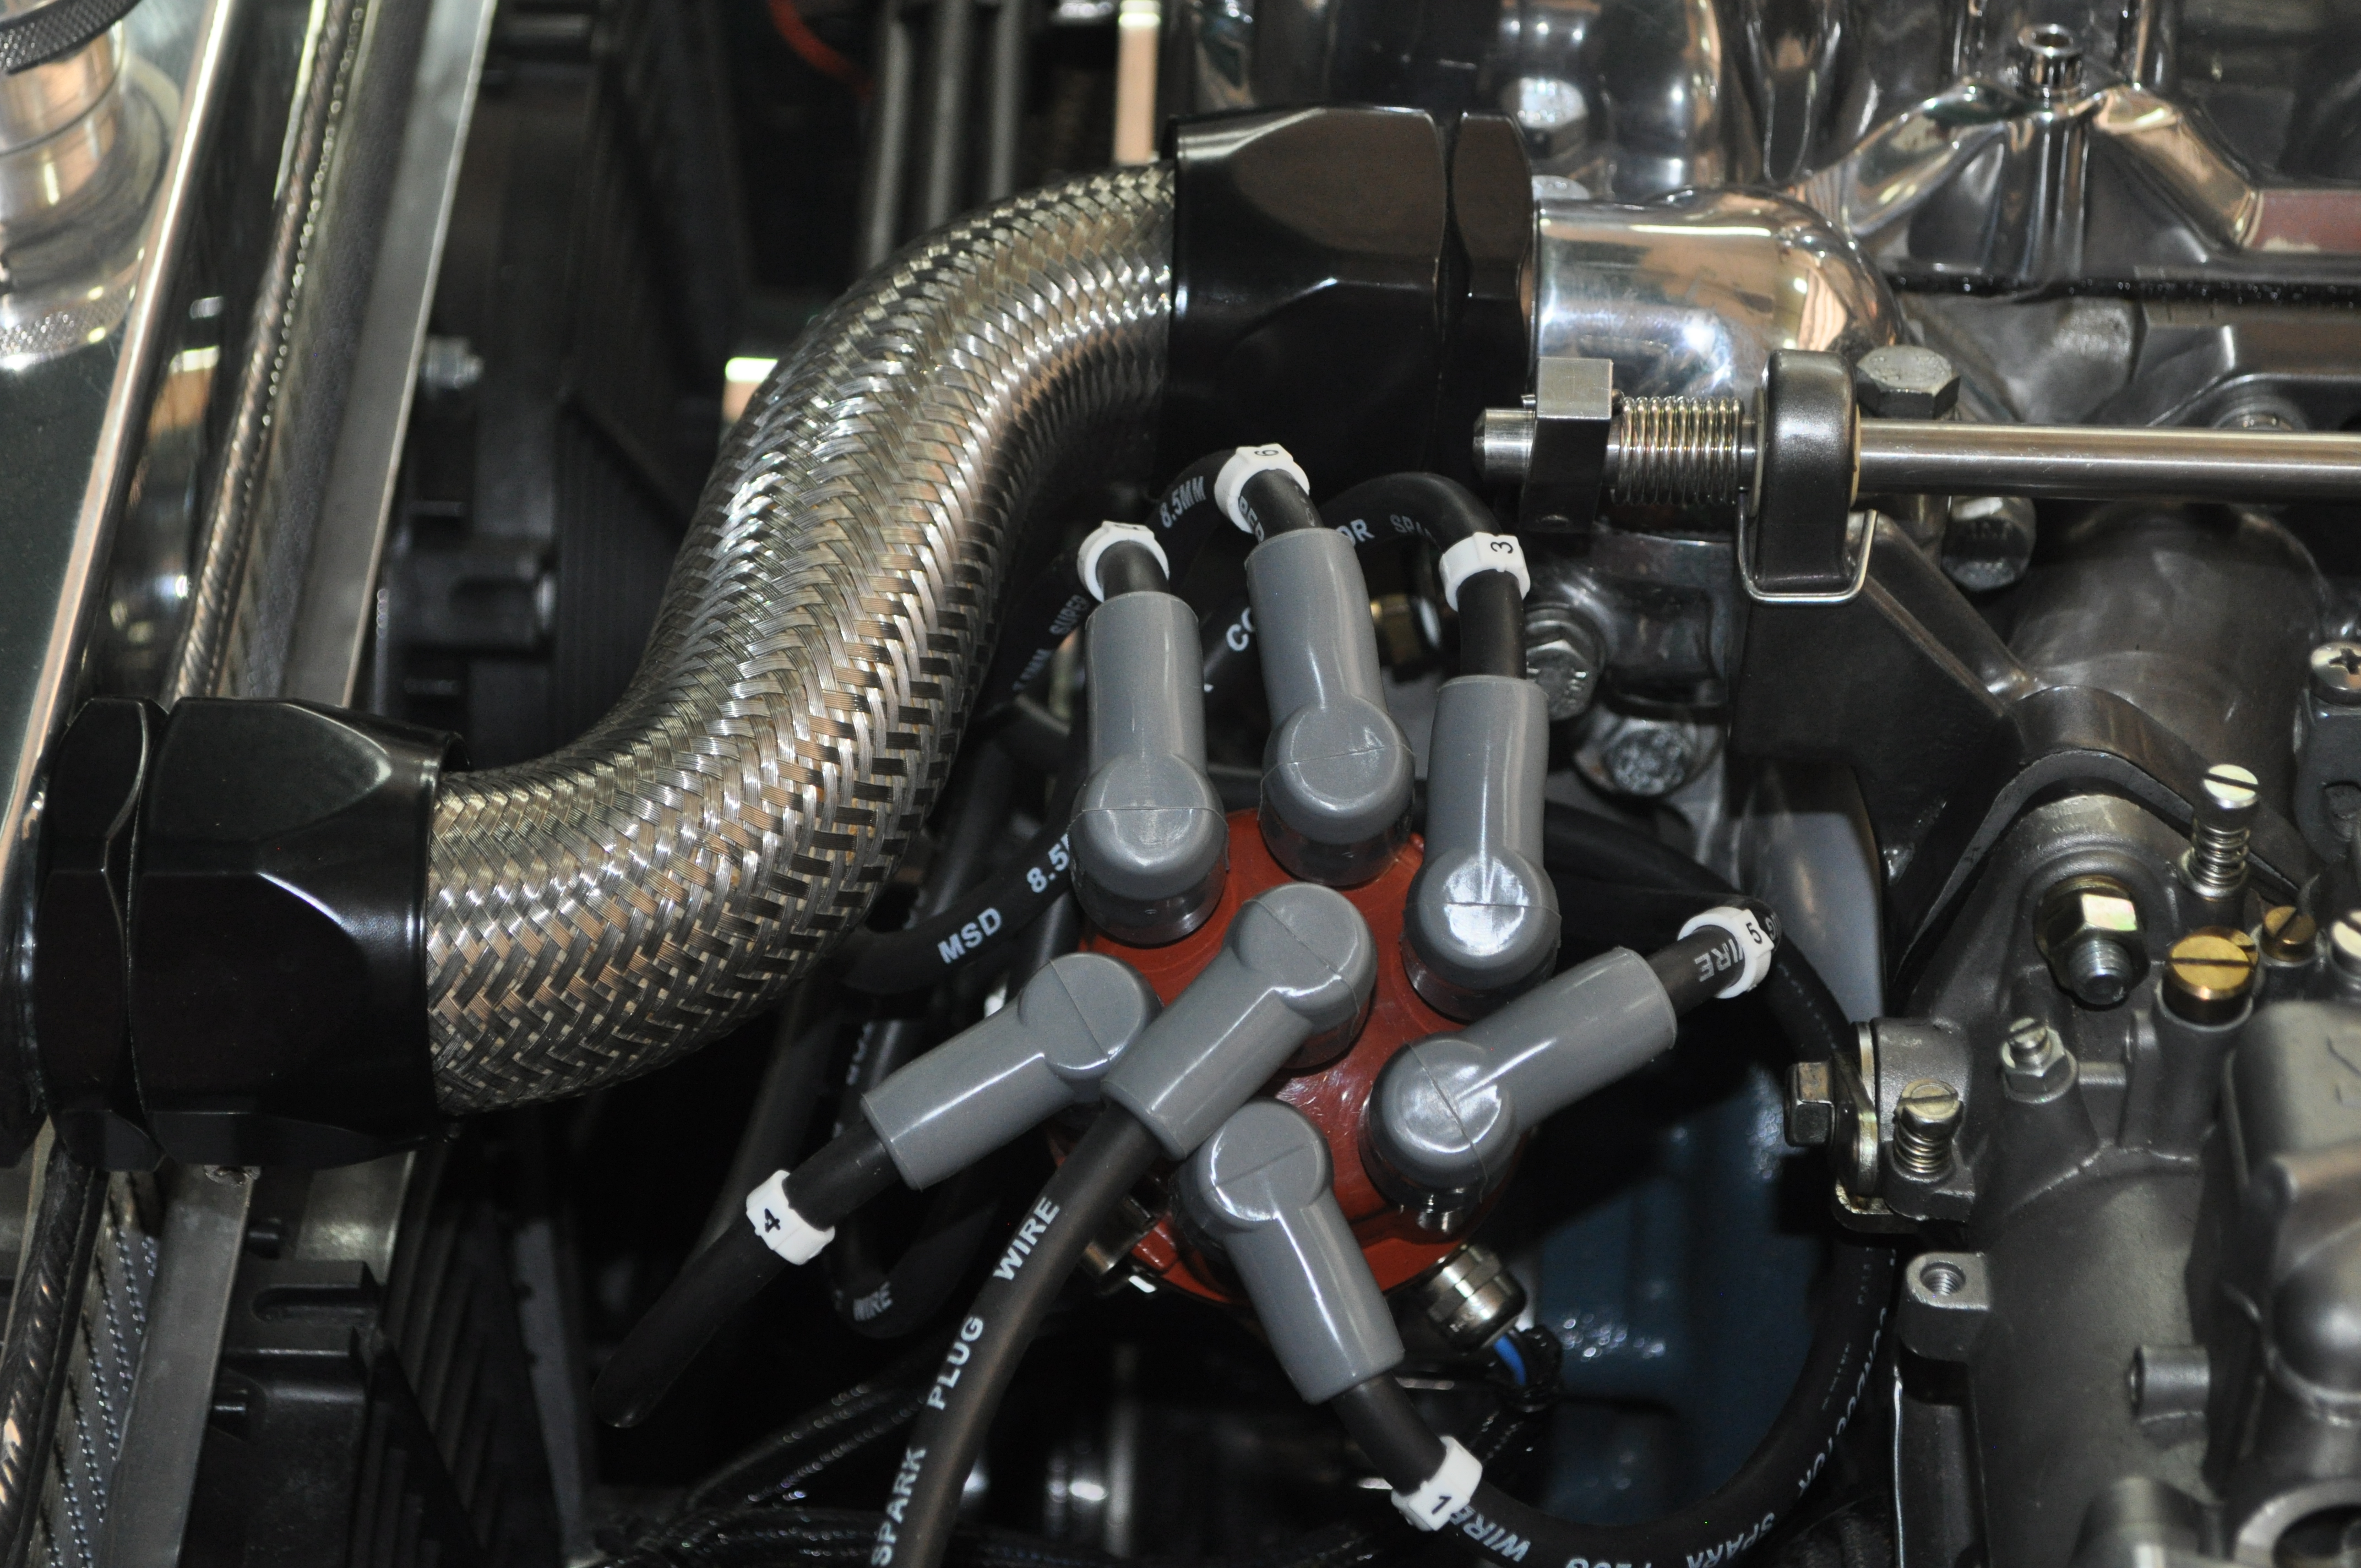
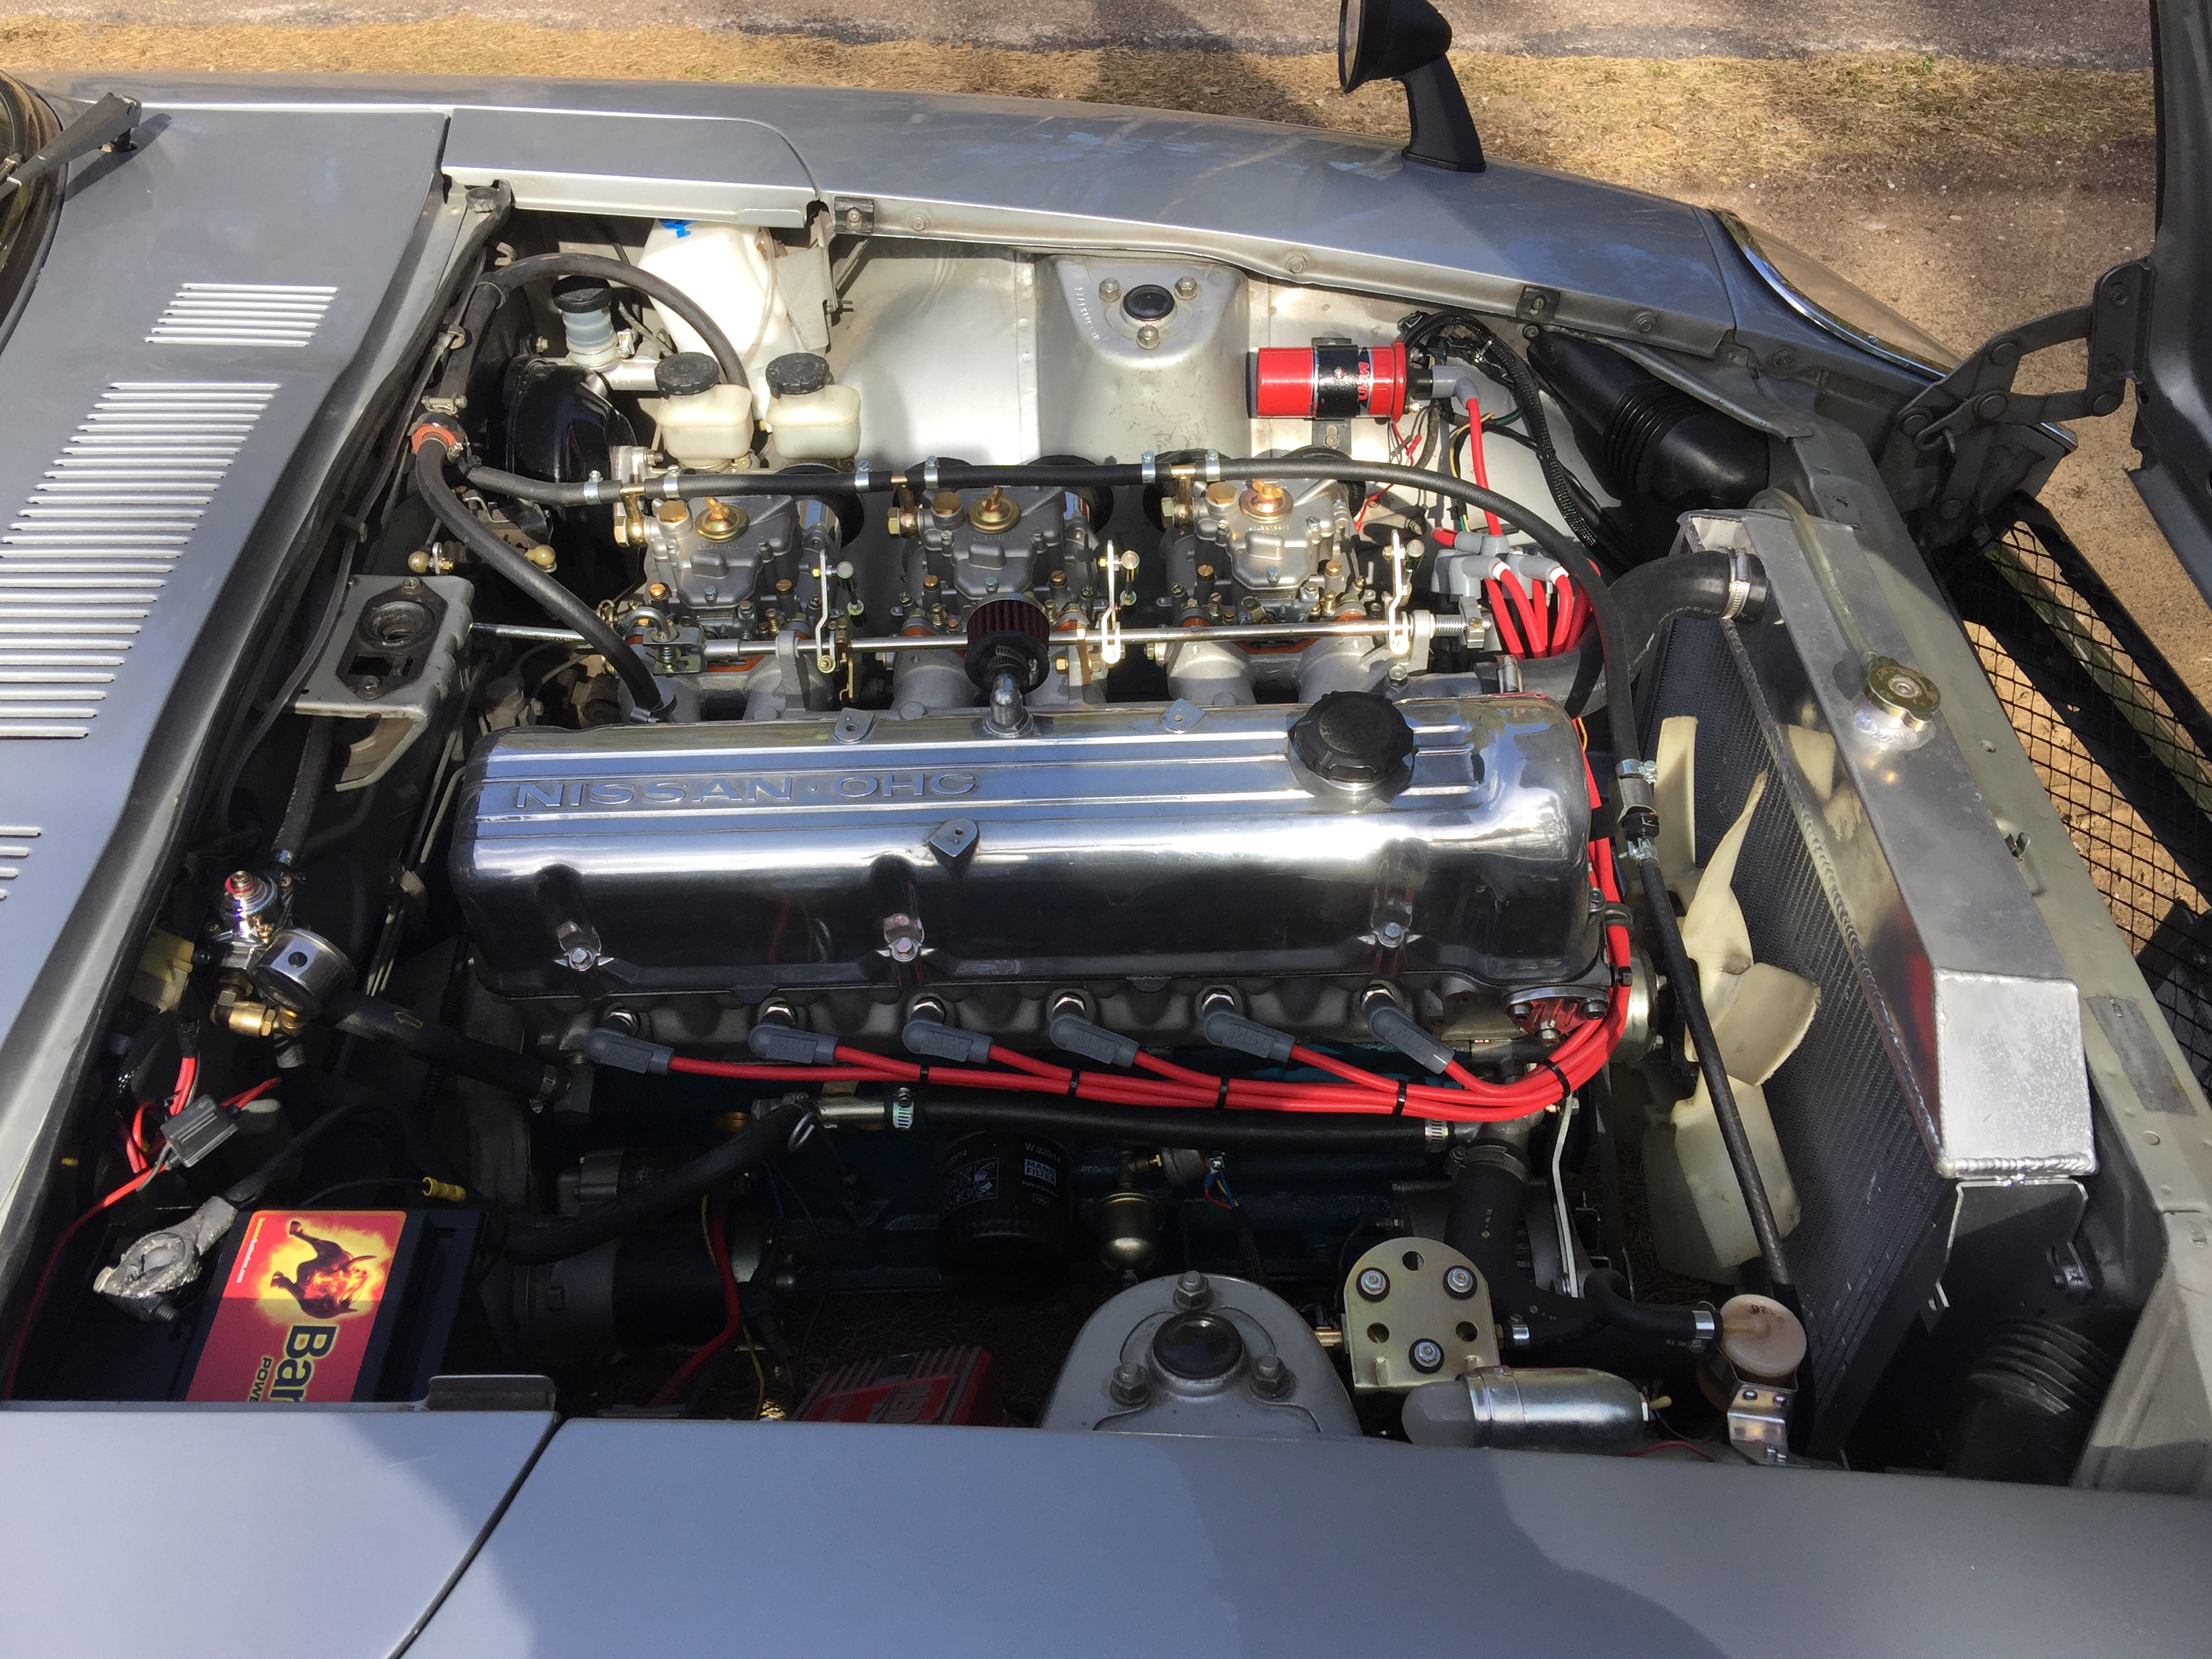
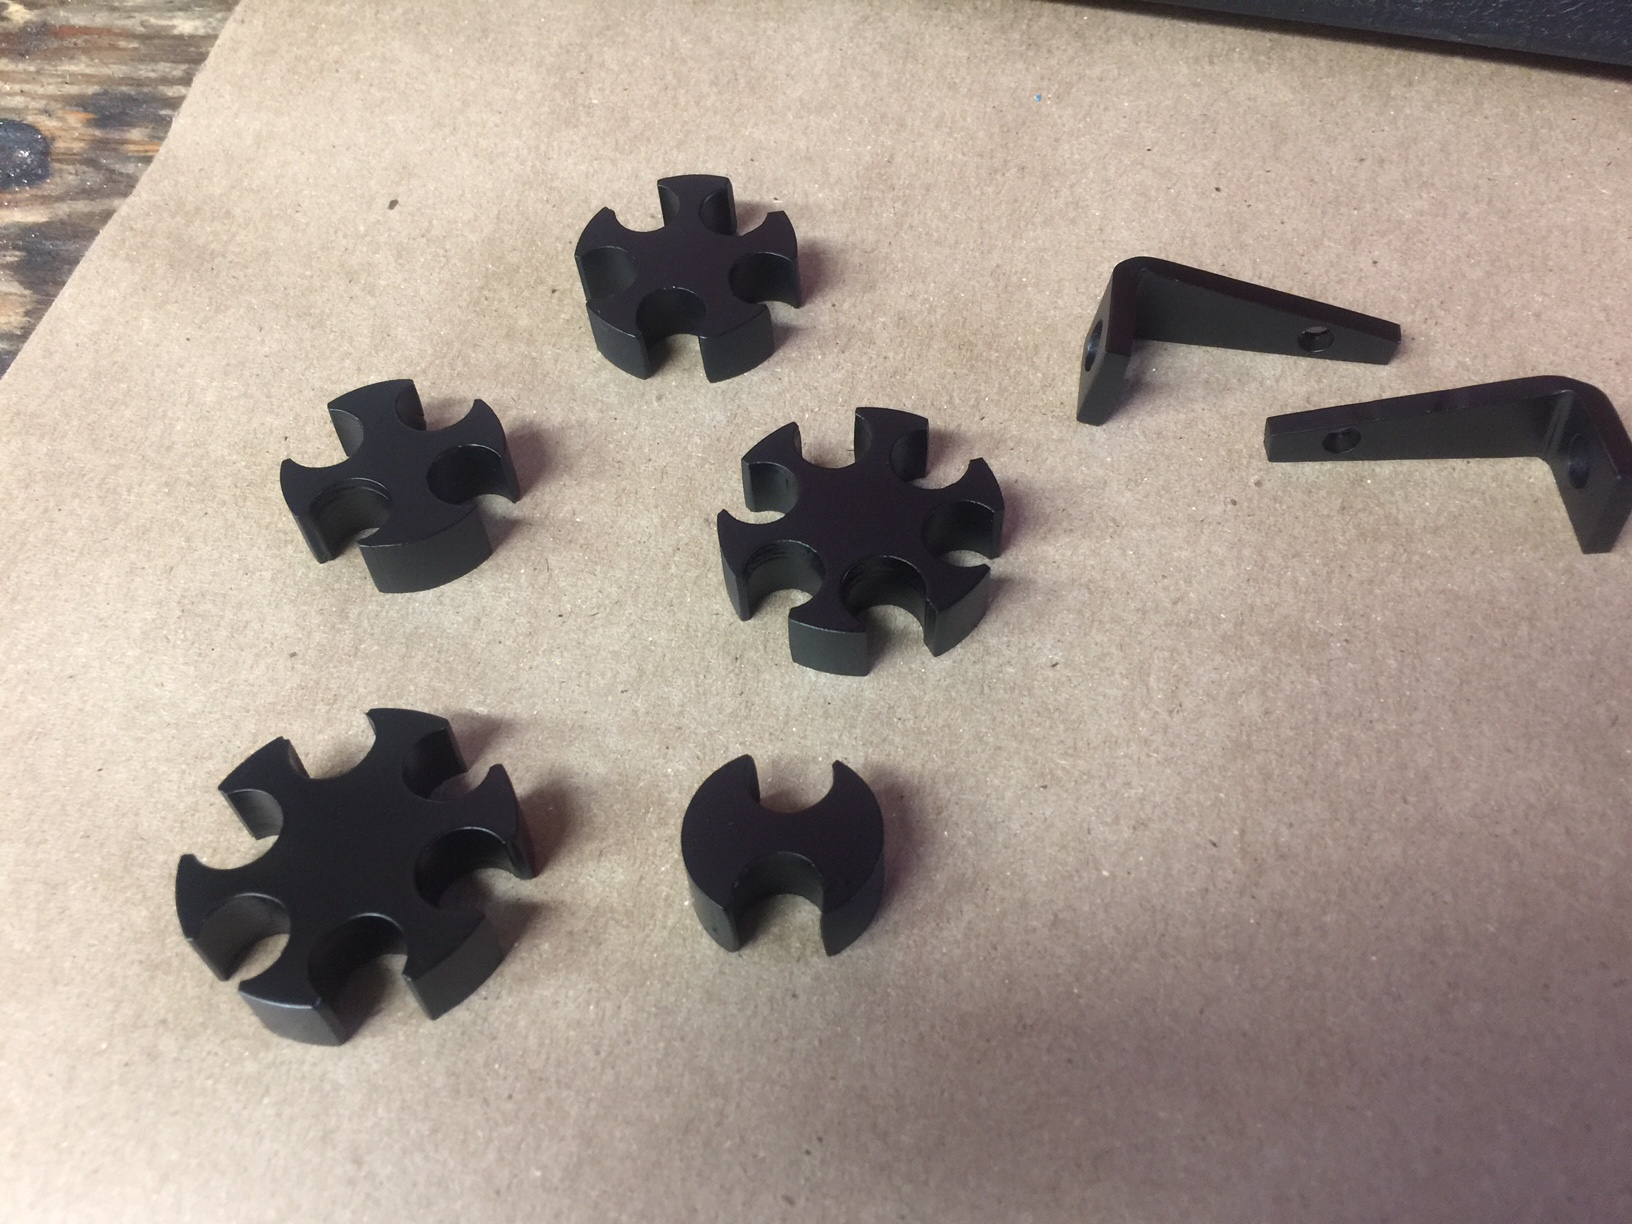
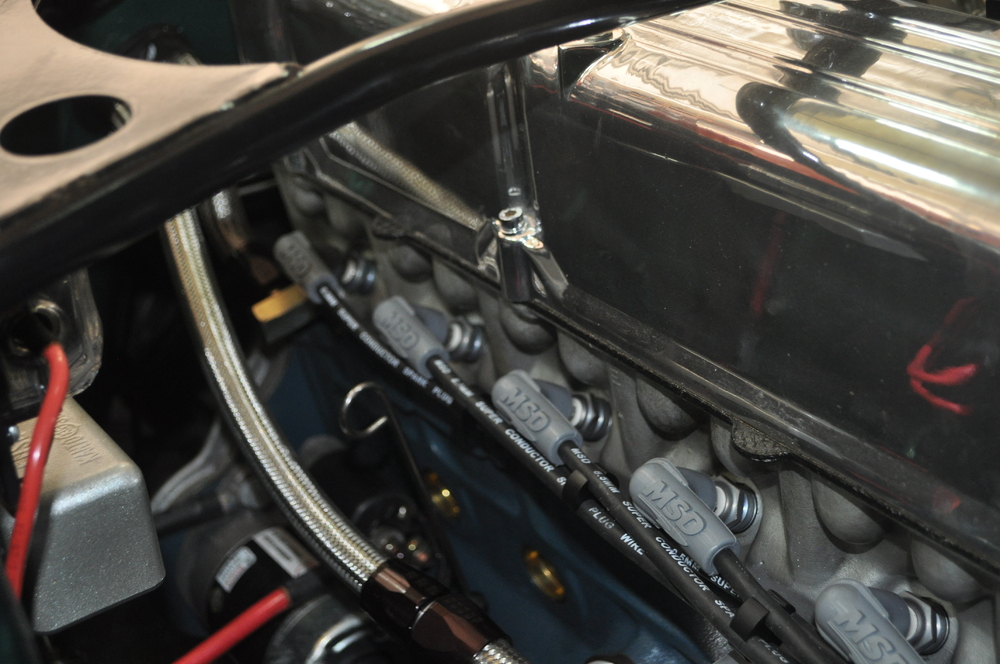
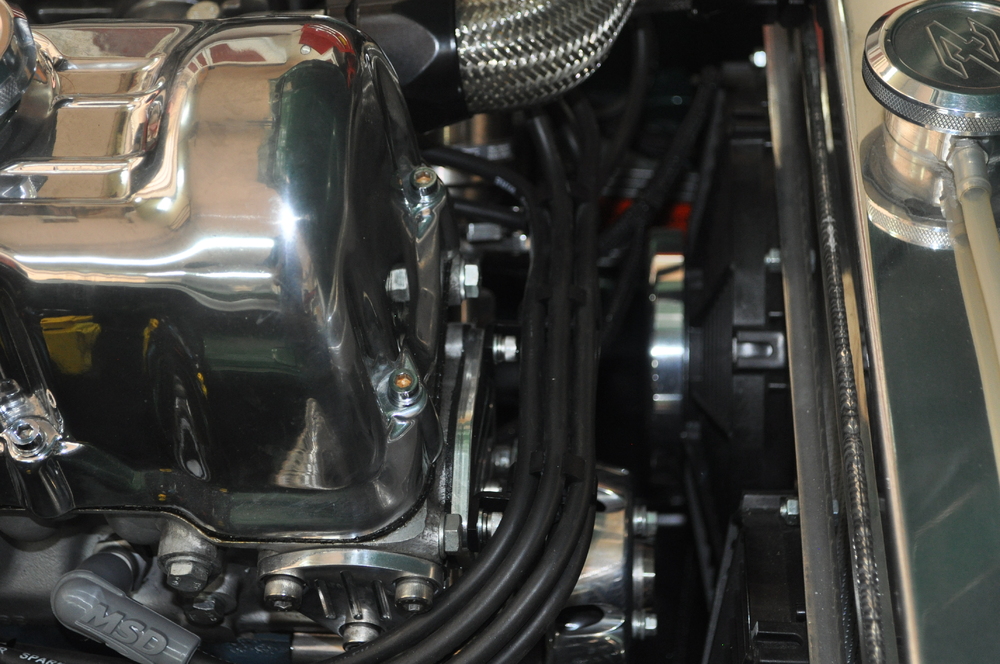
3 pointsFor some time now I've been wanting to re-route my spark plug wires around the front of the engine area so it cleaned up the top of the valve cover and provided an overall cleaner look in my engine bay. However, all of the installations that I have seen essentially use tie wraps to hold the wire bundle together as it is routed along the passenger side of the block and around the front to the distributor. Typically there is also some sort of clamp in the front part of the engine that holds the bundle to either the valve cover or the front cover plate. The notion of using tie wraps for this application just didn't sit well with me mainly from an aesthetics standpoint, but I also did not like the idea of the wires being held tightly together and the possibility of crosstalk between wires (although I suspect this is pretty rare these days given the quality and size of the plug wire used in modern applications). So I did a ton of research to look for aftermarket solutions that would provide a clean look and keep the wires separated to some level. I even purchased a couple of options to try them out on my car, but they were just not delivering the look I was searching for. Unfortunately most of these solutions are designed for V type engines and they just don't lend themselves very well to our straight line sixes. So I spent some time with my son Alex (a mechanical engineer) discussing the problem and he devised what looked to be a pretty interesting solution. So I purchased some aluminum stock and set about machining the pieces he designed. I also made a couple of small brackets for the front part of the engine so that I can ensure that the bundle stays tight and close to the block. Given that the bundle runs under the top radiator hose I also needed to make sure that there was ample clearance between the wire bundle and the hose itself. I just finished this today and thought I would share it with the forum so you can see what we did and also get any feedback on our implementation. All in all I am very happy with how it came out and it met all of my criteria both from an aesthetics and performance viewpoint. Here's a few pictures so you can see how we implemented this. Look forward to your feedback. Mike.


 3 points
 -
.thumb.JPG.21f1724e227b22b6d5306af2d3267f40.JPG) 3+ hours of cruising the twisties, straights and back country roads of North Texas with the Cowtown Z club - awesome day! Sent from my iPhone using Classic Zcar Club mobile2 points
3+ hours of cruising the twisties, straights and back country roads of North Texas with the Cowtown Z club - awesome day! Sent from my iPhone using Classic Zcar Club mobile2 points -
2 pointsQuit calling it a pig! Rub her gently and whisper in the pillar emblem, "okay Baby Doll we gonna do this nice and slow". Chickuh, bow-wow, right now!2 points
-
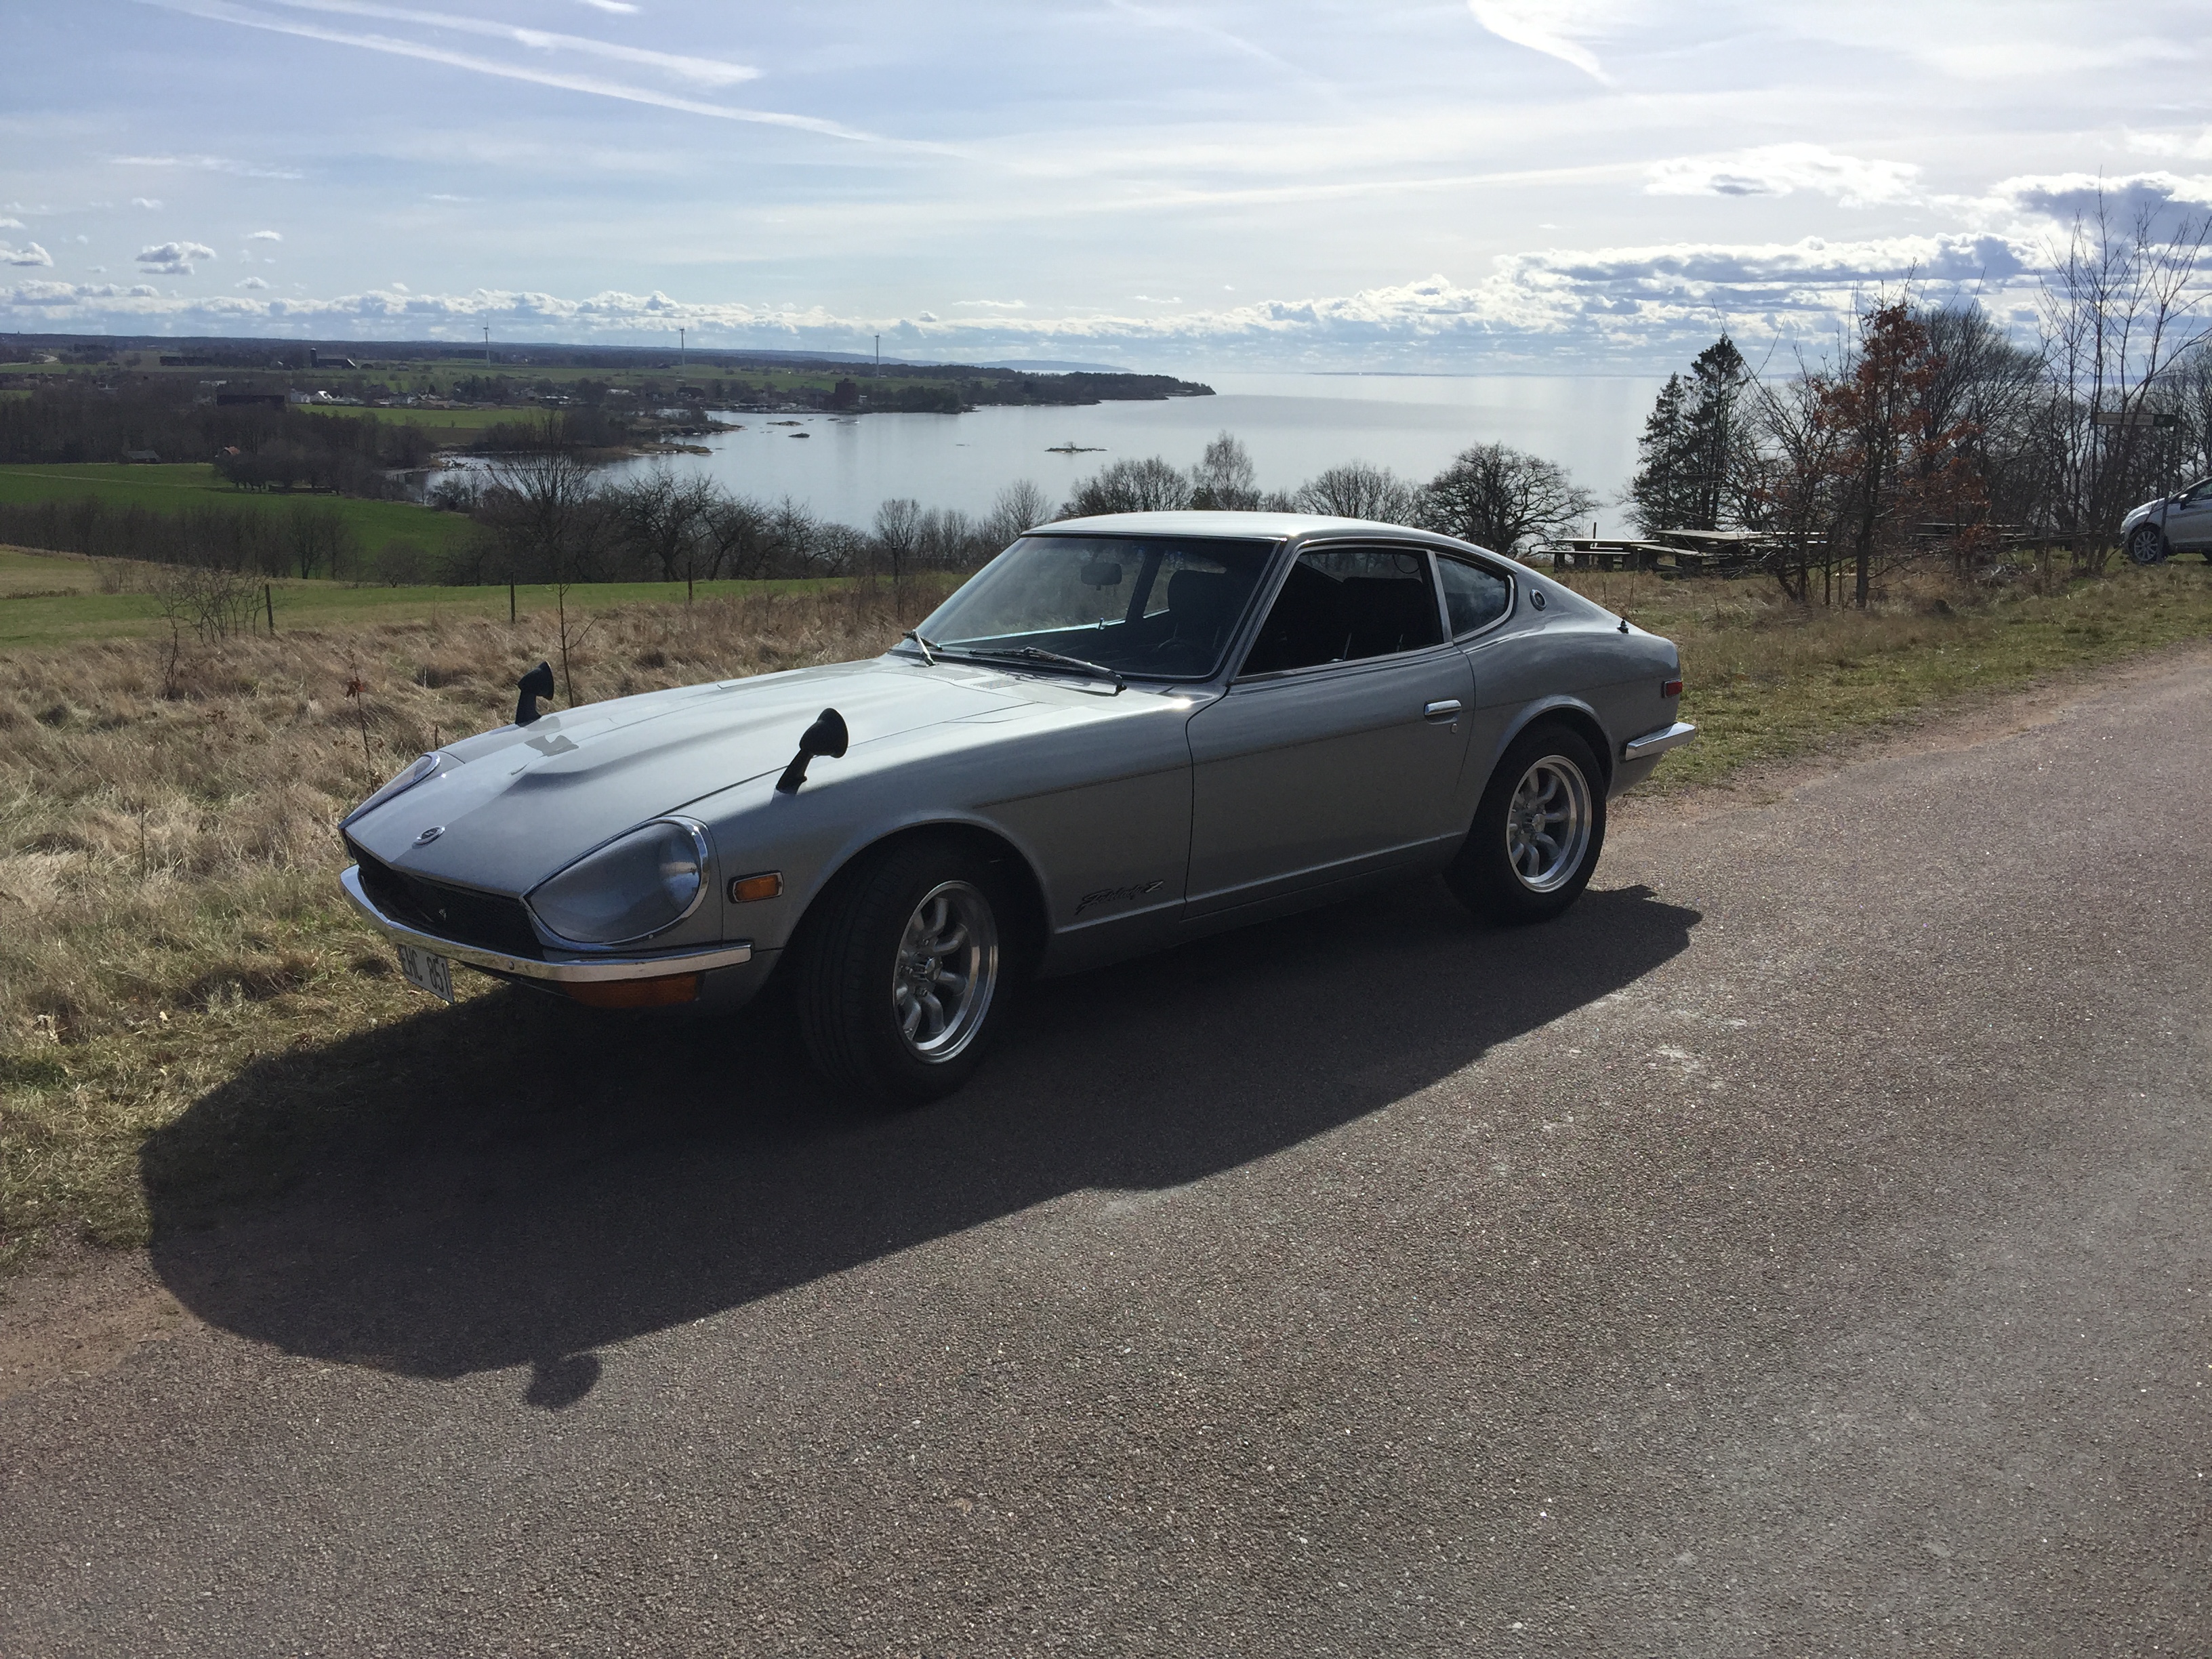
 Parked mine in the driveway and immobilized the ignition system as theft deterrent while I'm away for two weeks. Drove it to the post office yesterday to drop off taxes. The Z is such a fun car to drive even after 46 years of putting miles behind us. Dennis2 points
 -
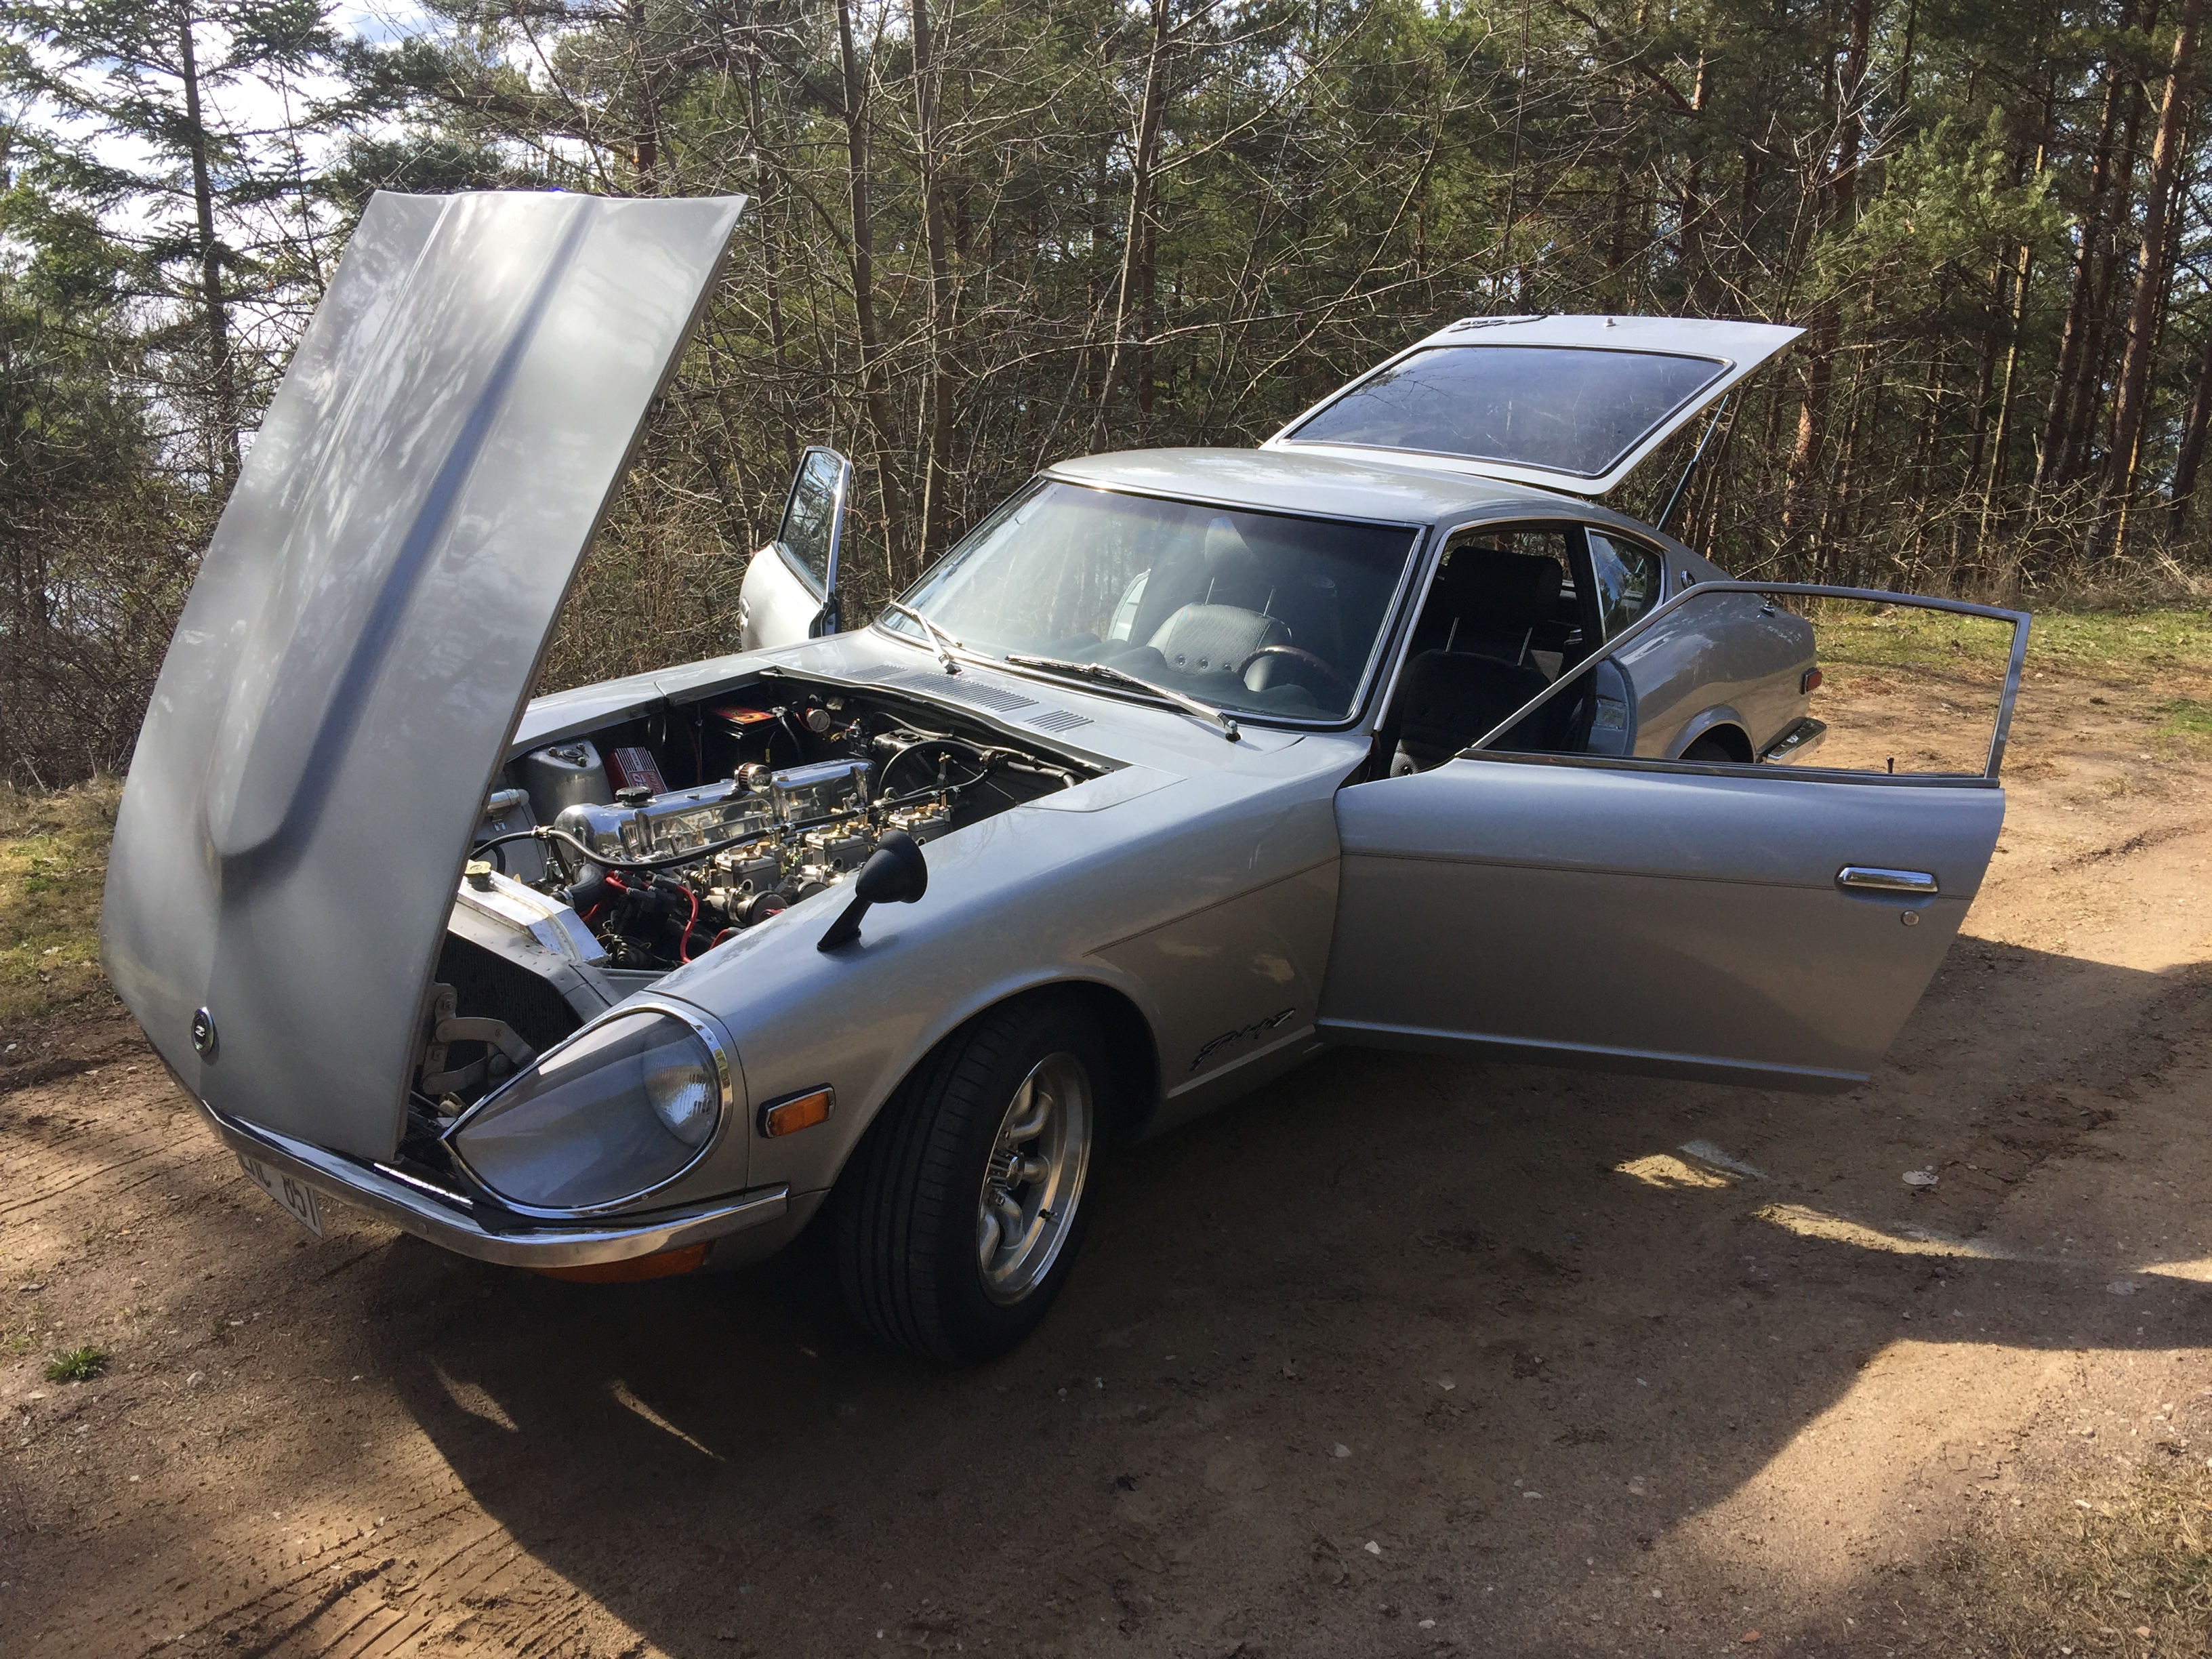
Up and running after winter hibernation! Lovely day for this years first drive.
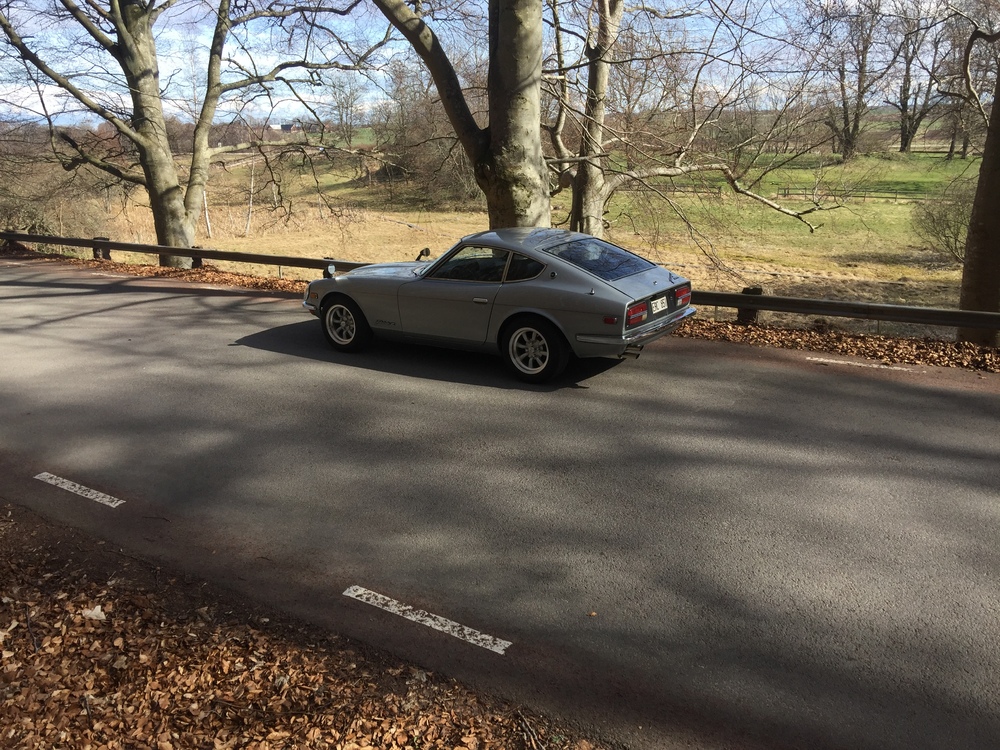


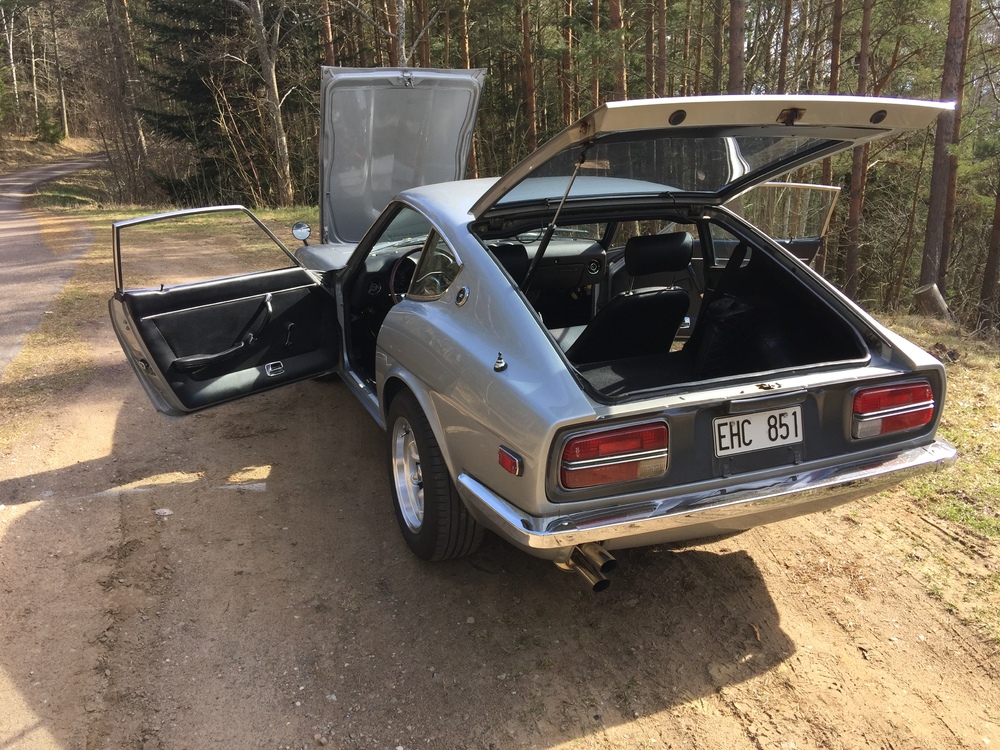


 2 points
 -
 Went to a local car show today. Over 400 cars and trucks, some pretty amazing vehicles. Only two classes for imports: pre-1970 & 1970 and later. I pulled a second place award behind a 2017 Holden Commodore (brand new car). I guess you could say we bracketed the class at the extreme ends. Extremely windy, temp in the low 80's, great show and lots of great company.
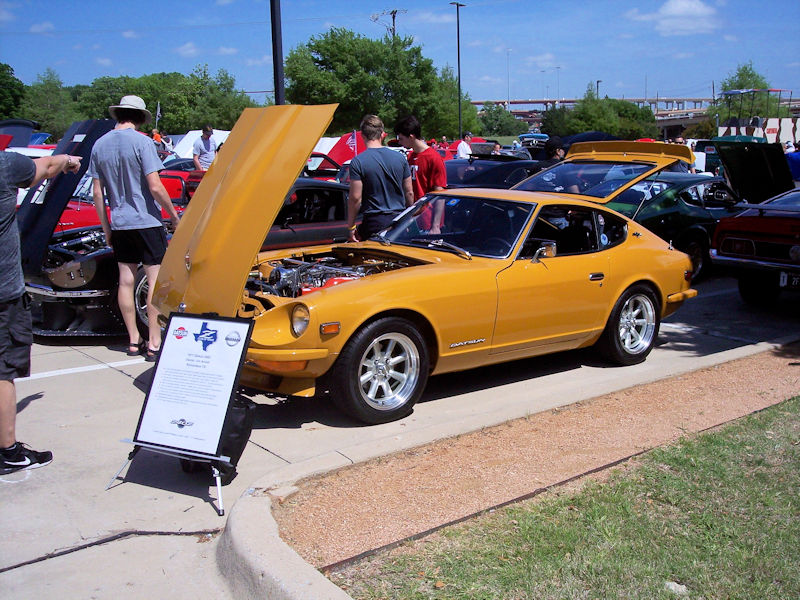
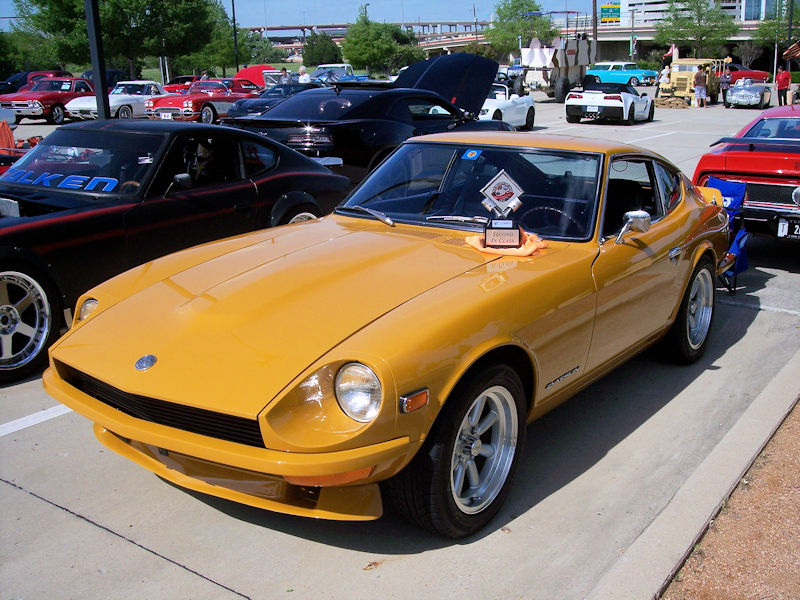
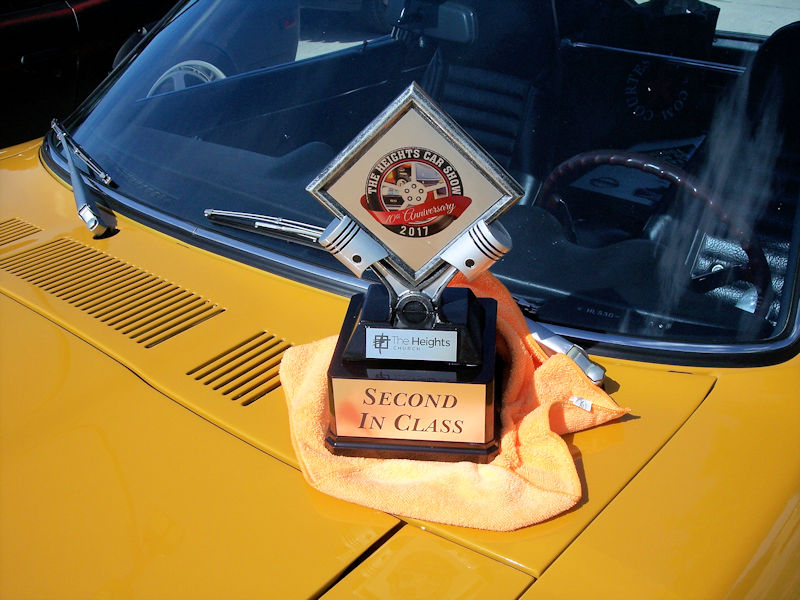 1 point
 -
 I took the Z out to go visit a new karting track with some friends. One of the owners is Jim Downing (https://en.wikipedia.org/wiki/Jim_Downing). When my friends were riding on a golf cart around the track, Jim asked if I wanted to drive around the track. He didn't have to ask me twice. He took a lap at slow speed and then said, "I think we can go faster the next time around." Yeah, I had fun.1 point
 -
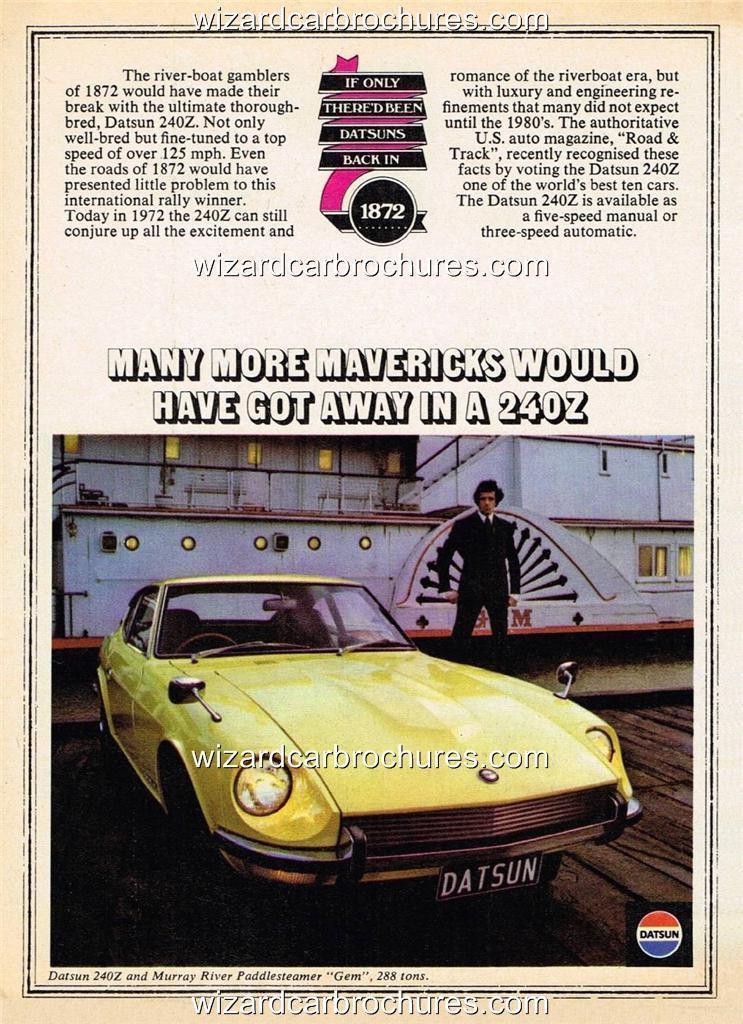
 The Z's front-end aero lift problems were/are well documented and date right back to the experiences of the car's original owners in the mid-1970's. The cure was lifted directly from the race track in the form of front and rear spoilers. Stiffening up the steering rack-to-frame bushings was also common practice. I'm not sure that beefing up the roll bar would help, though (unless you've lowered the car and have a bump steer issue). 'Car & Driver' magazine's editors carried out a nice cut-and-try, D-I-Y project somewhere in the late 1970's in which they fabbed, installed, and then track-tested bent-aluminum-sheet spoilers of progressively greater height (rear) and depth (front) to see how they worked and find the optimum front/rear combination. IIRC, the car was fitted with force transducers to measure the lift. Now that I've brought this up, I guess I'm obligated to dig into my back issues and find the article. If I'm successful, I'll post it here later in the weekend. From my perspective, it's not really a question of whether spoiler work but rather one of how small a front spoiler I can get away with (or front/rear spoiler combination, if one at the back is absolutely necessary) to achieve adequate results for modern highway driving speeds. I'm not really a fan of the way big front air dams and rear spoilers affect the Z's look. I've always found the car's styling very 'fragile' and not well suited to customizing. Your needs and preferences may, of course, be different from mine.1 point
 -
 Digital Media Player for Garage... tunes make it a fun place to work. Got the Brake Disk Lathe up and running. Gonna level my real lathe and start turning...baby oh yeah. BIG THANKS CO!!! I'll do the first cut in your honor with one of tools you gave me!1 point
 -
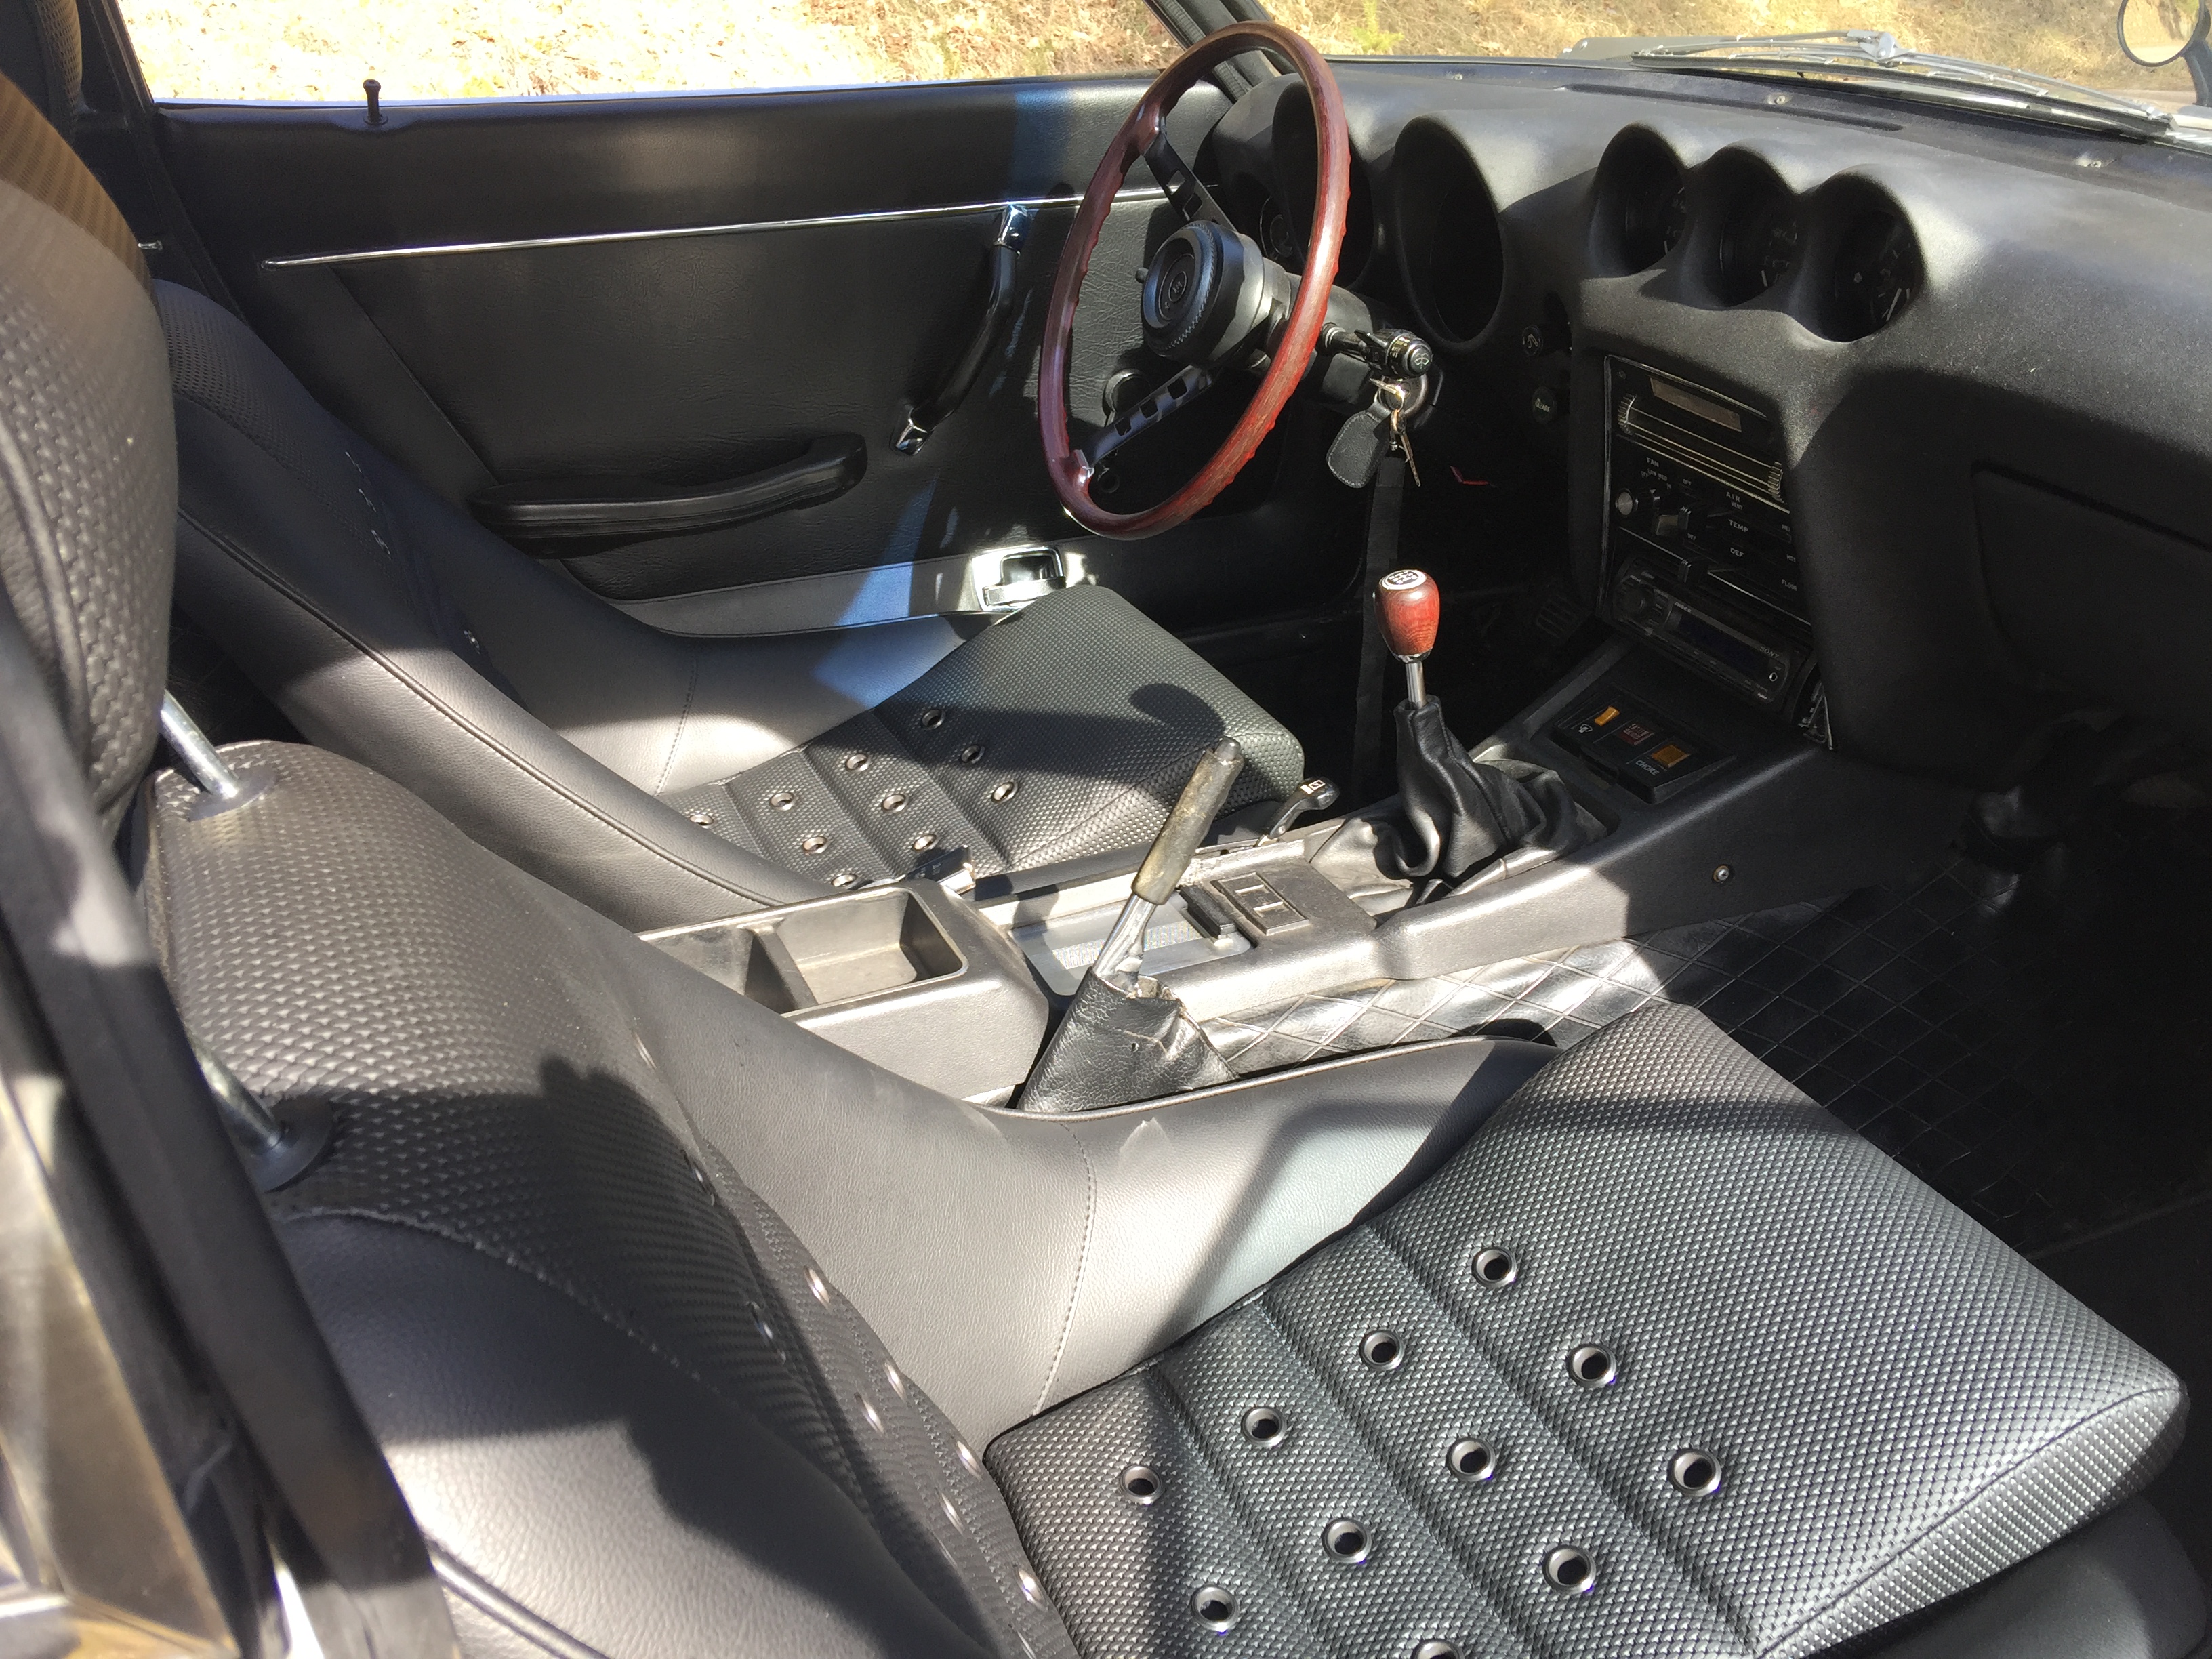
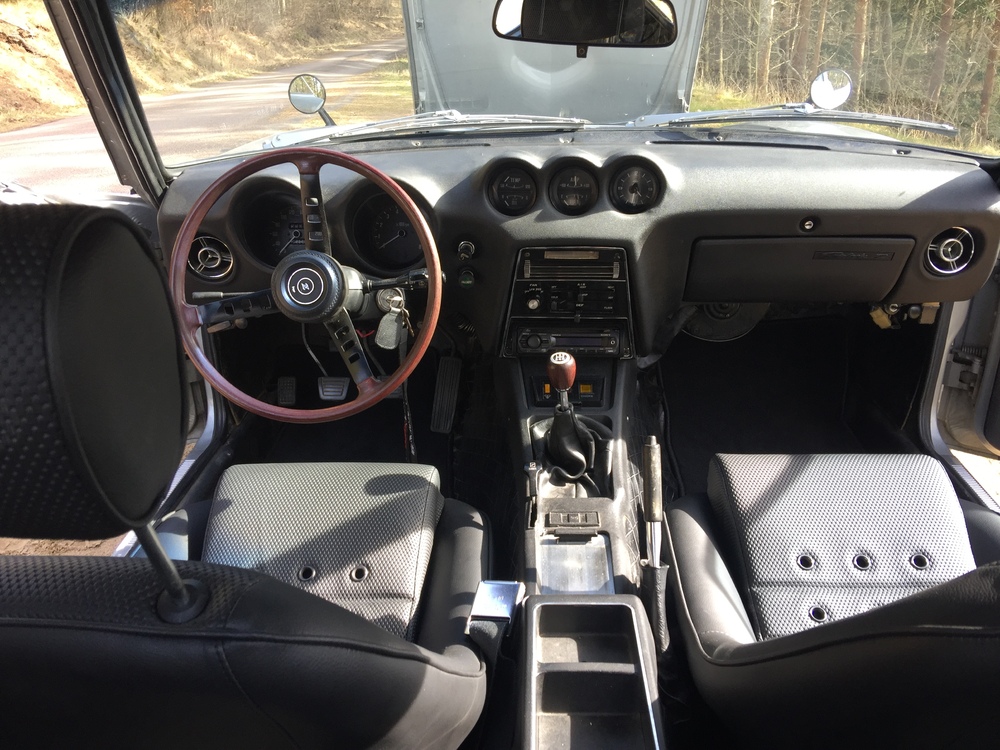
They feel good so far, was the first drive in them yesterday's. You sit a bit higher then with the oem seats.1 point
-
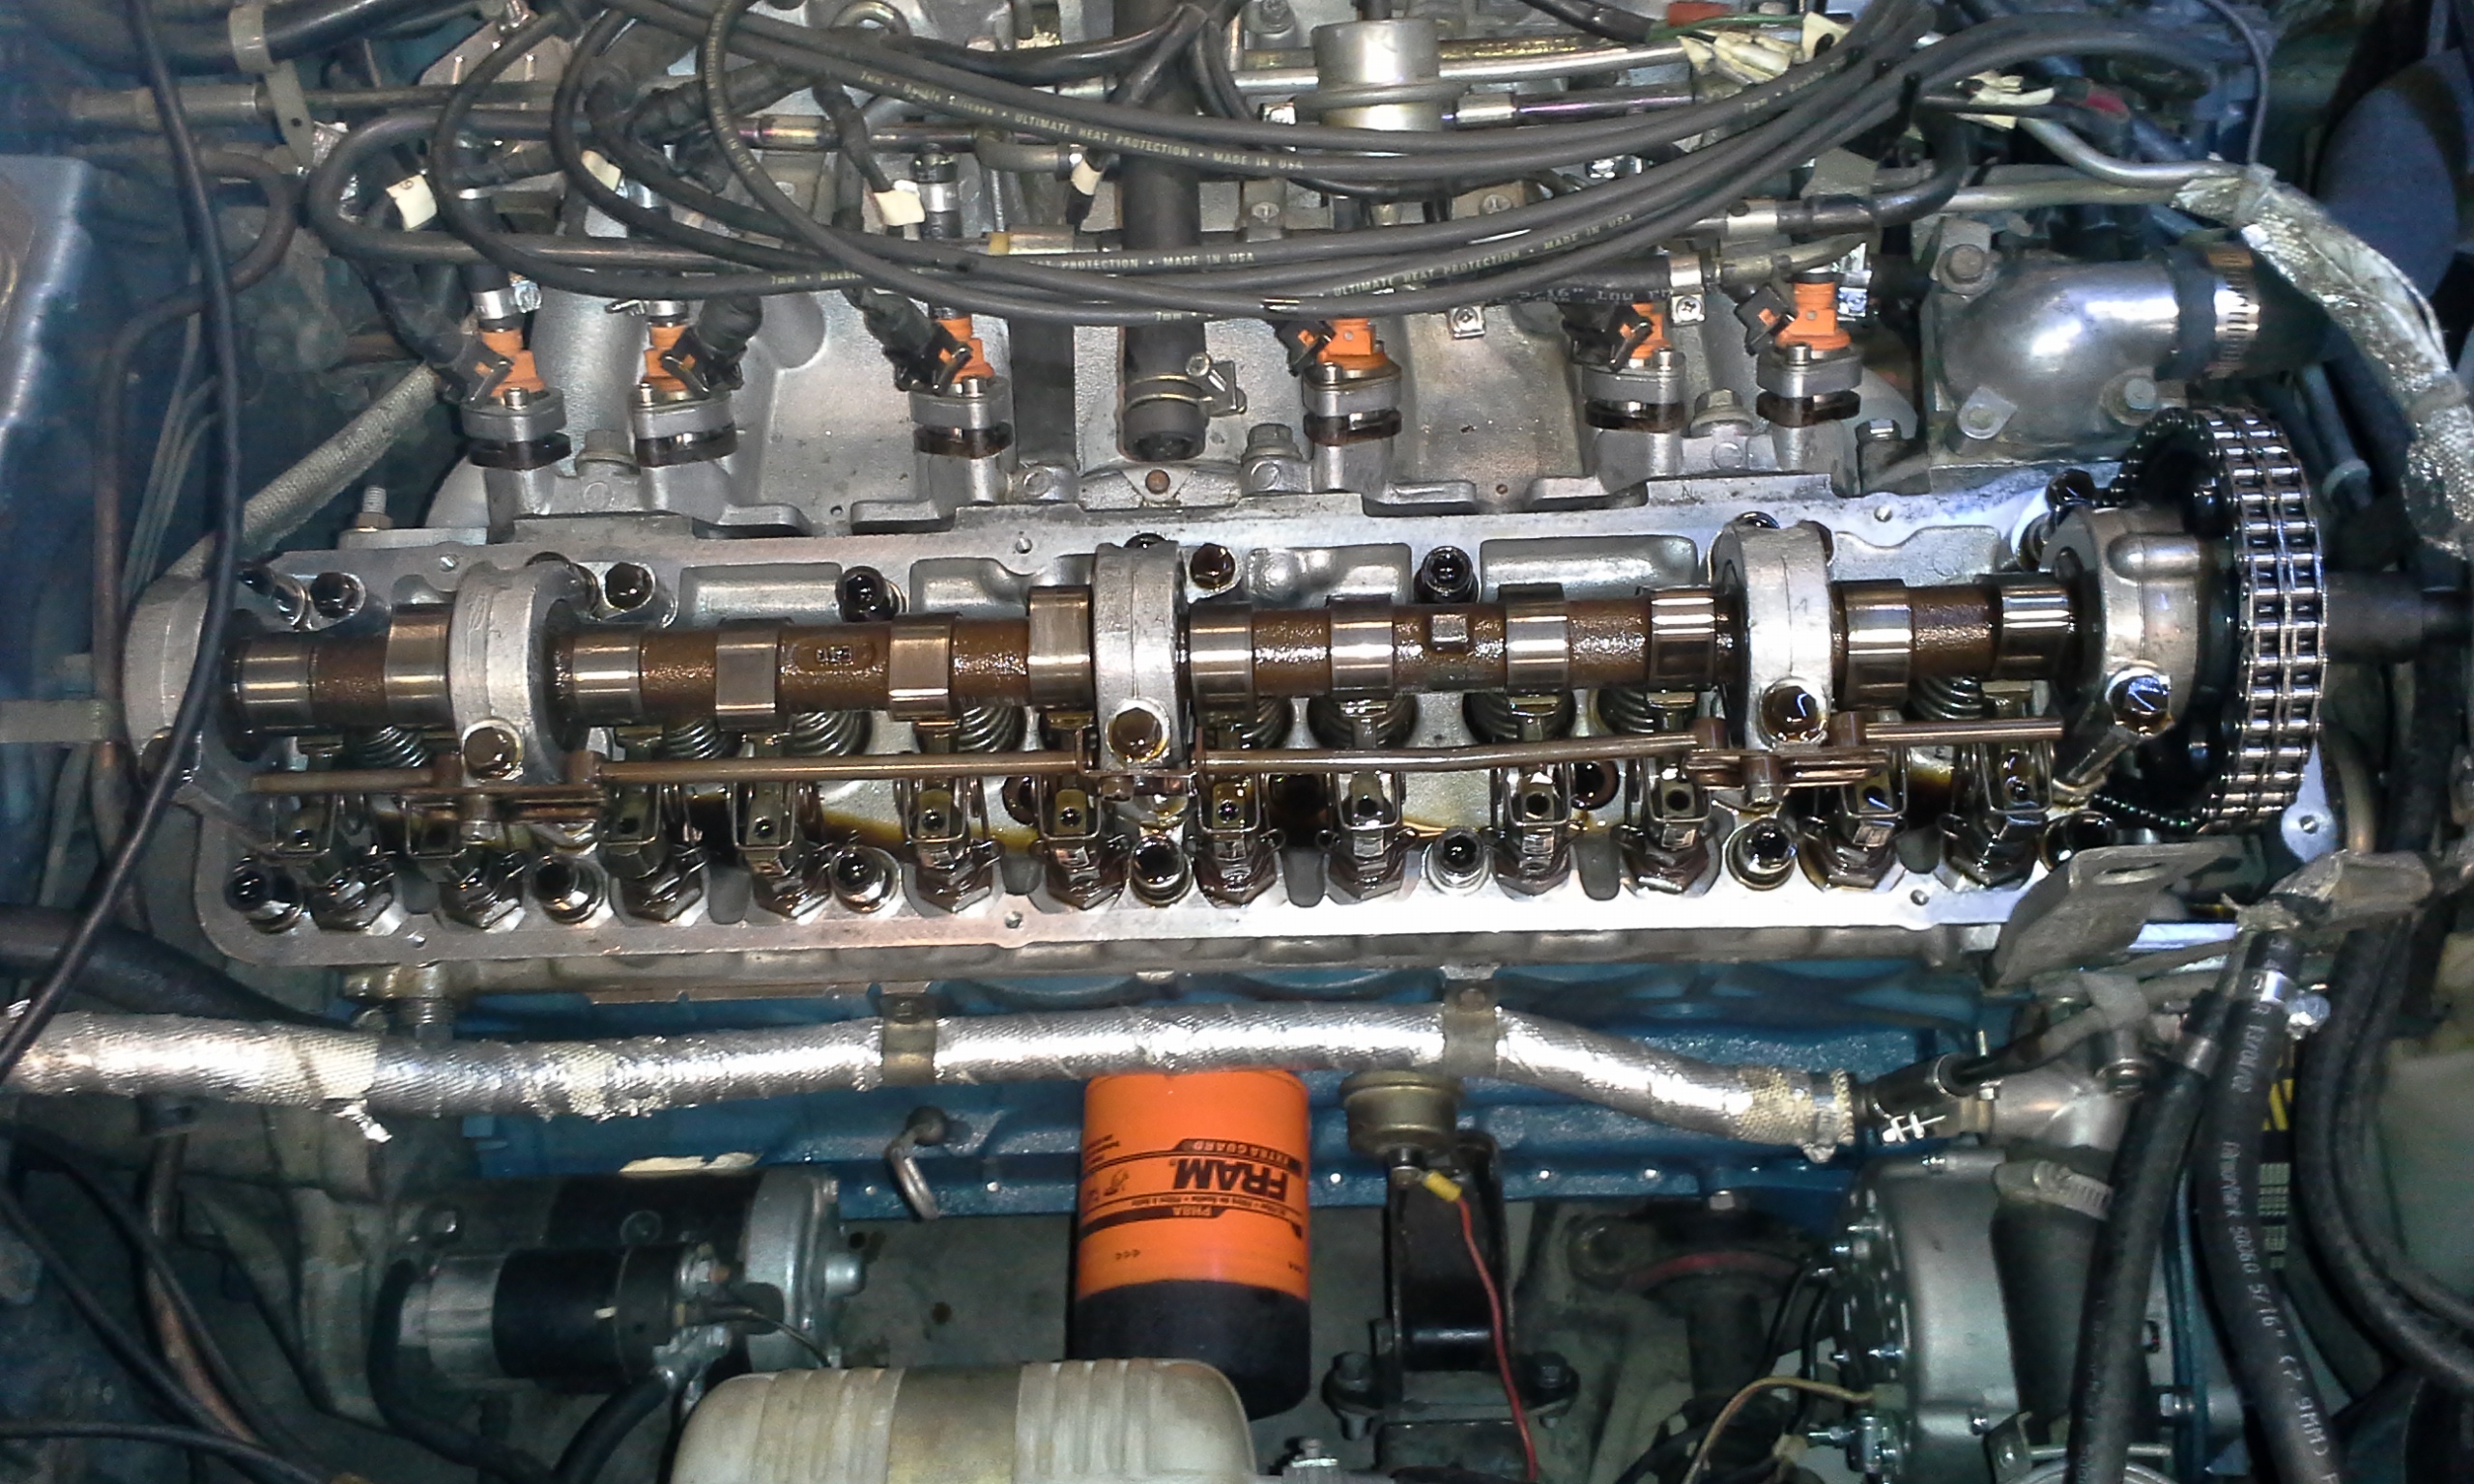
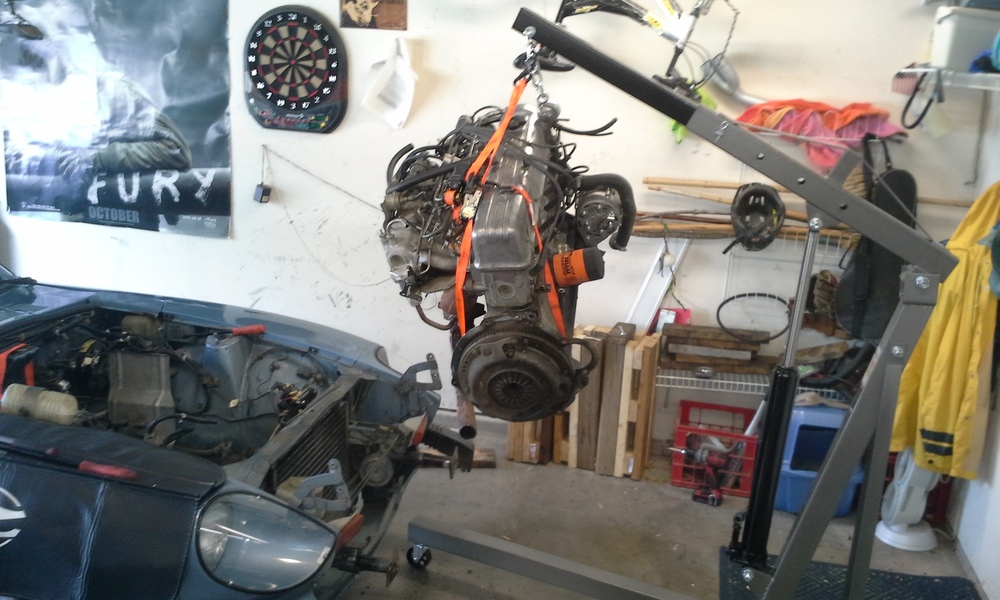
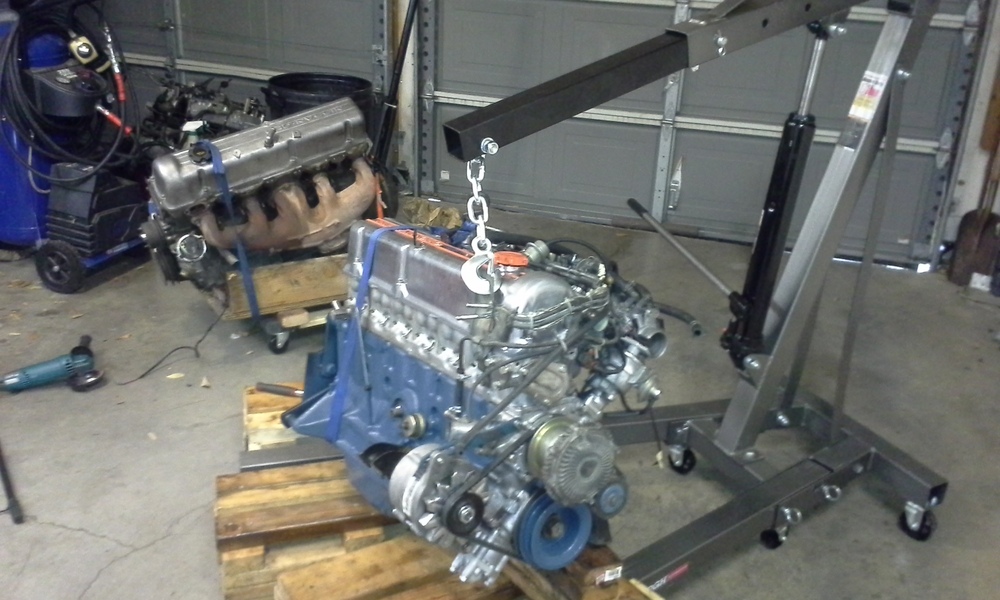
 1 pointWonderful work.. great to see the progress. Sorry to say that the block paint is WAY TO DARK (looks like a Royal Blue). The block paint should be closer to the blue on that Oil Filter. 70/71 Z's had a bit more green in the Nissan Blue used then, and it was a bit darker - for 72+ Nissan Blue was actually a lighter blue with less green undertones. The Blue on the original block is a bit faded - but much much closer to what it should be. I'd find a more accurate color.. that dark blue is going to look completely out of place on a restored 72... FWIW, Carl B.1 point
 -
 1 pointSo to re-cap, I am at 500 plus miles of breakin. I did a compression check last weekend and was a little worried. My pressure was showing 95psi on all cylinders. This was giving me a fright. I was worrying about if I had done something wrong, used the wrong rings, etc.....but it was driving fine. Then I read a short post of someone else having low compression with a build, and someone just threw out there to use the short connector on their pressure gauge. I had been using the handy long hose that came with mine too. So watch out for Harbor Freight pressure gauge with the hose attachment... So tonight I used the short metal tube, and sure enough, it shows 150 psi on all cylinders! Woot!! So I can now sleep at night. Oil change next. Cleanest Head in the County!
 1 point
 -
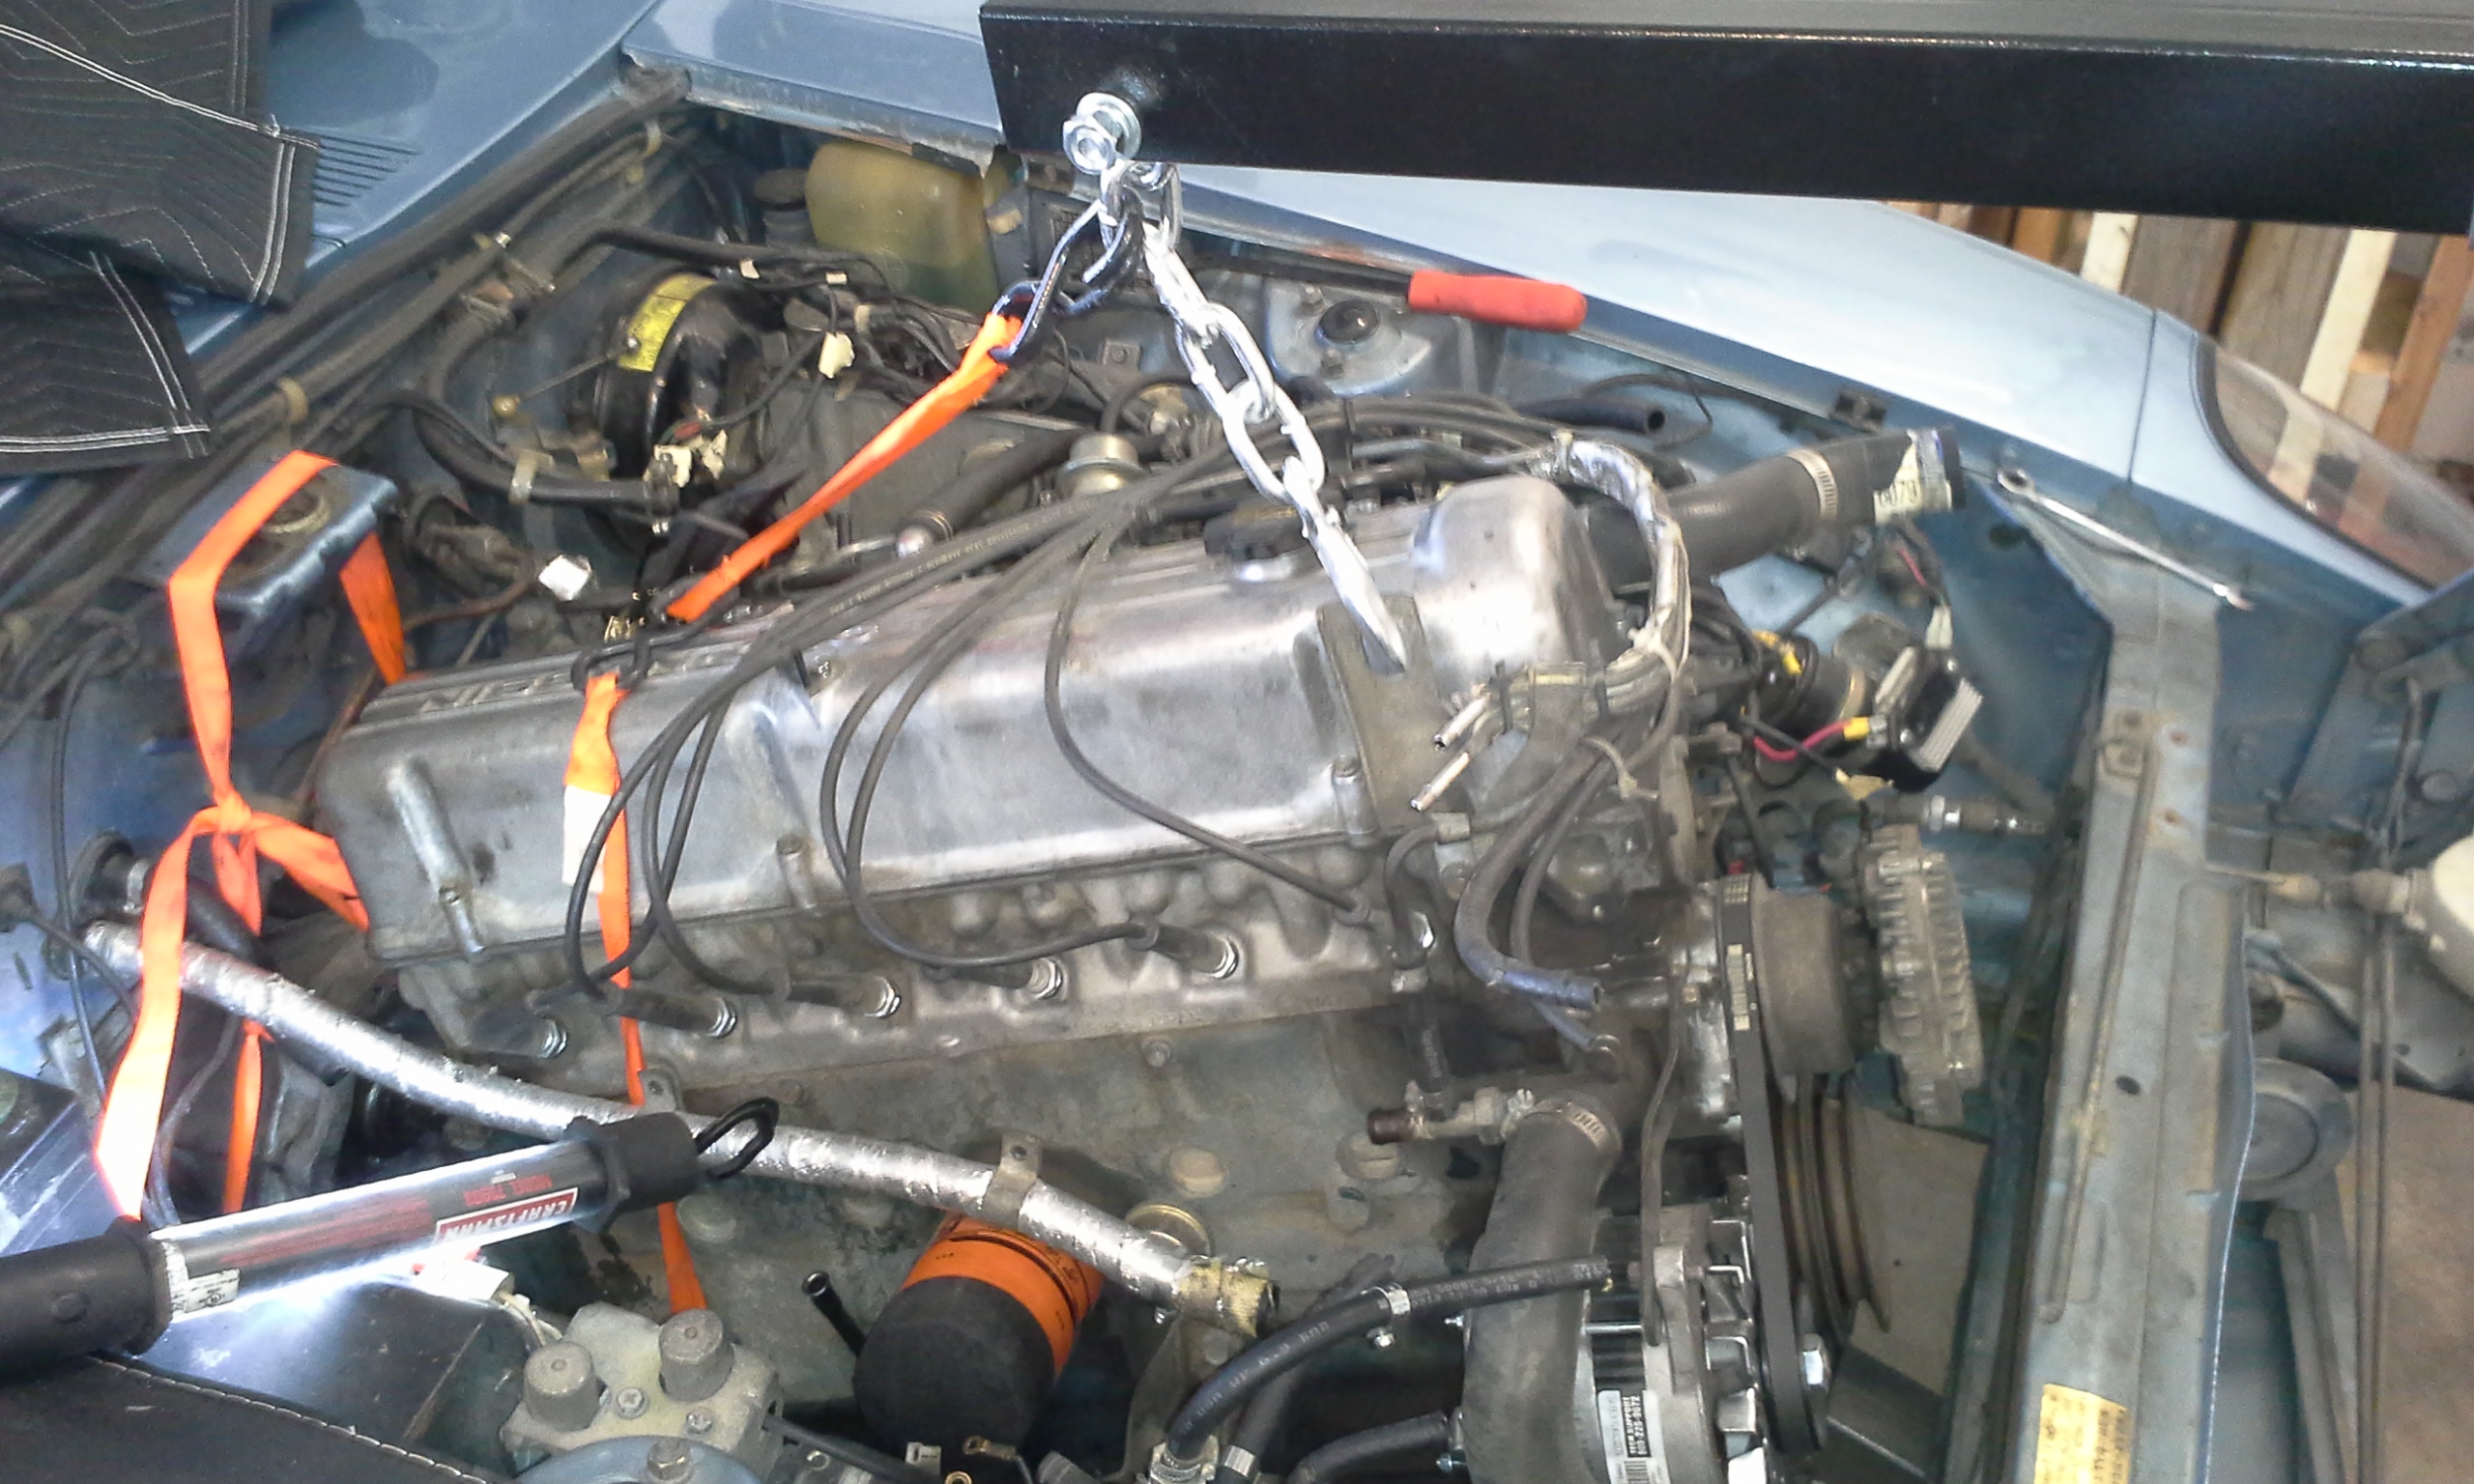
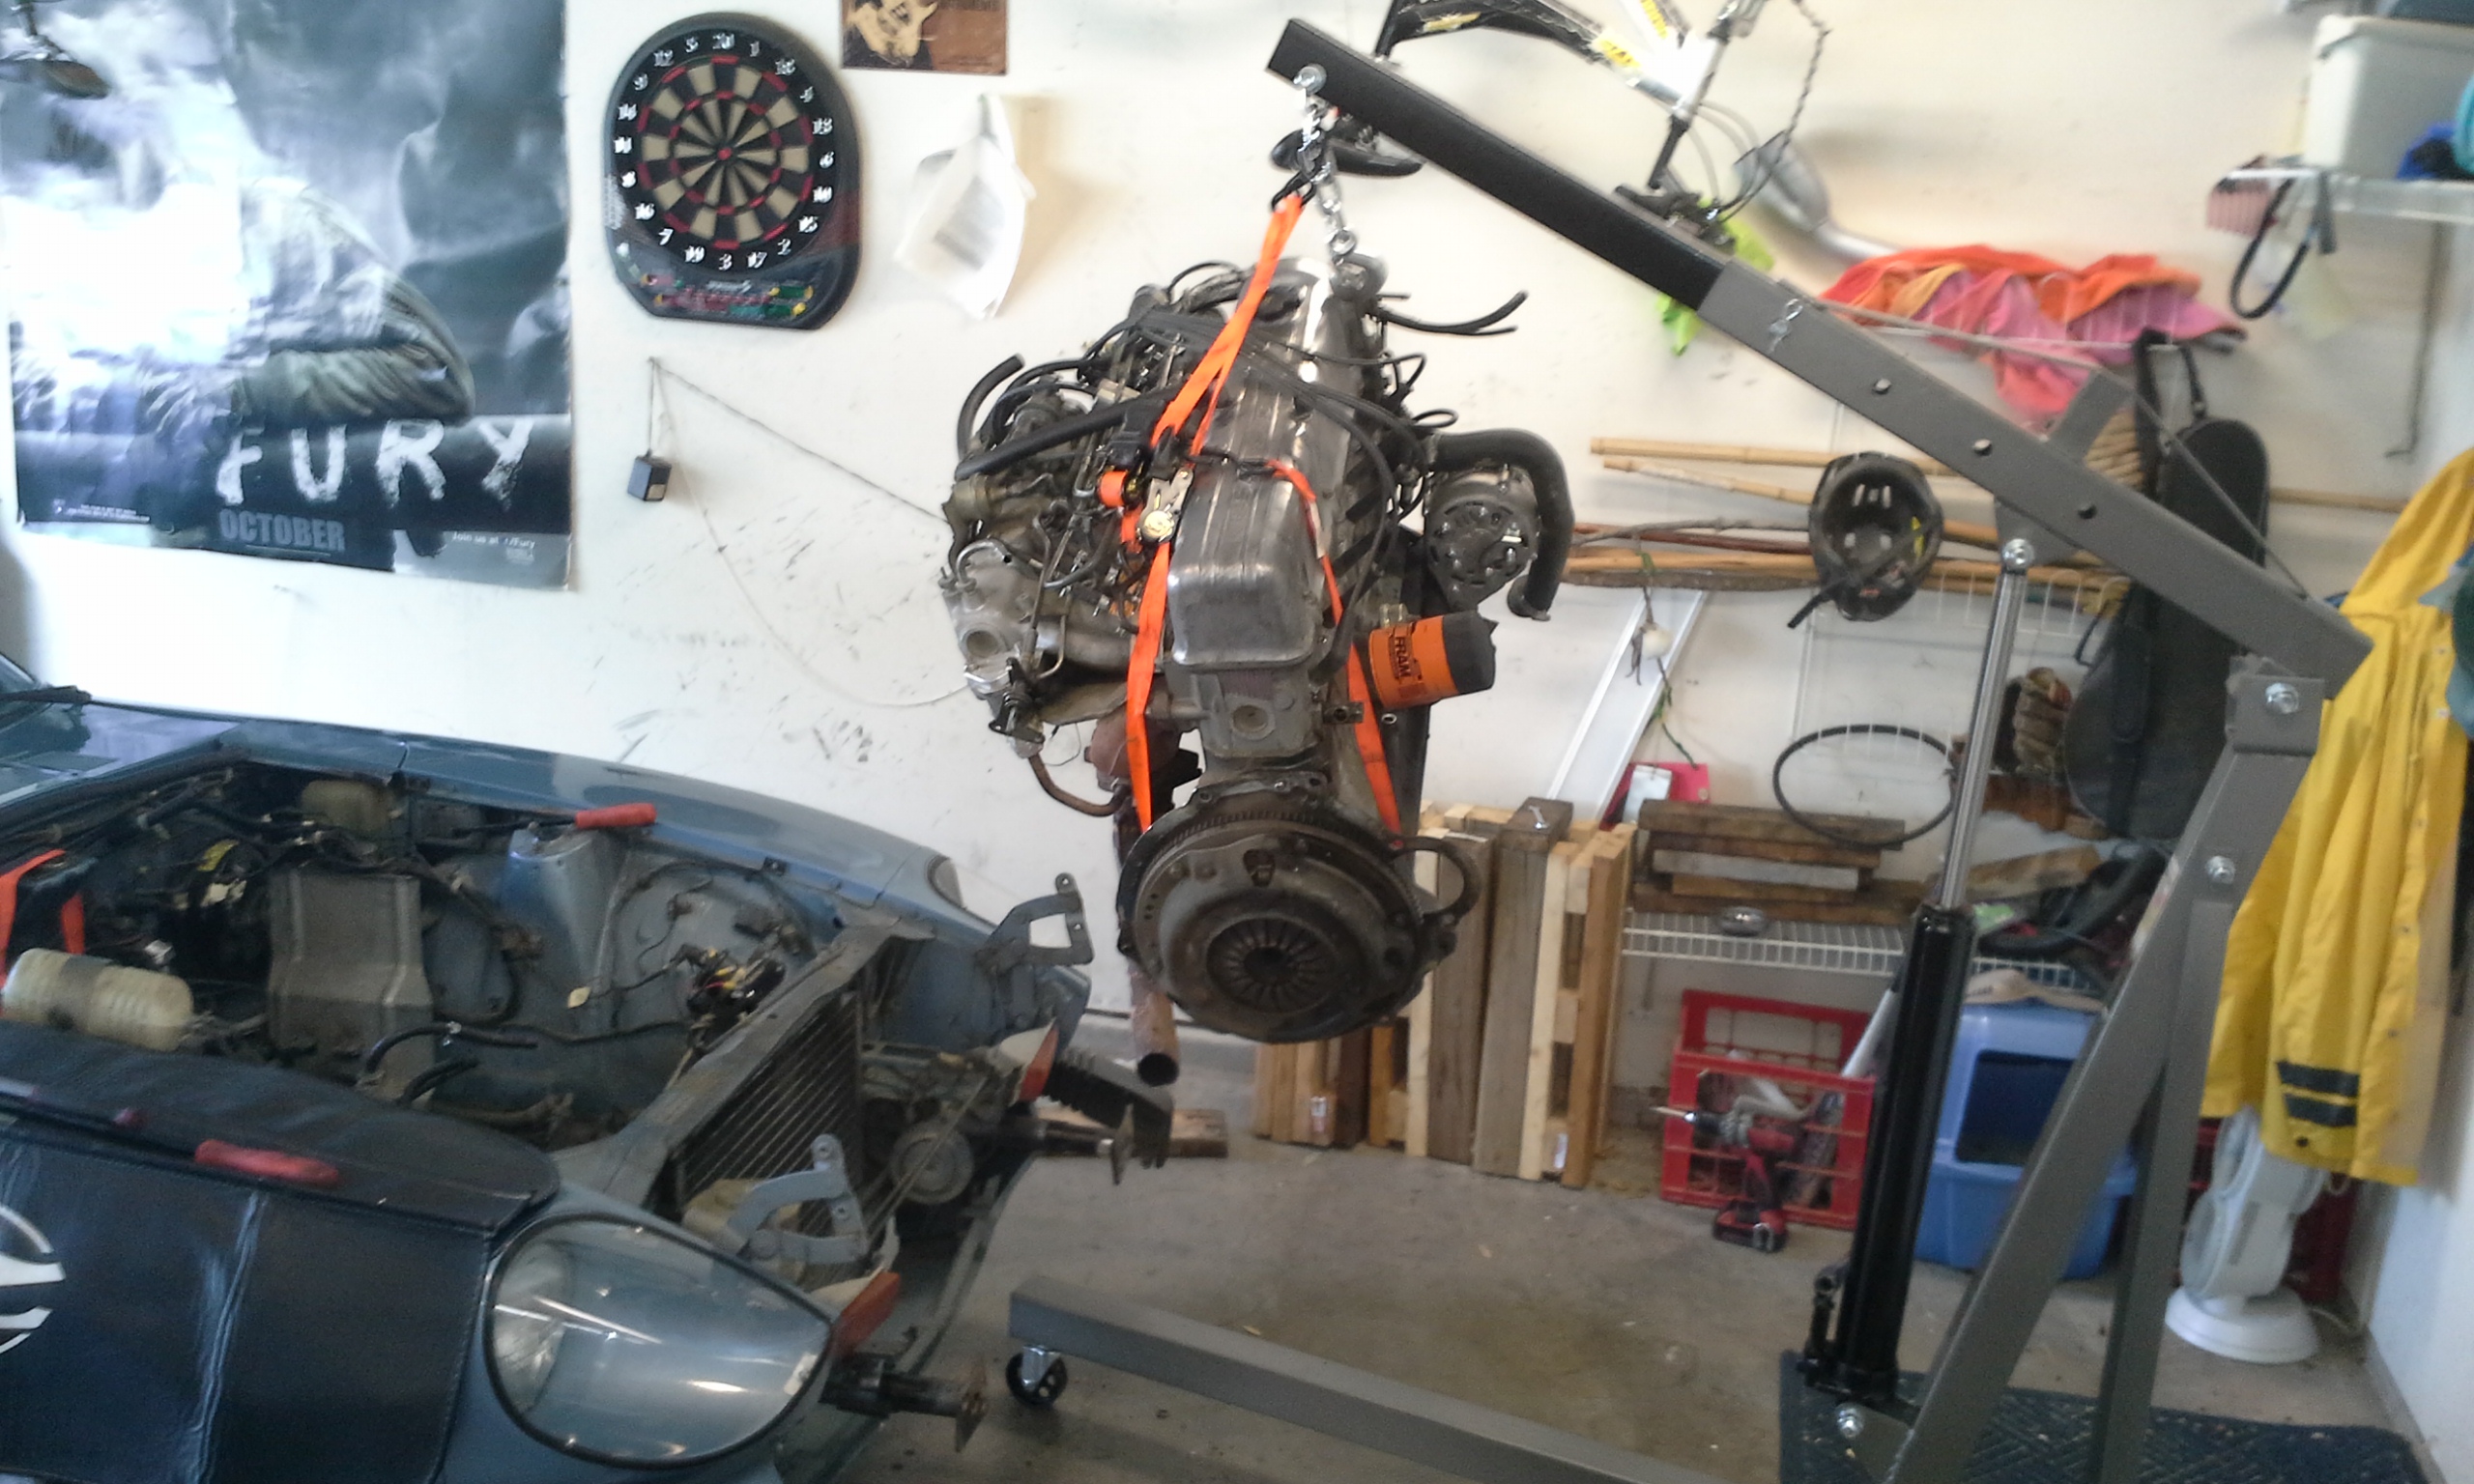
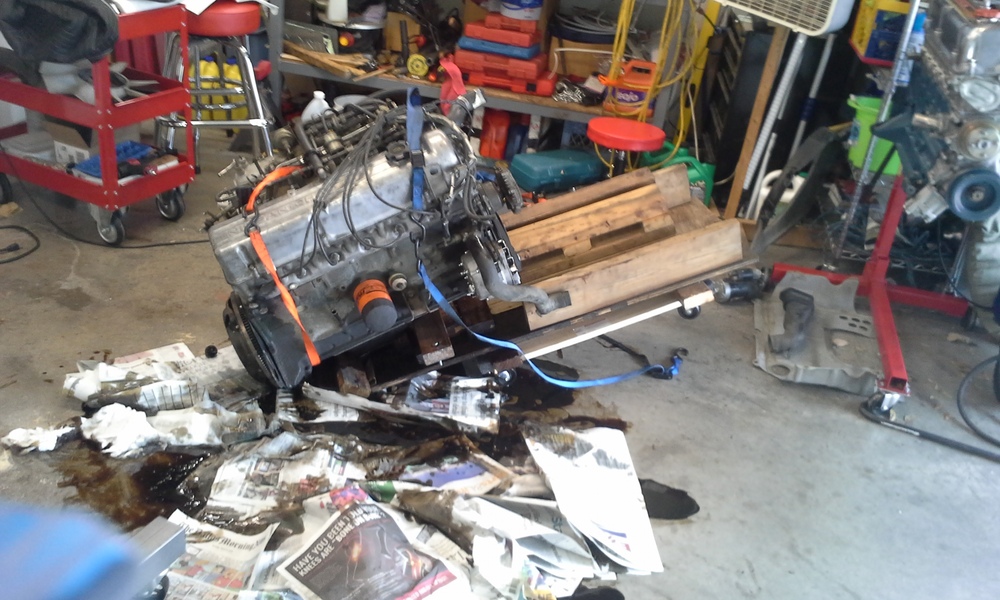
1 pointOut with the old. Up, Up, and Away!! Of course, I like to dump all the old oil out on the garage floor, just to make sure its all out of there , of course.... (I used a rubber oil plug due to stripped threads on oil pan. , Just don't get it caught on the sled you put it on.) Old and New.

 1 point
 -
 The order from Fastenal arrived today, a day and half until the Z comes home and then the fun stuff begins.
 1 point
 -
1 pointSo this is the best picture I have of just the brackets and wire holders but does not include the ones on the front of the engine as well as the "3" wire holder. The ones on front hold all six wires but have a larger piece of material between two of the holes to allow space for the L bracket. The center is drilled and tapped so it can attach to the L brackets, which are pictured. Mike.
 1 point
 -
 I started the install of triple mikunis on HLS30-23305. Still gathering necessary parts, but the project is started.1 point
 -
1 pointThe driveline vibration problem only occurred in the (Works) PZR race cars - not on the road cars - and at prolonged high RPM, especially at Fuji Speedway. I think it could have been cured pretty easily with a few small modifications to driveline installed angles (trans output, diff input), engine and transmission mounts. There was nothing fundamentally wrong with the S20, FS5C71-A & R192 combination (it was perfectly OK in the GT-Rs) so I think it was just a body harmonic issue that could have been cured with a little more race-specific parts development. But the political issues going on between the ex-Prince and Nissan factions meant that there was not much momentum behind the race development of the S20-engined Z cars. The S20 continued to be developed, refined and improved in the Works GT-Rs and the ex-Prince guys were concentrating on the planning of the two-door 'Hard Top' KPGC10 which would be hitting the market in the latter half of 1970 and the race track soon after. They really didn't want to give the PZR the attention it needed, and with Nissan developing the L24-engined variants for a serious campaign in international rallying to start in late 1970 too the writing was on the wall anyway.1 point
-
 1 pointI'll bet that little kid sat on mum's lap too! Very cool to see it with the original steel Topy wheels too!1 point
 -
I'm not sure the spec was that firmly fixed. I've seen a lot of the Portuguese market cars wearing them and Entreposto certainly optioned their cars up through their great leverage with Nissan, so likely a lot of their cars got them. Always exceptions to the rule, I guess. And the change in European lighting regulations (minimum height) certainly made a mess... More on topic: It's interesting that much of the refinement work on the HLS30Q is framed as 'Stability' (especially in cross-winds) and 'Safety' (in control), when in effect it is making a sports-oriented car even more 'sporty'.1 point
-
'Entreposto' HLS30 walkaround:1 point
-
1 pointGoogle ACC auto carpets. Get the carpet you like part number then google that. They have an ebay store that's much cheaper than buying off their website. Most carpet kits for our classics is made by ACC. They are 30 minutes from my house. I could break in one night and get you and me new carpet but I'd have to charge for the risk.1 point
-
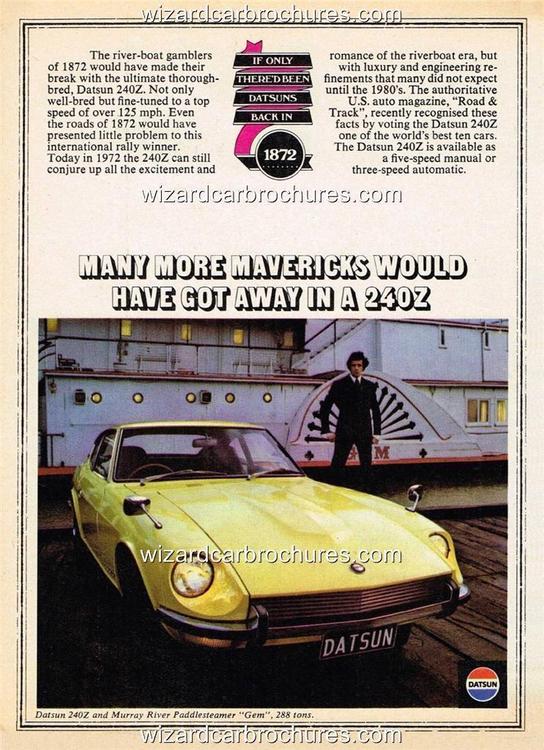
Great info Kats! You sure find unique and interesting information. Sherlock!!! Given the defacto world's best small sports car producing area was Europe and that the export 240z Sports was tuned for USA market and the Fairlady HS30 for Japan, it seems prudent for Datsun to make a Euro Spec when entering that market. The Australian market Z is interesting in that it does not have the side markers and the front turn lights are clear. I like its looks the best
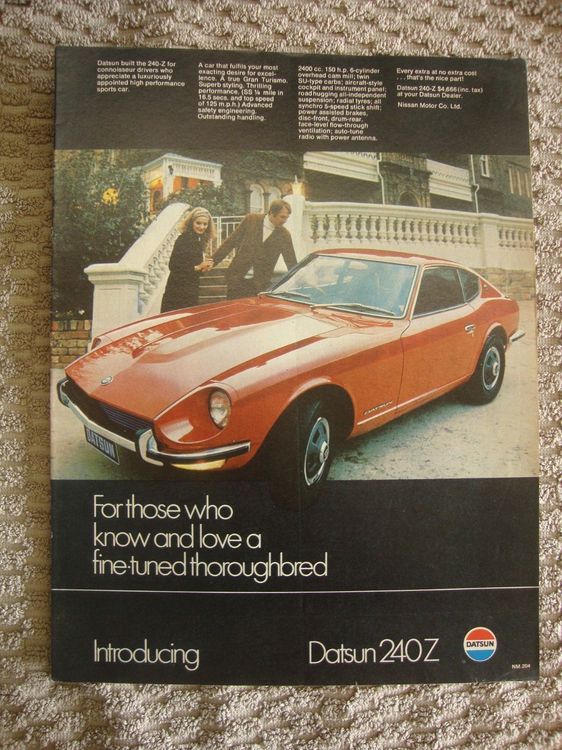
 1 point
 -
 1 pointAtlantic Z car site seems to be down. Z car creations has some good info as well, including proper connections on rear of LR160 alternator. BTW... make sure that you do have an LR160 alternator ( IR ) and not an LT160 alternator ( ER); http://www.zcarcreations.com/technical/lr160term.htm On back of Alternator: Top horizontal connection of the Terminal is your " S " or Sense signal. Also called N or Ign on some alternators Should be a Yellow wire on 280Z. Vertical connection is your " L " or Lamp signal. Also called " F " or Field on some alternators.1 point