Leaderboard
-


siteunseen
Free Member6Points14,905Posts -


240260280
Free Member4Points4,441Posts -


kats
Free Member3Points2,209Posts -

Reptoid Overlords
Free Member2Points805Posts
Popular Content
Showing content with the highest reputation on 06/14/2017 in all areas
-
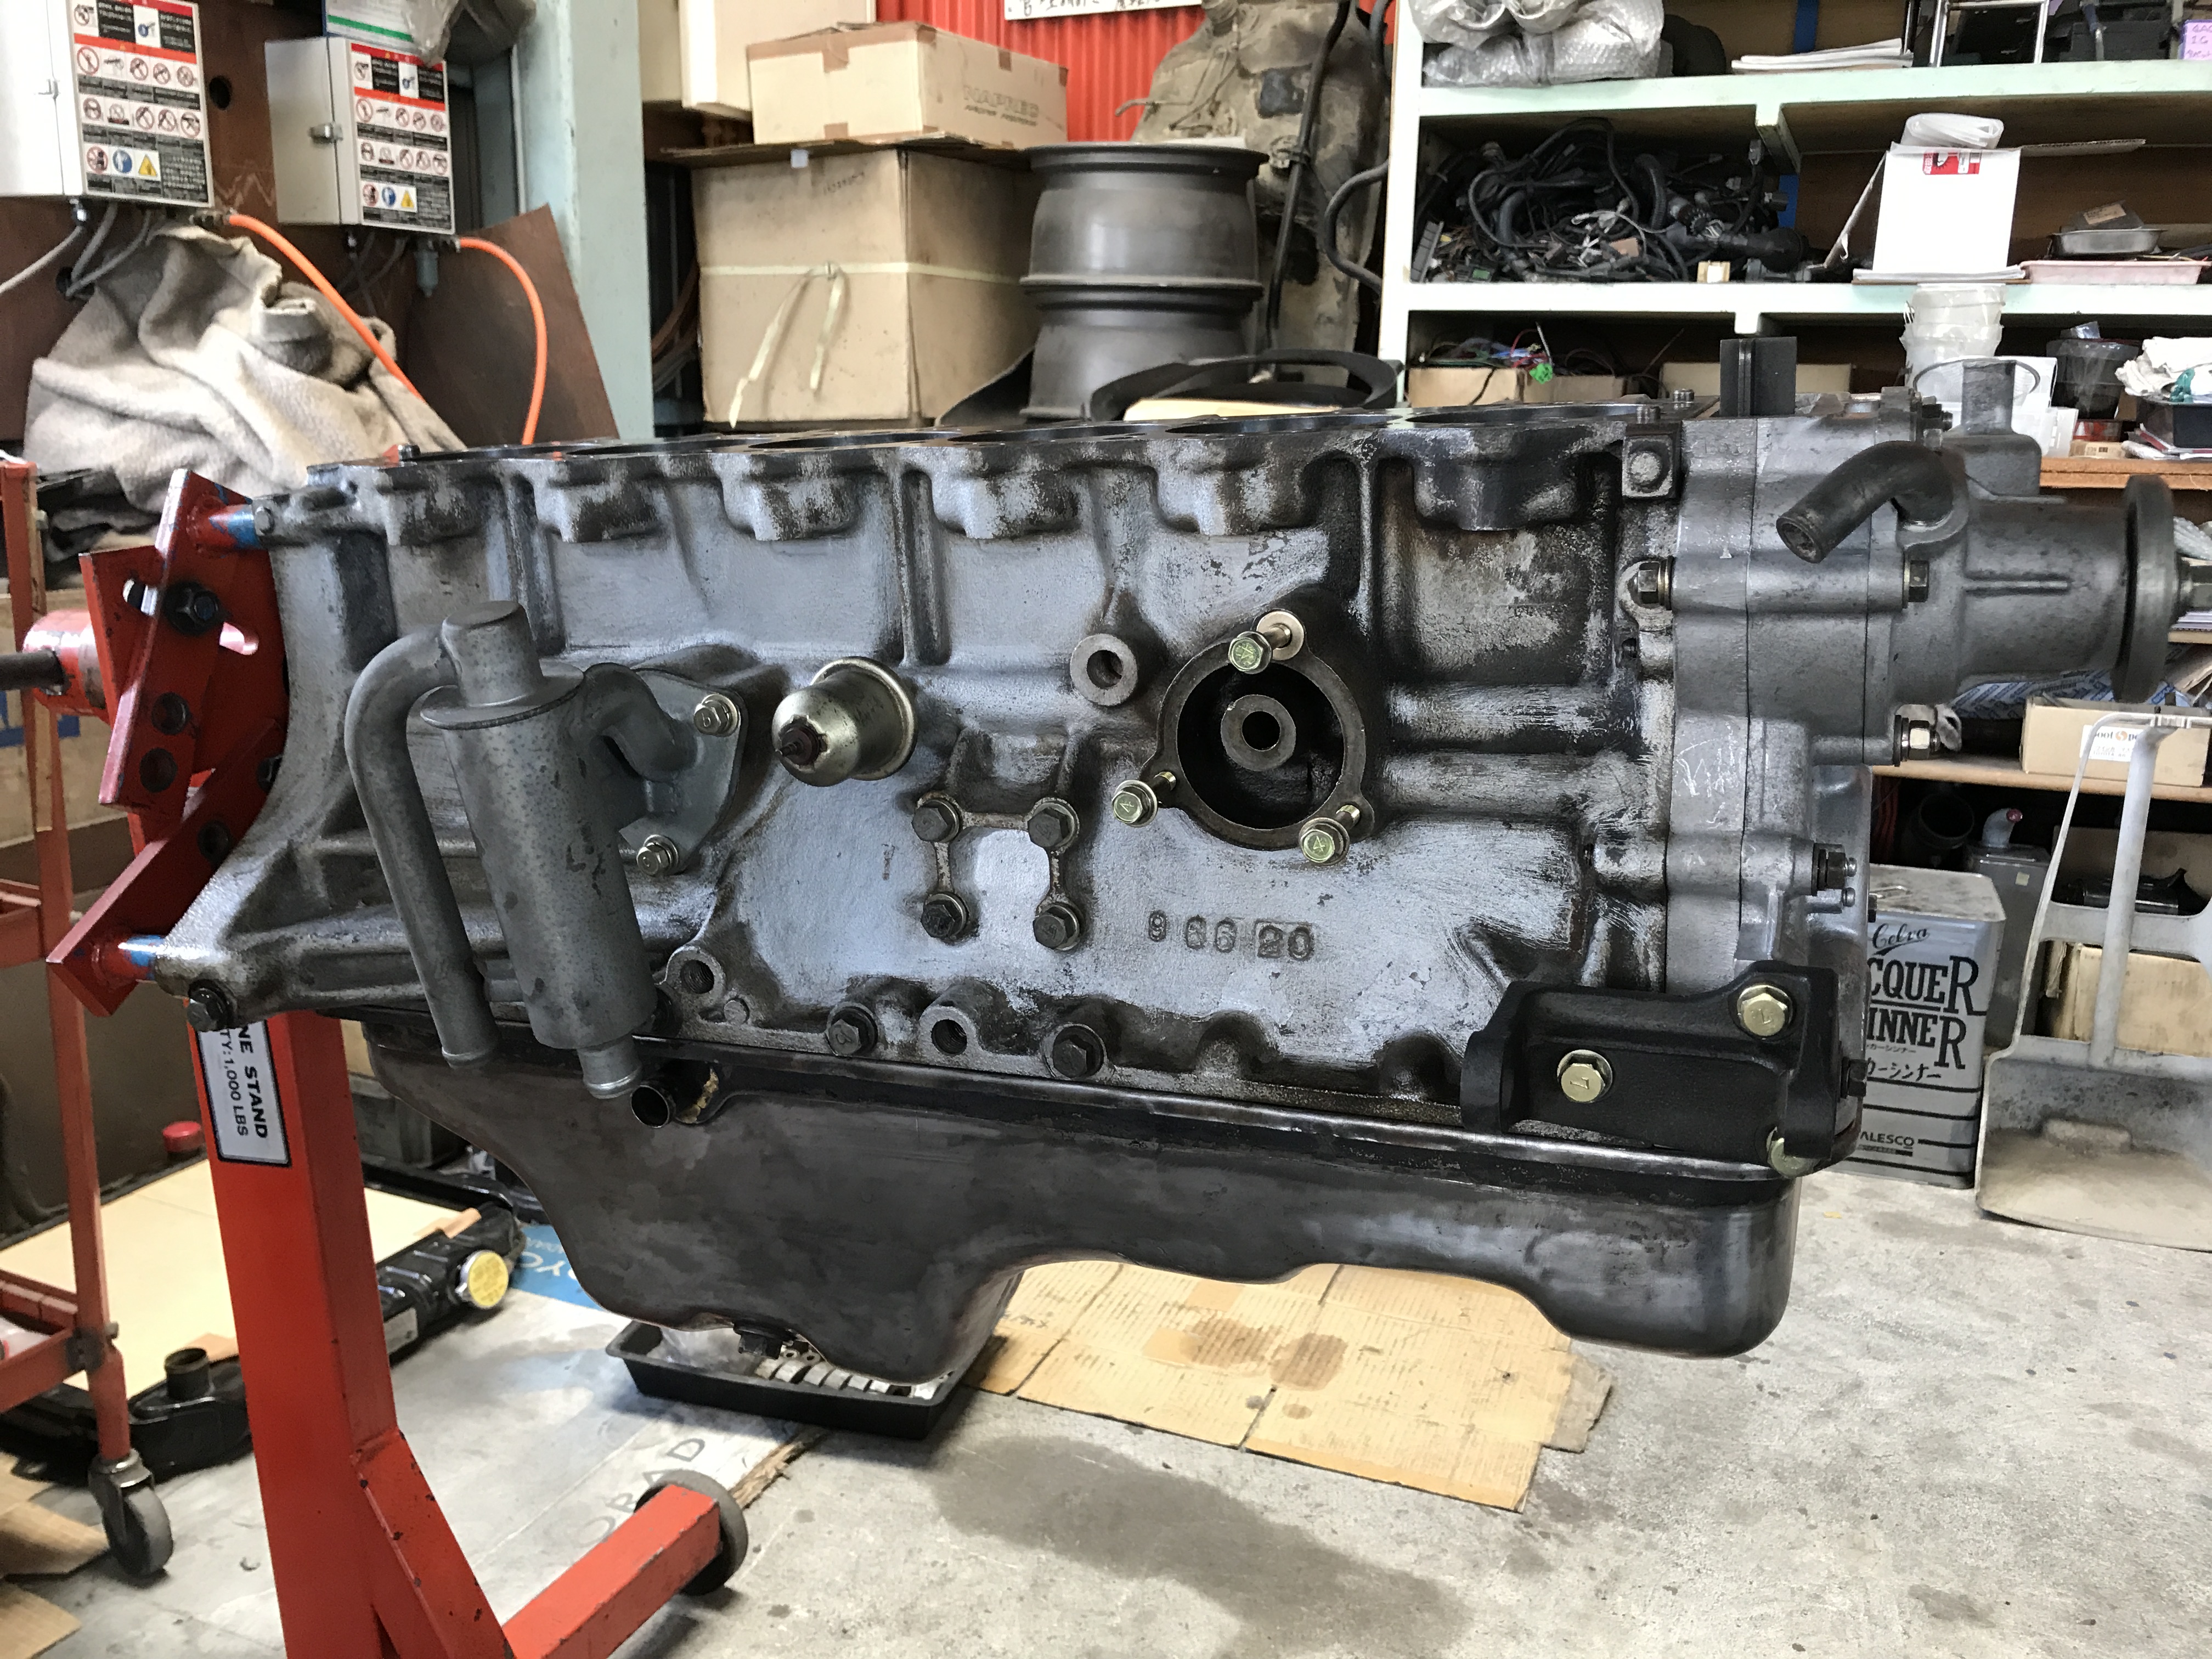
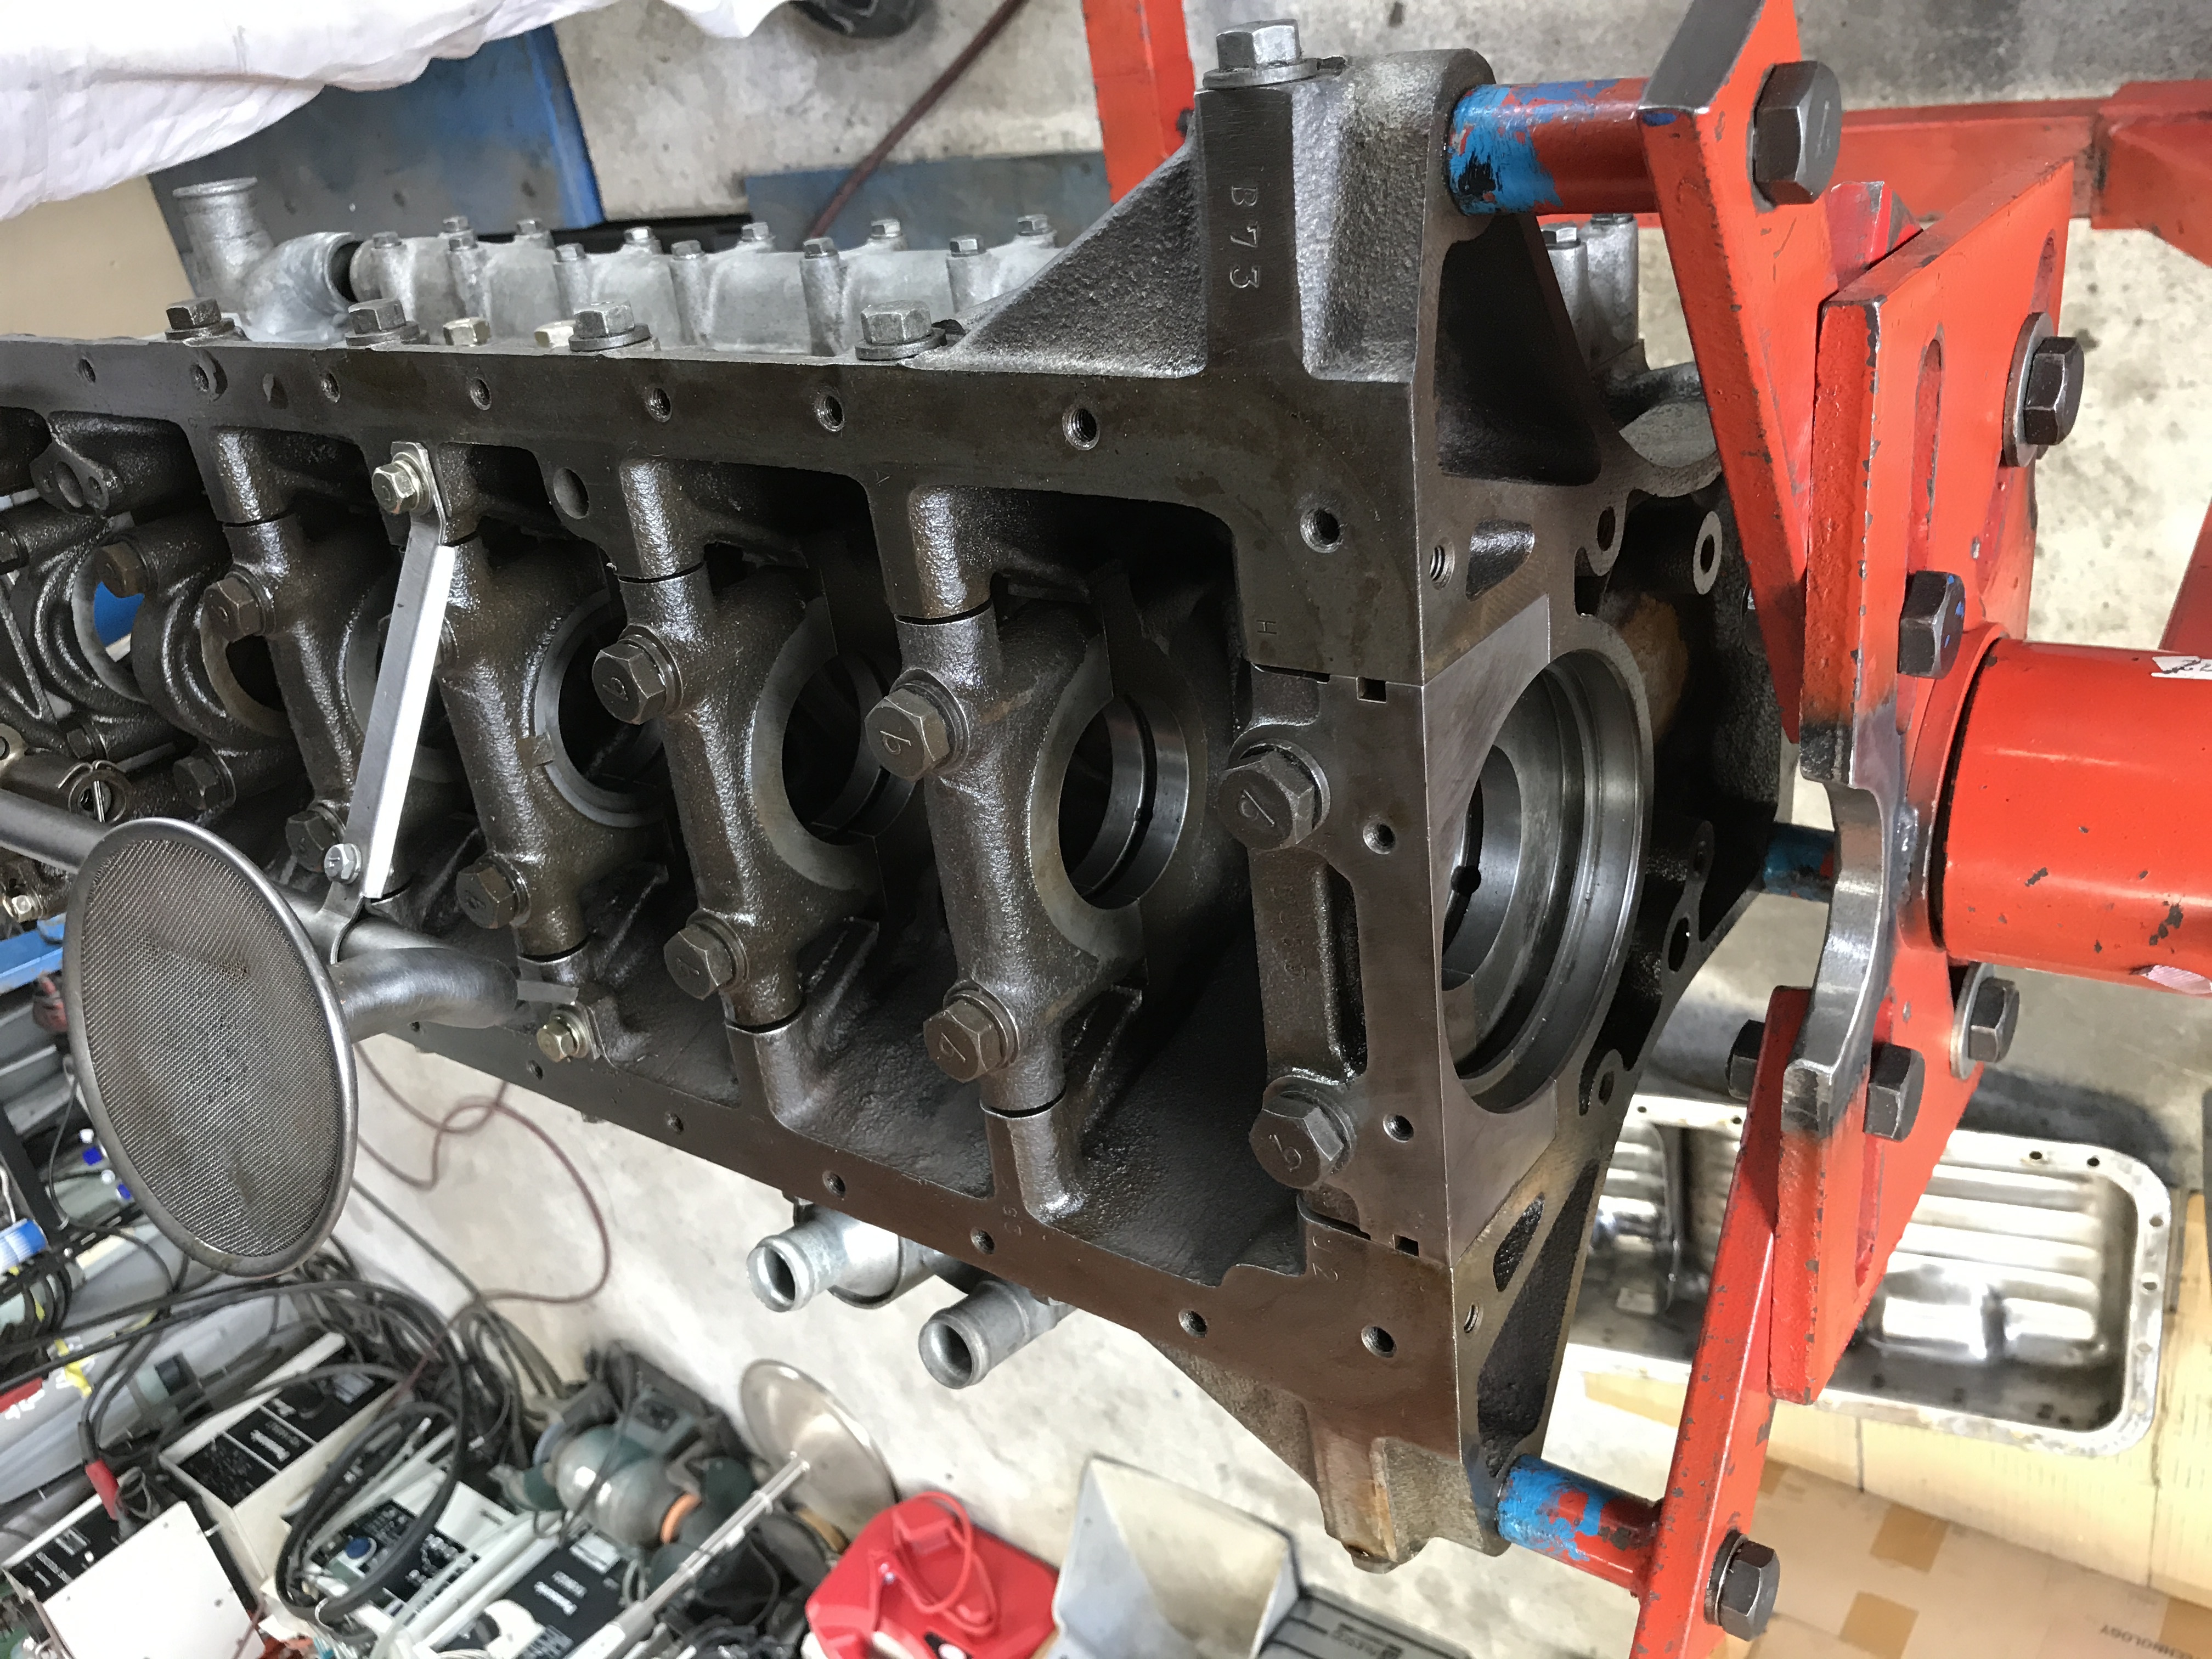
3 pointsThank you everyone, we have more to discover, let's keep going. Today I went to a shop , to see a S20 which is going to be my Z432's spare. Mr. Yamamoto is very passionate about S20, LY engine, he loves racing. Mr. Yamamoto said this engine might come from a Z432-R which was totaled , I will be happy if it is true. Does Z432-R's engine have racing piston, racing camshafts from the beginning? Alan , let us know. Kats


 3 points
 -
2 pointsWhen I liberated my ZX from its garage grave, the two mounting bolts that bolt the steering box to the frame were so loose you could hand turn them. Something quick and easy to check..2 points
-
 The Parts Department at your local Nissan dealer should be able to get all the float bowl gaskets you need. Cost was $1.70 each last time I bought some. Dennis1 point
 -
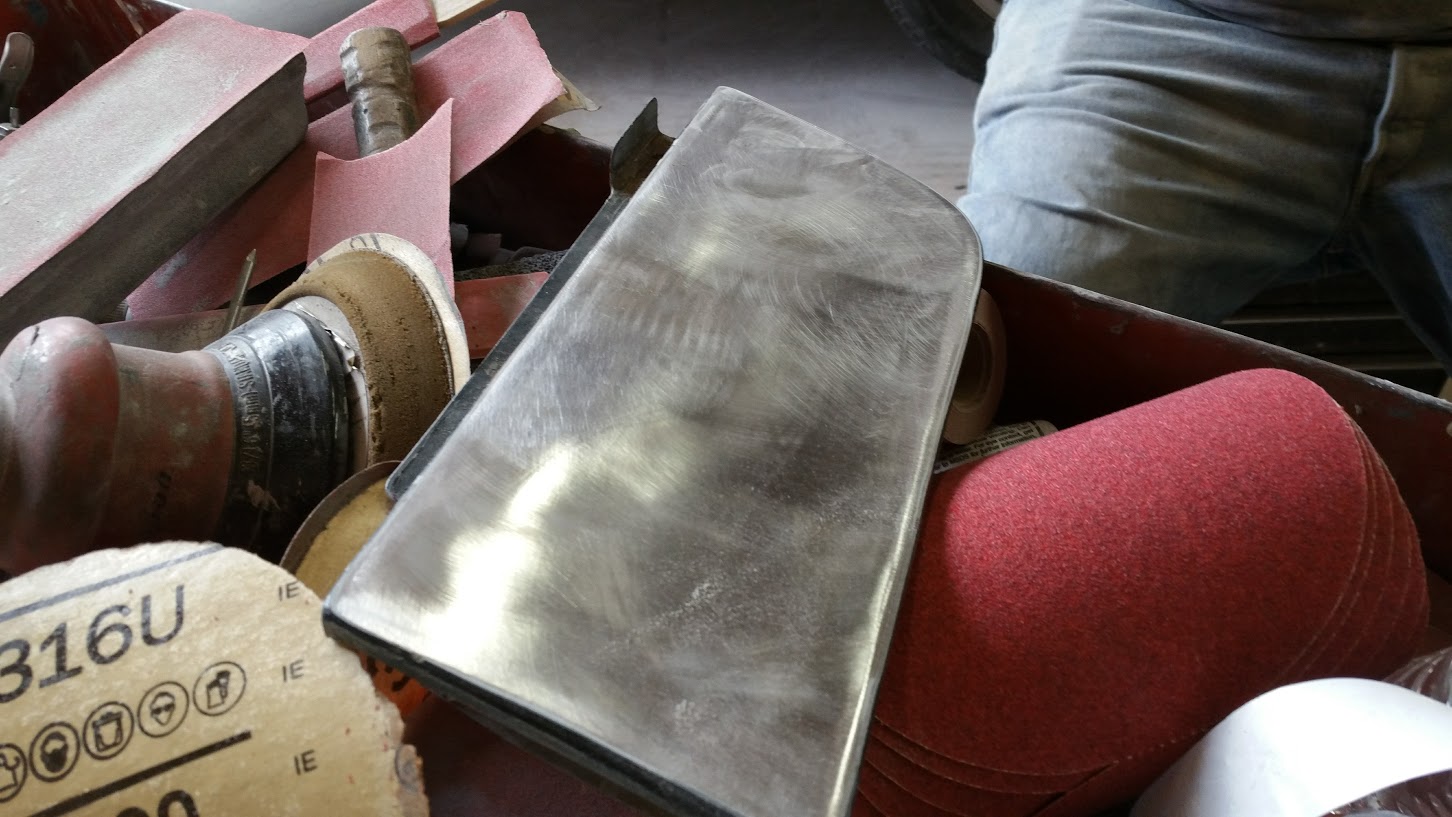
You may have to scale the above drawing so practice on plain paper until you are happy then throw the gasket paper in the printer. I filled the drawing up with side-by-side copies so that 1 sheet of gasket paper had 6 or 8 templates printed... just in case I screwed up a few when cutting.1 point
-
 Anything is possible I guess! He told me in was running when he bought it. Hell when I got the car the coil was wired backwards, firing order off, dizzycap on backwards, 5.5-9psi pump, and now the needles in backwards. I guess he didn't have access to classiczcars.com lmao!1 point
 -
How in the world would/could somebody put the needles in upside down??? That seems impossible but I guess not. I've heard it all now of what a previous owner can do. "My word!" is what my Mom would say. 8^)1 point
-
 1 pointTry to get a tool on both ends of the bolt and nut. You may have a rust through situation at the connecting points. A Dremel is a good idea but keep it from doing collateral damage could be an issue. Since you are trying to put on an aftermarket body part there could be an issue with your installation. Some of your current connecting points will or may be needed to secure your air damage properly so you don't want to damage them. Good luck.1 point
 -
1 pointI guess I was referring more to flat spots on the tires from sitting so long but that wouldn't cause the wobbly steering wheel just a thumpity thump thump ride.1 point
-
 1 pointThe car came with a bunch of receipts, showing it was painted in 1988. Also there was a tire receipt from 2004, which seems accurate. Up close you can see they aren't new, but still have good tread left. It's amazing what a little tire shine will do for the picture haha I suspected the tires, since the car has been sitting for about 6 years. A couple of the tires have a slow leak, so they would eventually go nearly flat. But I thought that if the tires were out of round or "flat", then the vibration/shimmy would happen all of the time. Which is doesn't. It doesn't change when braking, it is relatively intermittent, A few times I was accelerating pretty fast, got up to about 50, and had no problems. Other times it shakes violently at 30. So it is definitely an intermittent deal. I waited six years to drive this thing again darnit! I guess it's not something I could've noticed when I first started the engine, since I only went around the parking lot a few times slowly. Almost never any vibration below 30 mph.1 point
 -
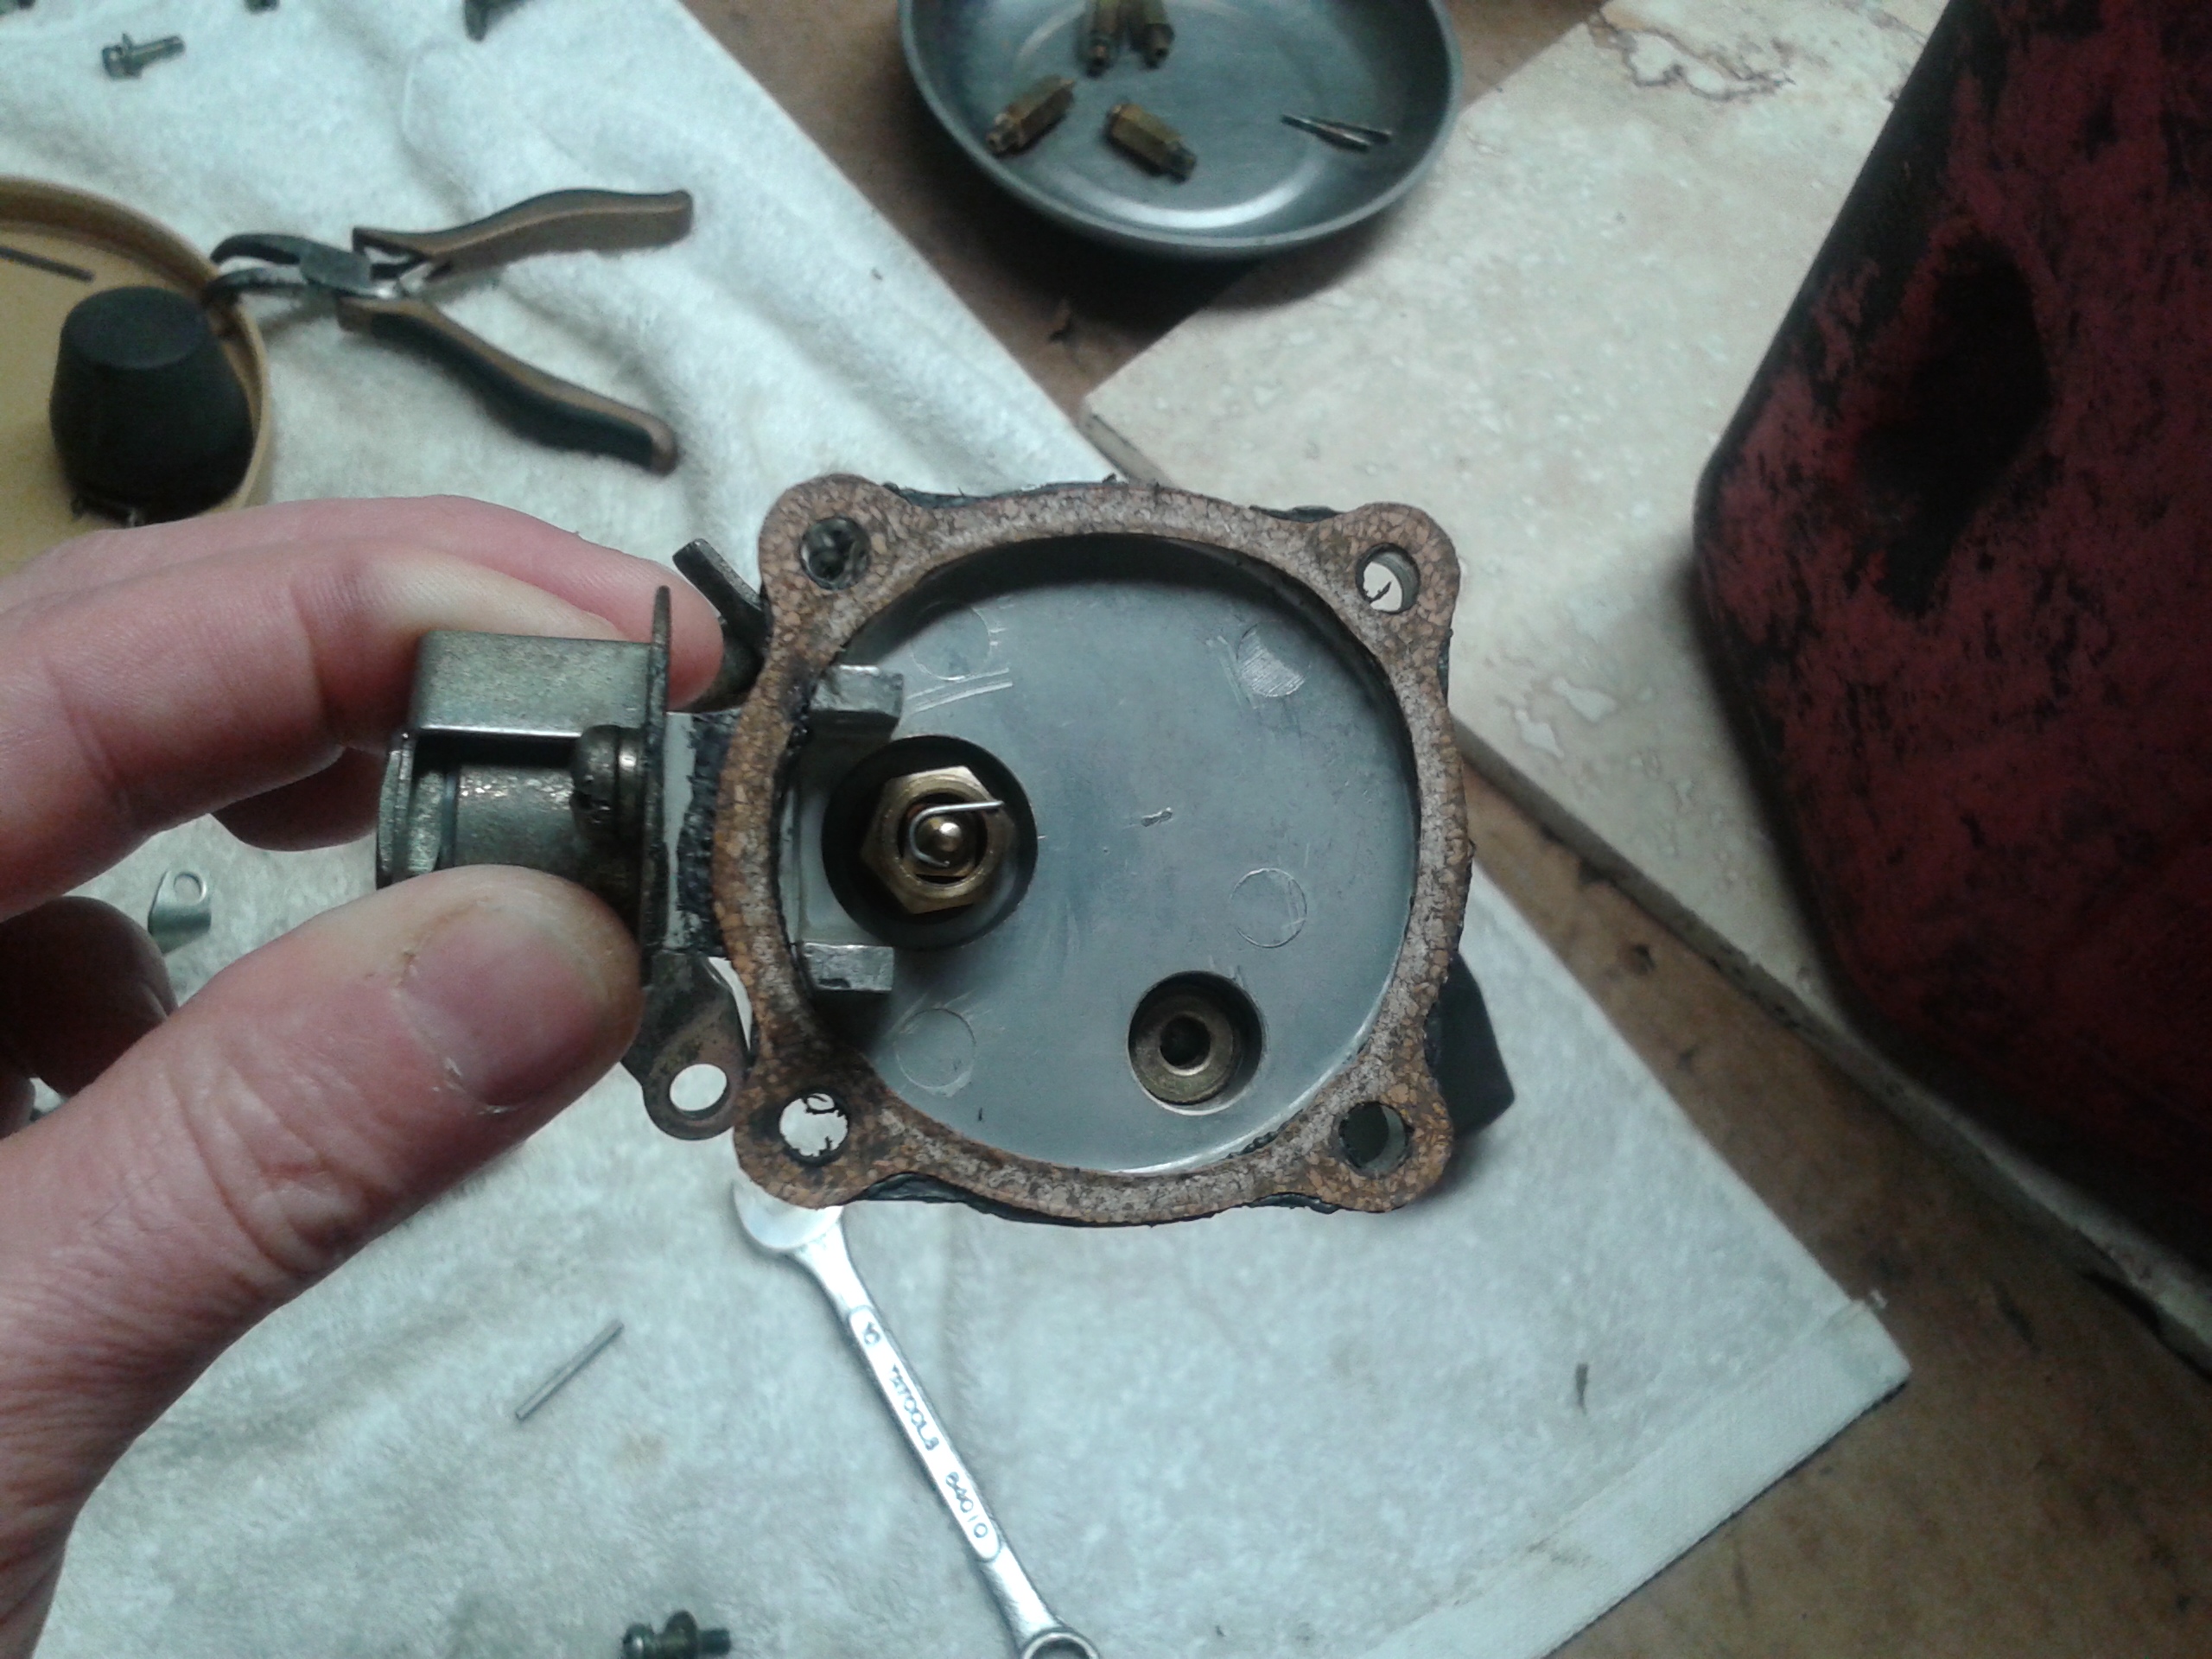
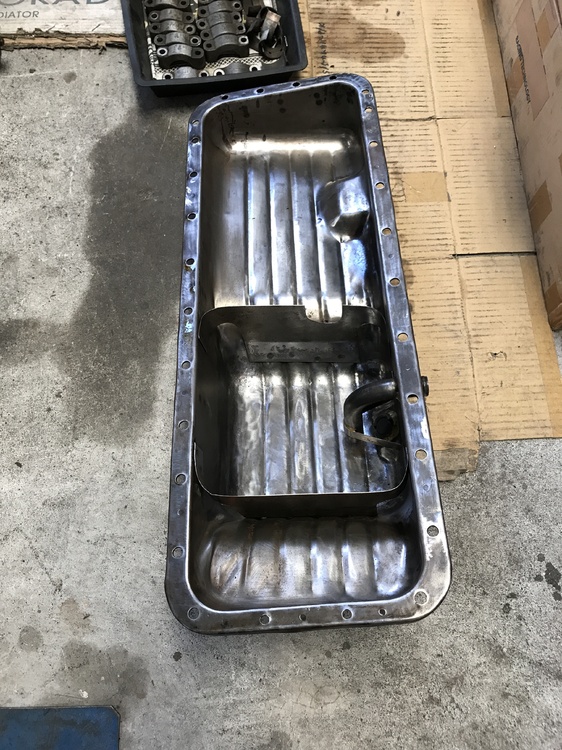
The tangs on my floats were bent up like a roller coaster's first climb. That caused the bowls to barely have fuel, if I drove up a pretty steep mountain it would stall out from fuel starvation. I found that having them bent fairly level was a good starting point. The red circle was for somebody else. And try gluing your gaskets onto the lids, it helped me when i was getting them set. I used black oil and fuel resistant RTV.
 1 point
 -
1 pointIt looks like new tires! That's a real big change, at least on mine, especially if it's been sitting for 6 years. You'll get it figured out. I paid $50 for an alignment after rebuilding all that steering stuff, guy said it was an "1.5" out" whatever that means. Couldn't tell what he meant, really busy shop.
 1 point
 -
 The power lock install was actually very simple once you decide the placement for the actuators. By using the metal brace (see pic in the post) the actuator can be placed in such a way that the hook that connects to the door mechanism rod can be bent in the angle needed for smooth operation. They work great and gives me the peace of mind that a sharp edged key will not damage the paint job. Definitely go for it.1 point
 -
It may have been the result of someone's attempt to fix the problem of the high pressure pump.1 point
-
 When you replaced the pump was it with a high pressure unit? Or an OEM equivalent? How did you clean the floats? I had to actually disassemble the valve inside the float and clean the seat.1 point
 -
 1 point
 -
We got your back on this forum. Come back anytime you have a question.1 point
-
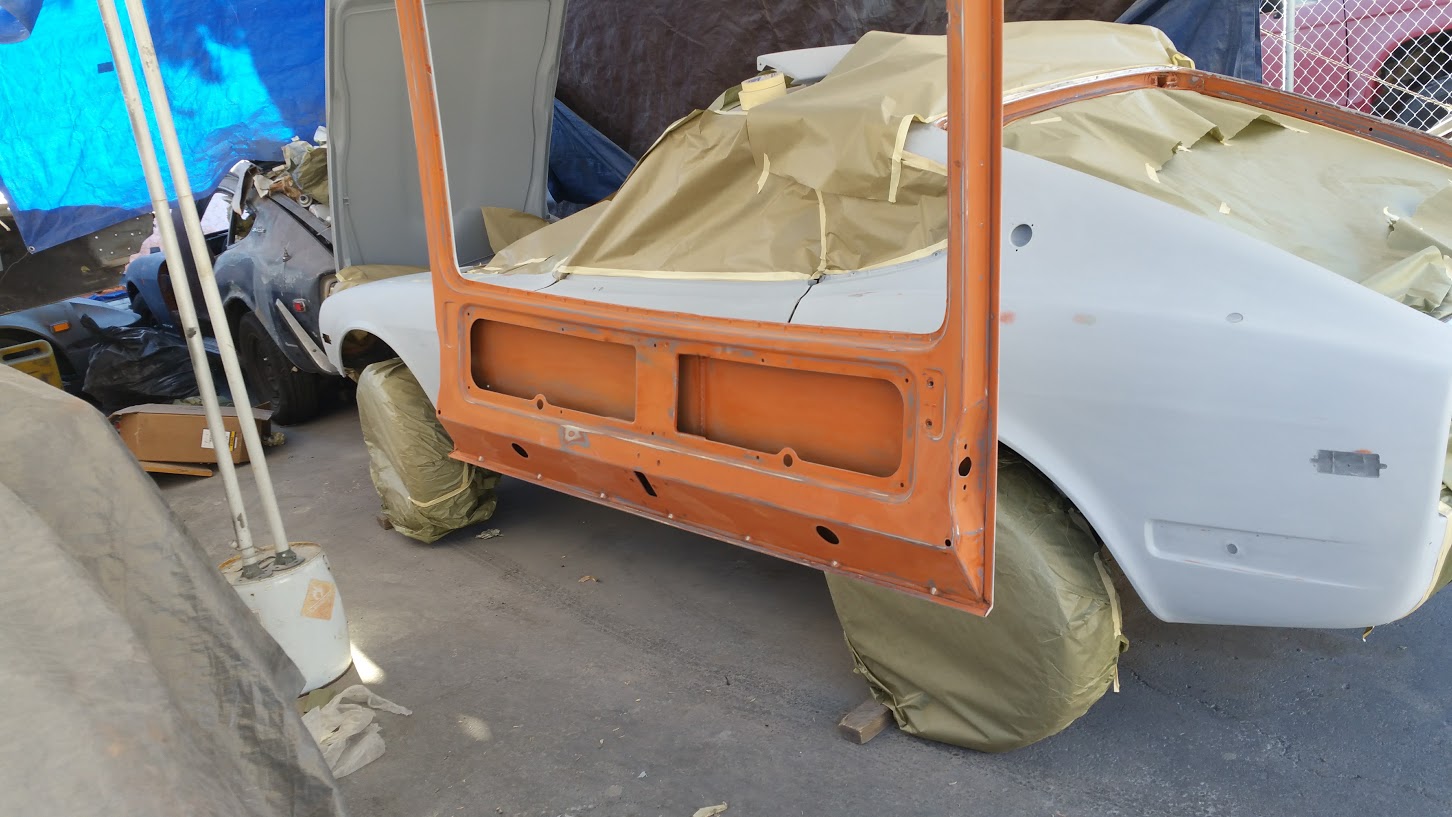
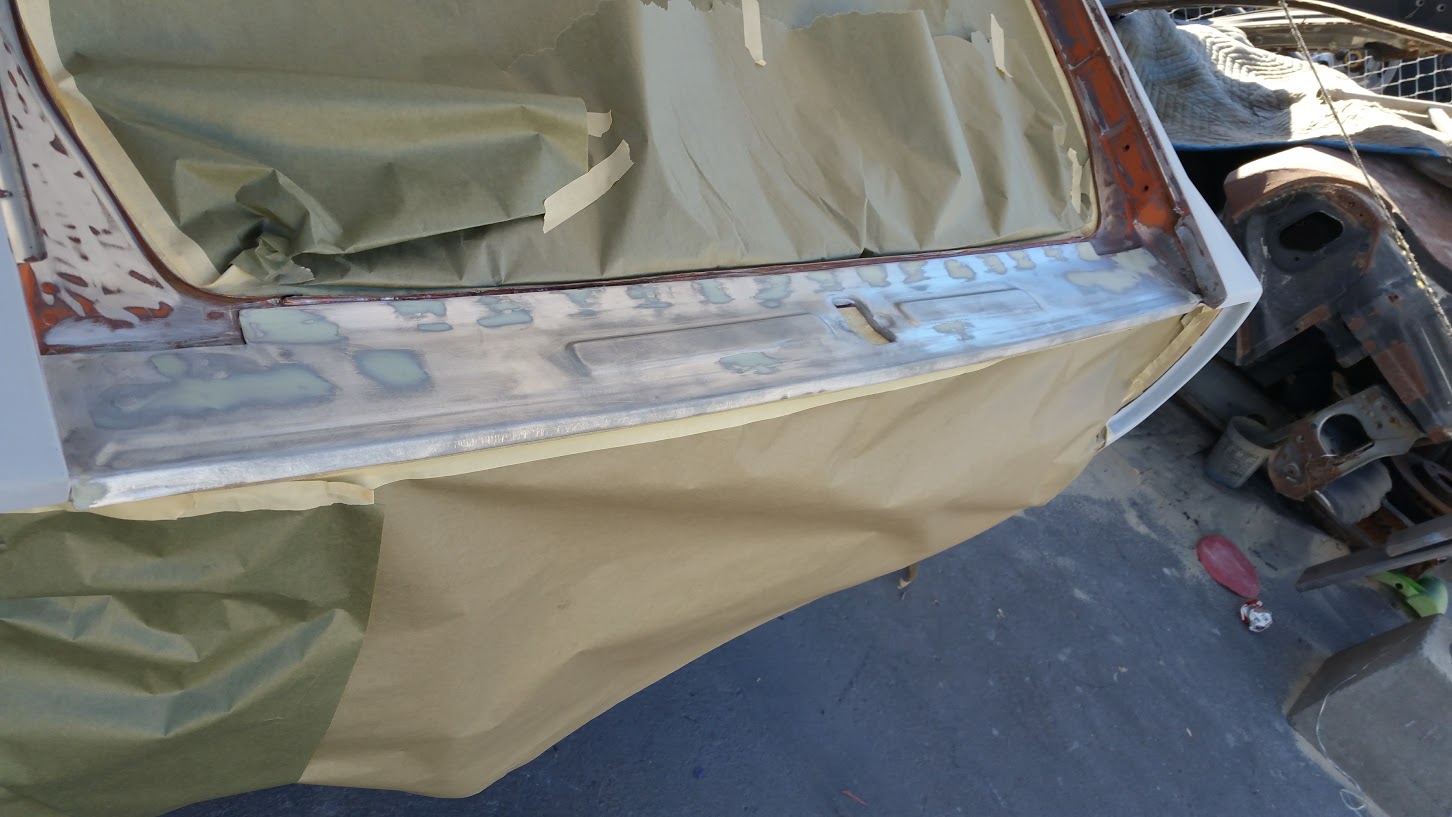
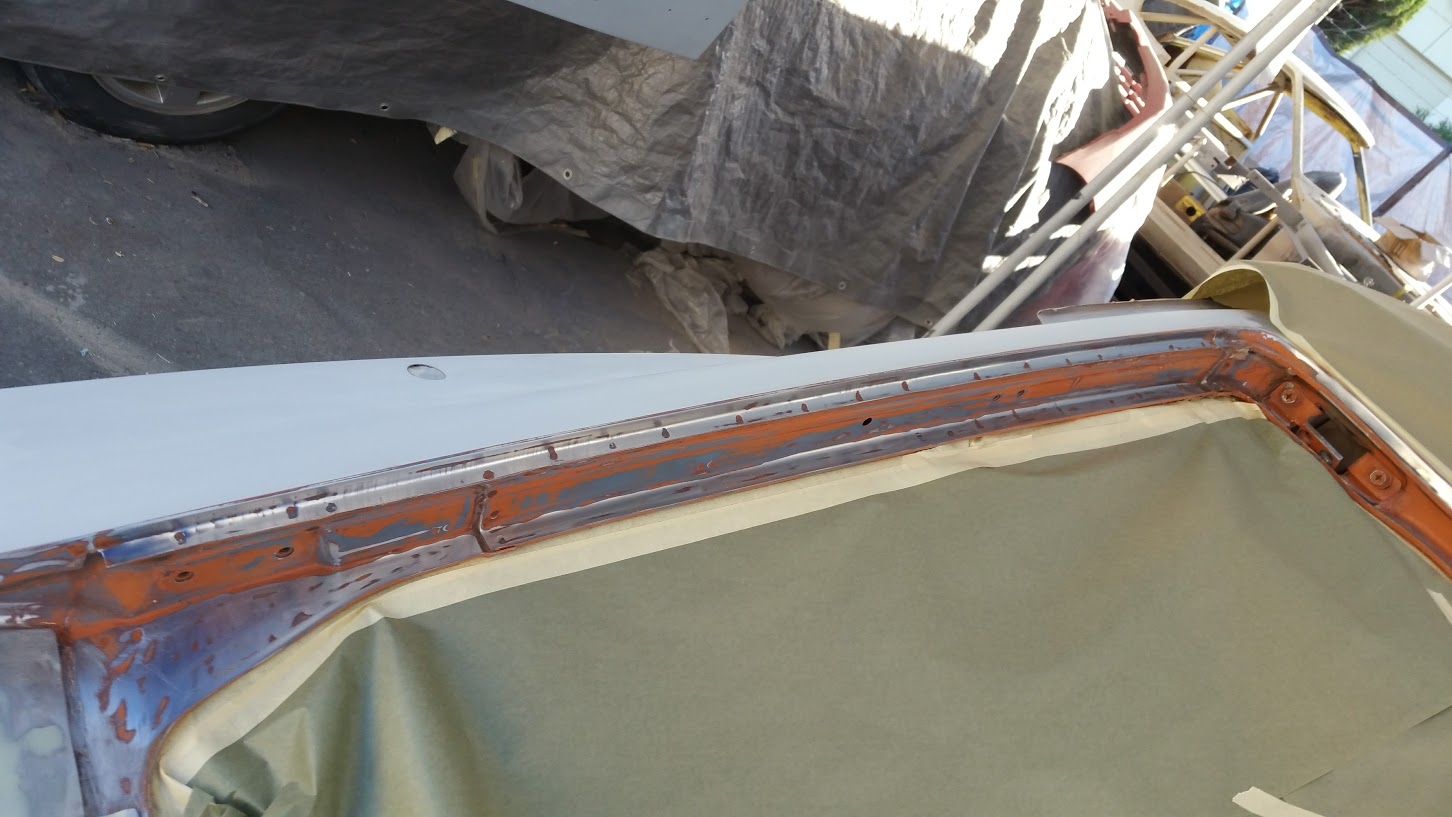
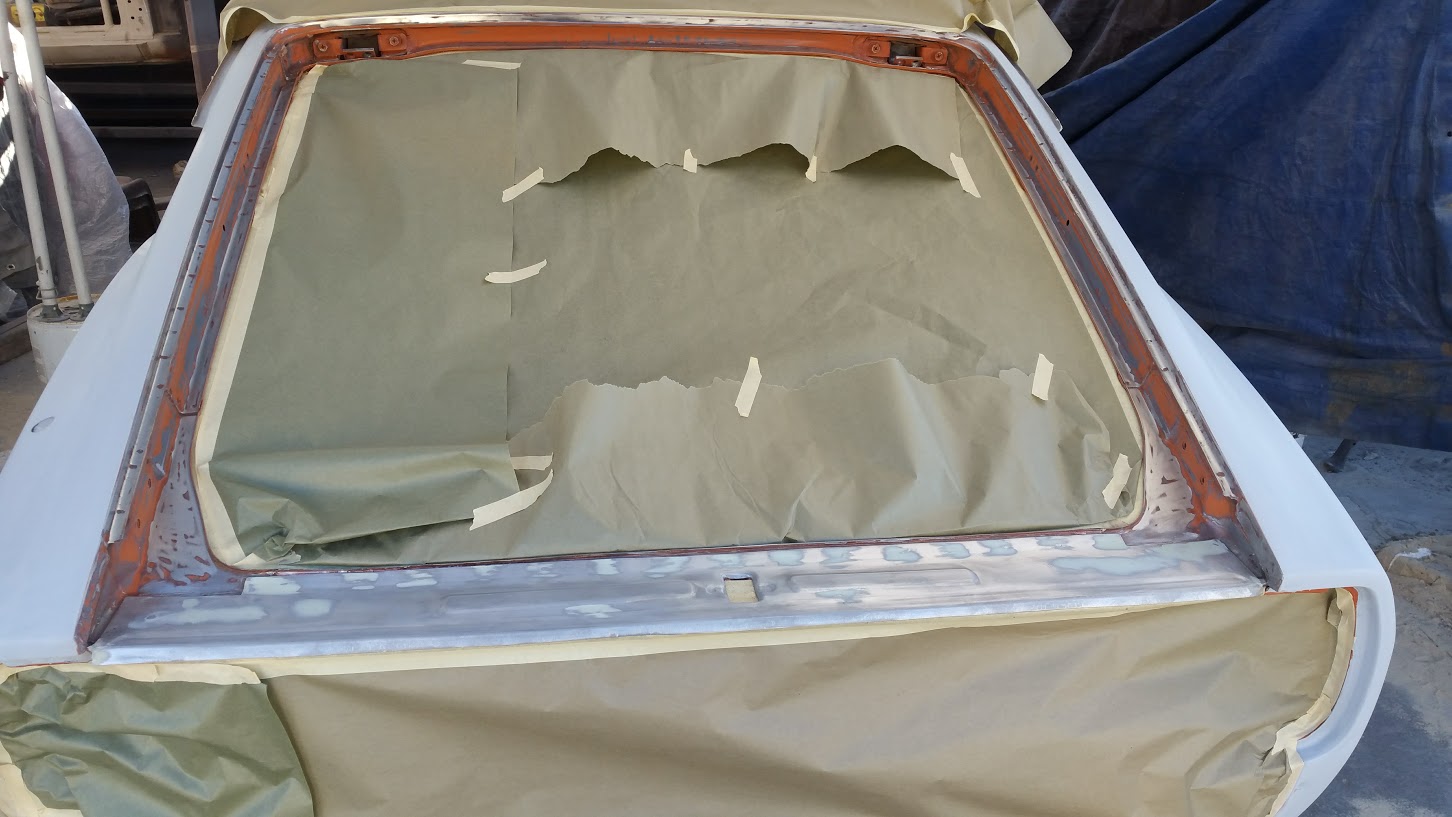
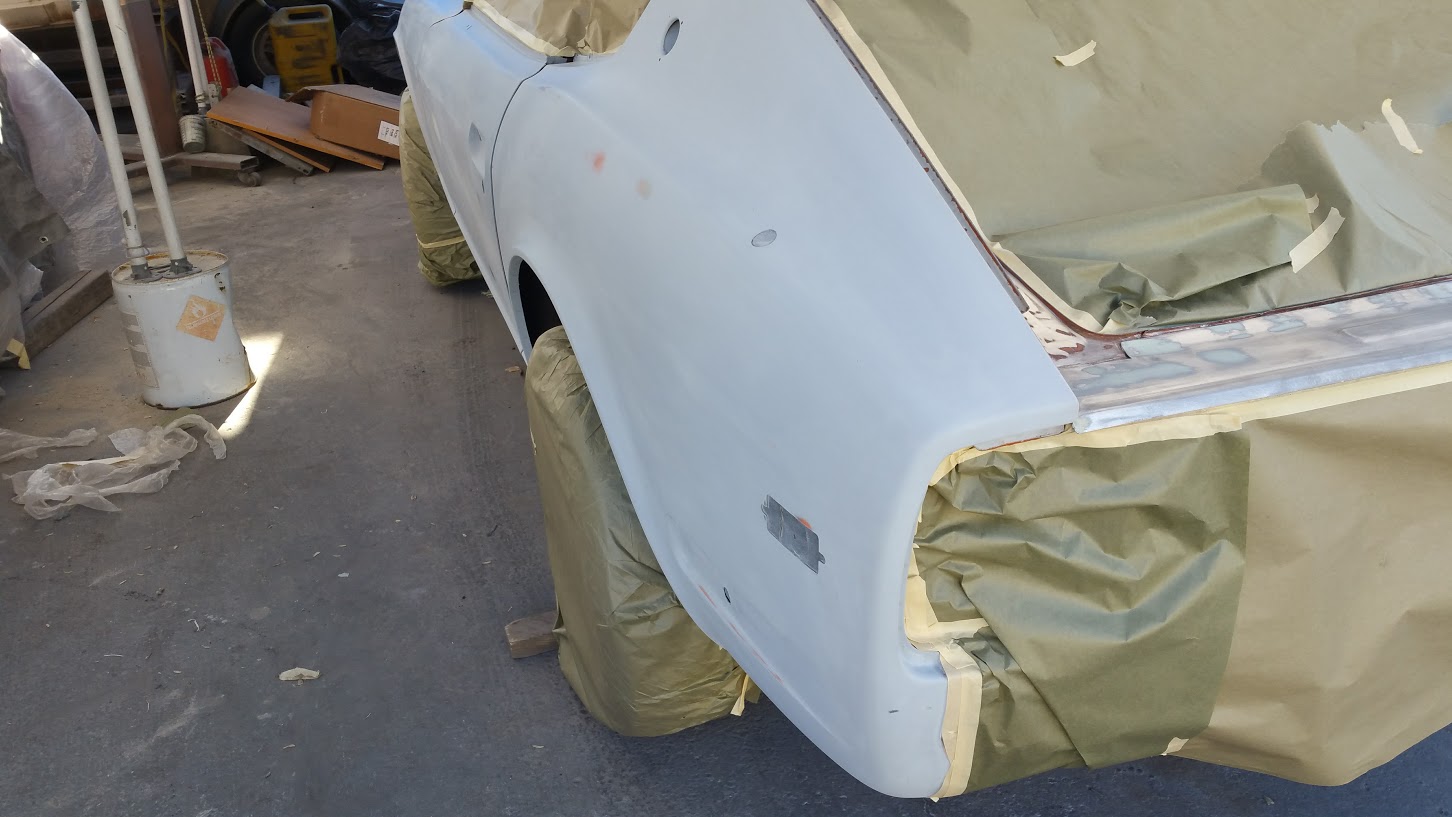
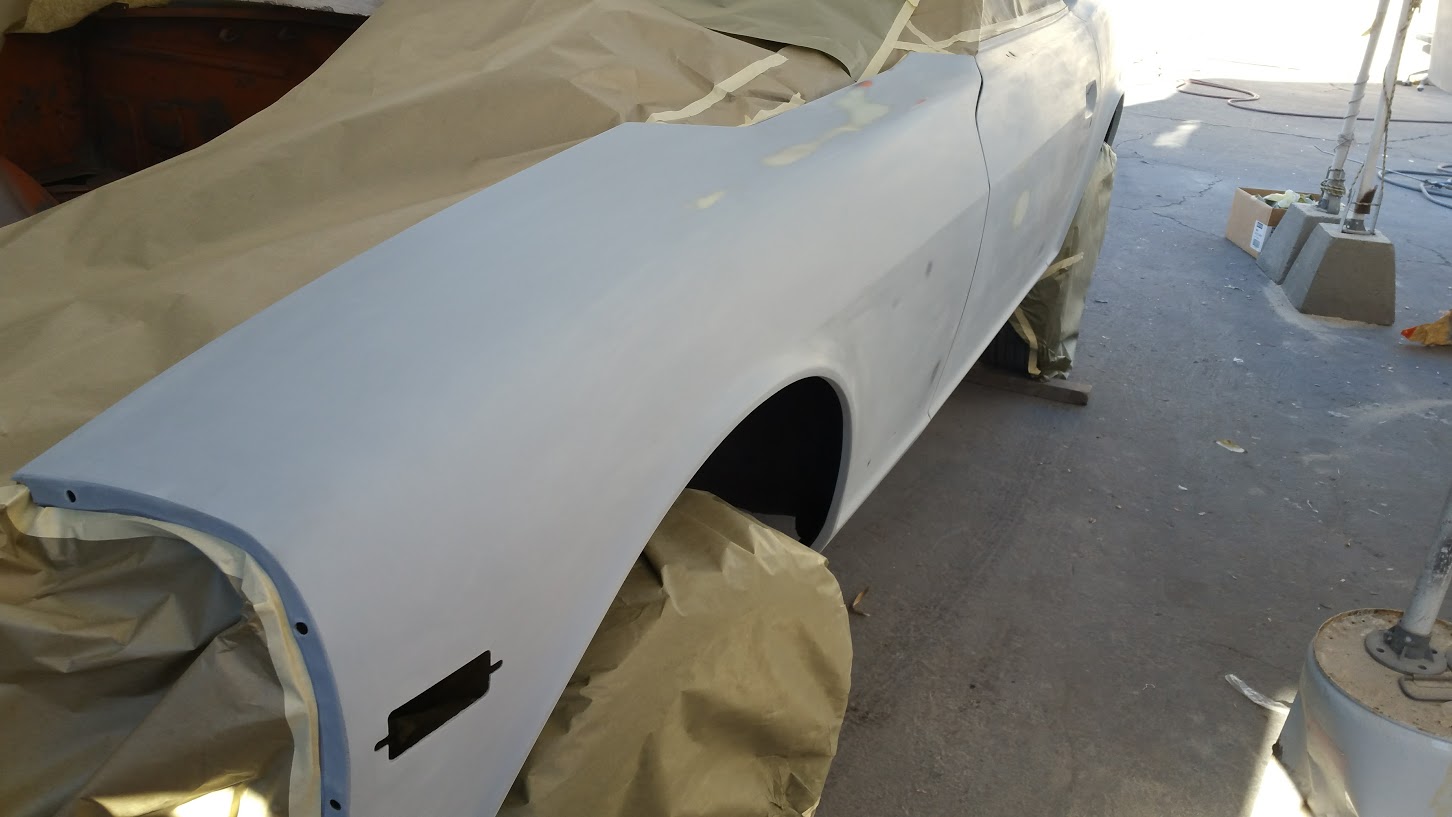
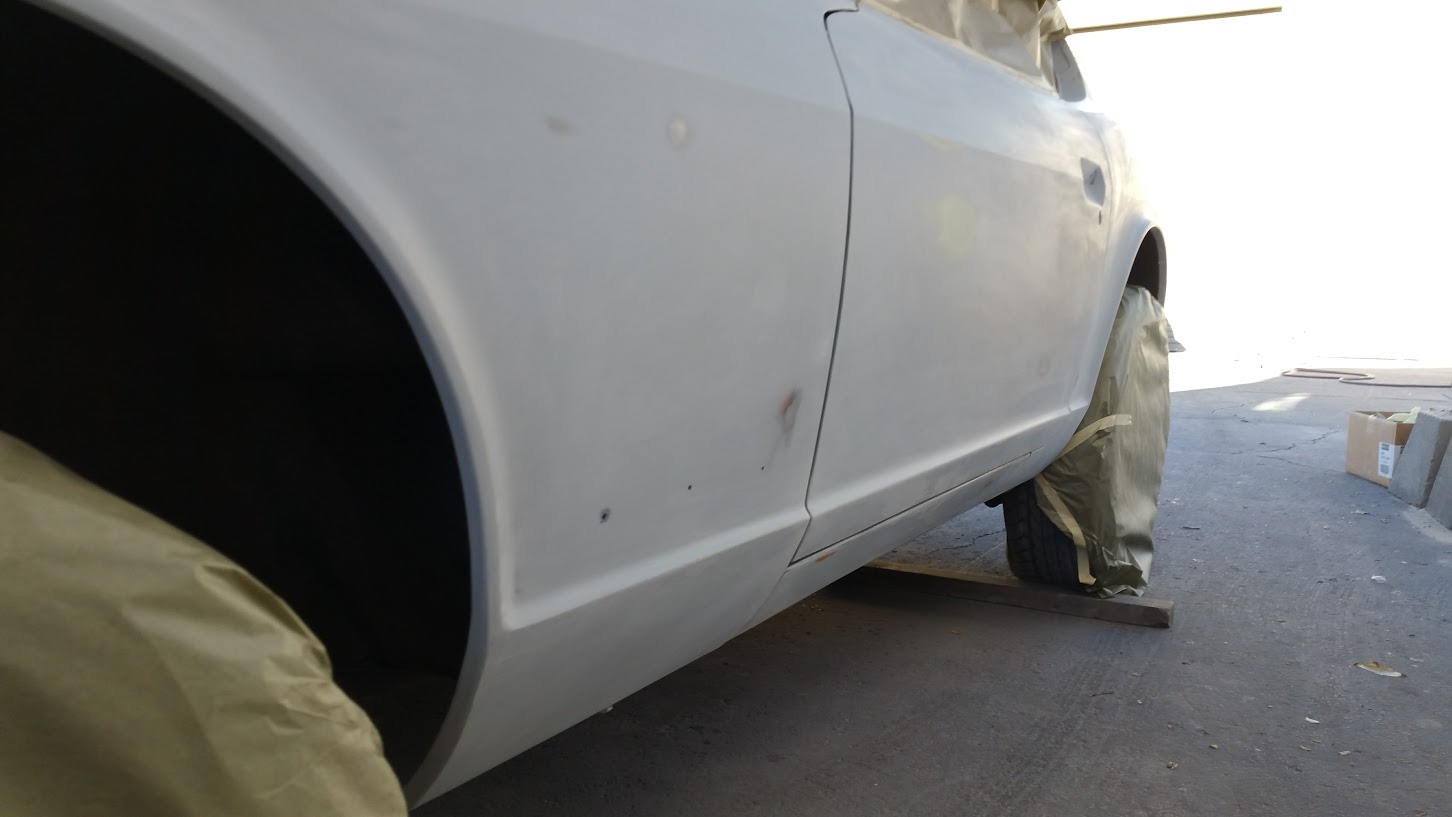
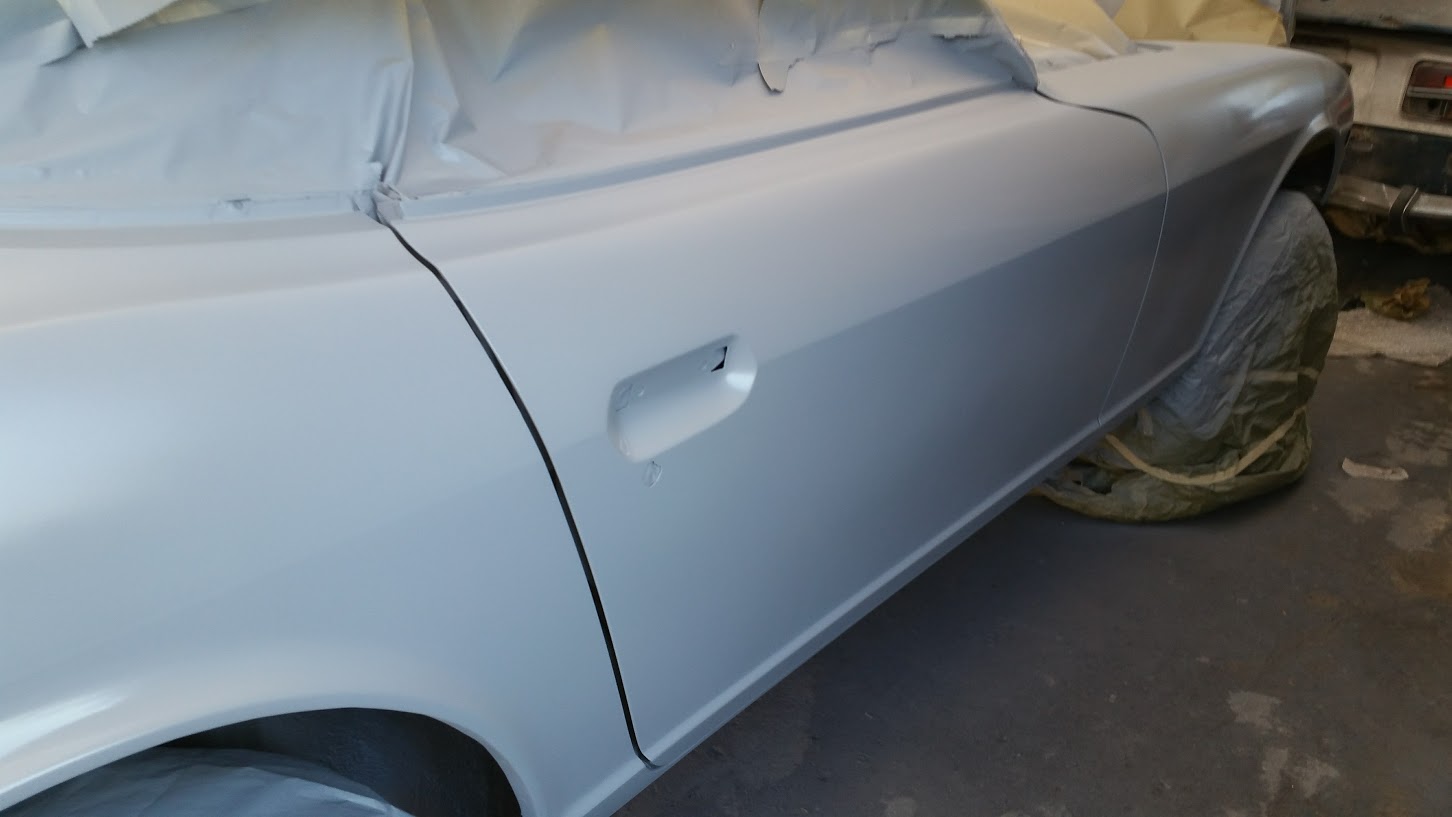
 1 pointSeam sealing is complete. Next up is another complete wipe down and clean of the car before spraying the sealing coat on the bottom of the car , inside of the car and engine bay area. Still feels like a lot of work with little to show for it. But yes, I know it will all be worth it later!1 point
 -
1 pointThank you for that reply. I hope he's doing well and spending some quality time with his Bichon Friese. I always enjoyed his post of wisdom and miss them as well. Please send him and Sheryl our best wishes, he's family in my book.1 point
-
 1 pointGrande Nose is late 1971, so the 'G Nose' predates that crossmember/those mounts by quite a long way. I can state quite confidently that it's nothing specific to the ZG. The point about the horns is that these mounts simply move the horns forward of their normal positions. The horns then attach to the captive nuts in the forward end of the mounts, giving space for something quite big (like an aircon evaporator...) to mount in between them and the radiator. They are less horn mounts and more horn re-locators. Re-locating the horns is not their primary function. Oil cooler mounts is a red herring. The mount points for the (two types of) factory oil cooler are already in the (normal) body. Works rally cars never used anything like these mounts for sumpguards or spot/fog lamps. In any case, such mounts were 'free' in FIA Appendix J and didn't need to be homologated/attached to road cars to make them legal for rally use. If they are not the nascent air con evaporator mounts I am advised they are by people I trust to know, then I'll eat my hat and finish it off with my socks for dessert.1 point
 -
 1 pointOk, I remember when this conversation started as the claim of a unique competition frame member. I was afraid that "apparently" was going to mystically become reality ( I have had enough of mystic reality these days ) and I had to respond.1 point
 -
1 pointWell the only items in the vicinity are bumper, gnose, lights, horn, and radiator. I think the part pre-dates the gnose so that is crossed off. Bumper reinforcements also came in late 74 so that could be ruled out. As Kats said it seems too big and structural for just holding horns. As well it is not on all bodies so that is another part of the puzzle. For this it would make more sense to be part of an option like AC rather than for factory alignment (which one would think to be on all bodies). Sometimes oil coolers are hung out there... could it be for that? Or maybe it is a mount for some sort of front accessory... snow plow, bike rack, rally fog lights, a really big hood emblem,?1 point
-
http://www.zcar.com/forum/10-70-83-tech-discussion-forum/406009-fuel-percolation-3-screws-su-carbs-bowls.html Quote: Originally Posted by princejqman In addition to the stock heat shield which was installed in the car by the Factory originally, i have mounted a Stainless Steel heat shield extension that reaches the bottom of both 3 screws SU Carburetor float bowls. However, the fuel percolation is still present. The gasoline in my country, Panama, has no ethanol so this should not be happening. The heat comes directly from the manifold and thus there must be away of lowering that amount of heat so it does not affect the fuel that is inside the float valves and that will evaporize and consequently shut the engine down. Other owners only throw out ideas such as swapping metal fuel rail with 5 inch rubber hoses or driving with the lid off? Is this really going to help and avoid the car idle becoming lumpy at traffic jams which leads to a sudden shut down of the engine? Wouldnt it be better to find a way to lower the temperature at the stock manifold? How about ceramic coating the stock manifold? It's been fun but I'm done. You have graduated to my Ignore List.1 point
-
 1 pointUnfortunately I can't tell you which of the following fixes worked for my vapor locking 73 Z because I did them all at once: Re-installed the mechanical fuel pump(already had the electric running), fabricated a heat shield, hooked the fuel recirculation back up, and insulated all of my fuel hoses with 1/2 inch copper pipe foam insulation from the hardware store. Absolutely no vapor lock anymore. Victor.1 point