


Leaderboard
-
.JPG.cfcada9cf1c1b502df3f5f2f2ca3ff36.JPG)

SteveJ
Free Member4Points9,567Posts -

dmorales-bello
Free Member3Points627Posts -

motorman7
 Subscriber
 3Points2,208Posts
 -


siteunseen
Free Member3Points14,903Posts
Popular Content
Showing content with the highest reputation on 08/14/2017 in all areas
-
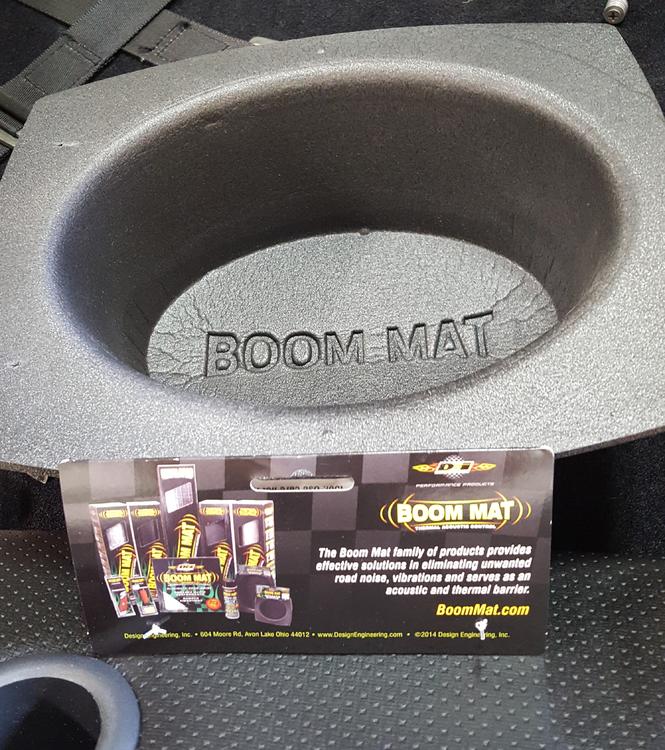
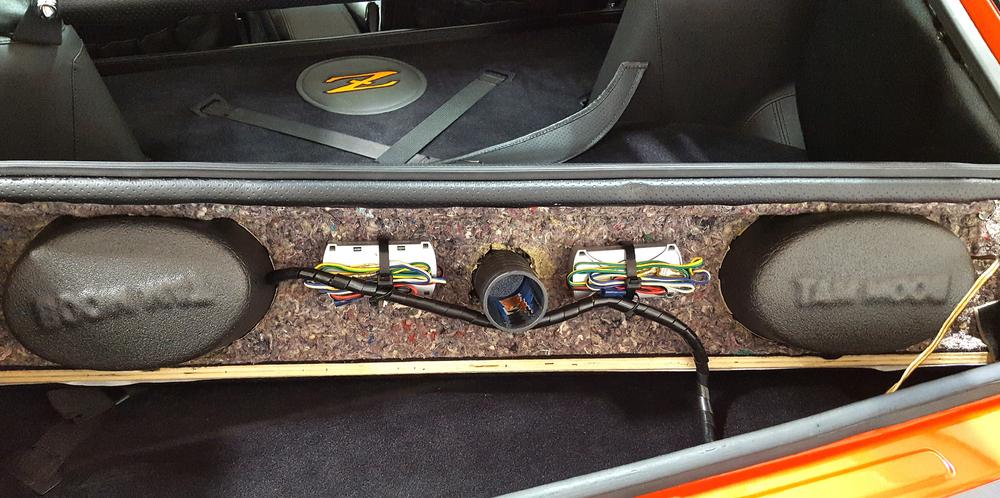
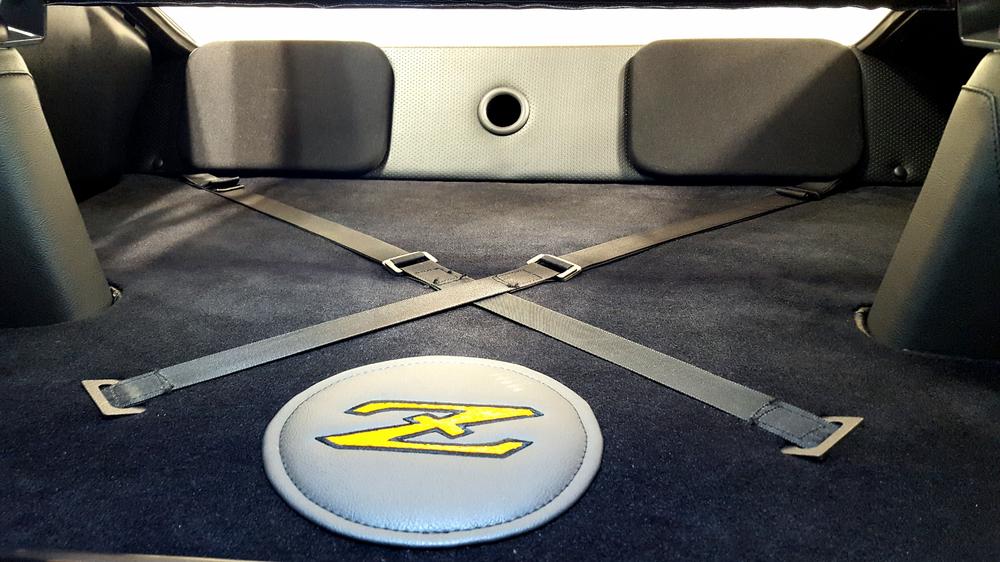
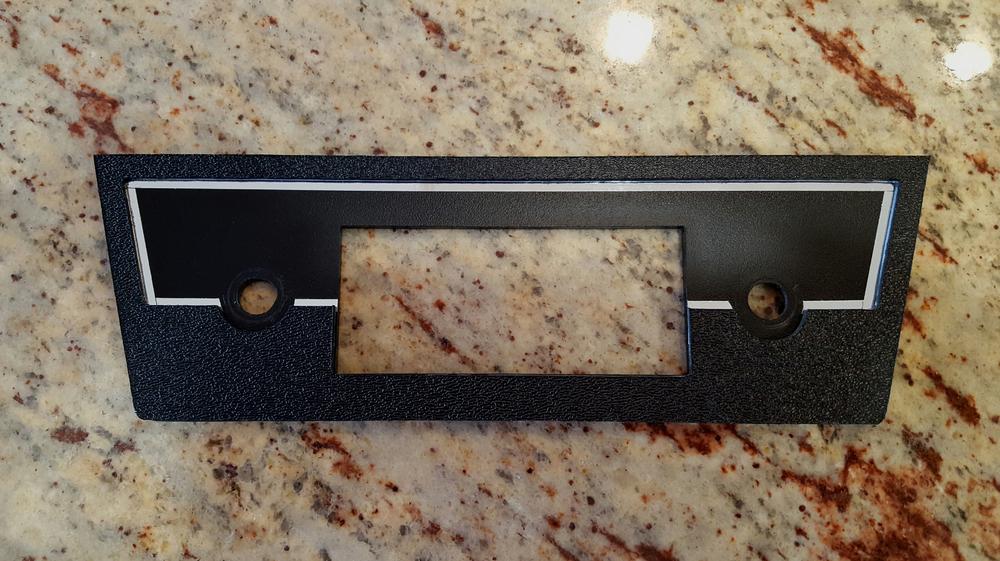
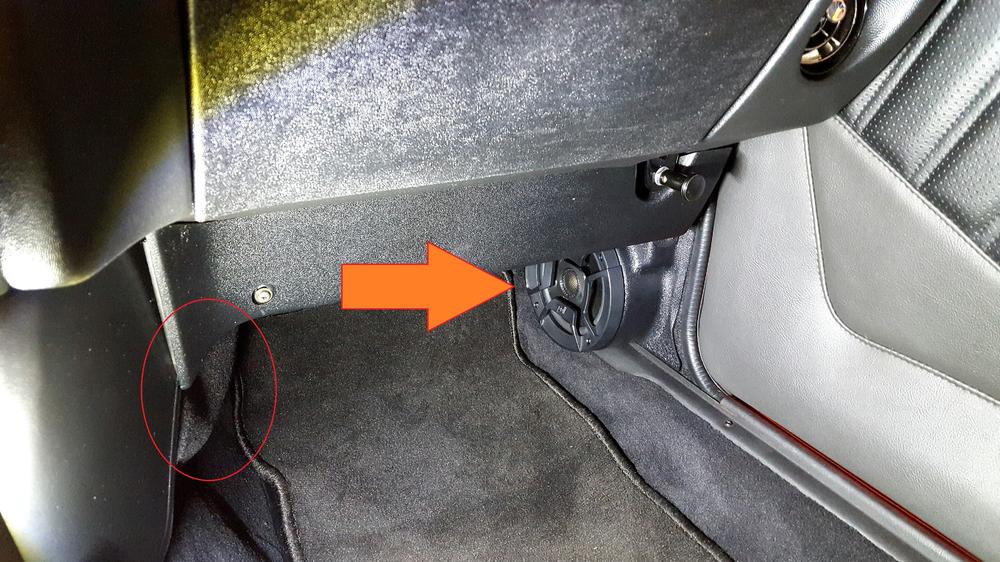
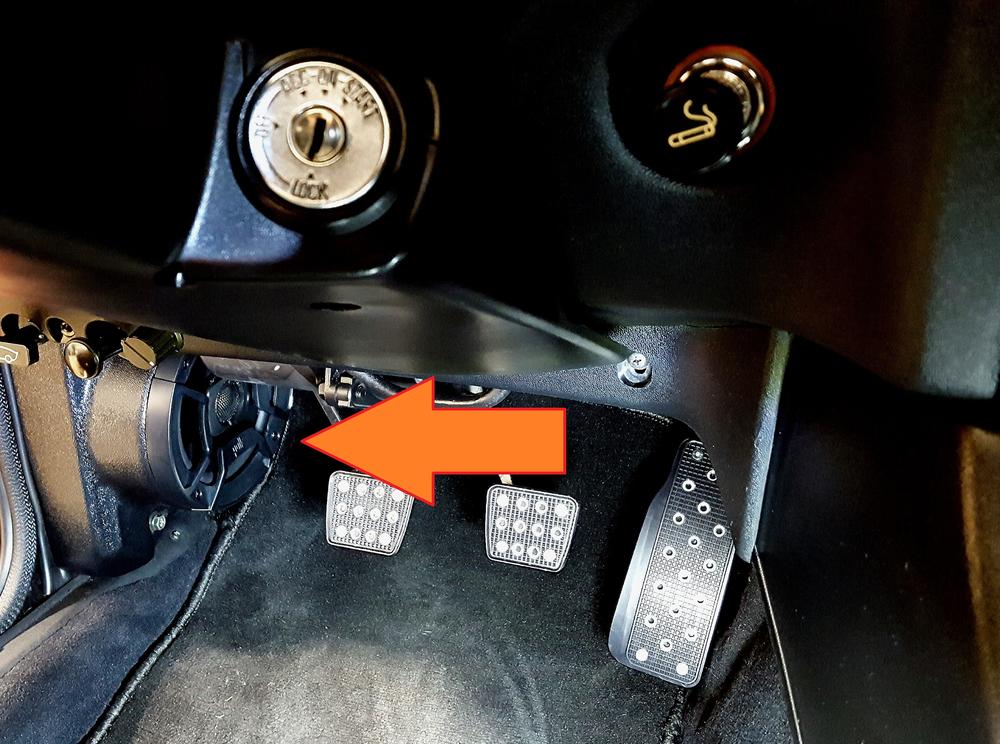
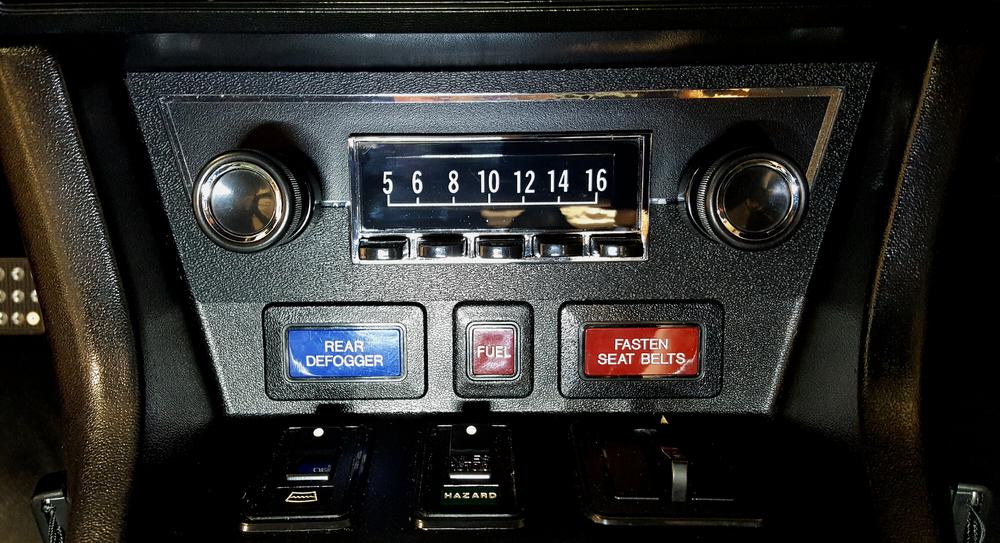
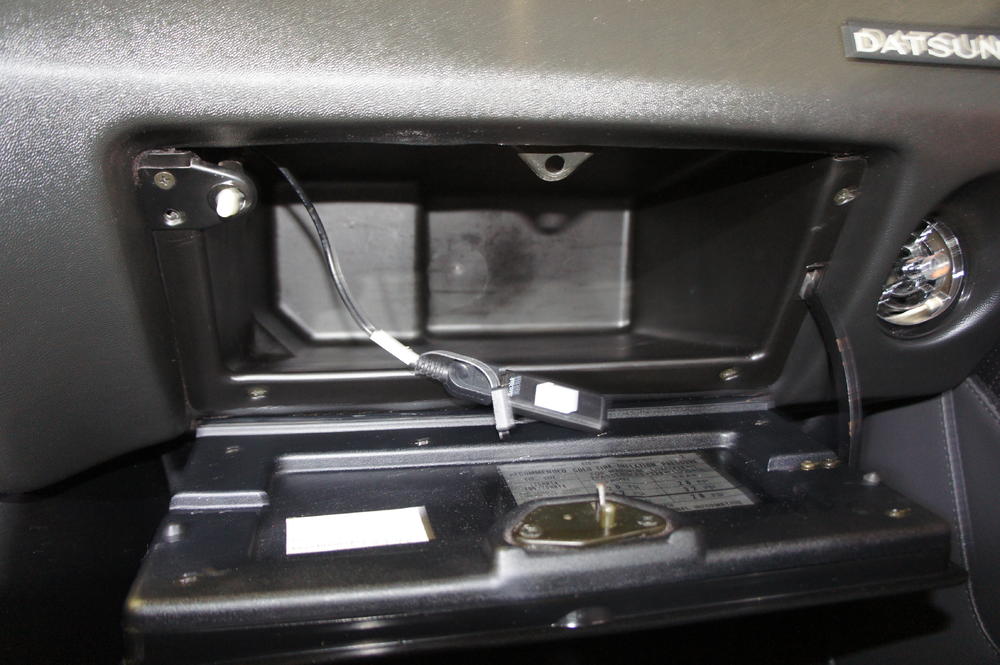
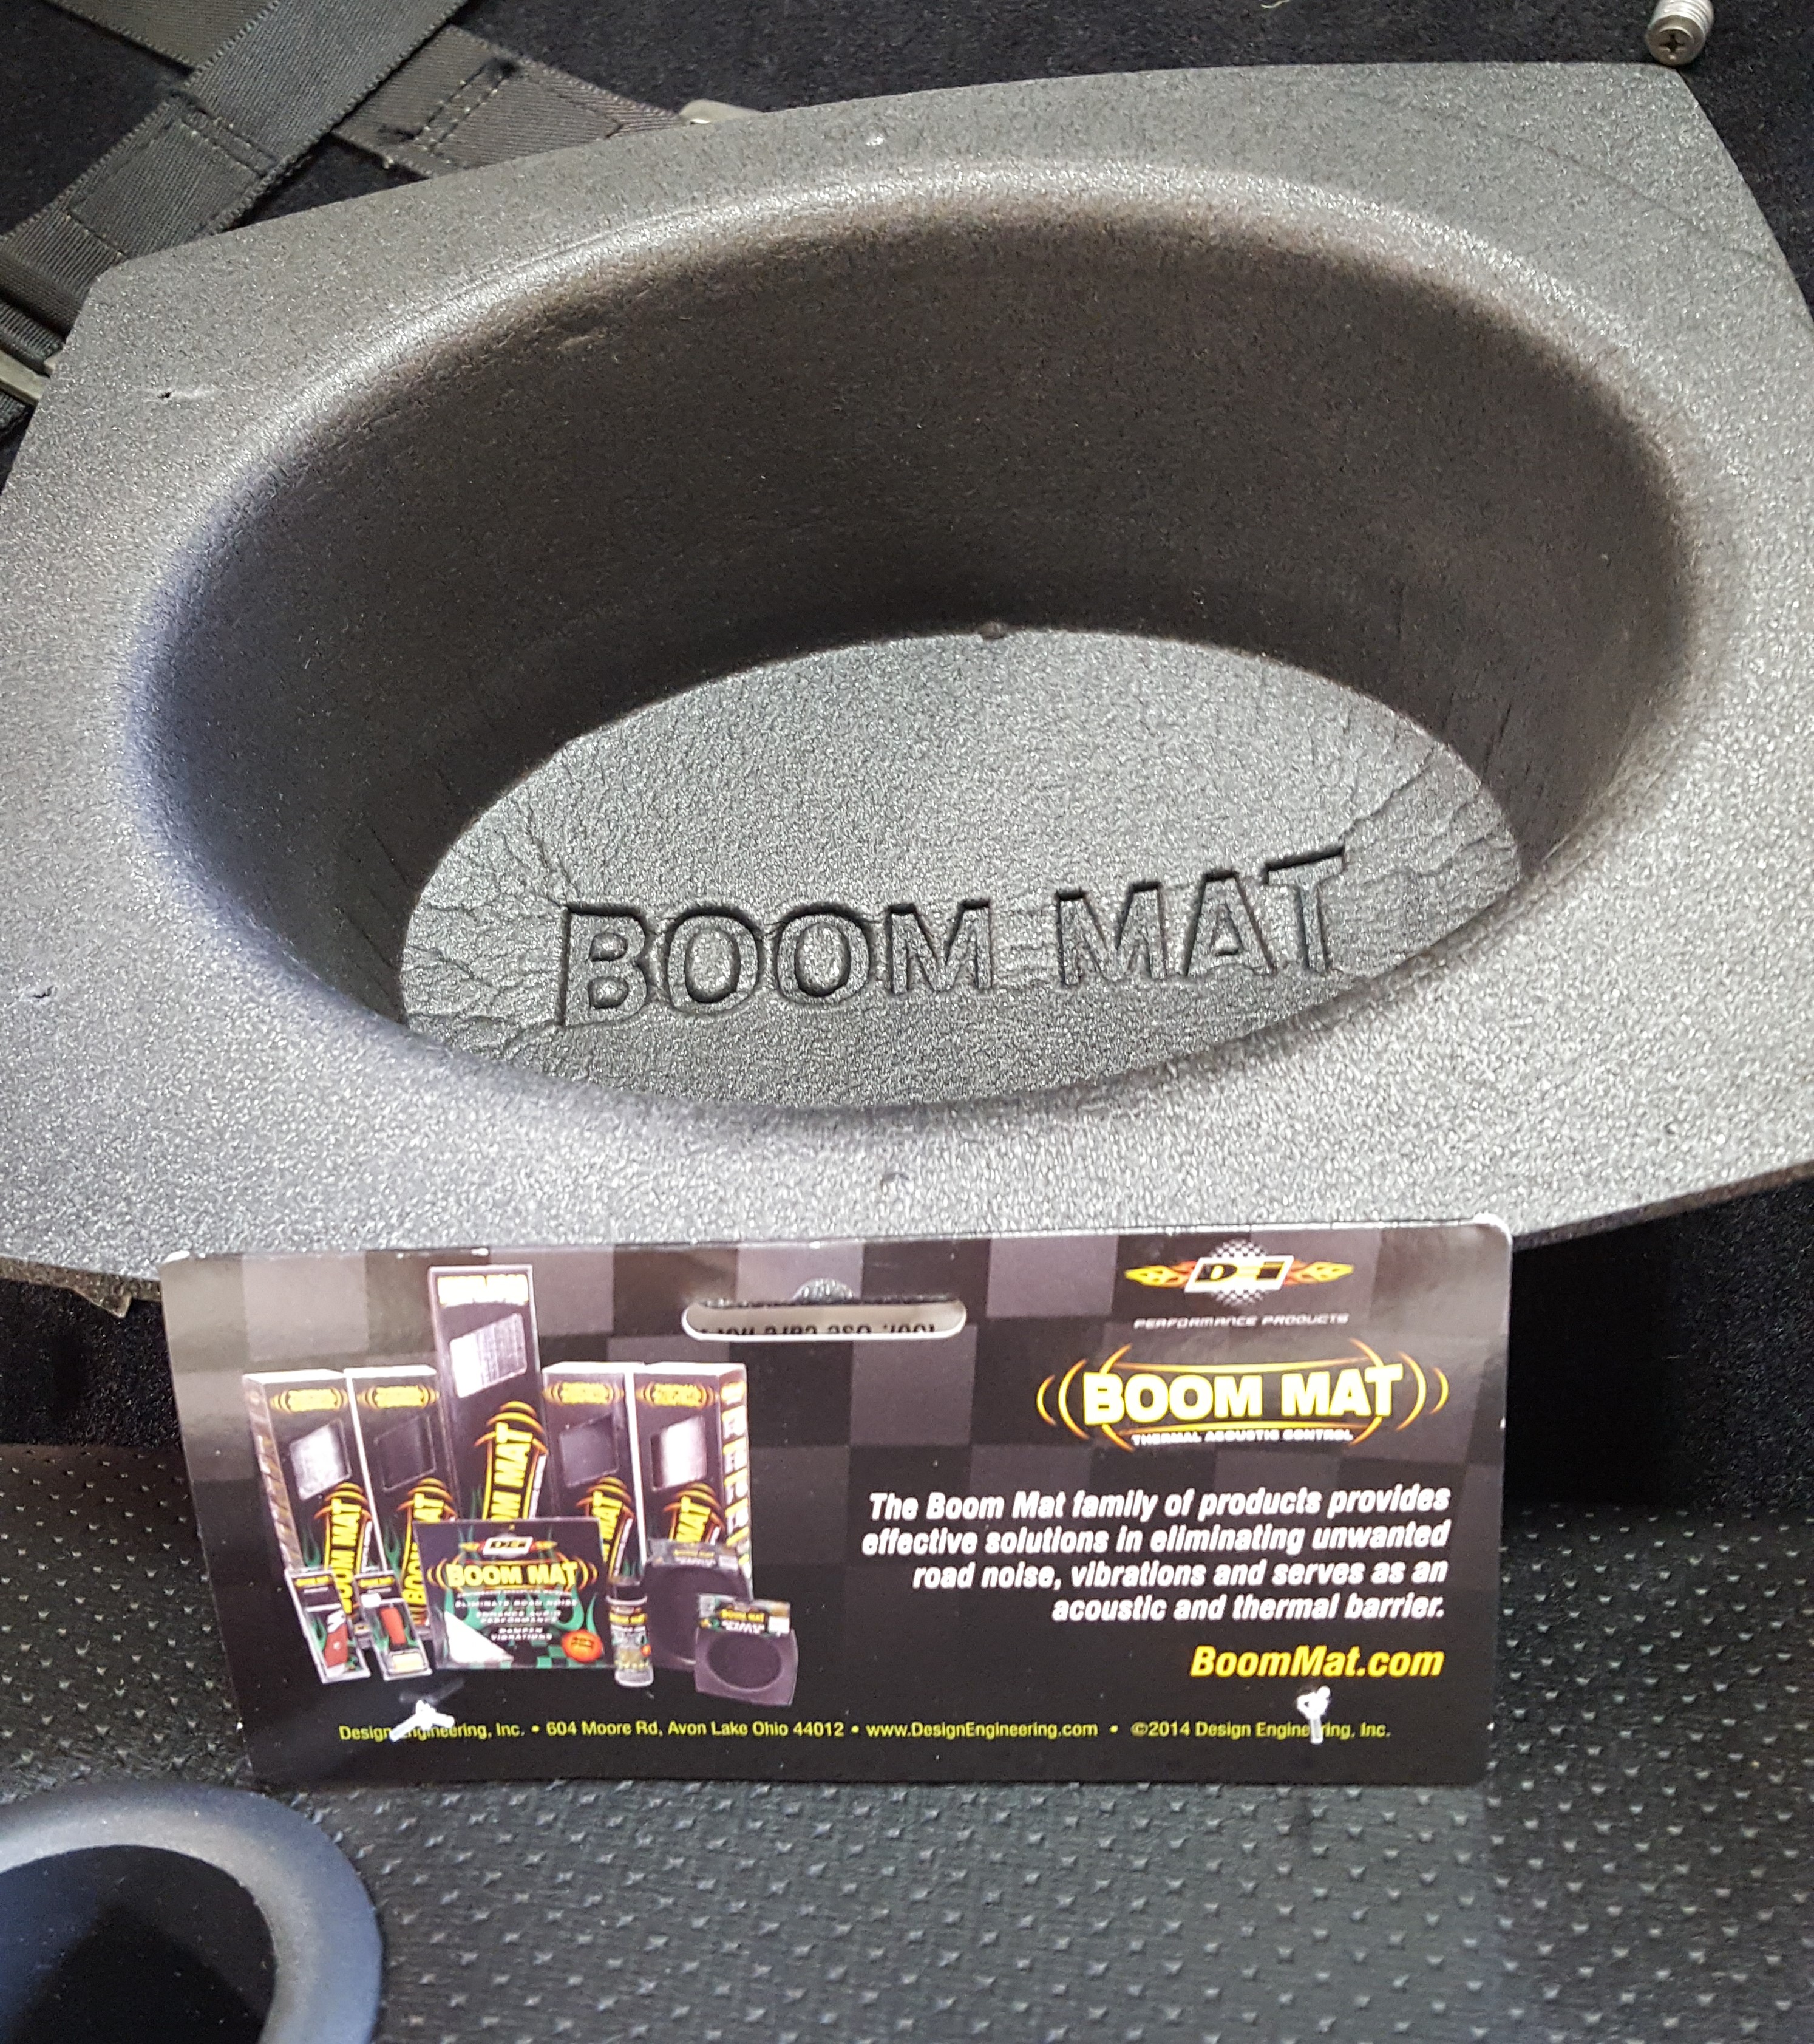
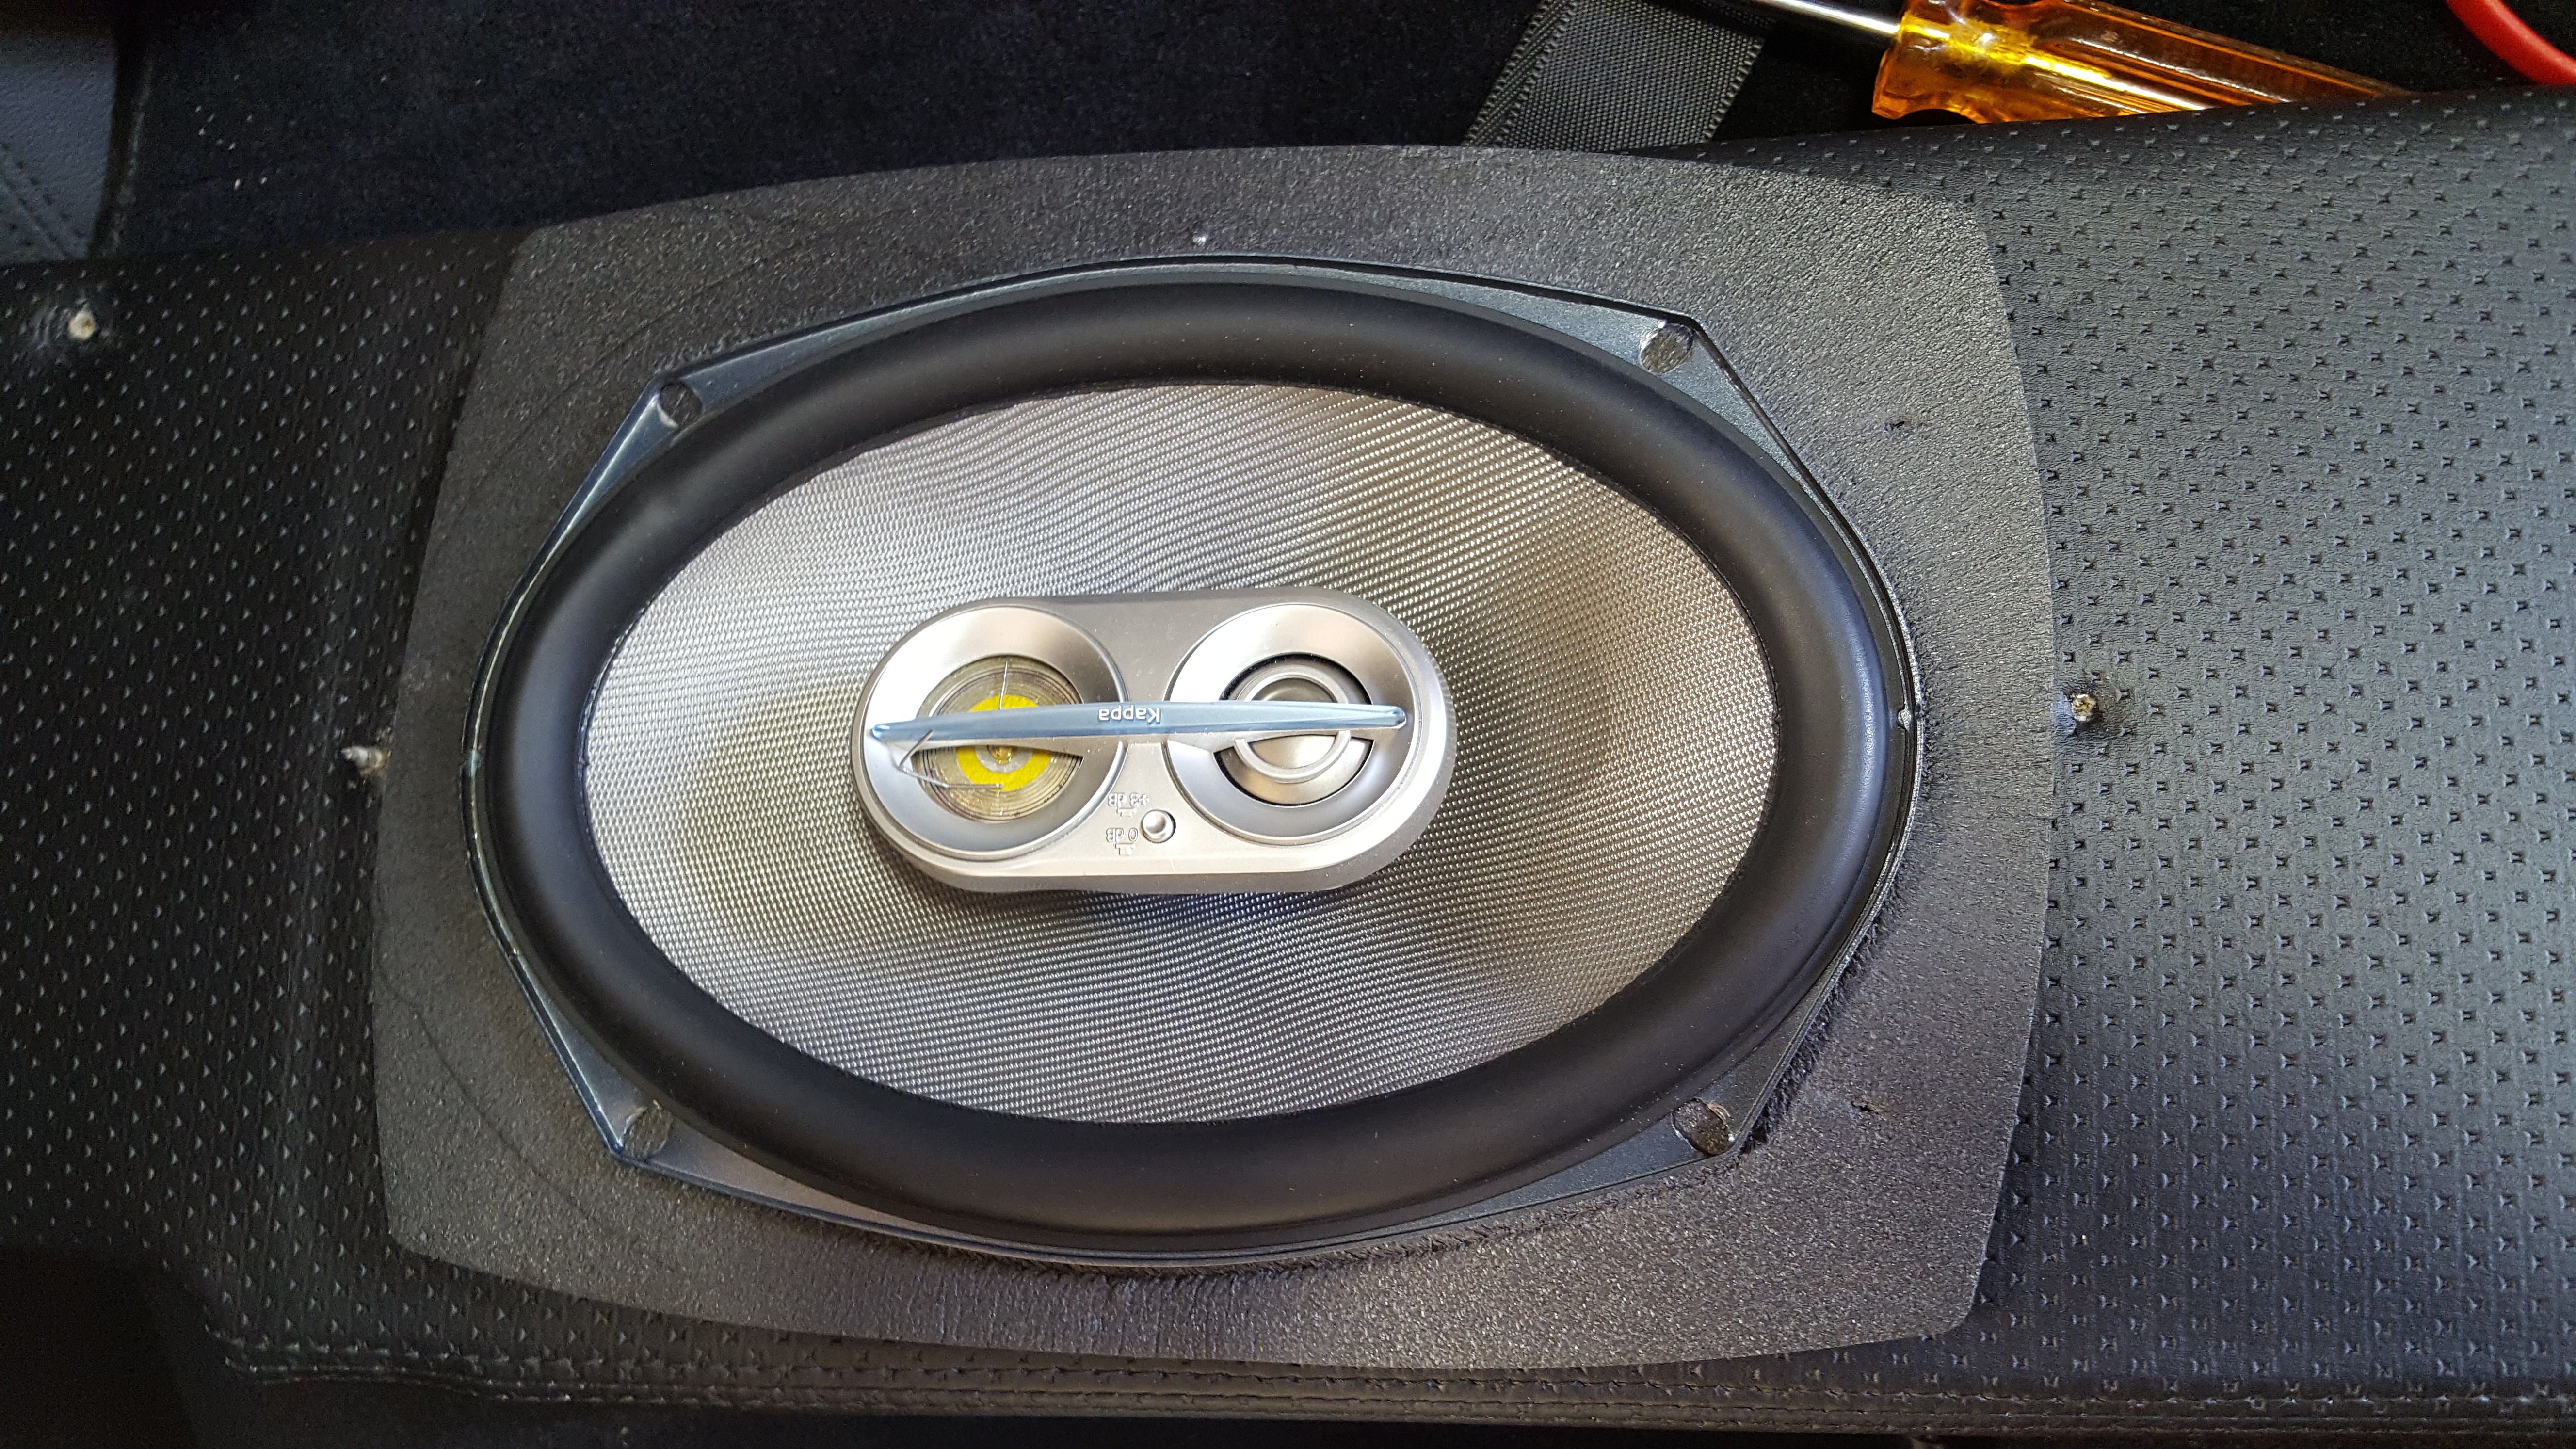
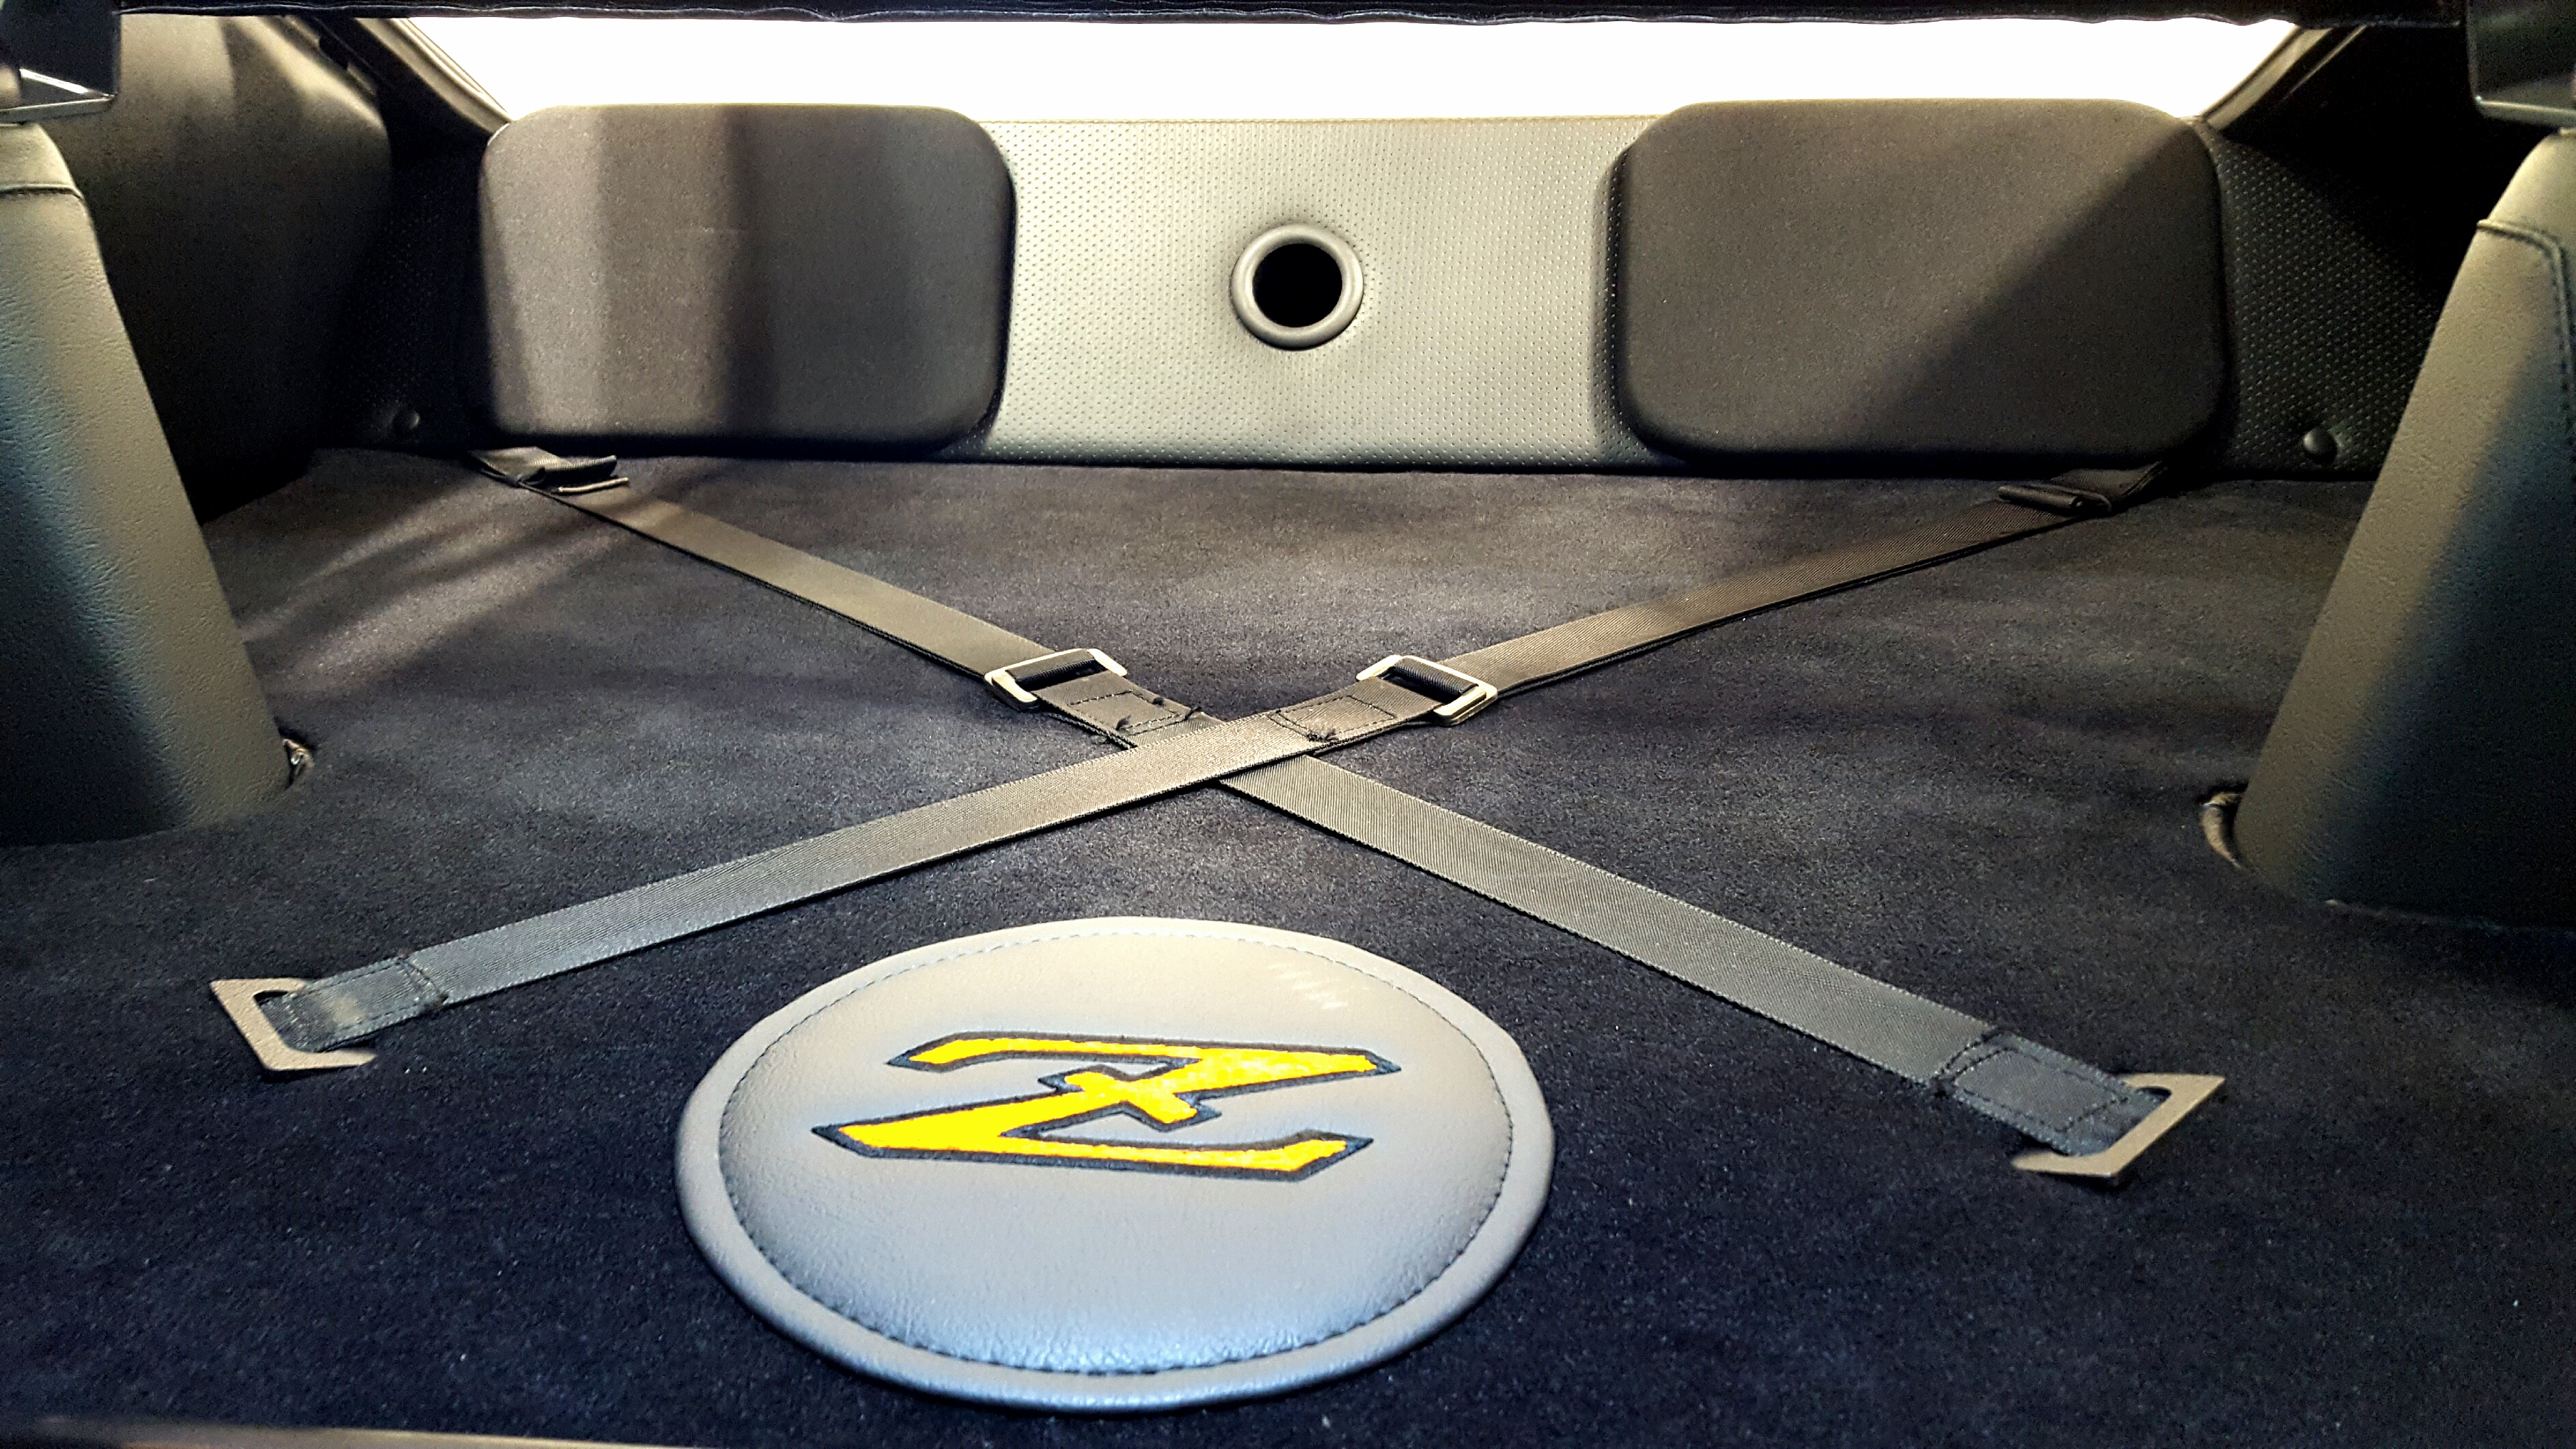
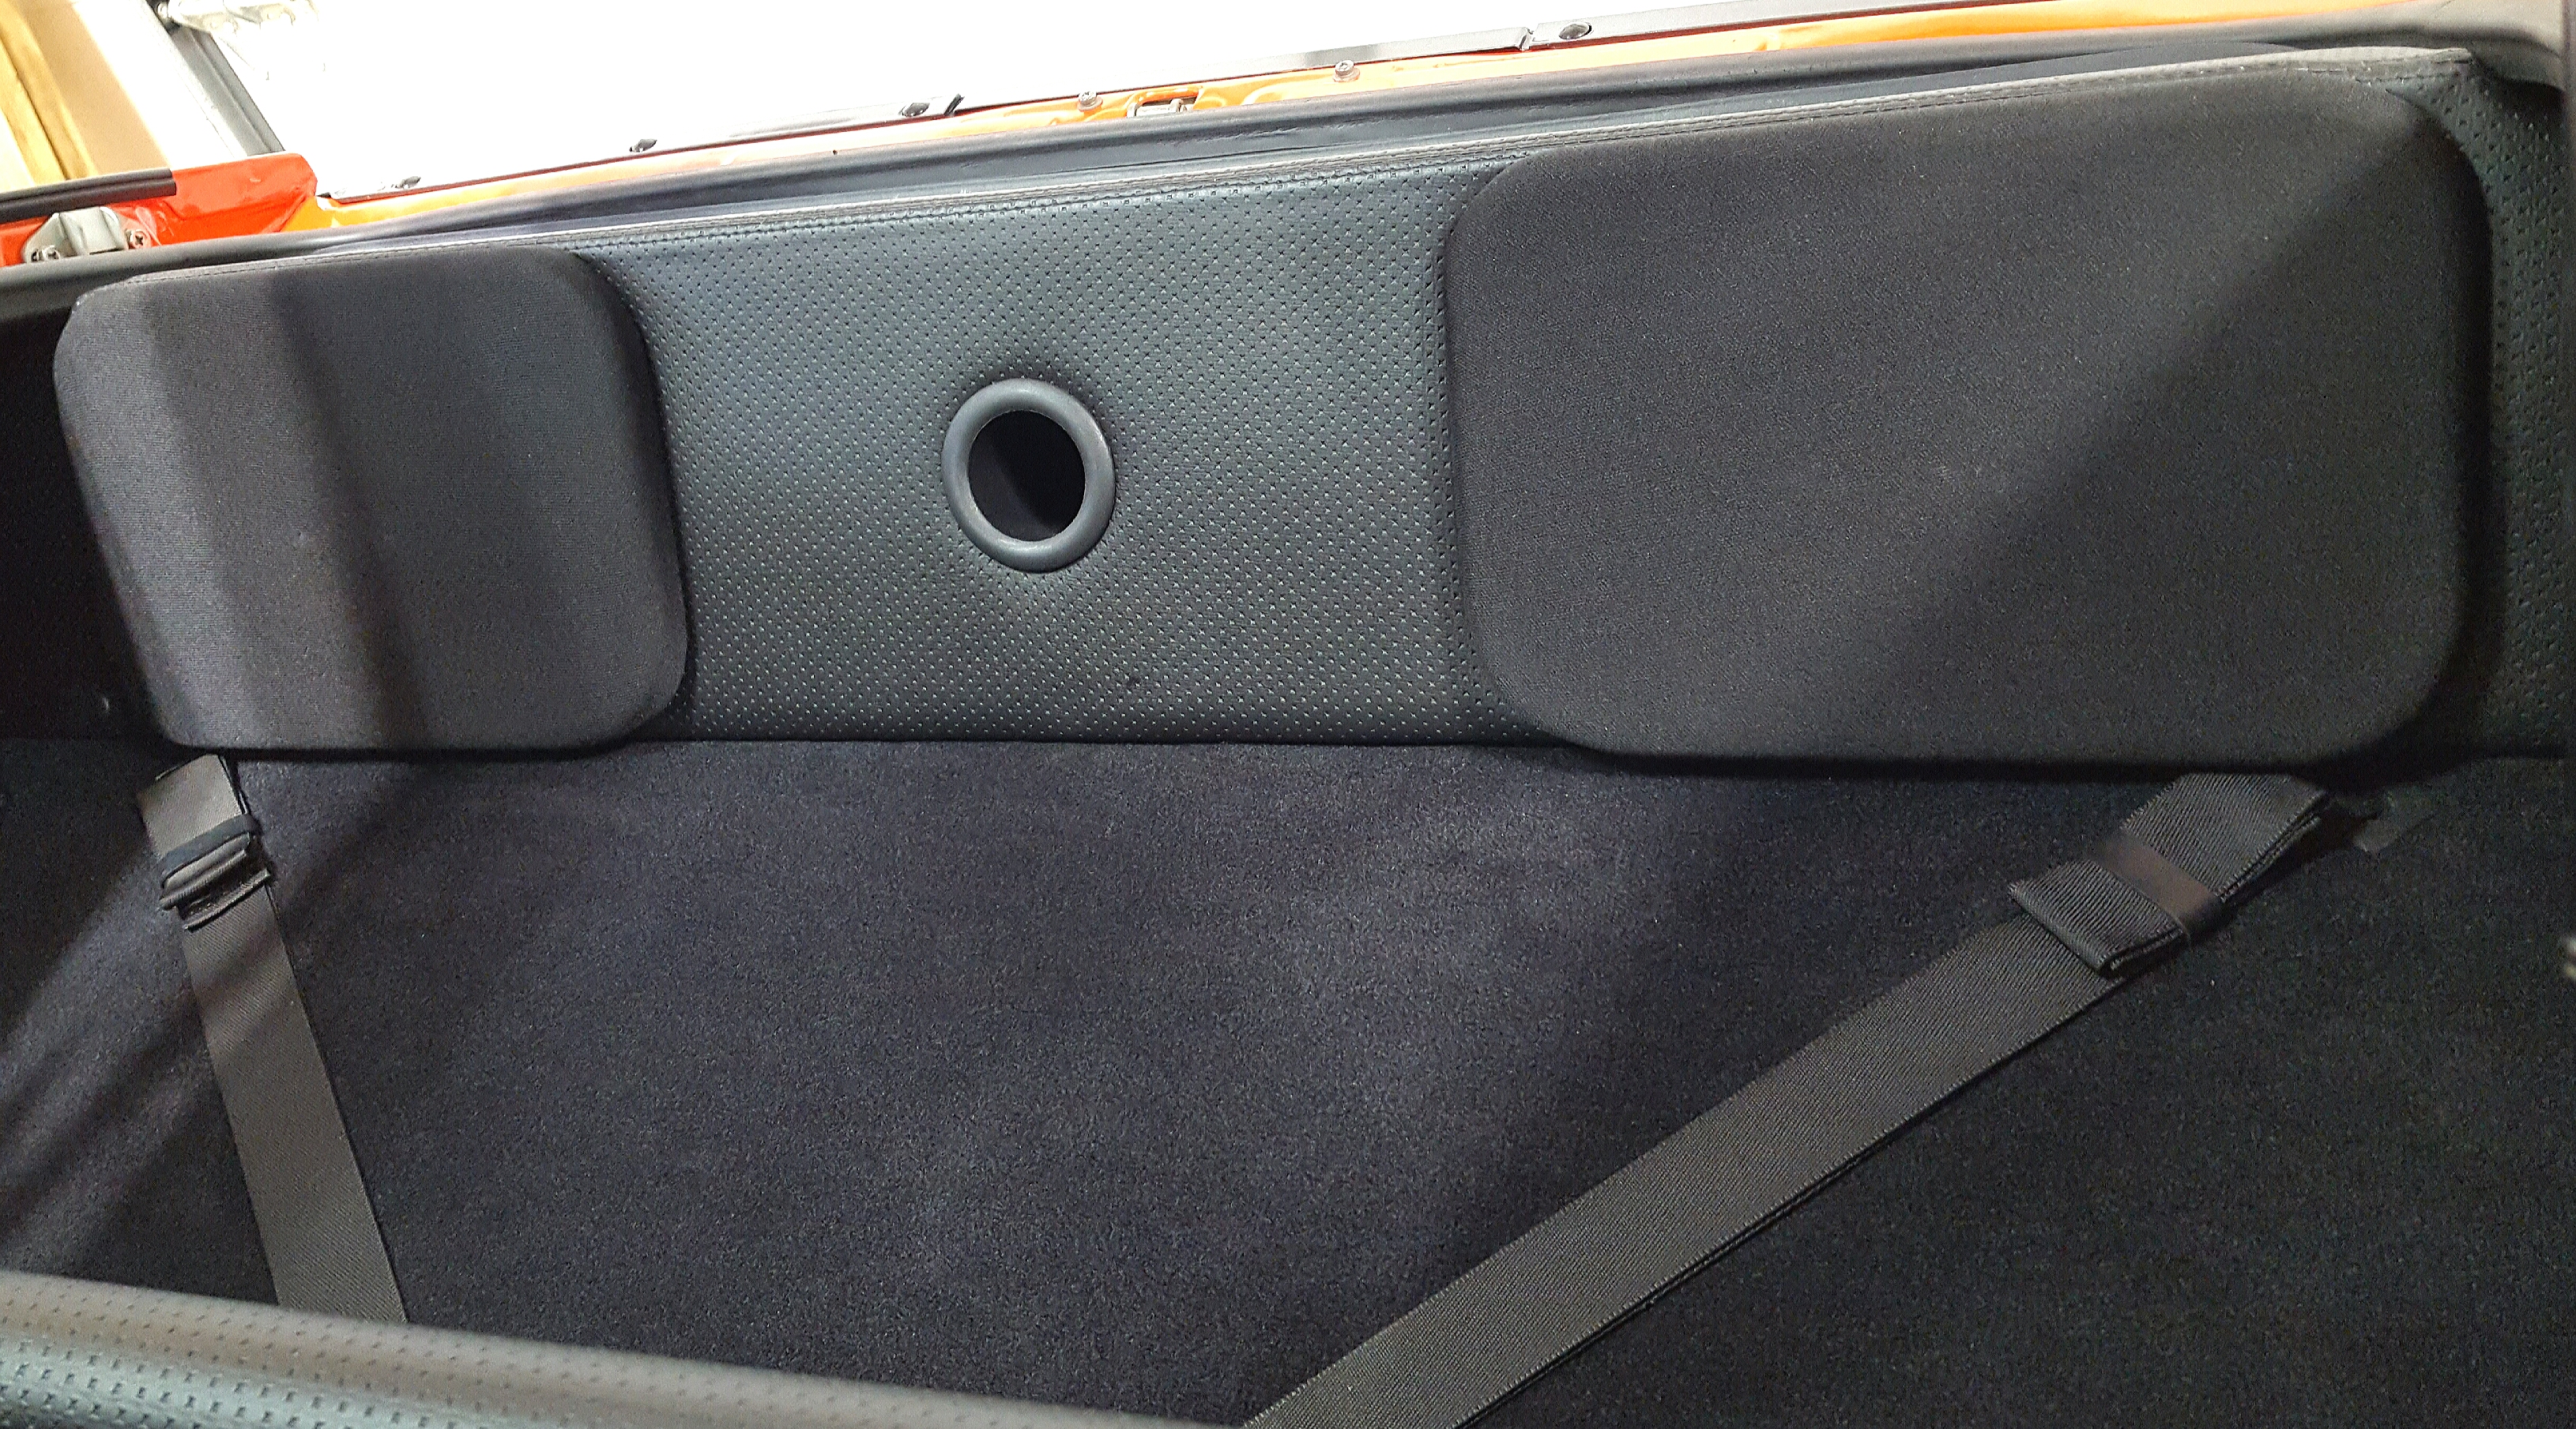
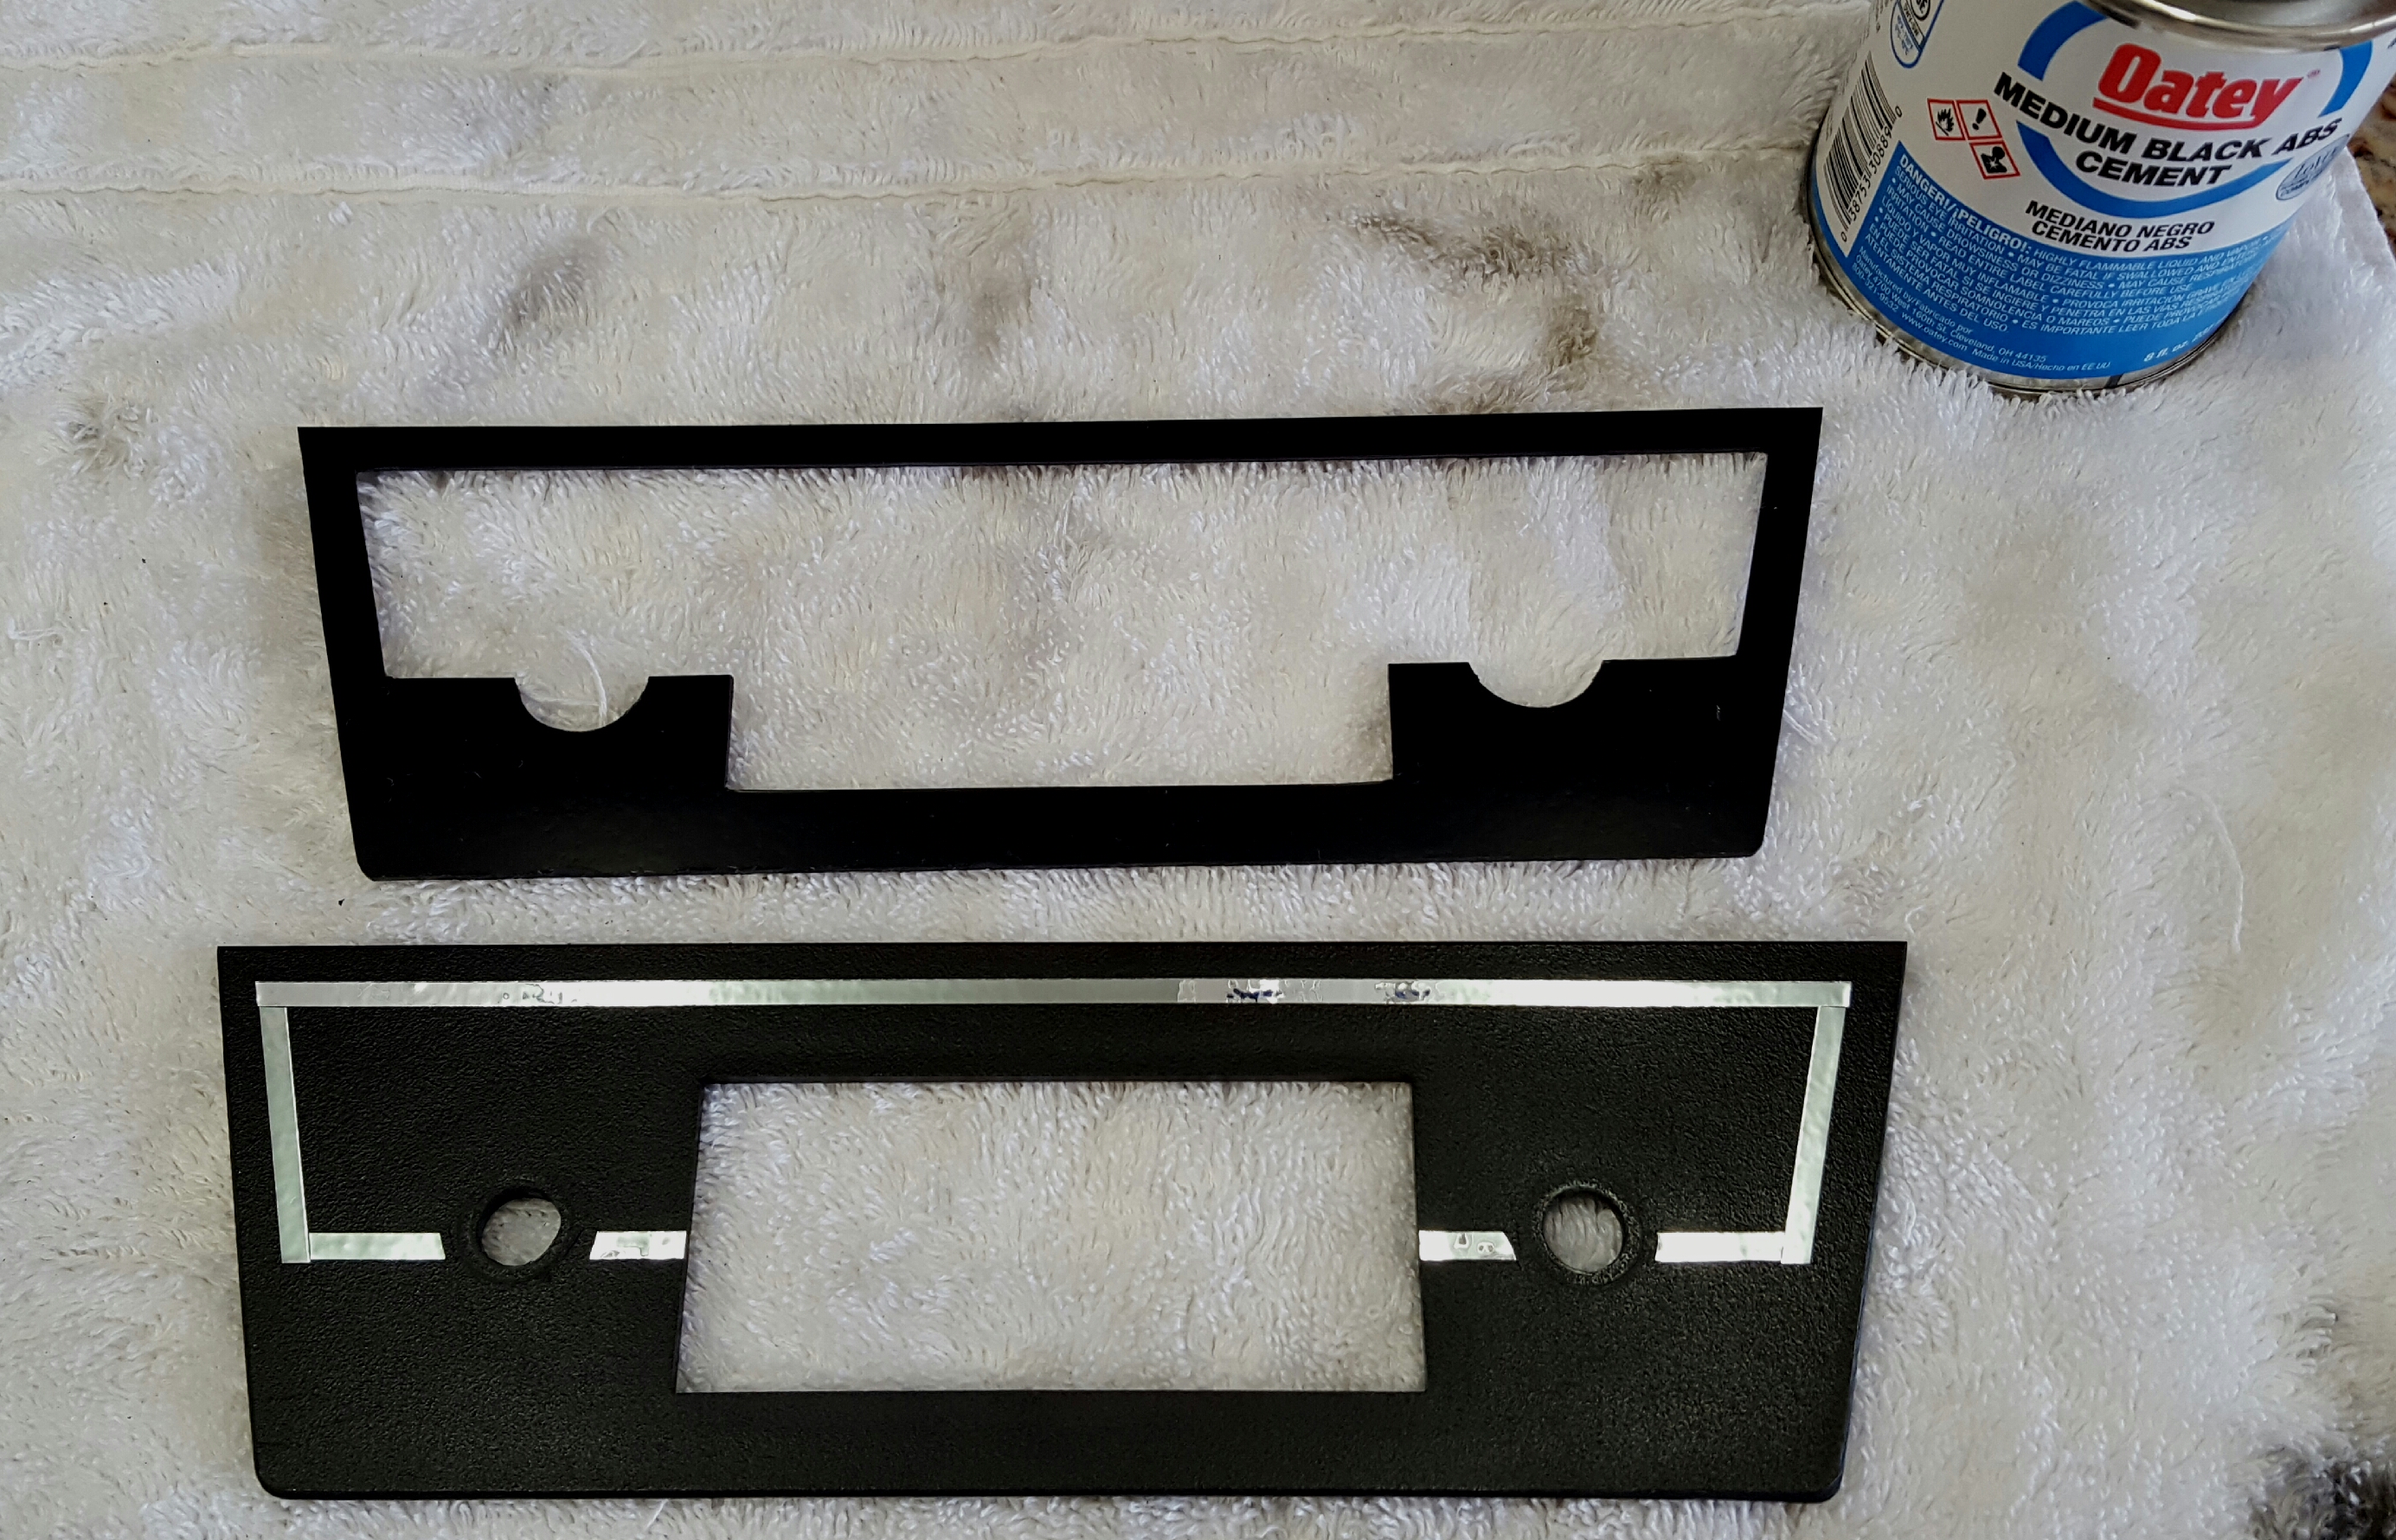
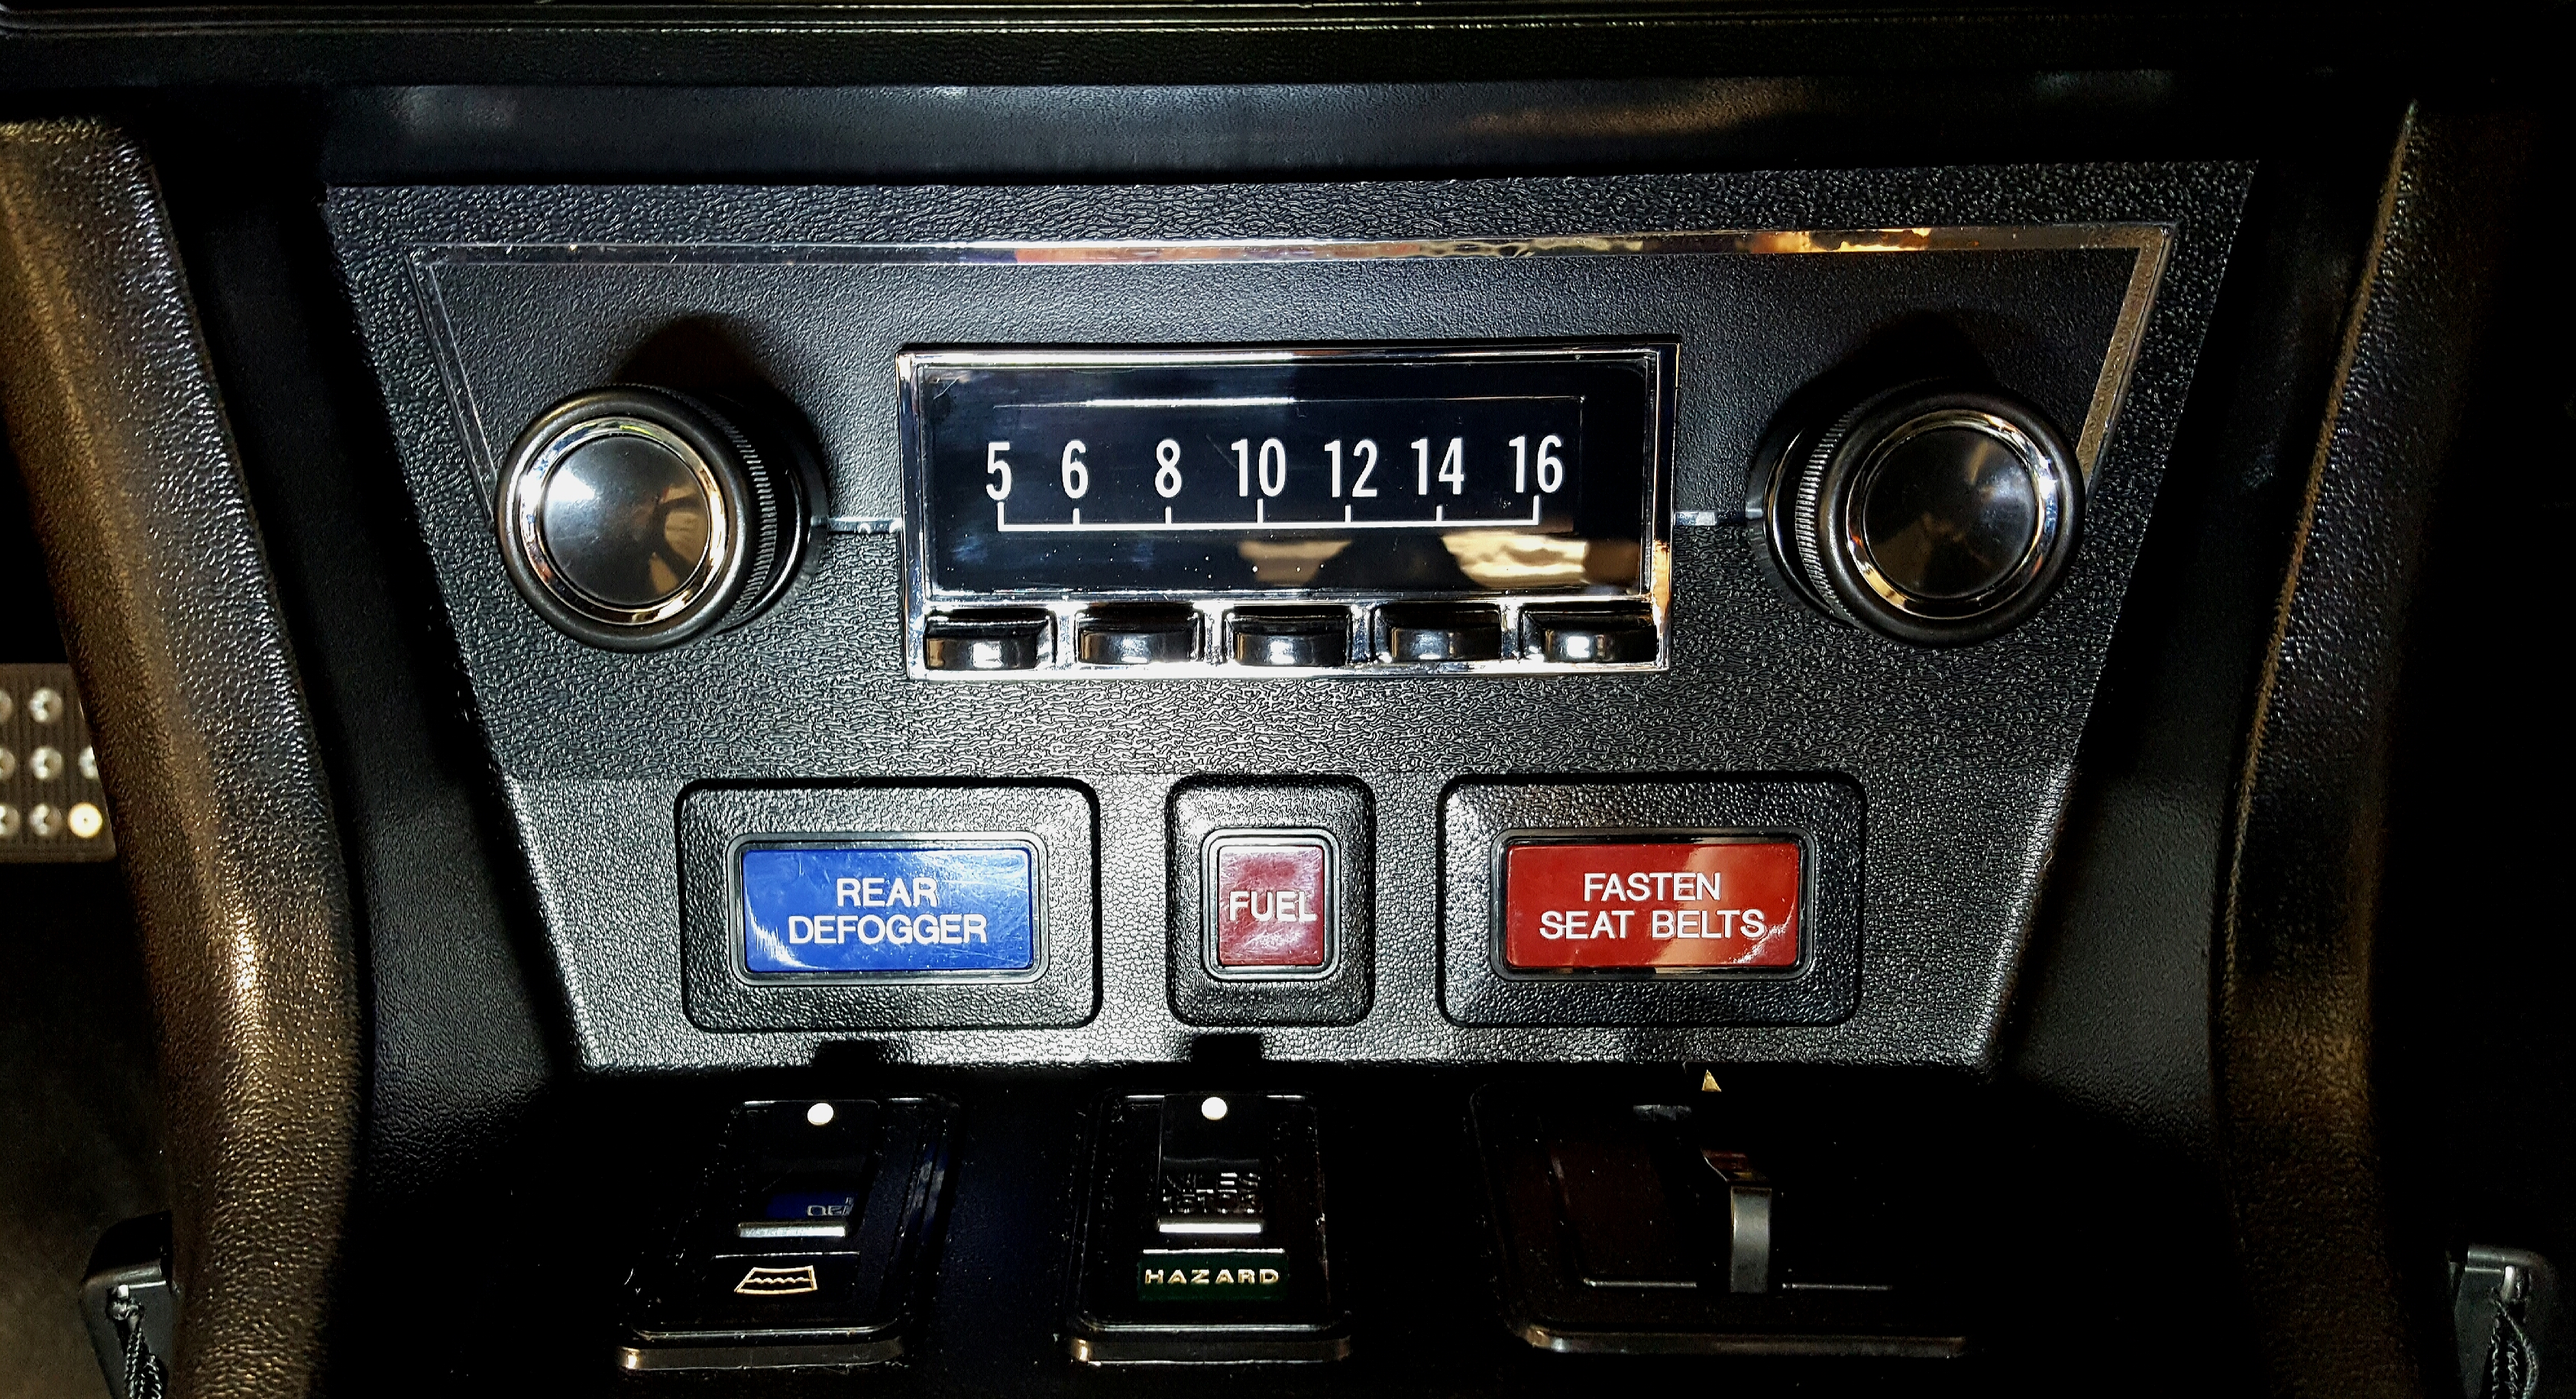
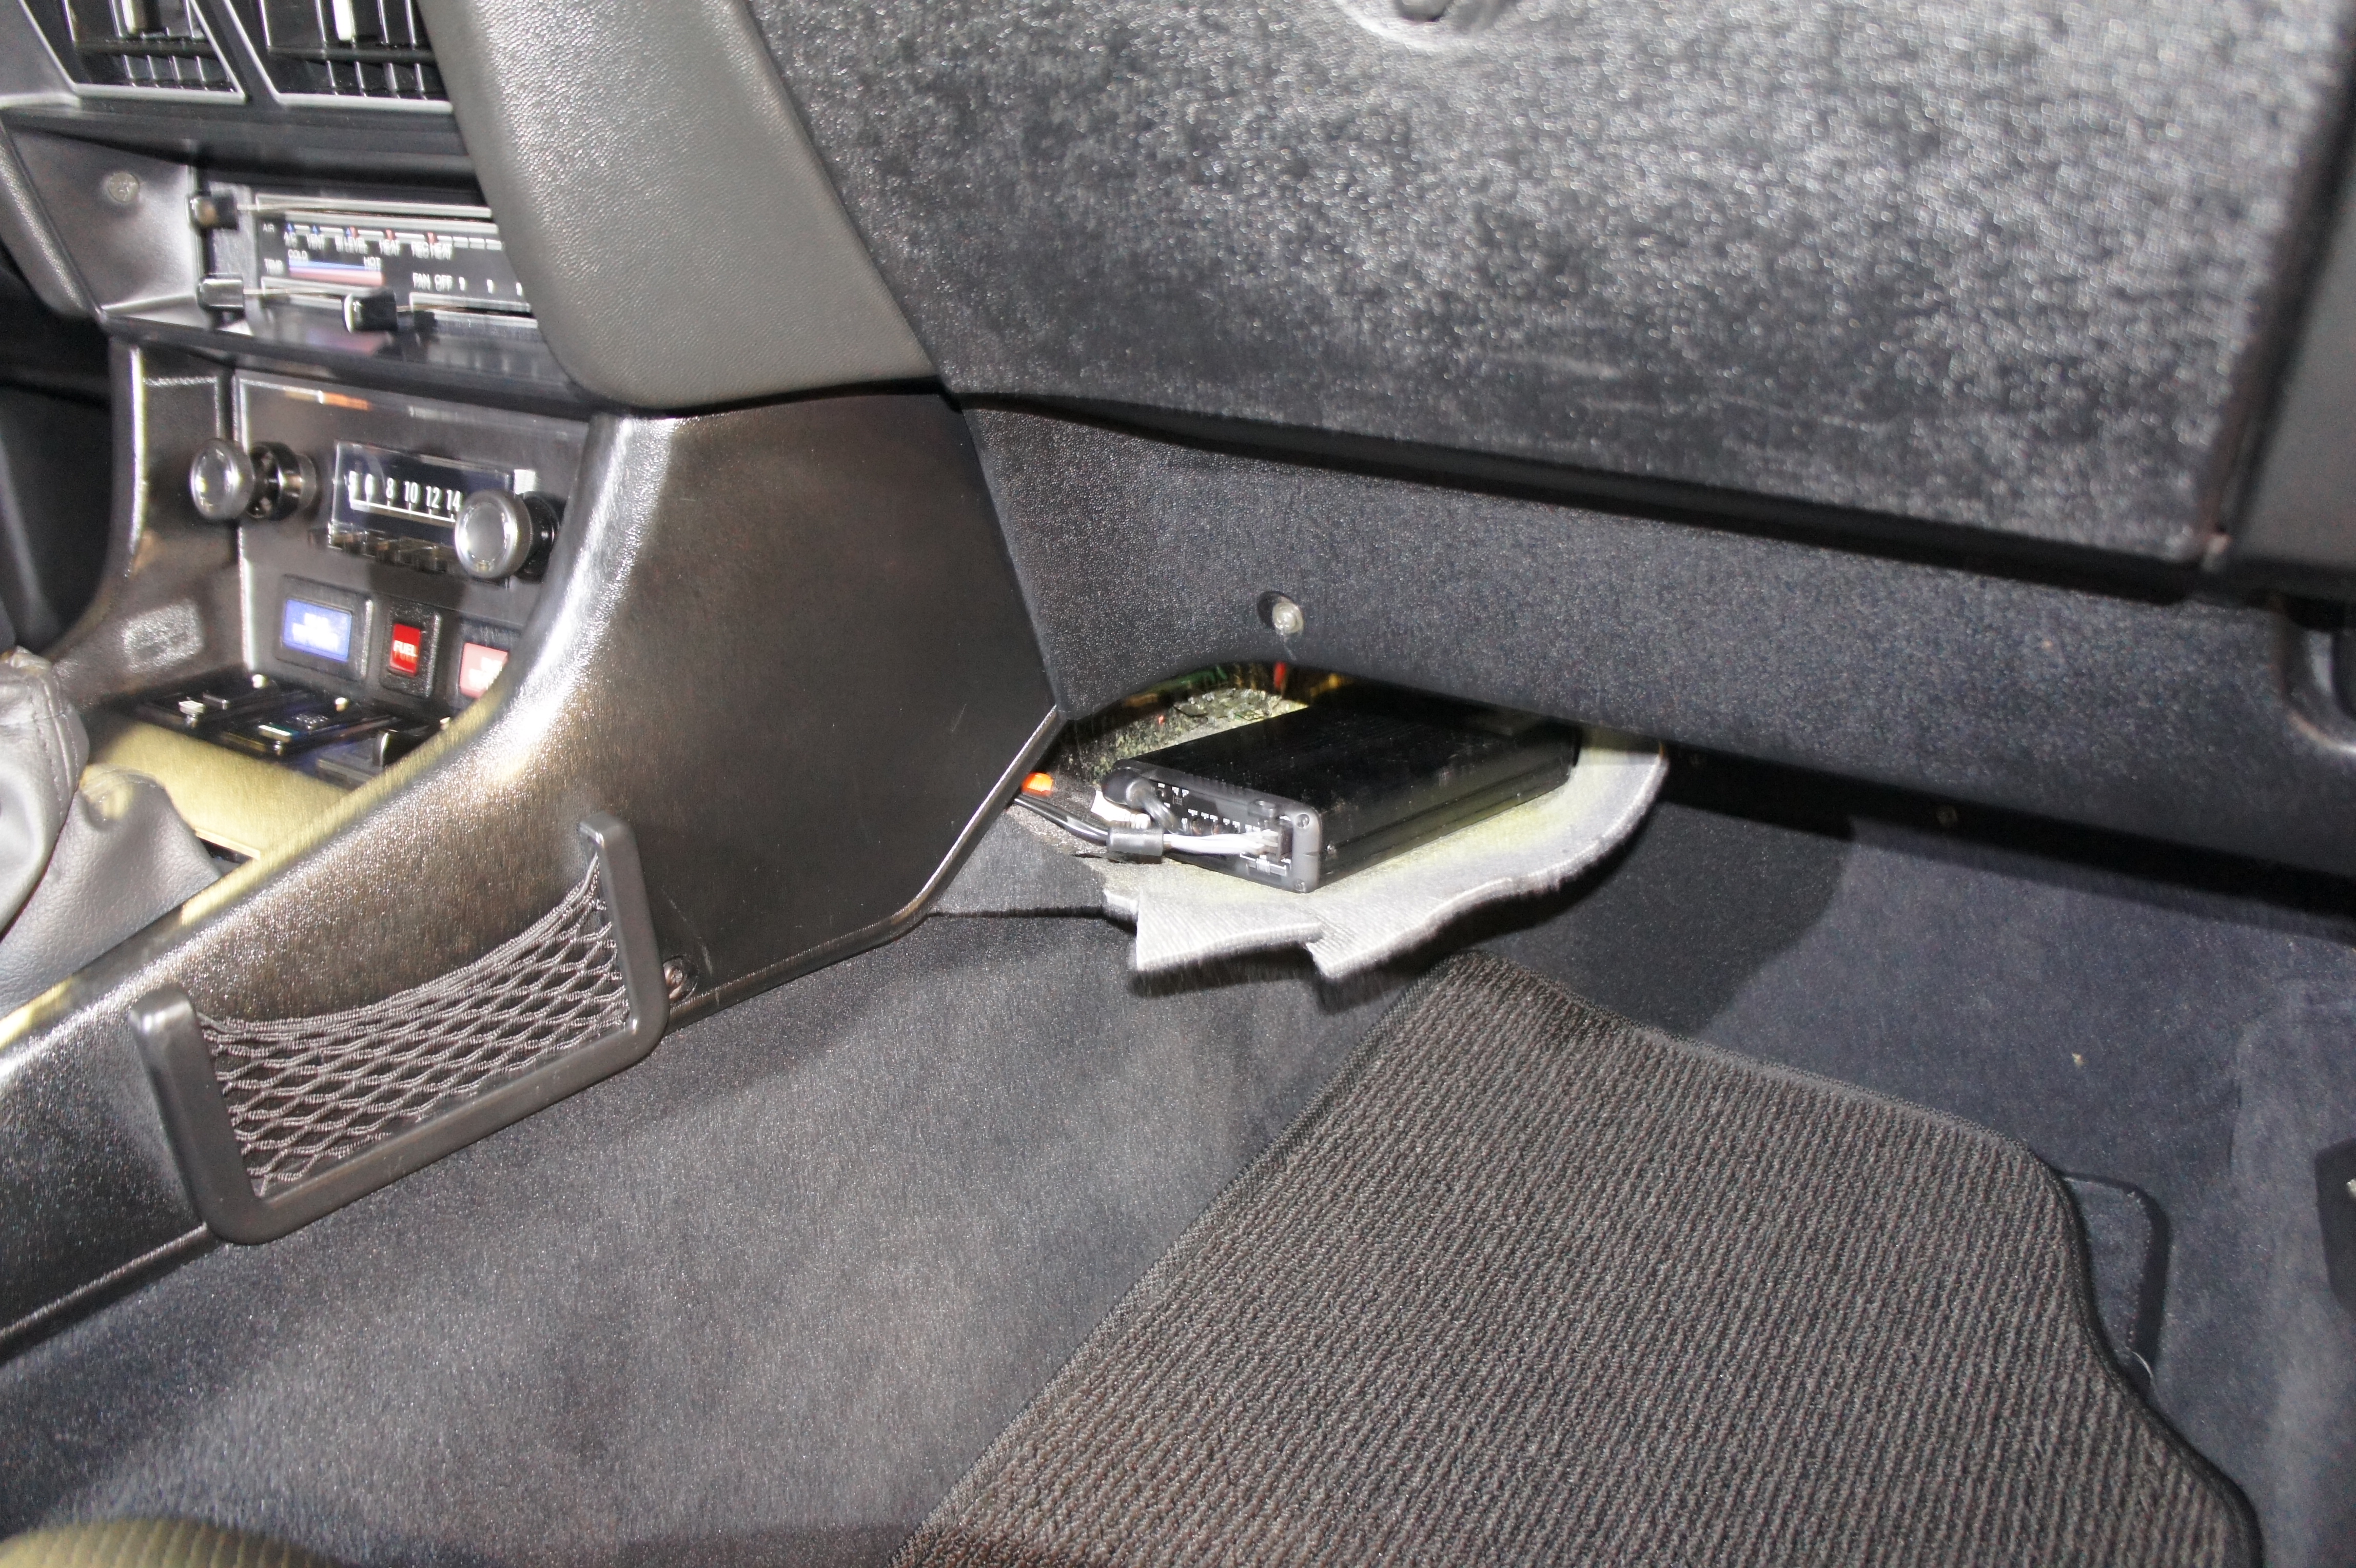
3 pointsI changed my stereo setup because I was unsatisfied with the sound coming from the underdash speakers I had previously installed. I dumped these and installed a set of Polk Audio 5.25" DB522 coaxial speakers in Derek's kick panel speaker pods. I also substituted the Miura amplifier I had placed behind the Retrosound Radio for a much higher quality Kenwood KAC-M3004. It is slightly larger than the Miura but it's still relatively hidden under the carpet over the transmission hump (see pics). Additional to the front Polk Audio speakers I have Infinity Kappa 4" coaxial speakers under the quarter windows in the stock position for speakers in the 280Z and Infinity Kappa 6x9" speakers (wired only as woofers with the tweeters disconnected) in the re-upholstered MSA speaker box in the rear deck. I installed Boom Mat soft speaker baffles behind all 6 speakers. It's arguably the best sounding car system I've had. The circle identifies the amplifier location, with a slight bump on the carpet. The crossovers have been disconnected and only the base baffles are wired to the amp, rendering the rear Infinity Kappa 6x9s as very effective woofers. I also did some work on the Retrosound radio faceplate by adding a ABS overlay with the same texture as the OEM Datsun center console material and chrome pinstriping. I'm still searching for someone who will laser engrave the letters on the faceplate to further mimic the original. The USB remote ports are in the glovebox and in the center console. I tried to make everything look as stock as possible even though the MSA rear deck enclosure is quite obvious (but supplies the bass). The front kick panel speaker pods are a truly excellent product (shout out to Derek for amazing work) and are greatly responsible for the improvement in sound. All the different components are nicely balanced.


 3 points
 -
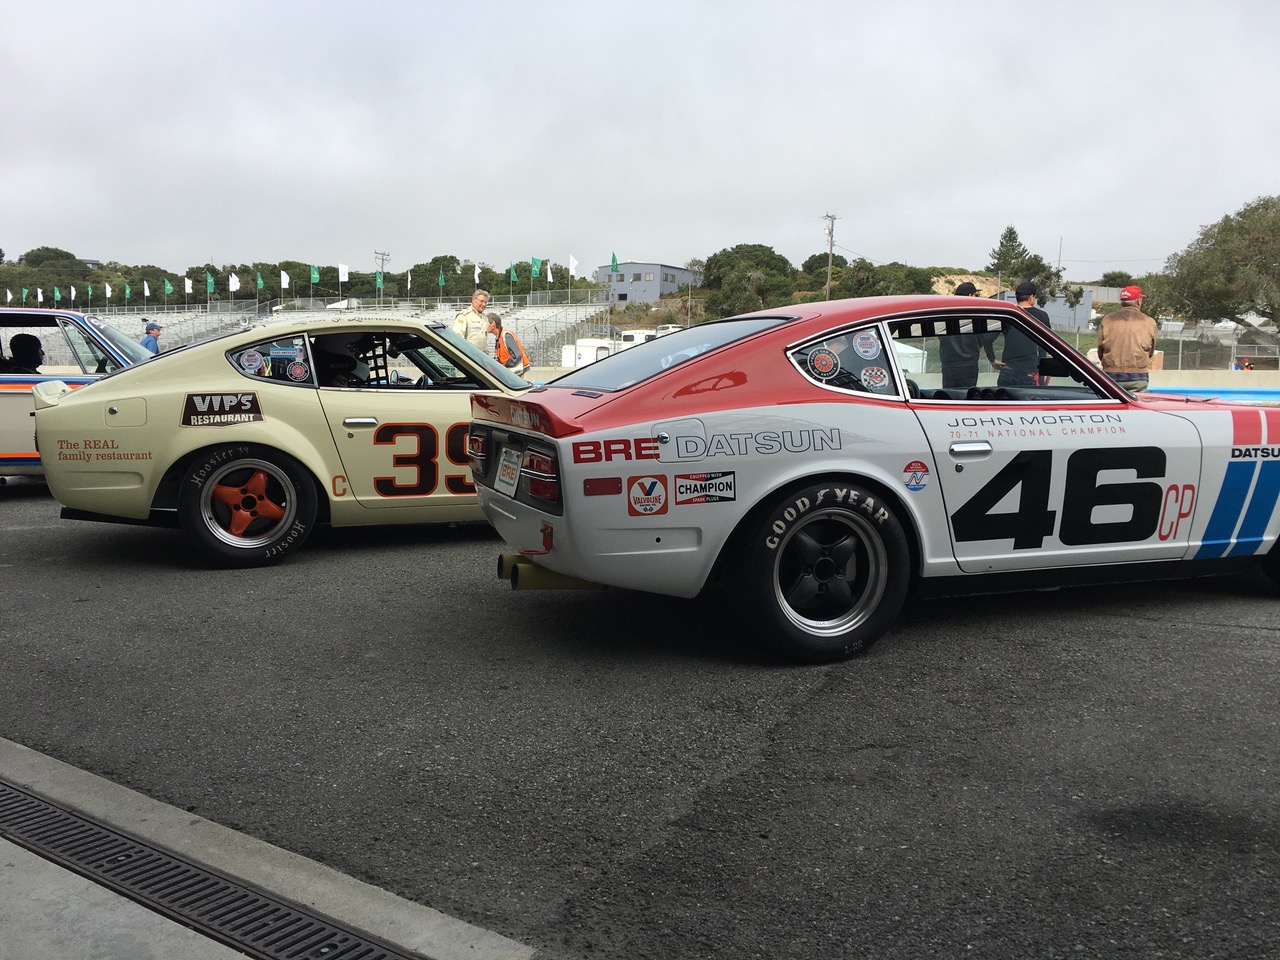
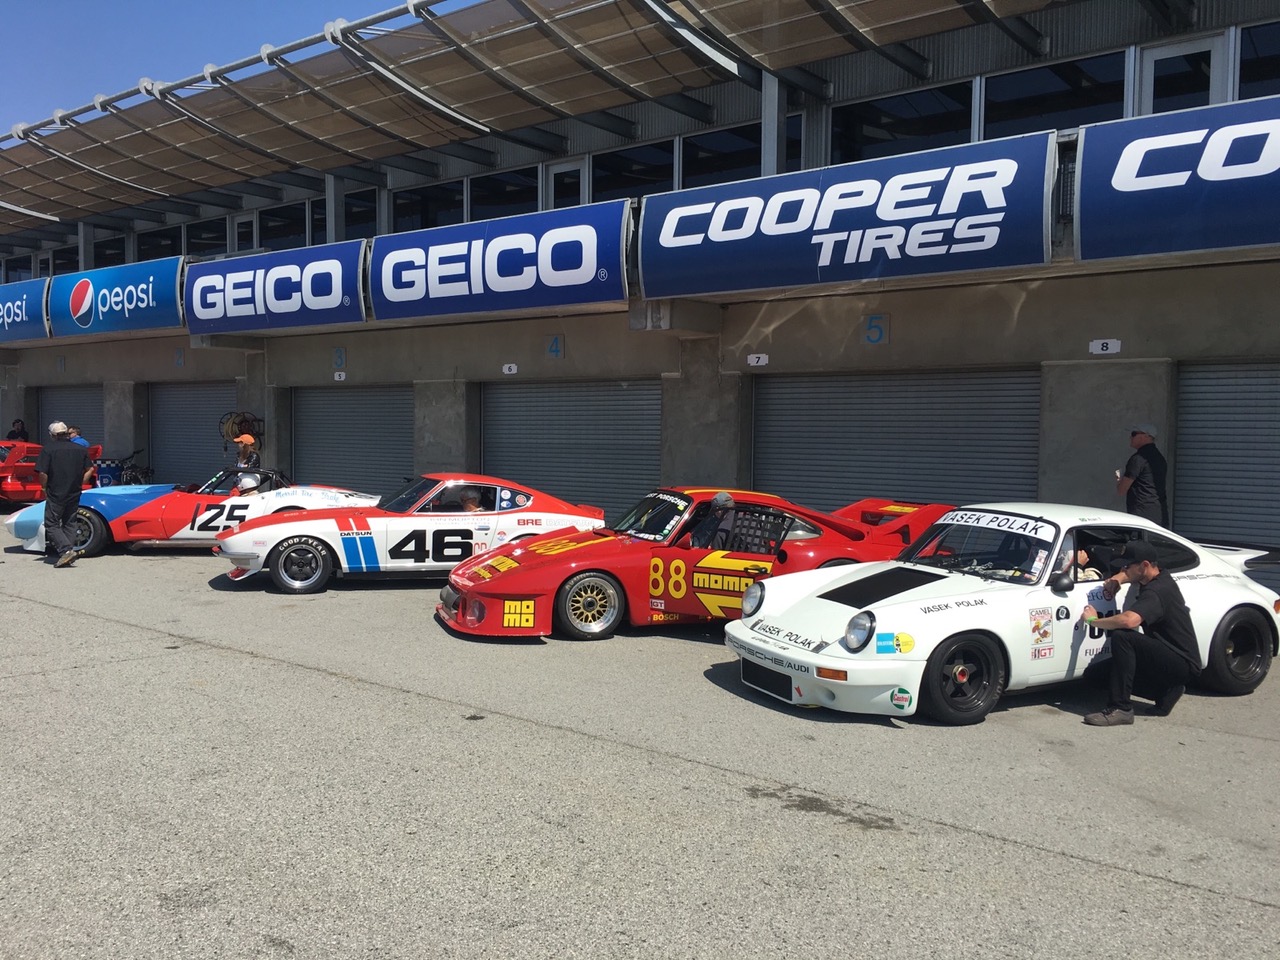
The Georgia Z Club held a Gumball Rally today. For the rally, you are given a set of vague directions and questions about various landmarks along the way. For these drives, it is VERY helpful to have a navigator. My wife declined to attend, so I just showed up at the beginning, found out the end point, and went on my own drive. Good fortune was with me today as I had some nice uninterrupted stretches going out and coming back to allow for some spirited driving. It was a good Z day. By the way, if you make it out for ZCON in Atlanta next year, you can drive these roads, too.2 points
-
2 pointsQuick and dirty horse divers. Lay out the beef cover with cream cheese and roll pickle spears up like a joint.2 points
-
I did the Xenon air dam on my 260Z along with stainless steel bumpers. There is a version of the Xenon air dam for the 280Z that doesn't have the lower turn signals.1 point
-
 I used a 240 air dam and bumpers. If this floats your boat I can give details. You should search Eurodat up too. He did a nice detailed post on the conversion.
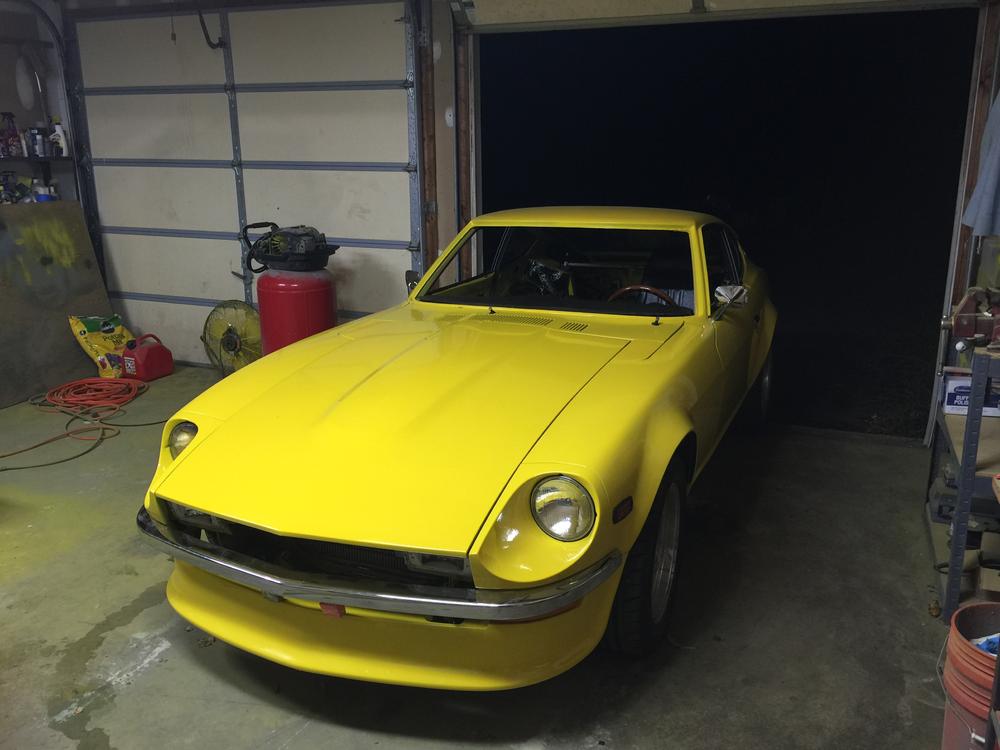
 1 point
 -
 Not sure what you think will be different in posts here than by just going here: https://www.google.com/search?q=MSA+type+3+280z&safe=off&source=lnms&tbm=isch Everyone's free to have their own opinions, but the MSA Type 3 is probably the worst looking of the "regular" options.1 point
 -
 I just looked at the Type 3 on line, not the Style I have. Sent from my iPhone using Classic Zcar Club mobile1 point
 -
I will check my receipt from MSA when I get back in a couple days. It's just an air dam, no aftermarket grill, using the one that was on the car slightly modified. It has no built in bumper look. Sent from my iPhone using Classic Zcar Club mobile1 point
-
1 point
-
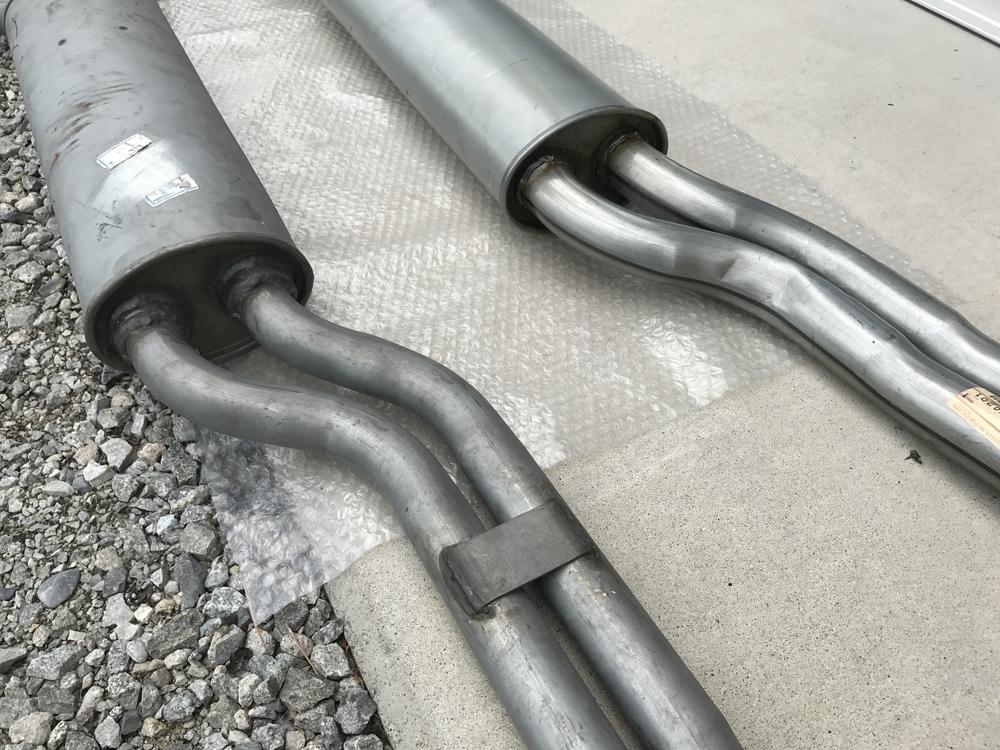
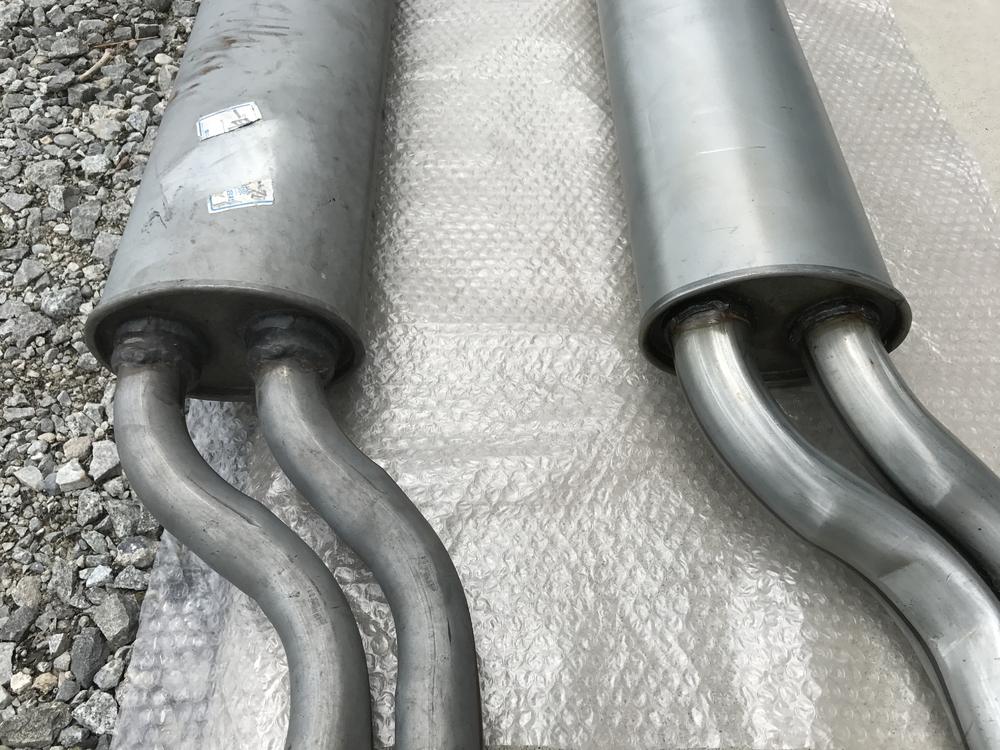
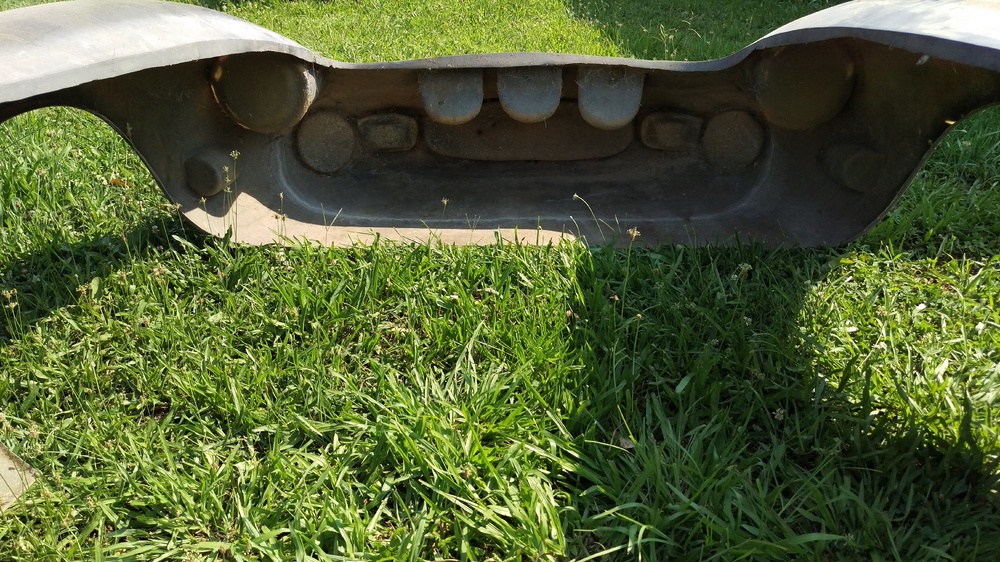
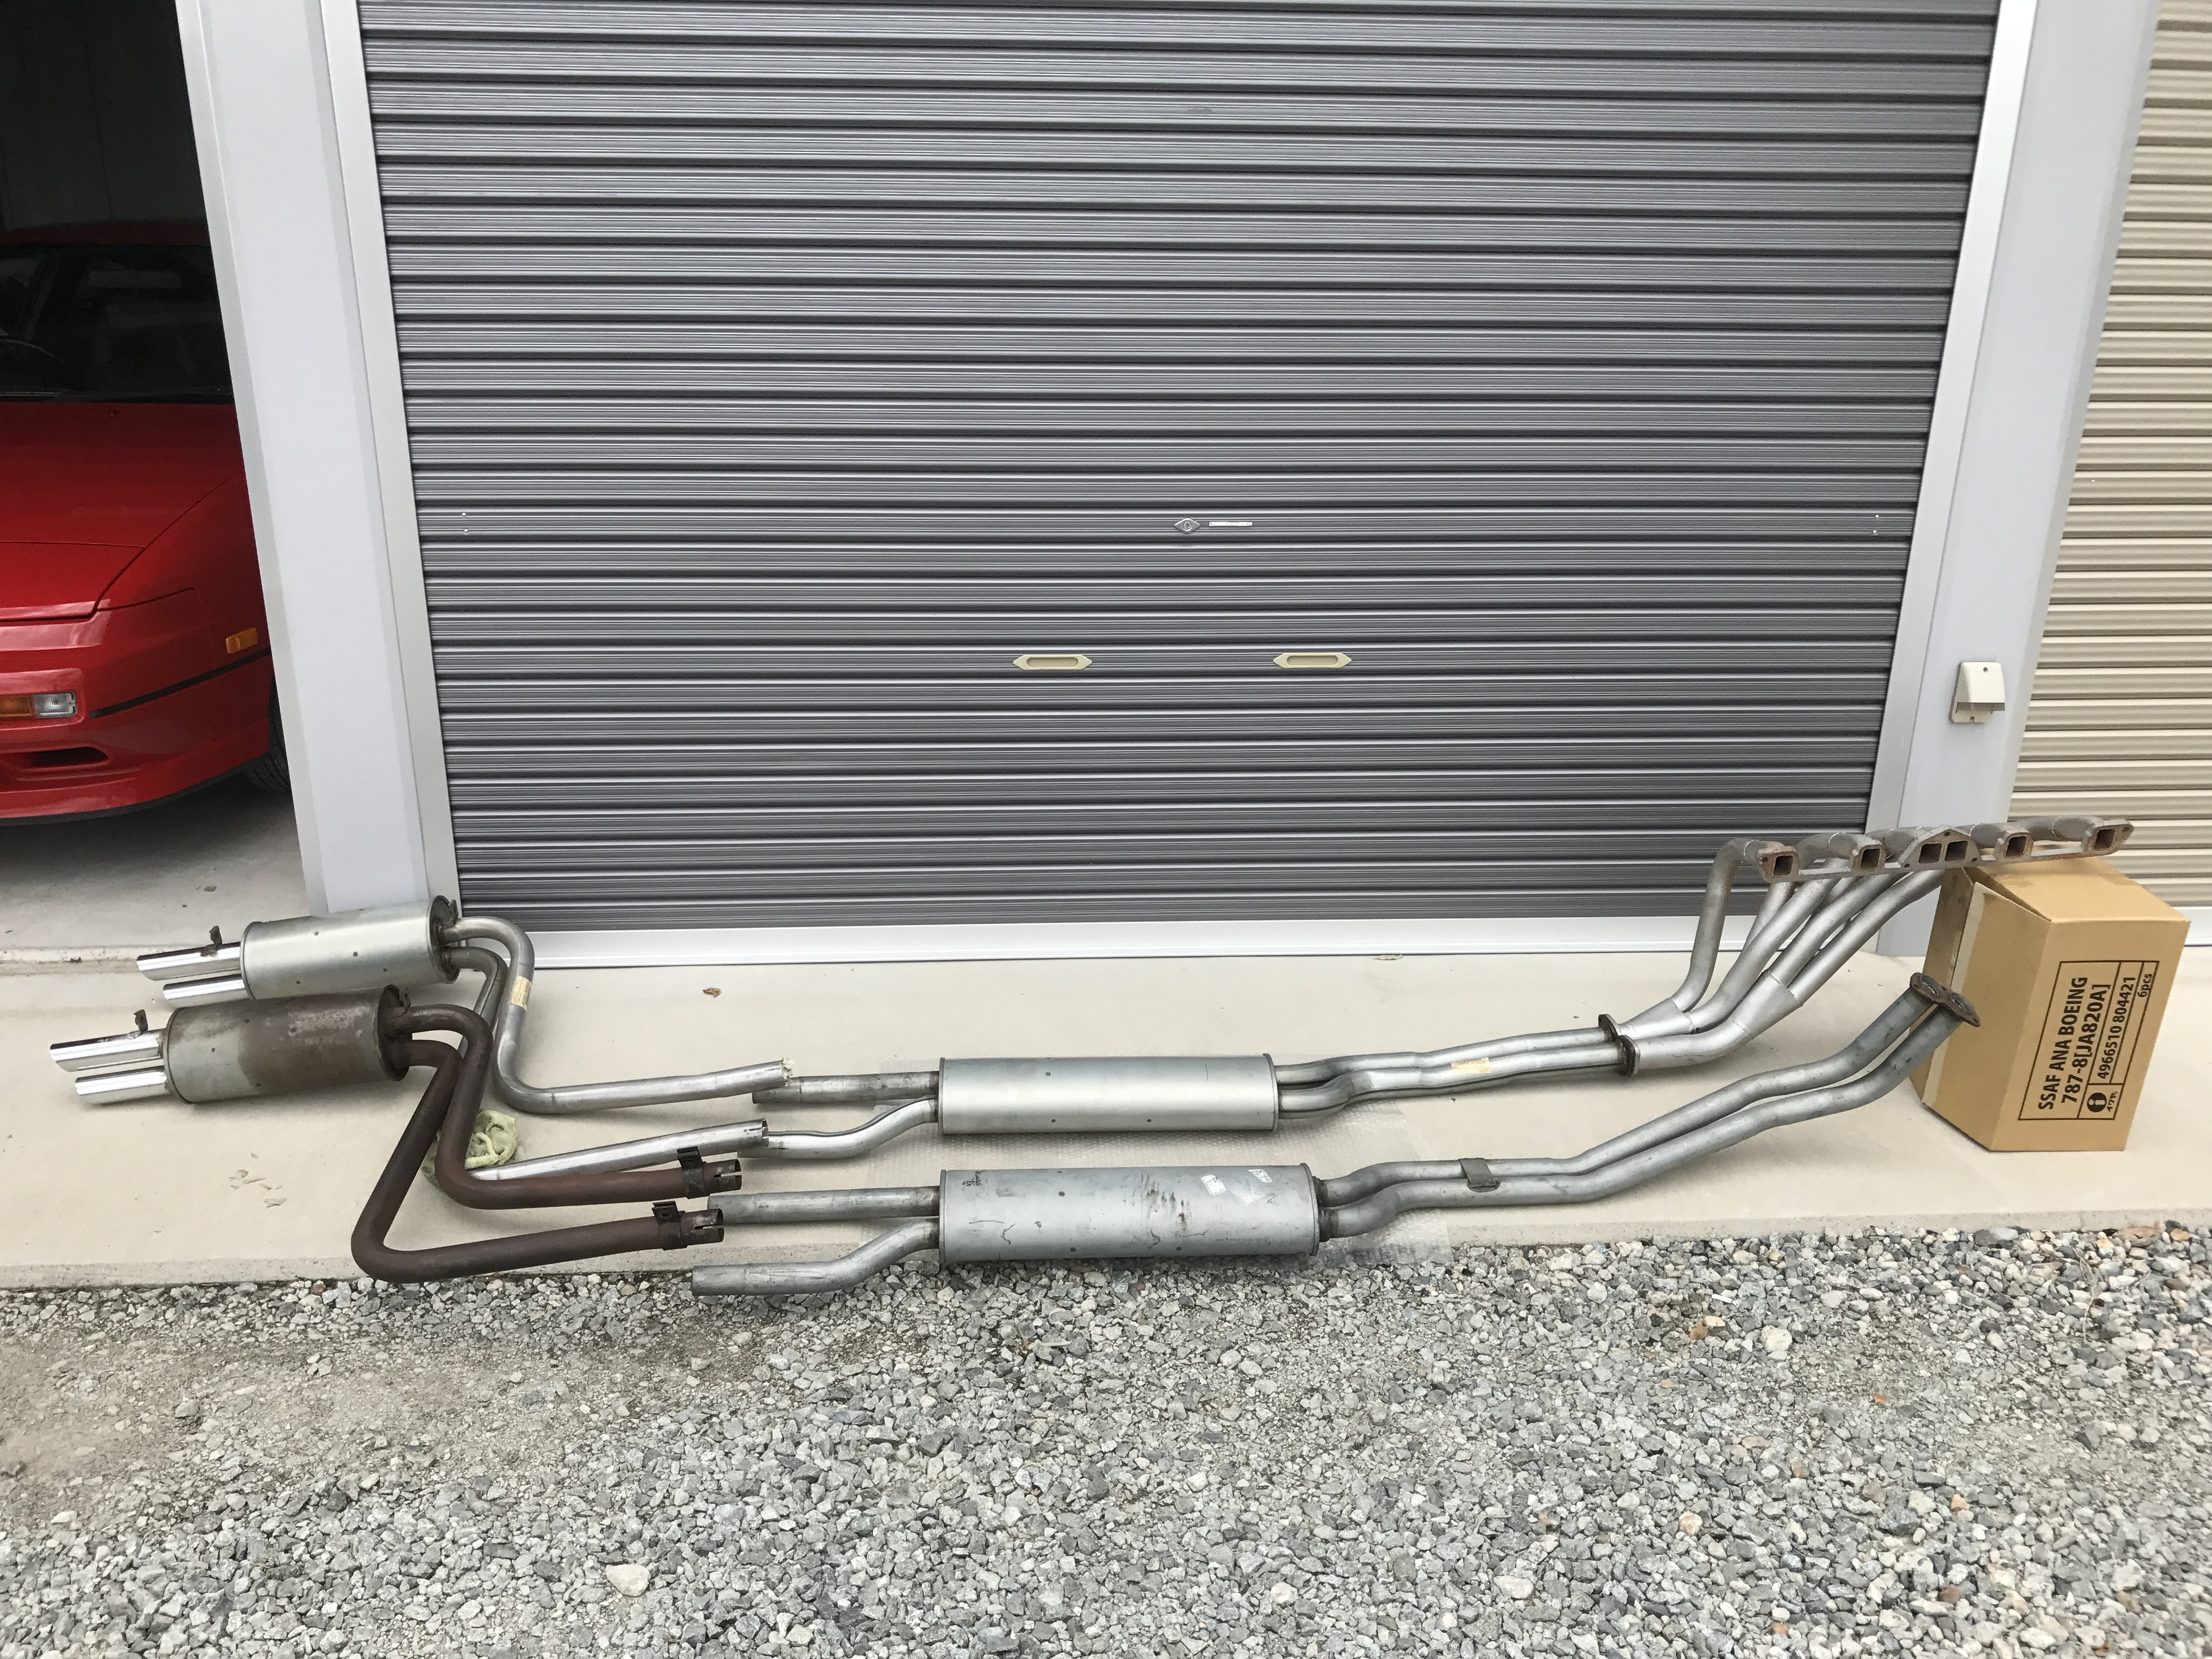
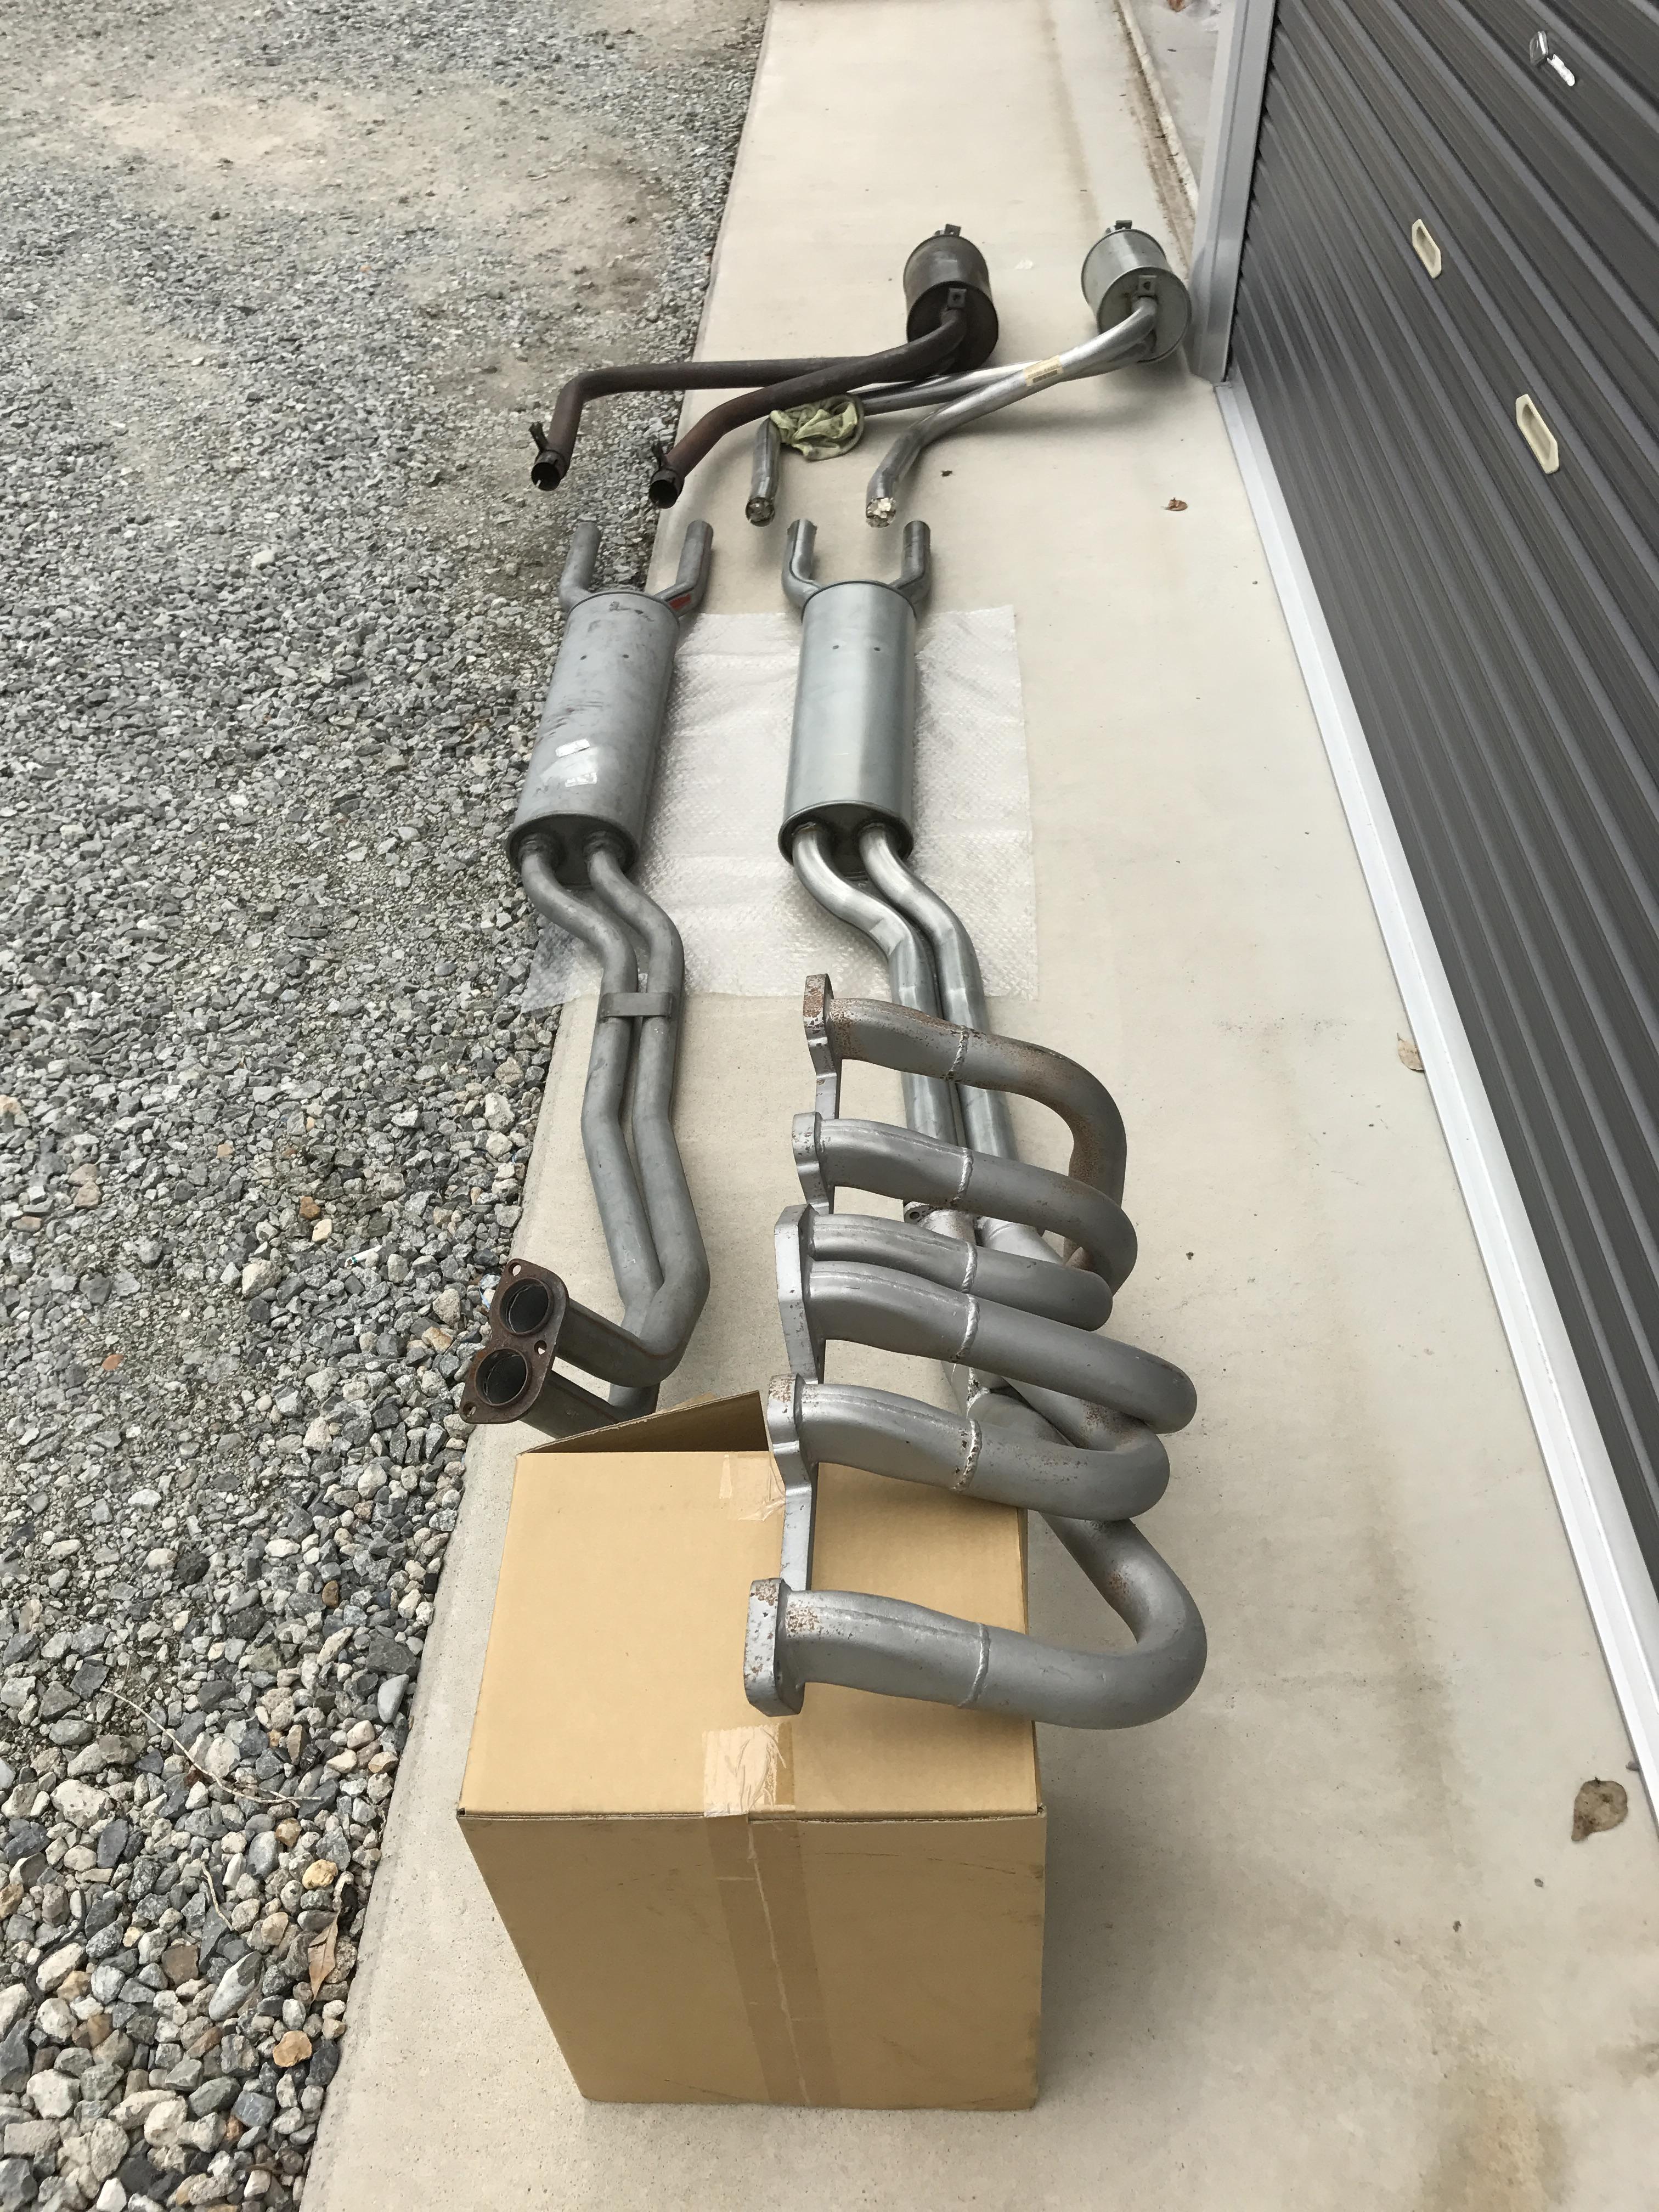
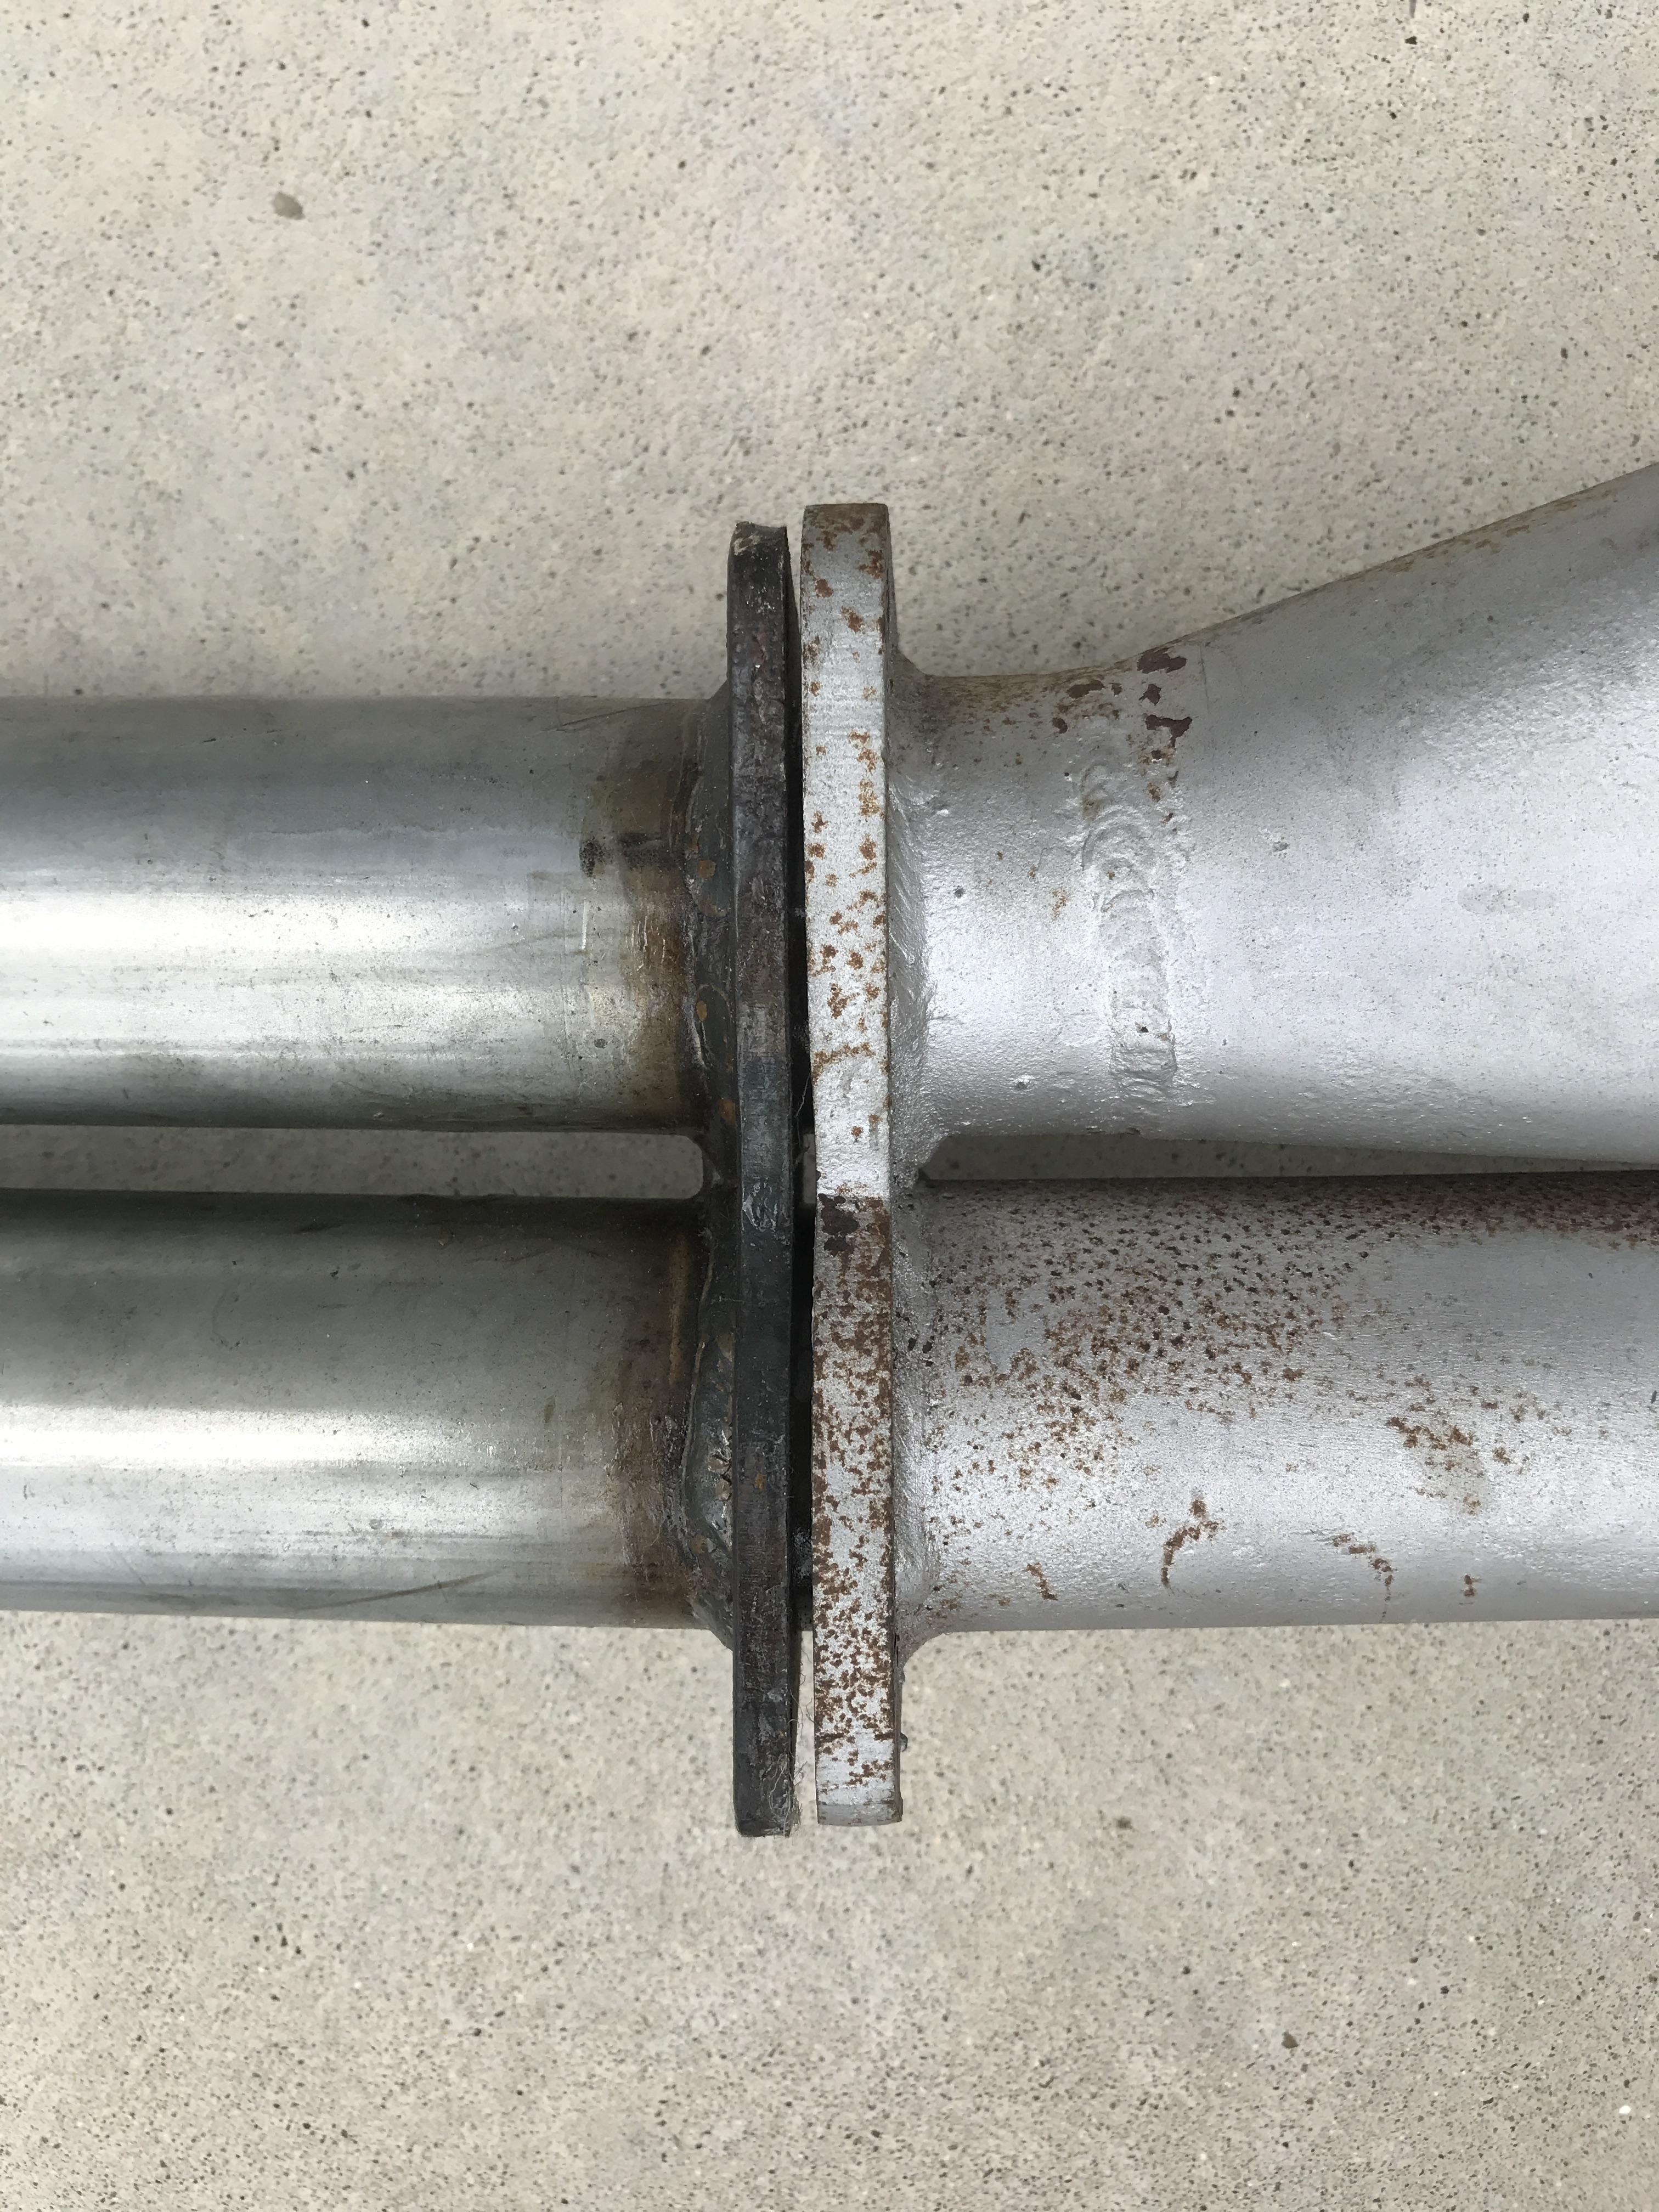
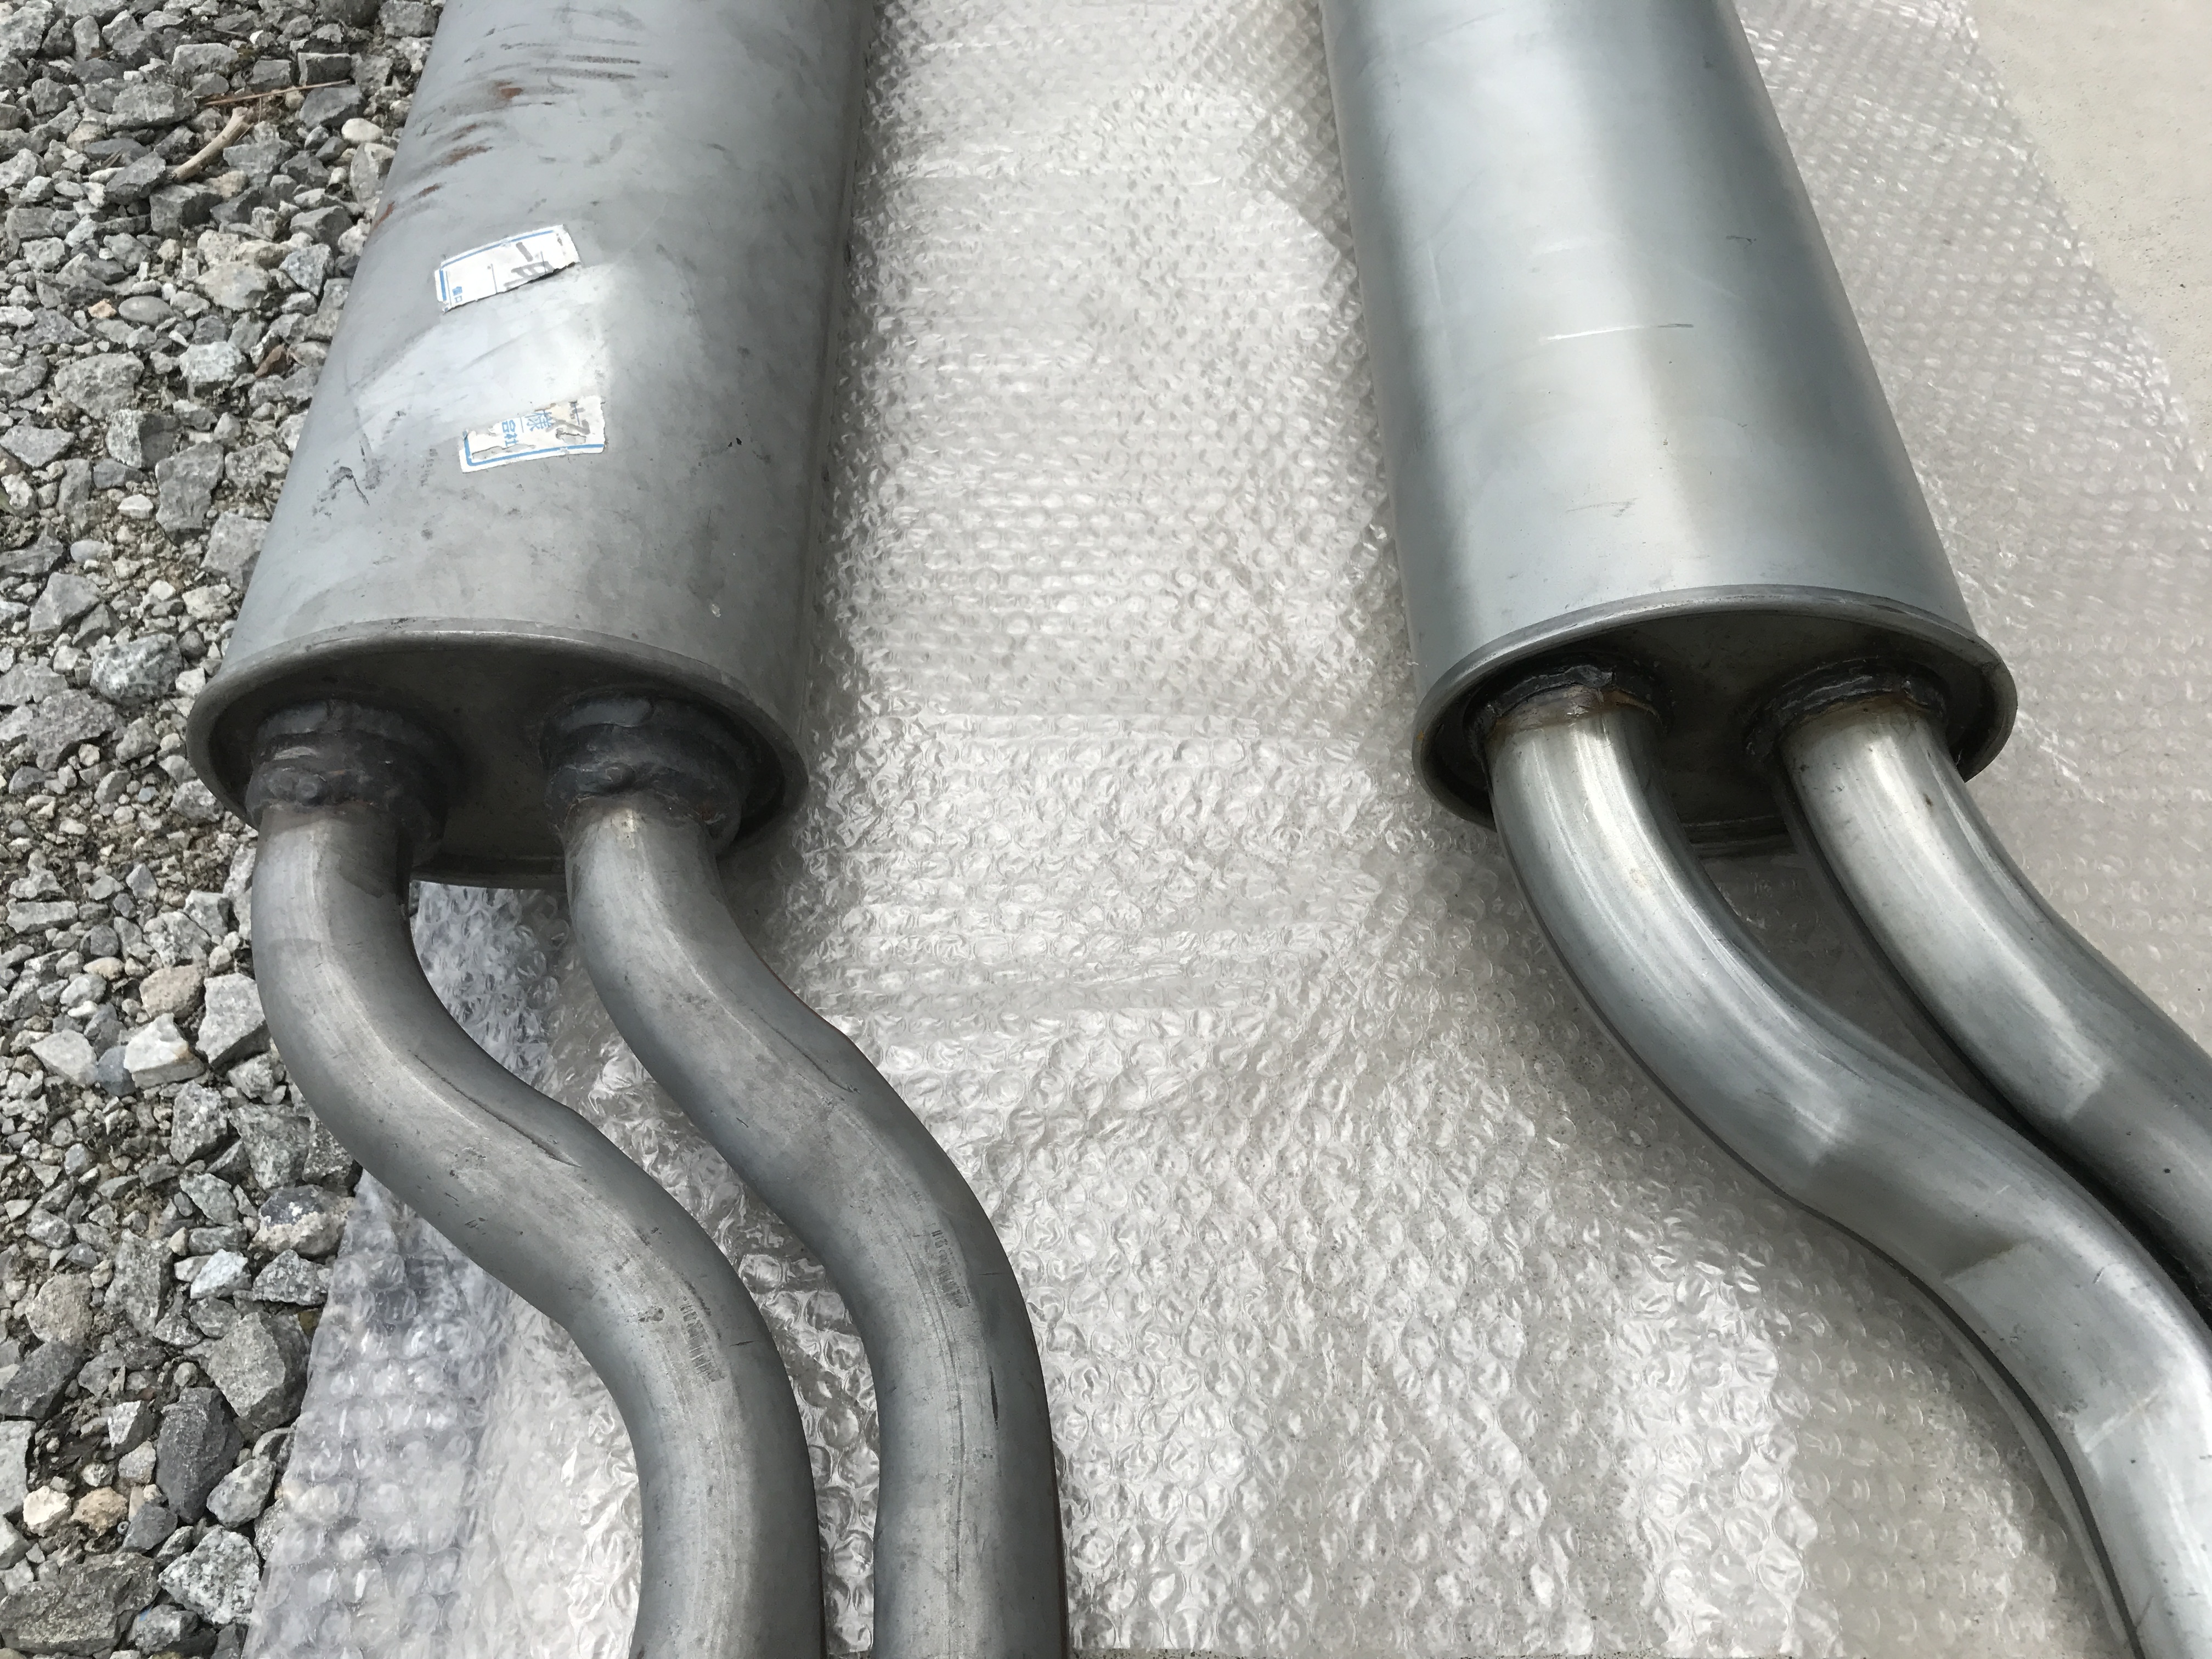
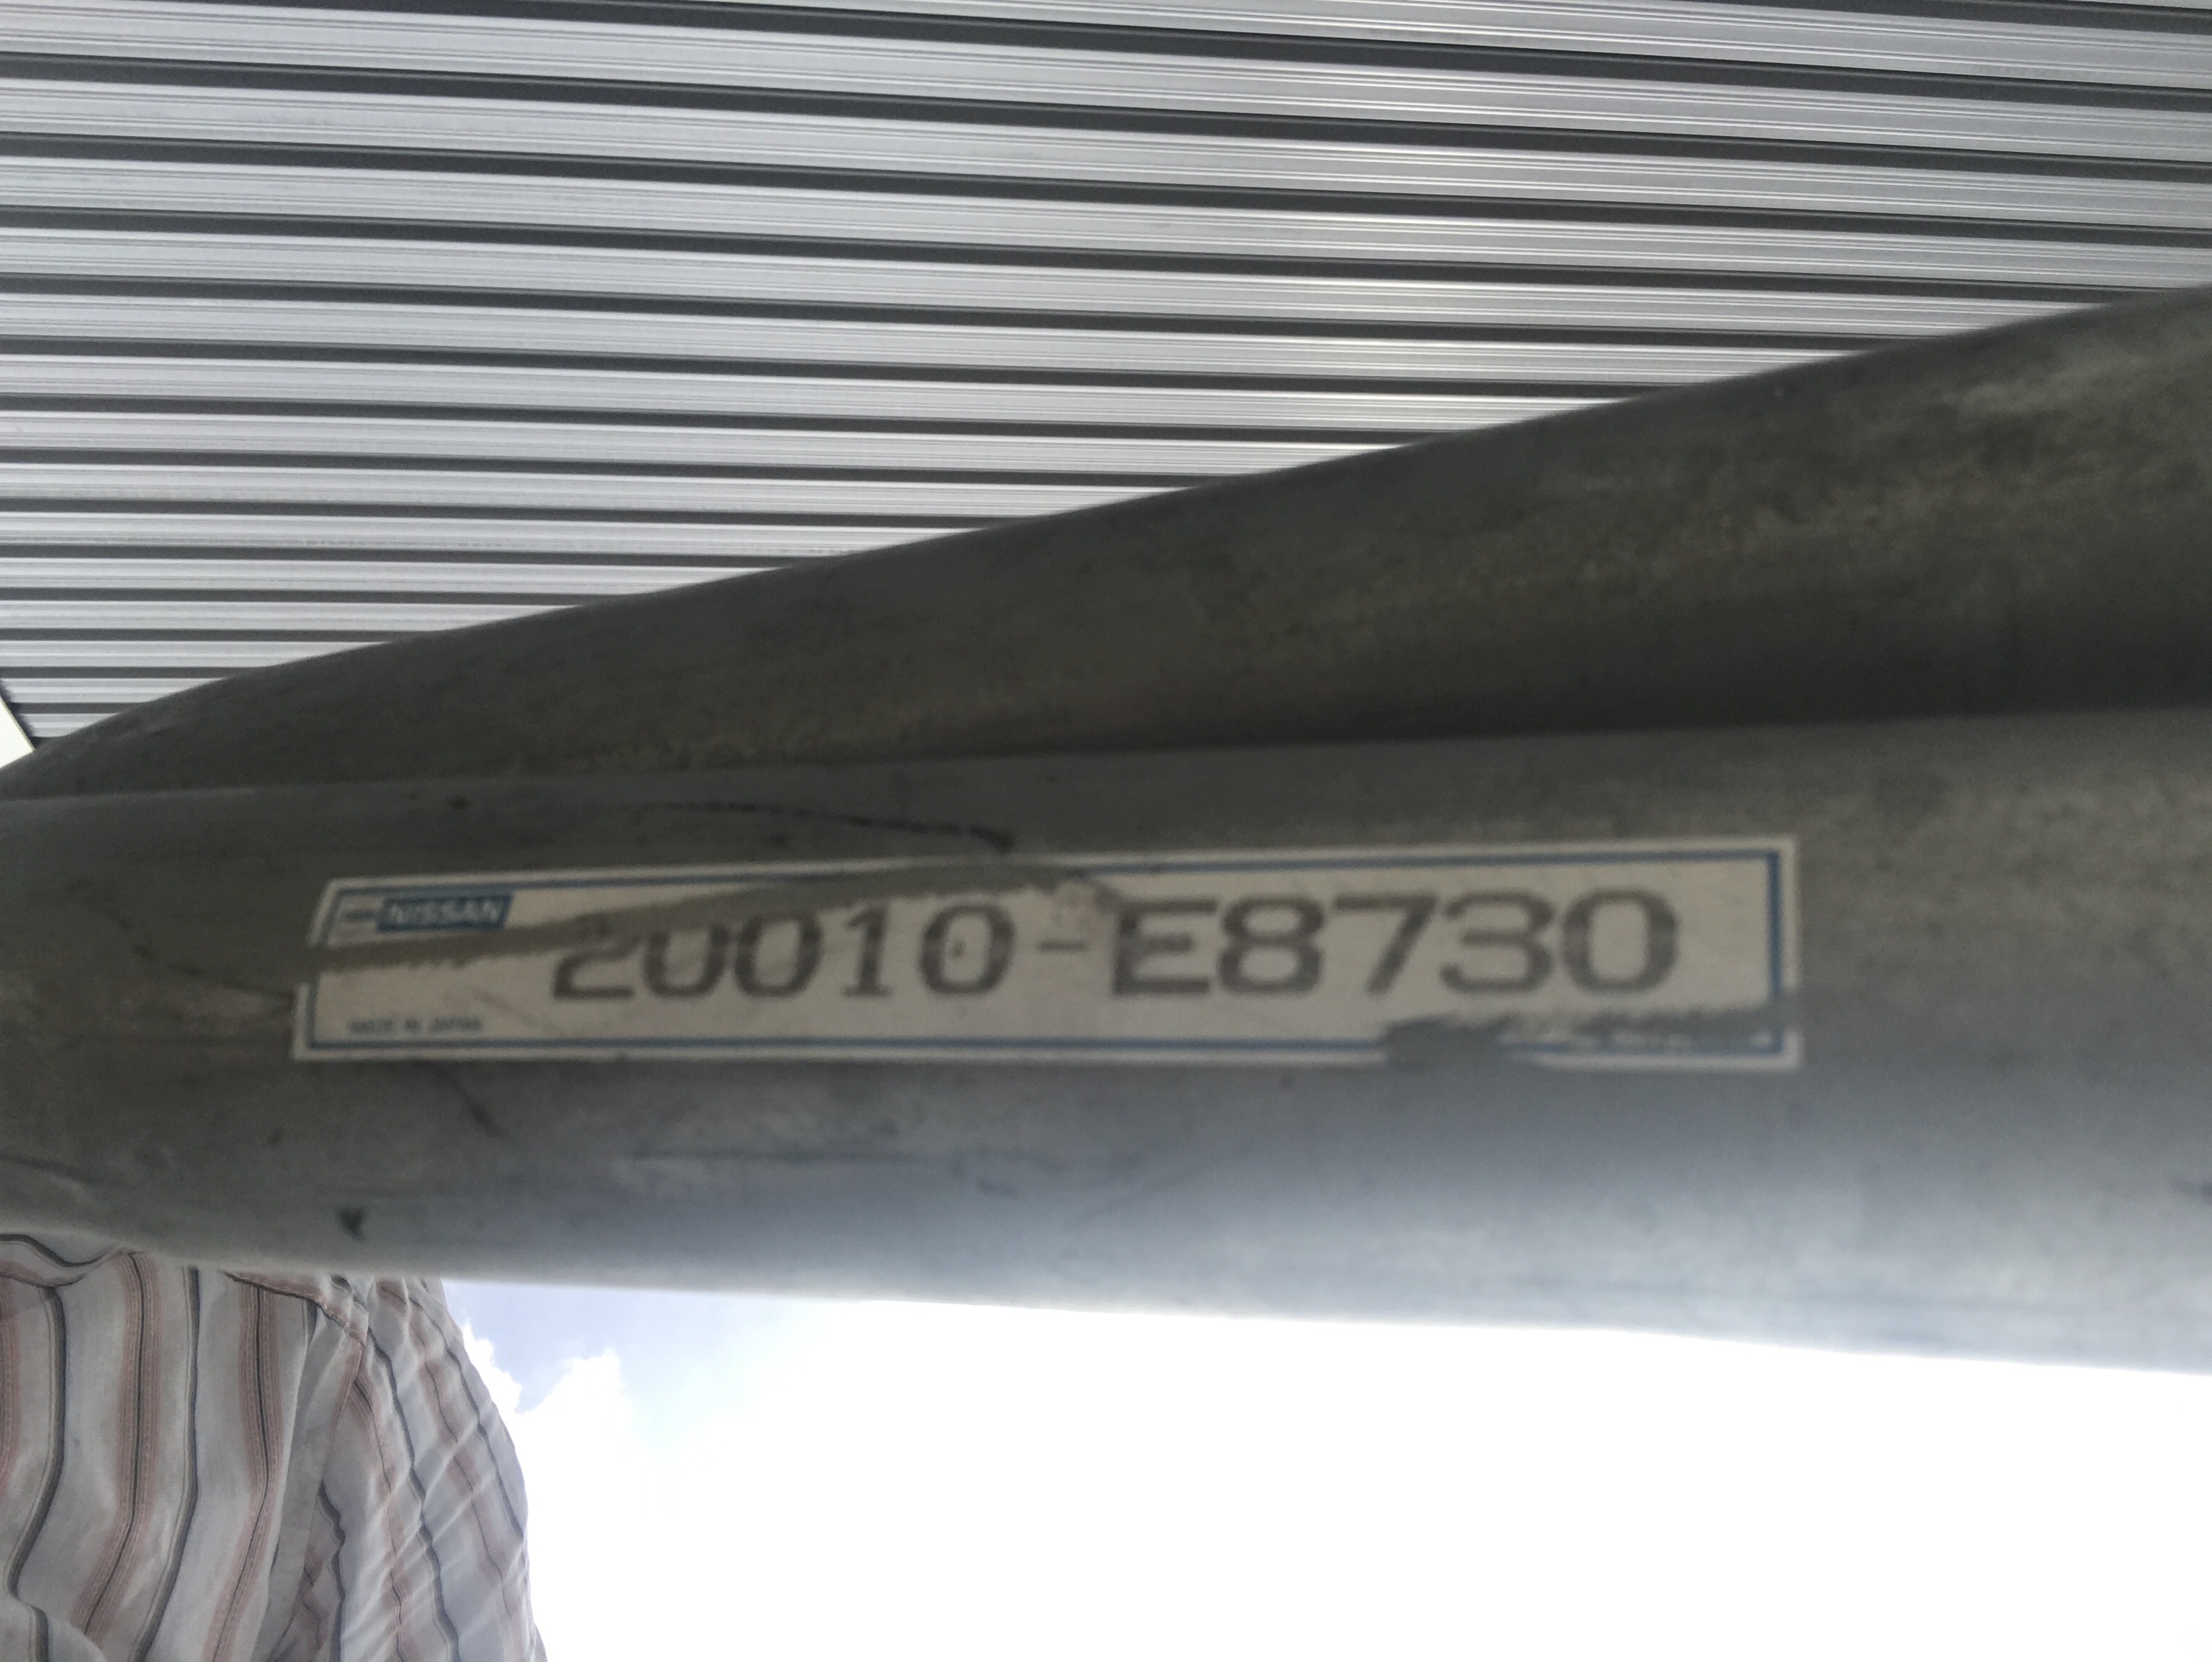
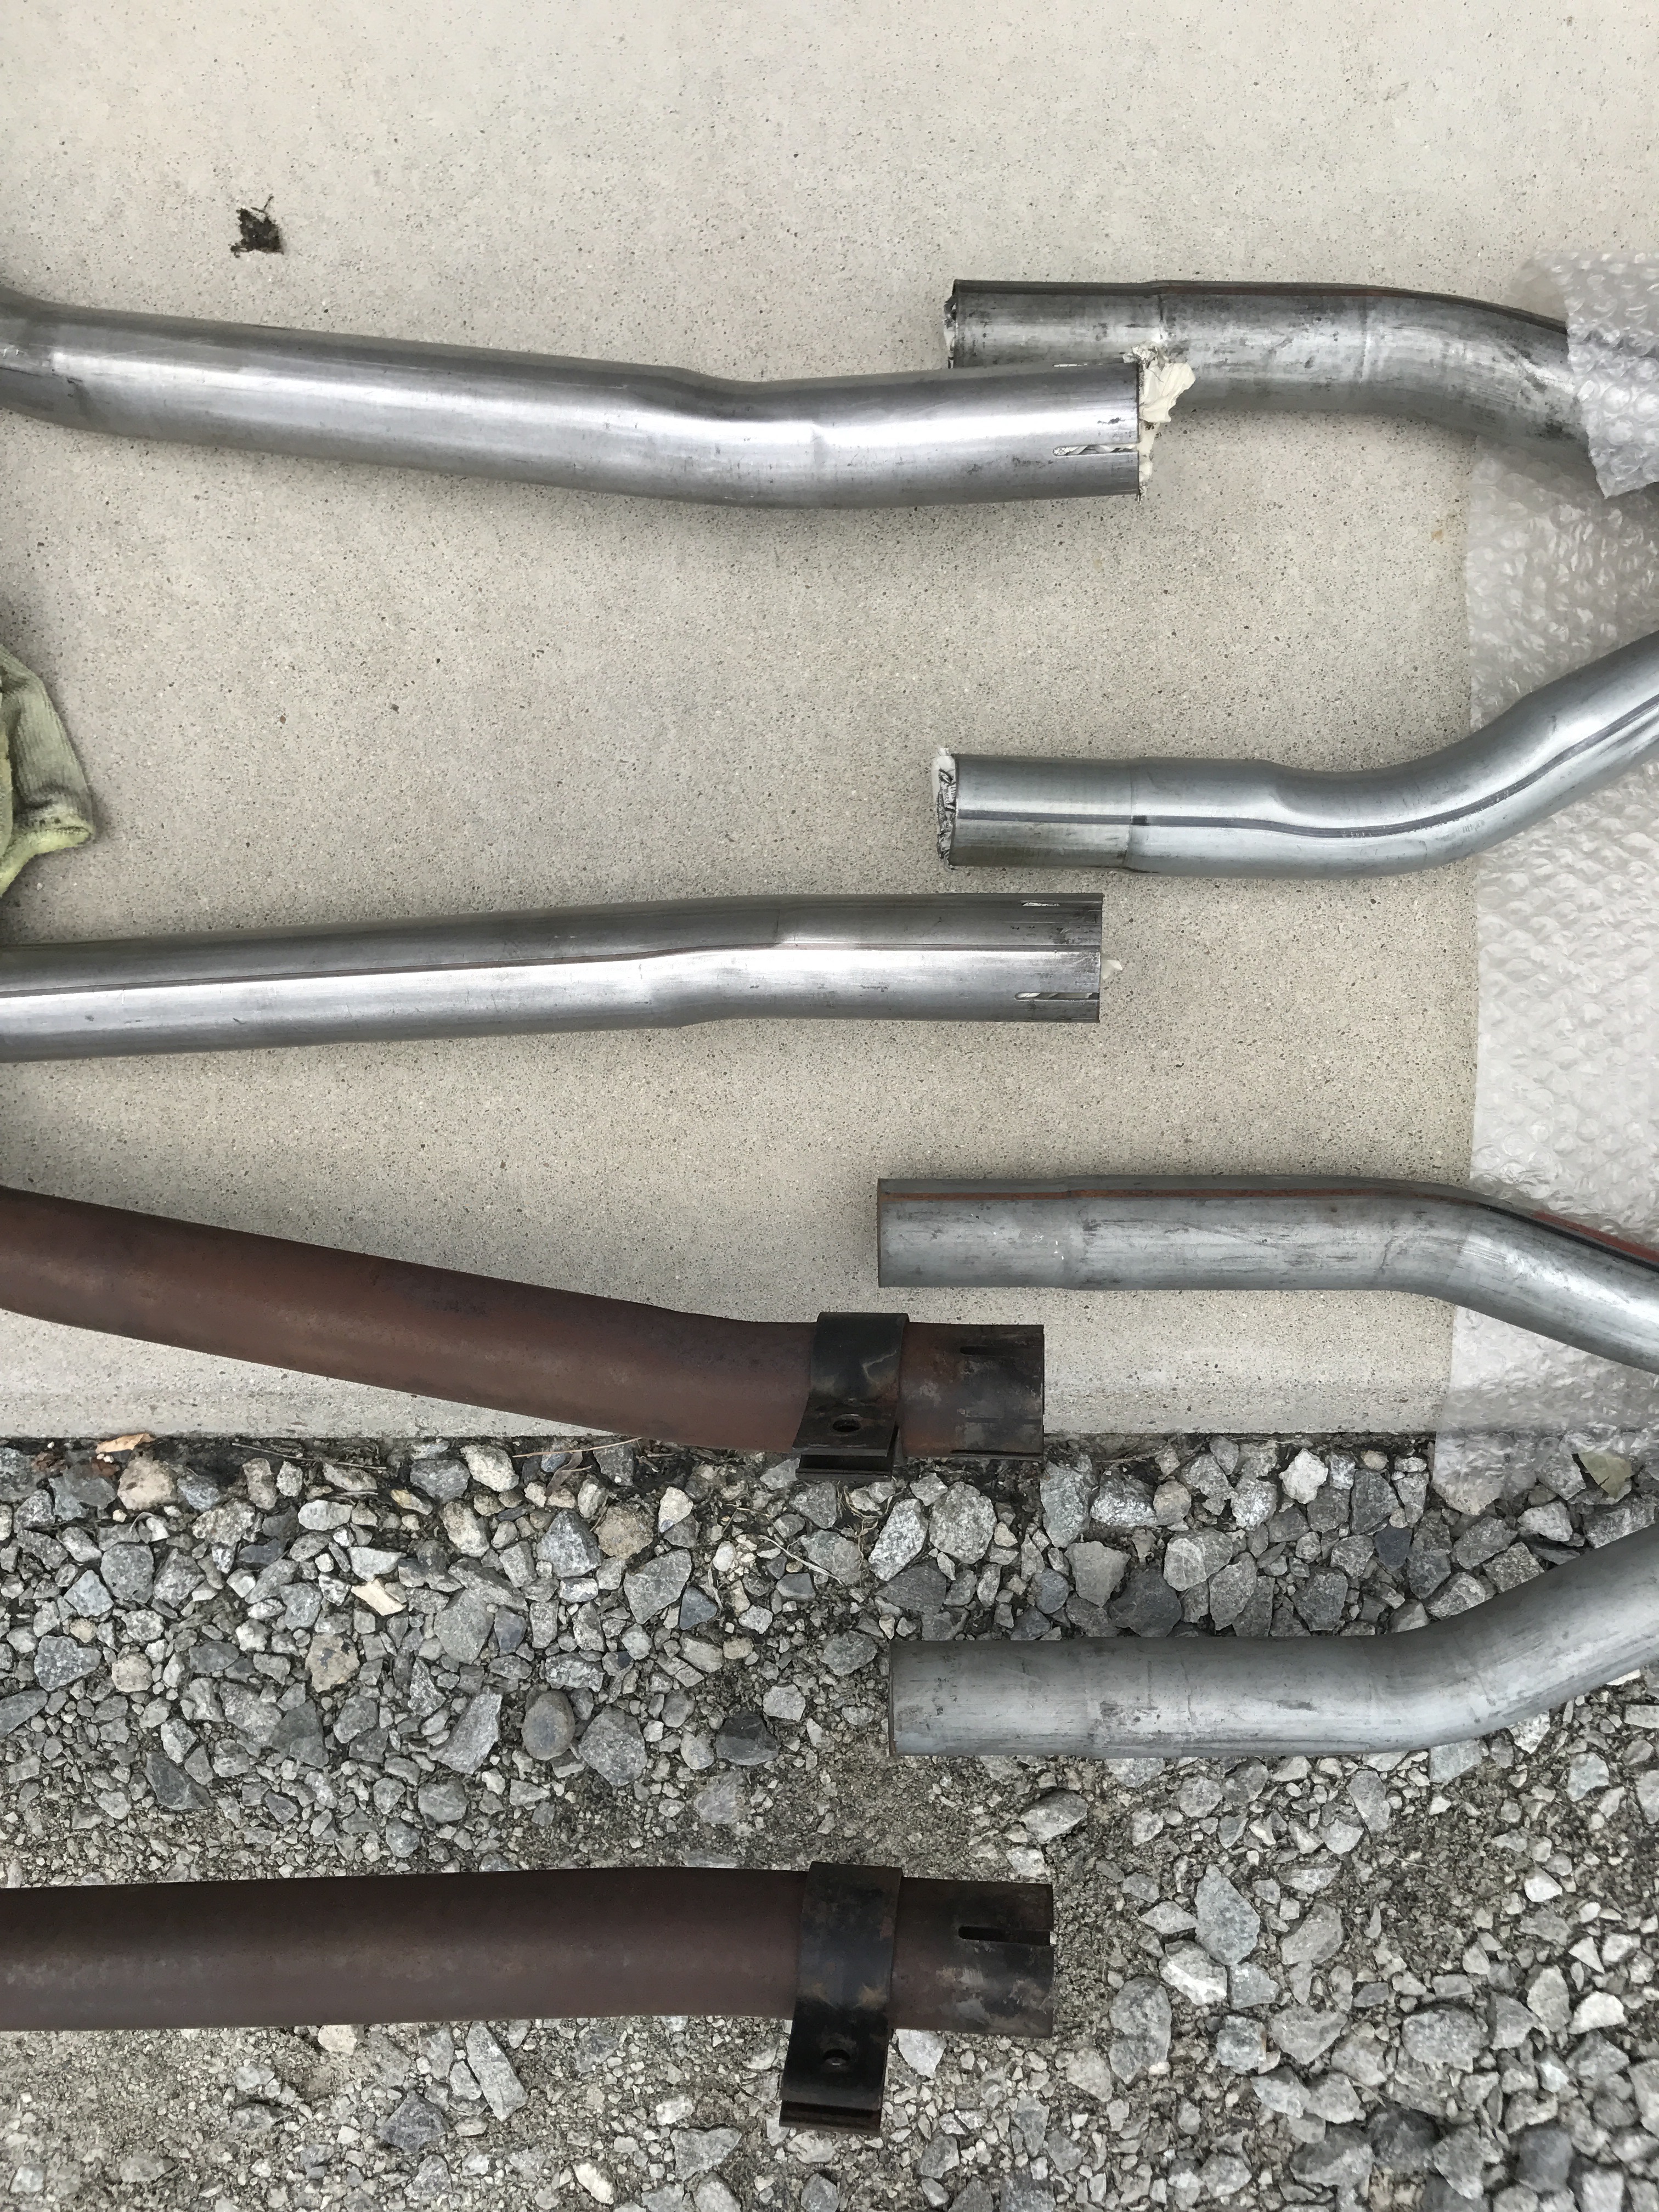
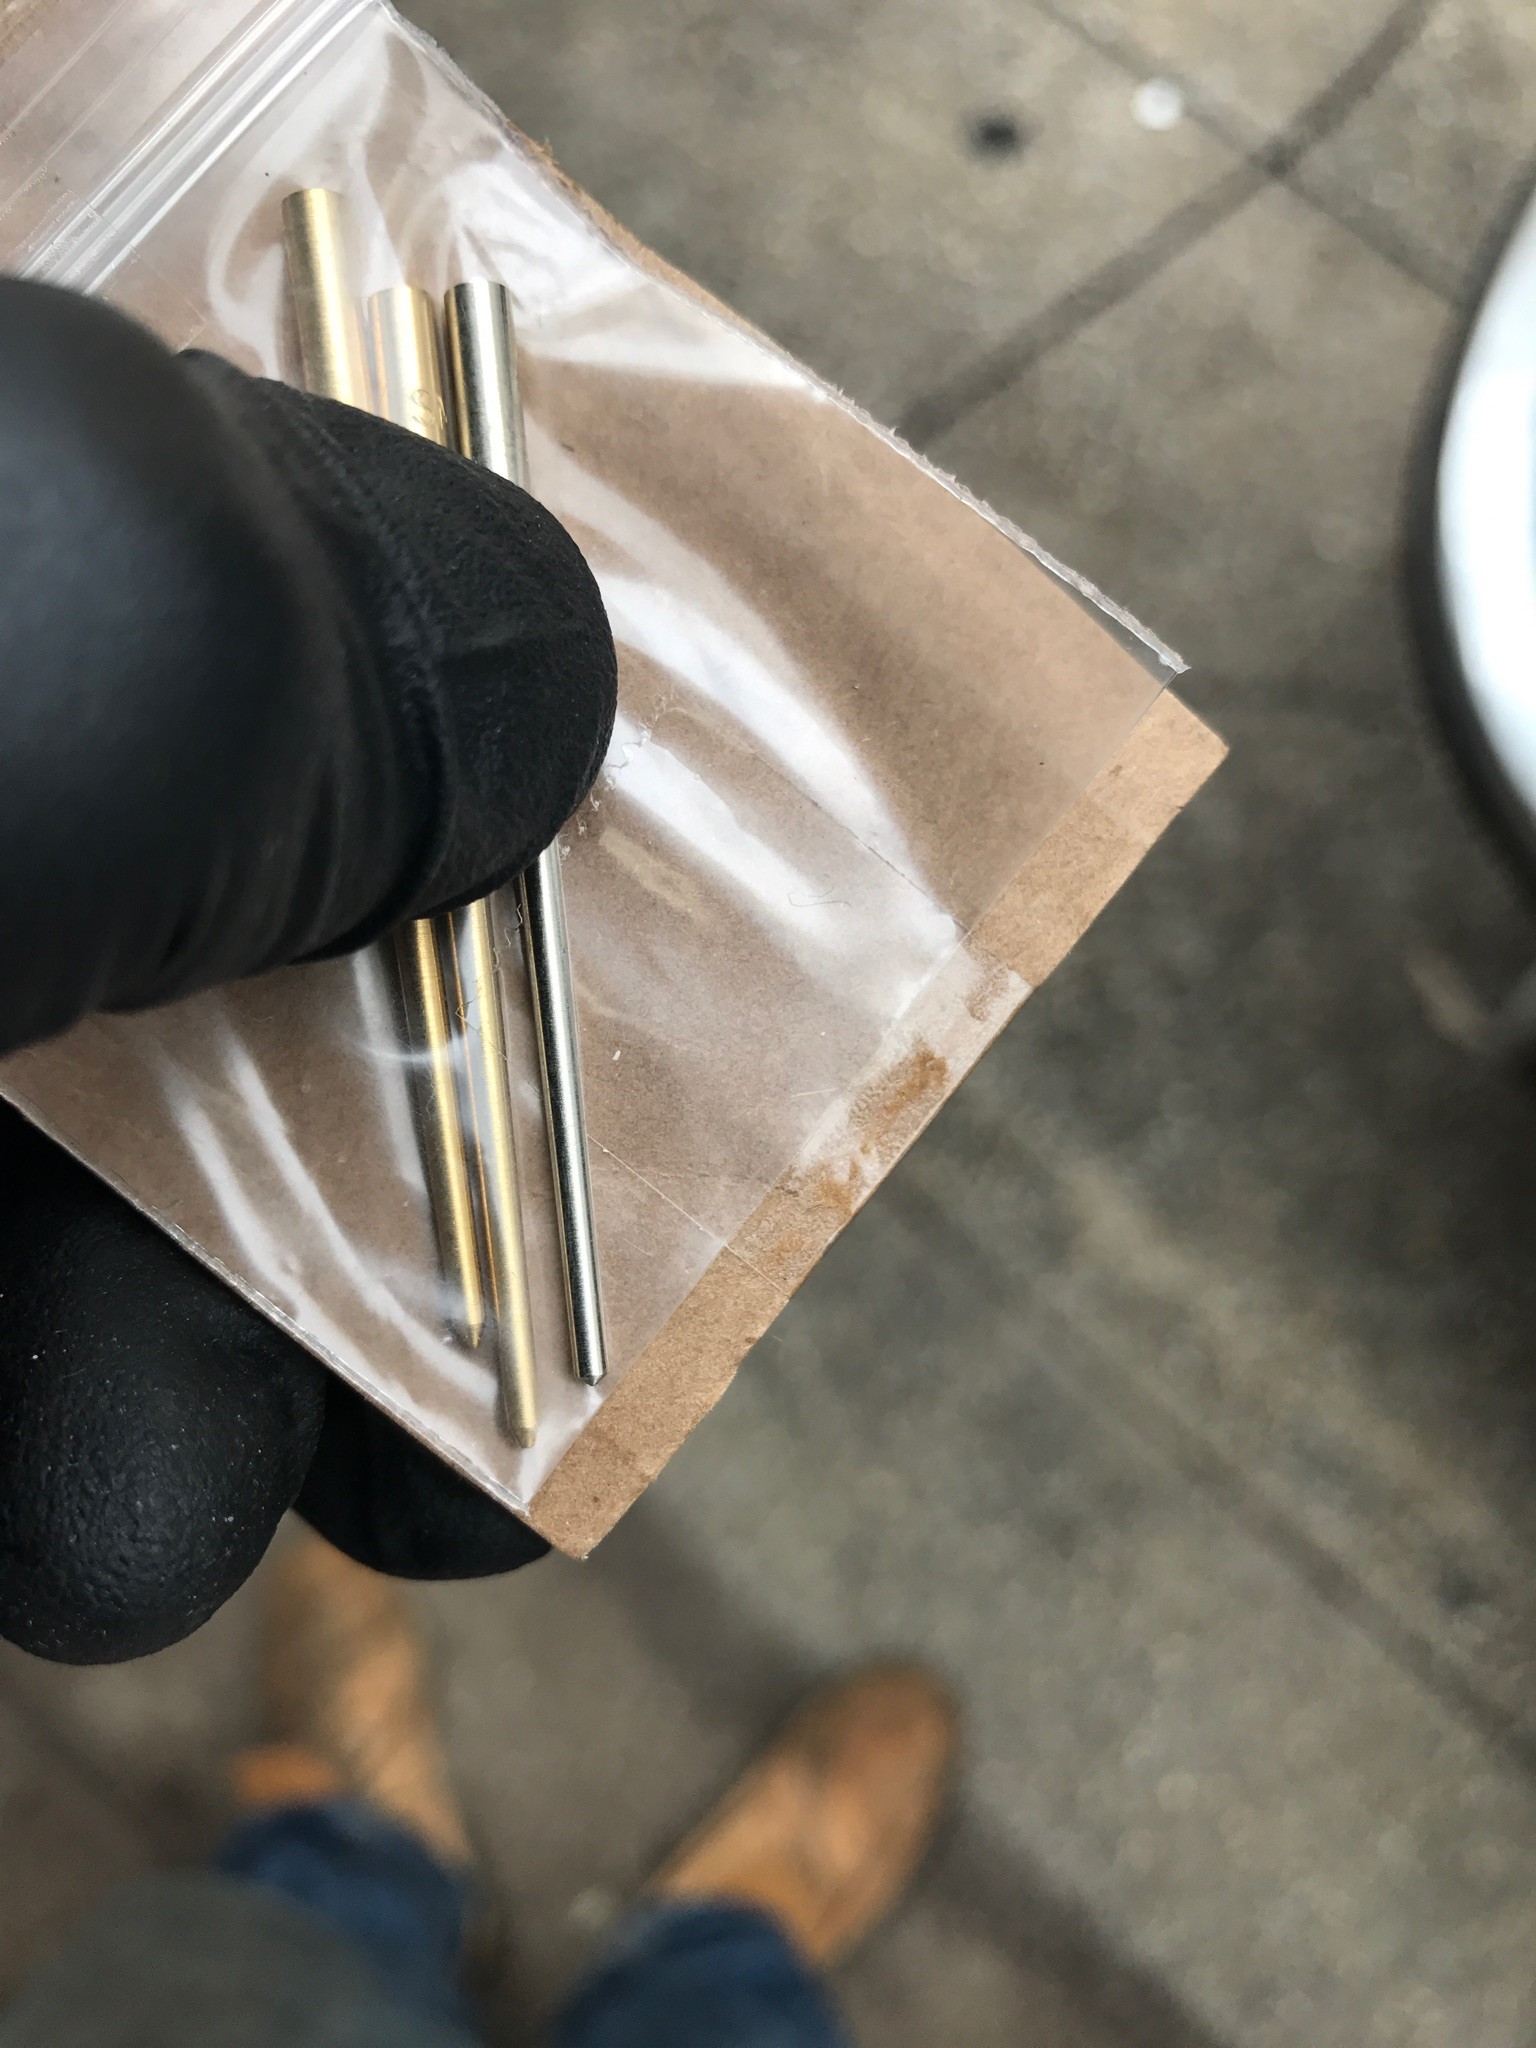
 1 pointDual exhaust system for L24 , Which one I should go , The front in the picture is the one for using stock L - series engine header, this is a factory optional item. ( 20100-E4105 : up to 09/1971 , 20100- E8730 from 10/1971) And the back is the one using the race option header for L24 and Z432 center and rear system. I can see the difference between them, The front pipe diameter is different, Z432 is bigger than the other. That is why this L -series front pipes have a welded metal piece on the pipes( not only for this but also very long pipes !) , ,and a reinforcement at the joint of the pipes and the center muffler. About this 20010-E4105 and 20010-E8730, the rear muffler is used from Z432 system to join the center muffler, so the diameter of the rear pipes of the center muffler are the same that of the Z432 center muffler. Also this time I tried to show the difference of early and late of the center muffler and the rear muffler. The difference is joint location. When the new center console applied 10/1971,the rear differential was moved 35mm back to align the center of the rear axle. This change made the joint location back a little bit. In these pictures, the race header with the Z432 center and rear system is the early type. The dual system using the factory header is later type( 20010-E8730) so you can see the difference of the joint location between them. Kats
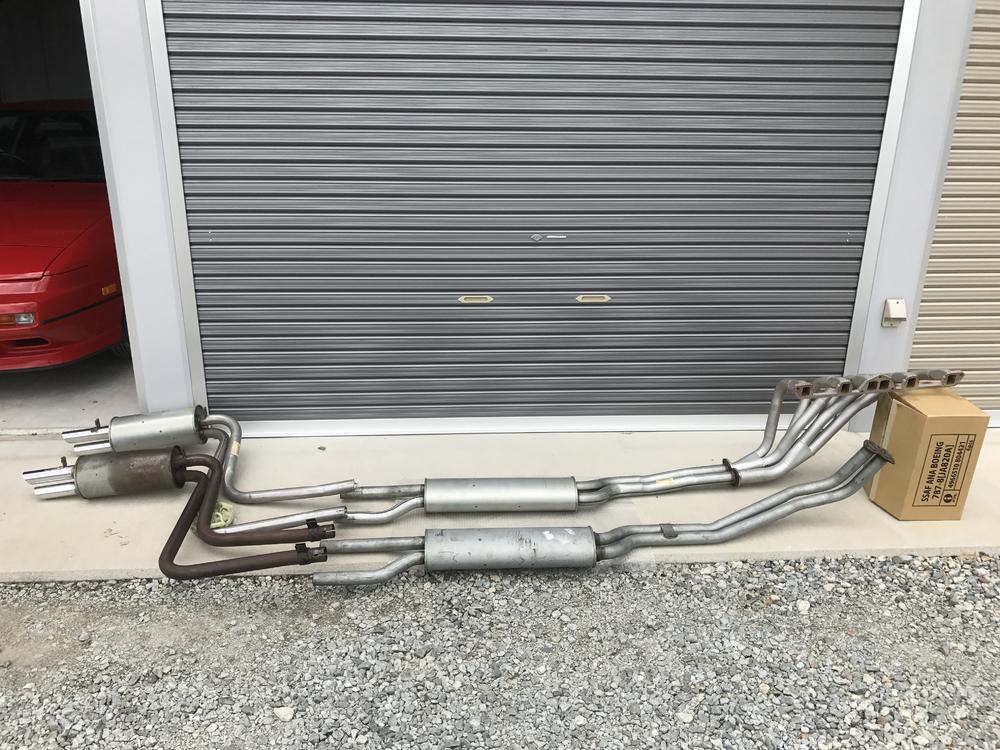


 1 point
 -
 Solved the issue with running rich, would be nice if the needles were the correct one!
 1 point
 -
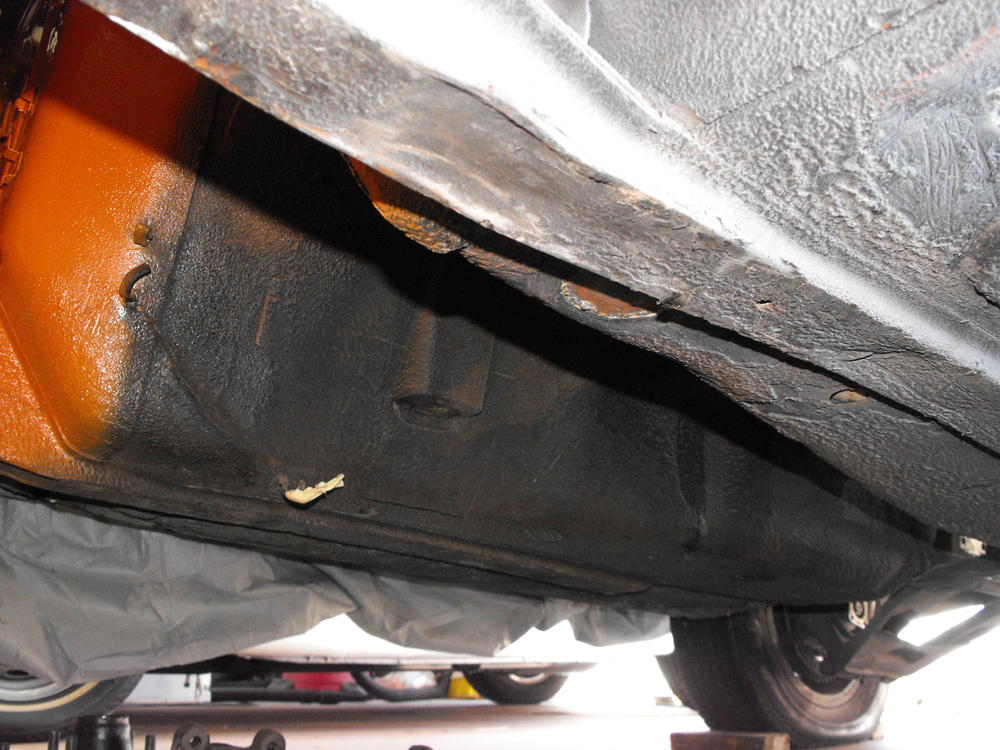
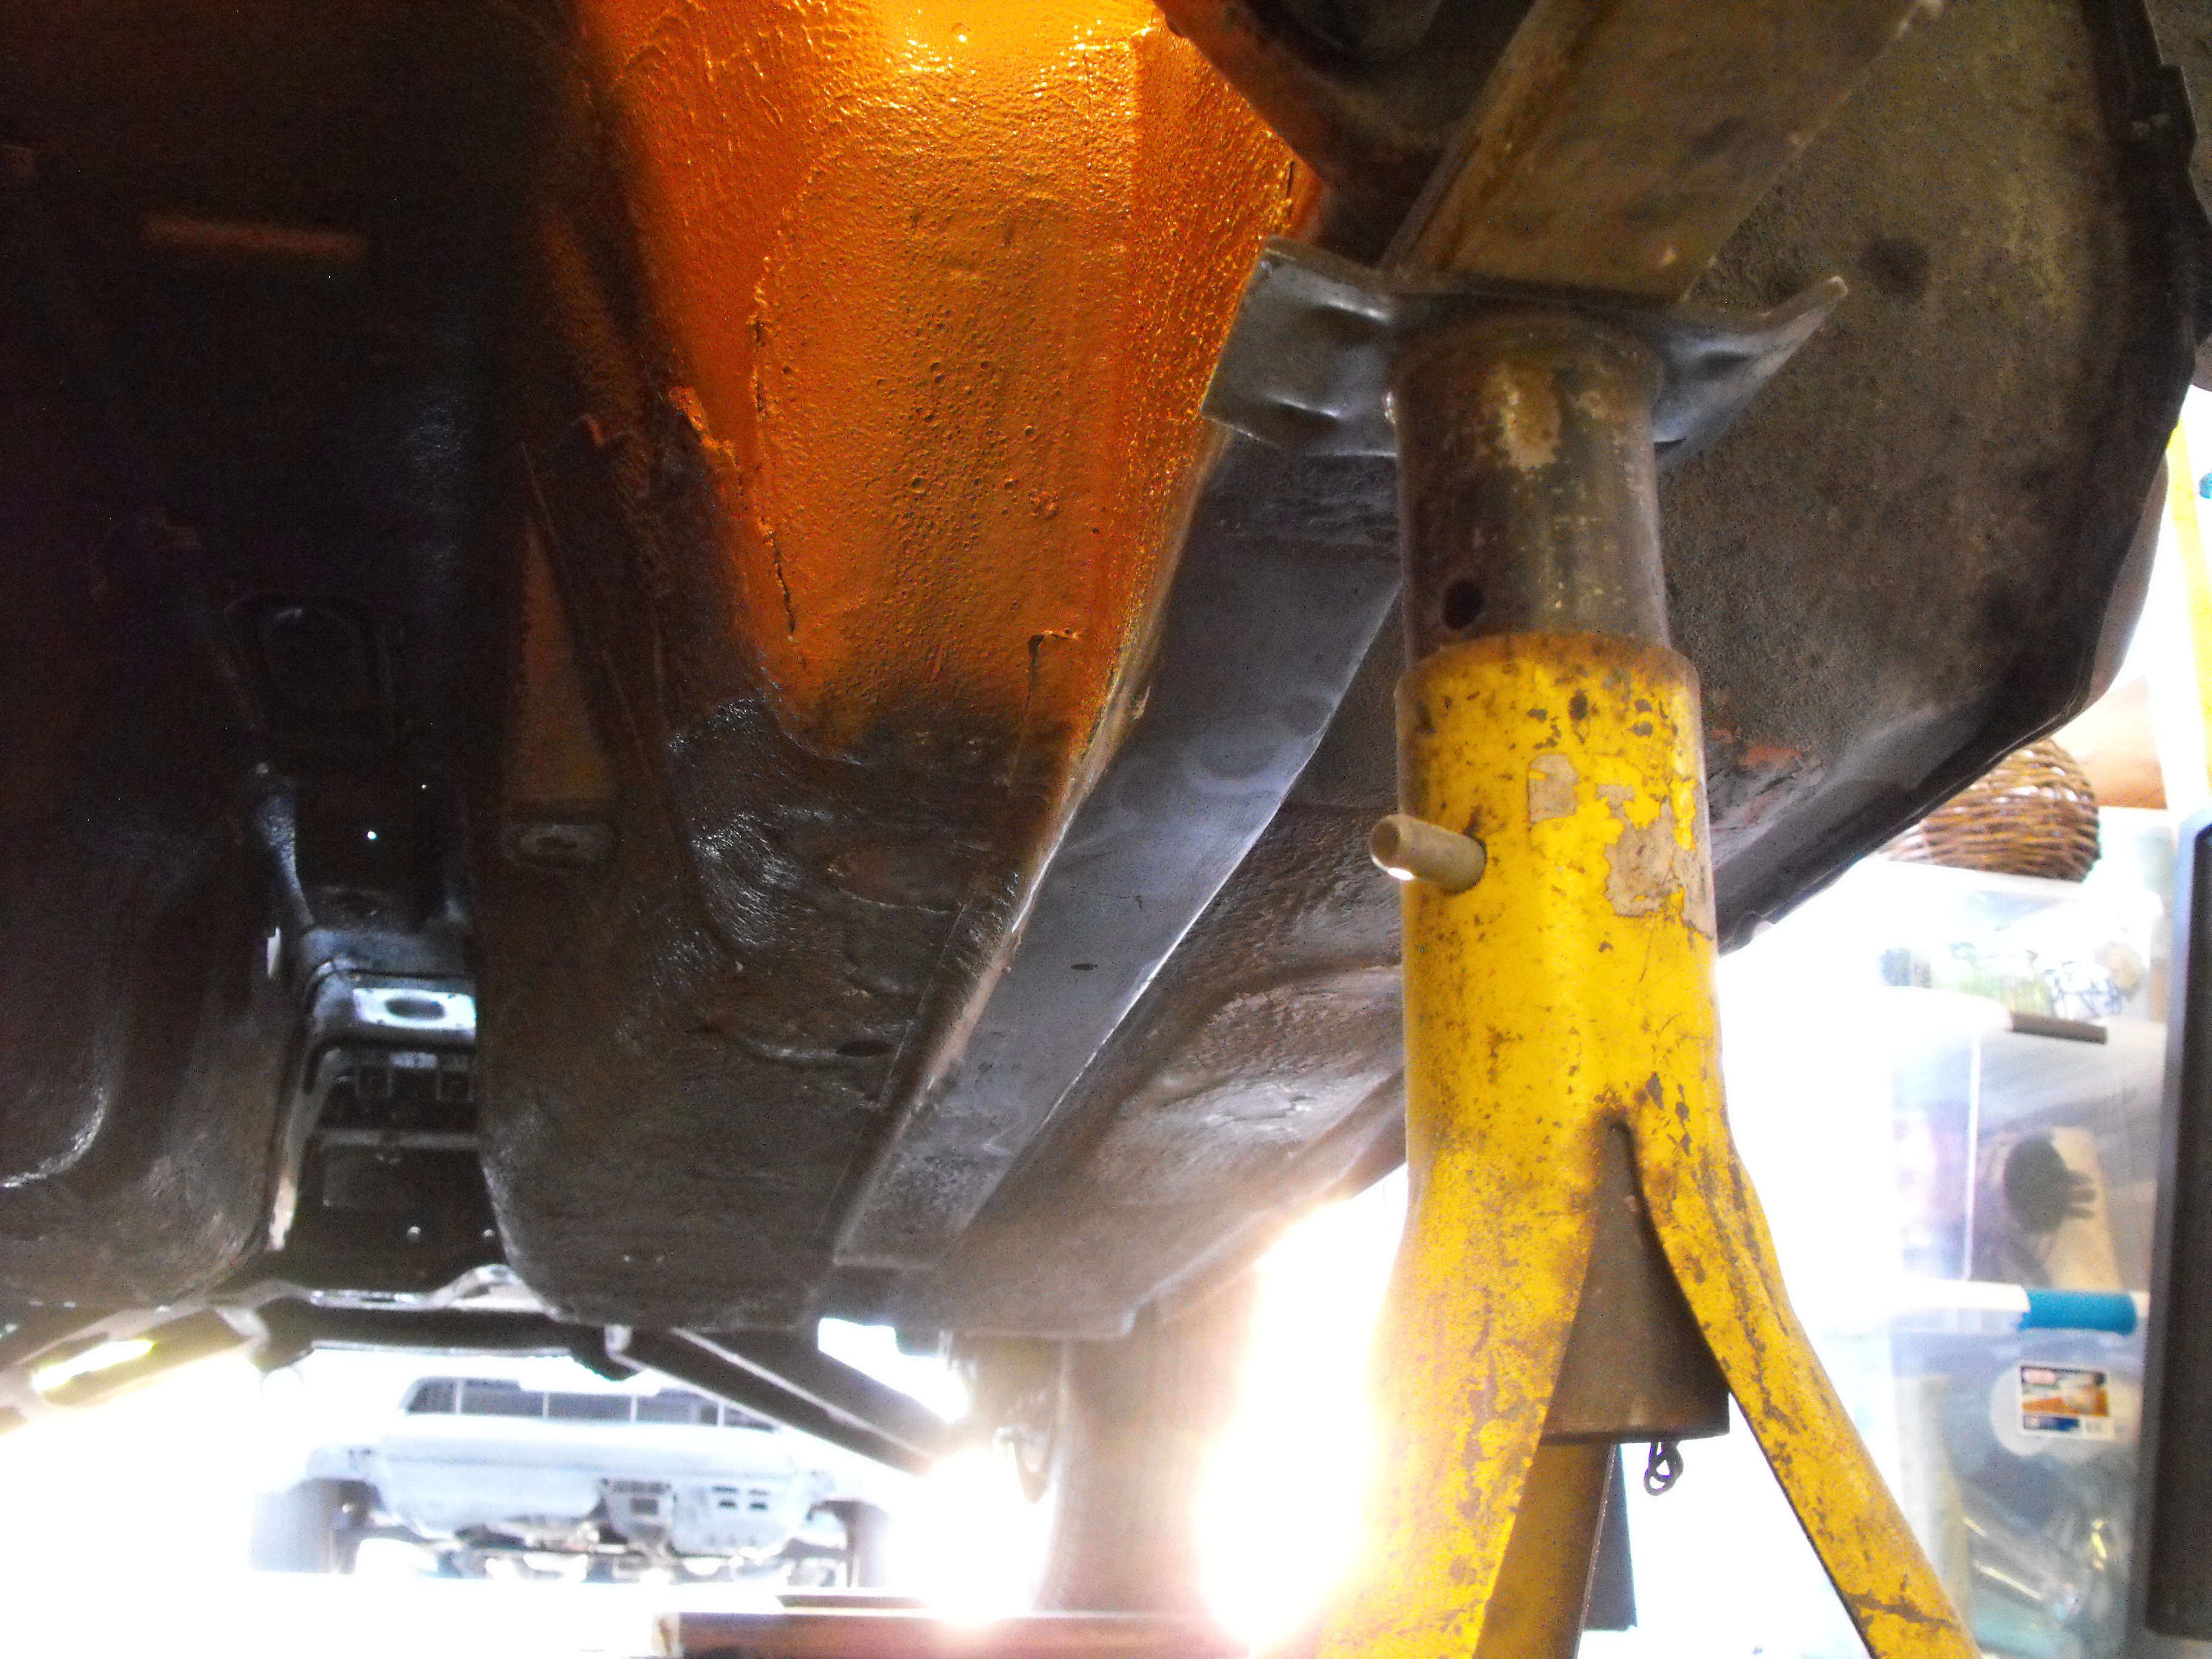
1 pointI worked on the drivers side frame rail today. It had a few significant dents, so I used a slide hammer to pull the dents out and then some filler to clean them up. I will use POR-15 on this area and then spray the undercoating on top of that. Pics below are the before pic and the straightened frame rail. Still need to POR-15 and undercoat these.
 1 point
 -
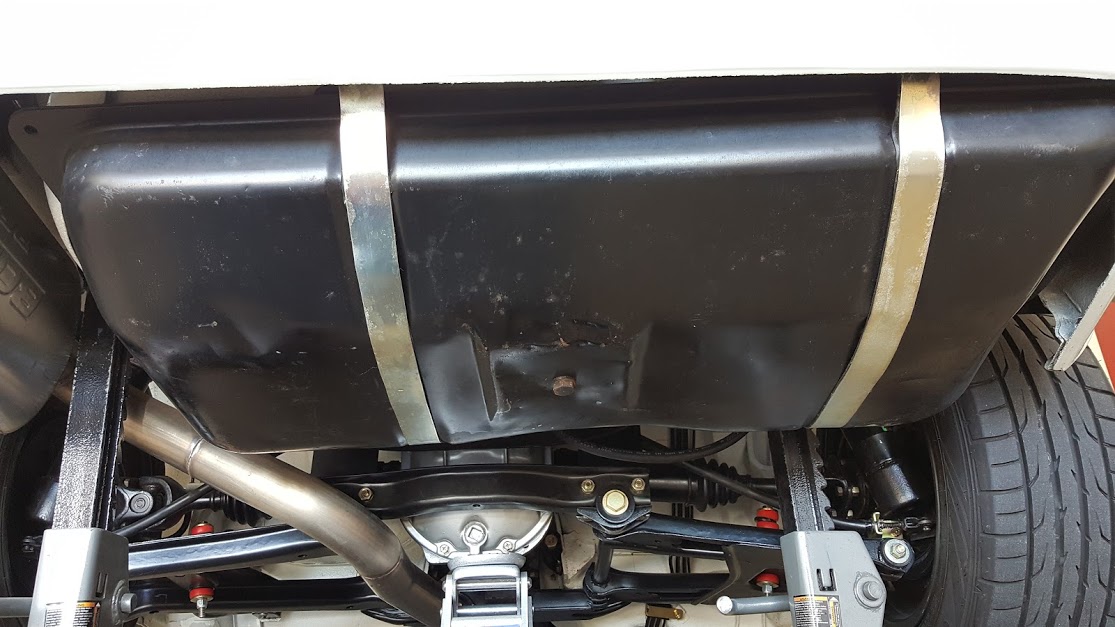
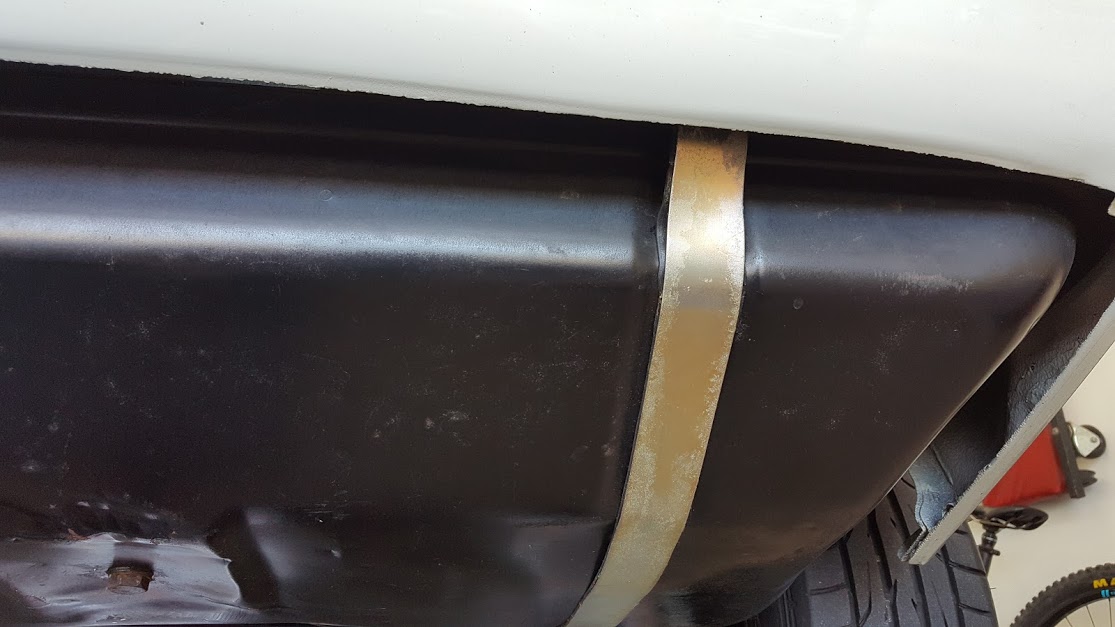
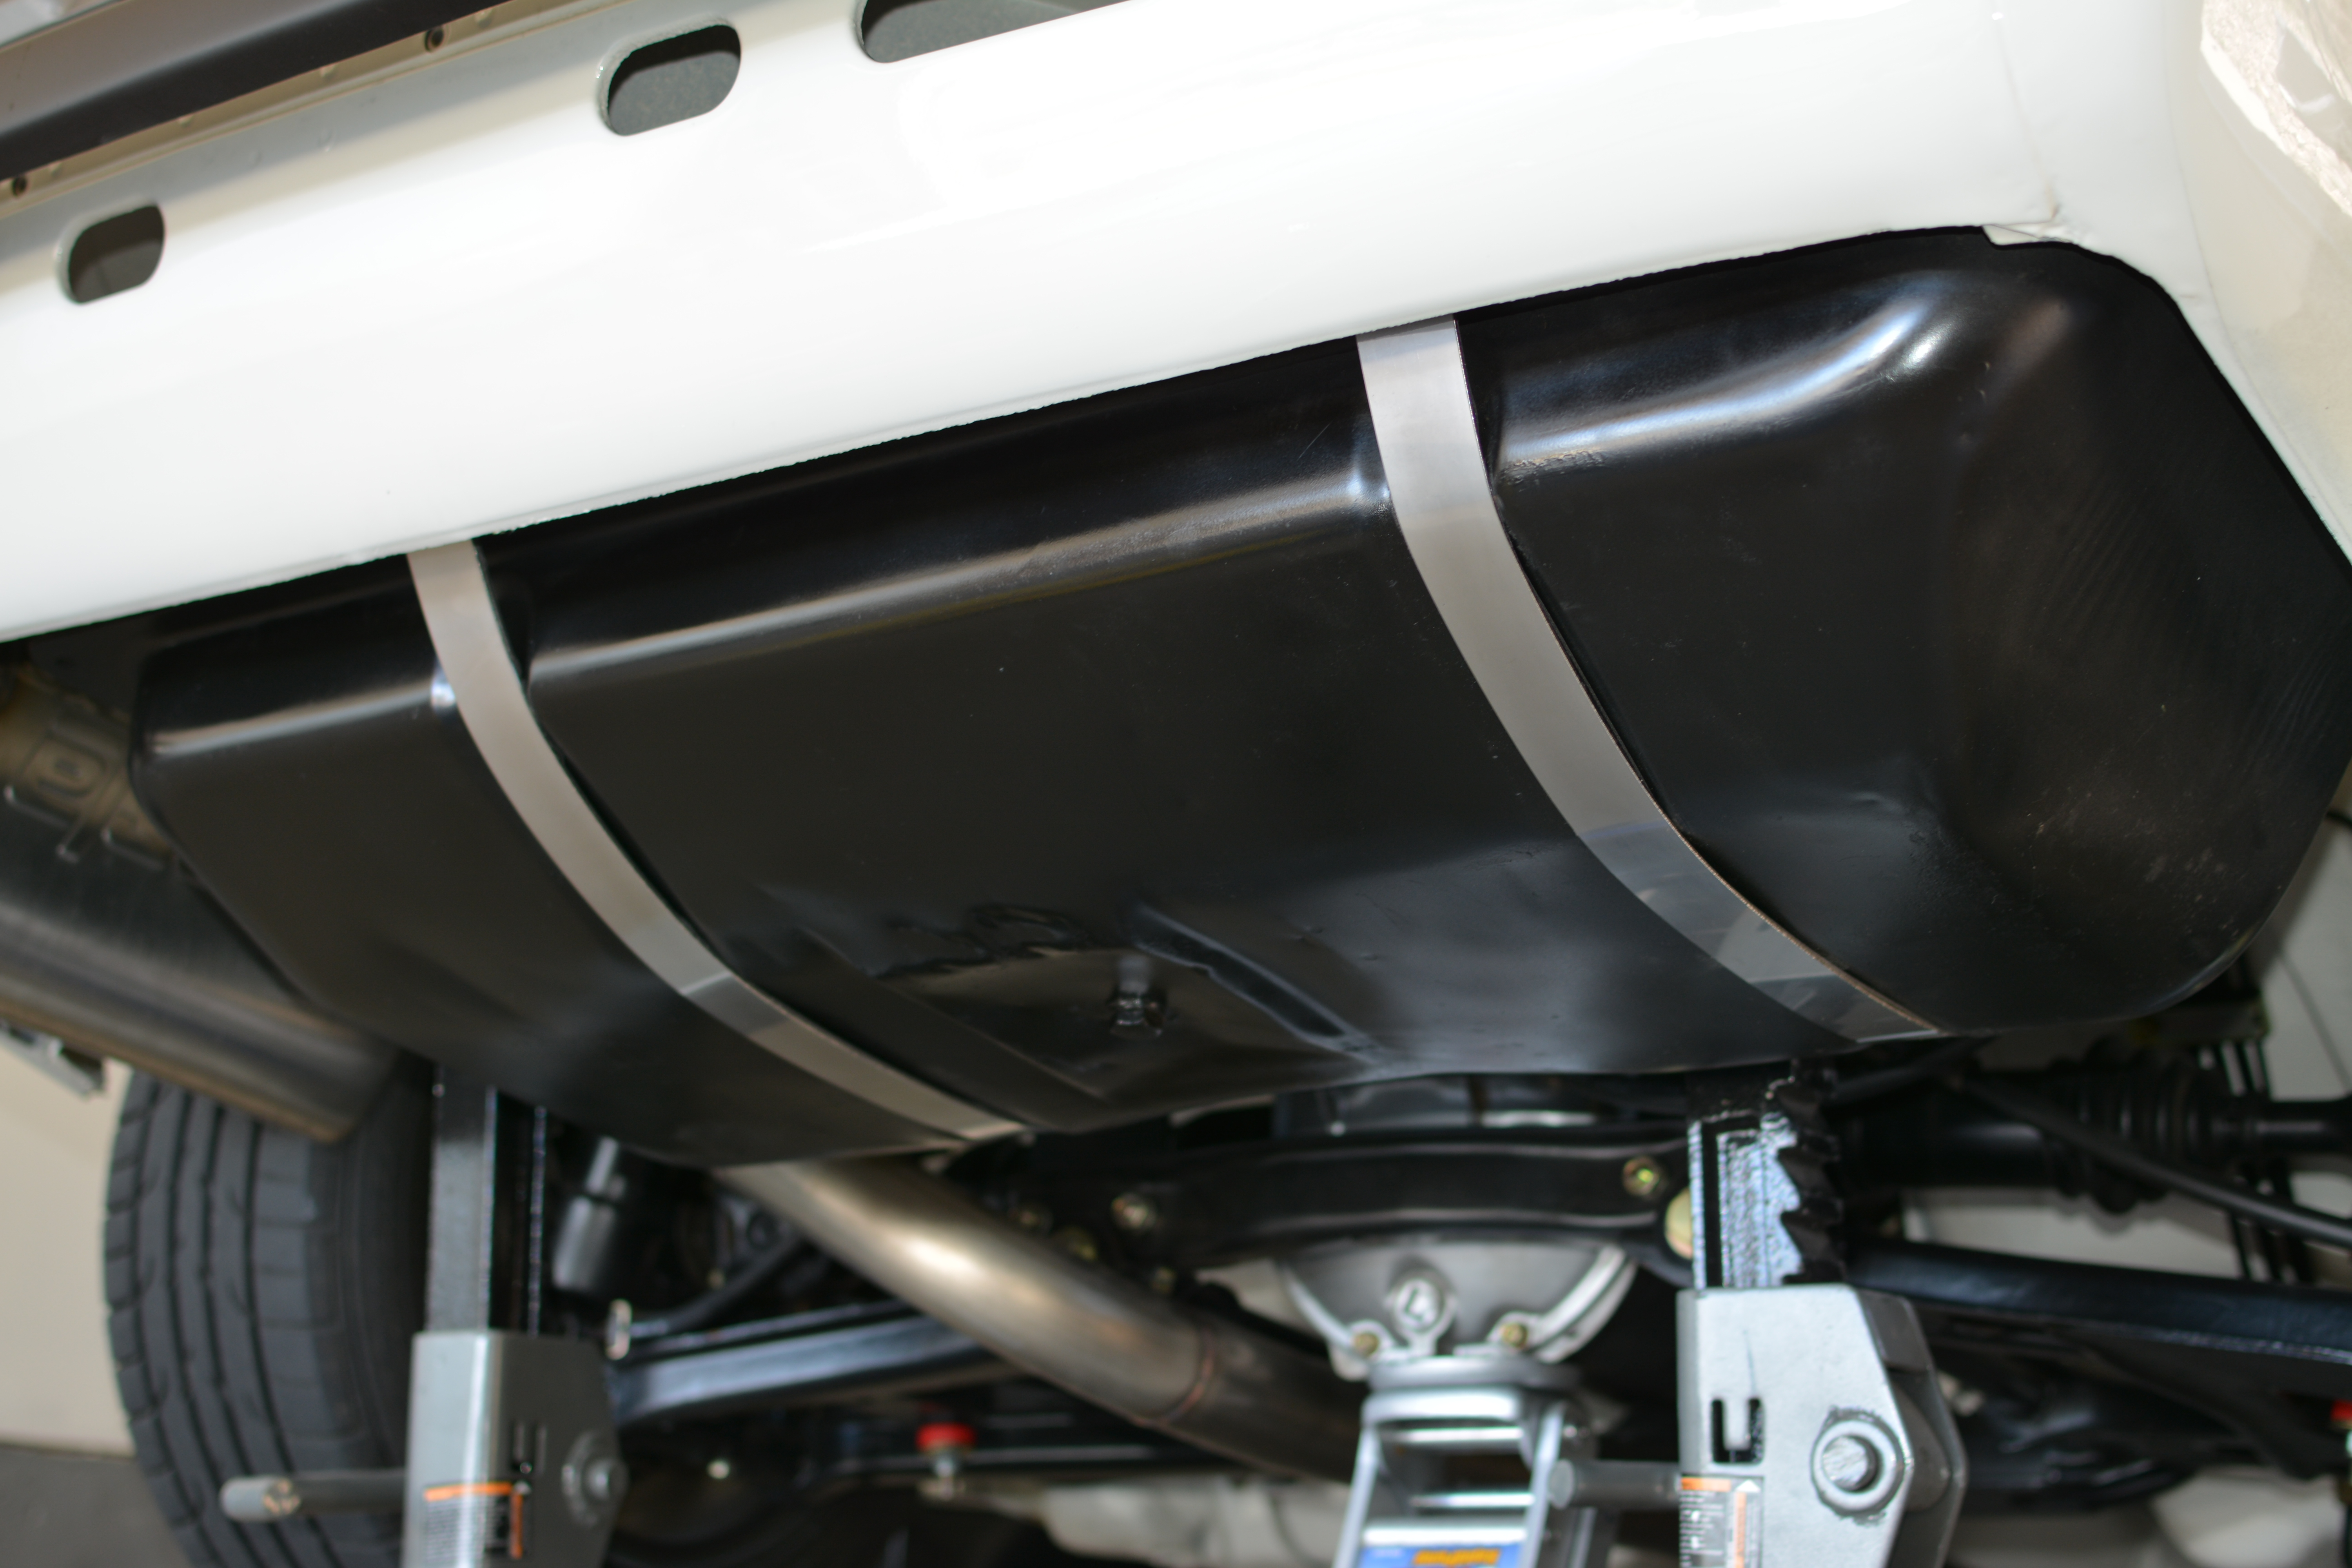
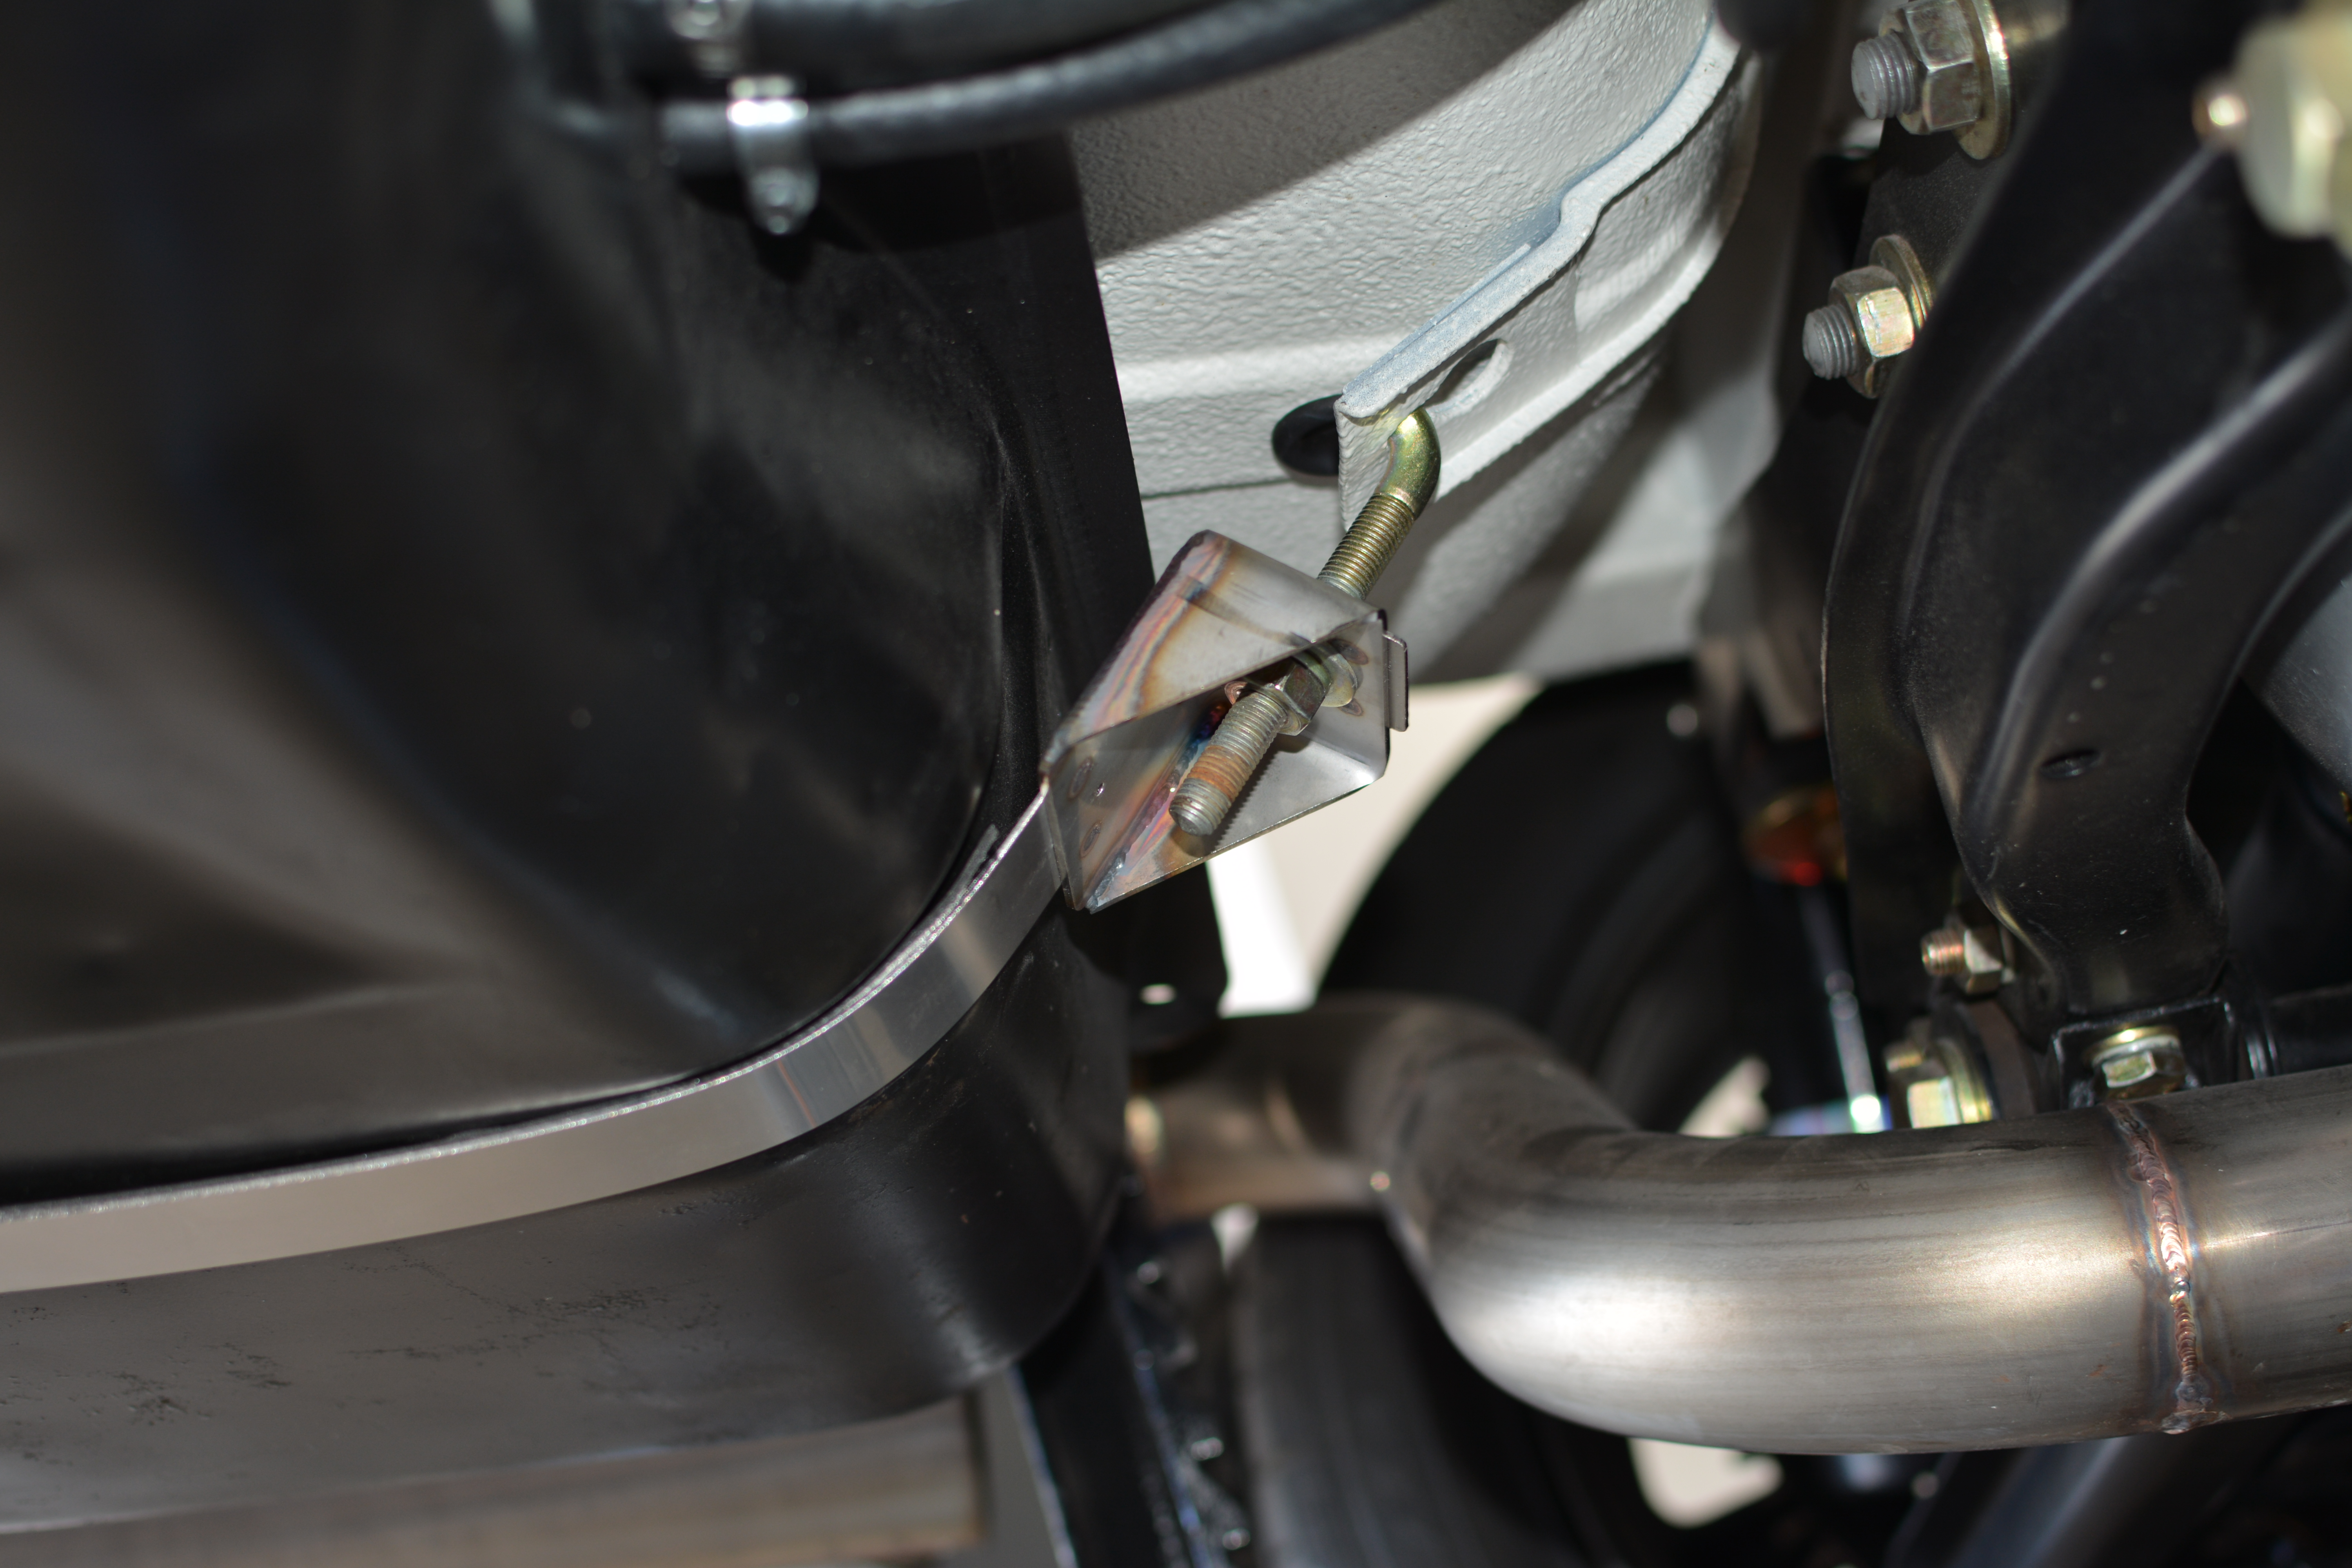
 1 pointSo one thing that has been bugging me lately is the condition of my fuel tank straps. They really didn't come out that great when I had them plated and are showing corrosion. I bought a pair of Skillard's stainless steel straps for $99 and they turned out great. Here's what the old straps looked like. As you can see, not great. Here are the Skillard straps. I glued some rubber foam to the inside. Very well made. And installed after a little touch up spray on the tank with trim black. Ahh much better!


 1 point
 -
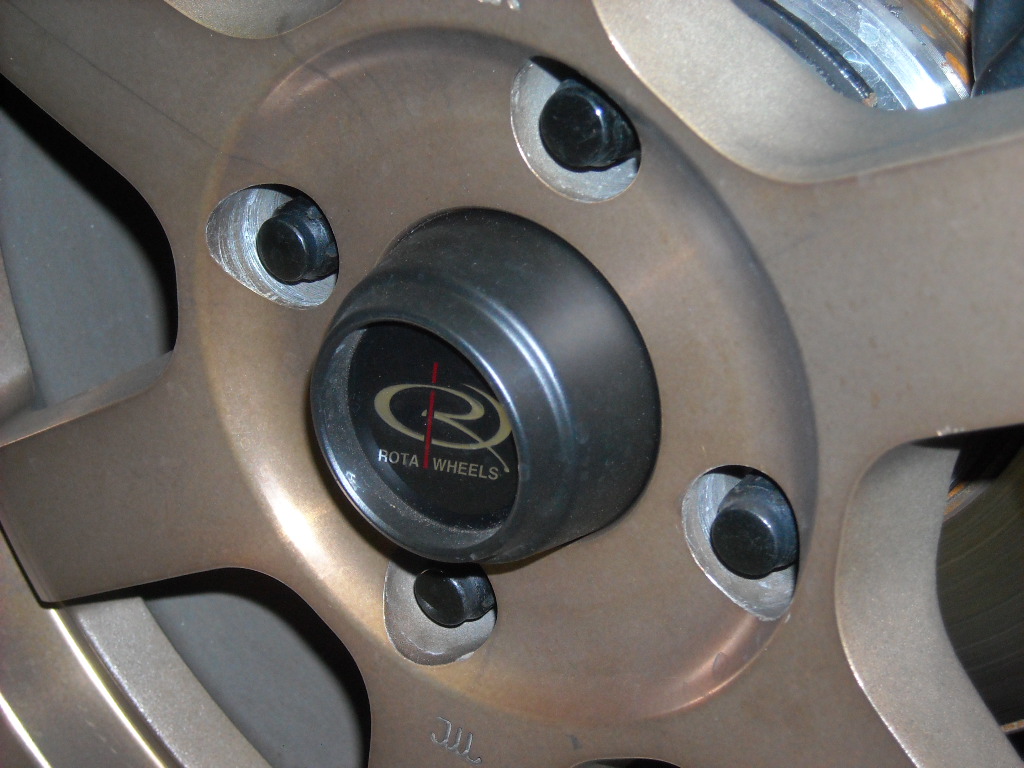
 1 pointI ordered 4 of the taller rota caps from ebay but you still have to give the grease caps a couple of whacks with a hammer to squish them down about 1/8th" then the caps fit perfectly.
 1 point
 -
 1 point
 -
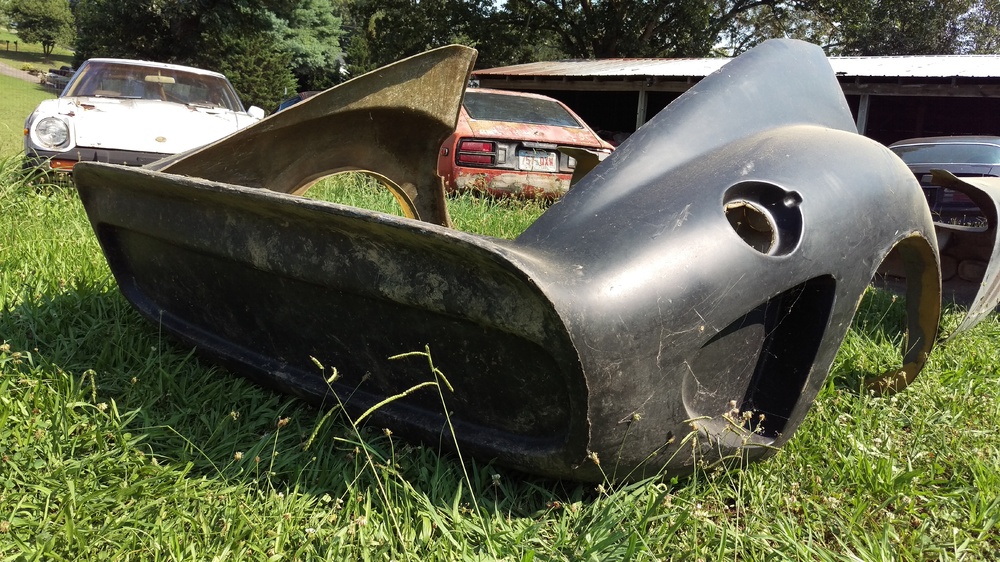
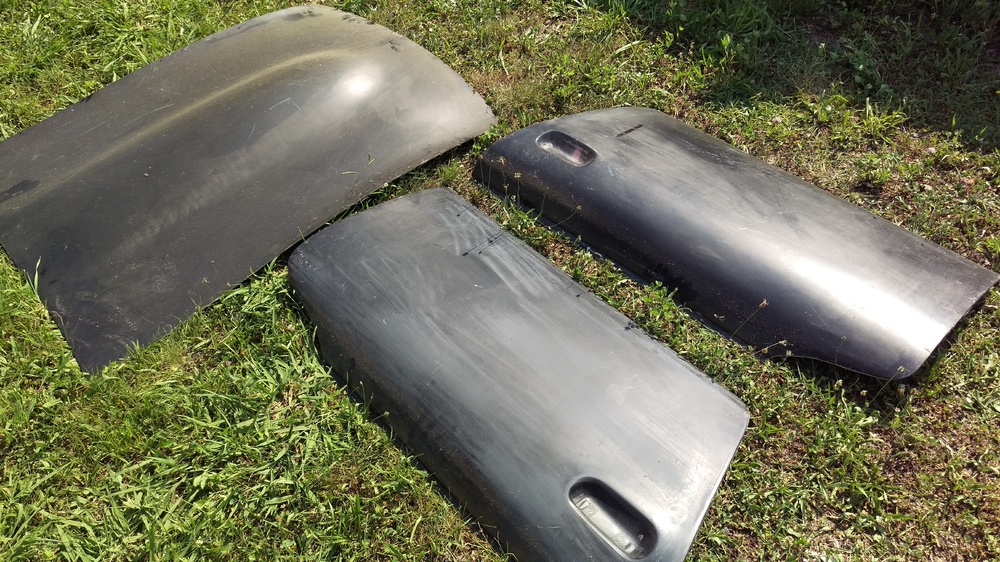
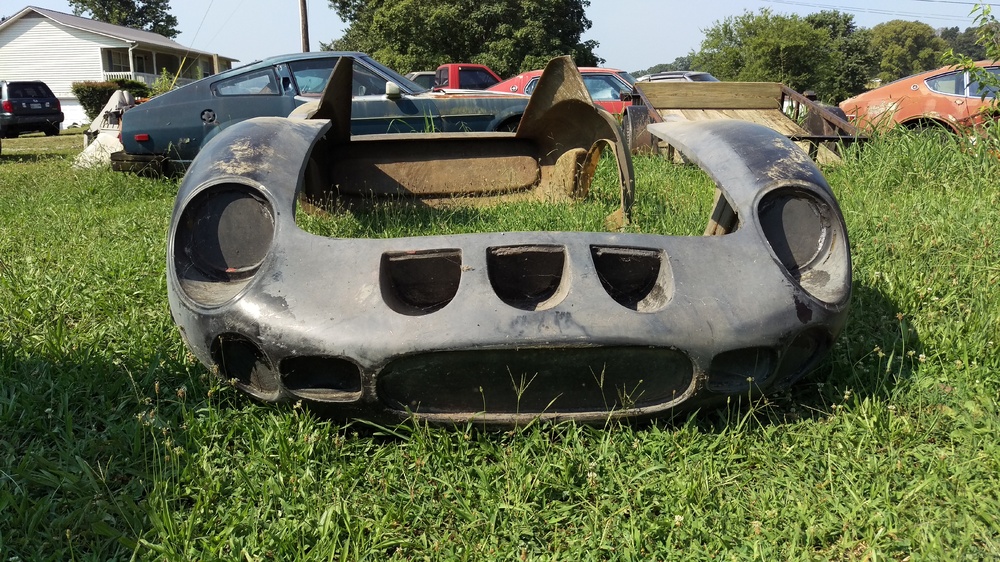
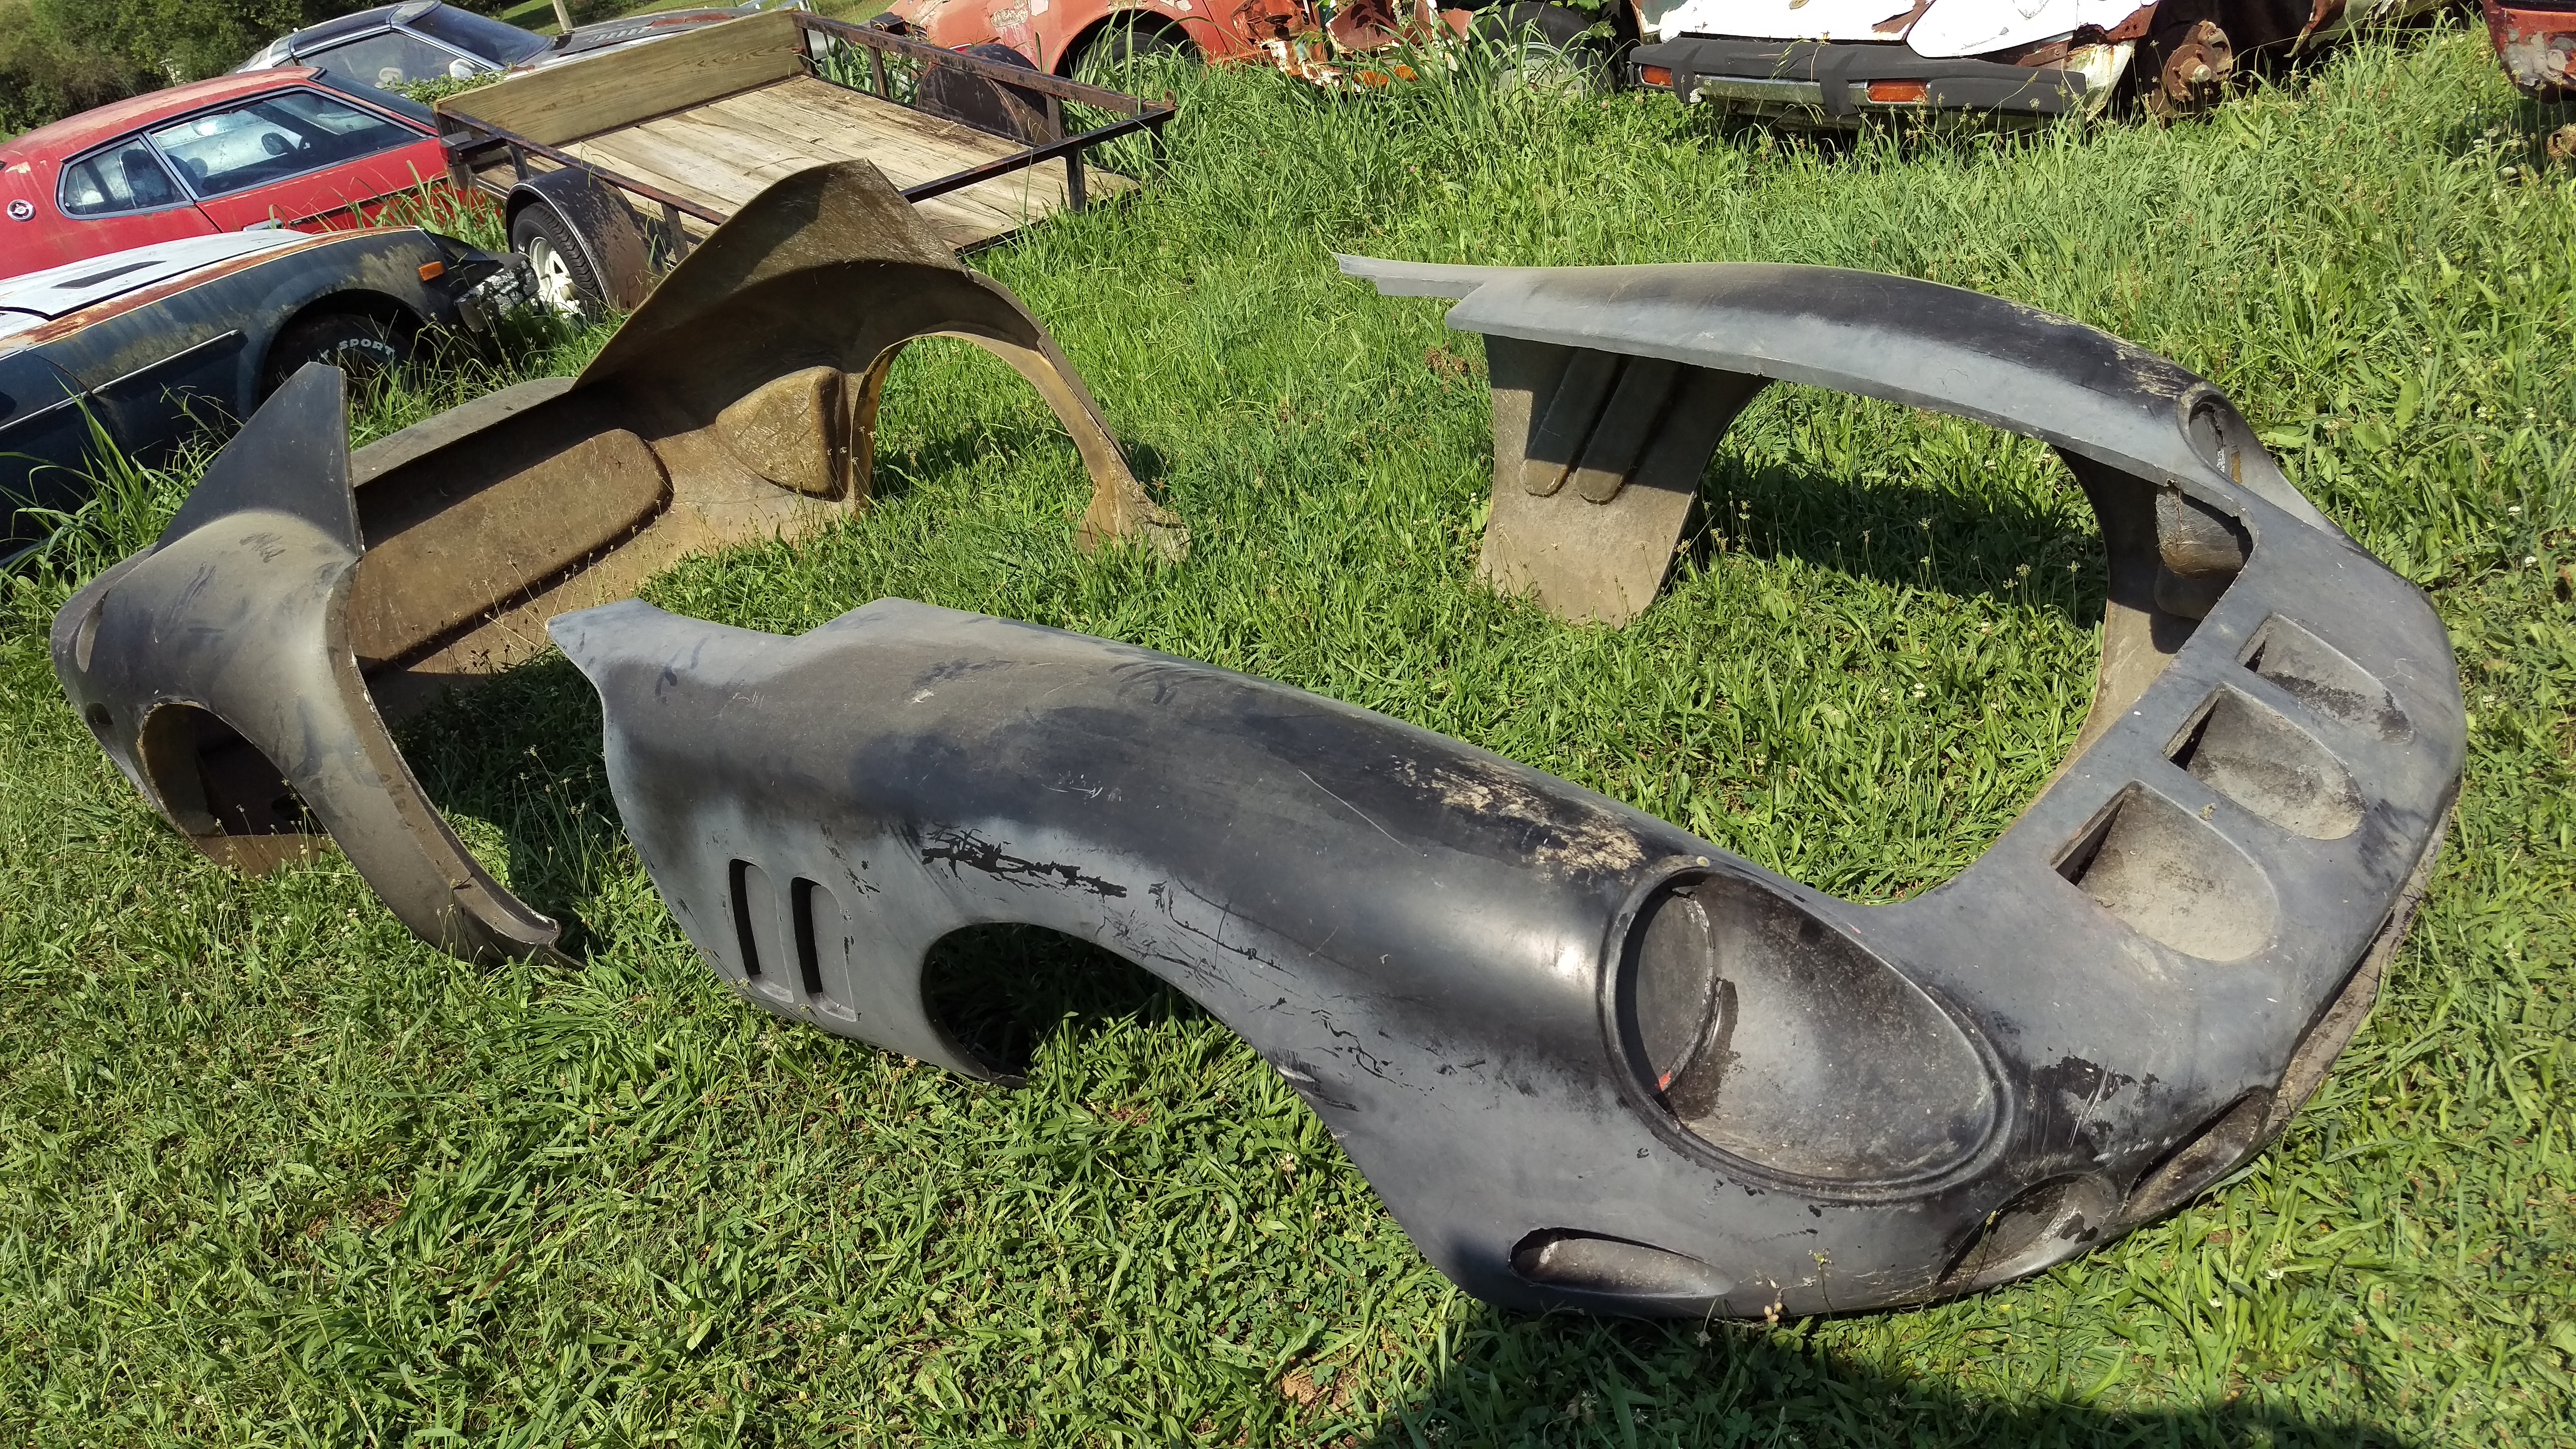
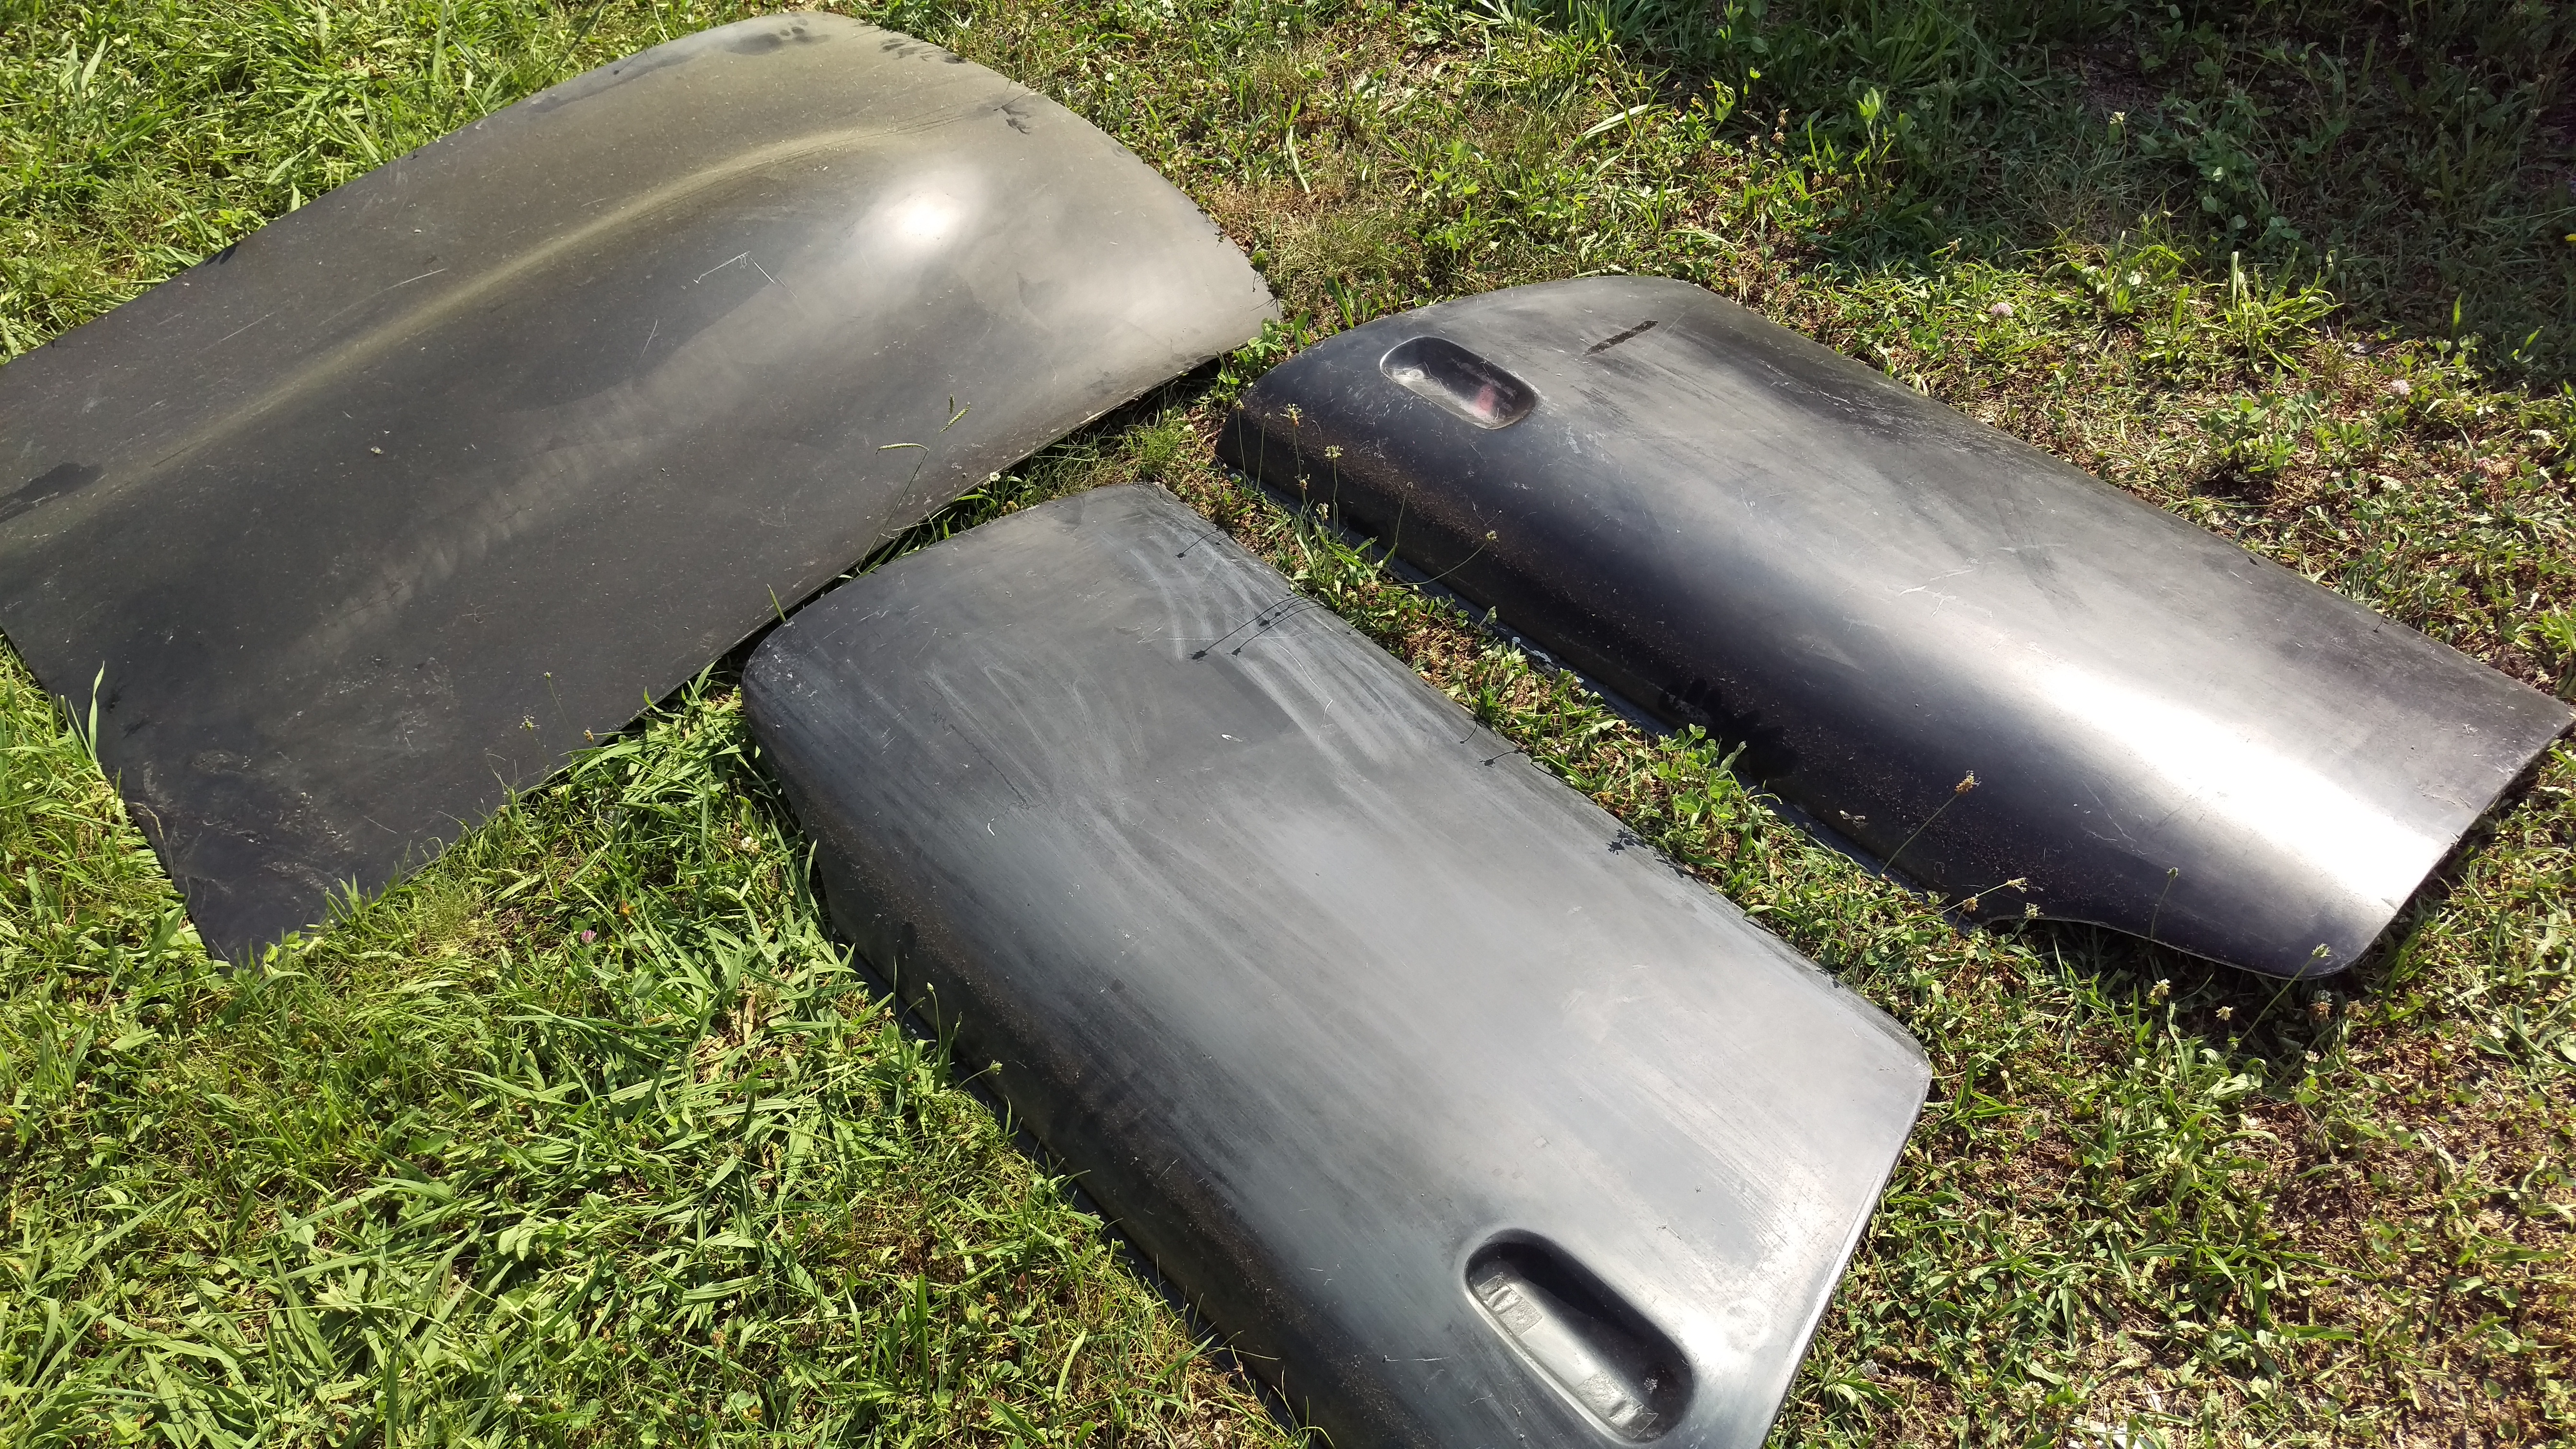
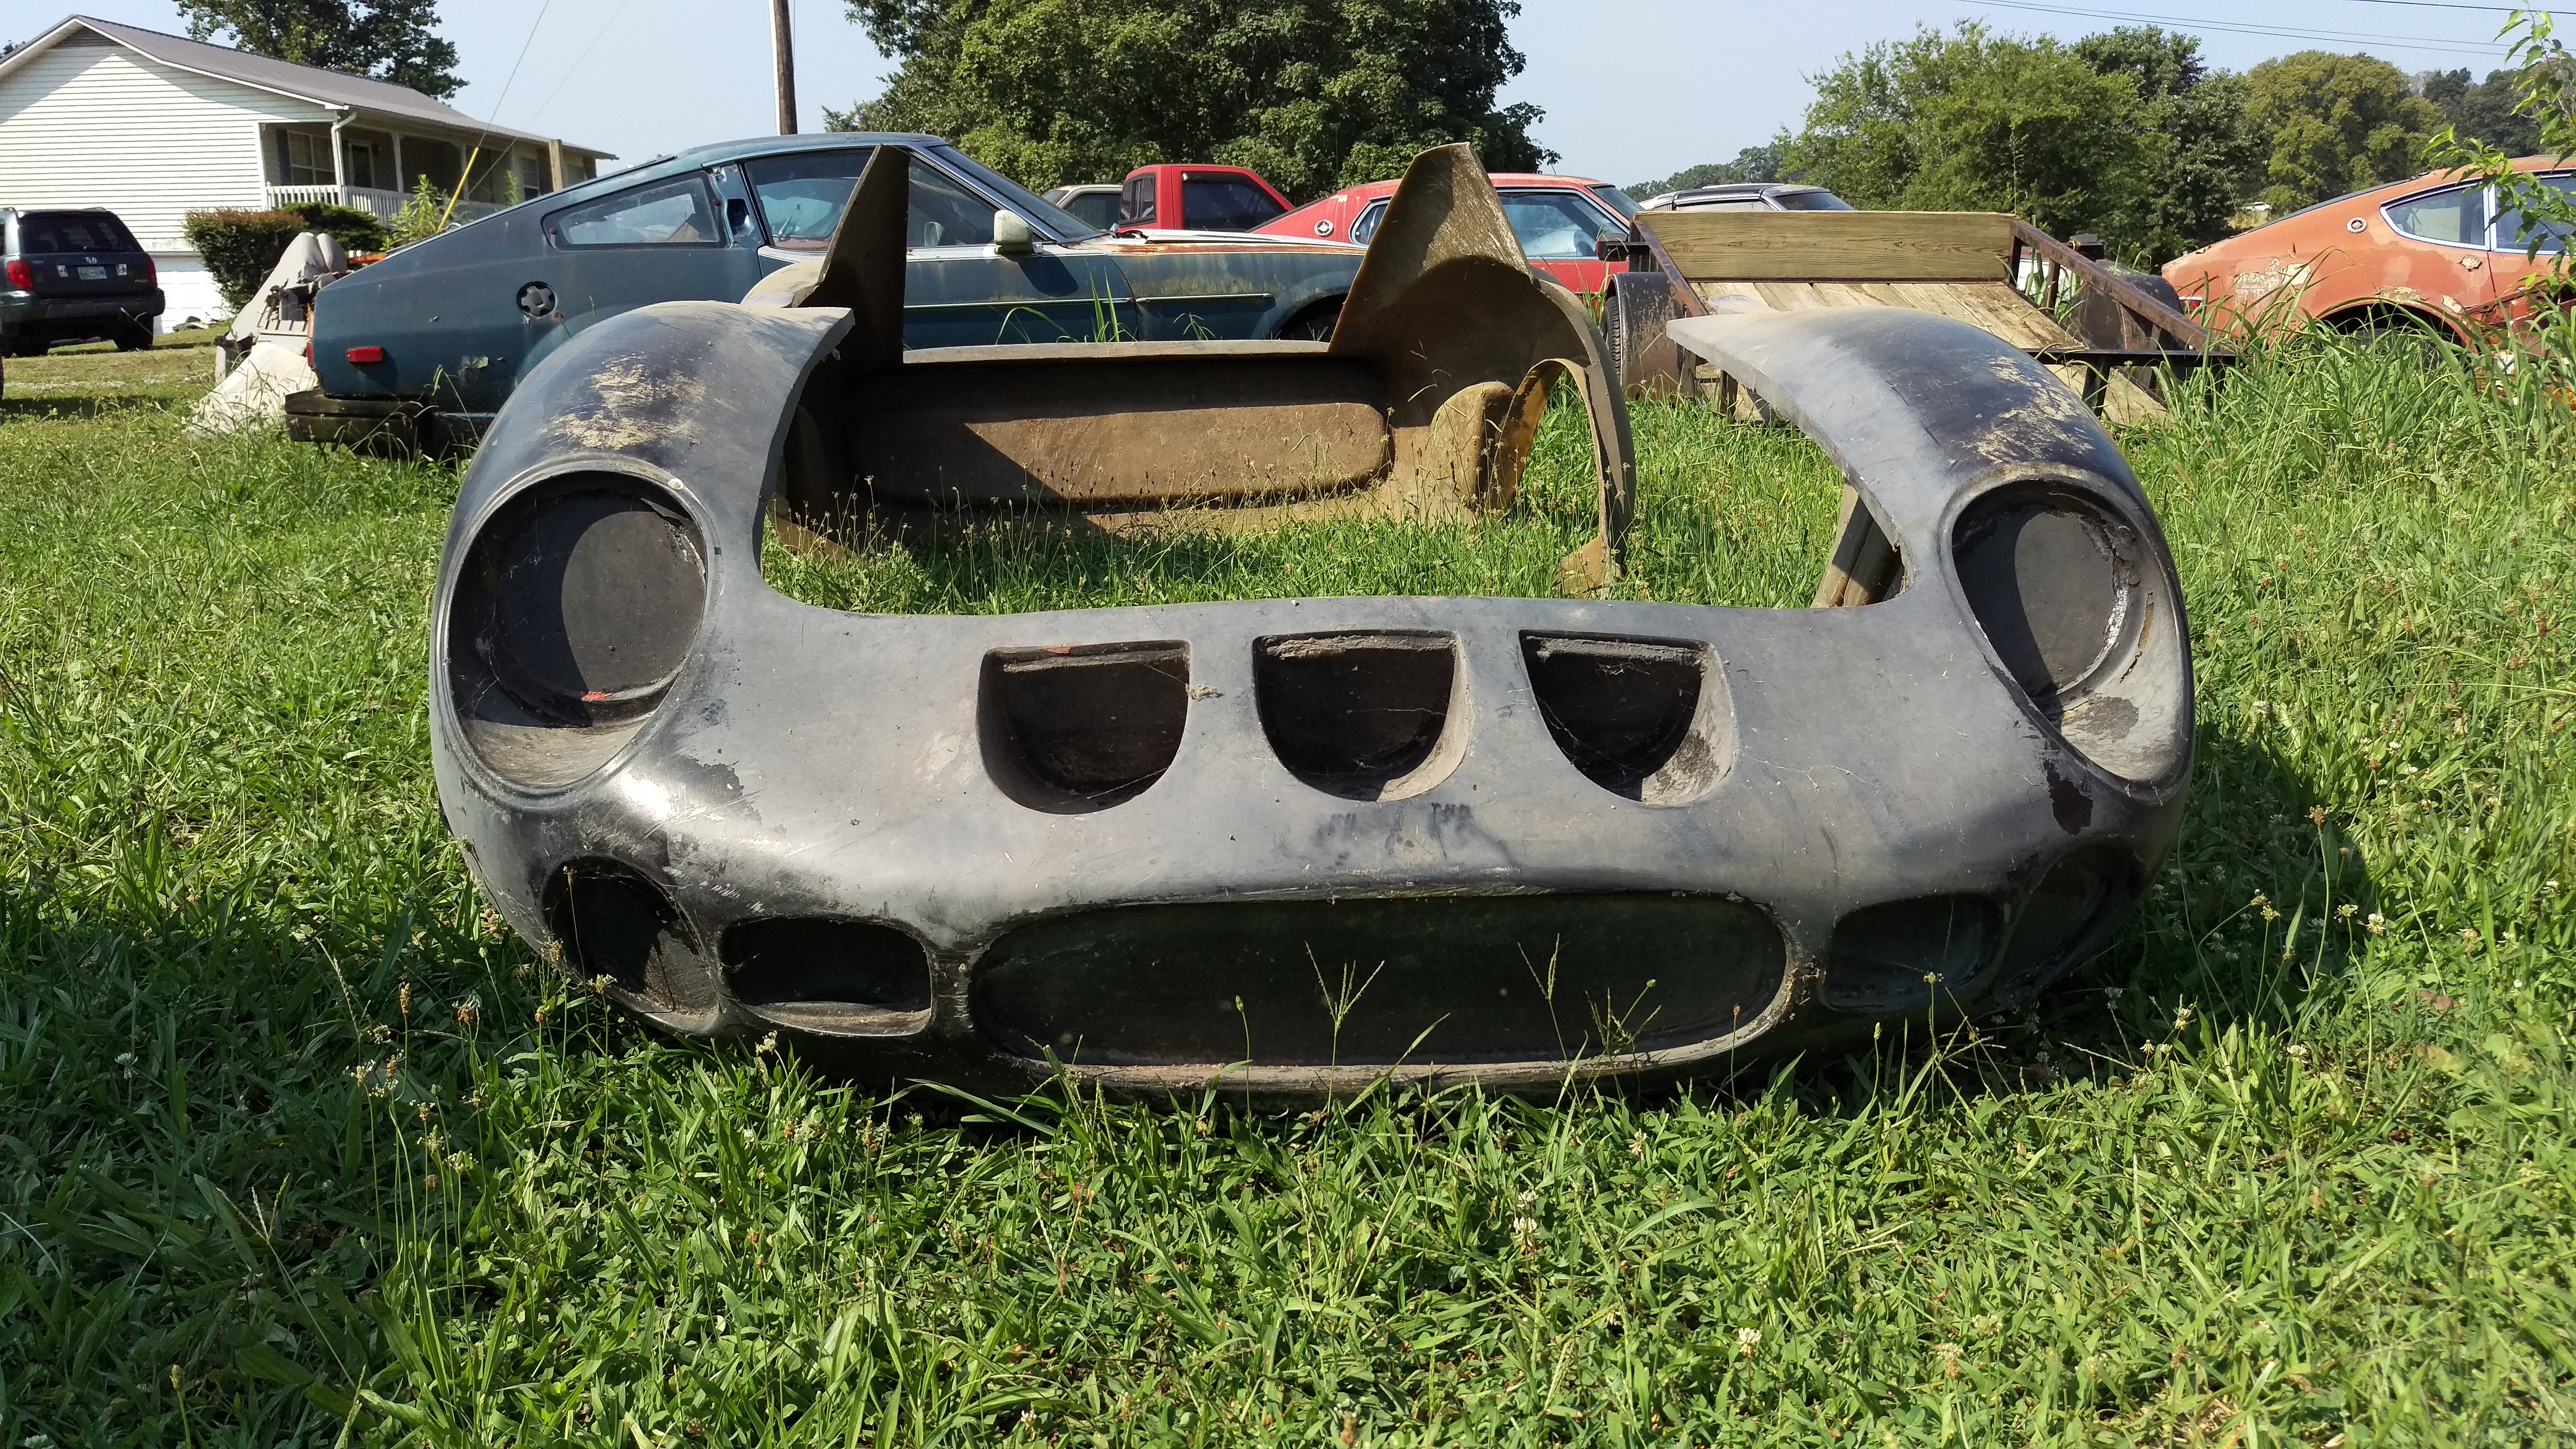
 Ferrari GTO body kit. It's listed on the original main ad. $2500, pick up only, NO shipping. Located in Cleveland, TN call ONLY between 10am - 11pm Eastern time please. Roger 423-457-2958
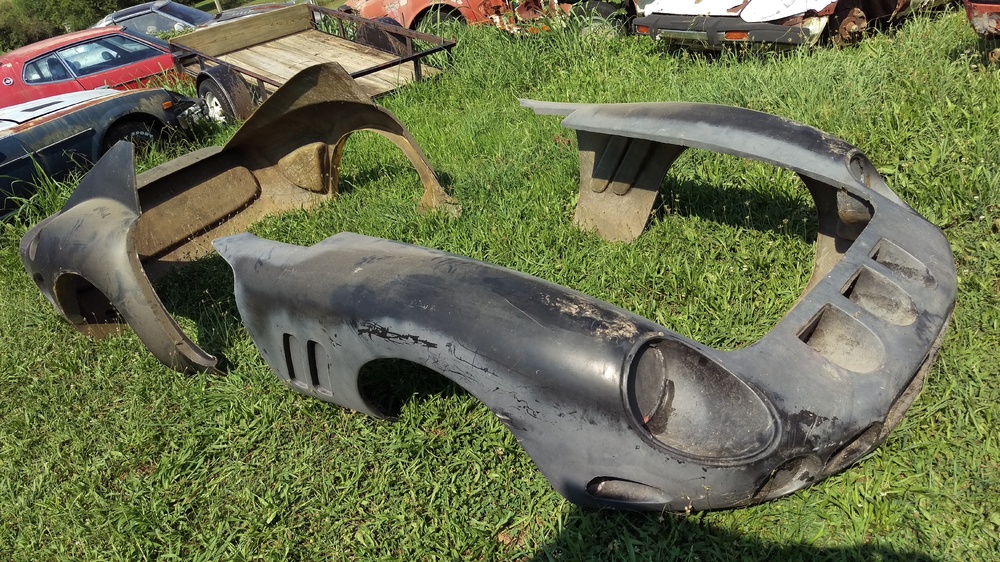
 1 point
 -
 Man I would love to get my hands on that JDOT registration plate. Its hard to find real ones and not U.S. service member issued ones. That character you see in the top indicates a prefecture of Tokyo called Tama. The 56 is vehicle classification I believe, pre-1998.1 point
 -
1 point
-
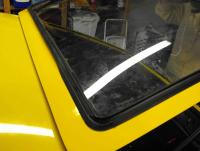
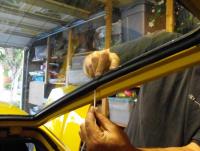
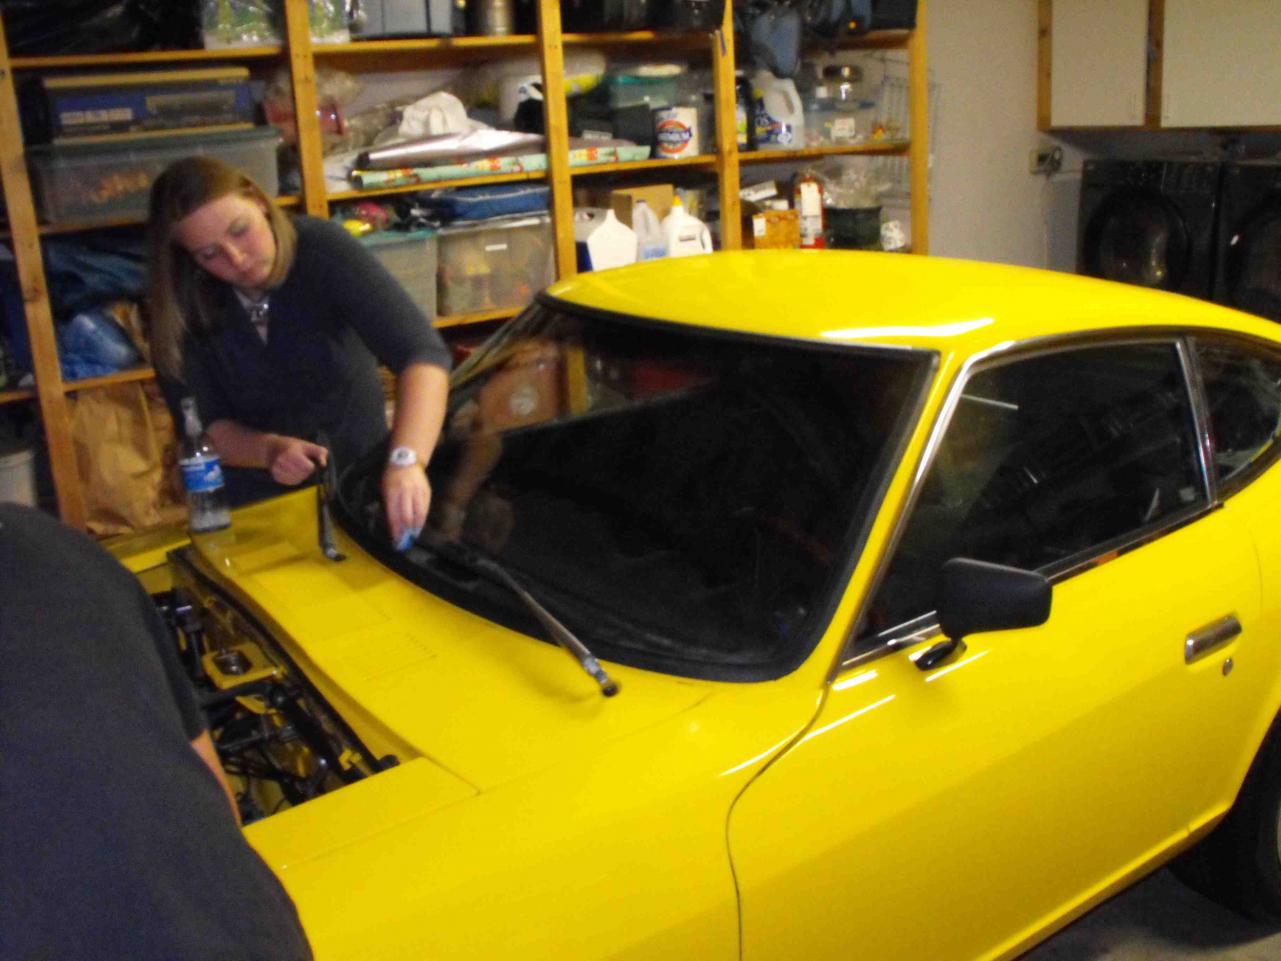
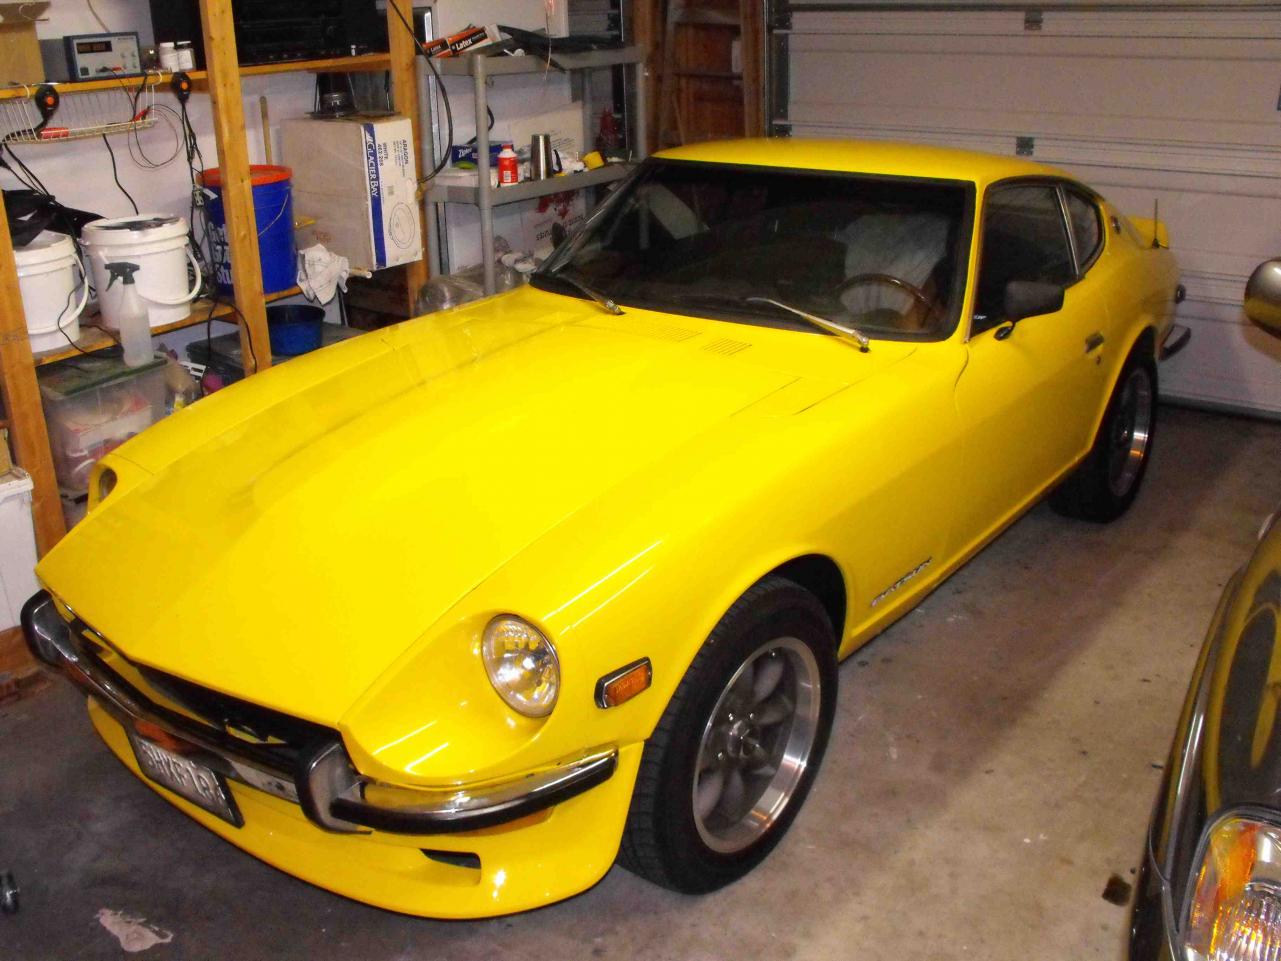
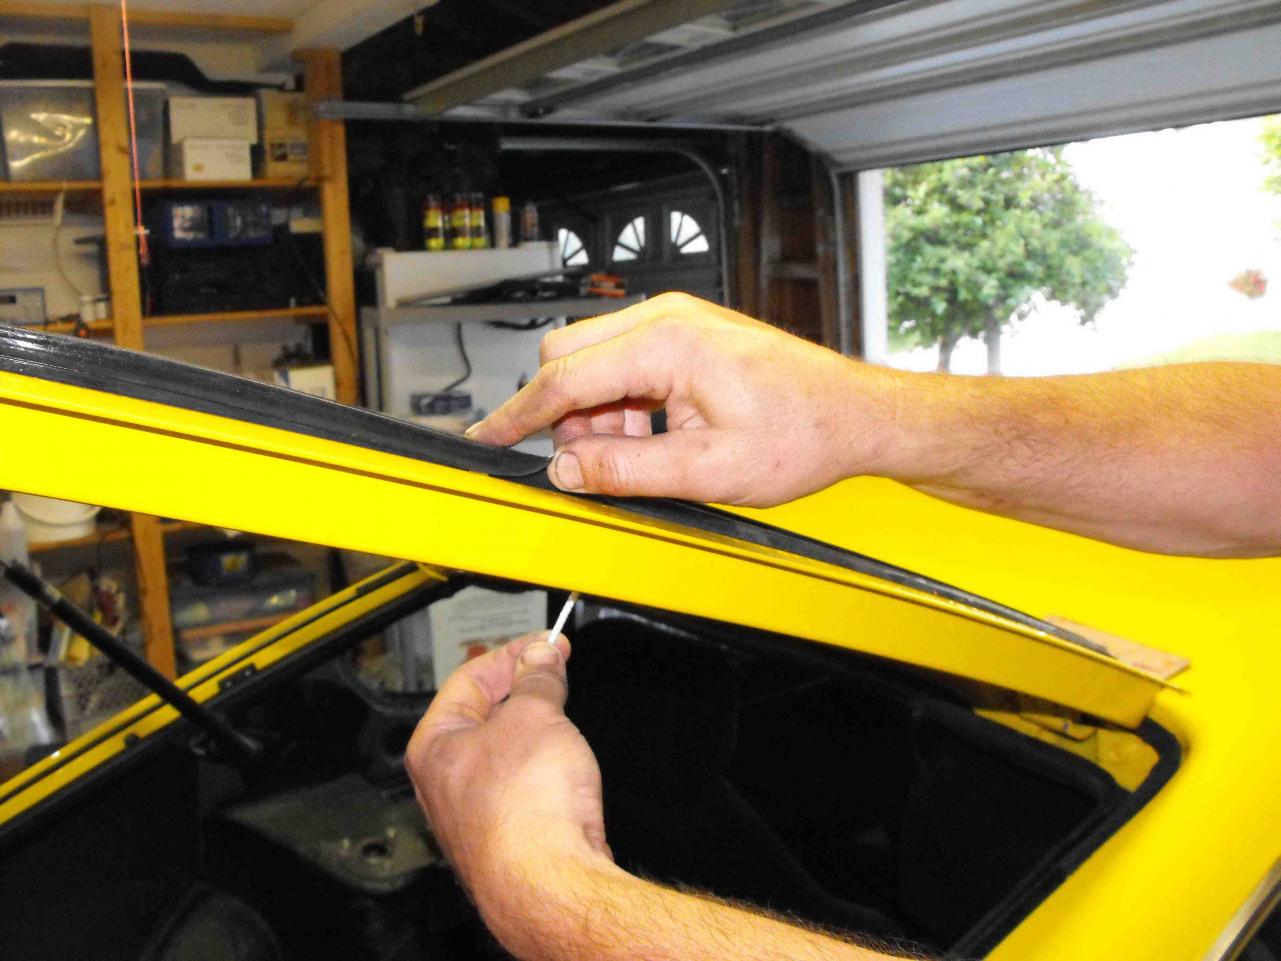
The front windshield was the exact same process, no trim. The only difference was that I started at the bottom middle, moving towards the drivers side, and once I was half way around (at the top middle), it got a difficult to do my zipper technique. So I went back to the bottom middle and pulled the cord and zippered along the passenger side and then up. This went very smooth. Once I moved past the lower passenger corner, the windshield settled into place. The rest zipped easy. Once I was finished, my daughter cleaned the glass. I put the trim in several days later. It was not that difficult, but again took a process. I slide the trim edge that was on the paint side into the groove. I used a small round shaft screwdriver to roll the glass side edge of the rubber over the trim. My guess is that this process works well wih new rubber. The process may be different if an older gasket were used

 1 point
 -
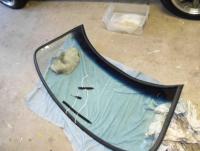
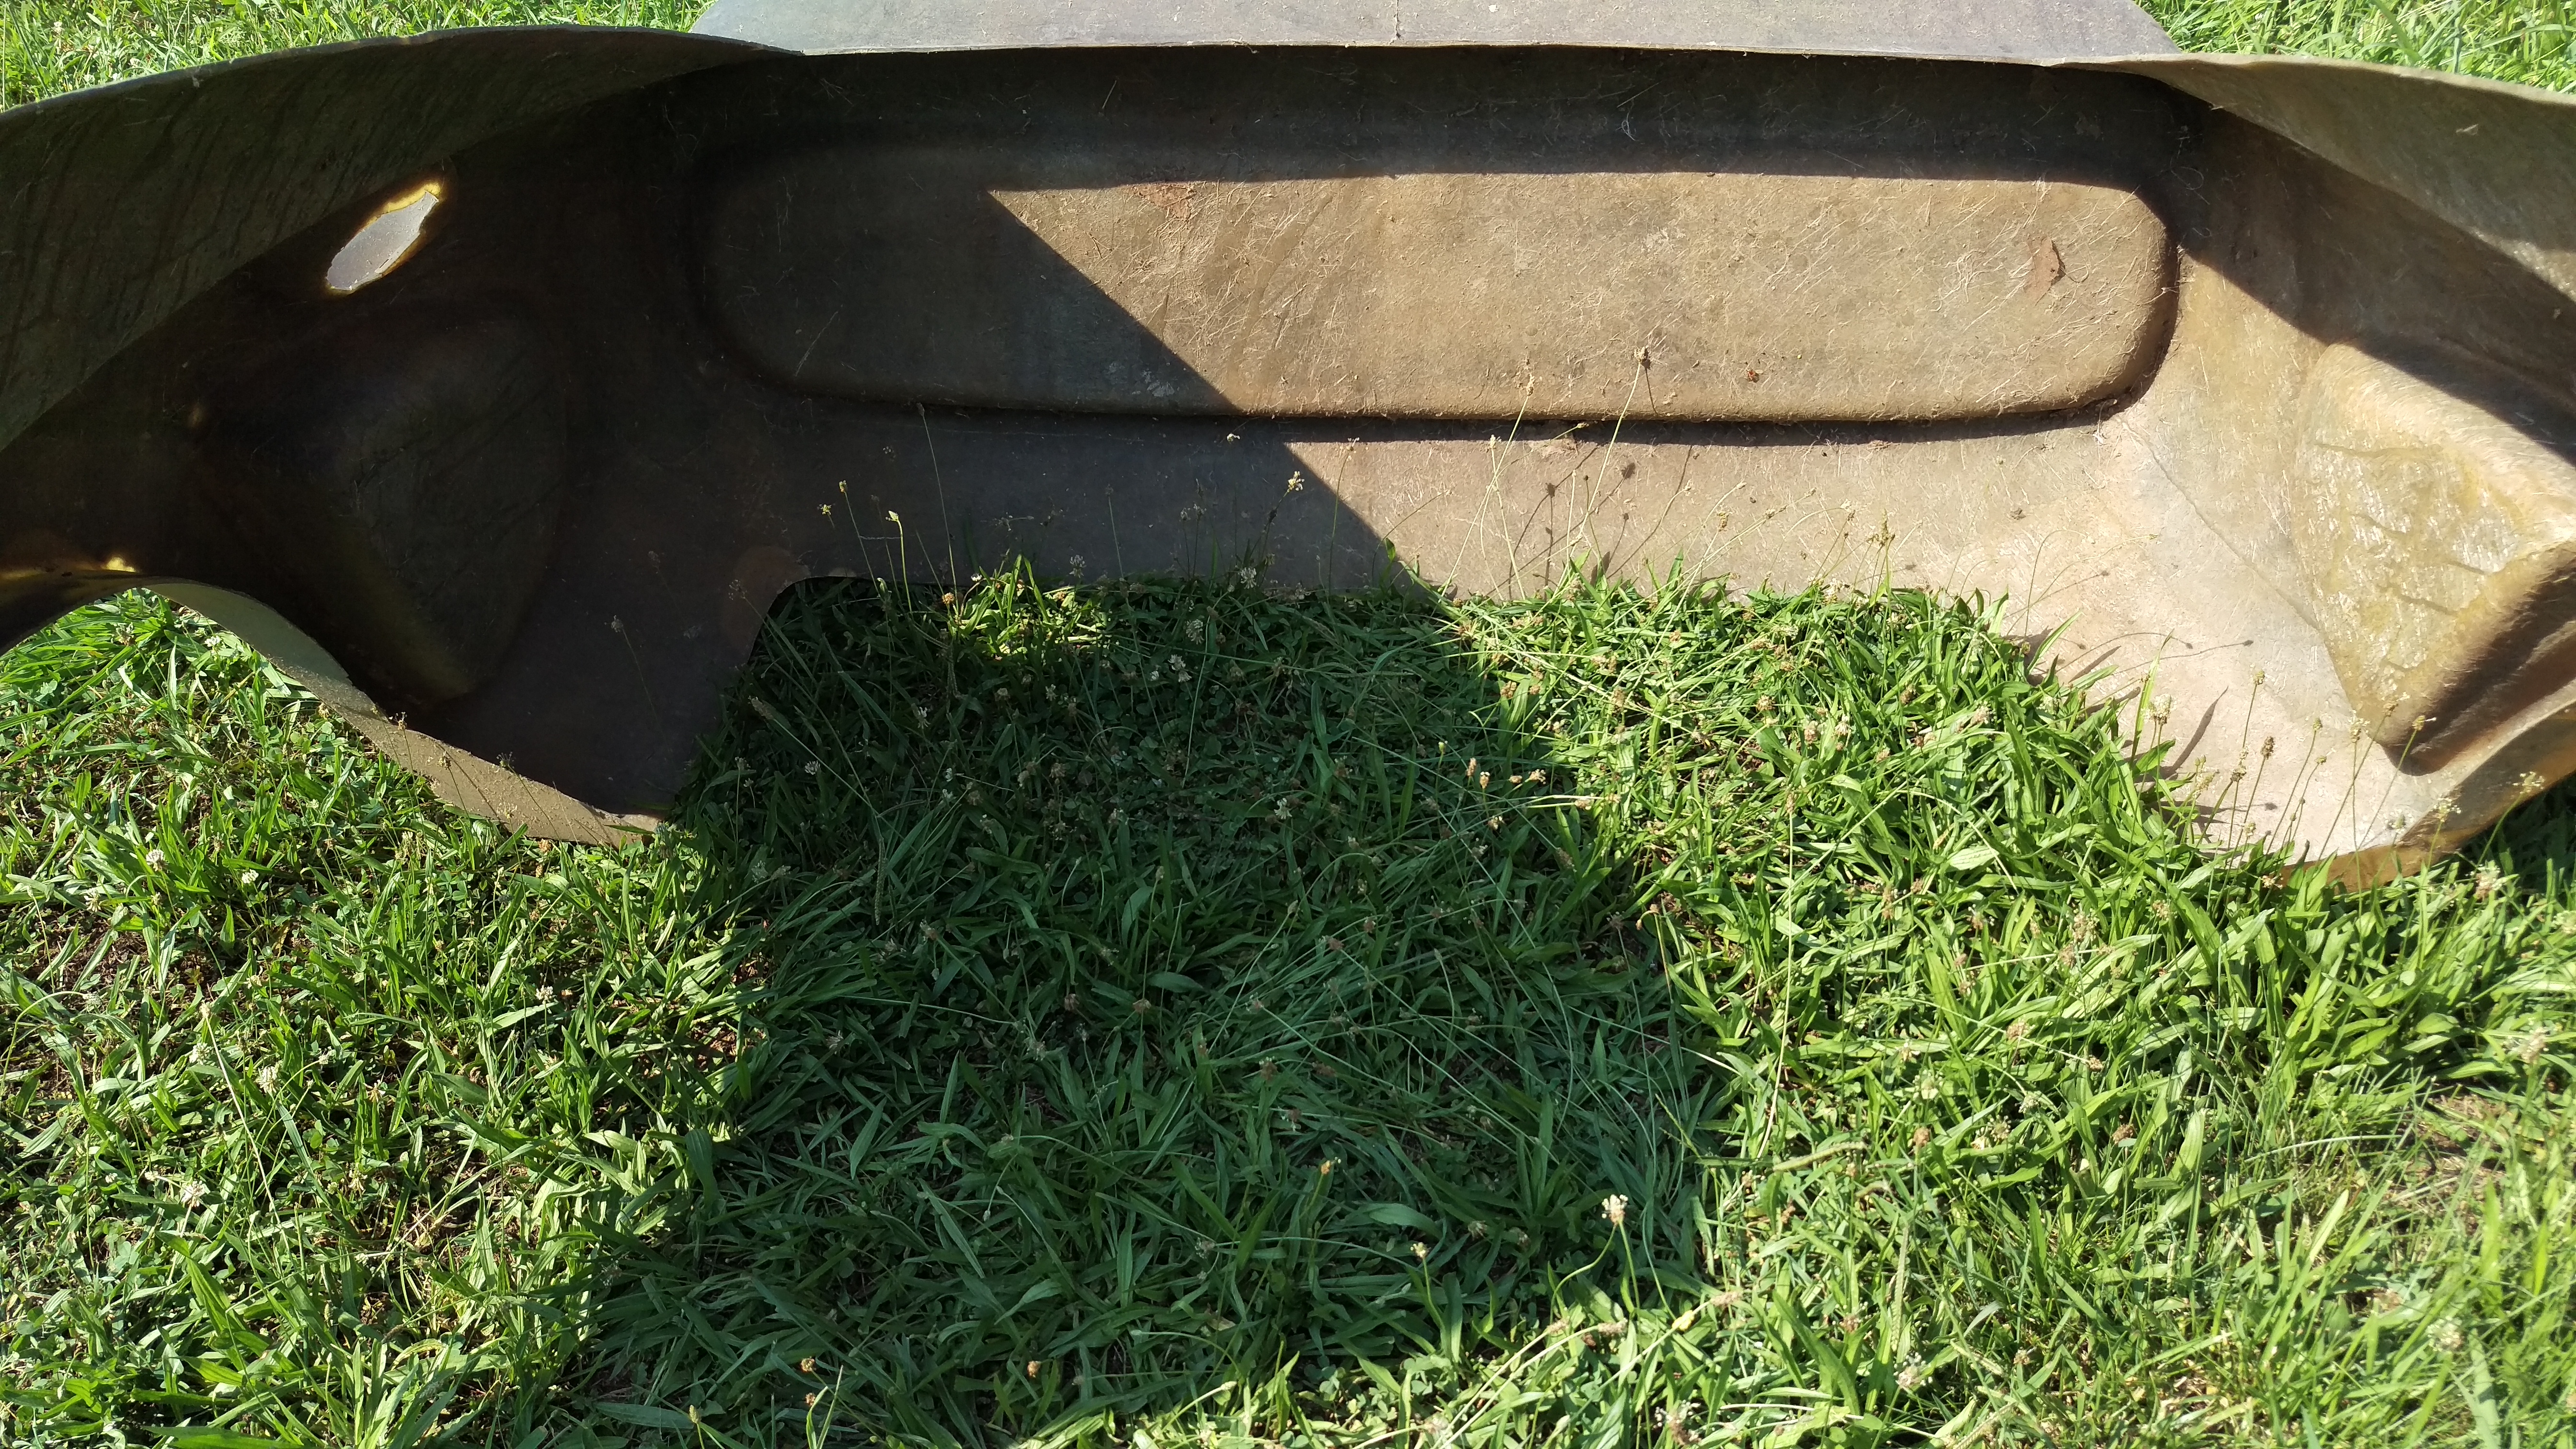
This is where things got tricky. I undid the rope on the inside and started pulling it along so that the inner lip would move over the pinchweld. This part on the inside was easy. The problem was getting the outside flap out of the groove and onto the flat portion of the hatch. The rubber flap wanted to fold over and stay in the groove where the sealant was. I had to try and lift it out of there and get it to lay flat on the flat portion of the hatch (hopefully that makes sense). Anyway, This did not work well. I would get 6" done, then lose 2"; 2" done then lose 5". After a frustrating 15 minutes of getting nowhere, I took out the metal trim. With the trim out, things were way easier. I slid my thumb along the top edge to get the flap onto the body while pulling the string underneath. ( I could not do this with the trim in because it made the rubber too stiff) This worked just like a zipper and went pretty fast. After I was about half way around, the glass settled into place. The rest of the install was easy, I just zipped it in.

 1 point
 -


Important Information
By using this site, you agree to our Privacy Policy and Guidelines. We have placed cookies on your device to help make this website better. You can adjust your cookie settings, otherwise we'll assume you're okay to continue.