Leaderboard
-
german240
Free Member2Points117Posts -
Hardway
Free Member2Points1,332Posts -
sweatybetty
Free Member2Points1,119Posts -
madkaw
Free Member1Points4,365Posts


Popular Content
Showing content with the highest reputation on 12/05/2017 in all areas
-
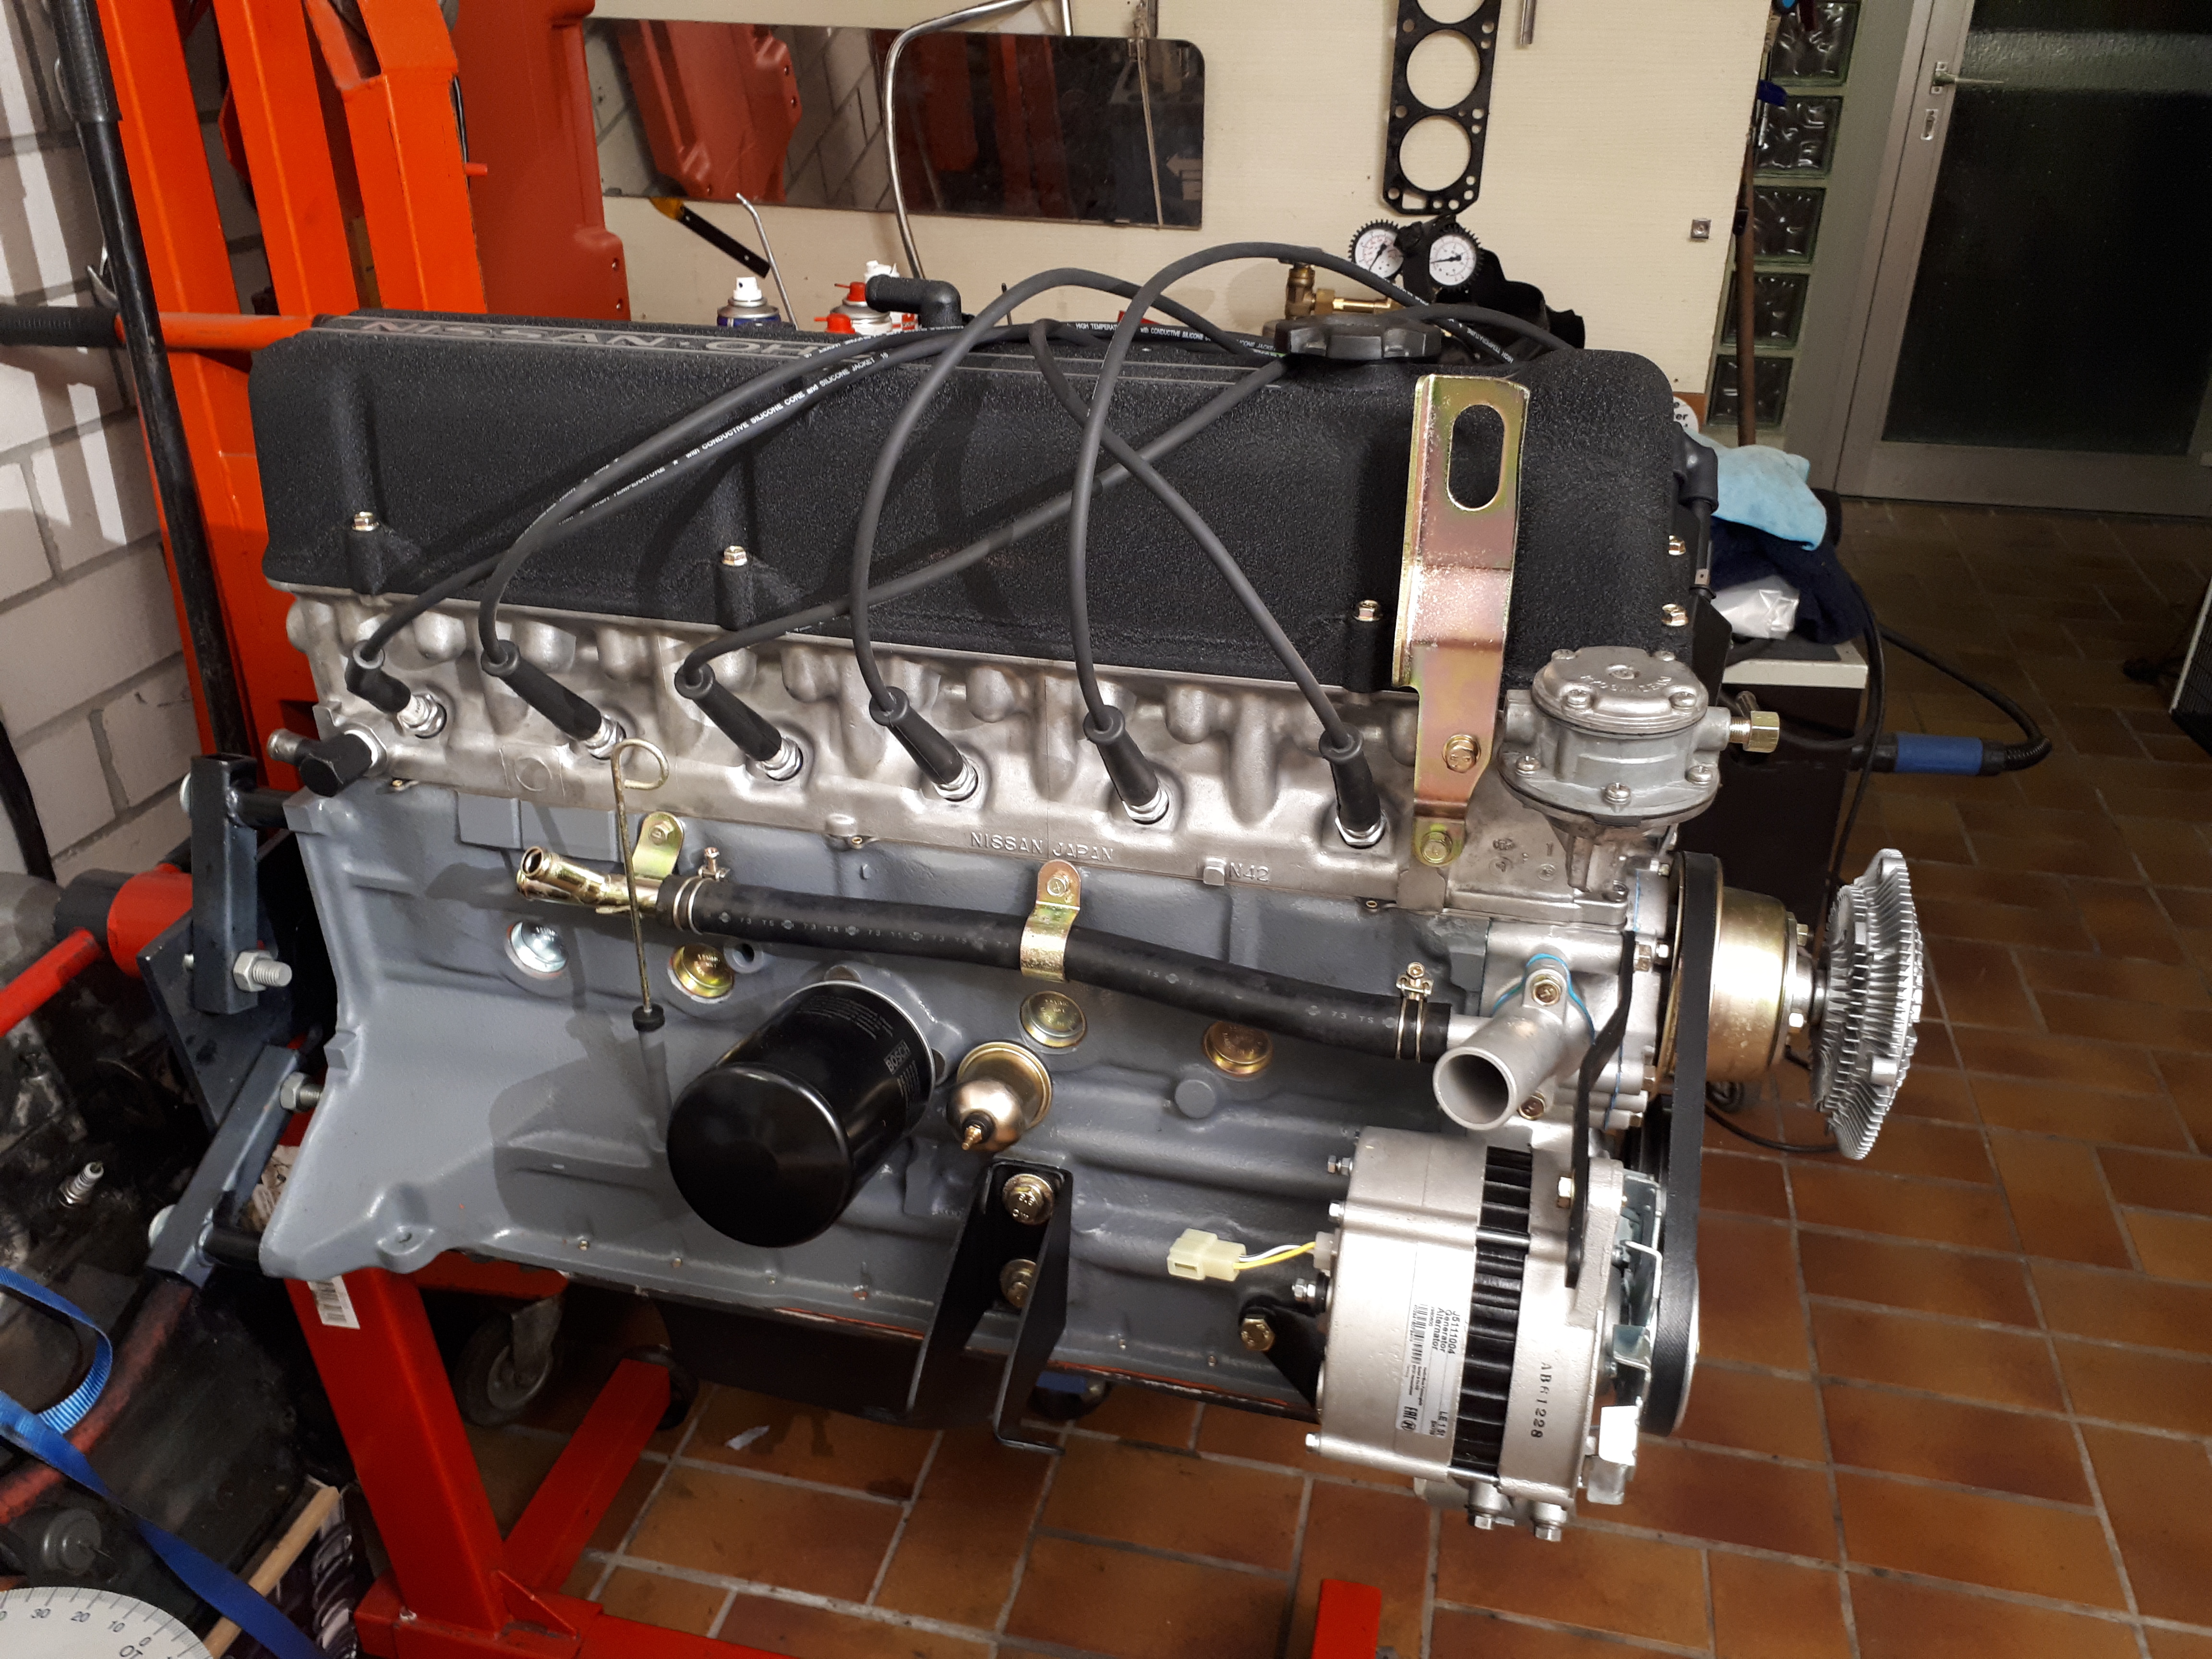
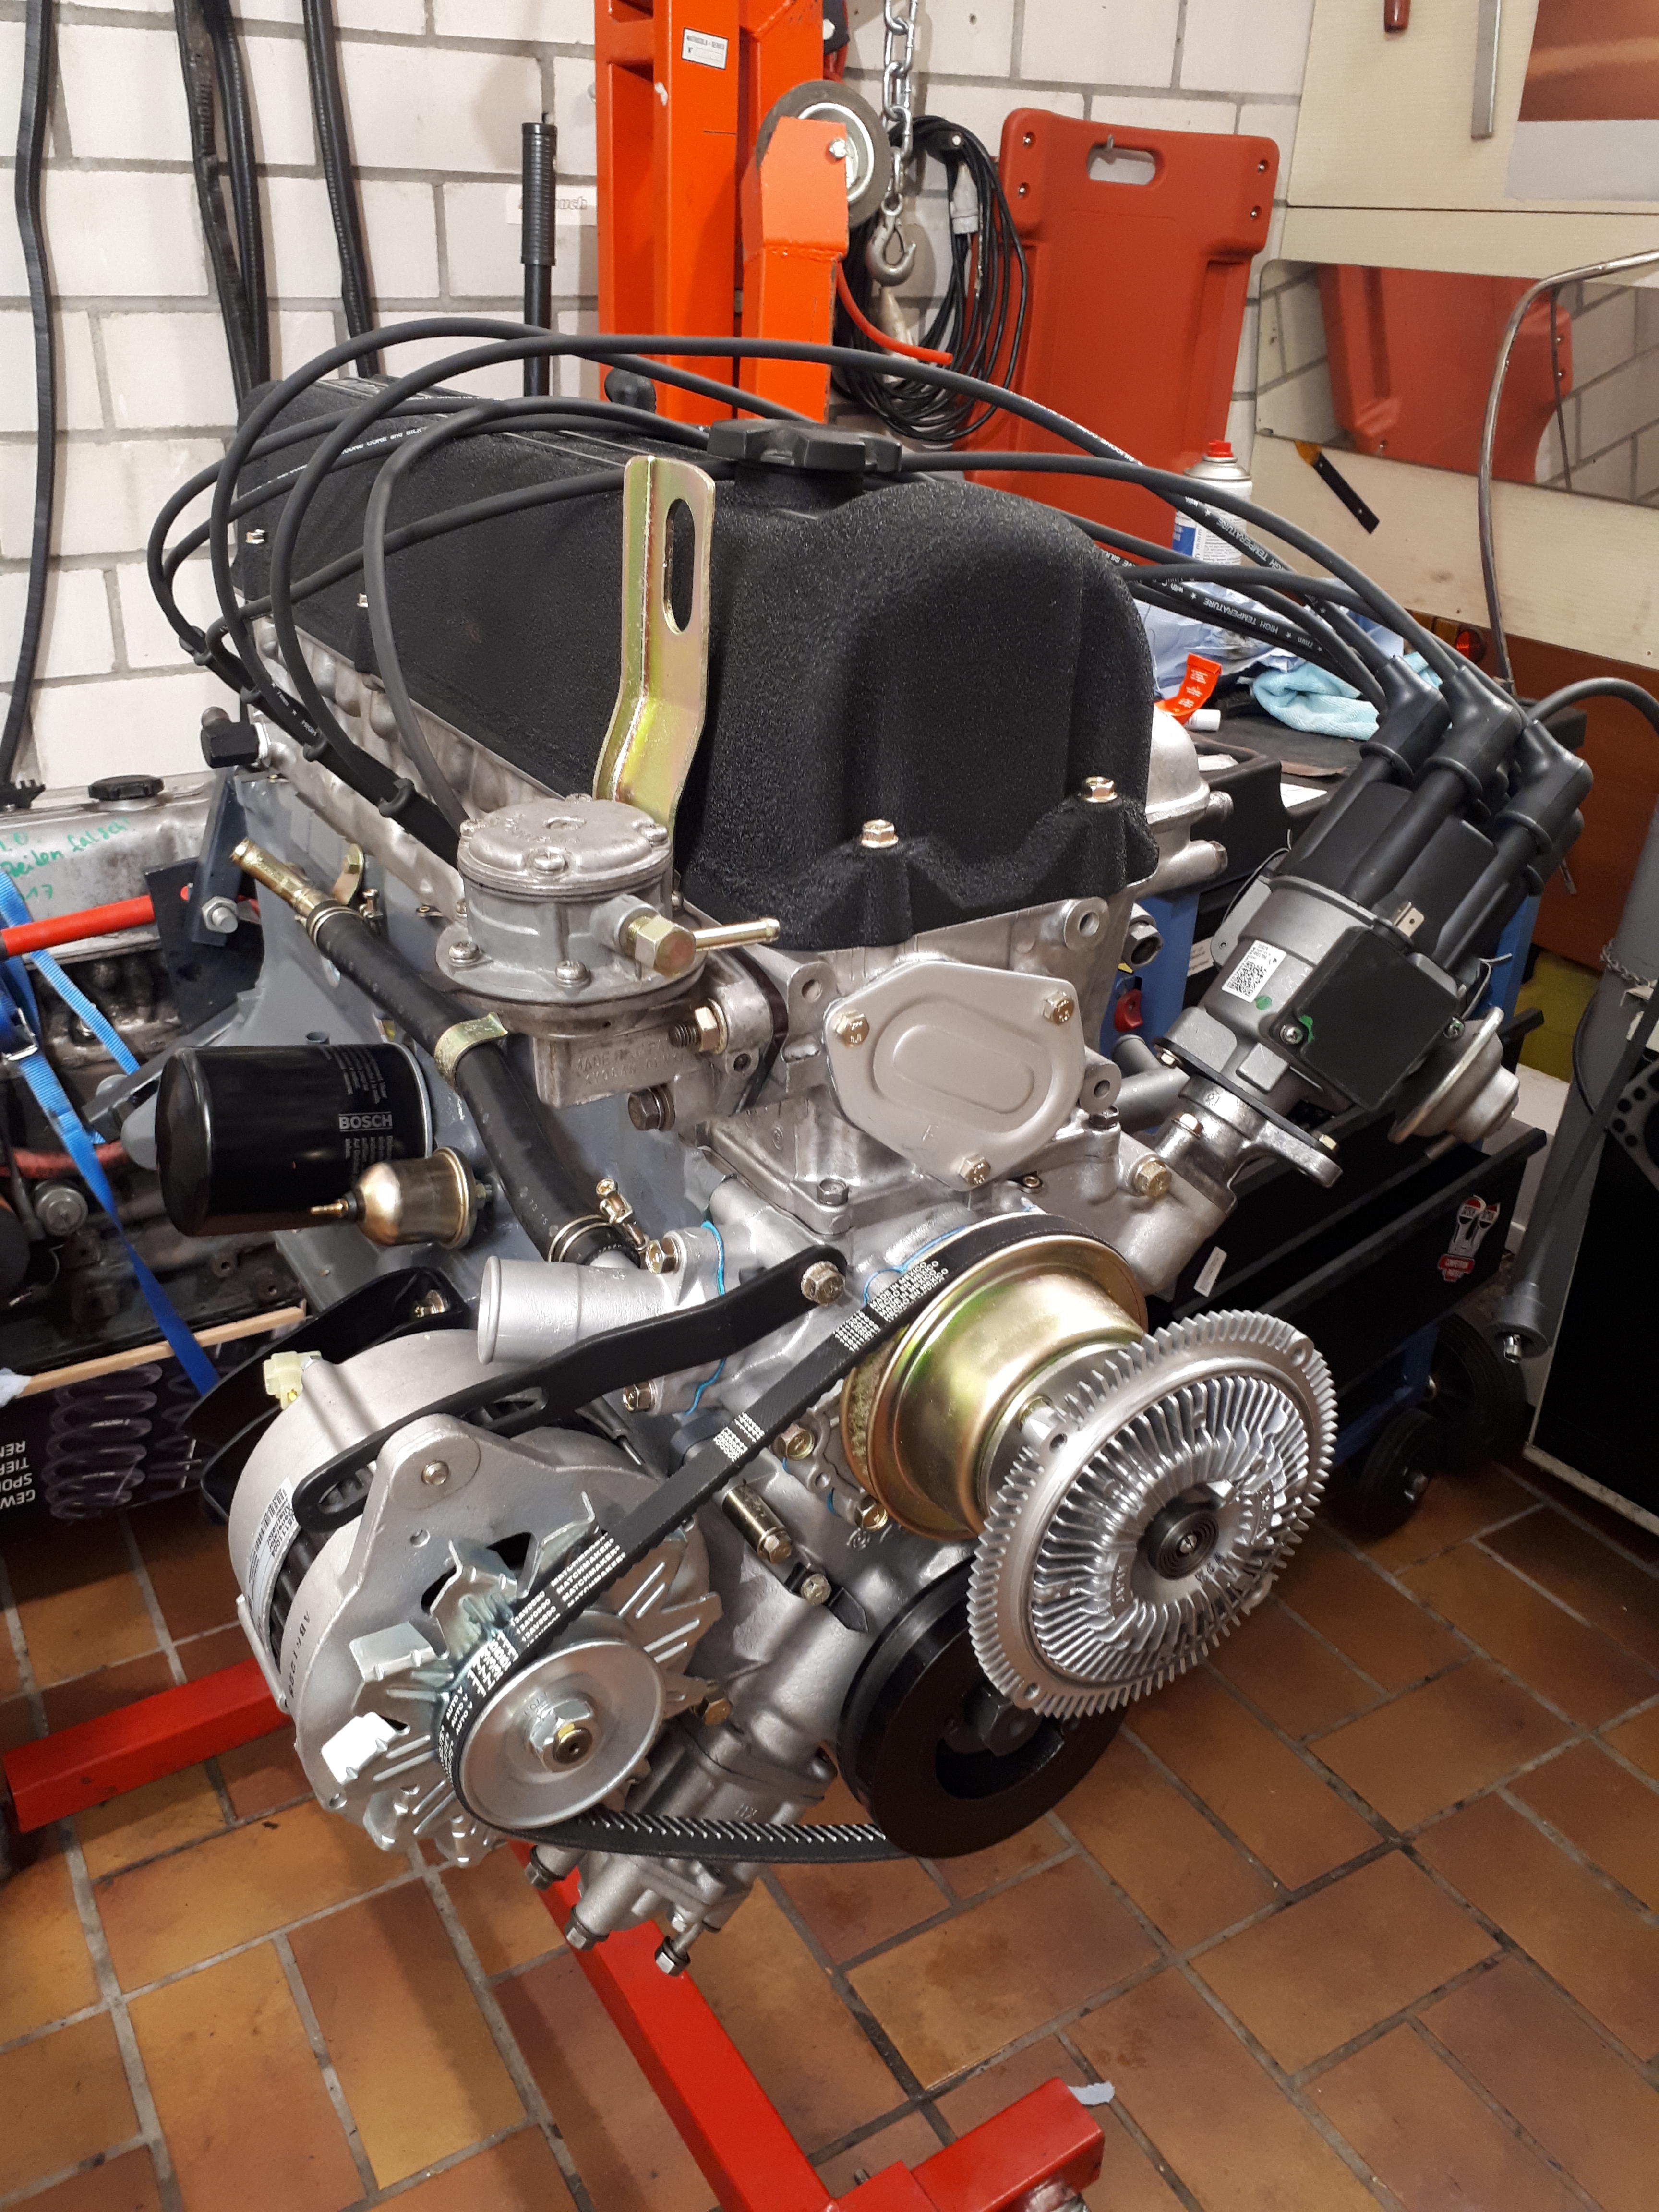
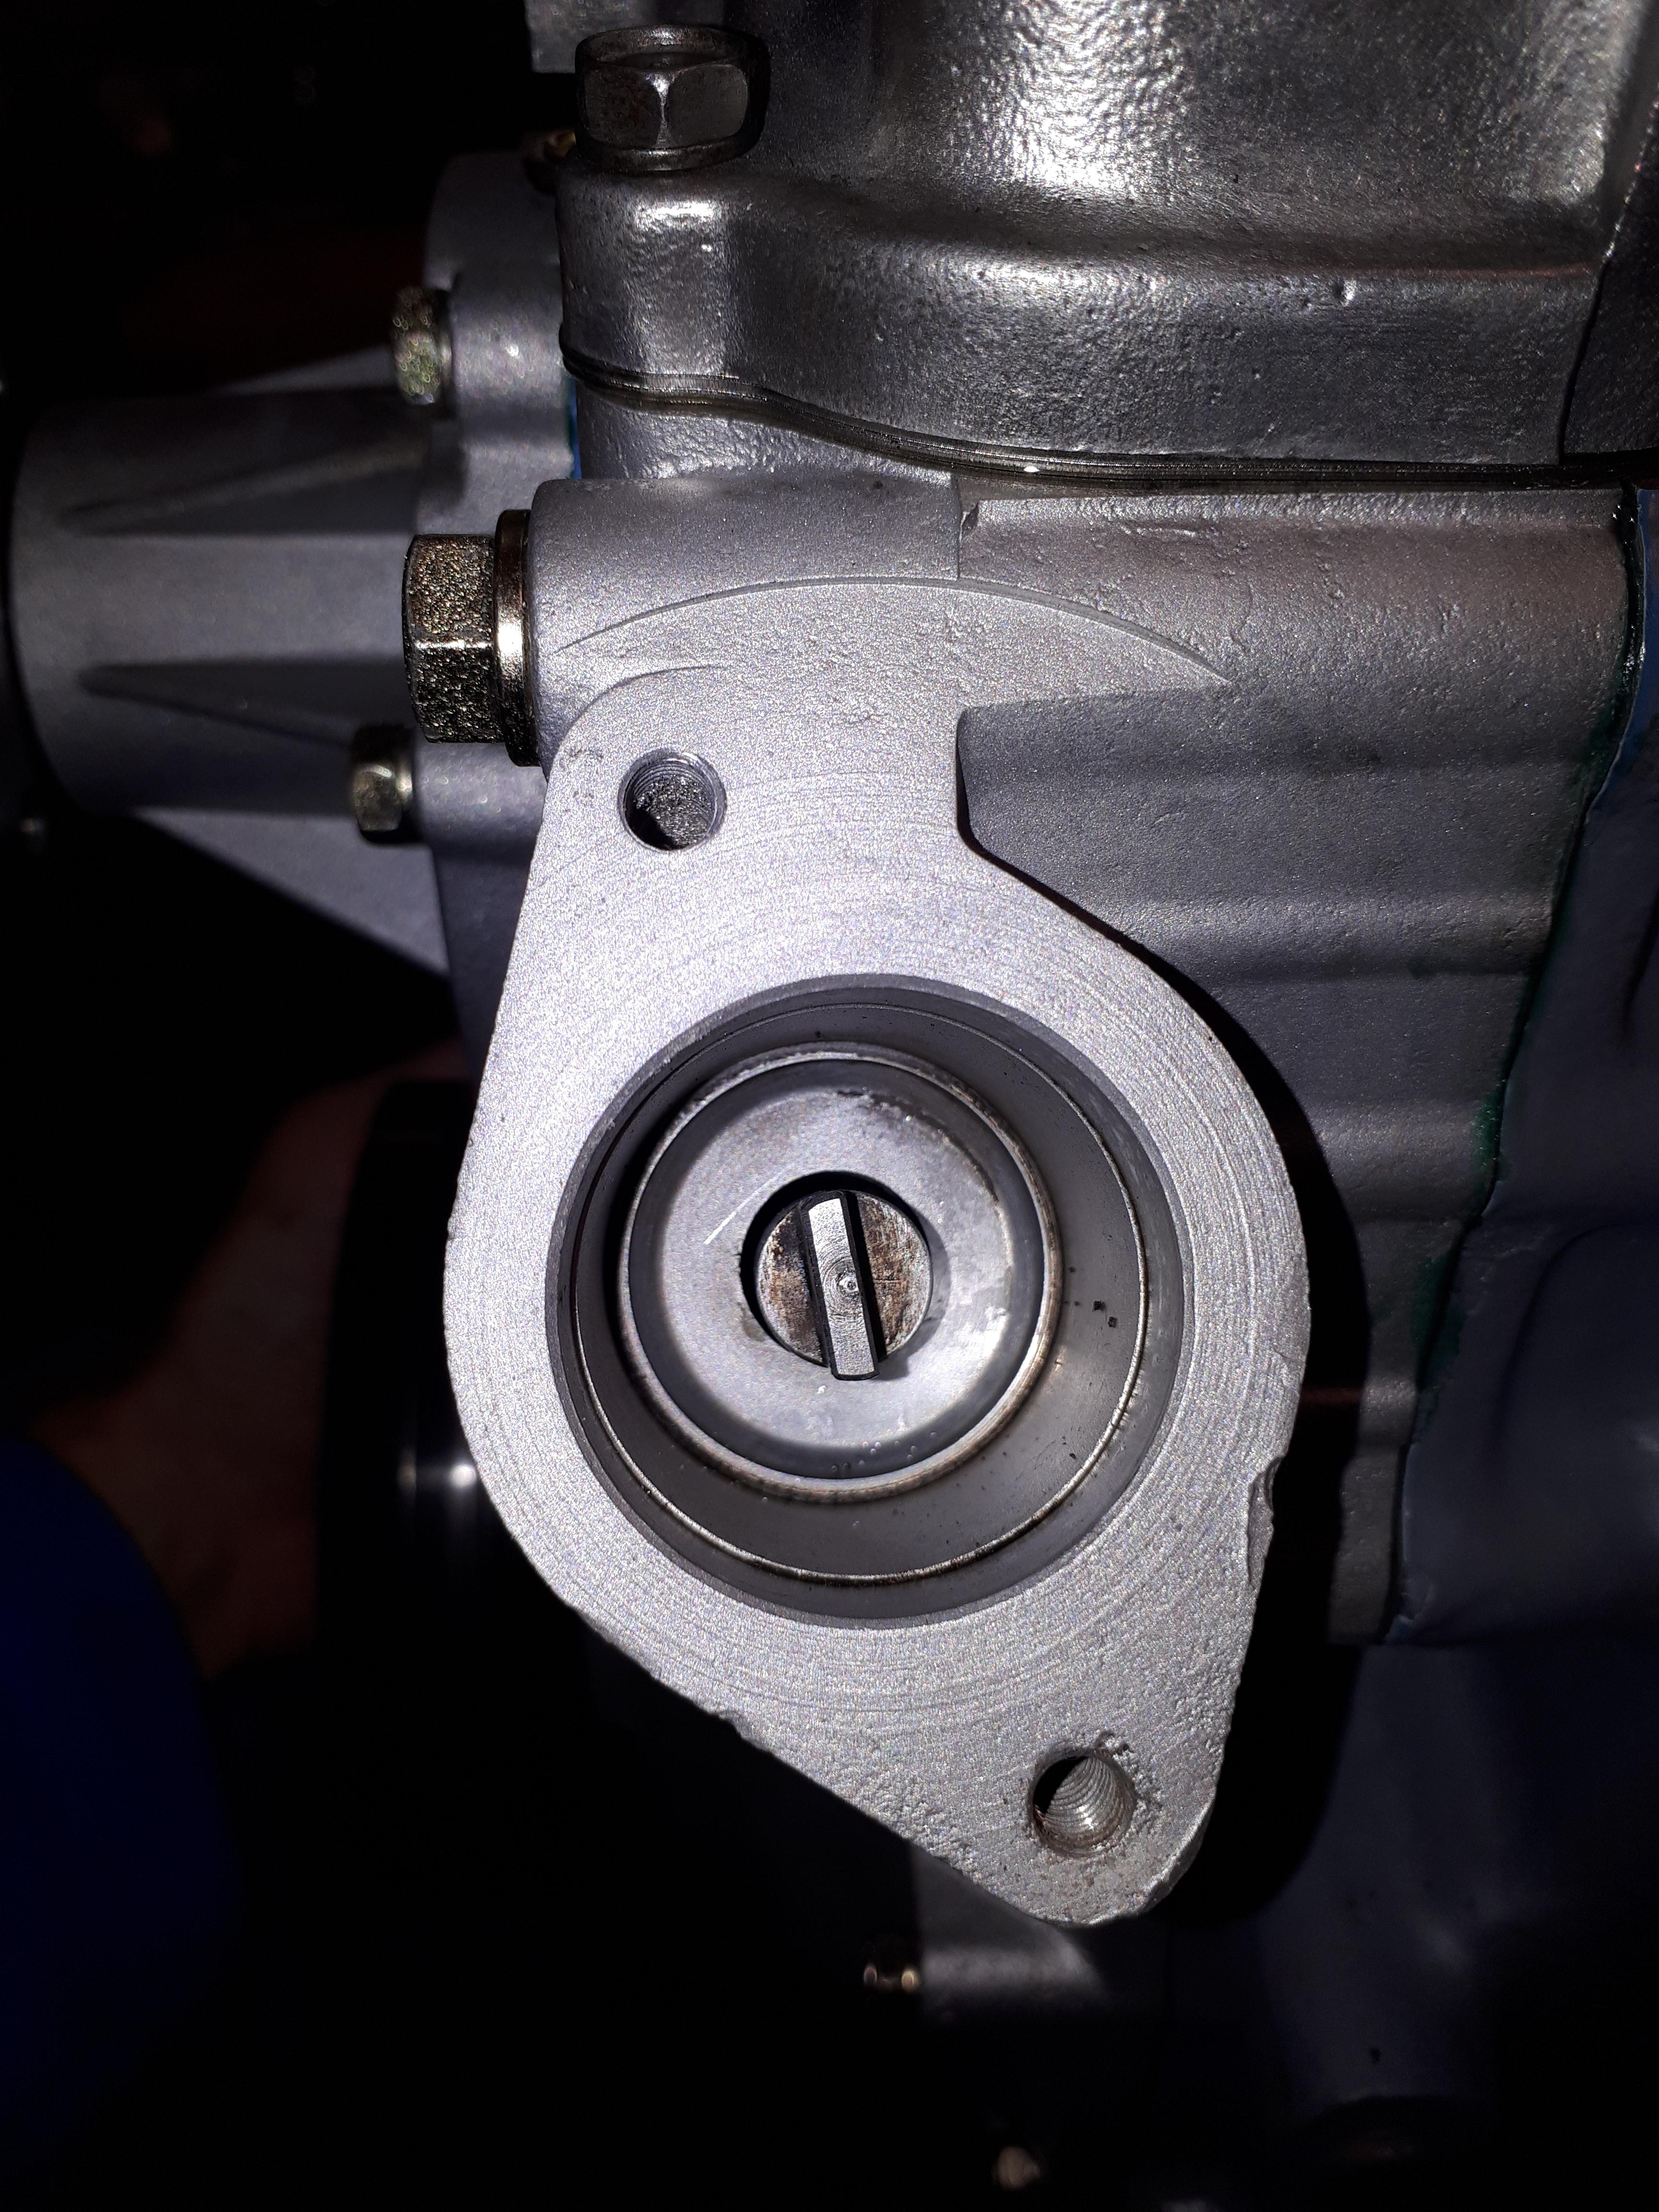
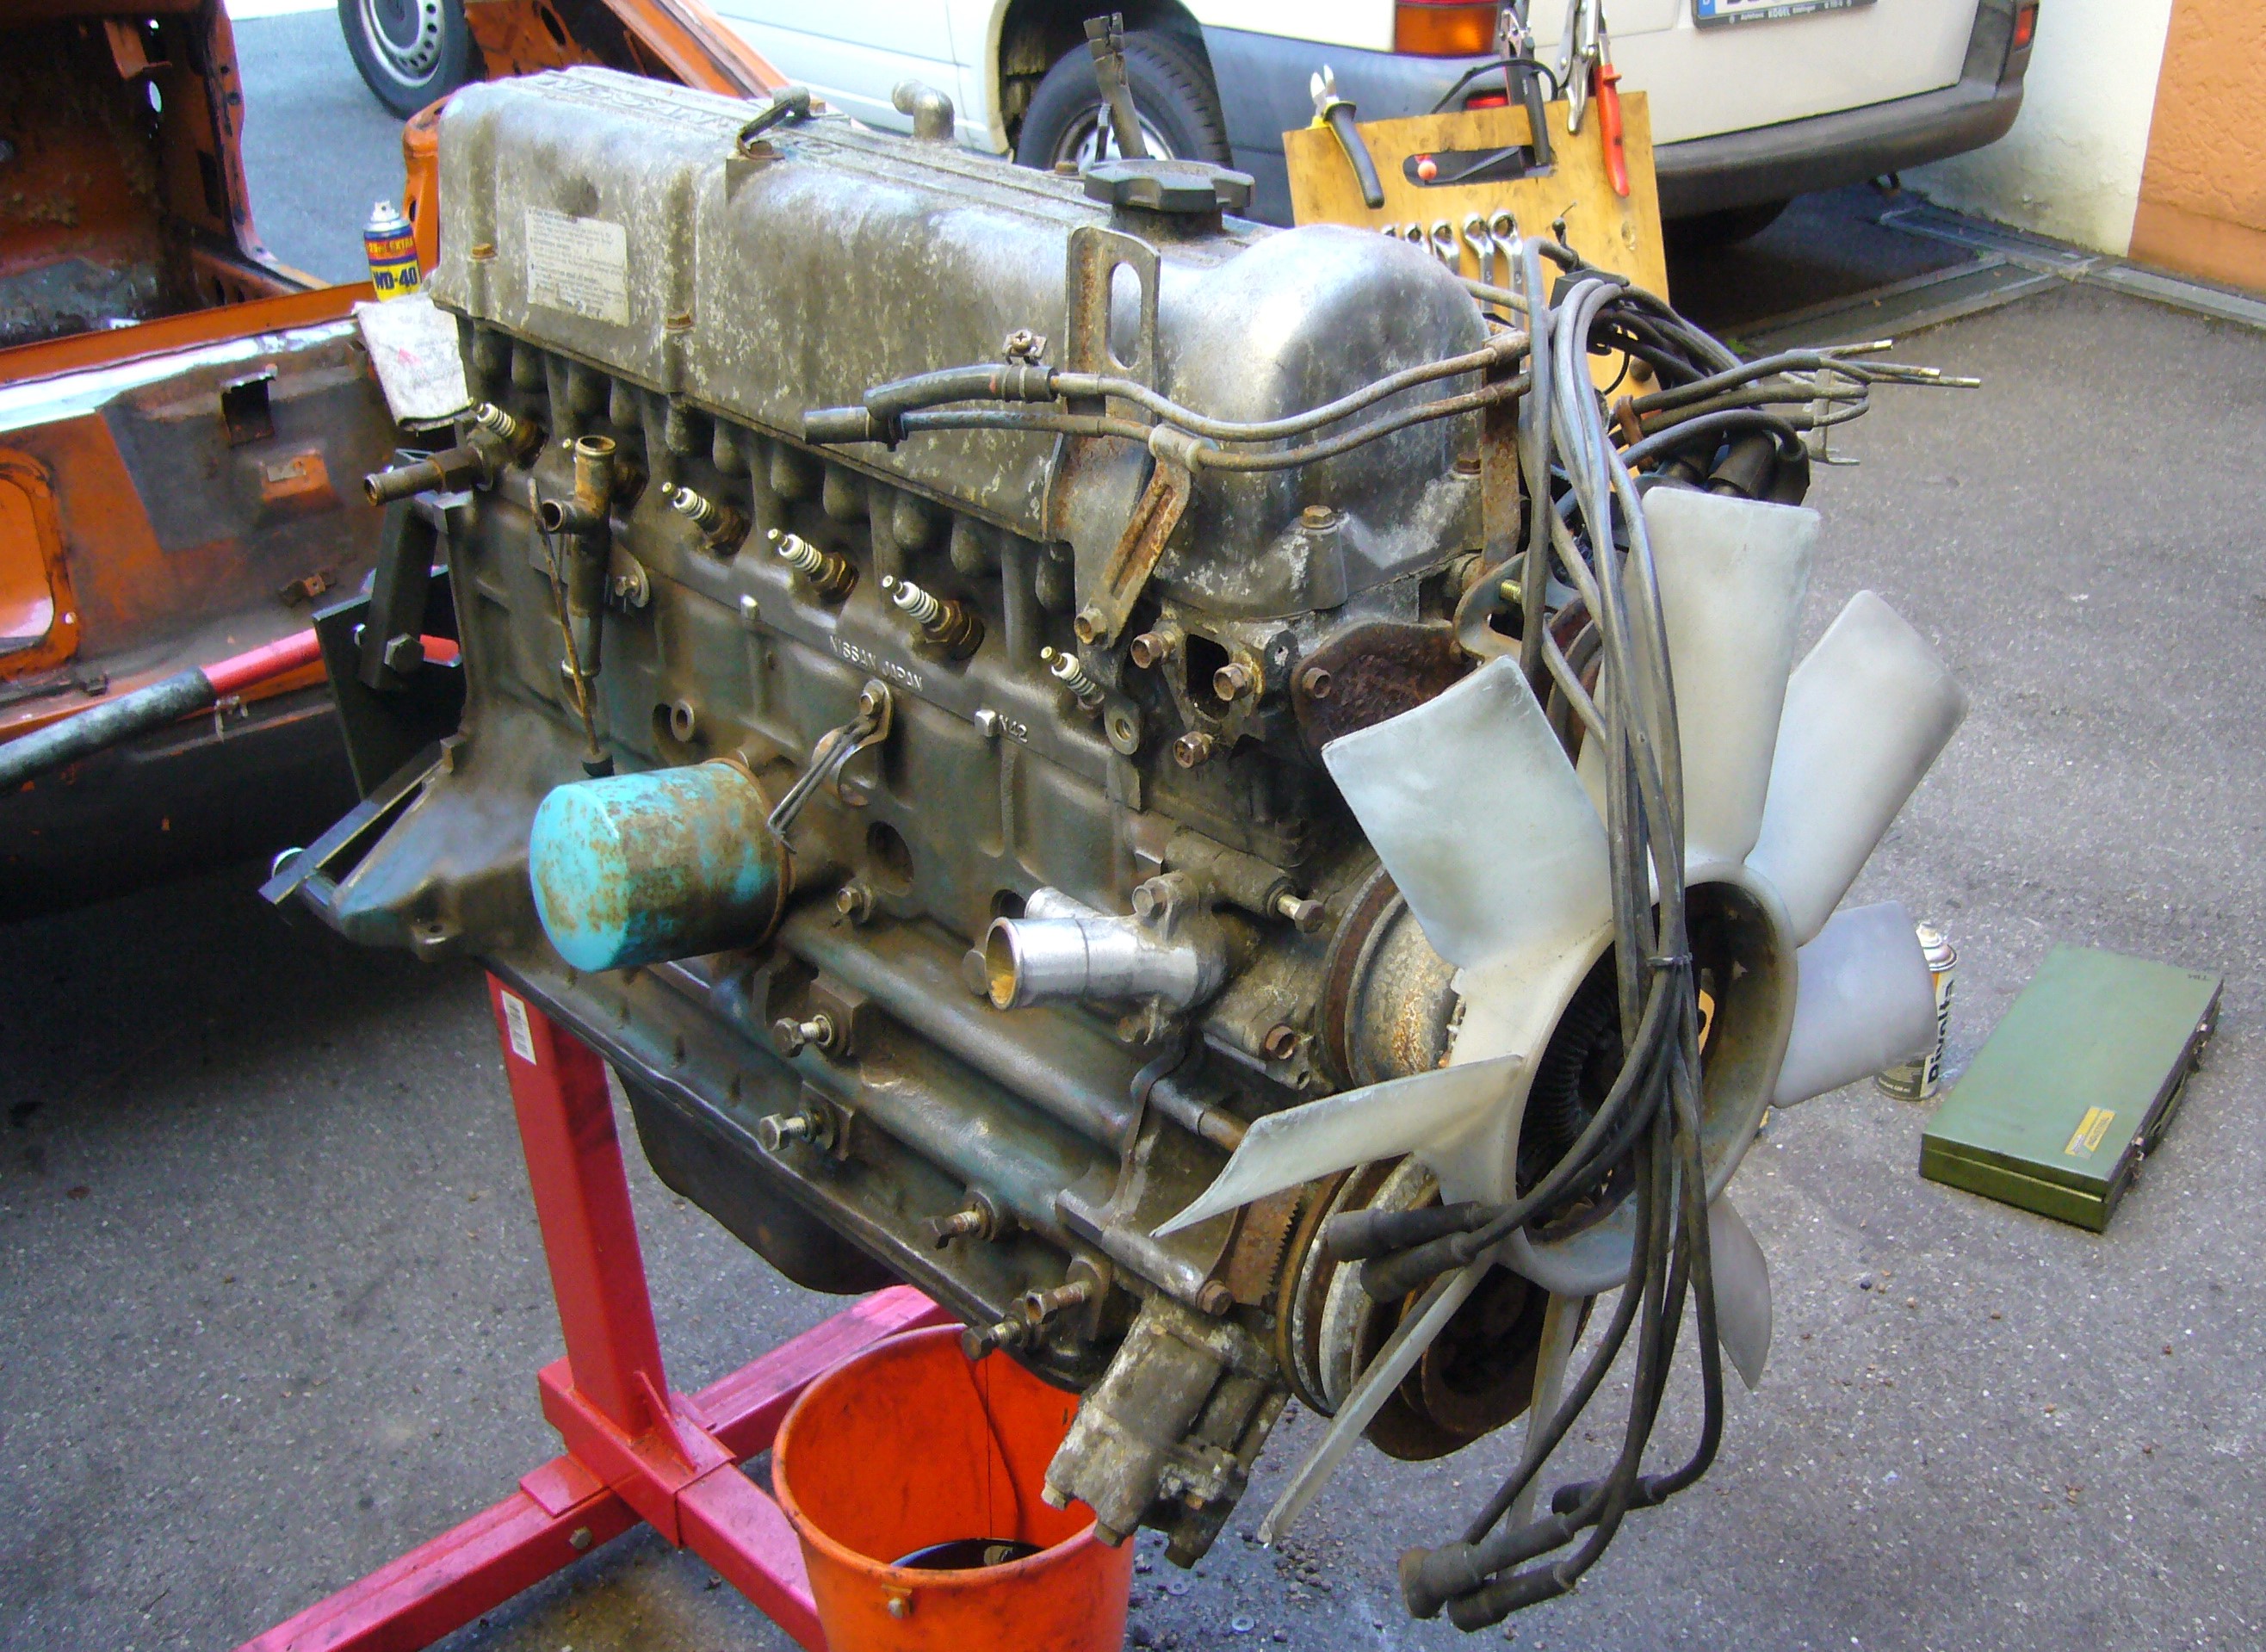
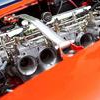
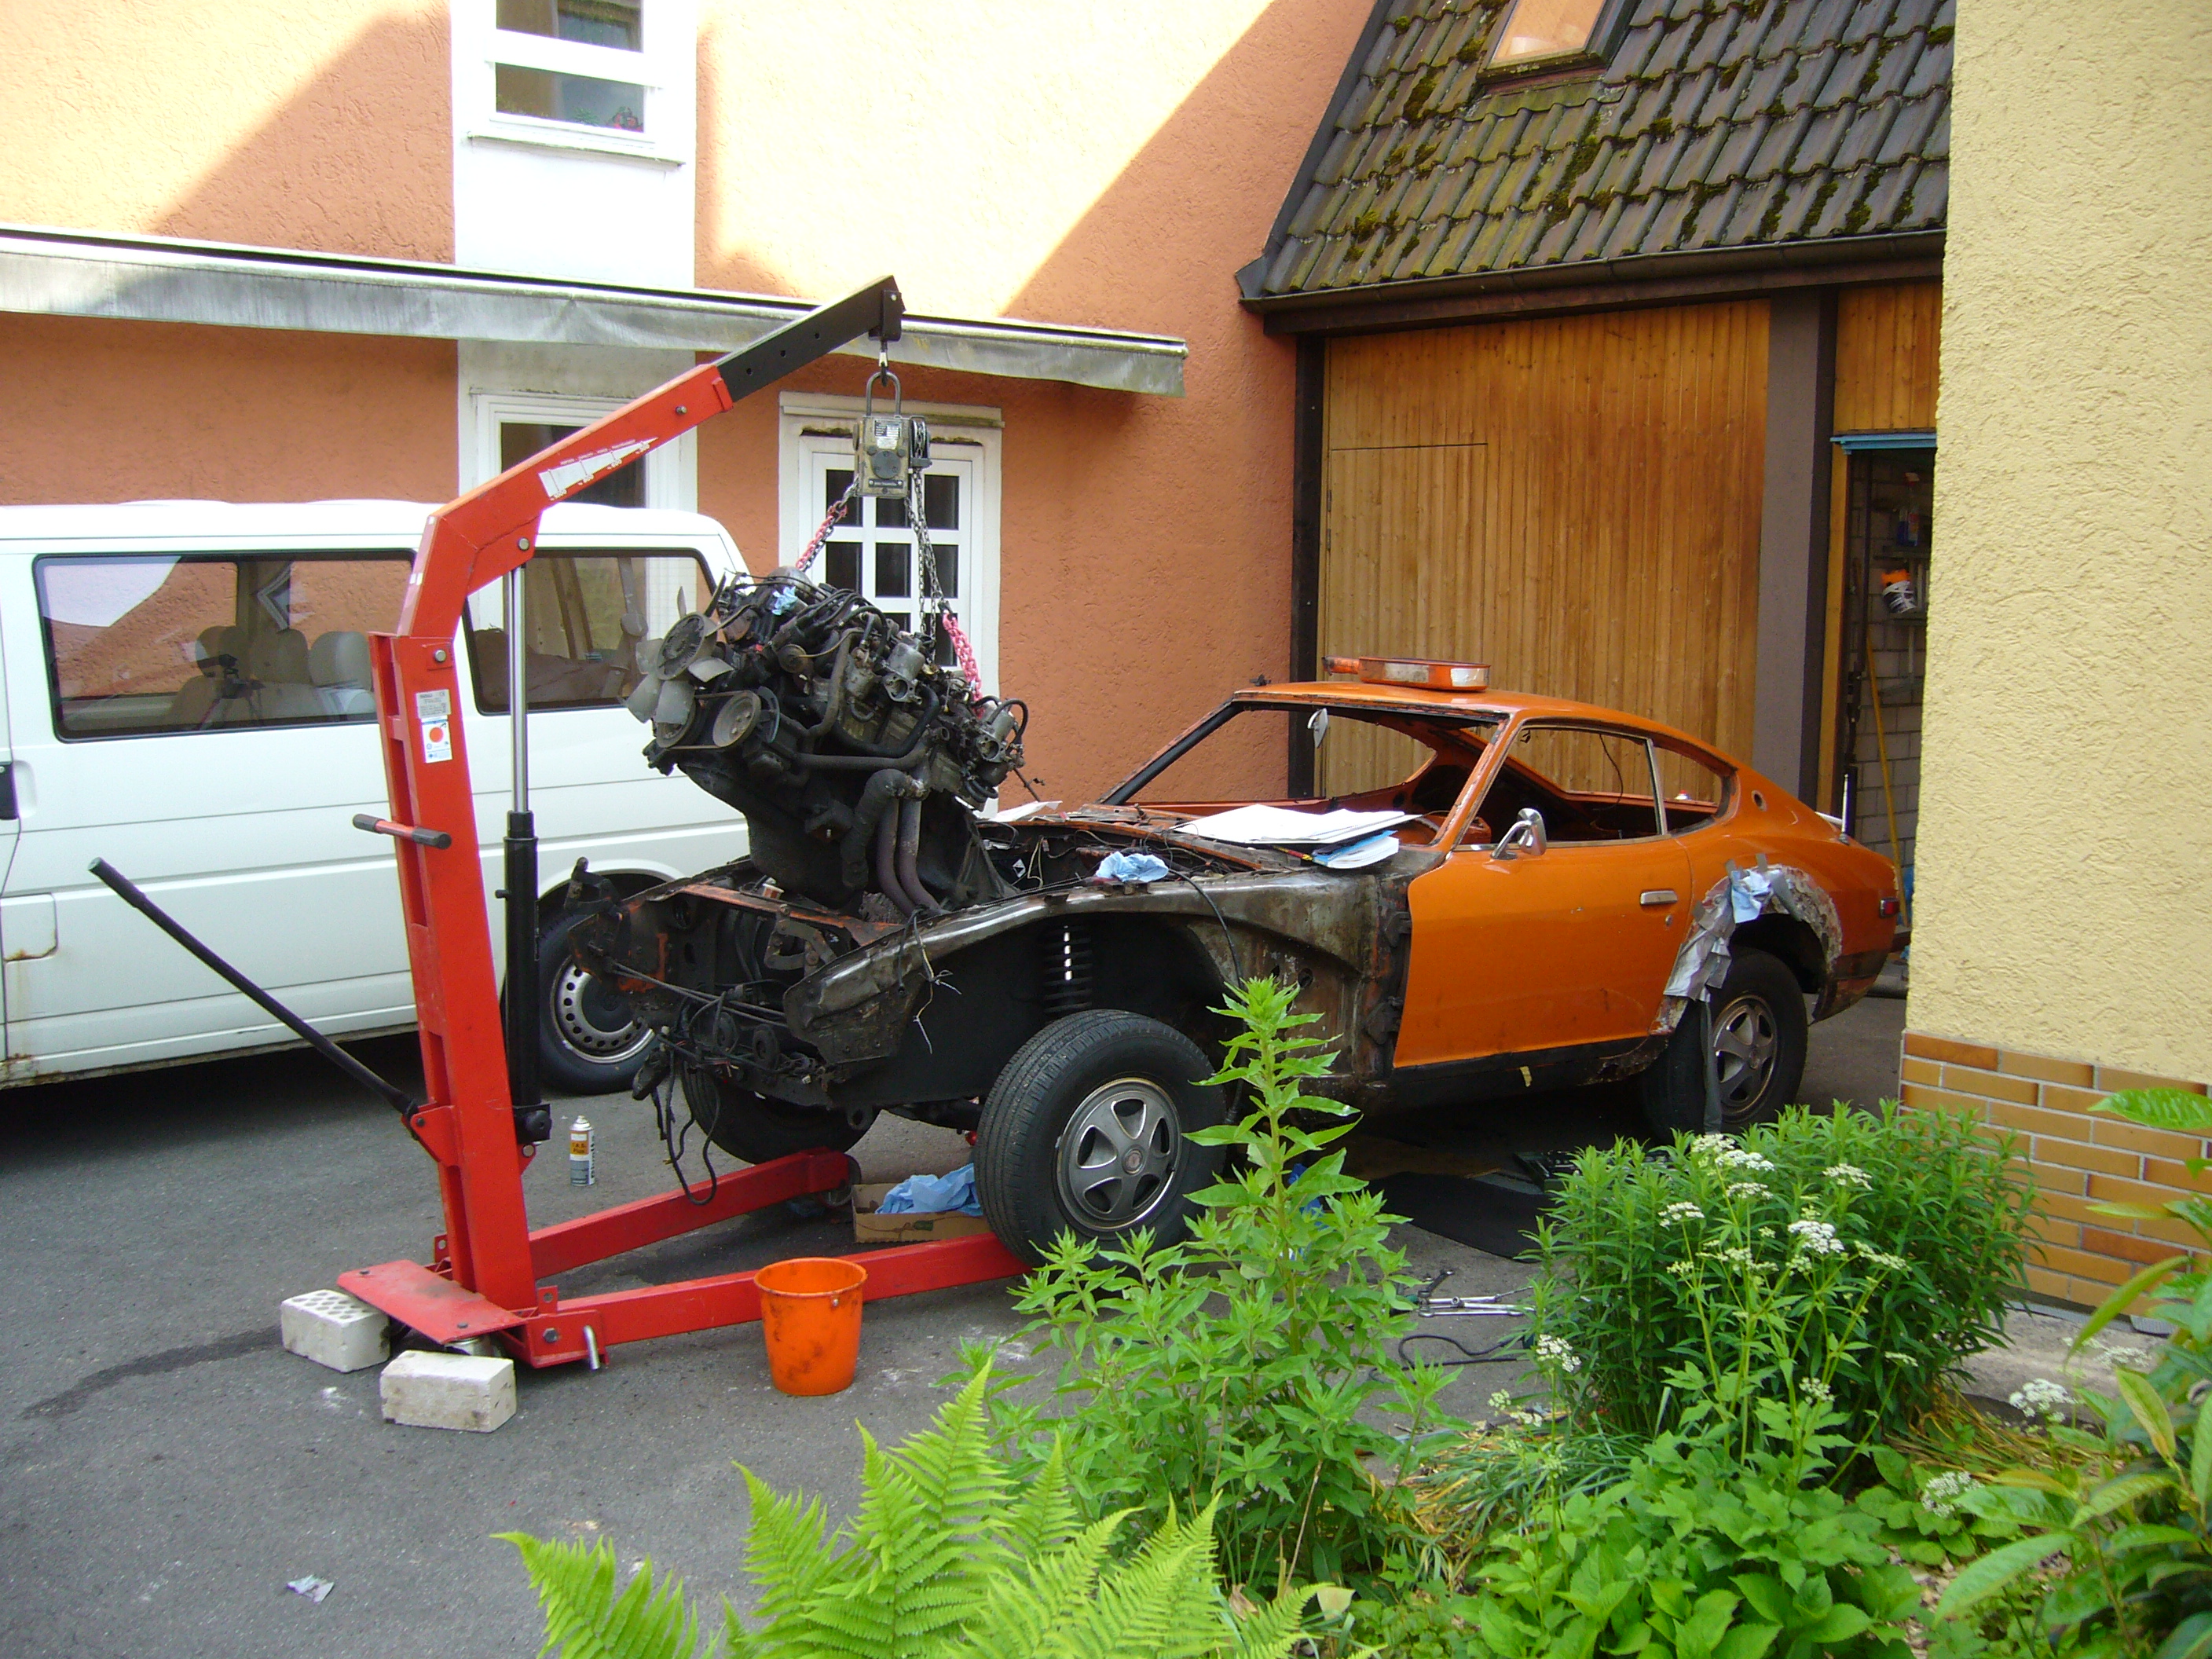
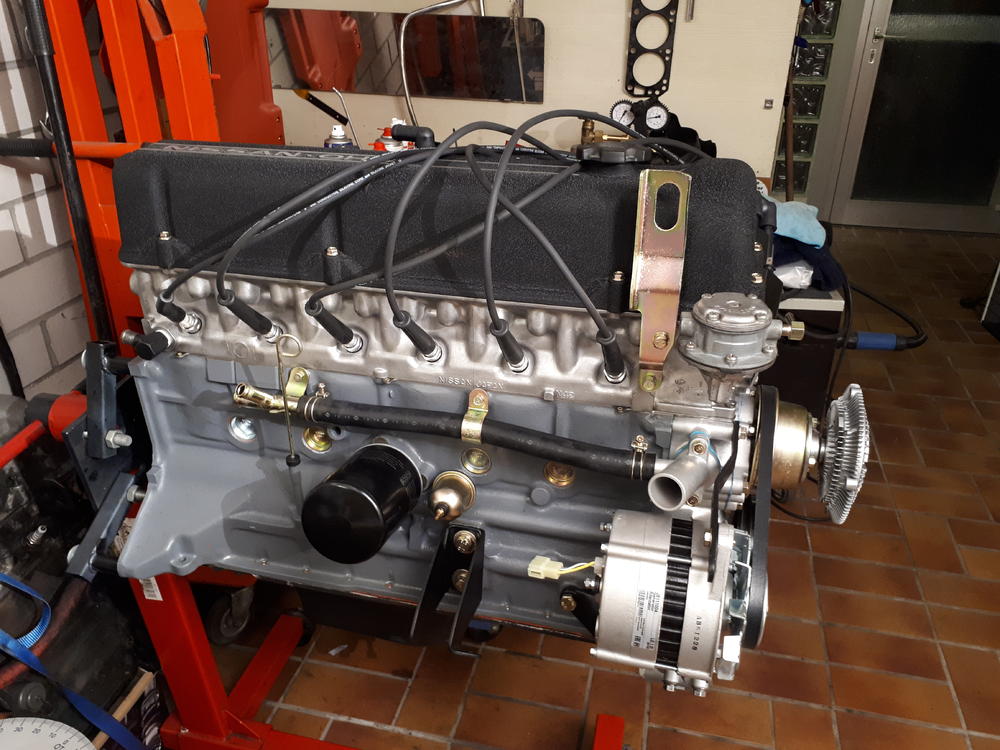
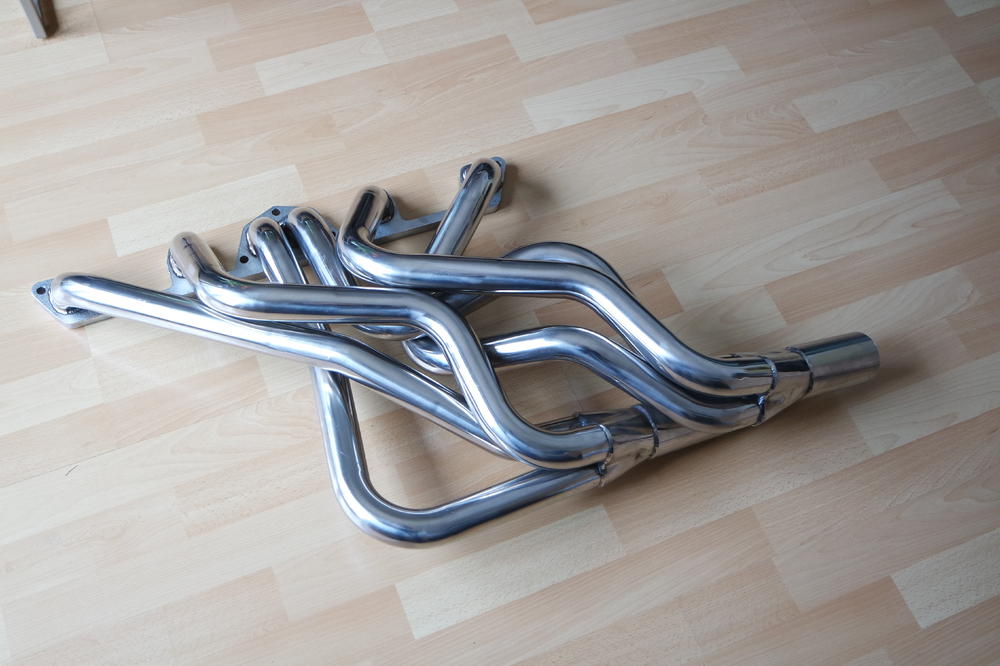
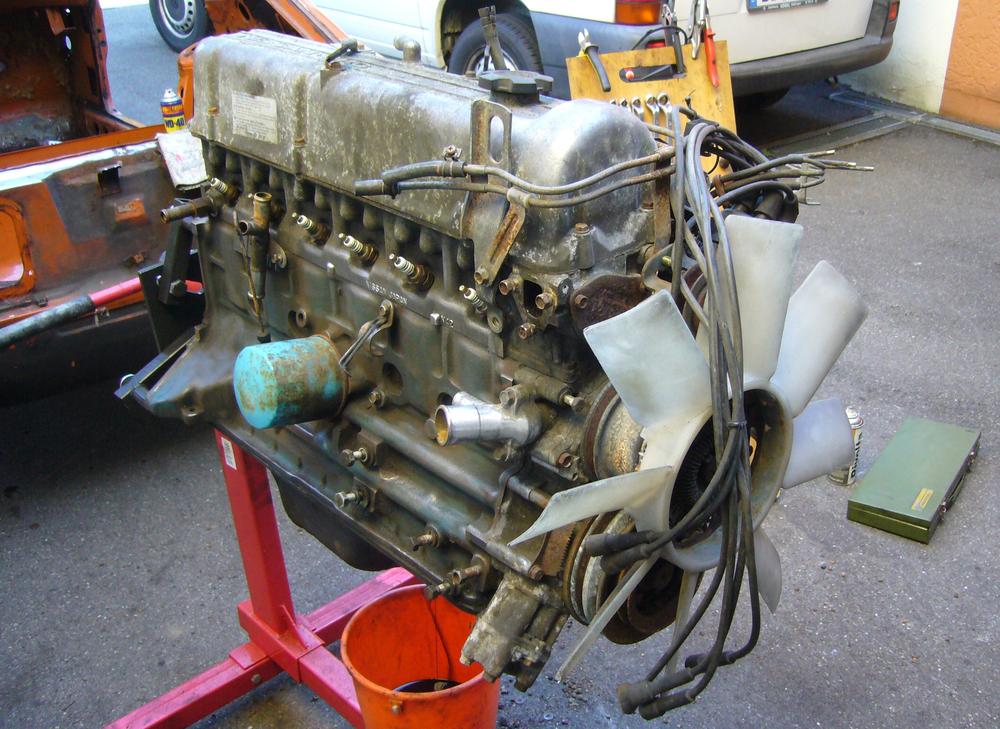
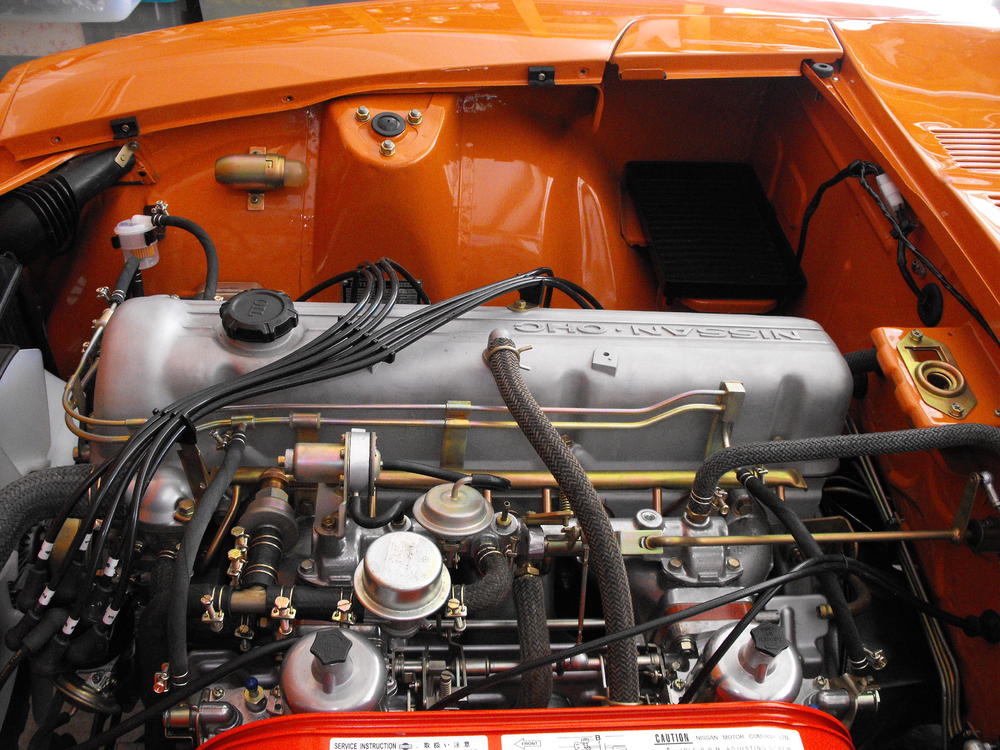
I left it like it is. Double checked valve-piston clearance (it is >2mm) and piston-head clearance (1.5mm) using a strip of solder. The engine is complete so far, I just have to fit the Zstory race manifold and the fully refurbished SUs. BTW: Some cam grinders like ISKY supply two completely different cam cards. One as reference (advertised), one for actual numbers that can be measured with a degree wheel. I found a similar (advertised) spec cam card, the "workshop specs" come out like my measurements did. @siteunseen I just realized that you uploaded those cam cards. Better pictures will be added next week Just some quick shots. DIstributor shaft alignment..shifted it around many times, hopefully it is right now Header Aaaaand.... Engine before I started working on it This was the Ebay ad..


 2 points
 -
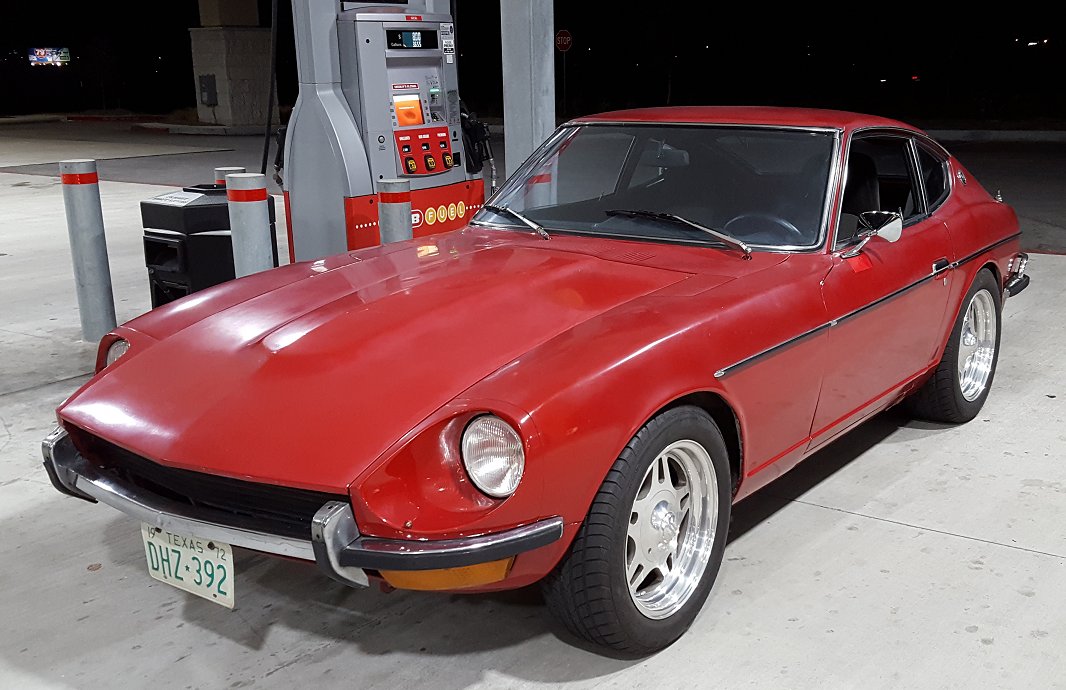
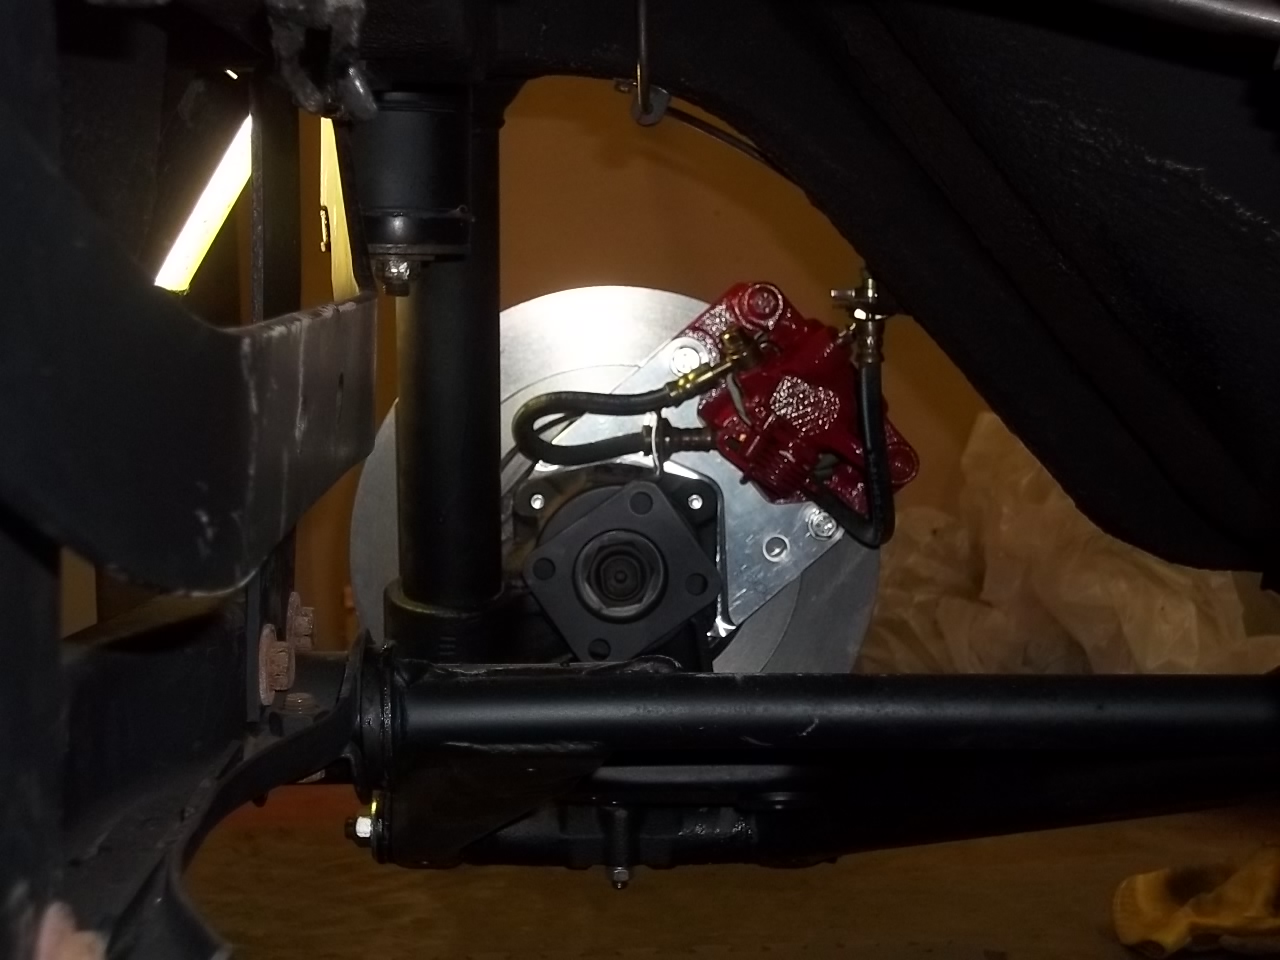
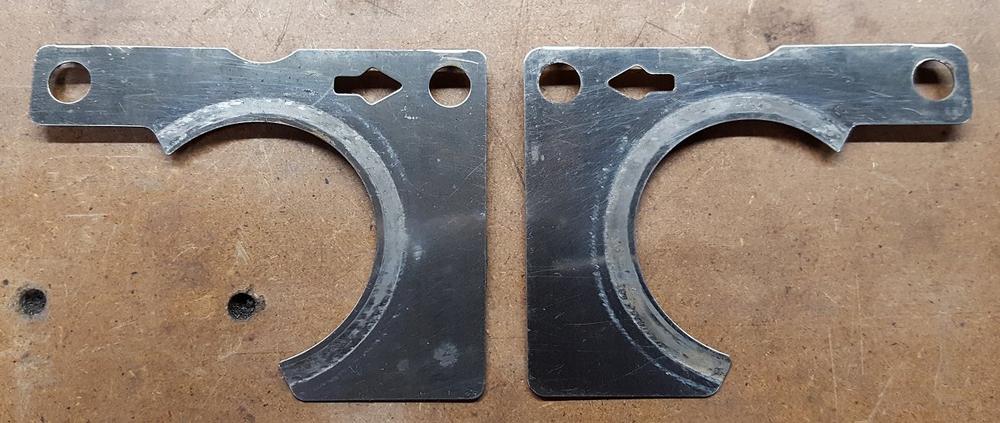
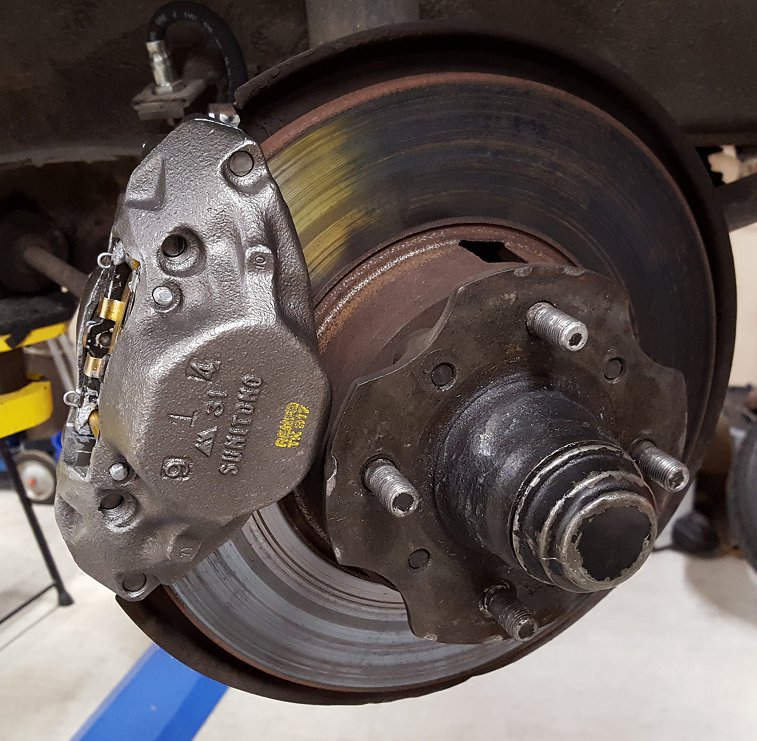
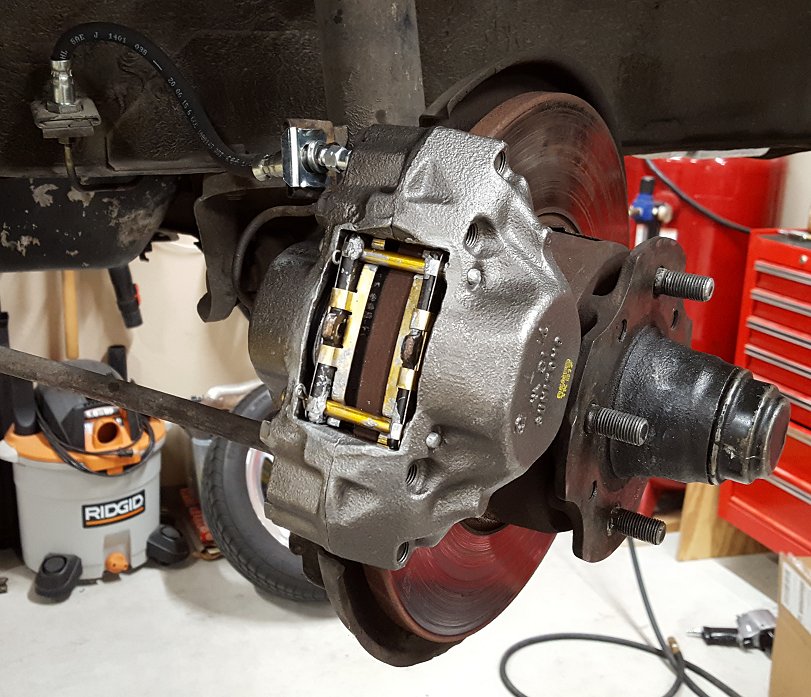
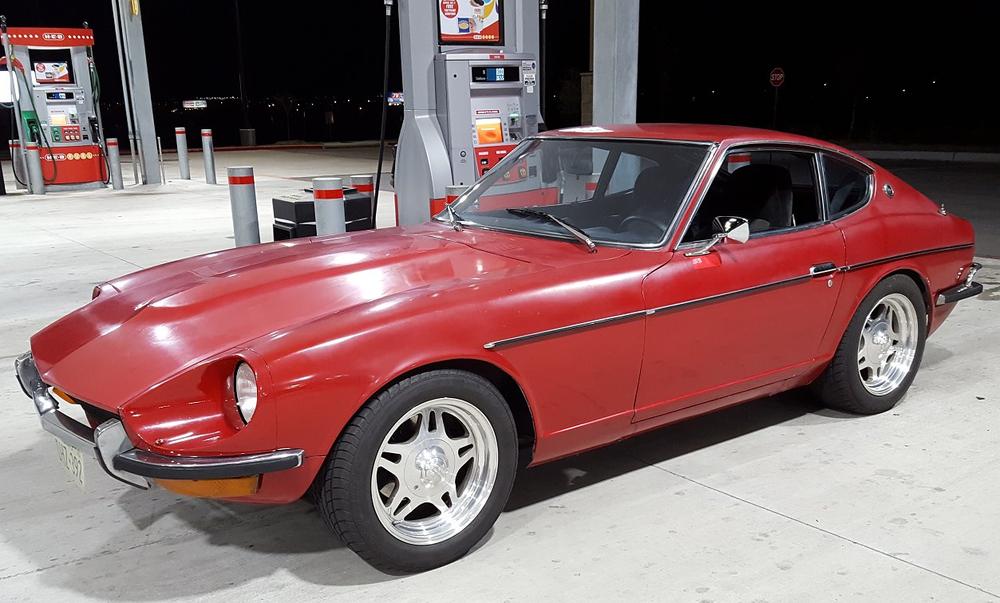
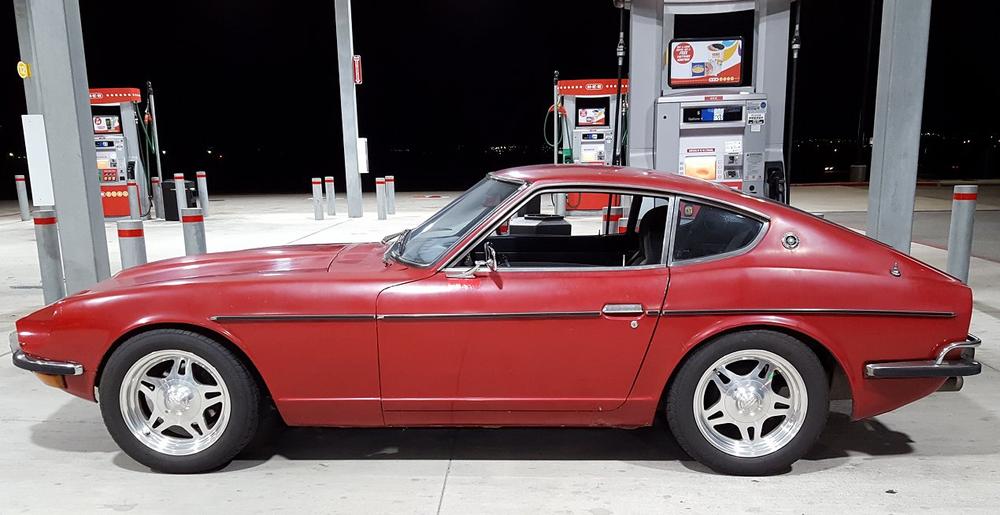
This evening was very productive. I installed the new rebuilt caliper and hose after work. The old components came off with little fuss and in the grand scheme of things they did not look bad. I know the car has sat off and on for the past few years and either the caliper was sticking or the hose was swelled up inside creating a blockage. I bought the caliper at O'Reilly auto parts for $29.99 and the hose was $17.99. They were the only store that could get me a caliper in a day or two. They are the same price on Amazon but I prefer to buy local when I can in the event I have an issue. A friend of mine gave me a new set of pads so they were free. When I took everything apart there were some nice stainless steel shims in between the pads and the pistons. I have never seen this type of shim before but I took a few minutes with some fine steel wool to clean them up. The before and after is night day. Everything was reassembled and lubed where it needed to be with some anti-seize. Most people would have pulled the rotor and had it turned but despite how the rotor looks it was not grooved and I really did not want to mess with the bearings to pull it. A quick bleed session confirmed everything was sealed up so the wheels went back on for a test drive. The new caliper and hose did the trick as it tracked and stopped straight while driving it. Tonight marked a major milestone for the car as it is now at a point where I feel confident taking it up to highway speeds and to this weekend's Cars and Coffee event. Its been almost 3 months since I bought the car and many projects to get it here. However, it has all been worth it as the car is a blast to drive! The triple Dellortos, ZX 5spd w/Hurst shifter, the LSD, and full suspension make it a great car to toss around and wind out getting on to entrance ramps. I drove it so much I had to stop and put some more gas in it. Seemed like the perfect opportunity for a few photos!

 2 points
 -
1 pointThey are. Because they know they'll need parts and you have to go find them.1 point
-
1 pointI re-checked wire again last night.... then I found out that I connected the positive wire and the negative wire opposite way to the IC matchbox. After re-connect, turn the key..., worked!!! Thanks Chas, Zed Head for constant advice! I can move to next area now! Sent from my iPhone using Classic Zcar Club mobile1 point
-
1 point
-
1 point
-
“And now, here's something we hope you'll really like..." Talk about a flashback!1 point
-
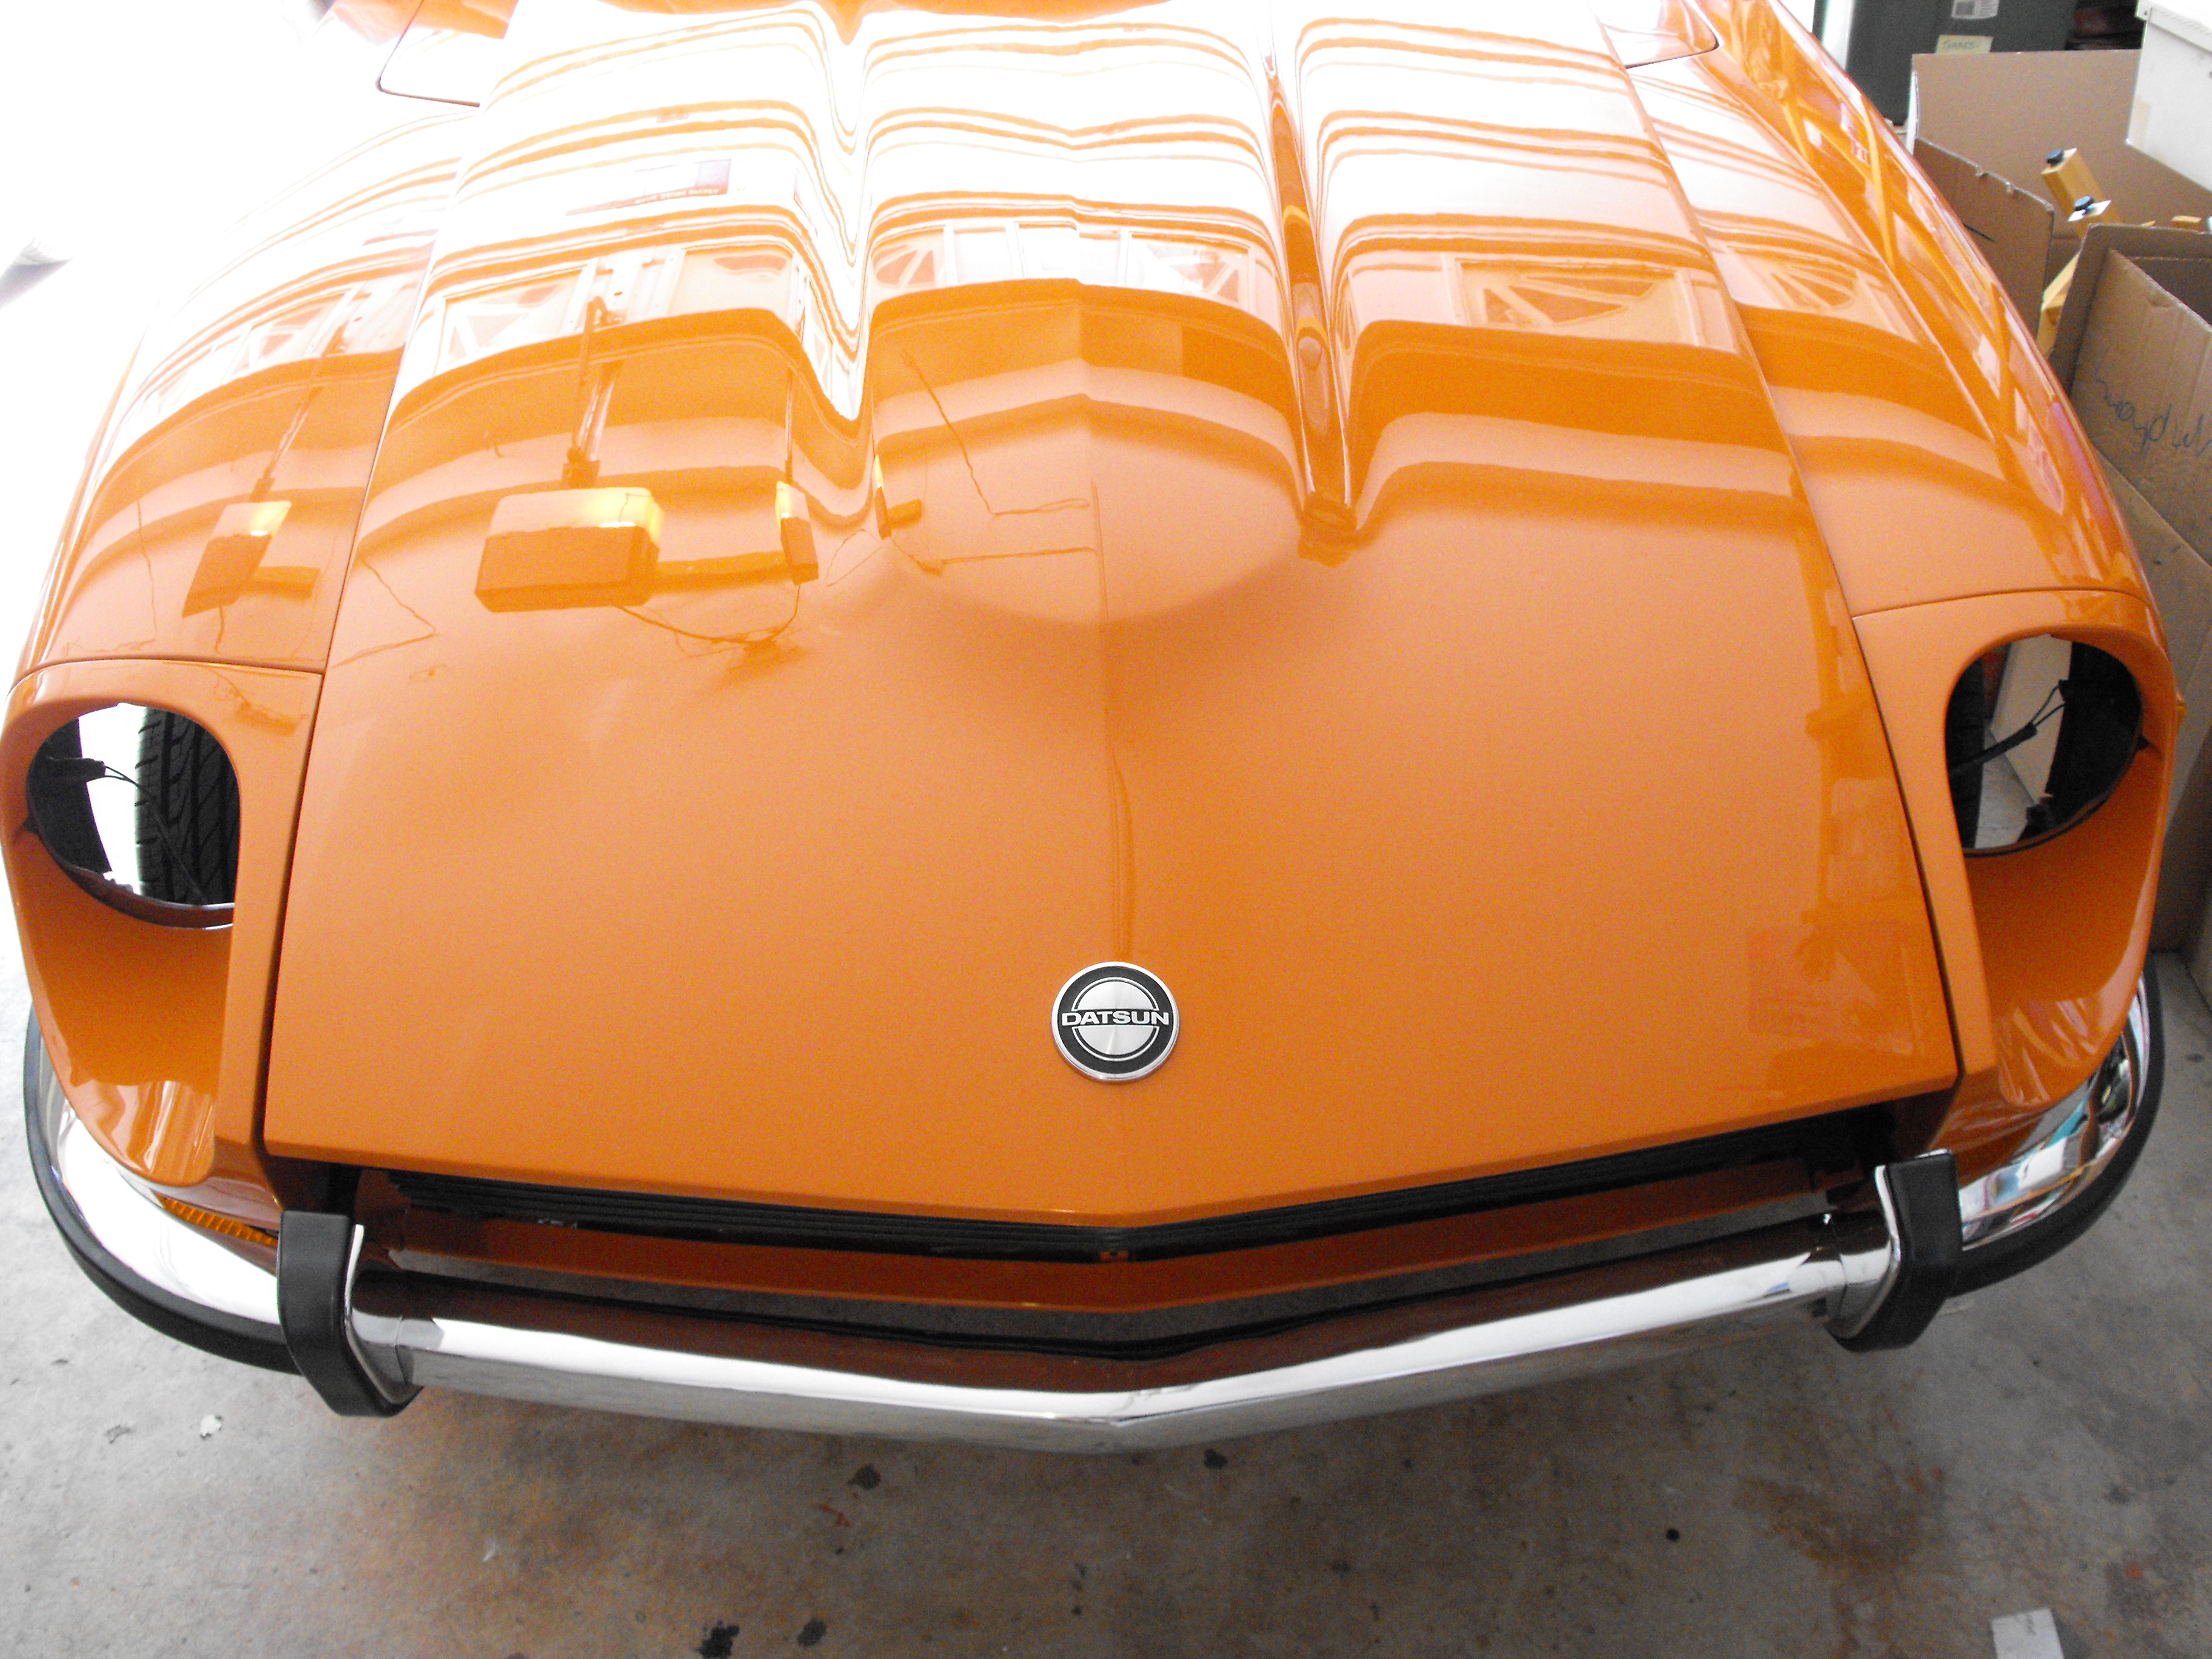
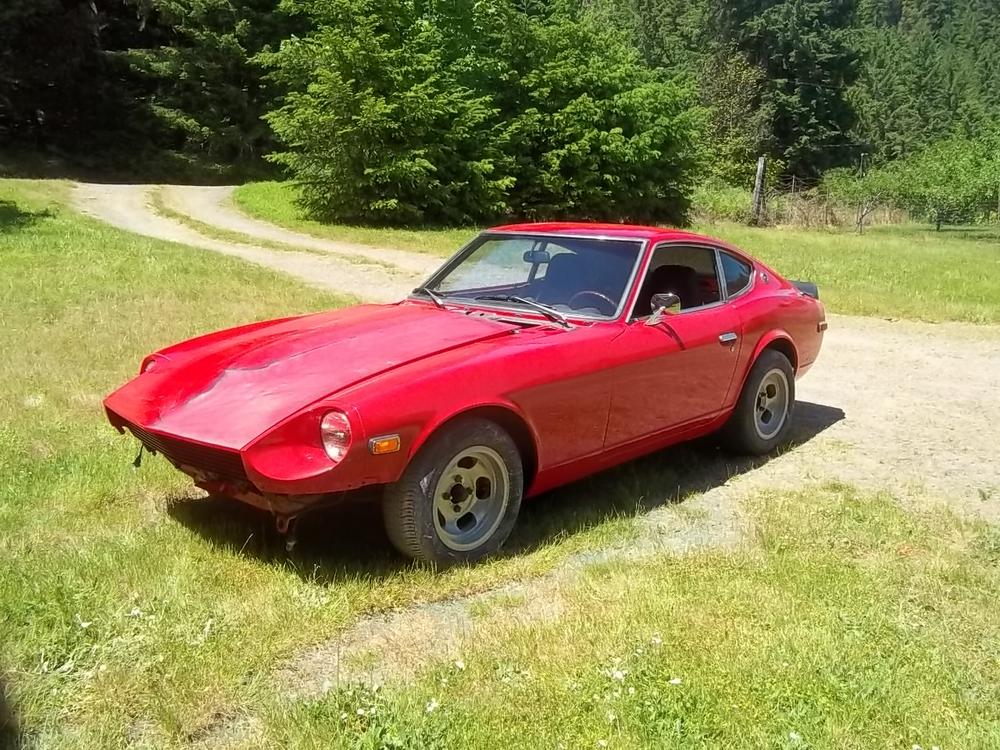
Looking good, where are you going with this one? Are you going to give it the full treatment like the last 240 or just a rip around car? A deep paint buff and it will be a real looker.1 point
-
Found the one I was thinking of -1 point
-
1 pointFinally found my donor vehicle. Well I found it about 6-8 months ago but the price was too high so I didn't even bother calling to make an offer. I have been daily searching these cars on auto tempest for over a year and yesterday, the price dropped and I jumped. The car arrives on Wednesday. It's an 86 300zx non turbo auto. Base line model which I prefer for this project. It has 56k original miles and seems to be in outstanding shape. The oddest part is that it's never actually been registered and has instead bounced from dealer to dealer. All I want is a clean shell with good bones and a very nice black interior so this certainly fits the bill. On the engine side, Tomei cams, lifters and beryllium copper valve seat rings have been ordered so that the headwork can start. I estimate the engine to be complete in February.1 point
-
1 pointi have this one. it works well. downside, no instructions at all, and, you dont know what parts they are when you need replacements. and, 14" wheels do fit, but there is very little extra room. IIRC i had to remove the wheel weights. i also have the toyota front calipers, but not these wheels now

 1 point
 -
1 pointI’m a great driver when I drink! Sent from my iPhone using Classic Zcar Club mobile1 point
-
1 pointMitch....If you don’t come to ZCON next year, I’m gonna be upset! Cliff and I need a designated driver!1 point
-
When you replace the timing chain, I'll strongly recommend new bolts for the front timing cover / water pump. I had that cover on and off 3 or 4 times when I rebuilt my engine last year because I broke a water pump bolt, then after removing it, cleaning it all up, and removing the broken bolt, I reassembled and broke one of the timing cover bolts. Just buy a new bolt kit and save yourself the headache and cursing! I also ended up putting heliacoil inserts in each of the 4 holes on the bottom of the timing cover since 2 of them stripped out when I installed my oil pan (2 more times removing the front cover). I promise I was gentile throughout and hand threaded things in before trying to torque them to spec! I think Dad and I messed up those threads 20+ years ago when we last replaced the timing chain.1 point
-
1 pointI used the upgrade kit from Arizona Z. Very good quality and they were easy to work with. Very pleased with the performance as compared to the stock brakes. Probably not the cheapest solution but it was brand new and in the limit performed extremely well. You will need to consider the following: 1. If you are running the standard 14 inch rims, they will not fit over the big brake kit. I have been told that 15" will work, but in my case I went with a 16" Konig rewind. You will also need to consider what you will want to do for a spare tire. I ended up getting a donut spare I believe from a later model Nissan Sentra that had the correct bolt spacing and also fit into the spare tire well. It easily fits over the bigger brakes. 2. At least with the Arizona Z kit, you will need to decide what to do for a emergency / parking brake. The Arizona kit as standard, does not include a replacement for the e-brake. They do sell a mechanical caliper which can be used to replace the OEM e-brake, but they only provide the caliper itself as well as a different mounting bracket. I had to design a method for connecting the e-brake to the brake handle and this was not straight forward. I have been meaning to do a write up on my implementation of this for some time but just haven't gotten around to it yet. If you decide to go in this direction, let me know and I'll get the write up done. Hope that helps. Mike.1 point
-
1 pointIf any kit requires you to give up your parking brake and you have a manual trans- you might think twice. I miss my parking brake and it adds to the cost in most disc upgrades . Bigger front discs and rear drums in excellent condition should be adequate for all but racing1 point
-
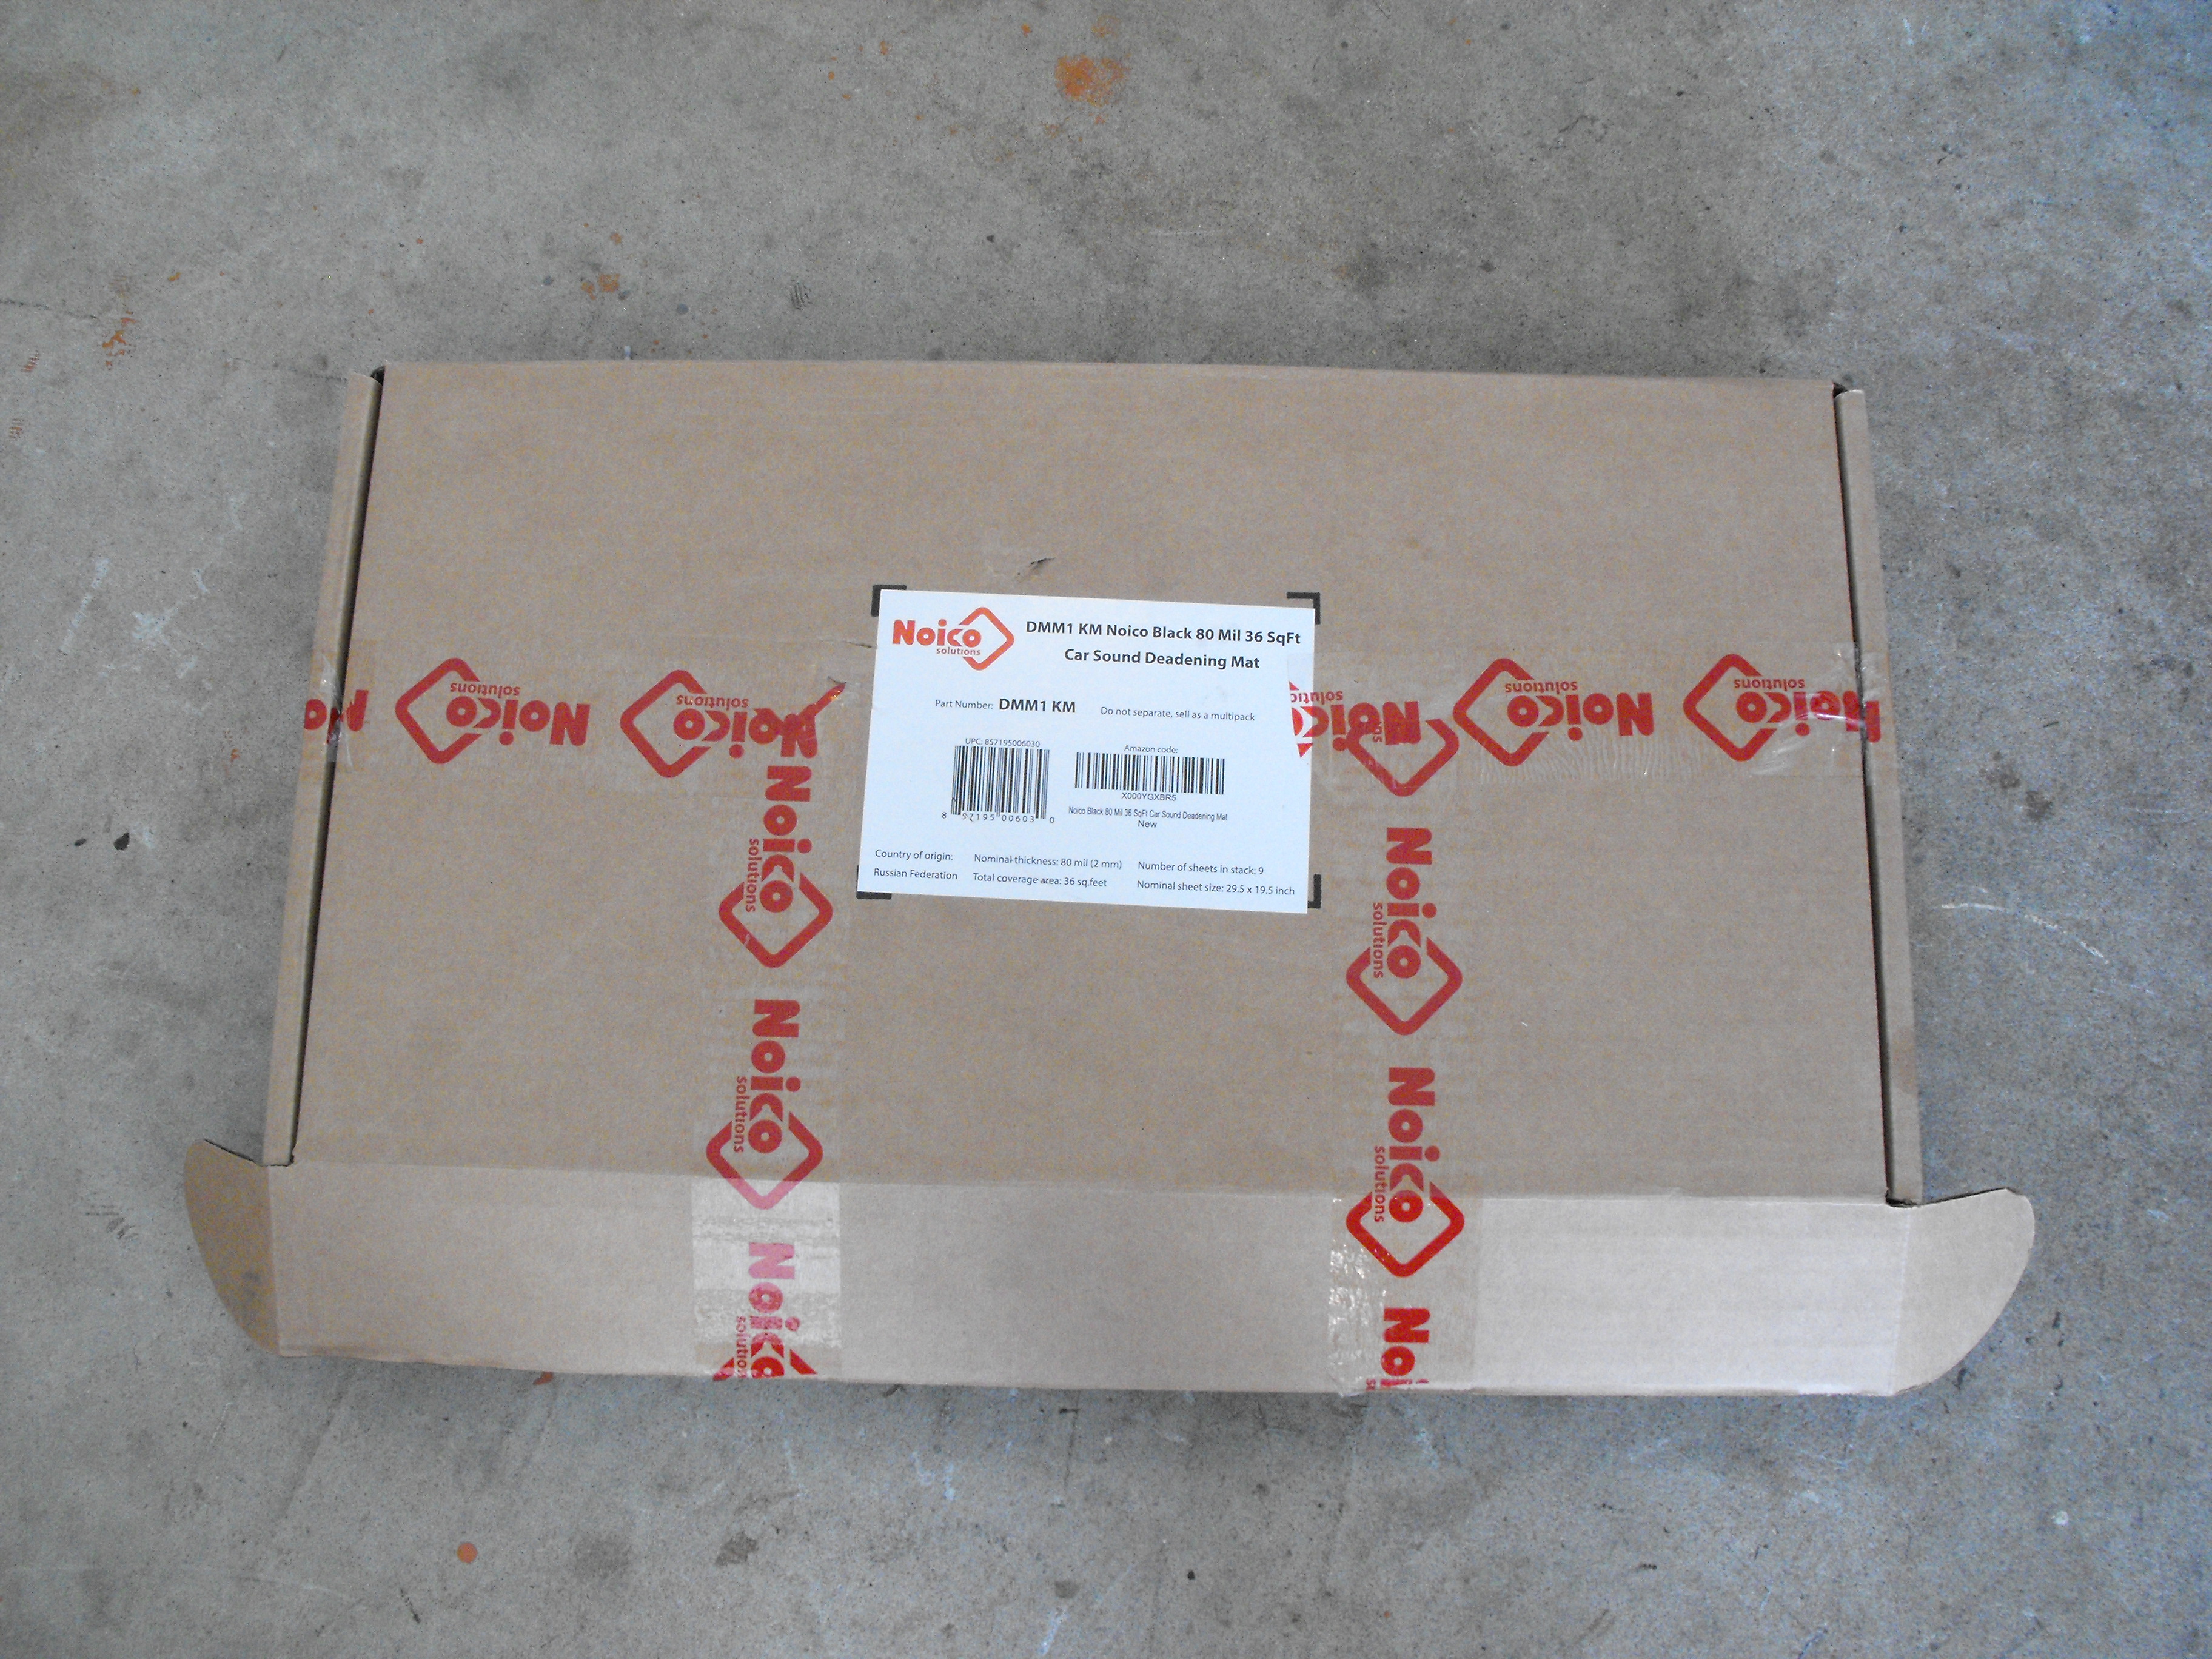
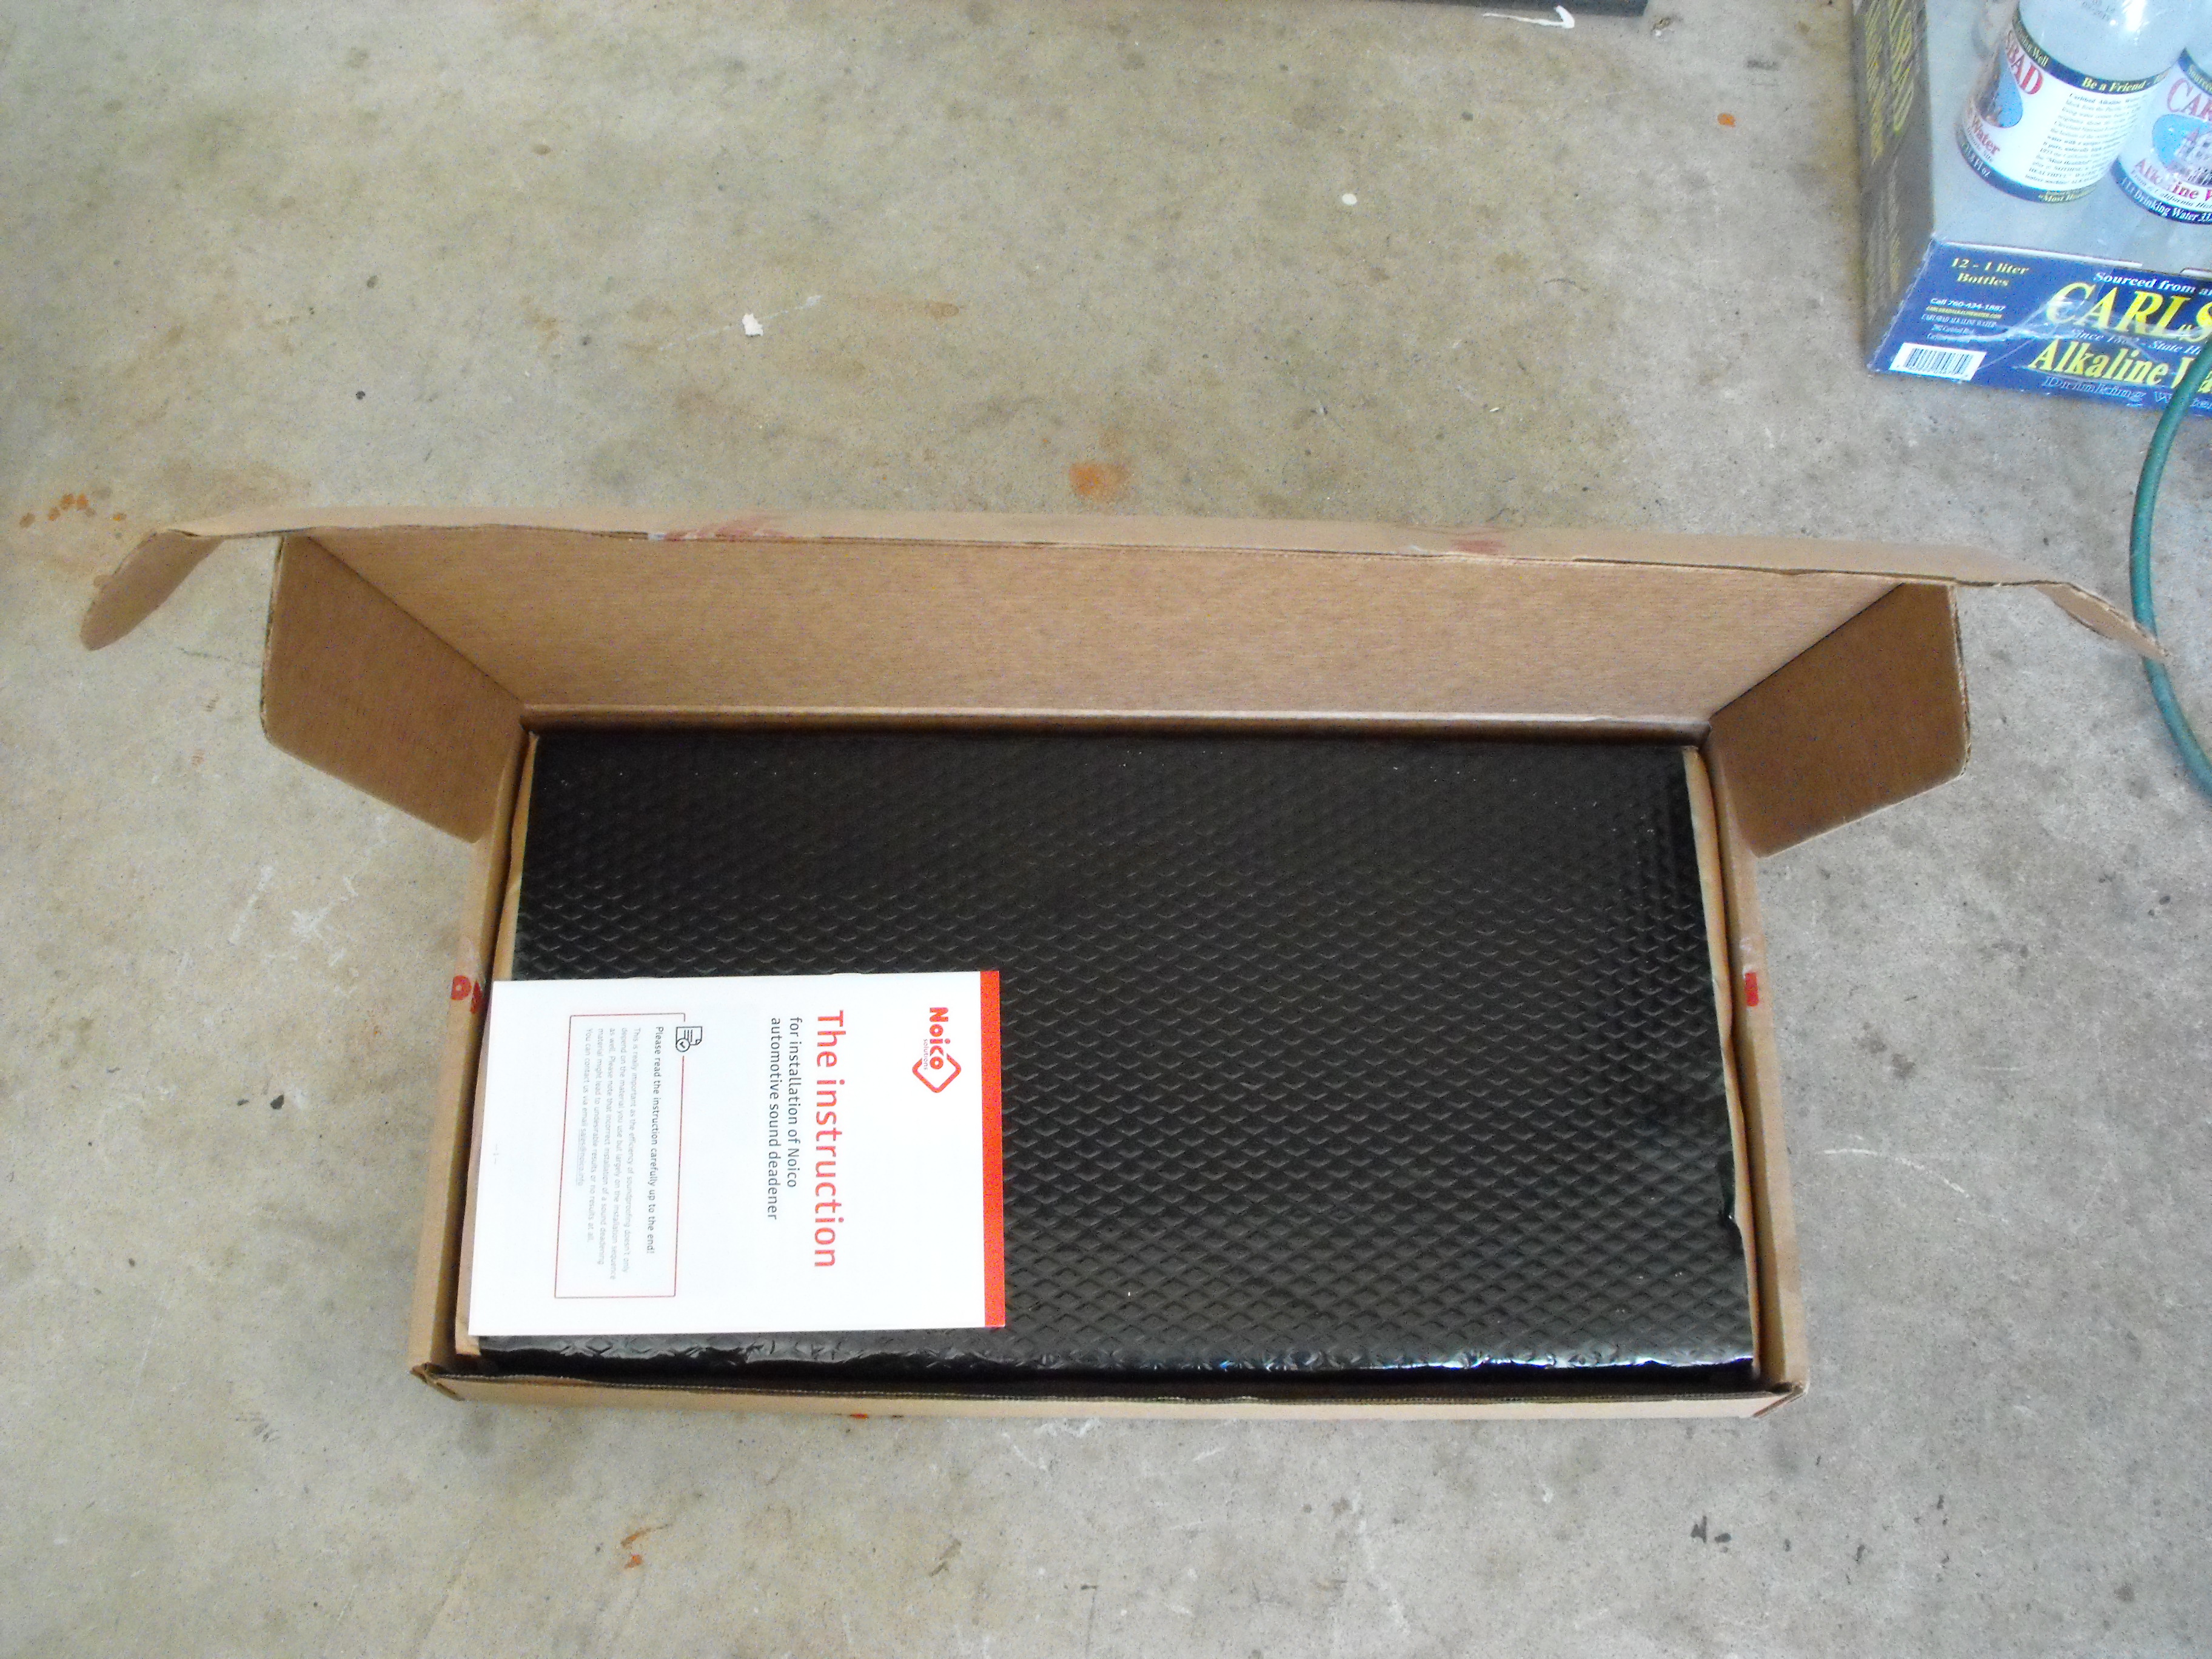
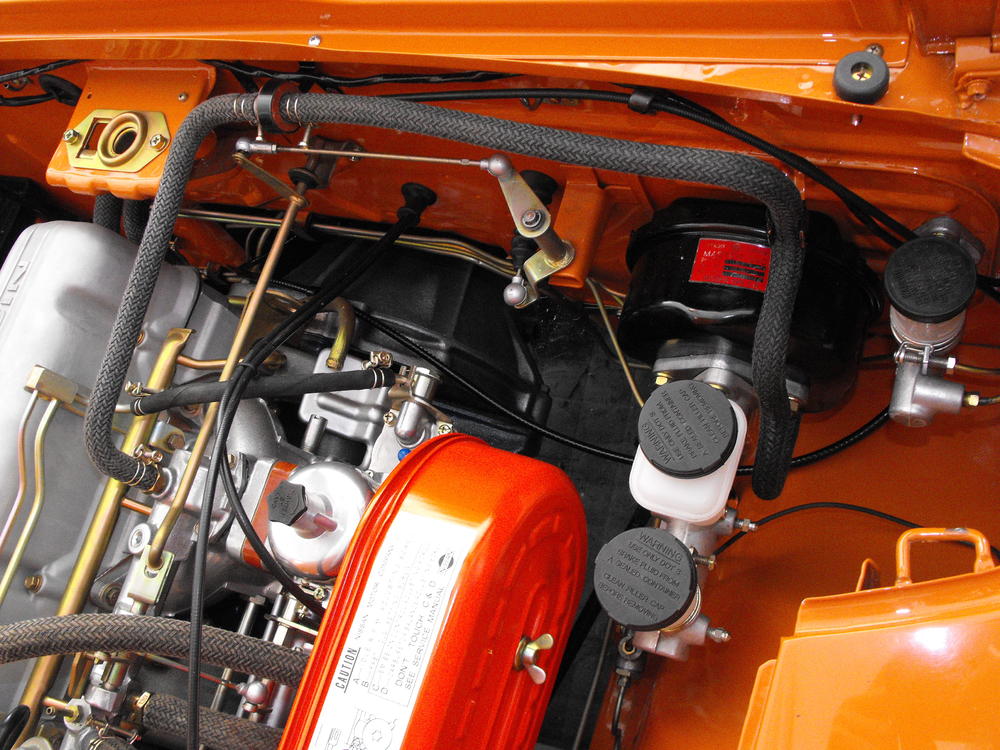
1 pointJust had time for a few small items. Seems the Holidays are always the busiest time of the year. I got the sound deadening mat in. This stuff is interesting, like rubber covered led. It is surprisingly heavy for how small it is. I will use this on the floor, in the doors and on the rear section of the car. I know it is not stock but should make the car a bit quieter inside and will not be visible once everything is assembled. Got the speedo cable in and the carb linkage completed. Also spent some time aligning the bumper. I just need to attach a few more hoses (waiting for more clamps;my original order was short the hoses at the fuel tank) and a few vacuum tubes and then I will be about ready to start her up. Oh, after I get a battery. Will go to Costco for that. With a few minor mods, their batteries can look pretty retro and original. Anyway, here are a few pics for now.


 1 point
 -
1 pointi like that fans well enough, no real dis-likes. when they kick in, they move a lot of air, cooling the engine down fast. basically, they only come on in stop & go traffic or at idle. i did upgrade my alternator to a 90 amp so i have plenty of power, even at idle.1 point