Leaderboard


 Subscriber

Popular Content
Showing content with the highest reputation on 01/04/2018 in all areas
-
Just picked this guy up a minute ago at Motorsport Auto. Thanks for the great advice. Sent from my iPhone using Classic Zcar Club mobile2 points
-
2 pointsI picked up 3 NOS S30 Fairlady Z emblems and found two places that can replicate the S30 Z432 "432" emblems as well. The original Z432 was named as such due to the 4 valves per cylinder, triple carbs and 2 cams. I intend to create my version of a restomod 80's Z432. The safari gold with watanabe's would really set the package off too I think. The machinist looked over the head and has already created what he needs to open up the valves. He is also making a bridge to keep two valves open at once for the flow bench. He will weld new material into the combustion chamber and reshape it. He wants to unshroud the valves. A Tomei 87mm bore HG is on the way to him now and is the last thing he needs to get started. I have used him on a number of projects and this is the first time he has seemed excited about an engine build. Kind of cool considering he mostly does top fuel dragster type stuff. "This is going to be a fun one" he said when we last talked Found a place to send the RB26 45mm throttle bodies off to have enlarged to 49mm with new butterflies, bearings etc. They re coat the inside of the bores with the factory paint for proper sealing. Then I will take those along with the plenum and Tomei intake gasket kit so the machinist can port match those as well. This is going to be one heck of an engine and I imagine the sound might give Ferrari a run for the money.2 points
-
1 pointPaint: 1. I use the Eastwood dual voltage gun with the setting on high for most of the work I do. 2. I used the Eastwood gloss black for the cross member. I choose gloss for this part because it is such large item and will be easier to clean in gloss. I like the result and am glad I went that way. The satin will attract more dust I think. 3. This part used maybe an ounce and a half? not sure. The bottle was only a quarter full. 4. Nooks and crannies can be a challenge if you have the charge electrode too close to the piece as it will create a dead zone. I hooked the electrode up about 10" away from the part on welding wire for good conductivity. After that, keeping the voltage high and a high flow rate of powder allows it to get it into most areas. There will always be a few dead spots inside the pieces that just don't get heavy coverage. I can usually touch those hidden areas up with a rattle can to protect the metal. Nothing noticeable. Also, make sure you keep the round dispersion cap on at the end of the gun. It allows the powder to disperse rather than "shoot" out. 5. The lamp was placed in about five position around the piece at each level for about 15 minutes each position. Then raised each time for a total of three heights. (15 total positions) This is a slow way to do powder coat, BUT it allows me to coat almost any size object! Paint prep: 1. I used Black Beauty Copper Slag. It cuts well and doesn't contain any sand. 2 & 3. I had about 2 gallons of the media in a bucket and ended up wasting about half with the siphon feed gun. Normally I use a cabinet and have no waste, but this was done outside in an open box.... (and it was +2 degrees celsius yesterday when I did it, so I didn't suffer too much! 4. It took about an hour to clean off the part properly, including all the nooks and crannies. I didn't want old oil and grease melting and catching fire, ruining the paint job! 5. I did nothing more than blast the piece off with an air gun before powder coating. The results are phenomenal and I don't think I could have gotten better results with an additional cleaning process. The copper slag does not adhere to the piece and blows away clean.1 point
-
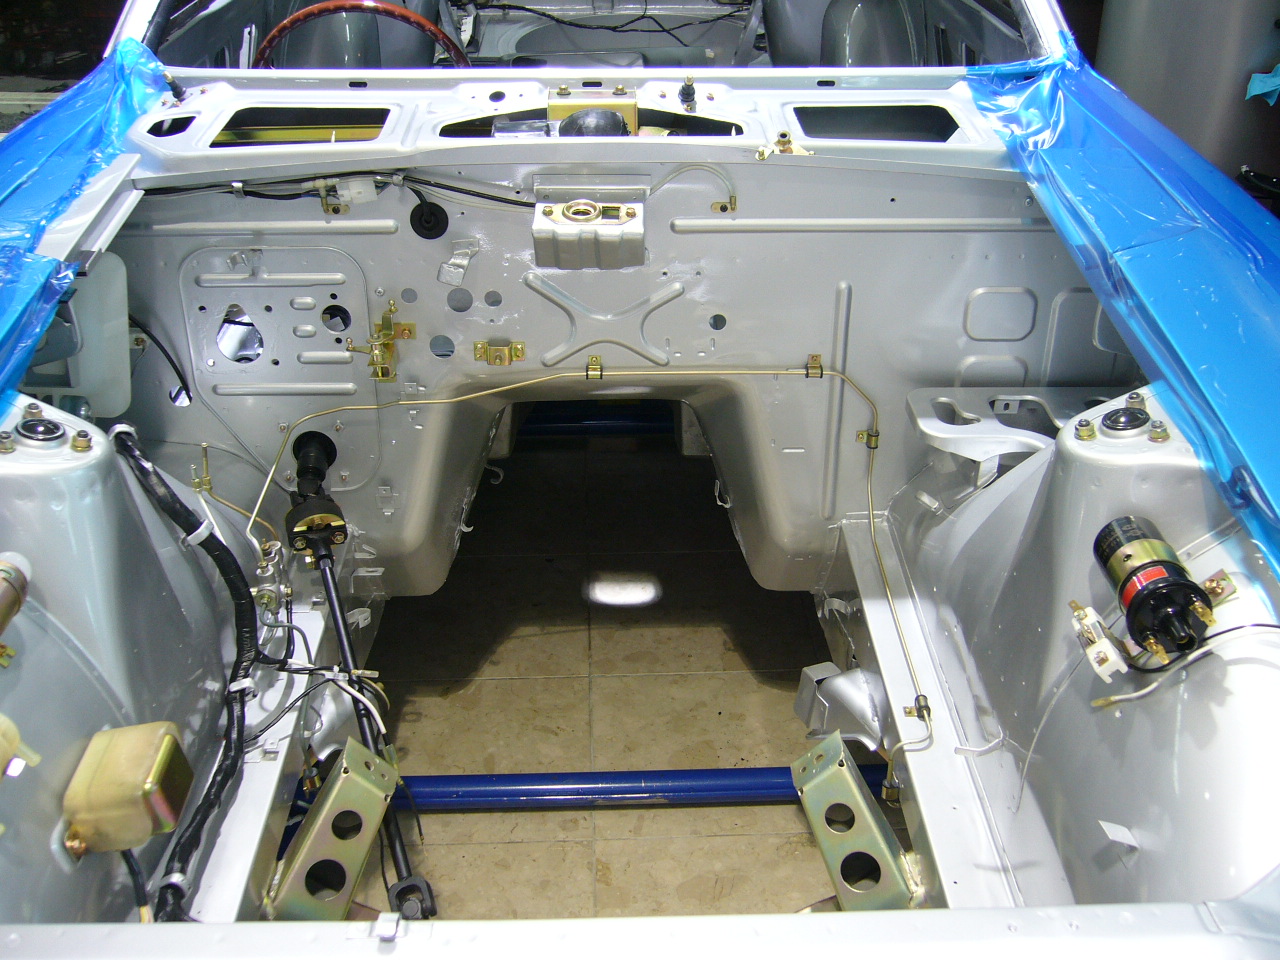
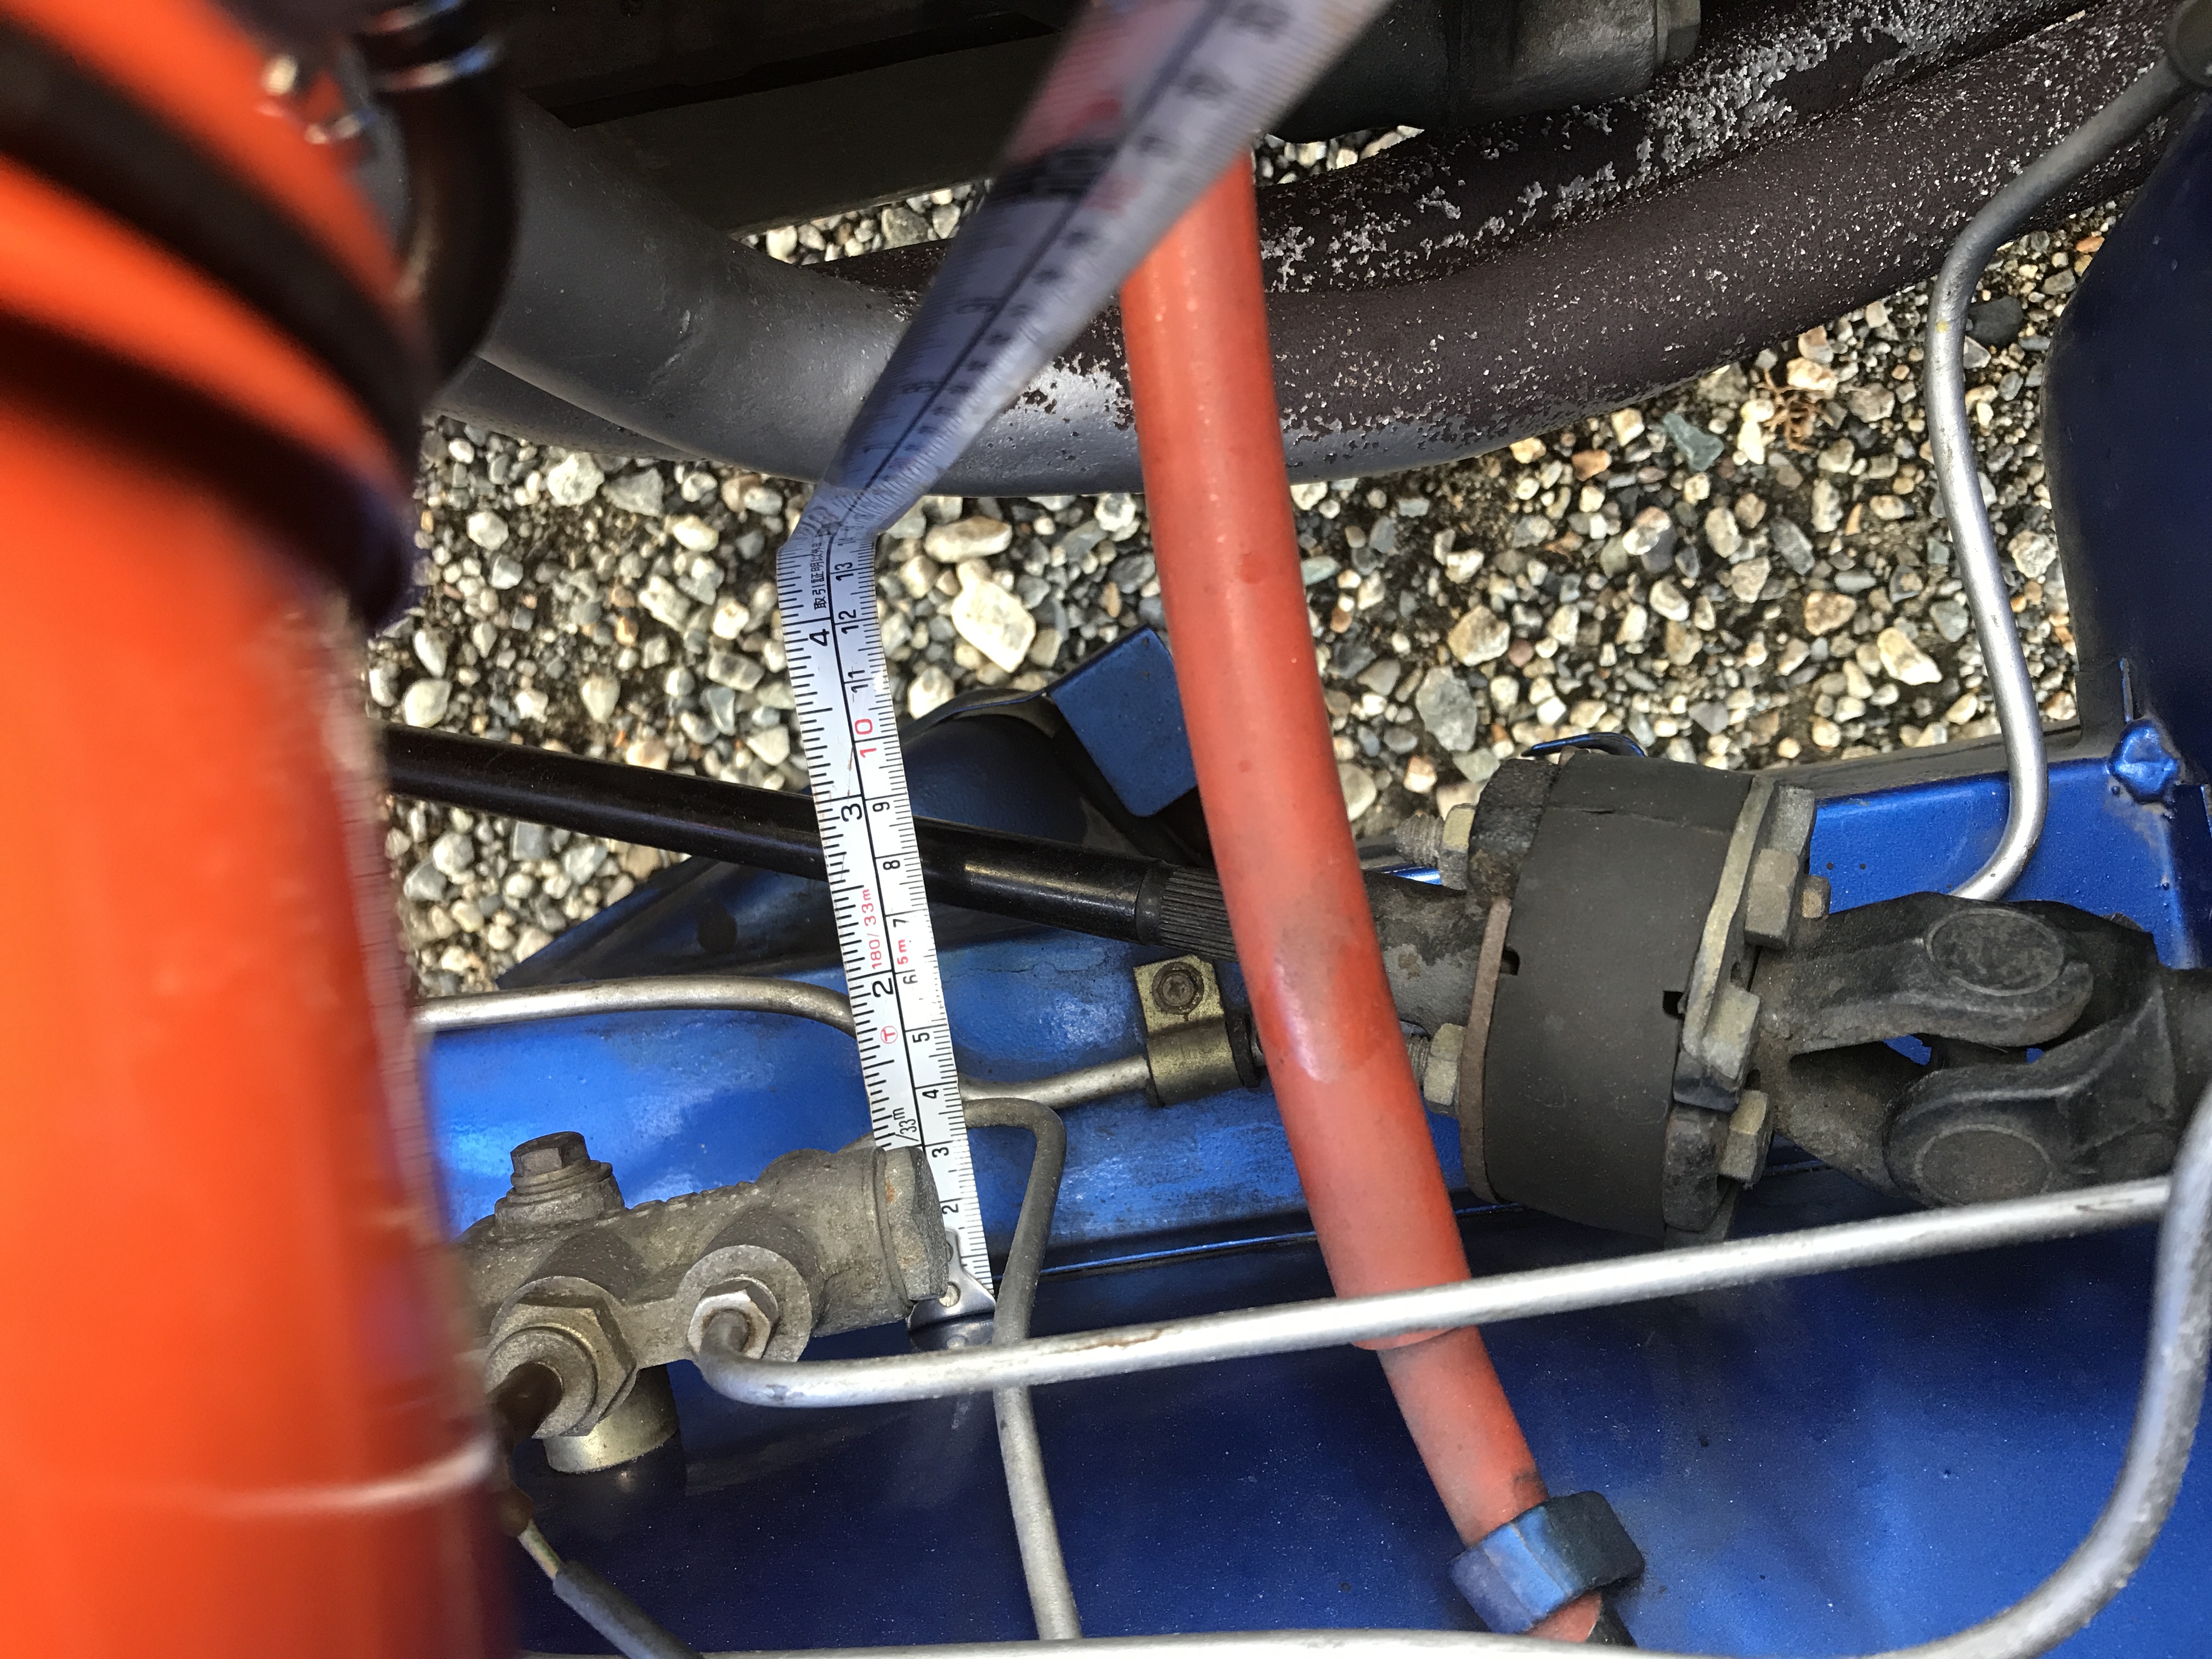
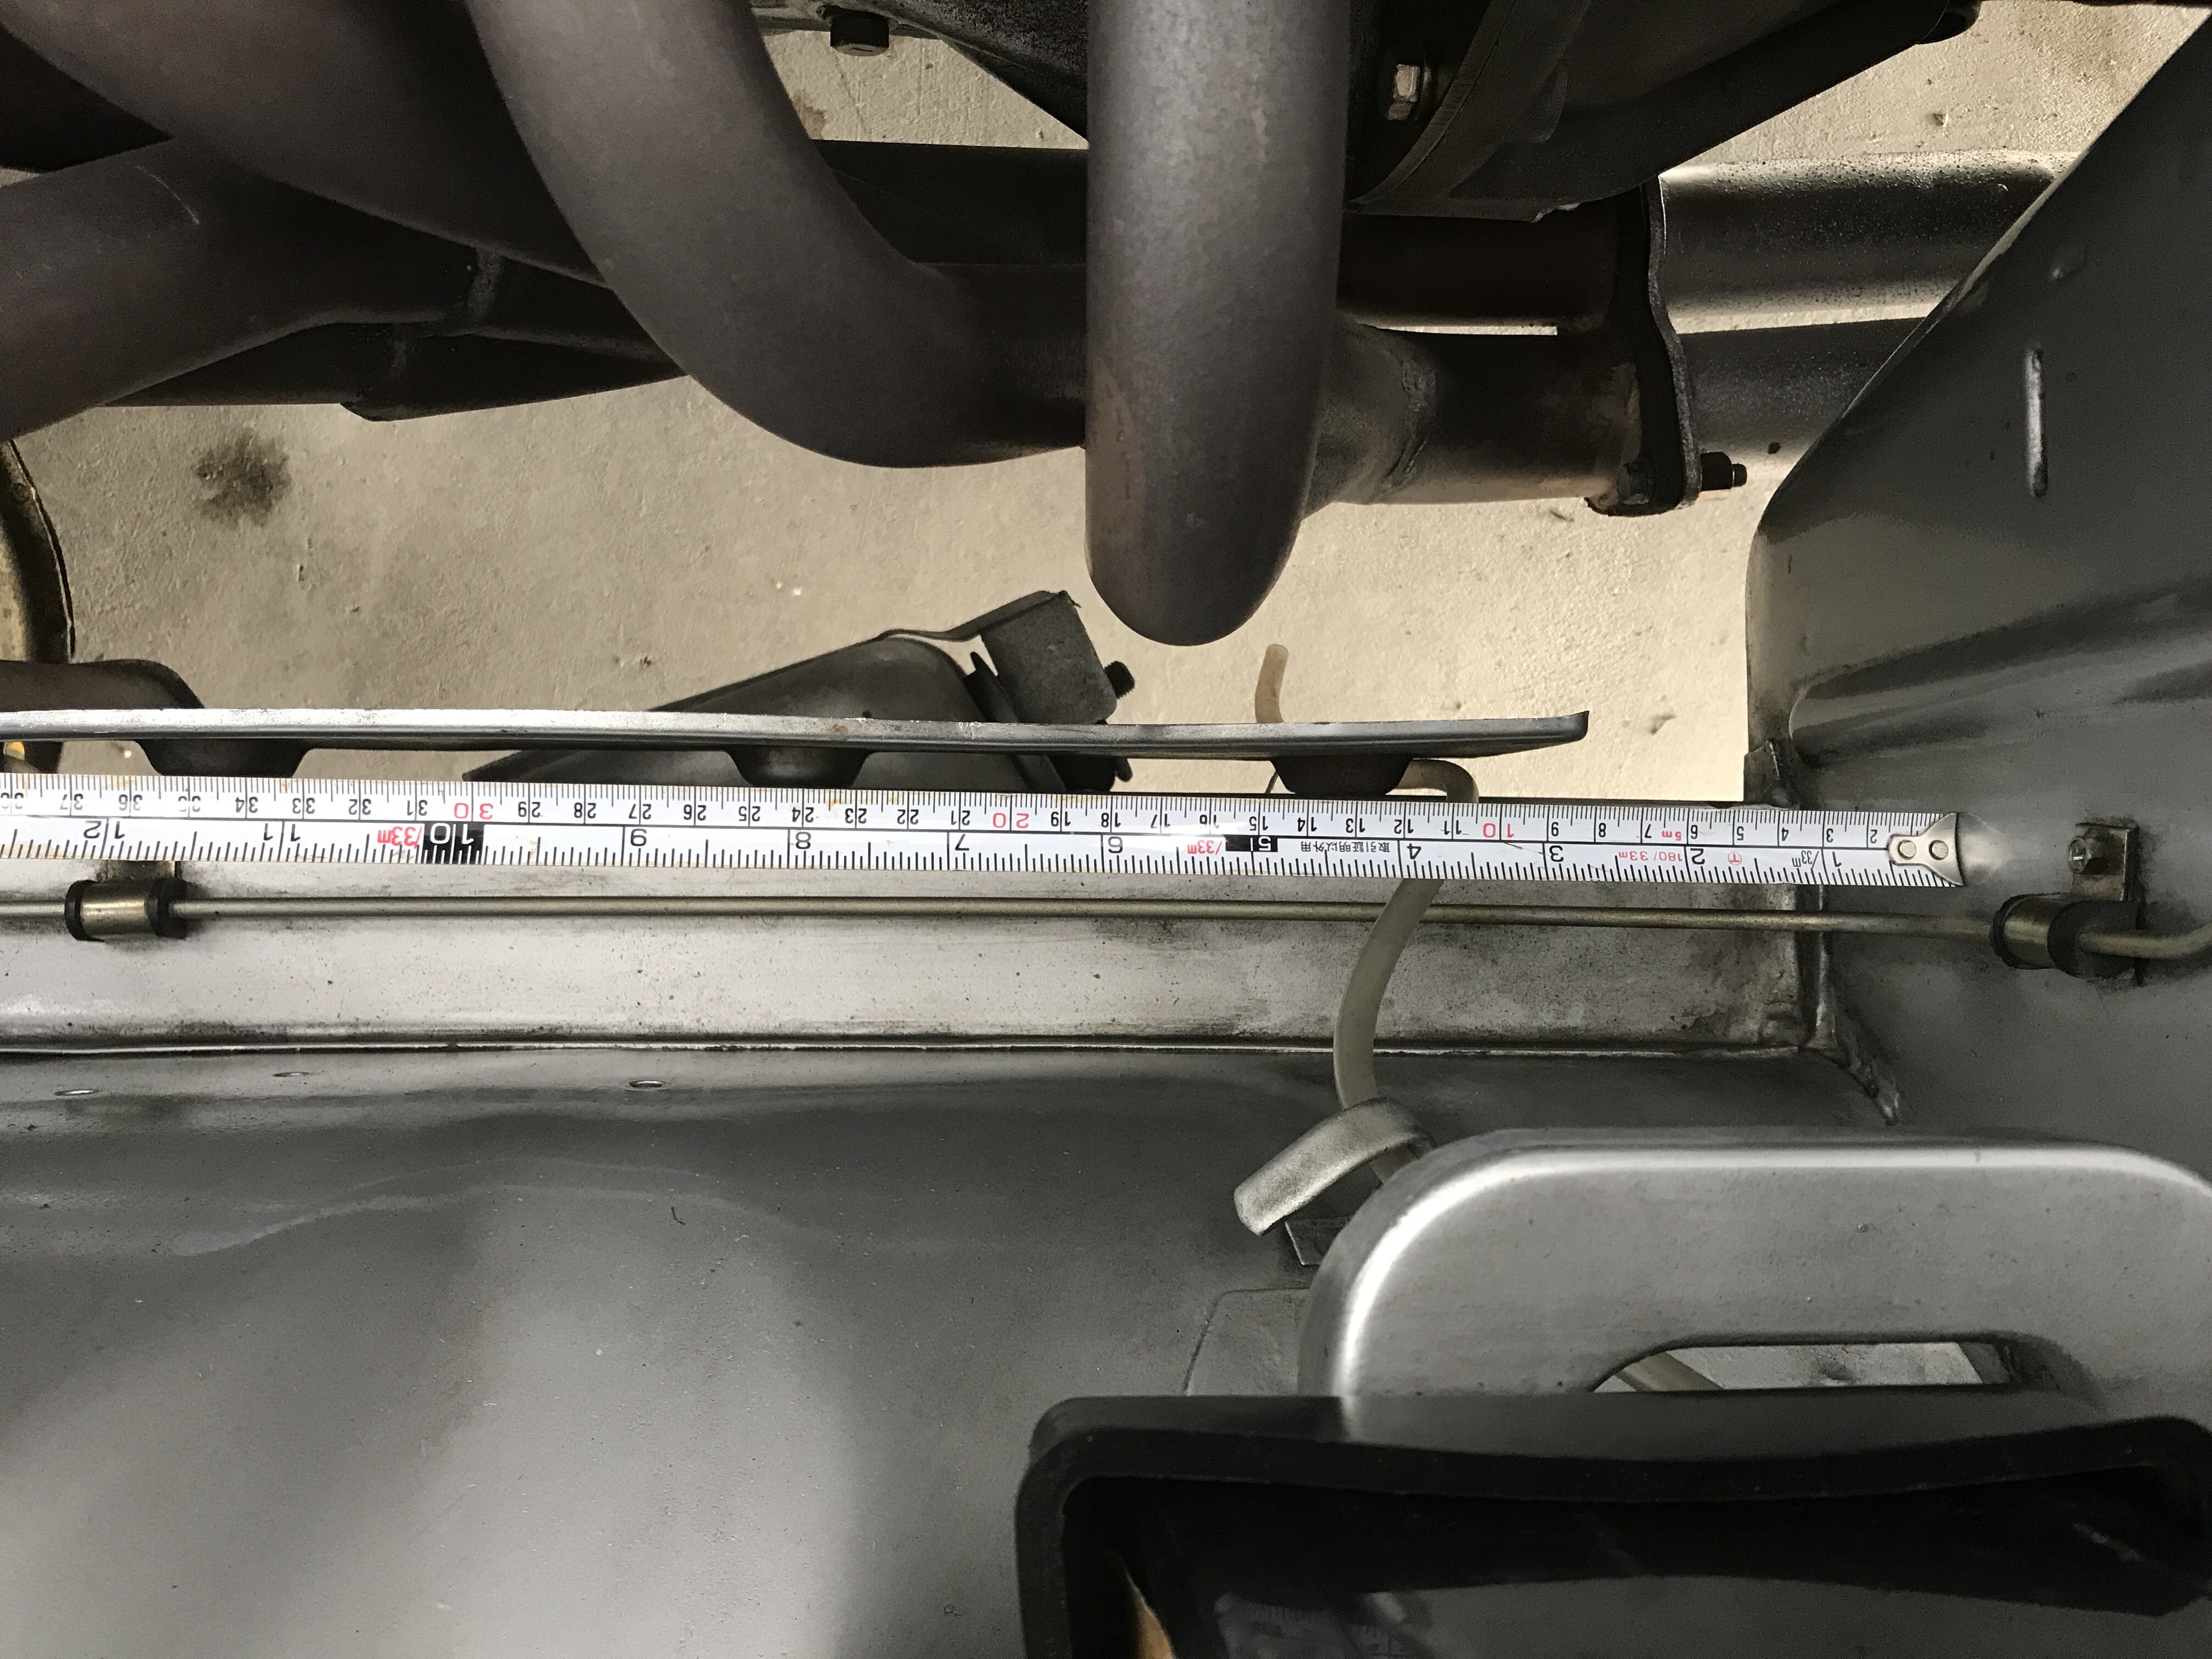
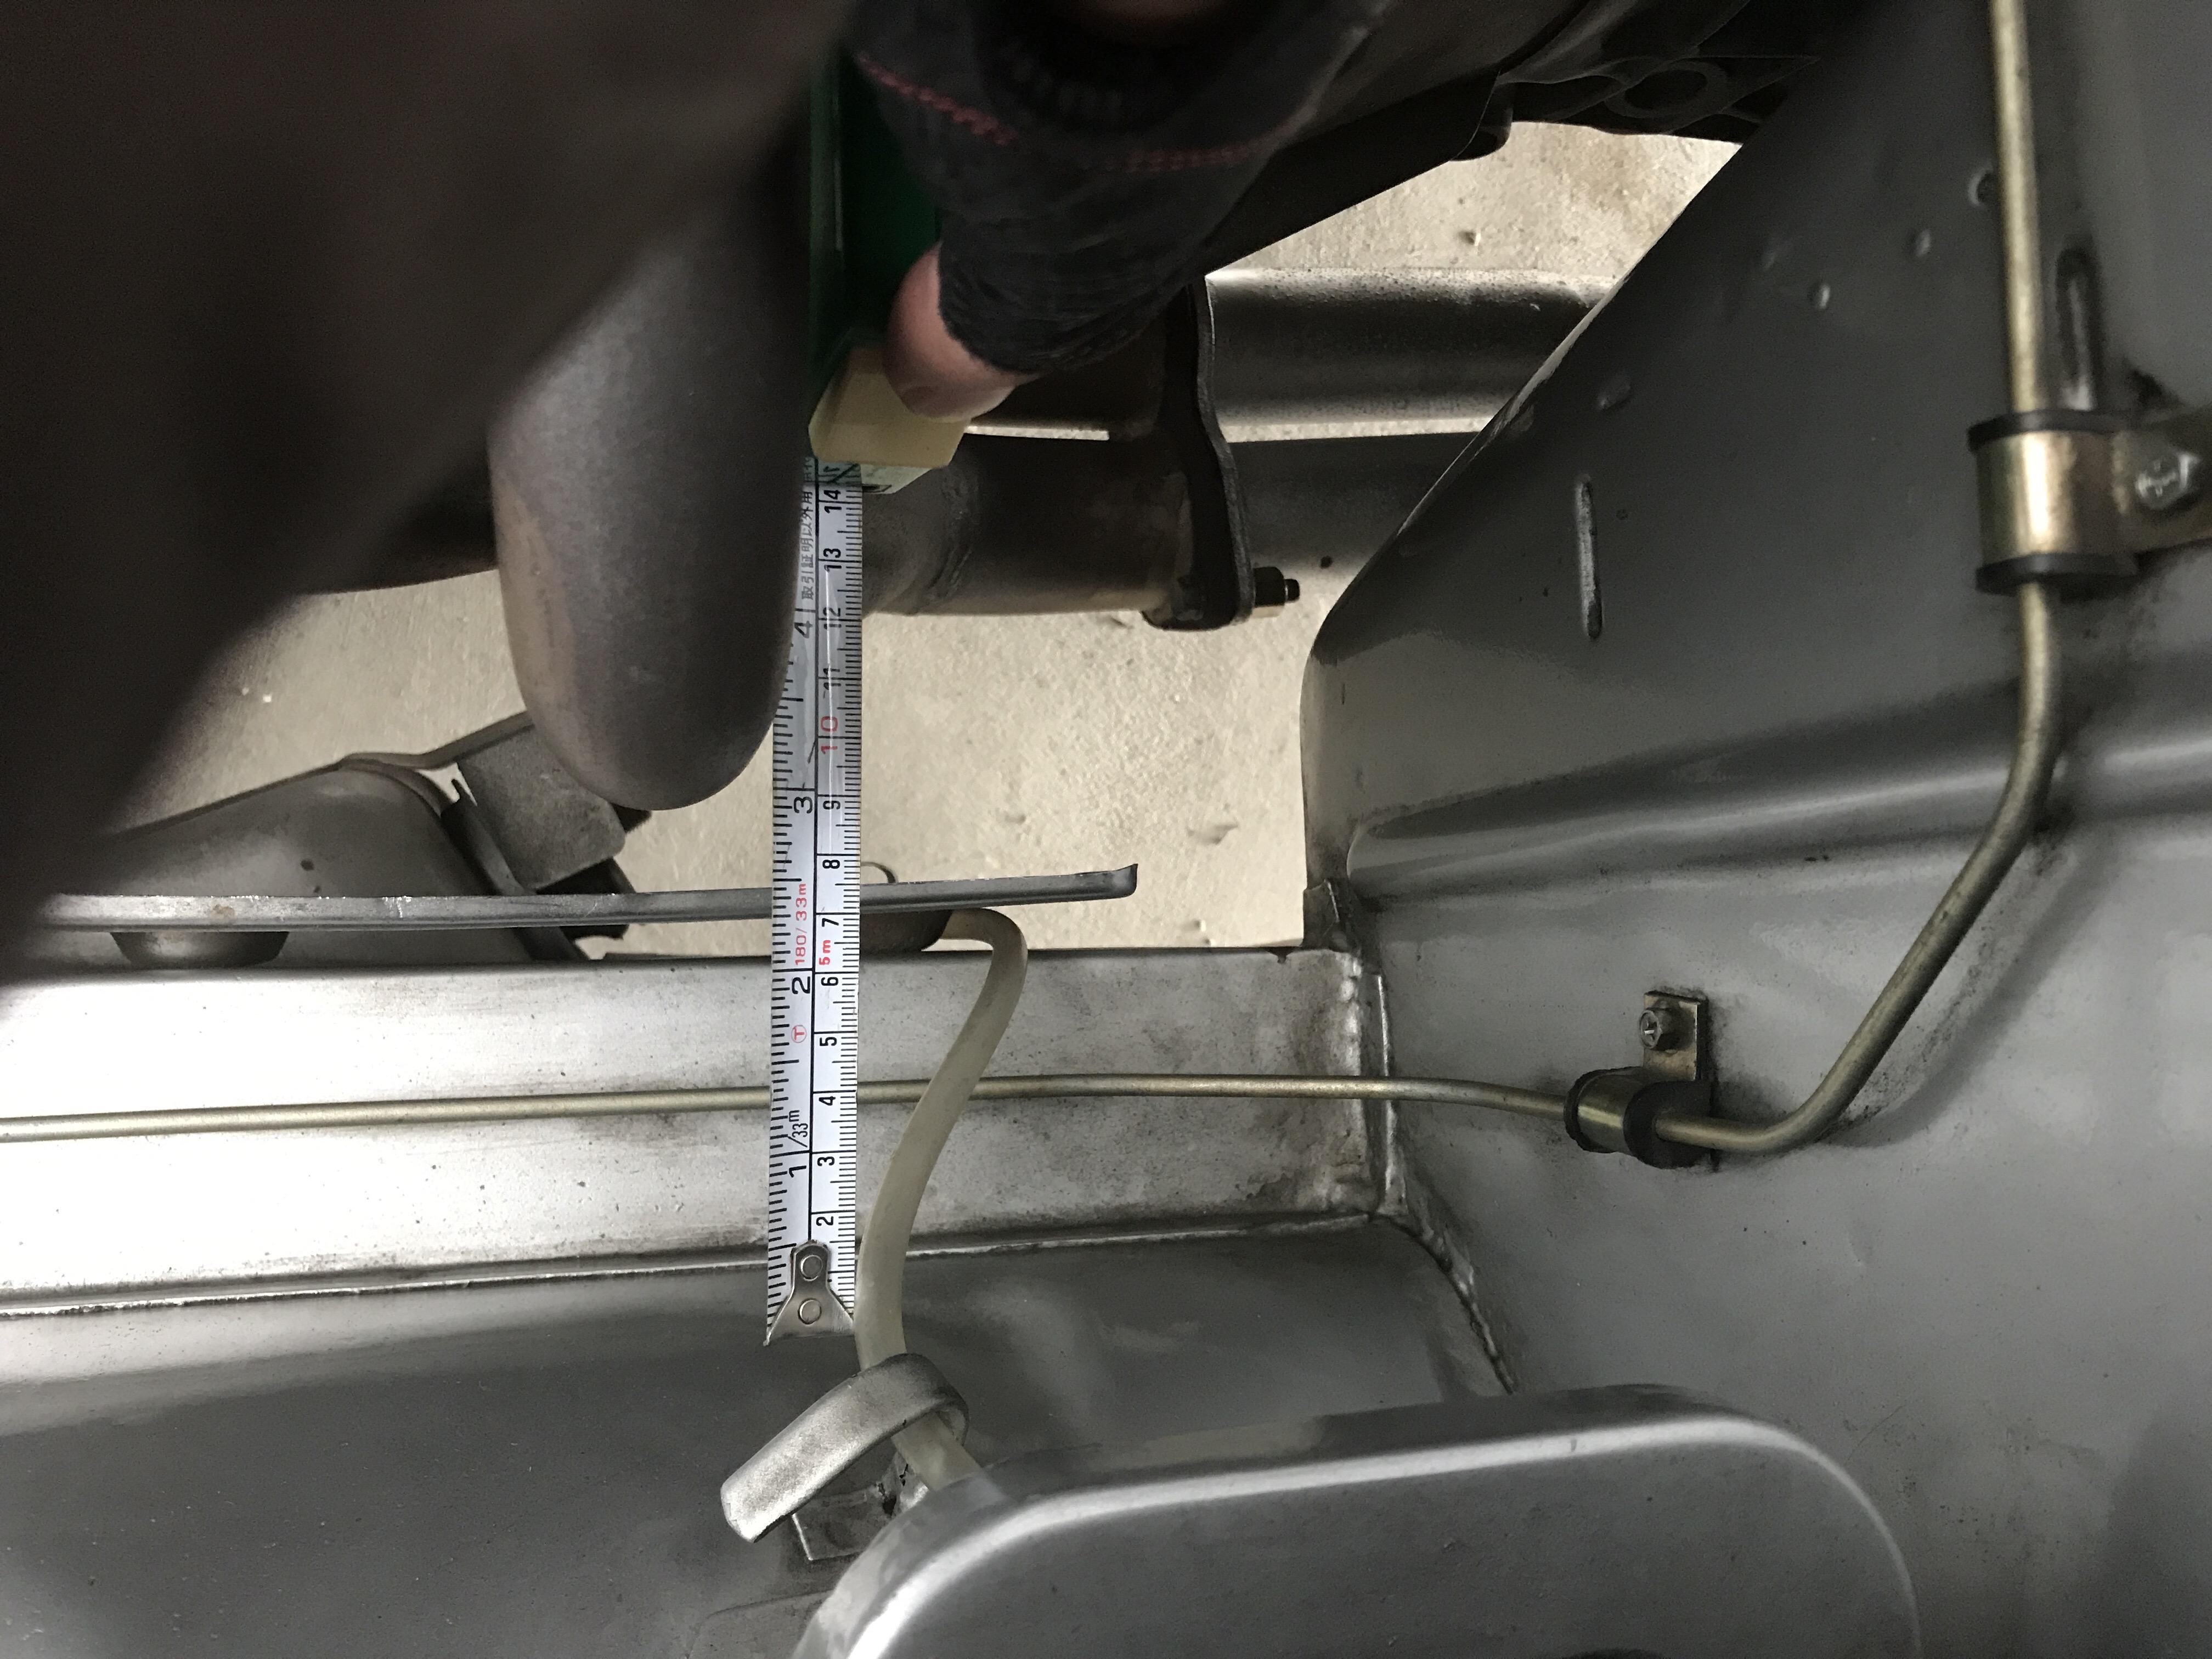
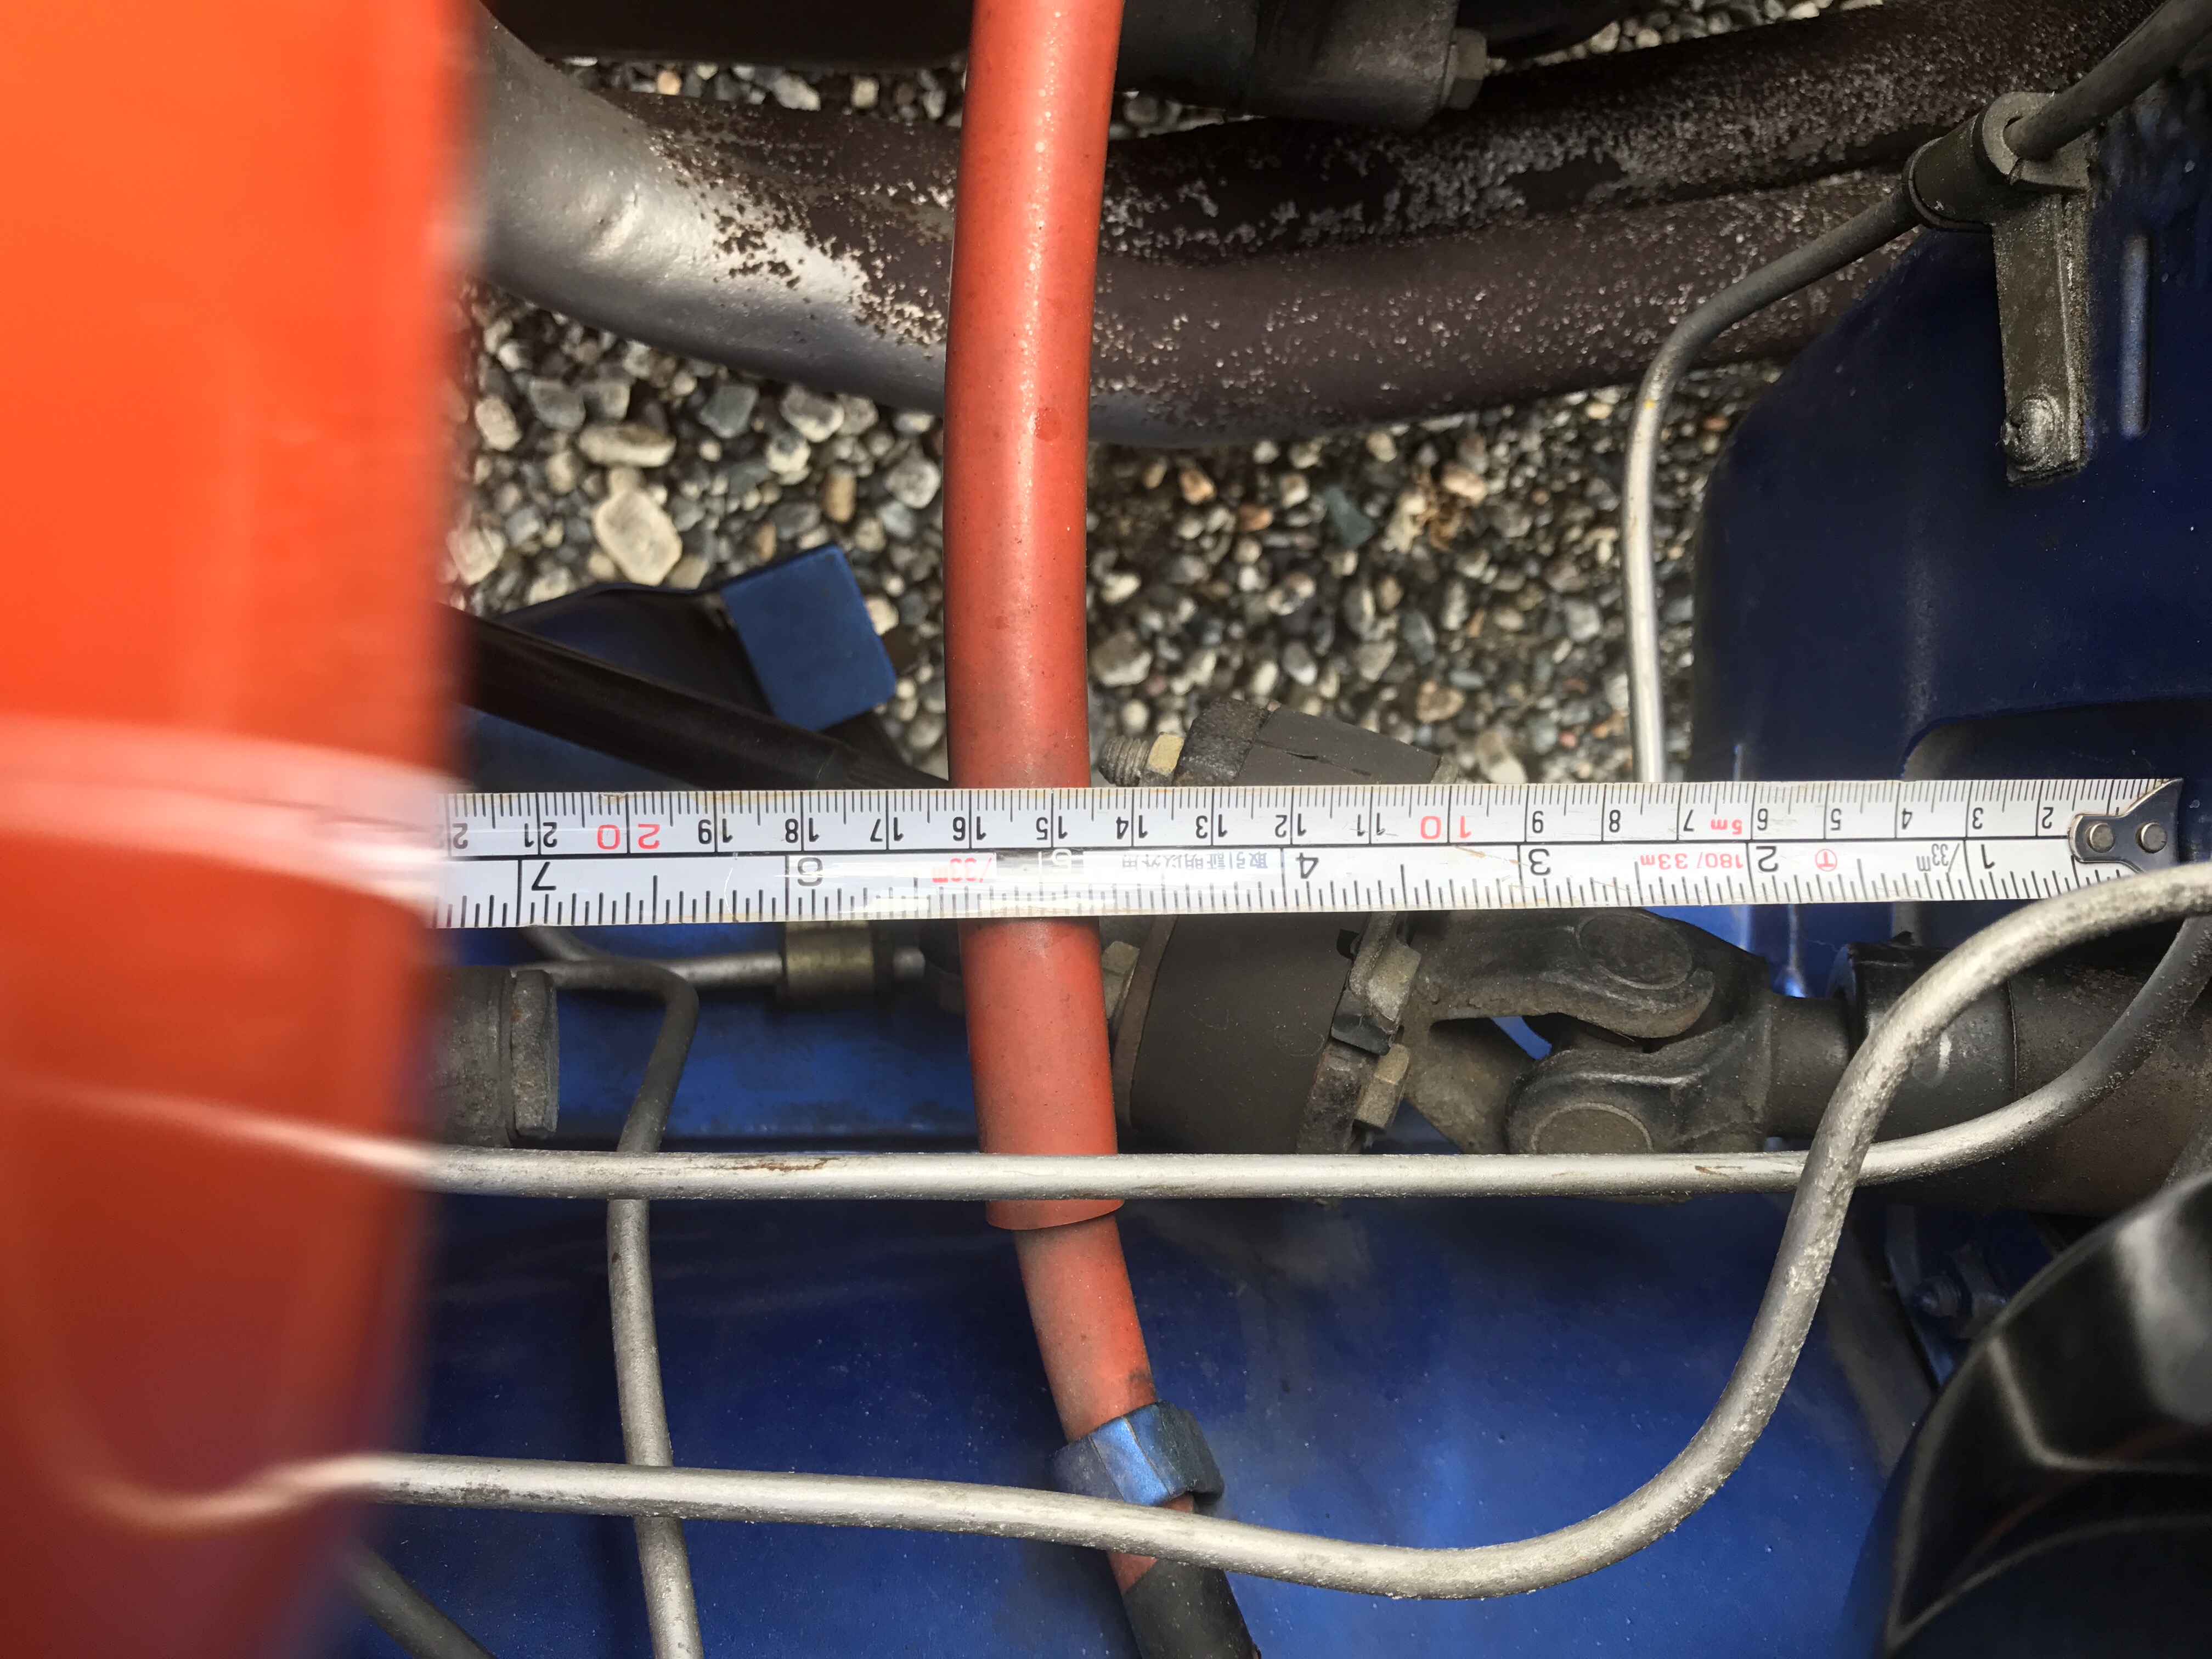
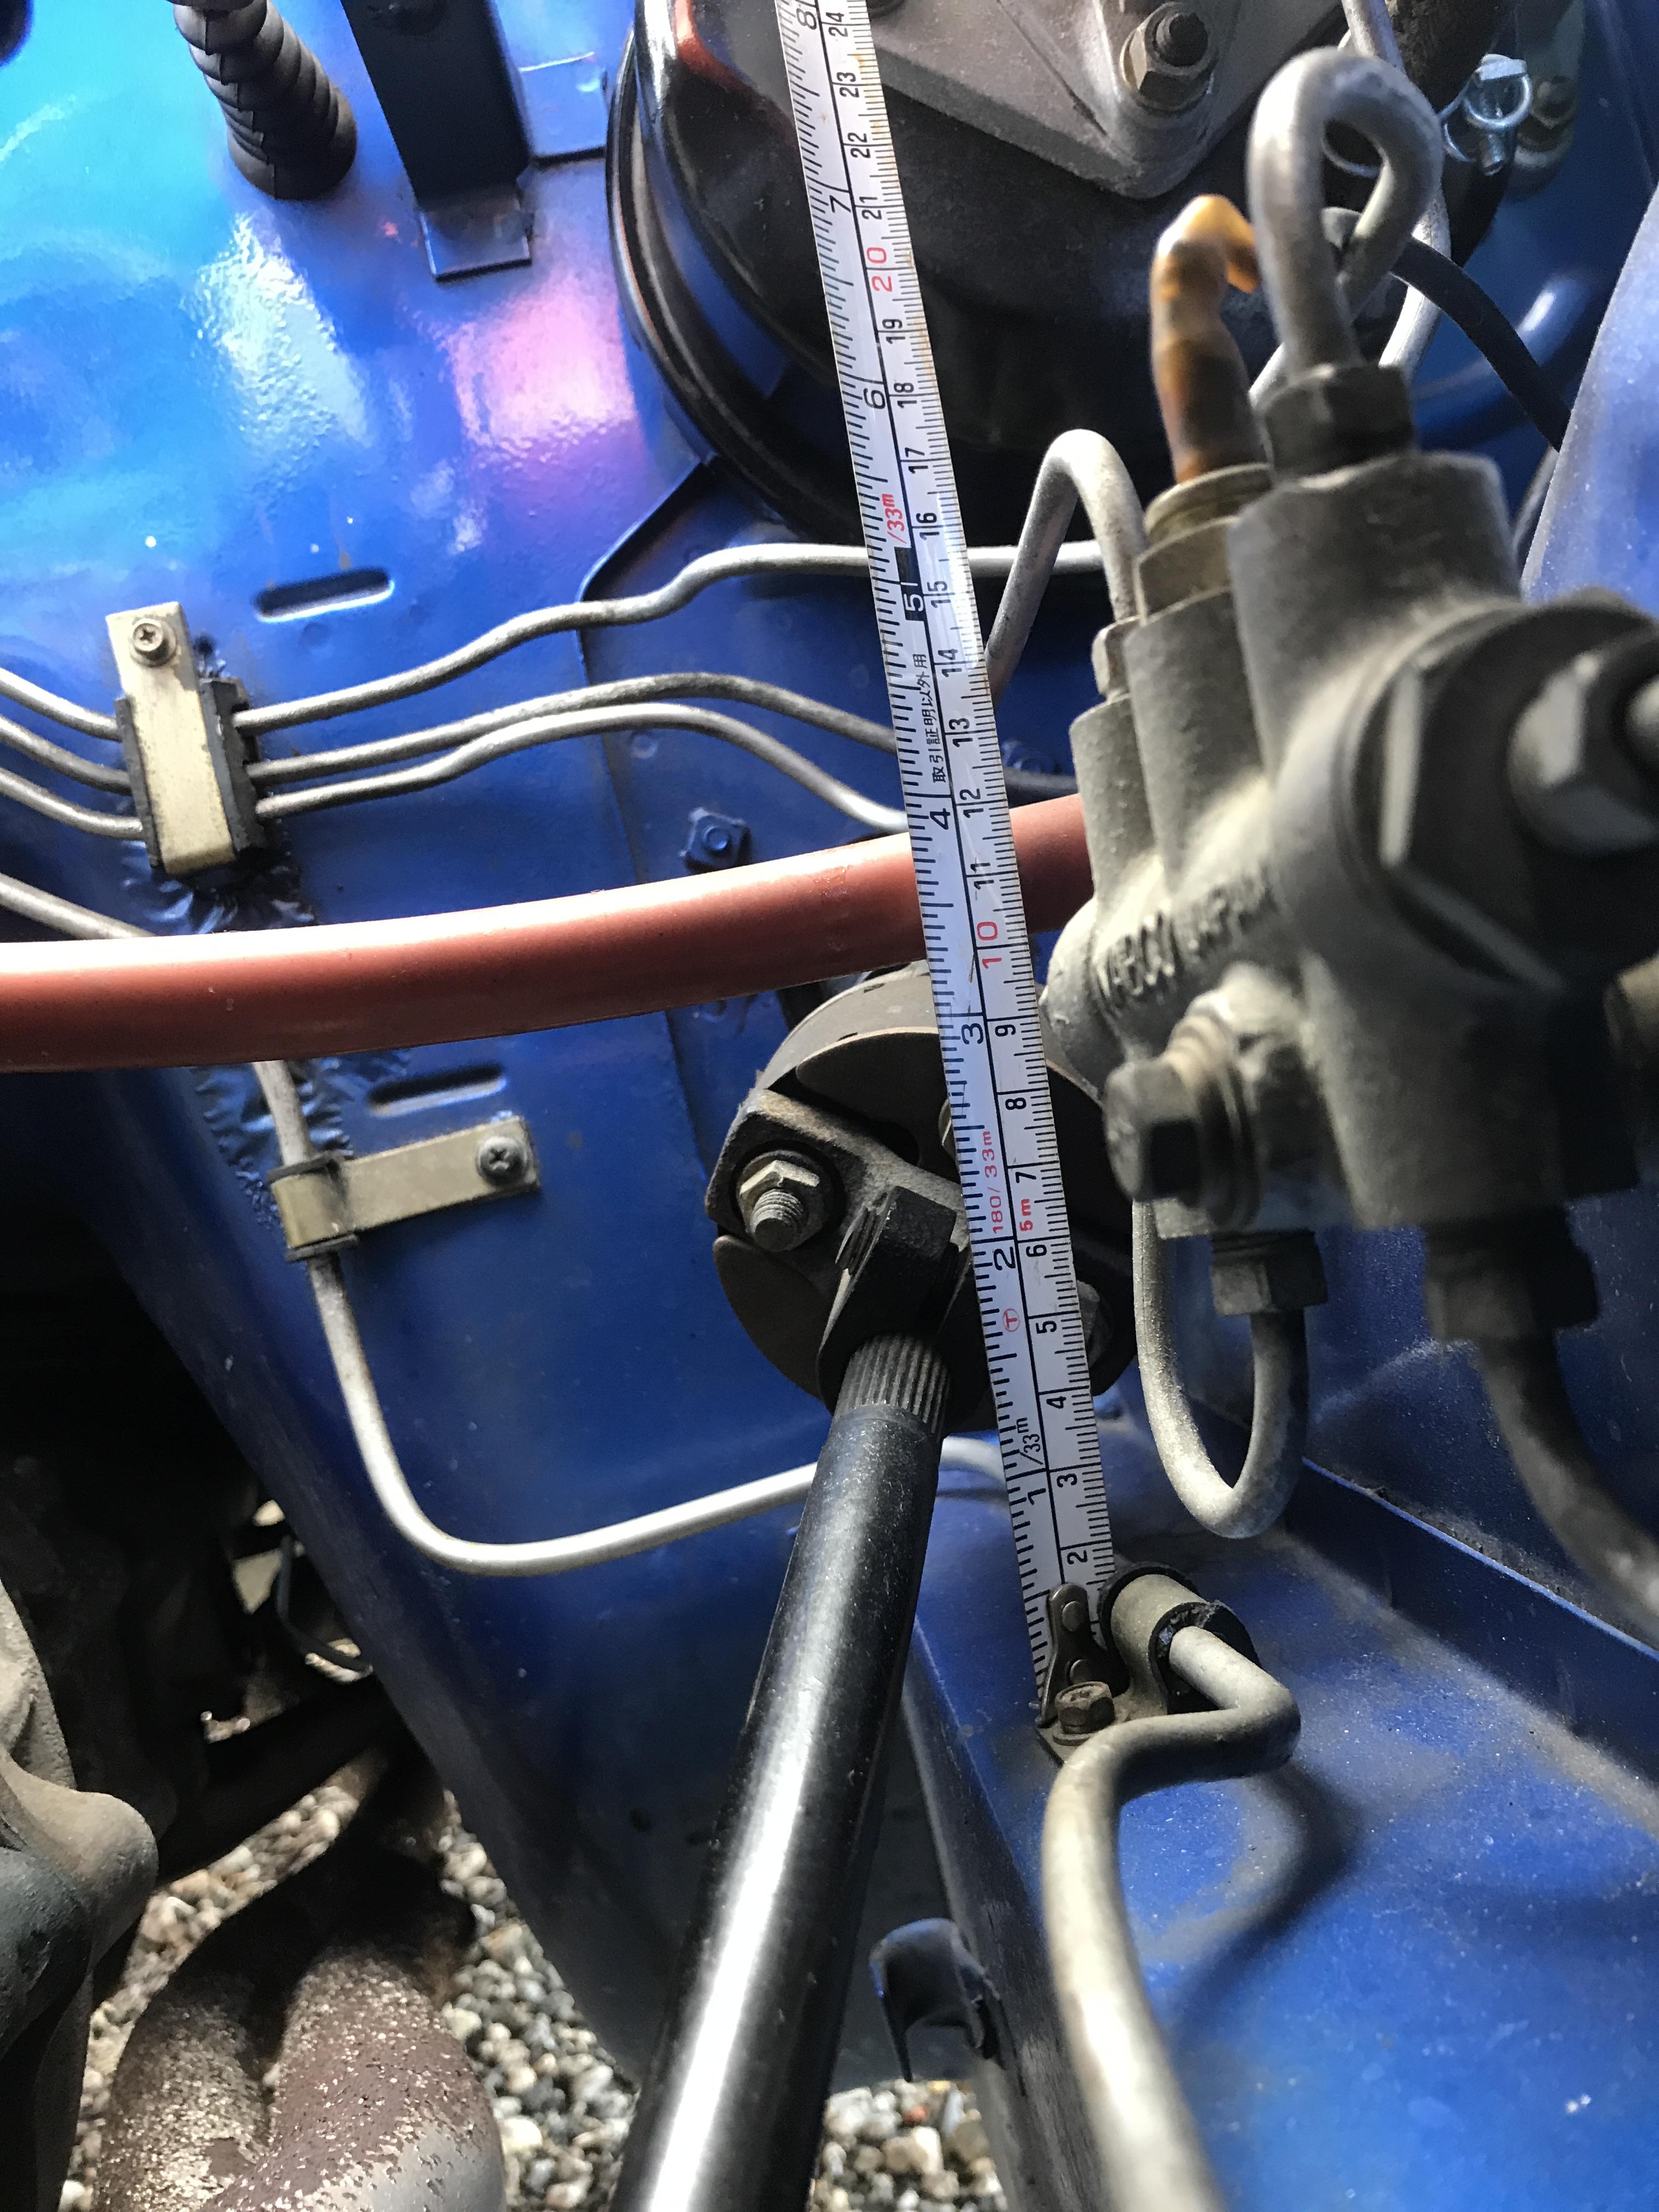
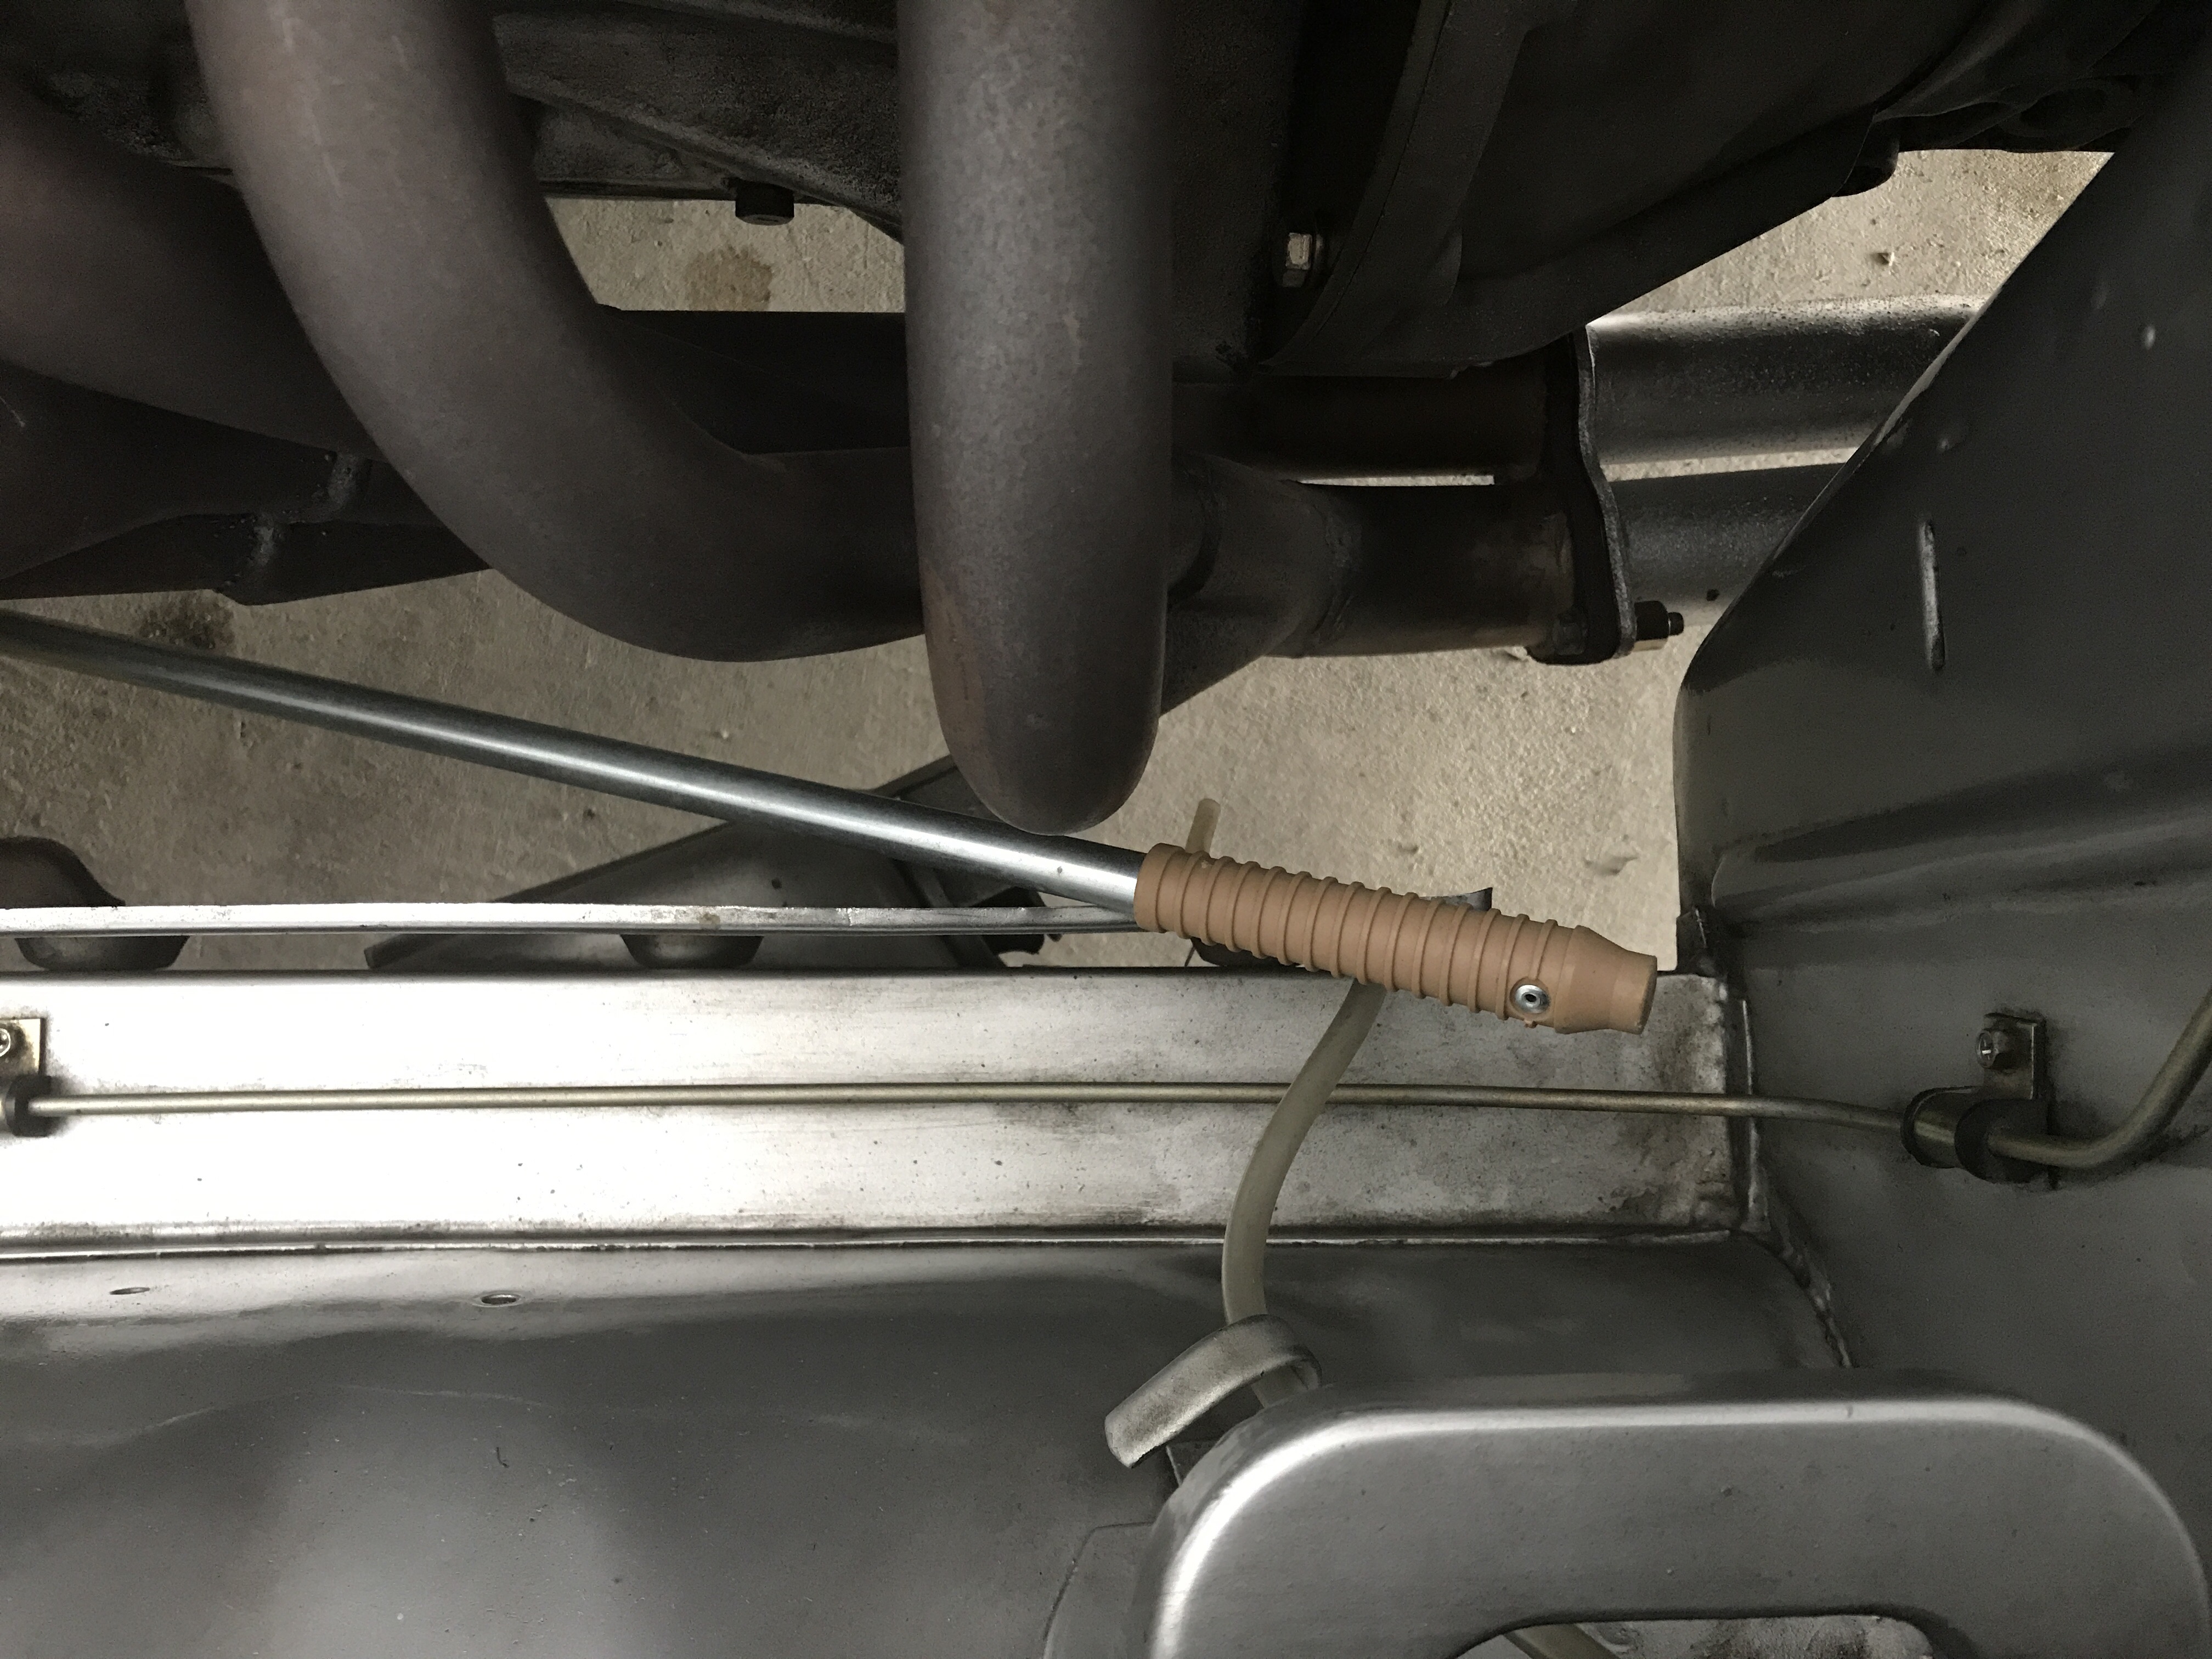
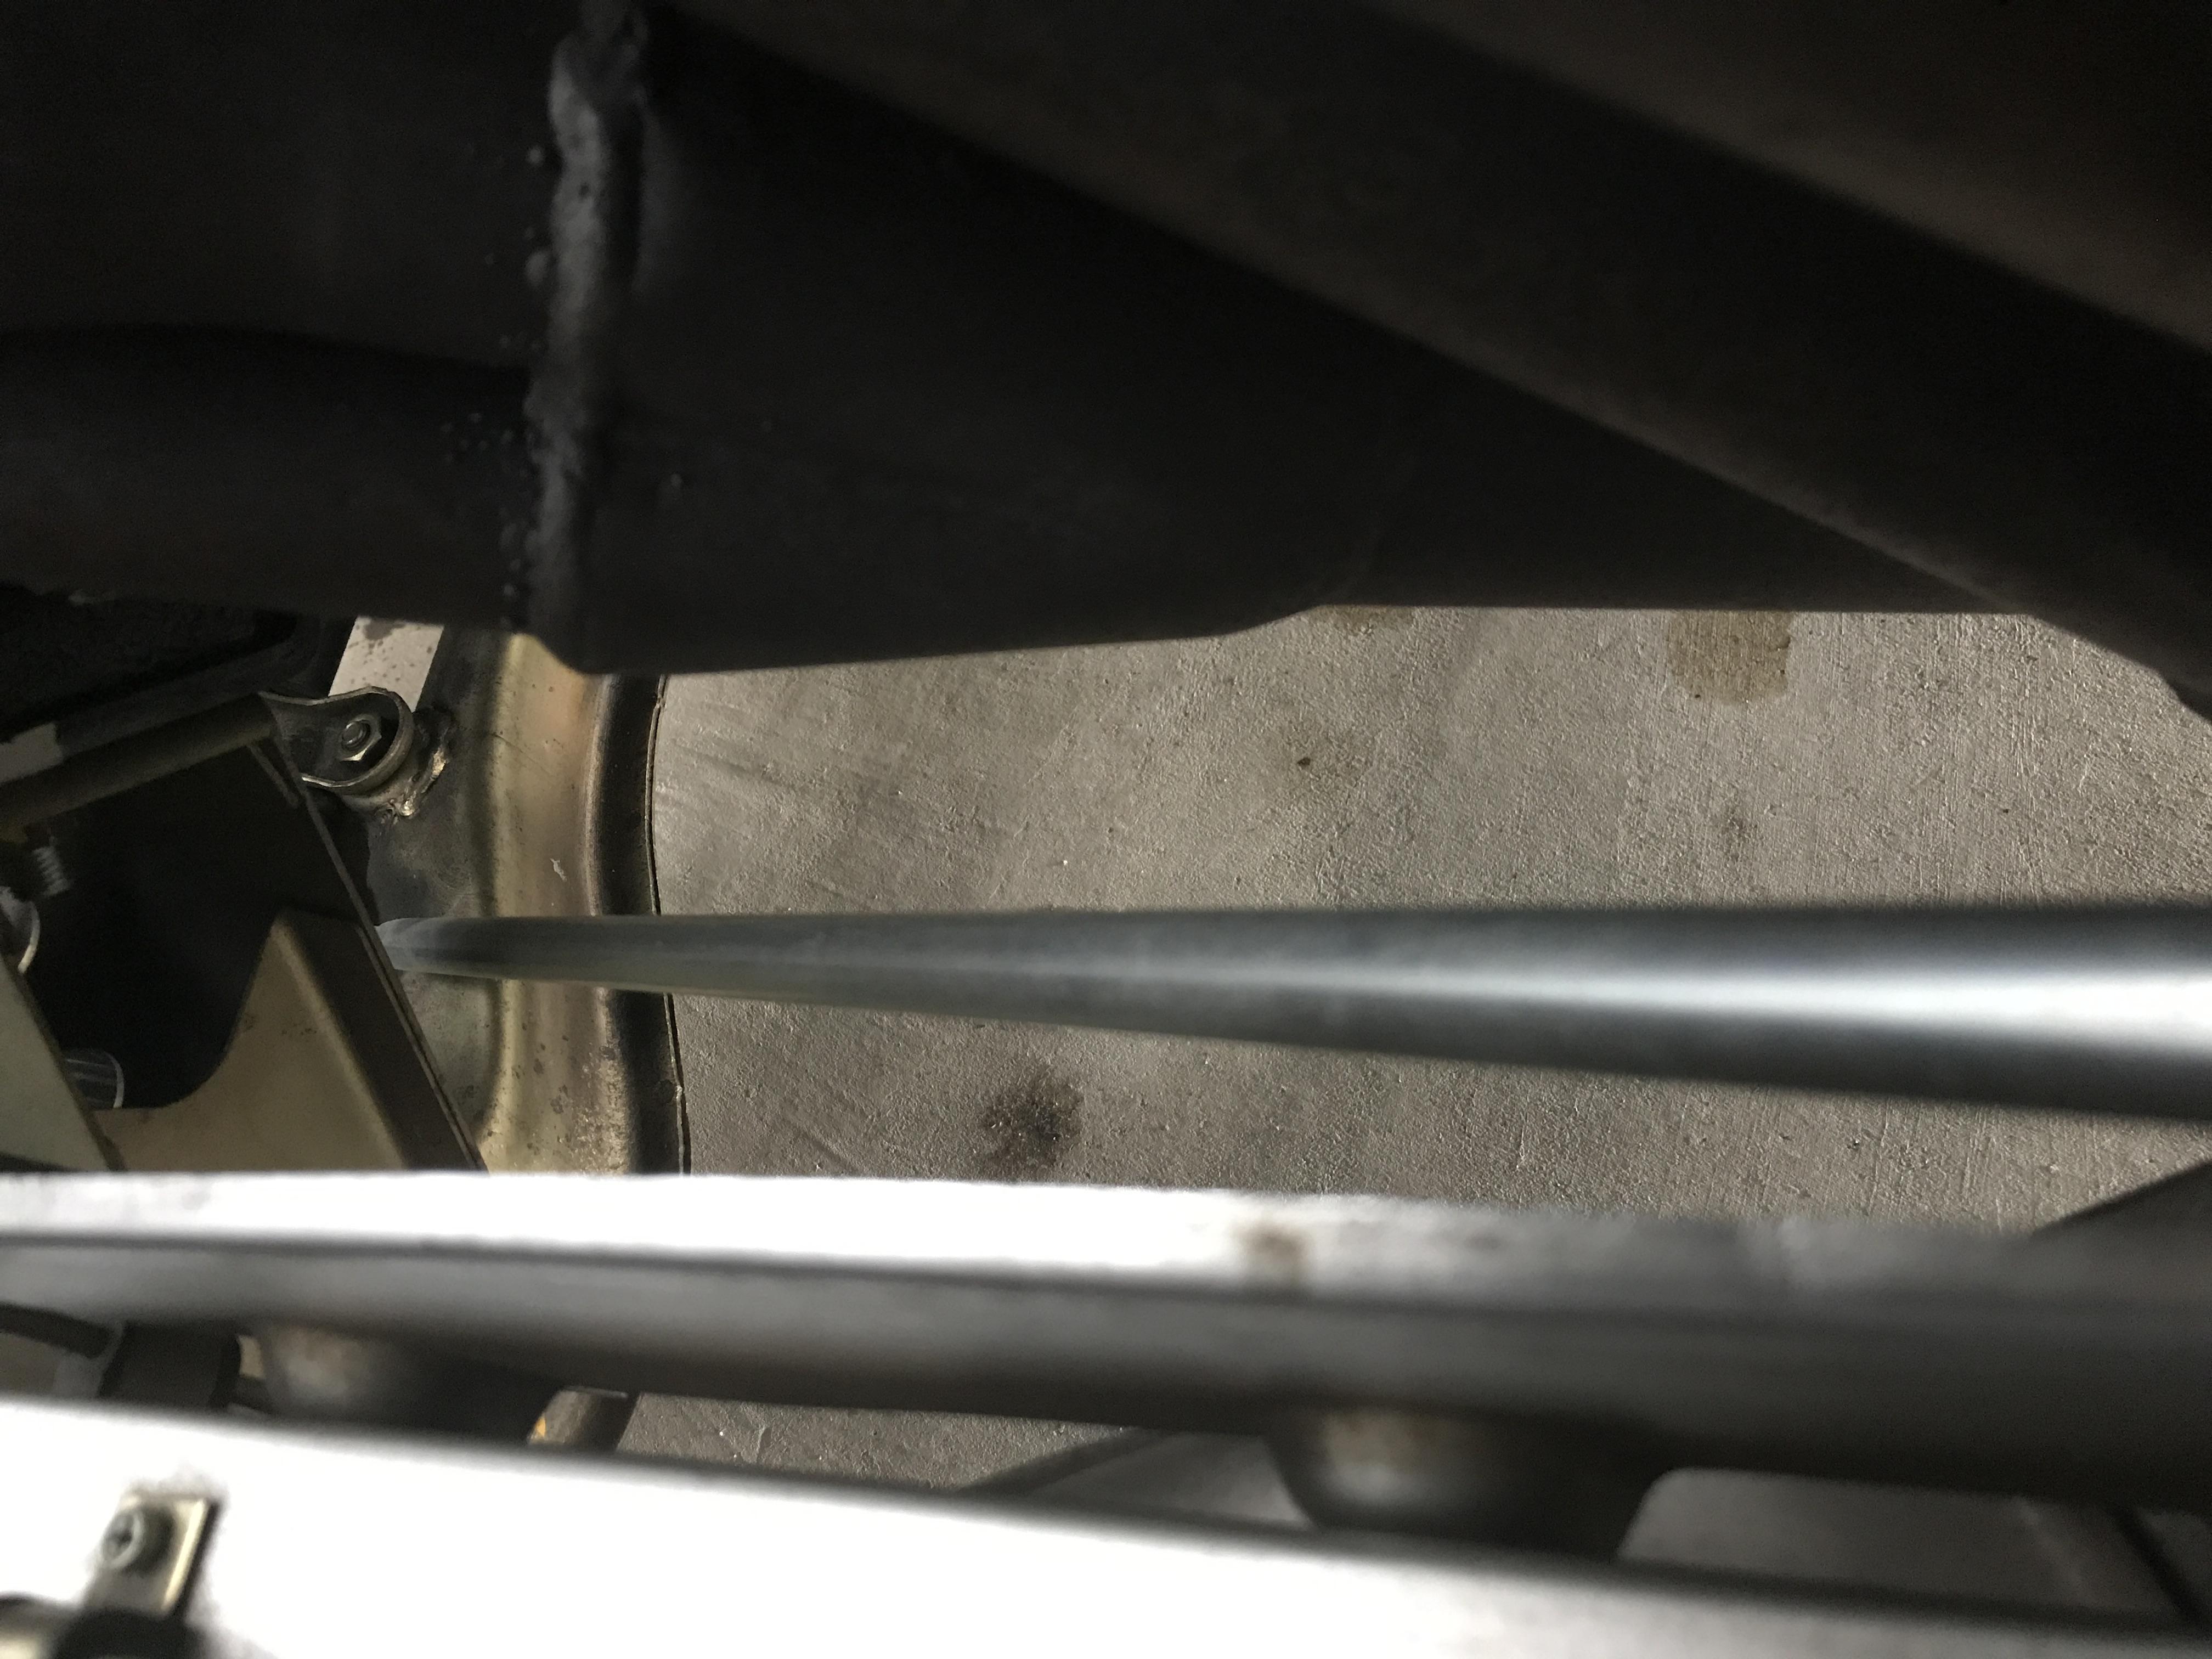
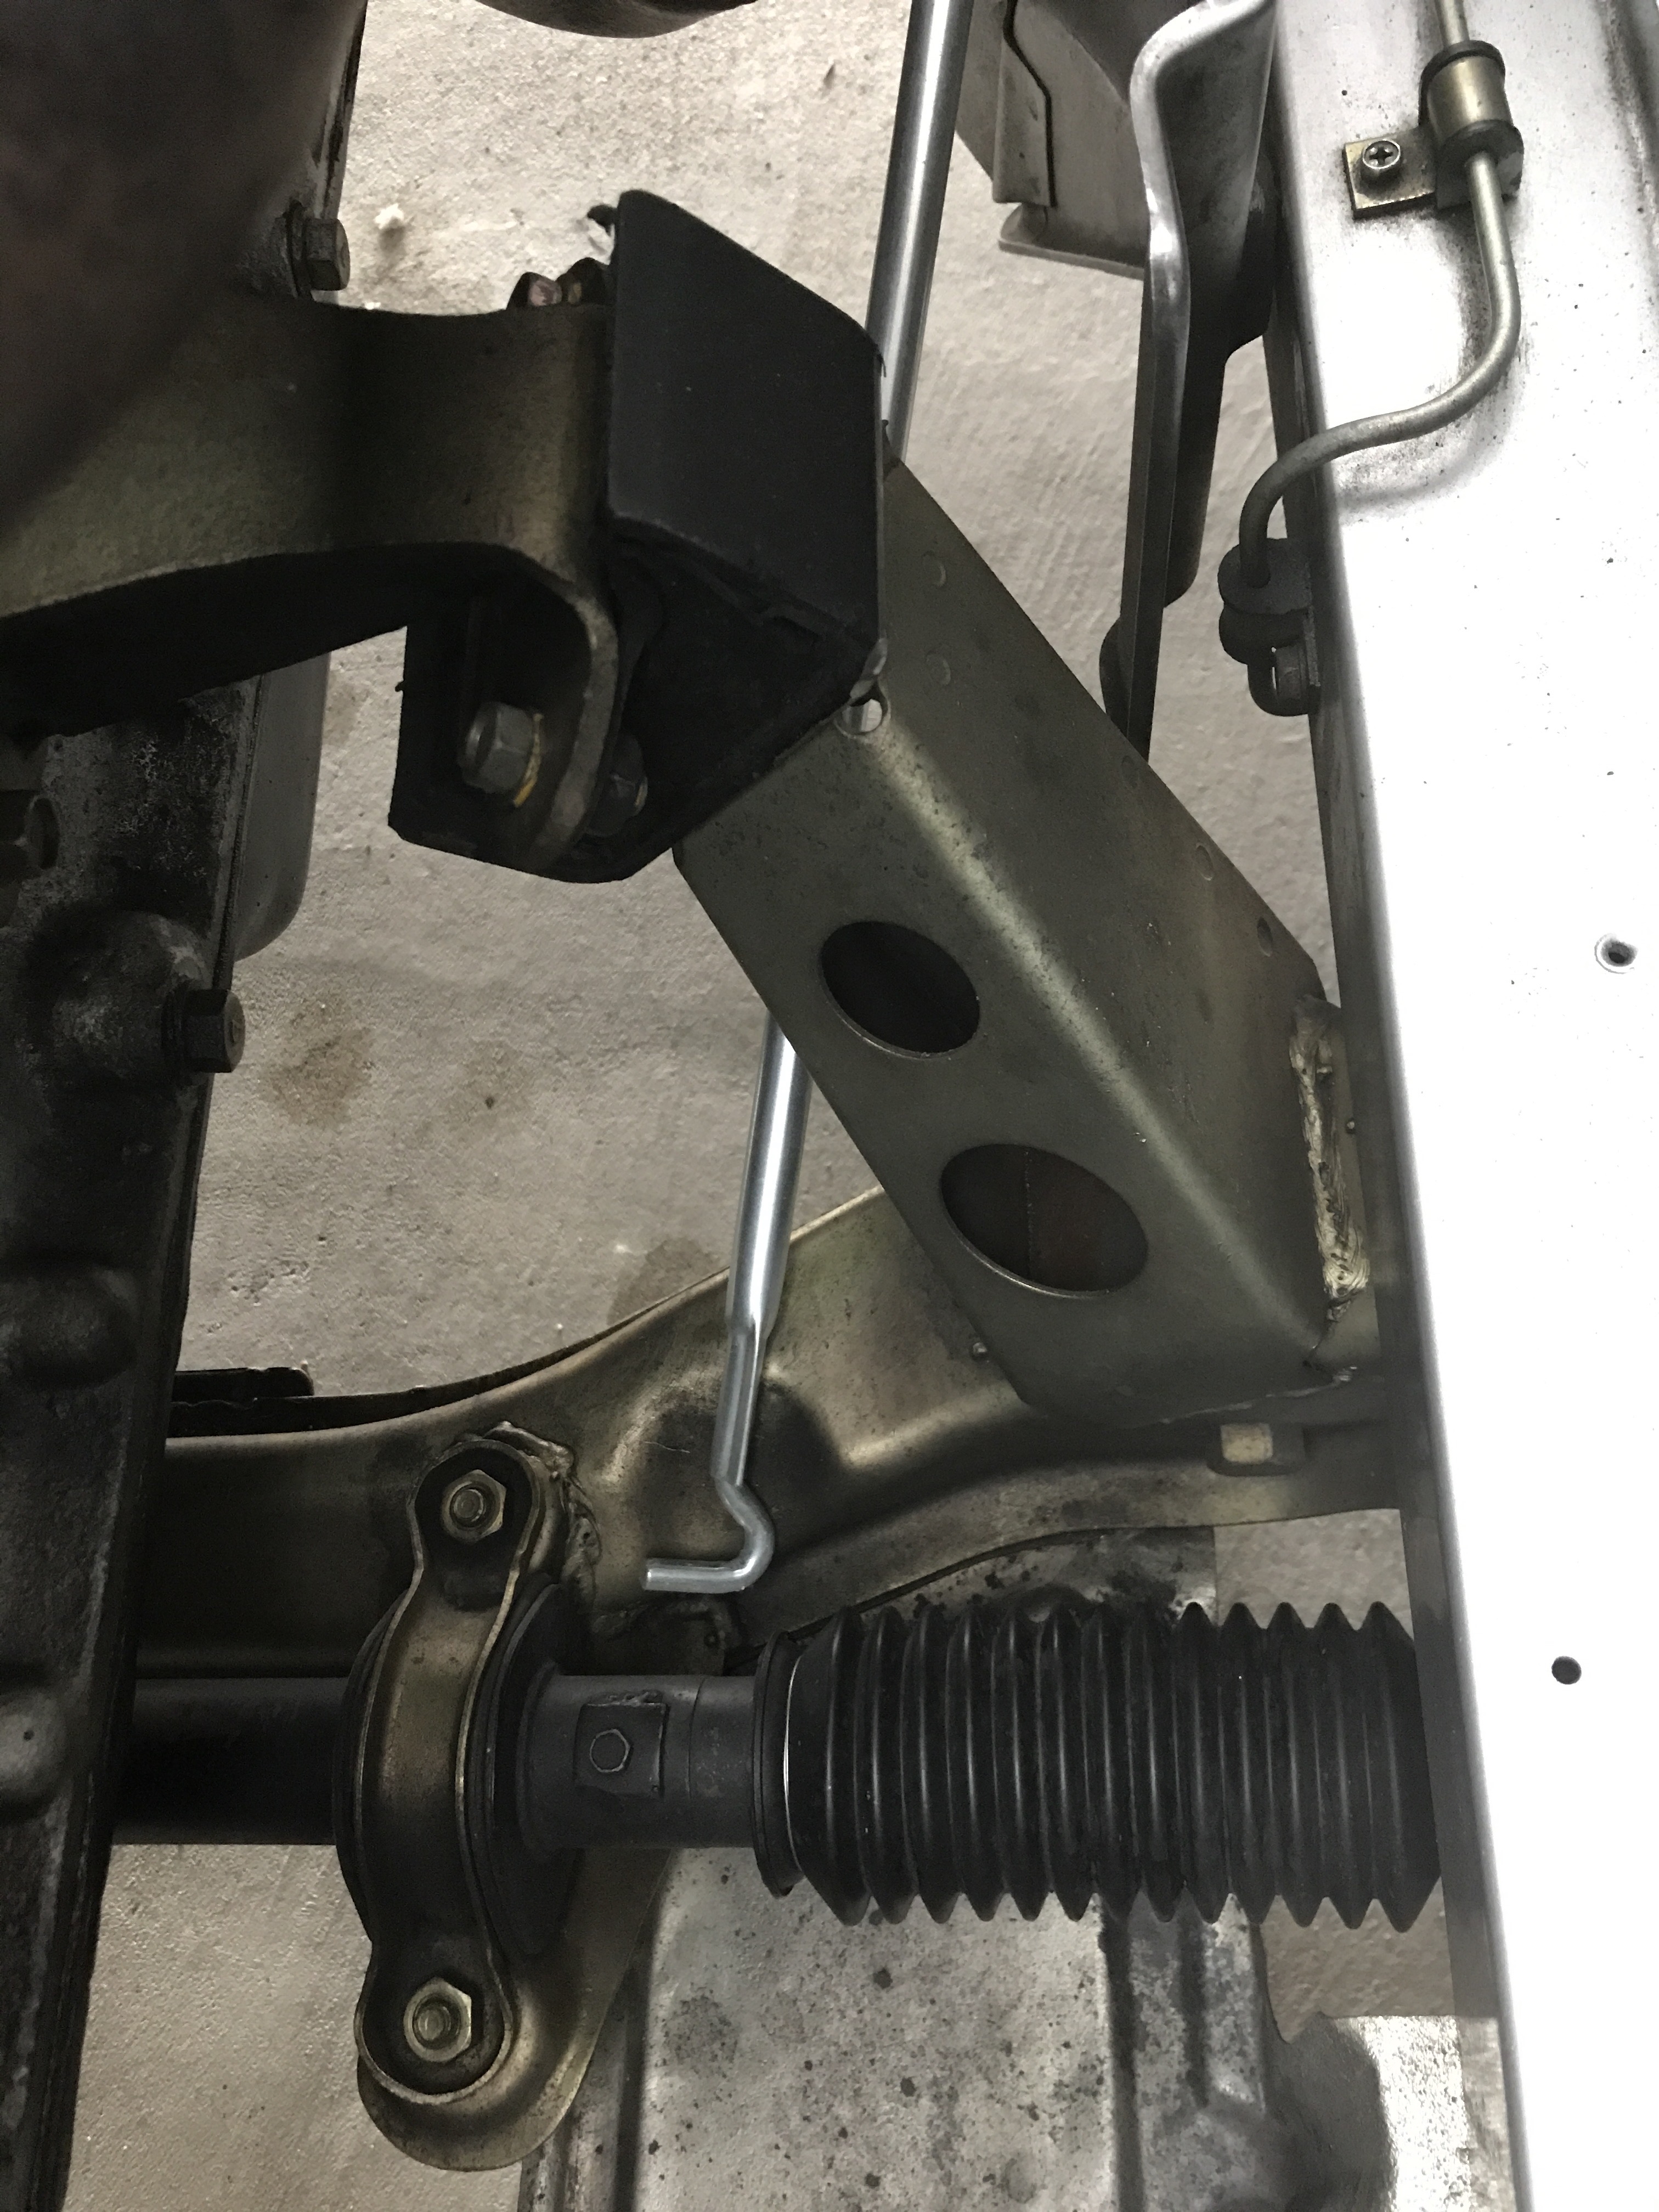
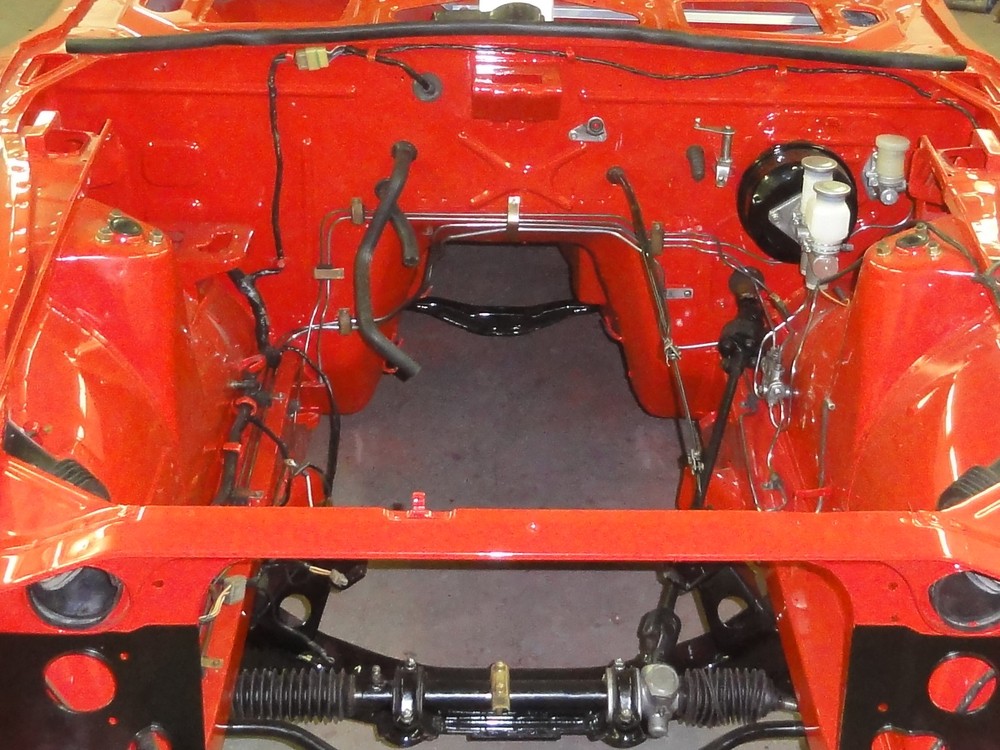
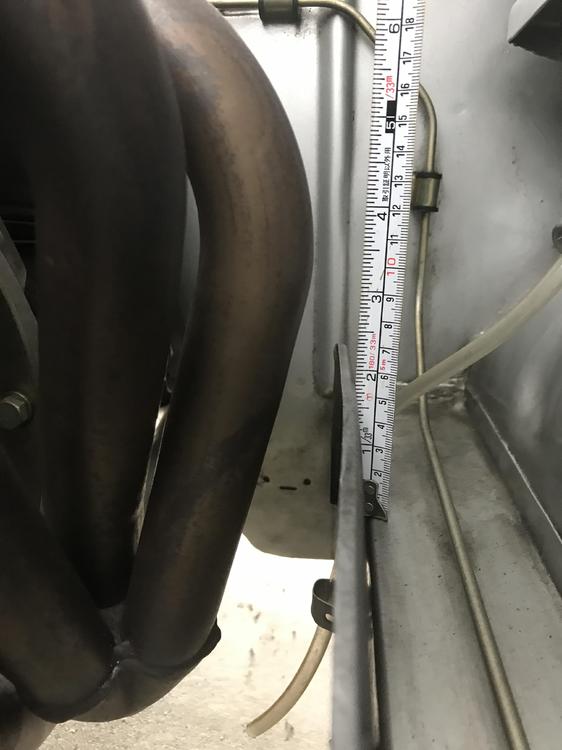
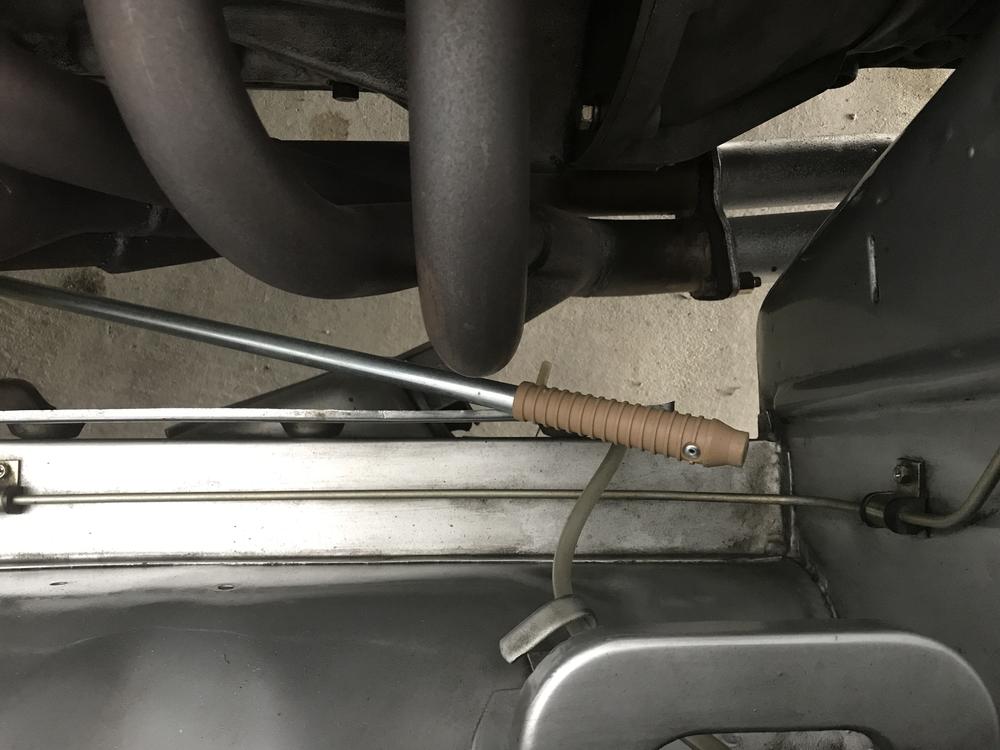
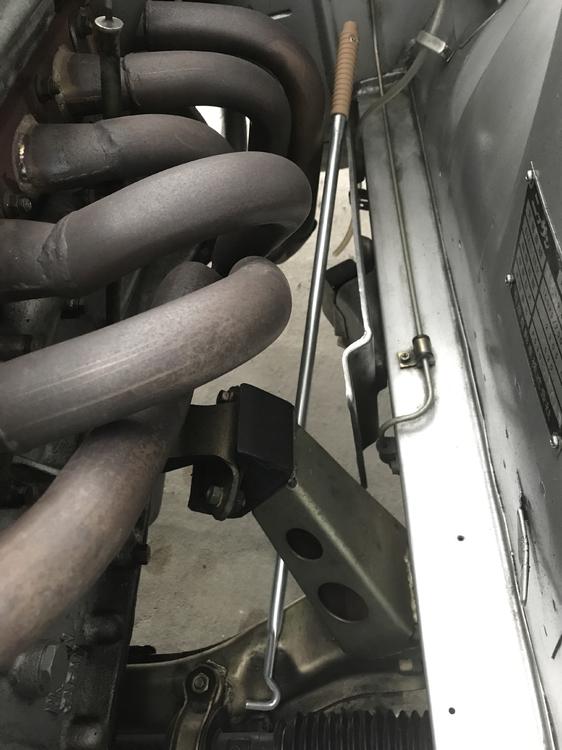
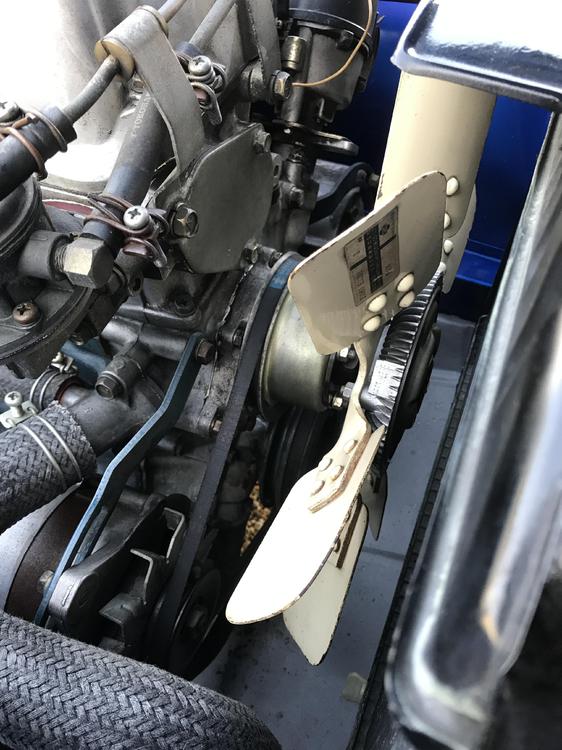
1 pointGood! However, it still looks a little close to the exhaust manifold to me. I'm thinking that the engine needs some space to twist in torque reaction (pivoting on an axis through the crankshaft centre line and transmission main shaft) and you may need to 'cheat' a little extra space by shimming the engine mounts a little more away from the steering shaft? I think you have space to do that.1 point
-
1 pointI checked it today , I now have confidence in that , I can make a "PLS30" without modification of the exhaust manifold. Just need a little modification of the throttle linkage . Please see the pictures, I placed a stick in a position of the LHD steering mechanism. I see the stick is free from any other parts, it does not touch anything. Kats


 1 point
 -
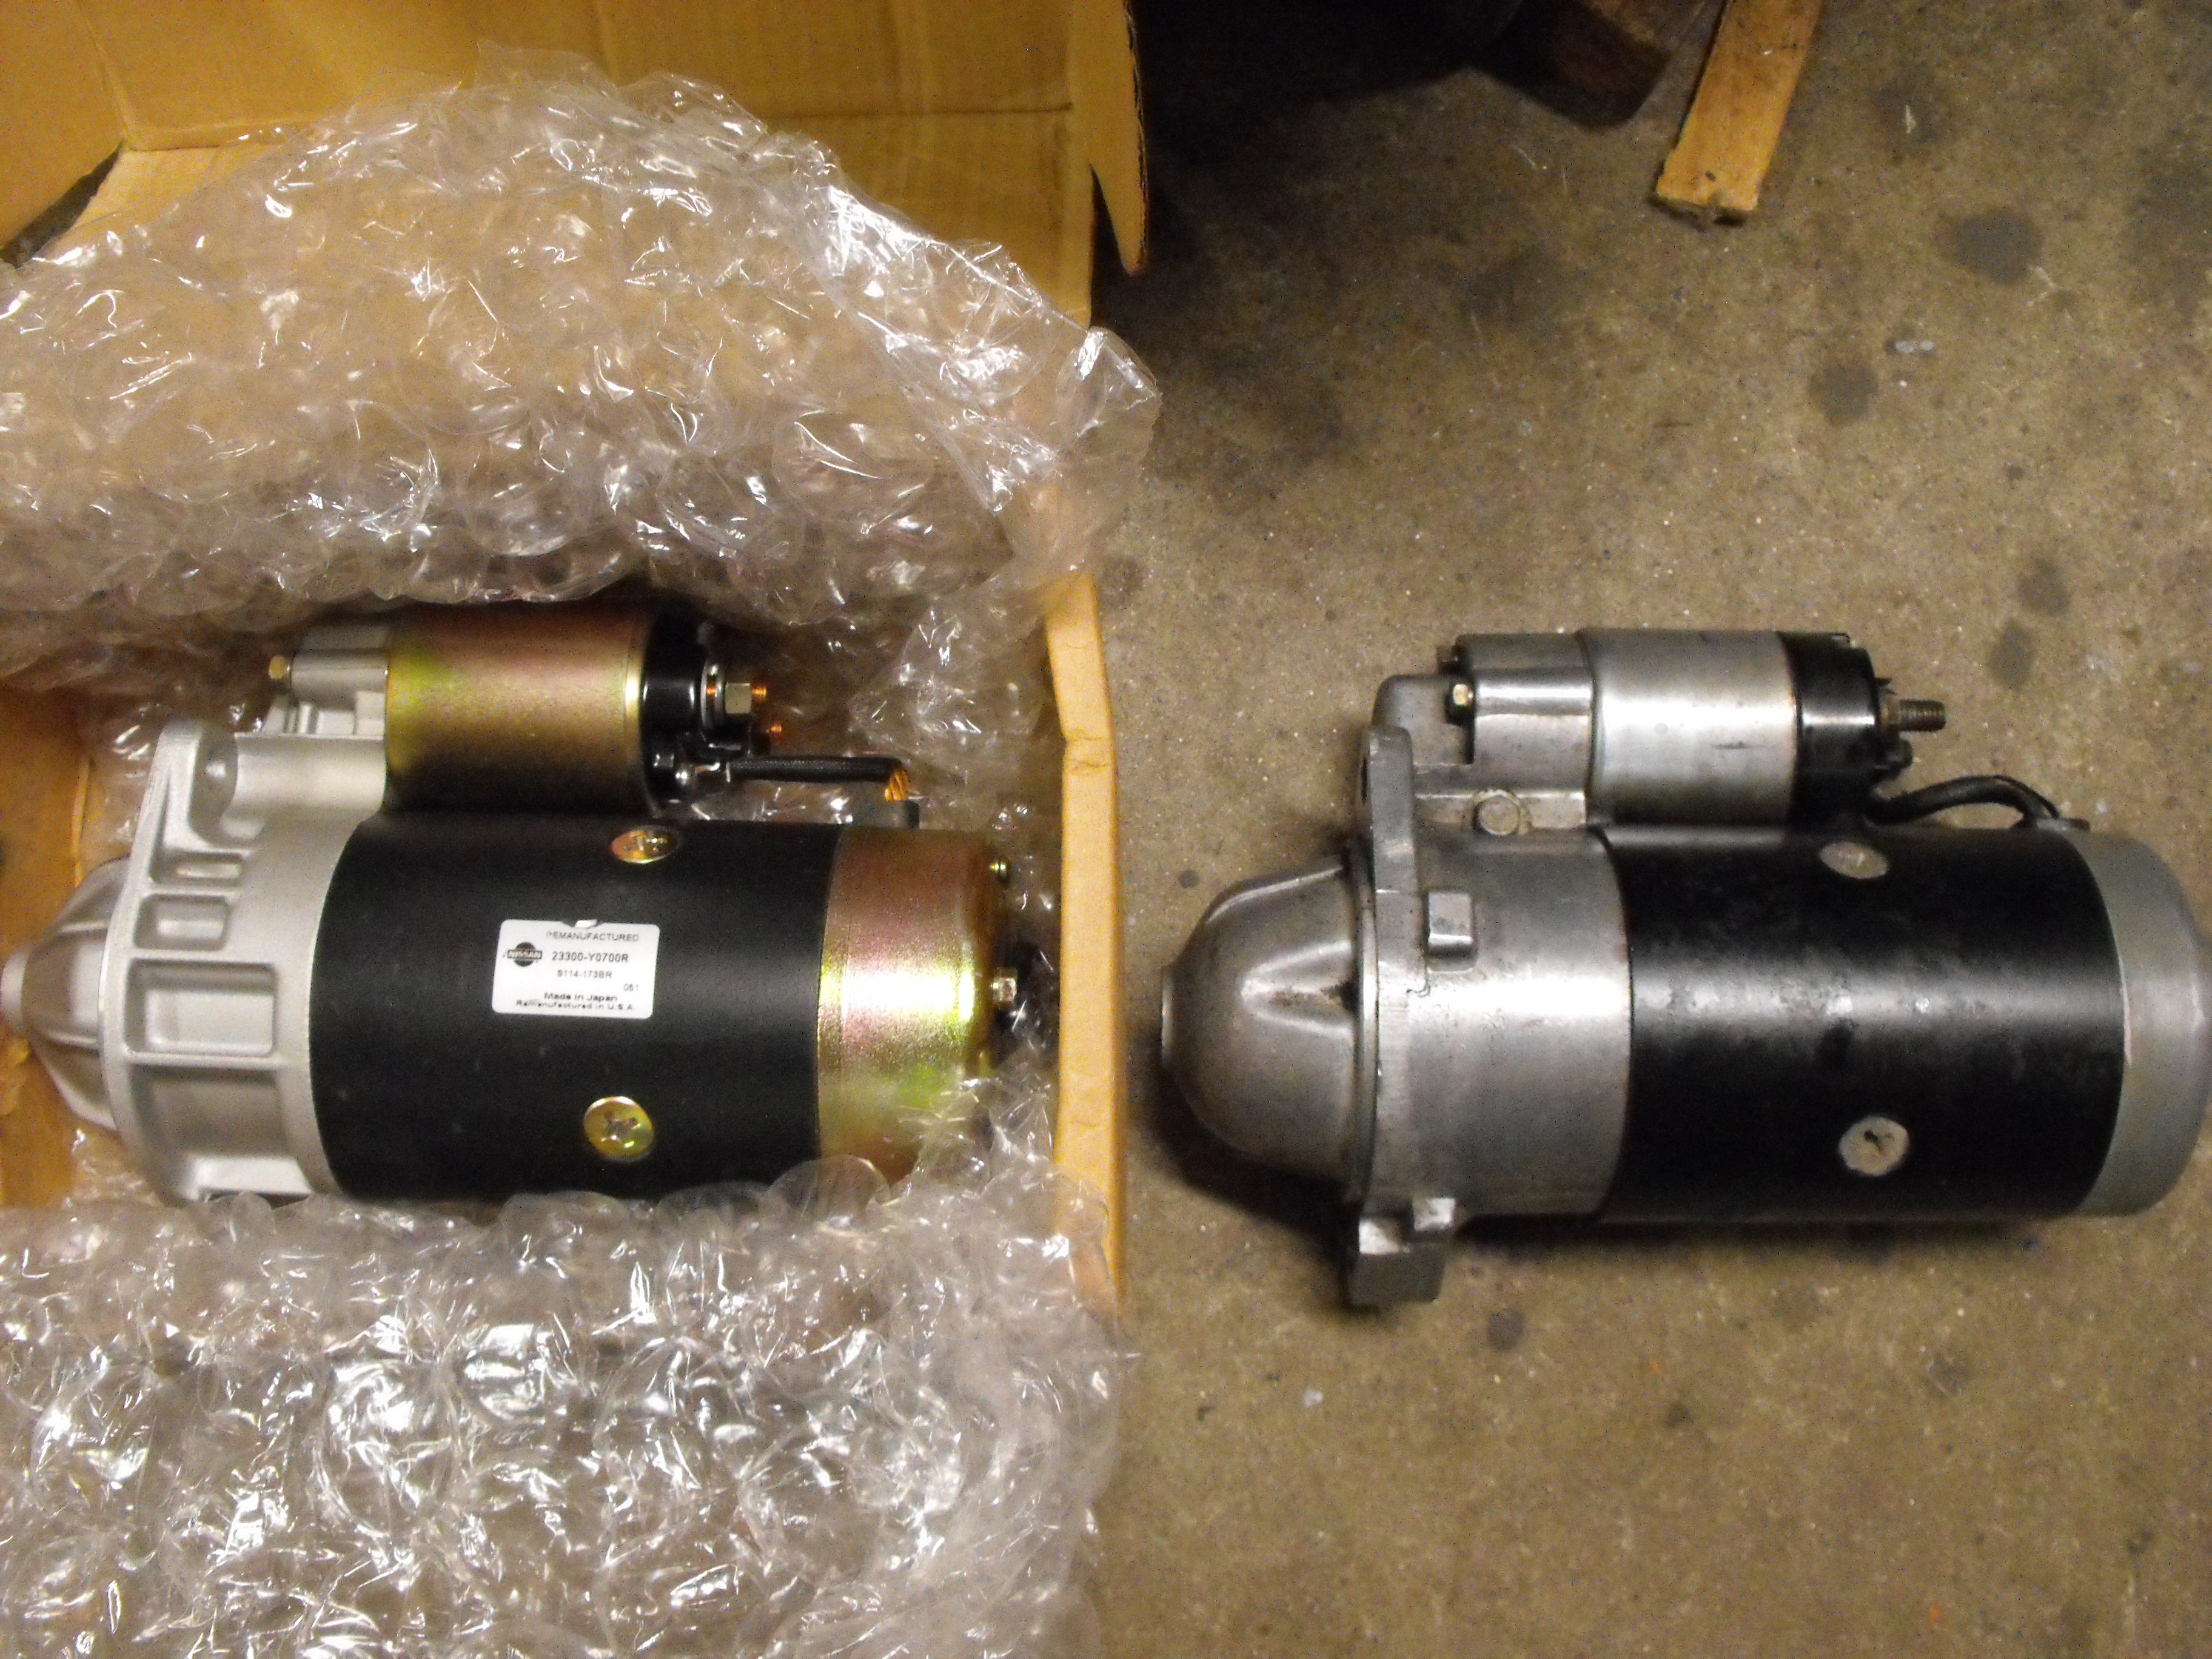
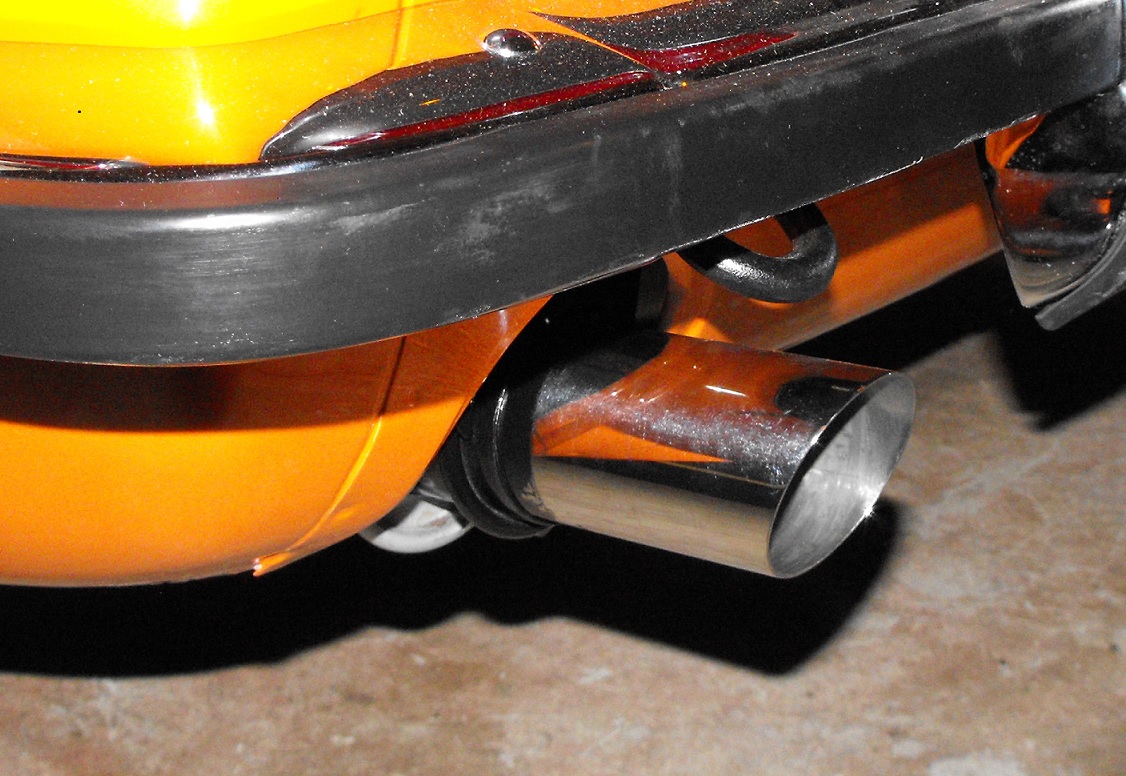
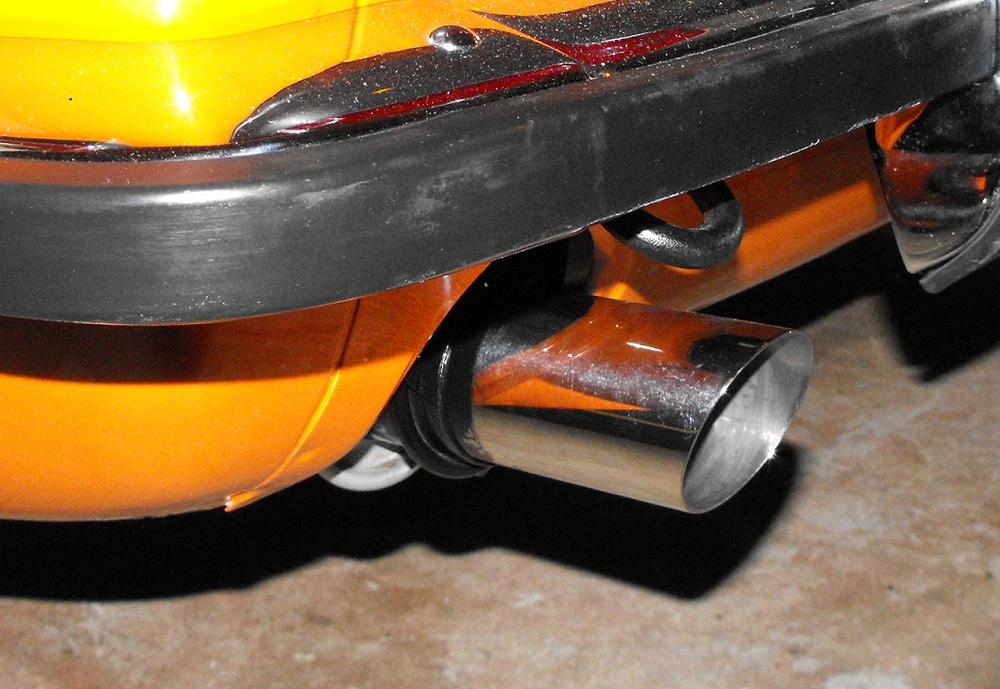
1 pointJust a few quick updates. Got the new starter in. I put the old starter and new starter side by side just to see the difference. New one looks much better in the car. Did a gentle sand on the stick shift knob with 320 grit then stained with Red Oak wood stain. Put a clear coat over that. Got the OEM style muffler tip that Jay makes so at least the muffler looks fairly close to original from the back end.


 1 point
 -
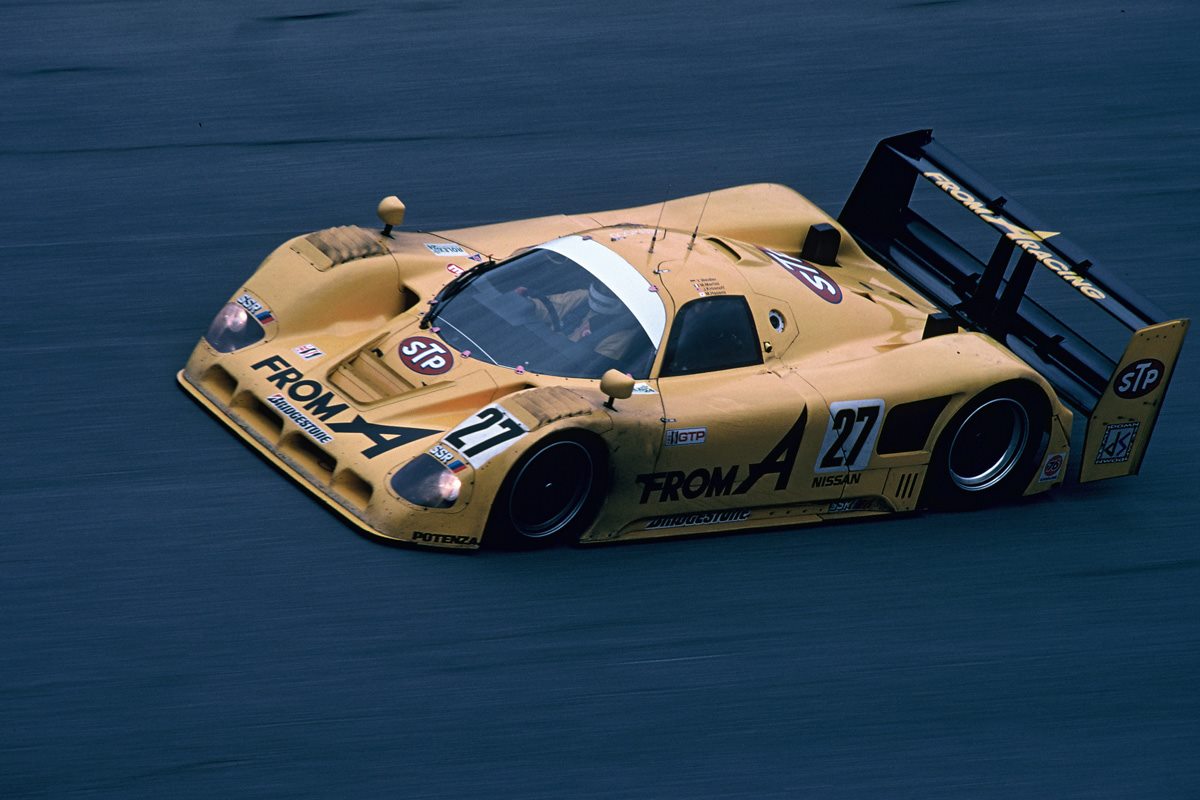
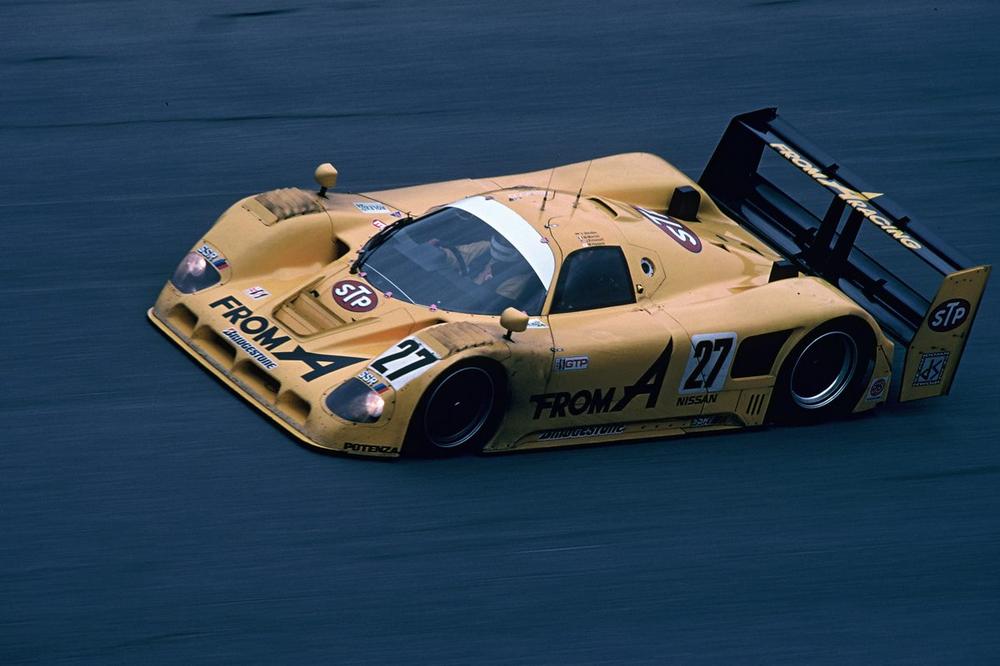
Ah! Nissan R91CK from Daytona 24 1992. This was actually an R90C (Chassis 07) updated and campaigned by Nova Engineering with a VHR35Z V8, 4 valve DOHC. Drivers were Mauro Martini, Volker Weidler, and Jeff Krosnoff. They finished 8th.
 1 point
 -
1 pointHLS30-00110 with a build date of 12-69 was a blue on blue but I did not put it on the Z register, thought the new owner might want do it. Bonzi Lon1 point
-
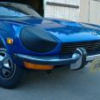
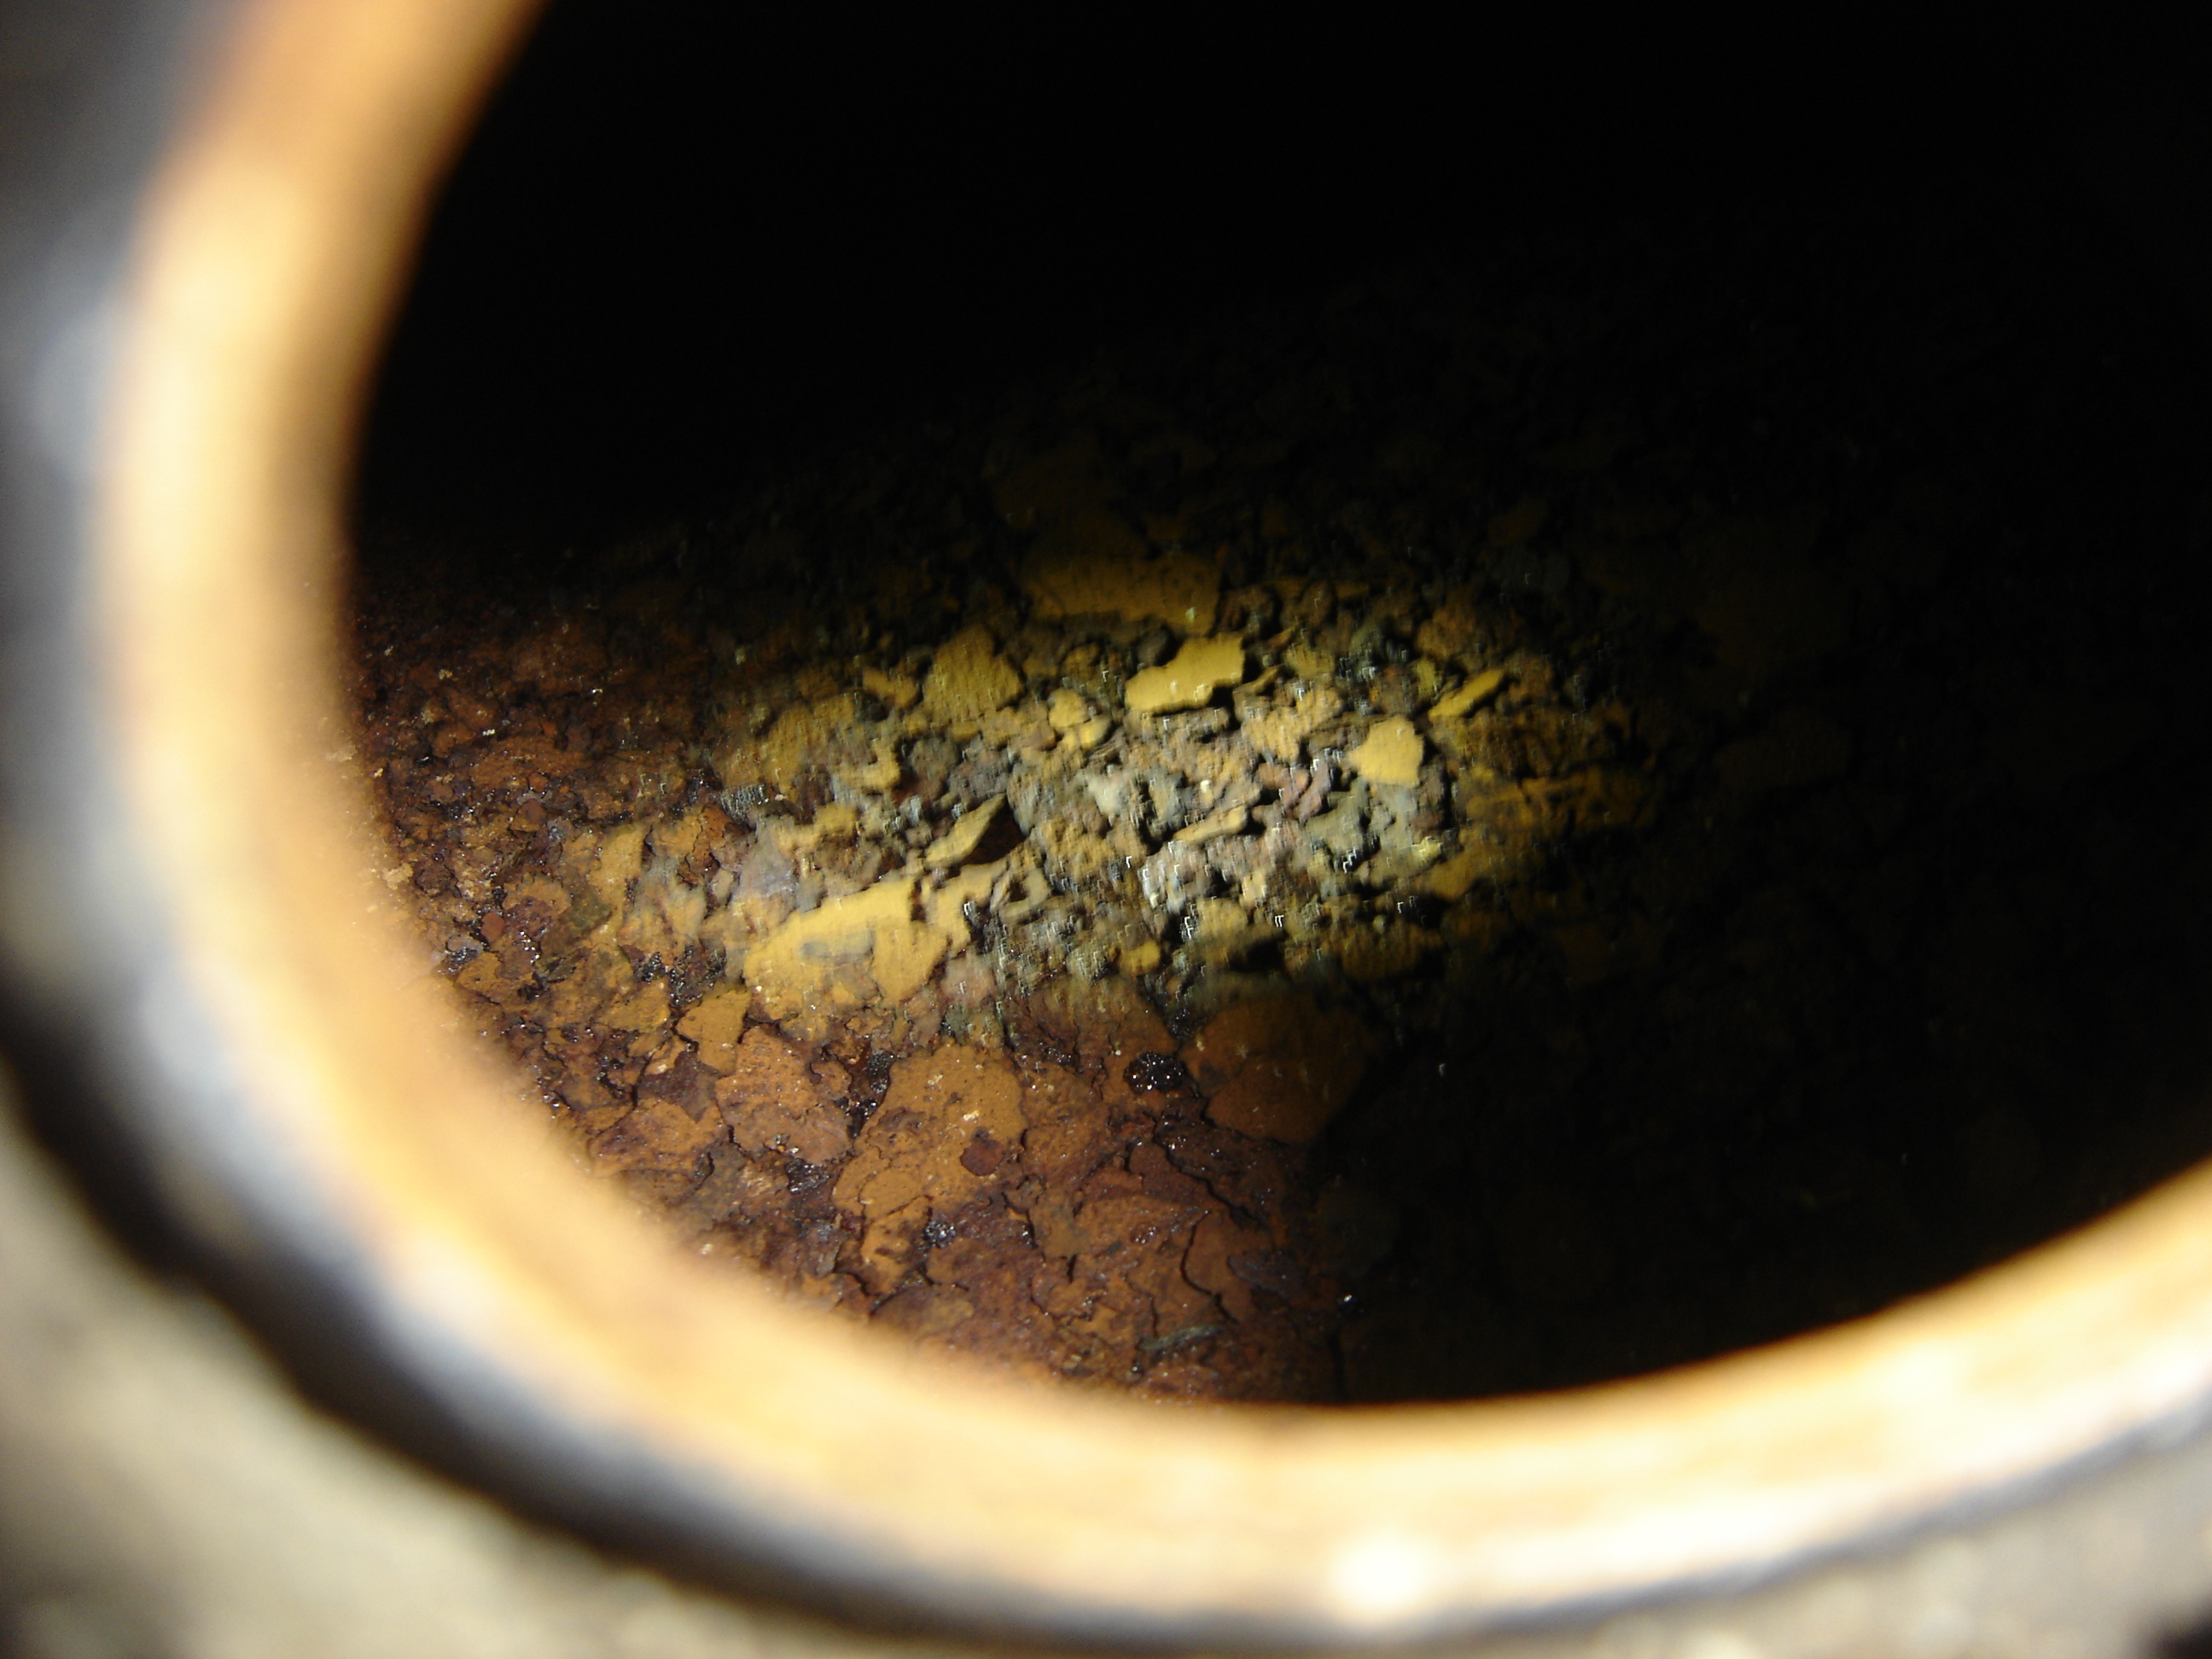
1 pointIf you haven't yet, it'd be a good idea to put a cheap clear plastic fuel filter coming right out of the tank. It will catch any debris before it gets to the pump and you can check it to see how quick it gets dirty. That was my biggest headache, a cruddy fuel tank. I could drive a couple of times around my neighborhood and it would suck up the sediment and kill the flow. I got some good exercise walking home. A Fram G2 worked better for the smaller hose on my 240, Fram G3 on my 280. http://atlanticz.ca/zclub/techtips/fuel/g3filter/index.htm Pictures of my tank before and after.

 1 point
 -
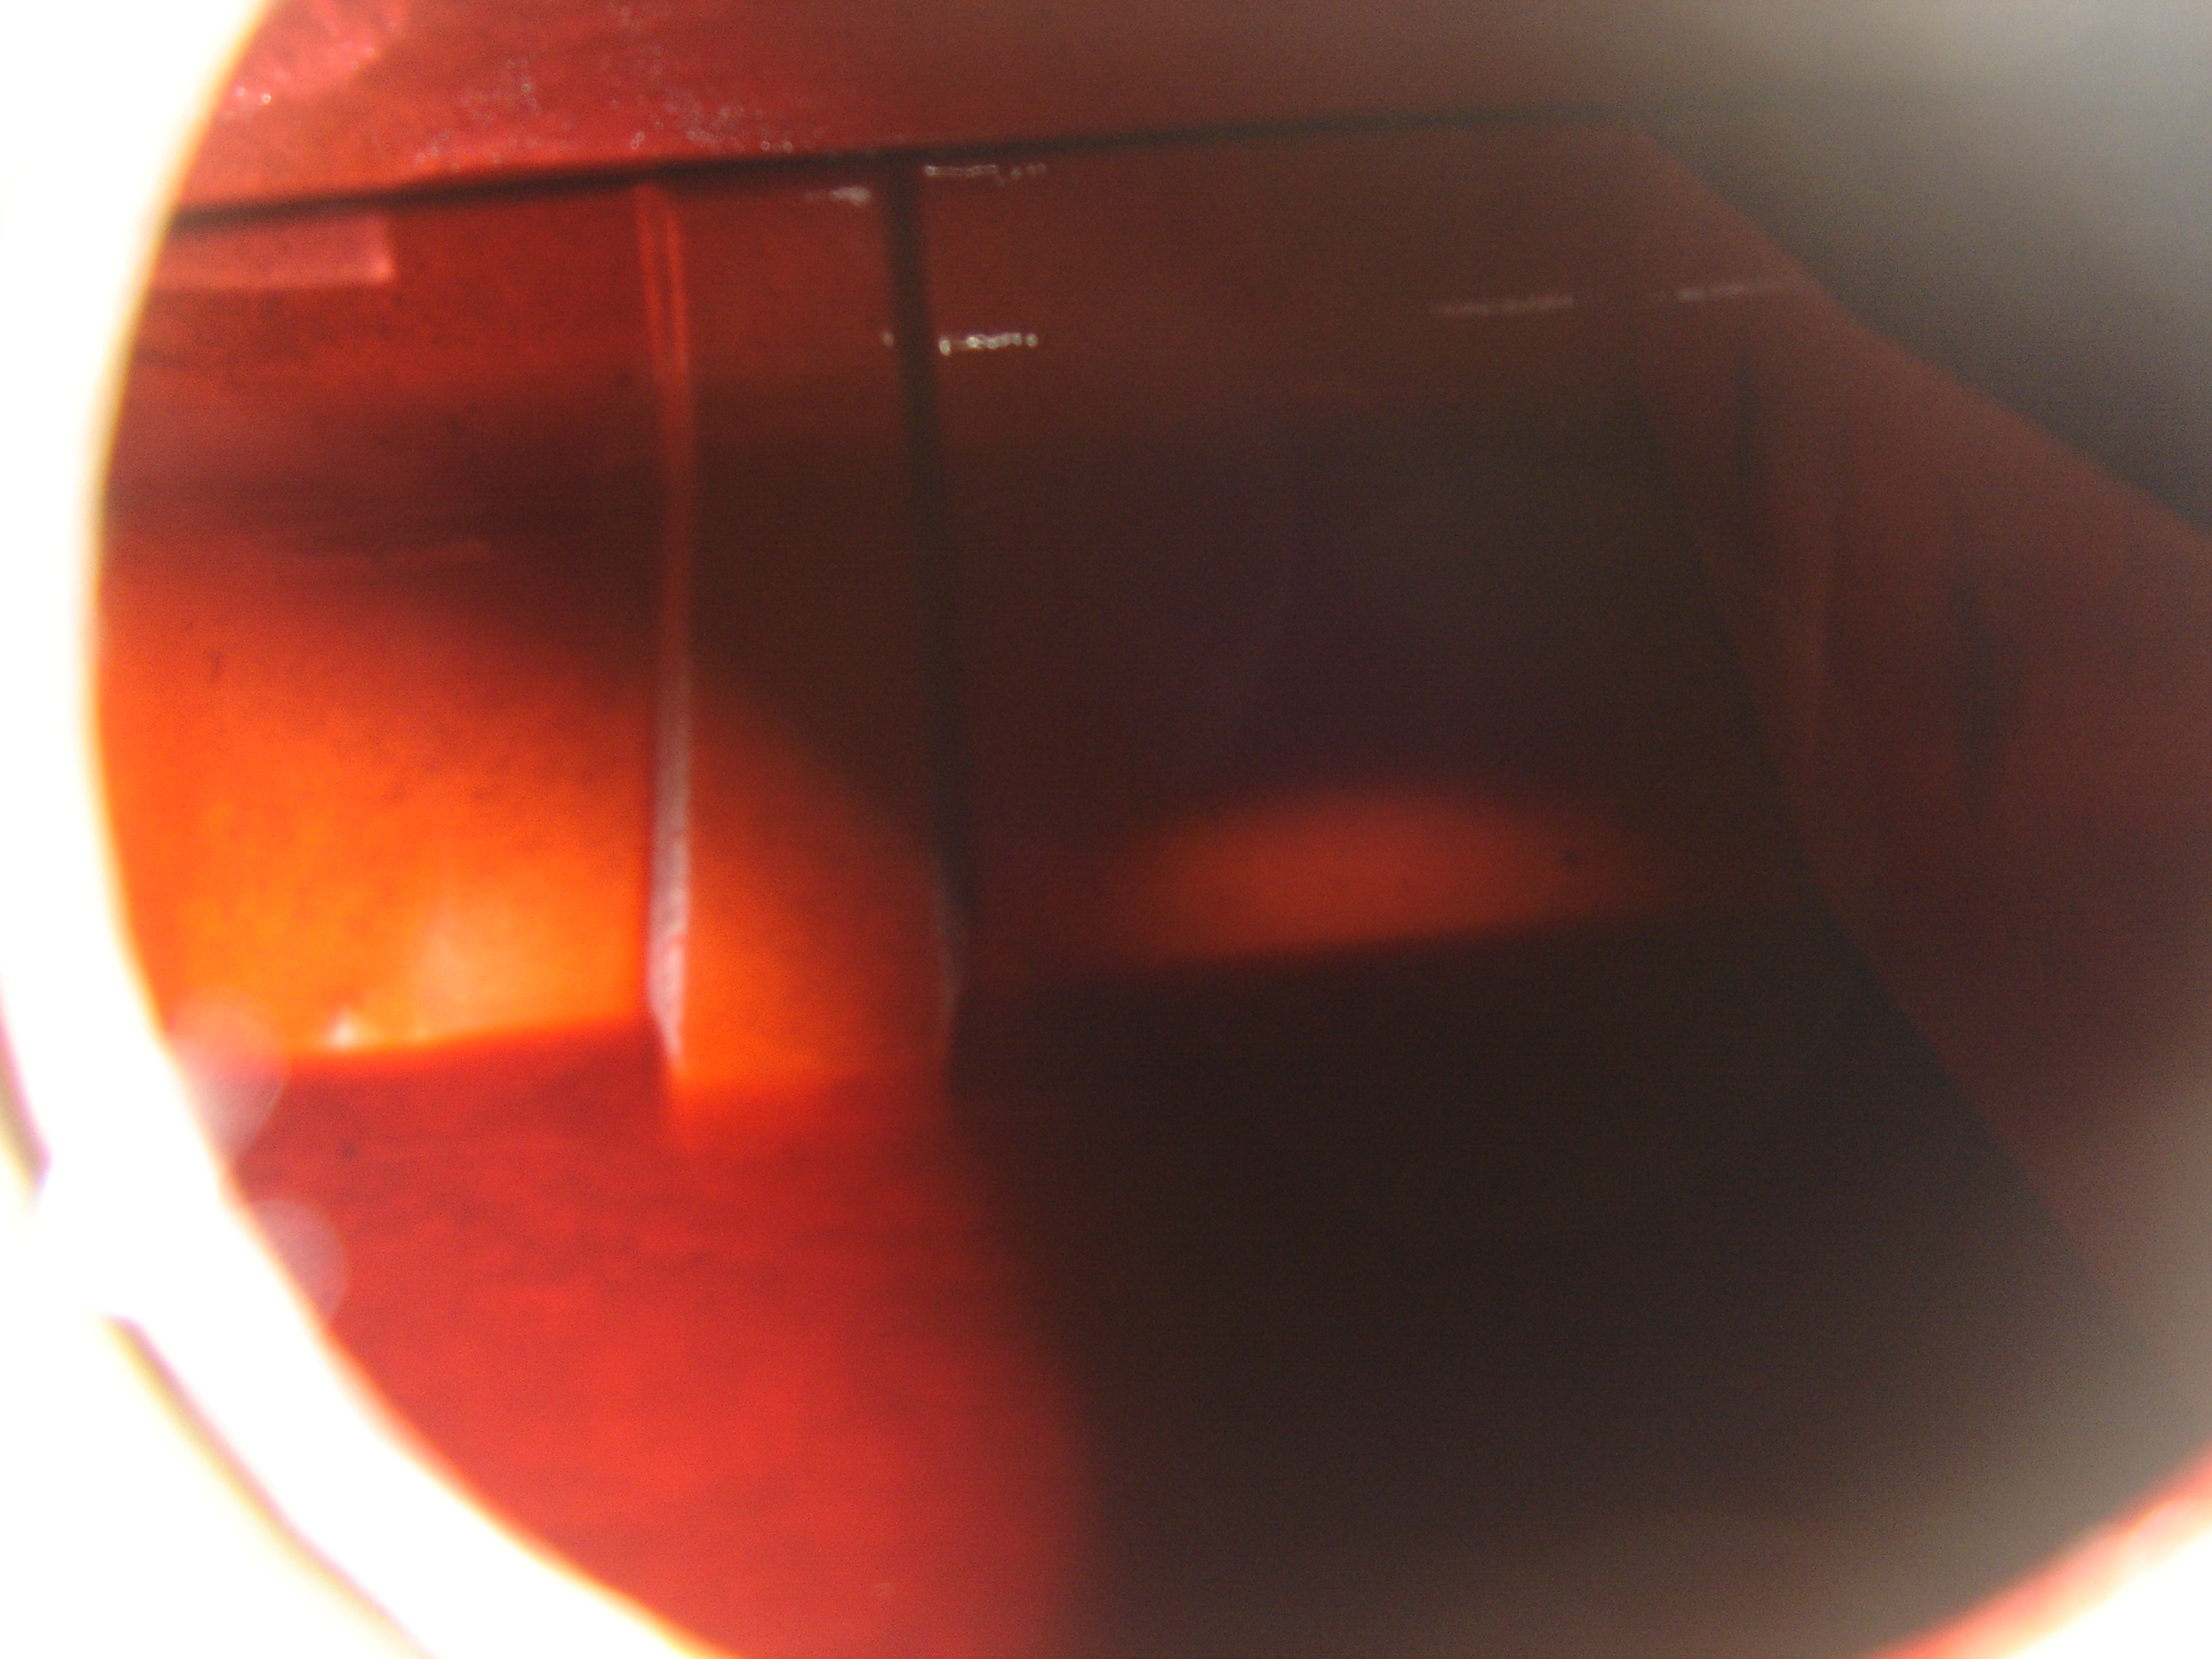
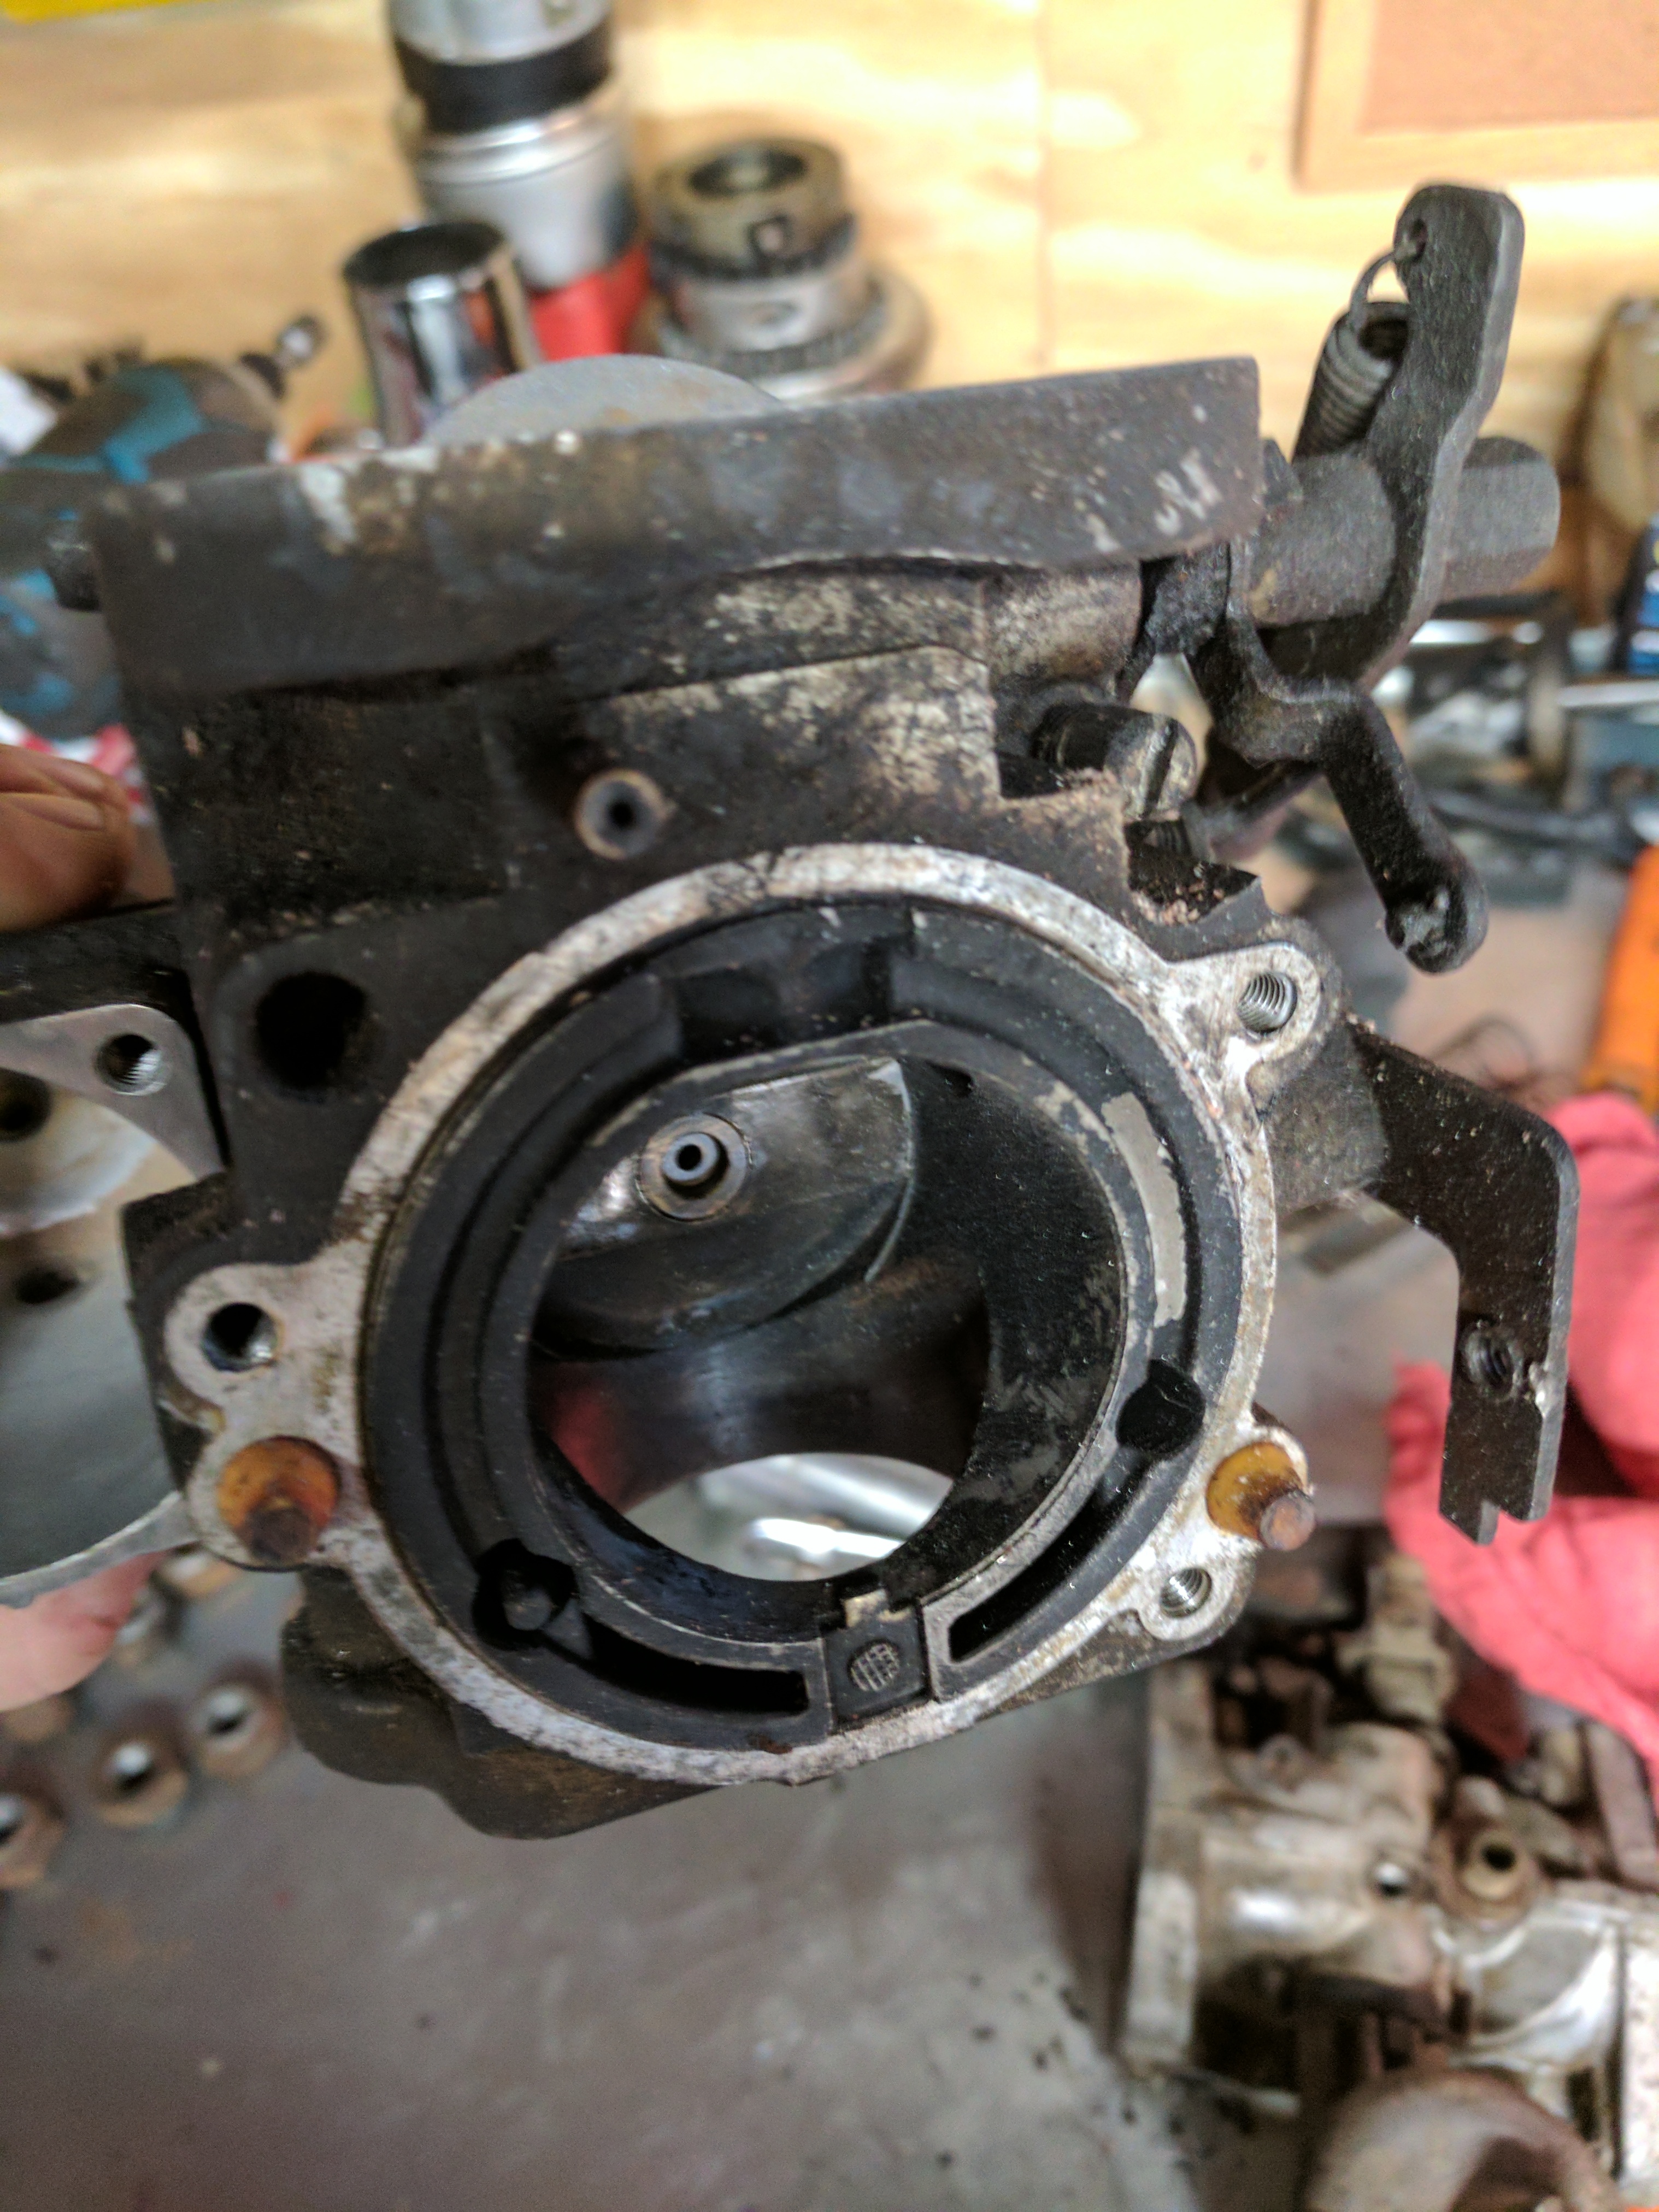
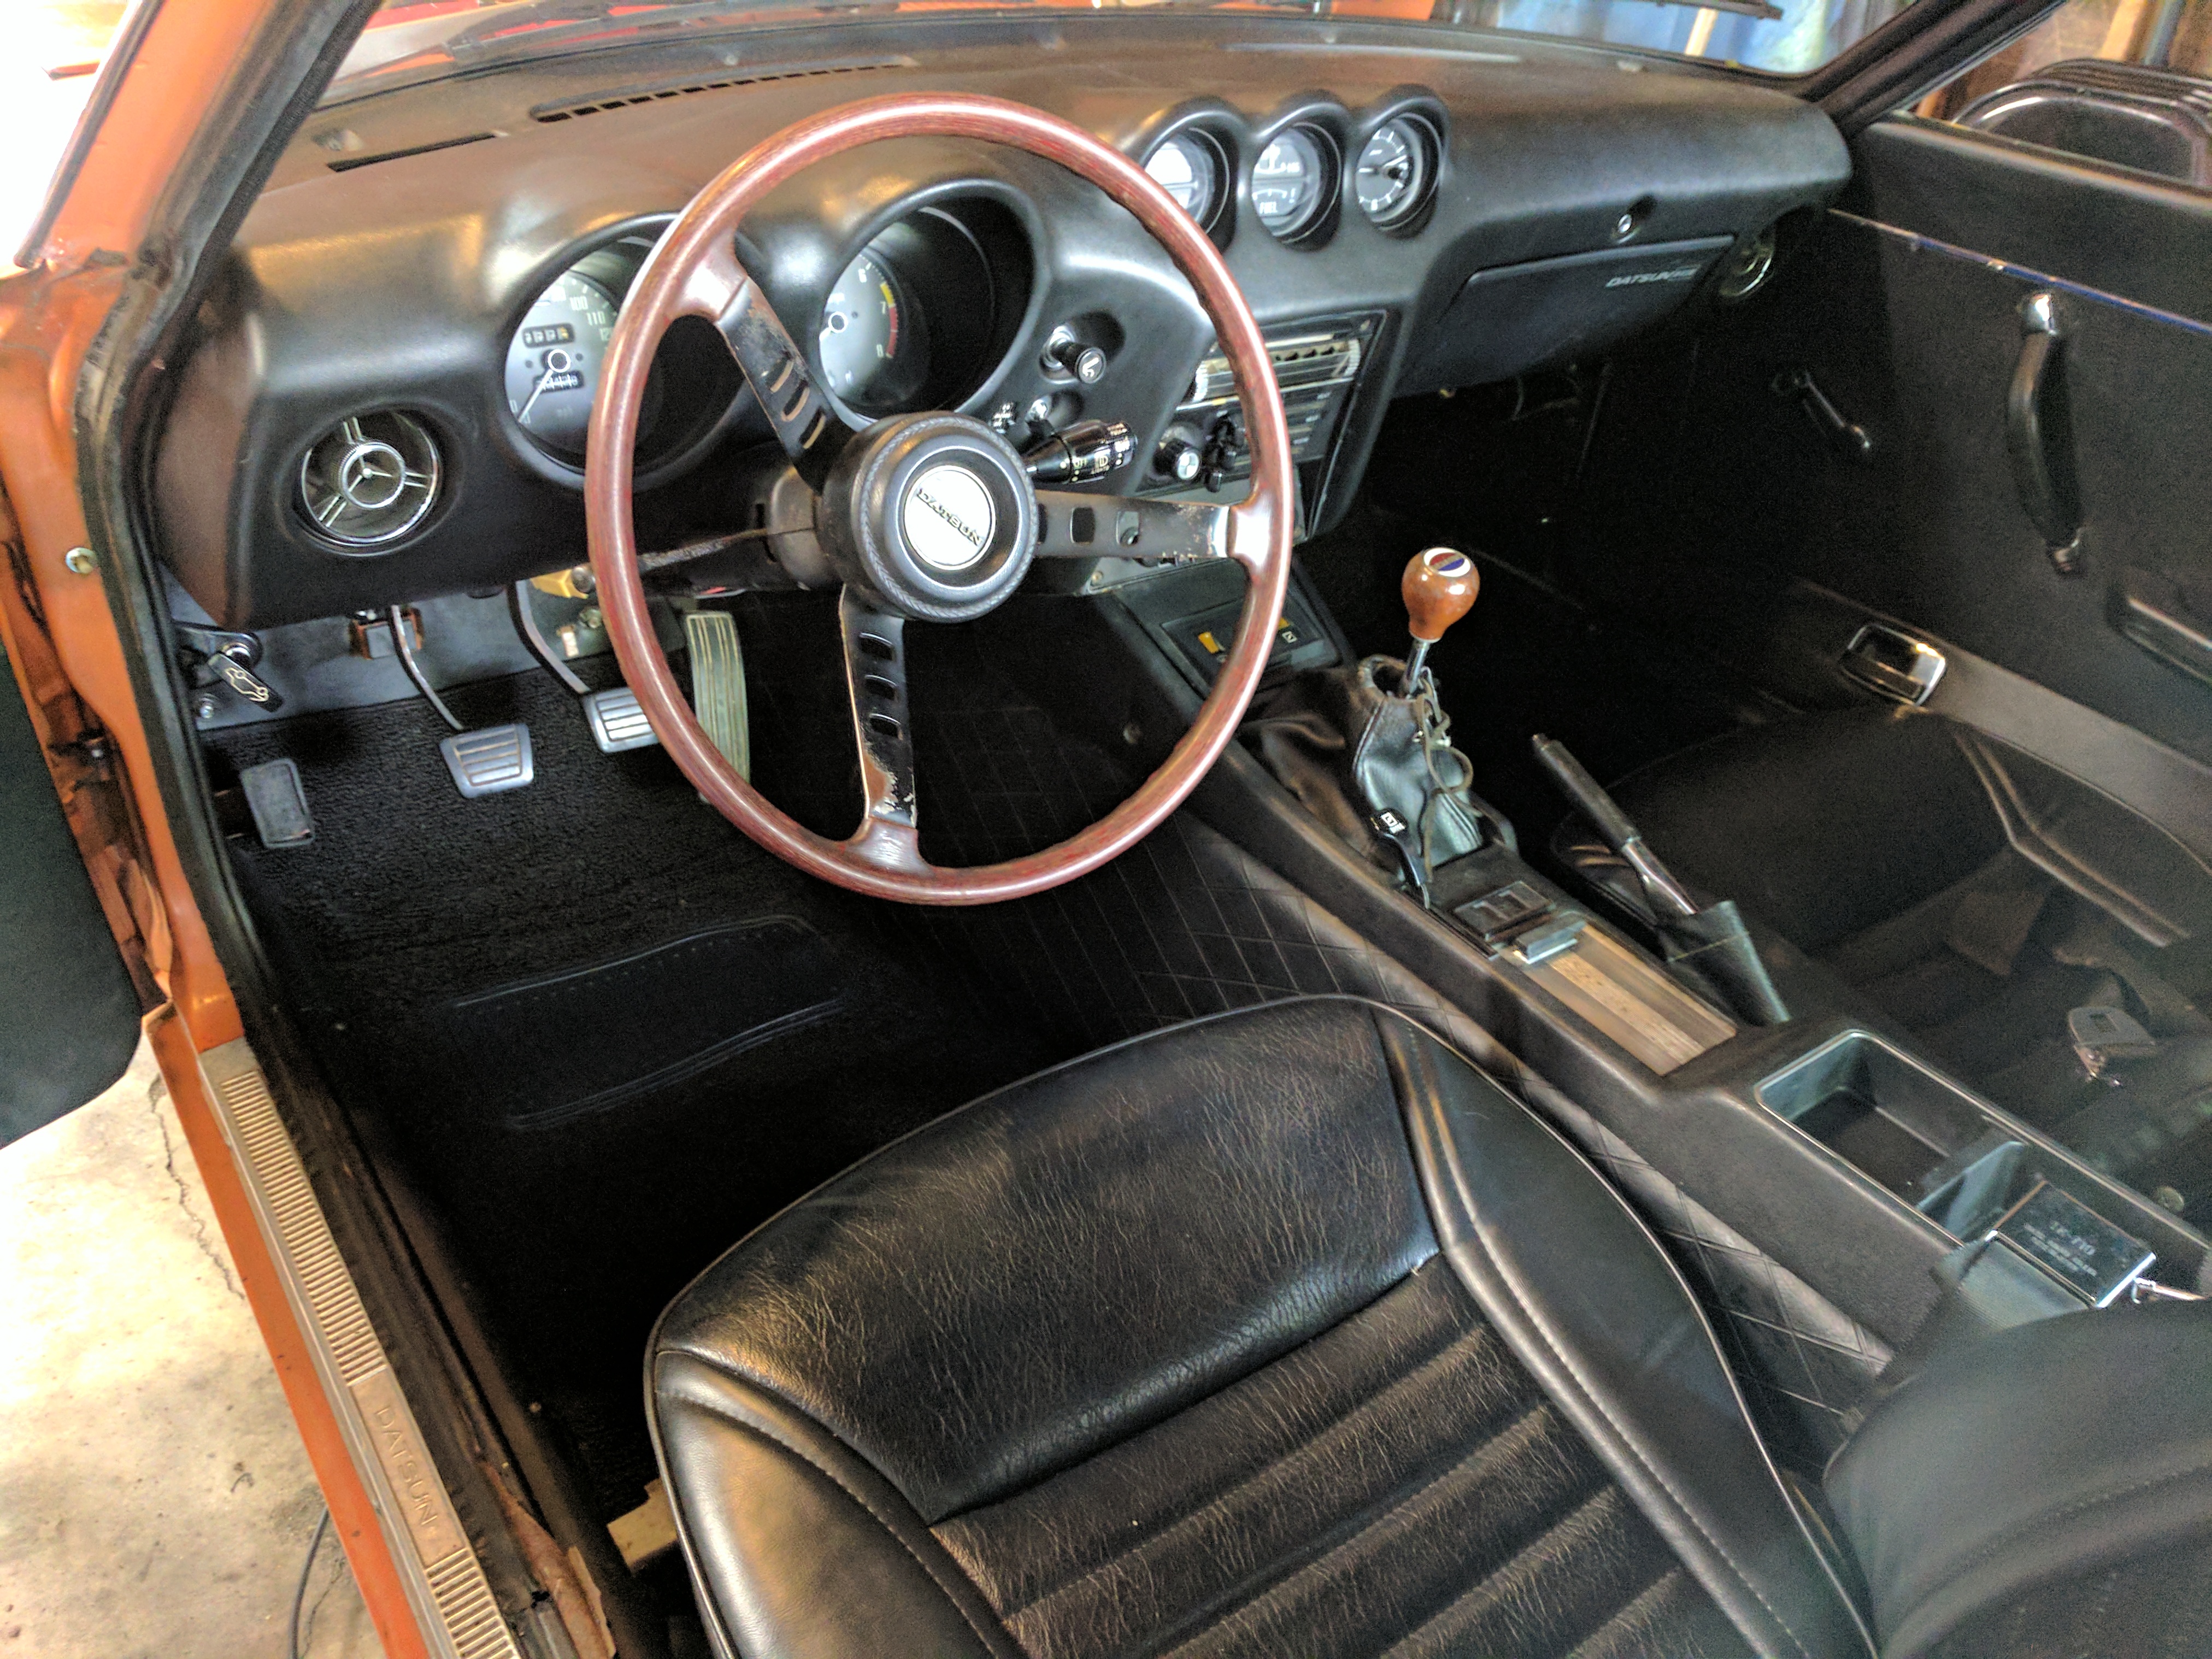
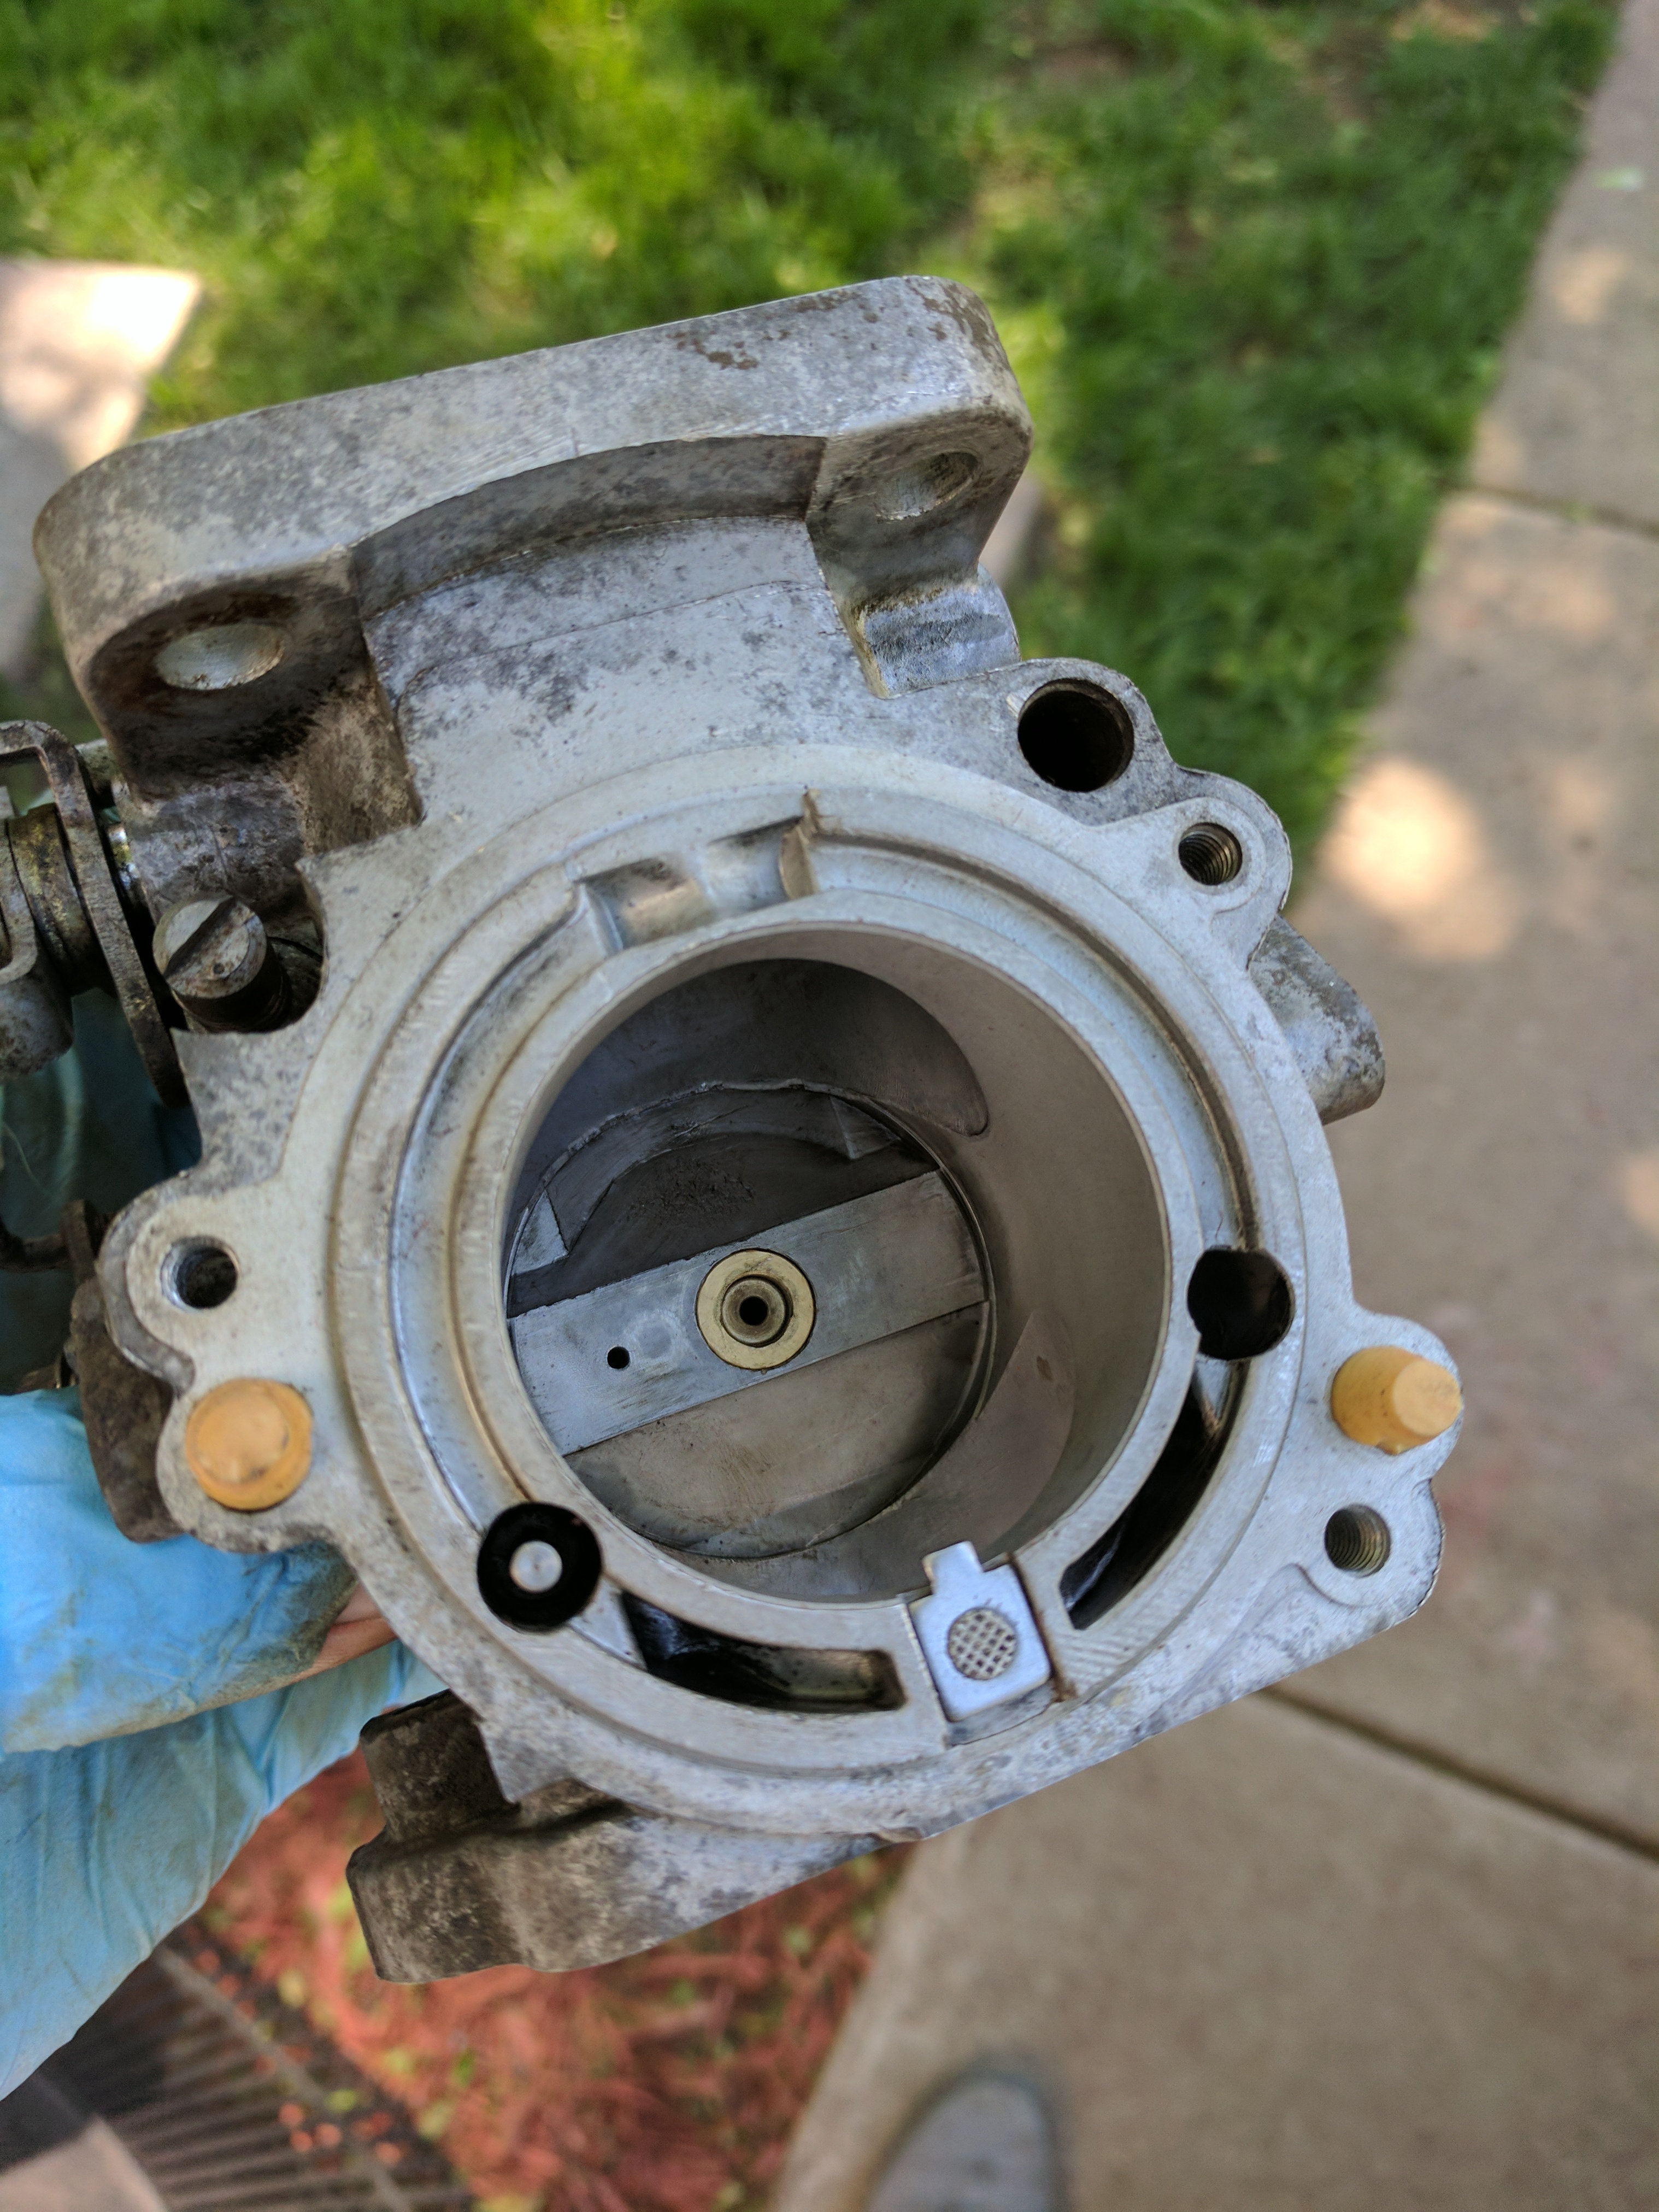
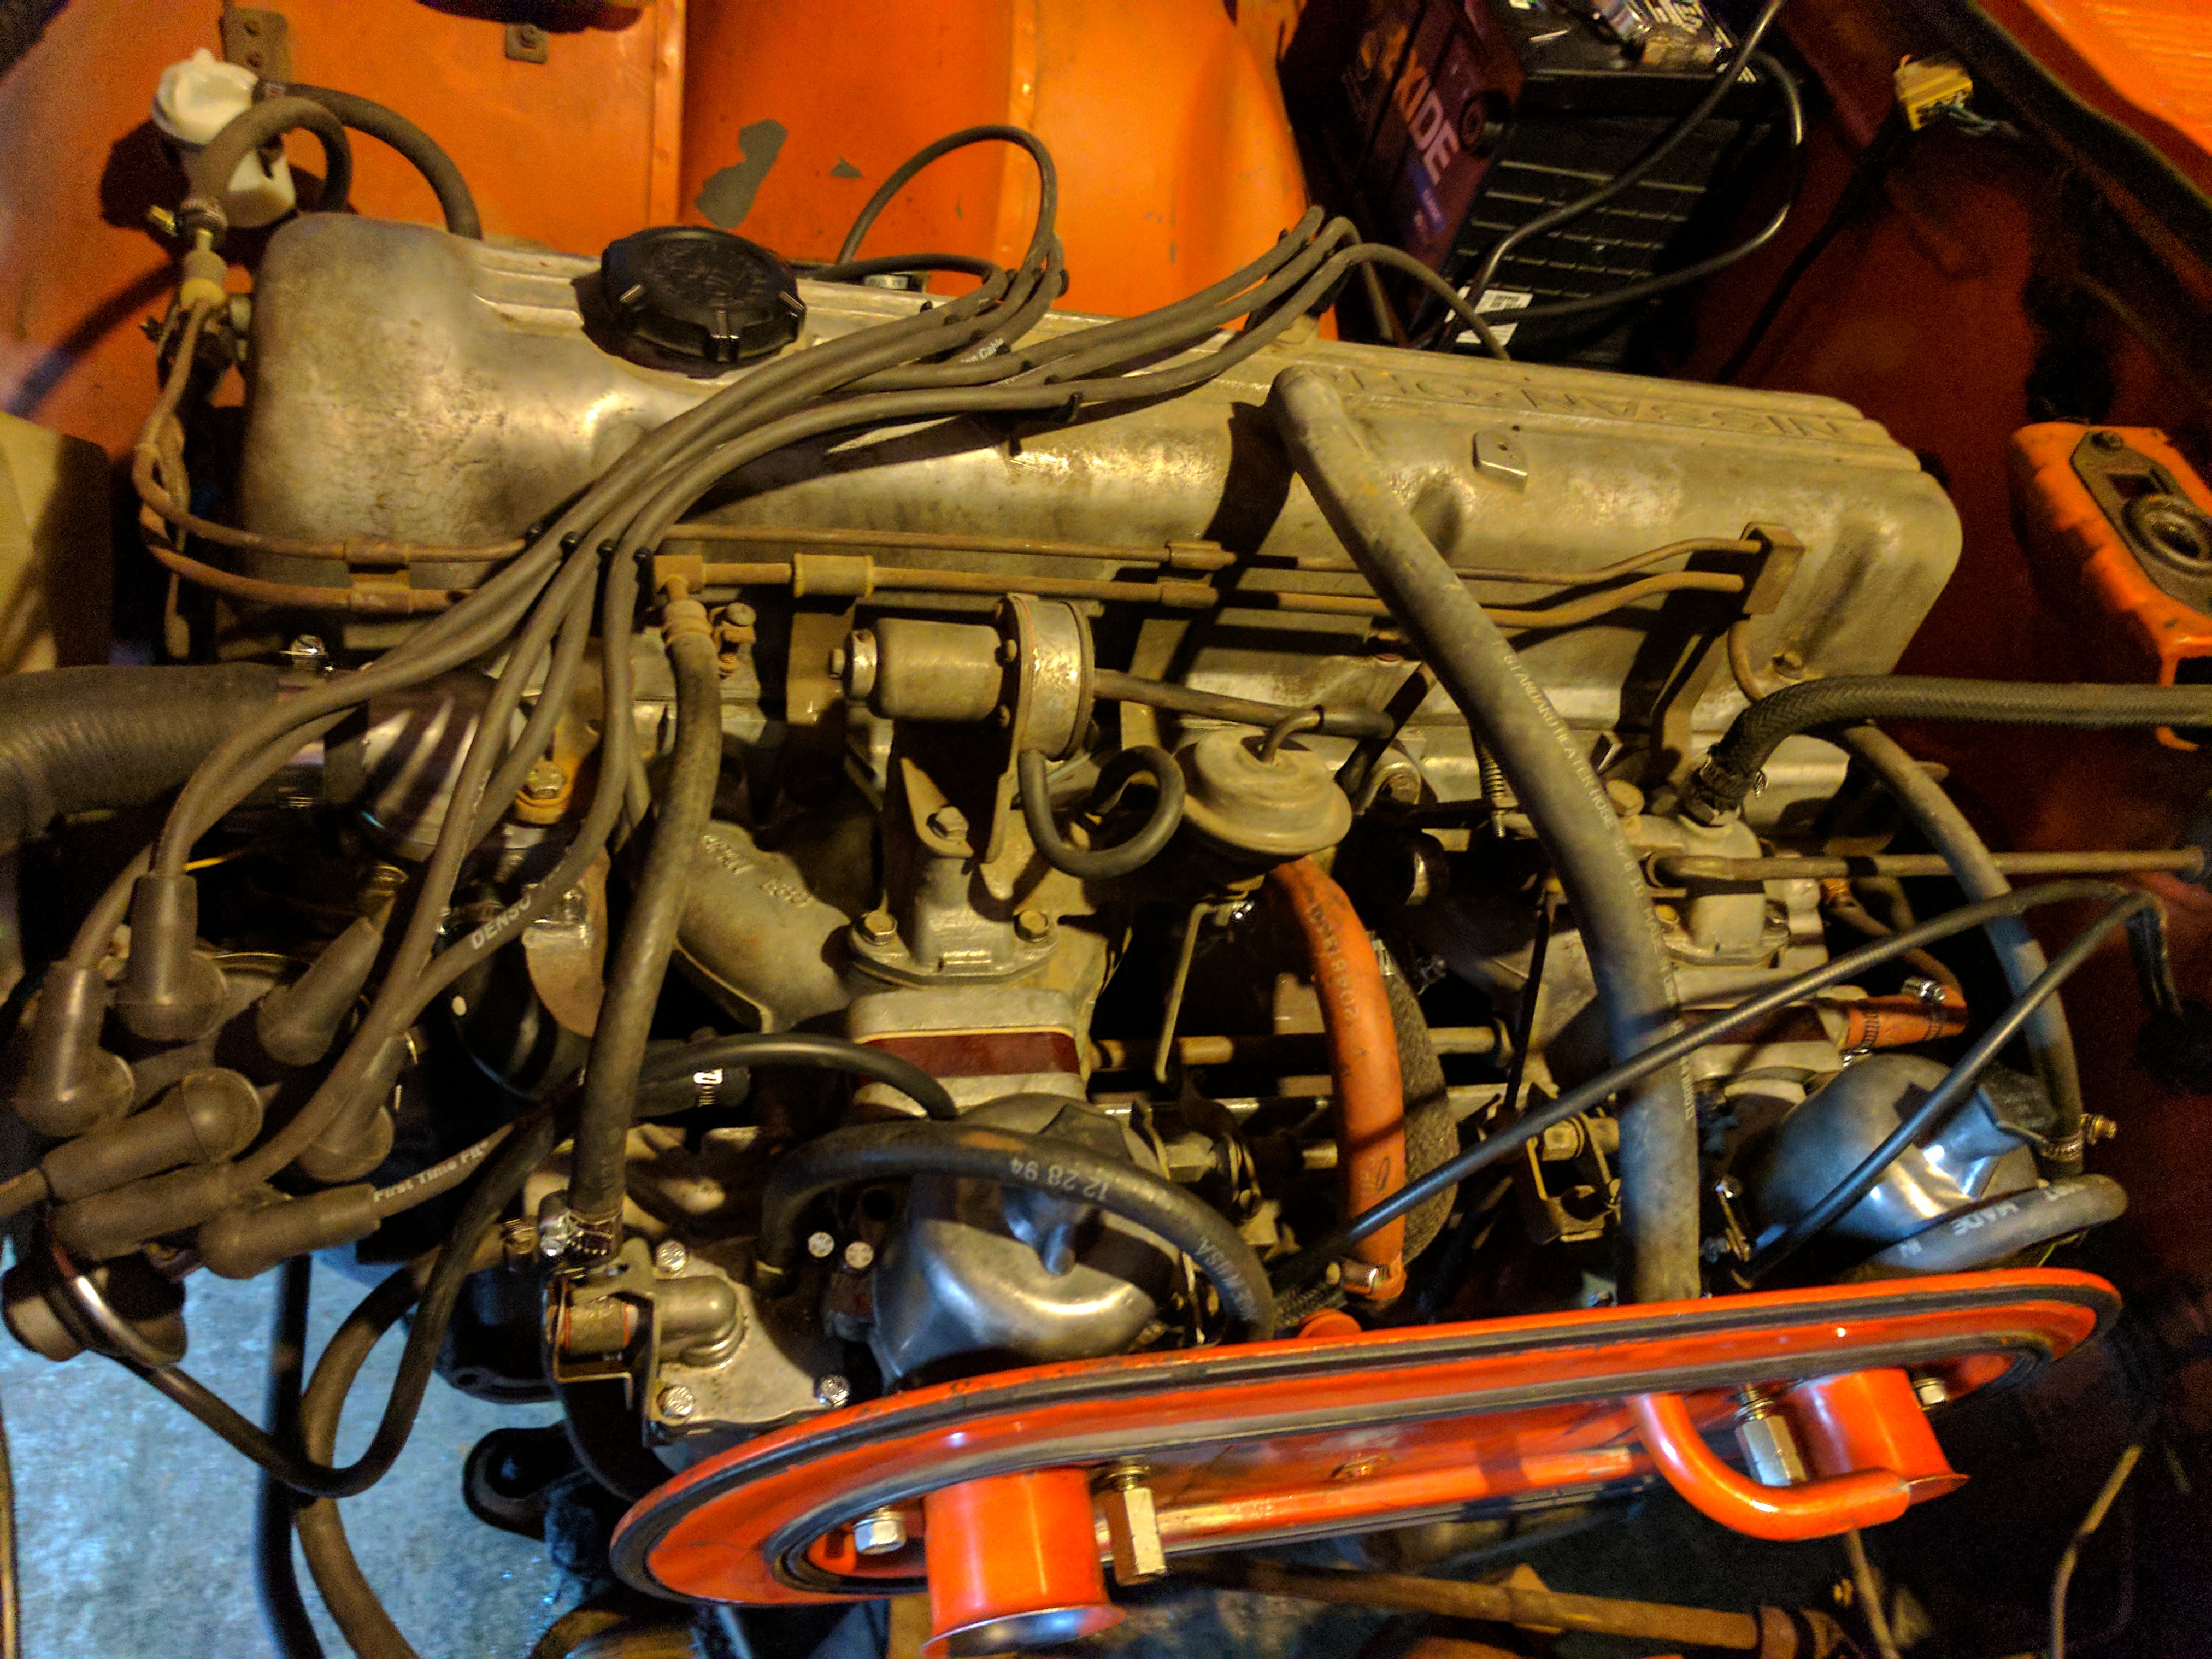
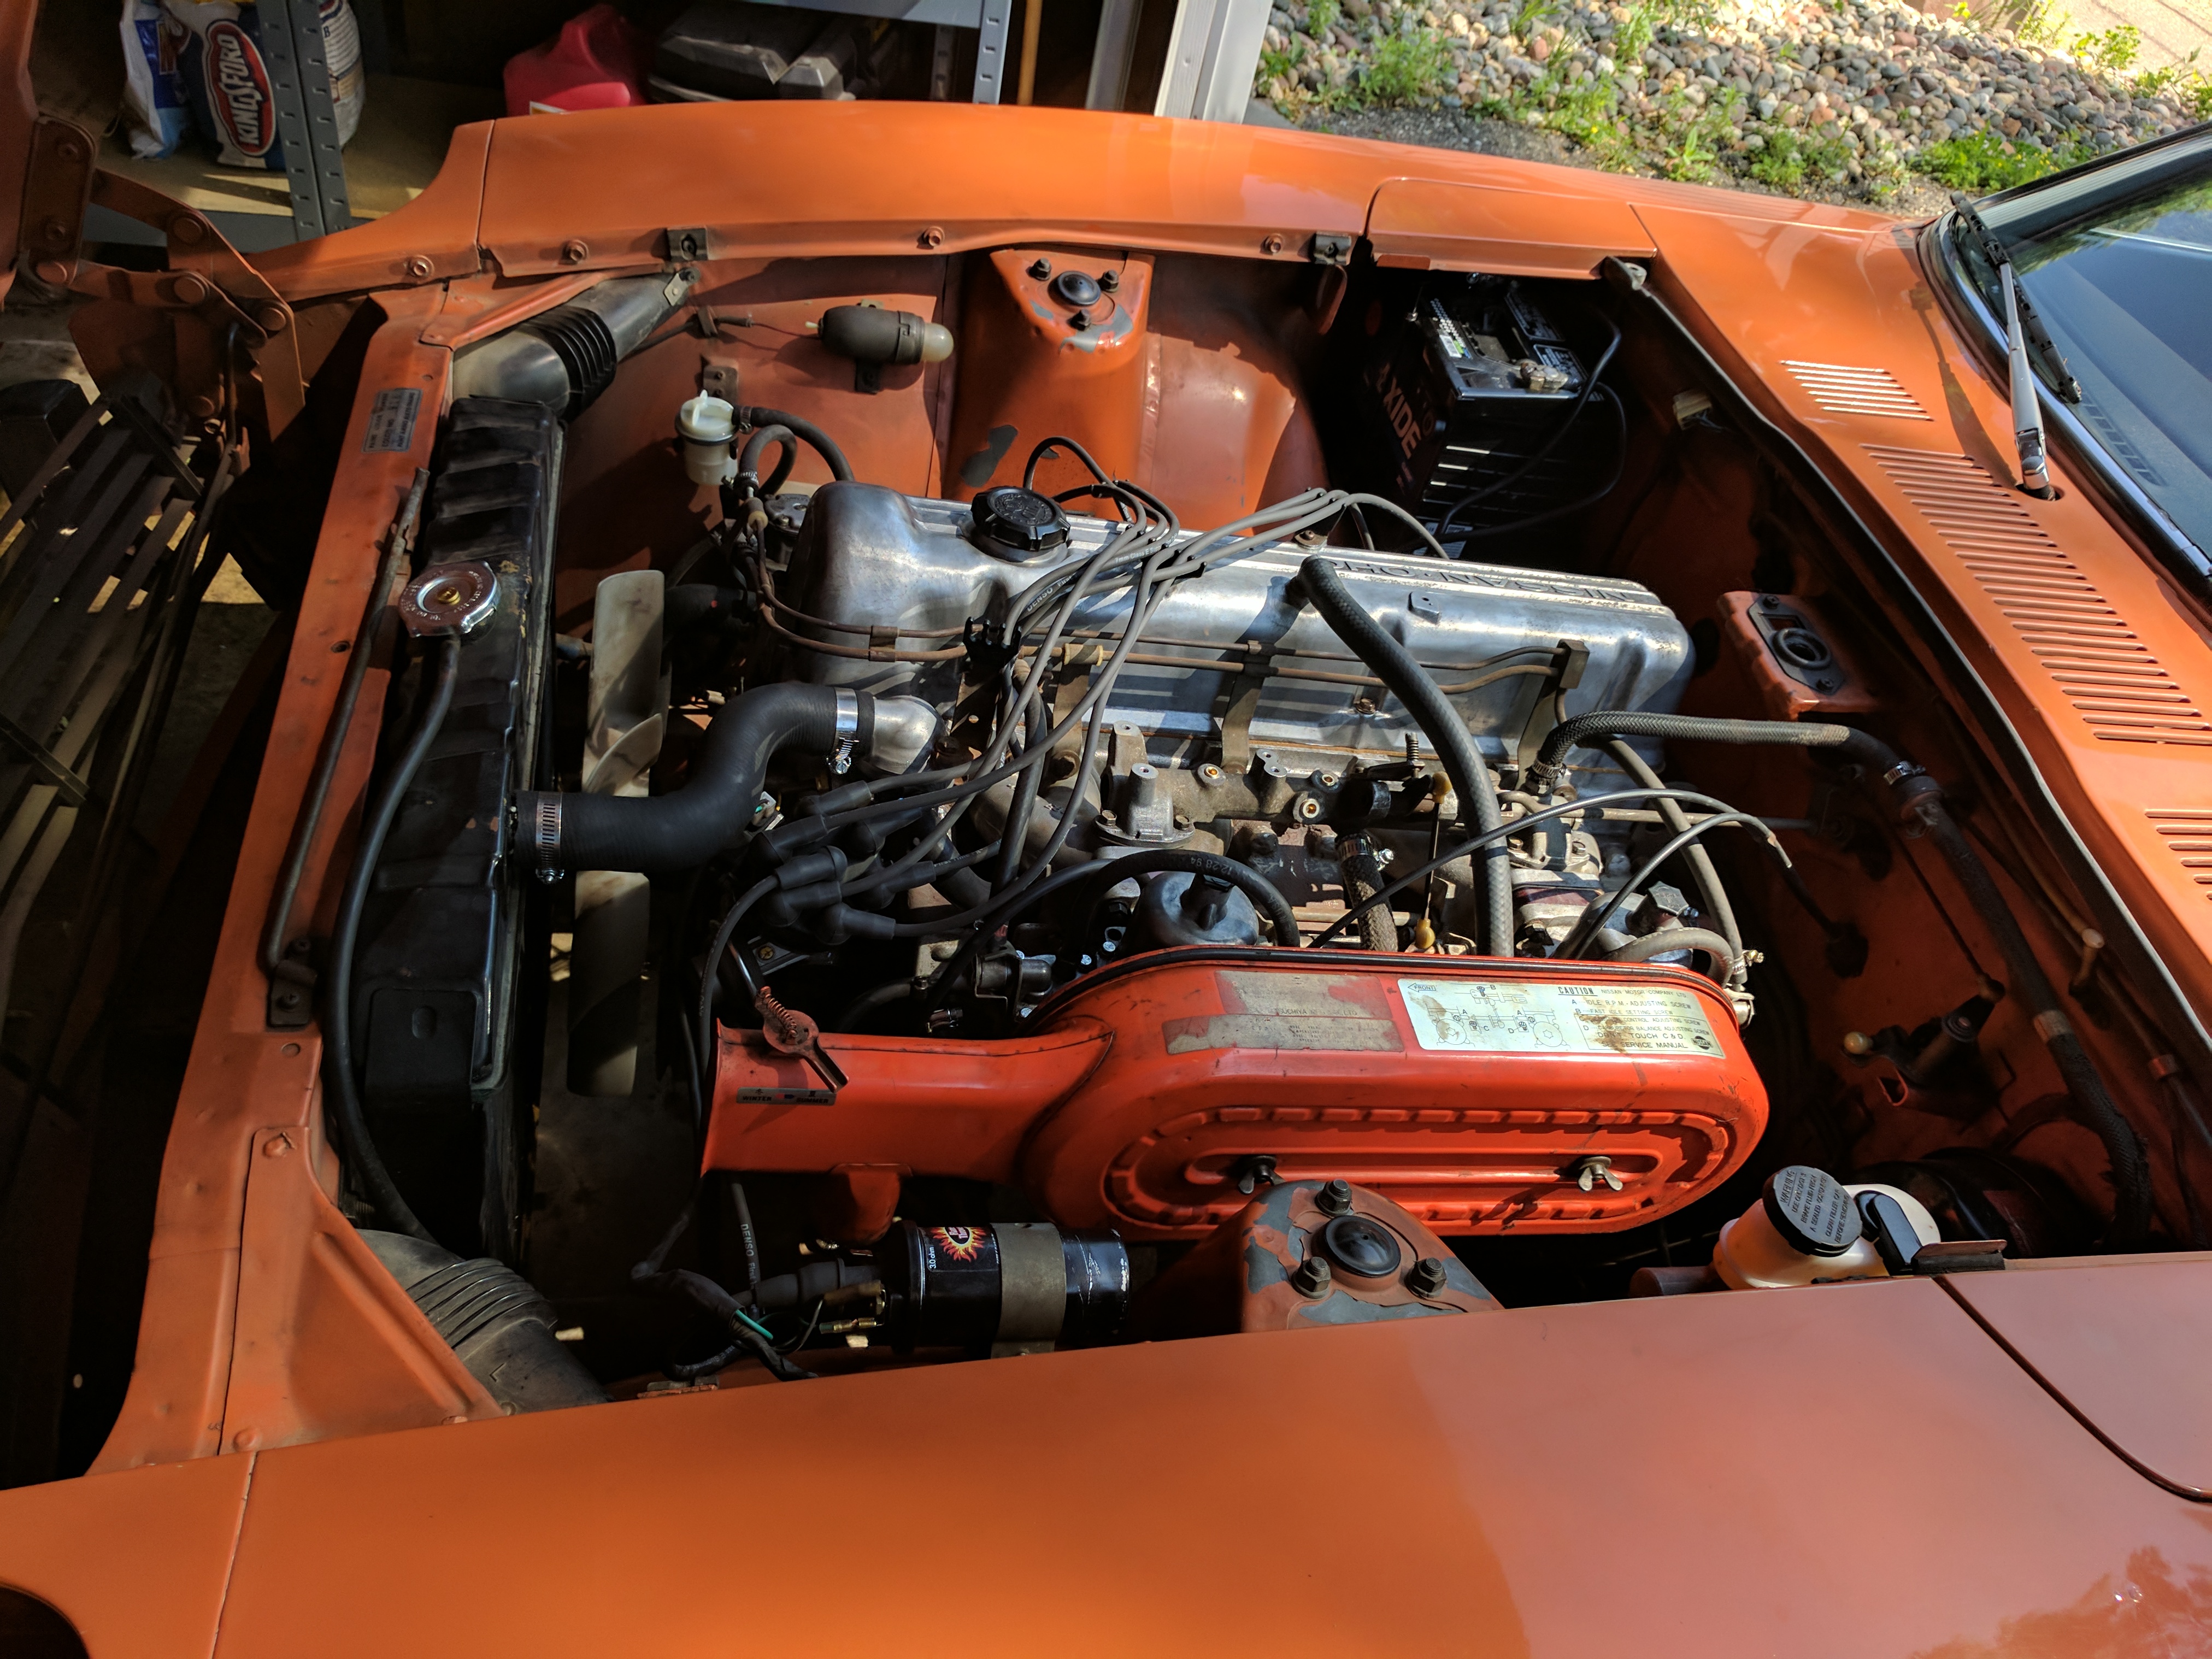
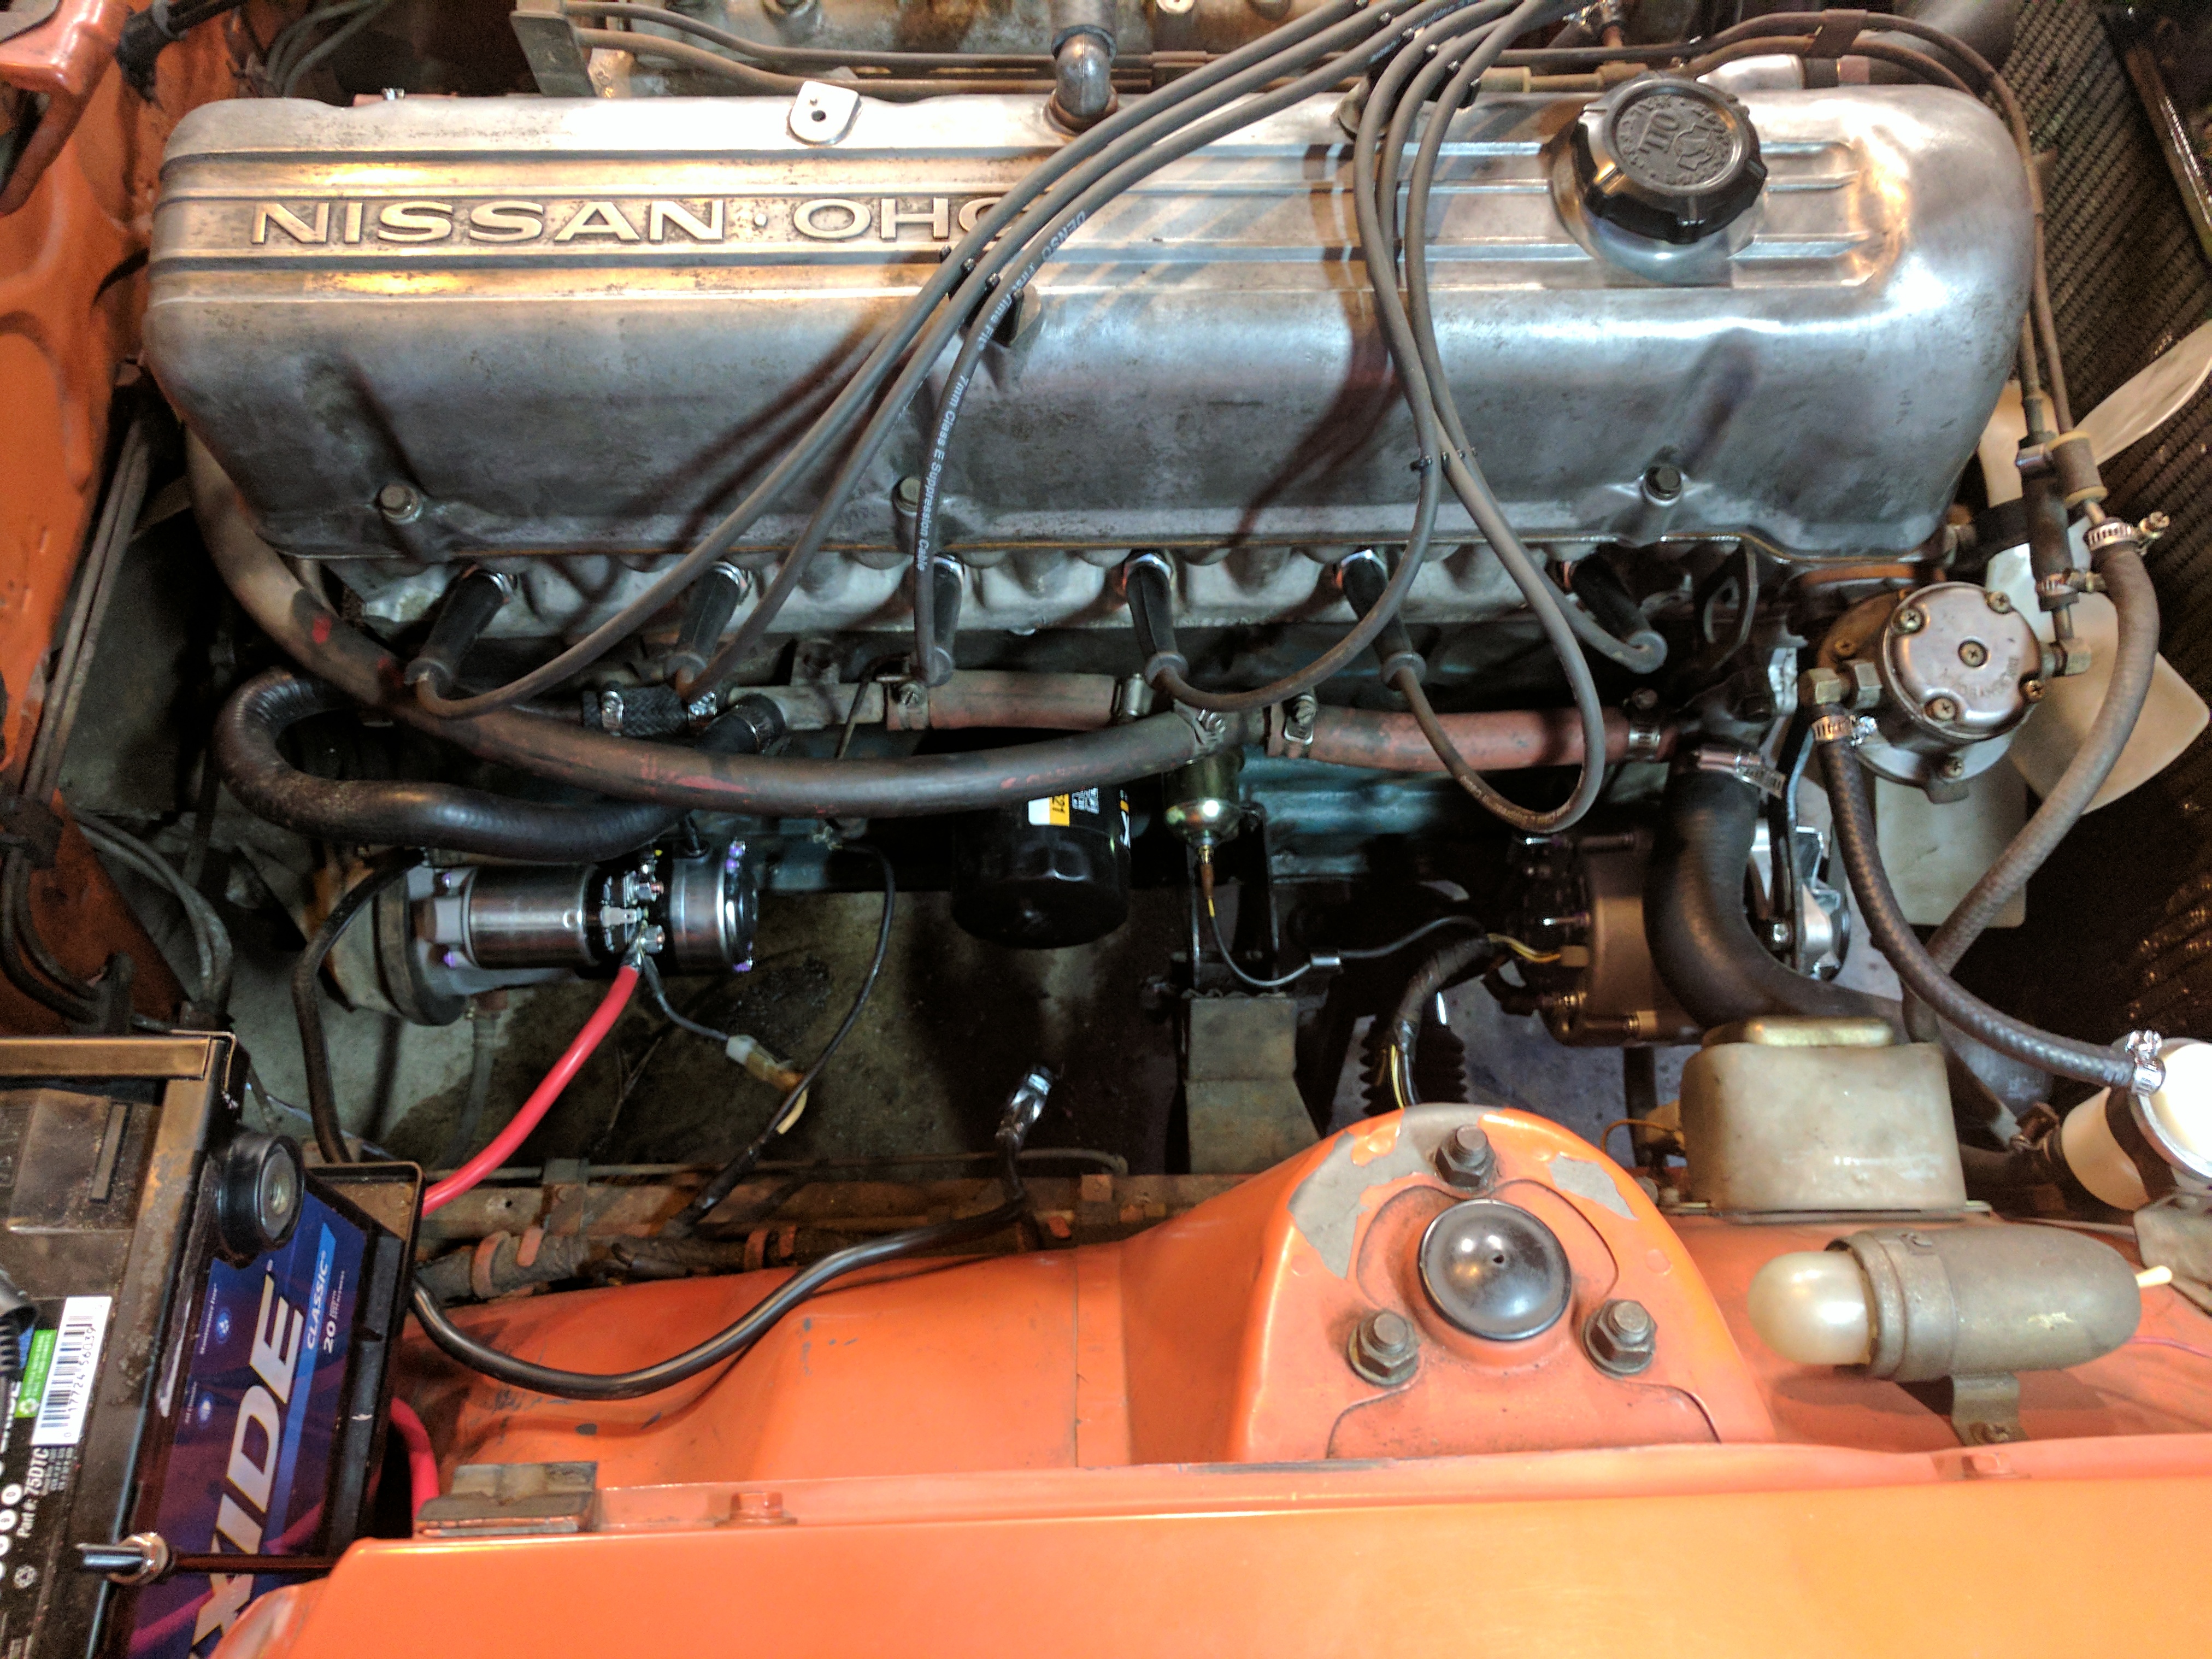
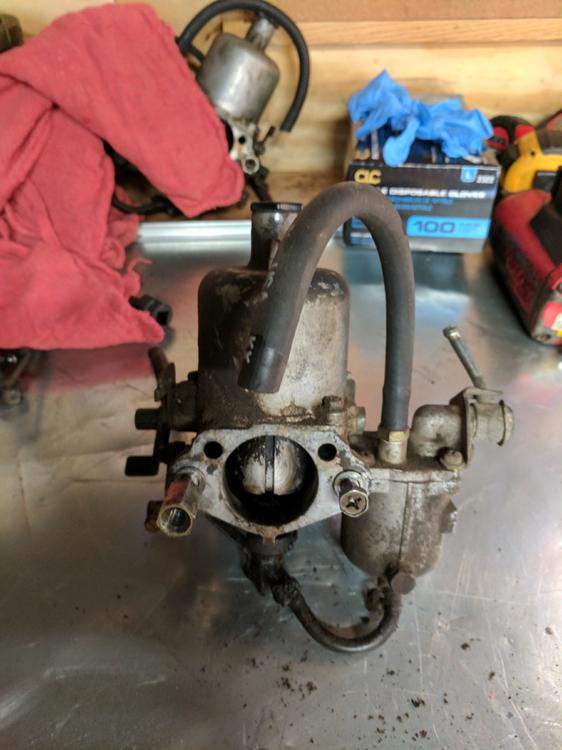
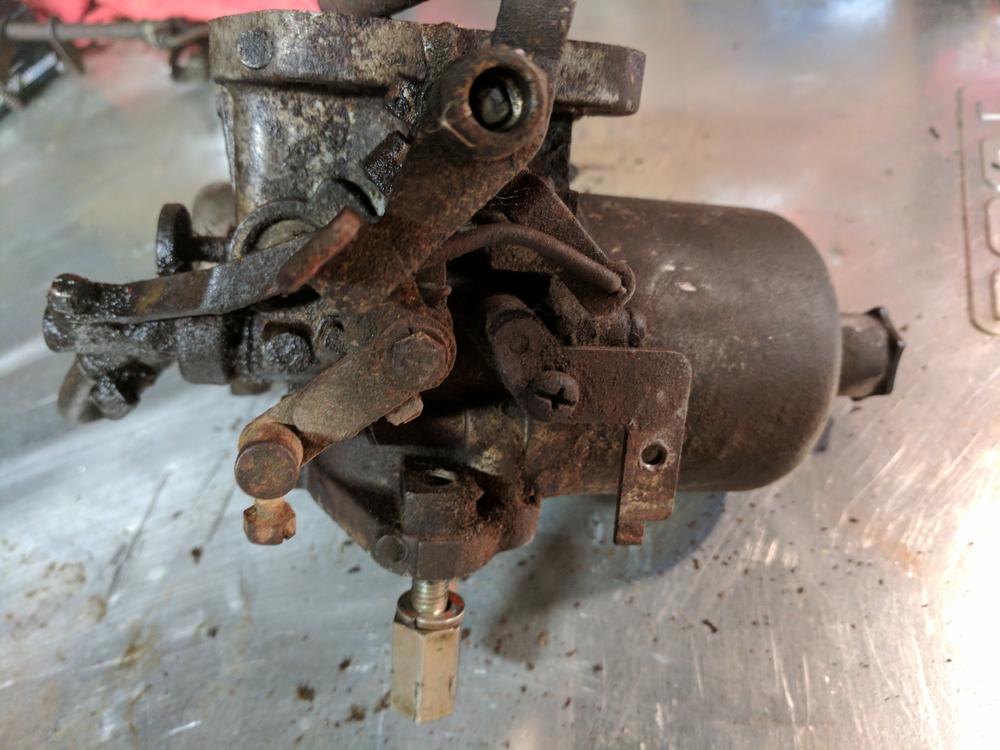
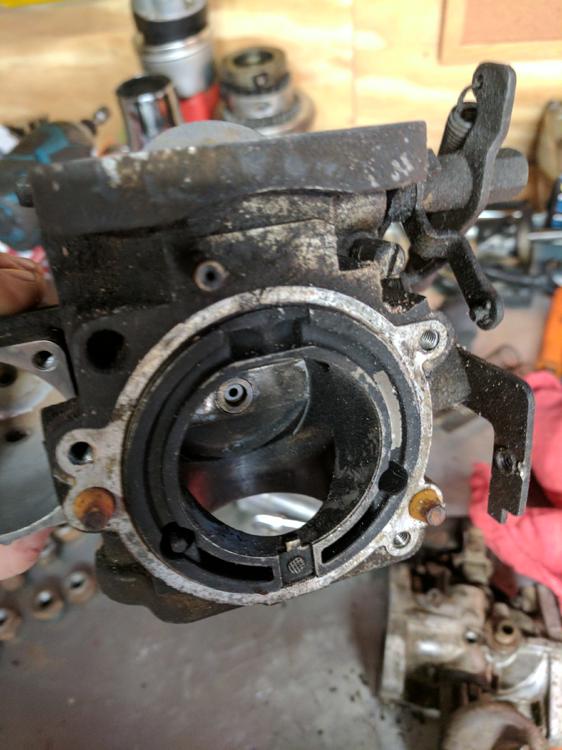
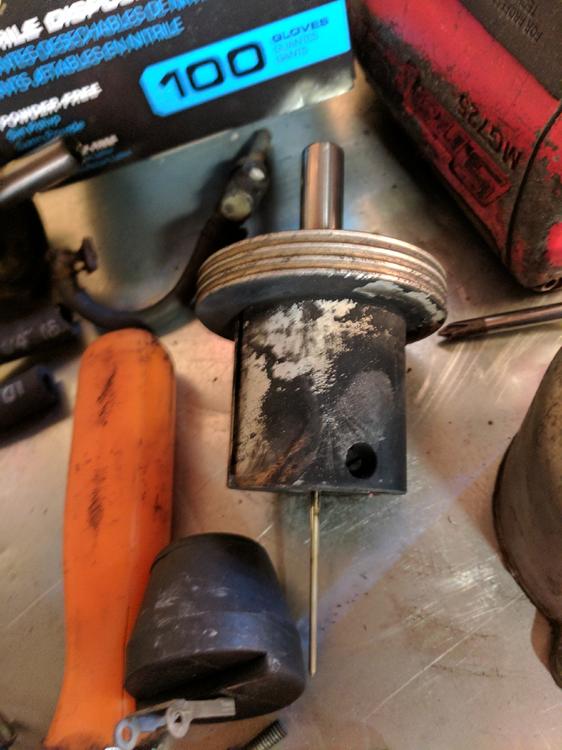
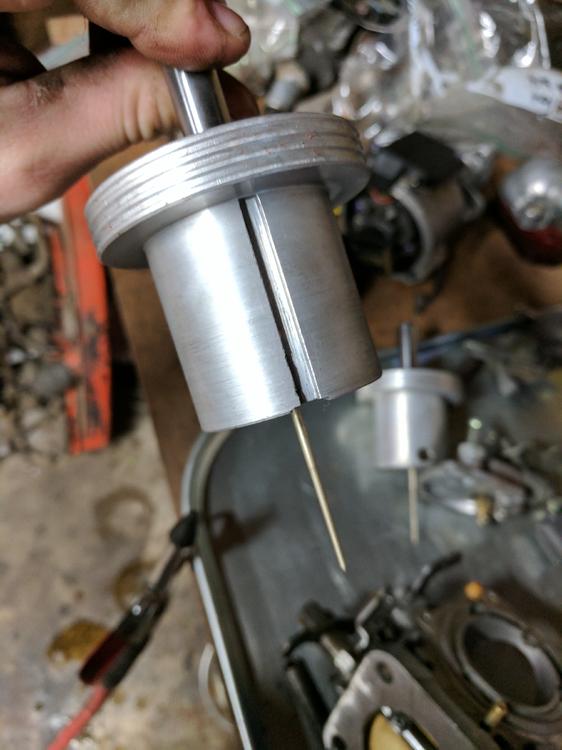
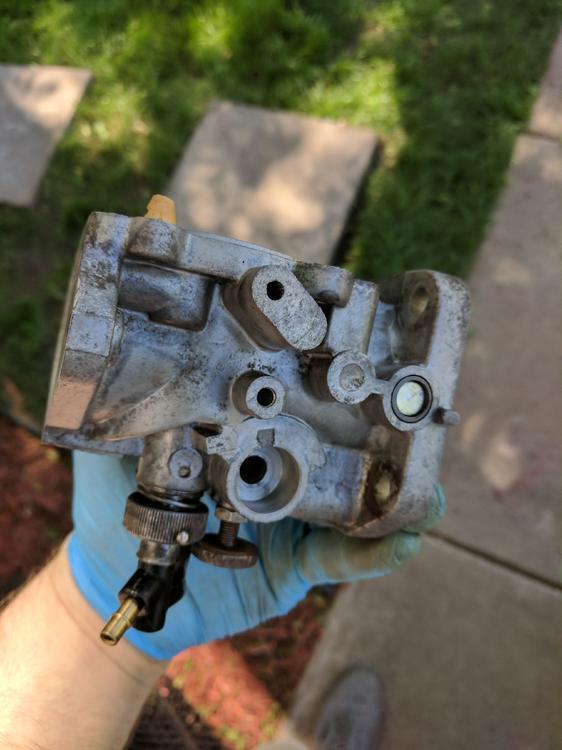
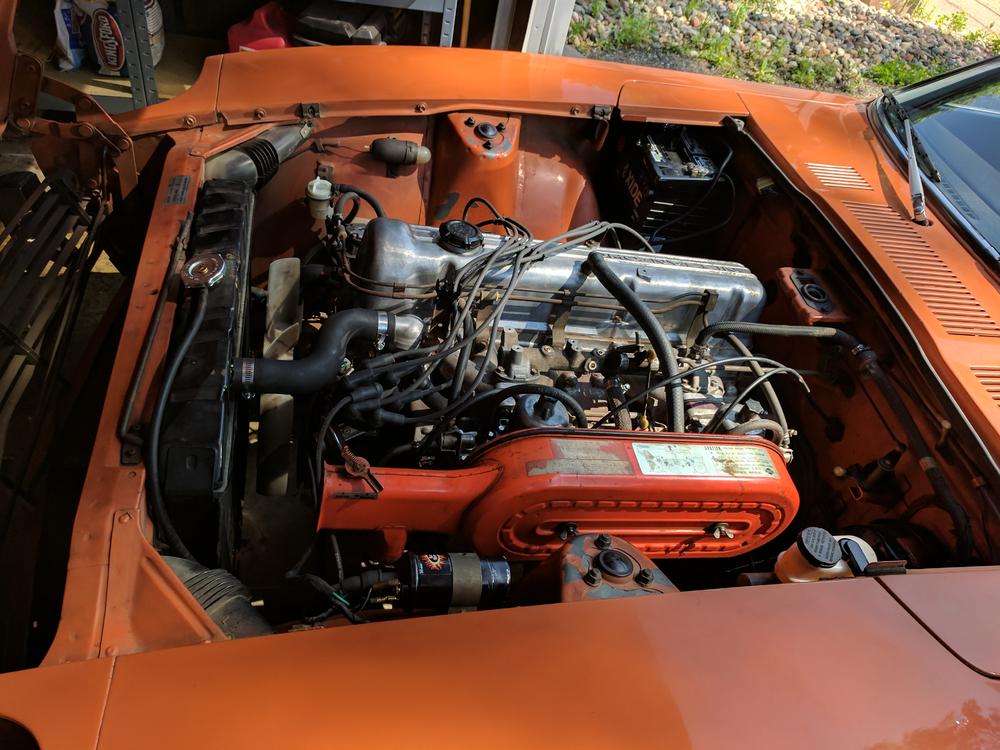
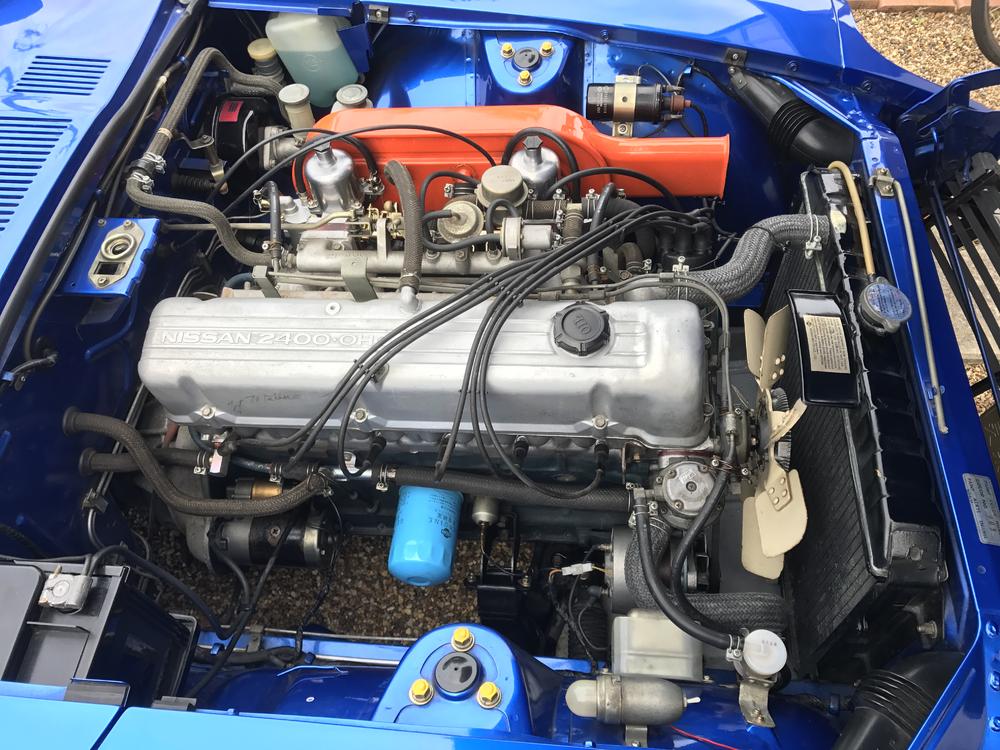
1 pointNext I turned my attention to the carbs. I have no frame of reference for how nasty these SUs get, but these seemed really nasty. When I bought the car it was backfiring out of the carbs every so often due to incorrect timing, it looks like maybe it was doing that for quite some time with all the carbon. With rebuild kits on hand I went to work: Don't have any other pictures of the rebuild process. I cleaned everything up, replaced all the seals and gaskets, installed new hoses, cleaned out the filters, and replaced the float needle. Reset the floats and filled the dashpots with new oil. Here they are all back together: While I was working on those my awesome wife took the time to clean the interior out for me. It was pretty grimey and smelled of the mice that where living in back real bad. She wiped everything down, vacuumed all the mice stuff out and shampooed the carpets. After this it took a week or two just to get everything tuned up properly, should have taken less time but I was still learning the SU's and was struggling with ignition timing like I mentioned previously. As I was struggling to tune it I ended up frying the starter by cranking so much. Sooo...I got a new starter and alternator. You can tell I have a shotgun approach to these things. Over the next week or so I was waiting for my liscense plate to arrive, so I did alot of little things as well. Replaced the fuel hoses and the filter, new coolant/heater hoses, wiring fixes, and alot more I don't remember. I did end up pulling the rest of the EGR and backfiring solenoid stuff of the intake, makes the engine look much cleaner: There was a whole bunch of wiring issues from mice chewing away at them that caused most of lights to not work. Got all of them in working order:


 1 point
 -
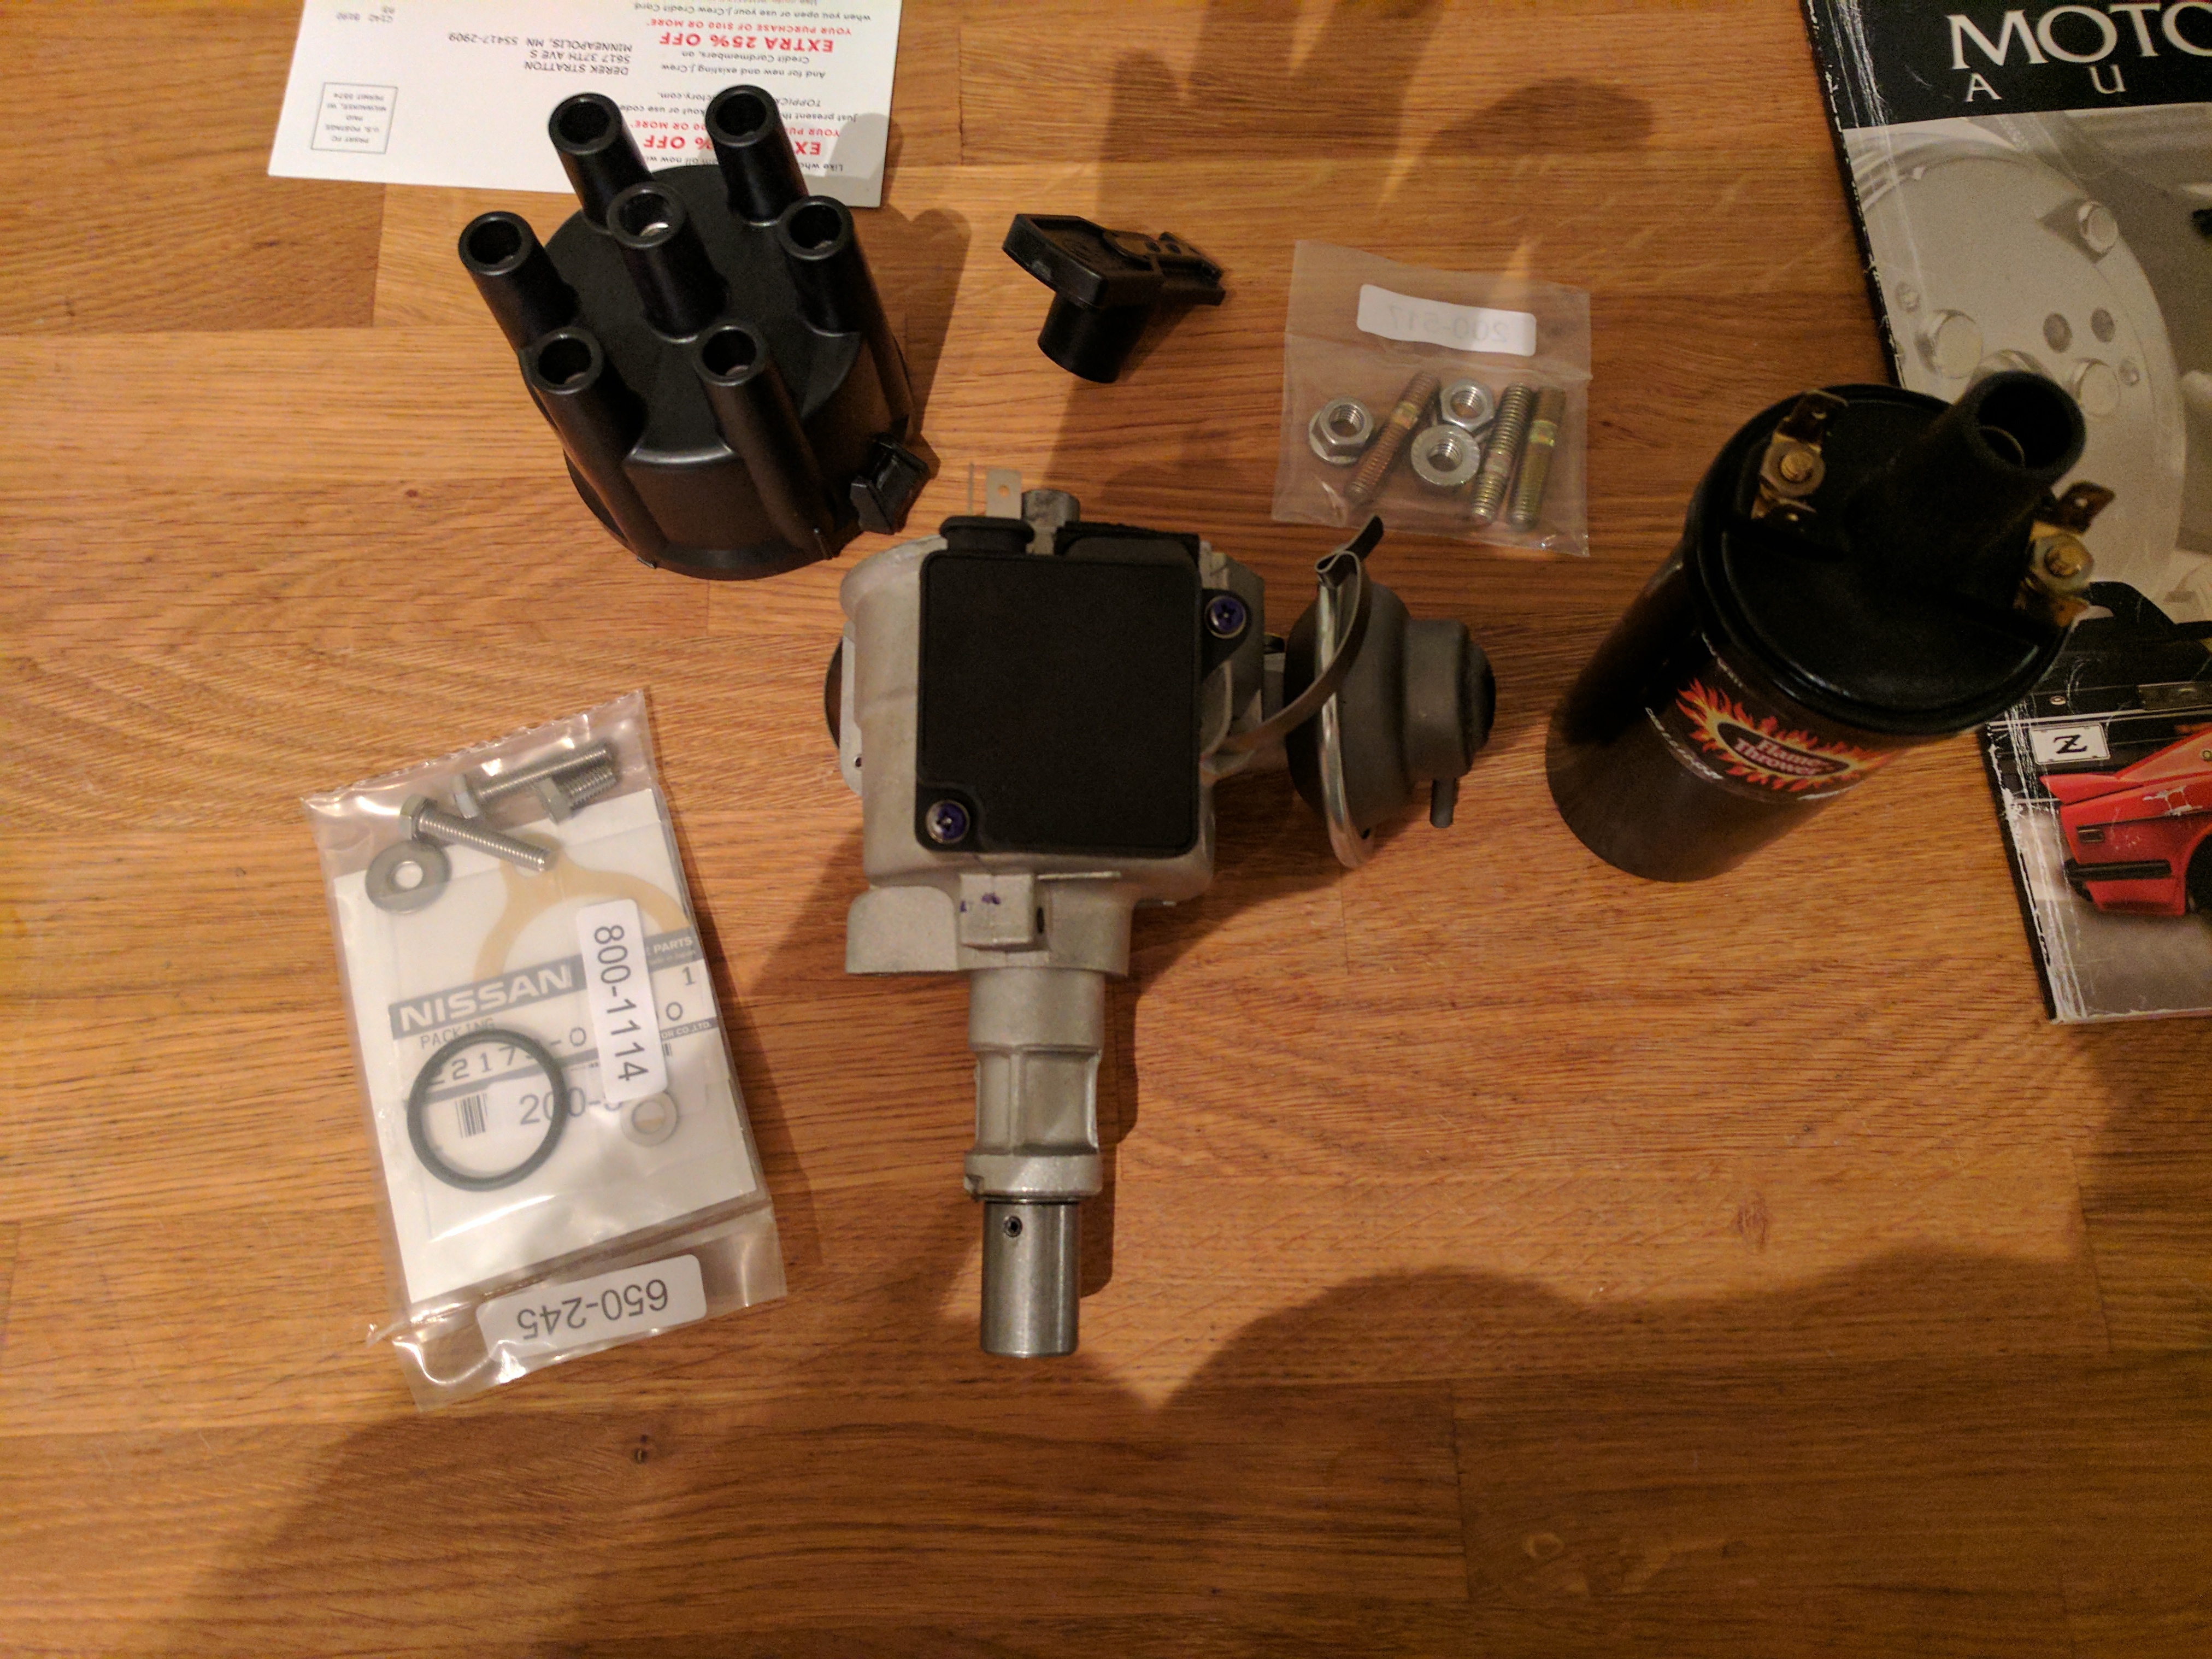
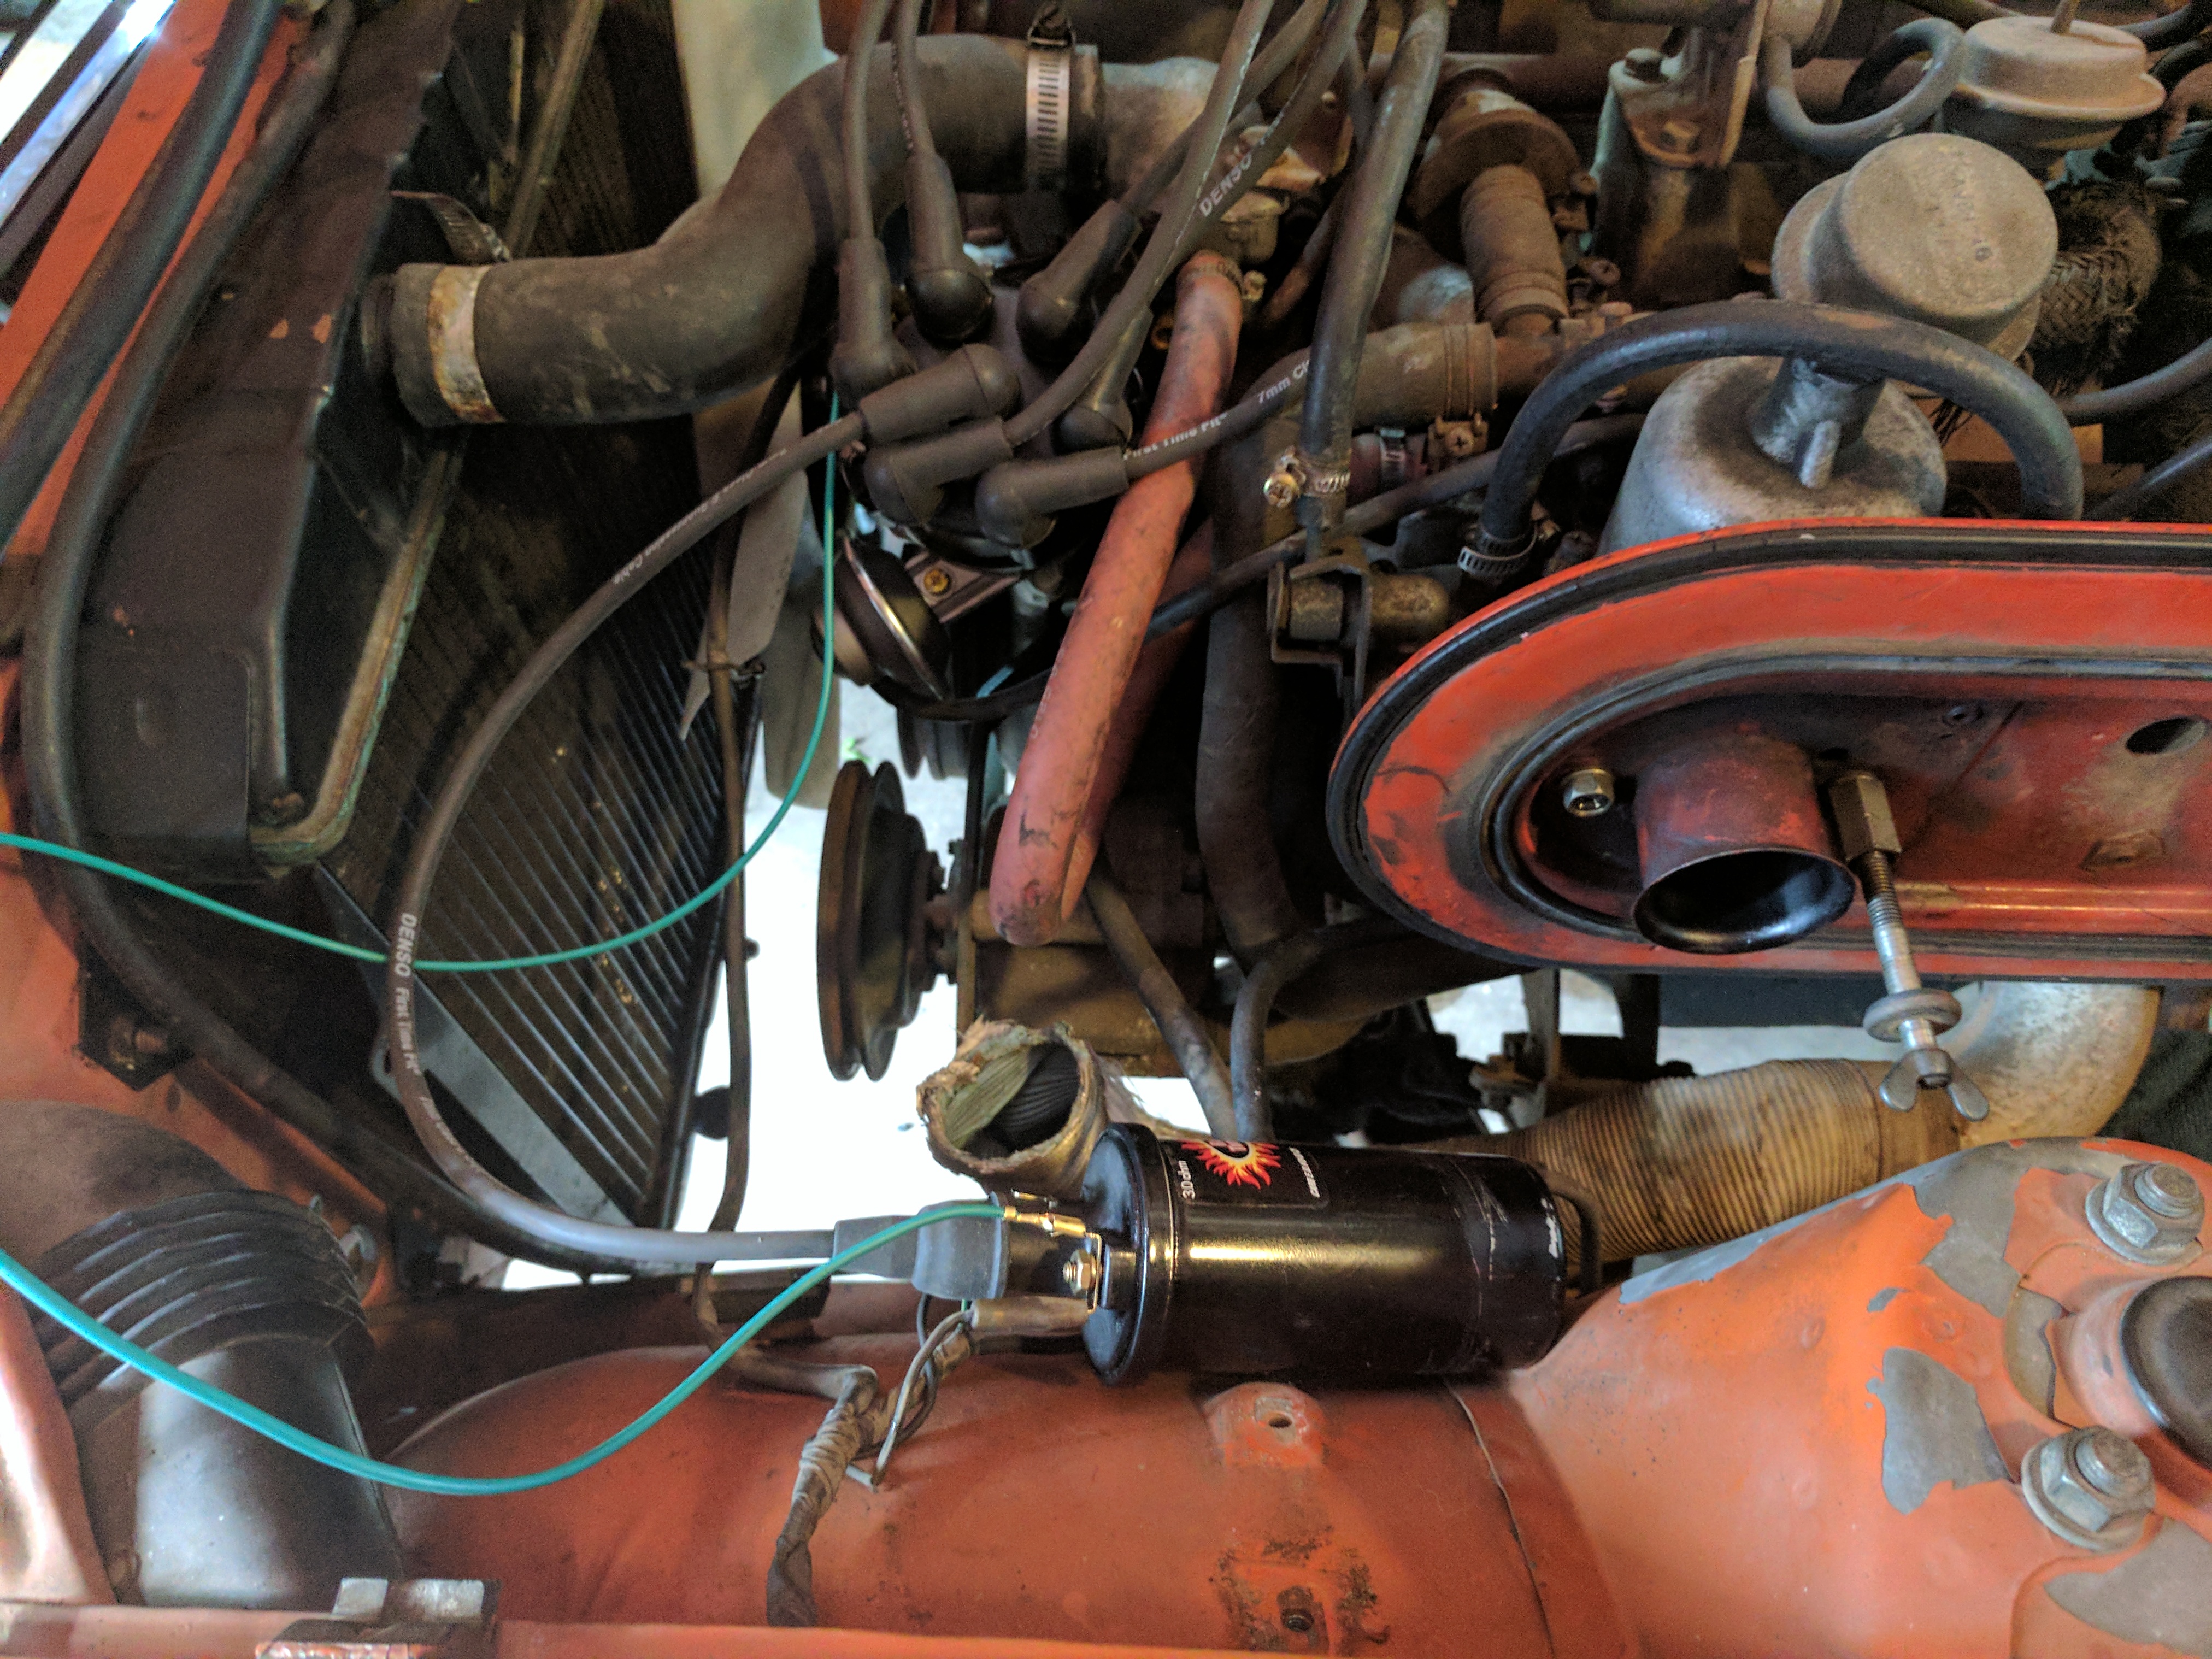
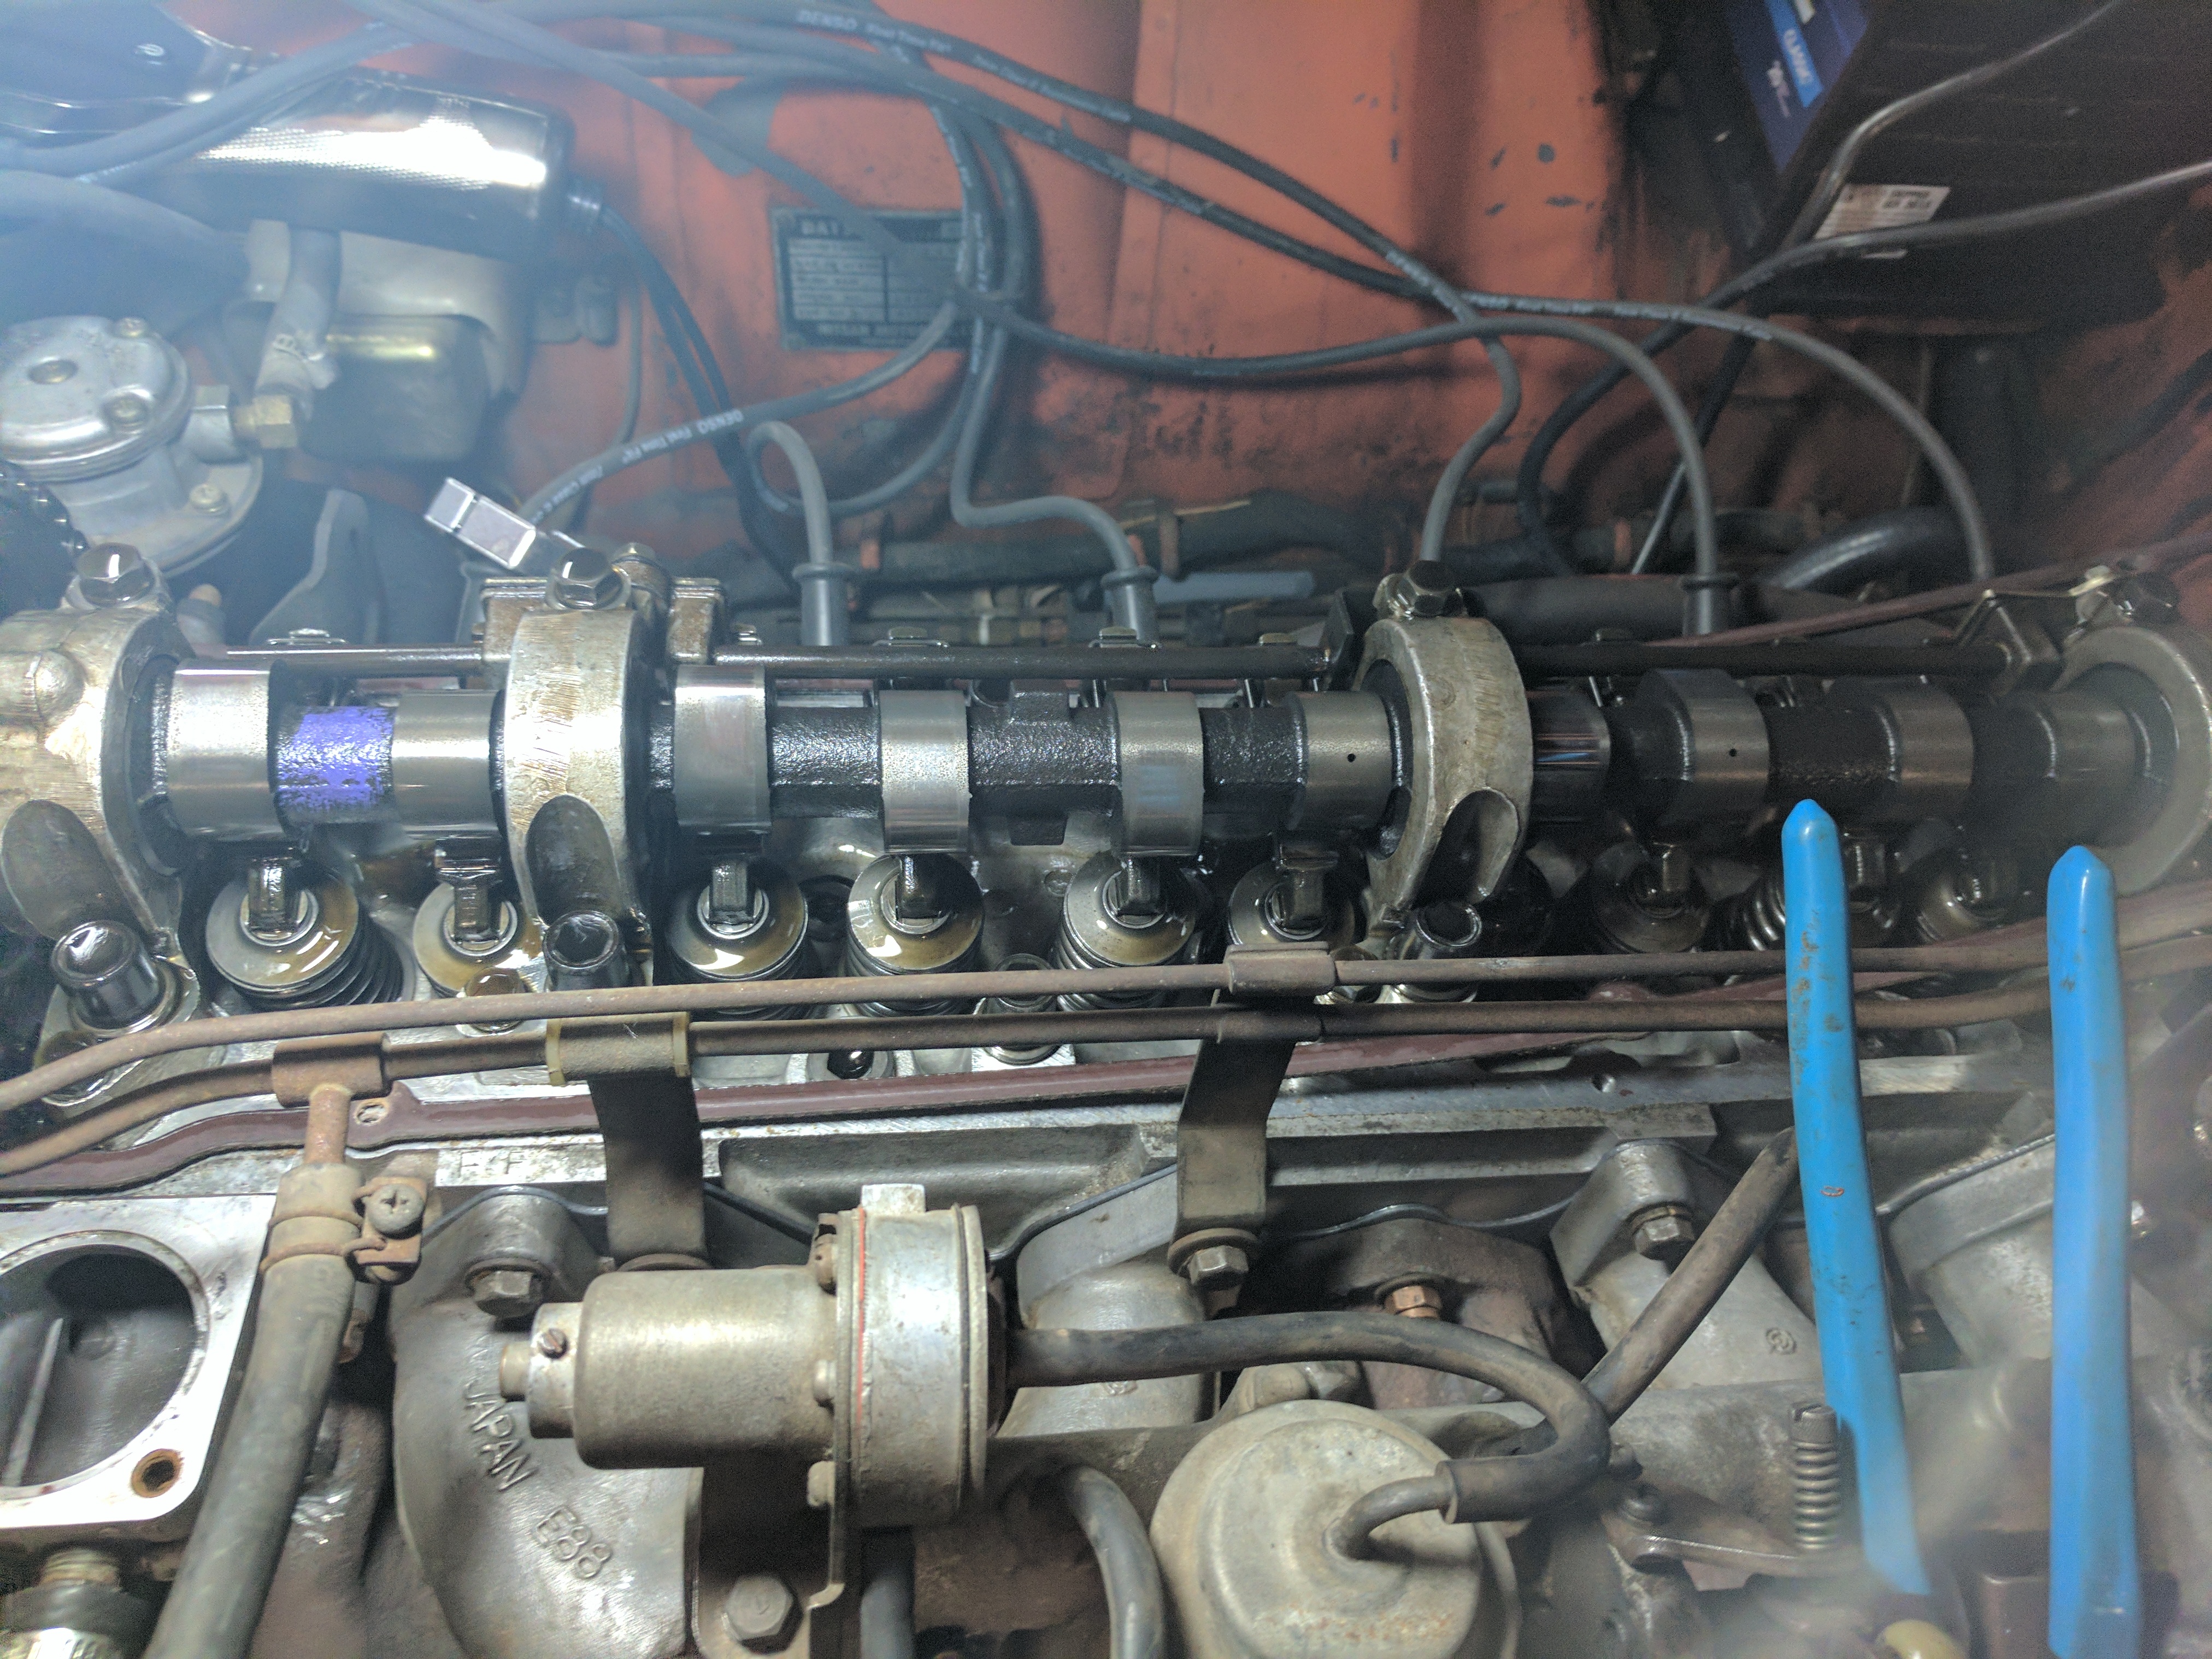
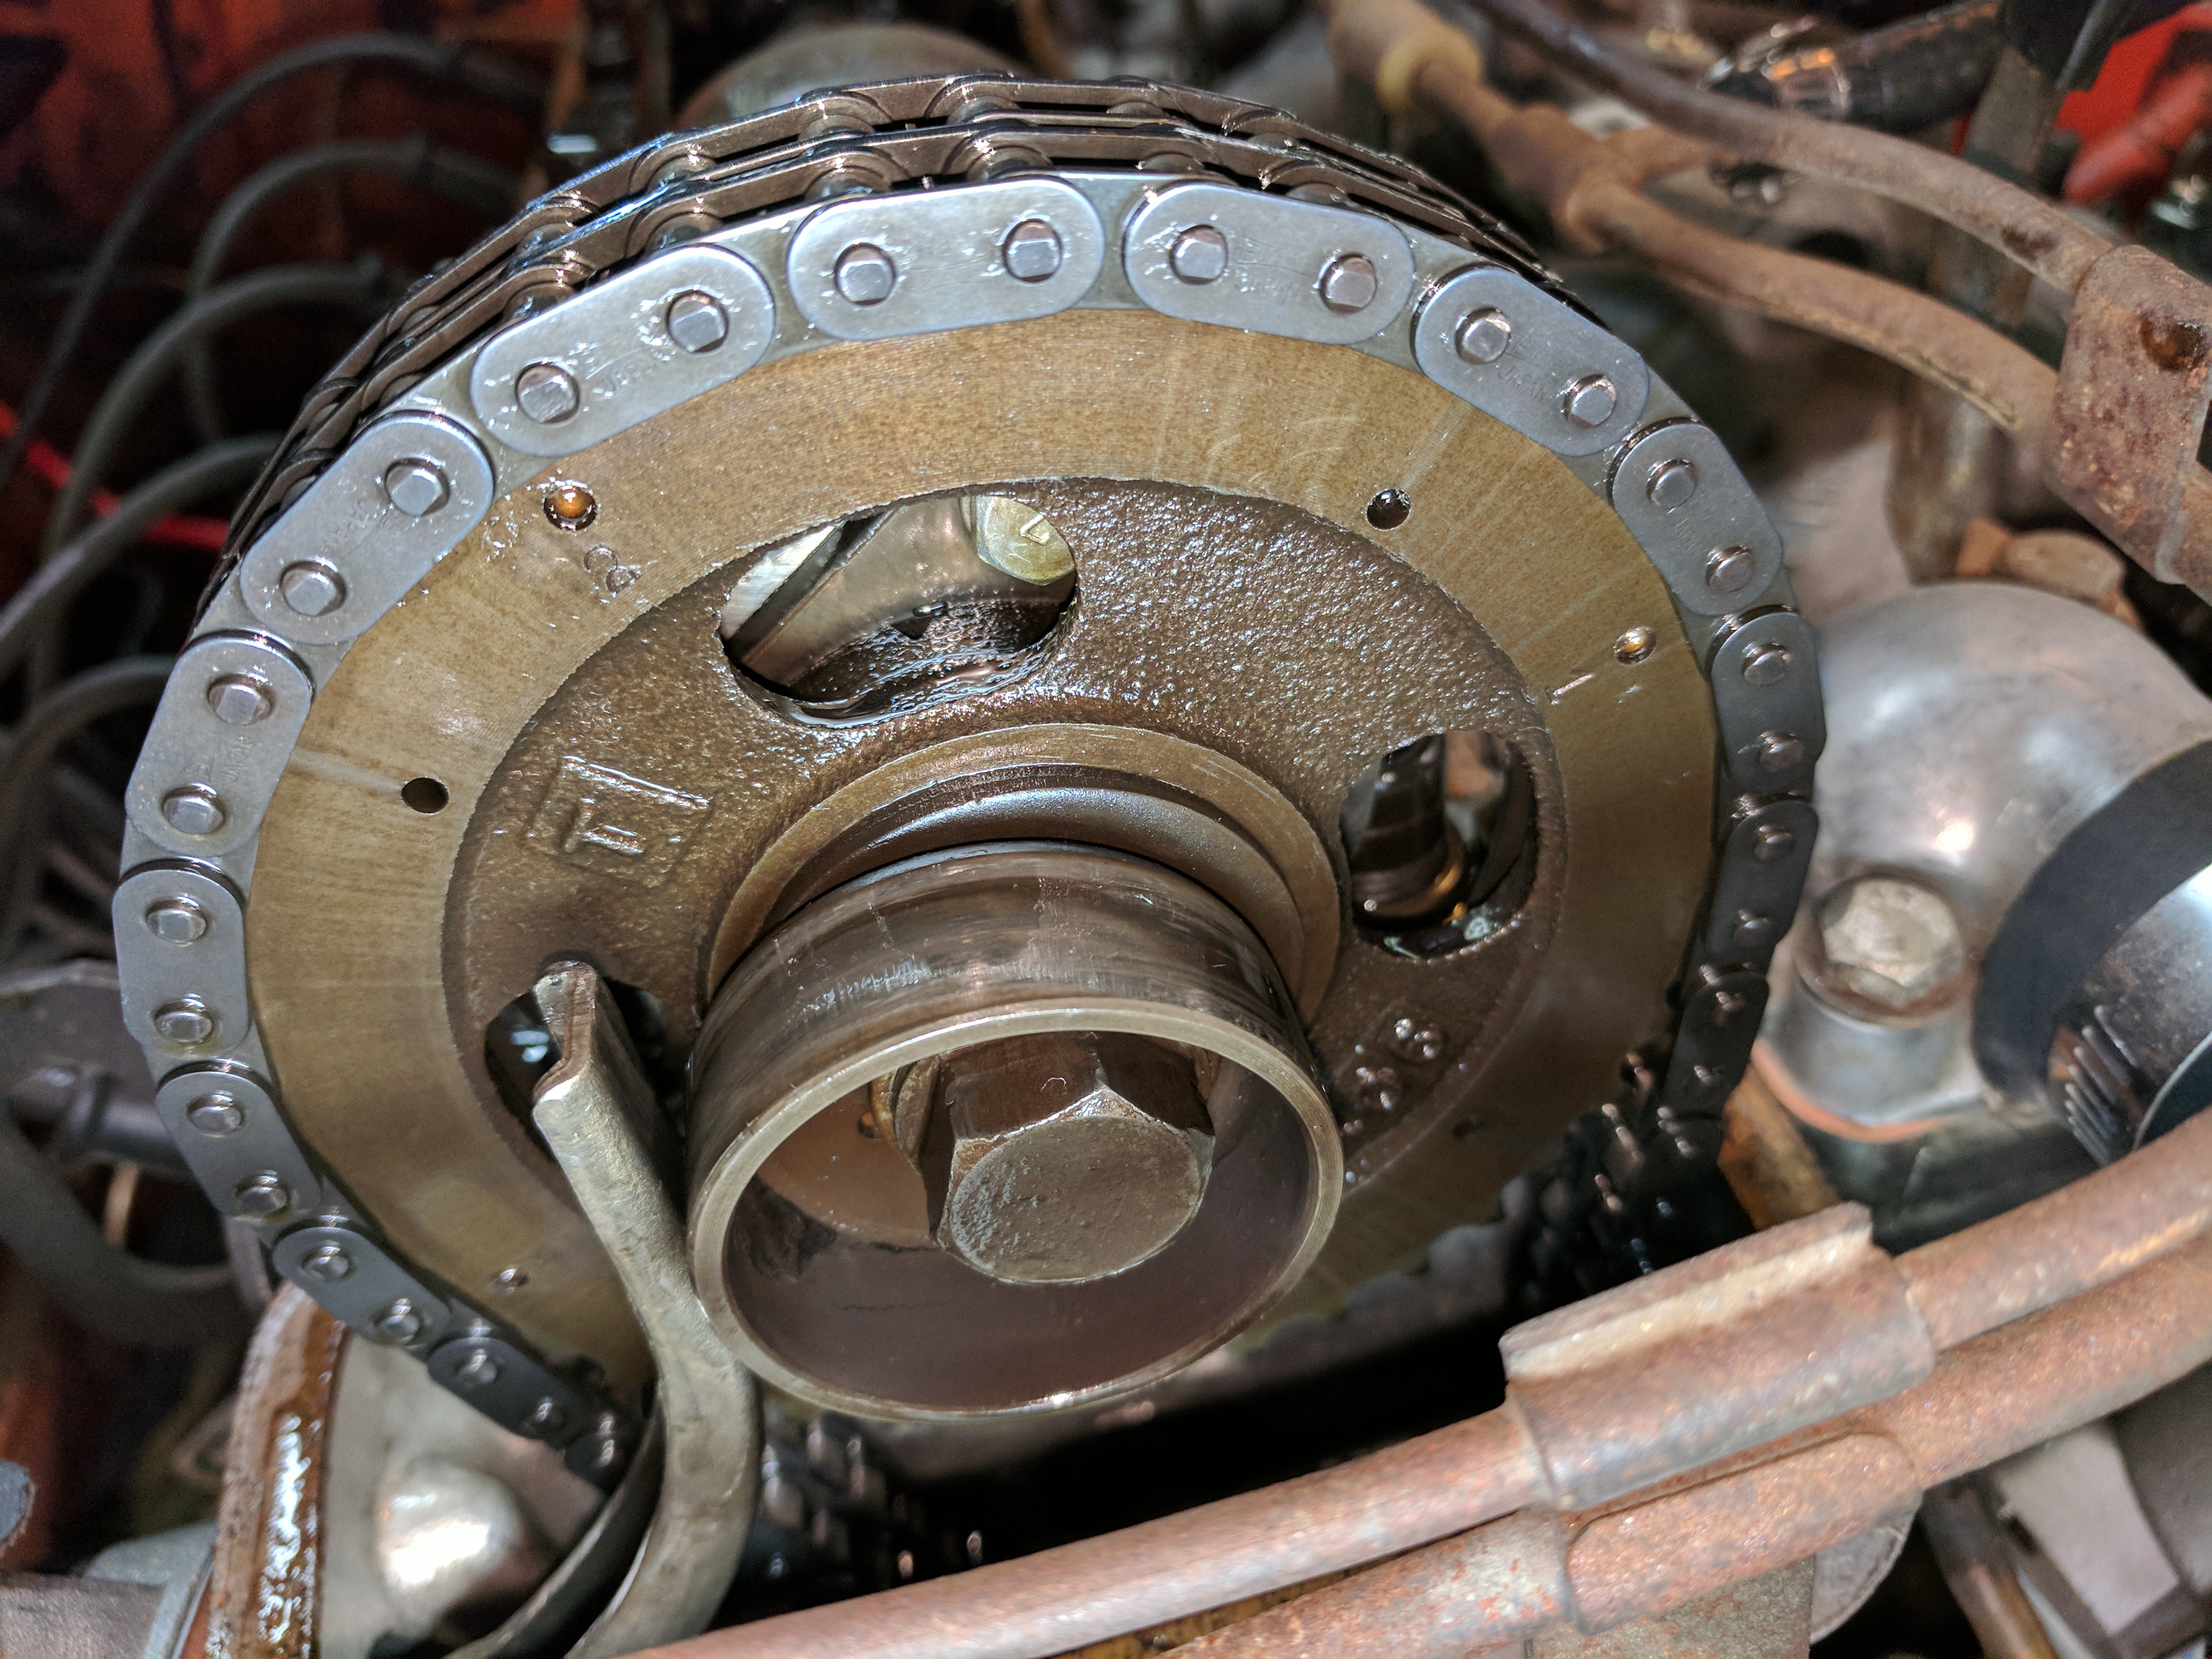
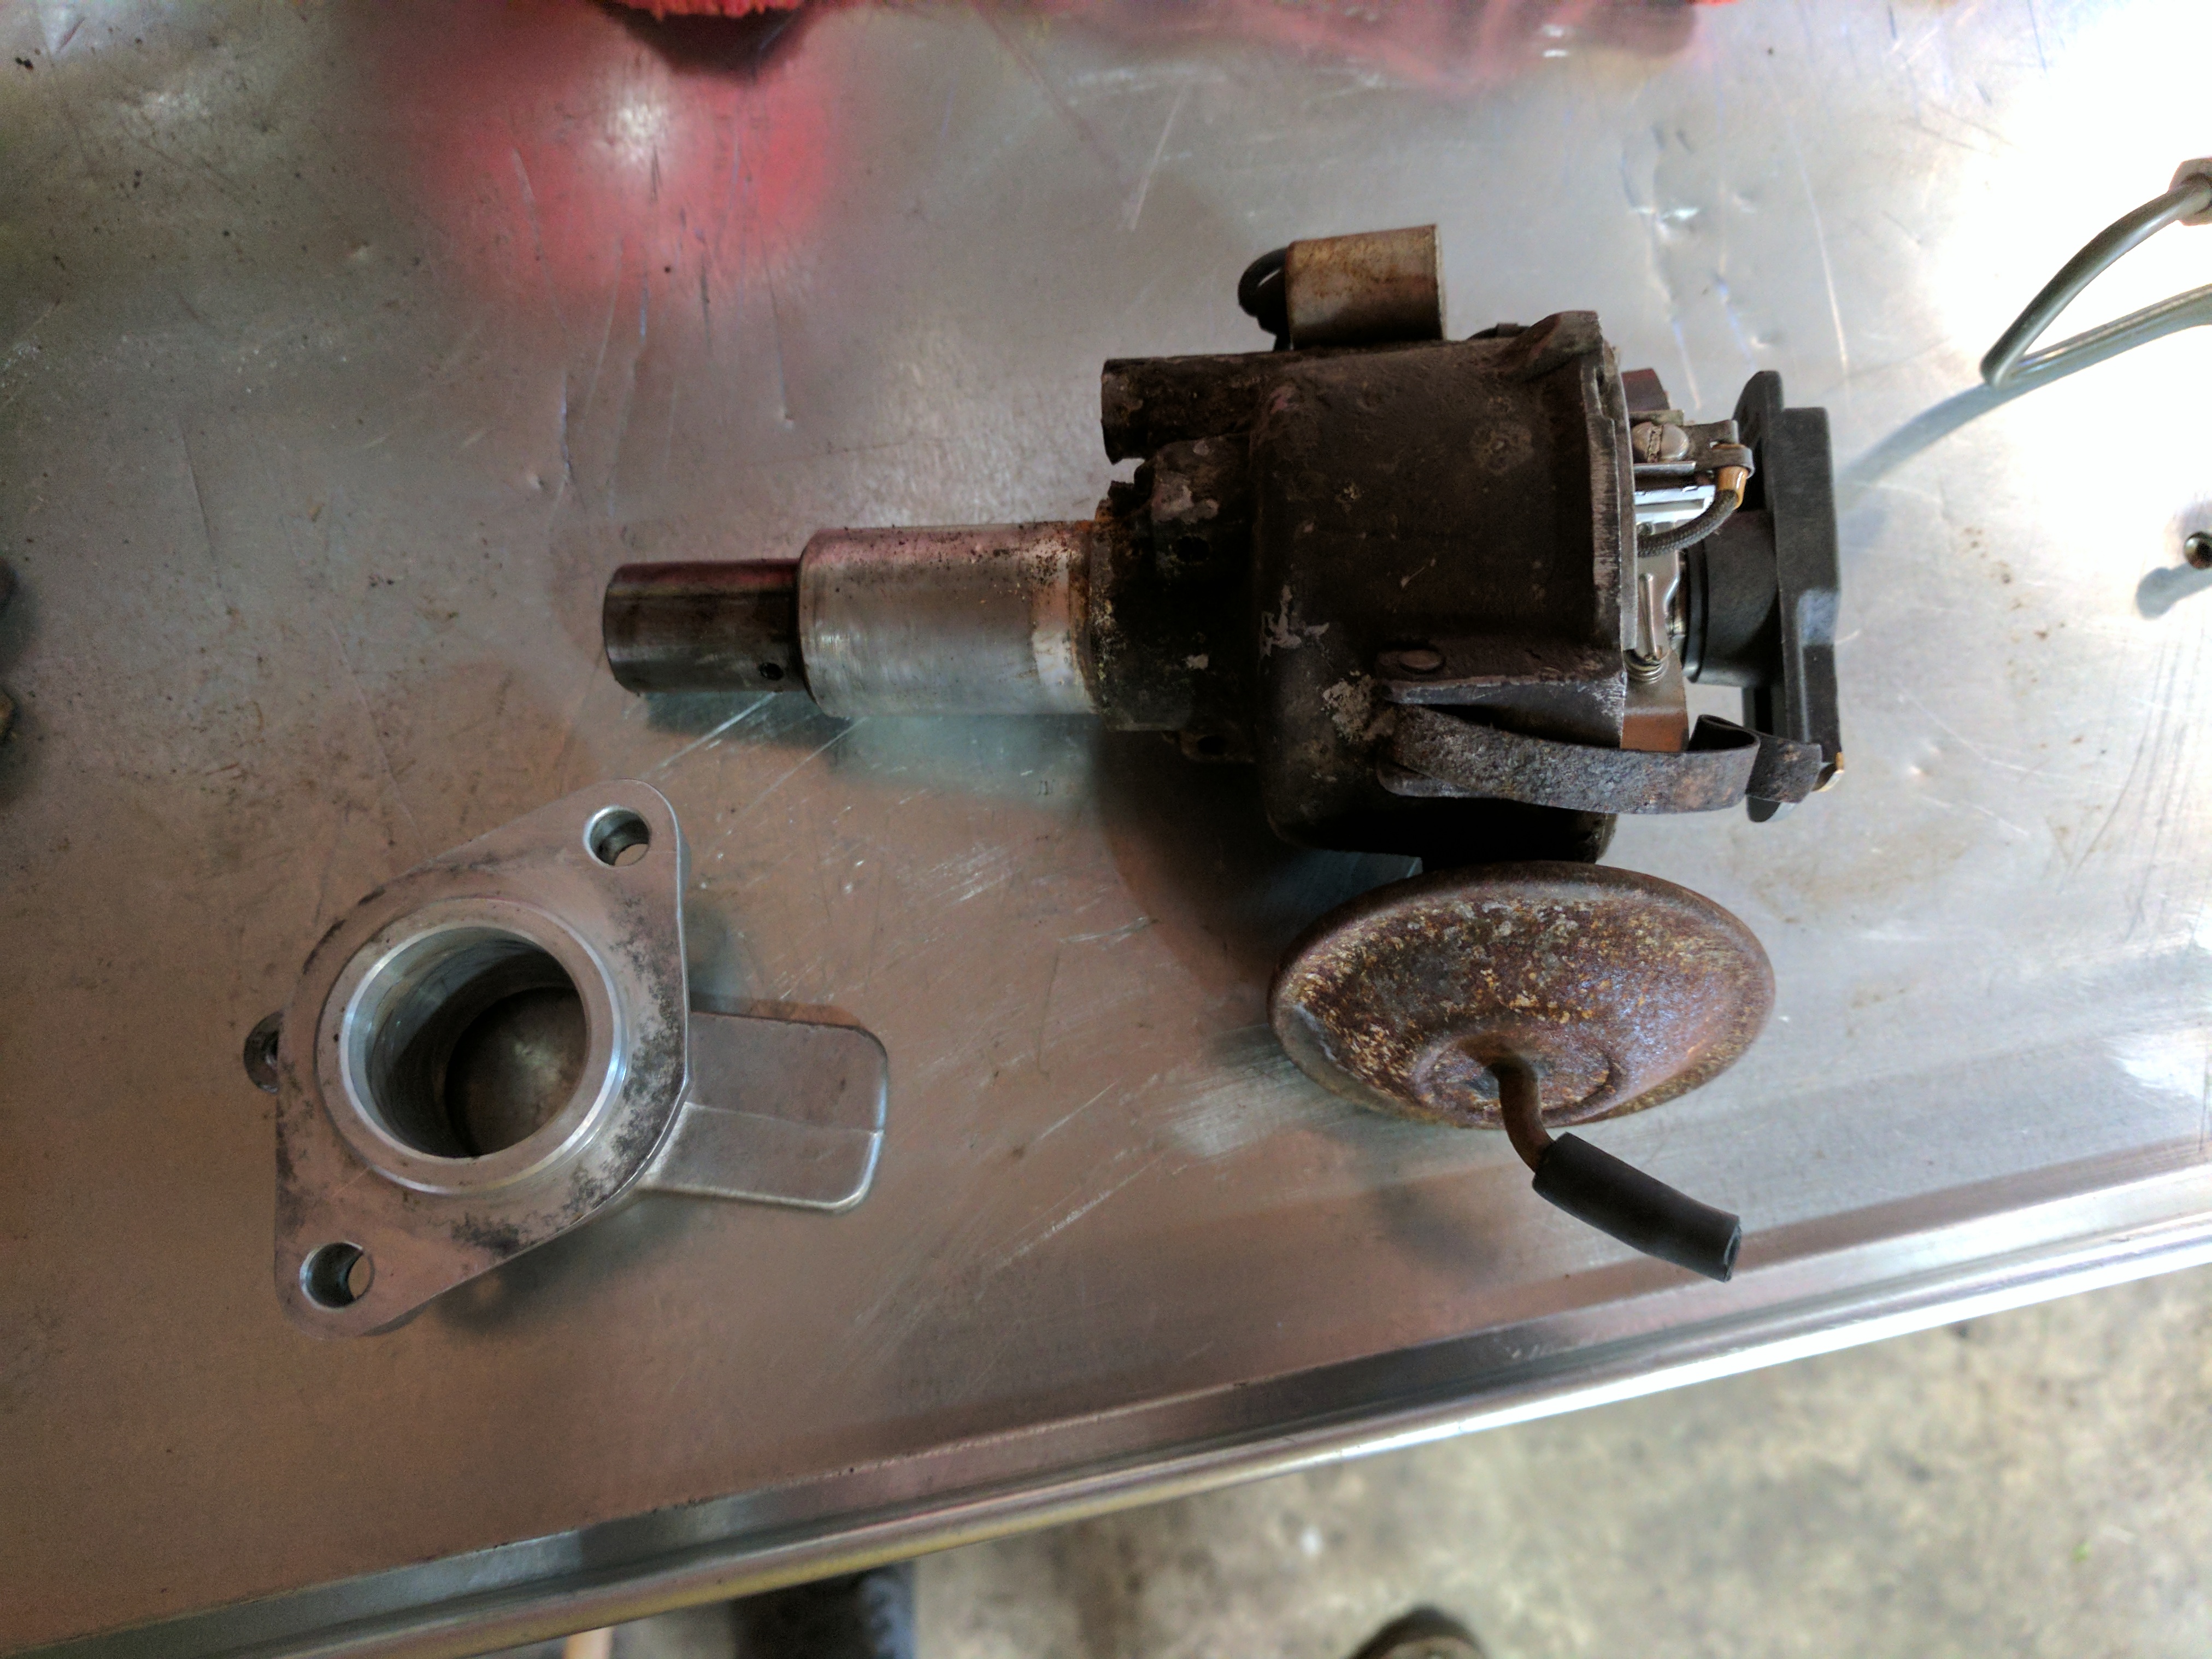
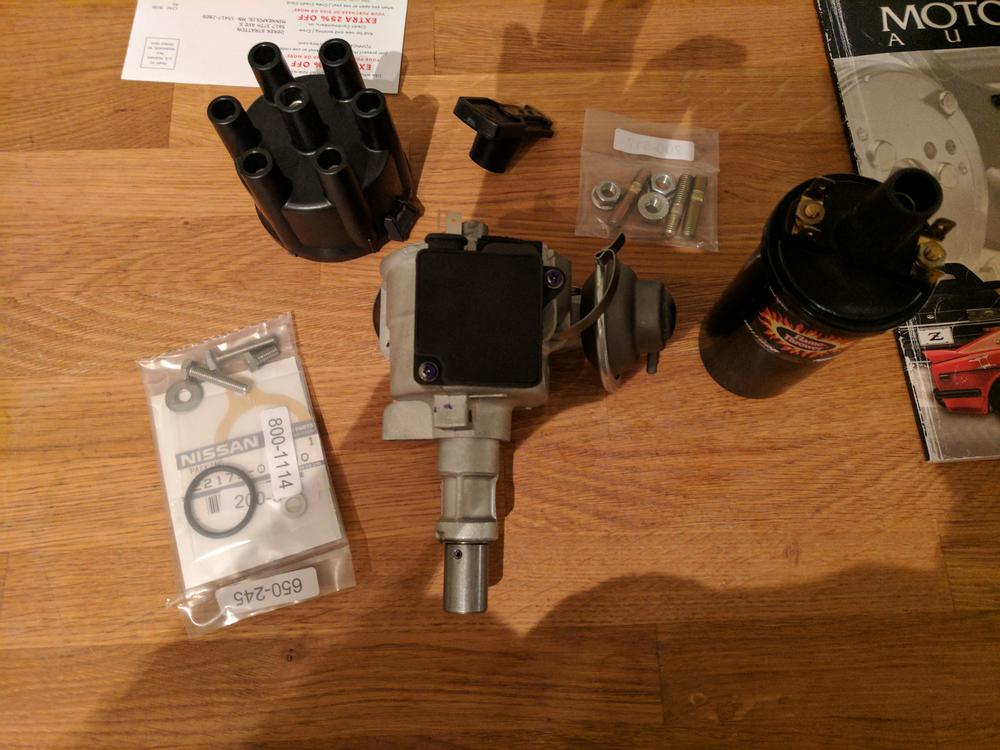
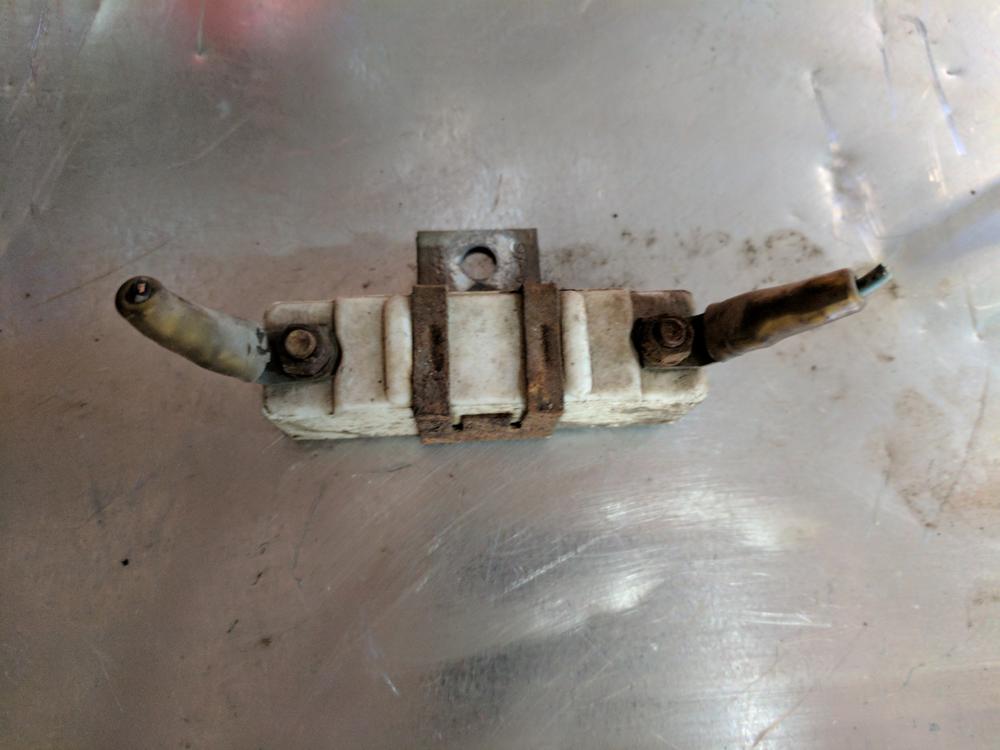
1 pointAt this point, like I said, I switched gears to trying to get the engine running well. I started in on ignition first. First changed spark plugs and wires and then instead of messing with points I ordered up a new 280zx electronic distributor: Pulled out the old mess and the ballast resistor: Installed and mocked up the wiring I don't have a lot of pictures from this time period, but I had ALOT of trouble with the ignition system after this. The car would run after the ignition - but just barely. With the distributor clocked all the way to max retard, the base timing was still at 20+ degrees. I spent a ton of time trying to diagnose; I played with vaccum advance on/off, ended up dropping (and replacing) the oil pump to double check clocking the timing and more. I ended up getting it to run reasonably well by moving each plug wire up 1 slot on the distributor cap in order to drop the base timing more. I ran it like this for a couple months while I did a bunch more work on the car that you will see in subsequent posts, but ended up going back to this issue because I knew I was still down on power. After countless hours, and a few posts asking this forum for help, I gave up and ordered another new distributor. Plopped the new one in, put my plug wires back where they should be, and bam - perfect timing. Turns out I had a defect distributor the whole time. Anyways during this I did set valve lash and confirmed the cam timing was correct:


 1 point
 -
1 pointTake a look at old posts by @26th-Z and @Mike B They are resident 1969 experts on this side of the pond.1 point
-
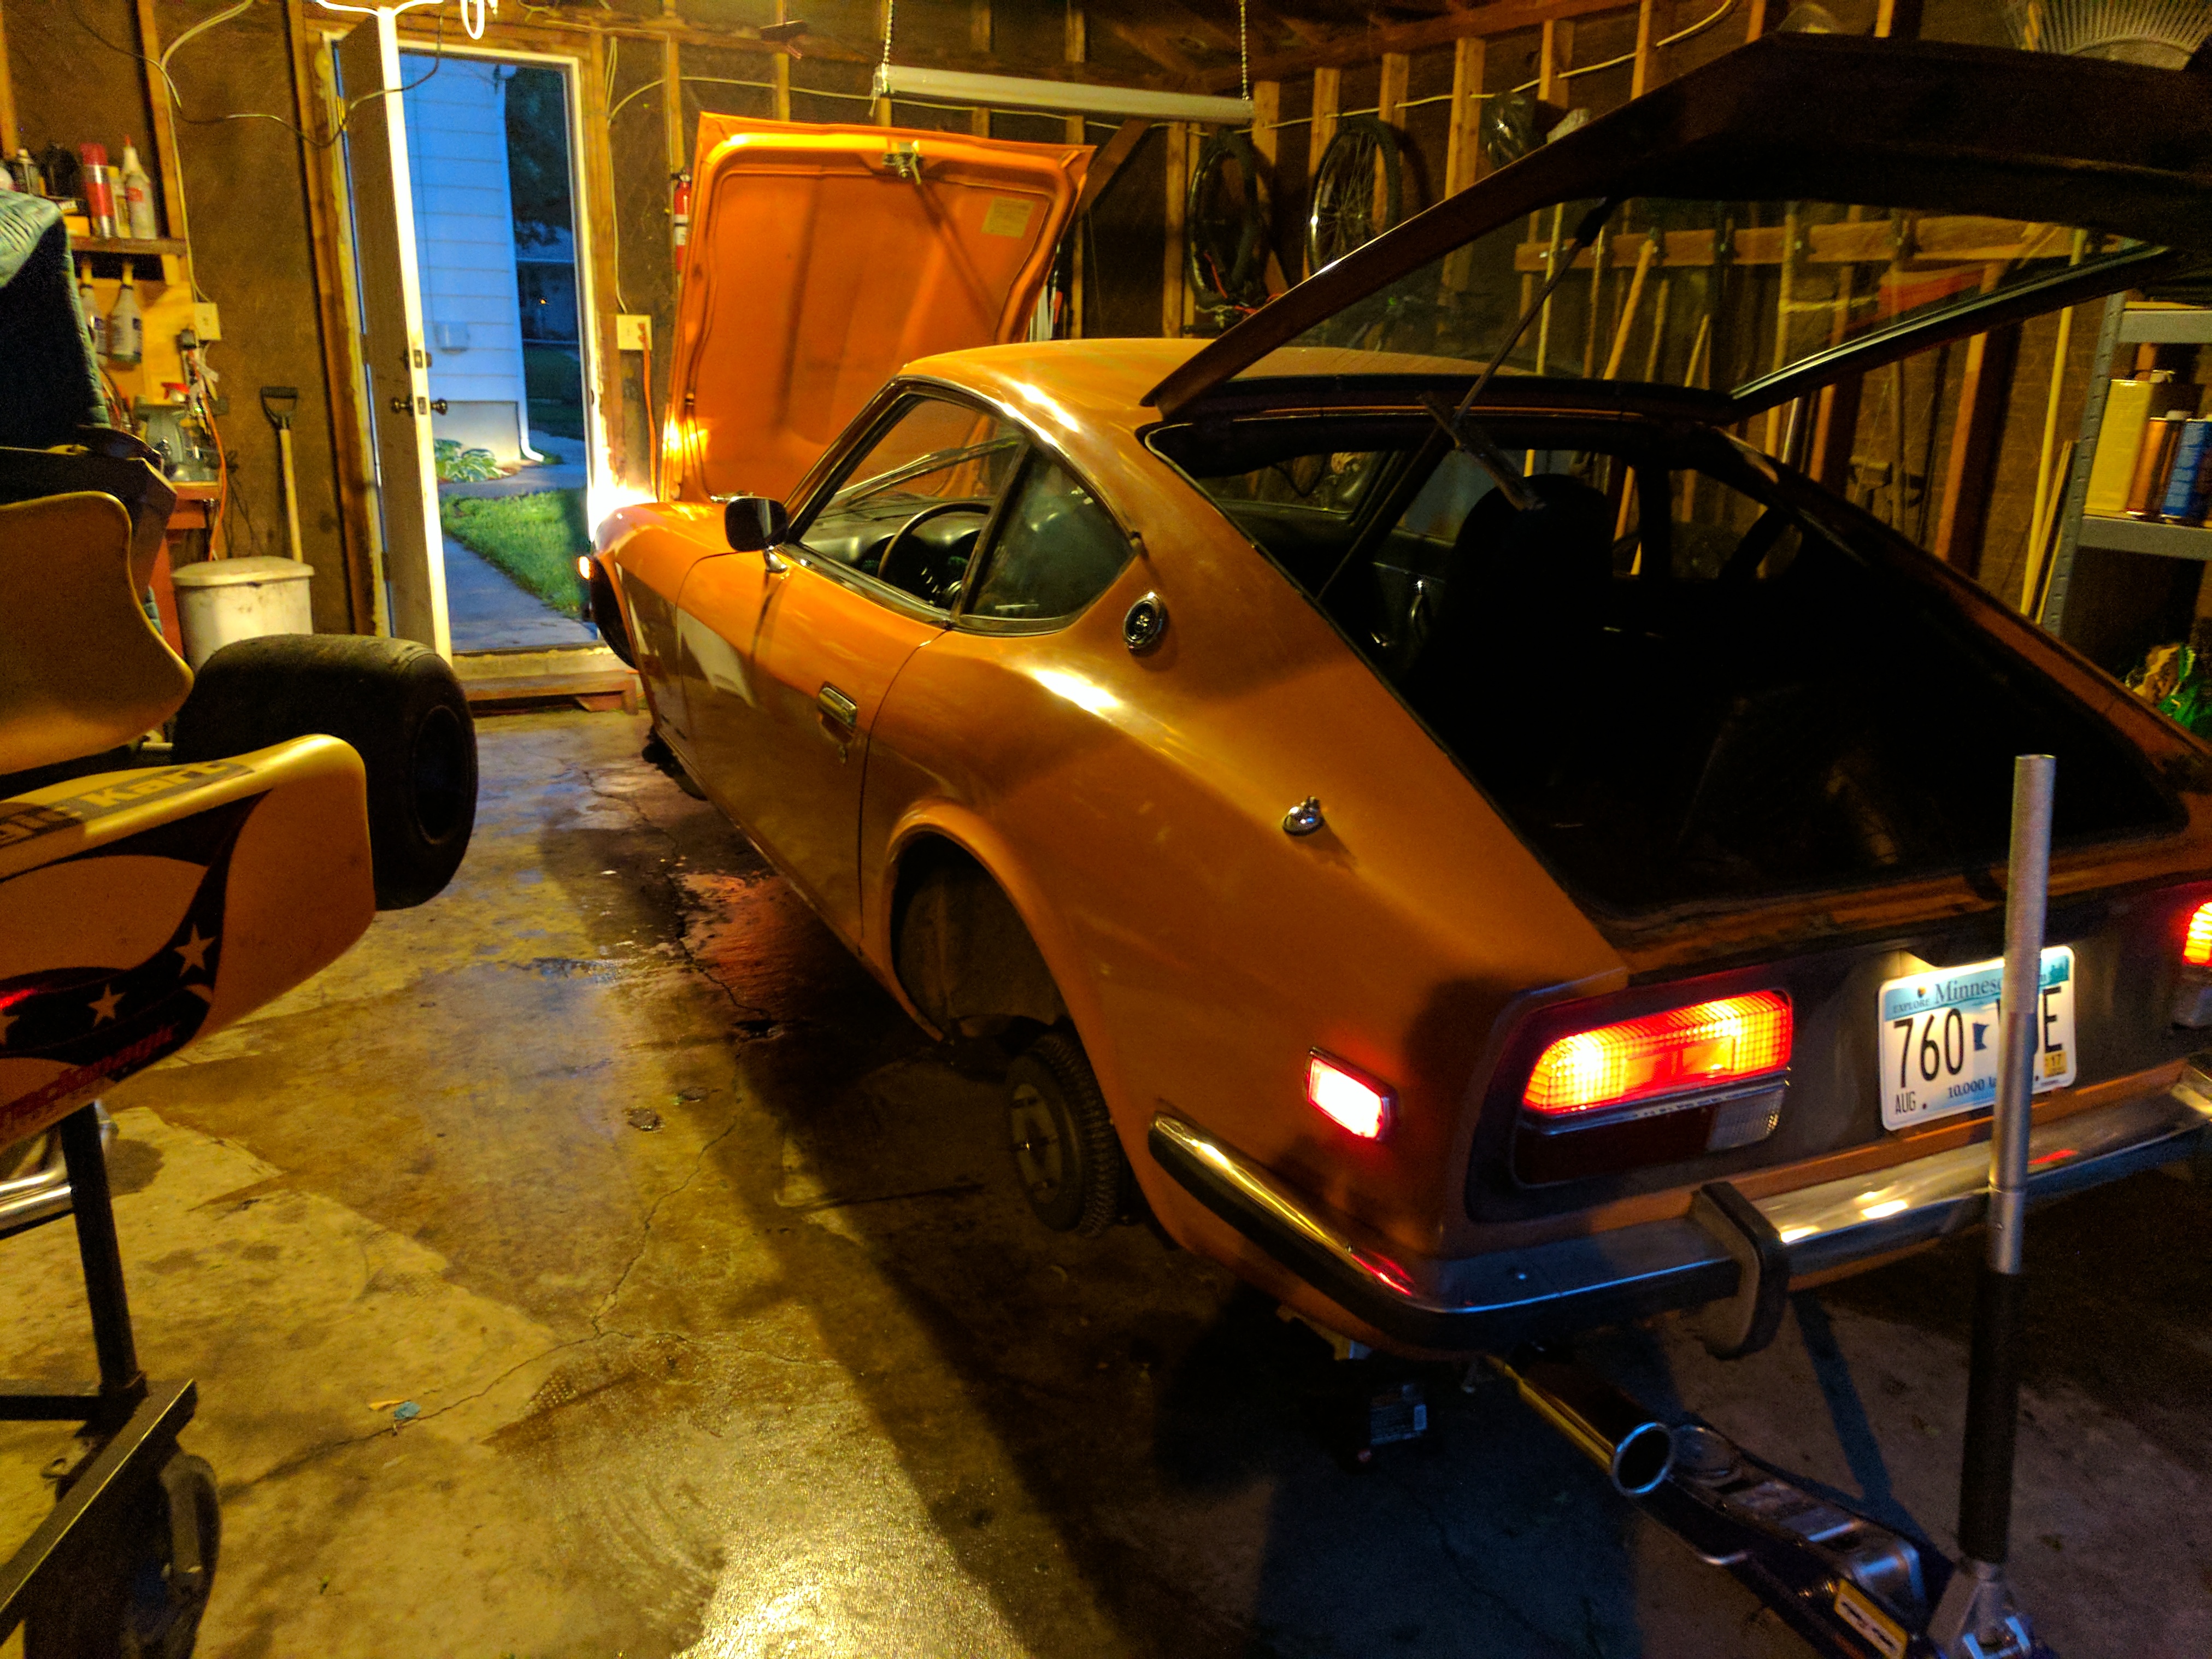
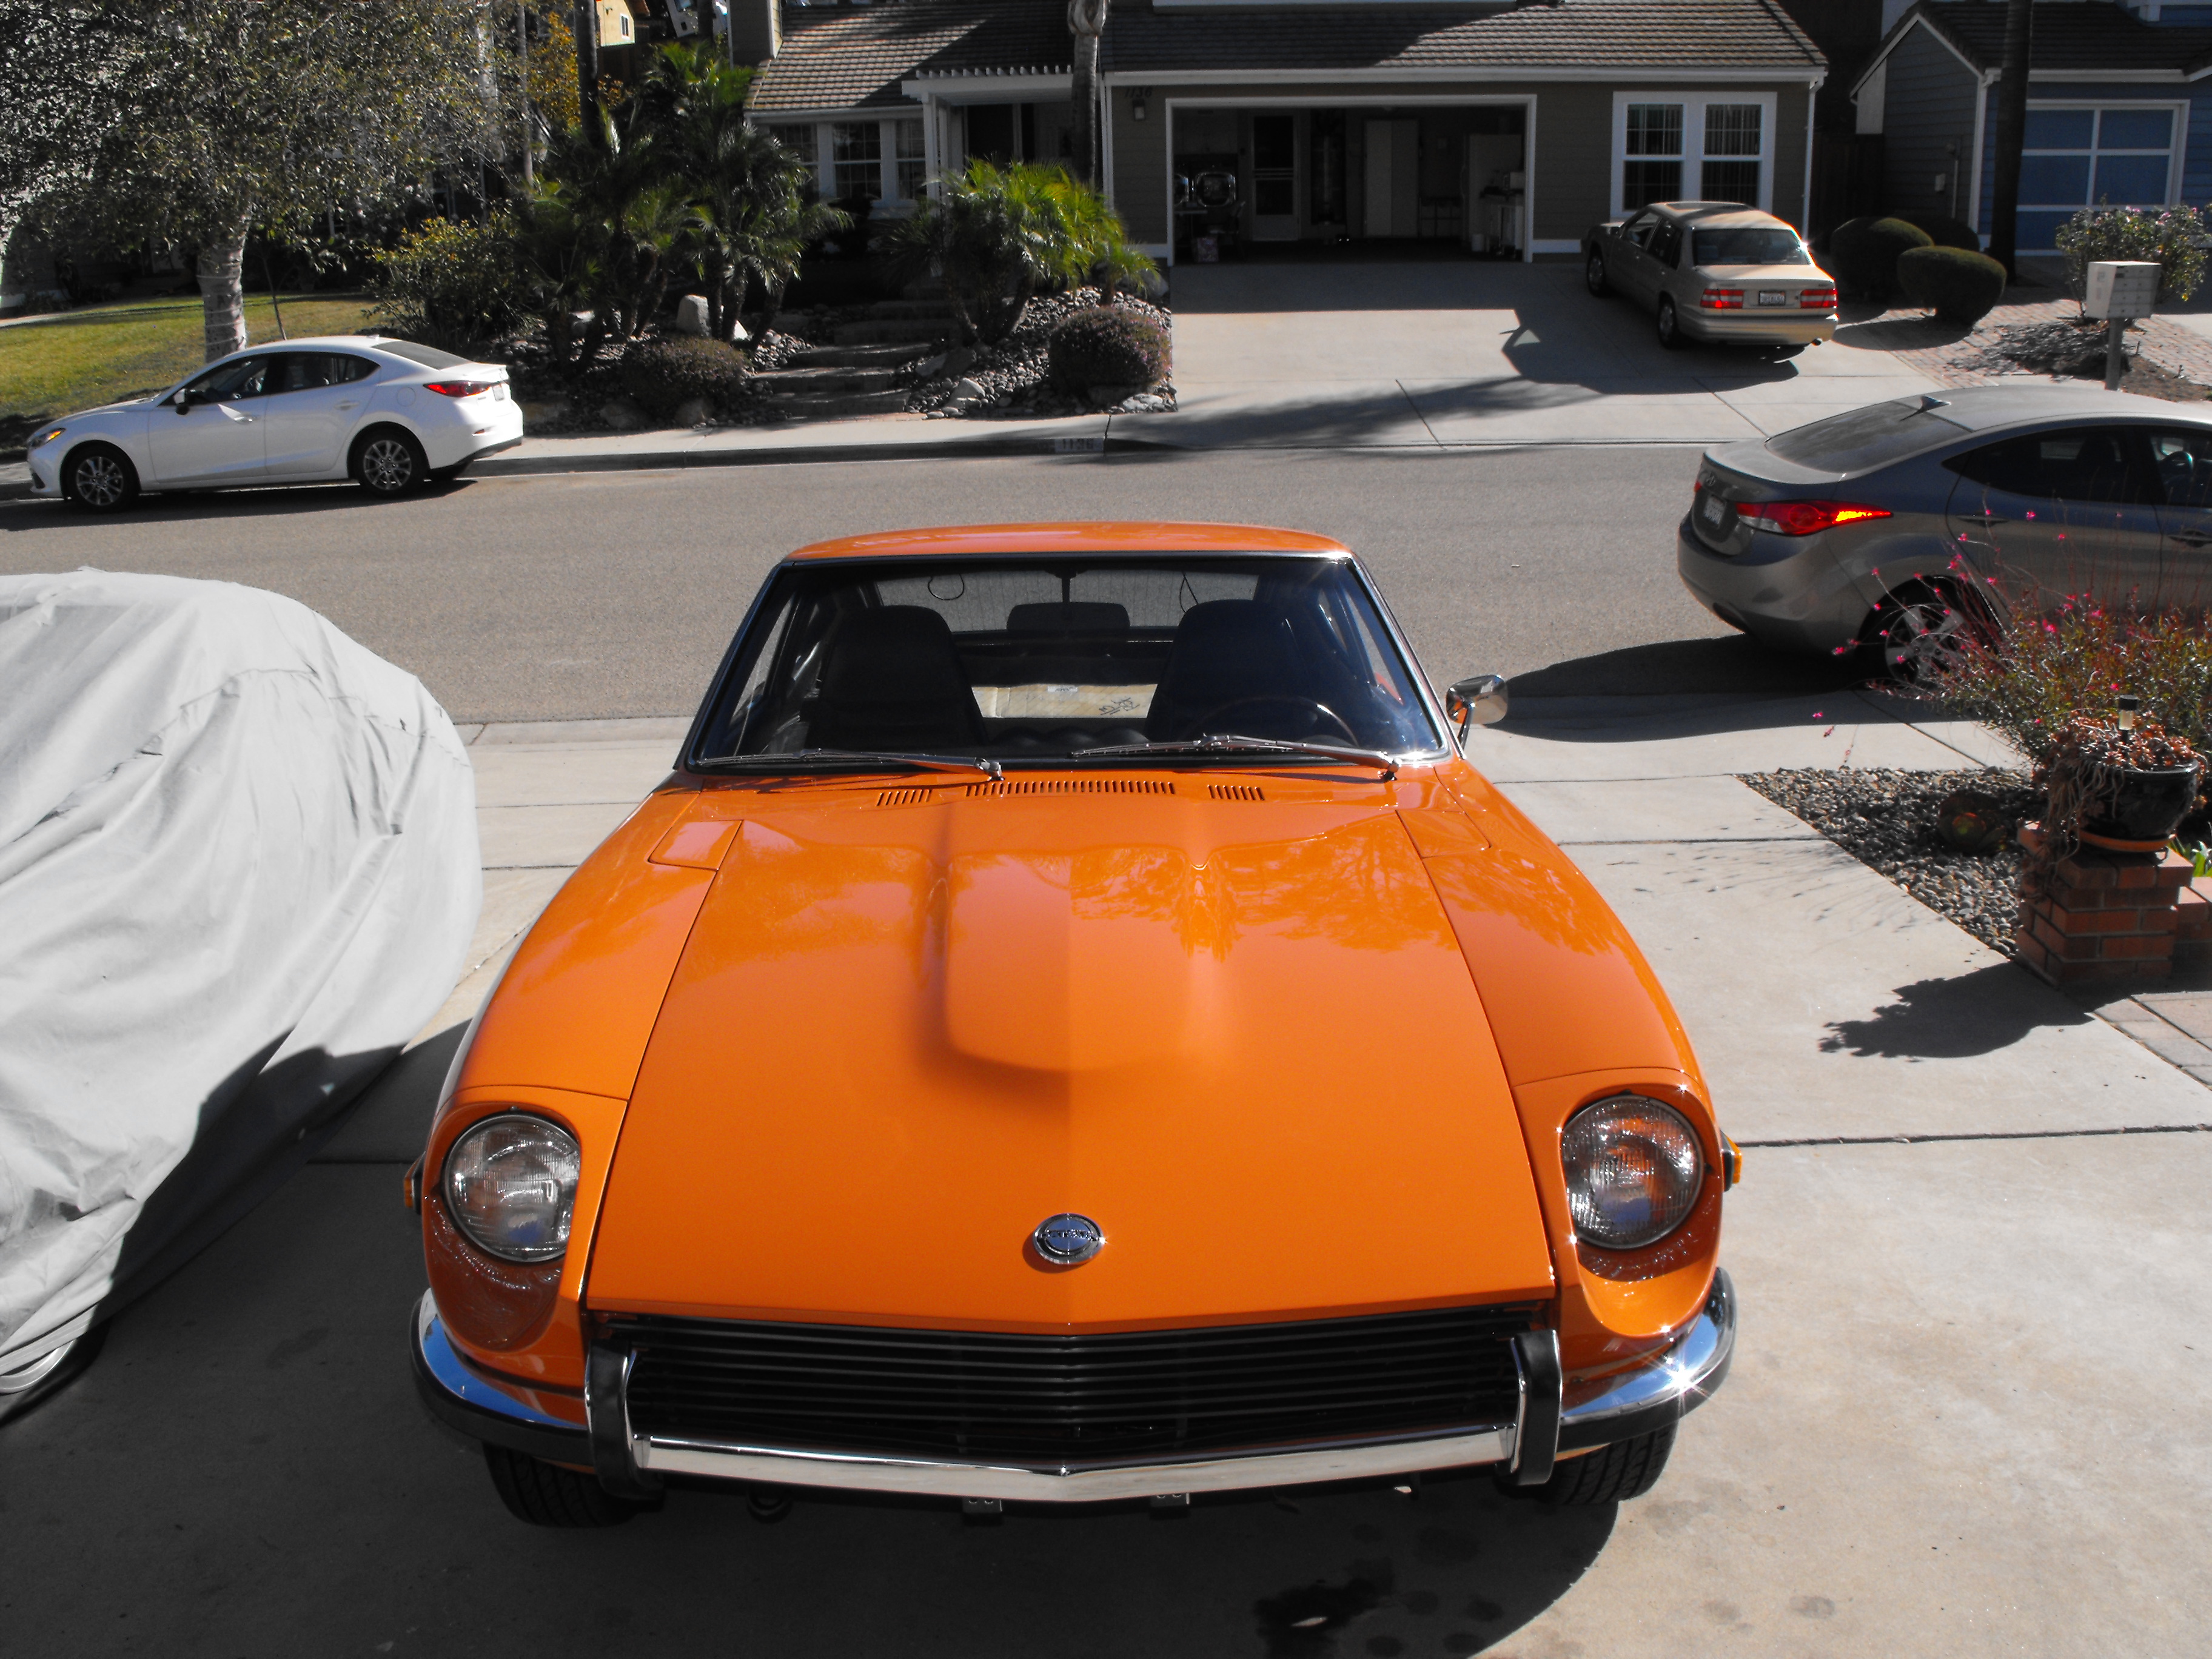
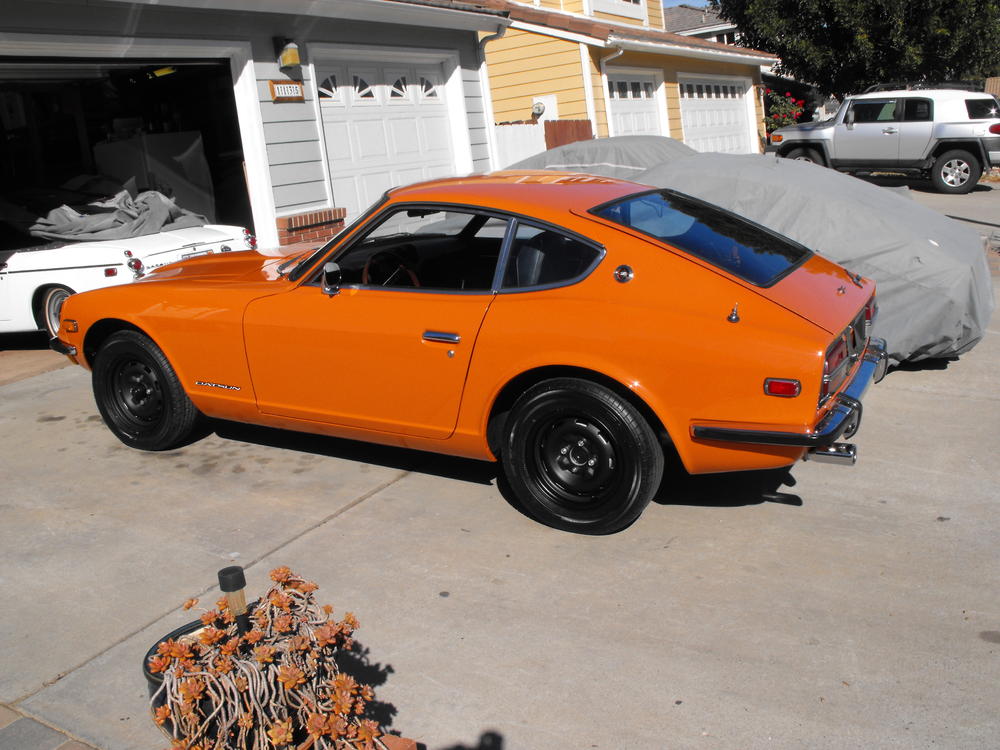
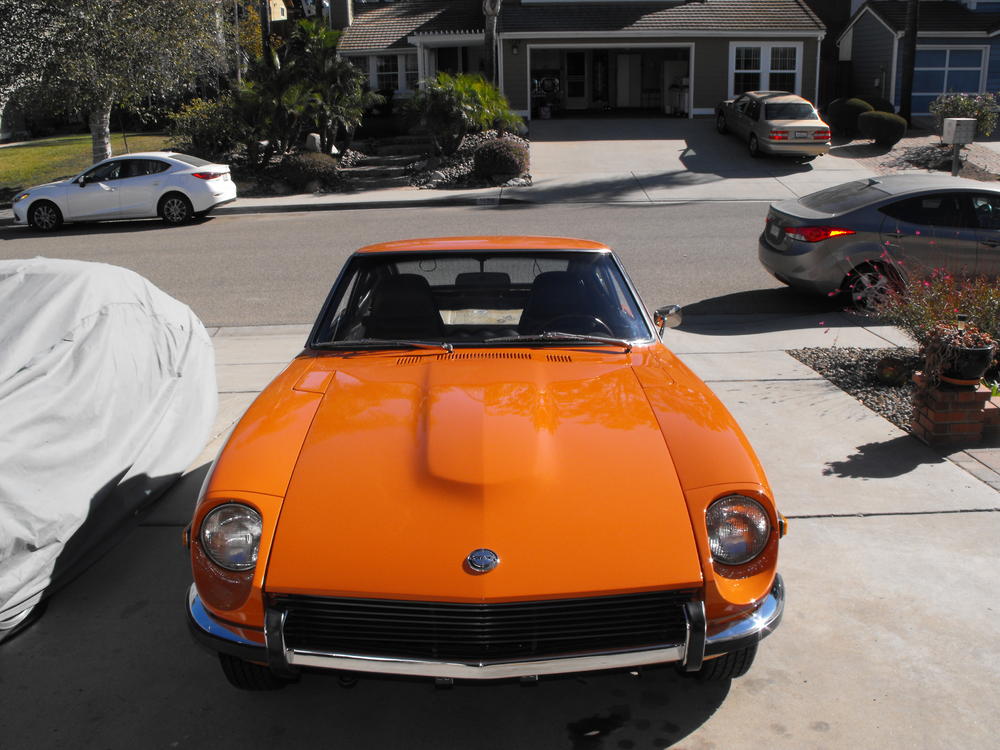
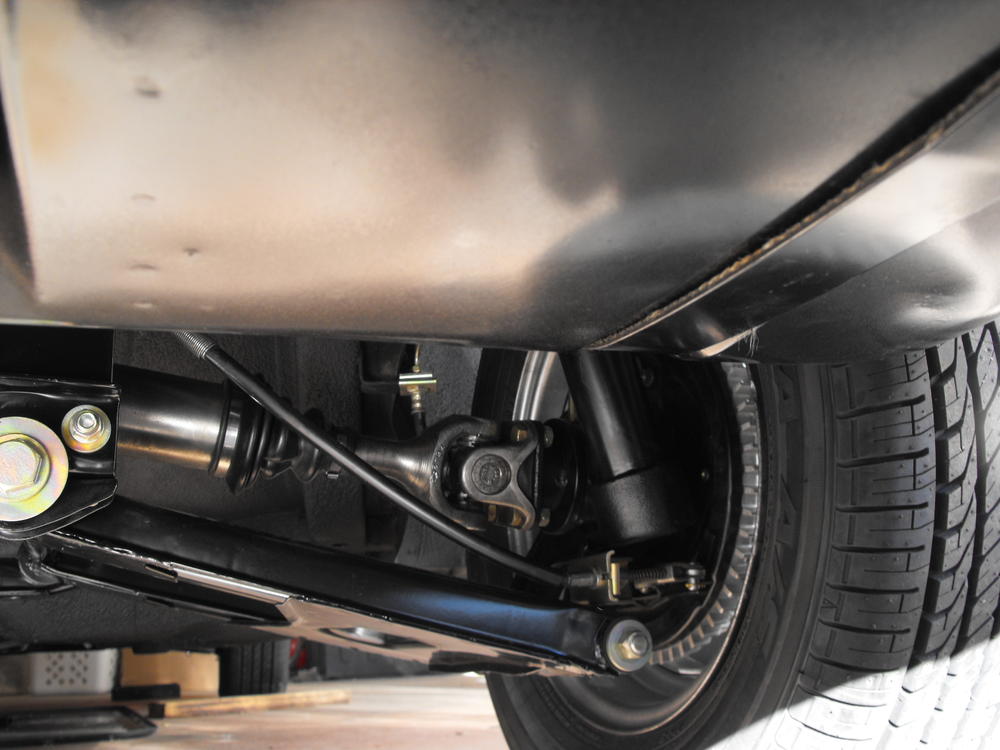
1 pointI took her out for the inaugural drive round the cul-de-sac. Had to watch out for the snow and ice in the corner but....oh wait, I live in SoCal. It's 80 degrees and sunny. (Just had to throw that in for the East coasters). Anyway, car is running great and is very nice to drive. Now I just have to finish up a bunch of details and she is good to go. Boy, it drives nice! Love having the new shocks and bushings. It is very smooth. Looks like the short engine video is loading. Feel free to turn the sound up Engine Vid.mp4

 1 point
 -
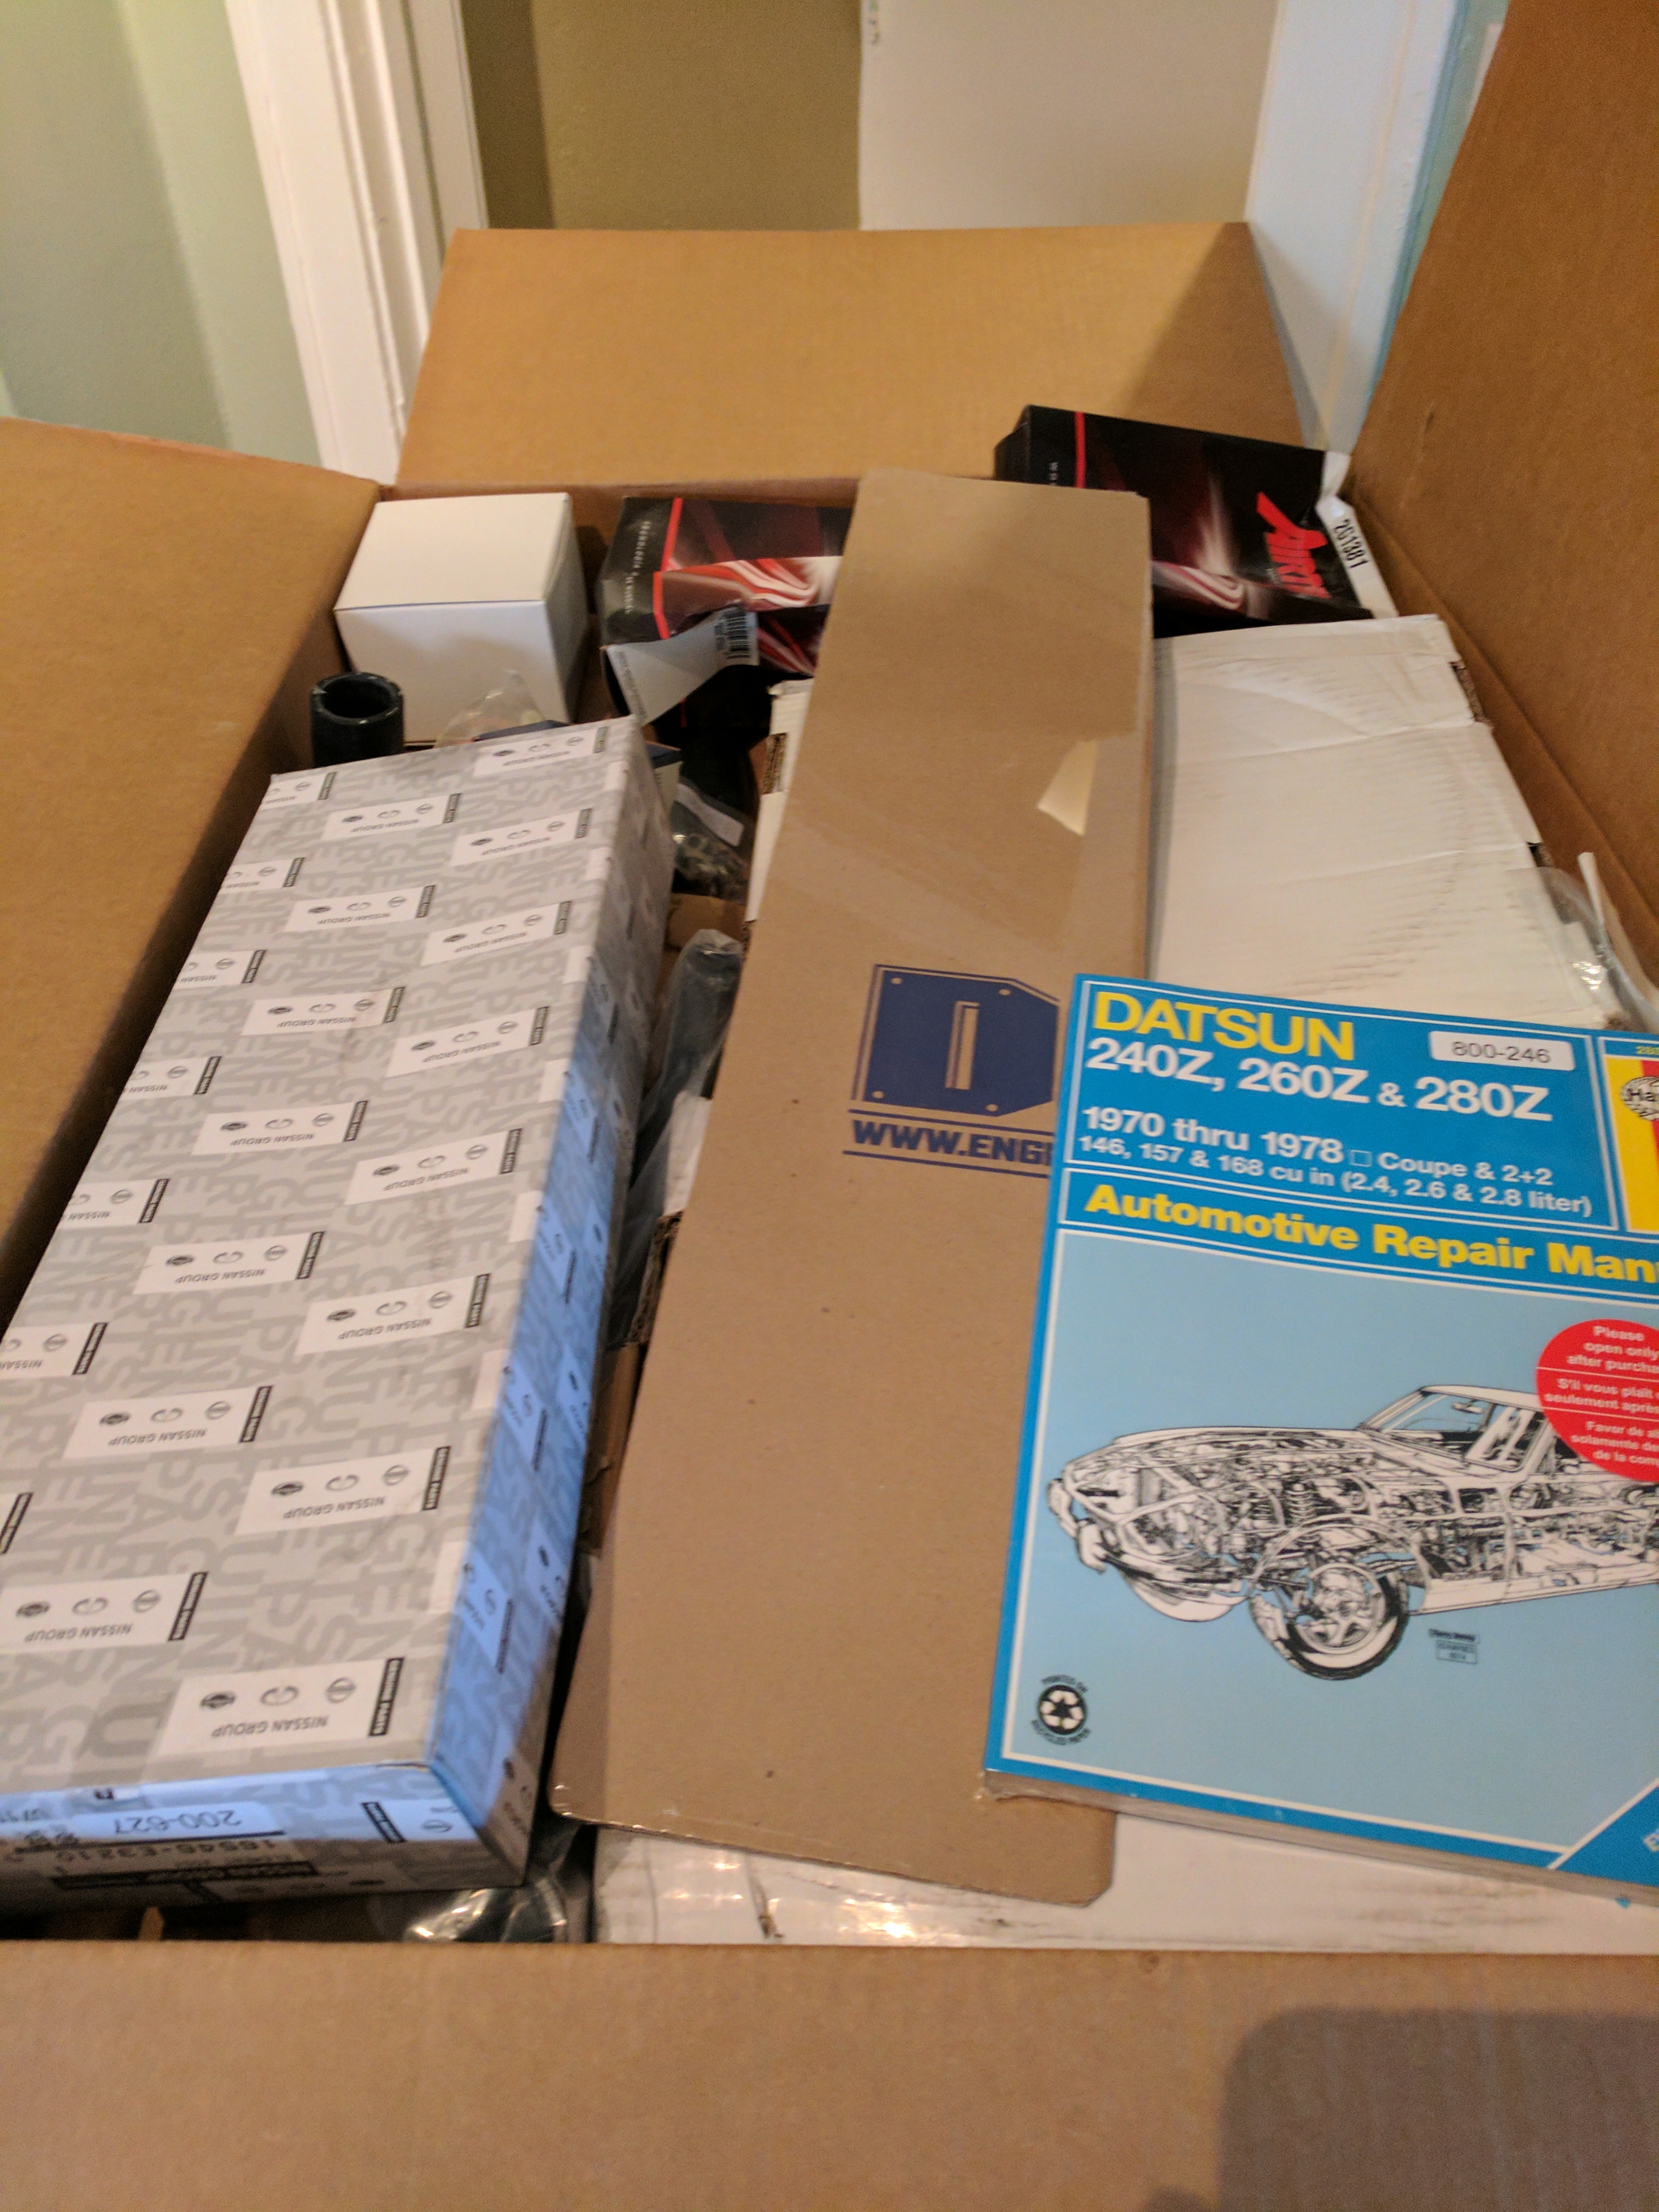
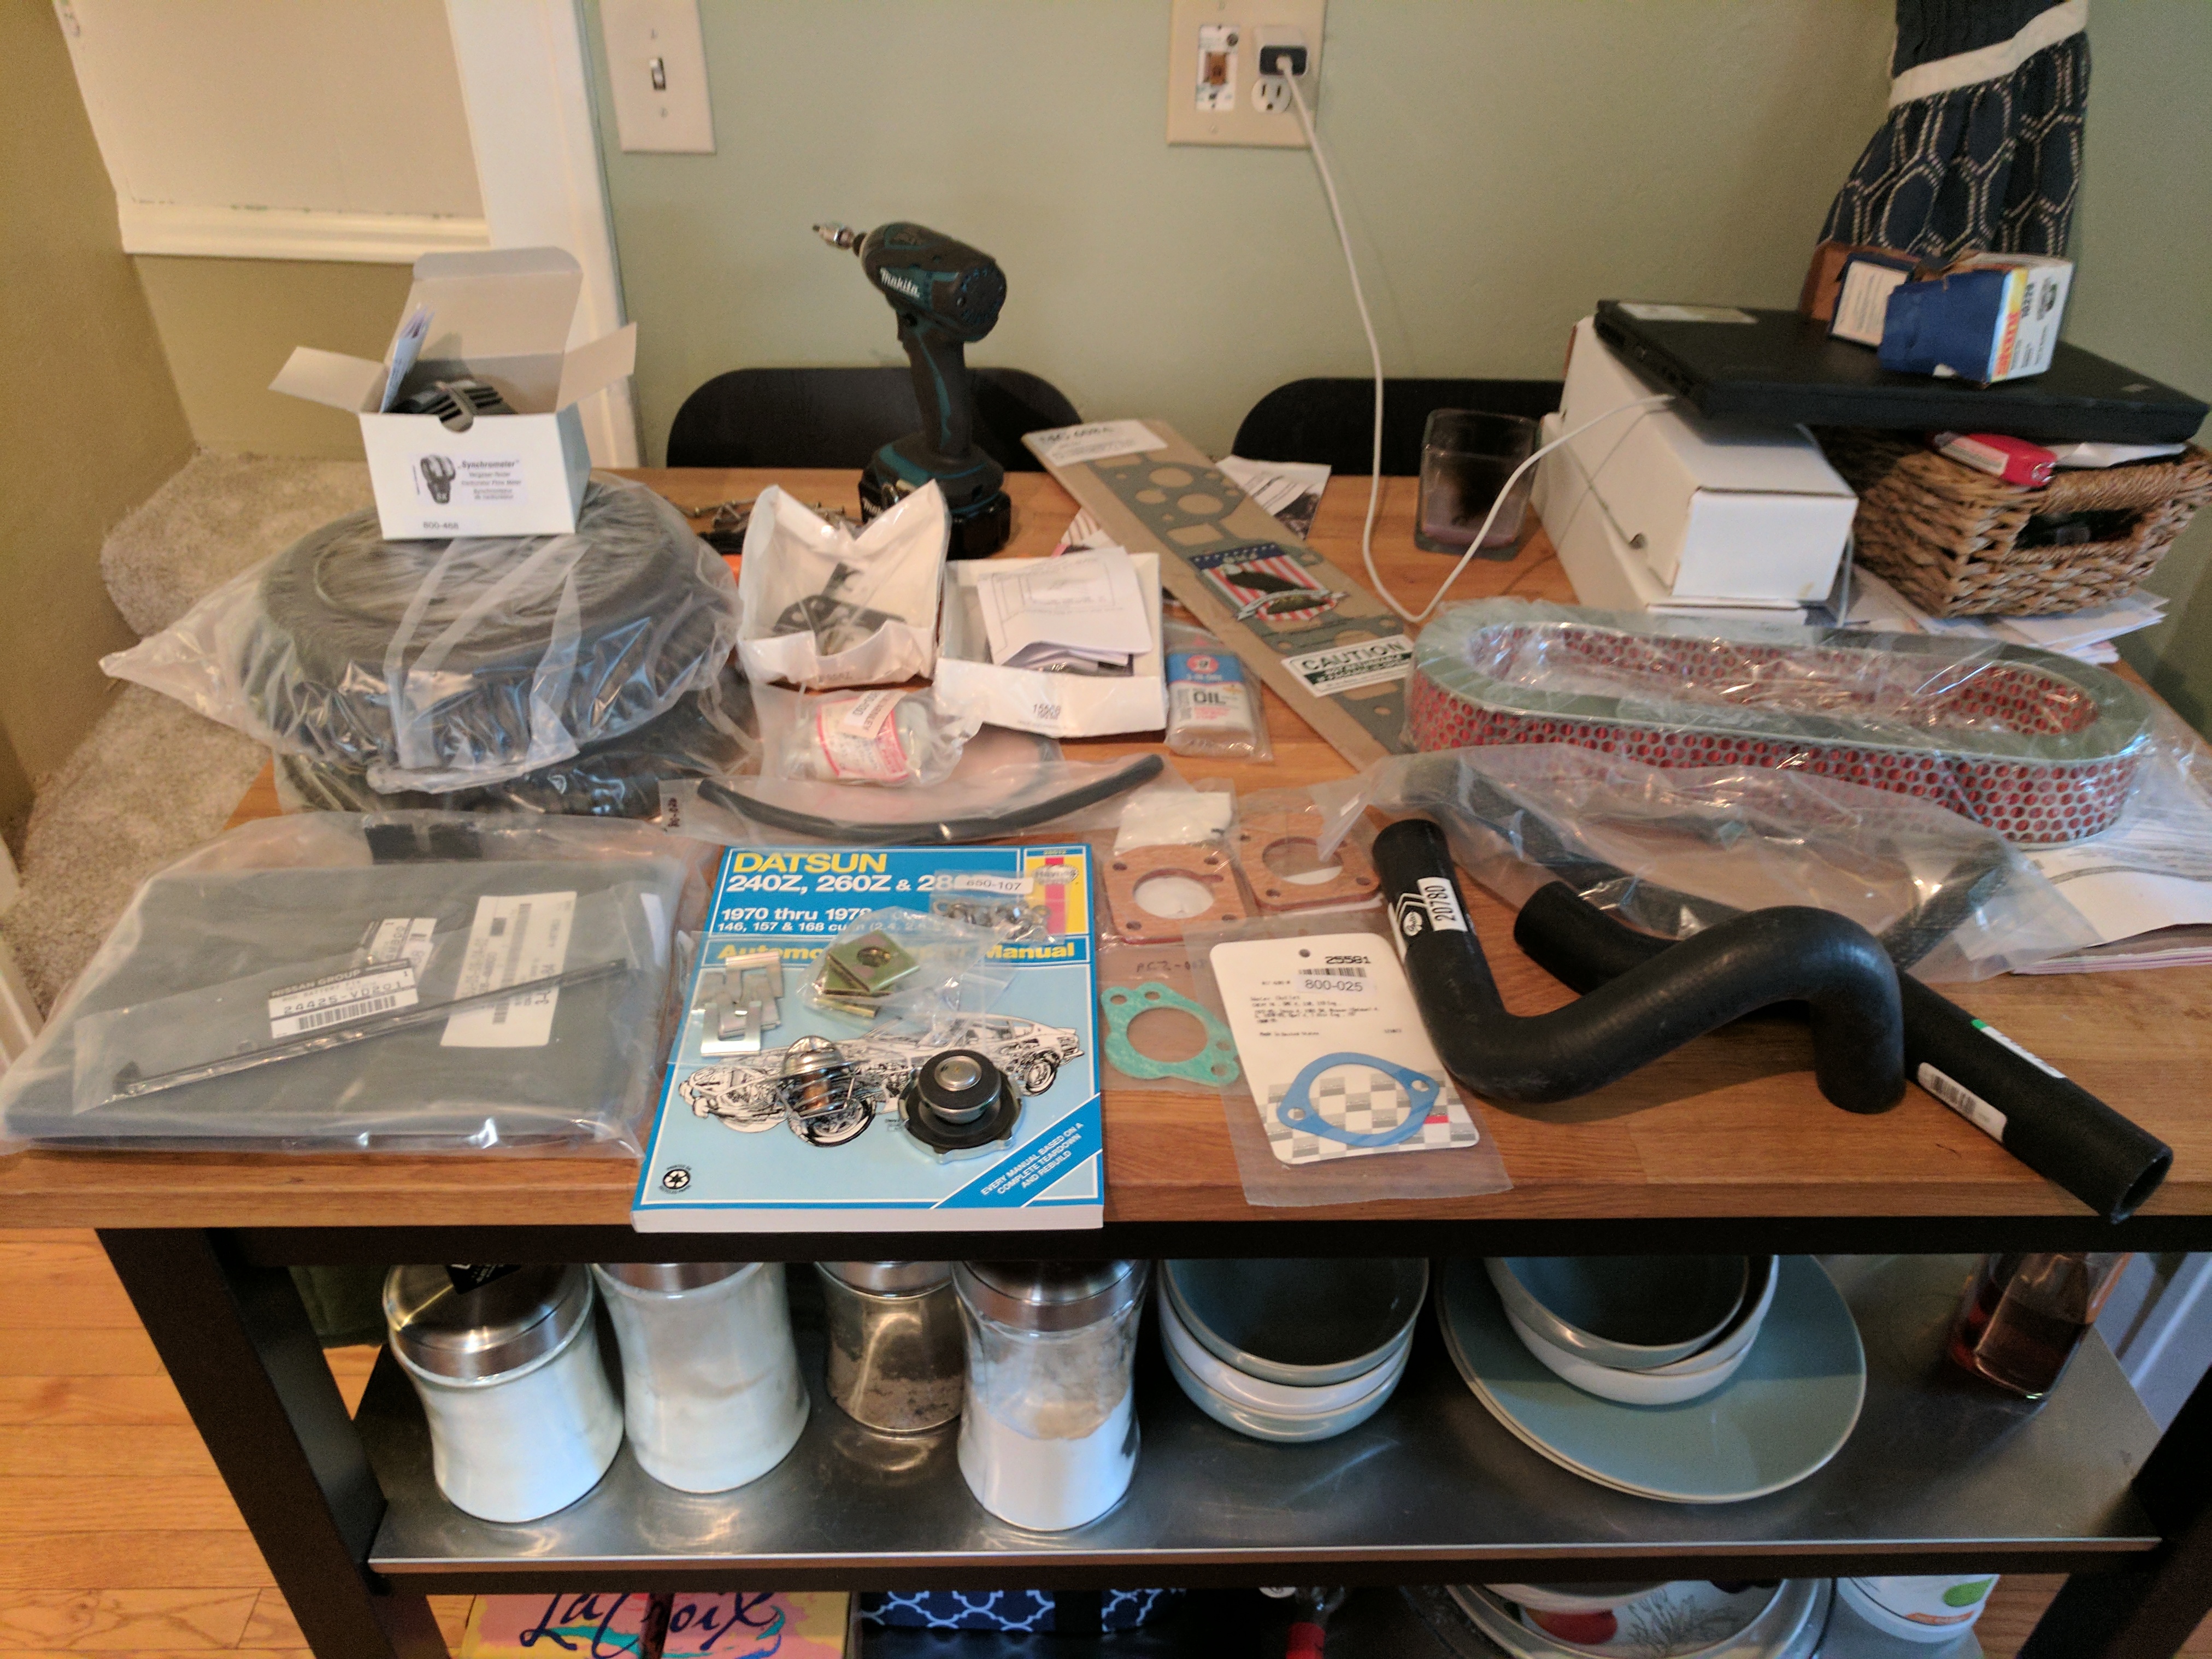
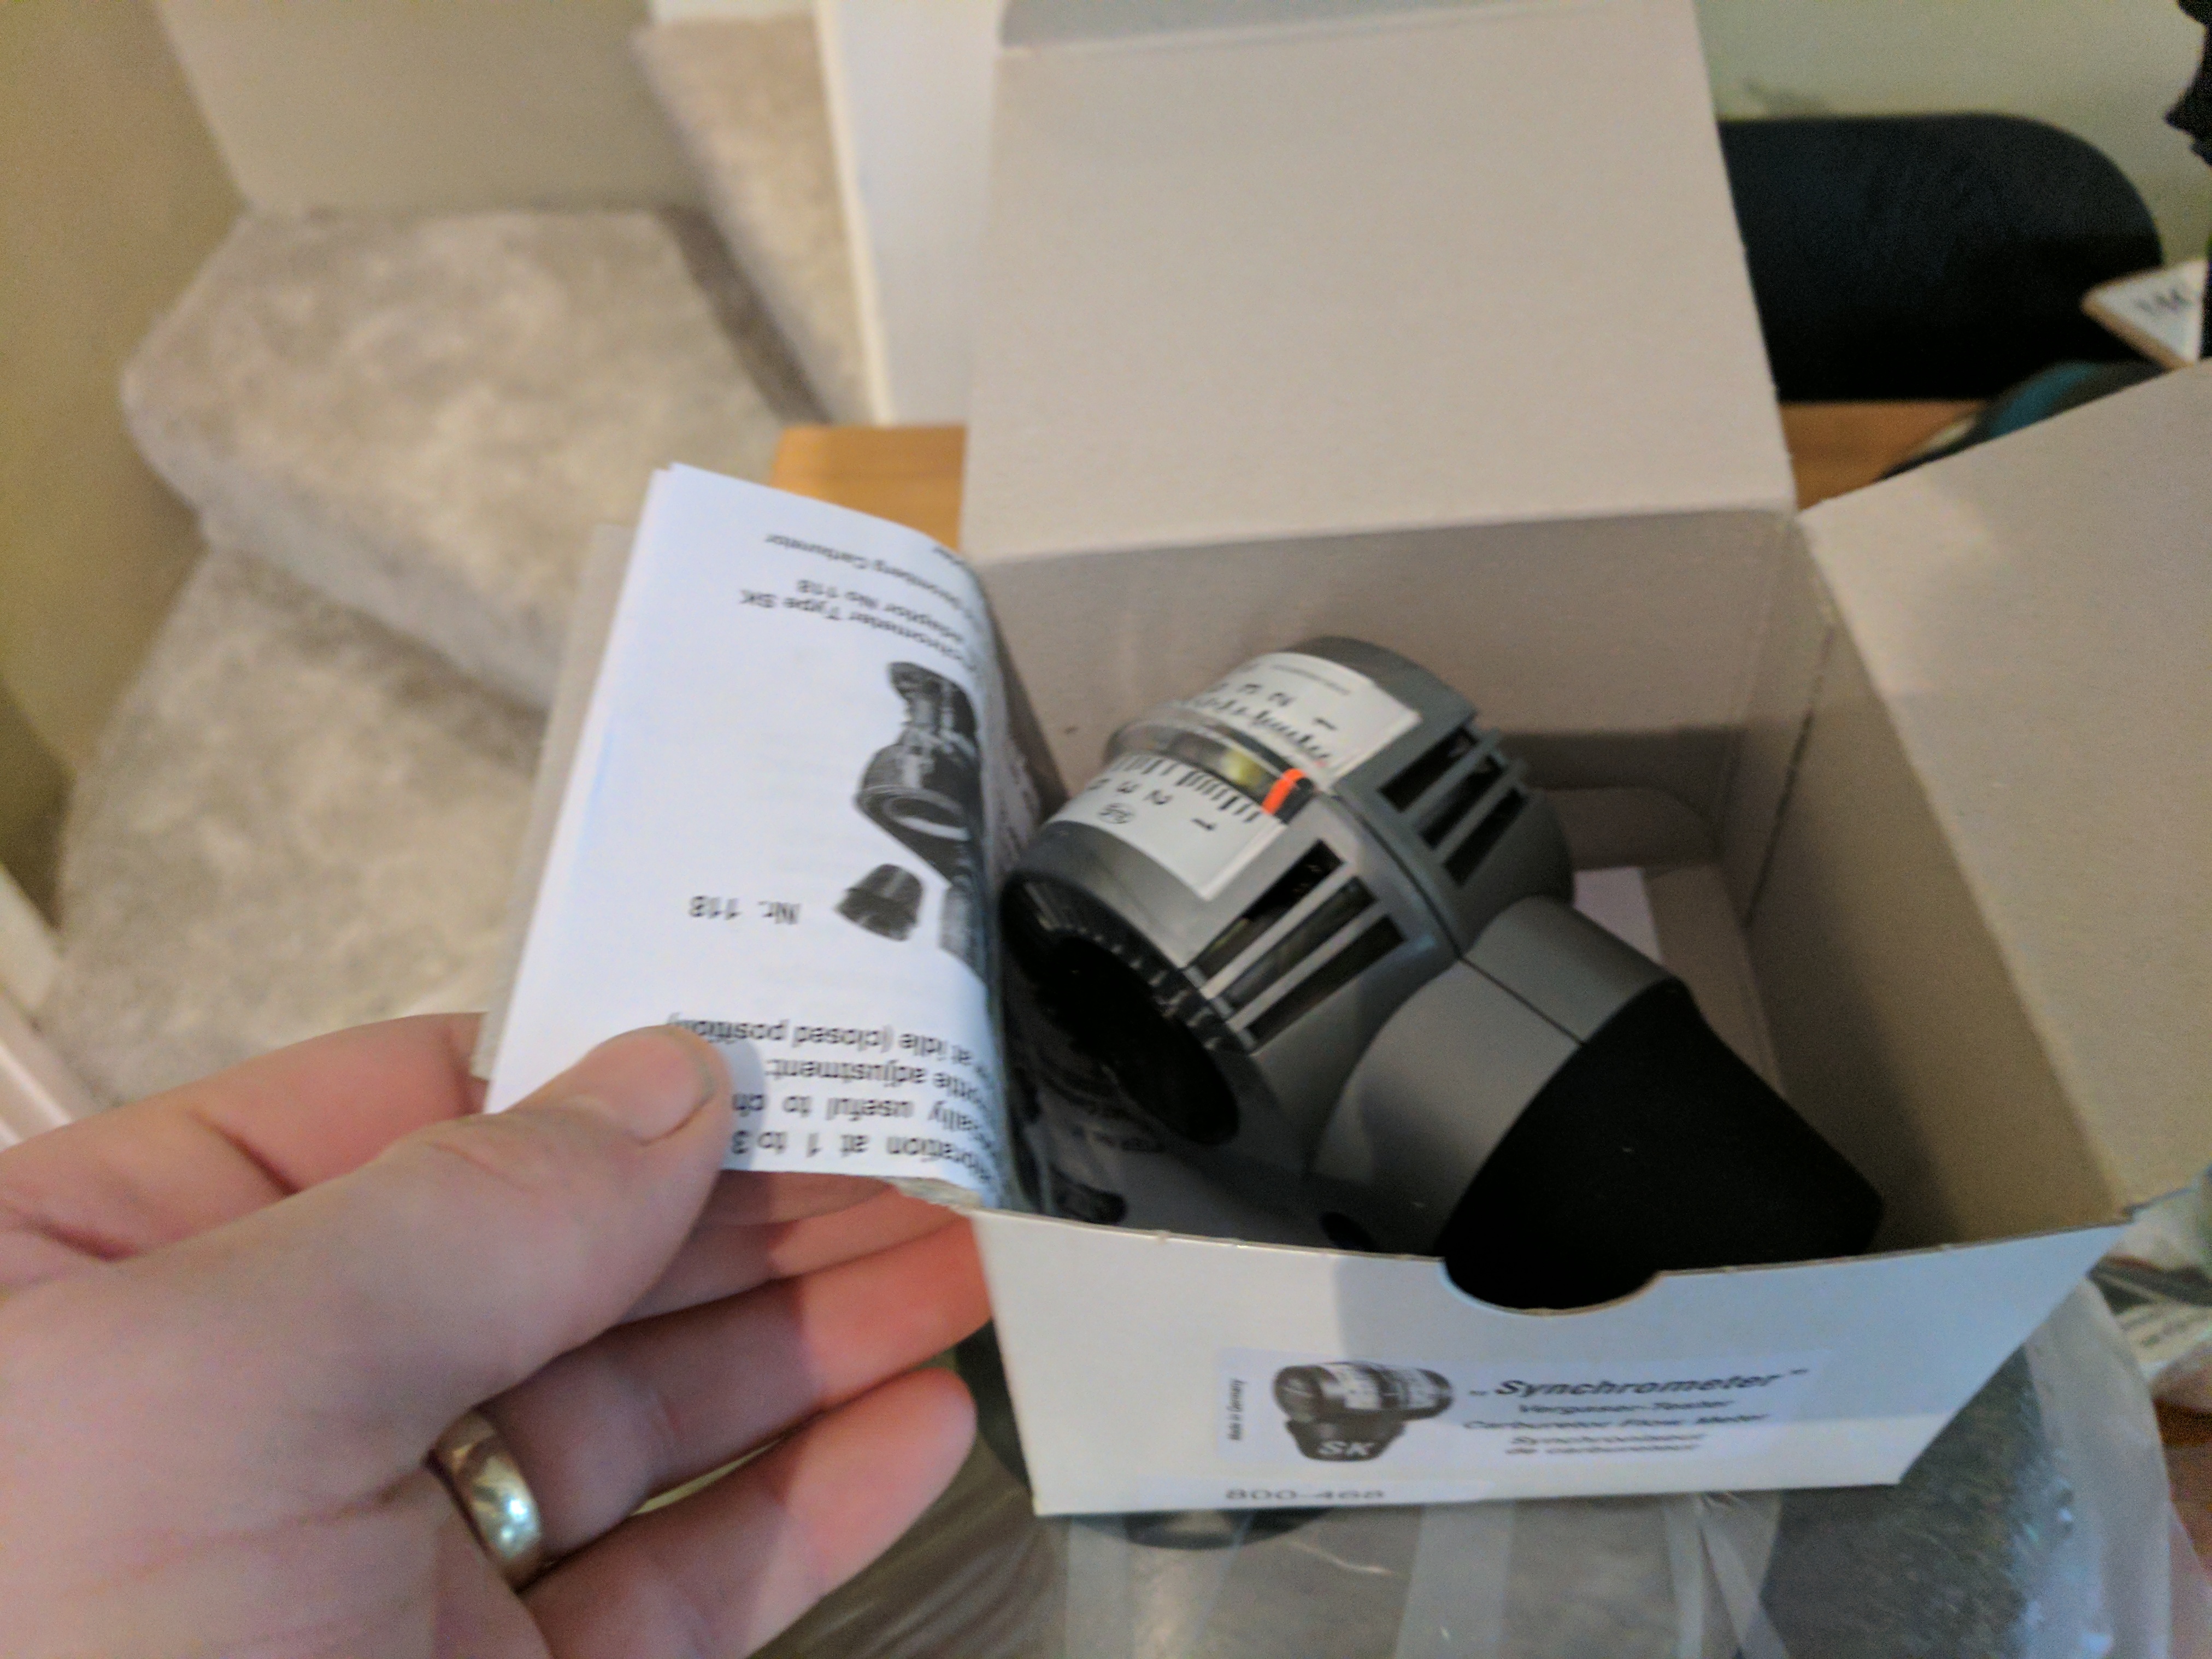
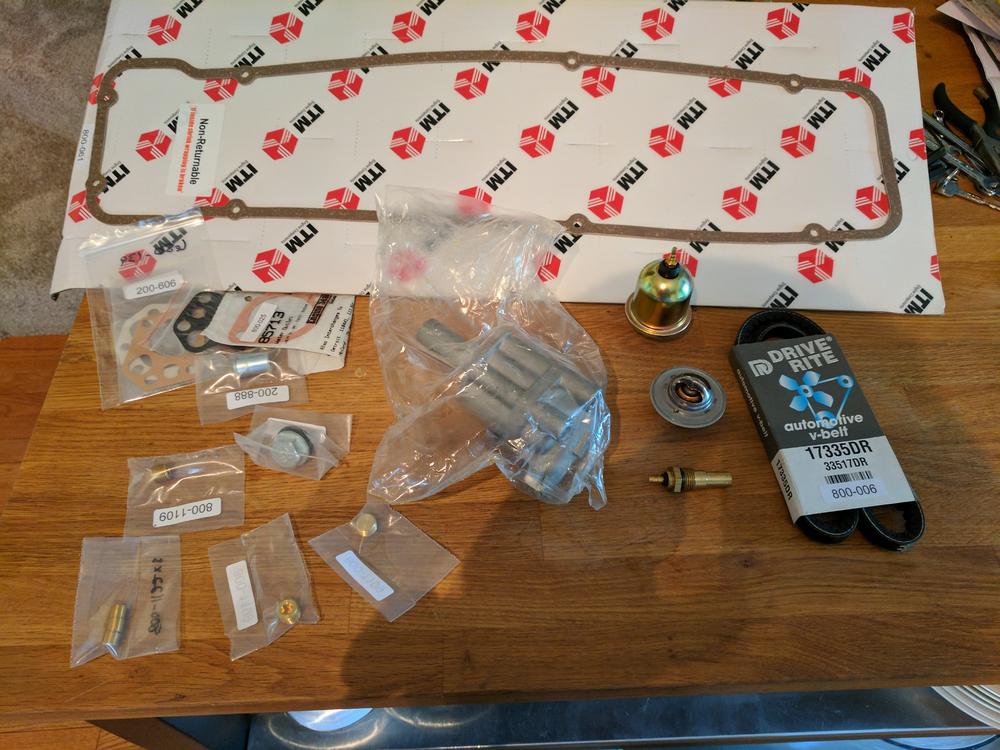
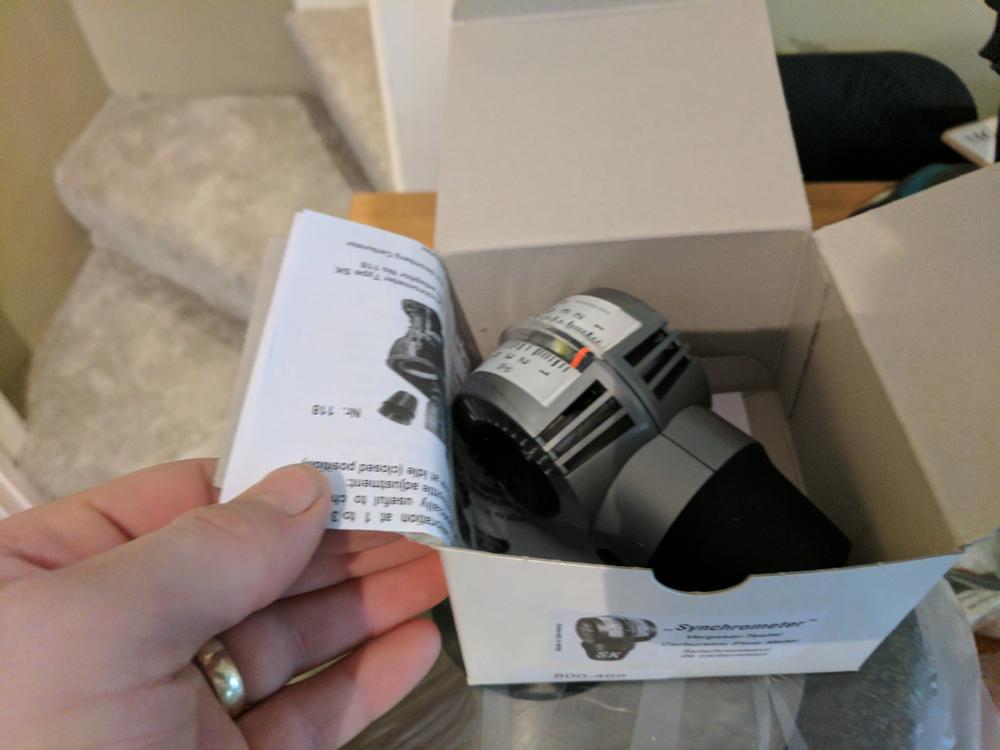
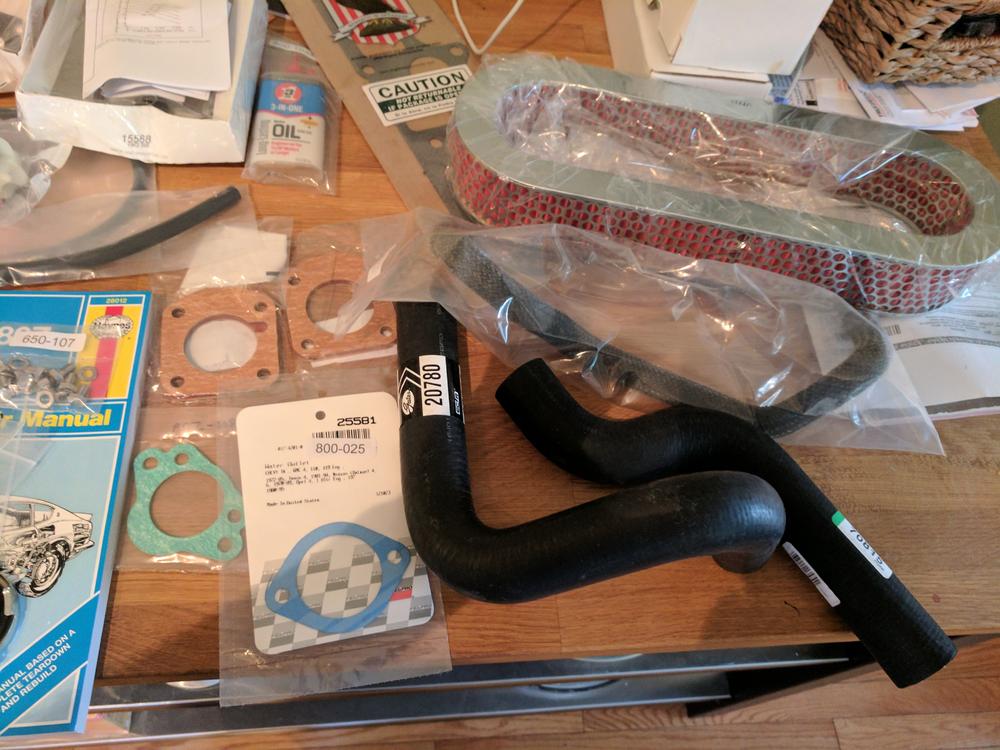
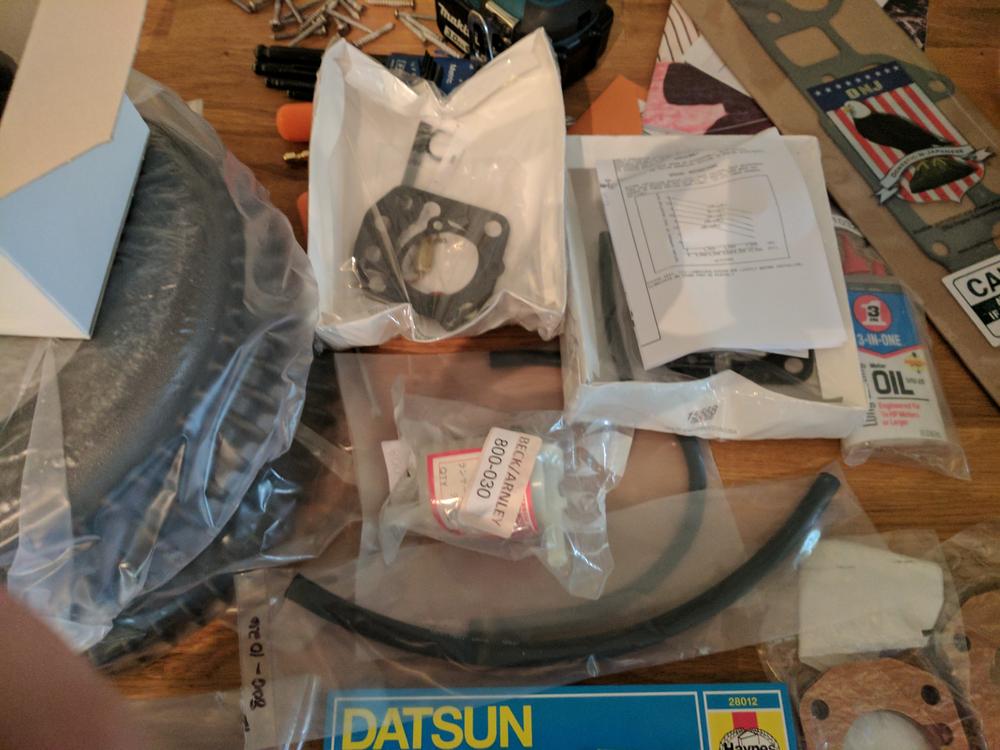
1 pointWith the brakes sorted I then turned to getting the damn thing running . It ran when I bought it, but was really hard to start and ran like poo. I wanted to get this thing to the point where the wife and I could take short trips in the car, so that meant getting it running and changing out all of the old hoses and such to make this decently reliable. First things first, we need more parts. Getting this box full of parts was the highlight of August. Our kitchen became the Datsun staging area. The box held intake and exhaust gaskets, carb rebuild kits, air cleaner, a bunch of hoses, thermostat w/ gasket, radiator cap, fuel filter, spark plugs, electronic distributer (280zx), igniton coil, spark plugs and a few other odds and ends. Also picked up a synchrometer to help tune the carbs, and because I love specialty tools.


 1 point
 -
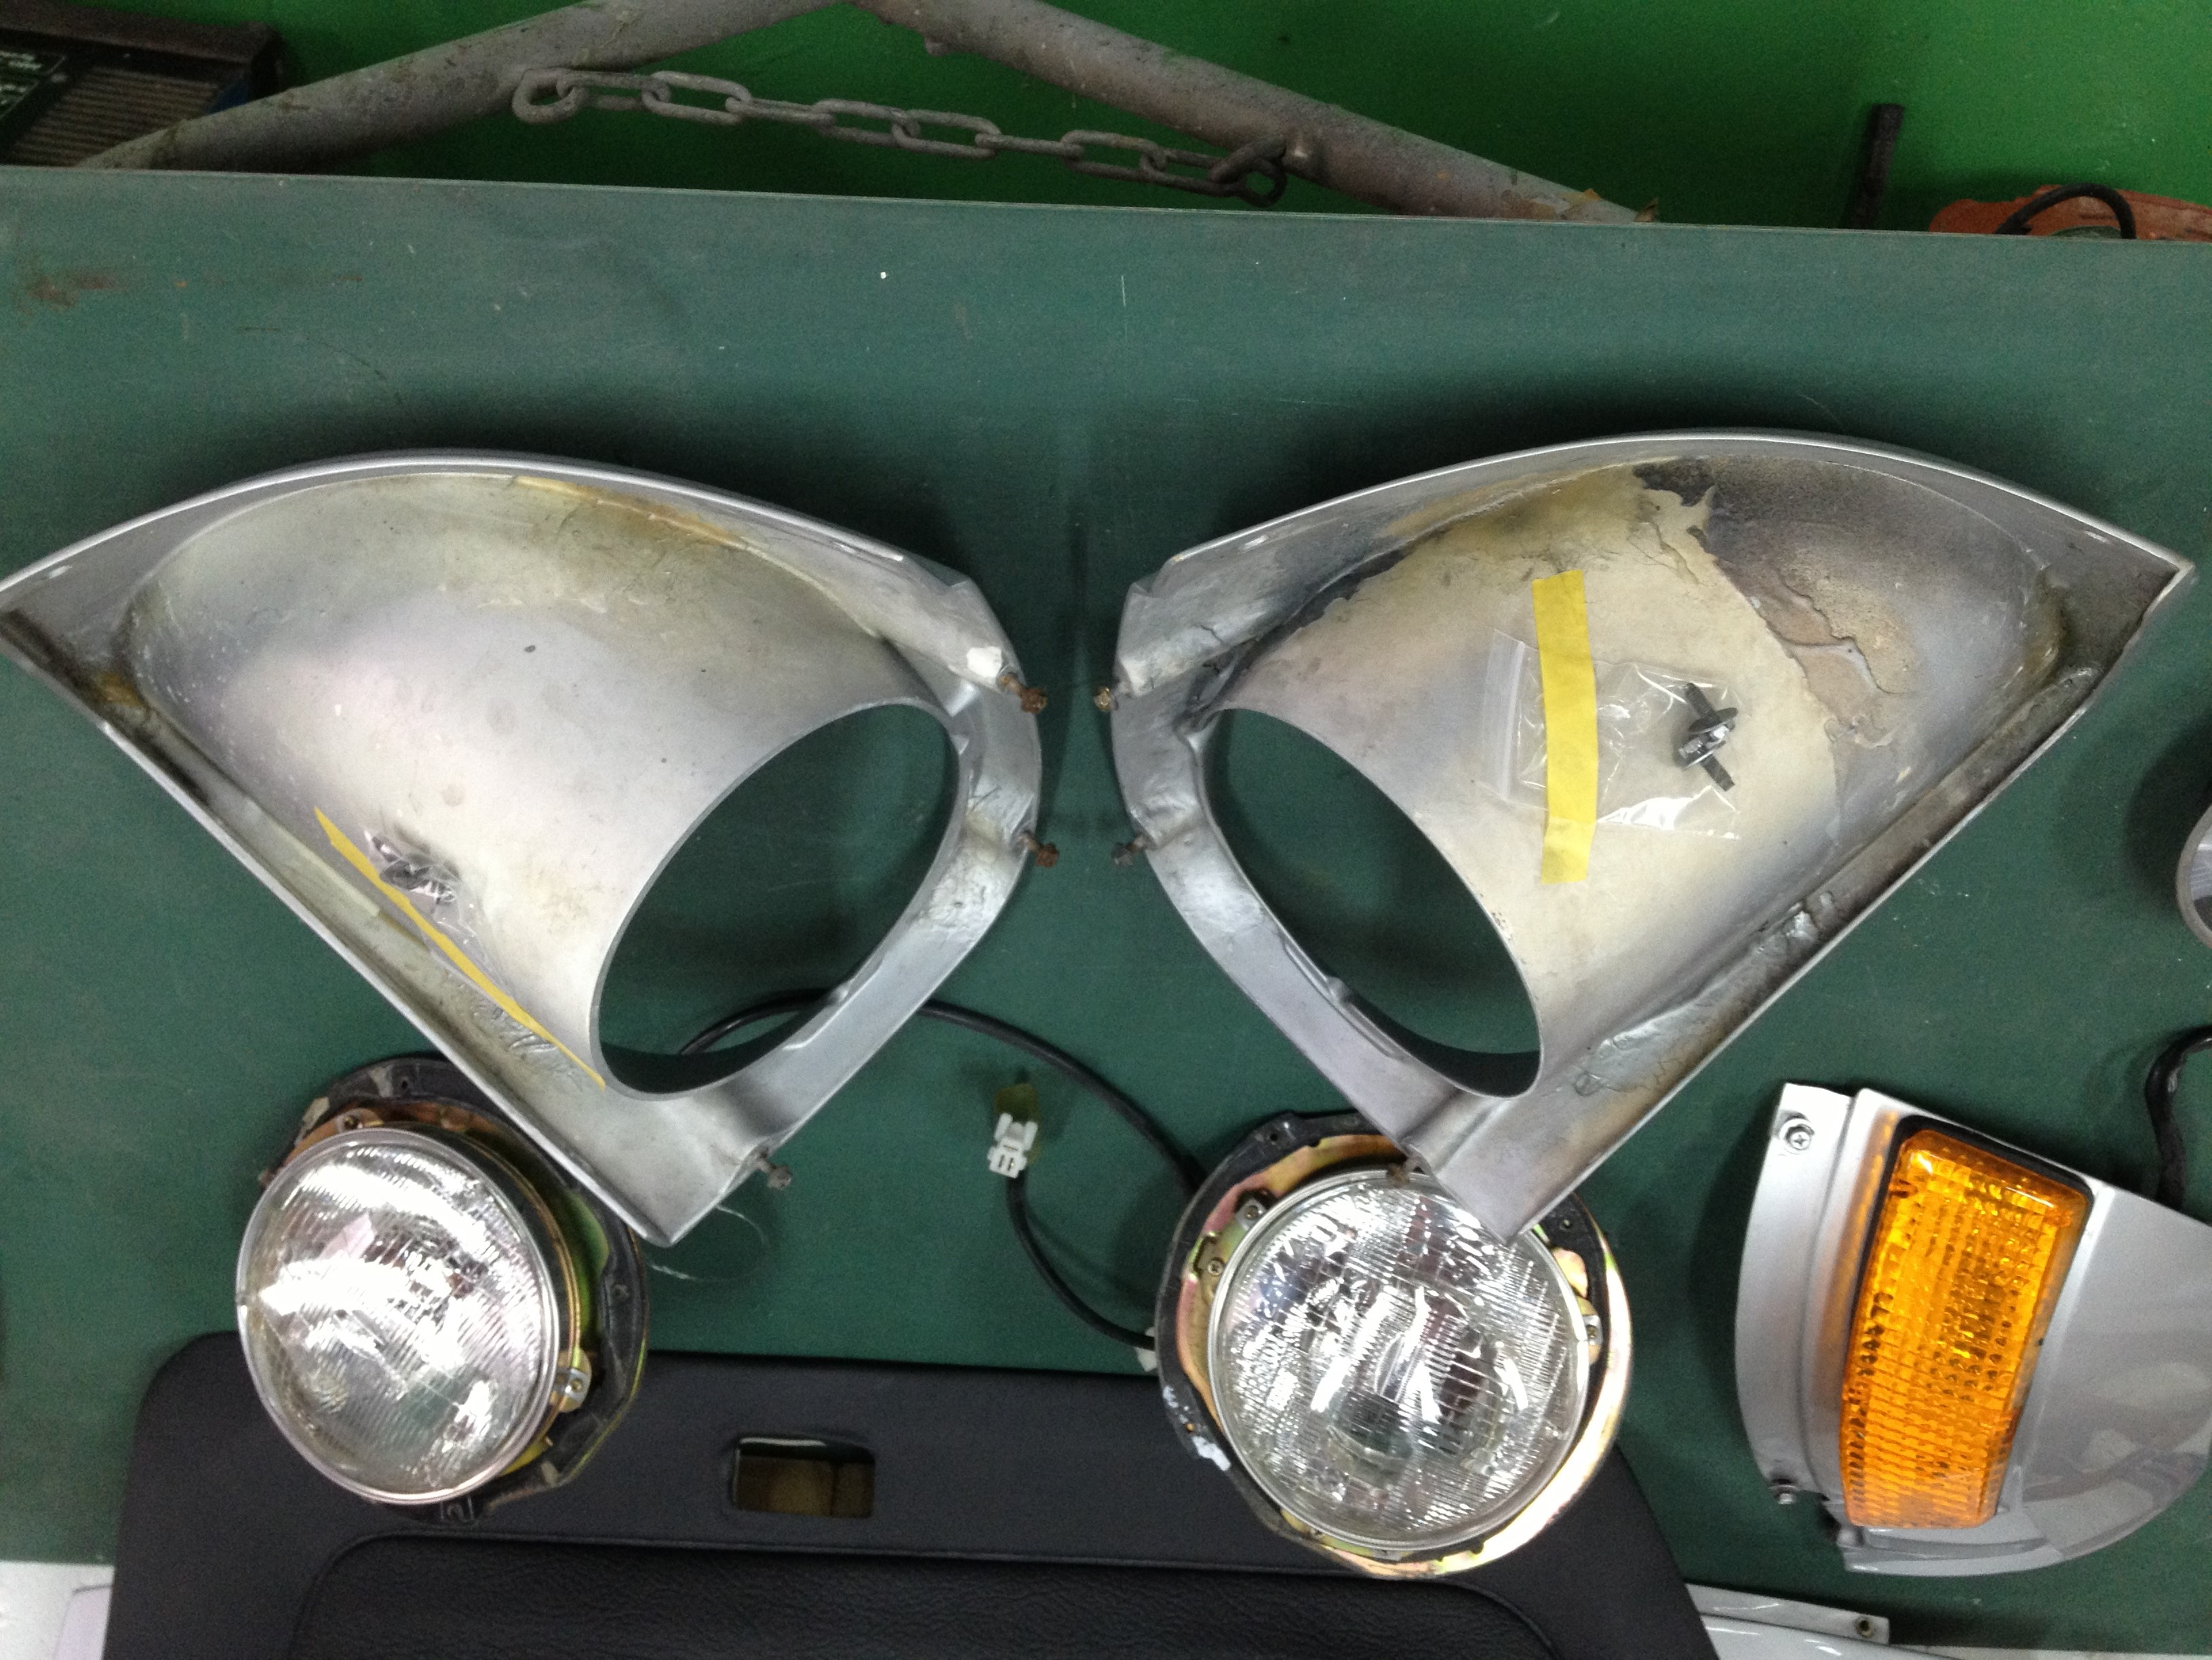
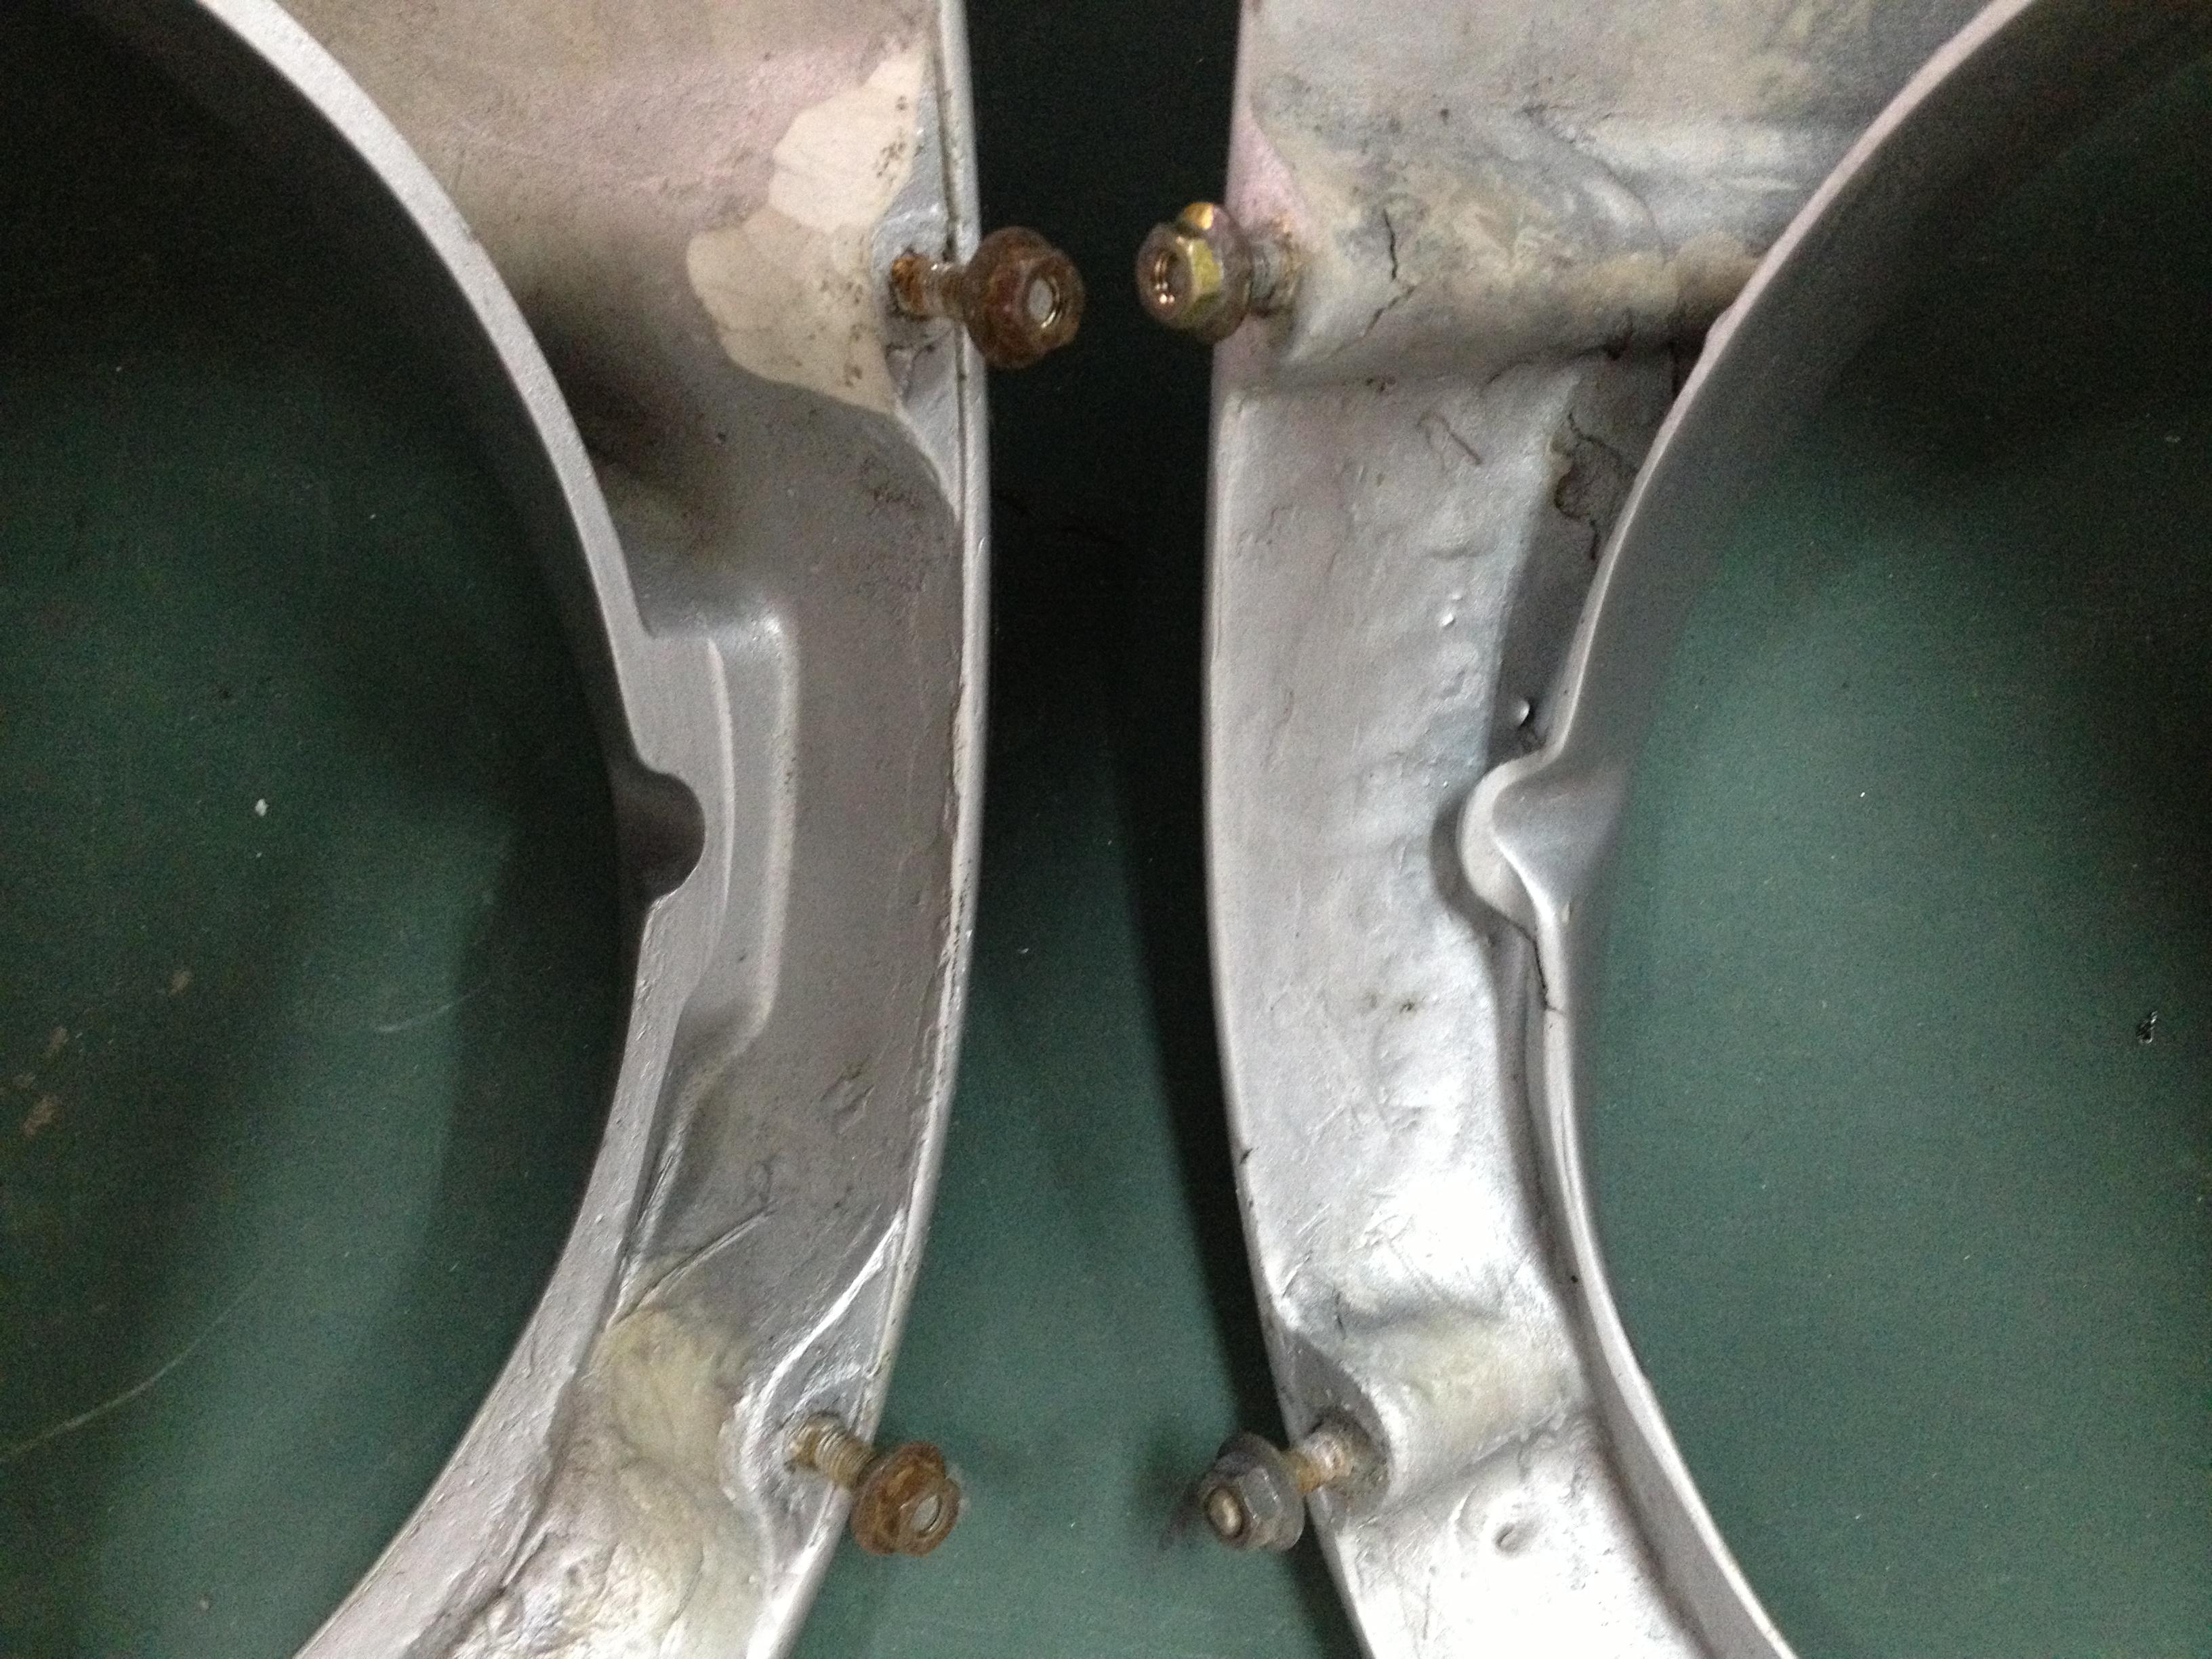
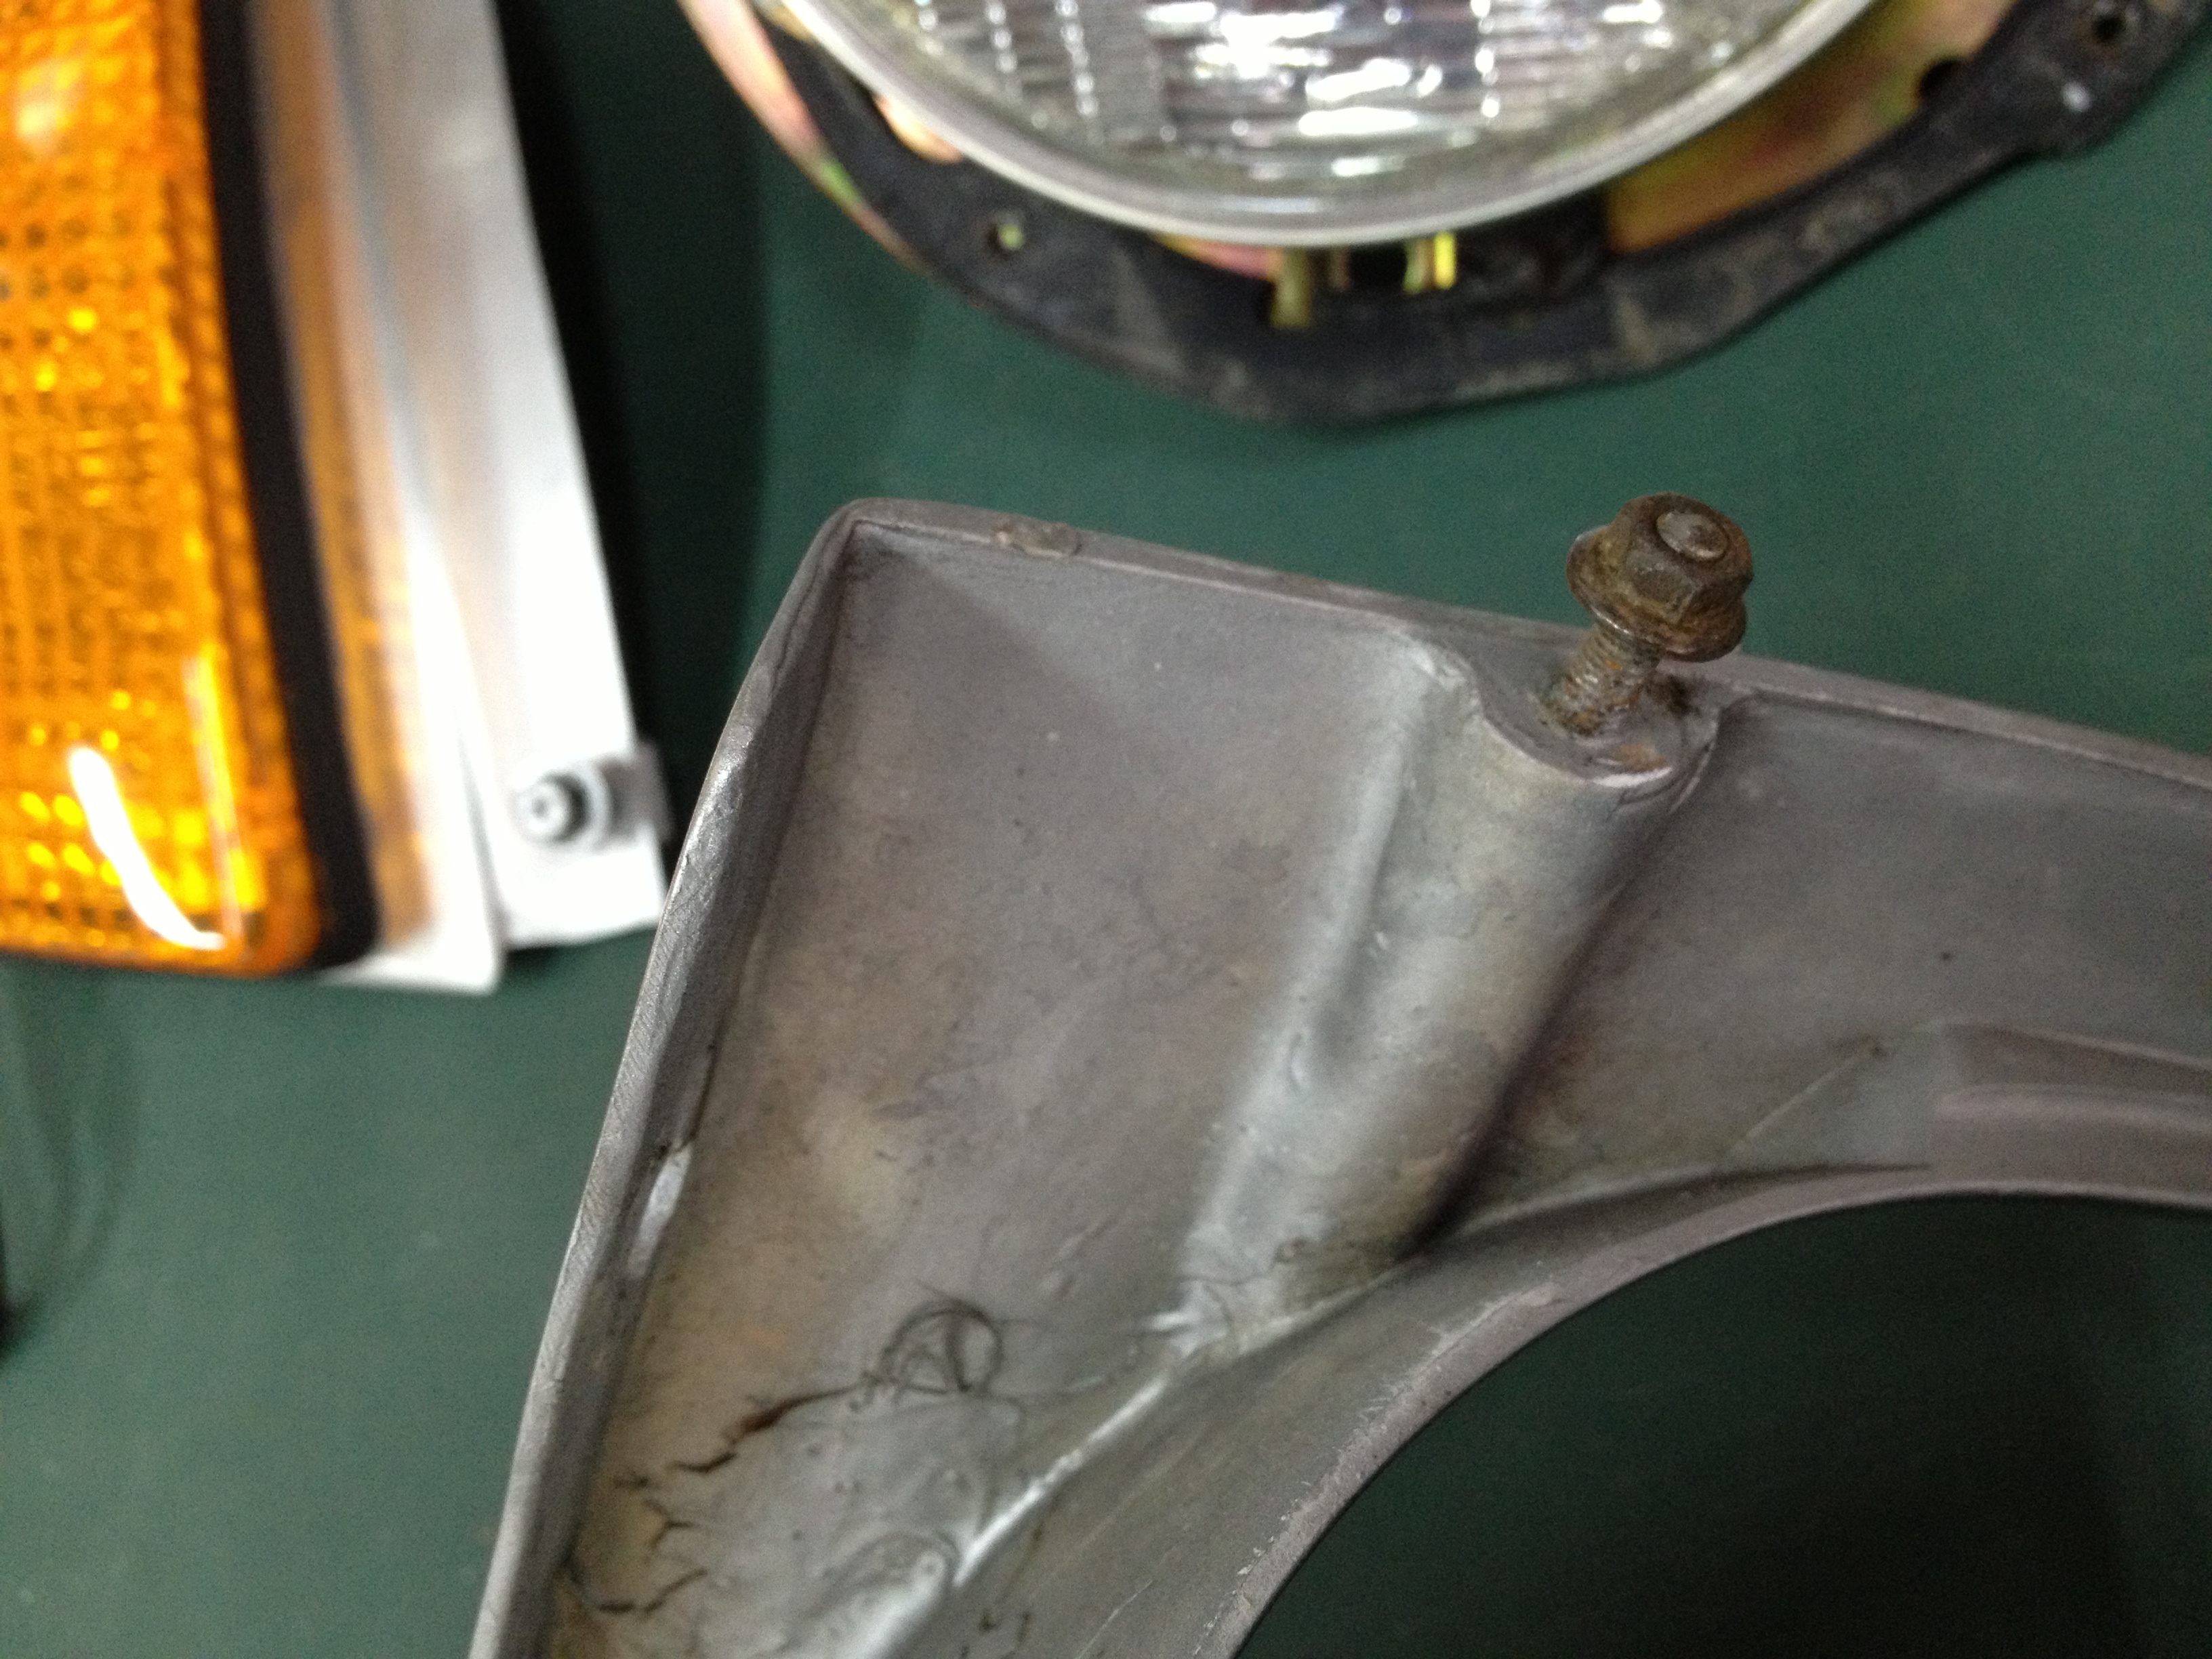
1 pointHead light case, right side is light, left side is heavy . If you look carefully around stud bolt basement, reinforcement is quite different. I think less meat around the stud bolt basement indicates "early" . I found this during the restoration, did left side "hevy " case join later because of an accident? Or is this normal i.e. left is heavy and right is light. How about your head light case ? Kats


 1 point
 -
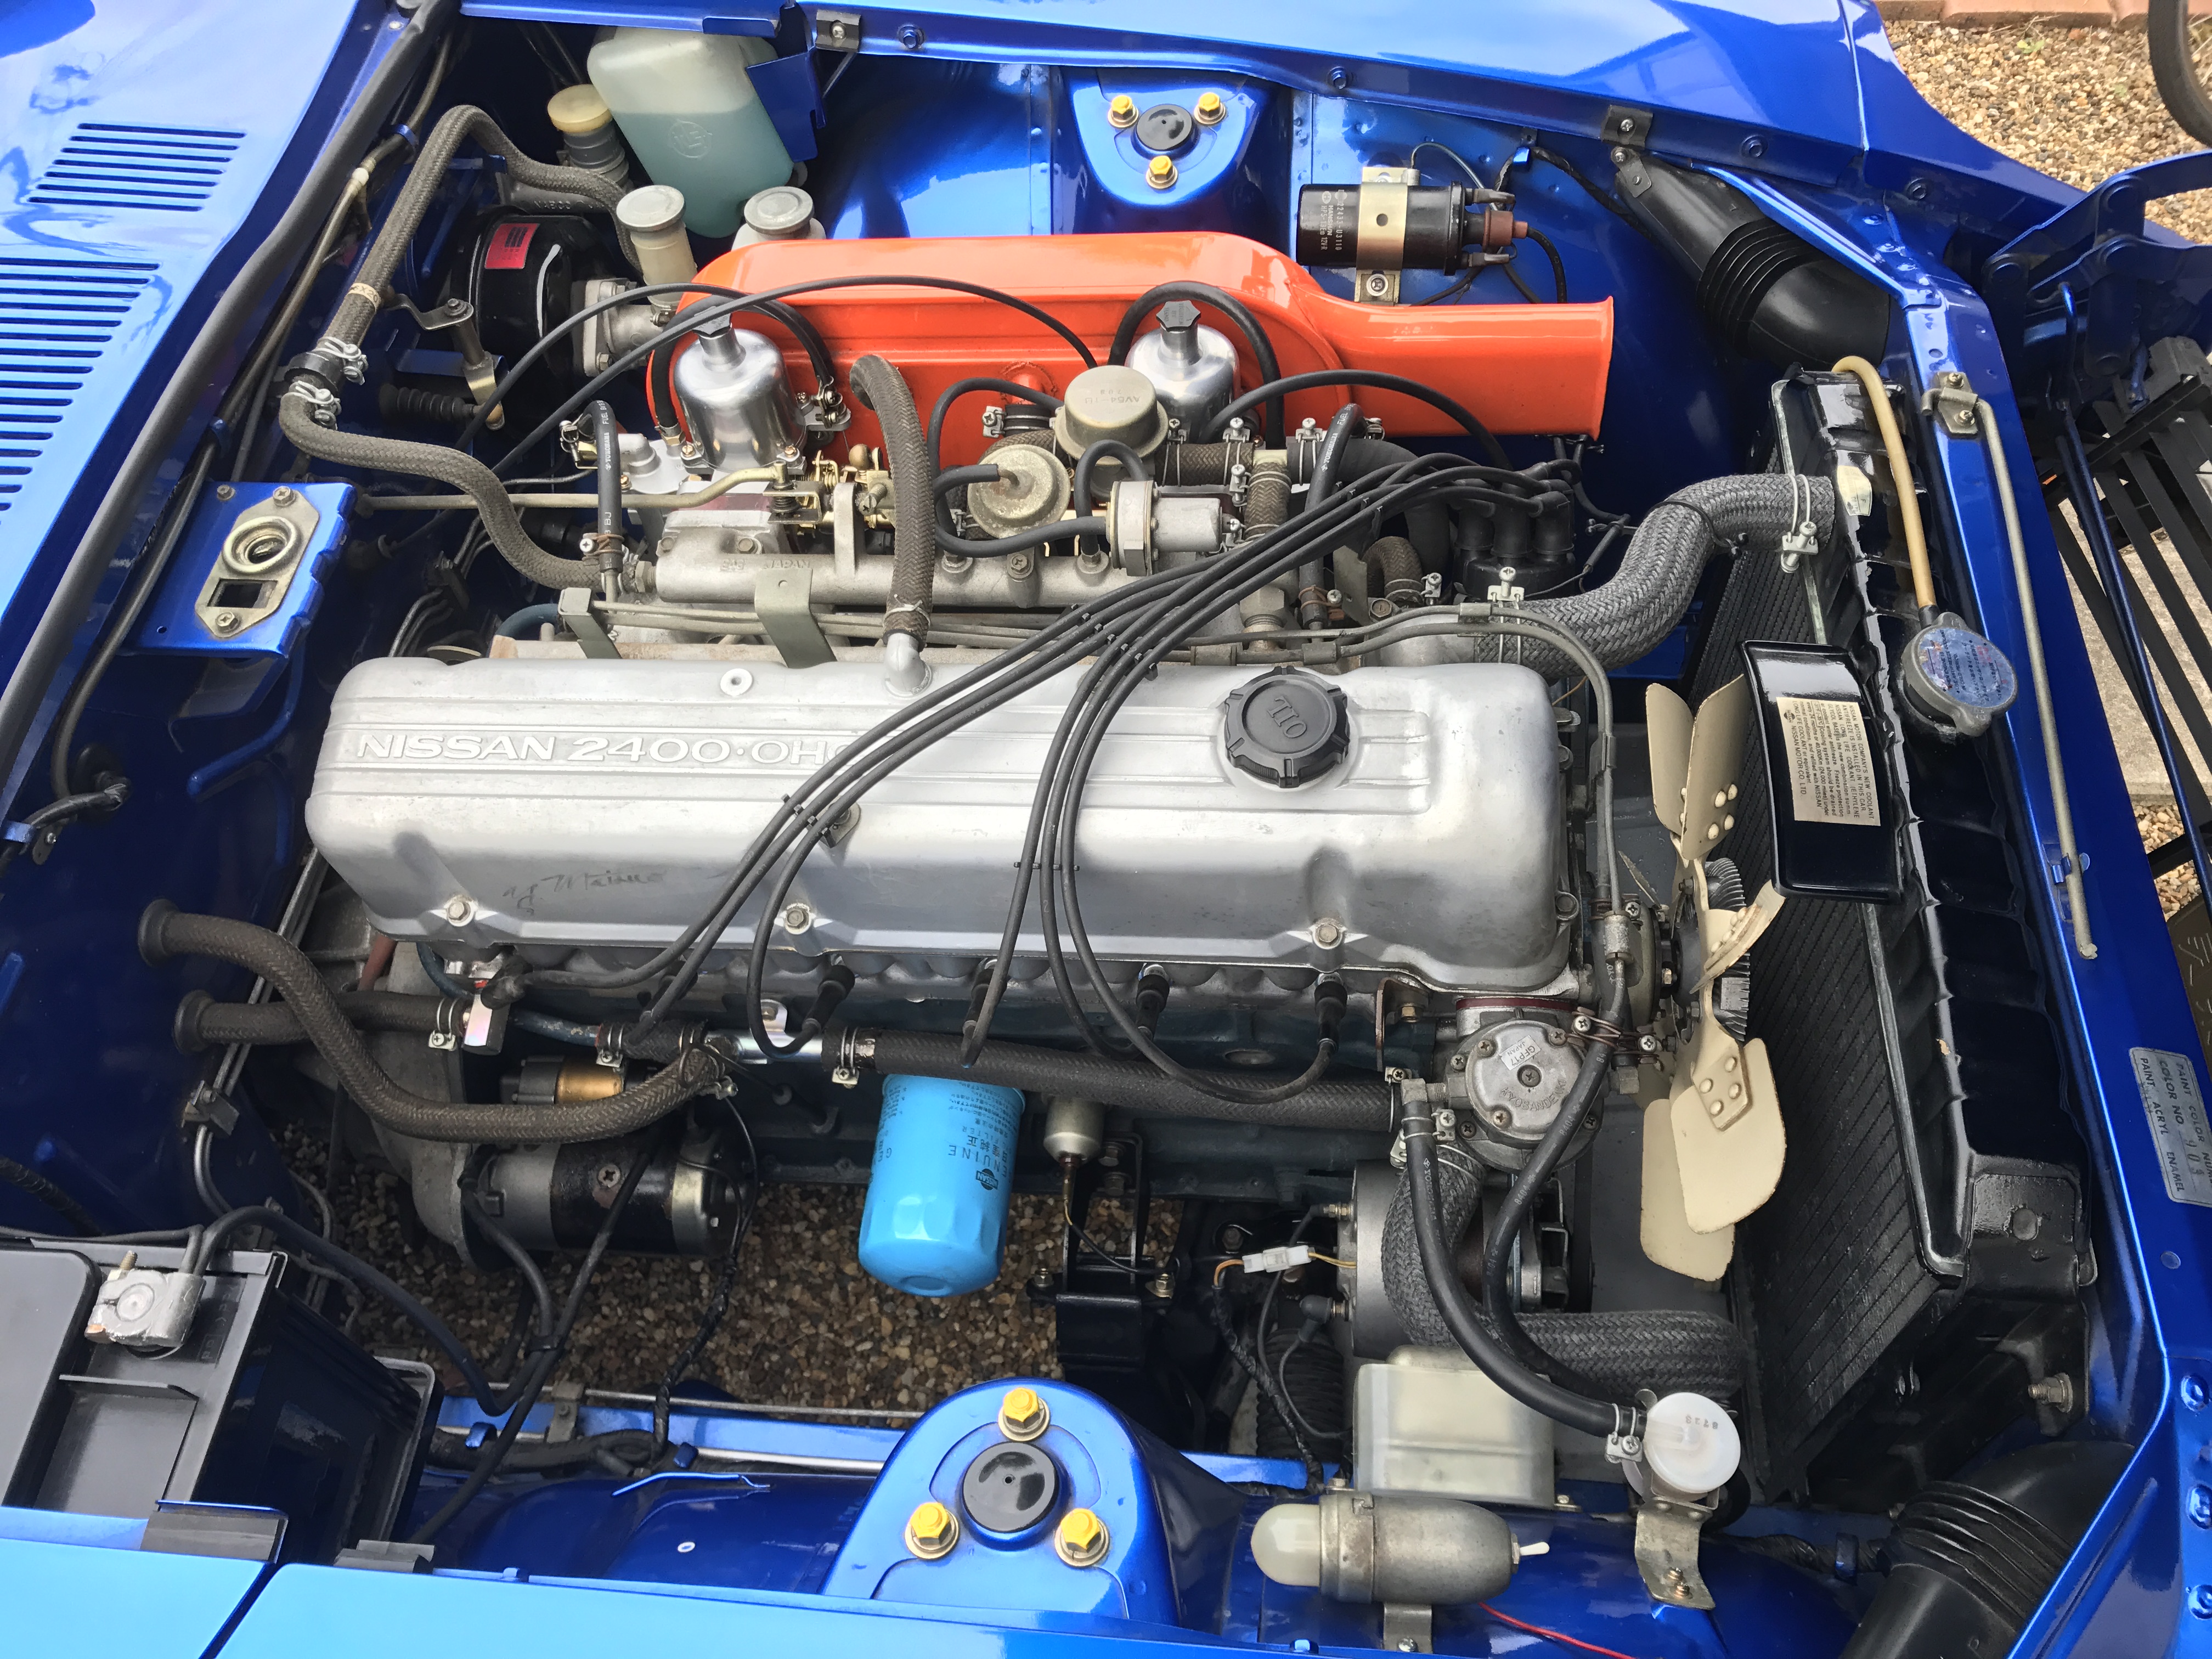
1 pointToday I could not resist putting a metal fan. I will let it operate until replacing a water pump , I am thinking I will need to do it with in a few years. Kats

 1 point
 -
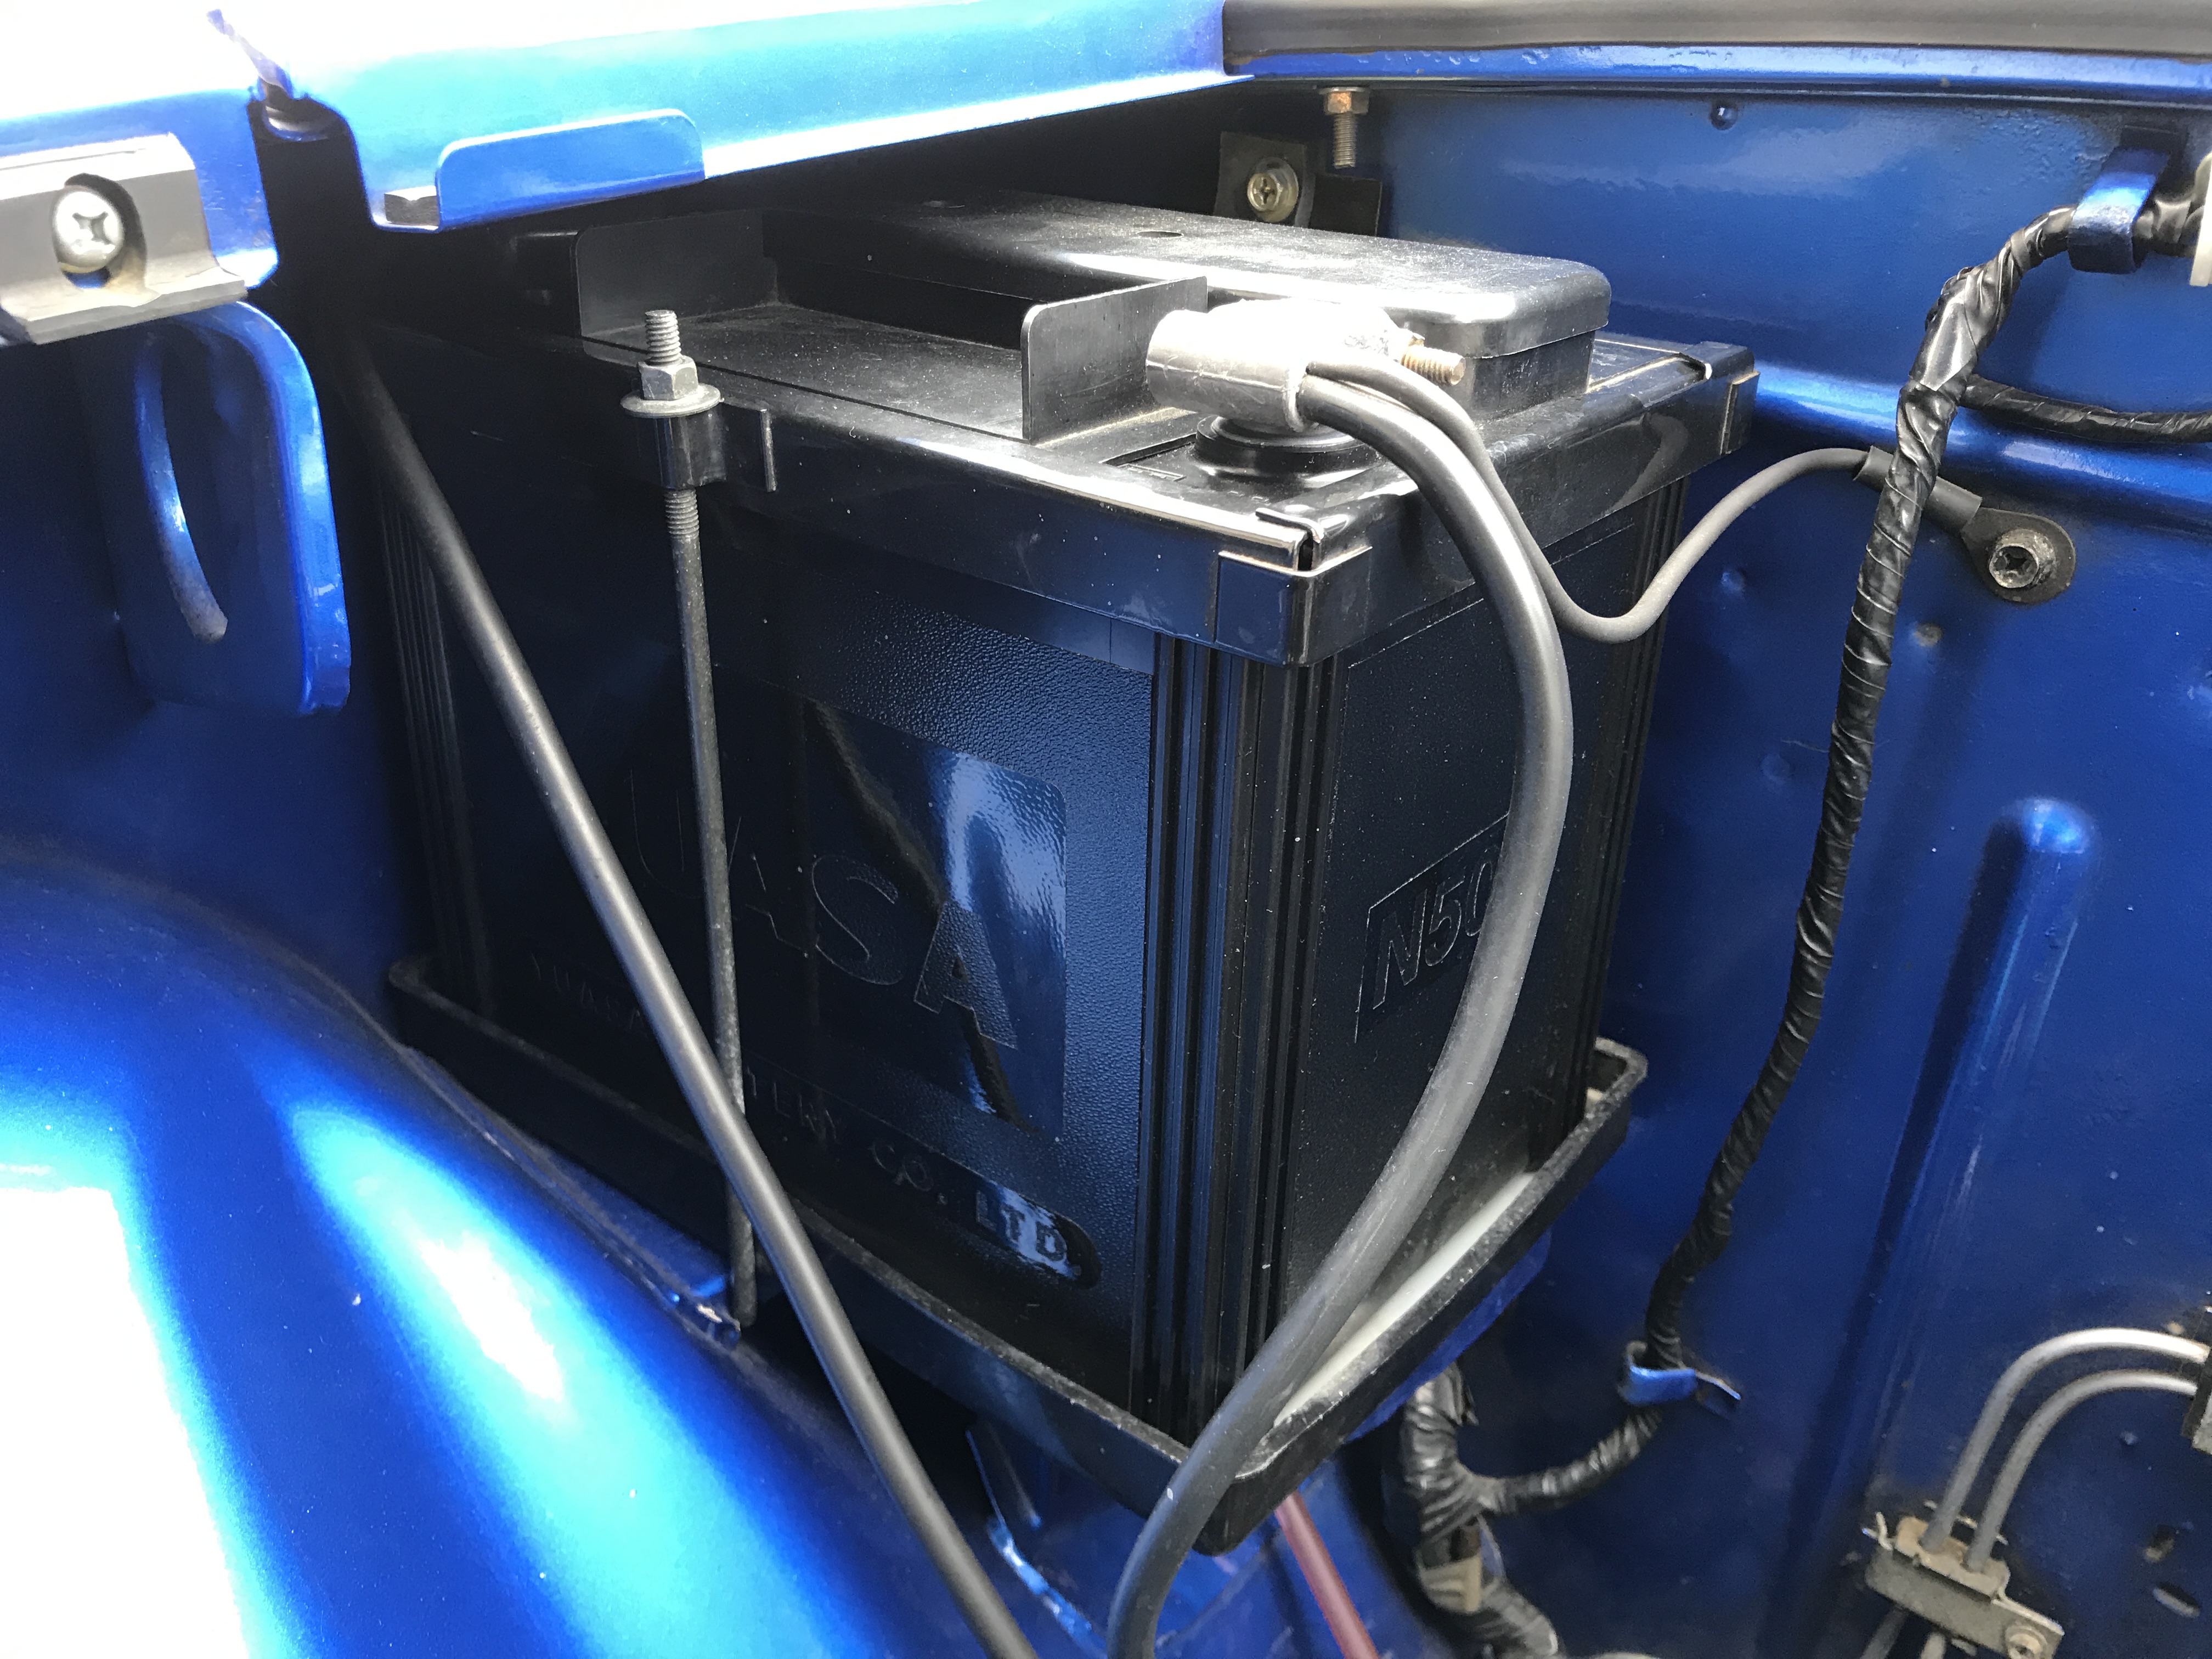
1 pointI know. I am on e-bay quite a bit looking for those, but very hard to find. Jay at JDM parts has some of the repro pieces but not the whole system. Also hard to find OEM battery cables.1 point
-
1 pointGot the Noico sound mat down, then put the tunnel cover down and firewall insulation back up. Ready for heater box and dash components. Sent from my iPhone using Classic Zcar Club mobile1 point