Leaderboard


Popular Content
Showing content with the highest reputation on 02/02/2018 in all areas
-
 5 pointsAnd so begins a new adventure, guaranteed to frustrate yet entertain over the next few years...5 points
 -
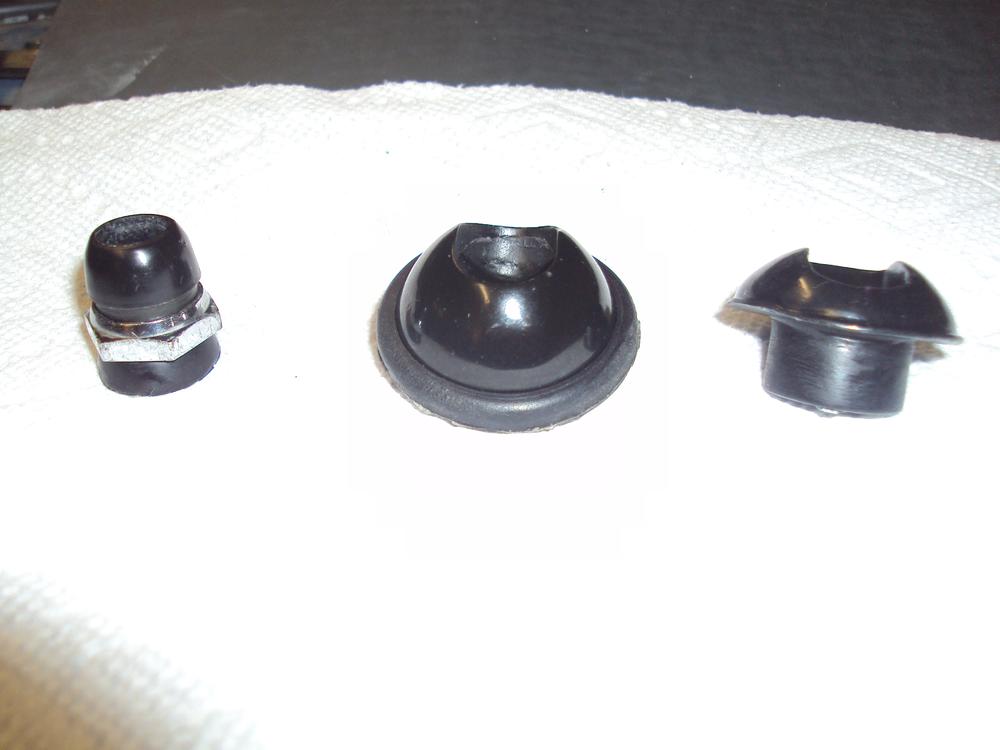
 3 pointsRubber bits from Steve Nixon for the antenna restoration arrived today! Here they are shown with the finisher nut I am using as a test. Left top is the finisher nut cone---beneath is the demo'ed finisher nut and the nut lower seal. To the right is the upper "plastic" ball, the mast assembly to body seal and, finally the inside quarter panel lower rubber ball. The parts are very accurately produced---another testament to Steve's skills! This photo shows the parts in assembled order. You will notice there is a gap between the shoulder of the cone and the upper surface of the finisher nut. More on that this weekend, as we try to complete an installation process for a proper fit. Stay tuned.......
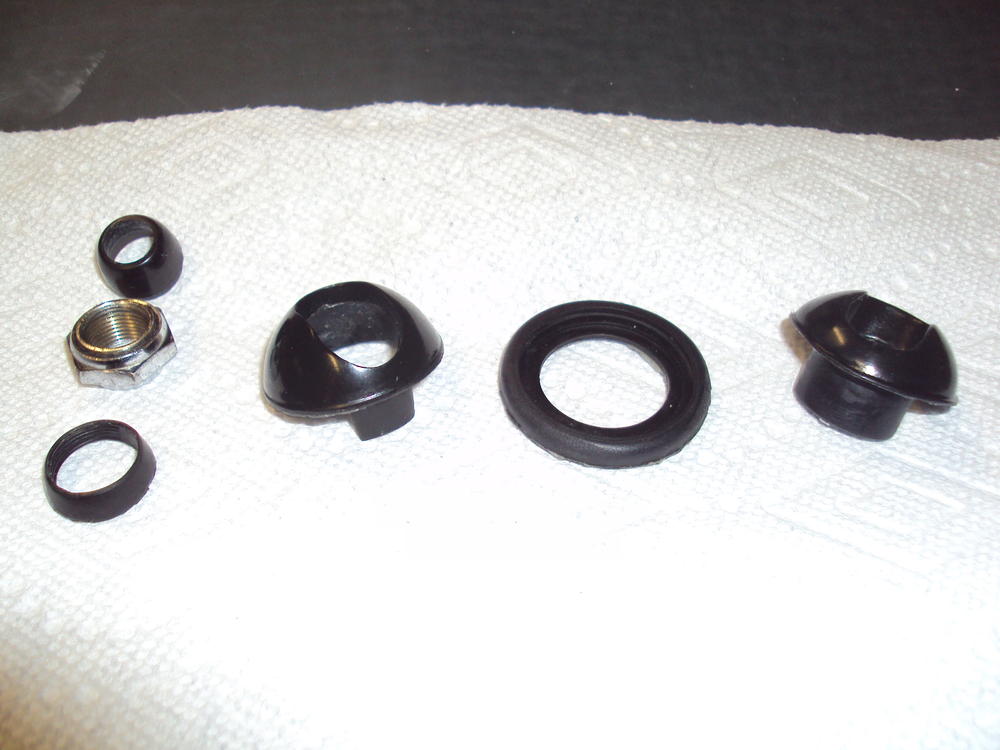
 3 points
 -
 2 pointsThe Brass "fingers" must be installed in the finisher nut for a proper fit. There must be zero left over plastic from the old top in the finisher nut or on the brass "fingers". The lower lip on the new top is paper thin but it must be like this for the correct fit.2 points
 -
1 pointSite provided the picture. I just made a joke. Make sure that the cylinder actually slides back and forth after installation. That's what it's supposed to do. It's self-centering.1 point
-
 1 pointZup, I noticed that the brass piece is removed from the retainer nut prior to the plastic cap being installed. I believe that the brass piece is a ground for the antenna mast necessary for reception. Any thoughts on that? Thank Jerry Purcell1 point
 -
 1 point
 -
 I have mine plugged, never thought about running a line from the T stat housing to the pump inlet. That would be easy to do now that I think about it, just go around the front of the head like the 280s. I can't tell any difference in the way mine runs since I did that, drove it a couple of years with the flow now over a year without. I finally got the flow going back through the heater core after replacing the hoses and the control valve. I never run mine hard until the TEMP gauge gets set at normal after reading where somebody on here had theirs dead headed and romped on it cold and blew one of the core plugs out. Can't have that. I did mine at the circles and also the intakes.
 1 point
 -
 Got to have timing involved in this conversation- period1 point
 -
 1 pointNext Step is done Box with Prototype in it. fixed to the bottom of the box Now I have to decide what kind of Polyurethane I will use. Im still for a Shore A 75 (hard/soft like Car tires) I guess I will try it with that and if its not good, I can still do a second until I have the desired hardness. For the Form(mold) I thought to use as well the Shore A 75 but Im asking myself if harder like shore A 90 could be better for the mold to reuse it more often I know, the A75 should be good against UV light(sun) for about 10 years. then I can use the mold again.
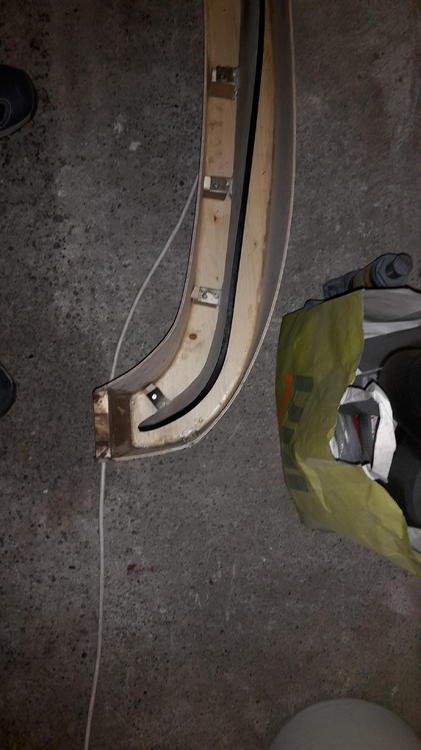
 1 point
 -
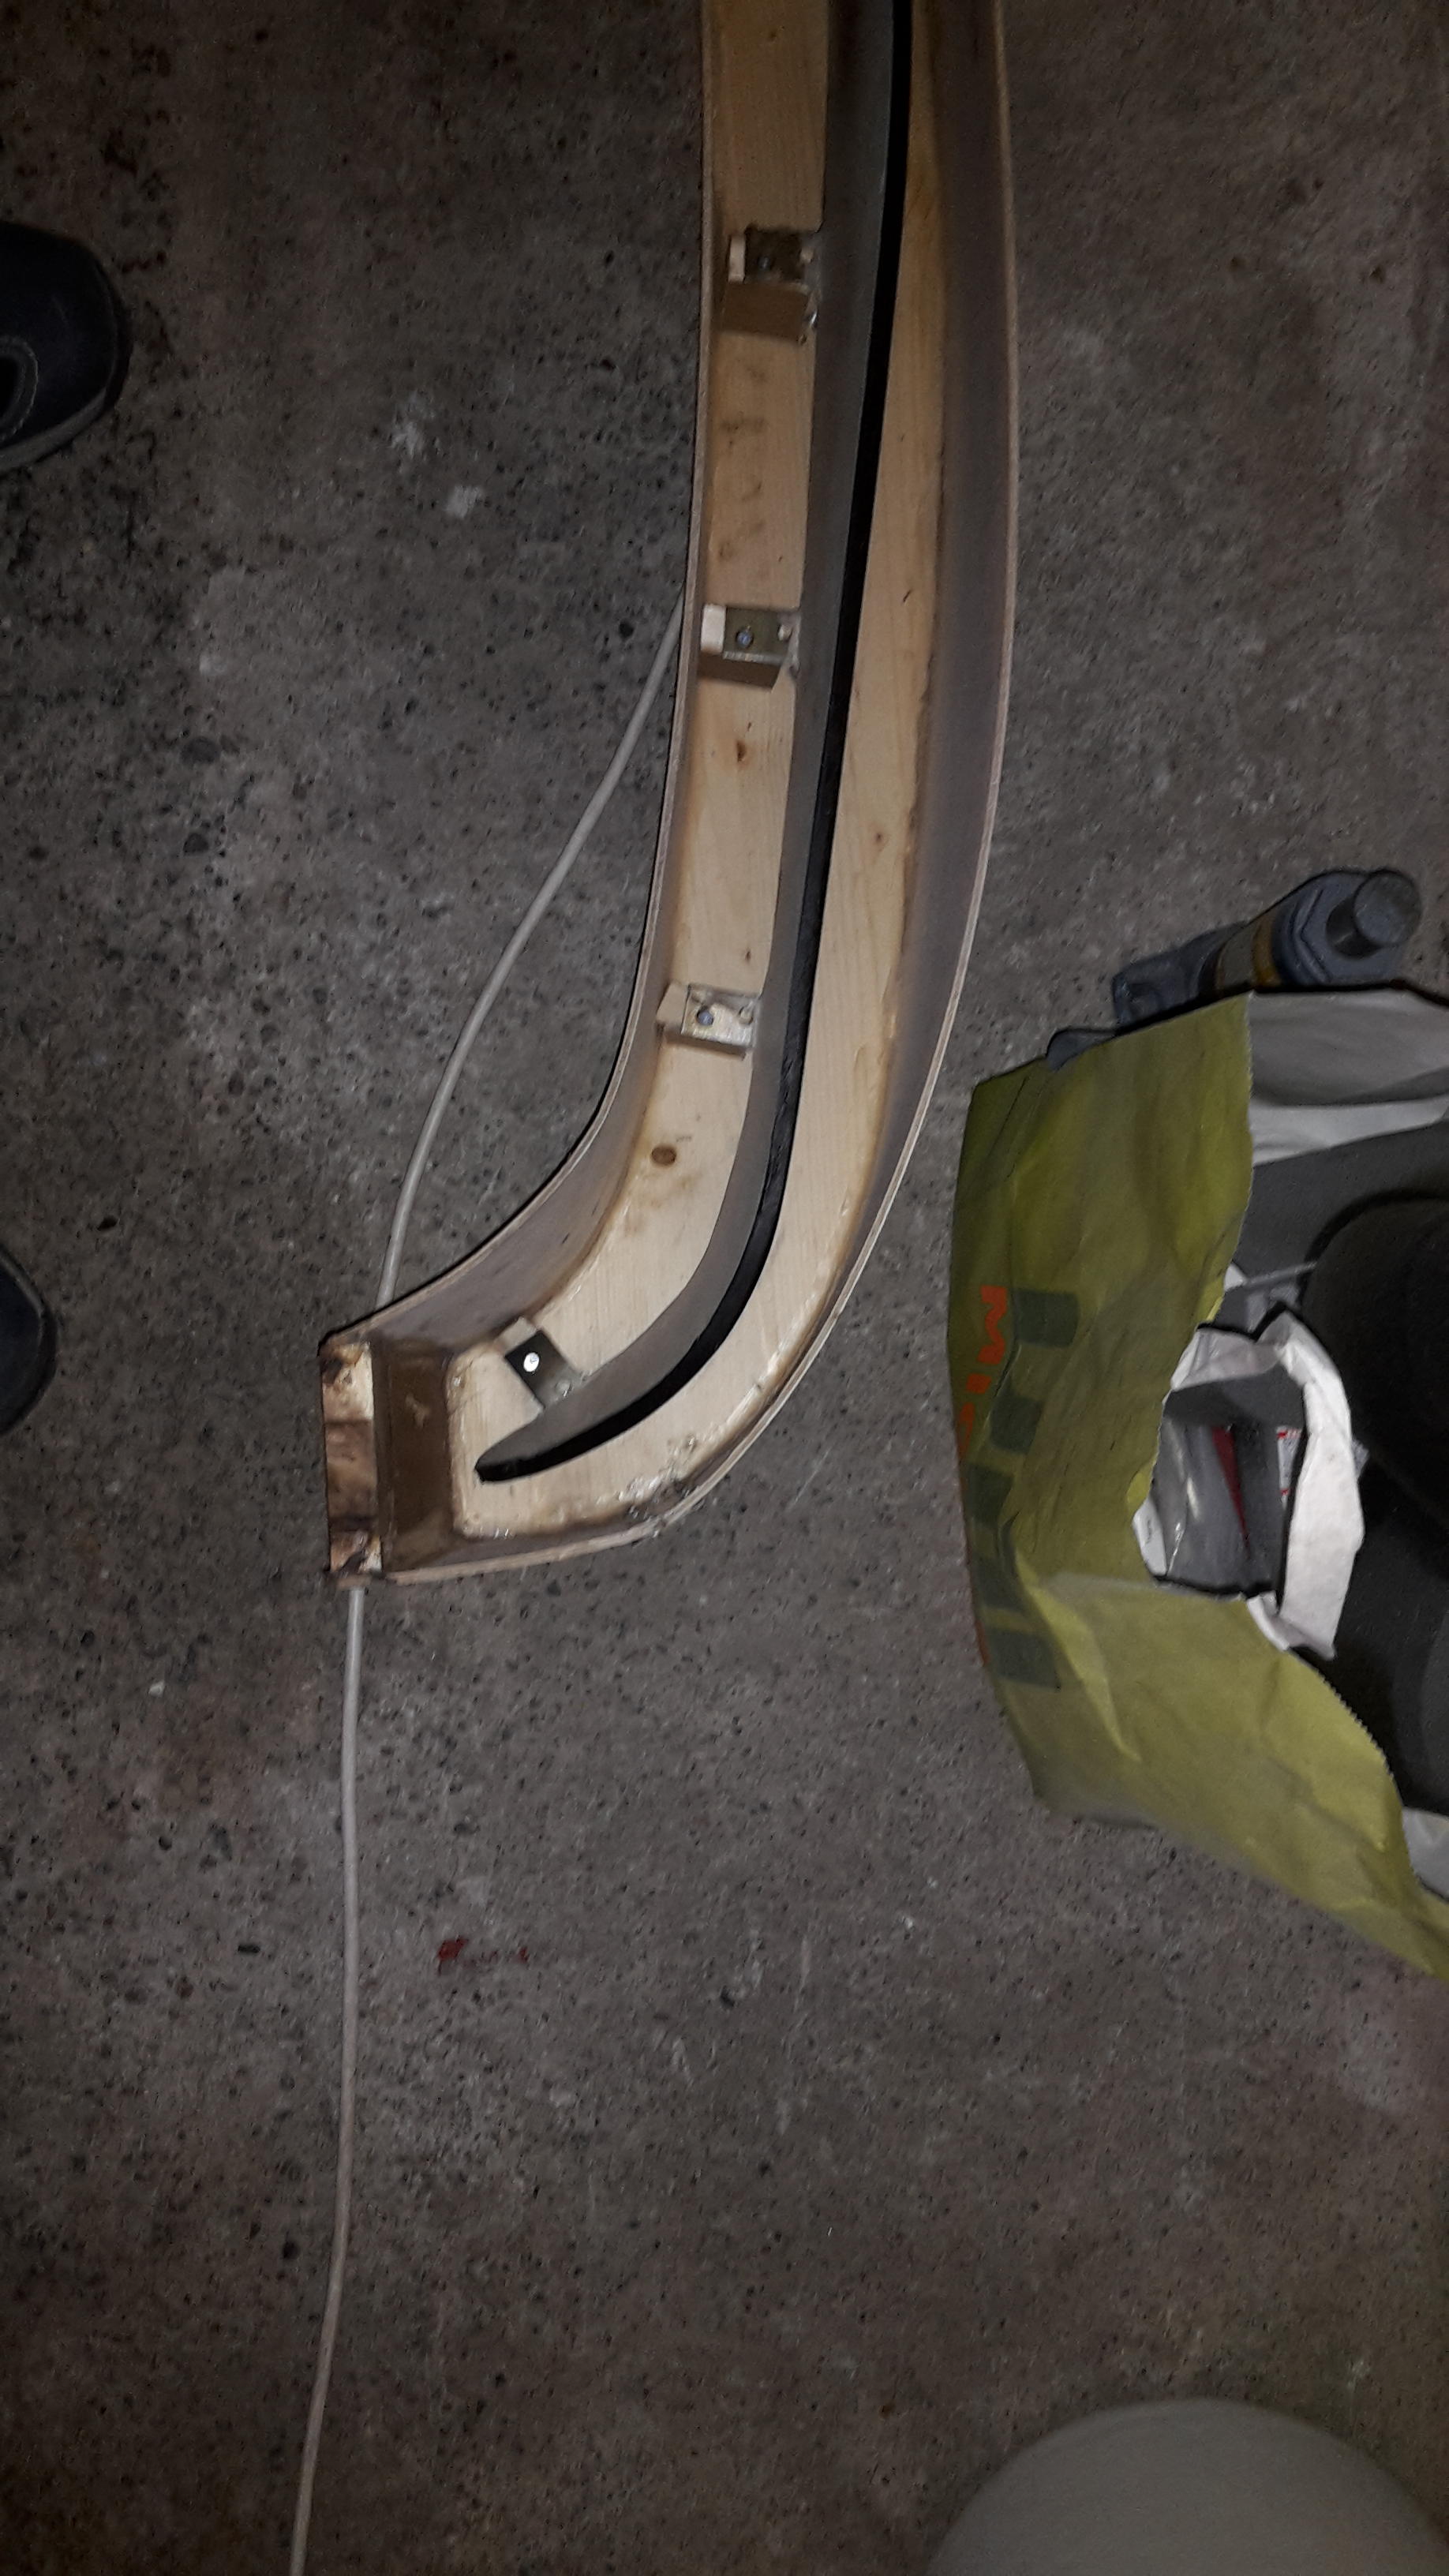
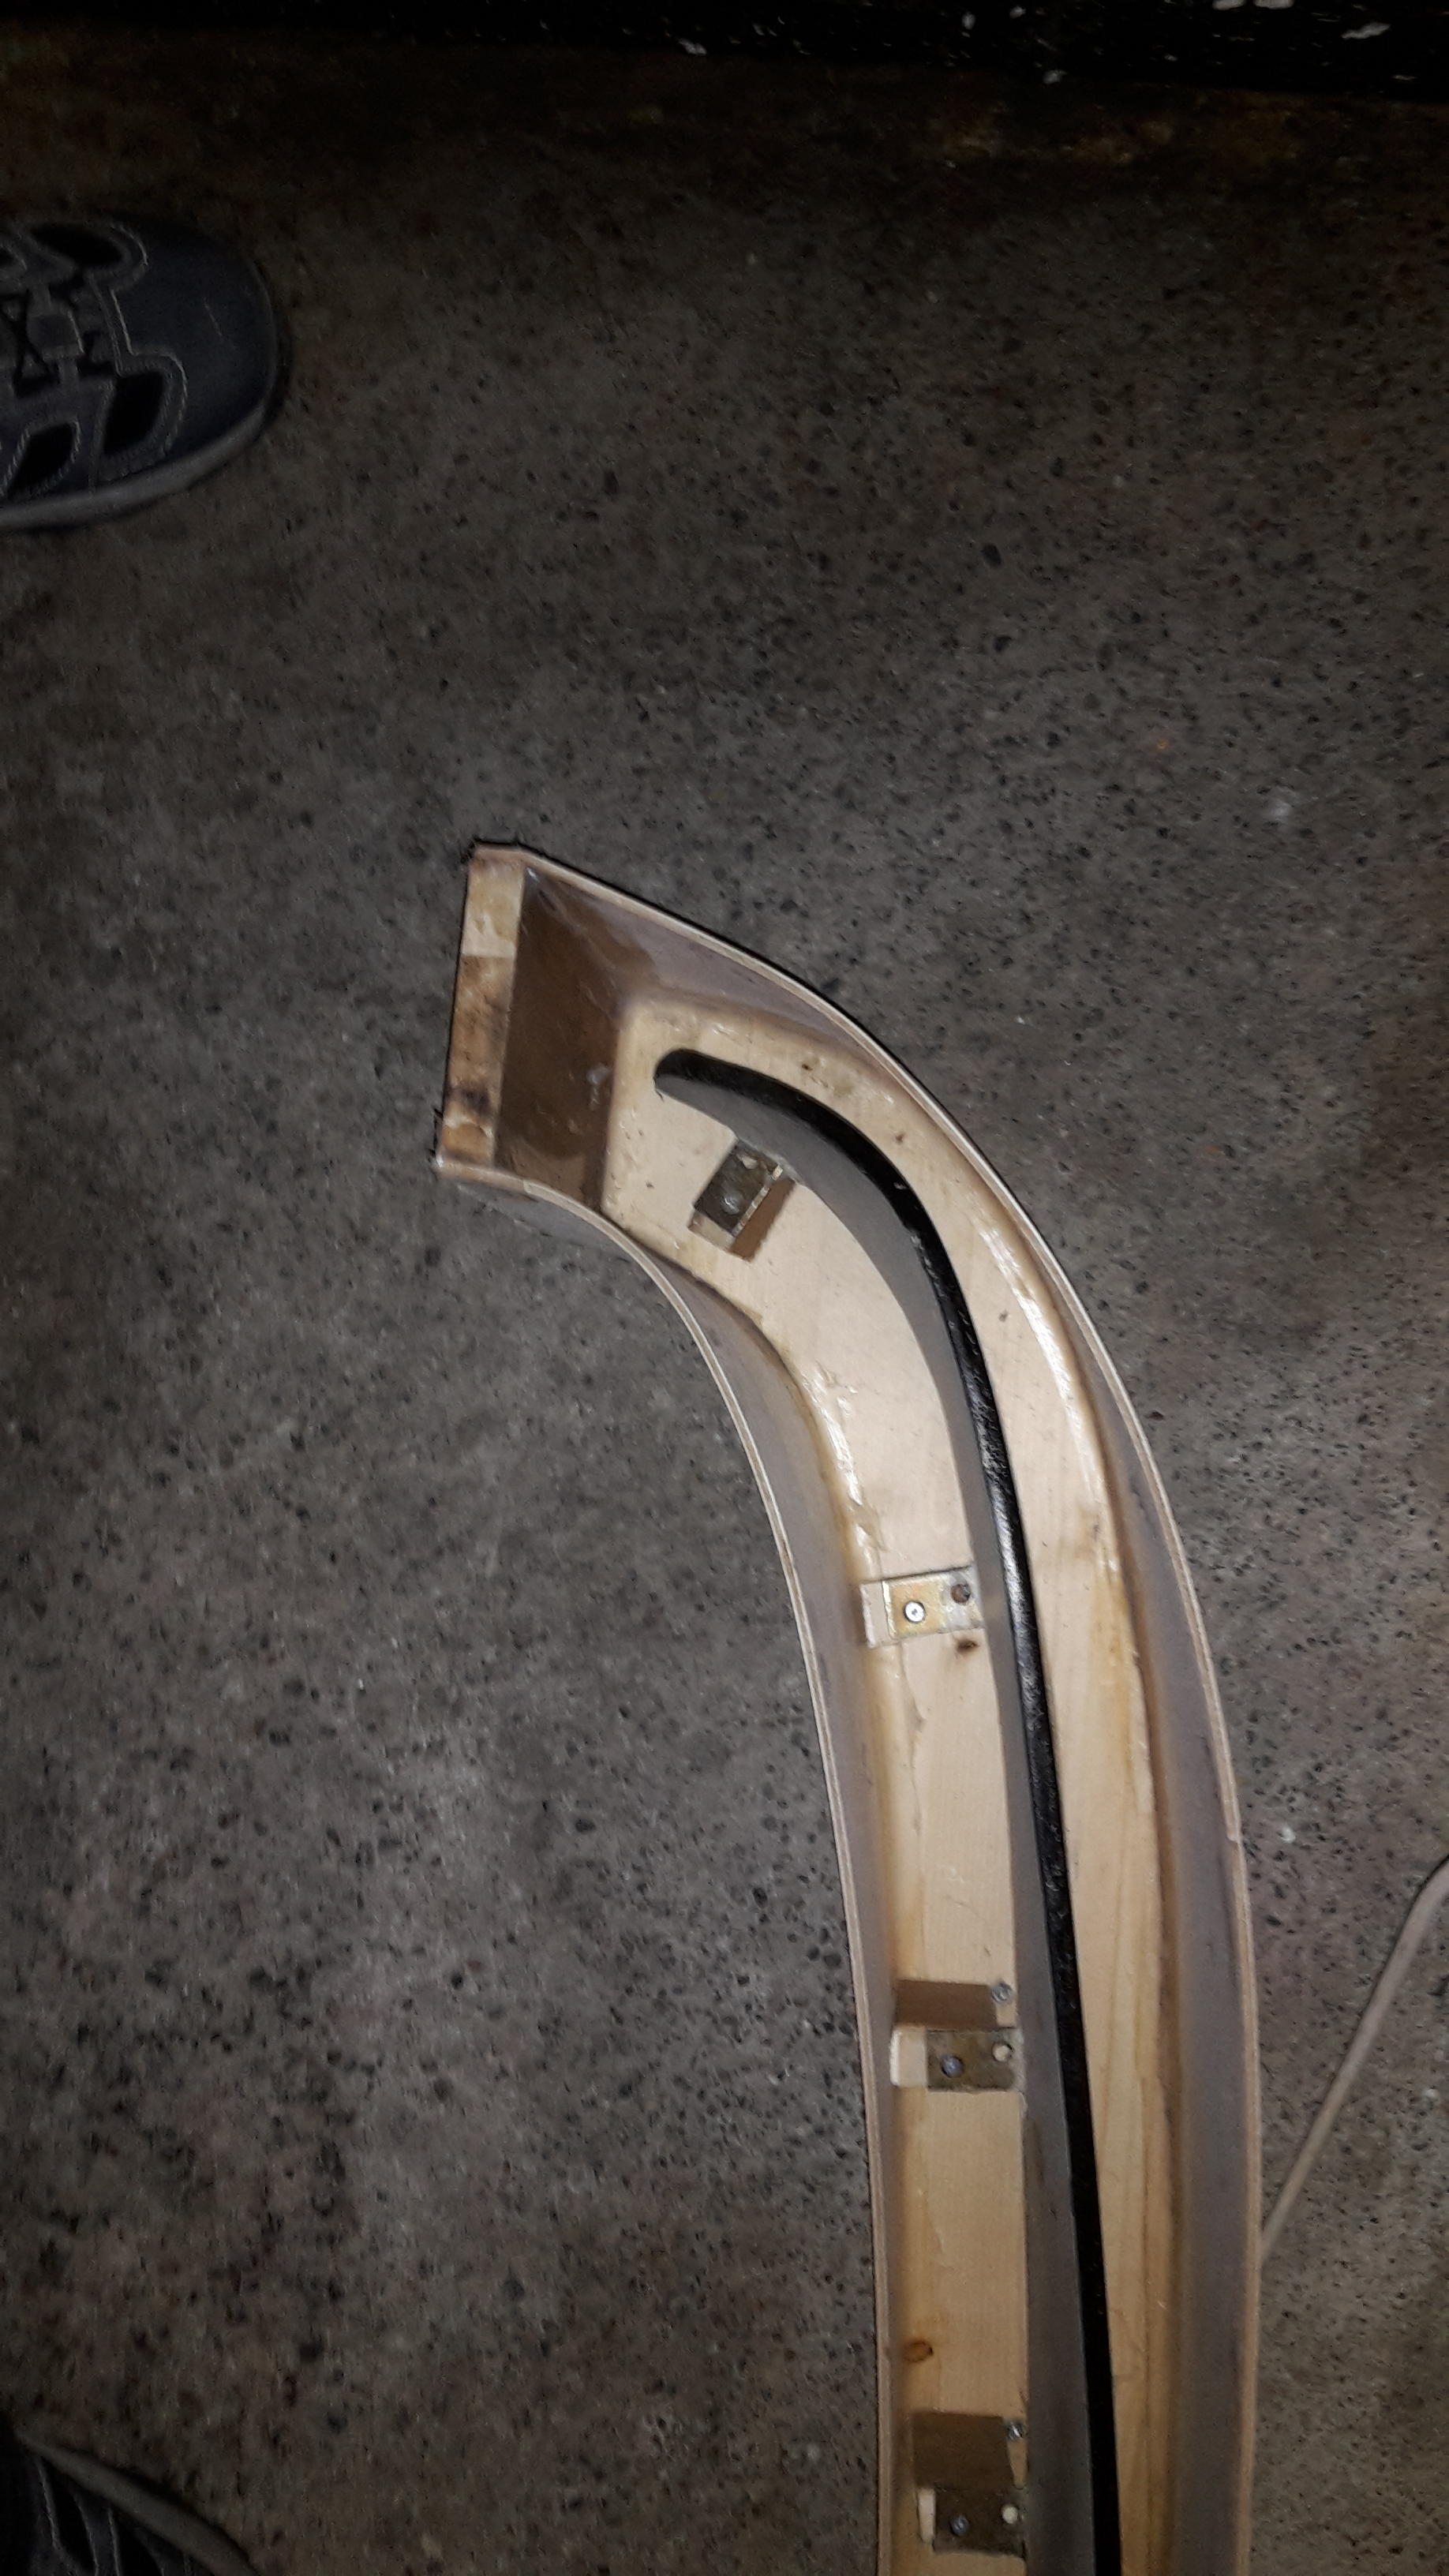
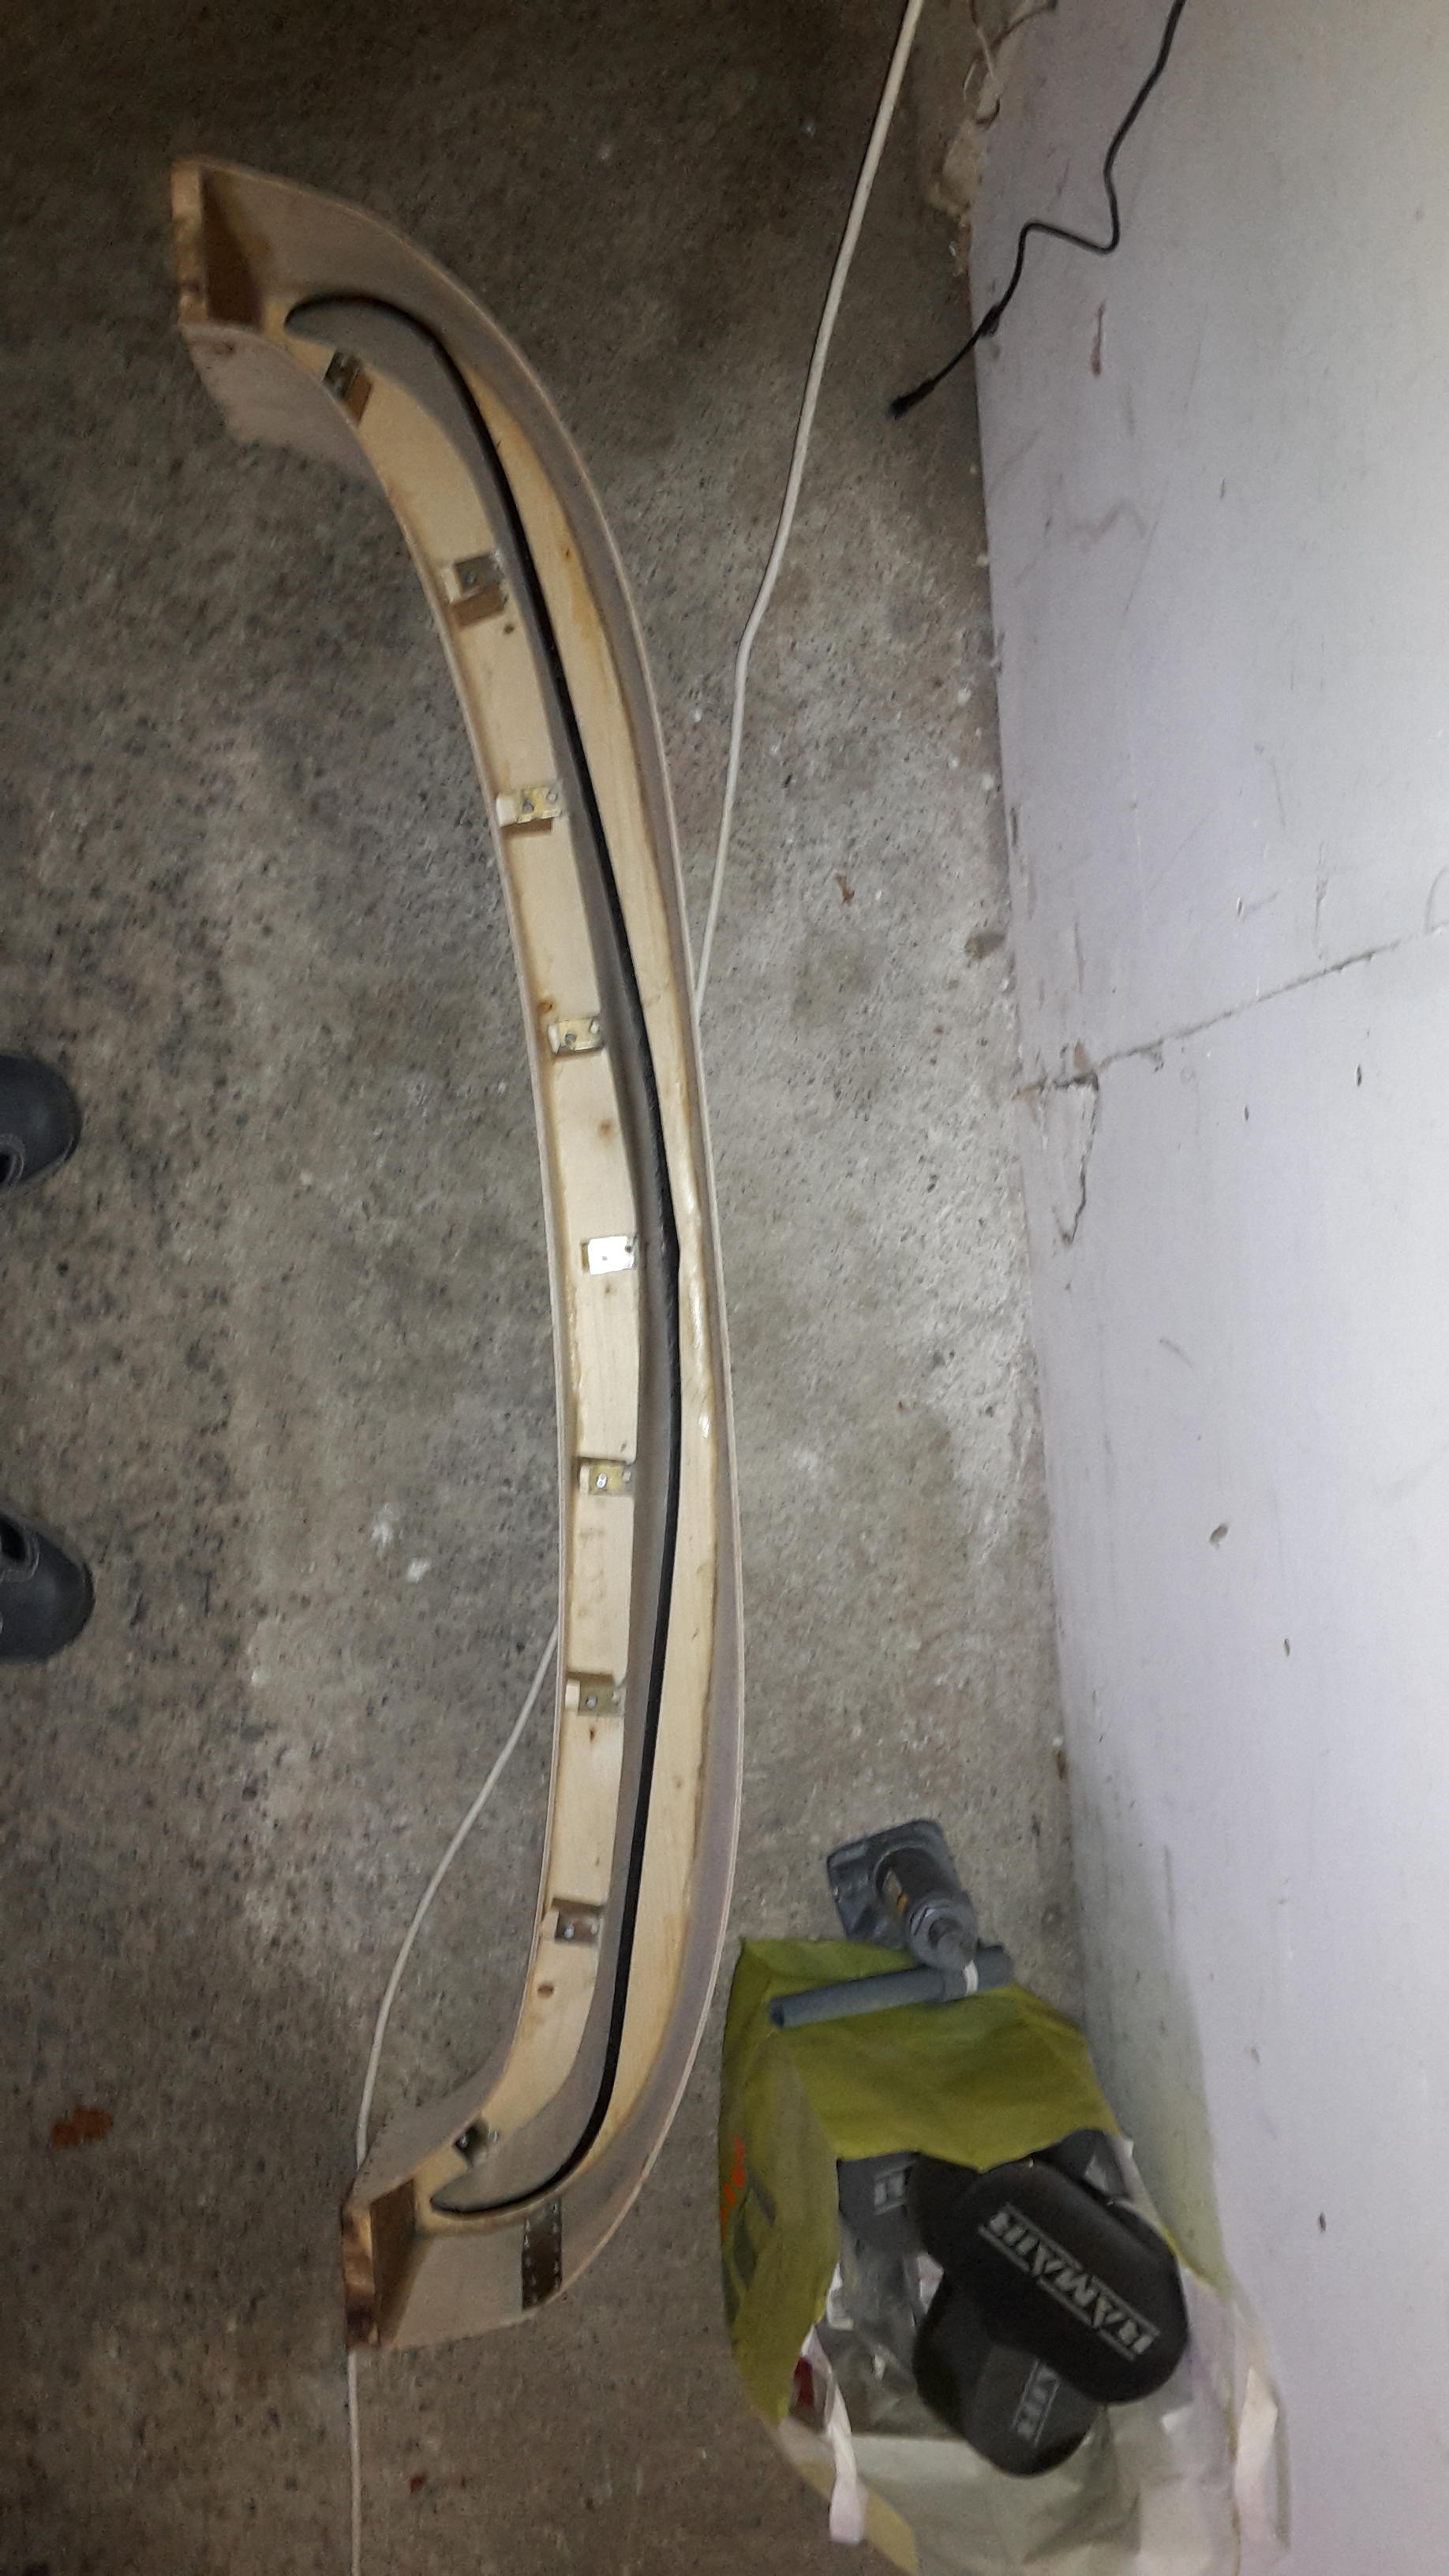
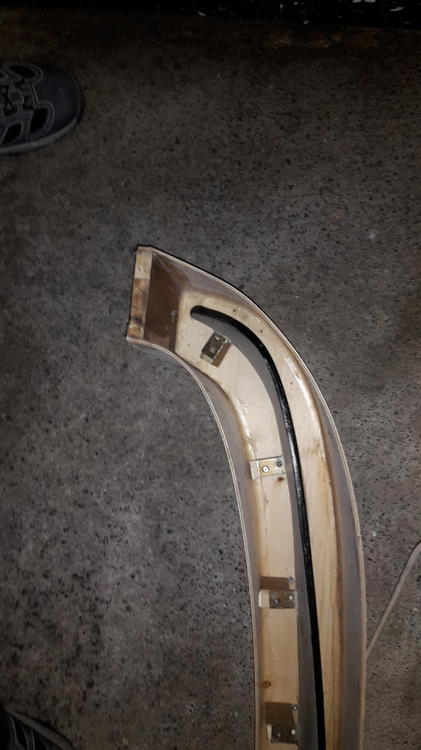
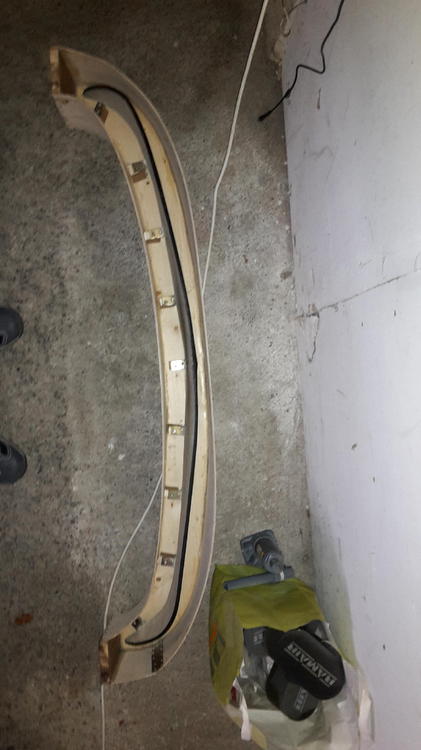
 1 pointThis week I manage to do some home built frame pulling and then I rebuild the spray booth.1 point
 -
 1 pointGreat work. Look forward to these being available for purchase. Sent from my [device_name] using http://Classic Zcar Club mobile1 point
 -
 It is best to run a line from the thermostat housing back to the pump inlet so that the coolant can circulate before the thermostat opens. This prevents hot spots and also prevents the pump from cavitating.1 point
 -
 1 pointWhat oil are you running? I have a stumble and the recommendation was to increase SU oil viscosity with a relatively stock L28 engine now. I haven't tried it yet and I see you've increased the spring tension already. Wonder if some experimentation may not be in order. I had an L28 with a 530 lift, 306 duration Isky cam, bored, ported, etc., with stock SU's and it ran wonderful. I swapped over from OER 45's as I didn't want the hassle at the time. Wish I kept that car.1 point
 -
 1 pointBuy it and sell me the bumpers for $300. Then it will only cost you a much more affordable $16.2k1 point
 -
 1 pointVery slick. But, being a child of the last century and not a programmer, I prefer using the $3.95 guts from a Sharp Quartz Analog battery powered clock from WalMart as the Z clock upgrade of choice. Dennis1 point