Leaderboard
-


Zup
Free Member6Points1,163Posts -

Zs-ondabrain
Free Member3Points4,362Posts -

tzagi1
Free Member2Points218Posts -

EuroDat
Free Member2Points3,308Posts
Popular Content
Showing content with the highest reputation on 02/04/2018 in all areas
-
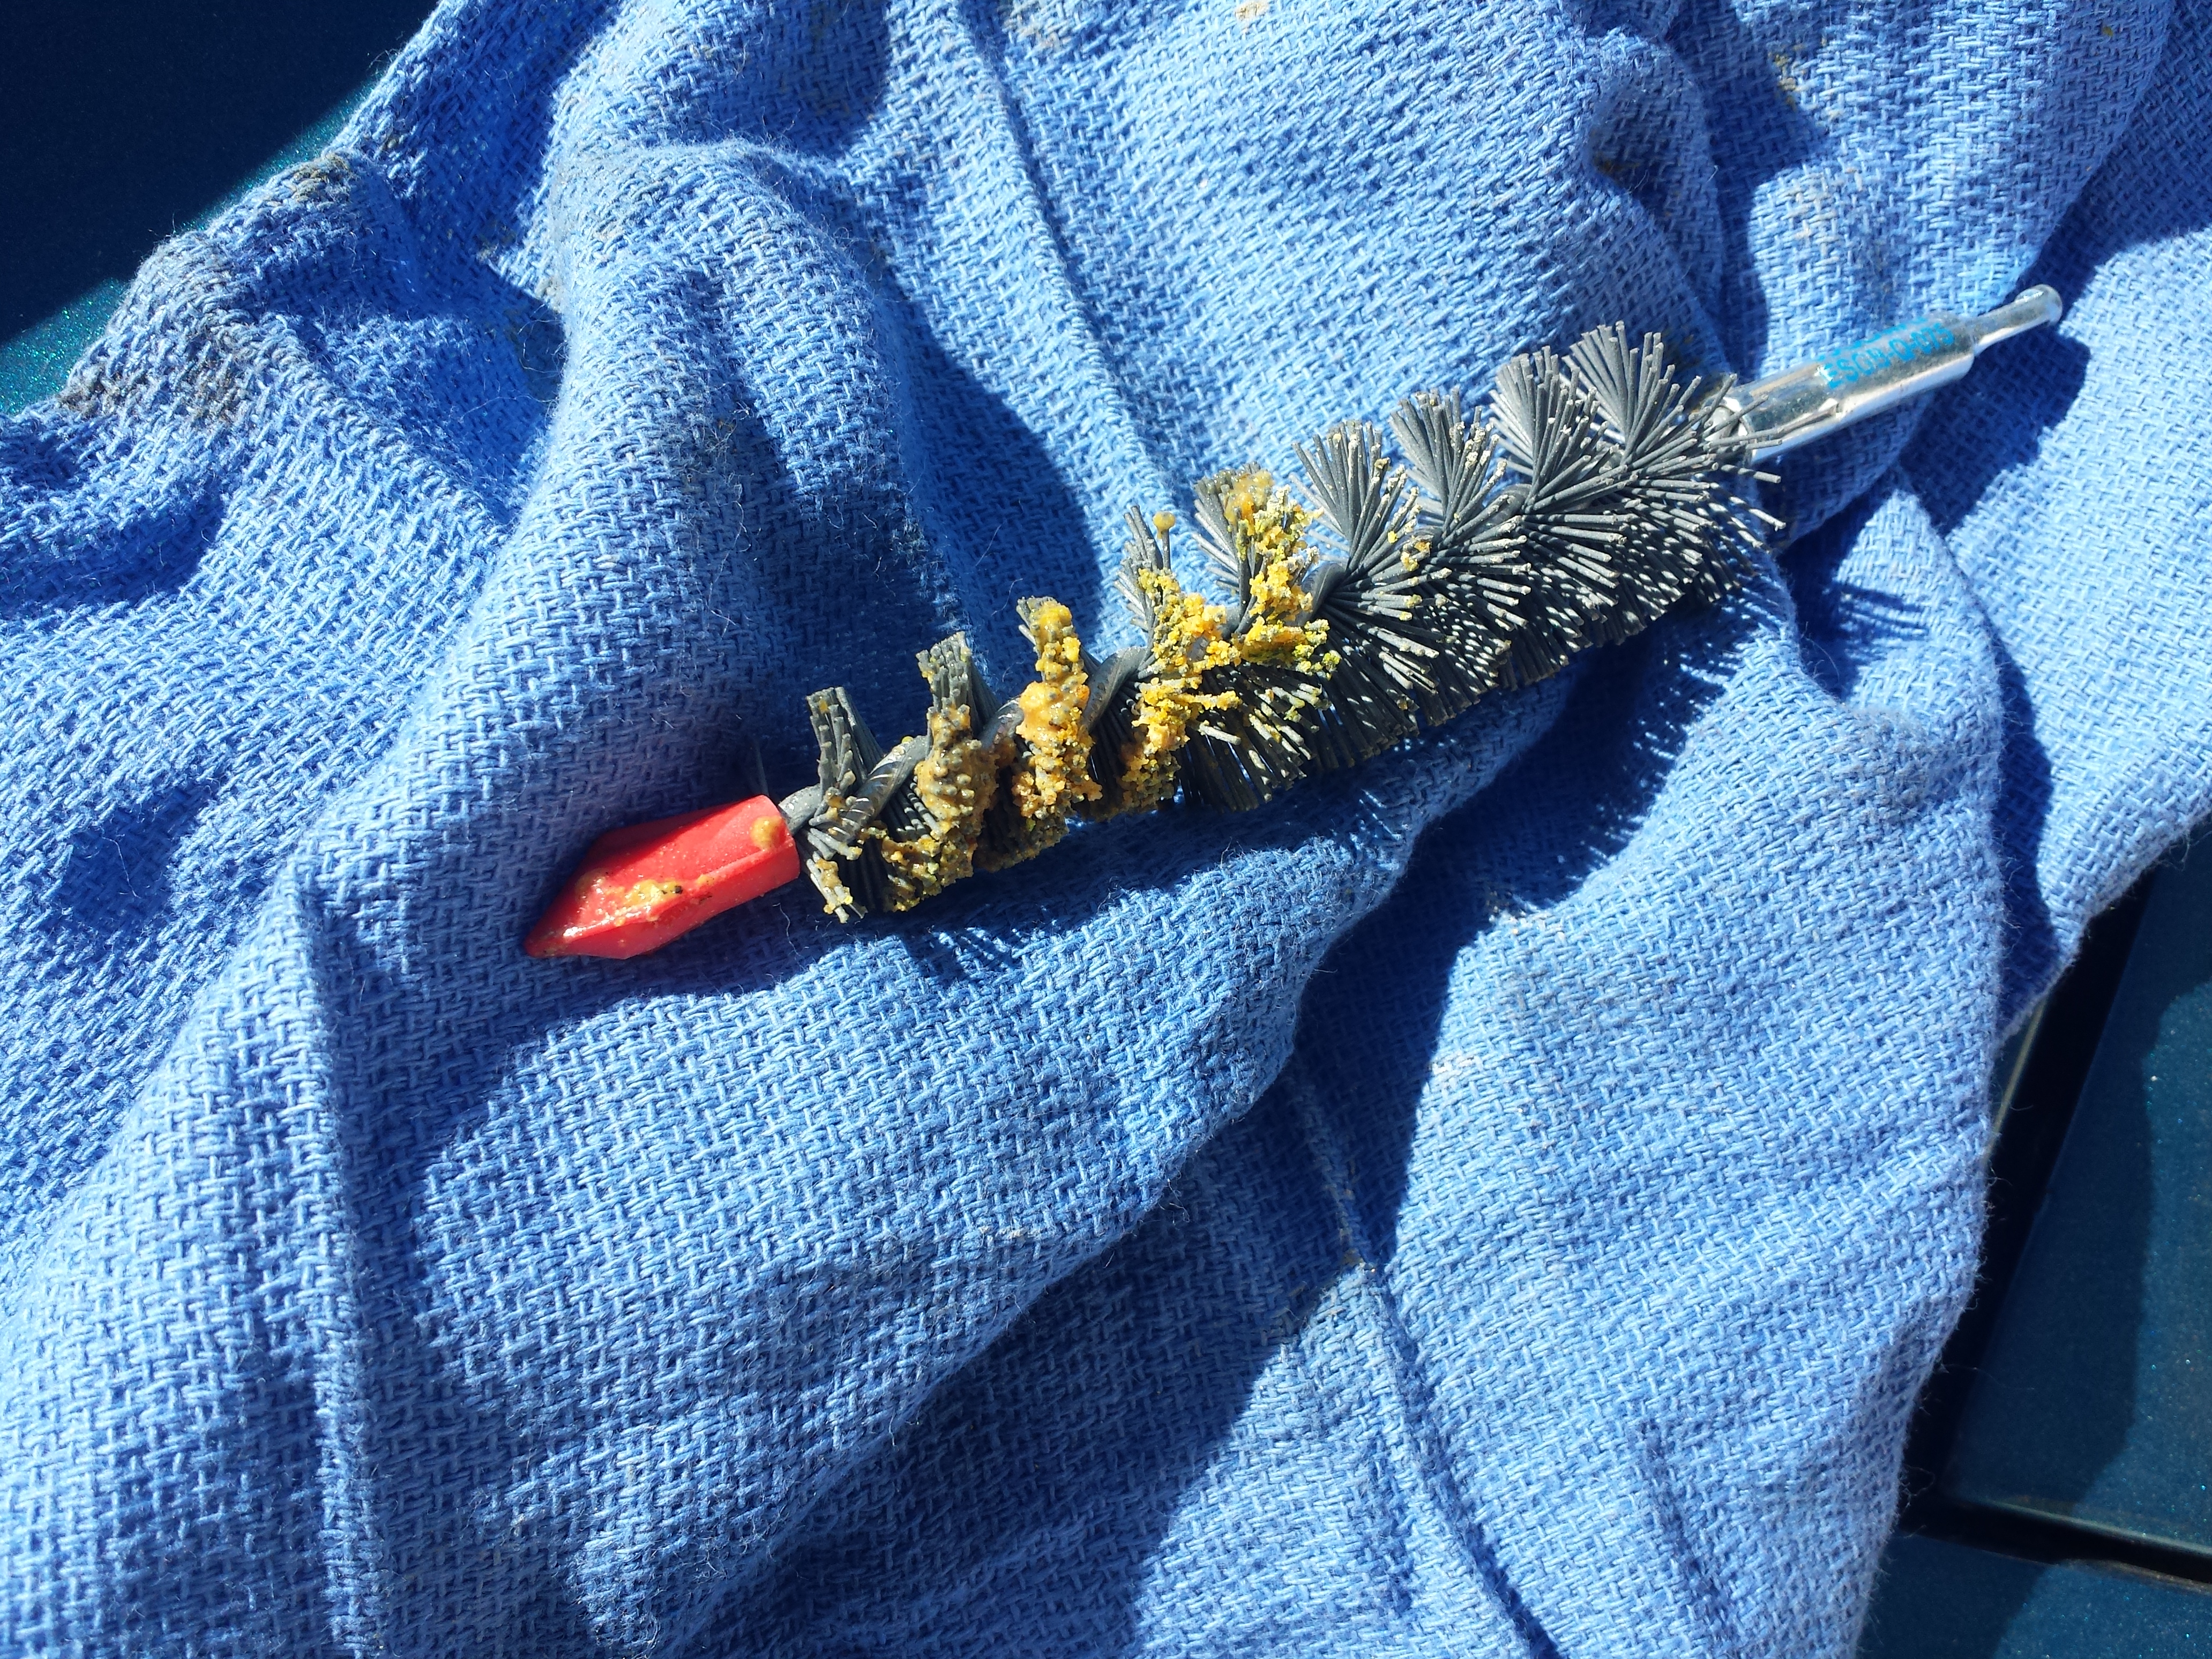
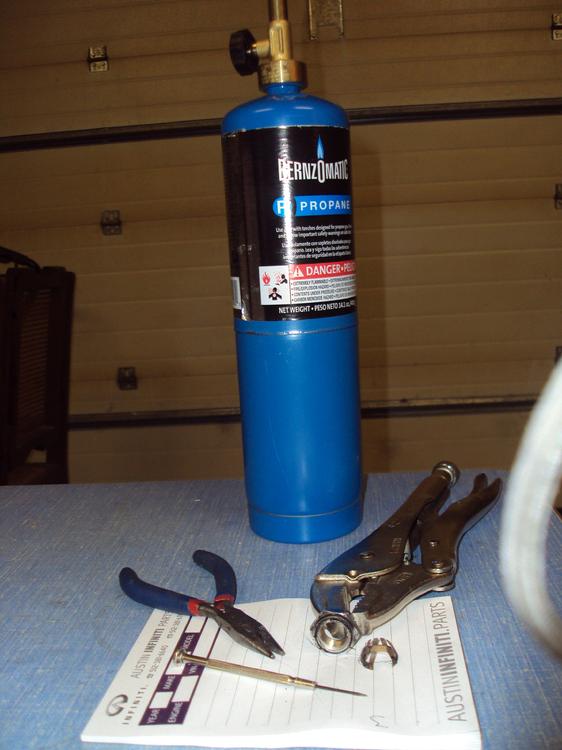
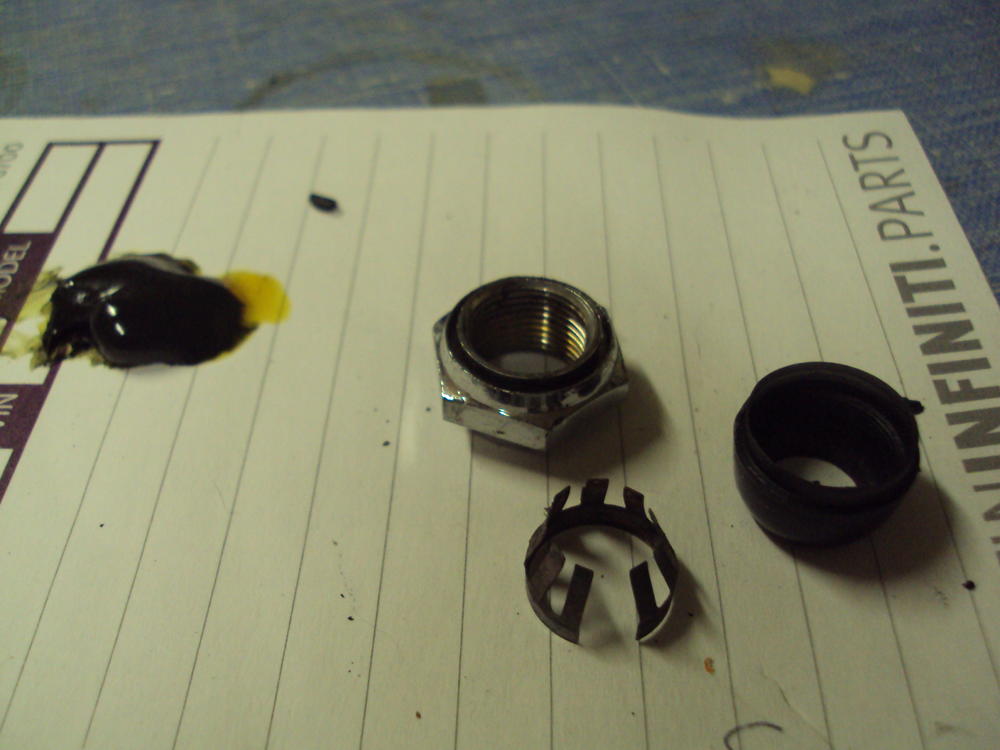
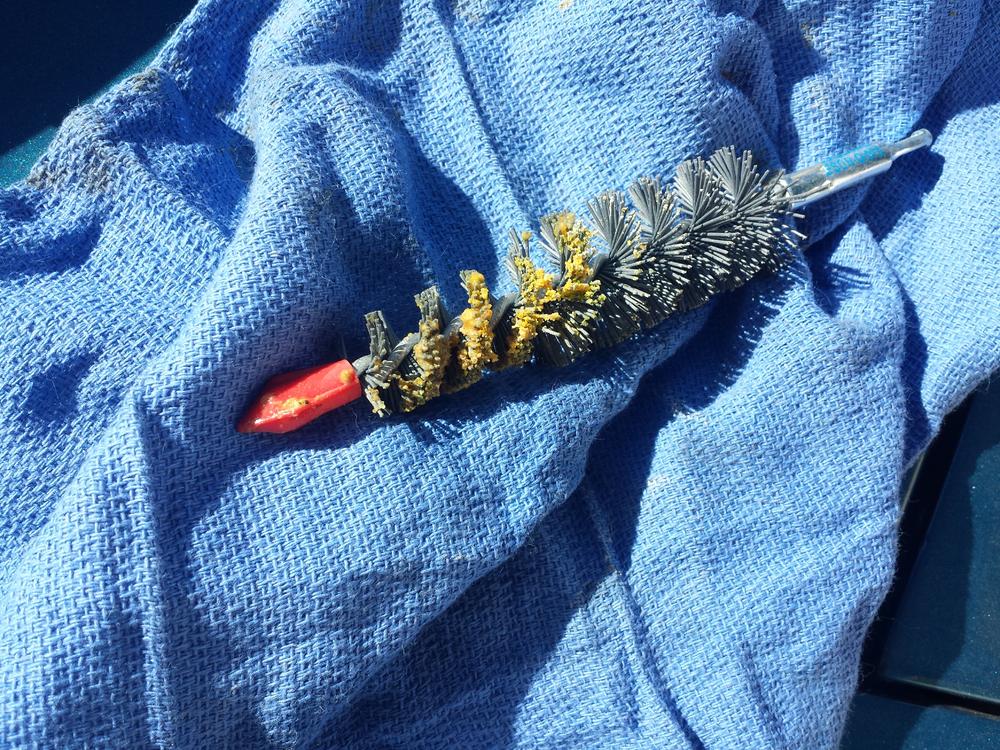
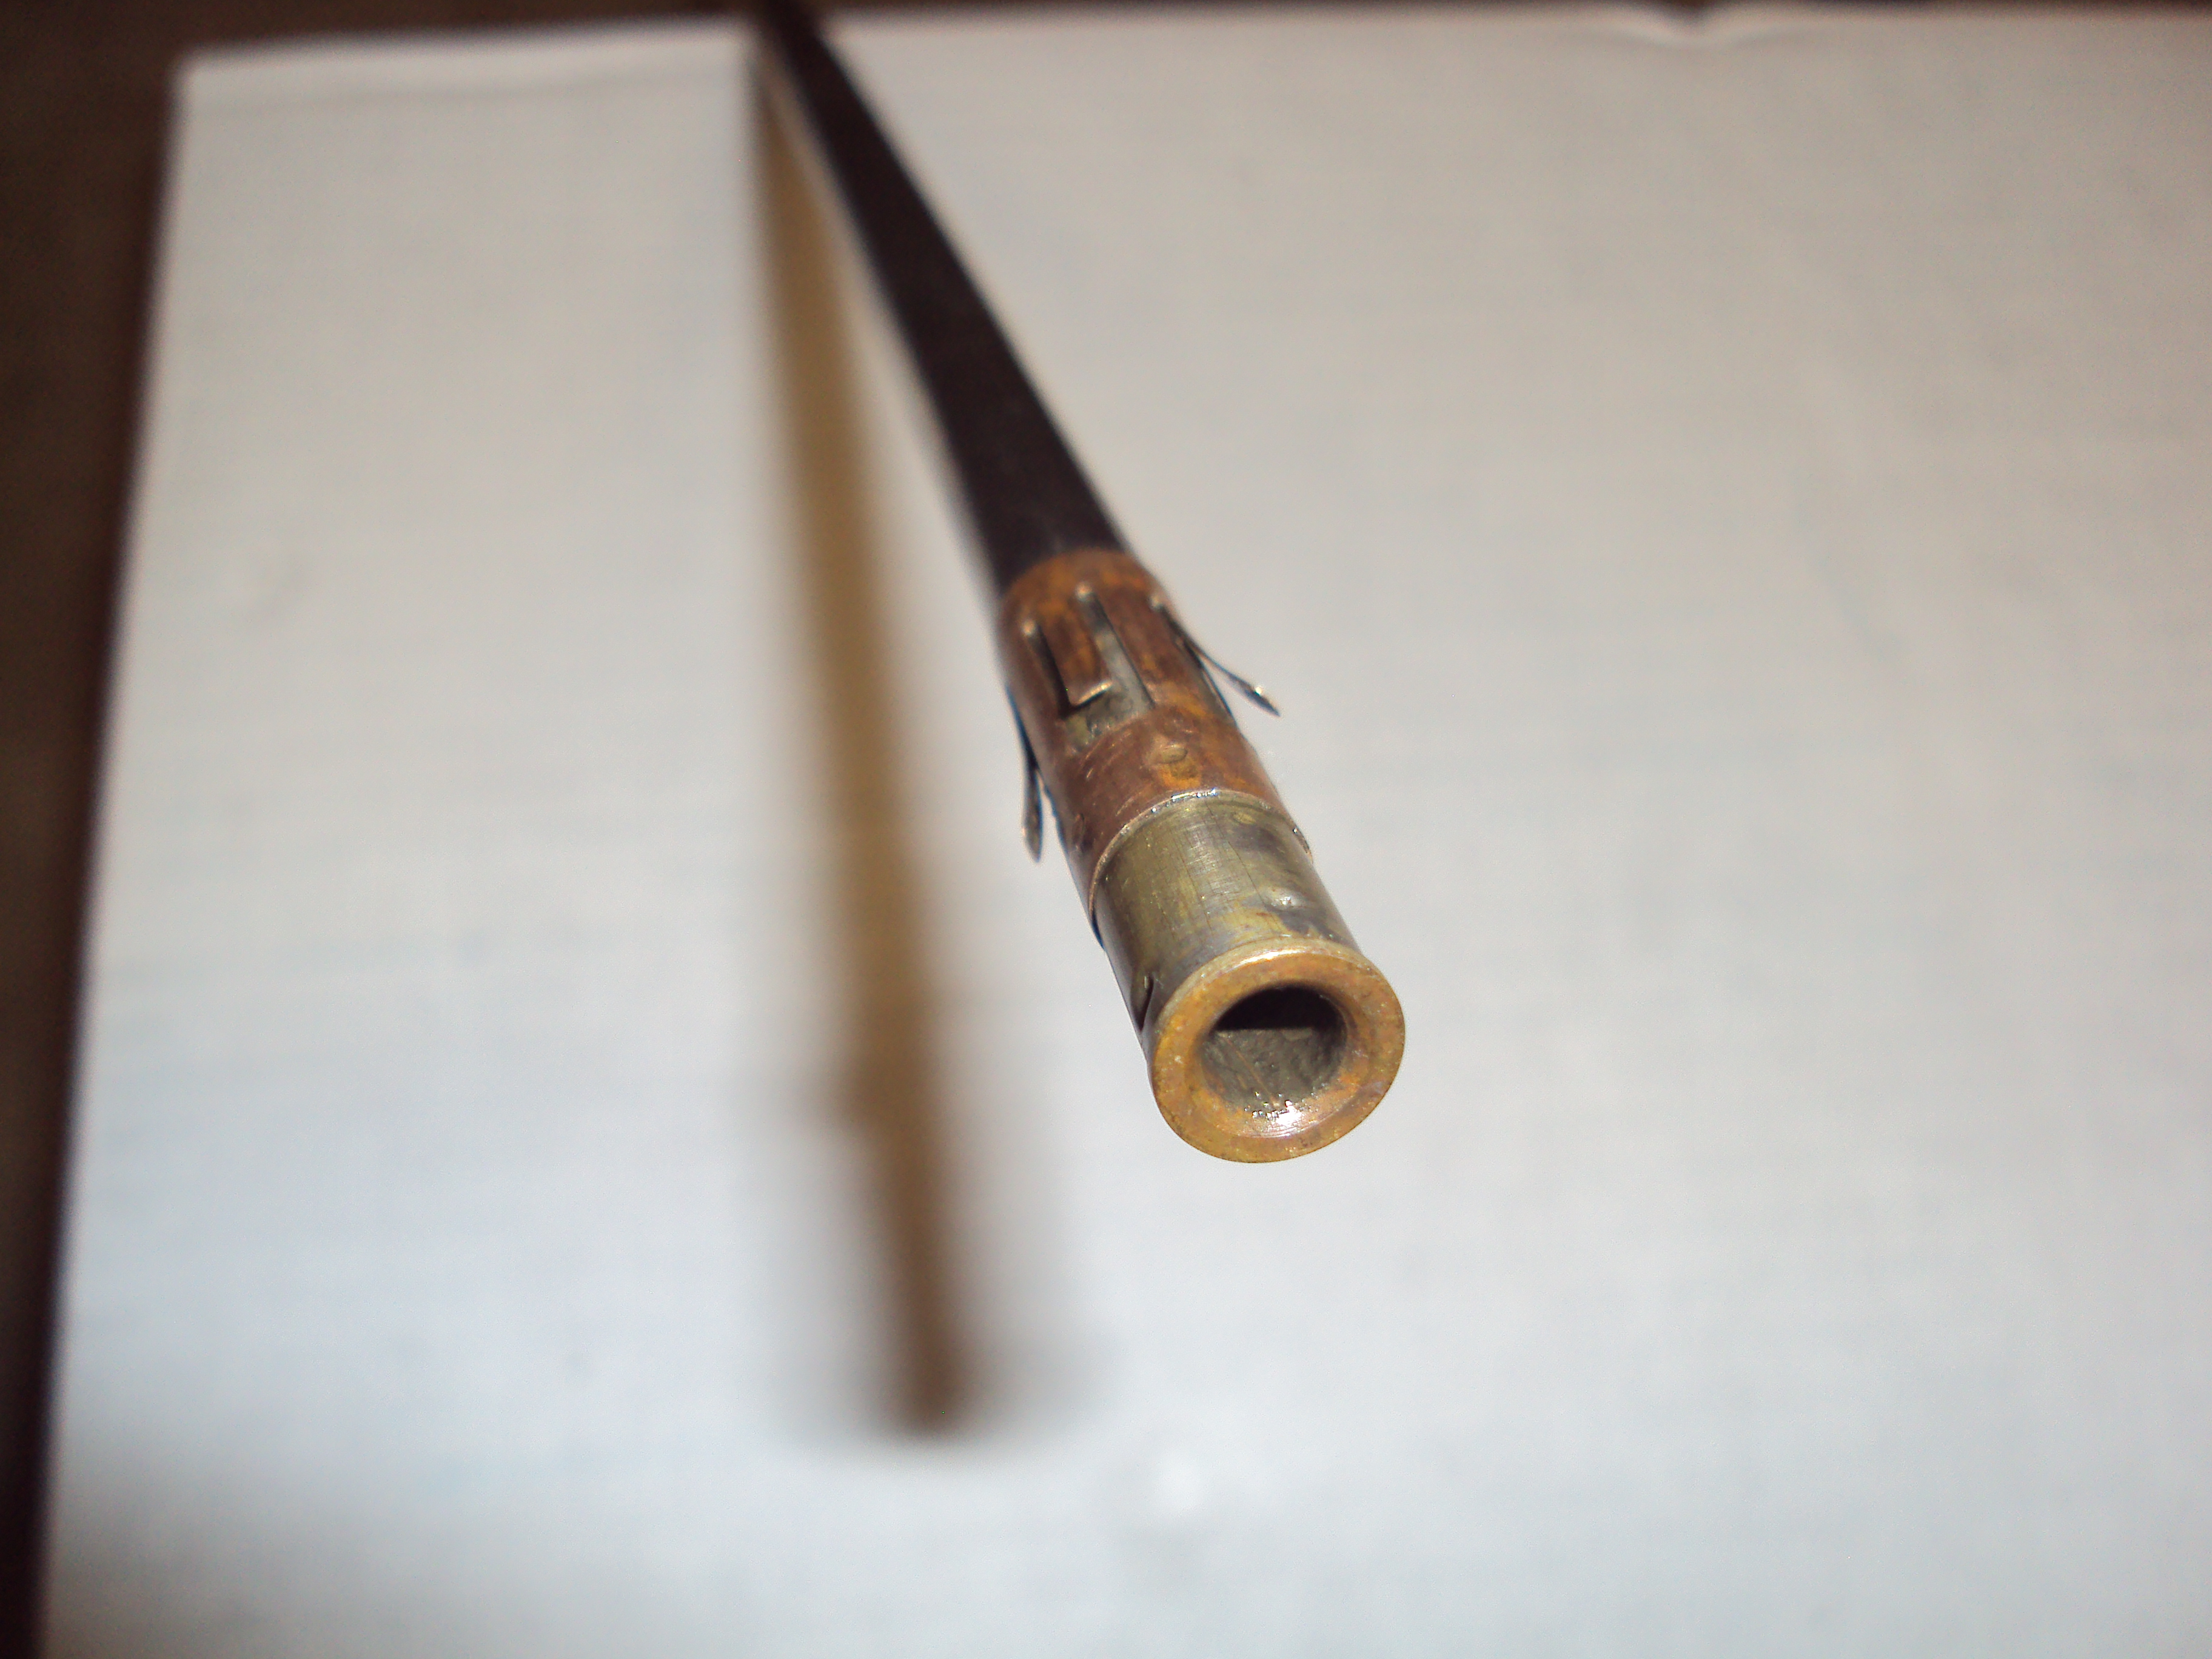
4 pointsSo ---- to remove the fingers from the nut--- Our old friend Mr. Heat, visegrips to hold the nut and needle nose pliers to remove the "fingers". The small screwdriver is to clean the groove in the nut of the torched plastic that remains once the "fingers" have been extracted. Heat the nut until the plastic starts bubbling and give the "fingers" a tug with the small pliers--it will come right out. Stringy bits of melted plastic too. Hold the "fingers" in the flame again and it will burn off all the remaining plastic. Repeatedly heat the nut and scrape away the molten plastic from the groove until it is all removed. Squeeze out a gob of black weather strip cement. Using your small screwdriver or a toothpick, twirl up the cement and apply it to the groove. Place the "fingers" on the end of your pinky and insert it into the plastic cone. Check to make sure that it is centered and carefully place the nut over and apply light pressure as you confirm that the fingers and the cone are fitting into the groove without being off center or deformed. This might take a stab or two to get right--- but no worries--just back up and go through the steps again without applying any more cement. It will still be sticky enough to seal the cone. Finished assembly---not as beautiful as Jerry's truly restored pieces, but it is what I had on hand to demonstrate Many Thanks! to Steve Nixon for the opportunity to do this His rubber bits will help restore your antenna to a long life of operation and pleasing appearance.

 4 points
 -
Yep. Shipped them out yesterday and you'll have them on Monday. Your headlight dimmer switch was completely missing from the previous owner cutting it out. When you send the loaners back, I'll be posting them up for sale. Probably $350 for the rebuilt pair with free shipping. Please let me/us know how it goes and your impressions on the switches and service. It's been great dealing with you Mr. Grubb... Dave3 points
-
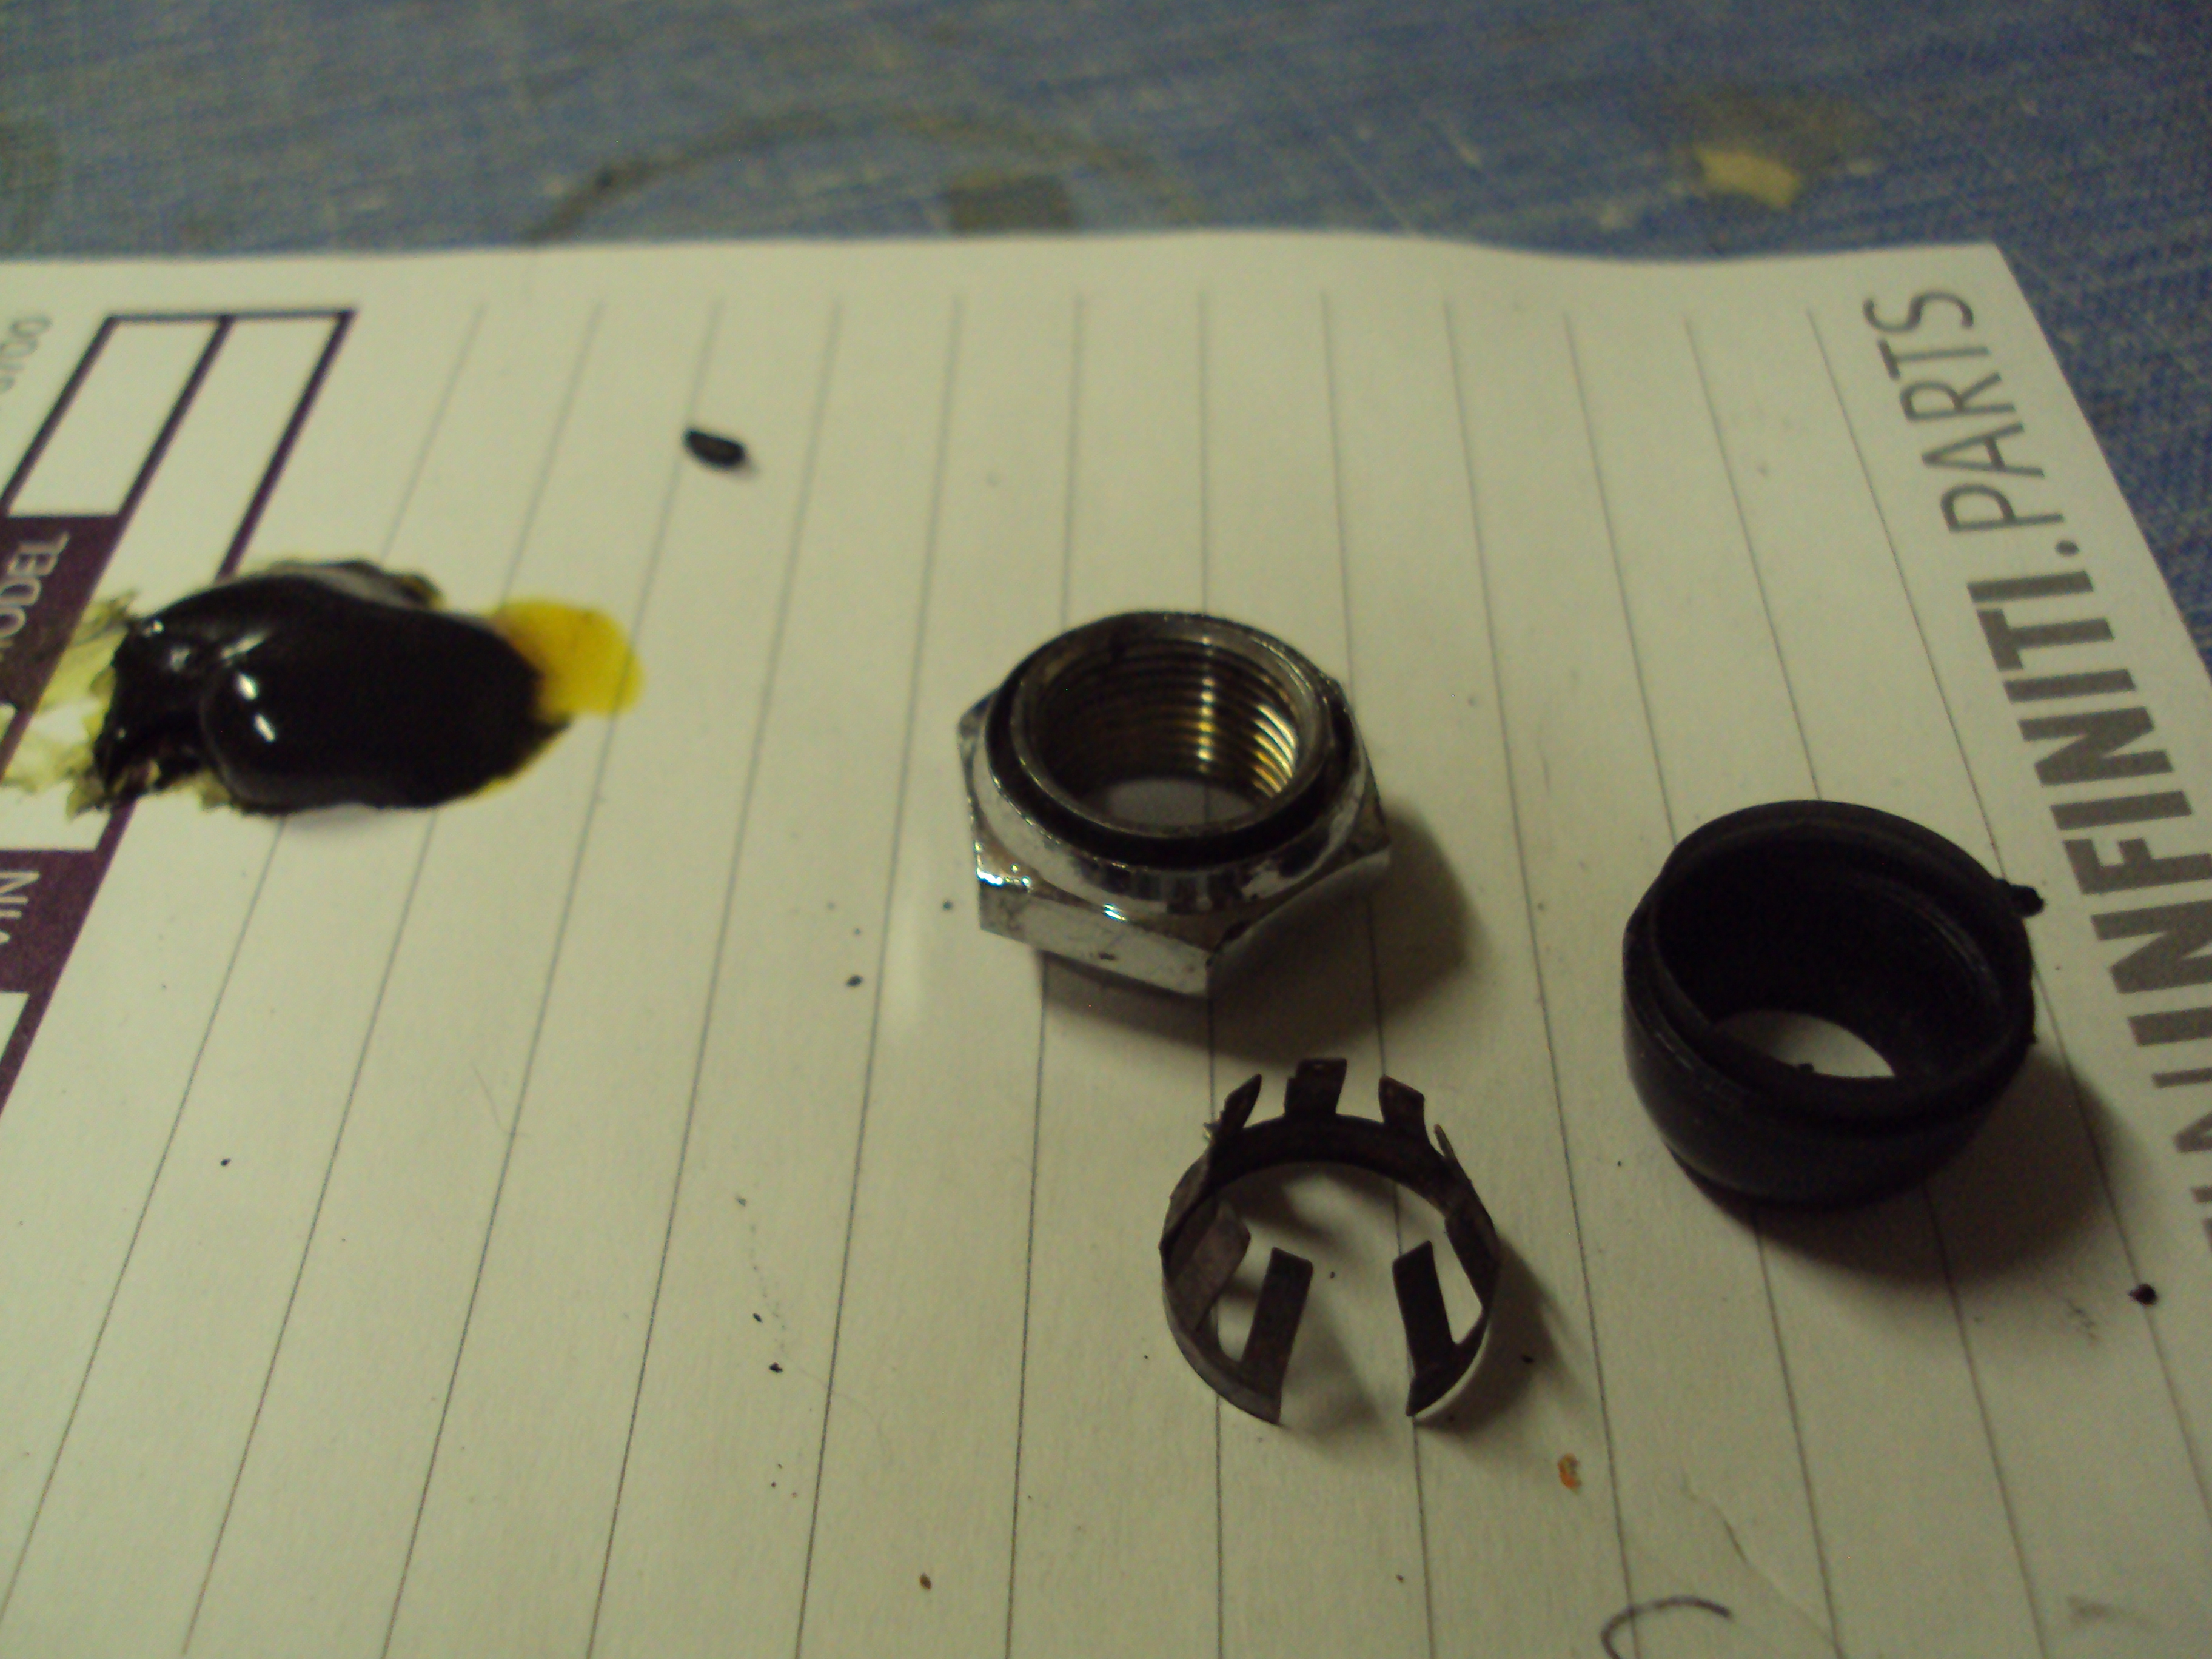
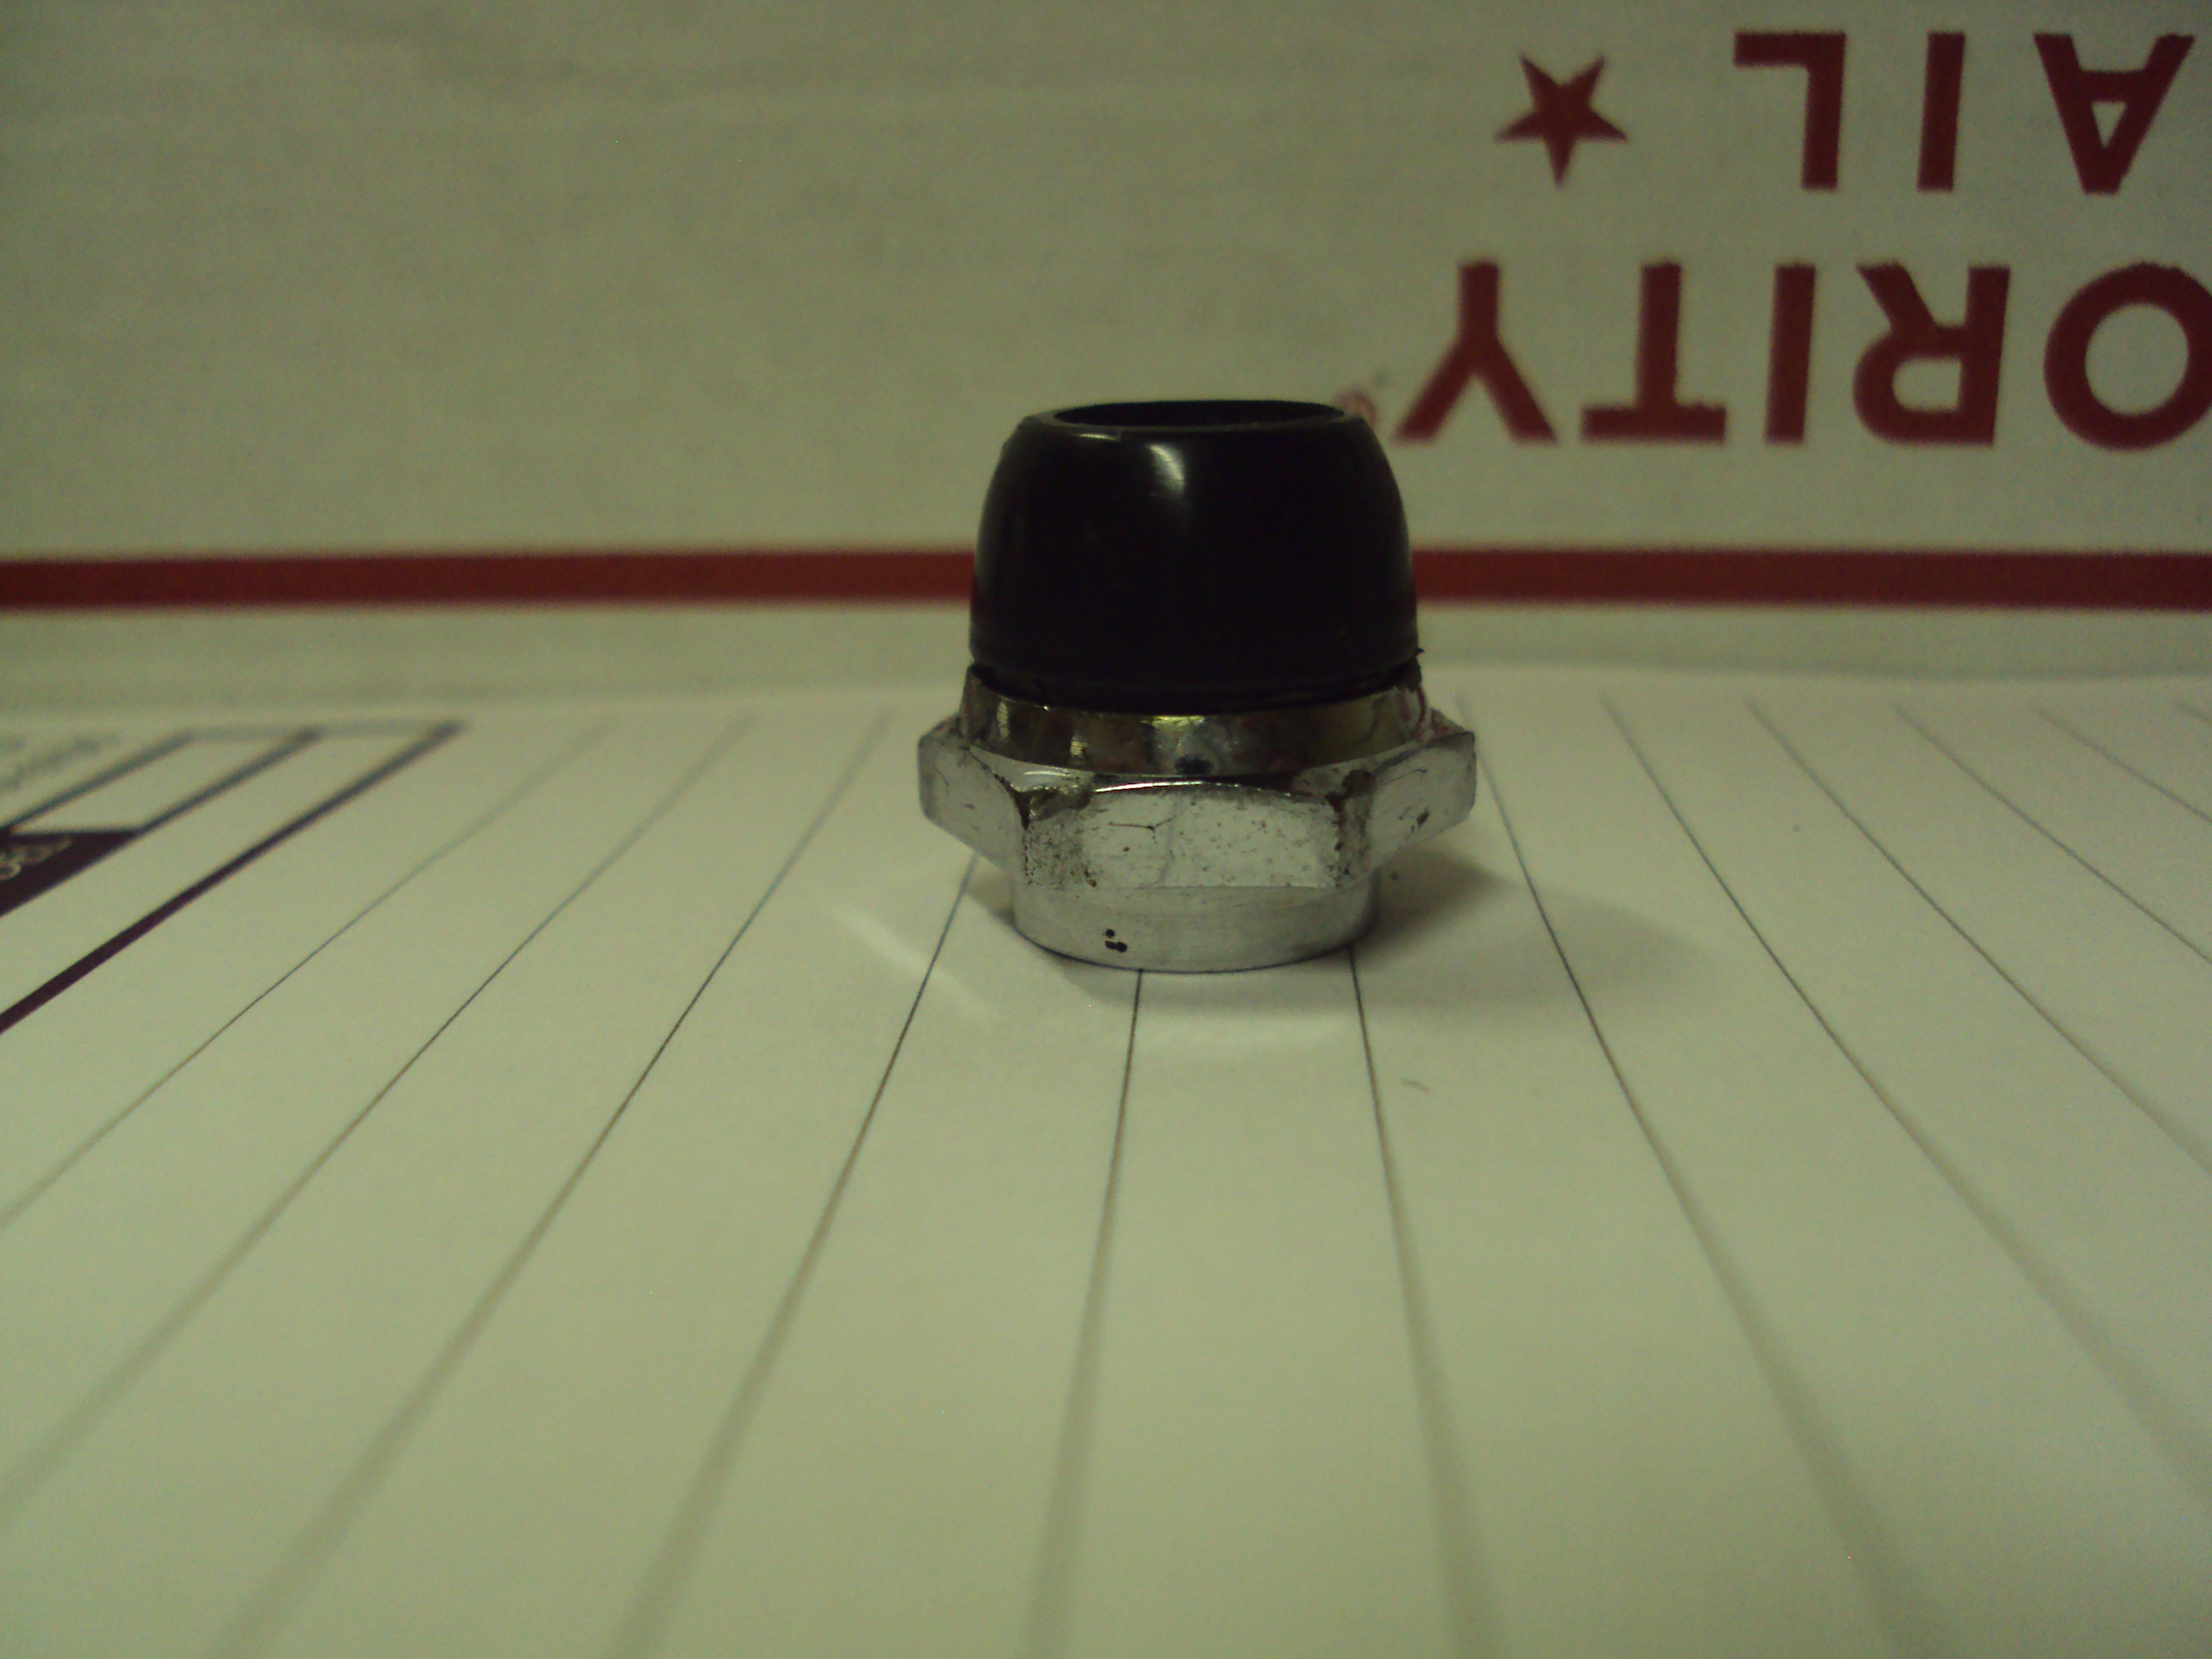
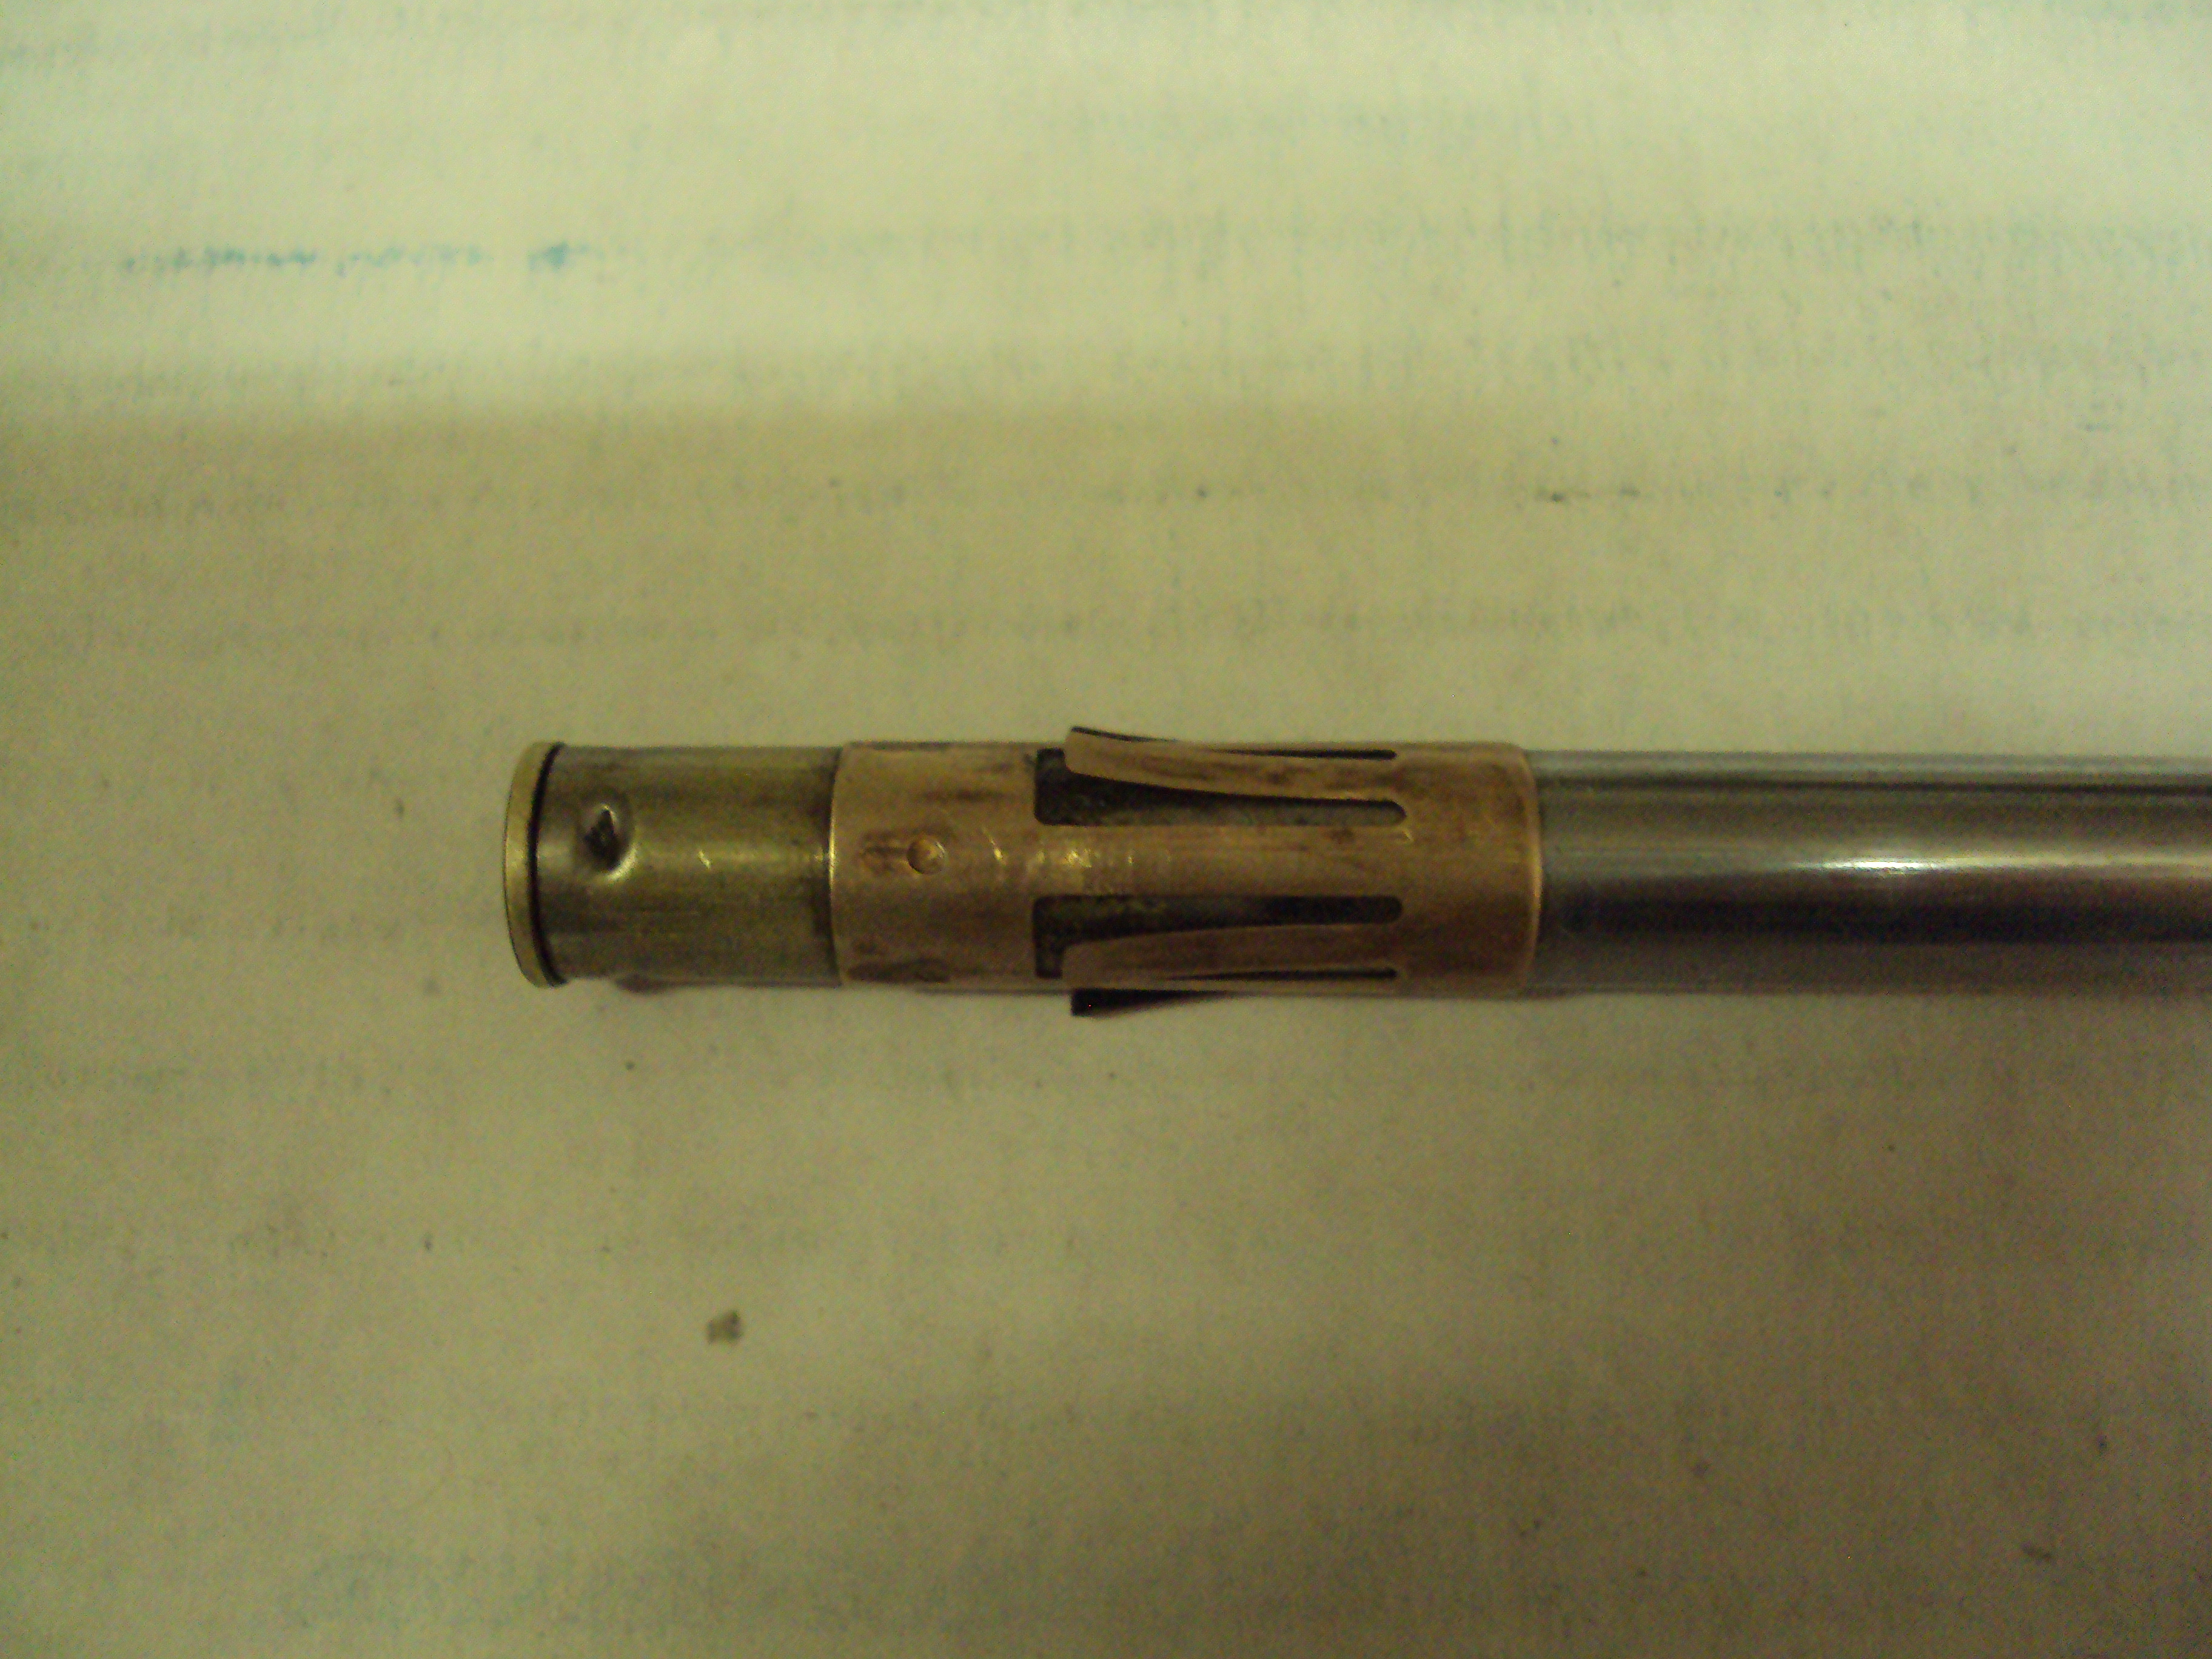
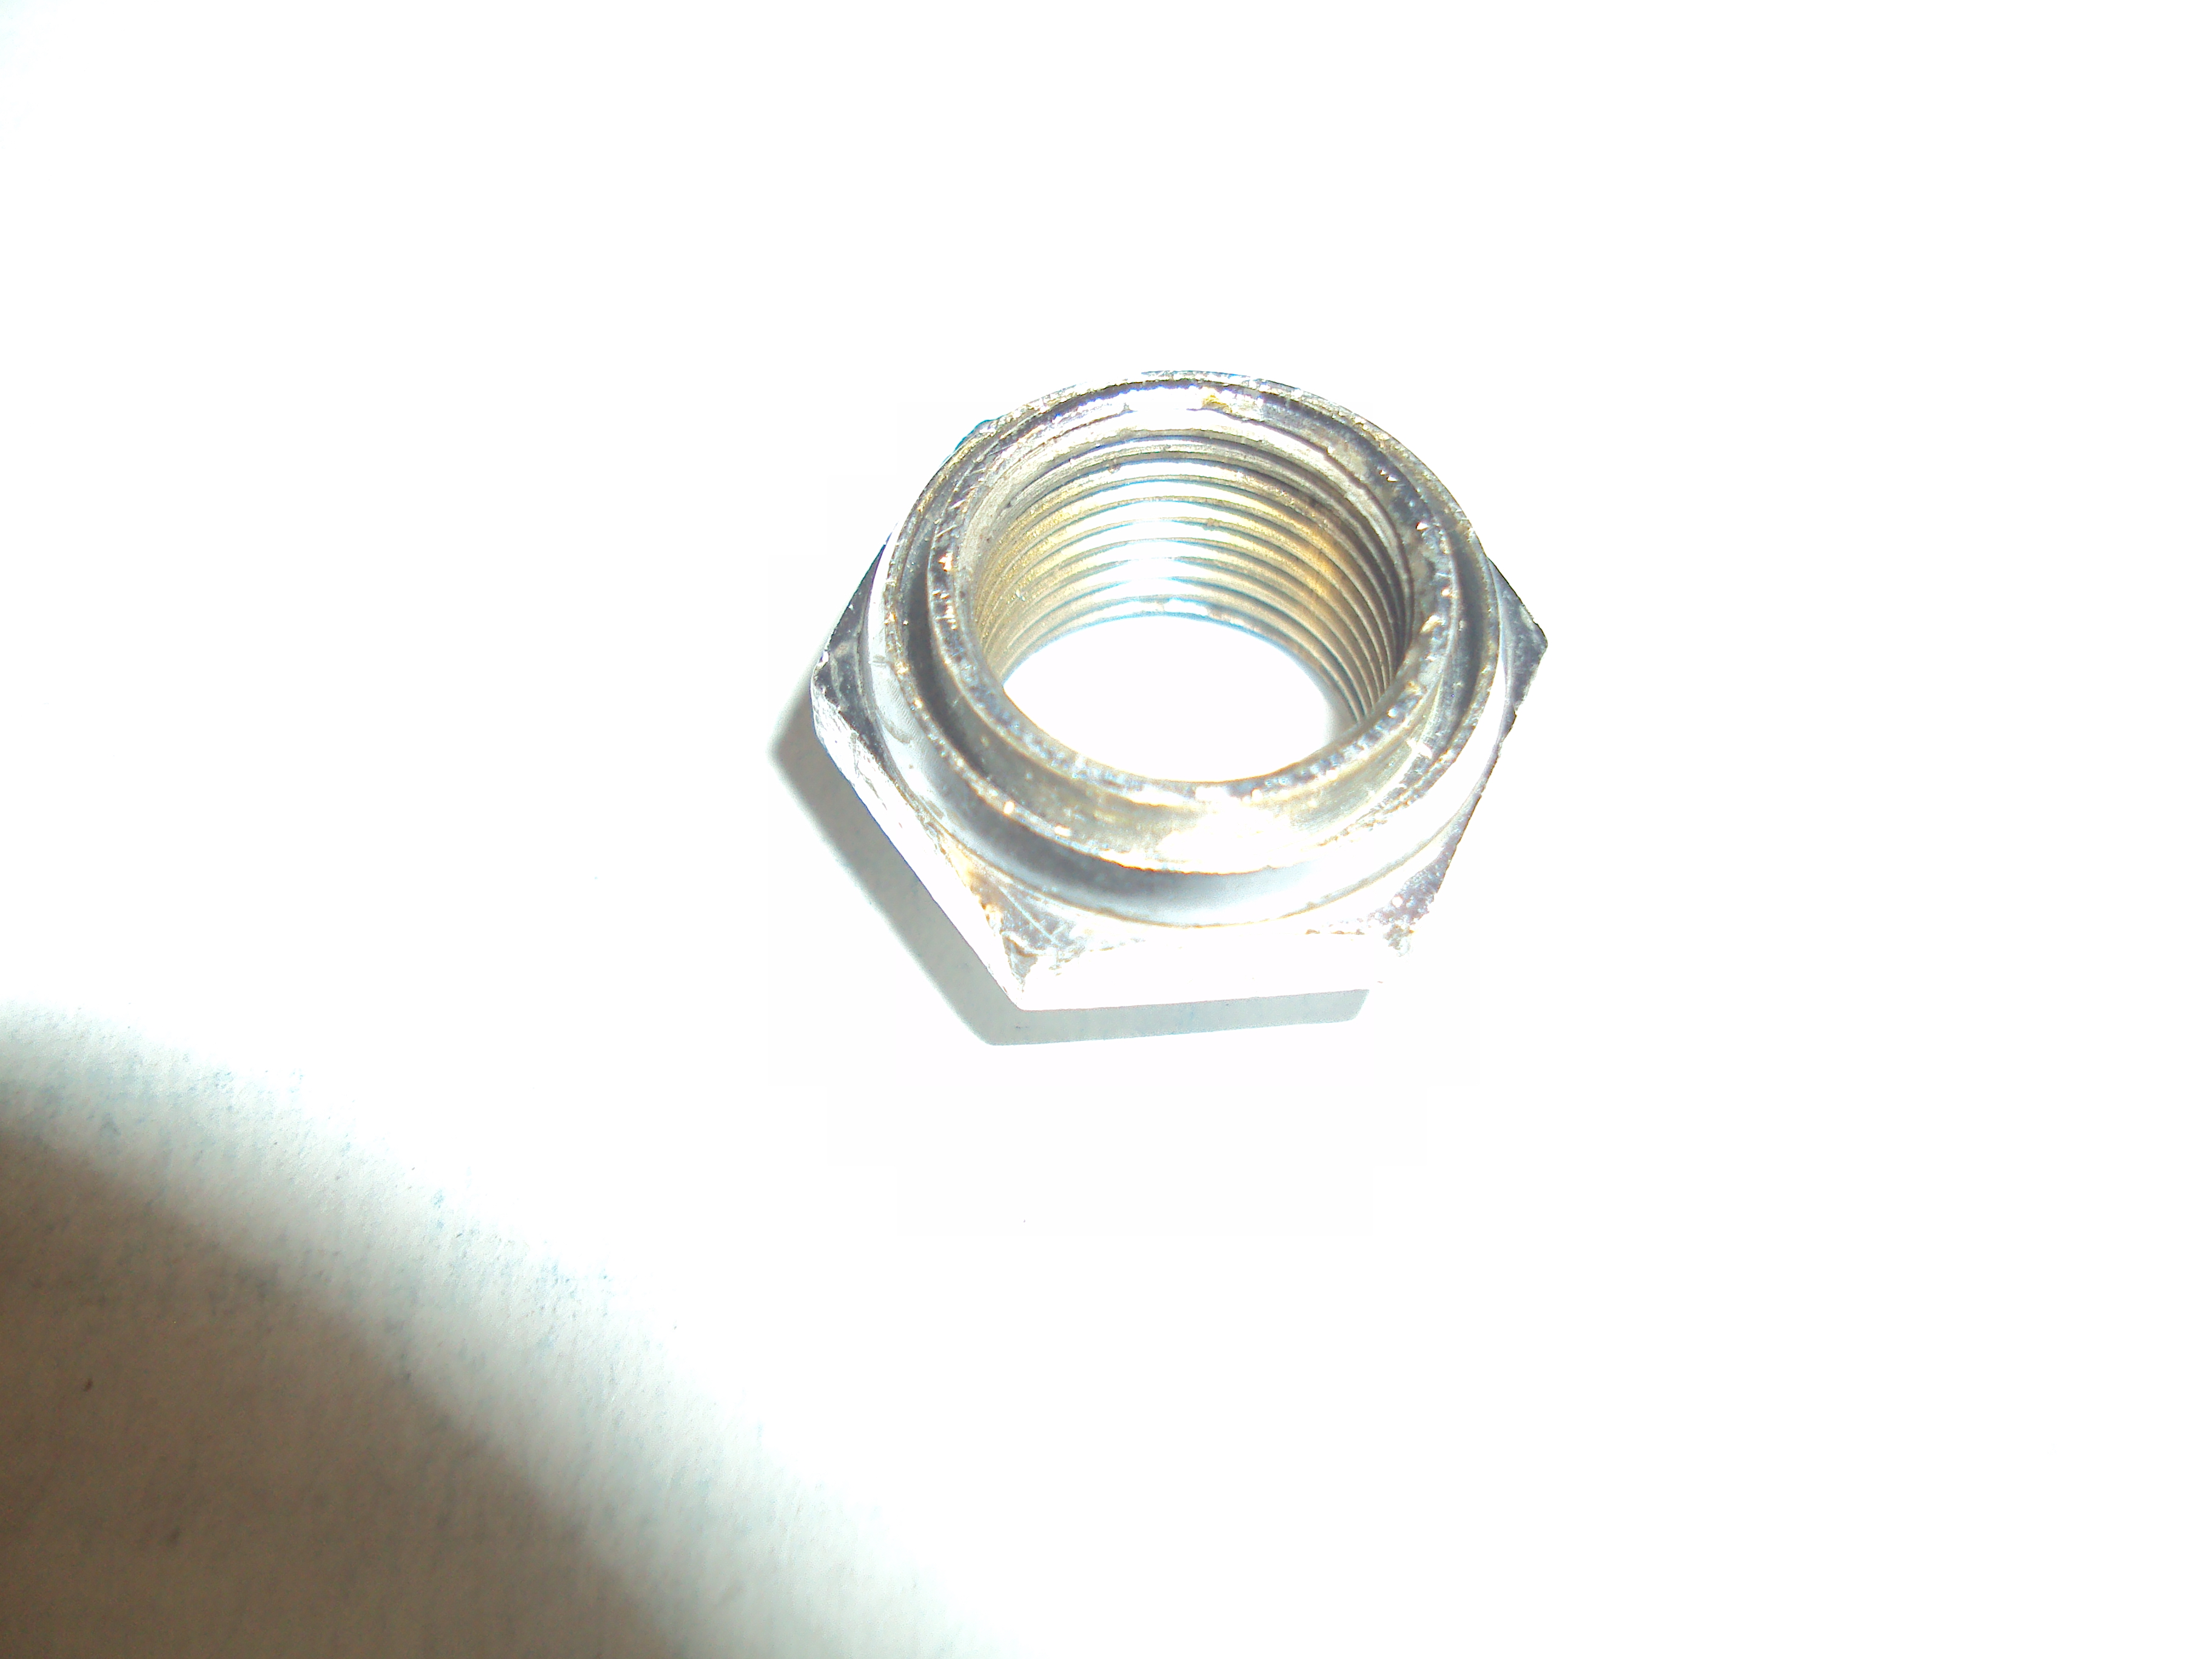
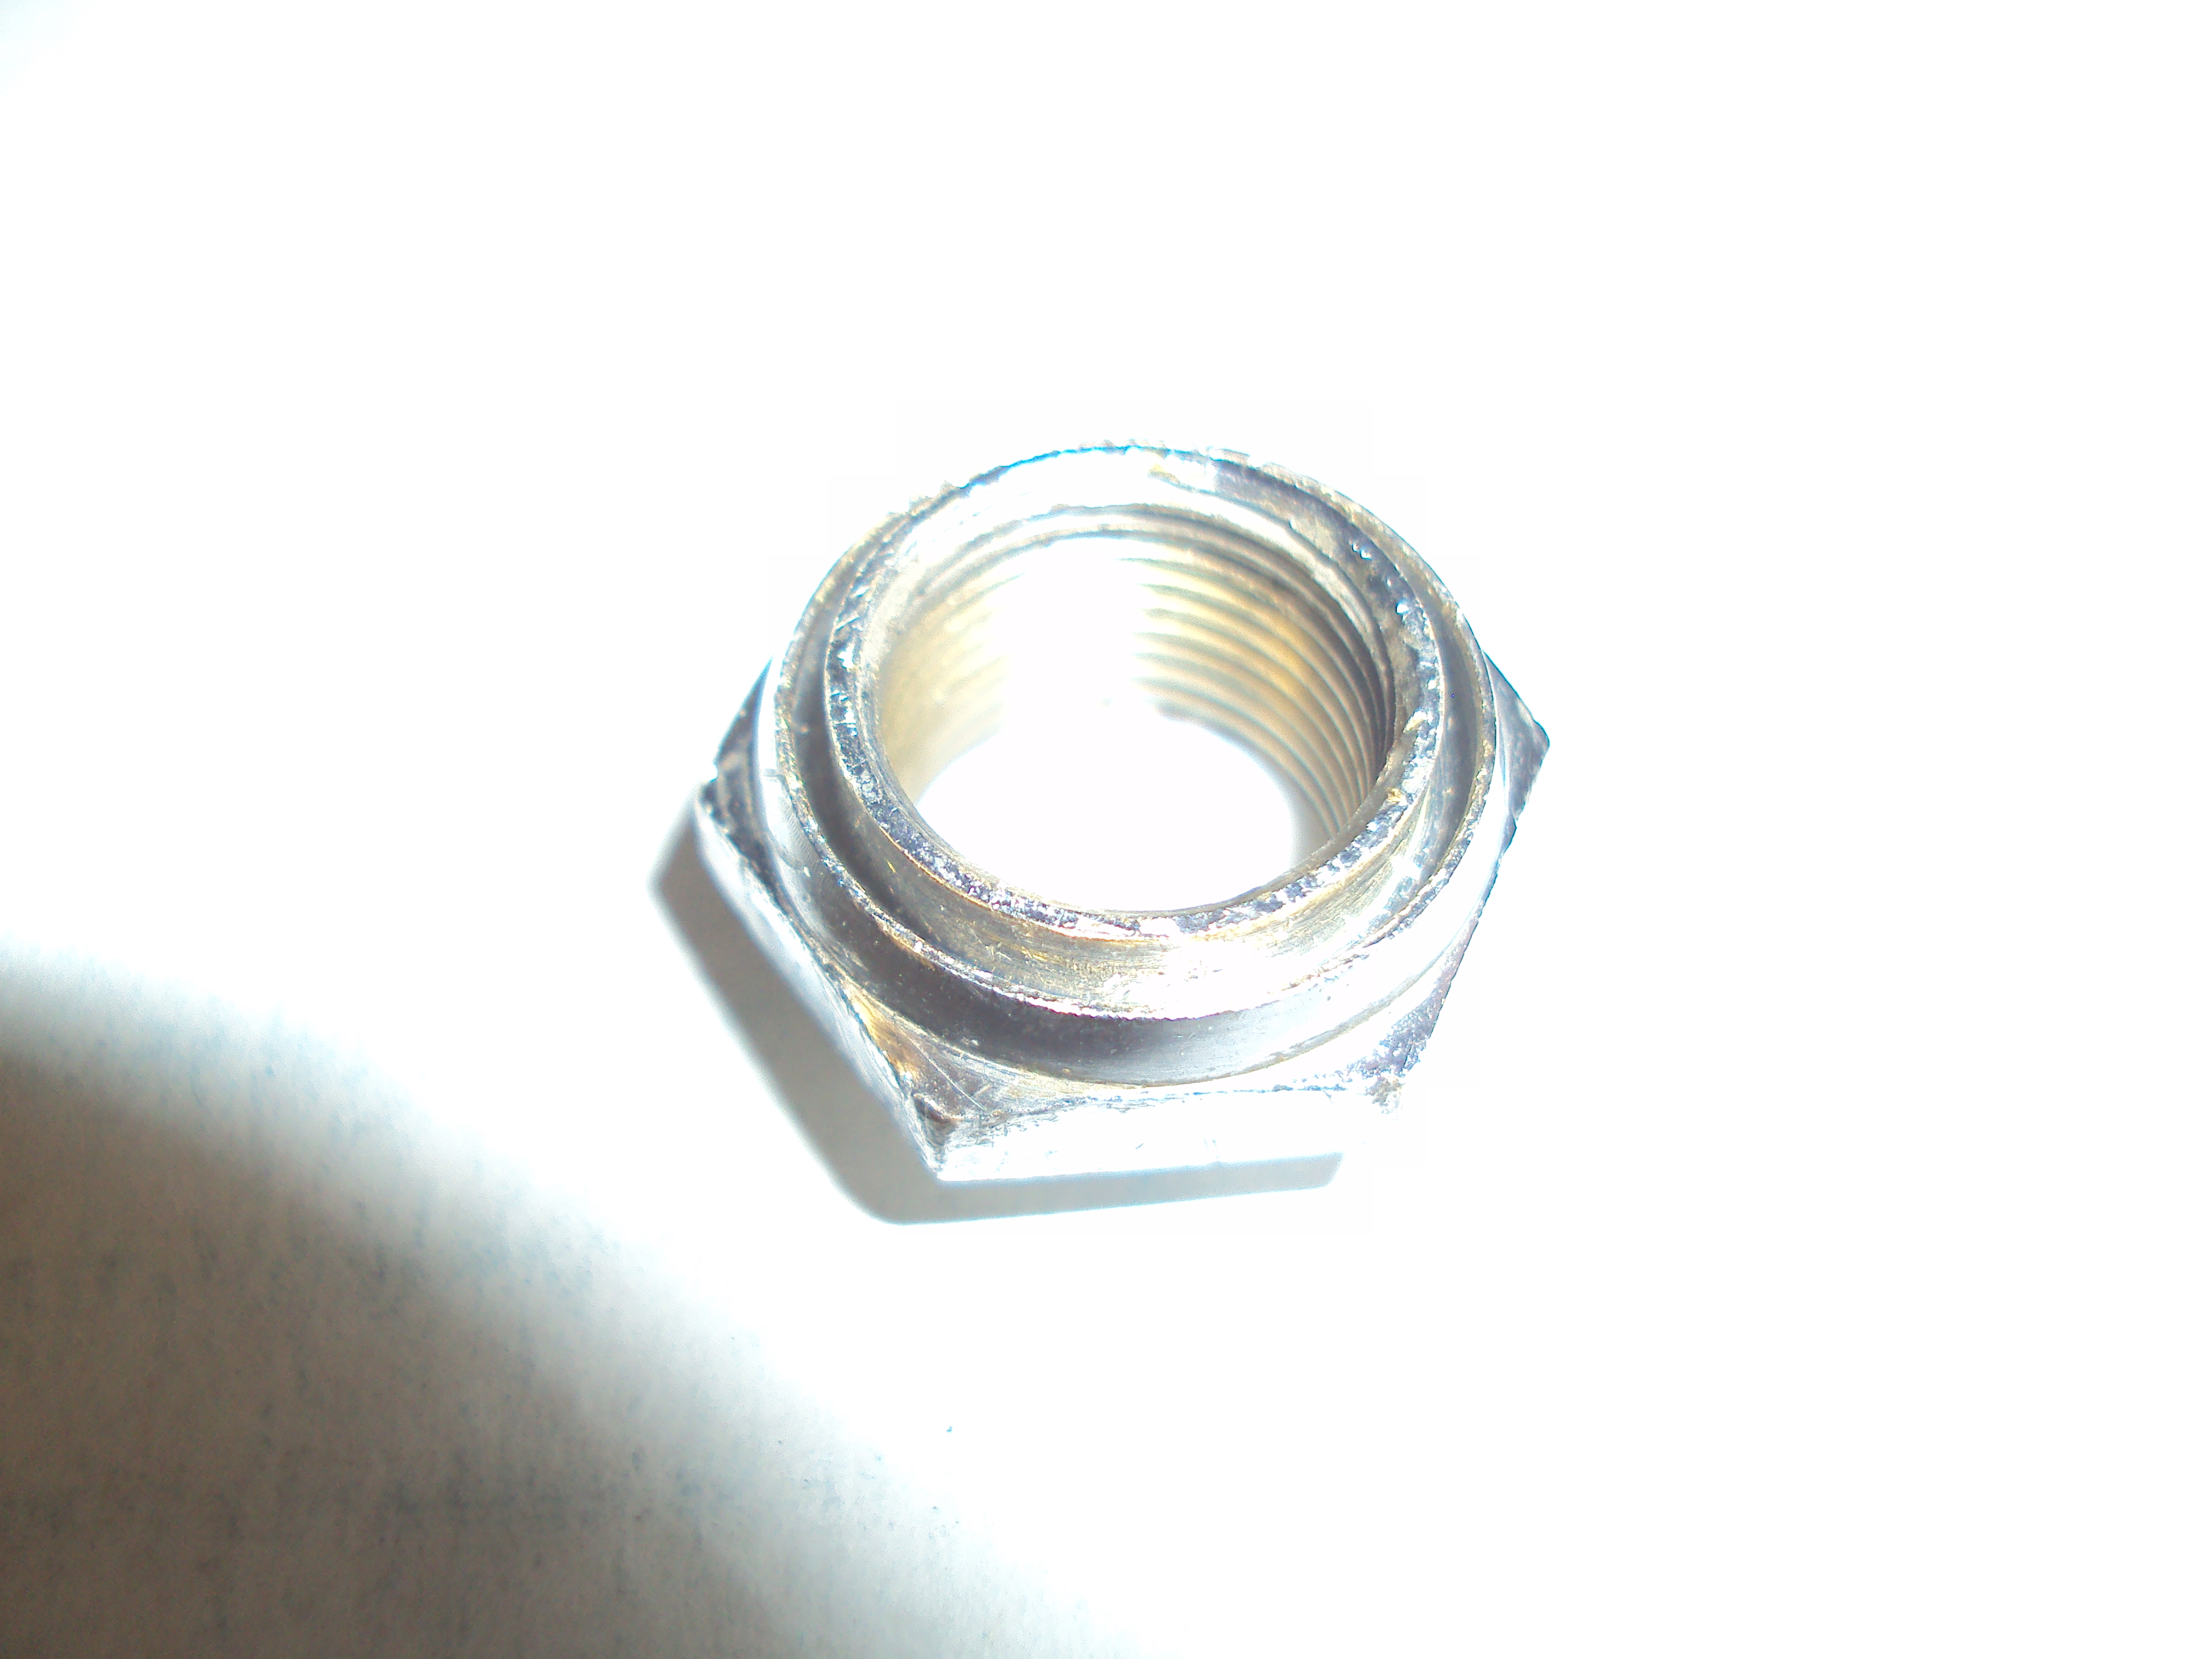
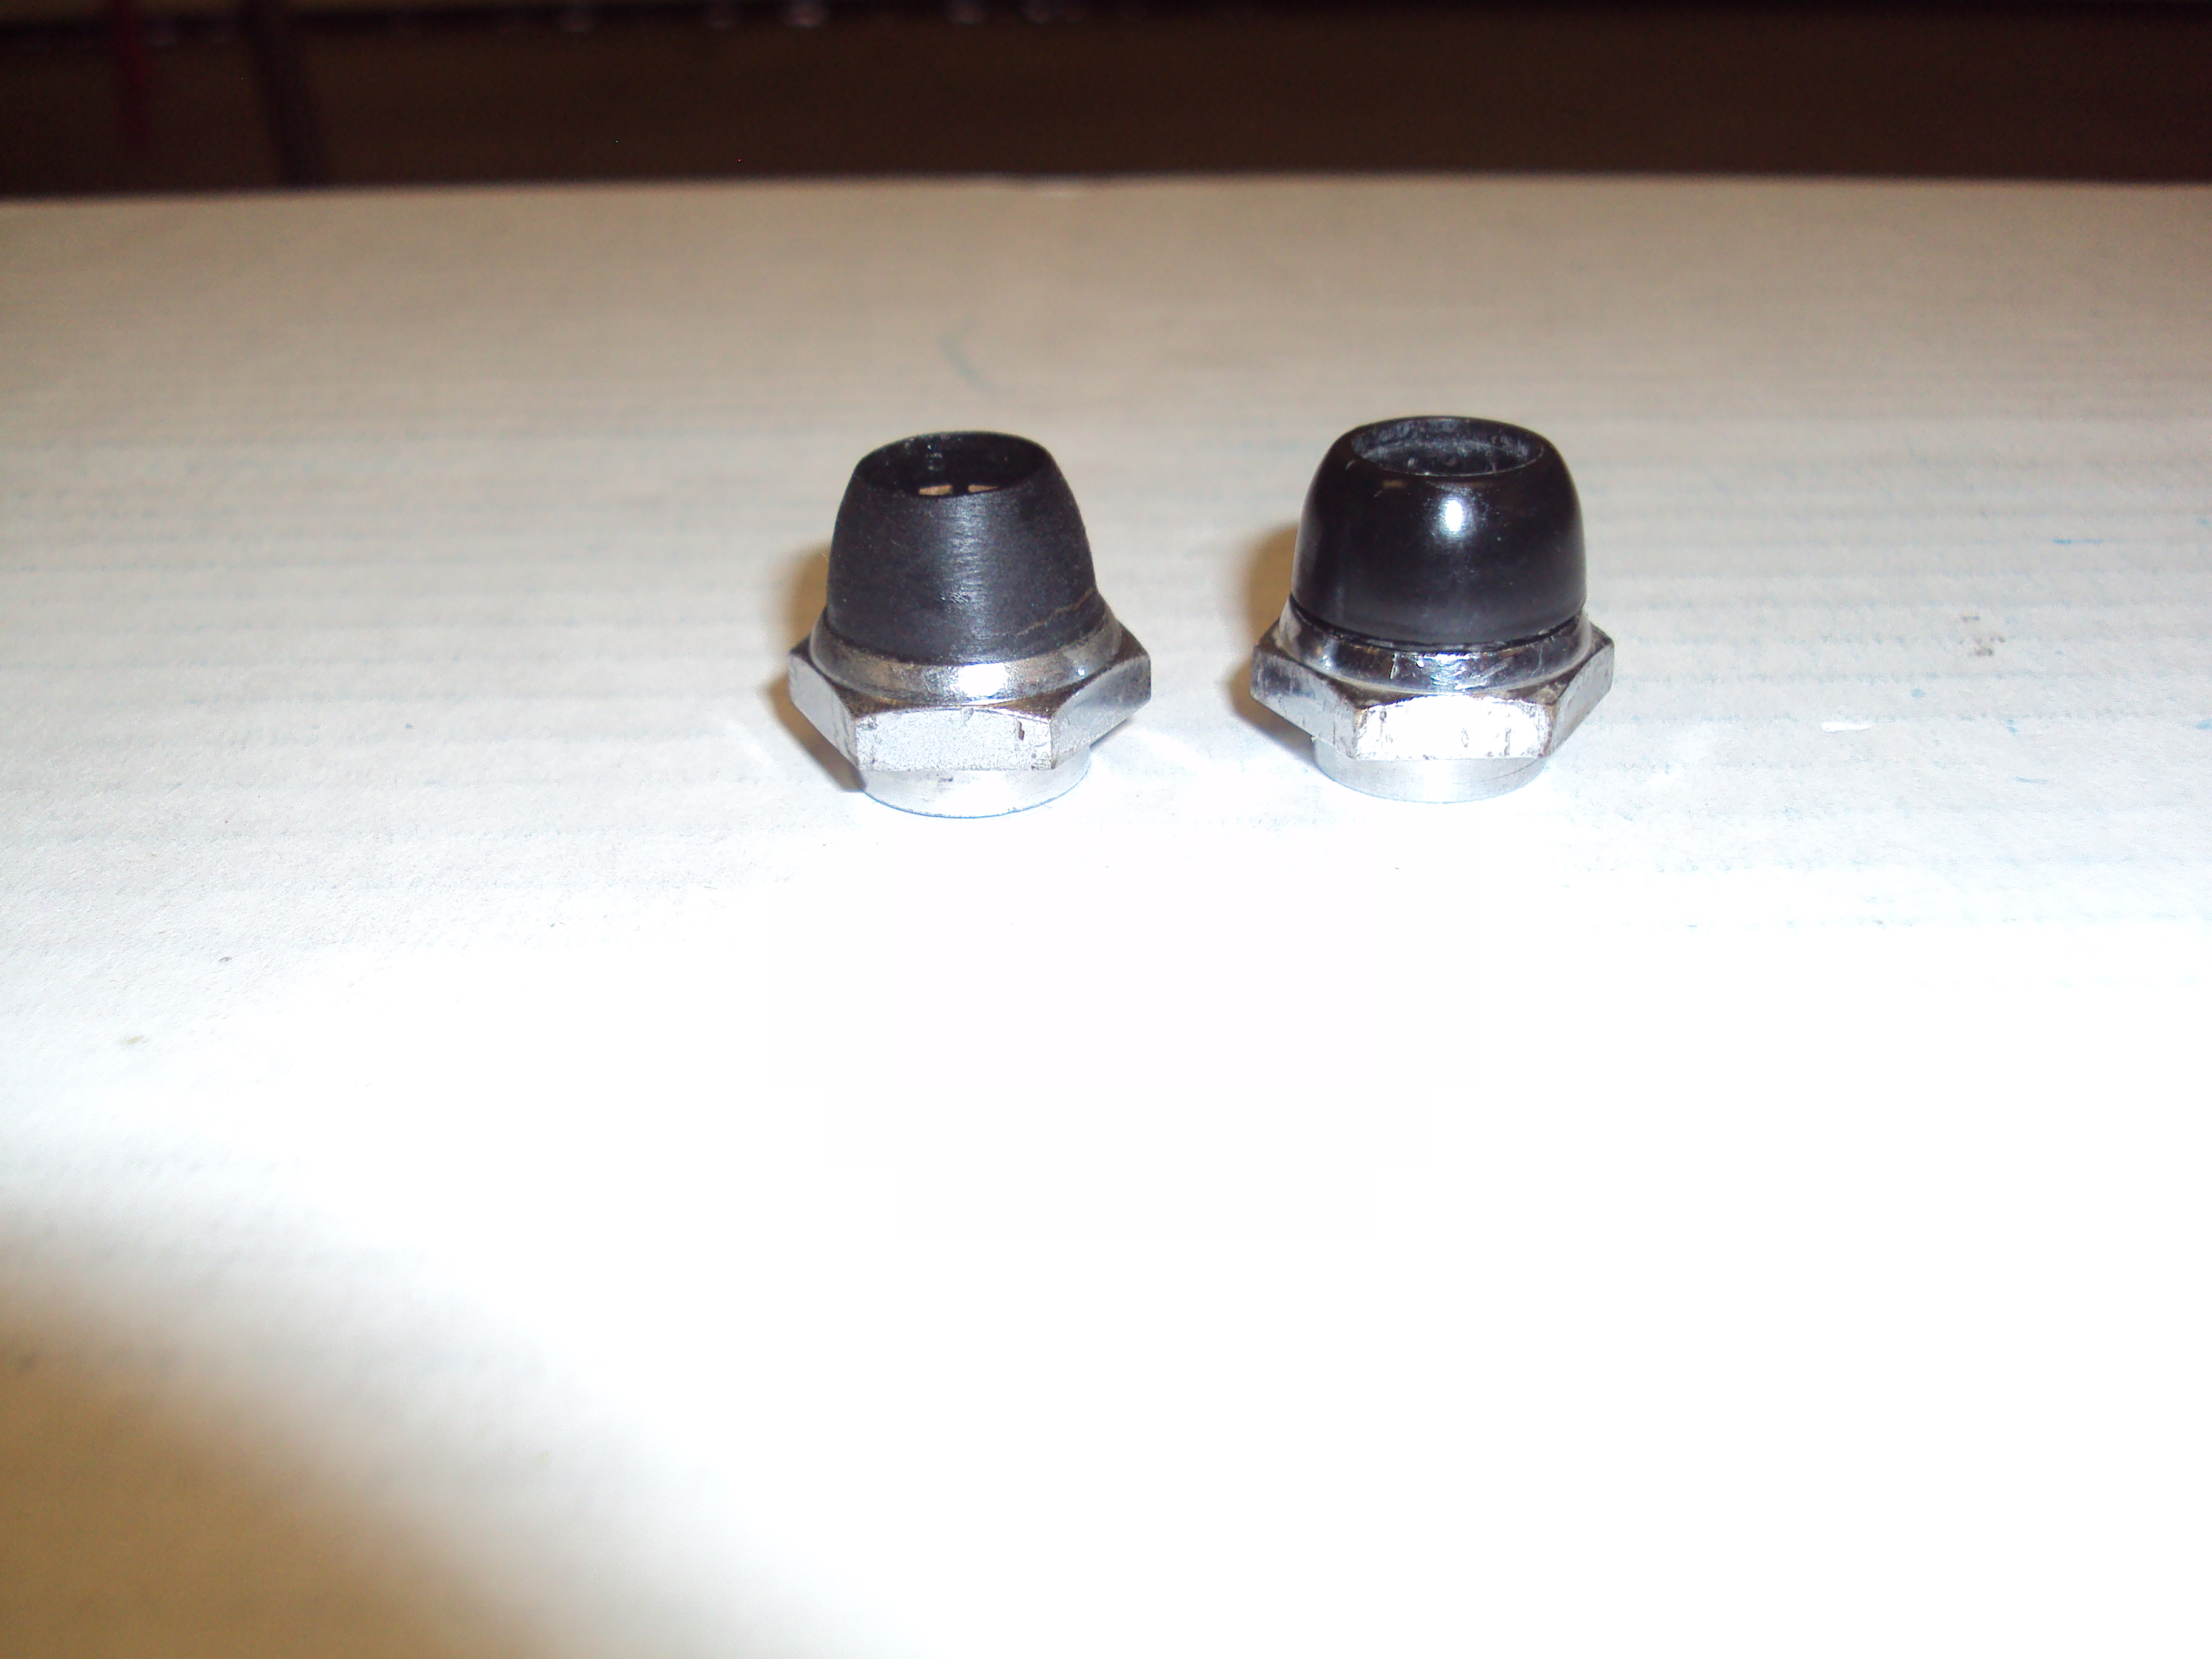
2 pointsEverything @Namerow said above is true. With the finisher nut completely removed there is signal which did not, in my experience, break-up or become static-y. For those that have "missing antenna nut fingers" take heart----your antenna will function without them. After an extended drive at varying speeds and over rough roads, the "fingerless" nut reception sounded completely normal. I agree with Namerow that the "fingers" in the finisher served more than one purpose. They help give durability to the plastic cone material as it would withstand side flexing better, would assure another electrical contact, as well as center the mast. Attached are a couple of photos of the innards of the mast section showing the typical copper or brass "spring fingers" which slide along each section as the mast telescopes in and out which maintains signal continuity. Next are a couple of photos showing the cleaned finisher nut where ALL remnants if the plastic cone have been removed from the groove in the nut. (sorry for the photos---not easy to get a clear image--) Next are photos of an original finisher nut on the left- and on the right, Steve's finisher cone dry fitted to the nut---it fits perfectly with only a very slight undersize to the diameter of the groove--- Steve's cone is made from a modern plastic and should last a long time. The profile is slightly different from the original, but it is quite close. The robust thickness should help with durability as well. More to come once Jim Smirlies arrives today to assist----


 2 points
 -
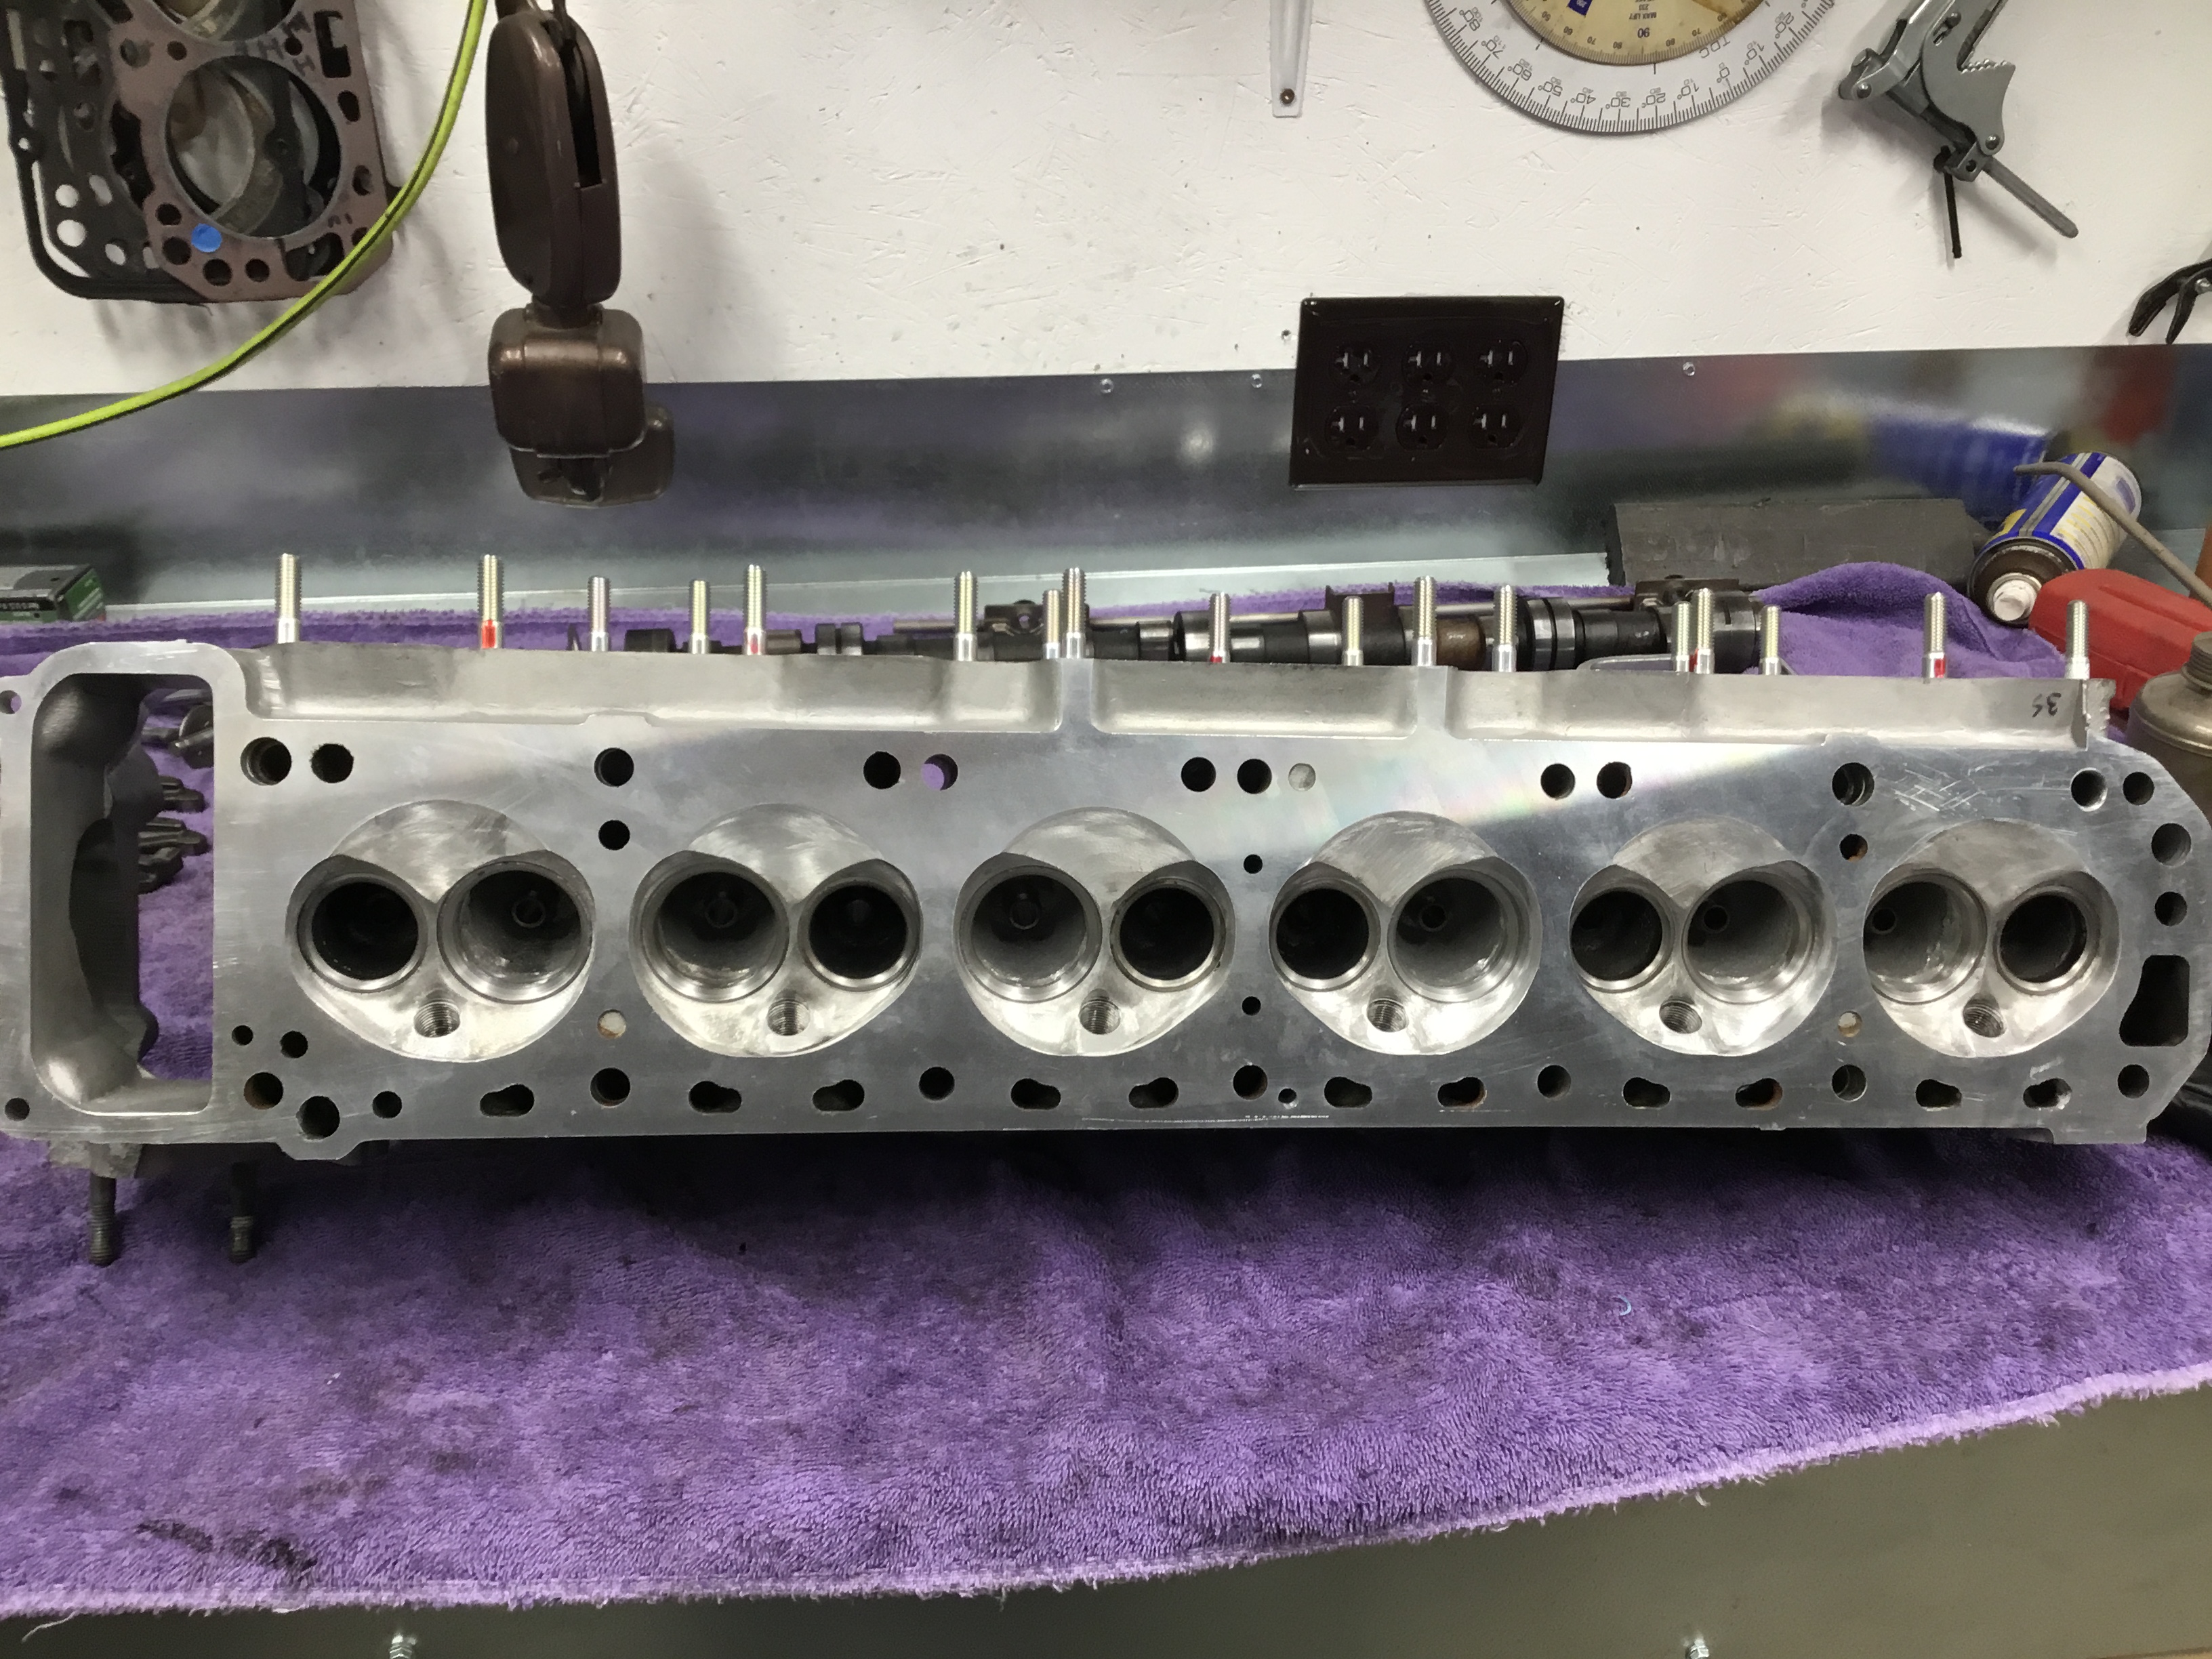
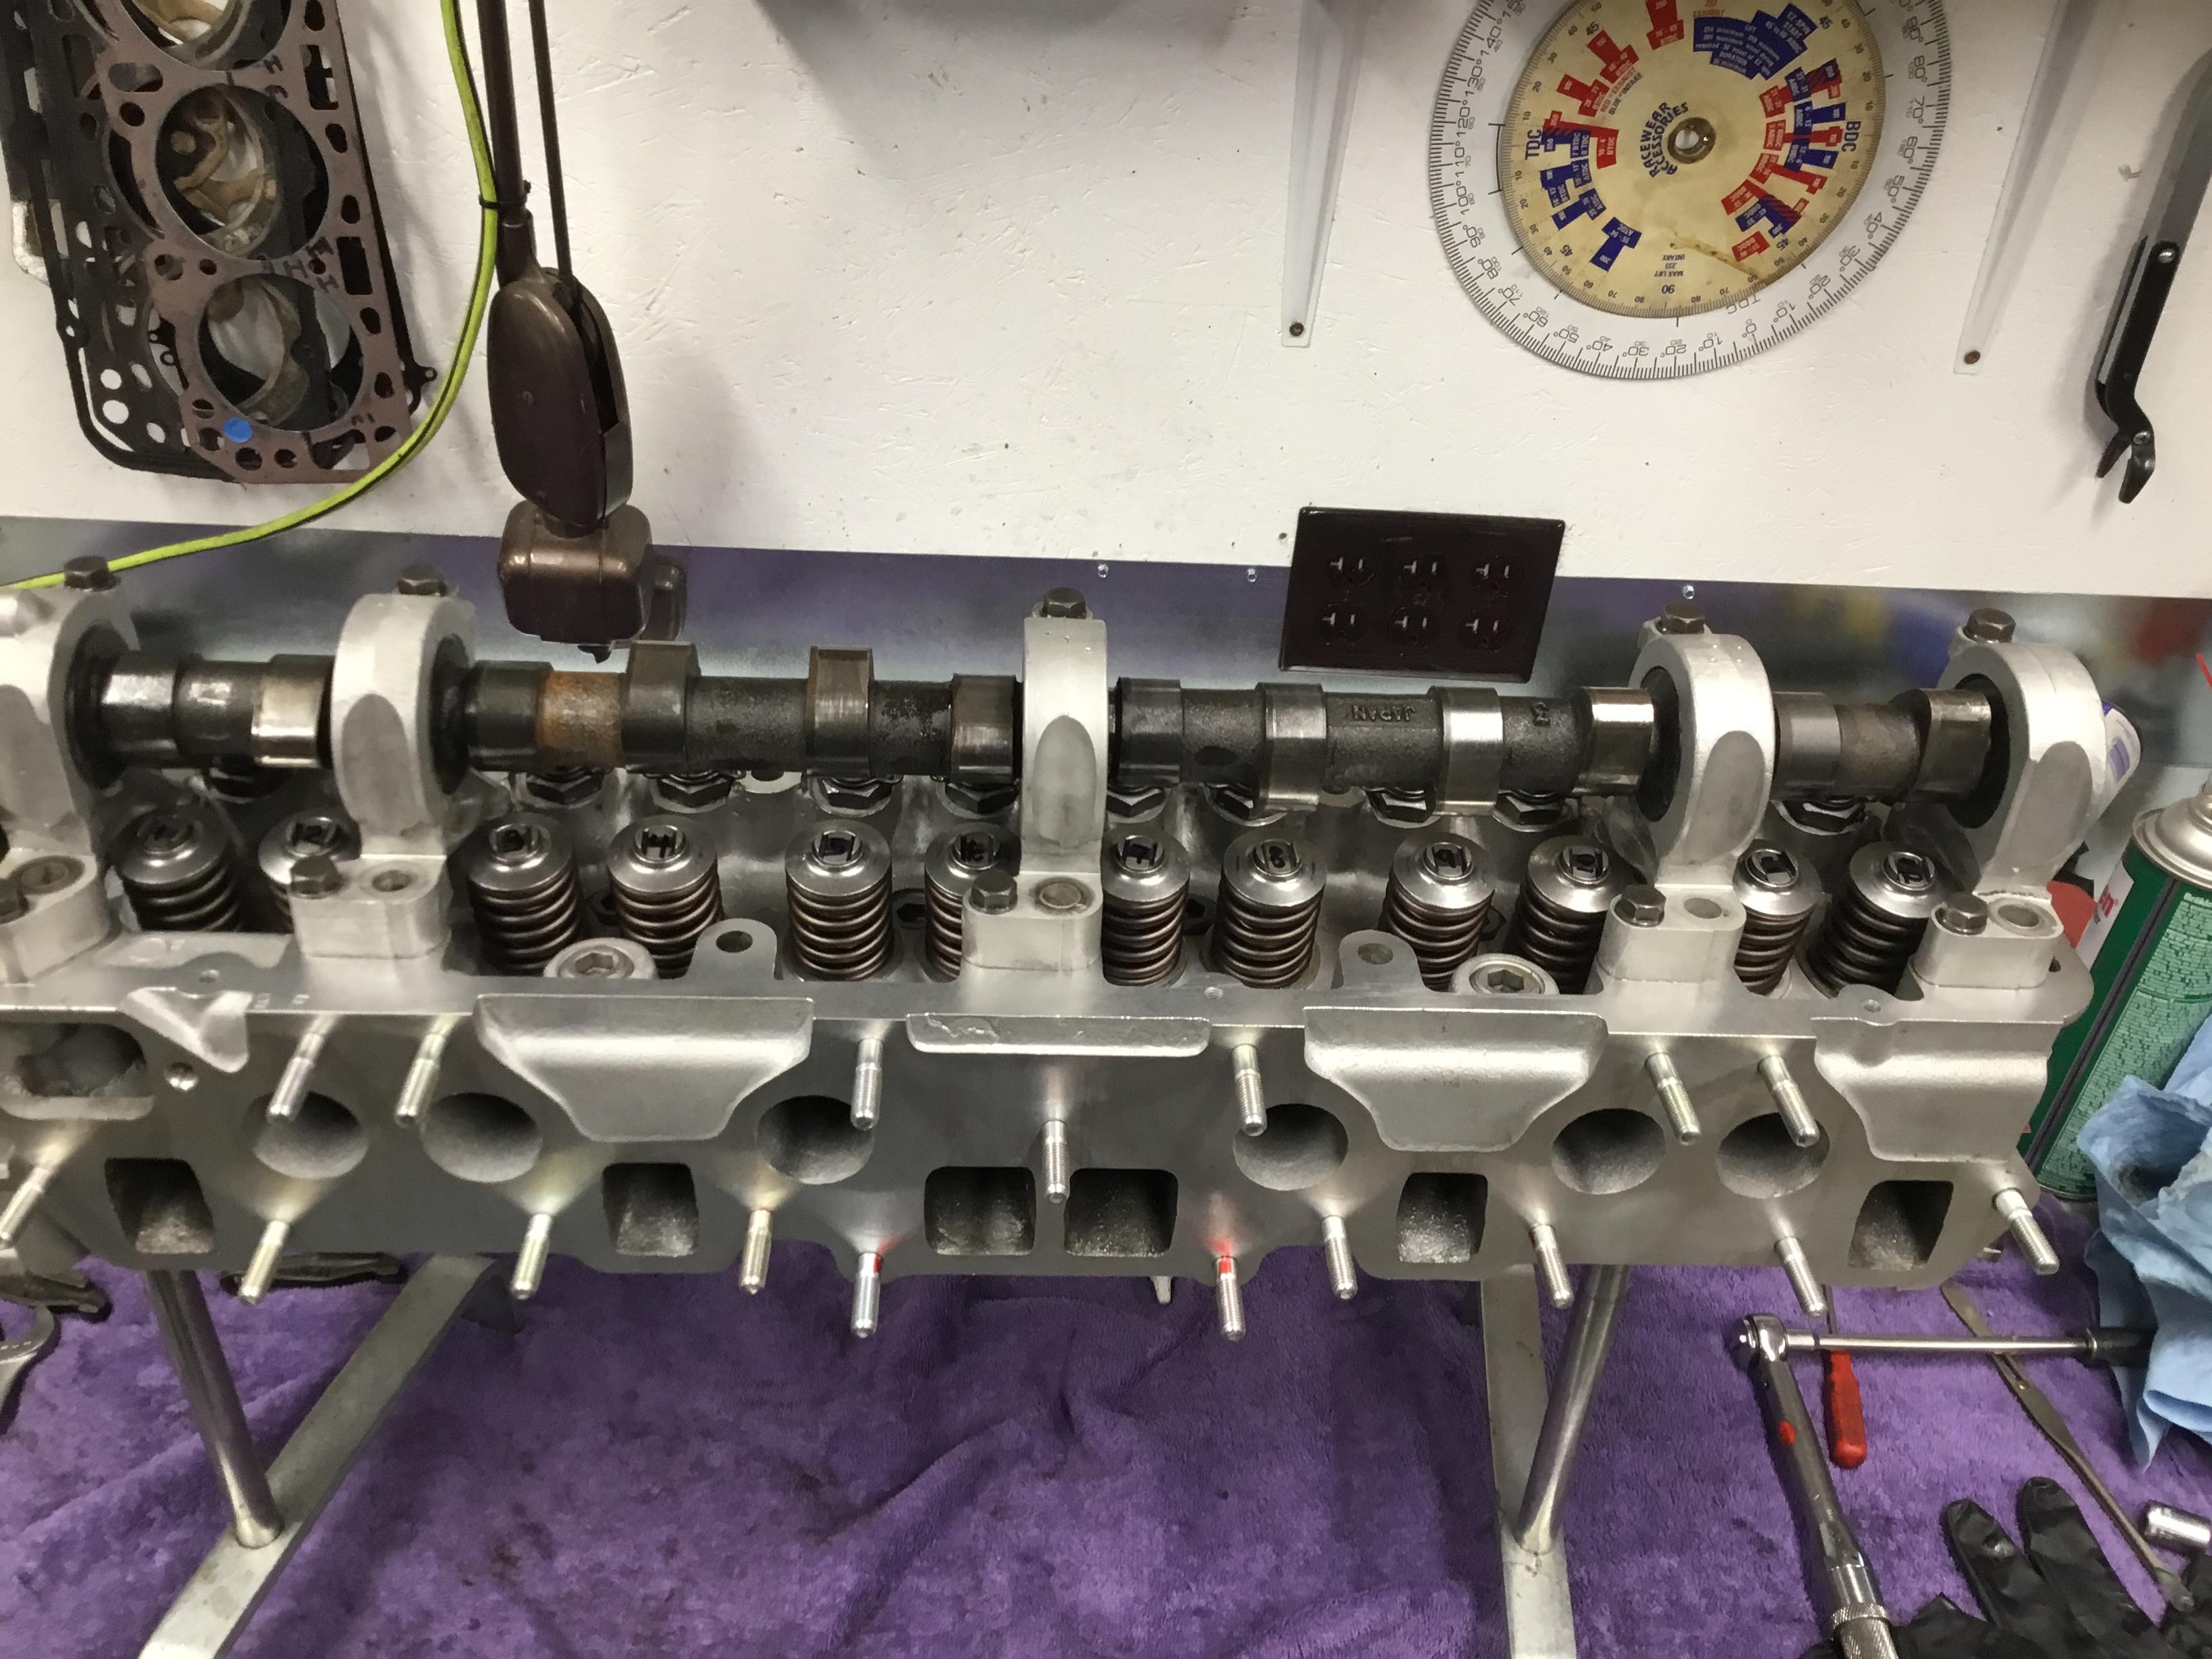
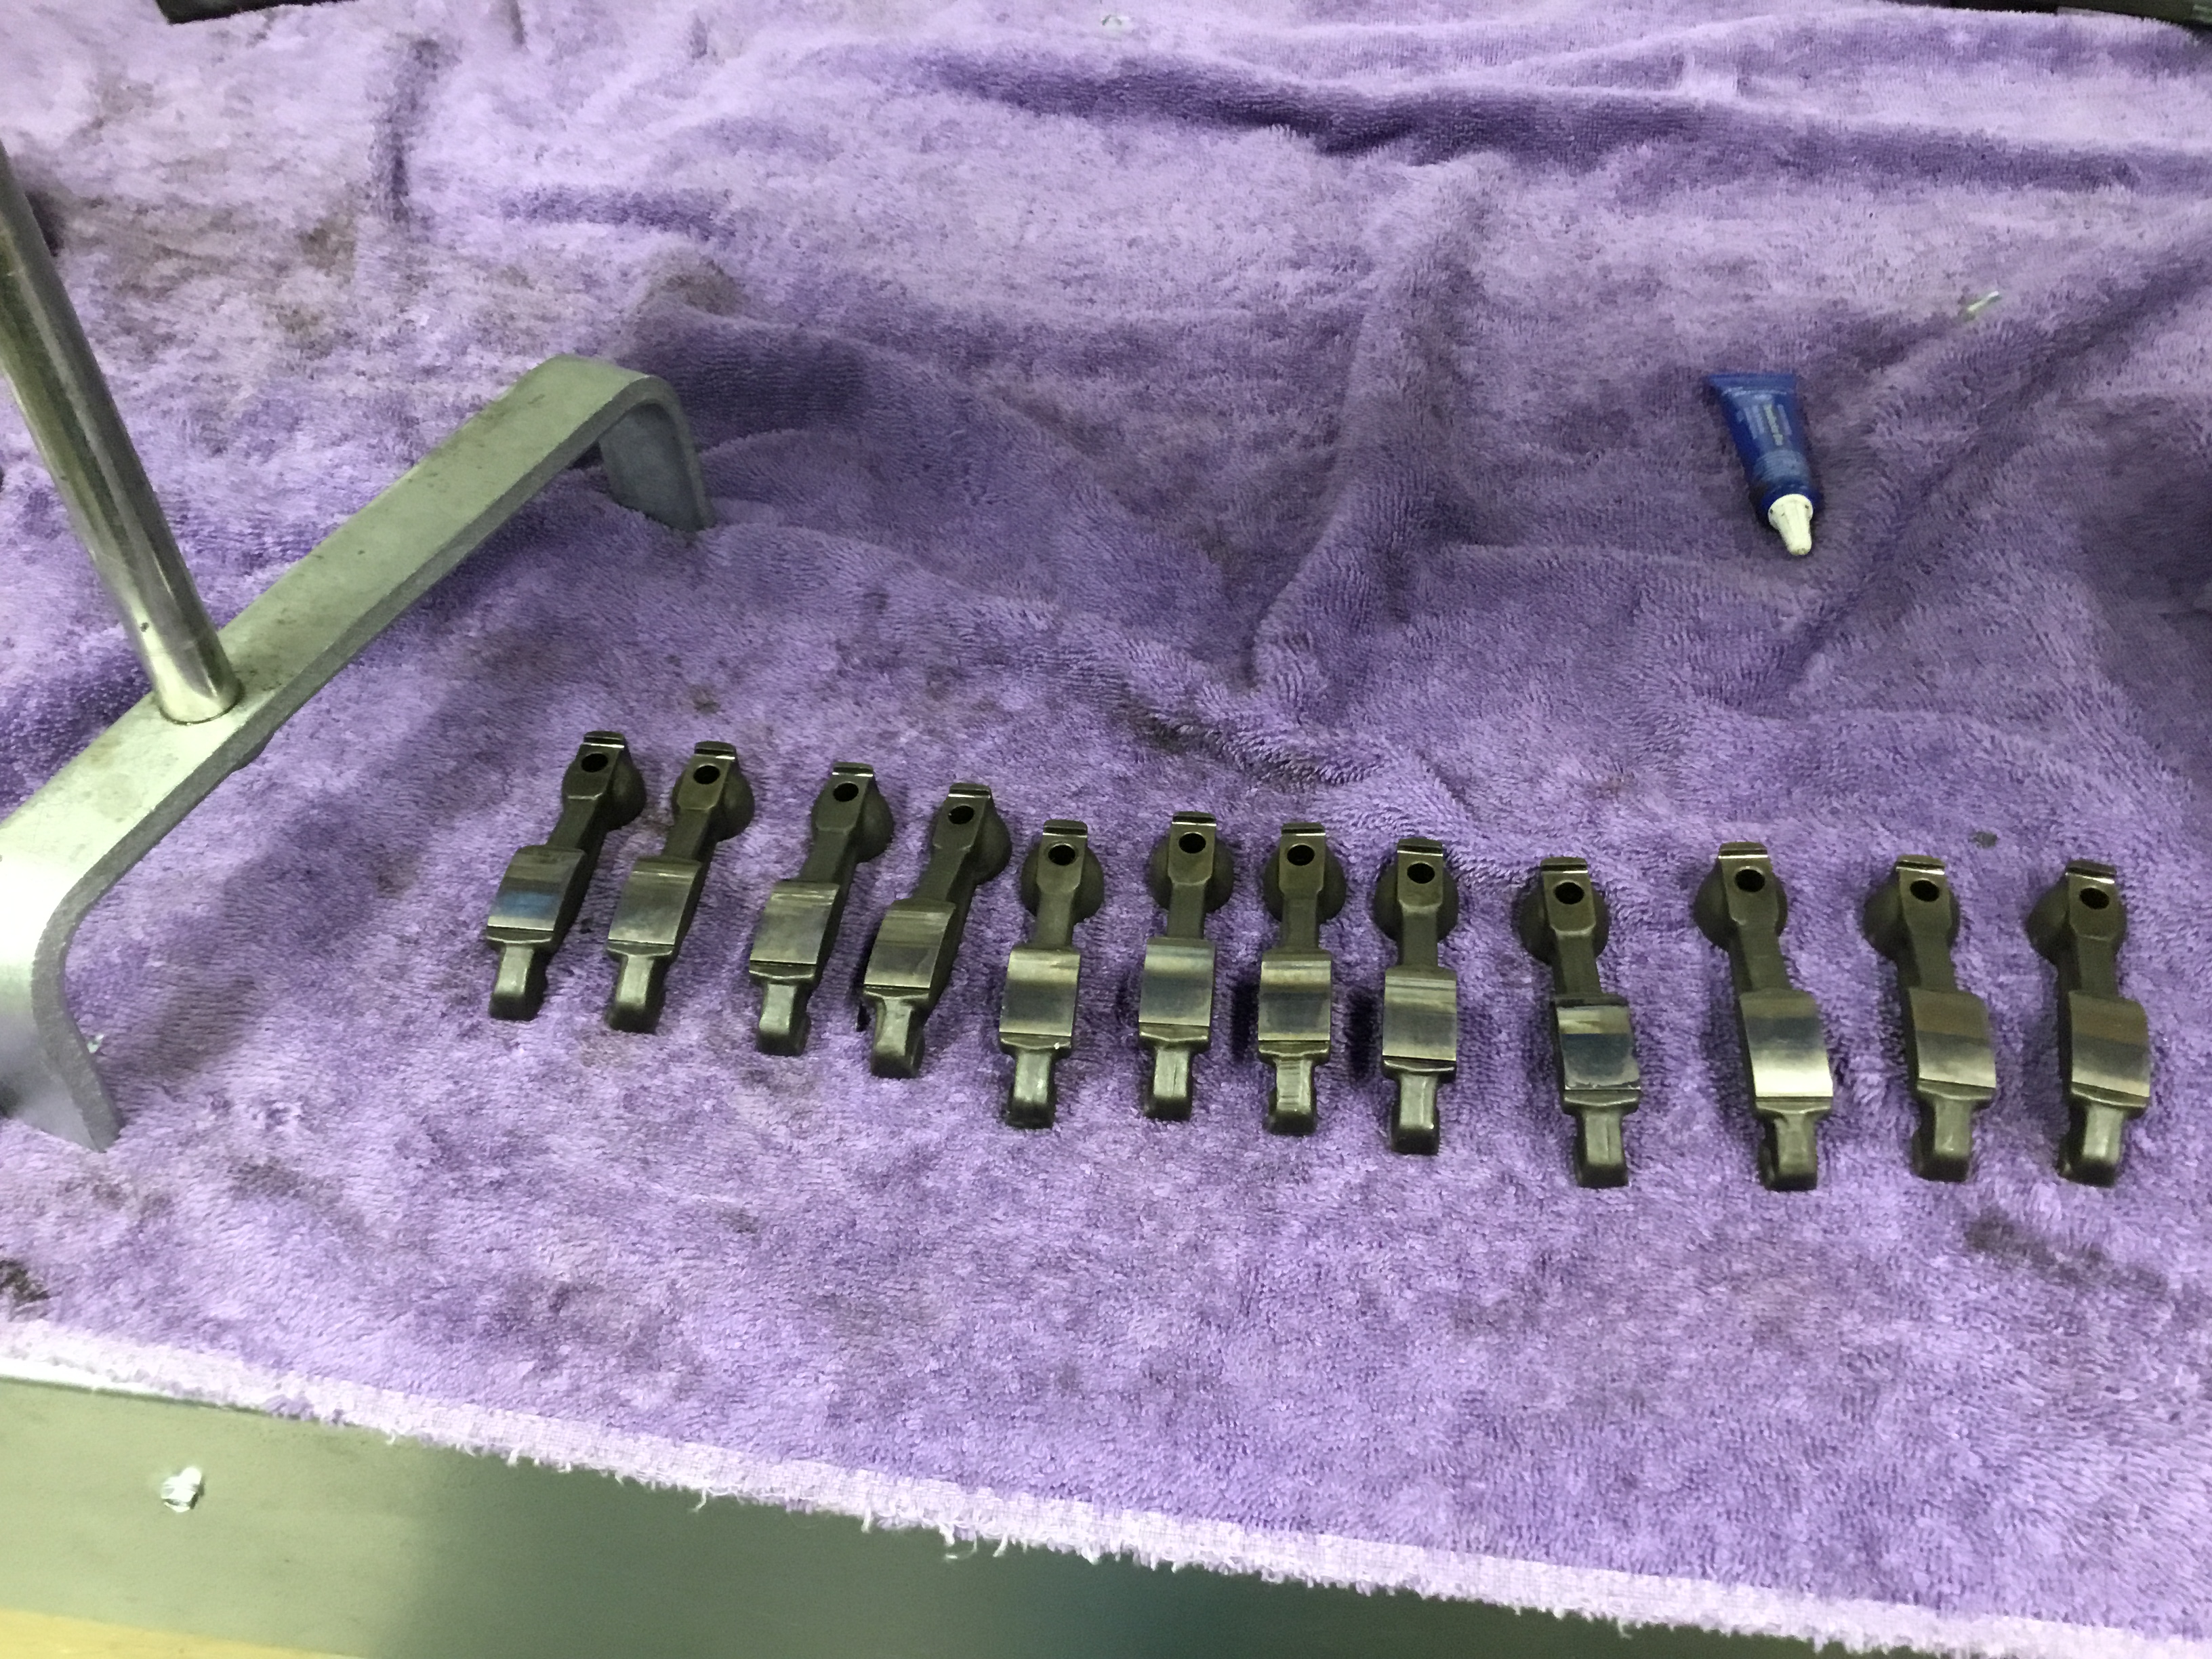
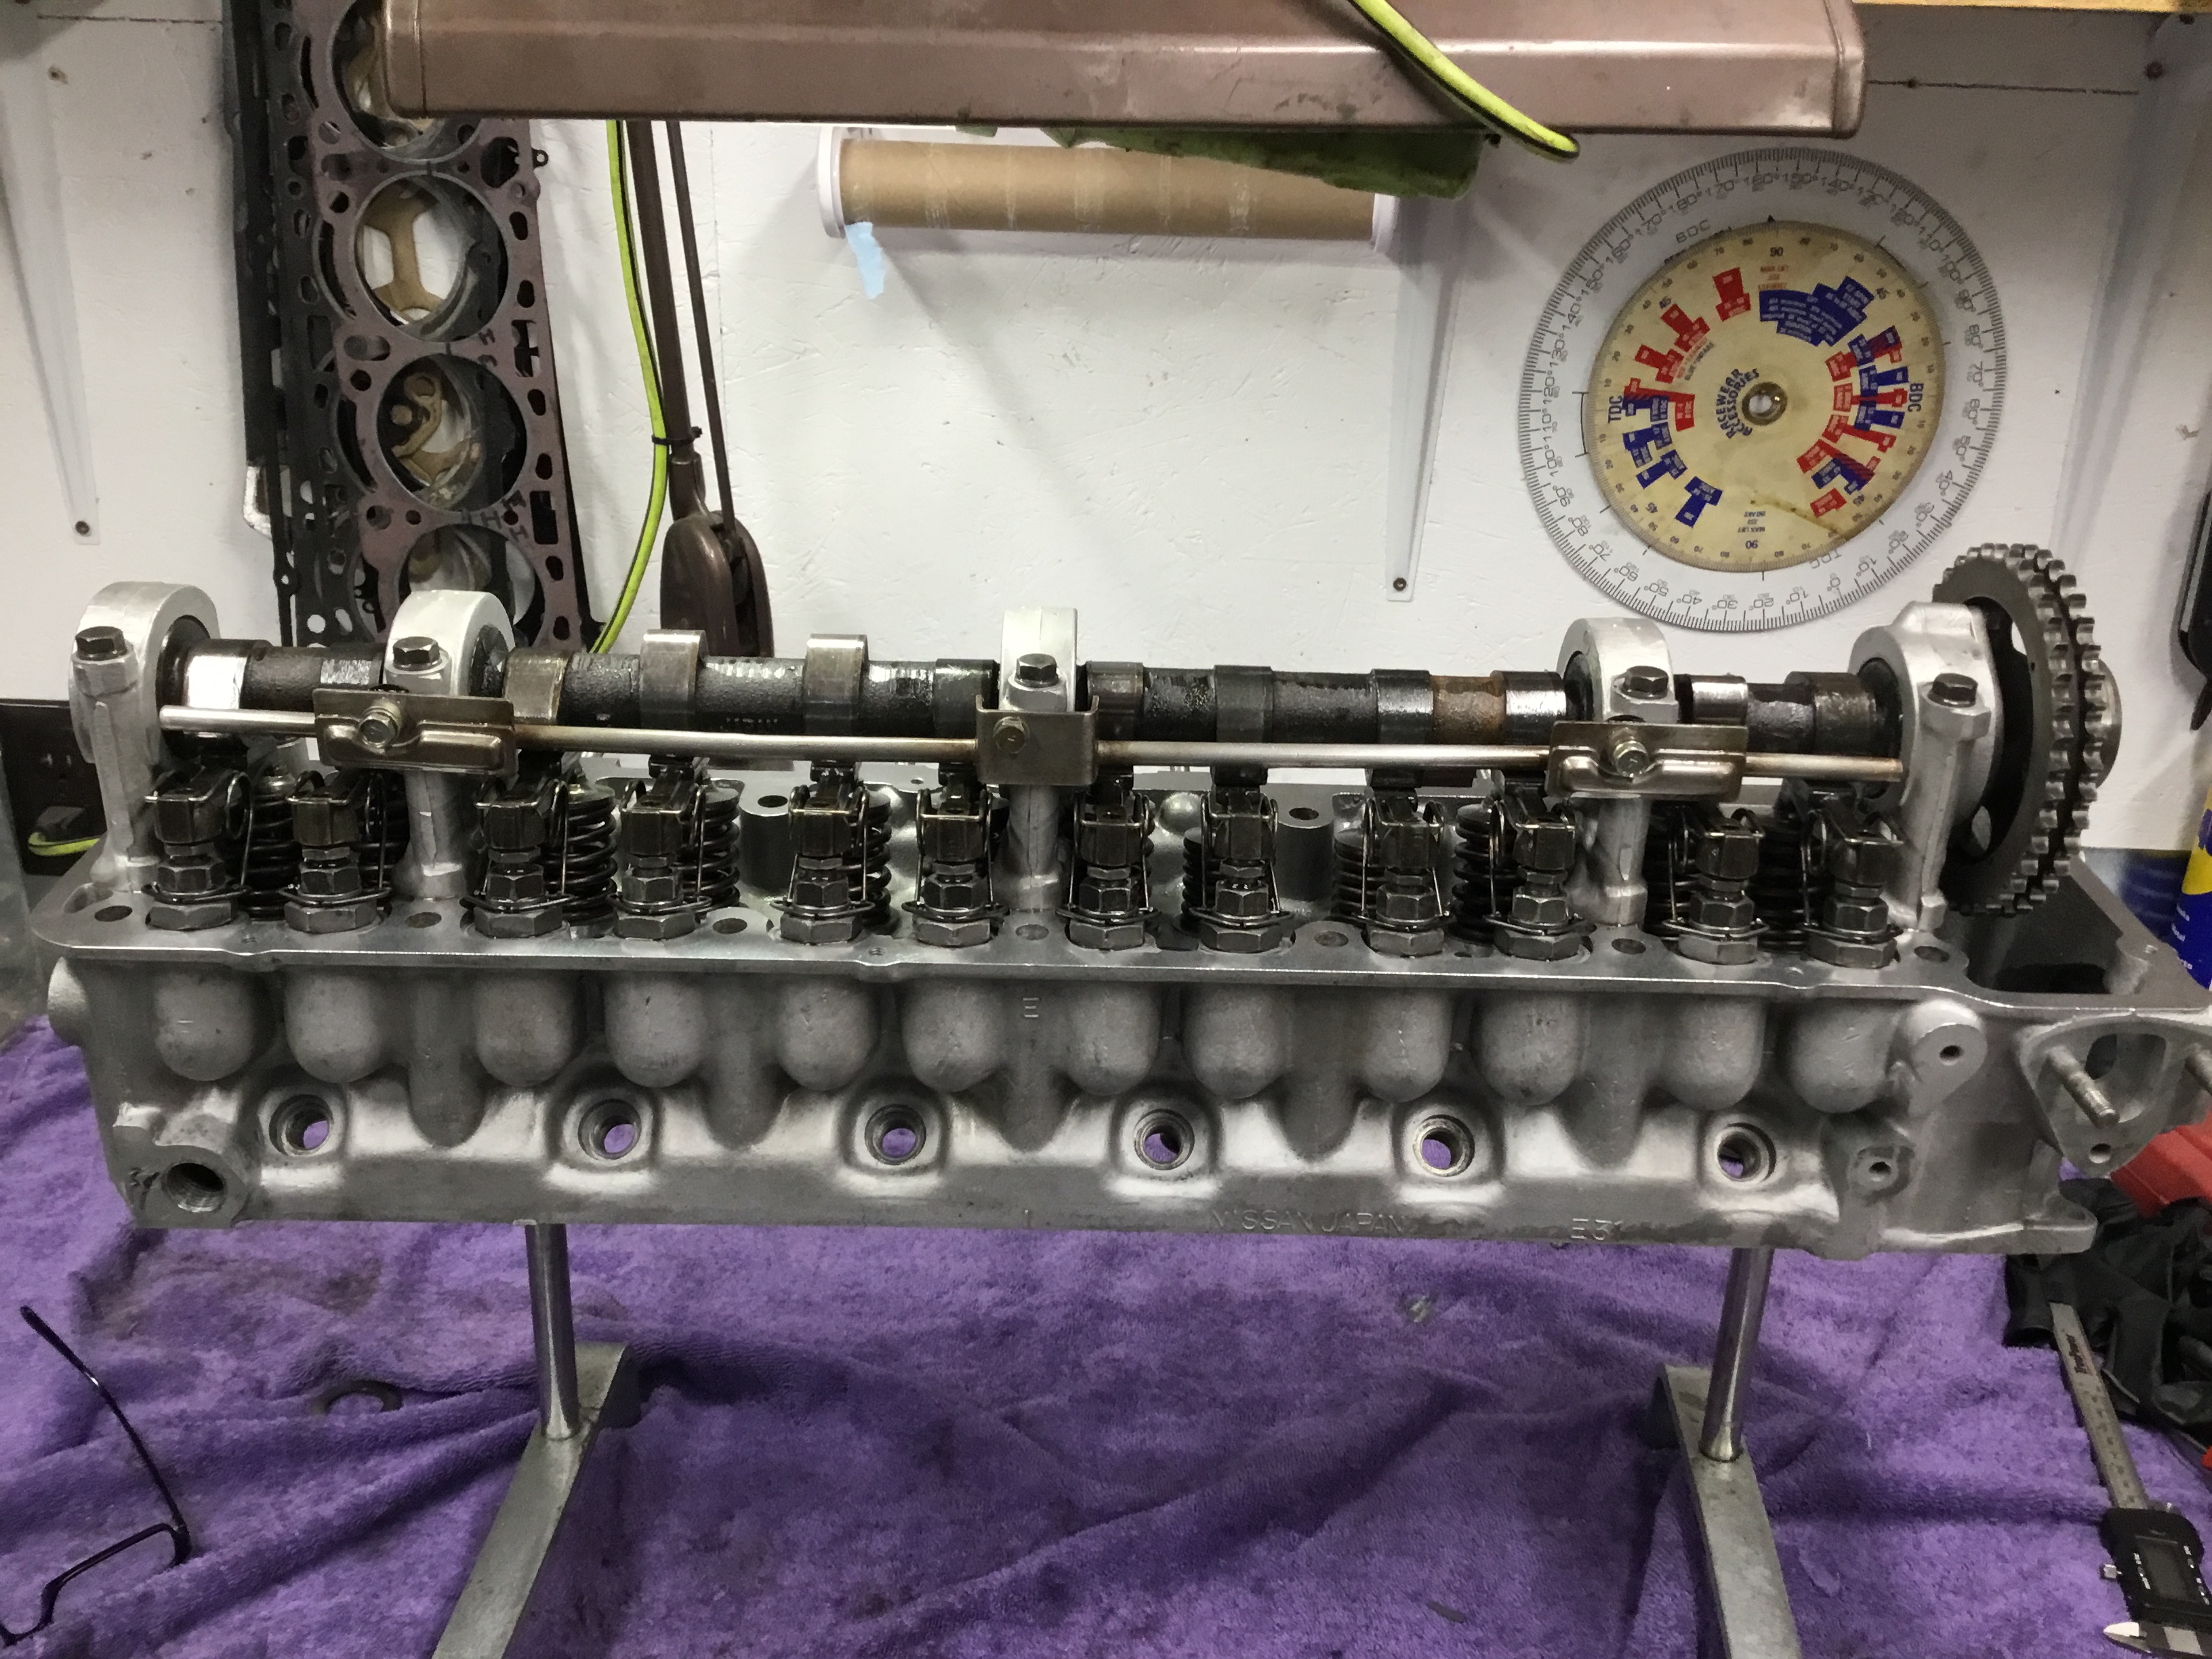
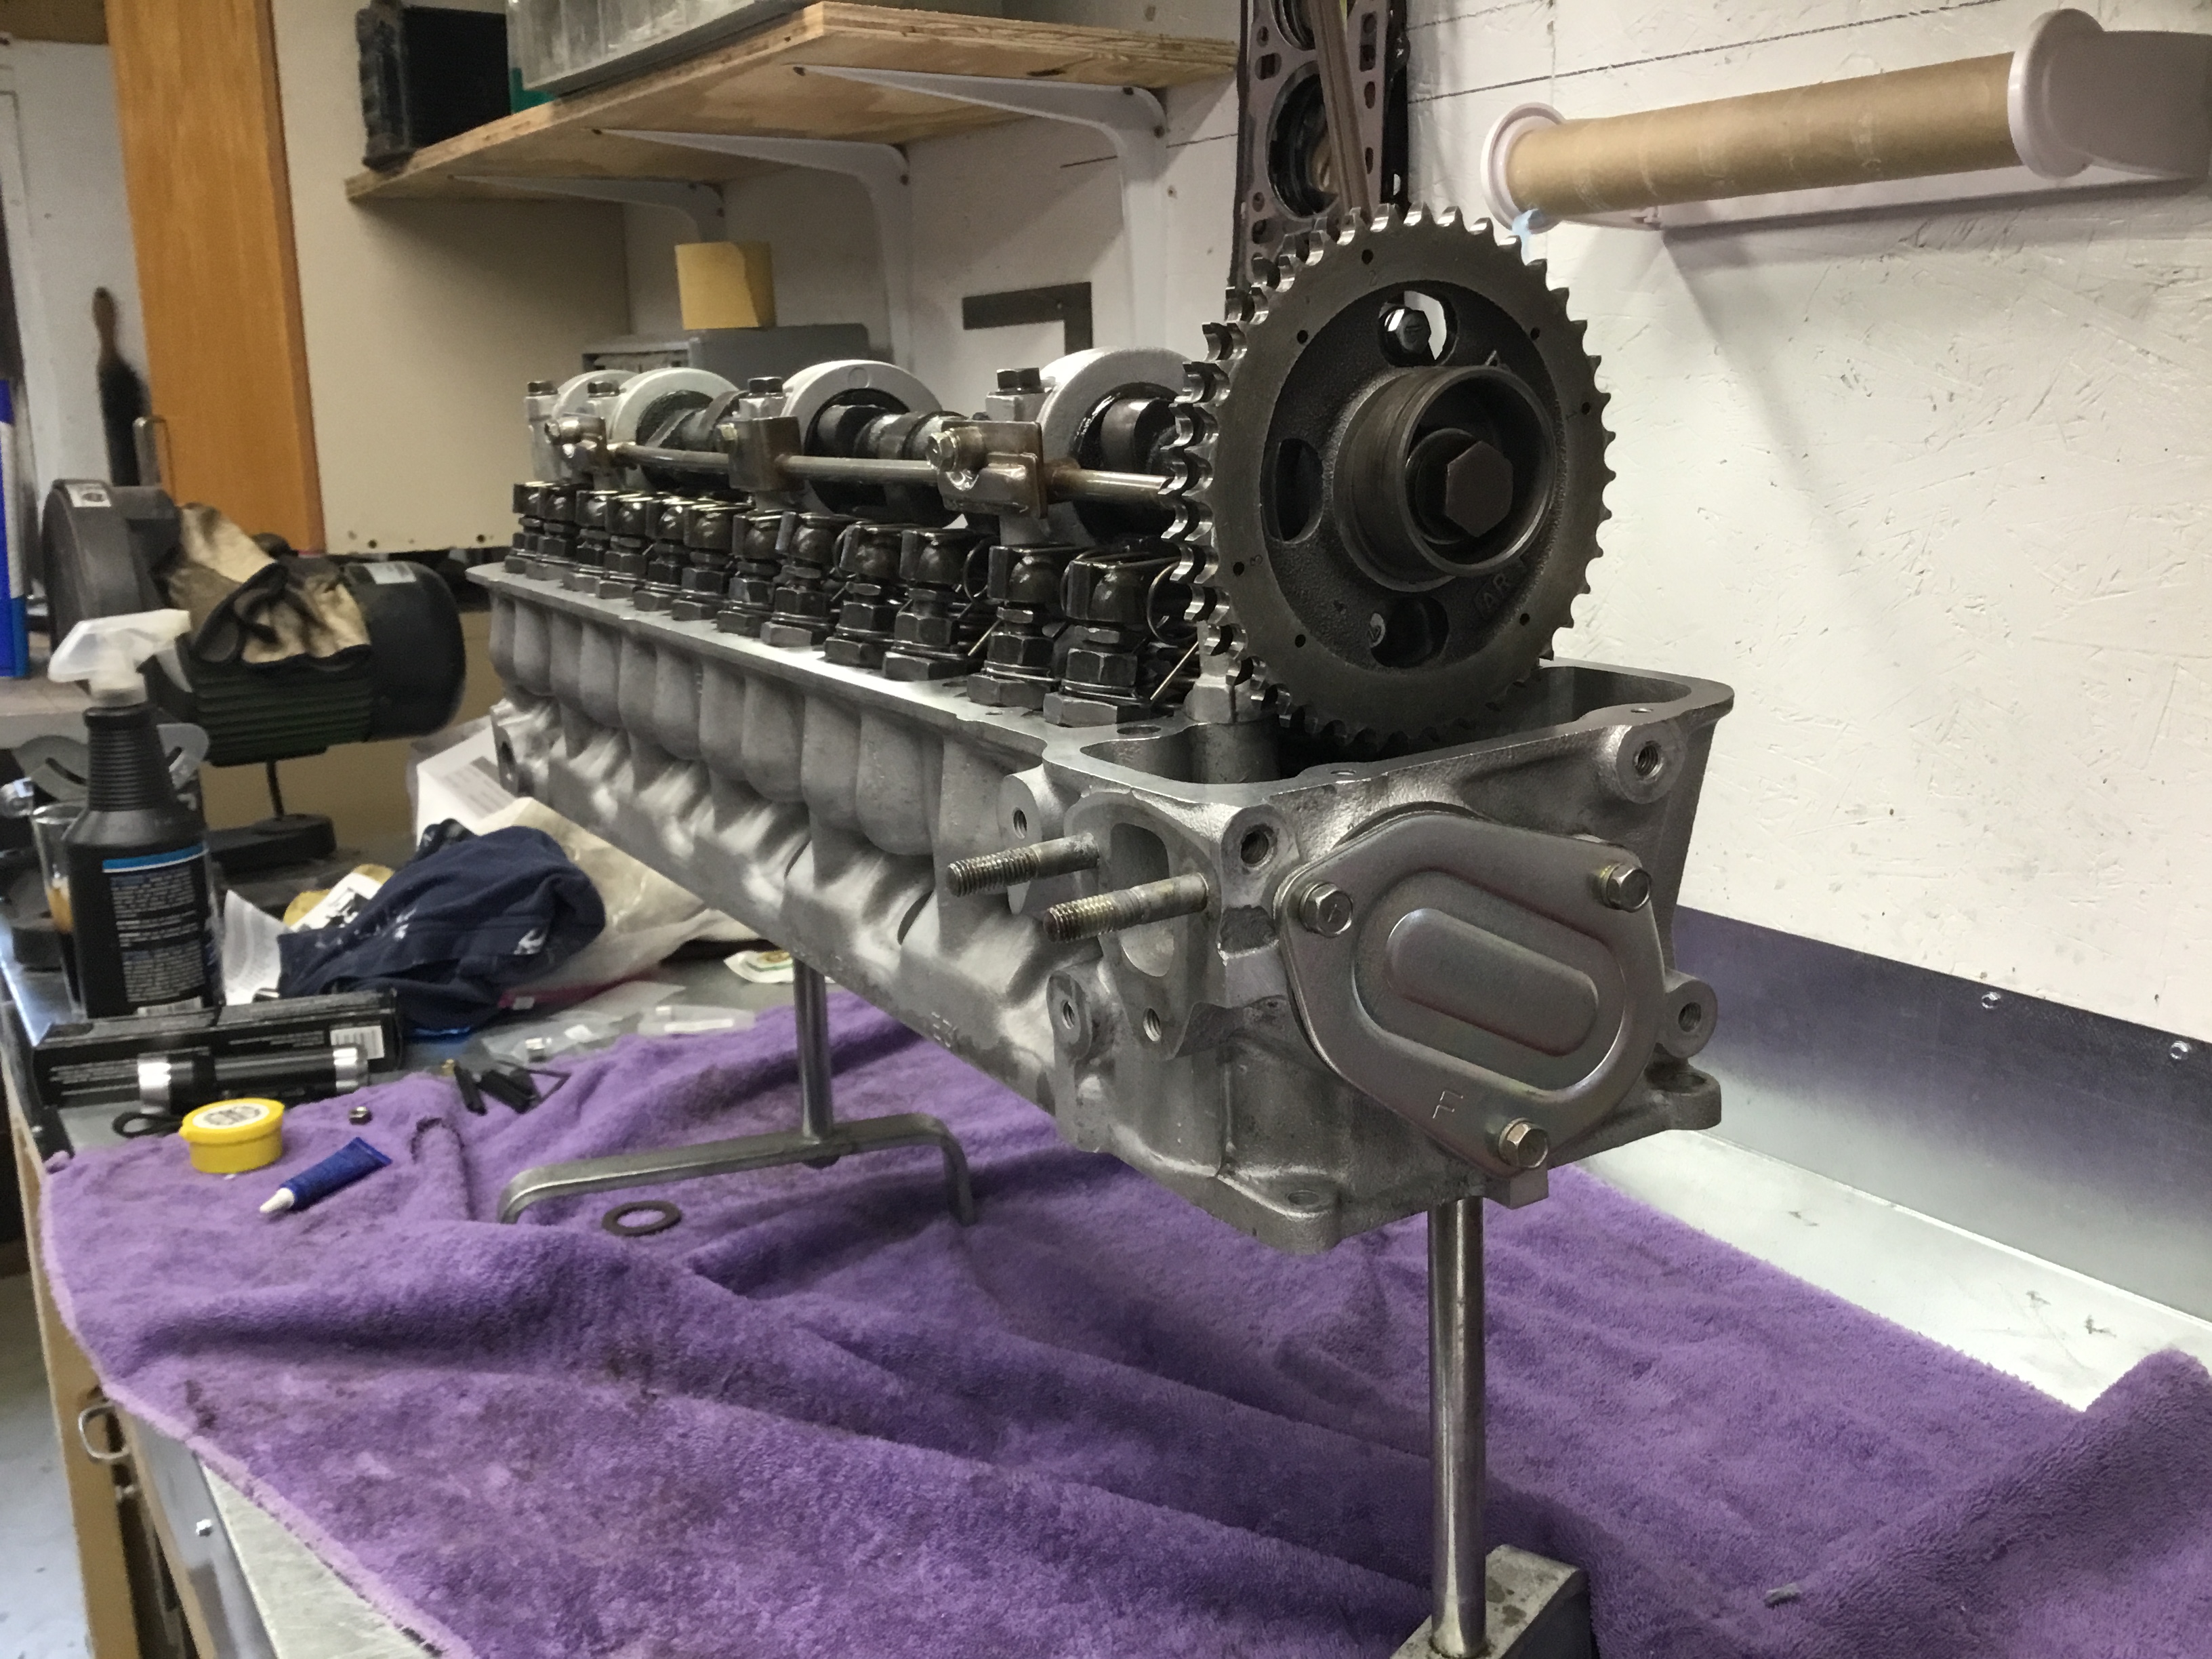
 1 pointRefurbished Datsun E 31 cylinder head for sale. This cylinder head came off a 1971 240 Z that I recently parted out. It was in very clean condition when I found it, but needed some TLC. This would be an ideal head for your restoration with its clean casting and stock specs. I decided not to modify this head because the cam was in such wonderful condition as well as the valve train. I have listed below what I have checked and had done on this head. I am presenting a cylinder head that you should be able to unbox and bolt to your motor. Stock valve sizes. Pressure checked head. Machine surfaced all three sides of mating surfaces . I measure a total of .018 removed from head thickness. All threads cleaned. All bronze intake seats replaced with steel. All guides within tolerance, new Viton guide seals installed Complete valve job with new intake seats blended to ports. All new valve springs. All wipe patterns checked and any adjustments made. Valve lash is adjusted on all valves. All combustion chambers cleaned of pitting and sharp edges ,and unshrouded for breathing purposes. All Chambers CC’d and all measure 41.8cc plus or minus .2 cc All new exhaust/intake studs installed . New inspection plate. New freeze plug installed Sprocket is used and was just mounted to provide proper spacing for cam. This head never saw a bead blast cabinet and was run thru a parts washer at least 3 times. I am asking 1100$ for the head with credit for your core. Core does not have to be an E-31 casting . Will always consider partial trades for Z parts. . Like I said earlier this should be good to run out of the box . I will ship with a valve cover . Price includes shipping in the USA I will be glad to answer any specific questions and will offer tech support to buyer if needed. PM me or email sfinnerty1018@gmail.com


 1 point
 -
 1 pointSimilar to what we did with the 71. Beautiful work on a beautiful car.....I love white!
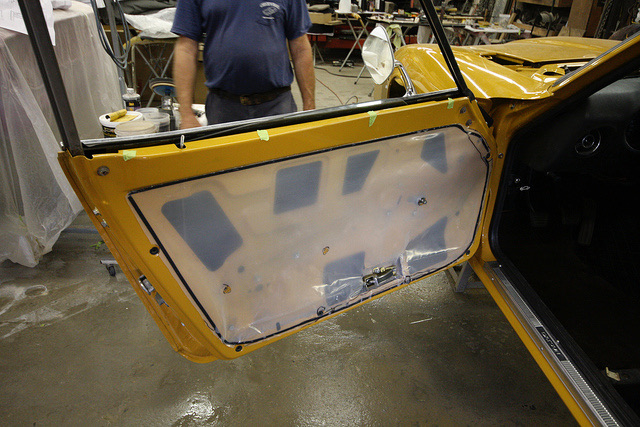 1 point
 -
 1 pointReplaced clutch/pilot/throwout with standard OEM spec Exedy kit, resurfaced flywheel, installed new OEM rear main oil seal/side seals/oil pan gasket along with transmission mount and engine mounts. I forgot to order some Redline MT-90, and put some dinosaur 80W90 GL4 because I just couldn't wait any longer to go test drive the work. I forgot what a difference that stuff makes. It'll be going back in it soon. Thanks for all the tips,pointers, and advice. That knowledge is worth more than any shop manual. Of course, manuals help. Now its on to eating more $3 per gallon fuel. Sent from my [device_name] using http://Classic Zcar Club mobile1 point
 -
 1 pointFinishing up the doors with NOS Door panels that I picked up in 2014 from Fishcreek Nissan in Canada..
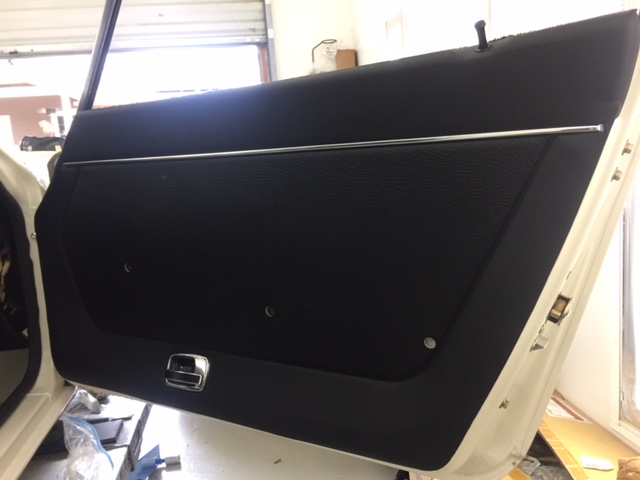 1 point
 -
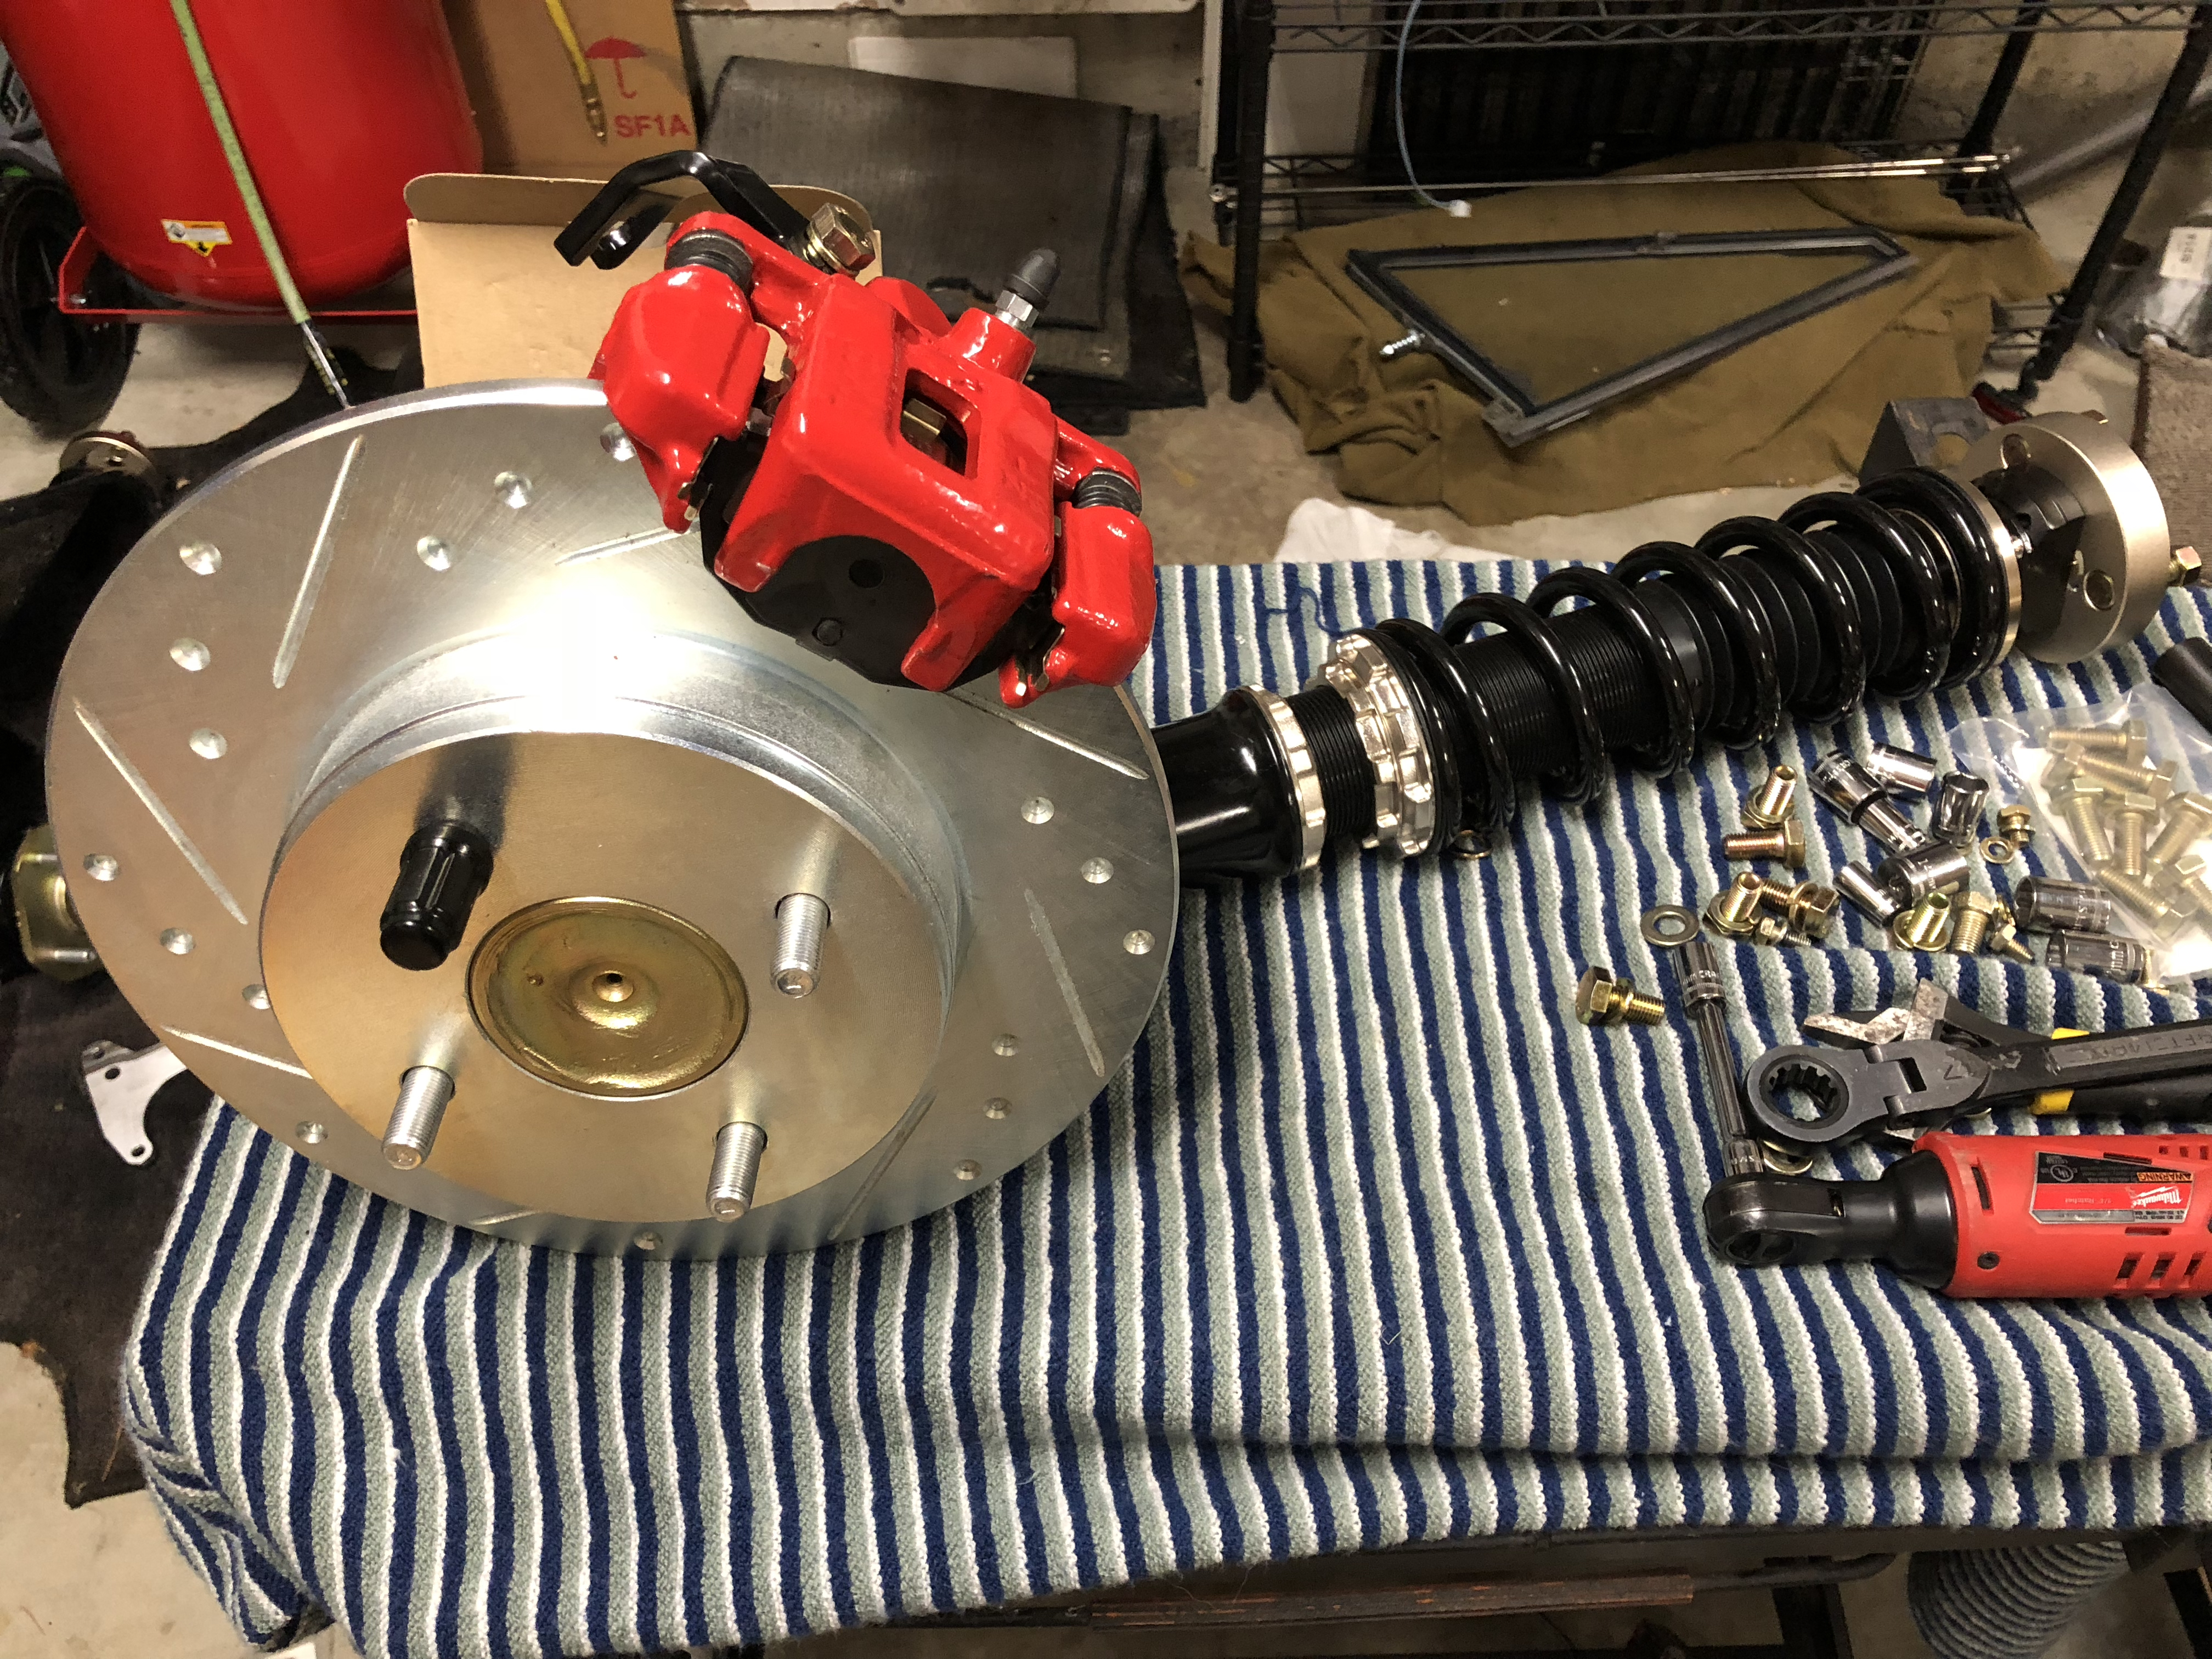
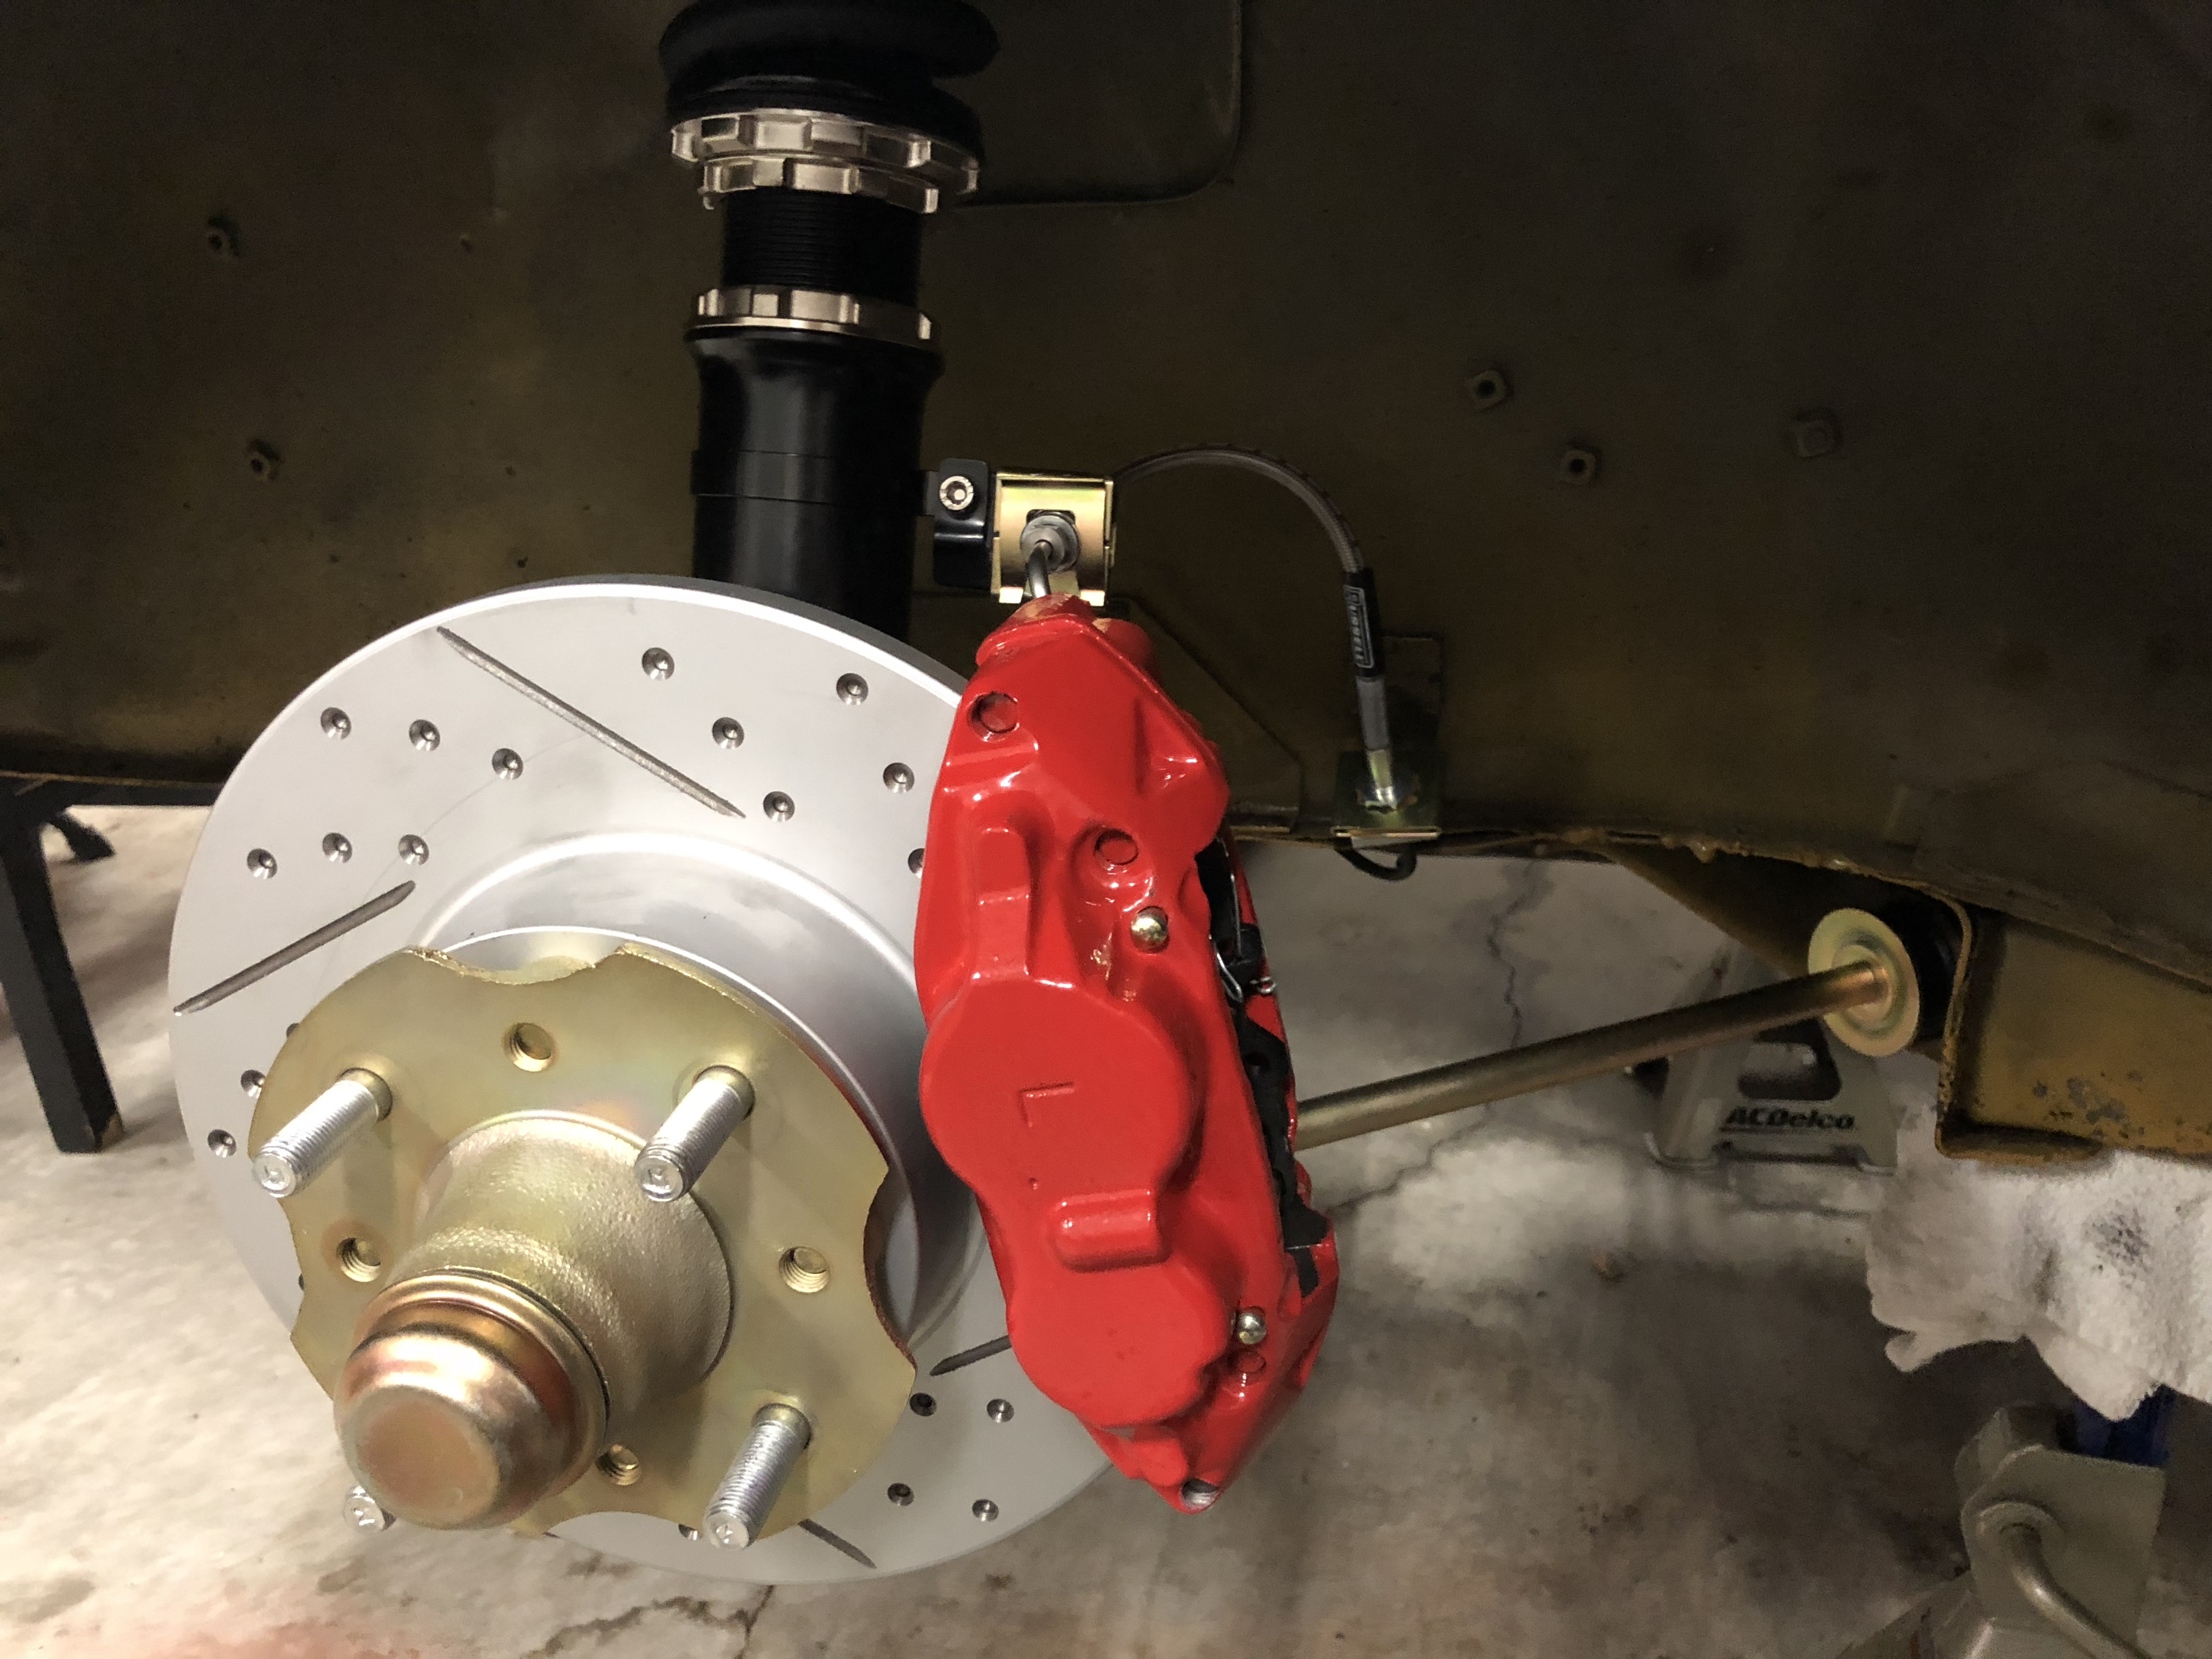
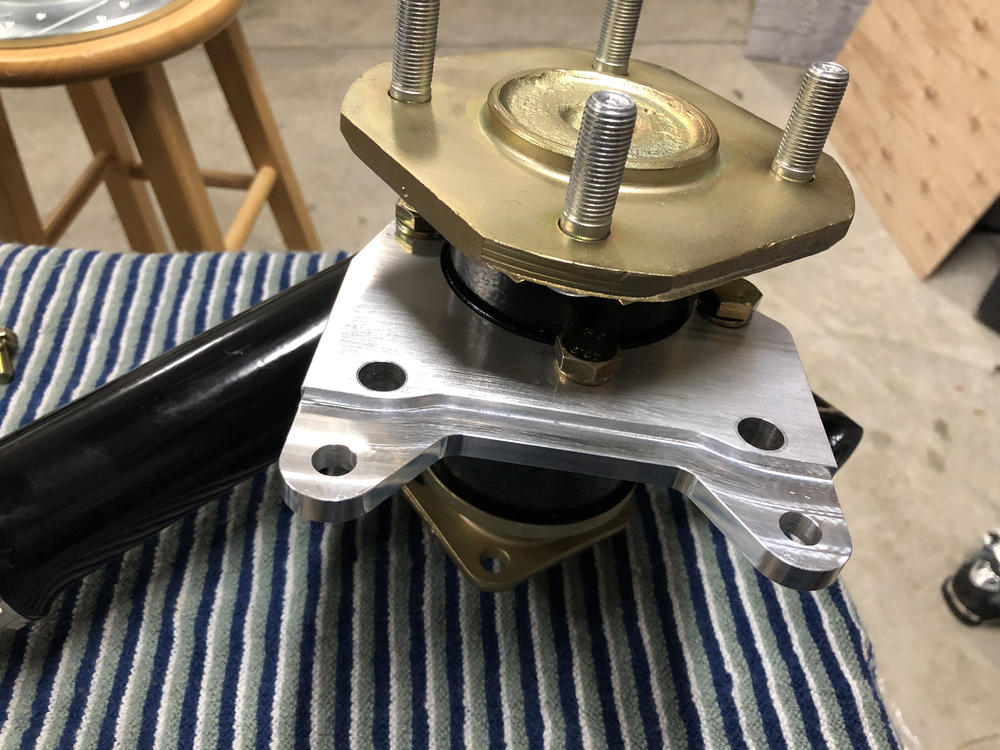
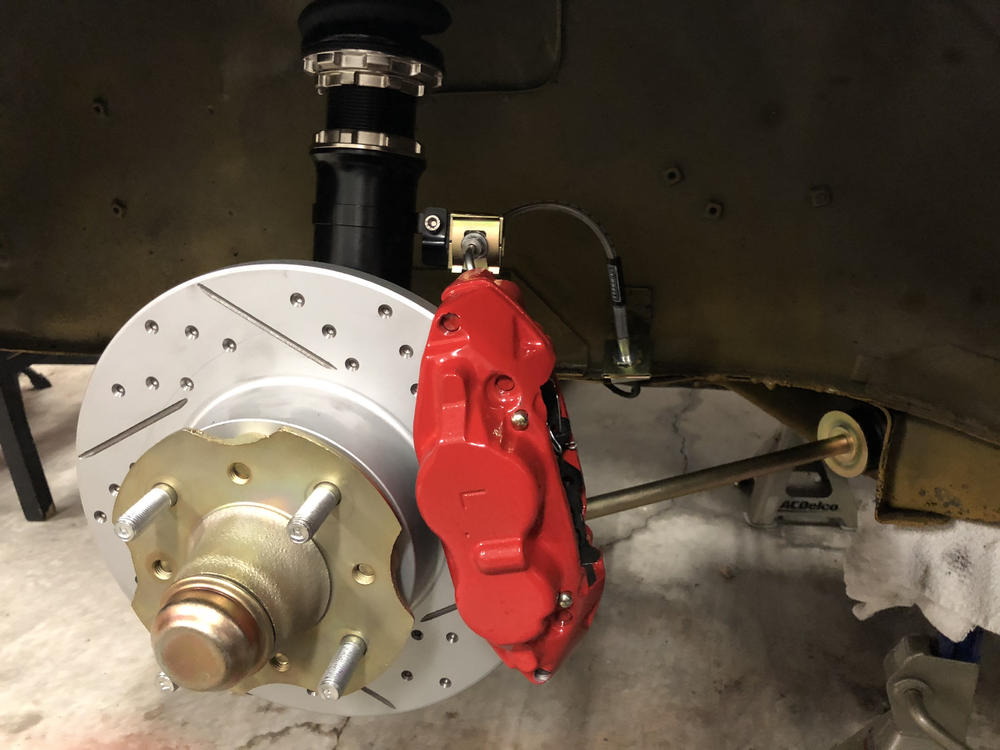
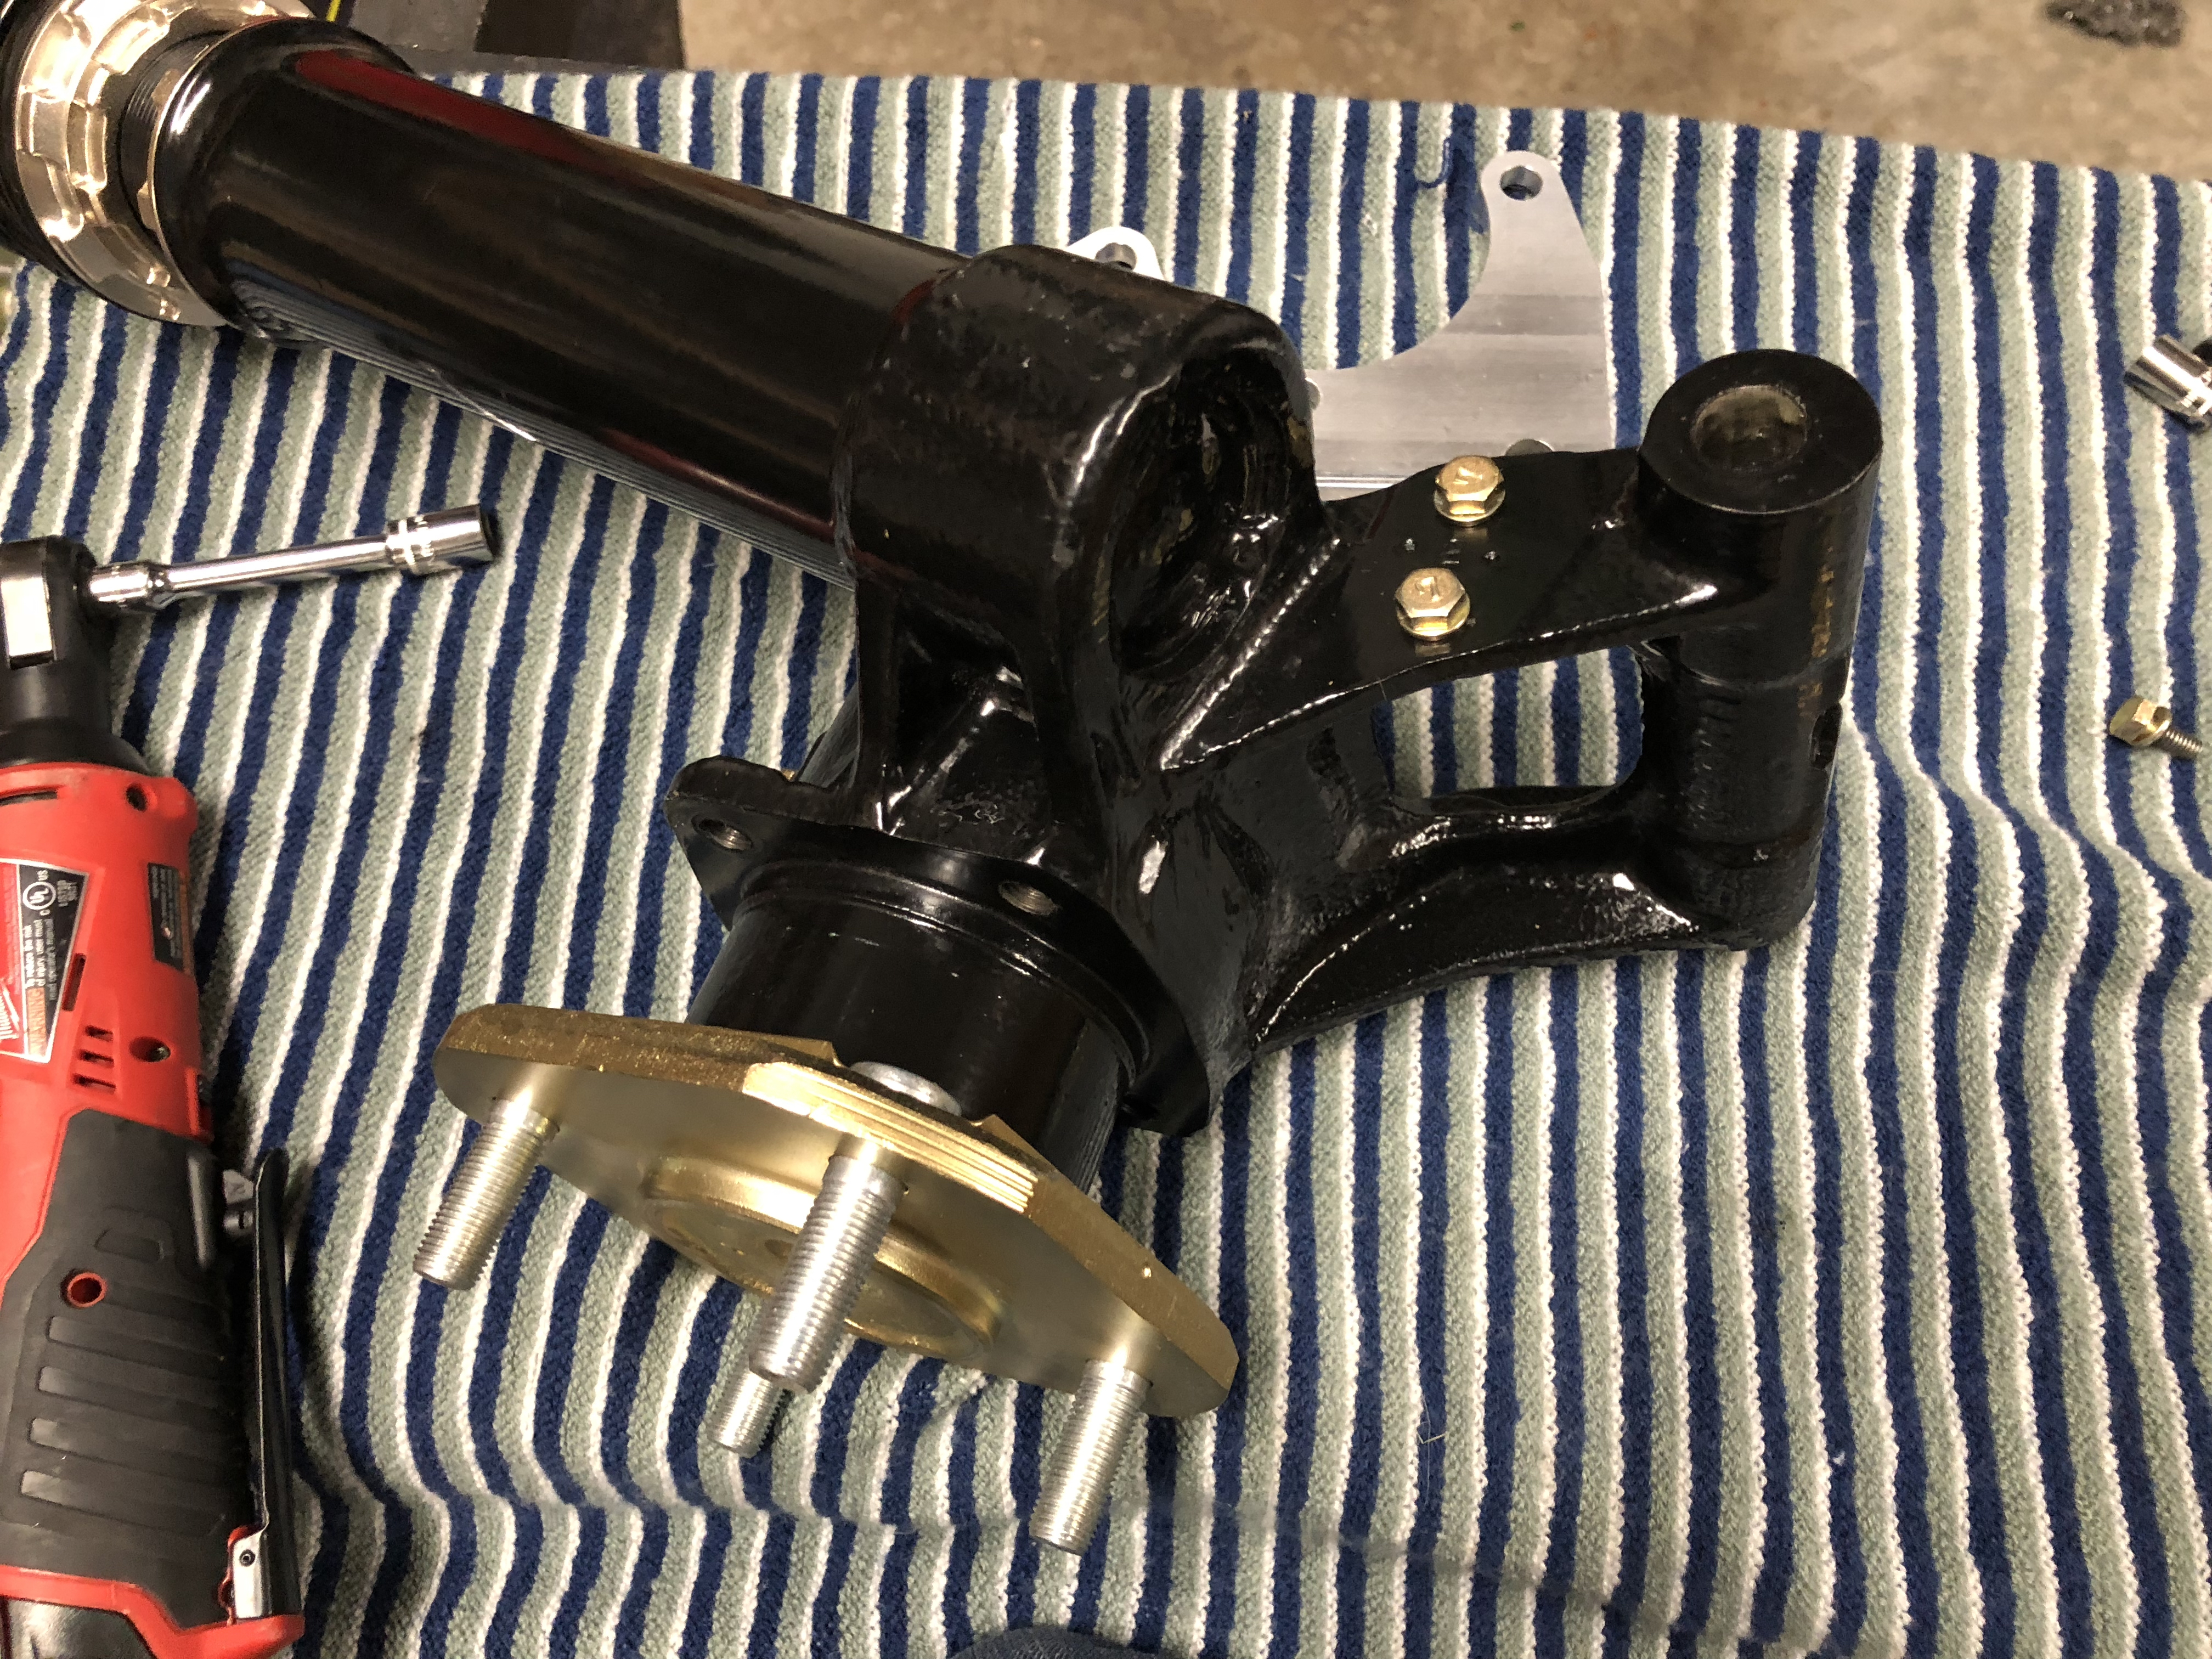
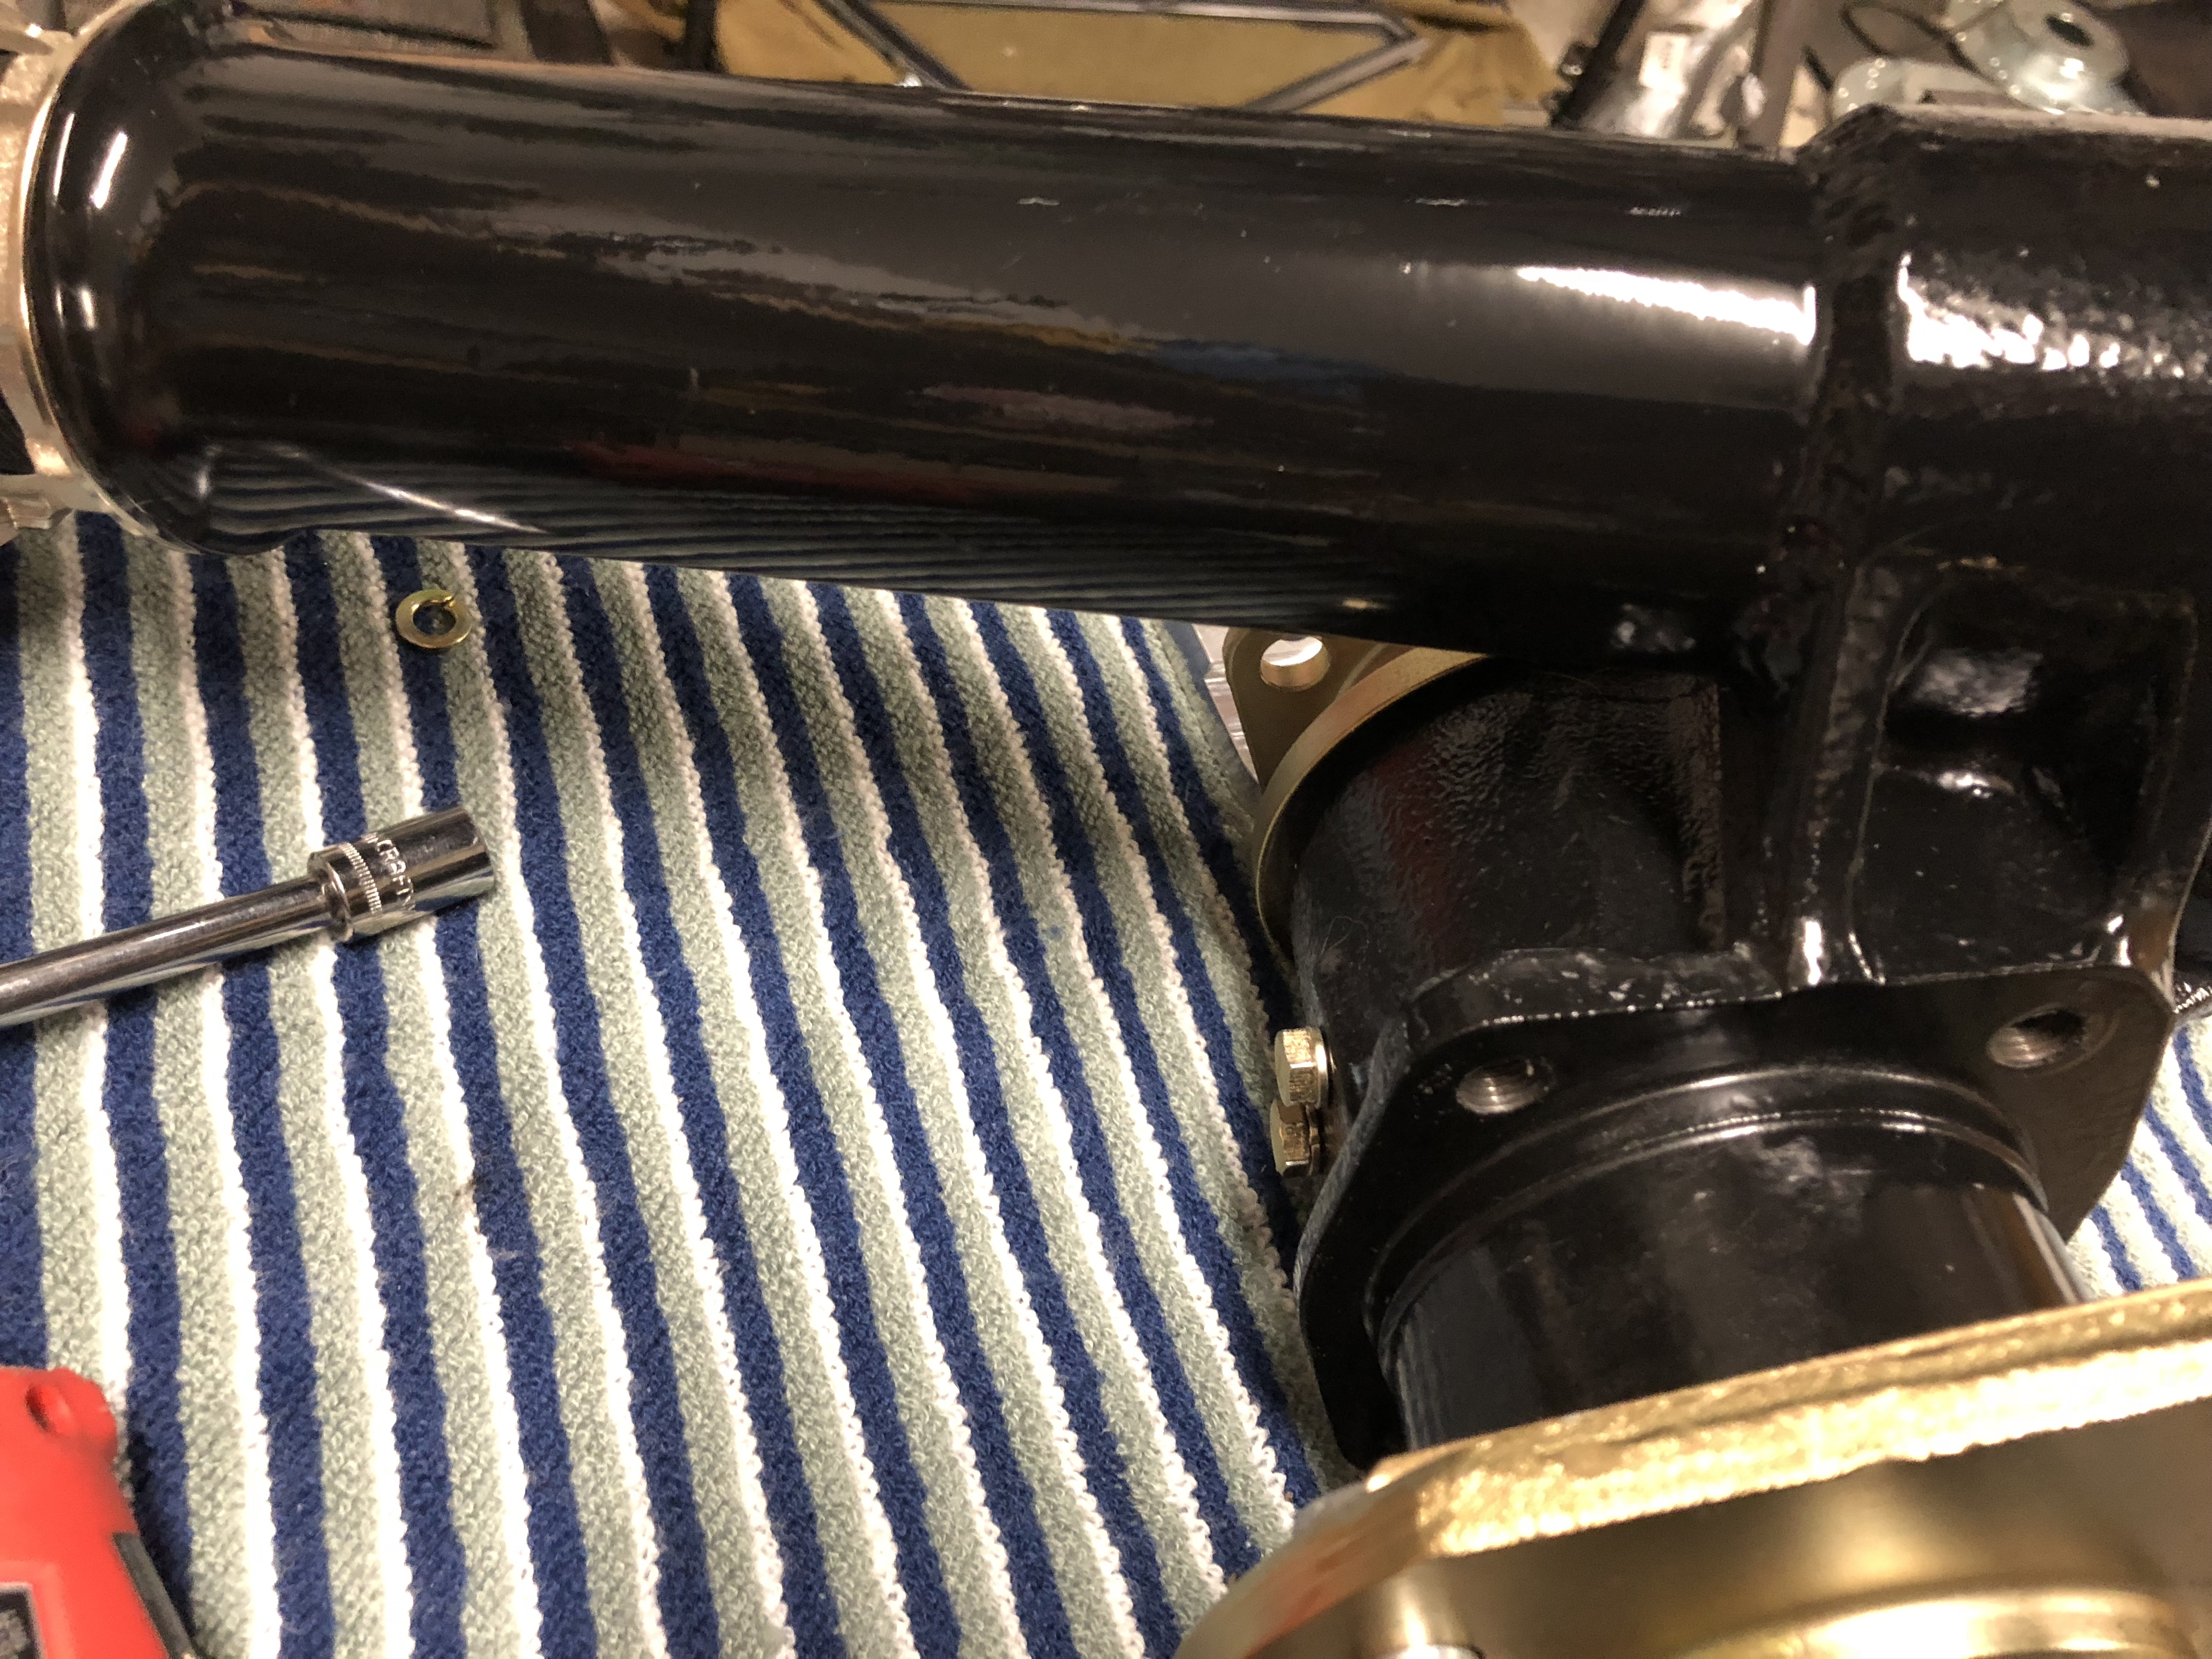
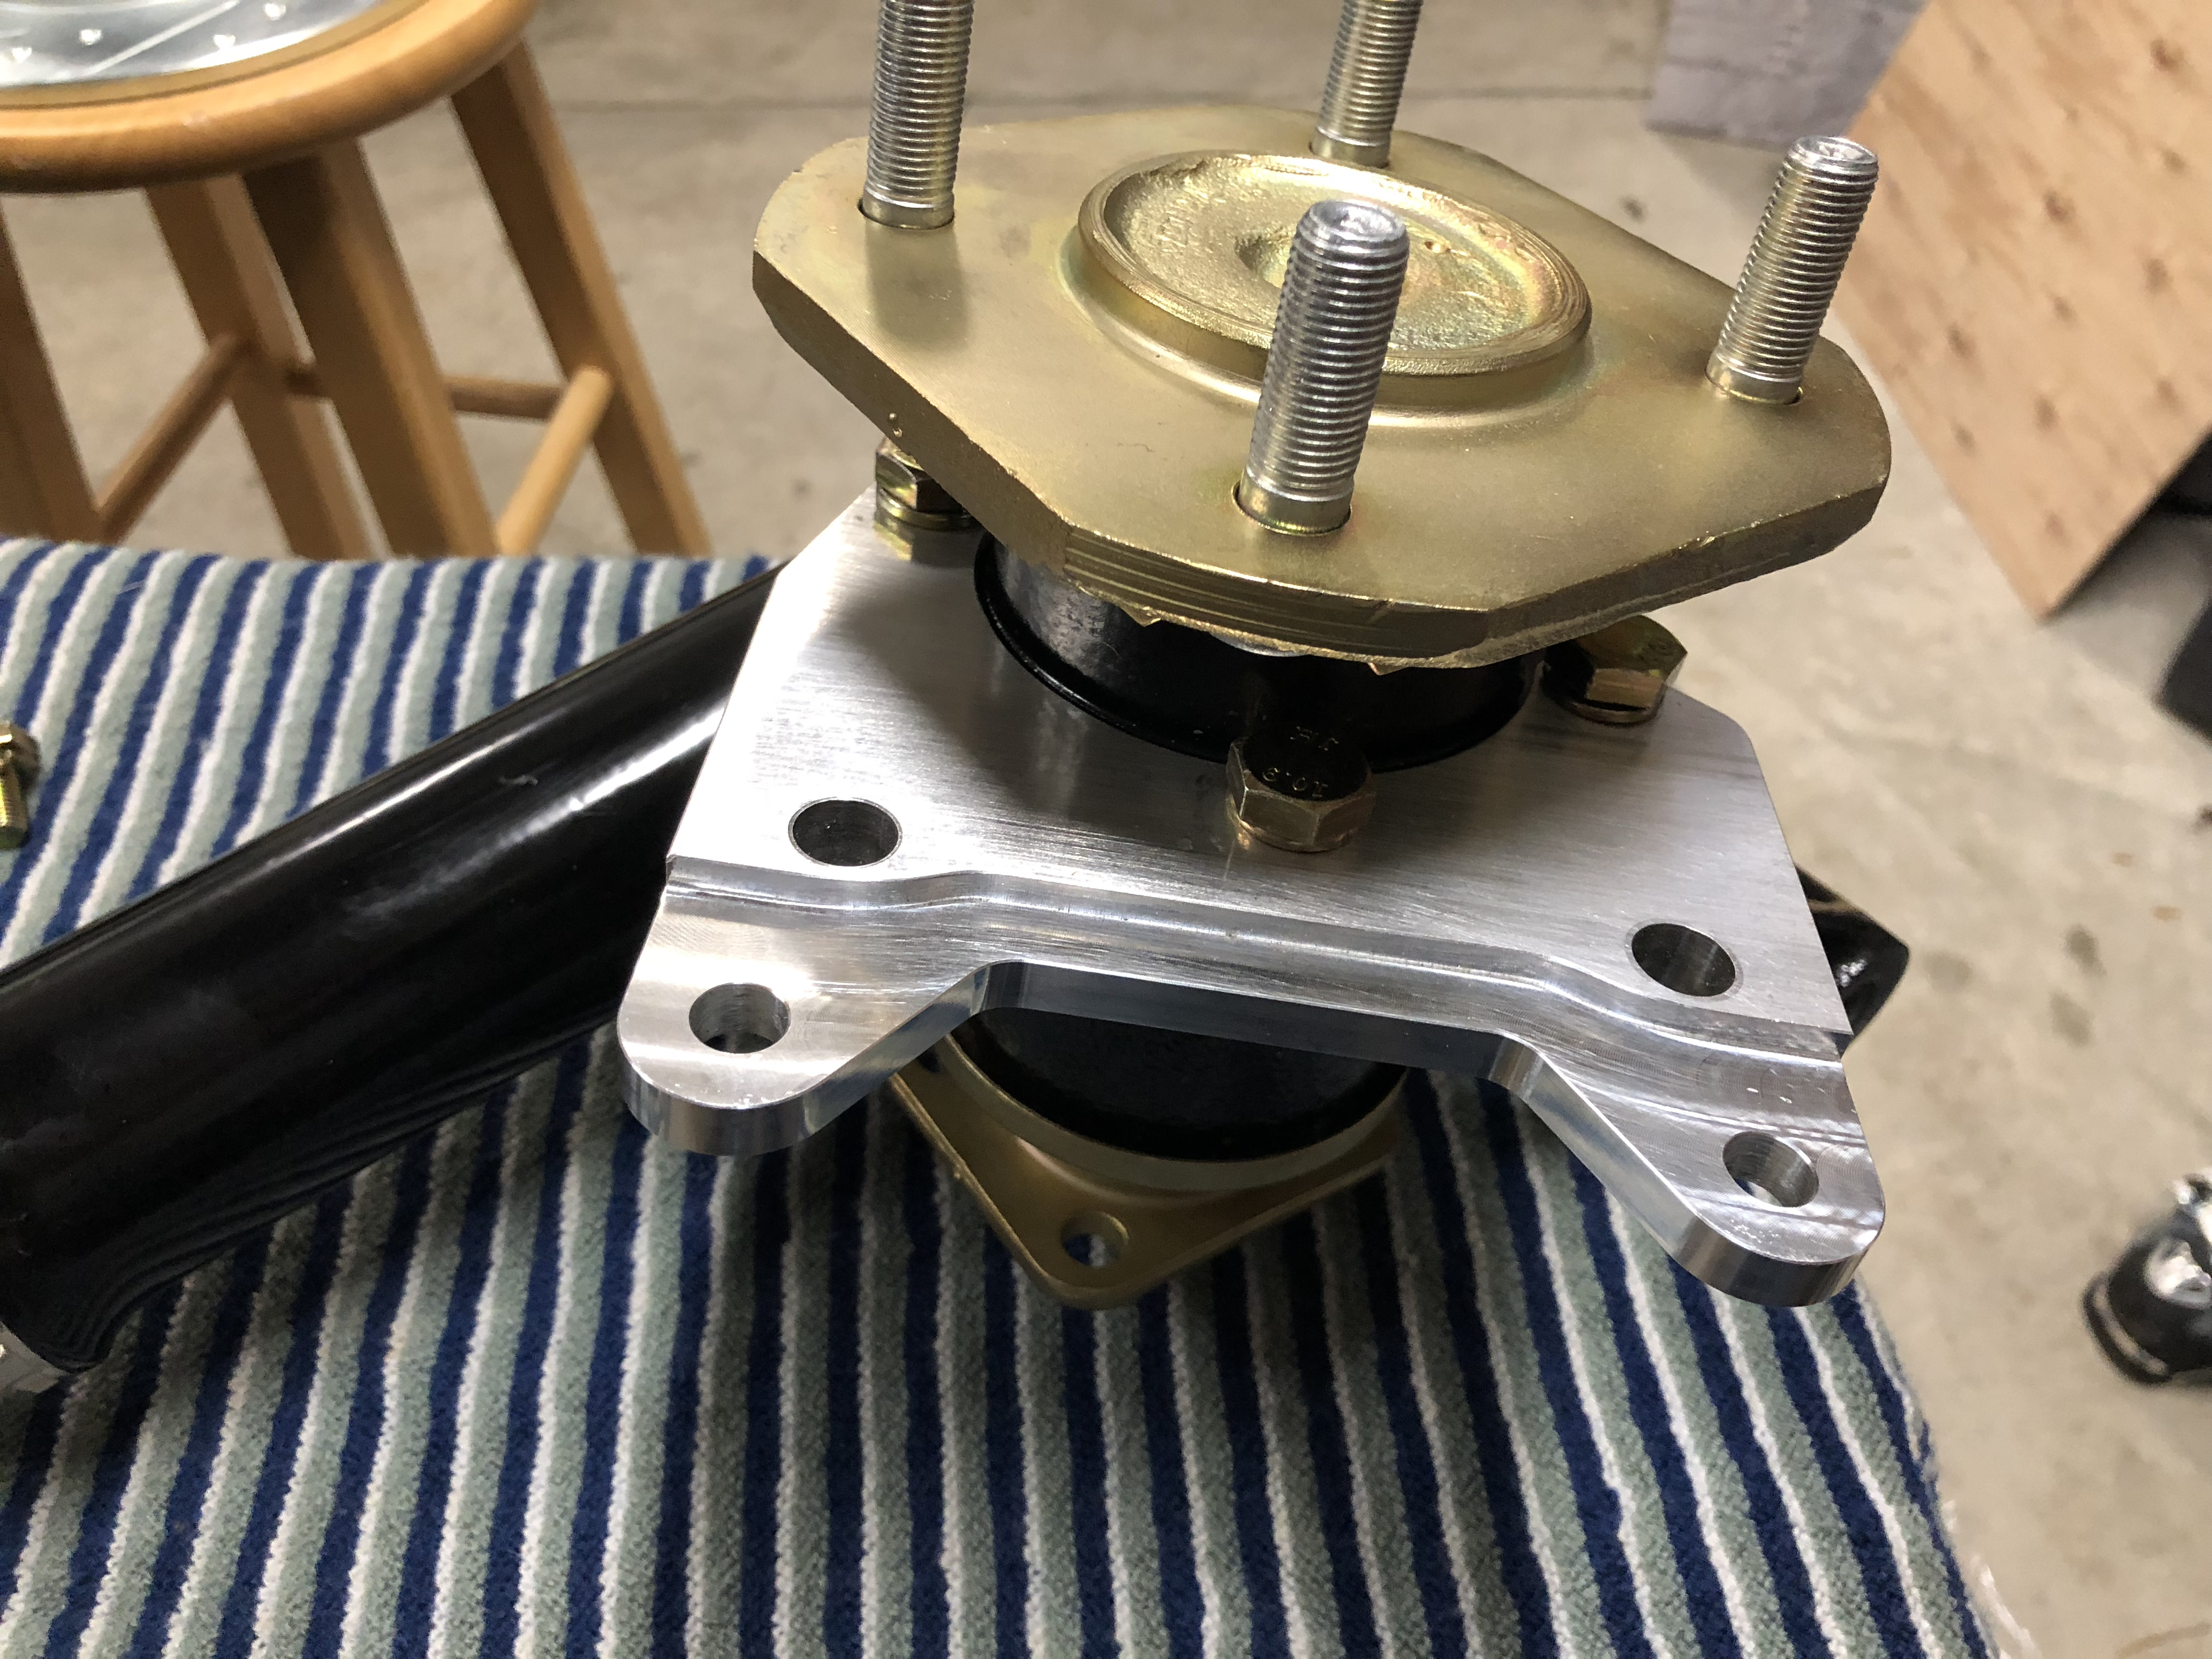
 1 pointGot the rears ready to install and the fronts hoses all installed. Making progress!

.thumb.jpg.4b13de0c803d155ac6f74058fd1b0c69.jpg)

 1 point
 -
 Guy, I consider my son and I pretty good mechanics, but installing an LSD and getting all of the preloads and backlash correct is probably out of our element. Not to mention that I probably don't have all of the right tools either. I would definitely have it installed and setup by a pro. And as @7tooZmentions will preserve your warranty as well. Also, and I am far from an expert on this, but there are also different types of LSD's depending on the kind of driving that you are going to do. The Quaife is based on a gear design and is a 1 way LSD meaning that it locks under acceleration and free wheels during braking. This was recommended for basic spirited street driving which is why I went that way. The OS Giken is a clutch based design and can be configured as either 1 way, 1.5 way, or 2 way where the 1.5 and 2 configuration provides either moderate or full lock under braking which is useful for tracking or drifting. On the 180 vs 200 I decided that seeing I was going to change anyway and do have more HP than a stock setup, the 200 made sense and it wasn't really any more money except for the fact that I had to change the mustache bar as well. It in end it was probably a bit of an overkill for my application but I should never have to worry about it again. If you've got more questions on the different types of diffs, etc I'd recommend talking to Mike at Whitehead. He was extremely helpful and informative when I was in the decision process and definitely knows the S30 platform. Hope that helps. Mike.1 point
 -
 Rolled her out today to get some parts out of my tiny garage. Put the rear spoiler on with tape to get an ide of what it will look like (still needs some tweaking and to be painted).


 1 point
 -
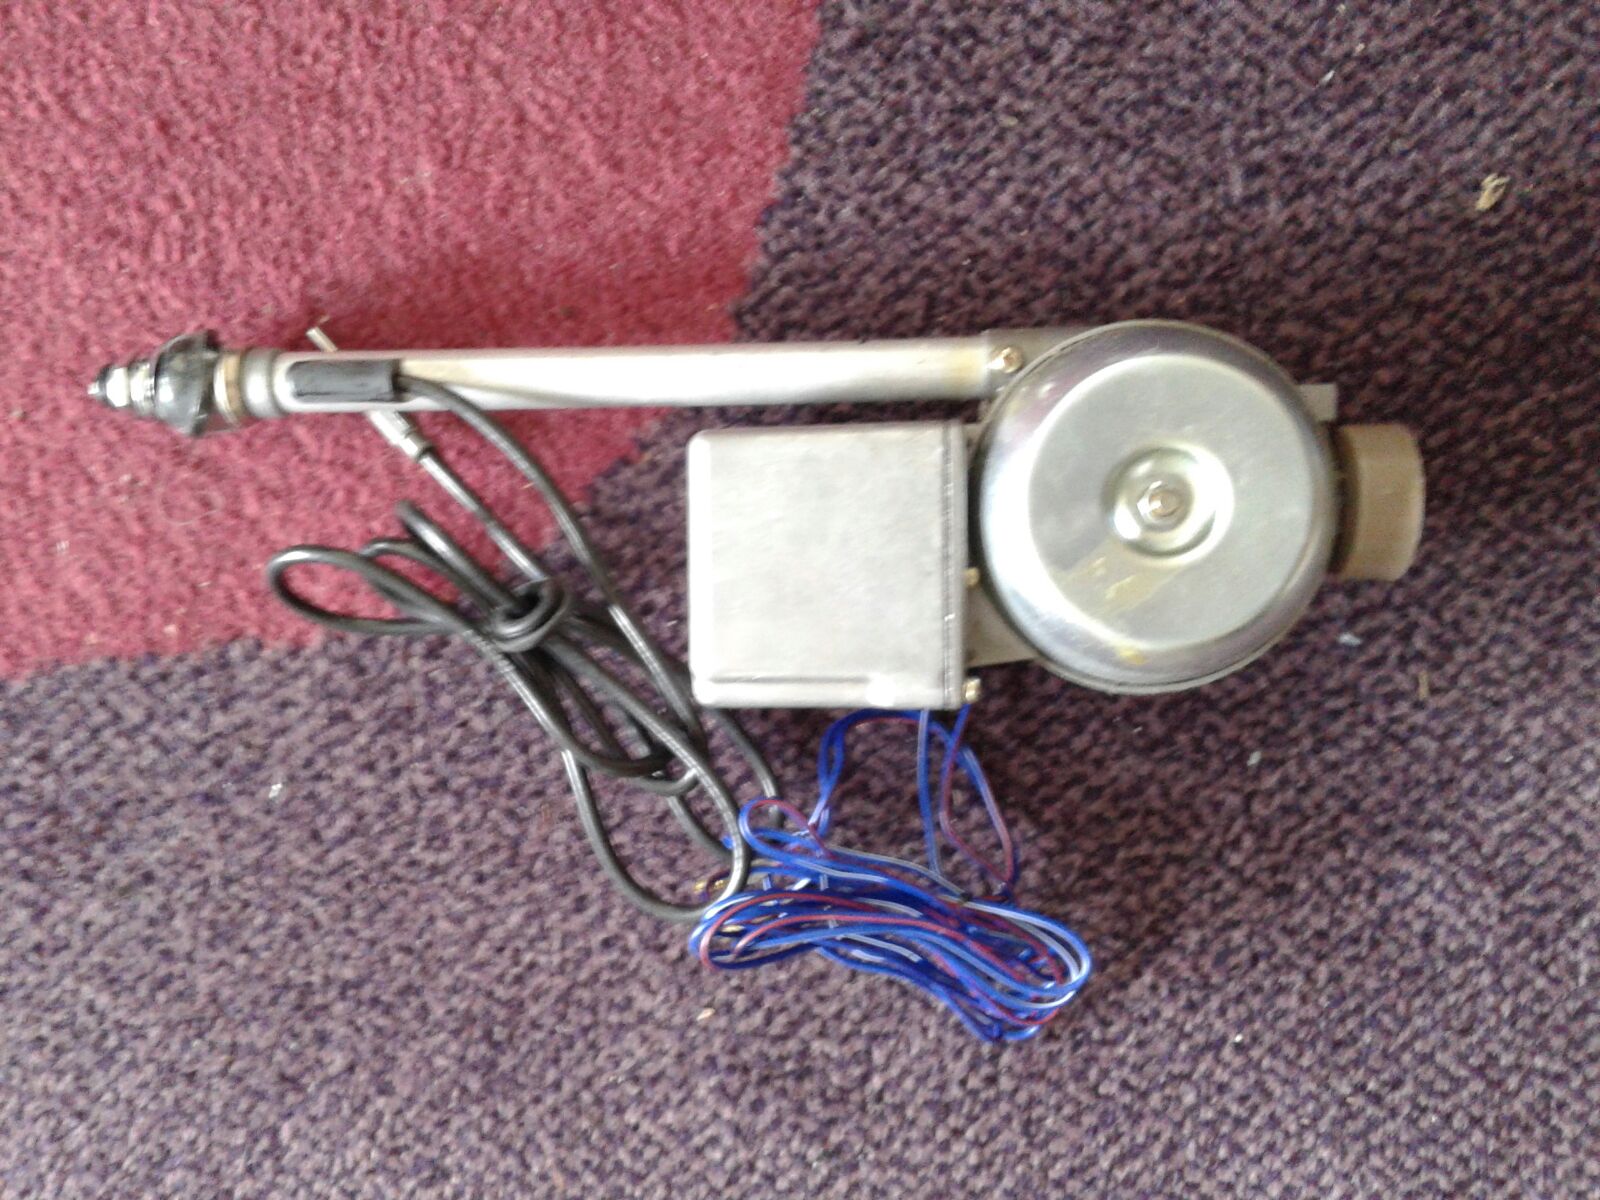
 1 pointFWIW... here a new Harada antenna i'll be using for my 280zx.. i've got one extra for sale.. new.. with 3 pos. toggle switch.
 1 point
 -
Hi Jesus. You have been working on this problem for a while now and it must be very frustrating. It would frustrate me, and that is putting it mildly. I just read through this thread again and some things are not clear to me. Can you answer some questions to give us and idea were you are at. We have not seen the car, so we need your feedback to give any kind of usefull advice. 1. You changed the distributor to a 79 280ZX (D6K9) with built-in TIU. Are you still using the distributor with the external HEI module? 2. The ballast resistor is now bypassed. In our pm conversation. 3. Did you replace the coil with a 12 volt coil, one with 0.6 to 1.0amp specifications? 4. Did you check the ground wires at the battery? Wires to the body and to the ECU are not swollen and distorted. That is a sign of corrosion under the insulation. Check the connection for corrosion in the spade terminal plugs. 5. While you are at it. Check the fusable link spade terminals on the ECU positive wire. They corrode too and can cause voltage drop to the ECU. 6. Have you installed a fuel gauge to confirm the fuel pressure is ok? The fuel filter is NOT only one thing that can cuase presuure to fall away. 7. Did you a "yoghurt cop" test to confirm you don't have a really bad vacuum leak? 8. Have you tried turning the distributor while starting it, or rotating it back and forward and testing if it runs? Replacing the distributor, the timing could be way off. 9. Does the tacho work when it does run for a brief couple of seconds? Do you know what the PO has done? He changed the engine, but did he change anything else? ECU, wiring harness etc. Here is hoping you get it solve and up and running soon.1 point
-
Inspect for a cracked boot between the afm and the tb, black silicone works wonders.1 point
-
 1 point
 -
 Don, I wanna thank you for your offer. It was very nice. This is a great forum, full of helpful and generous people. I am using Dave’s (Zs-Ondabrain) rebuild service. He sent me a pair of loaner switches while he works on mine. He put my rebuilt switches in the mail yesterday and I should get them early next week. I will post how it all went. Sent from my iPhone using Classic Zcar Club mobile1 point
 -
 1 point
 -
 1 point
 -
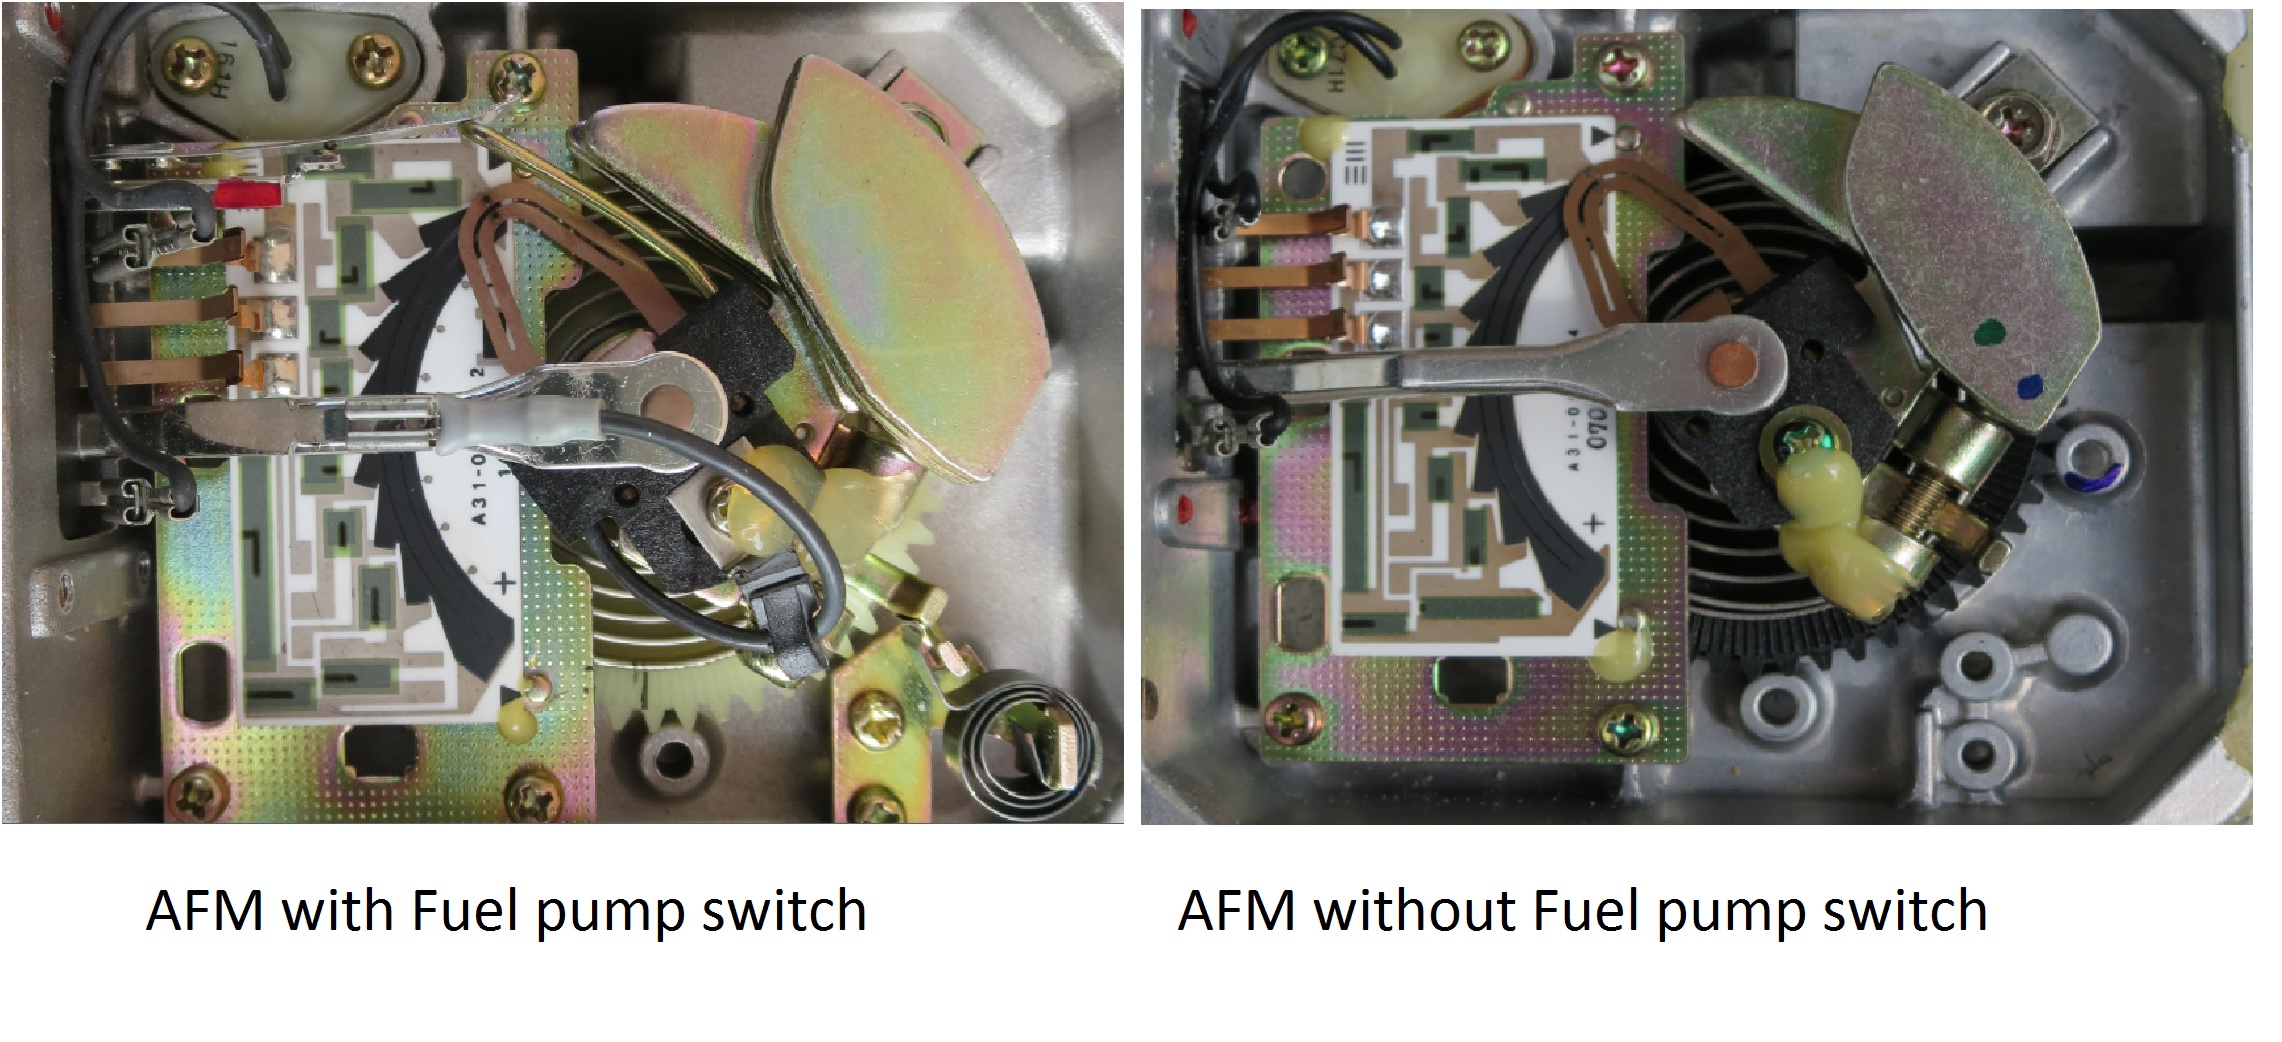
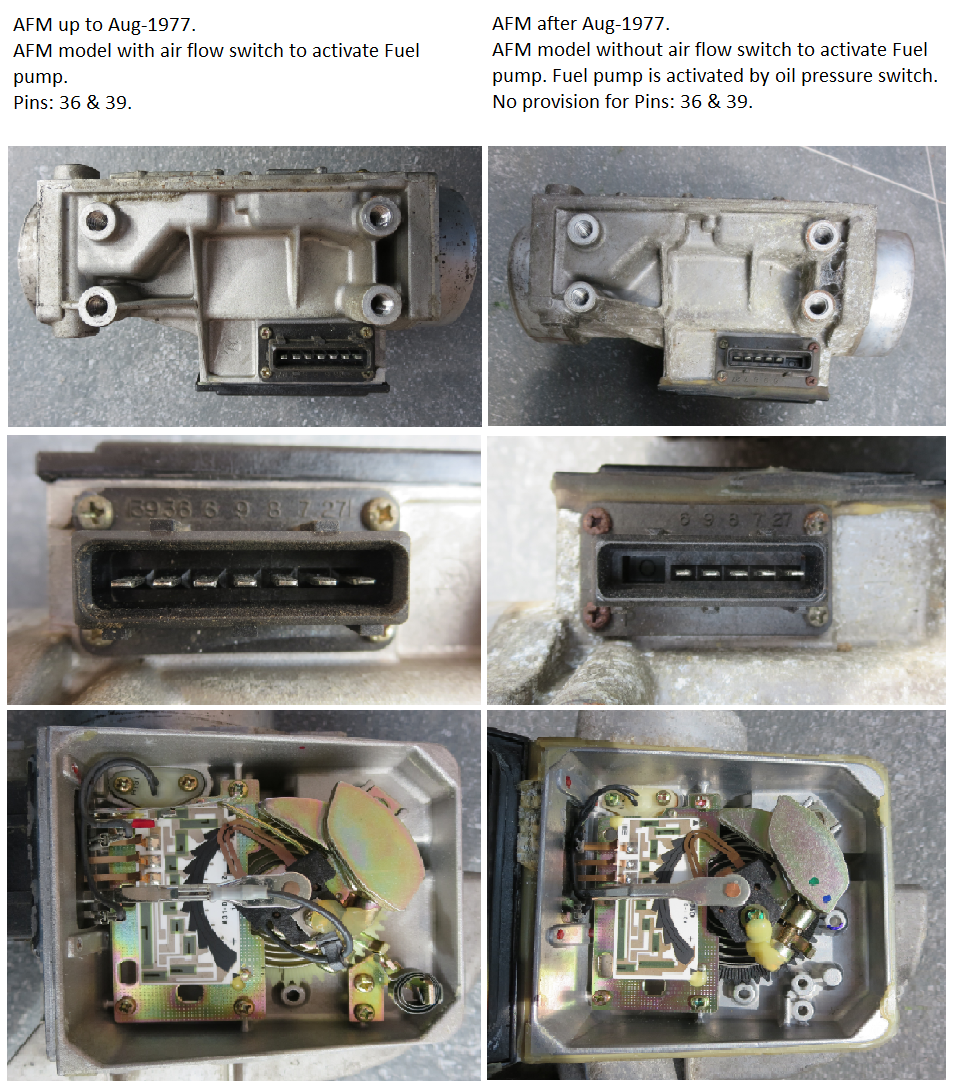
Yes, What do you mean by diconecting the AFM? If you mean disconecting the 7-Pin plug, then yes it will start, but it will never run more than a couple seconds because the fuel switch is in the AFM. The fuel pump is activated by the key contact when it is in start position and after that it is operated by the contacts in the afm. What was it doing before you disconectdd it. Would not fire at all or ?? Interesting adjustment method on the 76 model. It uses a screw on the counter weight like the 78 where the 77 has a tab in the housing. Not helping you any, but just interesting to note the small changes.

 1 point
 -
I believe I found the problem! The outlet passage on the w/p was completely plugged up with a yellow/green substance, I'm assuming dirt/rust mixed with anti freeze. Poked at it with a screw driver and a whole bunch of very brown water came out, finished cleaning with a stubby round brush. Time to put er back together.
 1 point
 -
 Did you disconnect the AFM hose or the wires? Spend more time composing your post before you send it. Describing the problem will help you understand it too.1 point
 -
 1 pointAt its zenith (or maybe that should be 'apogee') in the 1970's, the encabulator was embraced by both the automotive and the aerospace industries. Check out this Rockwell promotional video from back in the day...1 point
 -
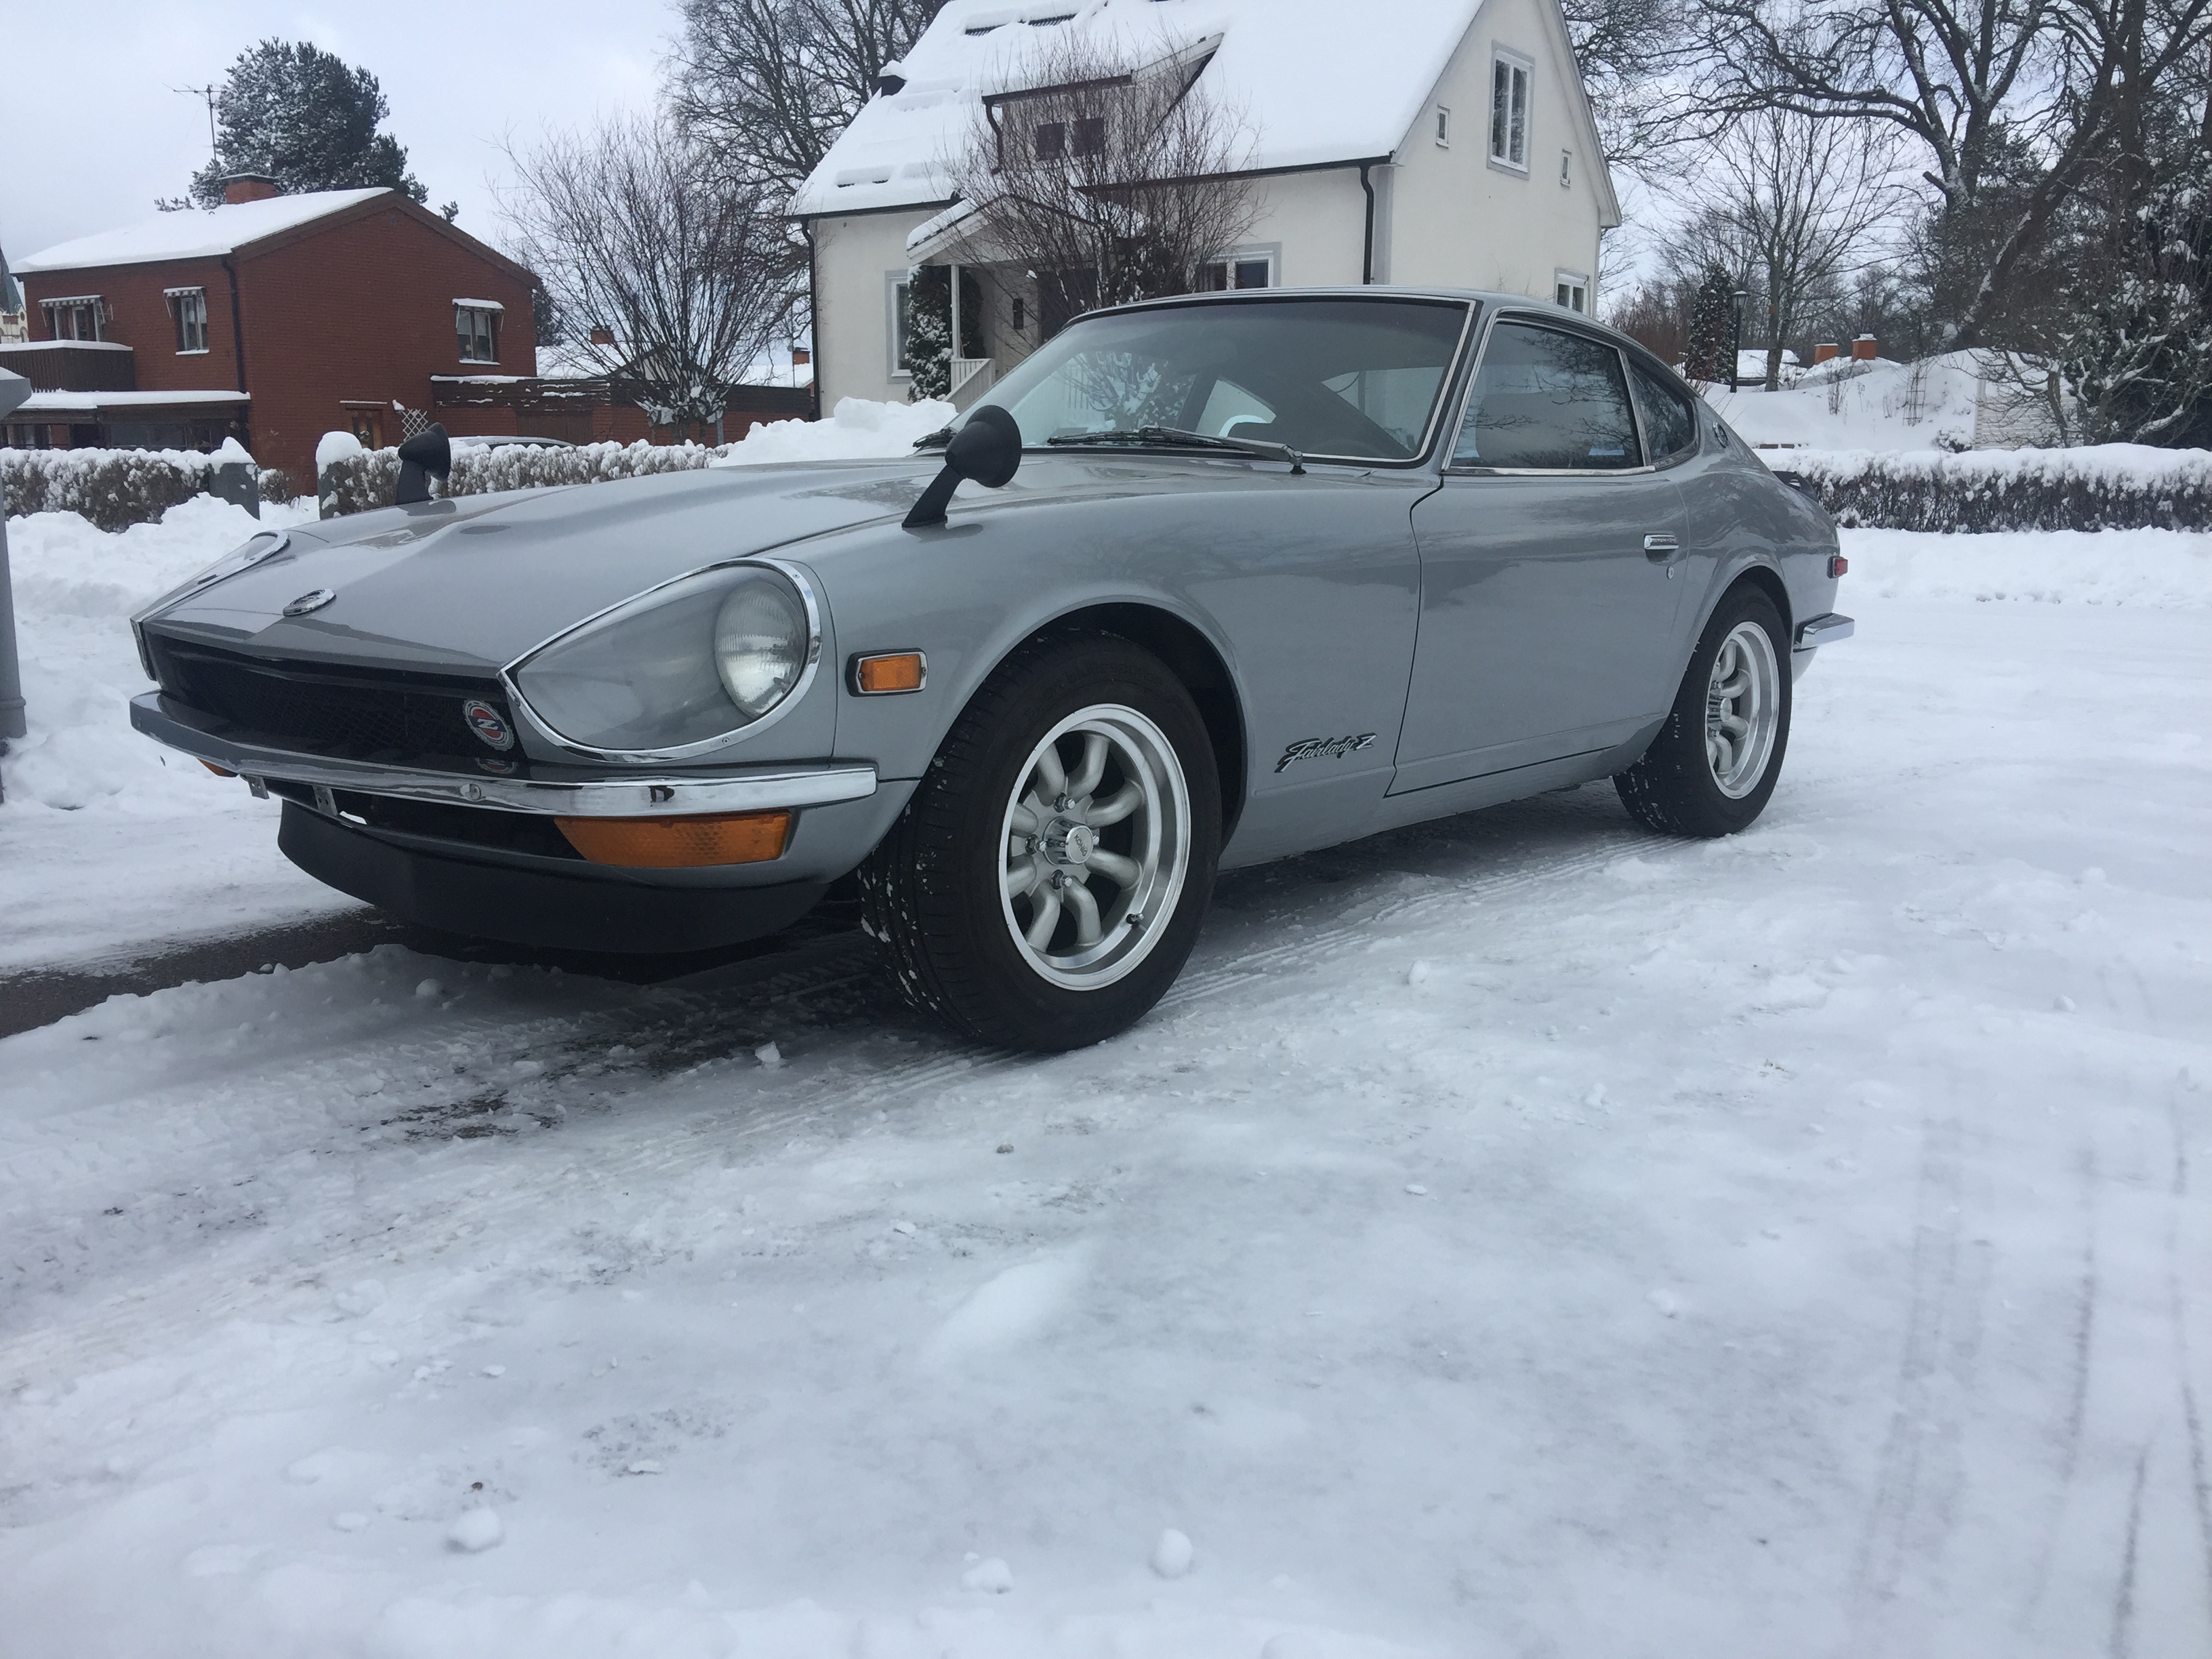
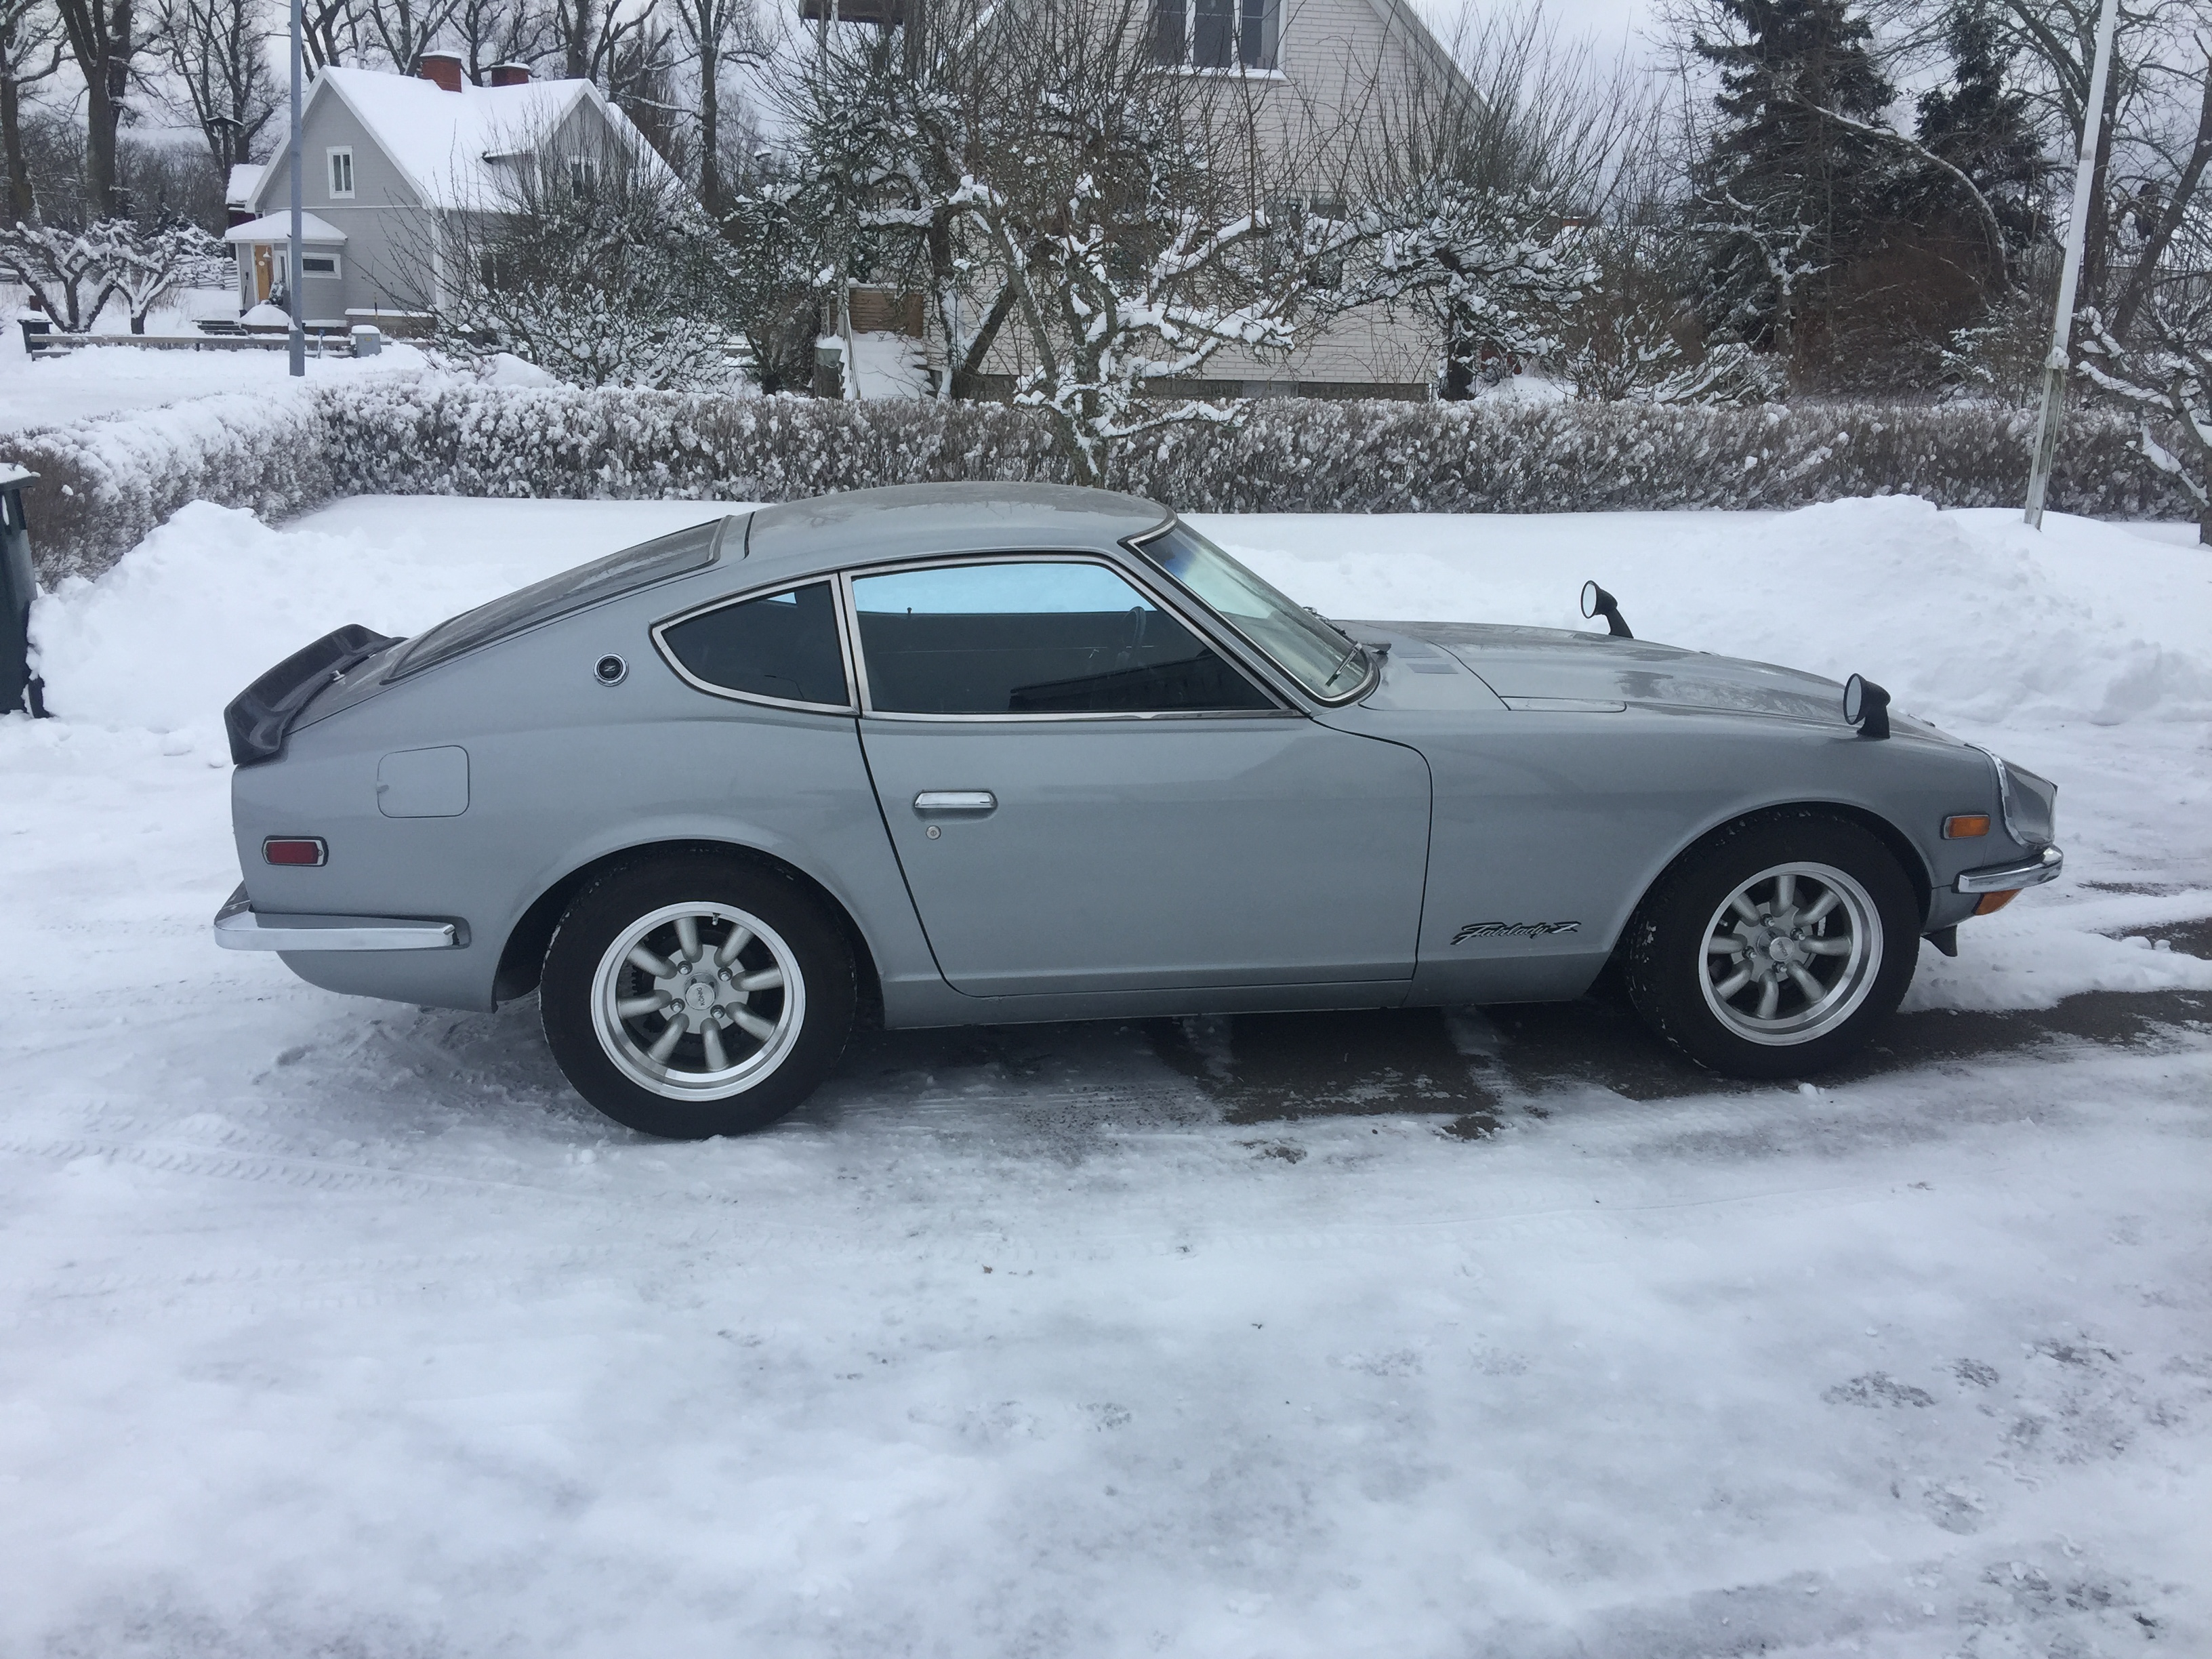
 1 point143, 269 miles no mods I am aware of - it looks like a chrome exhaust tip was added at some point. Car purchased by elderly father in 2016, driven very little since then. Previous owner maintained extensive records, nothing about modifications. car was garaged and driven in Arizona. Interior and engine photos to be posted soon.1 point


.jpg.24d7d6caadf1aac64beda4c15e9d3c7d.jpg)