Leaderboard
-

Captain Obvious
Free Member3Points9,843Posts -


Zed Head
Free Member2Points18,785Posts -


siteunseen
Free Member2Points14,903Posts -

psdenno
Free Member2Points2,623Posts
Popular Content
Showing content with the highest reputation on 02/08/2018 in Posts
-
2 pointsWhat do I do with them? I use them to attract dust. Lots of dust. So far, so good. Dennis2 points
-
I know it might not be an option for you, but I bought ACDelco part number 45G25036 from Rock Auto. That kit contains everything you need for one side. Two rubber bushings and all the metal pieces. Comes with metal tube, two large washers, two small washers, and a nut. Looks like this: But since you already have all the metal hardware, you would only need one kit. Use one of the rubber bushings on each side. Poly on the front, and rubber on the back. Looks like this: The rubber bushings have a wide side and a narrow side. The narrow side goes towards the frame of the car. It's hard to see the difference once everything is all smashed in place with the nut, but you can see the difference before it's assembled onto the car. The orientation of the bushings should look like this:2 points
-
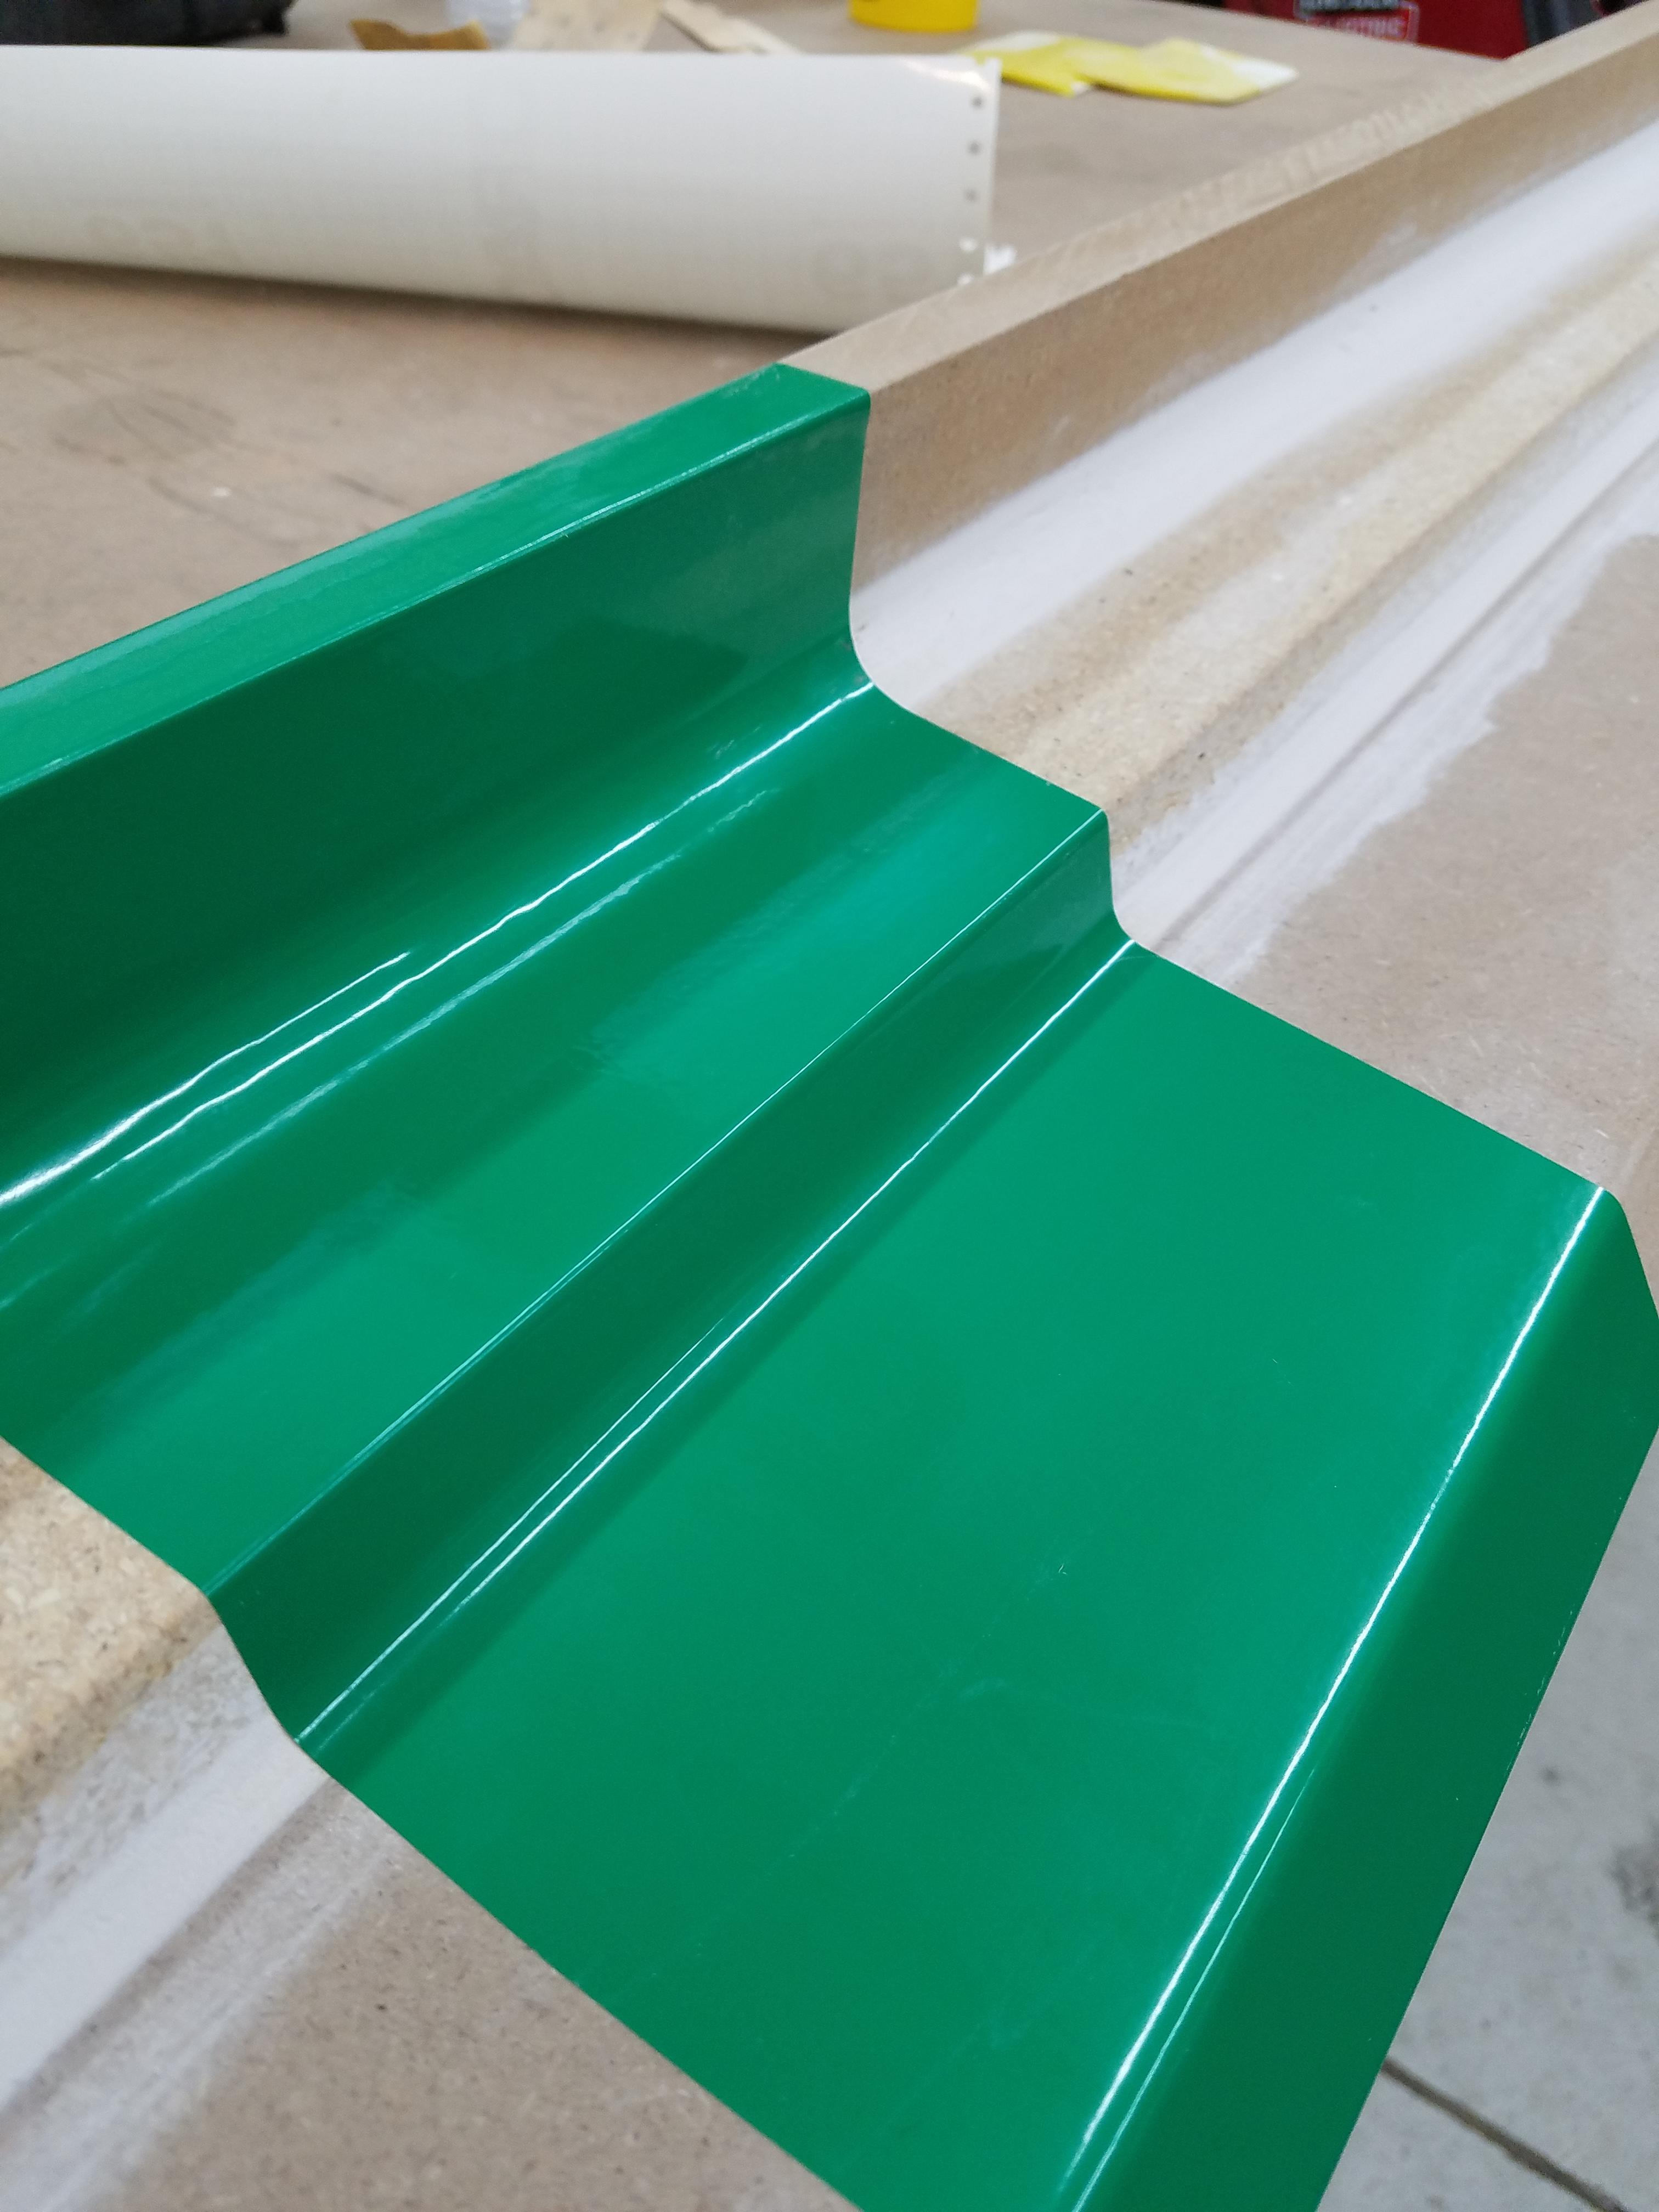
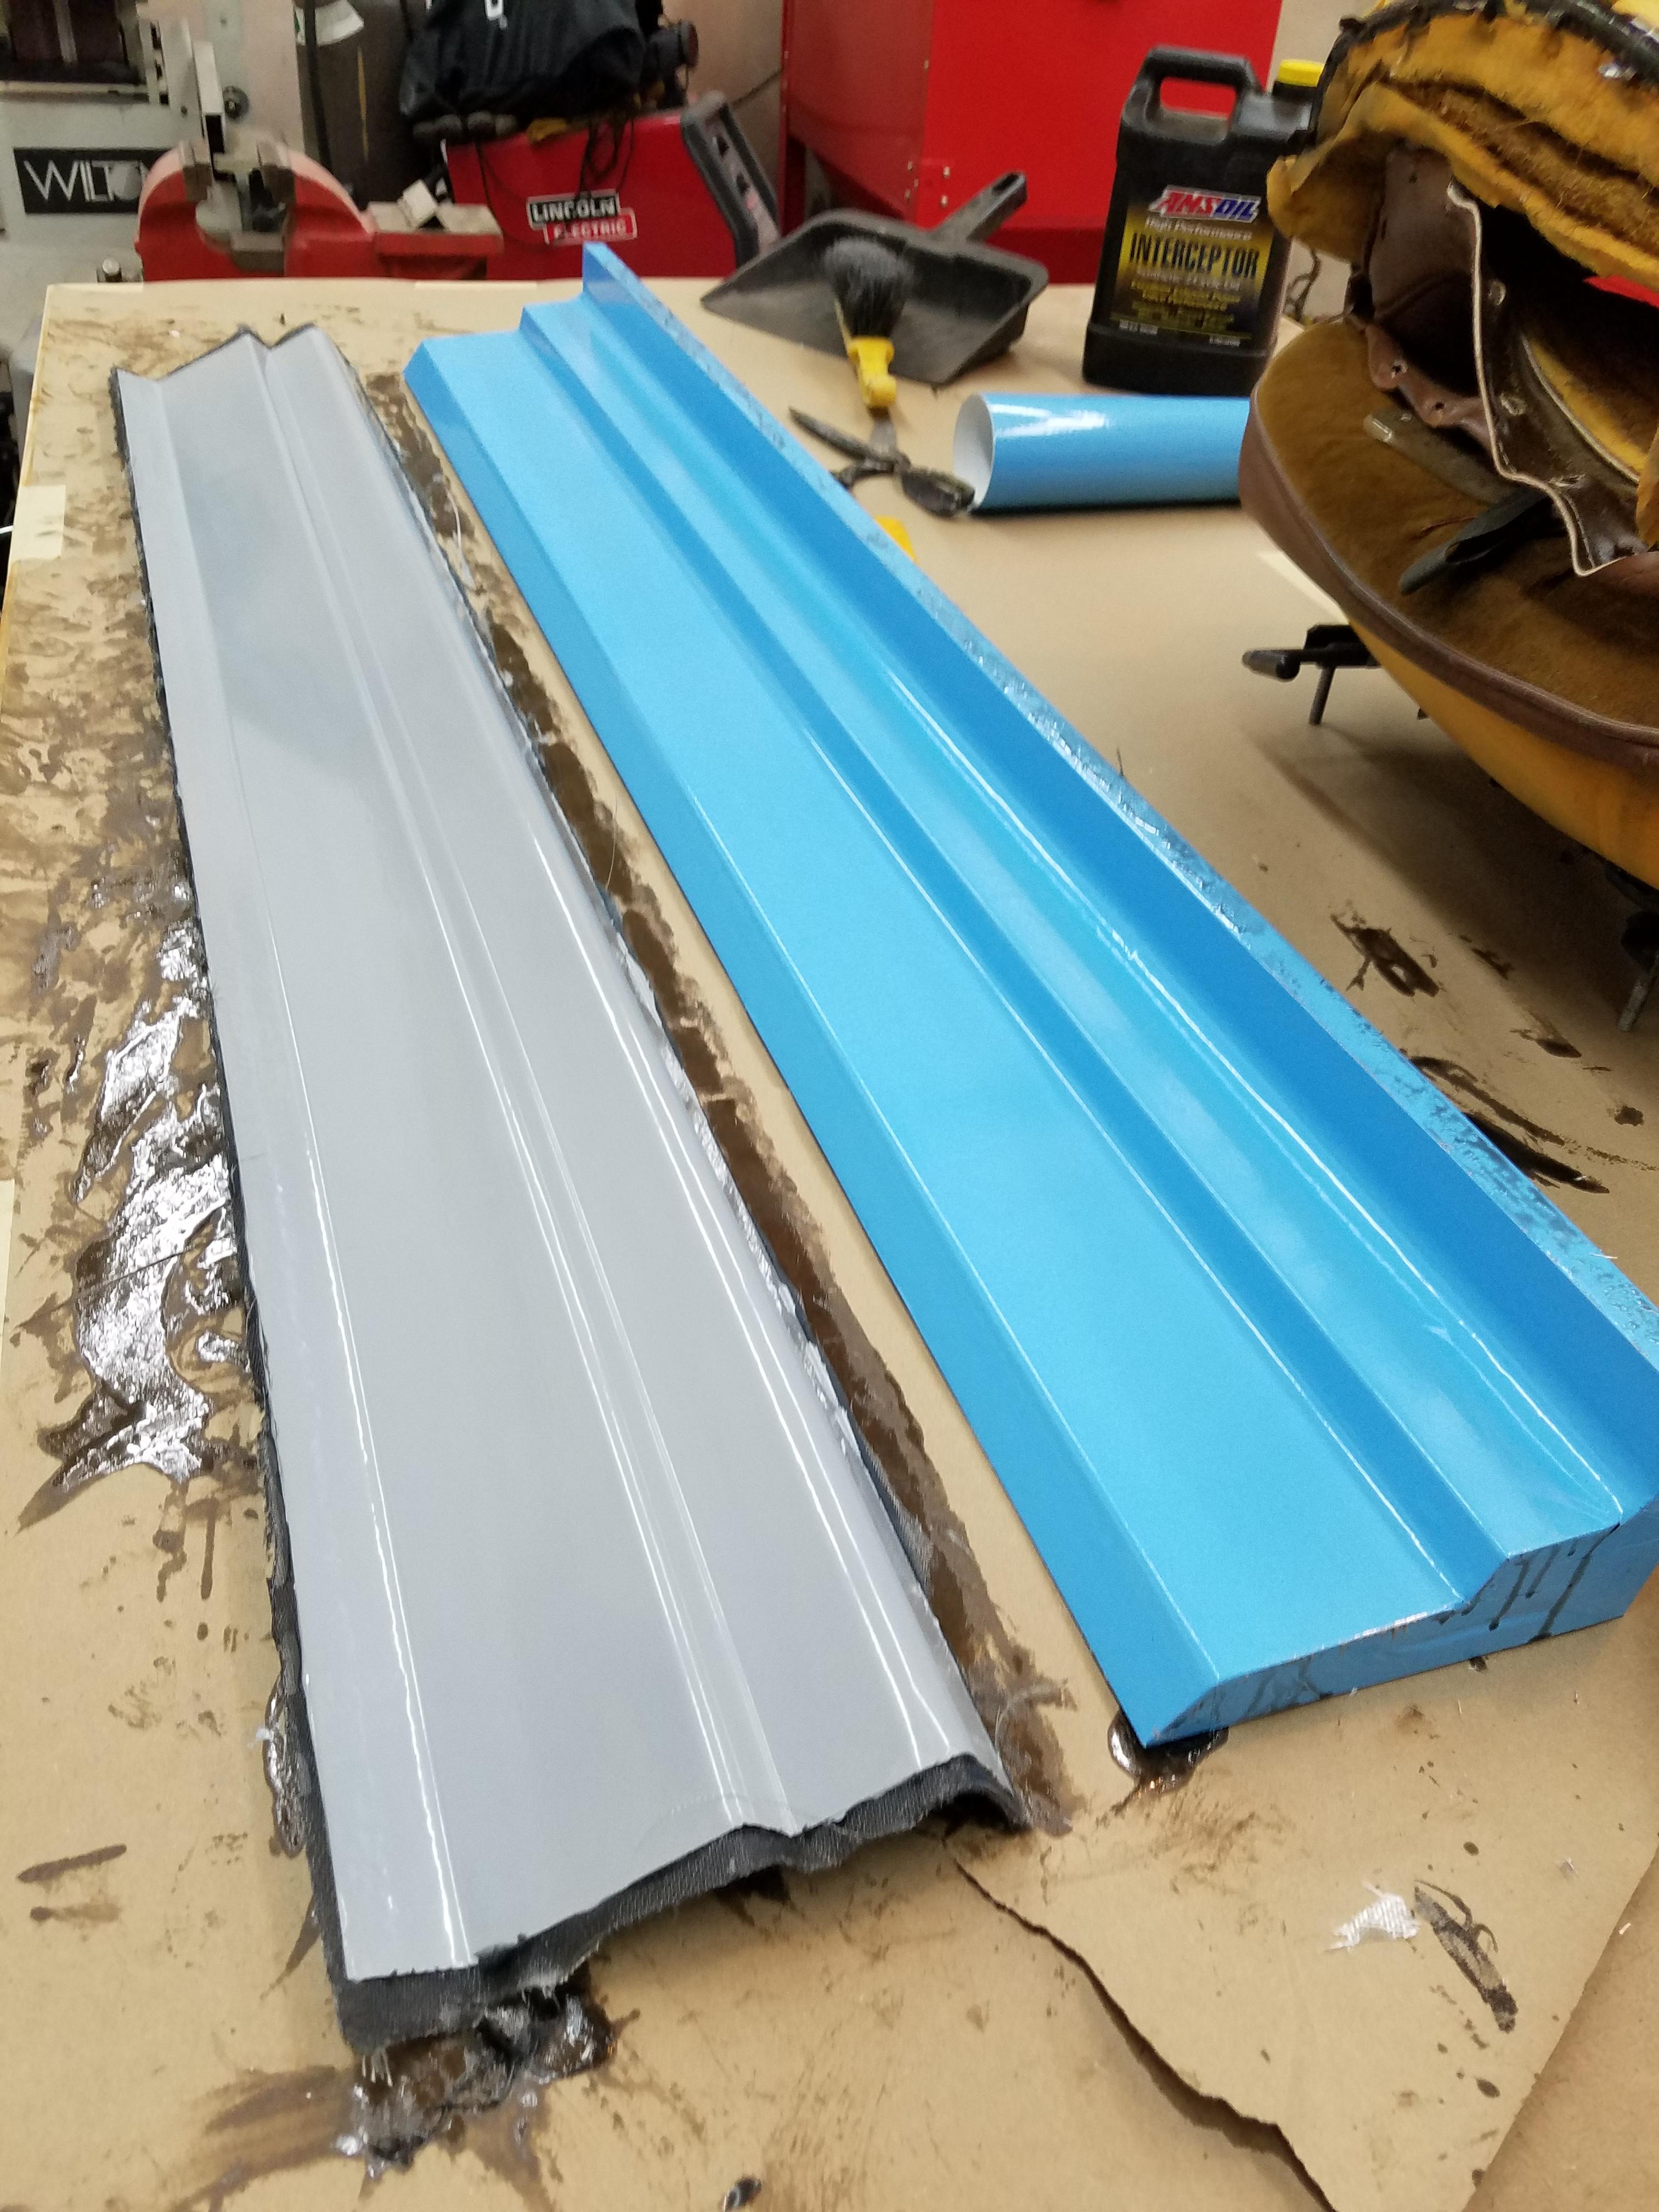
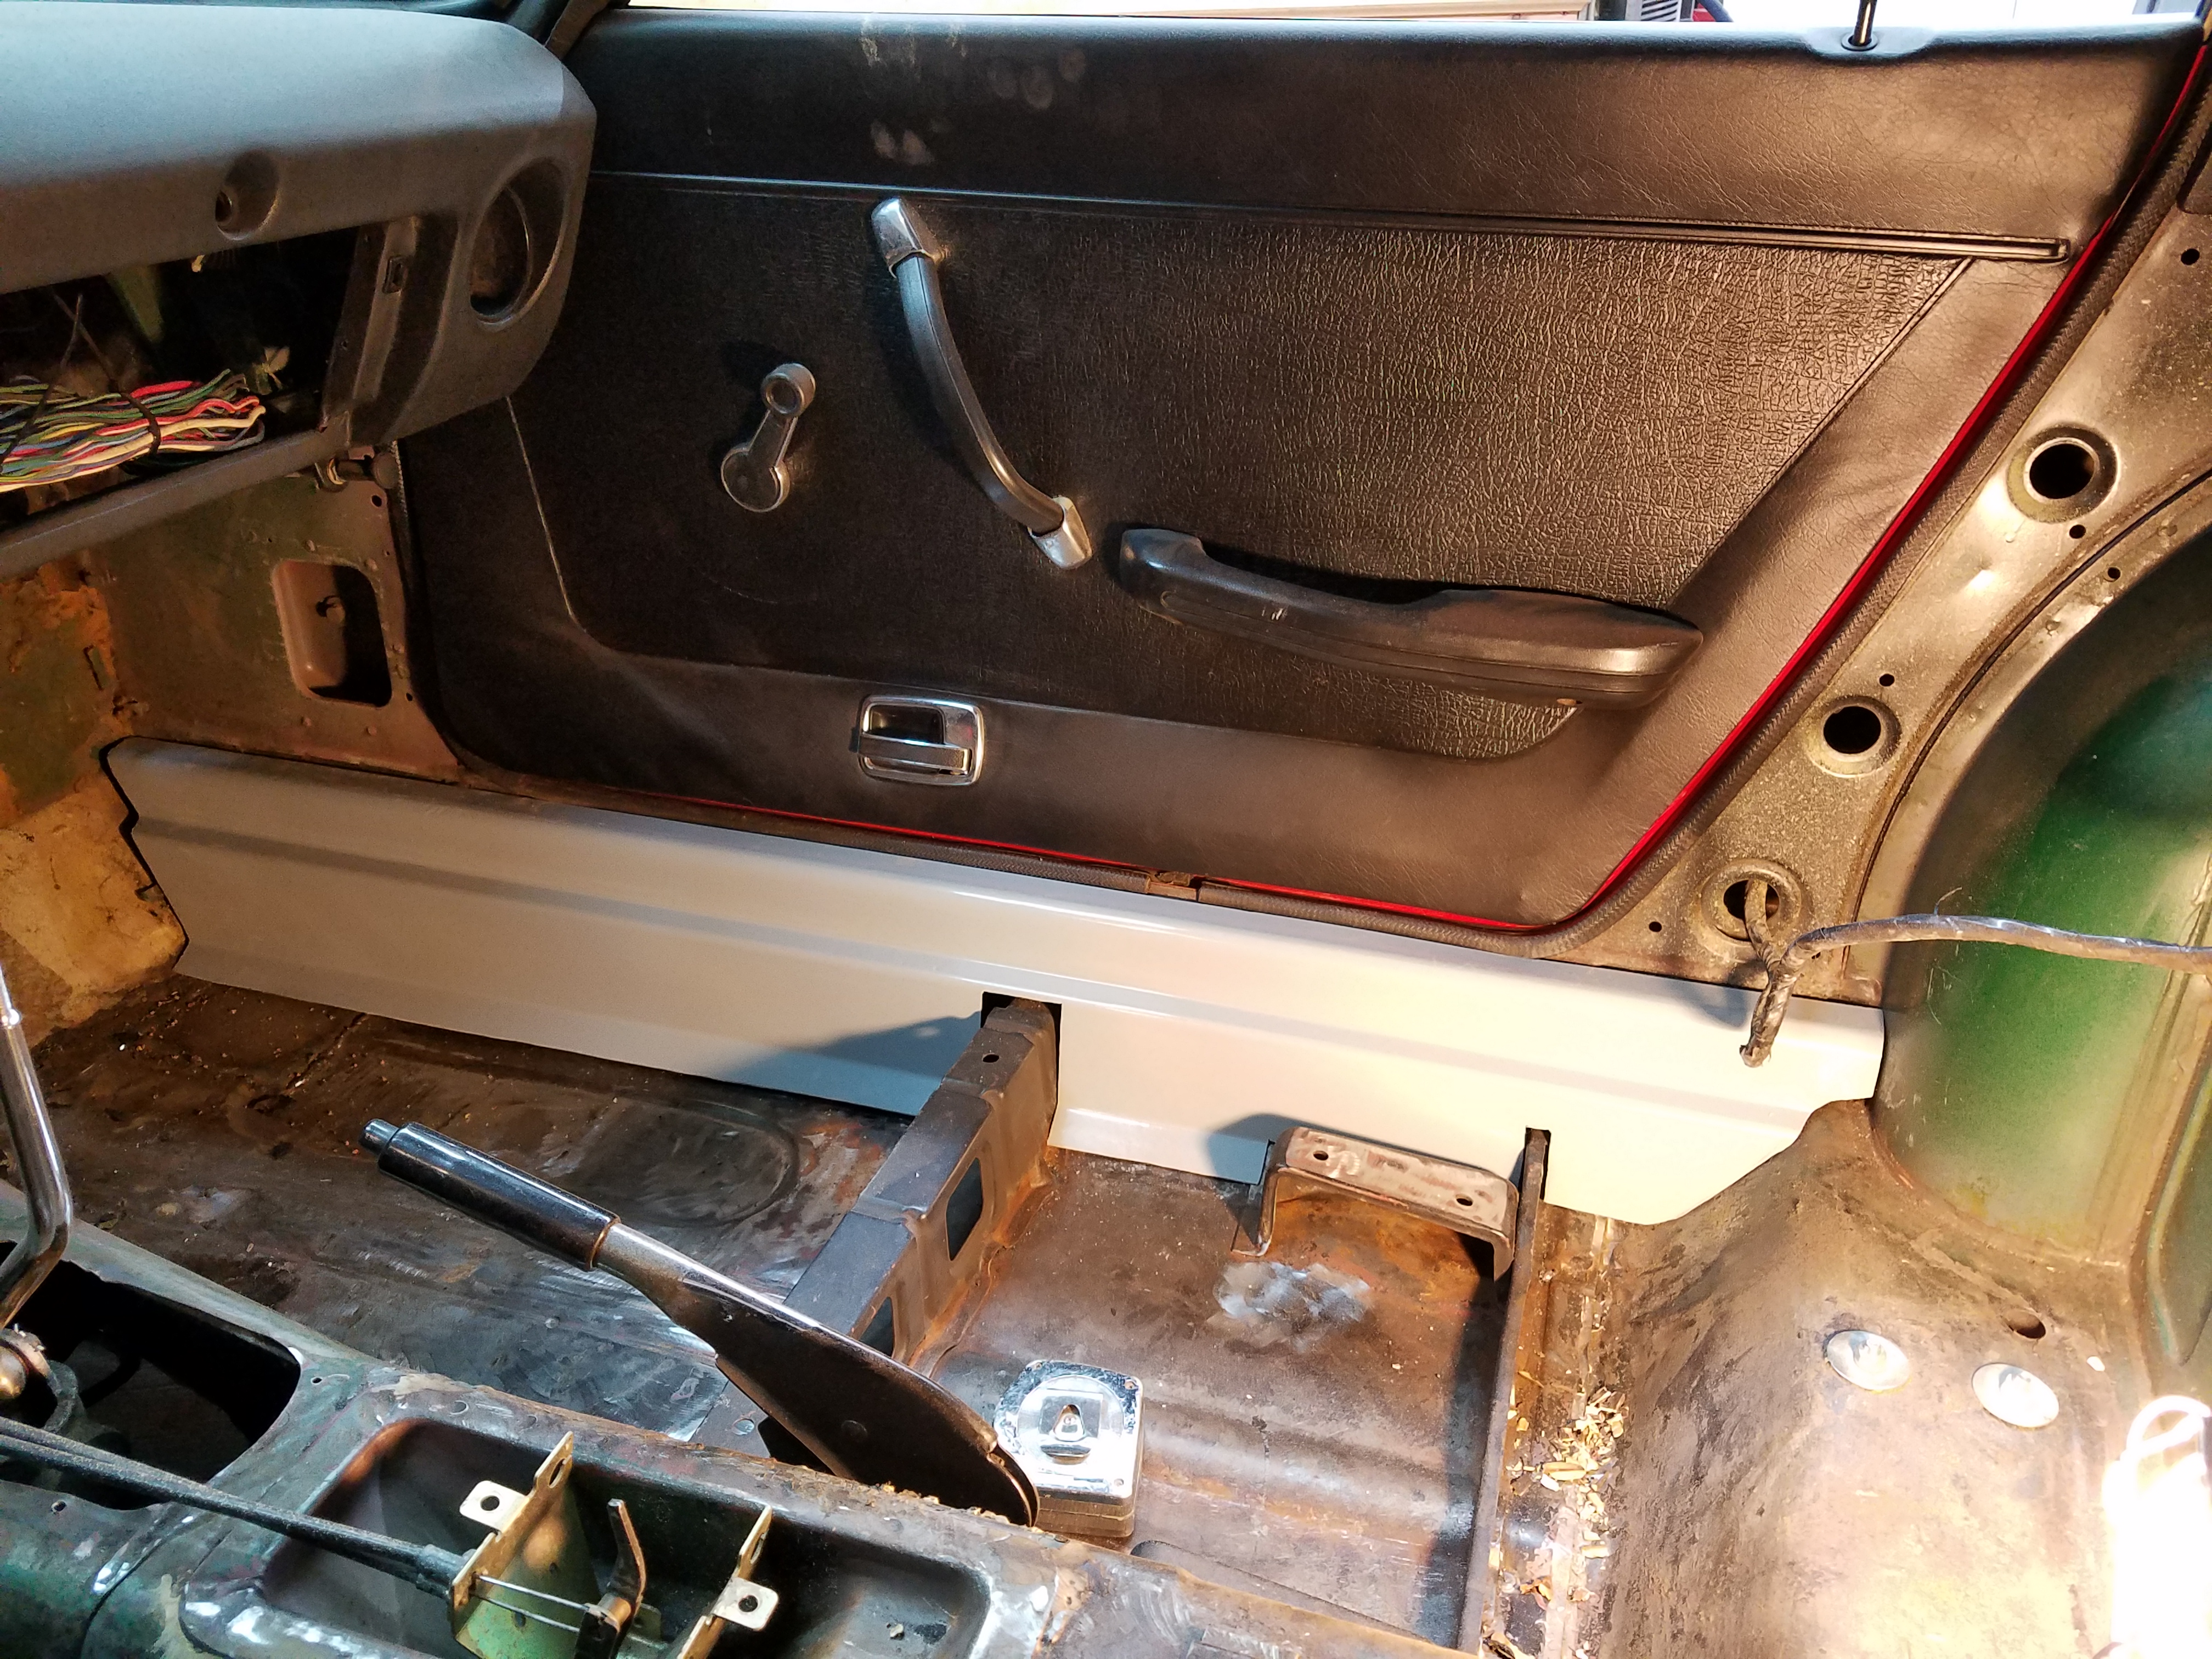
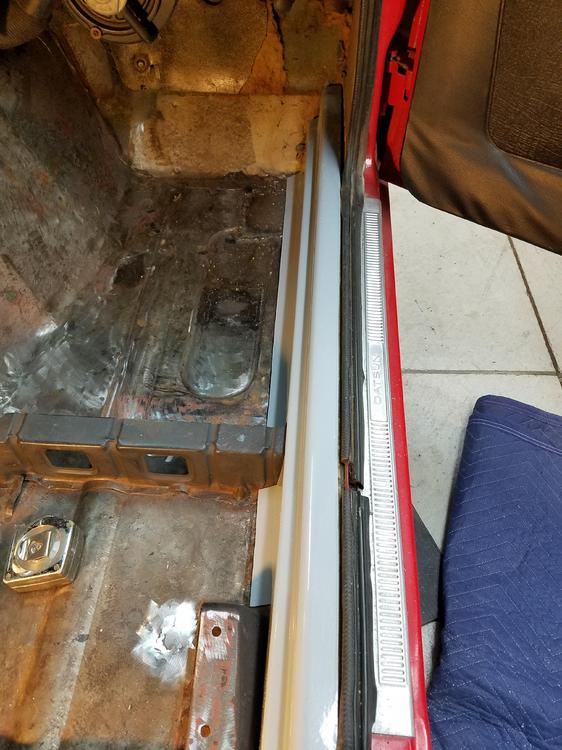
 1 pointI'm going to do fiberglass panels where all the vinyl was. I don't like all the draped vinyl everywhere, I prefer a more fitted look. I'm starting with the rockers then the tunnel. Here's shots of the quick rocker mold I made and the panels. These will be fitted into place then I will model up each end to finish off properly. The front will turn in and have a aluminum foot board across, i.e. Singer Porsche. The whole front cockpit area will be fitted glass wrapped in leather. The center console will also be changed. It will stop at the shifter surround and a panel will be made to close out the bottom of the dash down to the tunnel piece. The fuse will be relocated behind the floorboard on the firewall. Here are the first pieces fit.

 1 point
 -
1 pointHope you get a good replacement on the first try. Apparently, maybe, the internal regulator can be replaced. Might be worthwhile to just have yours rebuilt. I bought a rebuild kit for a 2003 Ford alternator. Just for fun. Bearings, brushes, and regulator. Haven't done it yet, it's a future project. $30. Here's the Rockauto VR for yours - http://www.rockauto.com/en/catalog/nissan,1987,d21+pickup,2.4l+l4,1210857,electrical,voltage+regulator,48841 point
-
1 pointProblem found, easy fix for some $$$. Thank you all for the help. I charged the battery to 12.33 V. Disconnected the alternator wires and checked the battery 24 hours later and it read 12.35! I need to pull the bottom radiator hose to get the alternator out from the topside. Probably needs fresh coolant anyhow. Thanks again, Cliff1 point
-
 1 pointMy OCD compels me to point out that every C10-series Skyline is a 'Hako'. The vernacular 'Hakosuka' applies to the whole series, no matter what variant. It's either a Hokosuka or it isn't. Your 'Hako' appears to be a (very nice!) GT-R lookalike. There. Said it. And breathe... Love the Pao!1 point
 -
 1 pointOh, that´s greate i think, i will buy them. Thank you for the info. Perfect Uli from Germany
 1 point
 -
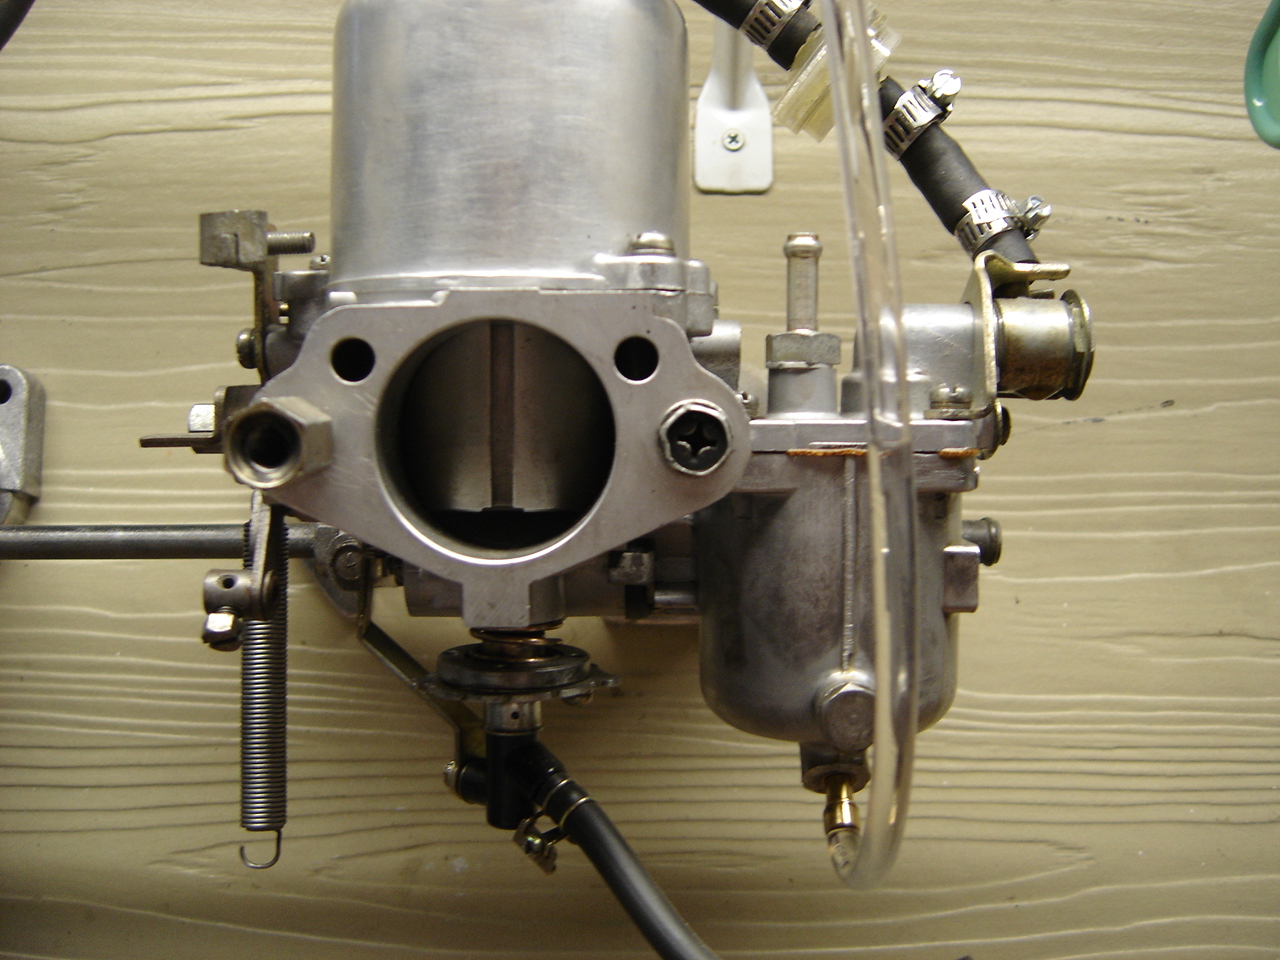
 1 pointYup, just remove either the 3 or 4 screws, remove the suction chamber and piston. According to Bruce Palmer (ZTherapy) with the mixture screws 2 1/2 turns down. the fuel level should be 1/16" below the top of the nozzle. It's an easy way to verify the float levels are right.1 point
 -
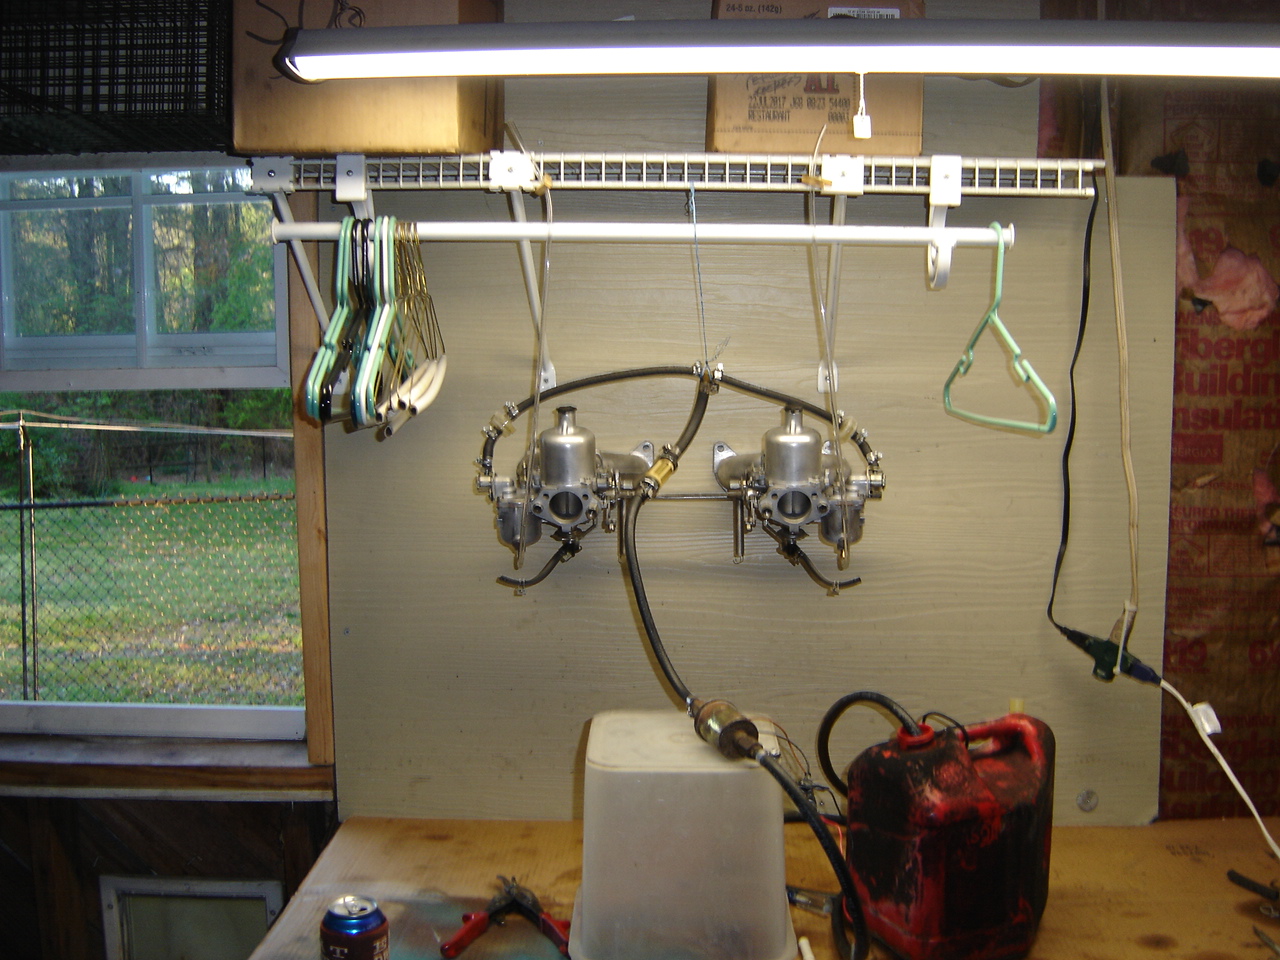
1 pointDo you remove the 3 screws then the dome, the piston and the the nozzle tube is visible then? Turn the motor over with the coil wire off then look down in there with a flashlight and look for fuel just barely NOT spilling out of the nozzle's tube? I've never done this but my floats are so close now I think I want to give this a try. Best thing I've ever done was to put two rear carb lids on mine, both are short eared so no extra washers or spacers, valves are both short from ztherapy.com so that eliminated all the fuss with stacking washers. That's the quickest and easiest "close enough" check I've ever done. Worked good enough for me to see how far off mine were and desperately needed more adjusting. This is a photo from zkars or jarvo2, maybe both? Simple to do. Here's how high mine were, if you can see the fuel in the hose way up high where the float chamber meets the lid's top. Forgot to add I did this off the car with an electric fuel pump but it can be done a lot easier on the car. I was rebuilding the motor at the time.

 1 point
 -
 1 pointI think they are BST type thread. I bypassed my intake, removed the back pipe and replaced the 3 way with a 2 and then plugged the thermo housing. Then left the manifold water ports opened. You can buy BST plugs amazon or at royal brass.1 point
 -
 1 pointIt got my attention. I emailed and asked to see it. Several hours later the ad was gone. It's a scam. Chuck Sent from my [device_name] using http://Classic Zcar Club mobile1 point
 -
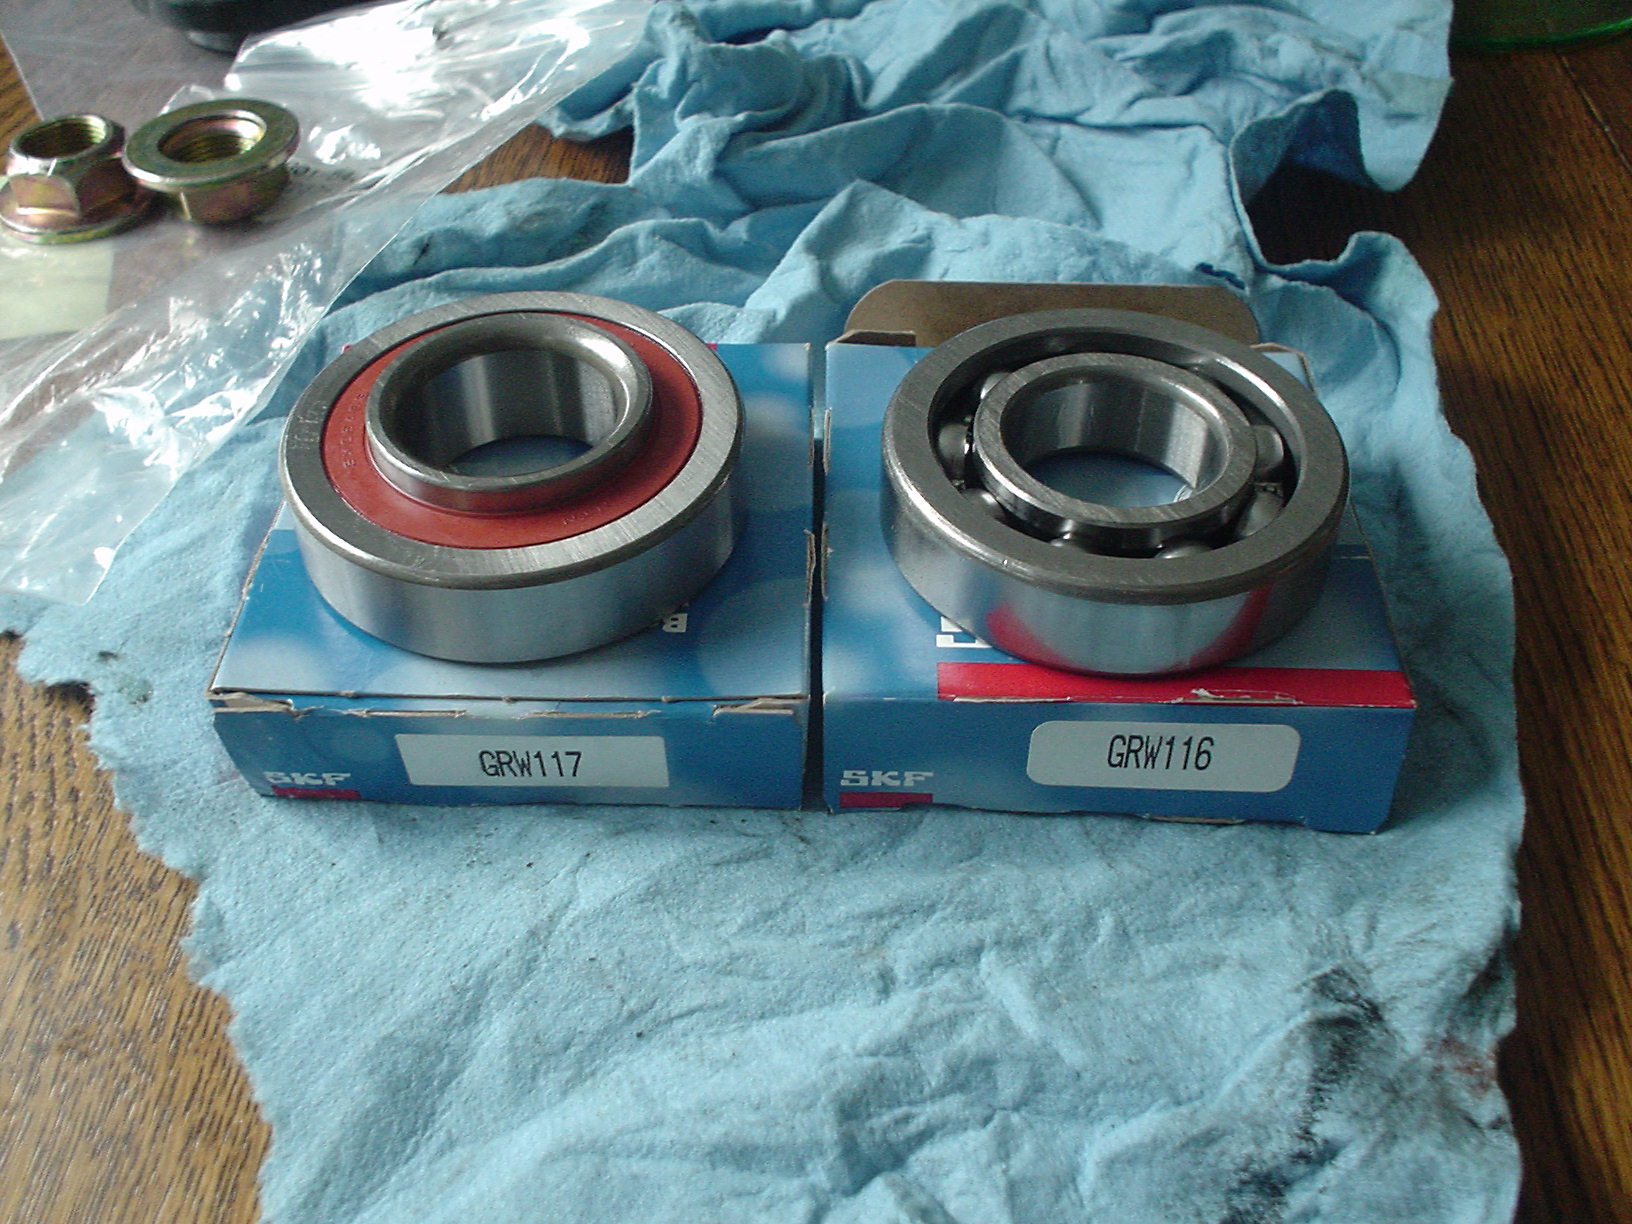
 1 pointI am thinking bearing fitment as well. The inside width of the two bearings and the width of the spacer sum to give the correct spacing of the outer flange from the inner flange. If the outer bearing's inside width (left bearing below) is too narrow, the outer hub/flange will draw against the body of the strut.
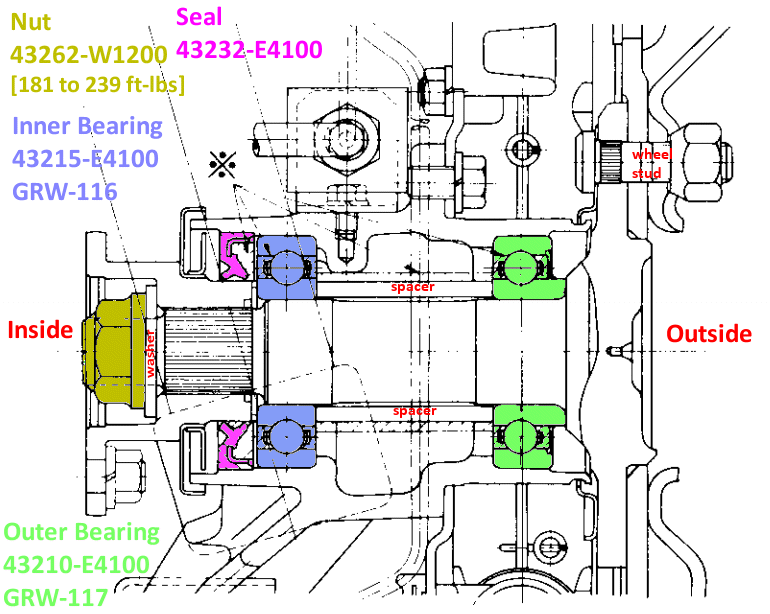

 1 point
 -
 The tension rod bushings are still available from Nissan. I bought them from Courtesy Nissan recently. They had modern manufacturing dates1 point
 -
1 pointOh, and the obvious fix to your problem is... Drive your Z more often!!1 point
-
1 pointI should have added - disconnect the alternator electrically with the engine not running. Should be a quick easy check. I thought my Nissan with 260,000 miles on a VG30E and no major work was a big deal. Which engine does the 87 use?1 point
-
 1 pointIf the voltage regulator is shot, test by unplugging the alternator from the electrical system. If the battery doesn't fall flat, you found the culprit. If the battery still goes down, get a load test on the battery. From the high voltage at the battery, I would suspect the voltage regulator, too. Are there any modifications (think alarm system, aftermarket electric door locks, high power stereo) or failed switches/relays that would make you think you have a drain on the battery?1 point
 -
 1 pointWhile loading the batt, you could be seeing the fuses spark when you pull them! the drain amperage must be in the 10-'s to 25 amps to drain a big battery like from your pickup truck! (80 -100 Ah?)1 point