Leaderboard
-


siteunseen
Free Member2Points14,903Posts -

disepyon
Free Member2Points121Posts -

nix240z
Free Member2Points468Posts -

motorman7
 Subscriber
 2Points2,208Posts
Popular Content
Showing content with the highest reputation on 02/13/2018 in all areas
-
2 pointsThe grommets turned out very nice. Since there is a slight .5mm difference in the heights of each, I will offer both as a combo. http://www.240zrubberparts.com/apps/webstore/products/show/77235432 points
-
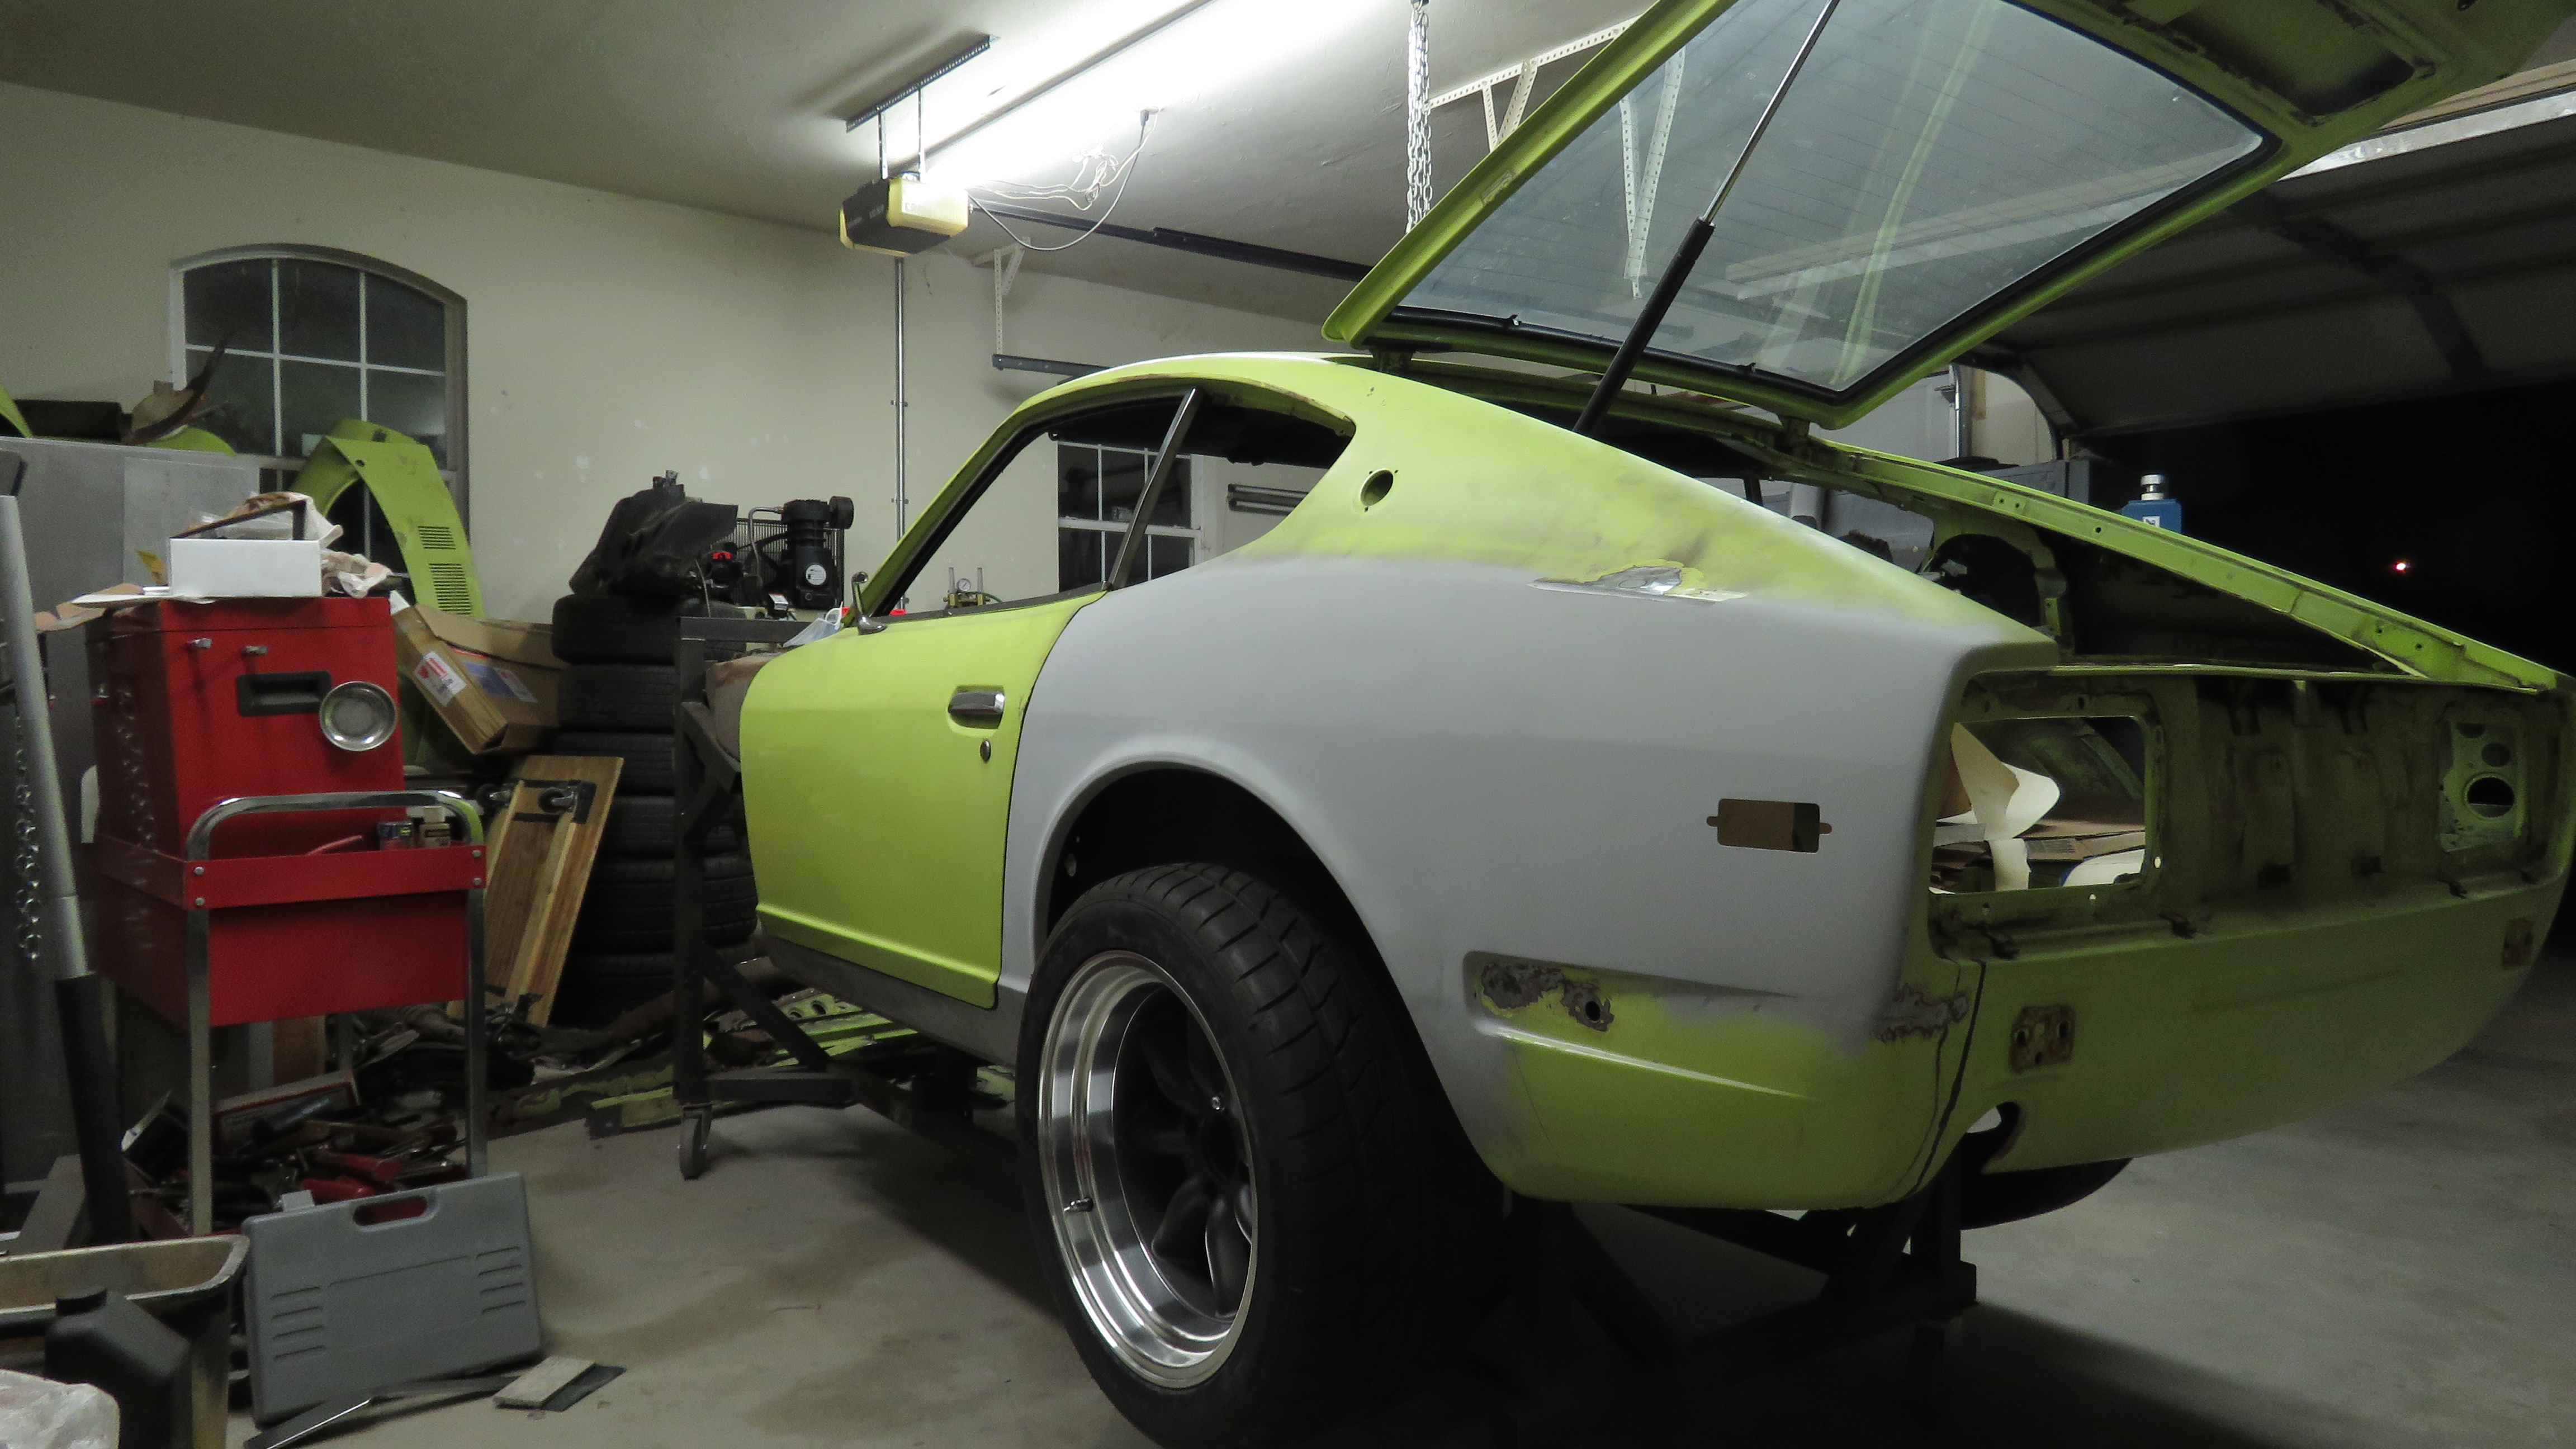
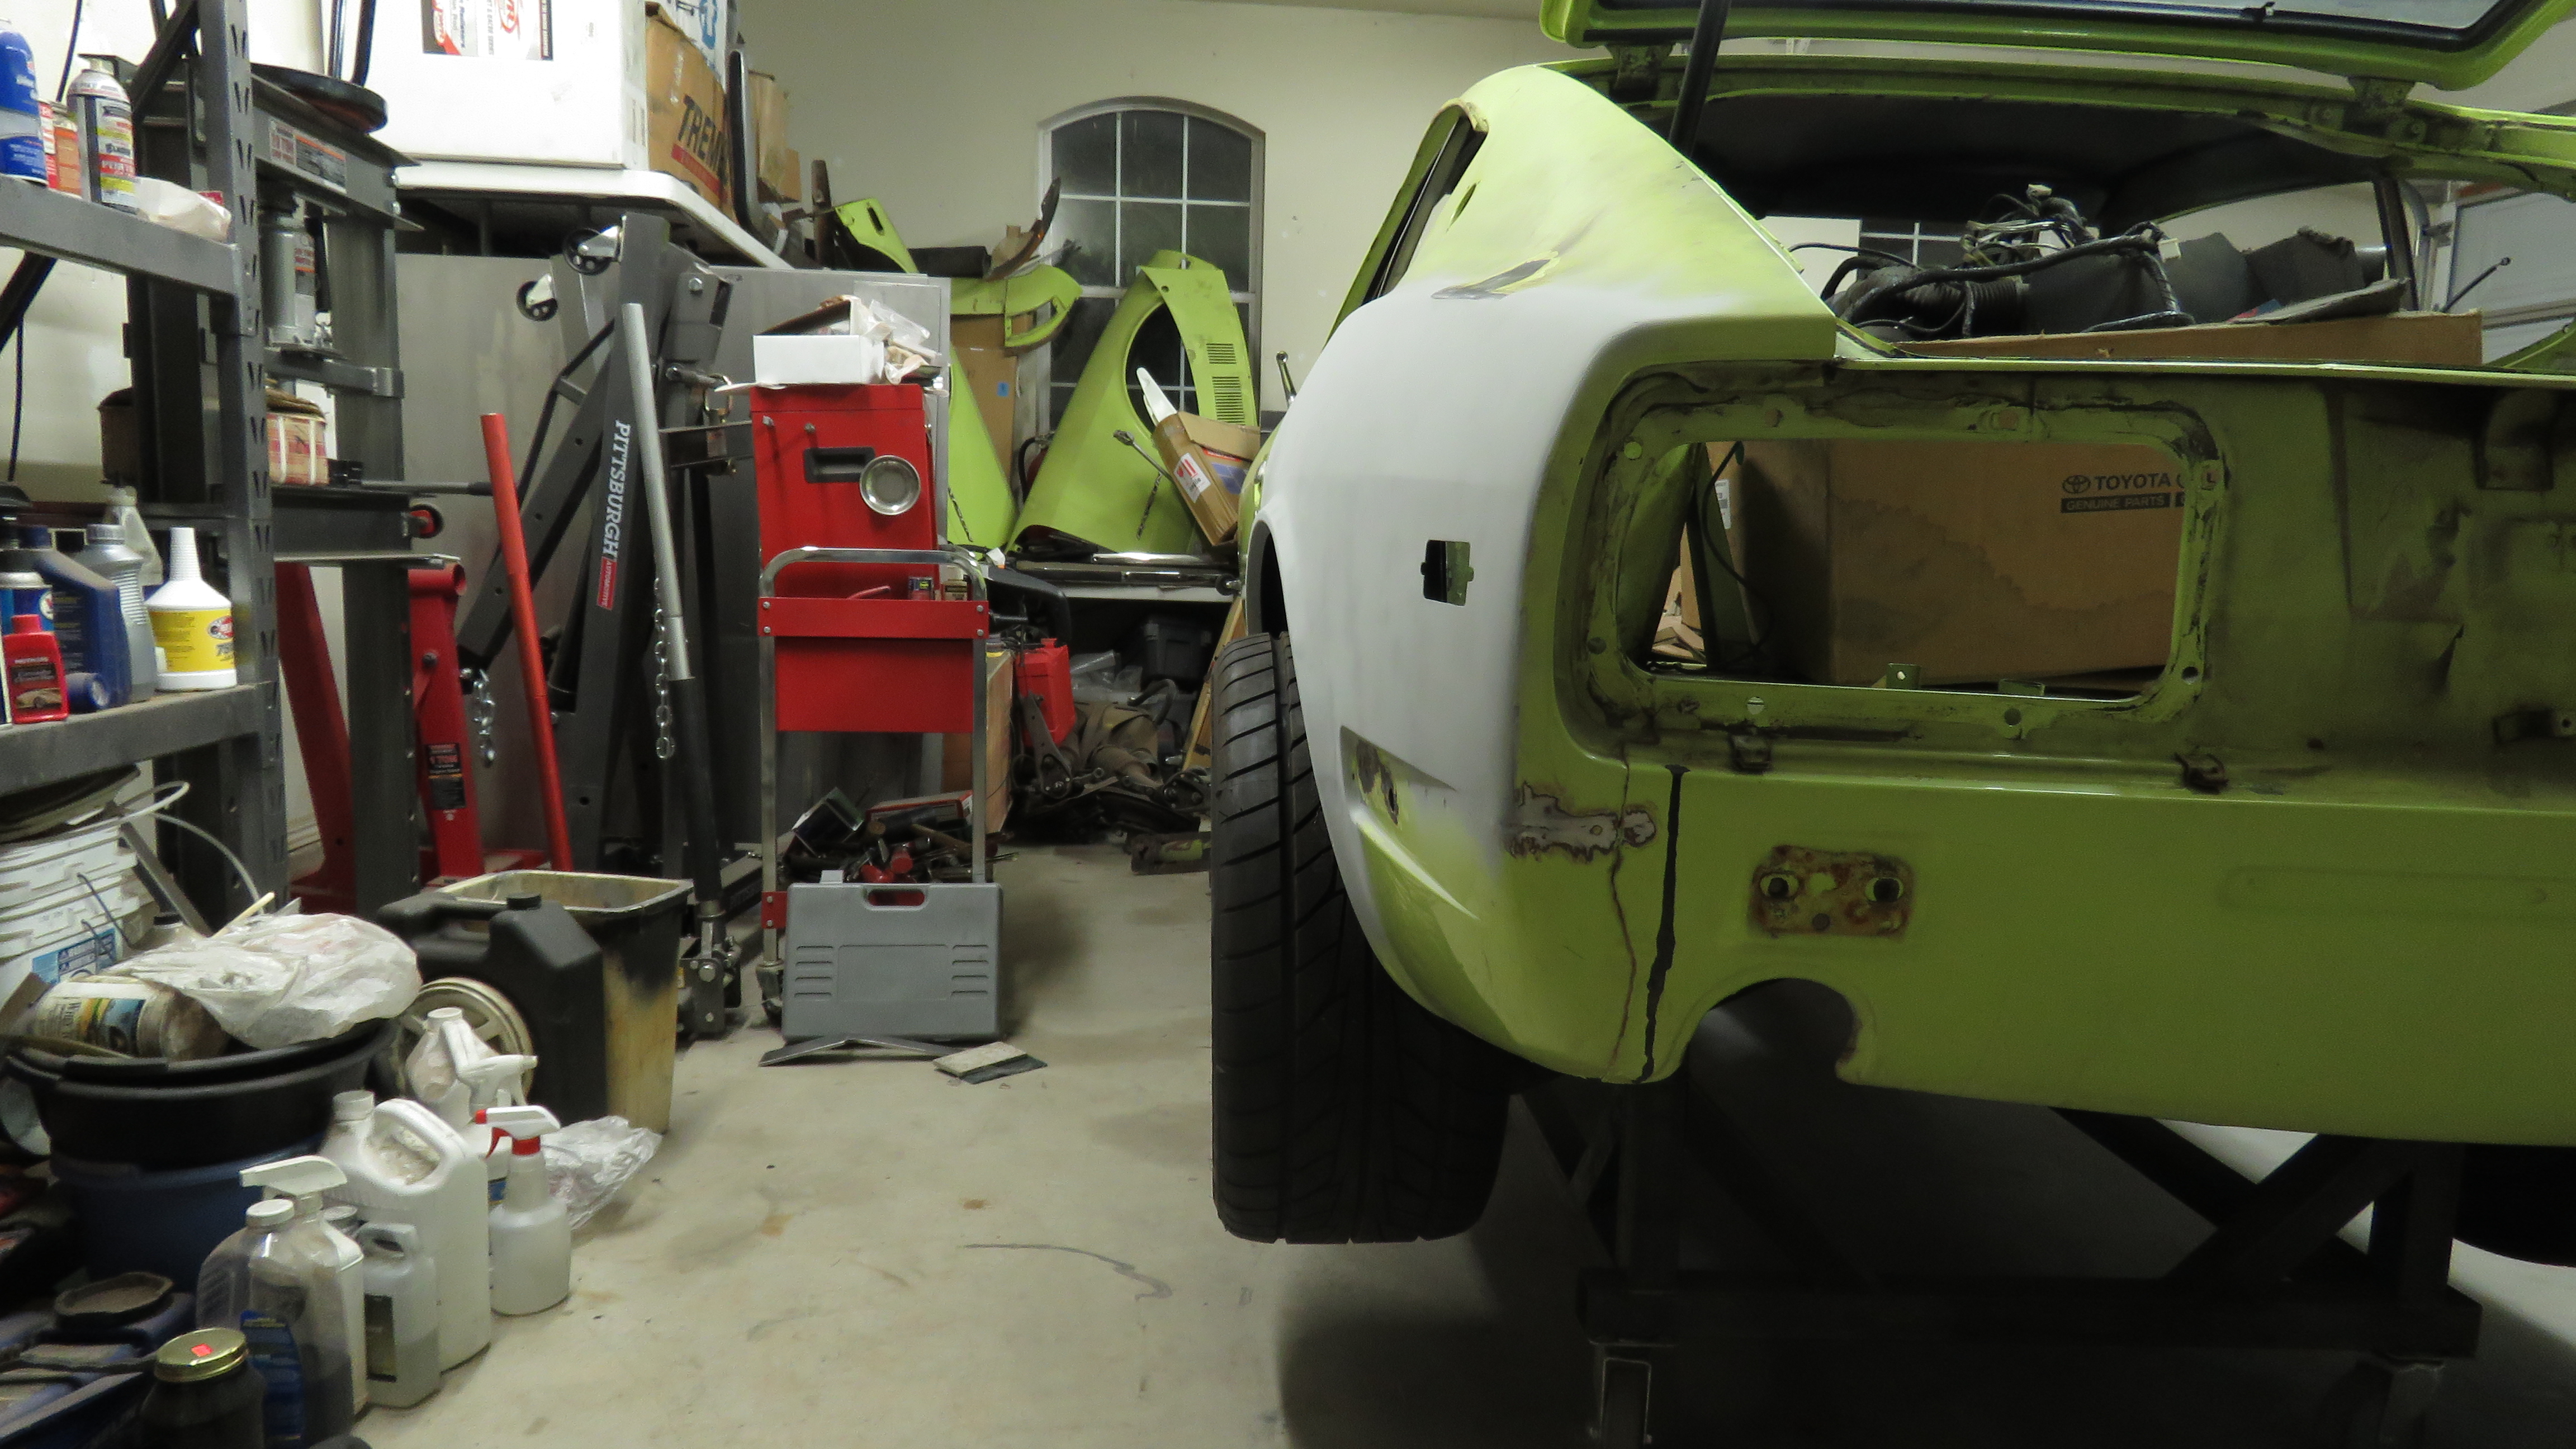
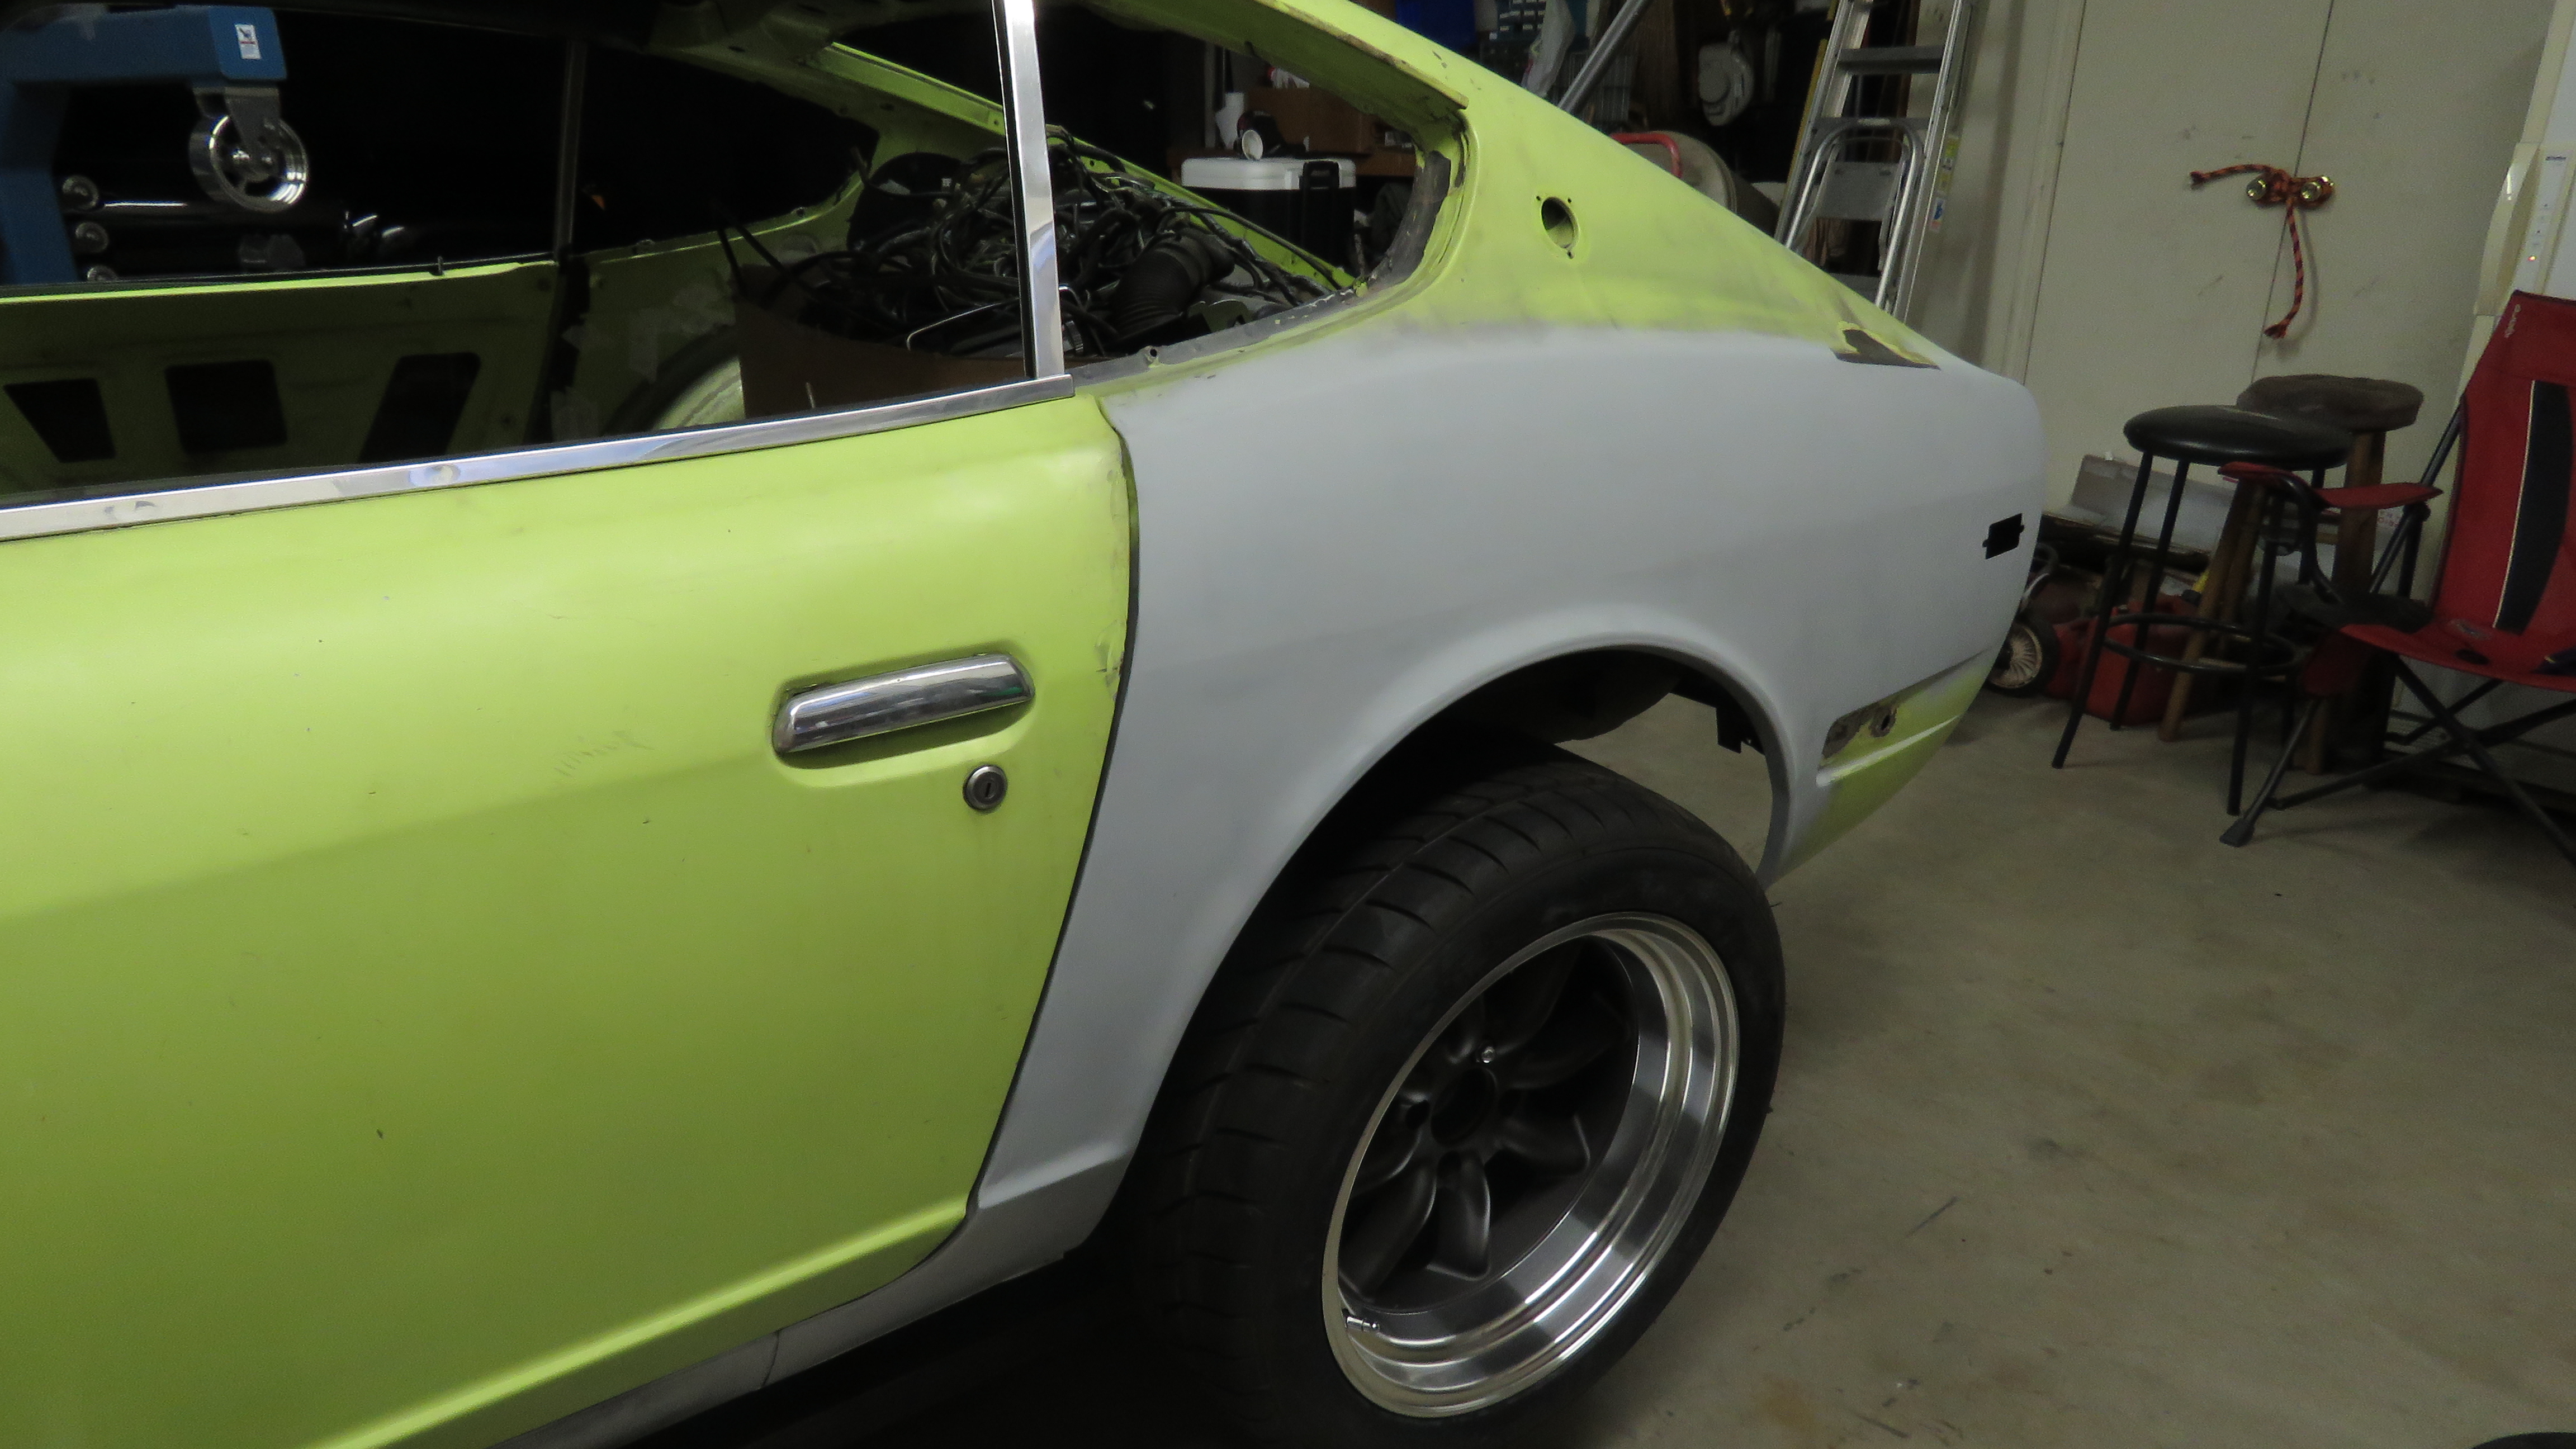
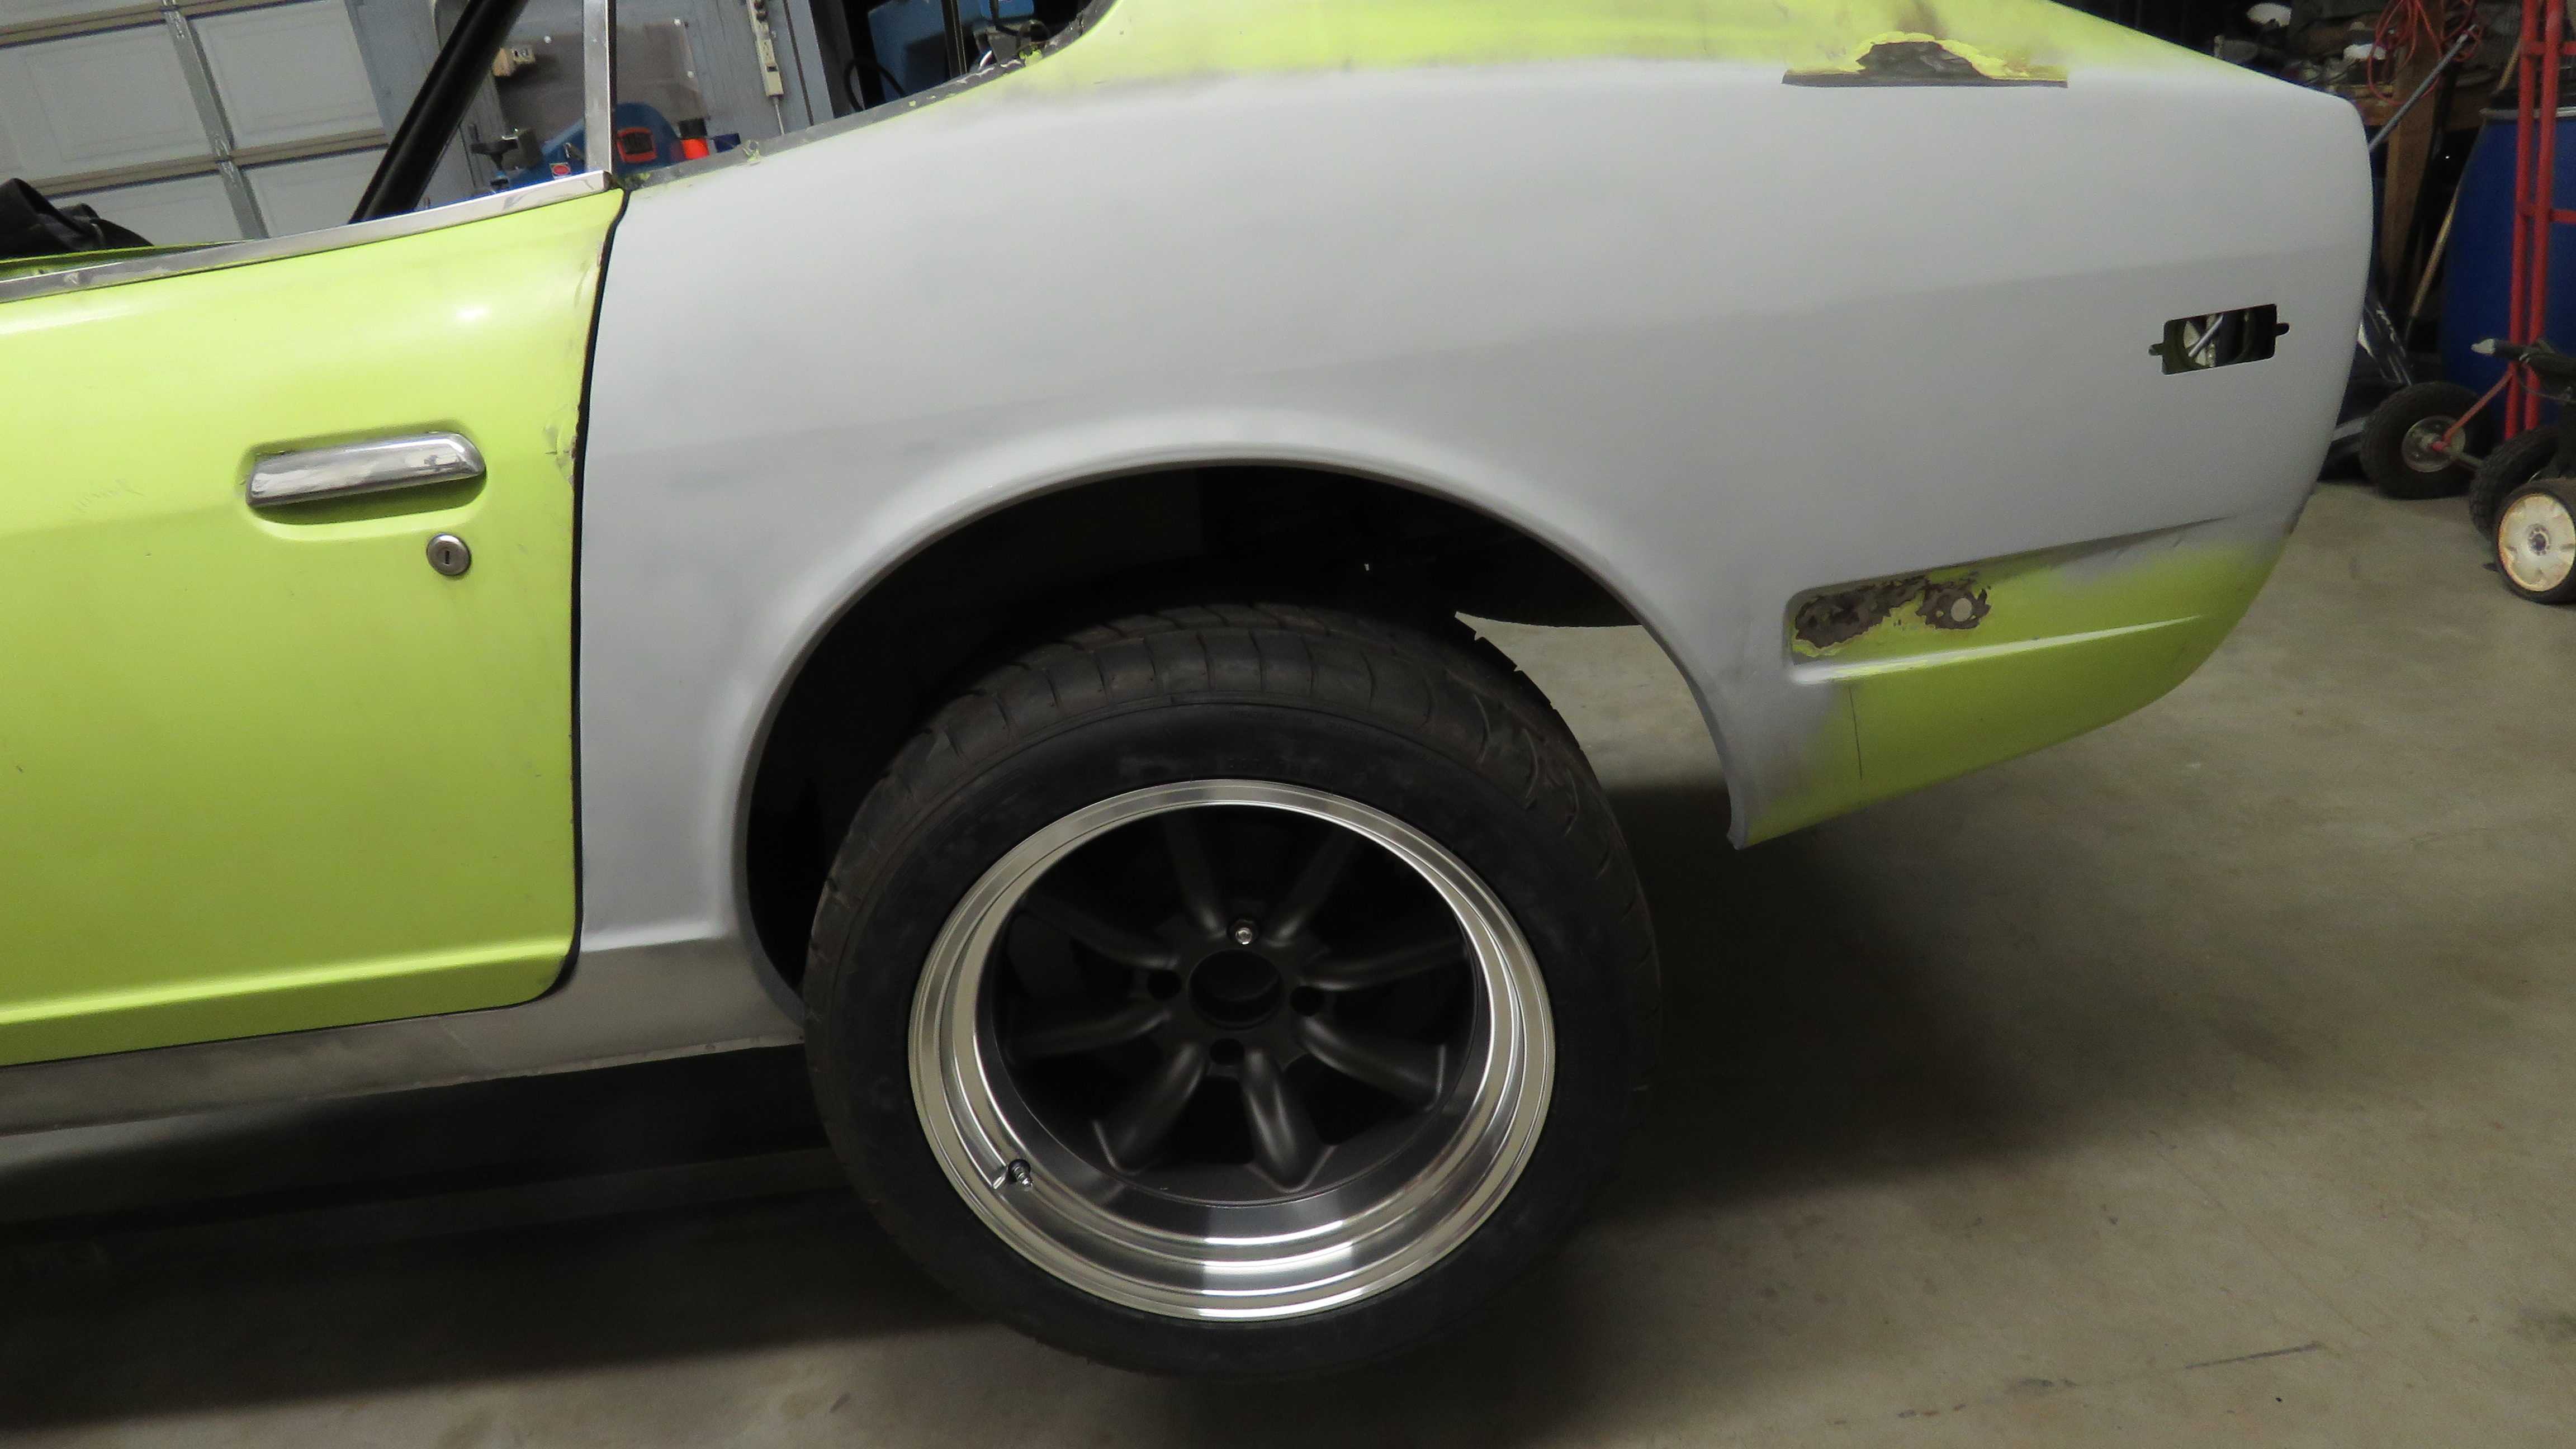
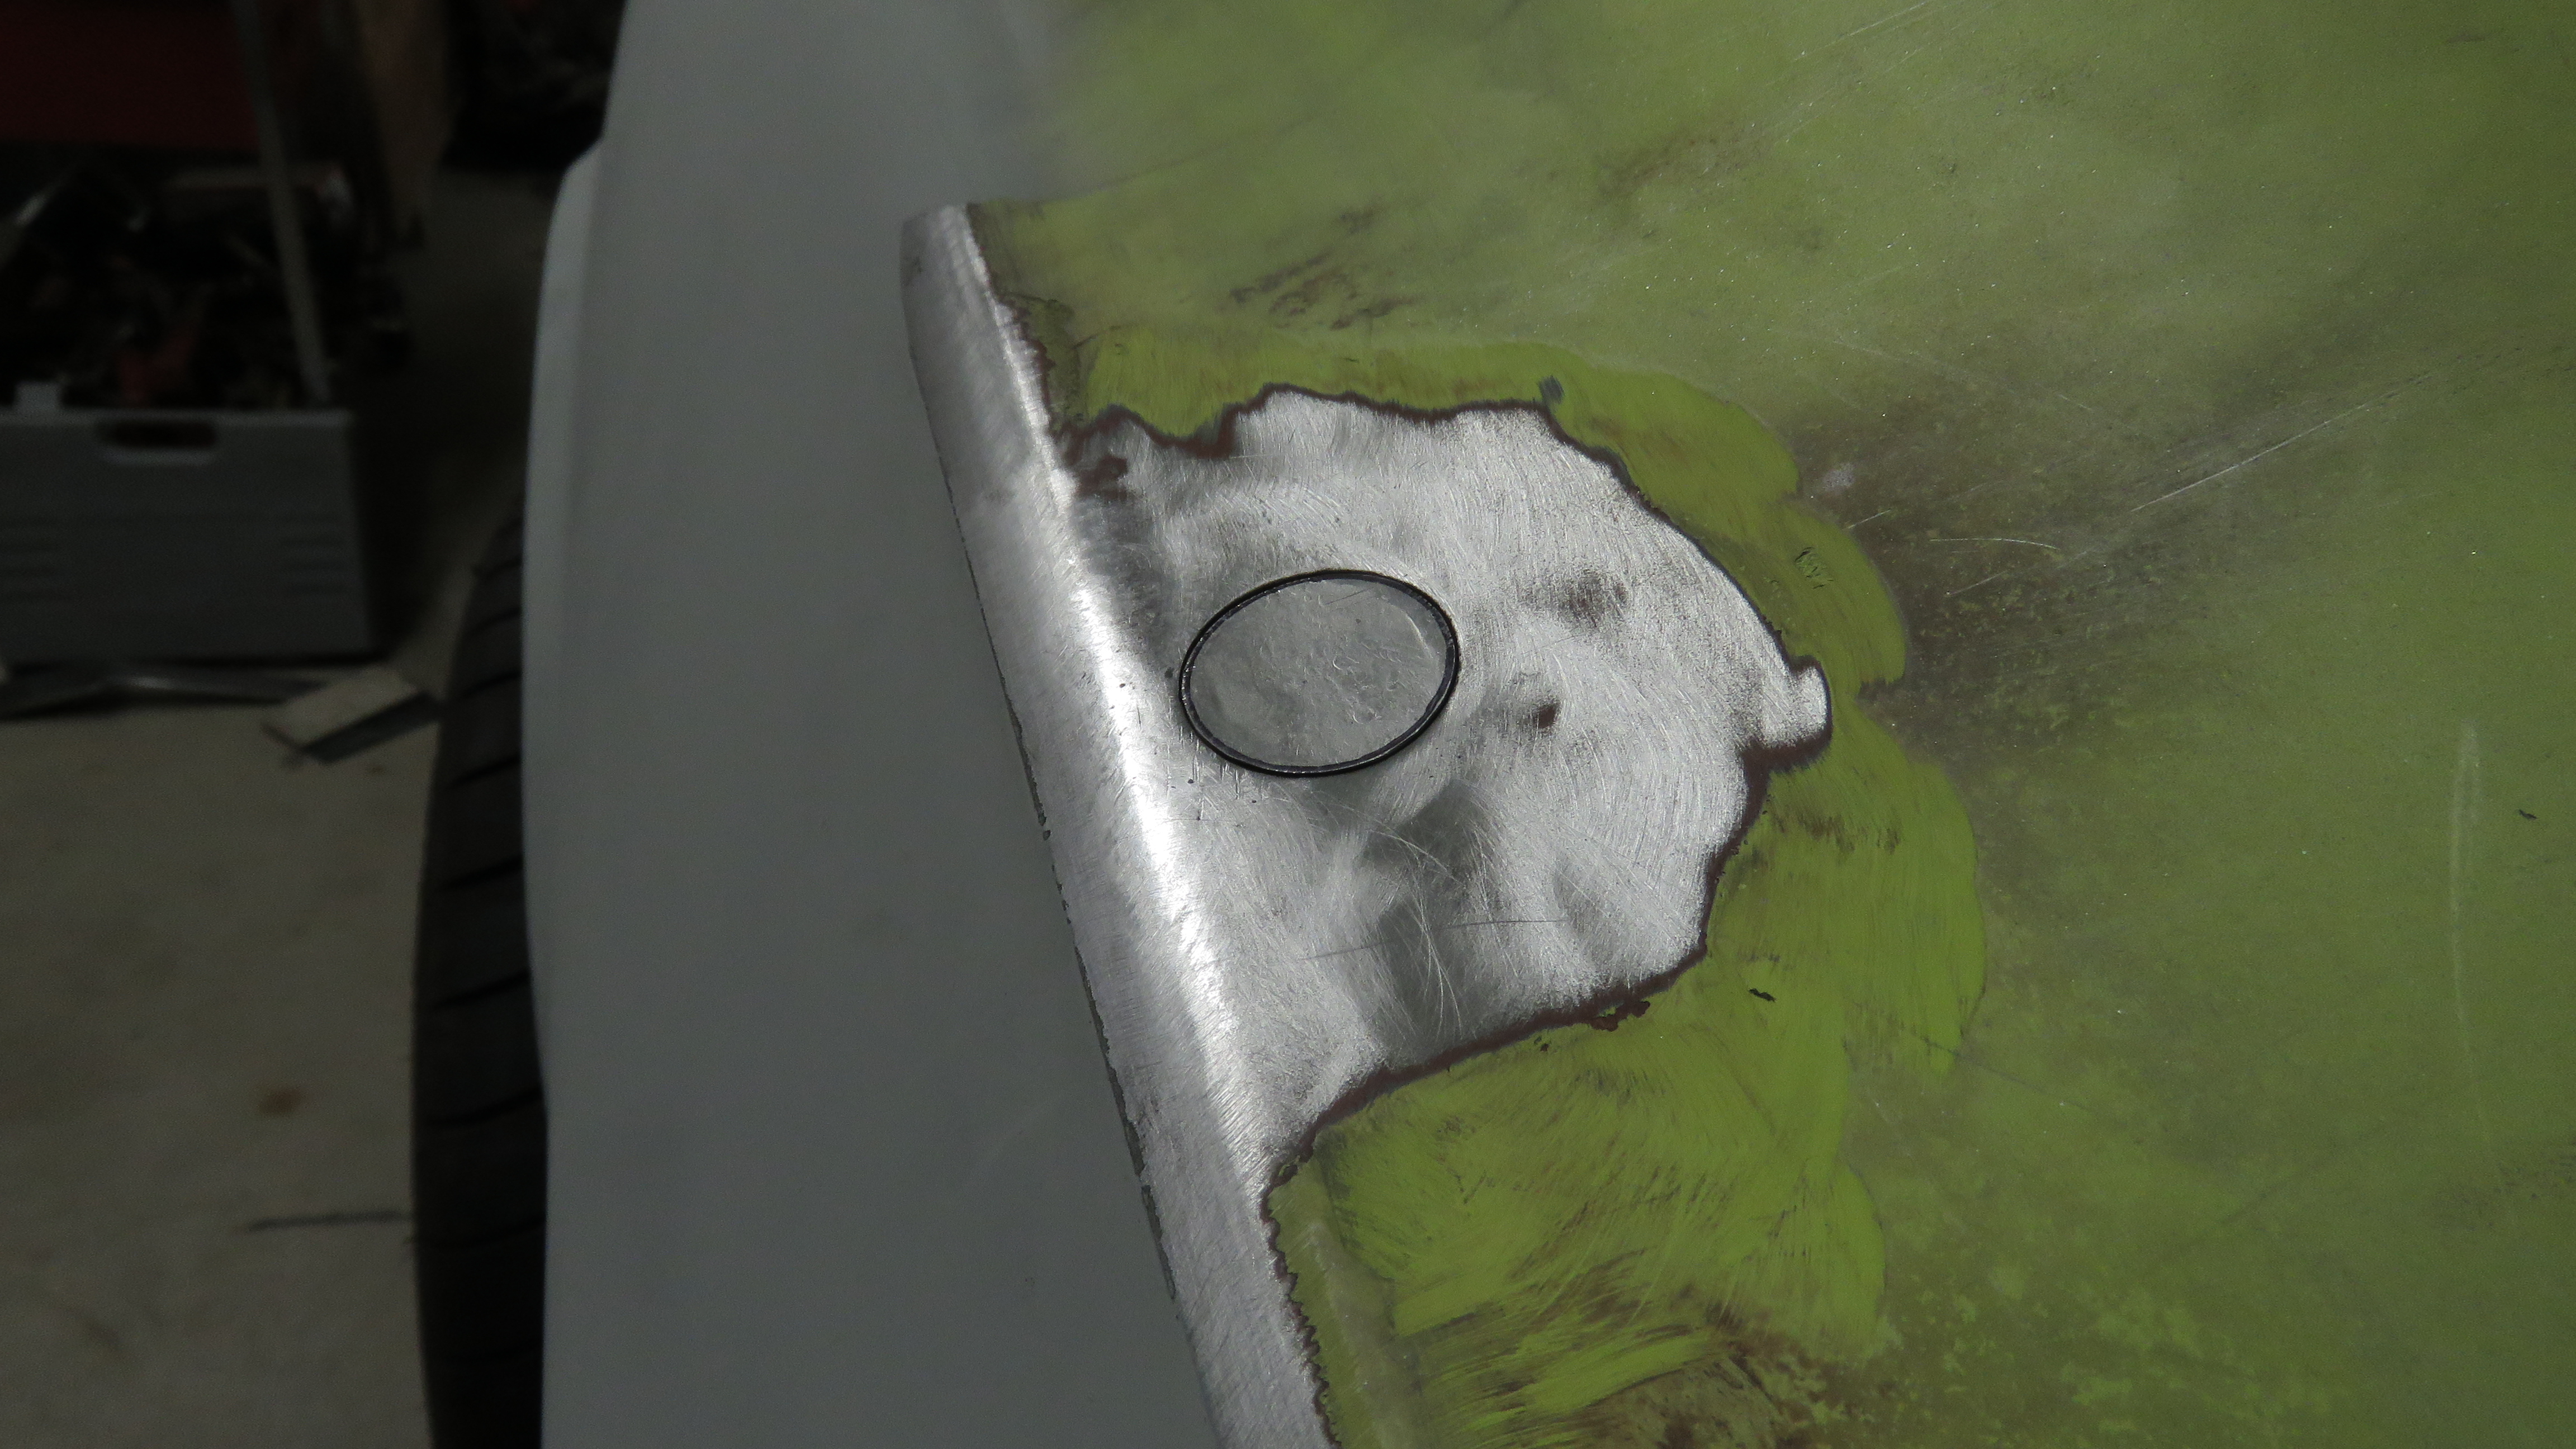
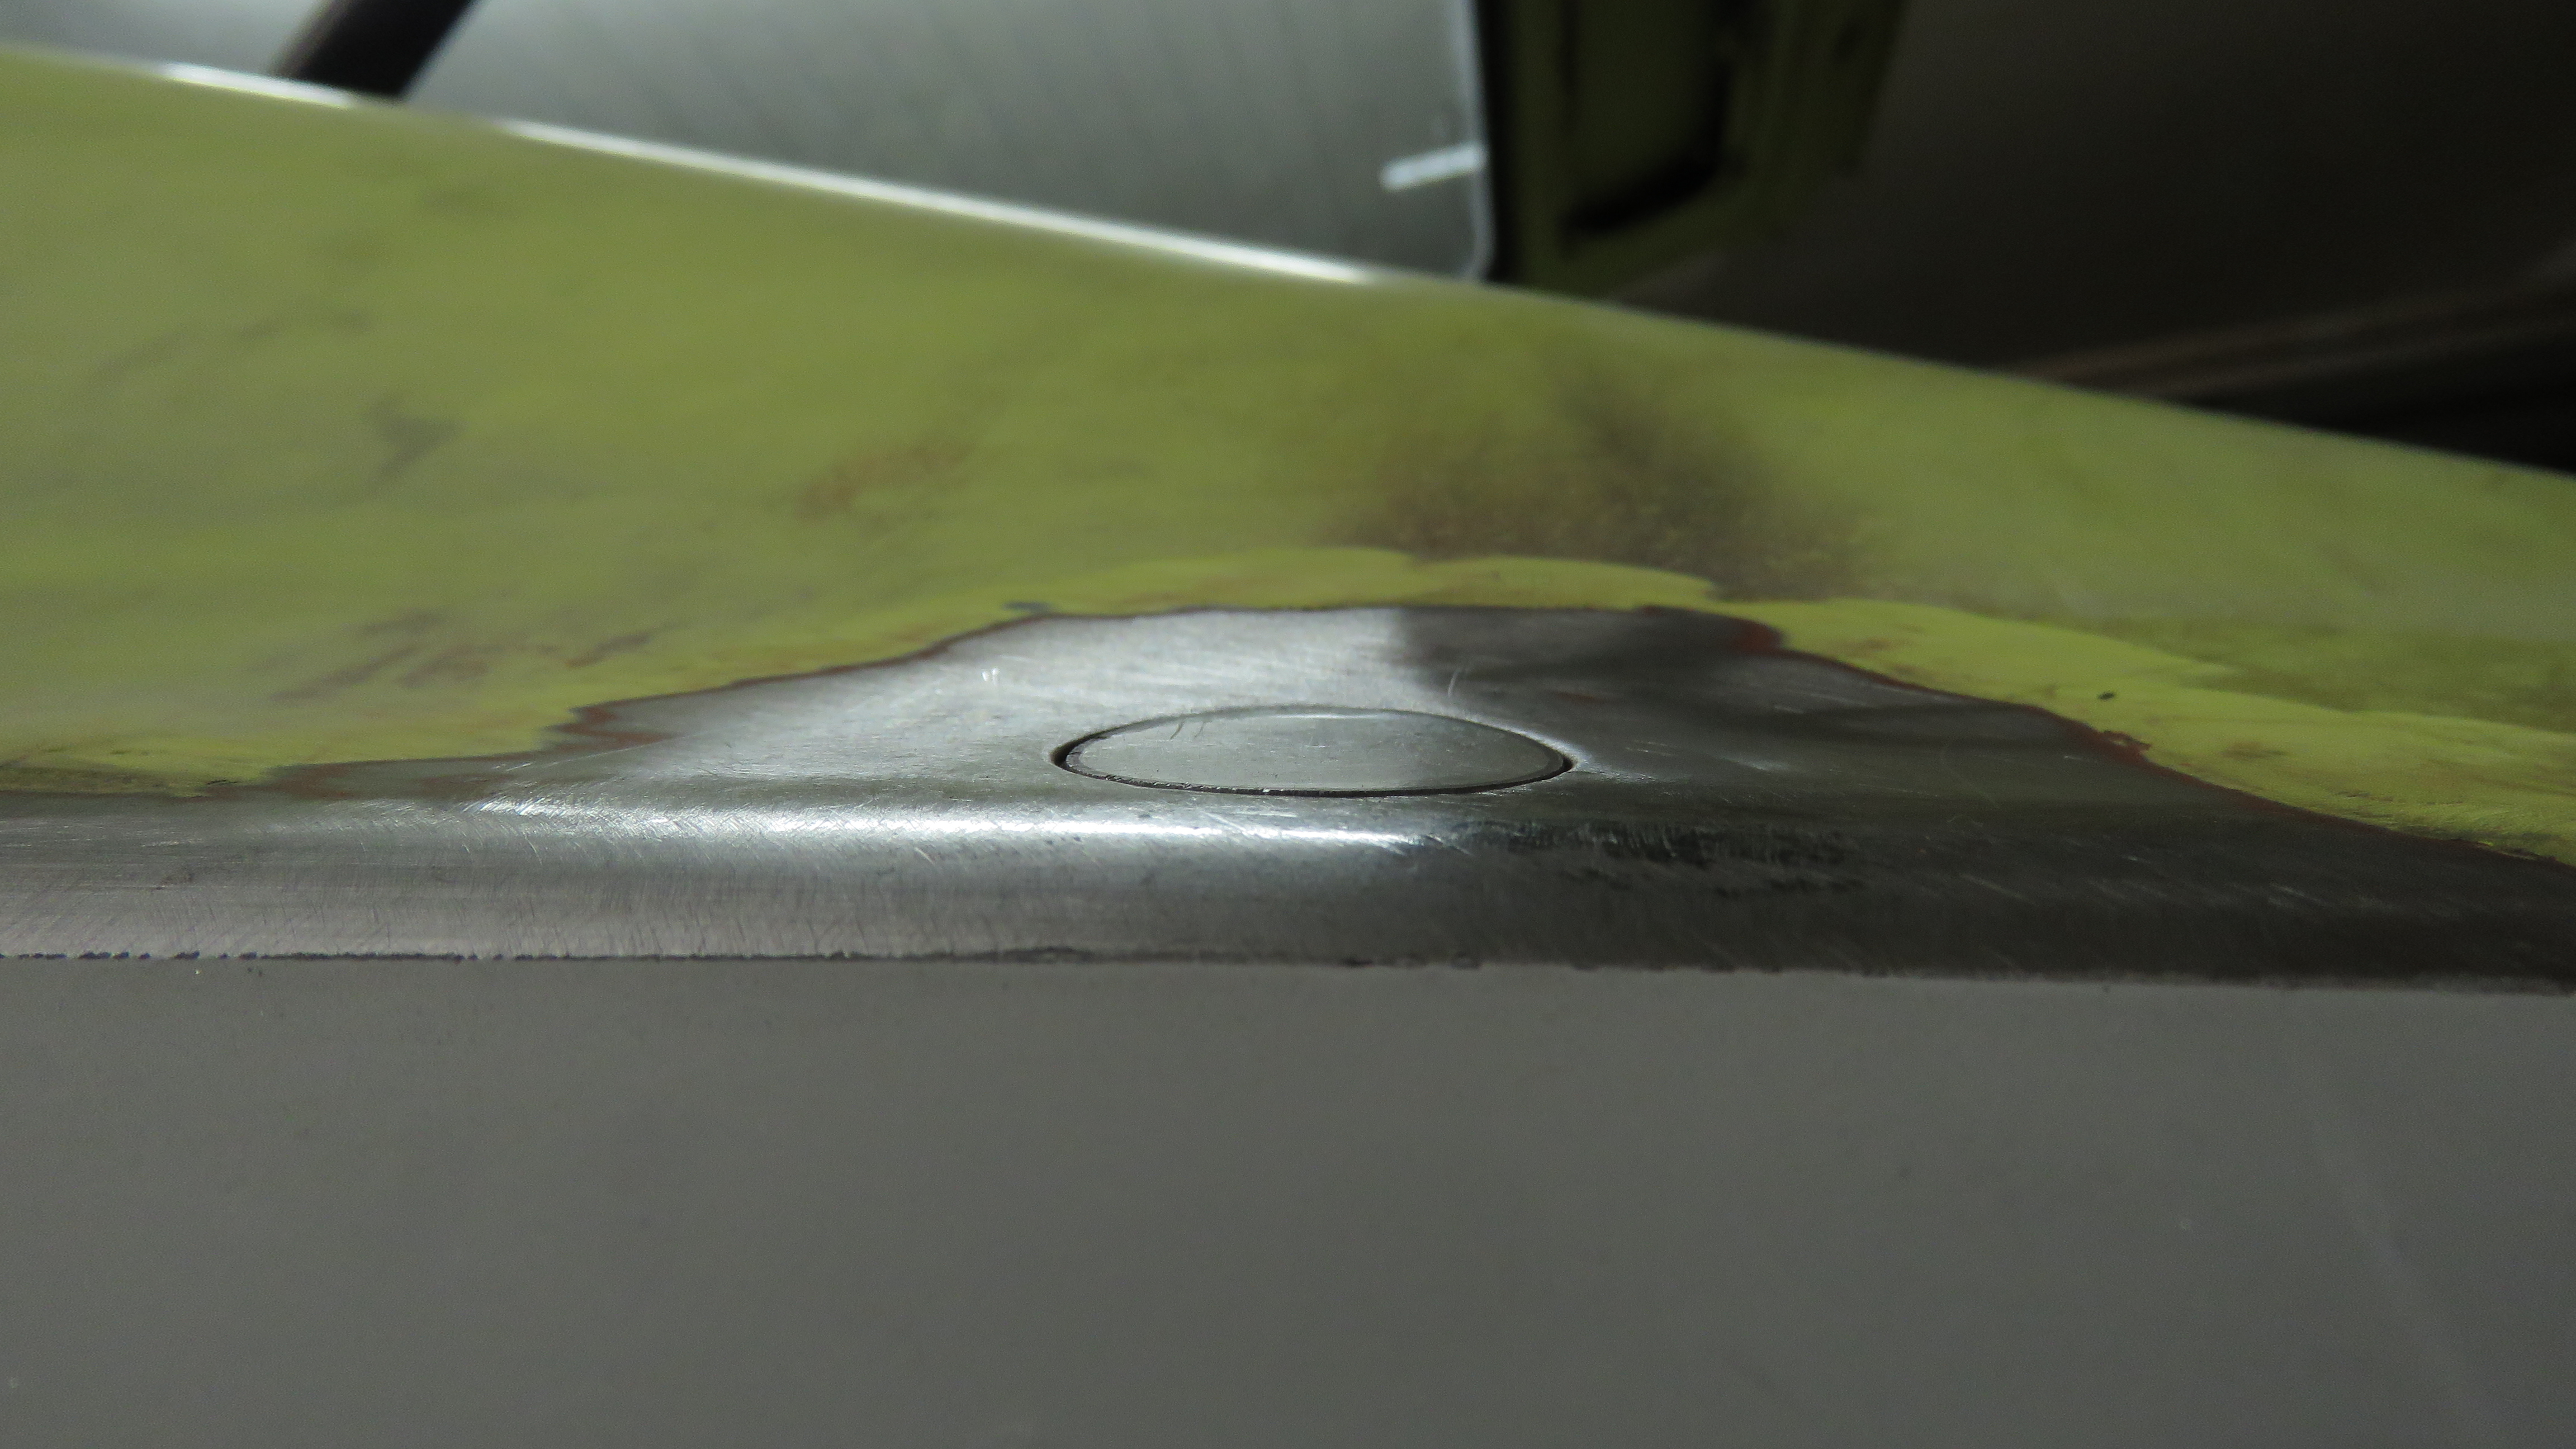
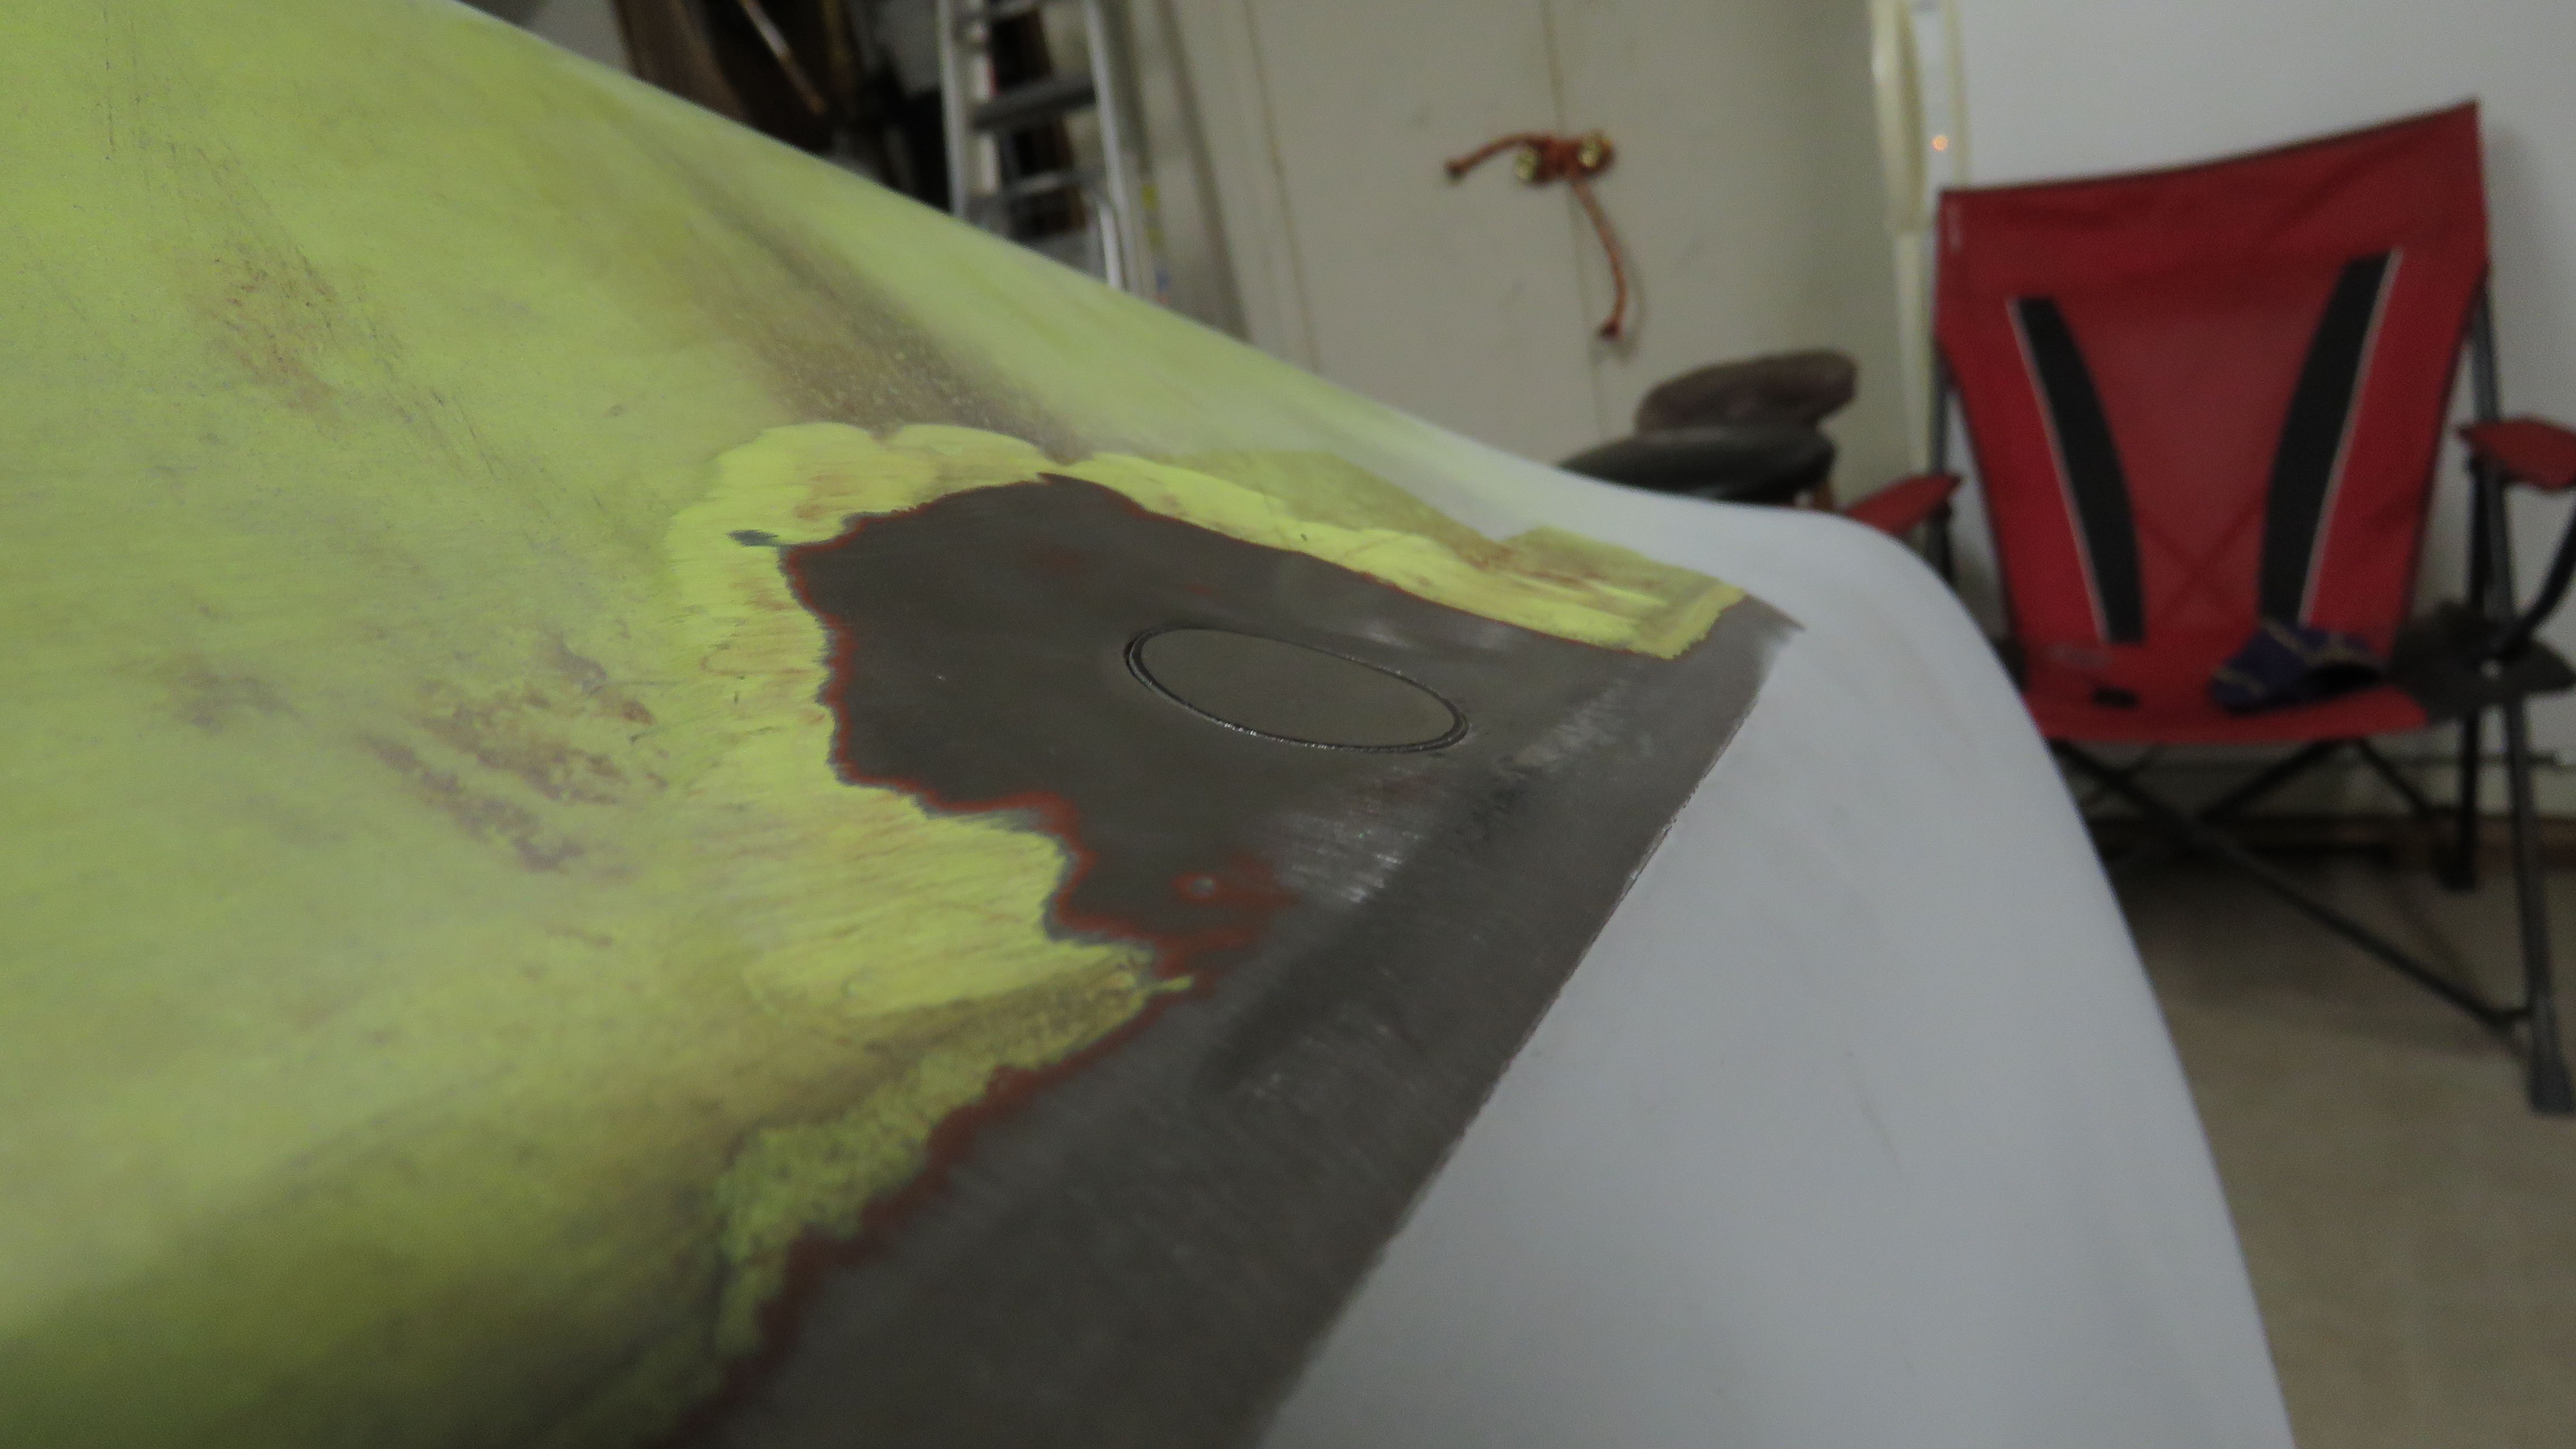
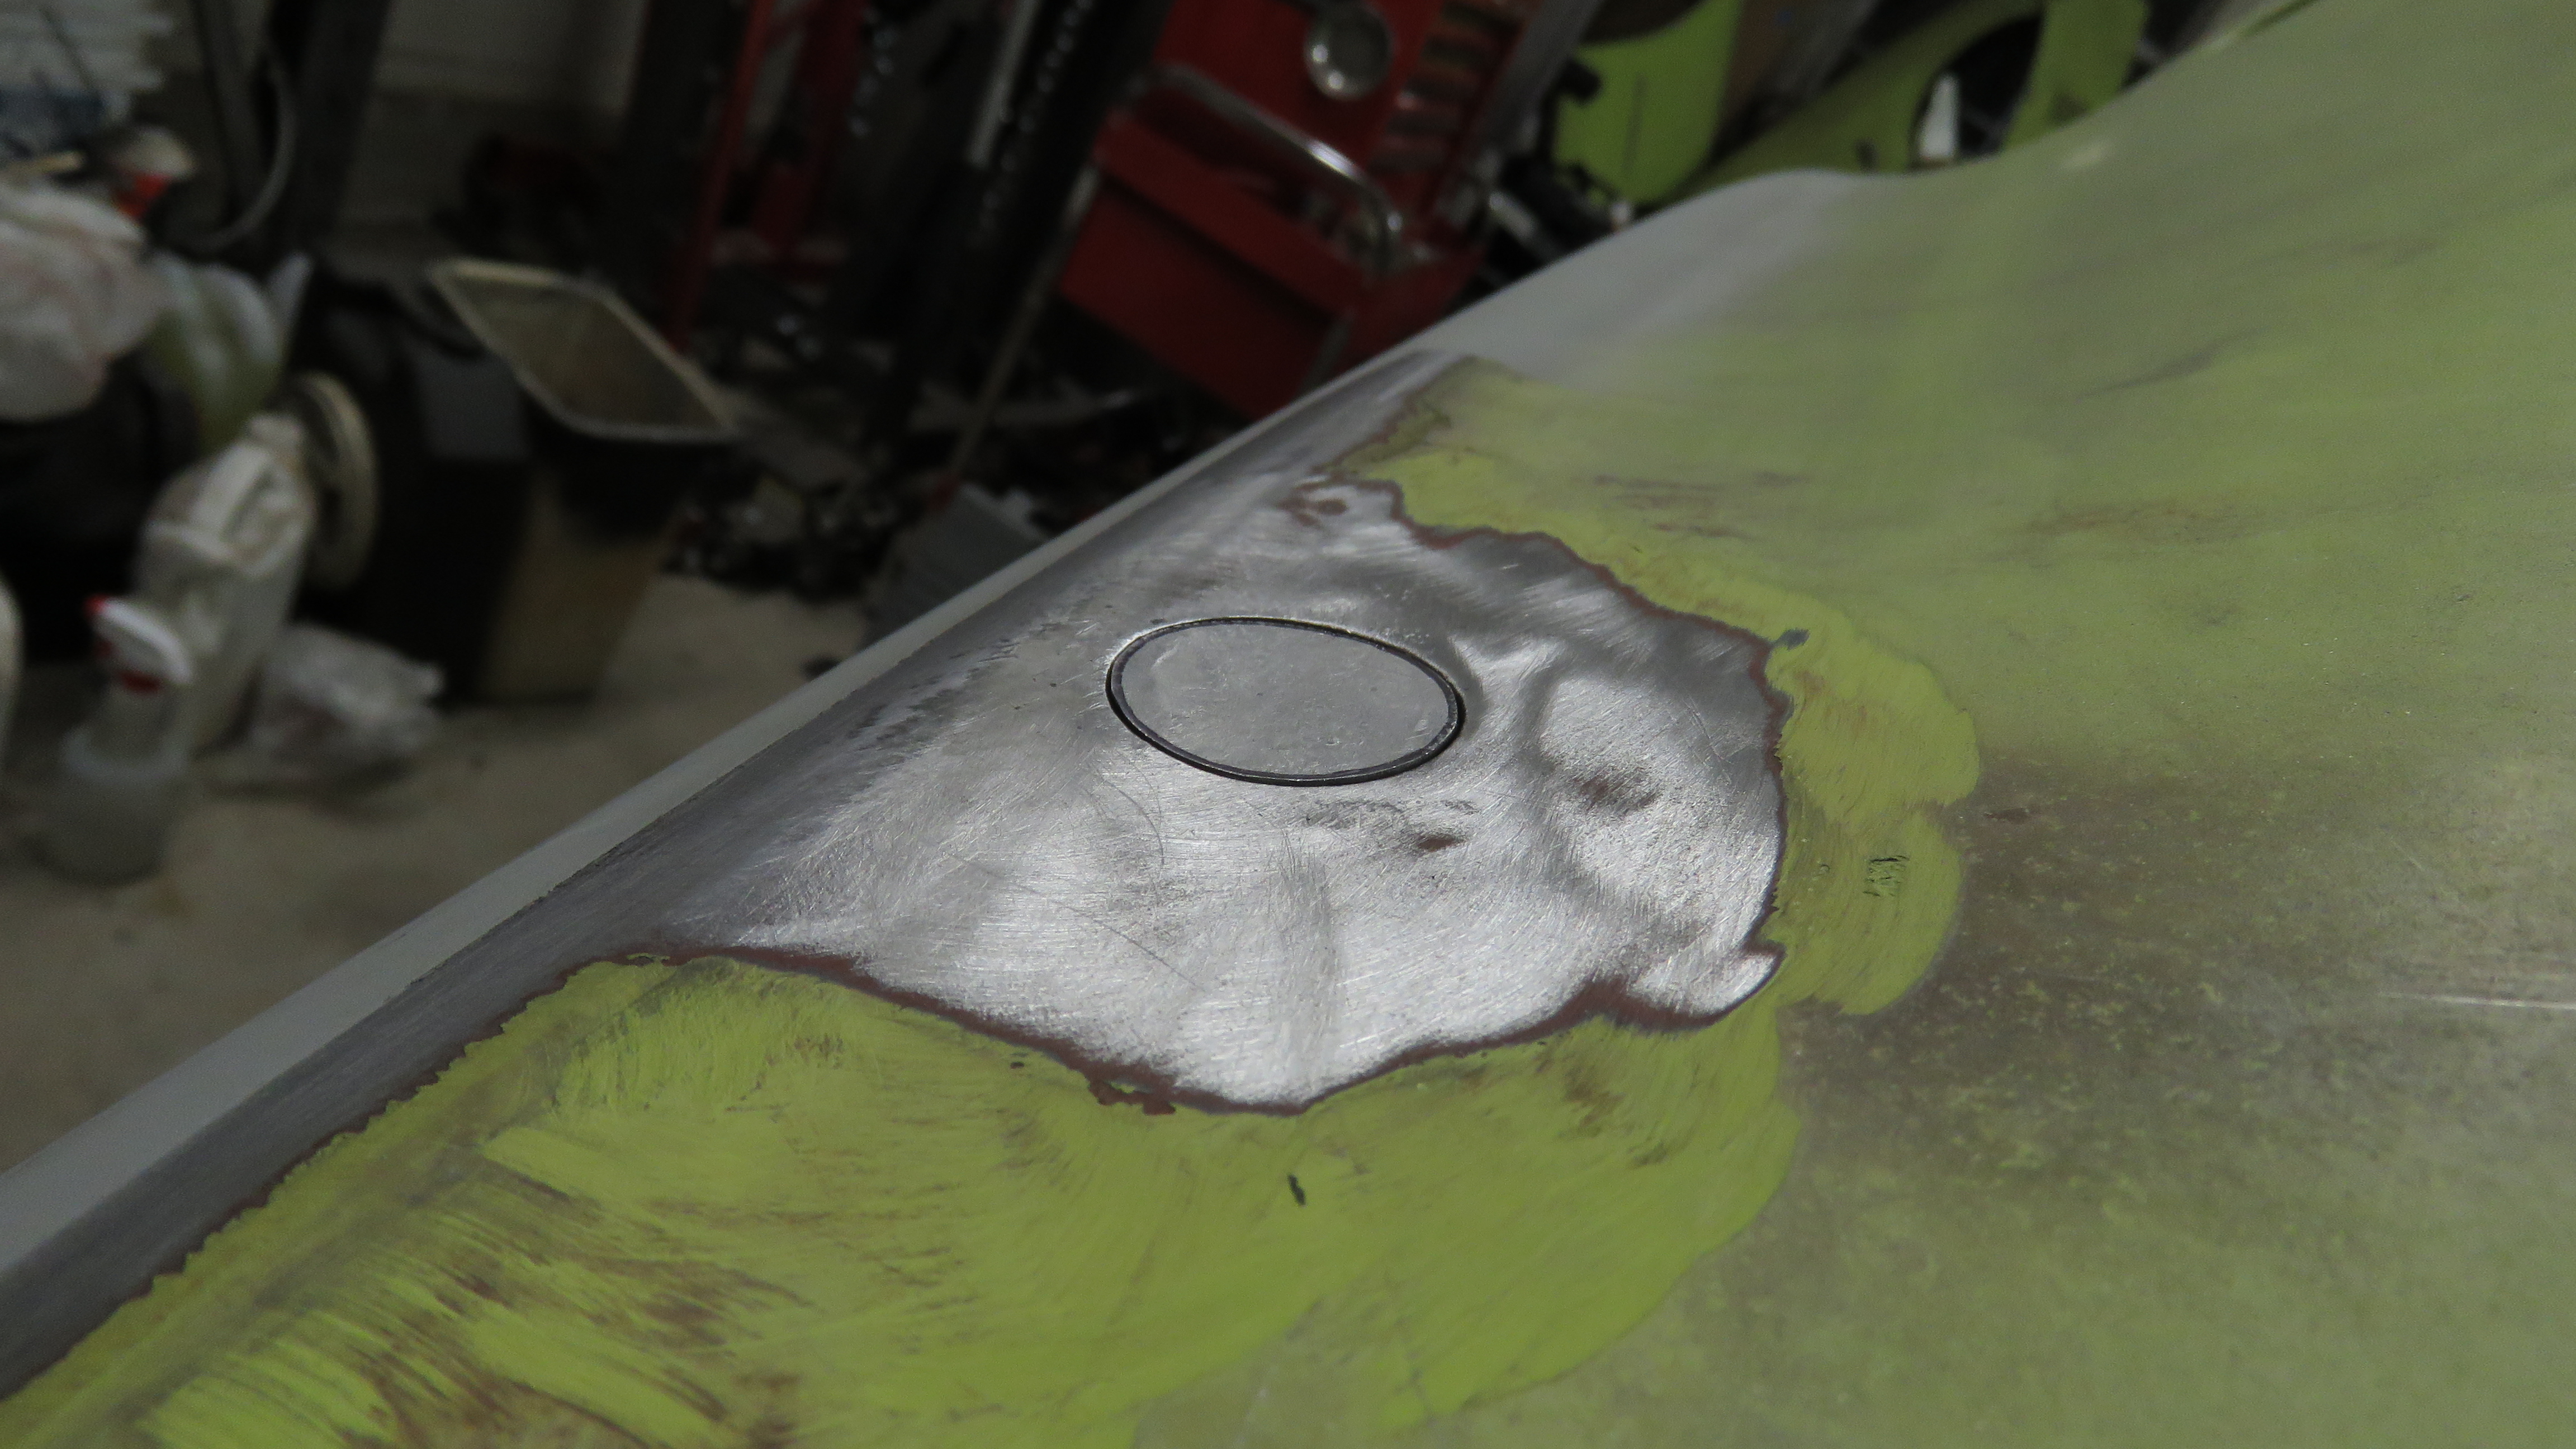
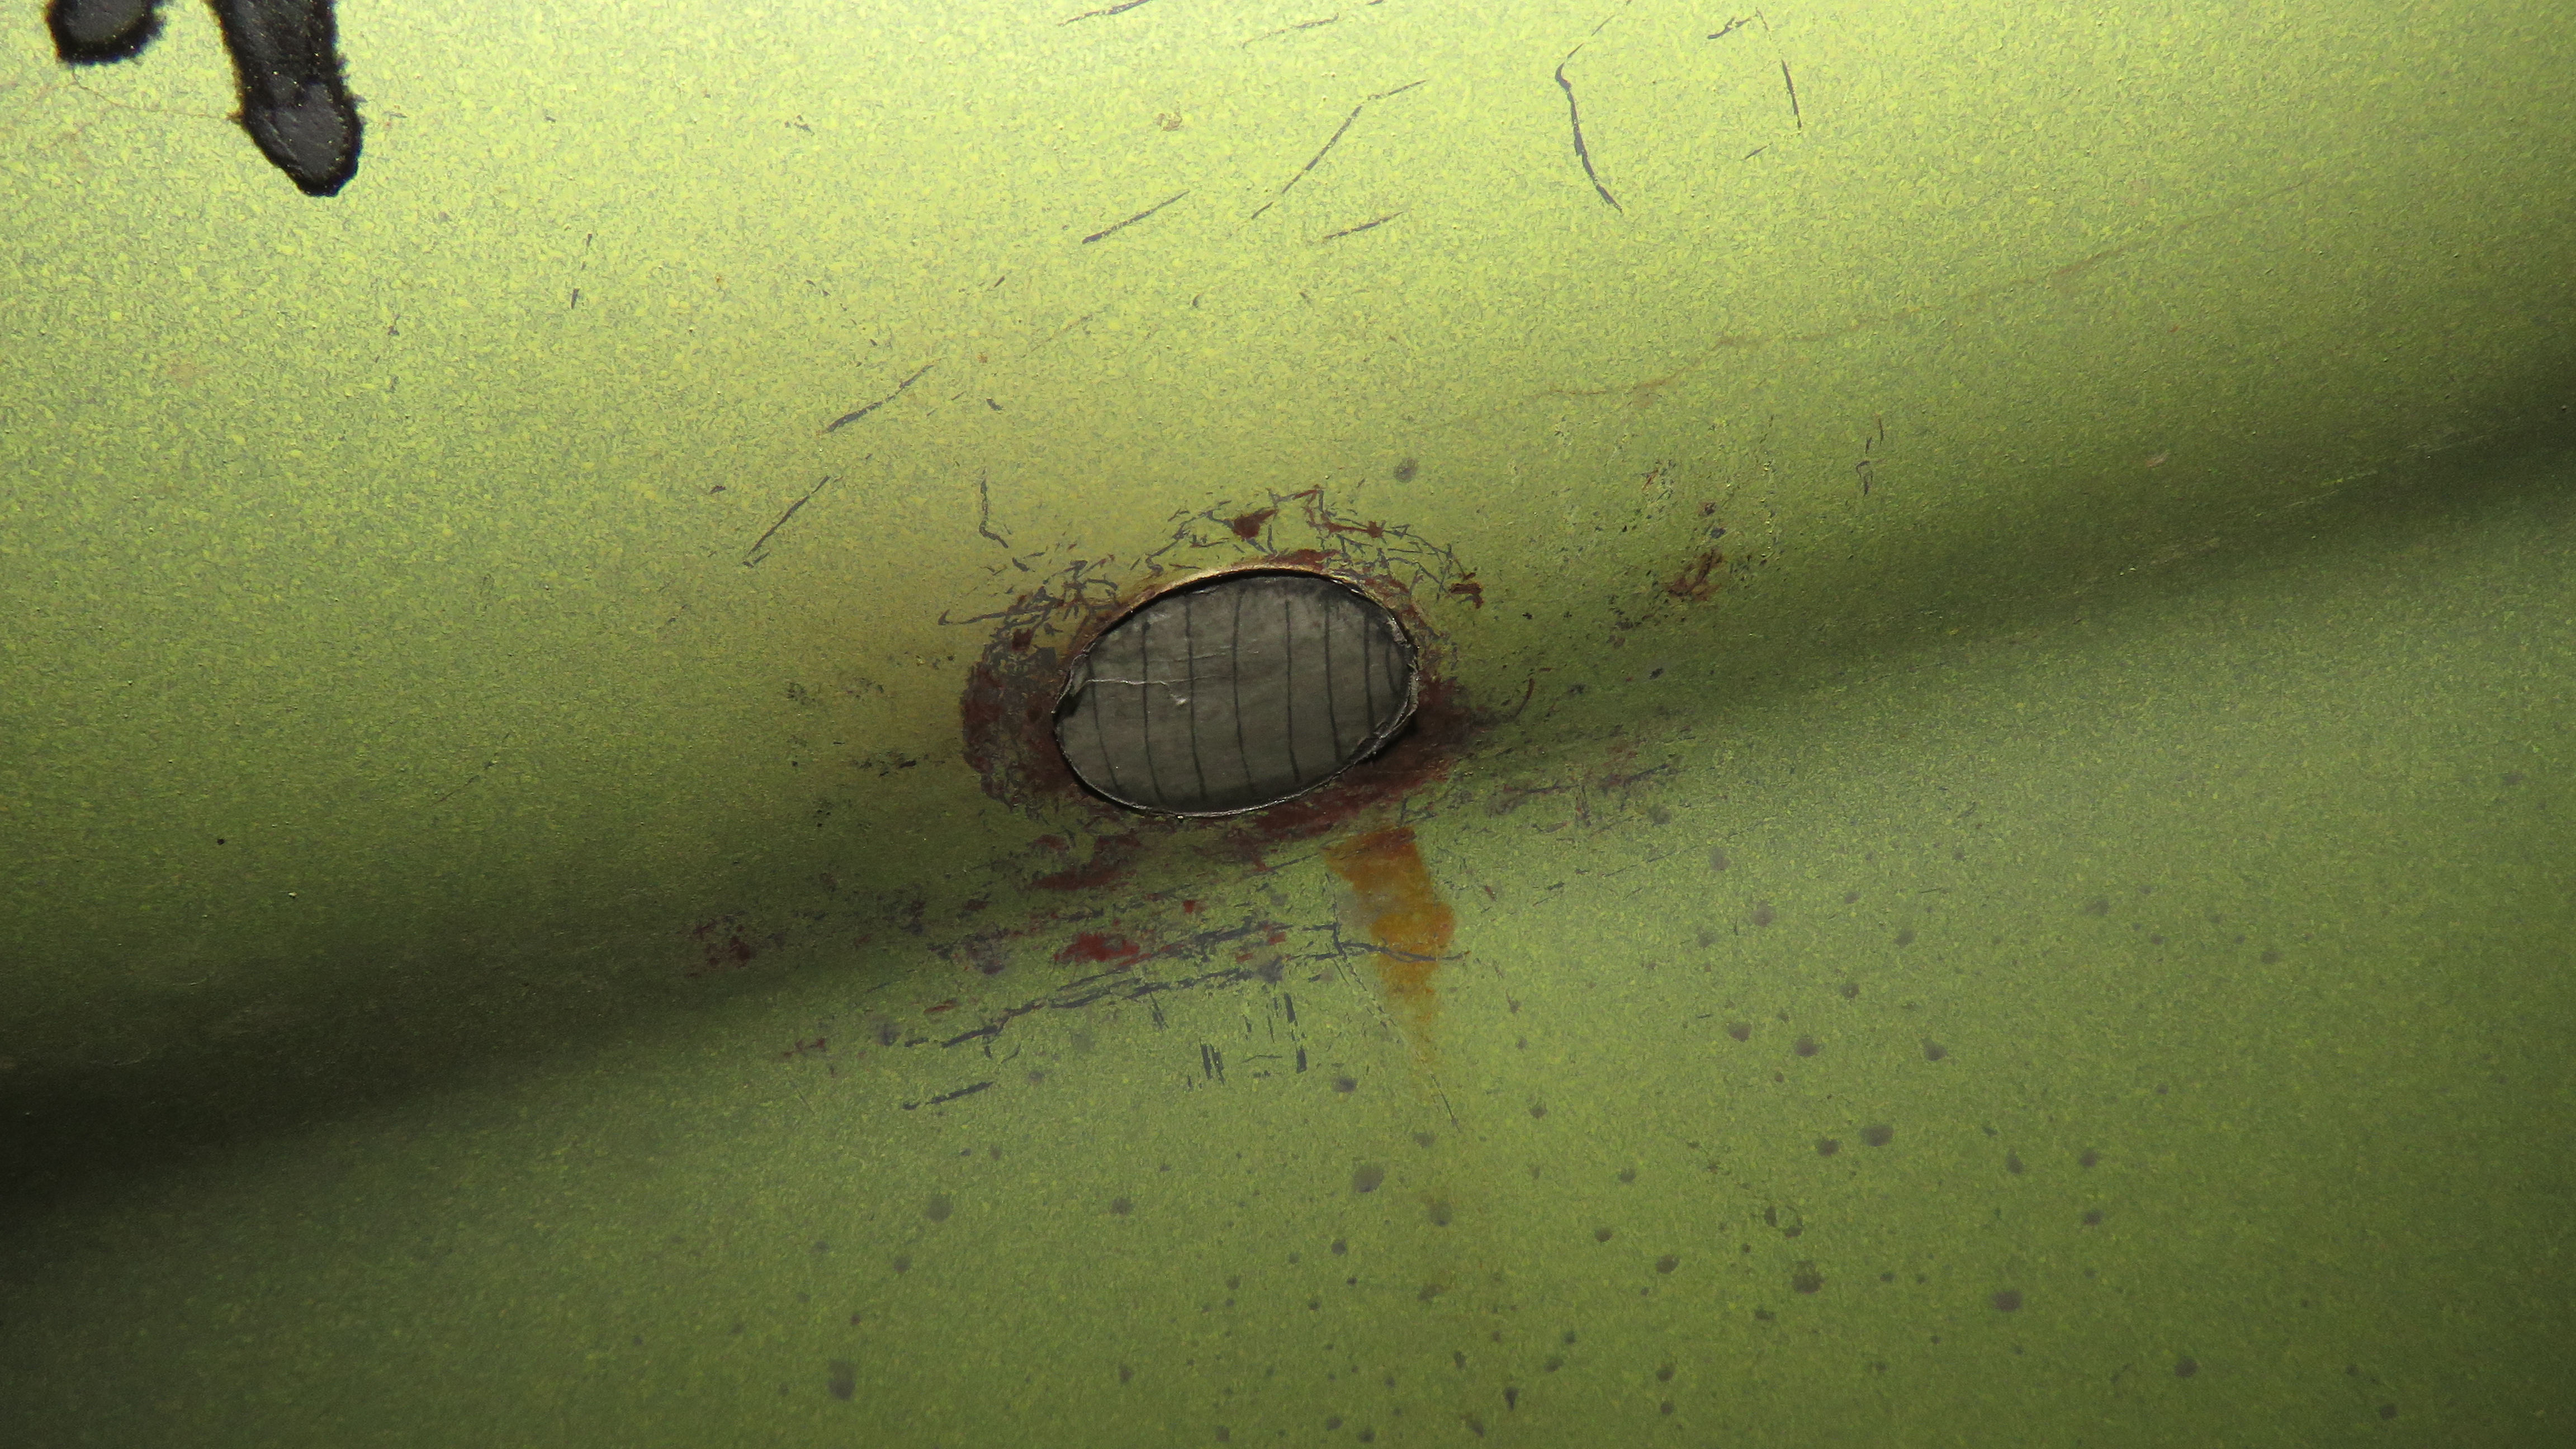
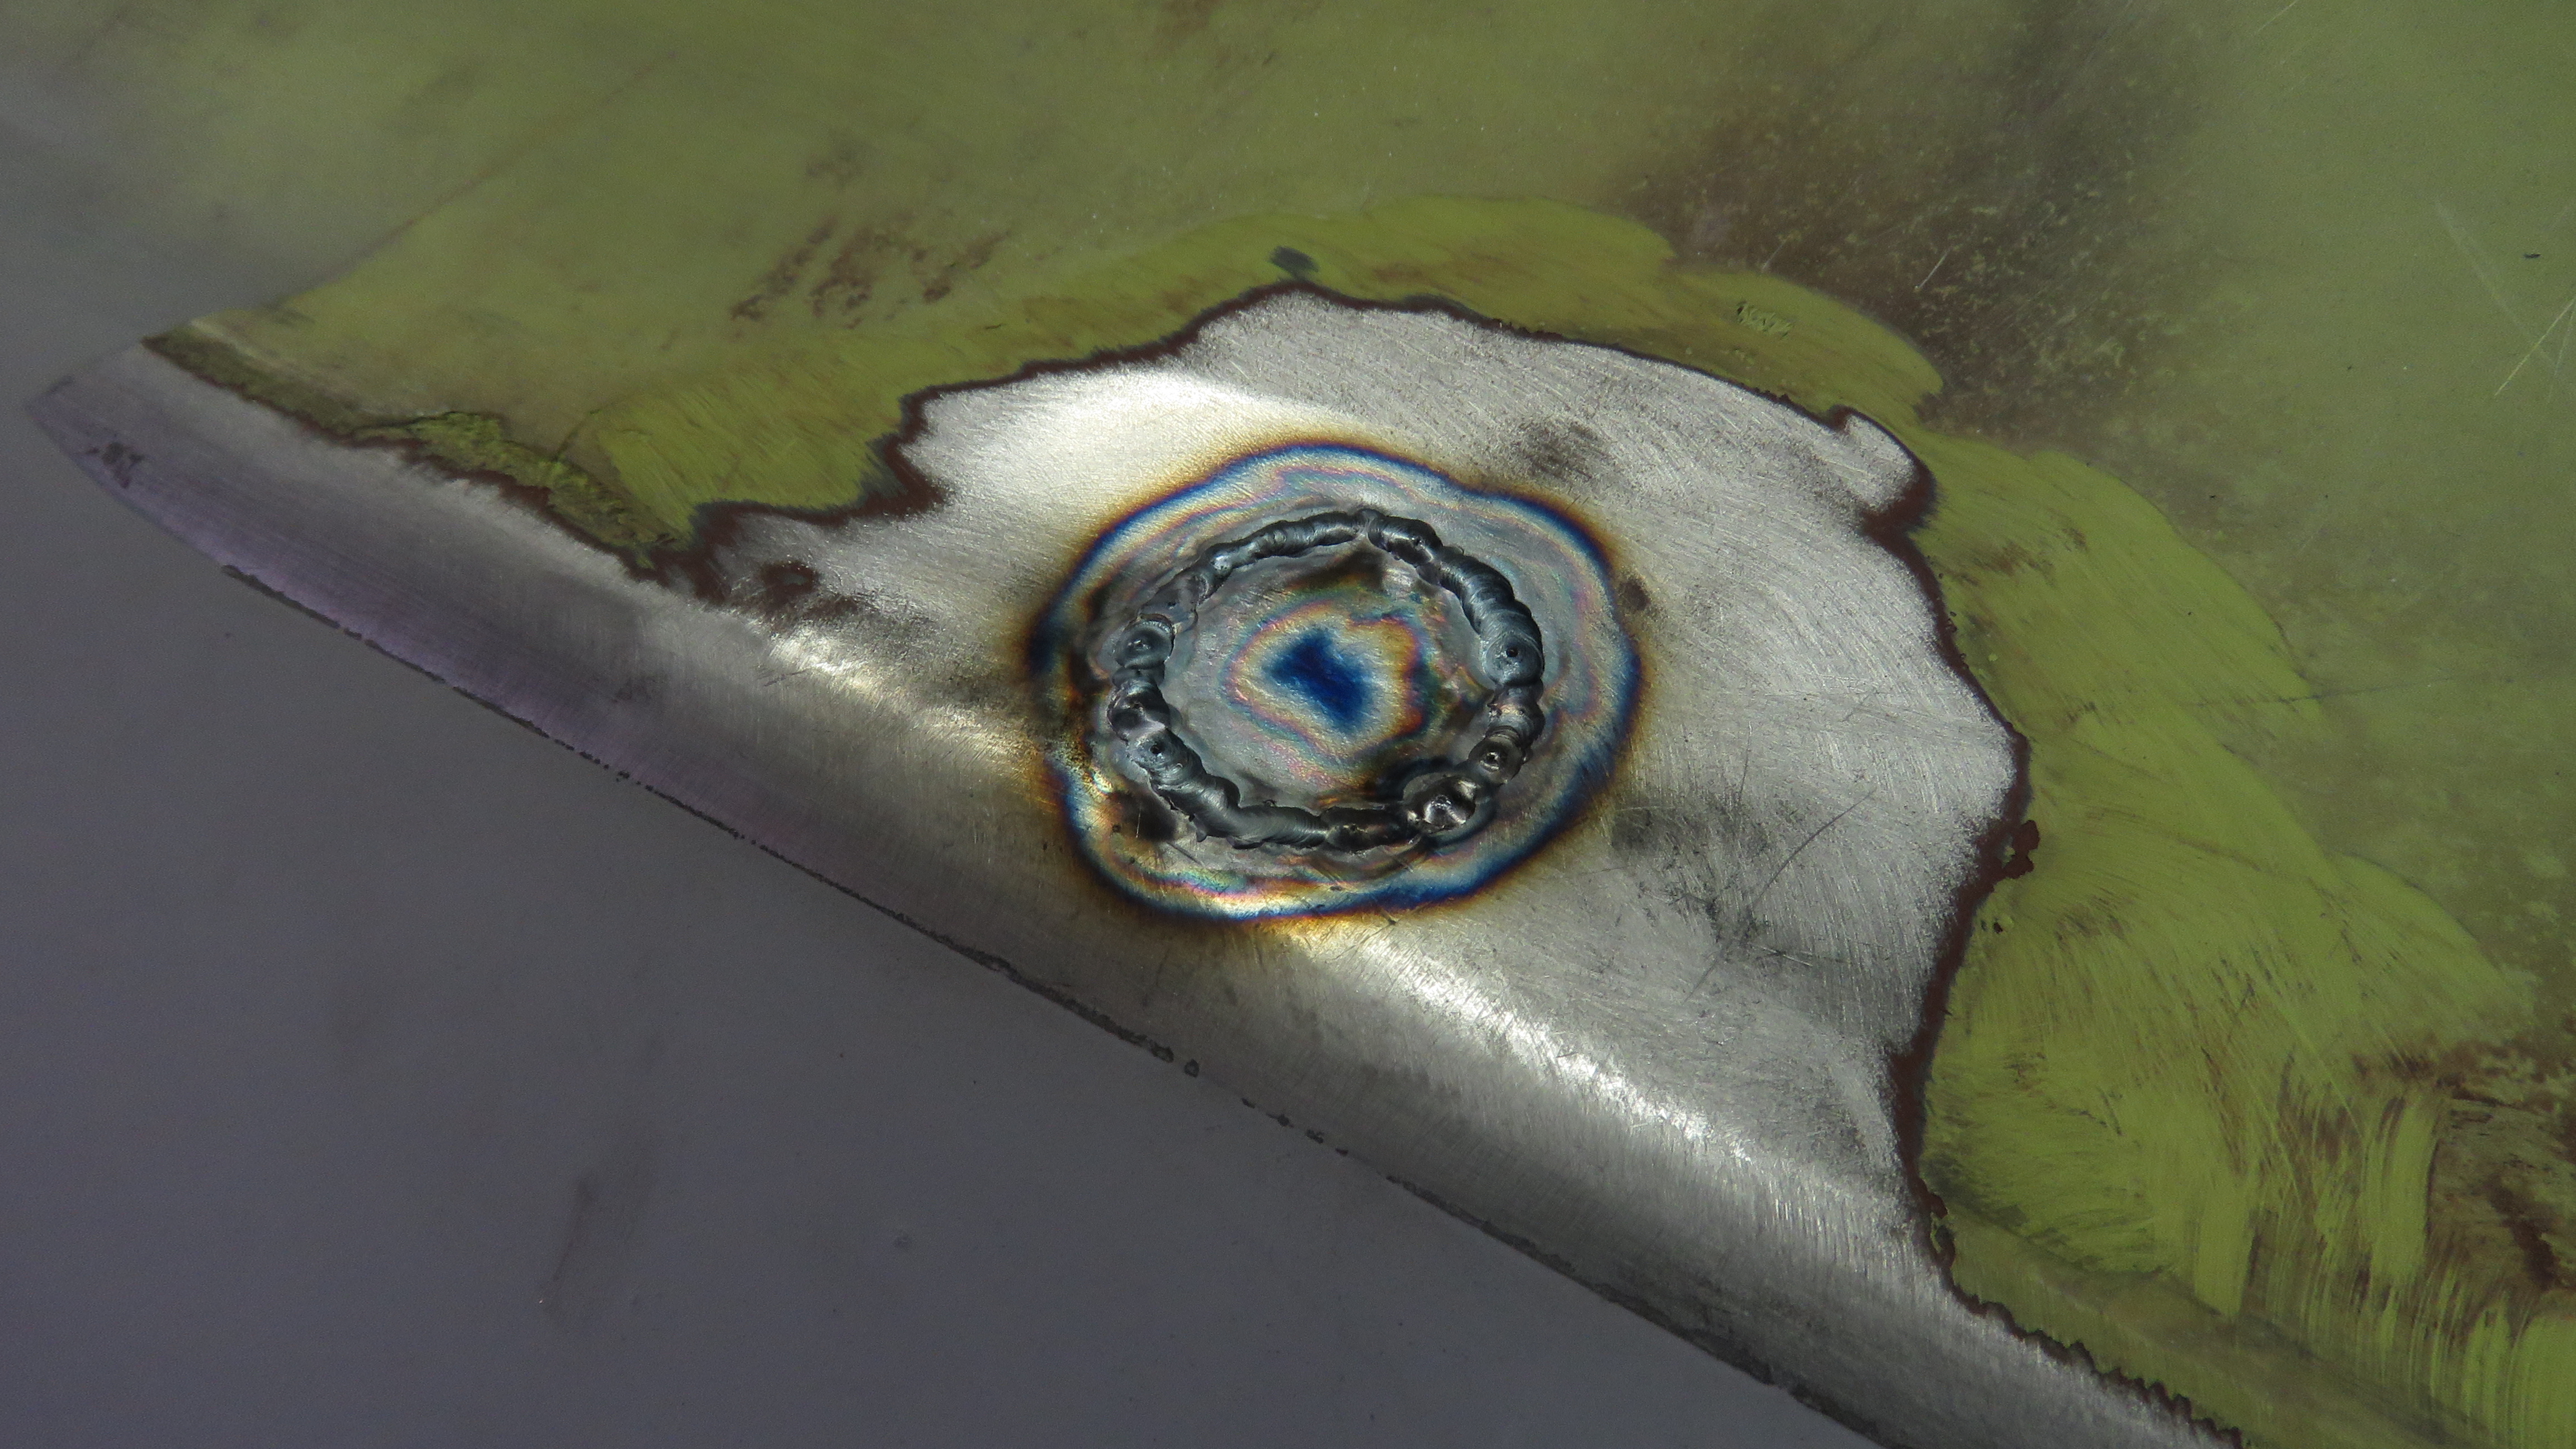
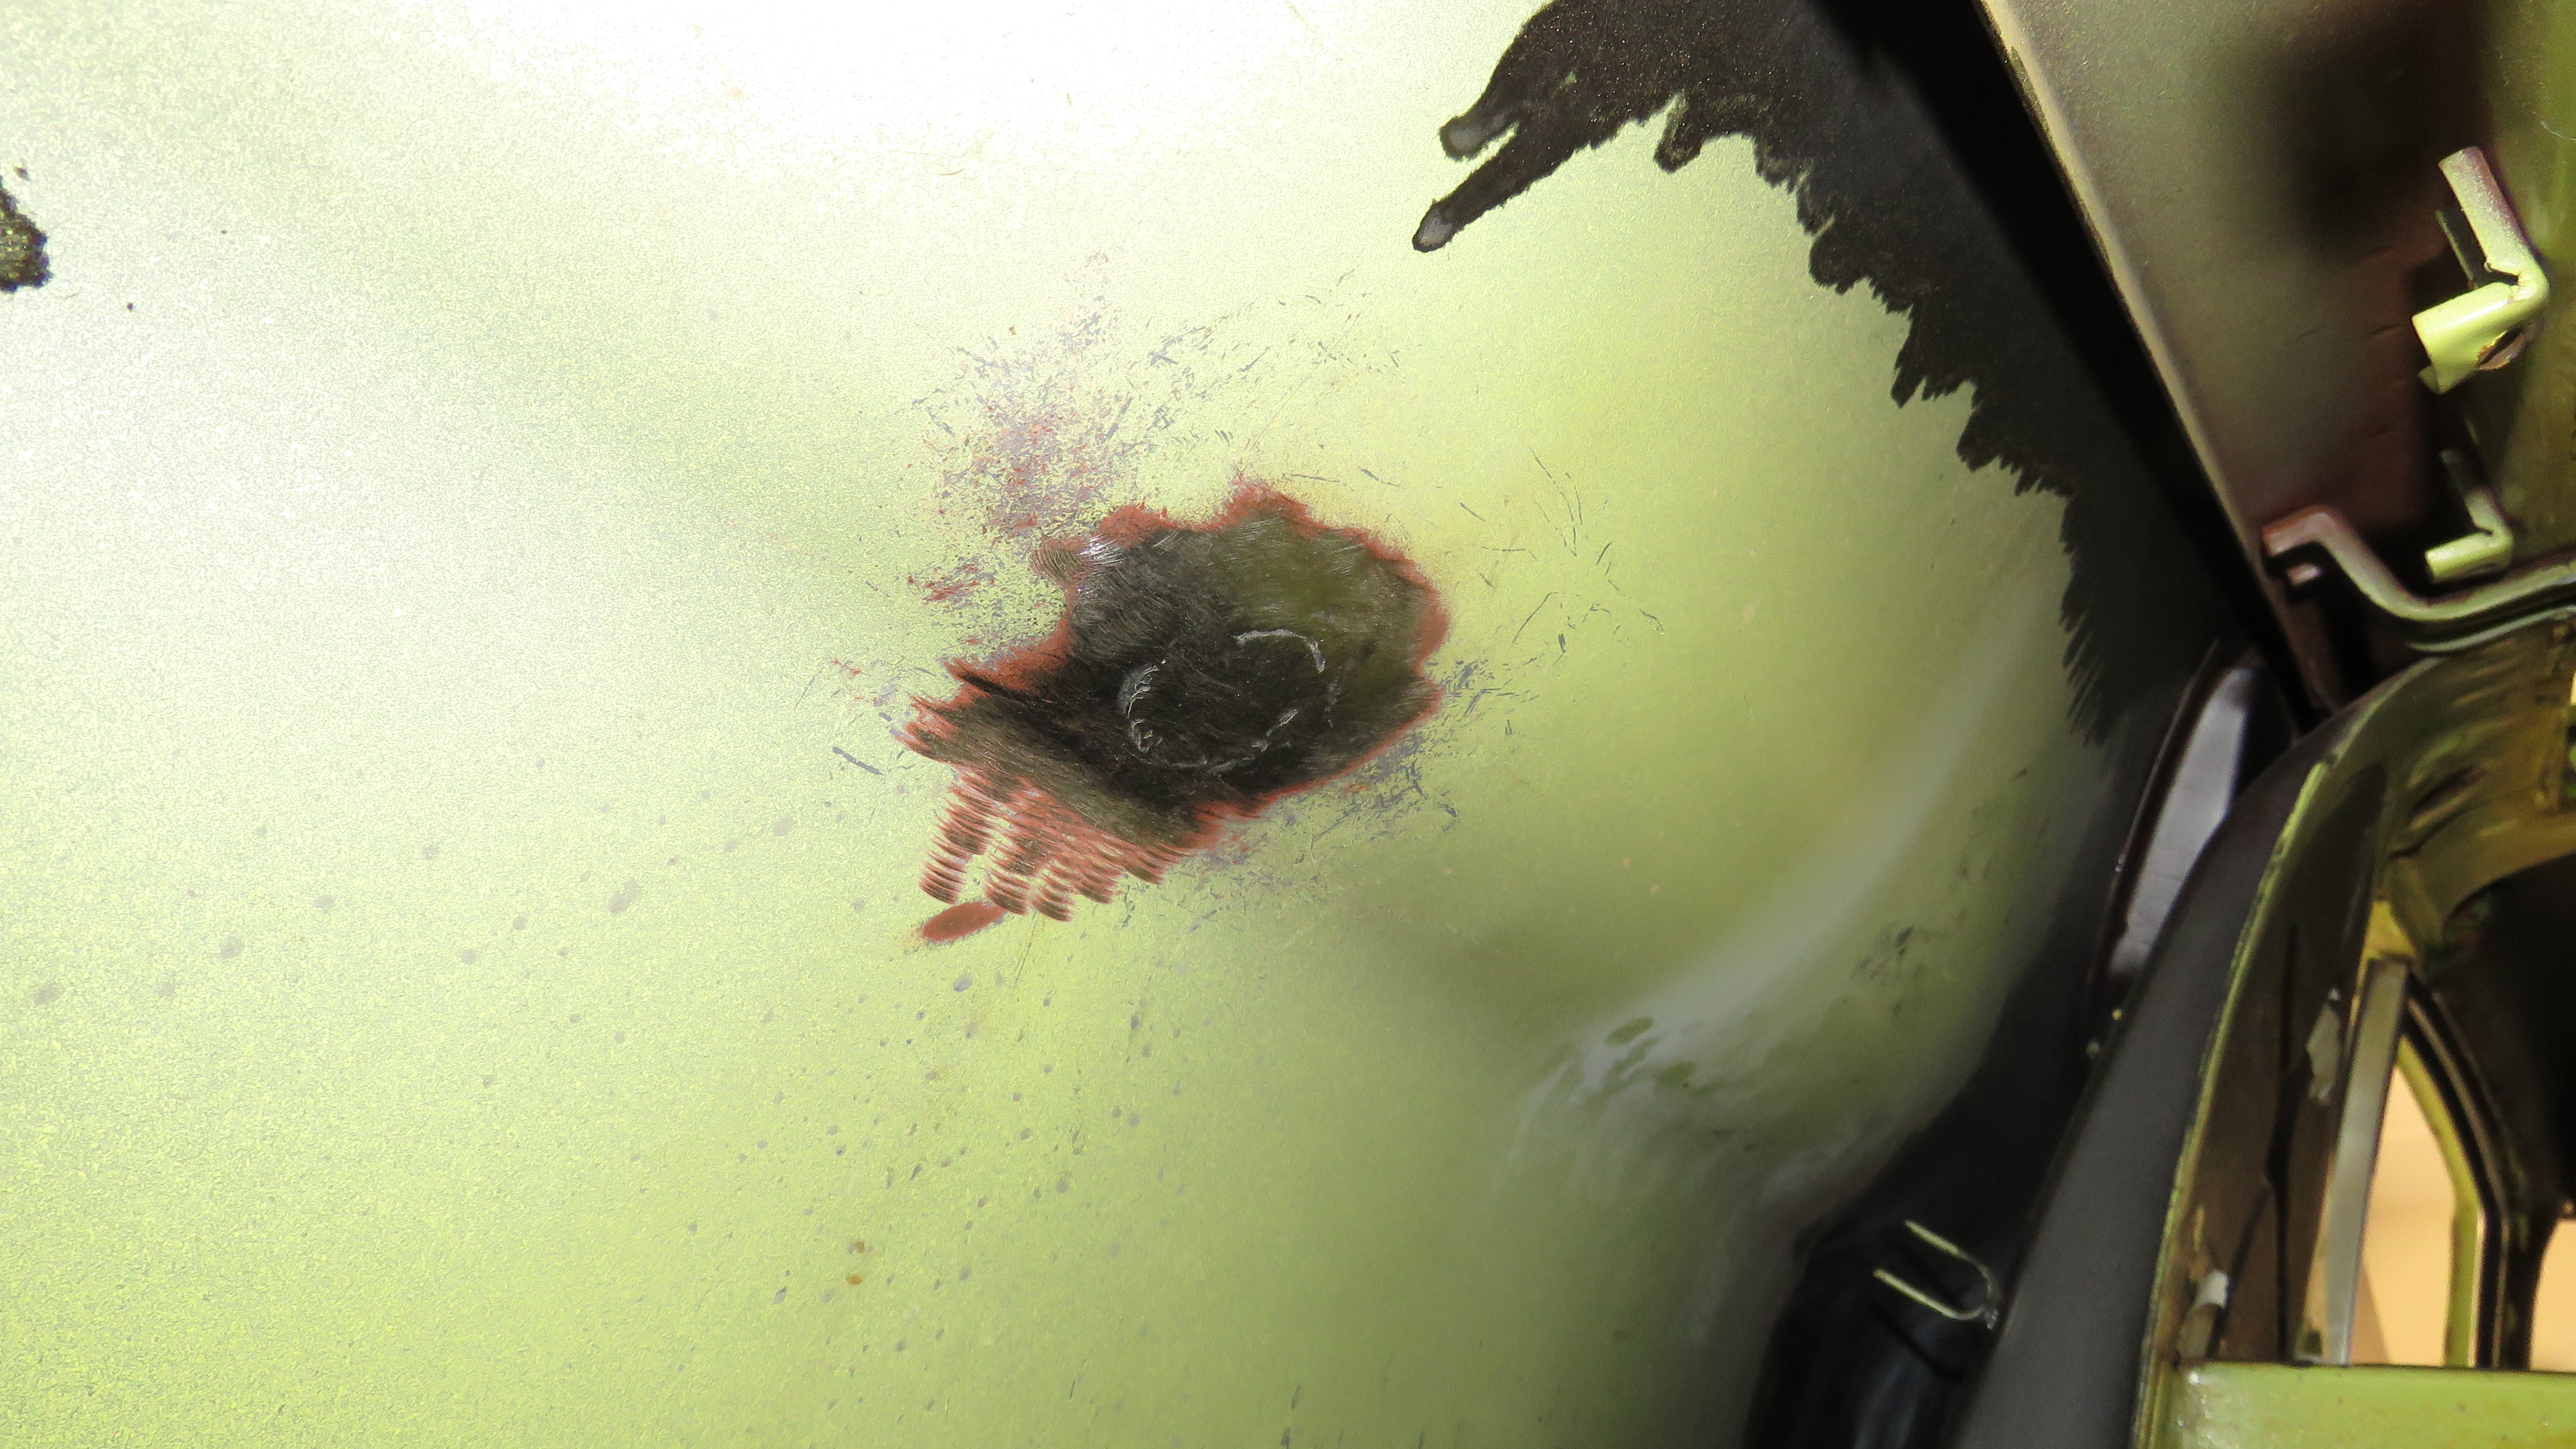
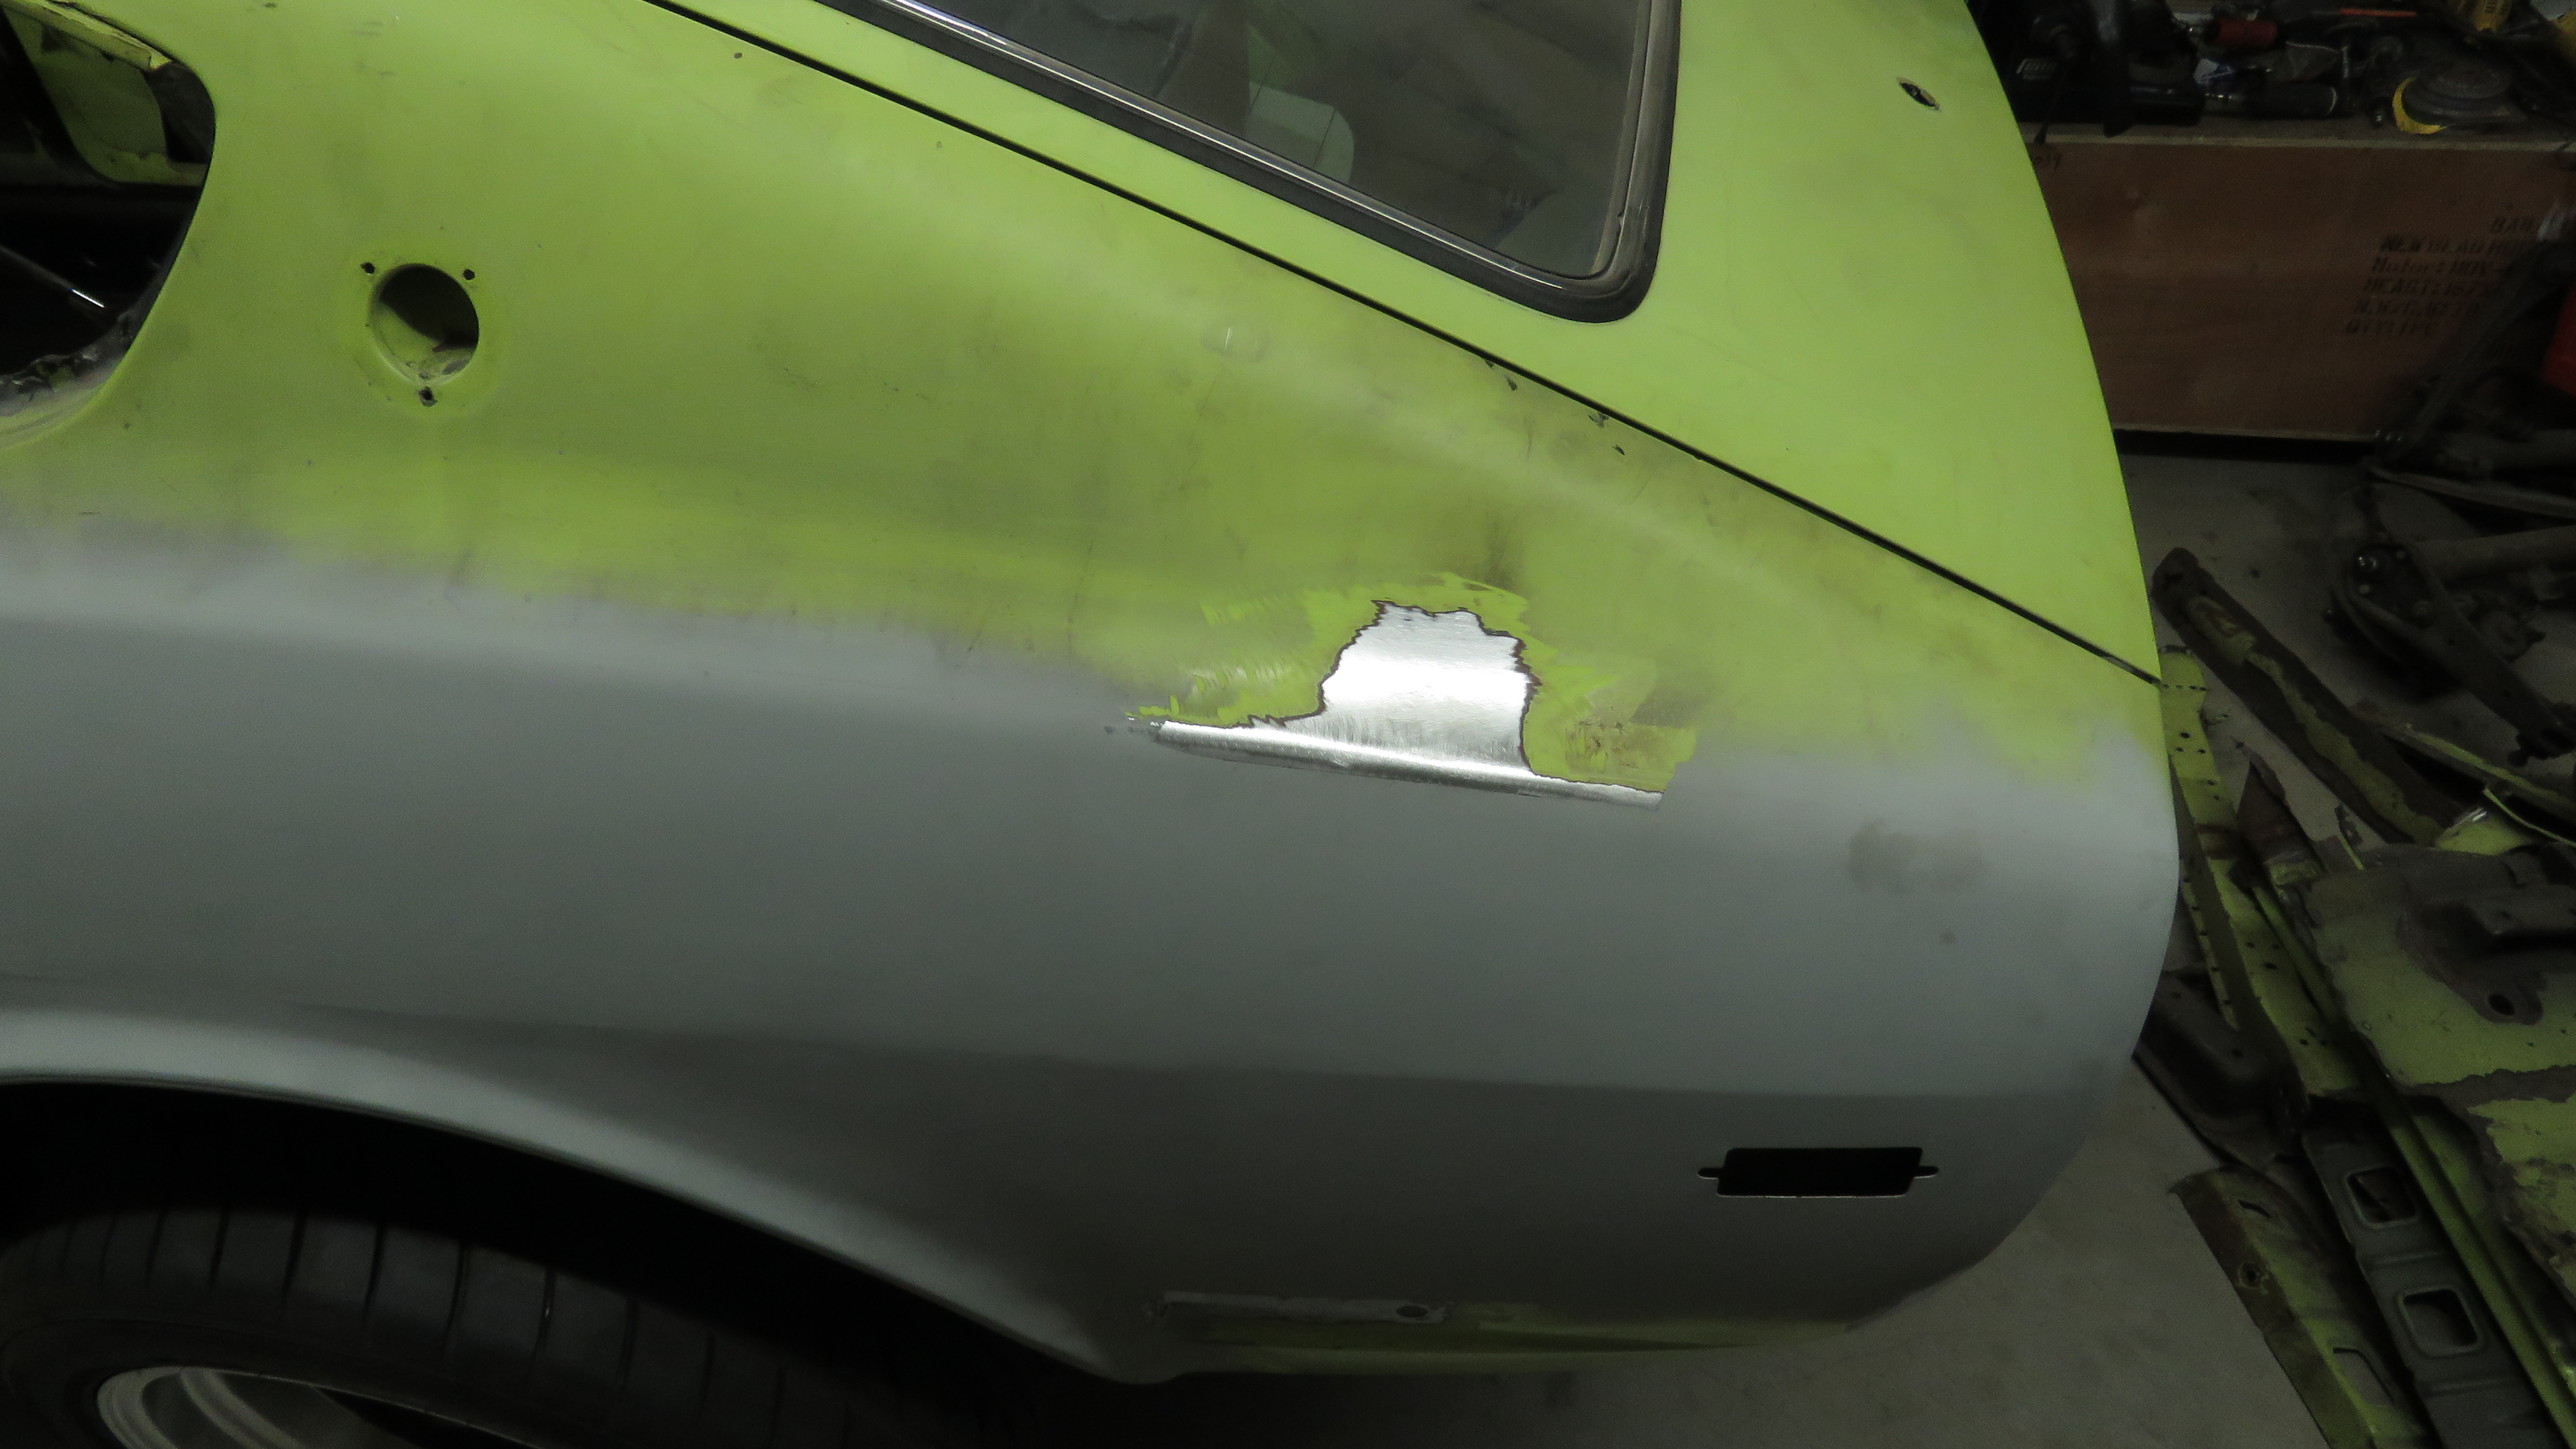
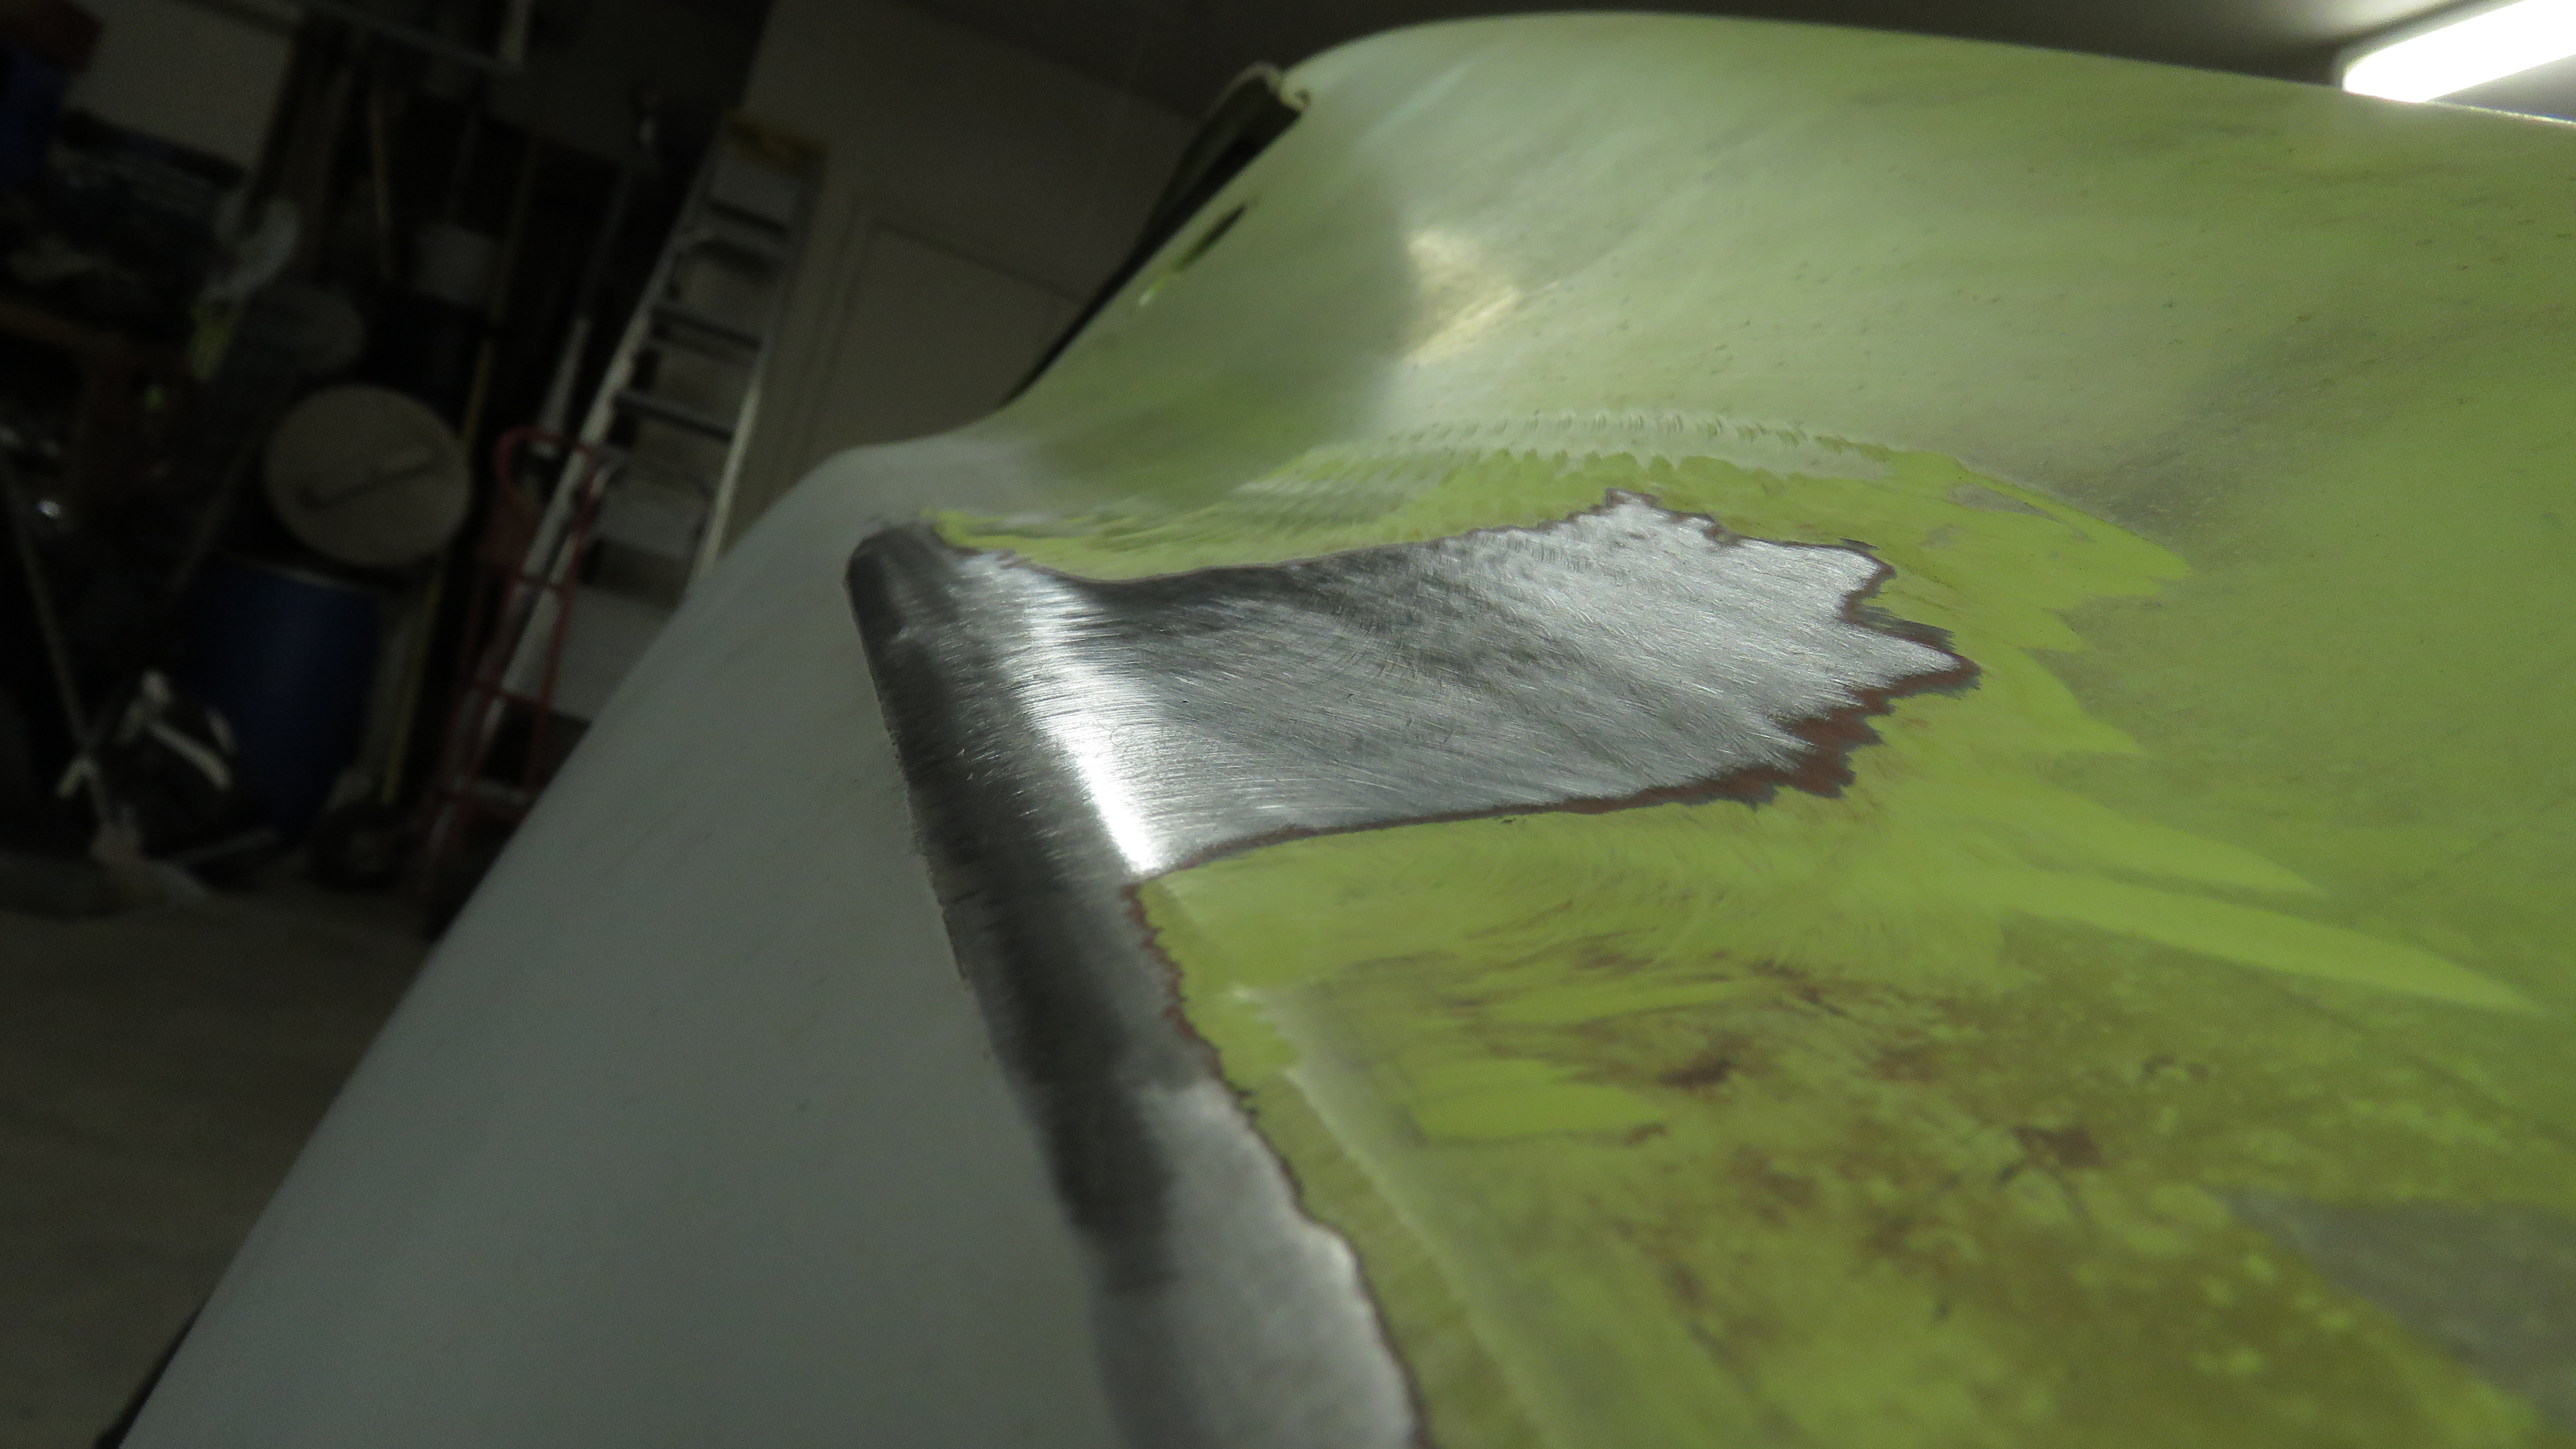
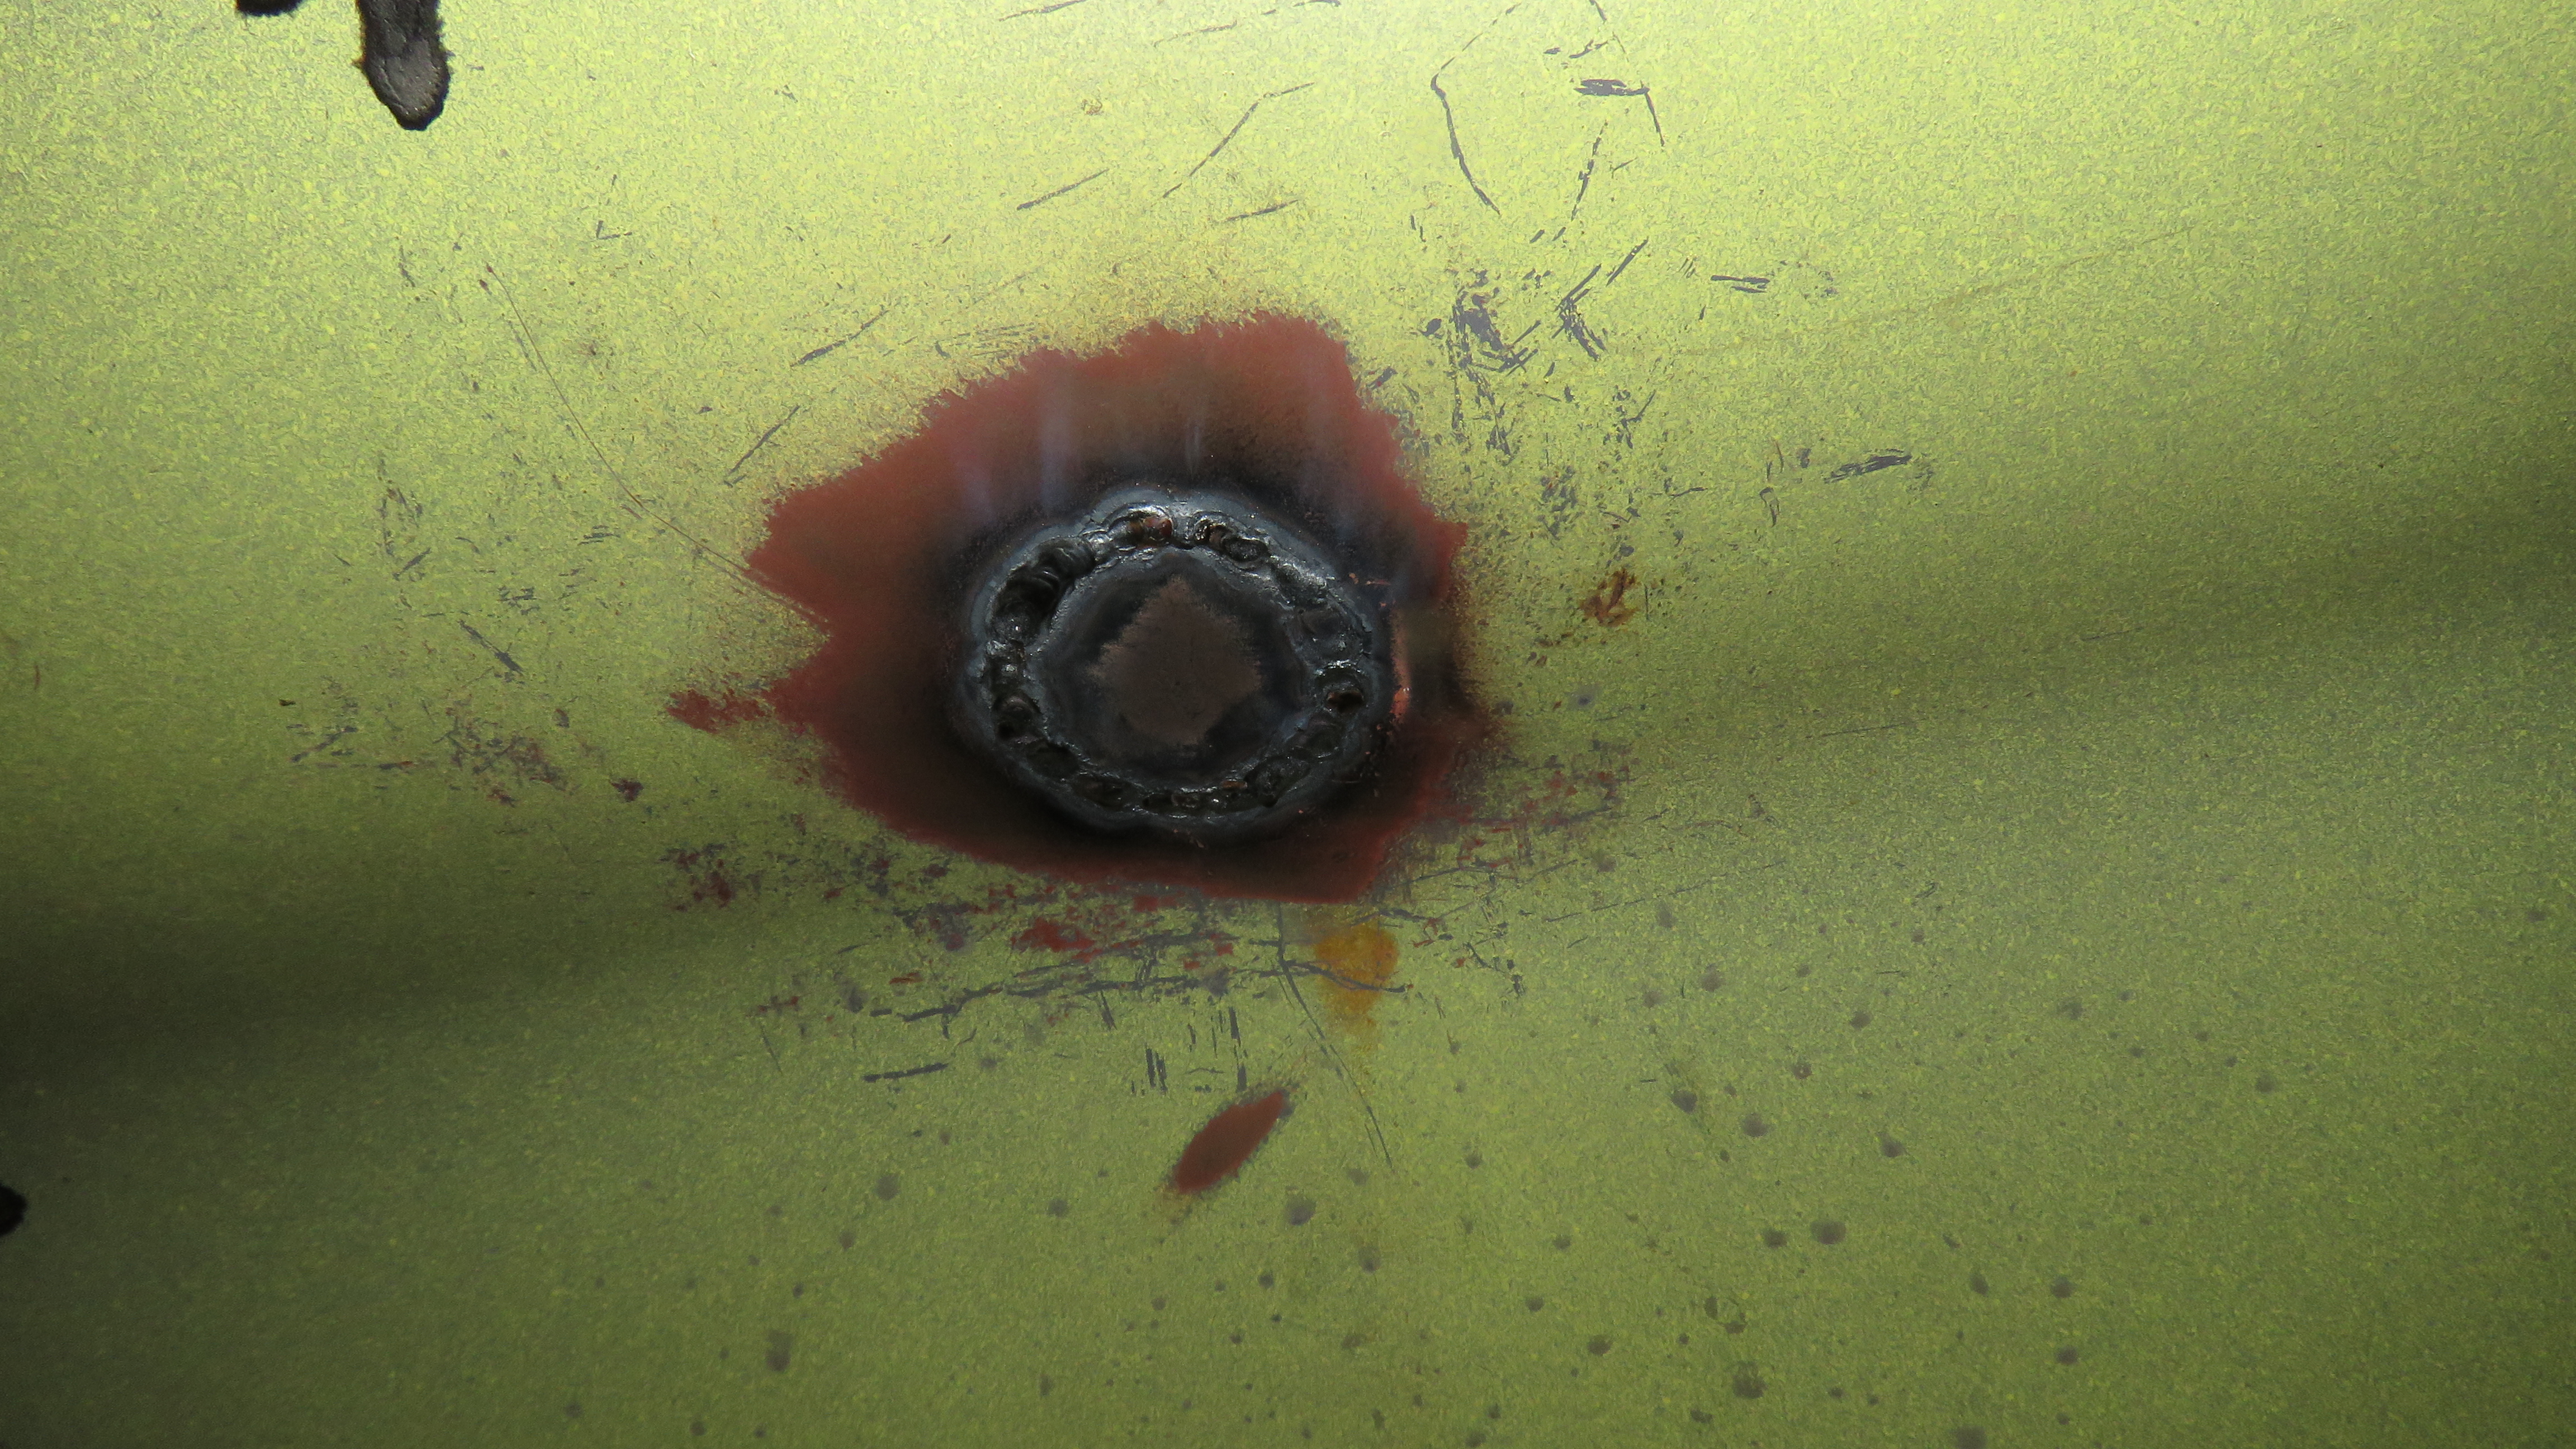
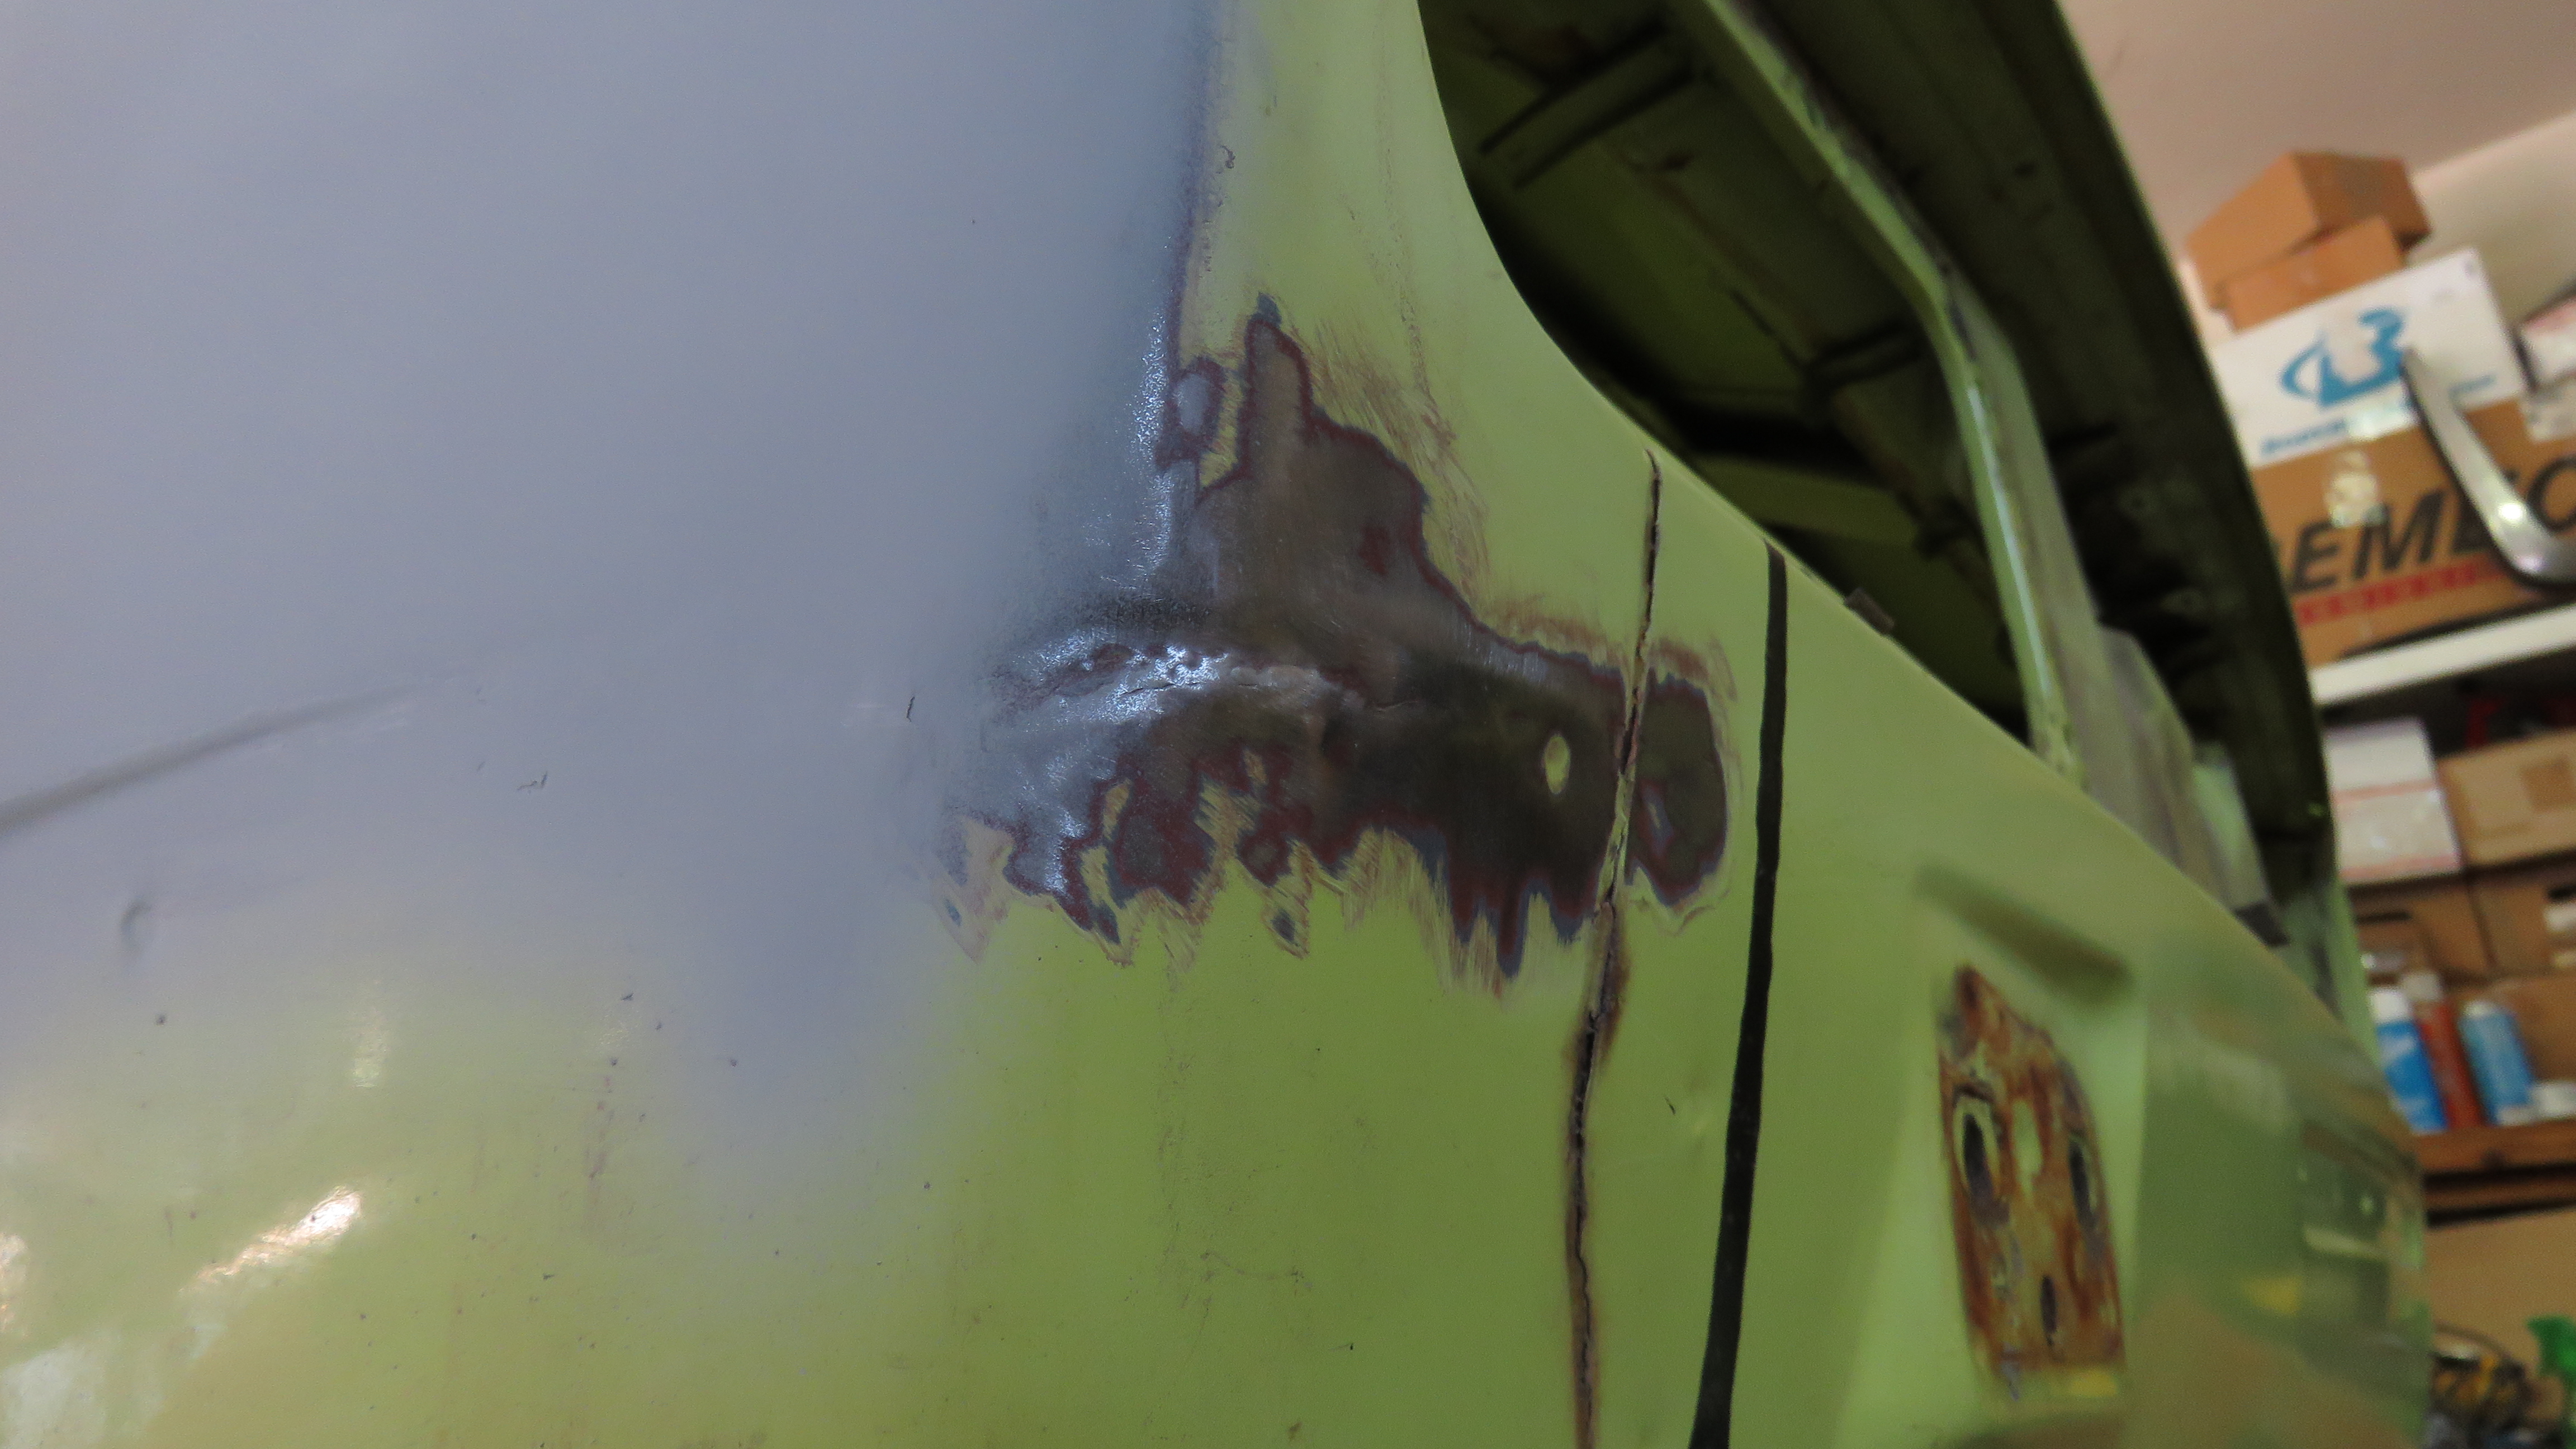
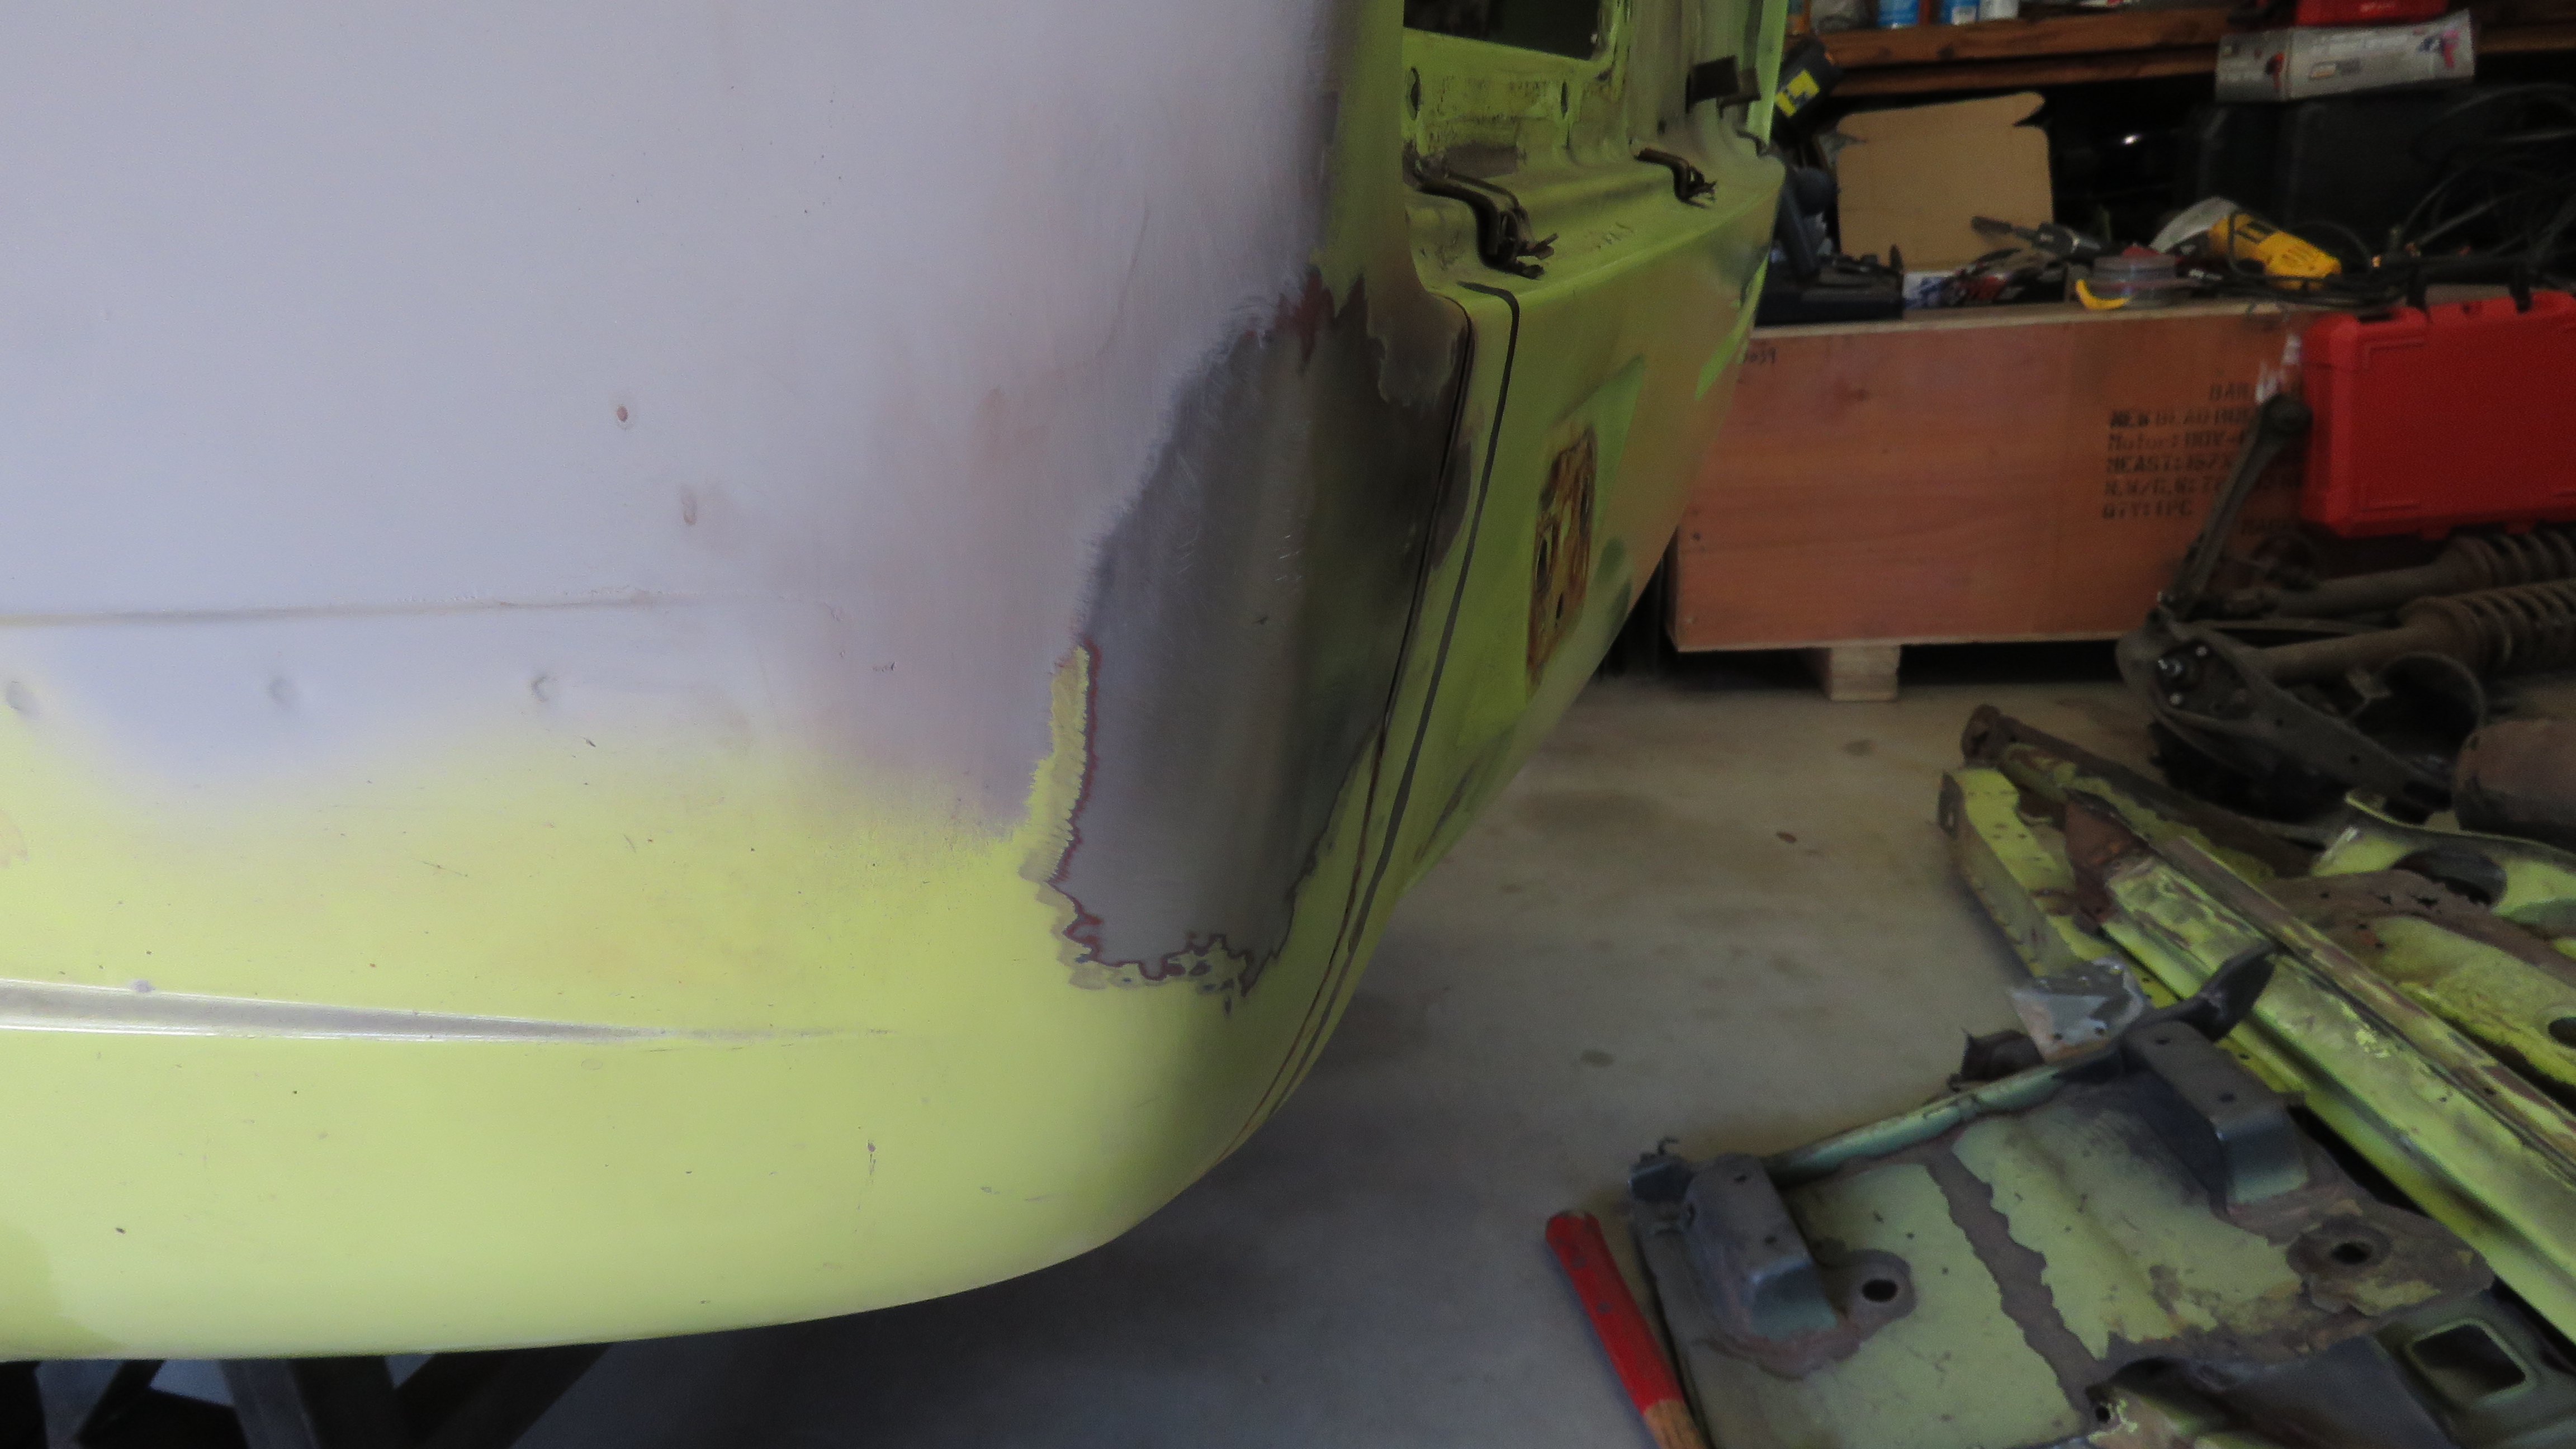
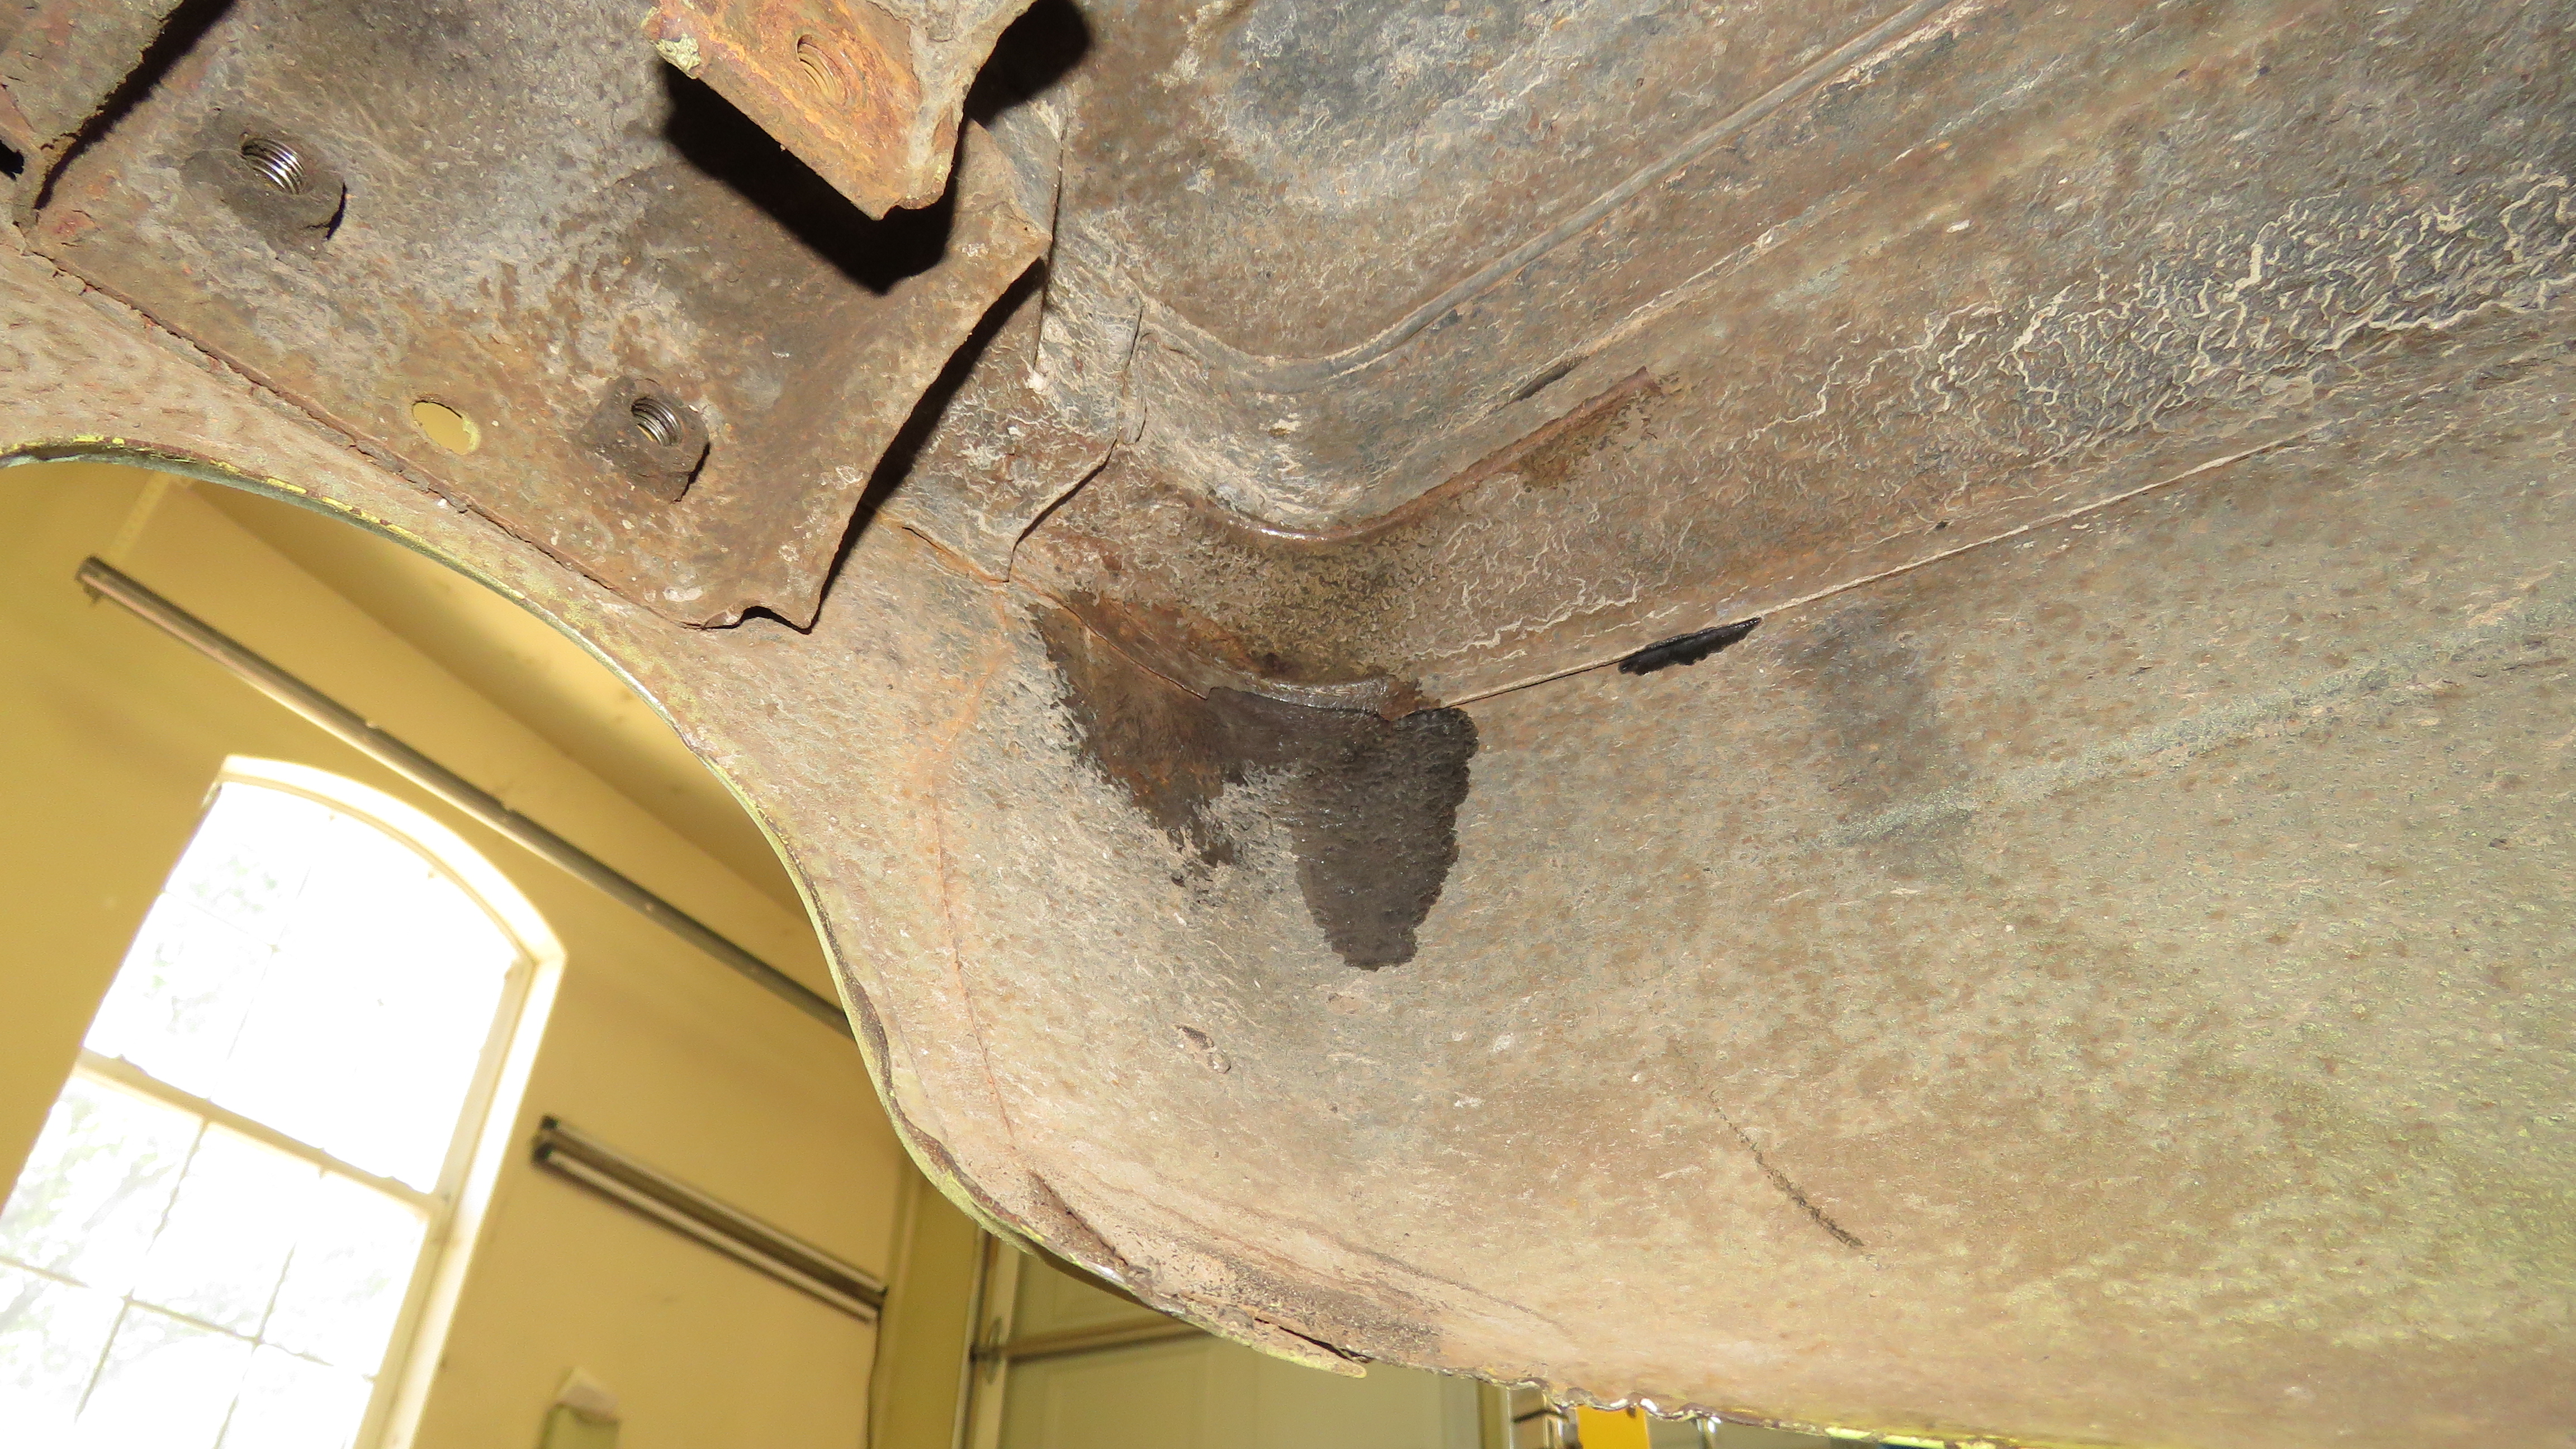
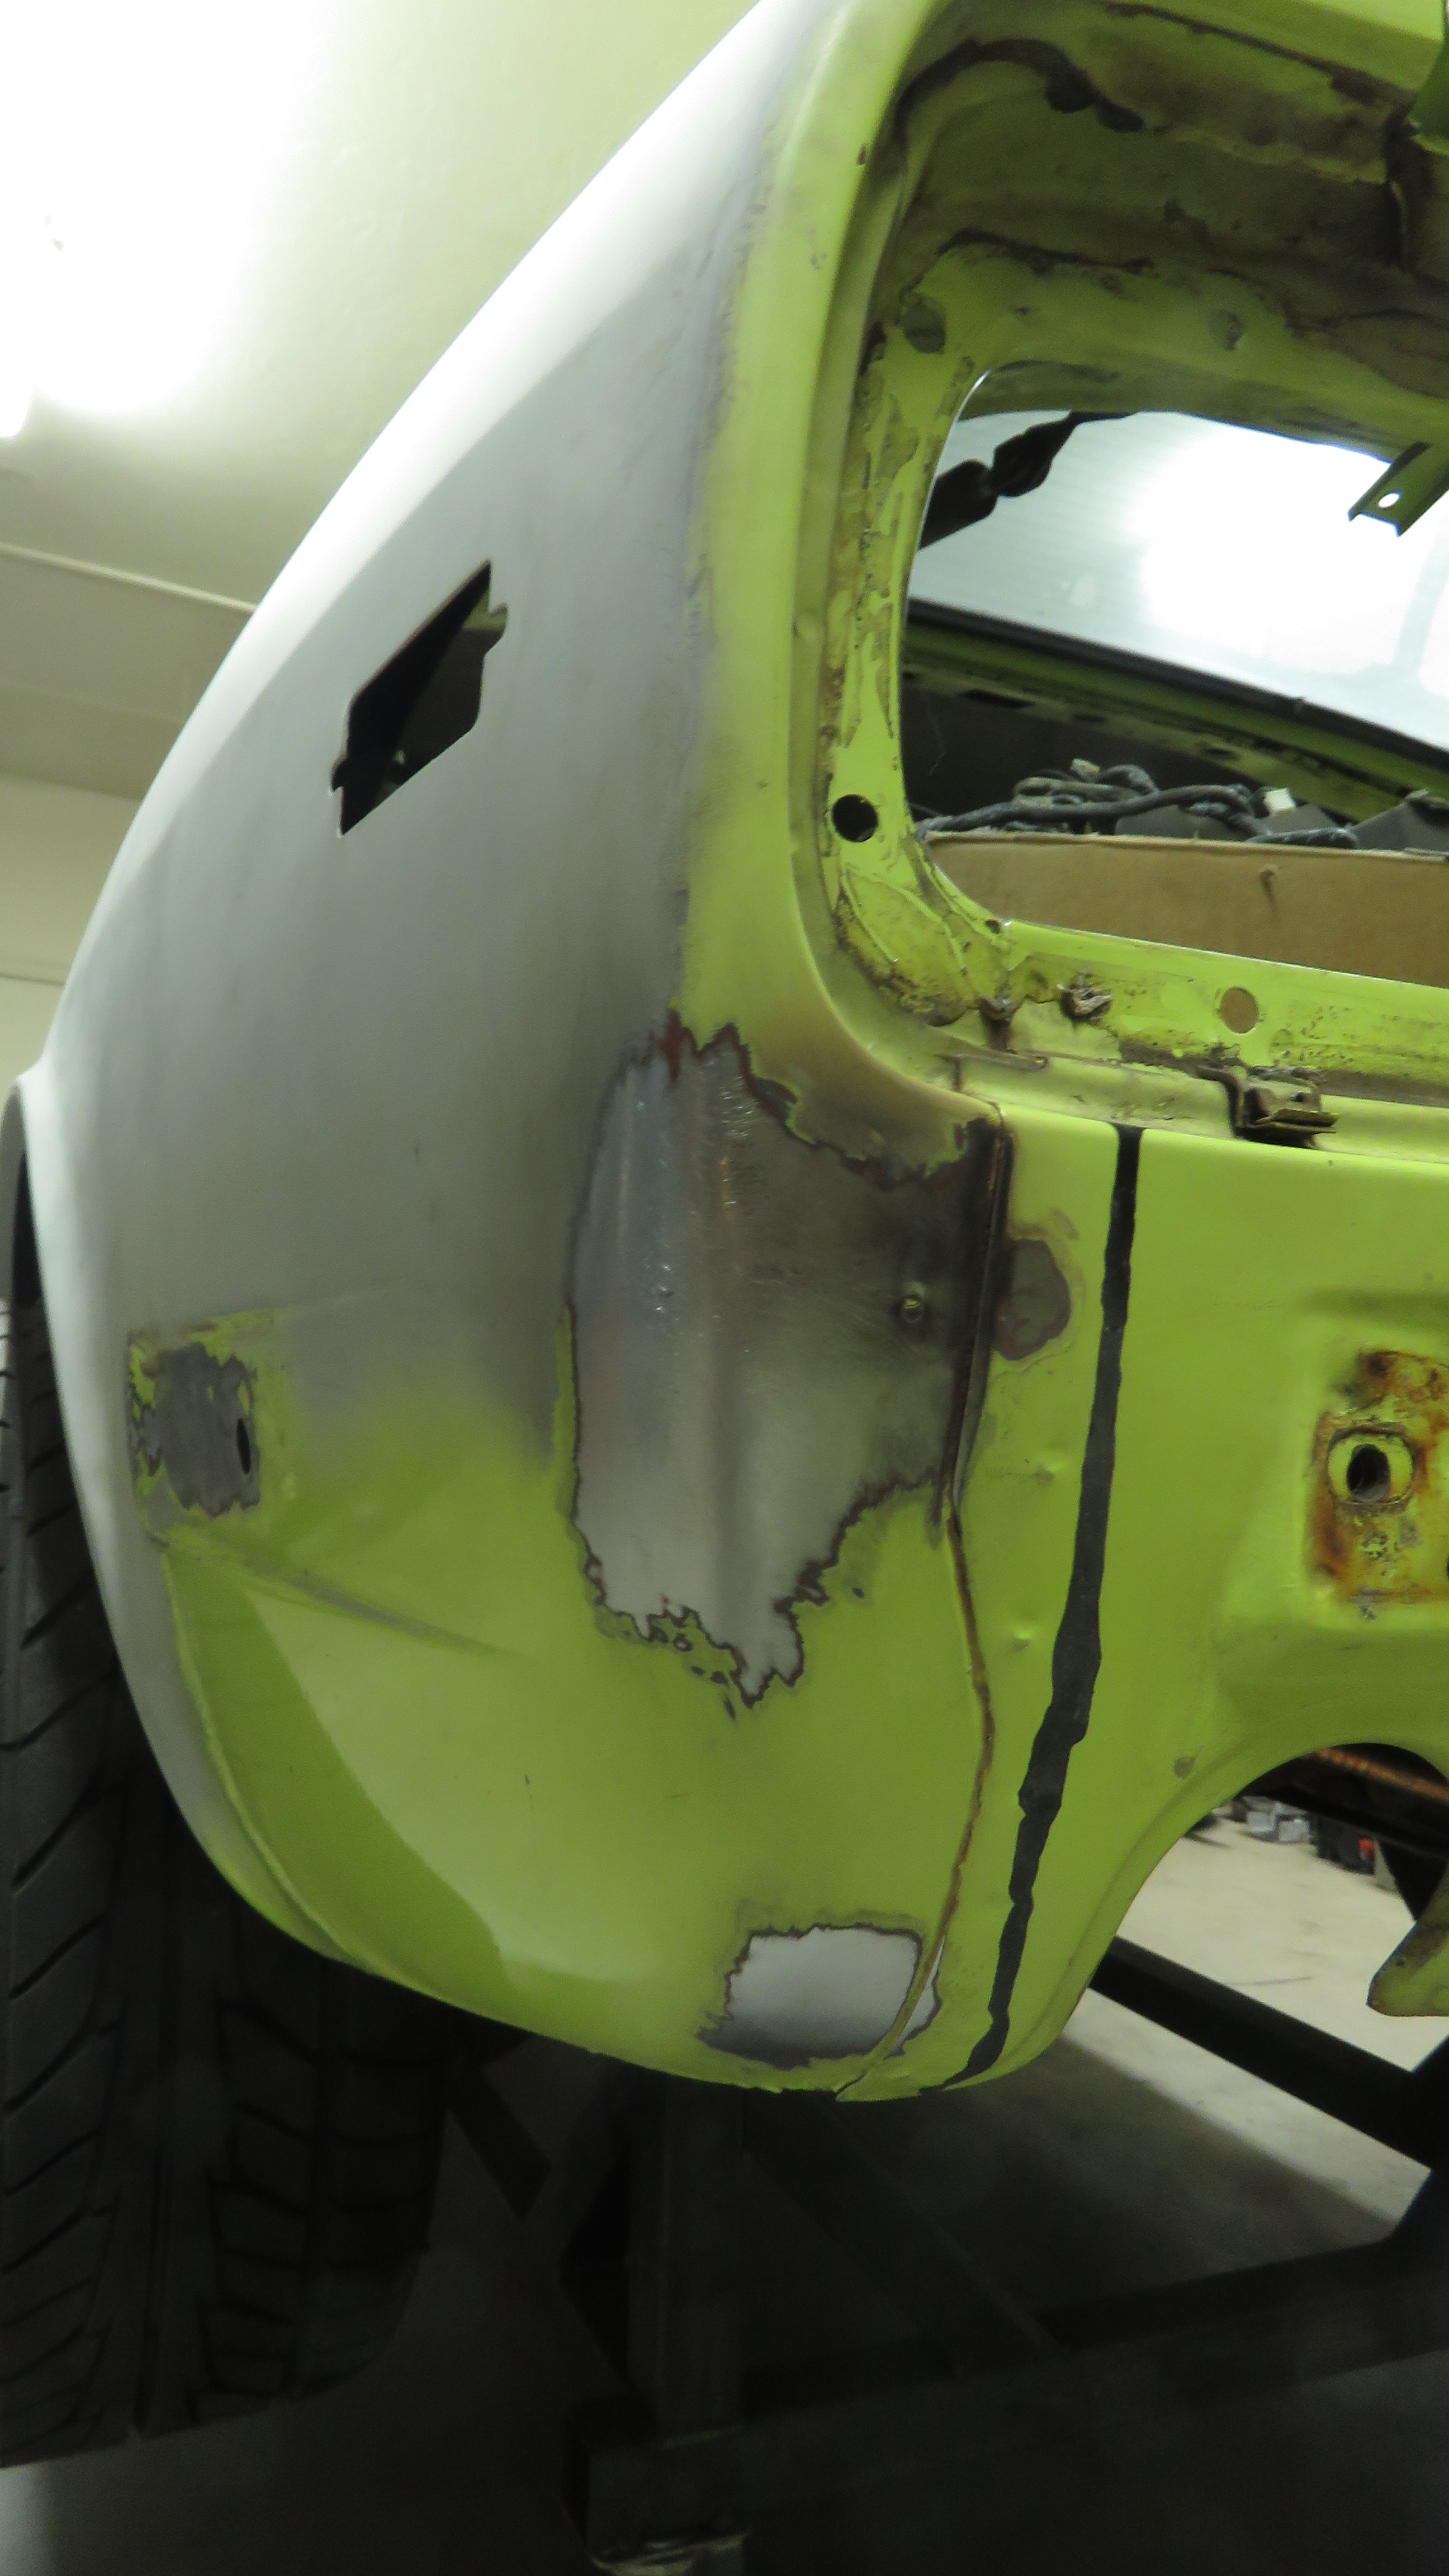
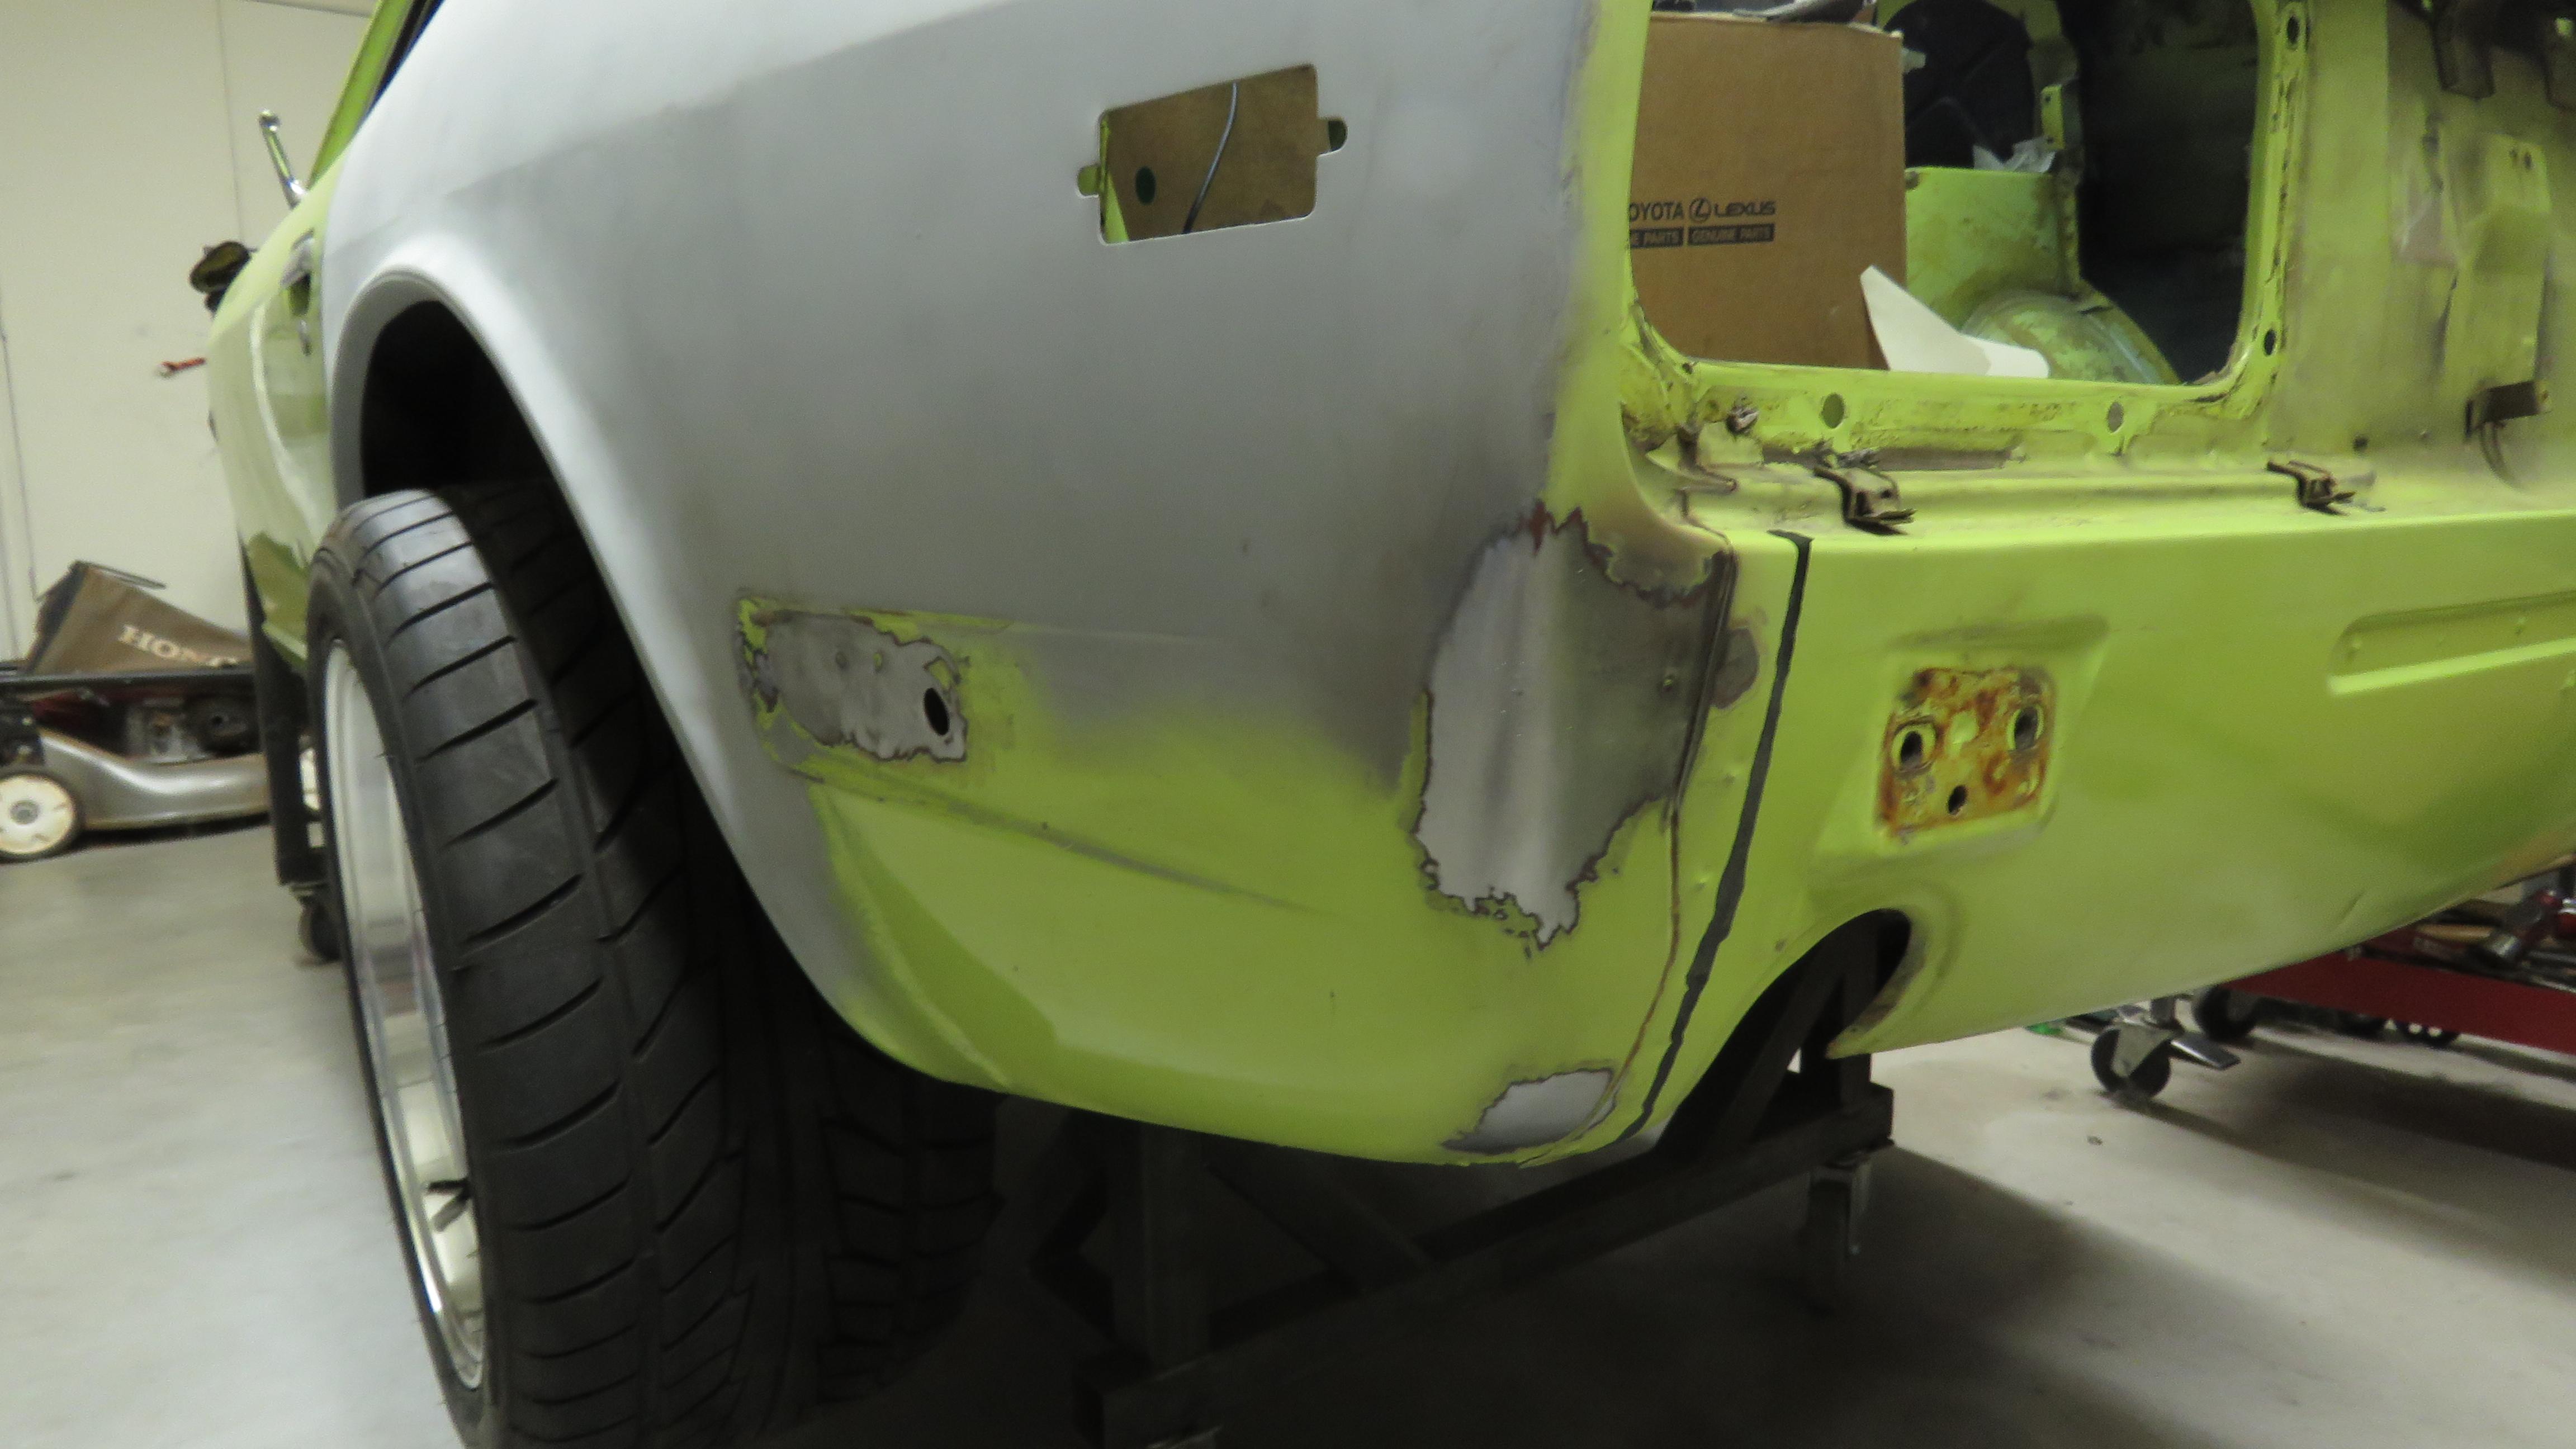
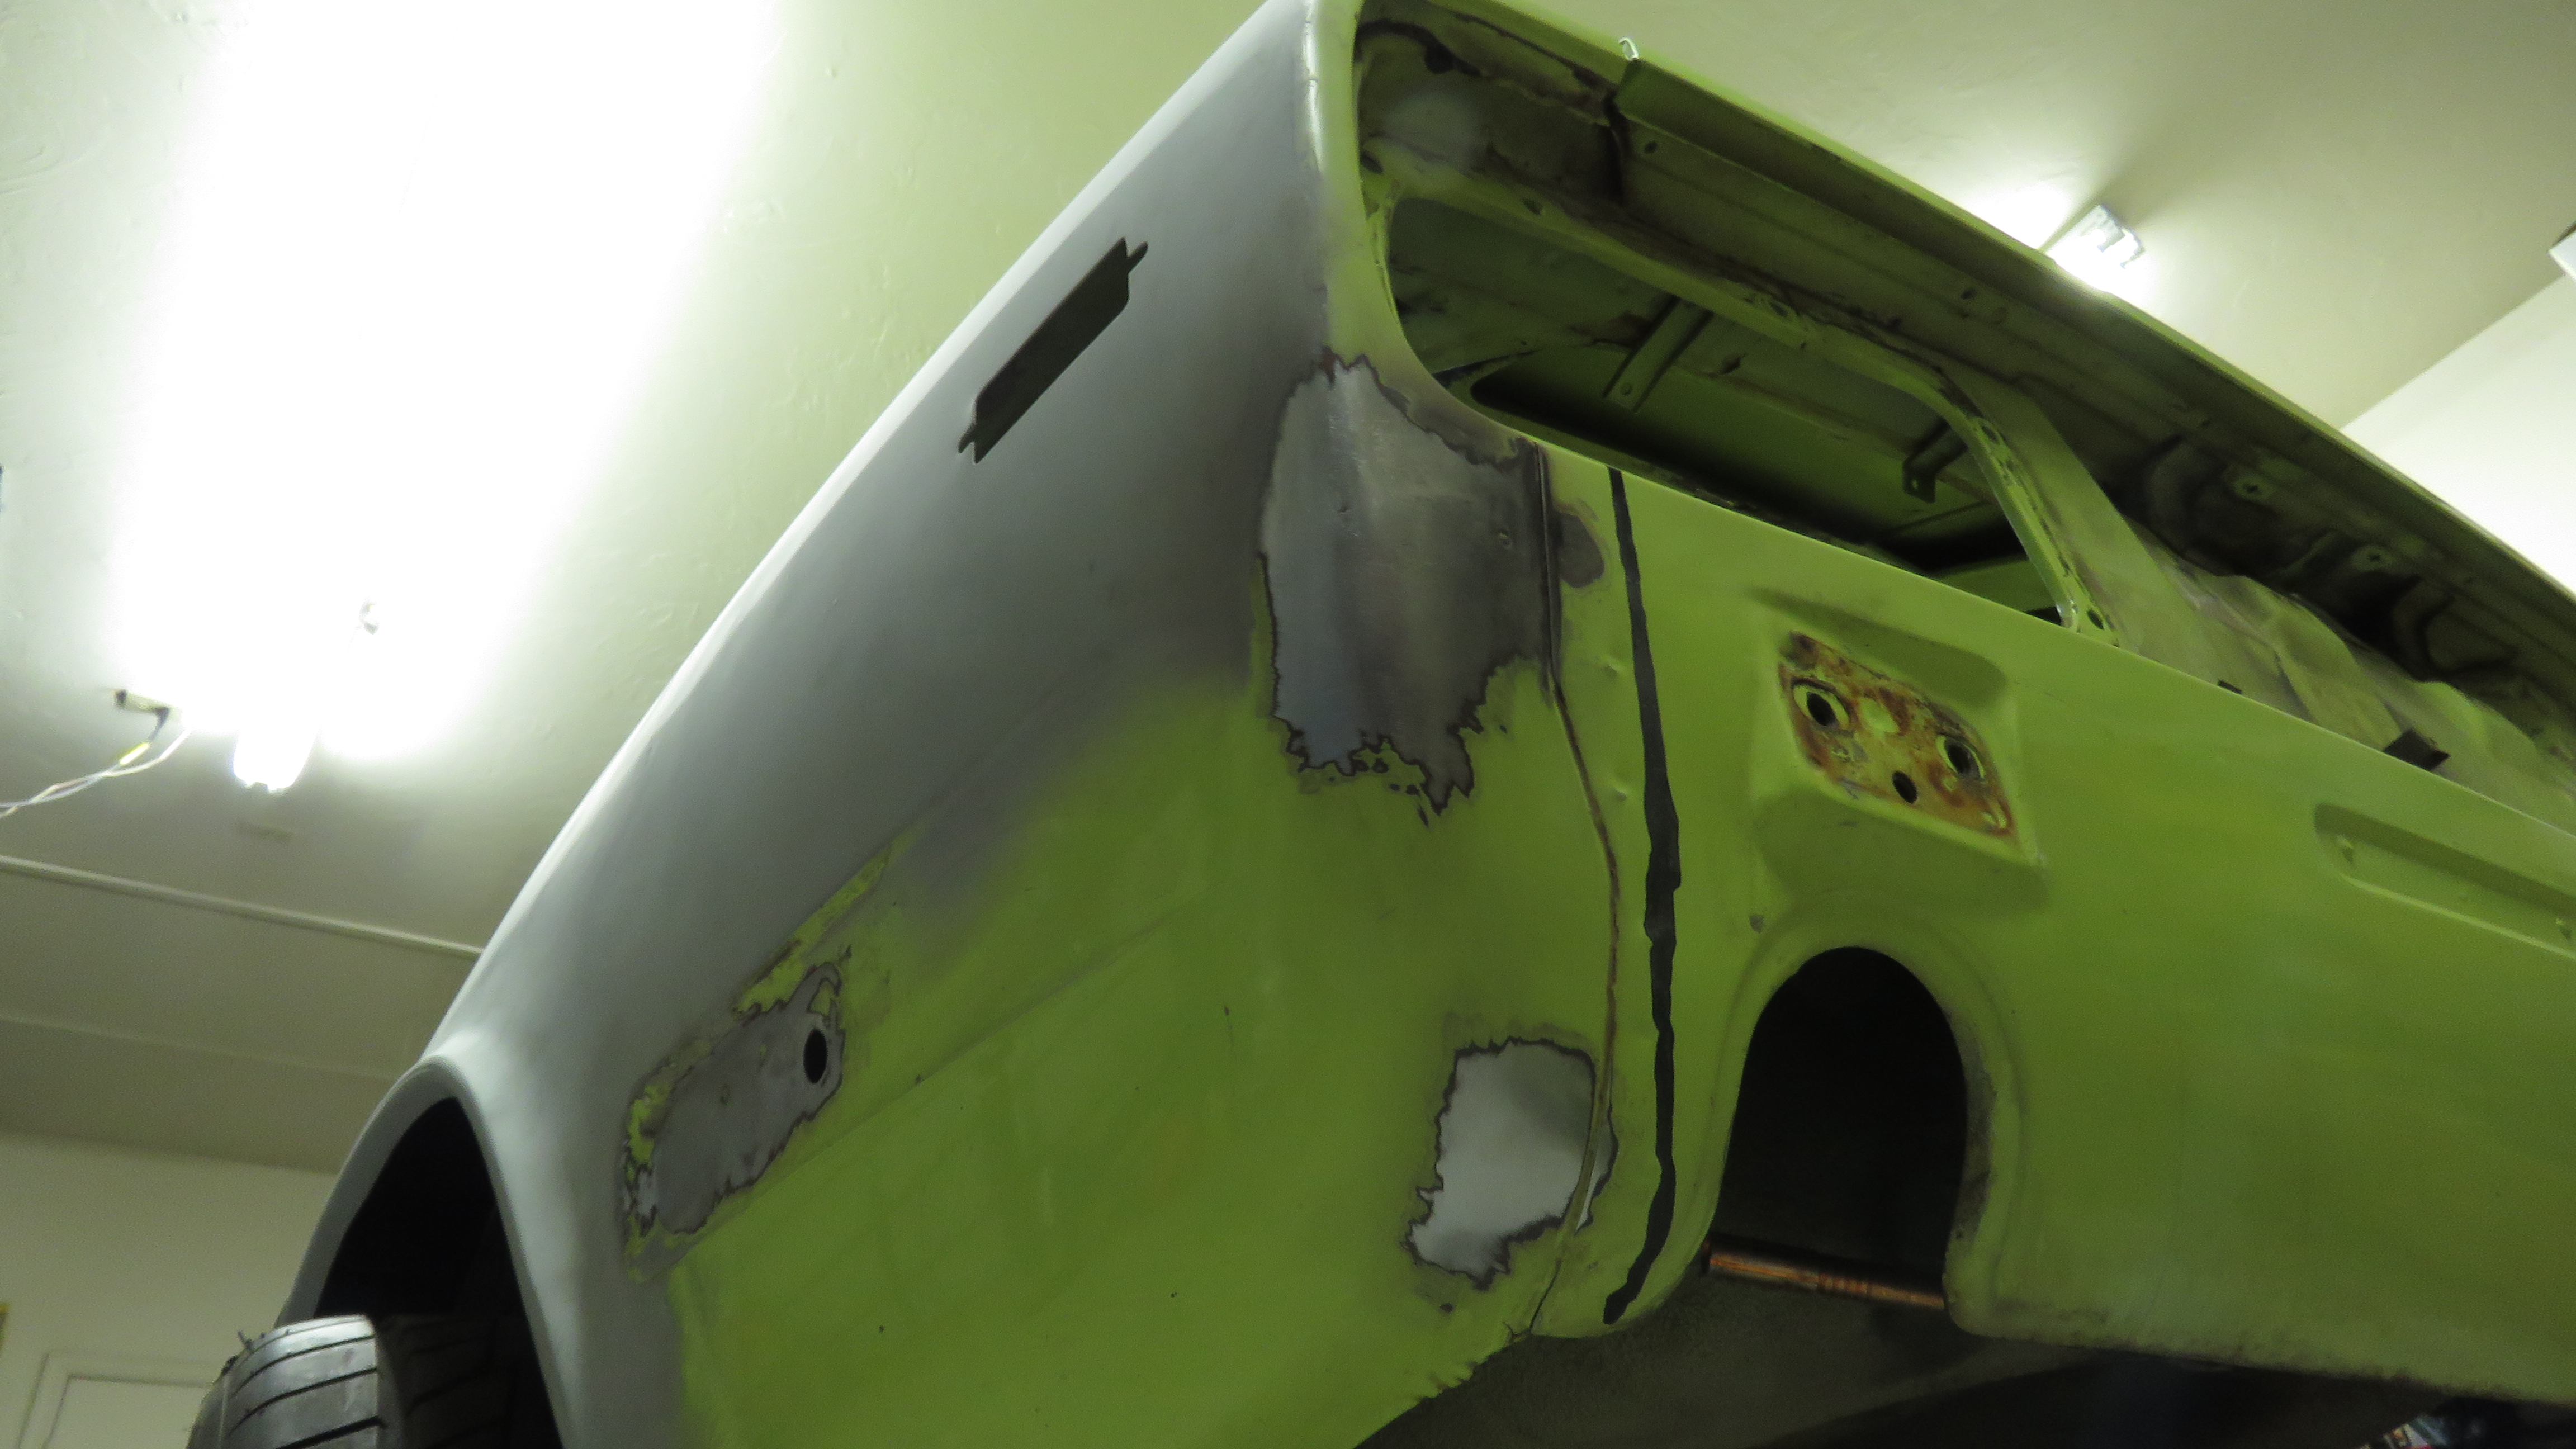
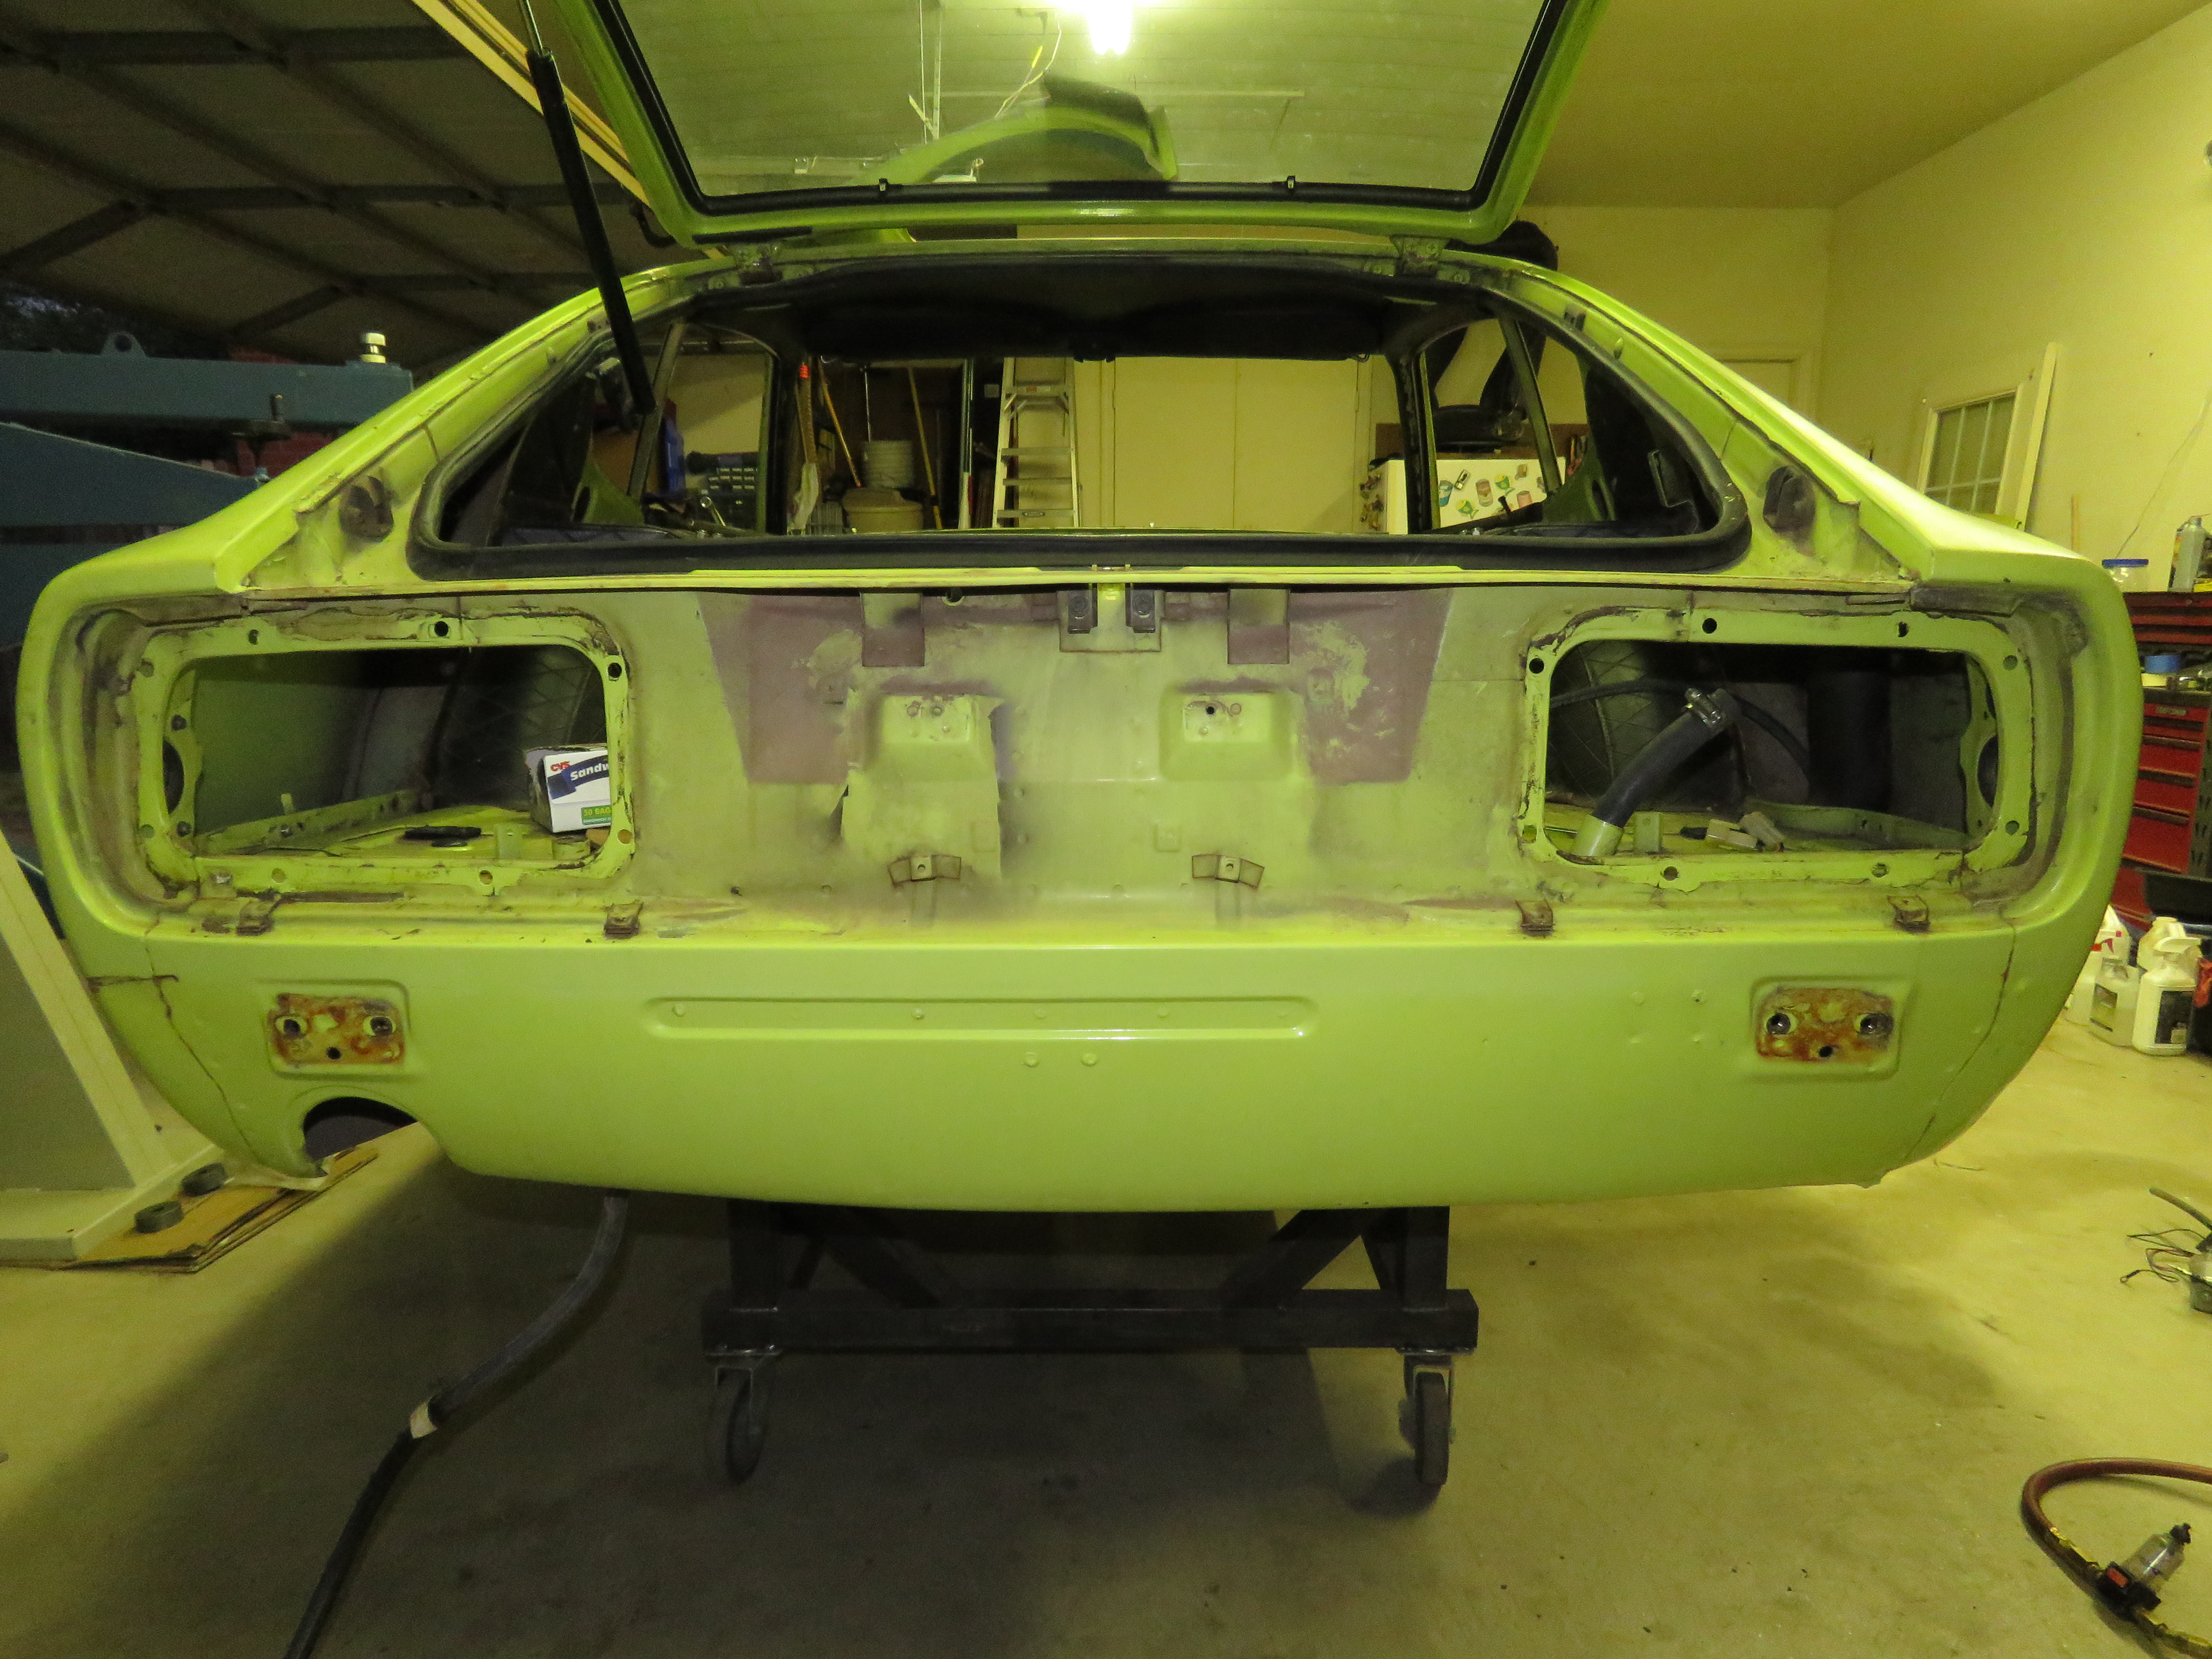
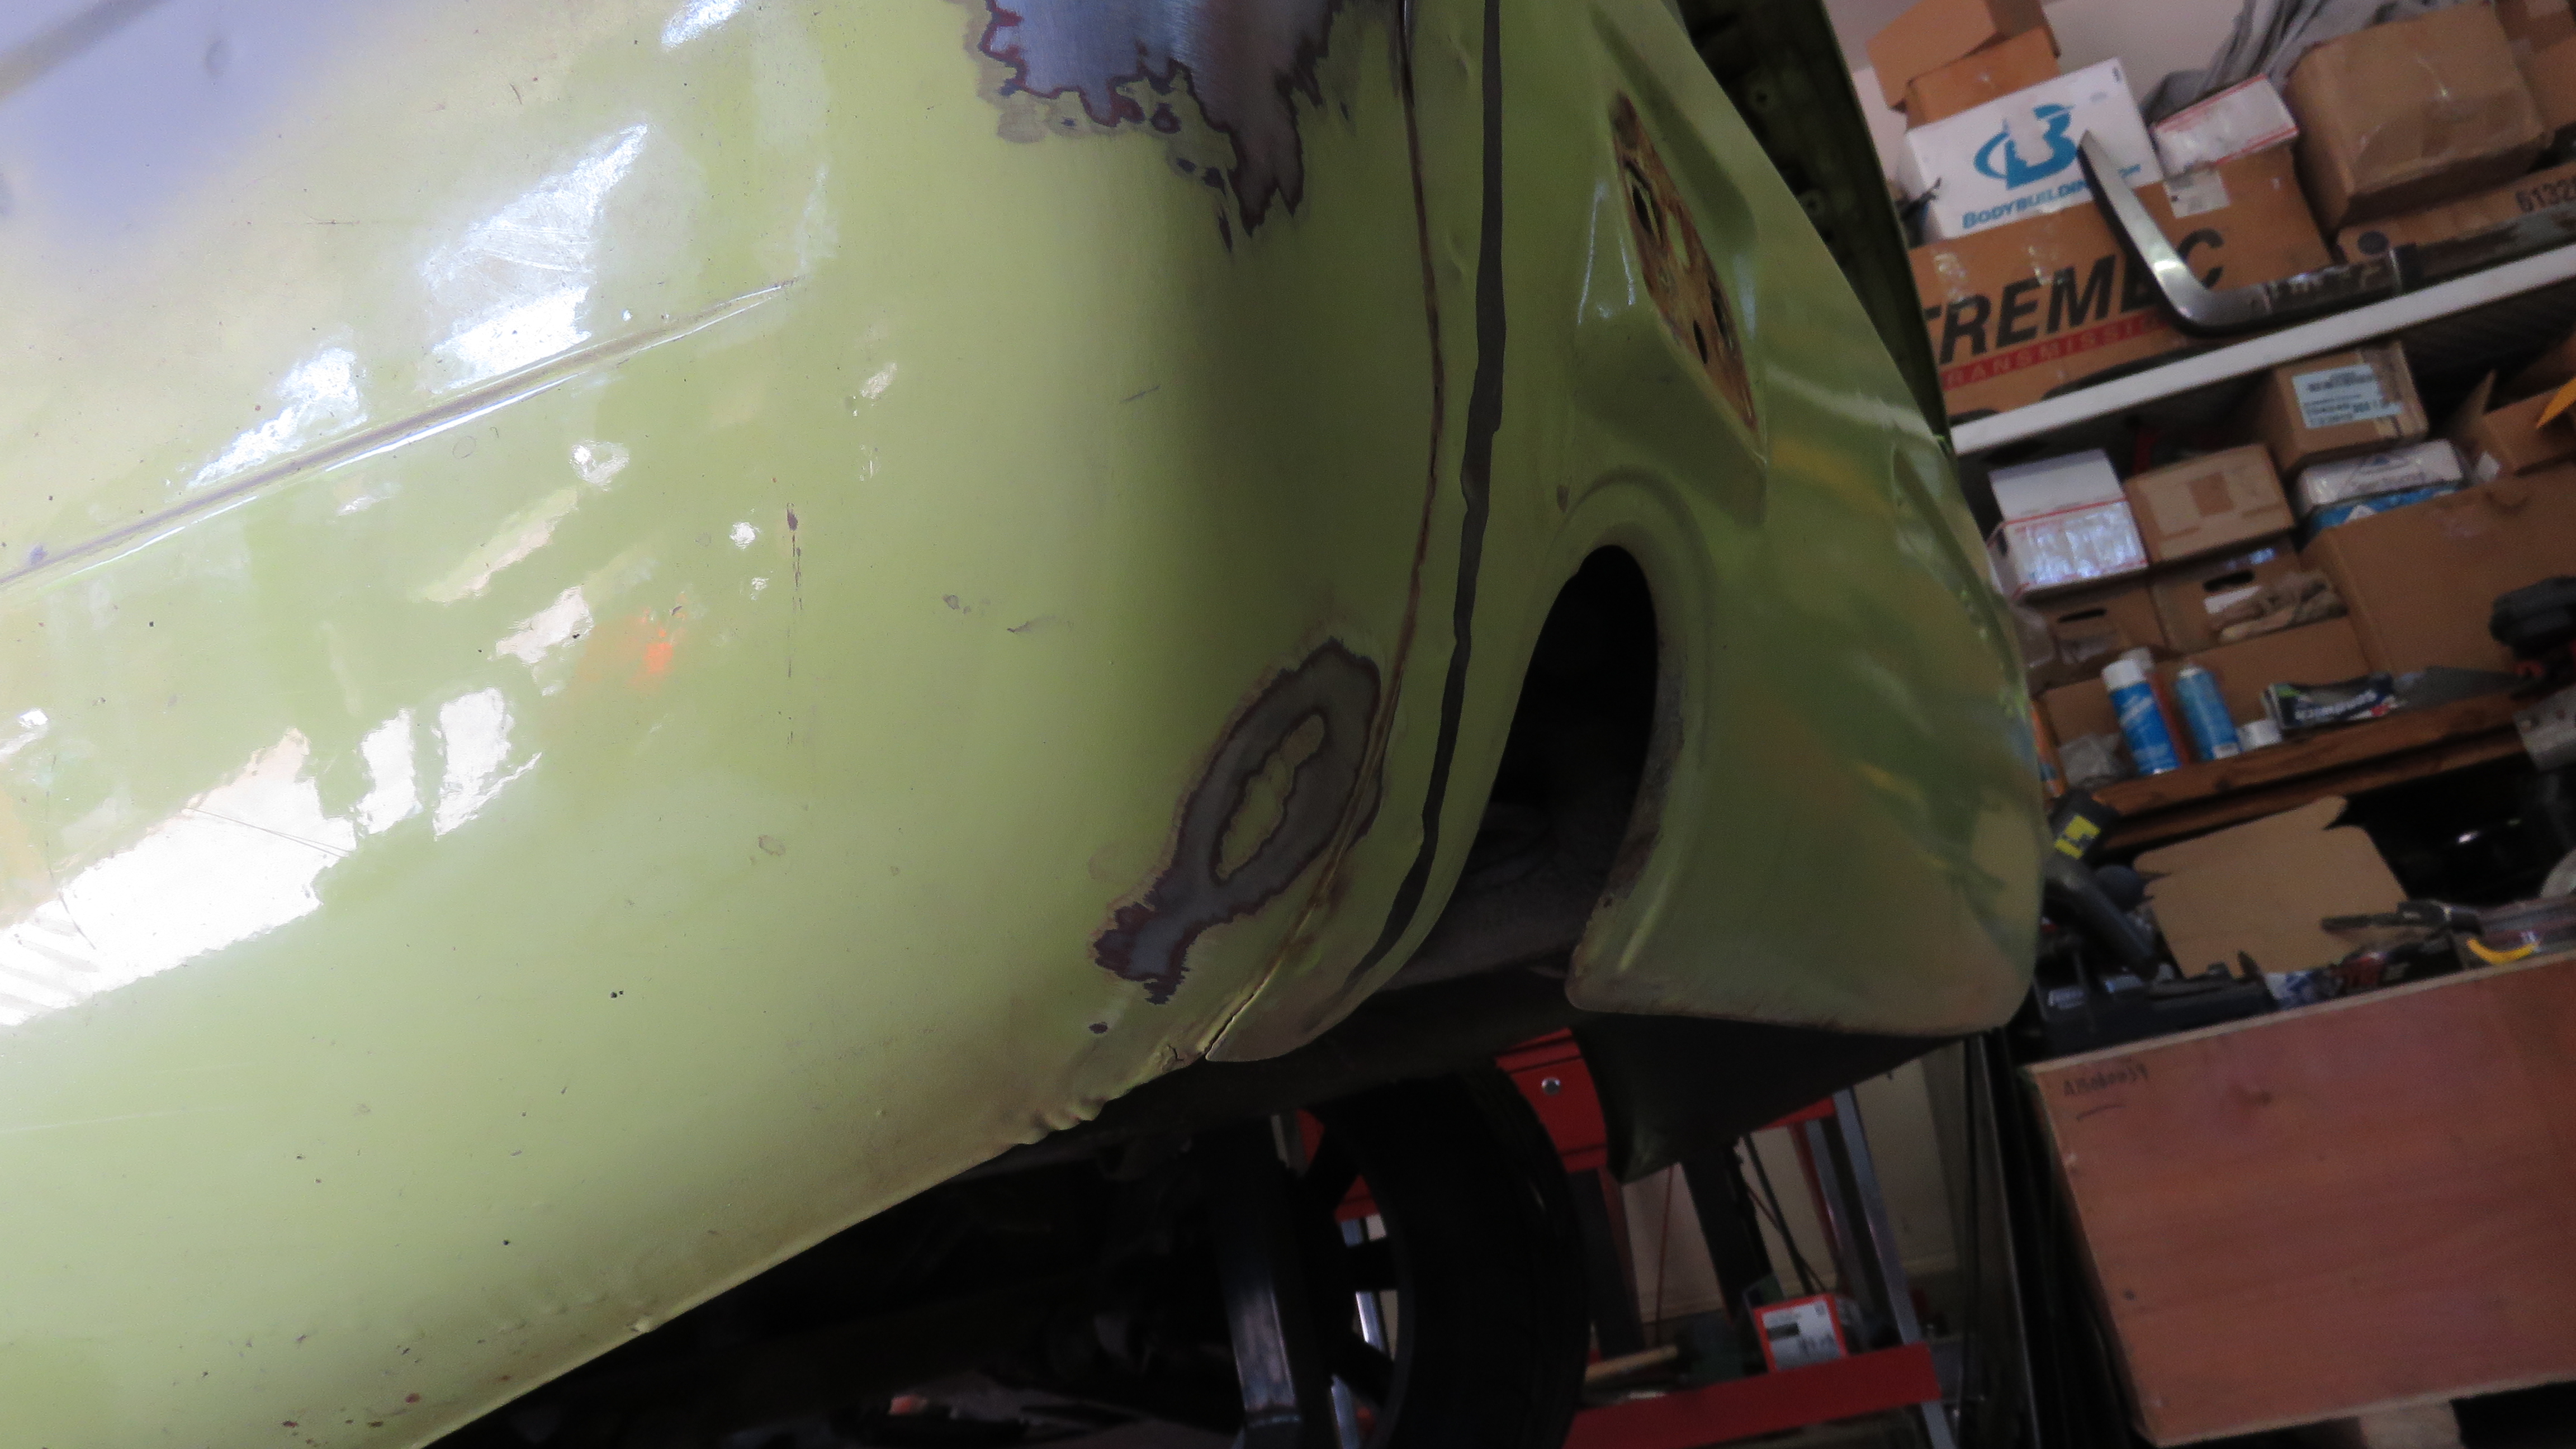
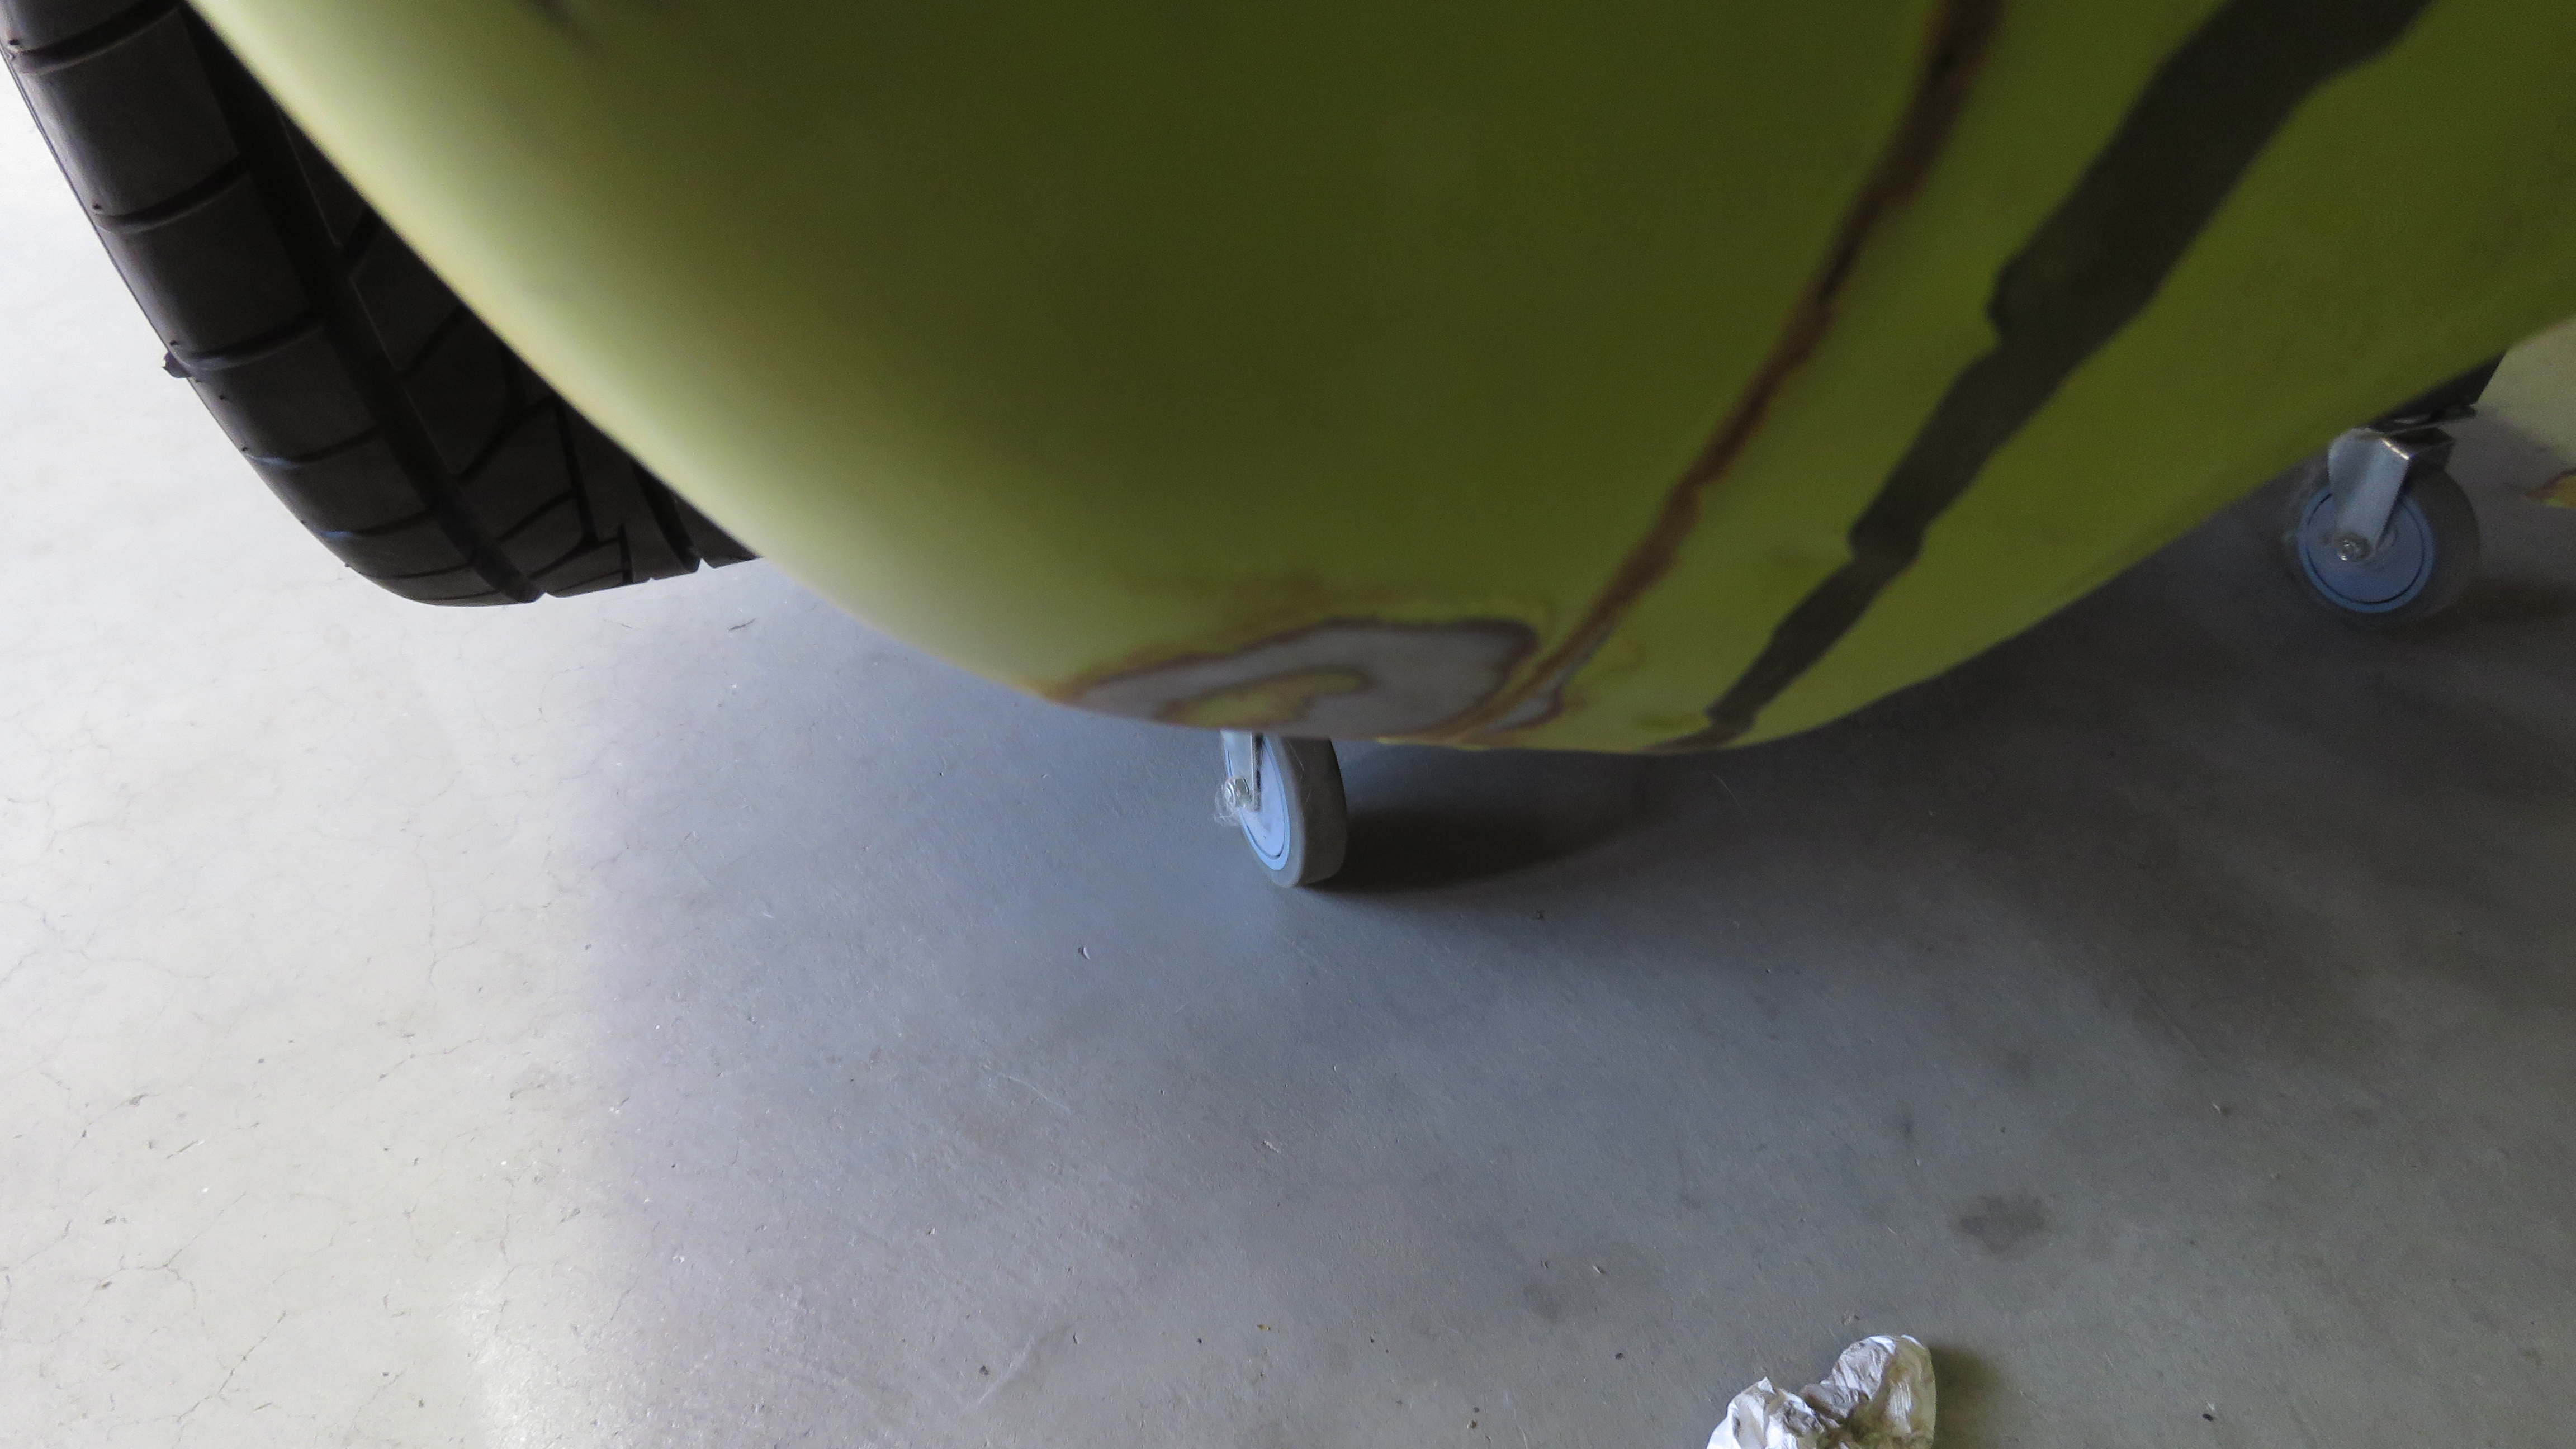
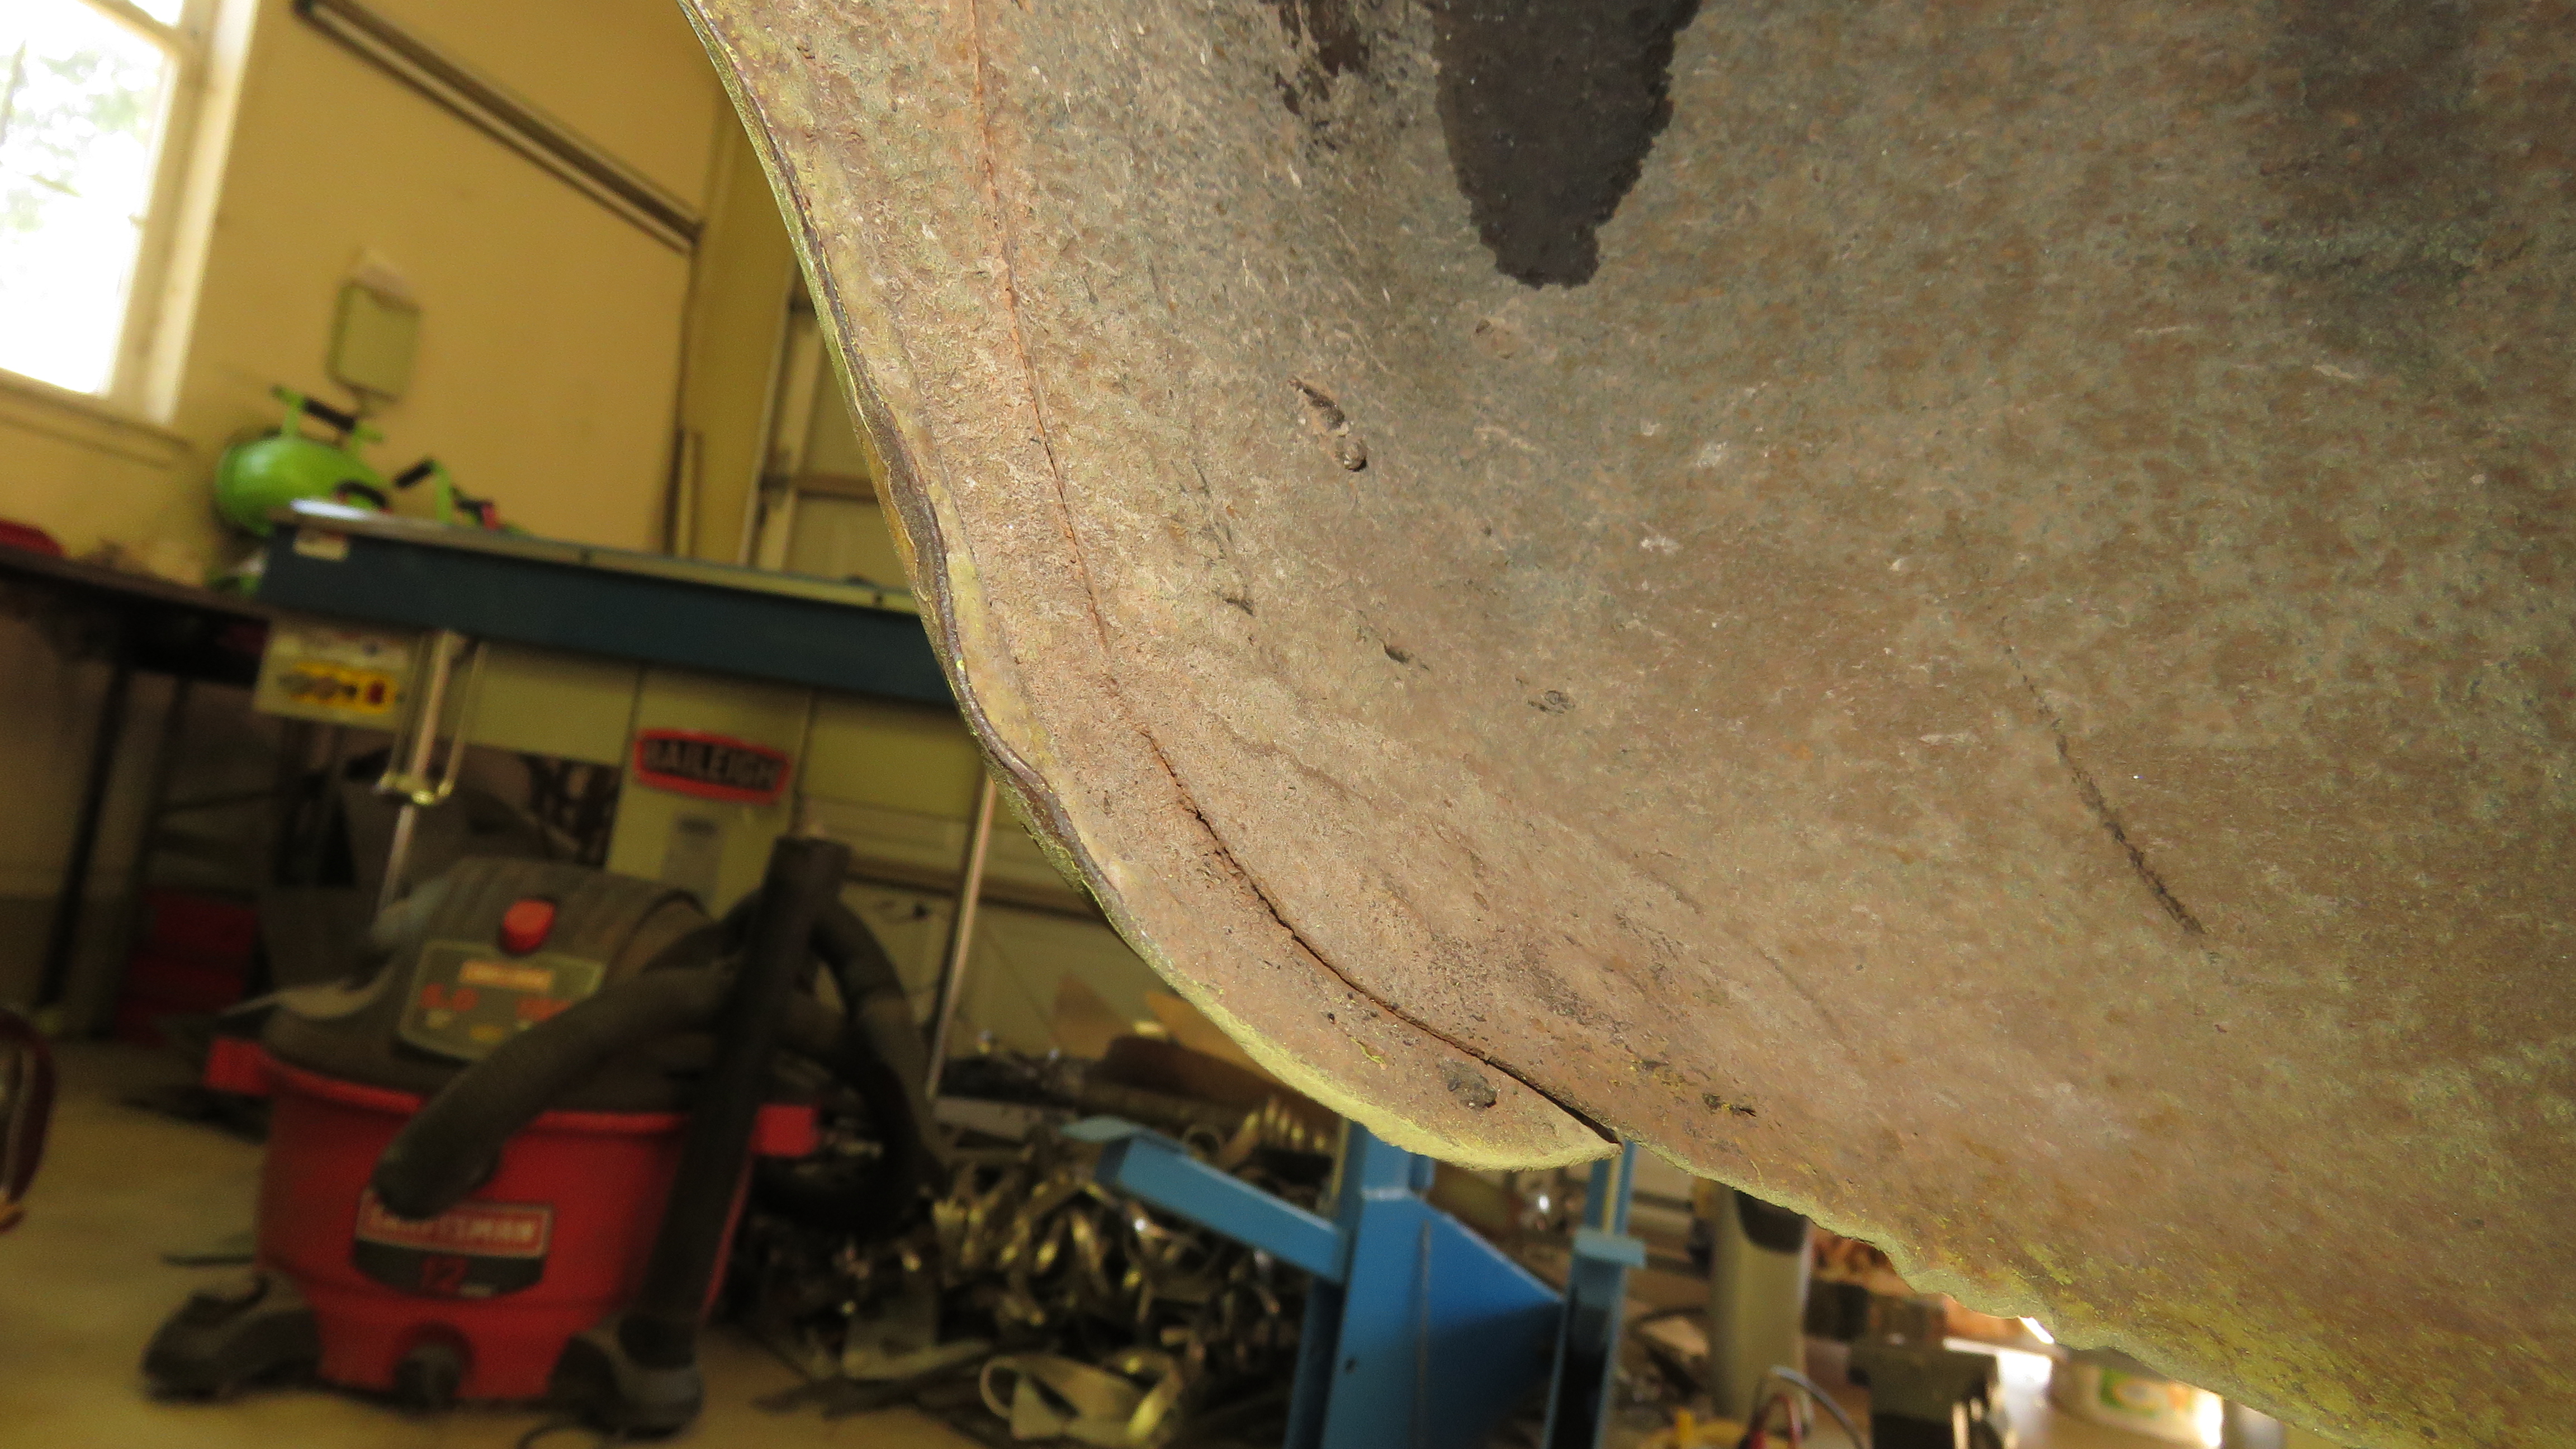
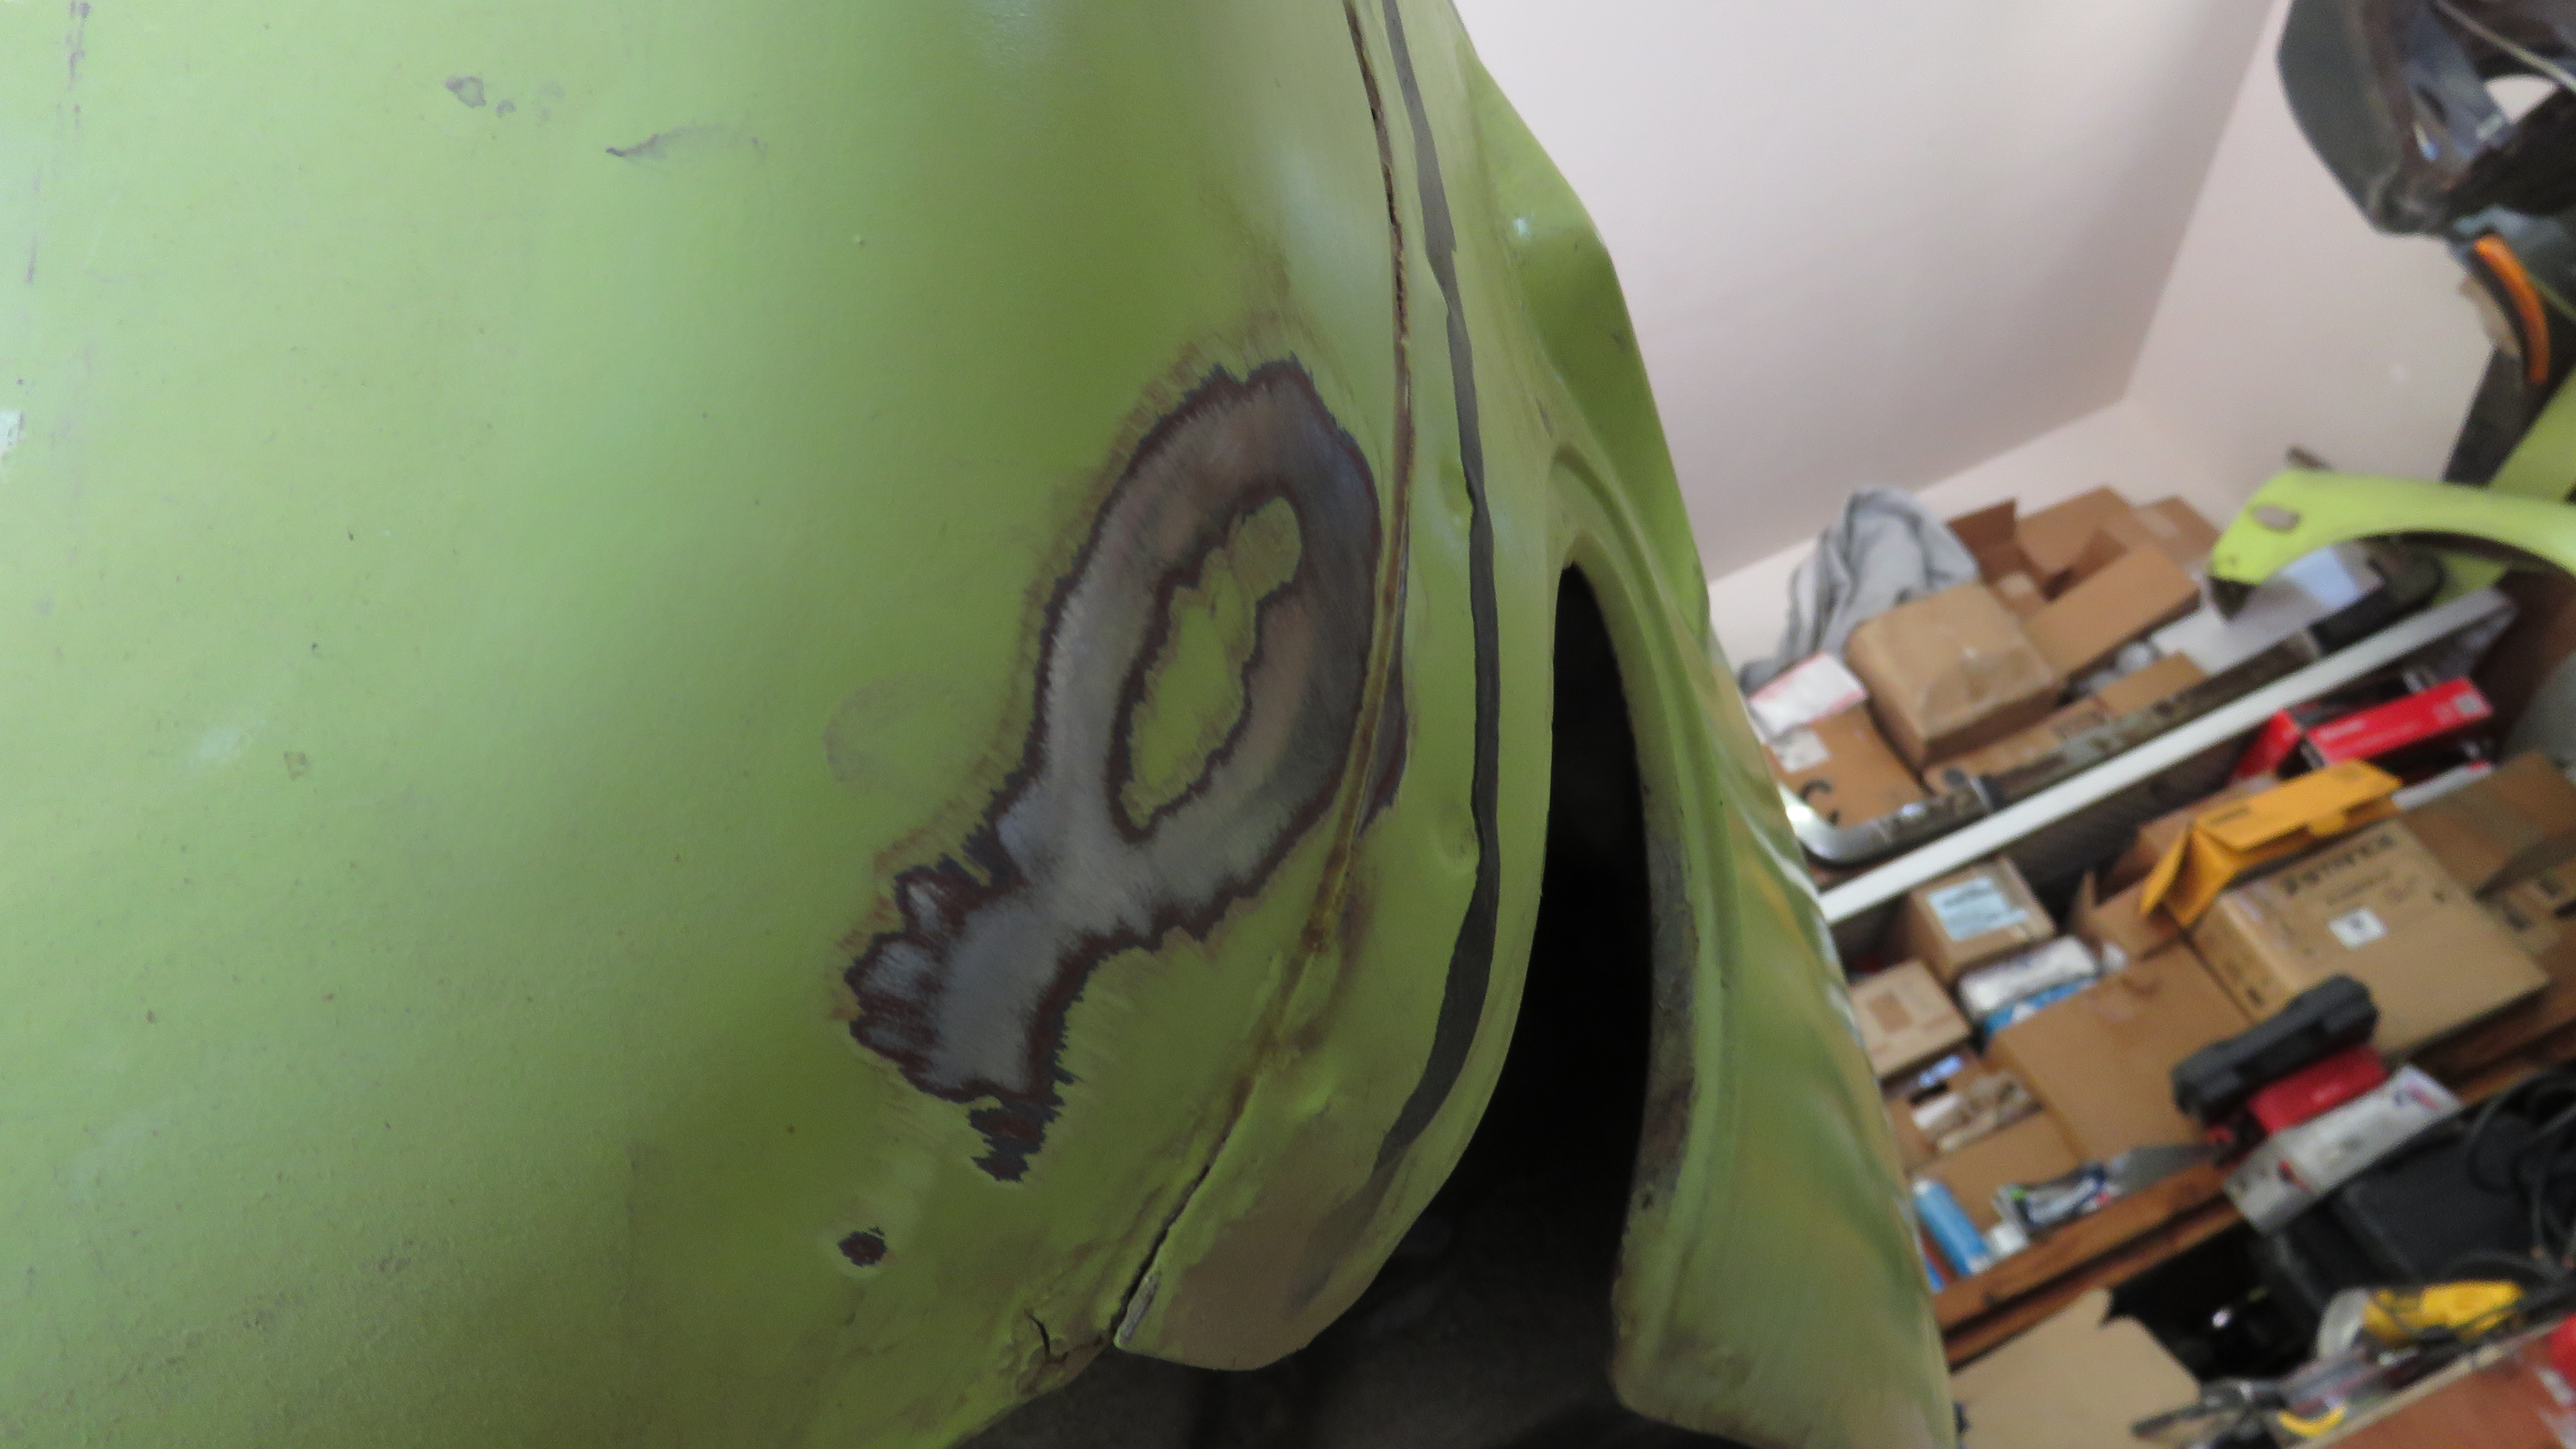
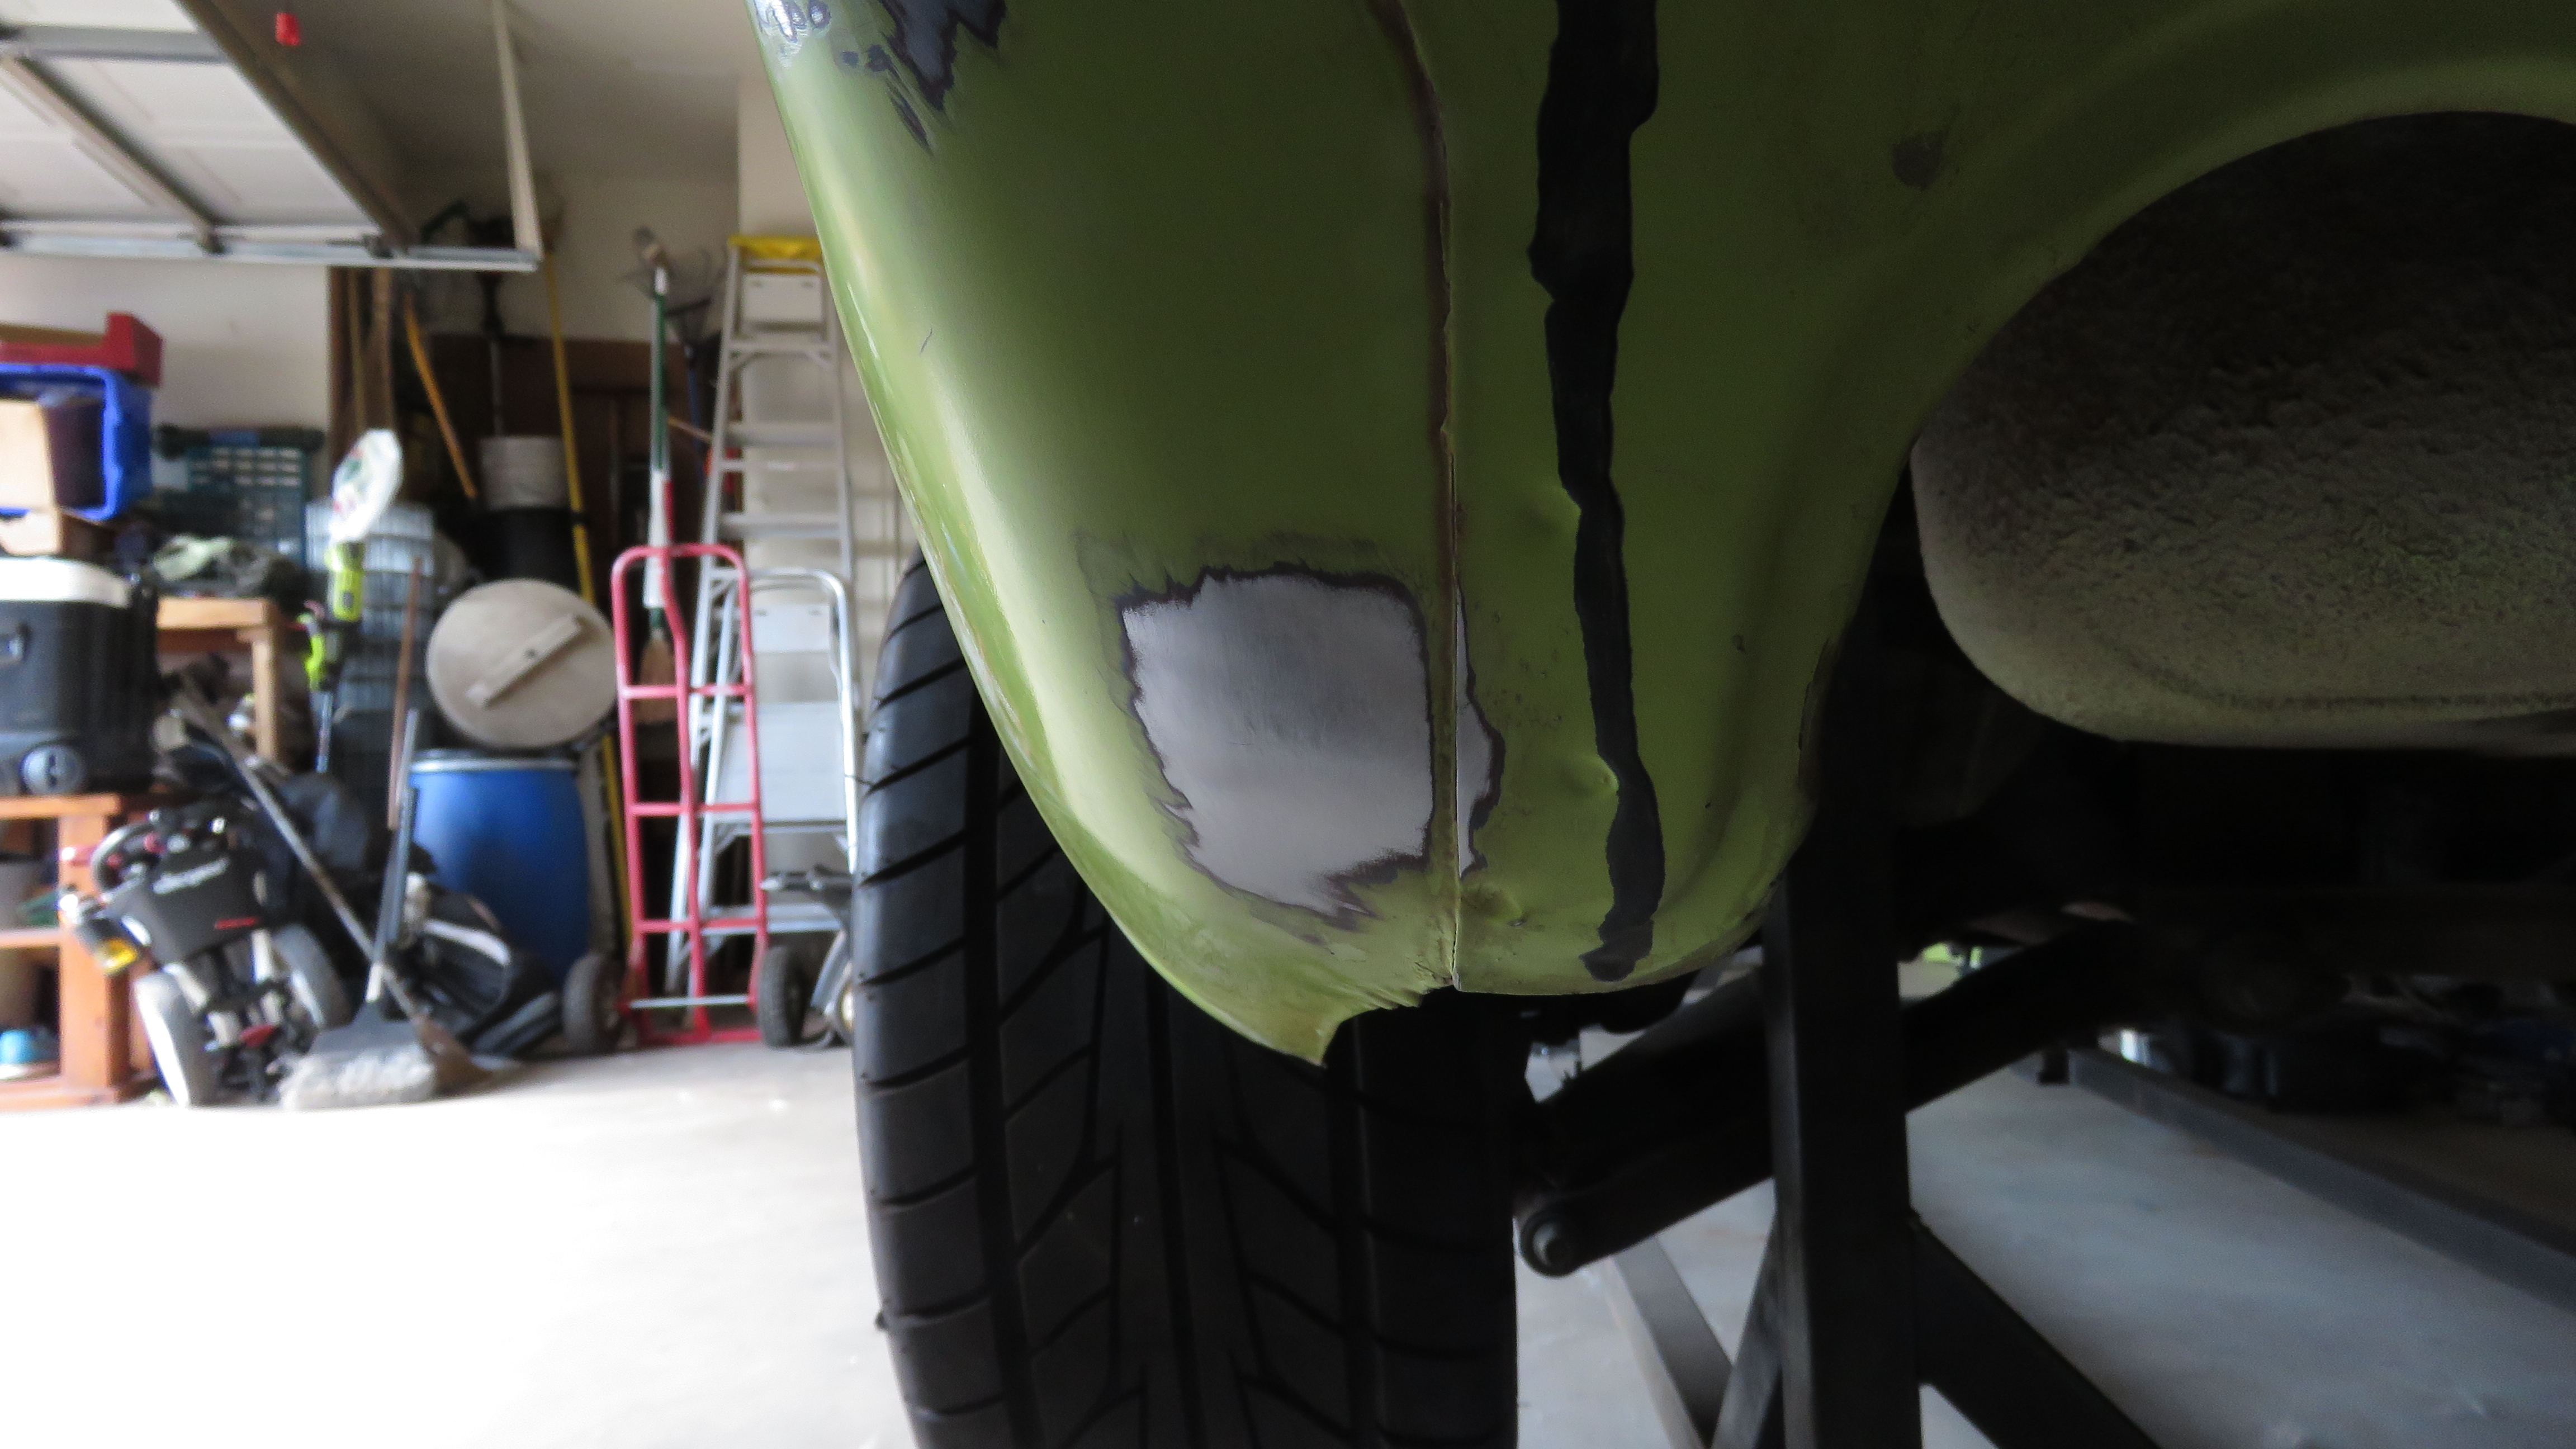
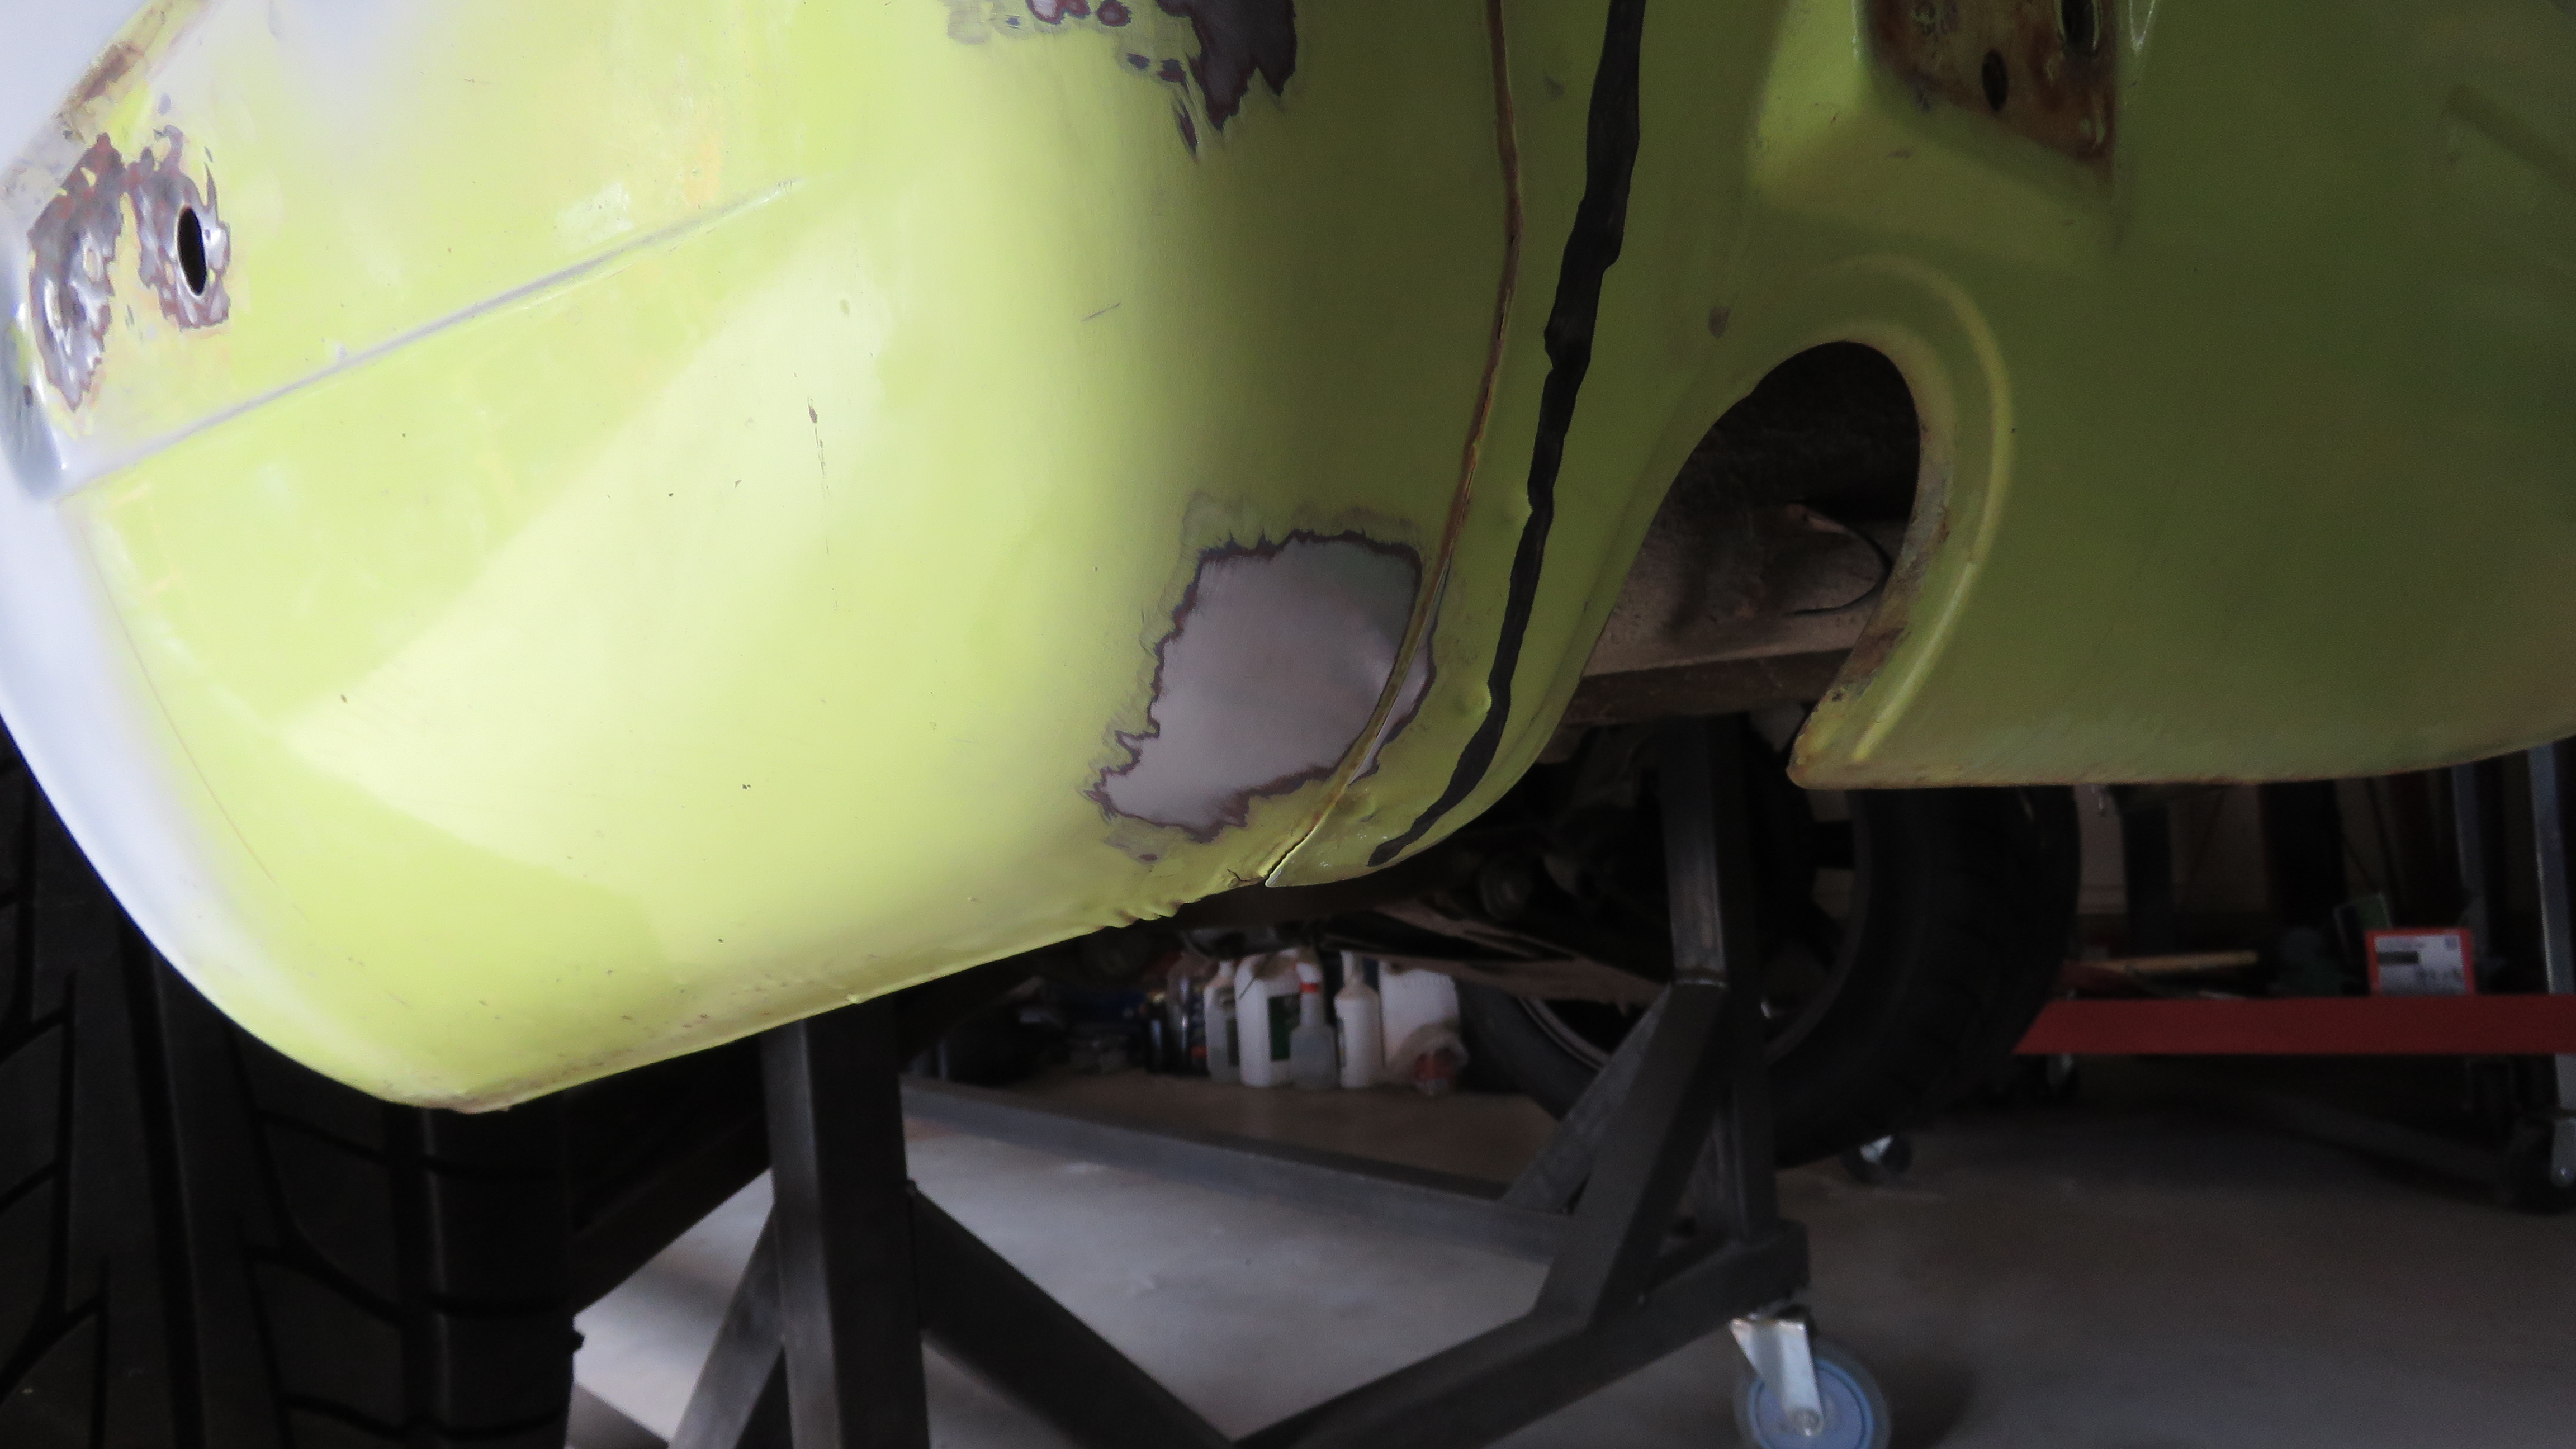
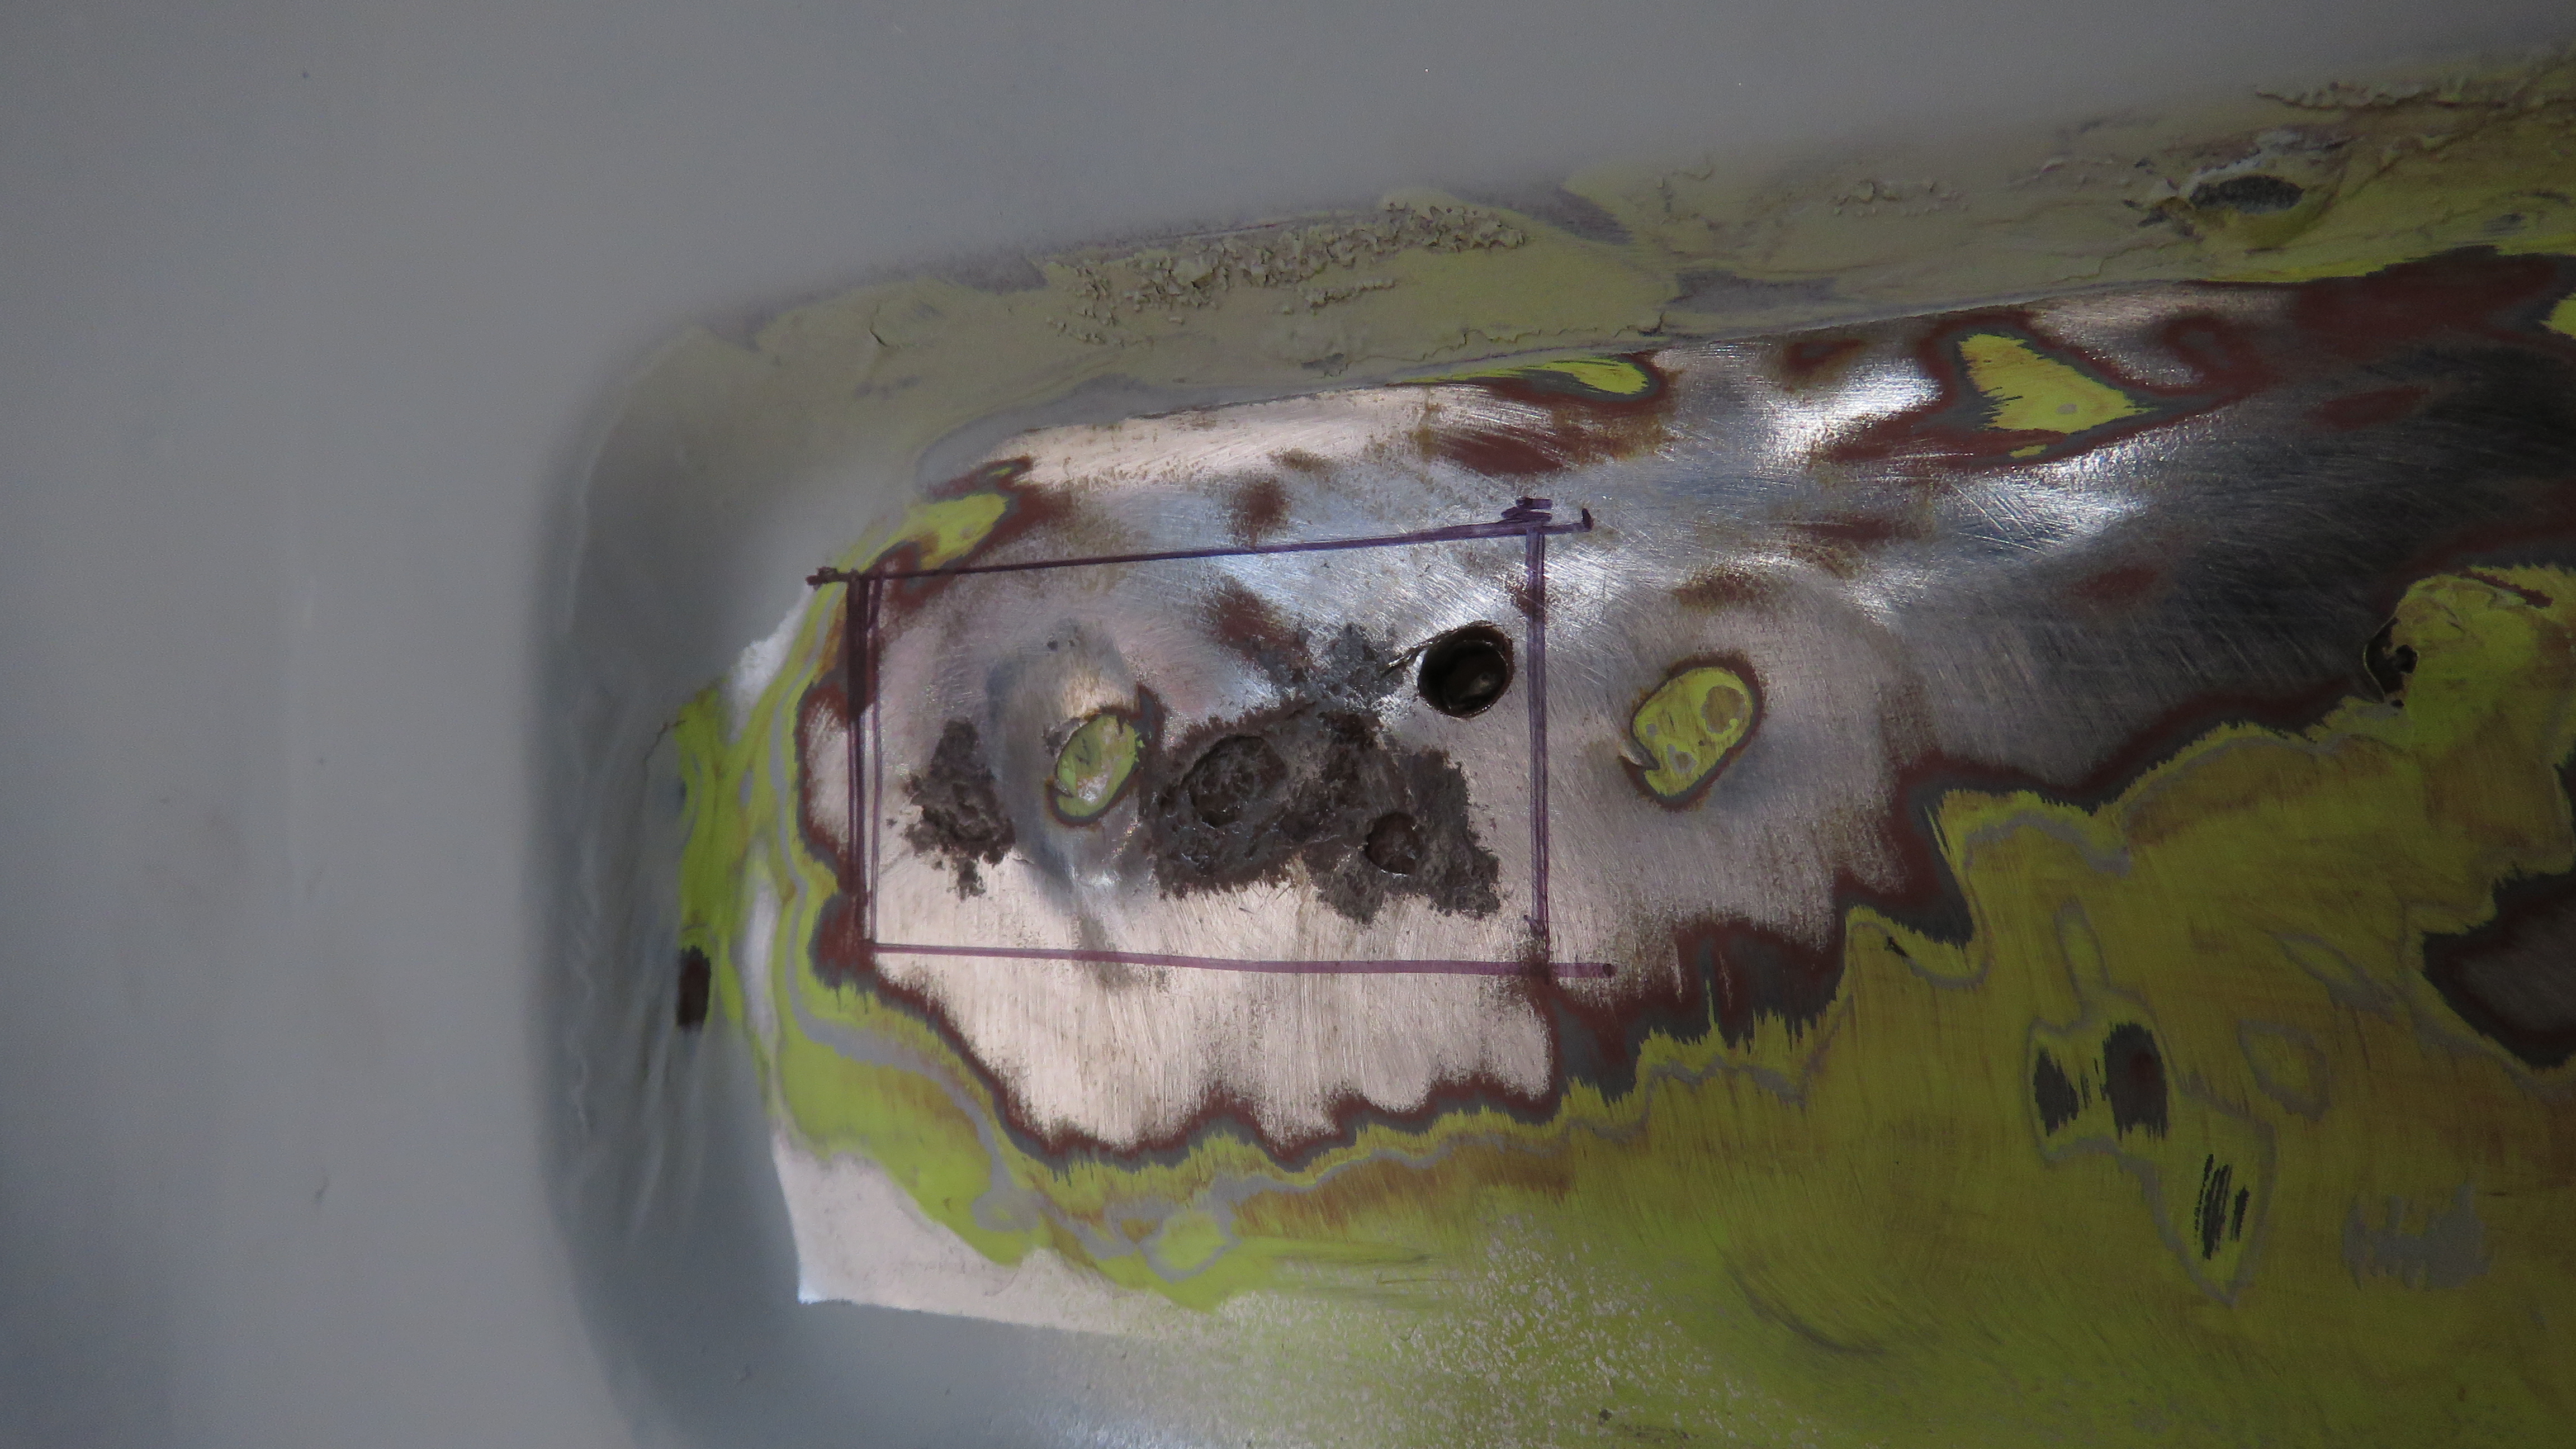
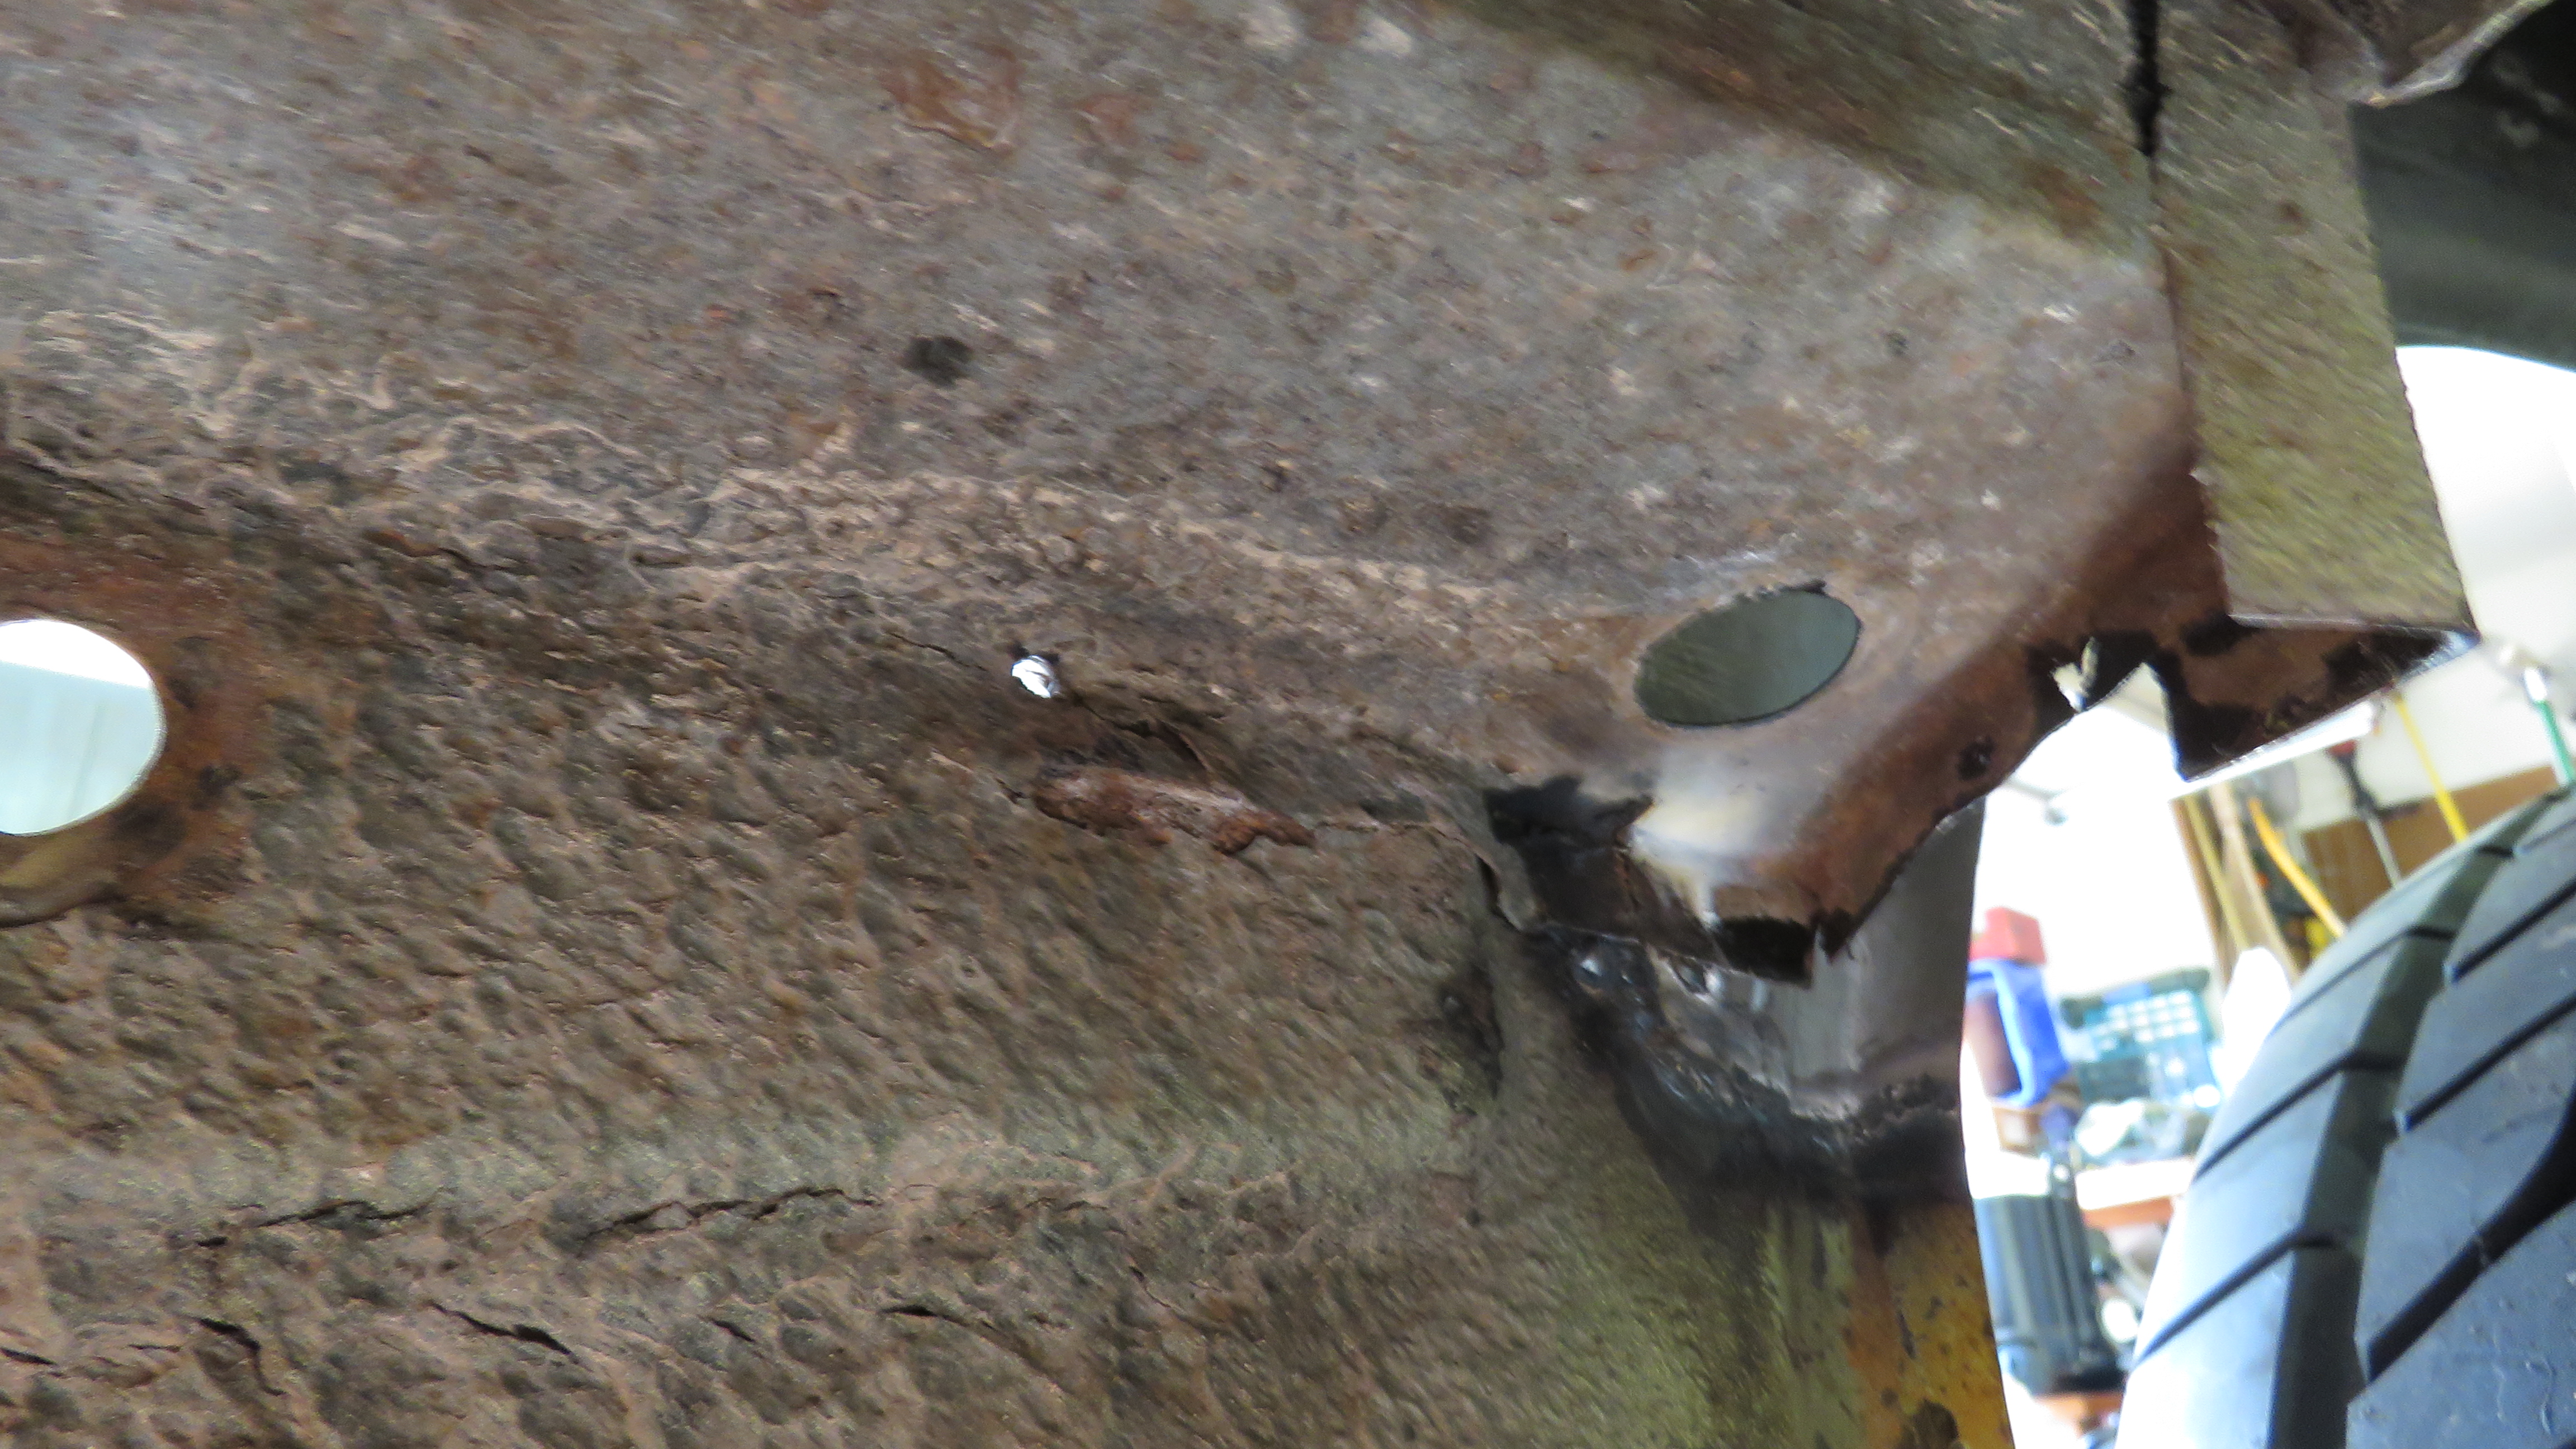
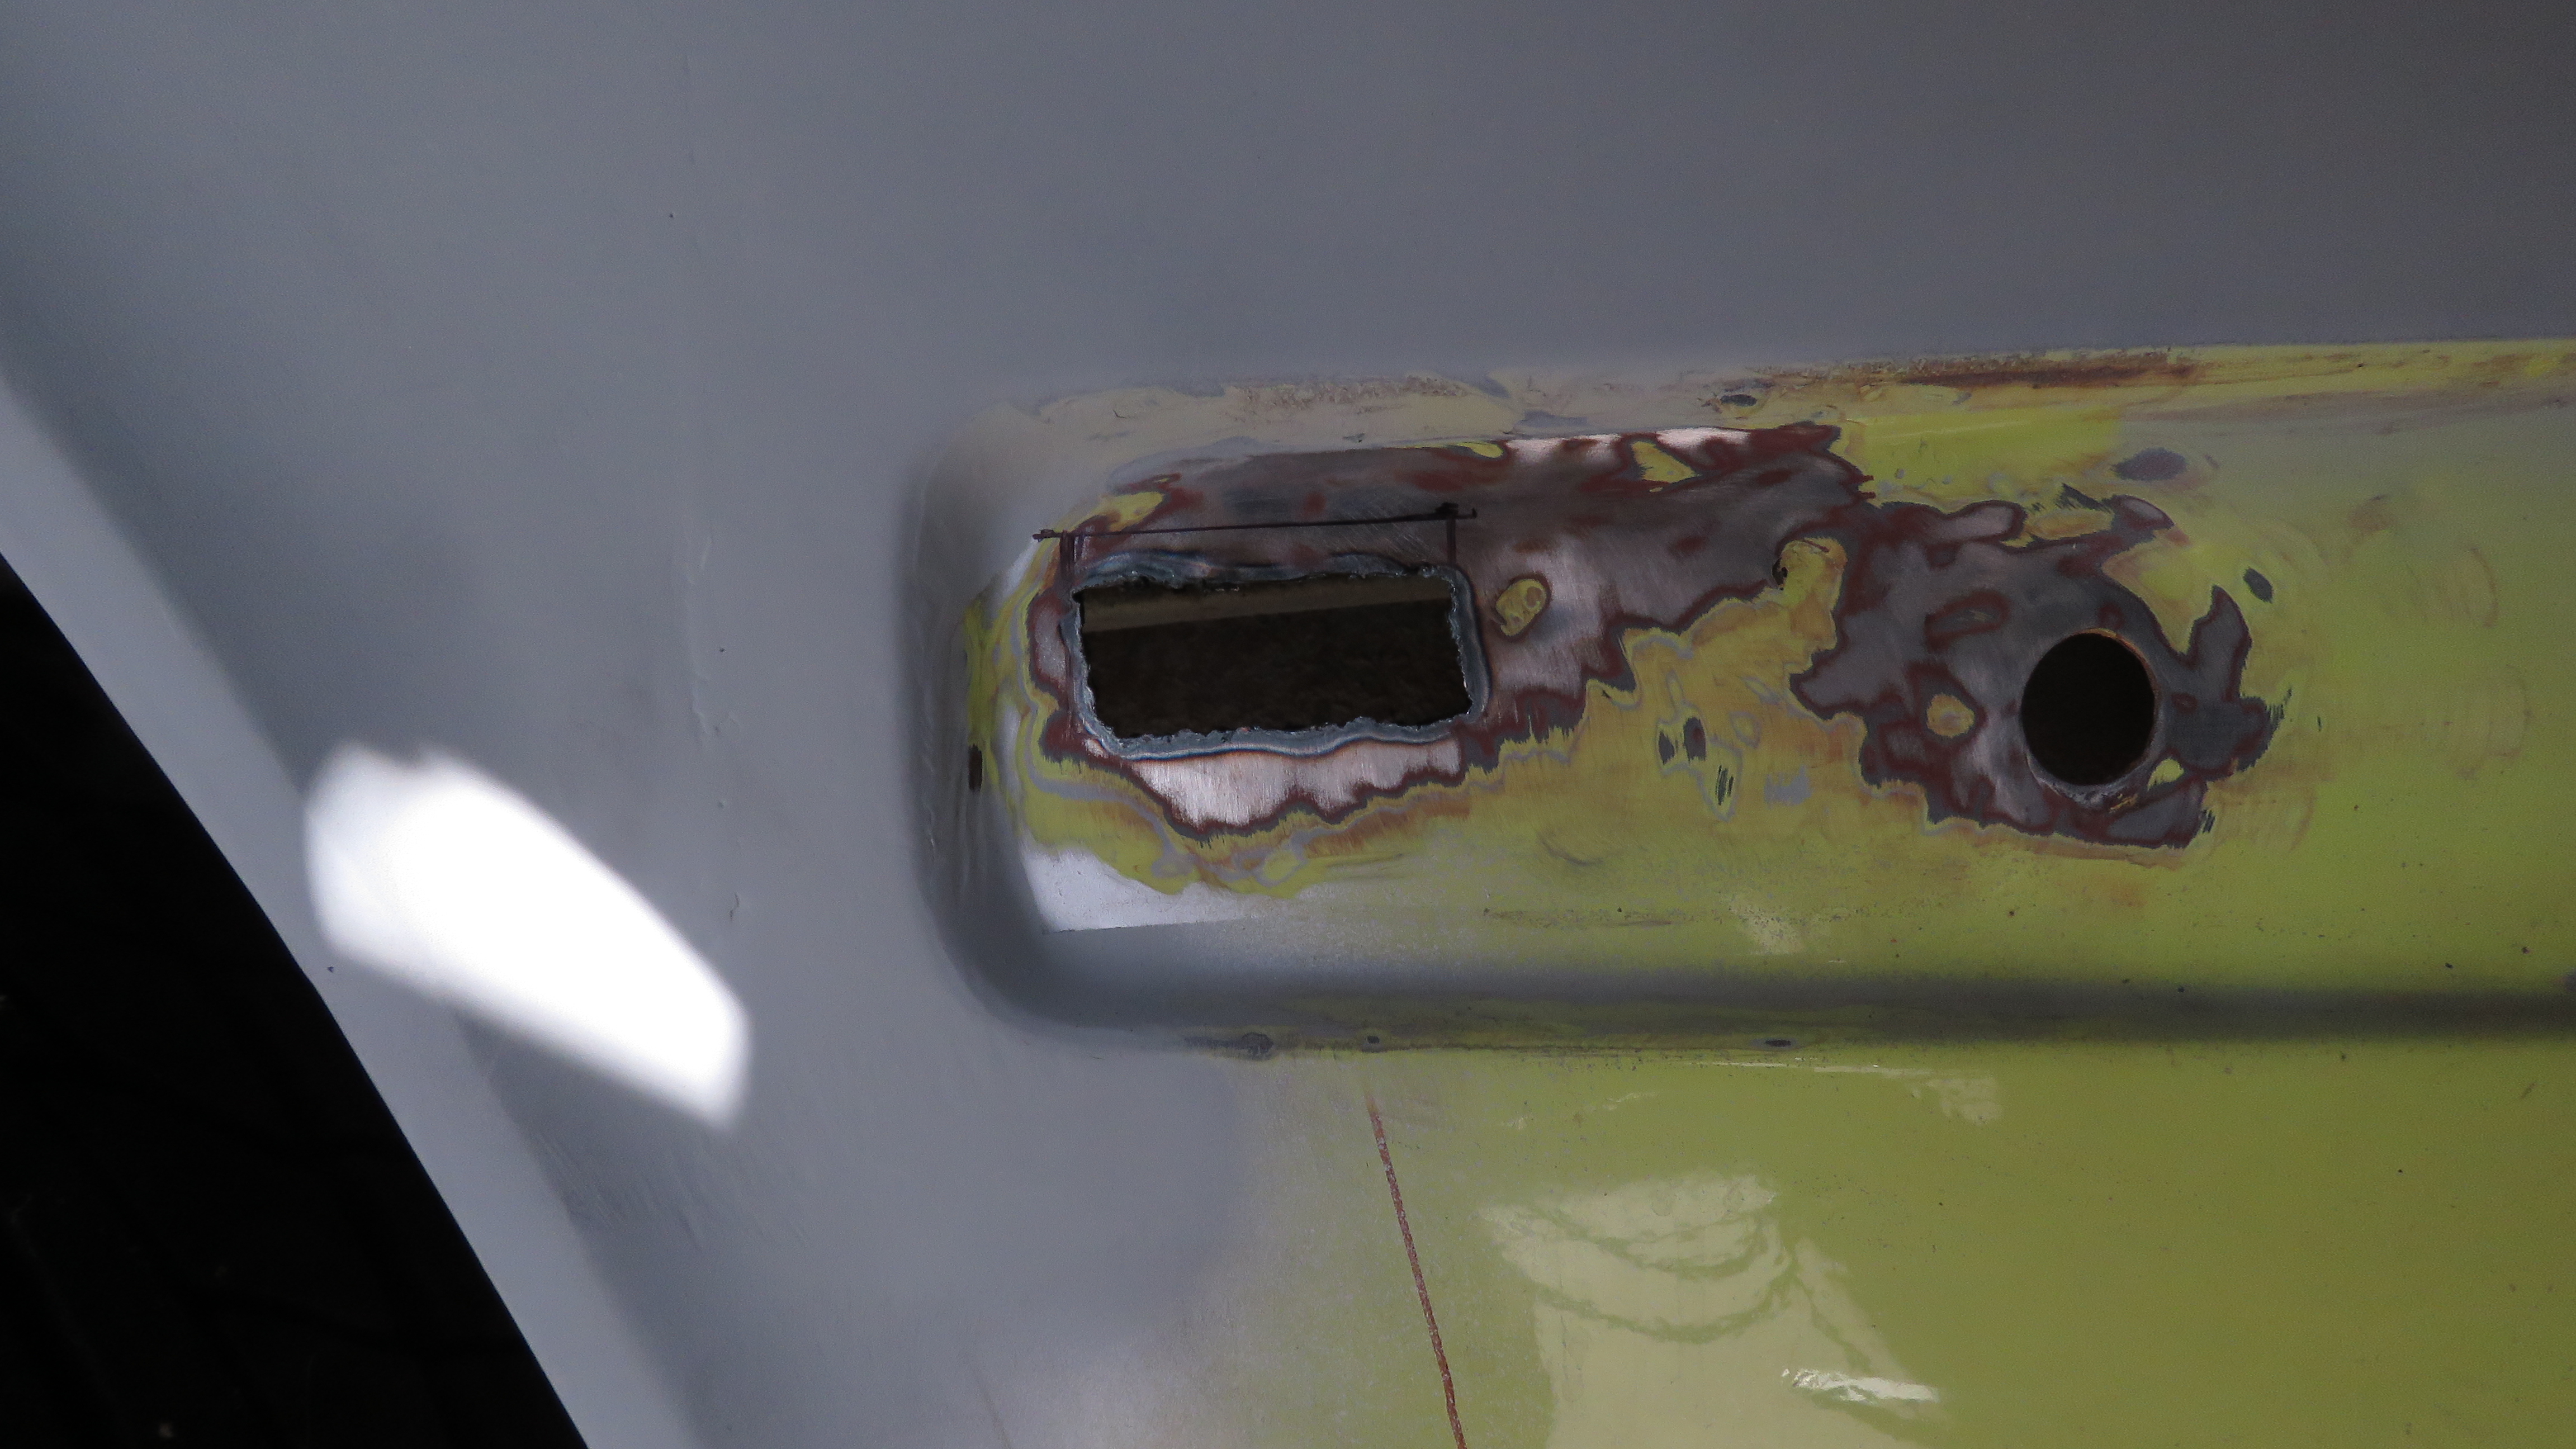
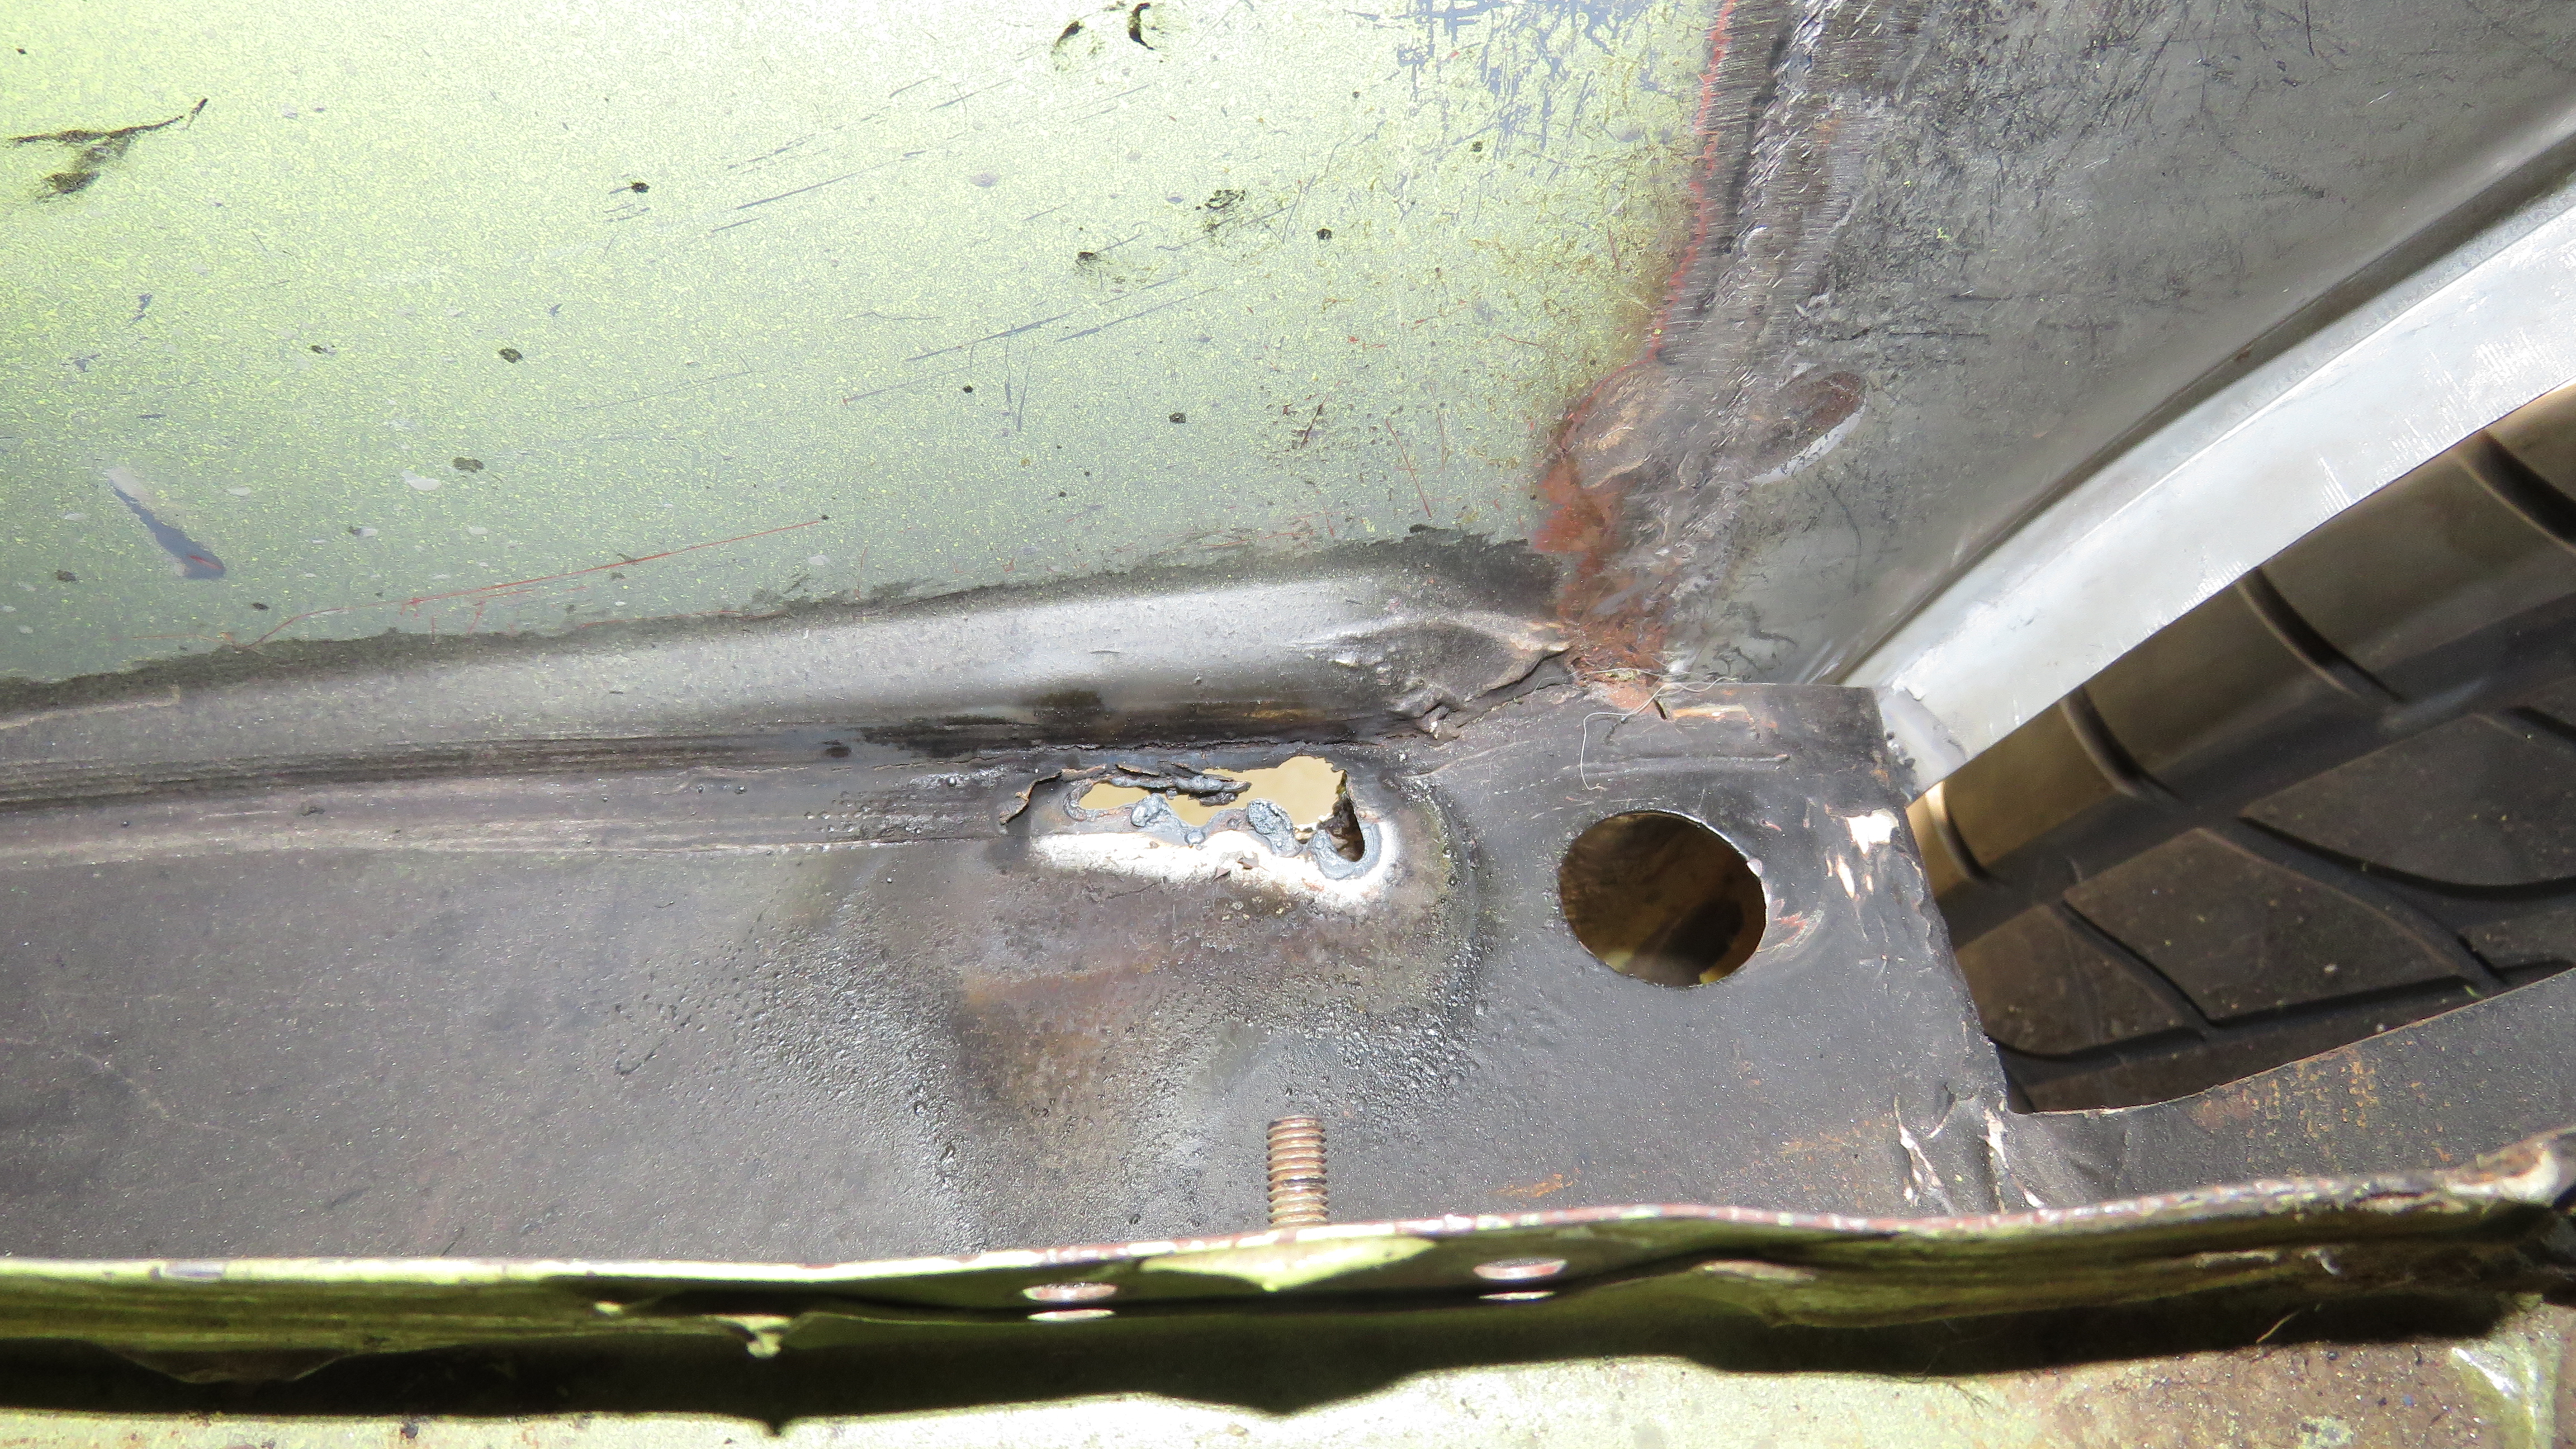
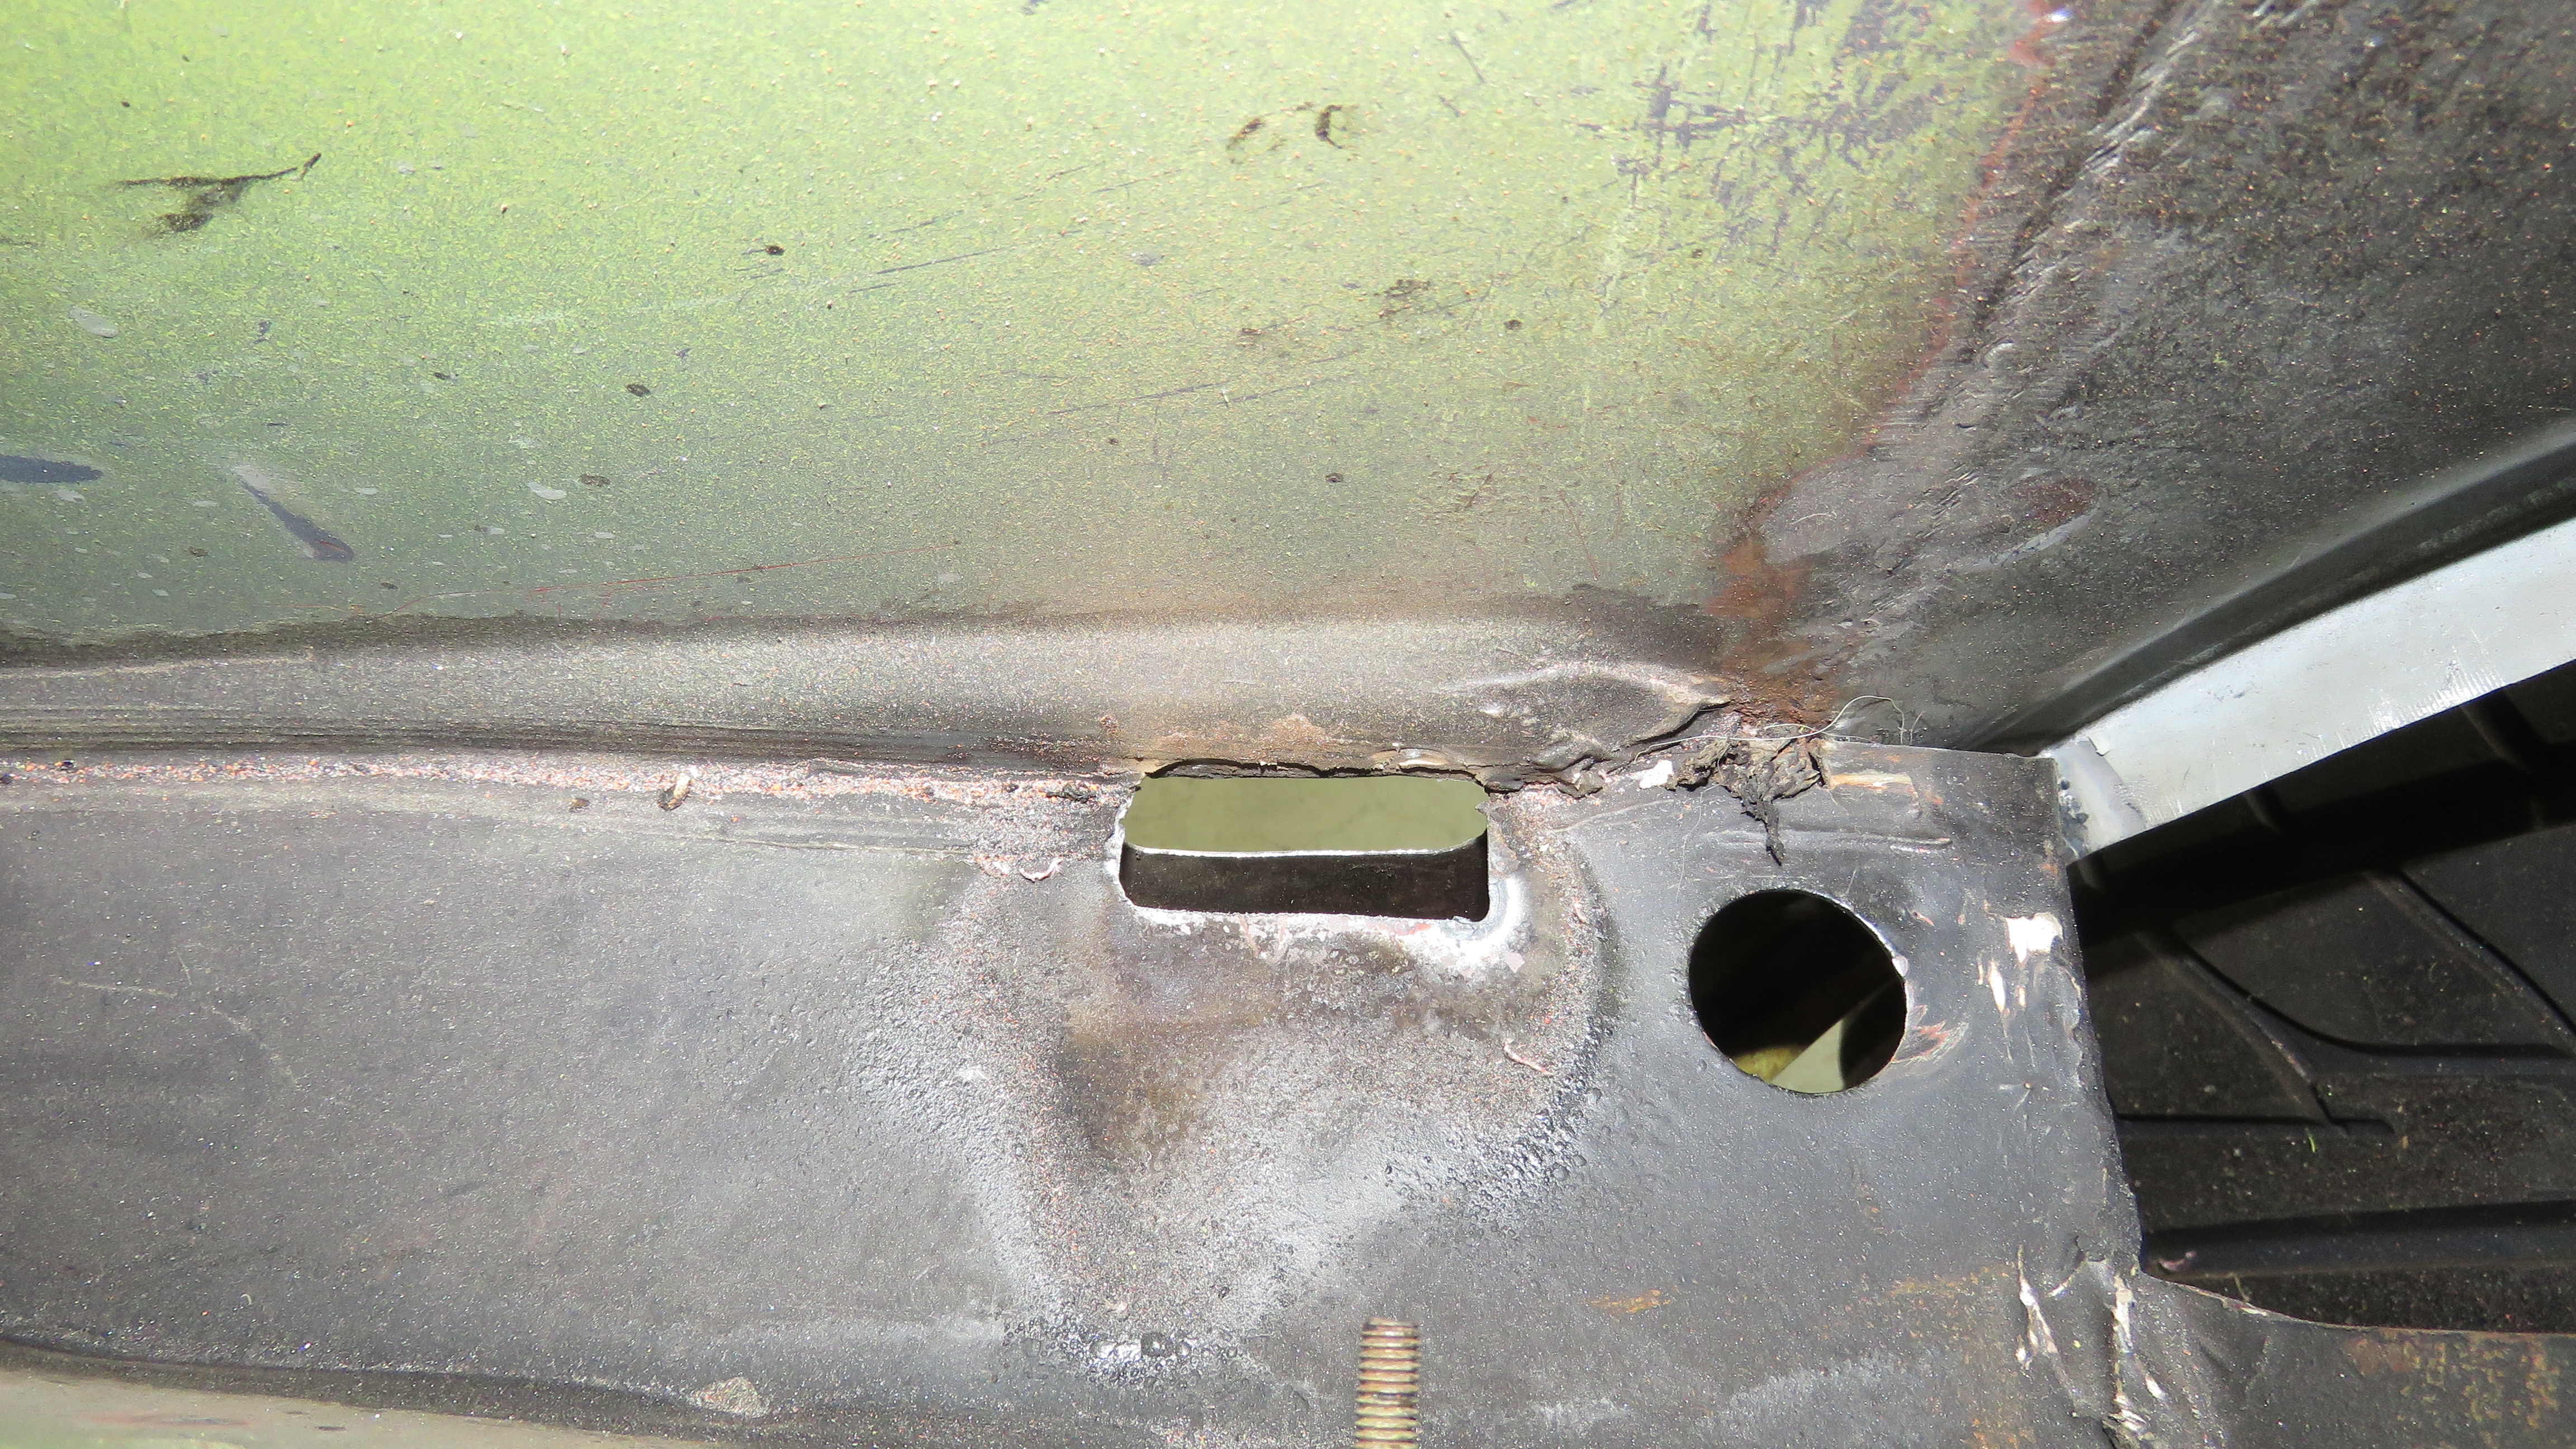
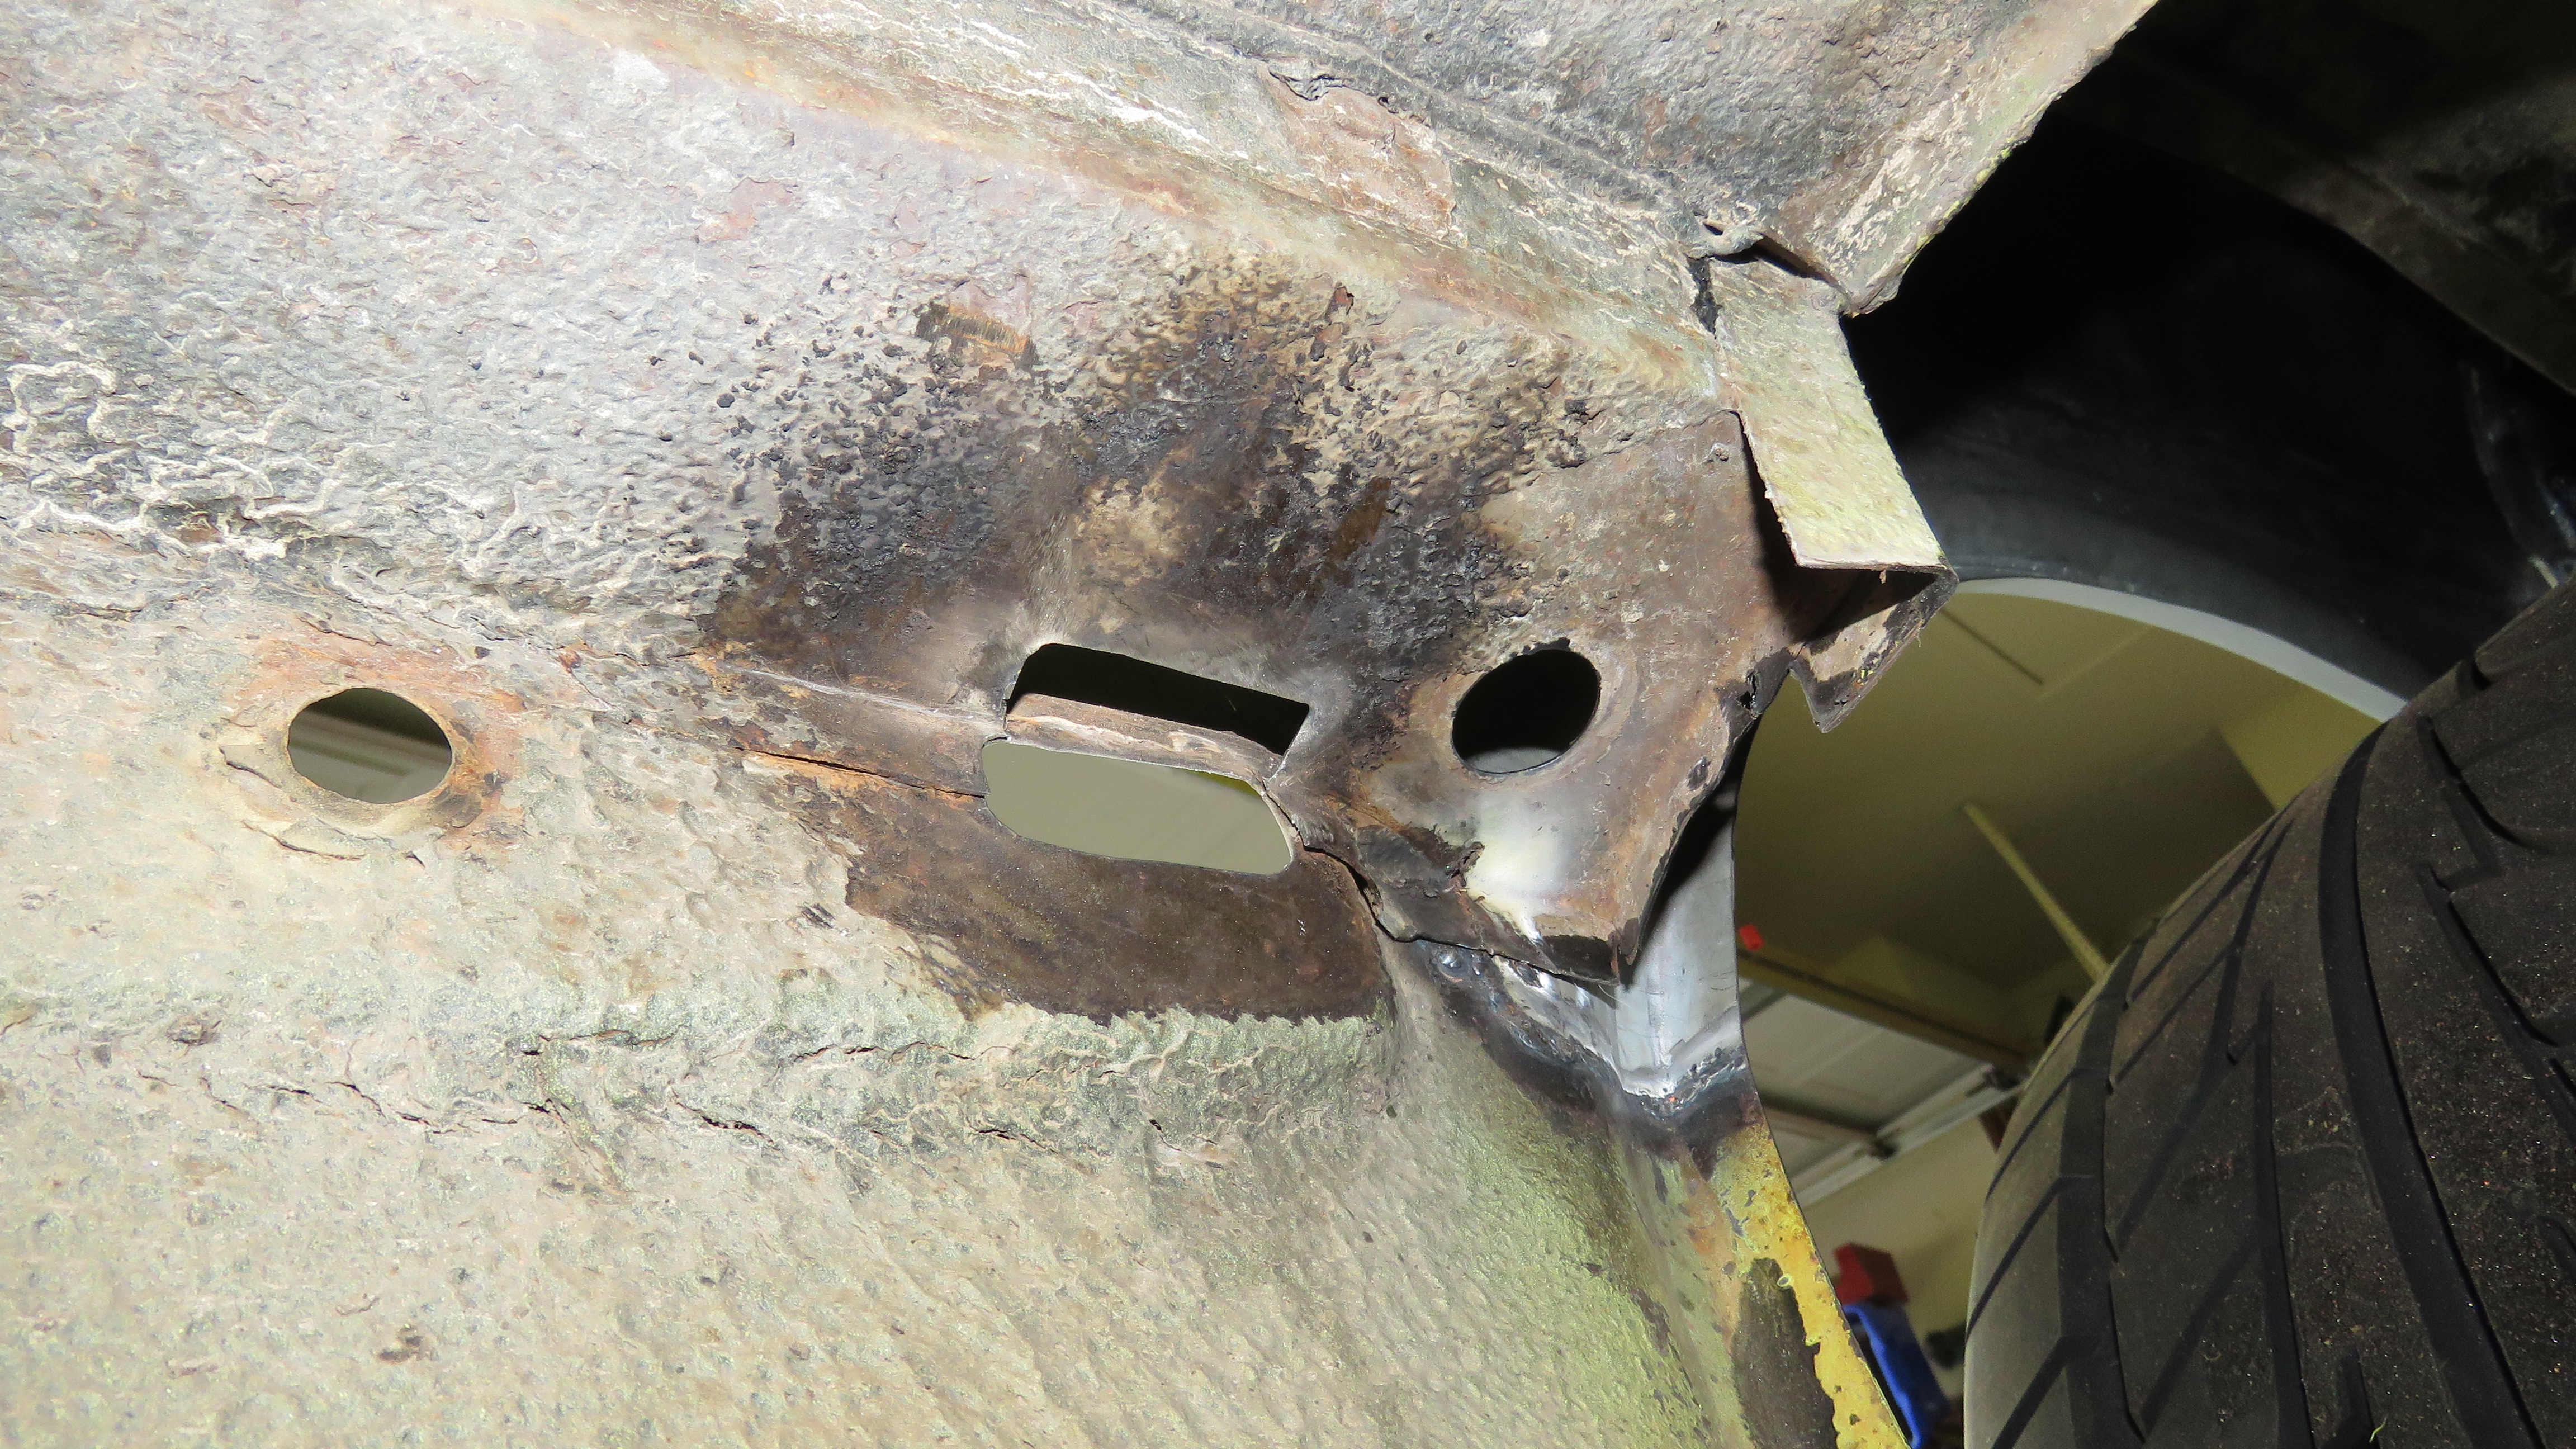
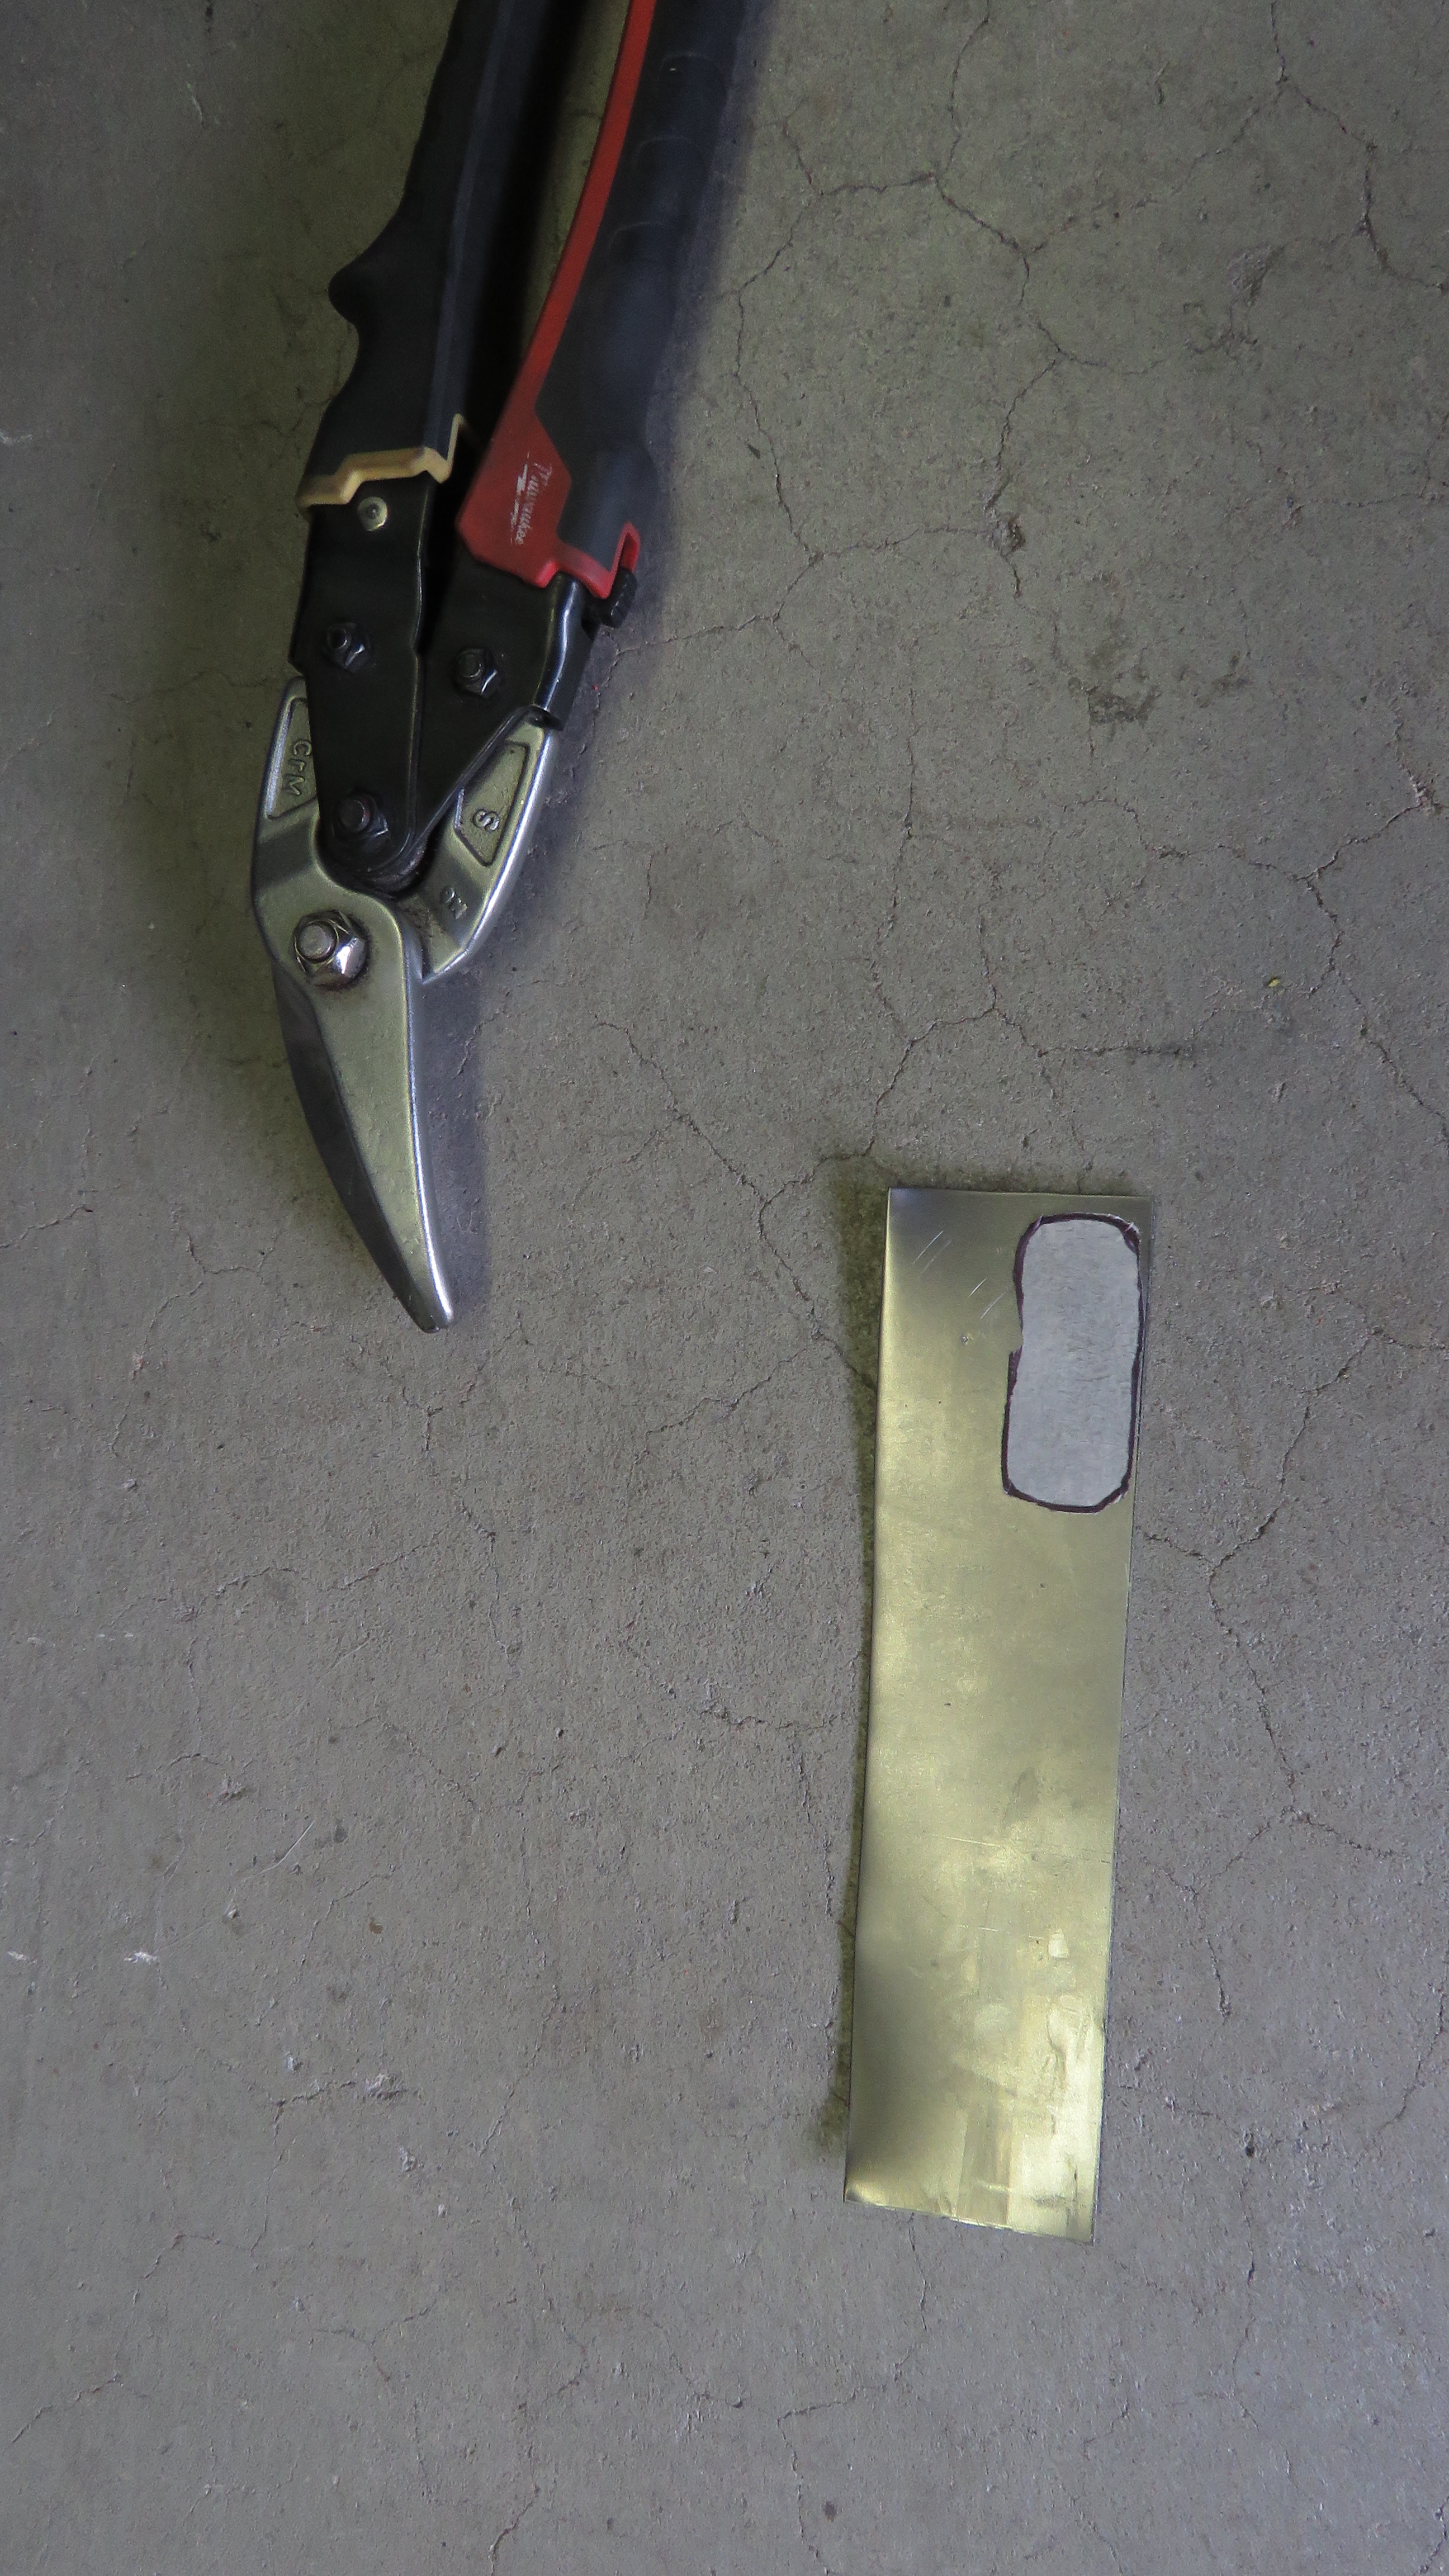
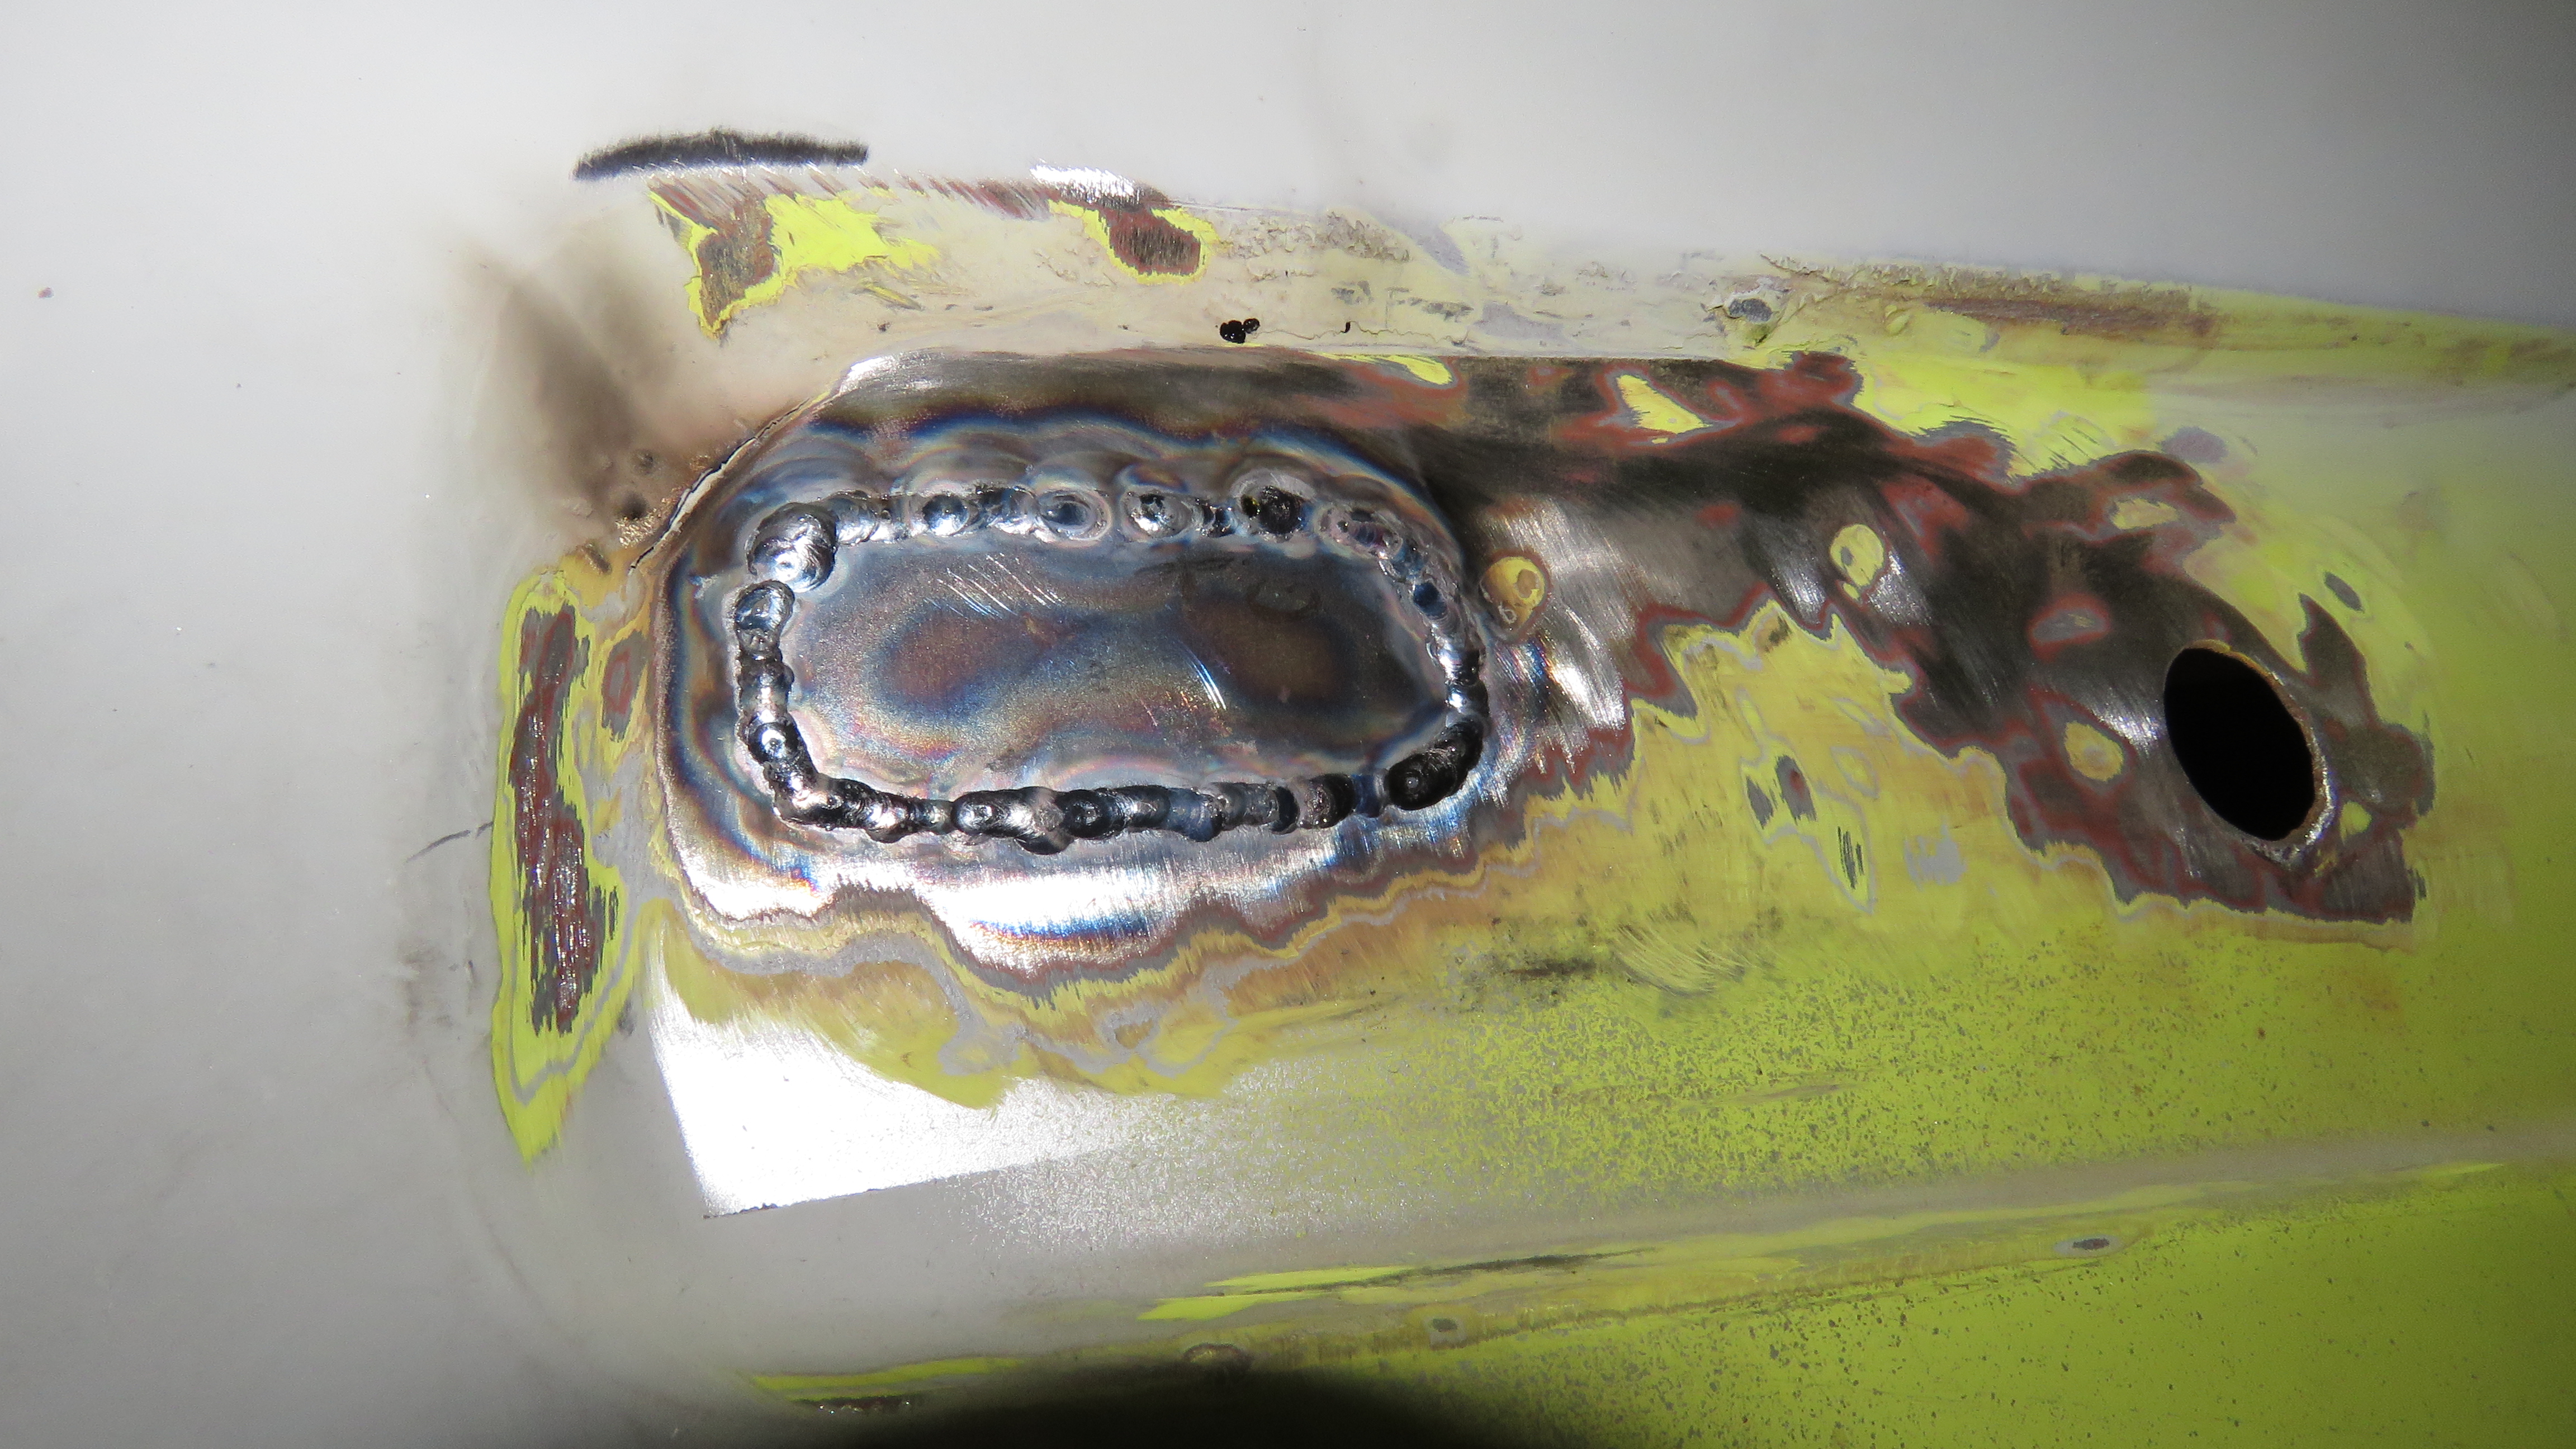
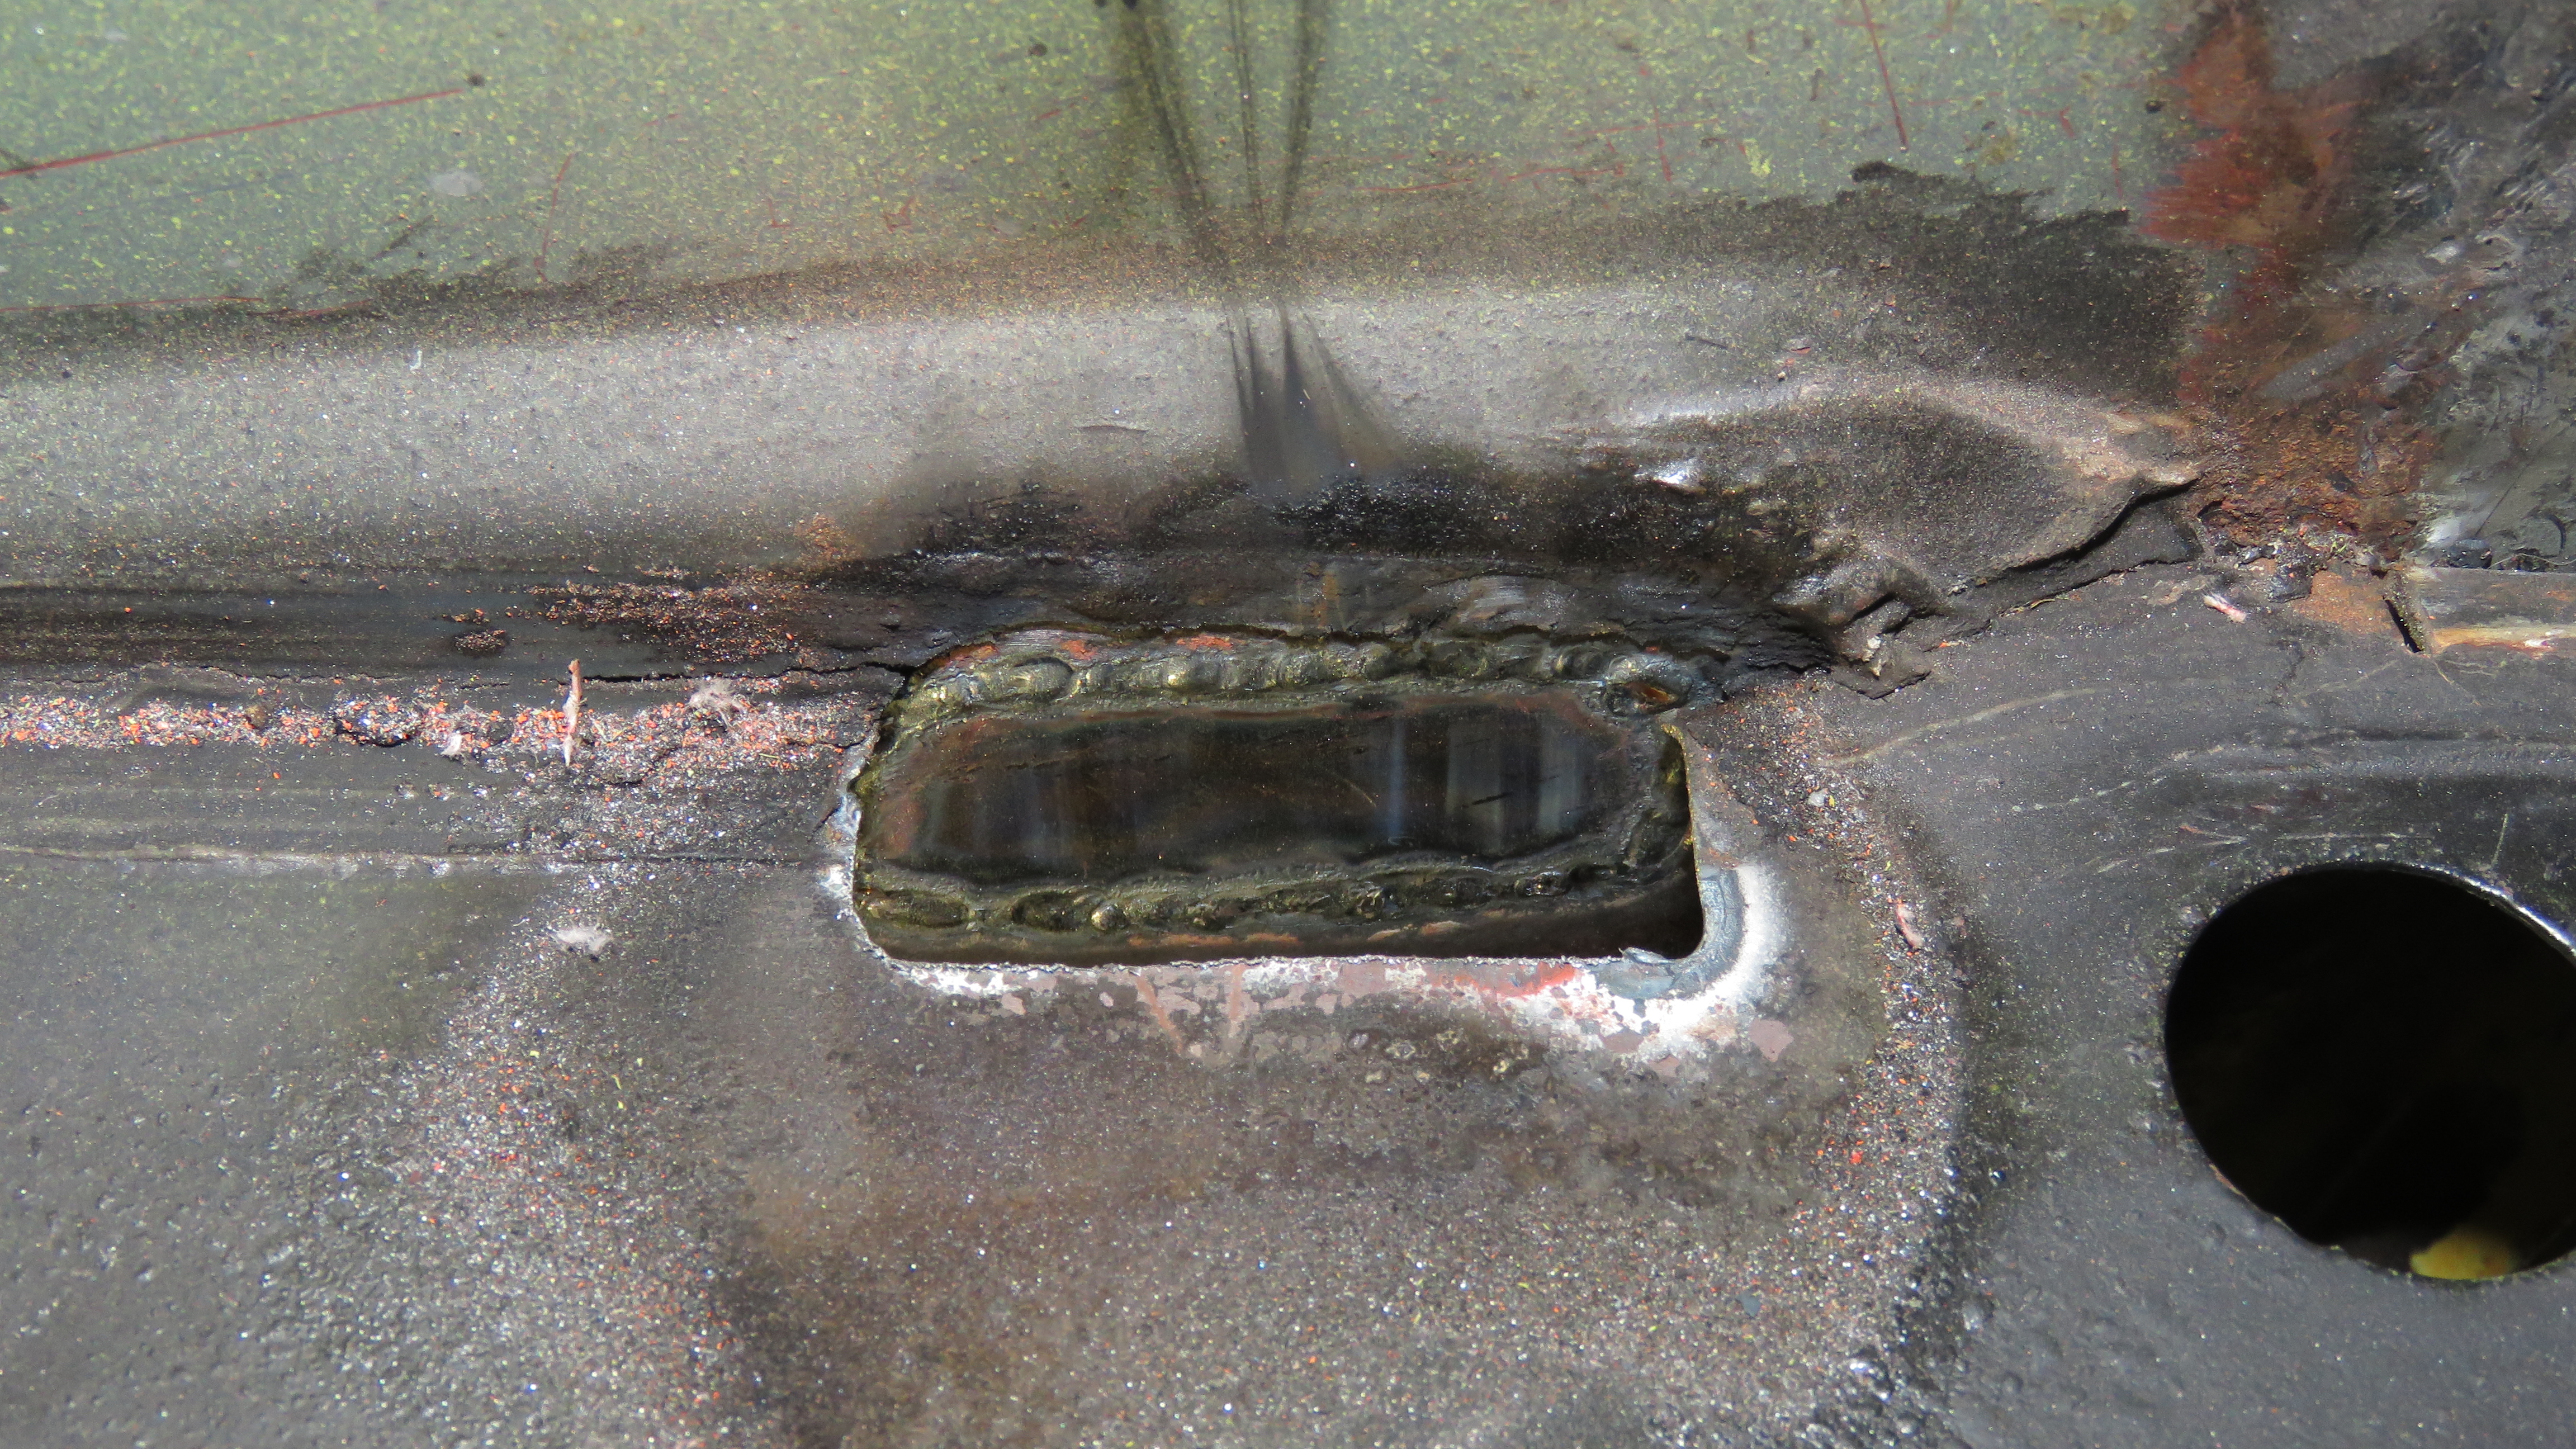
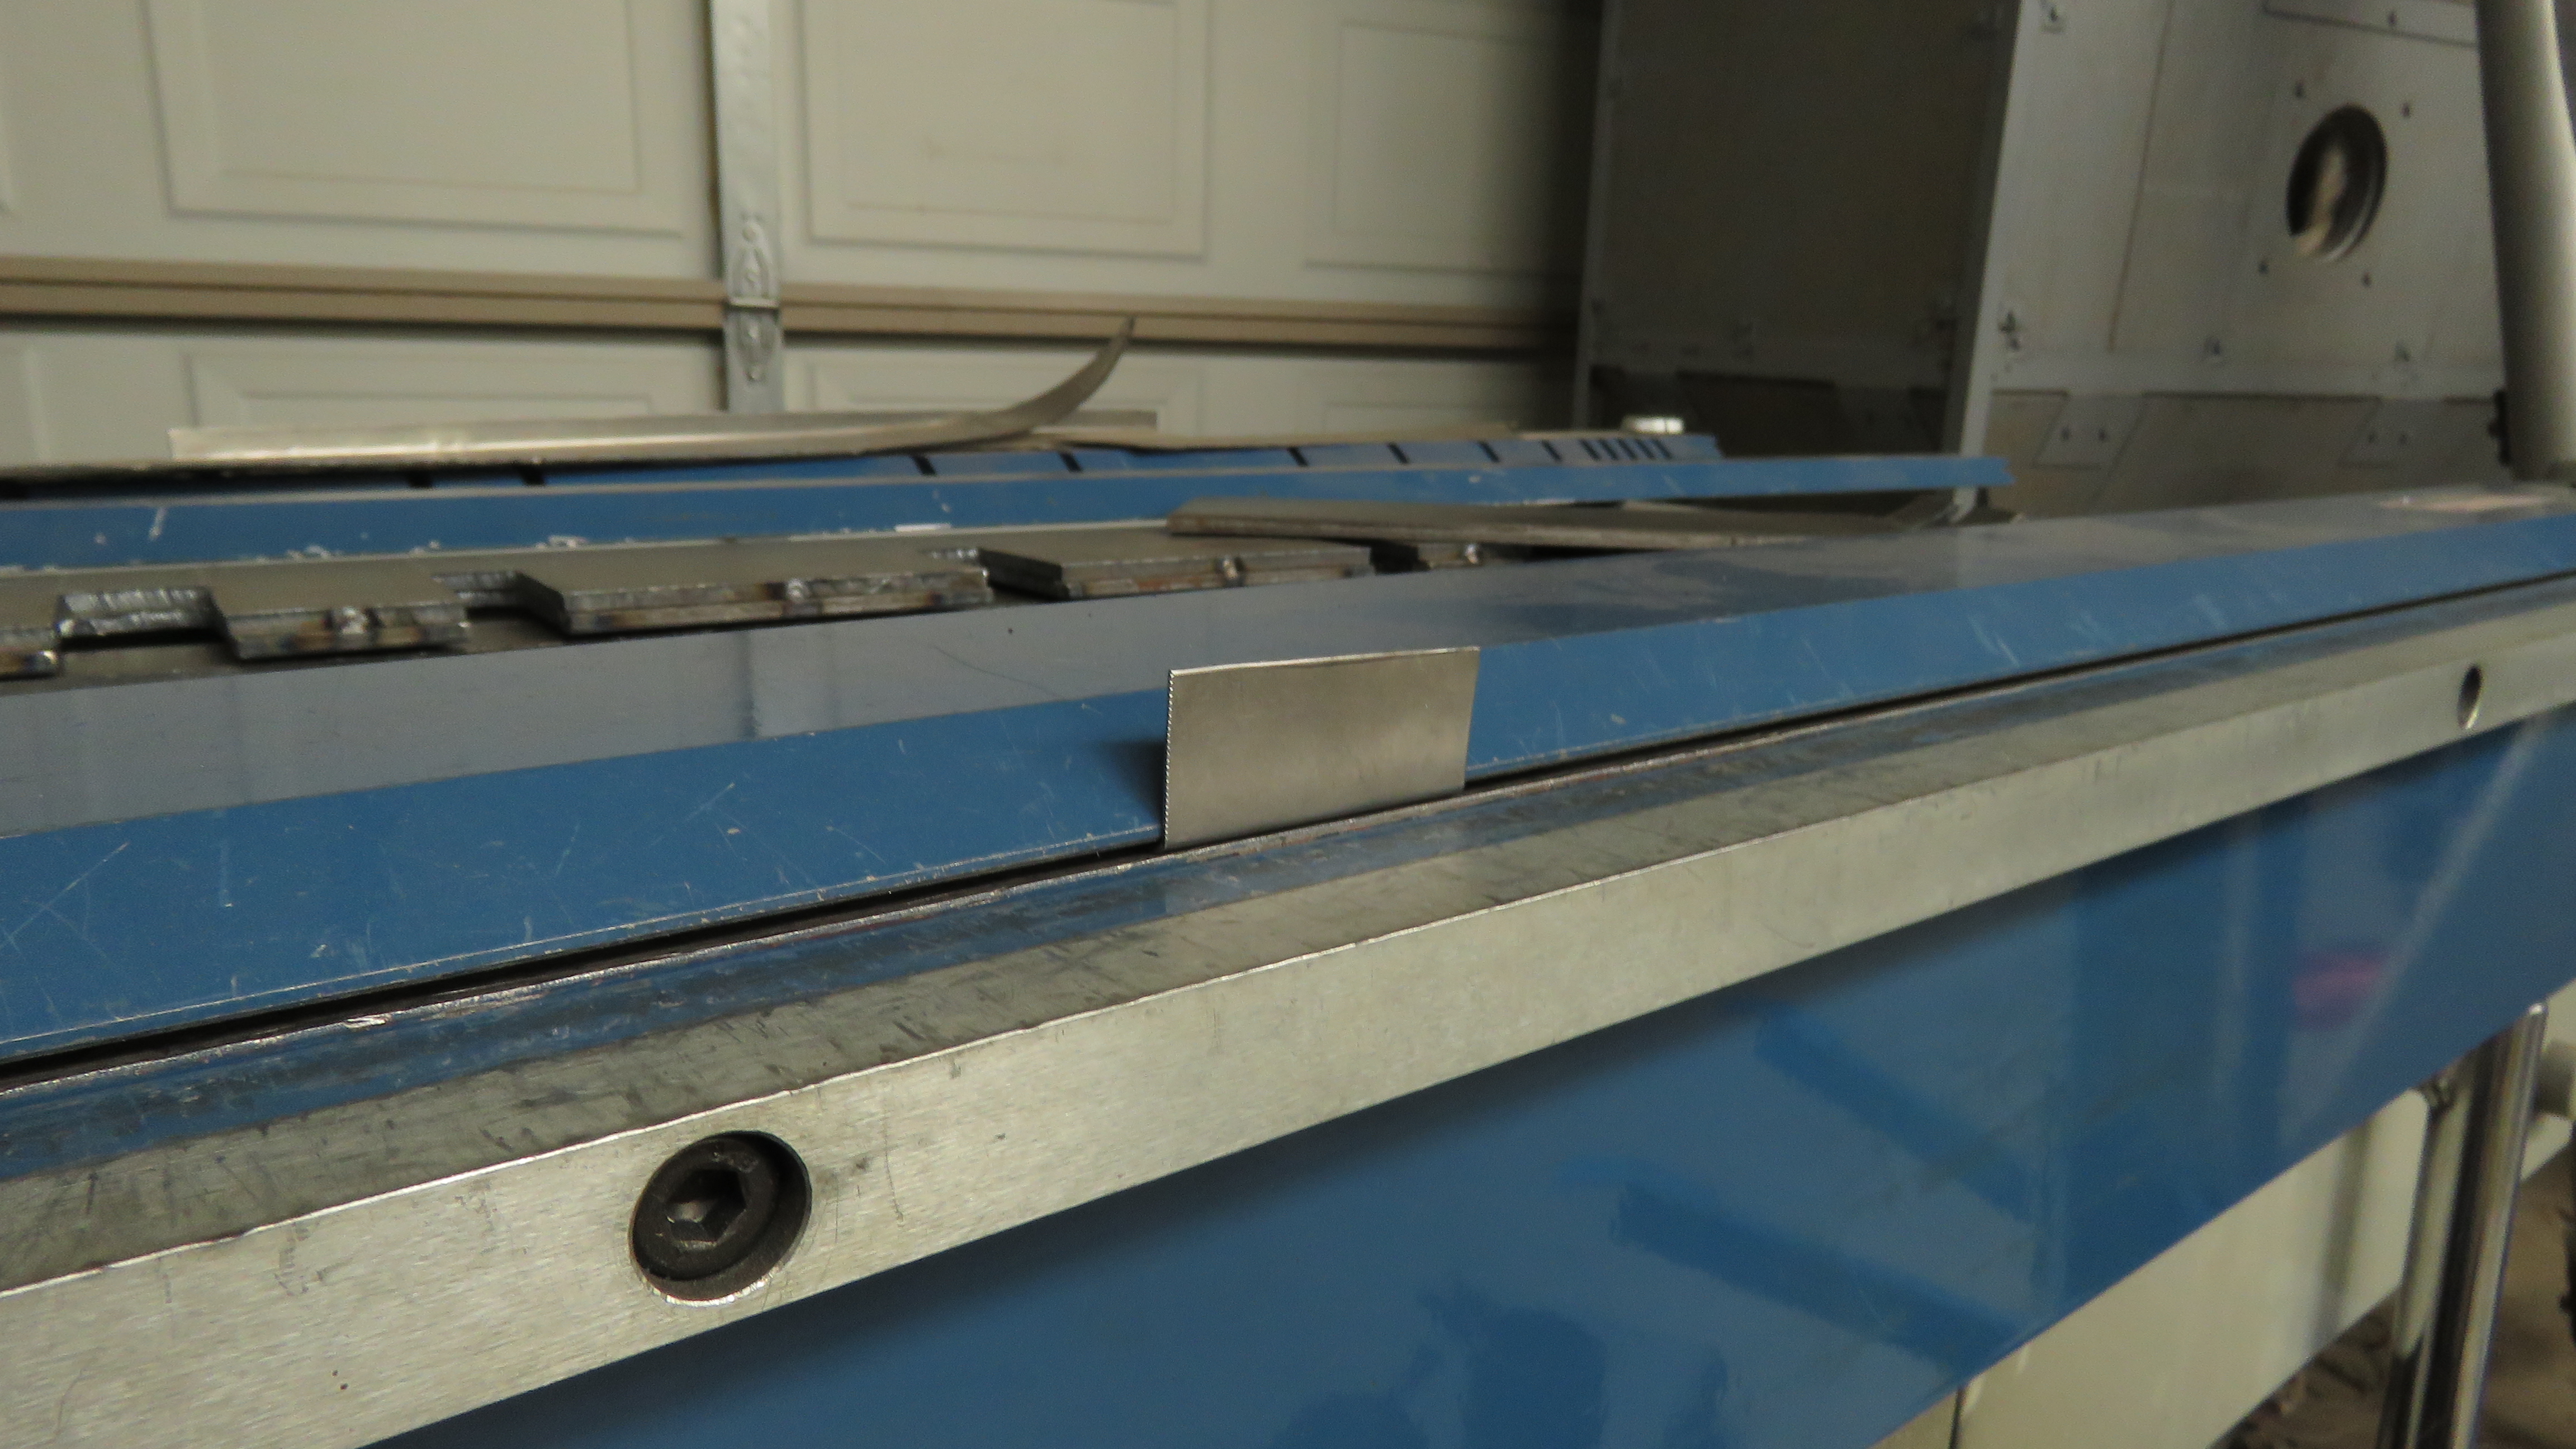
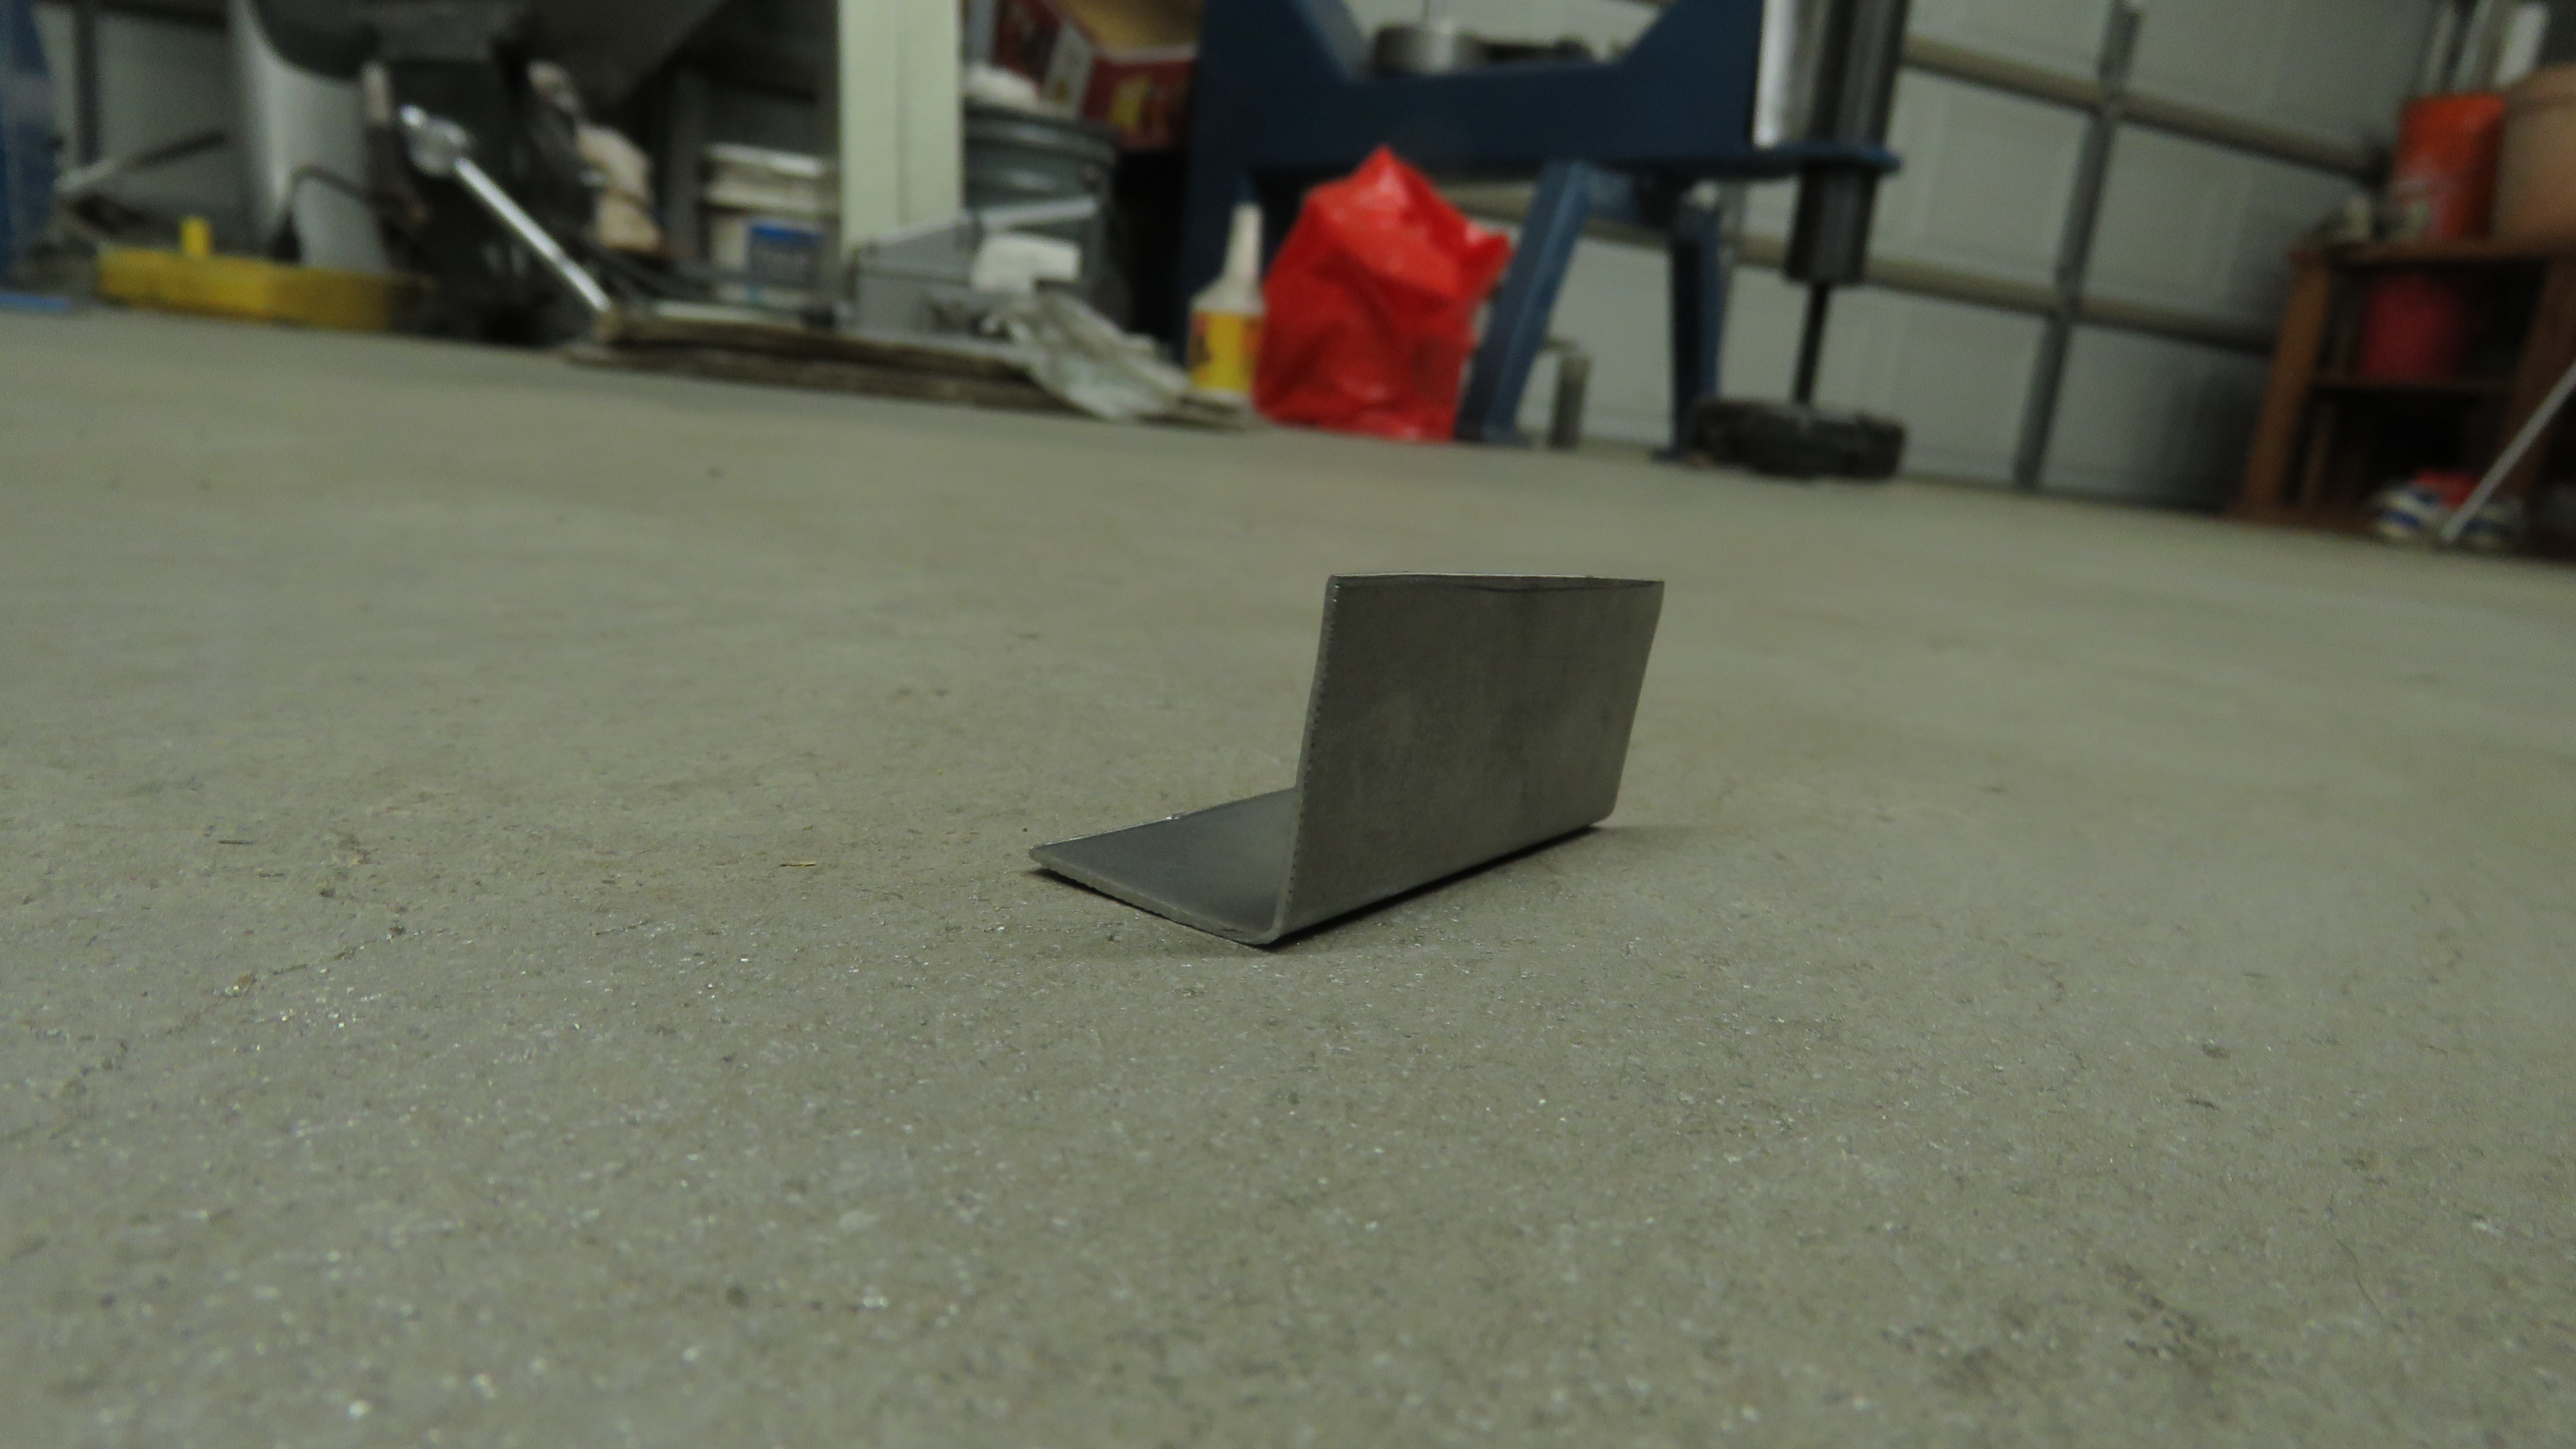
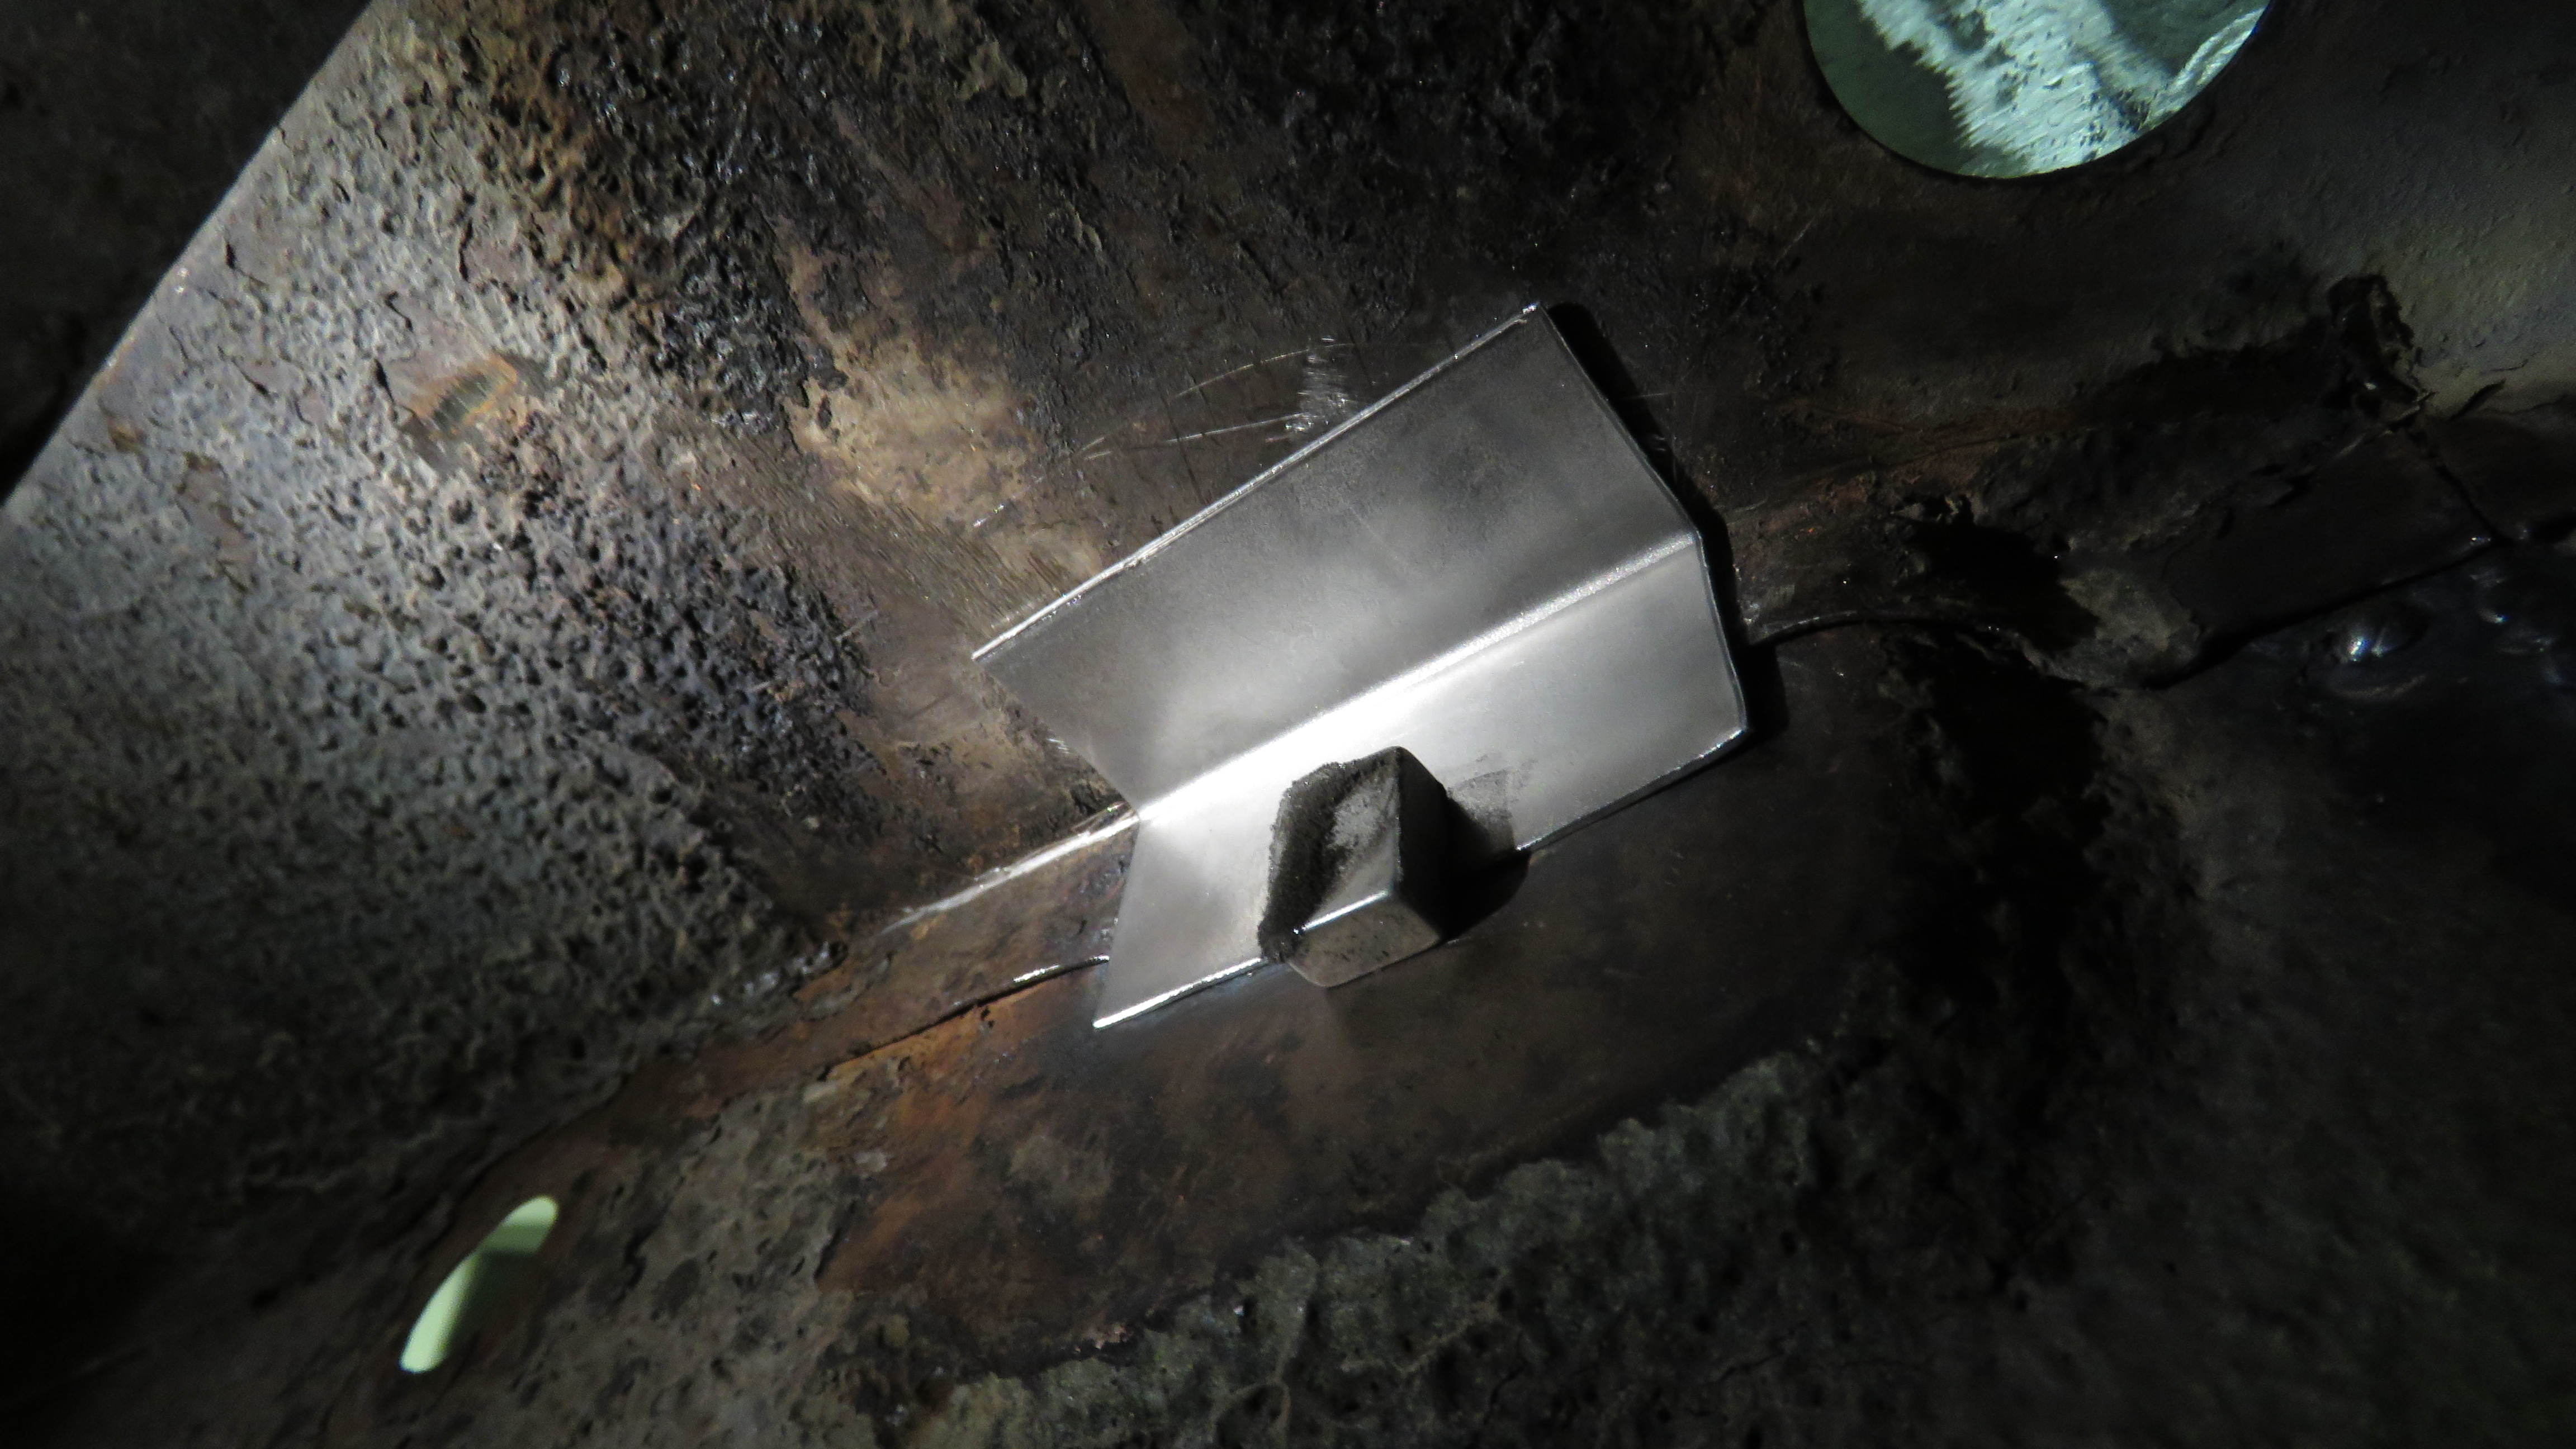
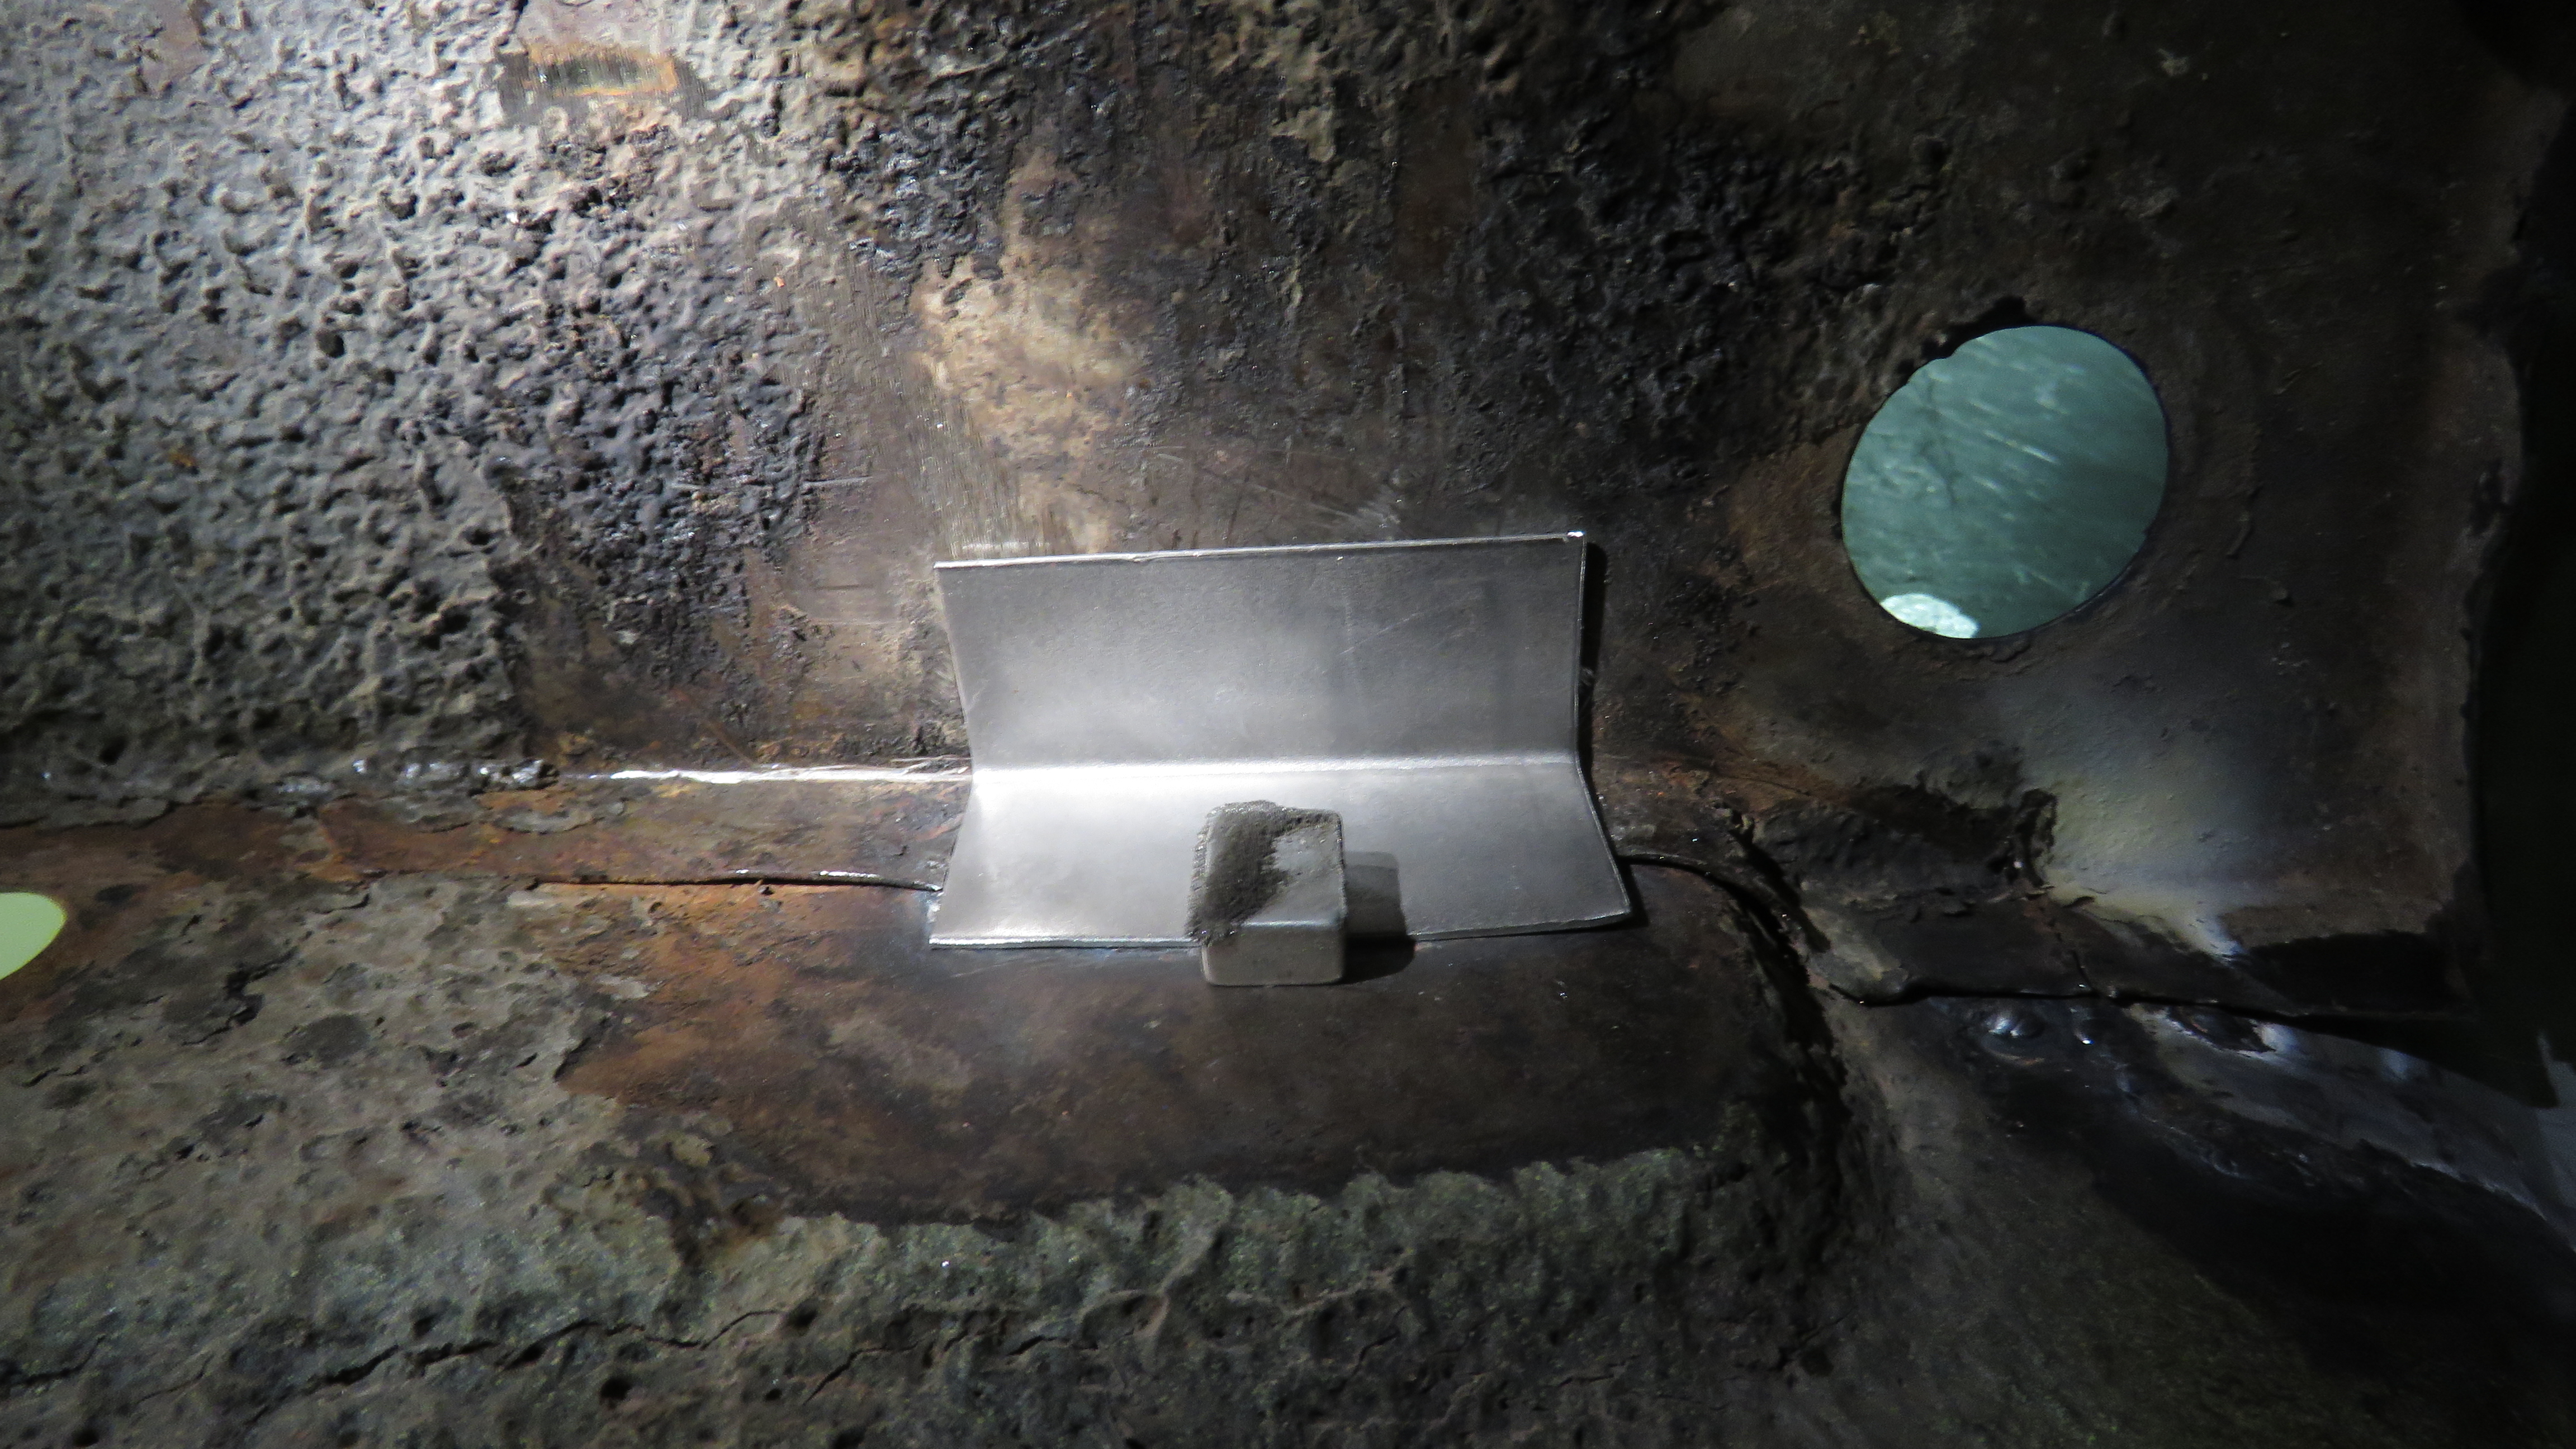
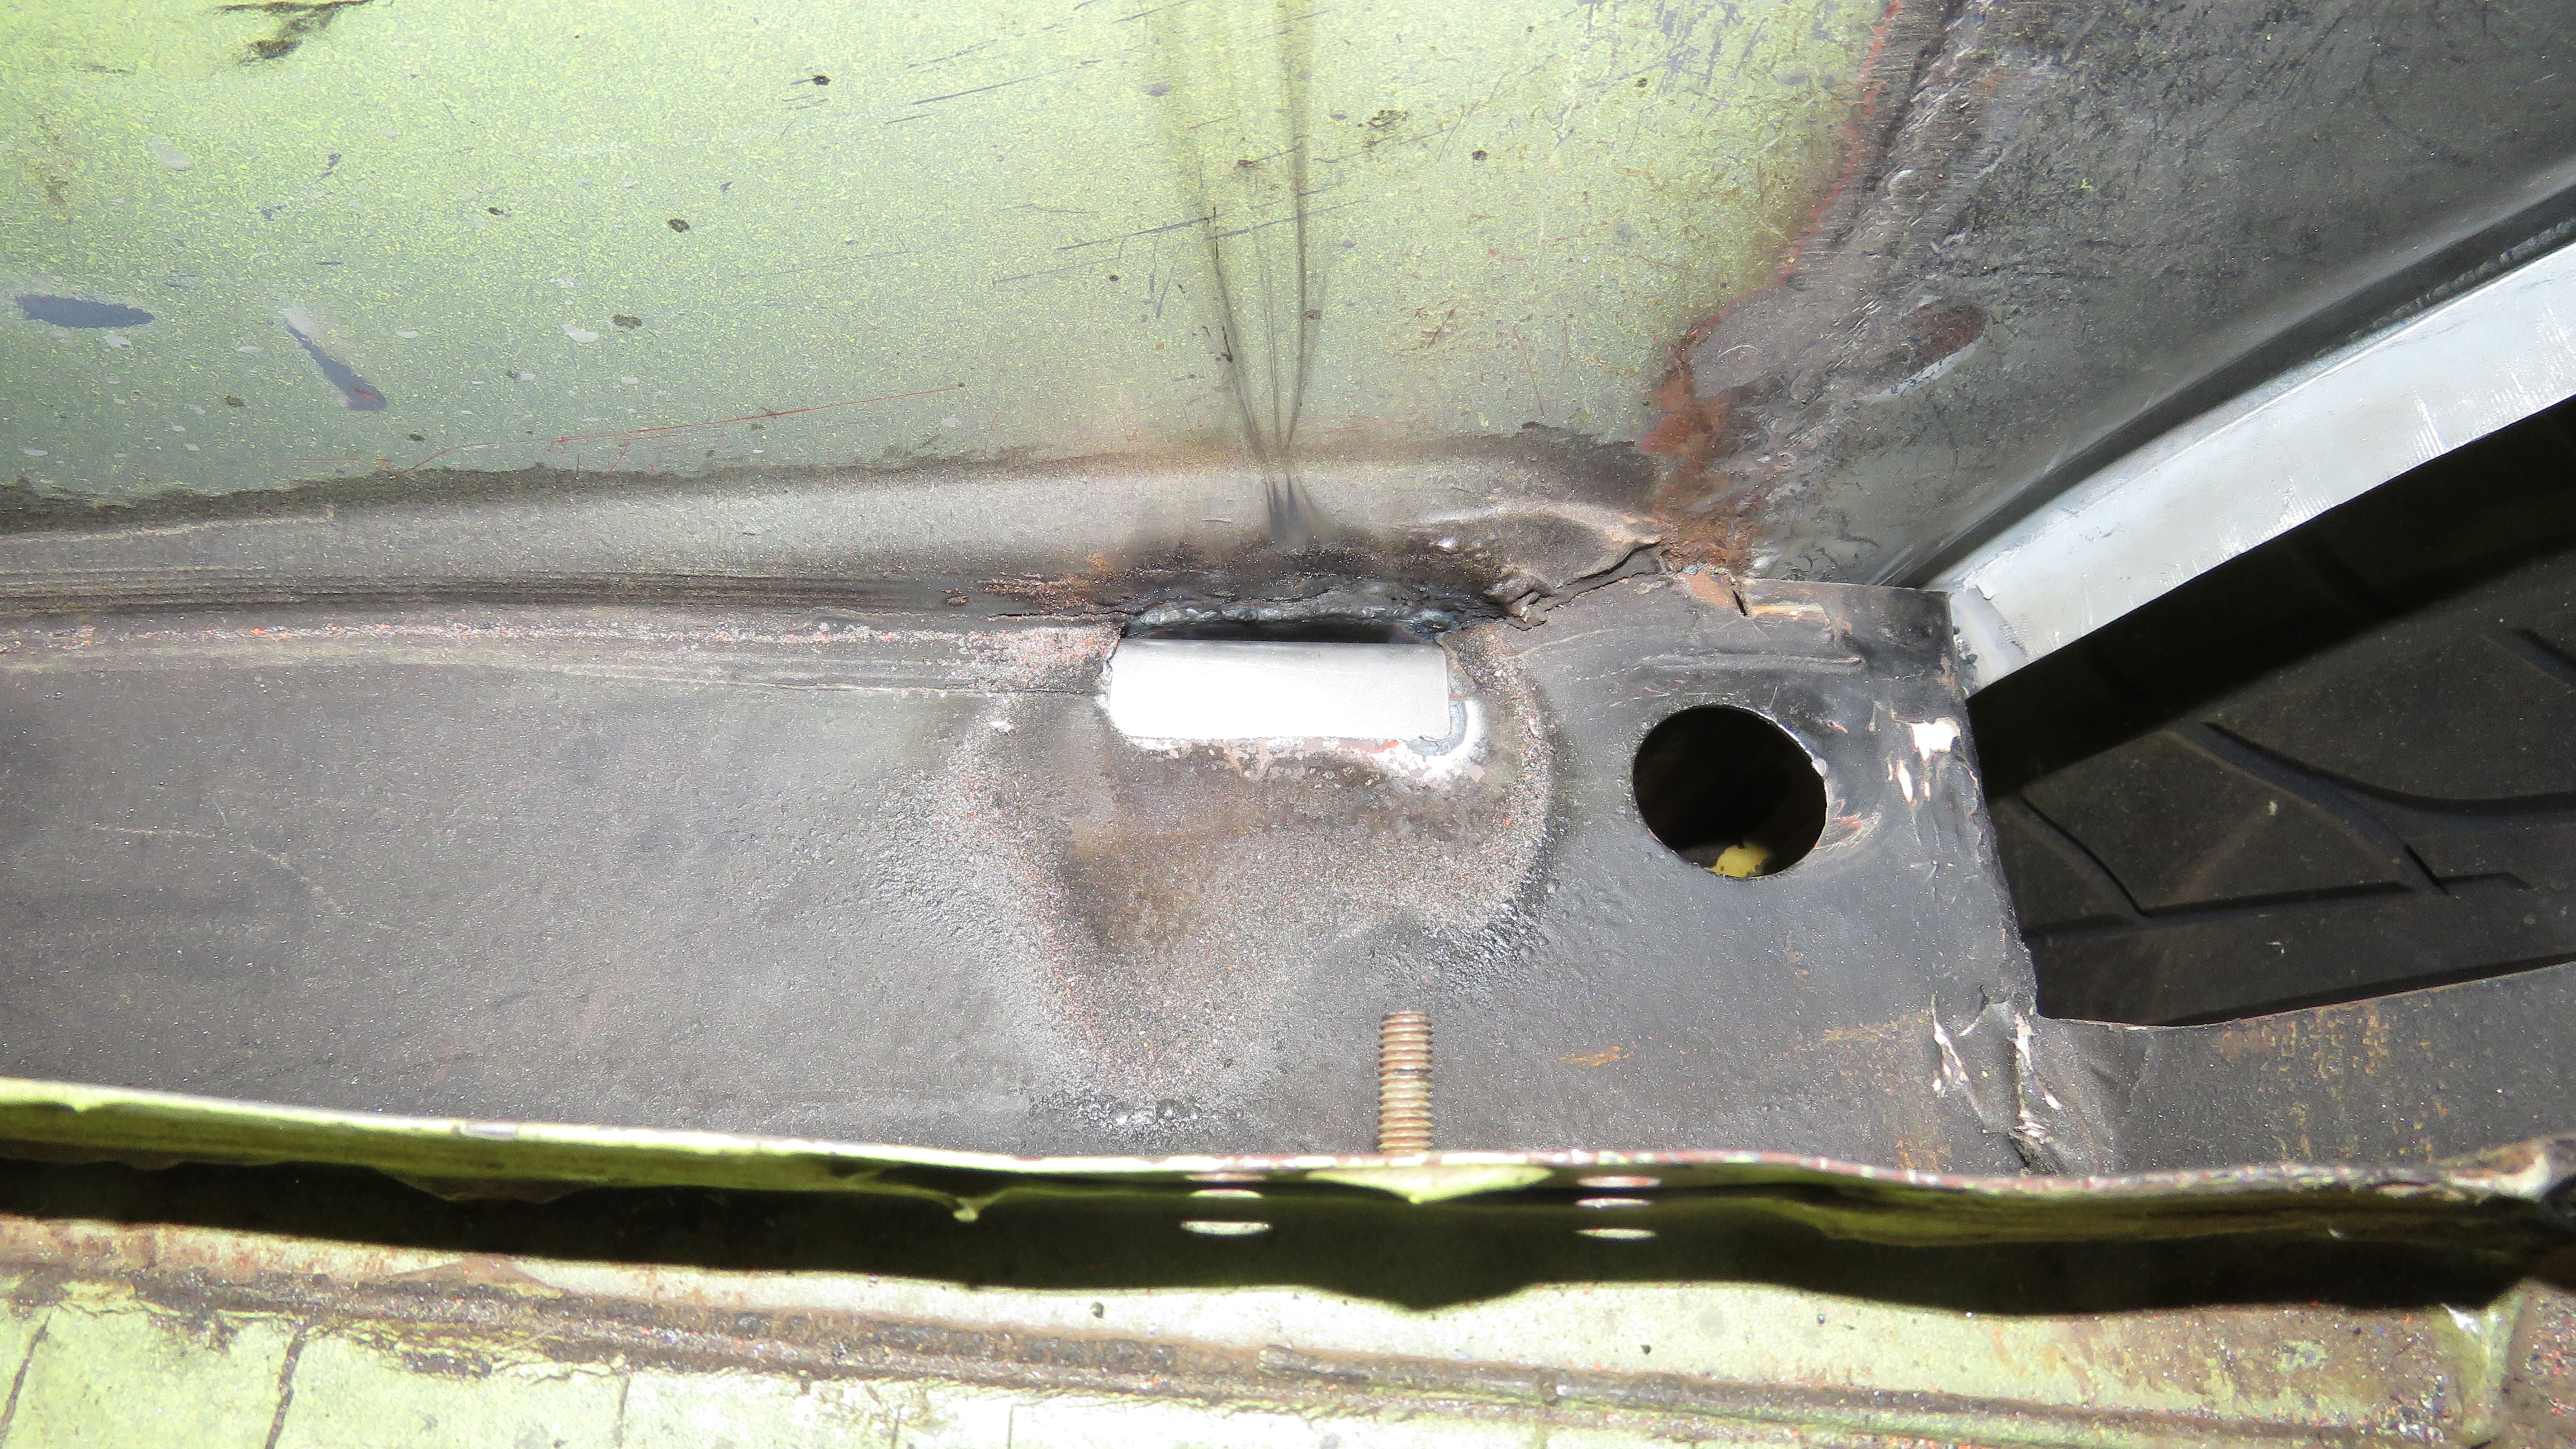
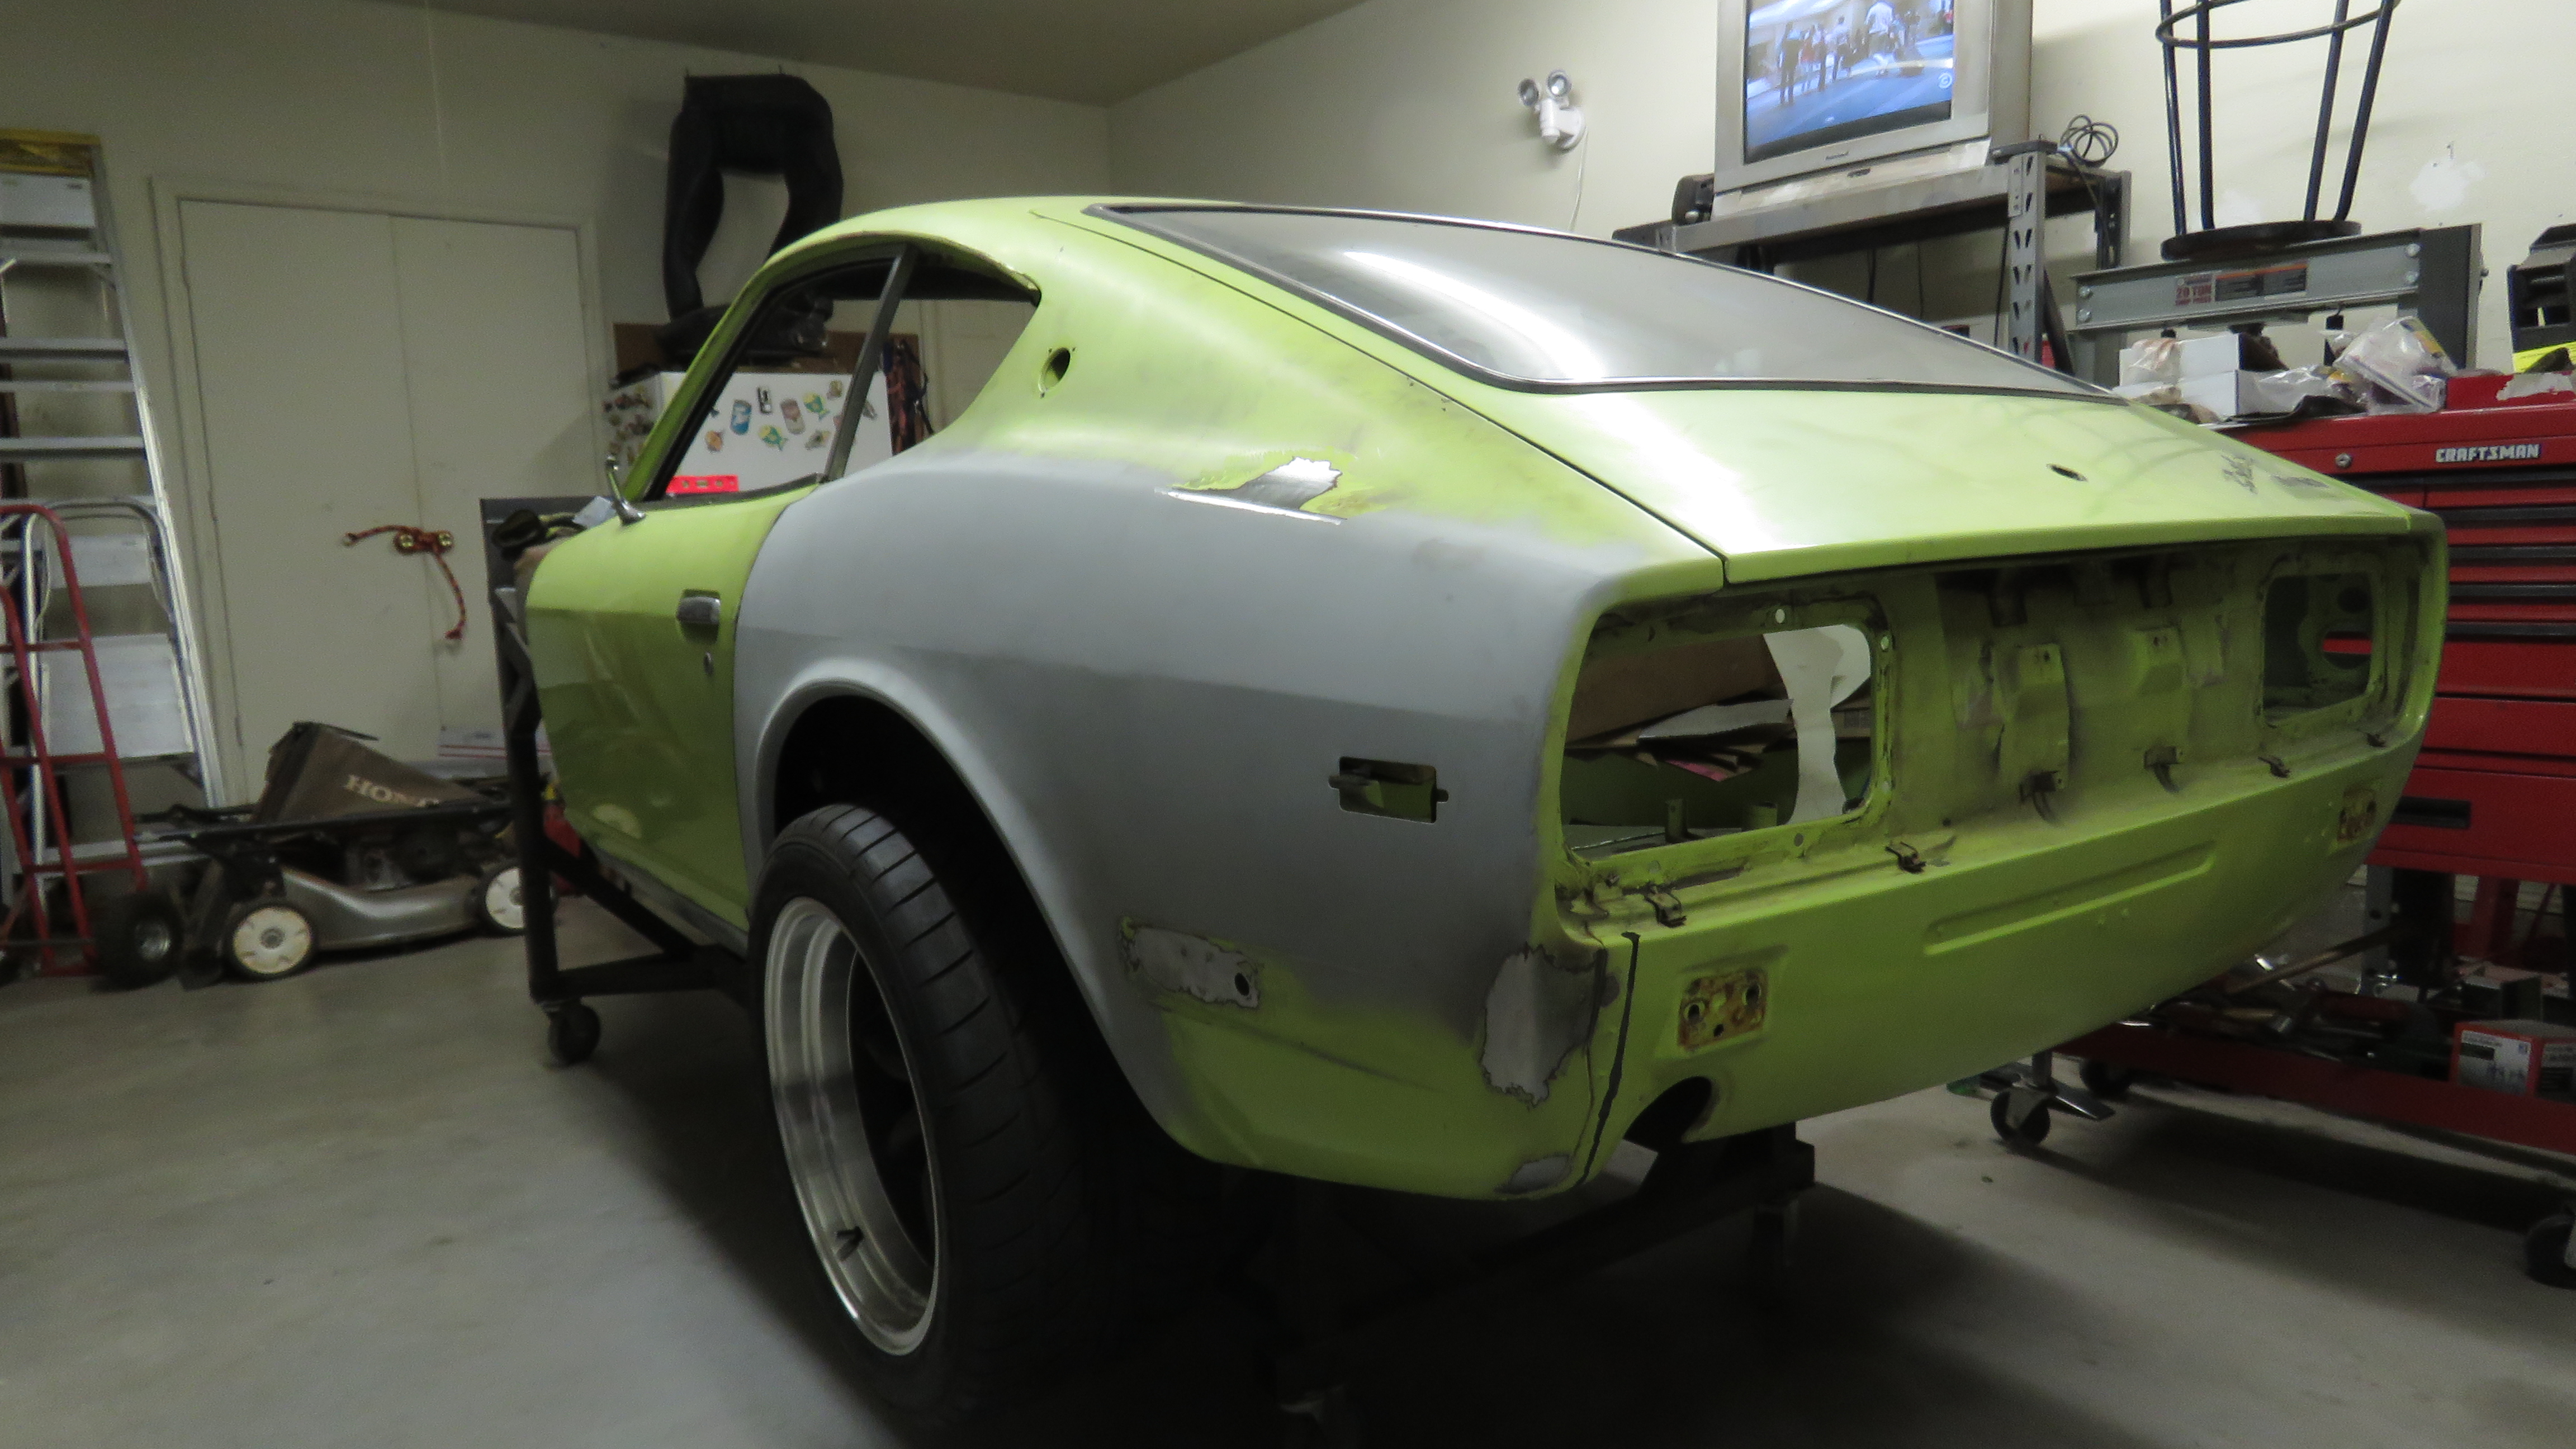
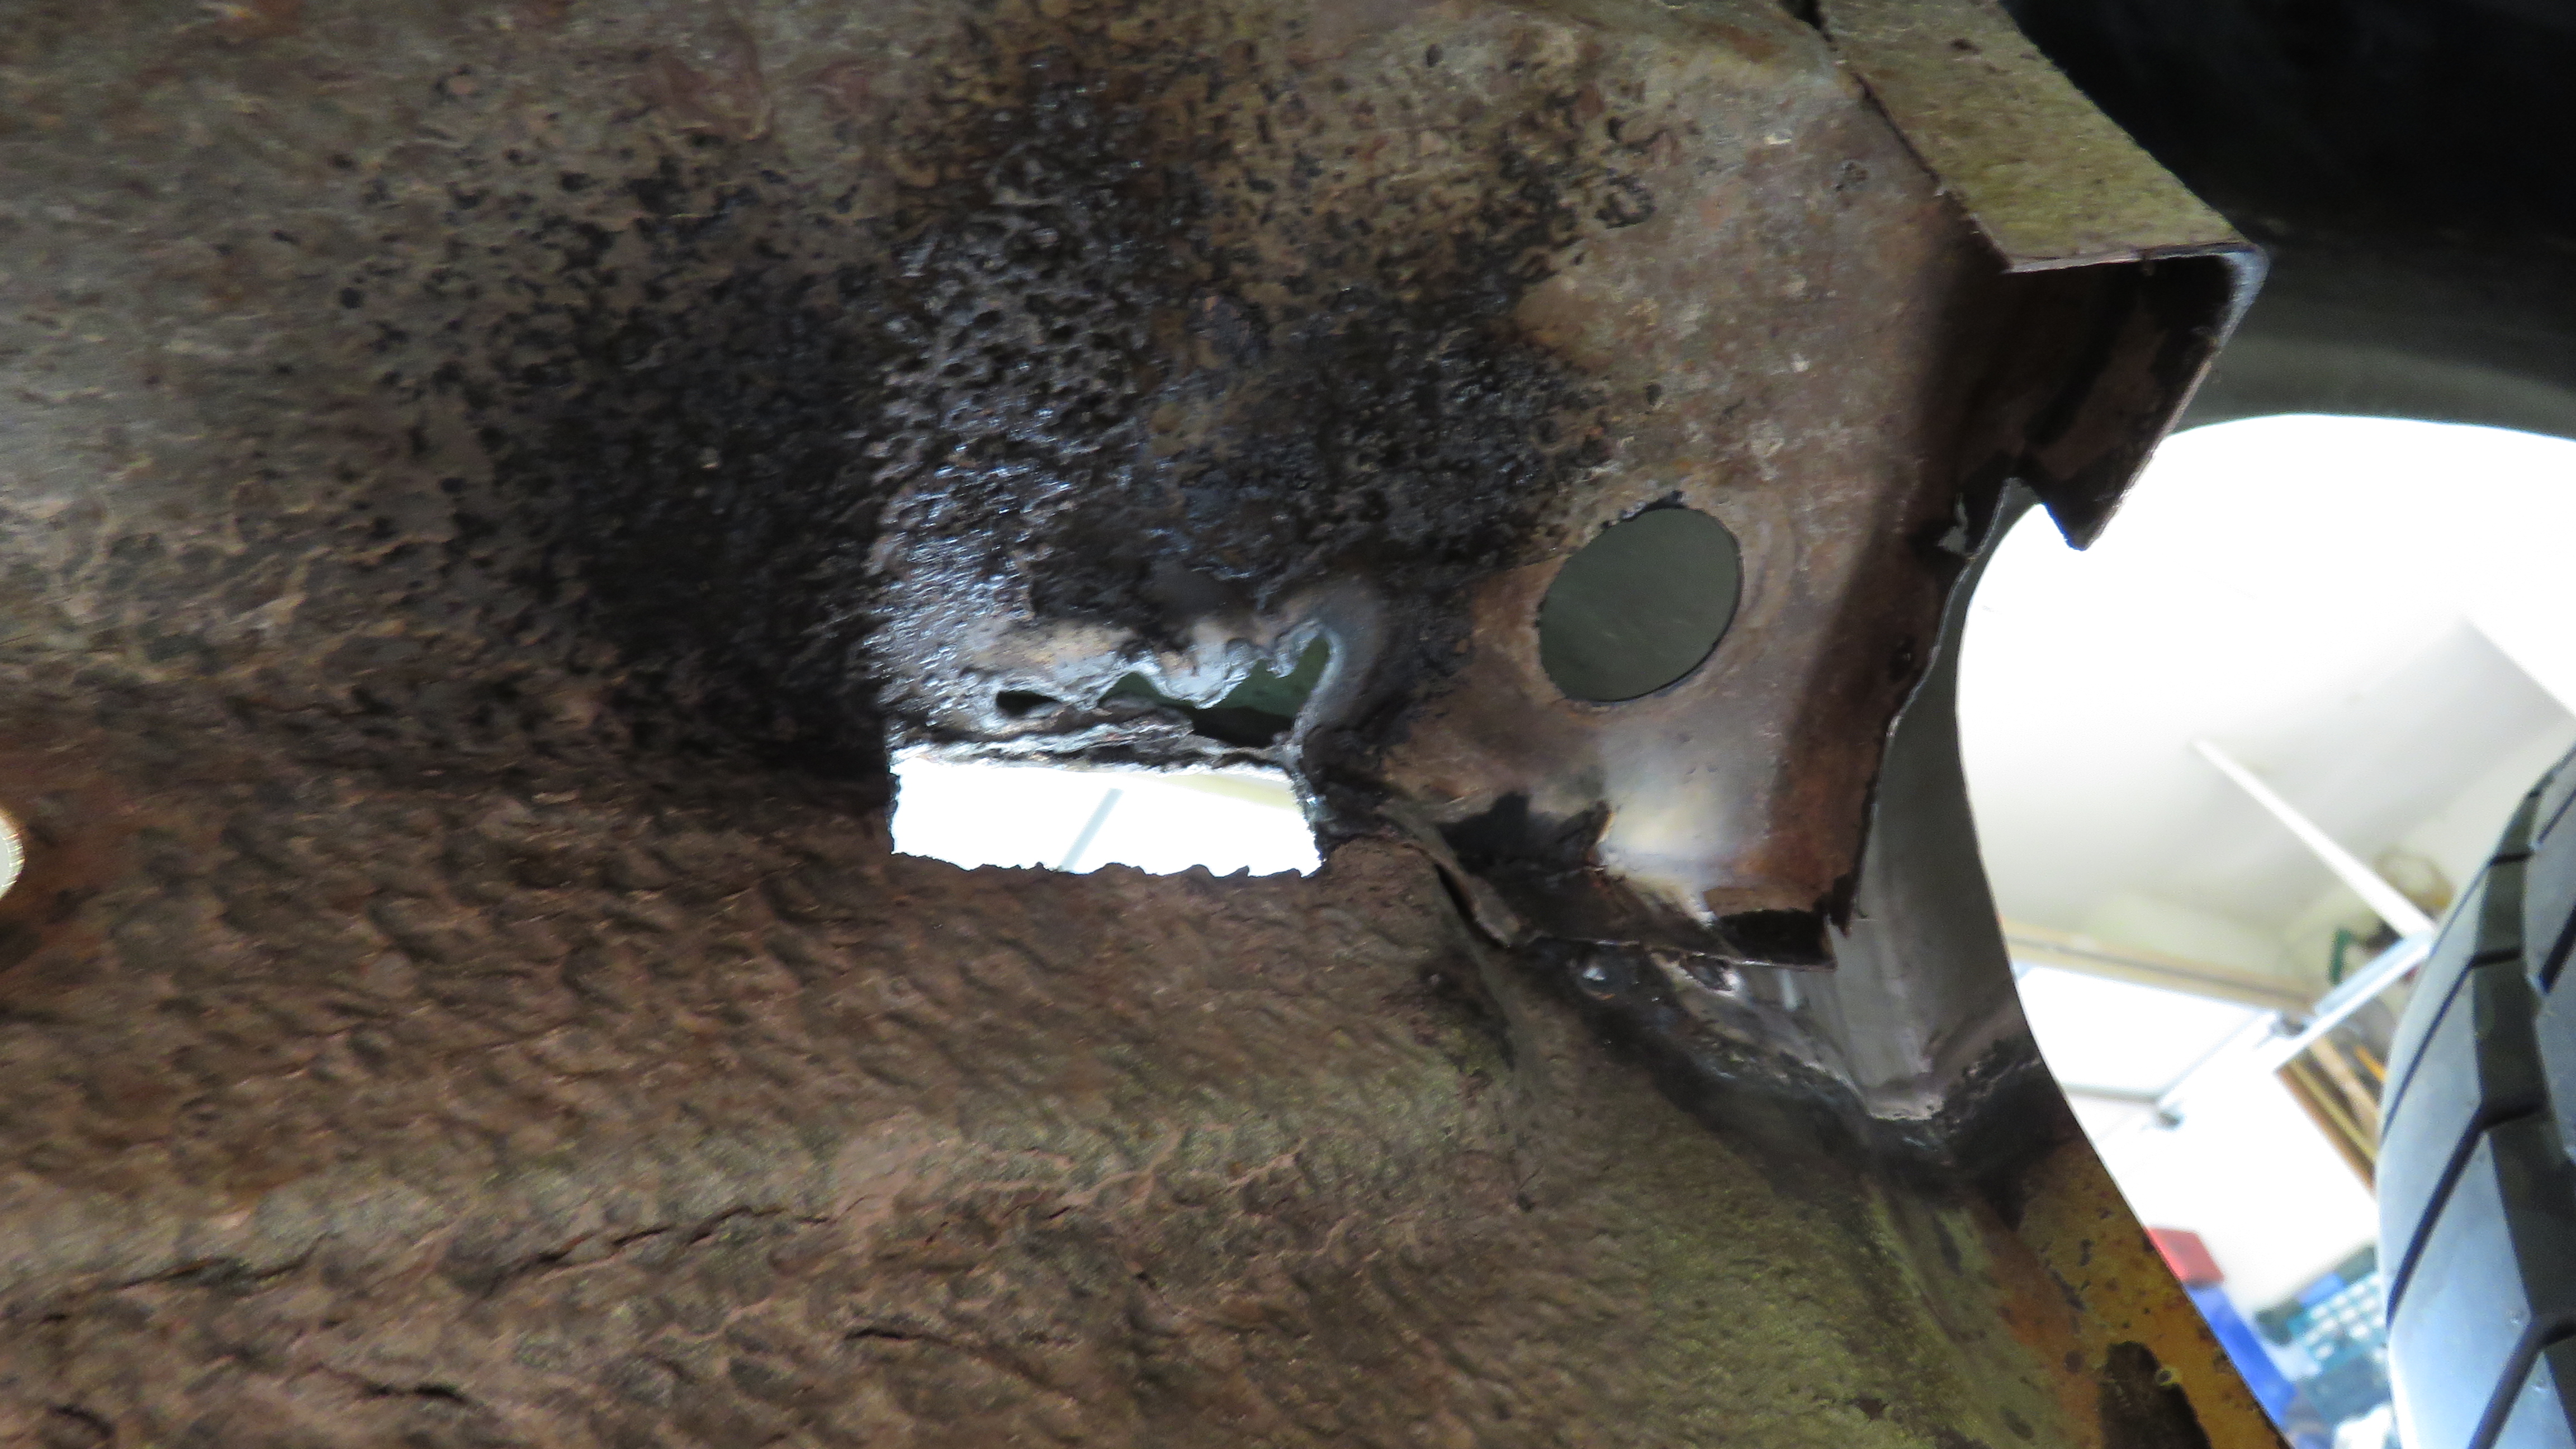
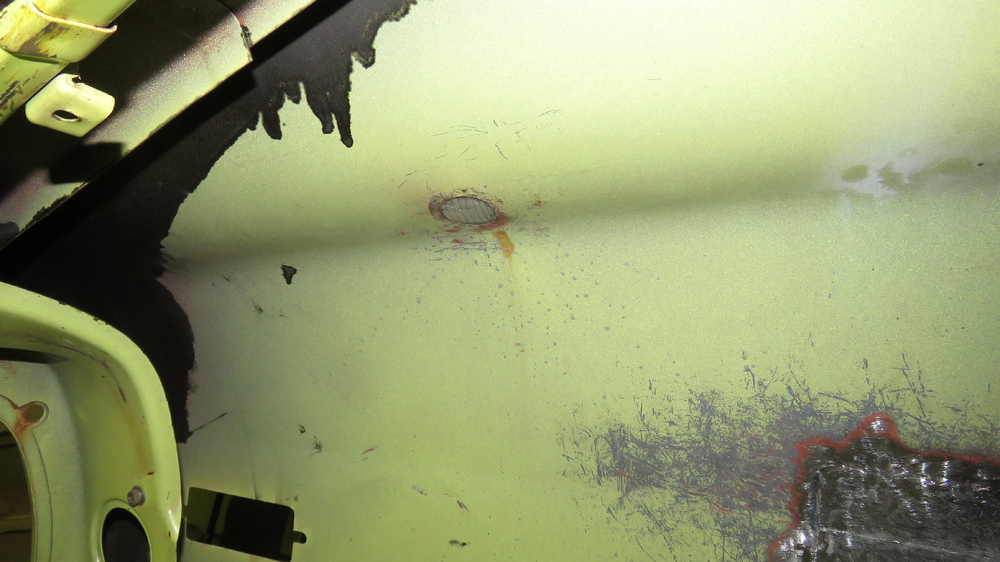
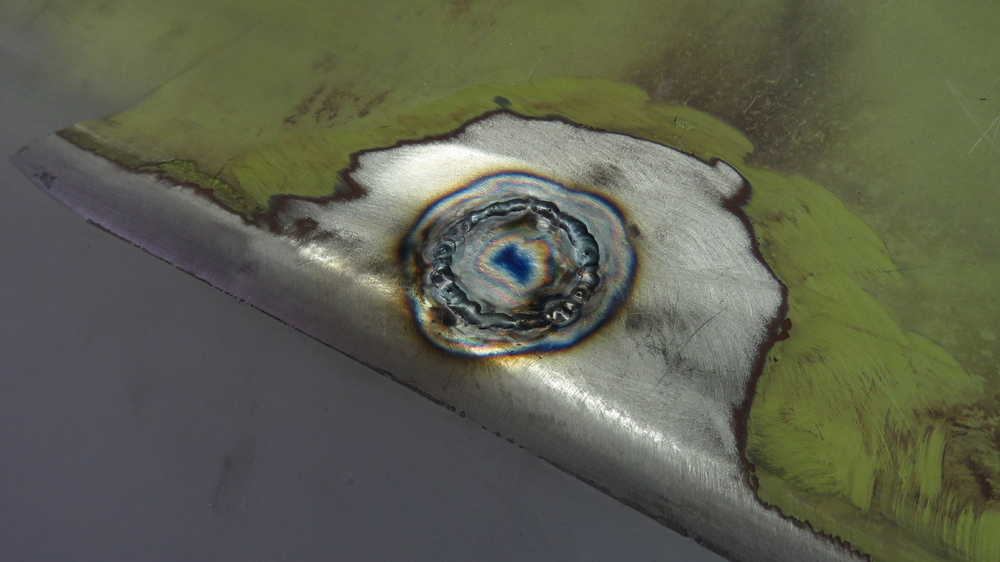
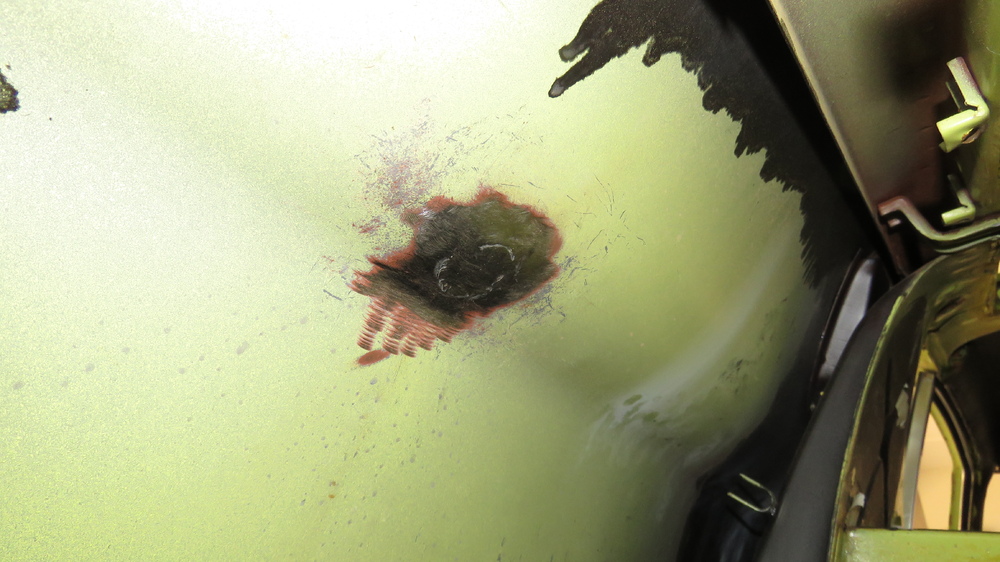
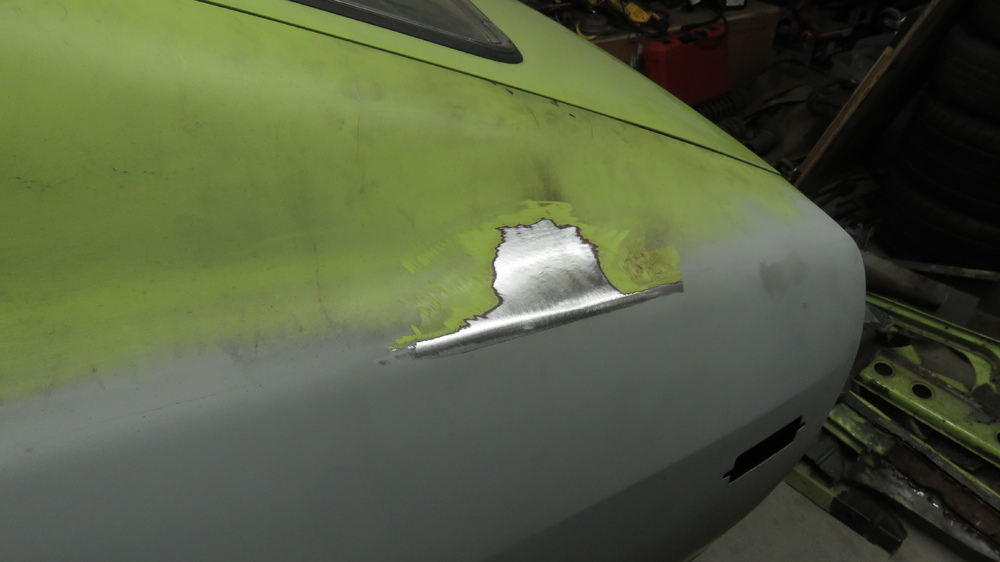
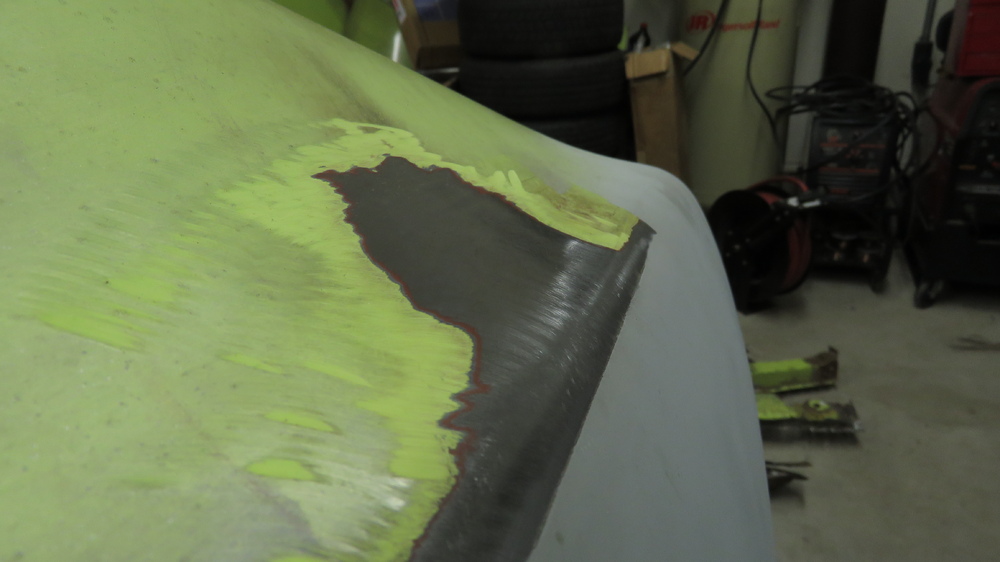
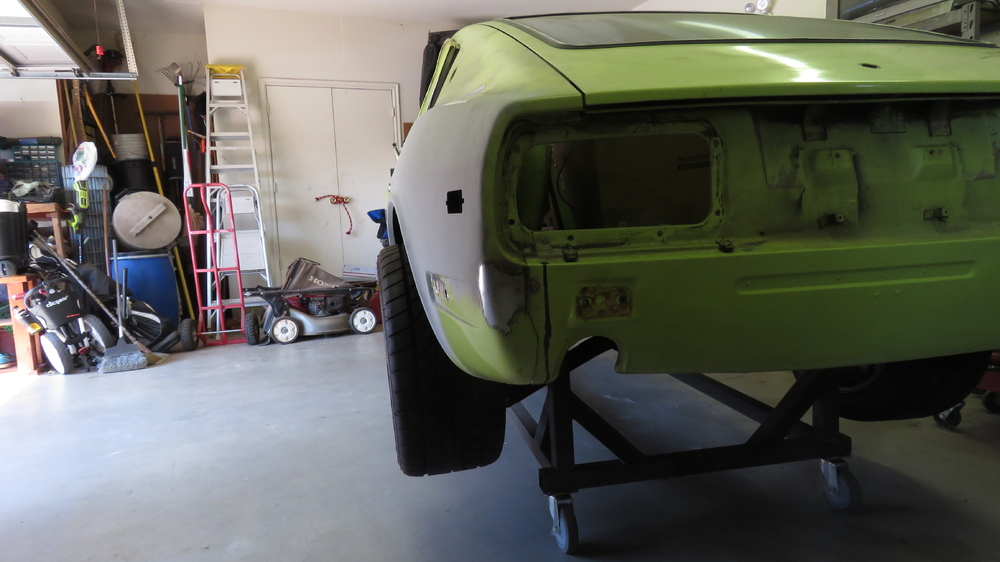
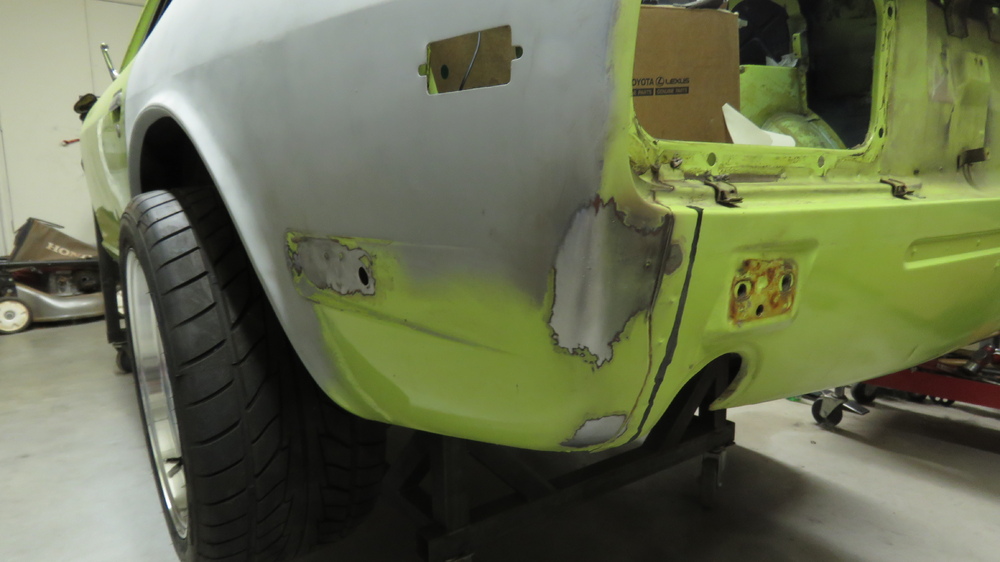
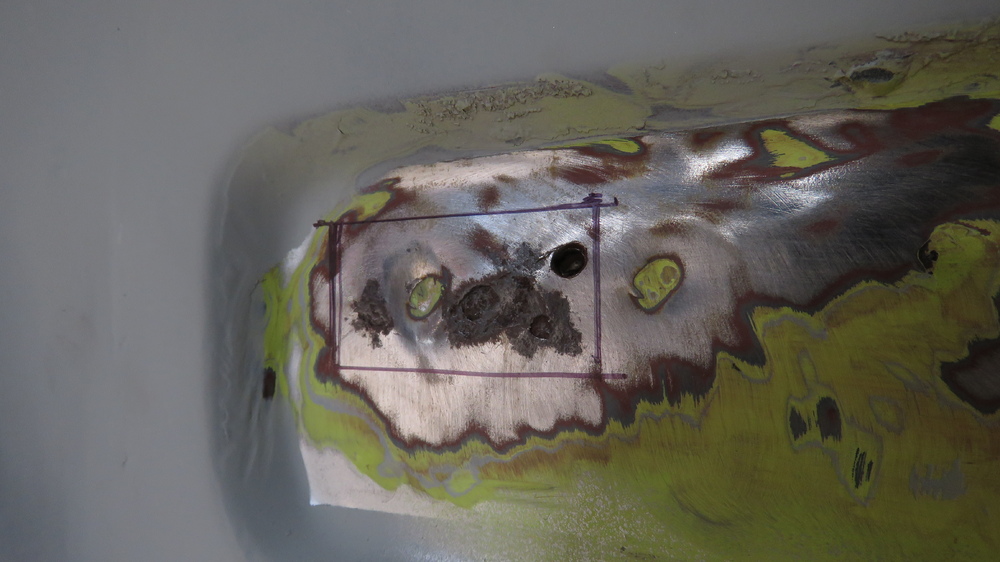
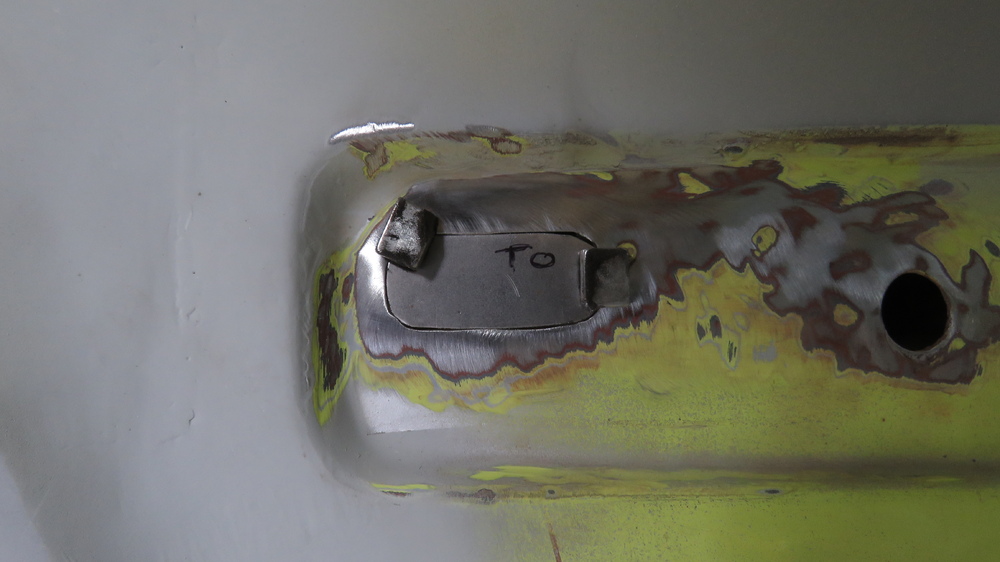
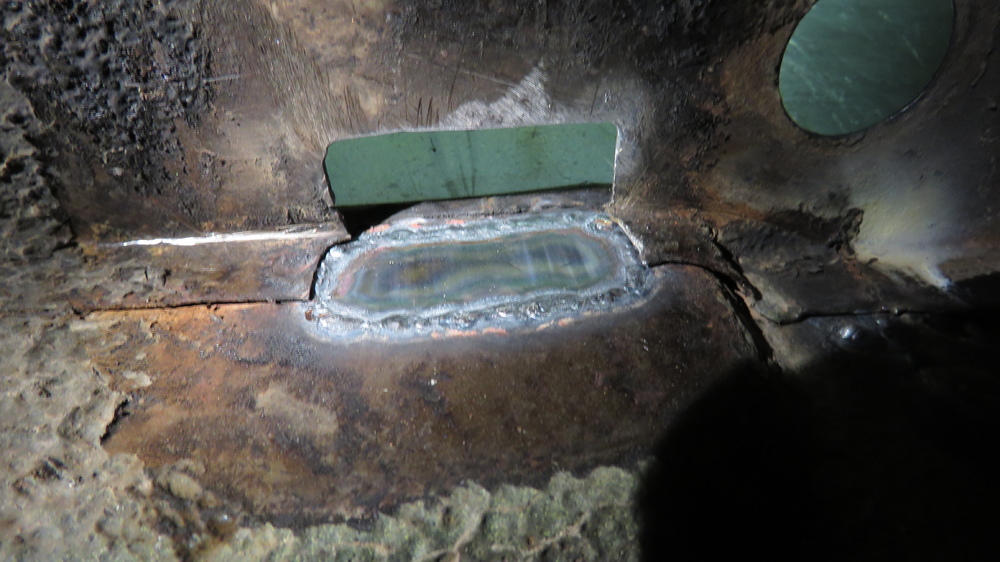
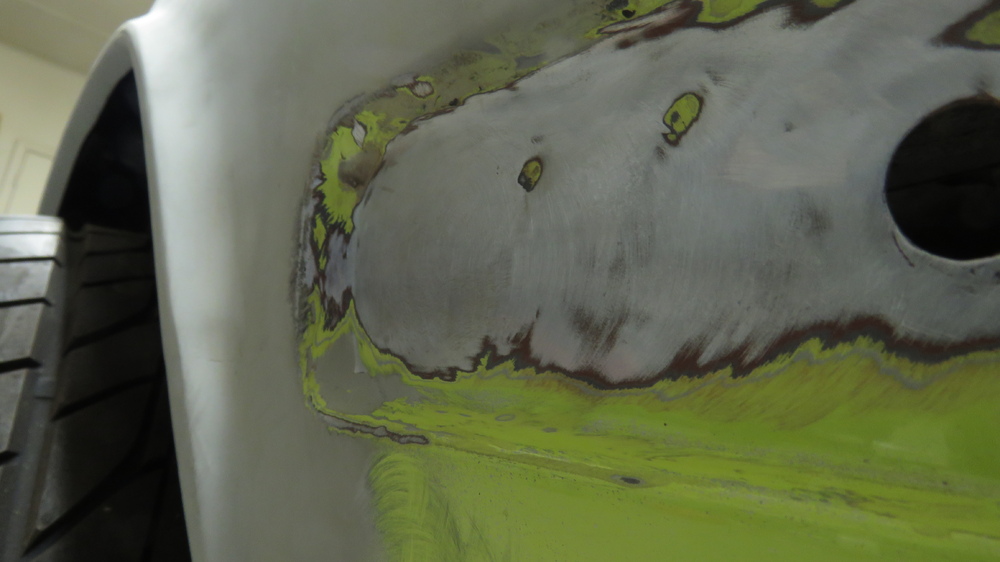
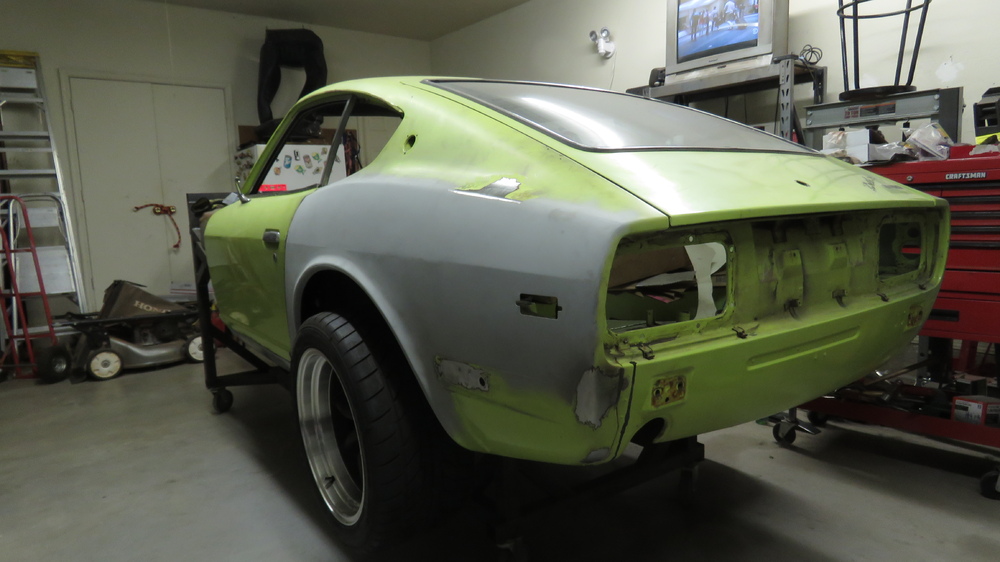
2 pointsAnother slow progress update. So I am kind of mad at myself for not knowing what happened to the pictures when I reworked on the driver side quarter panel. I must of either forgot to take pictures or accidentally deleted them. But anyways here are some pictures I took before welding the antenna hole. The crease got a little banged up during the rework, tried to crease it back out some. The Antenna hole metal piece cut out and test fitted. I used tape to get the shape. Taped over the hole, then just marked on it. Peel the tape off then tape it on to a scrap piece of metal to make the piece to be welded in. Used my snips to cut it out, then fine tune it with a sanding disk. I marked lines on the tape so i know the direction to curve the metal piece as antenna hole area isnt flat and has a slight curve. Tig Welded into place. I used the pulse feature this time. Starting to get used to using pulse and liking it. I probably didnt need to add that much filler, but it all worked out in the end. Welds sanded down and some hammer and dolly work, then shrinking disc work. Had to fix a sharp dent in the driver side rear. It appears that sometime in the past from the previous owner, that he either got hit in the rear or he backed into something that cause the rear metal bumper to get pushed into the rear quarter and leave a nasty dent. luckily it was right below the structural beam on the underneath of the car and I was able to get behind and pound out the dent. If the dent was covered up by the beam, then im not sure what I would of done. Probably would need something like a dent puller weld kit, weld on a rod, then attach the dent puller to the rod and start jacking it...... The area right below the tailight in the corner is lower than the area I worked on. I cant get behind it and this would be a case I would need the dent puller to bring it out flush with the area I worked on. Only thing I can think of is make something that can reach back there from the inside of the car and use my slapper to help bring it back out. Older picture of the dent. Dont have any good pictures of it other than the one above. Good as I can get it. Painter will either need to Bondo up the sunken part in the corner below the taillight to blend it the area i worked on or user what ever trick tool they got. Also had to work on a small dent in the rear driver side bottom corner. You know I just dont understand why there are so many dents in the rear. I fixed two I or so think on the passenger side and now all these on the driver side. You can kind of see in on the back side. Smooth out. There was a bad rust spot on the driver side quarter panel in where the bumper would cover it up. I used my plasma cutter to cut it out. Pretty angry with myself because I either cut to high up or I cut to hot or maybe the angle I was holding the torch while cutting, but it ended up cutting a hold in the quarter panel support. Made more work for myself than needed. Belt sander used to smooth out the holes. Used the tape method again to getting the shape needed. Welded in. Smooth out. My replacement piece for the support bracket. Used my magnetic sheet metal bender. Now I just need to trim it to fit and weld it in. Will do that tomorrow. Dents, antenna hole, and rust spot fixed. Now I can start getting those quarter flares mounted and panels trimmed out so i can make the inner wheel well. Stay Tuned!!


 2 points
 -
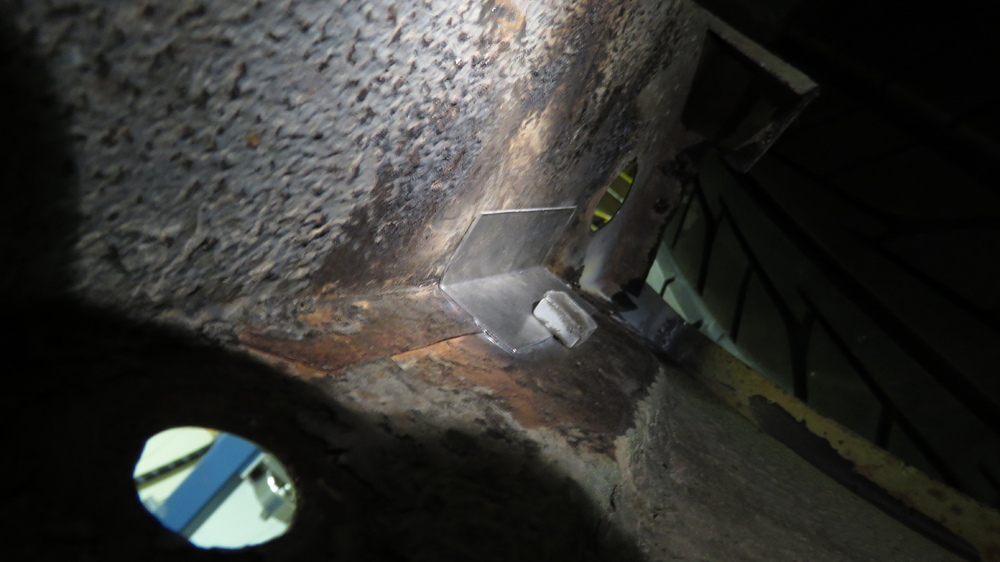
 Thanks I’m looking for a ball bearing. Hopefully I don’t mangle the tab in my attempt. [fingers crossed]1 point
 -
 1 pointAs I recall when I replaced the U Joints on my half shafts as well as the driveshaft, the C clips are actually installed on the U joints themselves (on the inside of the yoke) and so I don't really understand the need for a groove to be cut. As long as the U Joints are of the same size I believe you should be able to just install new ones. Perhaps I'm missing something but this seems like it would work to me. Does anyone know if the U Joint sizes are the same between the serviceable driveshafts and the newer non-serviceable ones? Mike.1 point
 -
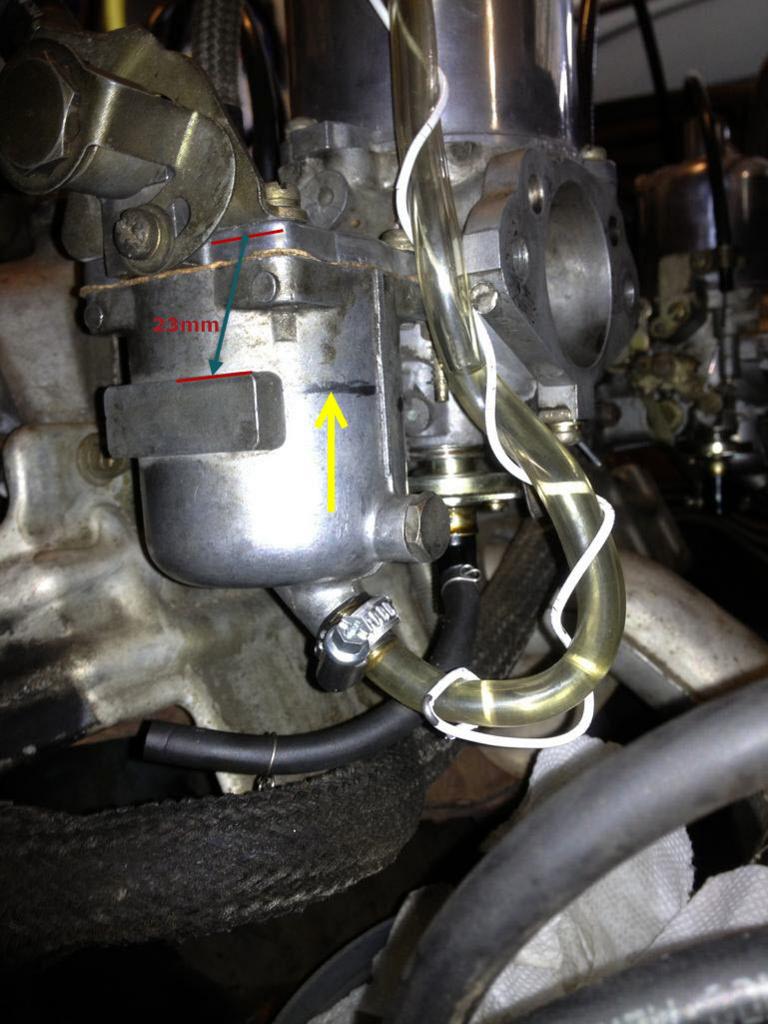
1 pointOnce you get the fluid in the clear tube where it needs to be do what Mark has said. That will get your mixture knobs exact, 1/16" from top of the nozzle. Carbs will be good, case closed, move on to other problems if you still have any. "Put it back together, start it up to be sure the float chamber has been filled to the new float setting and to see if the float level is now correct see post #54 and #56. Mixture screws 2 1/2 turns down the fuel level in the nozzle should be within 1/16" of the top of the nozzle."1 point
-
 Point taken - maybe I throw the term 'restoration' around too loosely. Clearly, as was pointed out, the goal is not to restore the car to factory-original condition. It's not going to be nut and bolt restored from the ground up - at least not for the foreseeable future - but that doesn't mean I can't do some decent work to keep it alive! Resto-mod sounds about right. The aim is to have a good looking, good sounding, fun to drive car for weekends.1 point
 -
1 point
-
 1 pointConsider this for a moment if you will......Right now you don't have a car payment, will you be able to say that a month from now?1 point
 -
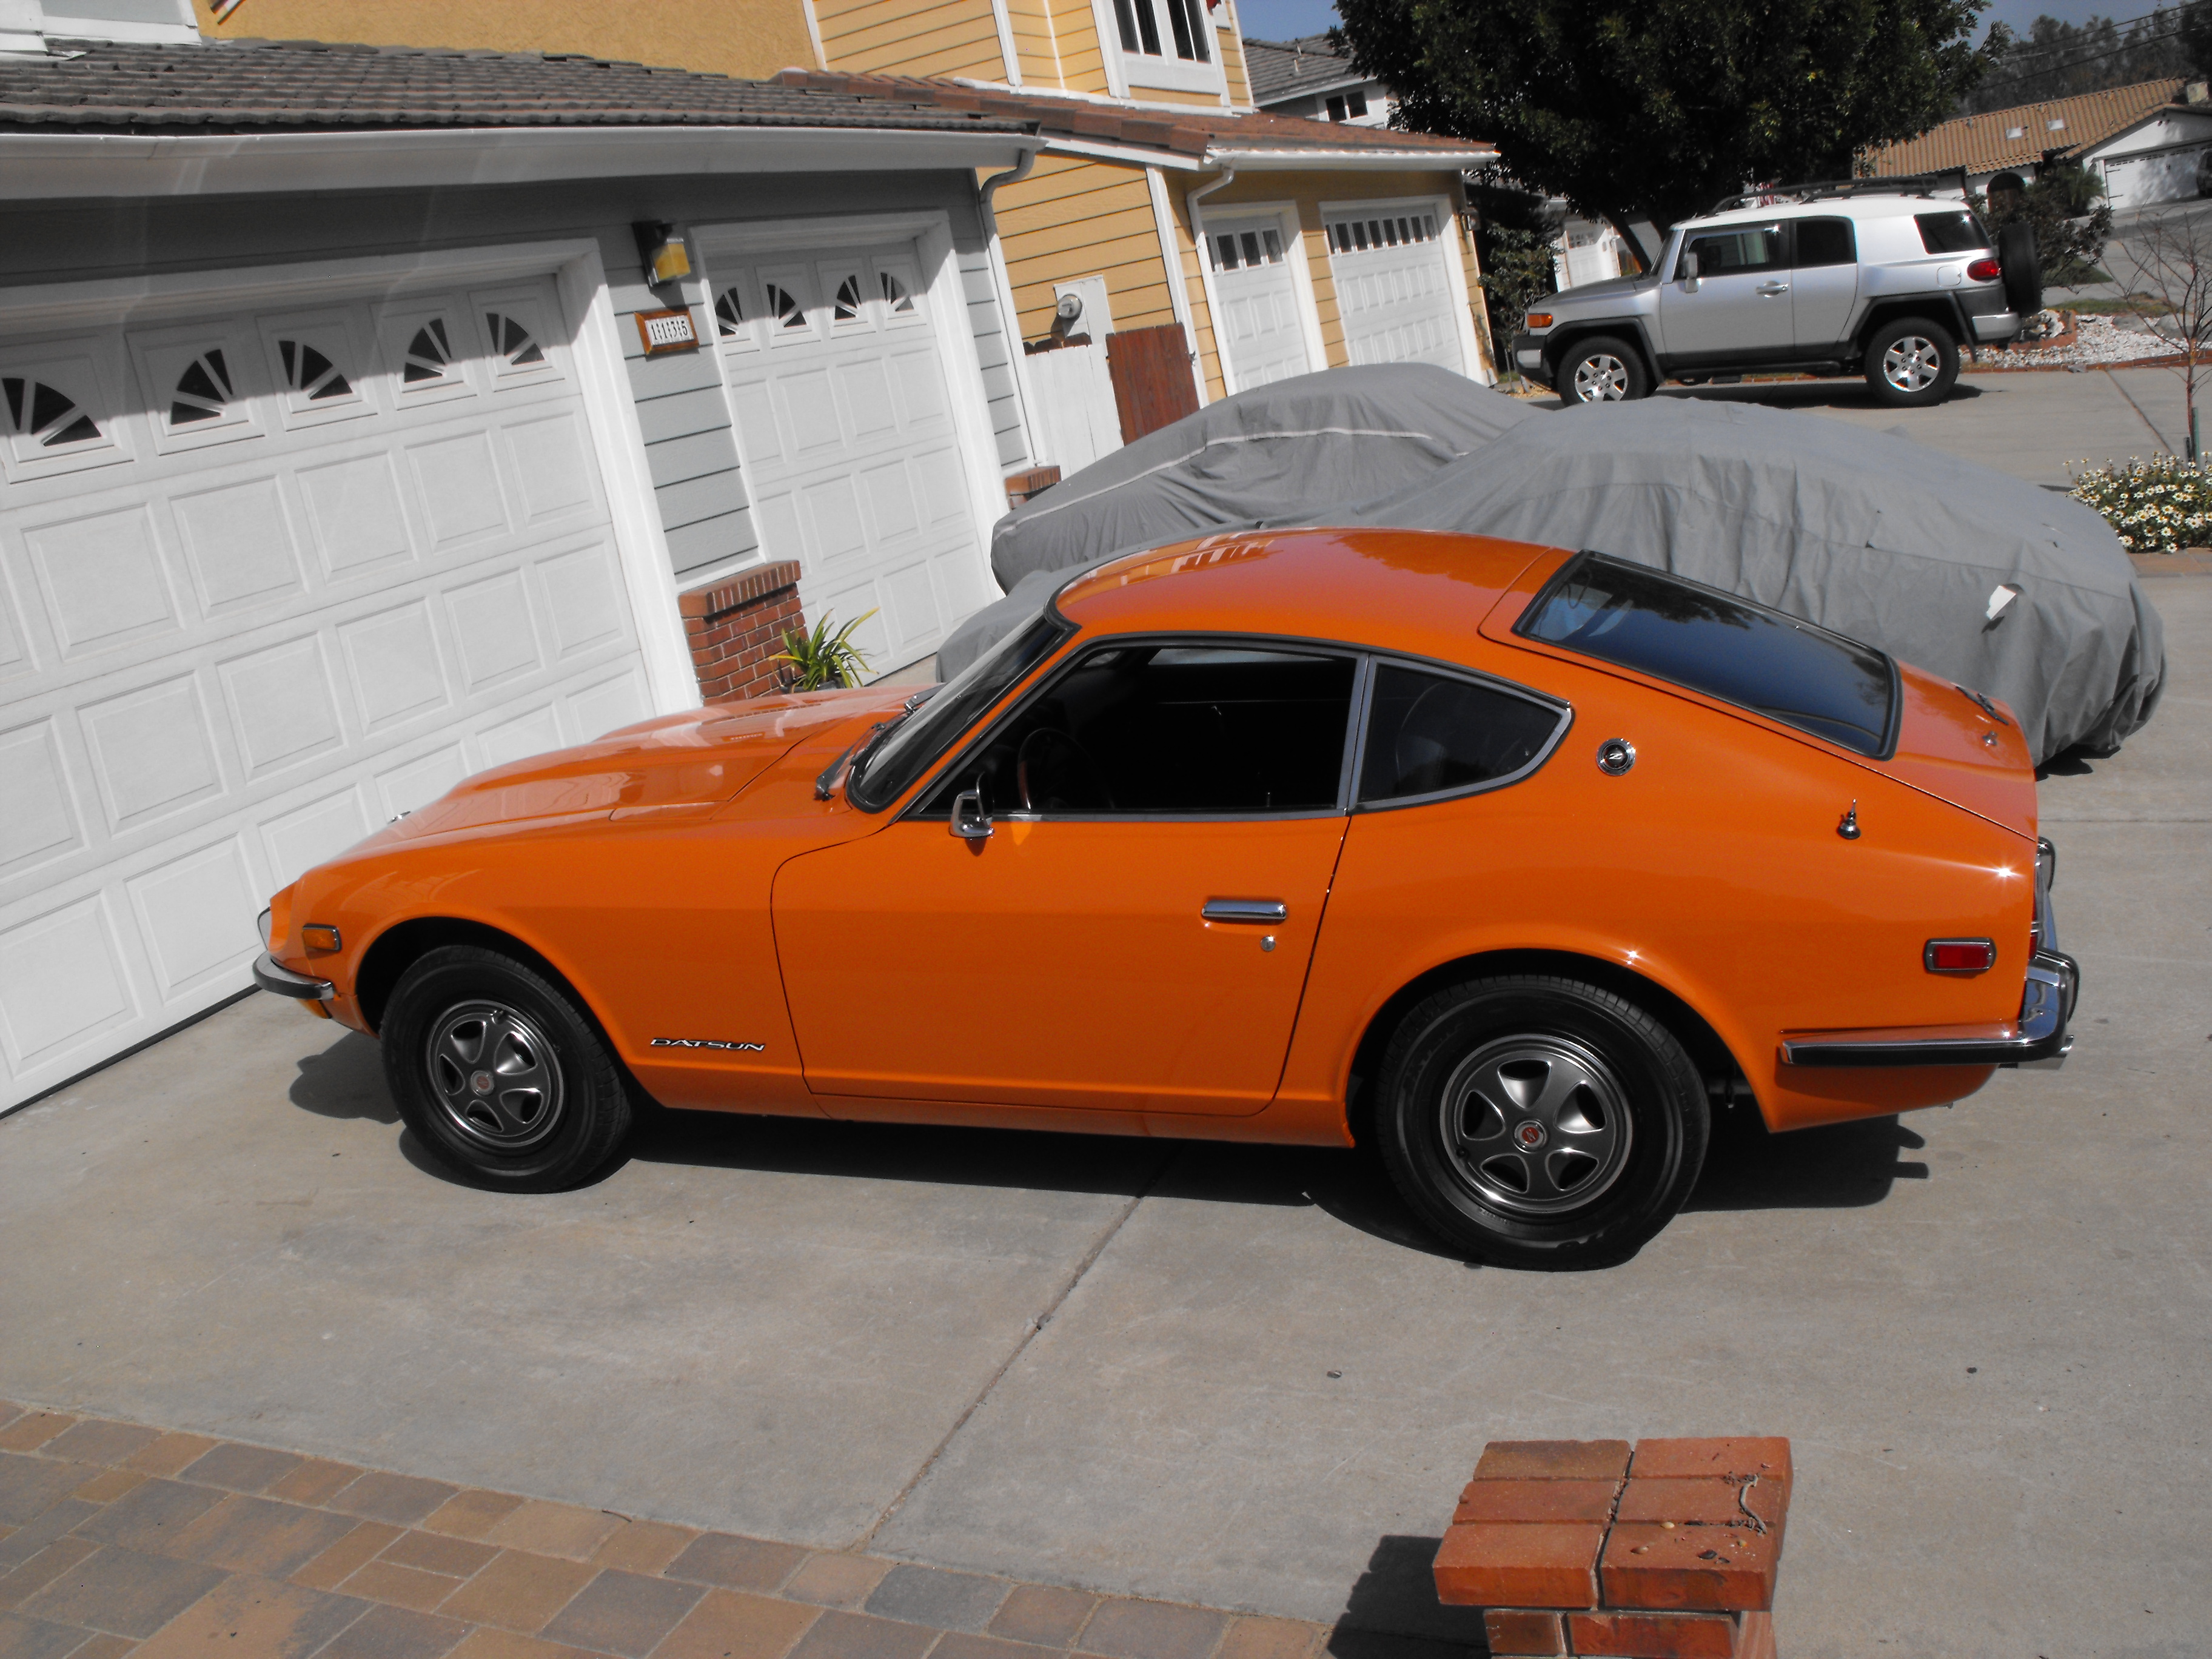
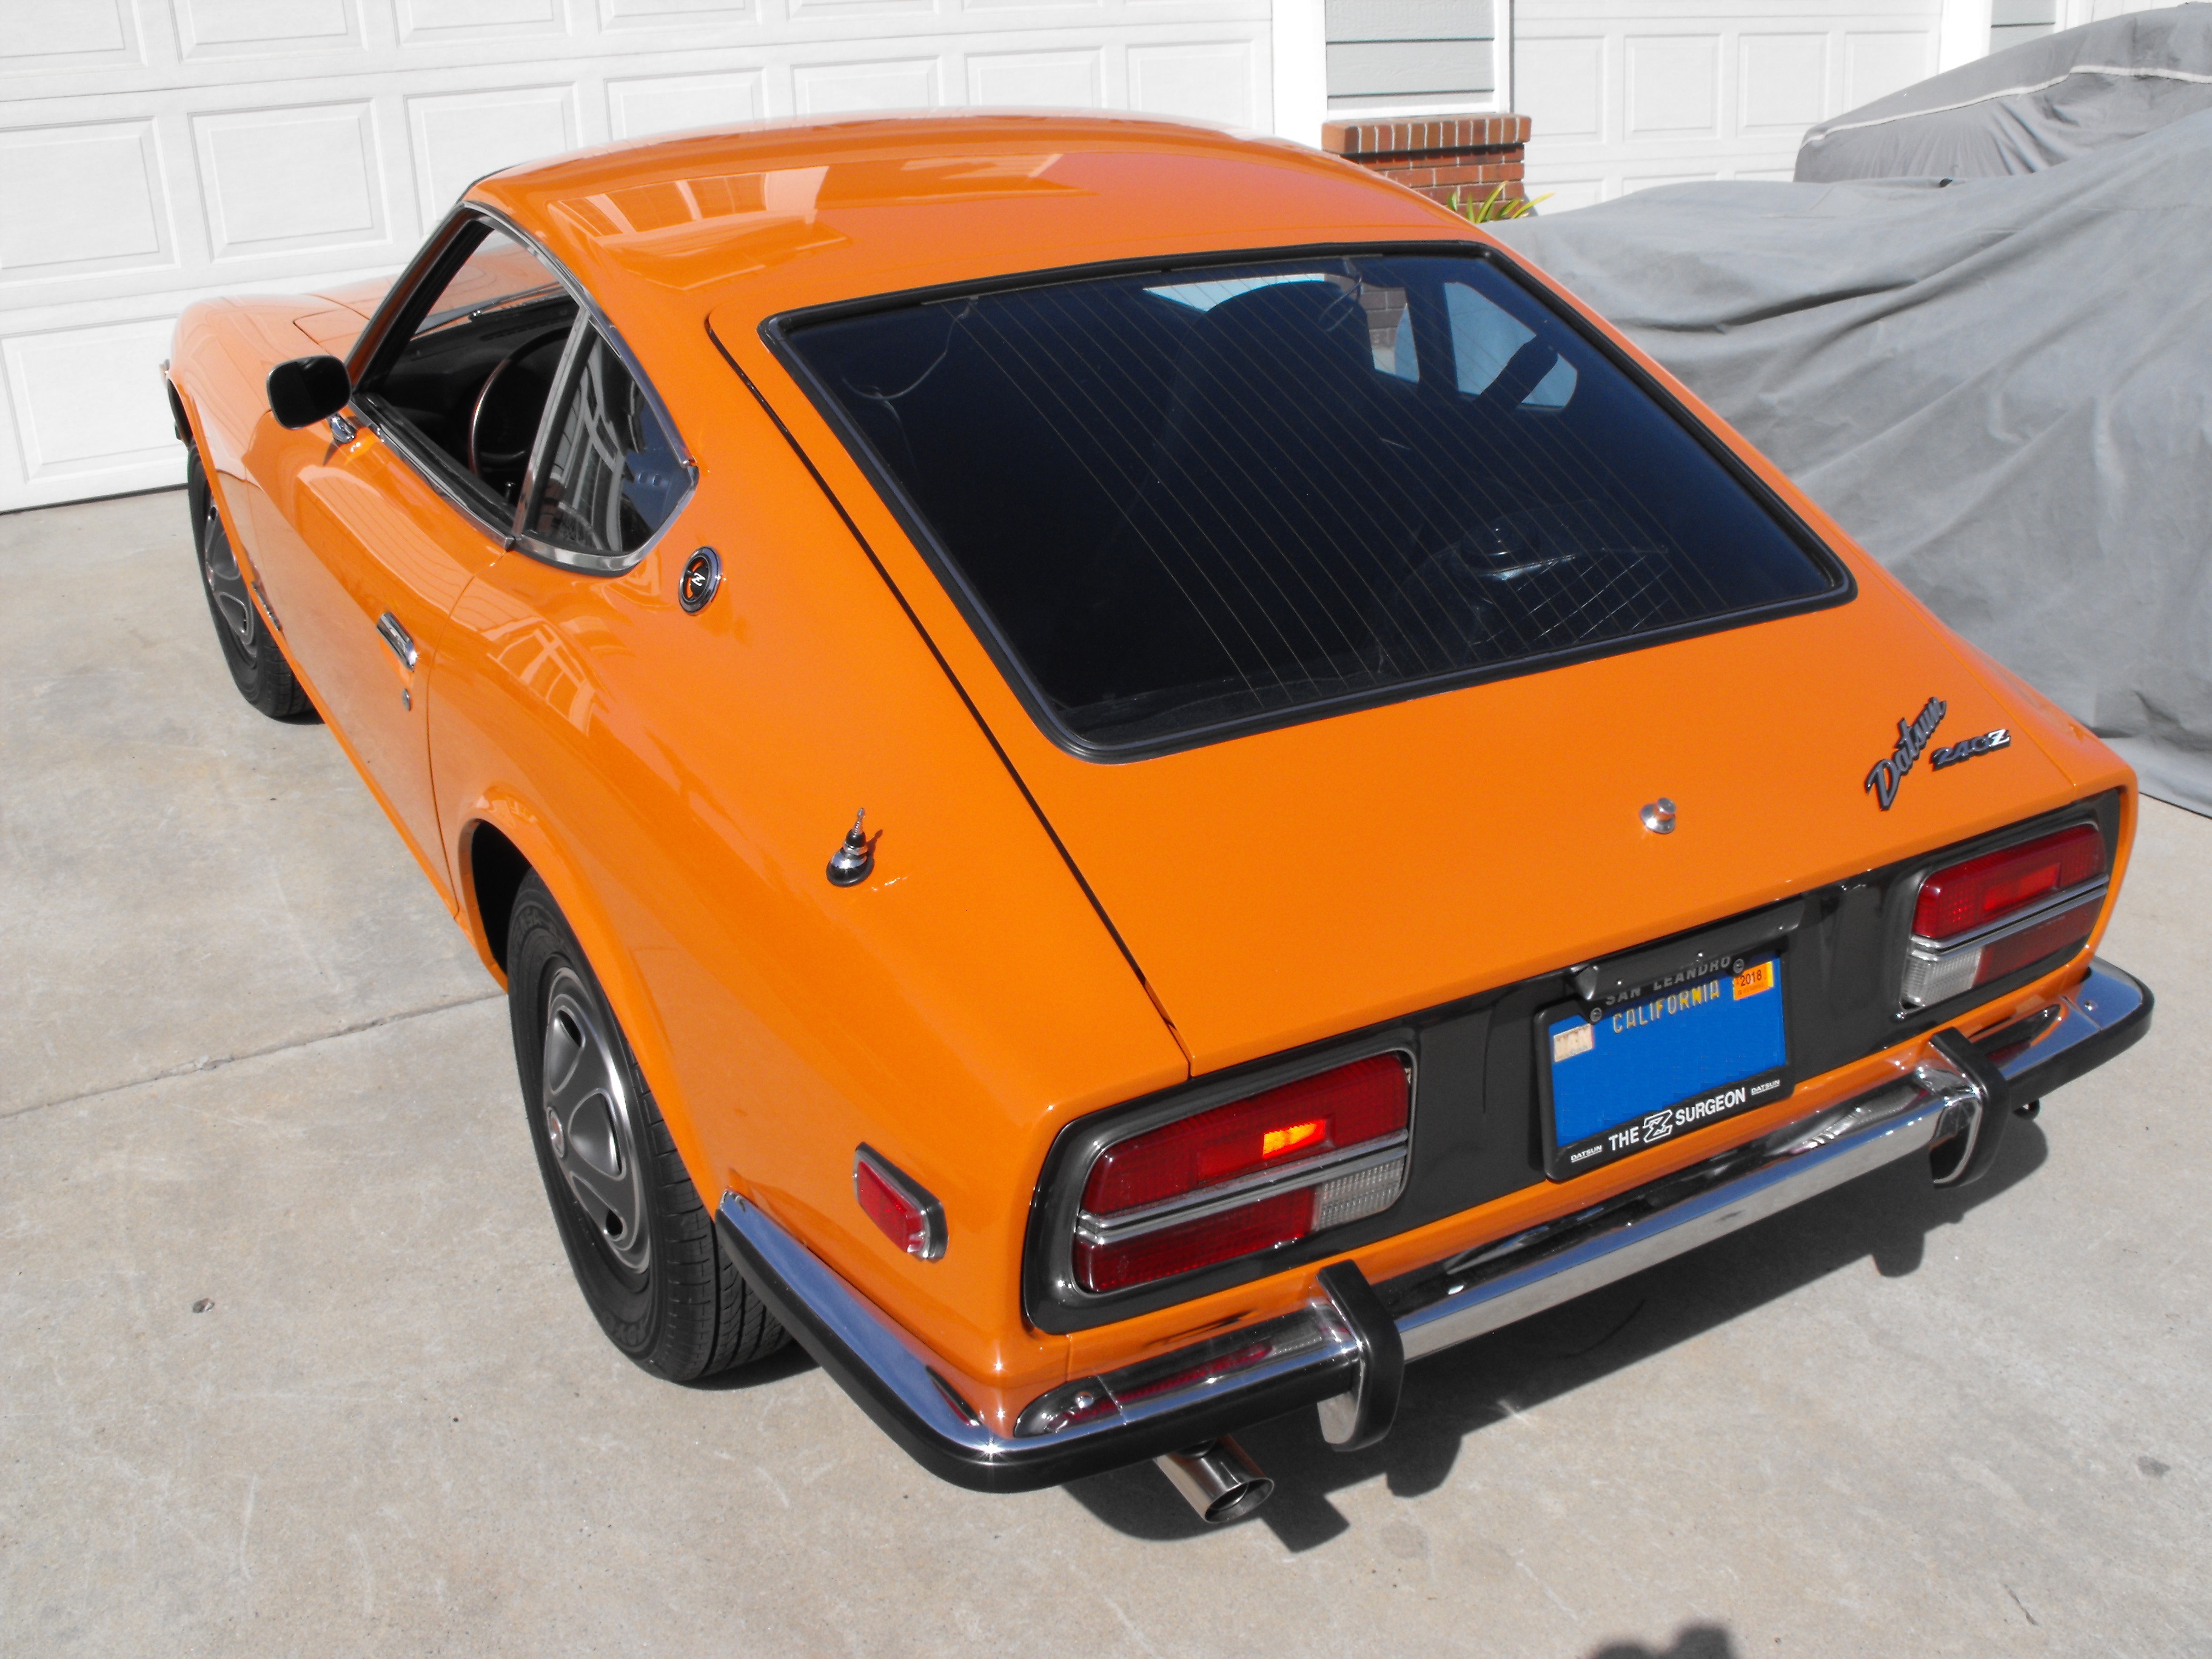
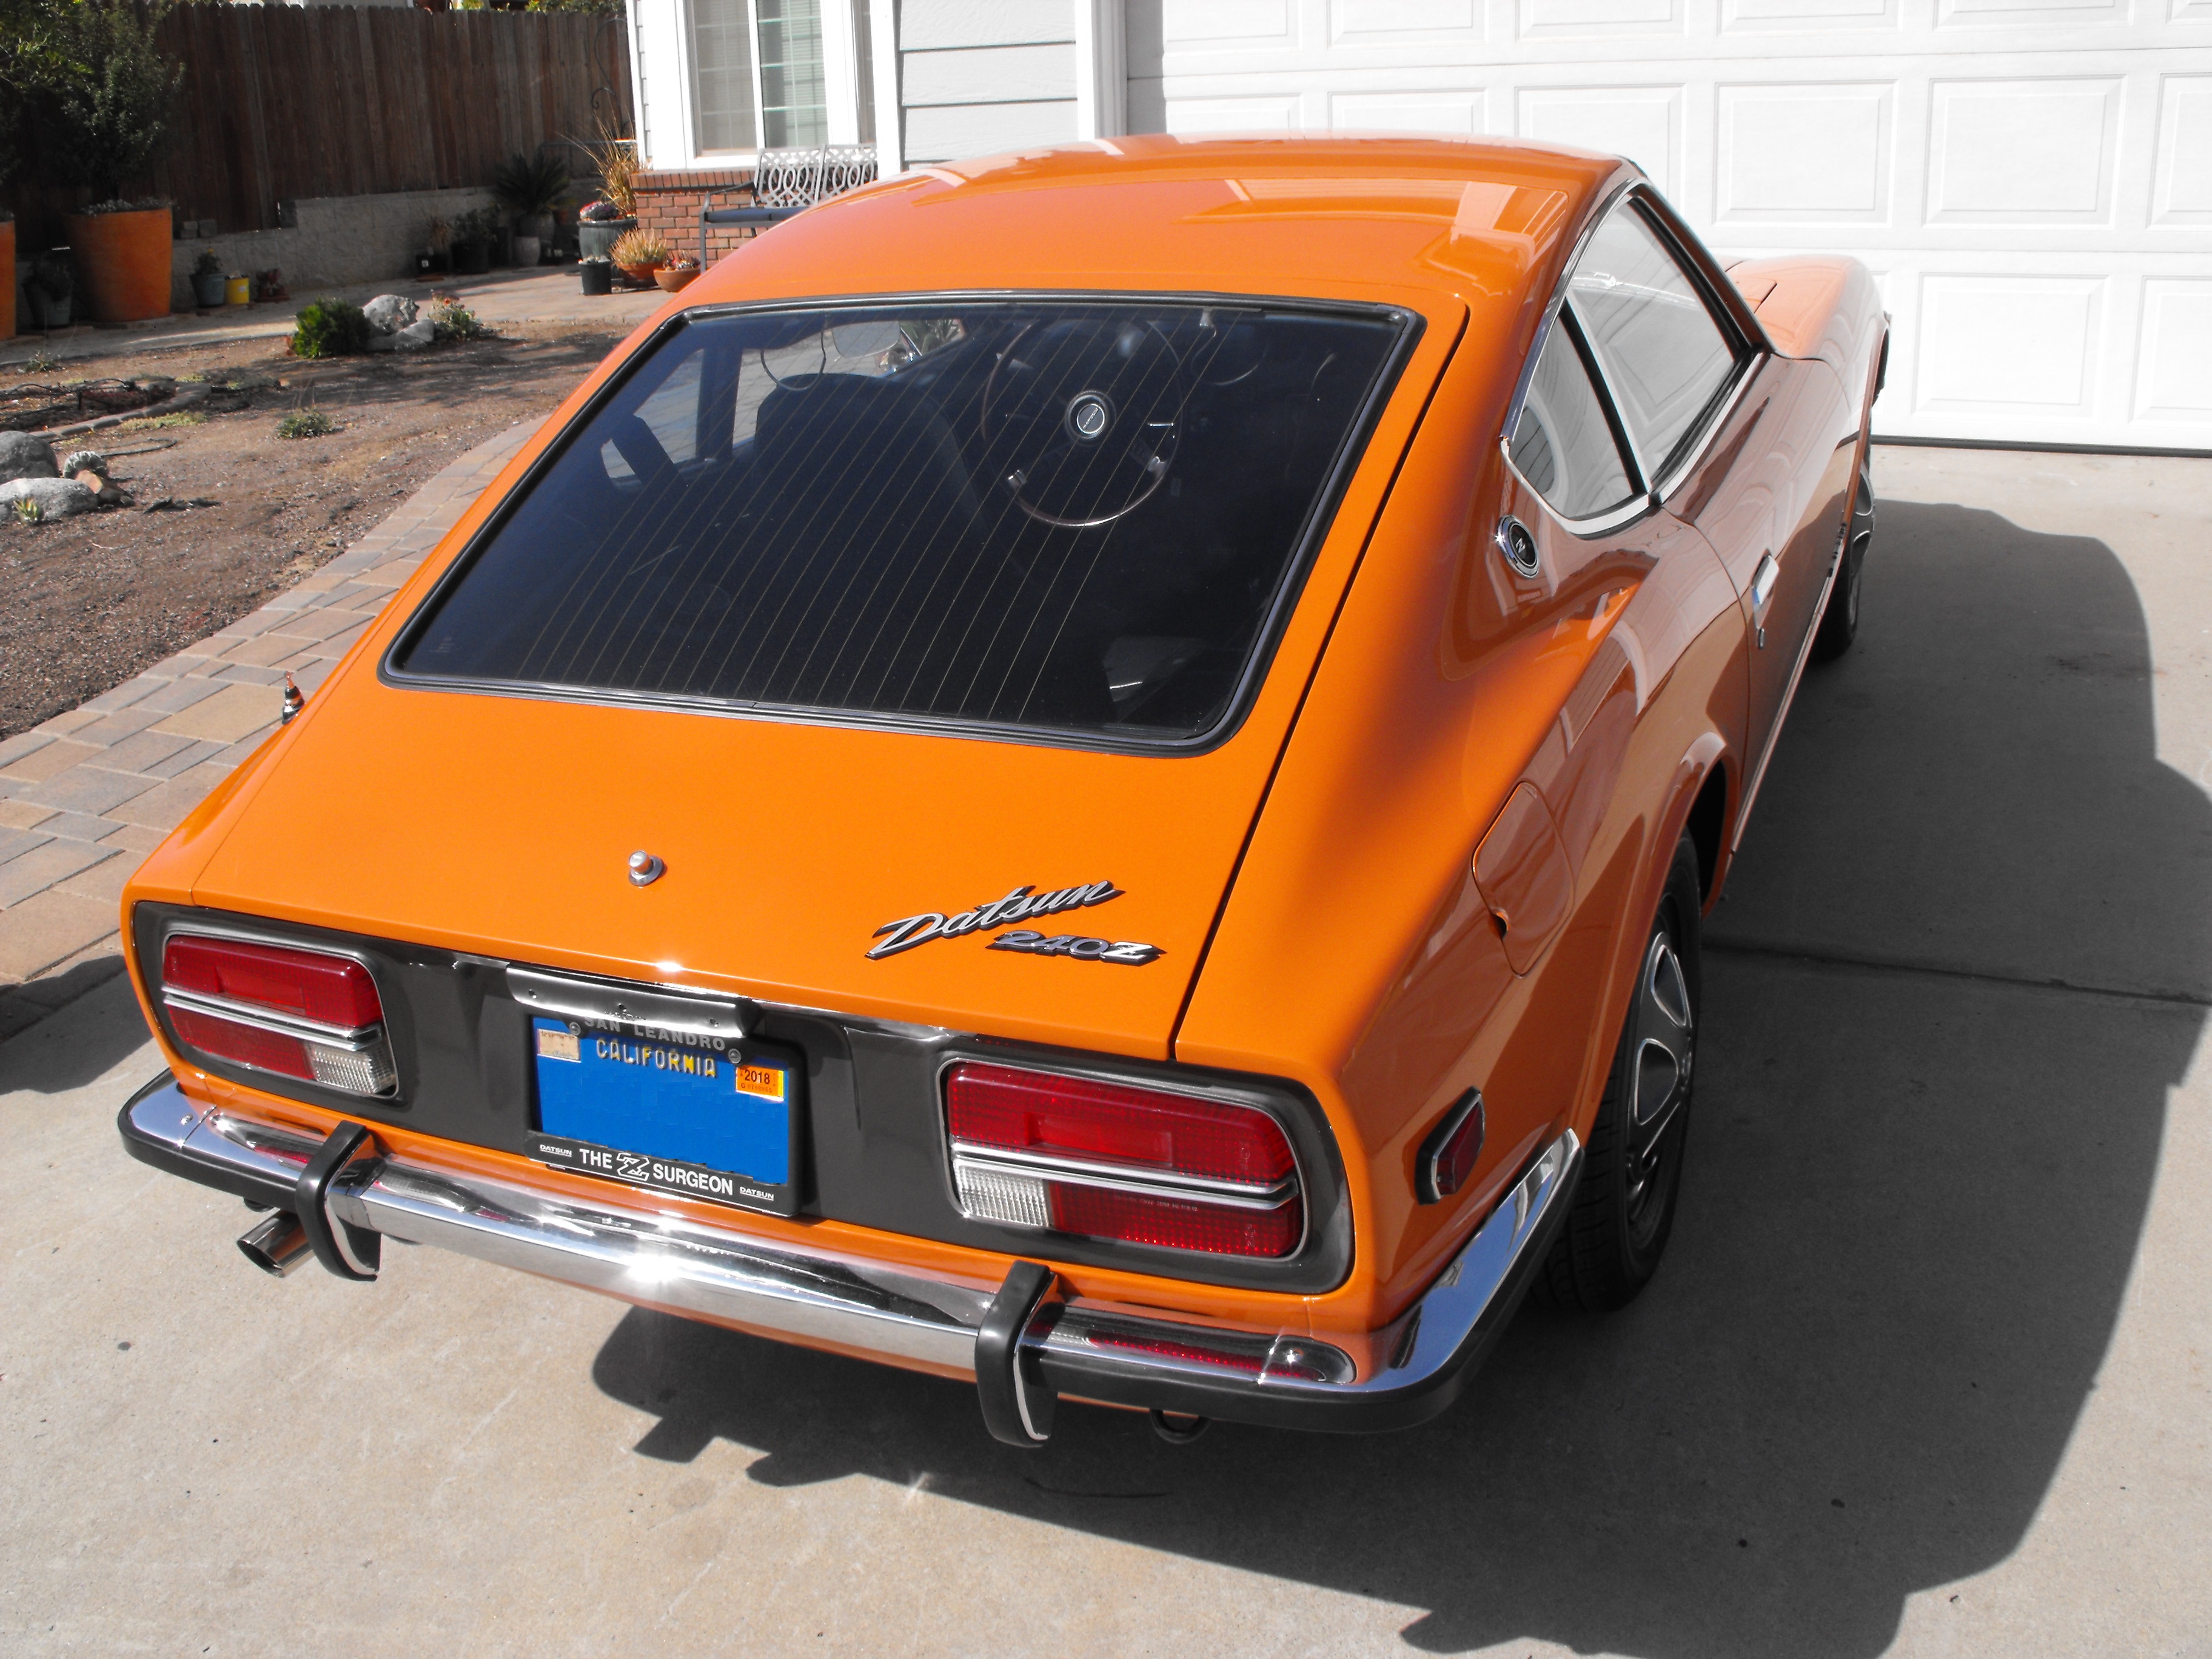
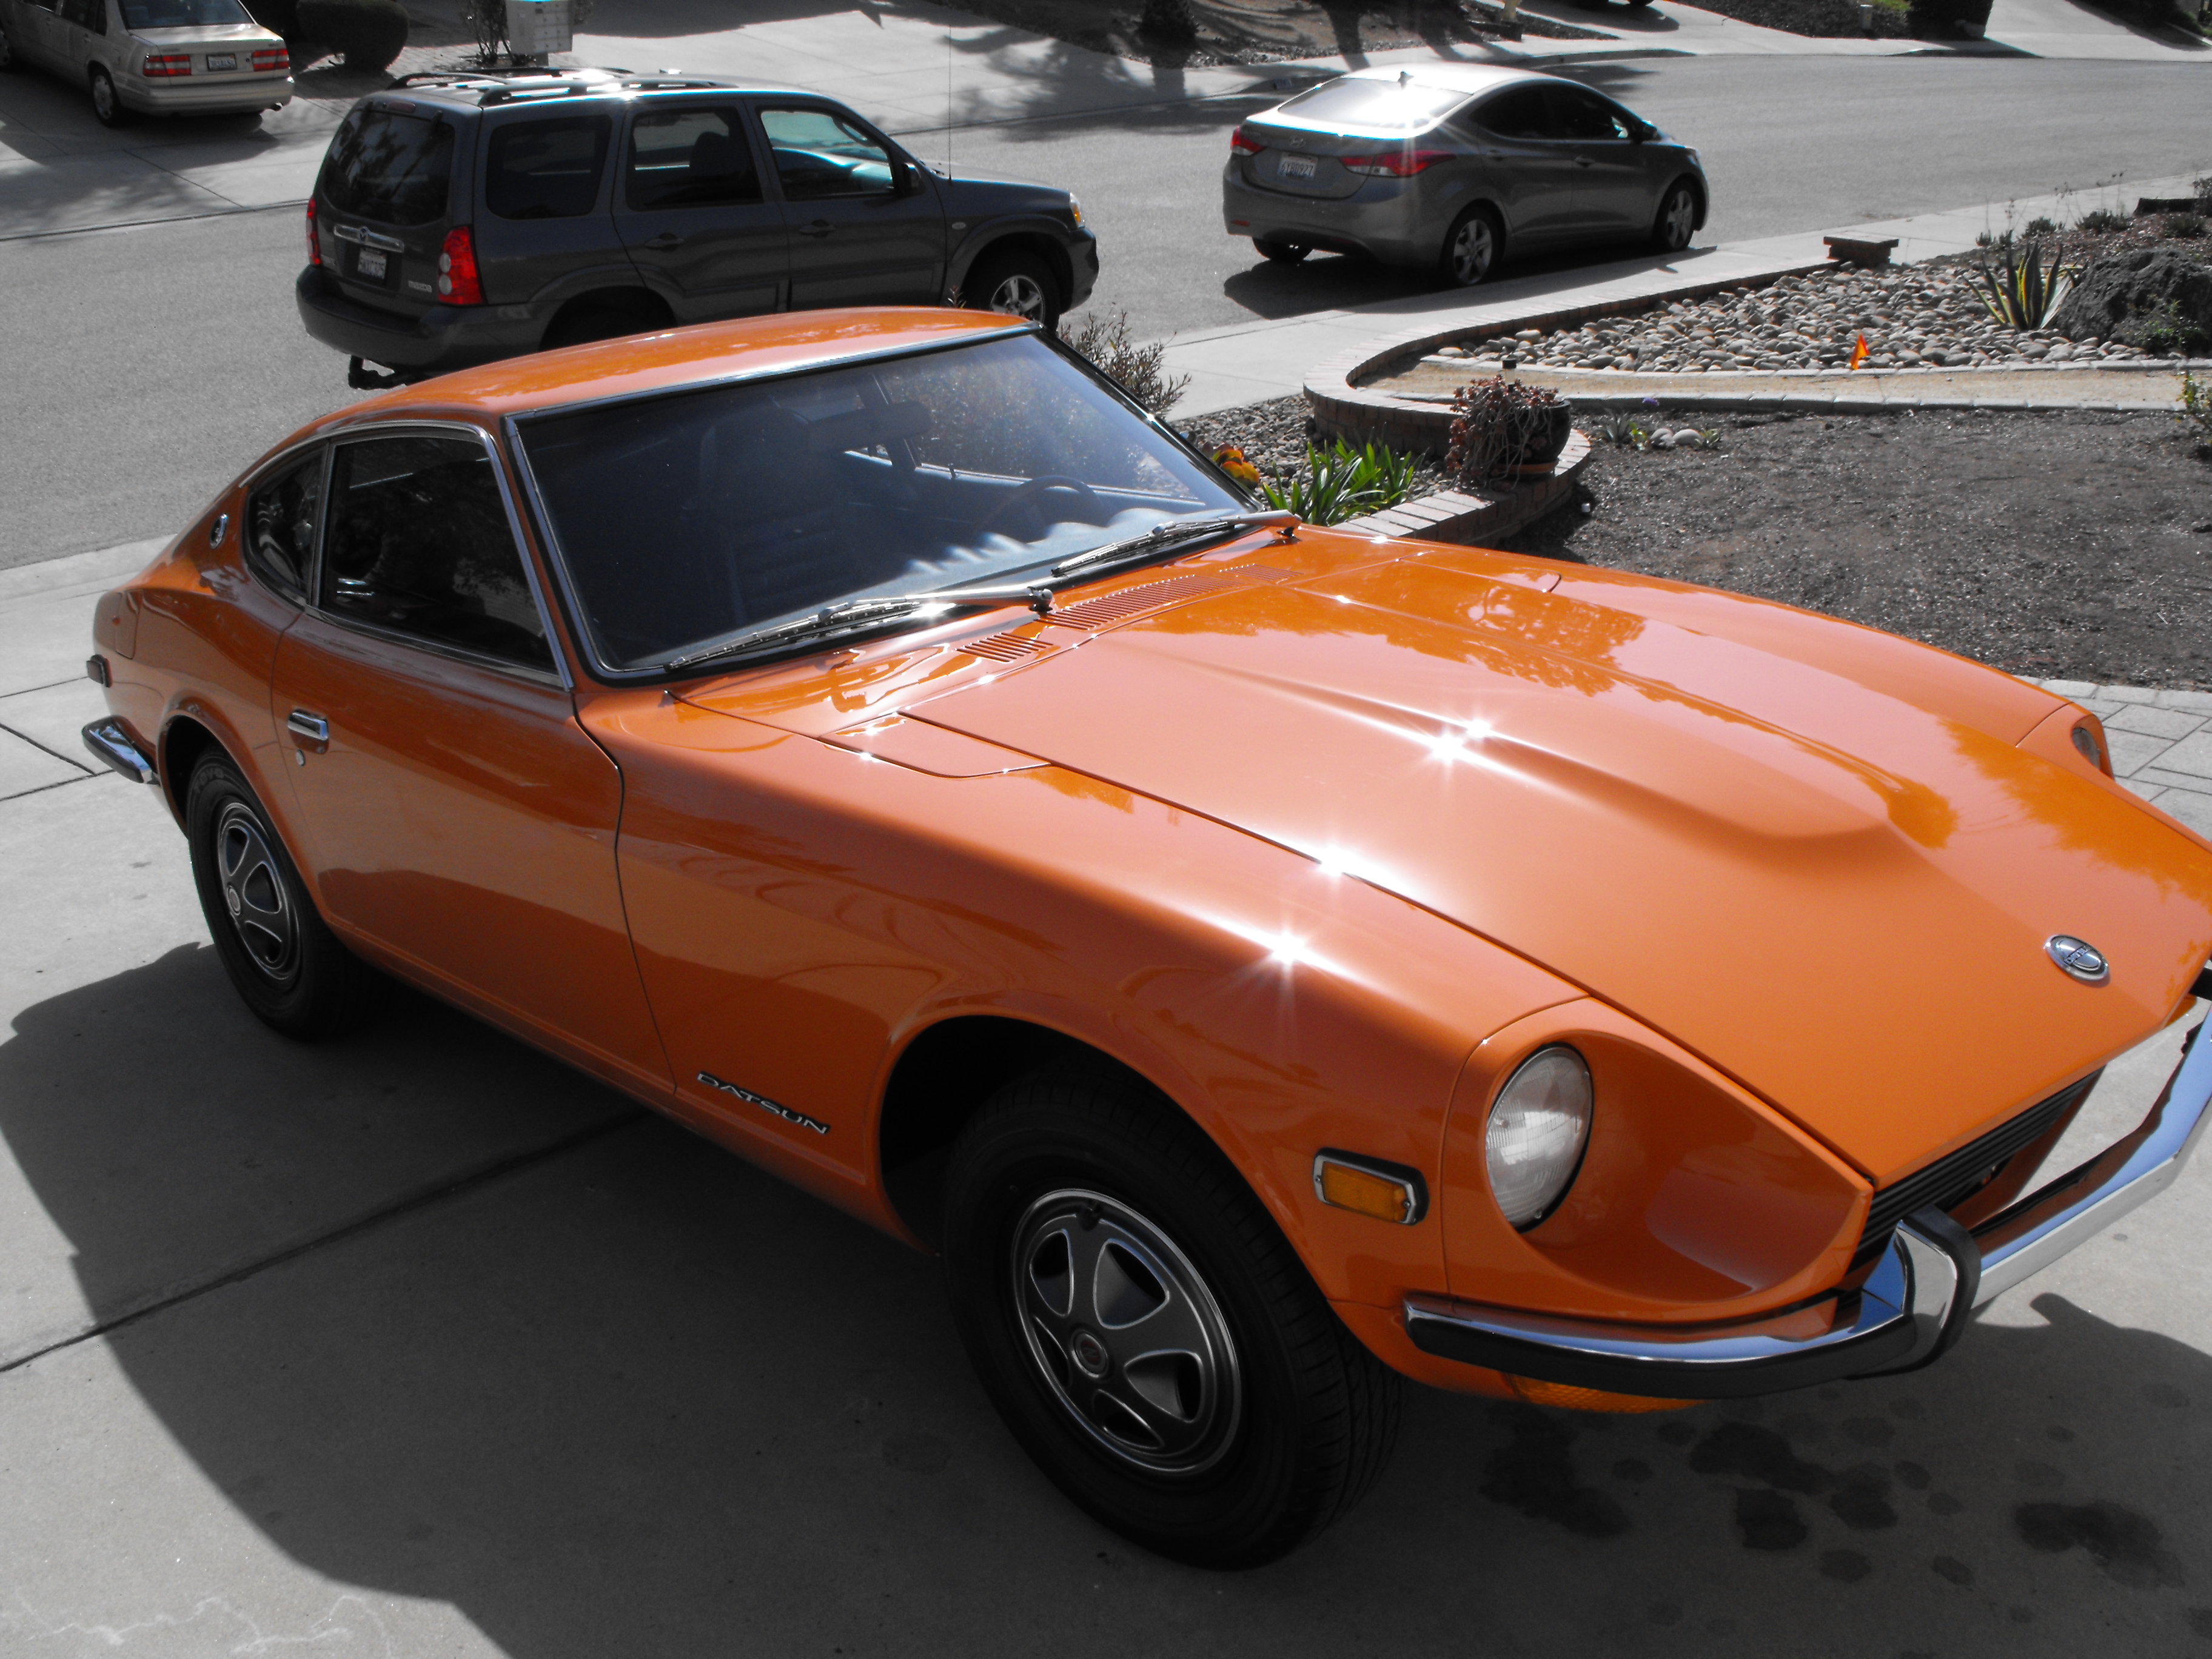
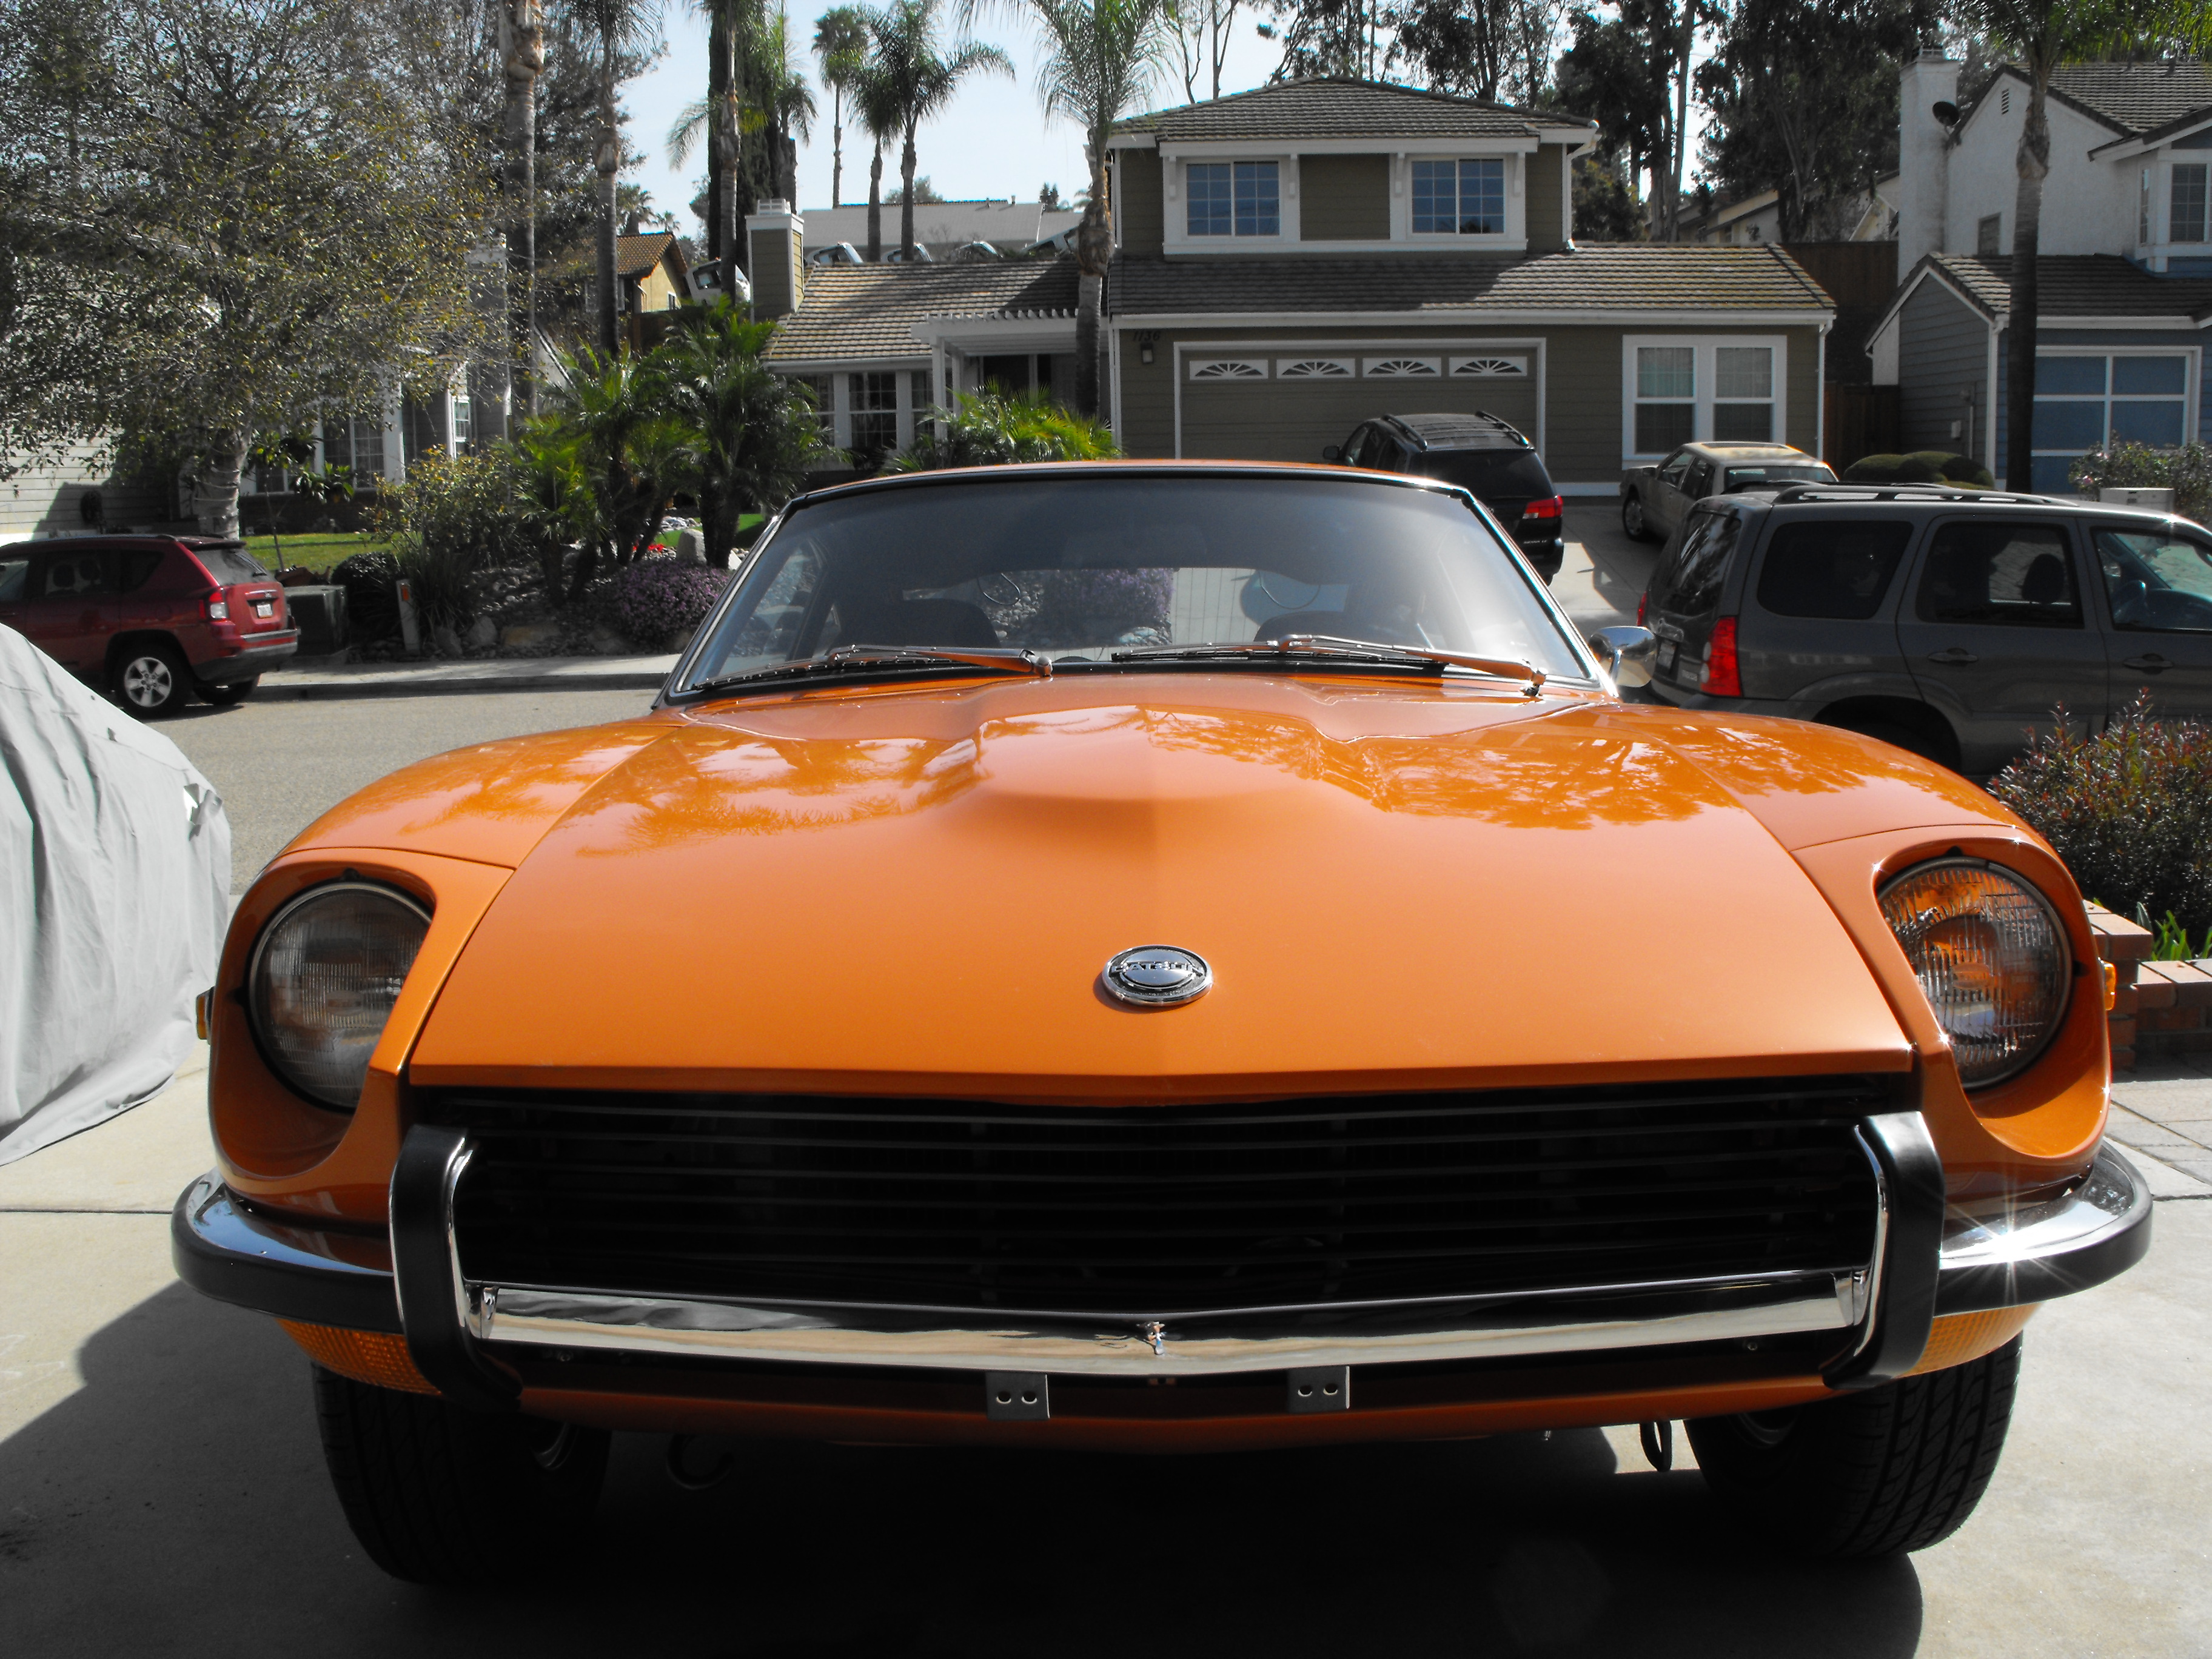
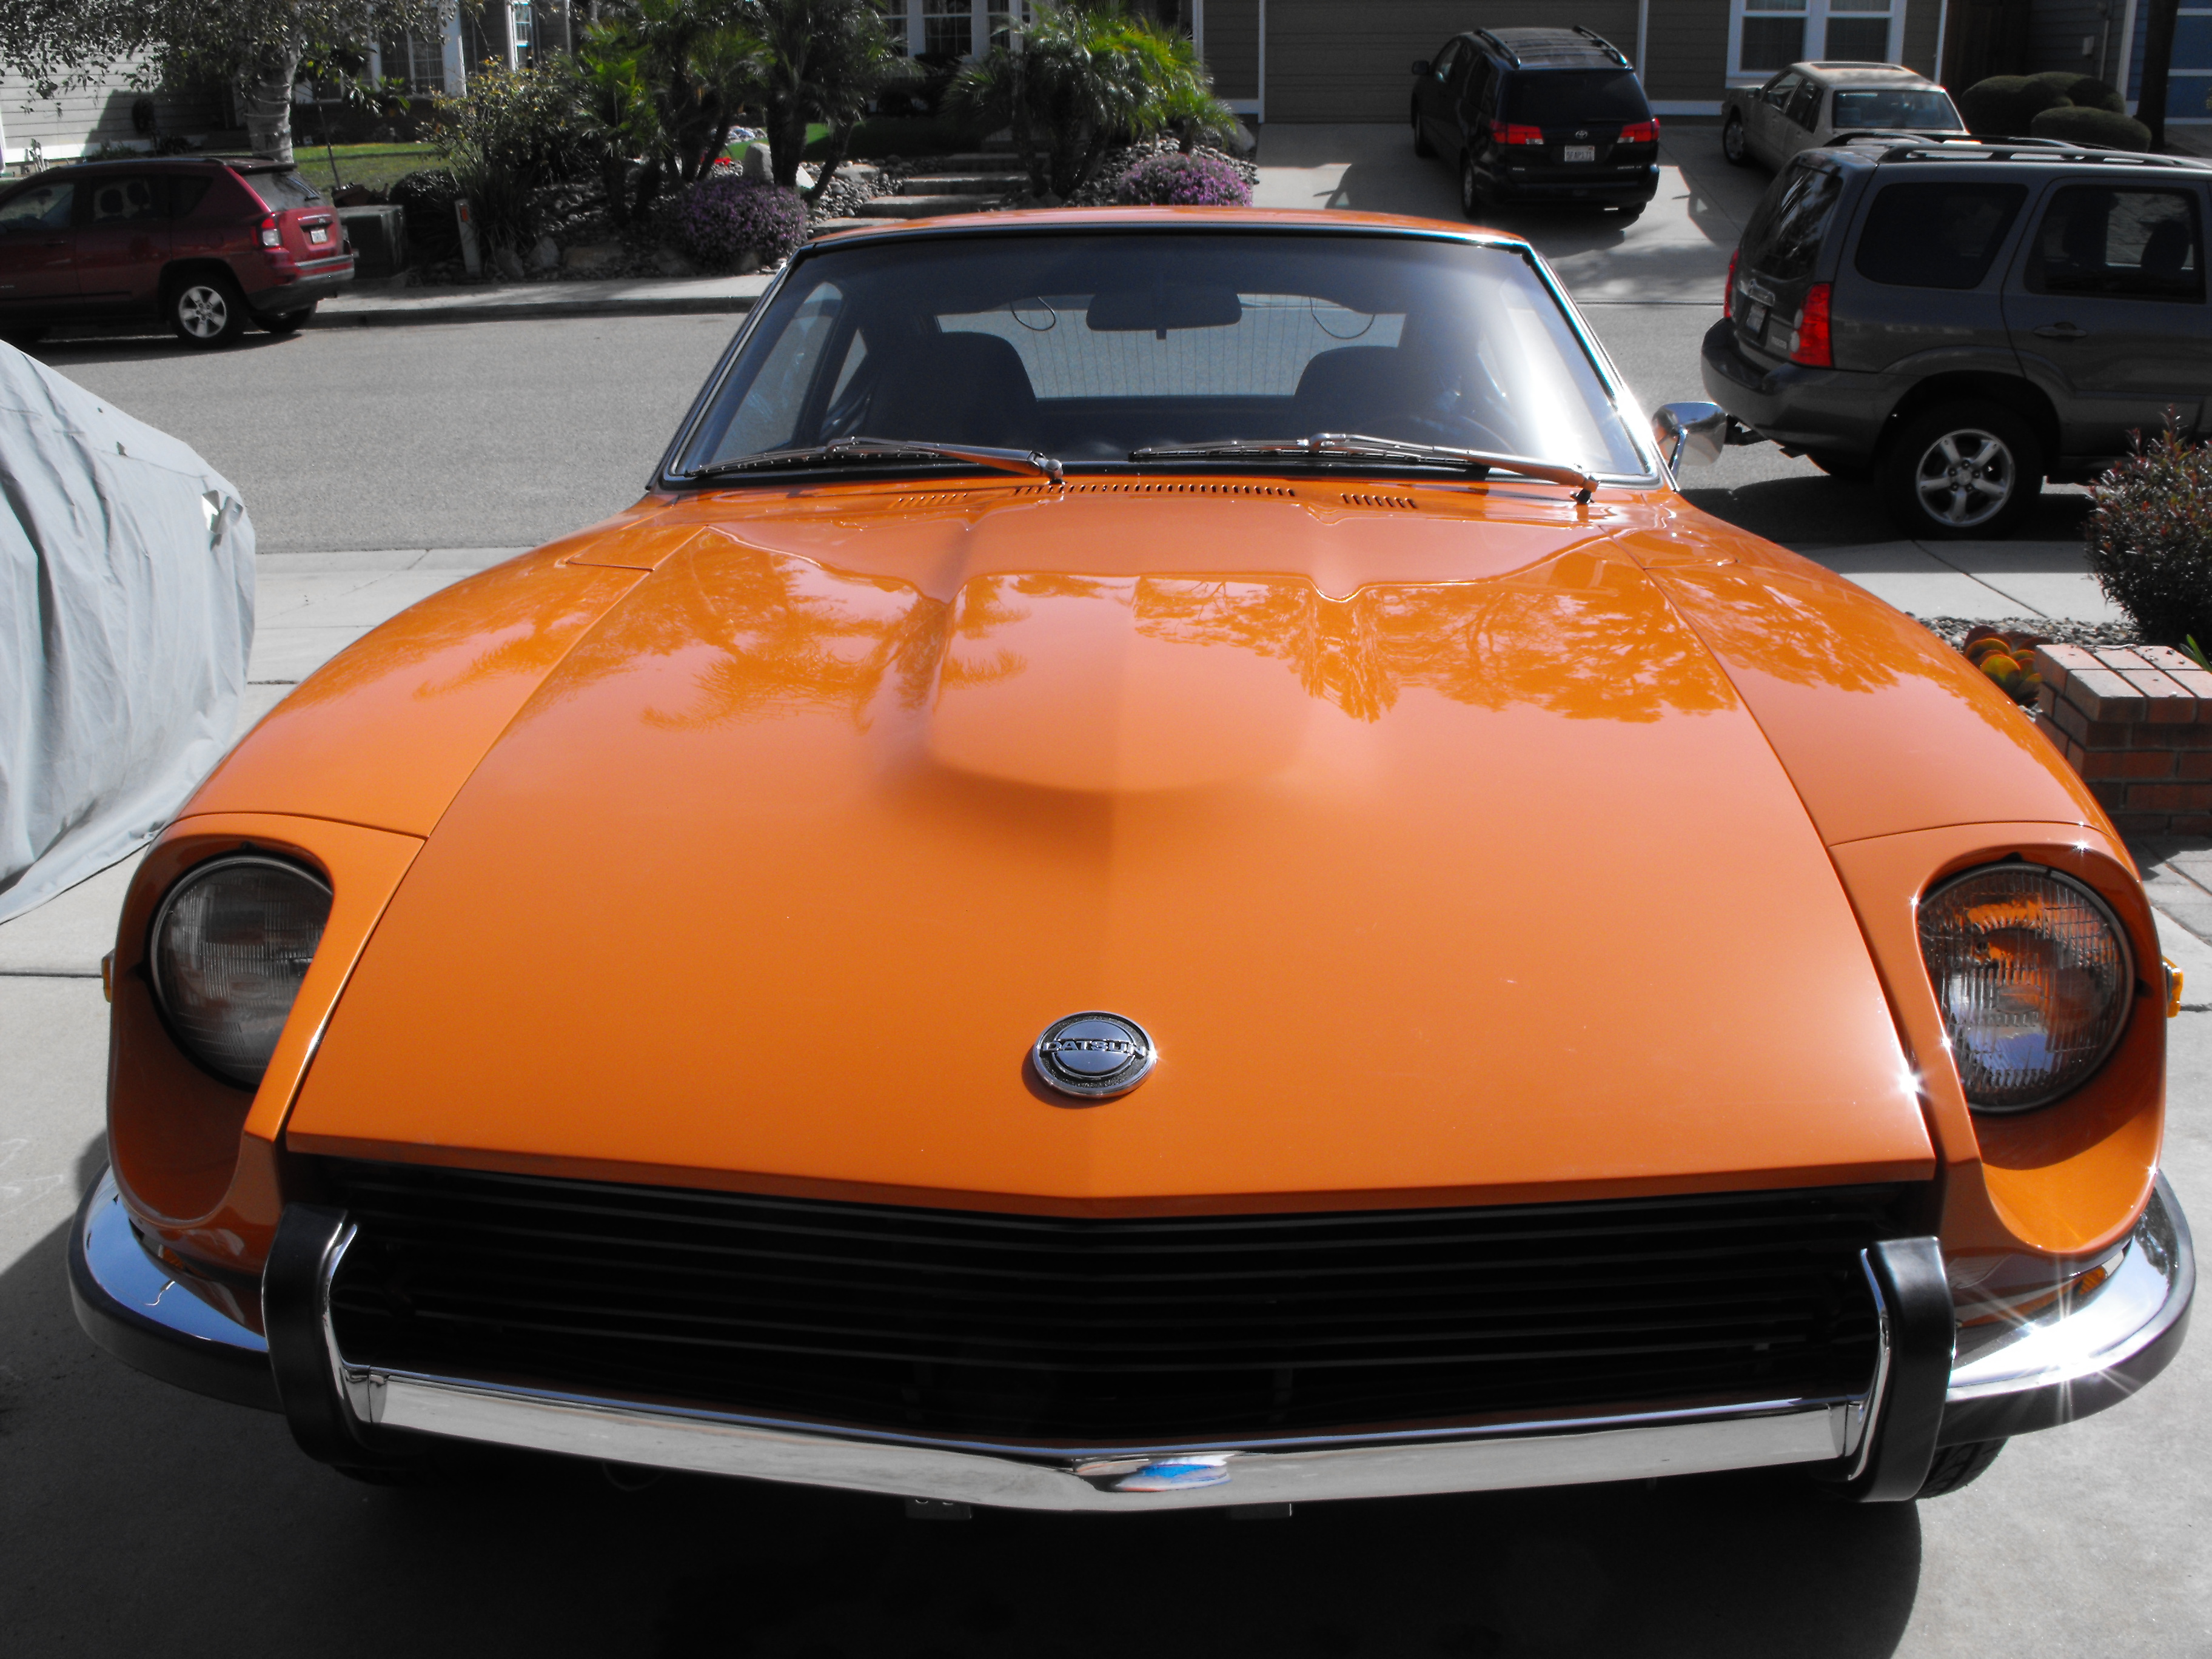
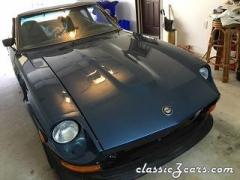
1 pointHad a nice sunny day today, so I backed the car out for a couple pics.


 1 point
 -
 1 pointNever thought about the open back of the impellers on the stamped blade. It is like a water wheel. It probably does push less coolant but might not be a factor for a typical street car. It would be neat to set two up pushing water against each and see which one wins. Those cast impellers are so purty though. I'm surprised people don't polish or chrome them before installation. Transparent plastic housing with a polished impeller inside. A few LEDS... Nice.1 point
 -
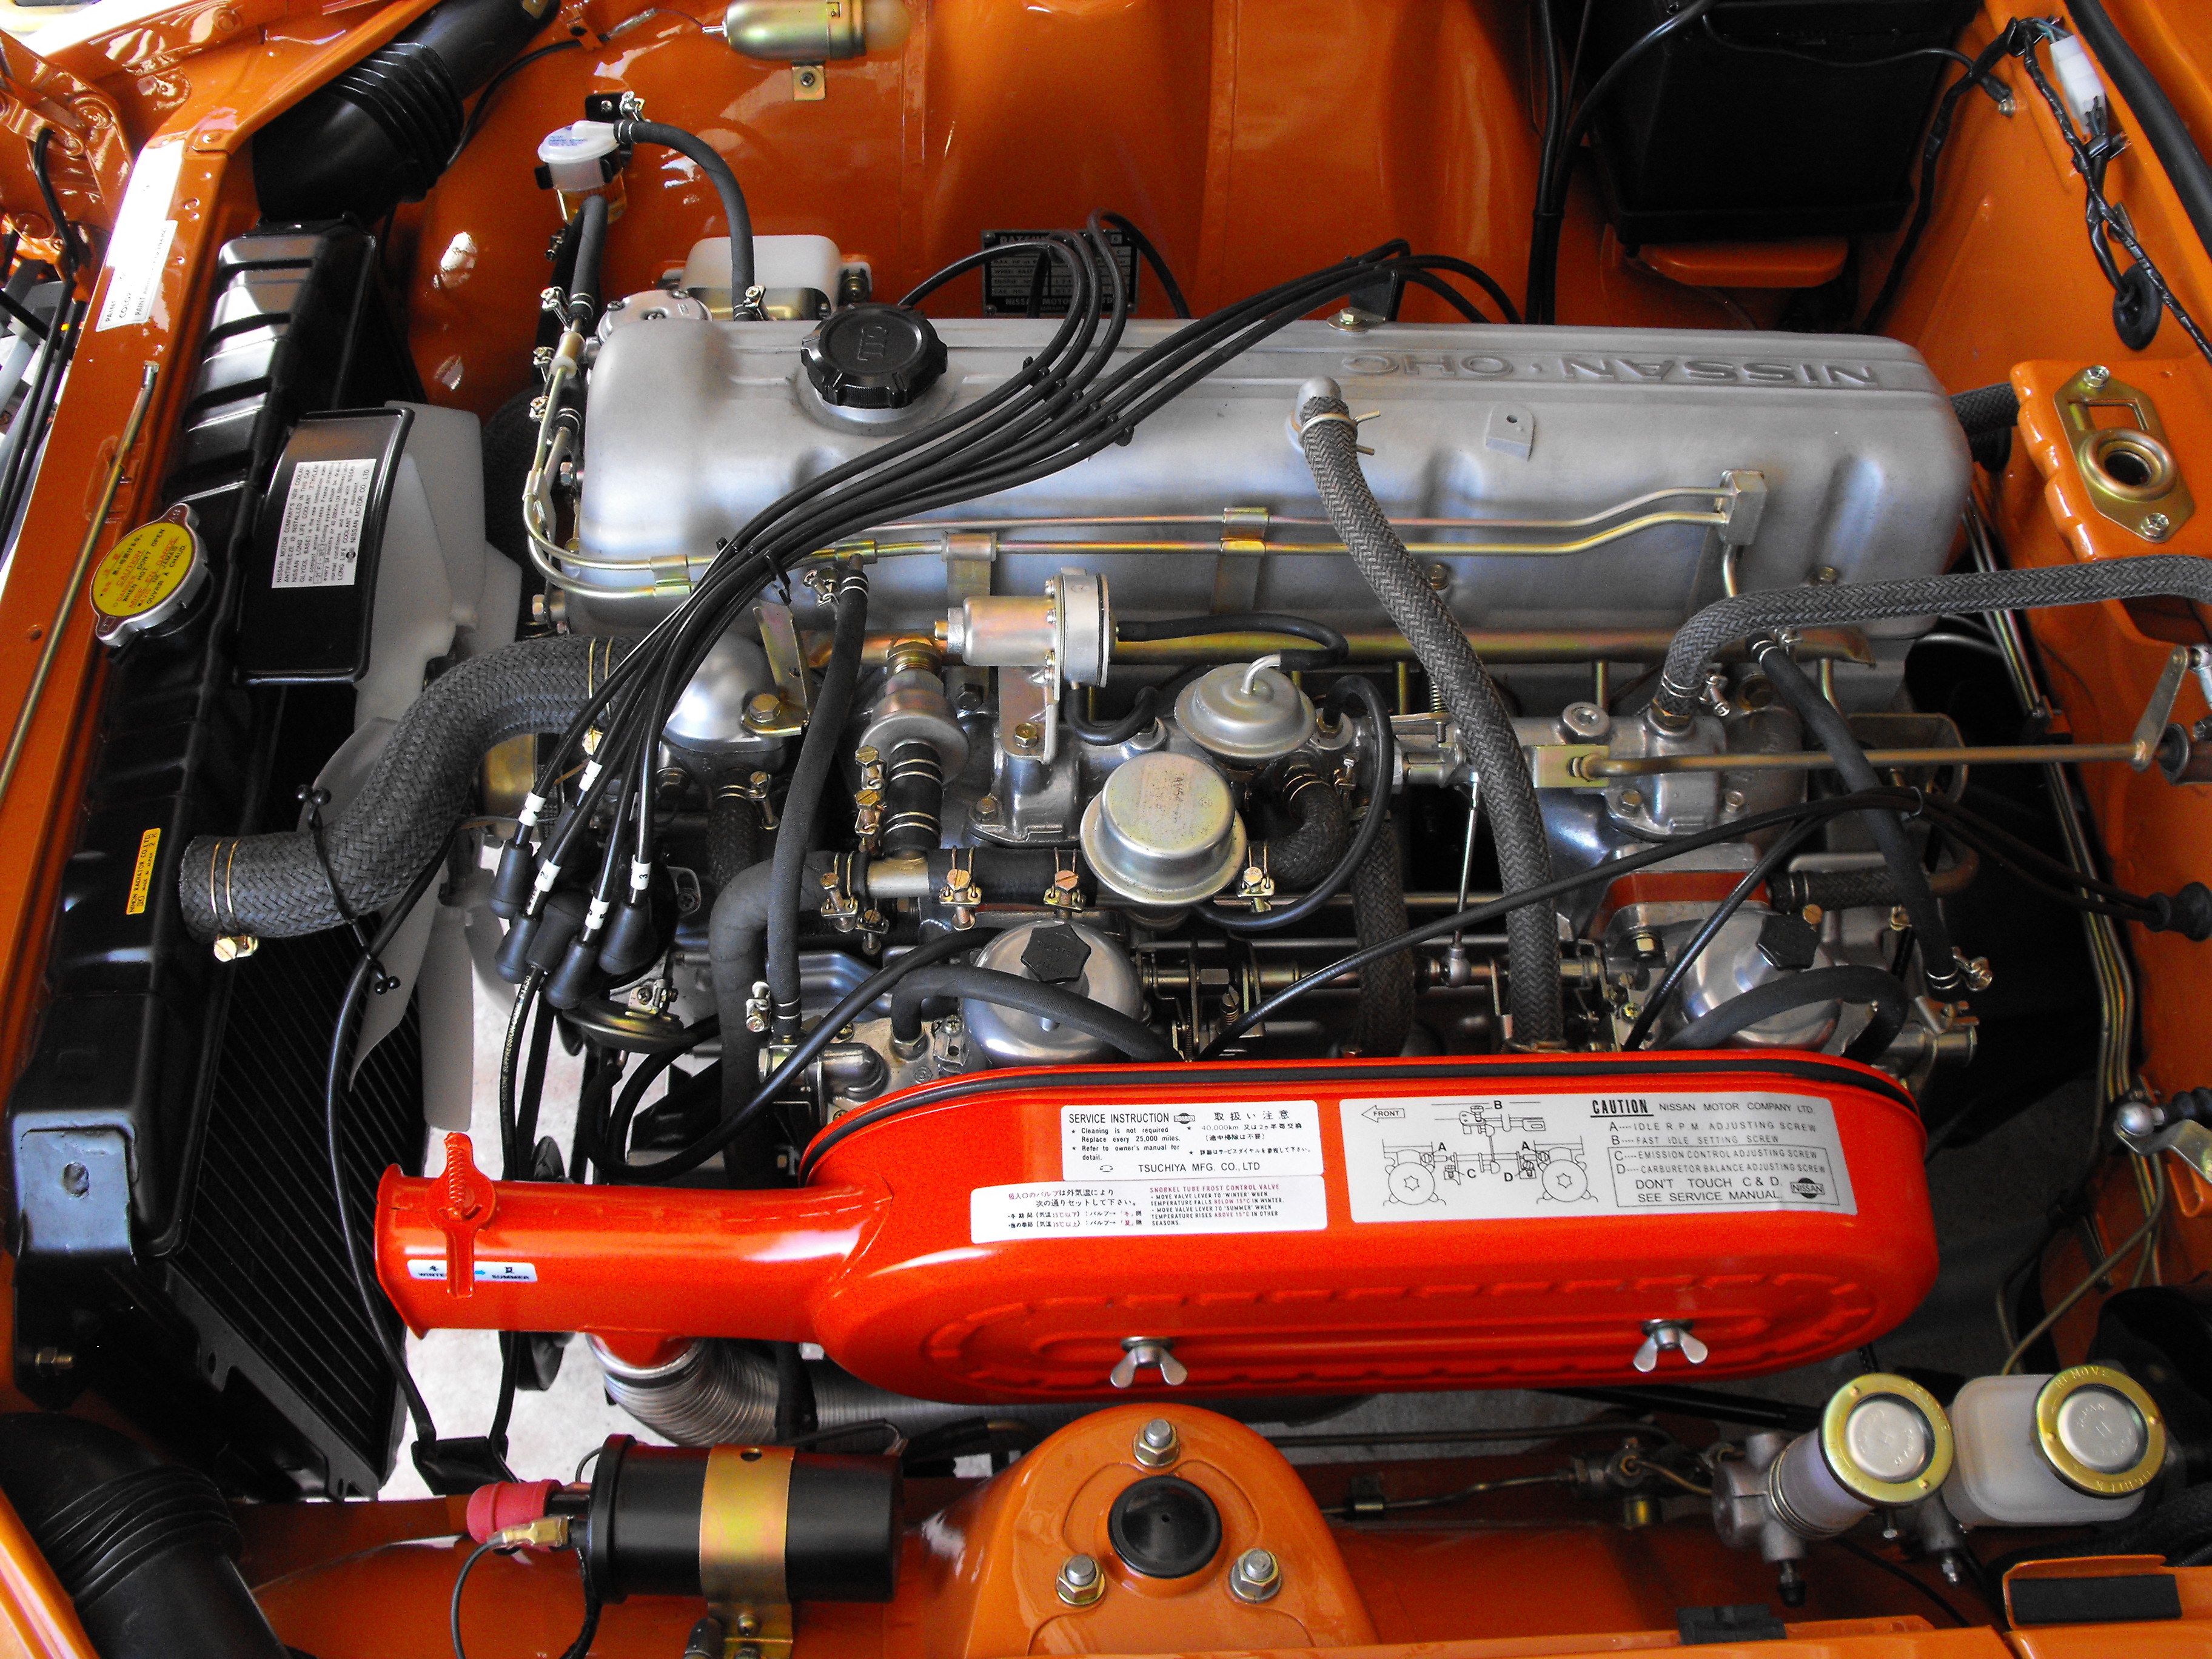
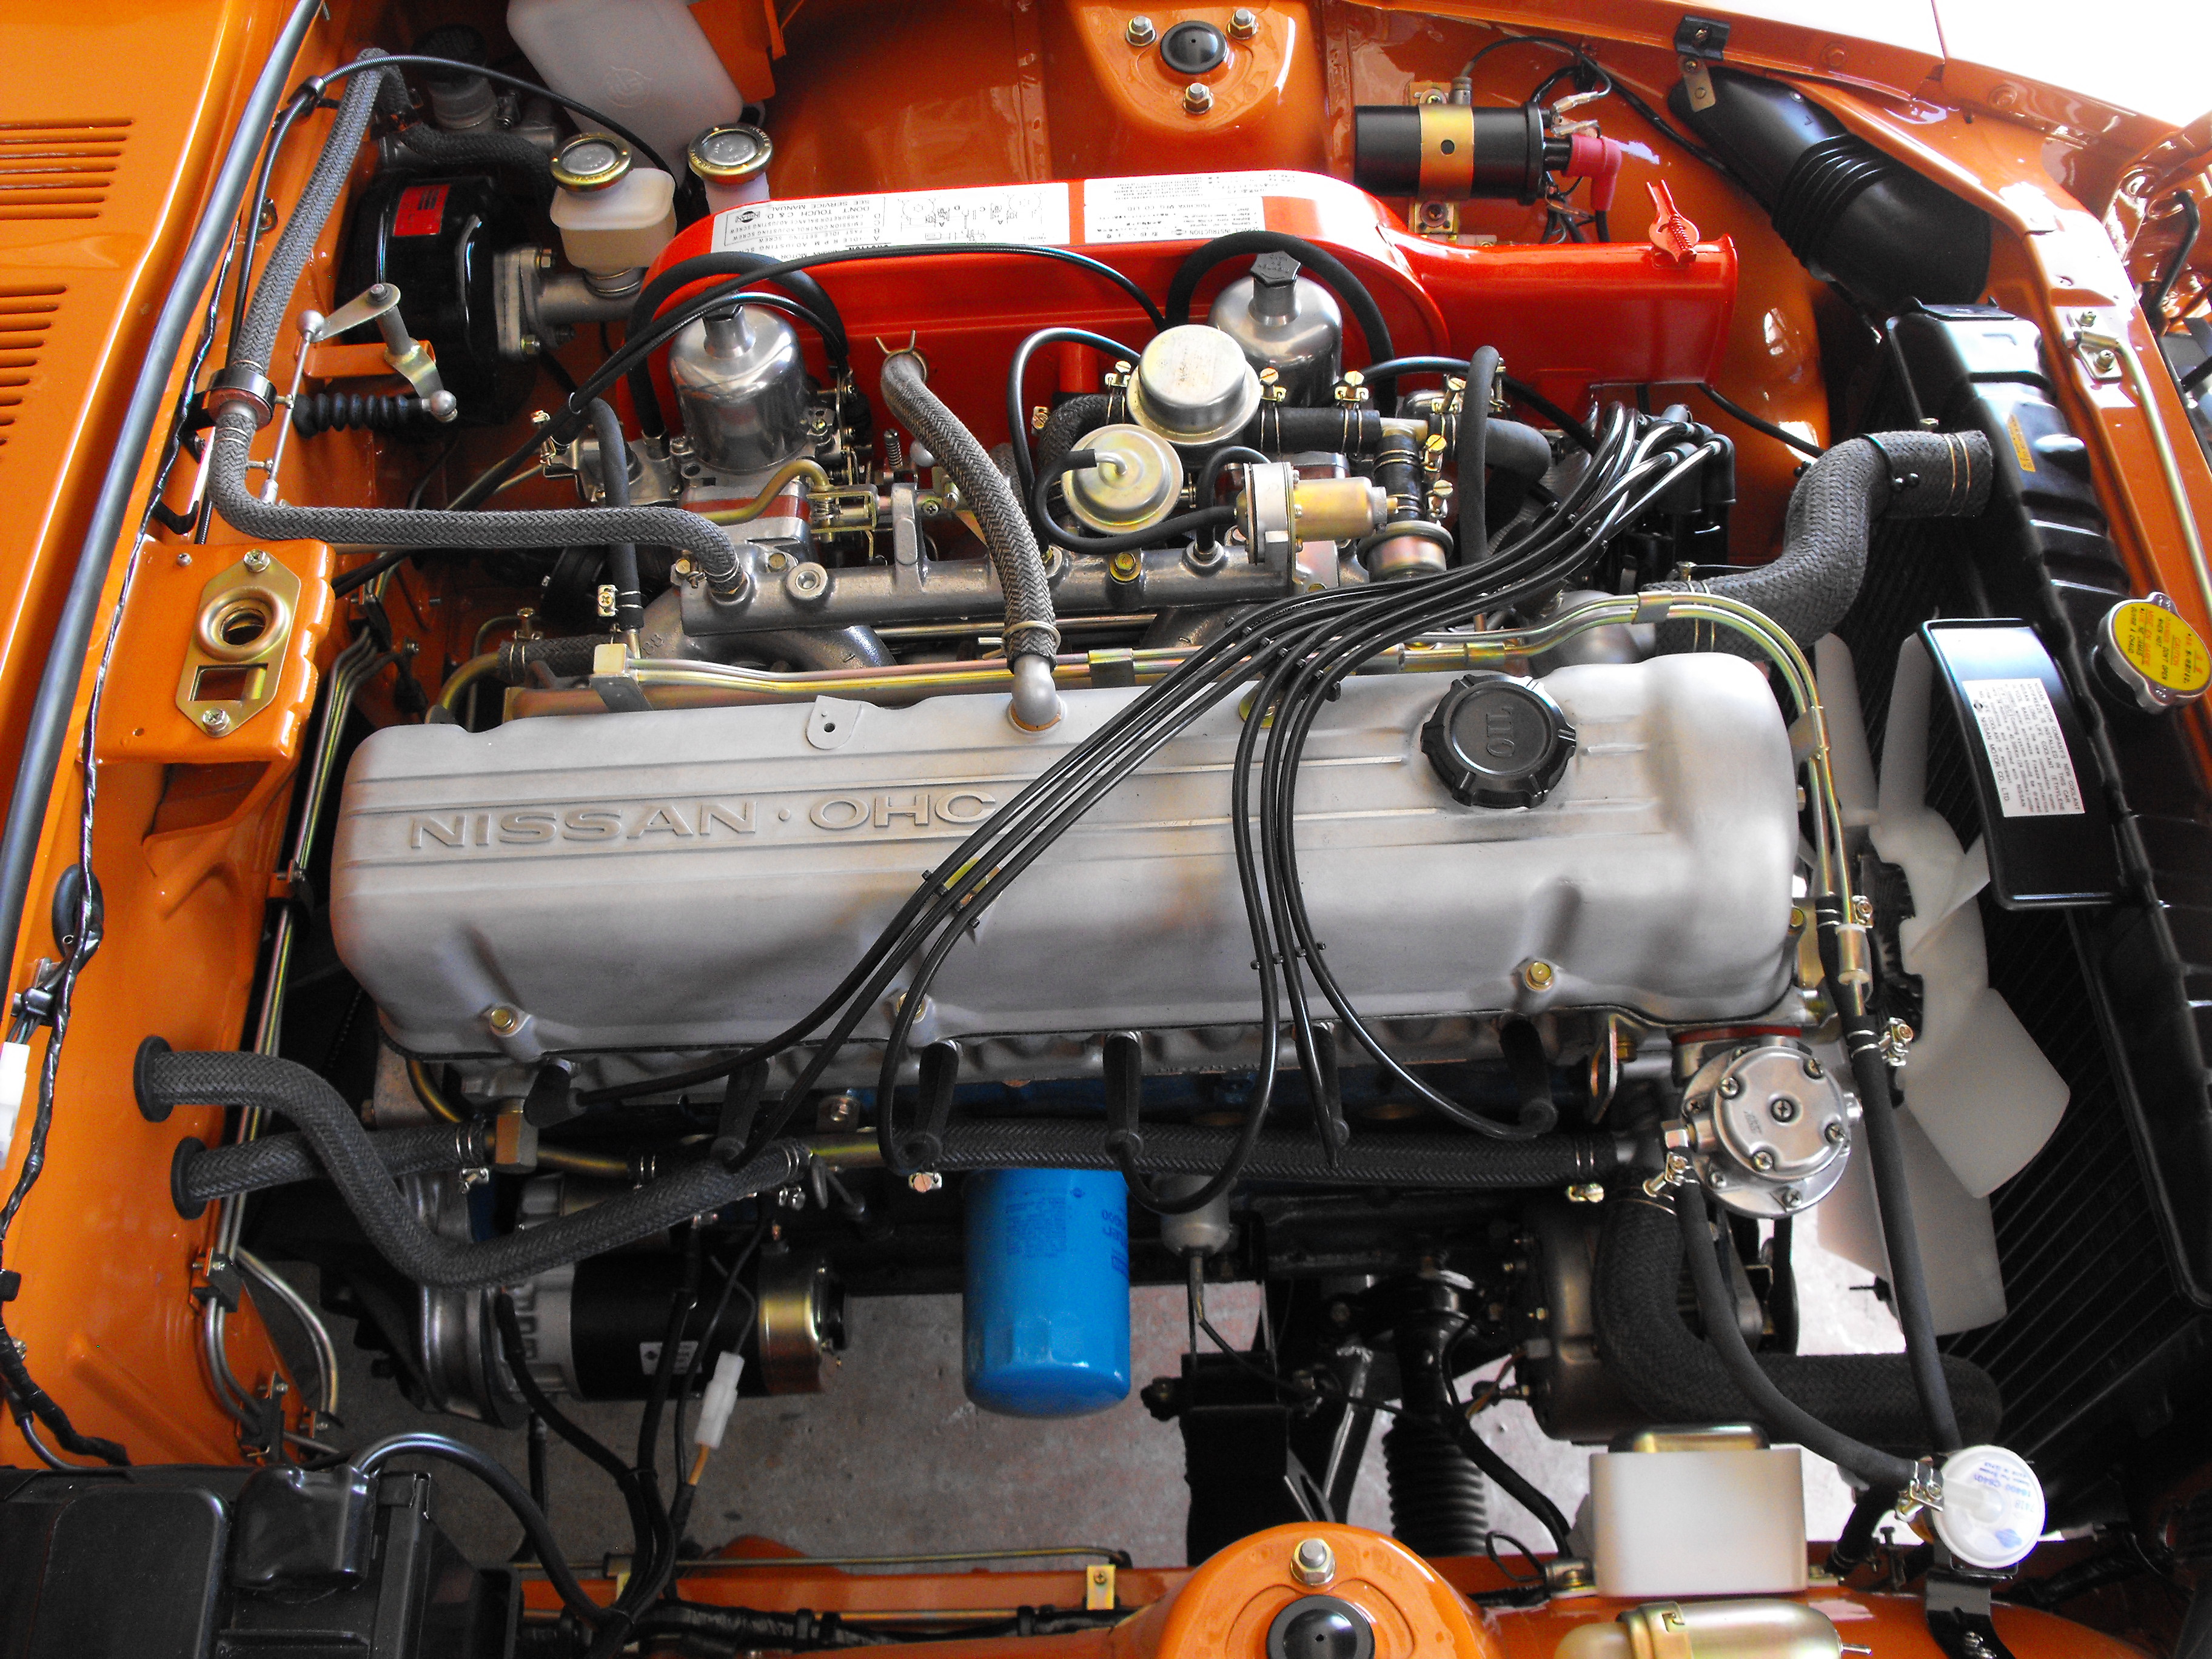
1 pointHmmmm, need to install those two bolts on the lower bell housing. Pics are always good for stuff like that. Also need to add the black paint to the muffler tip. Will take care of that tomorrow. Here are the latest motor pics. Got the final decals on and voltage regulator cover.

 1 point
 -
 1 pointI still remember my dad paid 1000's of dollars in the 70s for all the high FI, quadrofonics or someonething like that by Marantz. Real to real and all that.1 point
 -
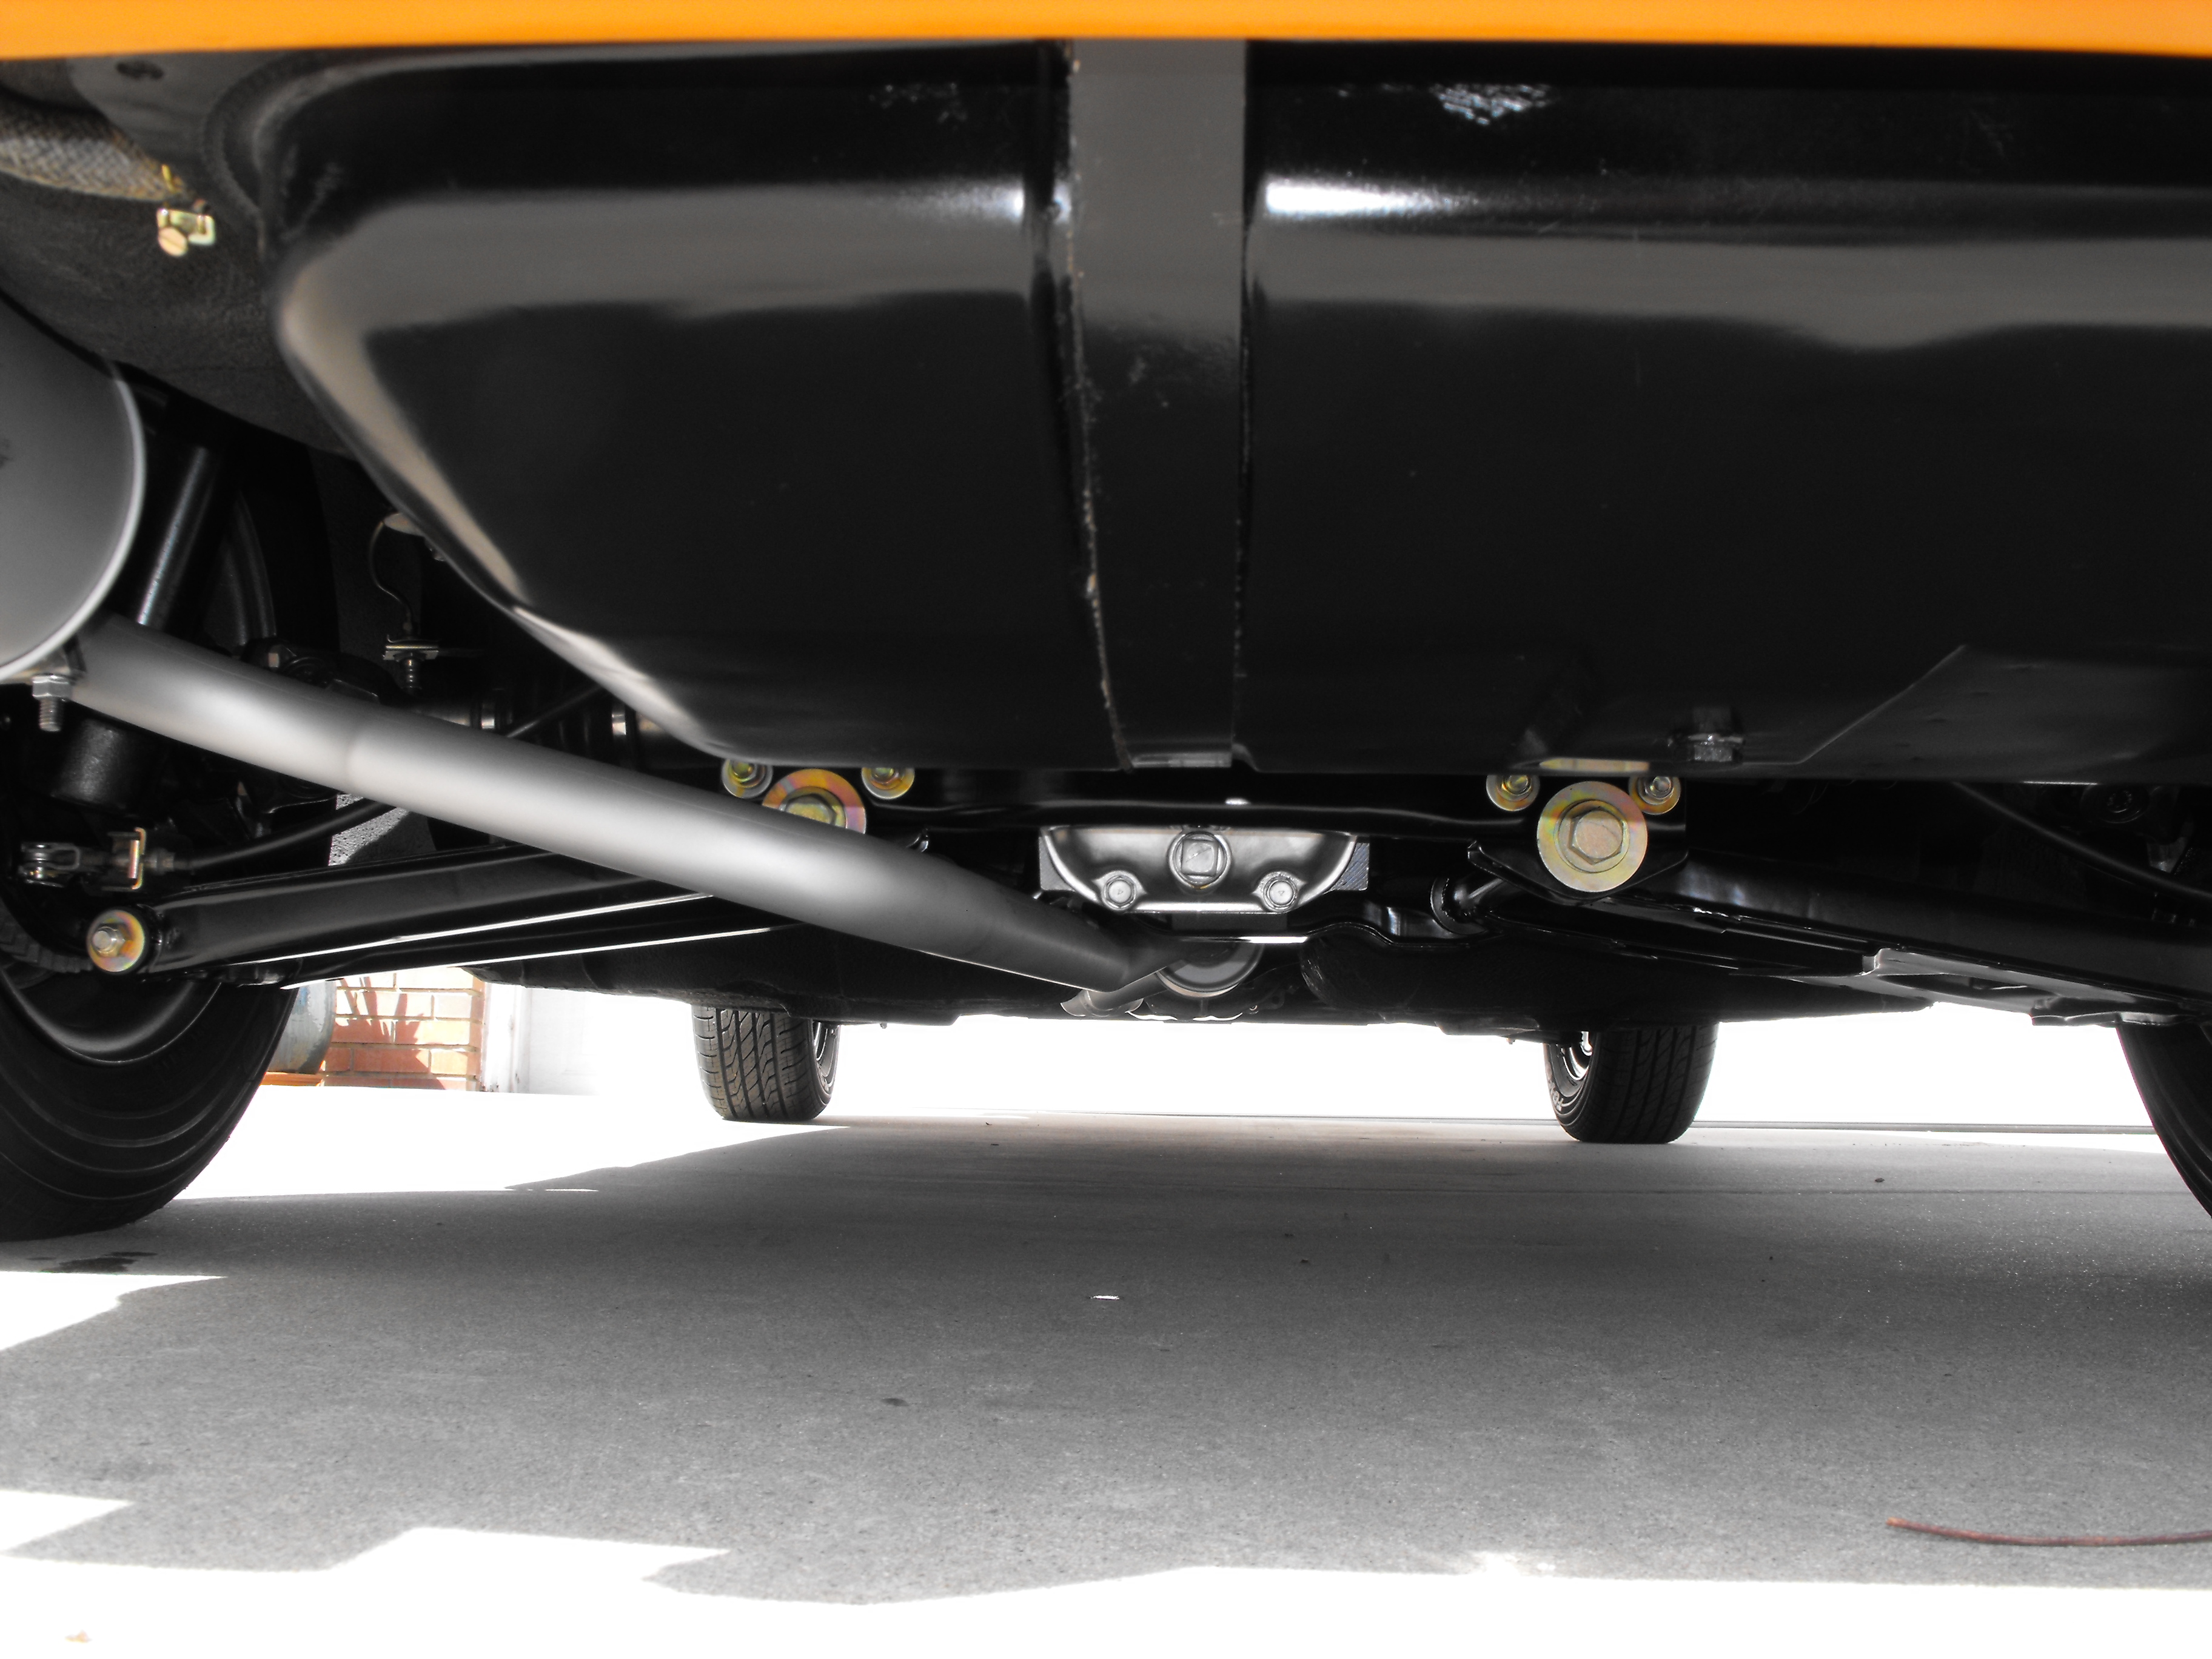
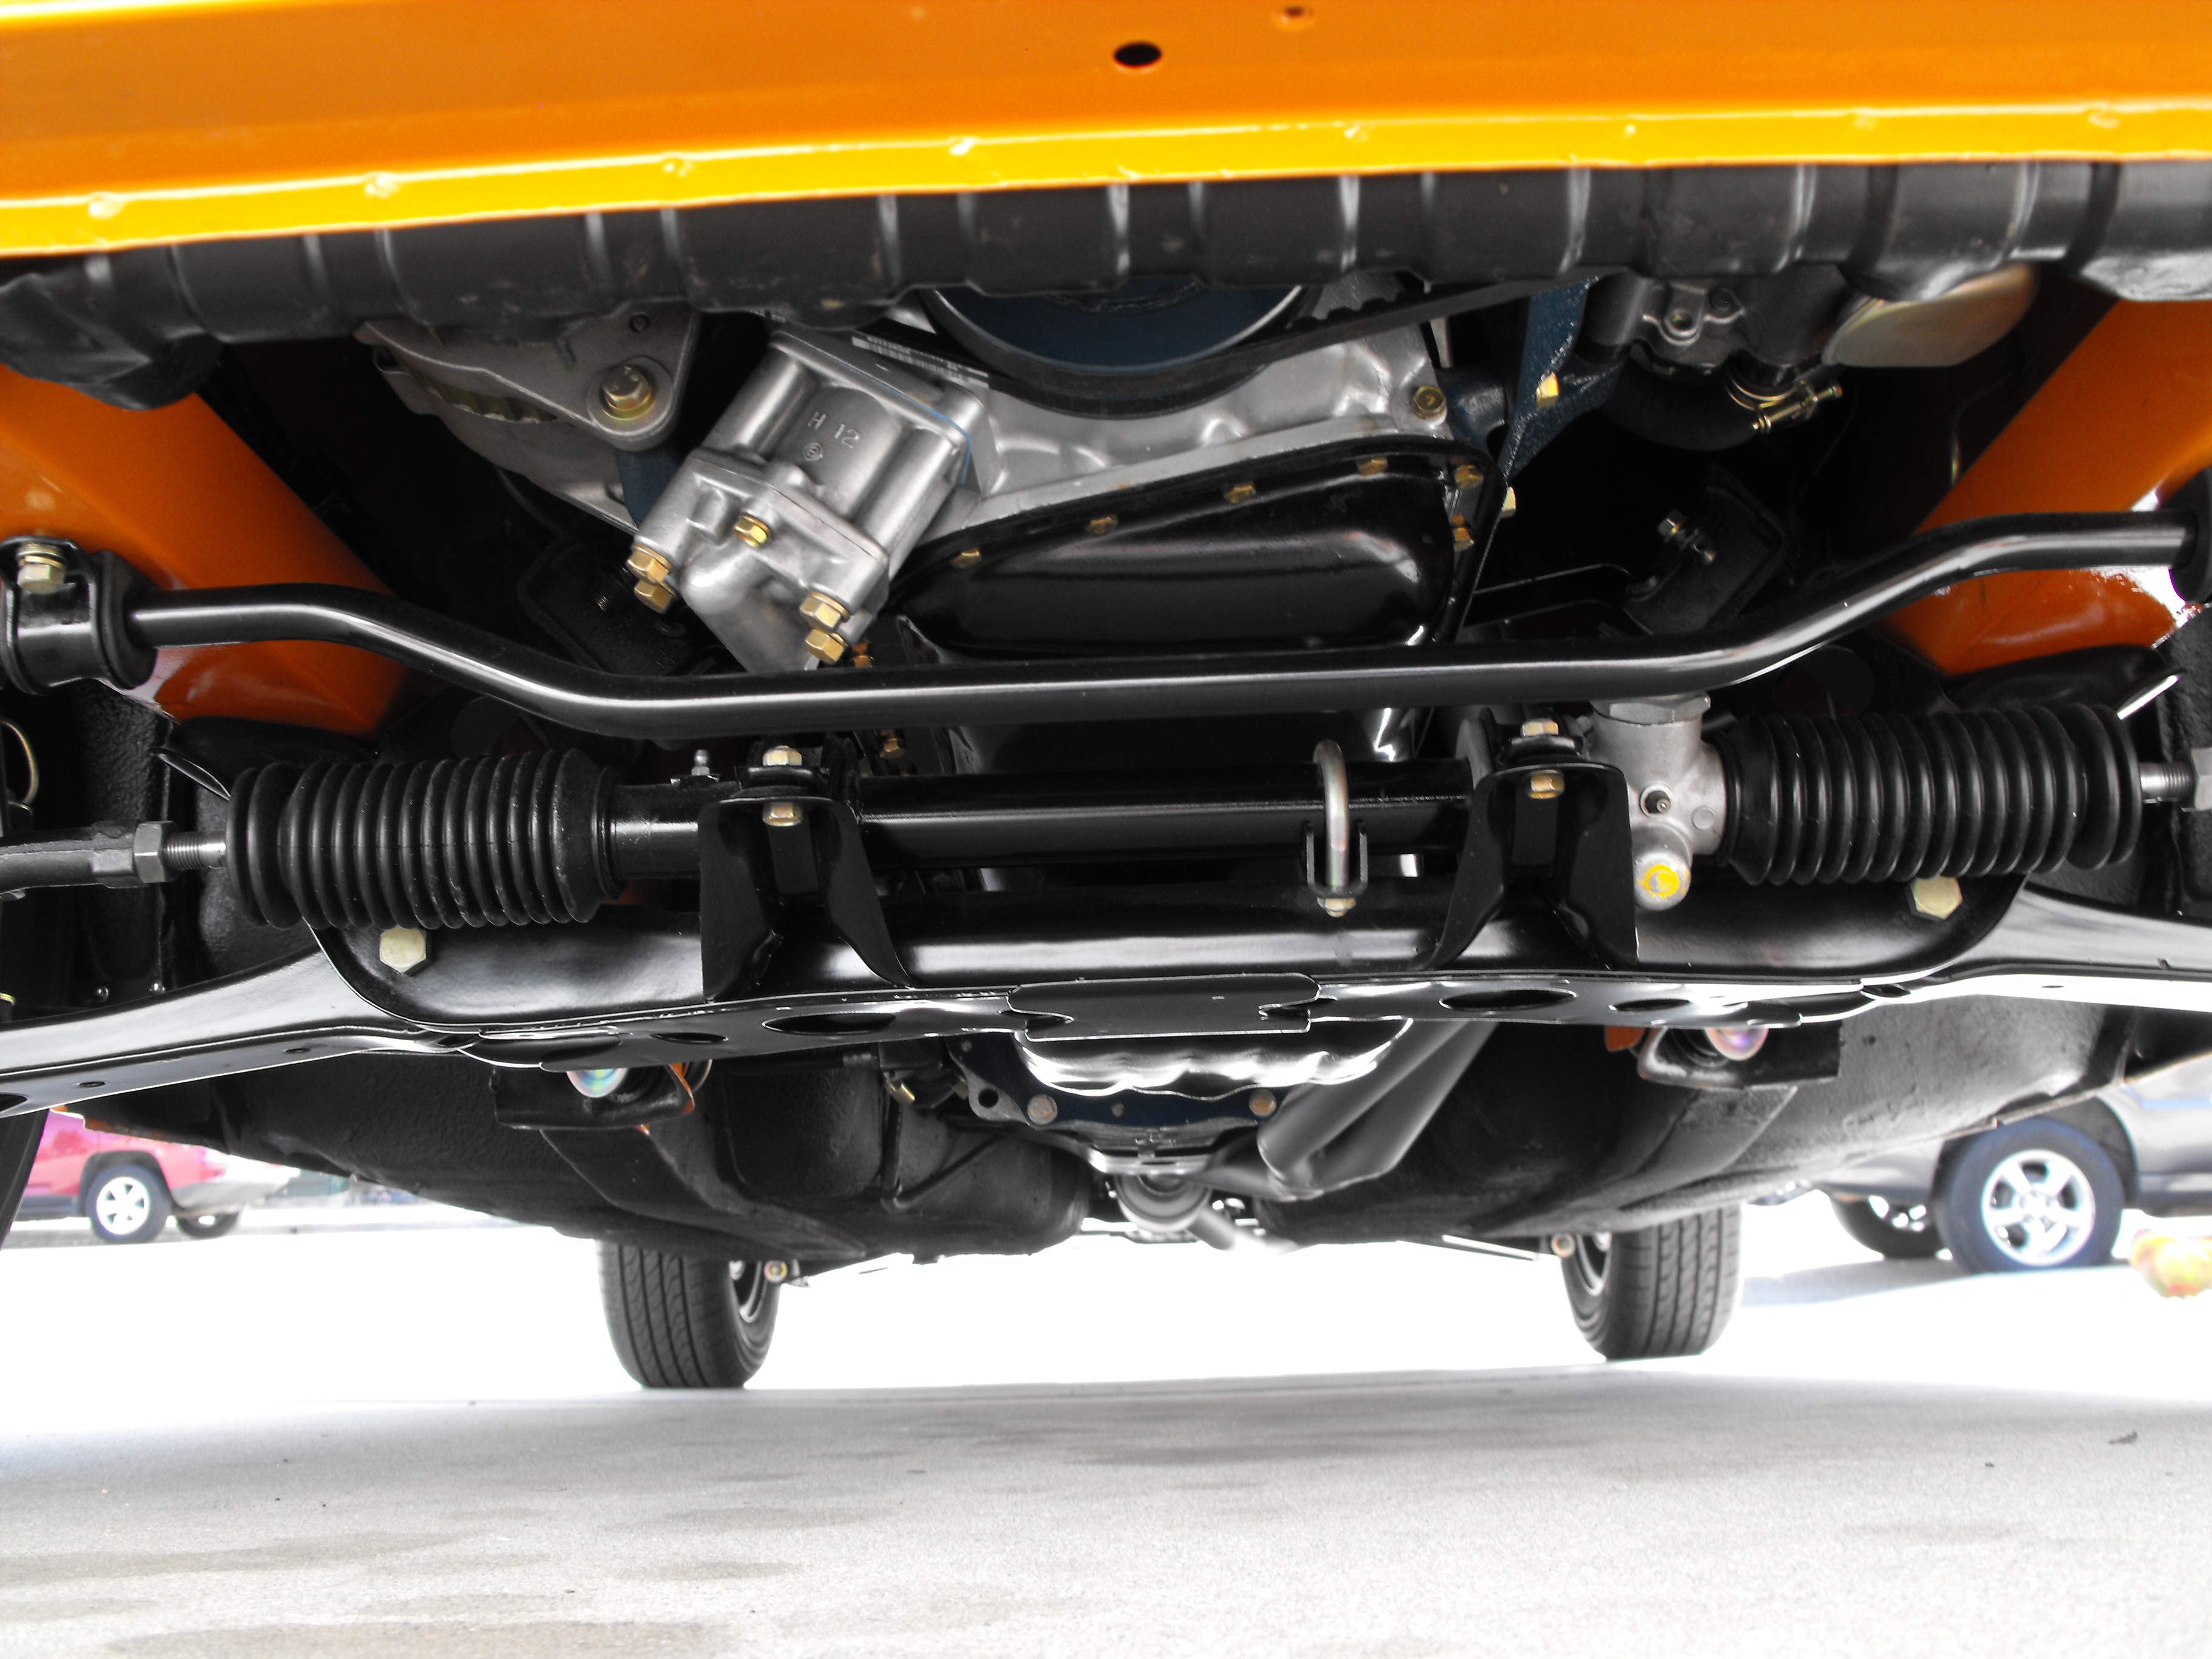
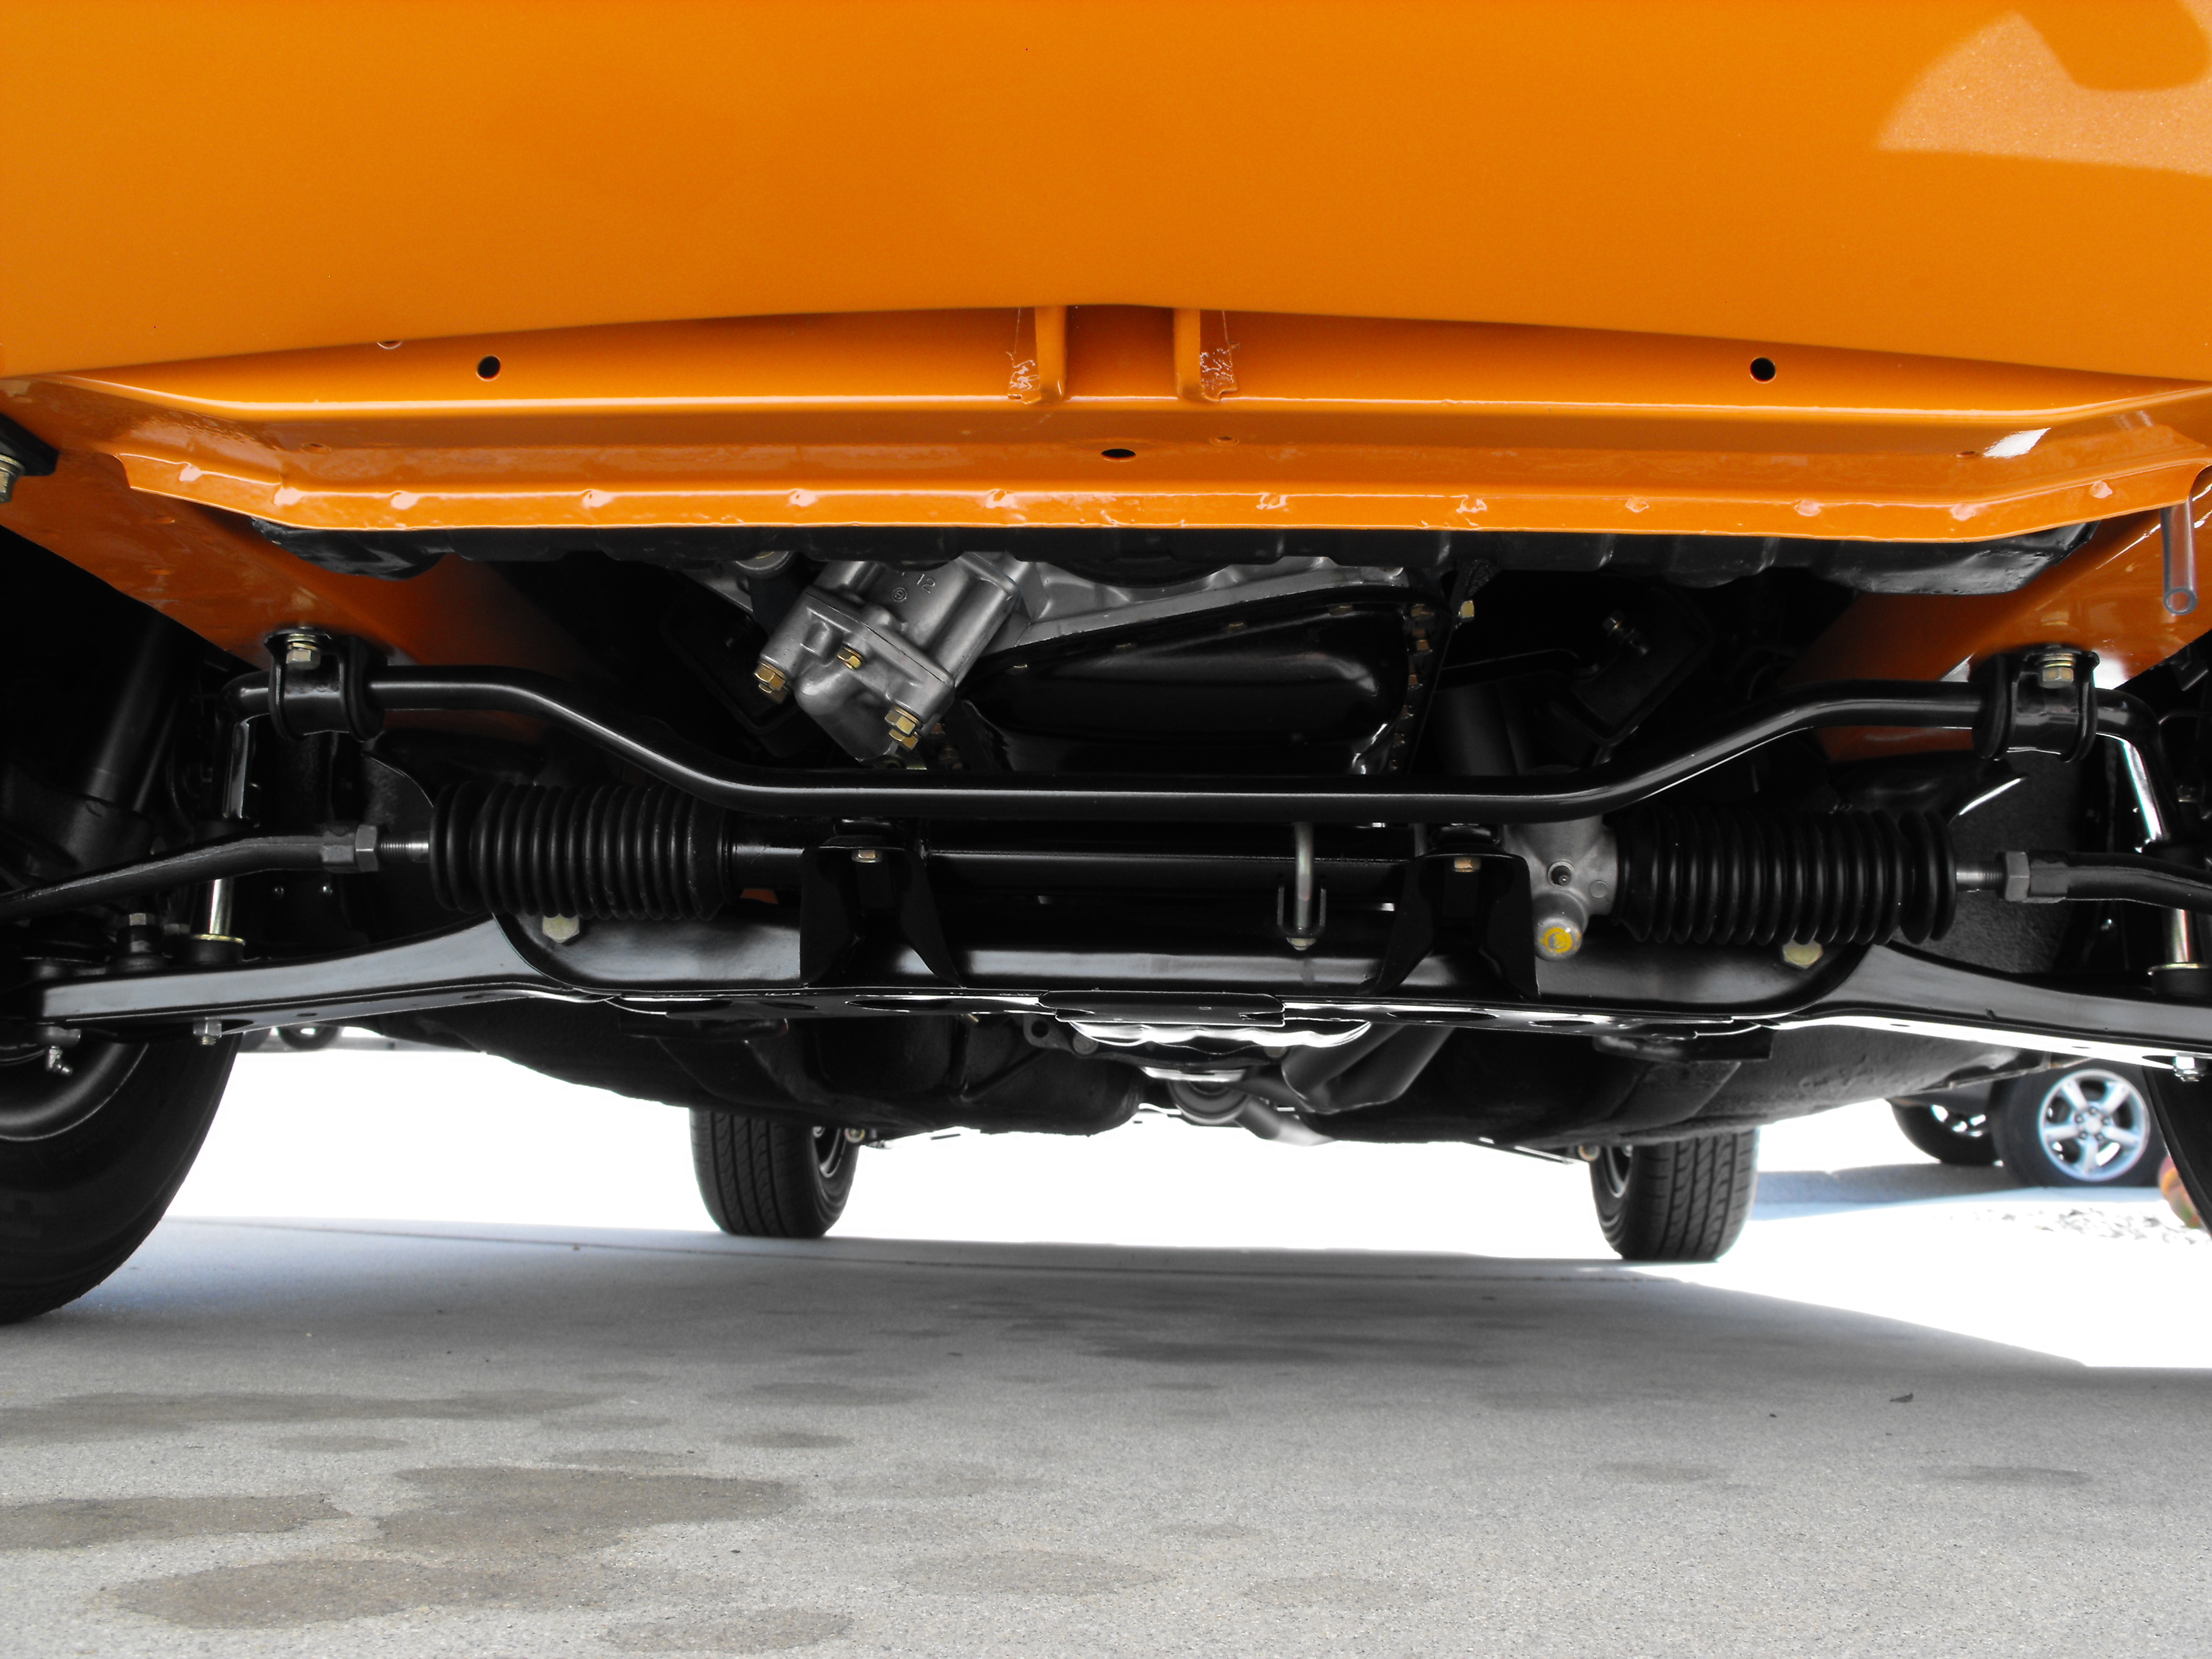
 The high bidder on my Auction bid an equivalent condition and mileage late 74 260Z up to $45.5K, but only $15.5K on mine. I asked why? He said because there was nobody really bidding against him, dings in the body, and the suspension. Fair enough. Not sure about the suspension comment. Maybe the lack of cleanliness of the struts and control arms? But seriously? A $30K difference? Something is fishy over at BAT.1 point
 -
 0 pointsI got rear ended last Thursday... inattentive driver hit my stopped vehicle at about 70kmh. Damages will be over $10000 for sure. Luckily I only have a sore back, nothing broken. It sucks to be in accidents.0 points