


Leaderboard
-


siteunseen
Free Member7Points14,903Posts -
nix240z
Free Member5Points468Posts -


Zup
Free Member4Points1,163Posts -
Phil Z
Free Member3Points52Posts
Popular Content
Showing content with the highest reputation on 02/14/2018 in Posts
-
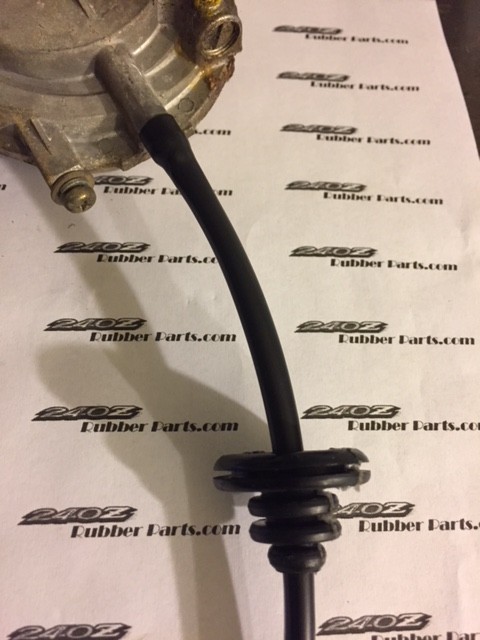
4 pointsI have the antenna drain tube and 240z grommet for the lower fender well... Somethings I don't advertise for sale.
 4 points
 -
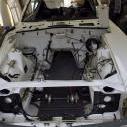
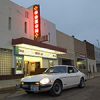
My Z about a week old. I recently purchased a complete set of used gauges. My gauges, actually my oil & temp gauge was fluctuating after I thought I had solved the problem. So I removed my 46 year old gauge and installed a 46 year old gauge. Much to my surprise upon trying the oil & temp gauge, it worked perfectly. Then I tried hooking up the clock. It didn’t work. Because I have a functioning clock that I built I had nothing to loose and opened it up. I hooked a 9 volt battery to it and watched as the motor tried to wind the spring but it seemed weak. I tried it on 12v from the car. It acted the same. I removed the motor (simple to do) then carefully wound the gear the motor was supposed to wind. It started ticking, a good sign. Decided to spray the clock gears with 3n1 penetrating spray to get gunk off of the gears. Tried the motor again with the same results. Decided to take the brush assembly out of the motor. I didn’t see anything wacky but wondered if the motor was just tired. When the motor was operating outside of the clock, it ran well. Looking at the brushes and armature I could see there wasn’t noticeable wear. Thinking through how electricity works best, I took the brushes out and bent them closer together. Inserted the brush assembly back together and ran the motor. It seemed stronger. I attached the motor back into place. Using the 9v battery the motor was able to wind the main spring. That’s when the magic happened. Tick tick tick, a working original clock. I would have made a video of the motor repair but I would have had to bleep every other word. If anyone wants to tackle this motor fix I can help you do it bleep free. I am not guaranteeing your clock will work but it might. 1972 clock probably built early 1971. Phil Smith3 points
-
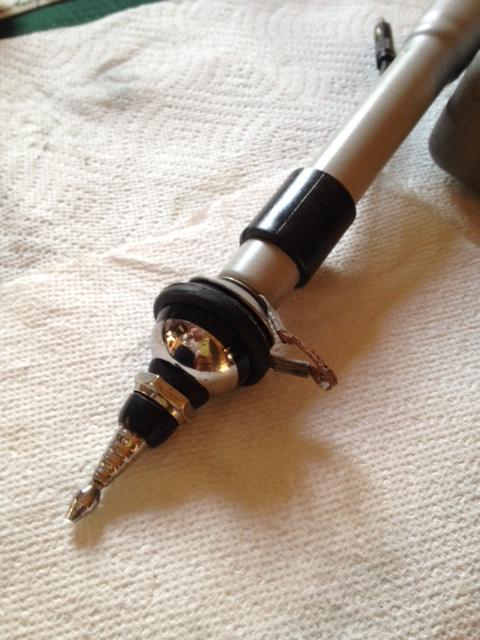
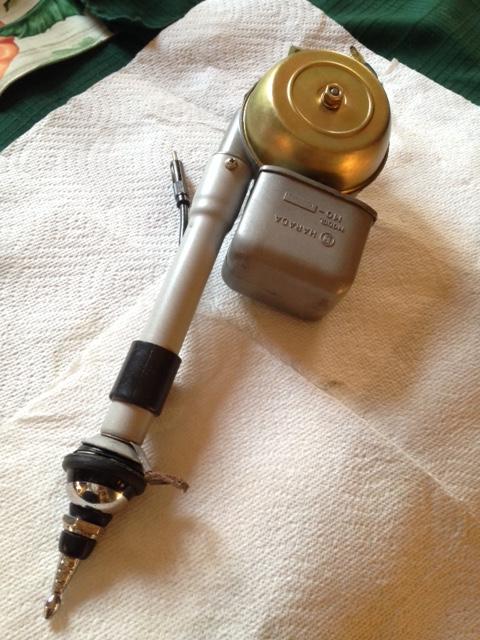
3 pointsBeautiful work Jerry! I'm sure the owner will be very happy with your efforts and you should be proud of your workmanship. Steve's contribution with the needed rubber parts is invaluable. Now--- if we could just find a supplier to reproduce the antenna masts! First, I called Harada of America and spoke with a company representative about "re-producing" the masts. He knew of the antennas (an image of one is on their website) and allowed as how the company is still quite proud of them historically, as they were among the first retractable units. http://www.harada.com/en/innovation/history/1960.html#inner_contents He explained that a "reproduction" did not fit Harada's business model. A polite, but very firm "No." Then I sent a PM to Kats requesting he contact Harada in Japan---which he did and he posted the result. Another dead end. Contact with the right small Asian manufacturer of these telescoping tube mast assemblies could result in a reproduction that is exact and affordable.3 points
-
 2 pointsAlmost finished. Still looking for proper material for drain tube. I hope member is happy with the results. It was great to have the products from rubberparts.com available for this project.
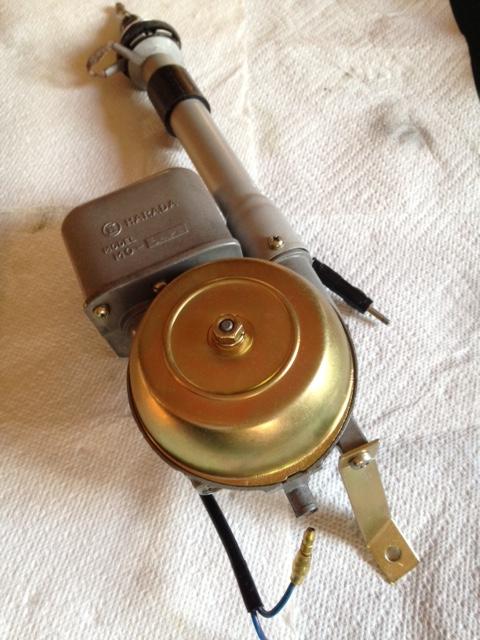

 2 points
 -
2 pointsNo, no. The pin or needle on the valve rides on the hump of the metal bracket on the float. The lower the float the longer the pin the more fuel flows in. When the bowl is full of fuel it "floats" the float pushing the pin in; shorter. Shuts the valve, no fuel enters. If I had time and patience I could photograph the workings of the float with the needle valve BUT YOU HAVE A DVD THAT EXPLAINS IT ALL. Please watch it, in slow motion if need be. I watched it 3 times before I ever turned a screw to rebuild mine. It's all right in front of you, you've got tunnel vision. Nothing you buy will make this simple, it's a tedious task that takes time. You have to get the baseline measurement first, either the clear tube (cheaper) or the sight glasses (not so cheap). Think this through, write down a plan and stick to it. You are bouncing all over this simple but very important task. Focus on the plan. To fix a running toilet you simply bend the rod going to the float. Same thing with your carbs. Watch the DVD please. I'm getting bored repeating myself. If I want to do that I'll get a girl over here. At least I eat good and get a cold sore.2 points
-
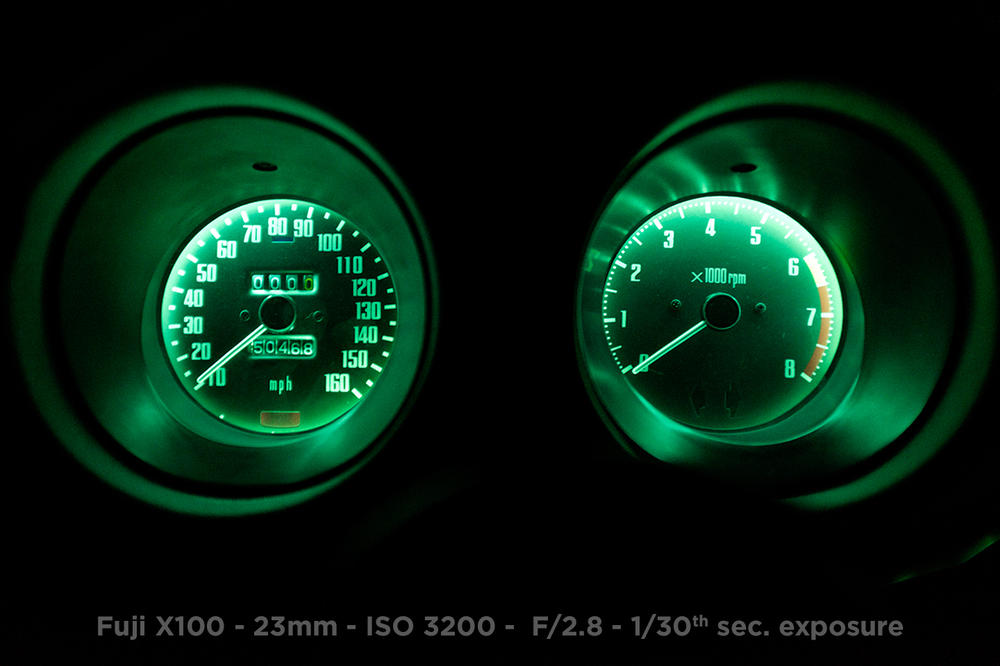
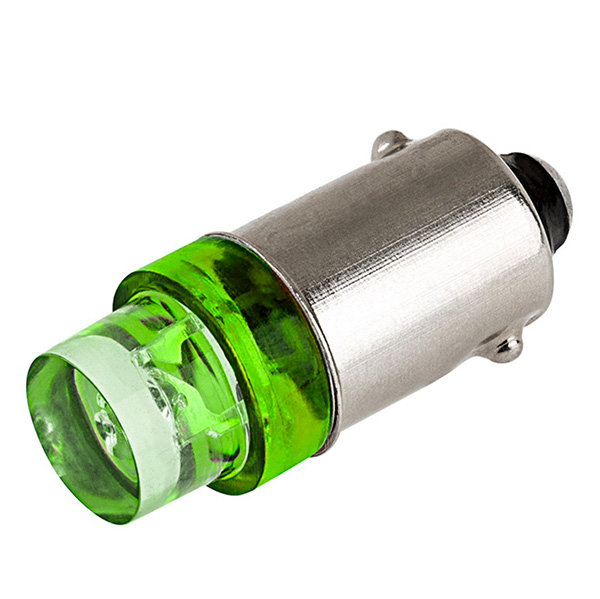
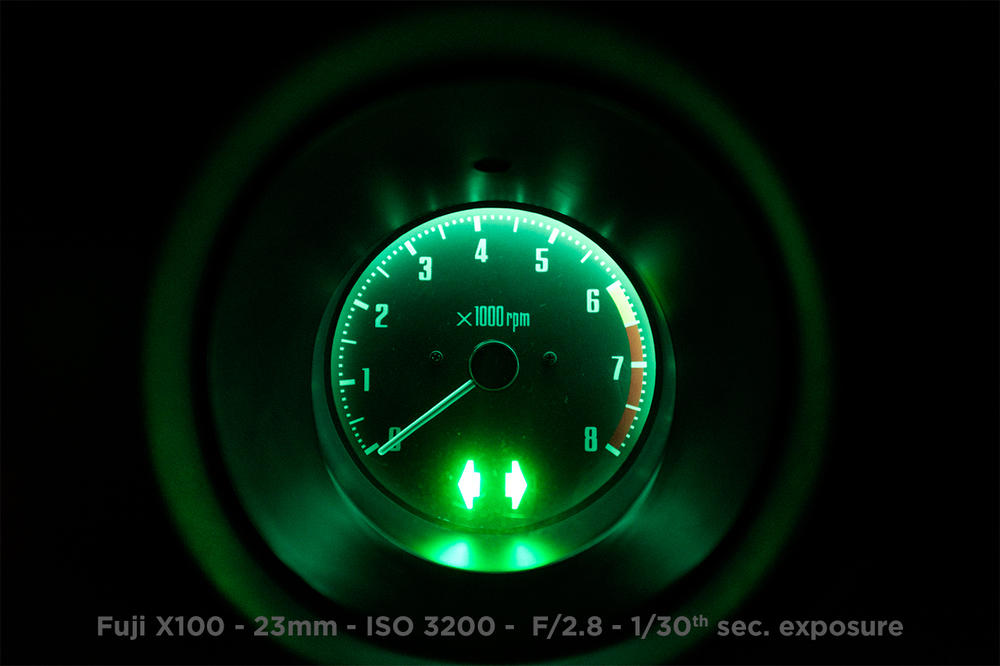
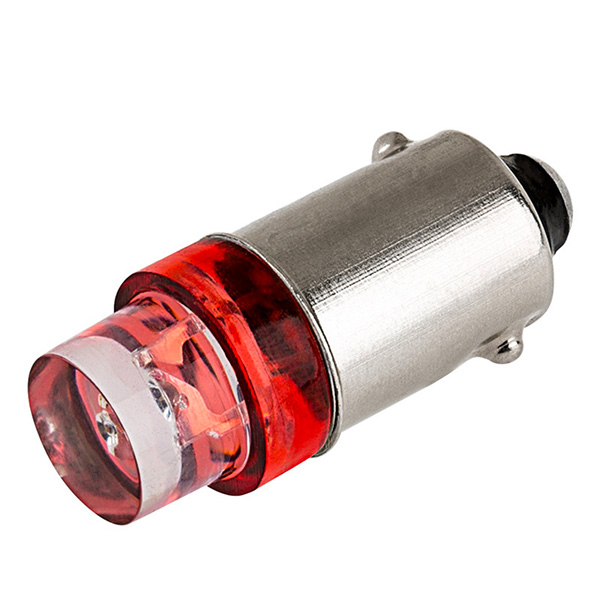
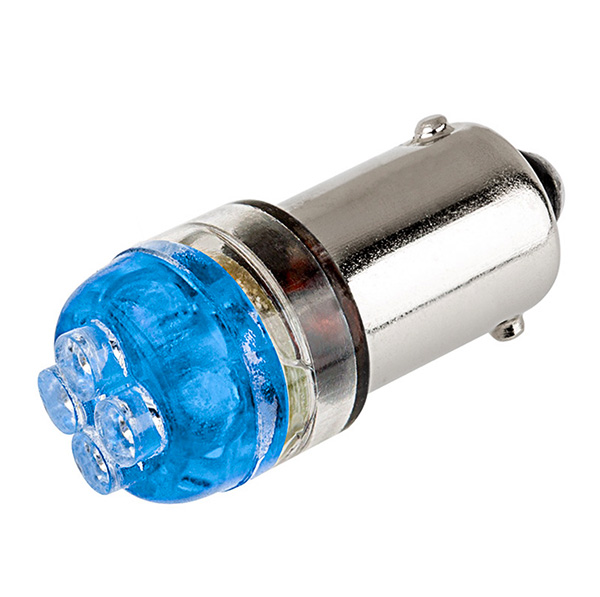
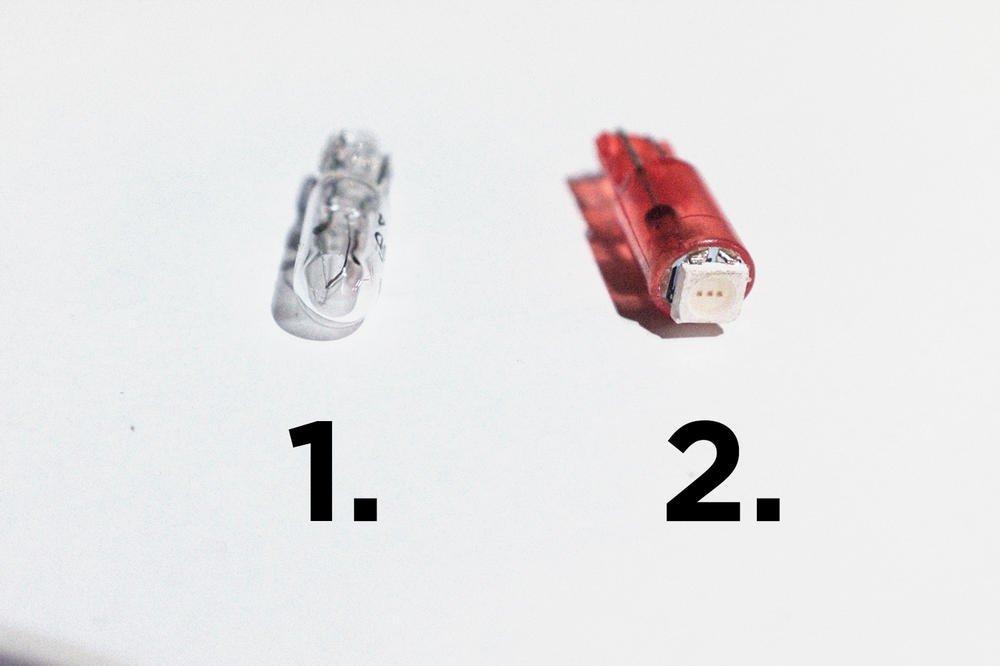
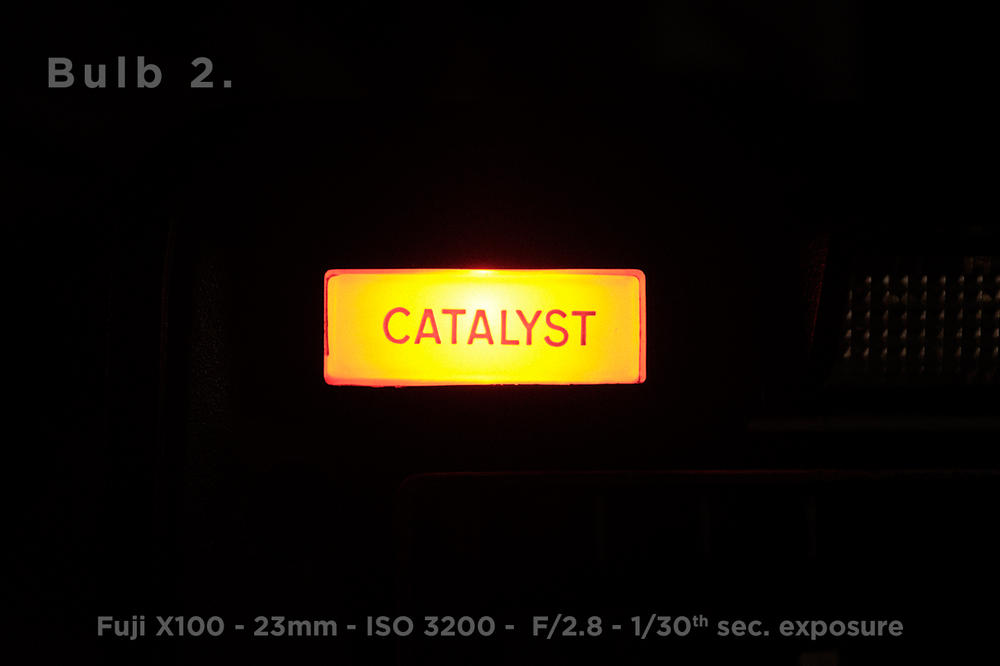
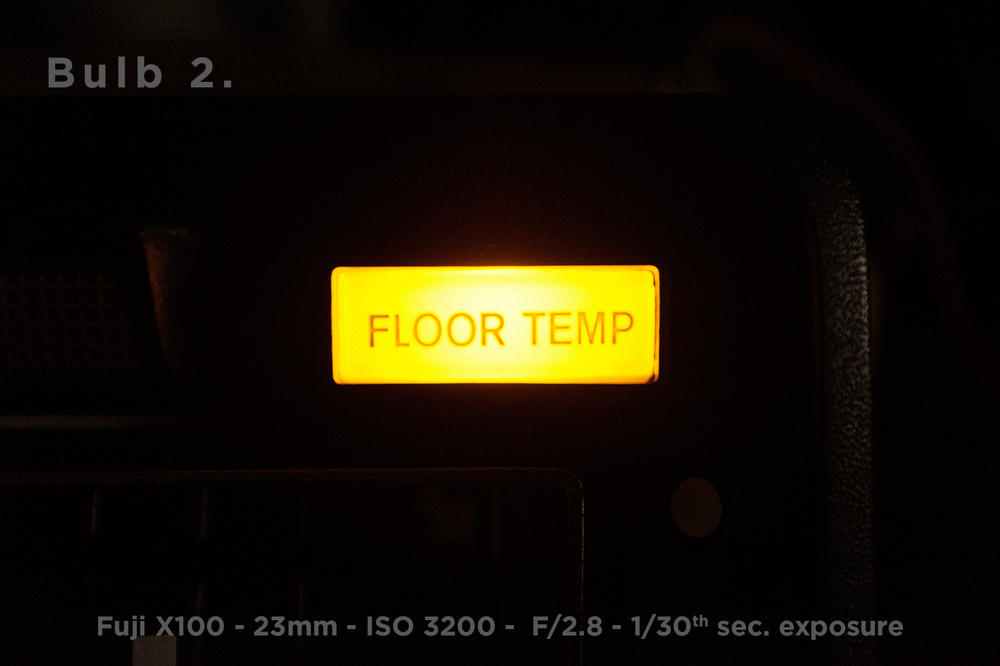
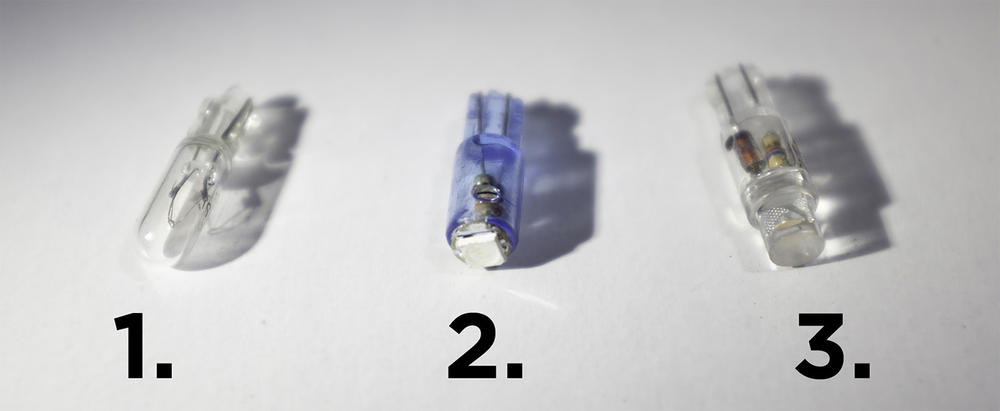
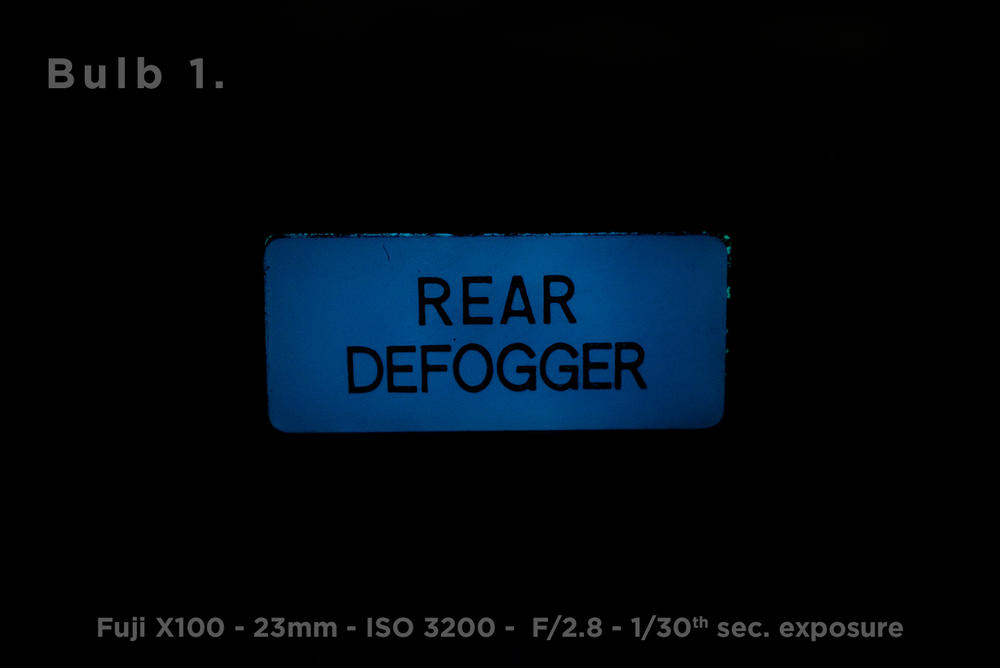
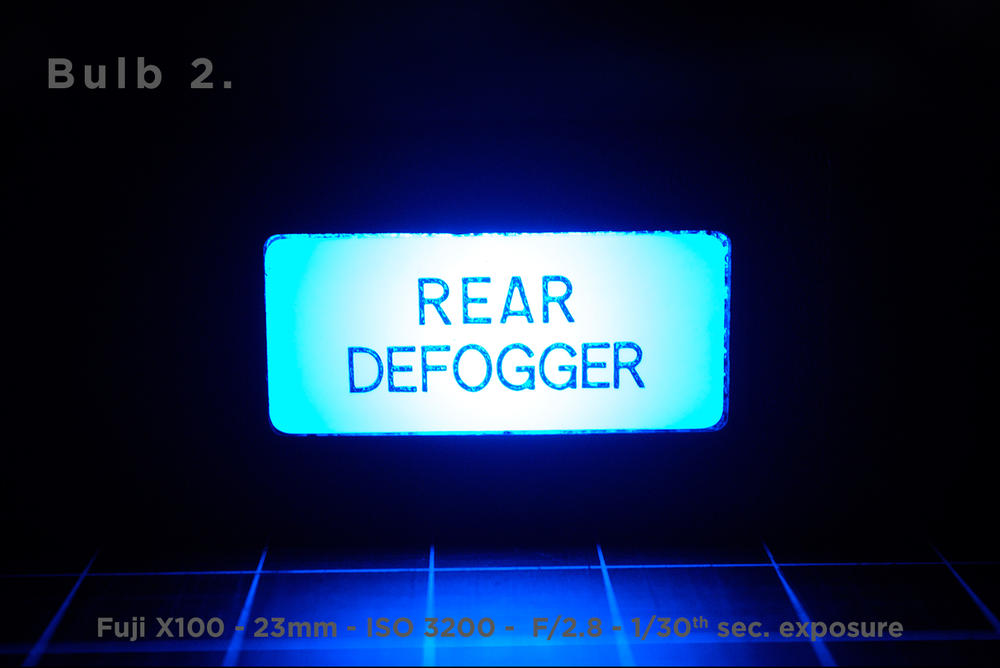
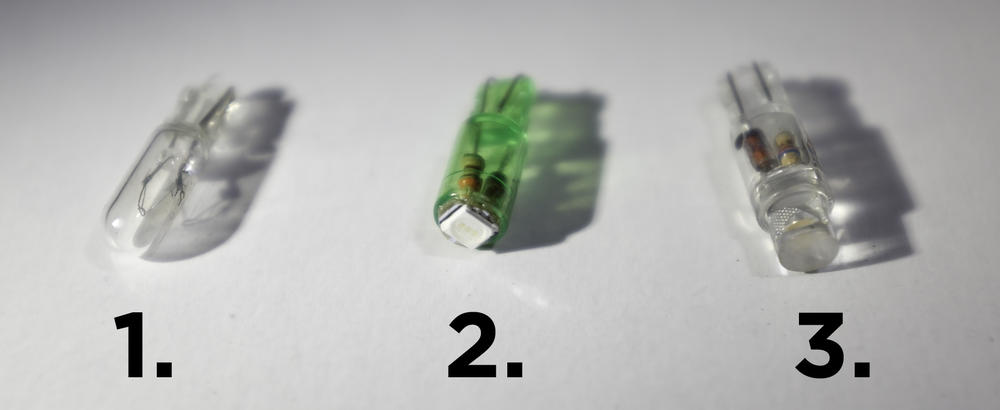
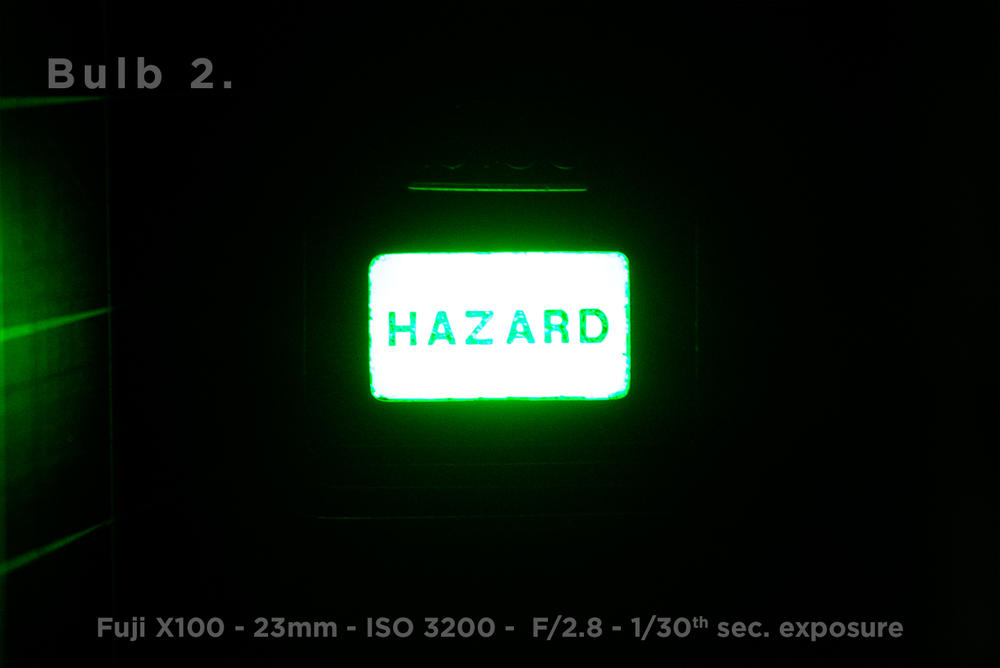
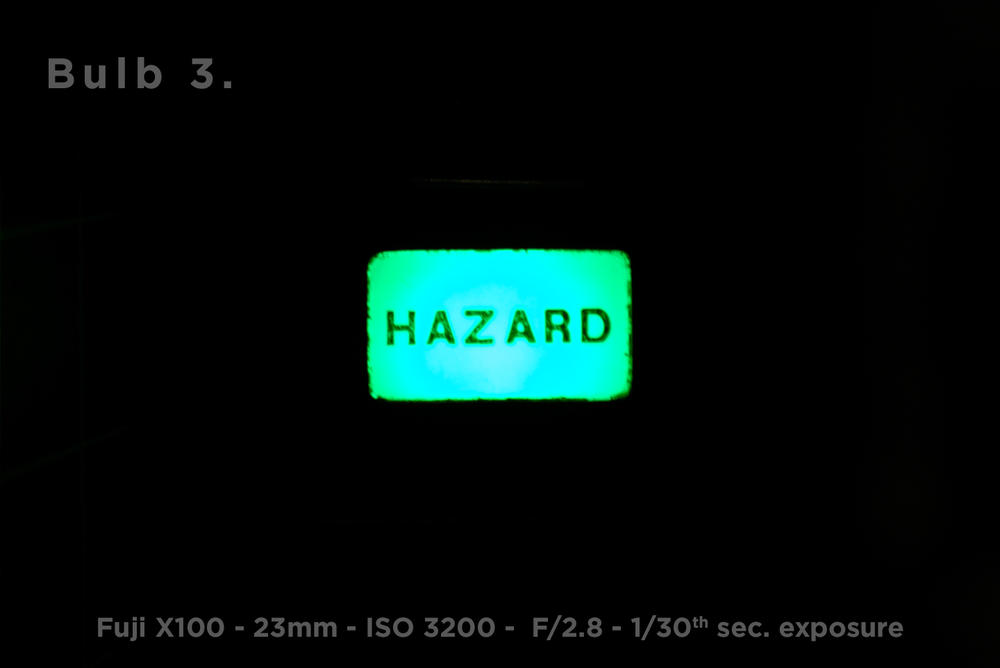
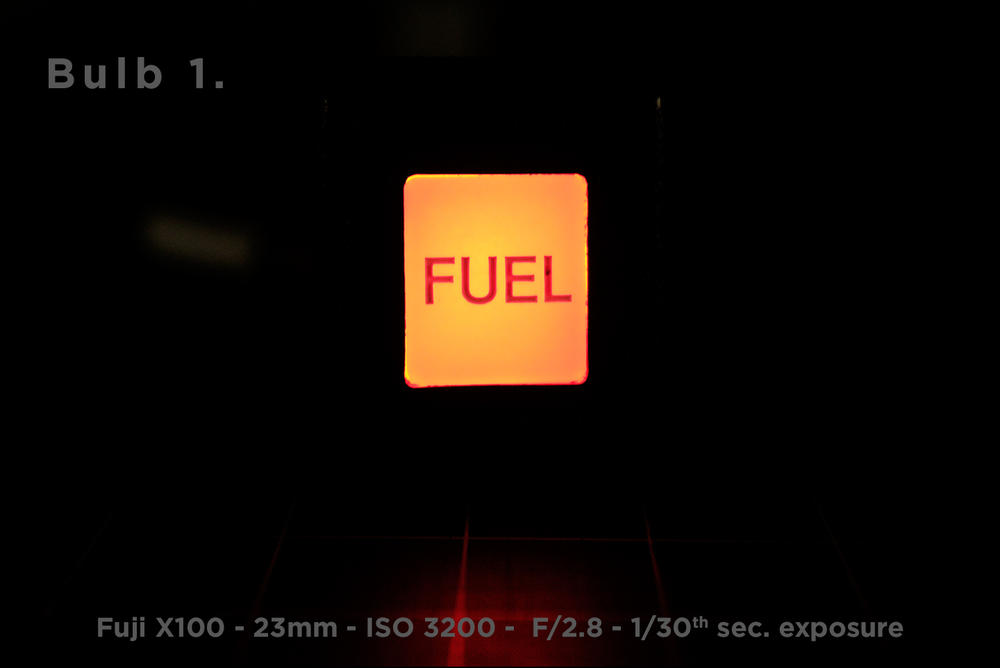
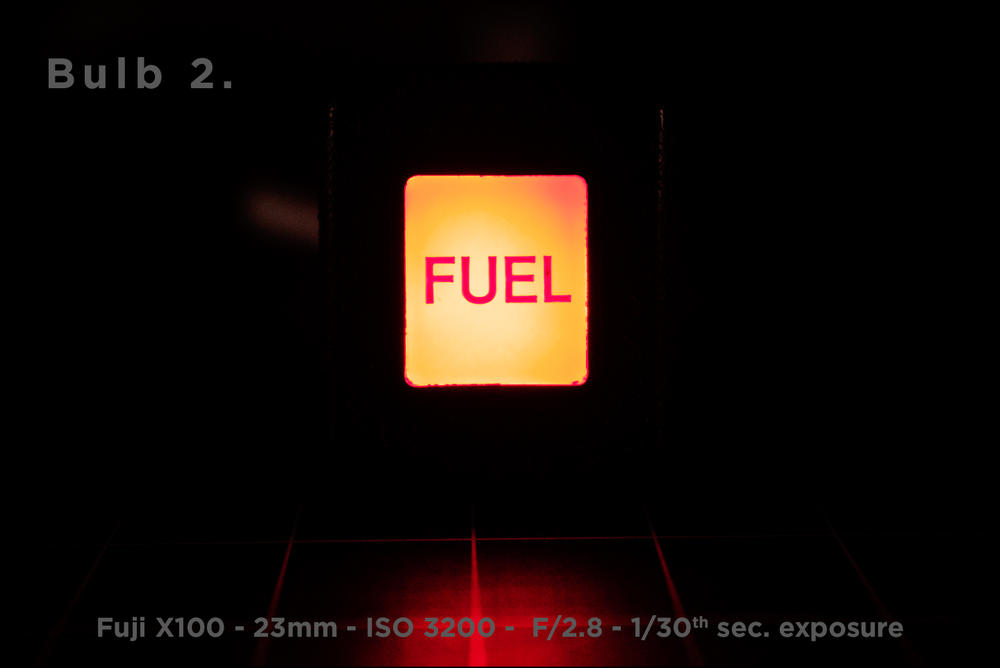
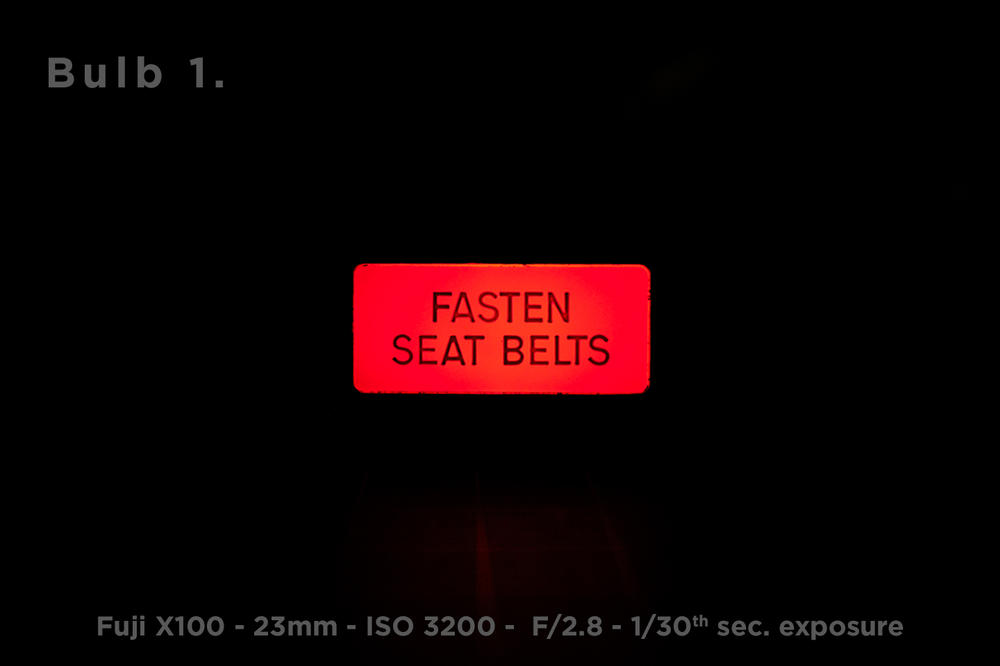
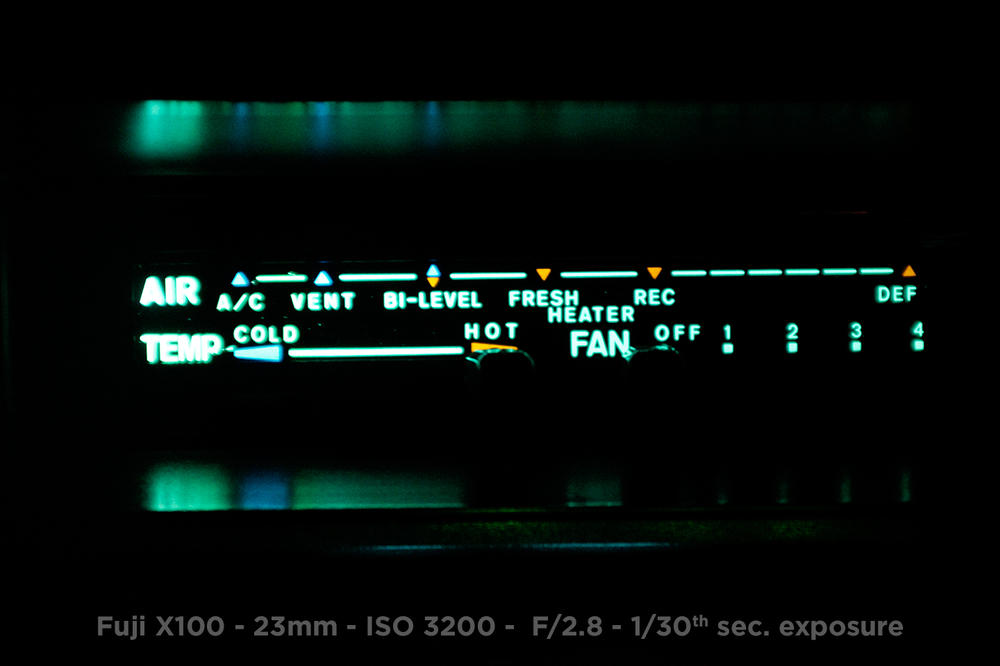
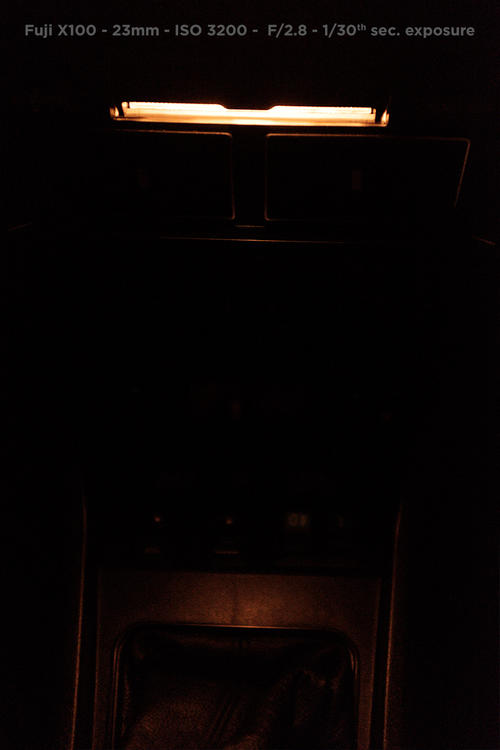
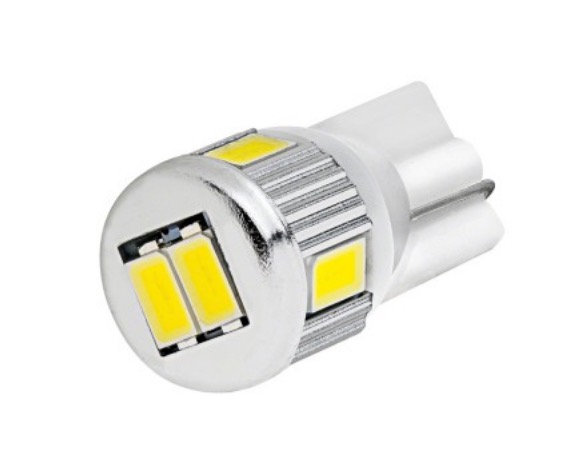
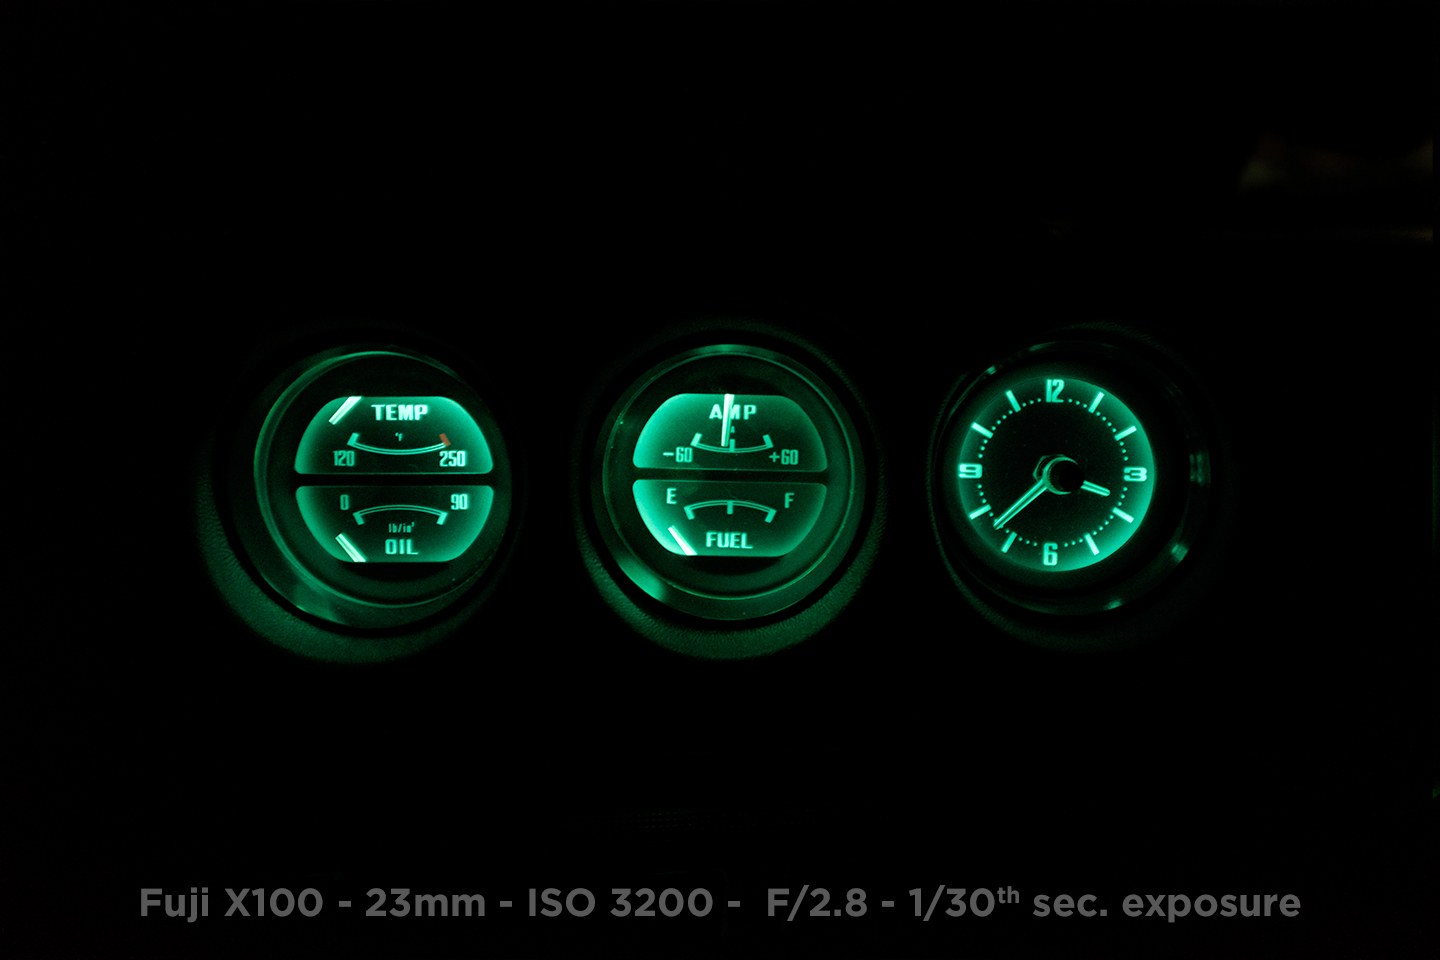
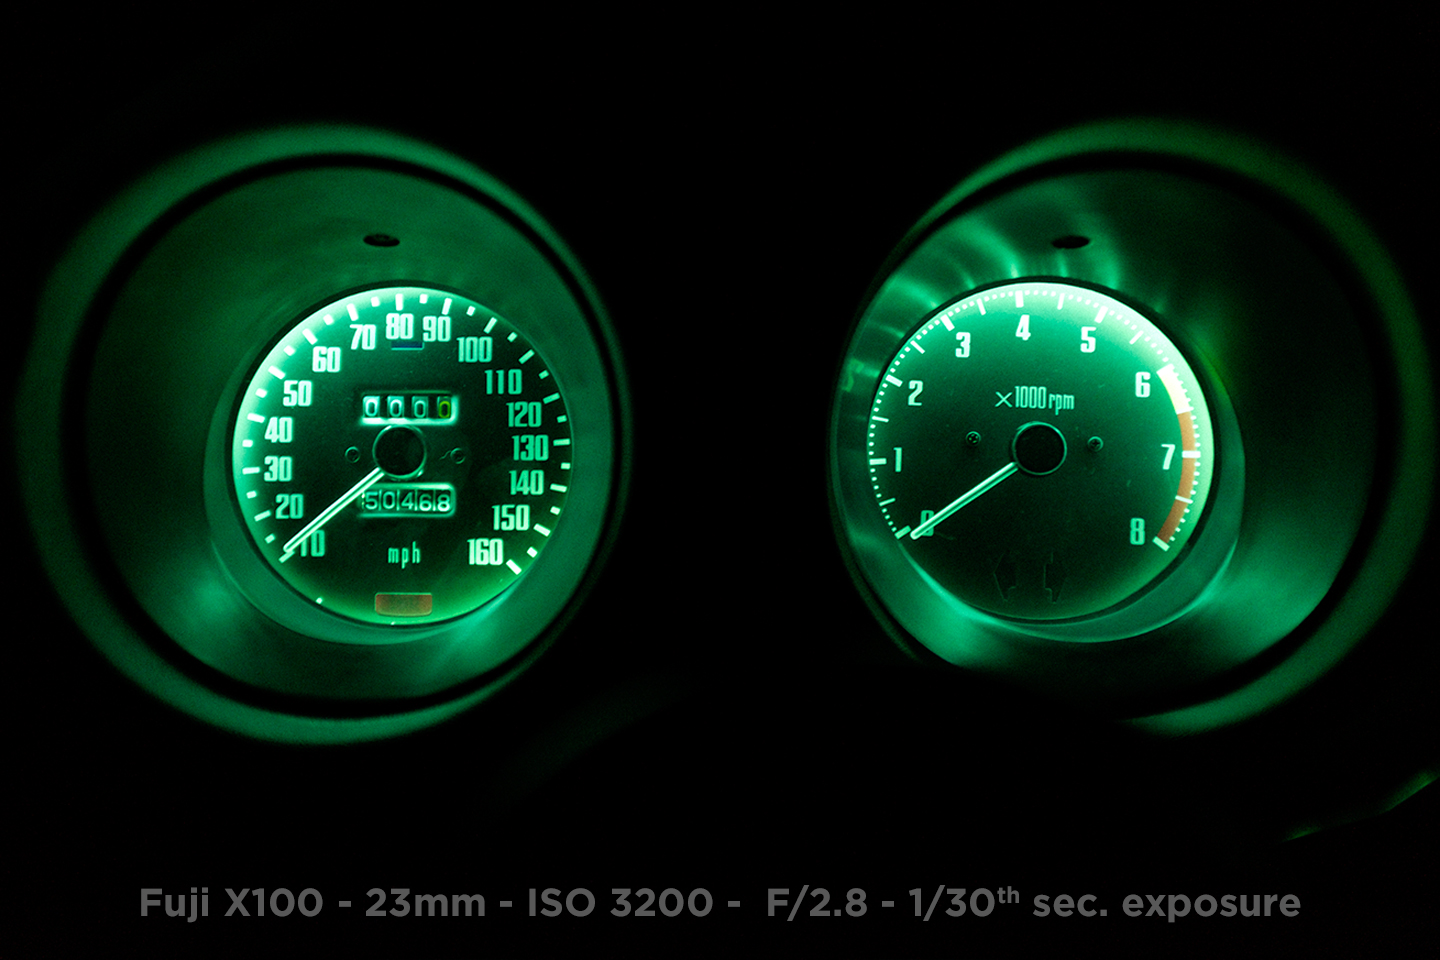
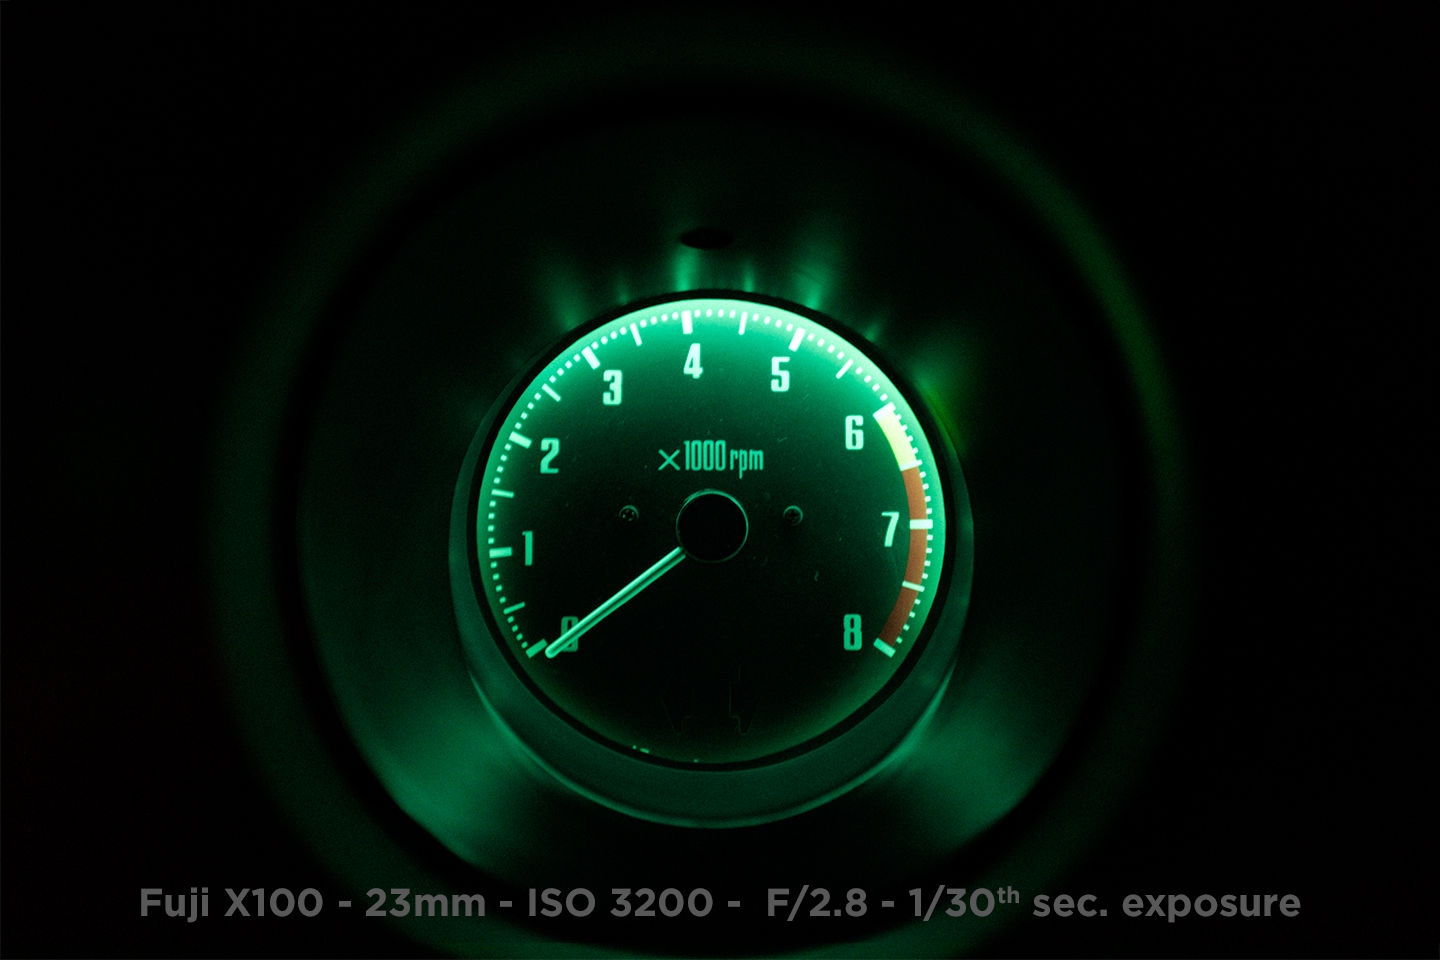
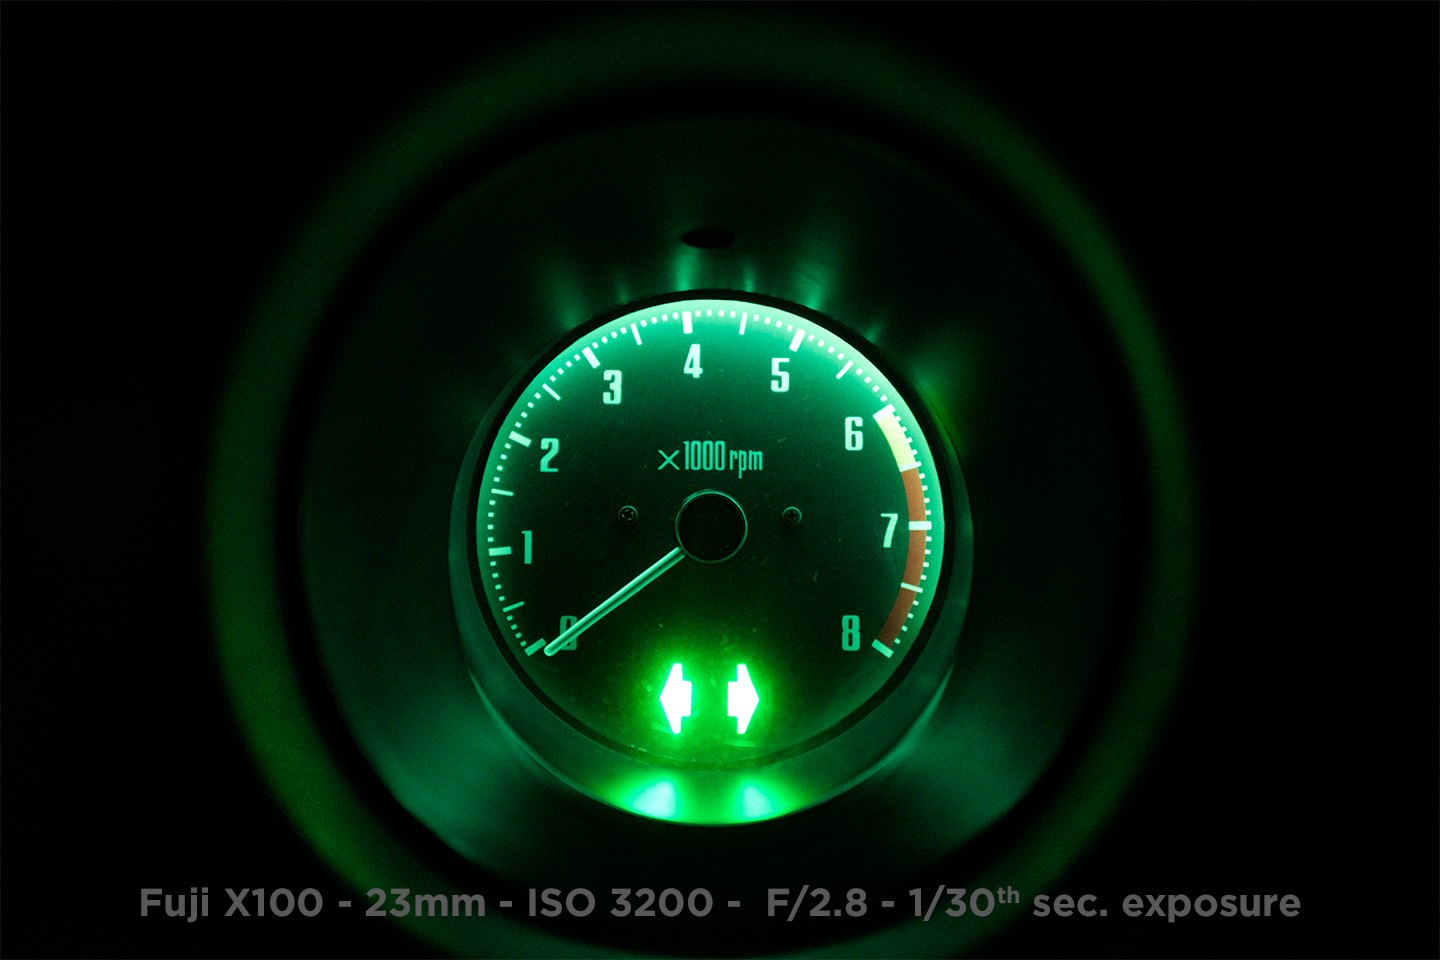
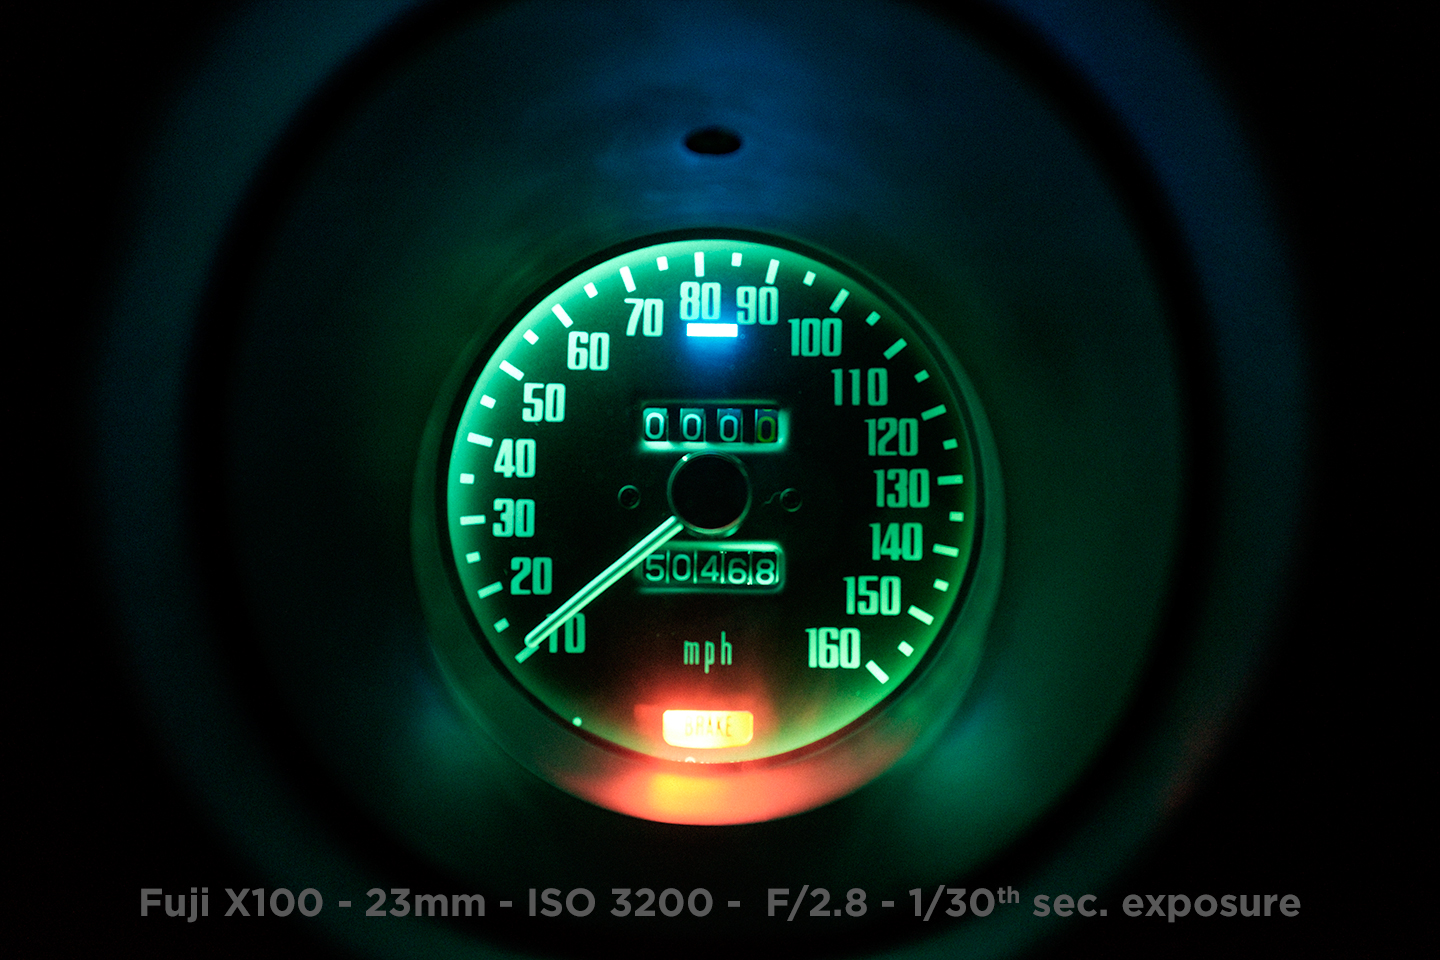
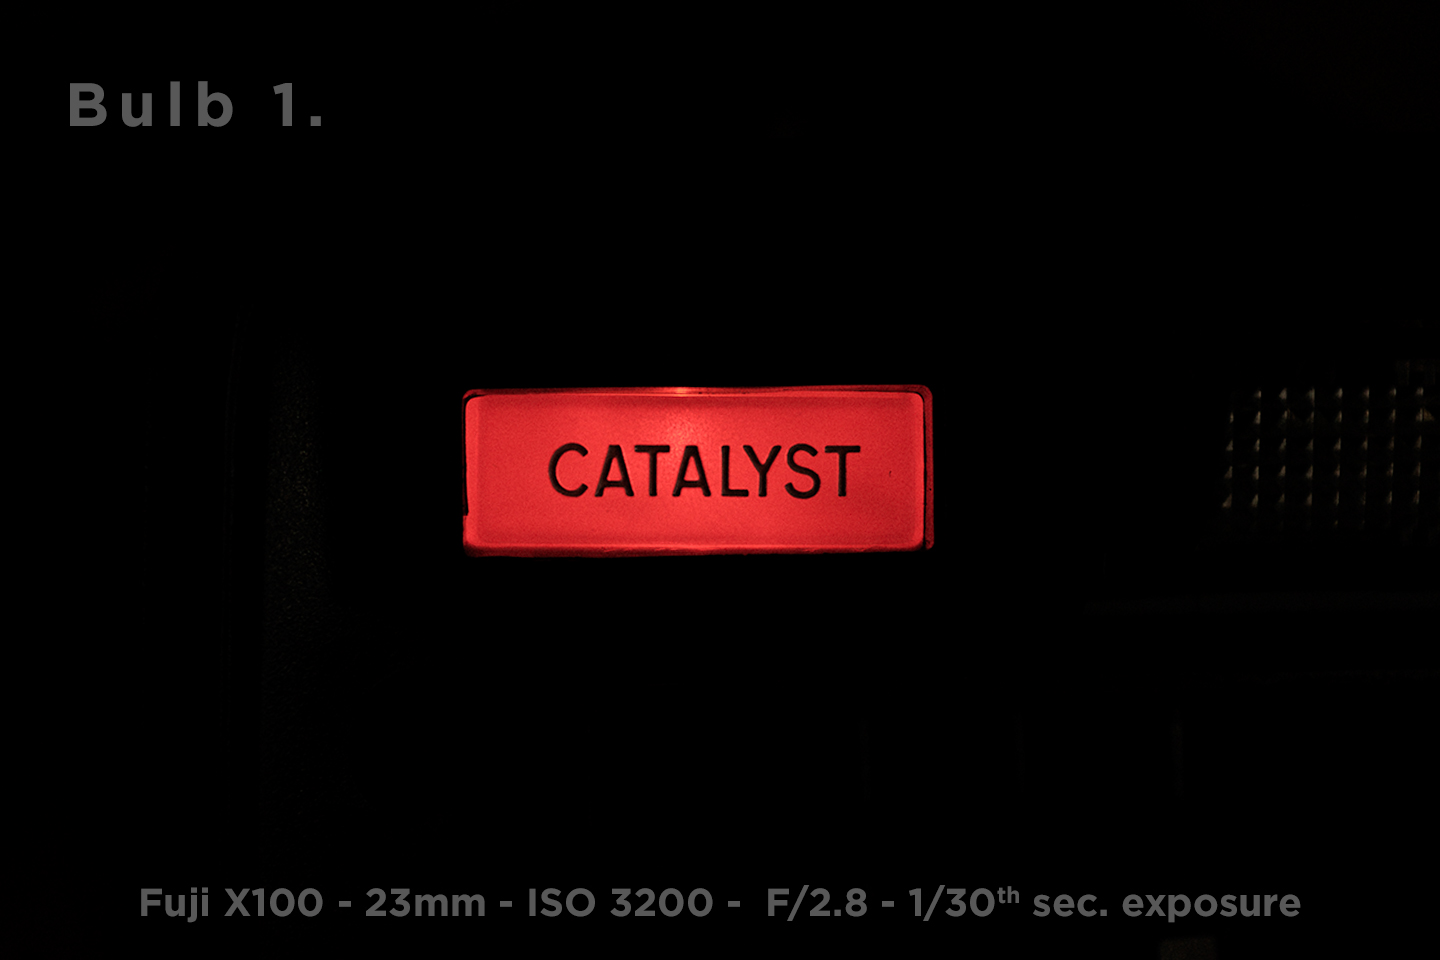
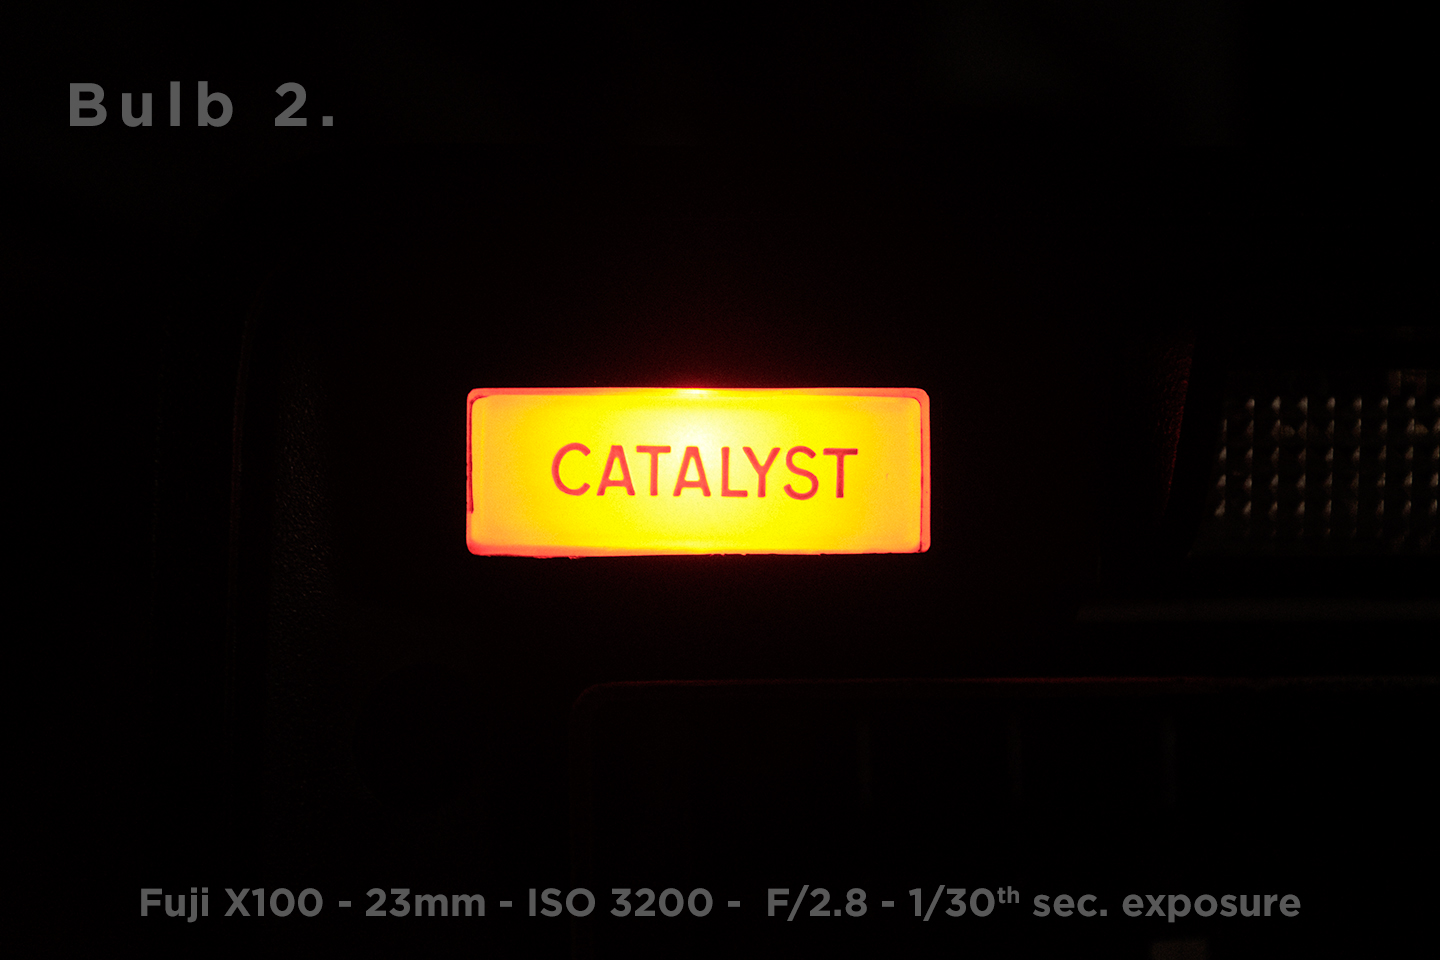
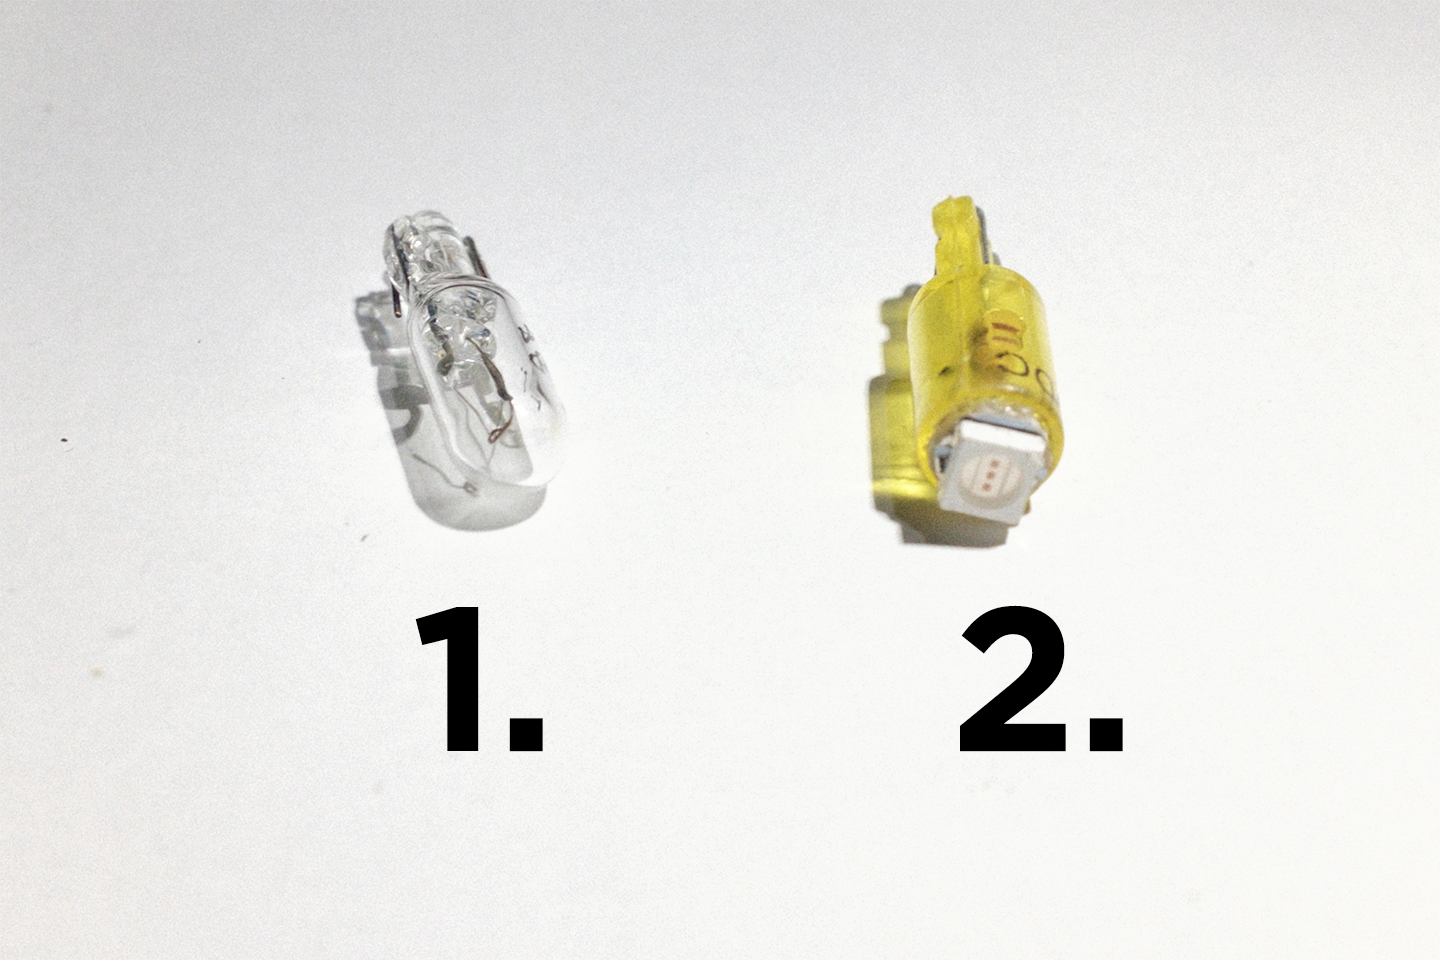
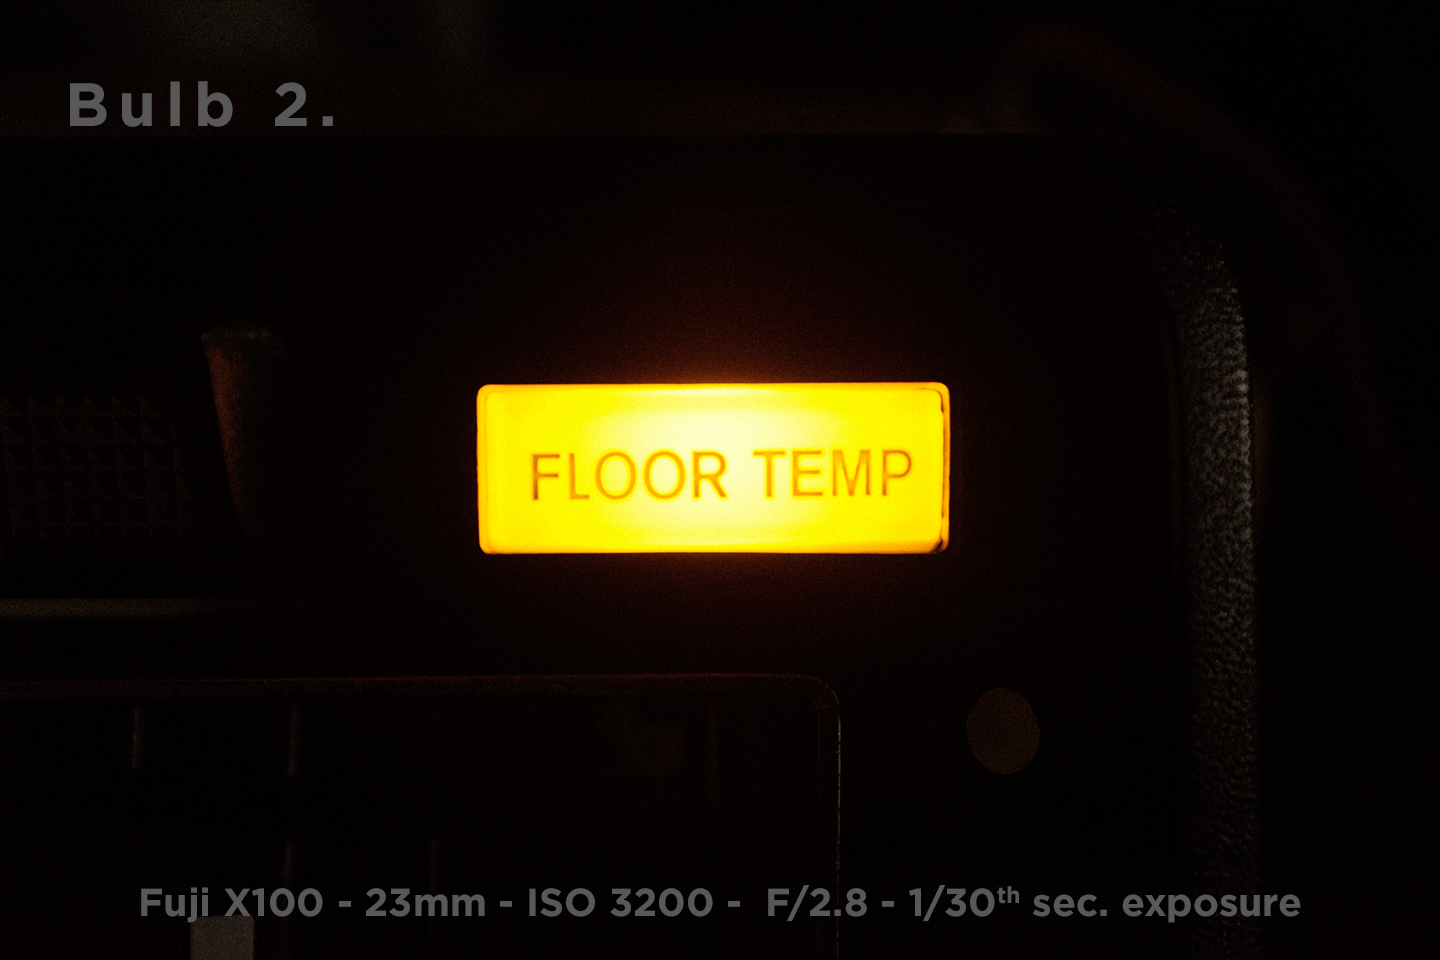
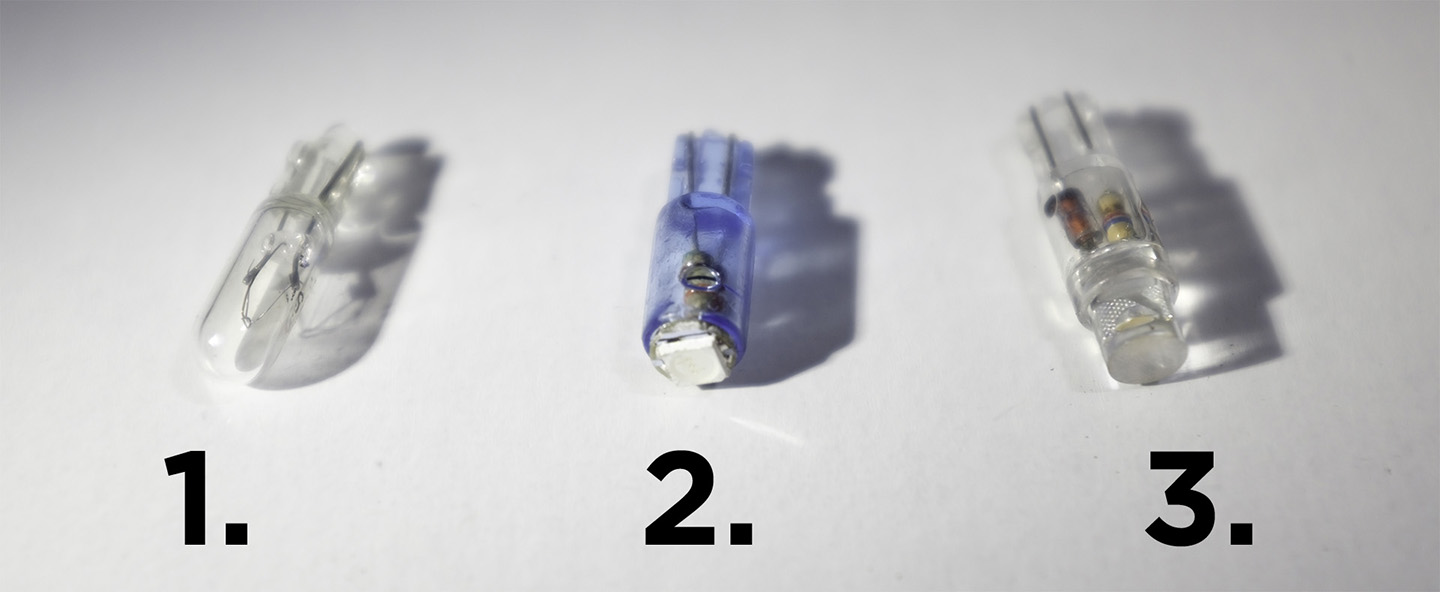
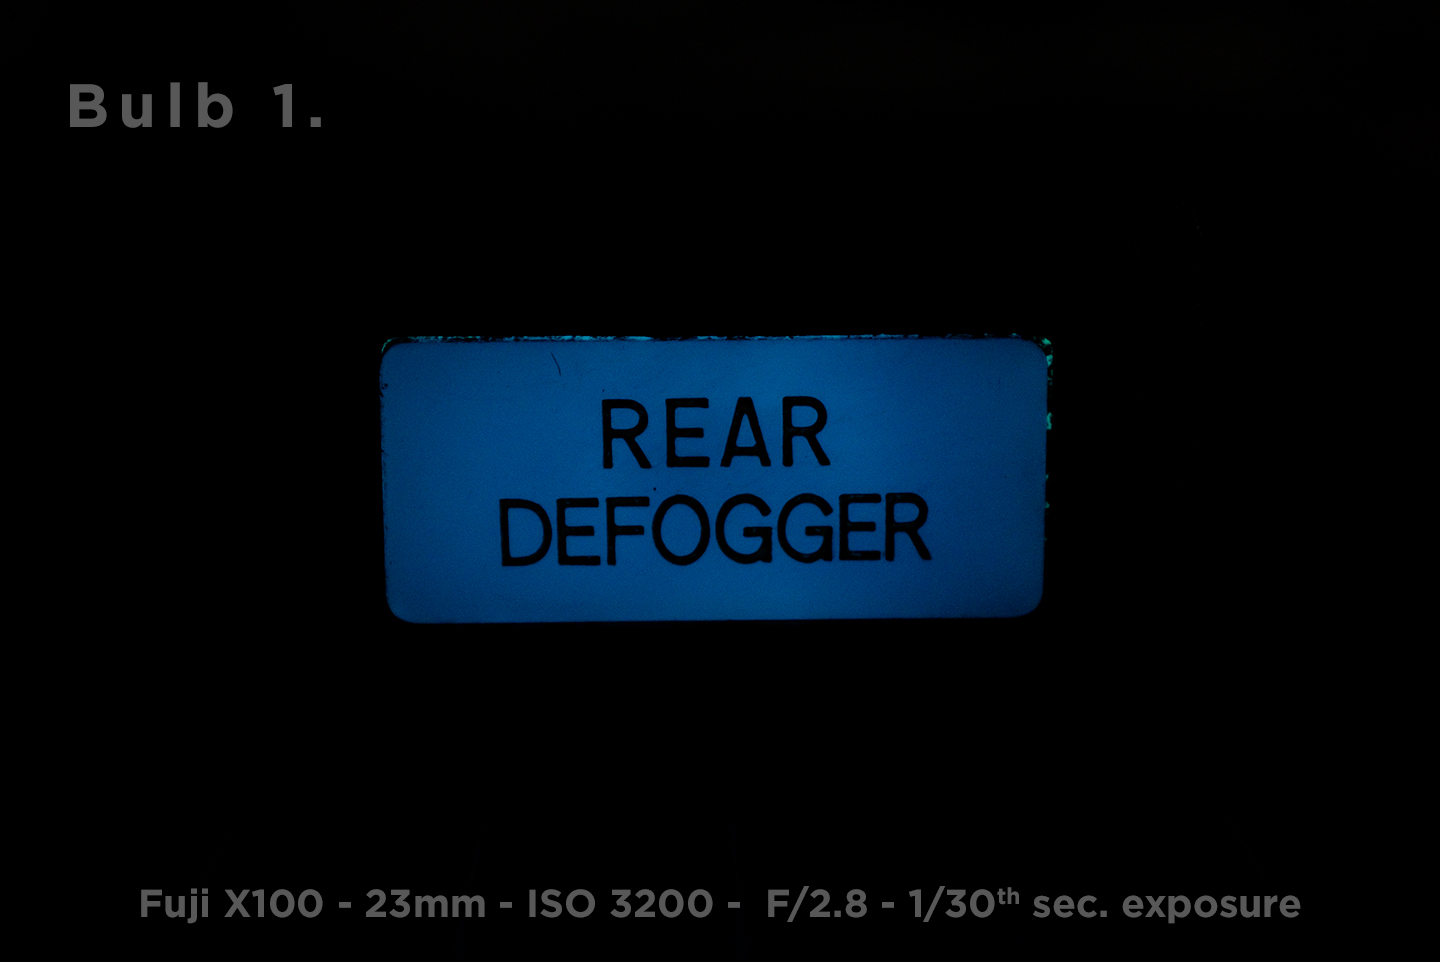
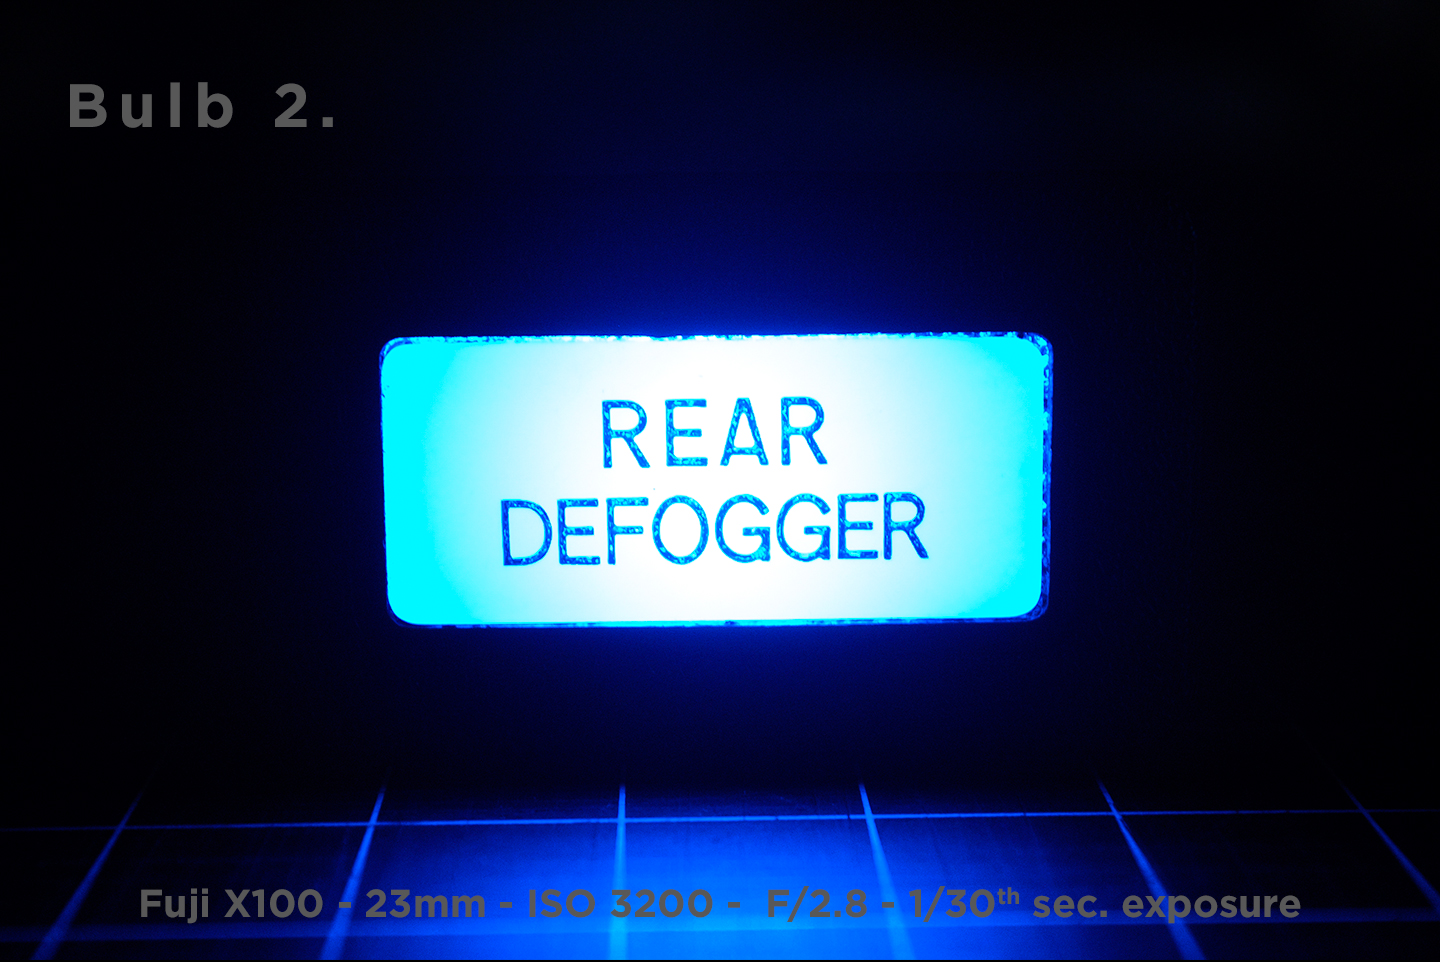
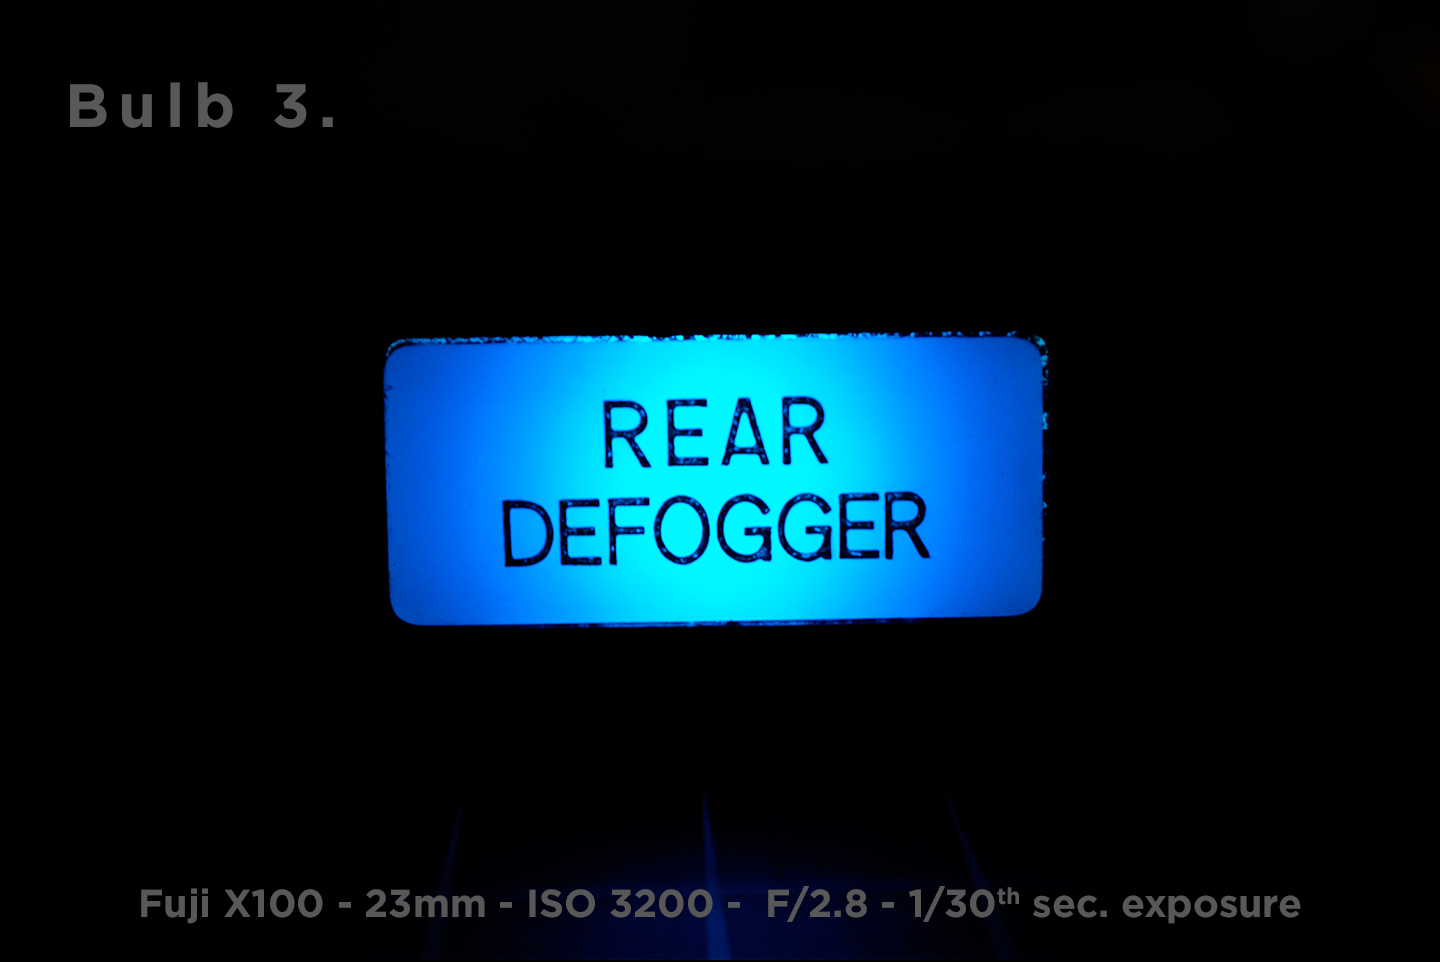
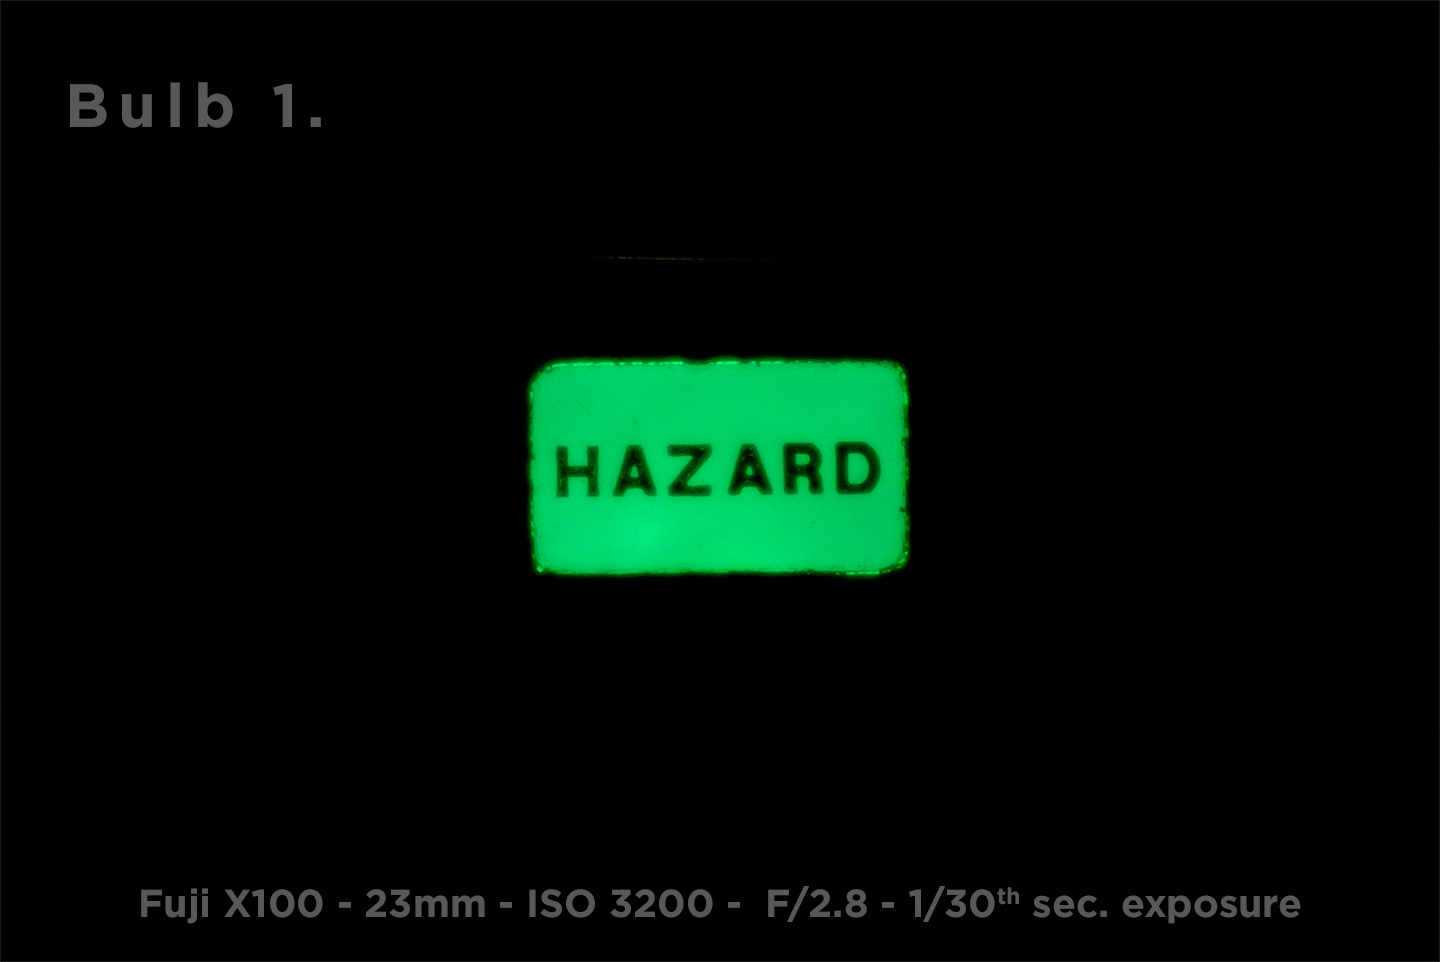
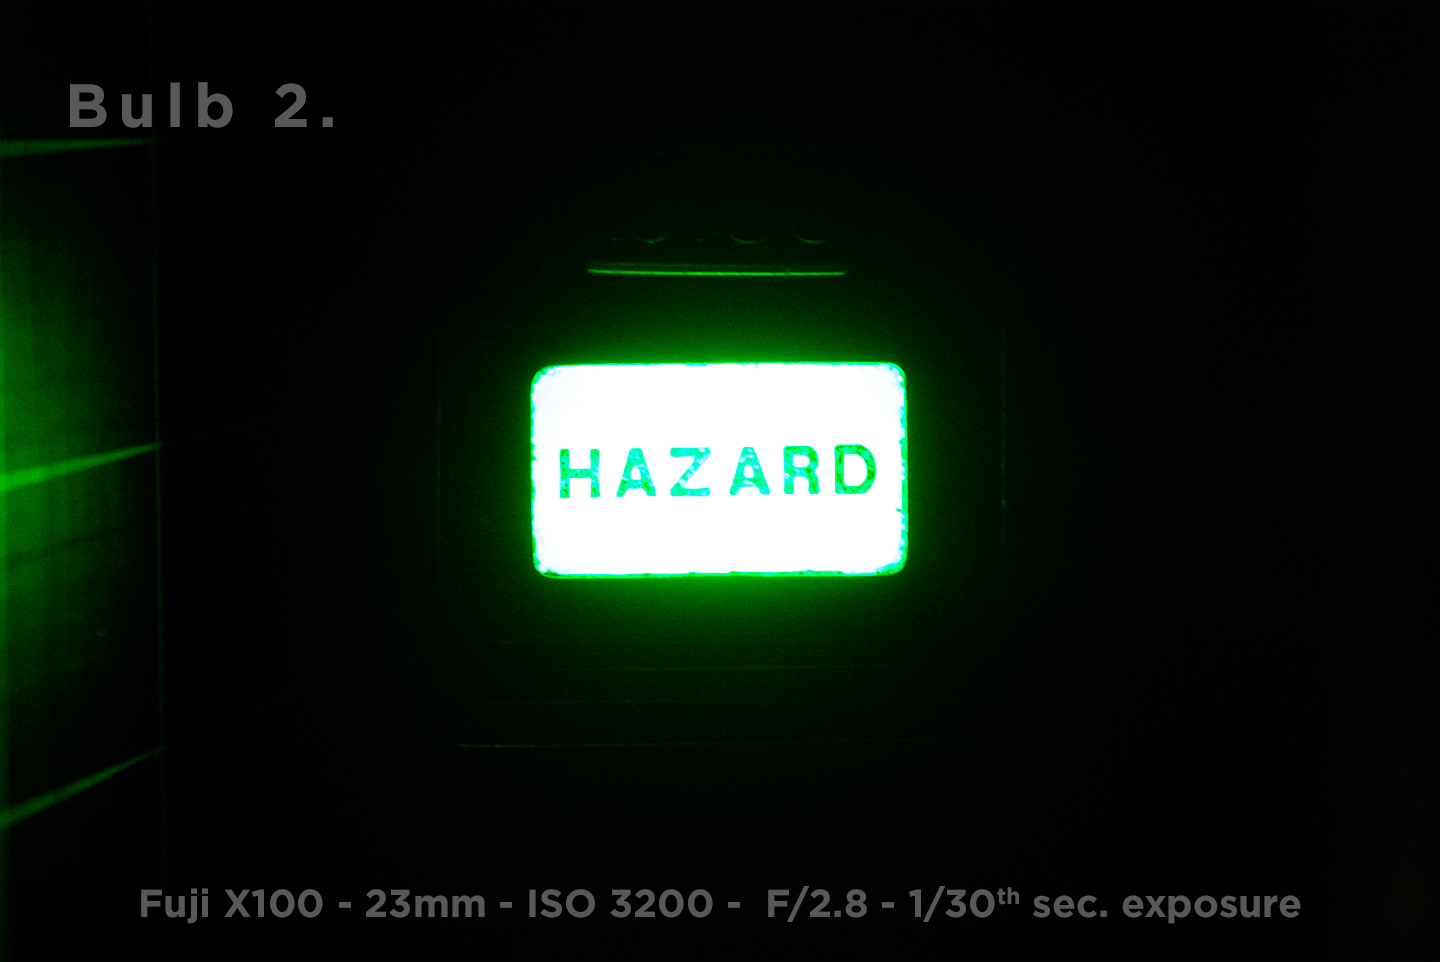
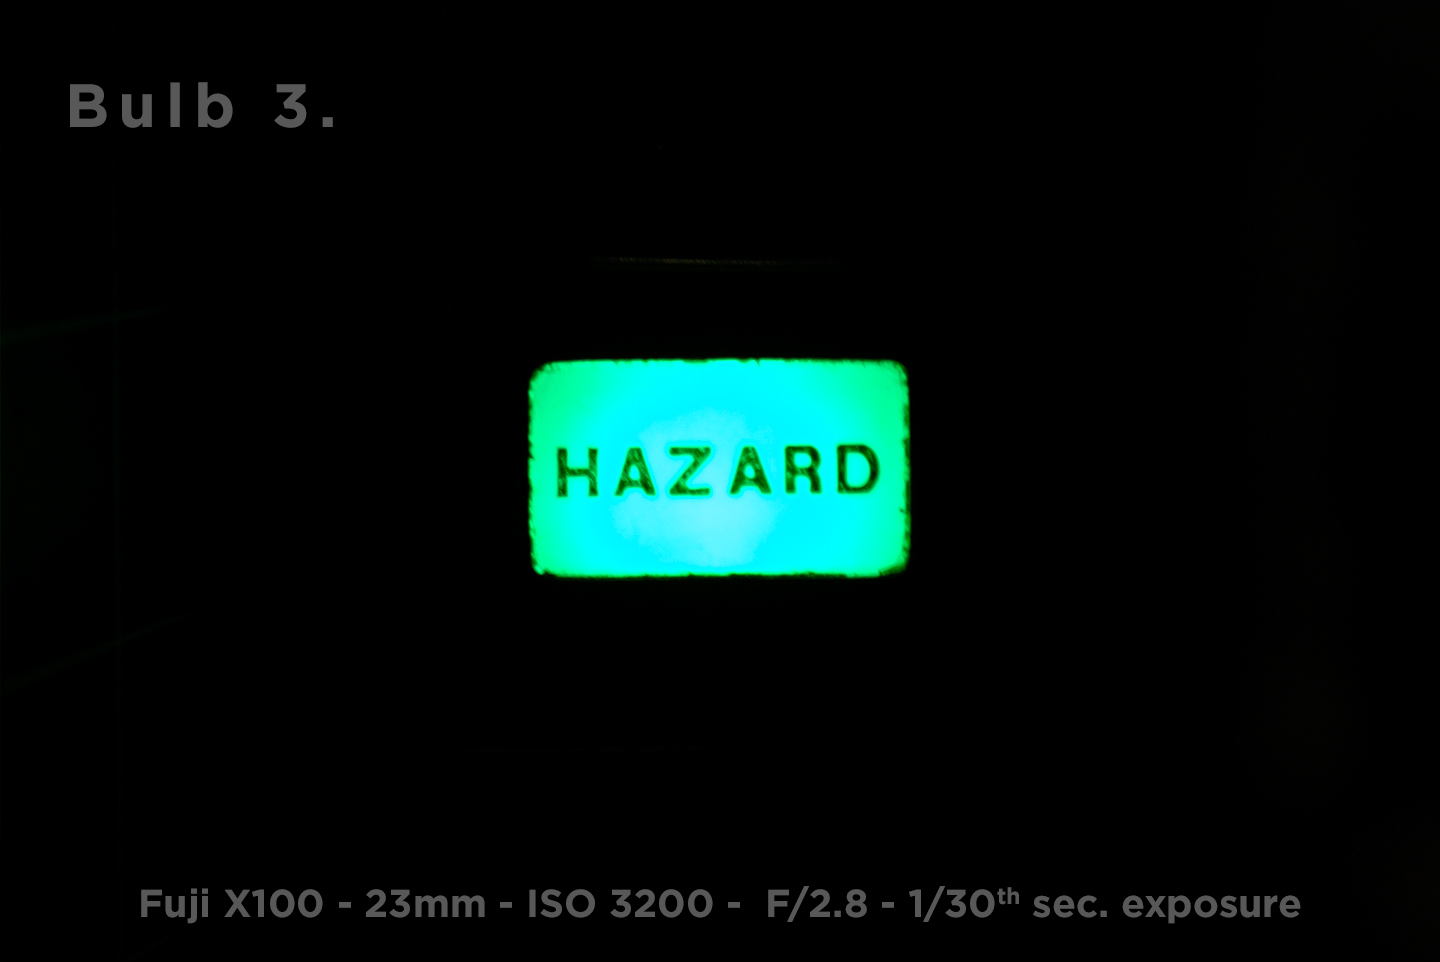
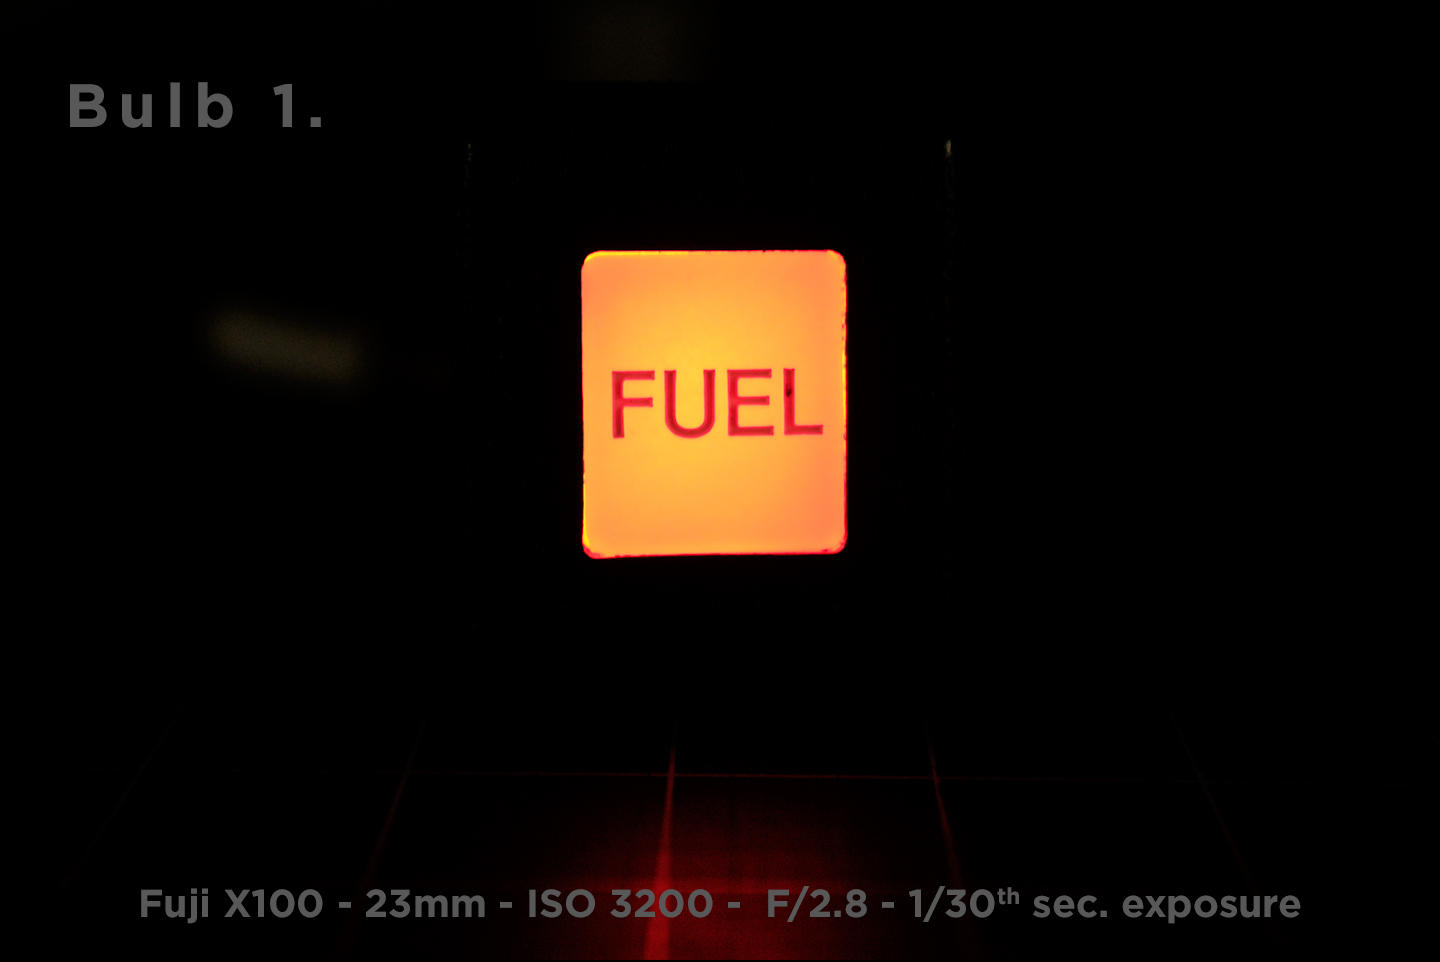
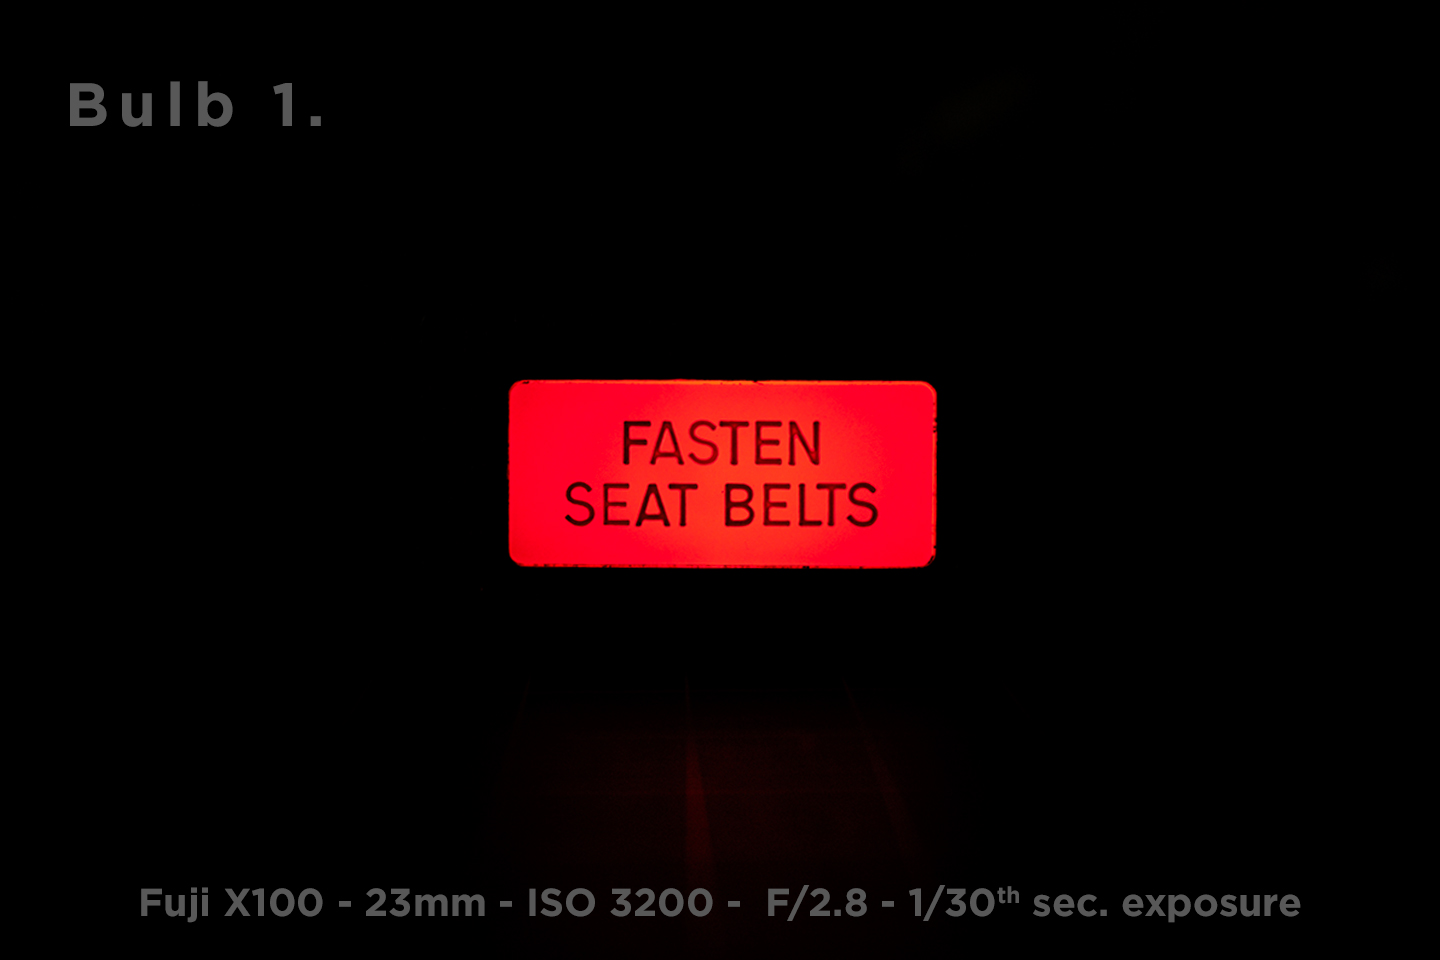
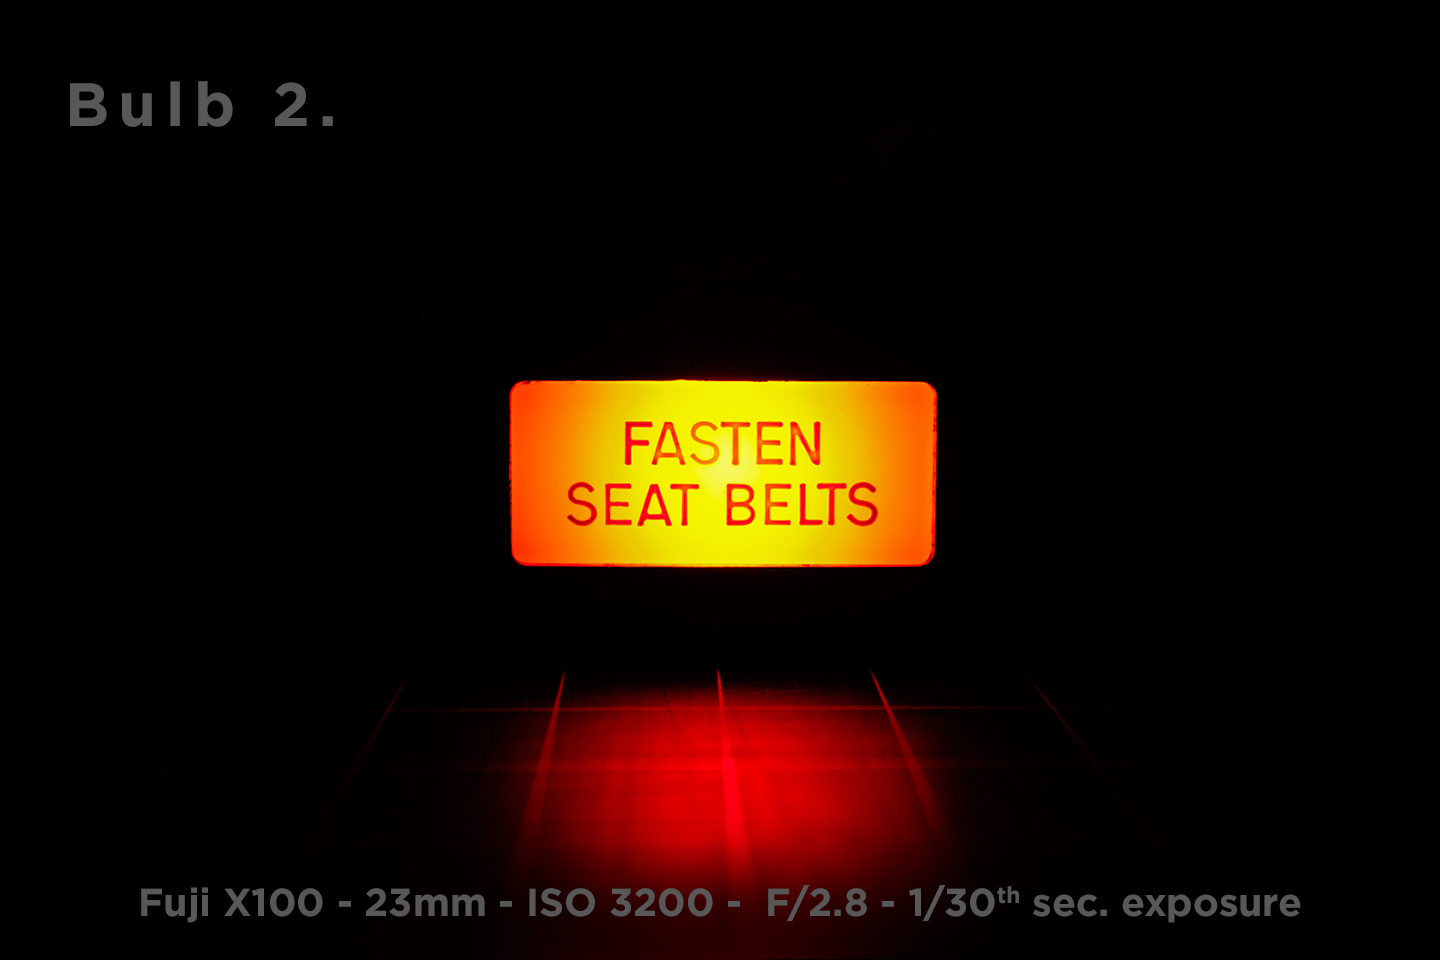
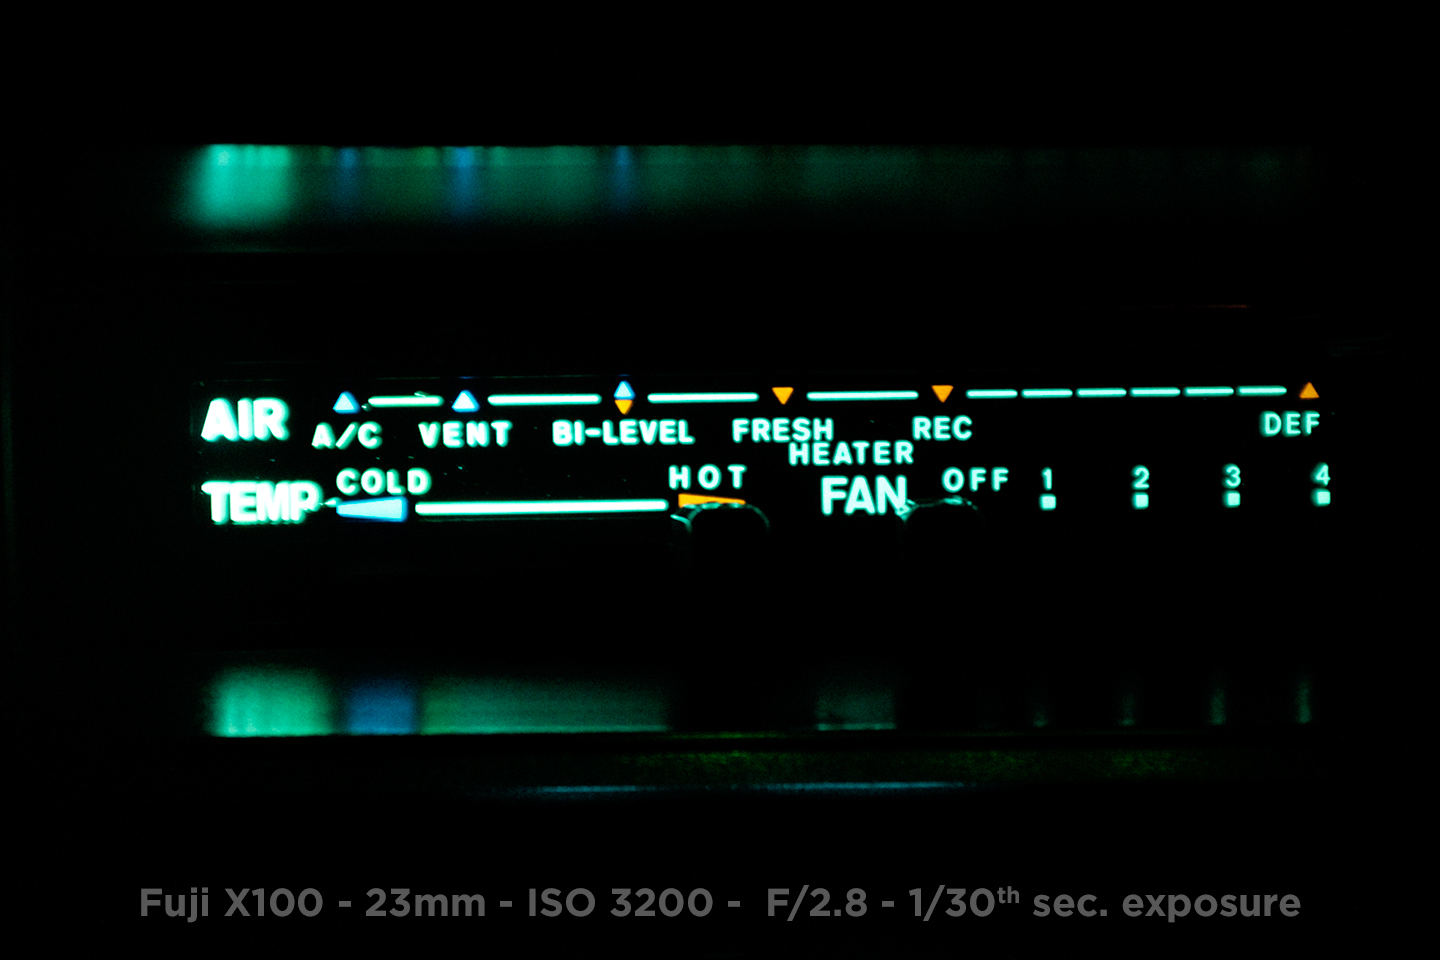
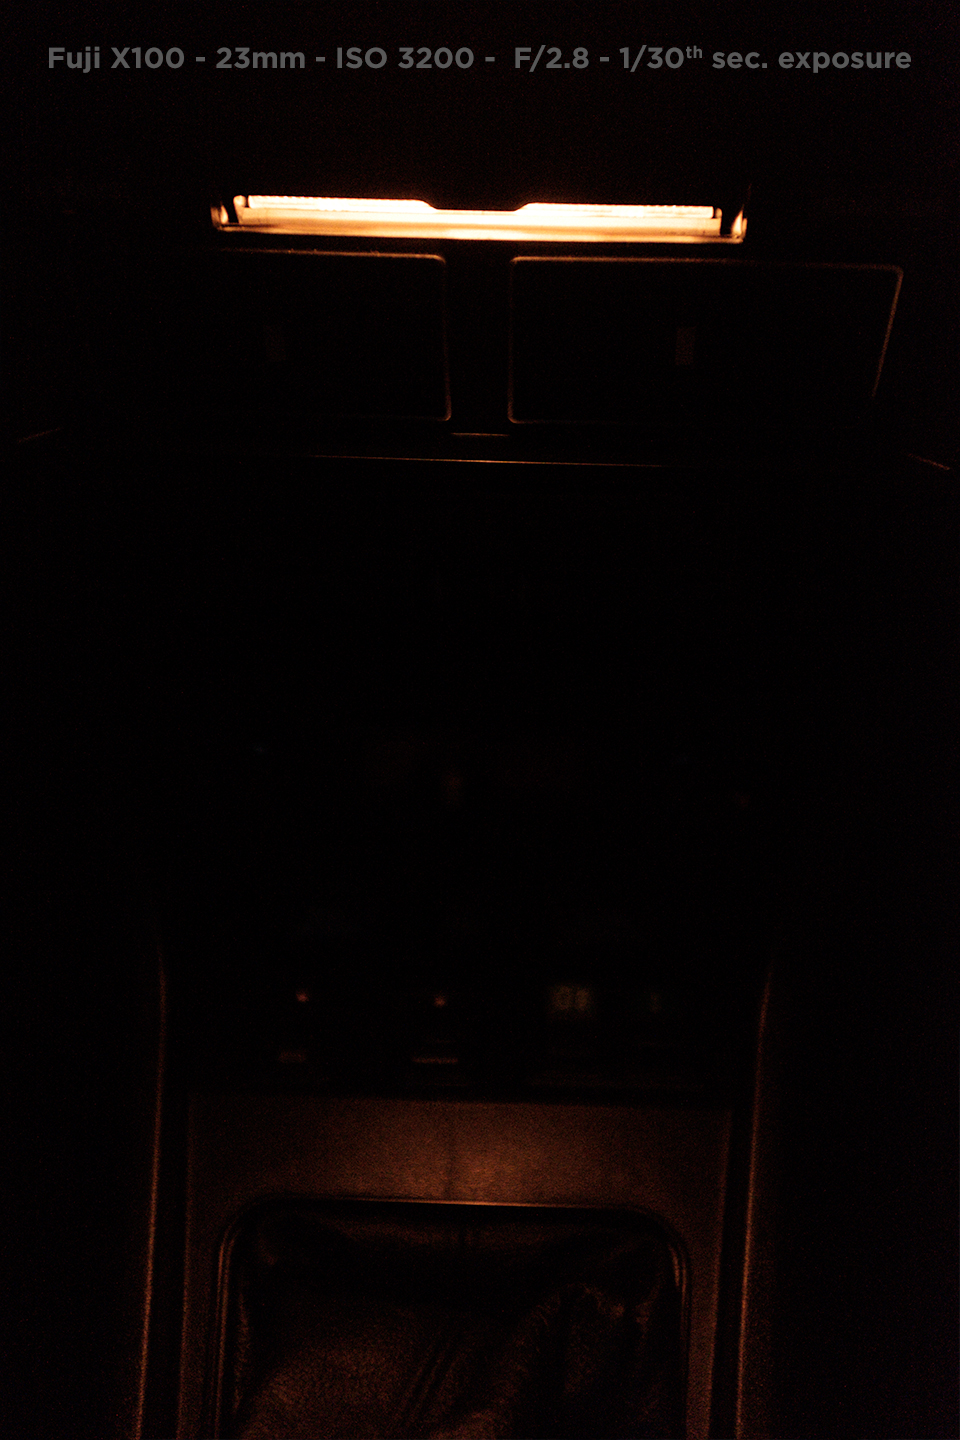
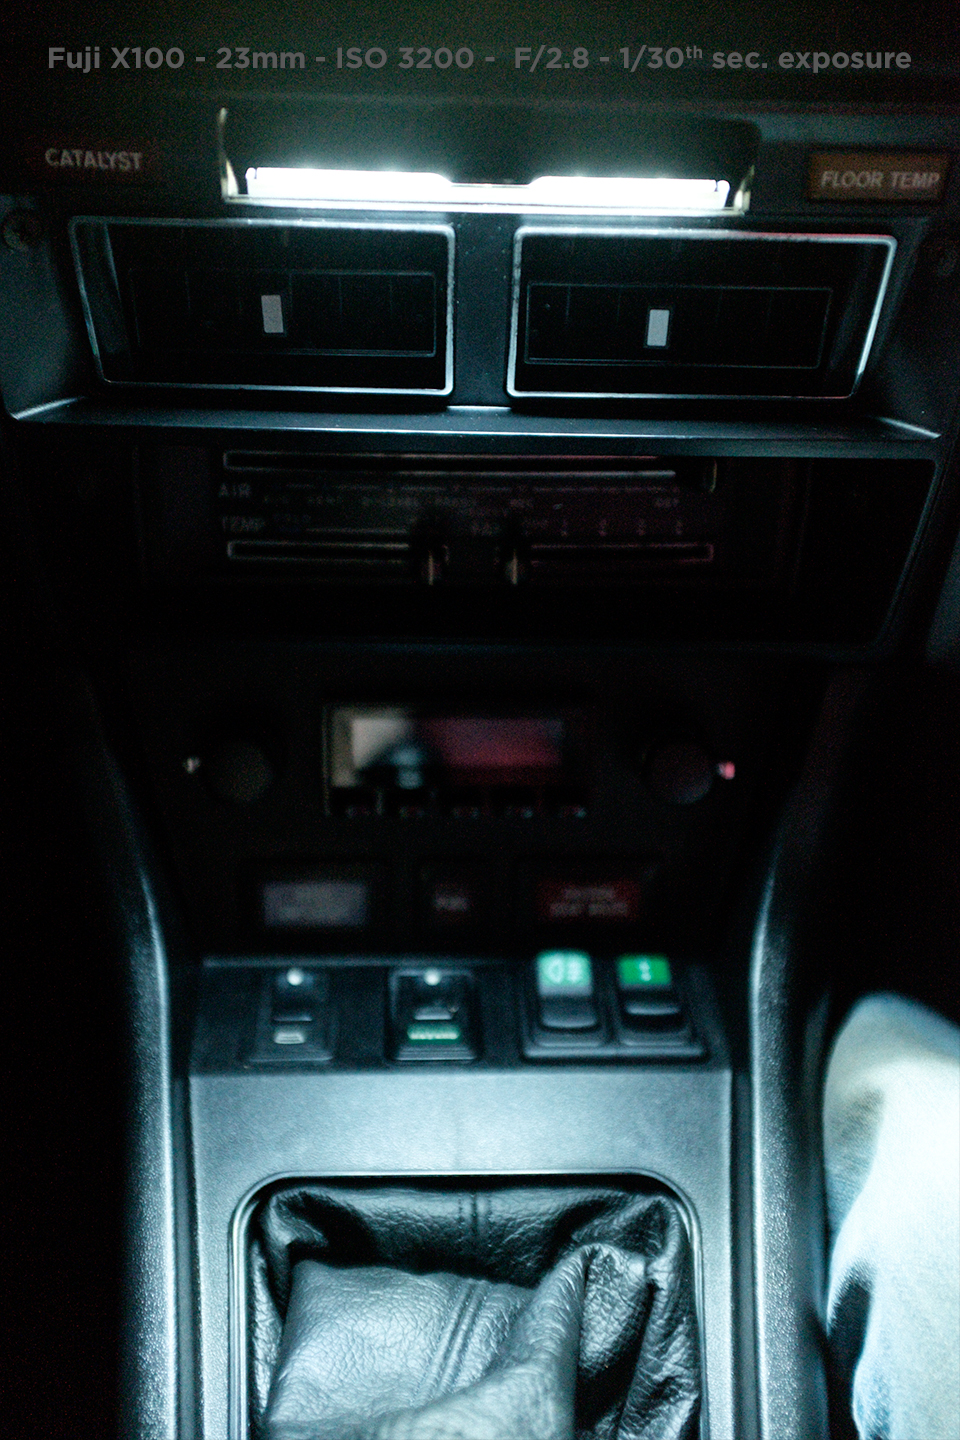
 1 pointGot some more pics of my gauges and other lights inside the cabin. Again, all the following pictures have been shot in manual exposure mode with a white balance set at 5000K. Here’s a pic of the three small gauges with bulb number 6 from my previous post. Here’s a pic of the speedo and tach. I also put LED bulbs in the turn signal indicators, high beam indicator, and brake warning light in the gauges. I tried a couple different bulbs but forgot to take before and after pictures. These are what I used. For the turn signals I got green bulbs from superbrightleds.com. https://www.superbrightleds.com/moreinfo/ba9s-ba7s/ba9s-led-bulb-1-led-ba9s-retrofit-car/3/#/attributes/15 Green. 90°. 4 Lumens. BA9s These bulbs are perfect. Obviously brighter than the stock tungsten bulb, but not overpowering. Got a red bulb of the same variety for the brake warning light and the fuel warning light. Again, brighter then stock but not too much. For the high beam indicator I went with a different style bulb then the turn signal lights and brake light. https://www.superbrightleds.com/moreinfo/ba9s-ba7s/ba9s-led-bulb-4-led-ba9s-retrofit-car-classic-car-bulbs/6/ Here’s a pic of the speedo with brake light and high beam indicator lit up. Since my car is a 1975 California car, it has a floor temp warning light and catalyst warning light. Here’s a pic of the bulbs tested for the catalyst warning light. Bulb 1. - Stock tungsten 74 Mini Wedge Bulb. Bulb 2. - Red LED 74 Mini Wedge Bulb. https://www.superbrightleds.com/moreinfo/miniature-wedge-base/74-led-bulb-1-smd-led-miniature-wedge-retrofit-car/227/ The stock bulb is really dim. The LED is much brighter. Even though it does not show in the pic, it is nice and red when seen in person. Here’s a pic of the bulbs tested for the floor temp warning light. Bulb 1. - Stock tungsten 74 Mini Wedge Bulb. Bulb 2. - Amber LED 74 Mini Wedge Bulb. https://www.superbrightleds.com/moreinfo/miniature-wedge-base/74-led-bulb-1-smd-led-miniature-wedge-retrofit-car/227/ The stock bulb is really dim. The LED is much brighter. Here’s a pic of the bulbs tested for the rear defogger light. Bulb 1. - Stock tungsten 74 Mini Wedge Bulb. Bulb 2. - Blue LED 74 Mini Wedge Bulb. https://www.superbrightleds.com/moreinfo/miniature-wedge-base/74-led-bulb-1-smd-led-miniature-wedge-retrofit-car/227/ Bulb 3. - Warm 3000k LED 74 Mini Wedge Bulb. https://www.superbrightleds.com/moreinfo/instrument-cluster-gauge/74-led-bulb-1-led-miniature-wedge-retrofit-car/226/ The Stock Bulb is really dim. Bulb number 2 is way too bright for a bulb that will stay on and not a warning light. Bulb 3 is perfect. Brighter than stock, but not overpowering. To the naked eye its really similar to the look of the stock bulb, just brighter. 3000k is really close to the 2800K color temp. of tungsten bulbs. Here’s a pic of the bulbs tested for the hazard light switch. Bulb 1. - Stock tungsten 74 Mini Wedge Bulb. Bulb 2. - Green LED 74 Mini Wedge Bulb. https://www.superbrightleds.com/moreinfo/miniature-wedge-base/74-led-bulb-1-smd-led-miniature-wedge-retrofit-car/227/ Bulb 3. - Warm 3000k LED 74 Mini Wedge Bulb. https://www.superbrightleds.com/moreinfo/instrument-cluster-gauge/74-led-bulb-1-led-miniature-wedge-retrofit-car/226/ The stock bulb is really dim. Bulb number 2 is way too bright for a bulb that will stay on and not a warning light. Bulb 3 is perfect. Brighter than stock, but not overpowering. To the naked eye its really similar to the look of the stock bulb, just brighter. 3000k is really close to the 2800K color temp. of tungsten bulbs. The fuel warning light is a standard BA9s tungsten bulb. Here’s a pic. I replaced the stock tungsten bulb with the same one used in the brake warning light inside the speedo. https://www.superbrightleds.com/moreinfo/ba9s-ba7s/ba9s-led-bulb-1-led-ba9s-retrofit-car/3/#/attributes/15 It’s brighter than stock but not excessively so. Here’s a pic of the bulbs tested for the fasten seat belts warning light. Bulb 1. - Stock tungsten 74 Mini Wedge Bulb. Bulb 2. - Red LED 74 Mini Wedge Bulb. https://www.superbrightleds.com/moreinfo/miniature-wedge-base/74-led-bulb-1-smd-led-miniature-wedge-retrofit-car/227/ The stock bulb is pretty dim. The LED is much brighter. Even though it does not show in the pic, it is nice and red when seen in person. The cigarette lighter socket and the HVAC controls both use 194 Wedge bulbs. I don’t have a pic of the cigarette lighter socket but I do have one of the HVAC controls replaced with an LED. This is the bulb used. https://www.superbrightleds.com/moreinfo/boat-miniature-wedge-bulbs/194-led-boat-and-rv-light-bulb-6-smd-led-tower-miniature-wedge-retrofit-106-lumens/2489/4112/ The map light was also replaced with LED’s. When I had my combo switches re-built a couple years ago I sprung for the map light LED from Dave at www.datsun-240z-upgrades.net. Here’s a pic of the stock bulb. Here’s a pic of the LED bulb from datsun-240z-upgrades.net. It’s way brighter and the map light is actually very useful now. The only interior bulbs not replaced with LED's in my car are the dome light and the glove box light. I swapped an LED in the glove box light but it did not work. The polarity needs to be reversed and I didn't get around to it yet. Here's my bulb count so far for a '75 2+2. Speedometer: (2) BA9s bulbs for illumination (1) BA9s for High Beam Indicator (1) BA9s for Brake Light Indicator/Warning Tachometer: (2) BA9s bulbs for illumination (2) BA9s for Turn Signal/Hazard Flashing Indicators Temp/Oil Gauge: (1) BA9s Clock: (1) BA9s Amp/Fuel Gauge: (1) BA9s Catalyst Light: (1) 74 Mini Wedge Floor Temp: (1) 74 Mini Wedge Rear Defogger: (1) 74 Mini Wedge Fuel: (1) BA9s Fasten Seat Belts: (1) 74 Mini Wedge Hazard Switch: (1) 74 Mini Wedge Cigarette Lighter Socket: (1) 194 Wedge HVAC Controls: (1) 194 Wedge Glove Box: (1) BA9s Map Light: (1) Might be 194 Wedge, not sure on size, replaced with LED from datsun-240z-upgrades.net


 1 point
 -
 if its a 280z with the transistor oscillator and coil to energize the balance wheel, then its prob the coupling cap, a small 5uf IIRC that most likely has dried up losing the ability drive the coil.1 point
 -
1 pointone step ahead of you on the defrost blank plug...in the mold as we speak... Also I mailed your parts back today with your other order.1 point
-
 On my list as well! Will take you up on the offer when I'm ready.1 point
 -
1 point
-
 Congrats on the fix! A working clock is still on my getting longer every day "To Do" list. Dennis1 point
 -
 1 point1 point
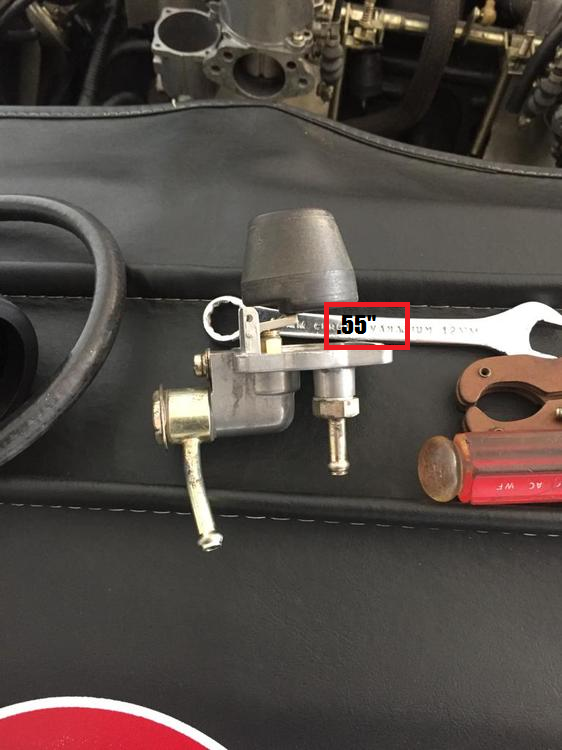
1 pointOkay, this will NEVER work... Here's the .55" gap you keep asking about. I found this from the DVD, Ray Charles could have figured it out. This must be set with the lids right side up. The weight of the float cannot be supported by the needle valve. That's why the tang looks like a ramp in the first photo. It should look like these, a hump not a ramp. All cleared up now, moving on.
1 point1 point
1 pointOkay, this will NEVER work... Here's the .55" gap you keep asking about. I found this from the DVD, Ray Charles could have figured it out. This must be set with the lids right side up. The weight of the float cannot be supported by the needle valve. That's why the tang looks like a ramp in the first photo. It should look like these, a hump not a ramp. All cleared up now, moving on.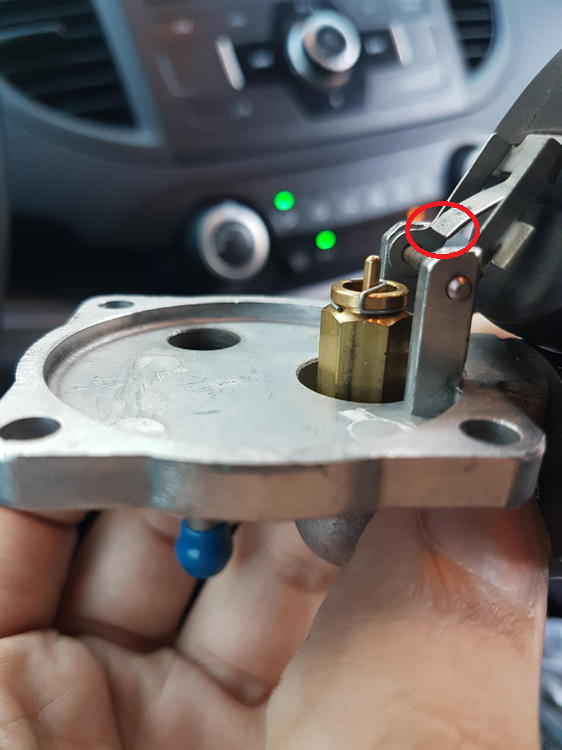
 1 point
1 point
1 point 1 point
He's talking about a small ball under the float's tang to bend it down. It looks like the ramp for Snake River rocket jump just like mine did. Float bowls were way to low of fuel that way, started sputtering going up a mountain. Rolled it backwards perpendicular with the street and let the bowls get full went another half mile and did it again. Straight home and started to work on them. Now they're perfect, car runs better than ever.1 point
1 point
He's talking about a small ball under the float's tang to bend it down. It looks like the ramp for Snake River rocket jump just like mine did. Float bowls were way to low of fuel that way, started sputtering going up a mountain. Rolled it backwards perpendicular with the street and let the bowls get full went another half mile and did it again. Straight home and started to work on them. Now they're perfect, car runs better than ever.1 point 1 pointAnything from 'Murica is going to be out of reach price wise when shipping and exchange is factored in. Luckily, Z Car Supermarket @zKars has three aisles of spare drive line parts available three hours south of me in sunny Calgarifornia. He has a small stash of parts sitting aside for me already so I will get him to add a prop shaft to the order as well. I'm sure if I asked for a horn pad, he'd have one made from real Unicorn....1 point
1 pointWell, I survived two IED blasts under my vehicle in Afghanistan... seems paltry to that!1 point
1 point
The metal needs to be parallel with the top of the float too. Your second picture has the pin end a little low. Those are tougher than they feel. Don't go all Hulkamania but you can be pretty forceful bending just go slow. Now that I think back I may have put a small ball bearing under the ramp and push the high part down and curve around the ball.1 point
1 pointAnything from 'Murica is going to be out of reach price wise when shipping and exchange is factored in. Luckily, Z Car Supermarket @zKars has three aisles of spare drive line parts available three hours south of me in sunny Calgarifornia. He has a small stash of parts sitting aside for me already so I will get him to add a prop shaft to the order as well. I'm sure if I asked for a horn pad, he'd have one made from real Unicorn....1 point
1 pointWell, I survived two IED blasts under my vehicle in Afghanistan... seems paltry to that!1 point
1 point
The metal needs to be parallel with the top of the float too. Your second picture has the pin end a little low. Those are tougher than they feel. Don't go all Hulkamania but you can be pretty forceful bending just go slow. Now that I think back I may have put a small ball bearing under the ramp and push the high part down and curve around the ball.1 point More cars have 2 turn sign. flashers, it has to do with the wattage.. the power of, and the number of bulbs.. 1 flasher is for directions, mostly 3 bulbs.. for hazard it's 6 bulbs, this flasher unit has to handle twice the power..1 point
 Hi Jesus. Looking at your post #32. You have a bosch AFM. Datsun used the bosch systems in the early models up to mid 75. Looks like the PO has been swapping parts from an early model. Did you have a chance to check the model ECU? Im almost certain the pin configuration is the same on the bosch and early JECsS systems.1 point
 The turn sig flasher in on the steering column, the hazards flasher is above the pass side kick panel.1 point
 Correct. There are separate relays for the hazard lights and turn signals. This may help you understand the circuits bettter: https://fiddlingwithzcars.wordpress.com/2013/01/20/hazard-switch-brake-light-turn-signal-circuit-analysis/1 point
 1 pointKats do you think fostering would work. Their product was great look how long it lasted most of them I came across the motors still work with cleaning. Only parts that took heavy weather conditions didn't last. Sent from my [device_name] using http://Classic Zcar Club mobile1 point


Important Information
By using this site, you agree to our Privacy Policy and Guidelines. We have placed cookies on your device to help make this website better. You can adjust your cookie settings, otherwise we'll assume you're okay to continue.