


Leaderboard
-

882993md
Free Member3Points127Posts -

five&dime
Free Member3Points1,045Posts -

motorider888
Free Member2Points6Posts -

Captain Obvious
Free Member2Points9,833Posts
Popular Content
Showing content with the highest reputation on 02/19/2018 in Posts
-
 1 pointSpent the weekend installing my new interior. Looks great but was surprised at how much more quiet it was. And, no more exhaust fumes. Sent from my [device_name] using http://Classic Zcar Club mobile1 point
 -
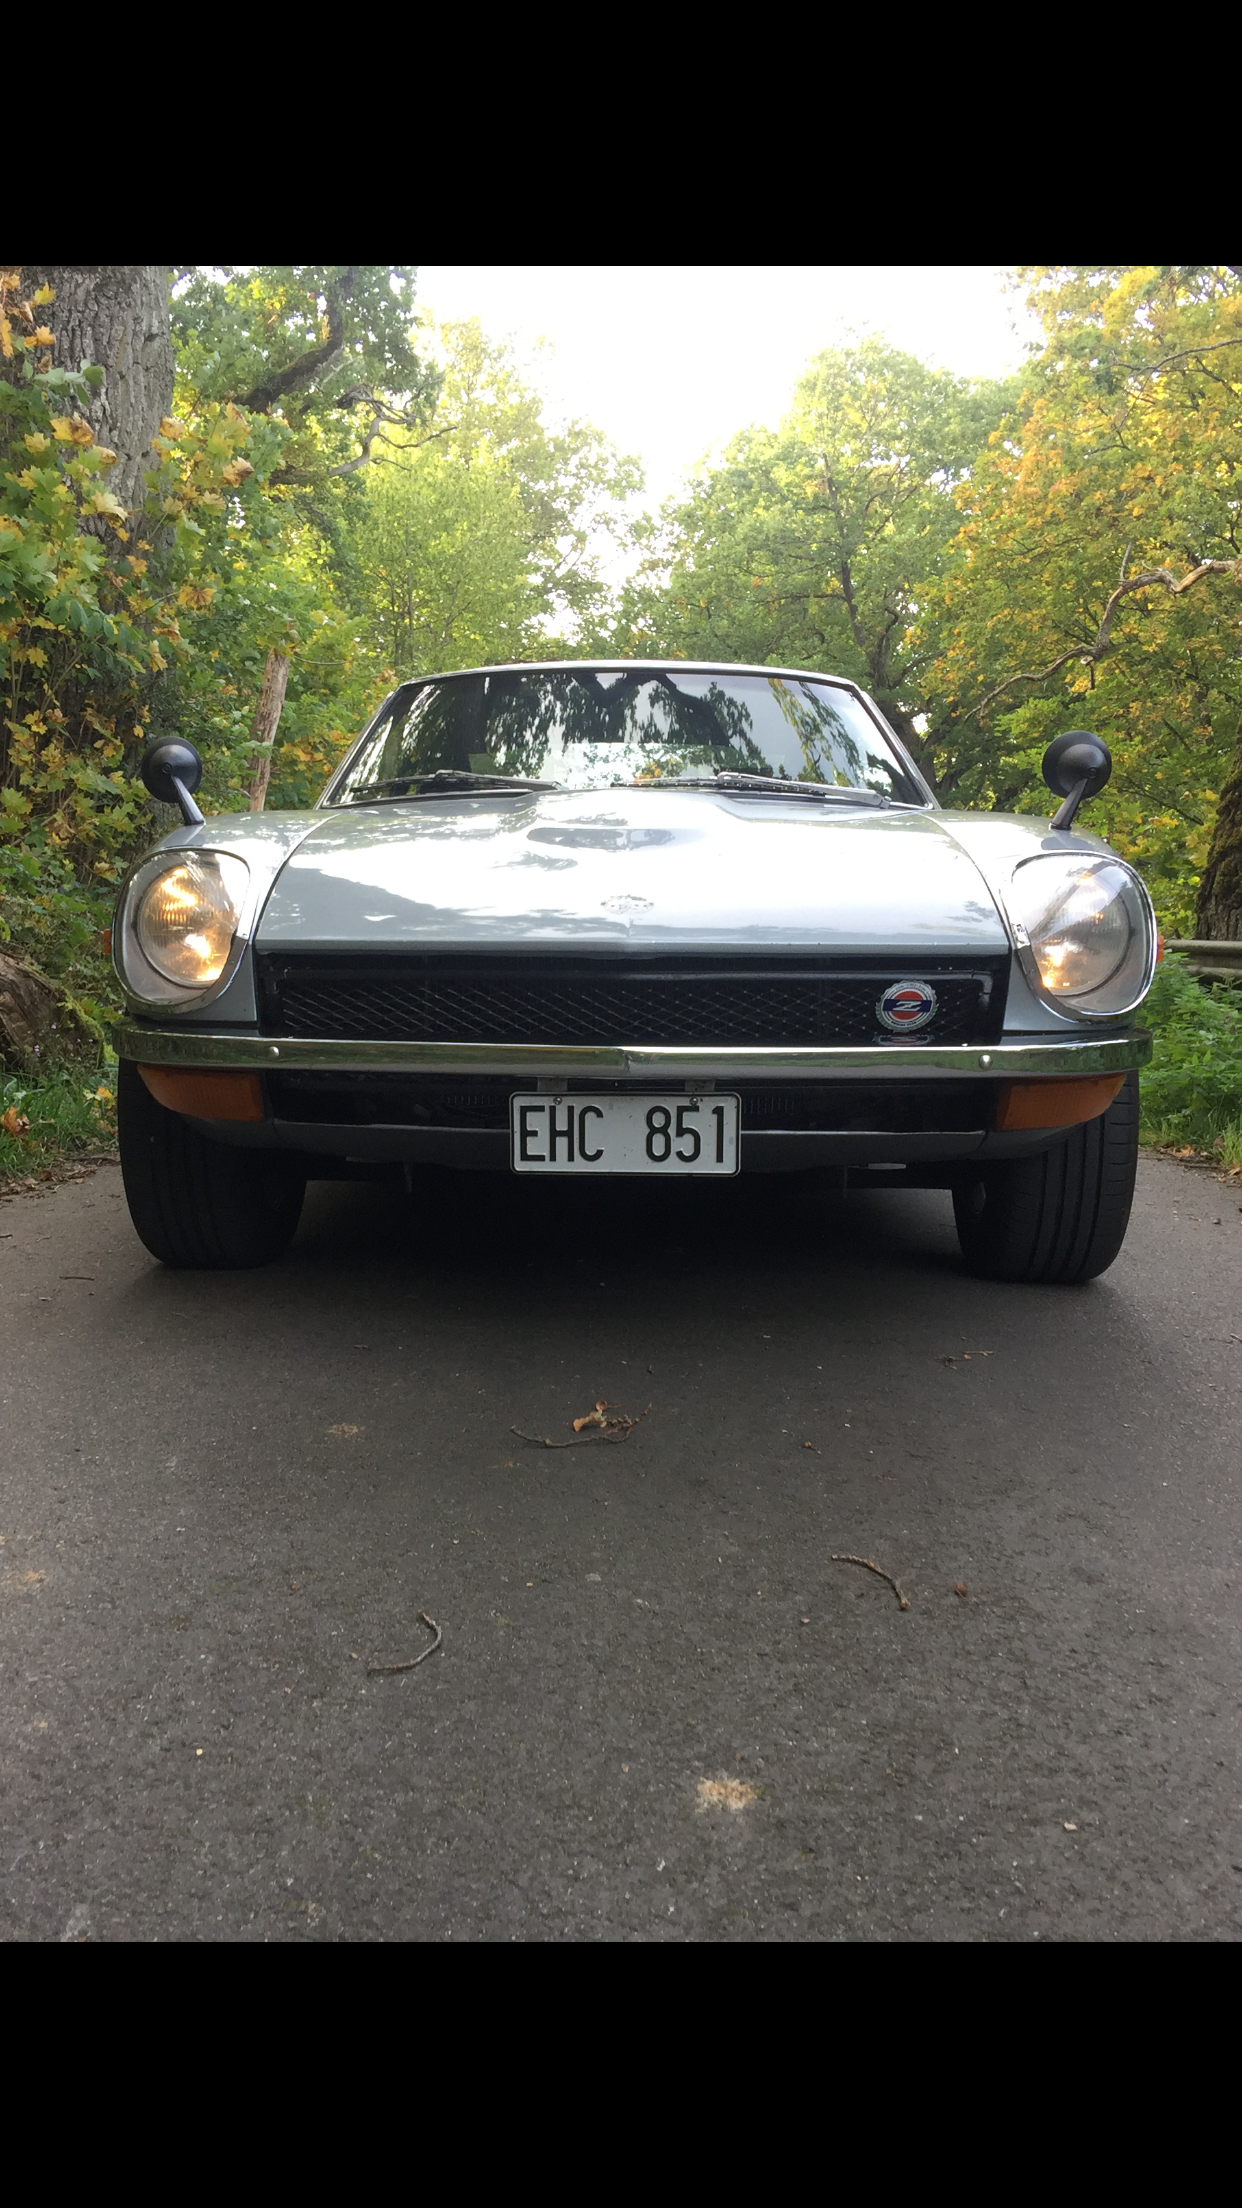
 1 pointAnother nice Z gets the spotlight from Speedhunters. http://www.speedhunters.com/2018/02/period-correct-z-perfection-from-ta-auto/
 1 point
 -
 1 pointIt just means they haven't been cleaned in a long time. They should probably be cleaned every year or two. Hit them with a couple good blasts of carb cleaner, wipe them off with a shop towel, and then give them one more blast. Same with the inside of the domes. Don't drop them or get them dirty before reinstalling. Don't set them down so the needle could get bent. It's a good idea to wear a gloves, goggles, and P-95 mask when you're using carb cleaner. When you're done setting the floats and tuning the carbs maybe blast the linkage with carb cleaner and finish with some lithium spray grease.1 point
 -
 I was serious about installing the TC rod alone, with the bushings, then grabbing the end and pulling it through the motion it would see as the suspension moves. The problem will become more clear, and the reason that Nissan designed that groove in the middle of the rubber bushings. New rubber bushings would probably work great. The PU craze has gone a little too far, I think, sometimes. The PU on the TC rods makes the wheels a little less squirrely under hard braking but doesn't offer much beside that. I have them on my car but also have a full set of MOOG rubber that I might put back on some day. A lot of the things I have on my car are there just to see what the fuss is about. That's how I broke a TC rod.1 point
 -
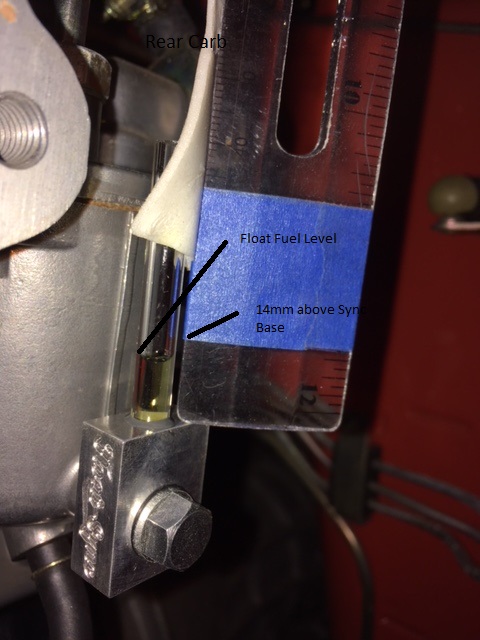
 1 pointI have sync my carburetors and still have a stumbling problem. I am beginning the process of completely setting up the balance and fuel mixture. I first will set the needles and the float levels. Then the mixture. I have purchased a couple of items to help with the process. The "Float Sync" setup and I have a color tune tool on order. I removed the air cleaner today and installed the "Float Sync" tubes. I have attached photos of what I have discovered.about my float levels. The "Foat Sync" instruction indicate that the optimum fuel level is 14mm above the base of the "Float Sync" tool. See photos. The front carburetor looks to be much lower than the rear and the rear is just a bit shy of 14mm. I will attempt to adjust and post more photos. I hope this works and that it will help others work through the process as I am doing.
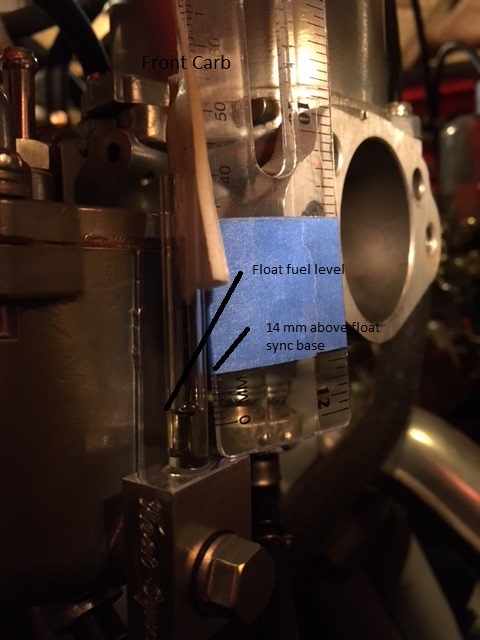
 1 point
 -
 1 pointHmmm... you know the Thermo Time switch and the engine CTS split into bullet connectors about 12" from the sensors. You can get the bullet connectors plugged in wrong. Then the Thermo Time switch is hooked into the CLT sensor pins on the ECU. Car will run Pig Rich . Edit: Oooops... already been covered. You may want to Triple check that. Posts #46 thru #48. Tricked me up on once my 1976 280Z and car ran Pig Rich. BTW, picture in Post #48 is from my 1976 Federal model 280Z... after I sorted out the crossed Bullet connectors.1 point
 -
 1 point
 -
 1 pointGot around to finishing the drive shaft cleaning and powder coating. Now just waiting for the u joints!1 point
 -
 1 pointWell I finally pulled the trigger and went to speak with Miguel at Customs by Miguel. Had a great conversation and had the Z delivered to him yesterday. Sent from my iPhone using Classic Zcar Club mobile1 point
 -
1 pointMy friend picked the car up to weld in the rear subframe conversion mounts. Unfortunately he said it's a lot more work than we originally expected but he said it won't be a problem.1 point
-
1 point
-
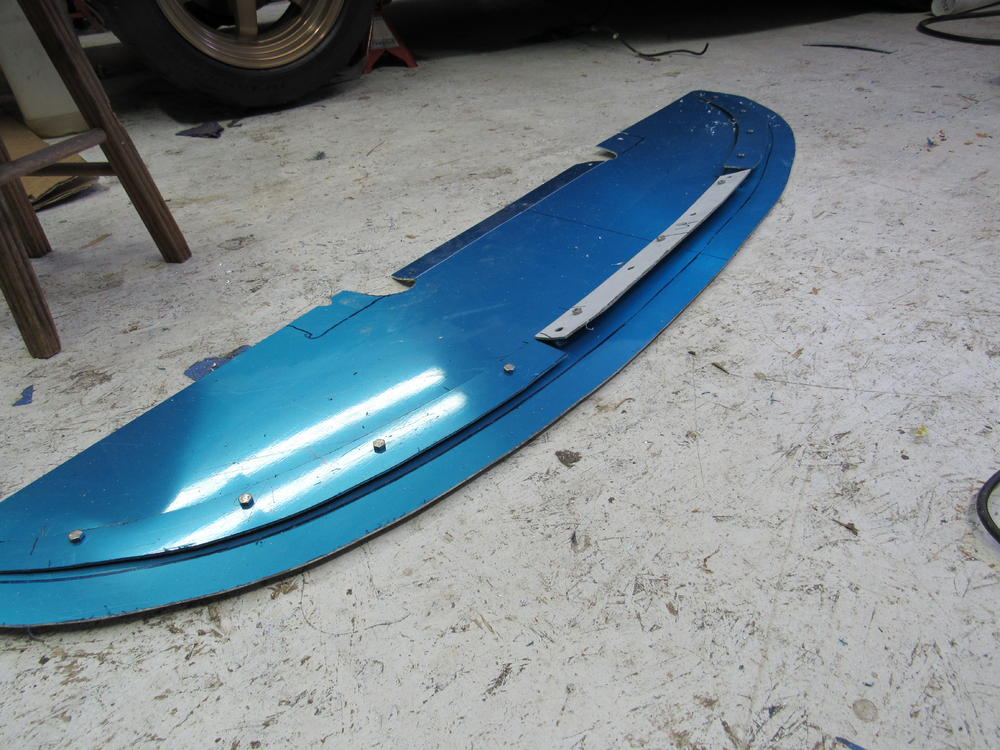
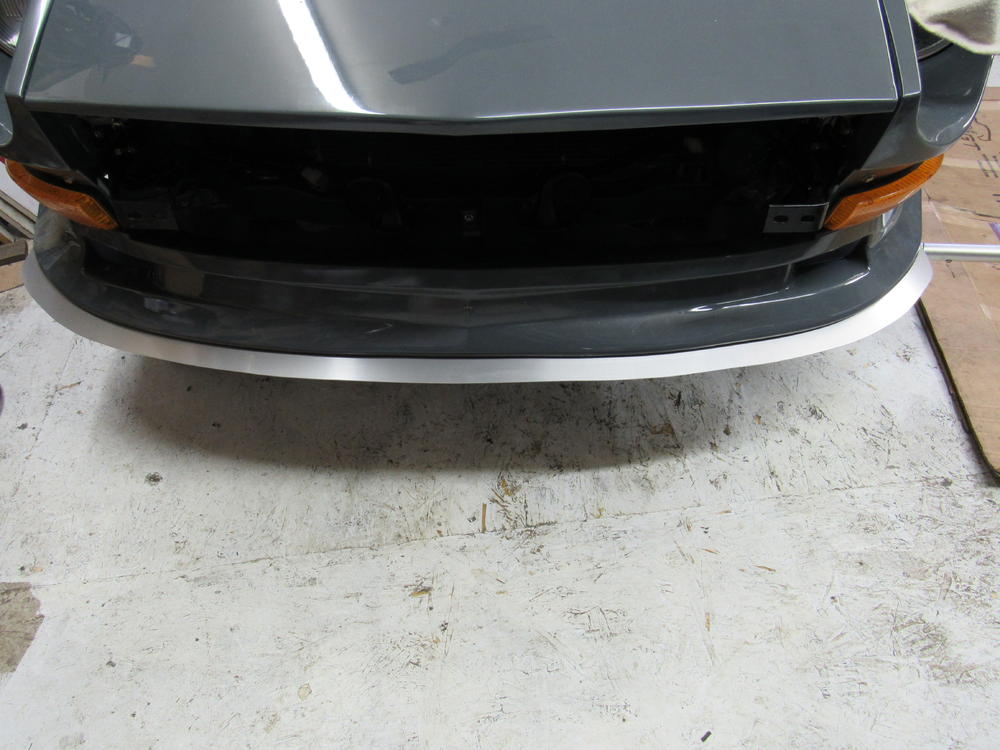
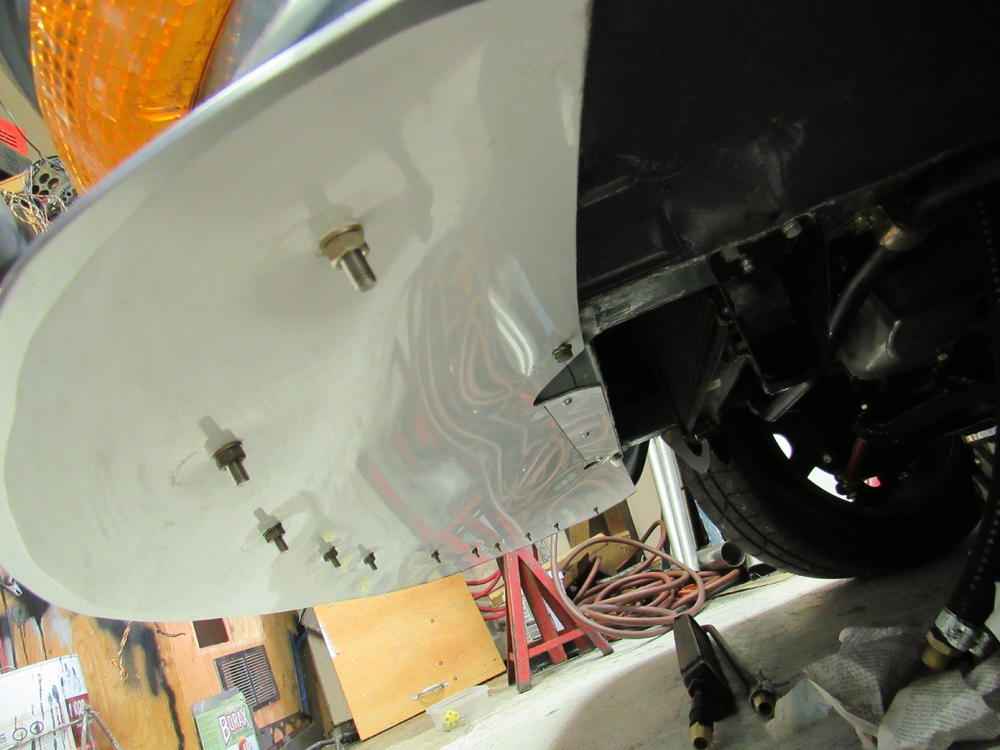
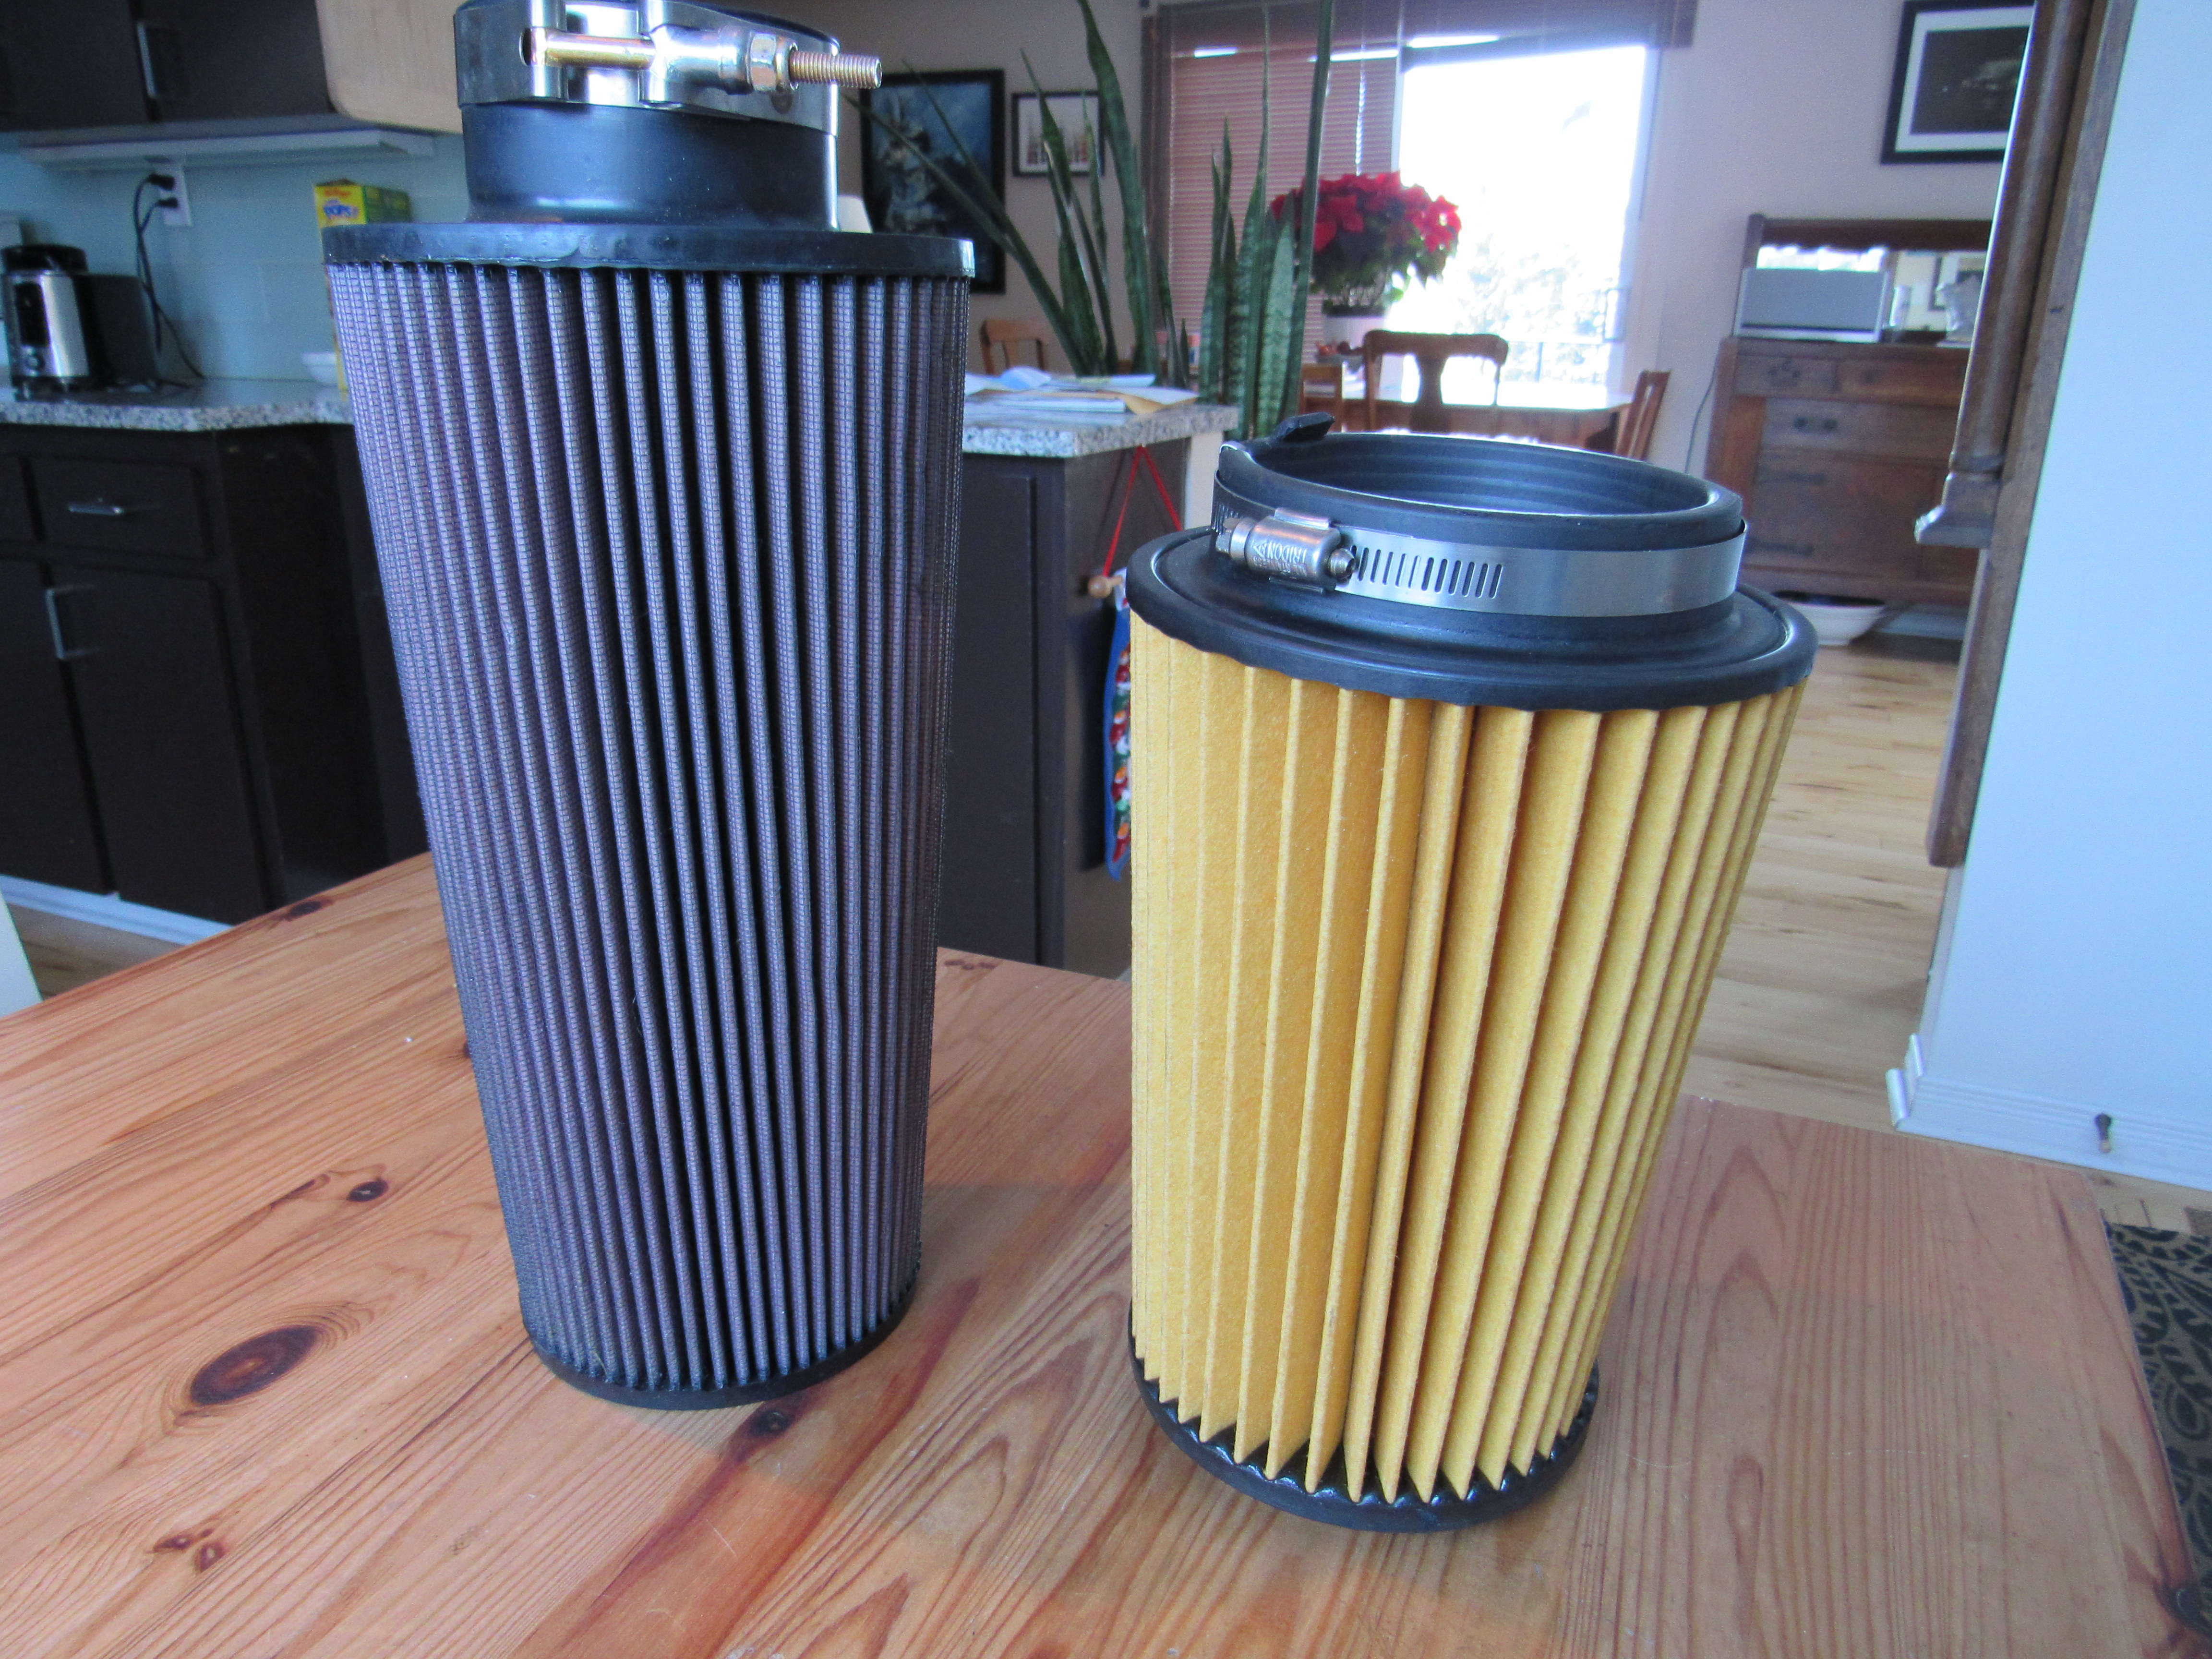
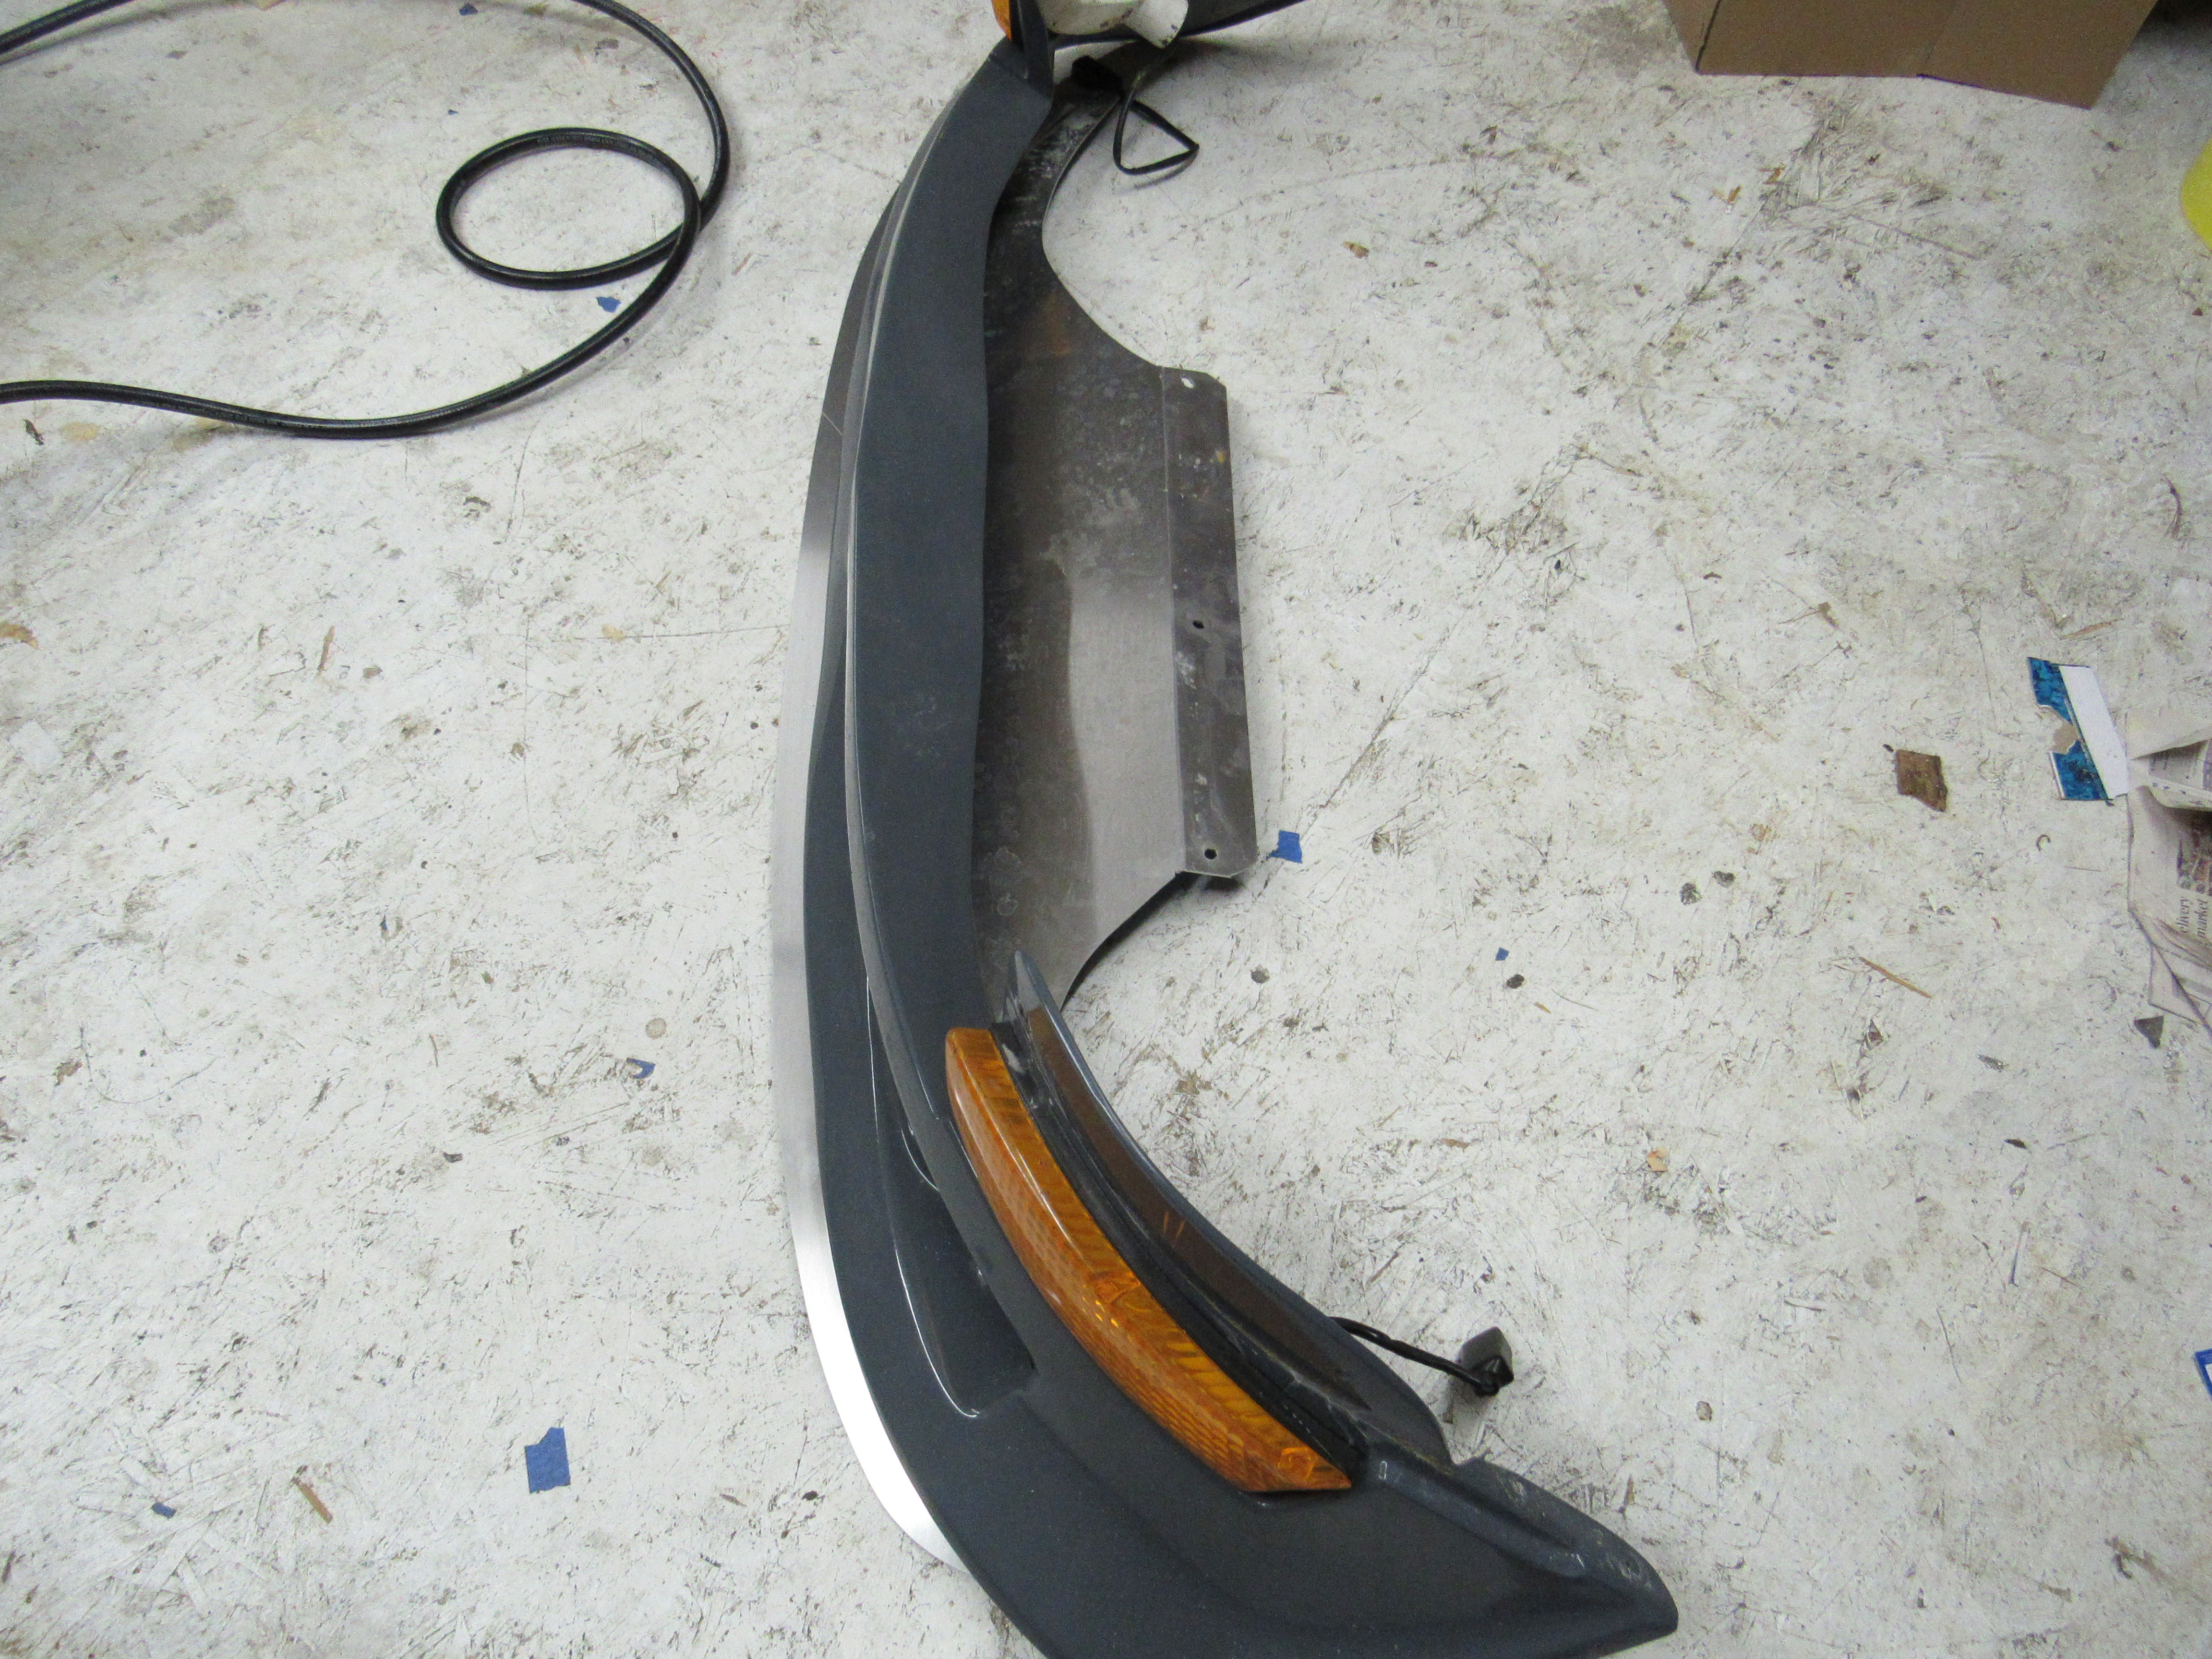
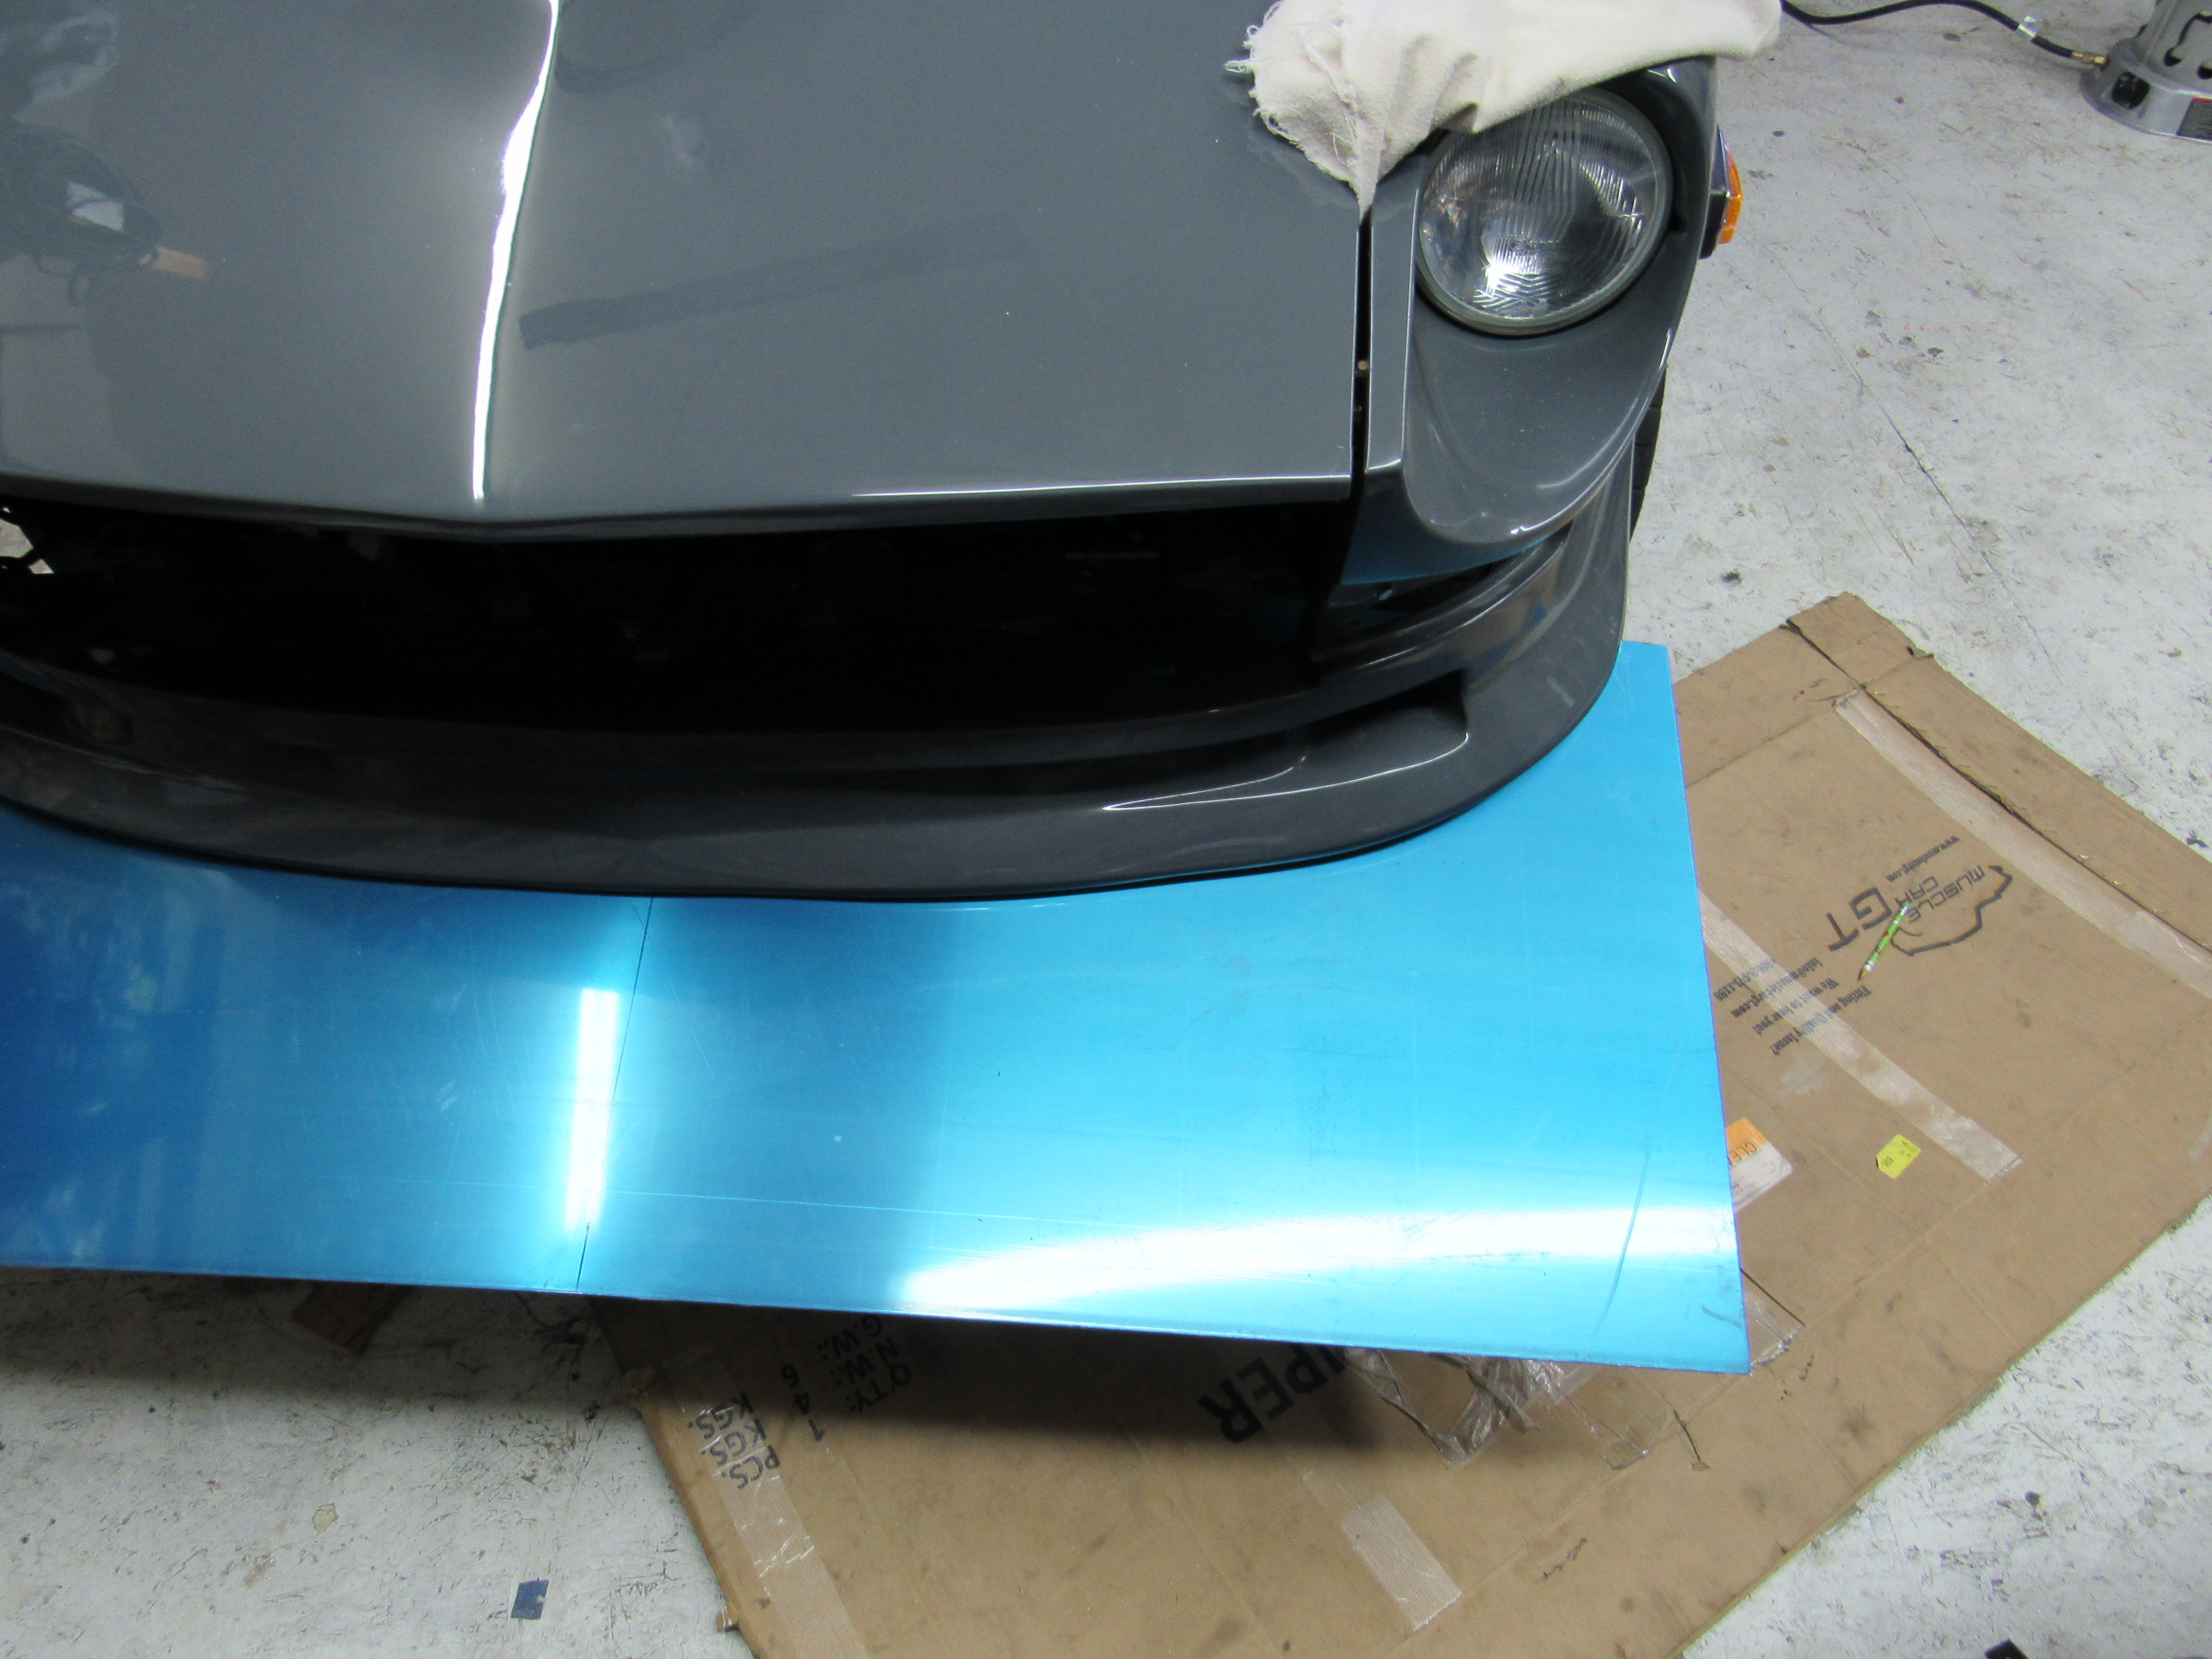
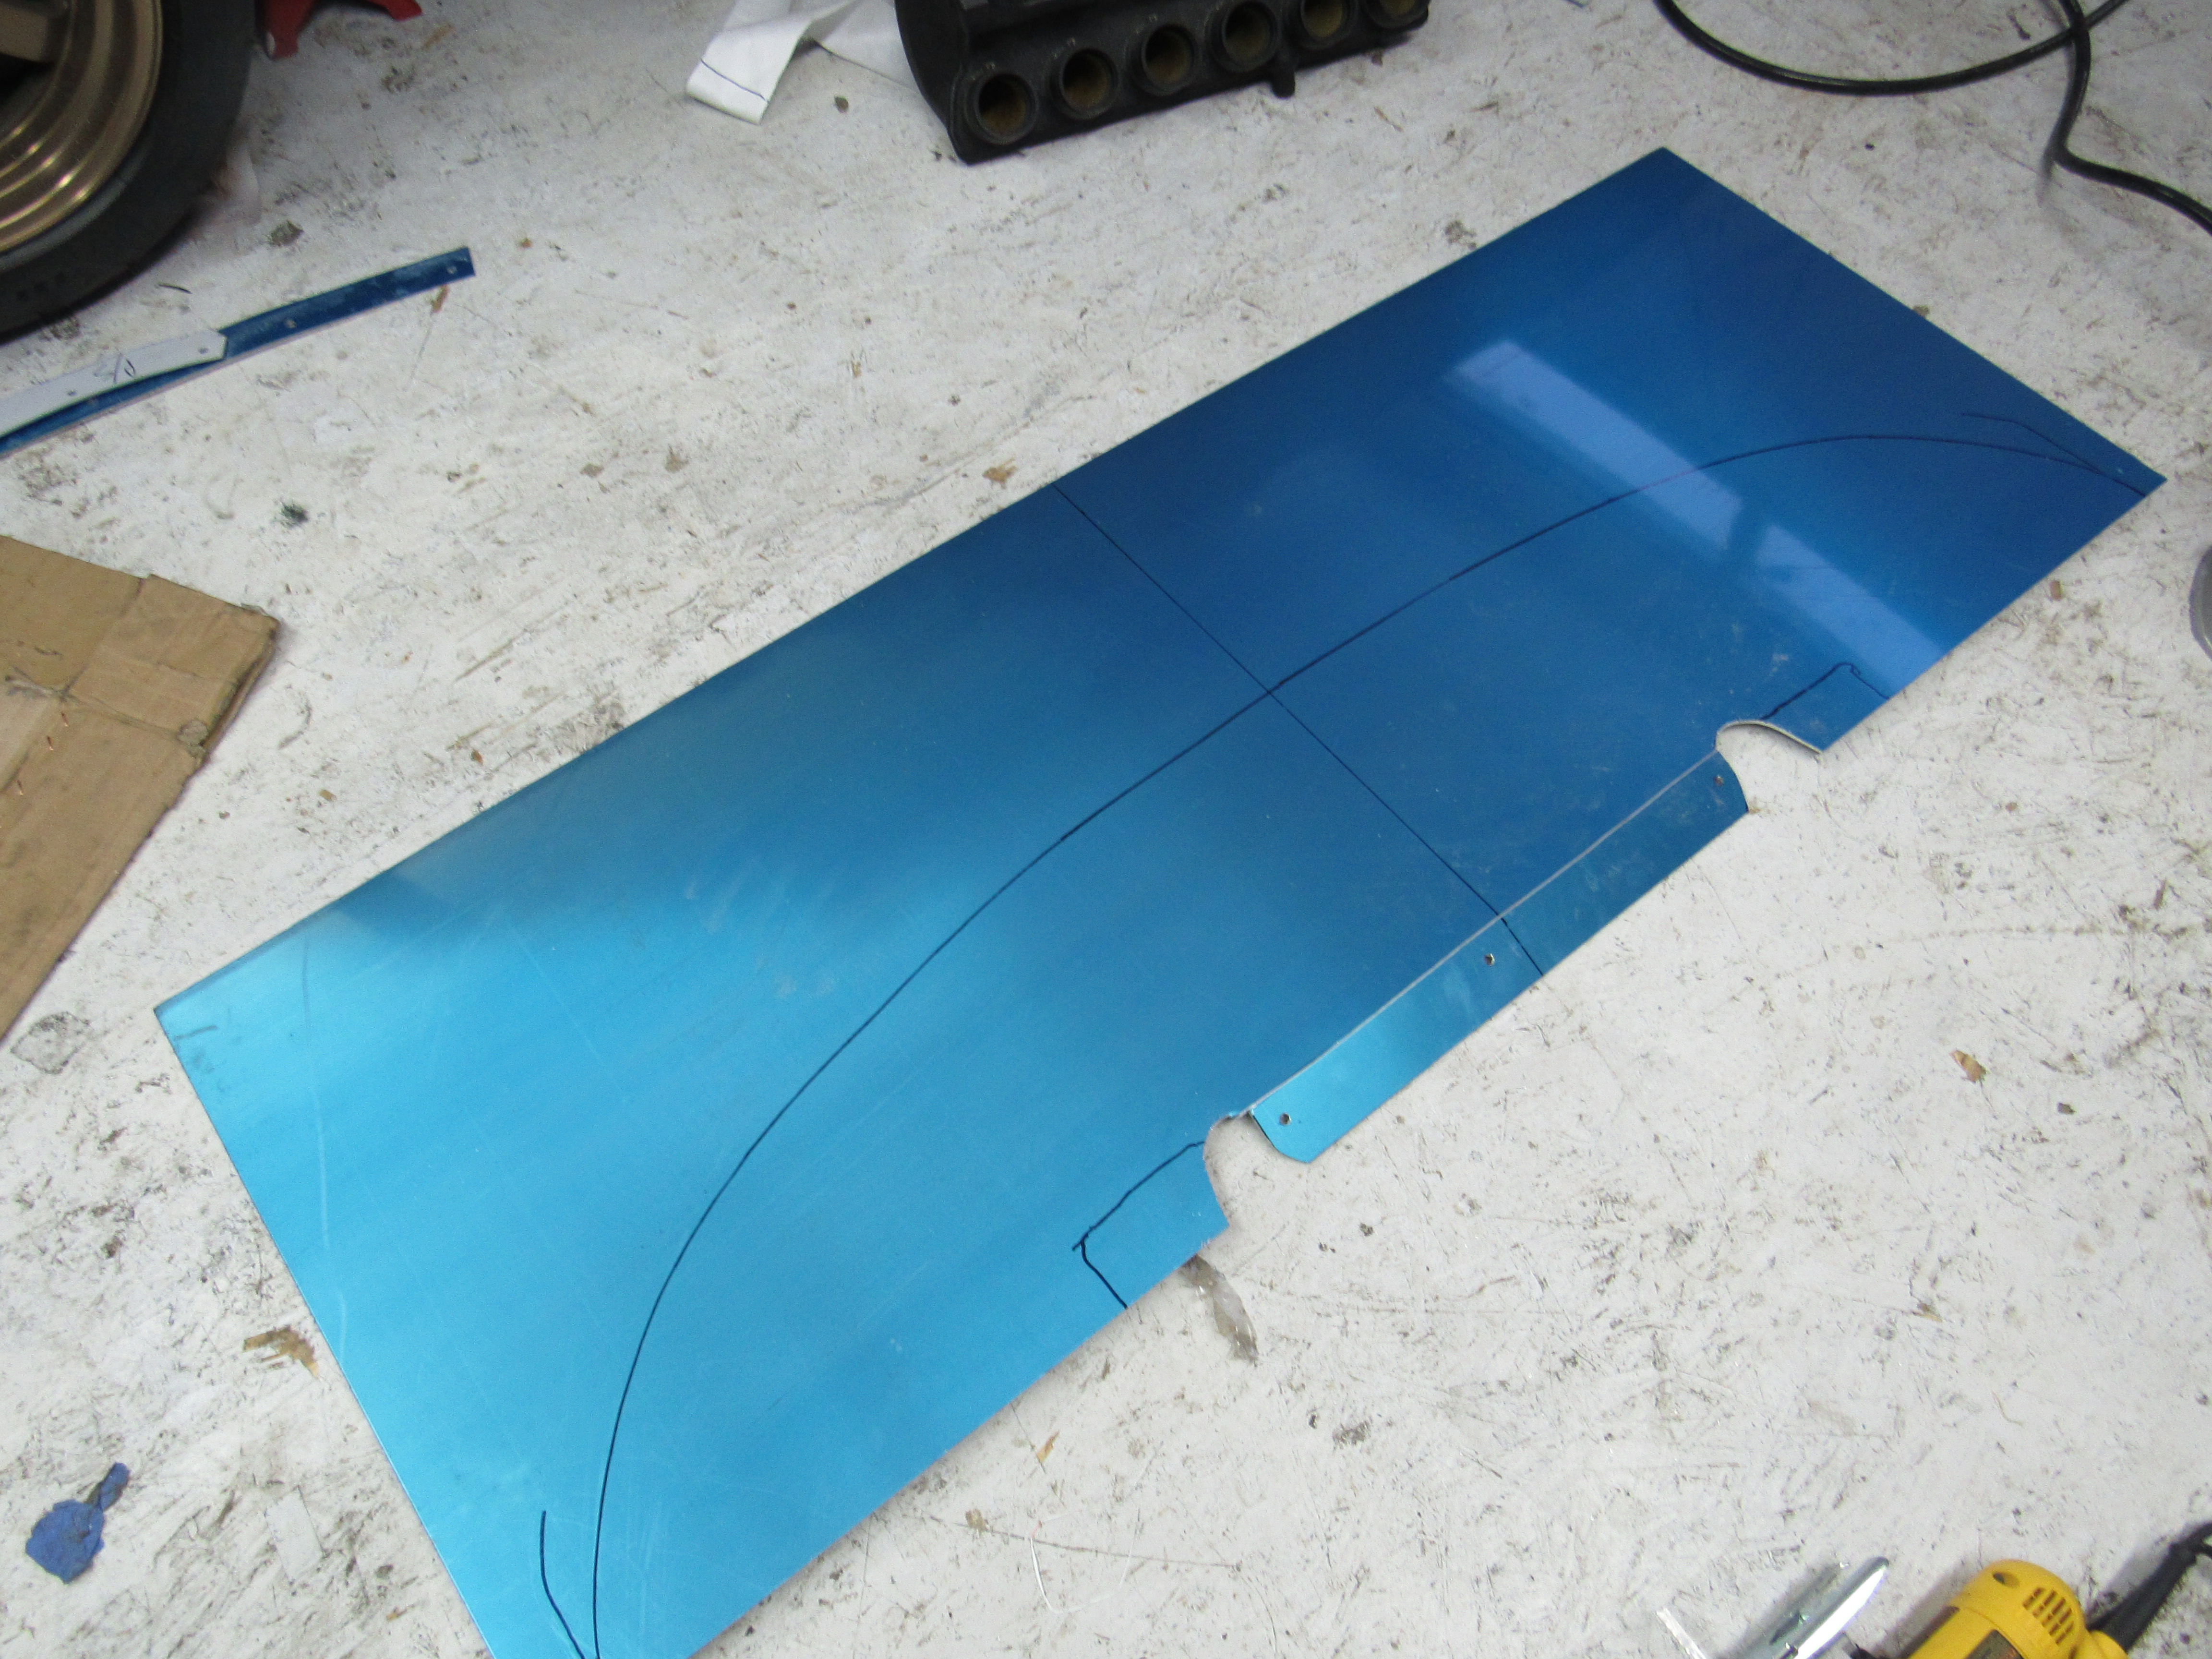
 The last oil analysis said there was a lot of sand and dirt in the oil so I got rid of the K&N filter and pick up a proper paper filter from a 2008 Mustang, that should take care of that. I never did like the spliter/stiffener I made last year, the piece of aluminum wasn't wide enough and looked kinda weird, So I picked up a full size piece and started again, I'm going BOSOZOKU ! Made up some new clam shell pieces to clamp onto the lower lip of the air dam,


 1 point
 -
1 pointI don't know how accurate a drill bit will be as the bit will straddle the cover from edge to edge. Your measurement is supposed to be from the bottom of the inside cover-not the edges as they are lower than the inside cover by several millimeters. 9/16" converts to 0.5625 so you will be even more out of spec. (But what the hell do I know I've been trying to get this car on the road for two years)1 point
-
1 point1 point
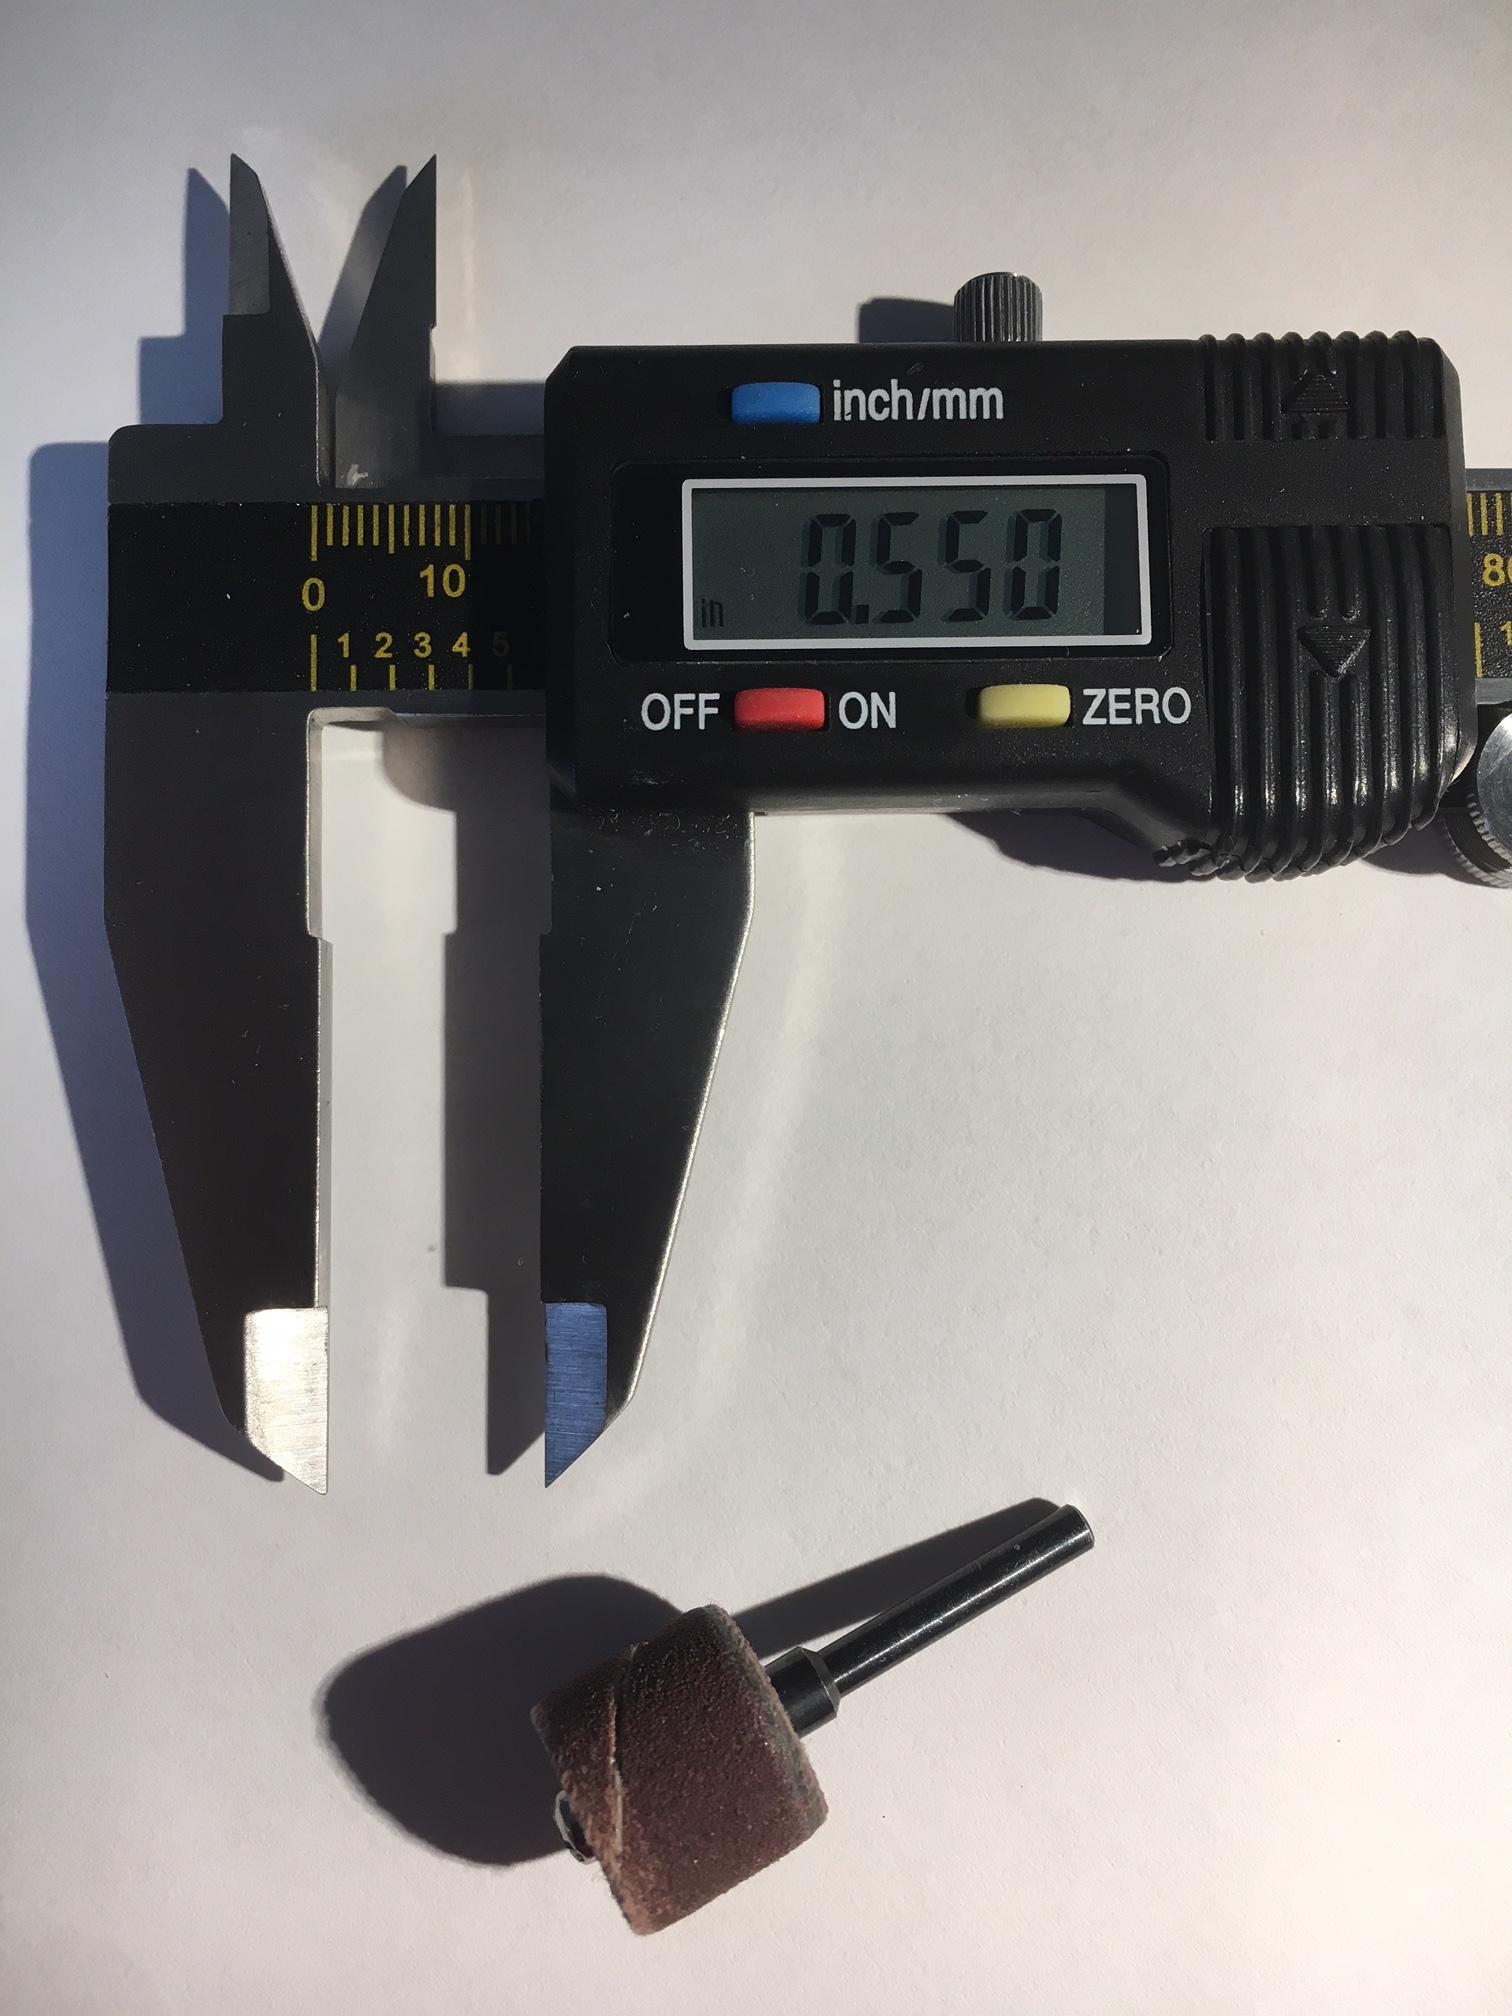
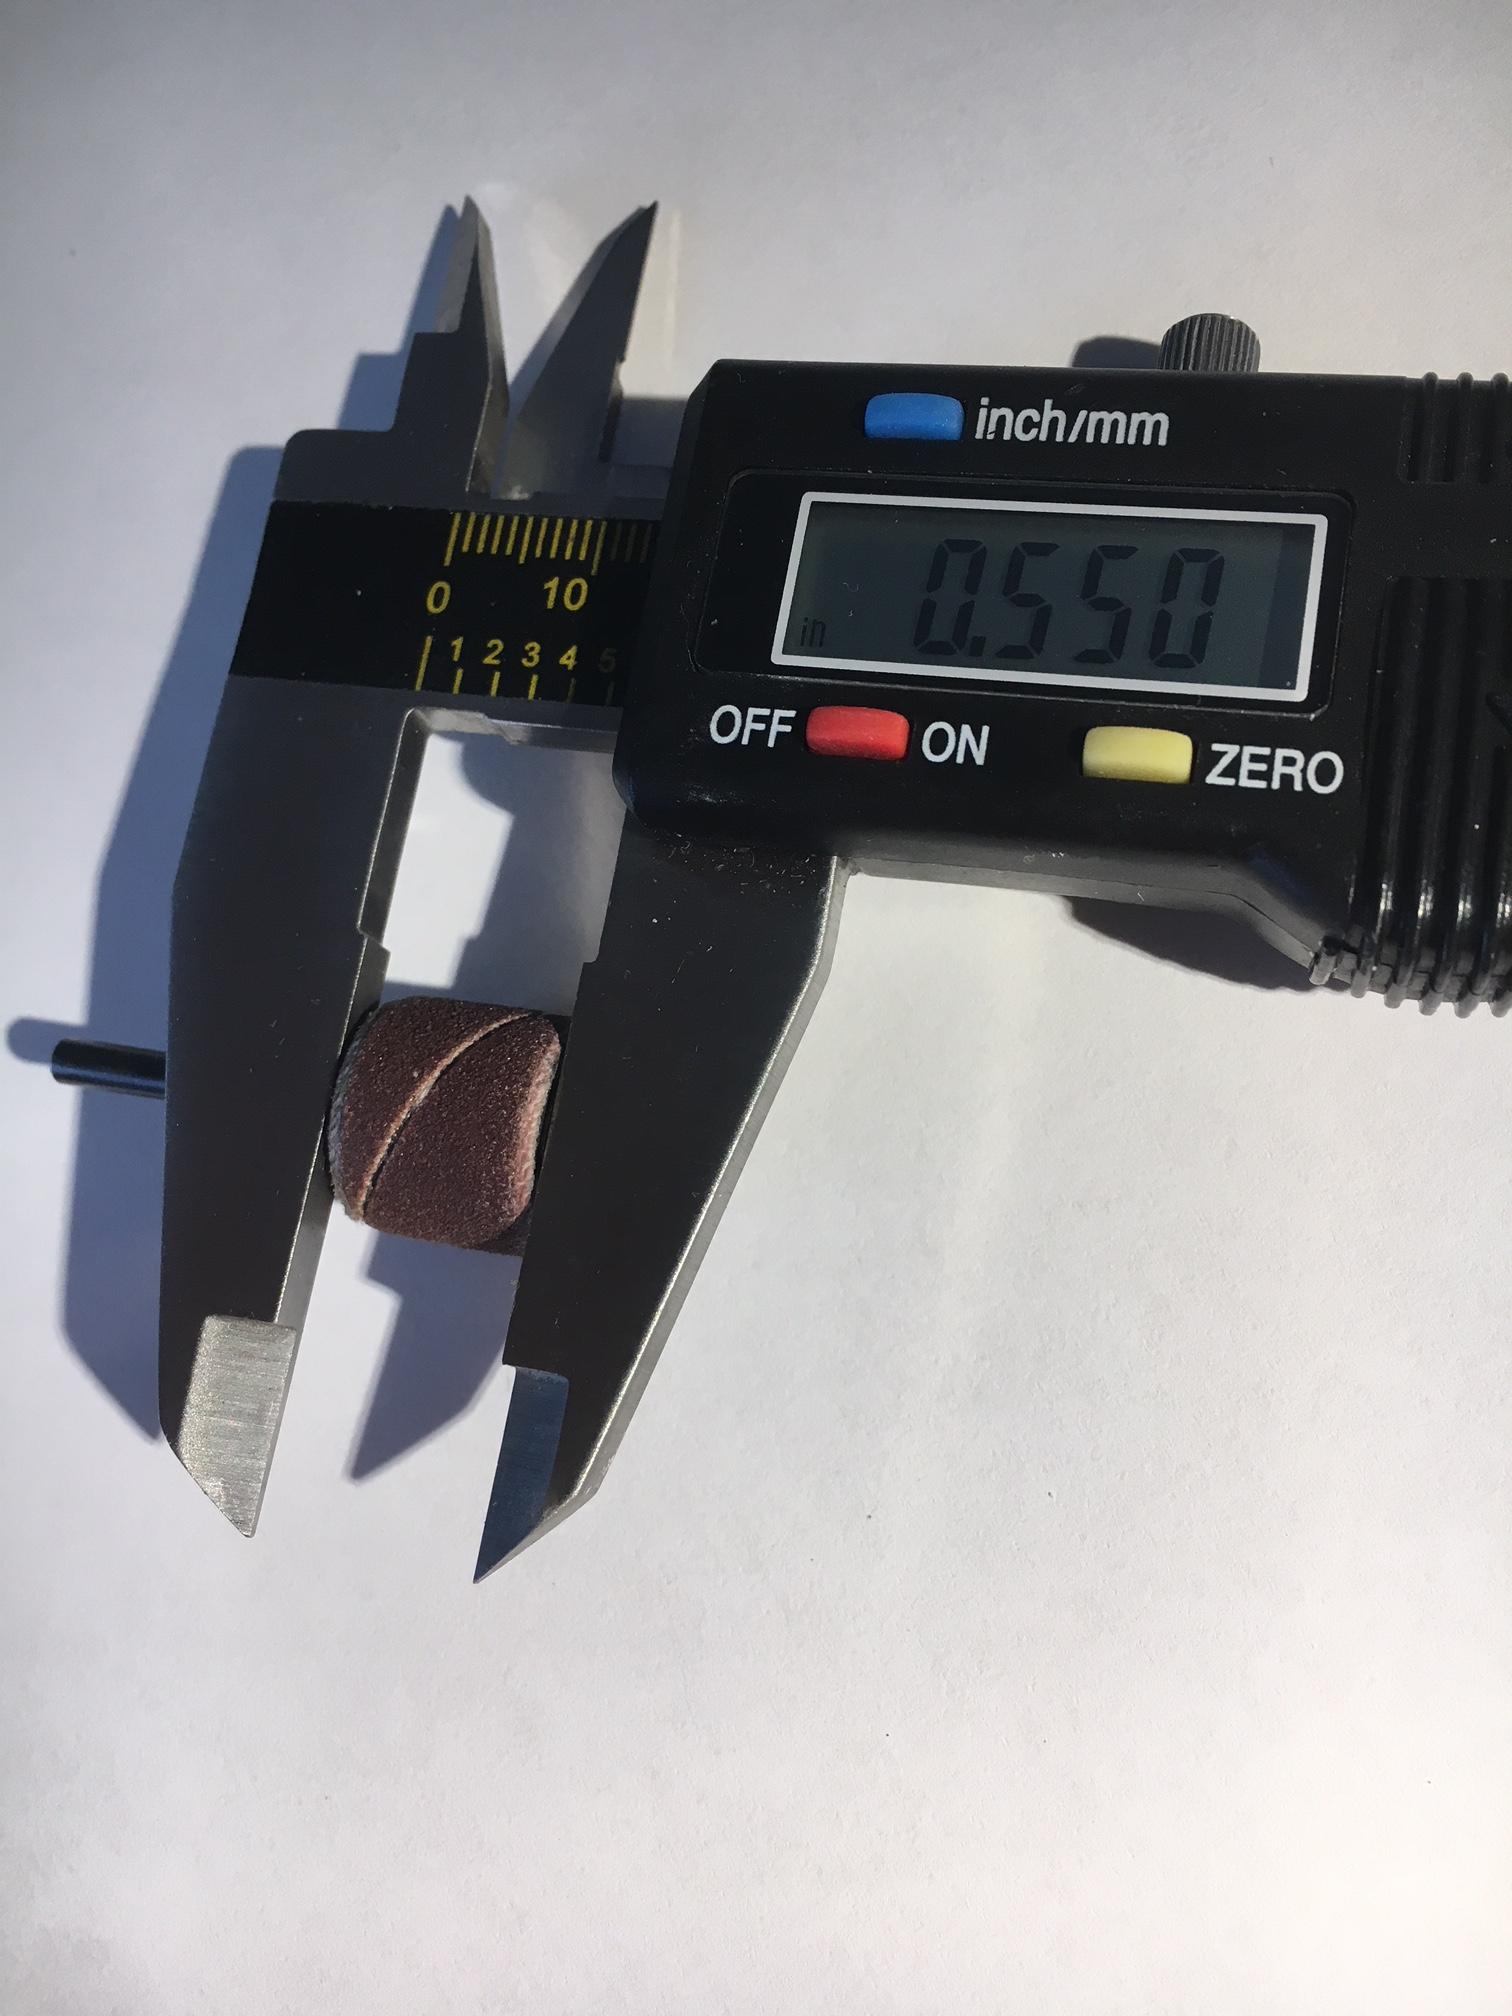
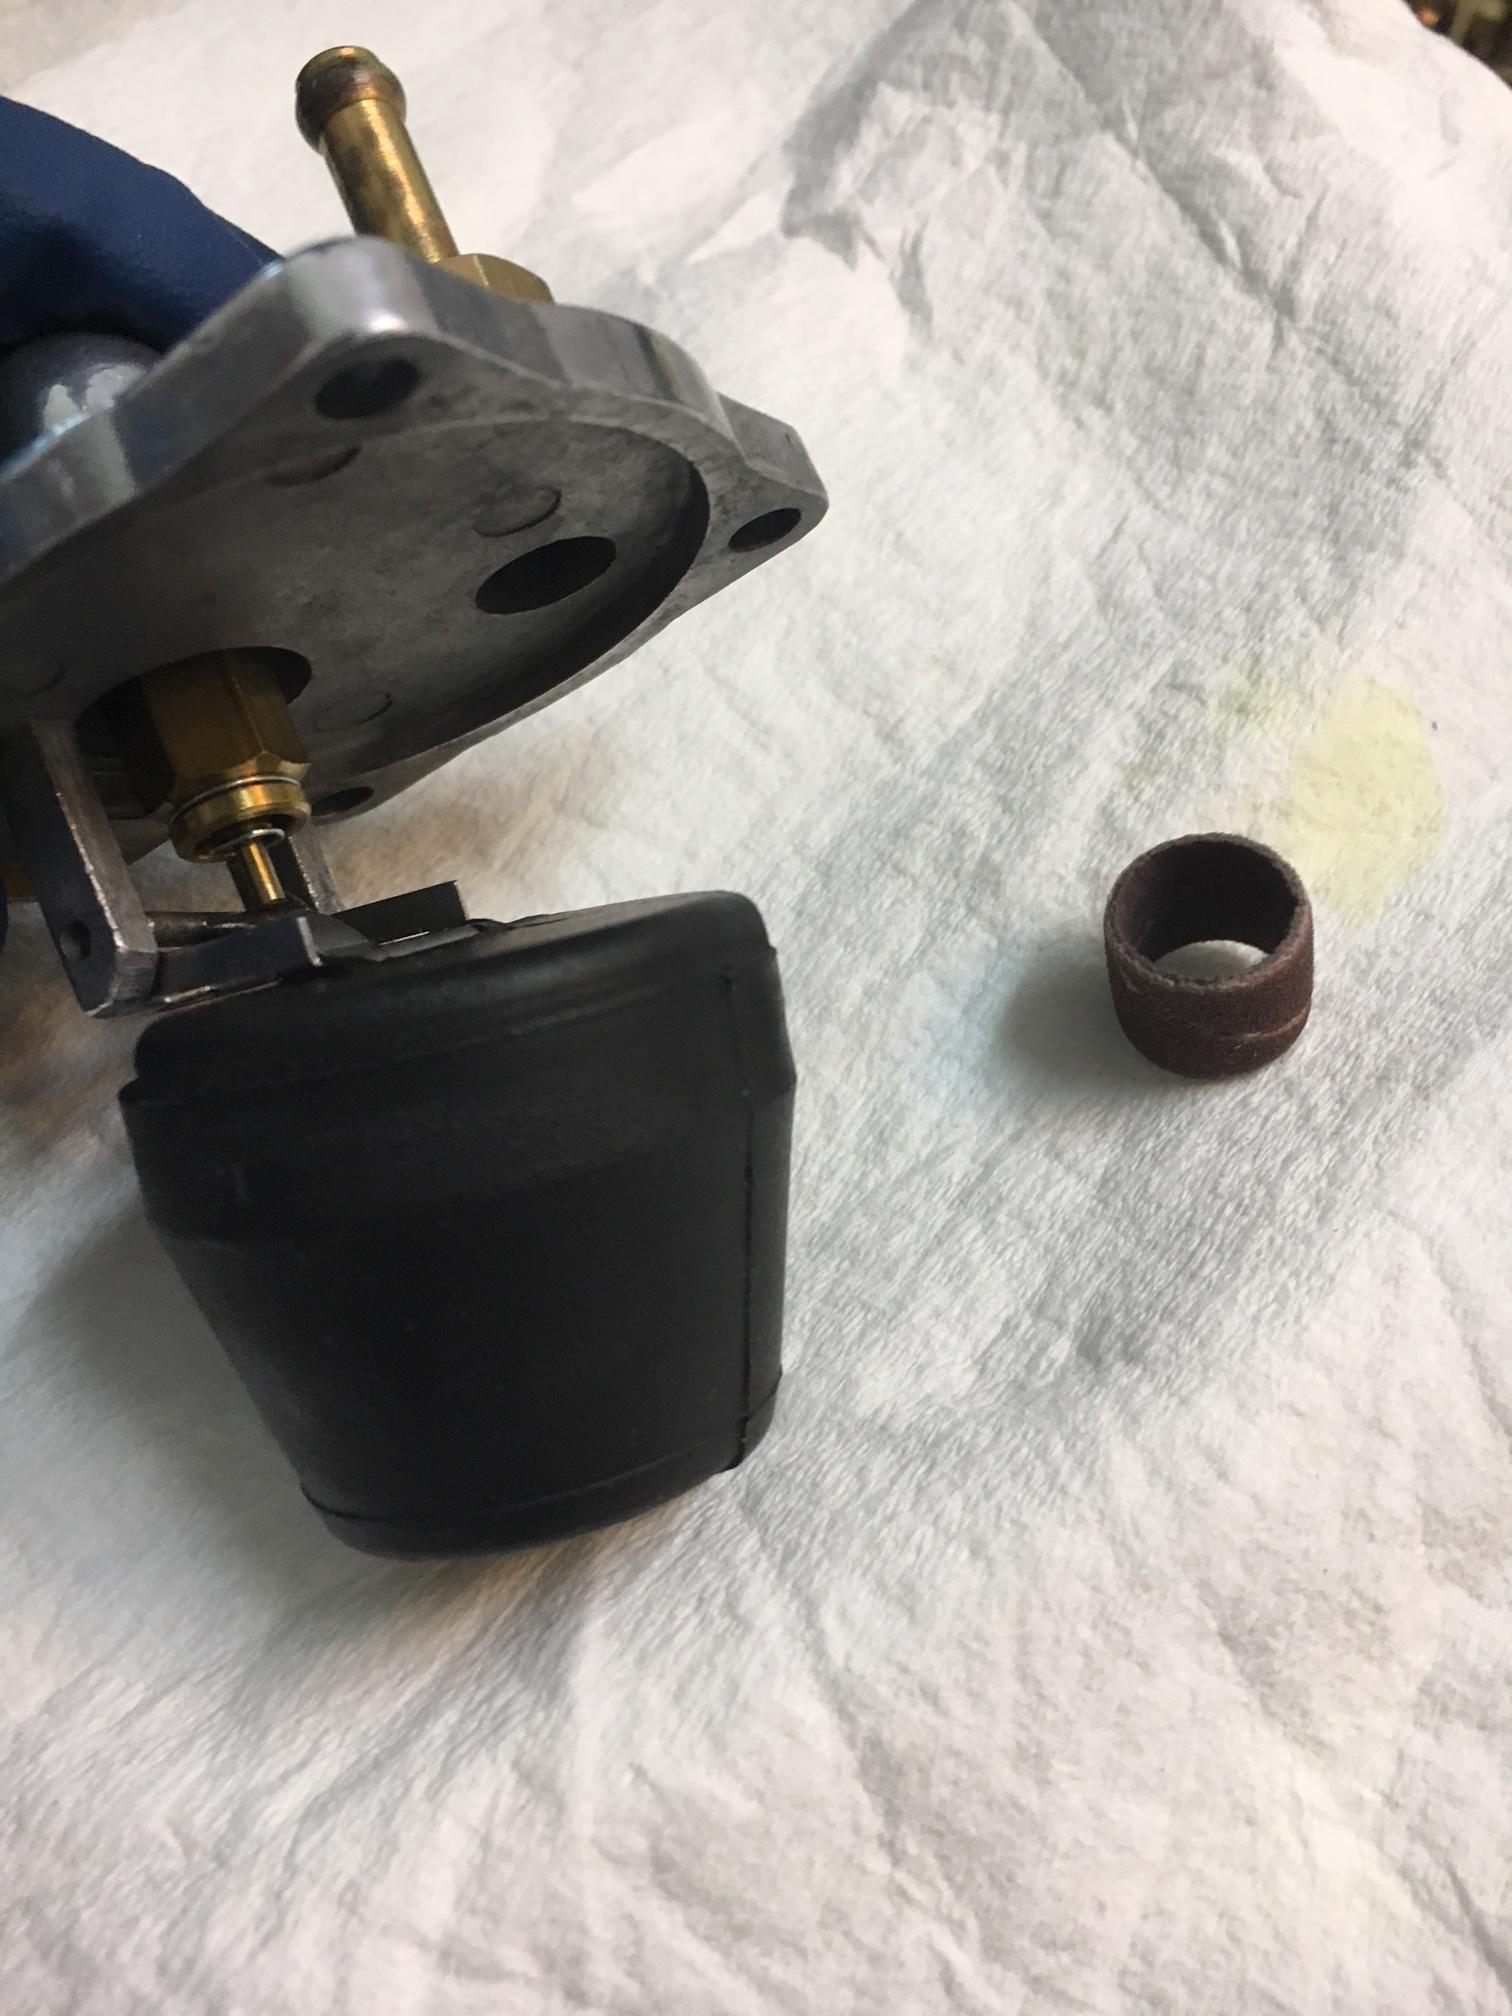
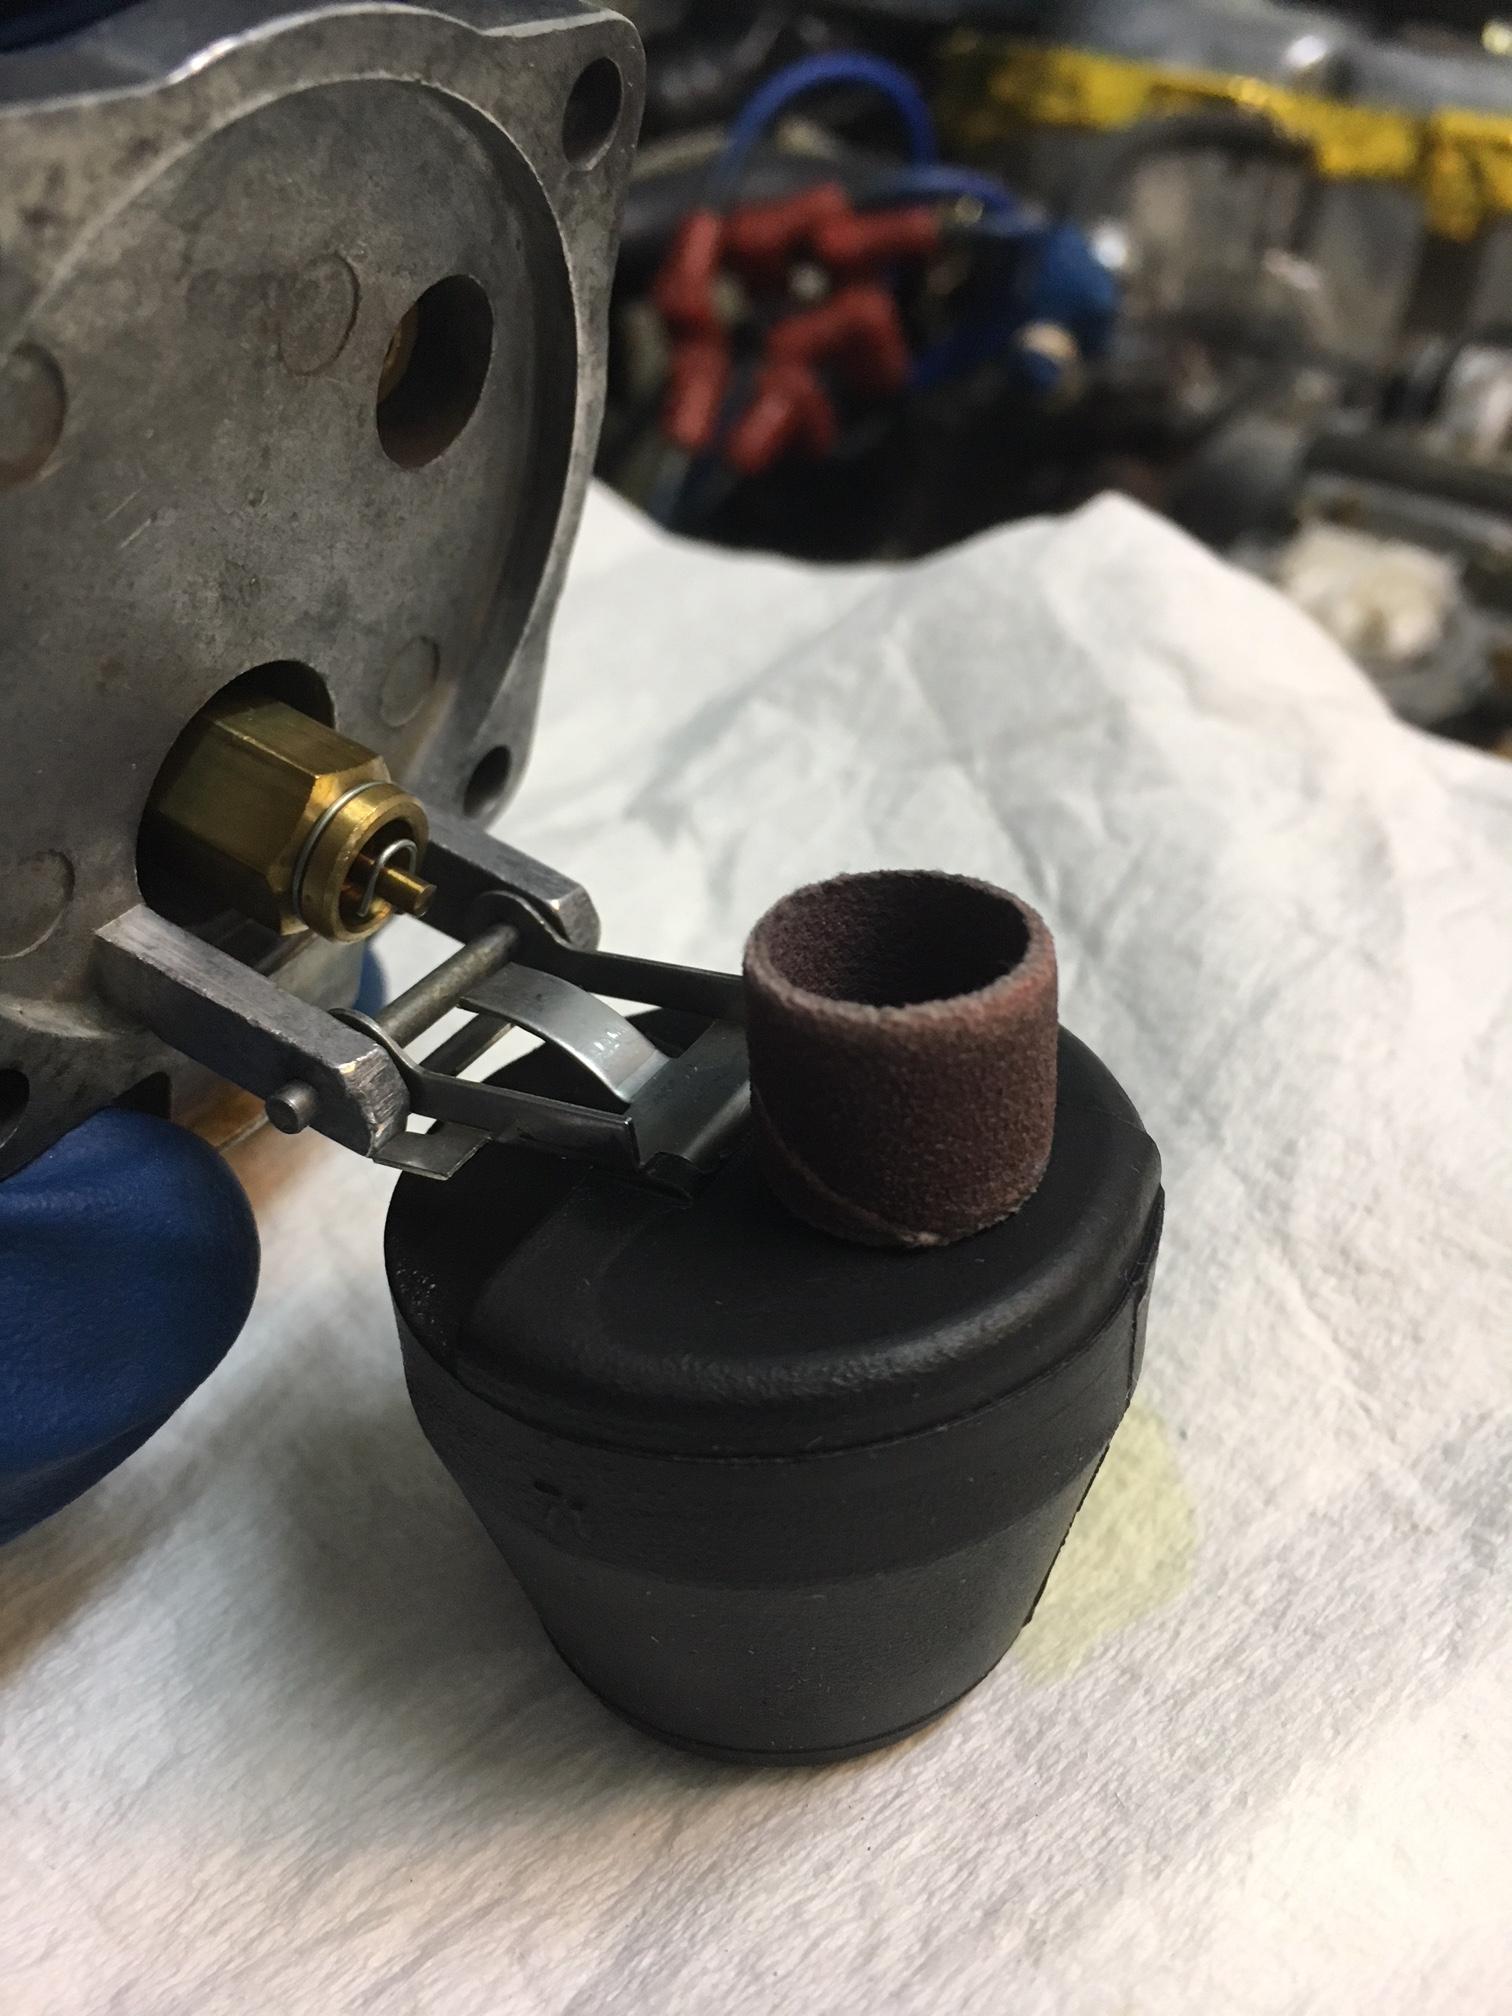
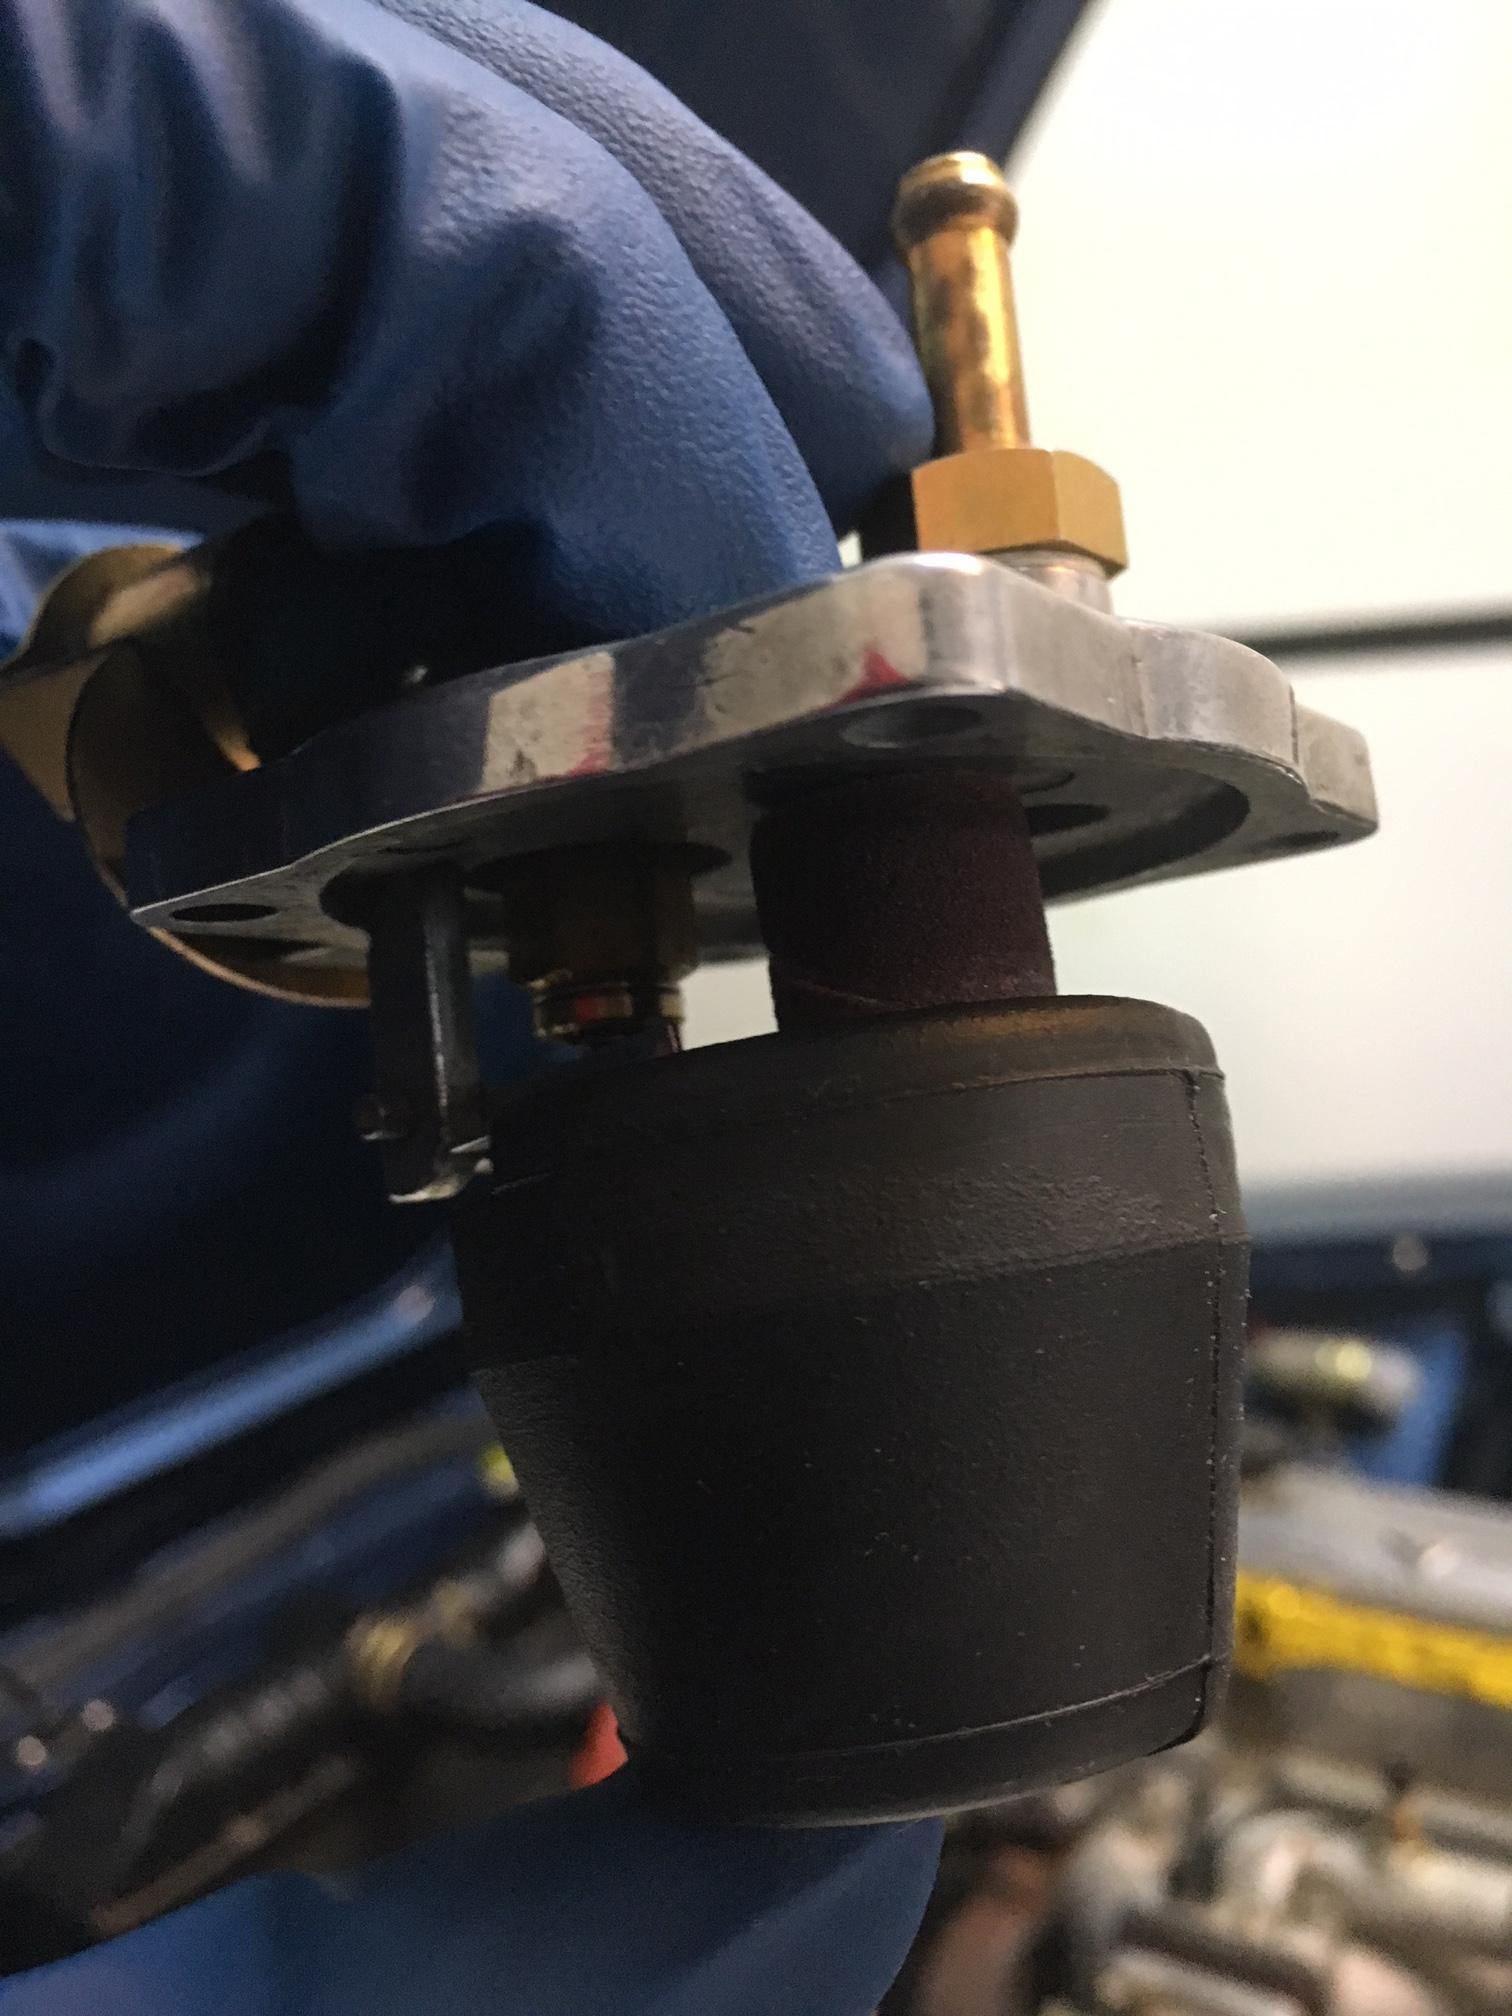
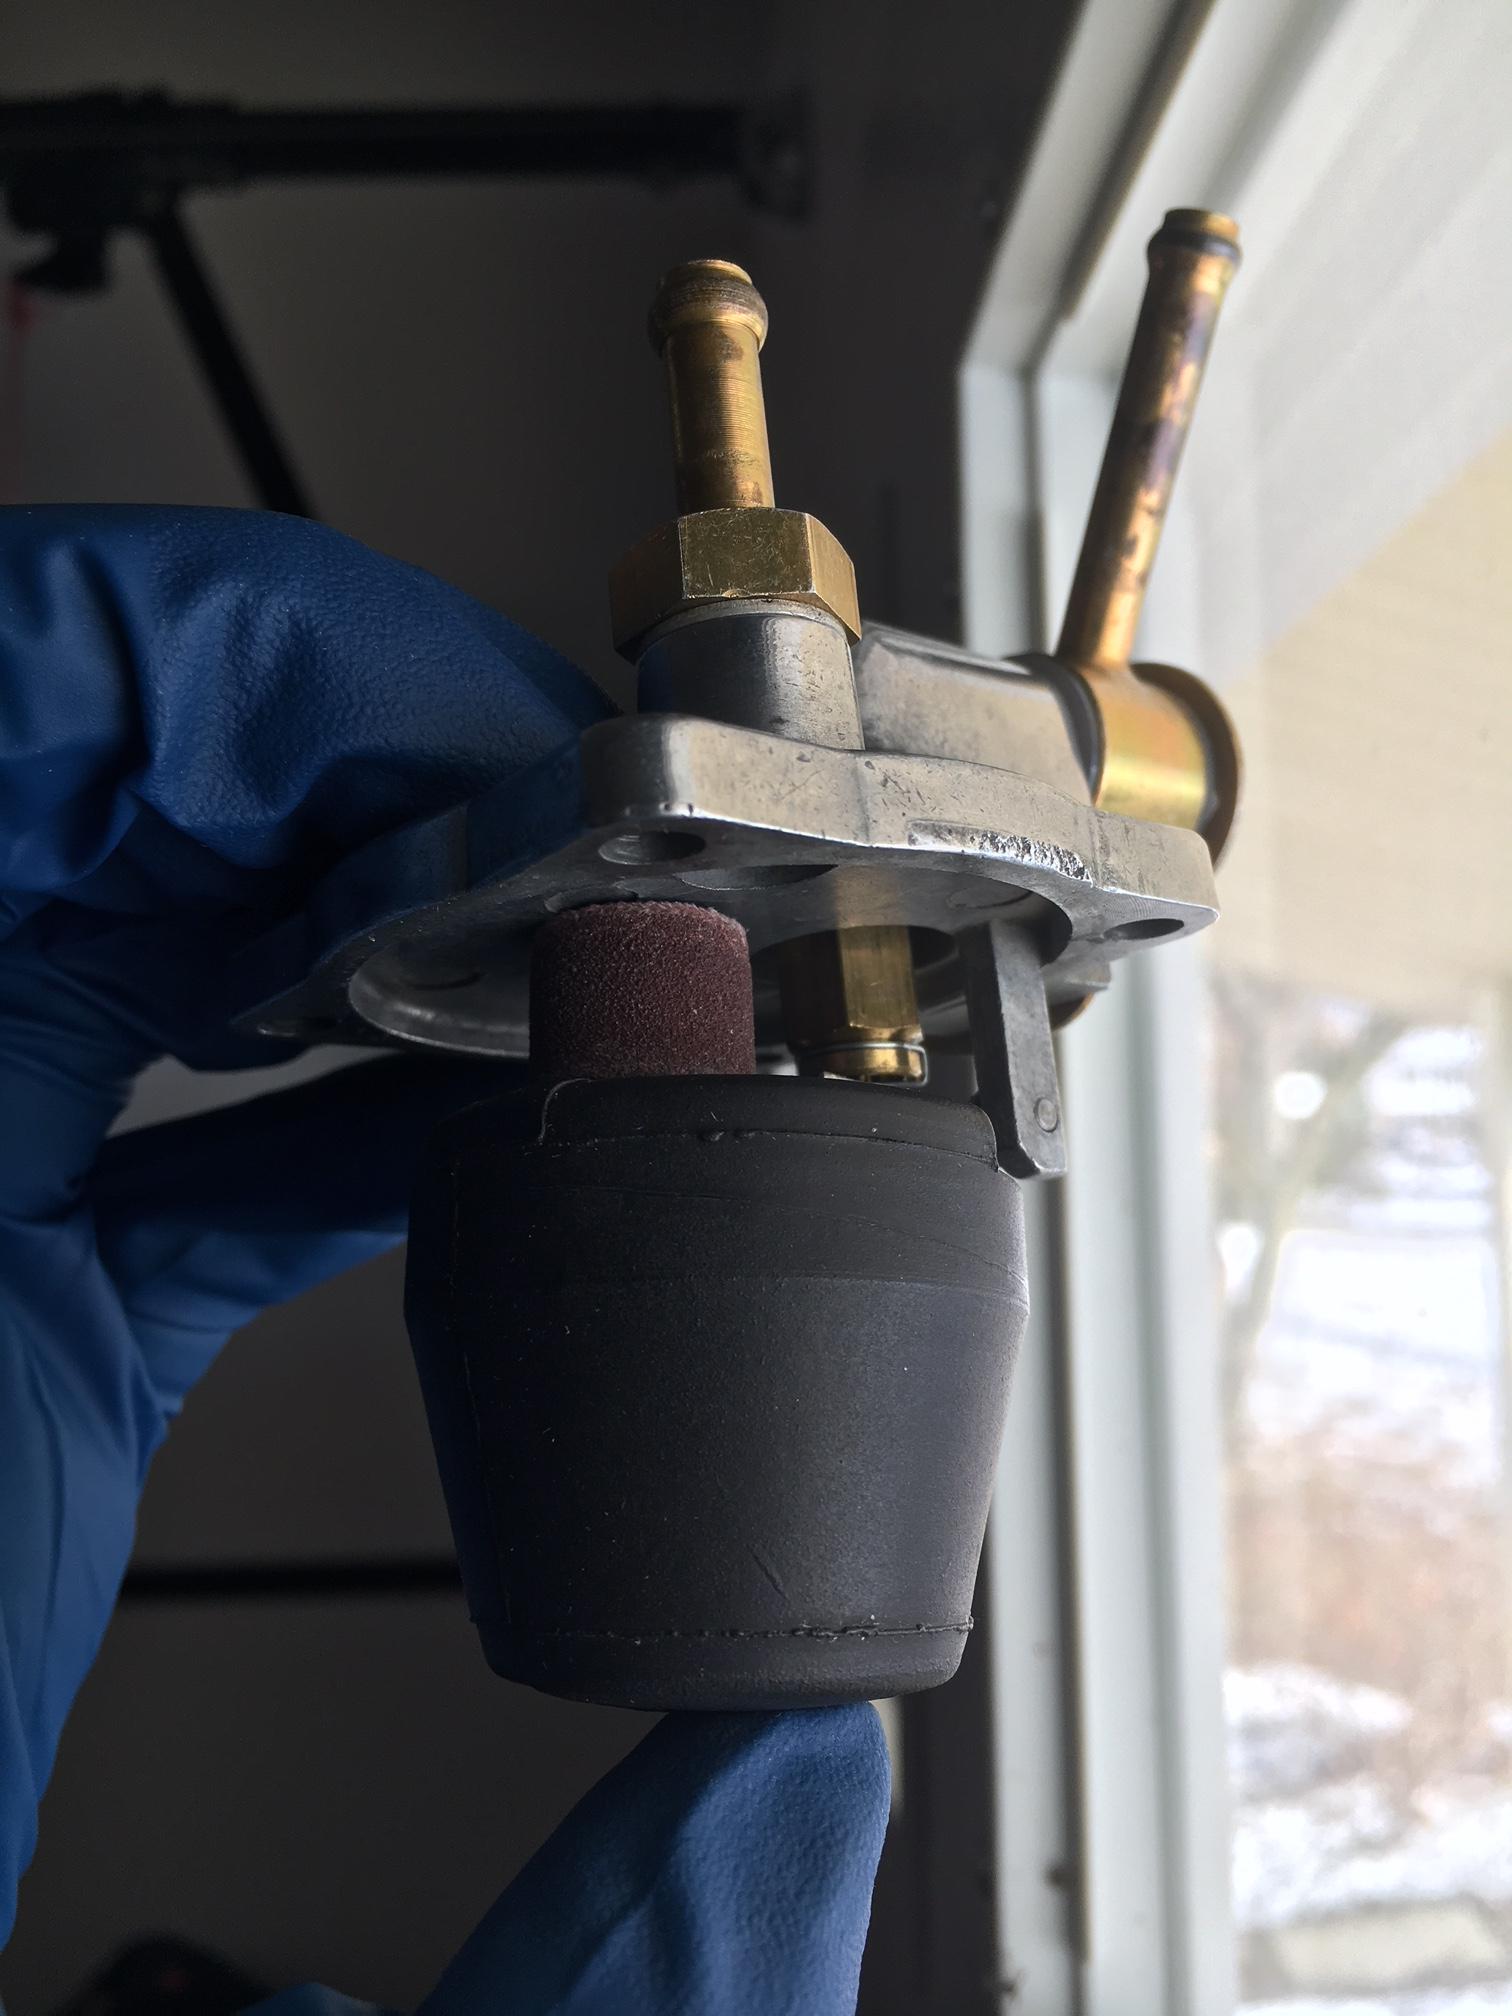
1 pointHi JALEX: Here is a simple way that I set the .55" on my float tabs. Make or find something that is .55" that will sit on top of the float. You can use a wooden dowel rod that you cut down and sand it to exactly .55". I happen to have a sanding drum attachment for my Dremel moto-tool that just happens to measure .55". 1. Place your .55" object on top of the float 2. Raise up the float until the .55" object contact the underside of the cover. You are now exactly at .55" 3. Blow on the fuel inlet pipe. 4. If your breath circulates then the float tang is not pushing the pin and you have to adjust it up to push the pin. (i.e. stop fuel flow at .55") 5. If your breath stops and you can't blow that is good. HOWEVER you must ensure float tang is not bent too far up (i.e. pushing the pin to far in at .55"). You want your breath (fuel) to stop at exactly .55". 6. All of this is performed with the float right side up-exactly like it would be when installed on your carb. Forget the upside down stuff. 7. You also need to fix your float tab angle first. I haven't adjusted my rear carb. float tab yet and it is like a ramp. It should be like a speed bump1 point
The tip breaks off at the base of the threads. The hard polyurethane on the back puts a bending force on the tip of the rod. It seems to fatigue it until it breaks. Mine moaned and groaned until finally it broke when I backed the wheel in to a curb while parking. If you install two PU bushings and then install the rod in its spot you'll find that it locates the rod very firmly in one position. Grab the other end and try to move it and you'll see how it loads the tip.1 point
Actually, I believe he and I are saying the exact same thing. I think we are both recommending using poly on the compression side. If I'm understanding his info correctly, the confusion may come from differences between the suspension geometries of the 510 and the Z? I'm not a 510 guy, but it sounds like the 510 T/C rods run the opposite direction to those on the Z? But I believe we are both saying the same thing?1 point
1 pointIt will slow down a little when it goes to paint. EFI hardware sent me a pic of the freshly plated RB26 ITB parts.1 point
Yes, the front bushing would (typically) be in compression, but I'm not sure that means it would make sense to put the rubber in the front. The general belief (as I understand it) is that with the poly up front, you get the better handling benefits of the poly. but the softer rubber bushing in the rear gives the rod some compliance to pivot at that rear mounting point as the wheel goes up and down (when the suspension compresses and extends). From the standpoint of not wanting to damage the rod, it doesn't matter which side gets poly and which side gets rubber. But to take advantage of the handling characteristics of the poly bushings, you want the poly up front. And of course, the problem with putting the hard poly on both front and rear is that when the rod tries to pivot to change angle, the stiff poly resists the change and over-stresses the rod. I'm not a suspension guy, but that's my interpretation.1 point
 1 pointSimilar to what we did with the 71. Beautiful work on a beautiful car.....I love white!
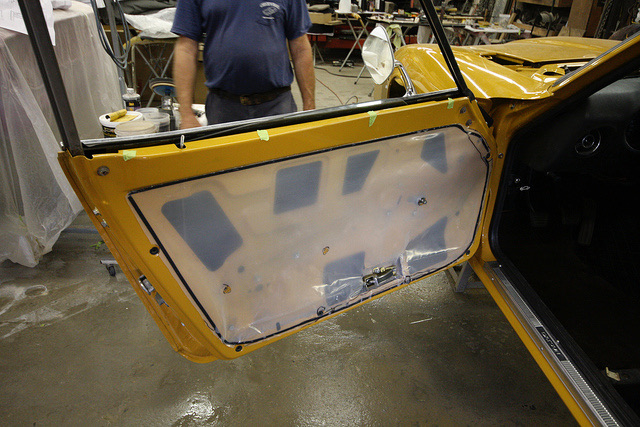 1 point
It's surprisingly easy to remove everything. I've taken a ton of photos and I like to put screws back in their places with stuff like this rather than bagging them. I'm pulling everything because I want to paint a bare engine bay so it's perfect. No masking at all.1 point
1 point
1 pointIt's surprisingly easy to remove everything. I've taken a ton of photos and I like to put screws back in their places with stuff like this rather than bagging them. I'm pulling everything because I want to paint a bare engine bay so it's perfect. No masking at all.1 point


Important Information
By using this site, you agree to our Privacy Policy and Guidelines. We have placed cookies on your device to help make this website better. You can adjust your cookie settings, otherwise we'll assume you're okay to continue.