Leaderboard
-

riverstonefly
Free Member4Points139Posts -

motorman7
 Subscriber
 2Points2,208Posts
 -

madkaw
Free Member2Points4,338Posts -

grannyknot
Free Member2Points5,158Posts
Popular Content
Showing content with the highest reputation on 03/01/2018 in all areas
-
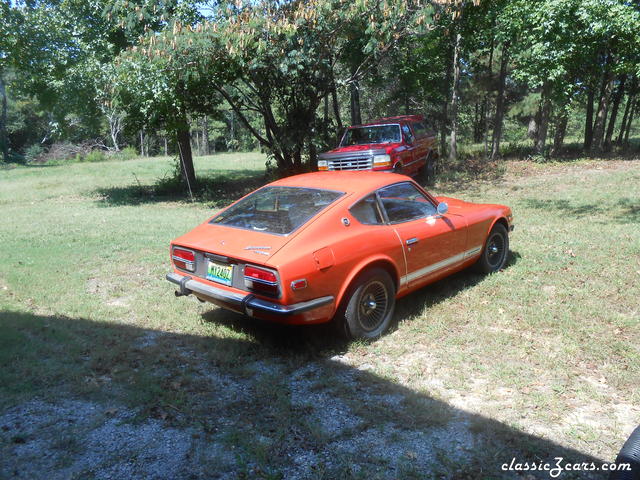
Boom on my way home fellas. This car is absolutely amazing pictures did not do it justice and I was wrong it is a one owner 1978 Datsun 280Z this thing is absolutely crazy fellas. More pics to come once I get home Sent from my XT1650 using Tapatalk3 points
-
2 pointsI just pulled the trigger with a Rebello kit. Dave is prepping me a block and I bought his kit to assemble myself!2 points
-
Or is it? Seems like I've been seeing a lot of vintage cars up for auction lately with the "20 yrs of dust" look on them, I wonder if this isn't a new pre-auction treatment someone has come up with. I can just see the part timer kid with a flour sieve and the contents of a vacuum cleaner Did no one think to throw a cheap cover over these cars?2 points
-
 I can probably just check the wipe patterns first. If they all look good...no need to take everything apart and measure everything, right?1 point
 -
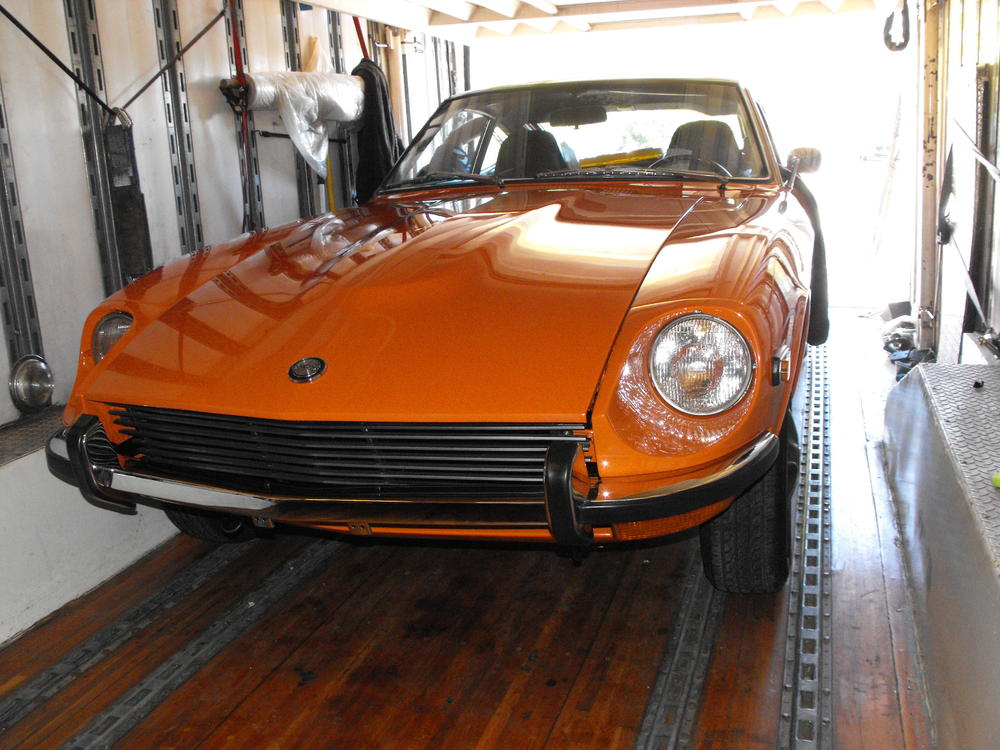
1 pointHi Guy, The whole project was actually pretty enjoyable (for the most part) and educational. I think the most important thing I learned is that if you have a decent car to start with, then pay the extra money for a great paint job. That being said, I've actually started stripping and boxing the white car parts. I will sand it pretty bare, then send it off to Miguel to do the paint work, same as the orange car. For the orange car here, I will do a summary here at the end and quote costs, labor, lessons learned etc. I will probably continue the white car blog but not in as much detail. Good to hear from you again. Best regards, Rich1 point
-
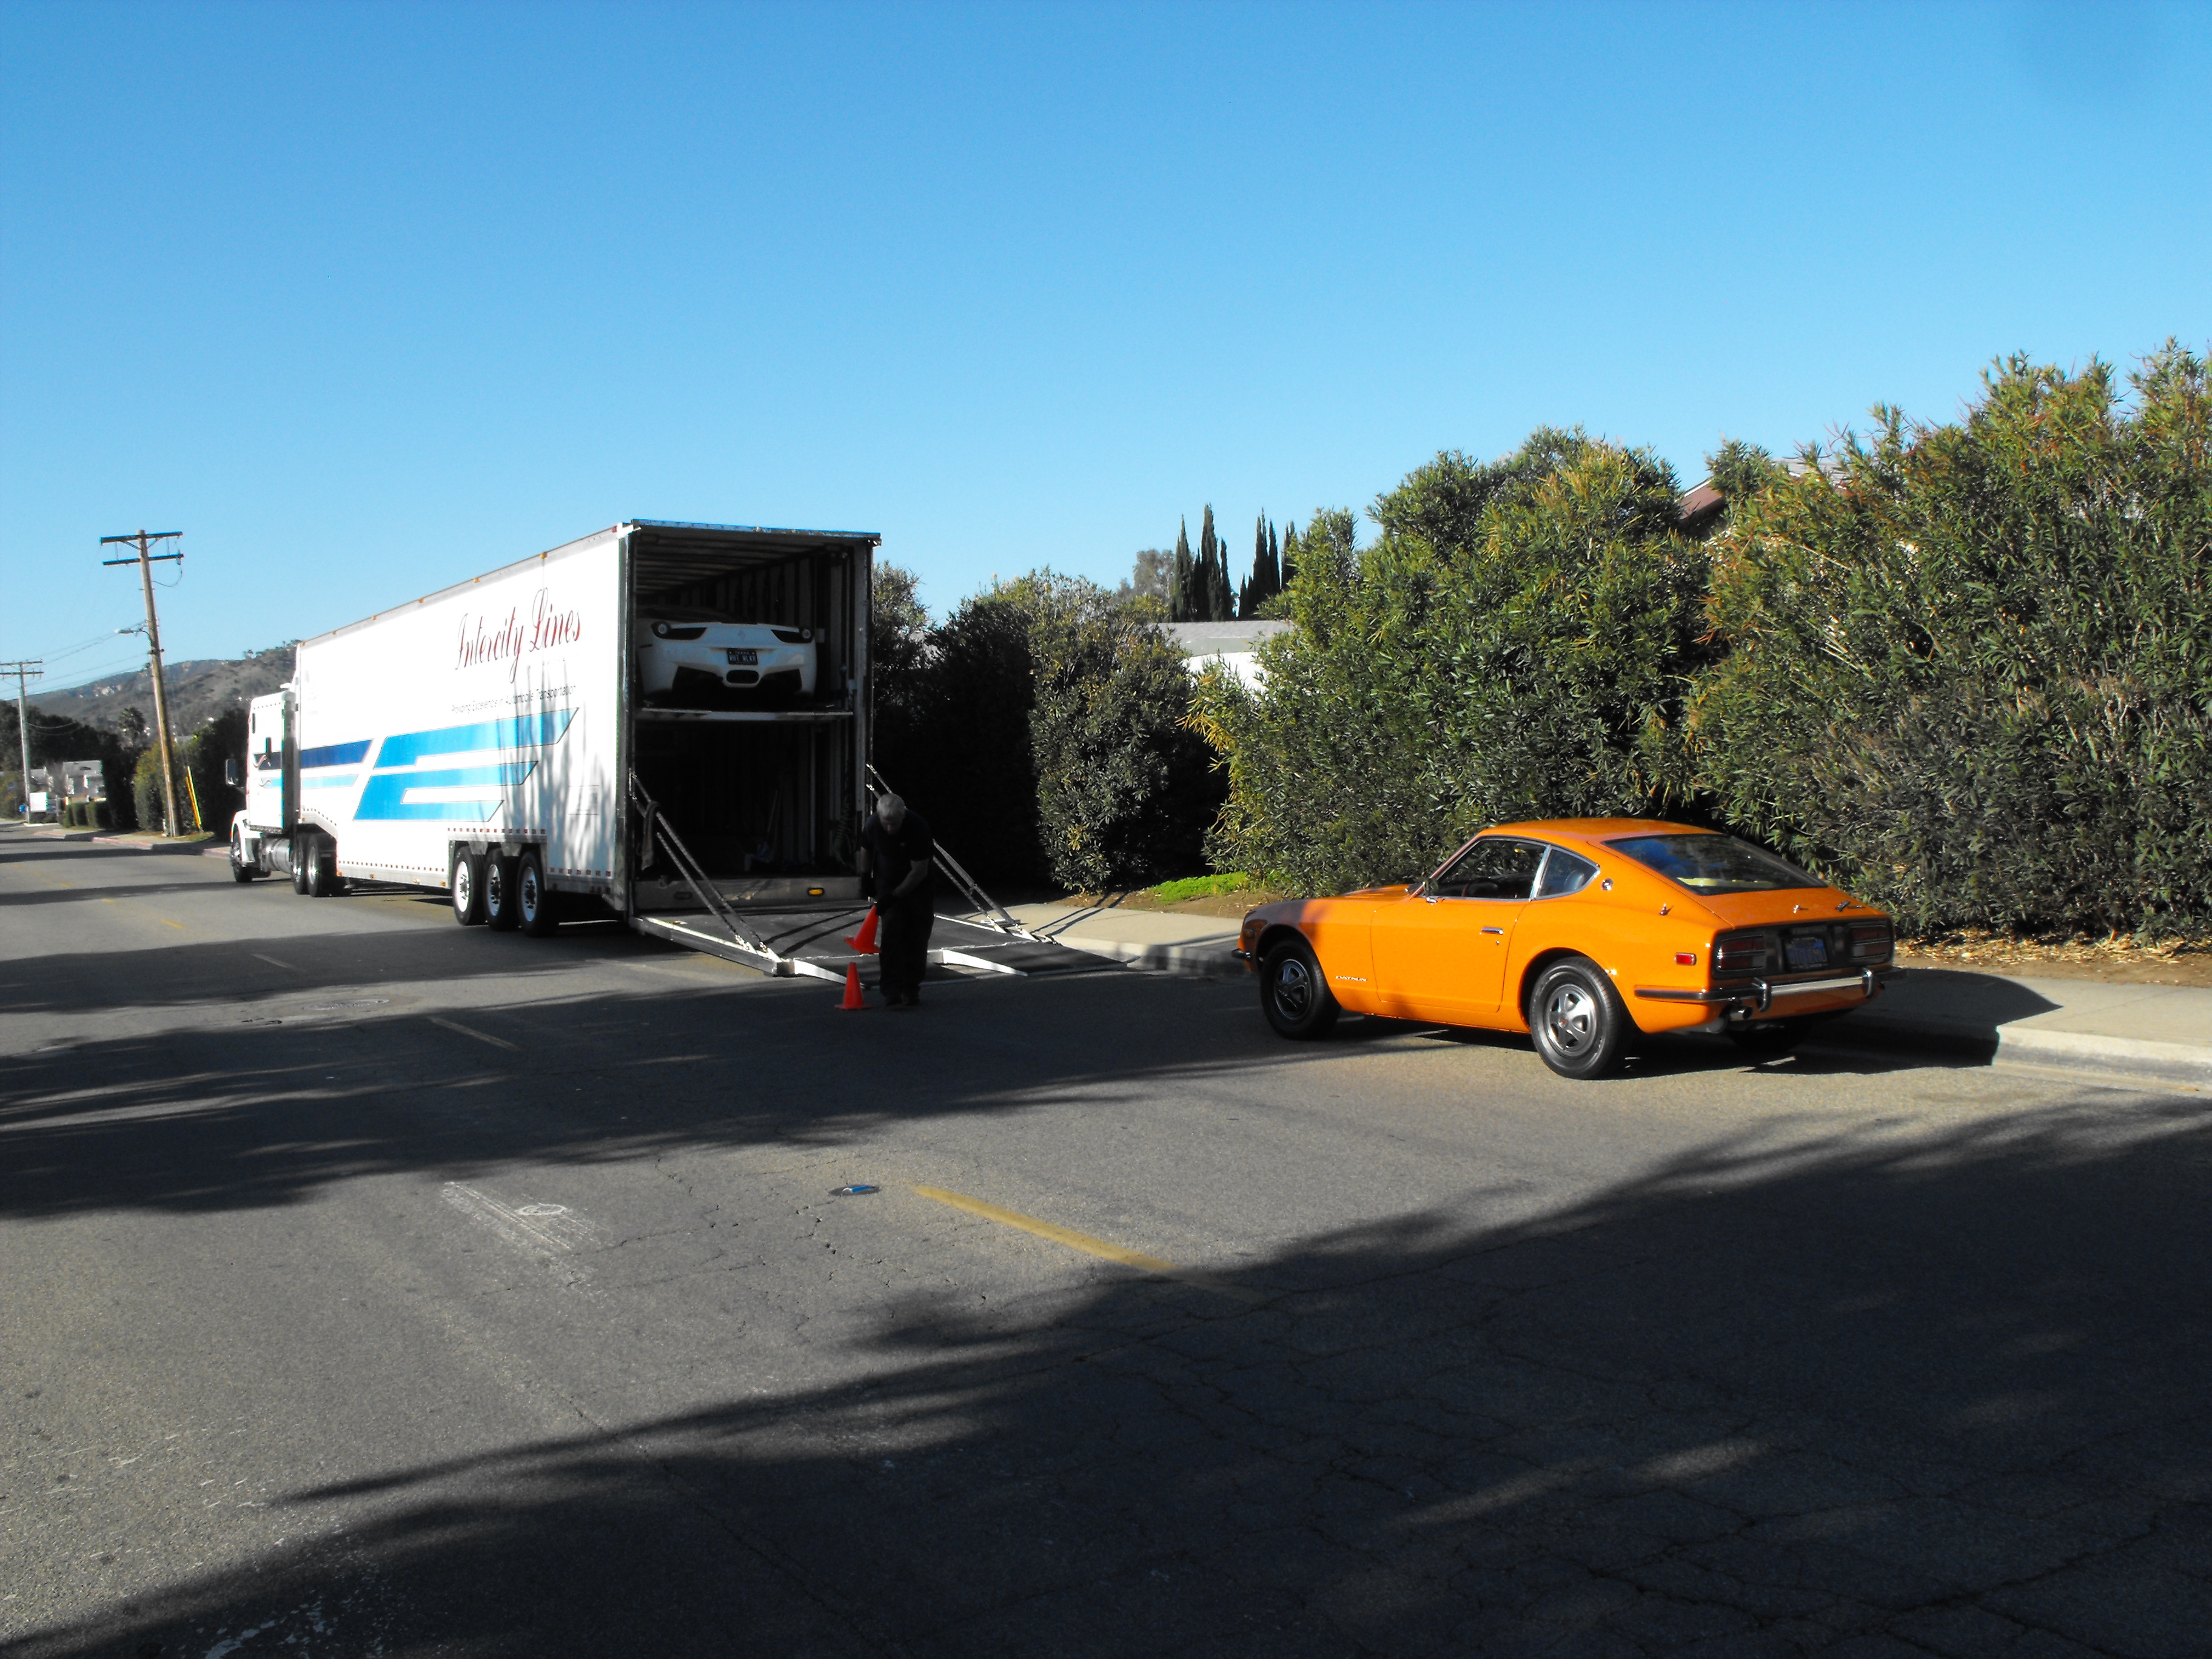
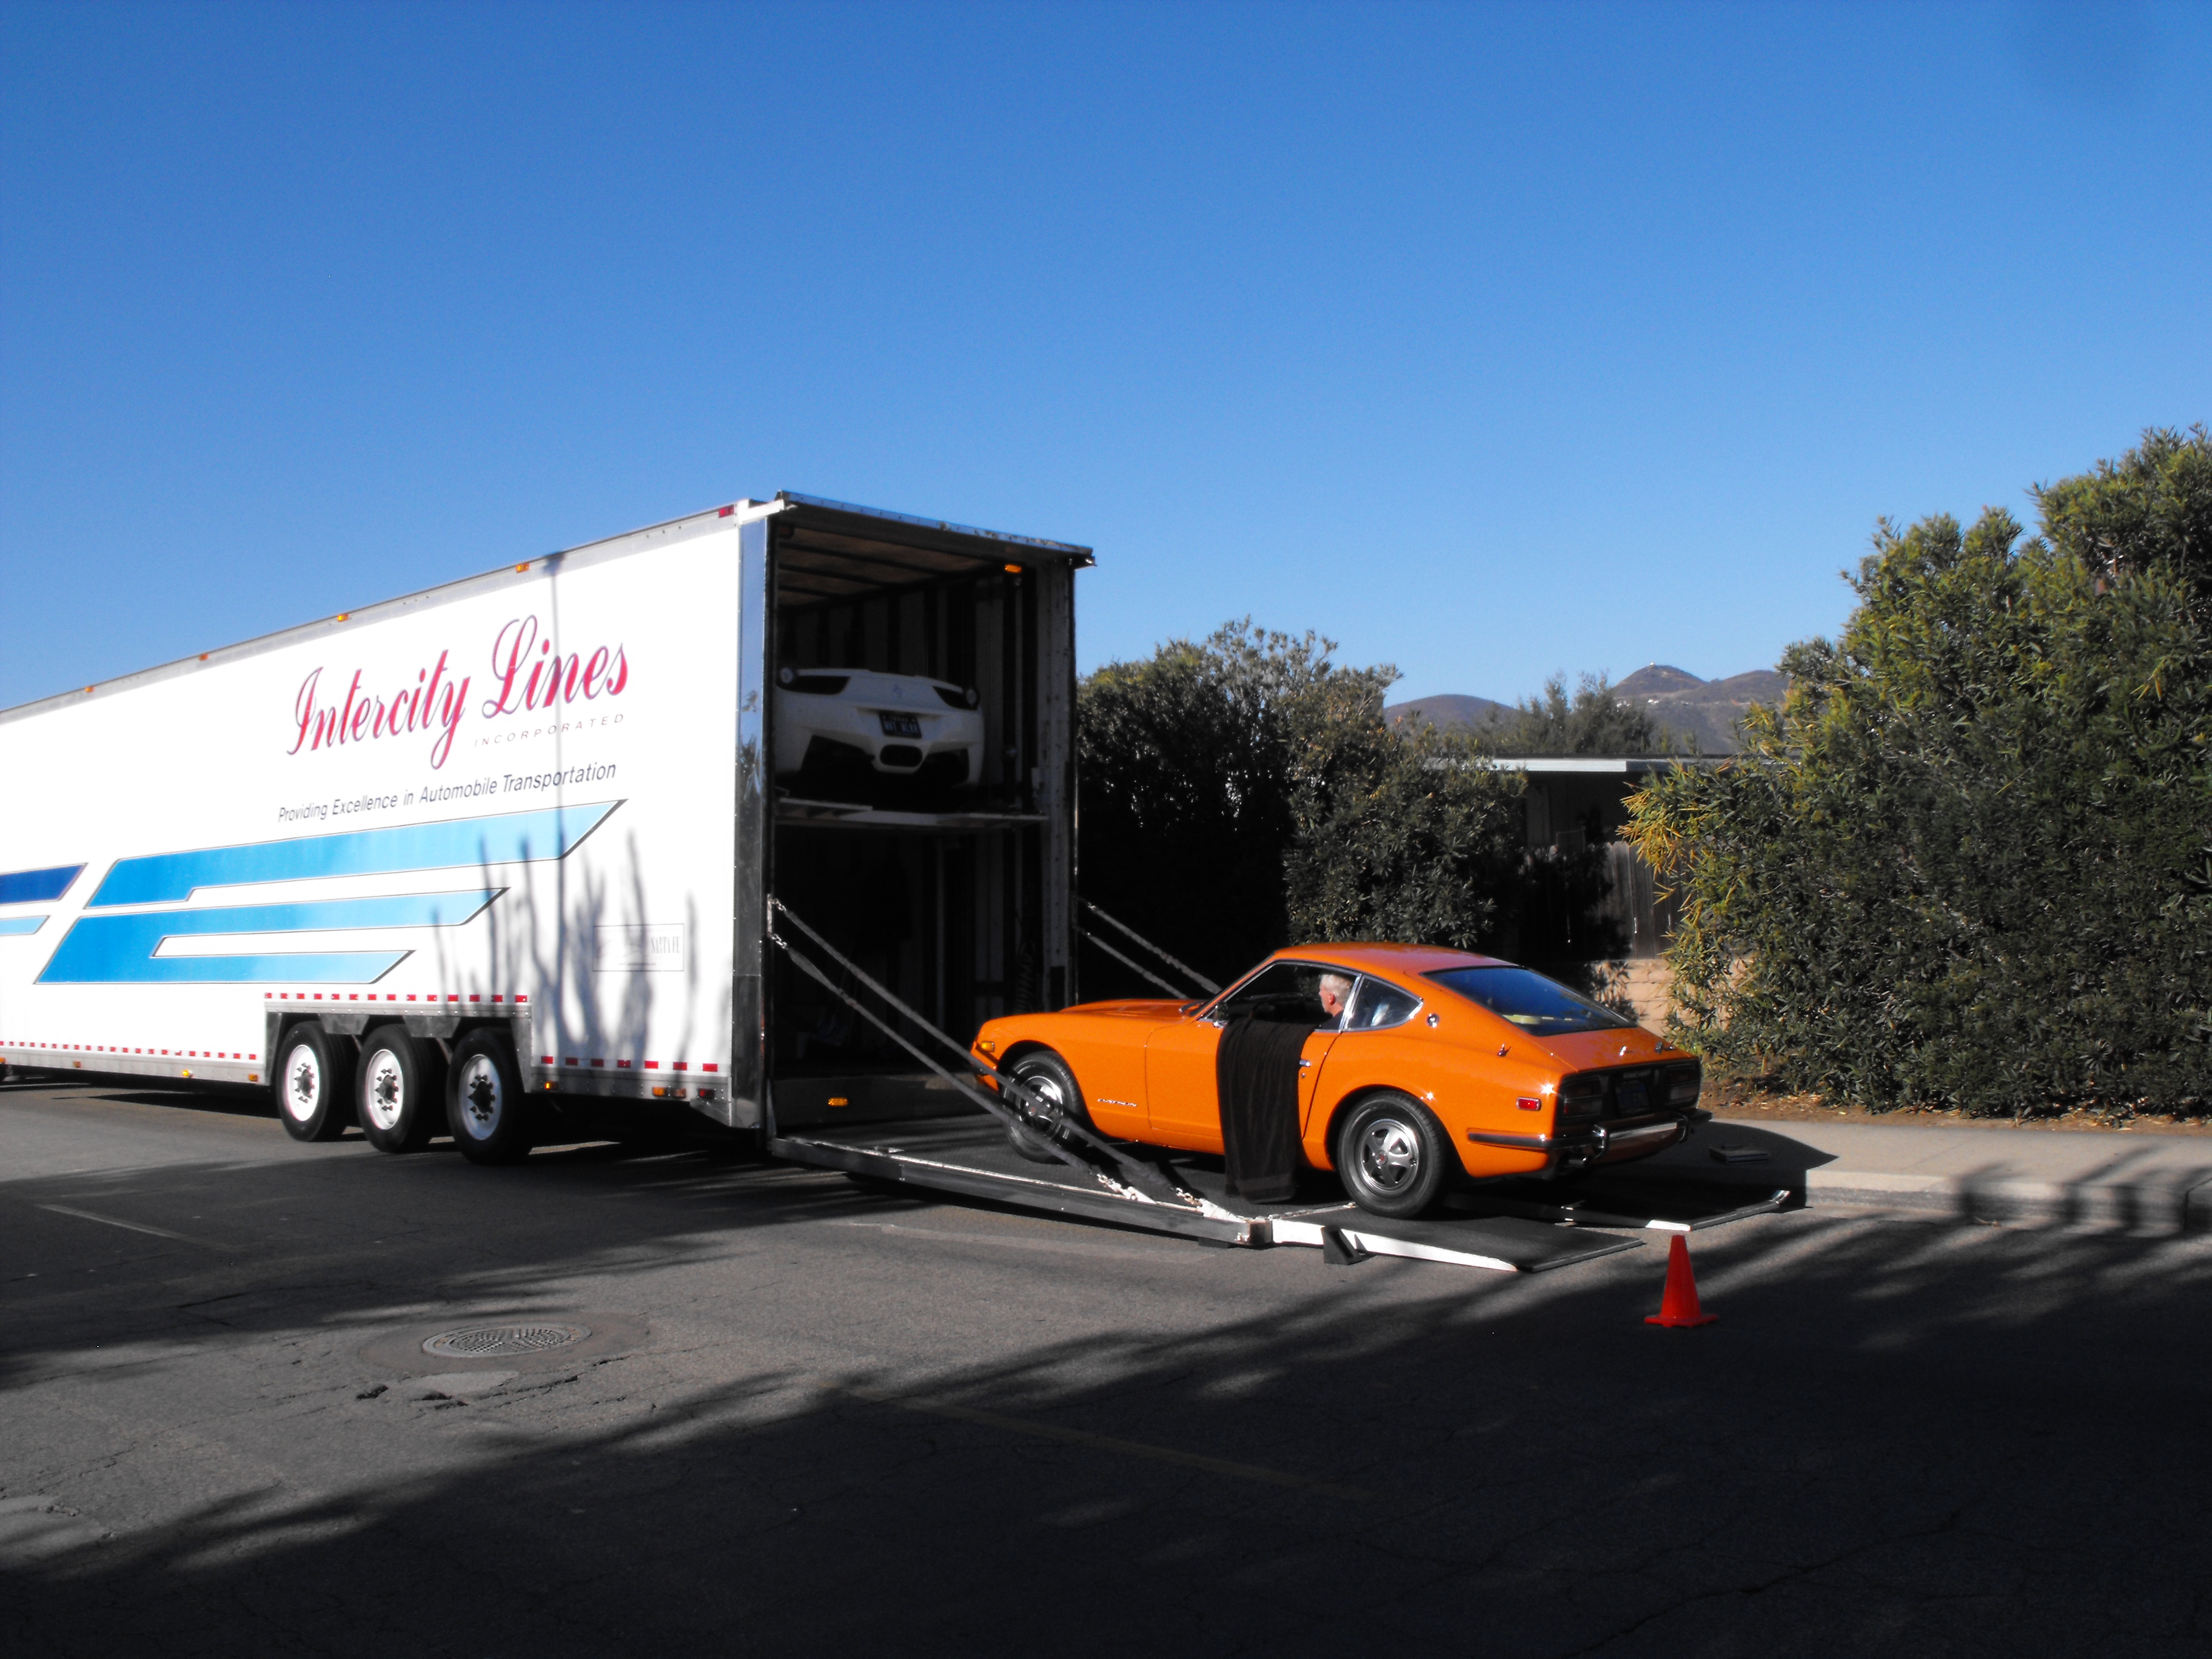
1 pointAnd...off she goes, back to the owner. Will post overall summary and lessons learned once I get a little time.


 1 point
 -
 1 point
 -
 Yes, I'll be seeing Alan shortly so will ask his opinion. Part of me likes parts that aren't freely on the market, as if they're too common it ruins a bit of the allure.1 point
 -
 One thing for sure, even if it doesn’t drive as well as your 911, it will be a heck of a lot easier to work on!1 point
 -
 1 pointI want to post this tech bulletin again. I'm still seeing references to ".55 inch", "9/16 inch", "14 mm down", or "23 mm down" in this thread. It's in the '72 FSM like that but all those numbers are wrong. The official Nissan Bulletin below, posted a couple years ago by Jonathan Russell (thank you), corrects the errors. It works out to 21 mm rear and 25 mm front (plus or minus 1/2 mm) down from the lid. So it's 4 mm higher for the rear carb. Or use the numbers in the bulletin to measure from the lid to the float if you have to try that method. Yes, the nozzle method is more accurate and you don't need to be concerned with numbers. So it's best to use that and forget about this. I don't like float to lid measurement method either. But if you want to use the float to lid measurement method anyway, or if you use the sightglass method, please read this at least once. It won't make it any easier to adjust the tangs but at least you'll be trying for the right numbers. TechnicalSupportBulletin-TS73-10.PDF1 point
 -
Well I'm headed over to see it tomorrow and if it is as clean as it appears she'll be coming home. Sent from my XT1650 using Tapatalk1 point
-
 1 pointYou're right LeonV, the word I should have used is inertia, not torque........that's what I feel like I need for stoplight to stoplight and launching the quarter mile.1 point