


Leaderboard

 Subscriber
Popular Content
Showing content with the highest reputation on 03/13/2018 in all areas
-
 3 points
 -
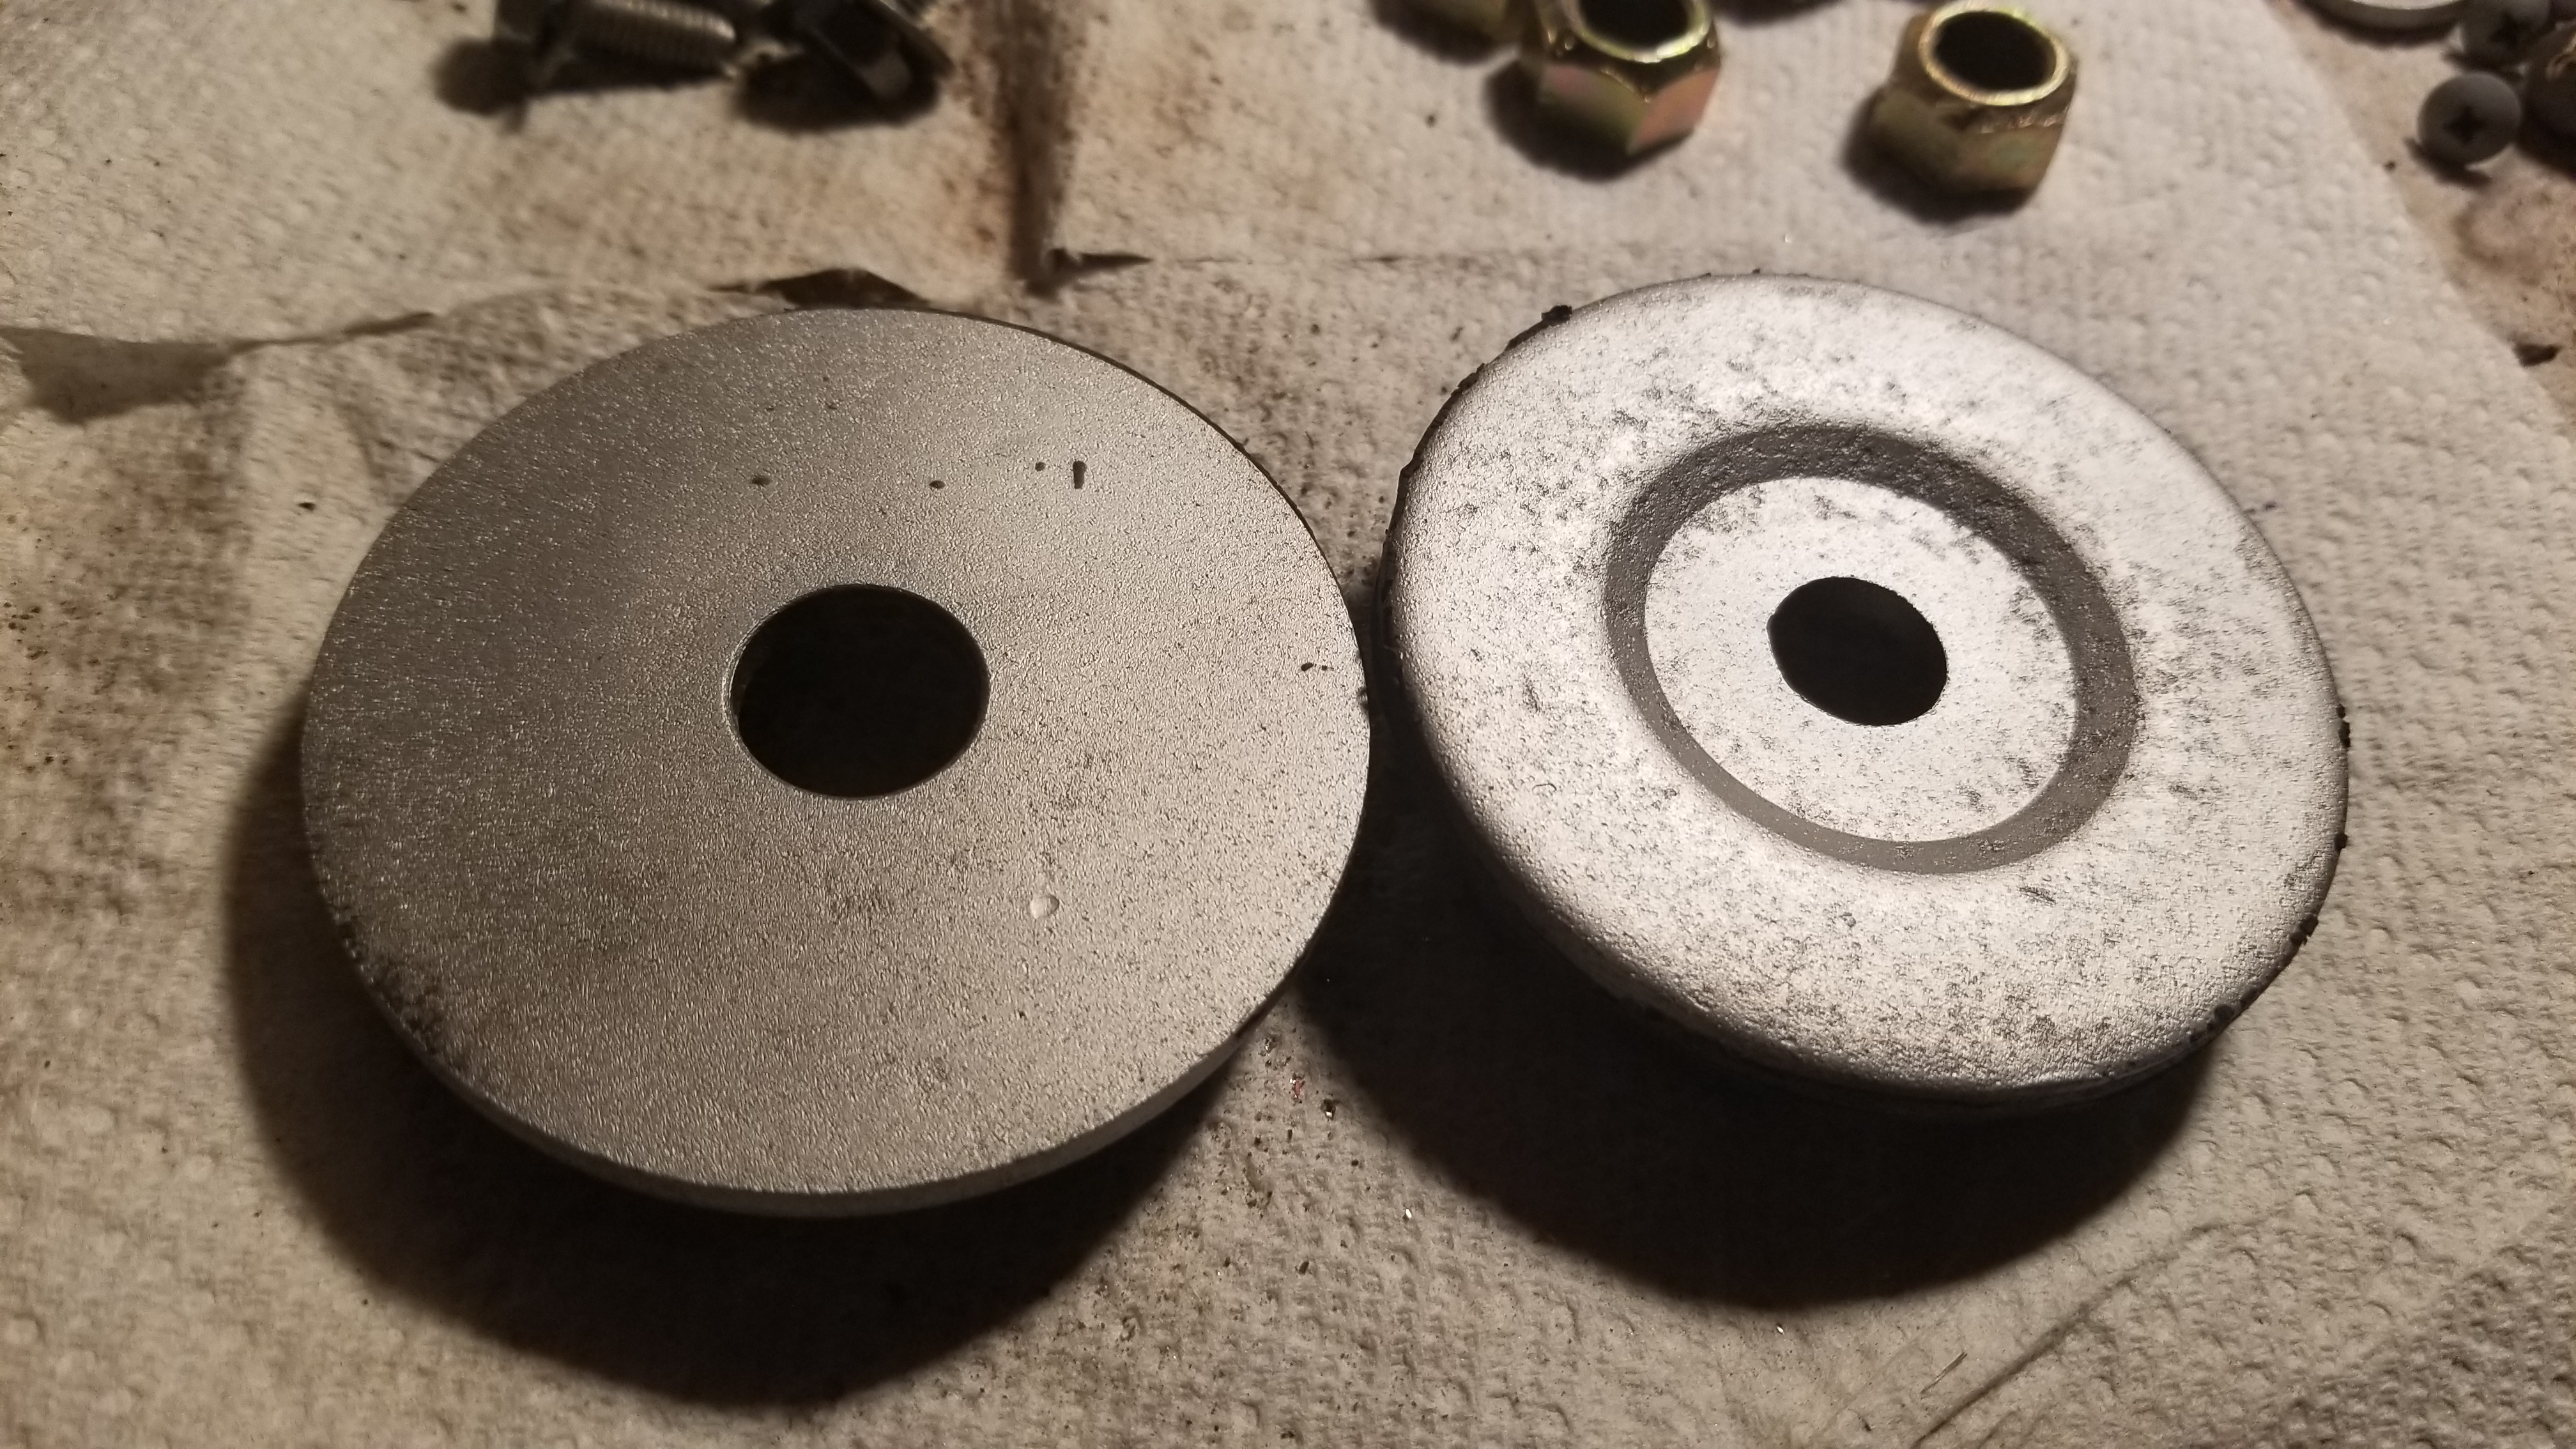
 3 points**UPDATE** Finally got everything in. Installed the balancer. Wanted that out of the way. The woodruff key fit snug, not loose or too tight. So I'm certain of no keyway damage. Now I just need to put the rest of her together.
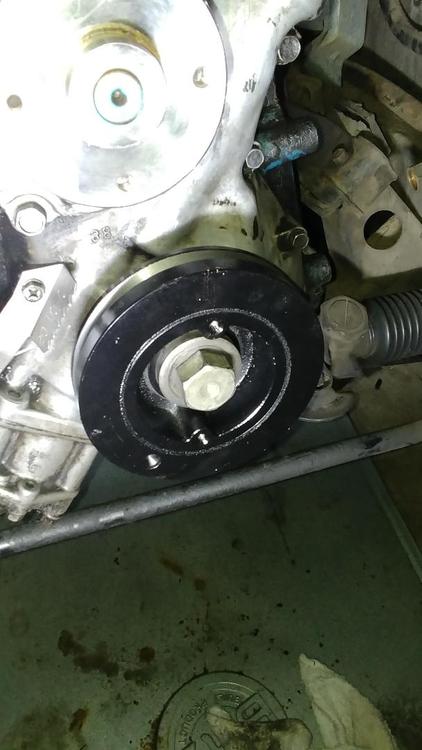 3 points
 -
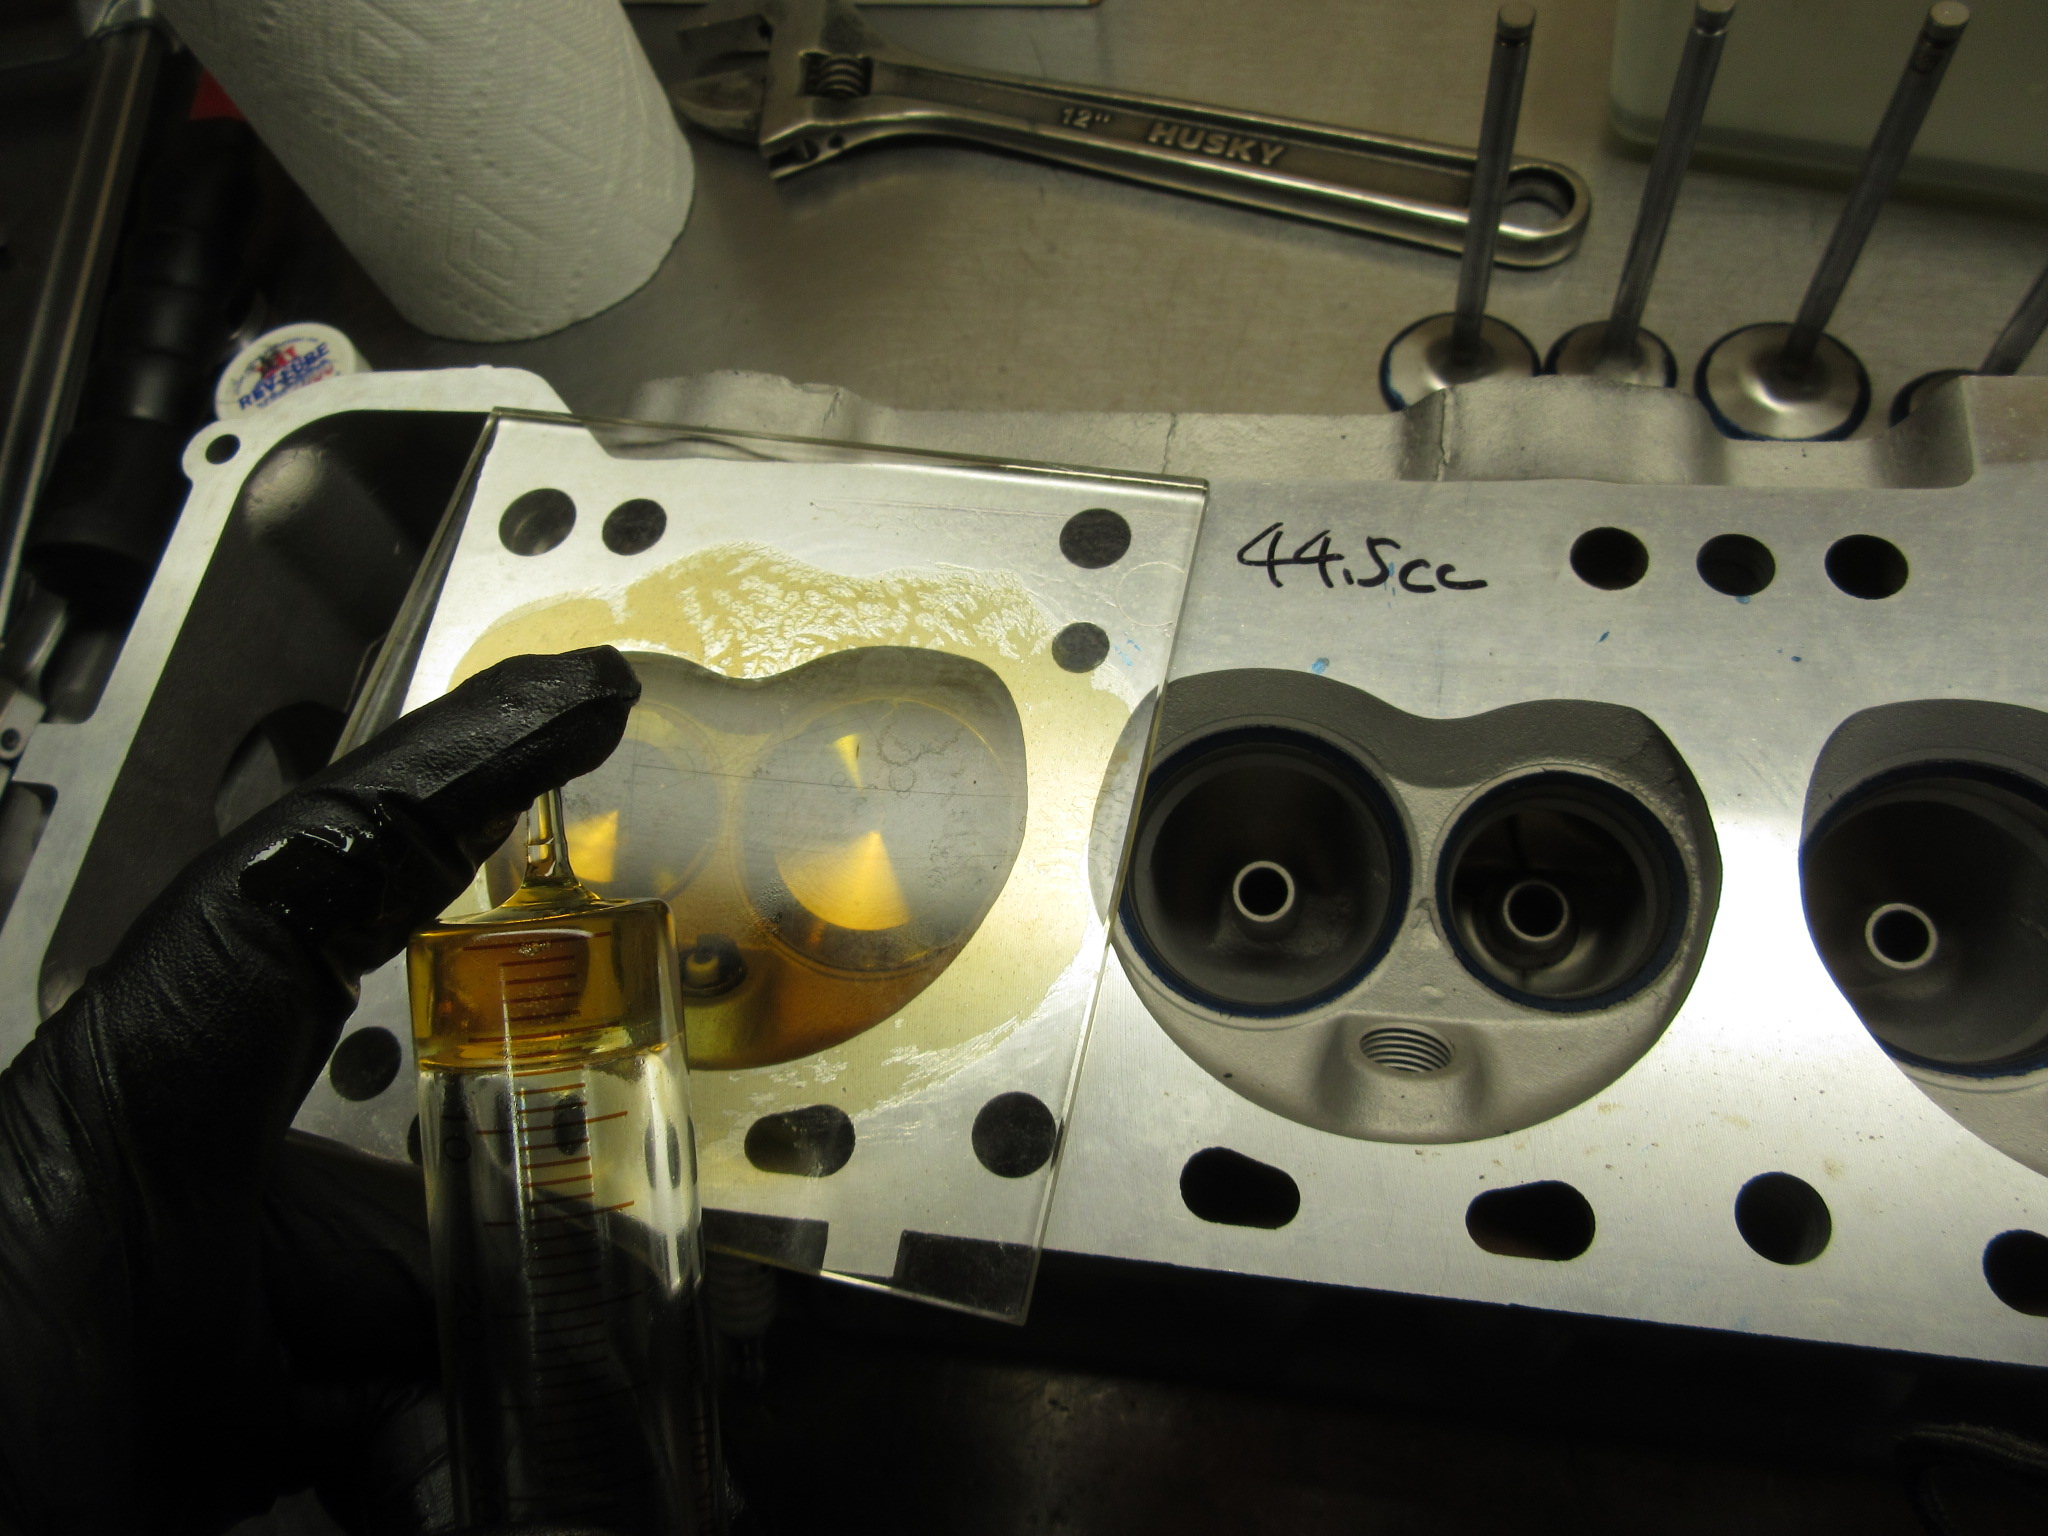
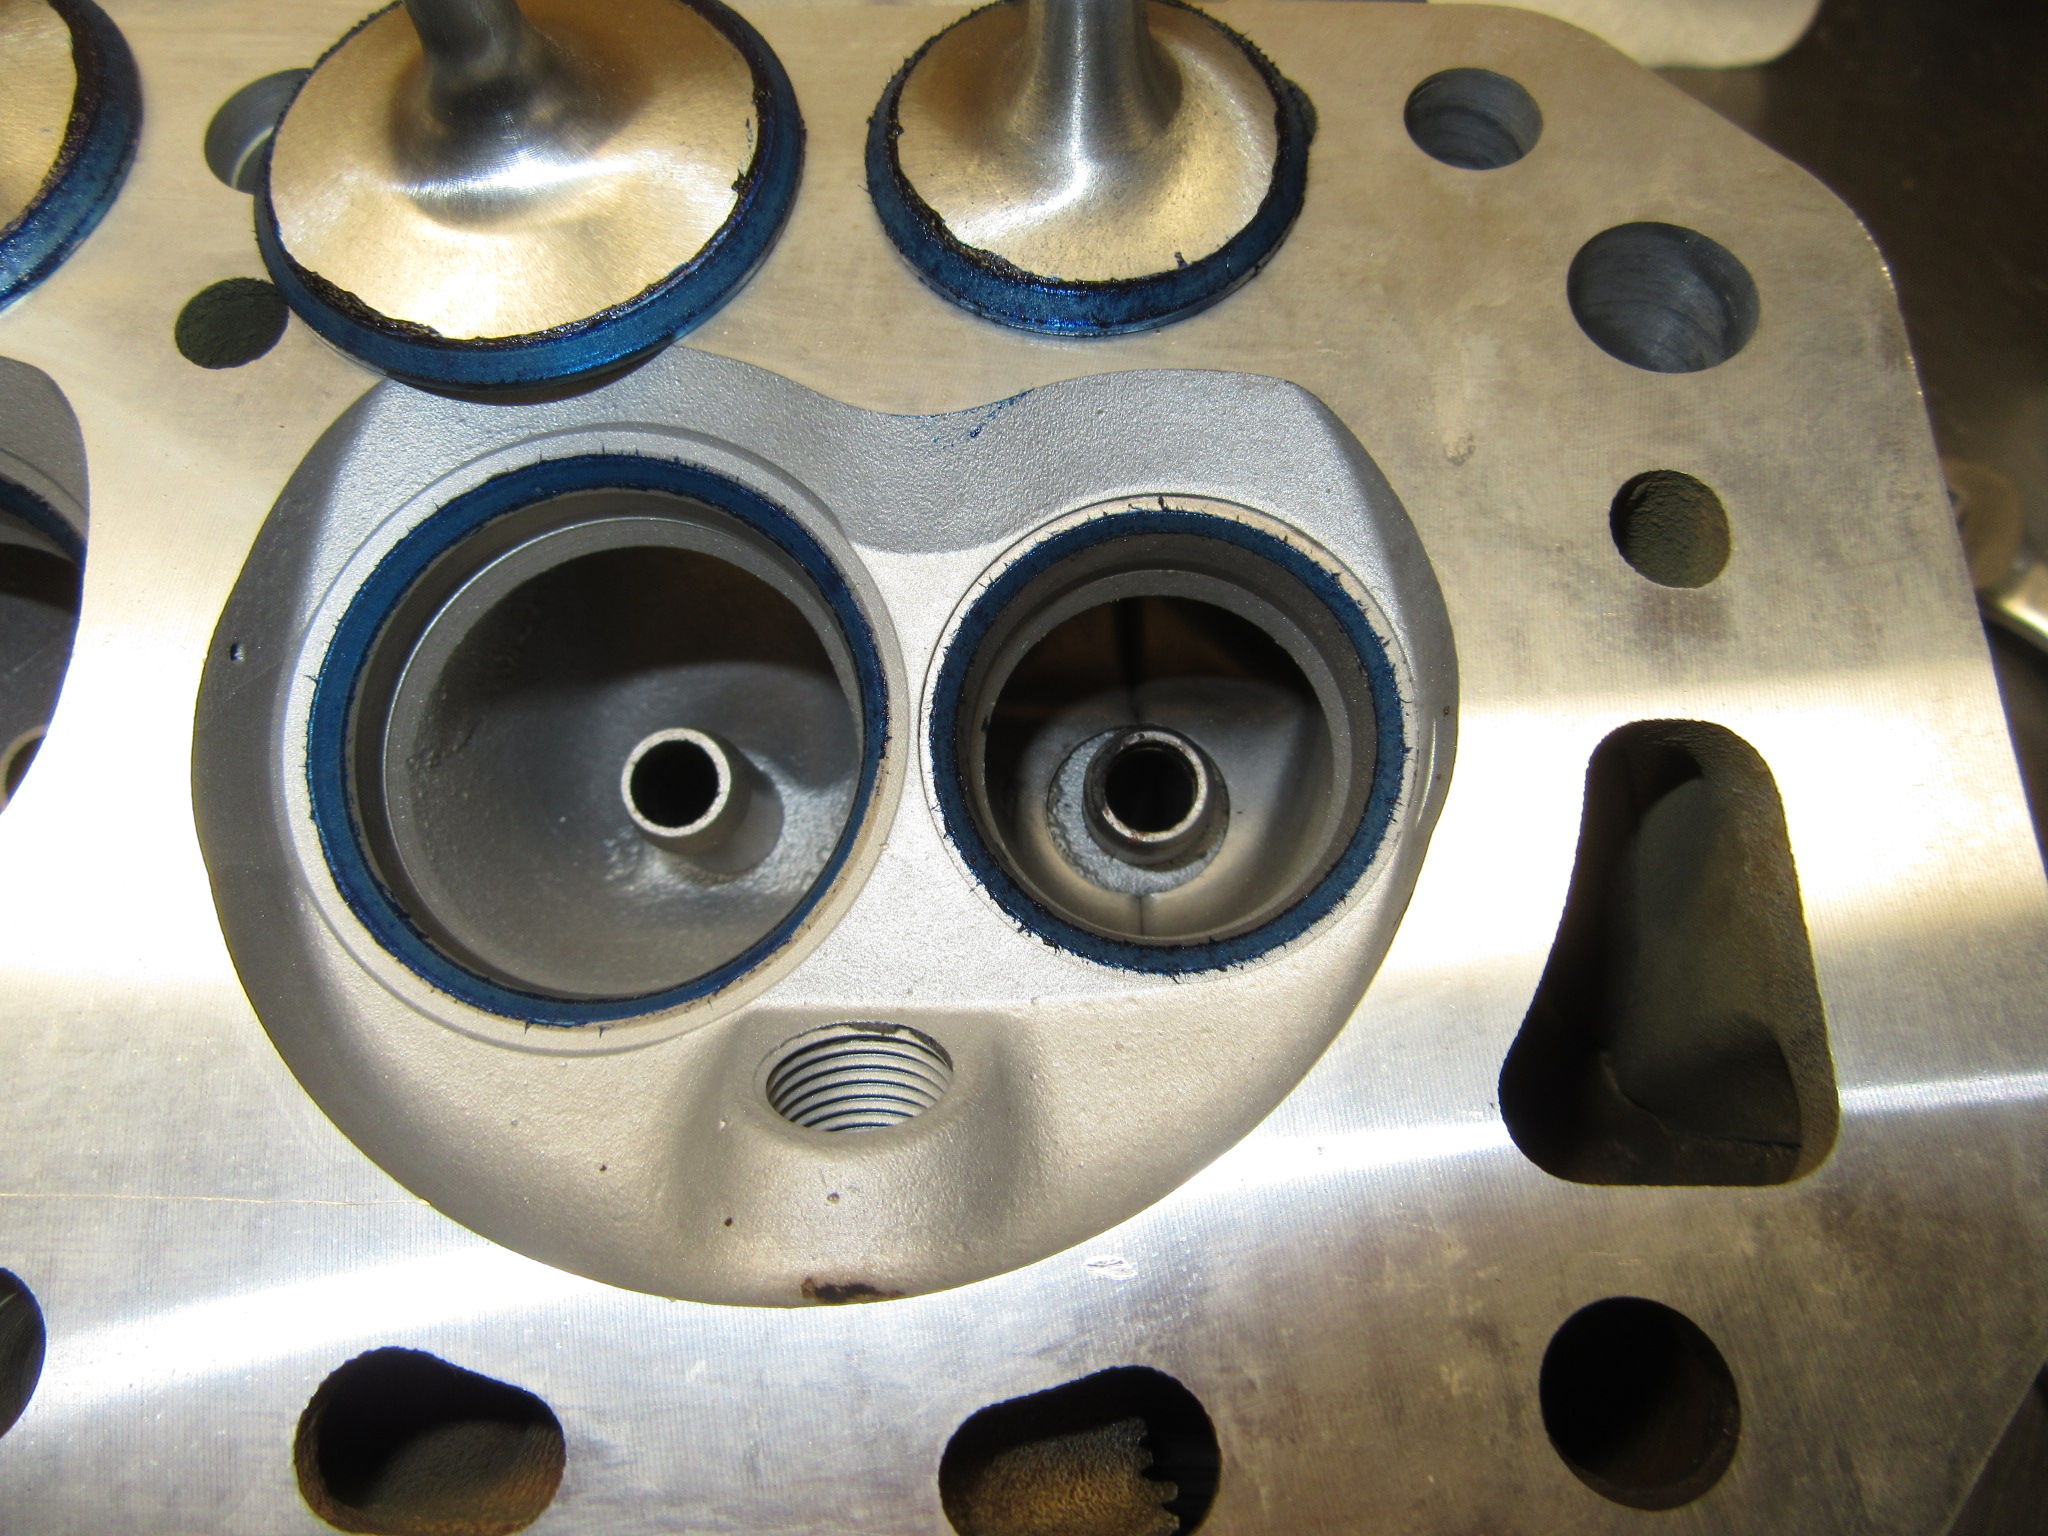
 2 pointsNow it finally runs good and I won't drive it. They'll need to be rebuilt in a year or two (I hope).2 points
 -
 2 pointsI am planning on the same type of mod, fitting the bumper to the car and then butt welding the ends on. I will match the ends as close as possible, cut them flush, then tack them while mounted to the car for position. In my climate, rust will take hold of any crevice...2 points
 -
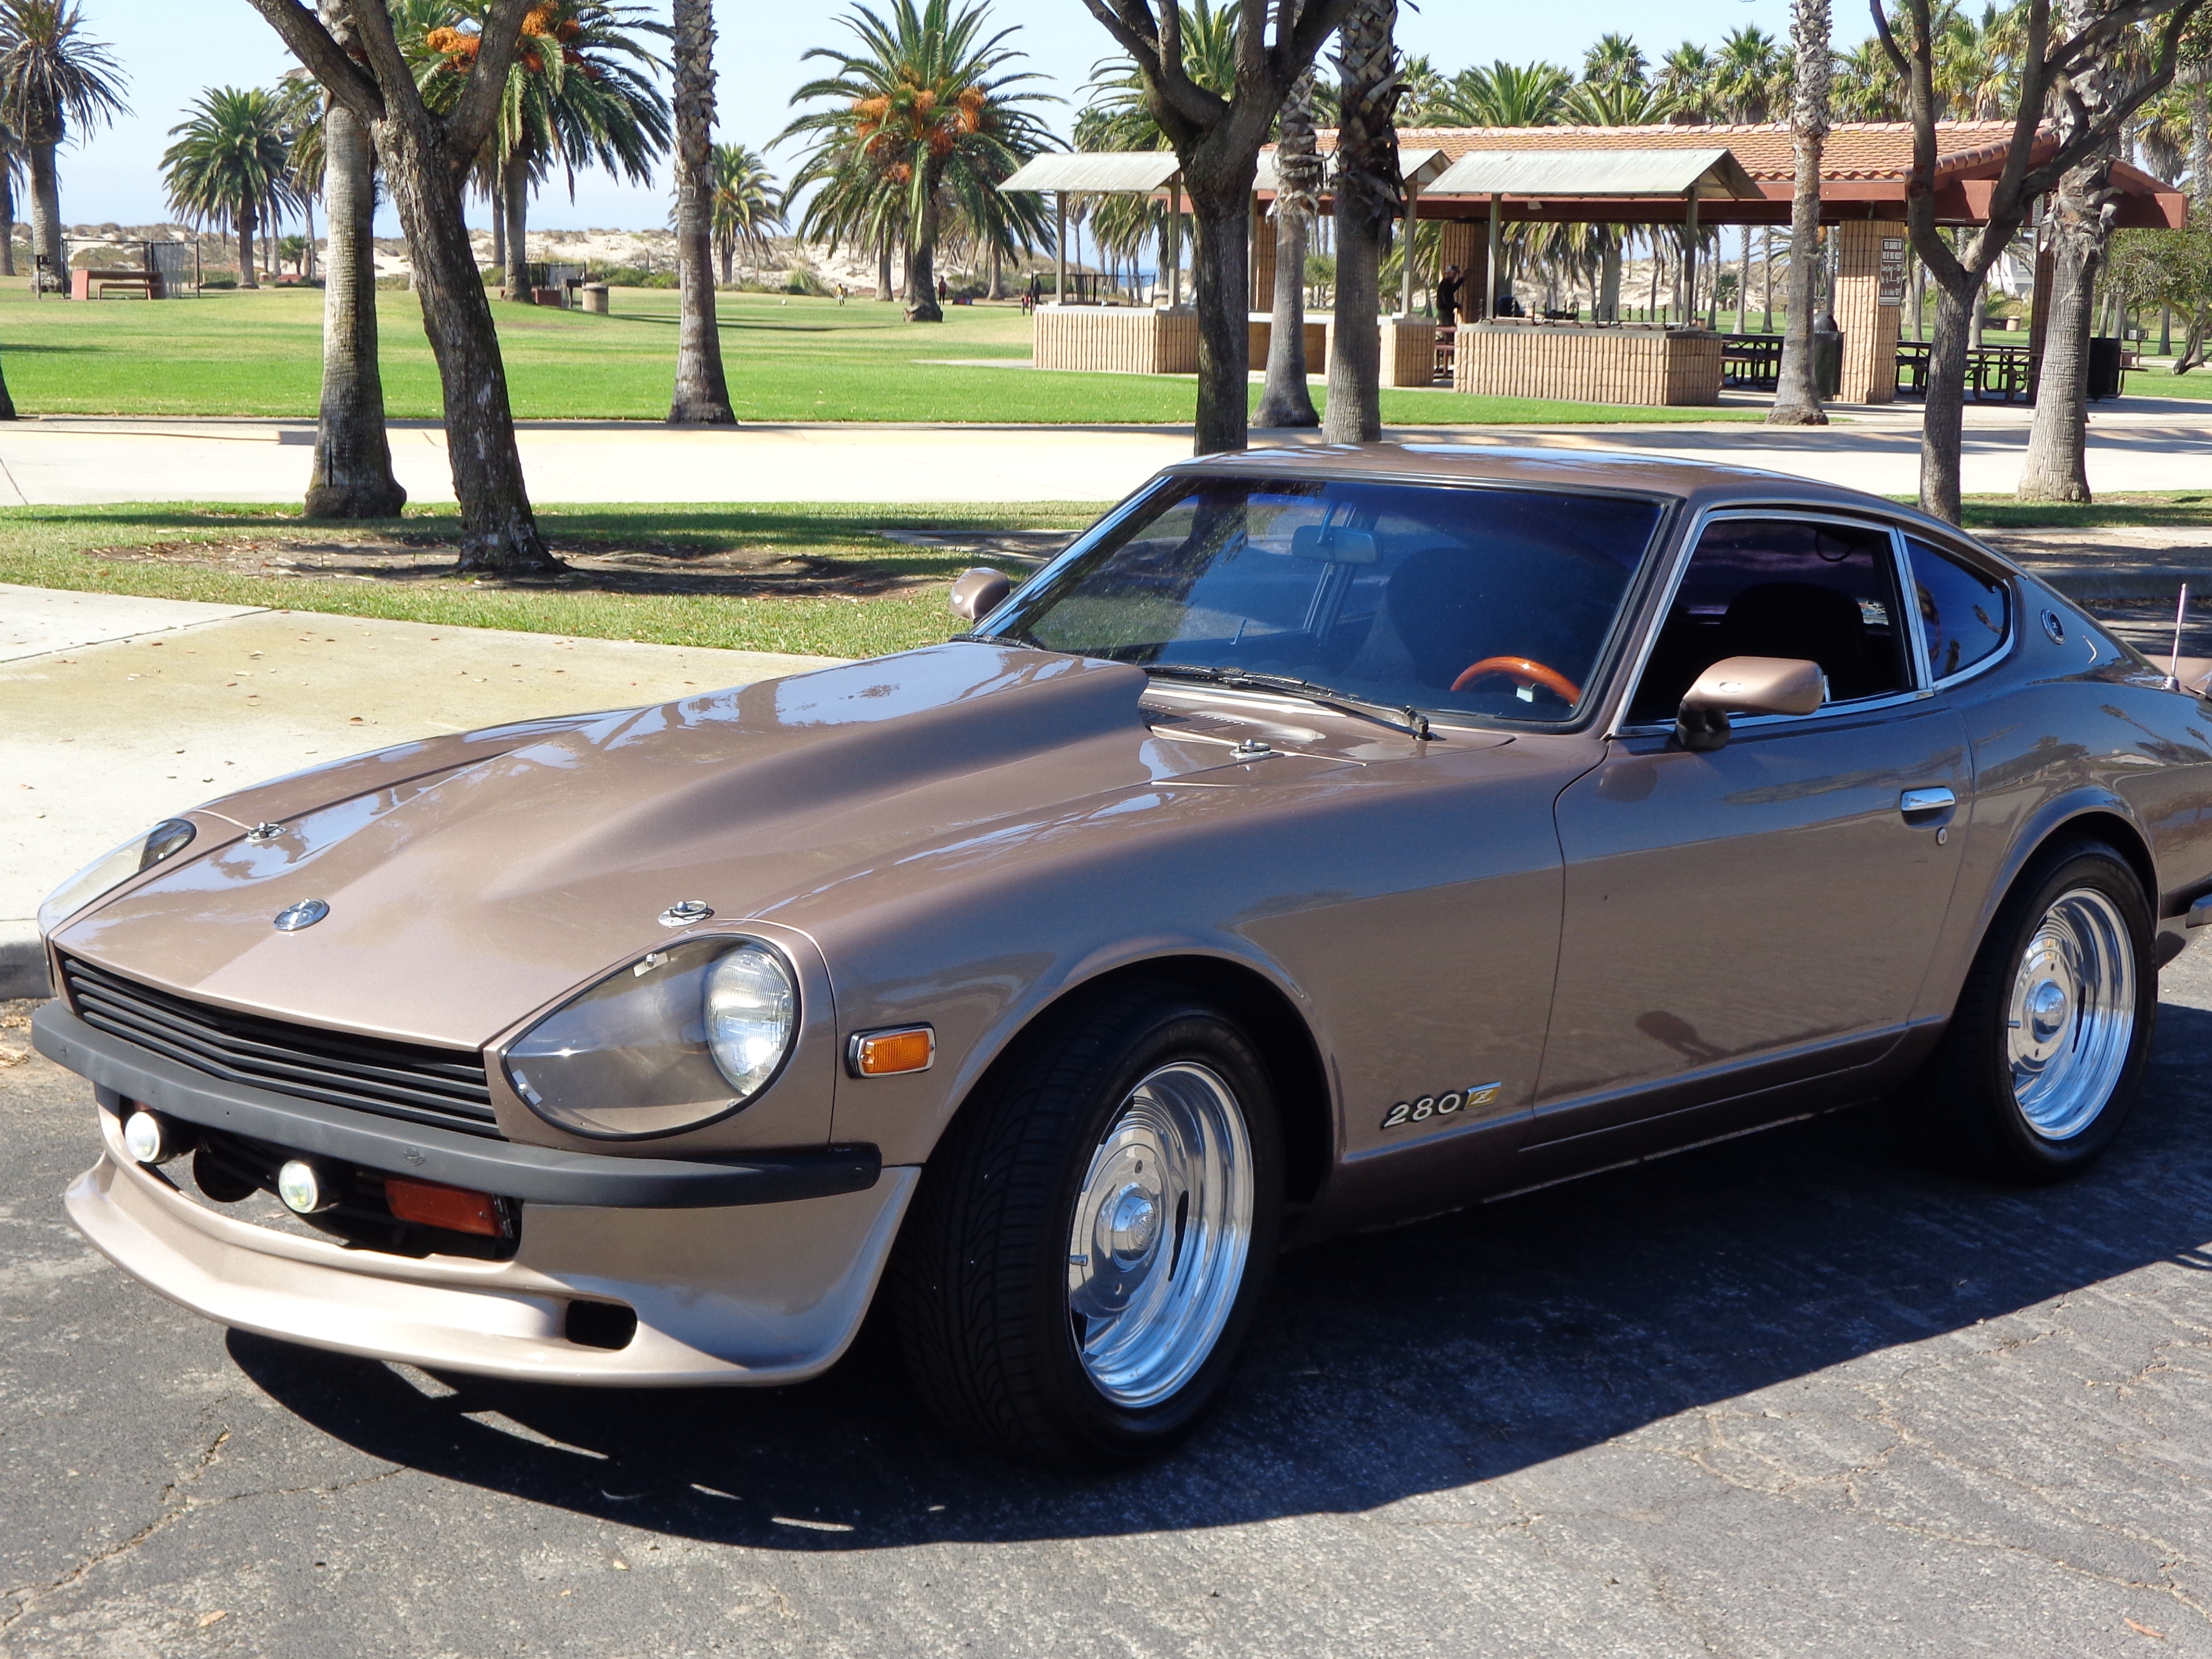
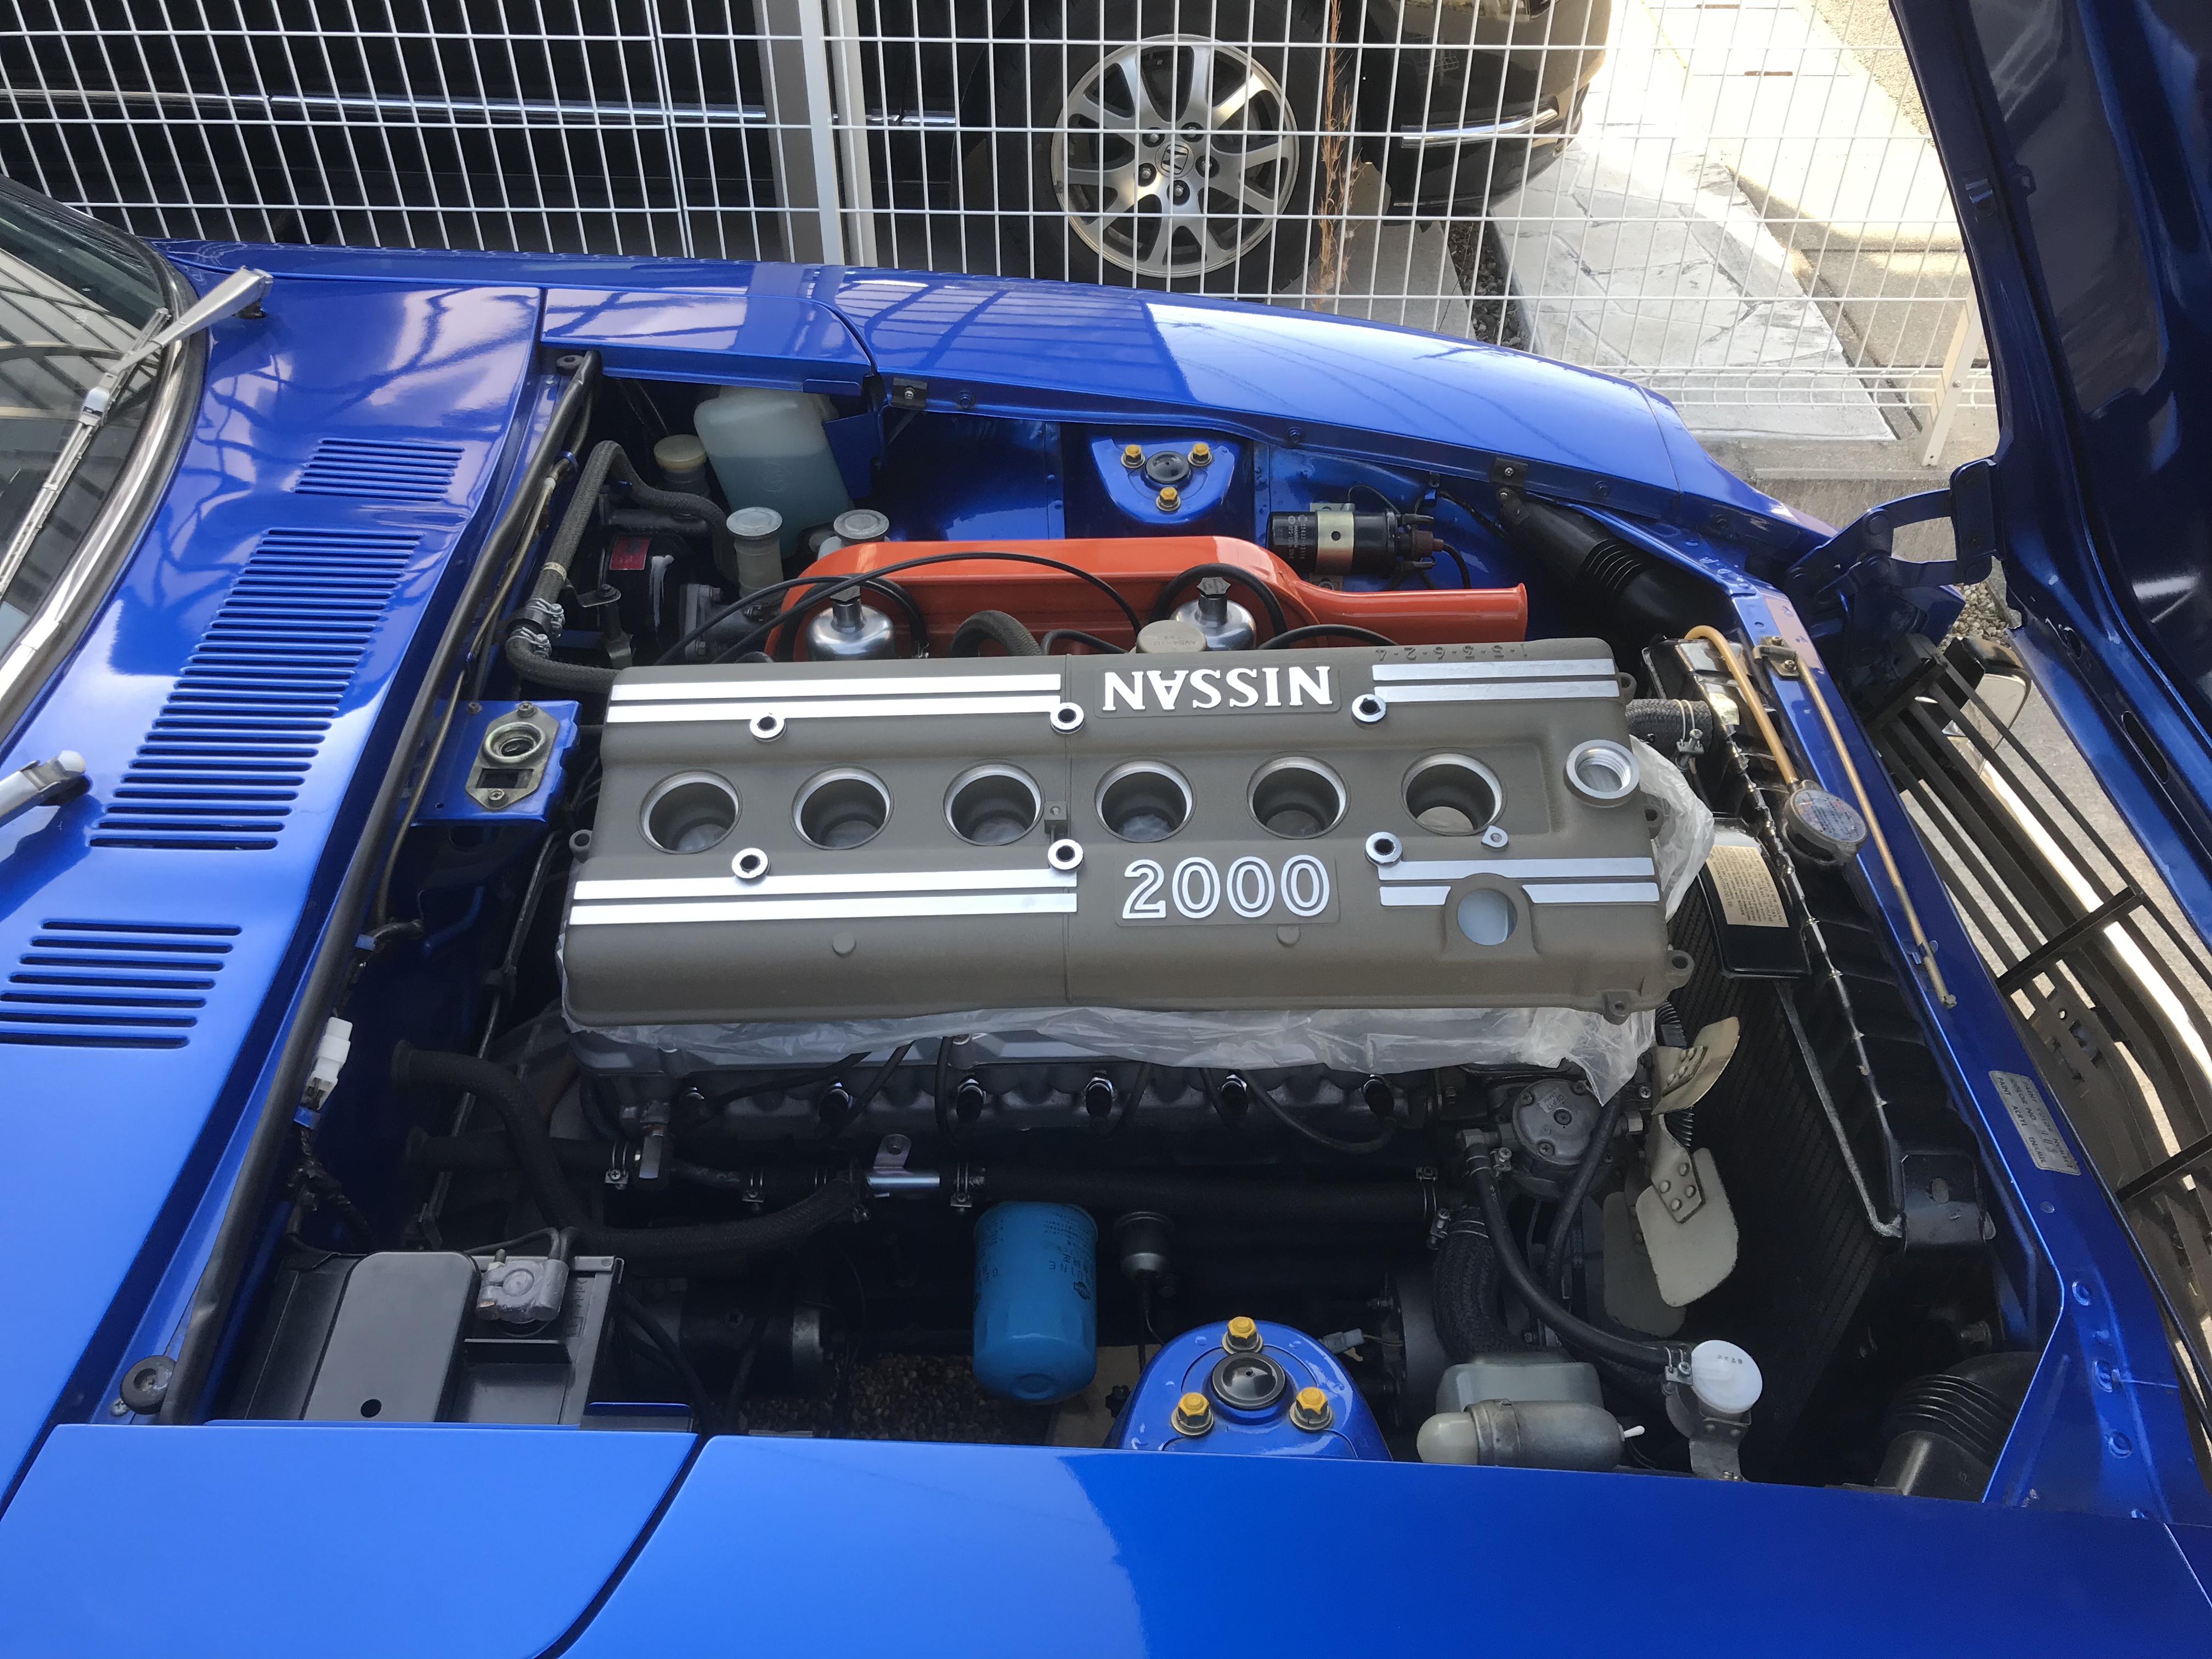
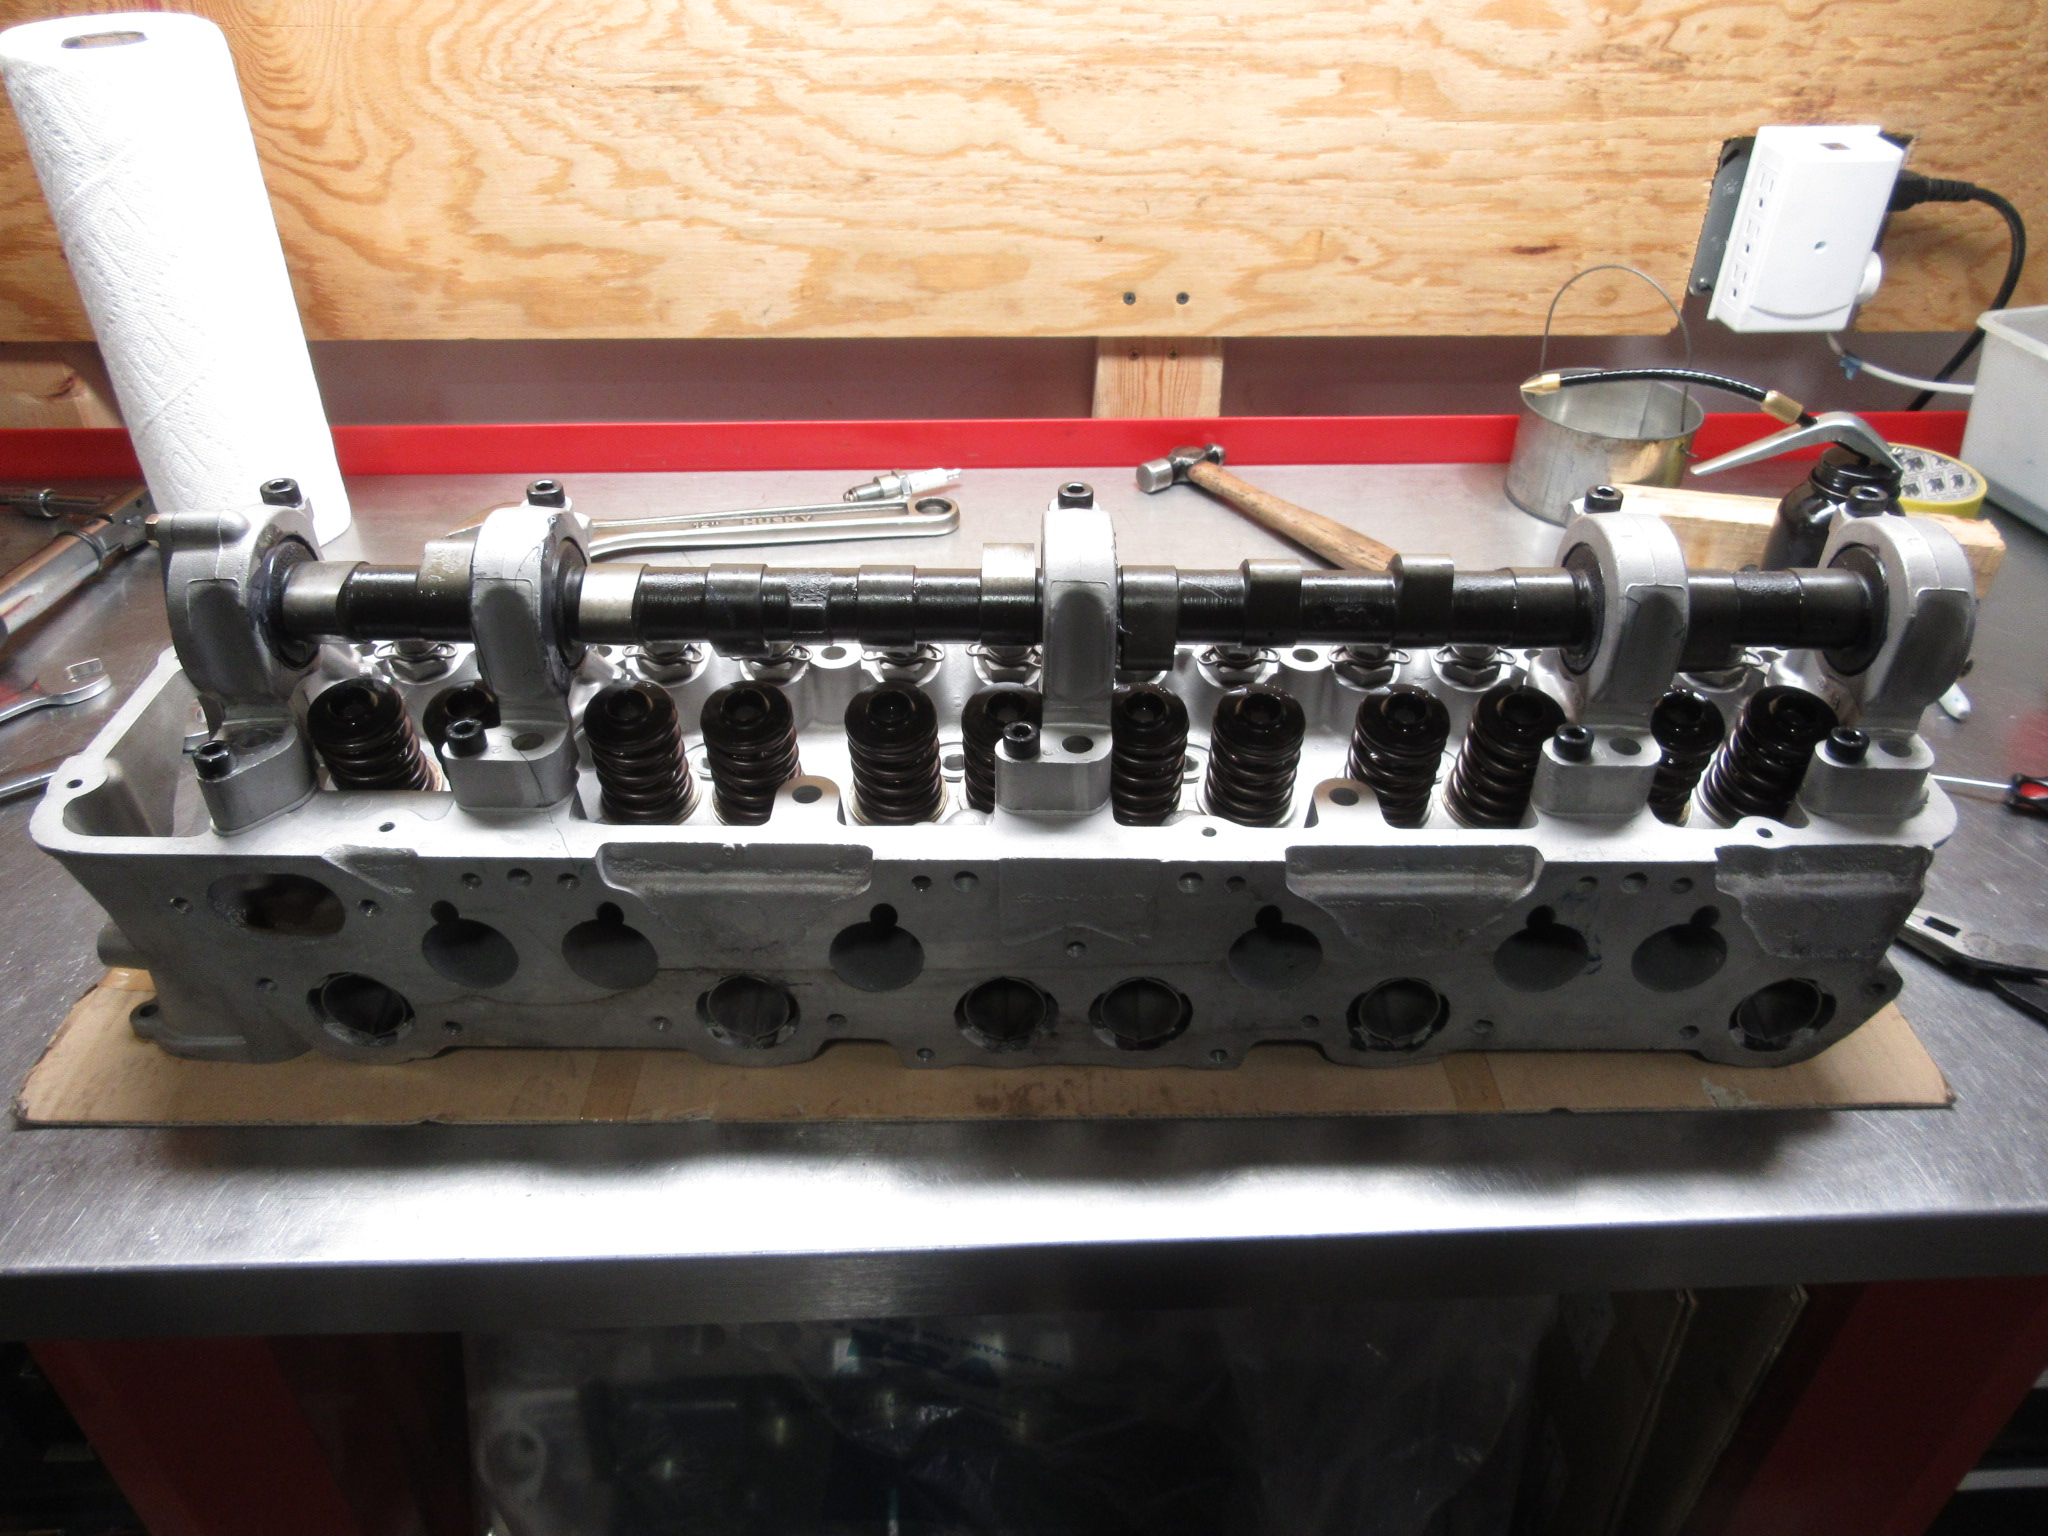
 1 pointRolling on.......Things are starting to take shape.........I’m ready to hear this motor come to life!

 1 point
 -
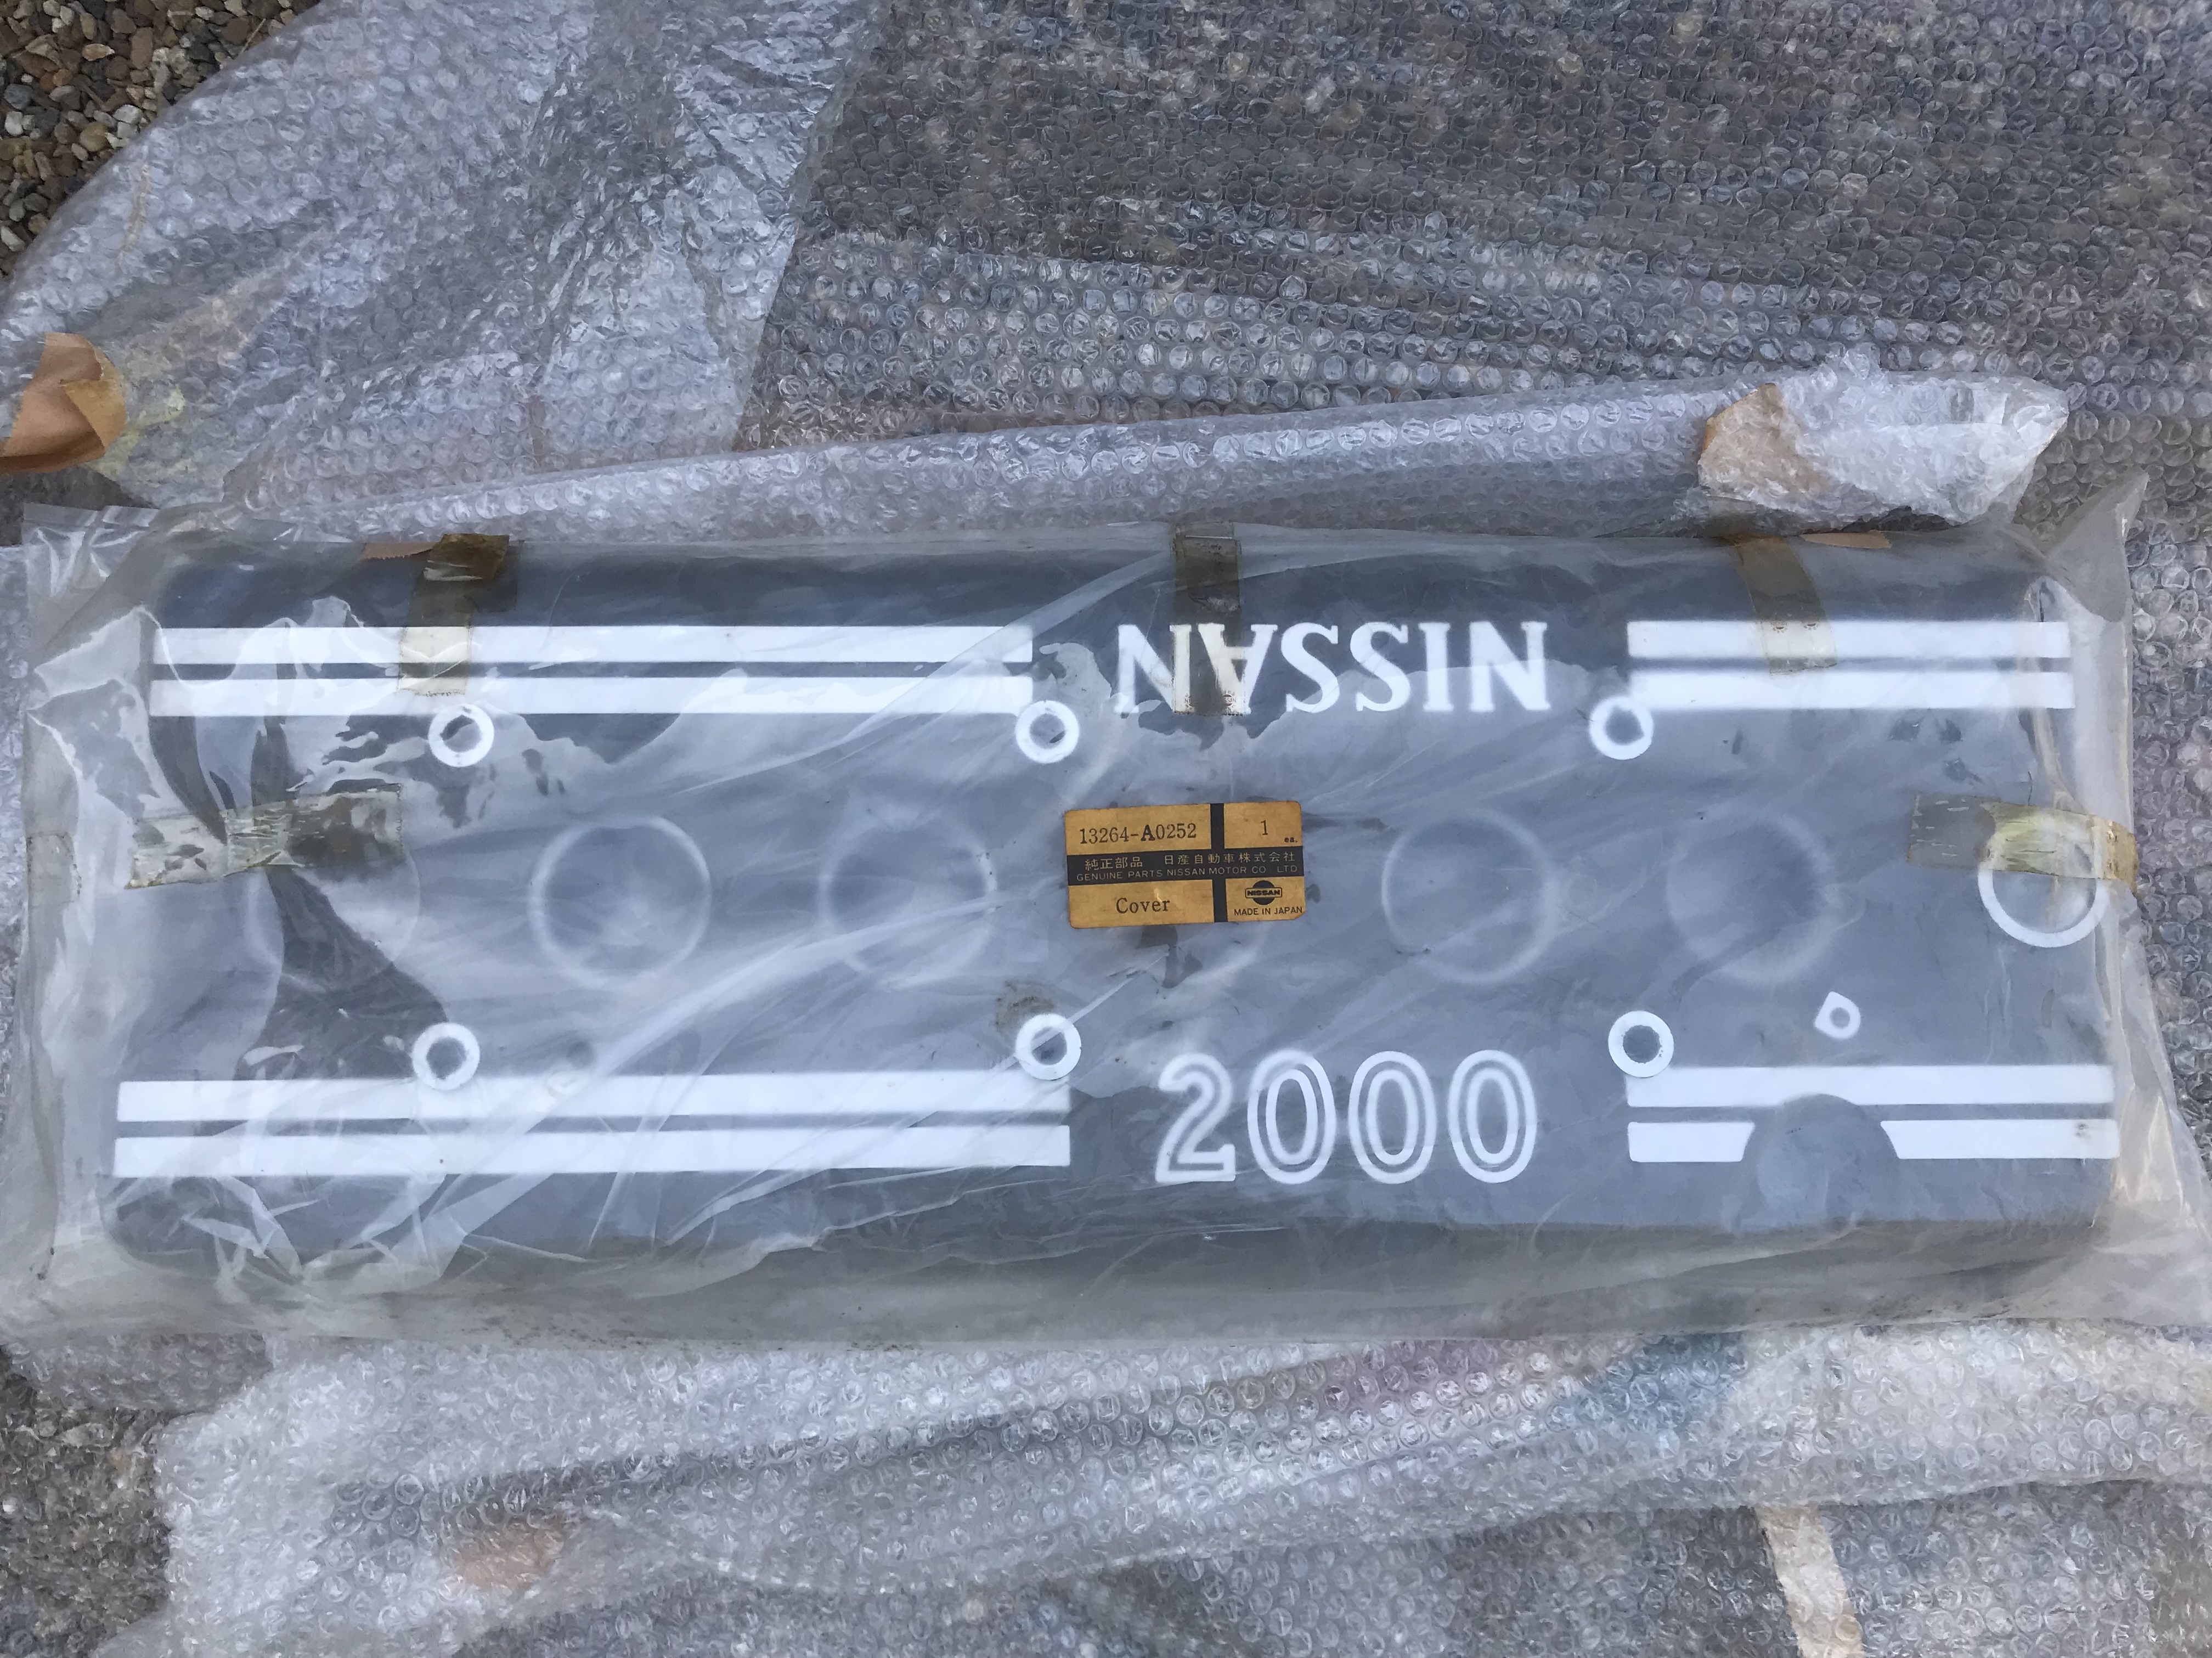
 1 pointHi Central 20's, one of the only proper period items I own. I'm in love with them! On the Amelia Island 423 On Top gear in the UK, fitted to 432's at TA auto's also.1 point
 -
 1 point
 -
1 point
-
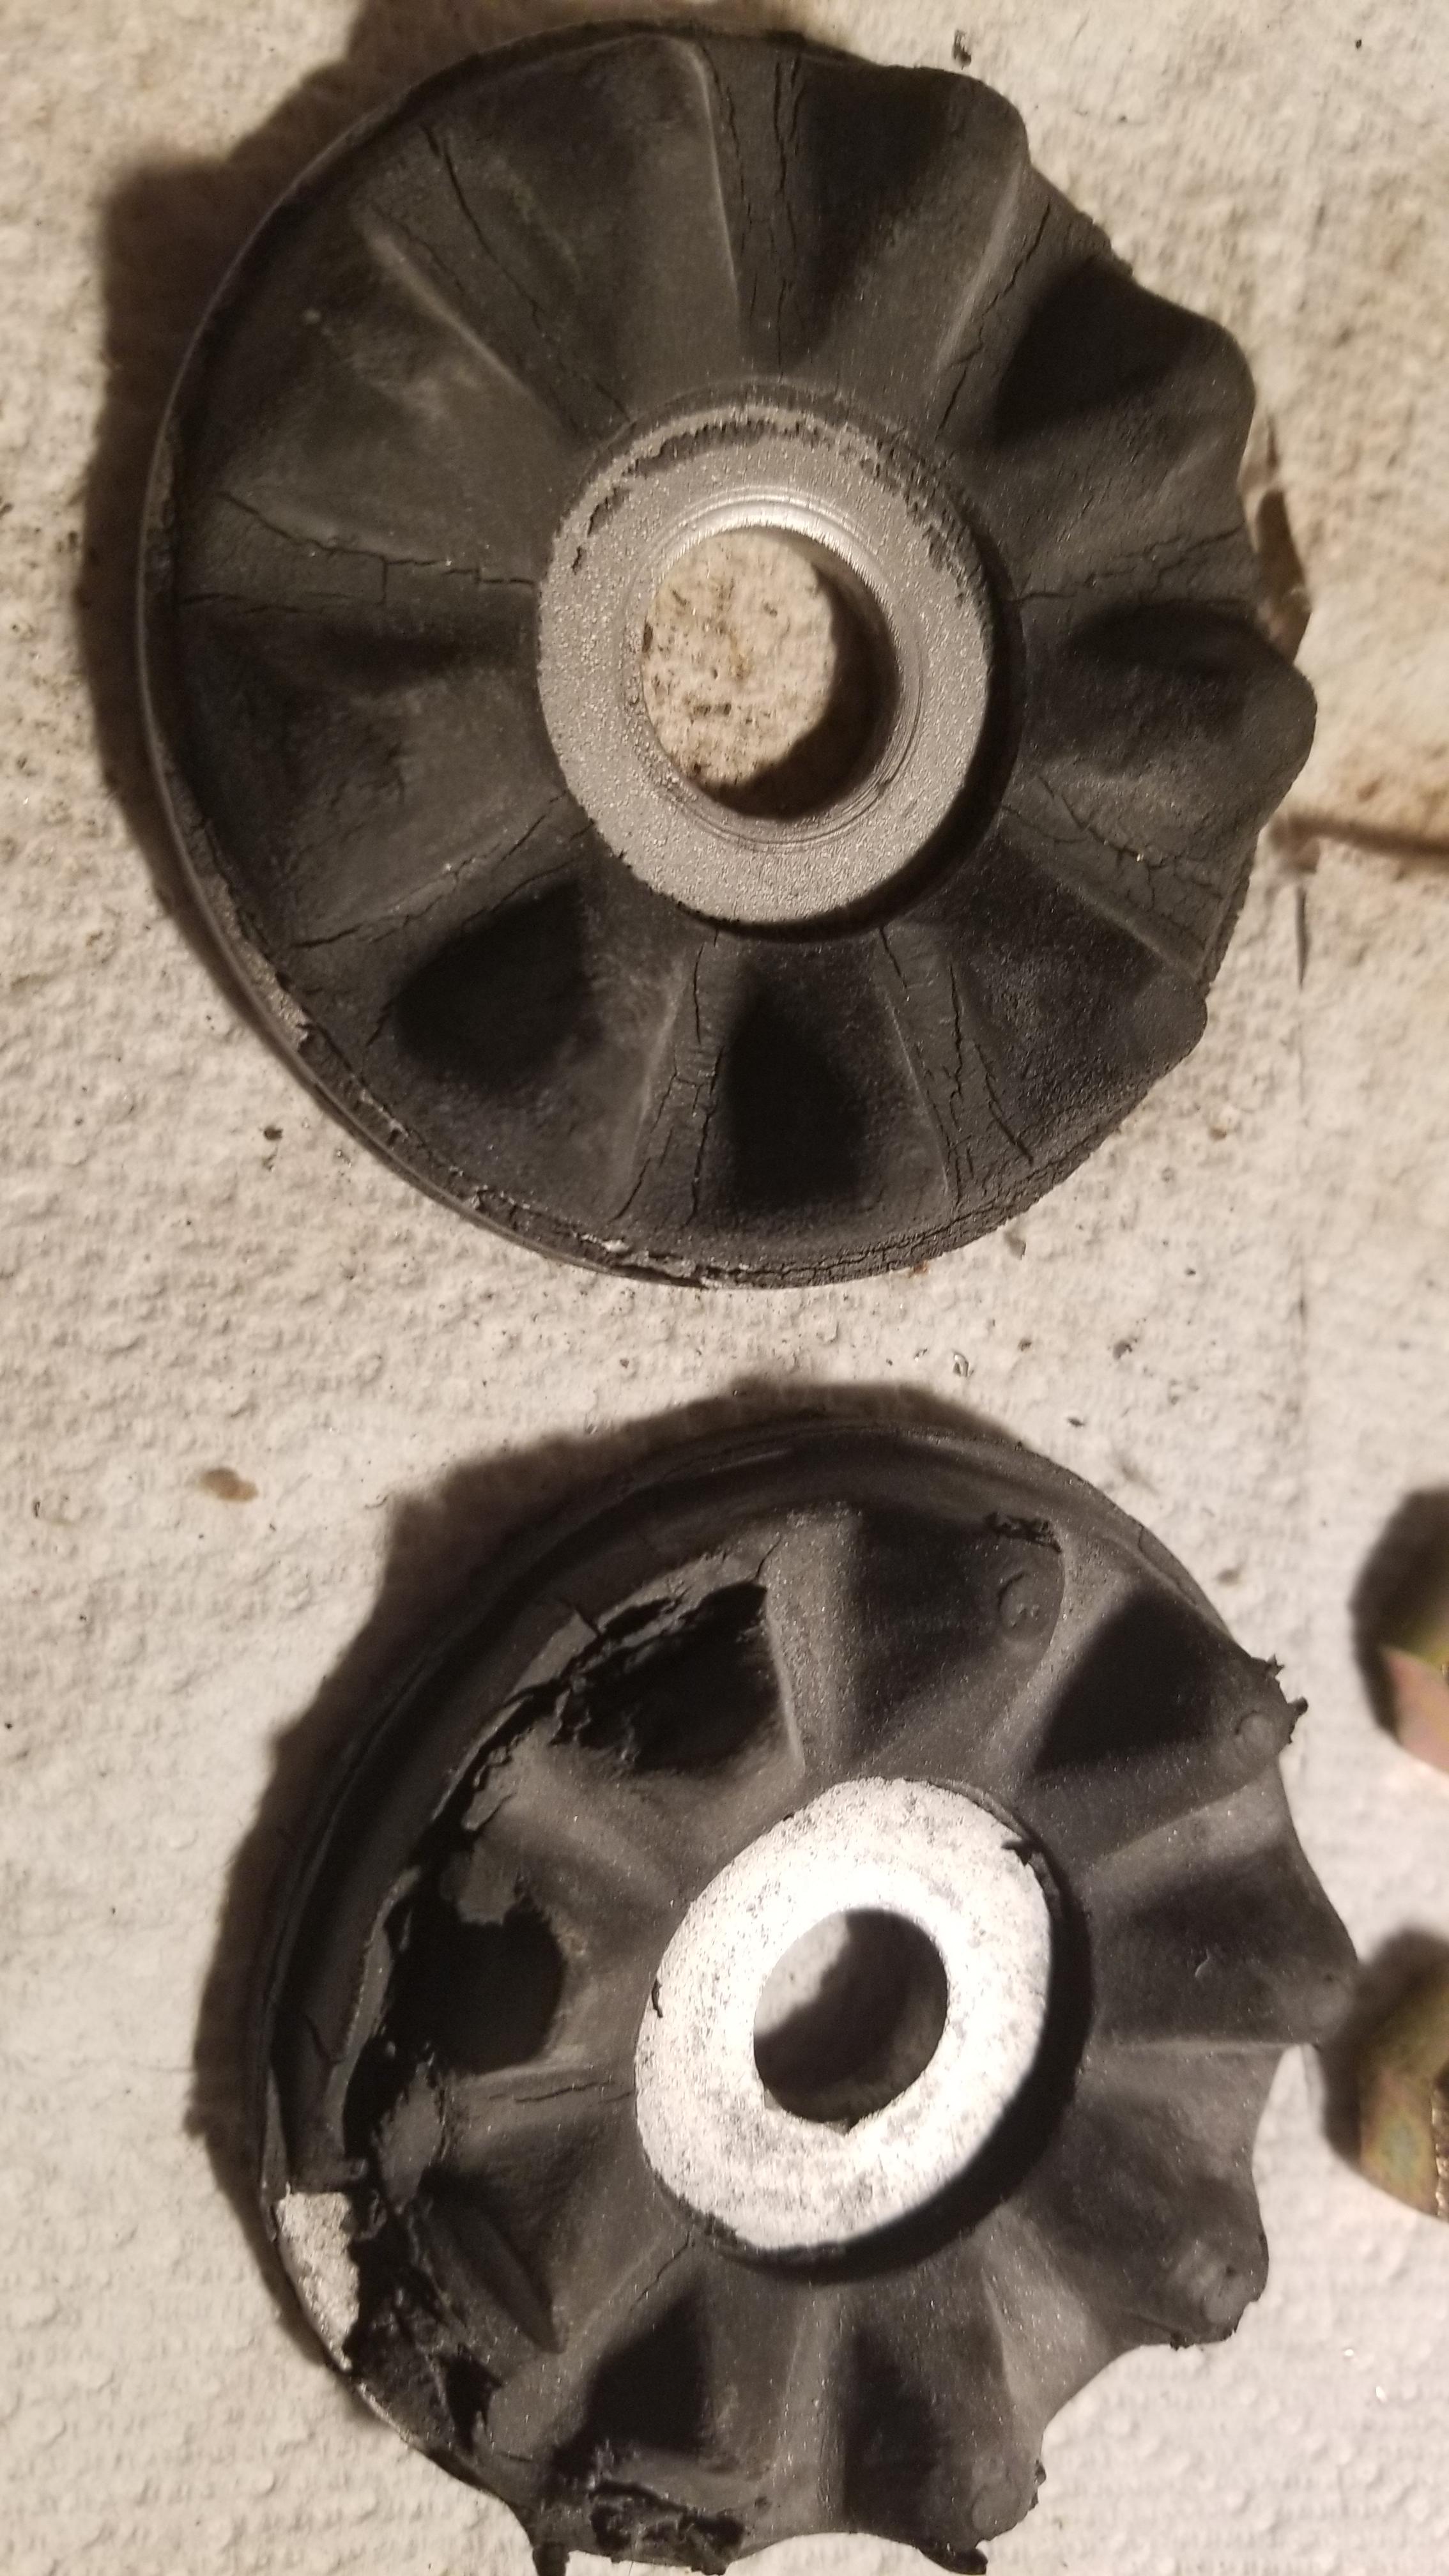
 Actually there were many areas that the only way the factory could get it right was to use a liberal amount of body fillers, especially around the wheel wells and lower rocker panels. I would agree you have no real worries. This would be a good time to look inside around al the seams and fill any dry and crumbled spots or any voids left by the factory. Replacing the grommets for the fuel vent lines would be a good idea. These areas allow fumes to enter the cabin.1 point
 -
 If that's the extent of the body work done on a 40 year old car, I think you're still way ahead of the game. But back up a little bit... When you say "airline stripper", are you talking about the methylene chloride based paint stripper? If so, then I think you are using the wrong product there. Any of the methylene chloride based strippers are extremely aggressive, and I wouldn't want them anywhere NEAR my paint unless I was actually using it to remove the paint. I wouldn't let that stuff touch paint that I was intending to keep. If you're trying to get adhesive residue off, I'd use WD-40.1 point
 -
 1 point@Mark Maras I did go back yesterday and picked up the radio, antenna the heater panel, and a few other small parts.1 point
 -
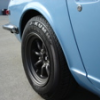
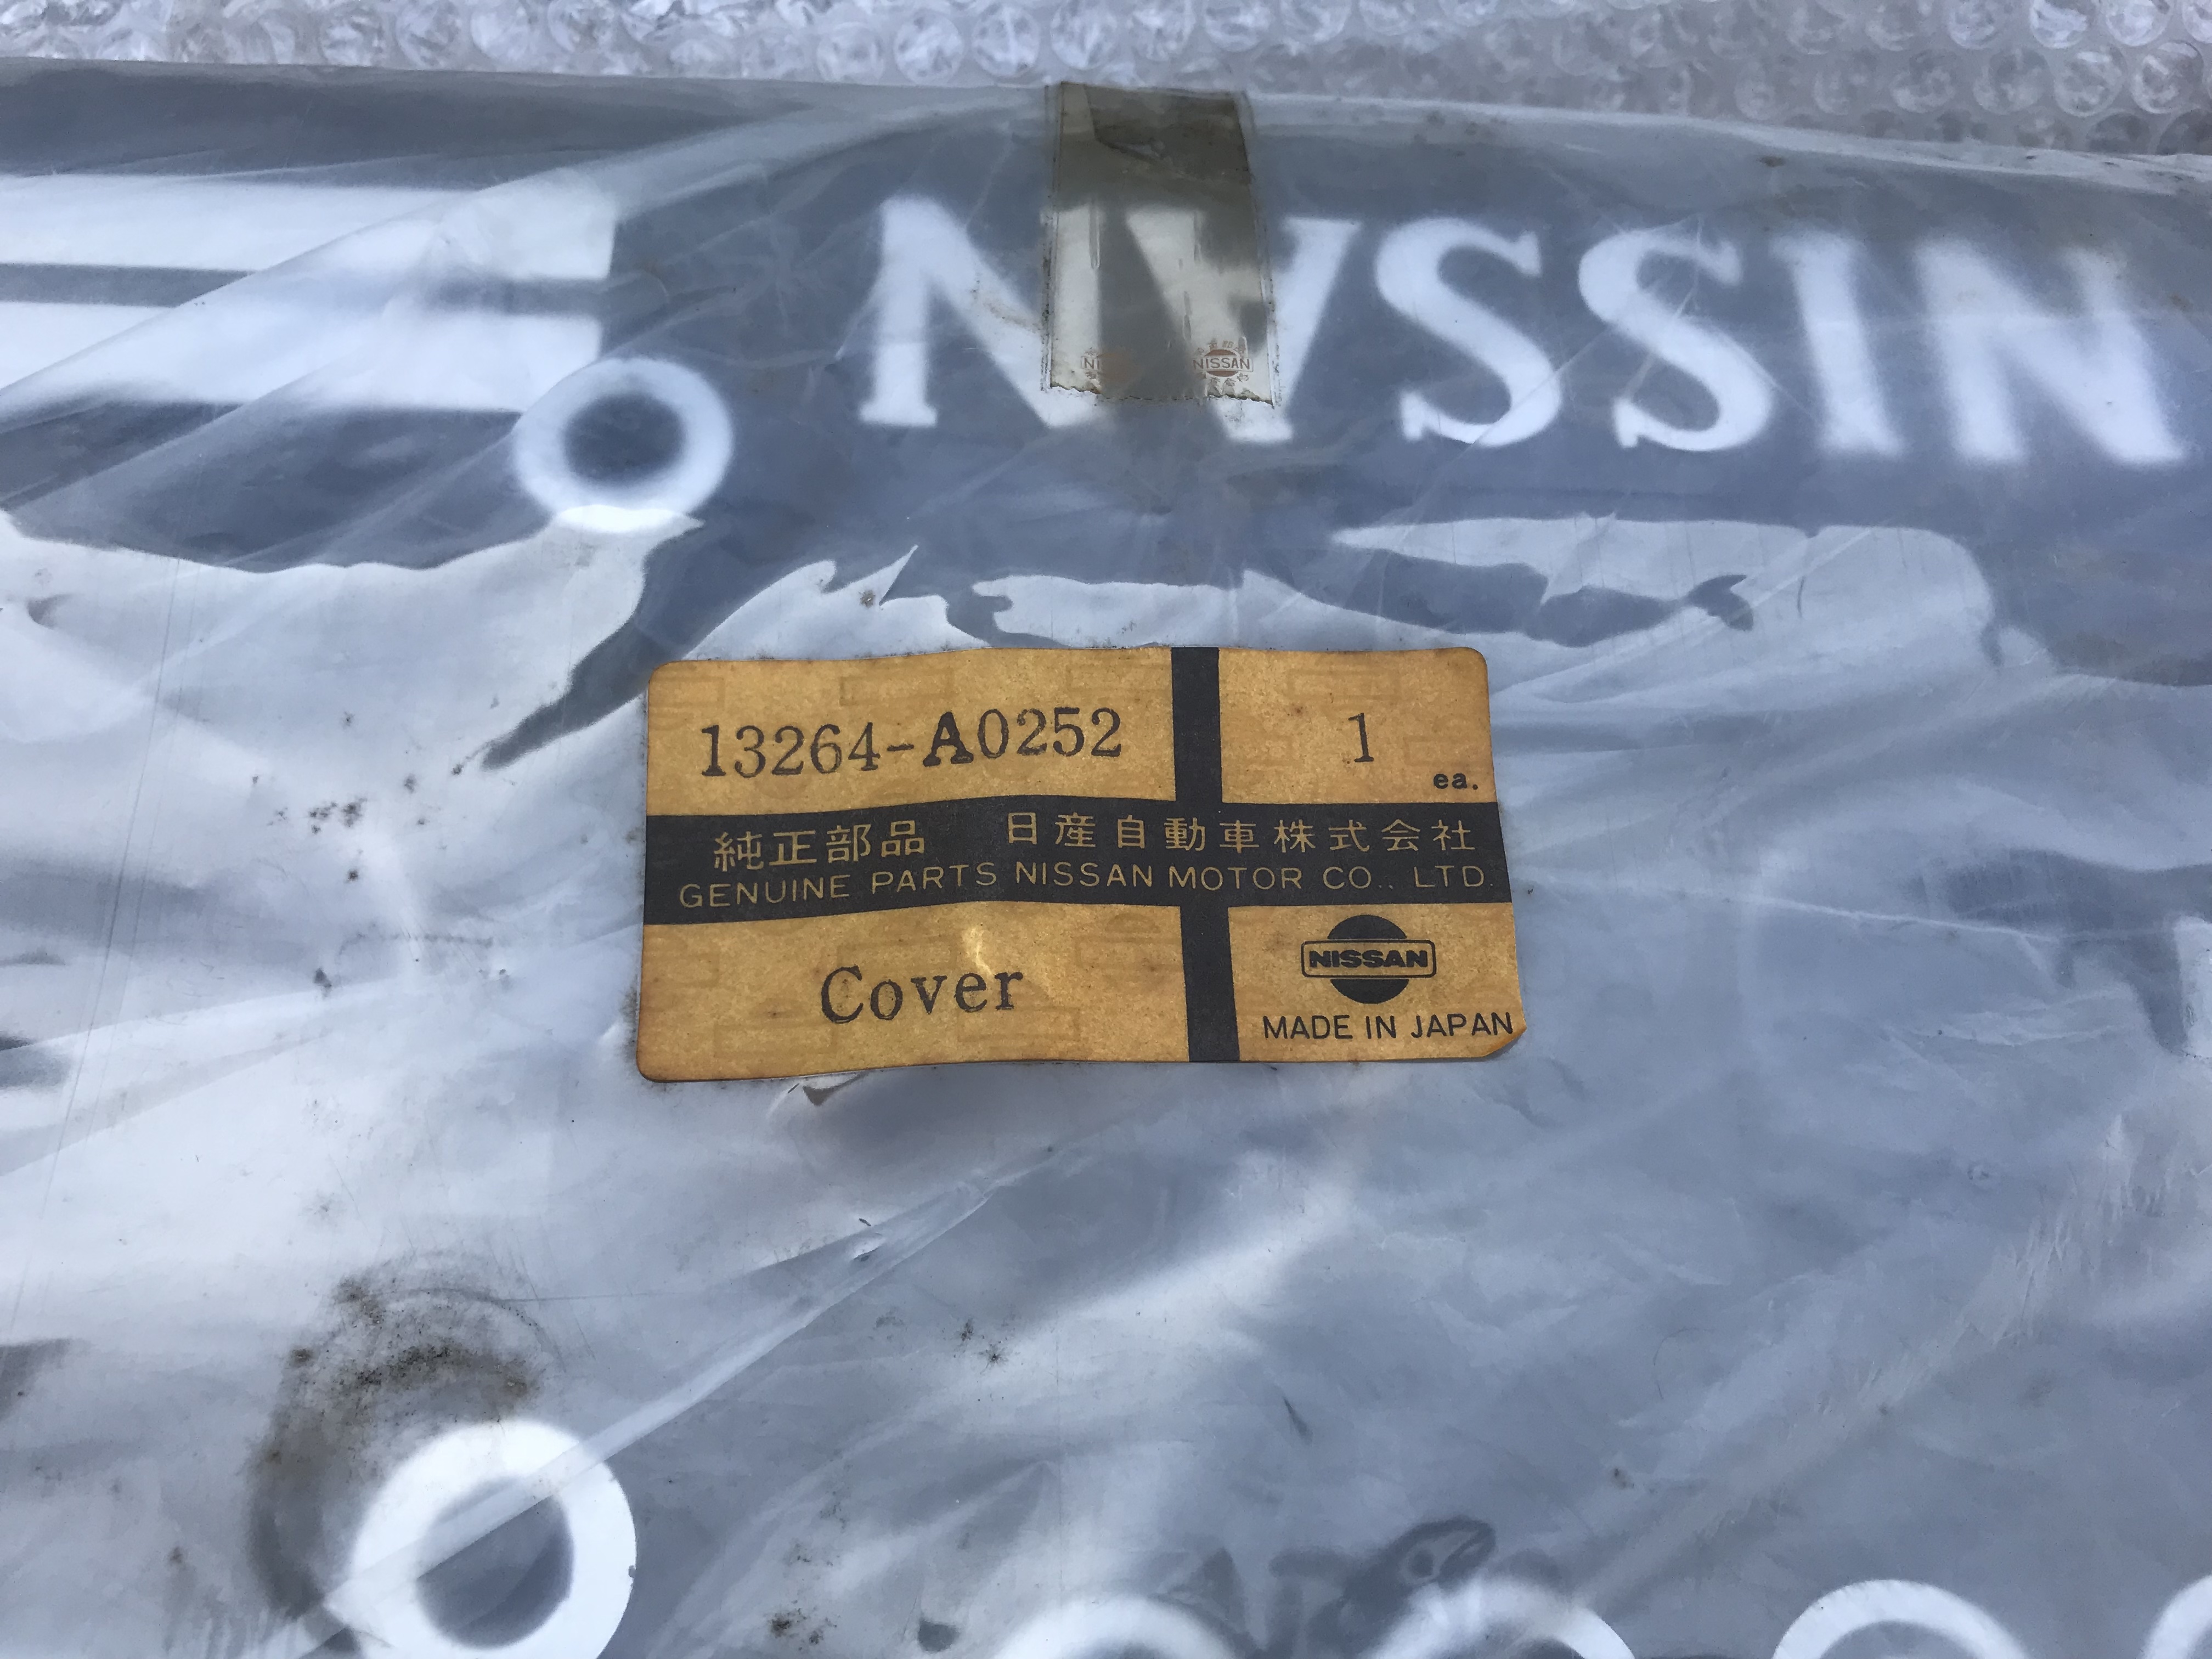
1 pointHi Jason240z, I will ask my restorer , I do not know the color code for now. It will be cool with 918 Orange . Kats1 point
-
1 pointDo you know the colour code of the cover? I'd like to try it on a wheel, think it'd look nice against 918.1 point
-
 1 pointButt weld is better, but I would not worry about it too much at this point (thick metal). But, I would seam seal the back side to help keep moisture out.1 point
 -
 Oliver is checking his stash to see if he can help.1 point
 -
1 pointA pic isn't going to be as good as you looking at your own nozzles at 2 1/2 turns. If you're not sure which part of the nozzle assembly we're talking about, pull the domes and pistons. Adjust the mixture screw all the way down (clockwise) while looking down into the carb from the top. You'll see the center part, with the hole in it, drop as you turn the mixture screw. I suggest that you keep adjusting the nozzles down until you see fuel pool on top of the nozzle. That should help show how high the float fuel level needs to be raised. Turn the mixture screws back to 2 1/2 turns down and keep adjusting the floats until the fuel level is 1/16" below the top of the nozzles. You're getting there. At this rate you'll beat Cliff. His floats took three months.1 point
-
 1 point
 -


Important Information
By using this site, you agree to our Privacy Policy and Guidelines. We have placed cookies on your device to help make this website better. You can adjust your cookie settings, otherwise we'll assume you're okay to continue.