Leaderboard
-

conedodger
Free Member5Points11,316Posts -

duffymahoney
Free Member3Points954Posts -

psdenno
Free Member2Points2,623Posts -

nix240z
Free Member1Points468Posts
Popular Content
Showing content with the highest reputation on 03/18/2018 in Posts
-
2 pointsAnd that's why later ads had the black center spokes painted over grey closer to original rather than the black as first shown on eBay and CL? Sorry, not buying his new sincerity. Did he happen to say anything about refunding his customers? Dennis2 points
-
 1 pointHey guys, As you can see in the title, I purchased my first S30 this afternoon from the original owner’s mother. It is a silver 1974 260z. VIN RLS30-035938 with Build Date 5/74. It has rust in the usual places, but starts, idles, and drives. This is my first resto project, and I am excited... I paid $600, and couldn’t be more proud. What details can you gather from my VIN and Build date, as far as production #s, options, etc? PS, I know the 260 is the black sheep, and to some, the least desirable... so if you are going to be negative, I don’t need your opinion. I bought this to restore with my son, not to send to auction. Can’t wait to hear from you guys, THANKS!1 point
 -
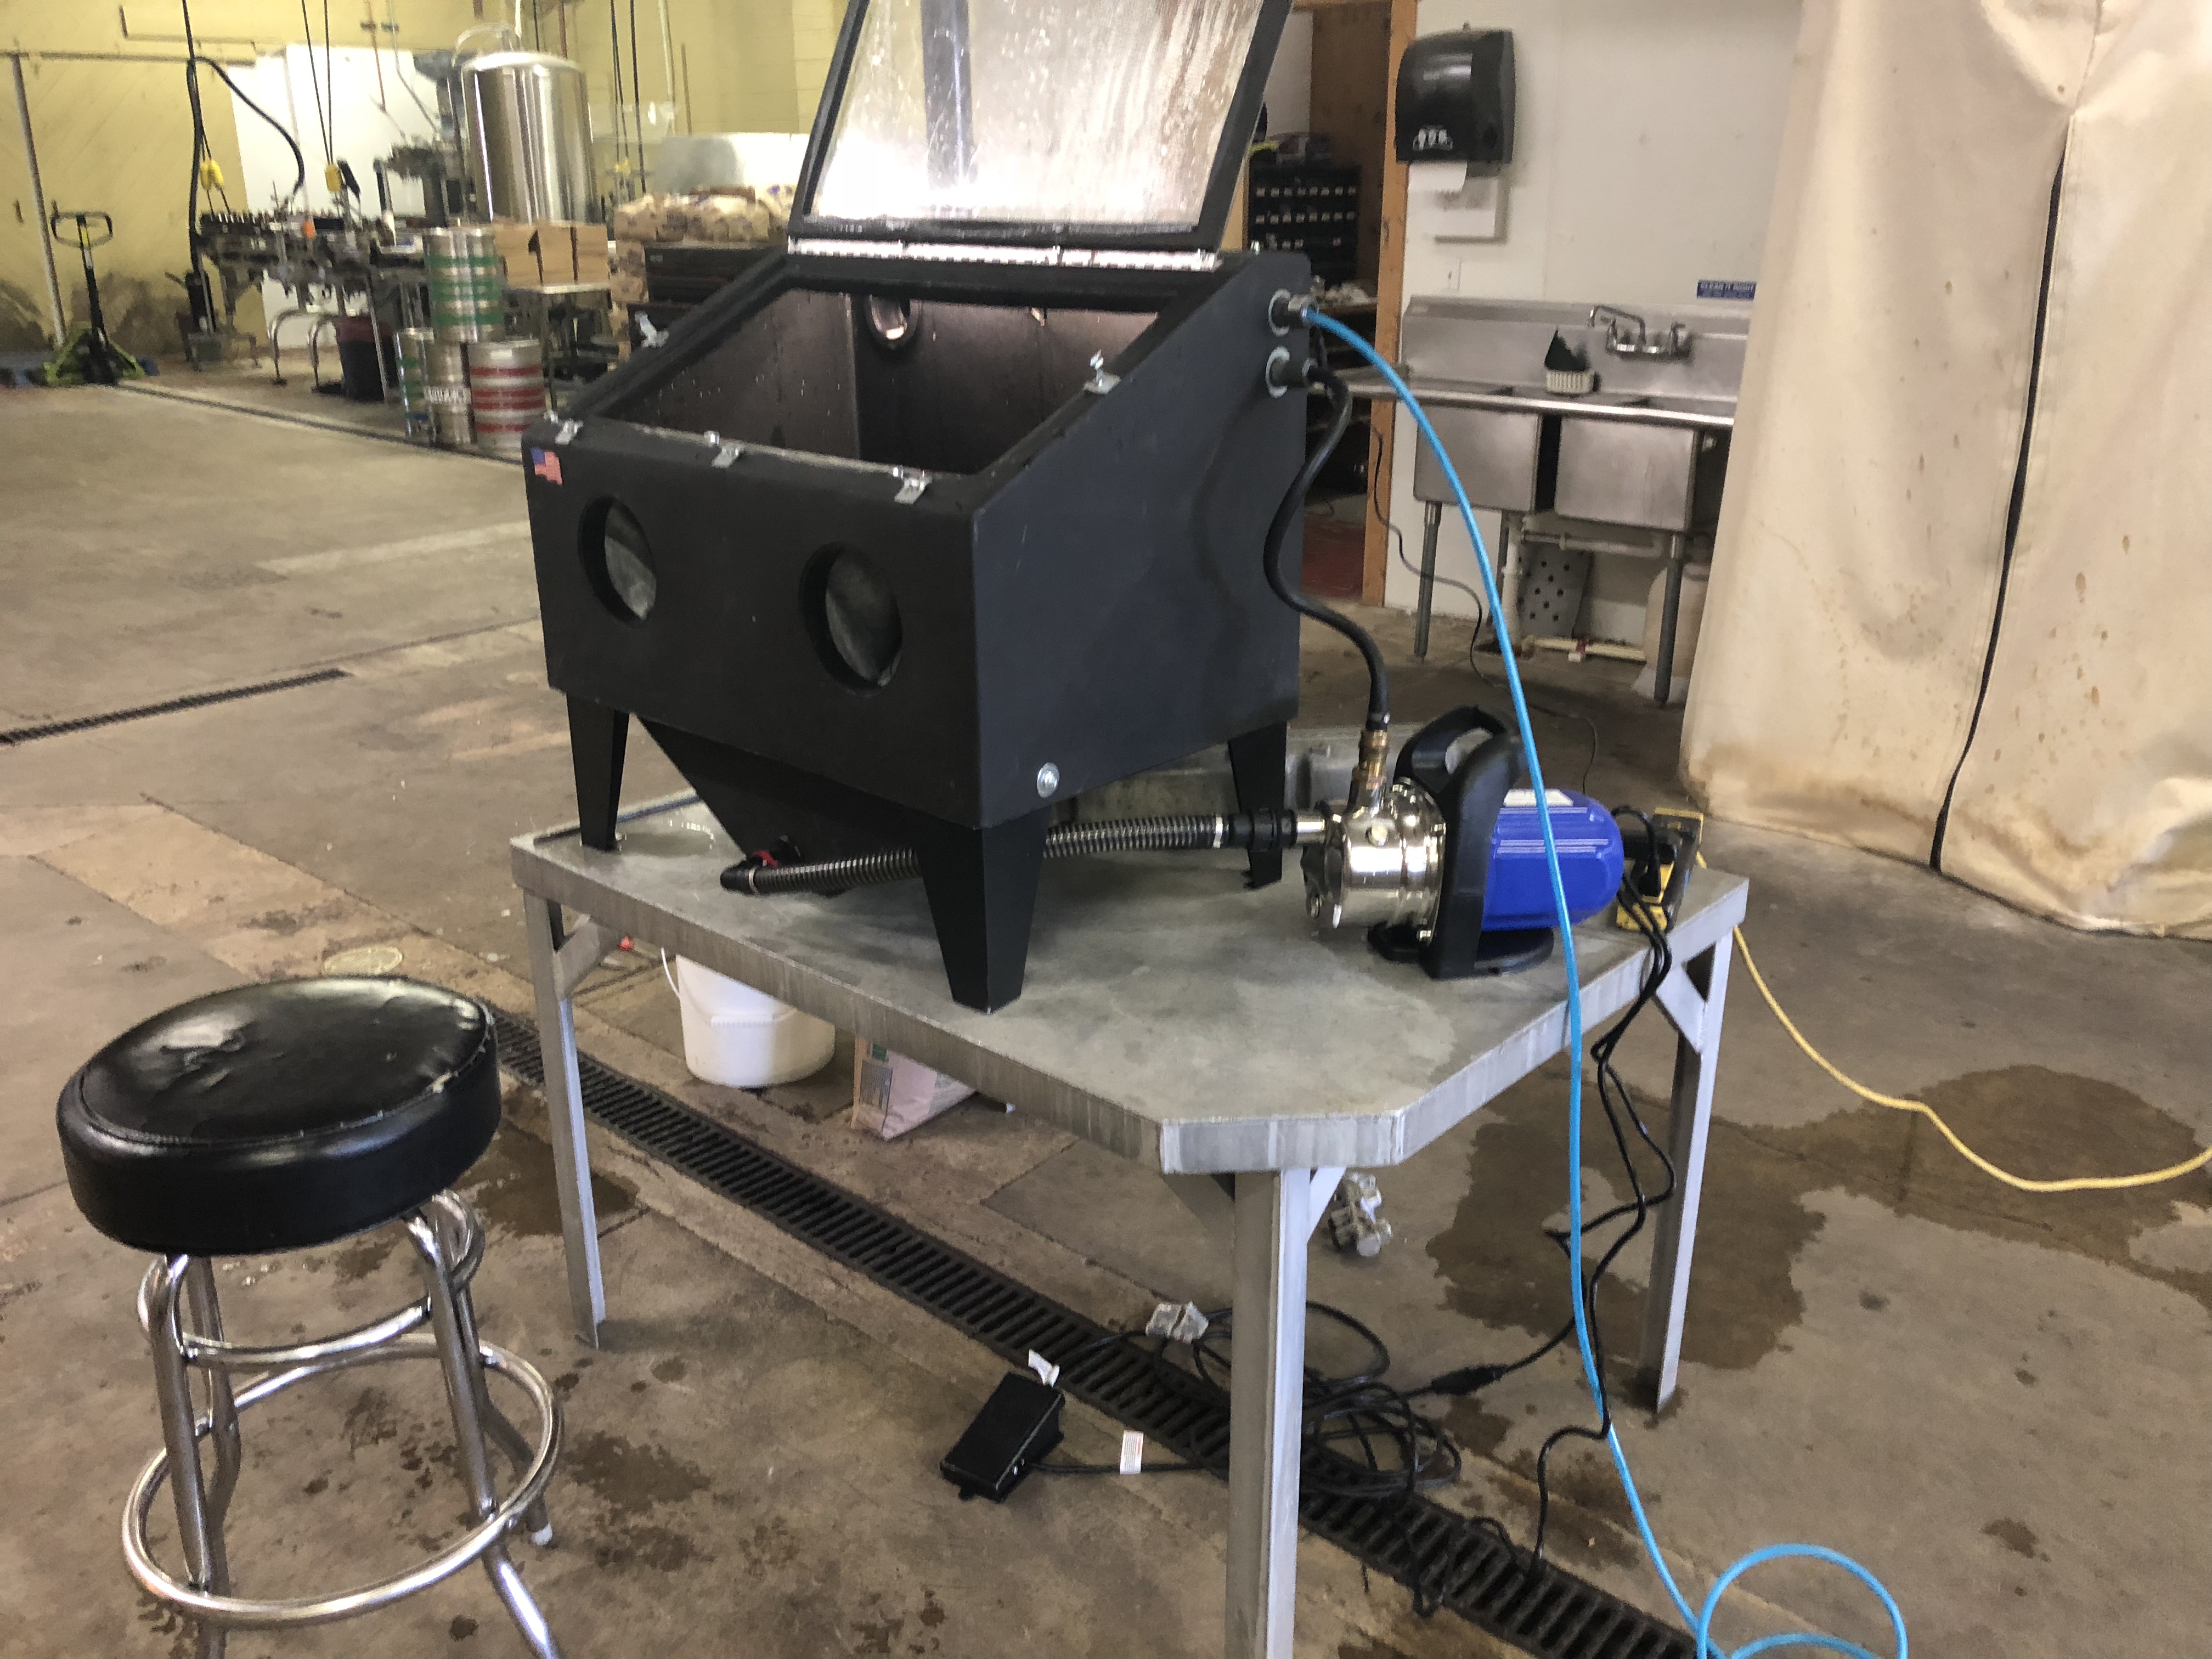
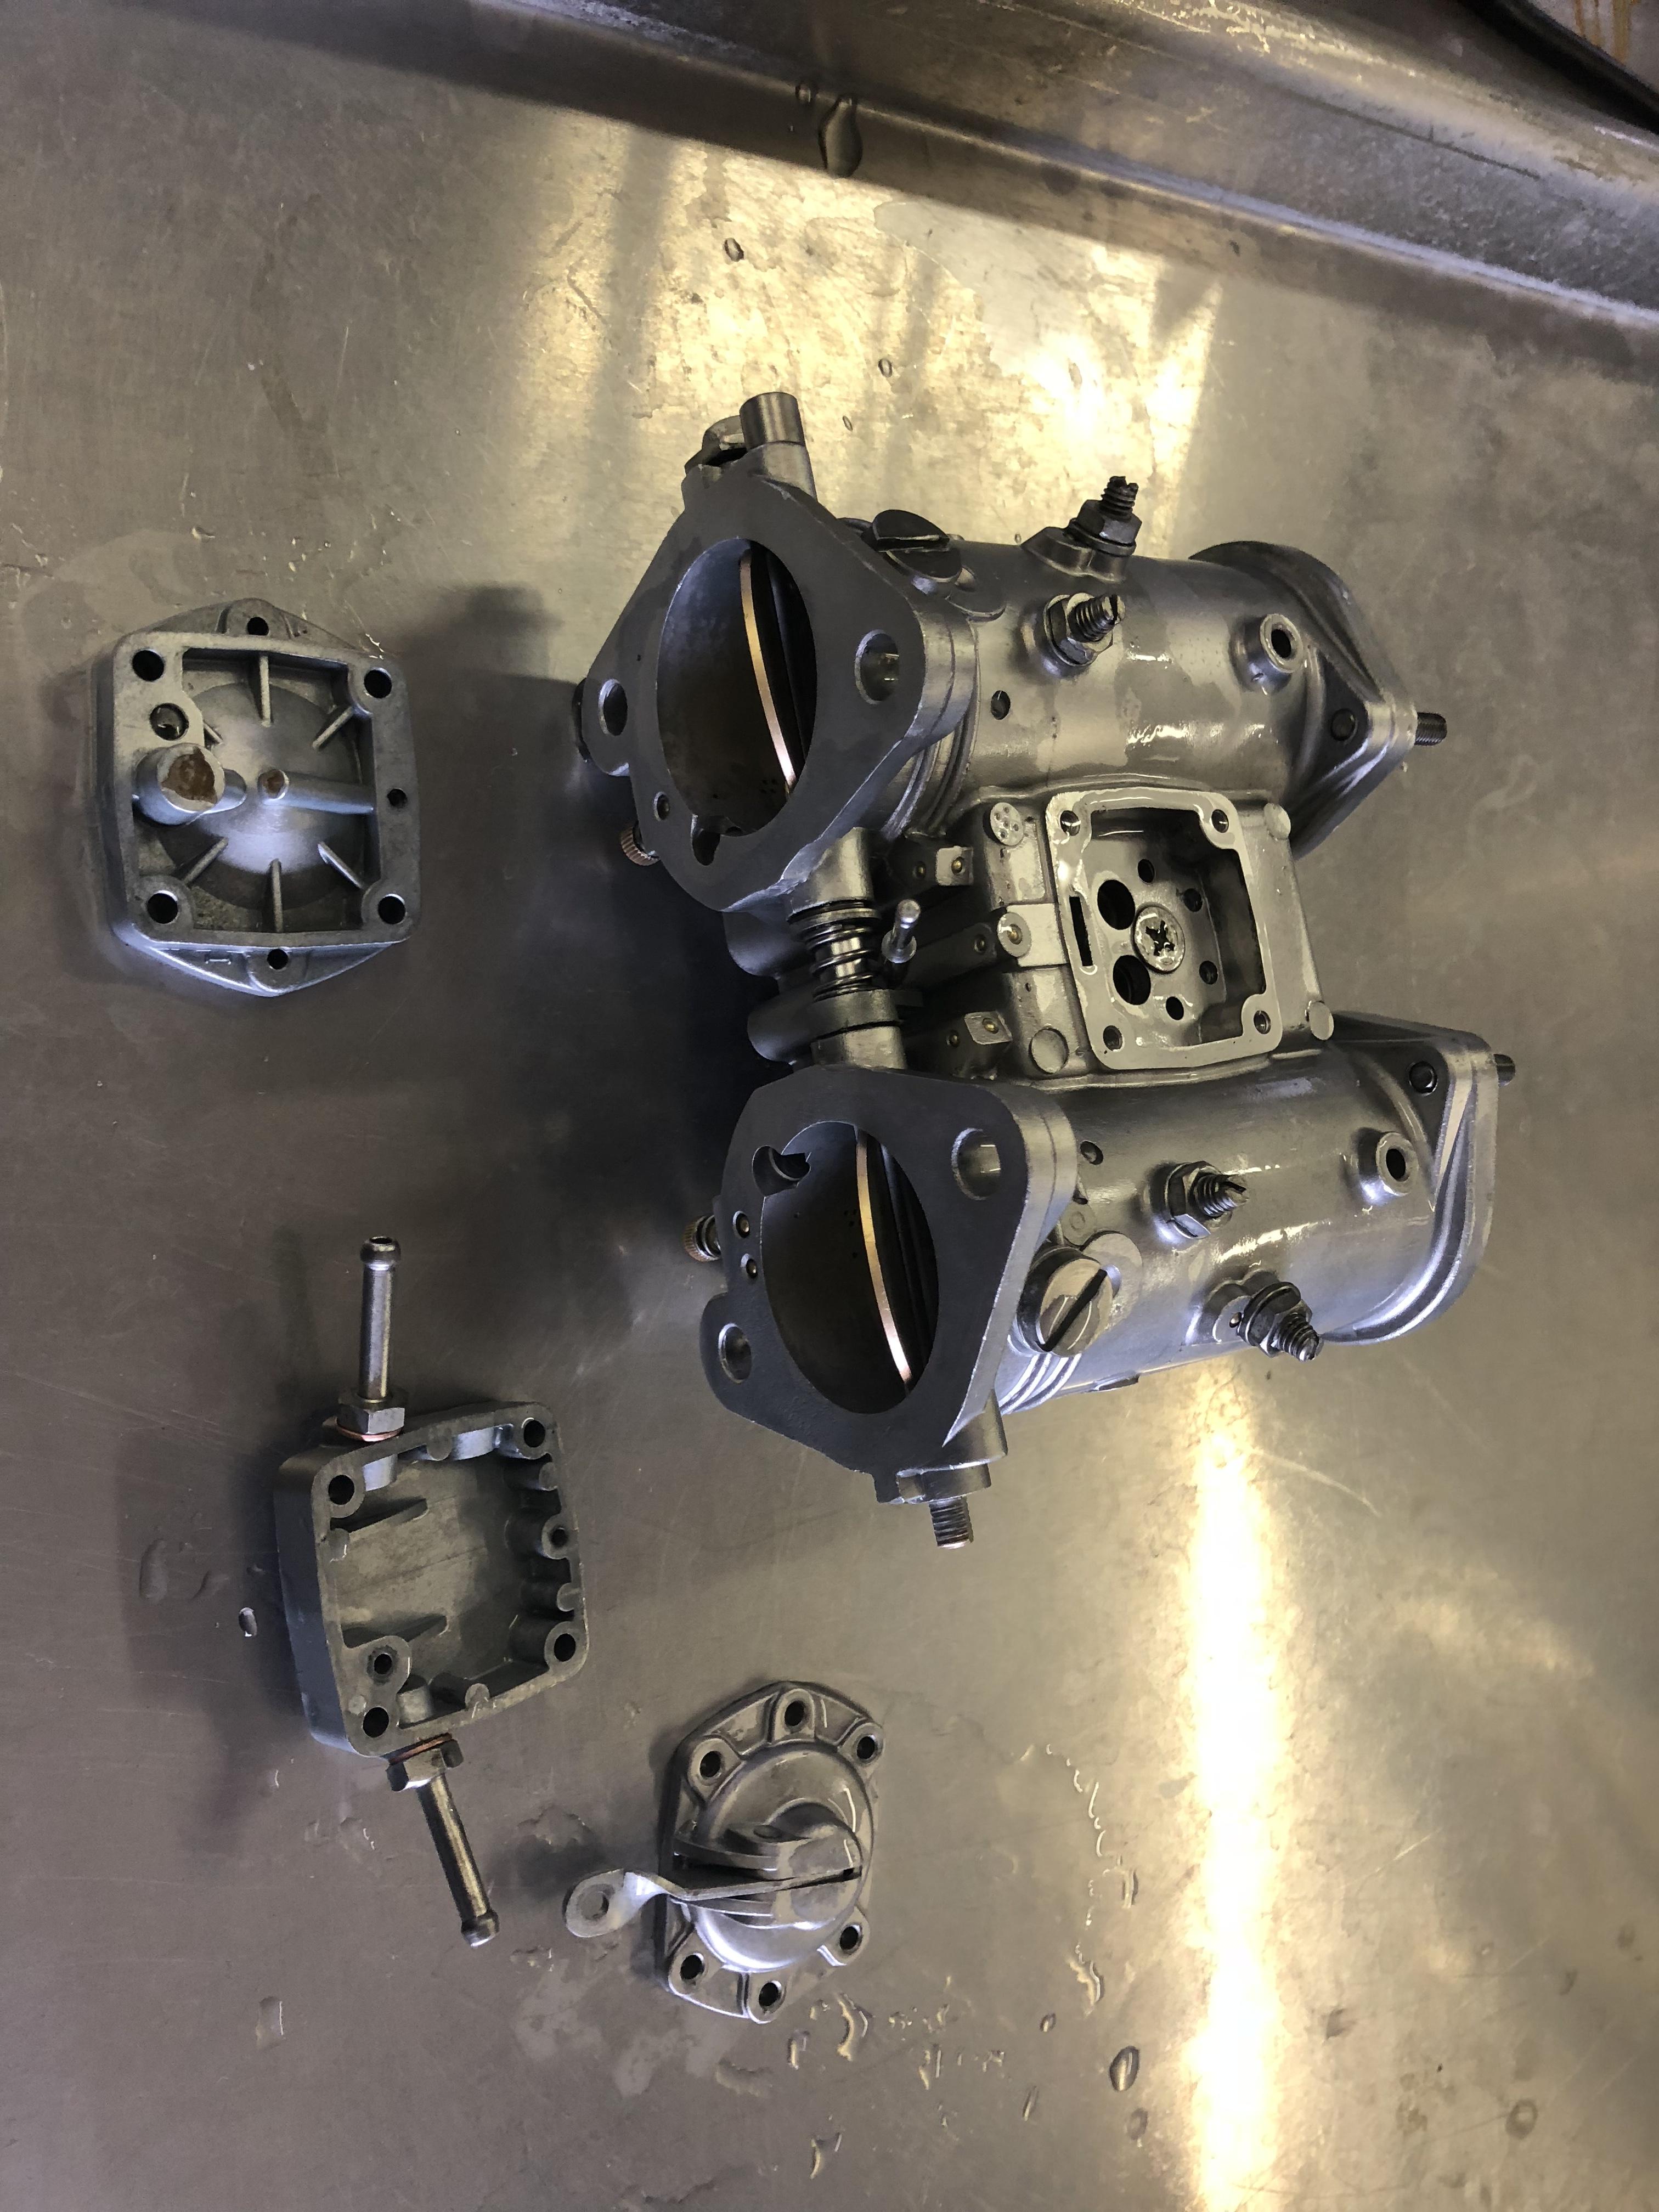
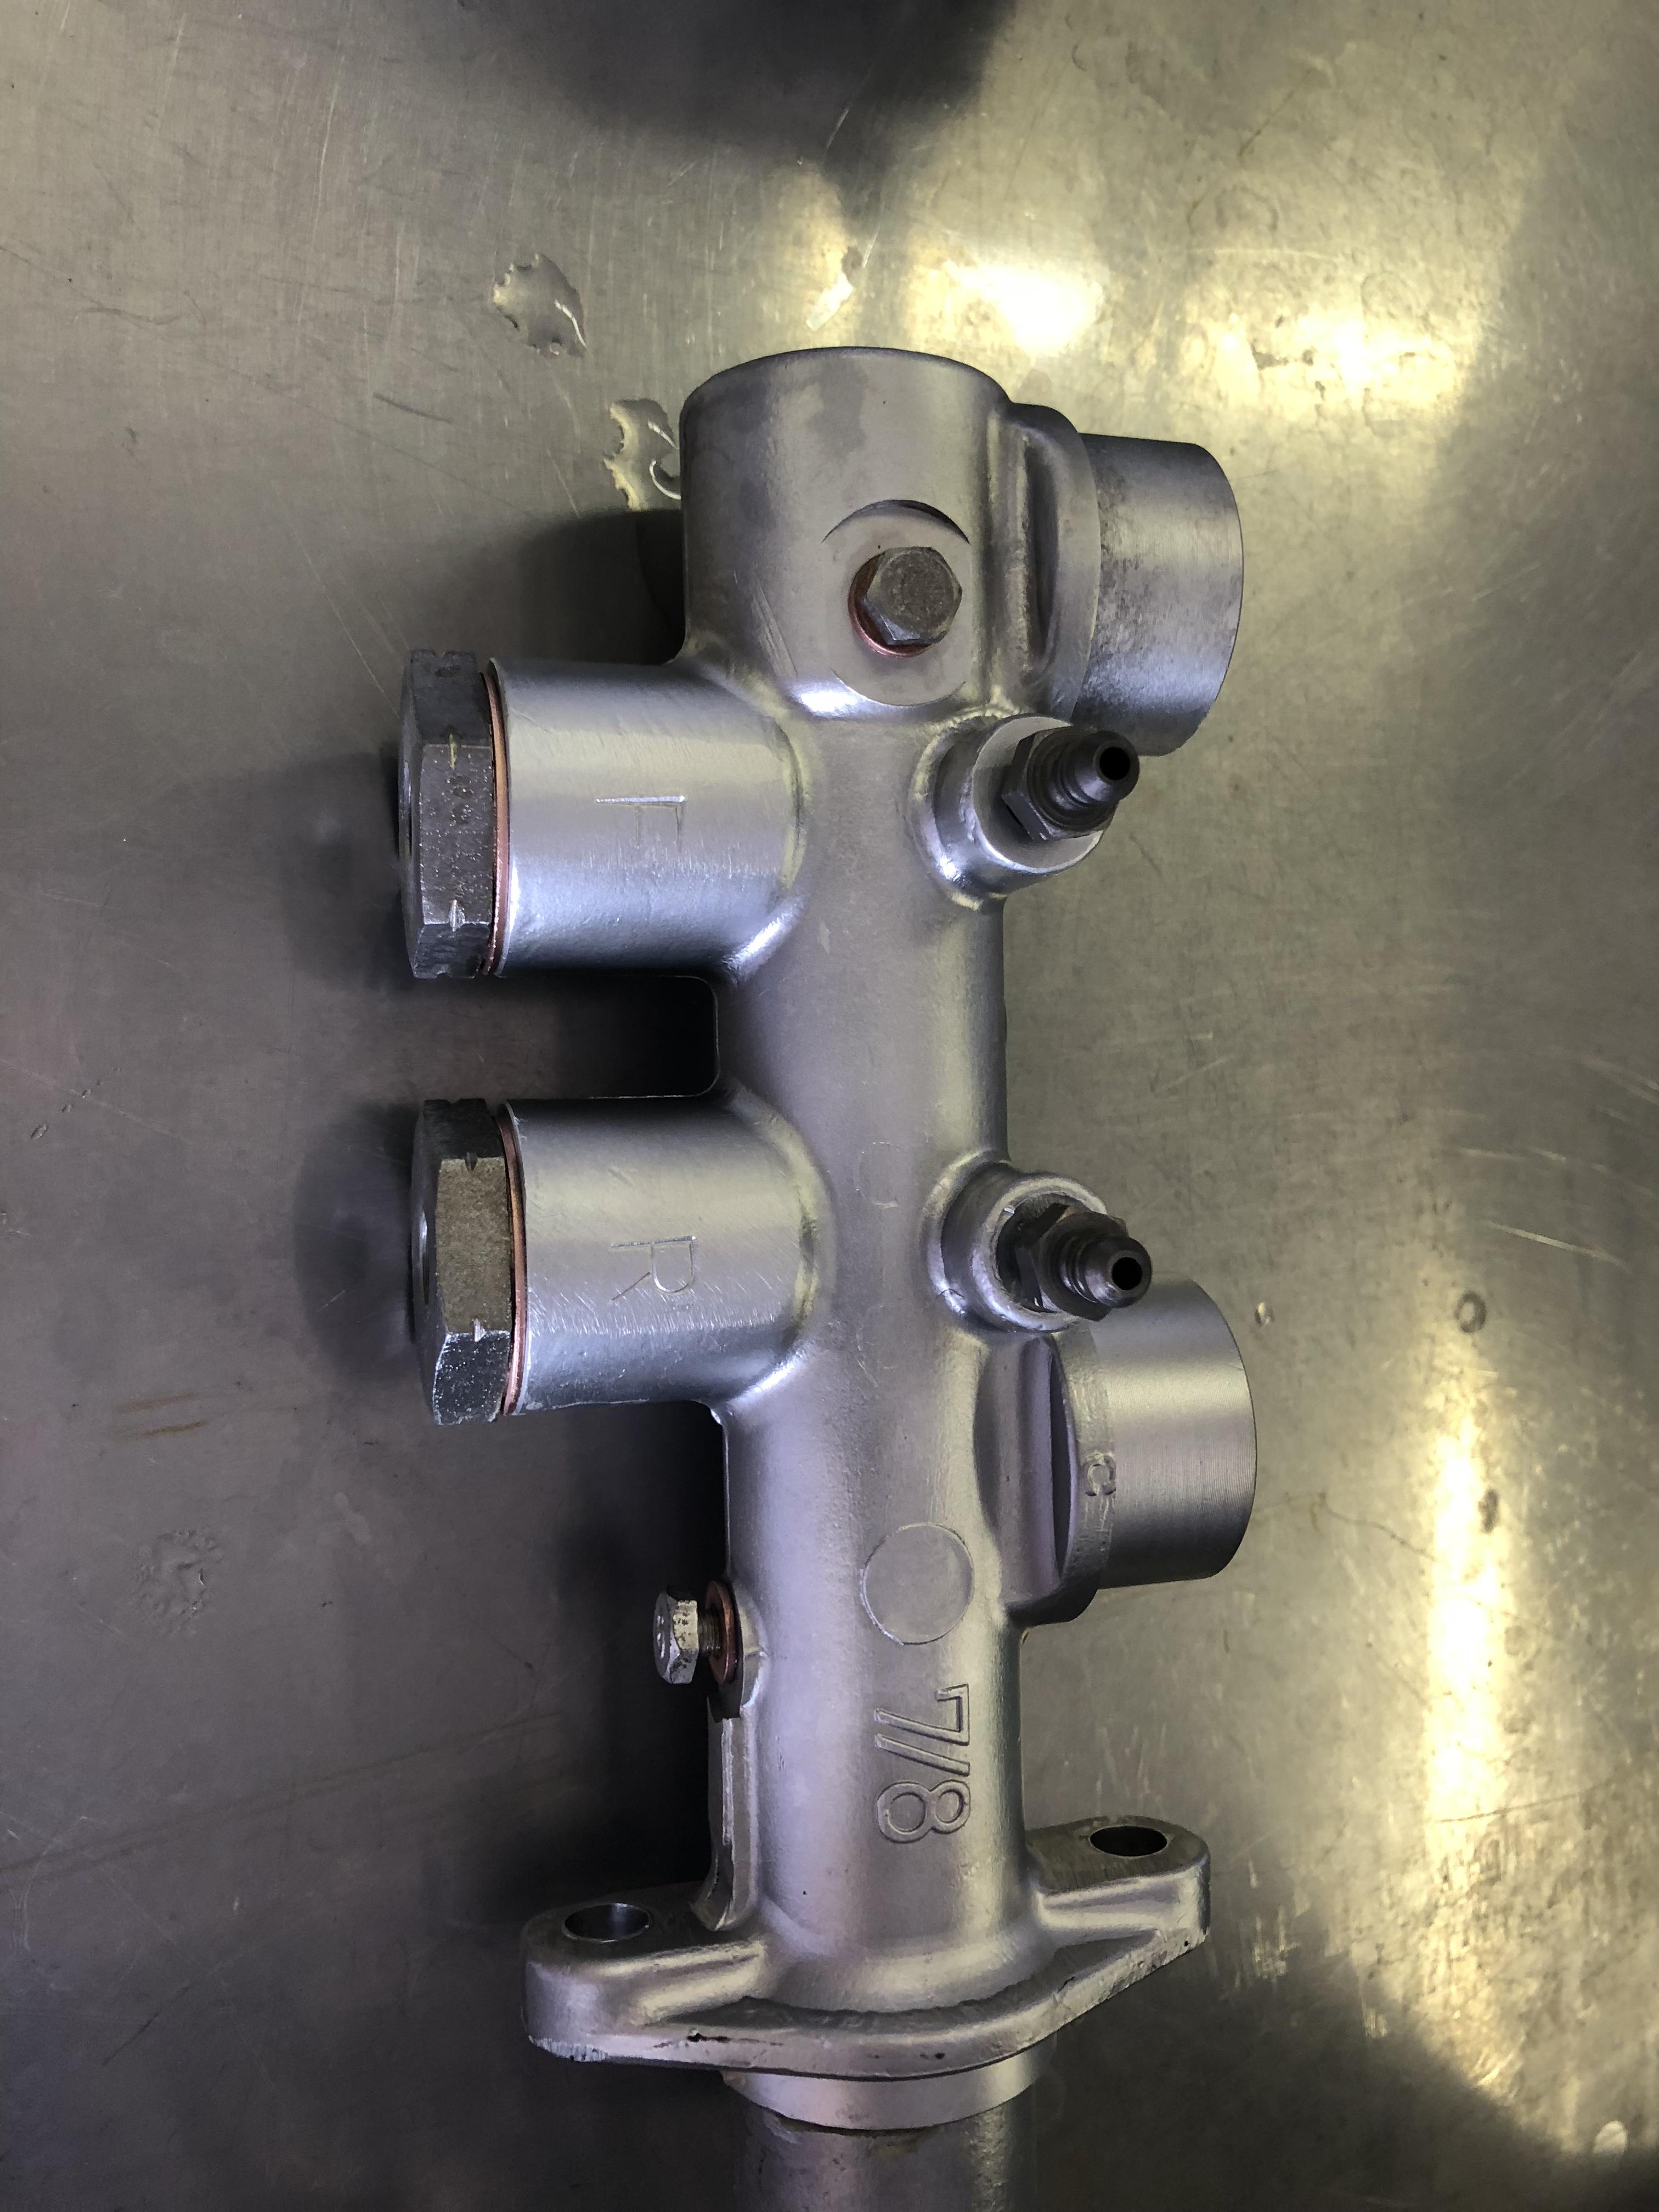
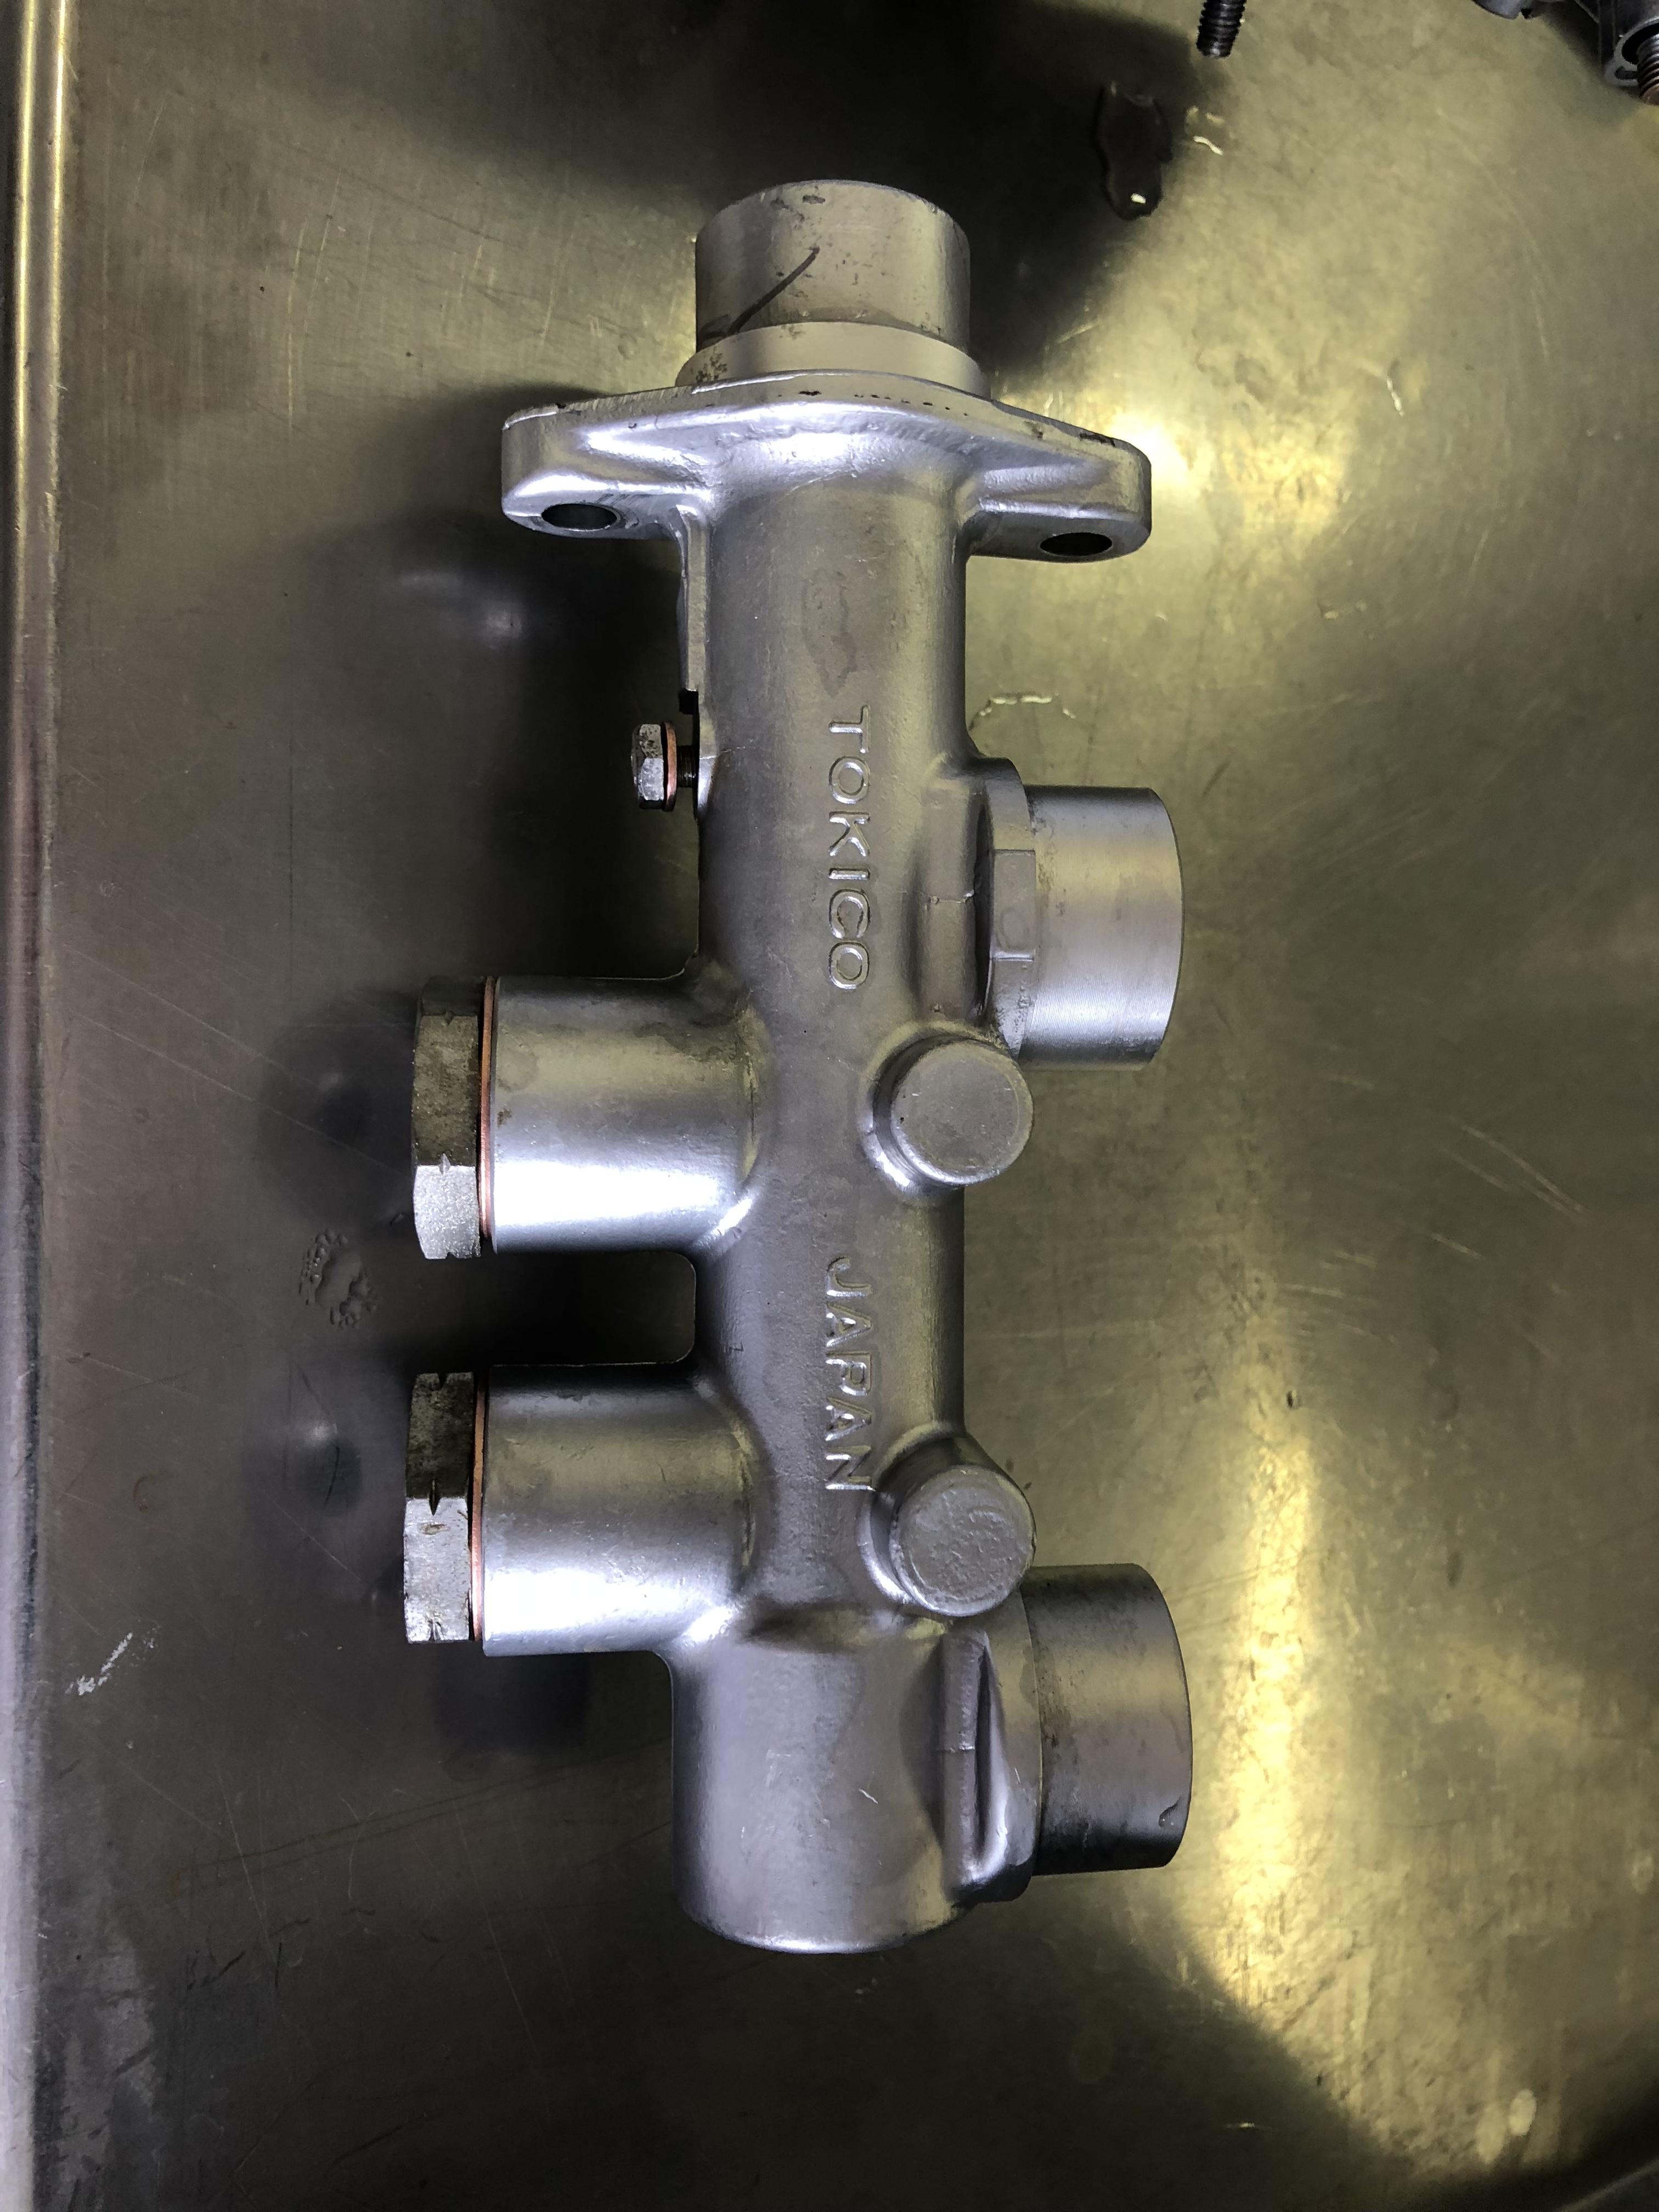
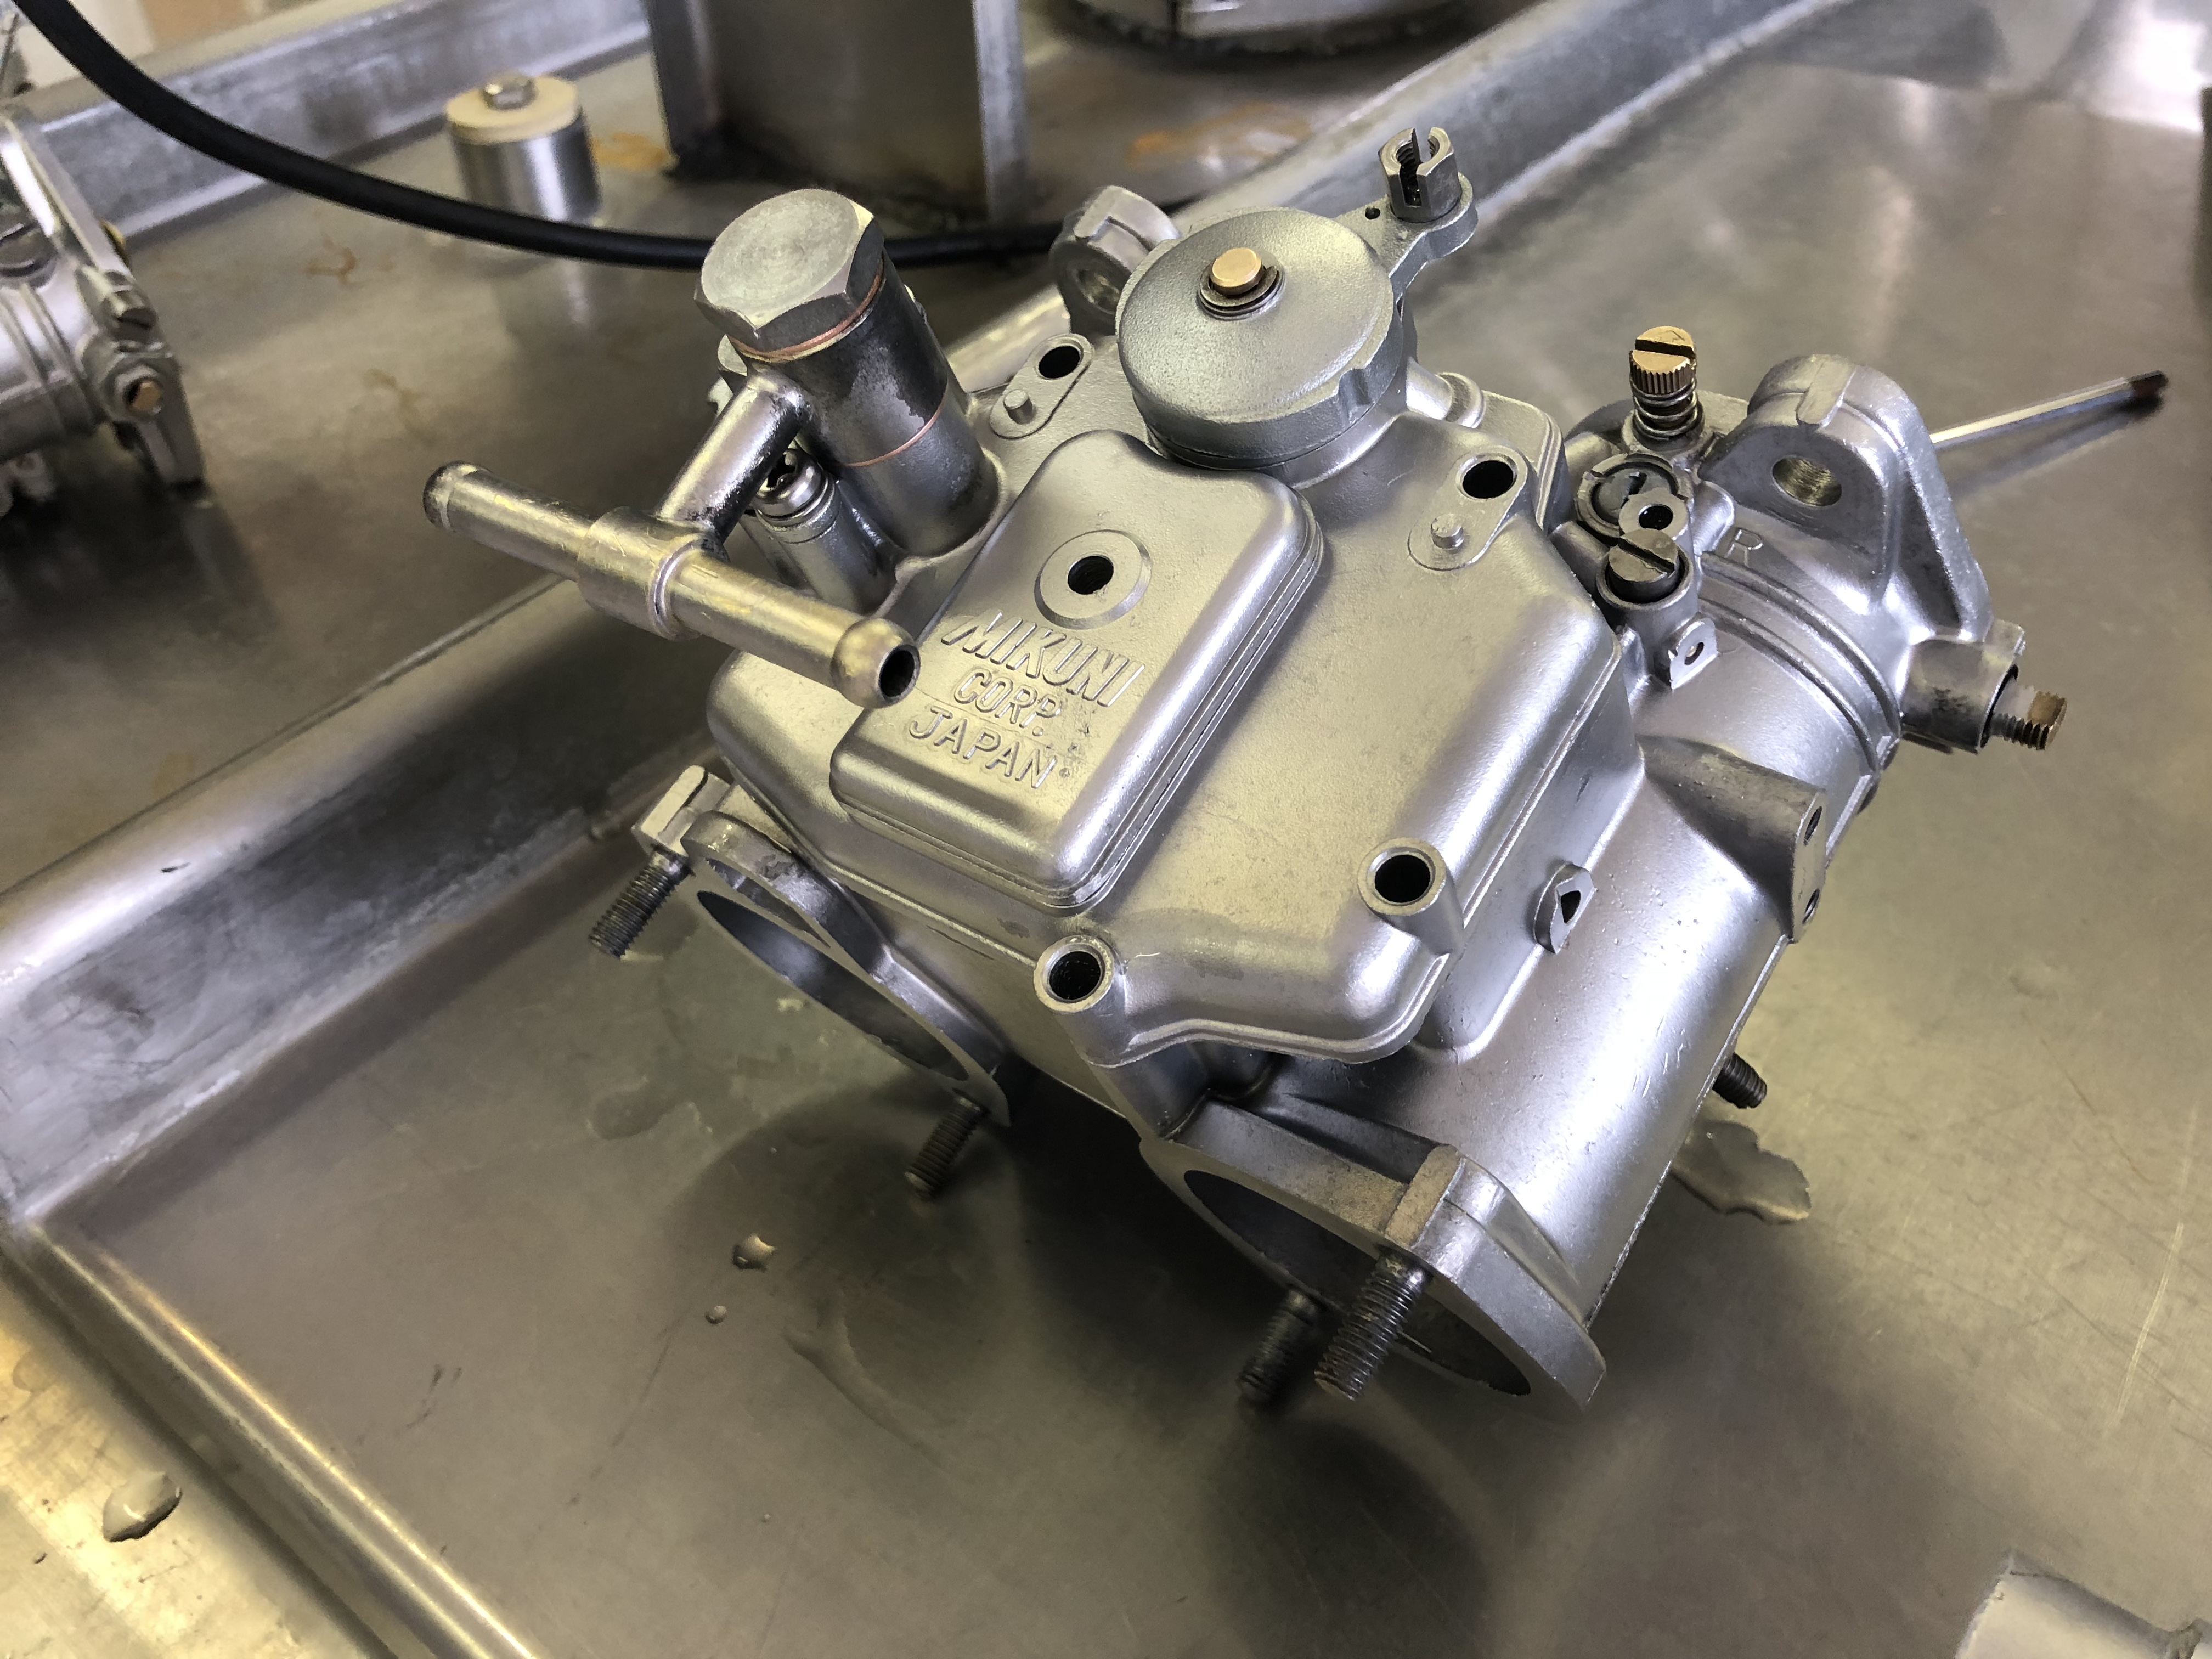
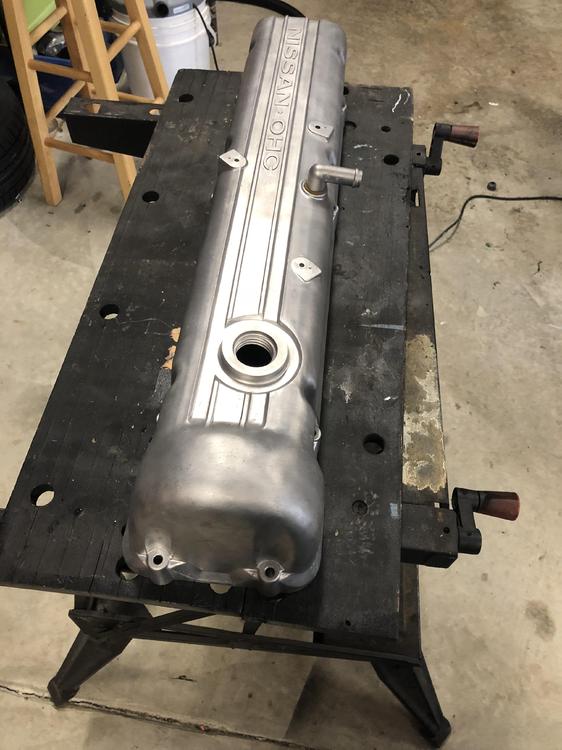
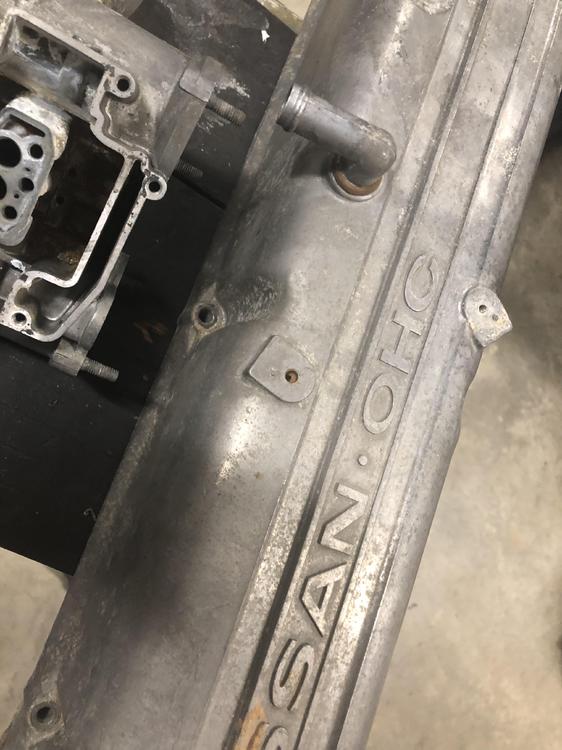
I don’t think vapor affects the aluminum at all. I think it just picks the dirt out of crevices. It won’t pull off silicone or gaskets very easily. Doesn’t affect zinc. Doesn’t damage anything Today I tried way less glass and had the same results. This valve cover was rough. Looks pretty awesome now. Trying to get the appearce to be uniform is time consuming. I just gave up. I plan on doing 3 covers. One wrinkle red, wrinkle black and this one and decide which I like the best. It it just barely big enough for this cover. The head will be tough to fit and get the ends done. Shouldn’t be that bad though.

 1 point
 -
 Siteunseen, Thanks for your note... I would not say that I " got rid " of my Z, rather, I would say I most reluctantly had to part with it as there was no one in my family I could pass it down too. However, I have been most fortunate in that the buyer is a great enthusiast of Z's, a heck of a nice guy and we have become good friends. There's a great element of comfort for me in that. Thanks for putting in the details about your conversion and to RCB280Z, in case there is someone out there who may wish to do the same. It's what makes this site so extremely valuable....... George1 point
 -
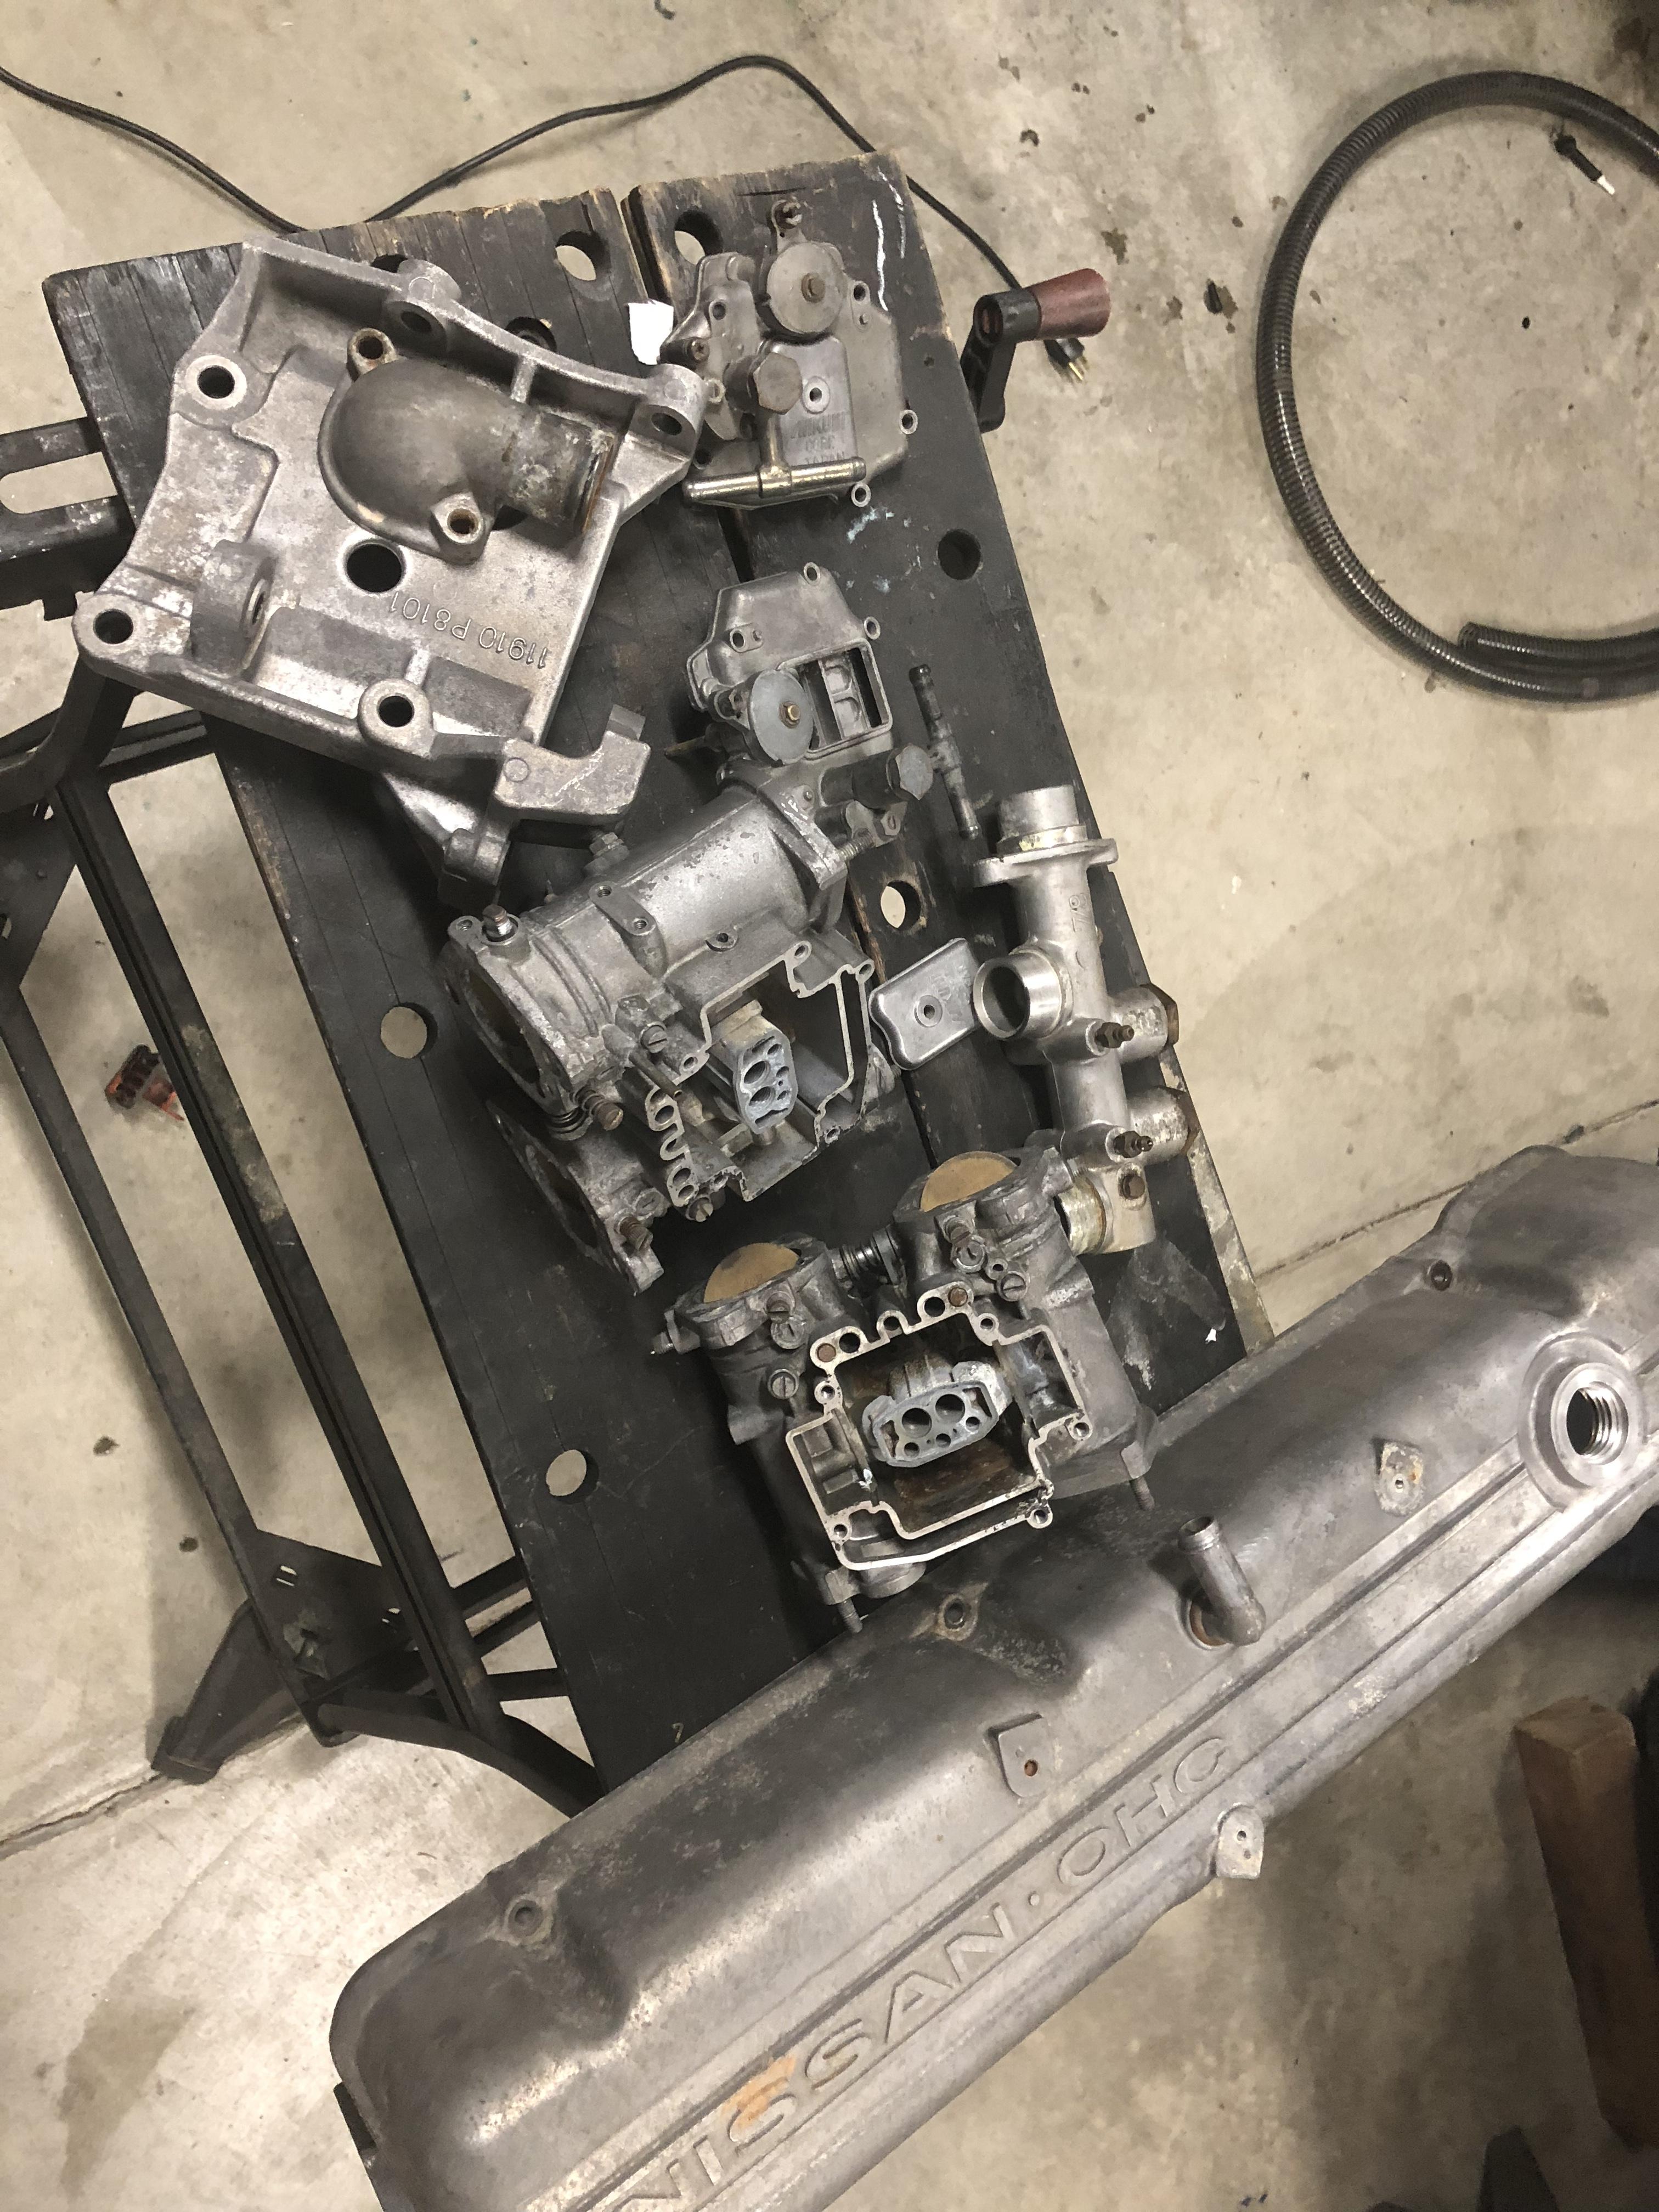
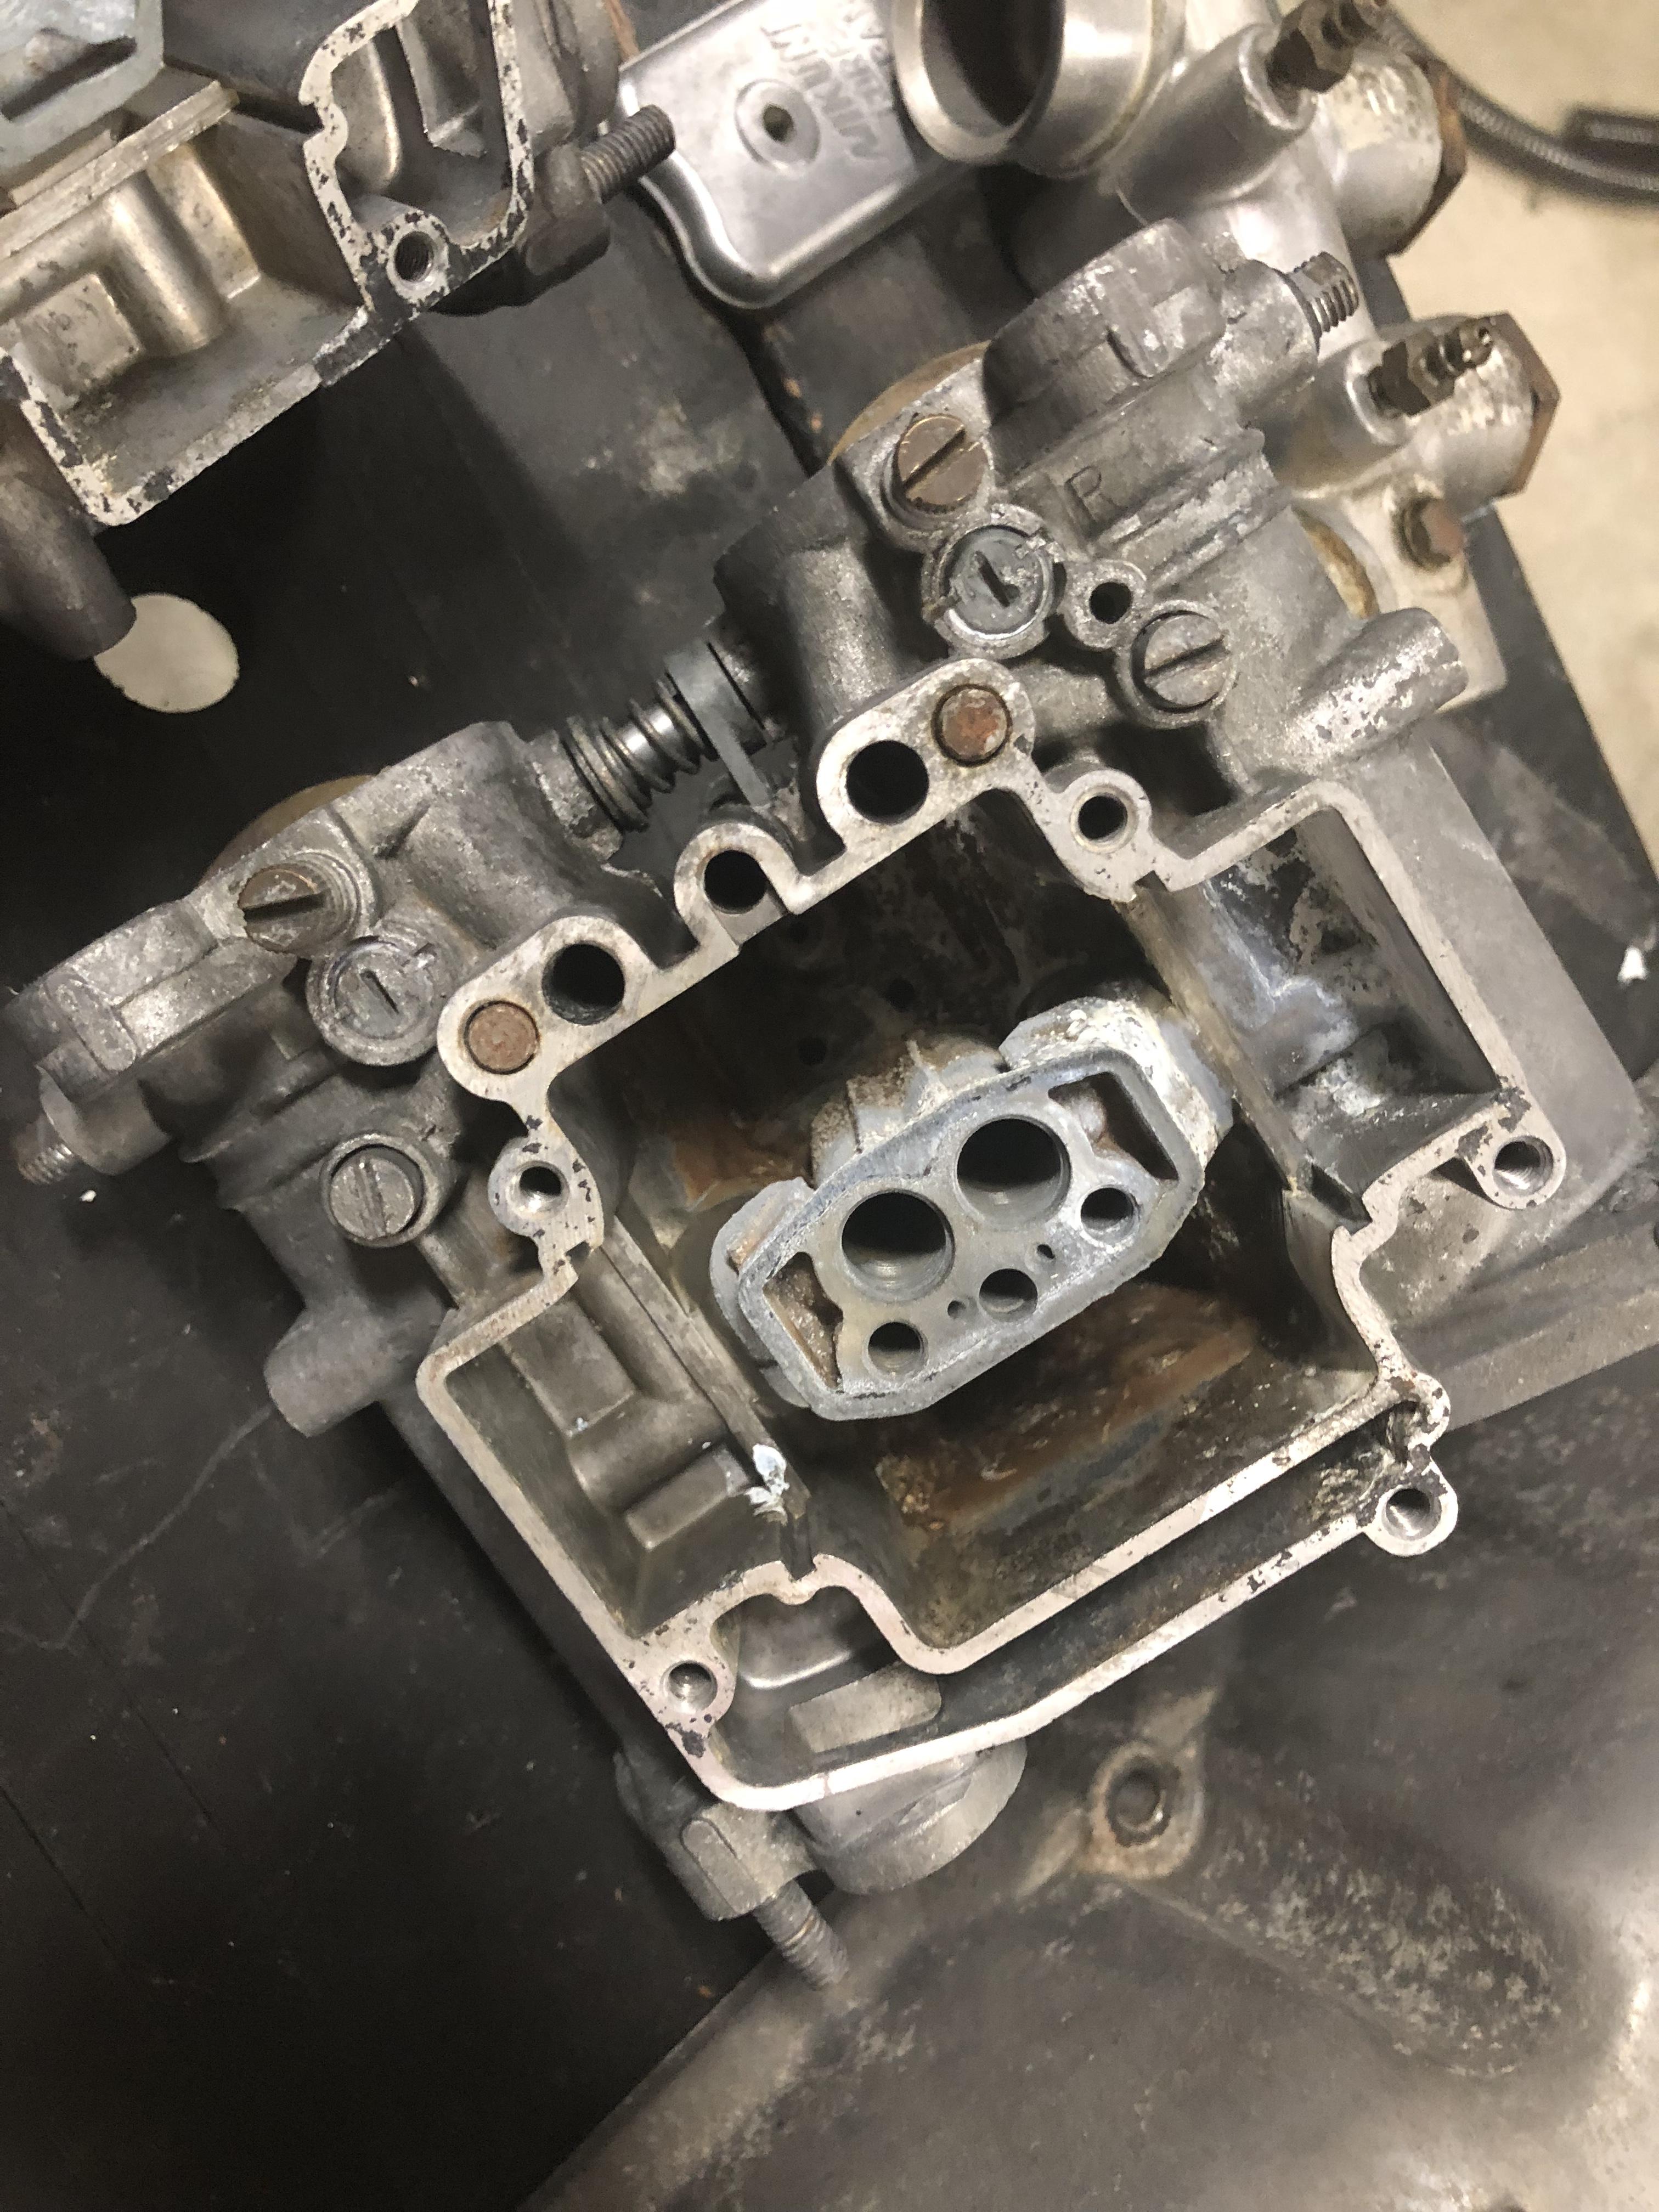
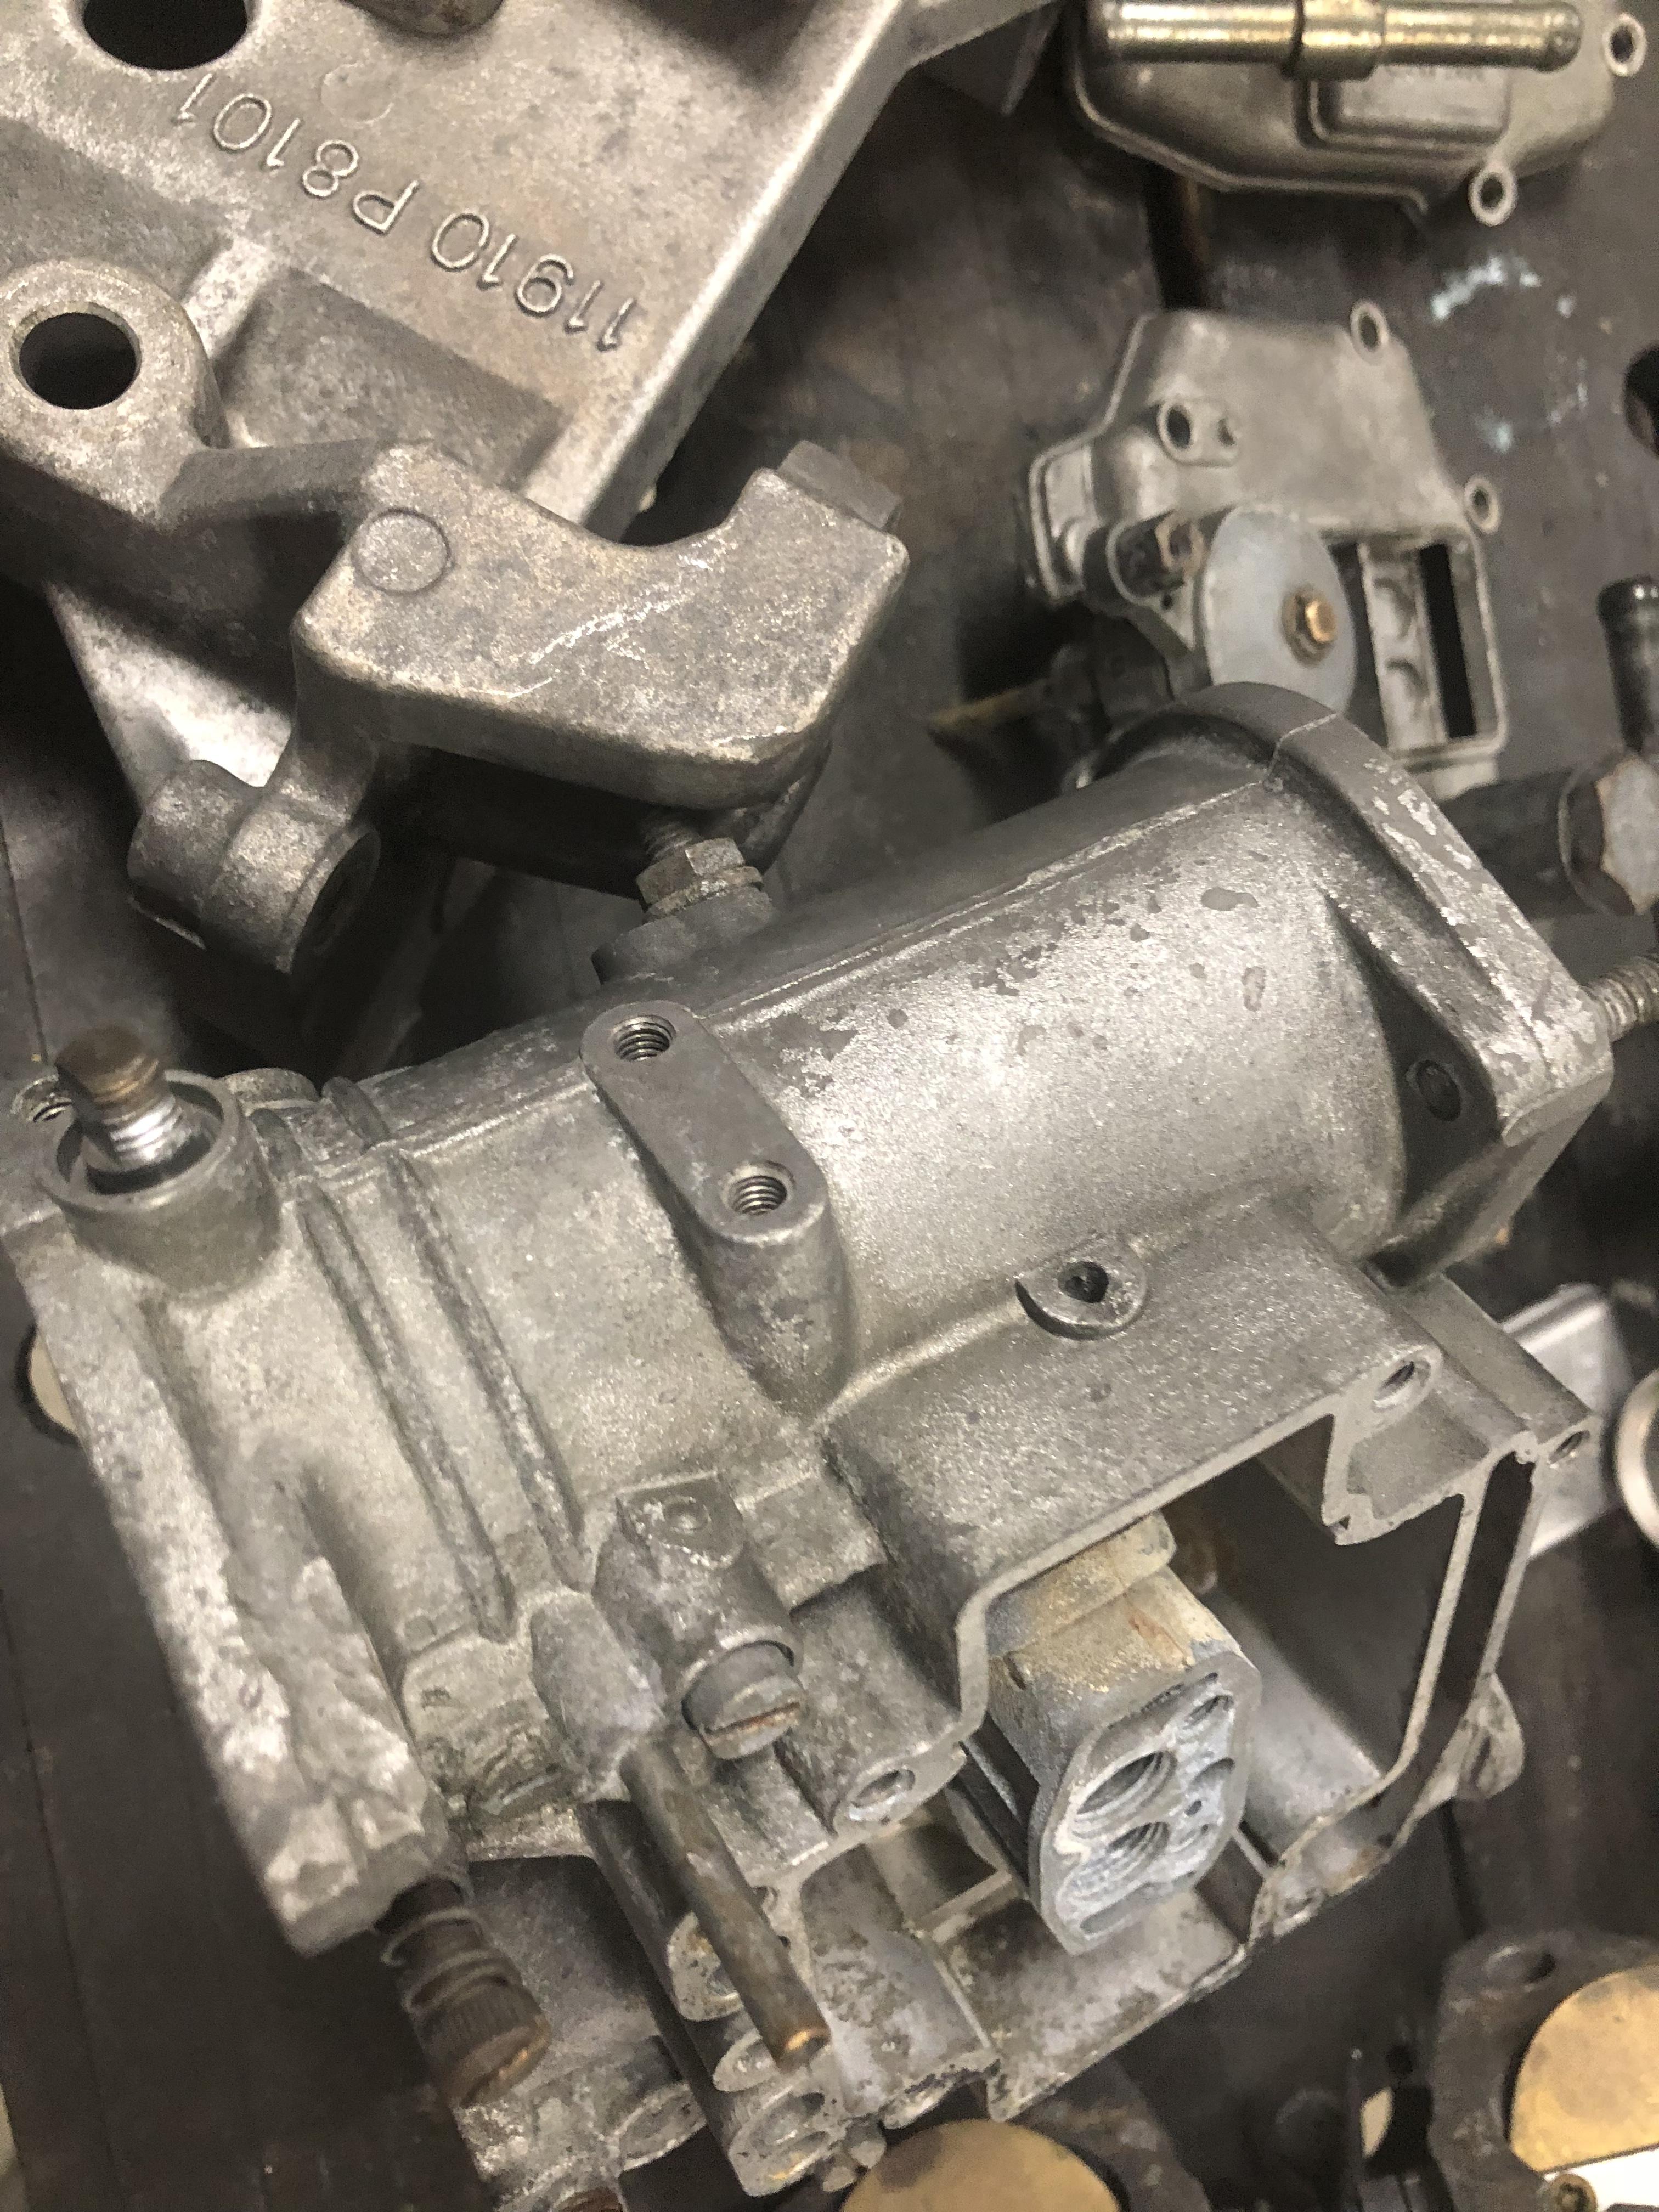
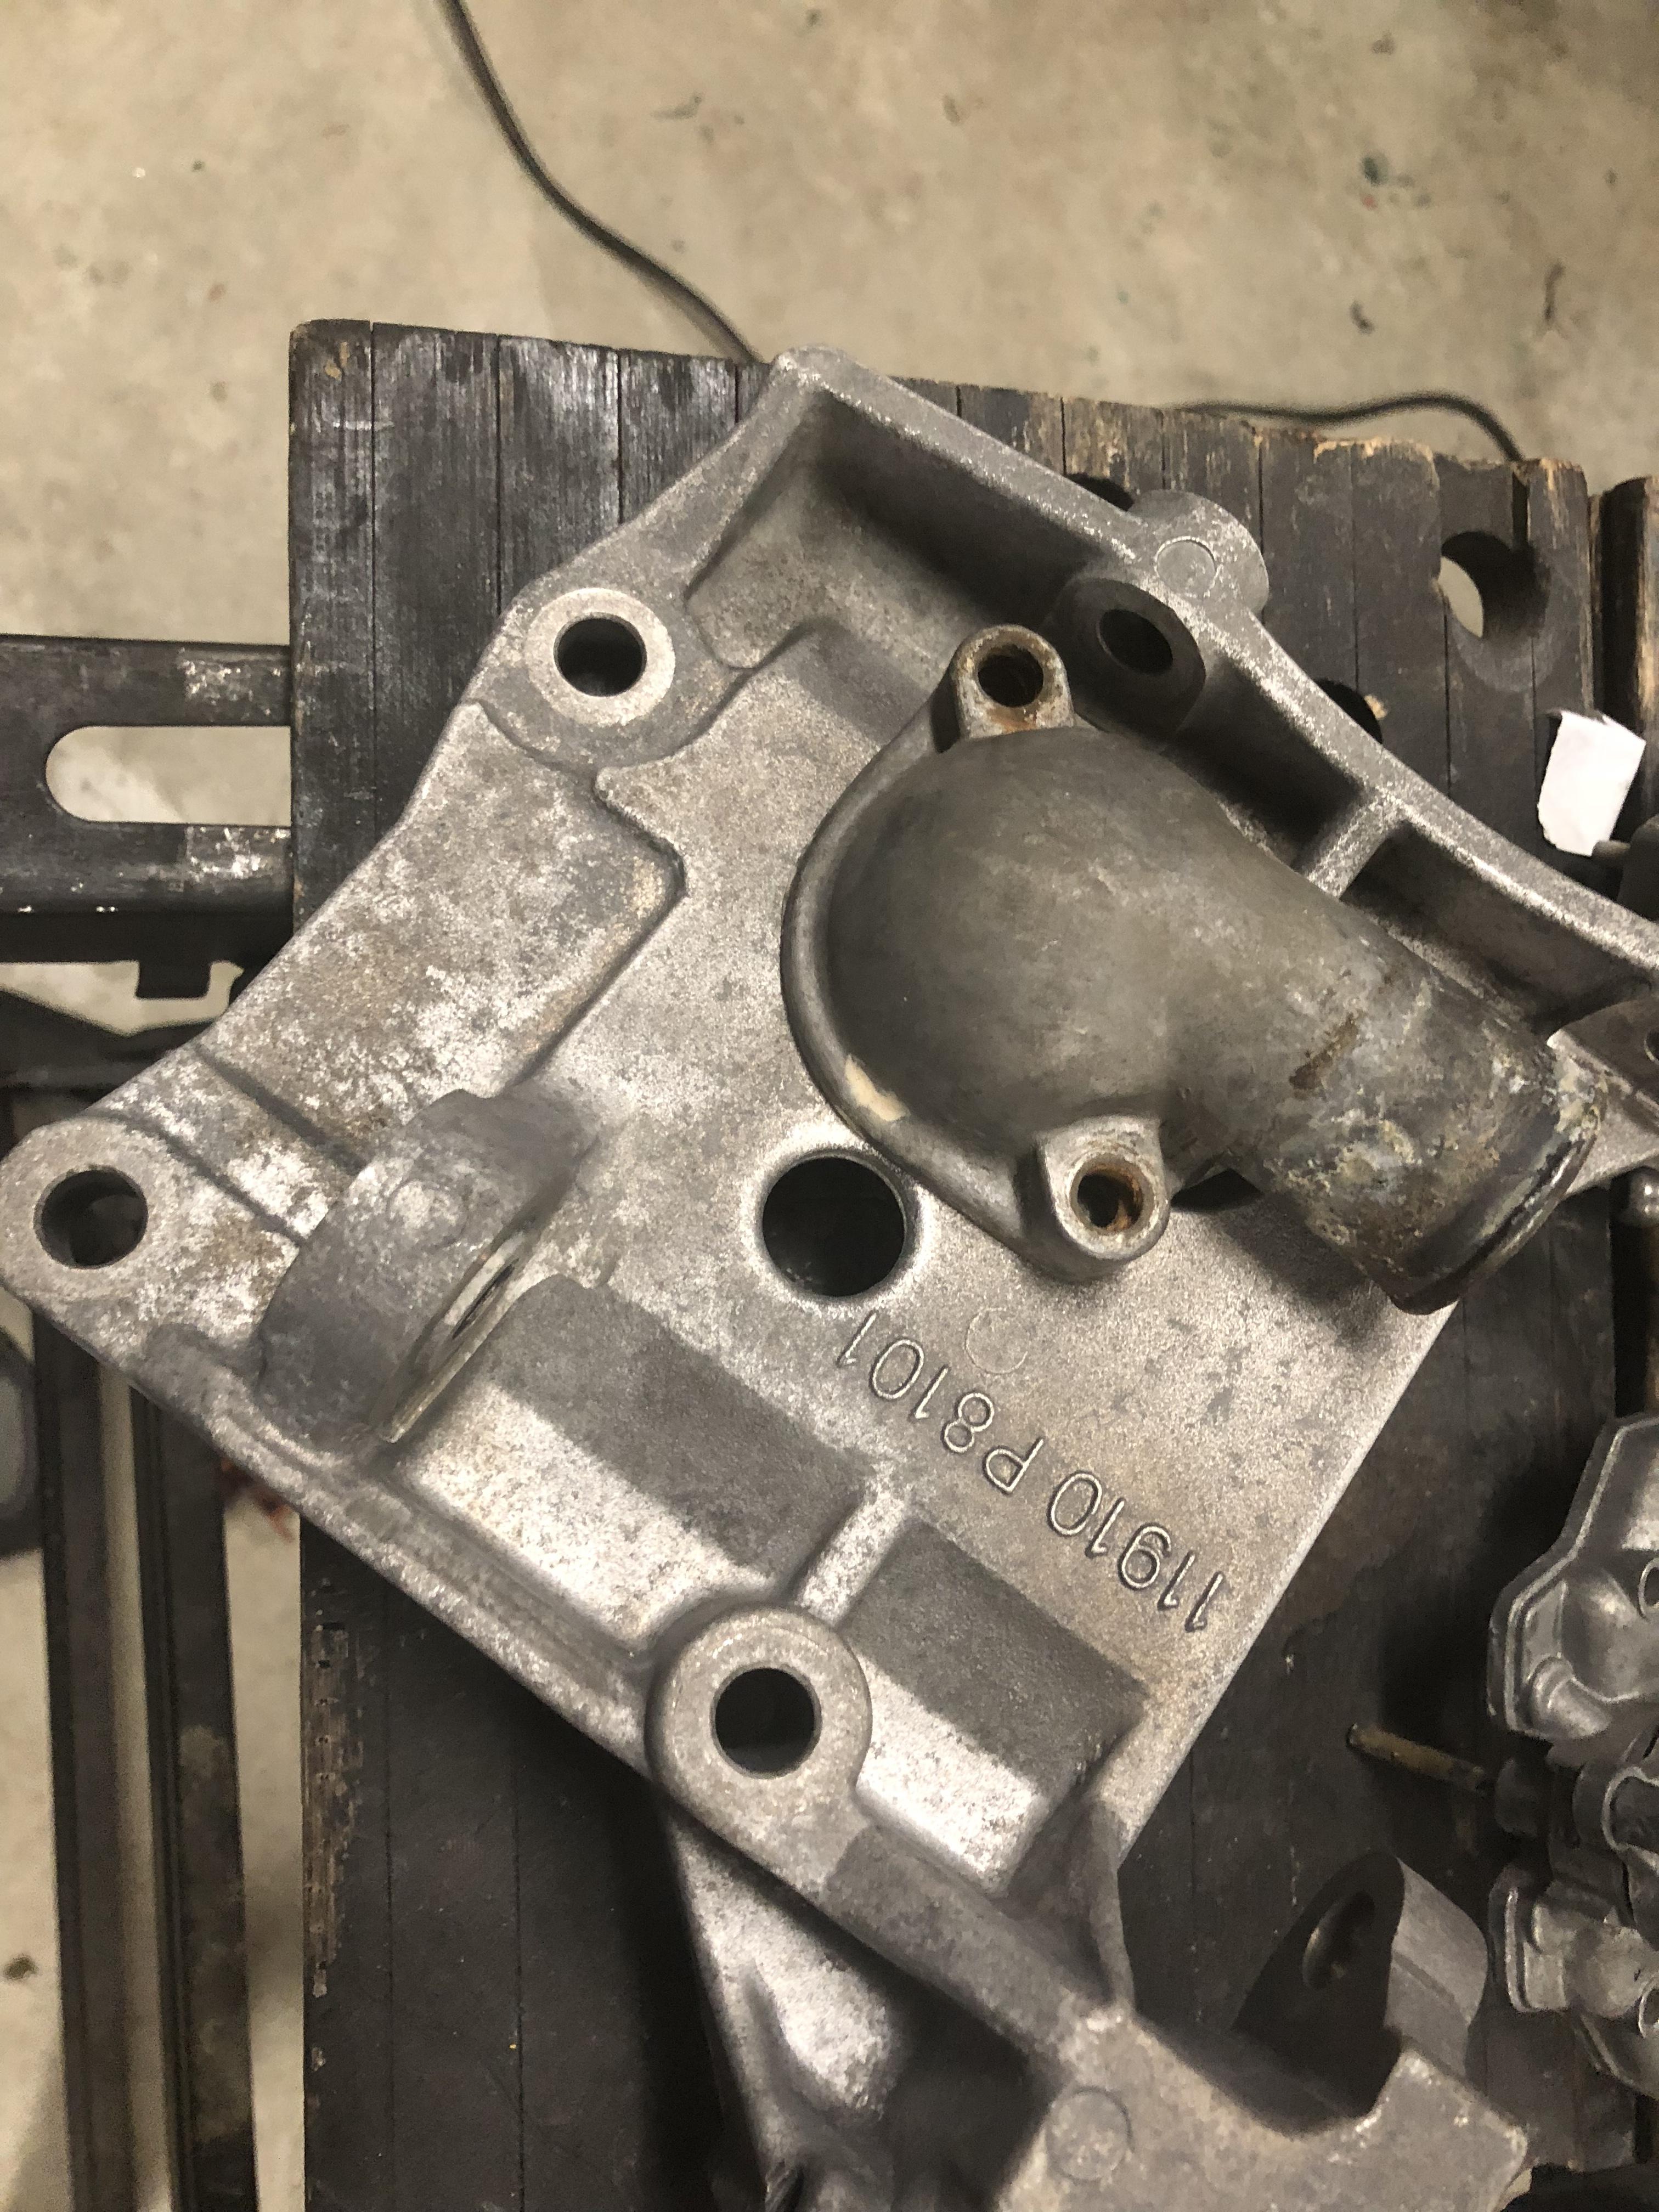
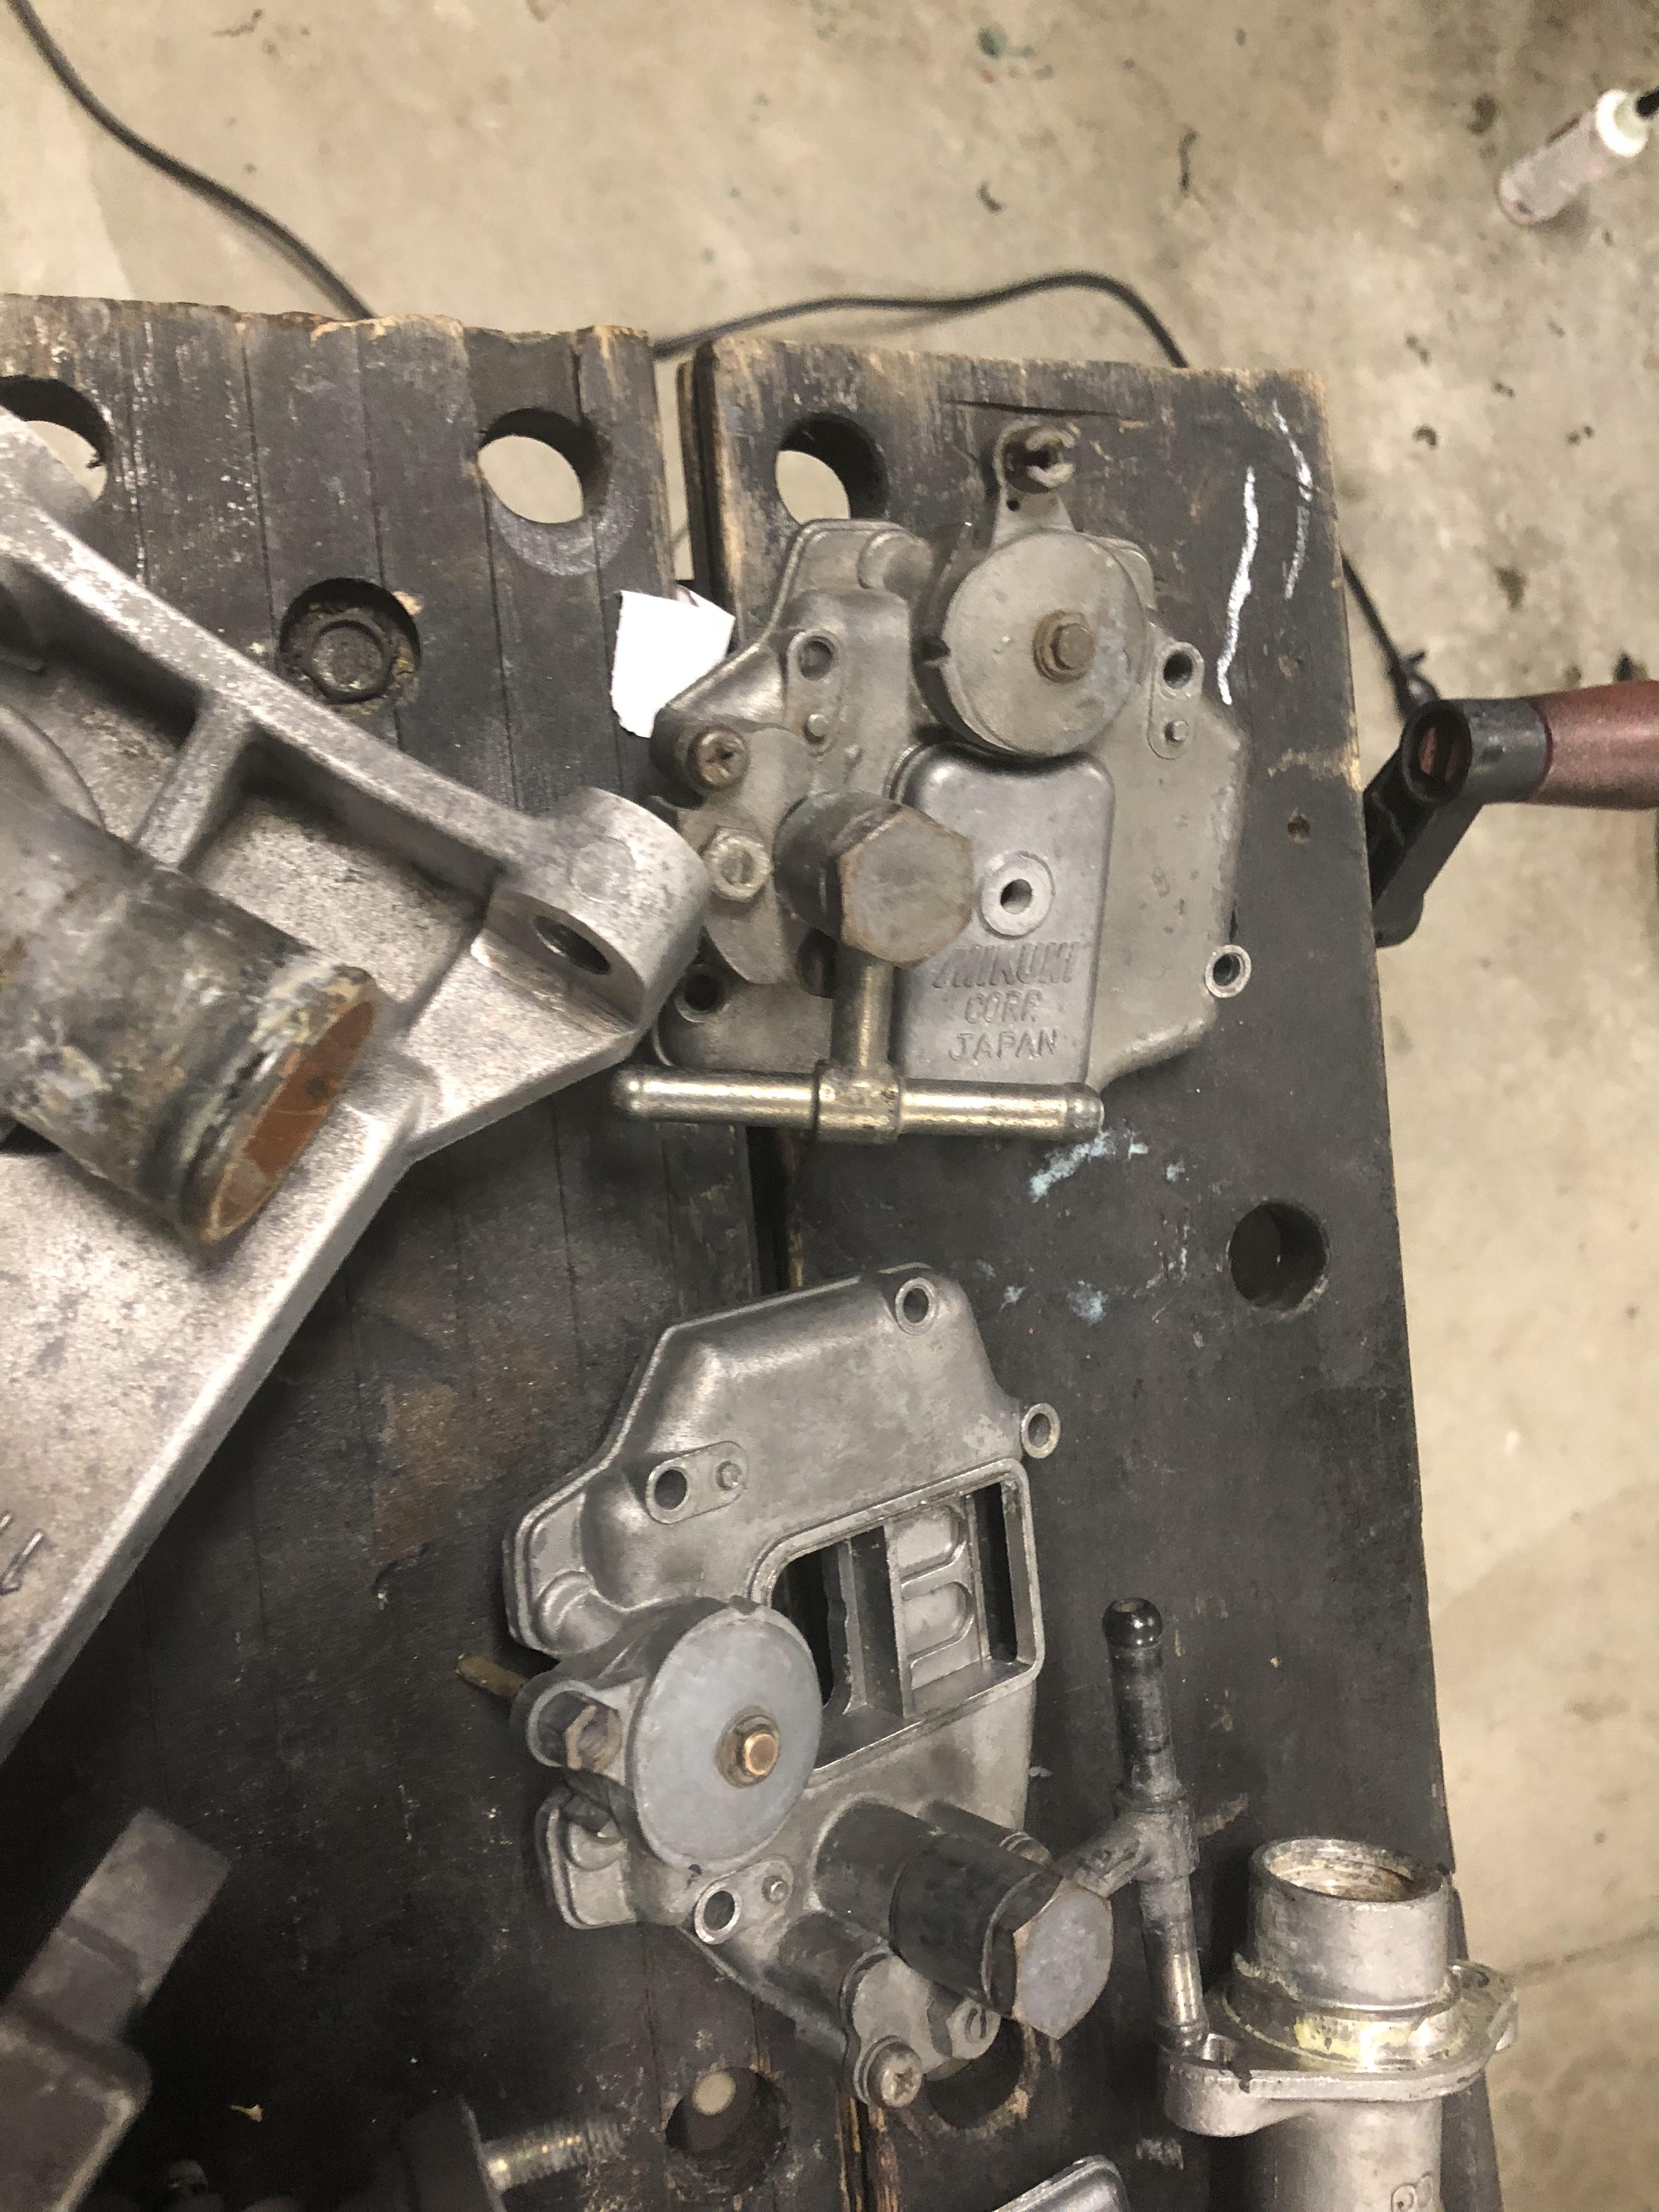
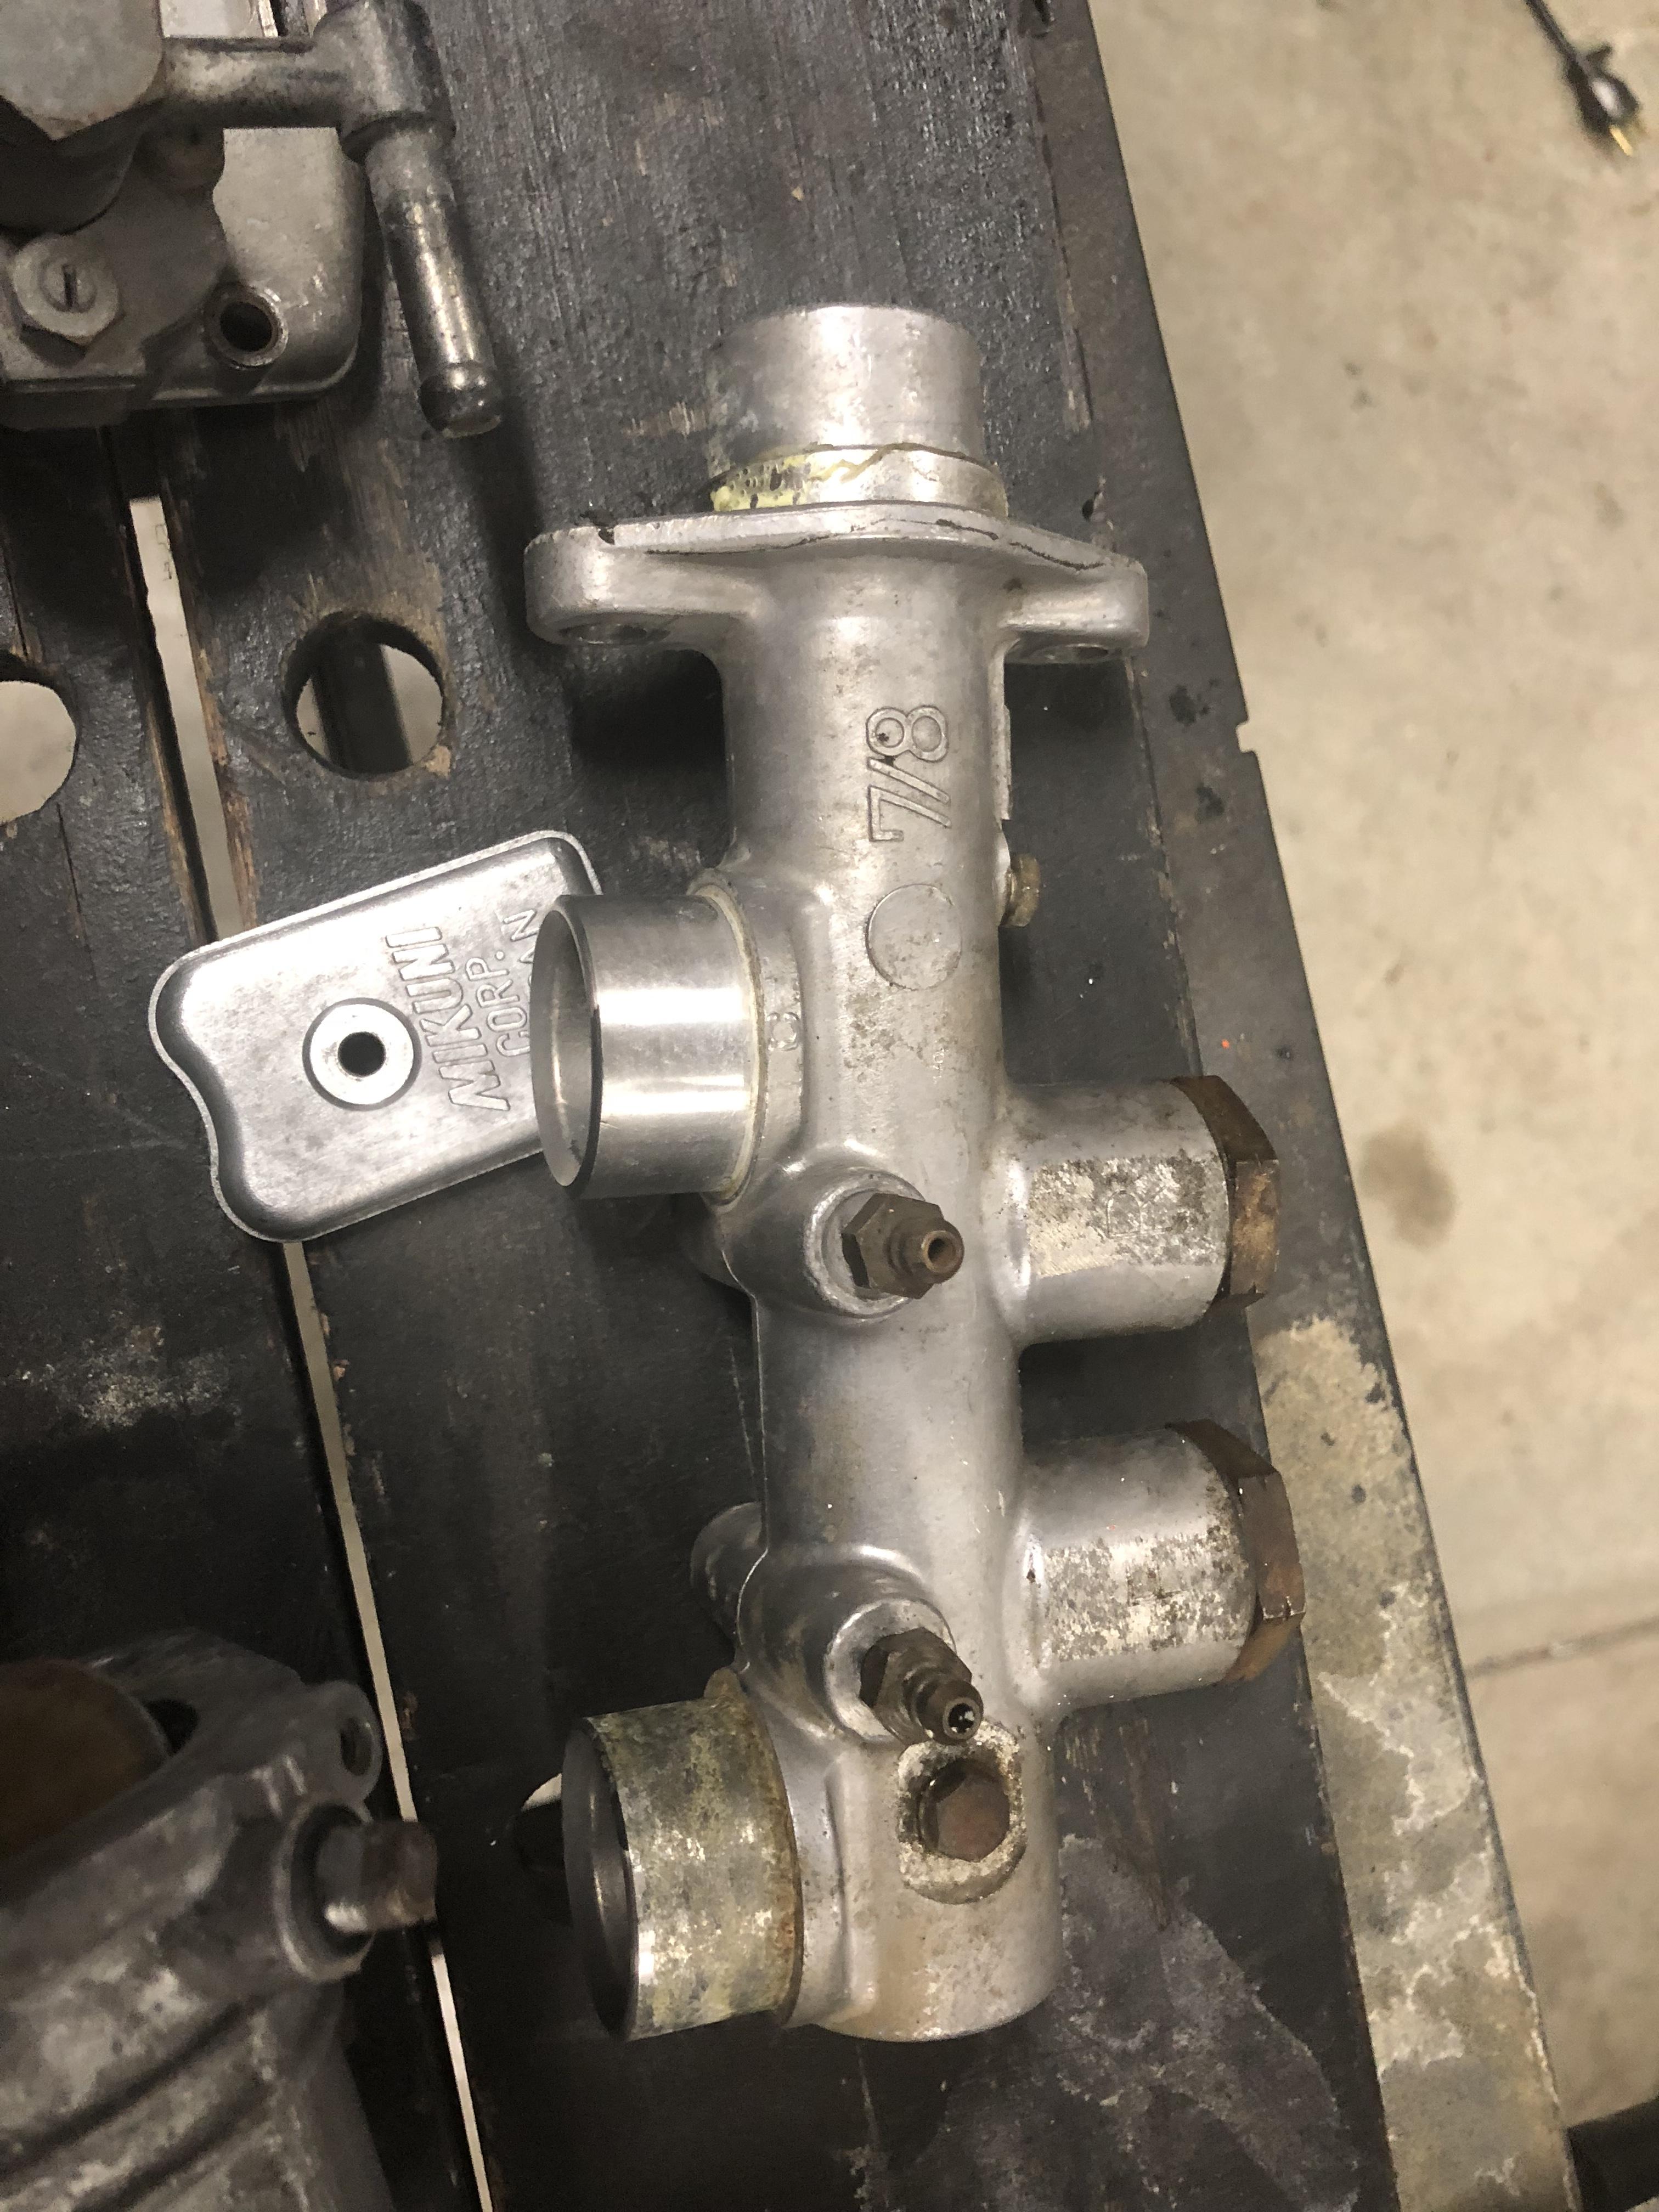
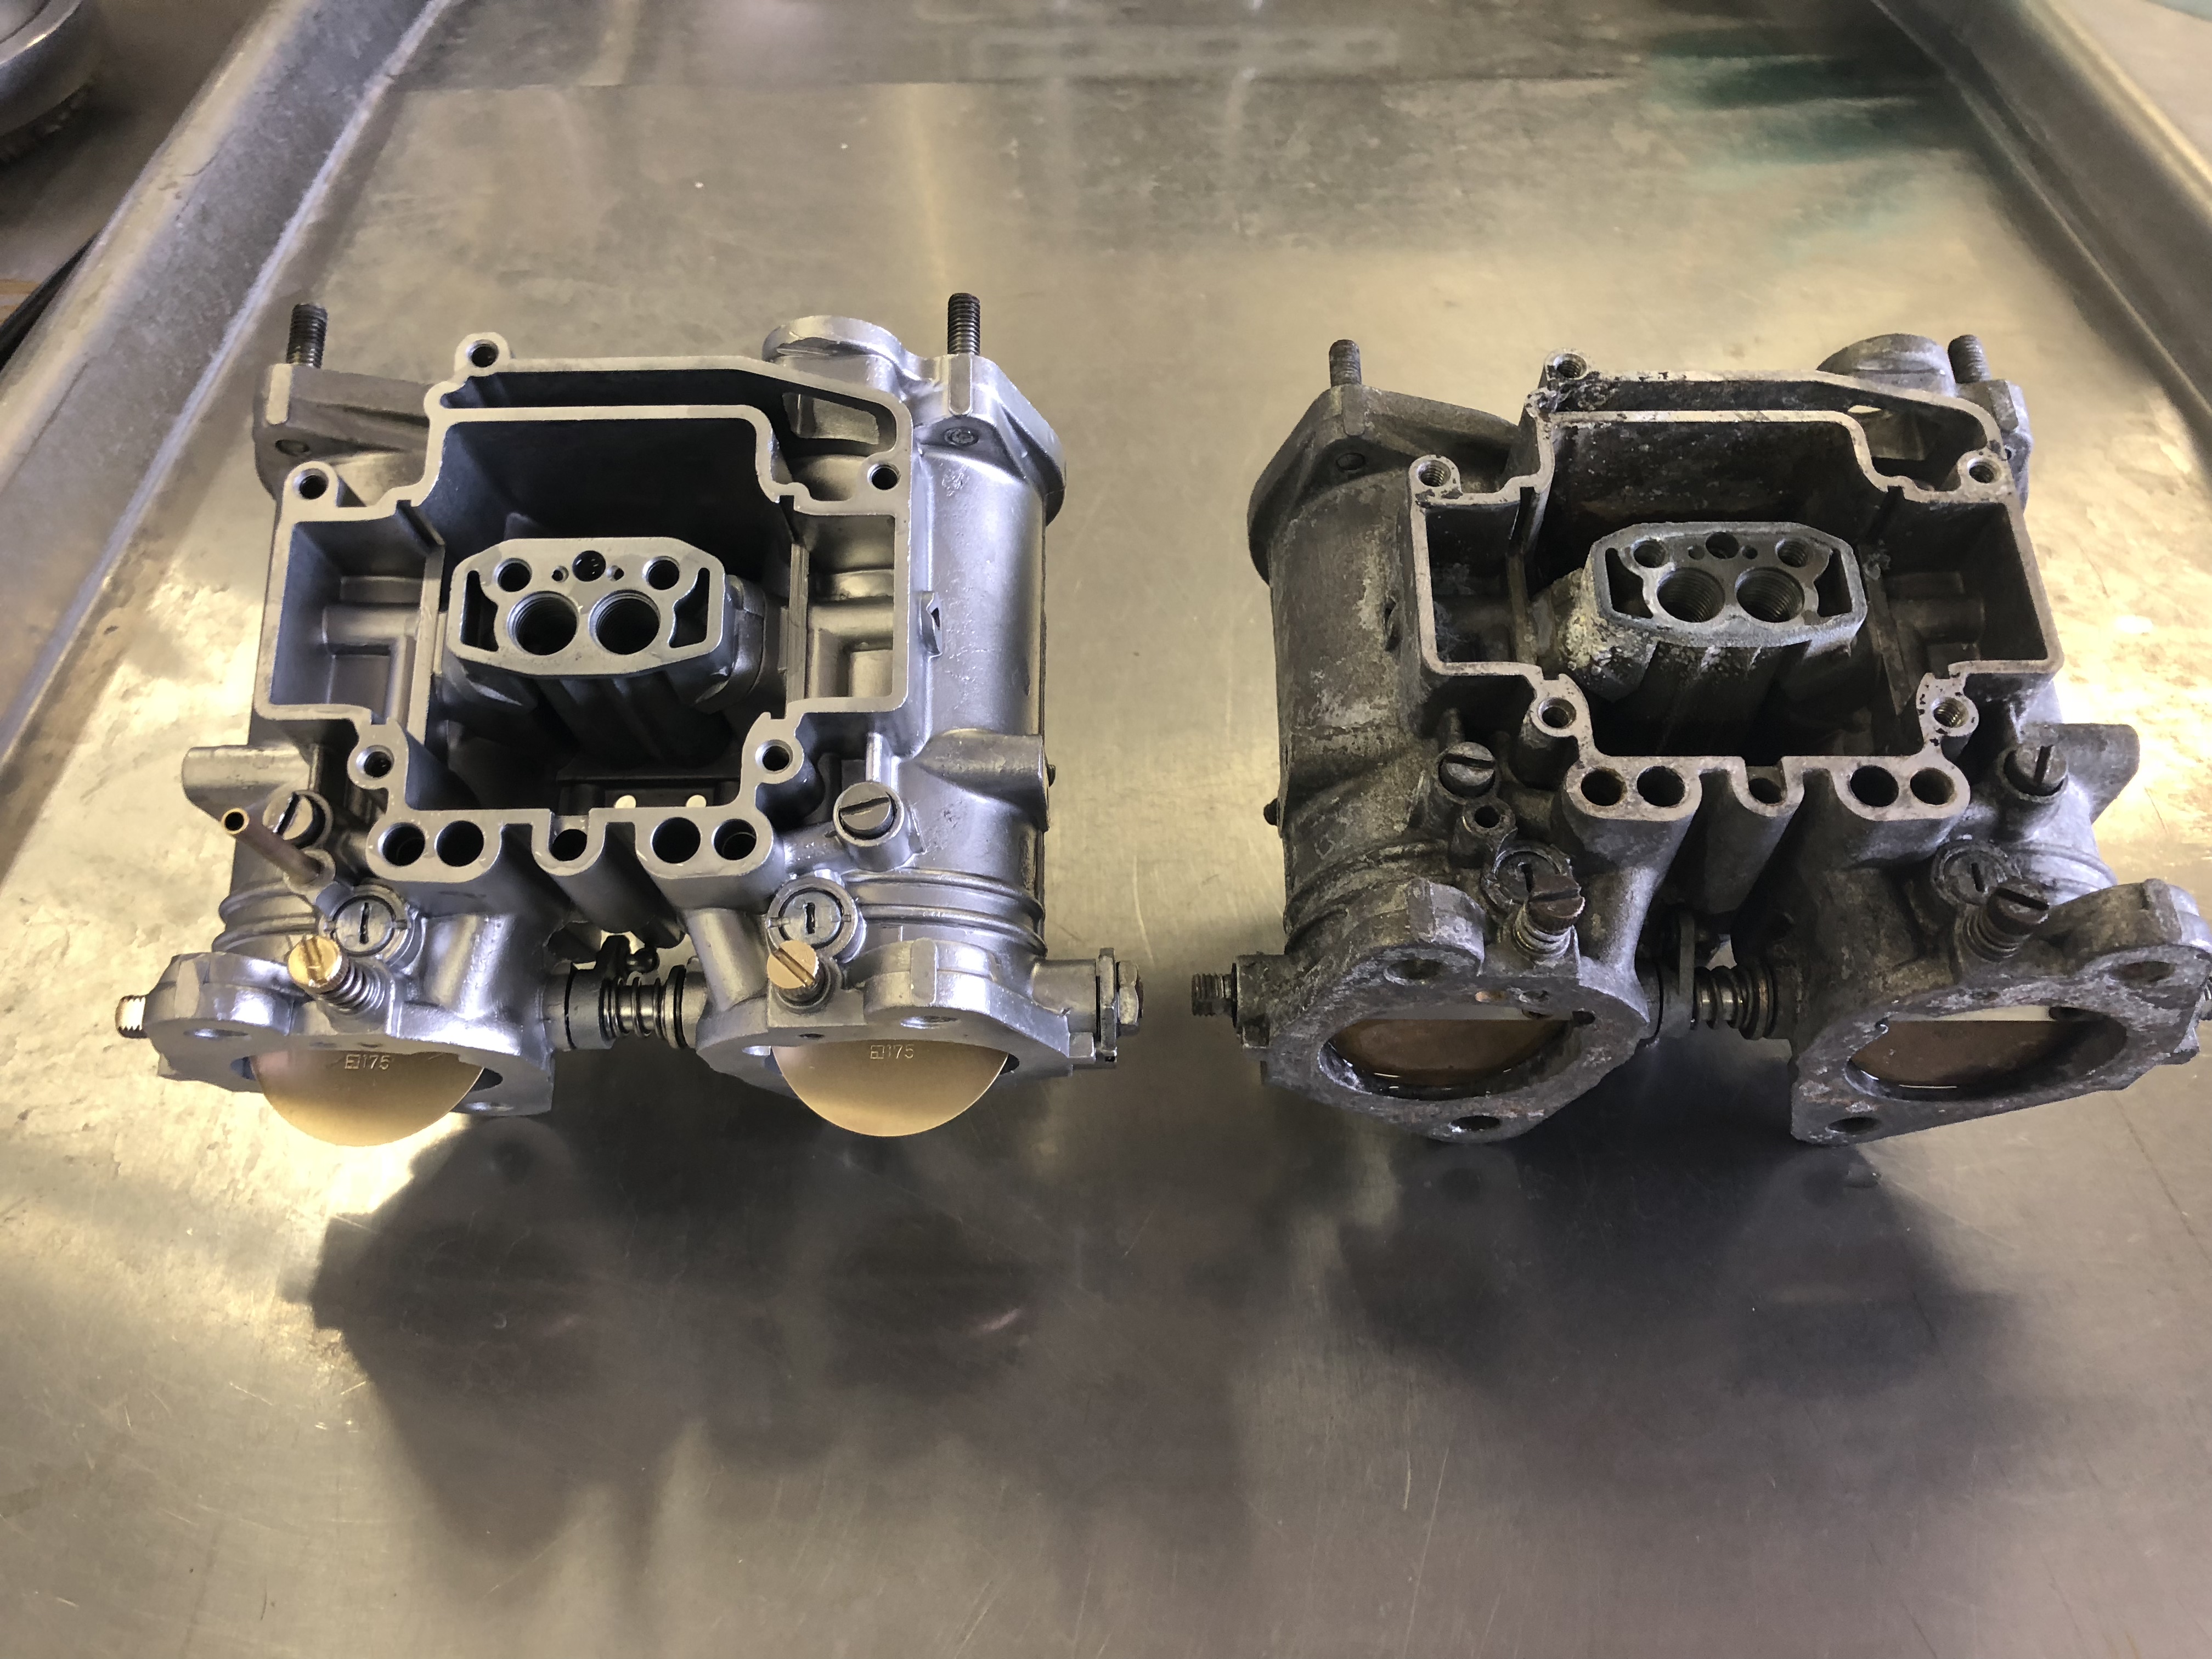
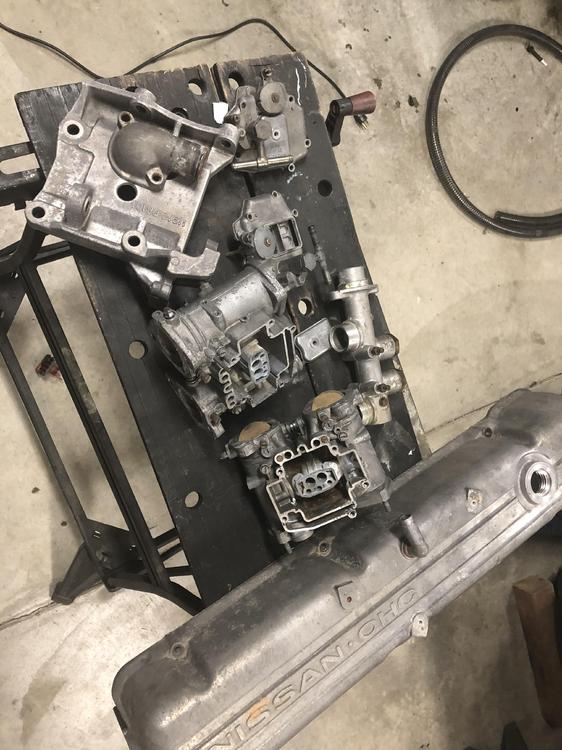
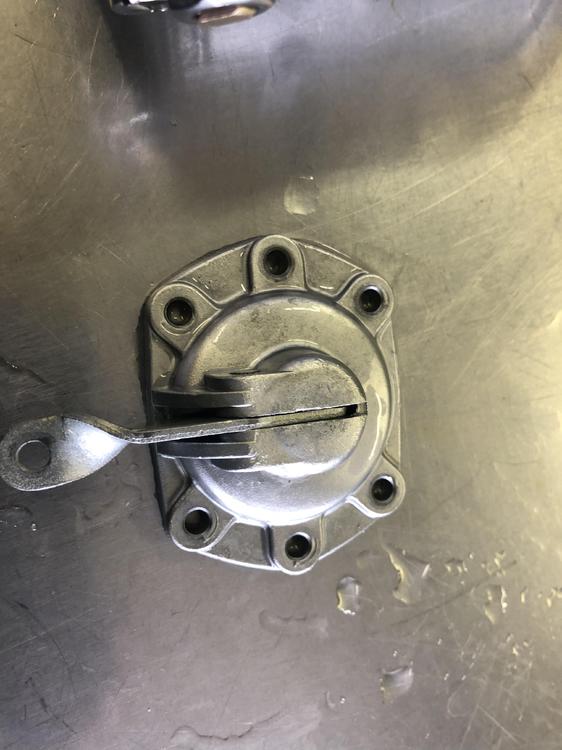
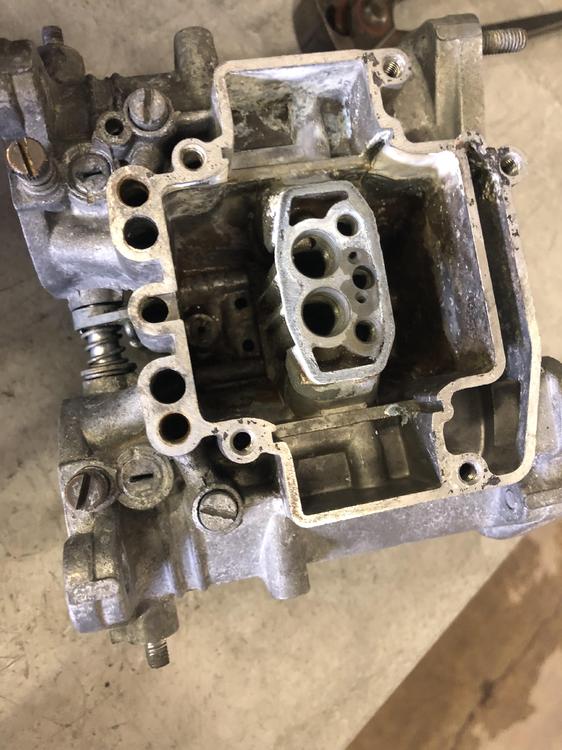
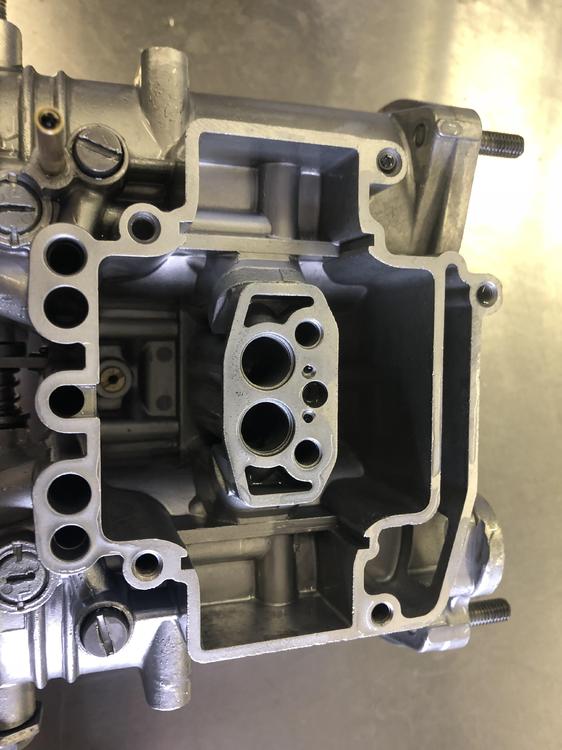
 1 pointGrimy head, but the bottom end looks pretty clean. Sent from my [device_name] using http://Classic Zcar Club mobile1 point
 -
 Yes. That first tool is similar to what I had and realized it won’t work because it doesn’t grab the inside spring too. So I ordered that tool at the bottom which I’ve read works. I’ll post updates. I got the cylinder stuffed with rope already.1 point
 -
 1 point
 -
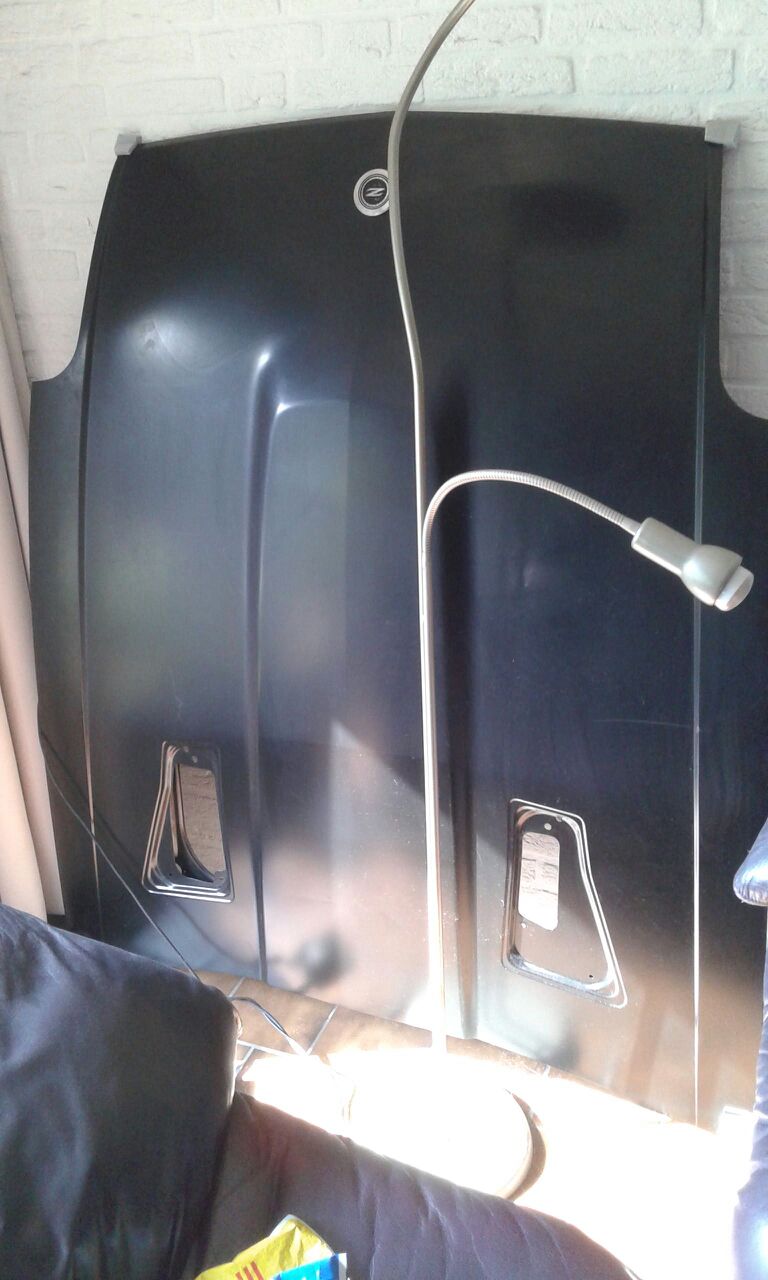
 OHH.. yes you can... if your garage gets to small... and you store carparts in your home.. I TELL EVERYBODY IT'S ART IN MY LIVING..
 1 point
 -
 Oh I don't know. You can never have too many tools!!!1 point
 -
 You watch, in a month there will be 8 more of us with our own DUFFYBLASTER, or MAHONEY VAPOR HONER1 point
 -
I don’t know. I would say less then 500 the cabinet is pretty junky. If i was doing this for a living I would buy a stainless one.1 point
-
Well my home built vapor blasting cabinet works awesome. Uses a ton of air. So I had to bring it to my work. So happy! I don’t need as much glass to water. Maybe 25% glass.


 1 point
 -
1 point
-
 1 pointThat makes sense, Jeff, I'll try that and keep the washer handy in case I need it. I can understand why you don't want the shock rattling around on the inside of the strut. Thanks again!1 point
 -
 1 pointAdd enough oil that the cavity is mostly full - it doesn't take much! You can leave an inch or so of air at the top, but I have never had a problem with the oil expanding and puking out. I have Illuminas in my 280 and they didn't have a washer, but it all depends on the amount of room you have. When you insert the cartridge and screw on the gland nut, it should tighten down on the cartridge before it runs out of threads on the housing. The washer was likely added because the gland nut didn't clamp the cartridge, but rather just tightened onto the housing or ran out of threads. Make sure the cartridge cannot move up and down prior to it bottoming out and then finish tightening it.1 point