Leaderboard
-


Diseazd
Free Member5Points3,335Posts -


240260280
Free Member3Points4,441Posts -

duffymahoney
Free Member2Points954Posts -

Marty Rogan
Free Member2Points1,615Posts
Popular Content
Showing content with the highest reputation on 03/23/2018 in all areas
-
3 pointsThis is what Eiji builds......why would you get anyone else to build your engine! 34E3D945-9CB2-4720-B911-2522AB5CC0CA.MOV3 points
-
 Some progress today. Need to bend the sides up and do some polishing etc.
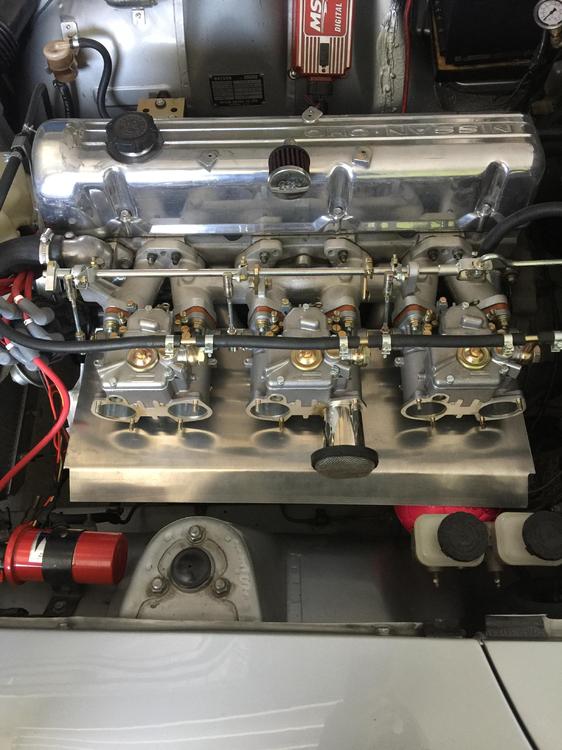 2 points
 -
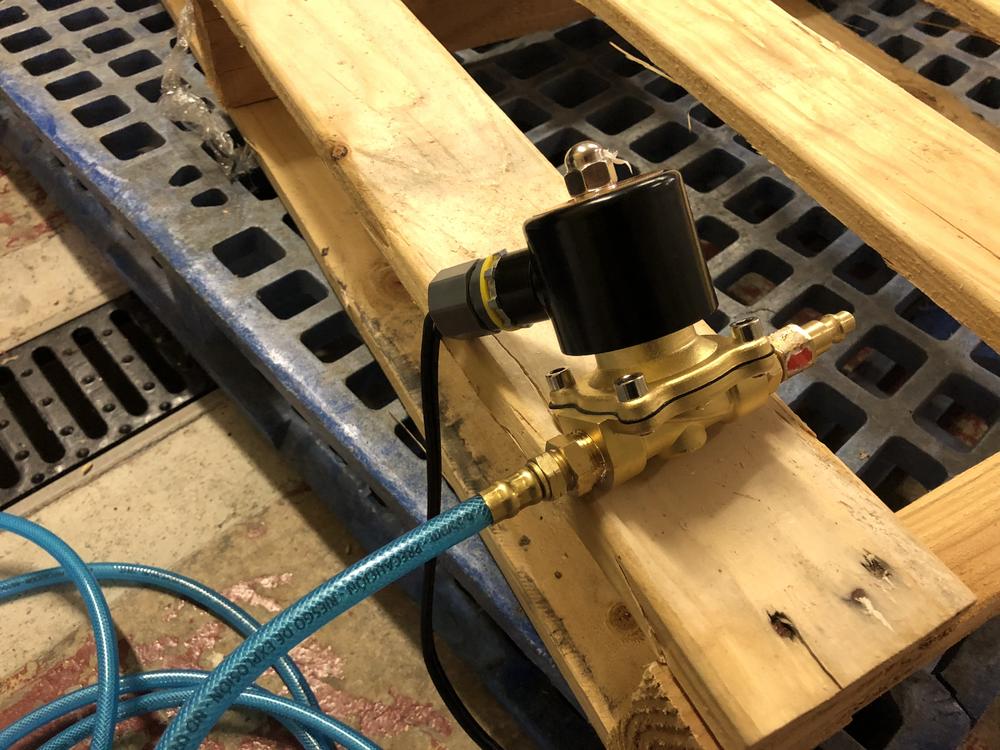
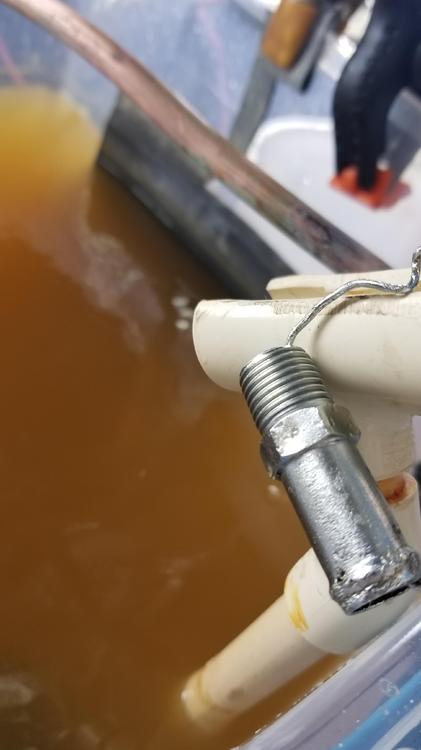
I added this 120v solenoid for the air. So when i use my foot pedal it turns the air and the slurry pump on. Works so much better this way. I had great luck keep the slurry mixed by every 30 seconds or so pointing the jet to the bottom and mixing up the slurry mix. I could tell the slurry would be different for a bit.
 2 points
 -
2 points
-
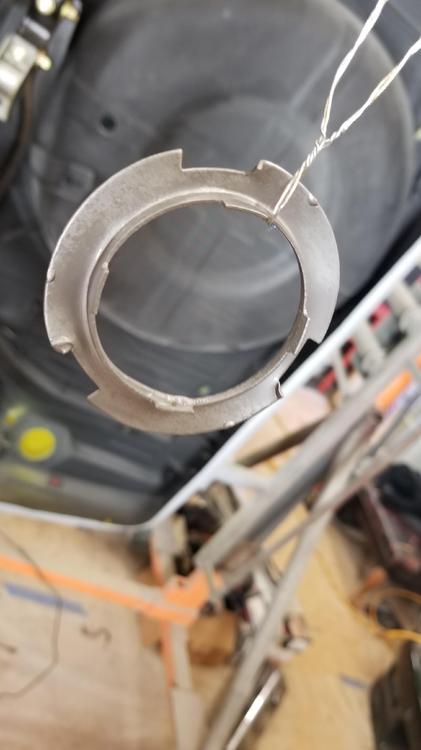
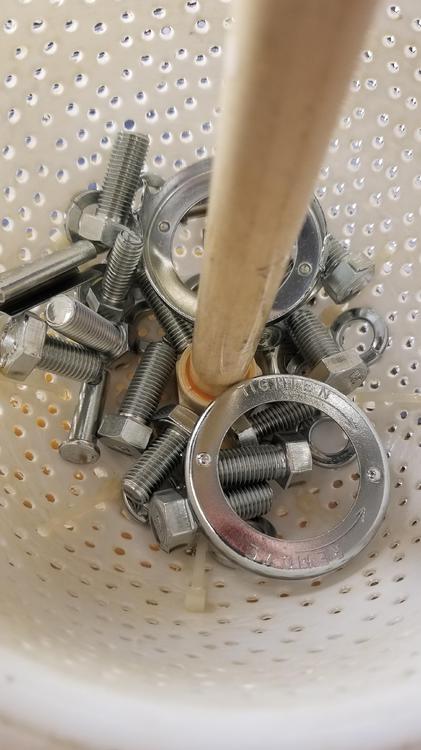
1 pointFired up the brass wire brushes, ultrasonic cleaner and bucket of spray 9 cleaner. Also used Zep Purple for the heavy stuff. All went well... now an expert at removing rings. Can't separate the oil pump yet... it is a tough one. My propane touch will convince it tomorrow.1 point
-
 1 pointThe option for vacuum is to take it from the nipple at the base of the front carb, where the yellow cap is in this photo. Considering the other comments, this would seem preferable.
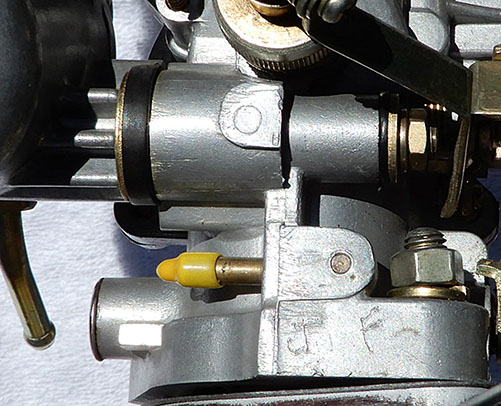 1 point
 -
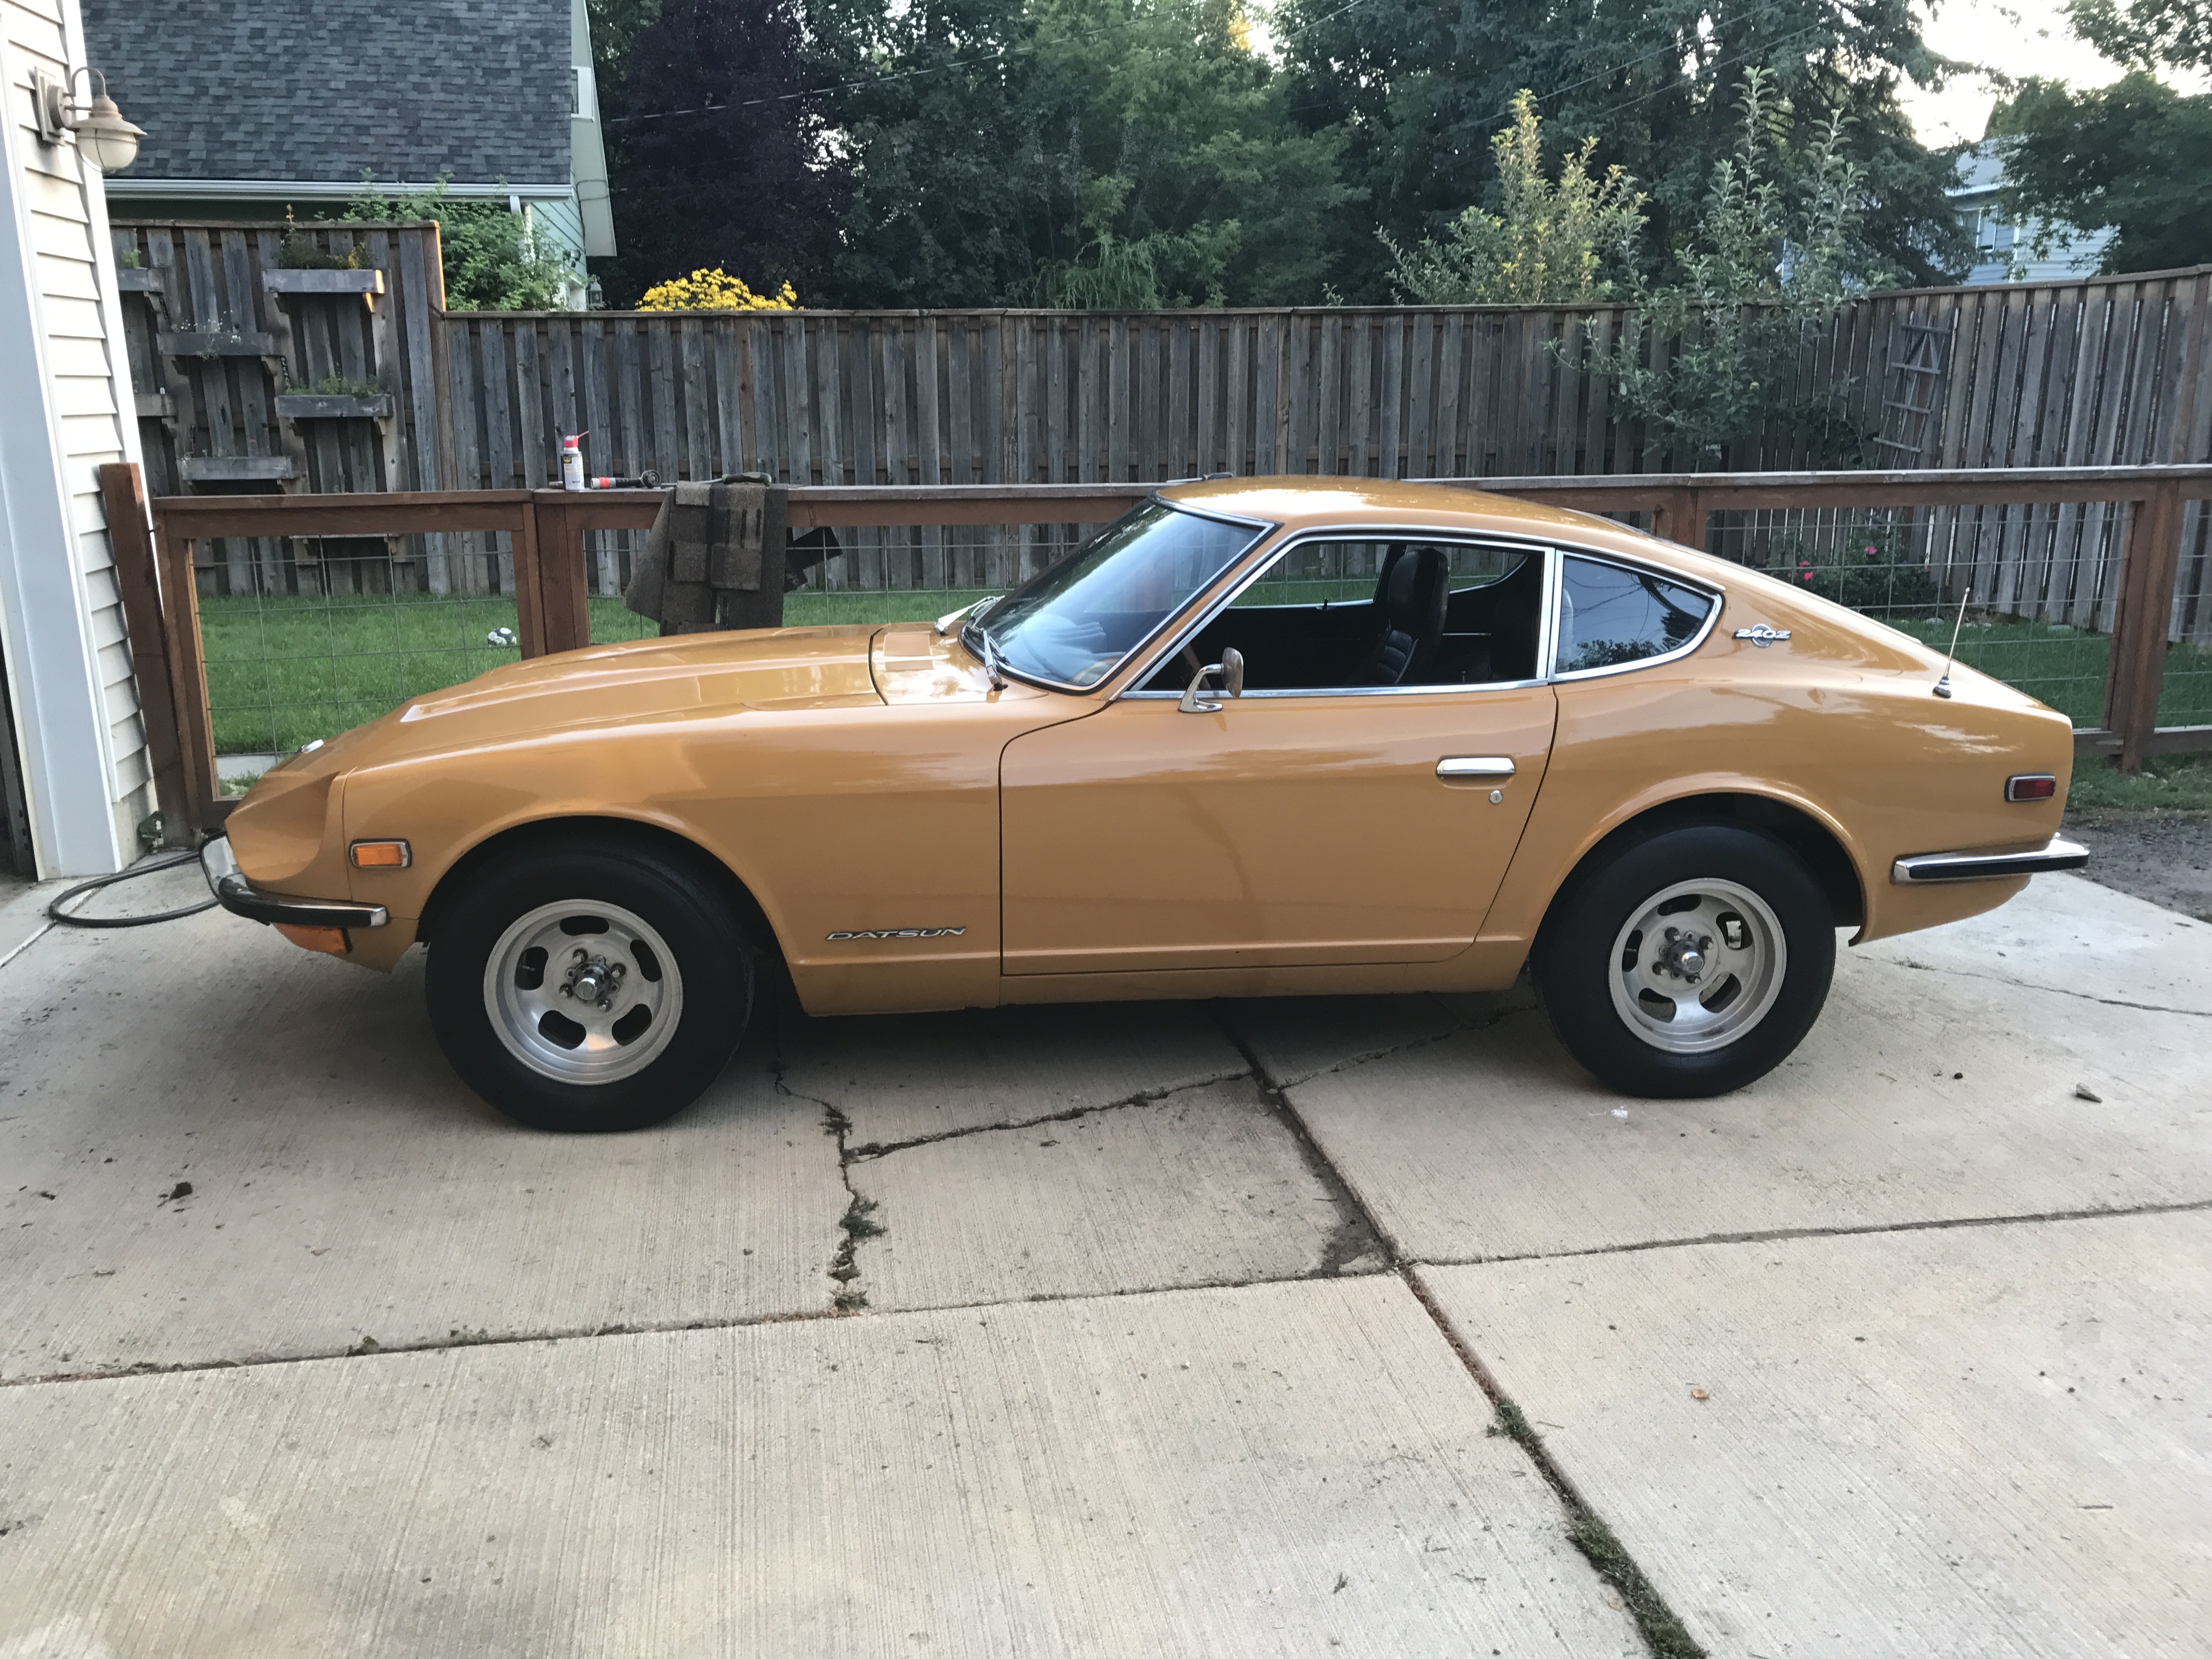
 1 pointI really don't know about my miles. If you think about it though, I grew up in the 70s and my parents lived there whole life in a 6 or 7 mile radius. It was like going on a road trip if I had a ball game 15 miles away. Let's just call it original miles! I can't wait to see your car finished, so far it's awesome.1 point
 -
 1 pointIt does look like she came out of nowhere but that's her walking in the camera's view. I've had people walk in front of me plenty of times but have yet to kill someone. Drive through the French Quarter one day.1 point
 -
 1 pointJeff I repaired, (or at least attempted to) the drivers side dogleg. After I got the part welded in I sprayed it with a coat of rust coverter to avoid surface rust. A few days later I went over it with filler but it wasn't skin coat, it was finishing filler. After 3 months or so it began to seperate. I thought about that when you put rust converter on yours. Will seperation not occur if a skin coat is used first? It seems the proper way to apply filler be it skin or finishing is to apply it directly onto bare metal. Please keep us updated on any issues you may have with your finish. It was pretty easy to chip off the filler on my car after seperation began. Maybe it was something to do with my application. My plan is to sandblast it clean and then reapply. Since colder weather is aproaching there will you be able to press on with body work?1 point
 -
 1 pointThe point of the article is that somebody died because the machine failed to do what Uber said it would do. In a very clear and simple situation. The car did not brake at all. It was a complete failure, meaning that it could just as well have failed when the dead women was being completely sensible and law-abiding. Blaming the victim is a distraction.1 point
 -
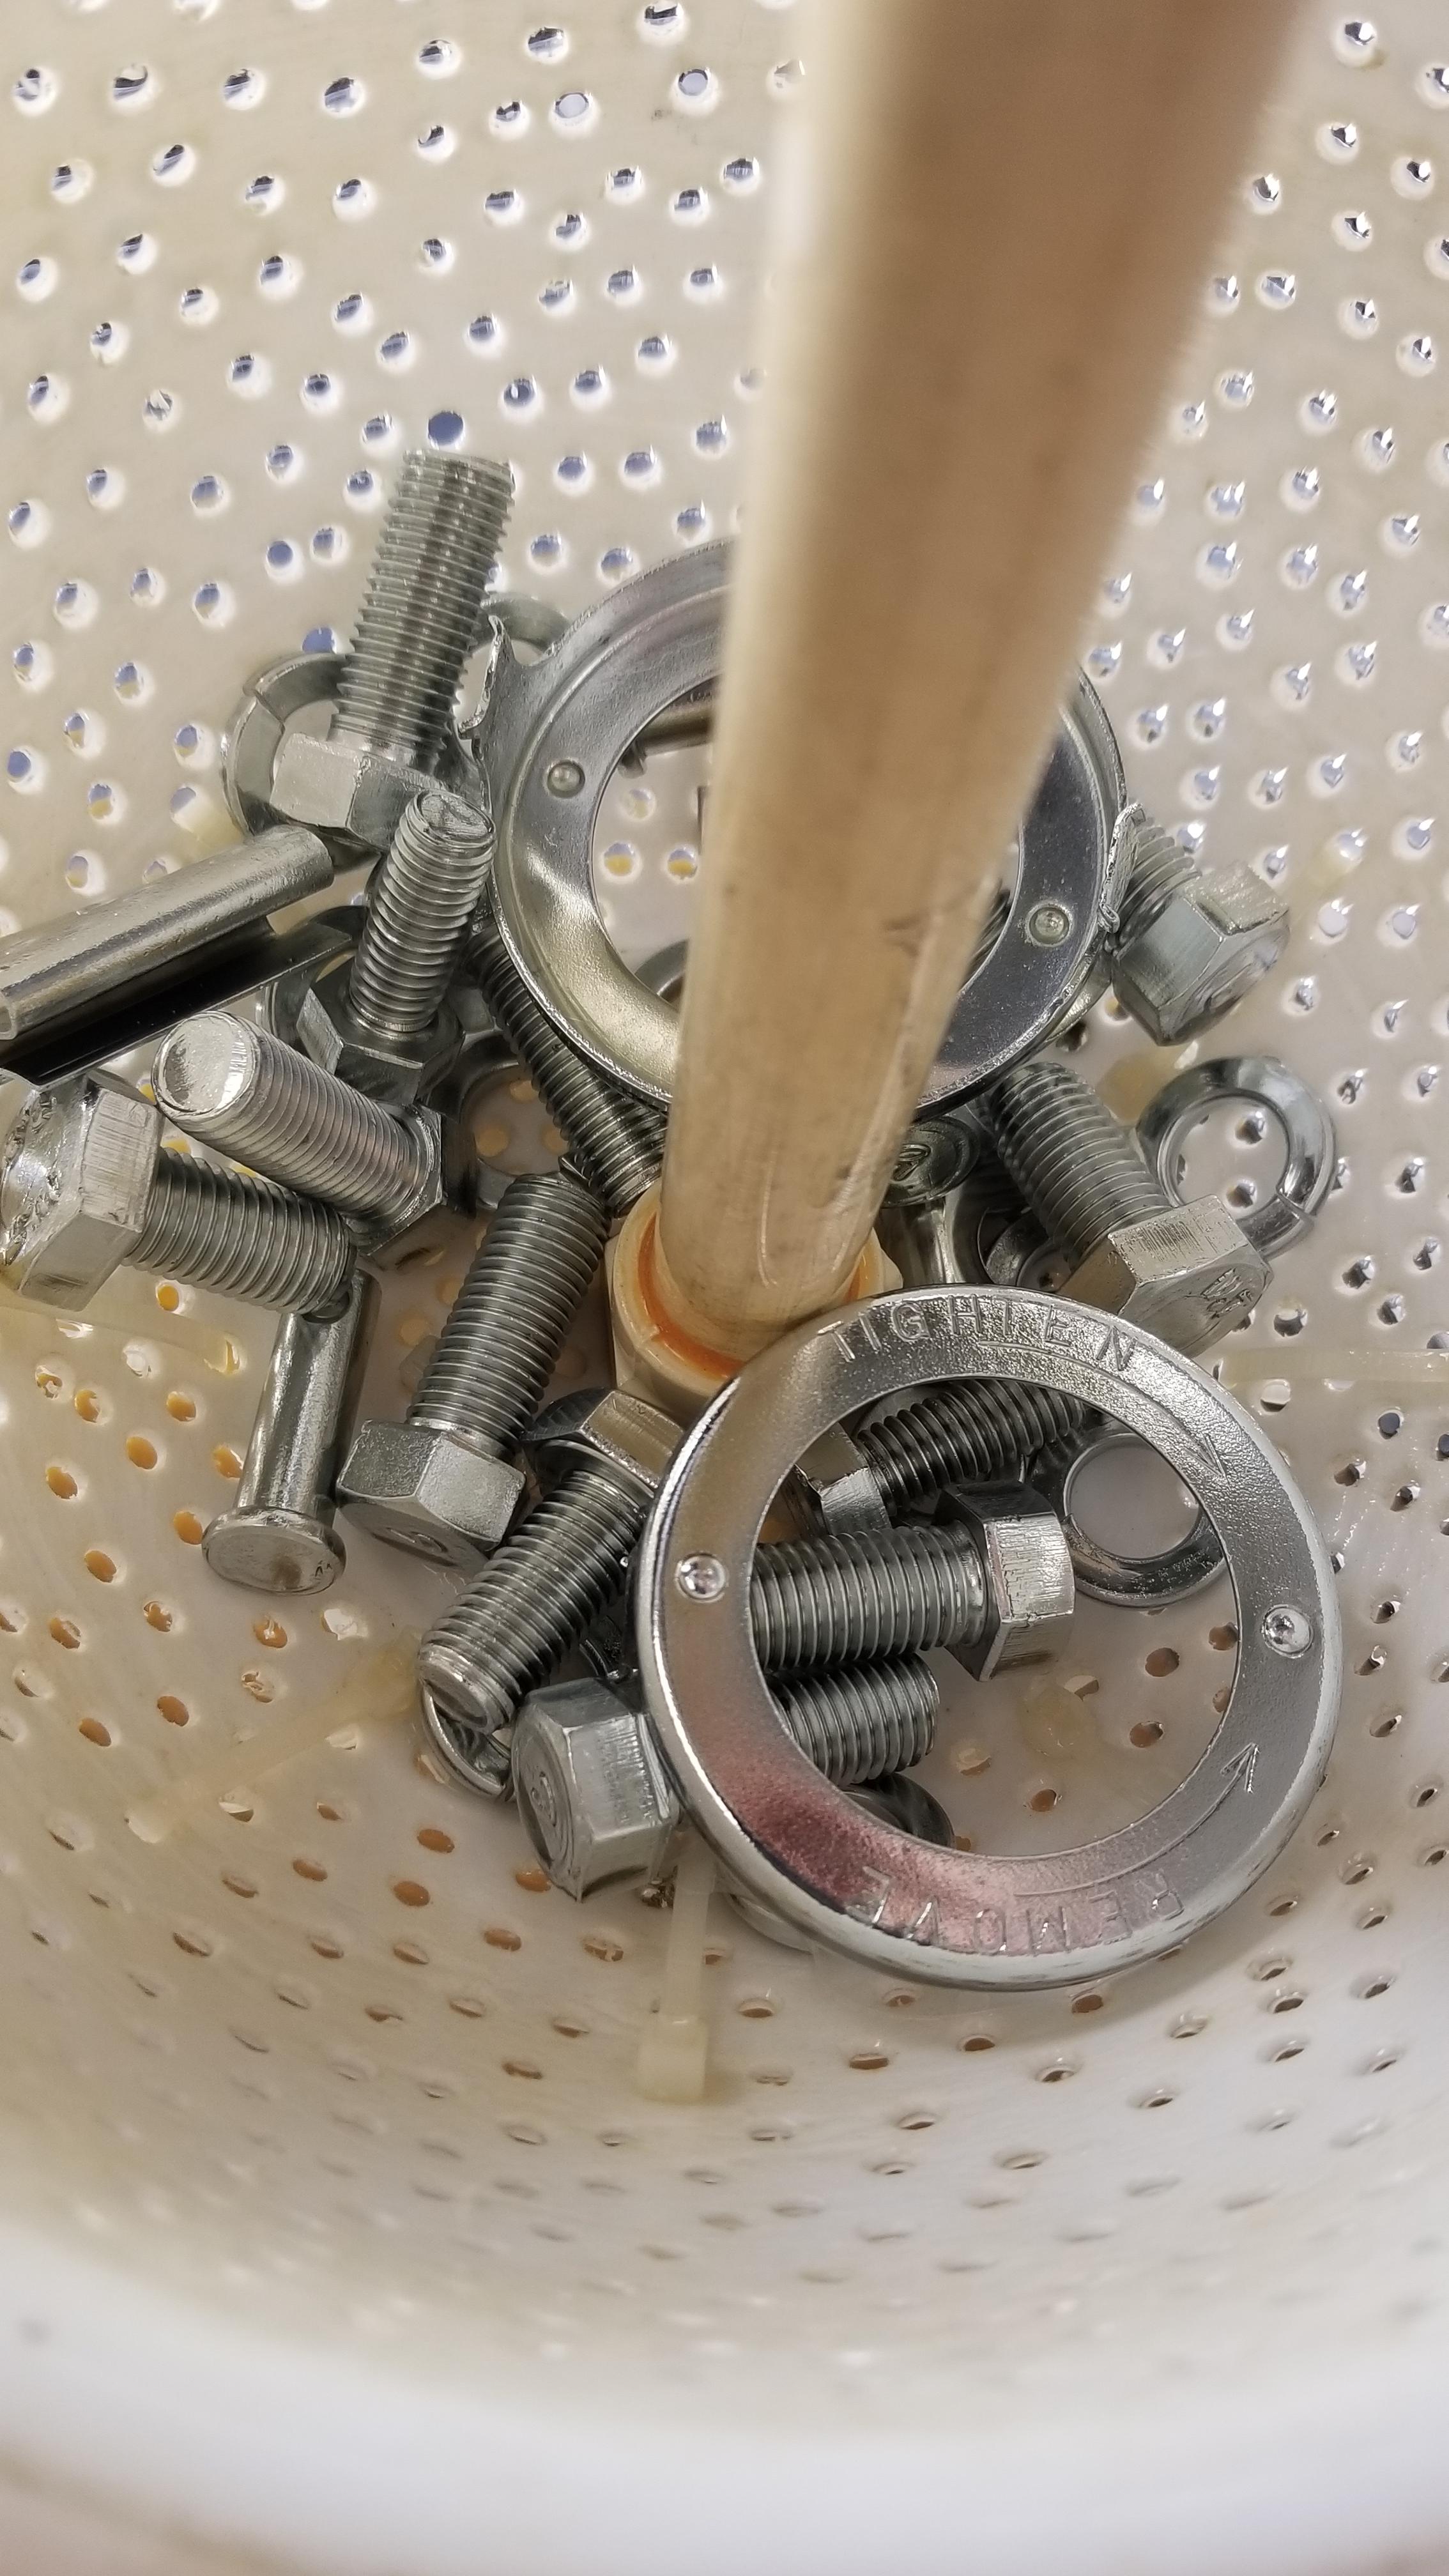
1 pointI just did a few parts from some SK's when I first got the Ultrasonic, Yesterday I did all 6 pistons. They came out great. 3 things that make a difference: 1. Pre-cleaning helps. I soaked pistons in hot water with Spray 9 heavy duty cleaner and used a brass wire brush to scrub. When the rings were removed I used a 4mm and 2mm ring cleaner to get the groves. 2. The ultrasonic bath must be very hot with a good cleaner (spray 9 again as it is nice to aluminum) 3. Run the ultrasonic for two 10min cycles with a movement between. It is not nearly as nice as Duff'd vapour blasting but they come out very clean.1 point
-
 1 pointTo further what Blue said about the vacuum source... The Z's all used a "ported" vacuum source, but I do not know what the 510 used. Since it's so similar in lots of ways to the Z, I would assume it wants a ported source as well, but I guess there's no guarantees. Here's an old thread that discussed the differences and advantages, etc of the two: http://www.classiczcars.com/topic/41935-ignition-timing-theory-port-source-vs-manifold-source/ As an aside... I Teed in a vacuum gauge to my Z and routed the line to the interior. I drove around for a while like that with the gauge attached. It did exactly what I expected: Zero vacuum at idle. Narrow peak of highest vacuum just off idle at light cruise. About 20 inches hg at the sweet spot pedal position at 4000 RPM. Near zero vacuum at WOT.1 point
 -
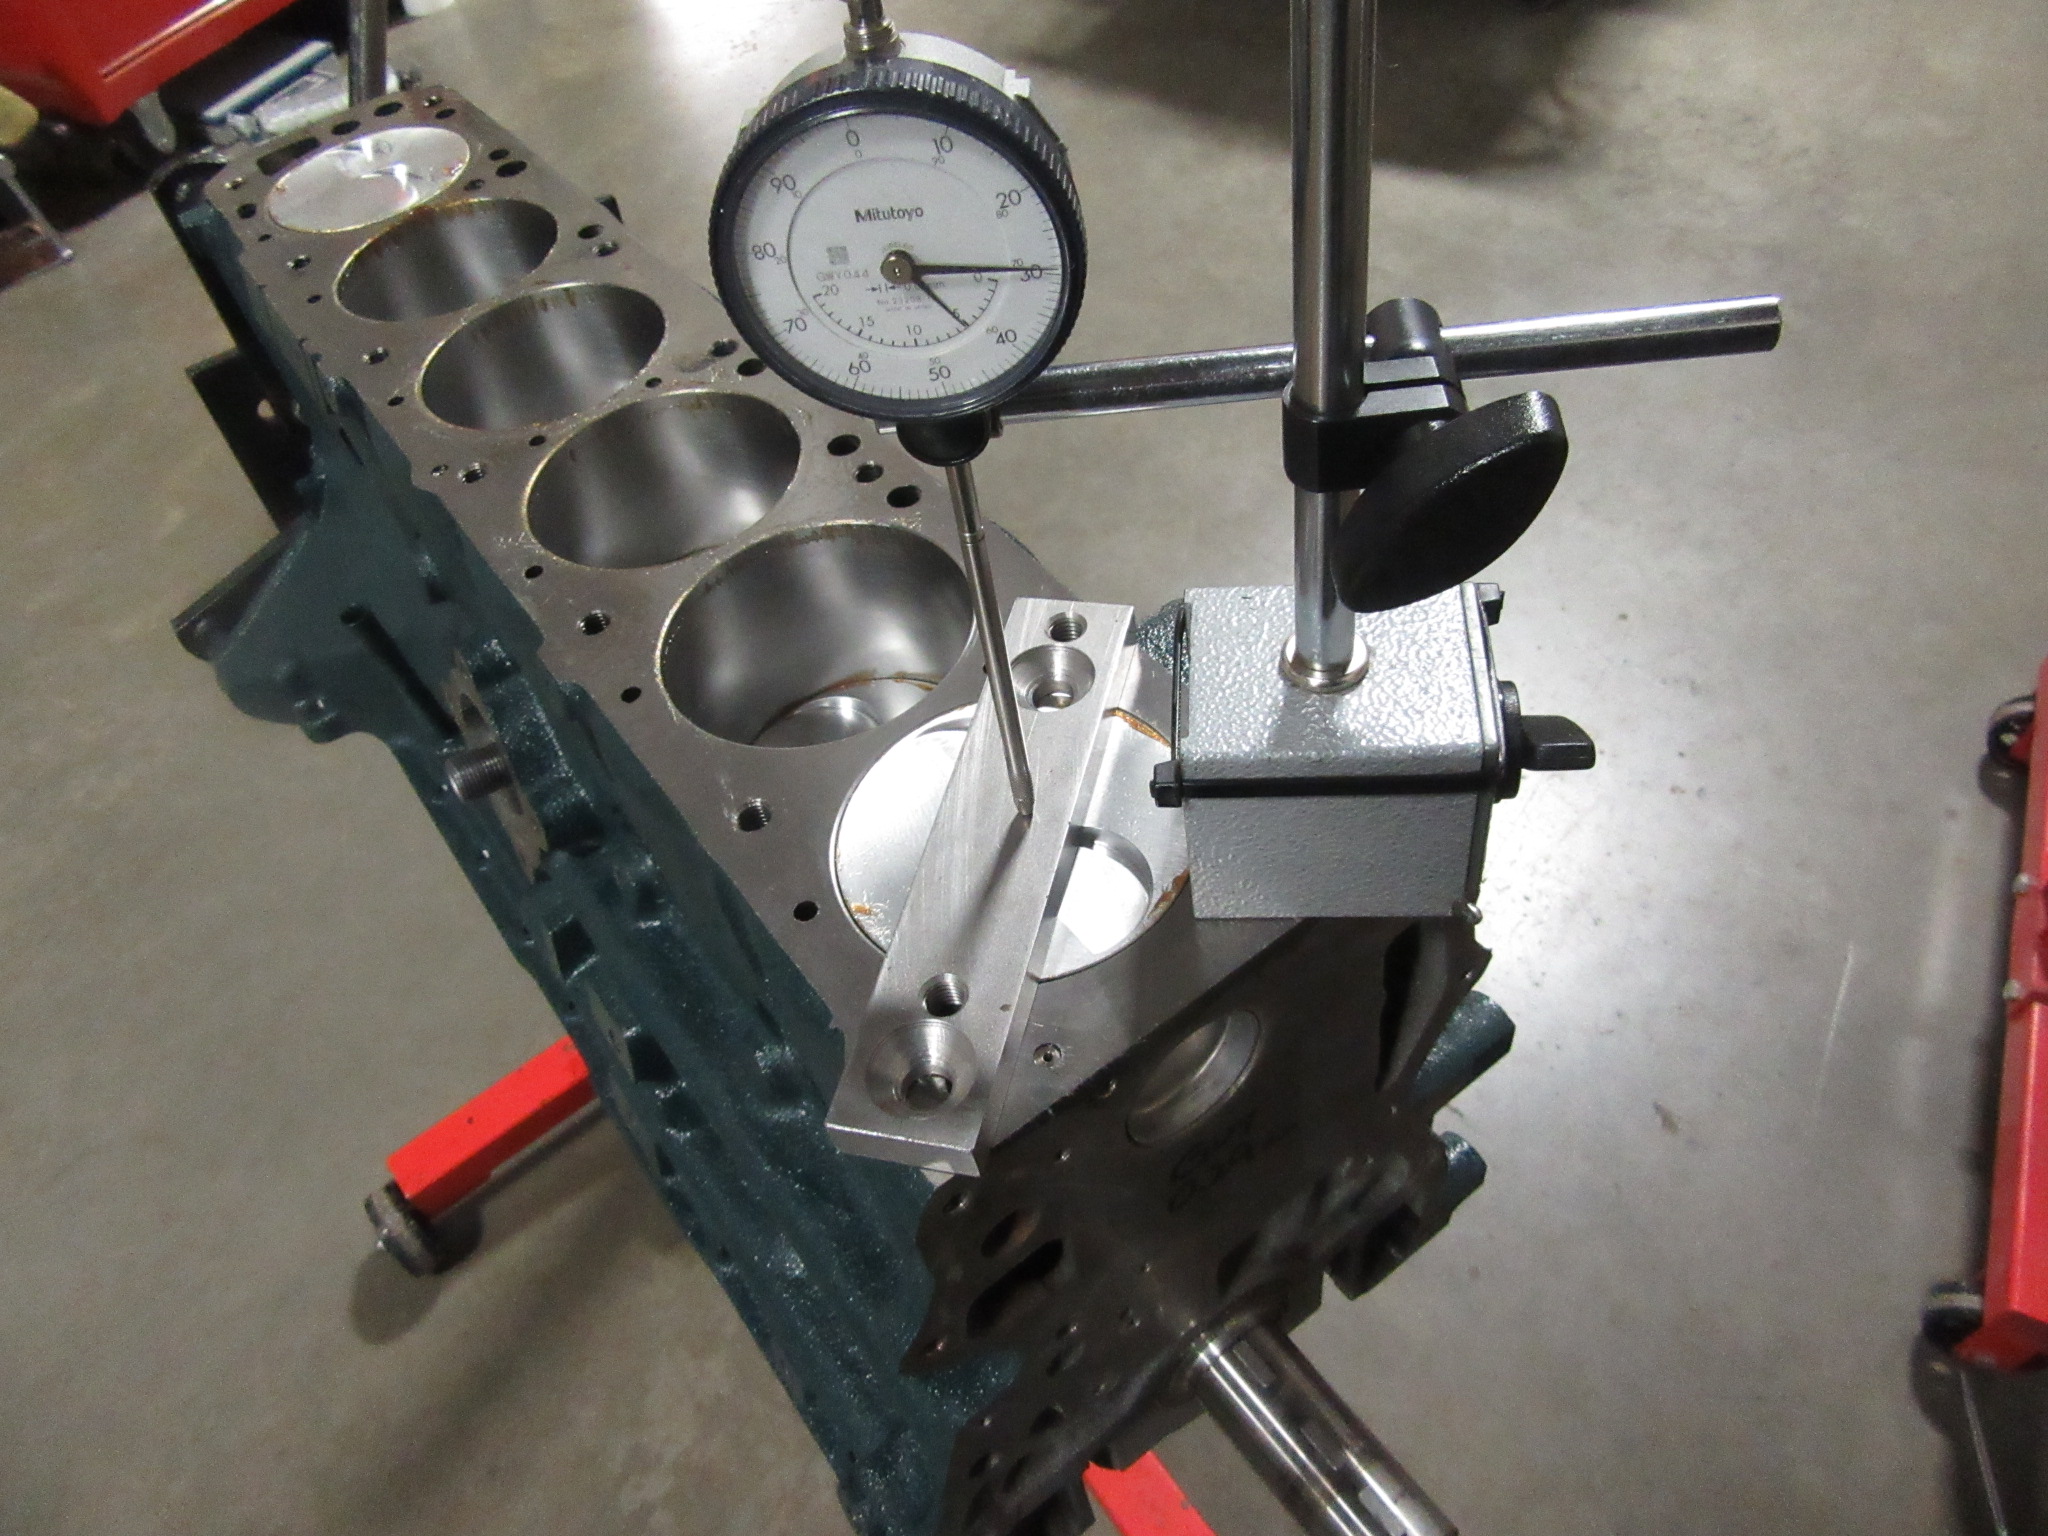
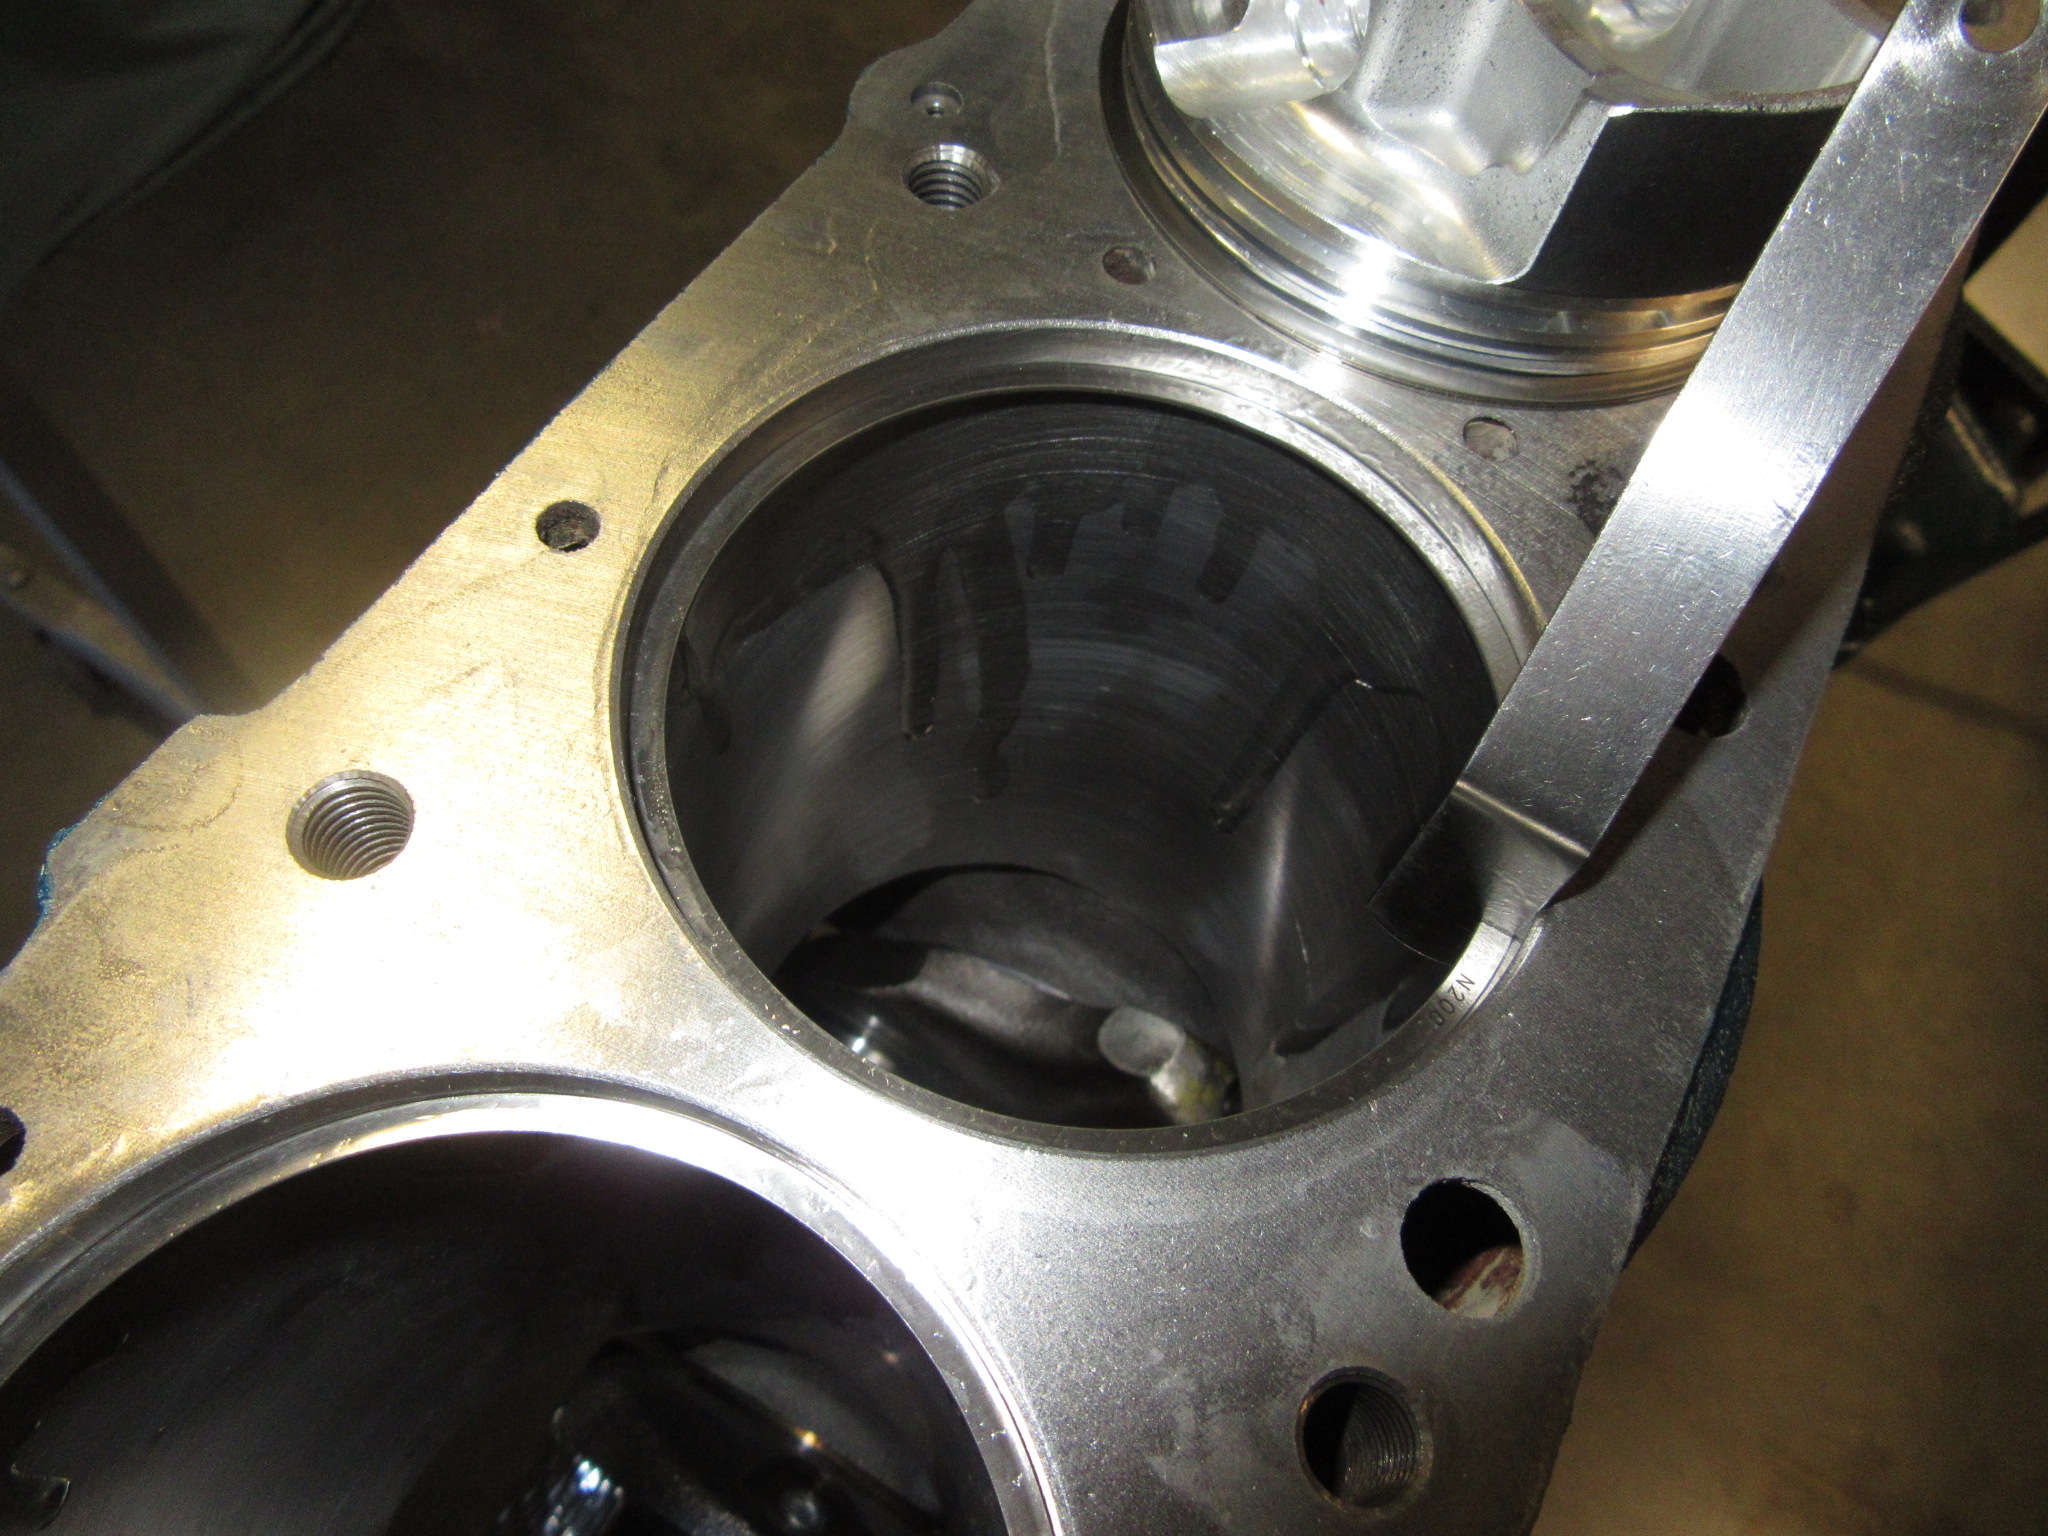
 1 pointThis week I continued work on the head and the got back into body work on the rear end.1 point
 -
 There's really no input from the Japanese side of the story, so it is naturally skewed to the point of view of the people who have been interviewed. The people who built the cars and who took them half way around the world to compete with them are - in my opinion - probably the most reliable witnesses, certainly so in the specs and details of the cars themselves. You can witness drivers and navigators who actually used the cars in period apparently knowing relatively little about them. Comments like "they were relatively stock/standard", when they were far, far from that - especially so in the case of the early lightweight bodied versions. In extreme cases it's akin to a sort of cargo cult scenario where a television falls into the hands of a culture that's never seen one before. When the Works rally cars turned up the UK for the 1970 RAC Rally, almost nobody had seen a 240Z before. They didn't know what was standard equipment and what wasn't. It's little wonder that the journalists of the time had a hard time understanding the full details of the cars thus setting in stone their mistakes to be followed ever since...1 point
 -
 1 point
 -
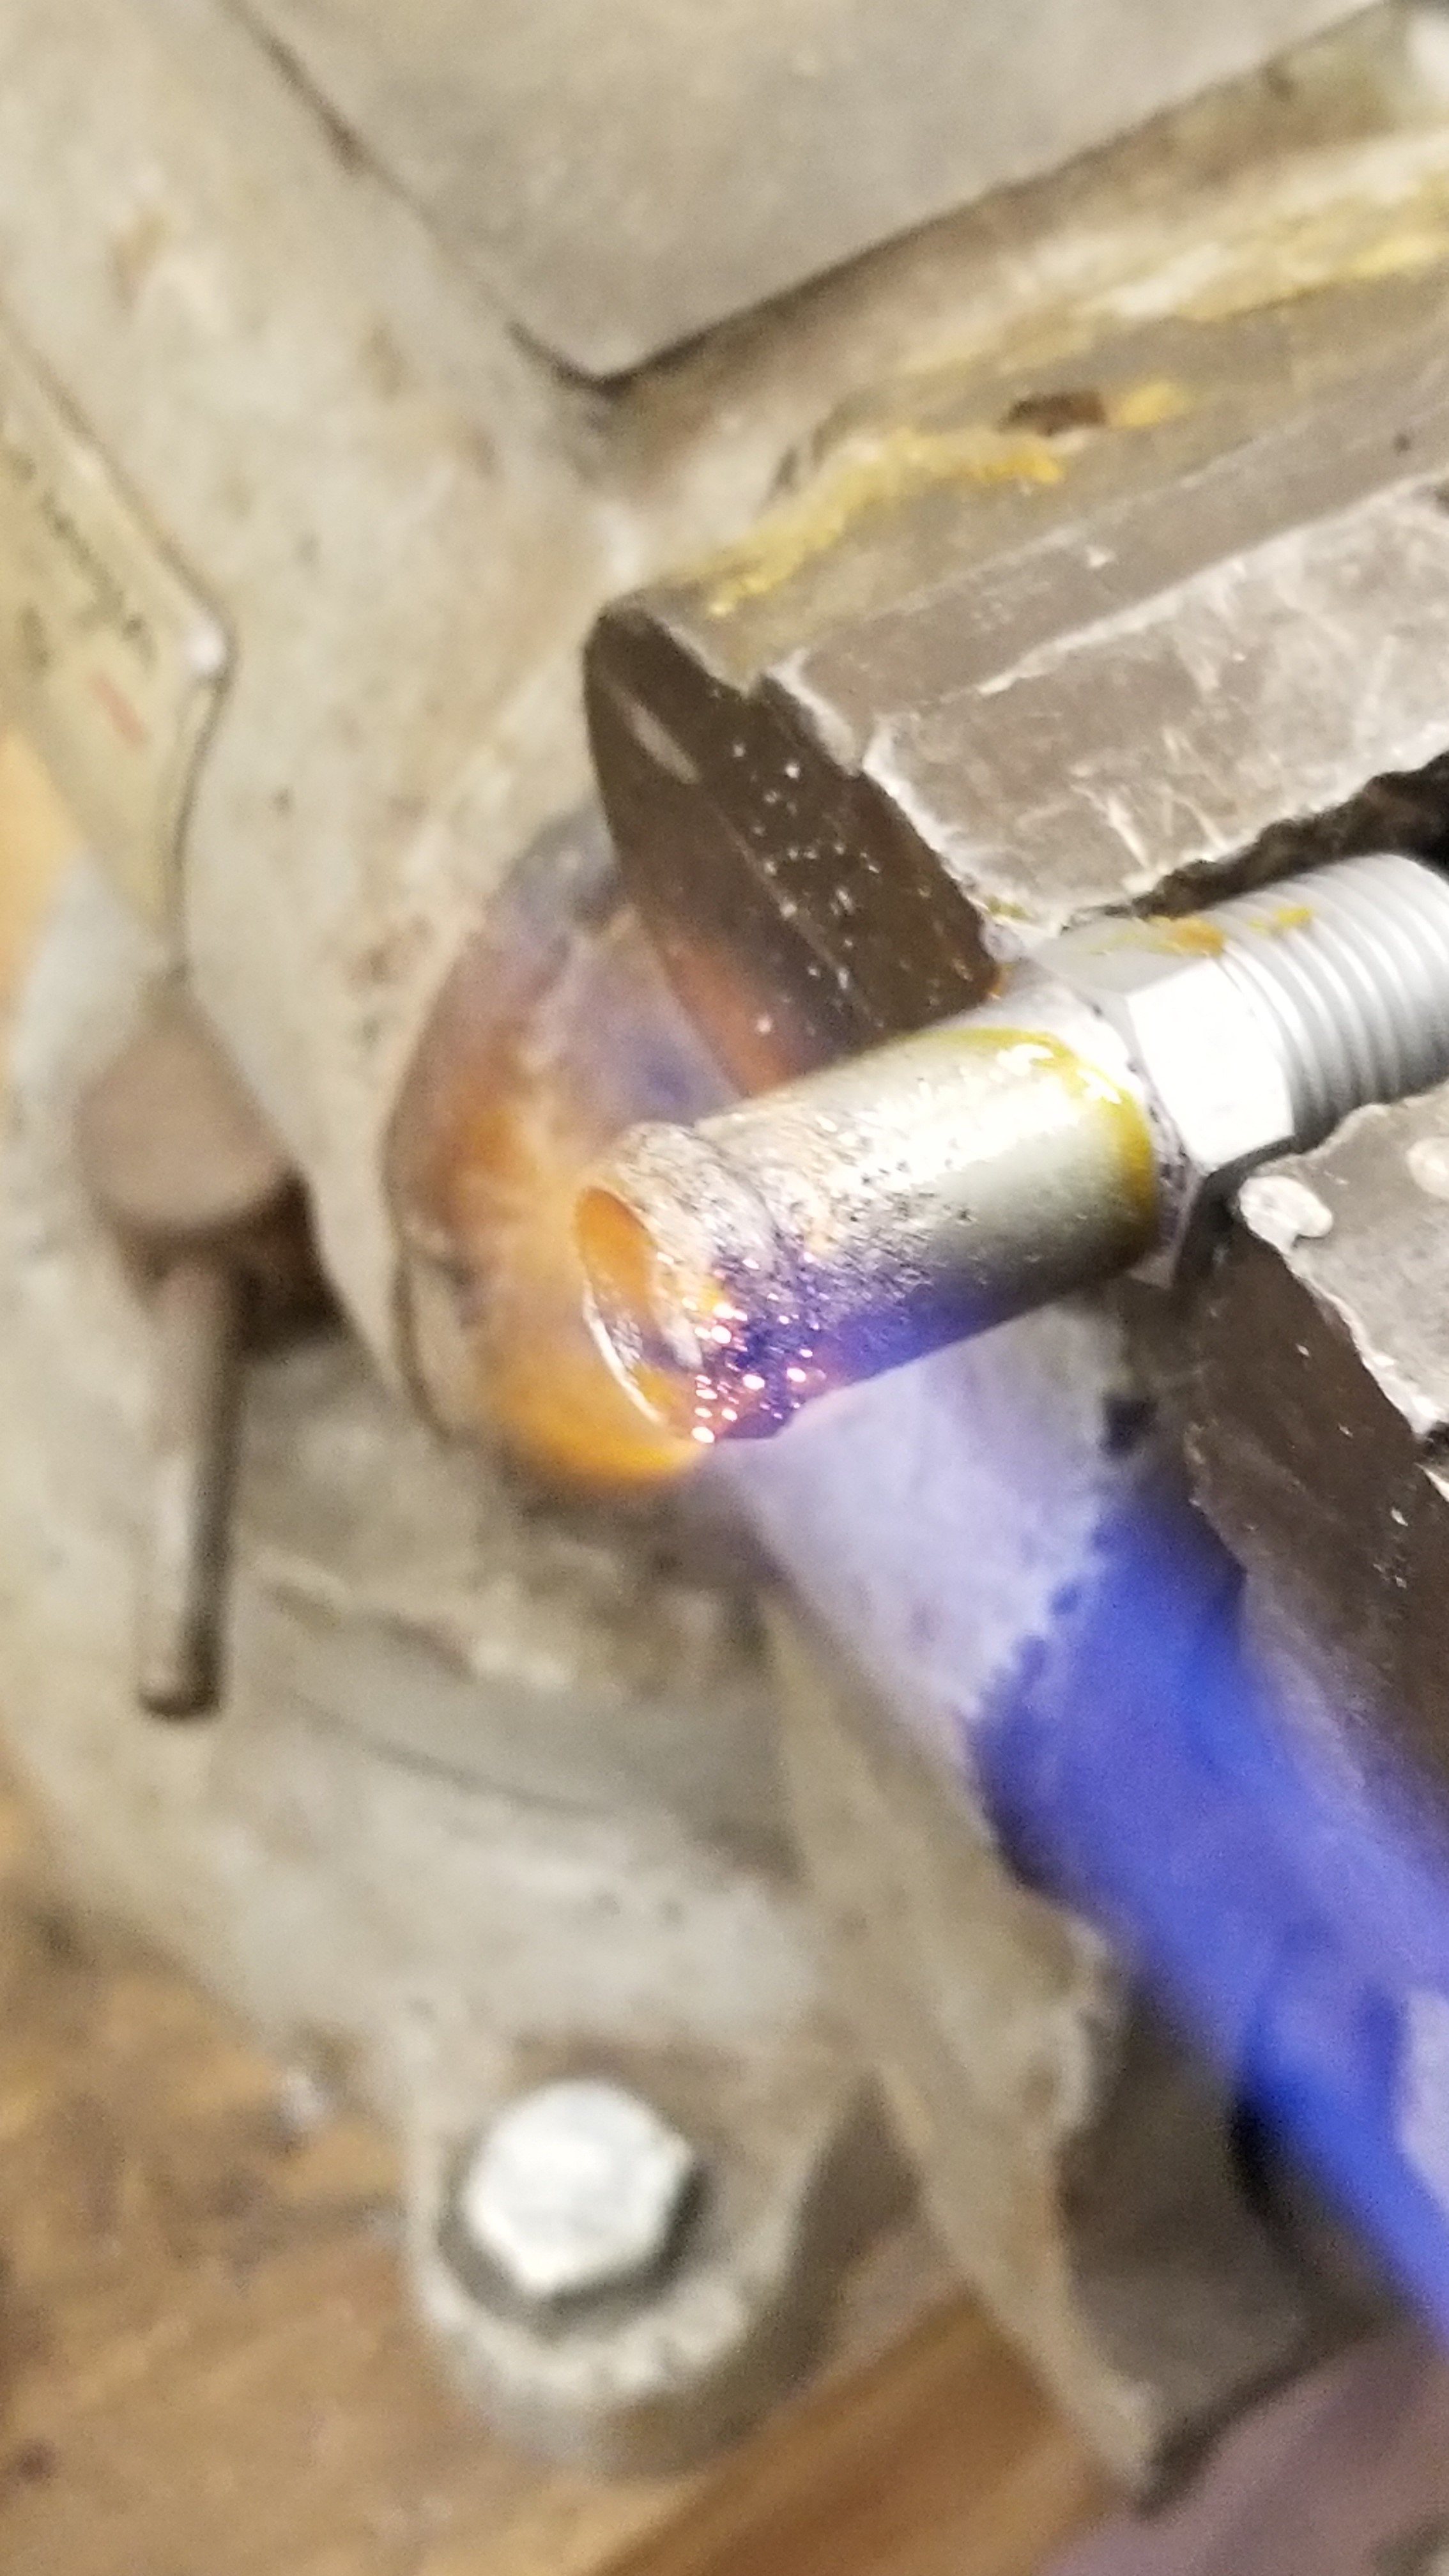
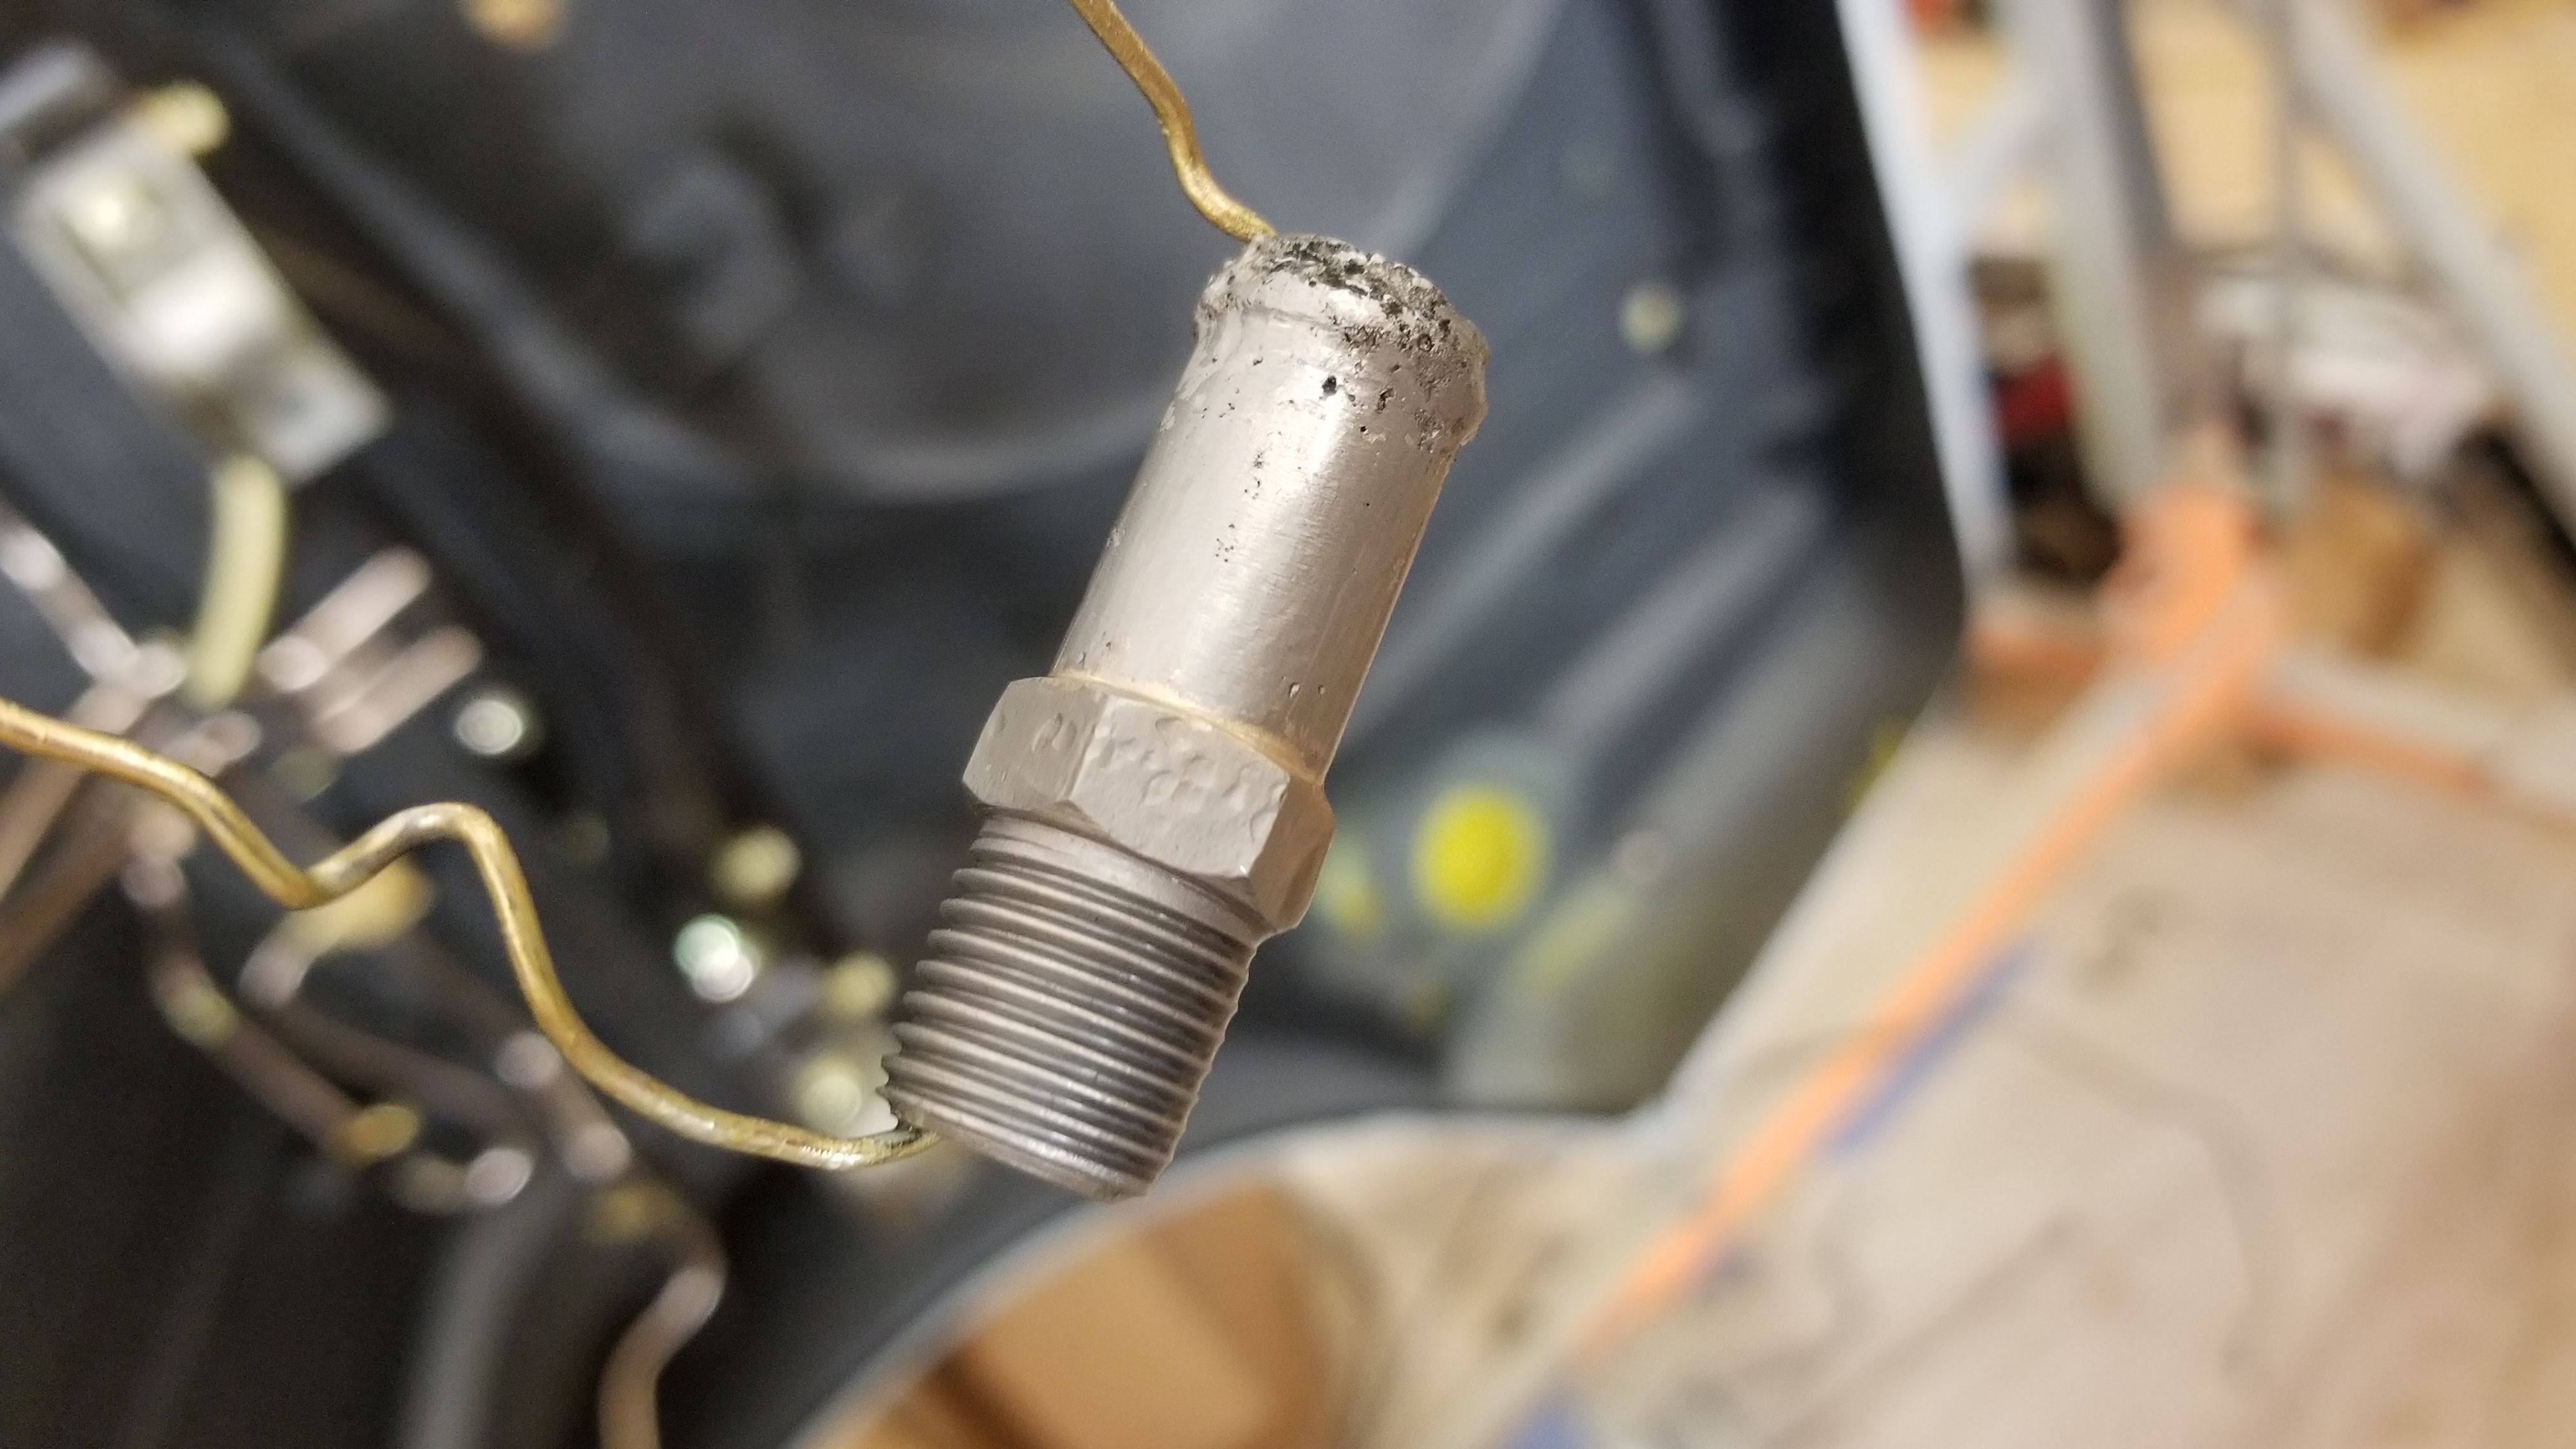
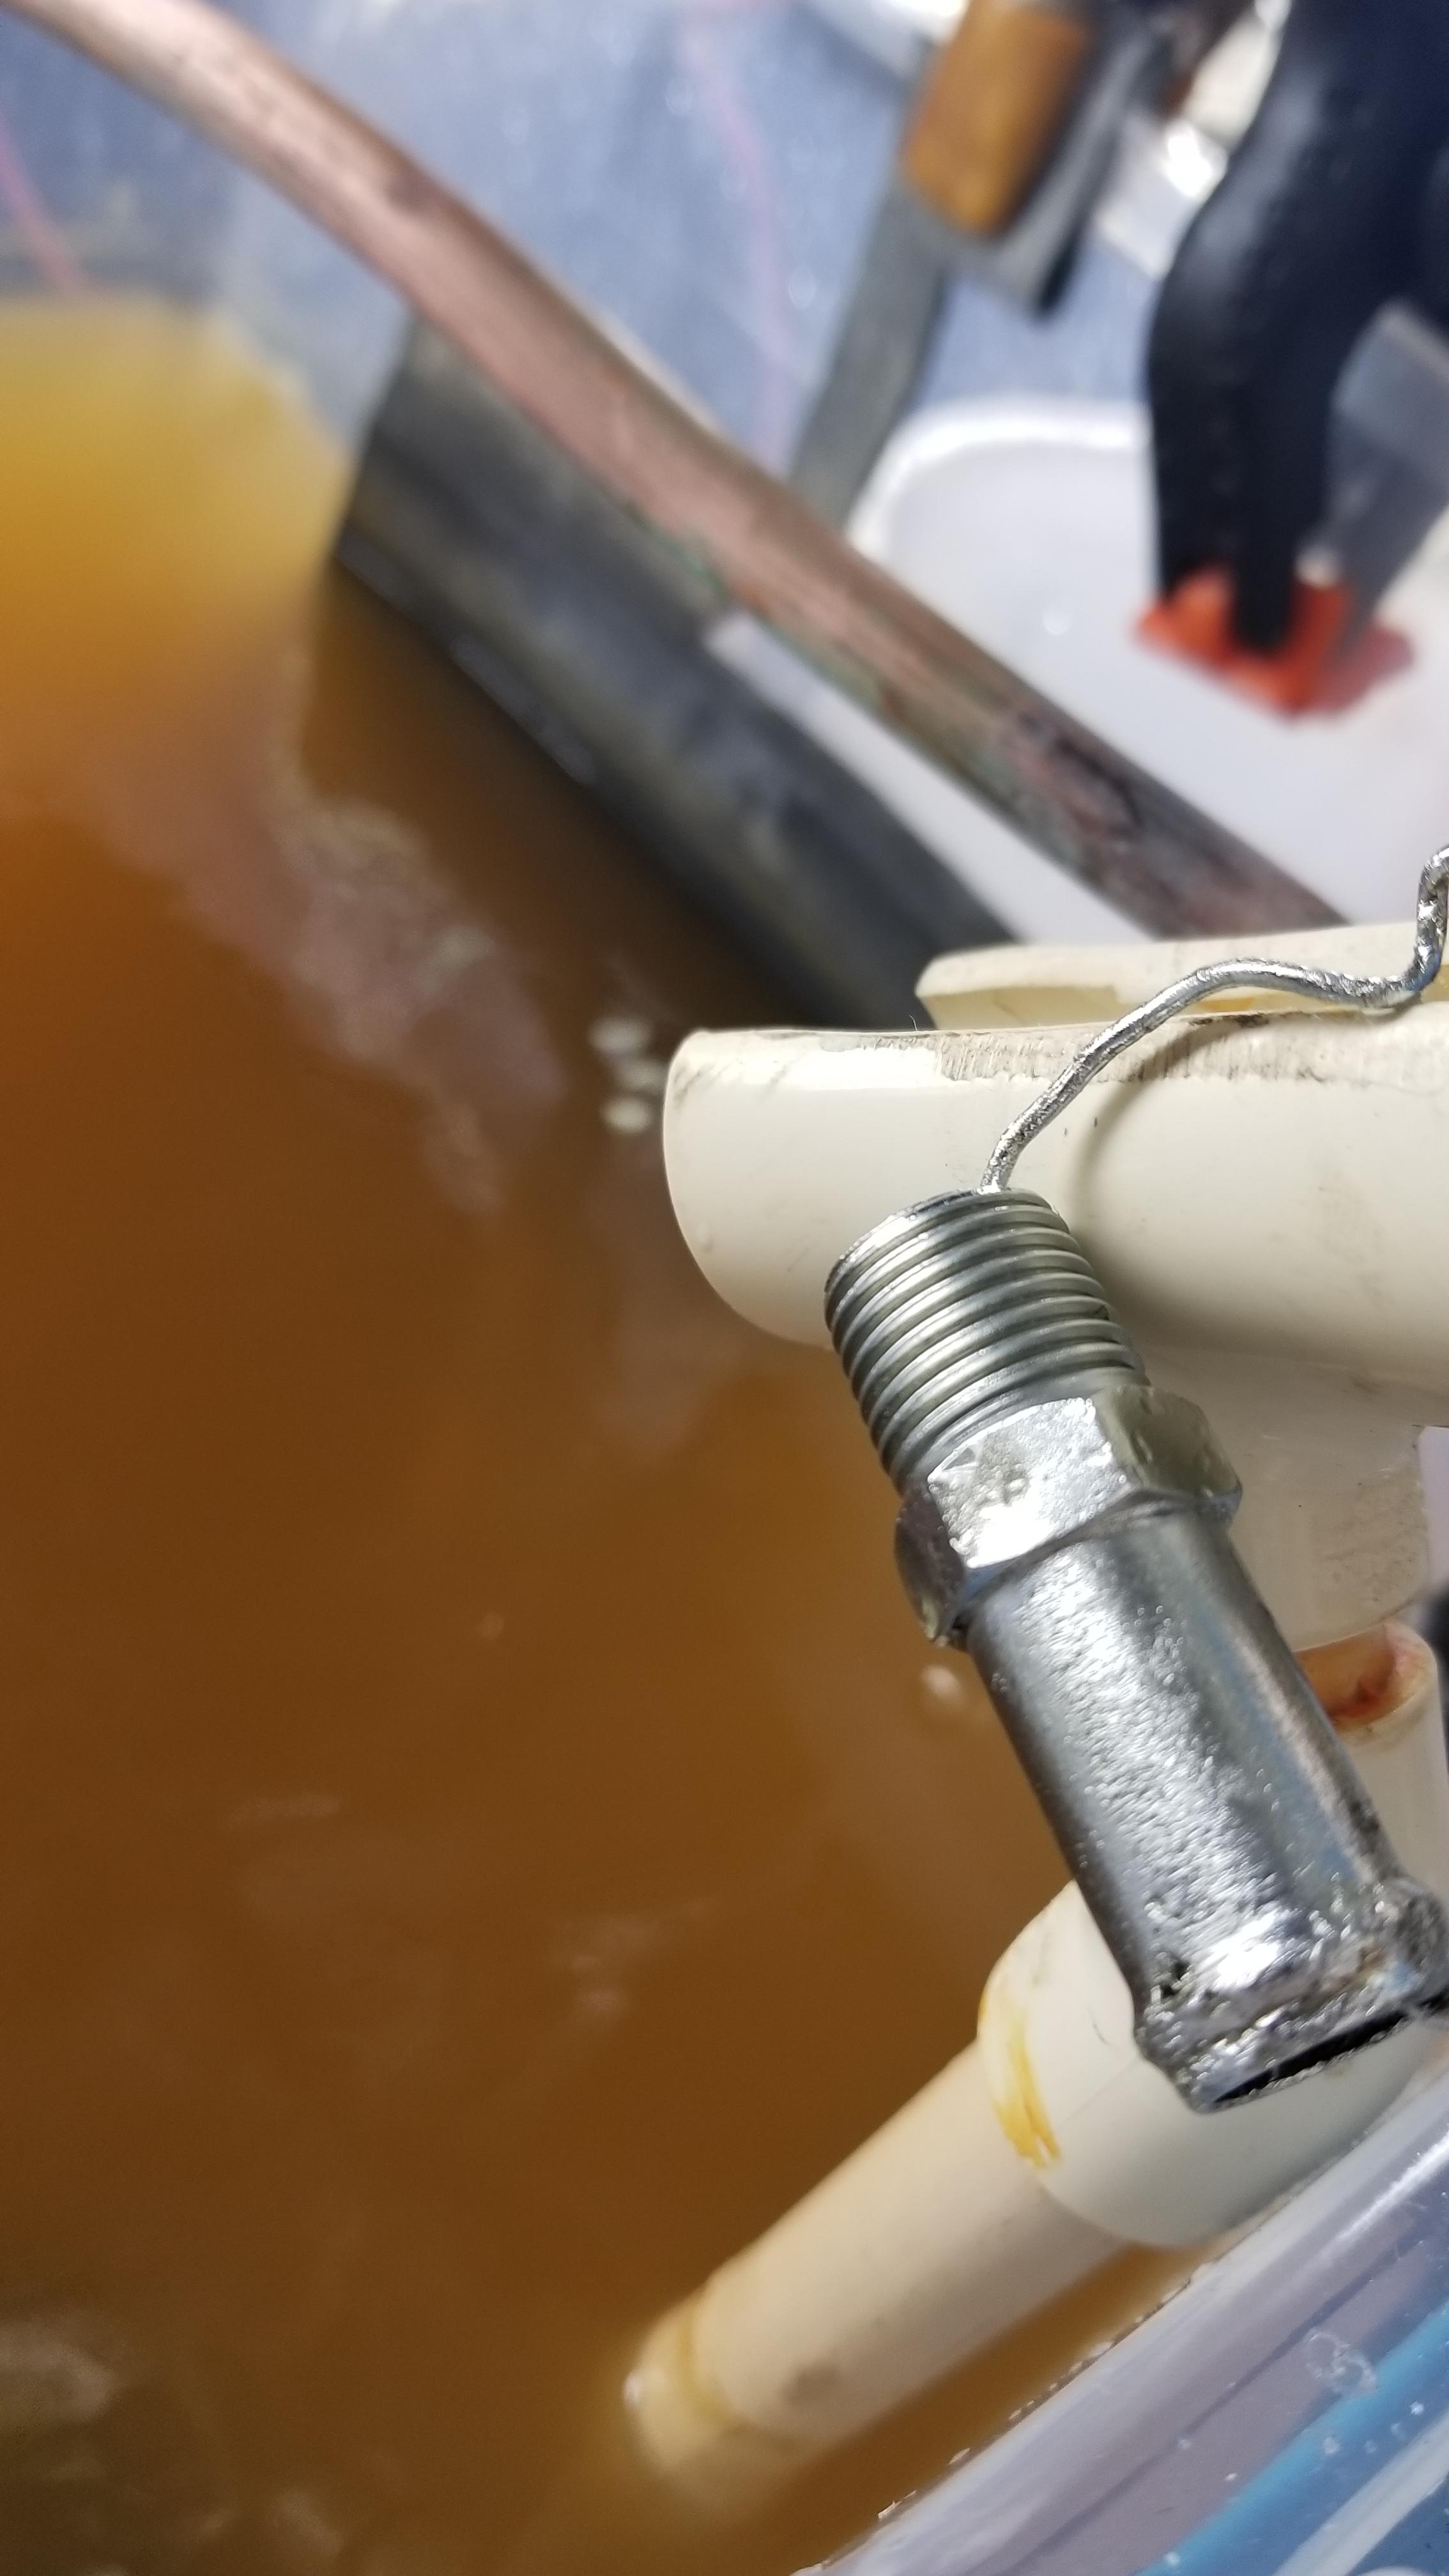
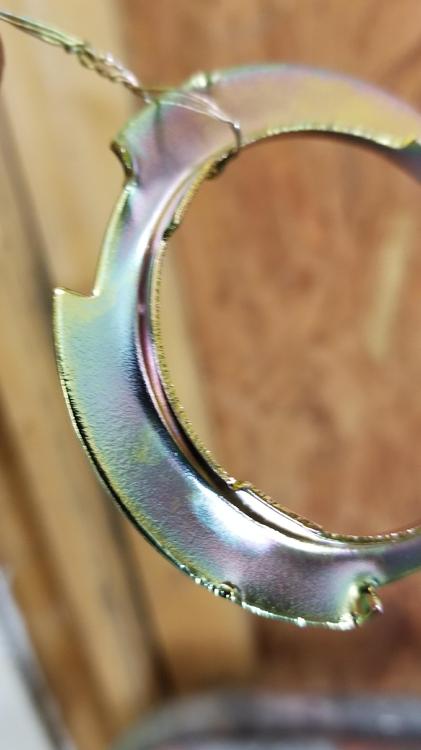
 1 pointI ran some plating last weekend and I ran it at a lower temp. Got pretty good results. Not conclusive... This is a run coming out of the plating tank. Really nice chrome-like results. Might be hard to see in the pics I also tried a little experiment. Sometimes tubes have some corrosion on them that makes them rough and thin. So I broke out the torch and some silver solder This is built up. The end was not wanting to take solder Zinced Overall a good weekend in the shop...


 1 point
 -
 1 pointYou don't know how lucky I am that the donor car was there and available. Many thanks =).1 point
 -
1 pointIndeed. He used to be a steady contributor back in the day. I think he sold his car and comes by only now and then since. I wonder if he is kicking himself for selling yet?1 point
-
 1 pointYou've been trying to adjust a modified engine to stock factory settings. That can be like trying to fit a size 12 foot into a size 10 shoe. The process of tuning the engine/carbs results in adjustments to settings to a point where it runs best. Sounds like you're finally just about there. Button that baby up and head out on the highway! Dennis1 point
 -
1 pointGlad to see you are doing well. Good to see you are enjoying your time instead of working too hard. stay in touch! Marty1 point
-
1 pointI used a Canada-based paint supply specialist (Parasol - Toronto, Ontario... www.parasolinc.com ) to custom-mix a butterscotch 'dye' for my interior panels. Great product, great results. Goes in your HVLP paint gun with the consistency of water, but sets up as a stretchy vinyl 'skin'. The magic of synthetic chemistry. I needed about 2 qt to do all of the hard plastic and soft vinyl trim pieces (I did not do the door cards, seats, or roof liner). The custom-match product cost about Cdn $115/qt, so ~ C$230 total. I used SEM products for the prep work ('Soap', 'Plastic & Leather Prep', 'Sand-Free', and 'Plastic Adhesion Promoter') and those probably contributed another C$70 to the job, so call it C$300 total. Parasol sells their own line of surface prep chemicals. Note that I started with black panels, so it required about 5 light-to-medium coats of the dye to get the job done. I think you could do a color 'refresh' job with just 3 coats, possibly only 2. The hard plastic panels were easy. The diamond-textured soft vinyl pieces, however, require a lot of pre-paint preparation work to get rid of all the ArmorAll (silicone) that's typically been rubbed into these surfaces over the years. The silicone hides down in the bottom of the grooves used to create the diamond pattern and will cause the dye to 'fish eye' if you don't get it fully removed. Count on doing at least 5 applications of 'SEM Soap' (must be scrubbed in with a kitchen-grade 'scotchbrite' pad) and two or three applications of 'P&L Prep' before you spray on the dye. The dye doesn't have a solvent smell, but the airborne fumes created during application will make your head swim. After it sets up, the dye's adhesion is very good and its surface toughness/scratch resistance is probably on par with the OE surfaces (i.e. modest). I would have no hesitation applying this product on a door card -- although I will point out that the OE door cards are actually a subtle two-tone, and that would require a second color-matched dye and masking to re-create properly. Parasol's dye product is packaged in standard metal paint cans. You could probably get it delivered by surface shipment, but I'm not sure about air. Sydney is a pretty big place and has lots of industry, so I'm pretty sure that you could find a domestic paint specialist like Parasol somewhere in your city (or in Melbourne or Brisbane). Like Parasol, they`ll probably also offer a range of surface preparation products to use before the dye application.1 point
-
1 point
-
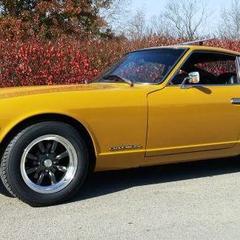
 Siteunseen, Thanks for your note... I would not say that I " got rid " of my Z, rather, I would say I most reluctantly had to part with it as there was no one in my family I could pass it down too. However, I have been most fortunate in that the buyer is a great enthusiast of Z's, a heck of a nice guy and we have become good friends. There's a great element of comfort for me in that. Thanks for putting in the details about your conversion and to RCB280Z, in case there is someone out there who may wish to do the same. It's what makes this site so extremely valuable....... George1 point
 -
FYI Bung location in manifold will show fast transients but for sustained periods of throttle, the tail pipe and bung shows the same A/F. Monitor the AF when you stab to see what is going on. That is when the accelerator jets are active. The stab could slow the velocity of the air-fuel charge and cause the fuel to drop out of the charge. What is your a/f at steady 60mph on flat highway and at 70mph?1 point
-
 1 pointI know this thread is old, but I recently used the same set of FelPro seals you to change out mine. Make sure before you add sealant and install the cap that you first slide the side seals all the way in until they bottom out. Get an idea for how much they stick out above the oil pan gasket surface, as you'll need to trim them later, but also want to make sure they're all the way in... I left about 2mm sticking up so the cork oil pan gasket and side seal would make contact, not leaving a gap under the surface. I also noticed that there was a decent wear groove and scar in the crank where the old seal sat, so I pushed the seal in, again about 2mm to overlap some thicker crank. I don't know if it will help, but I can't see it hurting anything. You could probably move it 3mm in either direction prior to tightening up the cap bolts.1 point