Leaderboard
-

Captain Obvious
Free Member4Points9,843Posts -


Zup
Free Member2Points1,163Posts -


wheee!
Free Member2Points4,607Posts -


siteunseen
Free Member2Points14,903Posts
Popular Content
Showing content with the highest reputation on 03/27/2018 in all areas
-
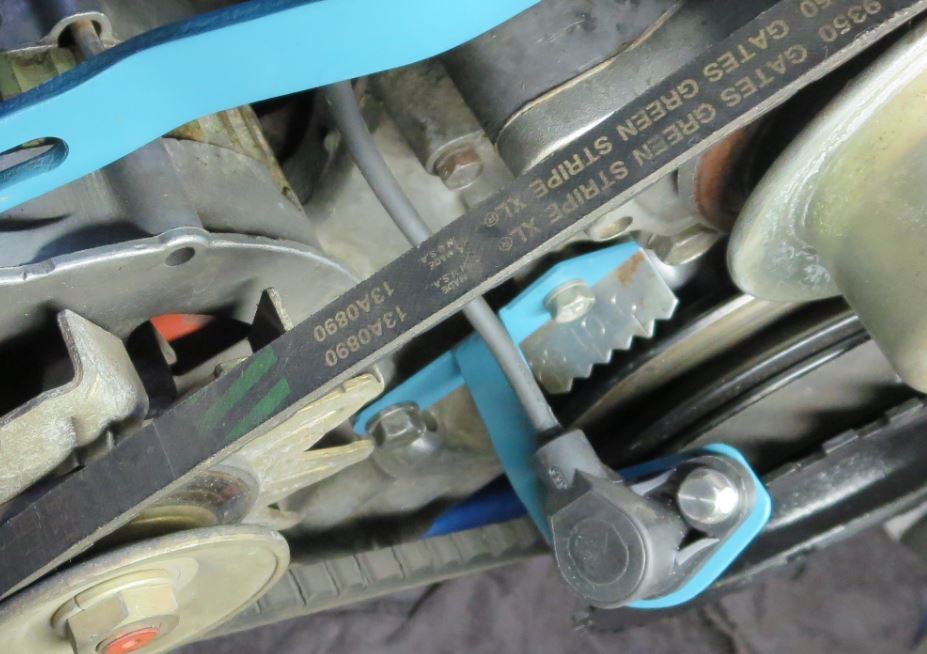
2 pointsI'm no expert either but a new fuel pump should not "go bad". Some thoughts-- You mentioned the engine is a rebuild---did you do the work of re-assembly? Double check your eccentric on the end of the camshaft. Make sure it is securely tightened by the camshaft bolt. The eccentric is what gives the fuel pump lever arm its pumping action. Make sure the fuel pump lever arm is riding on the eccentric when you have the pump installed.2 points
-
2 points
-
 1 point
 -
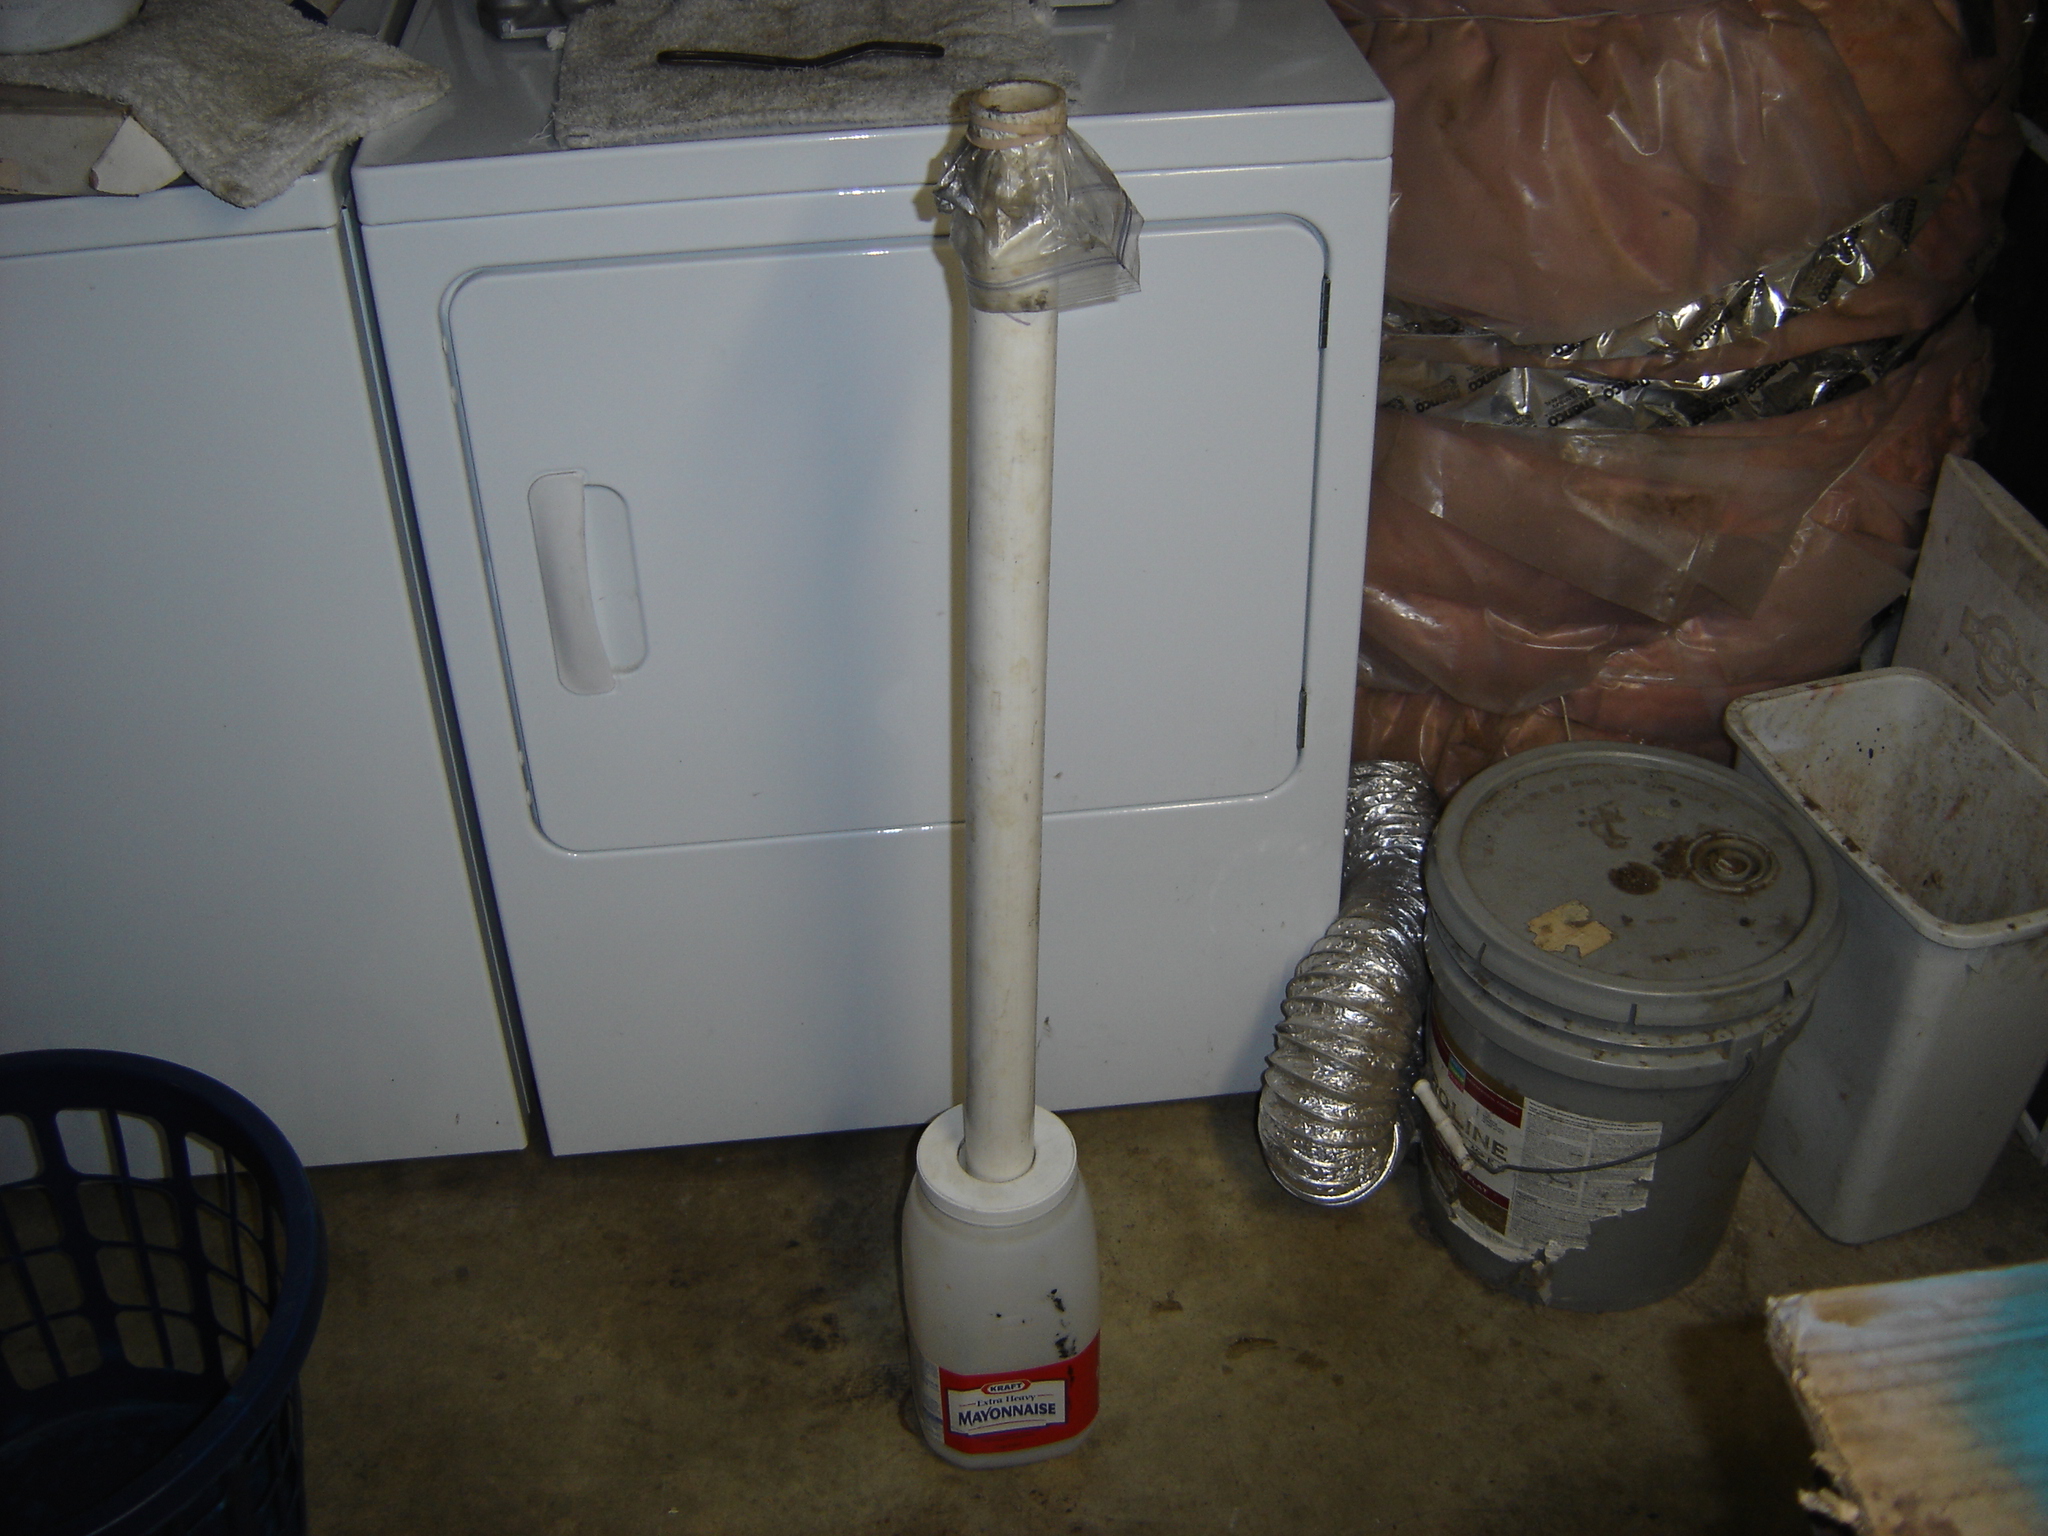
1 pointMe too! Used a piece of PVC full of lacquer thinner for a day or two. EDIT: if you ever have to paint staircase spindles this works great but you have to do it before installation. Staple some string or wire on the end and hang them on something to dry.
 1 point
 -
1 pointA piece of Scotch Brite pad and diesel fuel is what I used. With the plugs out spin the motor and watch the cam and spray bar. You'll see which ones need attention. I'm pretty sure @240260280 told me how to do that. Here's a cam he cleaned up the same way. Here's mine after rebuilding the motor. I put a rod down into the oil pump from the dizzy hole and chucked it up to my drill. Took about 10 seconds and with the drill on HIGH and that stuff shot out all over me. This is the N42 head with an oiler cam. Your N47 should have the same plus the spray bar.1 point
-
1 pointWell that's not good. Regardless if the diaphragm looks OK or not, something is leaking there and it either needs to be addressed or replaced. Sucks that something like that would happen with a new pump. Is it a new-new pump, or a new-old stock pump? In any event, a ruptured or leaking diaphragm there could account for both issues. The leak and the lack of function. I guess it's conceivable that a stuck closed output side check valve could allow the pump to suck in a charge from the inlet side, but then force that charge out of a hard to see, small hole in the diaphragm. And, yes, change the oil. You don't know how much went down there.1 point
-
1 pointI've often used a come-along and the rafters in the garage. Not a single rafter though, place a 4x4 across 4 of 5 rafters to distribute the load. I bought a chain hoist to make it easier when I decided to swap engines. site was on target with "spare parts collection". I almost feel like we should be warning you...1 point
-
1 point
-
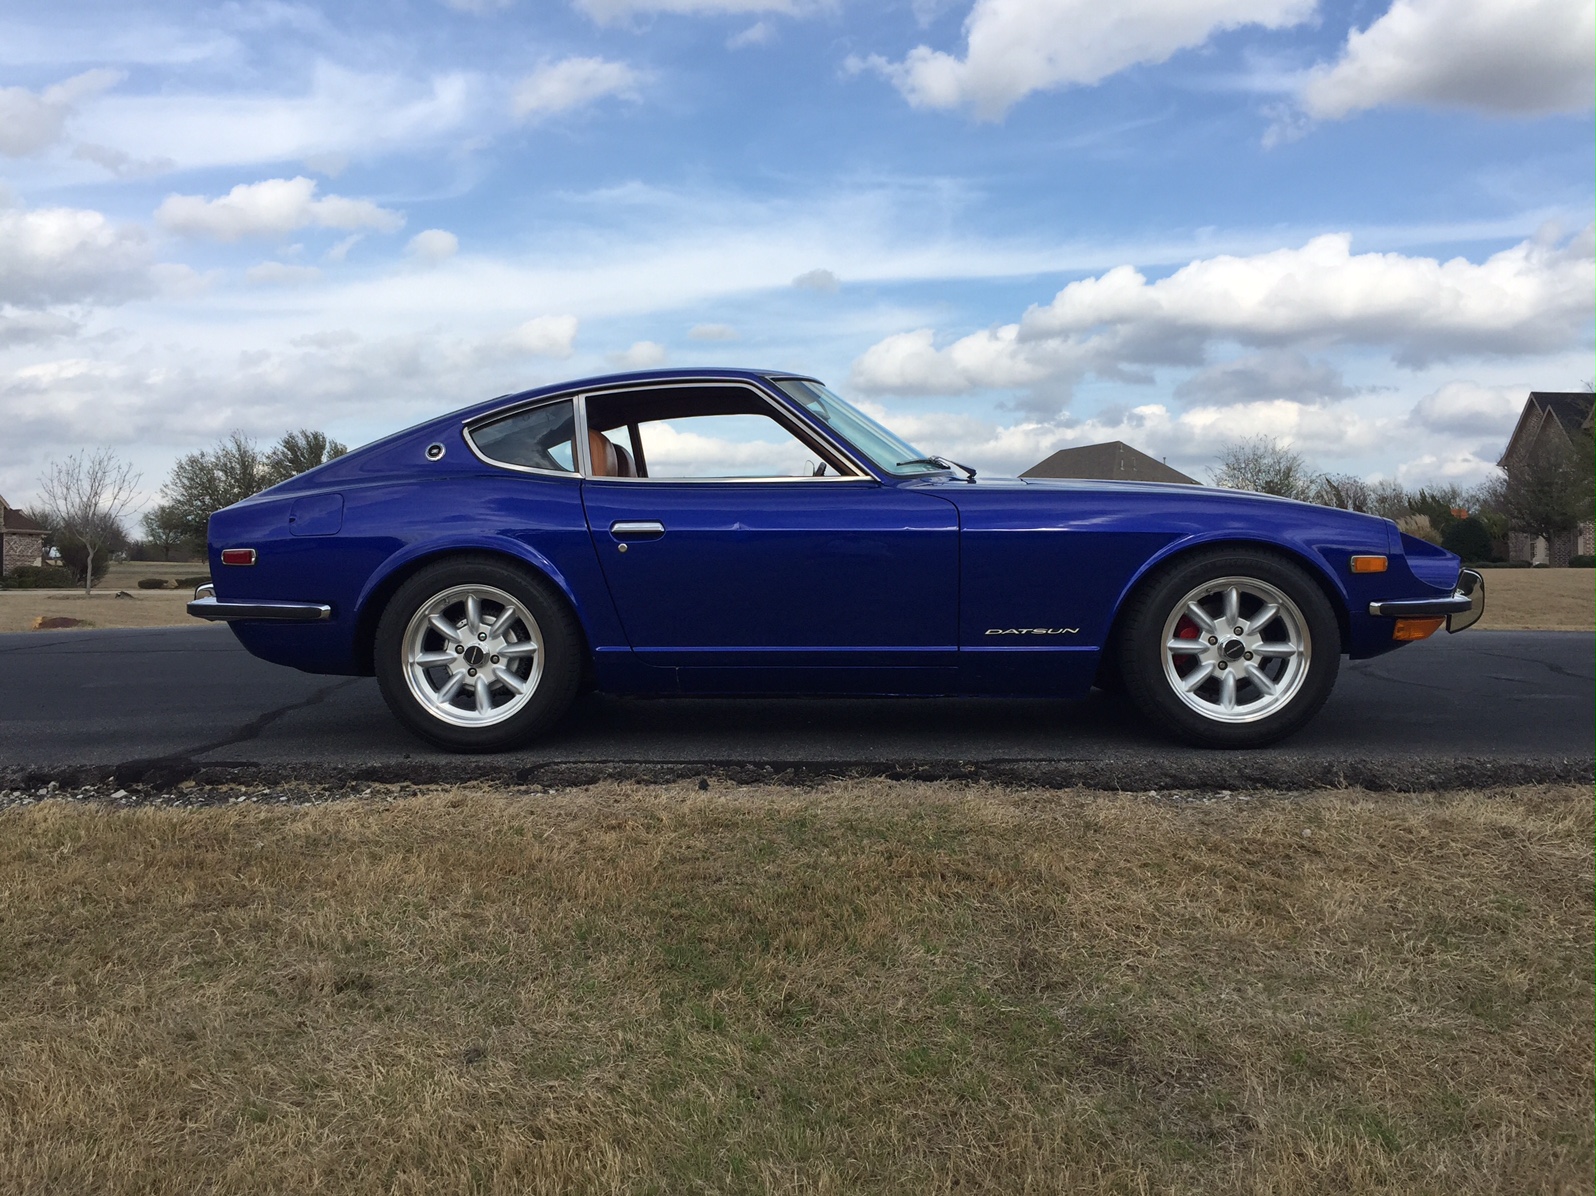
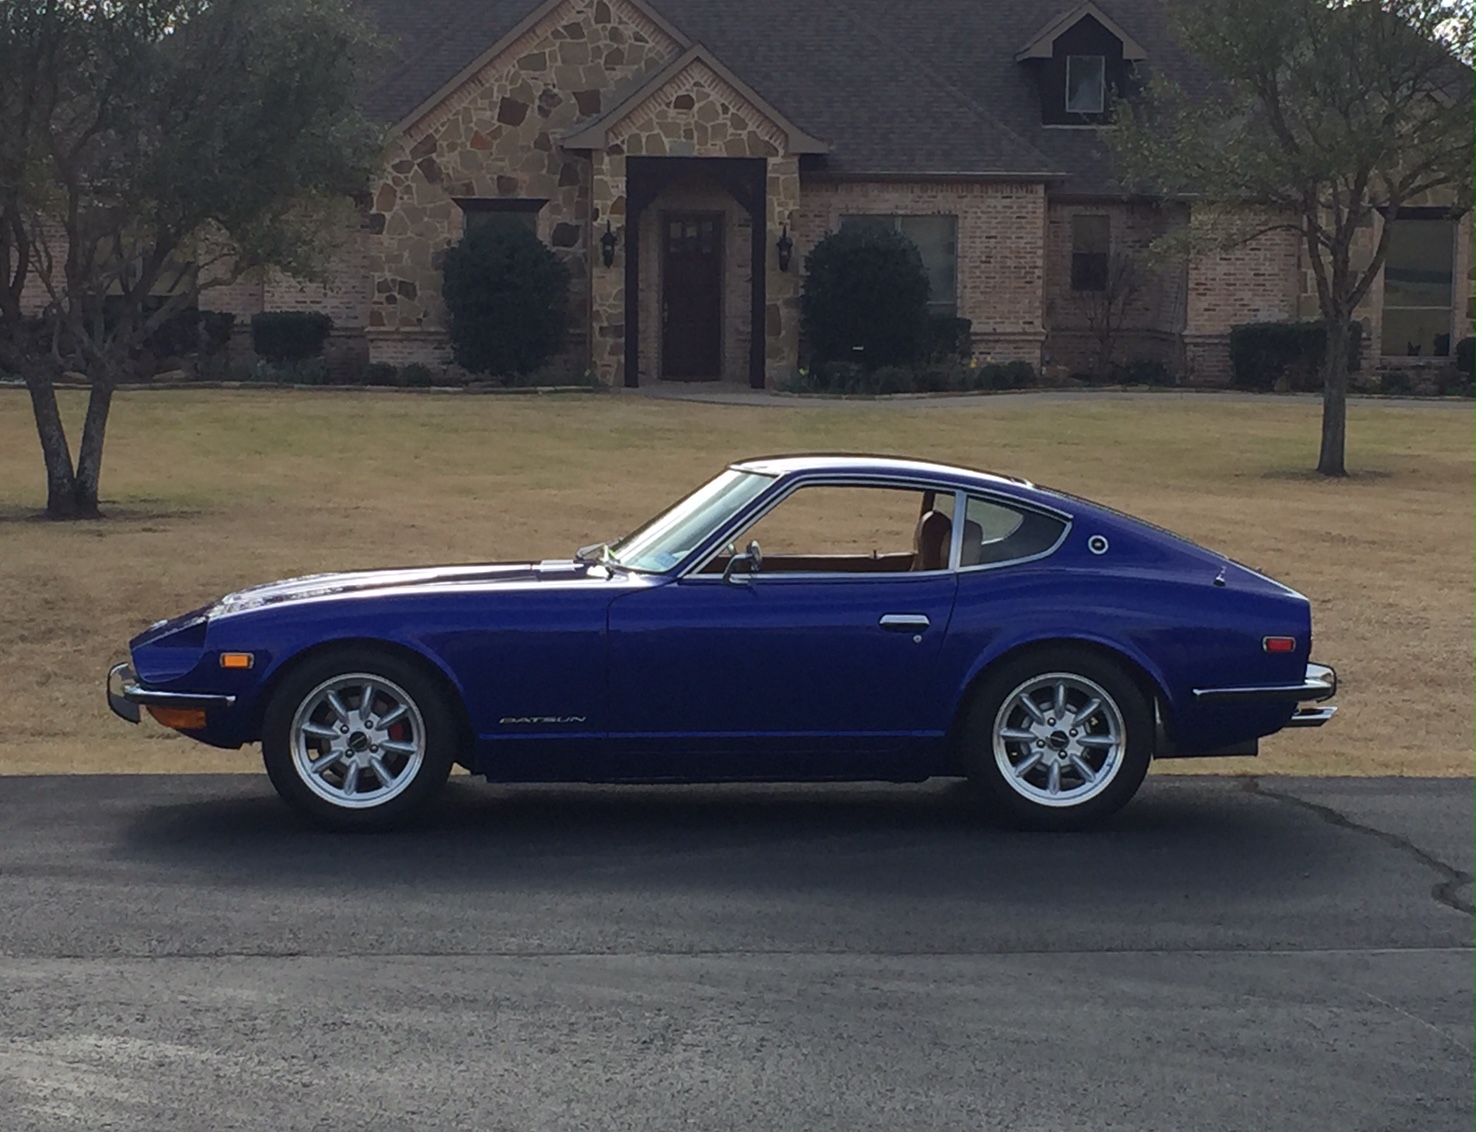
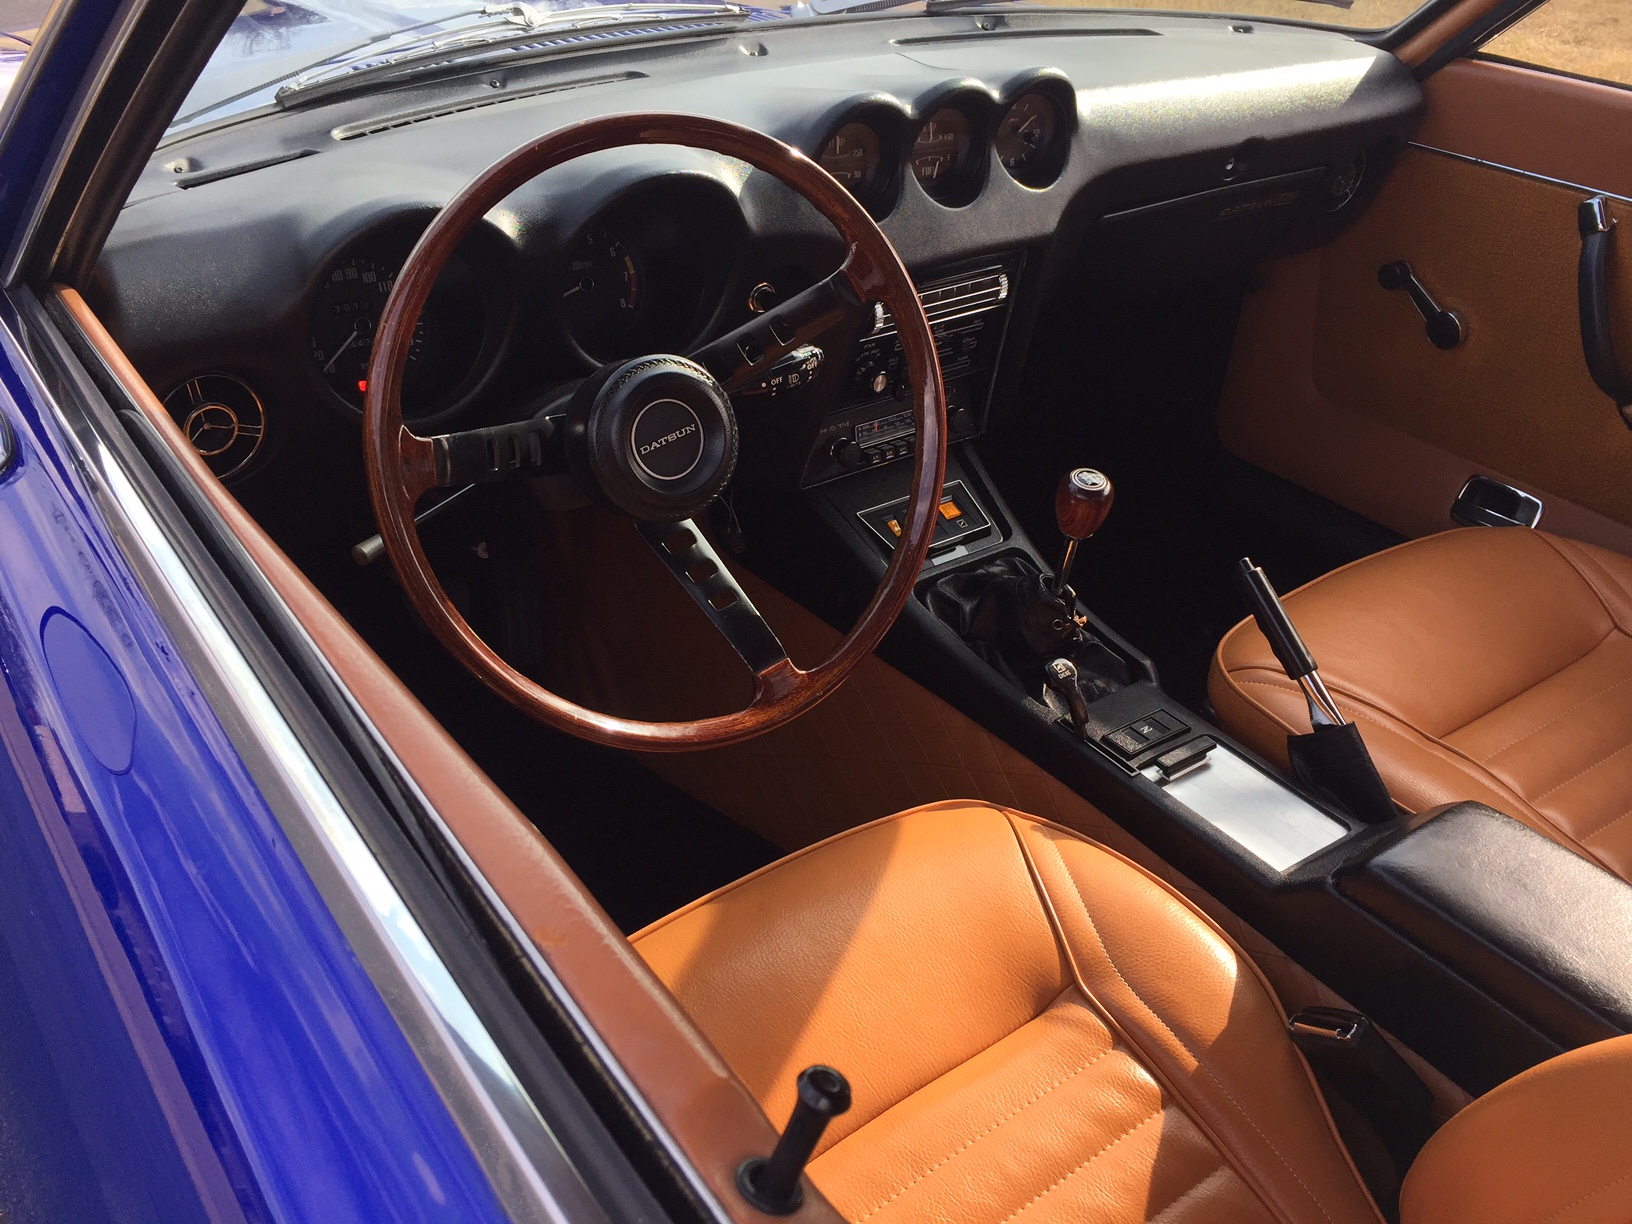
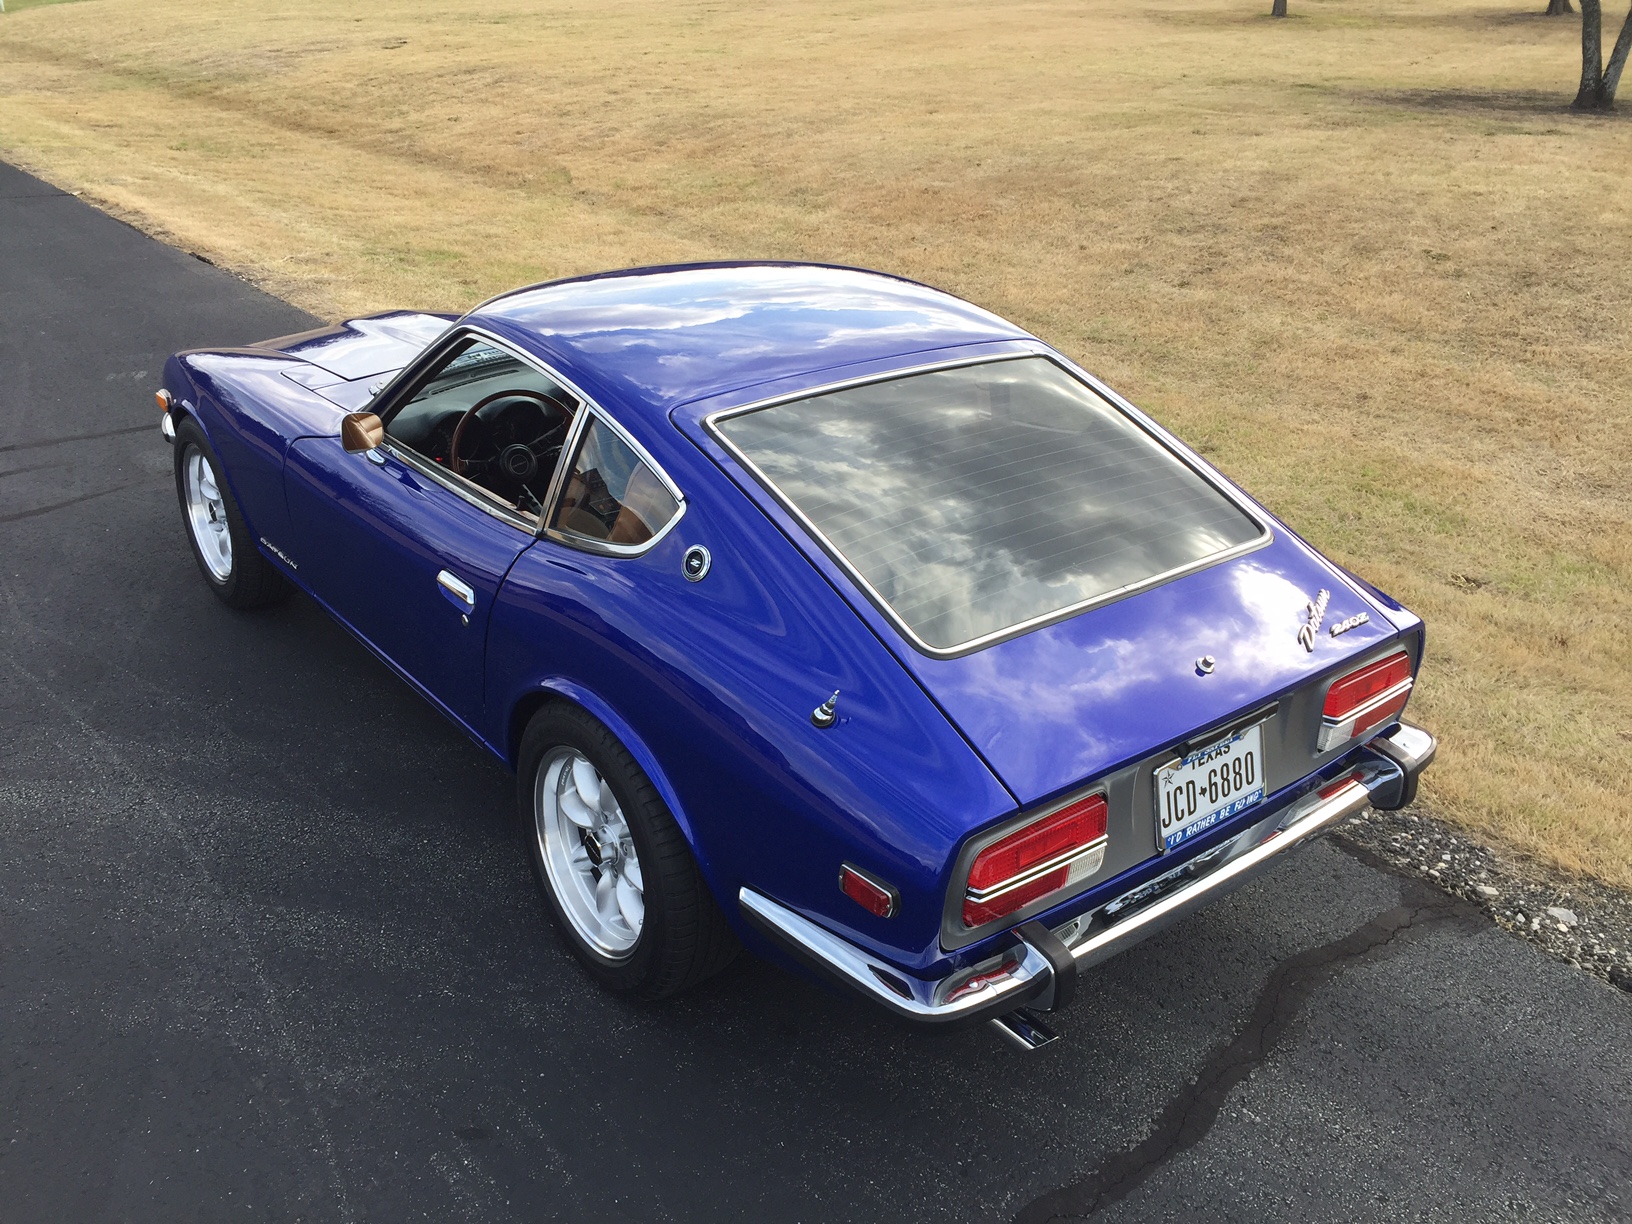
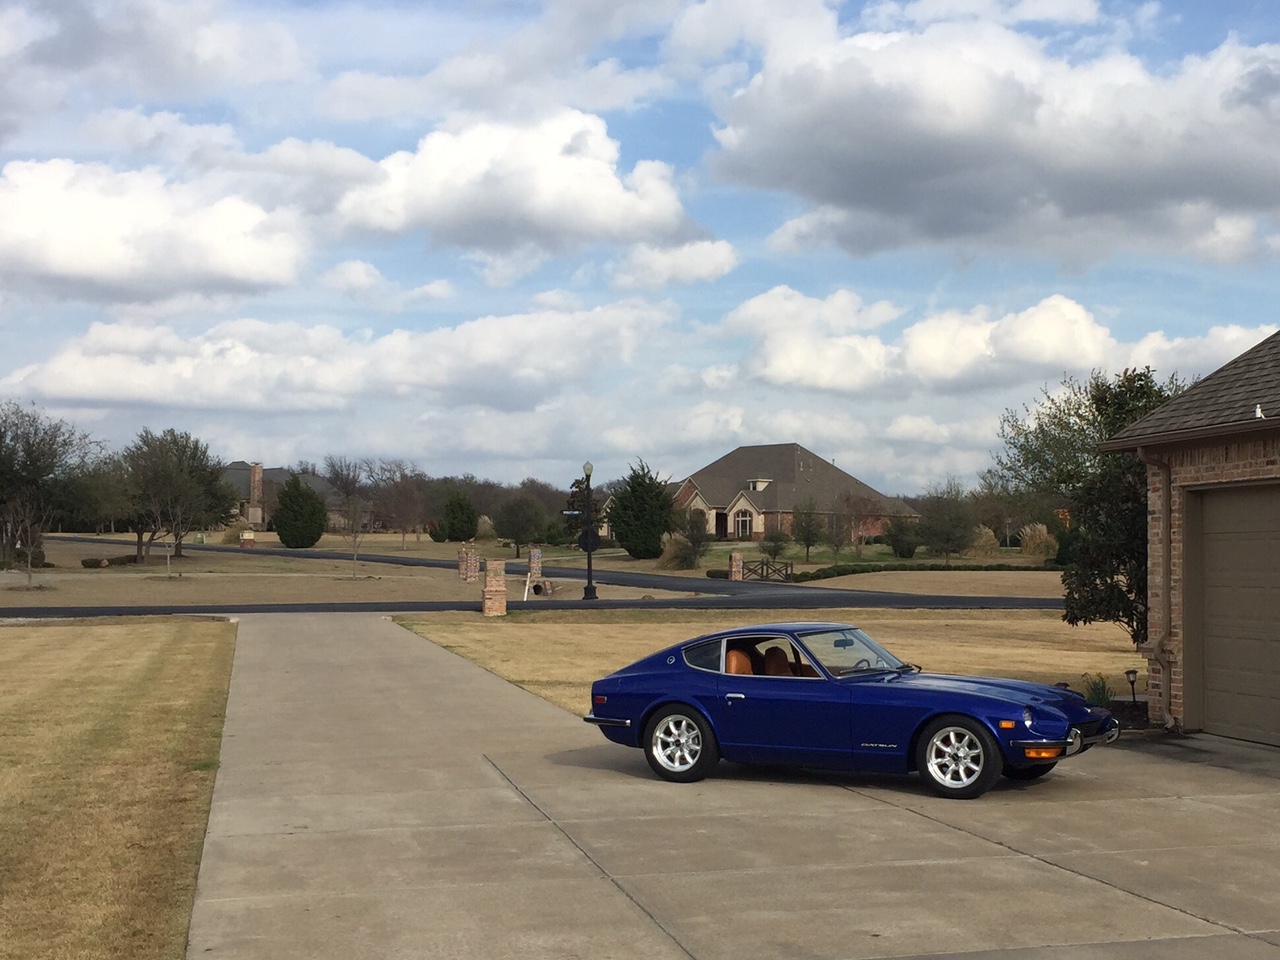
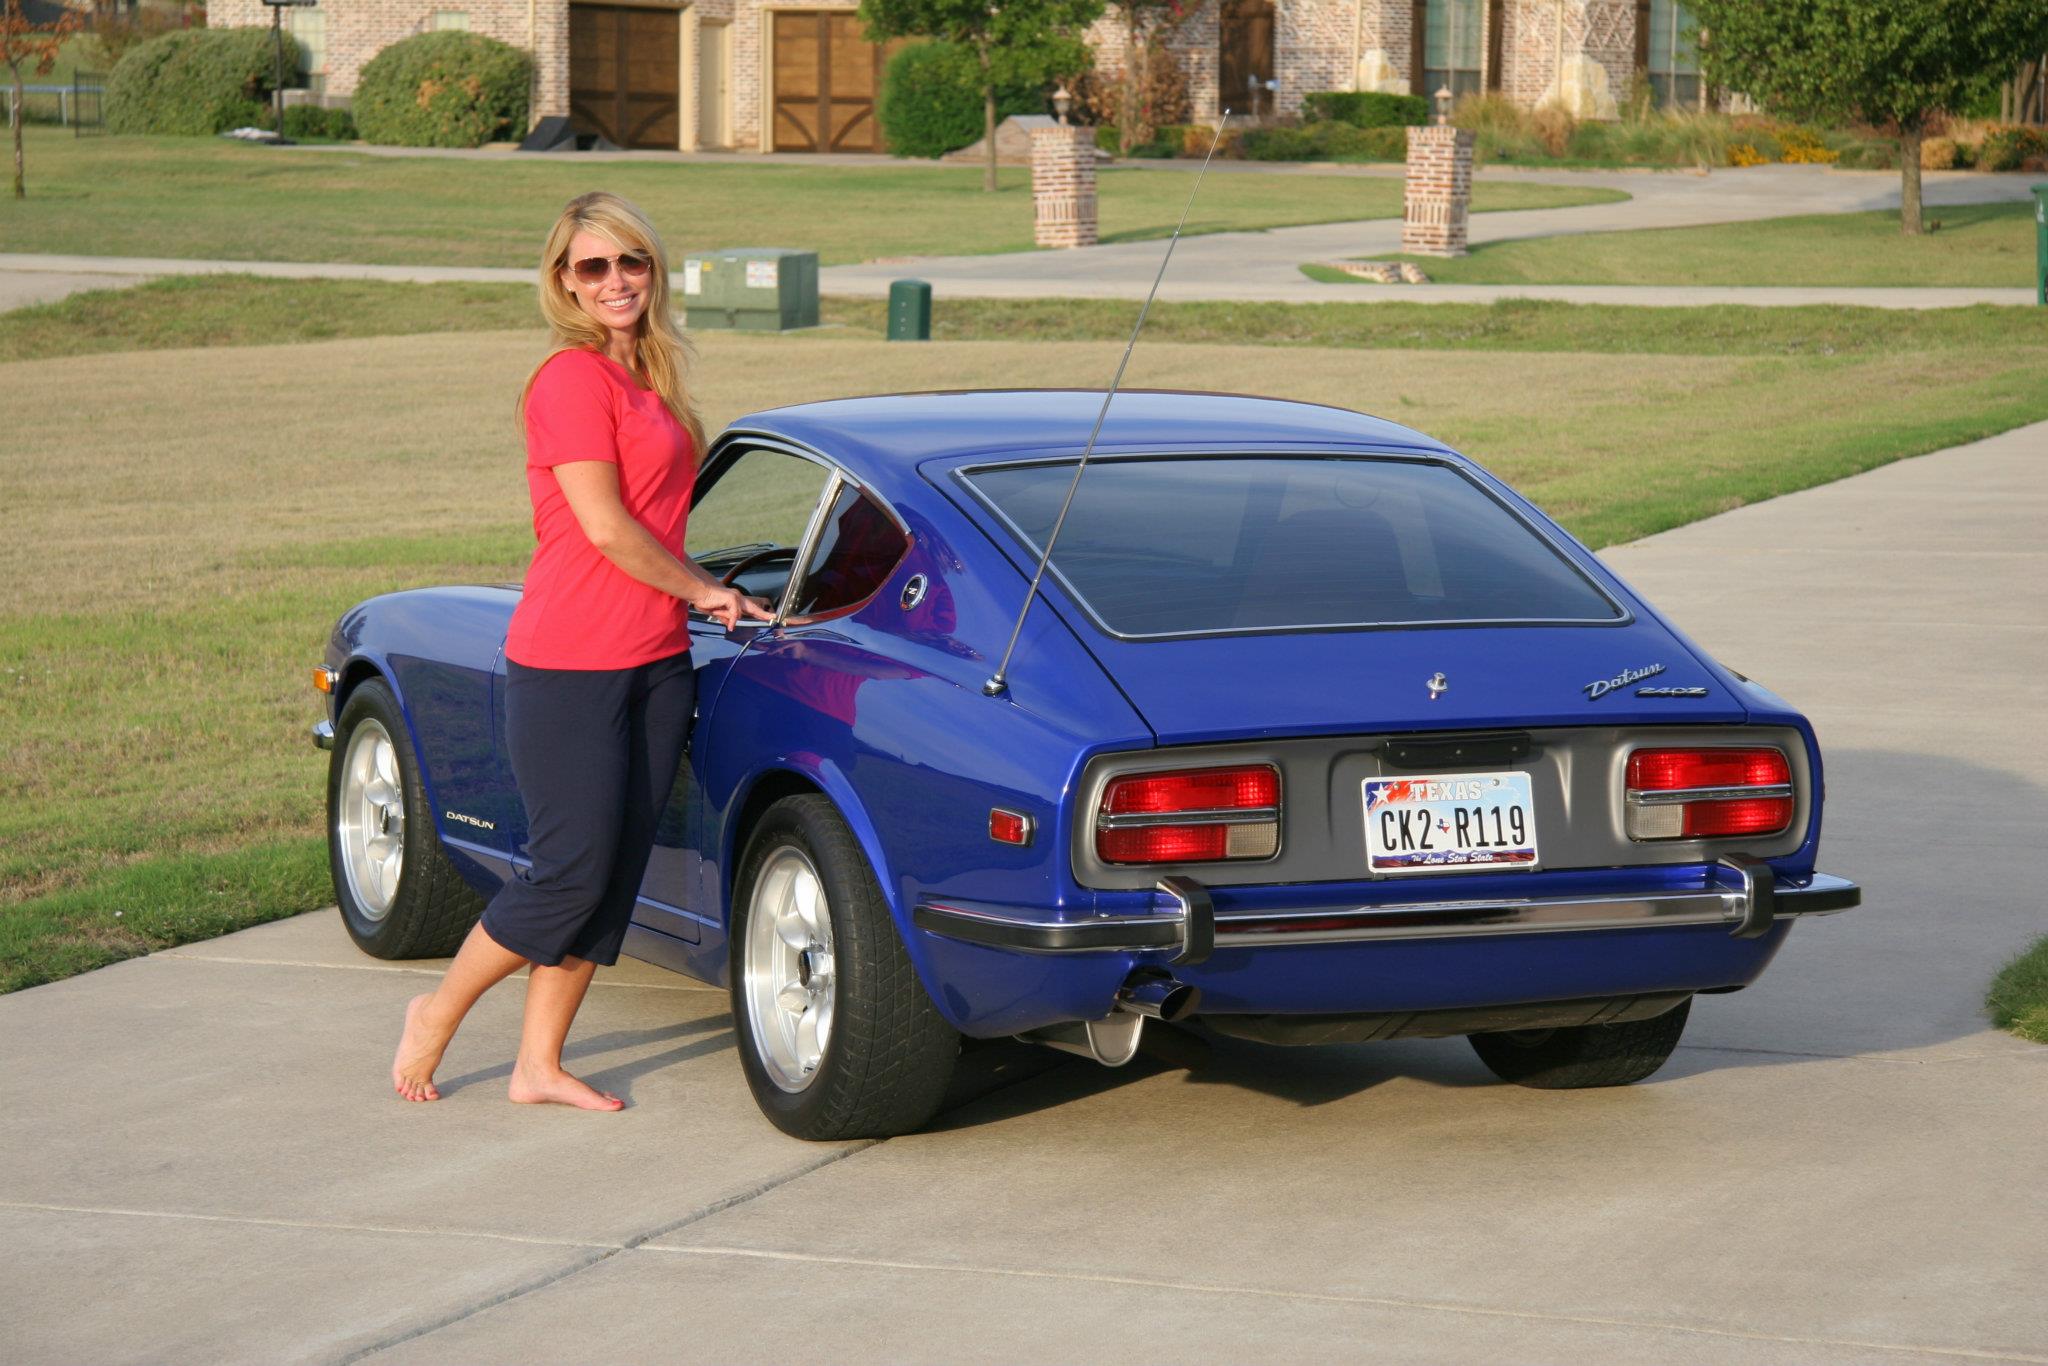
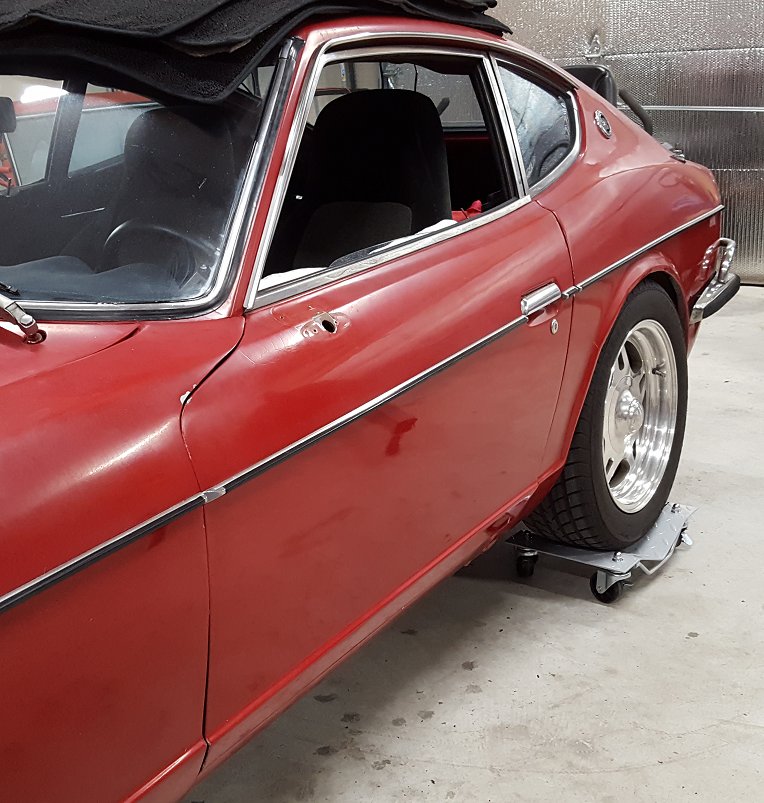
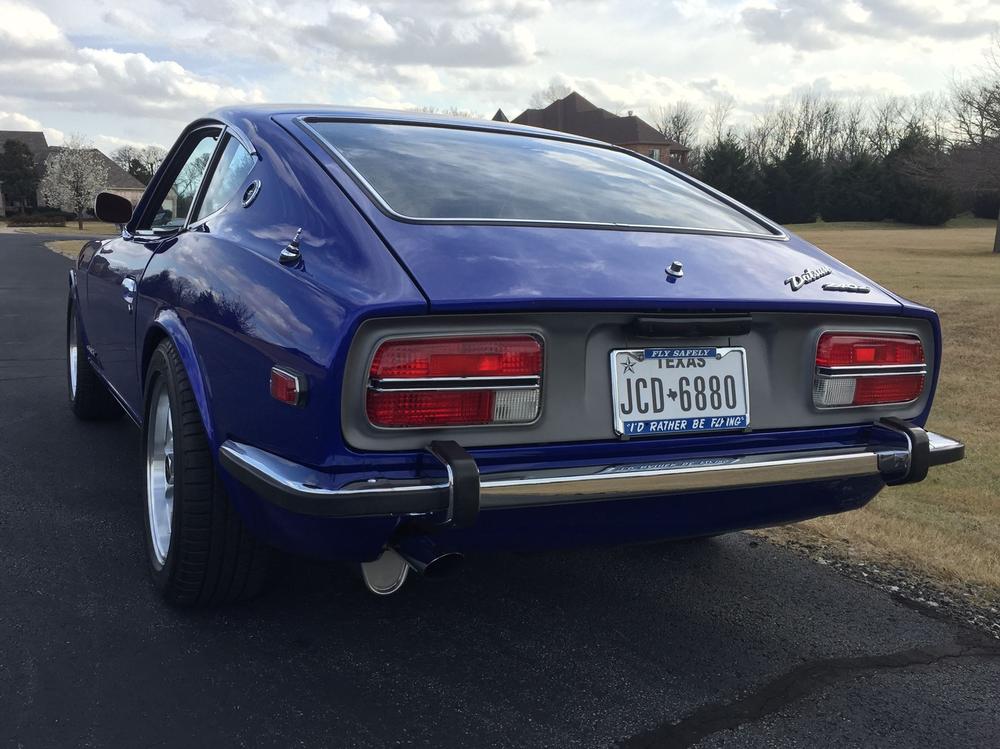
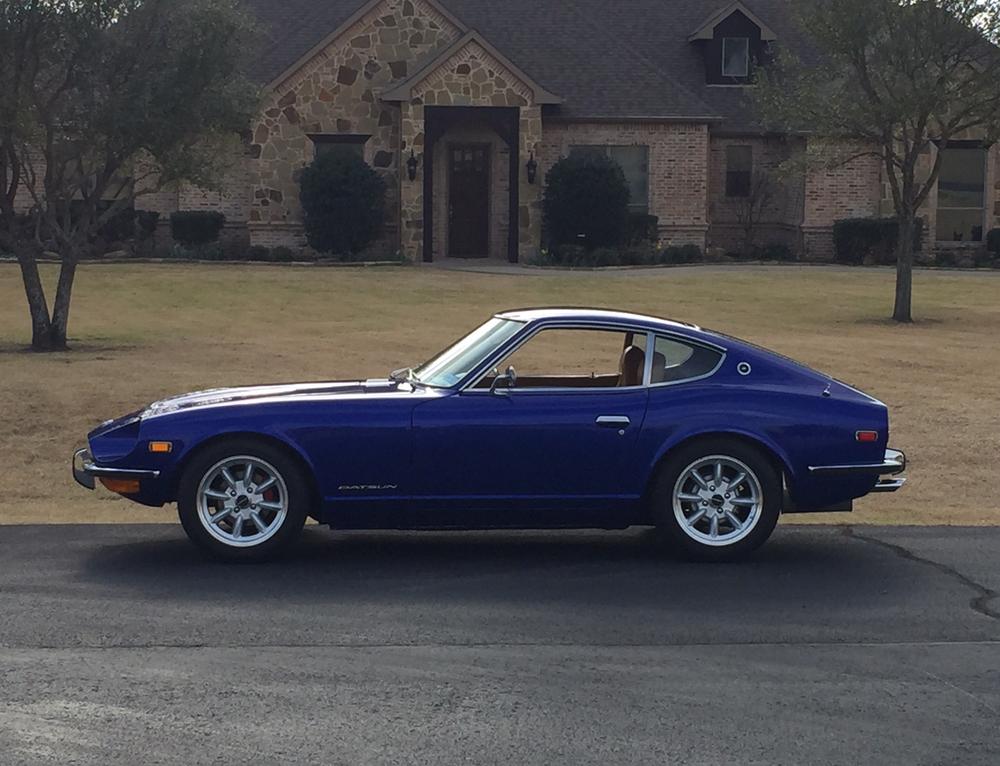
 1 pointWell it's spring here, almost, sort of, so it's time to once again put it out there that my baby is for sale. Surely someone is brave enough to consider making this special Z a member of their family. Let me know.1 point
 -
 1 pointfuel pressure check (36 psi). Spark check (observe while cranking). EFI check (listen for injector clicking with stethoscope). are the plugs coming out dry after trying to start? if so prob no fuel if spark is good.1 point
 -
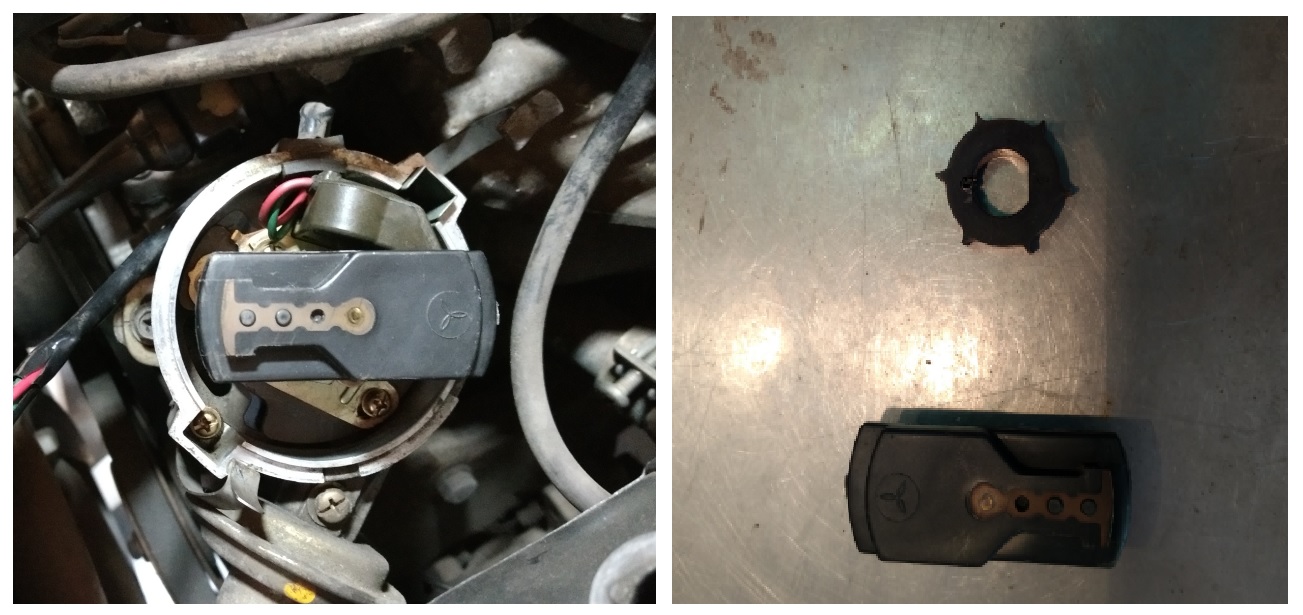
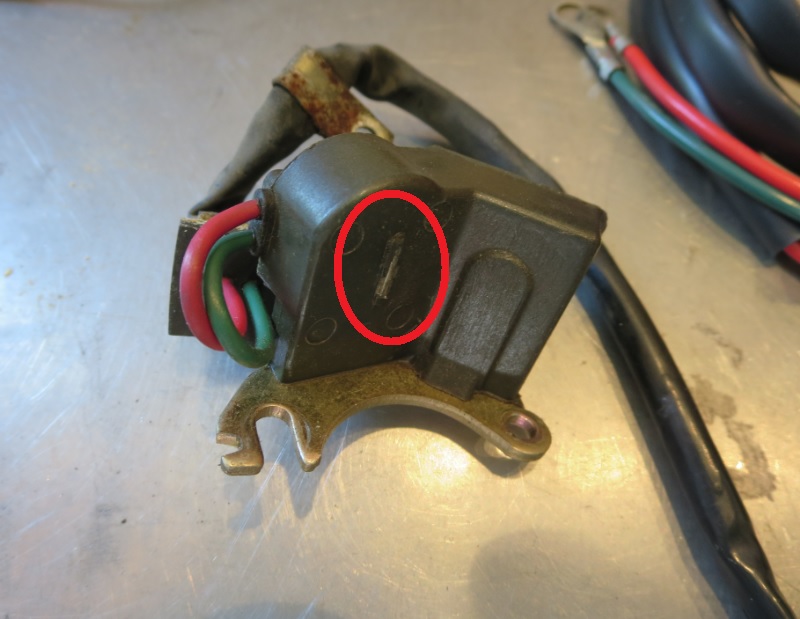
 1 pointTDC should be at the top of your timing plate. The plate has timing makes from 0 to 20 degrees btdc. If you crank the engine, adjust the timing to somewhere in the top section of the plate. Once you start the engine, you can adjust if properly. Just lining up the rotor button is not very acurate. The rotor has a "phasing" function because it has to transfer spark through a wide range of advance (from 8 up to 36 degree of advance). If you do try to manually adjust the distributor (enough to start the engine). Line up the rotor button with number one spark plug terminal, remover the button and then adjust the distributor until the reluctor rotor fractionally passes the reluctor (see red circle in third photo). The metal strip in the reluctor is what you should line up. It is not very acurate, but it will be enough to get it started.
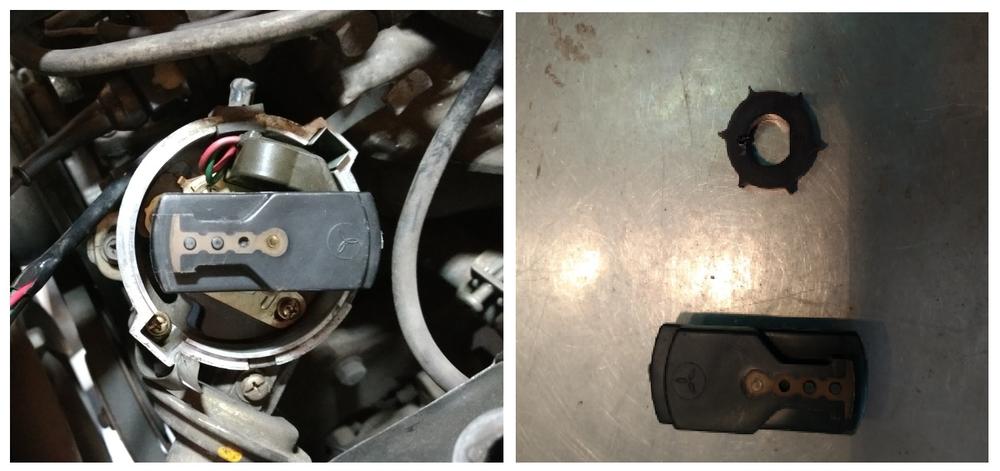
 1 point
 -
 You just have to love the days, when this is in your mailbox (or next to it): But let's start in chronological order. On saturday i decided it's time to get rid of the old paint (Part two) of the lately acquired chin spoiler. Since the weak paint stripper (stronger ones are forbidden now in Switzerland). didn't do anything i got out my CSD Disks and that worked pretty well.. Before: And about an hour later: Yesterday the first package then showed up at the door. A set of Dixcel front disks for the OEM Brakes (for use with the MK63 solid type calipers). I decided to go for the optional black painted center-hubs, just for the looks and to prevent the area from surface rust, which is quite common there... And today some more stuff showed up at my door. Pitworks oil filter (mainly bought it because it was cheap and fitted in the same box for free..) The lately released Hayashi oil filler cap. in an awesome packing that only the japanese can do Set of genuine JAF Emblems (not sure if i will put them on the car, but i liked it). will post some details about this in another post... Mspeed firewall rubber grommet Well and a little blingy Z-keychain (From mspeed), because i didn't have anything to put my keys on and it fitted in the package for free.. Set of NOS brake pads. not interested in the pads themselves, but needed the metal-shims, which i messed up from my original set... Then some reading stuff. Japanese Z-story book. looks promising but have to study it first: Japense (later version) Z432-R & 240Z Race & Rallye preparation manual... has lots of technical information about how to prepare the car and some additional information. Nostalgic Hero S30Z only book. Seems to have some interesting cars and information inside as well... Oh and then a beautiful set of old used but restoreable Enkei mag wheels... Unfortunately the Shirt and Wheels are not for me or my project. I just helped a friend get them here. but because they're nice i thought i'd share the pictures anyway1 point
 -
 1 pointIf I was closer I would snatch that sucker up in a heartbeat, if compression was good. Guess that's how hoarding begins1 point
 -
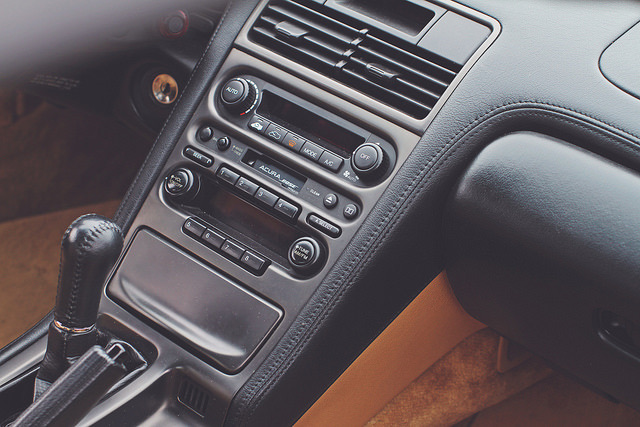
1 pointMe too. I didn't want halos around the gauges. I just wanted even brightness and maybe just a little brighter than stock. I reloaded a couple (crappy camera) pics of mine: Obey the speedo with no dead spot!!1 point
-
1 pointWhat do you mean by this? If you're saying that fuel came out of the back of the pump and ran down into the crankcase, then you've obviously got a bad diaphragm in the pump. That would explain both the lack of fuel, and the oil in the gas. Somehow, I don't think that's what you meant, but it's my job to check.1 point
-
 1 pointI think, and I'm sure many will back me up here, that if you bought an old sports car to work on, you have actually bought Pandora's box in disguise. Just don't get discouraged and Enjoy it!1 point
 -
 Thinking about getting my neighbor Michael, the painter at the body shop, to paint them red matching the car. That would probably look better. Think? Lumens sent me a contact that I'm going to reach out to once it is local awake time for him. Maybe he will have the right side bumper end. Let you all know later. Jai1 point
 -
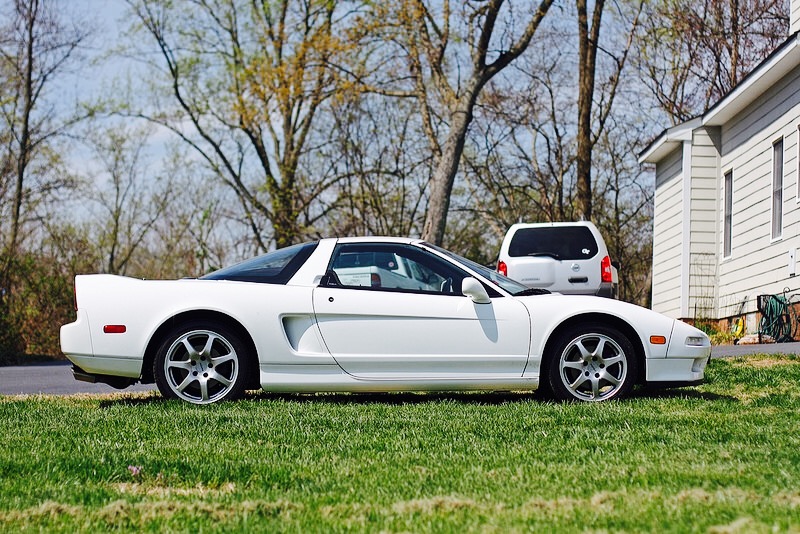
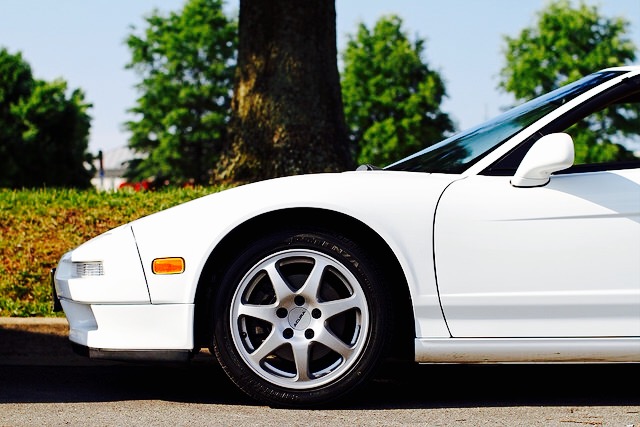
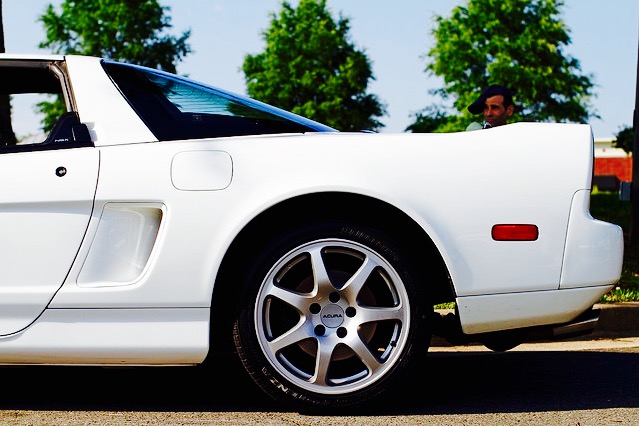
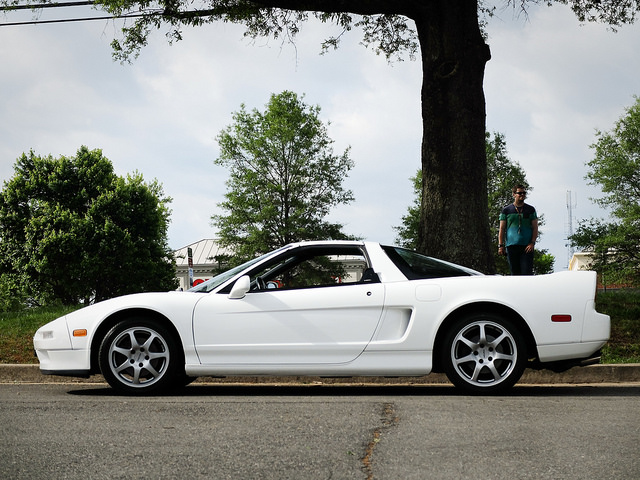
 Absolutely......Really beautiful Z and NSX. I don’t know which one I like driving best. You’ll love the Datsun Spirit Stroker engine....really makes for a fun drive. Can’t wait to hear how you like the ITB’s too, Eiji really keeps up with all the performance goodies. We will be doing more head to head this Spring at Dinwiddie Drag Strip....we have a blast! If ever in Virginia, stop by. BTW the NSX made it’s way from Texas to Virginia.....another thing we have in common. Regards Guy
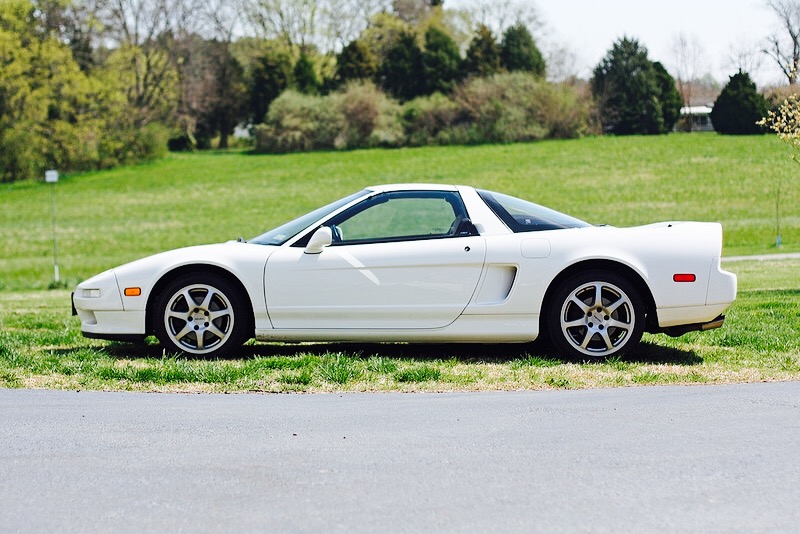

 1 point
 -
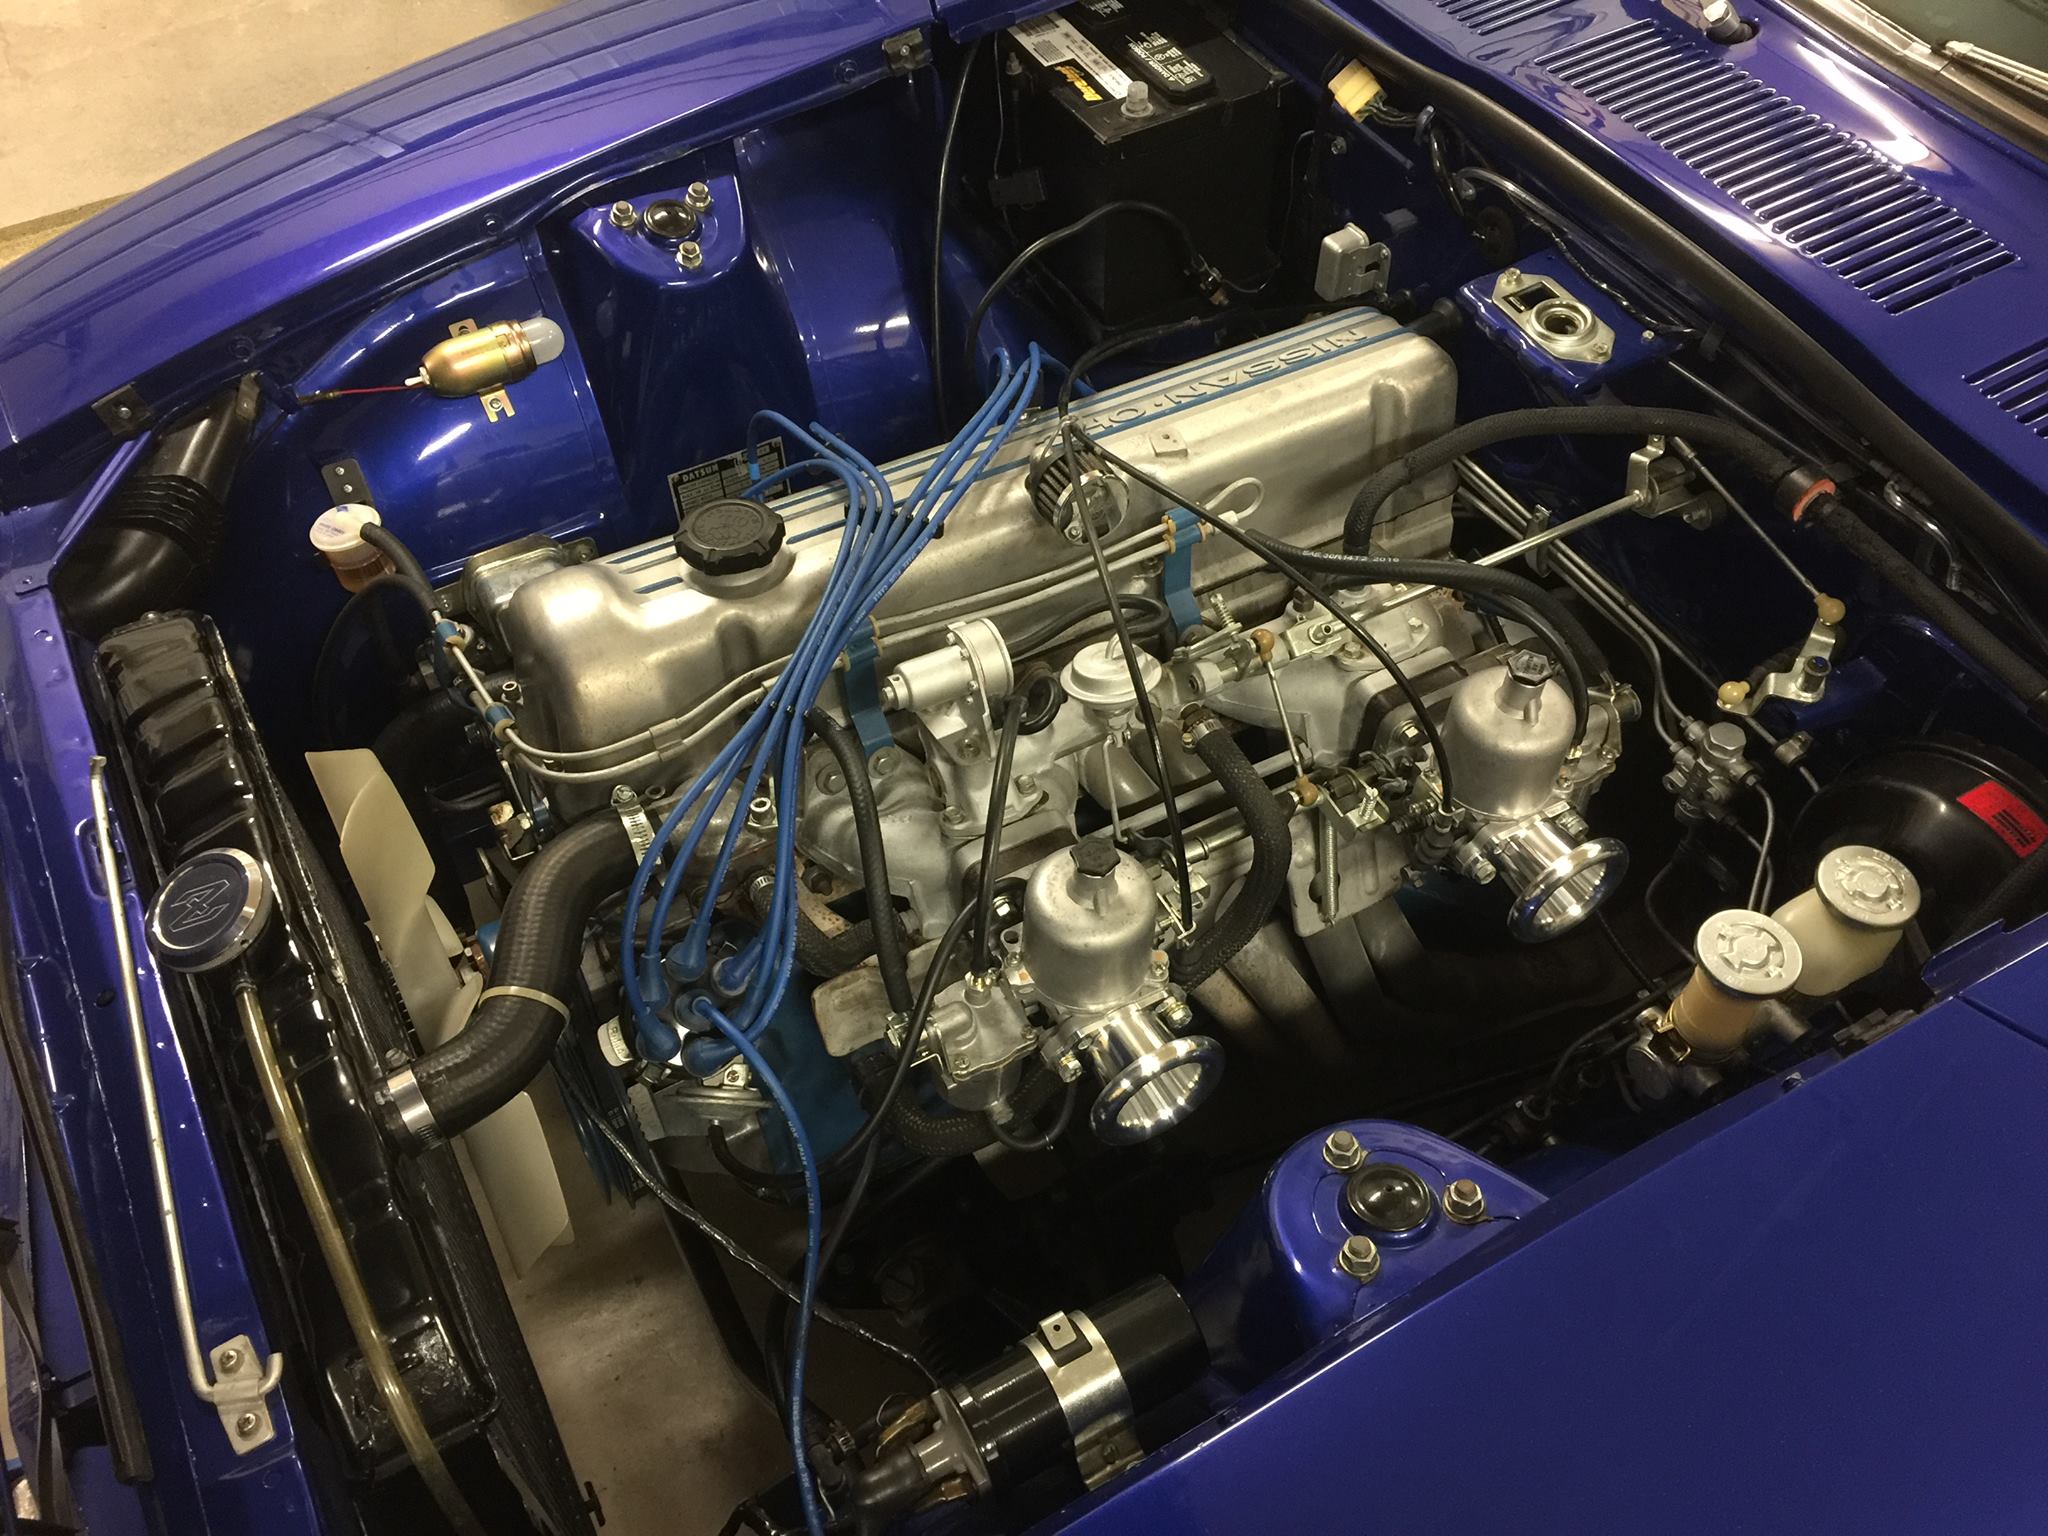
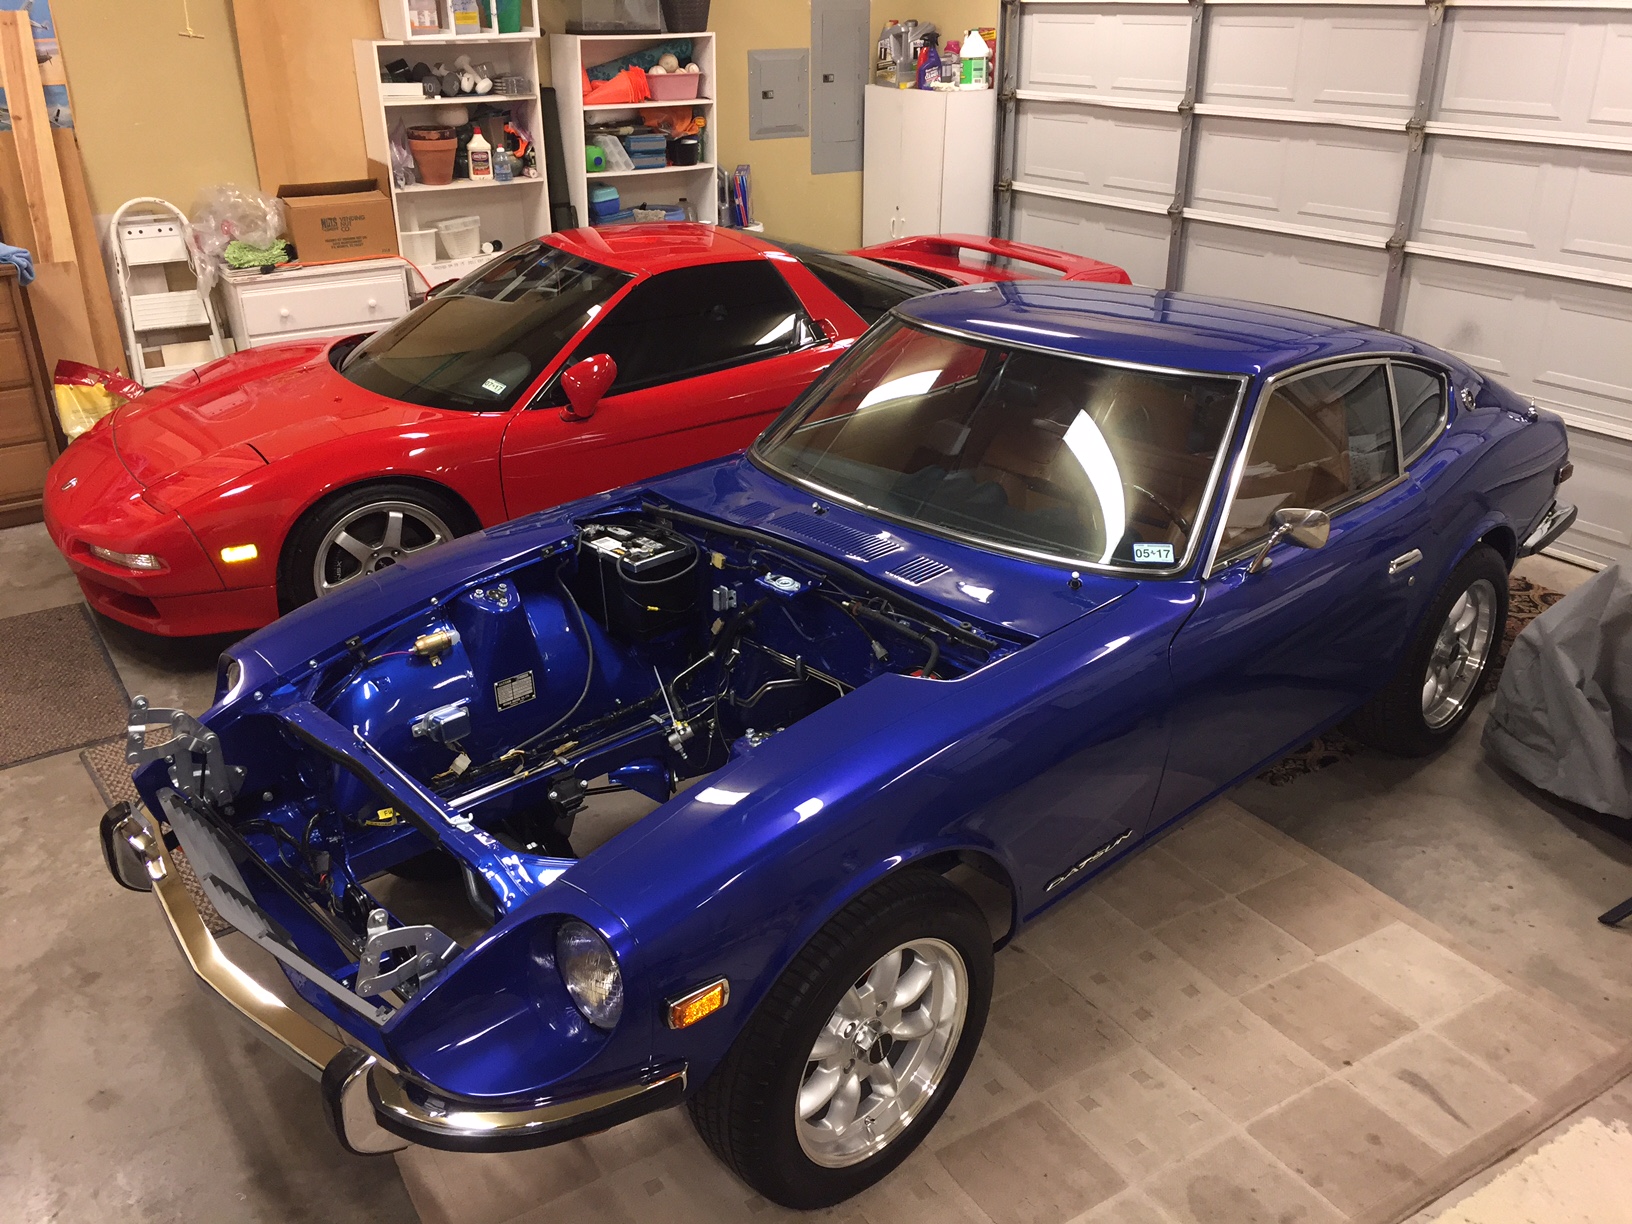
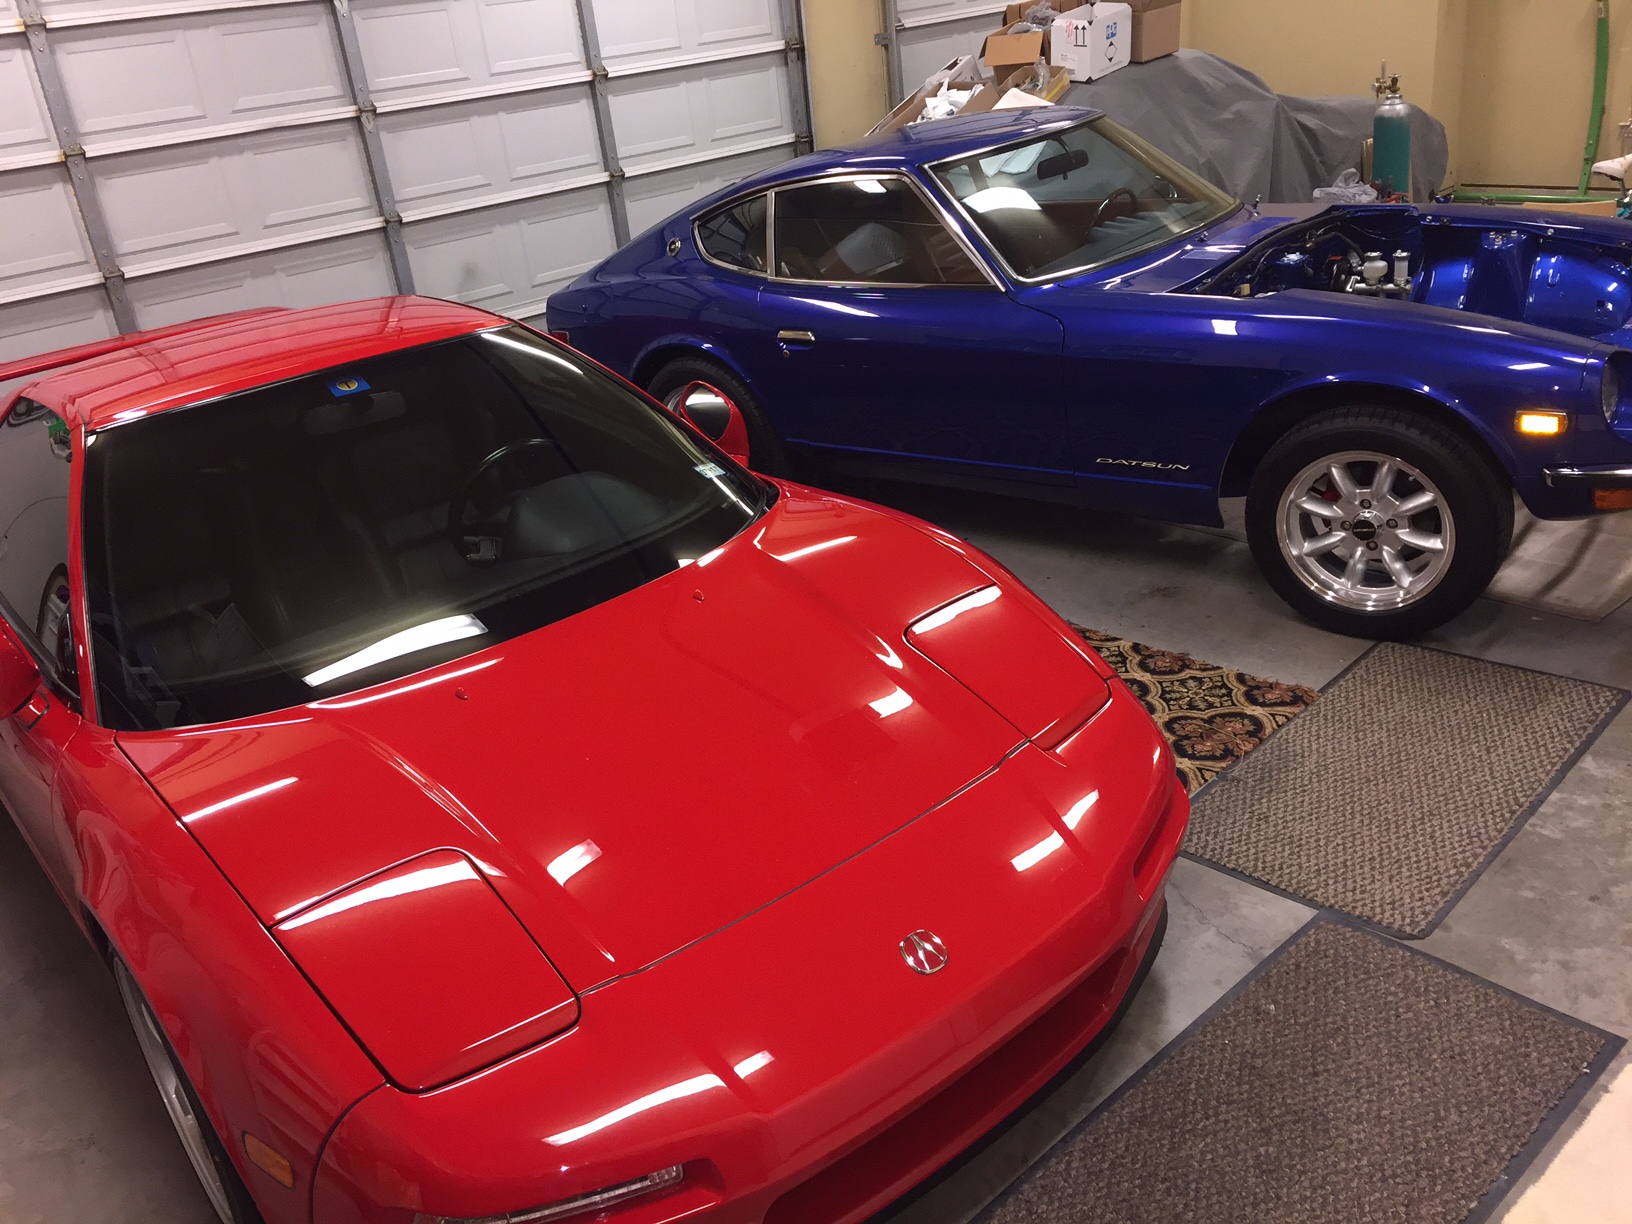
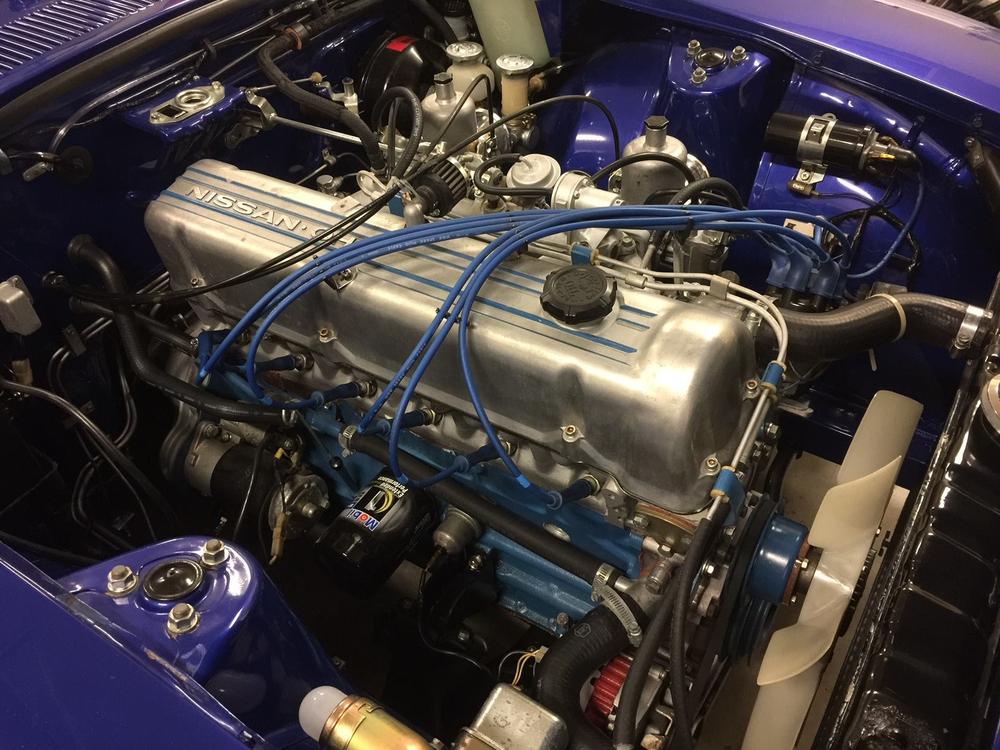
 Thanks! Here's a few pics of how it was until a few months ago. You don't know it, but I think we have at least a couple things in common. I decided to go with a stage 4 STD motor with Eiji at DSI. It's all finished now and sitting in his shop. But we're waiting on a crate from Japan full of SS exhaust goodies, and for a hot-off-the-press Jenvey manifold for their ITB's. I decided to really clean up the engine bay while I'm waiting for all the excitement to be ready. Compression ratio is 11.4:1, with LD28 and all his head and block work. I see that you just got a motor together with him as well. I was watching your recent thread with interest, learning what I could about various related. I see too that you appreciate the NSX
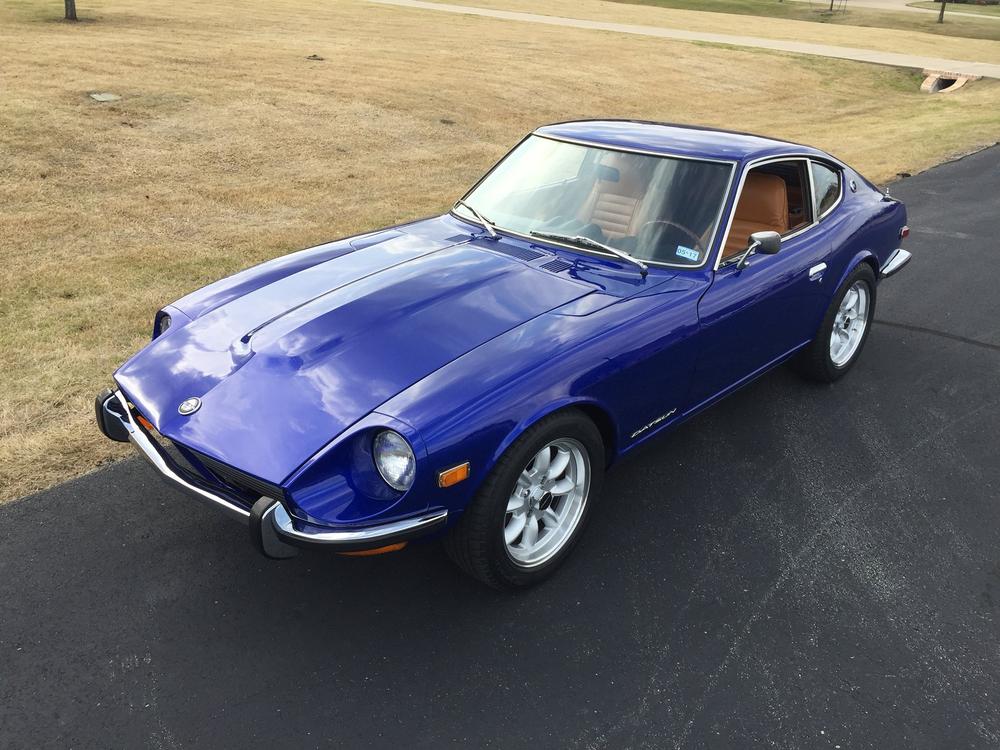


 1 point
 -
 Those look great but I admit its a little disappointing that they required so much effort to install them. I would have thought they would have original lines and would have made a pattern then sold them accordingly. I was planning to go with Classic Tube's steel version and have them plated. Im not sure I would have the patience or the skills necessary to do that correctly. Maybe that is still the best solution providing I can find a local orthodontist to install them? :)1 point
 -
 1 point
 -
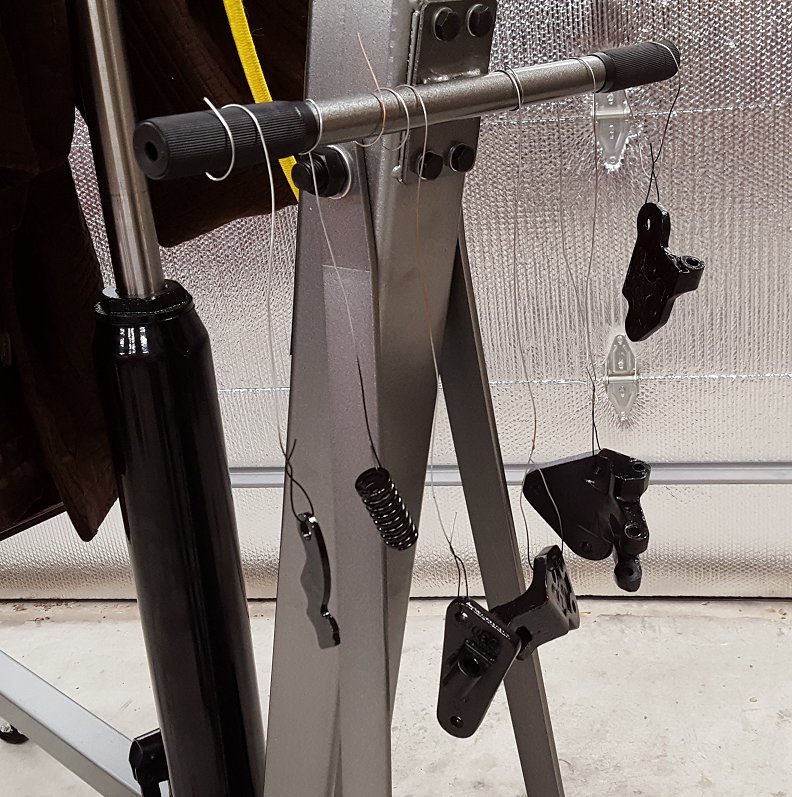
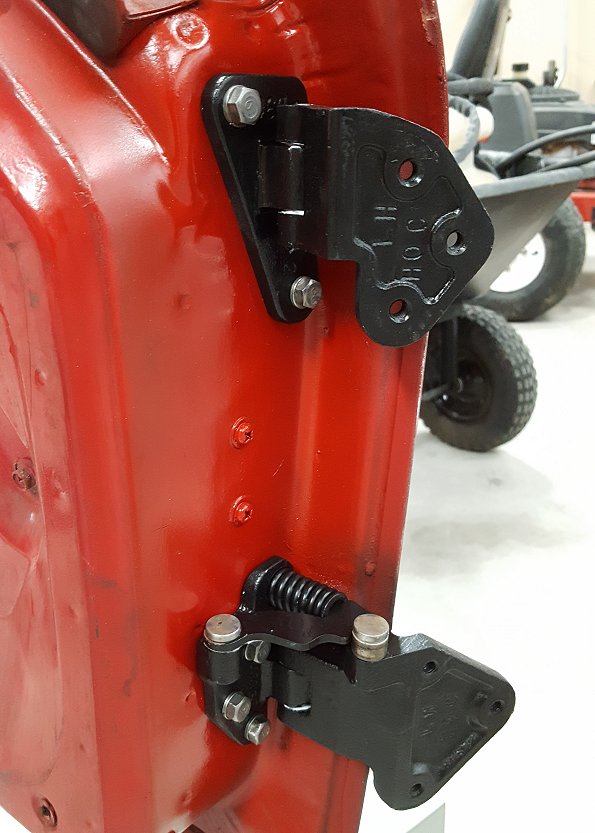
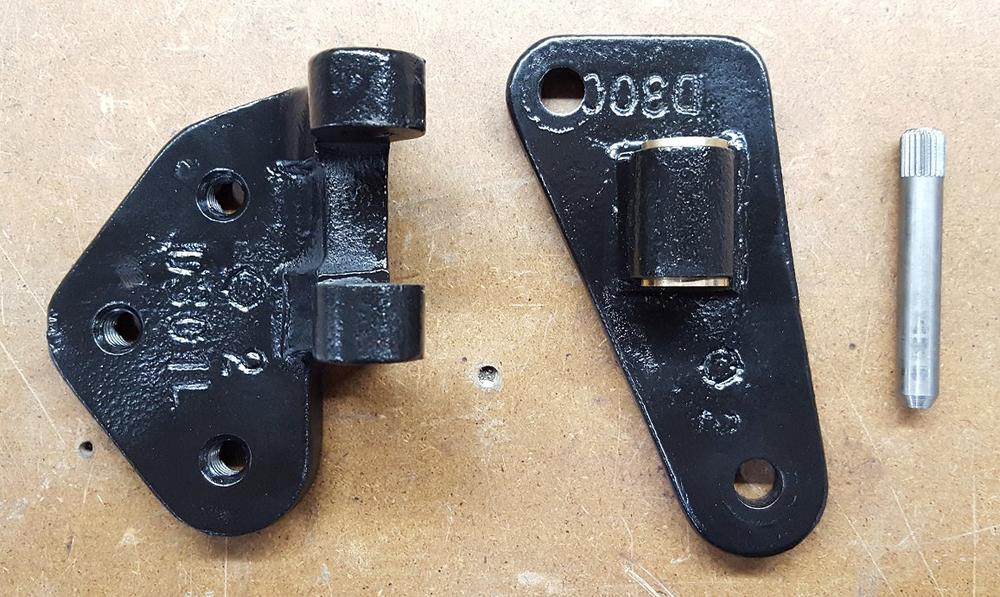
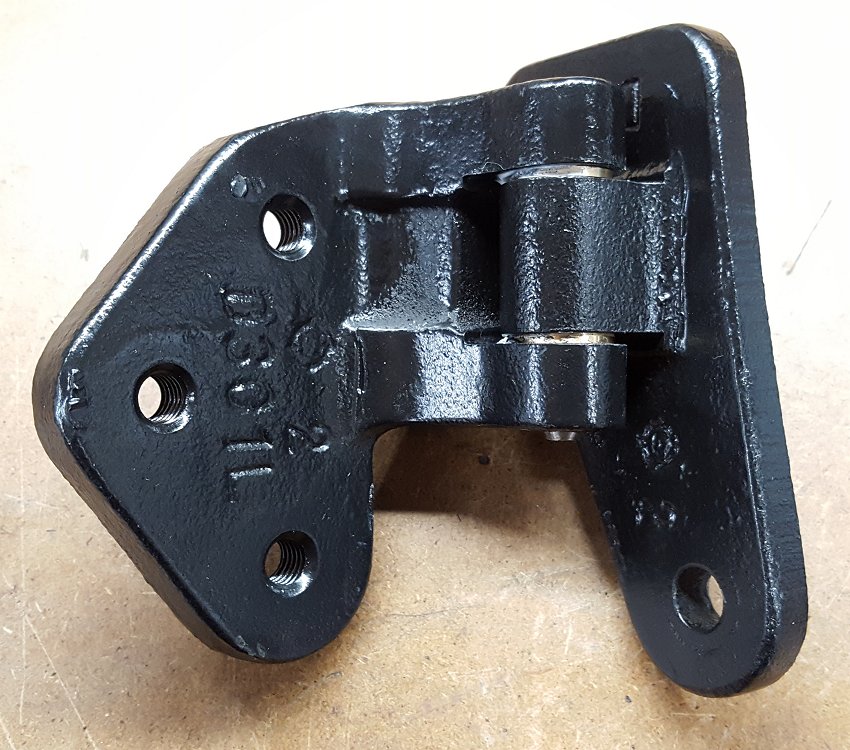
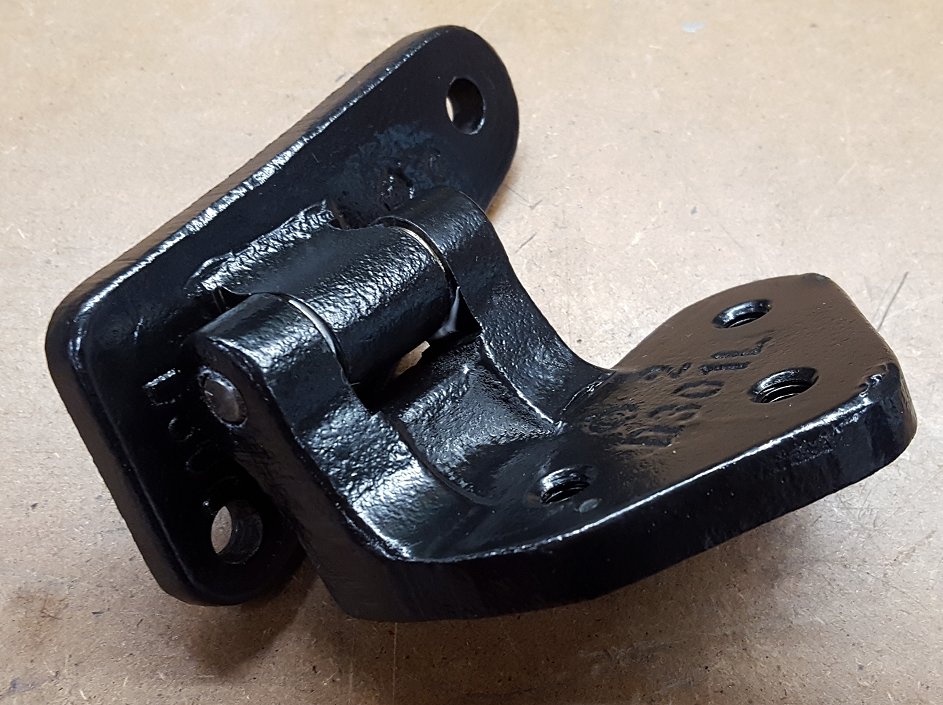
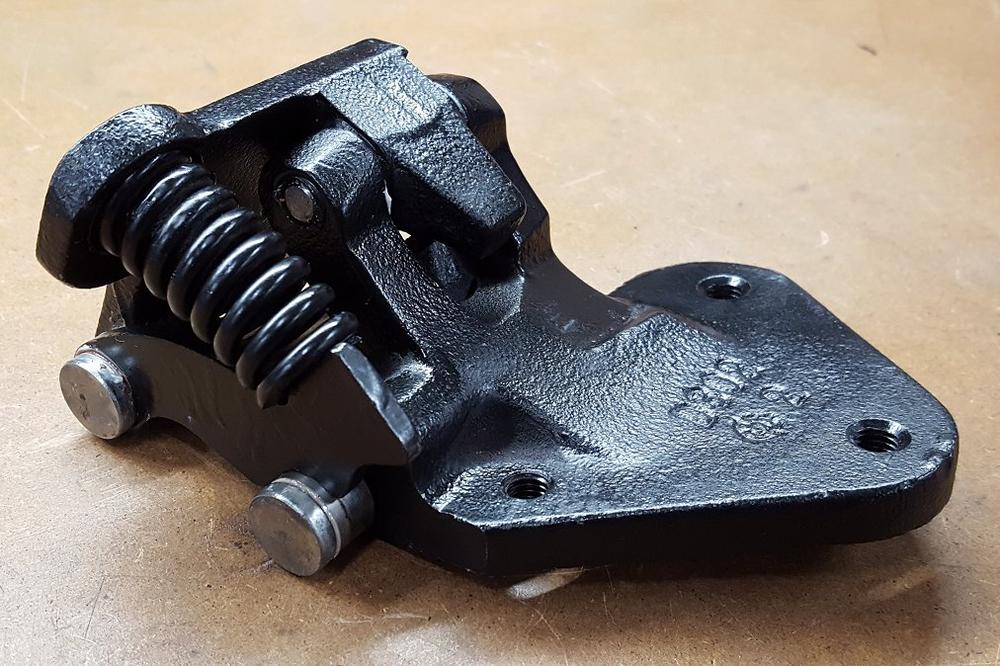
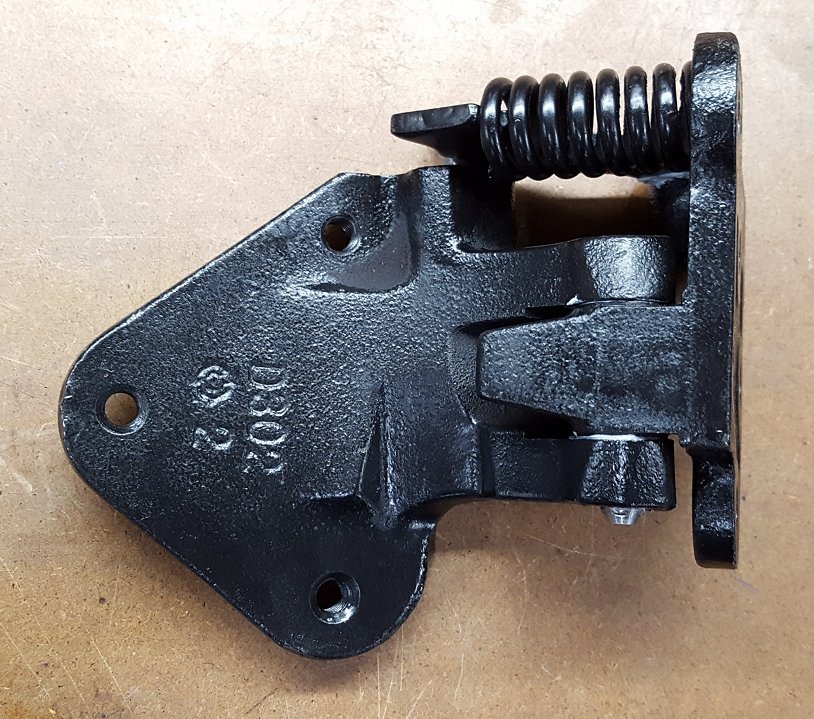
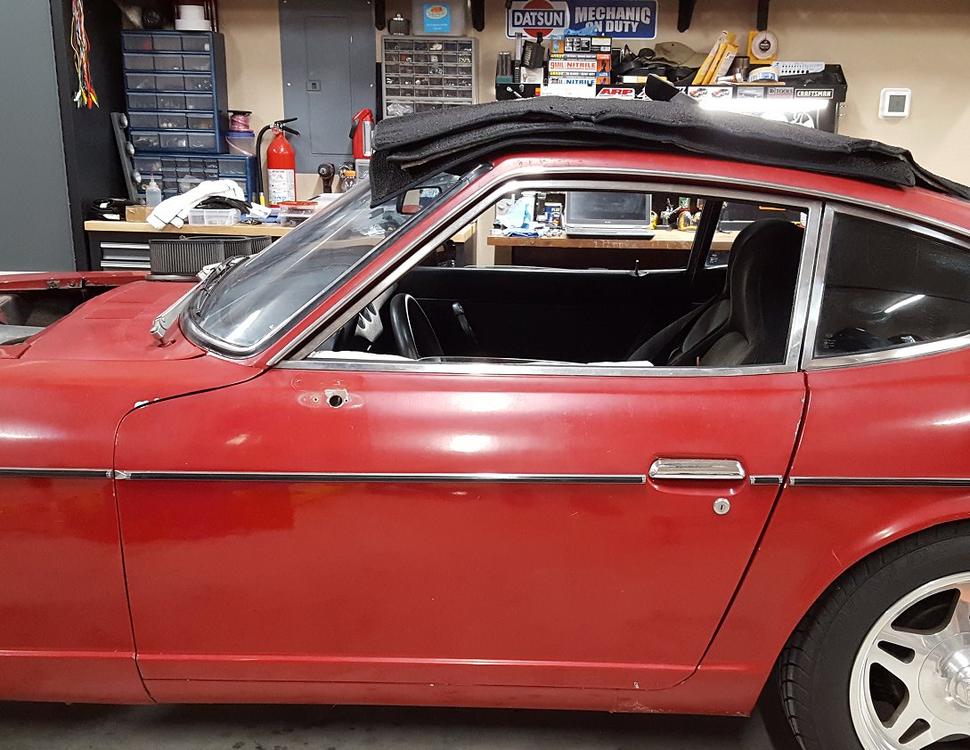
 1 pointWith all the parts wire wheeled I covered them in some Rustoleum satin black. The car is red but I didn't want to paint them red as the car may not be red all of its life so black it is. With everything cured after 7 days I started the reassembly process. The upper hinge was first. Using my bench vise I pressed in the brass bushings. They went in perfectly. Since the brass bushings were thicker than the originals I had to use the metal lips of bench vise to spread the side of the hinge a part just a little. I lubed all of the contact surfaces with lithium grease. Once I got the hinge halves together I used my 20 ton press to install the new hinge pin. The end result is nice and tight upper door hinge. The reassembly of the lower hinge was the reverse of the disassembly. The bushings in the lower hinge looked good and felt really good with the new pin so I opted to leave them. Just like the upper hinge, everything lubed up with some lithium grease. The inside of the door received some clean up and fresh red paint. The fasteners were treated to some wire wheel action to clean them up as well. With the help of my wife we got the door with minimal damage to the paint. I had taped a thick towel to the top of the door but still managed to pull some paint off. The end result is a door that functions like new again. Seeing that there are no new hinges to be had and there is a service on eBay charging $100 - $150 to rebuild each hinge, the is a lot of value to be gained by doing this yourself. It does take an investment in some specialty tools like the HF press but it will pay for itself over and over just as mine has over the course of many projects. I welcome any questions or feedback.
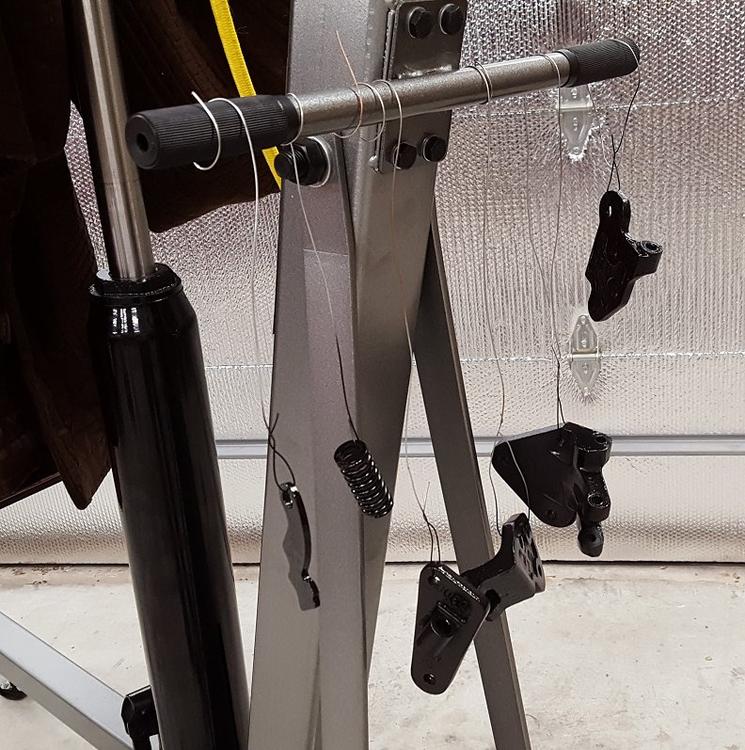

 1 point