Leaderboard
-

drpchuynh
Free Member5Points90Posts -

scotta
Free Member3Points90Posts -


siteunseen
Free Member1Points14,903Posts -

NVZEE2
 Subscriber
 1Points3Posts
Popular Content
Showing content with the highest reputation on 05/12/2018 in all areas
-
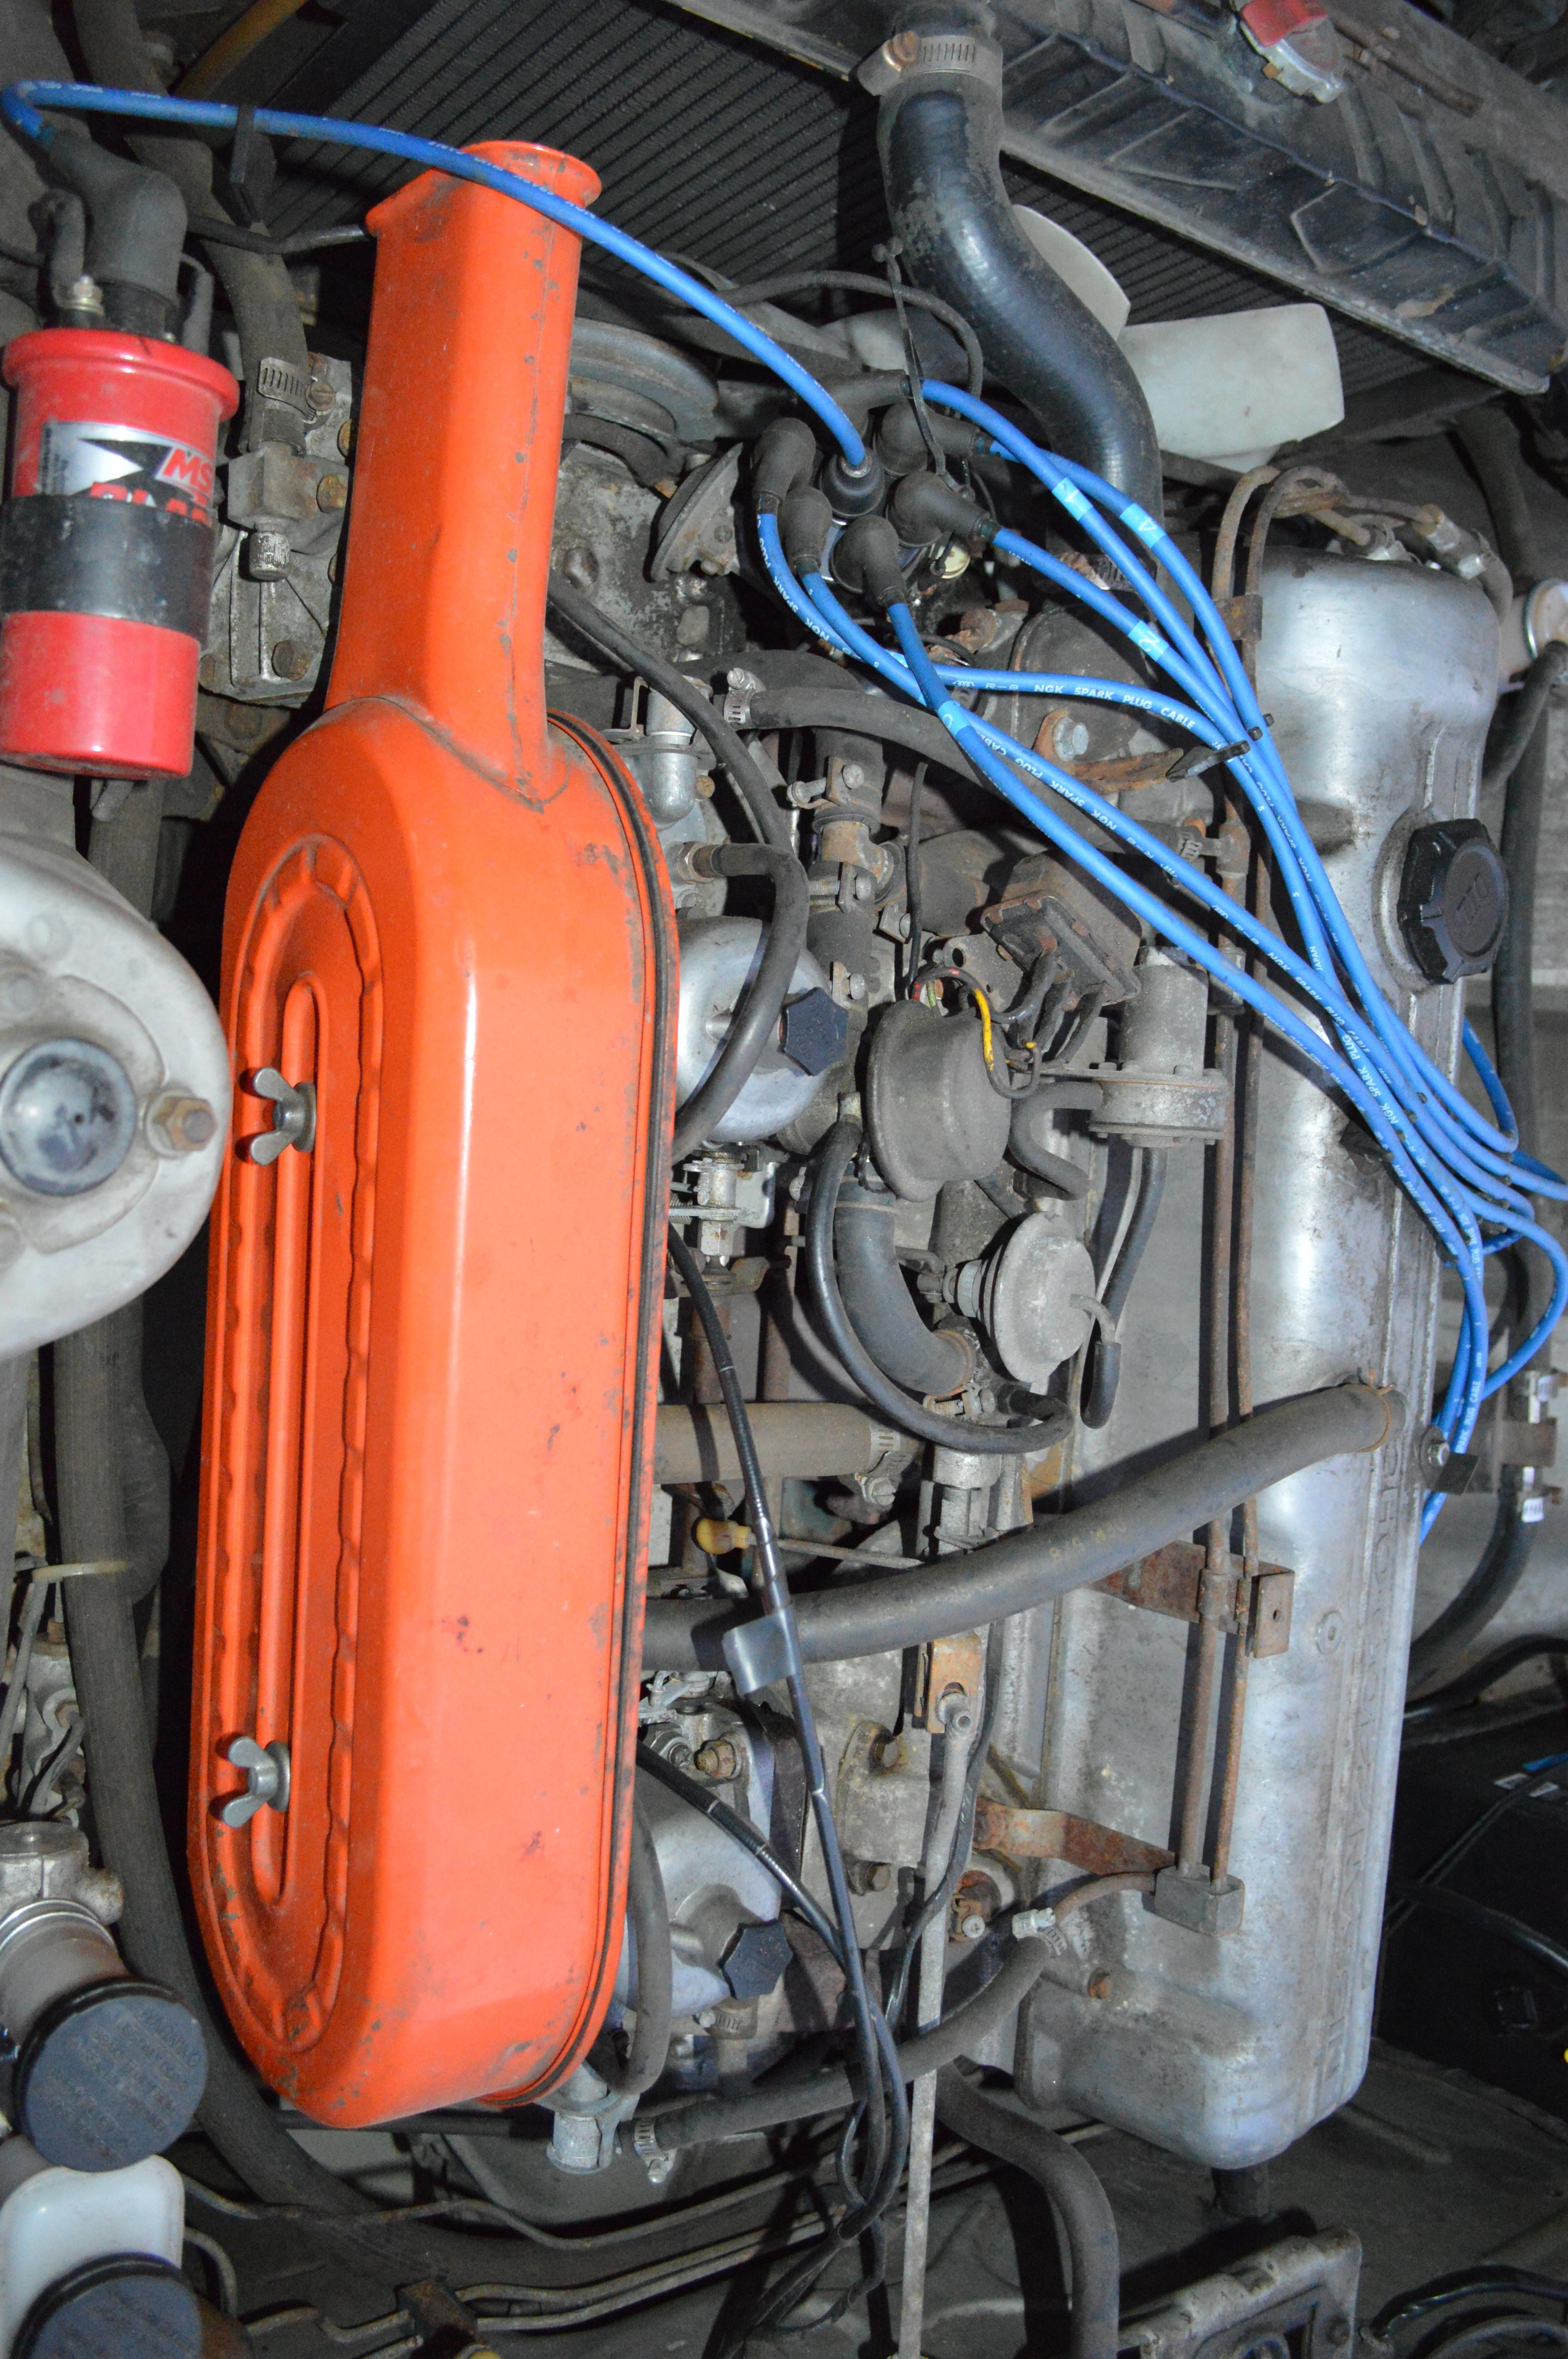
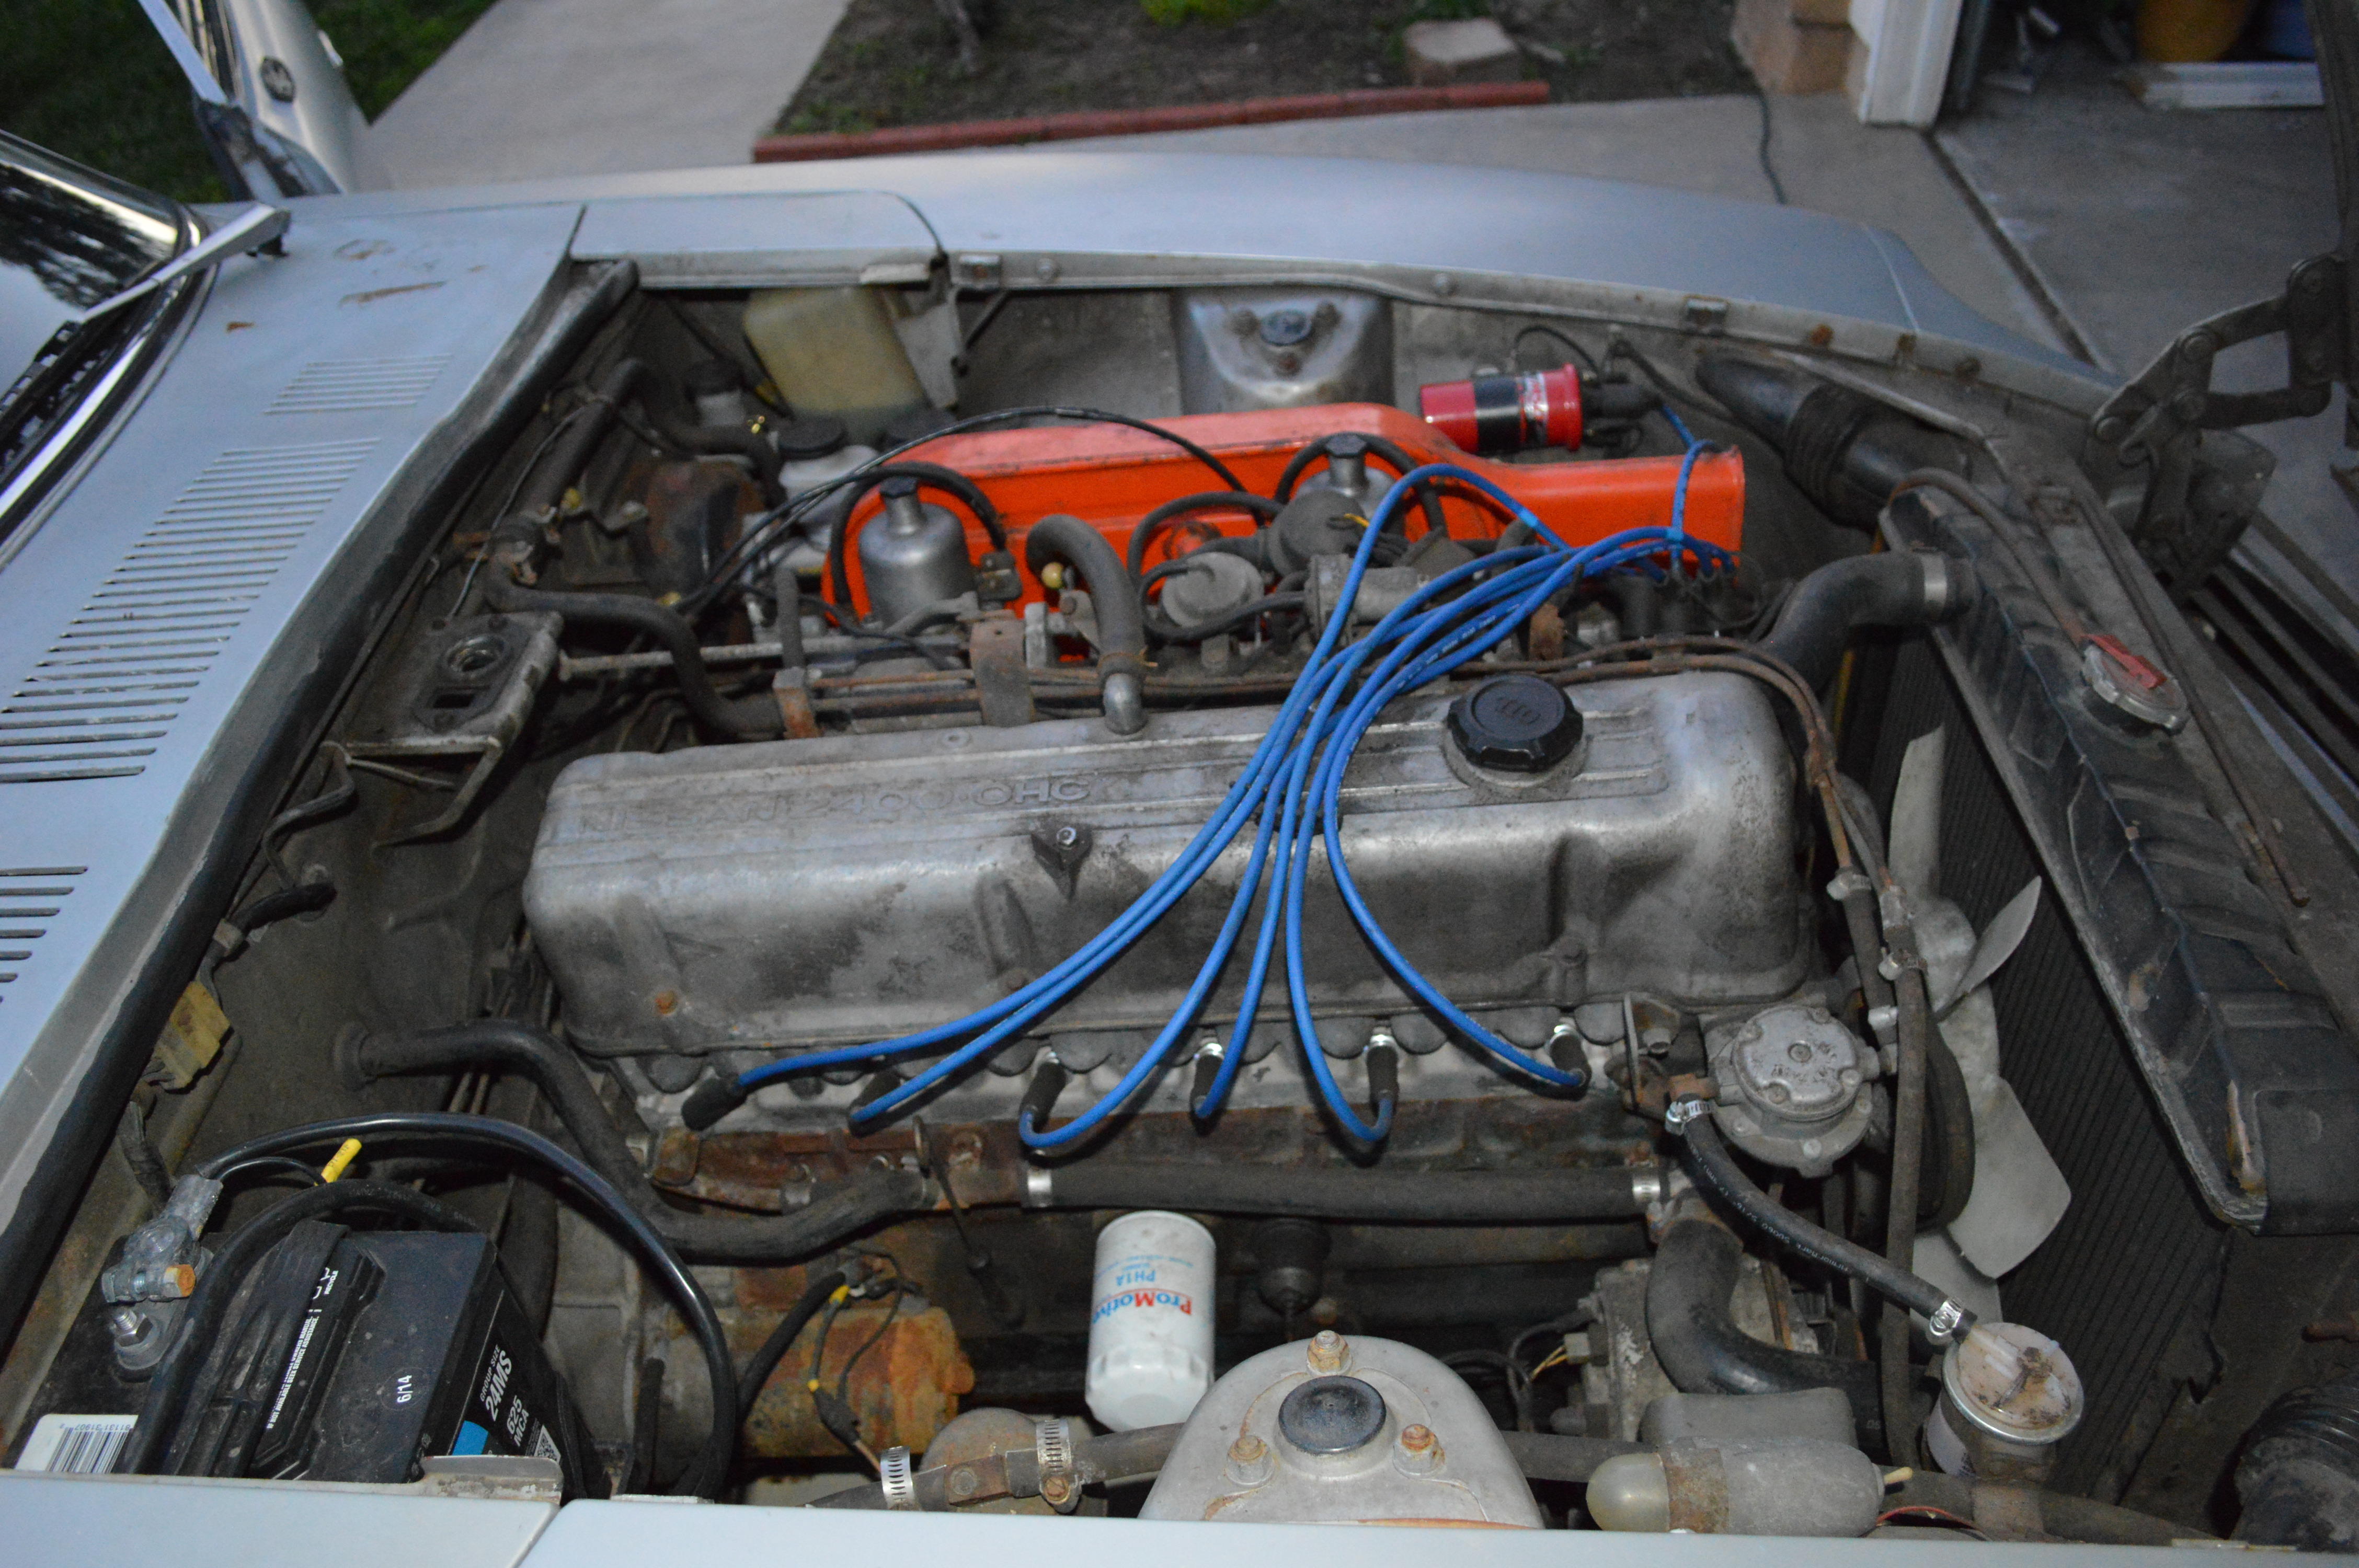
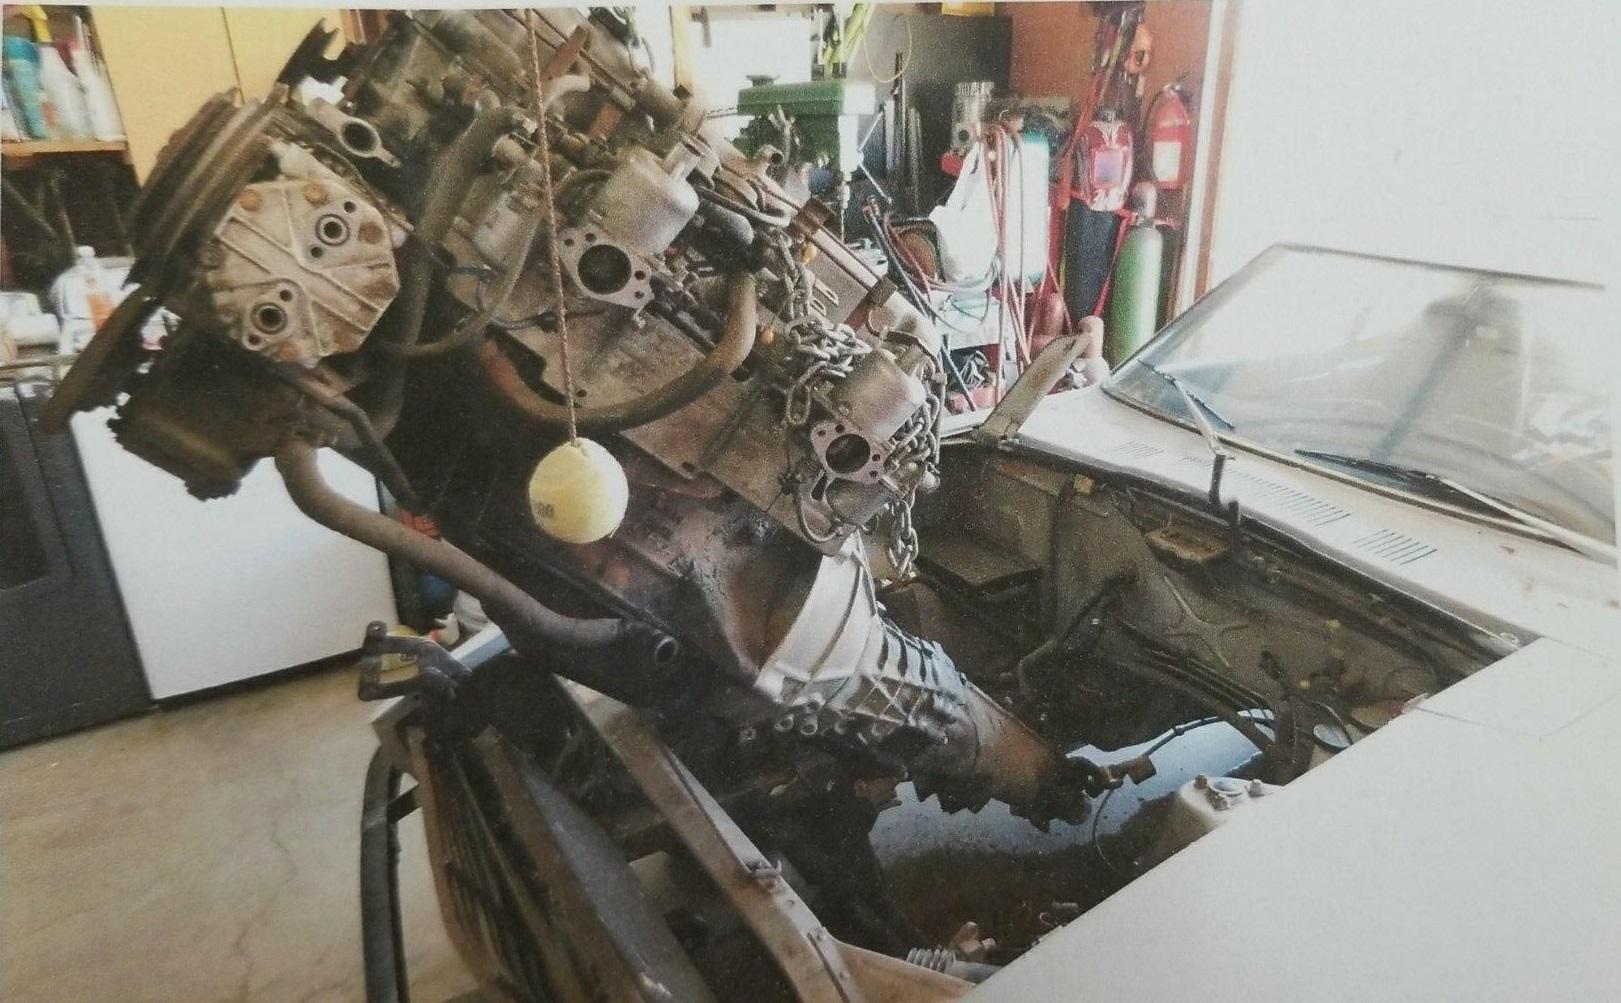
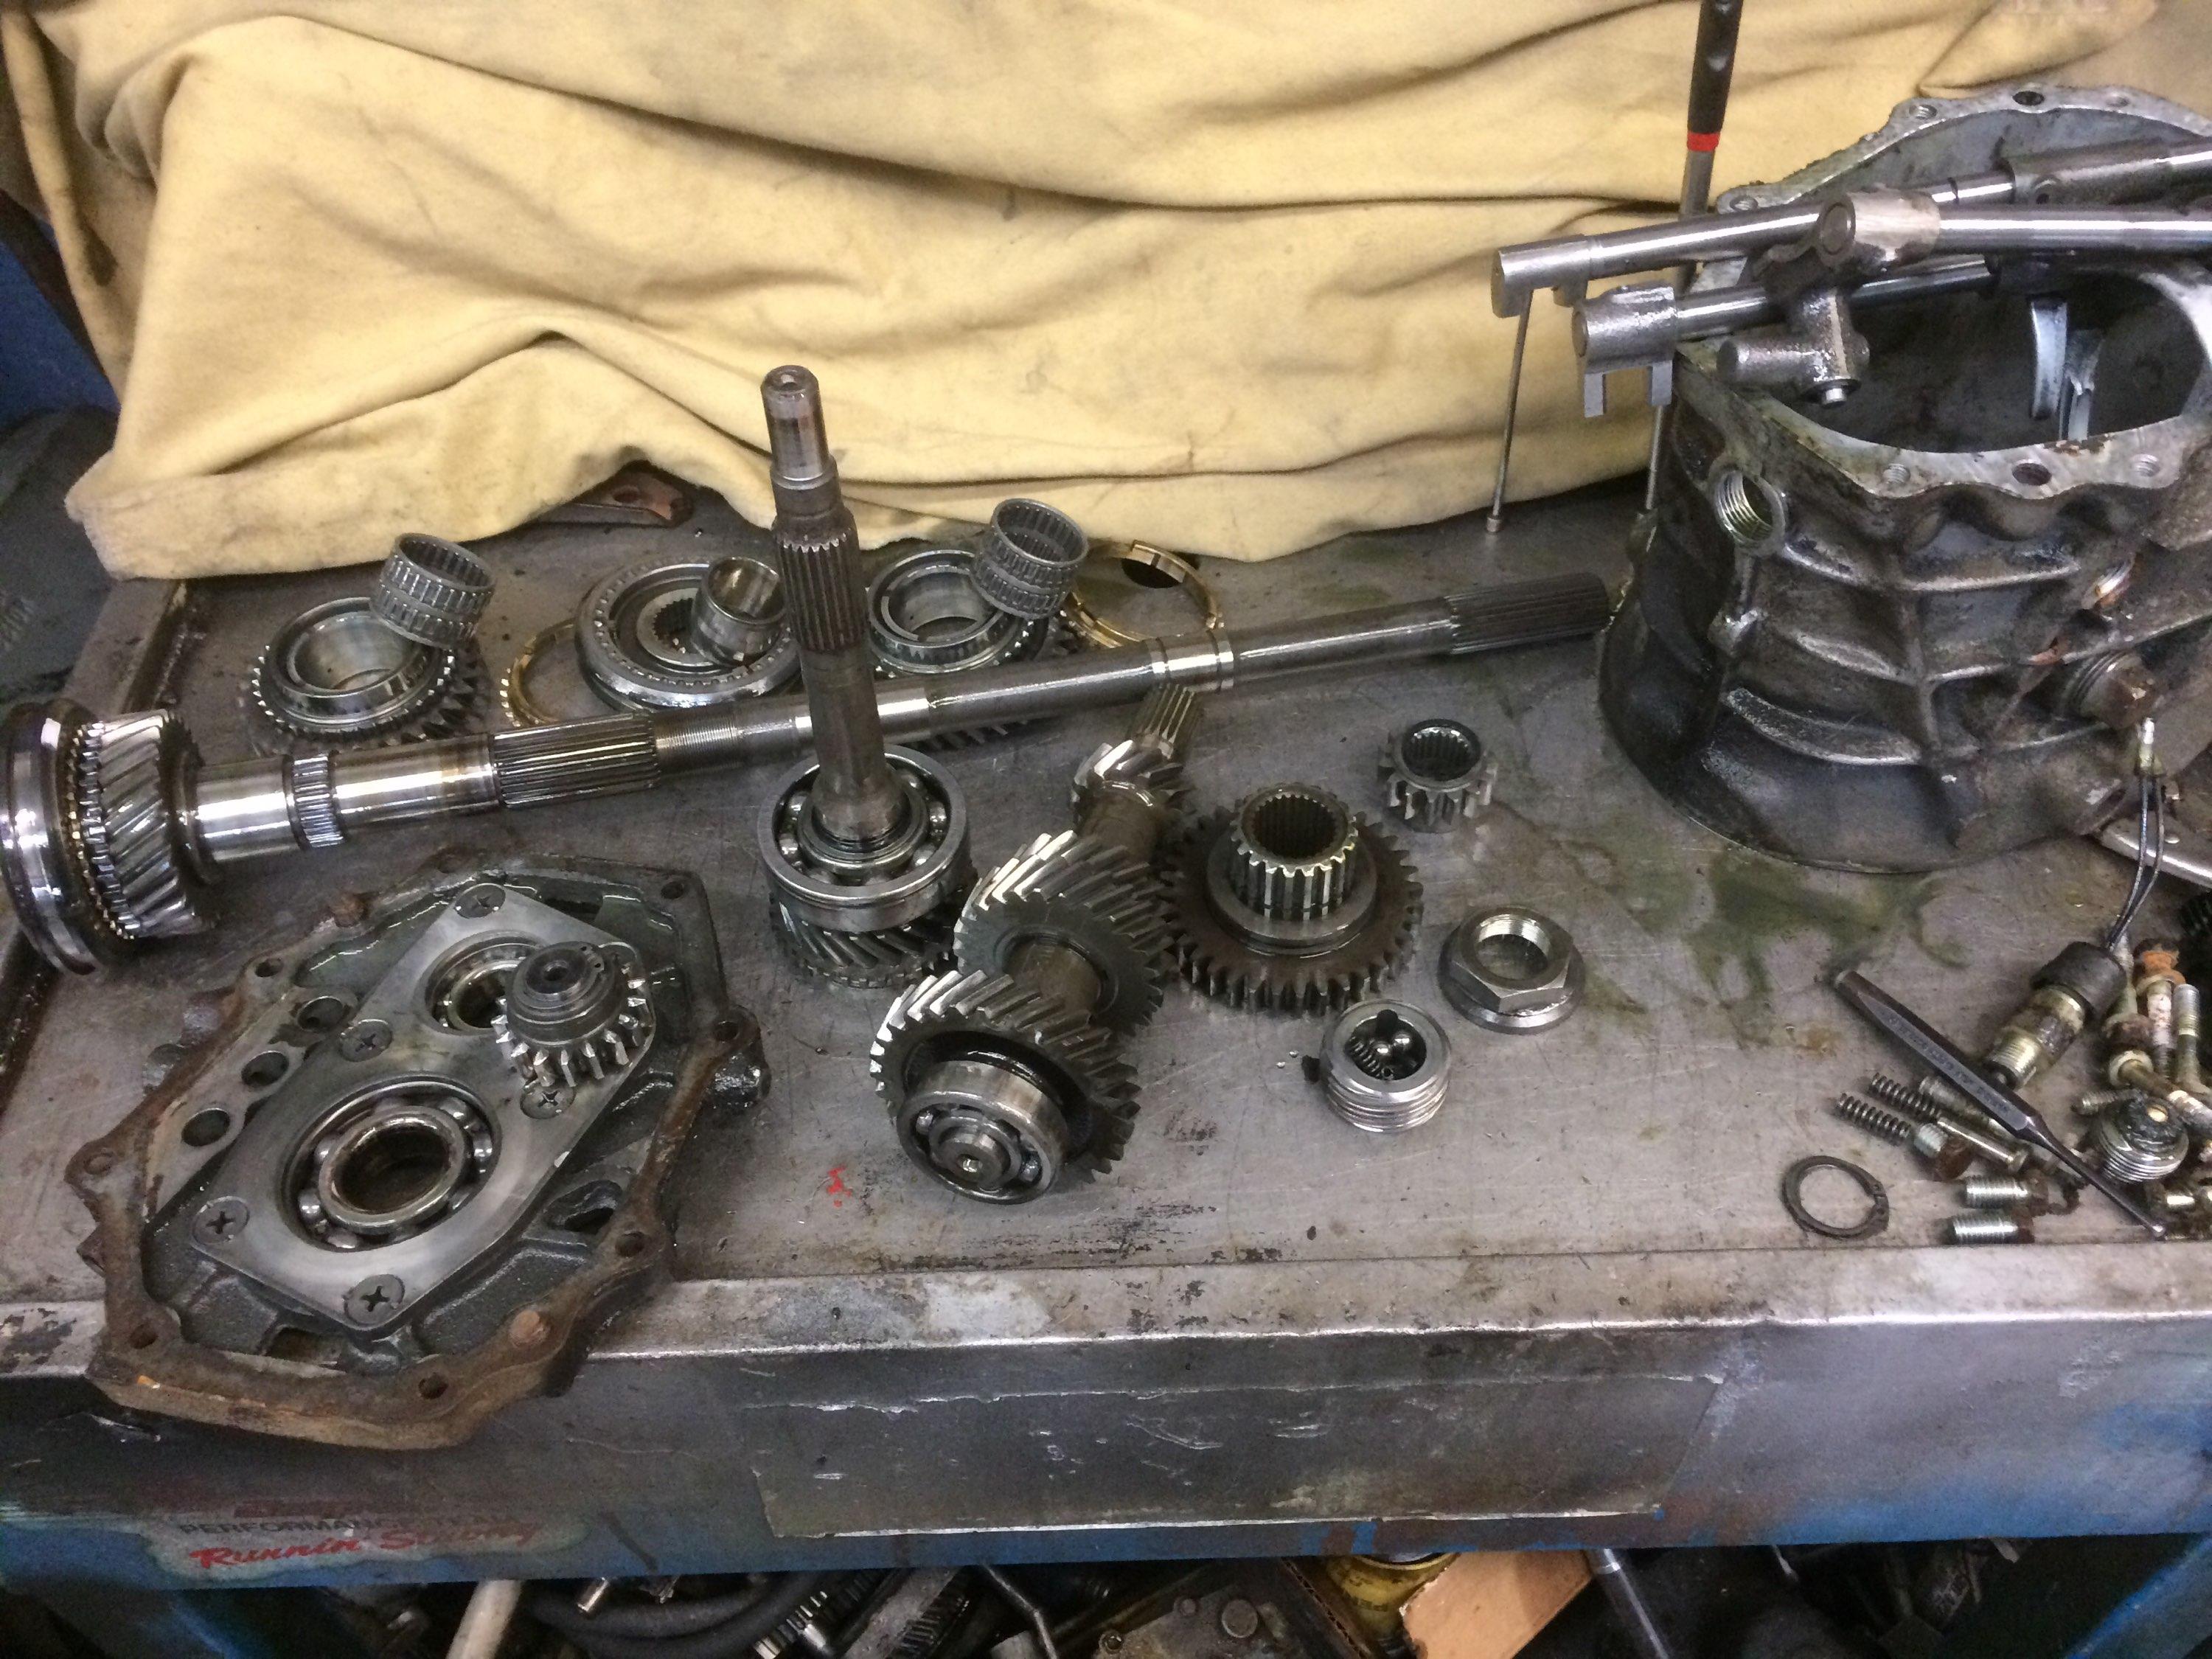
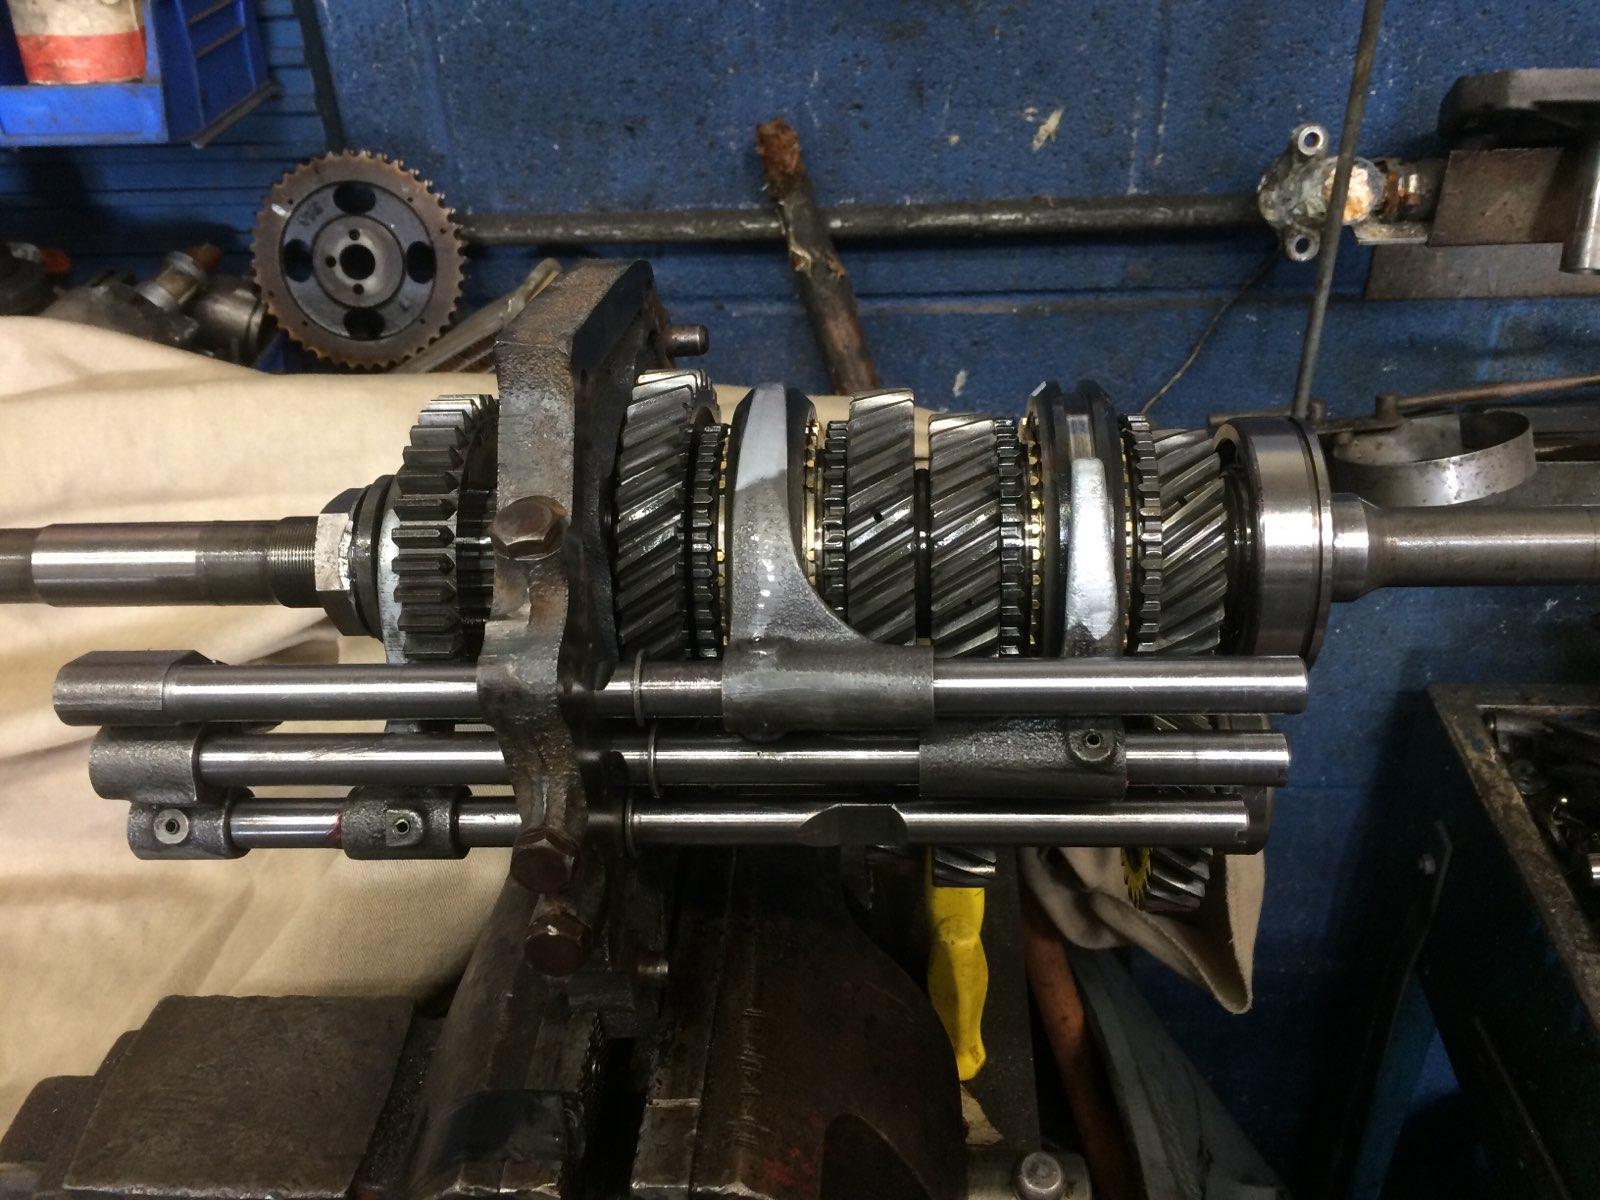
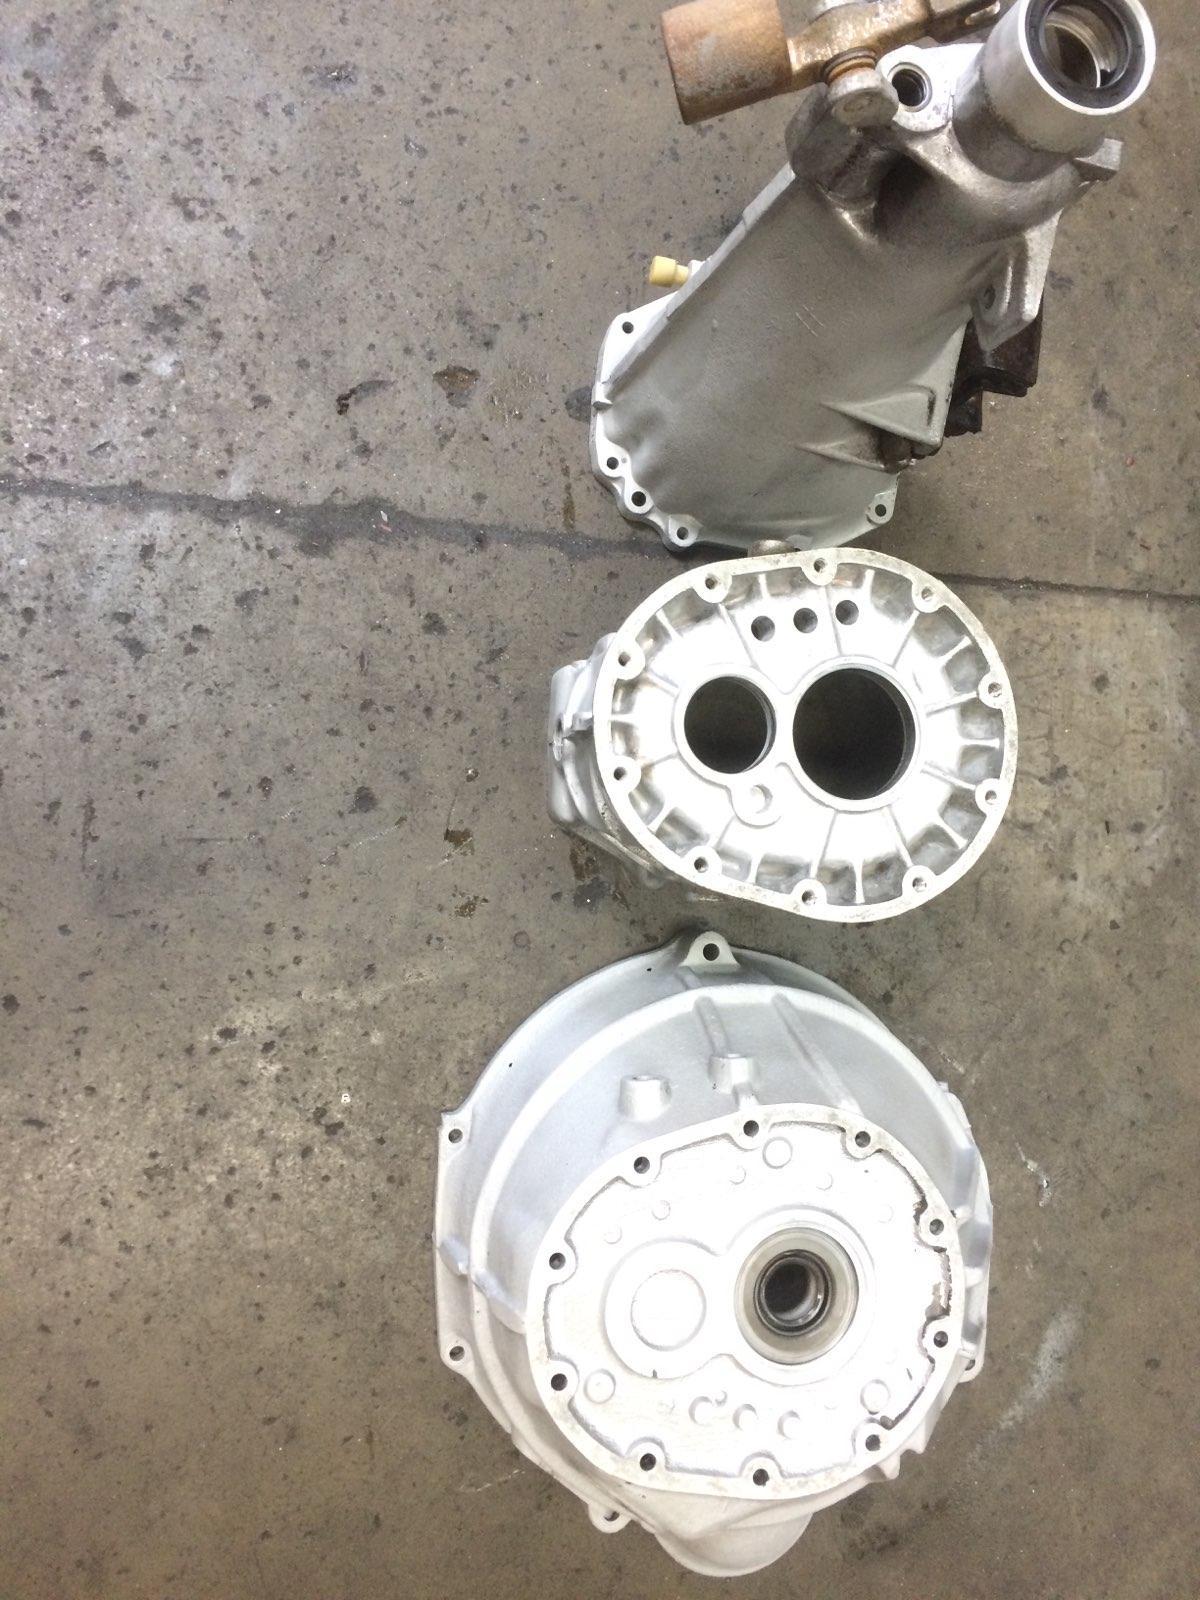
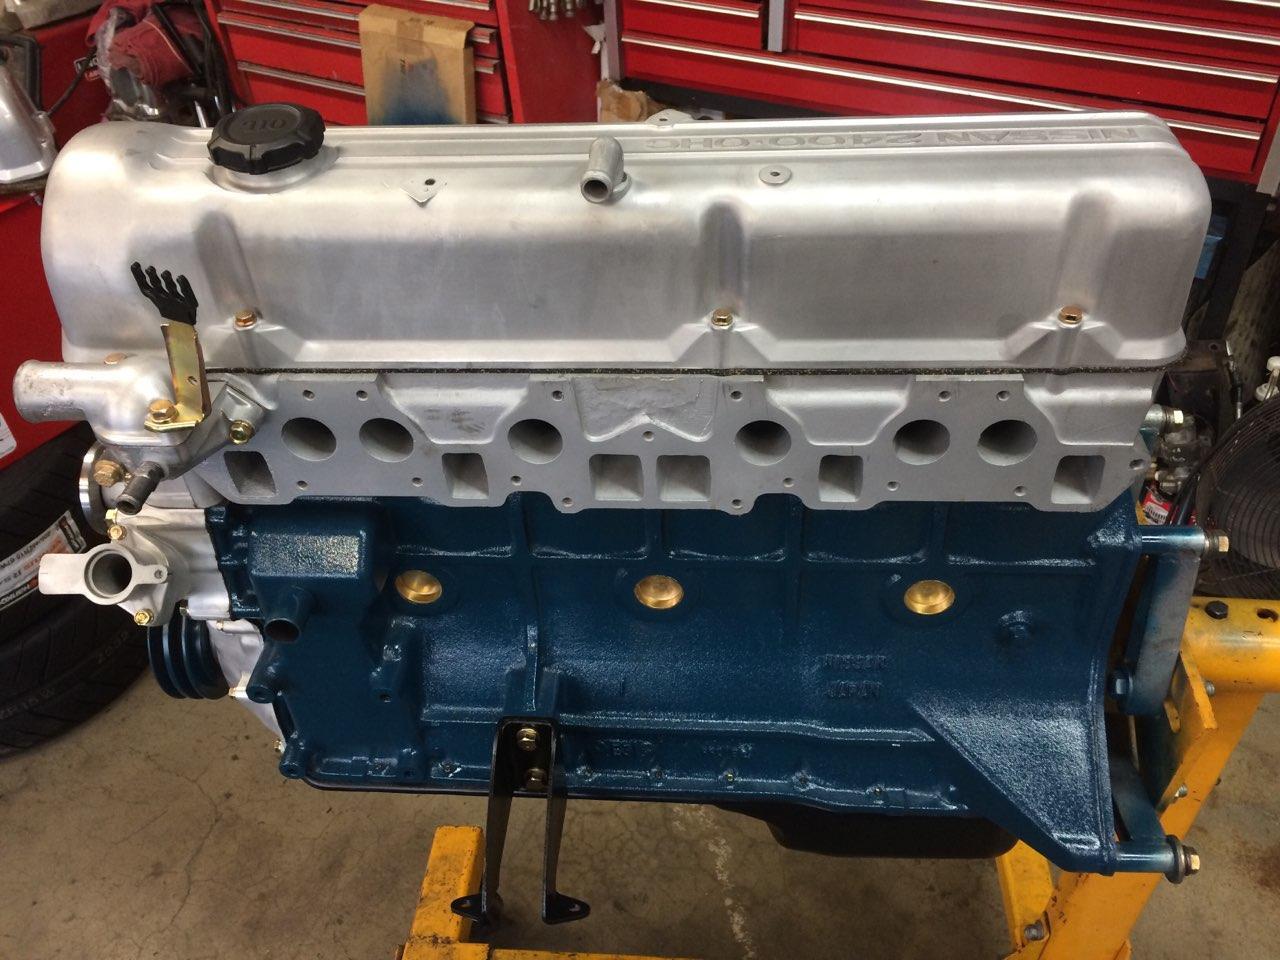
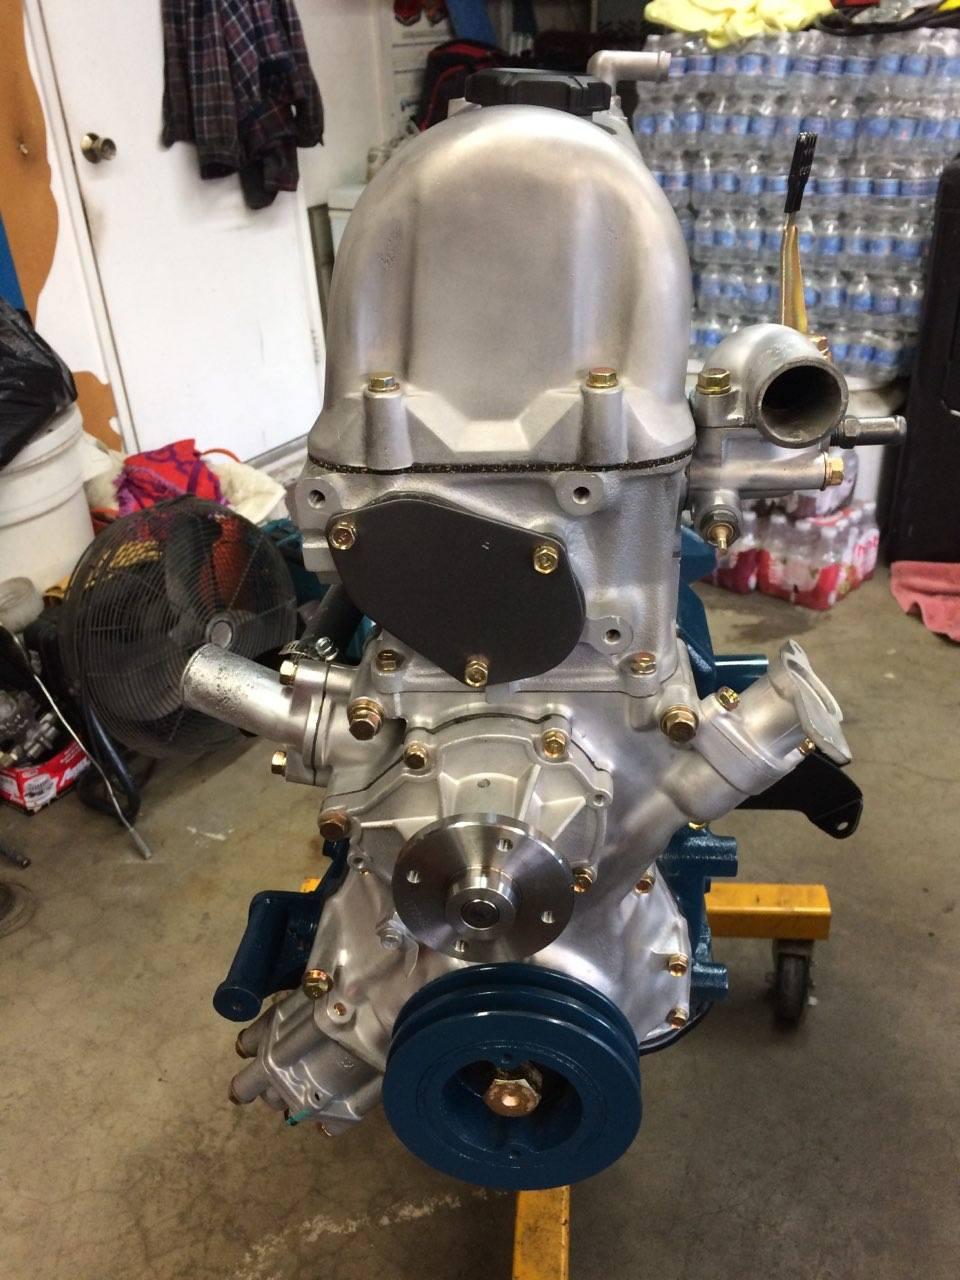
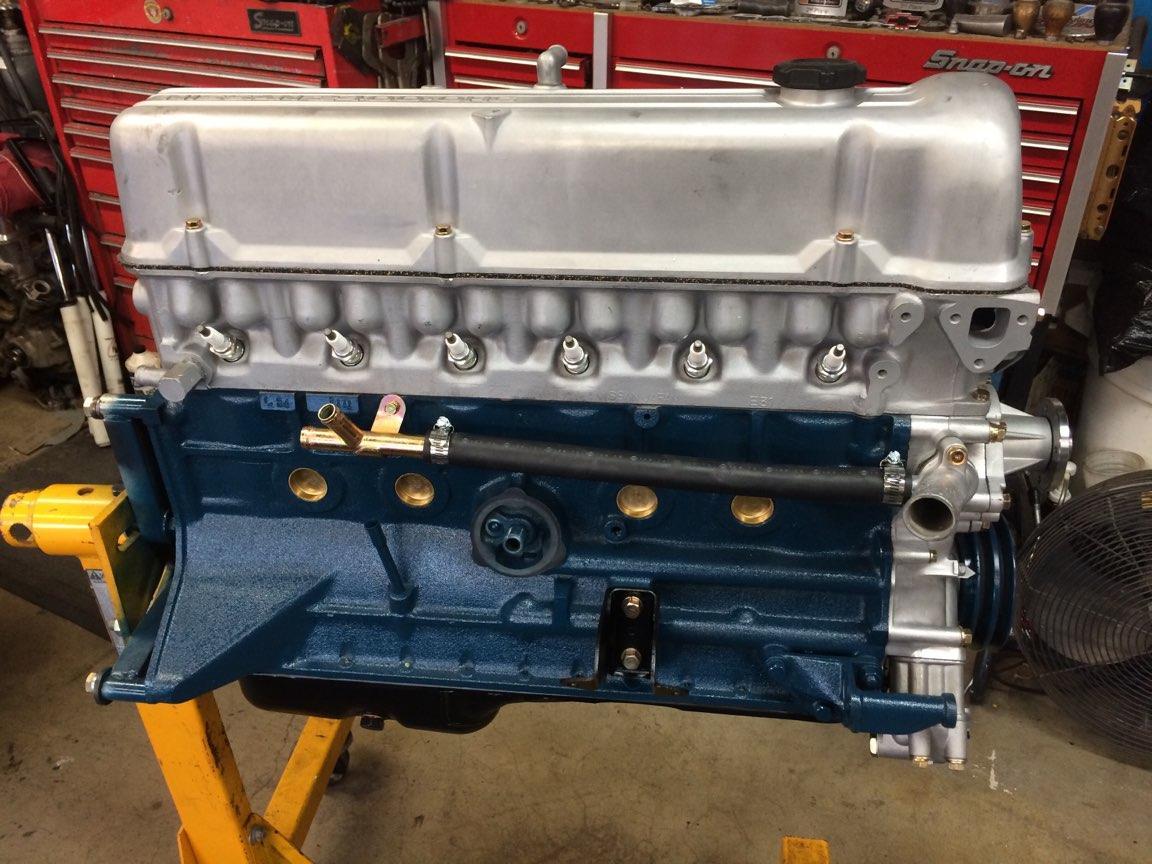
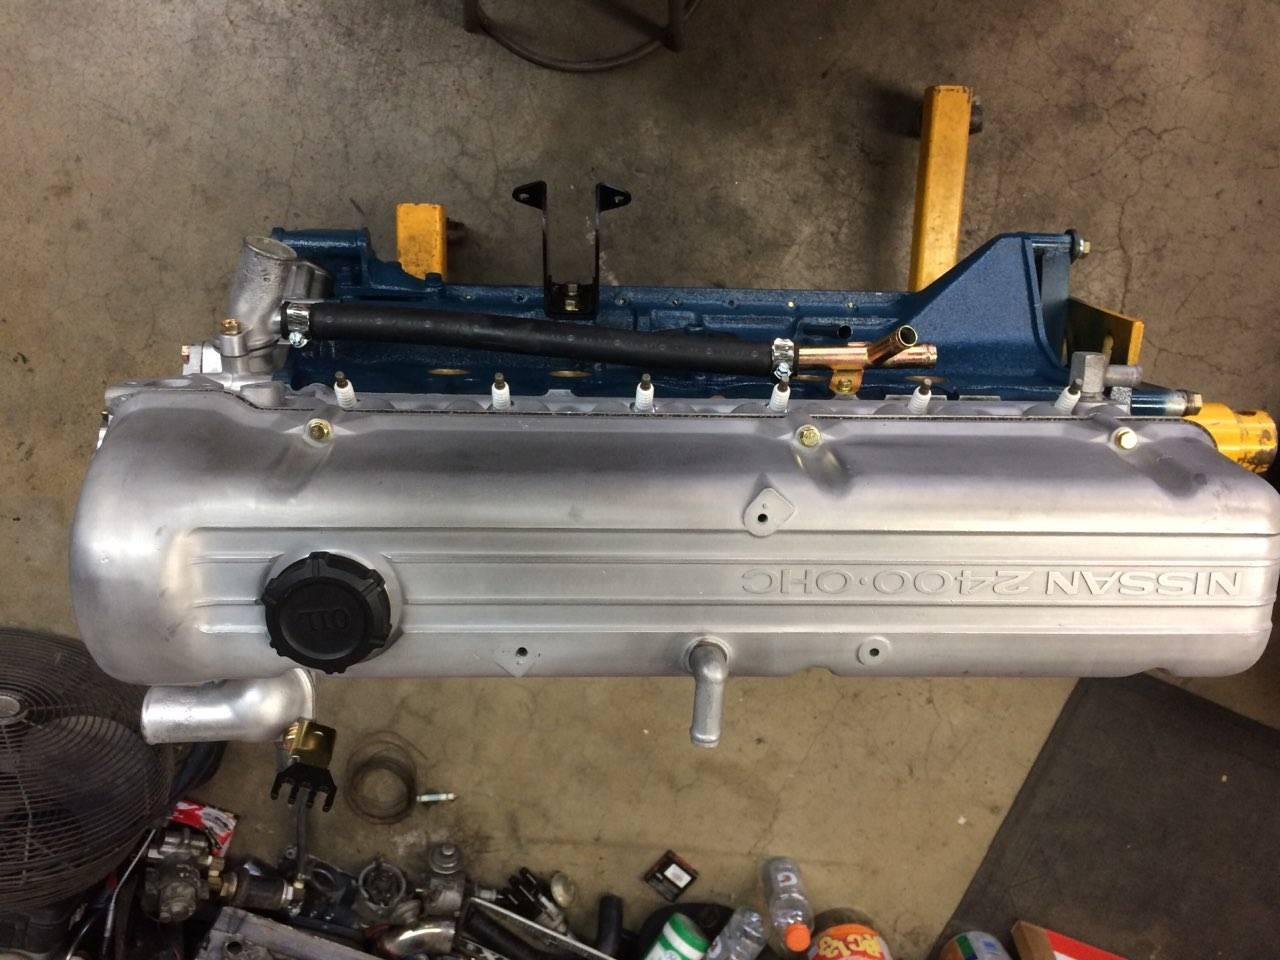
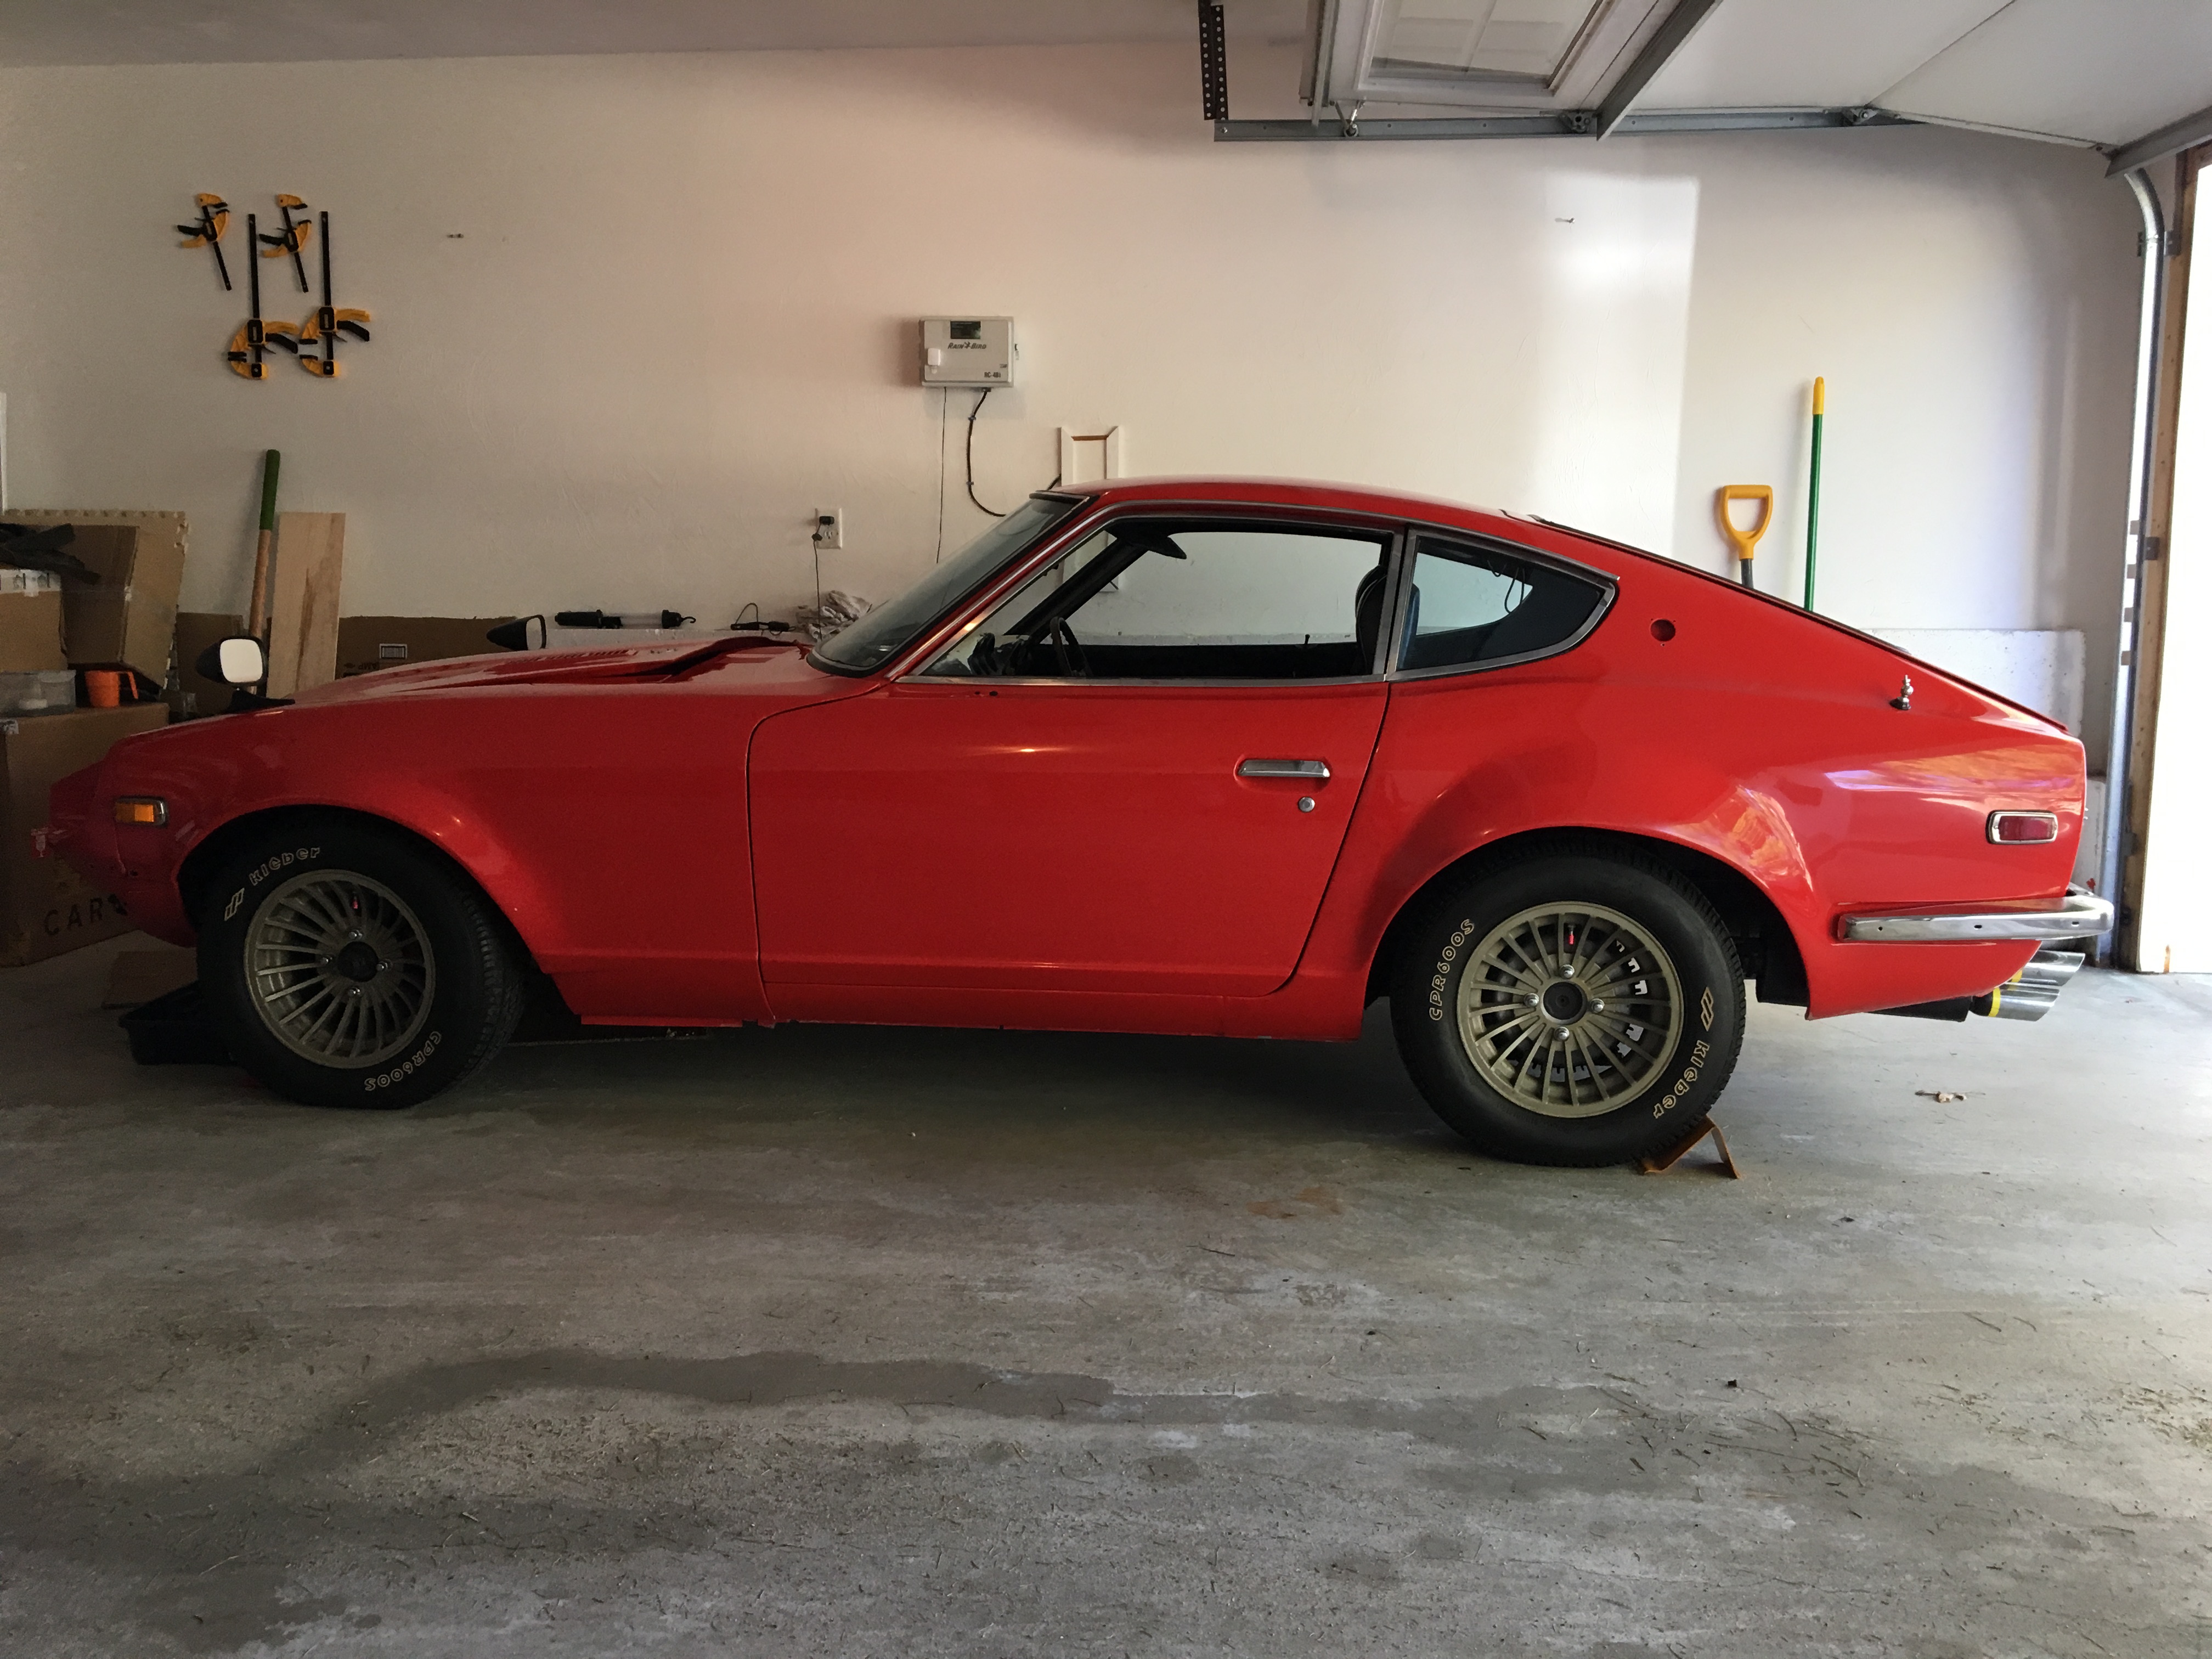
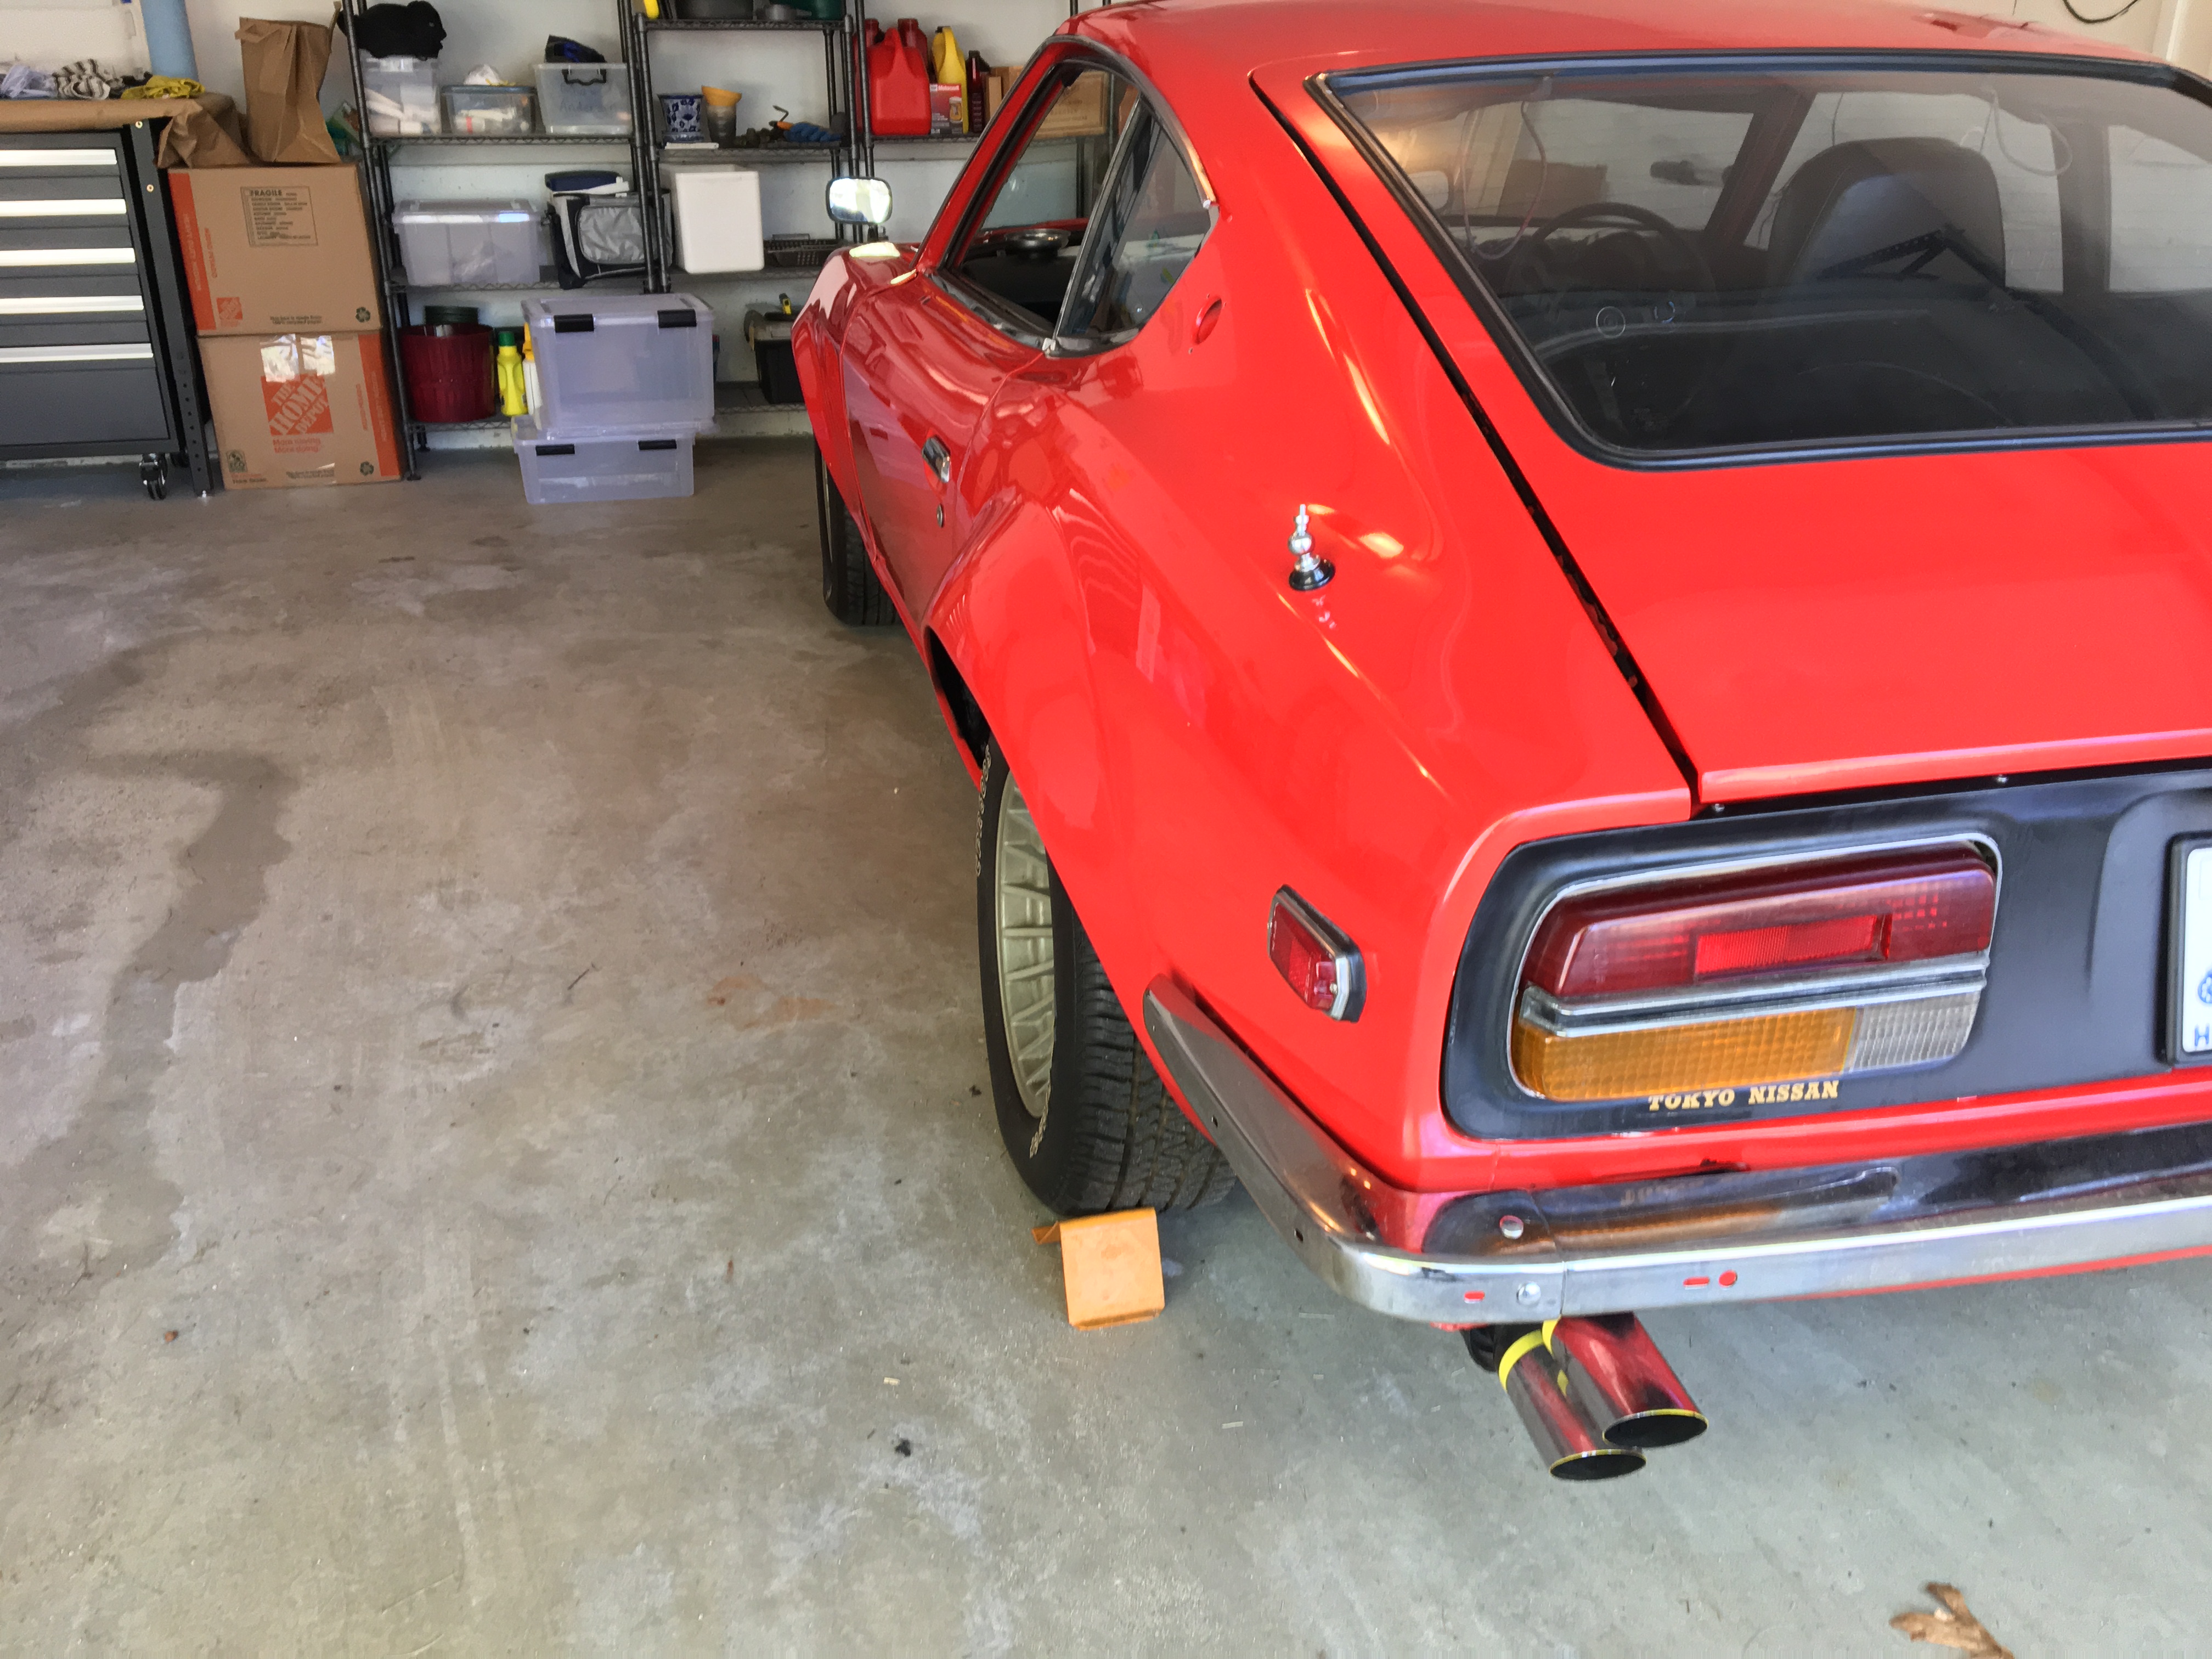
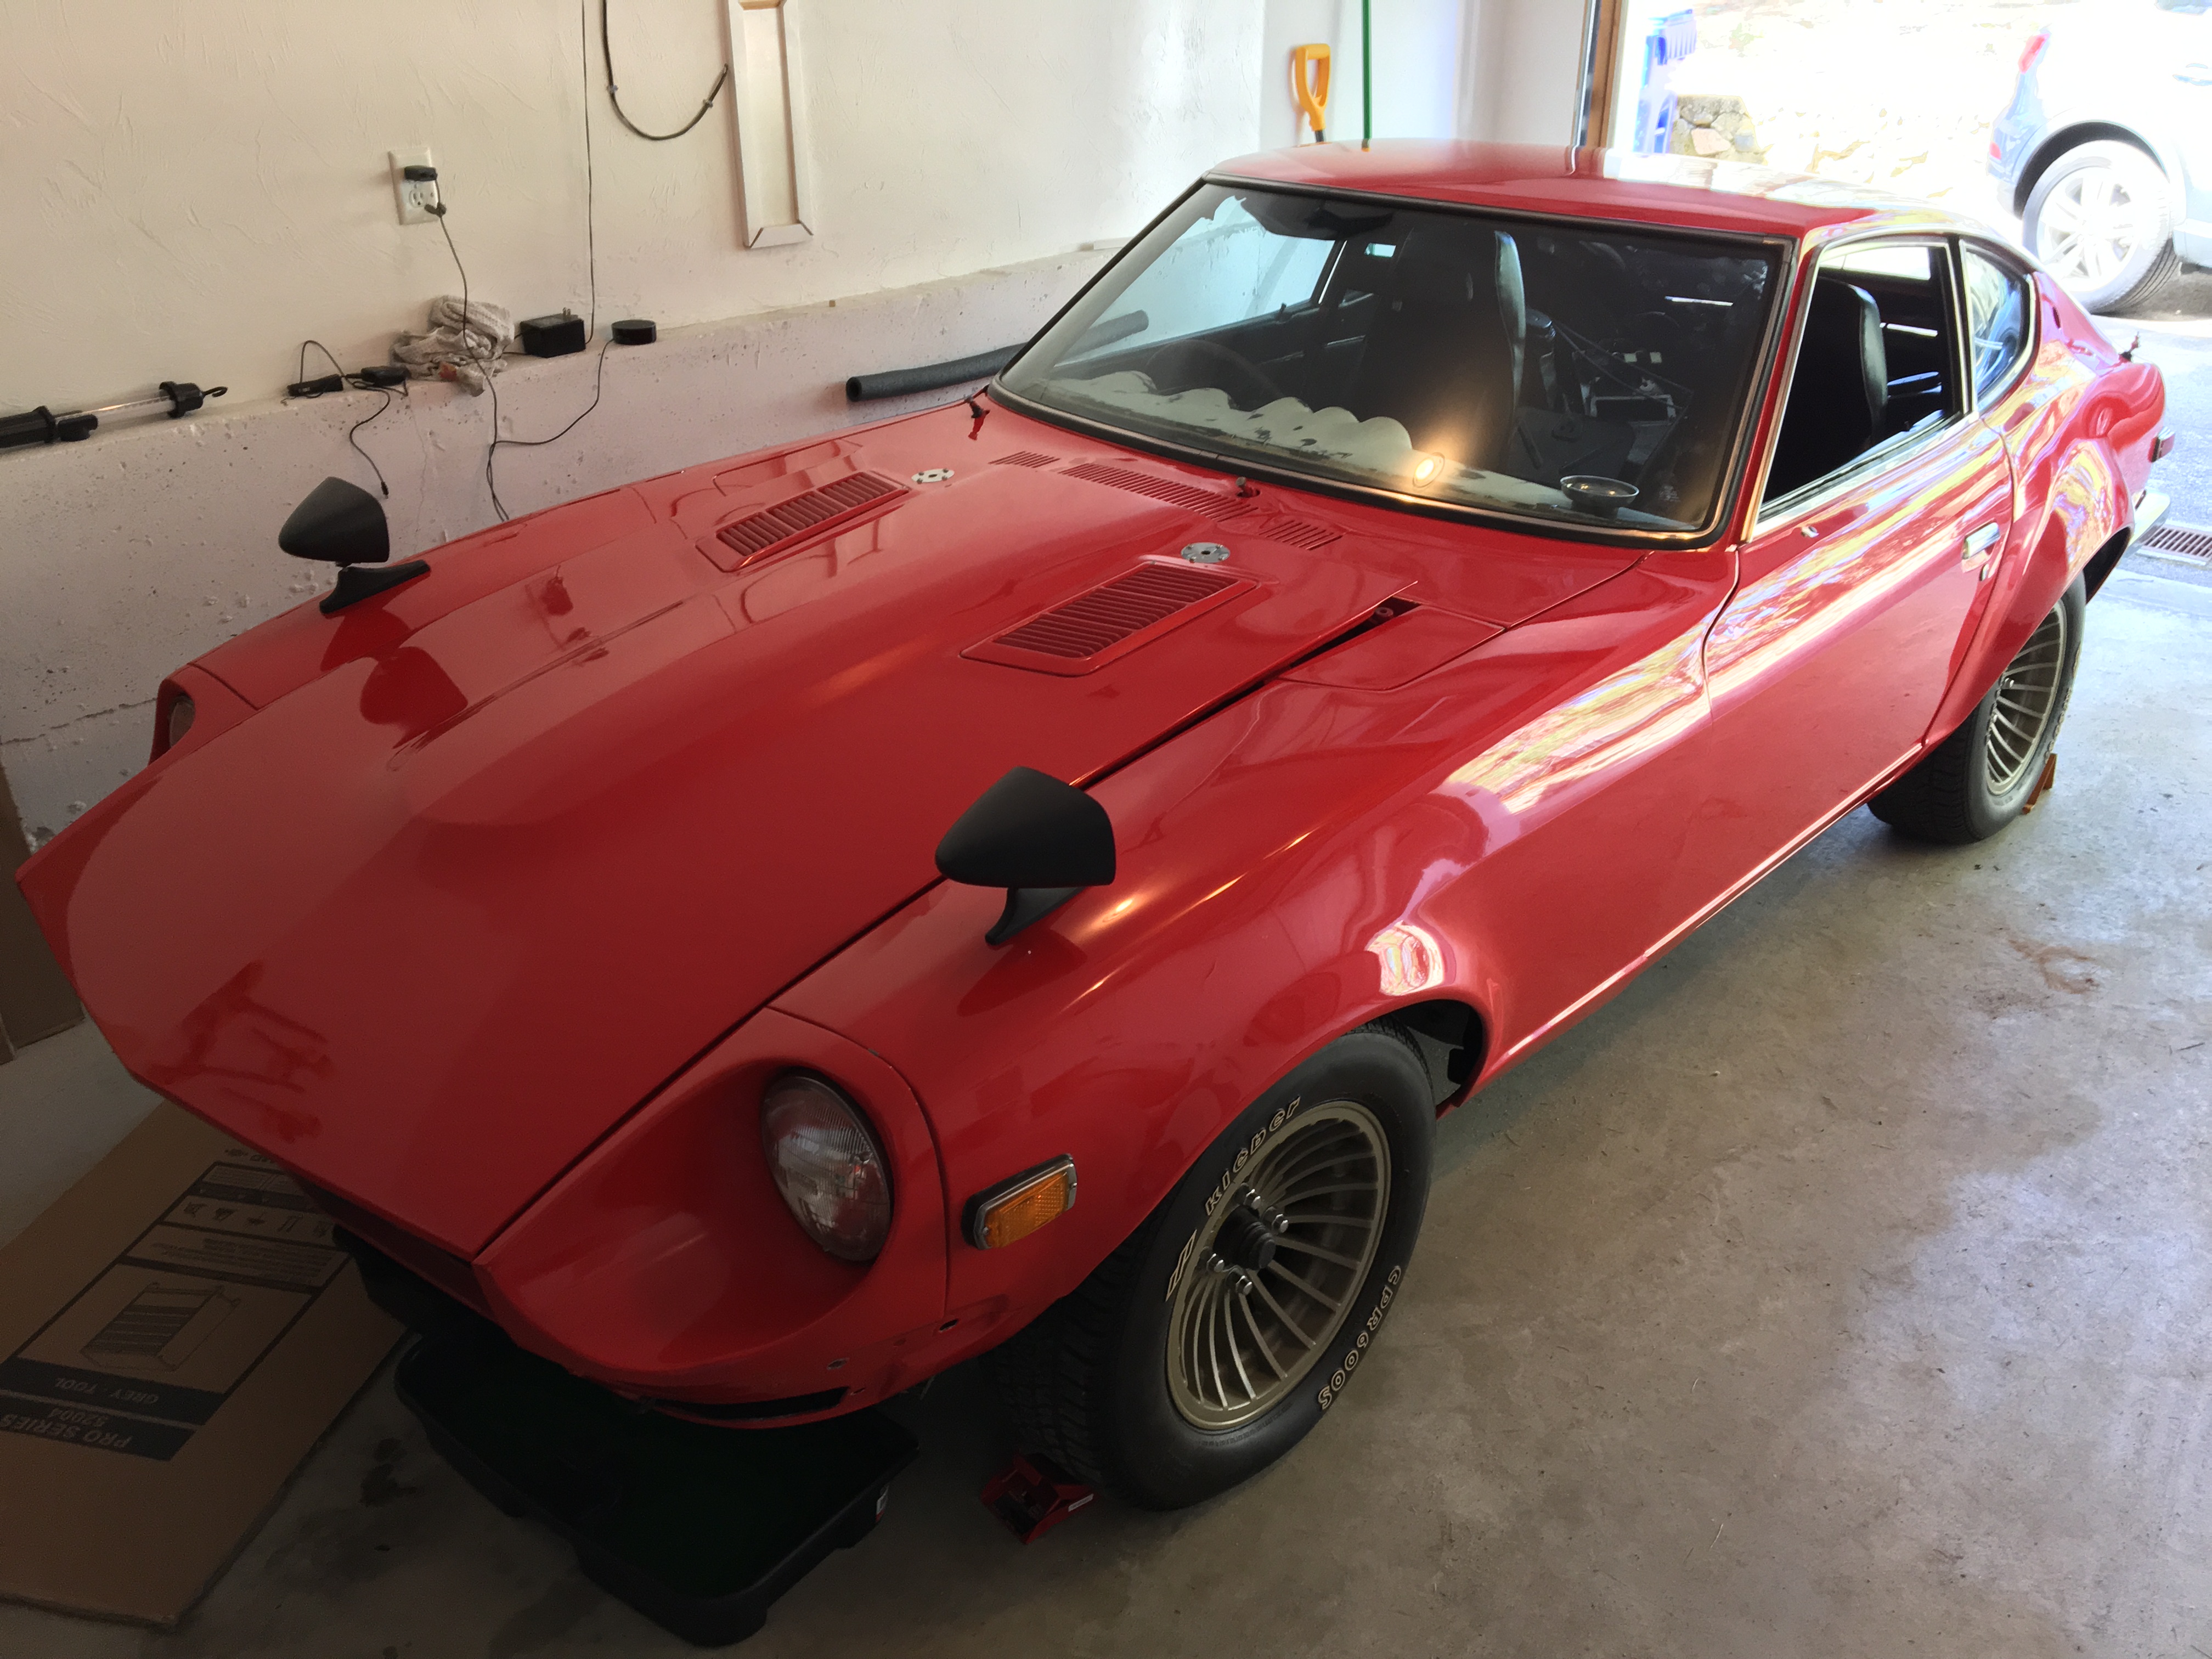
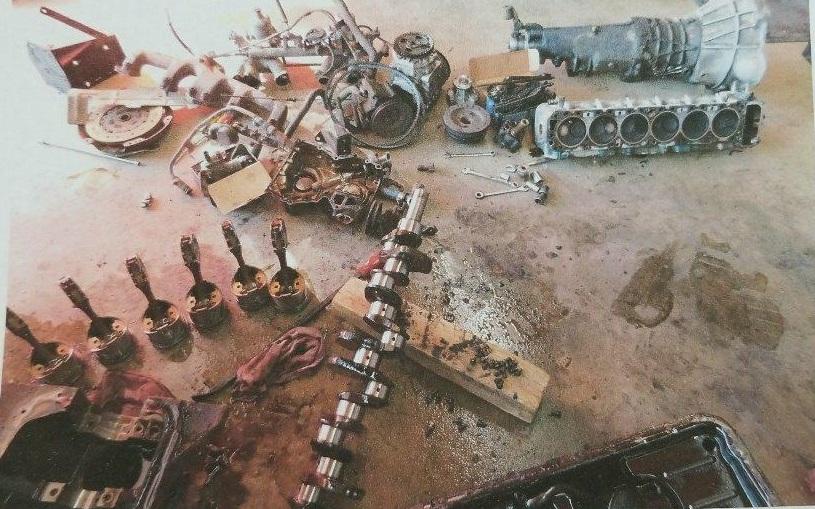
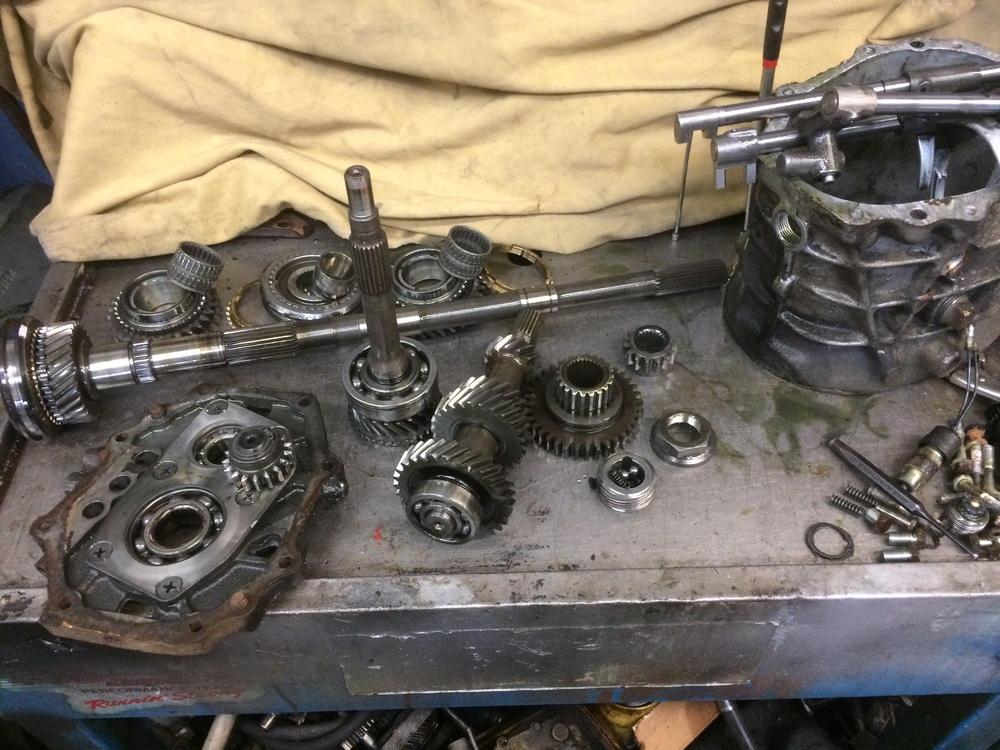
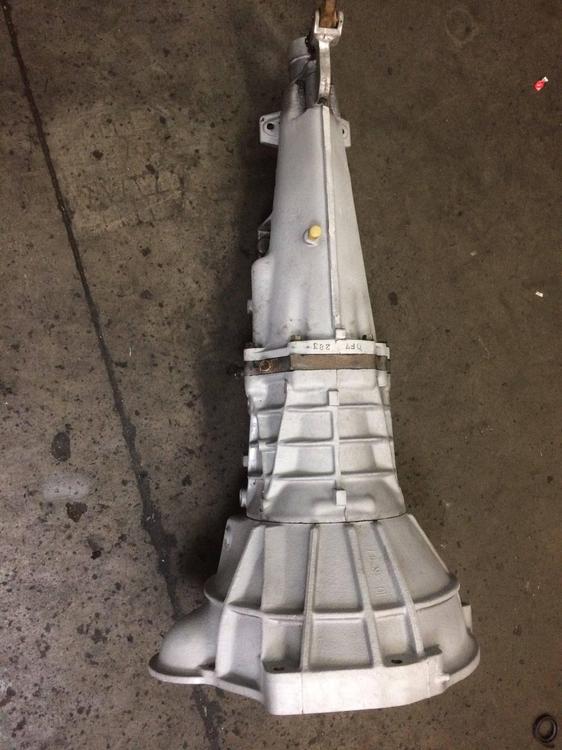
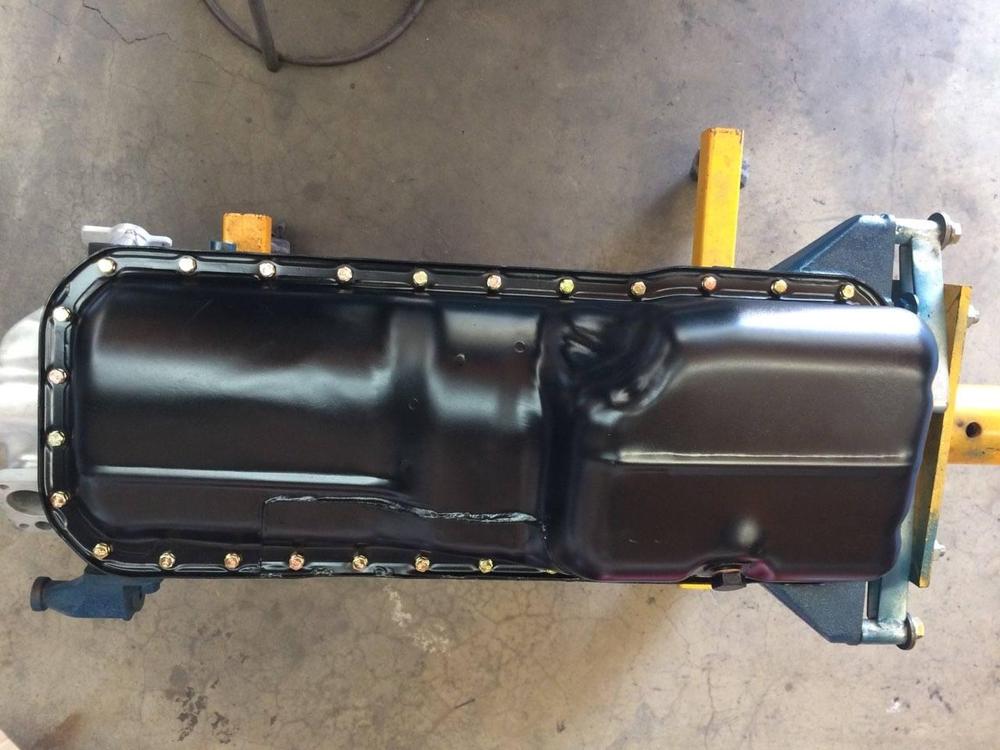
5 pointsHello everyone! It's been about a year since I purchased #187 from John H. of New York on BAT. Here's the link to the auction. https://bringatrailer.com/listing/1969-datsun-240z/ There are many detailed photos of the car on there with a brief description of its history and condition. I was able to enjoy her in her raw state before beginning the restoration. She was a bit hard to start but ran good once she reached optimal temperature. The clutch was slipping a bit and finding the gears heading up the hill to my house was a struggle. With that said, it was time to begin the restoration. My mechanic is no other than Rod S. at Mike's Z Shop in Whittier, CA. Rod has been working on Z cars for over 30 years and races his 260z in the ChampCar Endurance Series. https://champcar.org/ Perhaps some of you have raced with him or against him. Either way, he is an awesome guy, and I trust #187 to him. My immediate goal is to get the mechanical sorted out so she can get back on the road. Once that happens, I'll take her down to see Rich (motorman7), and perhaps with some luck, he'll be willing and able to take on the restoration project. My long term goal for her is a high quality refresh that I would have no reservations taking to a car show. I don't think she belongs locked up in a garage. So it’s pointless to perform a Concours restoration. She will run, and run often, maybe even as a daily driver. Here are some recent photos of the mechanical restorations. The engine and transmission were pulled in January of this year. The carbs were sent to Z Therapy and the combo and hazard switches were sent to Dave Irwin for a facelift. Both received outstanding care, and at a very reasonable price to boot! The plan is to bolt everything back on and bring her back to life in the next couple of weeks. Hopefully I can contain my excitement and remember to grab and post a video of the first restart after the rebuild. Stay tuned! One interesting note from our current findings was the existing mechanical wear and tear, or lack there of. Although there is no way to substantiate the mileage of the car (roughly 64,000 on the odometer), Rod said the internals of the engine looks to be 64K miles vs 164K or 264K, as there were very little wear, almost new. Nevertheless, she is good as new, and better now with the “brass seats” replaced with steel ones. Not sure what all that means other than that it can now better handle today’s 91 octane fuel. Please excuse the 2 early pictures of the engine/transmission coming out of the engine bay and disassembly of the engine. Rod is old-school and still had a flip phone when this project started. He didn’t know how to send pictures and so he printed them out for me. He has since upgraded his phone and now sends me more vivid pictures. He rebuilt the transmission himself. The head and block were sent out for machining. The oil pan and valve cover were bead-blasted and tumbled. The pan was repainted but it was important for me to maintain the glossy, not shinny, aluminum sheen of the valve cover. I am not a fan of the painted or mirror-polished look. I think he did a good job. All the bolts, screws, washers, etc., that came off the engine and transmission were polished and replated. The results speak for themselves. He figured it is best to do this now so Rich won’t have to redo them again. I will do my best to update everyone as we move along. That’s all for now.


 5 points
 -
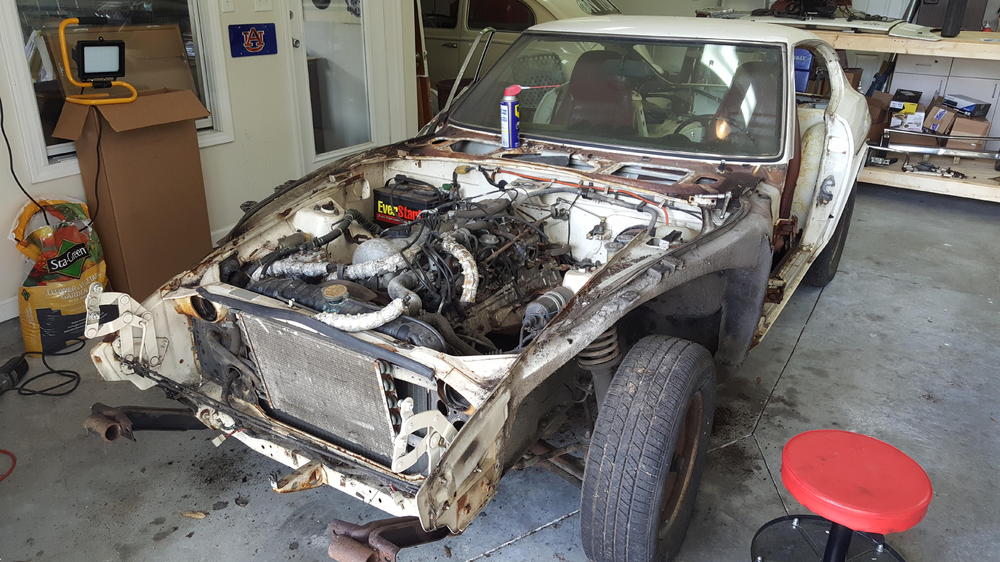
 1 pointHey guys, I have owned my 1971 240Z for around 12 months now, but this week I have finally been able to start work on it. I have been going hard on my other project, a 1973 Porsche 911 RSR inspired build, but I am waiting for custom engine parts, so I can finally start my Z project. I bought the car as someones failed project, so it was completely stripped. Everything is there though, and it is an amazingly clean, rust free shell, so it should make for a great project. This week I first needed to replace the front wheel bearings on the 911 so I could put wheels on it and move it out of the way. I then got into doing a stocktake on my Z to see what it needed, and start formulating a plan for the build. Here is the episode.1 point
 -
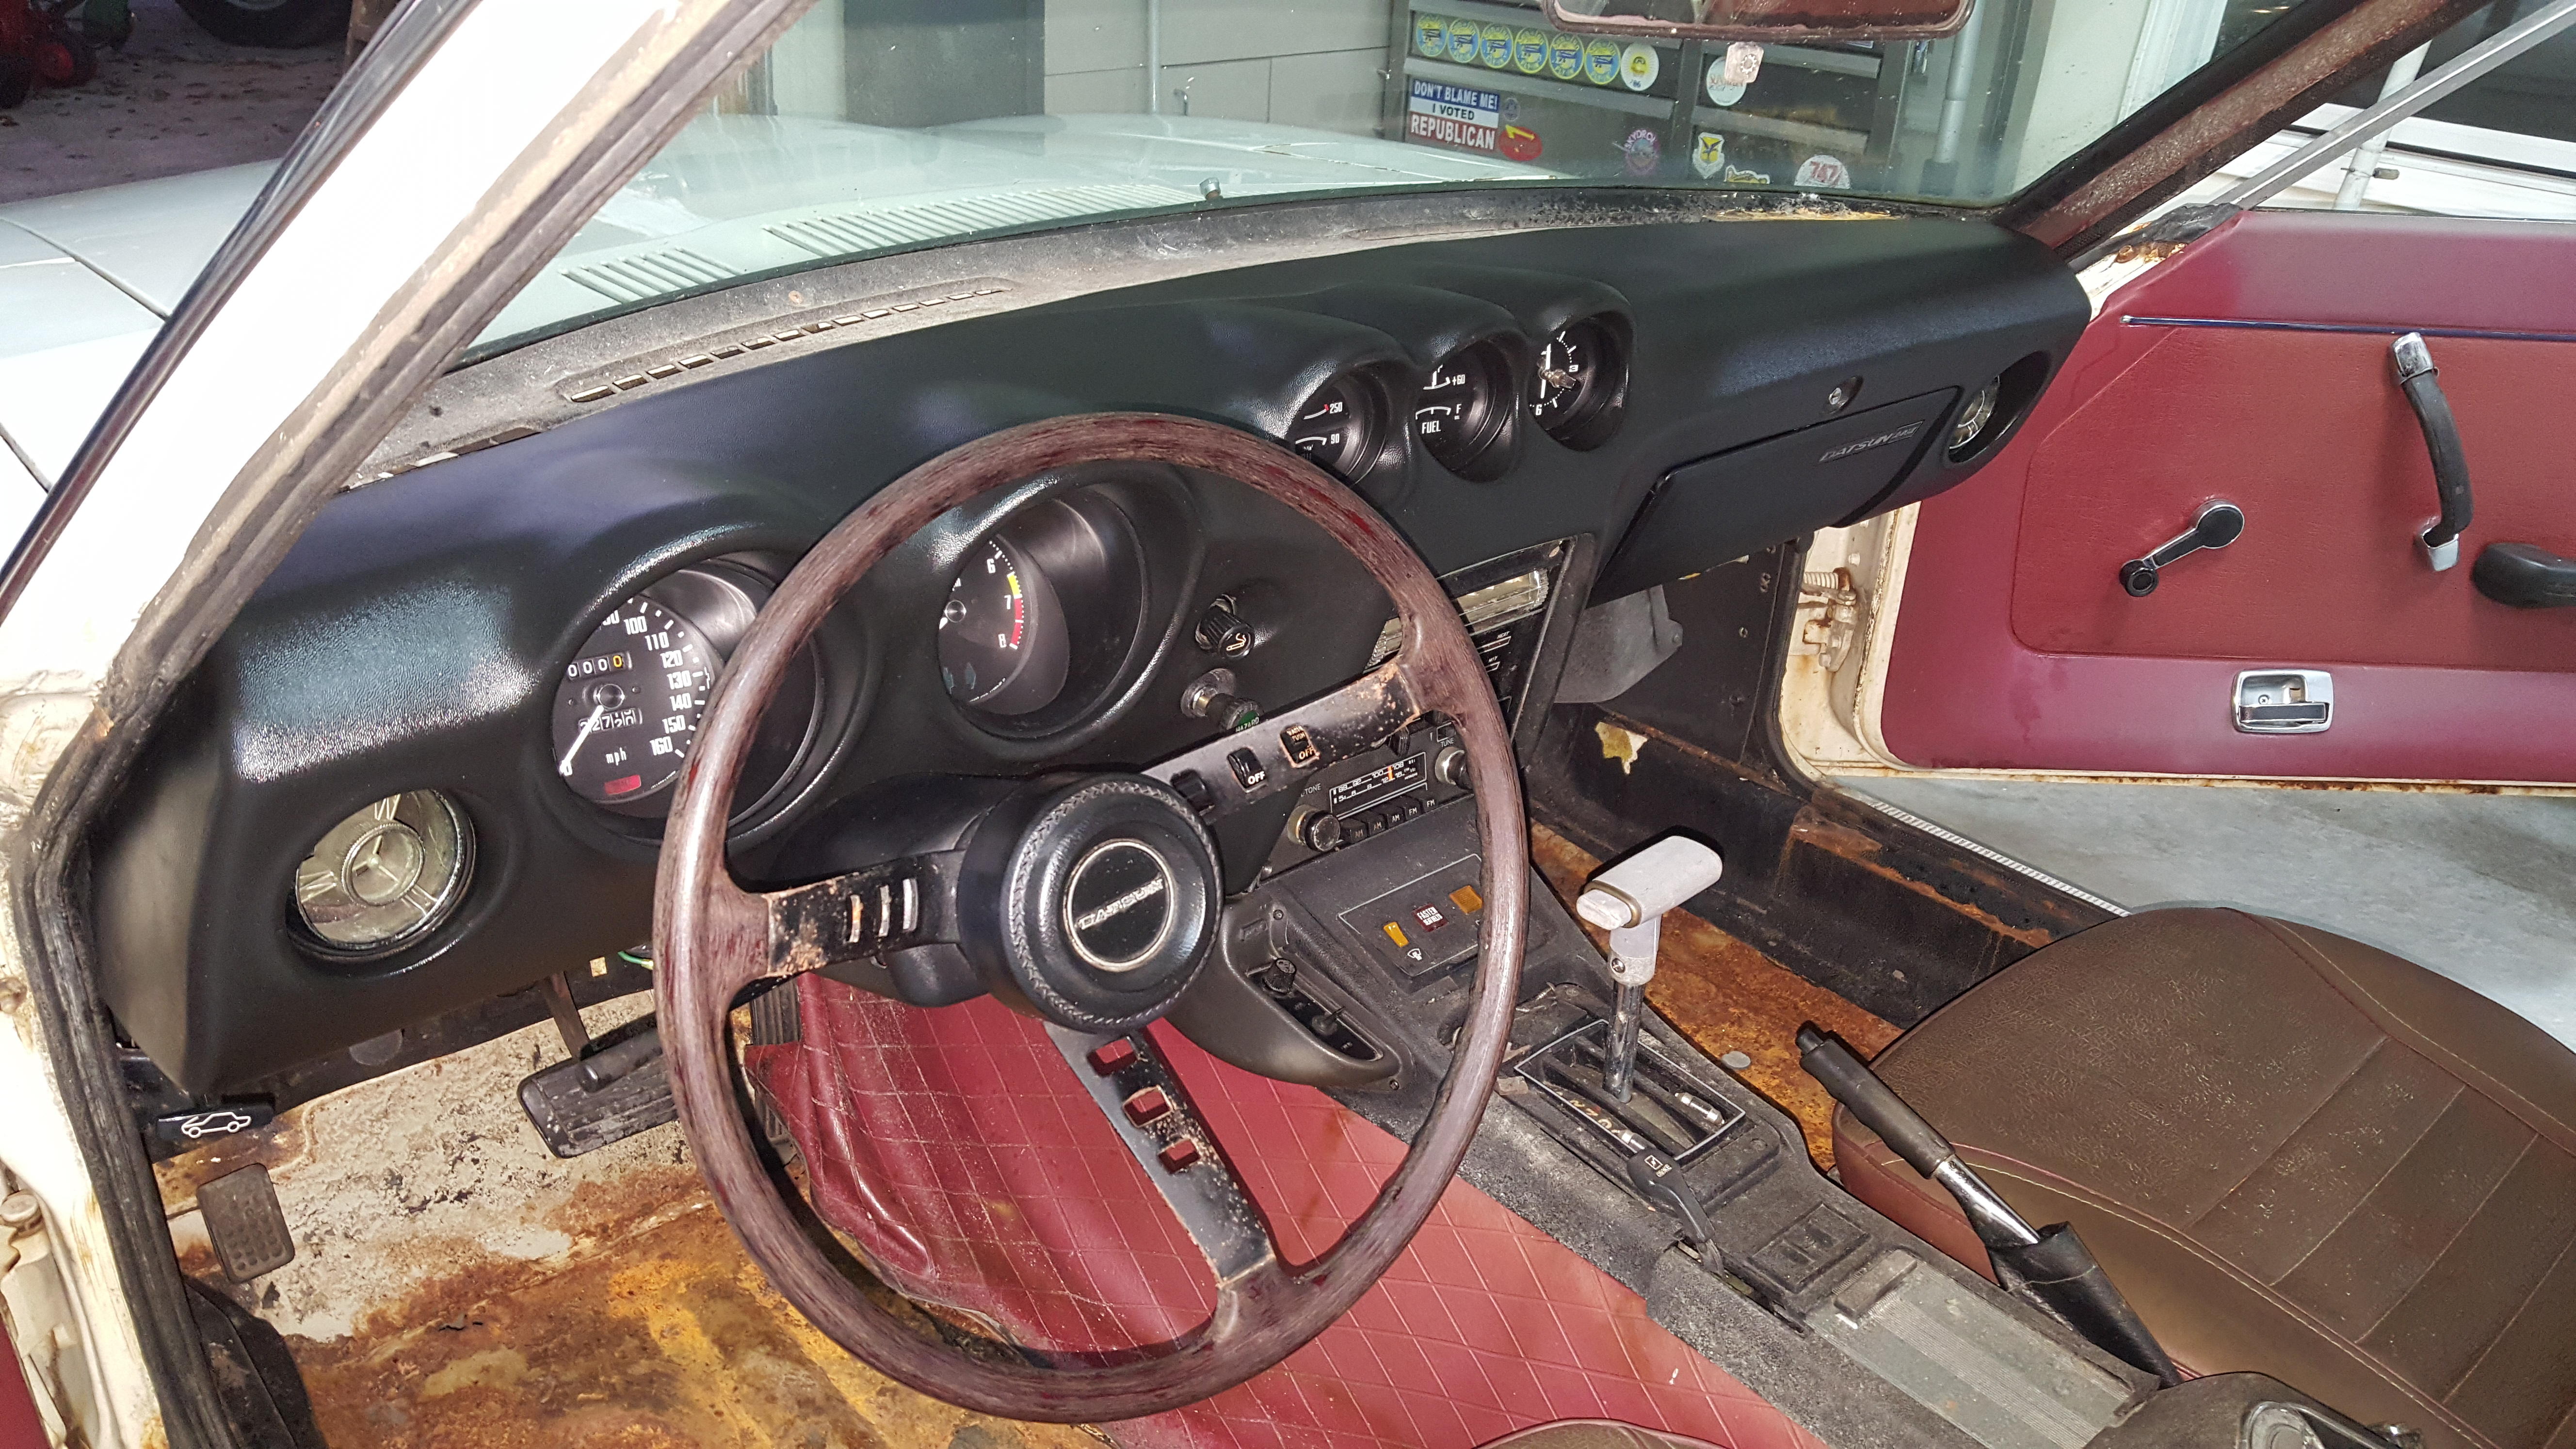
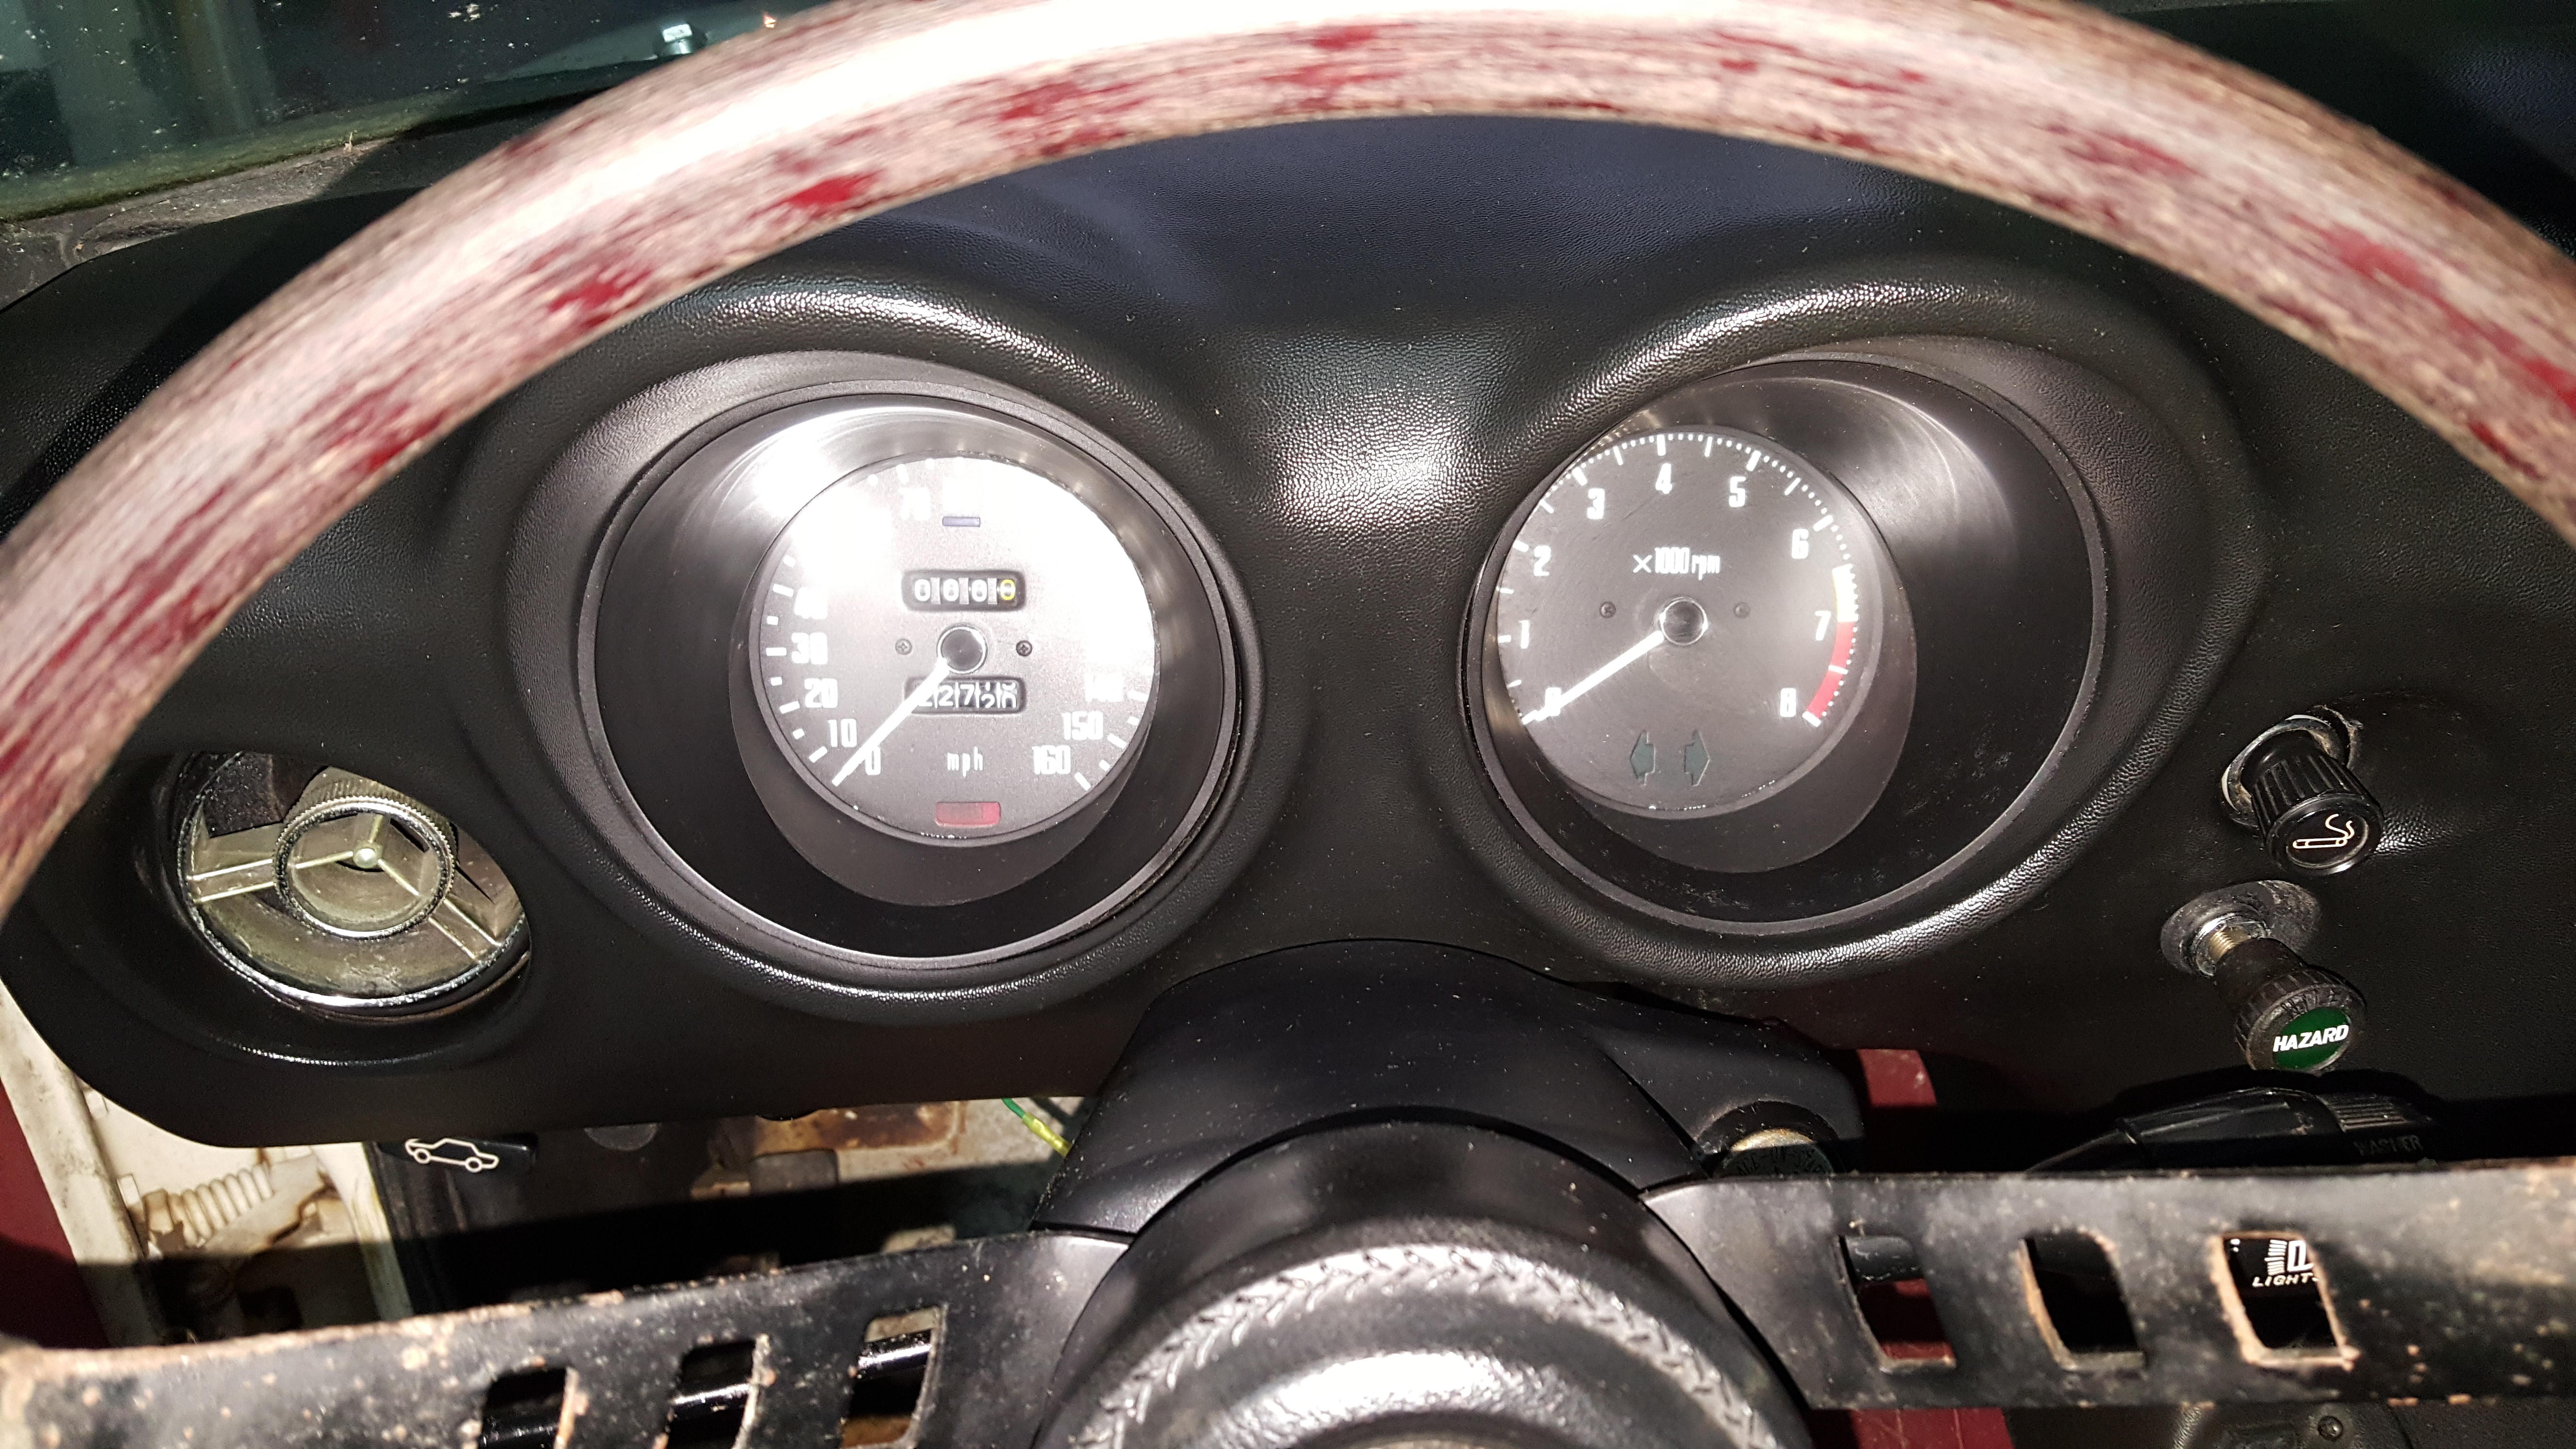
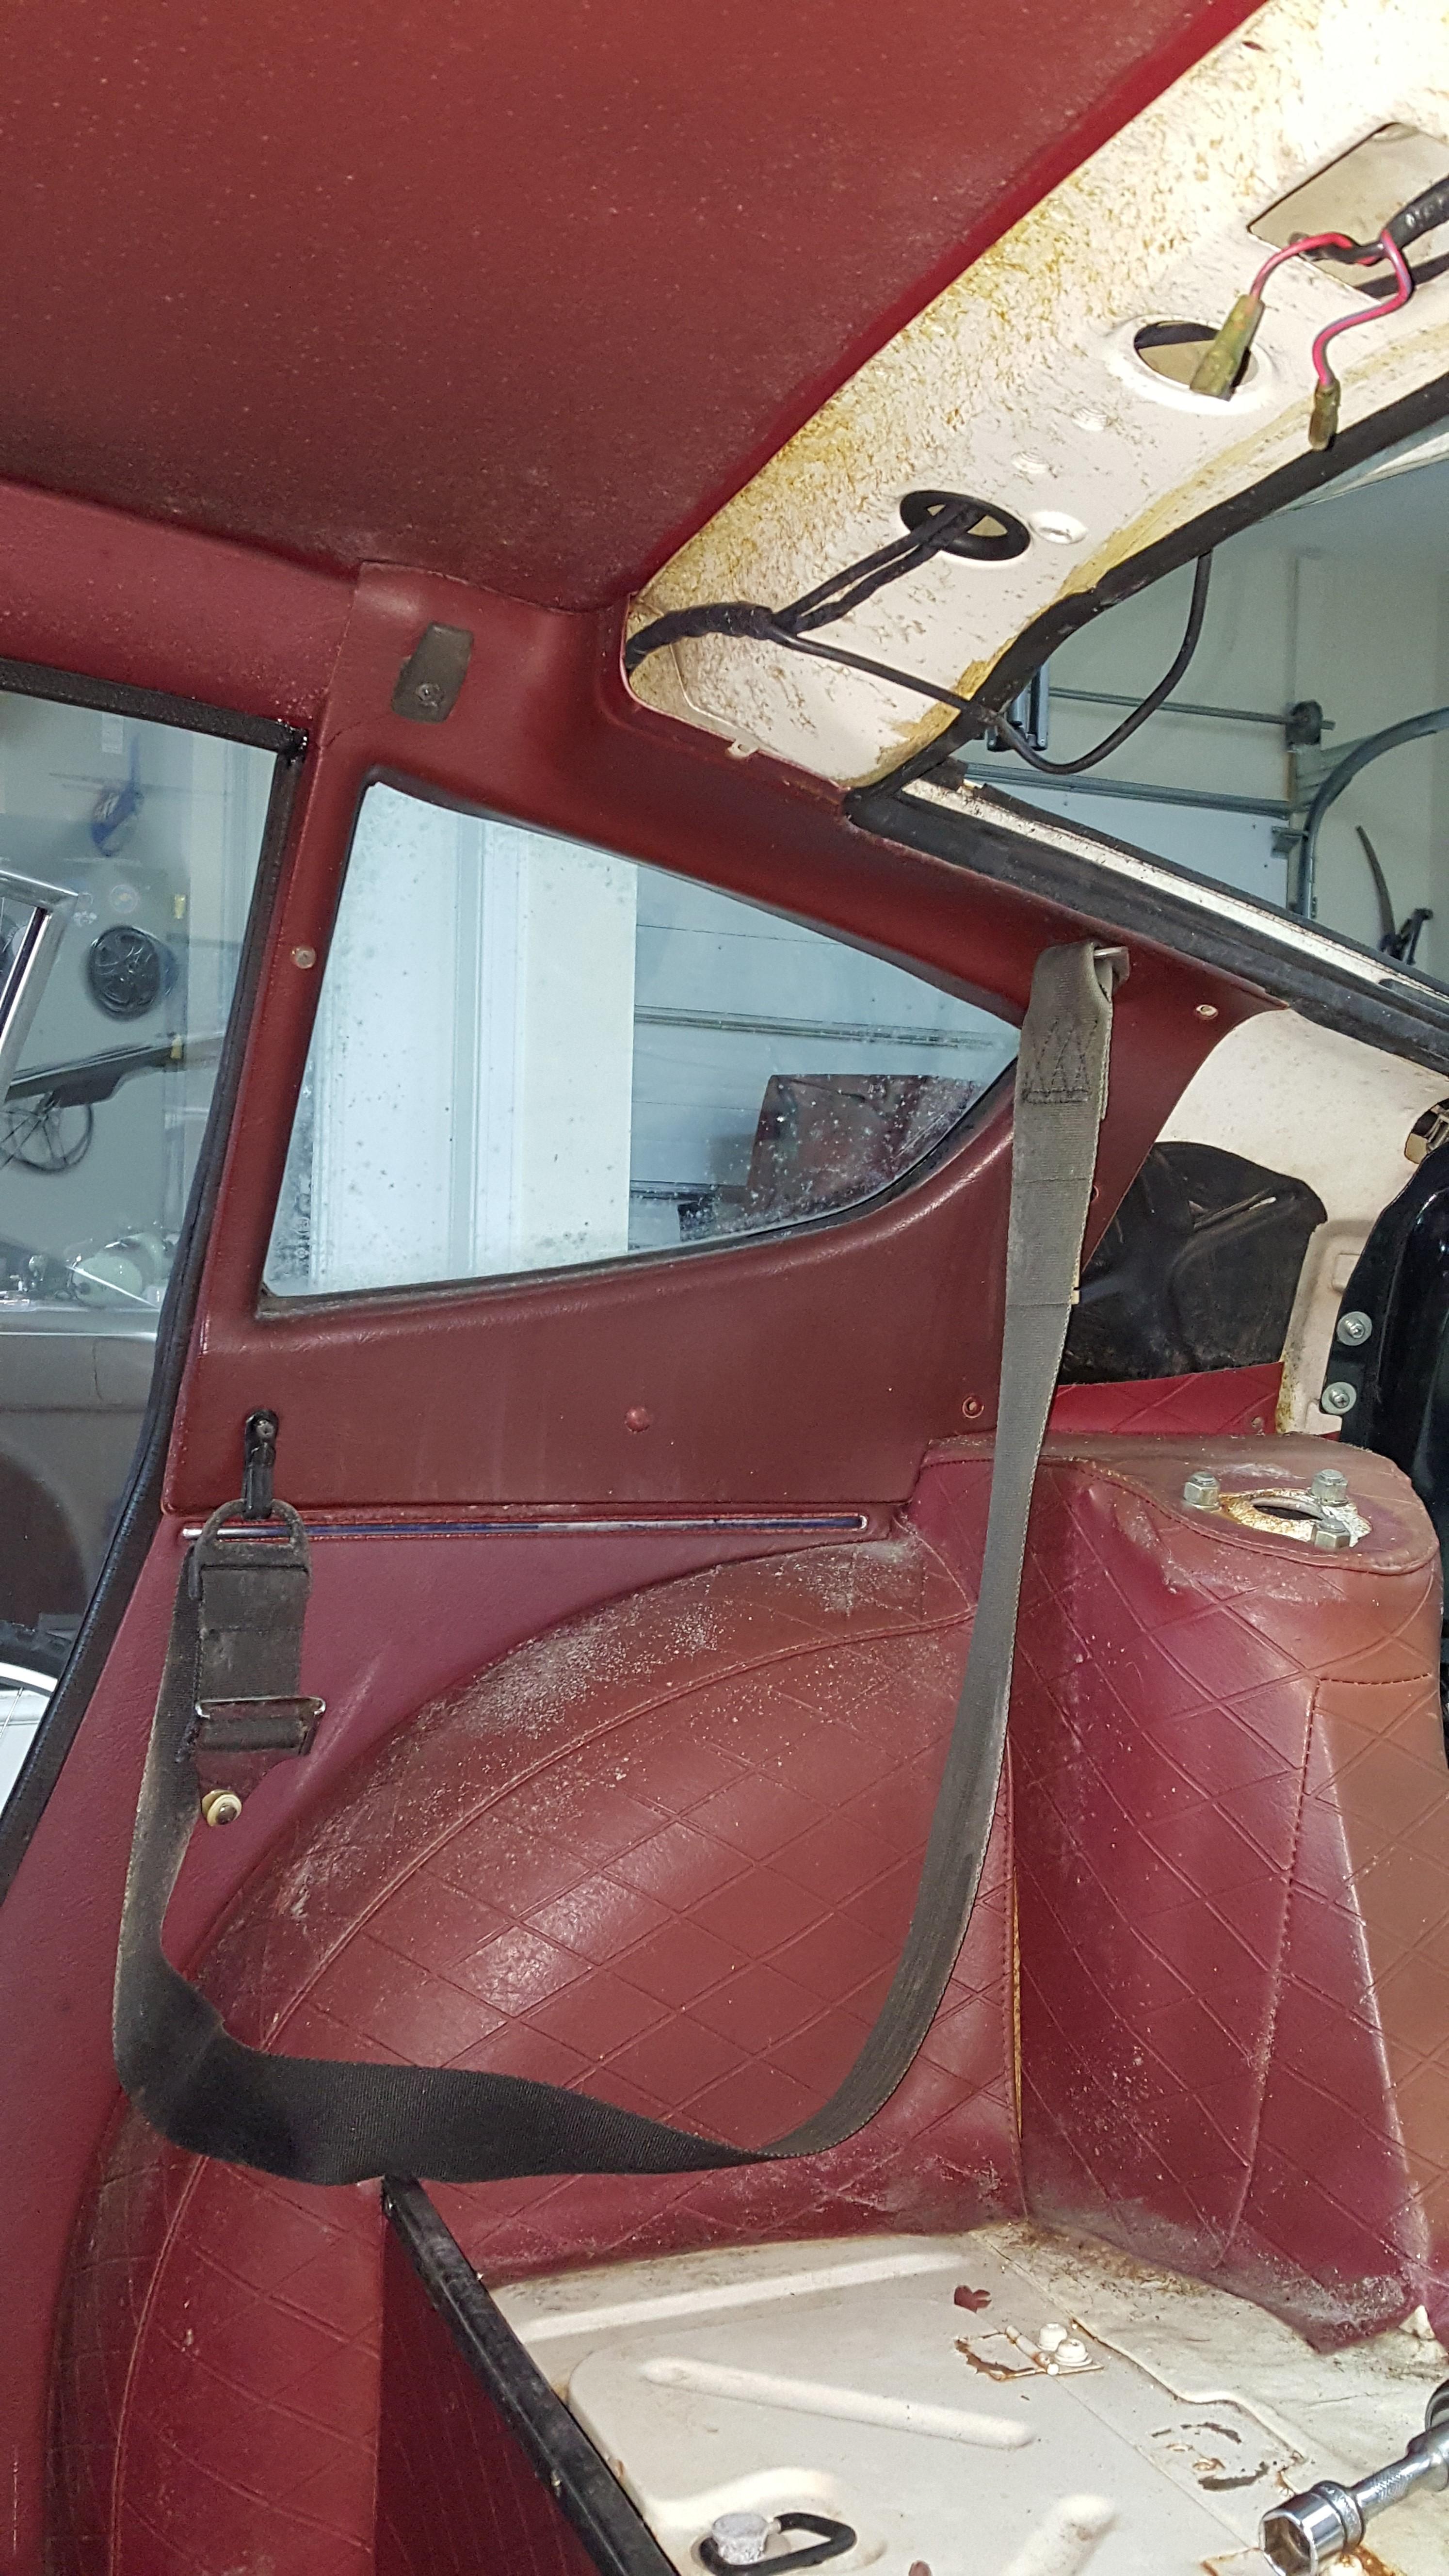
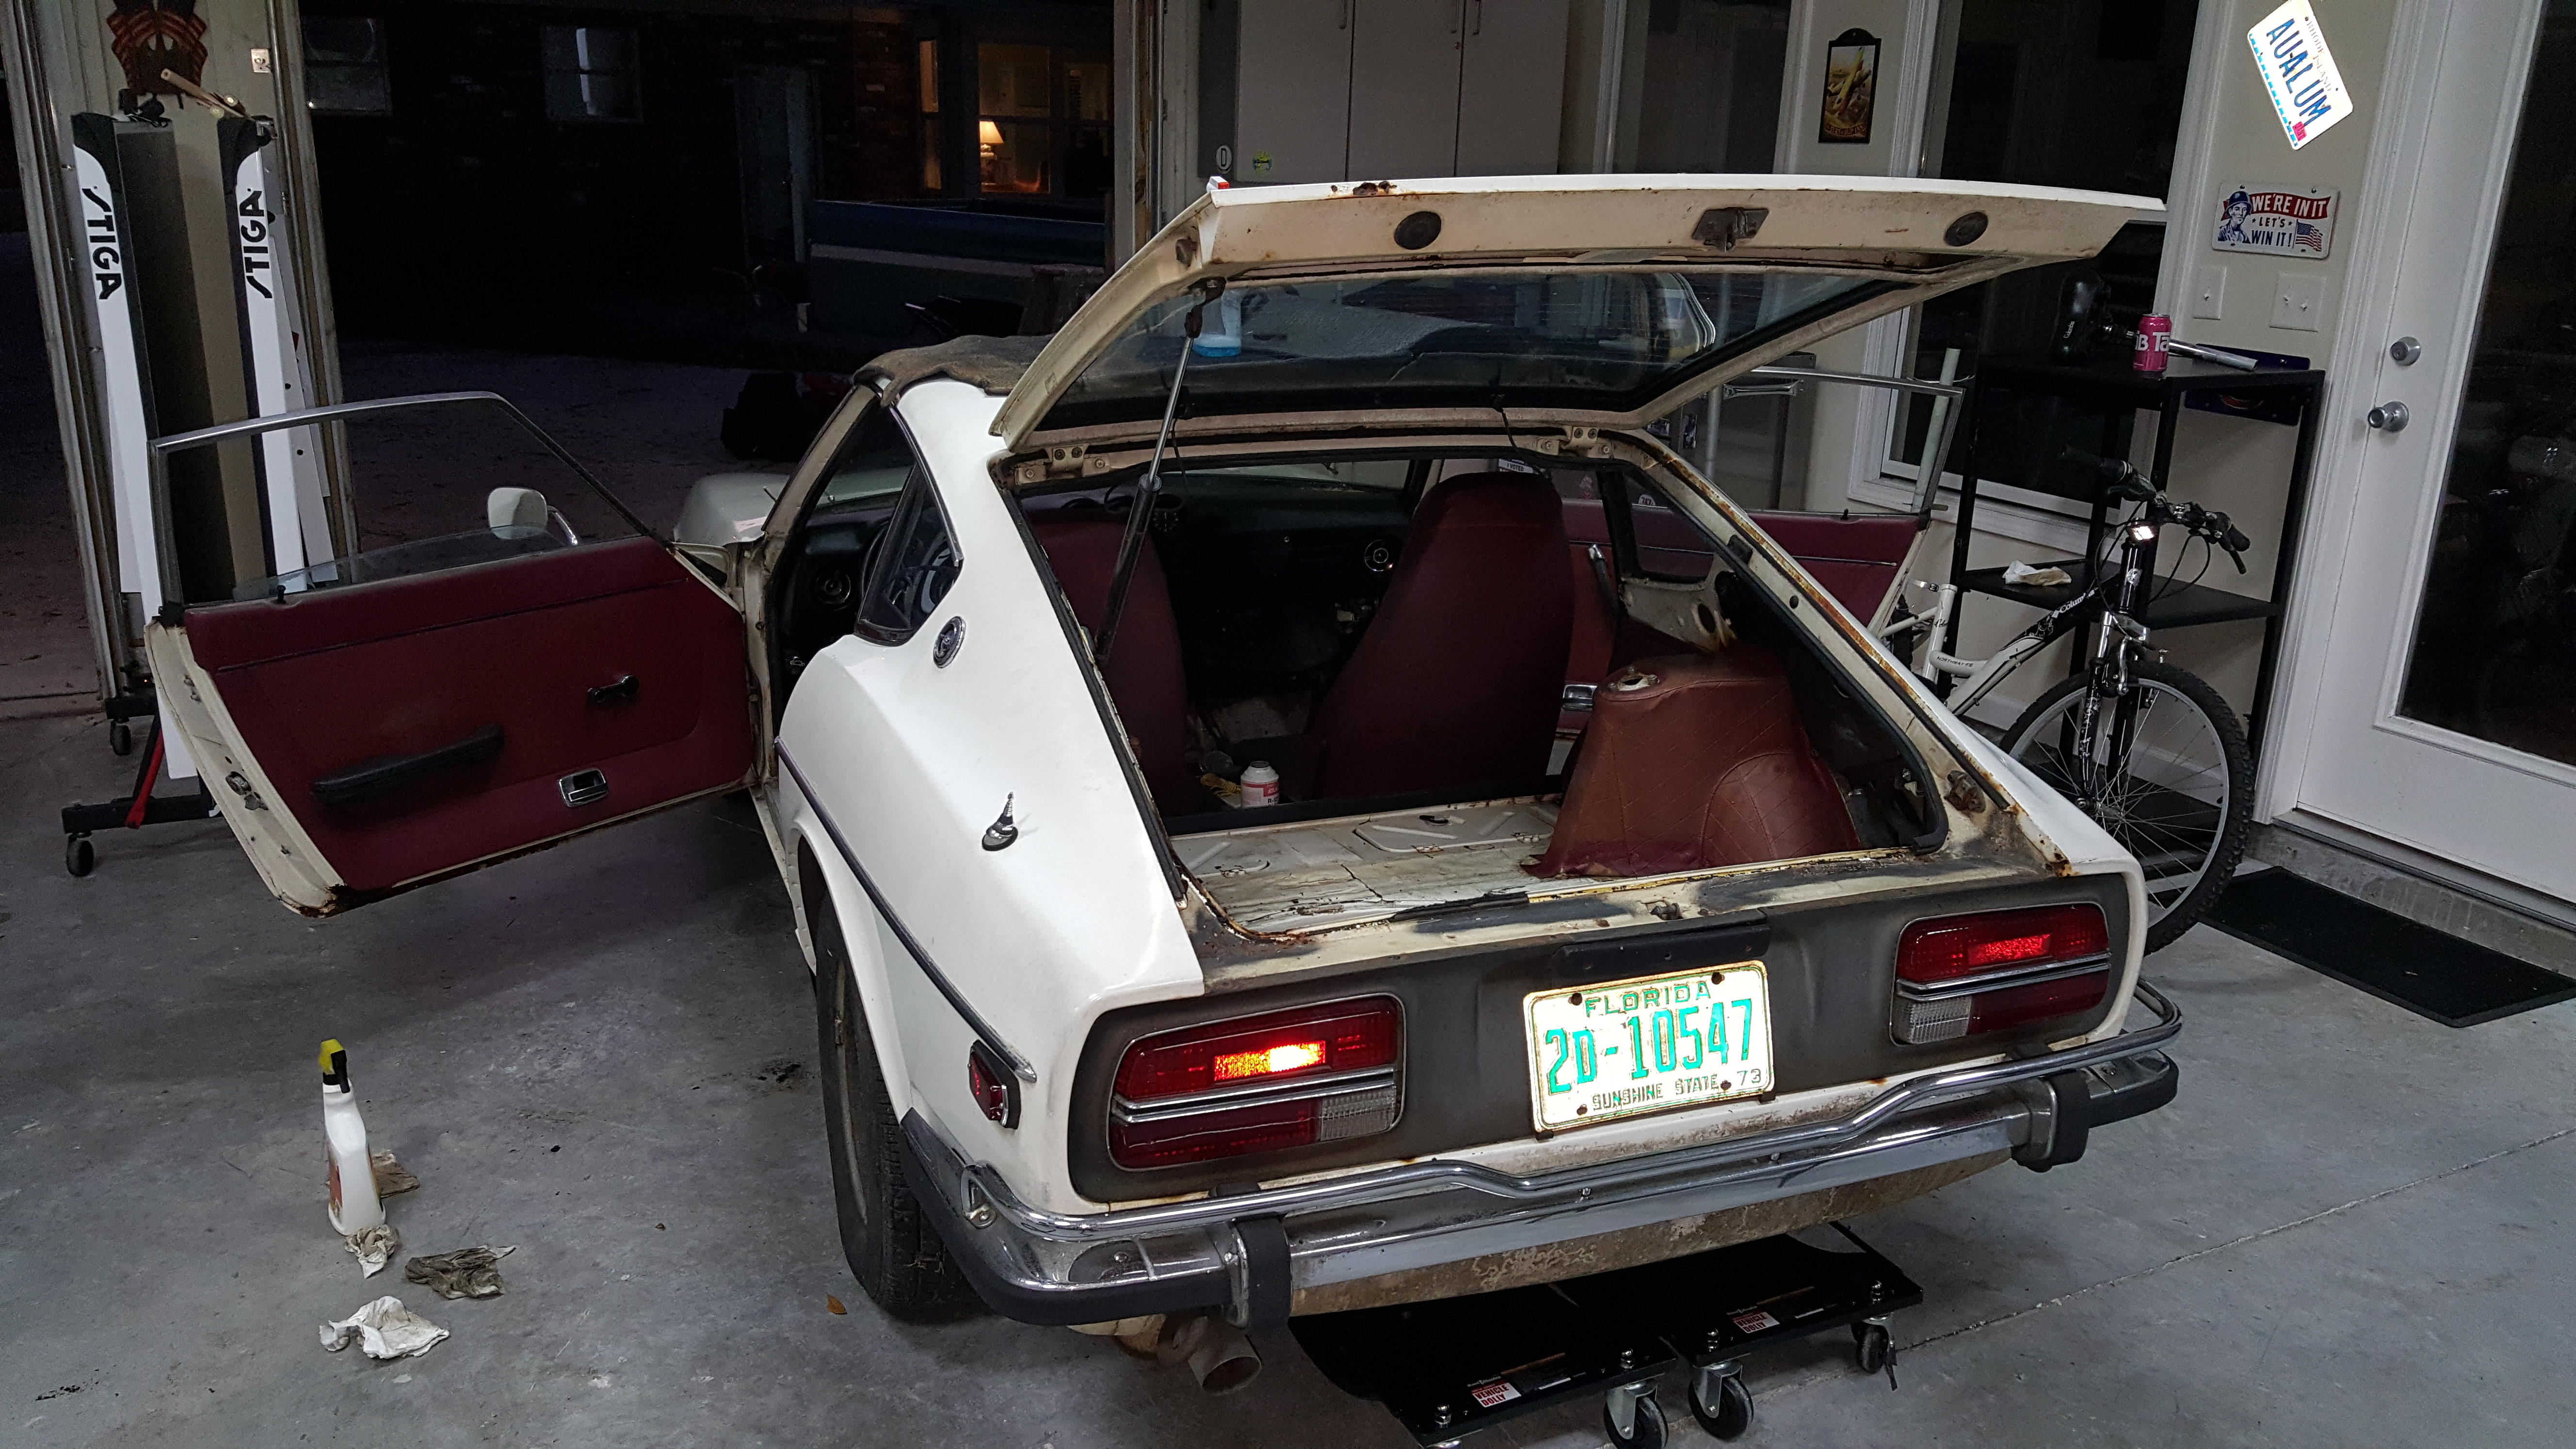
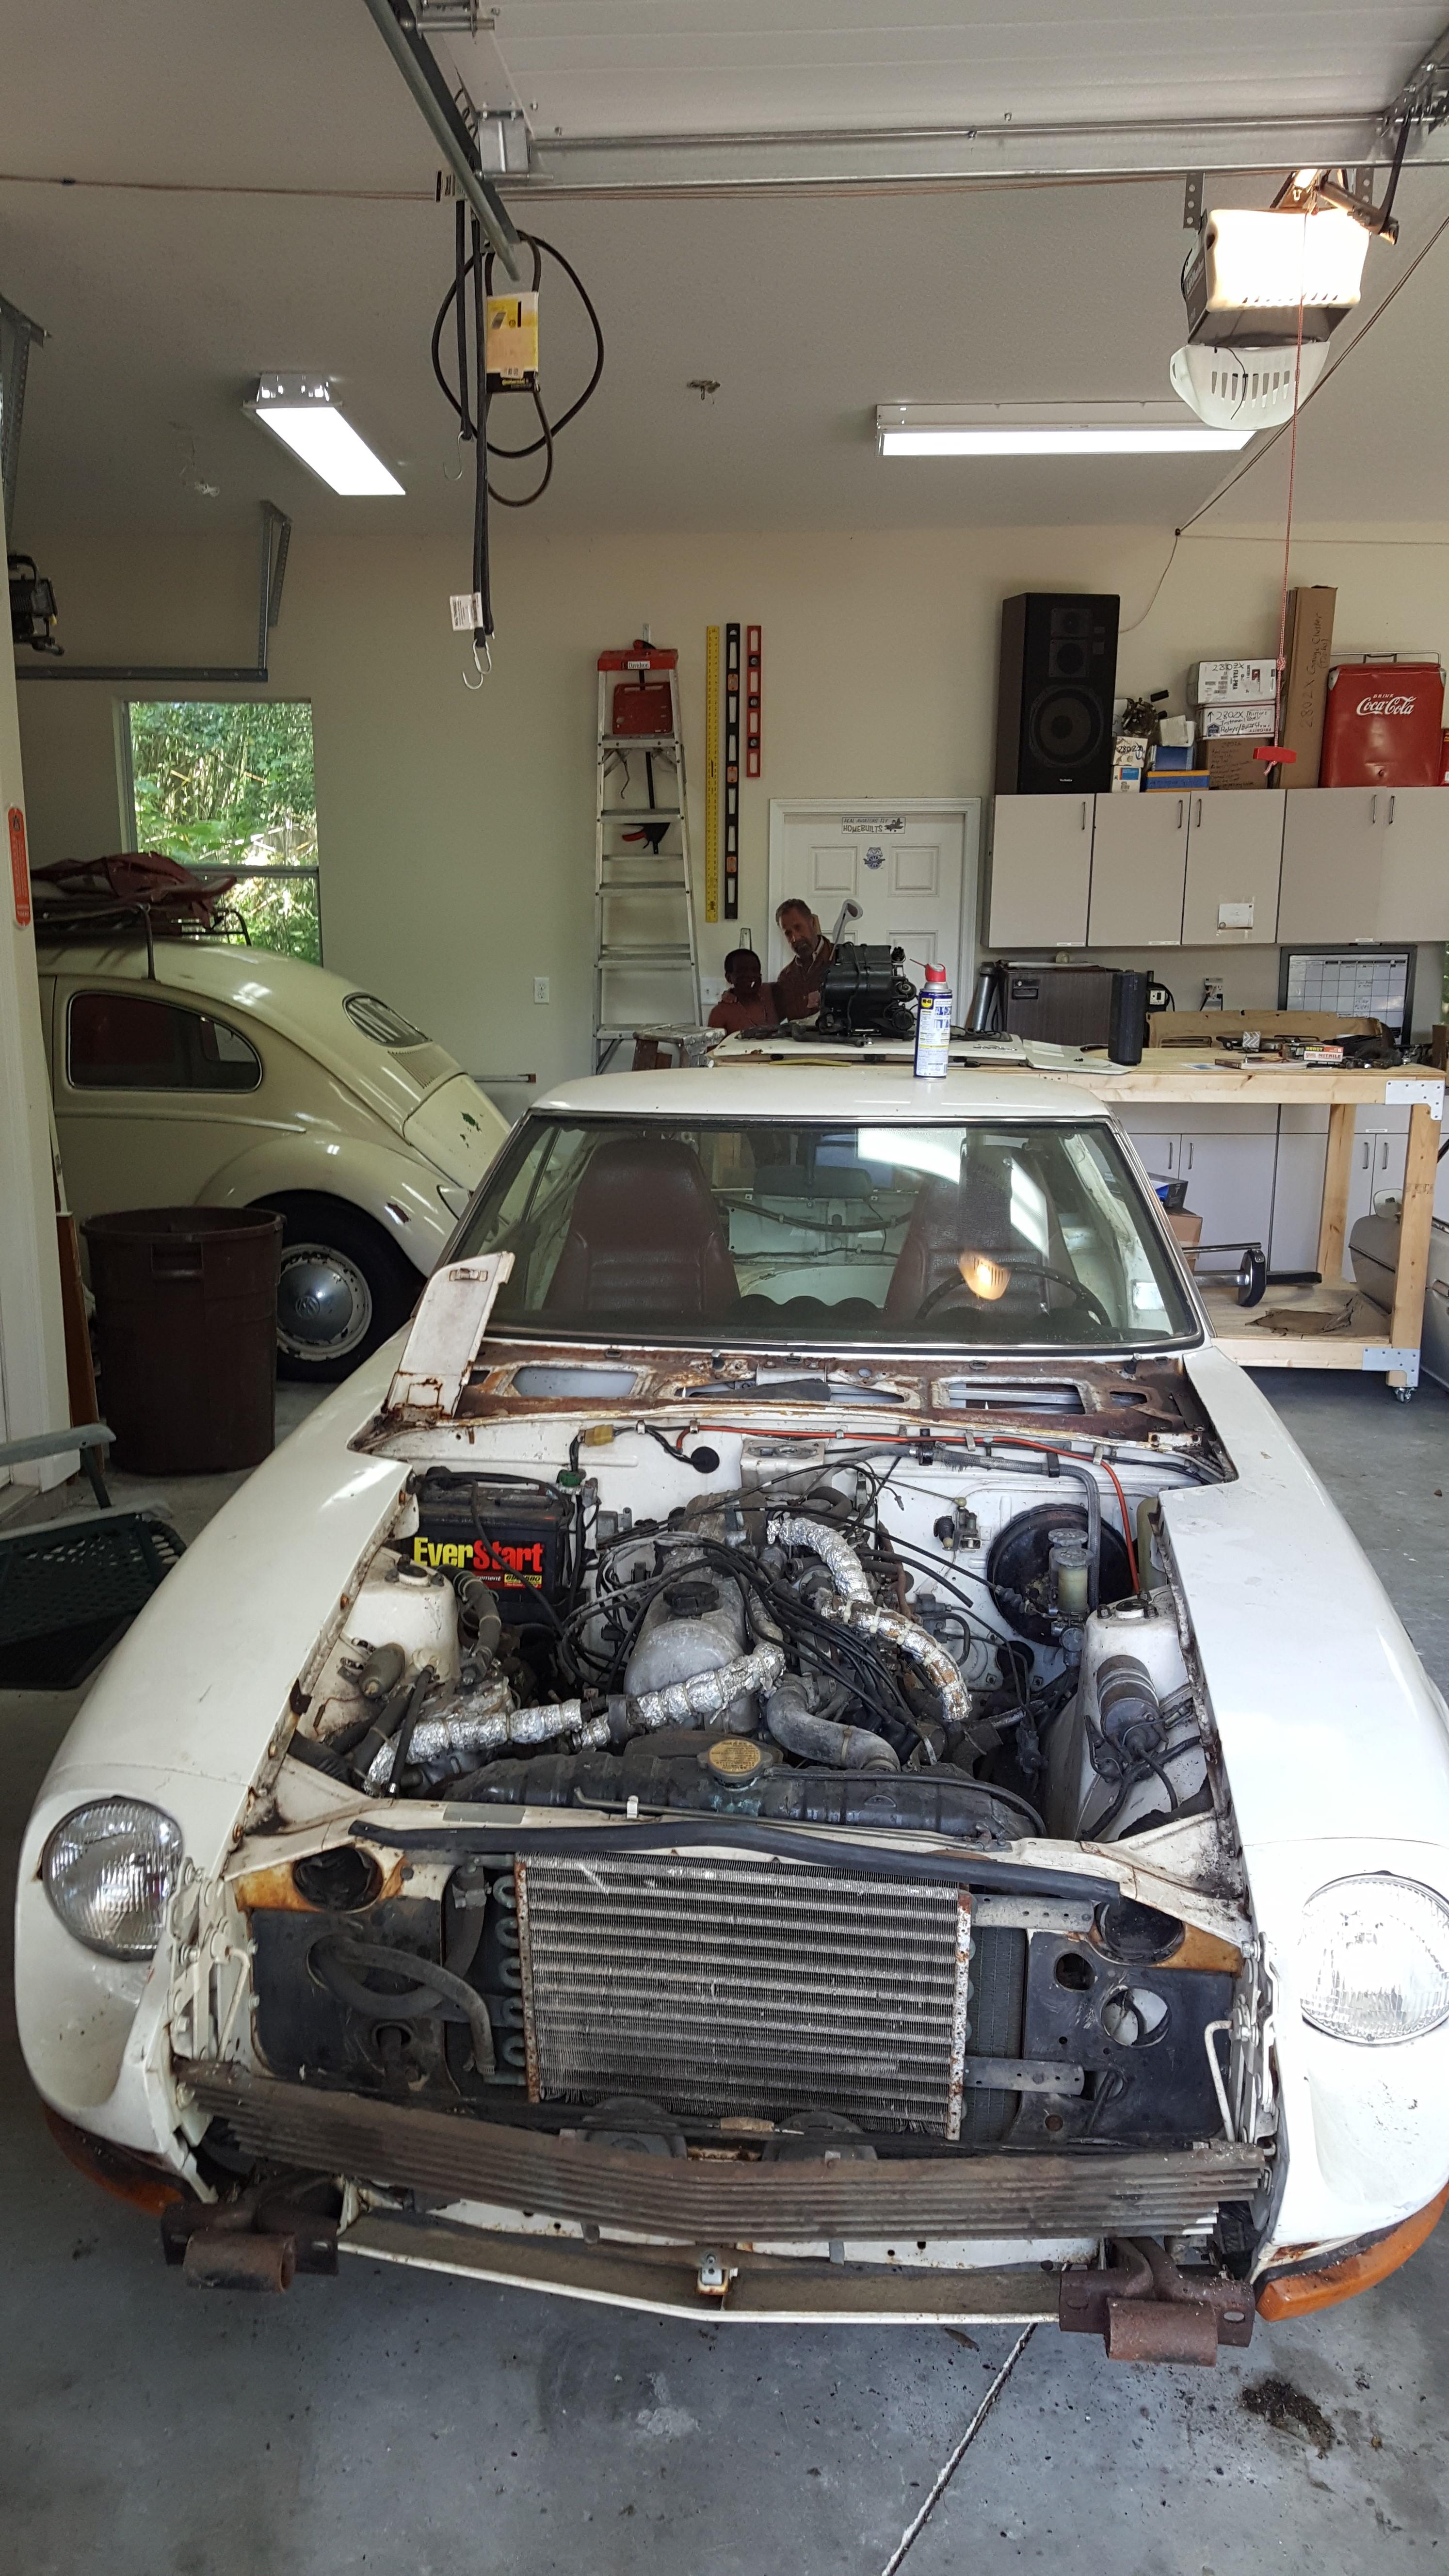
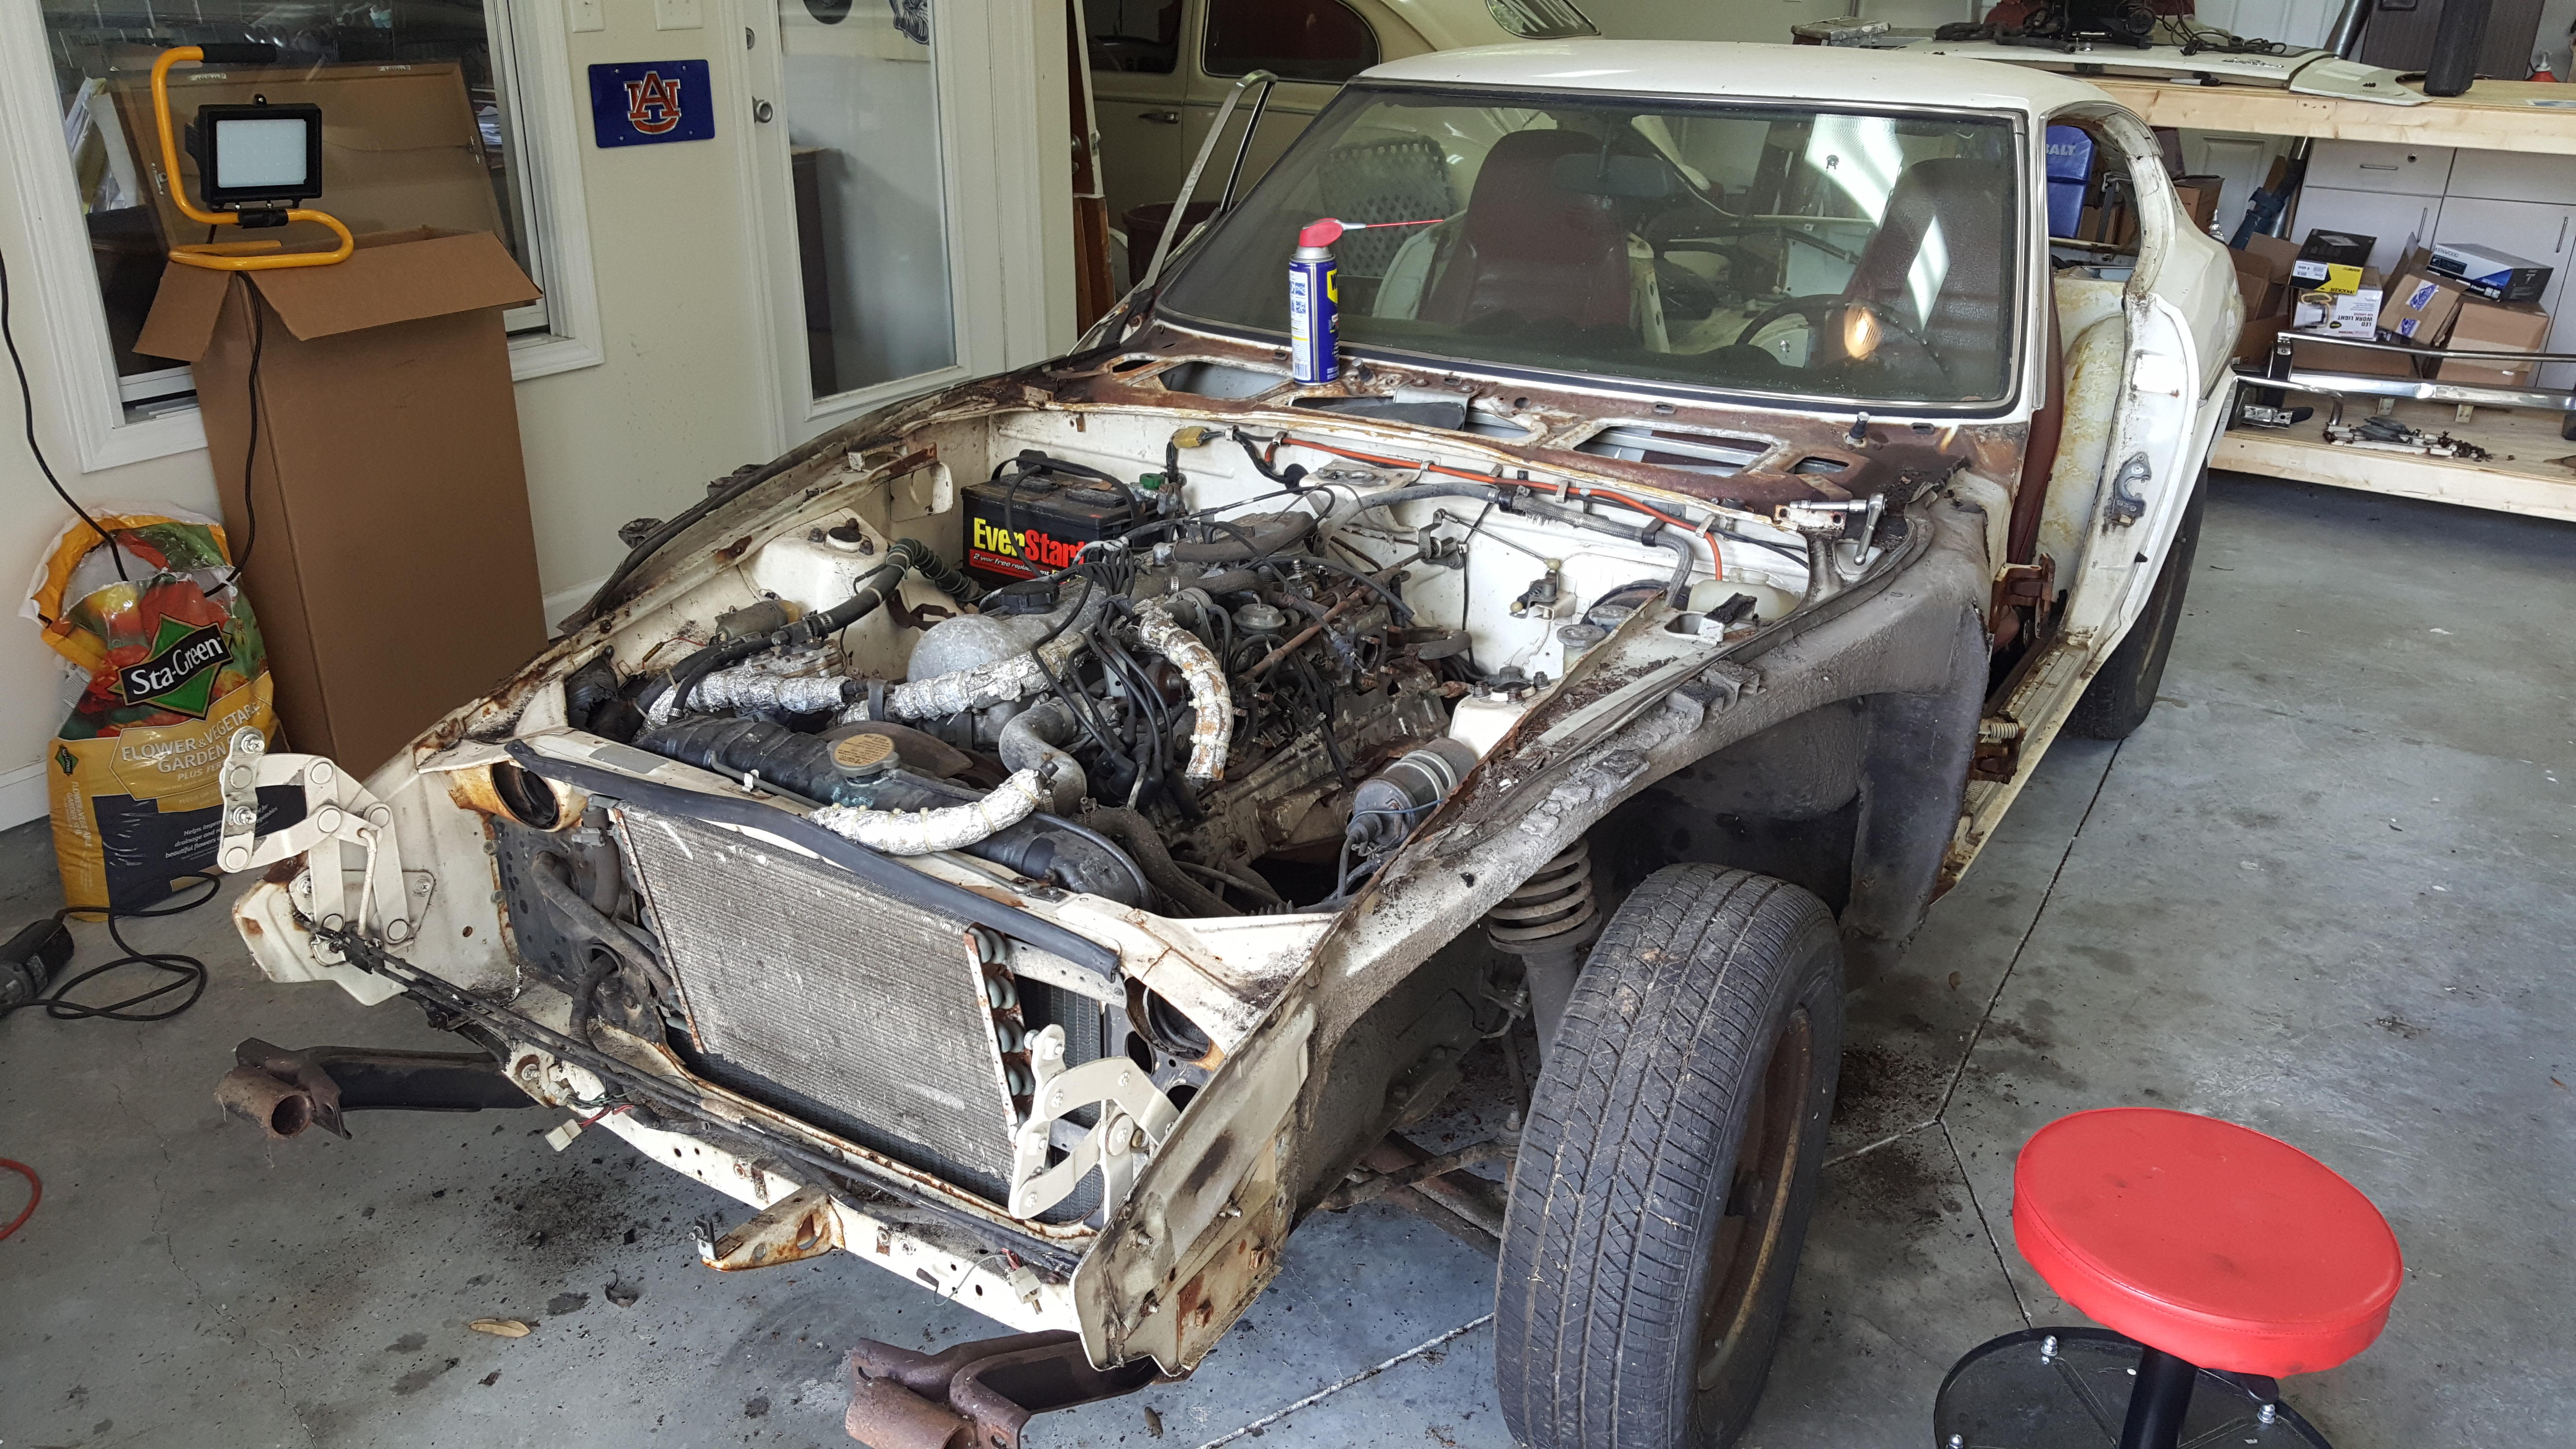
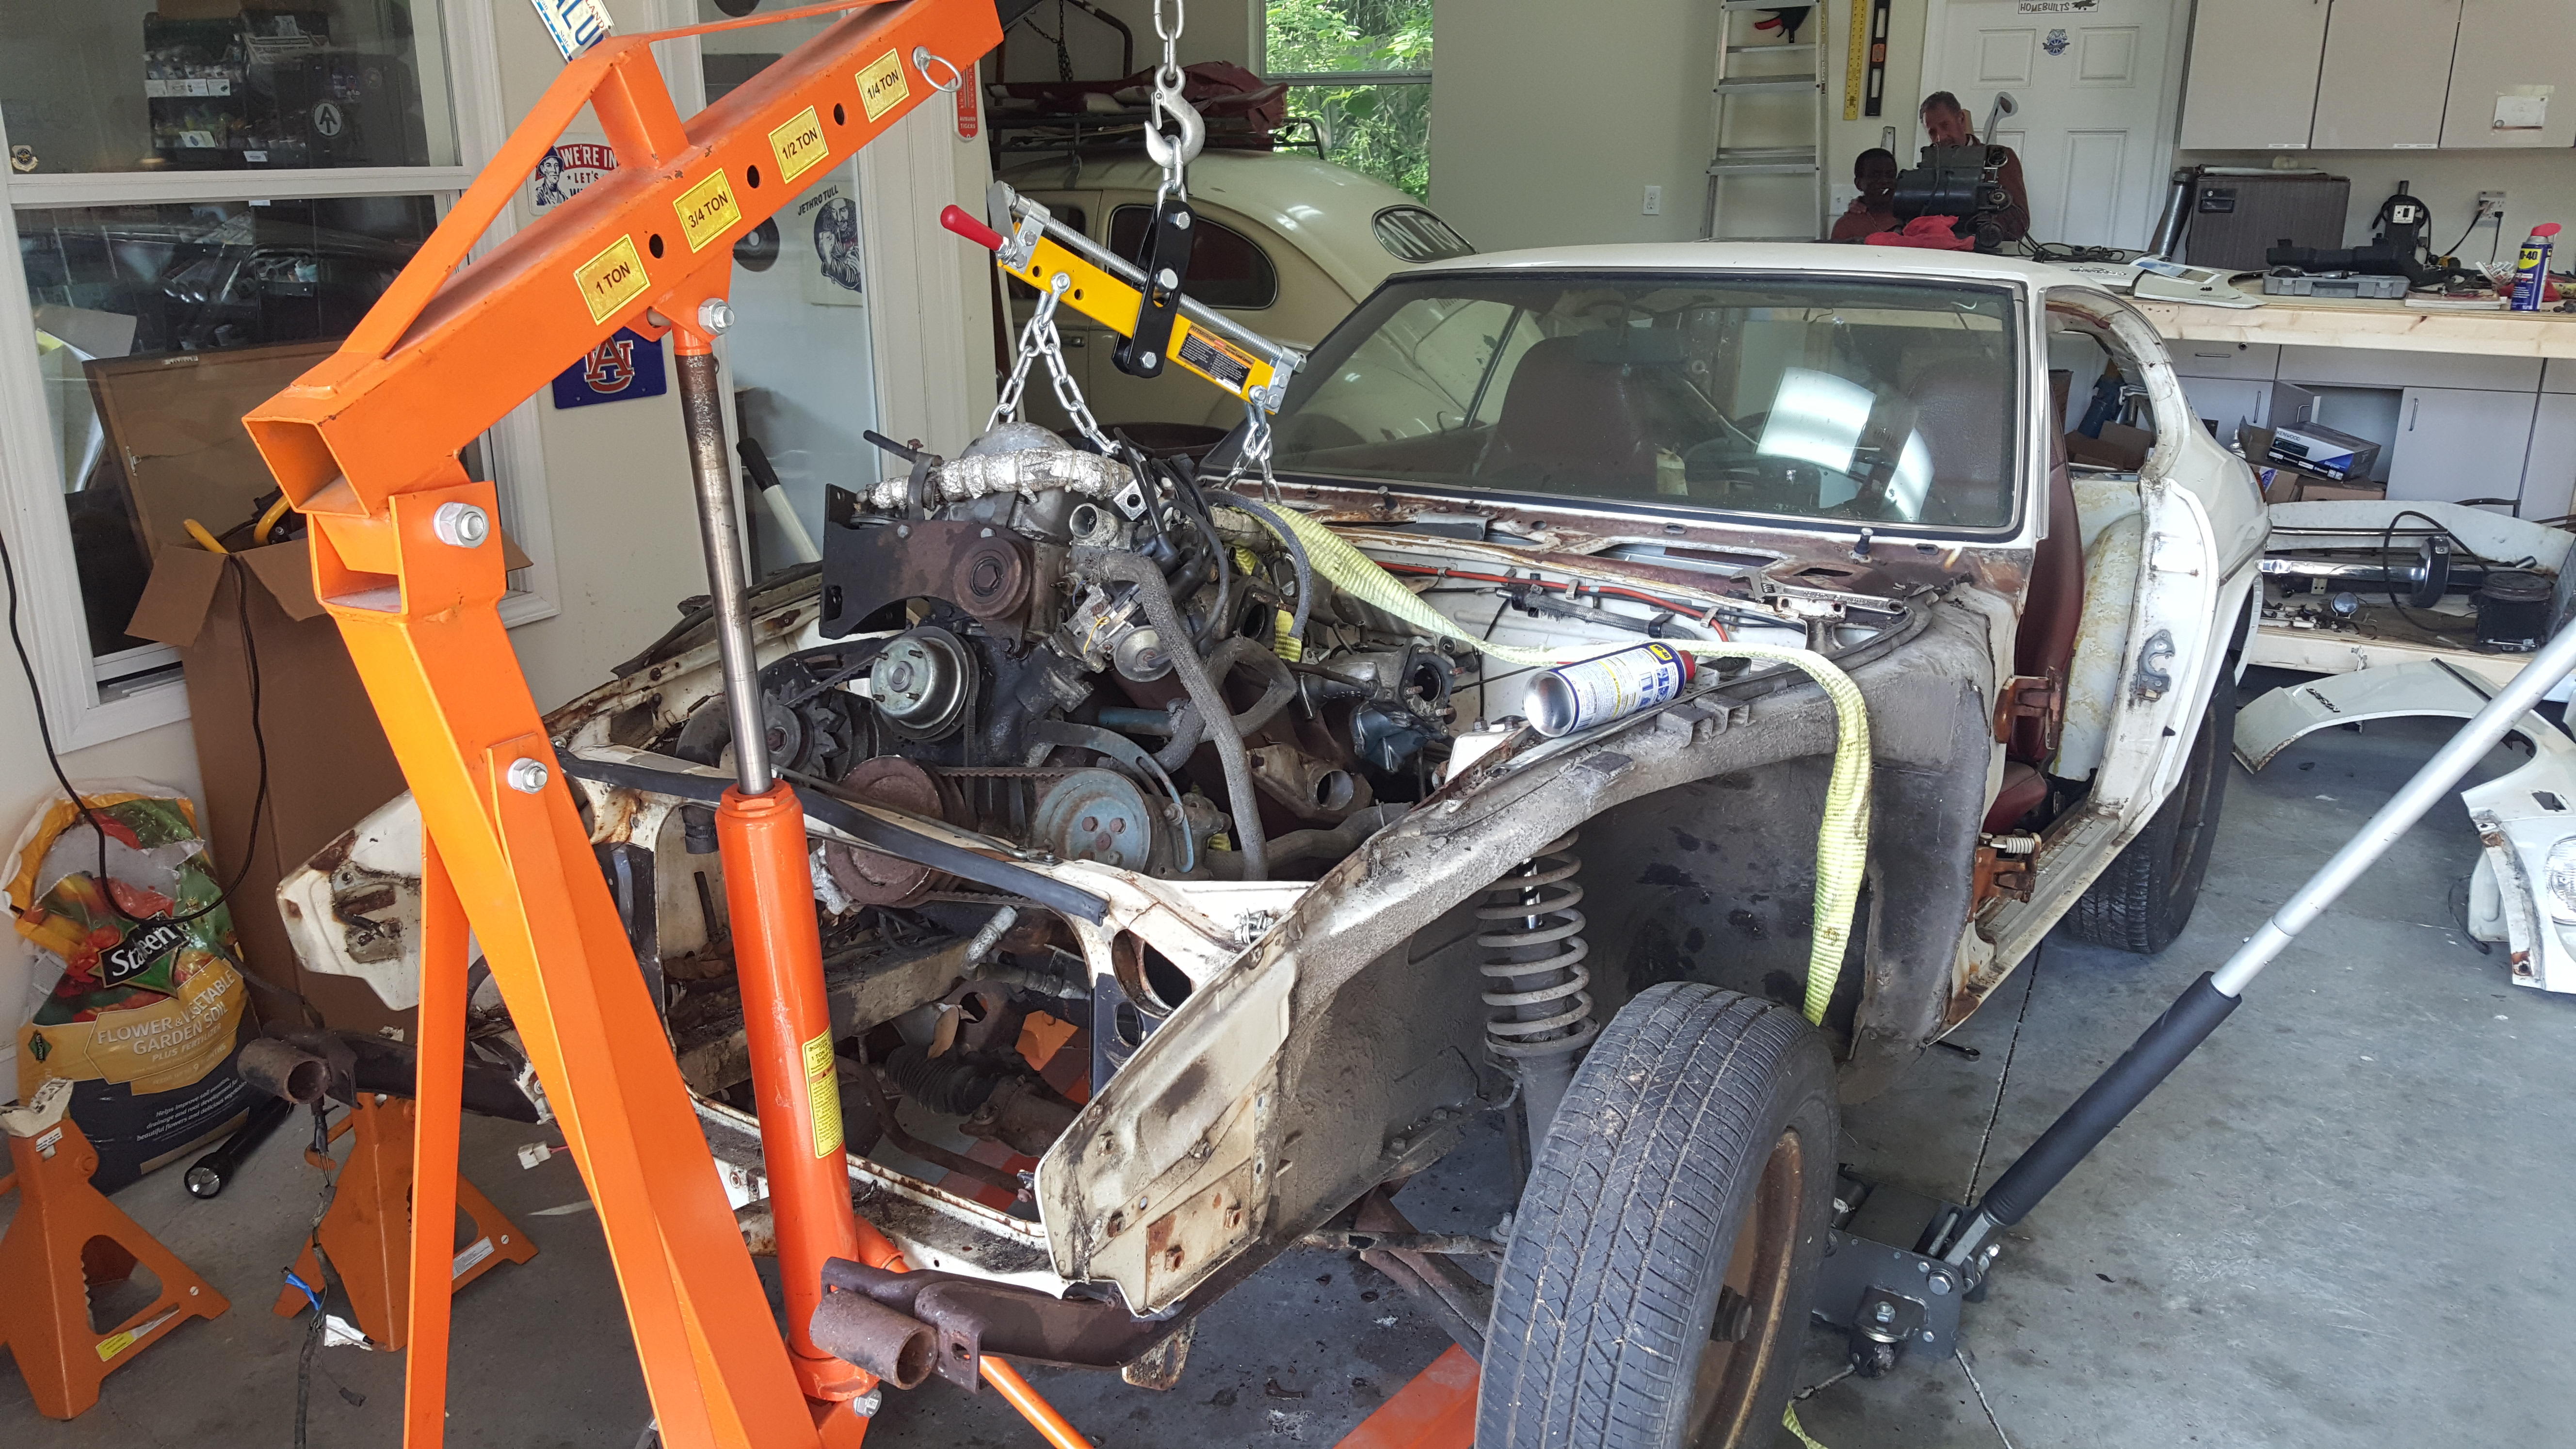
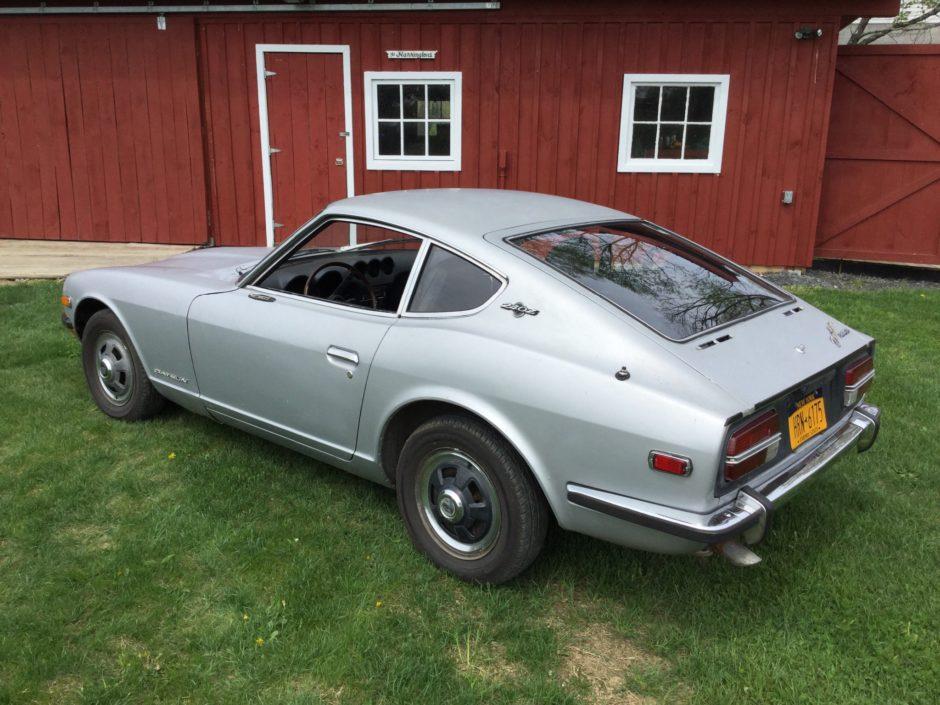
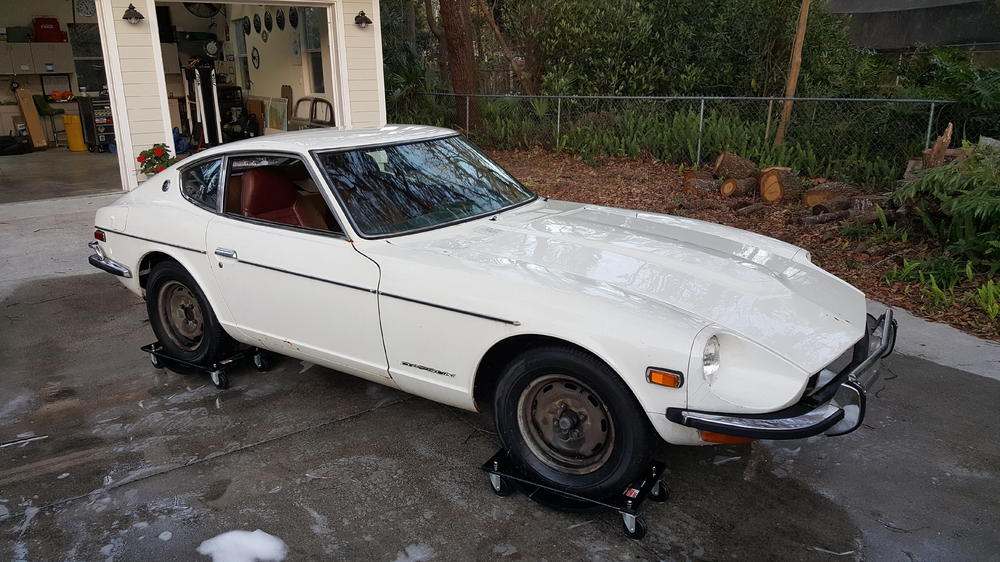
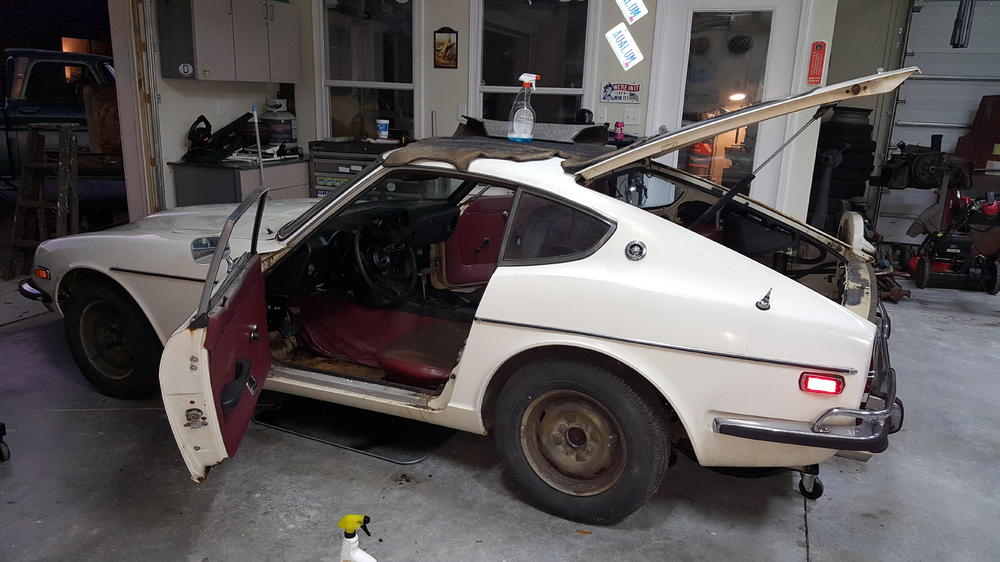
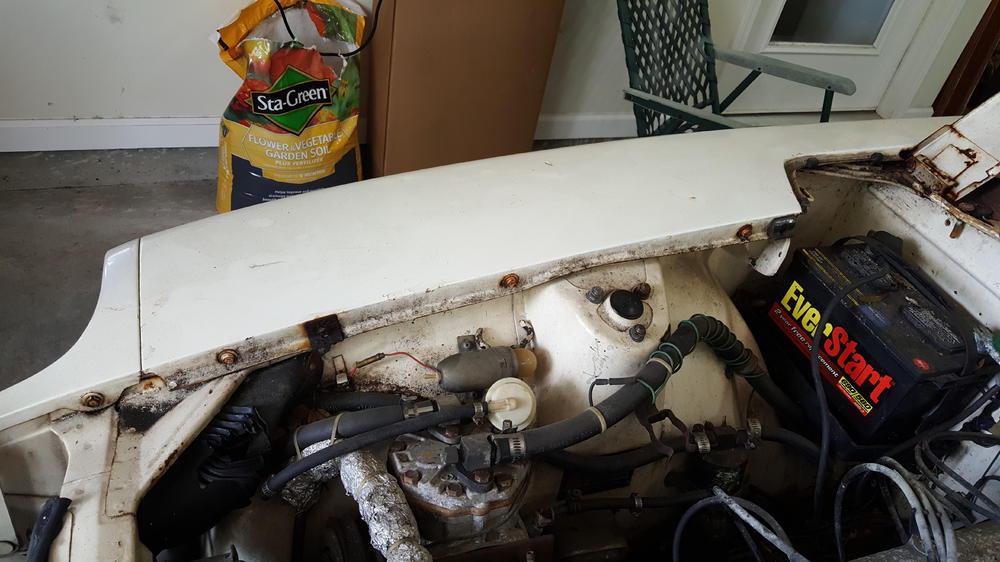
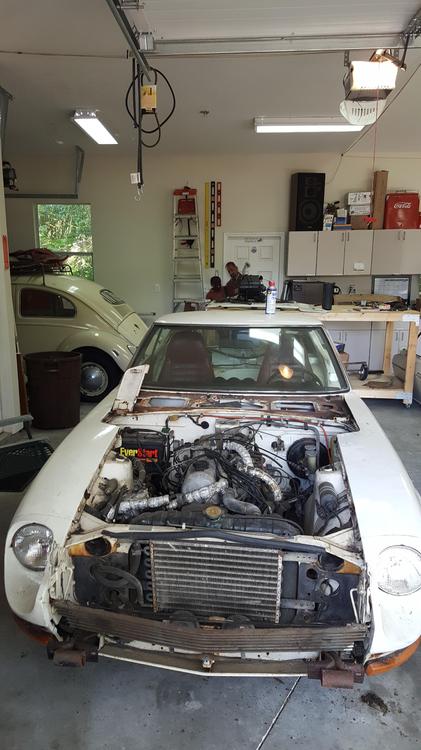
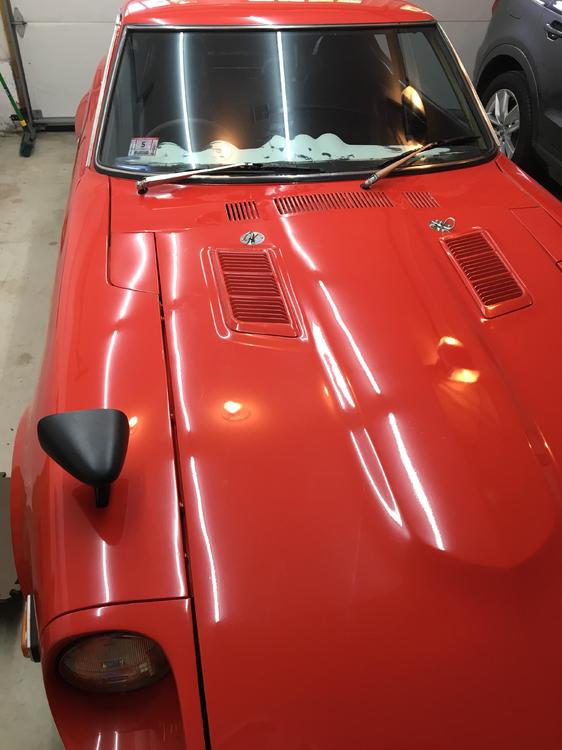
 1 pointI have had this 240 for about 12 years waiting to be restored. Before I got it, it had been sitting for about 20 years. I believe the car has only 22K miles on it through various indications around the car. I have had several 240's through the years and it seems this one is a true low mileage car. I am doing a complete restoration back to original specs. the car "had" automatic transmission, factory air, Hitachi flat tops. I am converting to manual gearbox with 83 ZX 5 speed, R200 diff, rebuilt 2.4 engine, and been looking at the Vintage Air A/C an not reinstalling the factory A/C. I just starting the process, I hope to be done within the year, but you know how things like this go. Going back to original white with the red interior. Original dash is mint. Sorry the files are so large, dont have the skills to make them smaller on the screen.
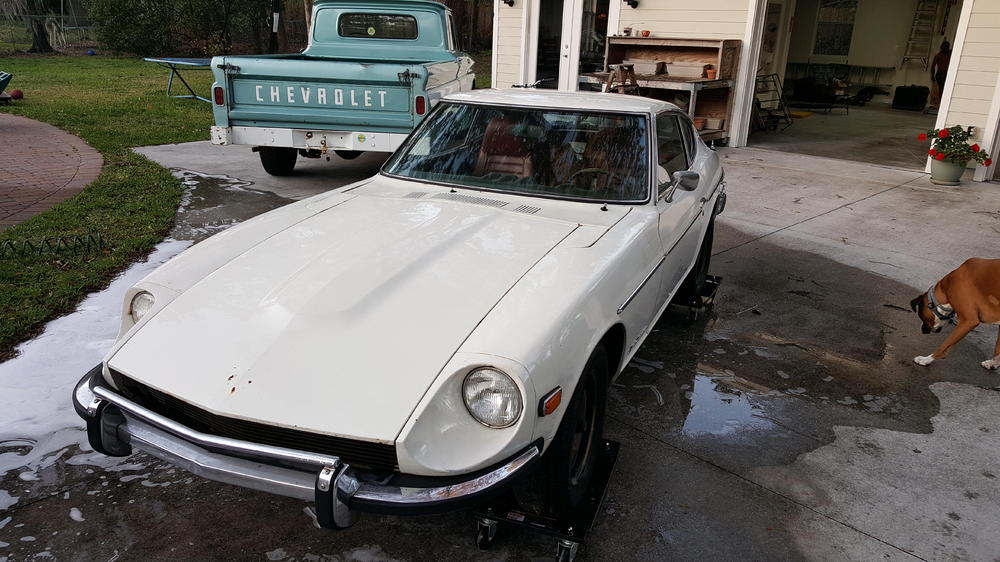


 1 point
 -
1 point80k euros is about 96 grand in US coinage ? https://www.classiccarsforsale.co.uk/datsun/240z/253595 But it sure is pretty!1 point
-
 1 pointDon't worry about doing it several times. Sometimes, more often than not, it takes more than once to get it right, espceially when dealing with a fifty year old car. Anyone who is watching has done the same or will in the future. I personally have learned quite a bit from your build. Our cars are at about the same point BTW. Keep up the nice work and we will all stay tuned.1 point
 -
1 pointBlind men and an elephant. Never heard that one before Captain, funny. "The moral of the parable is that humans have a tendency to project their partial experiences as the whole truth, ignore other people's partial experiences, and one should consider that one may be partially right and may have partial information."1 point
-
 1 pointI'm confused. I'm not sure what connector you are even interested in... In the first pic (of the wiring documentation) you centered the camera on a three position connector labeled LW/R/LR. But then in the second pic you are showing a two position connector with G/W and R/B. So which connector are you asking about? And close-up pics are great, but "context" could be more easily obtained if you were to pull the camera back a little. https://en.wikipedia.org/wiki/Blind_men_and_an_elephant1 point
 -
 1 pointHuh? And where are you going to live then? Nice CAR !! ? EDIT... AHAAH! Buying new home for the wife THE Z-CAR!! AND NEVER SELL IT!!!!1 point
 -
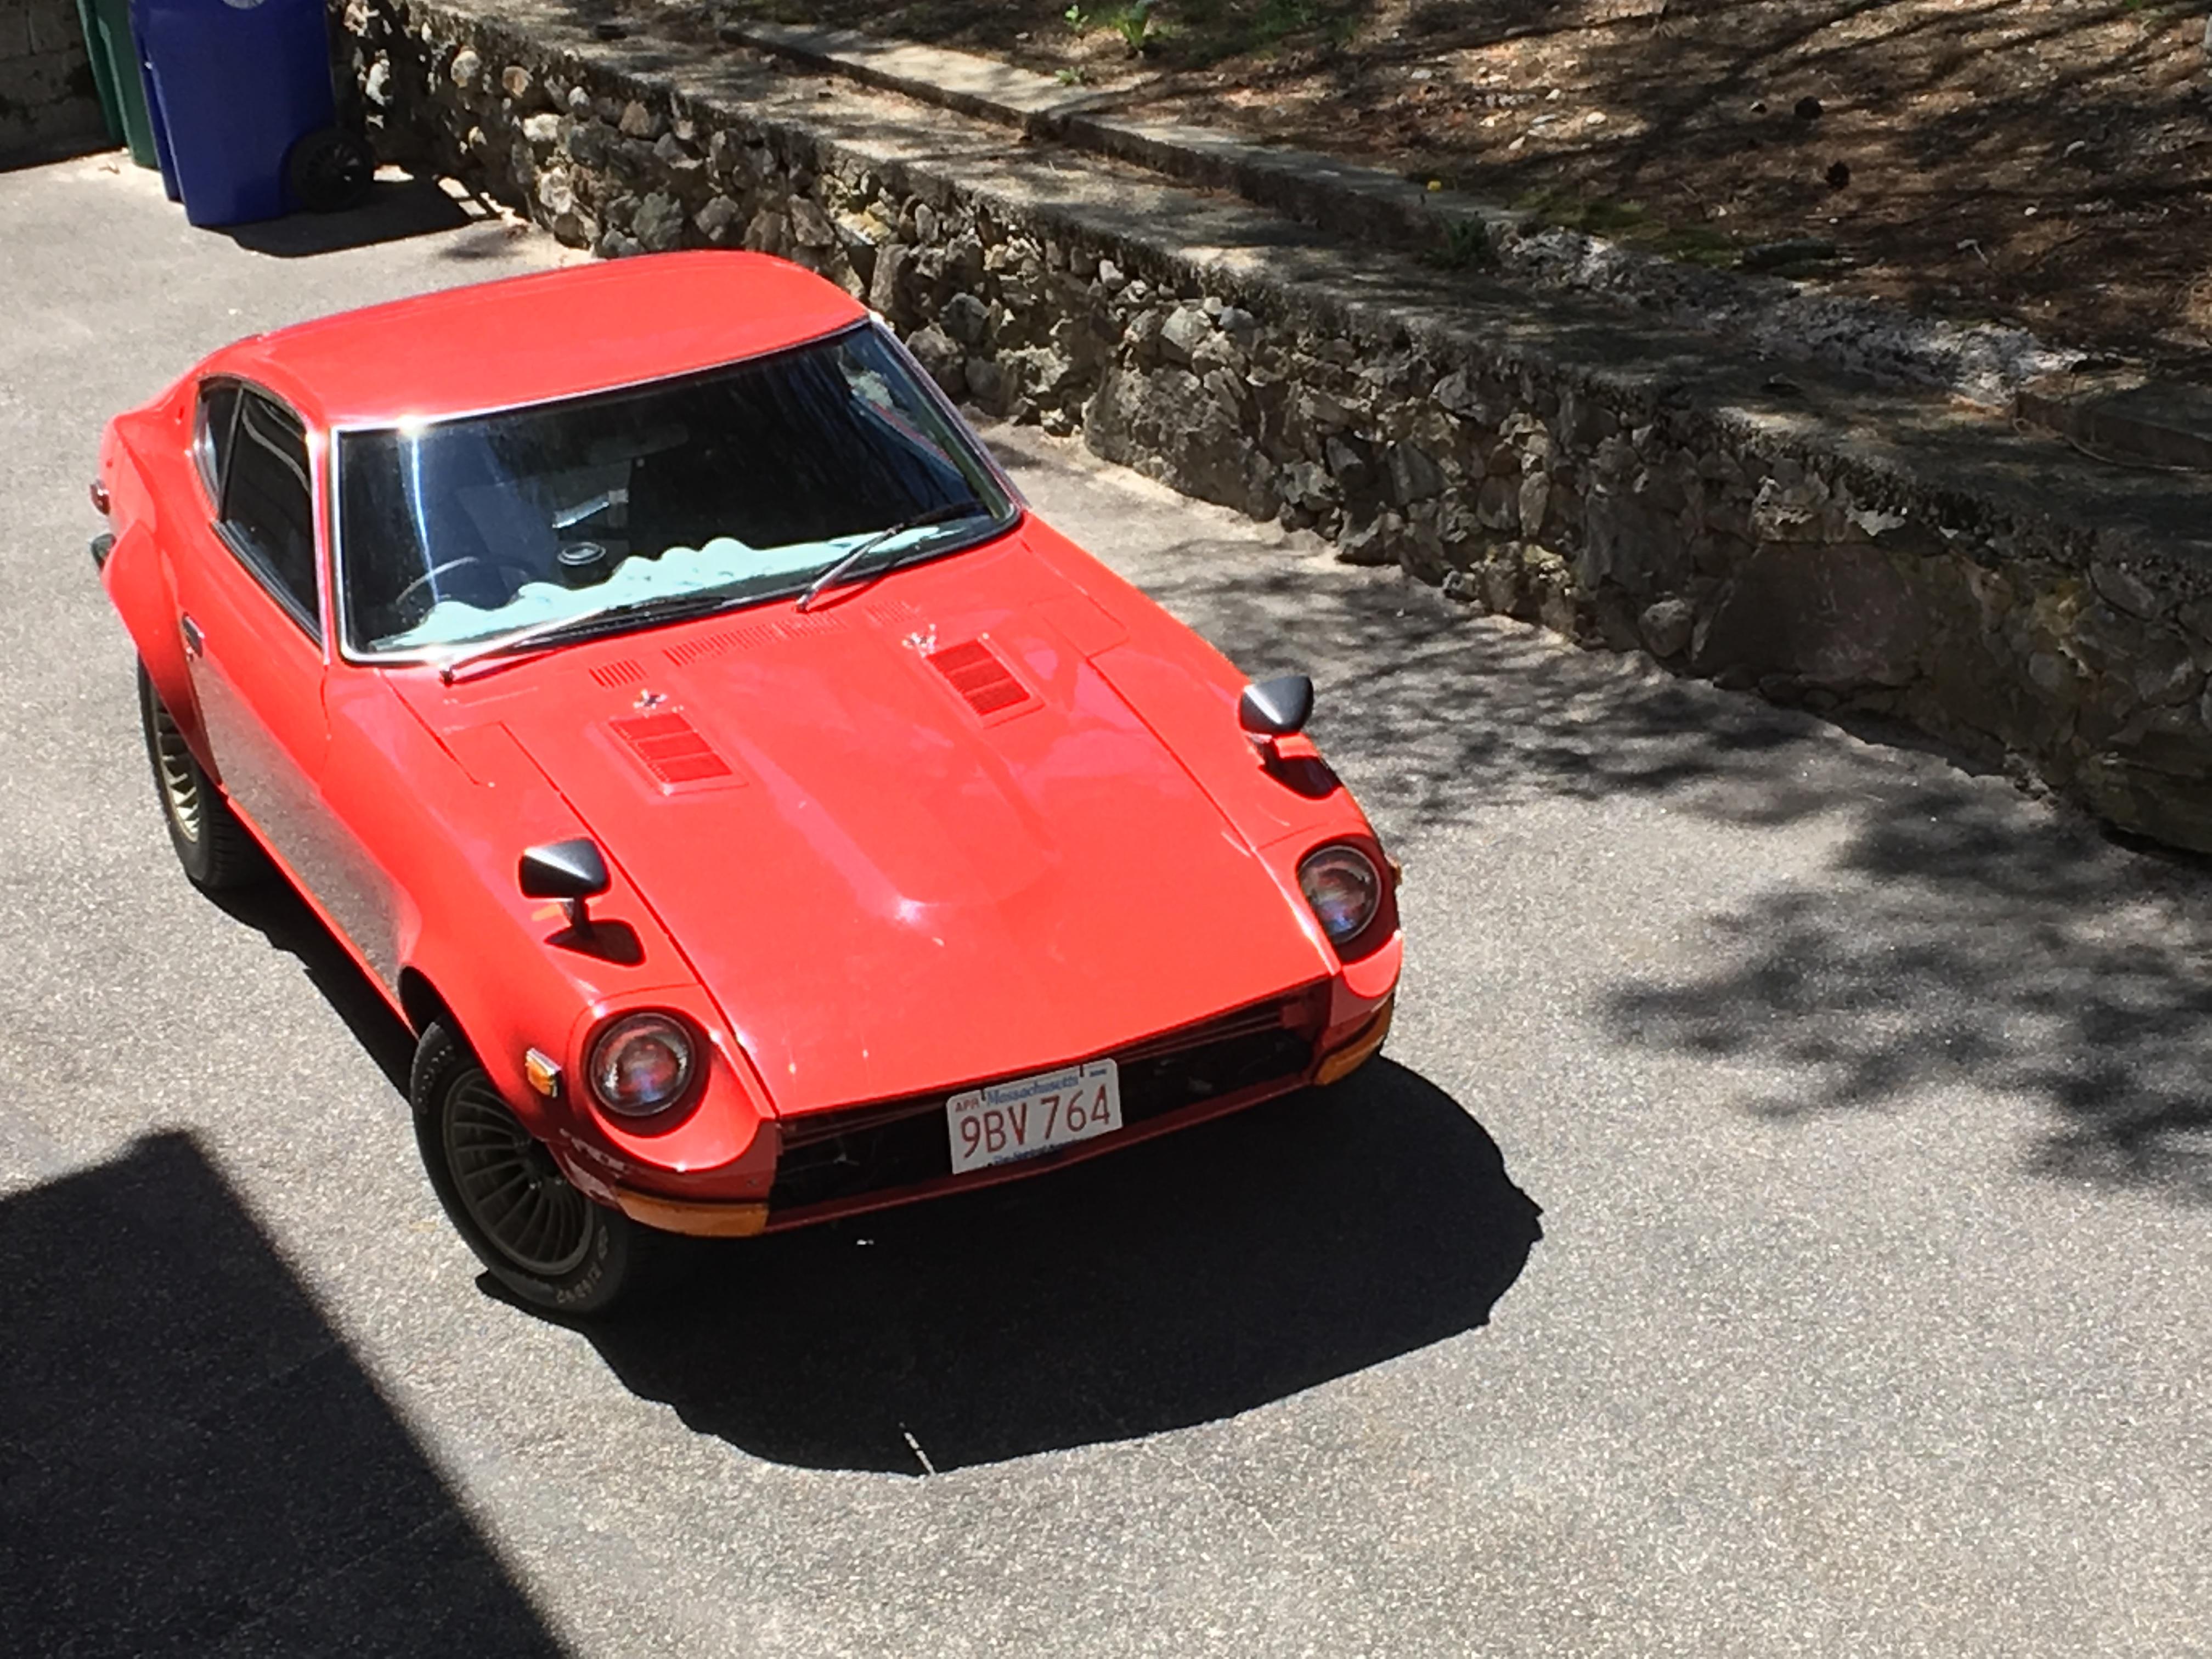
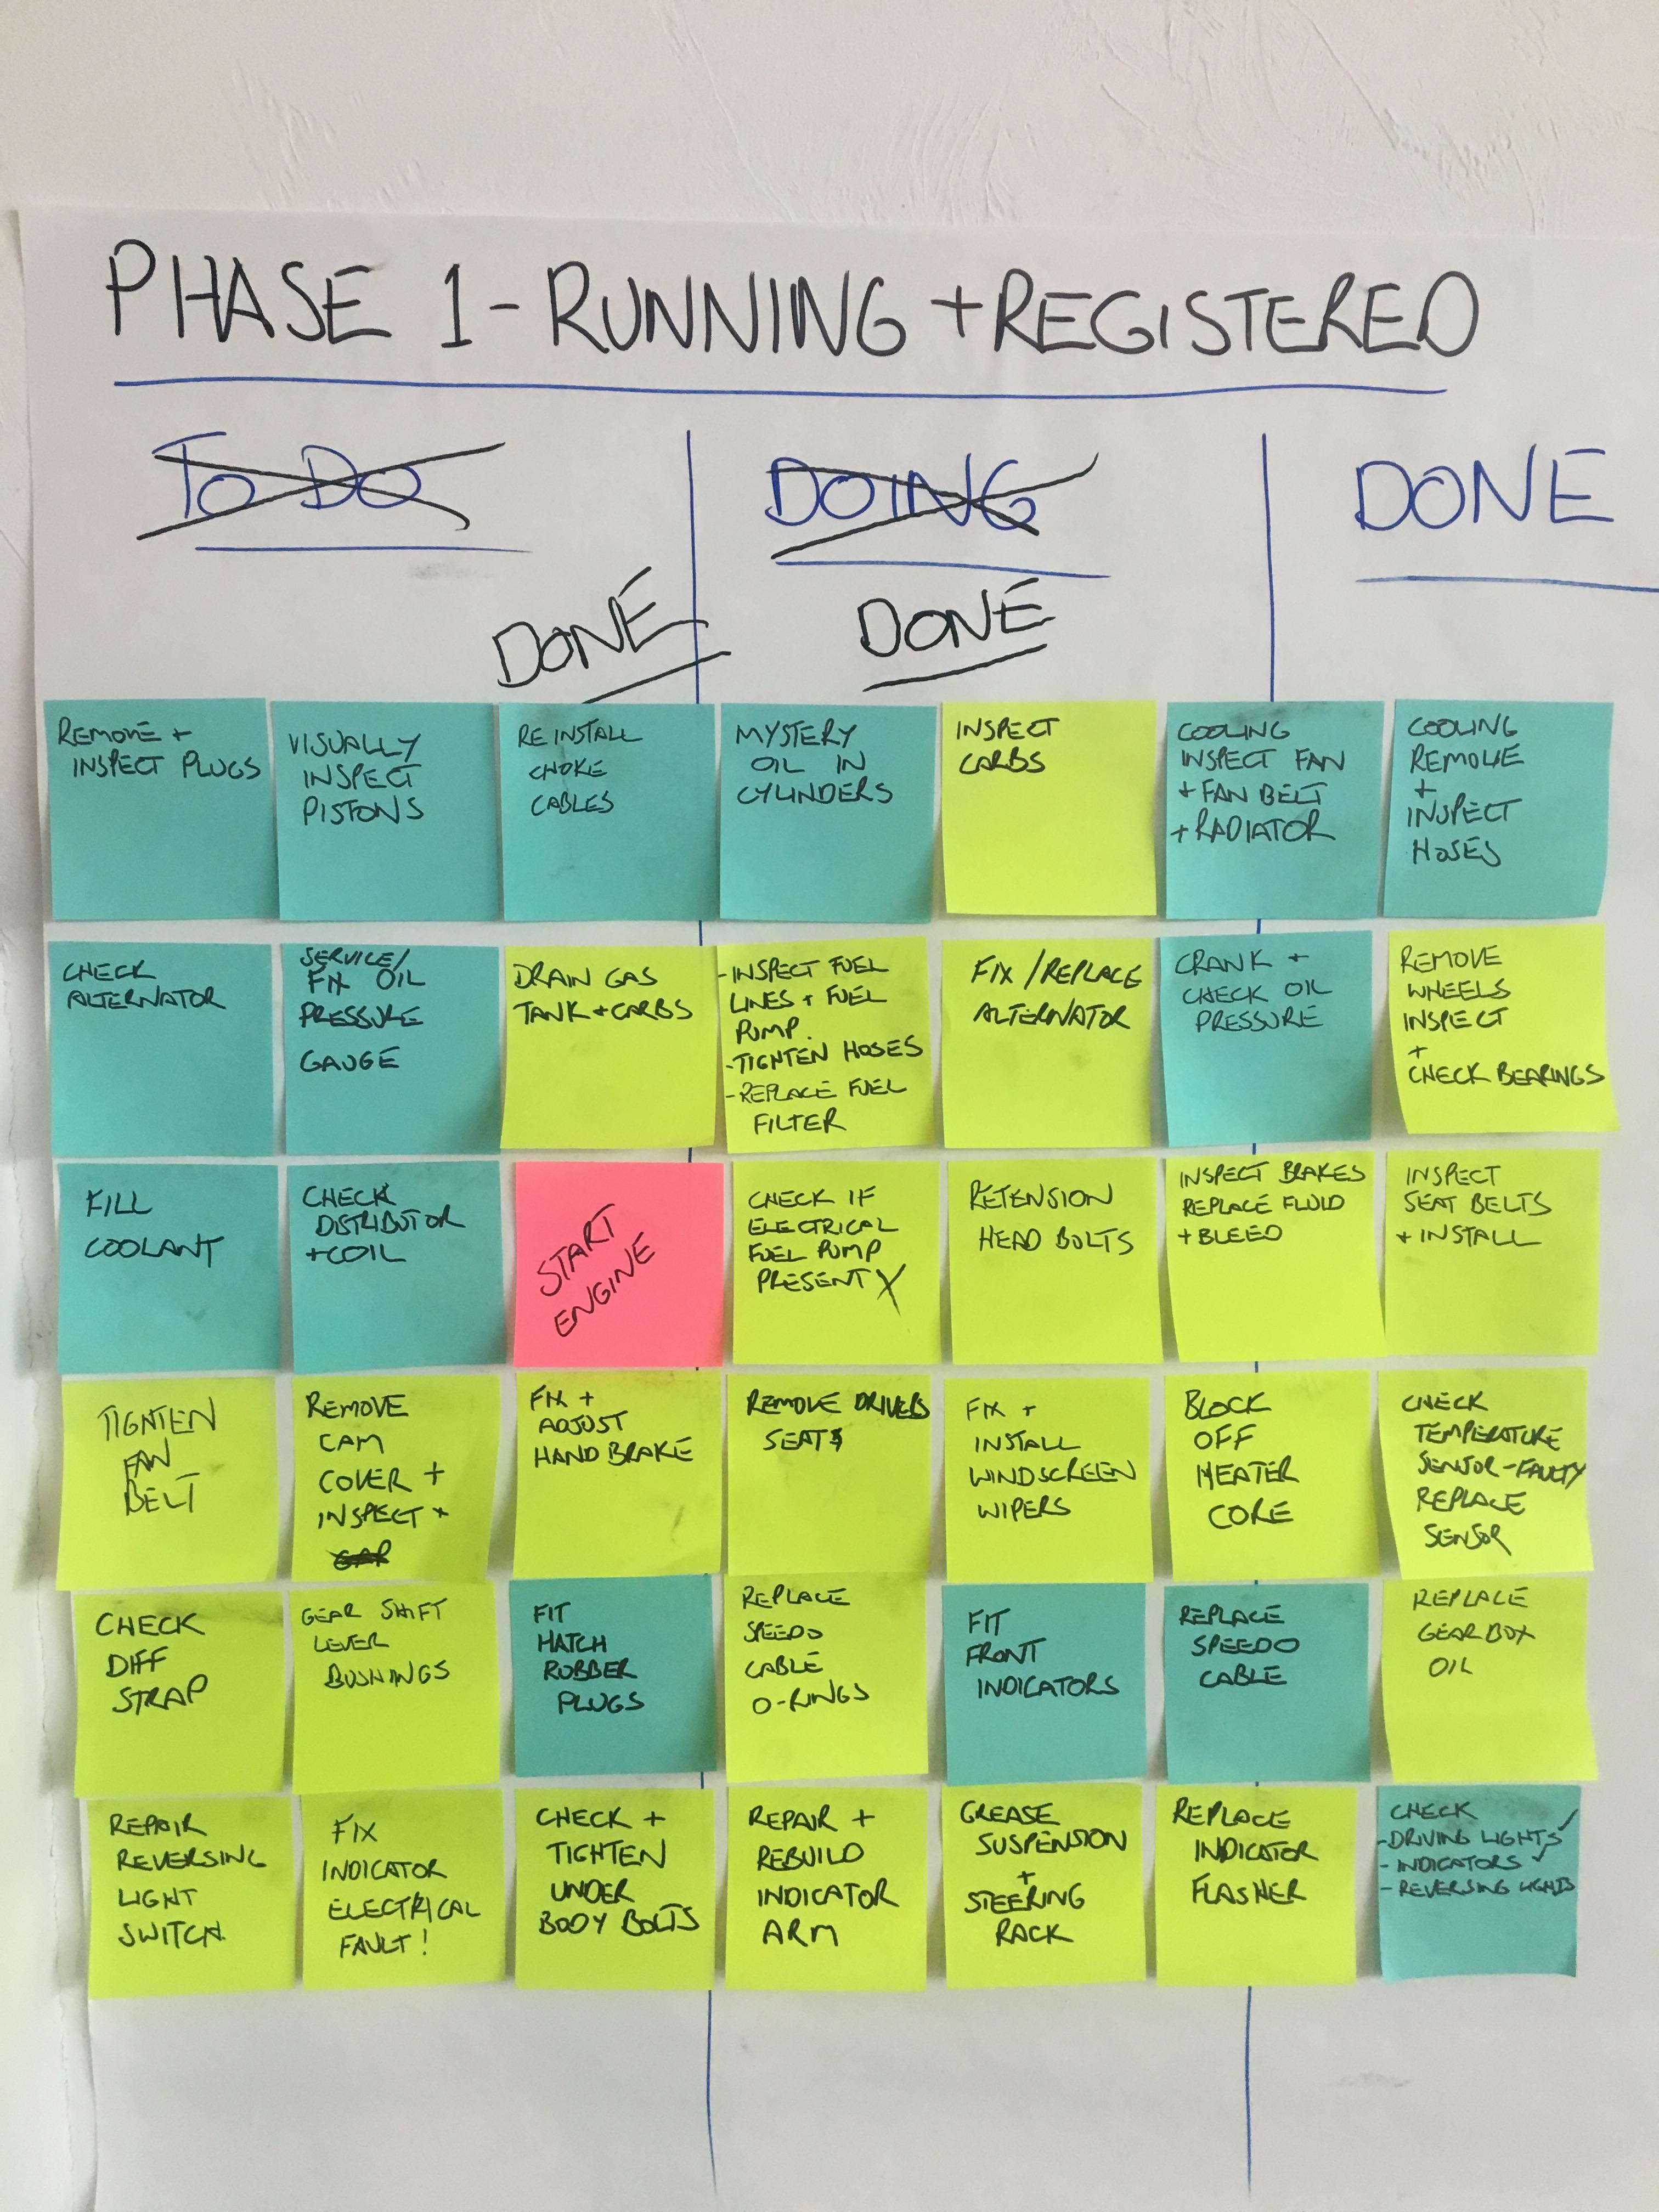
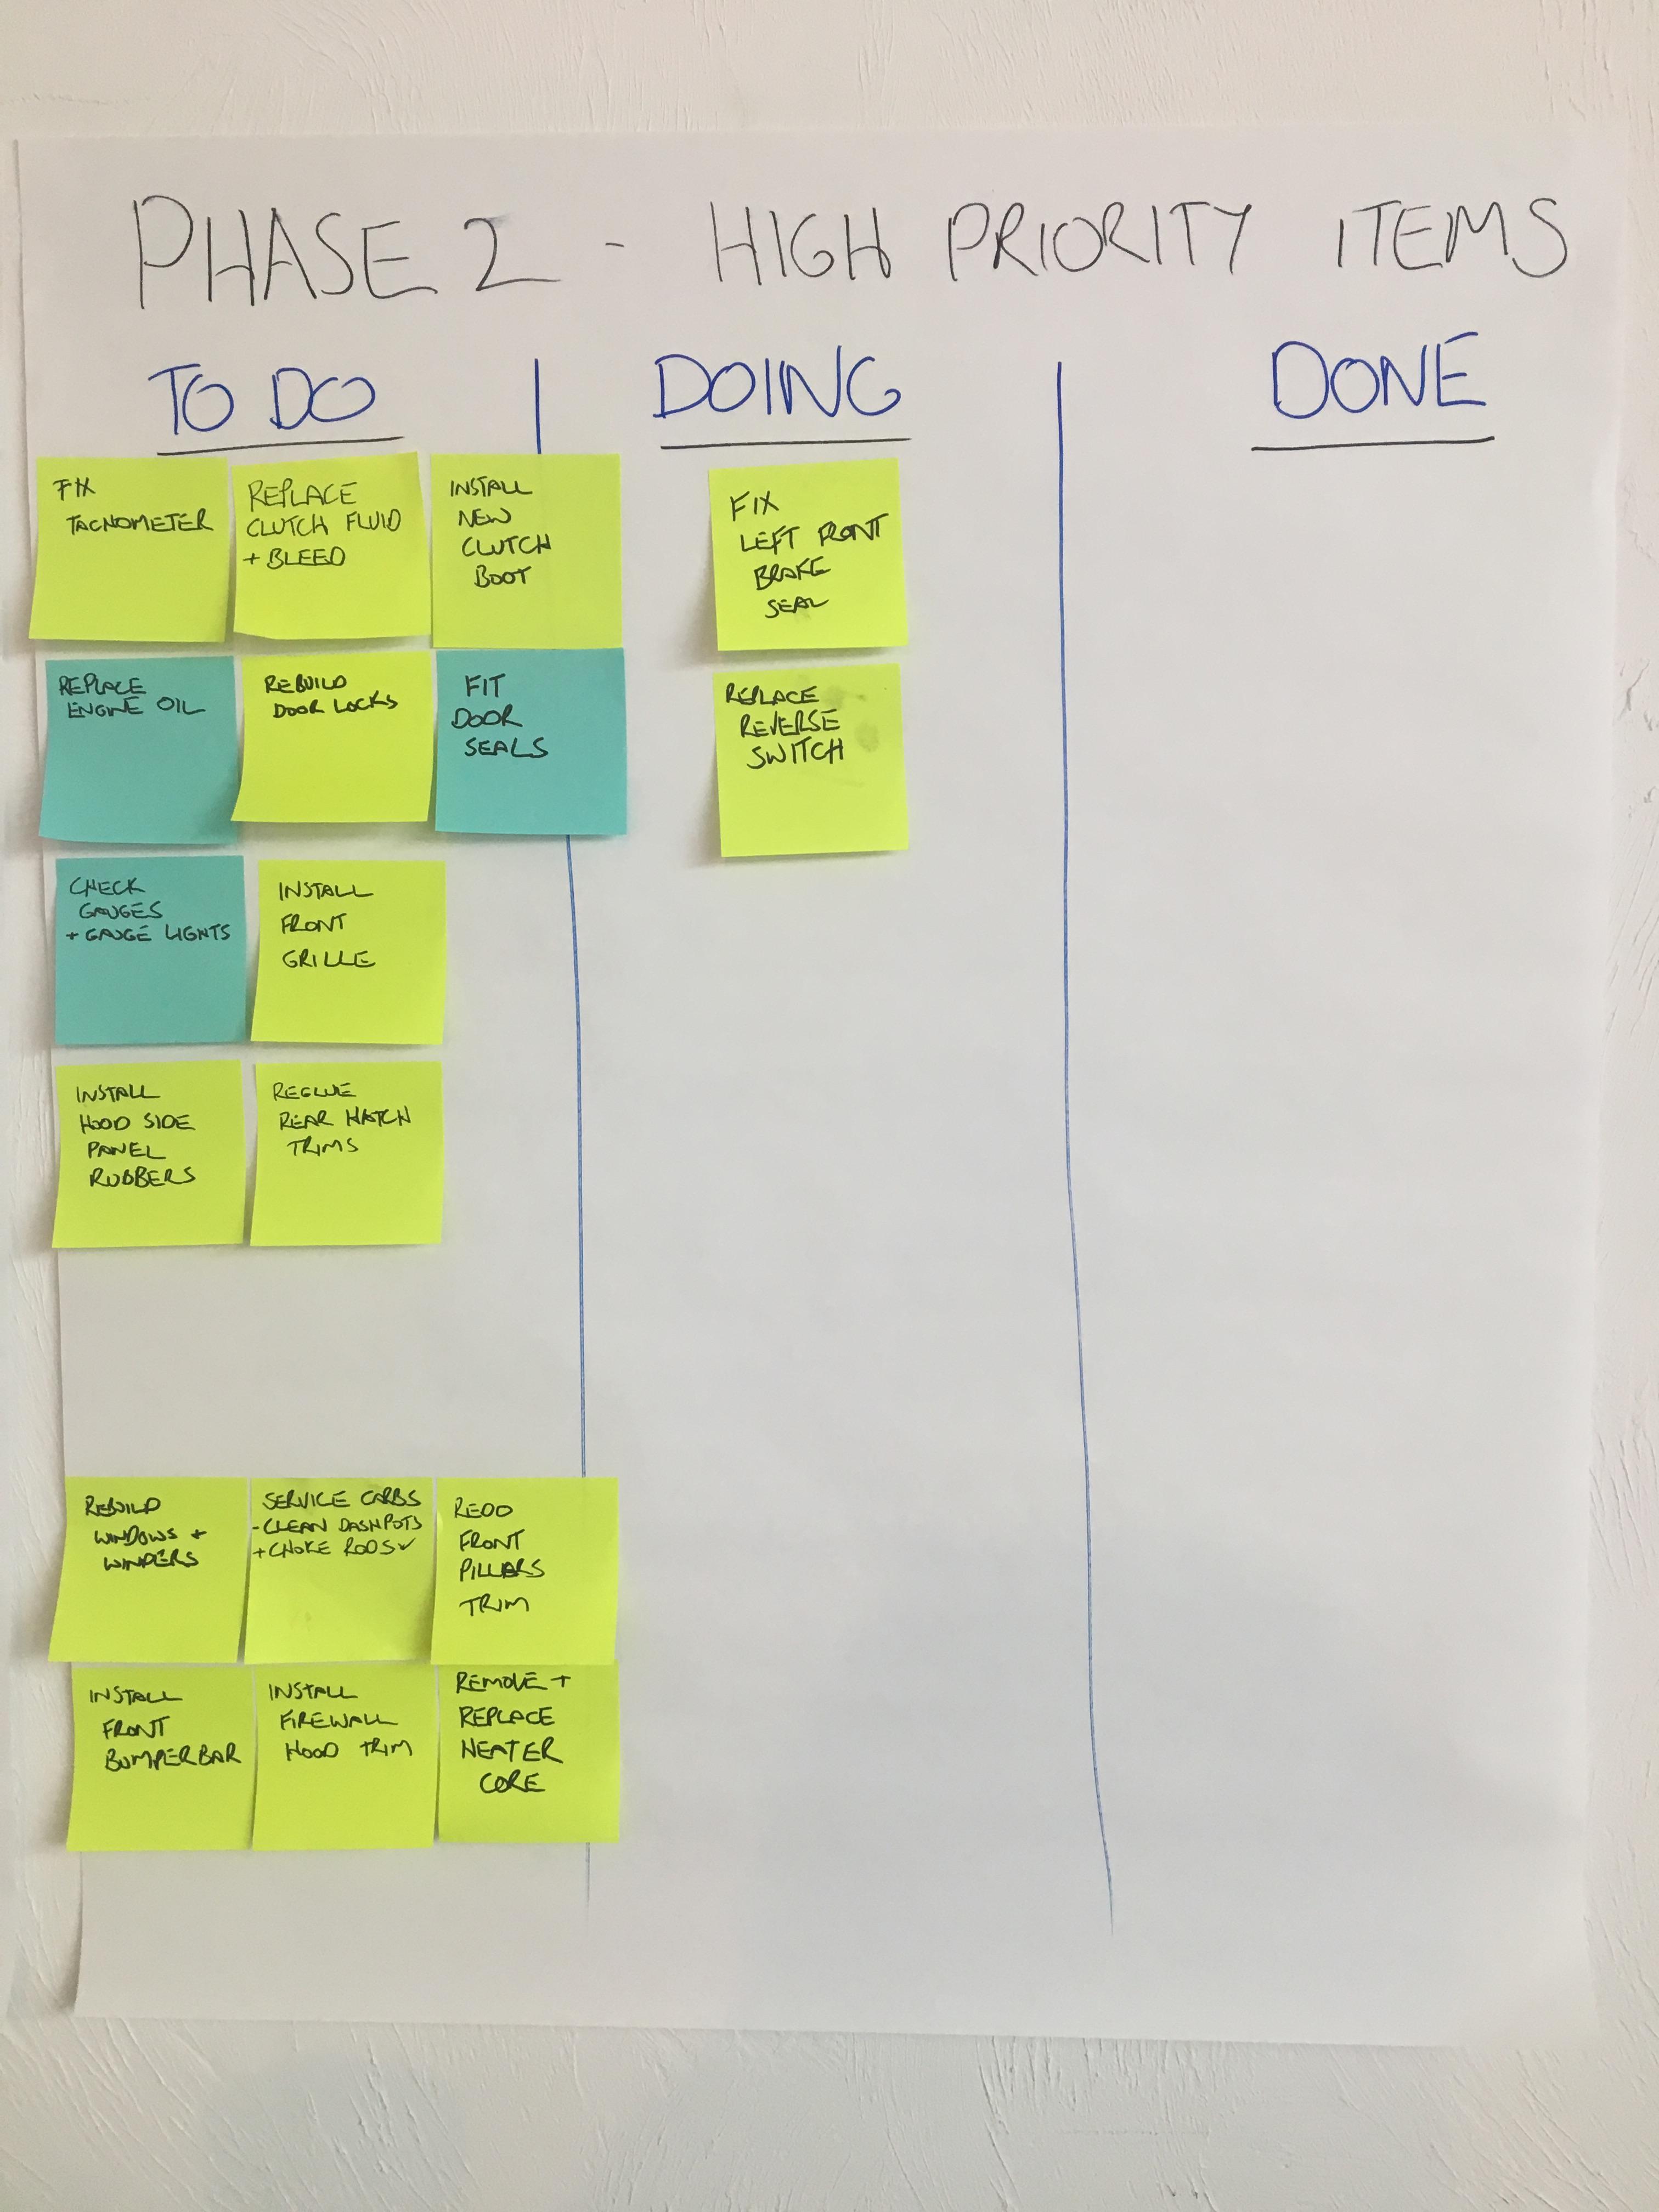
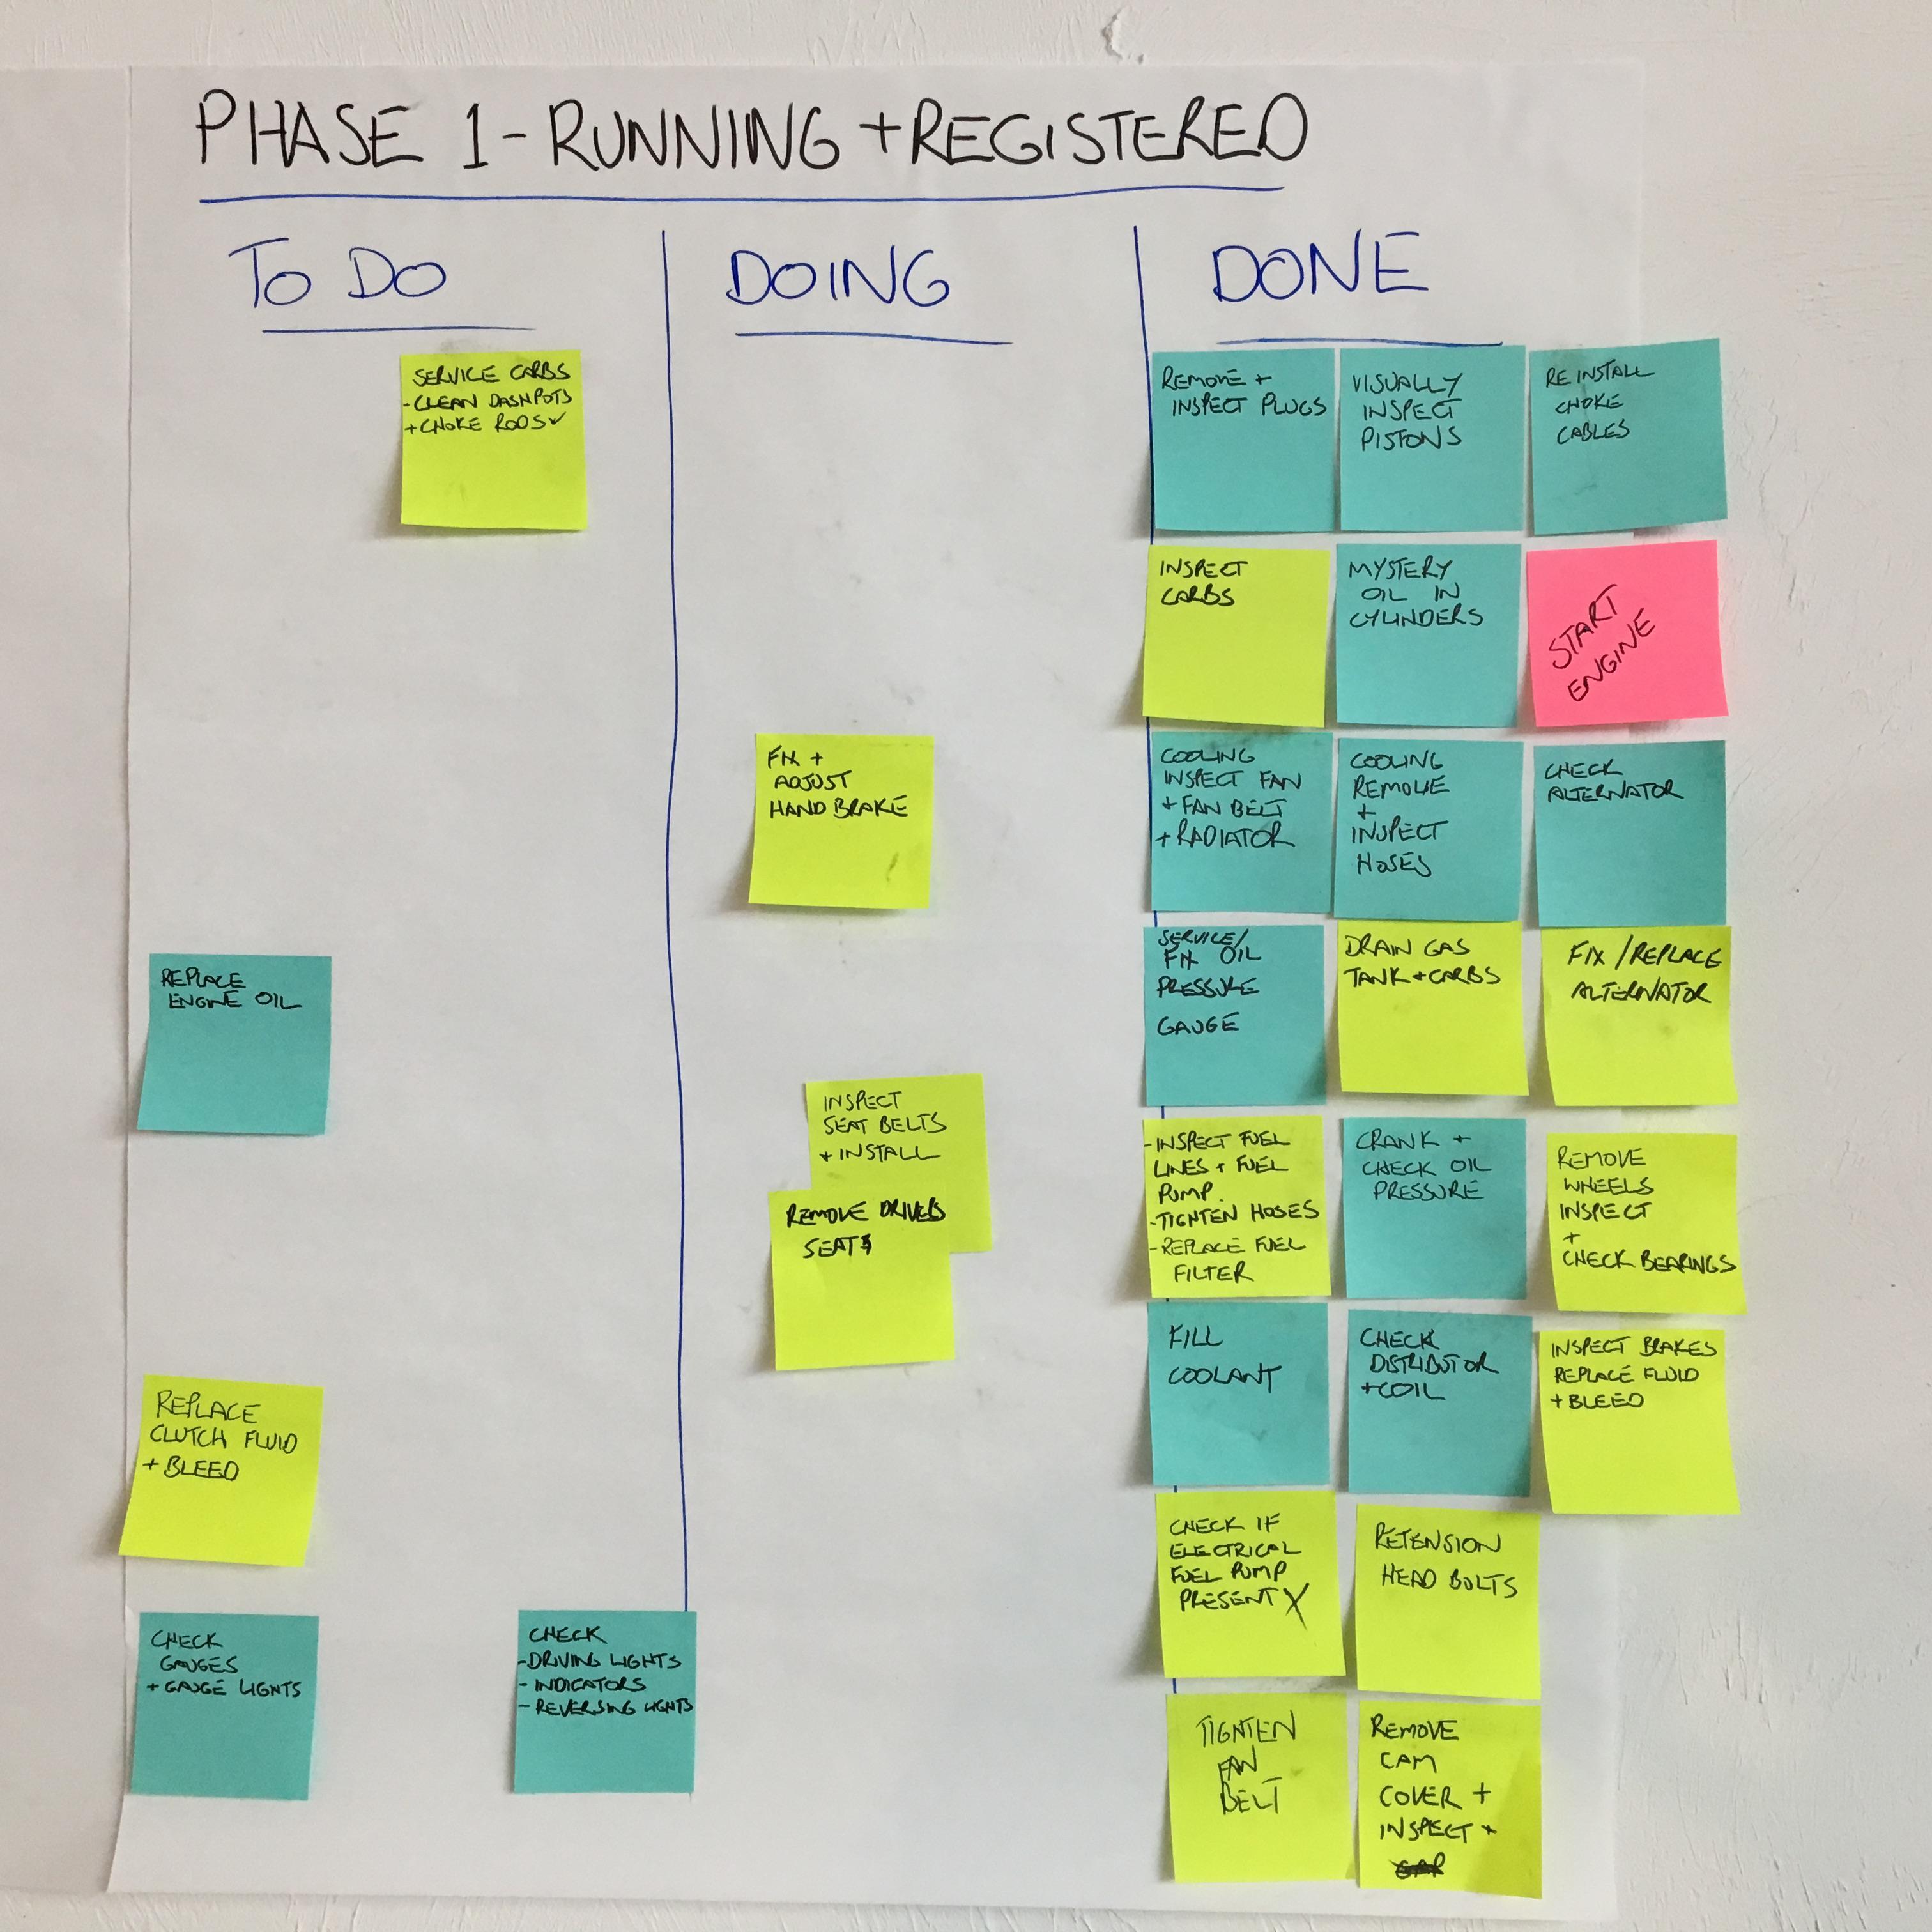
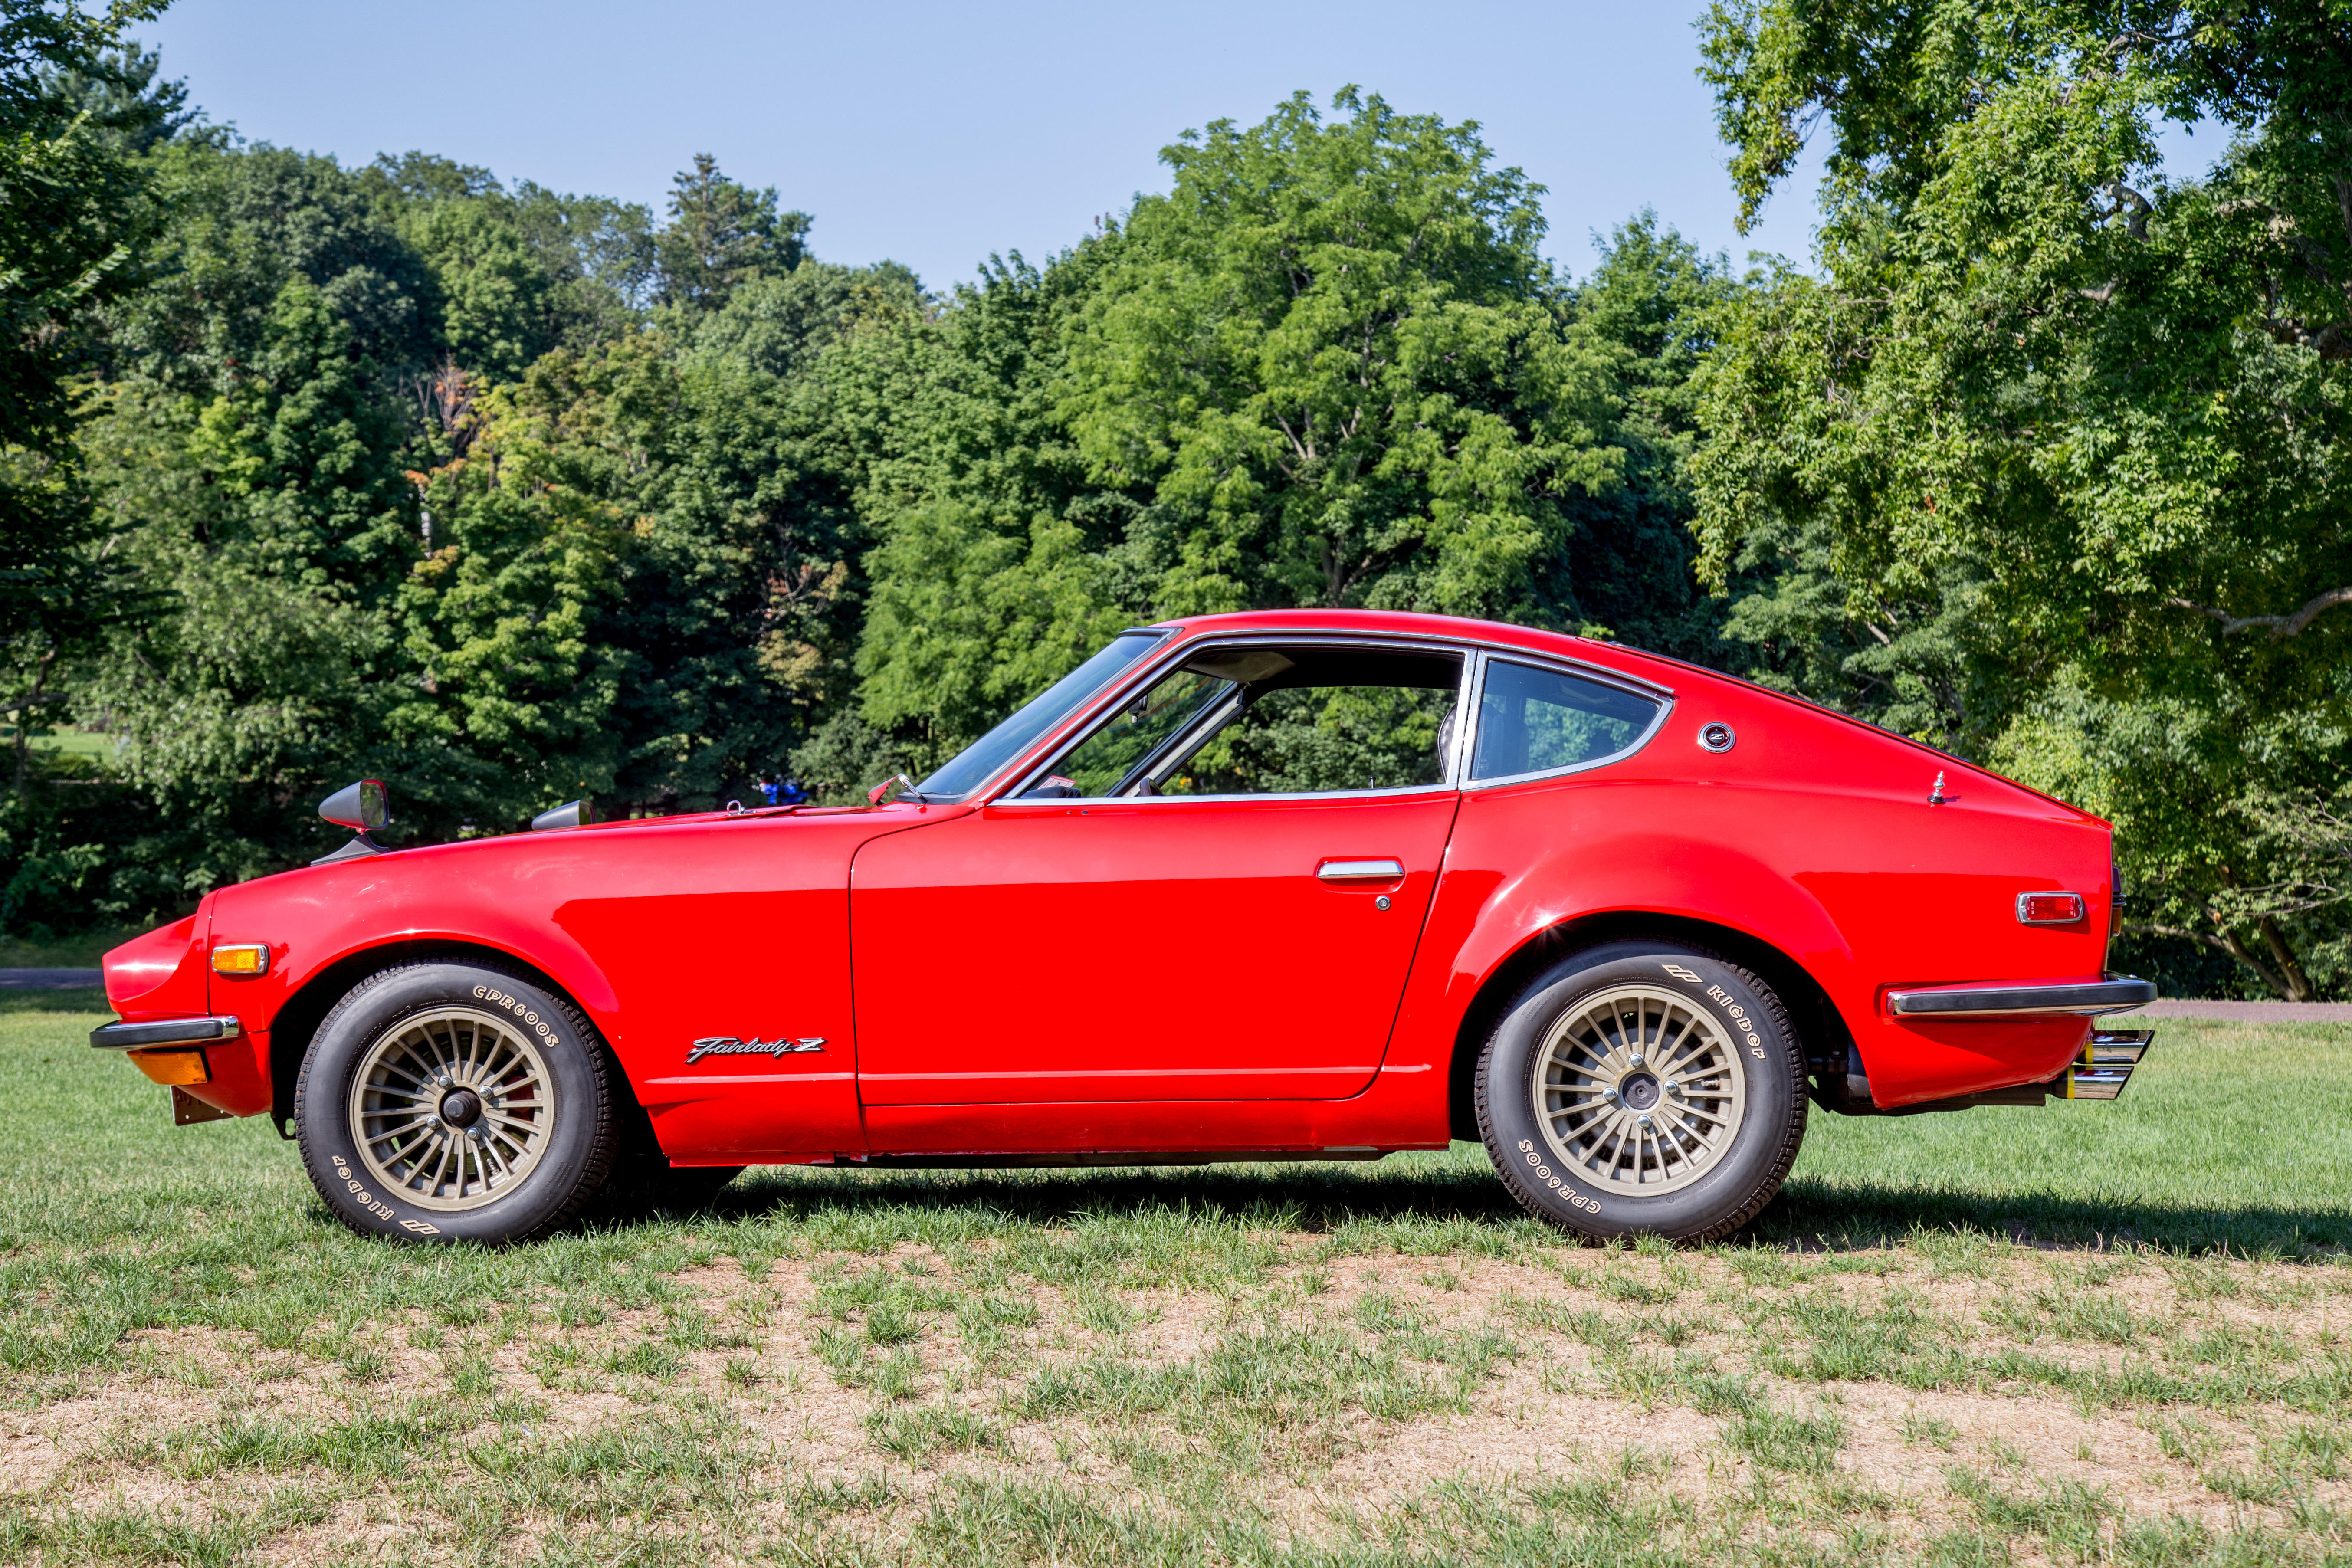
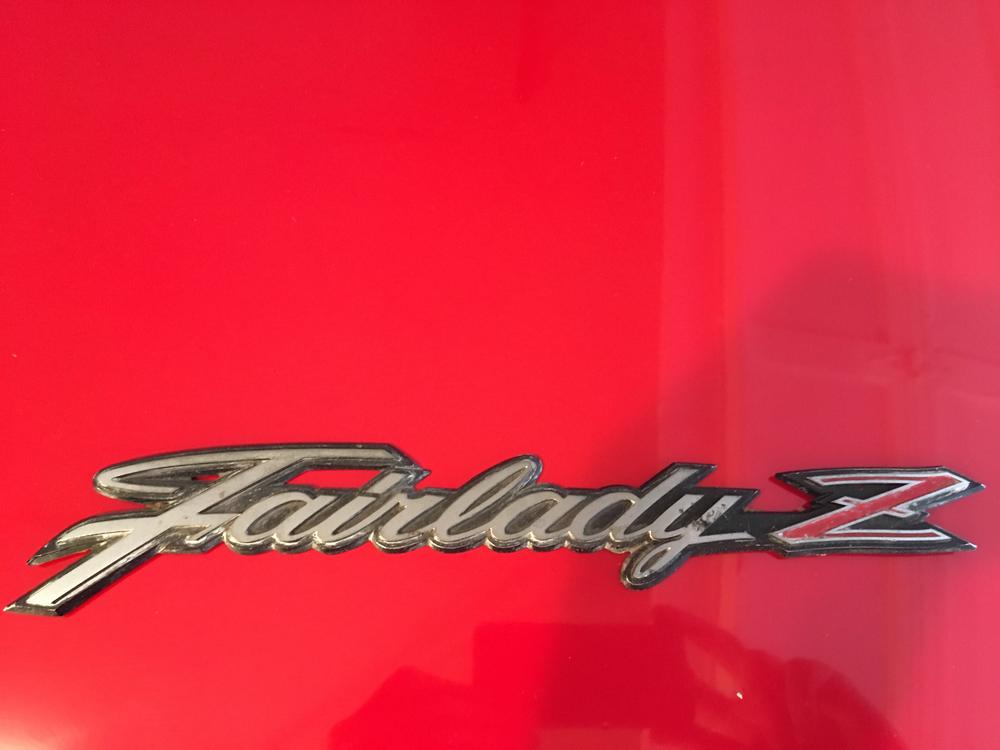
1 pointMeet Looey, my new 1973 Fairlady Z. She moved from Japan to USA with a returning service man, then believed to have spent most of her time in Louisville Kentucky. Now owned by an Australian living in Boston. Previous owner had her for 21 years (almost to the day). Has been restoring it since he acquired her. Put just over 1000 km on the clock over the years. Speedo reads 89k - not sure if rolled over. Looey has not been started for 4 years. She will need some coaxing to come back to life... Plans Stage 1 - Running & Registered Stage 2 - Fix high priority items - interior fixes, seals, etc. Stage 3 - Remove flares and body fixes. Stage 4 - 6 ......


 1 point
 -
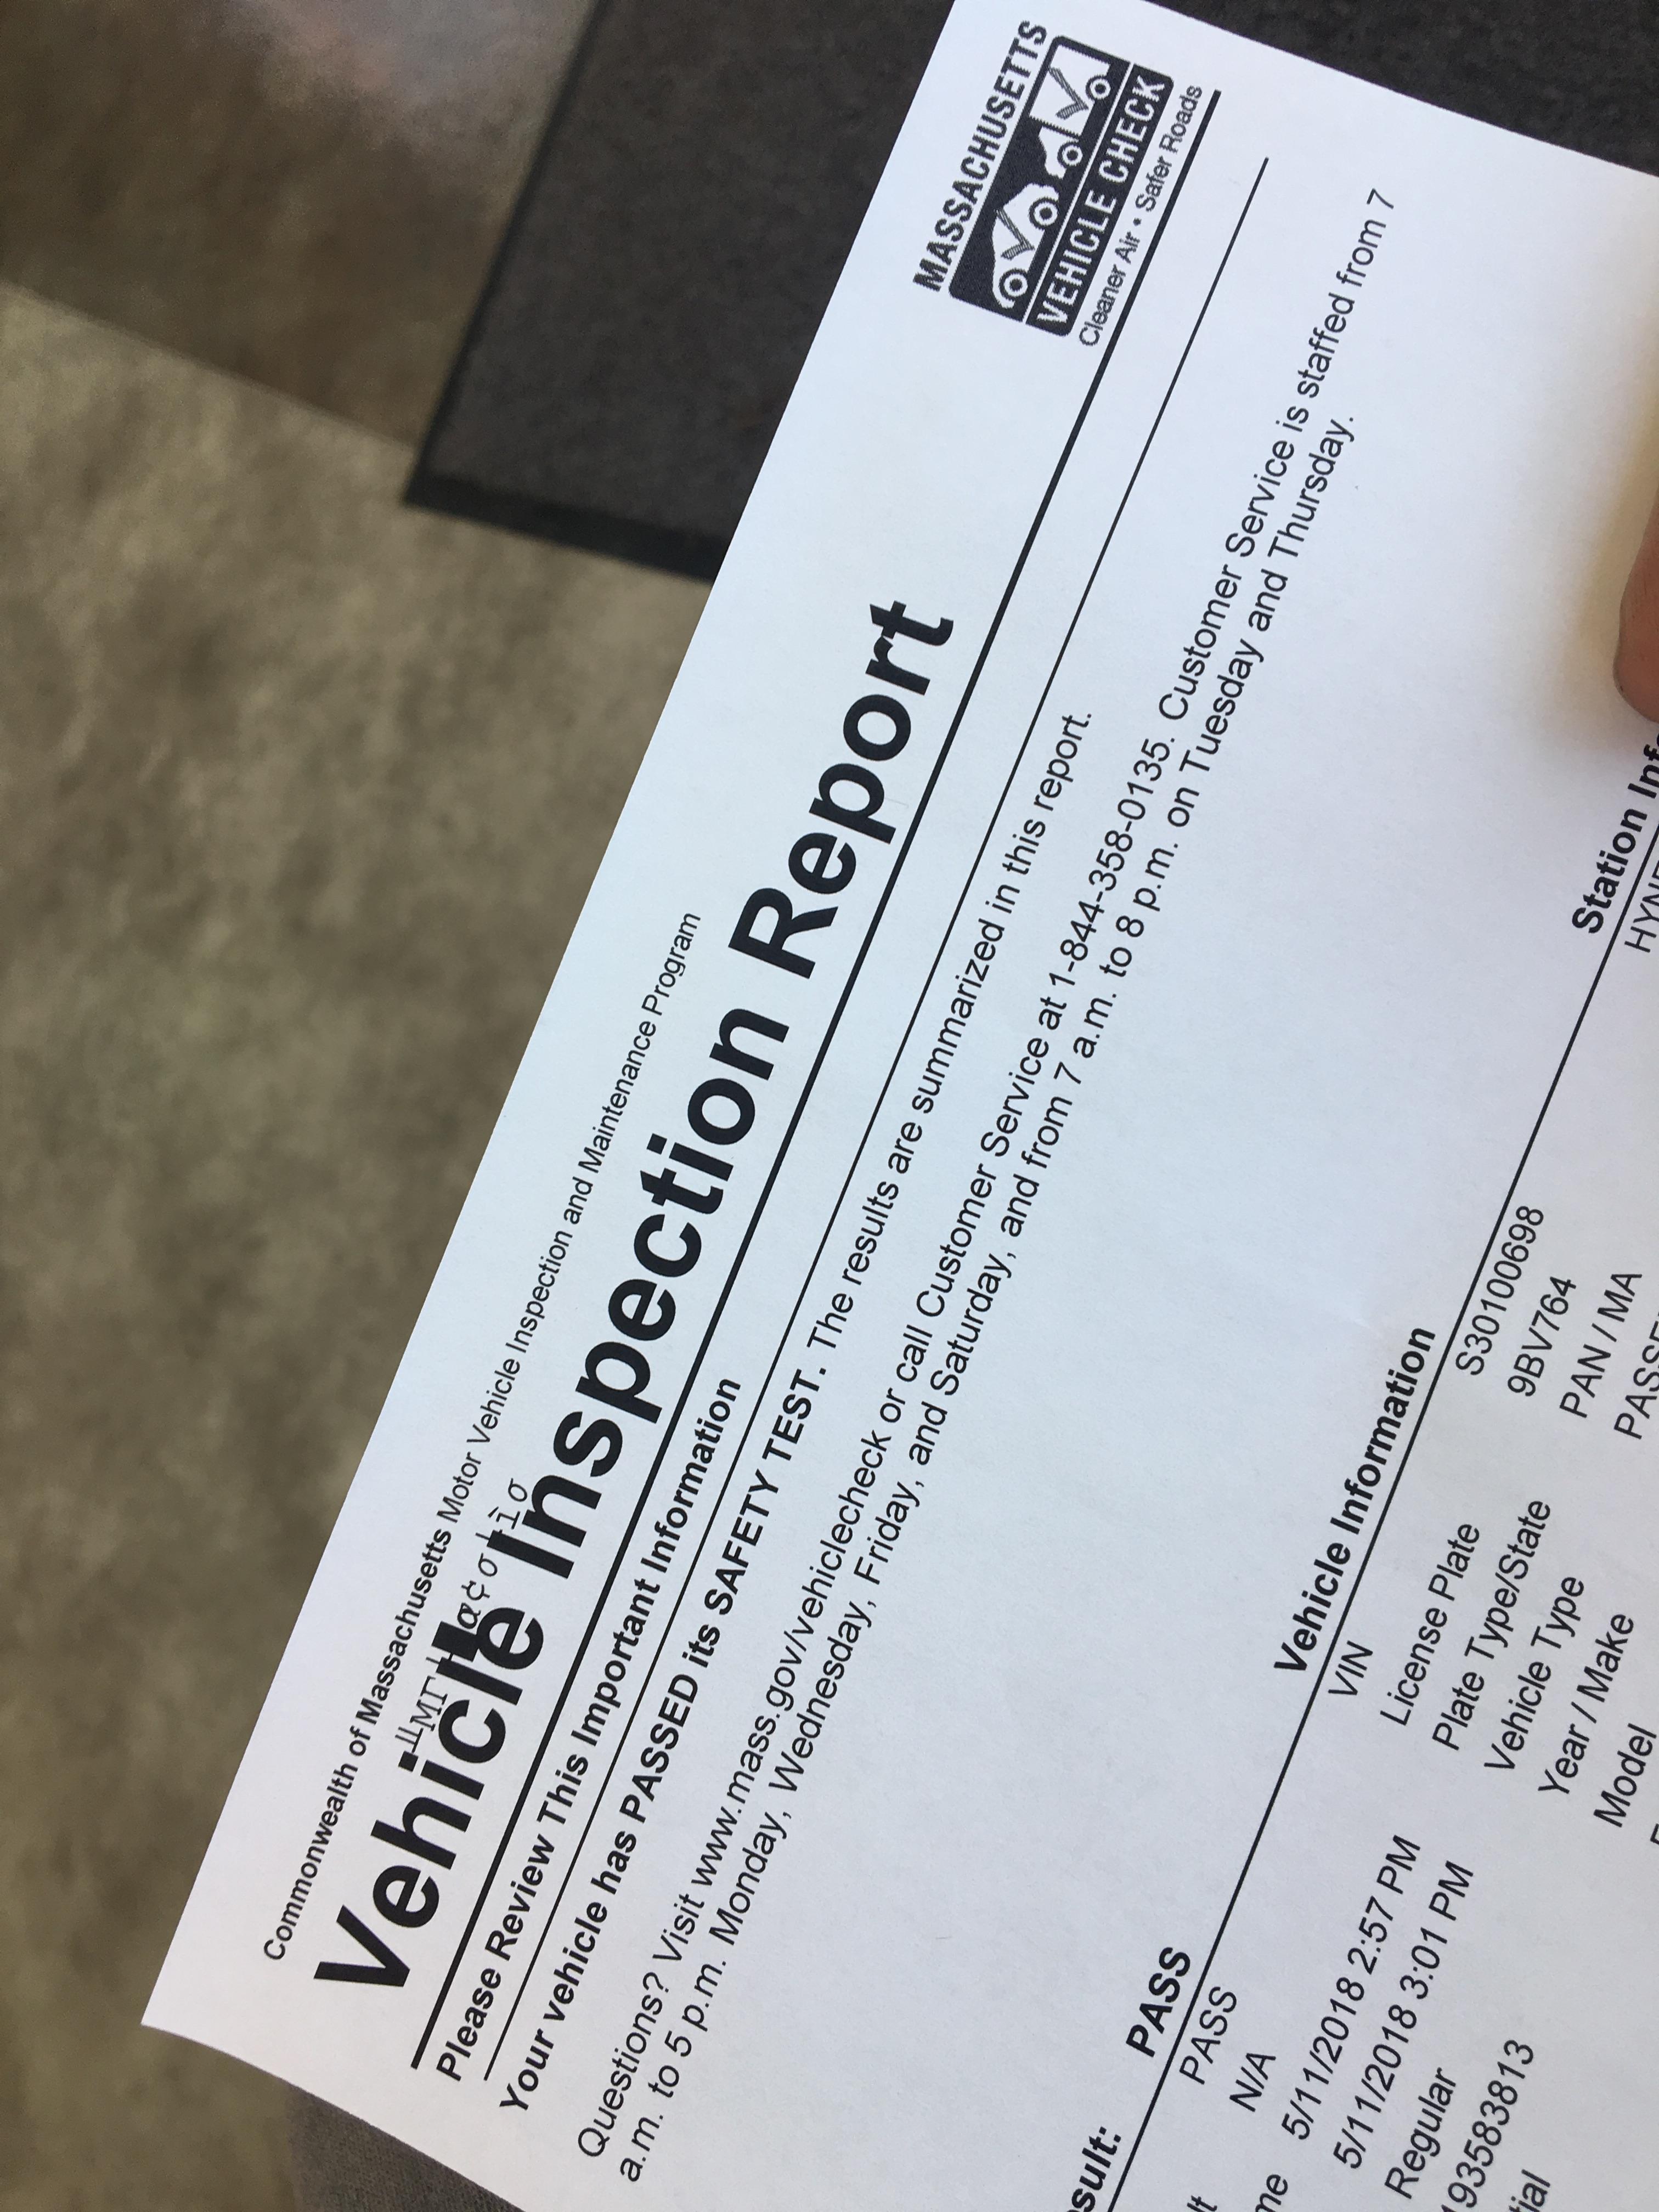
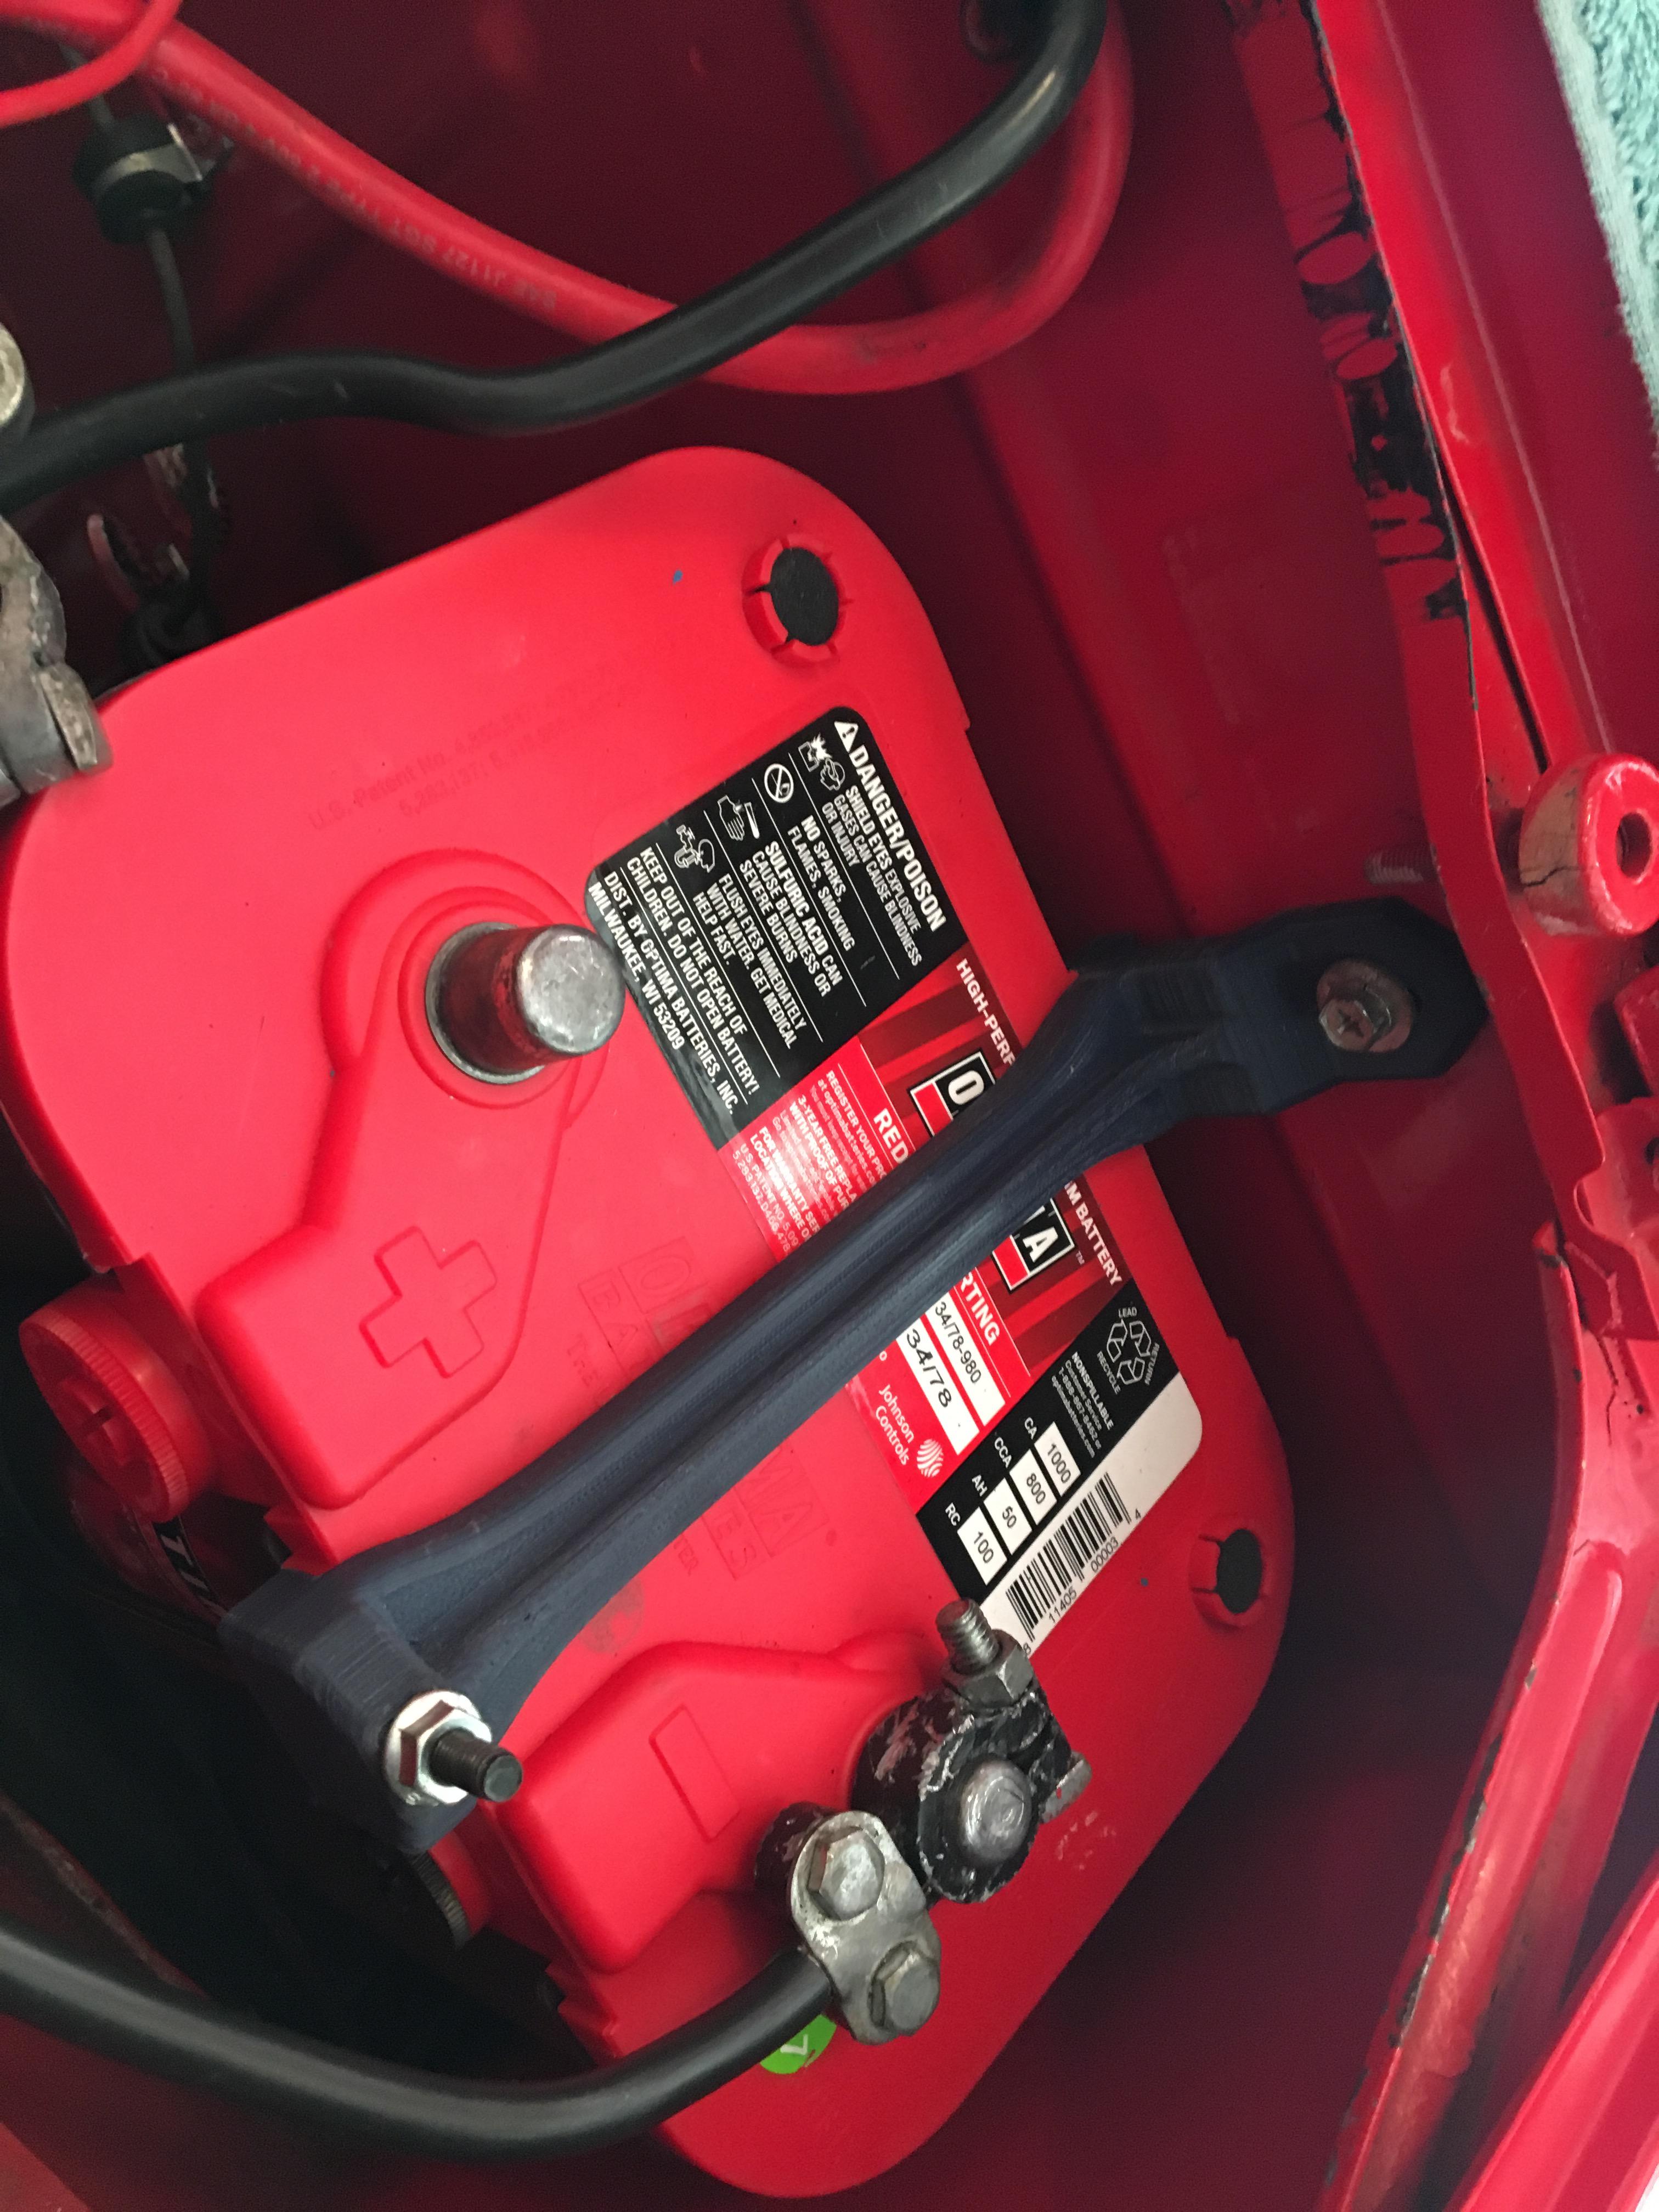
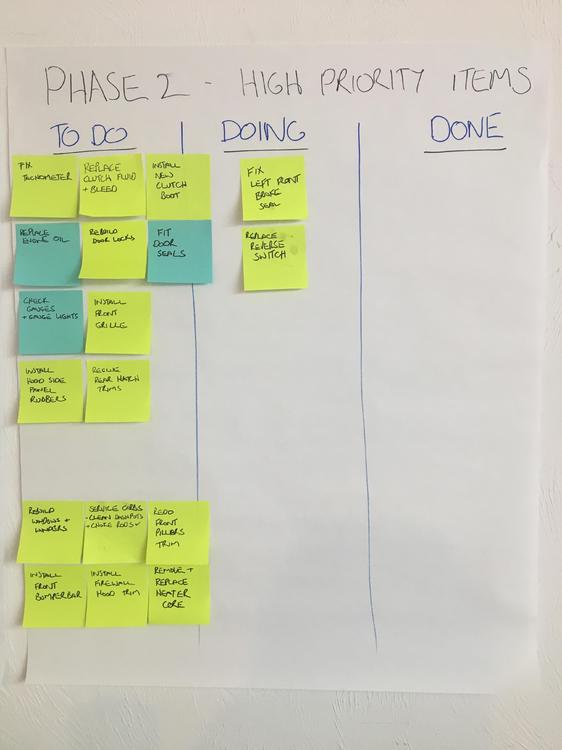
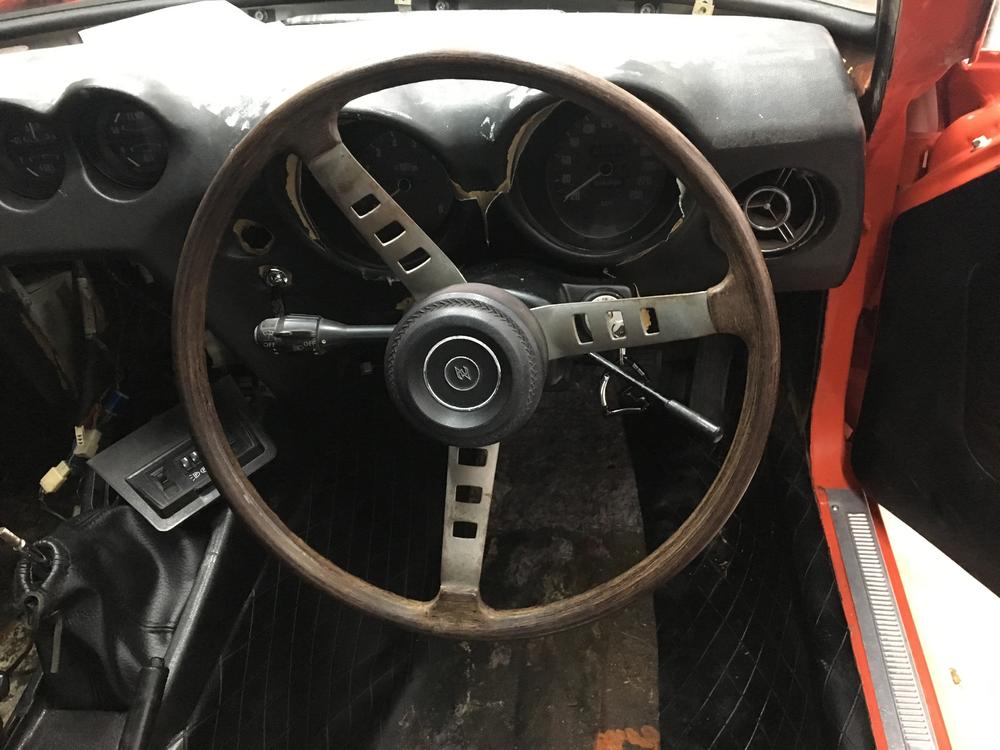
1 pointMonth 2 - Running and Registered - completed Phase 1 plans. Today marks a major milestone for Looey. She is now running and registered (and passed DMV inspection in MA). Temperature gauge sorted; replacement sensor sorted the issues. Found out some interesting news. Looey is a 72 not a 73 as the PO thought - and what was on the papers. Information from Kats shows the chassis numbers clearly indicate a 72, likely build in Sept / Oct. The biggest challenge was diagnosing an electrical fault. When I turned on the indicators the headlights would light up. Turns out PO had installed a US 73 indicator arm, not realising the JDM Fairlady arm has a flash to pass circuit that means it is all wired differently. Took me some time to learn that and diagnose the issue. Ended up getting a Fairlady Z-L electrical diagram. A great help. There are a few differences in the circuits, including colours. As for the indicator, I had the old parts; so a clean and rebuild of the switches and all sorted. I replaced the speedo cable; it was missing. Bit of a pain to connect up at the gauge. Not much room there on the JDM Fairlady. Also took the opportunity to replace the gearbox speedo o-ring and seal at the same time. Printed myself a new battery hold down clamp Discovered a few other things; - discovered that the retaining clips for the hard lines to soft lines were missing. I put them in, however experienced minor leaks from the front lines. On inspection the mating faces are damaged. They will need to be cleaned and fixed. Good enough for now however. - discovered there were no bearing in the gearshift lever. One of the most satisfying job was installing them as it made the box feel much, much better and only an hours work. - discovered no rubber boot on the gearbox/ gearshift lever - easy fix. - discovered some dodgy wiring on the side running lights. Easy fix and luckly the only electrical mods i have found. - Discovered the hard way that the heater core had a leak. Lots of anti-freeze in the passenger footwell. Blocked off the heater for now. Another item added to the Phase 2 list. - Discovered reversing switch was broken - luckily not needed to pass inspection. replacement on order, will be a quick fix. - discovered the windshield washer pump and jets were missing. A local 240z club member came to the rescue. - discovered how much fun it has been to go through and progressively fix stuff. - discovered she runs remarkably well. Next is phase 2 - fixing high priority items + some fun distractions.


 1 point
 -
 1 point
 -
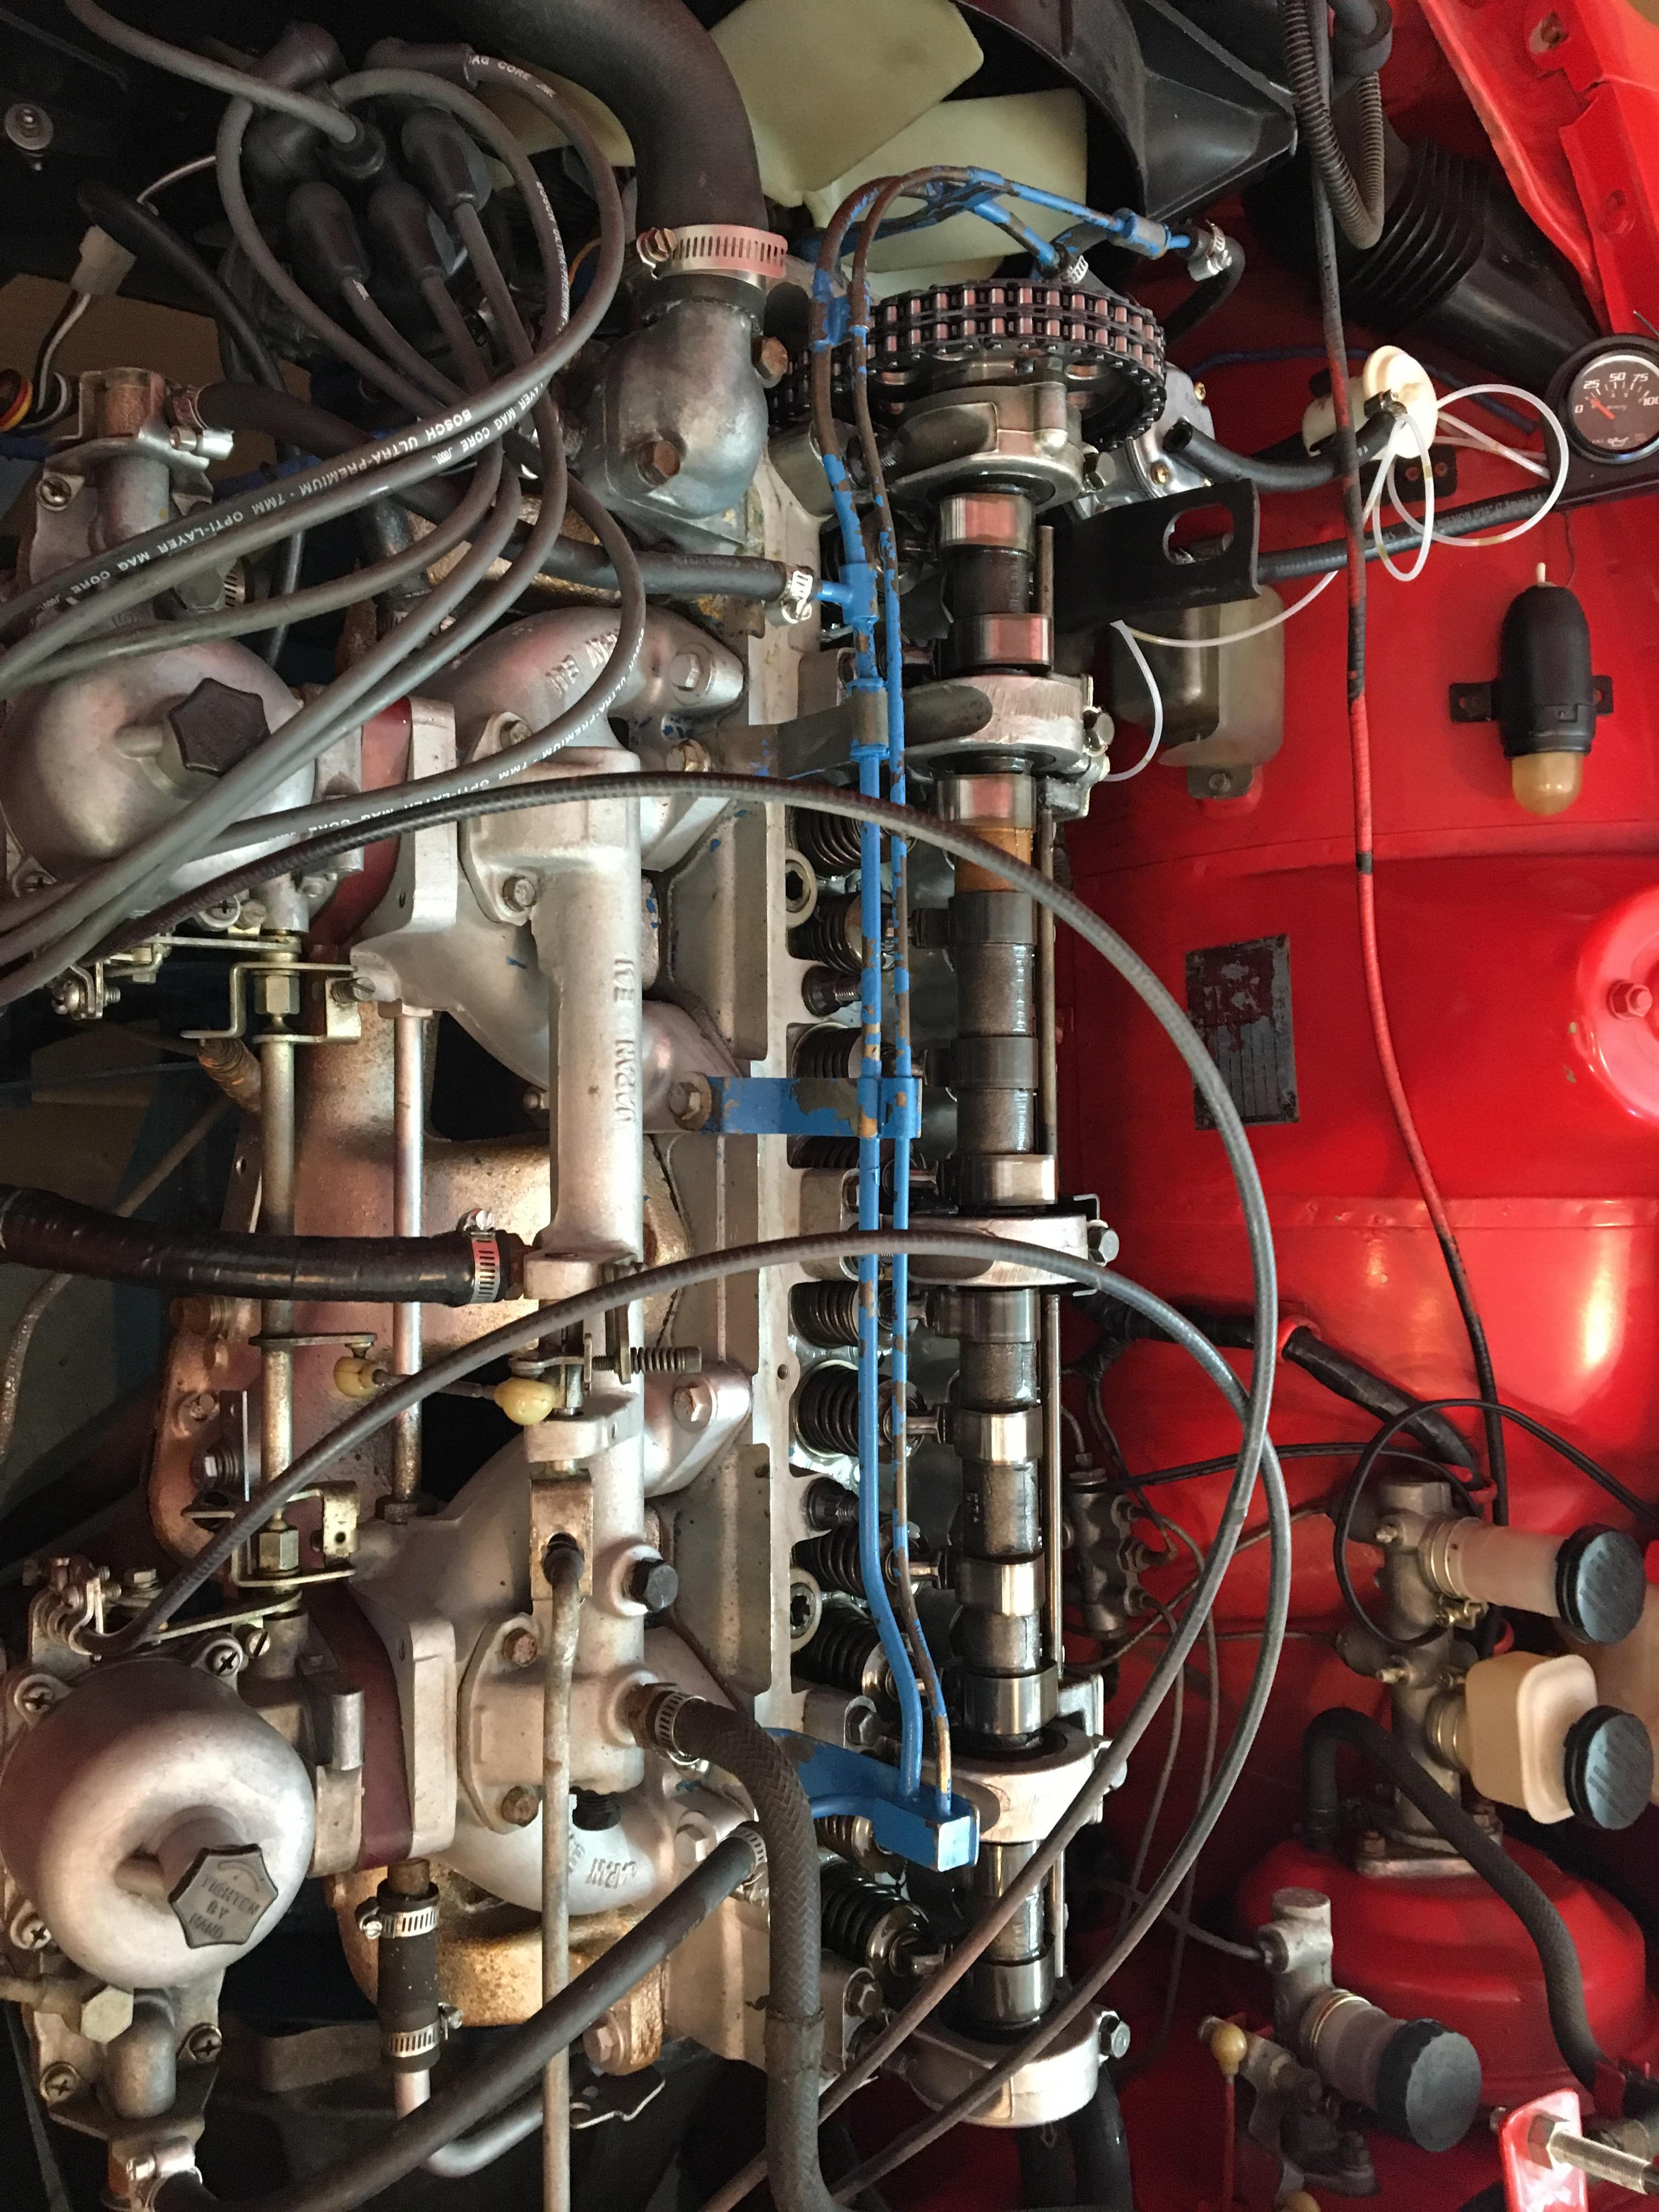
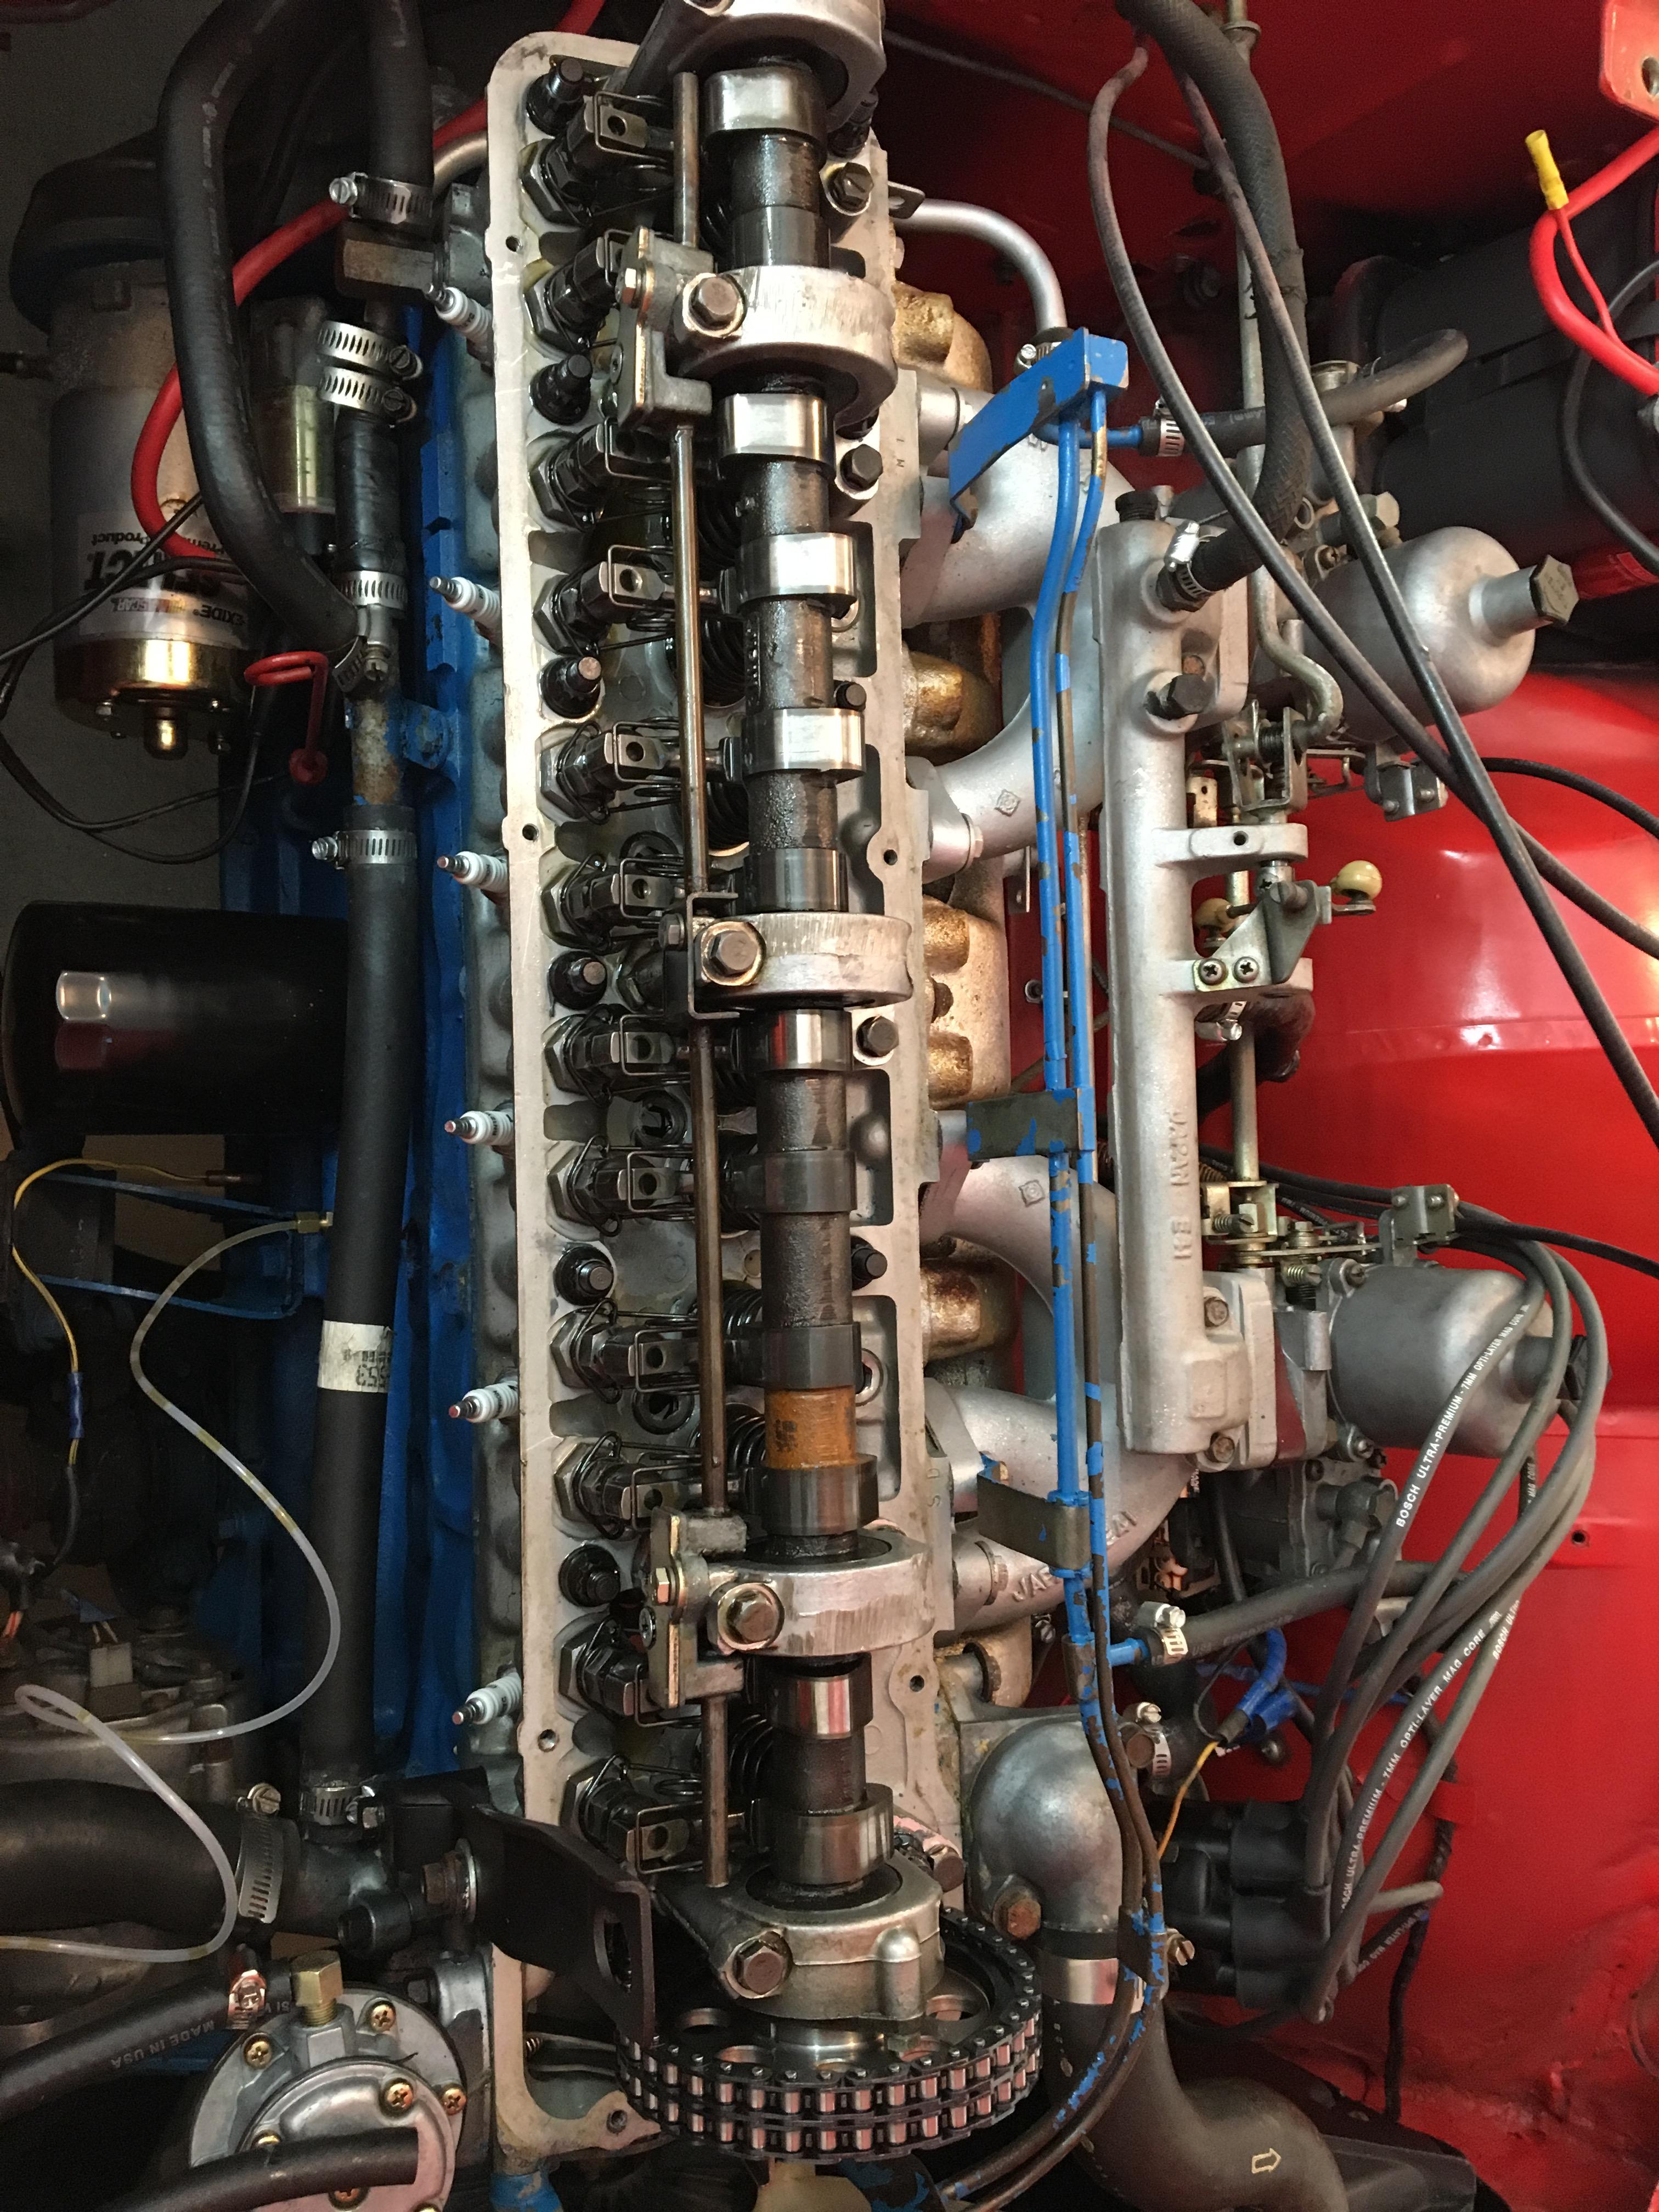
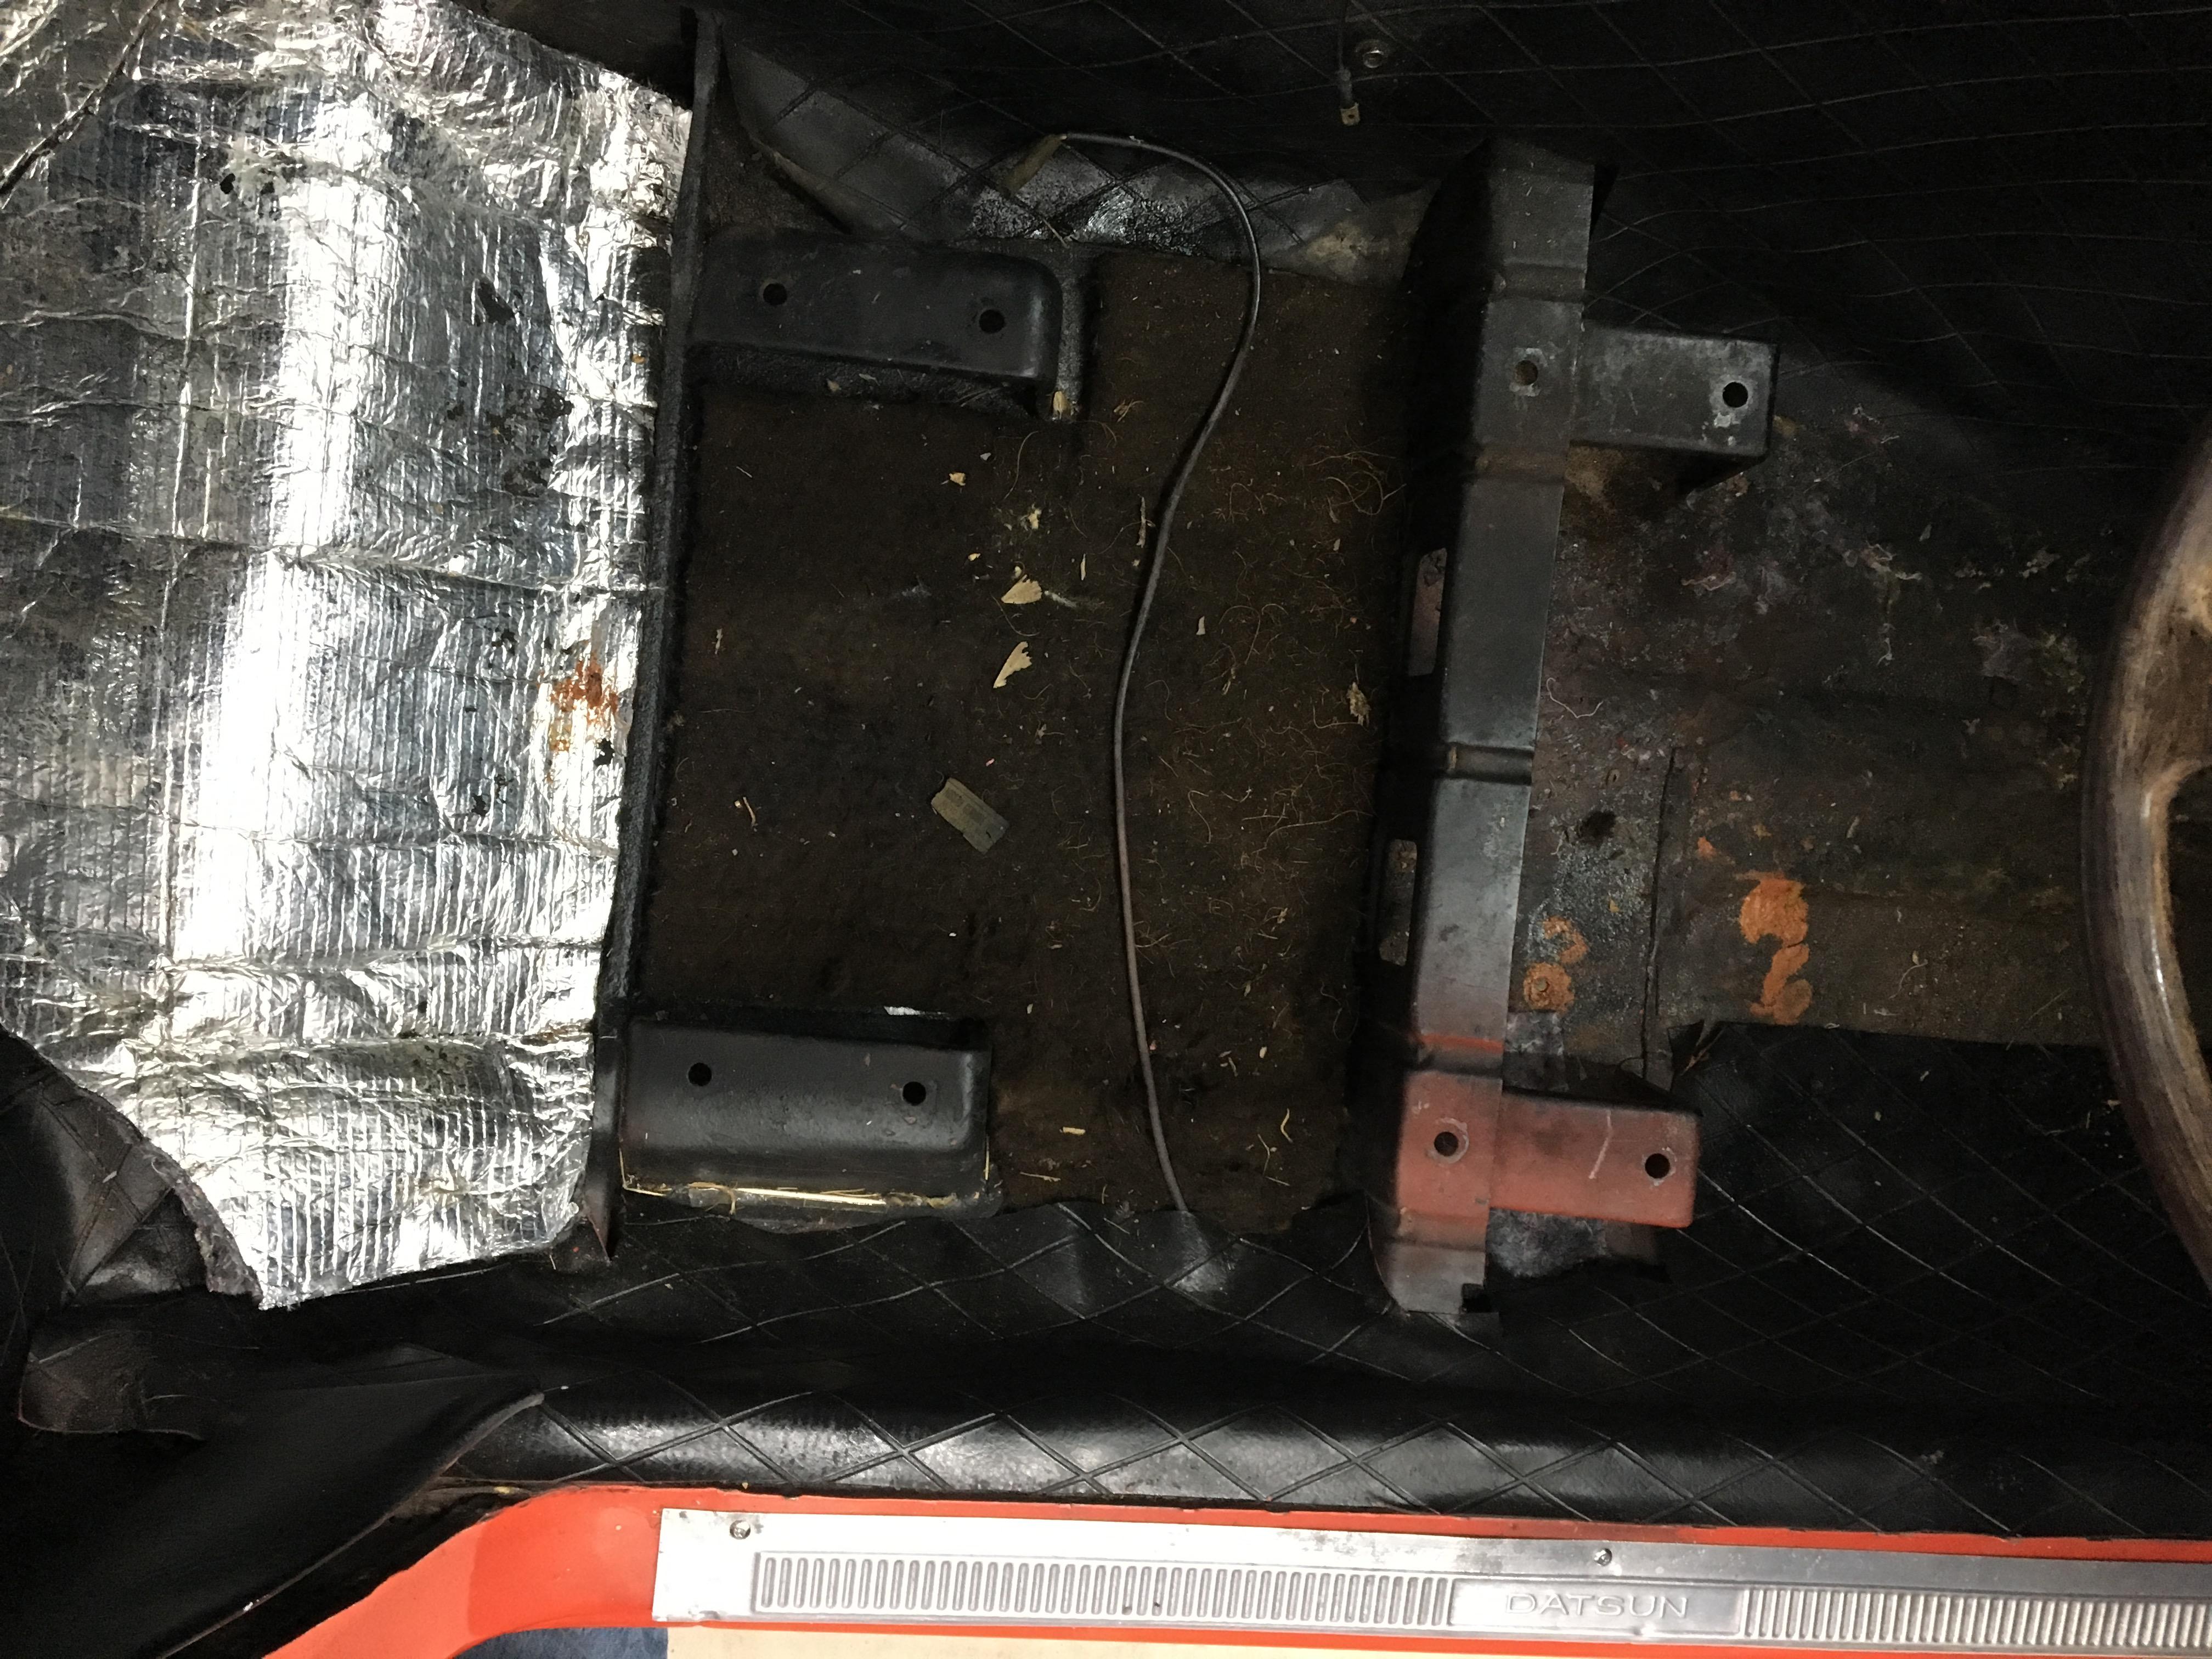
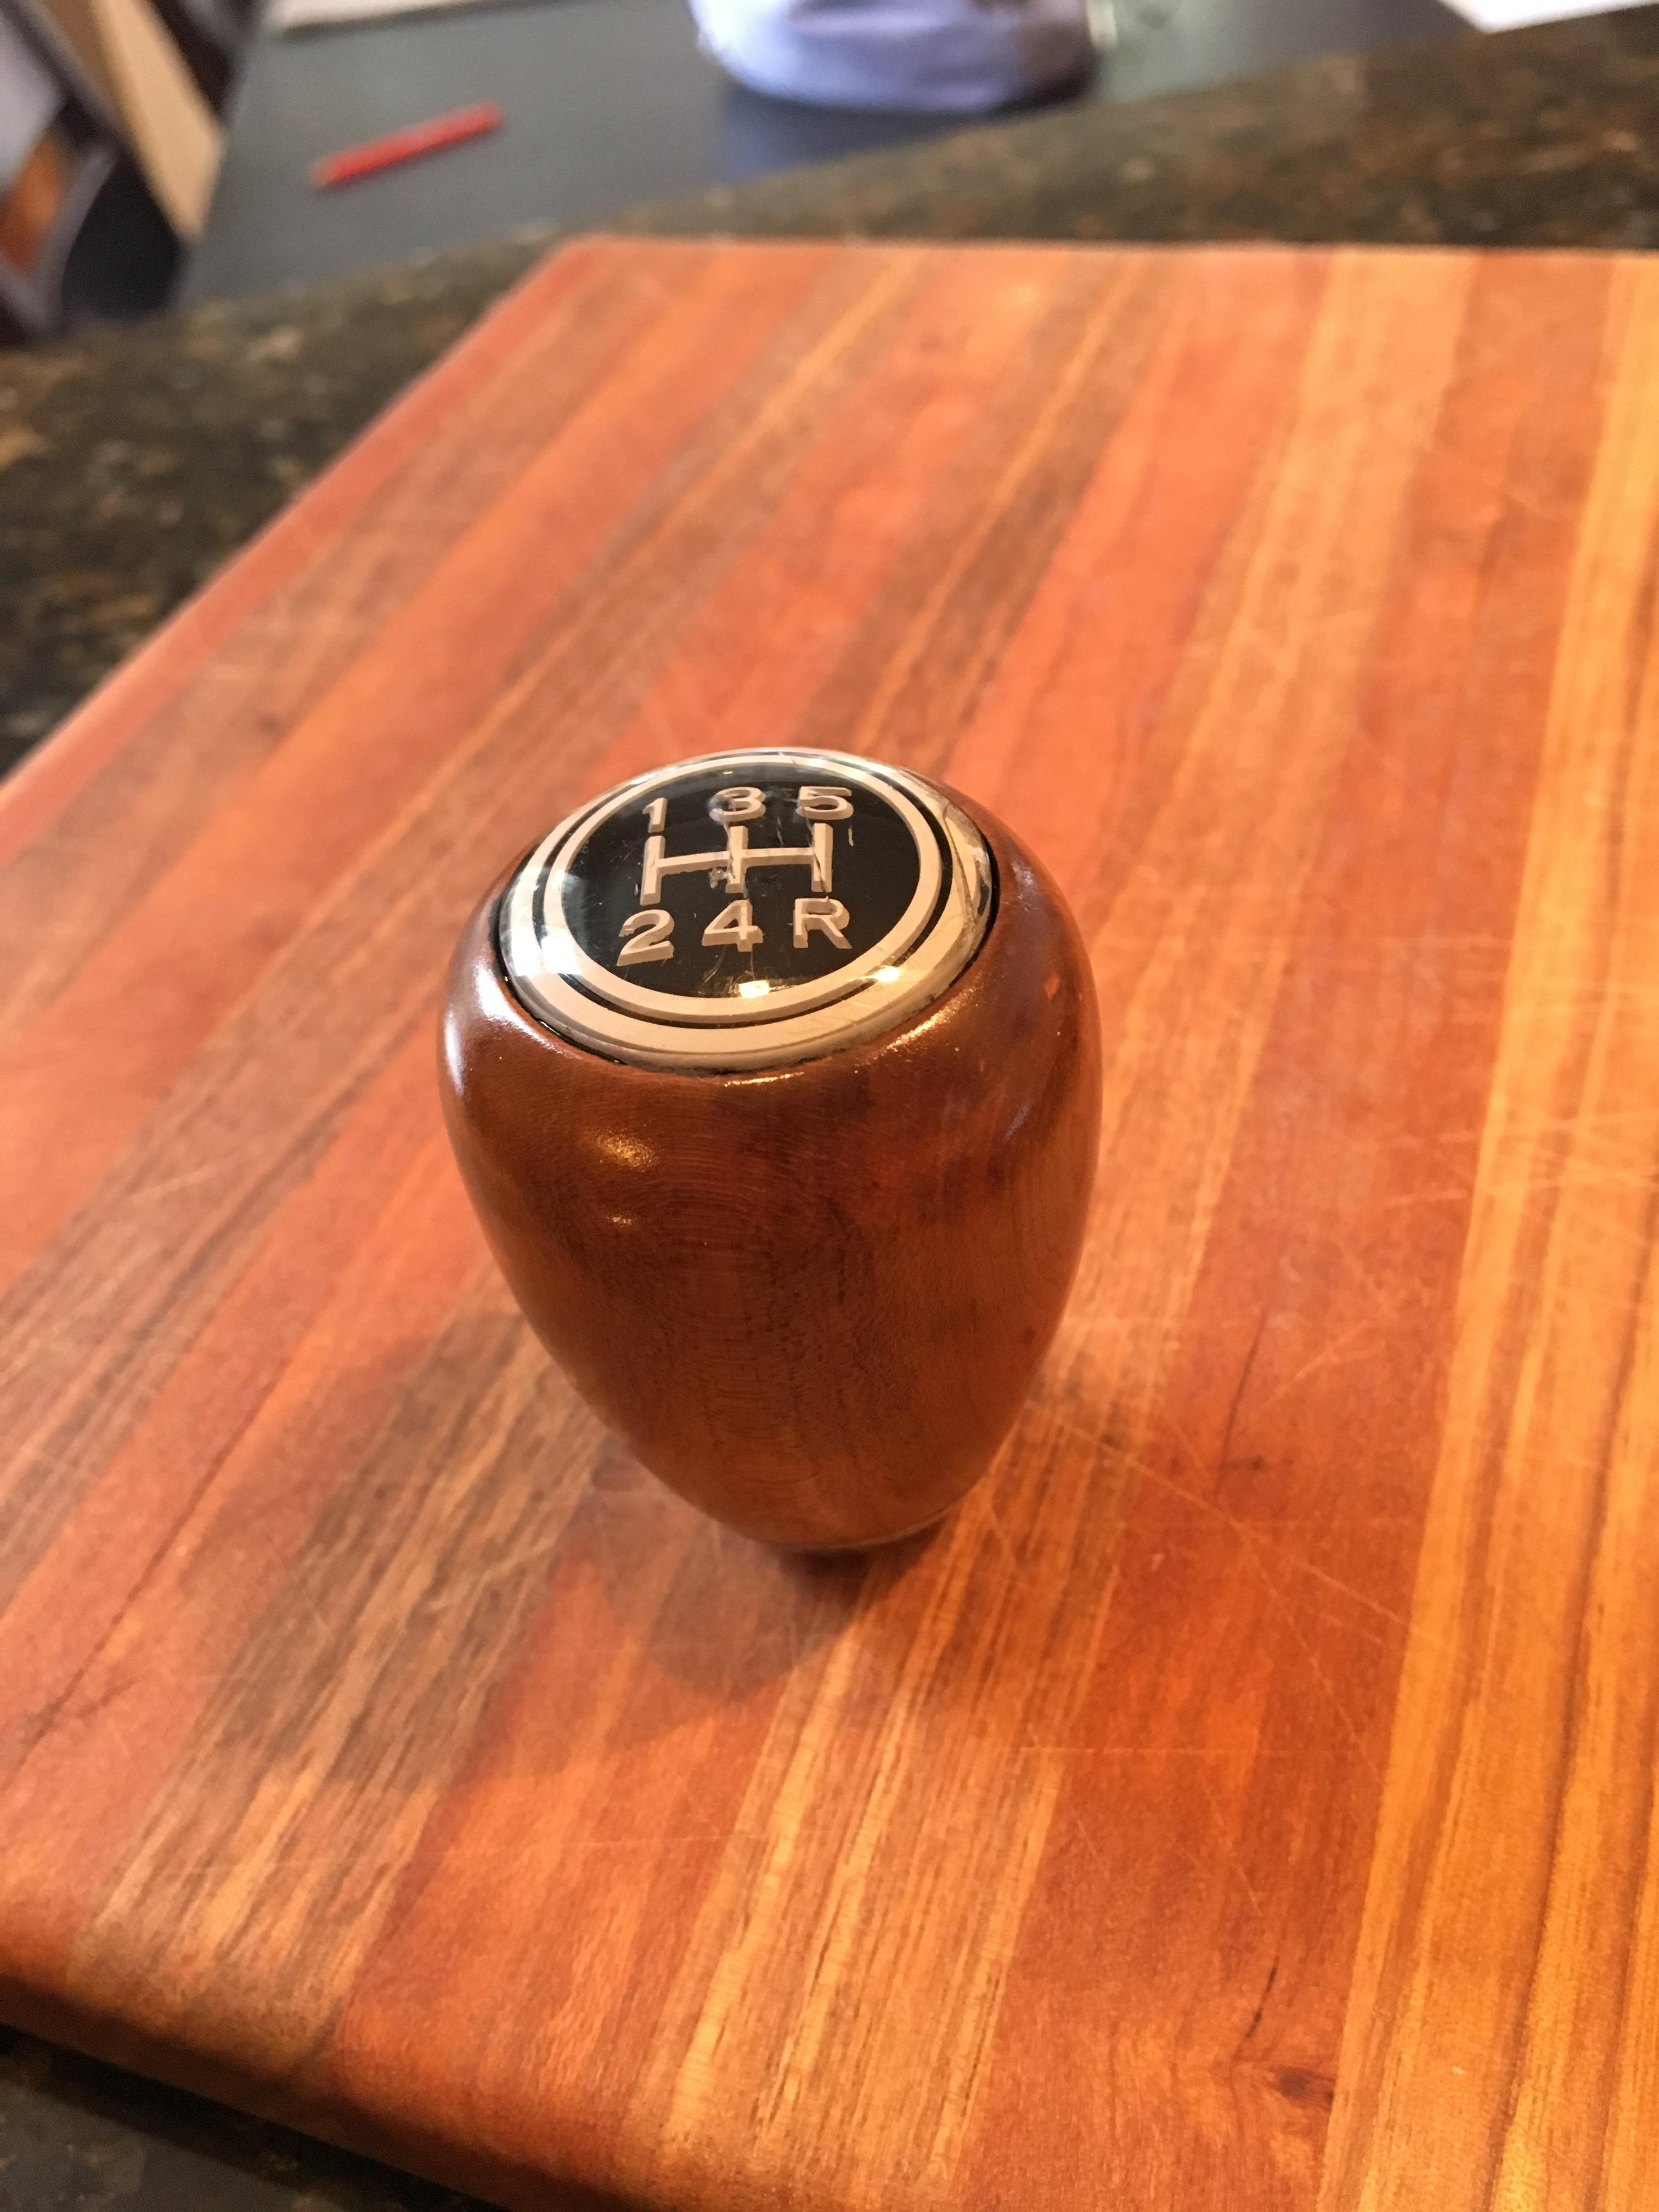
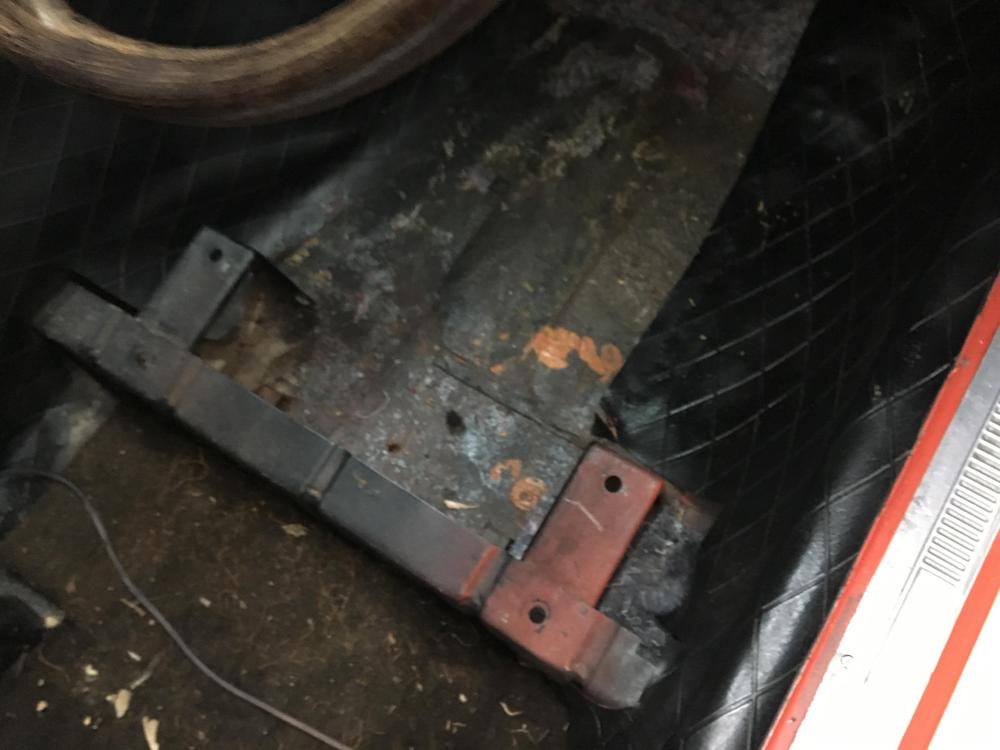
1 pointMonth 1 - She runs. Got Looey to start! Had some concerns about oil pressure. Wanted to make sure everything was in order before starting. Cranking the engine was not showing oil pressure on the gauge. Rebuilt the oil pressure gauge, tested and reinstalled it. However still no pressure when cranking. A cheap mechanical gauge helped to confirm pressure. Pulled off the cam cover to check the oil spreader was flowing on all outlets. All good. The car has clearly not run much since the rebuild by the previous owner, very clean and still had anti-seize on the bolts still. Drained carbs. Jerry can with new fuel and ensured the system was pumping. Fired her up. Runs remarkably well. Went to drain the main tank only to discover the P.O. had already done that. Put some fuel in, reconnected system and in now runs from the main tank. Discovered the alternator bearings died, terrible loud noise from them. Figured would do an upgrade to the alternator at same time and remove old voltage regulator. Whilst Looey is a 73, it does not have the have an electric fuel pump so the z cars upgrade and plug worked straight up. This weekend inspected the brakes and bled them. A clevis pin was missing from the handbrake...another parts order required! Replacing the brake fluid and bleeding went ok. However now there is a squeak from the master cylinder / booster? Will have to investigate further. Any ideas? Handbrake (or E-brake) button was seized, so that had to come out, clean and reassemble. Note the button screws out. Seat out as well, inspected the floors. Only a couple of spots of rust. Handbrake all working now. Other fun stuff done: cleaned and re-varnished gear stick knob. Next to get the temperature gauge working. New seat belts on order, once they are installed will be close to a test drive!


 1 point