Jump to content
Remove Ads

Leaderboard

Popular Content

Showing content with the highest reputation on 06/28/2018 in all areas

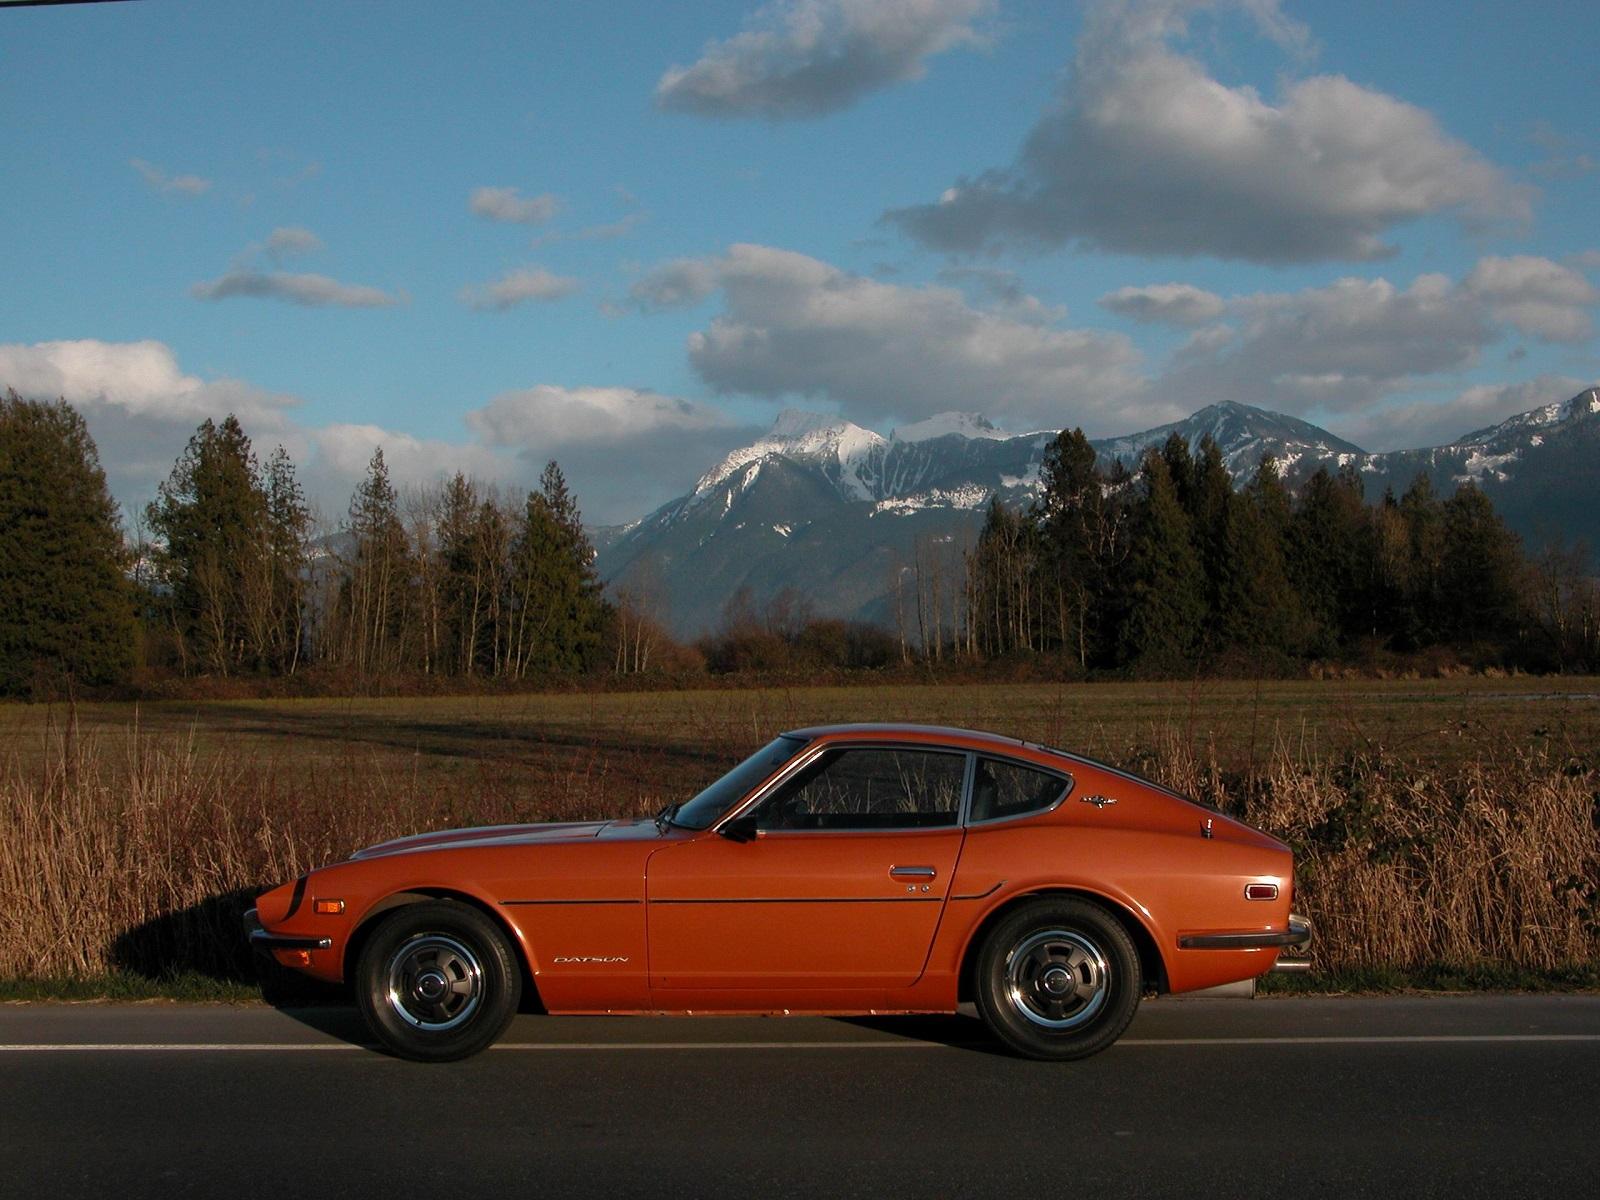
  1. My wife is a psychologist, so she understands odd behavior and tolerates my interest in old quirky cars. When we got married, she had a Honda Civic. I had a Porsche and she decided a Porsche would be more fun for her, too. So the Honda was sold. The sickness is catching.. We're about to head out on a road trip up the California coast in her Infiniti G37 Convertible that I lovingly refer to as the New Datsun 2+2 Convertible. And so it's been for over 30 years. Dennis
  2. The day after we got married my wife and I went on a 2000 km (1200 mile) road trip in the zed. Fast forward 35 years, same car same wife. Life is good.
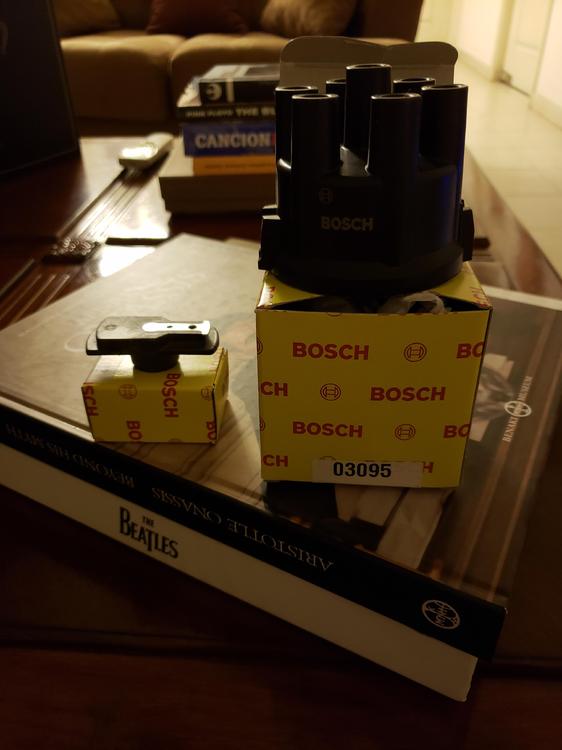
  3. Just arrived in the mail???
  4. Cliff, thanks for the kind words. With the big win in Memphis, ZCCA "retired" my car from eligibility in future judged competitions. I can still enter peoples' choice events and "exhibit" the car at a judged show. That and parade laps at Road Atlanta are enticing but overall not an adequate justification for an 800 mile tow from Dallas. We plan to make the trip but will have to be content cheering on other worthy entries. Looking forward to Z'ing you and other good friends at the big show. P.S. - Branson is a much more reasonable tow in 2019!!!
  5. If you have a new cap and button, put them on. I think you possible might not have a good CLICK when the wire meets the plug. Also make sure the tip is tight. I put dialectic grease on mine. Good luck. Thats odd it burned so clean last week and now too look so sooty. Like Mark has said many times you should try swapping the wire to #4
  6. I'd hold off on cleaning the distributor. You don't need to add unknowns at this point. Just work on isolating the #4 plug issue one step/component at a time. Dennis
  7. Working to keep your right-seat partner from going into "beast mode" on the trip to Atlanta???
  8. We own the server and I've got at least 2TB free.. so it's not that big of a deal. ? Only problem is that large images tend to dominate the page, so I changed the option.
  9. Well its been quiet on here for a little while now but there's been lots going on in the background. The car has been and still is in with Iain at Passion Engineering who has been working his magic on bringing the car up to spec, I'm still keeping my fingers crossed for the LMC next week. It's safe to say if everything falls into place then it will be one hell of a road test! The car has been significantly stripped down to accommodate all of the work, the engine was opened up to check tolerances and make some adjustments when it was noted there was some slack in the timing chain when rotated backwards so it was decided to install a new kit. The broken water pump bolt has been resolved and new carbs installed and adjusted ready for tuning. The new radiator, coolant system filter, rocker cover and hardware will be following shortly. The steering rack lower UJ has been replaced which I'm keeping my fingers crossed will eliminate the play that was previously in the steering to really sharpen up the response with the newly fitted adjustable suspension. IMG-6760 by Mark Woodrow, on Flickr IMG-6759 by Mark Woodrow, on Flickr IMG-7008 by Mark Woodrow, on Flickr IMG-7007 by Mark Woodrow, on Flickr The bulk of the work has been transmission related with several surprises rearing their heads yesterday giving me a bit of a shock and stark reminder of the cars age and unknown history. Below you will see what remains of the clutch pivot pin and the nice 'round' hole that it was located in. Safe to say that was an utter disaster waiting to happen and could have been a mess had we lost the clutch in France or anywhere else for that matter. I've been oblivious to the pending disaster all of this time. I've never been happy with the clutch but assumed it was a worn release bearing causing my trepidation. Fortunately Iain is fabricating a new pivot pin and has completely fixed the mounting hole so it looks factory fresh. His fabrication skills never cease to amaze me and remind me why I don't attempt the bigger jobs at home on the driveway... IMG-7034 by Mark Woodrow, on Flickr IMG-7038 by Mark Woodrow, on Flickr IMG-7036 by Mark Woodrow, on Flickr Moving onto the gearbox mount itself we were surprised to find it looked nothing like we expected given the age of the car and after some investigation and confirmation from Richie appears to be an automatic transmission gearbox mount. Looking further into it there are no manual mounting points so I'm assuming that the car was more than likely an automatic from the factory that was converted in the US during its lifetime? This being the case I wonder whether the pedal box has also been swapped to accommodate the clutch and center console non original due to the auto transmission shifter? I'd love to hear from the Z aficionados who will likely be able to advise. I believe we are now proceeding with a full custom mount to suit purpose. IMG-7030 by Mark Woodrow, on Flickr There's even silly little things like the new clutch master cylinder rod being too short for unknown reasons causing more work! IMG-7037 by Mark Woodrow, on Flickr I can't praise Iain enough at this point for the time he is putting into getting the car finished and most importantly to the very high standards which he works to. I really shouldn't be shocked by some of the things that rear their heads now given all that we've found in the last couple of years but it still does shock me. This is a car with a past that I do not fully understand and would love to know more about. I'm at least now thinking that the car had the gearbox replaced as well as the engine which really makes me want to check the rear diff ratio as well. It's safe to say it should drive impeccably well when finished, the car will have had all of the suspension, power train and drive train overhauled with very few exceptions. It will be far from the spec that it left Japan with back in September 1970 when it rolled off of the production line. Hopefully more and positive news to follow very shortly
  10. Wimp! I plan to do 3,600mi in a rusty turd... with Janet cursing me the whole time.... she married adventure ? btw she will shoot at me with that gun if we break down.
  11. @jalexquijano DON"T TAKE THE DISTRIBUTOR OUT. Don't oil anything. For now, Just replace the distributor cap, rotor and #4 plug. I still want to know if any other plugs were sooty. If you used too much choke or left it on too long the the last time you warmed it up, it's likely that all the plugs look like #4. #1 Don't fix what ain't broke. #2 Check the other plugs. #3 Replace the Dist. cap, rotor and #4 if it's the only one that 's black. #4 Be sure that all the wires are fully inserted into the cap. #5 Drive it and report back.
  12. Just remember, if you go to the Atlanta airport there is a lot of construction. I think it's the North terminal that is all fowled up right now. So just go to the South terminal. you can easily walk to the other side after drop off or arrival
  13. You know the drill. If she was driving she would be shopping for an ejection seat.
  14. I'll see if I can figure it out. It just came up this way. Was actually just trying to replace my "S" with a pic
  15. im just going to say “ouch!” Right up front on this one!
  16. Hi Jim, I do have the pics and will try to reload them for you tomorrow. As an aside, I'm very happy with my Escort core. The difficulty for you would be the temp control valve stuff under the dash. Are you still running all the stock valves and hoses?
  17. Yes, both sender analog, and an on-off for the fuel pump. I didn't look anything up in any manuals, but anecdotal data says the switch should close over 4 psi. Here's a page with some info about the sender units. Note that 87 and earlier is different than 88, but I think it's mechanical differences only. Electrical they are the same 84-88. http://web.archive.org/web/20151002182213/http://home.comcast.net/~fierocave/oilsender.htm
  18. The original plug HT leads were individual part numbers 22451-A0203 (plug no.1) through 22456-A0203 (plug no.6) and they came ready to fit with both ends complete and including the boots for the distributor end, the long plug connectors and the rubber seals that go into the cam cover. They were individually numbered for each plug, also dated, and with makers name SUMITOMO, all printed in yellow on black wires. The long HT lead from the coil to the distributor cap was part number 22450-E4200. Here are some (not very good...) photos which might give you an inkling of what they looked like: If you're chasing factory period-correct original you've got your work cut out. The ignition system is a recent (Ultra?) system, you need a cloth-covered top hose and the Tsuchiya service sticker for the air filter should be on the top of the air filter box itself (in front of the radiator) not on the duct. Couple or three non-factory drilled holes there too (annoying, isn't it!?). All an easy fix, apart from the holes - and I'd just stick grommets in them and not worry. You might be able to get the correct leads from REVIVE JALOPY or RUBBER SOUL in Japan. If they can't supply the correct, Sumitomo printed, version they should be able to supply a decent replica in black, which will certainly be far more pleasing to the eye than blue or red.
Remove Ads

Important Information

By using this site, you agree to our Privacy Policy and Guidelines. We have placed cookies on your device to help make this website better. You can adjust your cookie settings, otherwise we'll assume you're okay to continue.