


Leaderboard


Popular Content
Showing content with the highest reputation on 07/06/2018 in all areas
-
 2 pointsJeff, I've really enjoyed watching your Datsun build. As you said there's some controversy around the mirrors. They do look COOL. I considered them way back when, but ended up just going with the stock mirror on the drivers door. A few reasons I ended up on the door... They will be in the way when working under the bonnet (hood) Adjusting the mirrors seems like a pain getting in and out of the car to make adjustments or else it will be a 2 person job. Hopefully you and Mrs Jeff use the same mirror position. (picture your complaint about the side of the car the bonnet kick stand is on) If the glass in the mirrors is flat it seems that with the mirrors that far away from the driver the field of view will make them not very effective. They do look cool, but I don't think you'll see the mirrors on the fenders (guards) on the race cars.2 points
 -
 2 points2 points
 Let me count the ways. So I bought a rebuilt brake booster from RockAuto: A-1 CARDONE - 535104 (53-5104) - Power Brake Booster $84.79 + $25.00 core = $109.79 I open the box and it's unpainted bare metal, and the metal that is exposed is deeply pitted. This thing was apparently a boat anchory rusty mess that they bead blasted back to "shiny". It's clear that someone sent in their completely tired worn out old dead booster as a core. There are also clear signs of physical abuse. Almost all of the clamshell retainer catches are split open and the case is dented where the master cylinder mounts. I guess I should expect some of that... As long as the pits don't go all the way through and split catch tabs still allow the clamshell halves to seal, I should get over it, right? So I'm handling the unit and it feels slippery on the outside. Feels "silicone-ish"? I'm thinking I just clean it up and throw a quick coat of paint on it. I sprayed and cleaned and wiped and cleaned and sprayed and wiped... Then I sprayed a coat of rattle can black that instantly fish-eyed like I've never seen before. It's like a thousand guppies staring back at me. It's like someone dipped this thing in liquid teflon. Don't care anymore. It's mostly covered. Bolt it into the car and while putting the master cylinder back into place I notice that the output shaft looks shorter than my original boosted. Sure enough, the shaft on my original booster sticks out about a quarter of an inch longer than the rebuild. Try to adjust the shaft length and it's frozen solid. Won't budge. Whatever... So my pedal engagement location will be a little different. I'll re-learn the new position. Put the master cylinder in place and pull out of the garage. The pedal goes almost all the way to the floor before I get any braking action, and when I finally do get any action, there is no modulation. It's almost digital... Either coasting, or face through the windshield. No in-between. Now for those of you who have been through this before, you already know where this is going, but I've never been here before. So, I pry the seal retainer out and remove the (rusty pitted) output shaft. Lots and lots of silicone grease, but you guessed it... no reaction disk. Can't see it in there anywhere and can't feel it. So I take the whole thing back off the car and shake the crap out of it for a frustratingly long time until the reaction disk finally falls out the hole. Put the reaction disk back into place and put the booster back in the car. It works and will get me to my show this weekend, but I think I'm going to build some fixturing to take my old one apart. My old one is clean, un-dented, with the retaining clips intact. I think I'm going to investigate swapping over all the new rubber components from this rebuilt unit over to my old booster. Essentially paying $100 for a "rebuild kit" that I can apply to my original booster? Unpainted, greasy, dented, case with snapped retainers. Rusty components where rubber seals are supposed to seal. Internals not assembled properly. I hate rebuilt components... Starters, alternators, brake calipers, master cylinders, brake boosters. They all seem to be done by people who don't get paid enough to care what they're doing. Sheesh. Stark reminder of why I do my own work. Rant over.1 point
 1 point
 We call those bushings, or bushes. Here is a web site that will have the part numbers. You can search the part number on the internet and find many places that might have them. You'll have to remove the spindle pin to get the control arm (transverse link) removed in order to replace them. It can be difficult. Wilkommen to the site. Forgot to say that the part you're pointing at is just an outer flange of the main bushing. There's a steel shell around a cylindrical bushing assembly that is pressed in to the control arm. http://www.carpartsmanual.com/datsun/Z-1969-1978/axle1 point
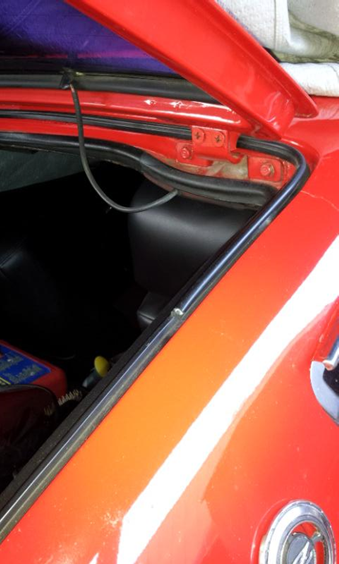
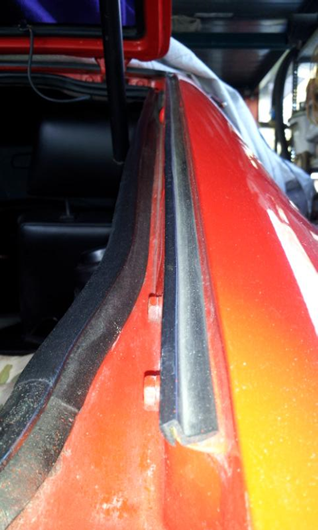
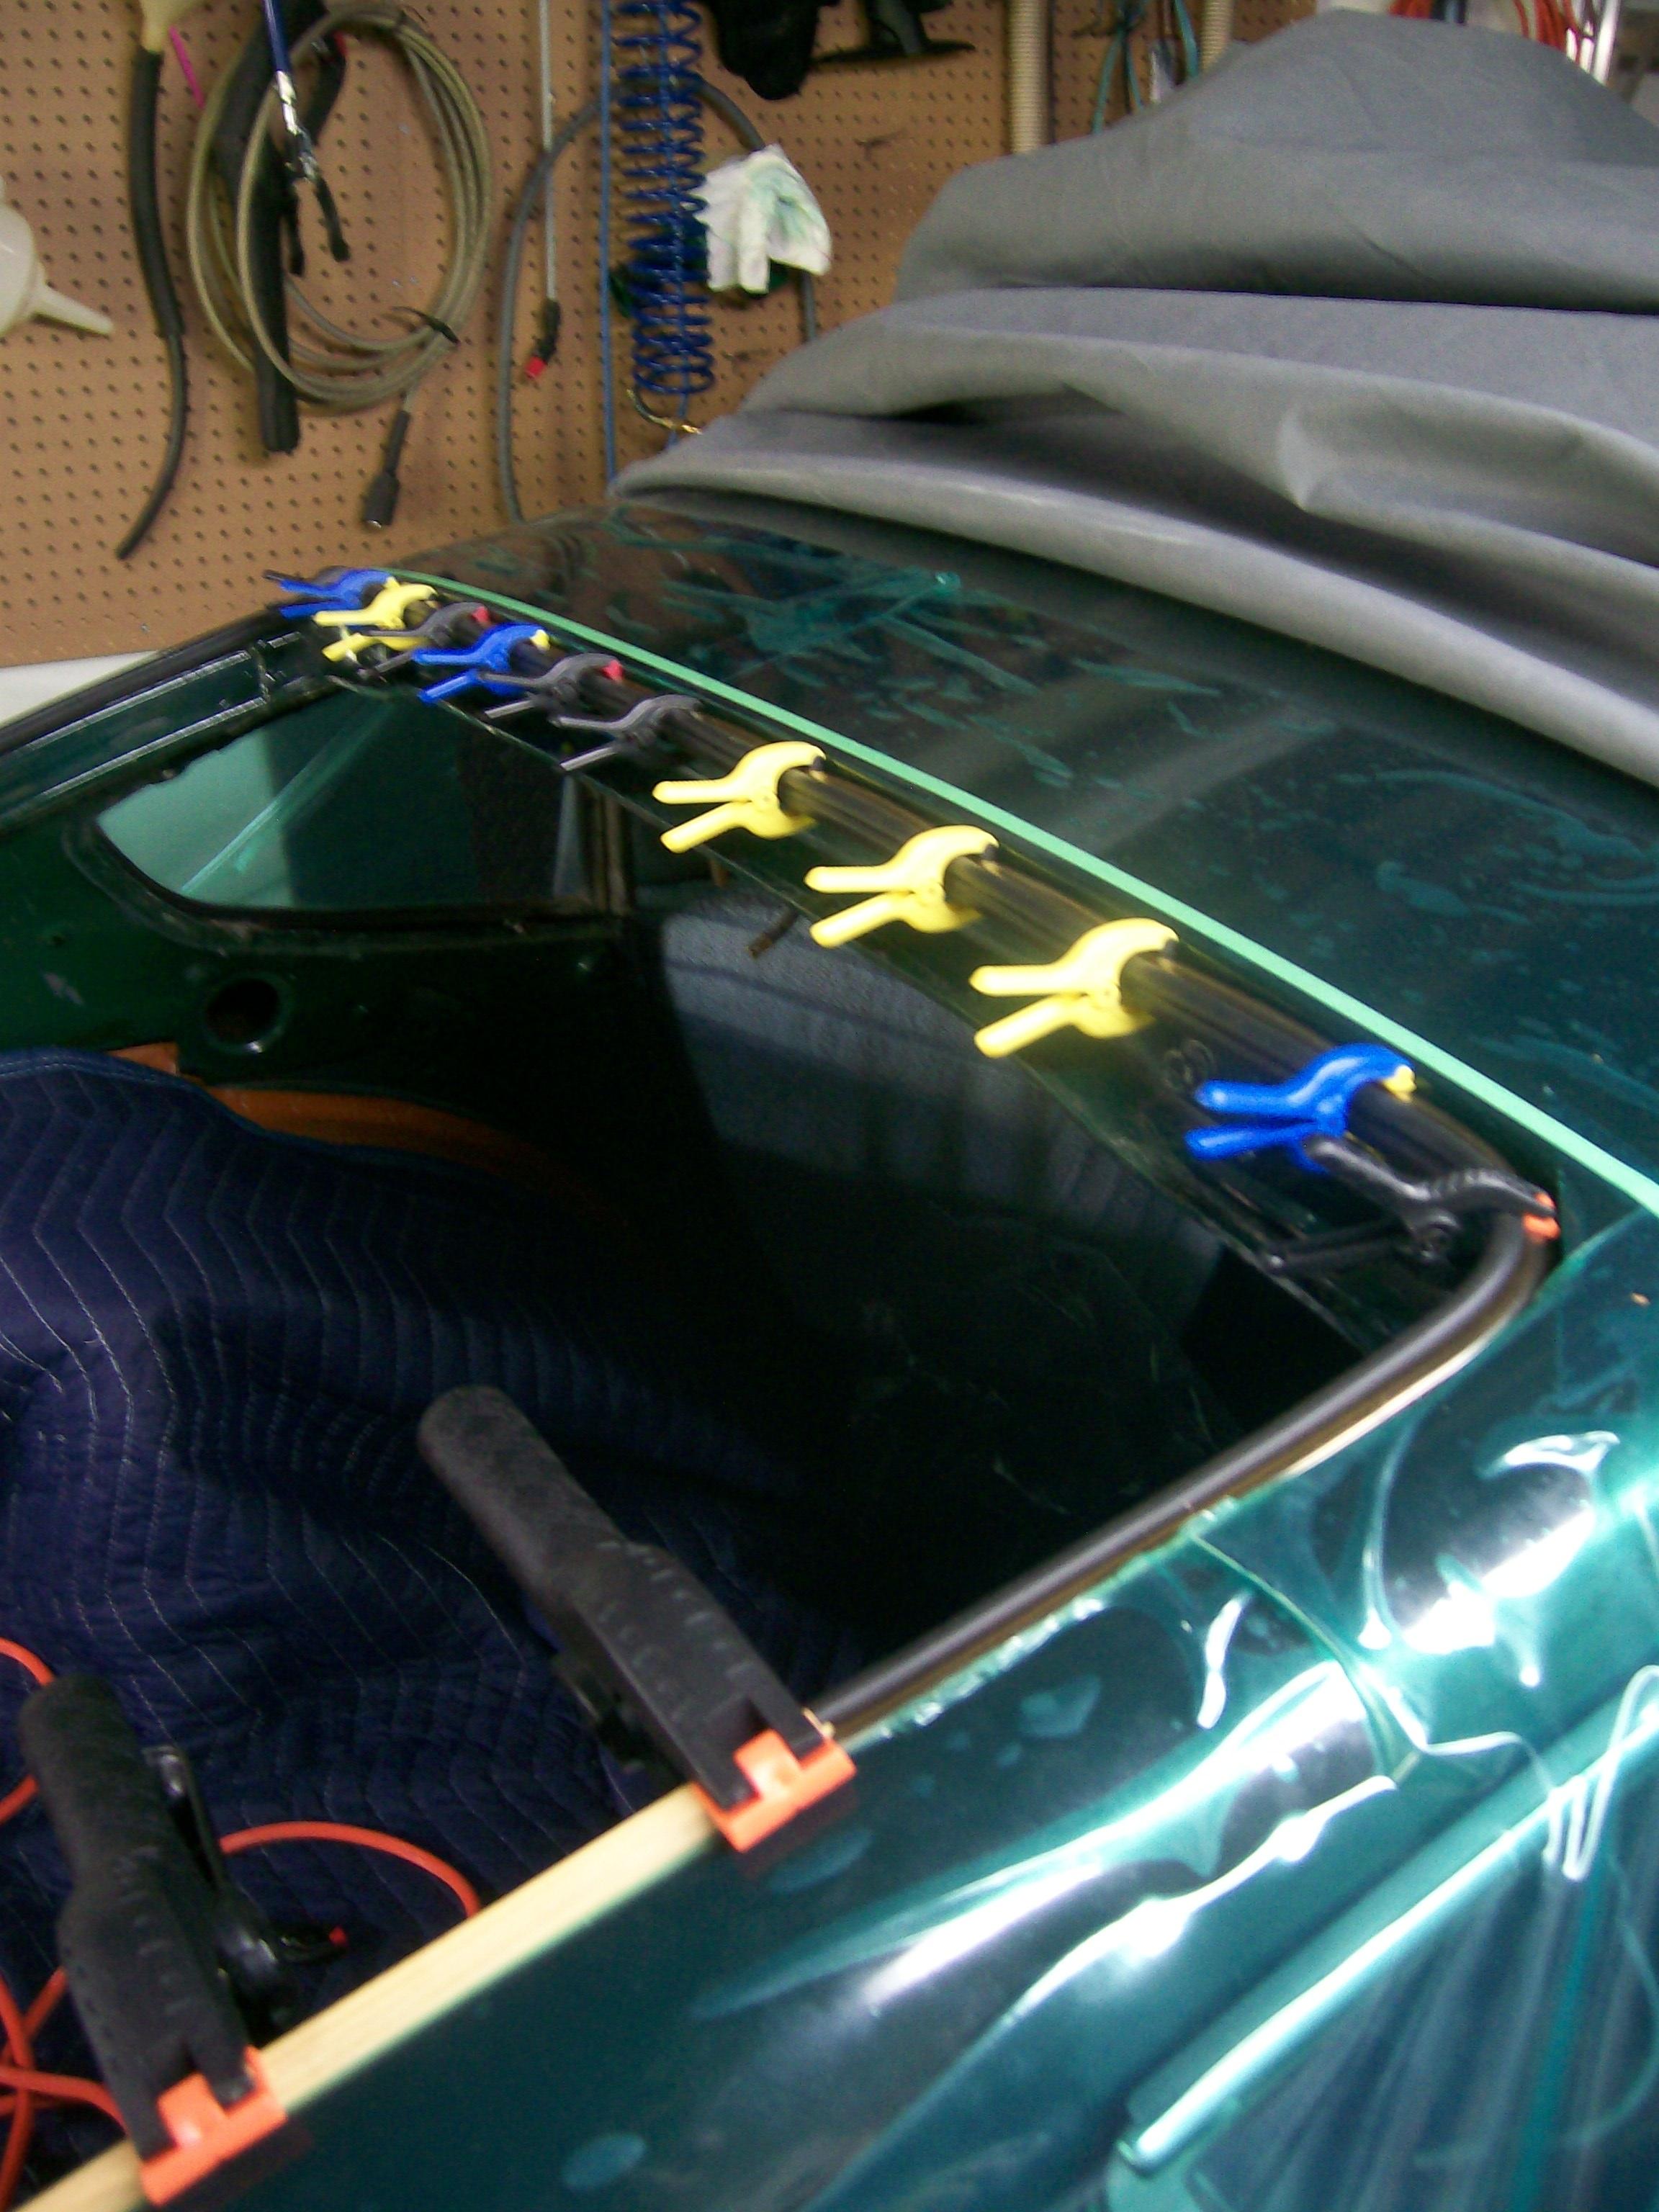
 1 pointNot sure why you've had problems, 'breaking these when I close the hatch'. Maybe you can explain where the problem is occurring. Pix #1-3, below, were posted by another CZCC member (sorry, no name to credit) and show the OE-style, 3-piece outer seal. It uses a bulb-type seal across the top and around the upper corners. After that, the bottom pieces on the left and right are -- as Jim says -- really just water gutters, rather than seals. The aftermarket, one-piece seal uses a bulb design along its entire length In my experience, the top piece was difficult to install properly with the hatch in place. Also, the metal lip on which this seal mounts isn't that deep, so you shouldn't really rely on just a mechanical fit to hold the seal in place. Some judicious use of weatherstrip cement is called for here (see photo #4). If you've just been pushing the seal into place and hoping for the best, that may be the source of your problems.
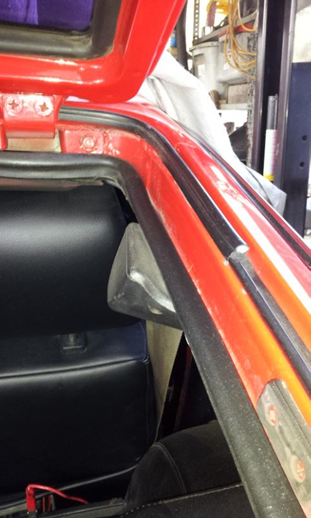
 1 point
 1 pointI just removed the same hard coating from my 77's floors. A blunt big screw driver and a hammer. Hit at shallow angles and the coating will come off in chunks.1 point
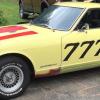 Is that AAR Cuda? It always amazes me how PPE is overlooked by us regular guys and the ones on the fake resto shows on TV. They're grinding away without any earplugs or glasses most of the time. I always make sure I have hearing and eye protection and usually wear gloves of some kind. Also a respirator/dust mask if needed. Thanks for bringing that up.1 point
 I'm another fan of the flat tops, have been for years. Hi Jay, we have conversed on these a good few years ago. I never got round to using the flat tops, I sold the project Z I was going to use... These carbs are well designed, as is the airbox that goes with it. Can't be that hard to use, its only fuel and air! (though the key is careful set-up/adjustment). I may have an odd NOS for the "1974" version (as this version went on to 1978)..... and found an SU replacement needle part number... Will be interested how you get on.1 point
 1 point
 Installed 4 post lift to get garage ready for my next Z project
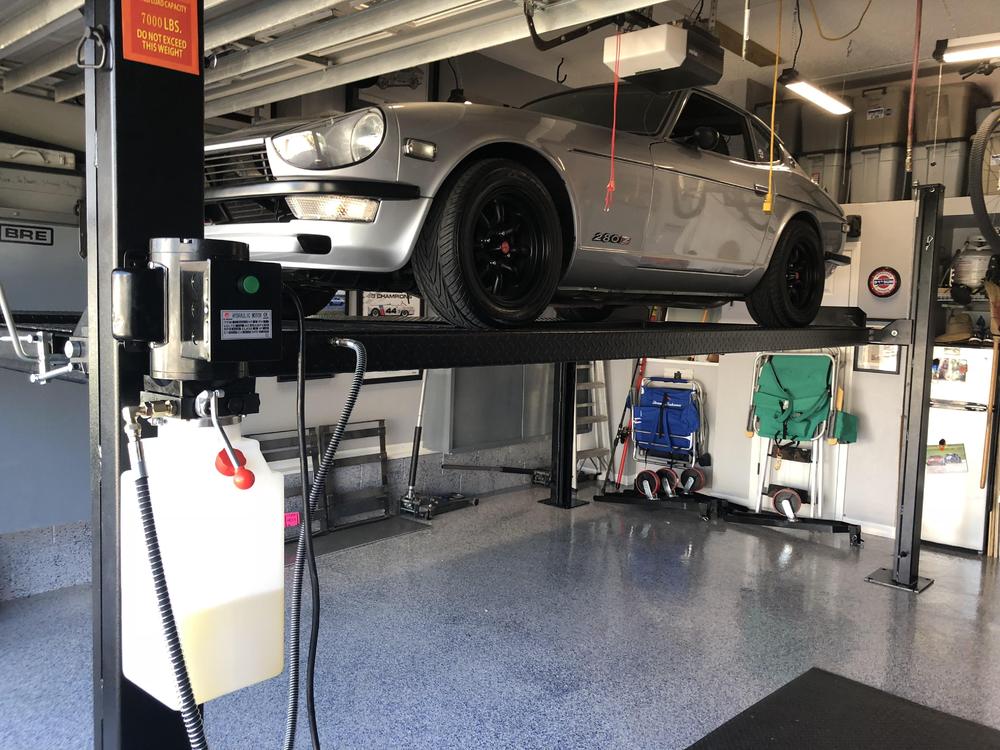 1 point
 Was that your first Z, in 2006? If so it really did change your life, and ours, for the better. I think I would have thrown in the towel were it not for your help and encouragement. You are what got me hooked on 240s too. That red one you did back around 2011. So then I went and bought two! Now I'd have to get a second mortgage to do that. They've really taken off these last 5 years.1 point
1 point
Was that your first Z, in 2006? If so it really did change your life, and ours, for the better. I think I would have thrown in the towel were it not for your help and encouragement. You are what got me hooked on 240s too. That red one you did back around 2011. So then I went and bought two! Now I'd have to get a second mortgage to do that. They've really taken off these last 5 years.1 point
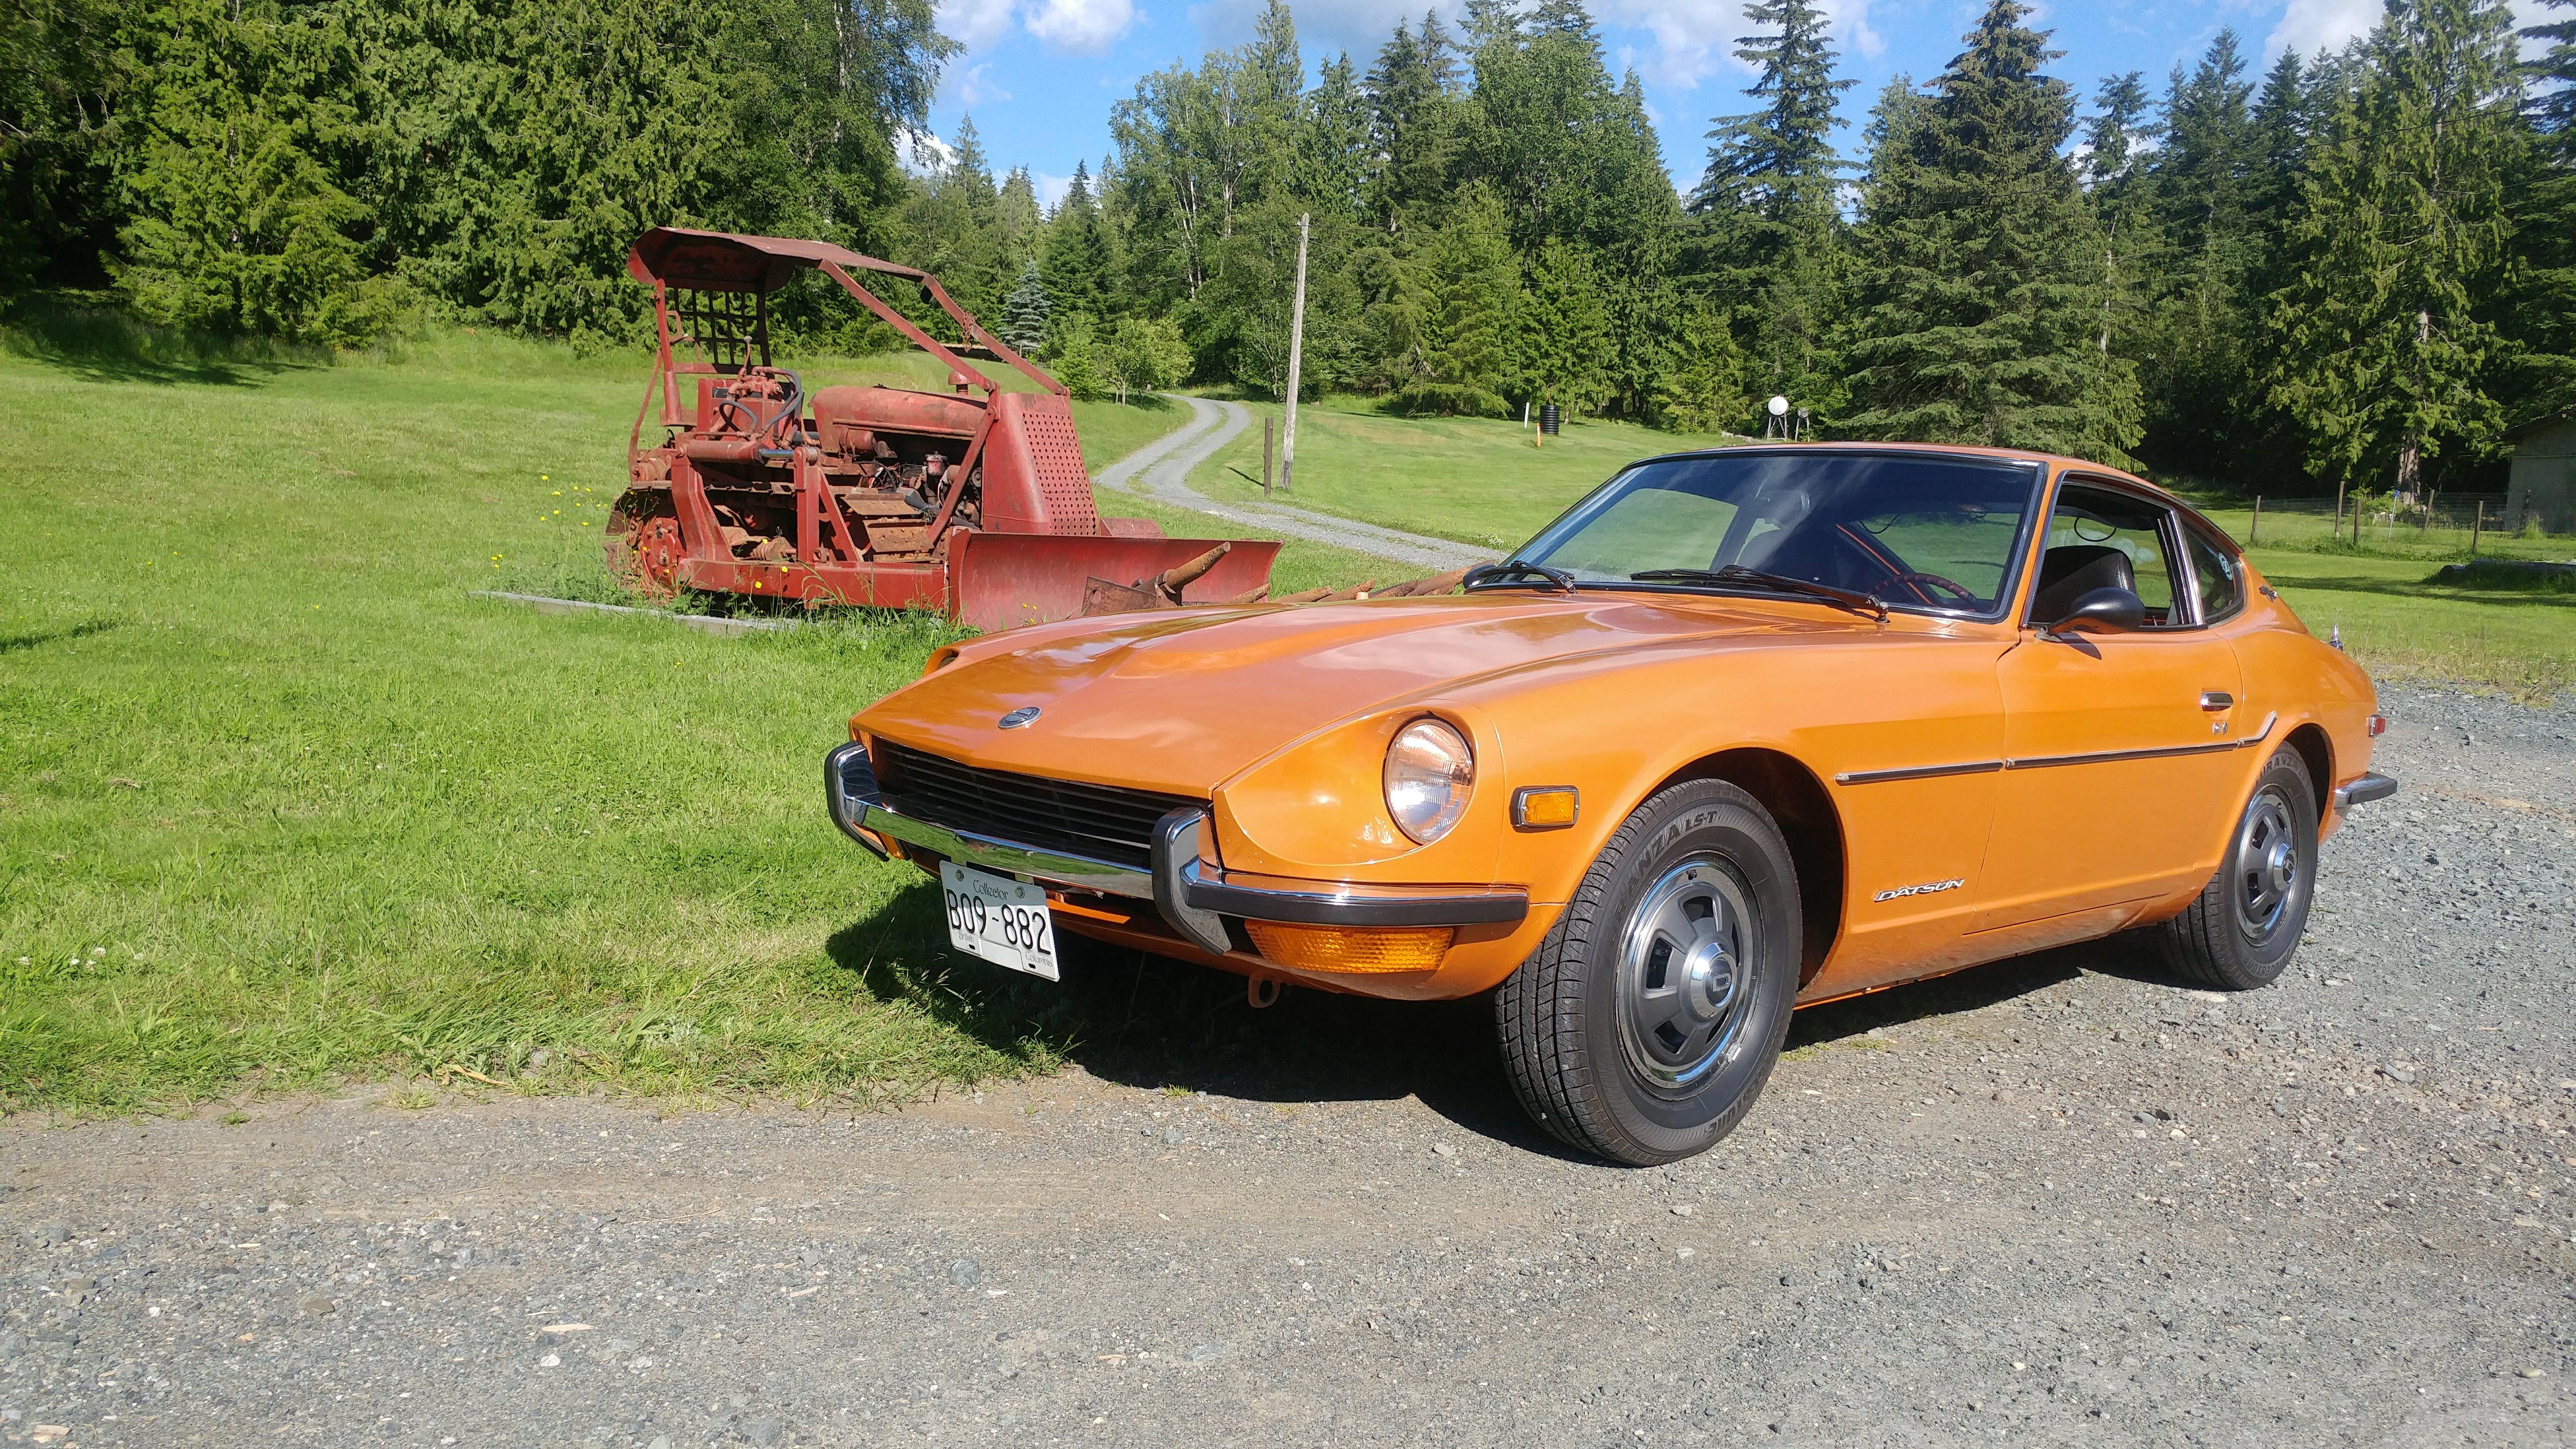
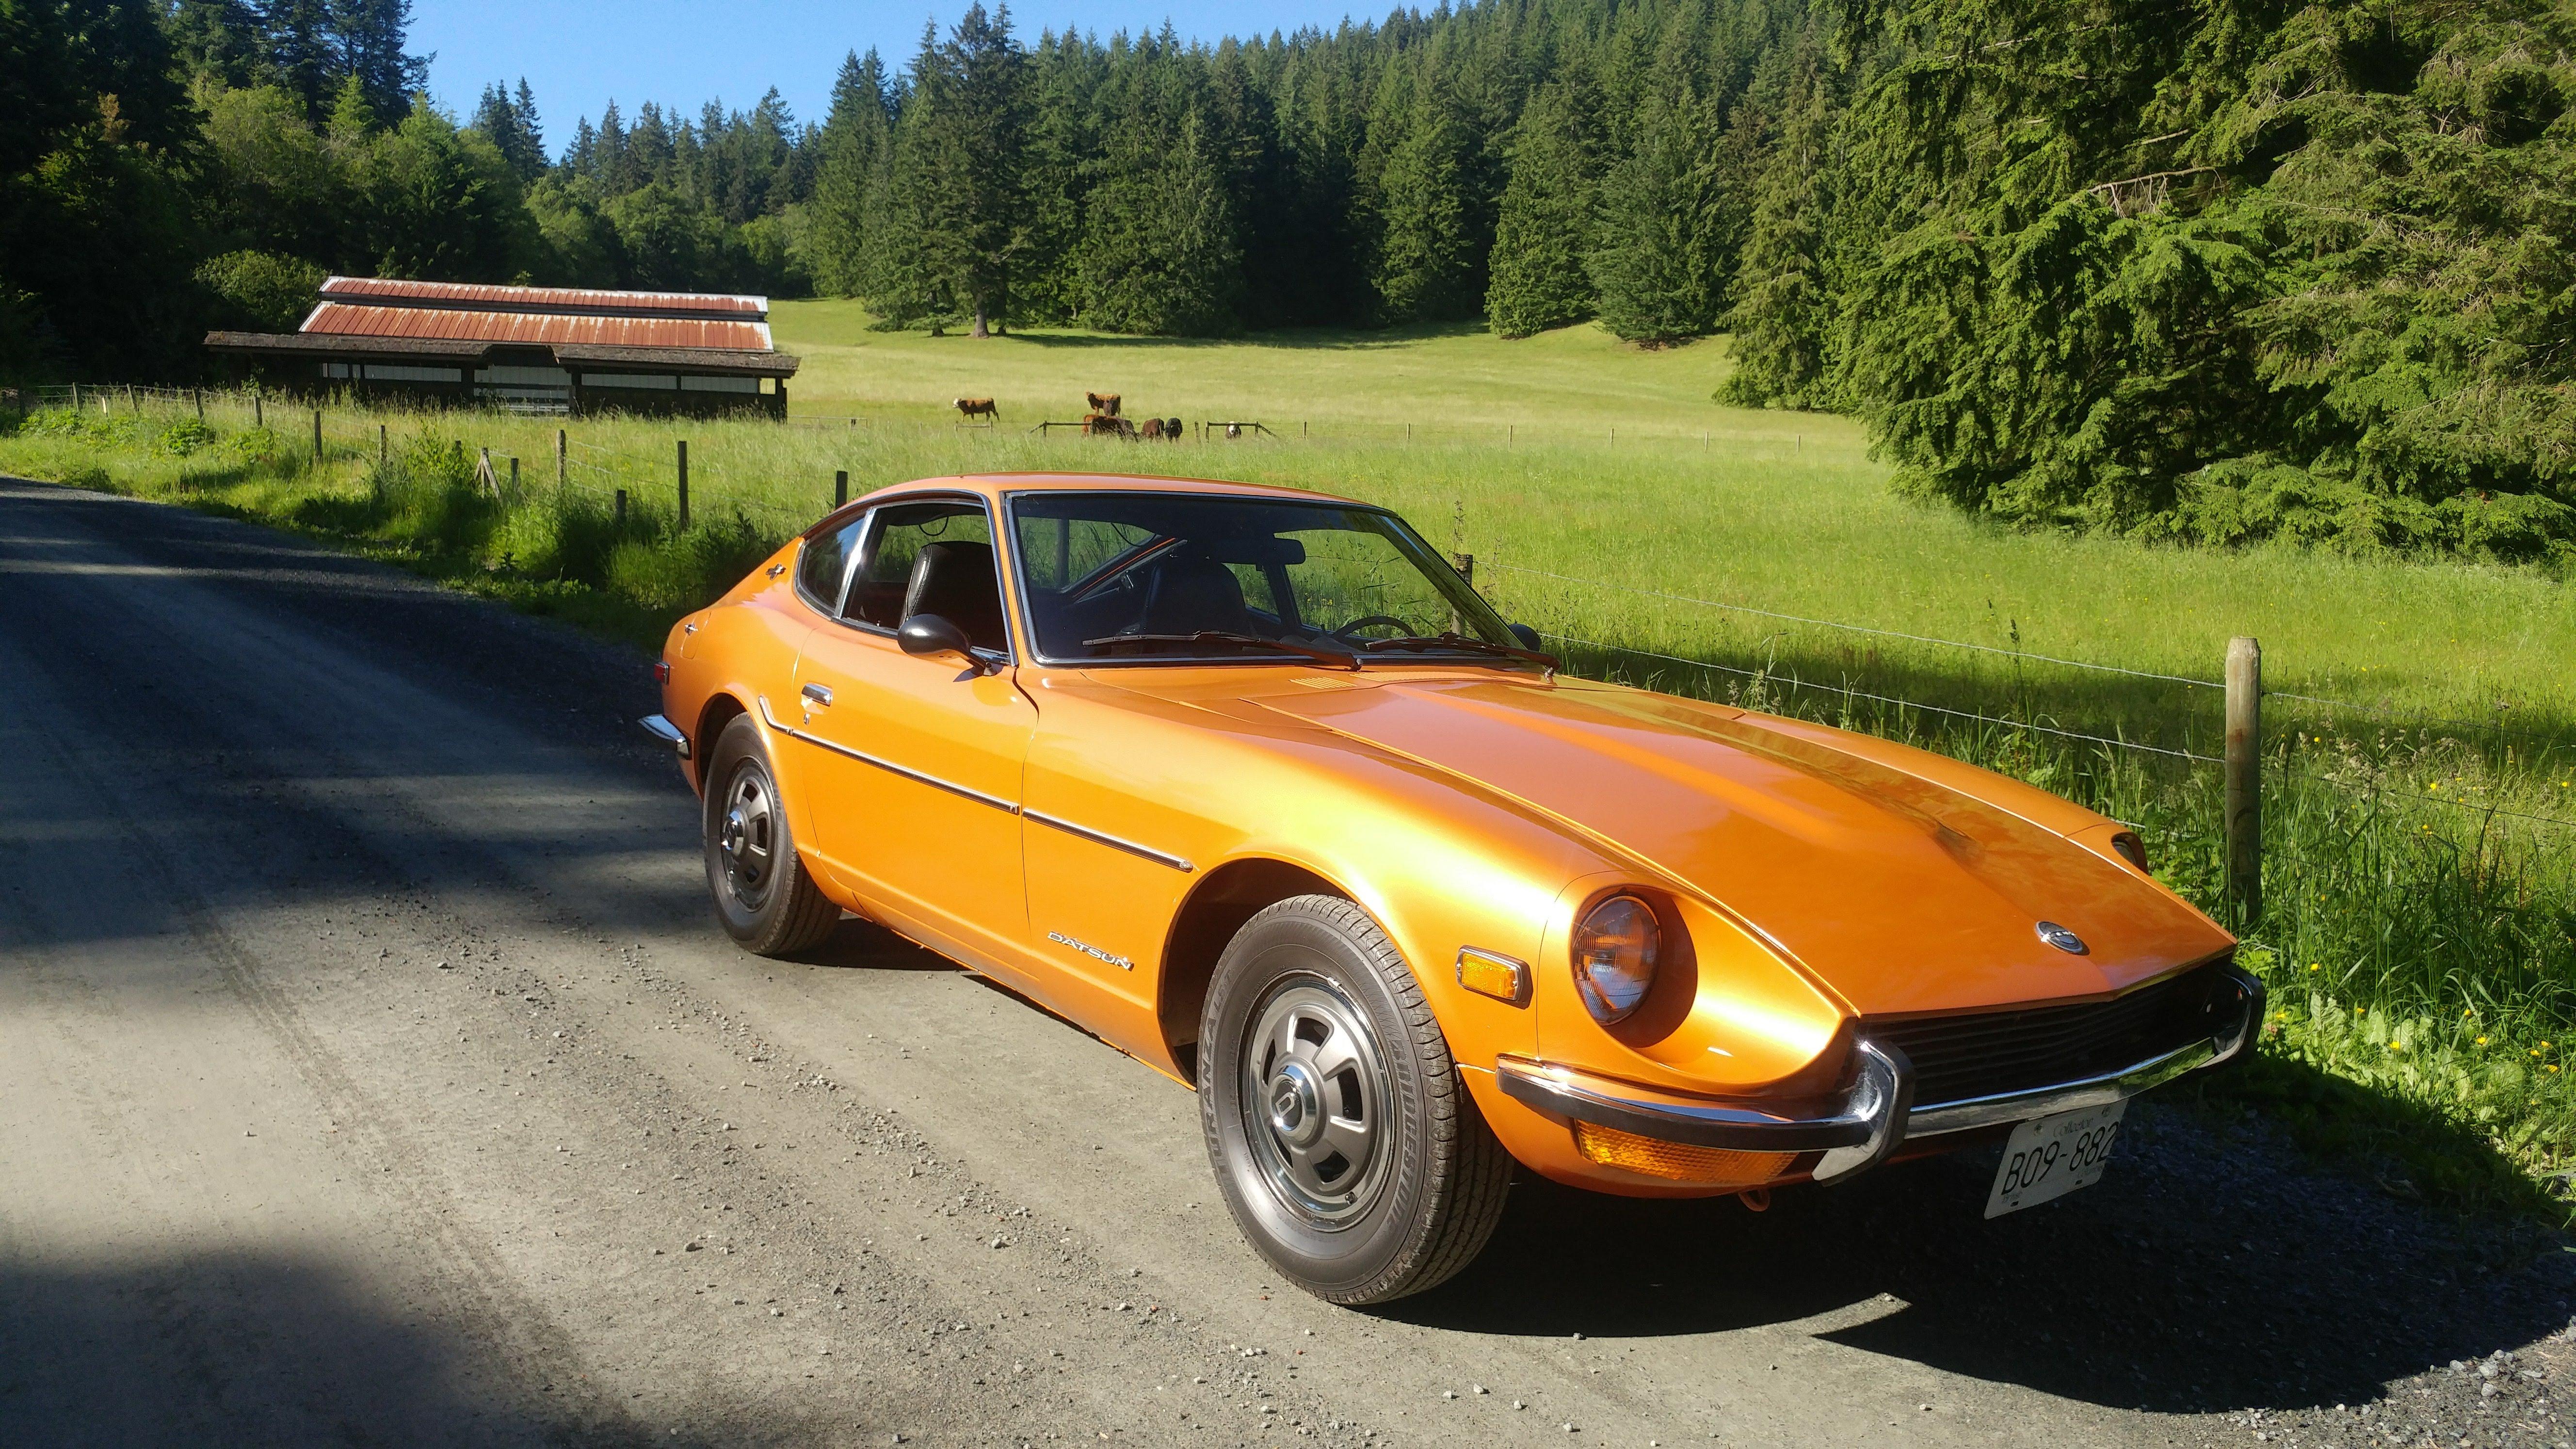
1 point Finally got my car off the jack stands and out of the garage last weekend. Here are a couple of pics from my first drive of 2018.
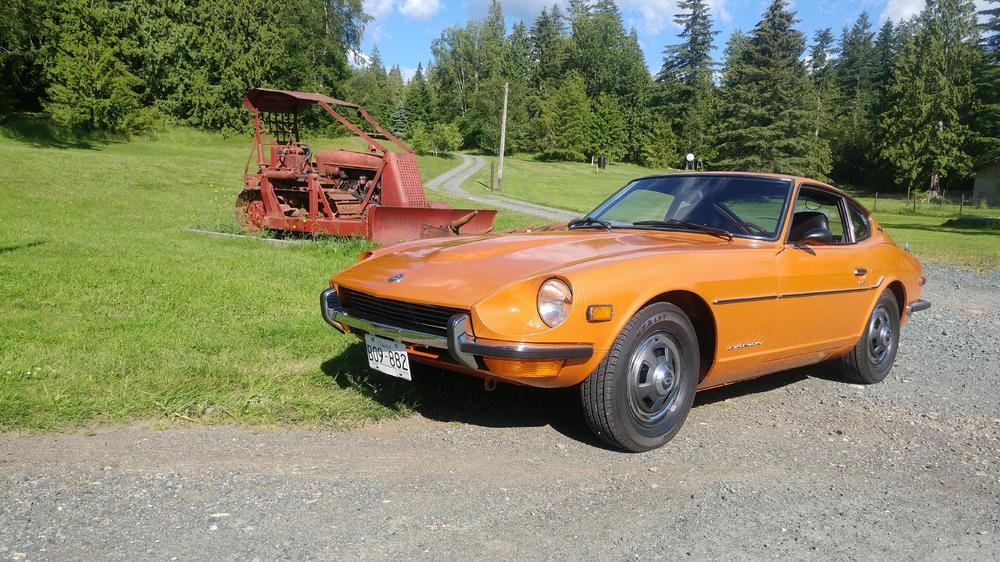
 1 point
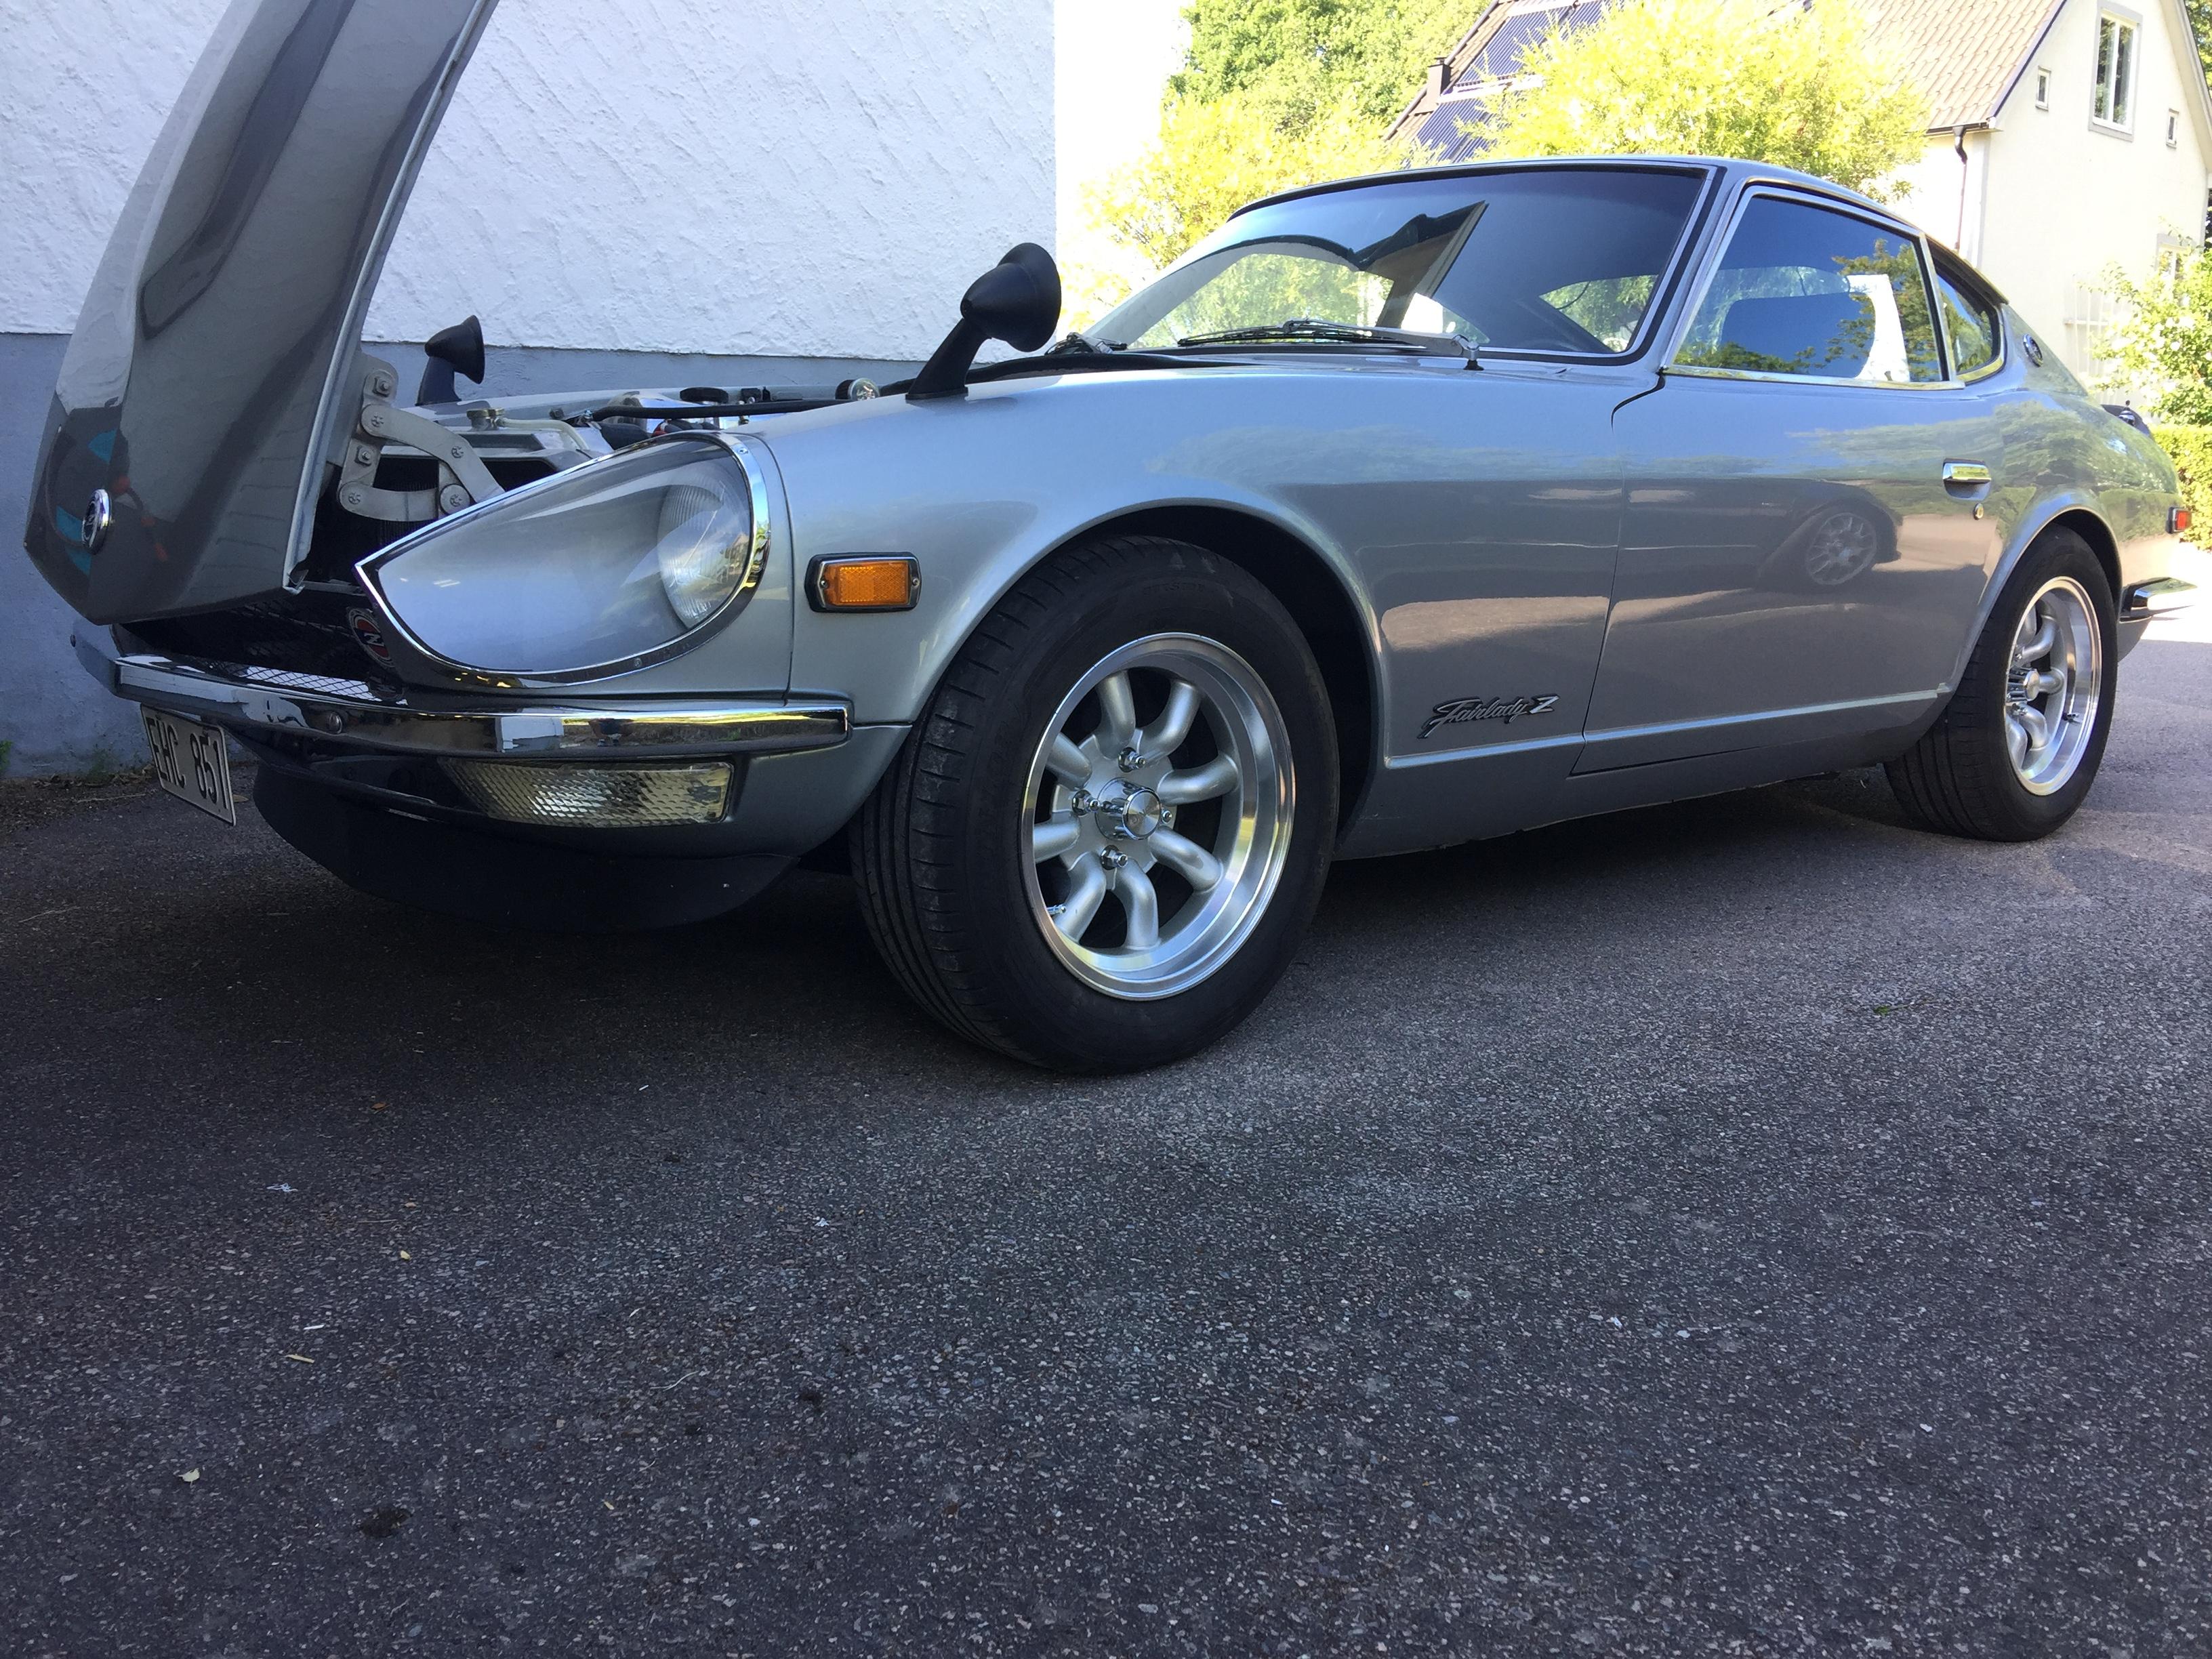
Clear turnsignal lenses mounted. Think I like it...
1 point
1 point
Clear turnsignal lenses mounted. Think I like it...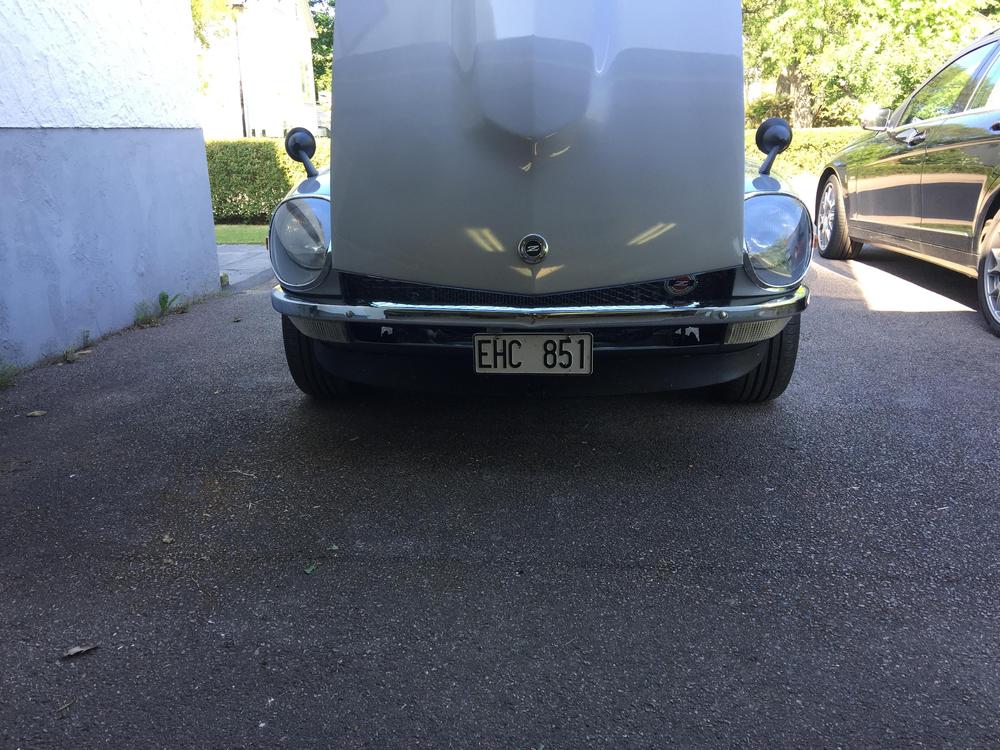

 1 point


Important Information
By using this site, you agree to our Privacy Policy and Guidelines. We have placed cookies on your device to help make this website better. You can adjust your cookie settings, otherwise we'll assume you're okay to continue.