


Leaderboard
-

conedodger
Free Member3Points11,316Posts -

Namerow
Free Member2Points1,484Posts -

gotham22
Free Member2Points254Posts -

gundee
Free Member2Points1,382Posts
Popular Content
Showing content with the highest reputation on 07/08/2018 in all areas
-
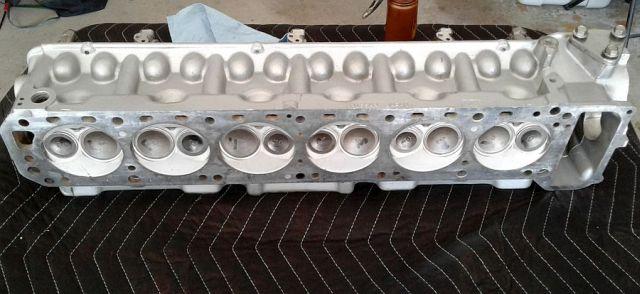
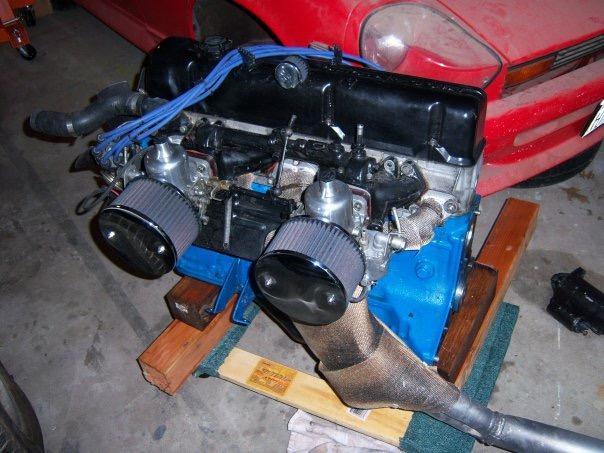
Got my rebuilt N42 head back together. Next is to get it installed on car this week. Schneider regrind cam.
 2 points
 -
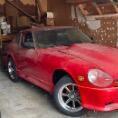
2 pointsI thank everyone for their comments and help. I have thought about this a lot and although I am a novice and my setup is no where near ideal I am going to save this car. It’s un-drivable as it is so what do I have to lose? The worst thing is I find out down the road I need to part it out. Besides it will be a great learning experience. I hope I can continue to count on this community to guide me through the process Sent from my iPhone using Classic Zcar Club mobile2 points
-
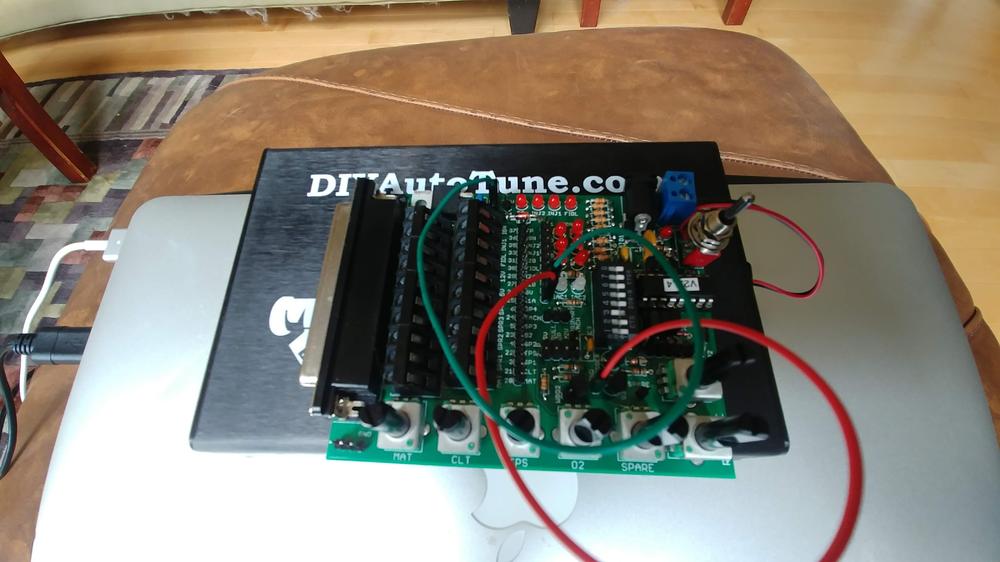
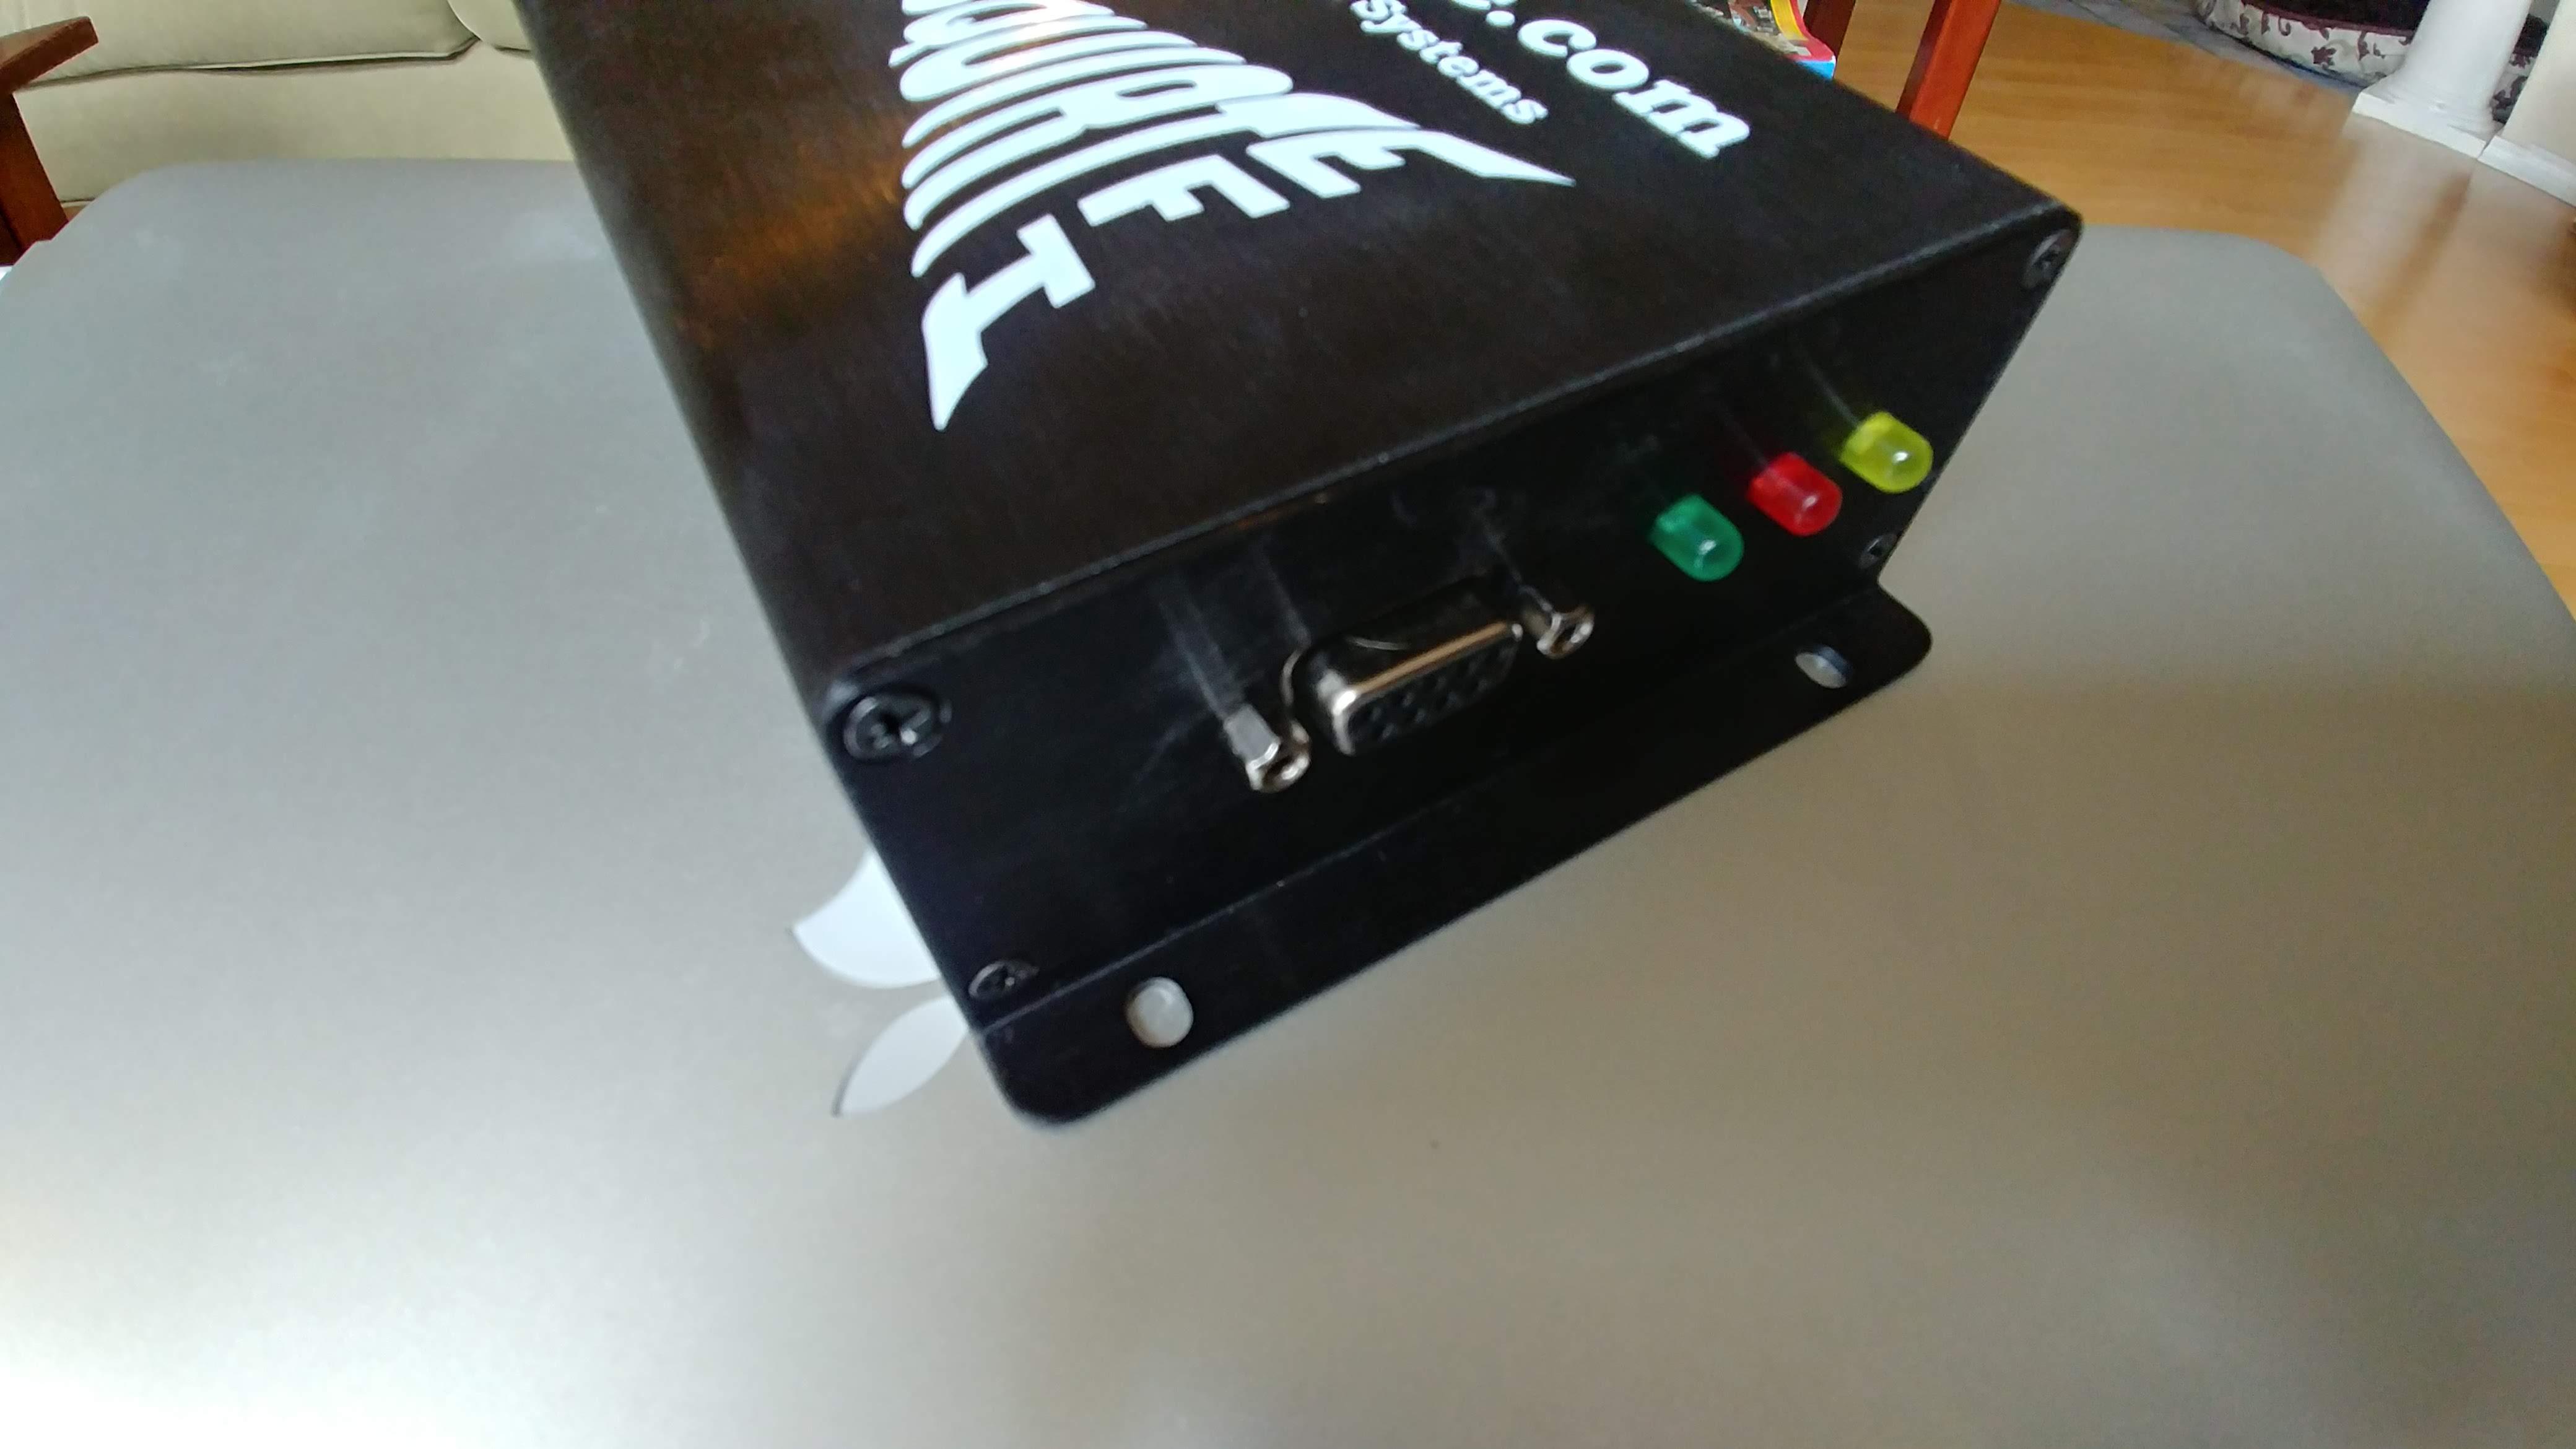
 2 pointsWell I went through the Megasquirt, resoldered every joint, added led and trimmed some long legs on board but it looks and tests good. Cross fingers. Jimstim built and tested as well. Family road trip tomorrow so I'll have to get back to this on return.


 2 points
 -
1 pointI was reading this thread out of idle interest and decided to check out Jim's recommendationre the EZ-Clip hose fittings. Look's like a great solution for aftermarket AC installers. Check out this Eaton Corp. video for details... http://www.eaton.com/Eaton/ProductsServices/Hydraulics/HoseHoseFittings/TransportationHoseProducts/ACRefrigeration/ezclip/index.htm1 point
-
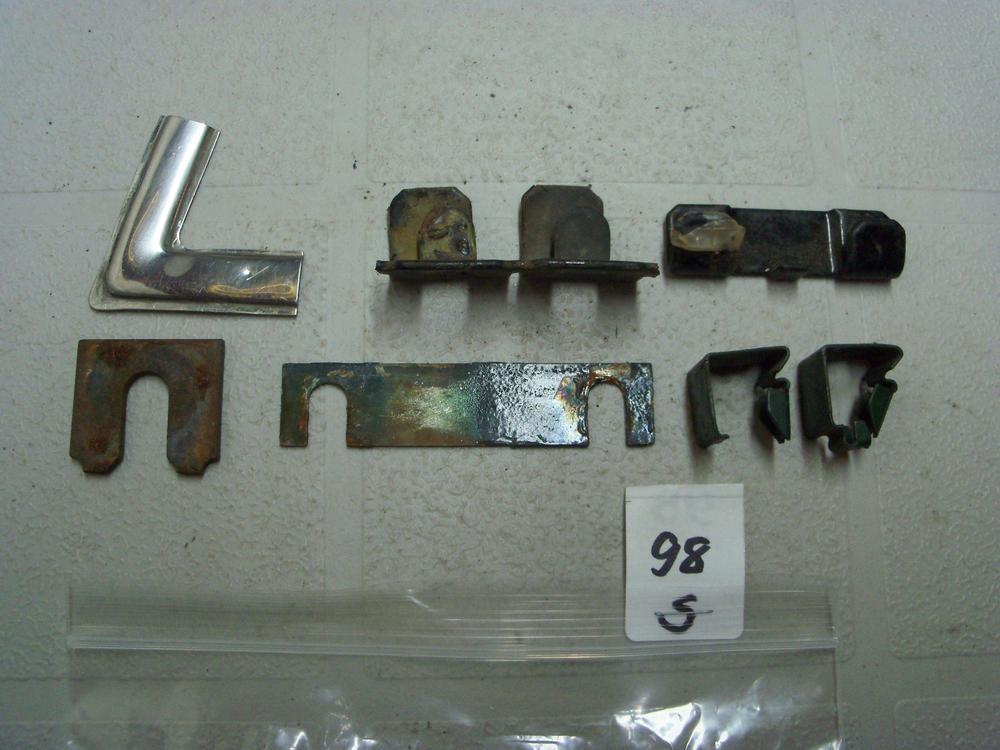
1 pointAmong all of the assorted little bits of hardware that I've accumulated over the years is a 'slotted' shim plate (lower row, centre, in the photo below). I could never figure out what it was intended for... until now! If you find that you need something like this, it shouldn't be that difficult to to make up a pair from some sheet stock. Maybe make two or three pairs, so that you can stack them. If you go with metal, rust will be an issue so brass would be best (if you can find it this thick). It might be easier and better, though, if you make them from 1/32" or 1/16" clear plastic sheet stock. A little more fragile for installation, but easier to fabricate and zero rust issues. A quick cruise of your local hardware store's shelves should turn up lots of items that could be used as material donors.
 1 point
 -
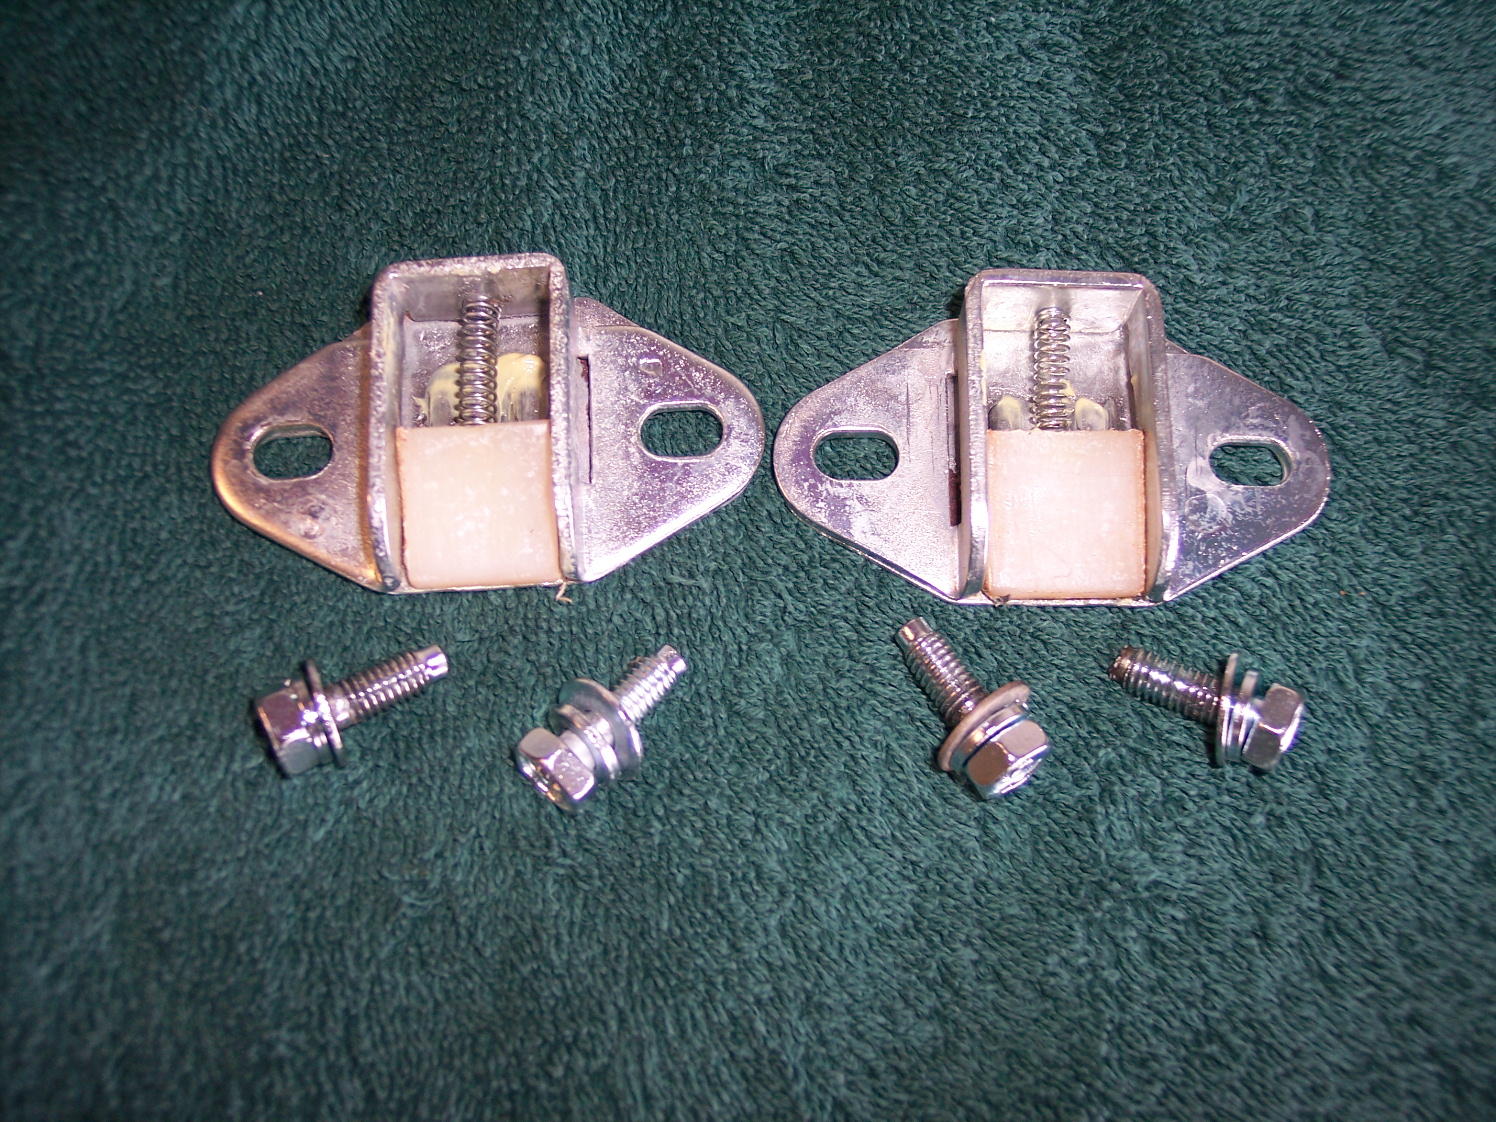
 1 pointThey fit into the hatch stopper where the spring butts into the metal. They are a bumper for the nylon wedge. Sorry not to have a pic of one installed.
 1 point
 -
 1 pointTough one to fix. Hatch alignment is a real bear. You can place a shim between the fixed threaded hatch mount plate and hinge, where the pair of flat headed philips bolts connect the hatch to the hinge. Make it out of shim stock or brass sheet. This will move the hatch toward the front of the car. Real fun to install. Use some crazy glue to hold the shim in place on the hatch plate while you get the bolts lined up while holding the hatch with your other three hands. Or use slotted shims that you stuff in AFTER you get the bolts in but not tight yet.1 point
 -
 1 pointThese blocks are quite durable and a number have been opened thousands of miles later and still show evidence of the cross hatching1 point
 -
 1 pointWell I am quite happy, I just went through and measured the clearances of my pistons and the bores including the taper and it is all well within spec which is a relief. I actually thought the bores would have more taper than they do, but the largest taper is 0.05mm. As for the piston to bore clearance they area all around 0.11mm where standard is 0.05 and max is 0.22. The crank is also well within spec, so I can still use standard bearings. Hopefully this should all go together nicely.1 point
 -
 1 pointI didn't see a direct answer to this but I'd just replace it. It's bolted in. Somebody should have one for cheap and they're not that heavy. Just an odd part to have shipped.1 point
 -
 1 point1 point
 1 pointPostman just picked it up Give it a couple days and then let me if it works for you. ps: Pay it forward when you can1 point
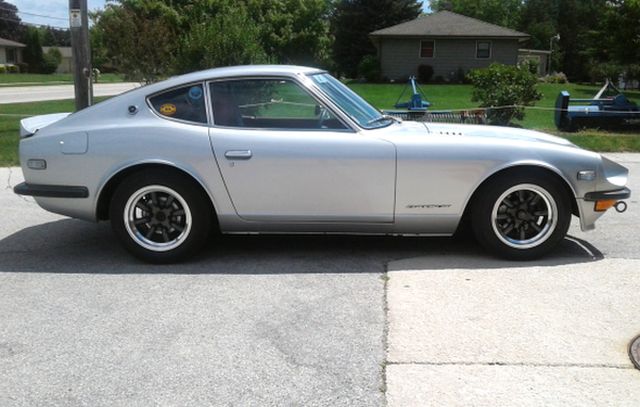
1 pointWheee! defines one end of the spectrum - https://www.classiczcars.com/forums/topic/50908-1976-280z-restoration-project/ Smackhq has a simulator. So he'll get many of the bugs worked out from the beginning. I think that many options depend on what's nearby. If he gets on CL and finds a four barrel carb setup, who knows. Quick and easy, a drivable Z while he's messing with MS.1 point
1 pointPostman just picked it up Give it a couple days and then let me if it works for you. ps: Pay it forward when you can1 point
1 pointWheee! defines one end of the spectrum - https://www.classiczcars.com/forums/topic/50908-1976-280z-restoration-project/ Smackhq has a simulator. So he'll get many of the bugs worked out from the beginning. I think that many options depend on what's nearby. If he gets on CL and finds a four barrel carb setup, who knows. Quick and easy, a drivable Z while he's messing with MS.1 point And another option, if you are a little crazy. Remember that (probably rusty) feed through assembly to pass through the firewall? You could do something like this... Make up a template based on the original and get yourself some stainless sheet and stainless tubing: Form the stainless sheet like the original: Build yourself a cheap-o bead roller to use on the lathe and use it to but the beads on the ends of the stainless tubing: Braze the tubes into the bracket: Clean it up. I really like this shot with the rusty crusty original in the background: And once you've gone through all that, you can use two simple generic 90 degree bend hoses on the interior. And since it's all stainless, it should last pretty much forever:1 point
You're in luck, Canuck! I saved a couple from a recent demo, just have to find 'em! Drop me a note to z240@shaw.ca and I'll stick 'em in an envelope.1 point
And another option, if you are a little crazy. Remember that (probably rusty) feed through assembly to pass through the firewall? You could do something like this... Make up a template based on the original and get yourself some stainless sheet and stainless tubing: Form the stainless sheet like the original: Build yourself a cheap-o bead roller to use on the lathe and use it to but the beads on the ends of the stainless tubing: Braze the tubes into the bracket: Clean it up. I really like this shot with the rusty crusty original in the background: And once you've gone through all that, you can use two simple generic 90 degree bend hoses on the interior. And since it's all stainless, it should last pretty much forever:1 point
You're in luck, Canuck! I saved a couple from a recent demo, just have to find 'em! Drop me a note to z240@shaw.ca and I'll stick 'em in an envelope.1 point


Important Information
By using this site, you agree to our Privacy Policy and Guidelines. We have placed cookies on your device to help make this website better. You can adjust your cookie settings, otherwise we'll assume you're okay to continue.