Leaderboard
-
Radeon
Community Member2Points27Posts -
mentalite
Community Member2Points70Posts -

wheee!
Community Member1Points4,607Posts -
JDMjunkies.ch
Community Member1Points657Posts


Popular Content
Showing content with the highest reputation on 08/09/2018 in all areas
-
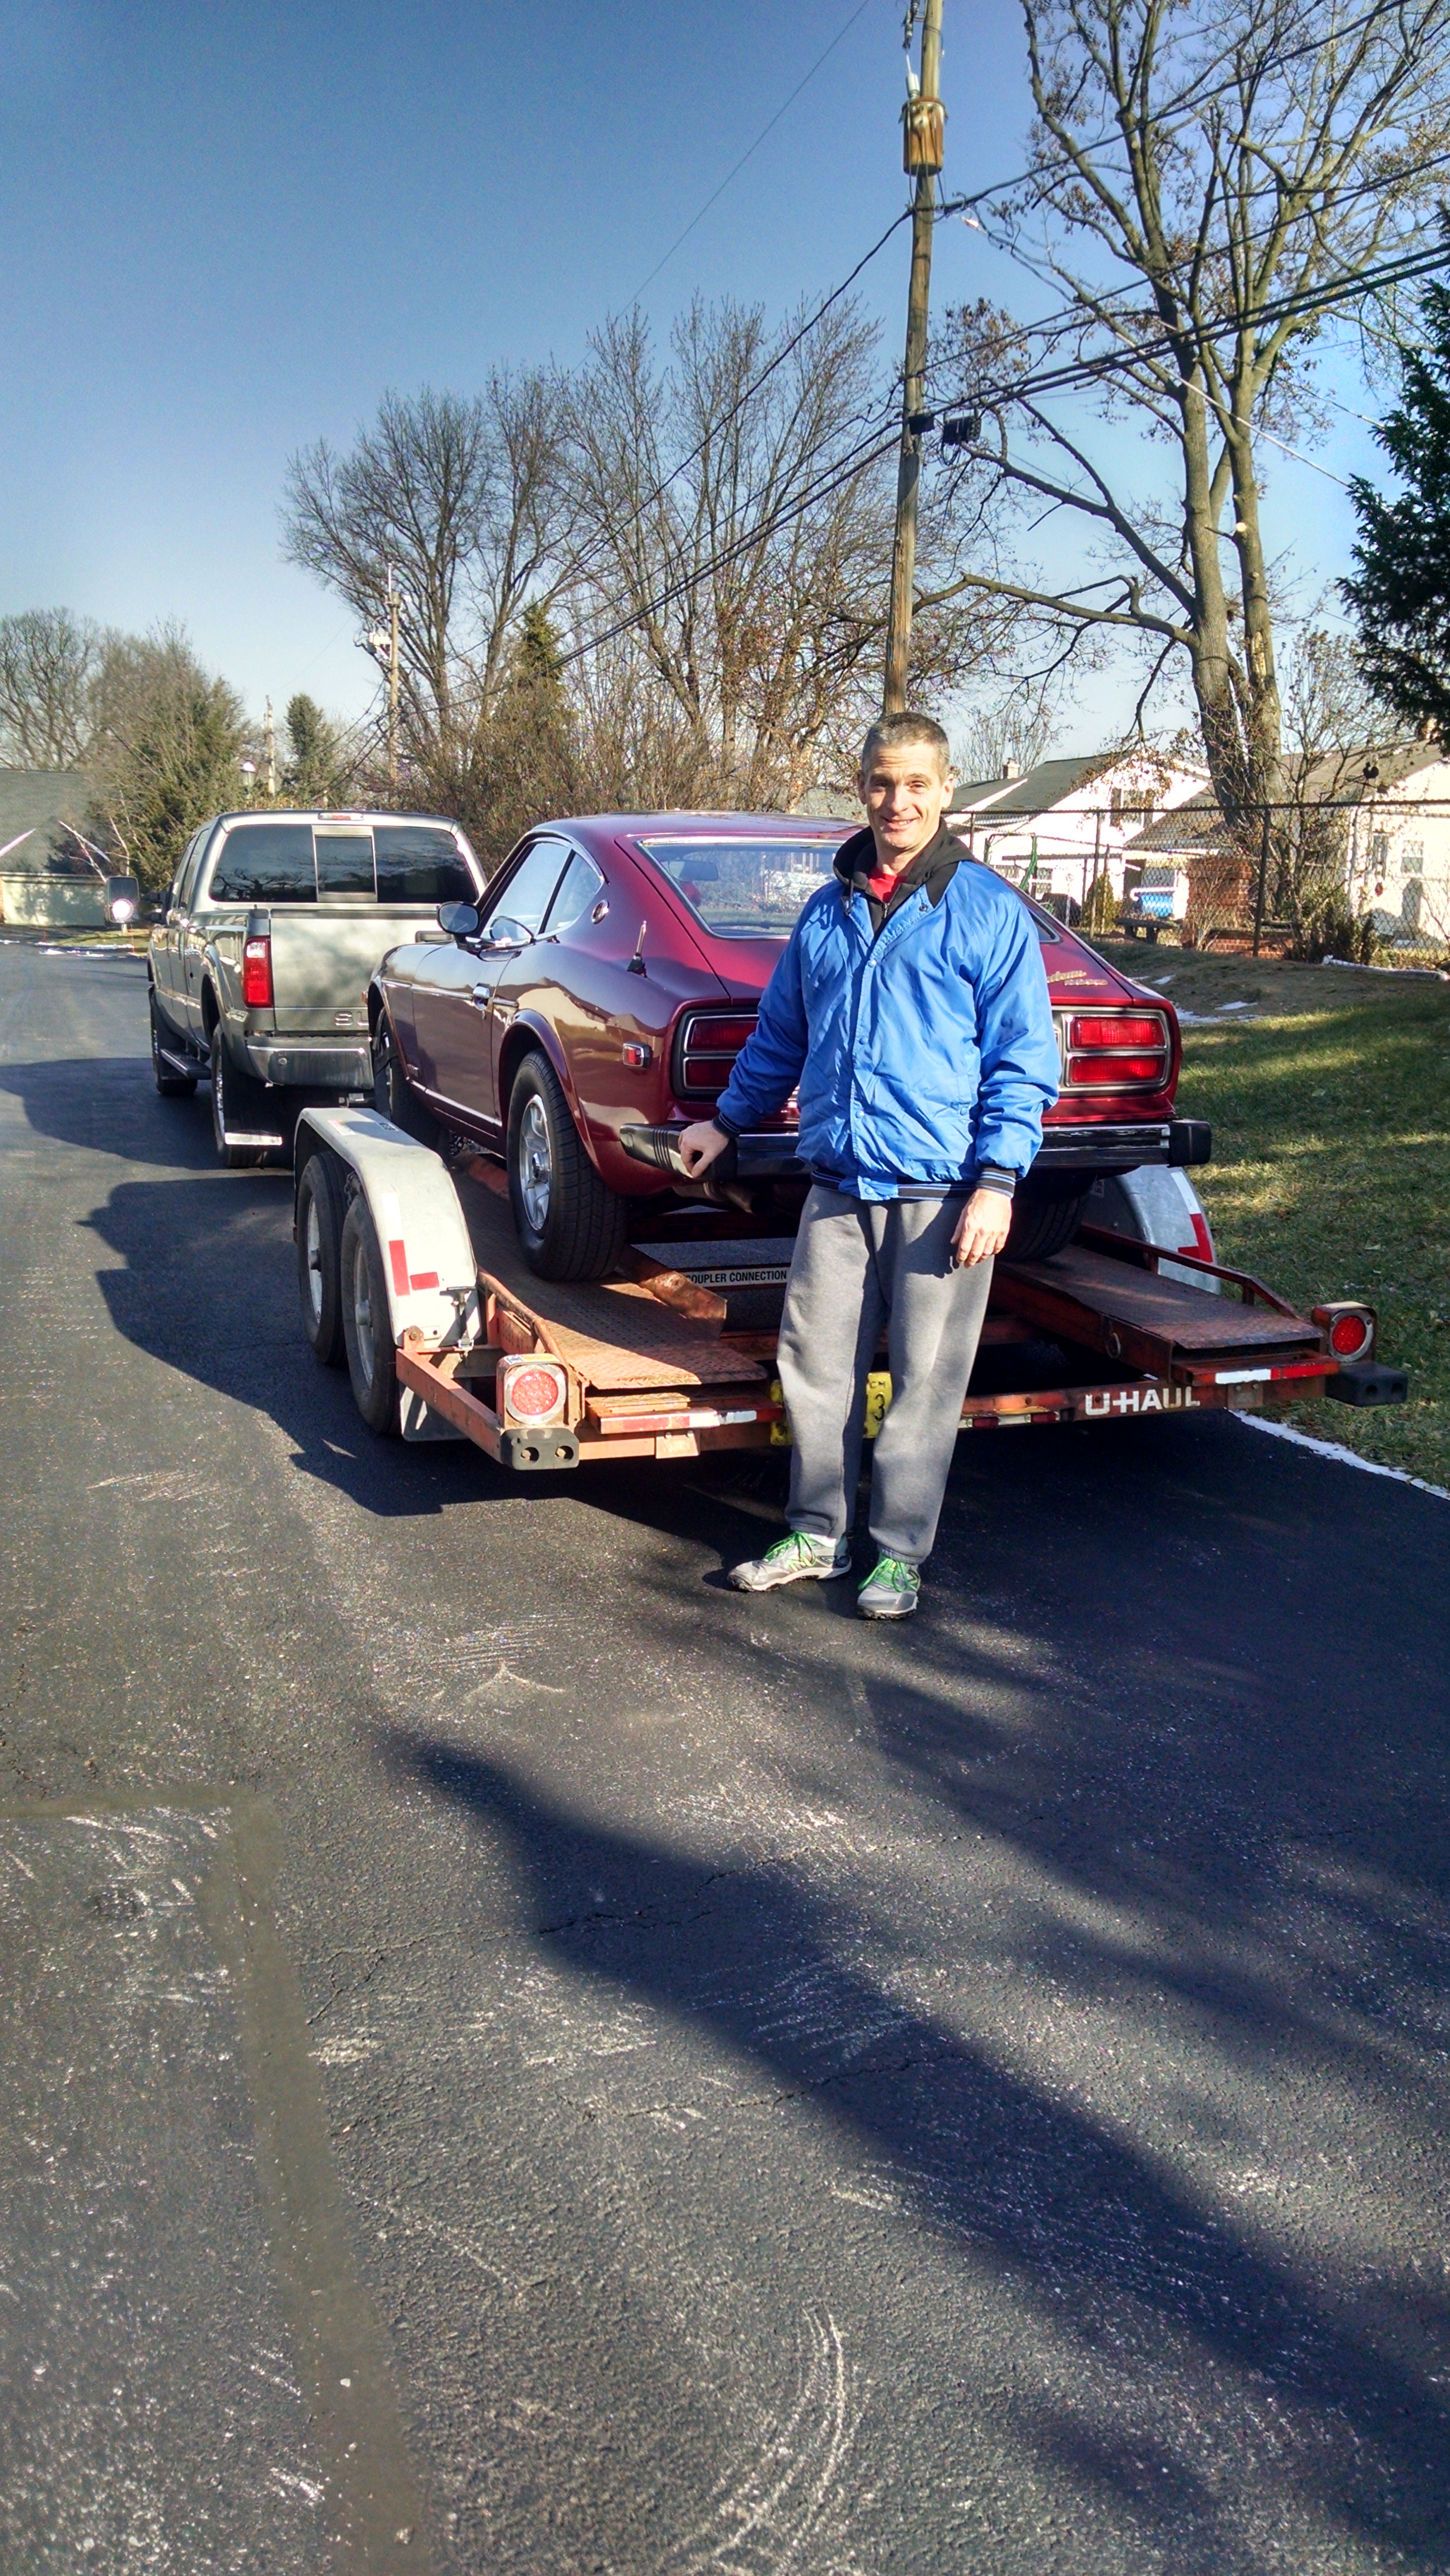
My Z has found the new home it needed. Thanks for all of the interest. A young man near Philly came and fell in love with it. I am confident that he is going to be a good caretaker. Maybe he'll show up here soon looking for advice.2 points
-
Yes! His metal work is outstanding. I would have to cut that and reweld or something else equally drastic to close those gaps up.1 point
-
Yes, acetone with one of those green scotch-brite sponges. Put paper towels in the cylinders so that you won't spill acetone down into the cylinders. Use a Permatex gasket sealant like their copper gasket spray. Get the two surfaces as clean as you can.1 point
-
1 pointSeems to depend on the material that the reservior is made from, neither of the BMW resevrviors were affected but both of the aftermarket cups for the TR6 and the Honda CB350 were stained. There is also one more drawback to silicone Dot5, fish eyes. If you ever go to paint an area that has had silicone on it you have to take it down to bare metal, no amount of cleaning, sanding or solvent will eliminate the silicone.1 point
-
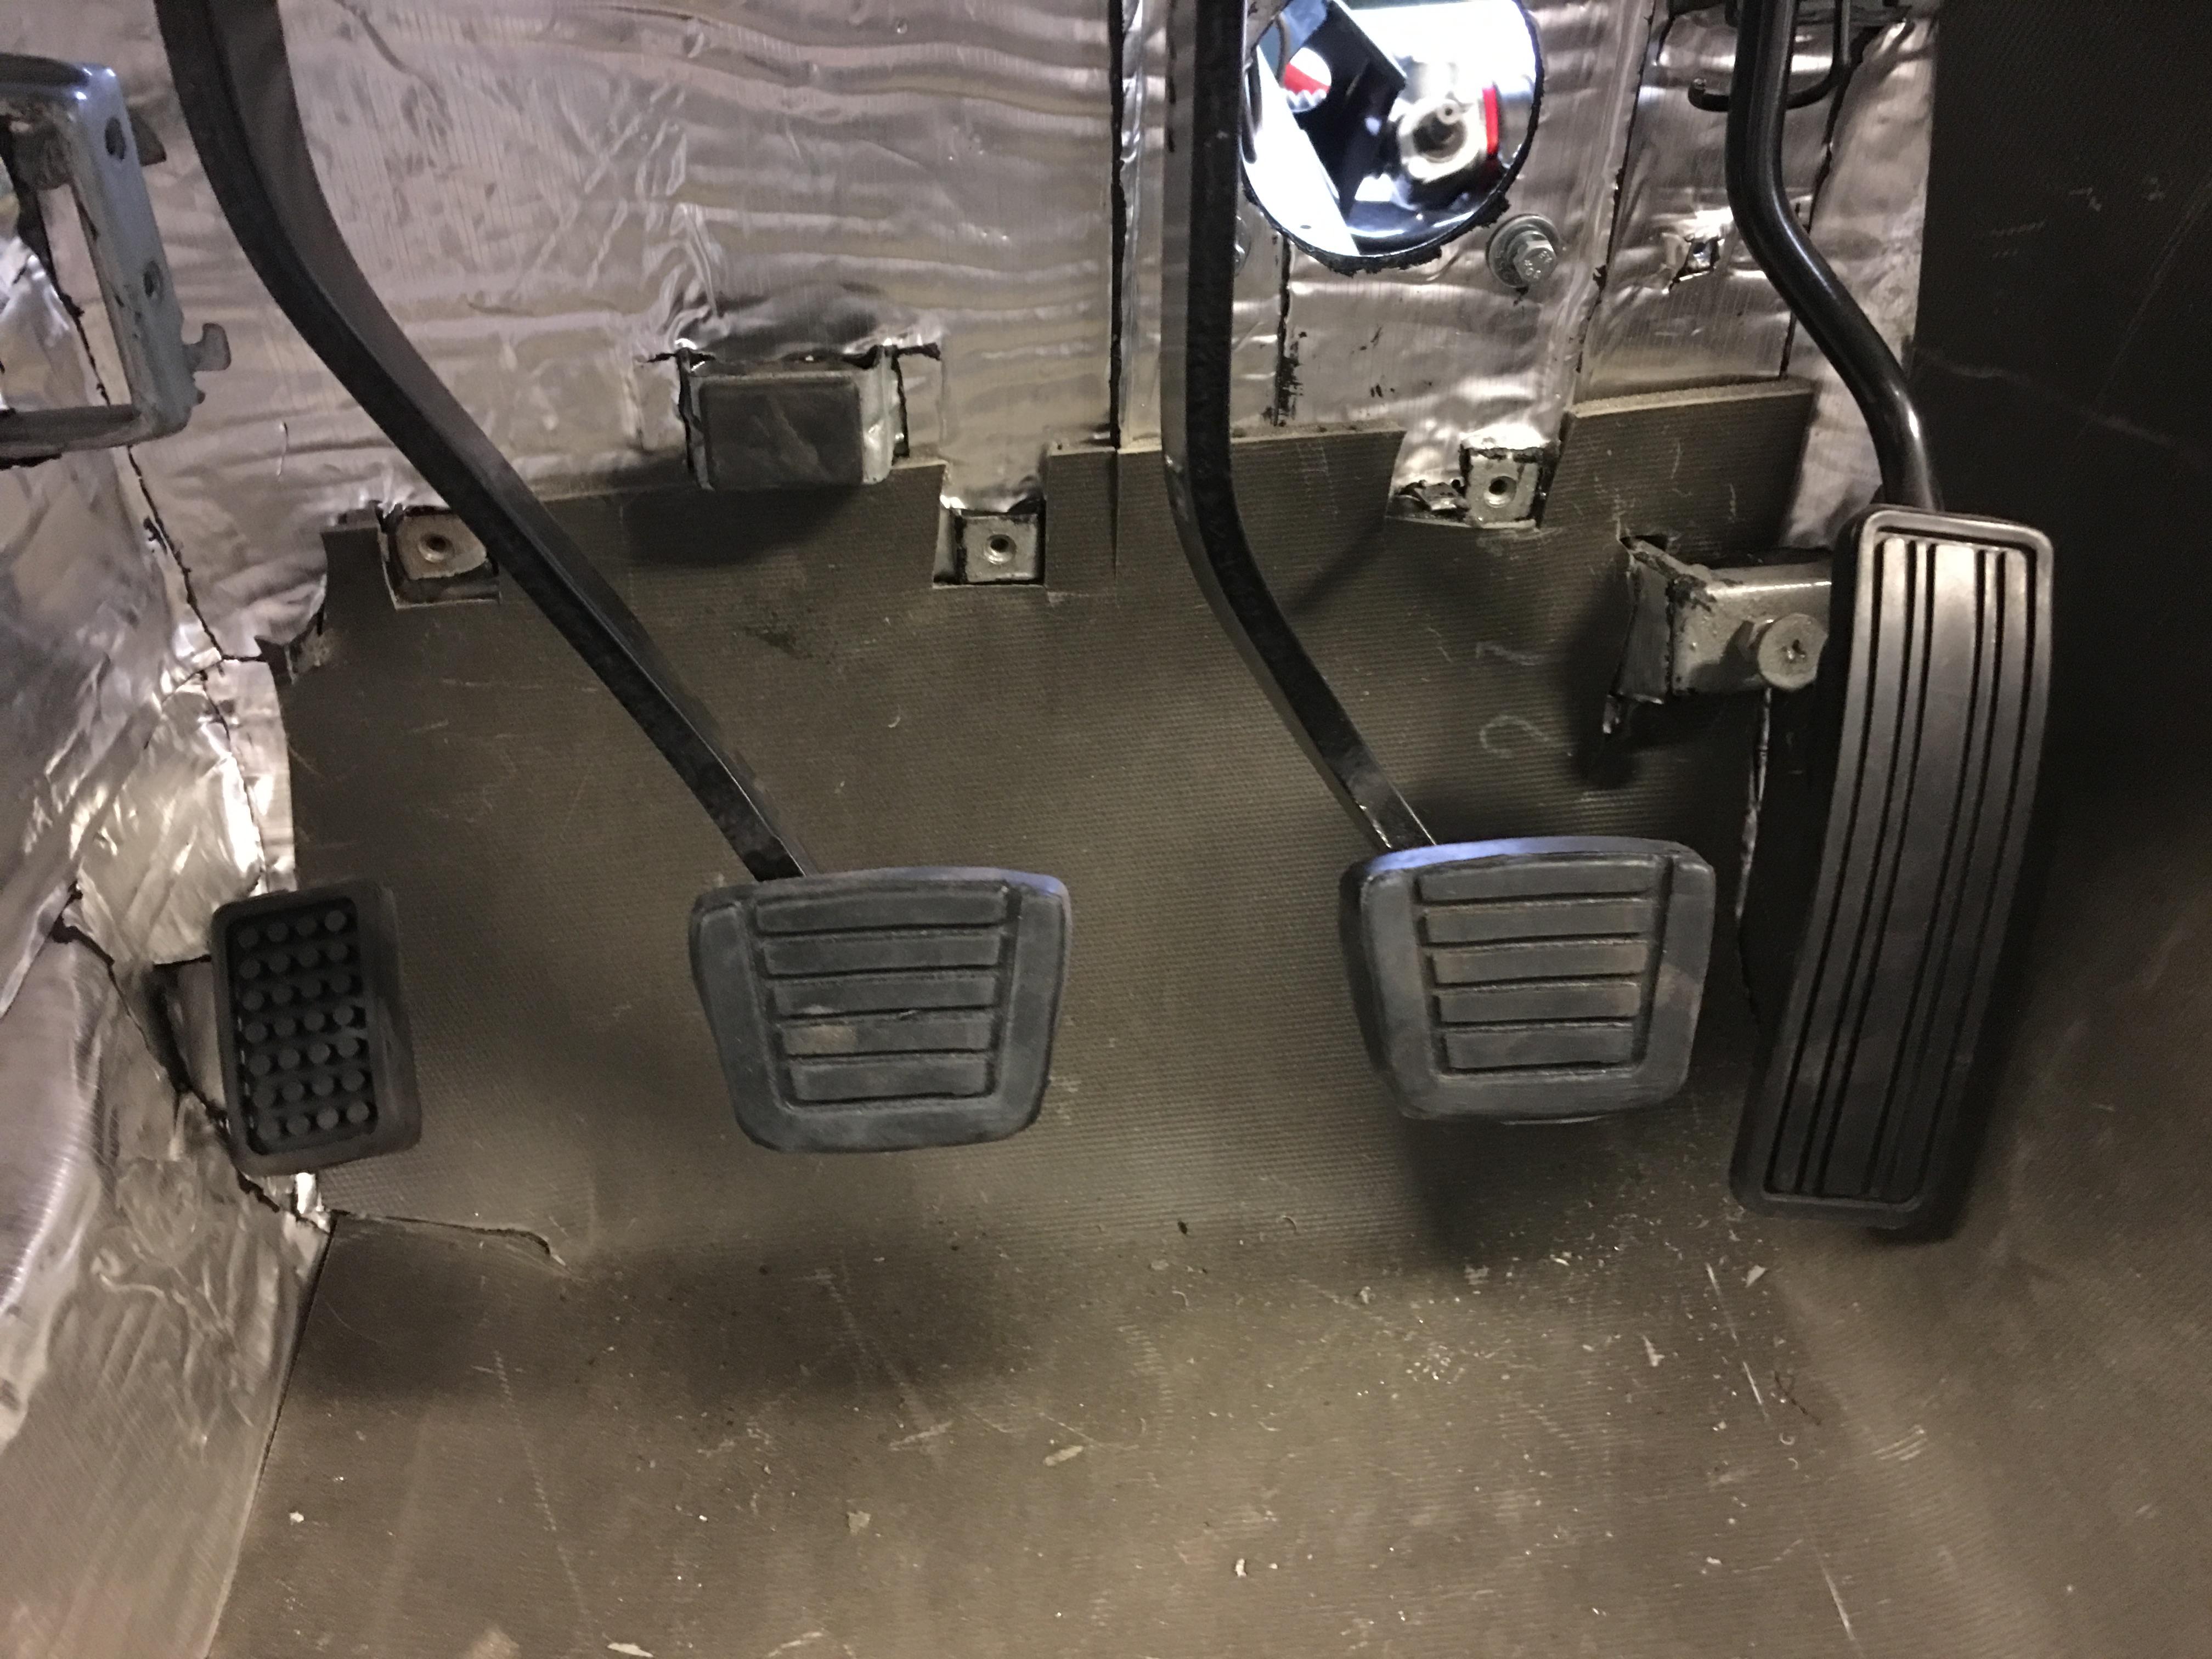
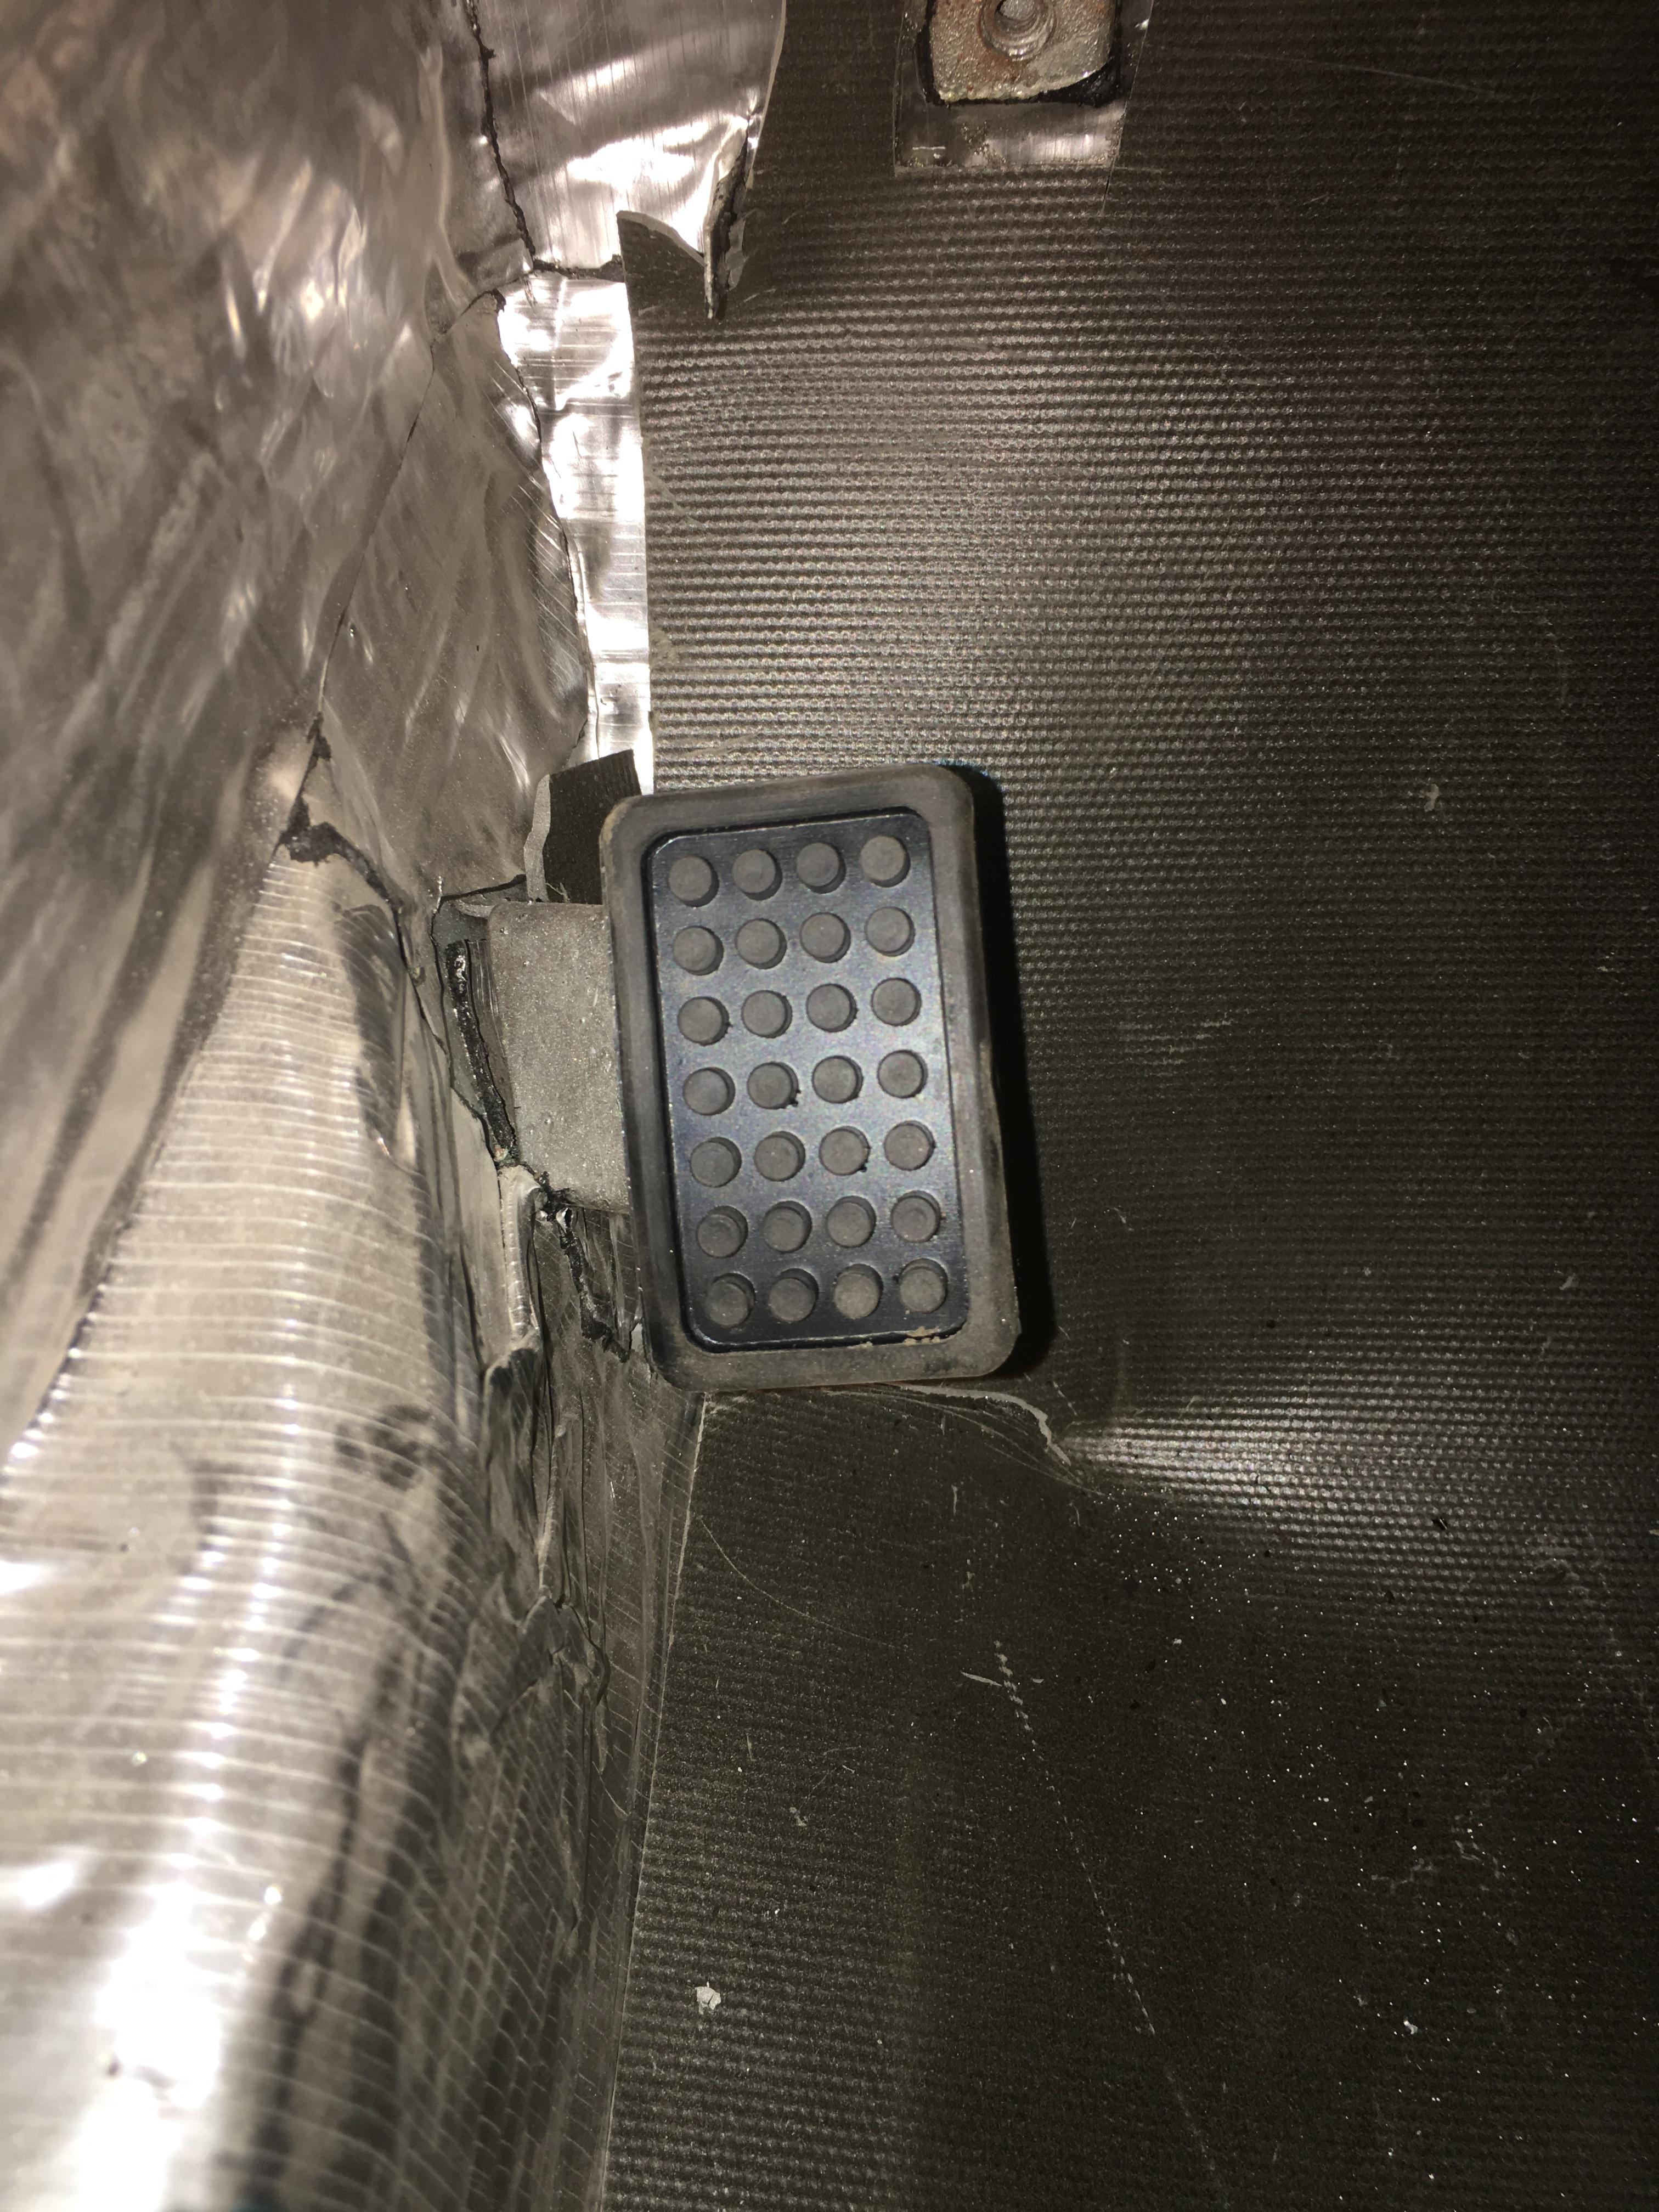
1 pointGood friend Taka stopped by and brought me a gift! What a nice guy..! Pedals complete!
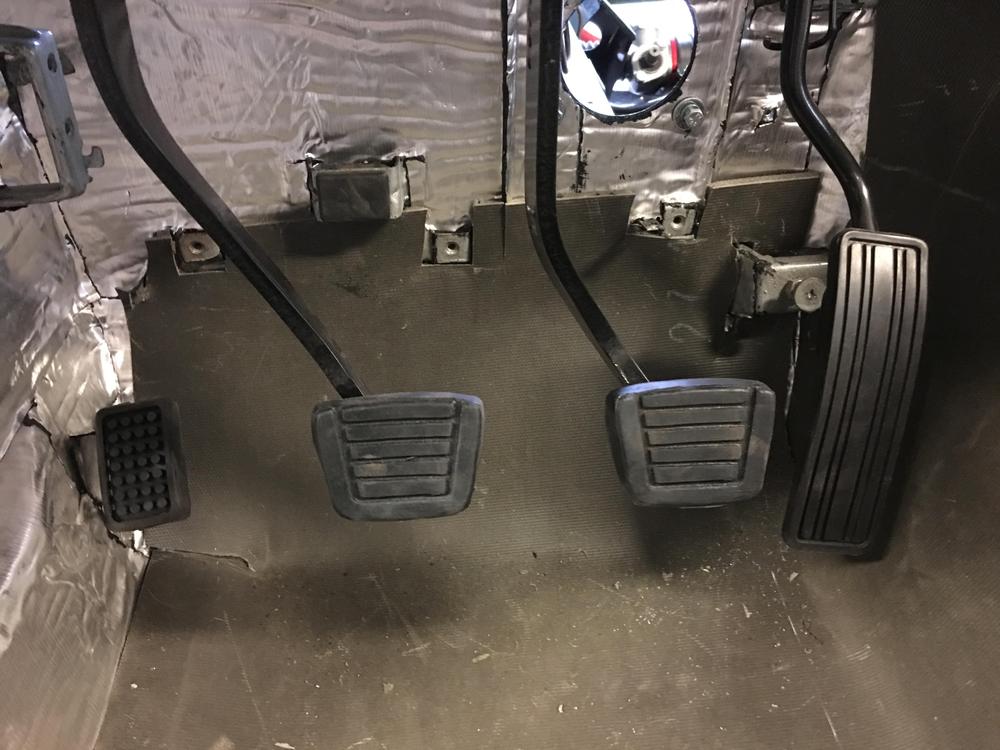
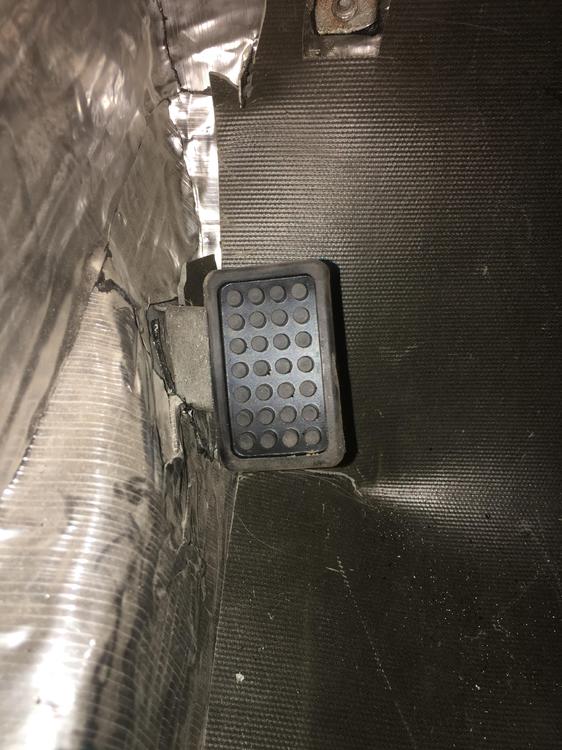 1 point
 -
1 pointI'm guessing these bottles, new or used with the bracket are super expensive?1 point
-
1 pointKats, The good news is that you don't have to drill any holes in your HLS30U for the mounting bracket. Nissan very kindly put them there for you...! I was lucky to pick up an 'early' type overflow bottle for my 432-R replica project car. Actually, I rather like that yellowed age to the nylon part. I prefer to keep it like that. I tried to put as many genuine 432/432-R parts on the car as I could, but it's a very long list.1 point
-
1 pointGavin. I made you confused, sorry. I am trying to install the bottle into my Blue 240Z . The first picture is the one which I recently bought , and This is going to be on the 240Z . The bottle is STD equipment for the Z432 and Z432-R . And not applicable for any other S30 models. Nor available as an optional item. I too think why only Z432 ? Why not on 240Z ? This bottle was shared with Cedric/ Gloria at that time , they have different brackets though . Kats1 point
-
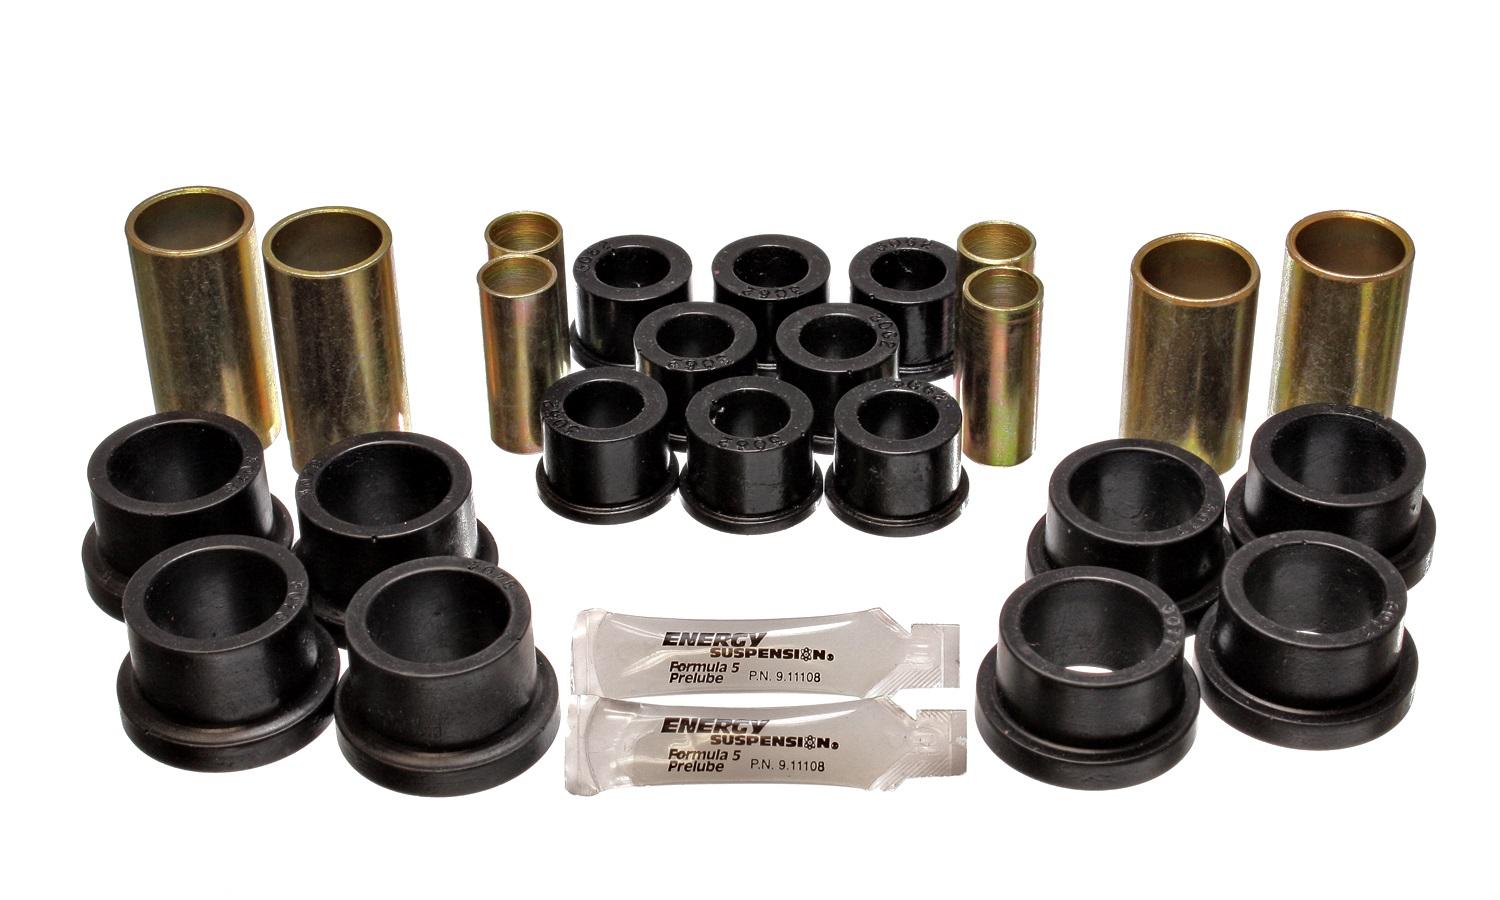
1 pointPerhaps I have an insite. Fact. He had a set of poly bushings installed. If you have done this job, you will remember that the inner and outer half of each of the pairs of outer rear control arm bushings have a thin lip on them. Here is a picture of rear control bushings from energy suspension. The outer set is in the center of the picture. When installed that thin lip would visible/present in that gap, unlike stock where the inner bushing is completely different and has no lips. That's what is damaged in his picture, part of the lip is gone. Does it matter? No. If the pin bolt is properly torqued, the inner metal tube in the control arm is locked to the face of the strut where the pin goes through. Since the control rotates with respect to the strut at this point, that lip can get damaged. Does not matter. As long as that horrible sticky grease the bushings come with is generously used on the spindle pin, it will last for ever.
 1 point
 -
1 pointSo to add a little controversy to this discussion, I have had raging debates with a number of my Z club members about the wisdom of using Dot 5 silicon fluid versus the more conventional Dot 3/4 fluid. To me the benefits of using a non corrosive fluid (to paint) out weighed the negatives that I had read about Dot 5, so I gave it a try about 2 years ago when I installed a big brake kit on my car. I can say for certain that I do not have poor pedal feel and in fact my pedal feels a little better than with Dot 3/4. I have not noticed any differences in stopping power, although with the big brake kit installed, my car stopped significantly better than with the stock setup. Based on my experience, I have been very happy with the Dot 5 and it also gives me some peace of mind wrt paint corrosion. Having said that, if I were tracking my car or using it in other really high performance situations, I would probably stick with Dot 3/4 as it does have better characteristics under those conditions. Having said that, switching over to Dot 5 and actually using it is a little trickier than Dot 3/4. First if you have been using Dot 3/4, you will need to completely flush your brake system as the 2 fluids are not compatible. Second, for some reason the Dot 5 fluid tends to hold onto air bubbles and so you need to be really careful when you pour it into your reservoirs or into a pressure bleeding system. I use a pressure bleeding system and will let the fluid sit in the container for a few hours to let the air bubbles escape. I will also usually bleed the brakes completely, let the car sit for 12-24 hours and then bleed again. I have found that doing it this way lets me get all of the air out of the system and results in a very good pedal feel. Hope that helps. Let the controversy begin!! Mike.1 point
-
1 point
-
It has been a while since a serious update on the 240Z has happened. it was a bit of a hectic time the last few weeks. Aside from marrying my wife and having a three-week / 4850km road-trip to sweden and back (See here) we also started building our House including a big Workshop and Garage (See here), which will be the final home of the Z, and where it will be assembled. At least my bodyshop guy was working during my absence and sent me some updates from the Z. No big things, but again those small details that matter and make the difference between a cheap resto and a bit more serious one. The door gap at the rear fender has been adjusted and aligned, so that it will have a perfect fit. Before: And after my Panelbeater worked his magic. Looks absolutely lovely if you ask me. Now just hope fore some more work getting done soon Oh, and waiting for some interesting reads from Japan too ?1 point
-
Front sway bar reinforcement Since the front sway bar mounting area is prone to fatigue when using a bigger sway bar, which I am (suspension techniques), I reinforced the area with a 3mm thick piece of fresh metal!:) What we’re working with before: CSD disk removed the old paint and rust quickly: Here are the new 3mm thick reinforcement plates: Coated them, as well as the frame rail, in a coat of zinc spray where both metals would overlap each other, to prevent any rust if water would find its way between the two! Bolted the plates onto the frame rails: Removed the zinc spray coat around the plate to prevent welding spatter: And welded them right in! Welding over head is a bitch! One side turned out quite pretty in cosmetical terms though, as I was able to have a better posture for it!:) That’s the prettiest weld I was able to achieve: BTW: I stitch welded the plates first, to reduce heat, to then fully seam weld the gaps, so less water could find its way between the two metals! The other side turned out the ugliest, but still everything is plenty strong!:) I still ground down the prone welds flat to the plate, so nothing would interfere with mounting the sway bar later on! And a coat of zinc spray to protect the metal for now! That's it for now guys! Hopefully a next post won't be to far off in the future!:)1 point
-
Side marker holes front & rear The front fenders were in storage in the cellar for quite some time now! Just brought them up, unpacked them and started to prep everything to weld in the side marker delete plates in the front! Before prep: I started with the other fender first, since it was the last one I preped. Again I wasn’t to happy with the skillard delete plates, this time they where to wide and a lot of material had to be ground off. And no, I did not mistook the front with the rear ones, before you might think that way!:) But better to take some material off, than to bridge a huge gap trying to butt weld the plates in, as it was on the rear! As I slowly spot welded all the way around from the inside the outside looked like this. The plan all along was to spot weld from both sides, to get the new metal in as seamlessly as possible: With all the gaps filled from the outer side: And don’t forget the chrome trim holes on the fenders!:) After finished welding one fender I hung it on the car, haven’t seen her like that in a while!:) The other side was done the same way inside and outside, just a picture of the inside: And started to grind down the spot welds on the inside on both fenders: Now the finished grounded down fenders. They will need a bit of hammer and dolly work, maybe tinning it with body lead, before the painter will even do its filler magic. I also did some work on the rear delete plates as well. As I told before, and you can see above, the spot welds didn’t always penetrate all the way through. As good as I was able to I spot welded from the inside, welding shut some pin holes which came through after grinding the outside welds flush, and als just add more strength to the patch. I also welded the holes on the left rear quarter they must’ve put in some time back to anker the body filler when they repaired it I guess. That’s what It looked from the outside afterwards. I still have to grind down the new spot welds again, trying the best I can on the inside as well, then some hammer and dolly work again. Especially on the whole left quarter, as I don’t want there to be as much body filler as it was before! See you guys tomorrow again, for the last time so far!;)1 point
-
0 pointsOne fire almost out, now another one spreading. The South Bay is a long way from the fires, so I wasn't sure why my eyes were burning all day. Worse today than yesterday. Around sundown I could see the dirty brown / orange haze in the sky and knew why. There are fires every year, but this year seems worse. Been using a lot of eye drops.0 points