


Leaderboard
-


Zed Head
Free Member5Points18,789Posts -

conedodger
Free Member2Points11,316Posts -


240260280
Free Member2Points4,441Posts -

Patcon
 Subscriber
 2Points10,925Posts
Popular Content
Showing content with the highest reputation on 09/28/2018 in all areas
-
 I love wheee!'s postings!! Thank you soooo much for pointing this out to me!! I have been going through them. I'm on page 32 of 84 and I'm being careful not to miss anything. I saw his photos of the floor boards and what a mess. So far I haven't found any items about the firewall material in the first 32 pages, but I'm still going through them. VERY HELPFUL. Saw the fuel that he pulled from his tank. Mine looked like that, also. A completely full tank in my case. My tank has been re-lined but I still need to clean and paint the exterior. Fortunately my 280 ZX just sat in a farm house garage in central Illinois for 15 years (while I was working in Chicago). Garage has no heat, no humidity control, and no mouse traps. I've had it in a humidity and temperature controlled shop for restoration for 11½ months. The guys let me be as involved as I can, so that's good. It's just that there are other cars in their restoration shop. After seeing how long wheee! has been spending on his, now I'm not too concerned that mine is only 11½ months into the process. I should probably plan for 12 more months at least. Mine is rather rust free, but still it's a big restoration for me. Any additional comments are greatly appreciated!2 points
 -
2 pointsEdit - replay to site's #121 post (anybody notice that Patcon's post is 101, after site's 121? Base 120???) I took a look but didn't see anything. Searched Far311 and fouling and misfiring. But really, I'm just glad my car runs so well and that we seem to solve a lot of problems on CZCC. Lots of good advice here for people that want to use it. Horses and water and drinking and all that.2 points
-
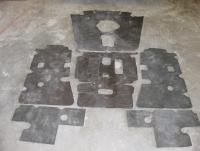
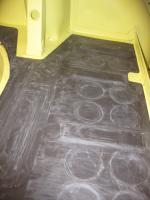
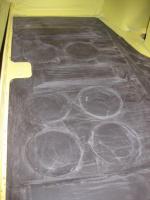
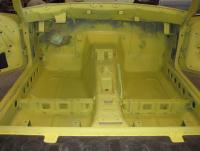
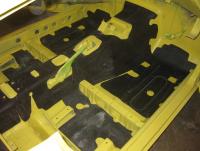
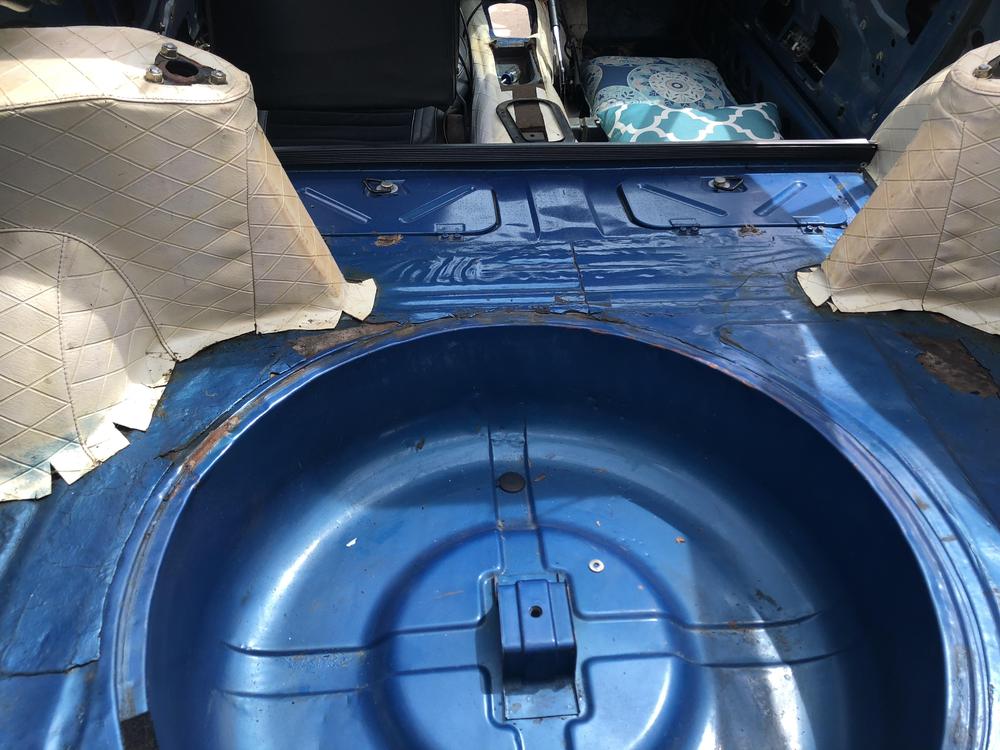
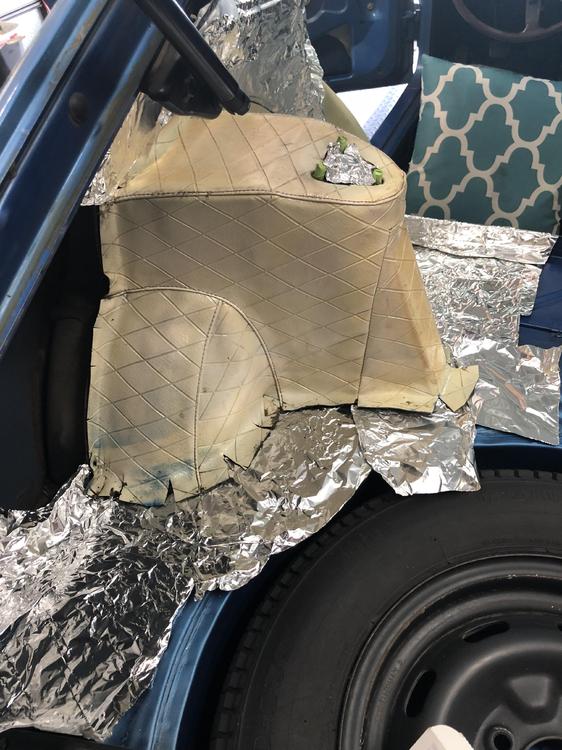
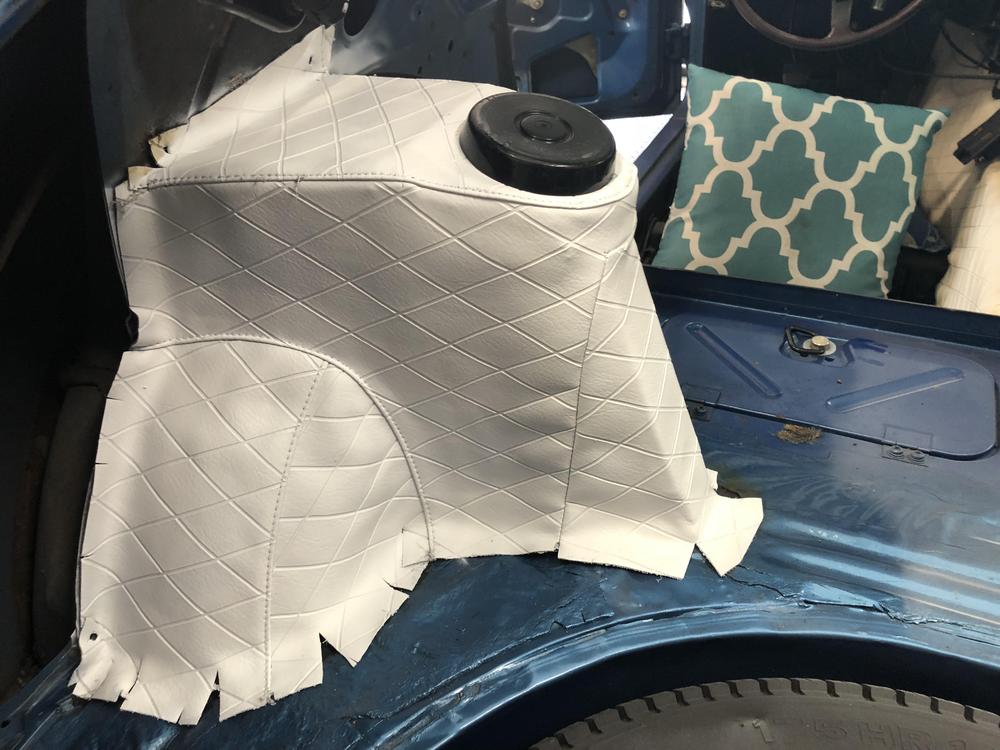
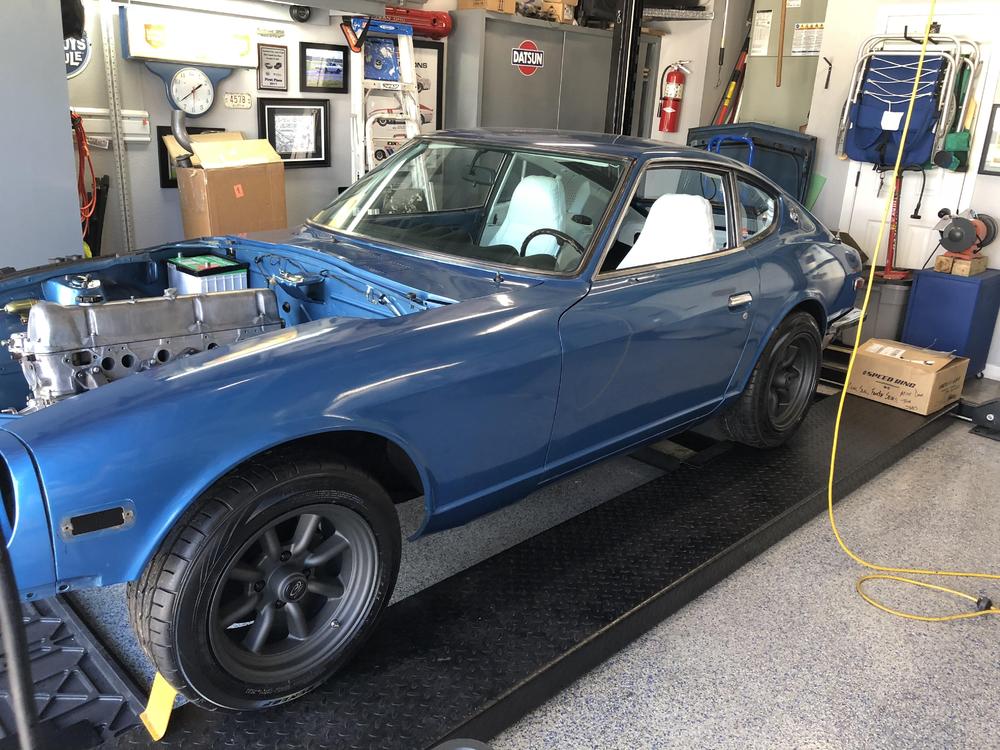
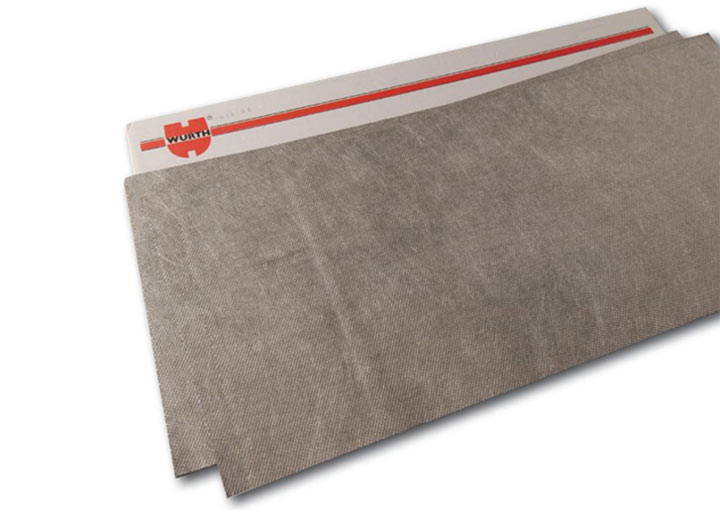
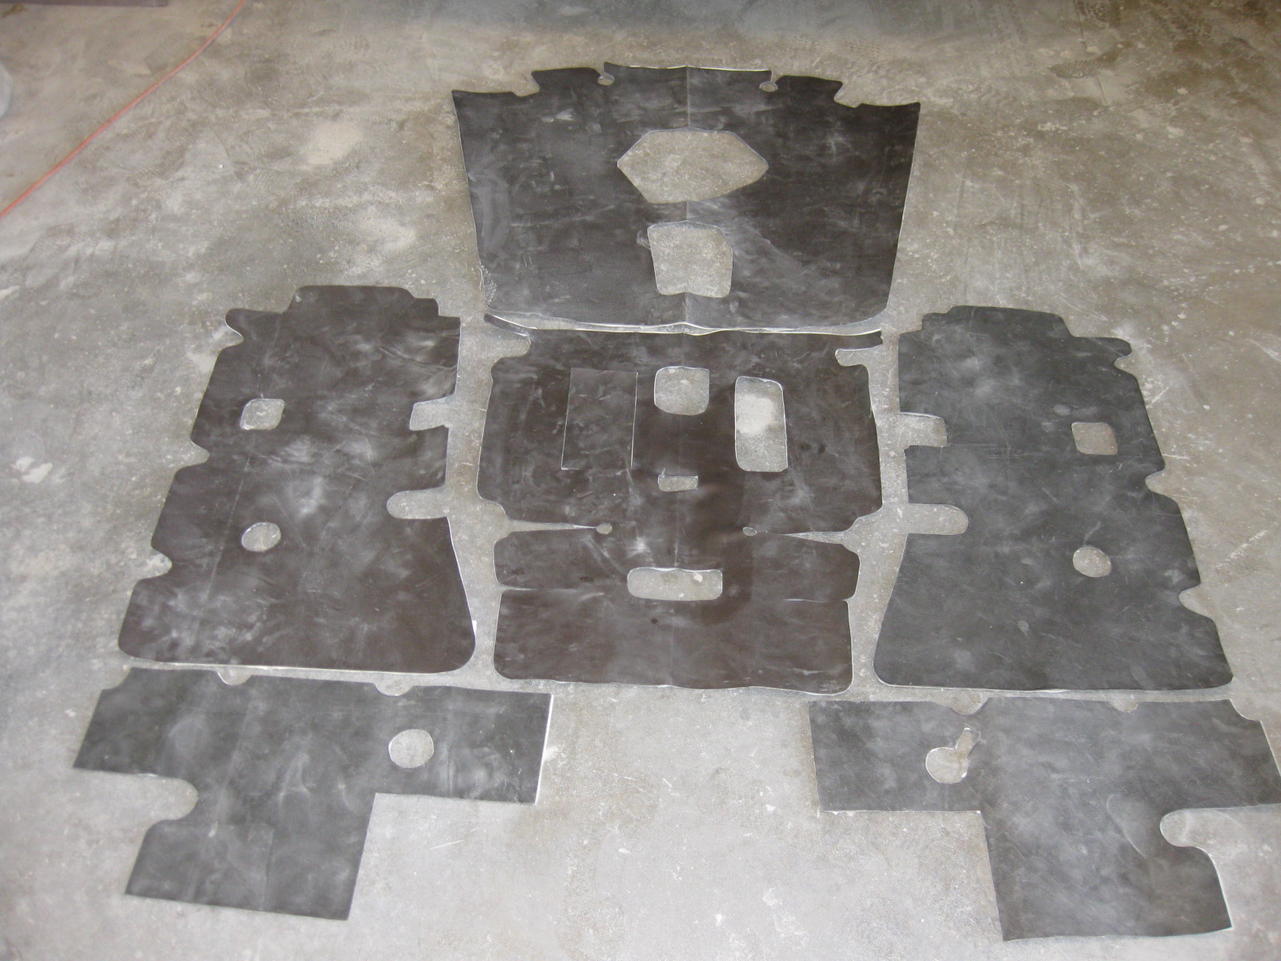
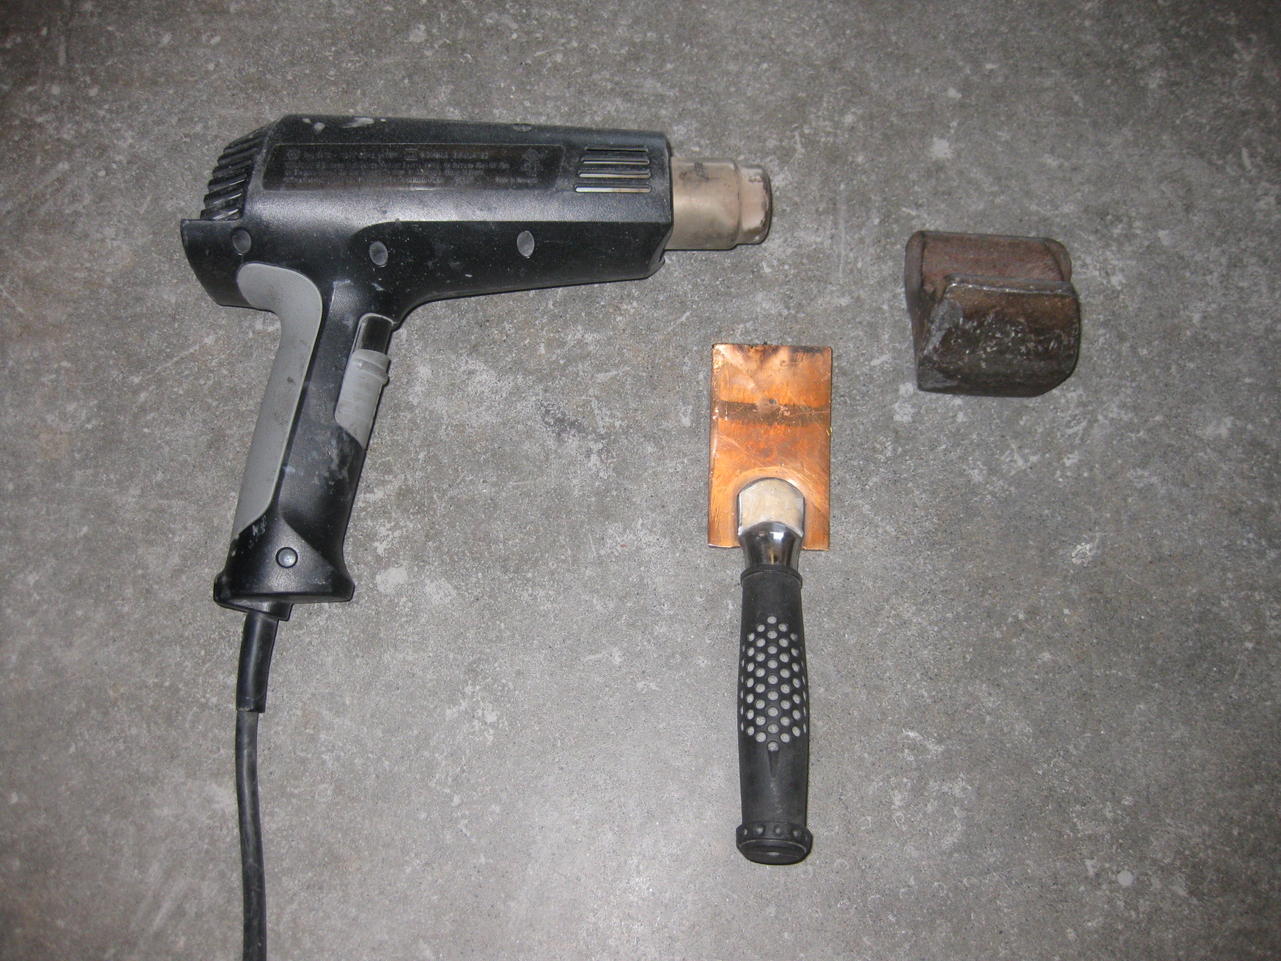
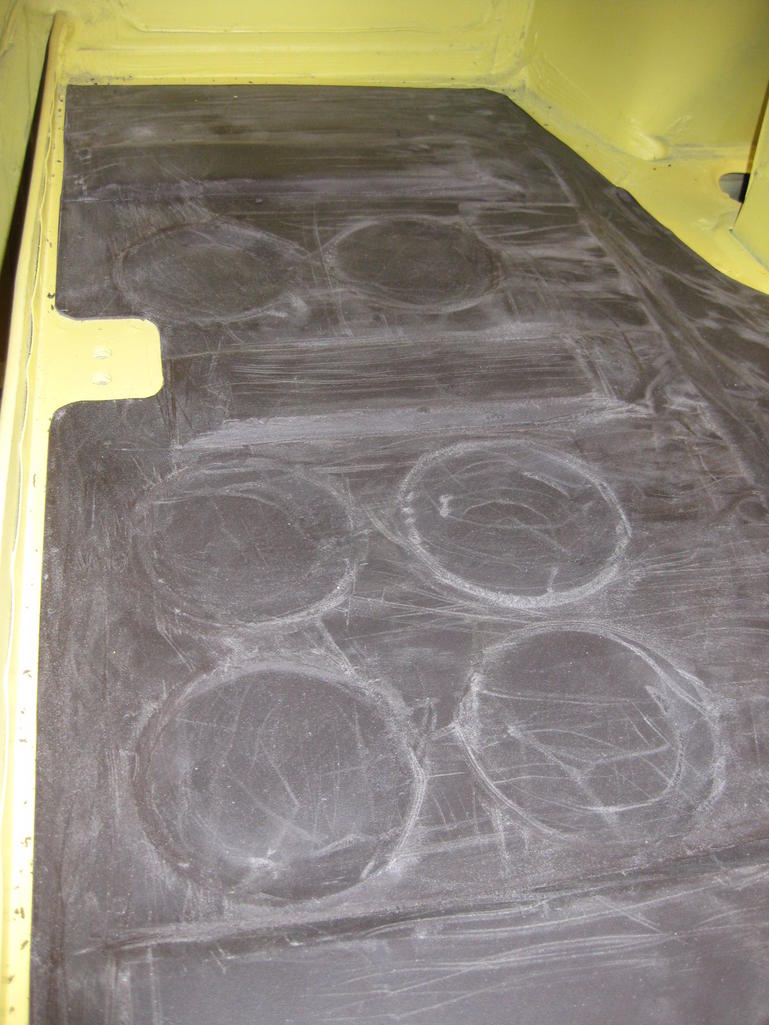
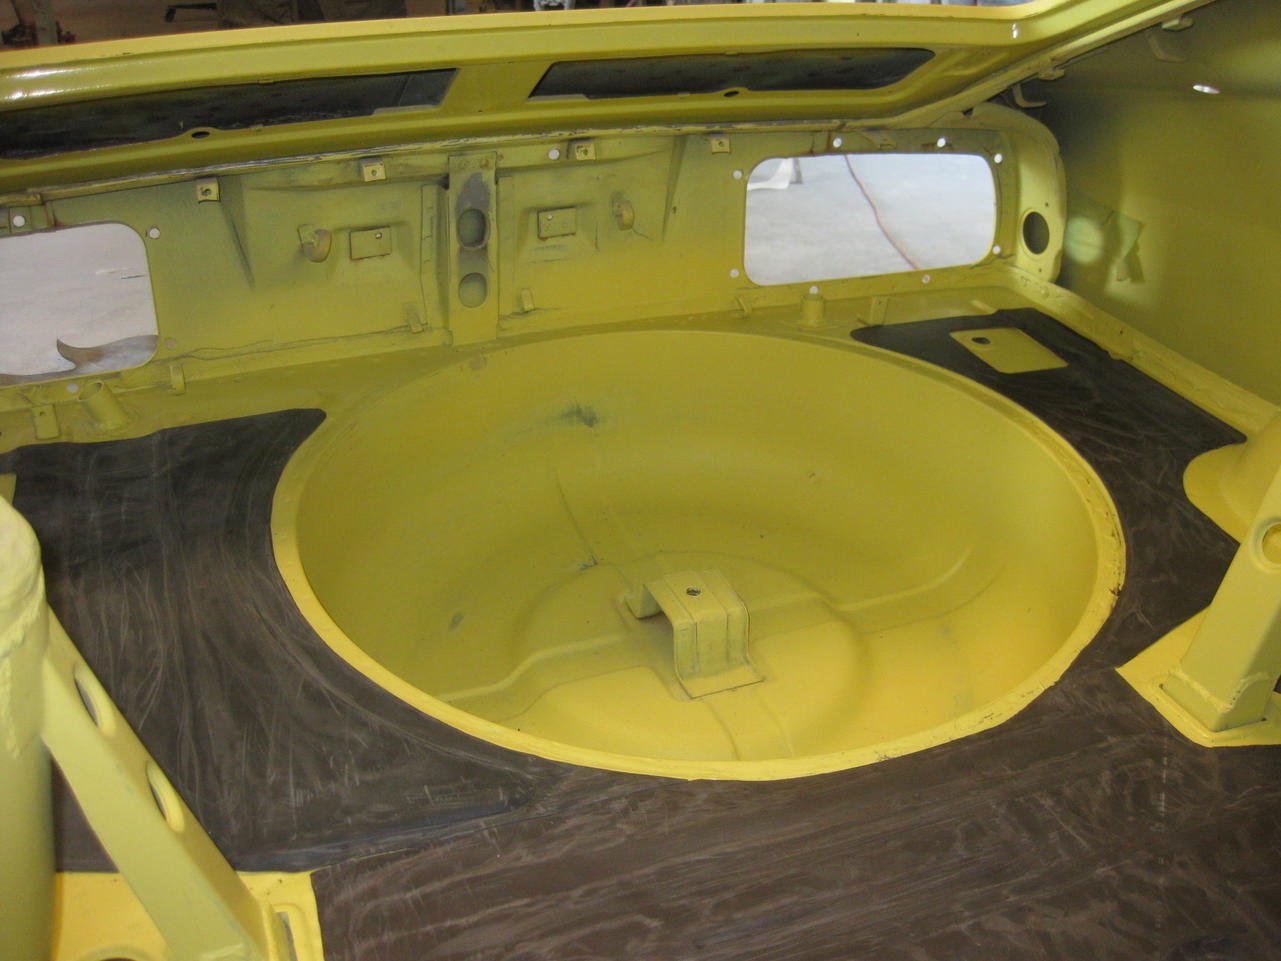
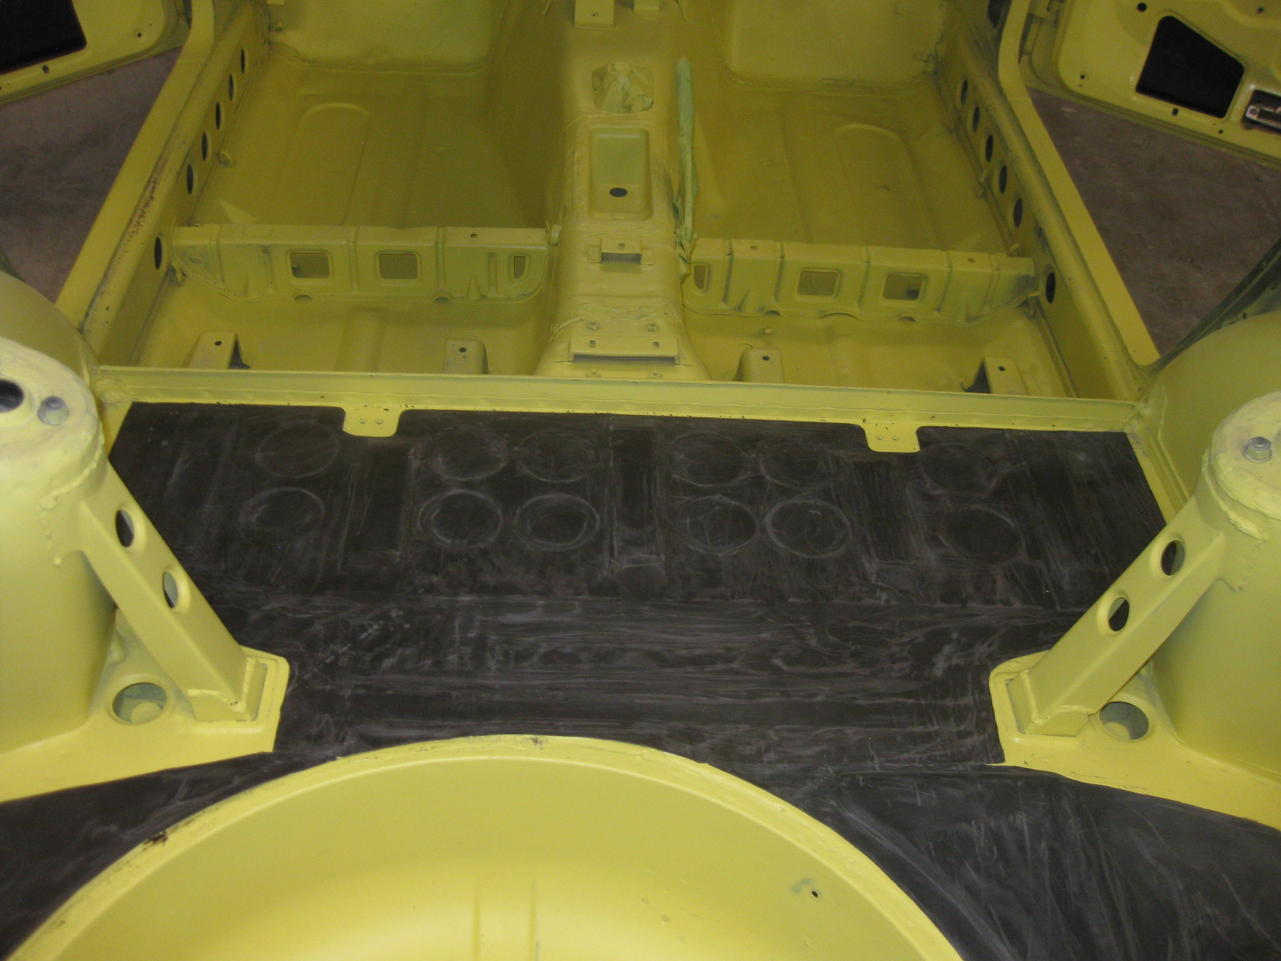
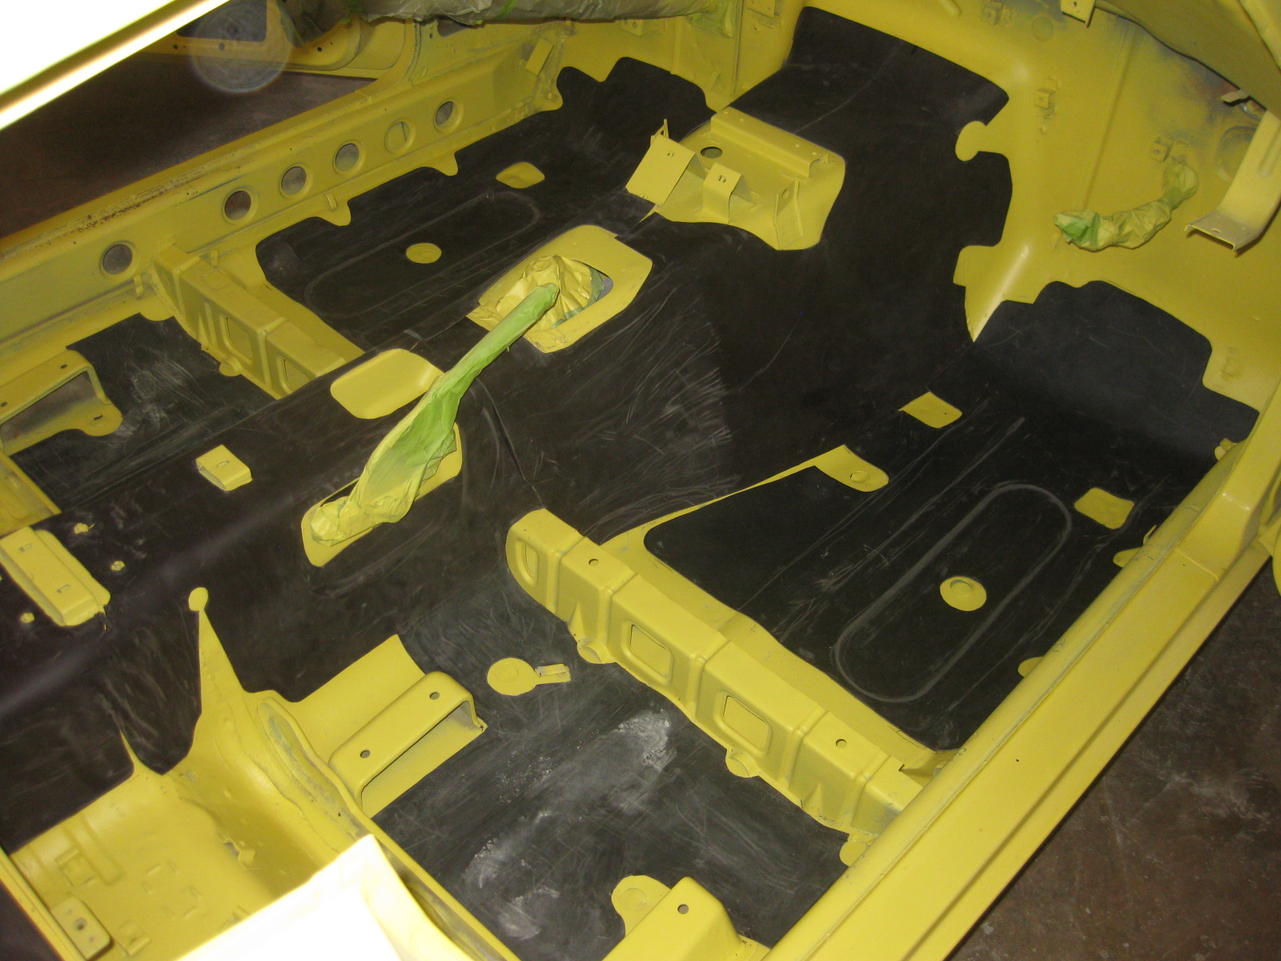
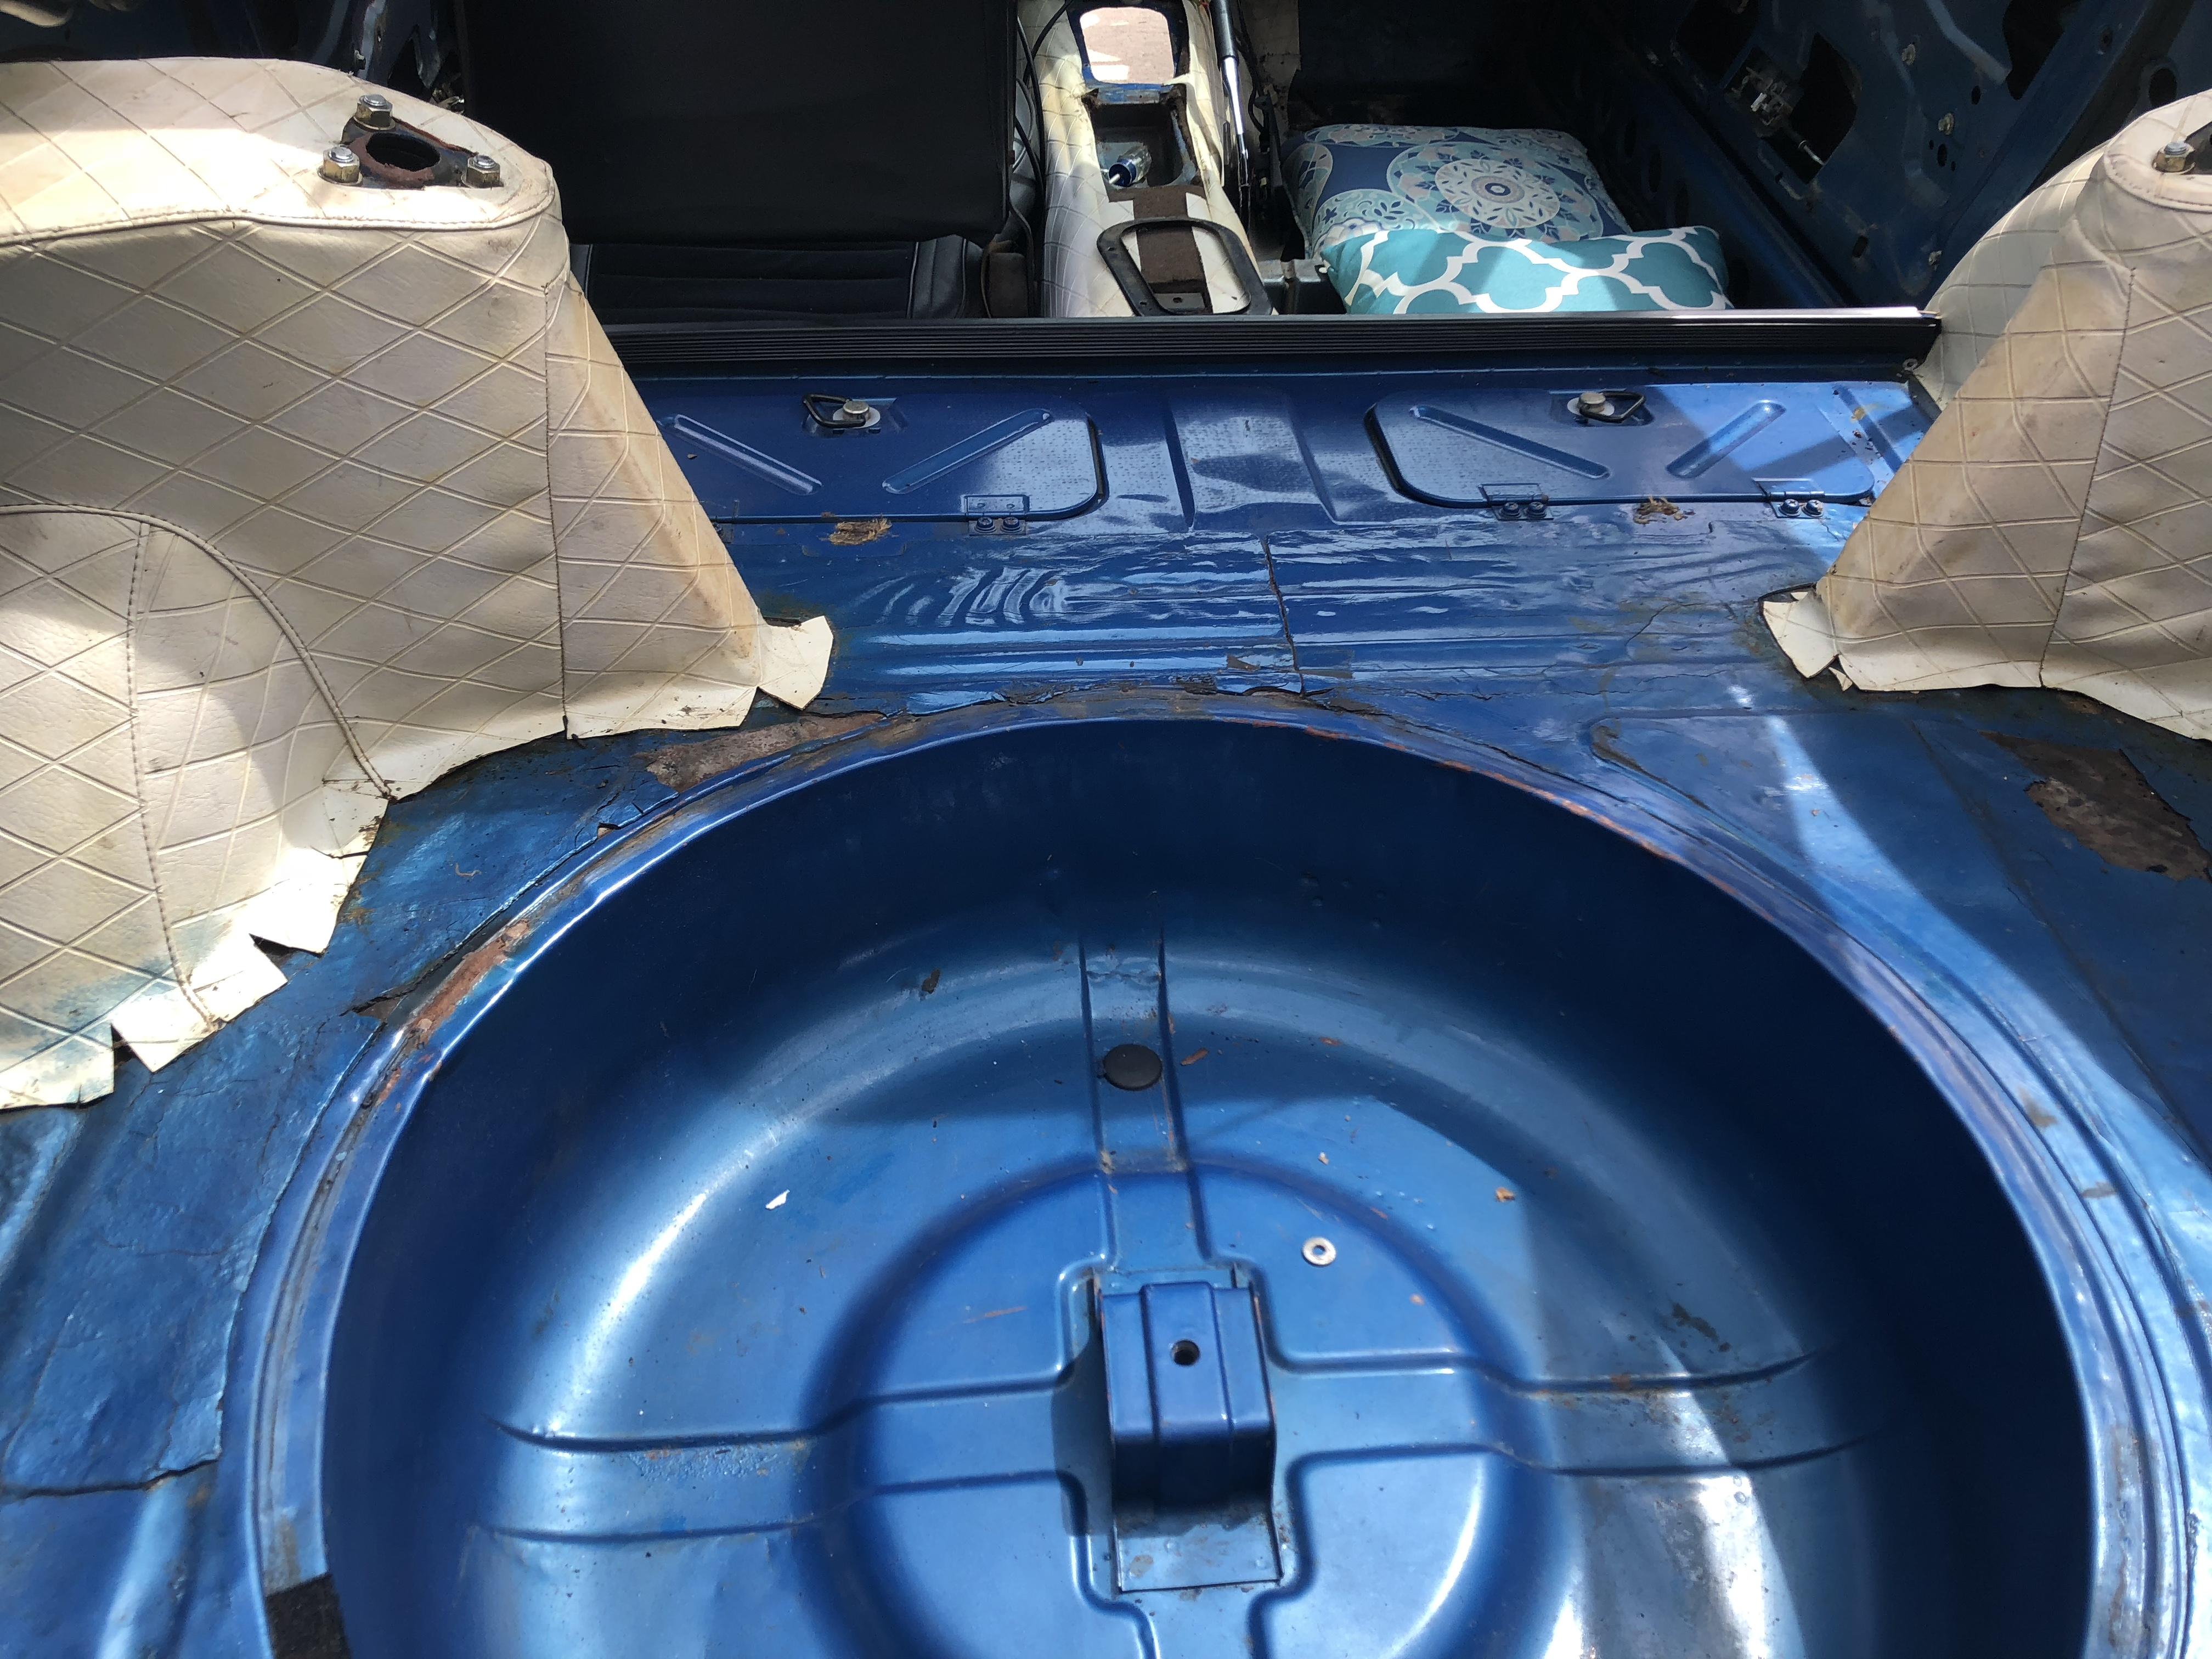
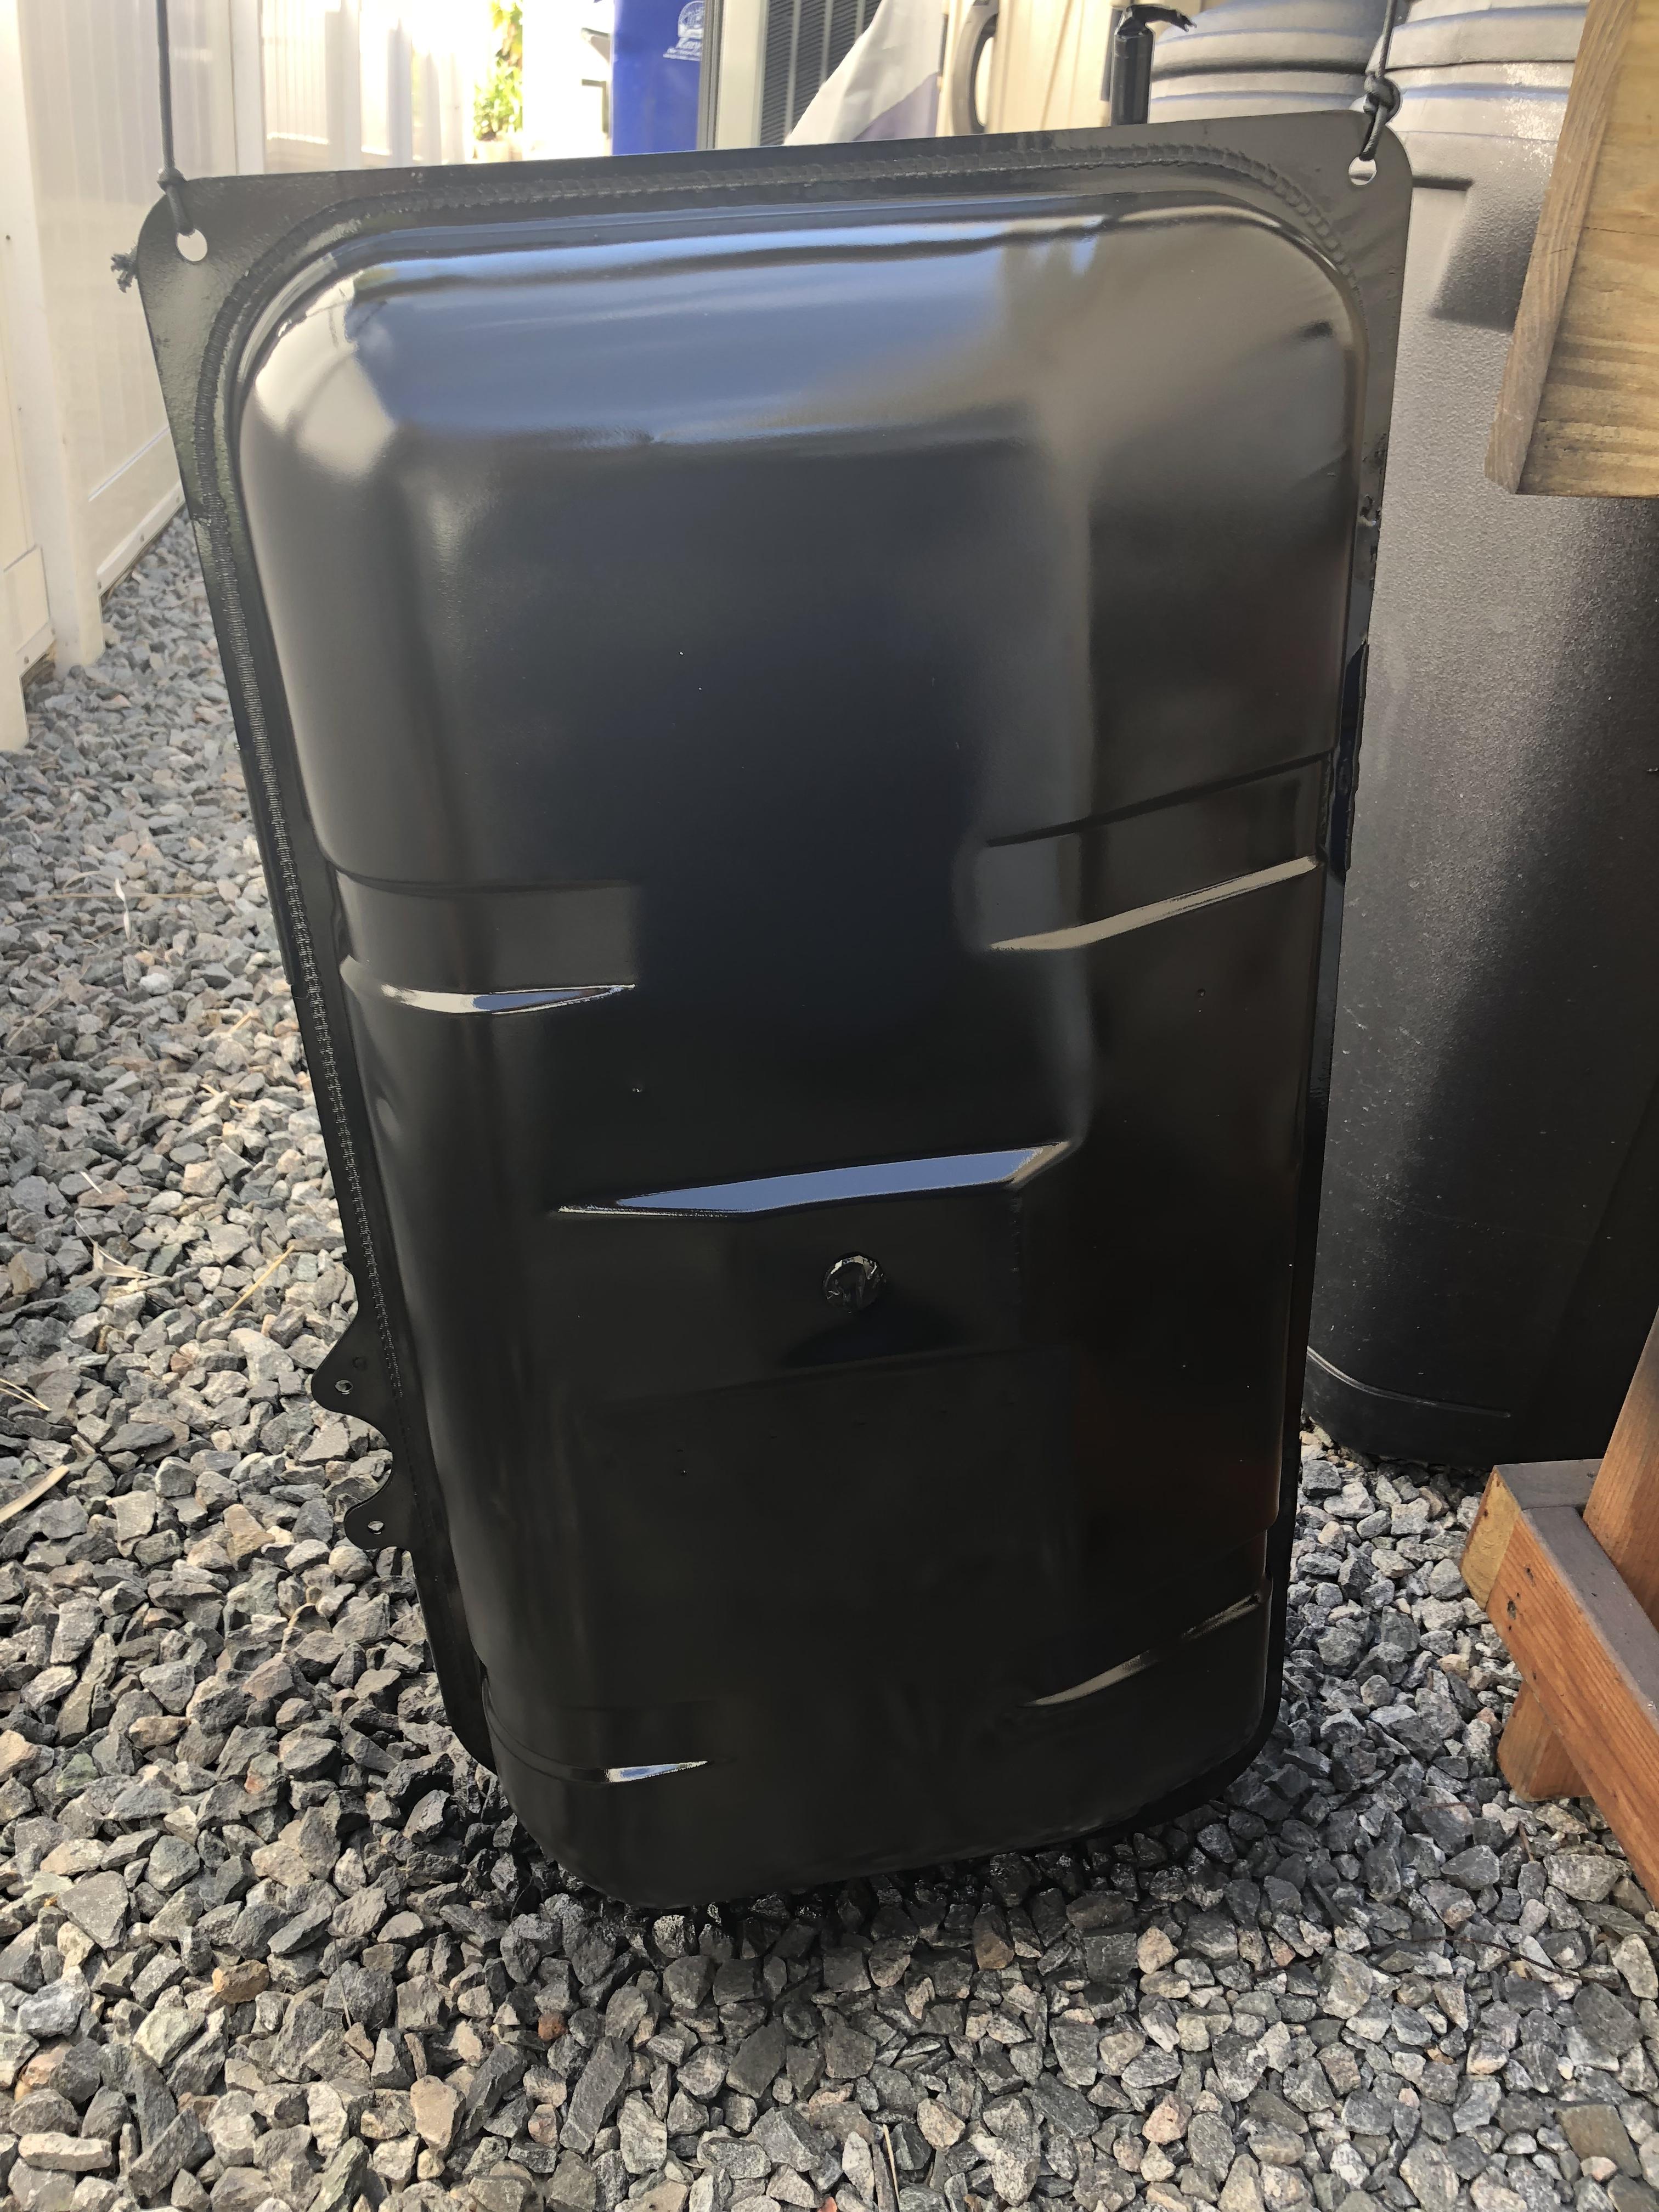
 1 pointAfter 8 years of fits and starts restoring "Buttercup", a 7/70 build date 240Z (#7032) it has come down to the interior, which was completely stripped and the old tar mat removed. While "Murdermat", "Fatmat", and the like are what are commonly used as upgrade/replacement--- I wanted the original deal--- as close to the factory fitment as possible. After lots of net searching I finally found what I thought would be as near the original asphaltic mat as I was apt to find. I bought the mat from AutoAtlanta FOR PORSCHE: WU890100, WU8 901 00 - READY TO SHIP - (WURTH FLOOR PAN TAR SOUND DEADENING INSULATING KIT) , a purveyor of restoration parts for Porsche autos: I used a roll of rosin paper to trace the original floor mat outlines---- from the interior of another '70 240Z I had purchased as a parts car---- and cut out the patterns , traced it again and cut the new mat out with scissors. Here's how that looks: Next I proceeded to install the mat using a heat gun and a couple of hand tools to shape the mat to the sheet metal contours of the floor pans, transmission tunnel and rear hatch floor: The mat has an adhesive and a release paper and when heated can be formed easily to the contours of the metal. It took several hours to create the patterns and do the install. I deviated from installing the mat on bare metal by painting all of the interior first, but the mat will be painted the body color as was done originally with a complete re-spray of the interior . All in all I am satisfied with the product and offer this to assist to anyone wanting to do the same in the restoration of their Z. Paint should follow in the next few days and I will post up a few photos when that has been completed. Jim D. "Zup"
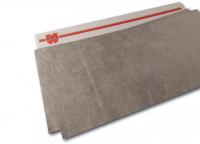


 1 point
 -
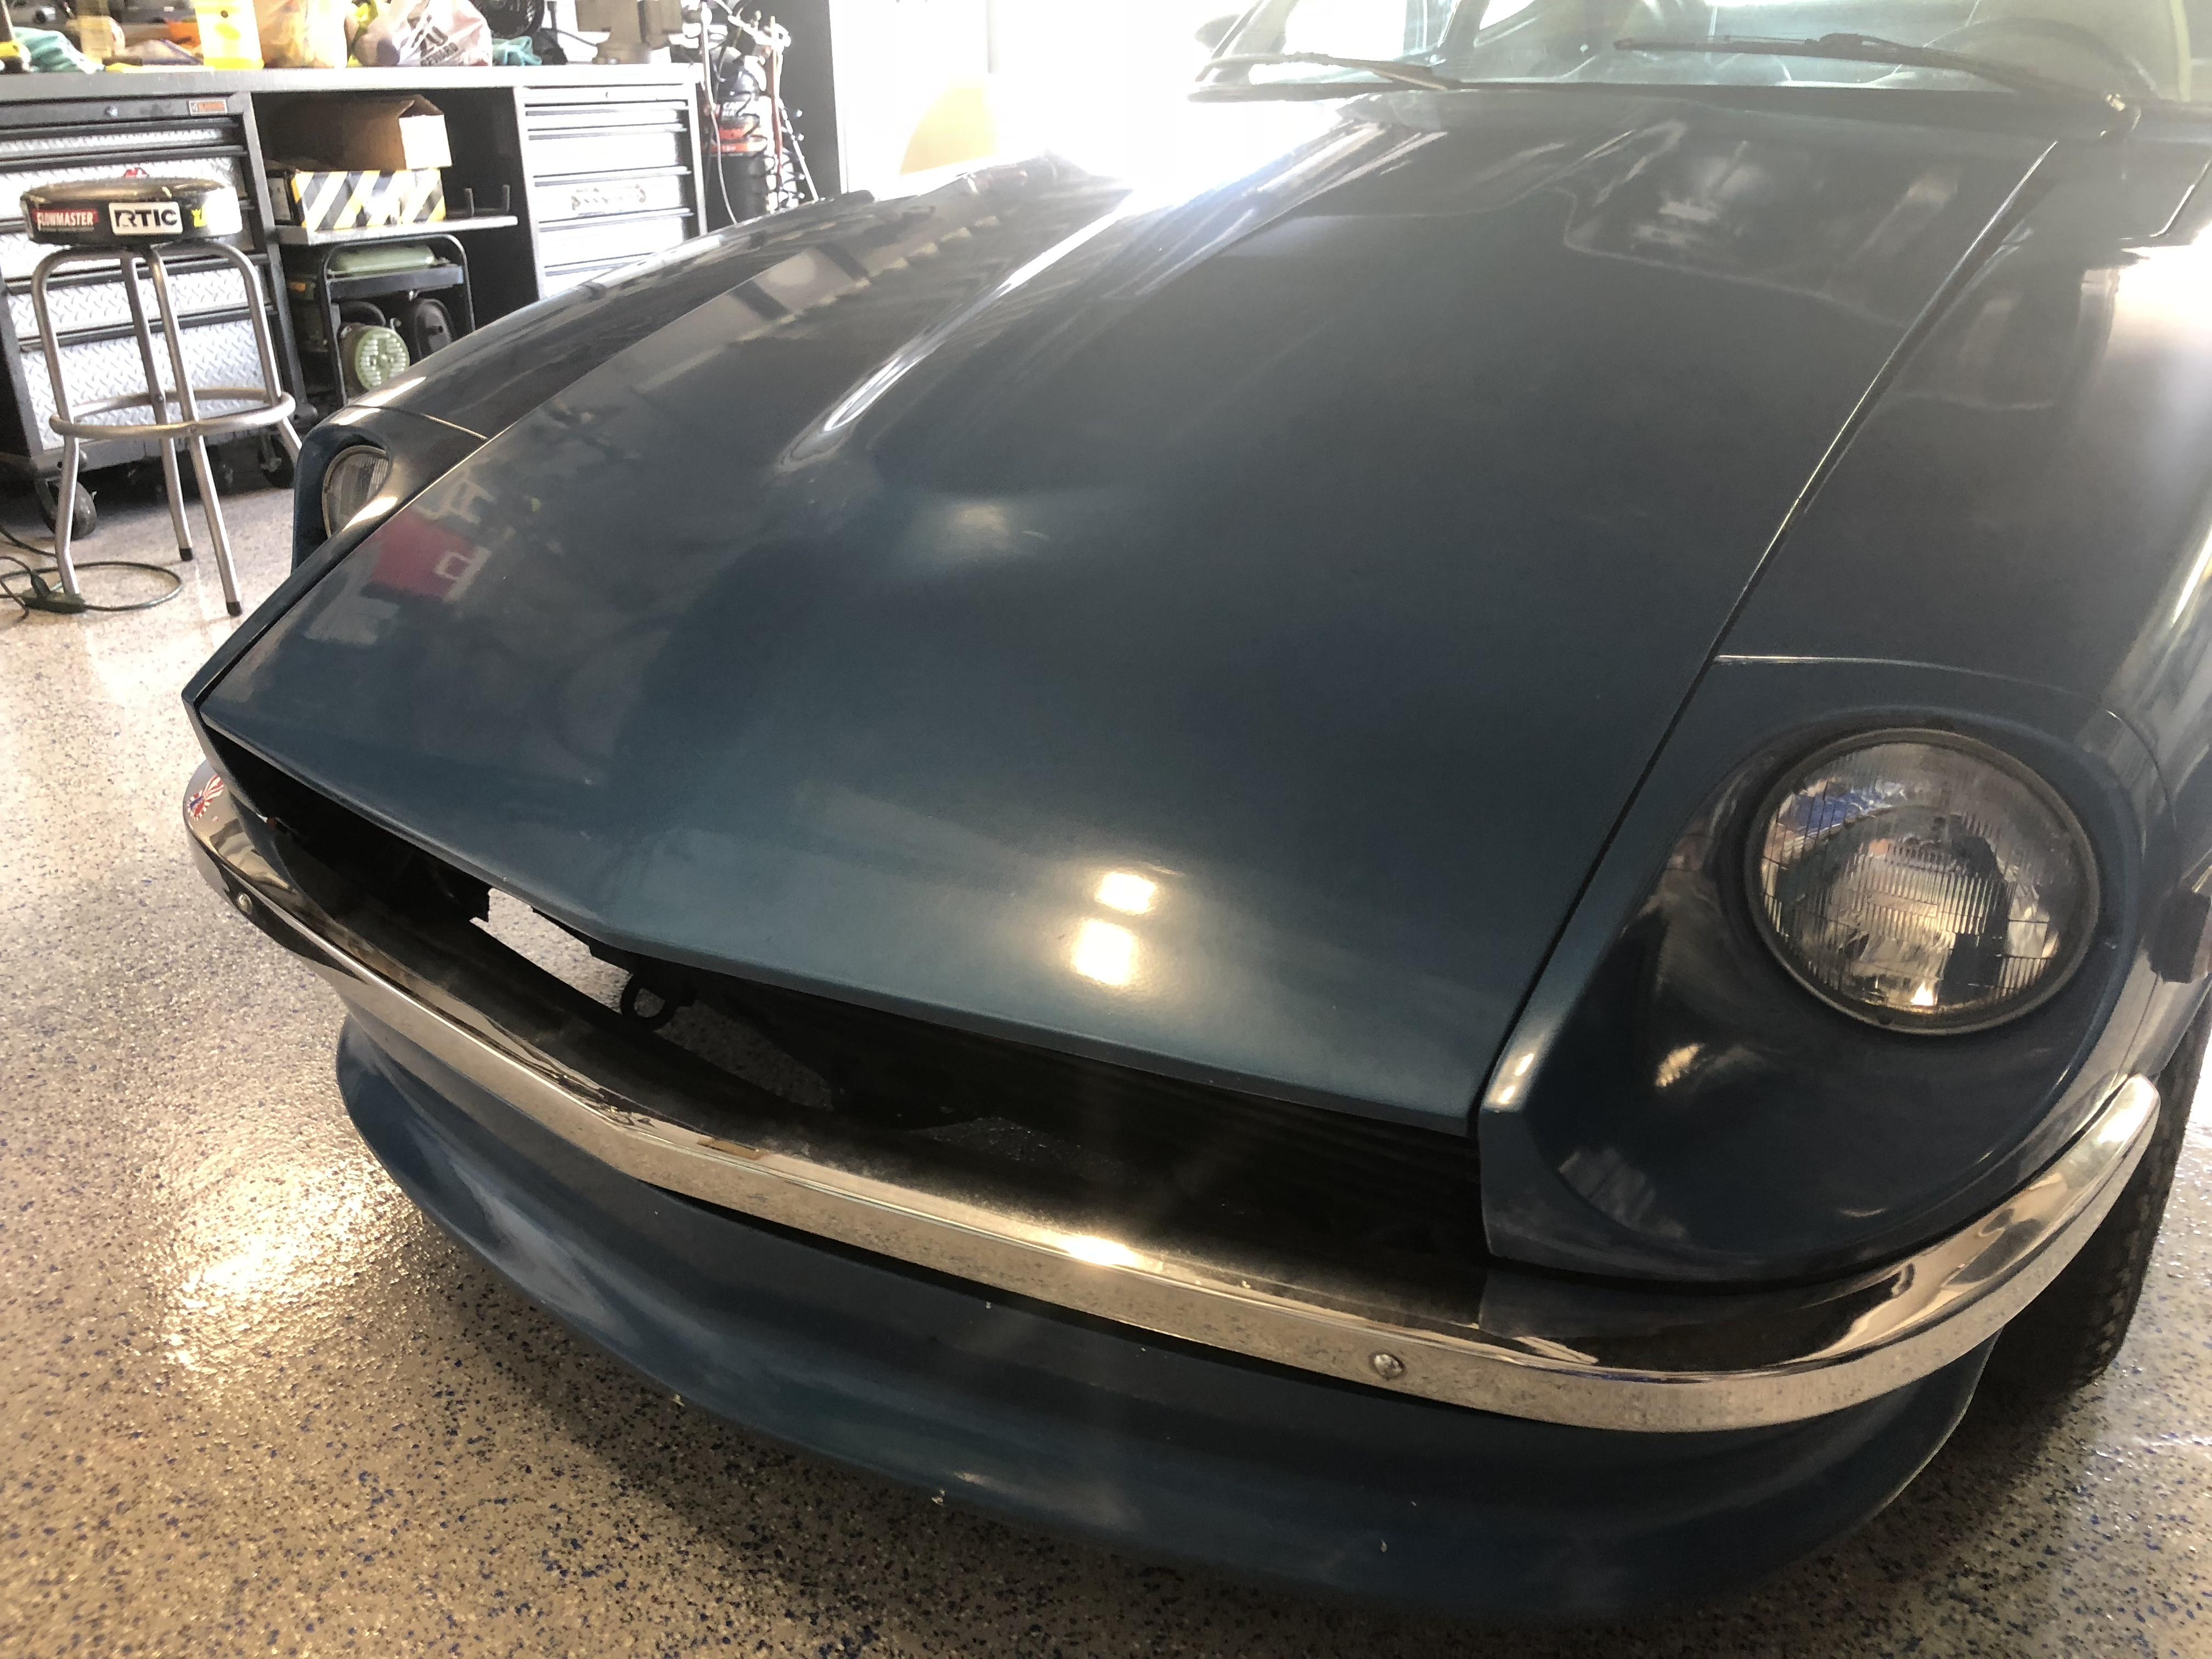
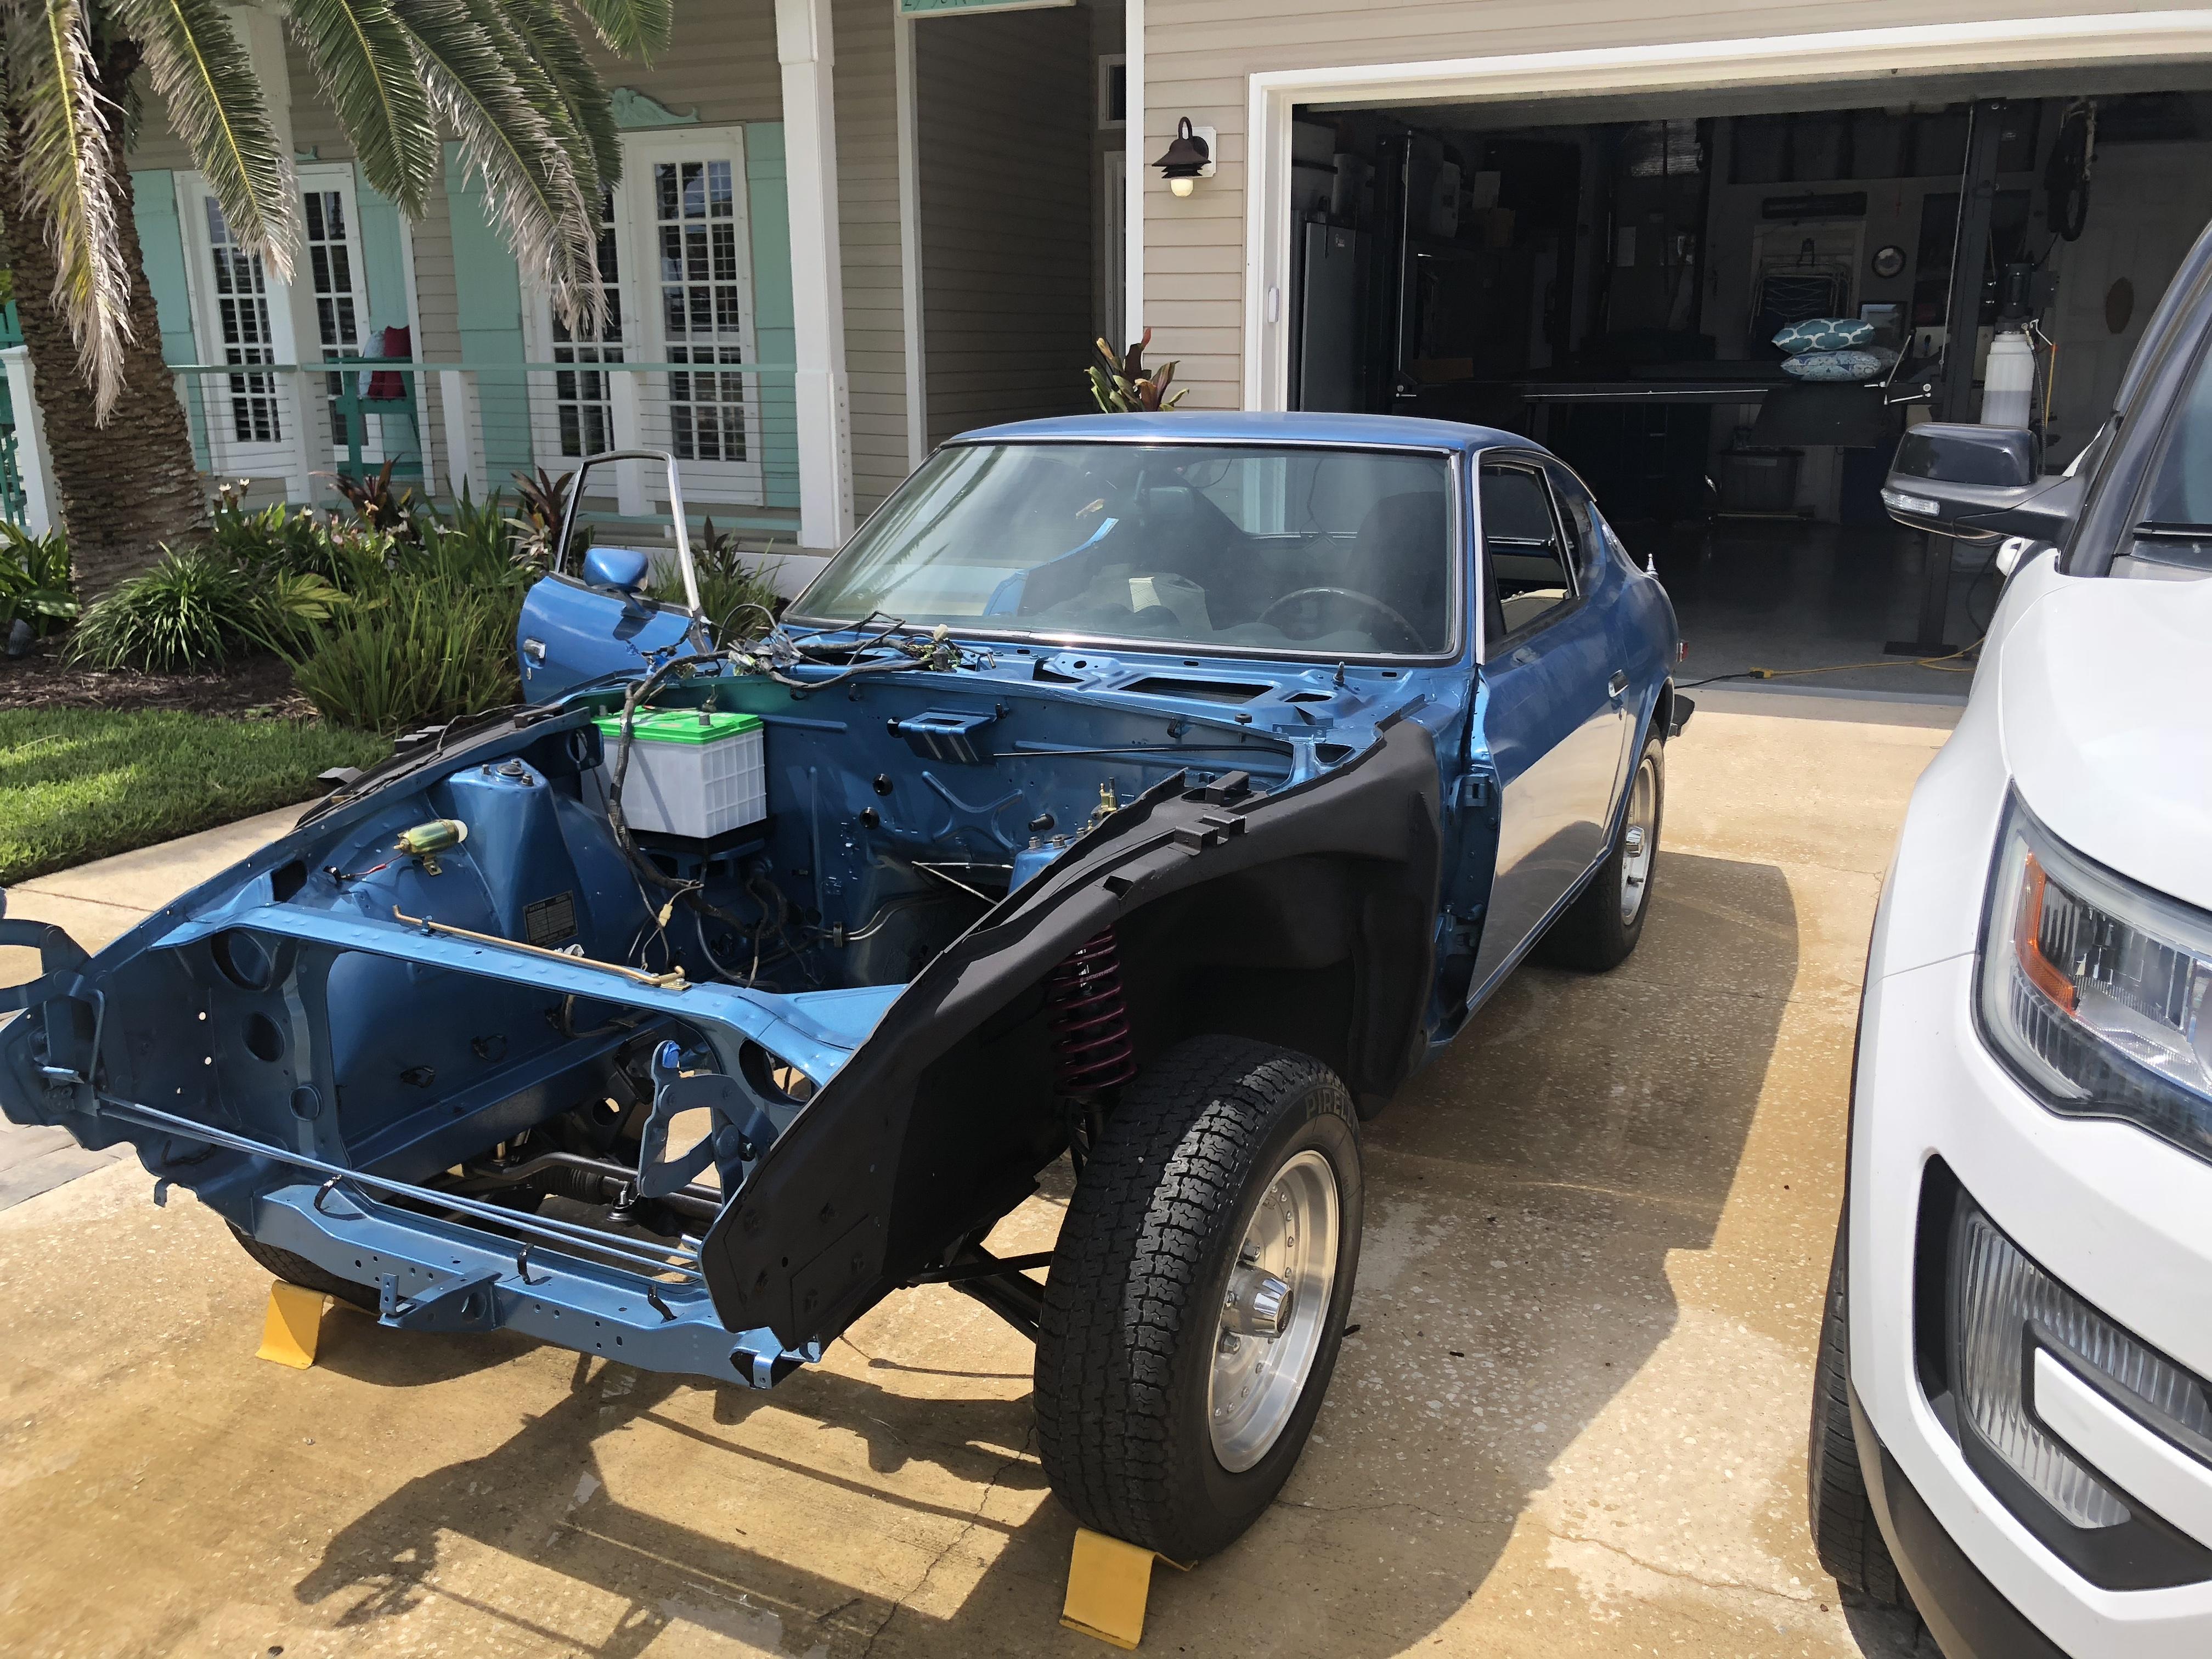
 1 pointI had high hopes of documenting step by step the restoration of my 72 but life got in the way. I am going to post on this thread going forward and turn back the clock a few months. Car was a good clean California car almost rust free car but needed love just about everywhere. Paint is driver quality so my plan is to do what I can to make it a nice driver with intentions to paint later.


 1 point
 -
 I hope to have a color picked this weekend. Sent from my SM-G950U1 using Tapatalk
 1 point
 -
 1 pointThere are 3 layers of base colour, then 3 layers of the translucent top coat, then 3 layers of clear. As for the hinges I painted them all open, and I will go back with the airbrush if there are still bits the show without colour.1 point
 -
 1 pointyou guys are right....i took it to a restore shop and am hoping they can do it all within my budget...... thanks!1 point
 -
1 pointI don't know who your mechanics are but a good one should be able to do something with this picture alone. Show them this picture and tell them that it happened immediately after installing new spark plugs. Don't say anything else.1 point
-
 1 point
 -
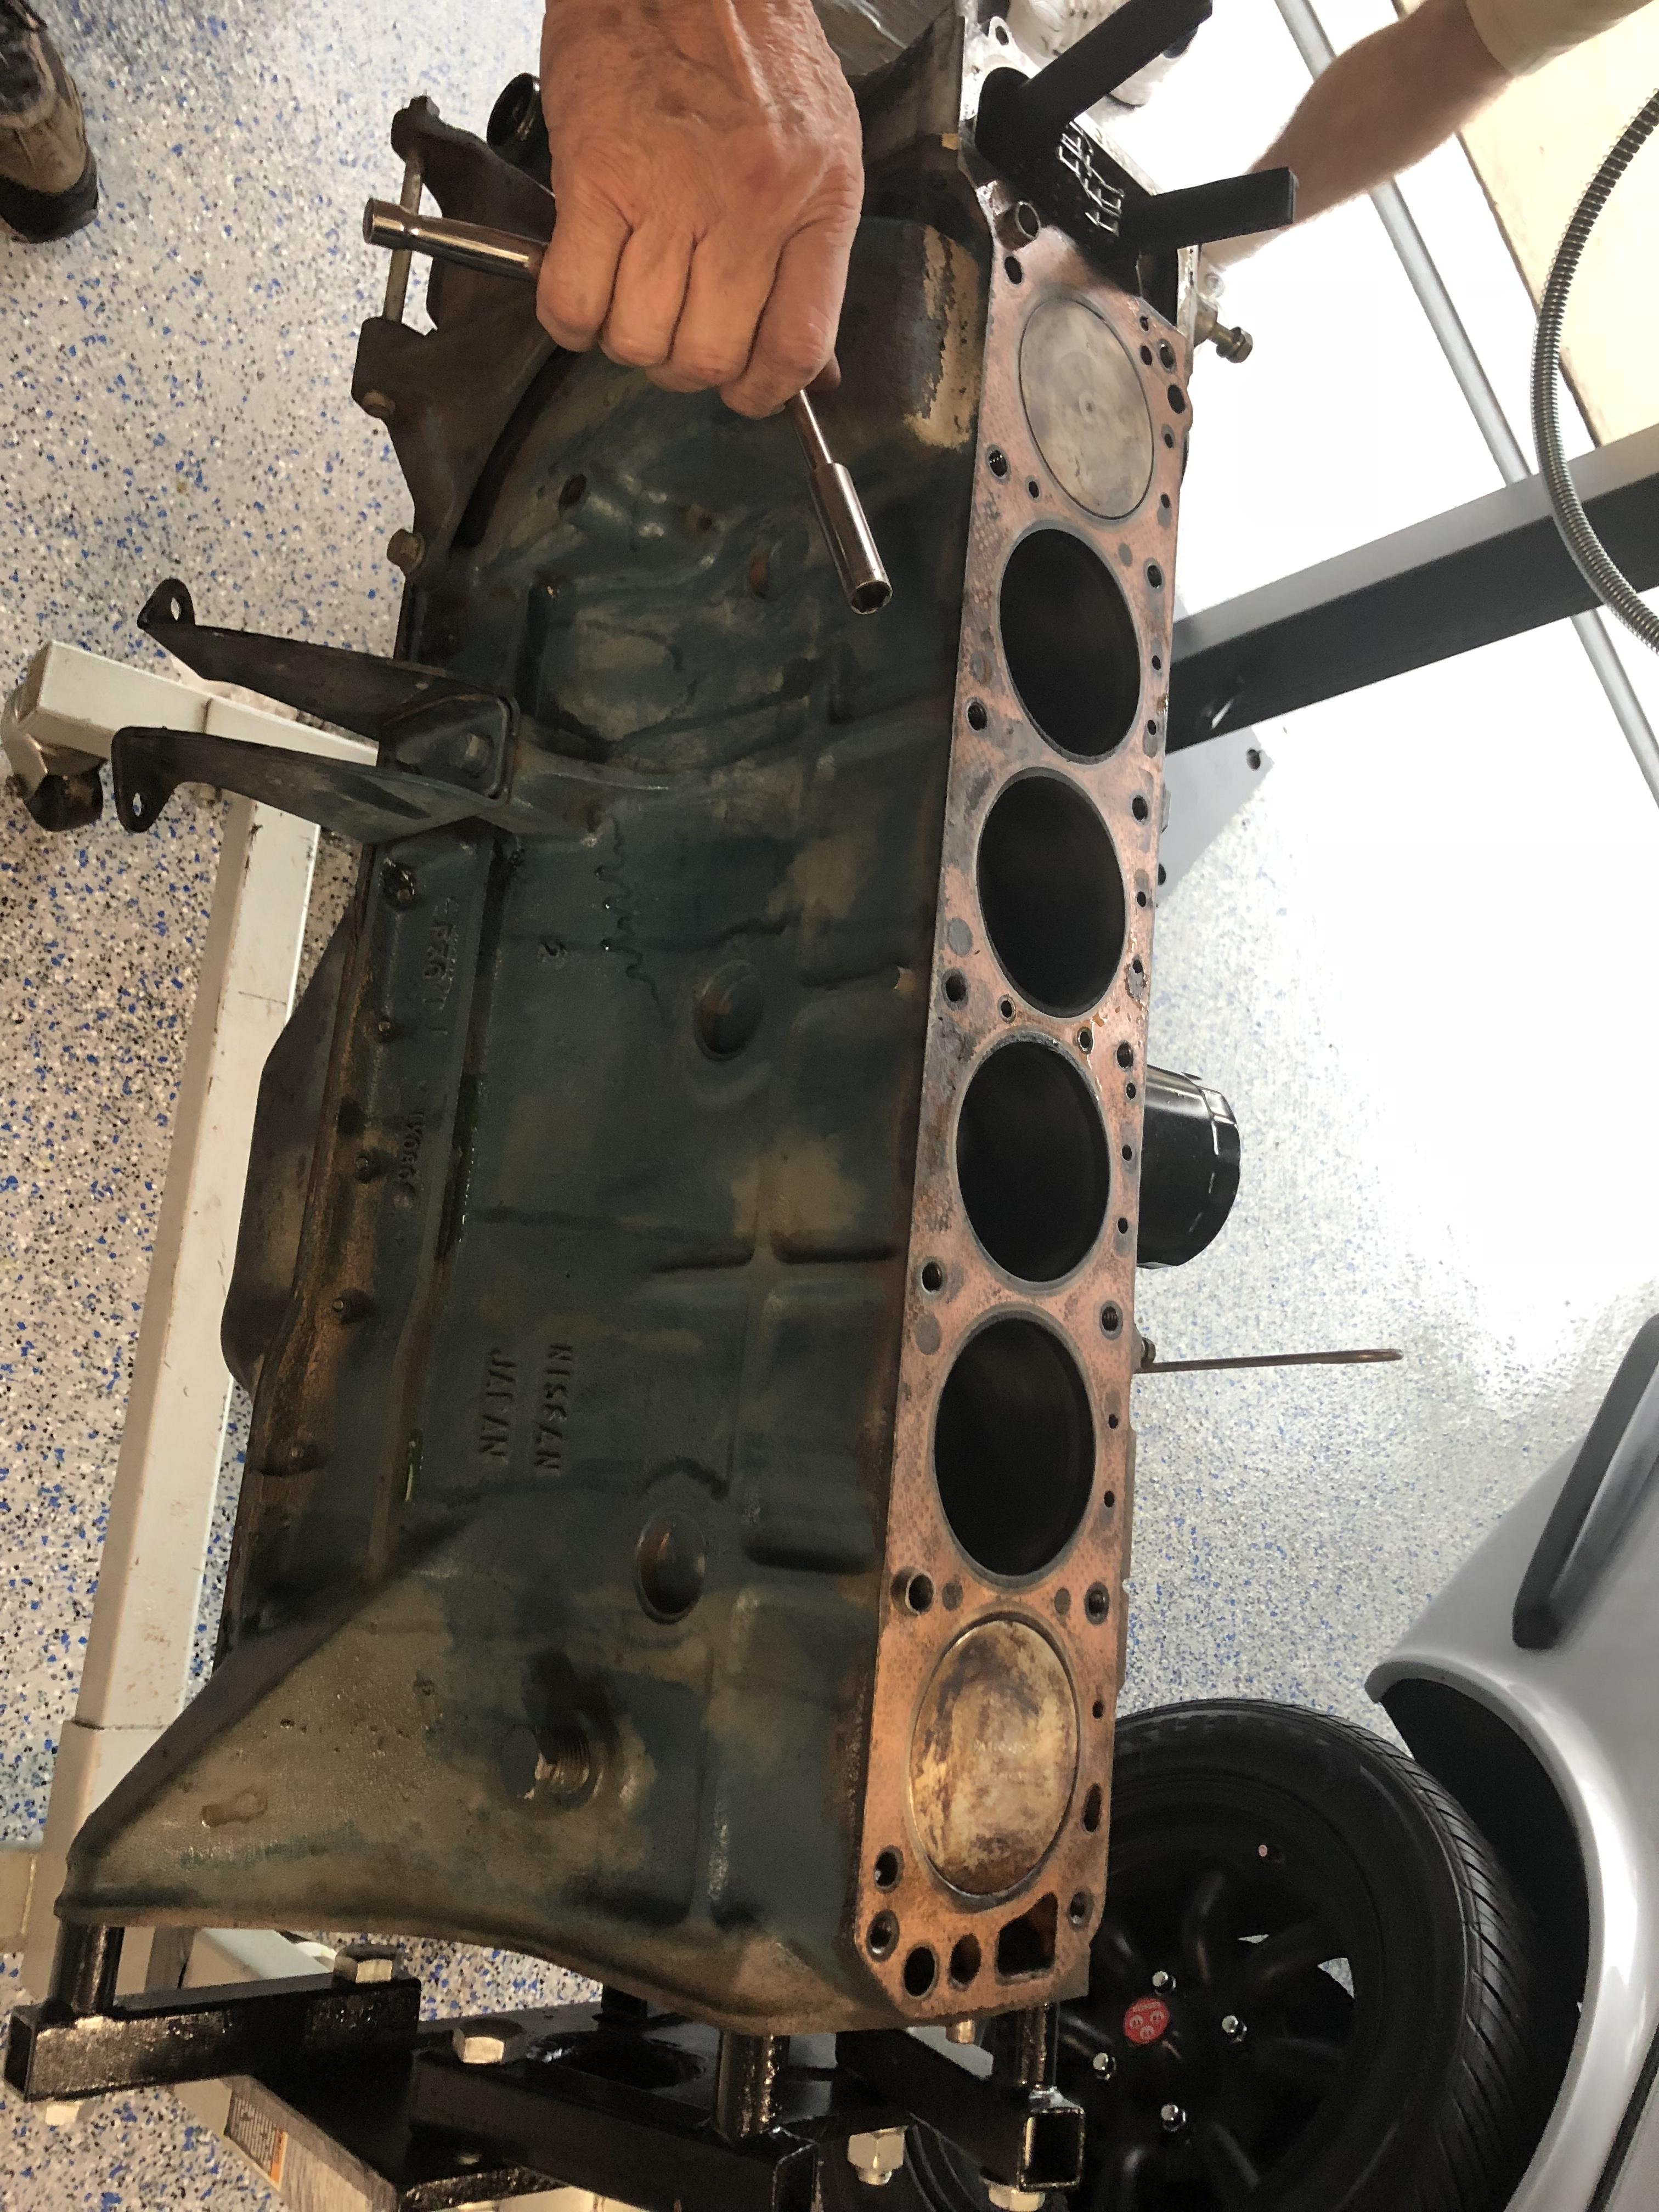
 1 pointI didn’t make a specific statement - but I did say in this thread that the block had been shaved - .005 to be exact1 point
 -
1 pointJeff, I might have missed it, but are you clear coating everything or is that a single stage paint? Looks cleared in the final shots but I didn’t see you spray clear. Also, how did you paint the hinges? Closed or open position? Did you paint all the surface area (open or close the hinge)? Same for the bonnet hinges... Thanks for these videos, it will help immensely with my paint work later next spring!1 point
-
1 pointThe final exterior paint stage is getting close. This week I finish off the last bits that need to be painted before the body, including the most difficult part. The roll cage.1 point
-
 Some where, some time, in Australia. Love the signs.
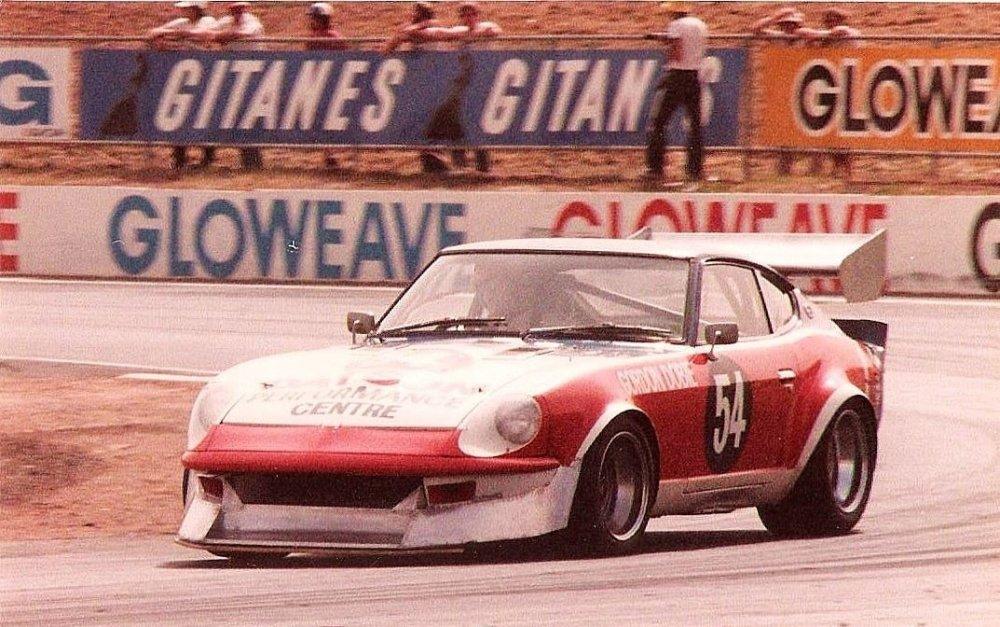 1 point
 -
 New module arrived yesterday. Installed...and then started up car. No more problem. I let it run for about fifteen minutes to make sure, and then drove it to the car wash. Afterward, I took it on a twenty-mile cruise. Except for an occasional miss at higher revolutions, everything was great. I think the miss is caused by the very old gasoline that was in the tank. Car was started every week for four years, but nowhere near a gas station. Former owner lived in the country. After I dropped $30 worth of Chevron Supreme into it, it smoothed out quite a bit. I also figured out the shocks are pretty damn old and need replacing. Other than that, no problems. I would also like to thank the people who came on this thread to help me.1 point
 -
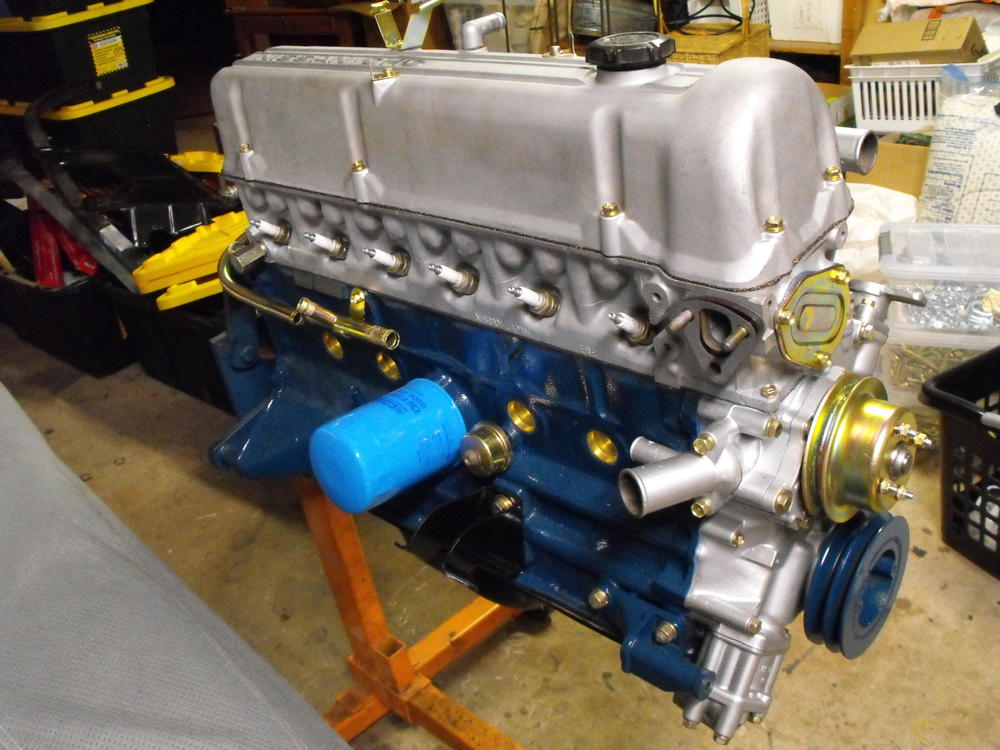
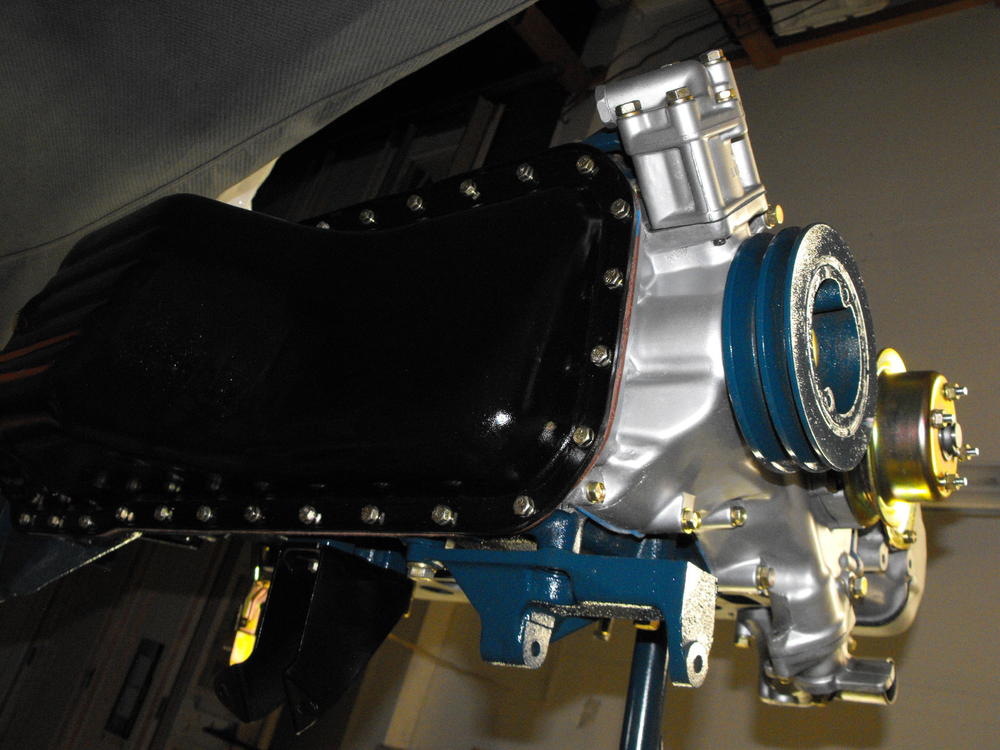
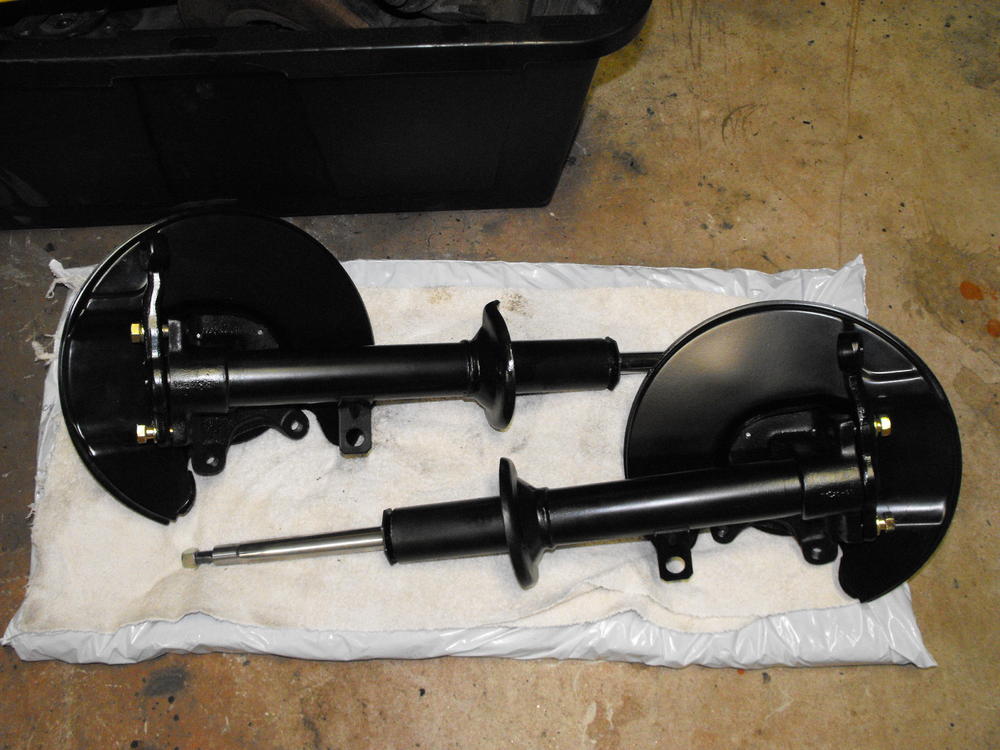
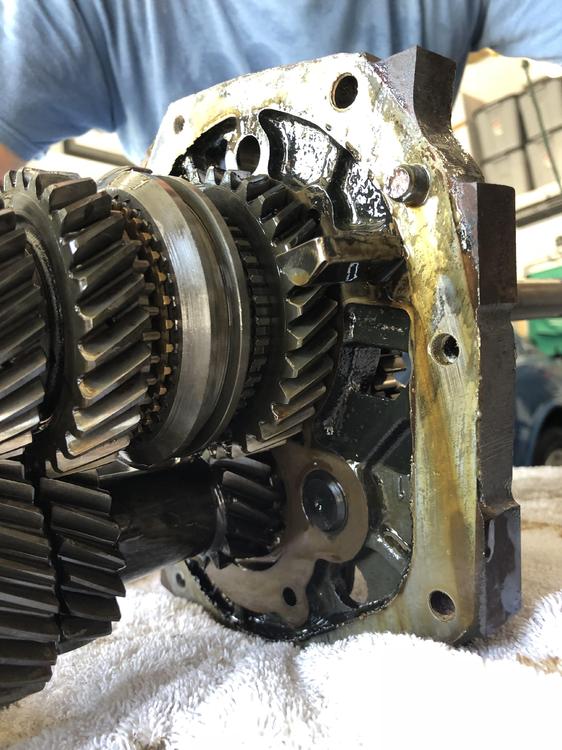
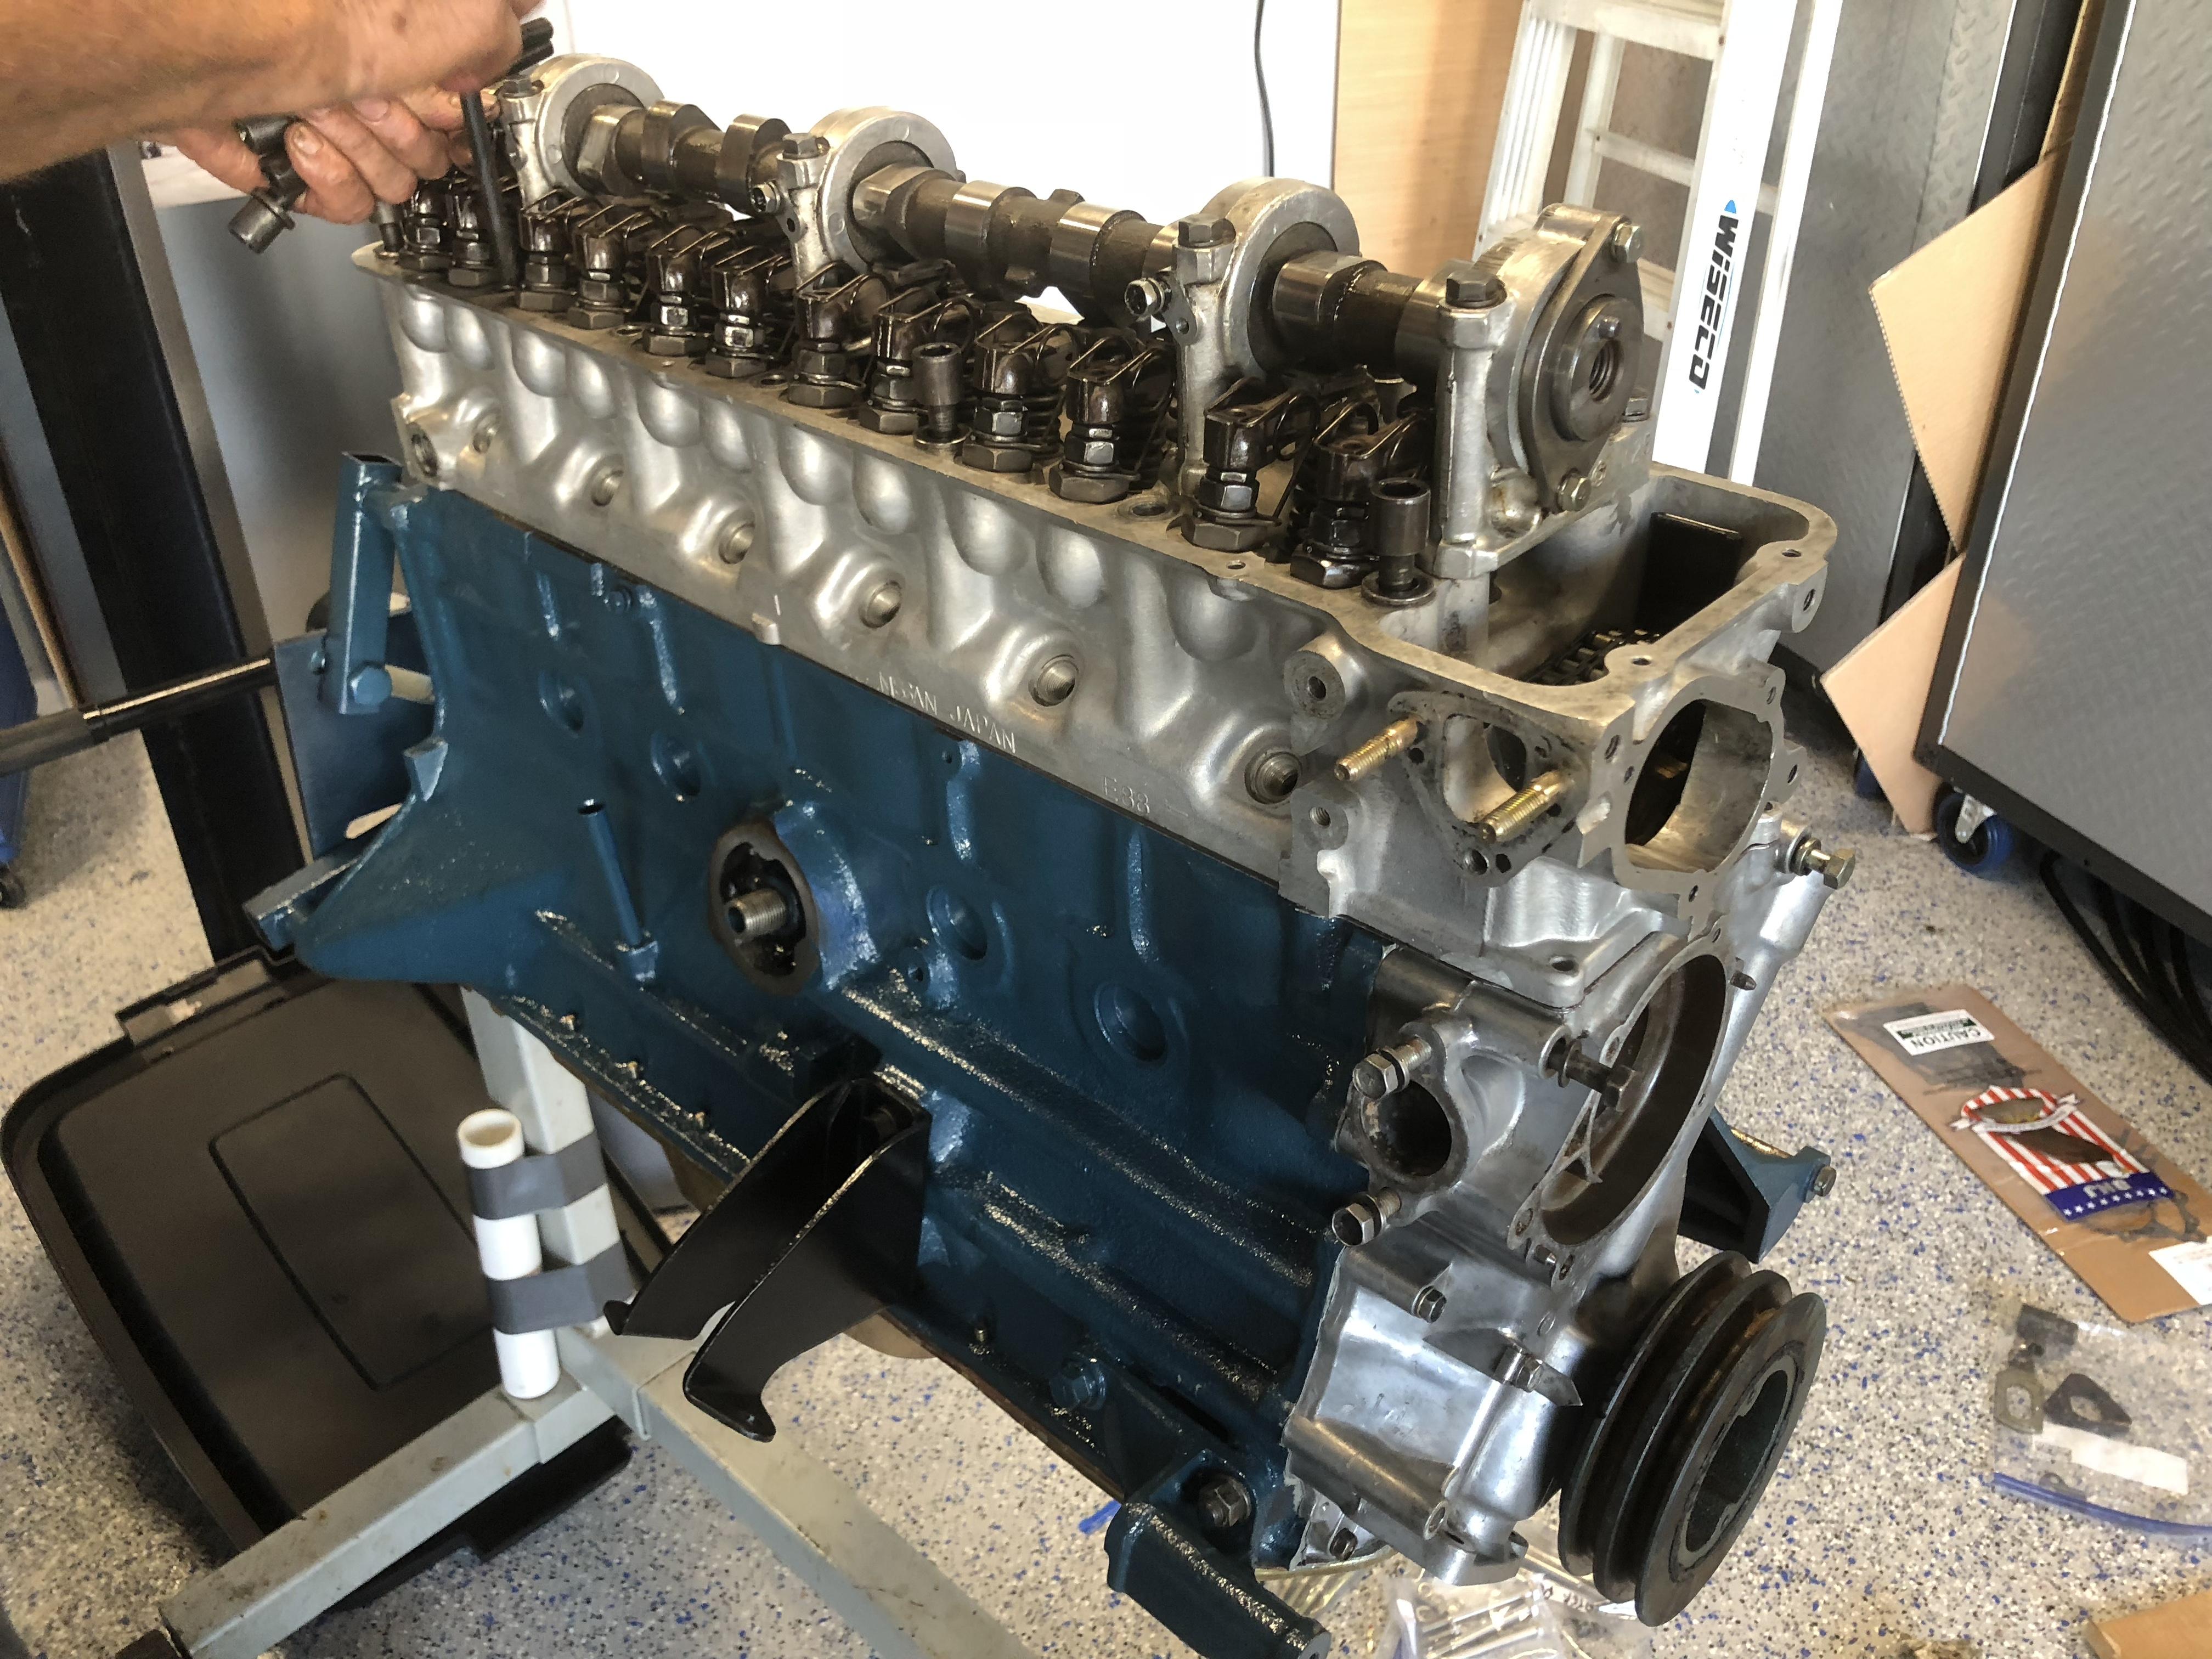
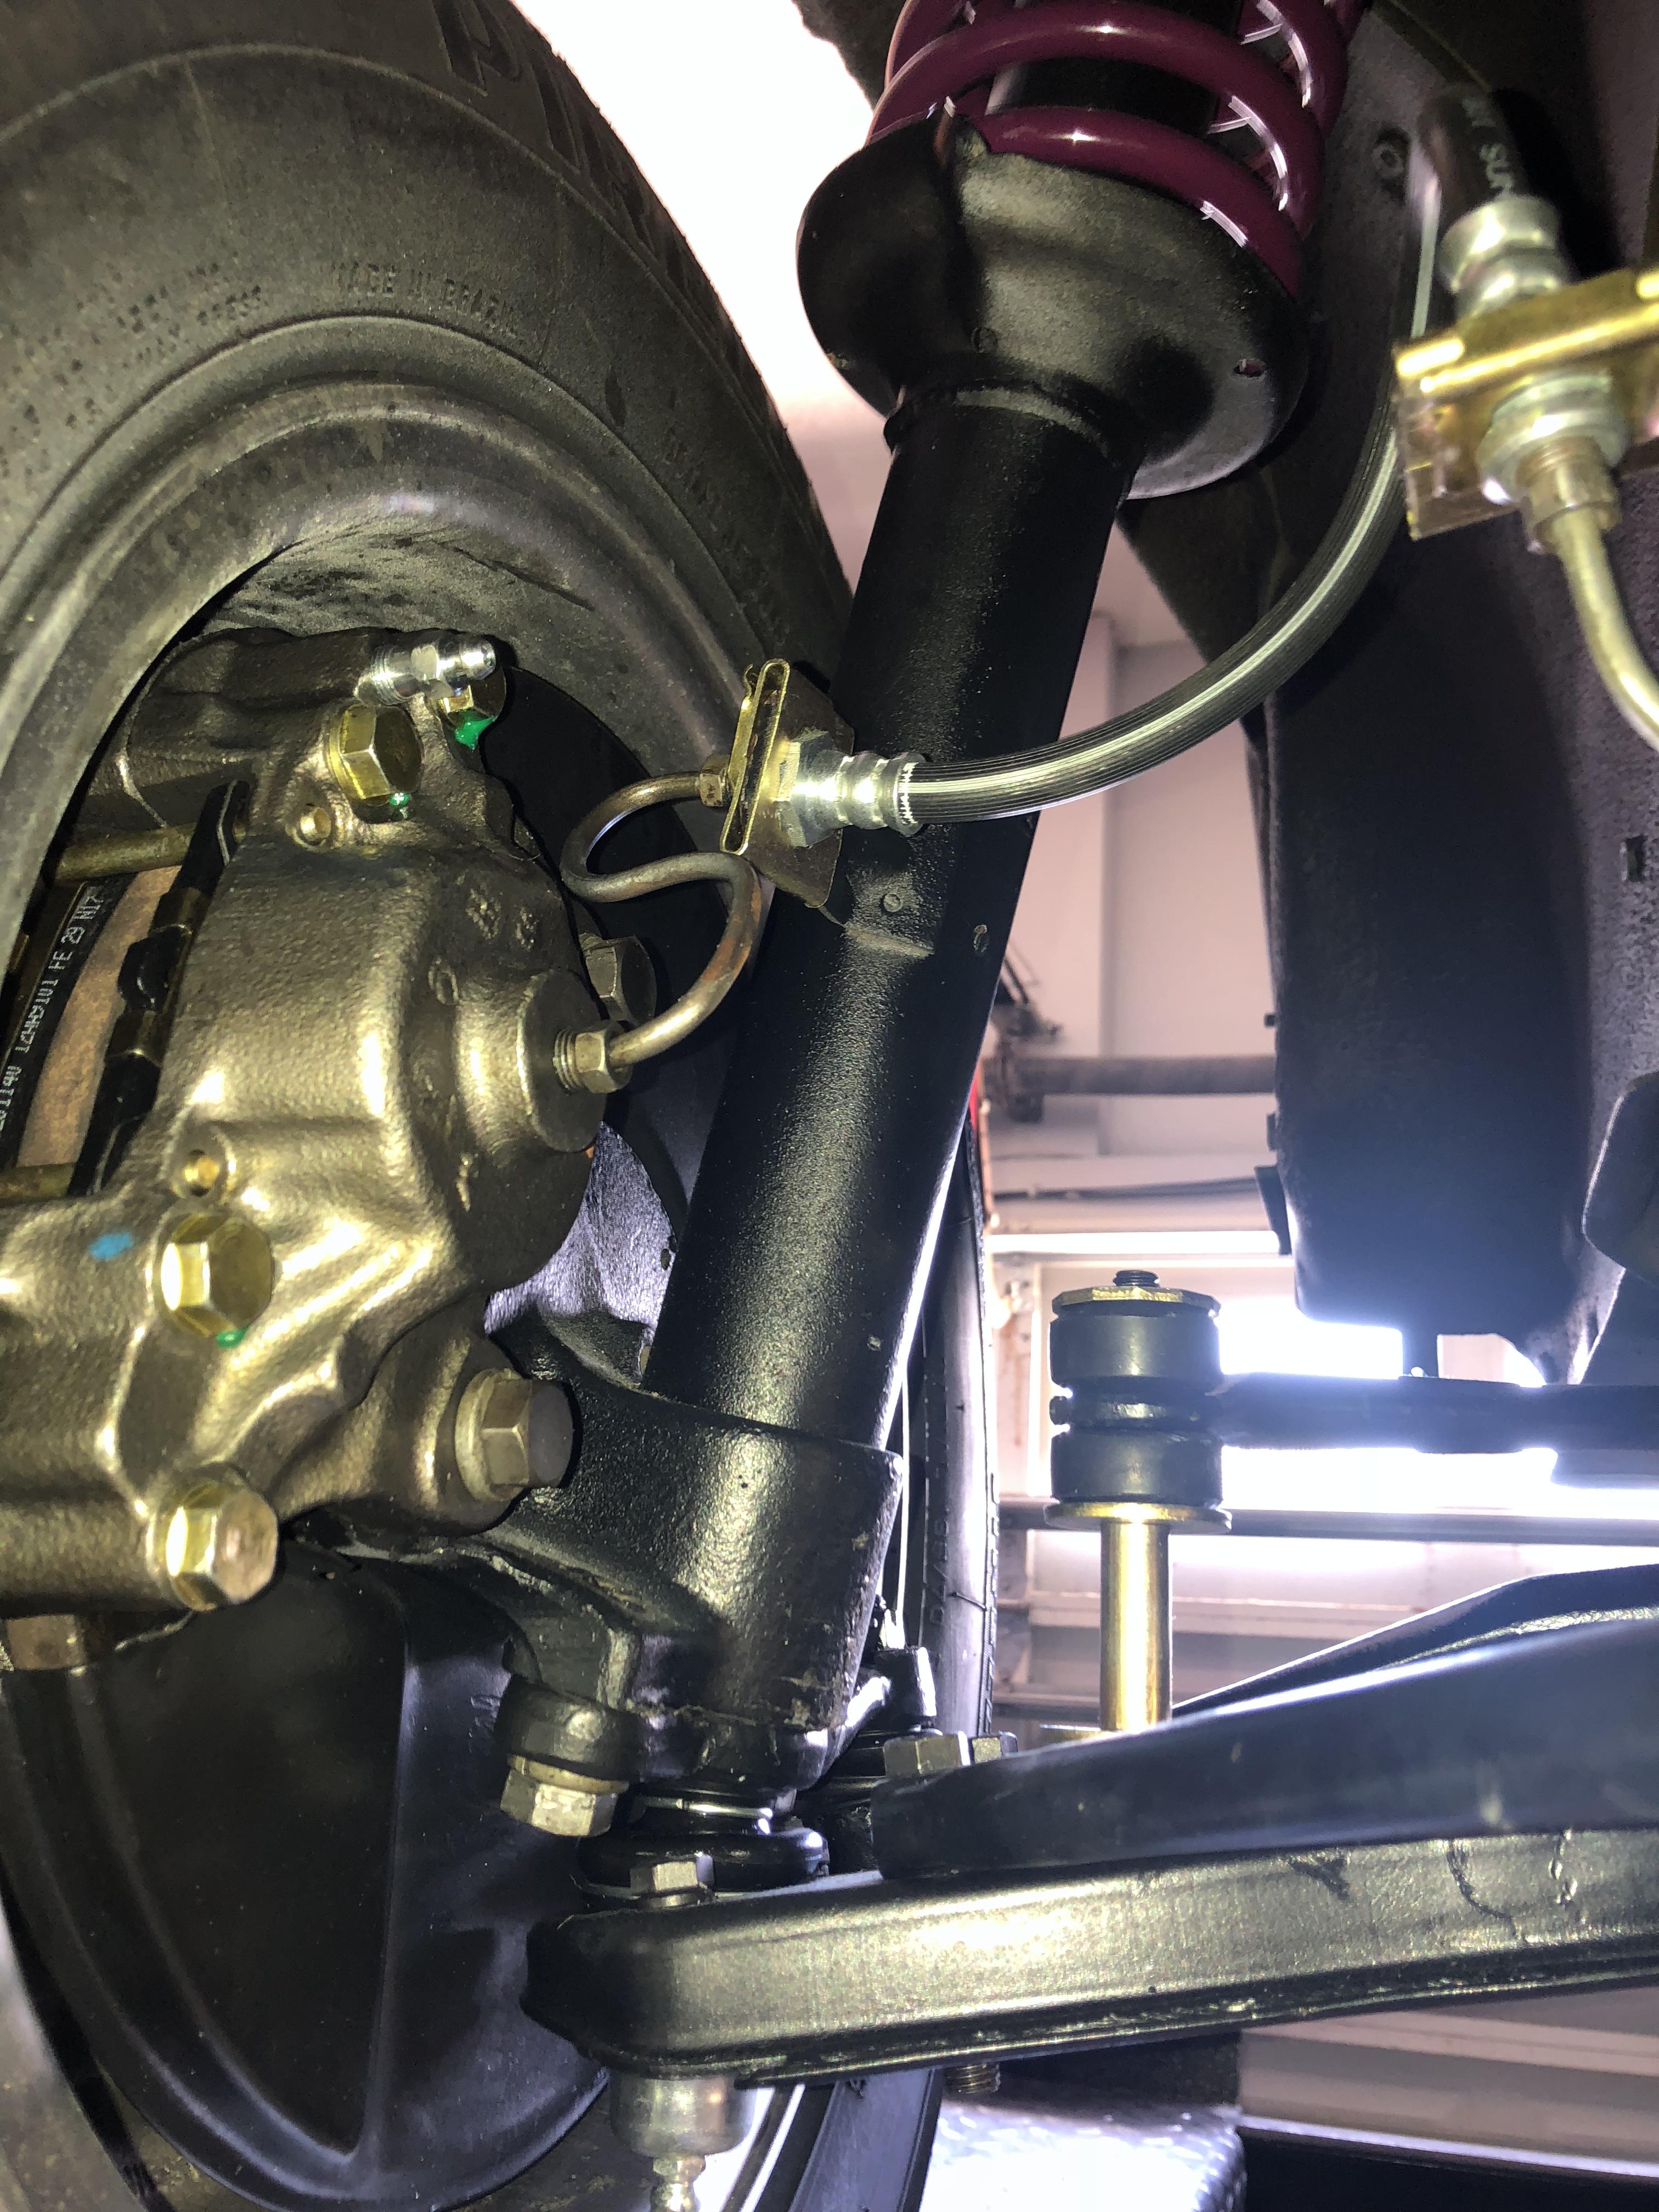
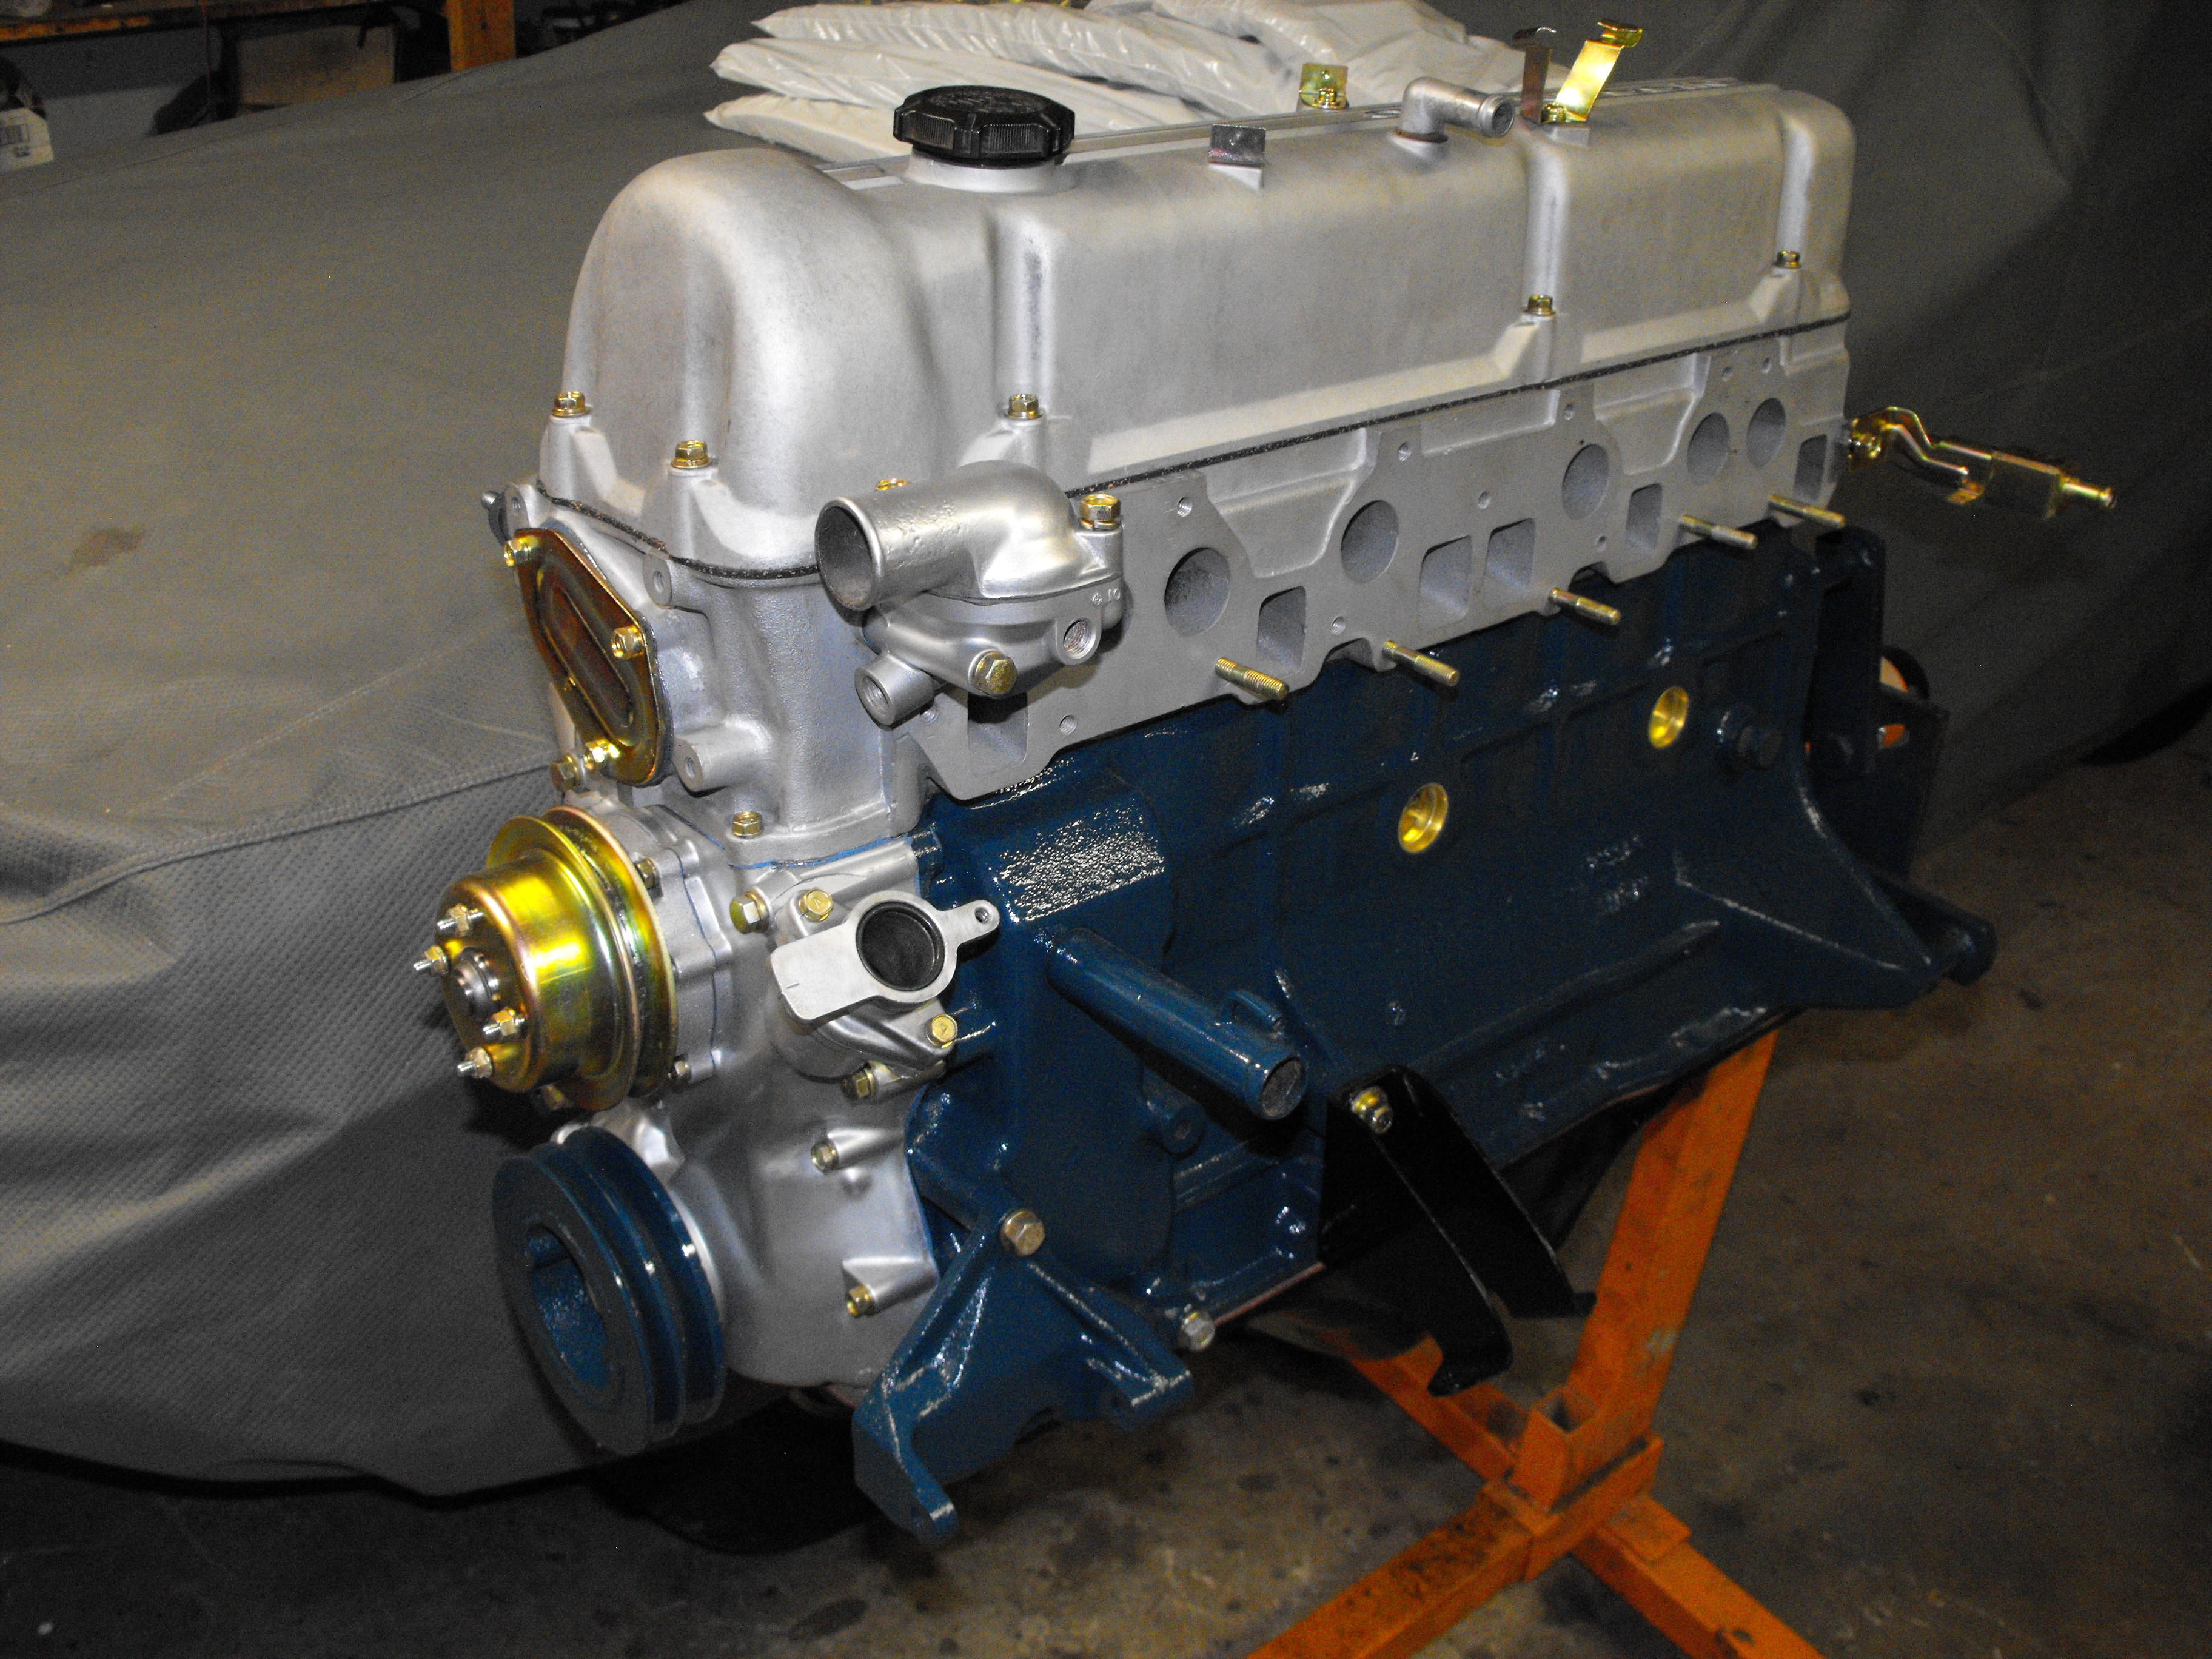
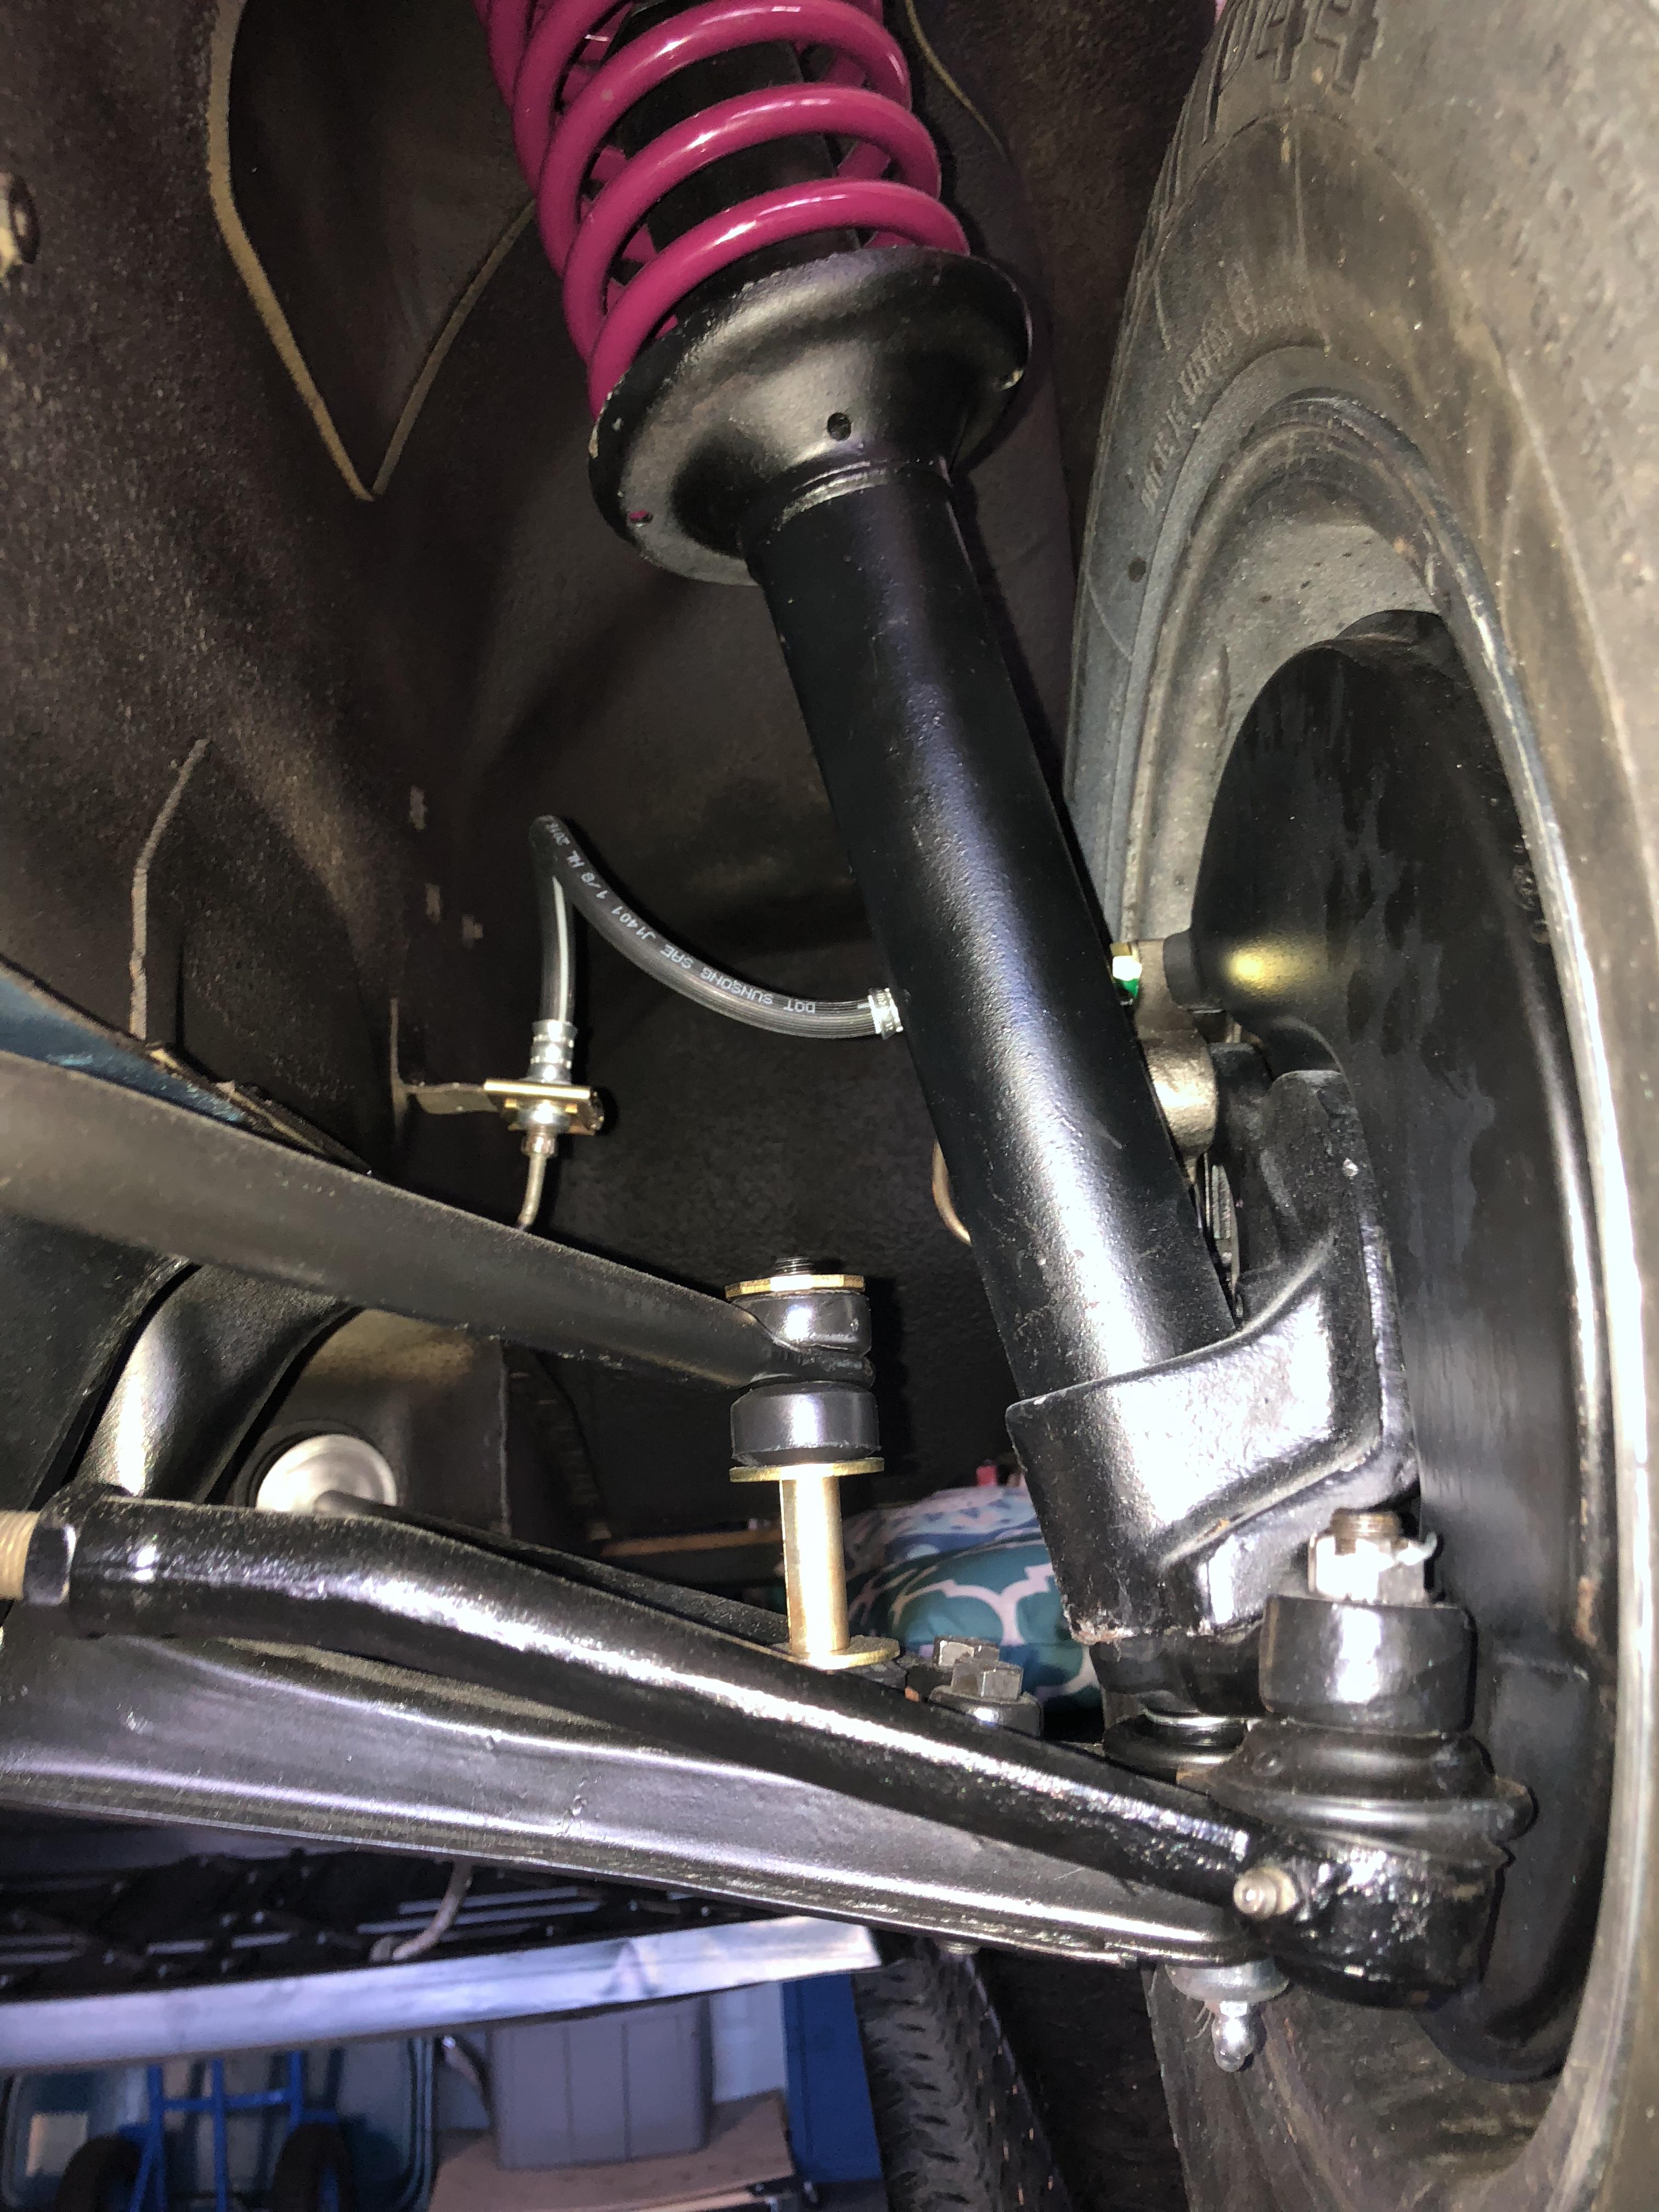
 I adjusted the valves on the motor and added a few more of the plated parts. Started working on the suspension assembly. I should have all of the suspension pre-assembled before the body gets back from the paint shop. Ordered some new ball joints today along with the shock/strut bellows, rack and pinion bellows and tie rod ends.


 1 point
 -
"B quiet" sound material https://www.b-quiet.com/1 point
-
 1 point
 -
1 point
-
1 point
-
 1 point
 -
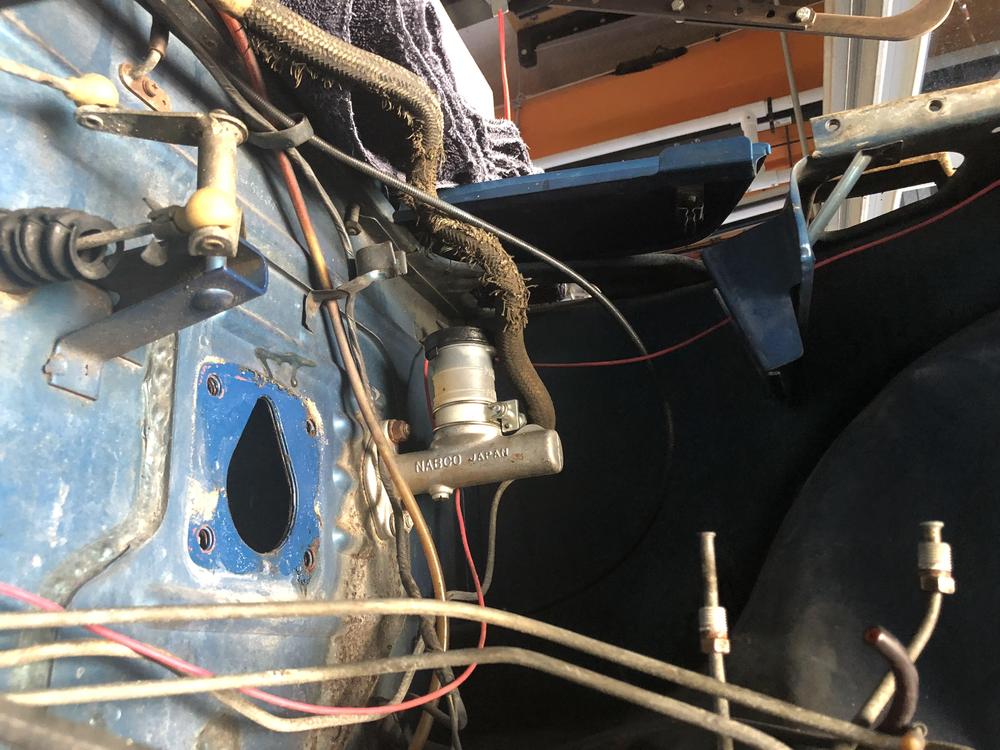
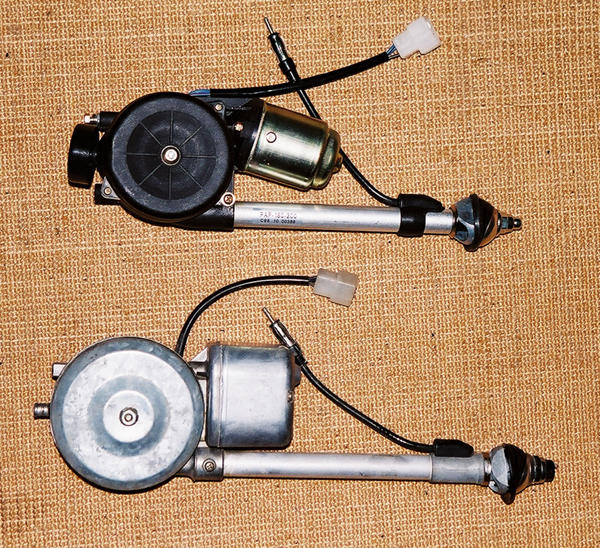
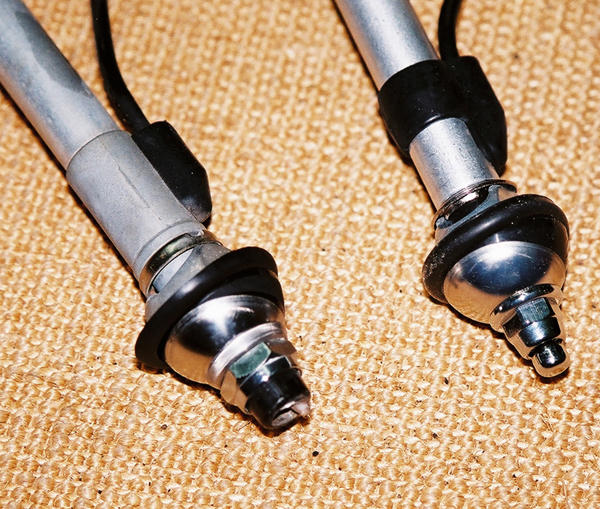
 1 pointFinally home in front of my parts book and photo files. Thought I would throw a little info out there. Nissan lists this antenna as 27350-E4125 KIT-AERIAL AUTO TUNING (RADIO) it would coincide with 27320-E4125 RECEIVER RADIO AM AUTO-TUNNING The E8800, E8825, and N3600 are the AM/FM 5-button radios. The antennas associated with them would be 27350-E4127 and N3600. There are optional antennas that coincide with the optional AM 8-Track Stereo; 27350-E4126 and E4128. Here's some antenna porn from my files. I don't know anything about the black coil antenna. It has a different tip as well. The Harada antenna is the one shown in my parts book and the tip is the blunt topped version with the black ring.
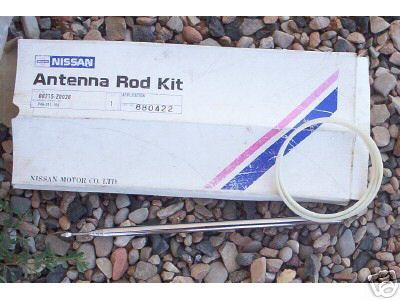
 1 point
 -
1 pointHe's so close, right now, to figuring out the poor idle in the heat problem. Those two center plugs and the dirty one next to it are huge clues. Much more informative than many of the previous posts. The clean plugs, 1, 2 and 6, tend to remove any choke setting, or carb-tuning, or fuel percolation, or Far311 camshaft issues. Unless, the fuel overflow runs straight down the 3 and 4 intake runners. With that focus a bunch of new ideas come to mind. But we need to know if the plugs are getting their voltage or not. Gotta test those plug wires.1 point
-
 1 pointThe internet searching is what's hurting him in my opinion. Stay focused on each issue. We've read weather stripping to u-joints and differential mount issues, cam and idling for 20 minutes back to spark plugs soot. Your all over the place. Sorry Jalex but common sense is called too many irons in the fire. You should ship your car to the States, Datsun Spirit would be my choice if I couldn't help myself.1 point
 -
 1 point
 -
 1 pointI think refreshing my 1975 Z will end up in the $25k-$30k price range, including the price of the car.1 point
 -
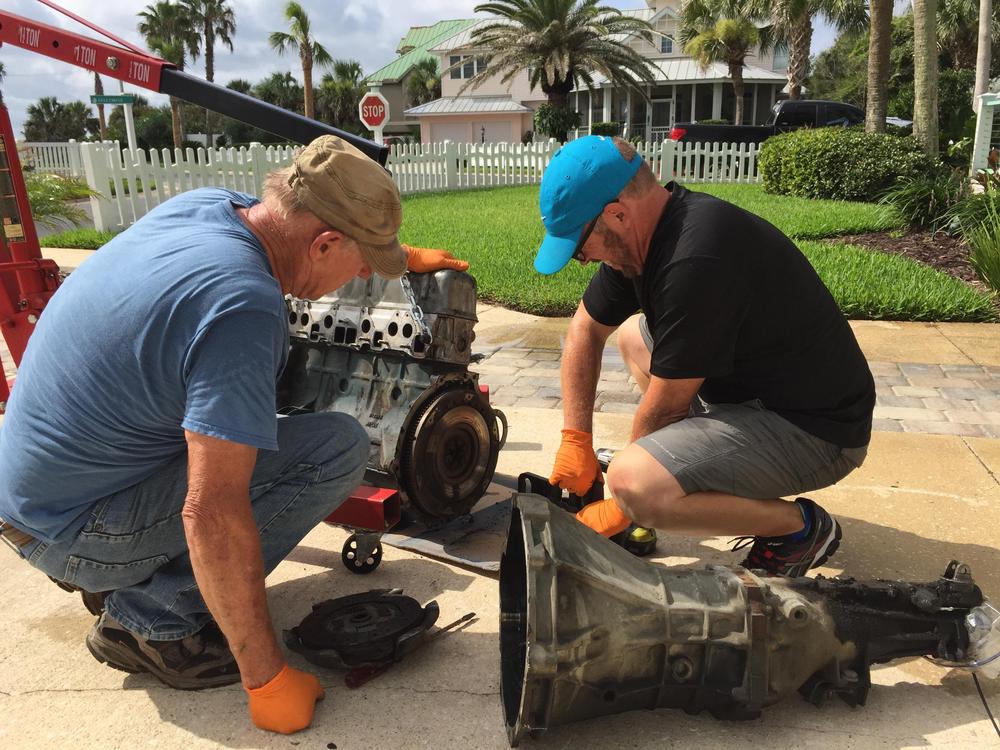
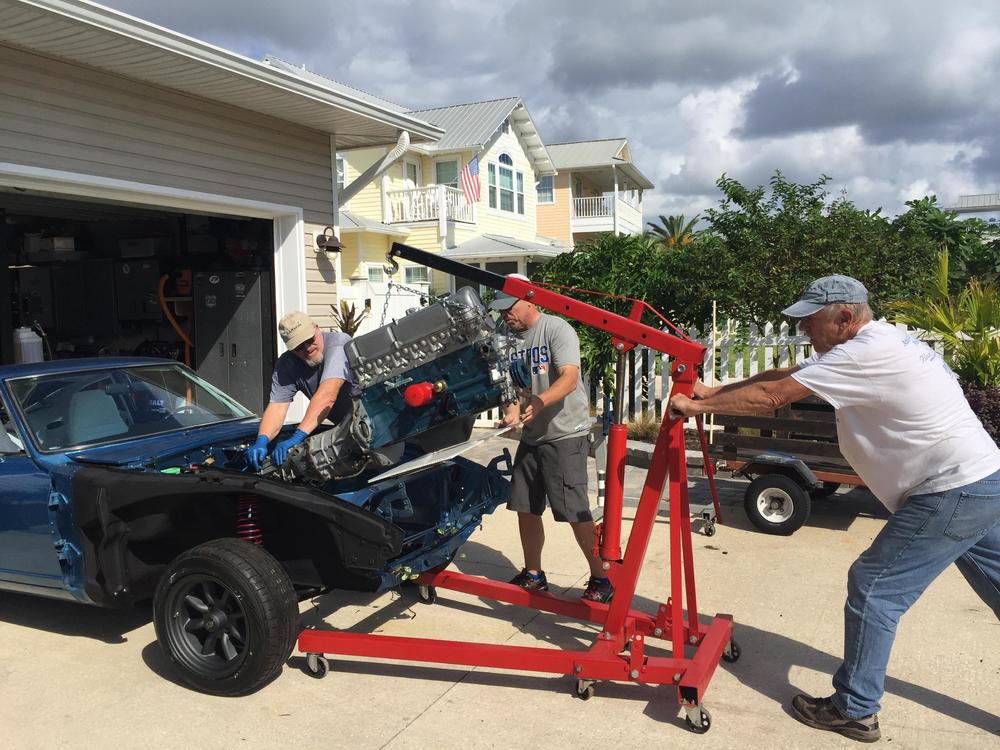
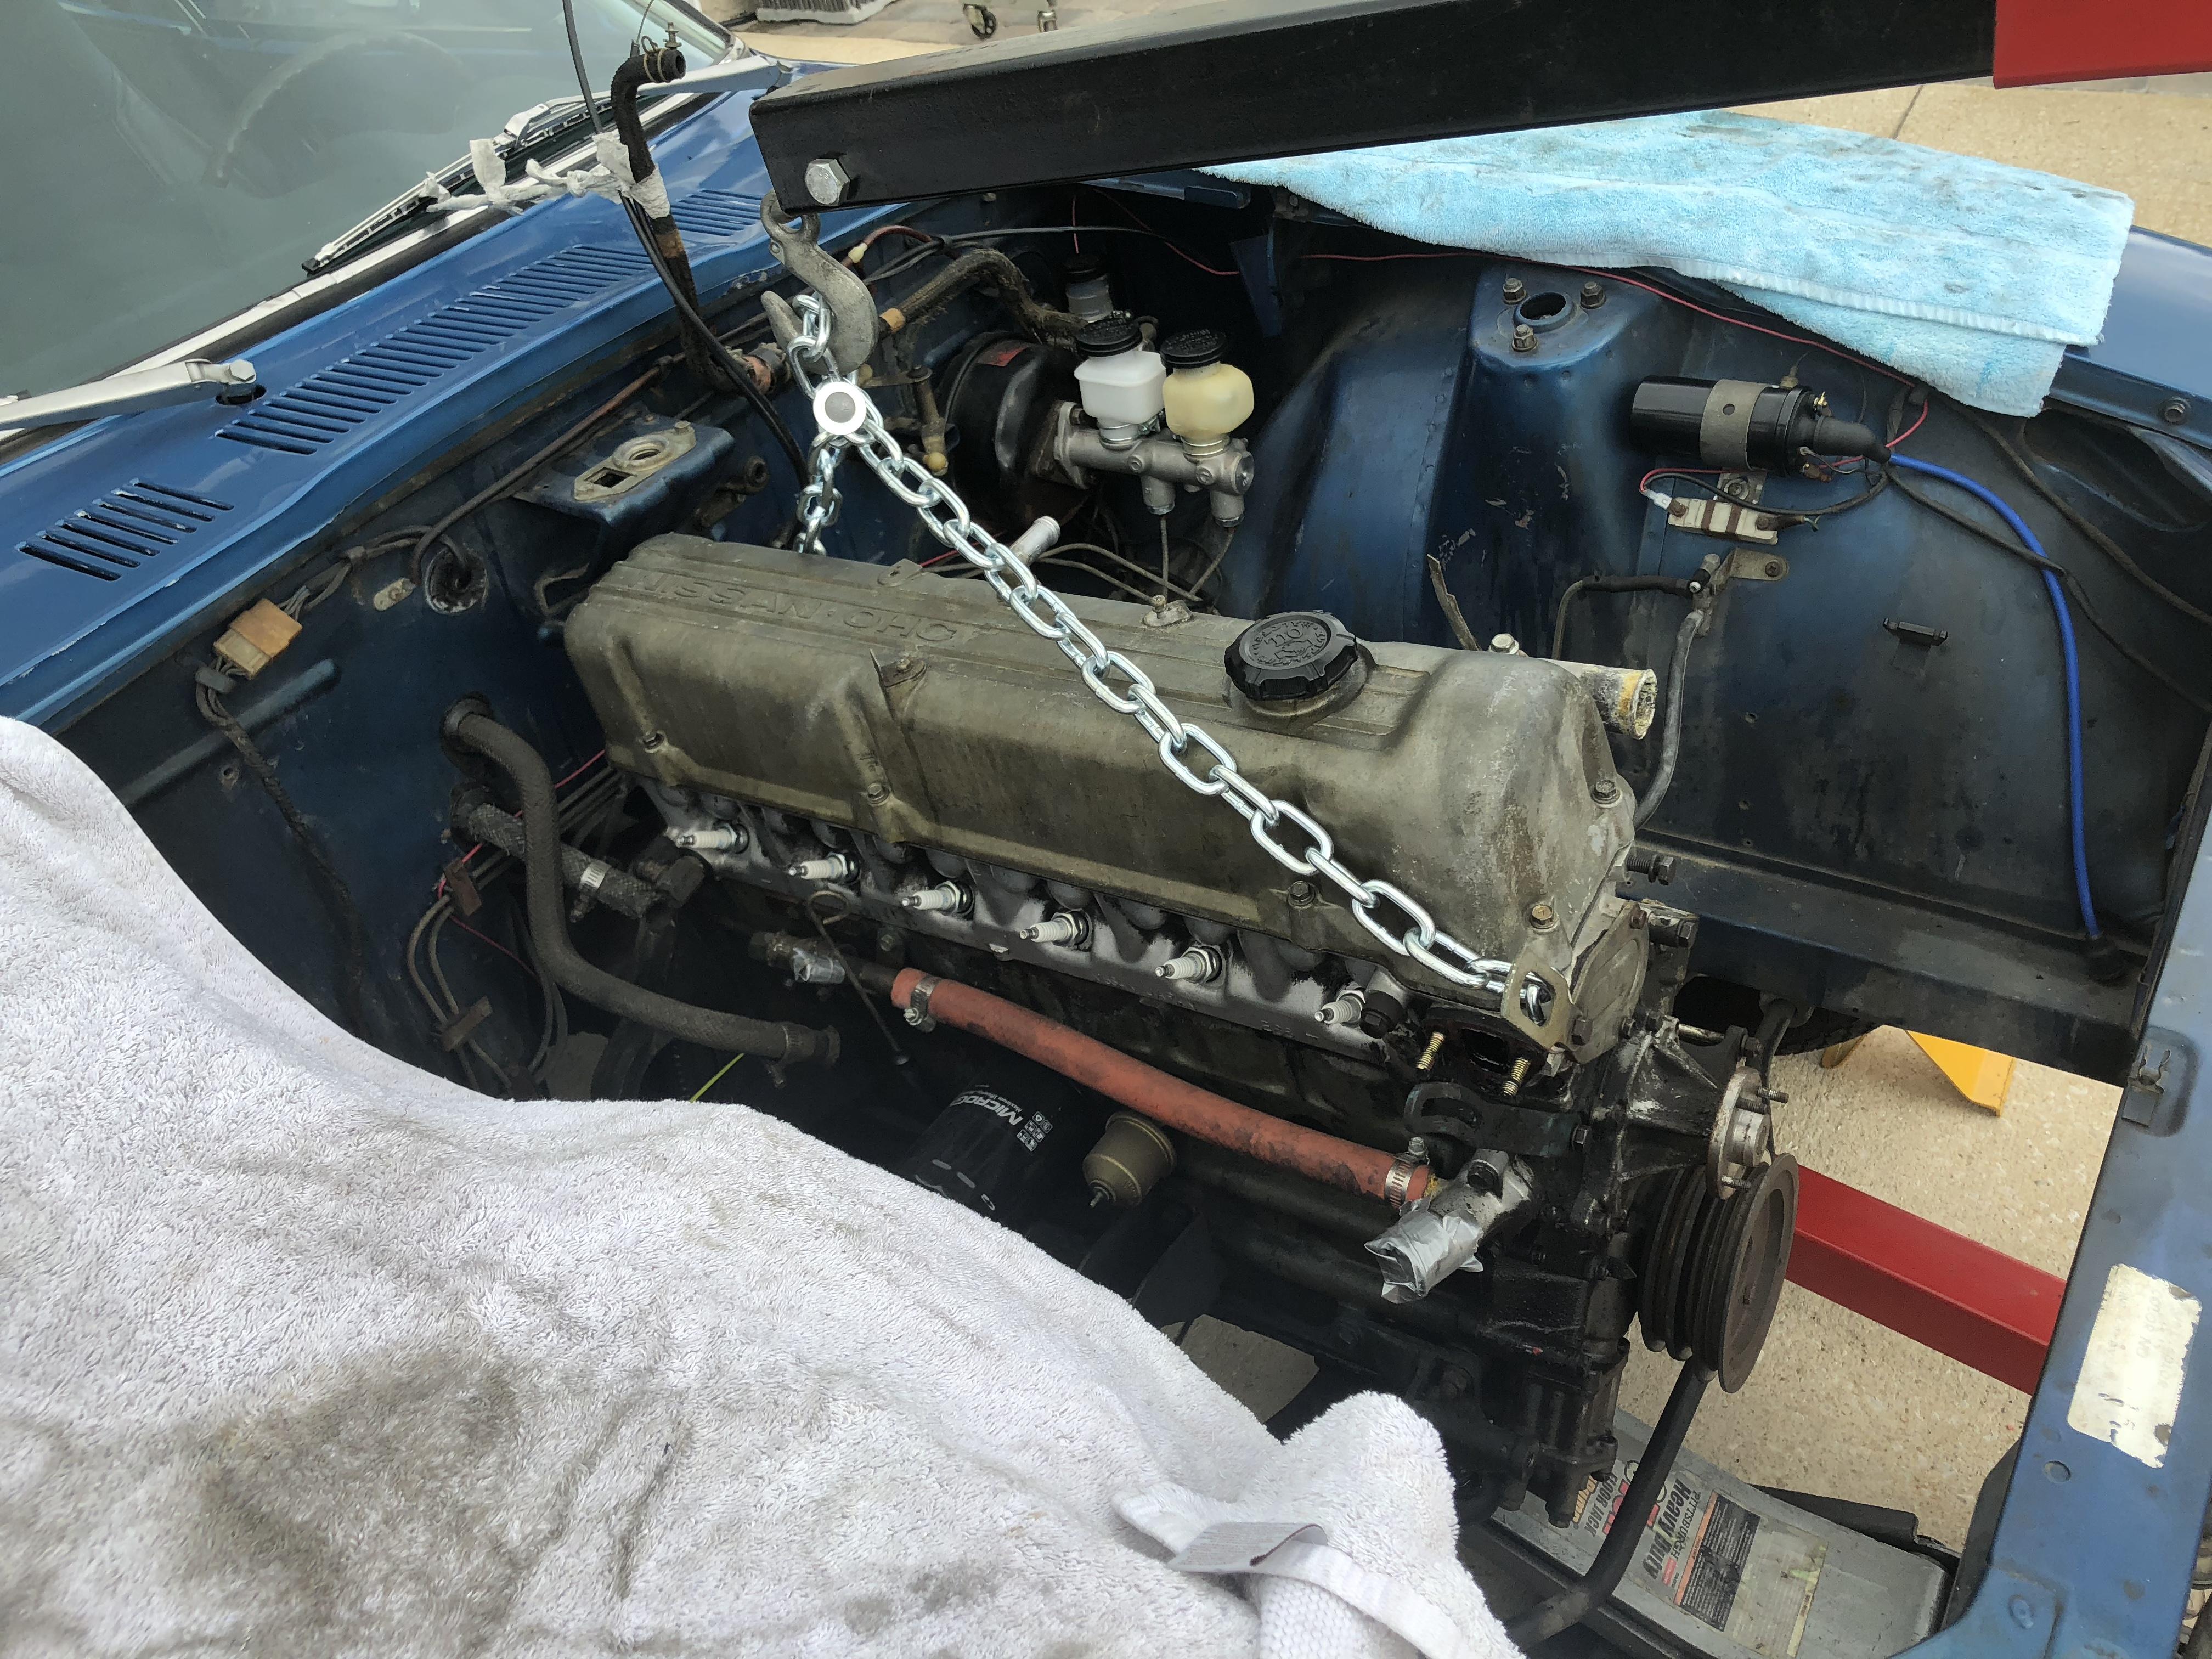
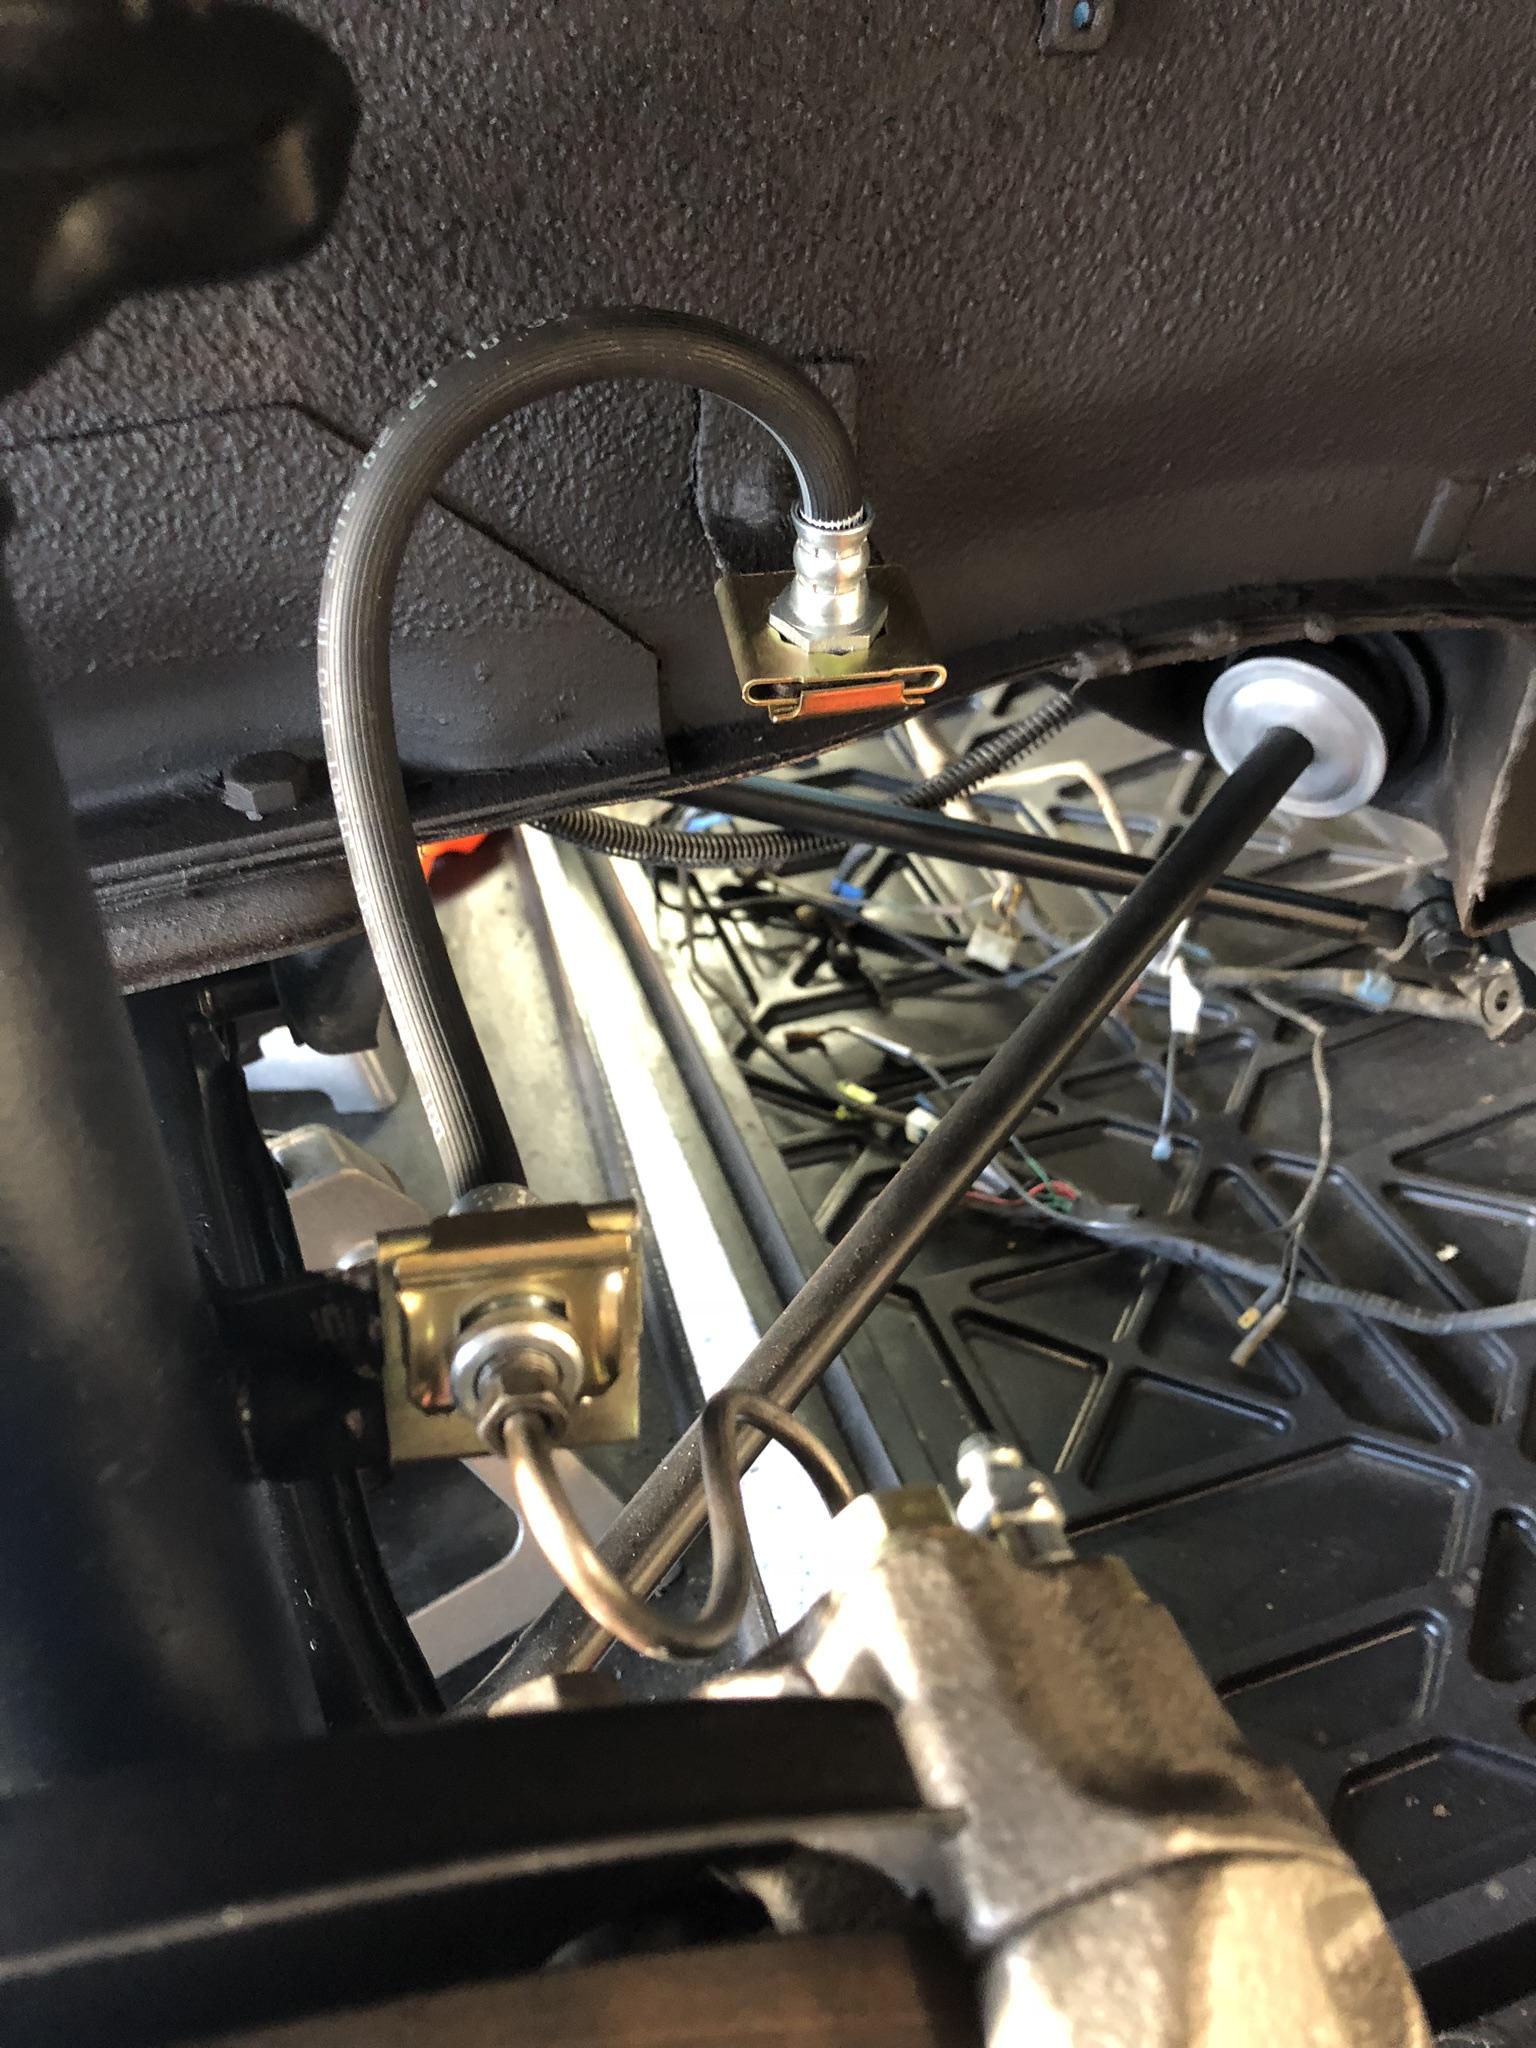
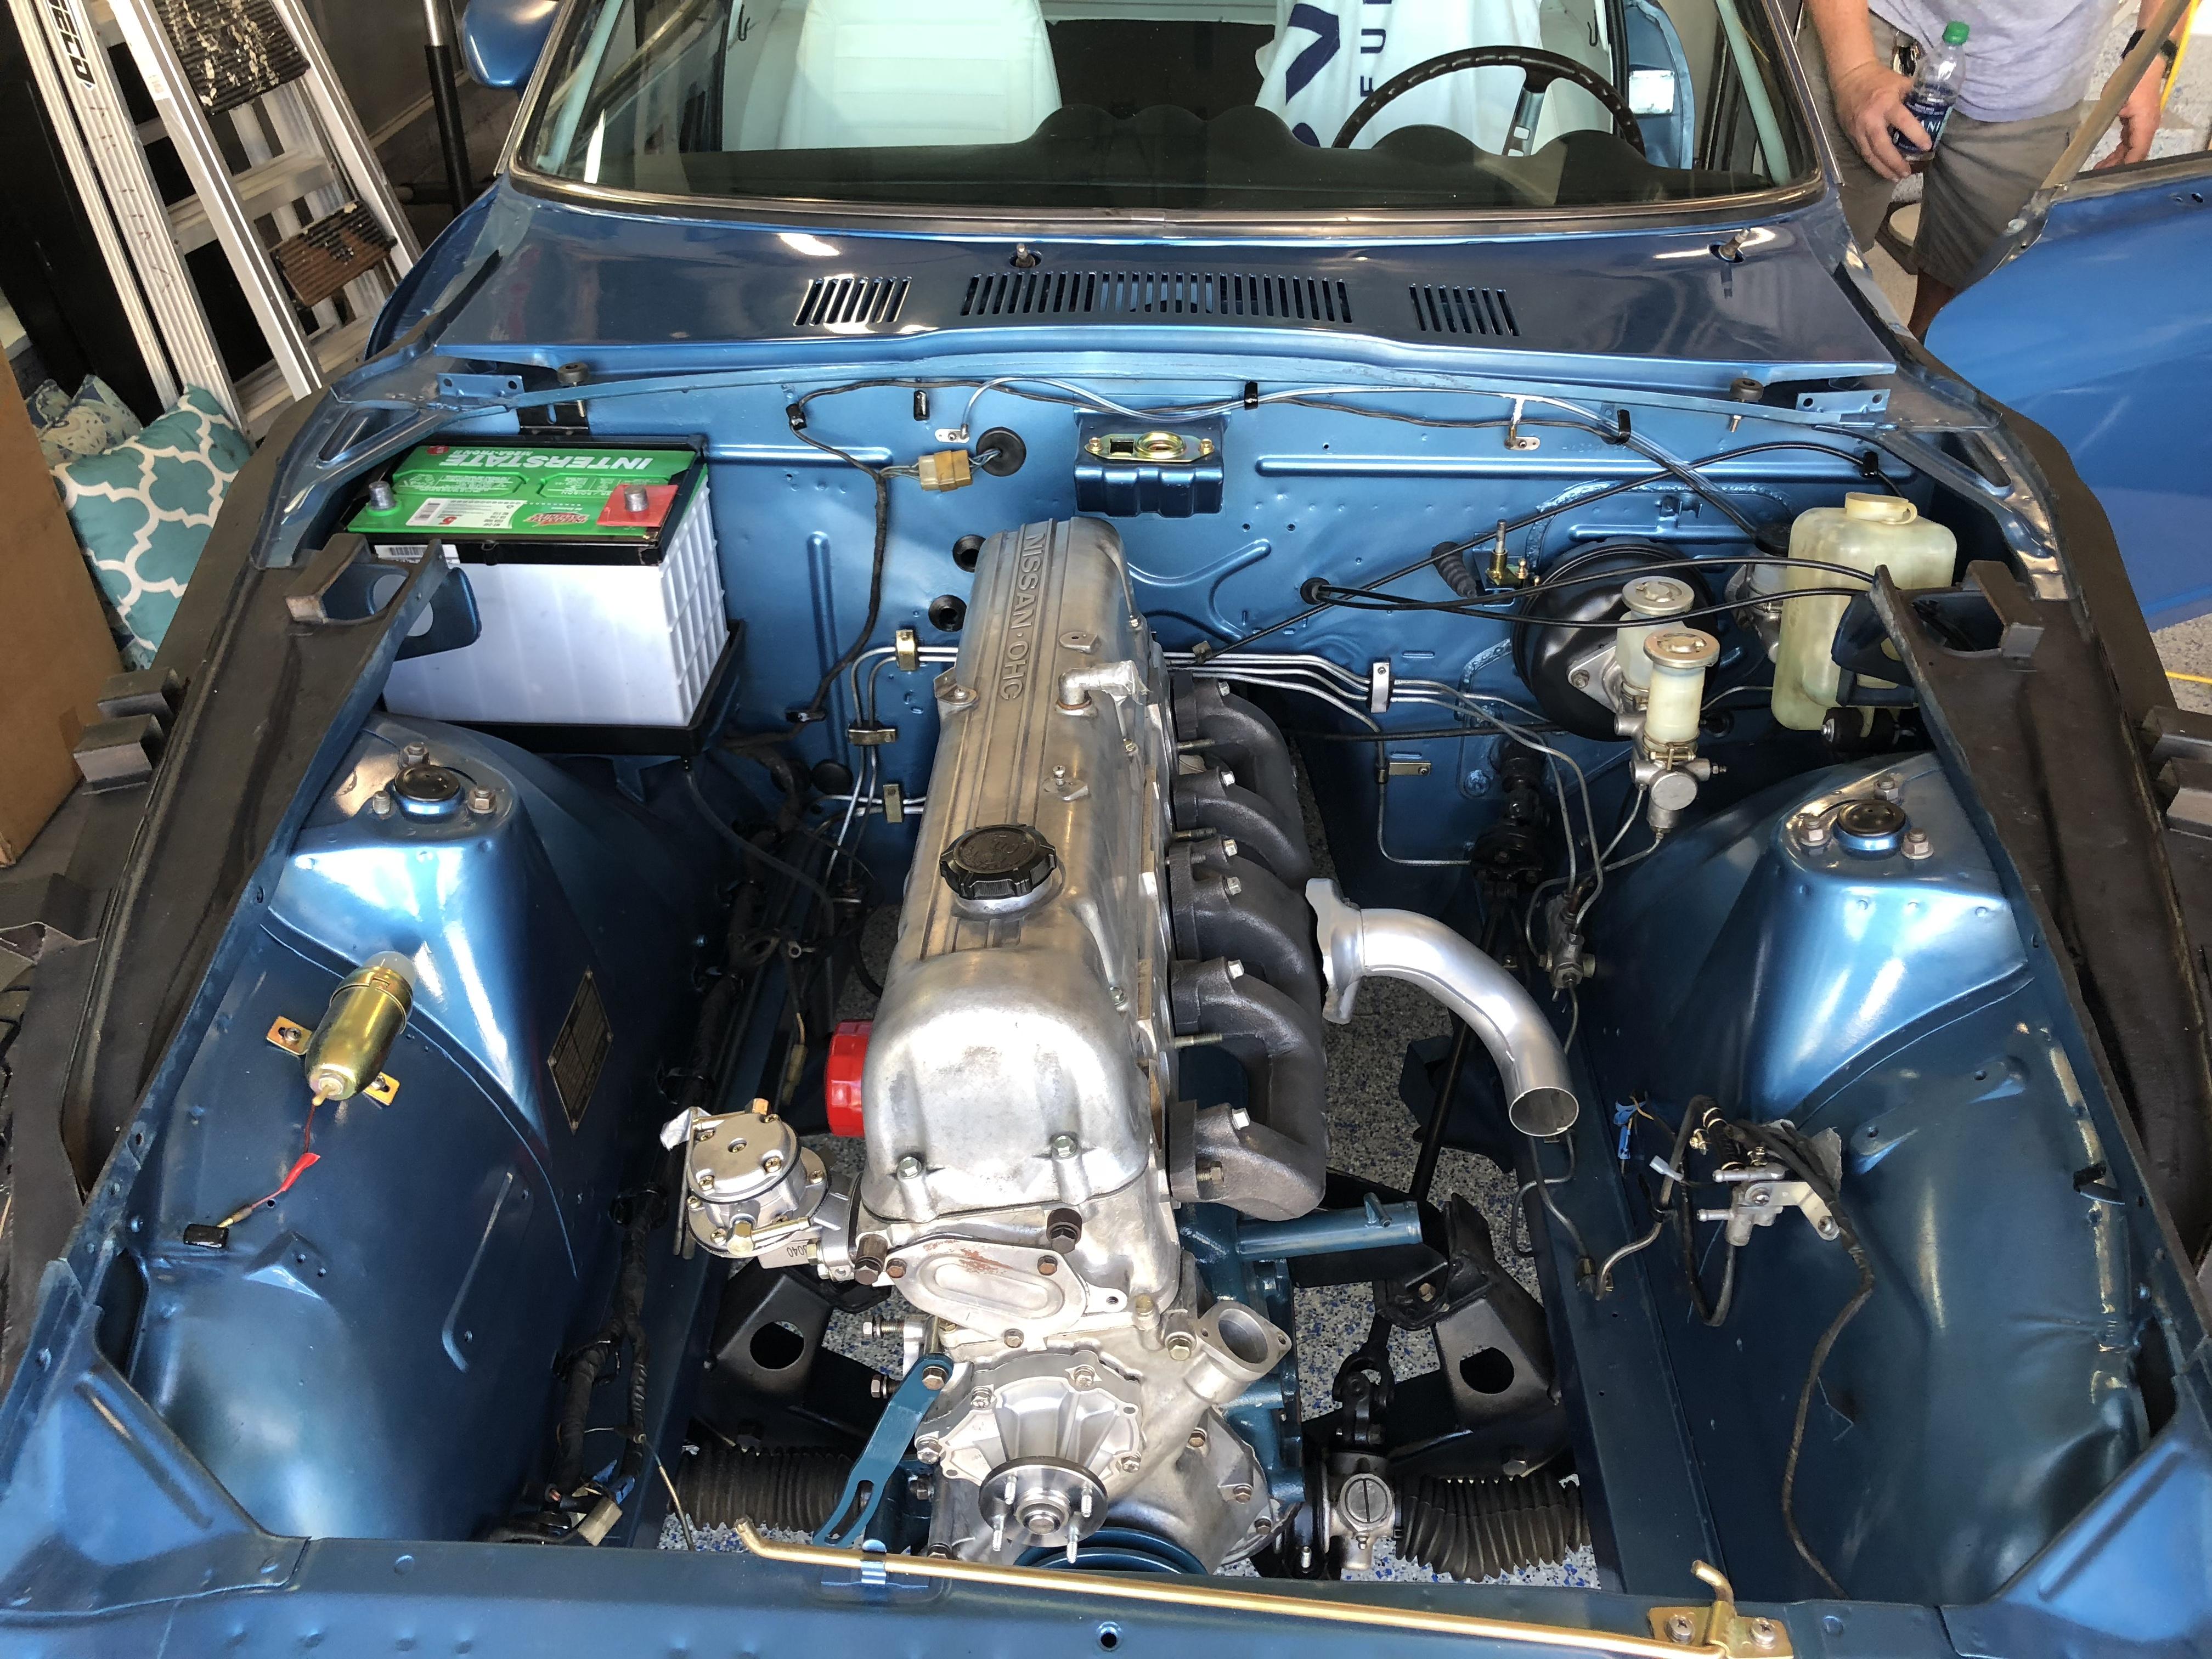
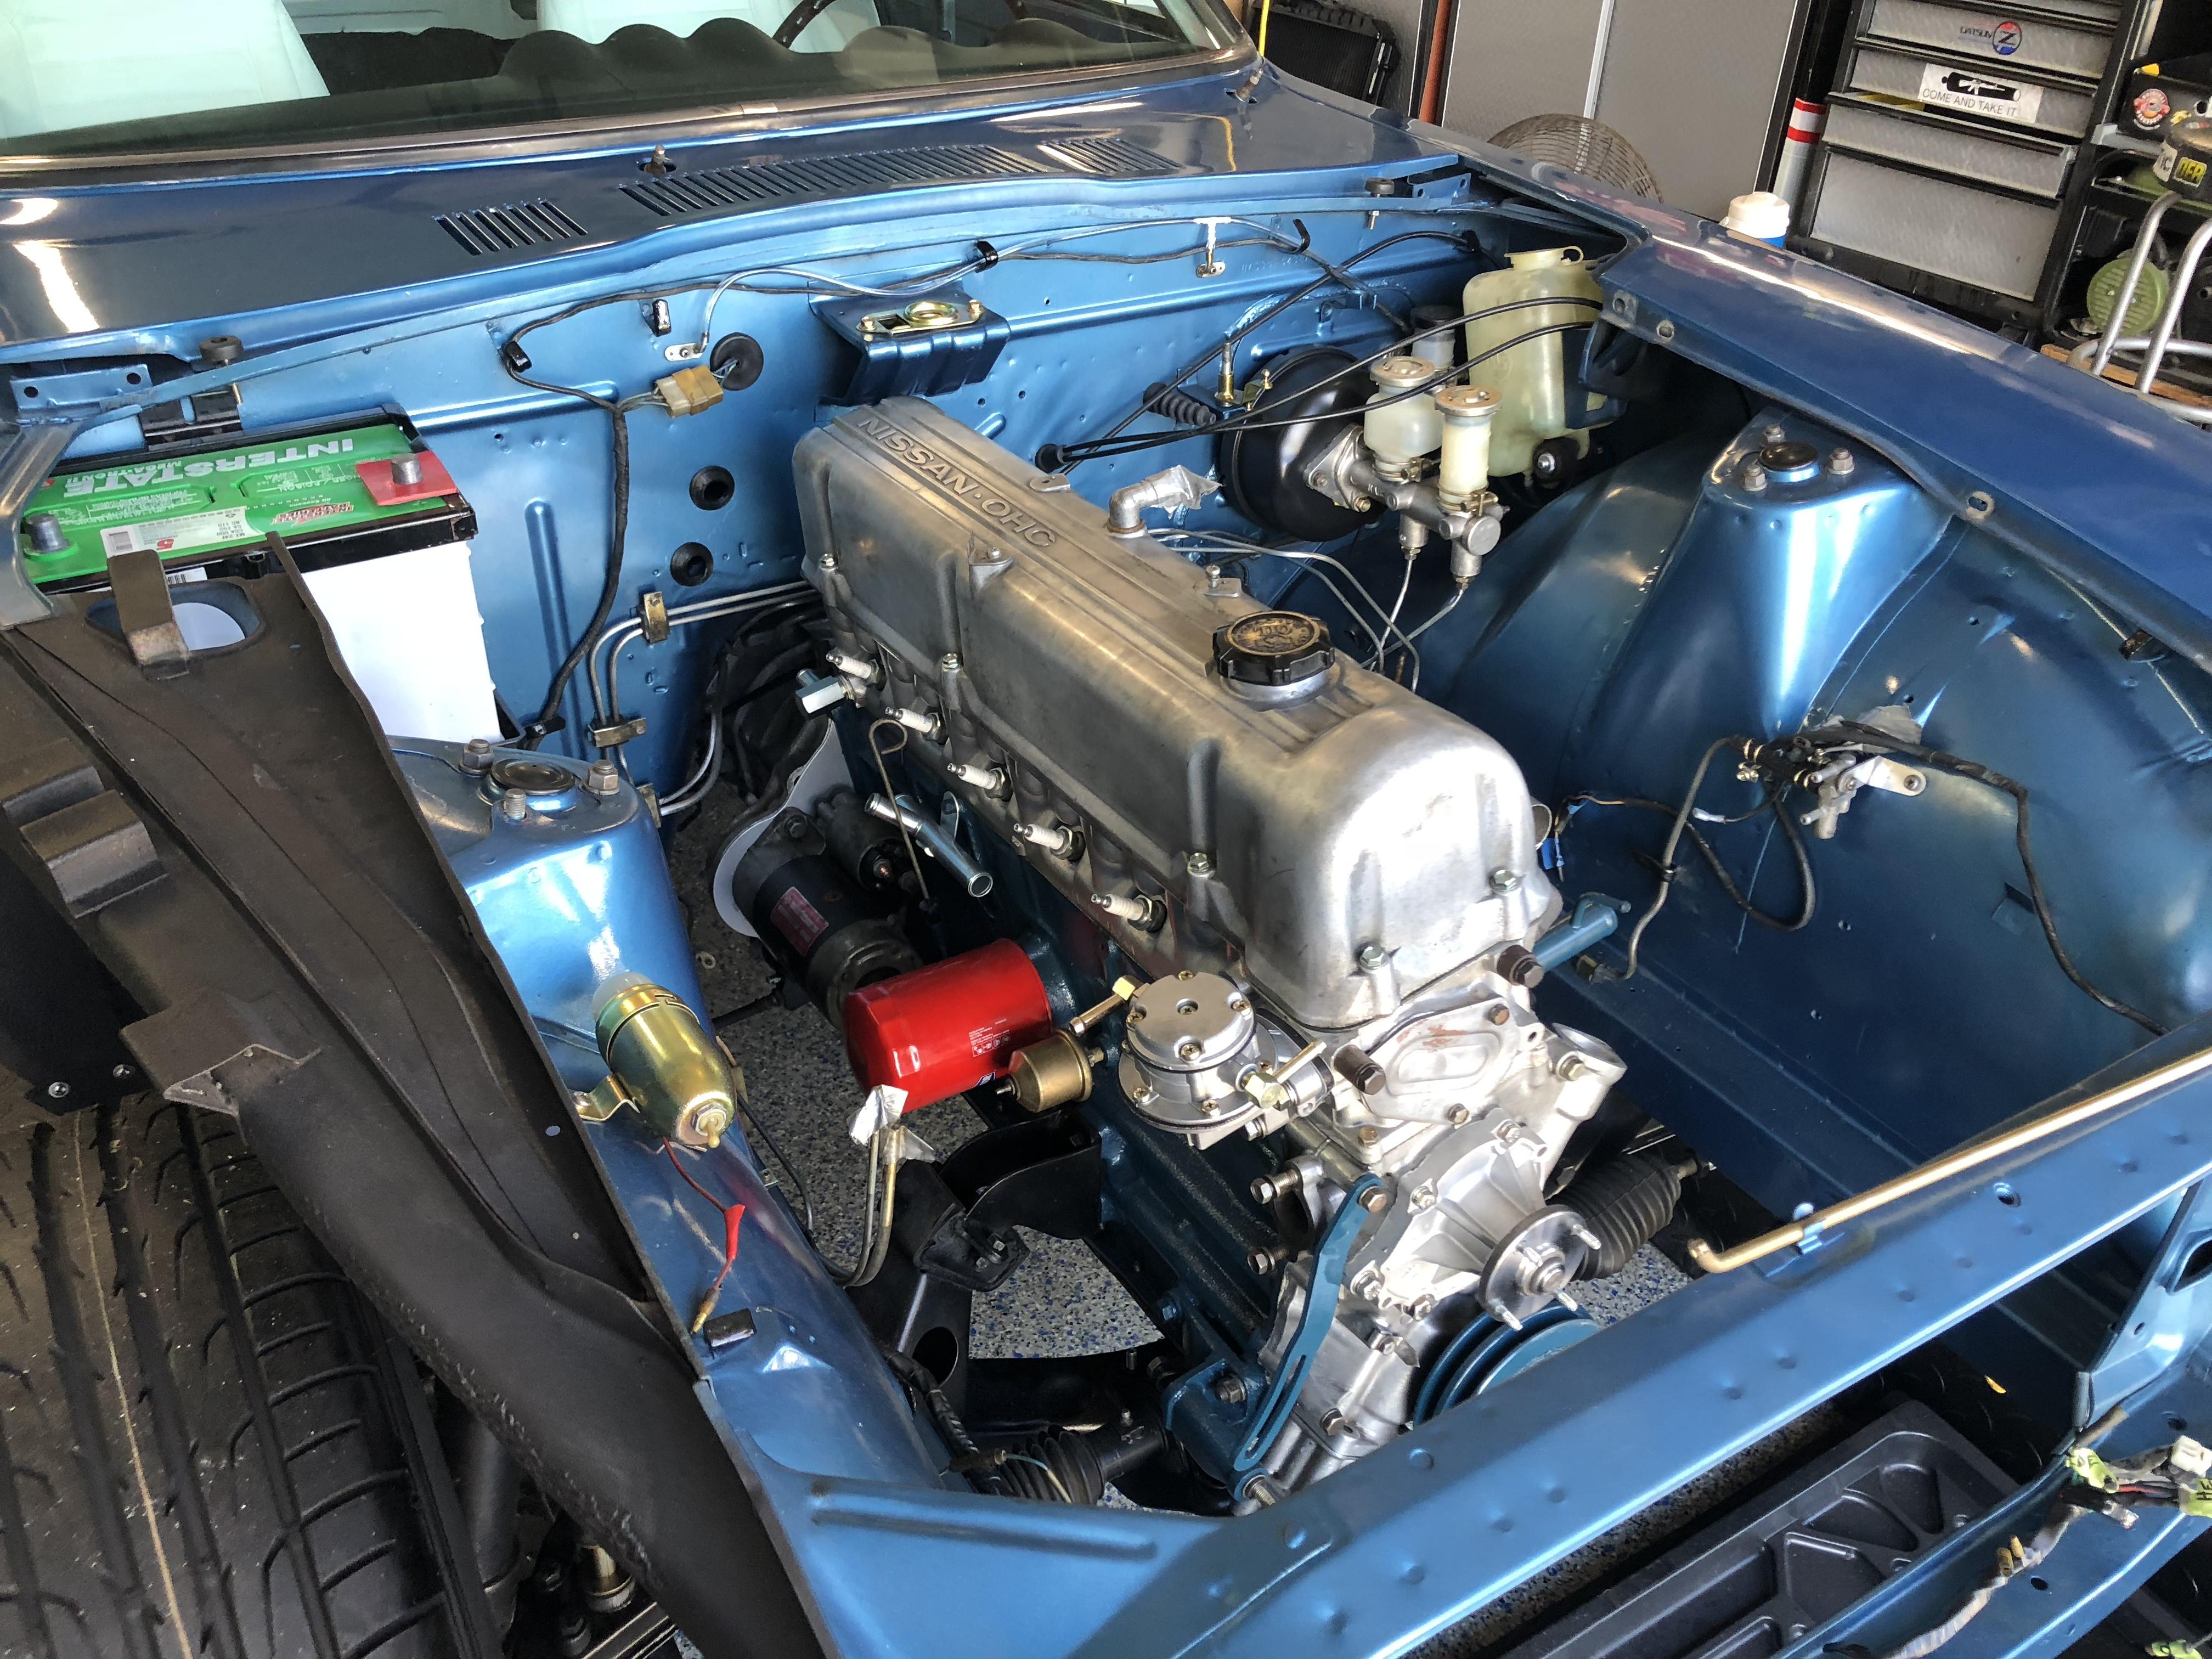
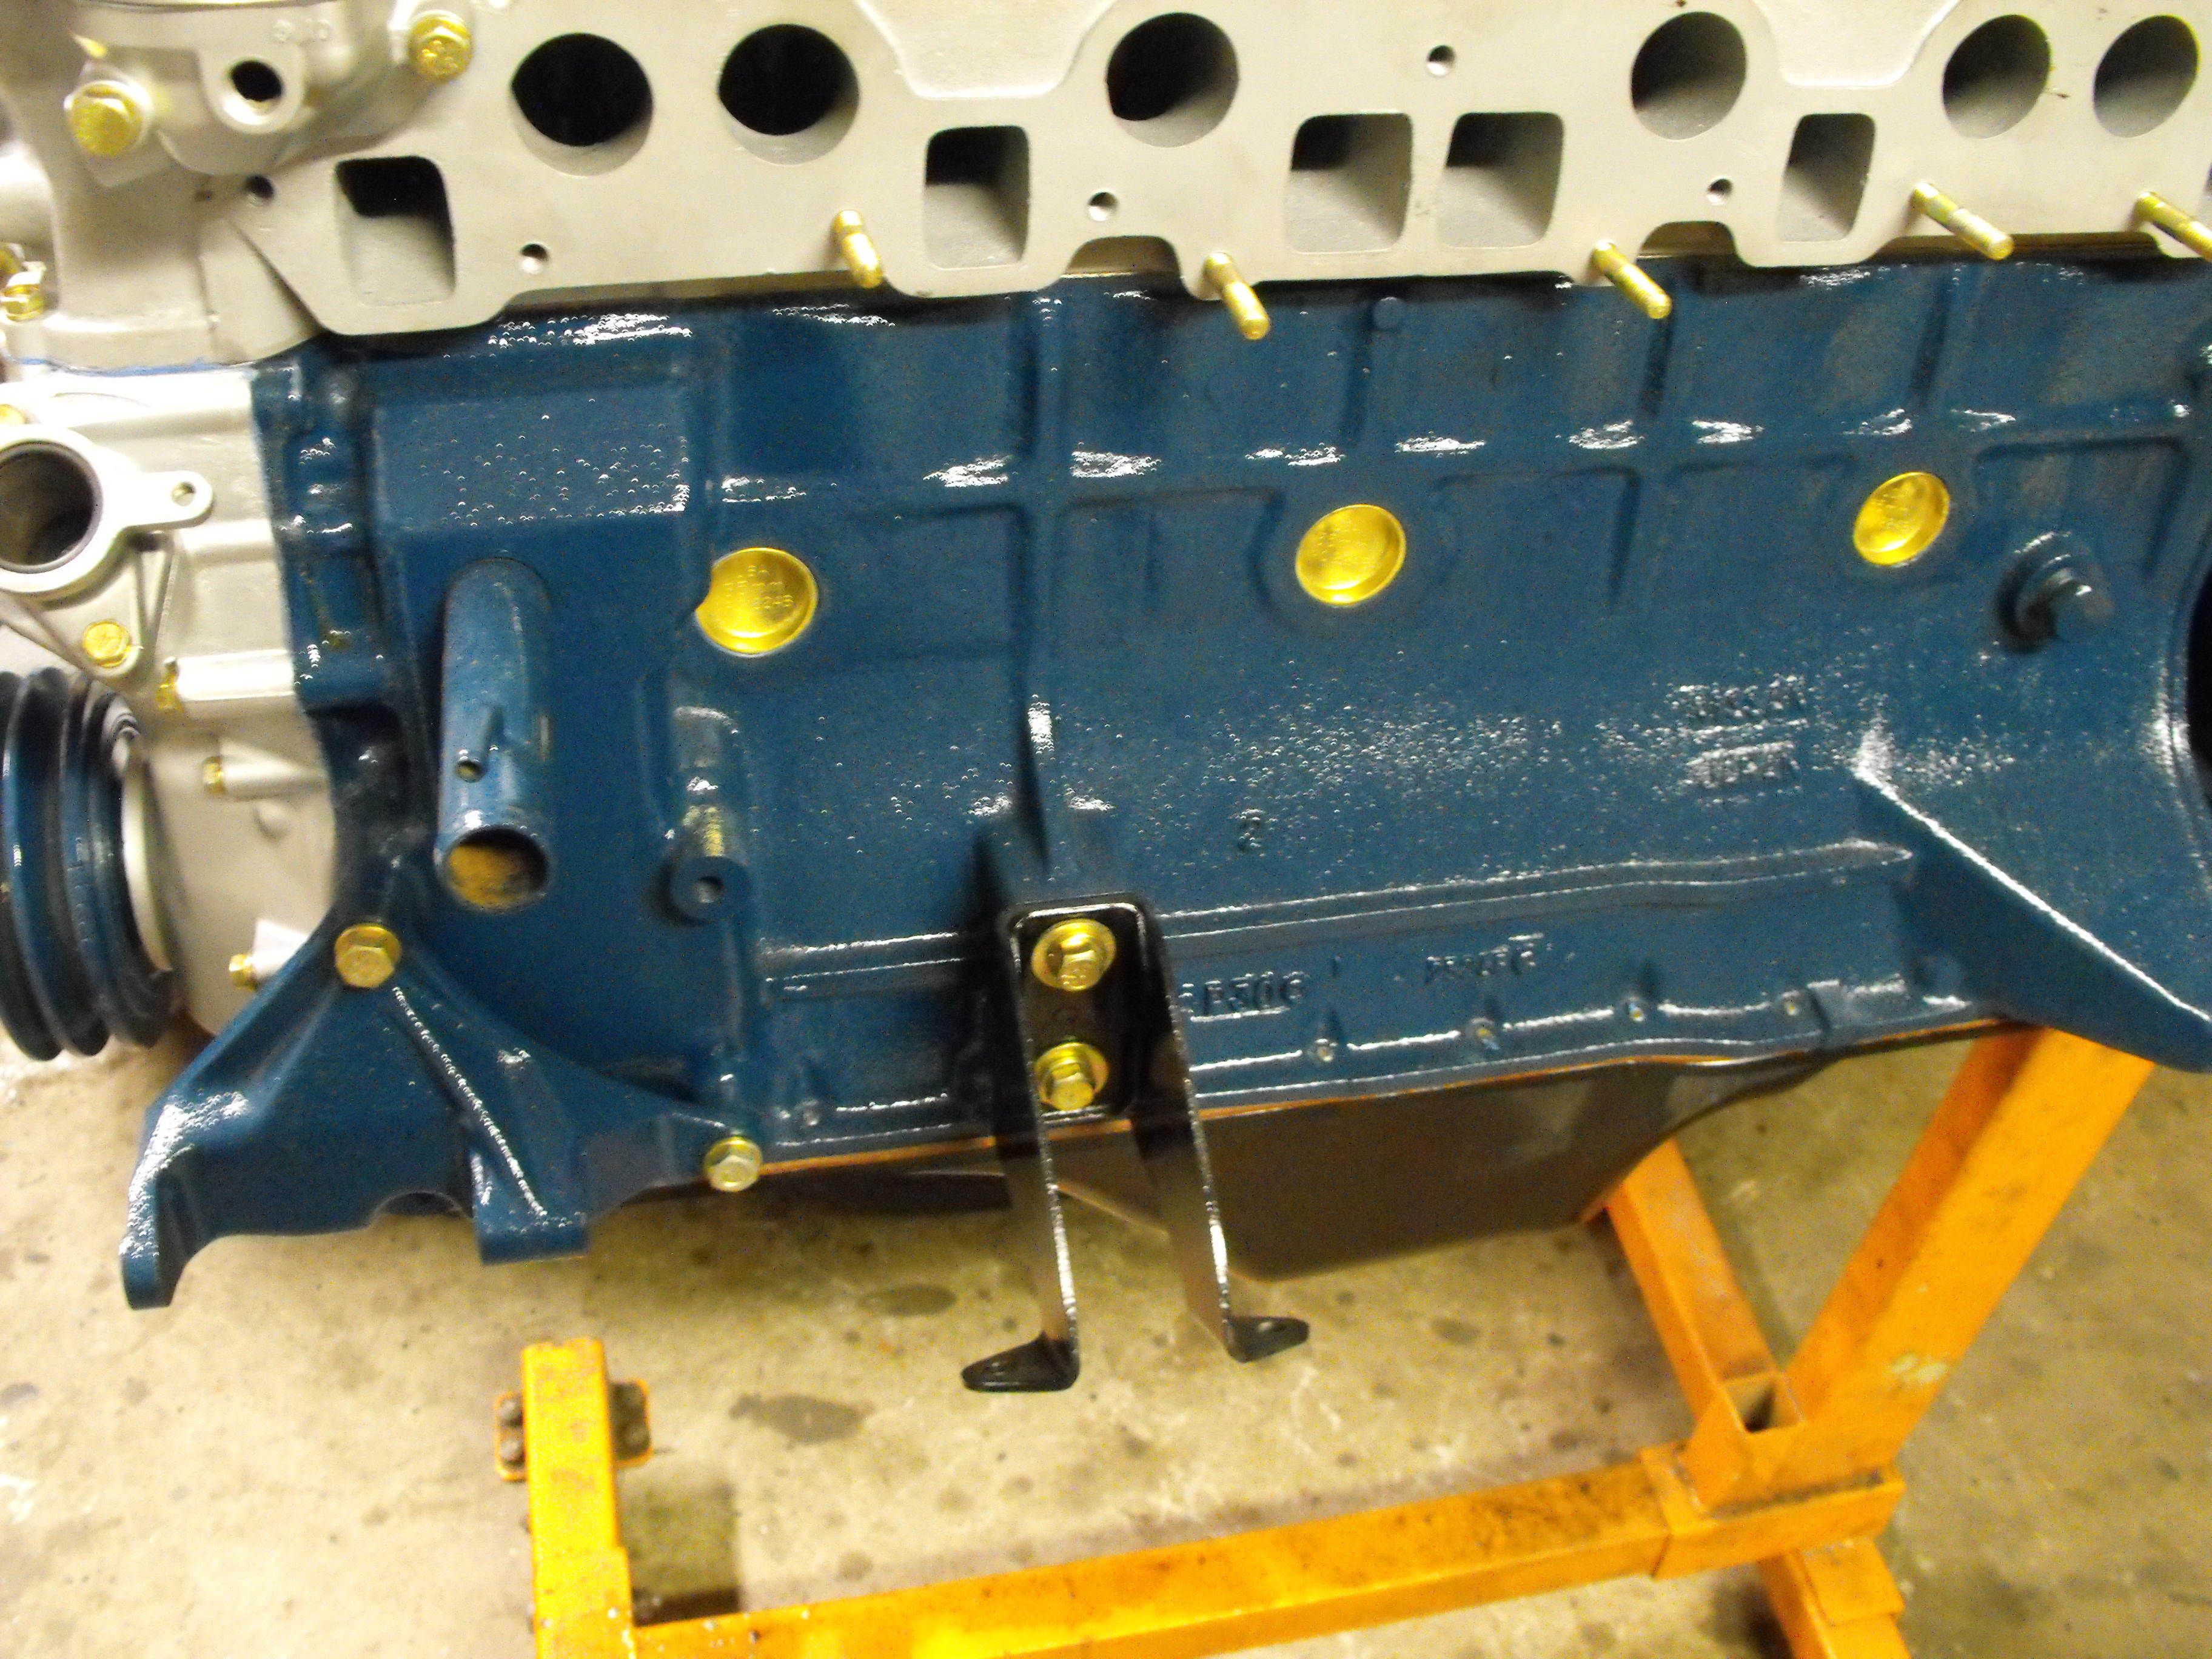
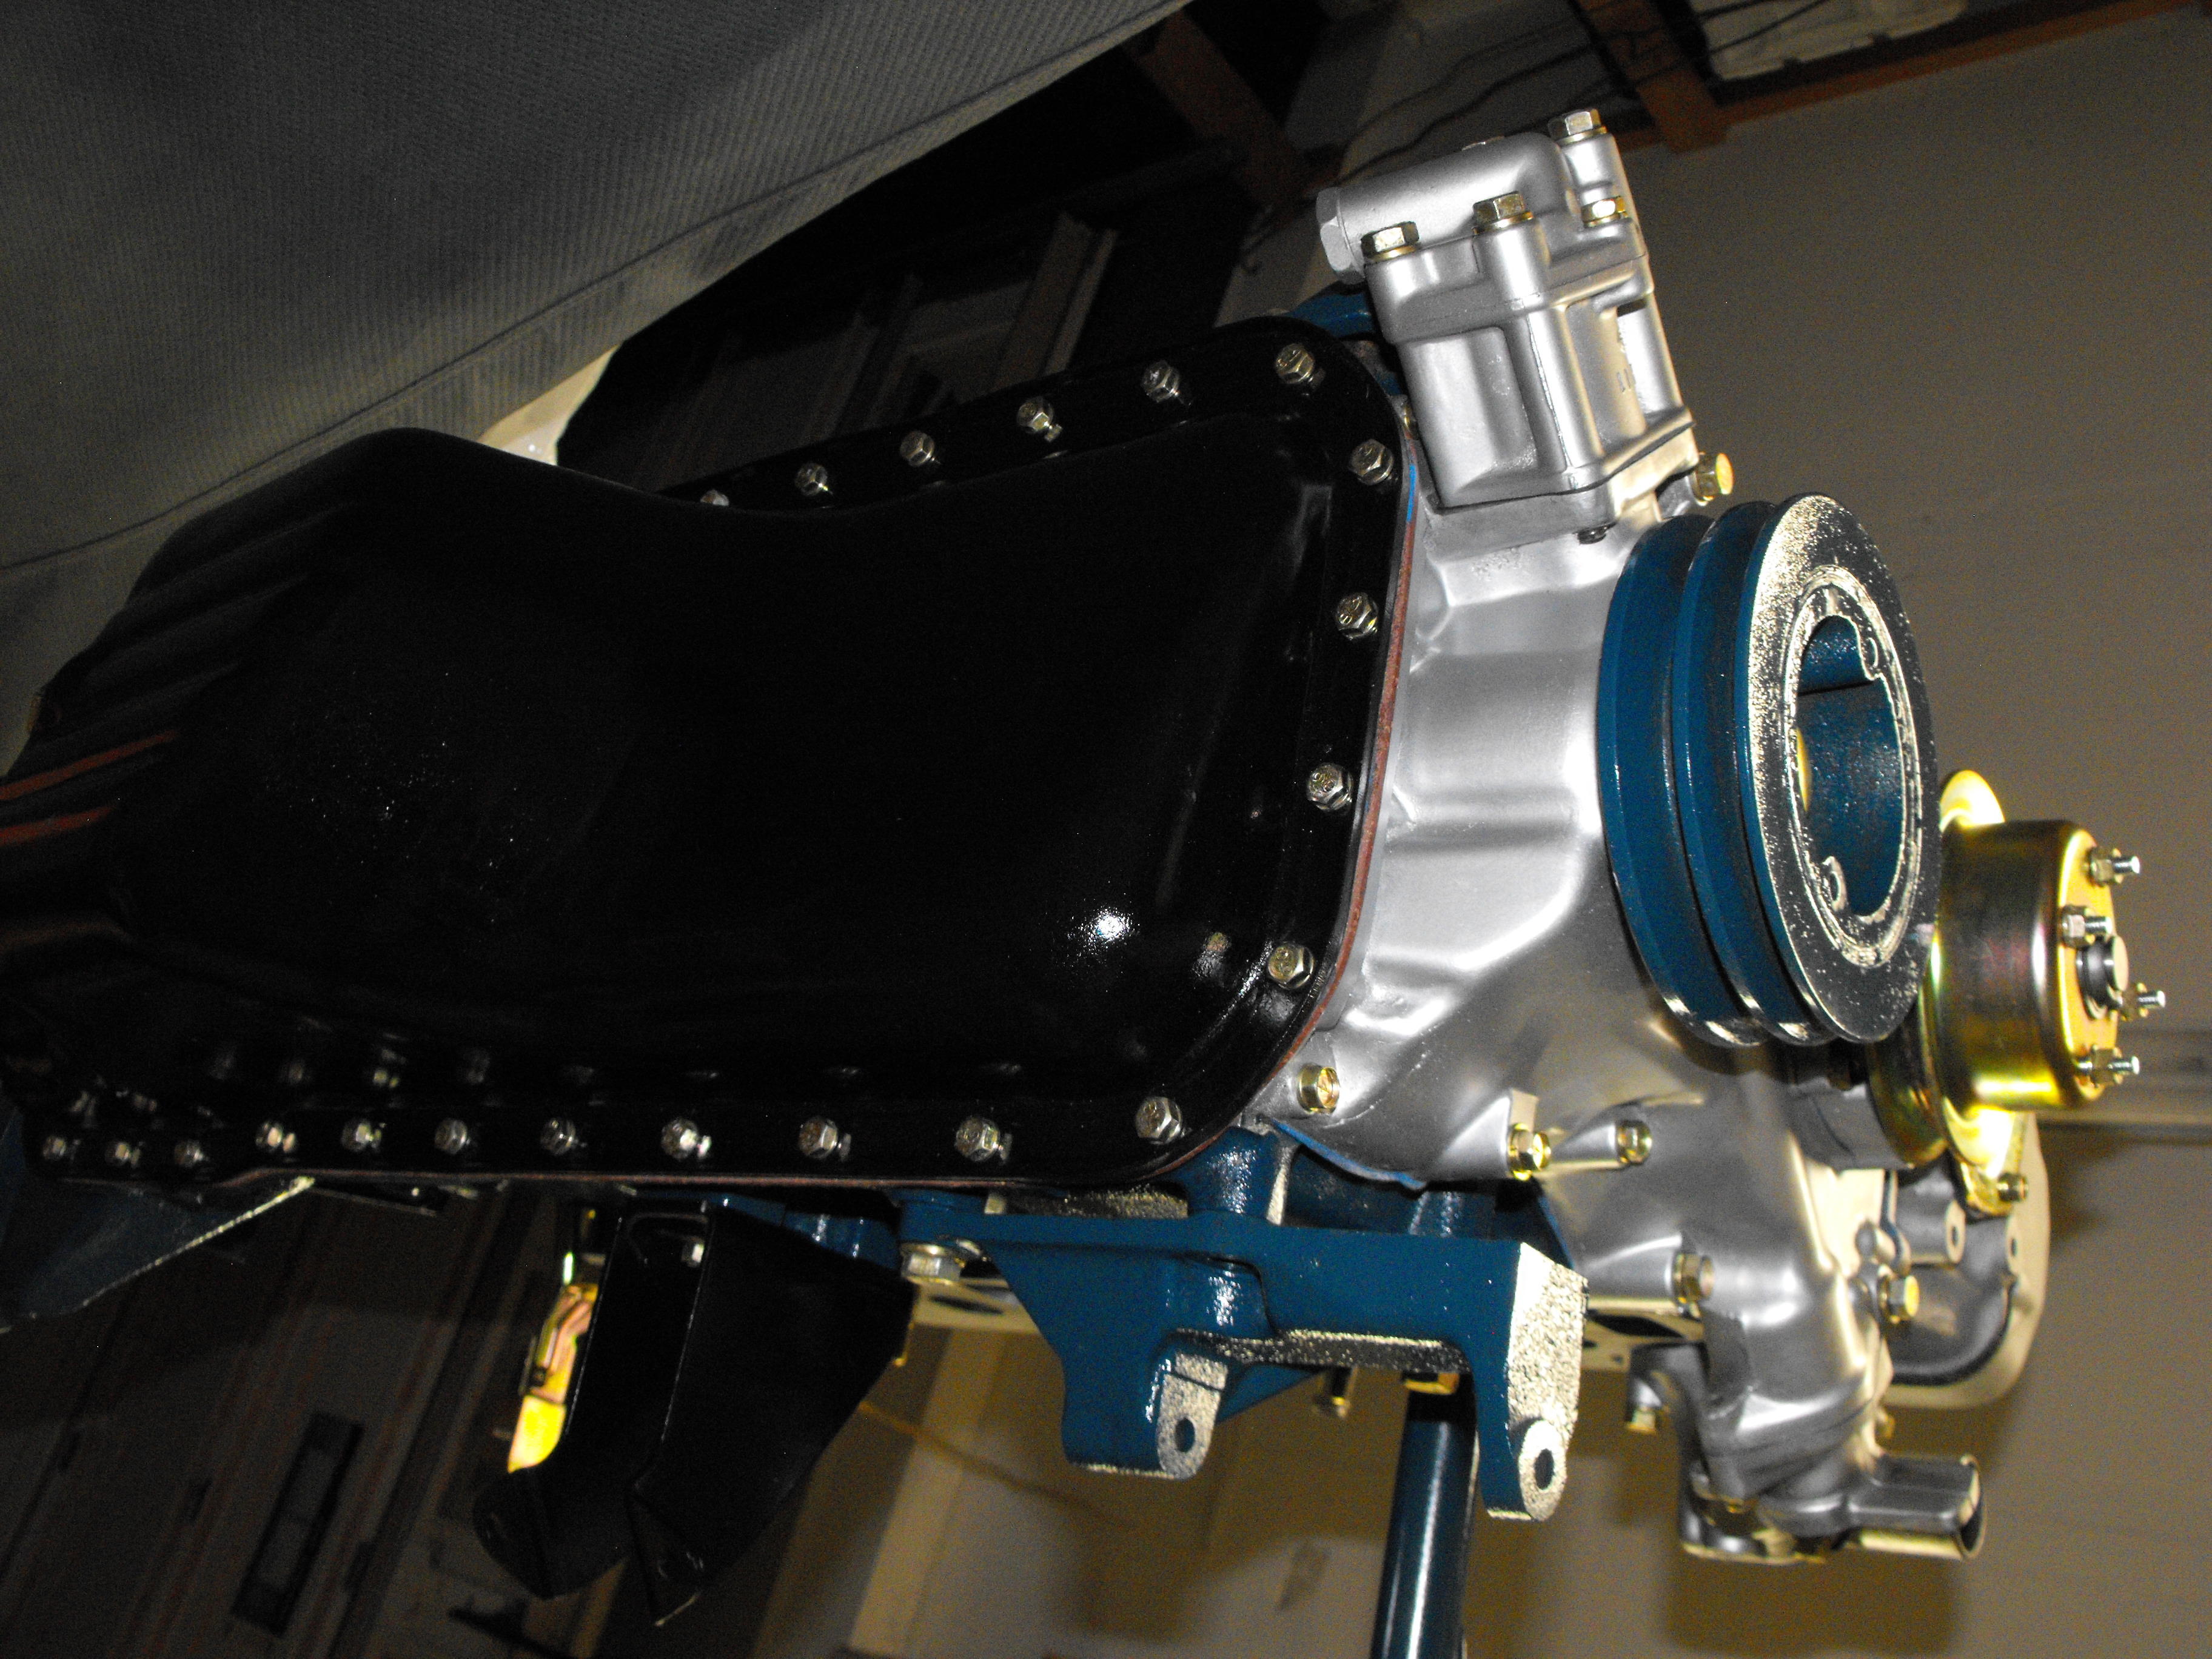
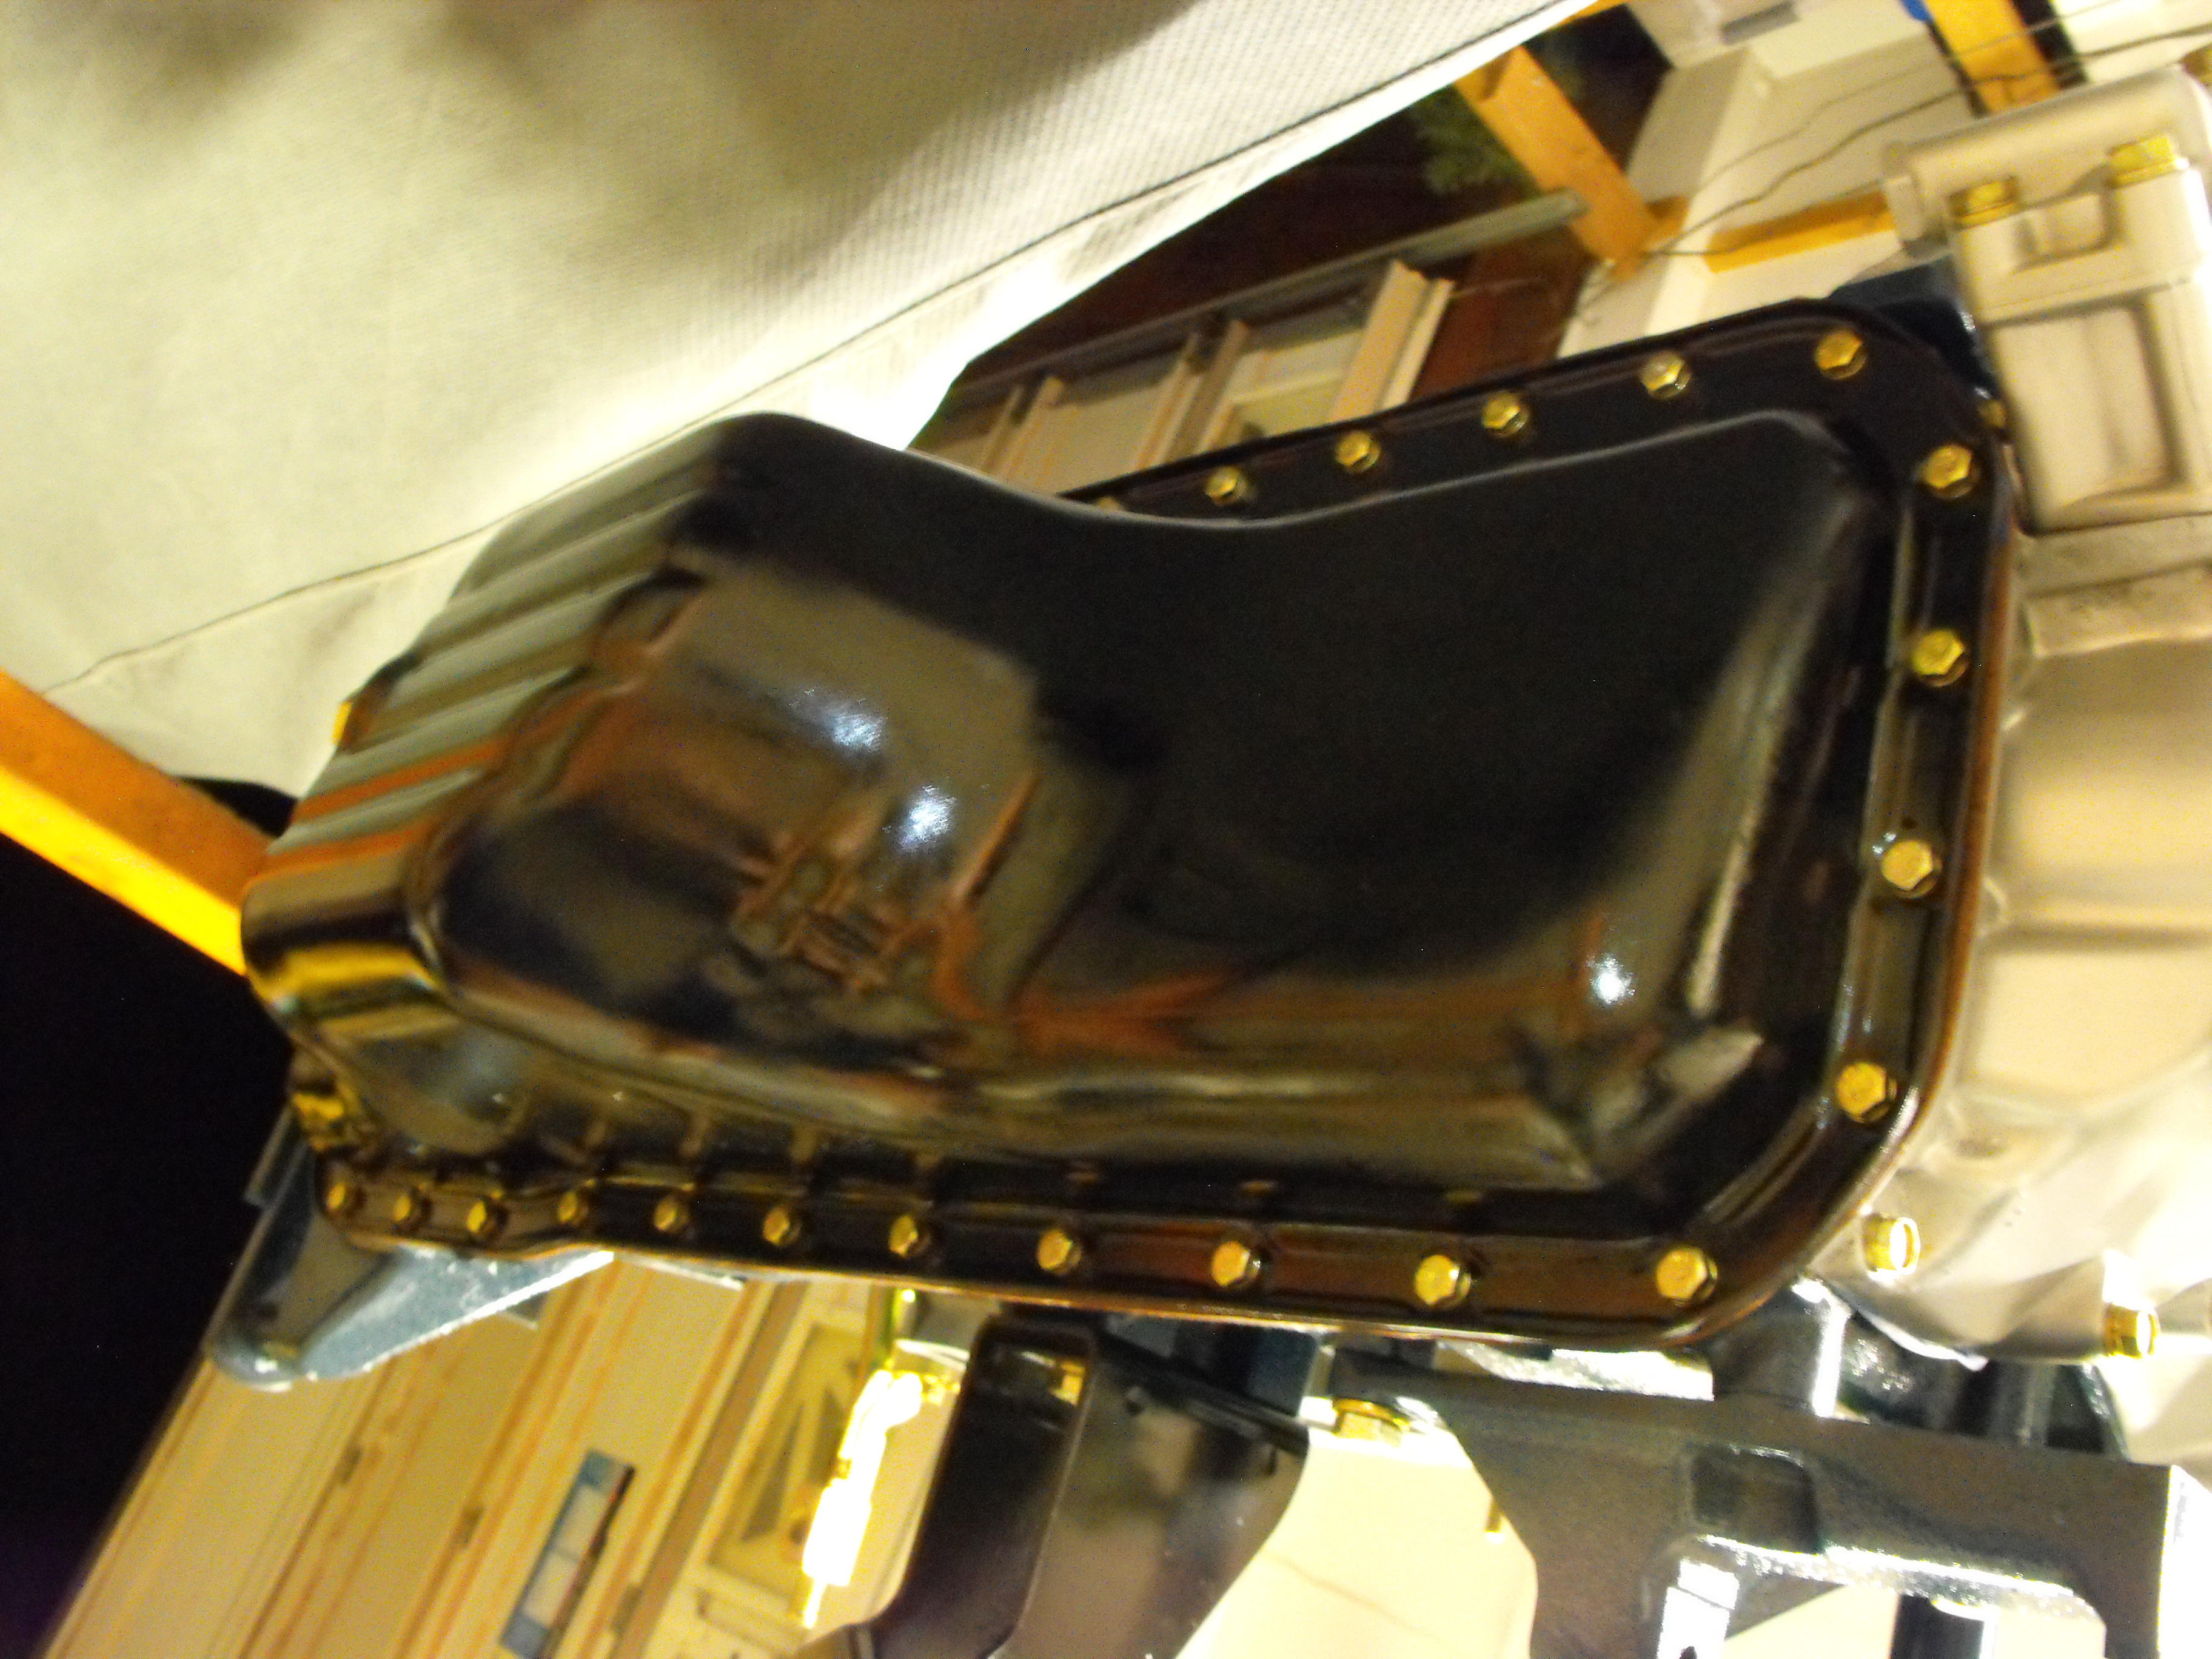
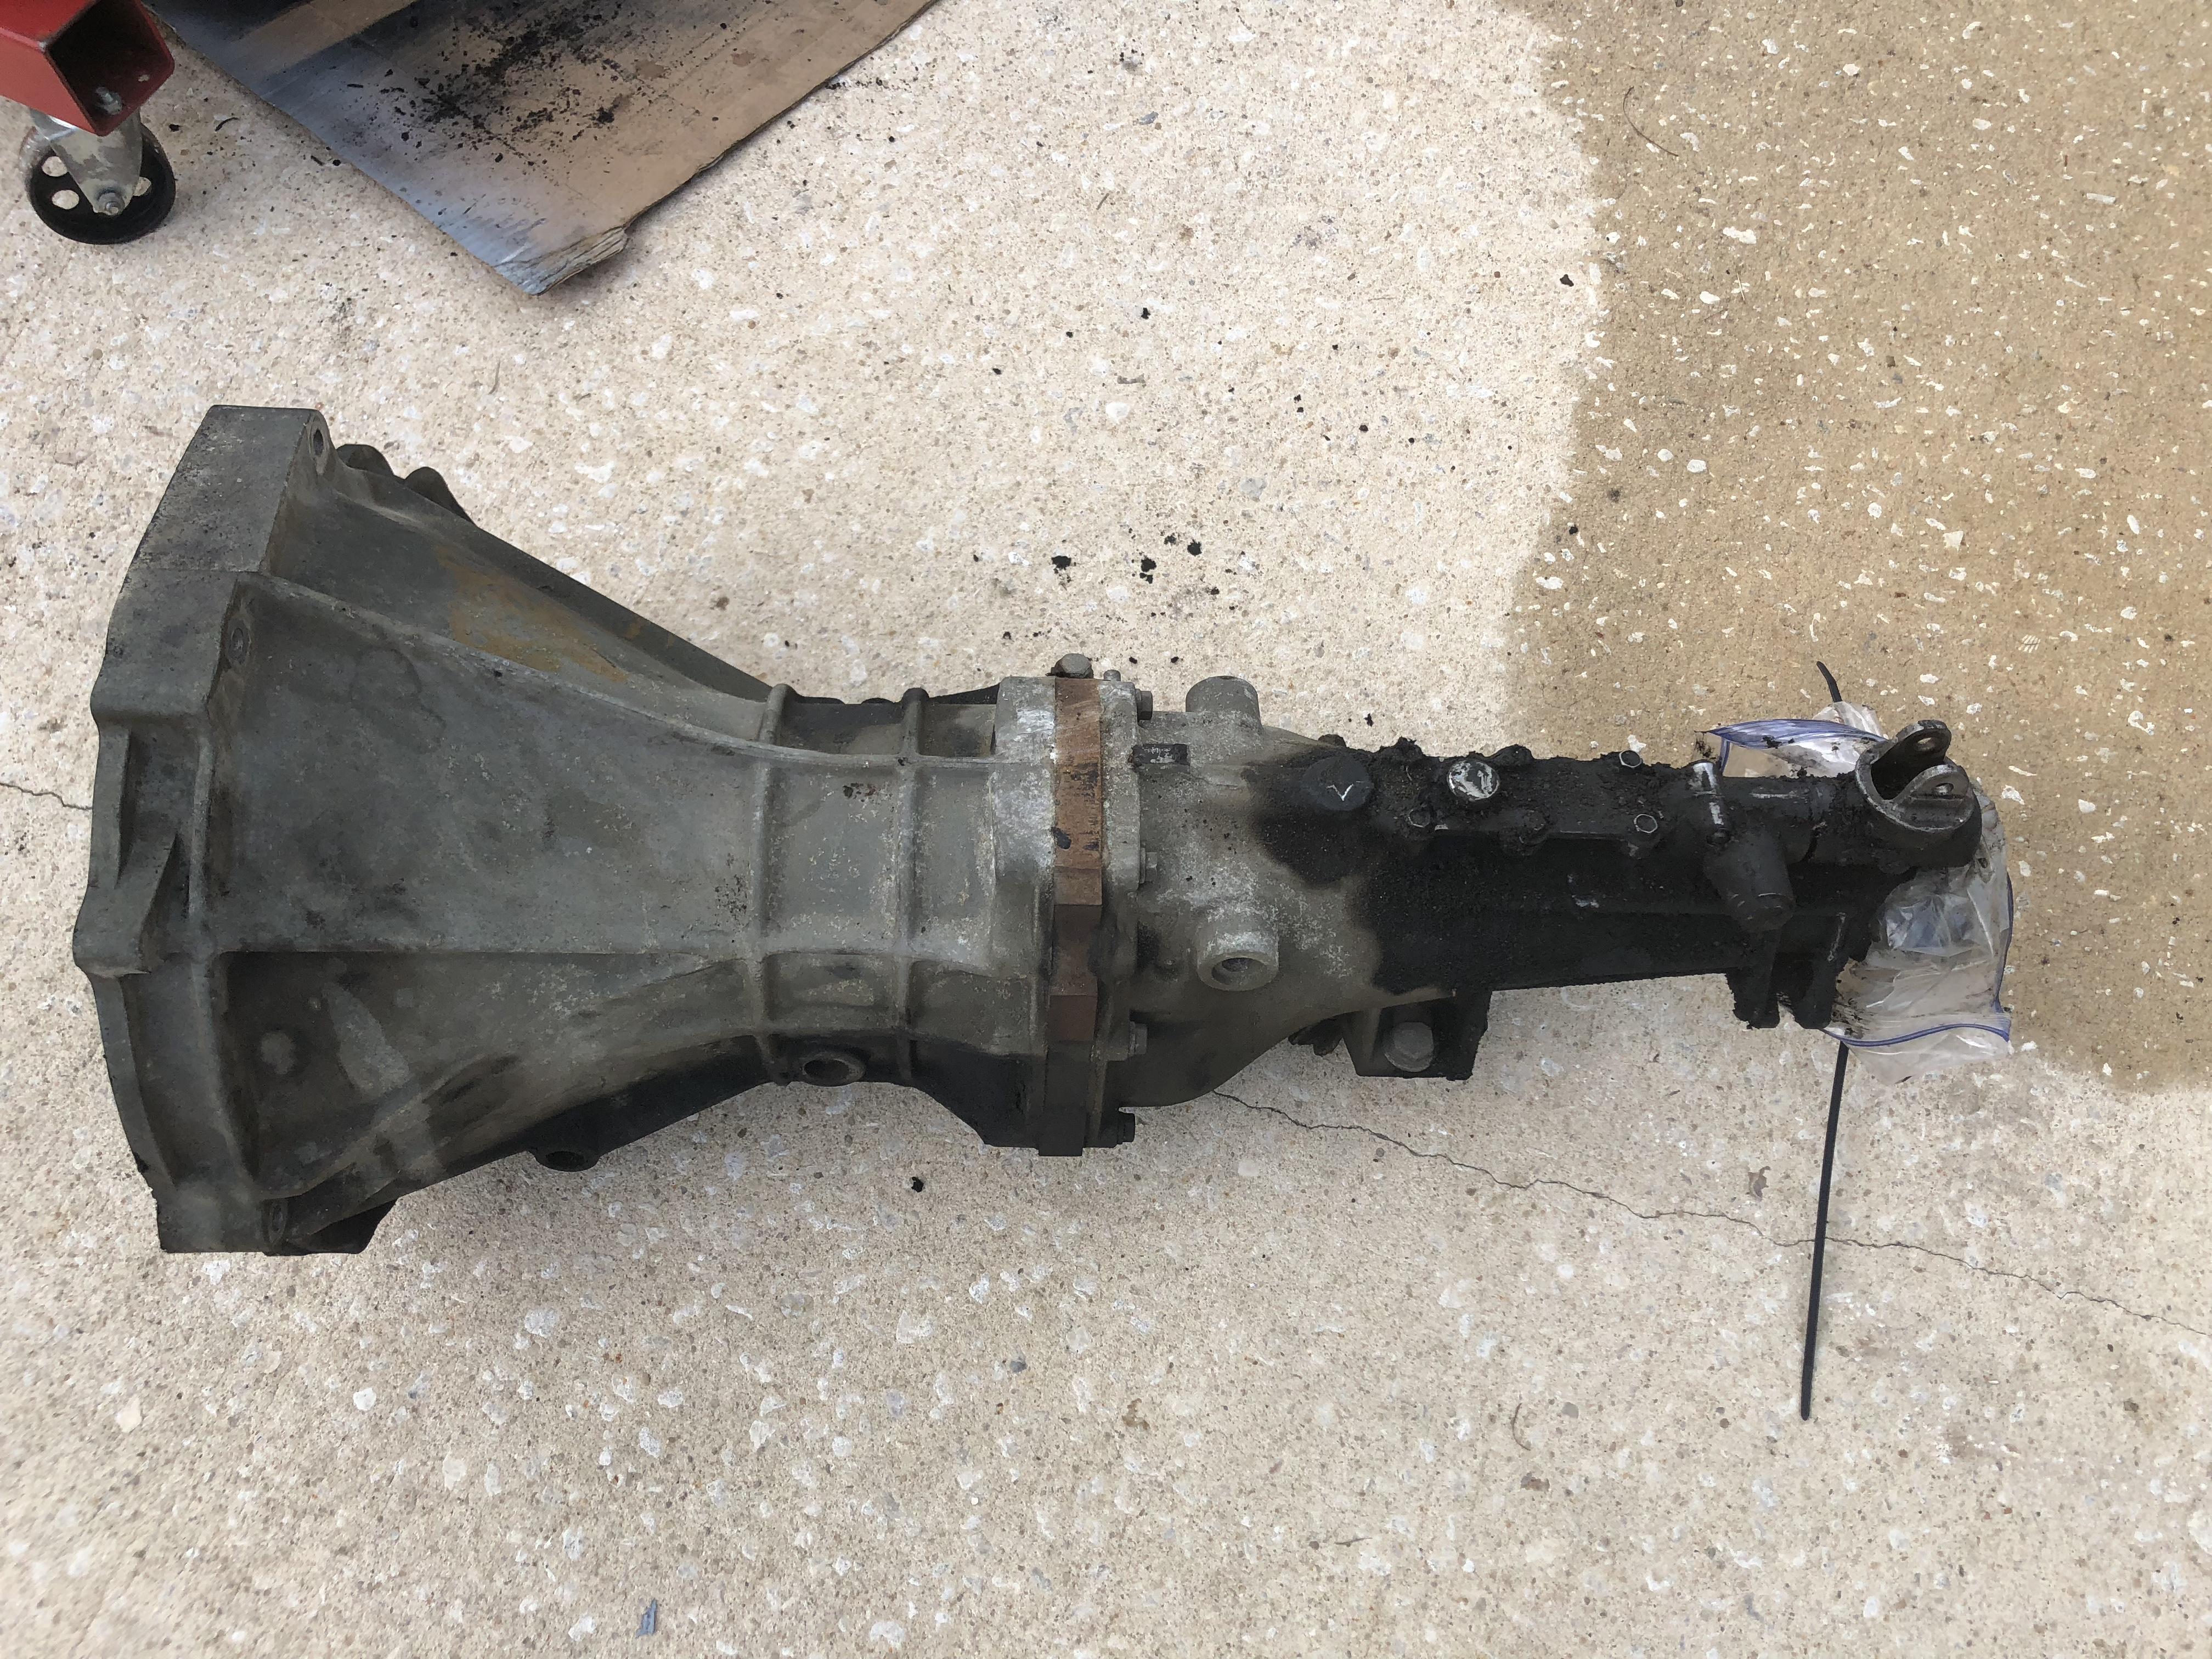
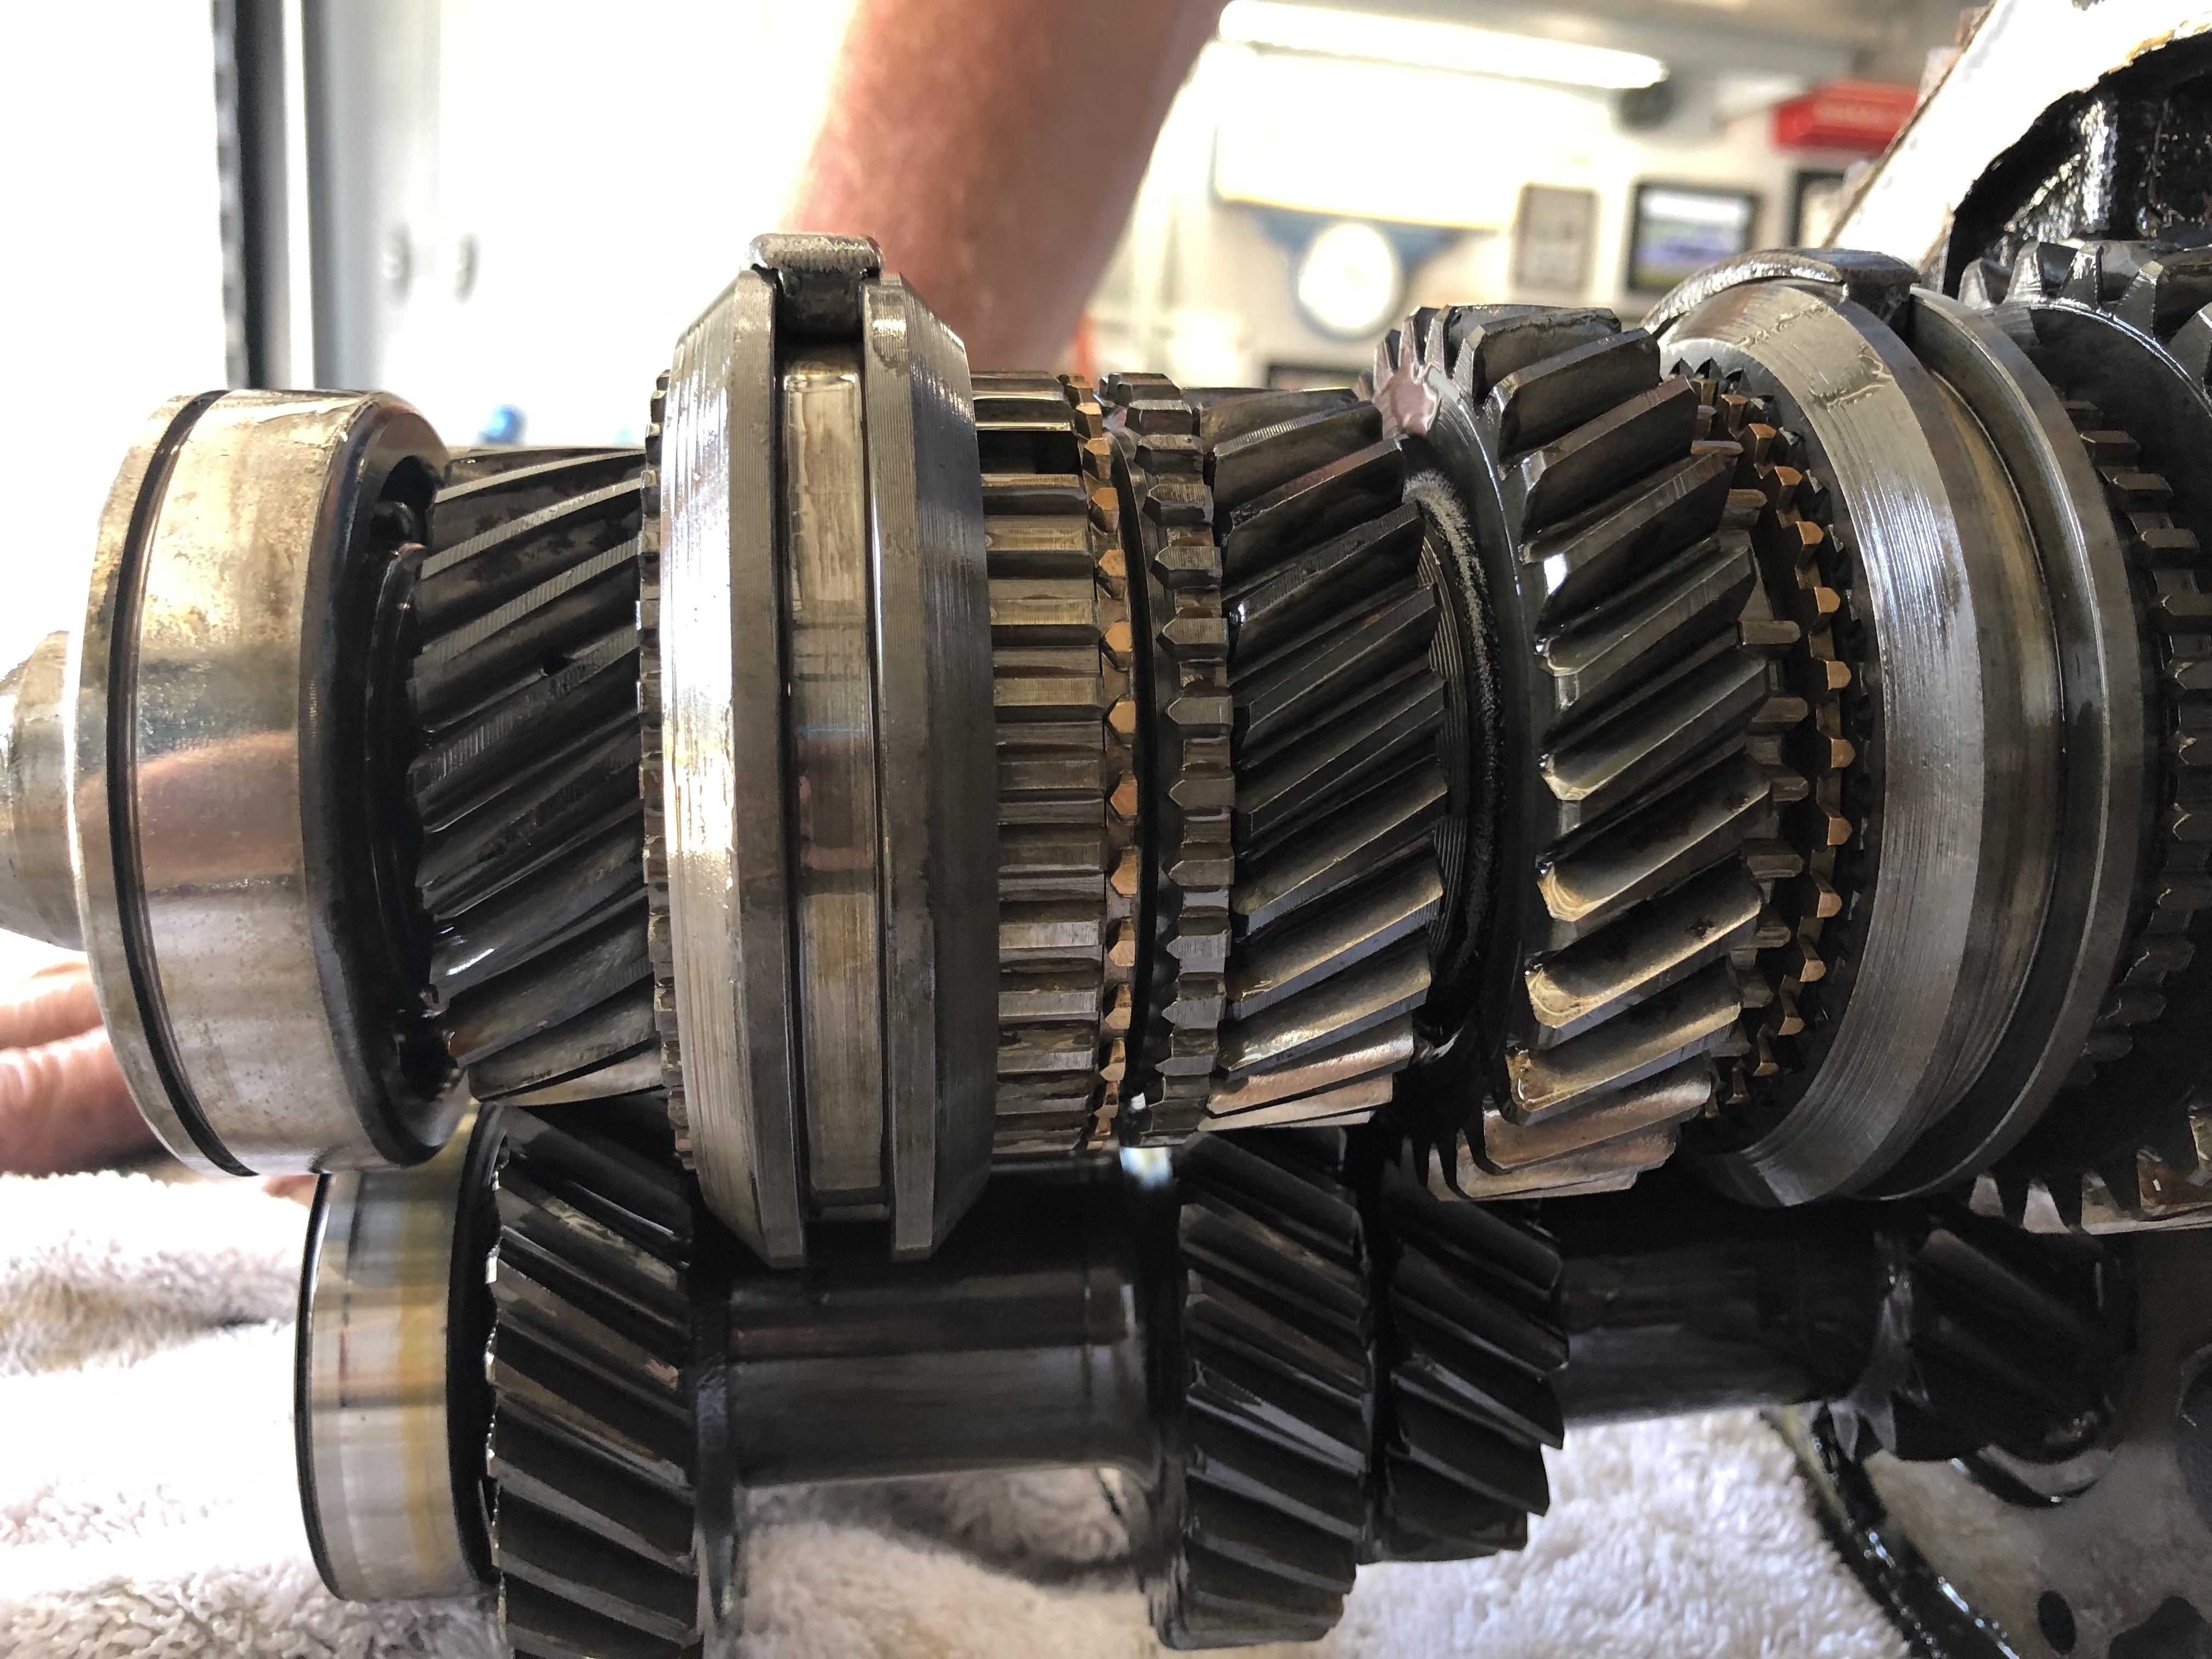
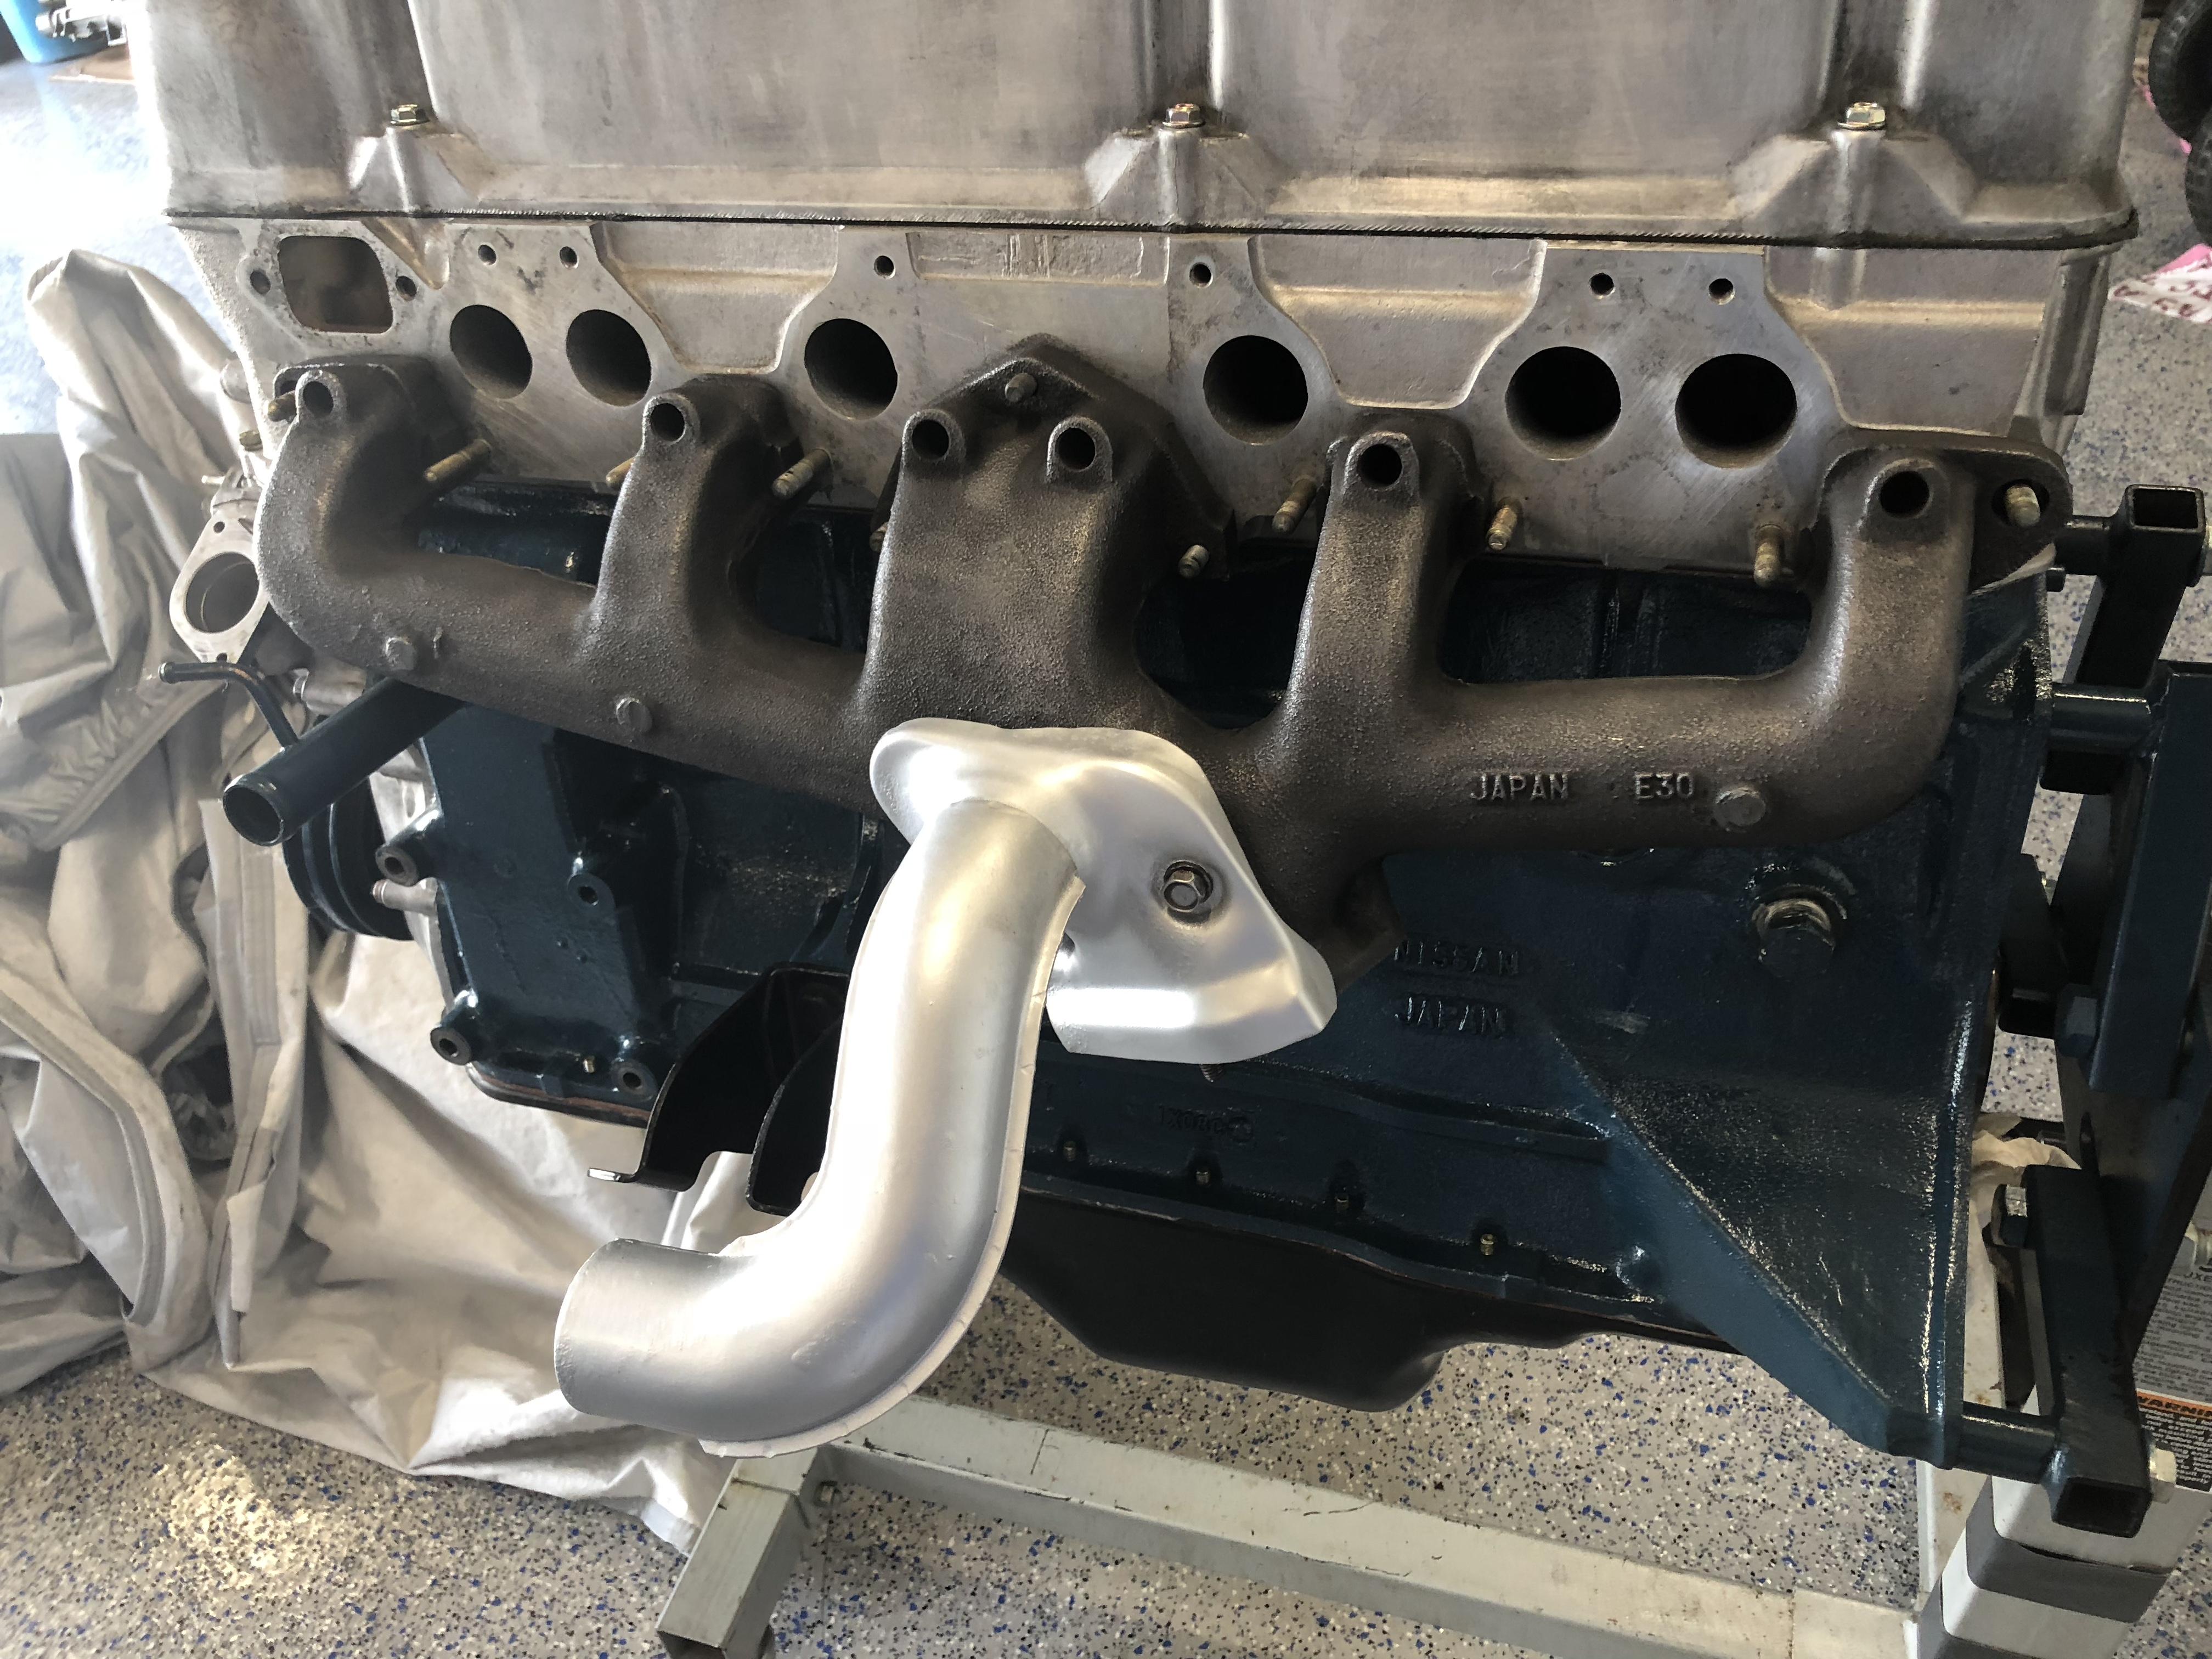
1 pointA few more from along the way. Hope to have the engine fired in another 3-4 weeks.
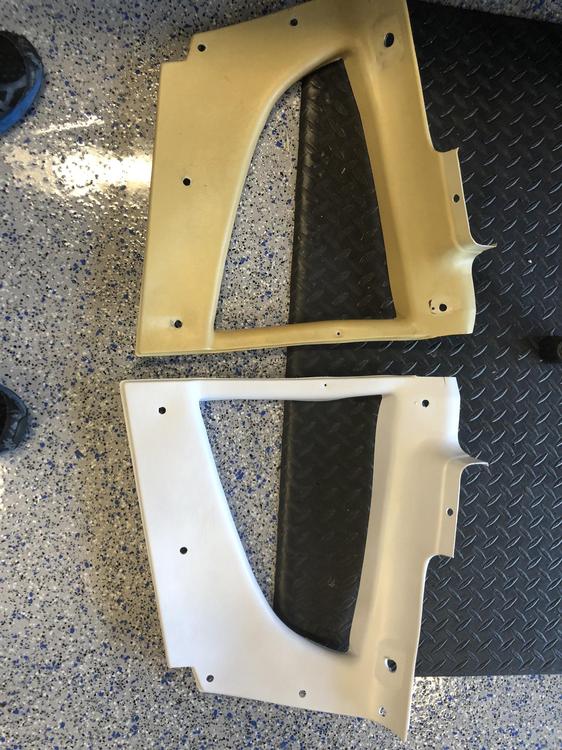


 1 point
 -
1 point
-
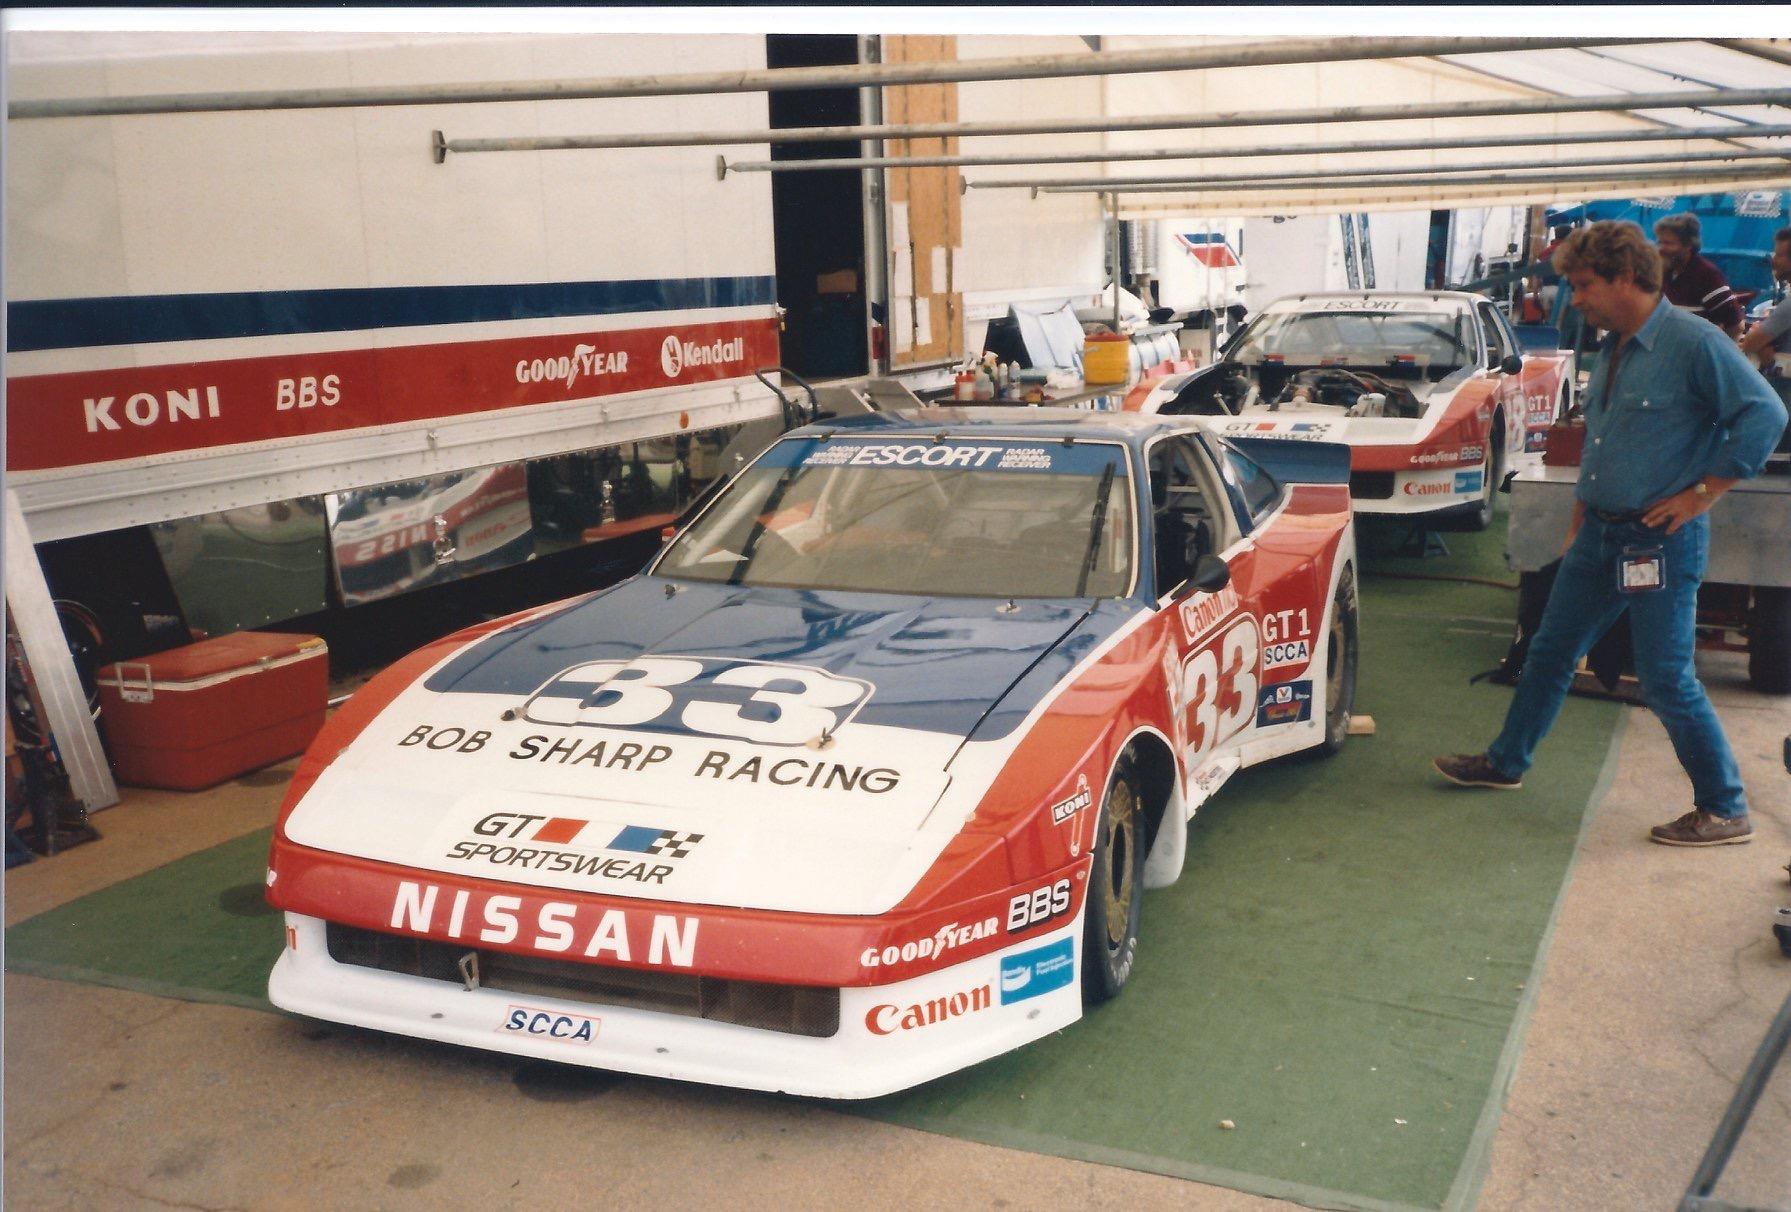
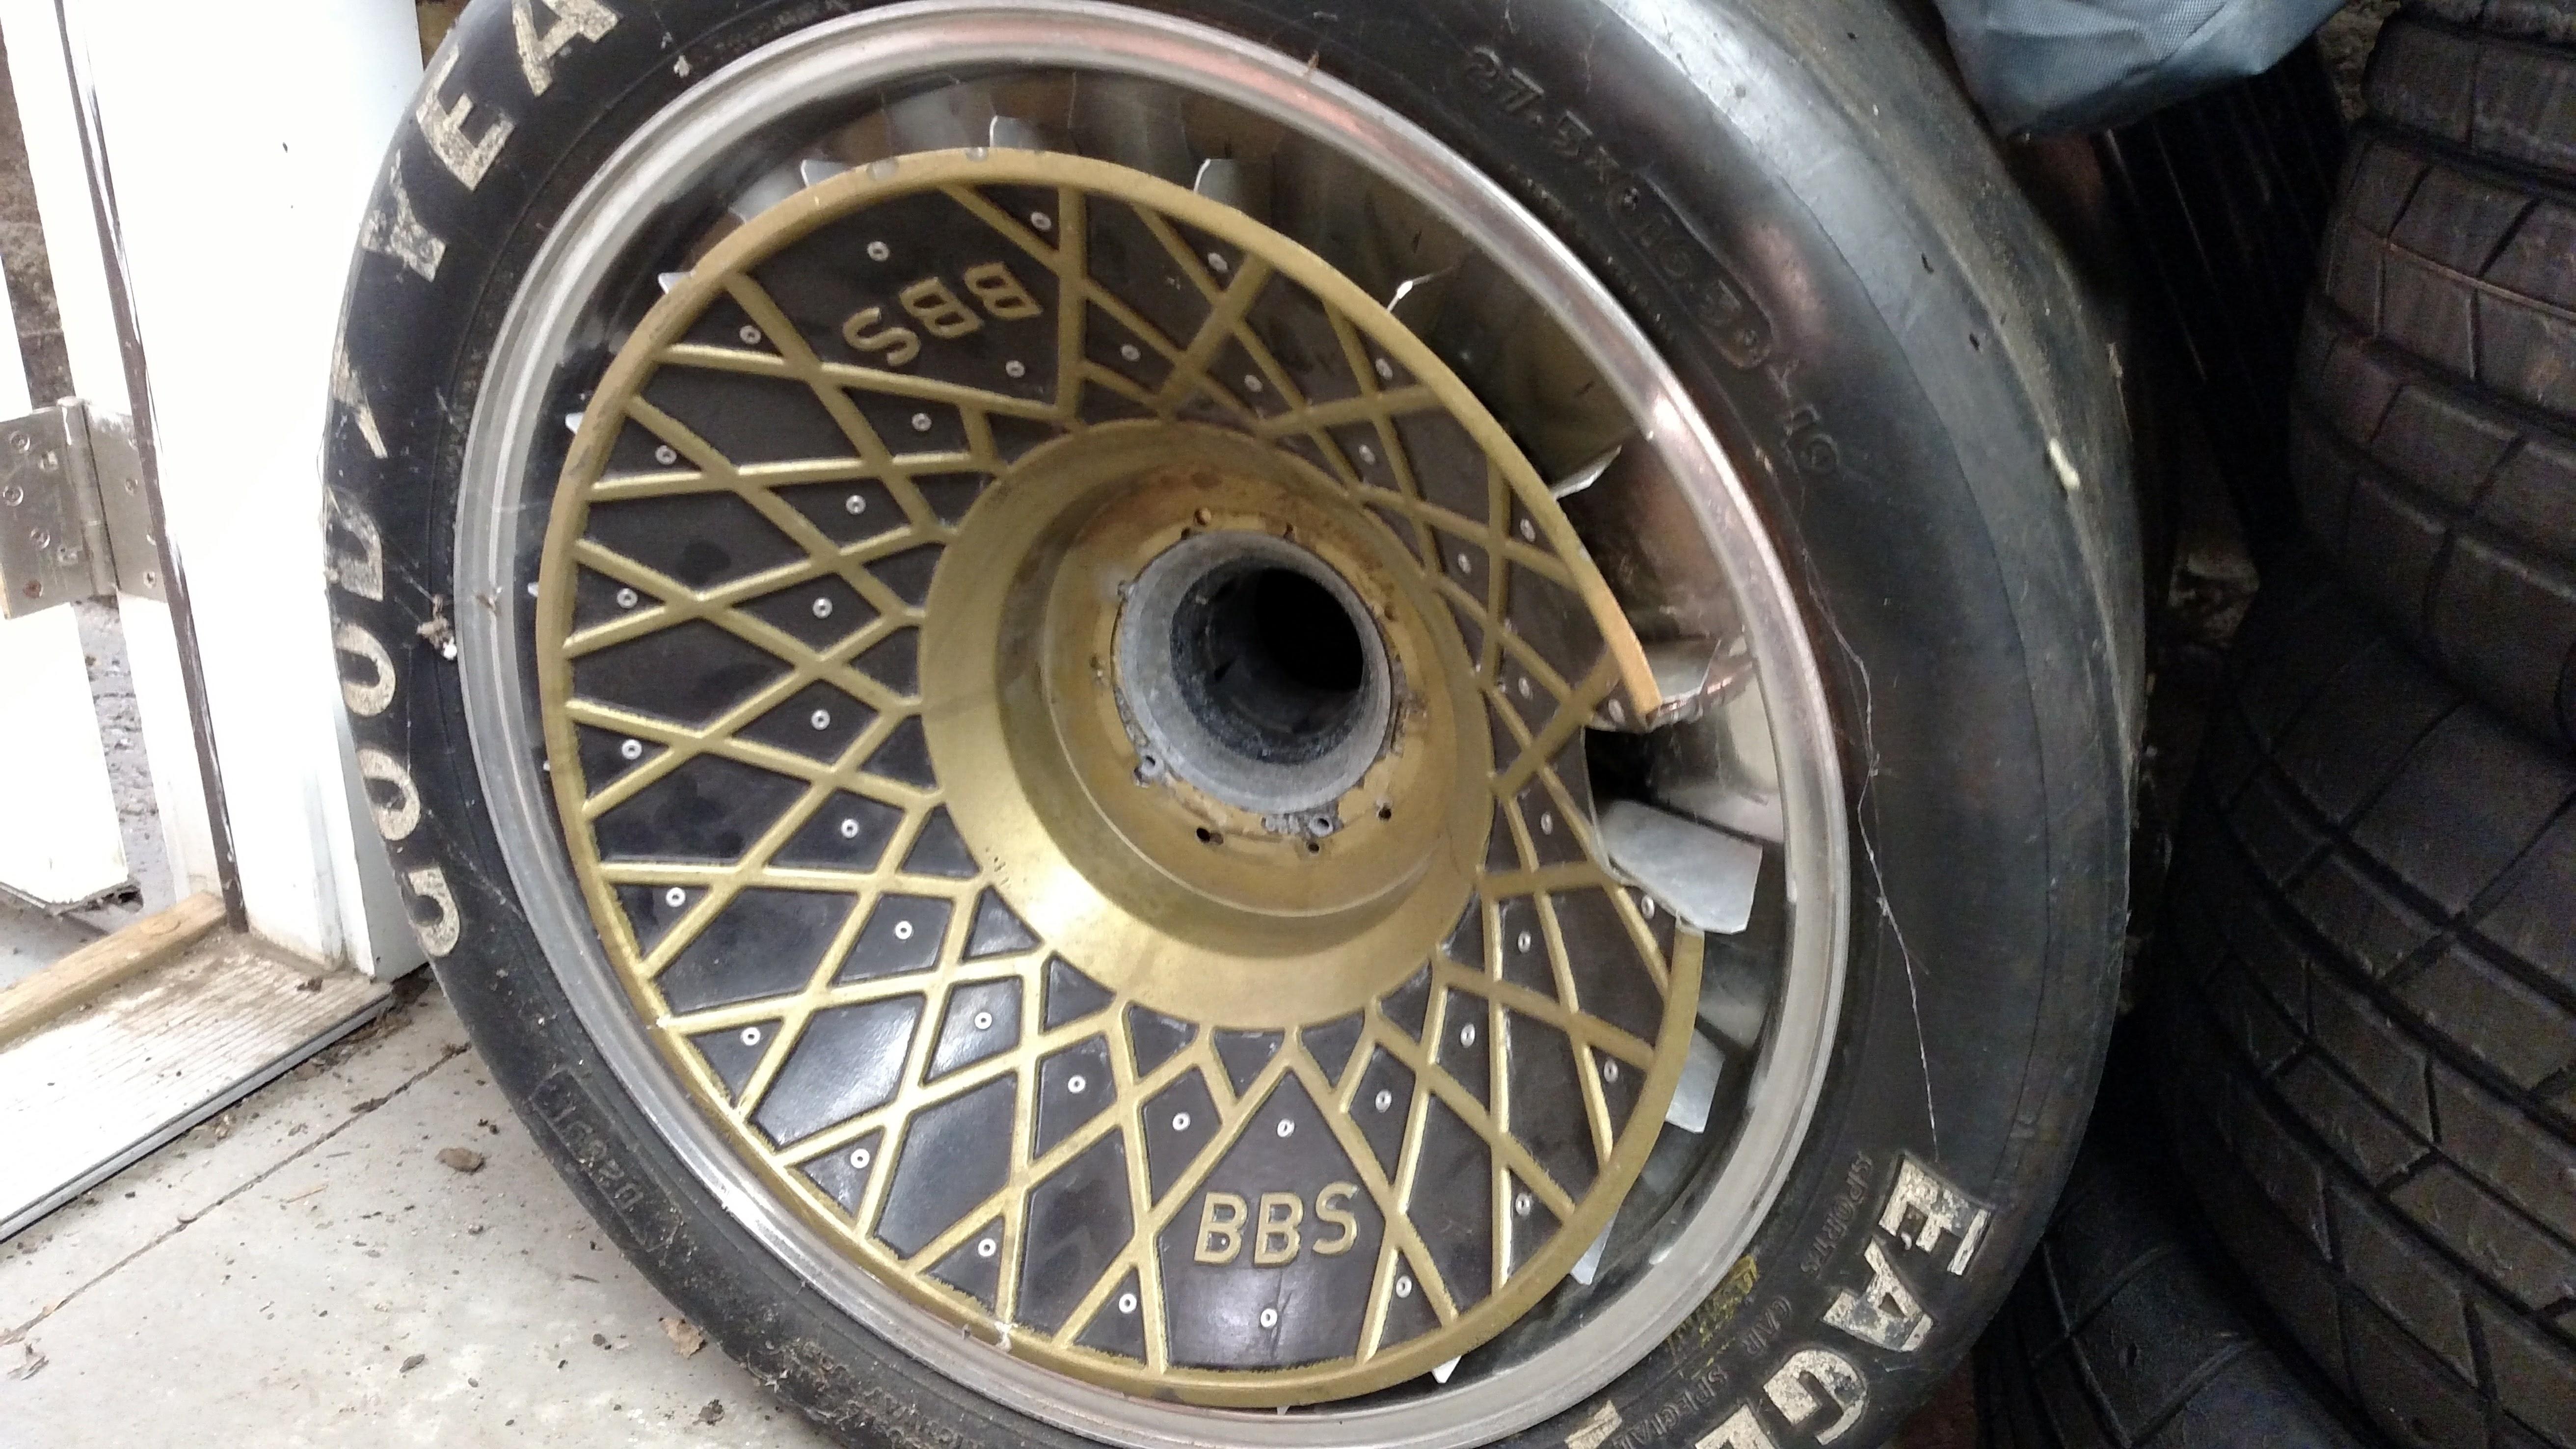
 Sitting in my garage after they decided to put on different wheels on the 280ZXTT. Has the BBS fan blade wheel covers to aid in cooling the brakes.
 1 point
 -
 1 point
 -
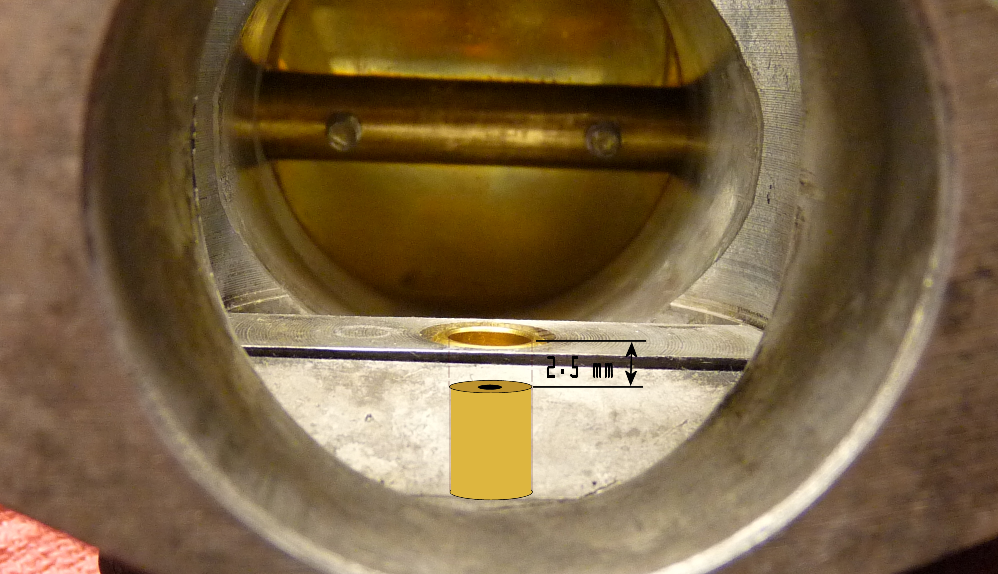
1 point1 turn = 1 mm. Also, it is important that the needles are set properly in the piston. The shoulder of the needle should be flush with the bottom of the piston (not with the bottom of the groove). Have a look at this:
 1 point
 -
1 point1 point
0 points


Important Information
By using this site, you agree to our Privacy Policy and Guidelines. We have placed cookies on your device to help make this website better. You can adjust your cookie settings, otherwise we'll assume you're okay to continue.