Leaderboard
-

Patcon
 Subscriber
 4Points10,925Posts
 -

grannyknot
Free Member4Points5,158Posts -


jayhawk
Free Member3Points168Posts -

heyitsrama
Free Member2Points1,185Posts
Popular Content
Showing content with the highest reputation on 10/31/2018 in Posts
-
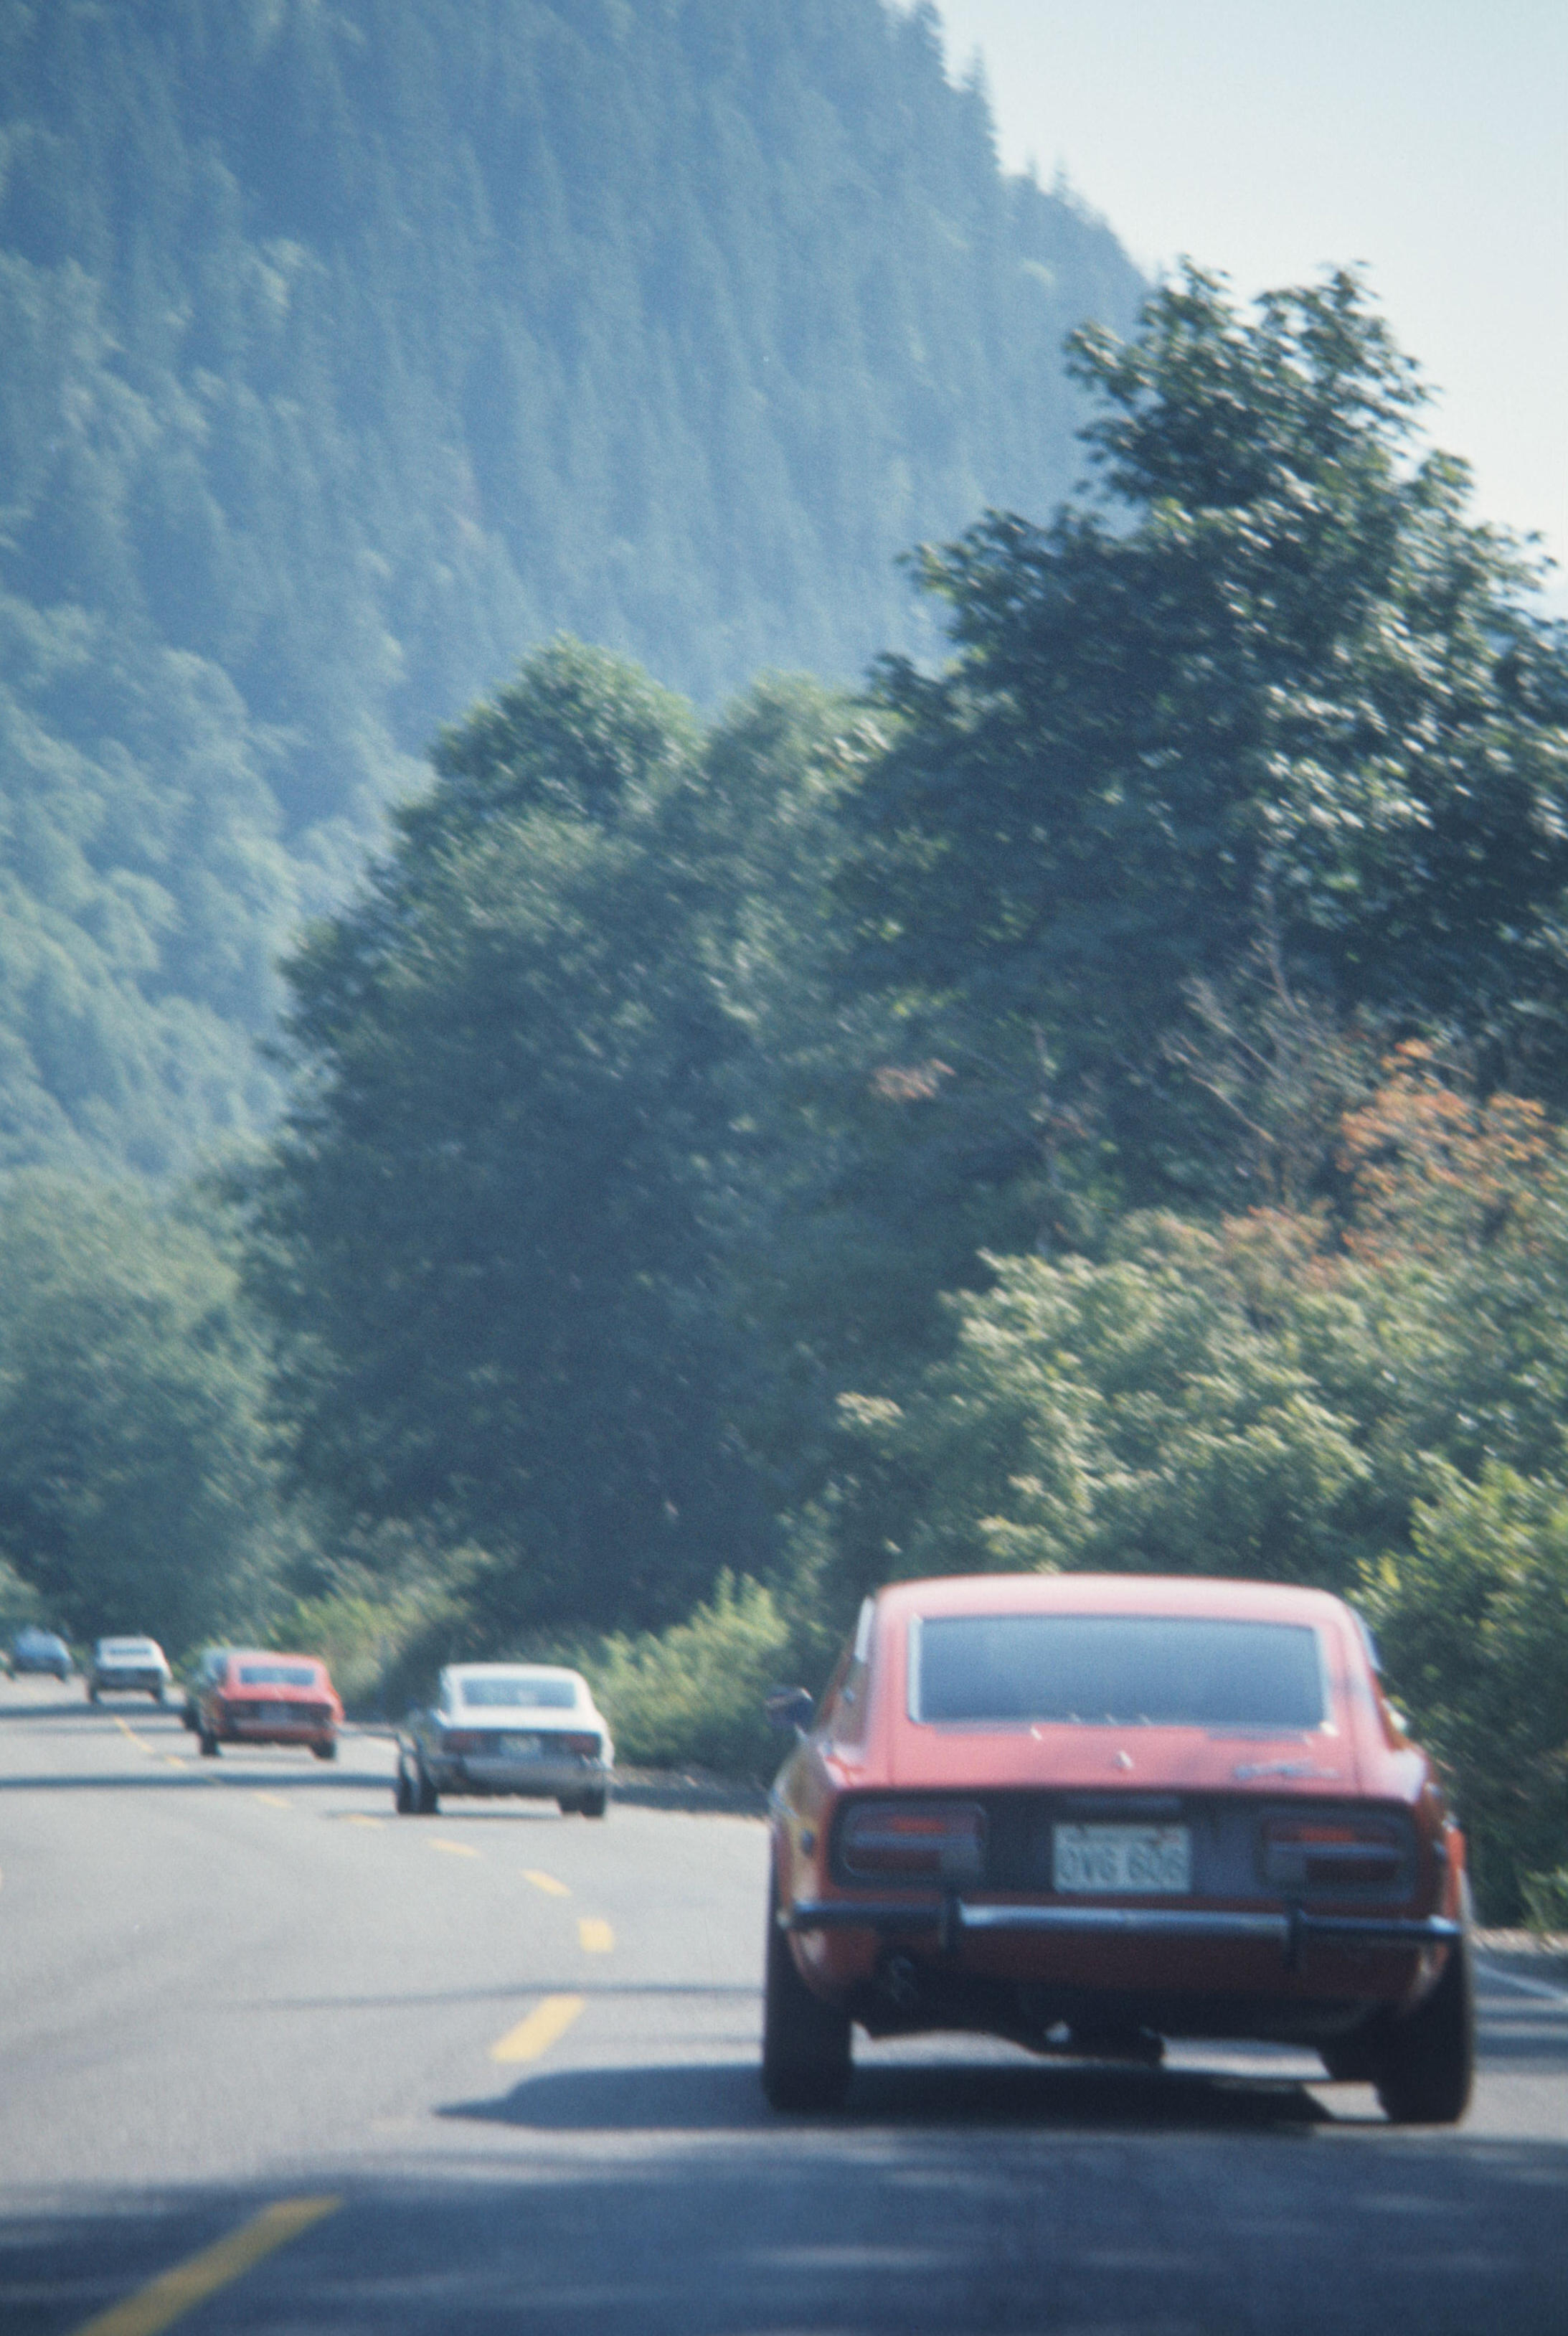
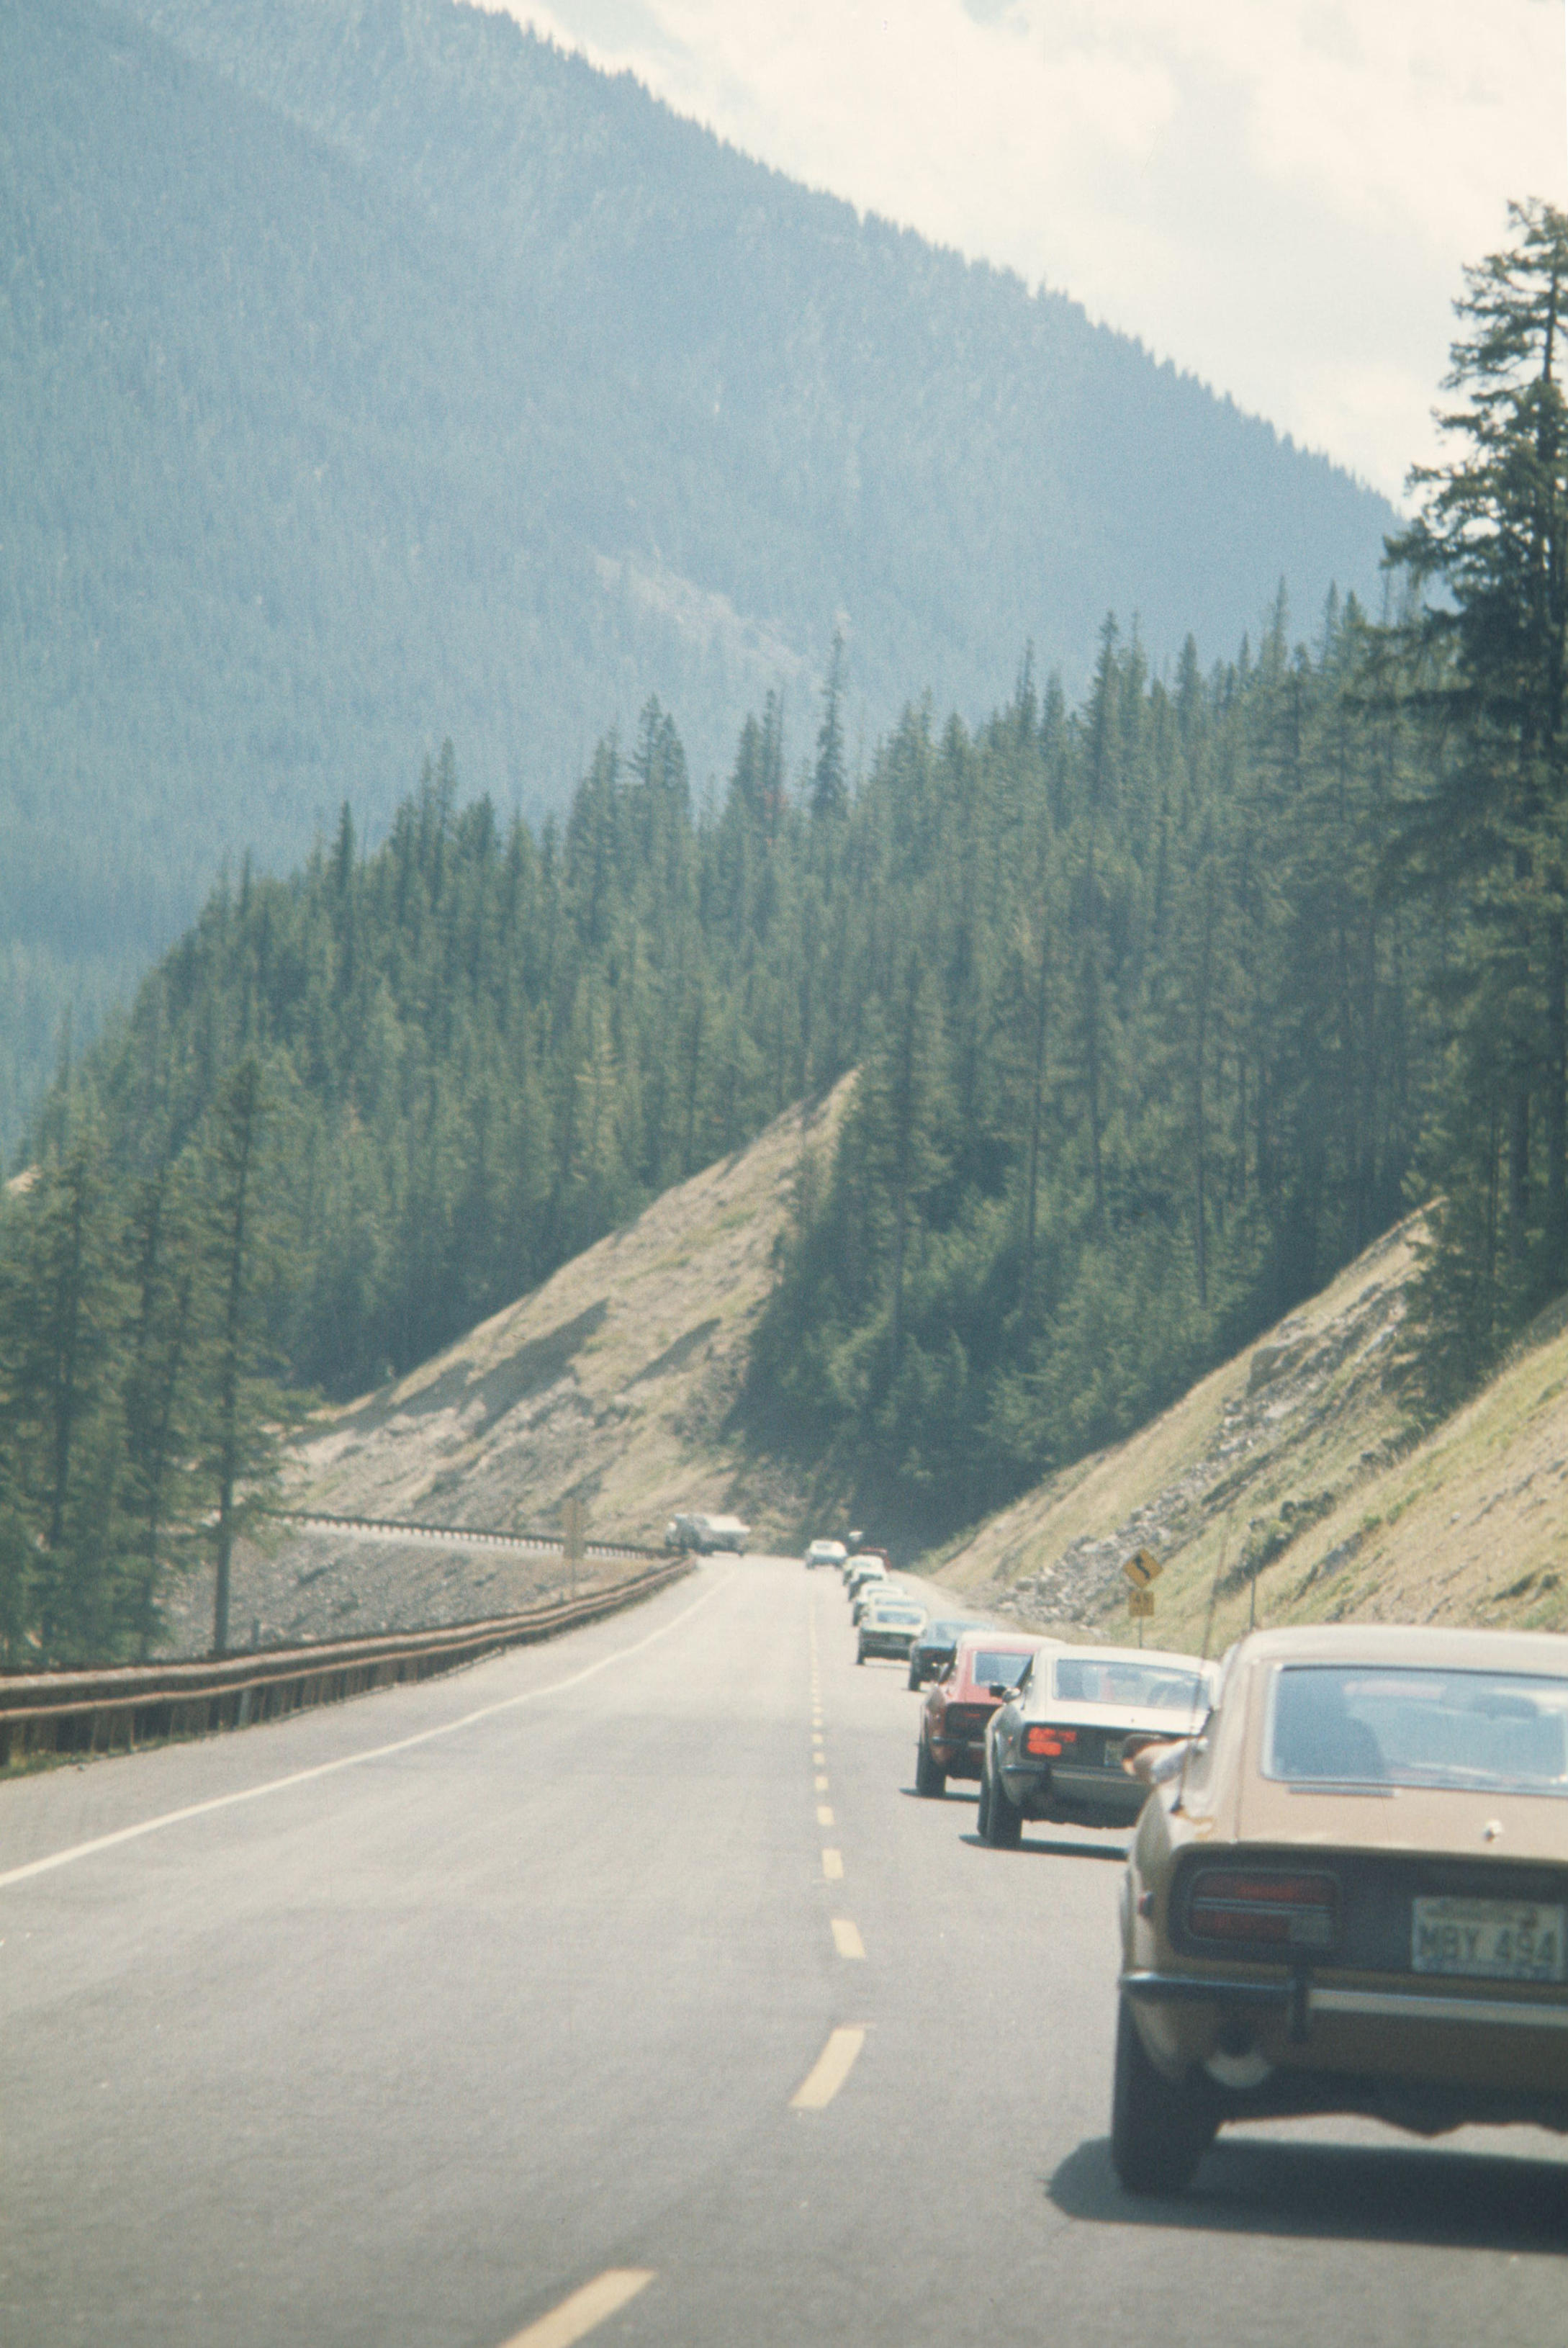
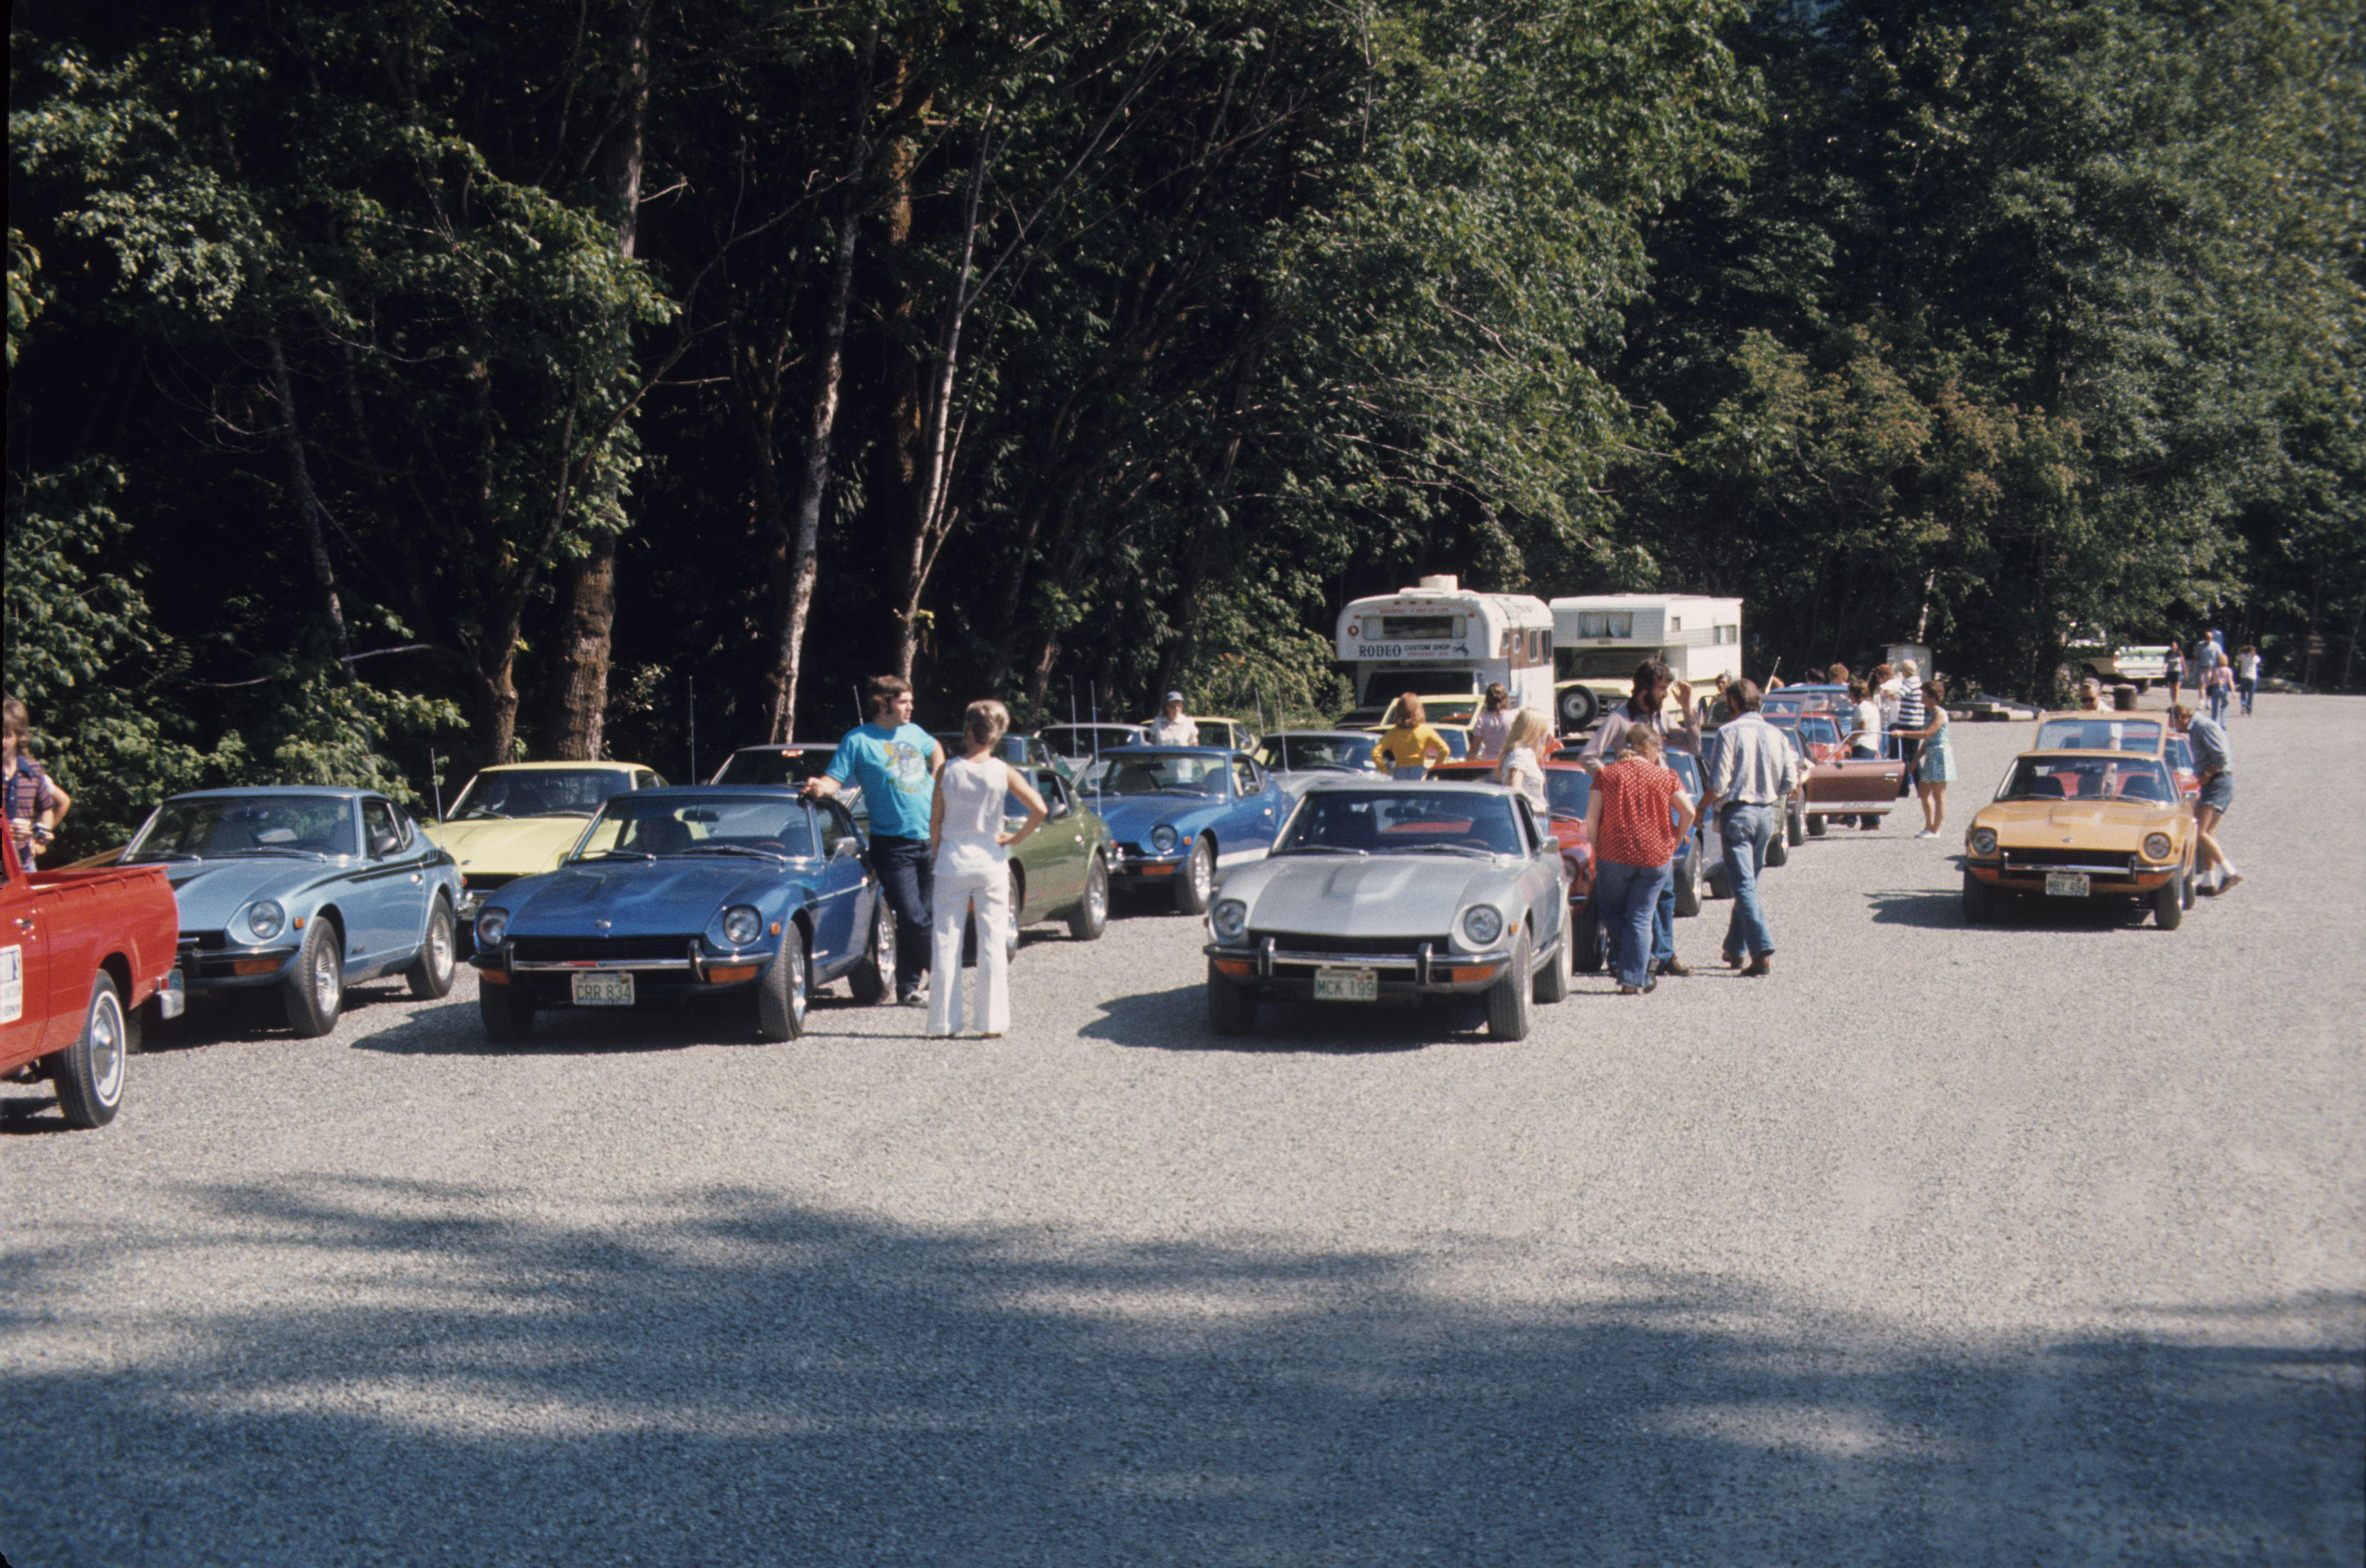
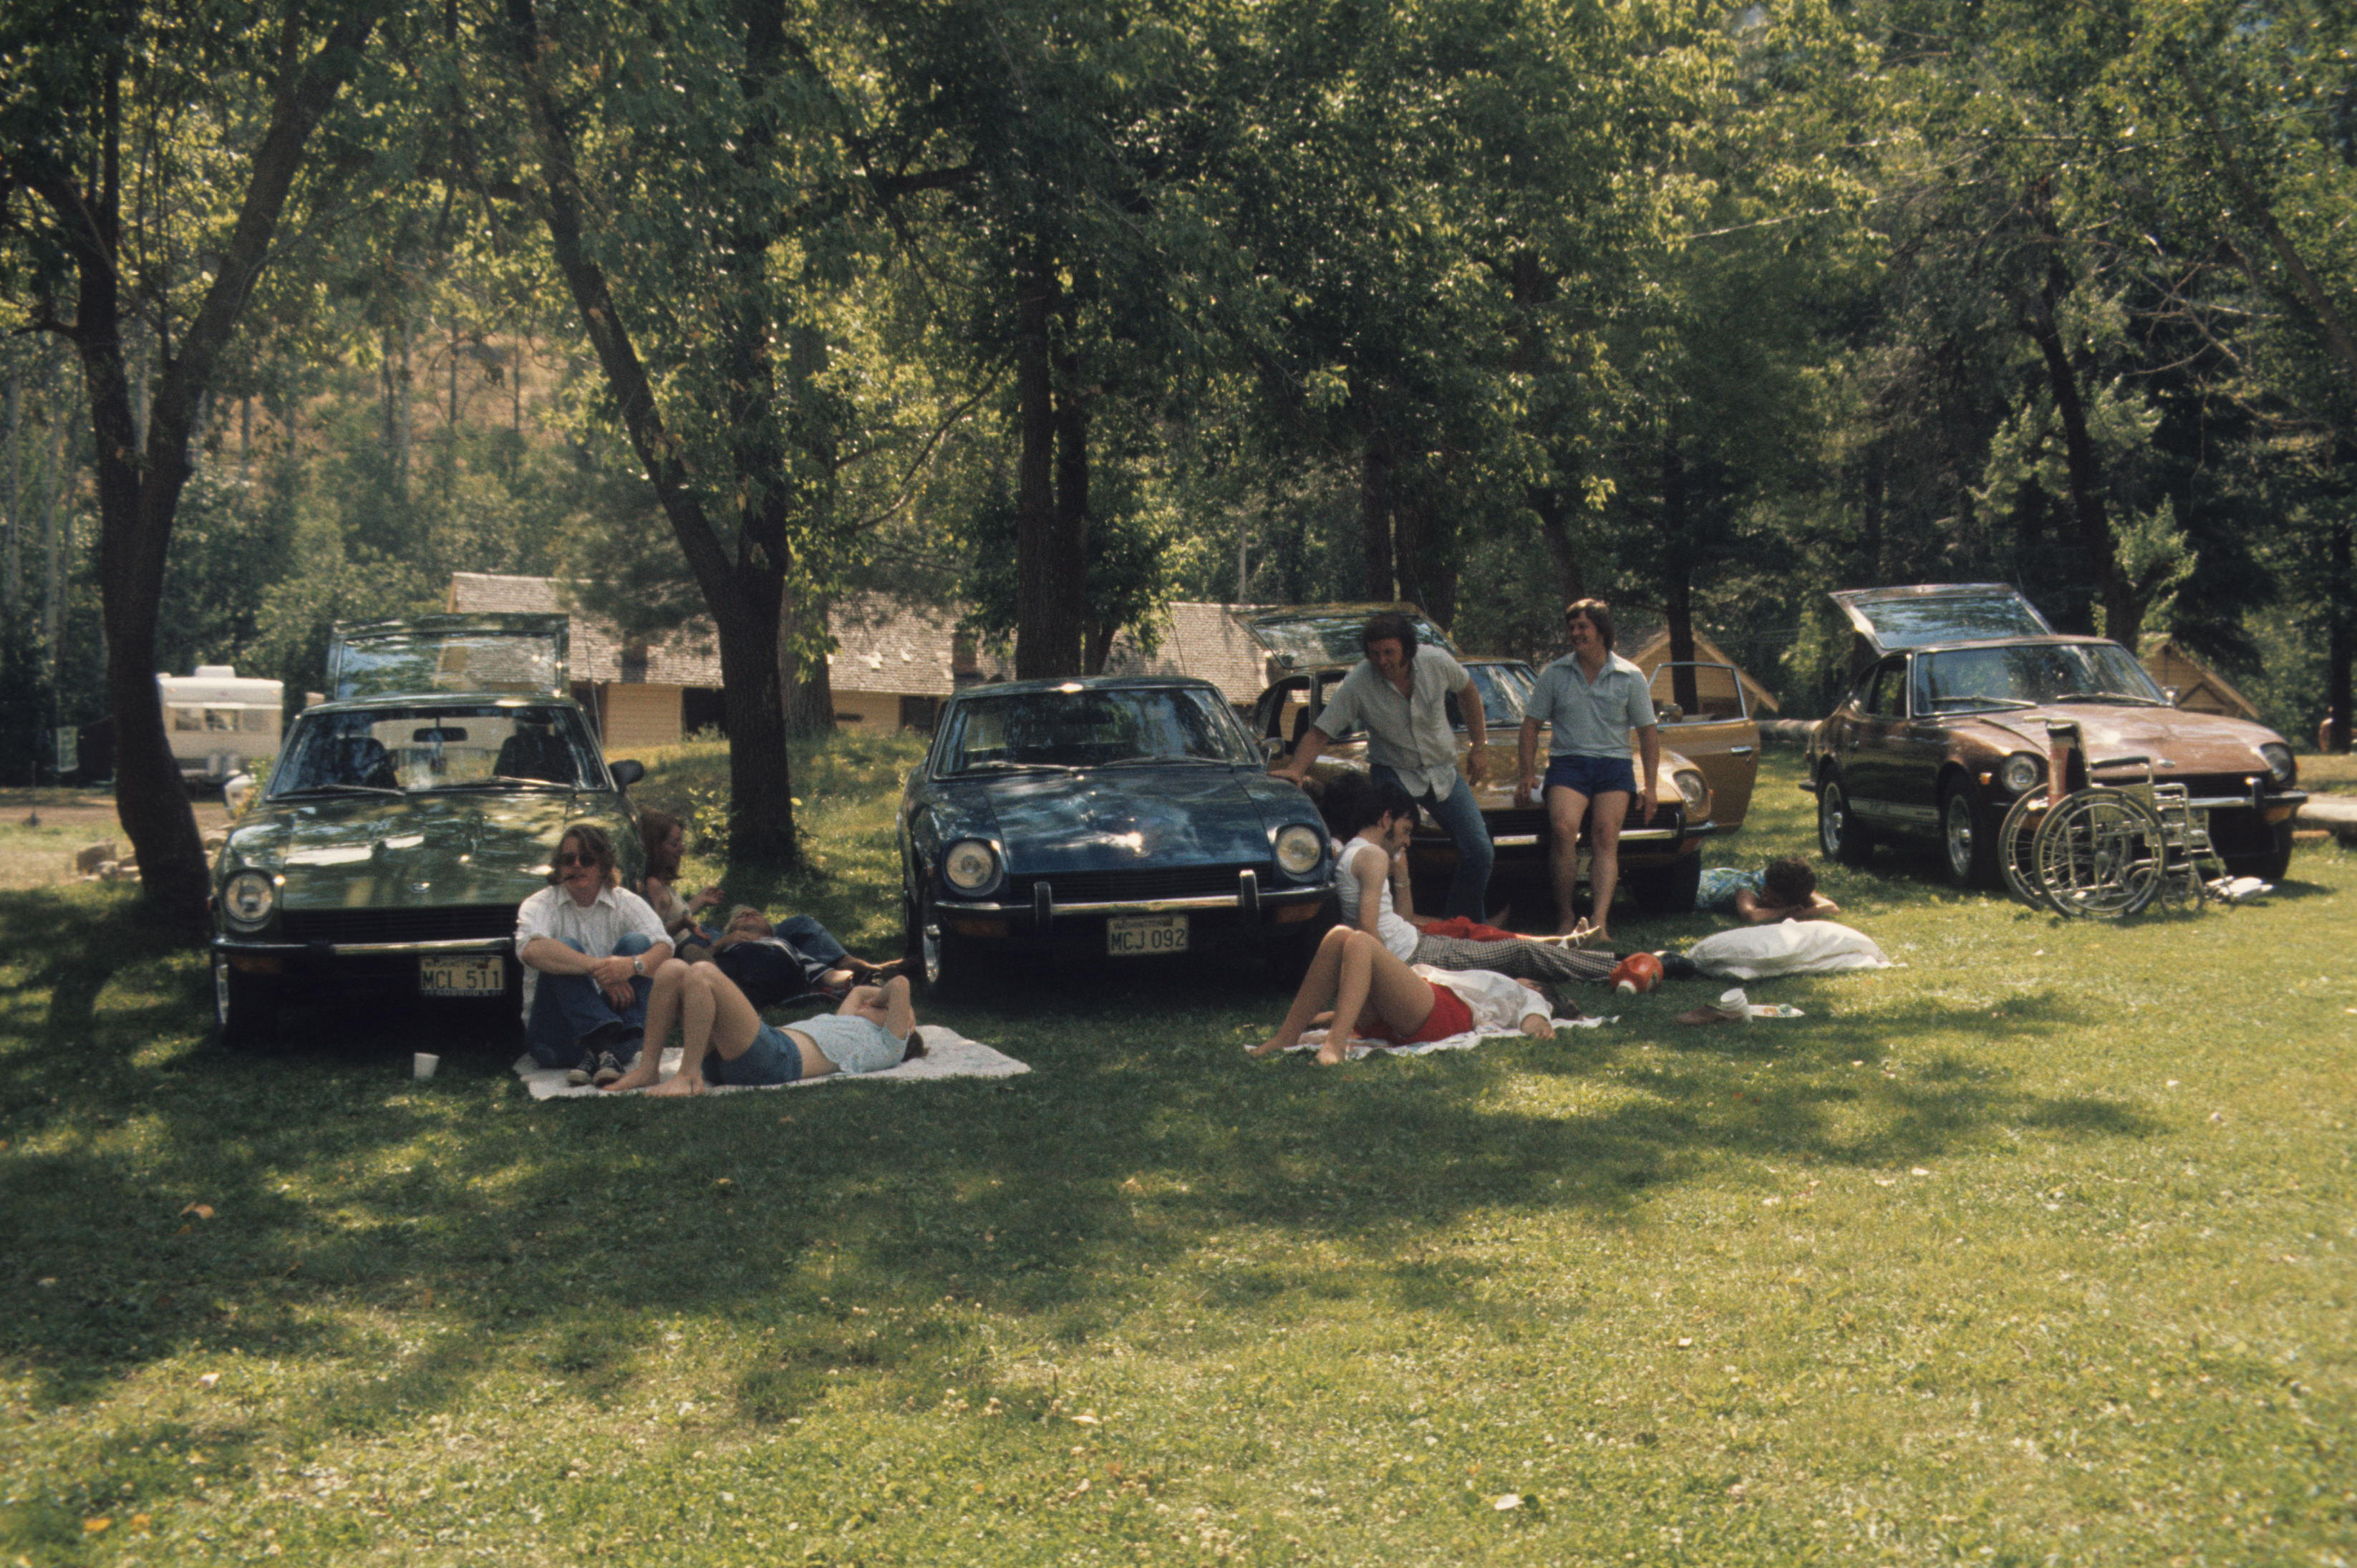
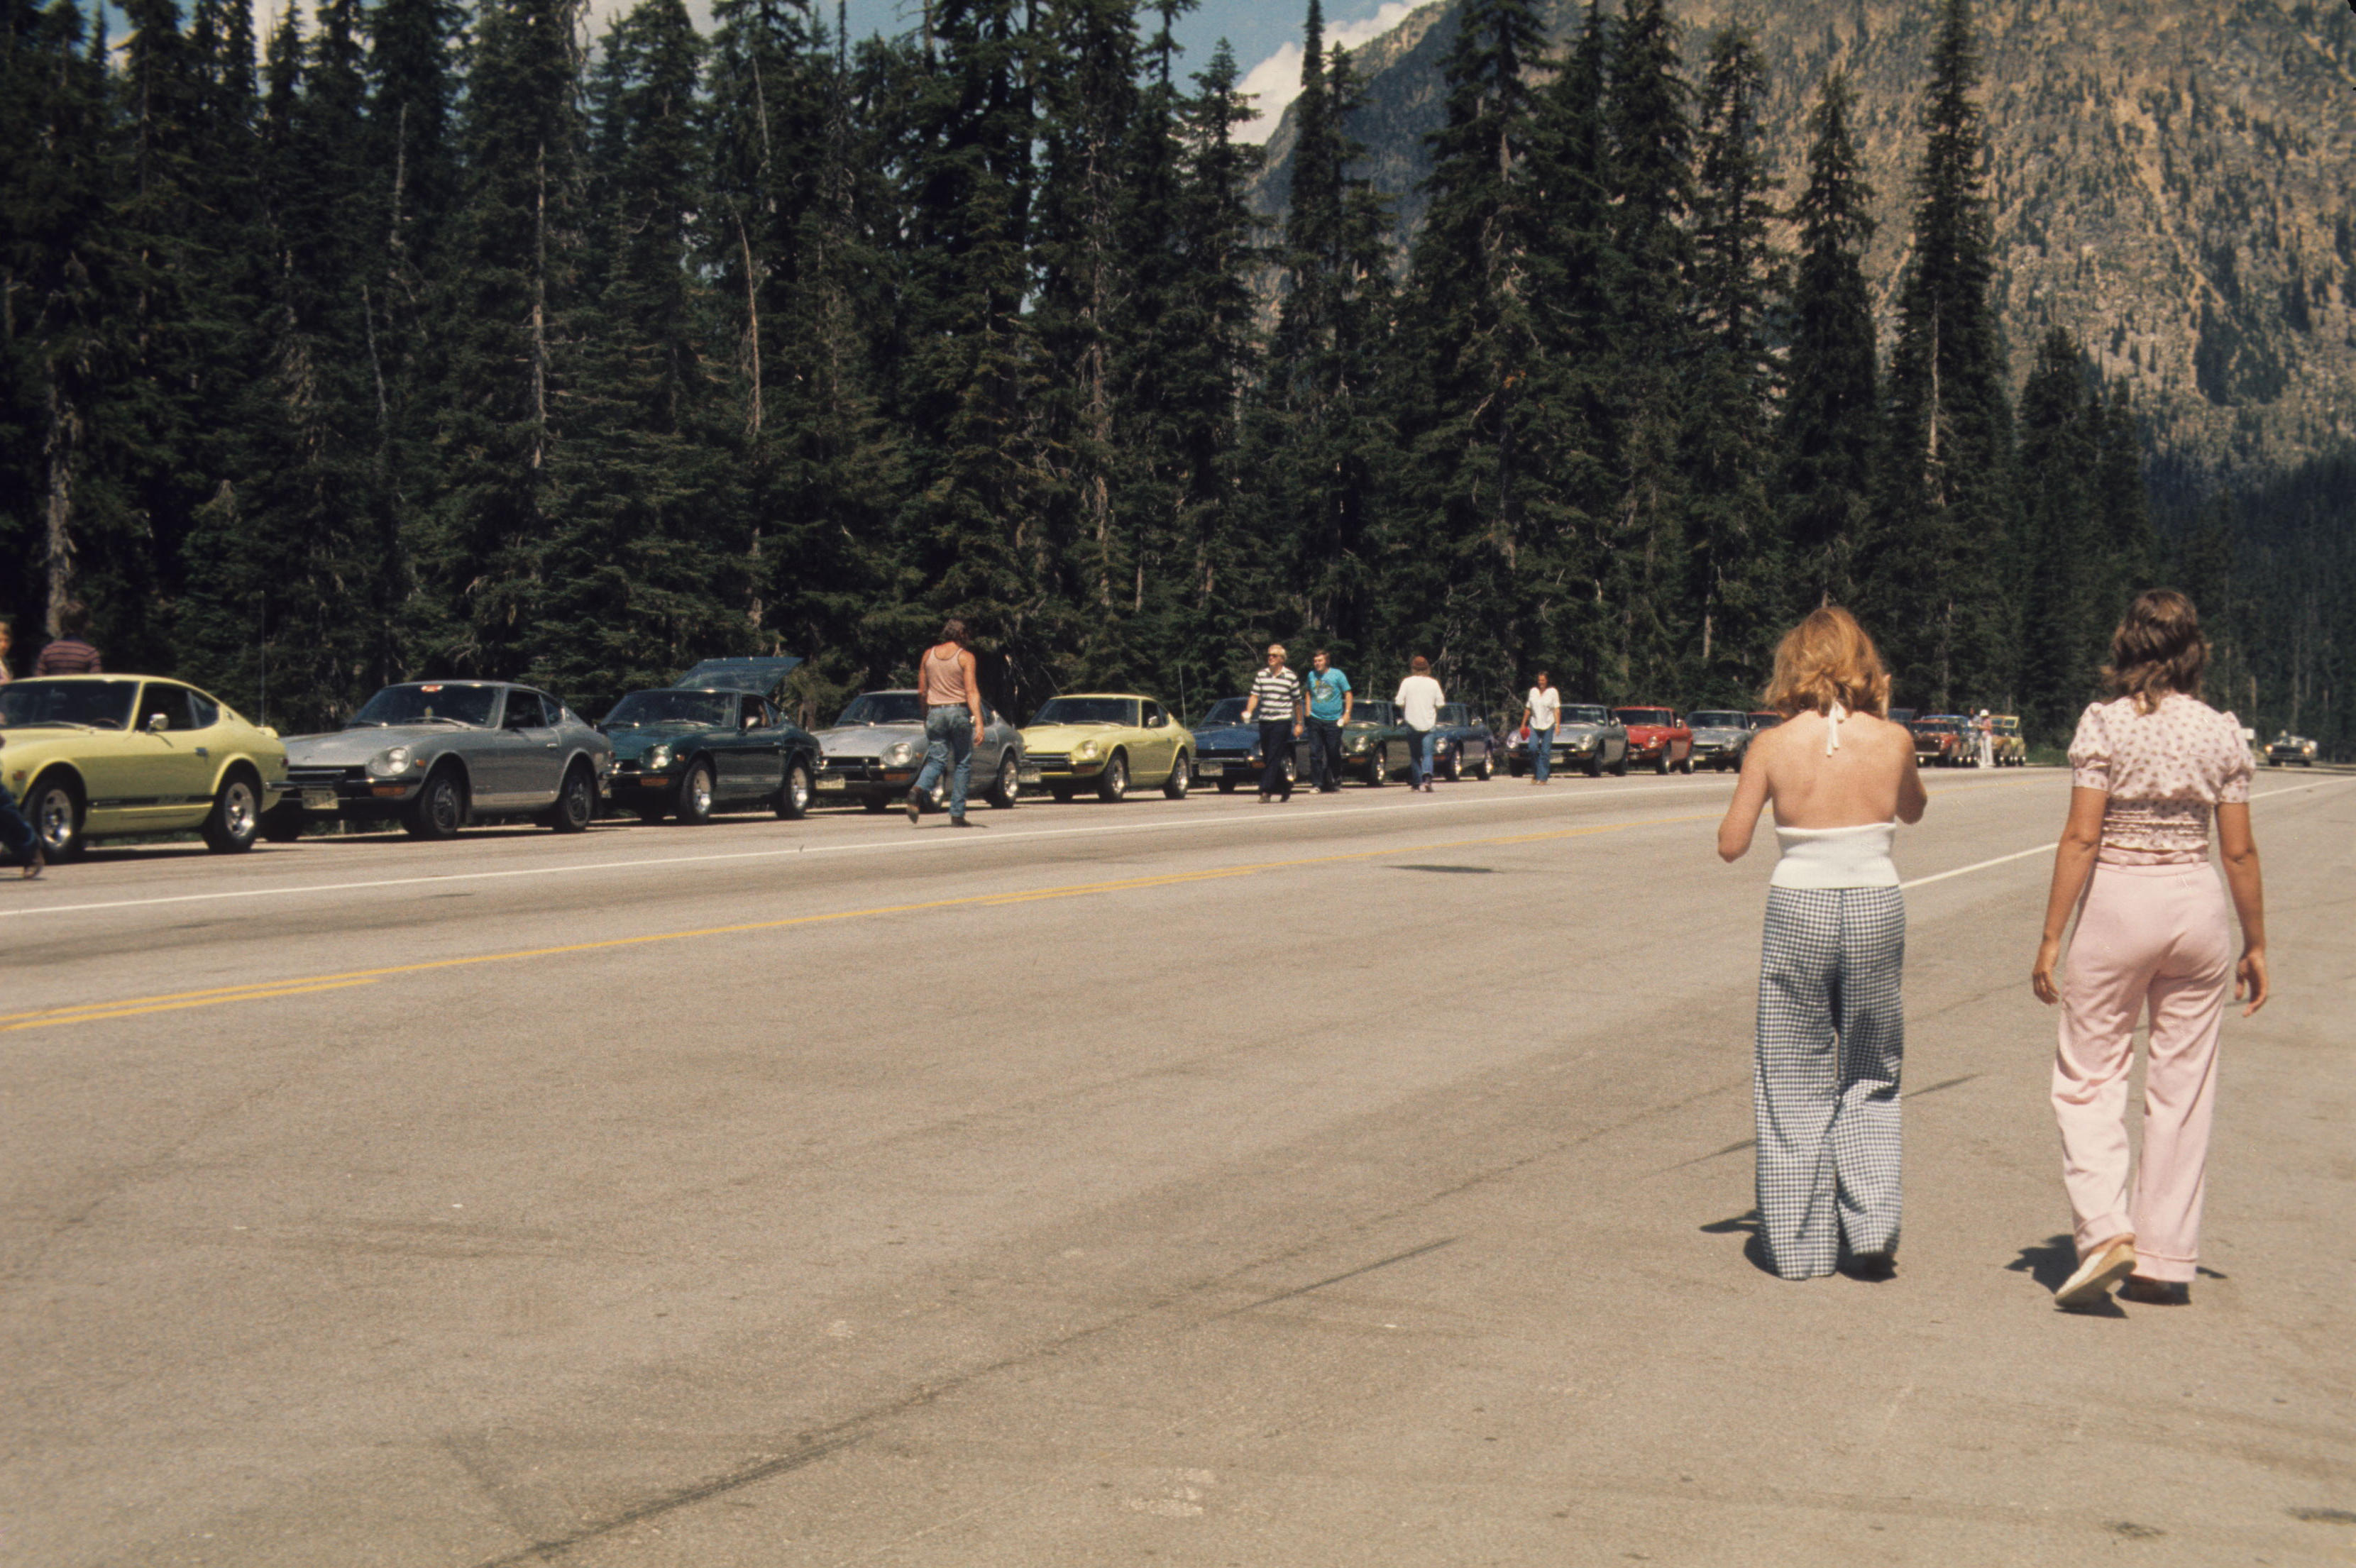
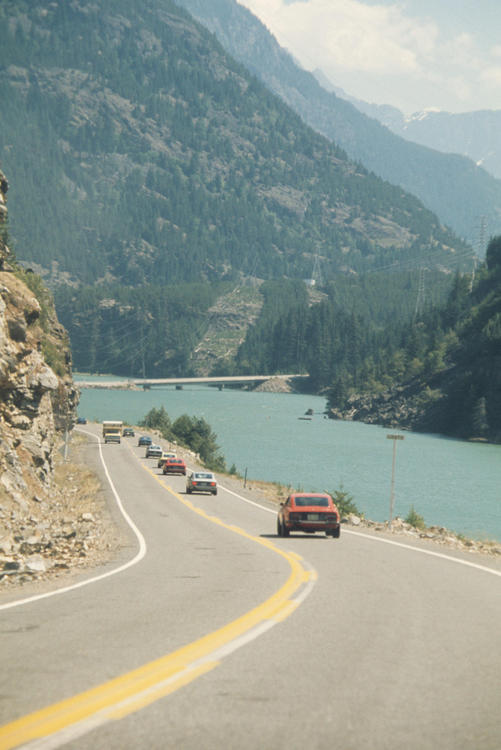
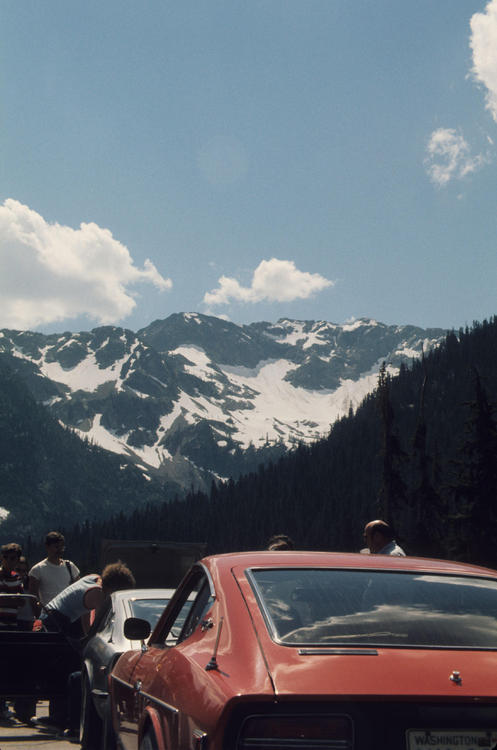
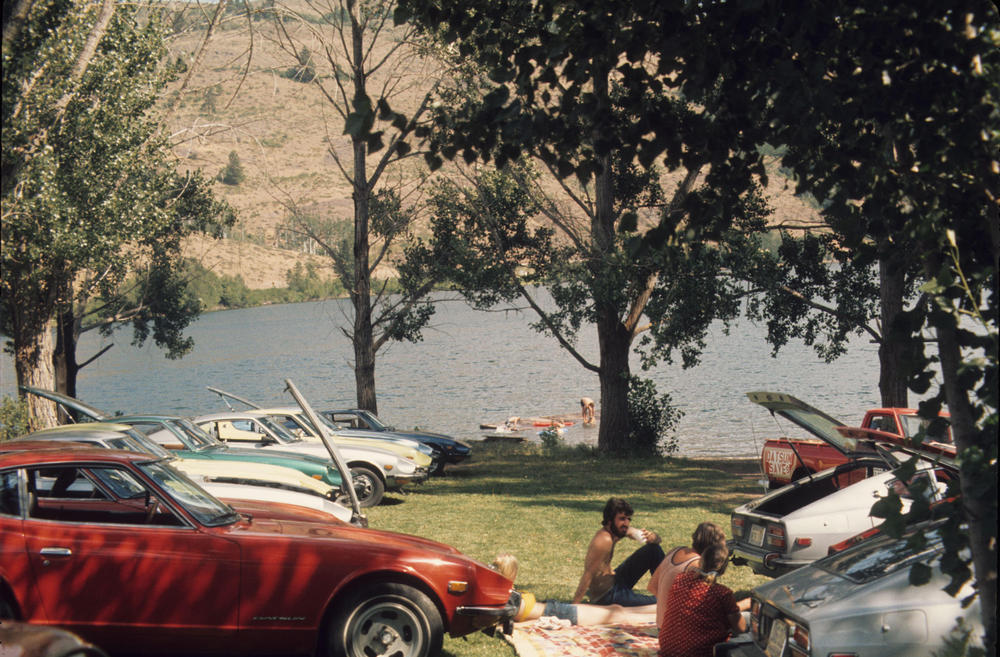
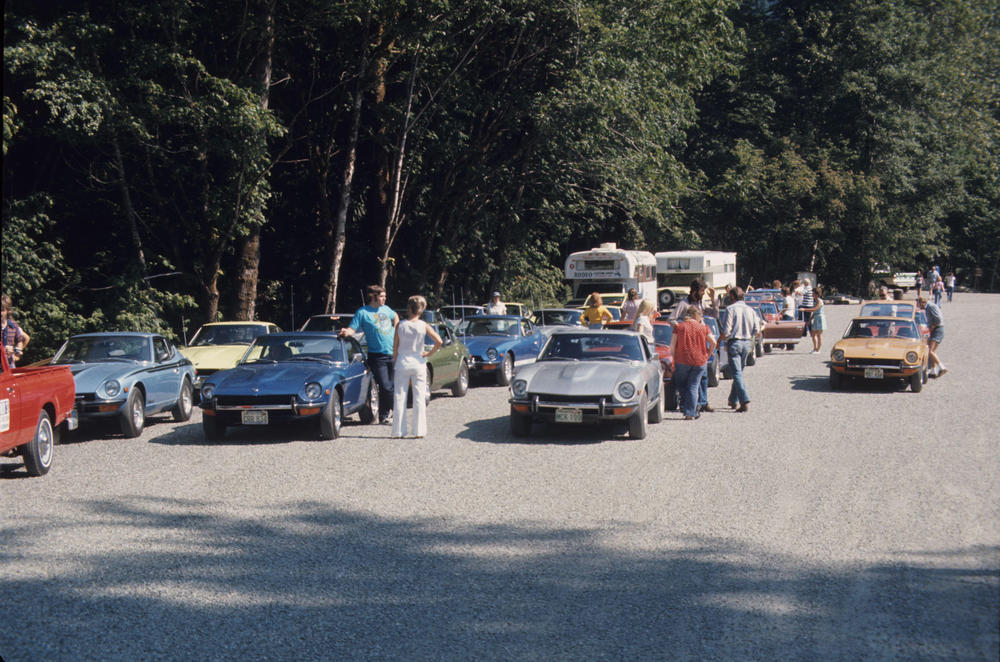
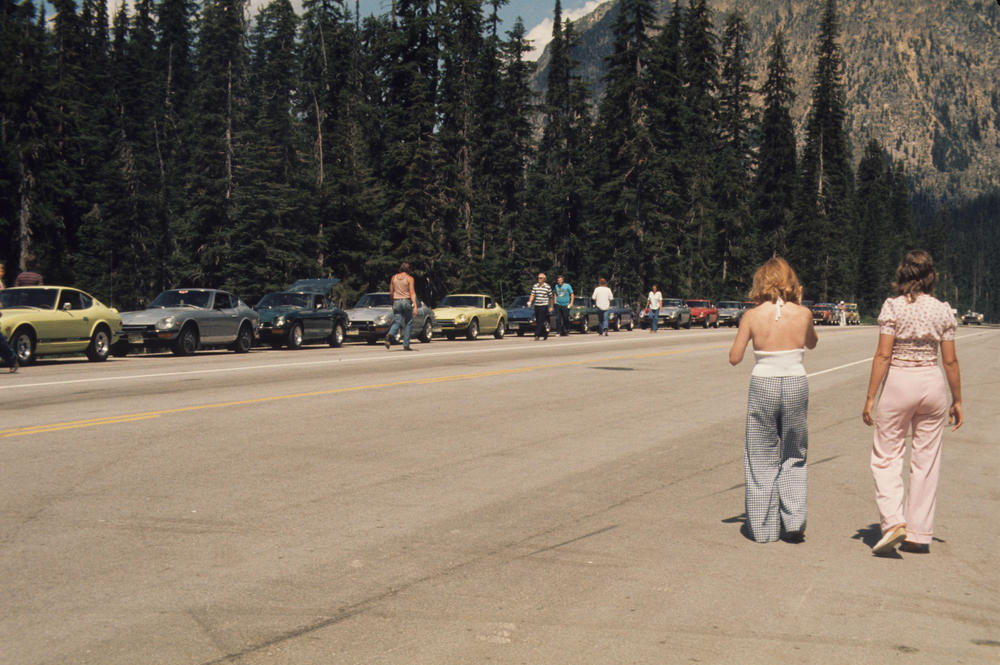
While Motorman7 is restoring my '73 240Z, (thread titled: We're bringing back the flat tops!) I've started digitizing the slides I took of the car I've kept since I bought it new in 1973. I came across the pictures I took of a "fun run" in 1974 sponsored by Jack Gubrud, the owner of Gubrud's Valley Datsun in Mt. Vernon, Washingon. That was where I bought my car in April, 1973 after returning from a 10+ month deployment to Vietnam aboard the aircraft carrier Kitty Hawk. This was on Sunday, August 4th, 1974 from Mt. Vernon WA (north of Seattle) over the North Cascade Highway through the Cascade mountains to the town of Winthrop, WA. I believe almost all of the Zs in these photos were purchased at Gubrud's Valley Datsun. Lots of S30s! As I recall, Jack Gubrud paid for a BBQ picnic lunch for everyone. And we had a presentation by a Datsun engineer about the new Hitachi carbs. Wish I had paid more attention!


 3 points
 -
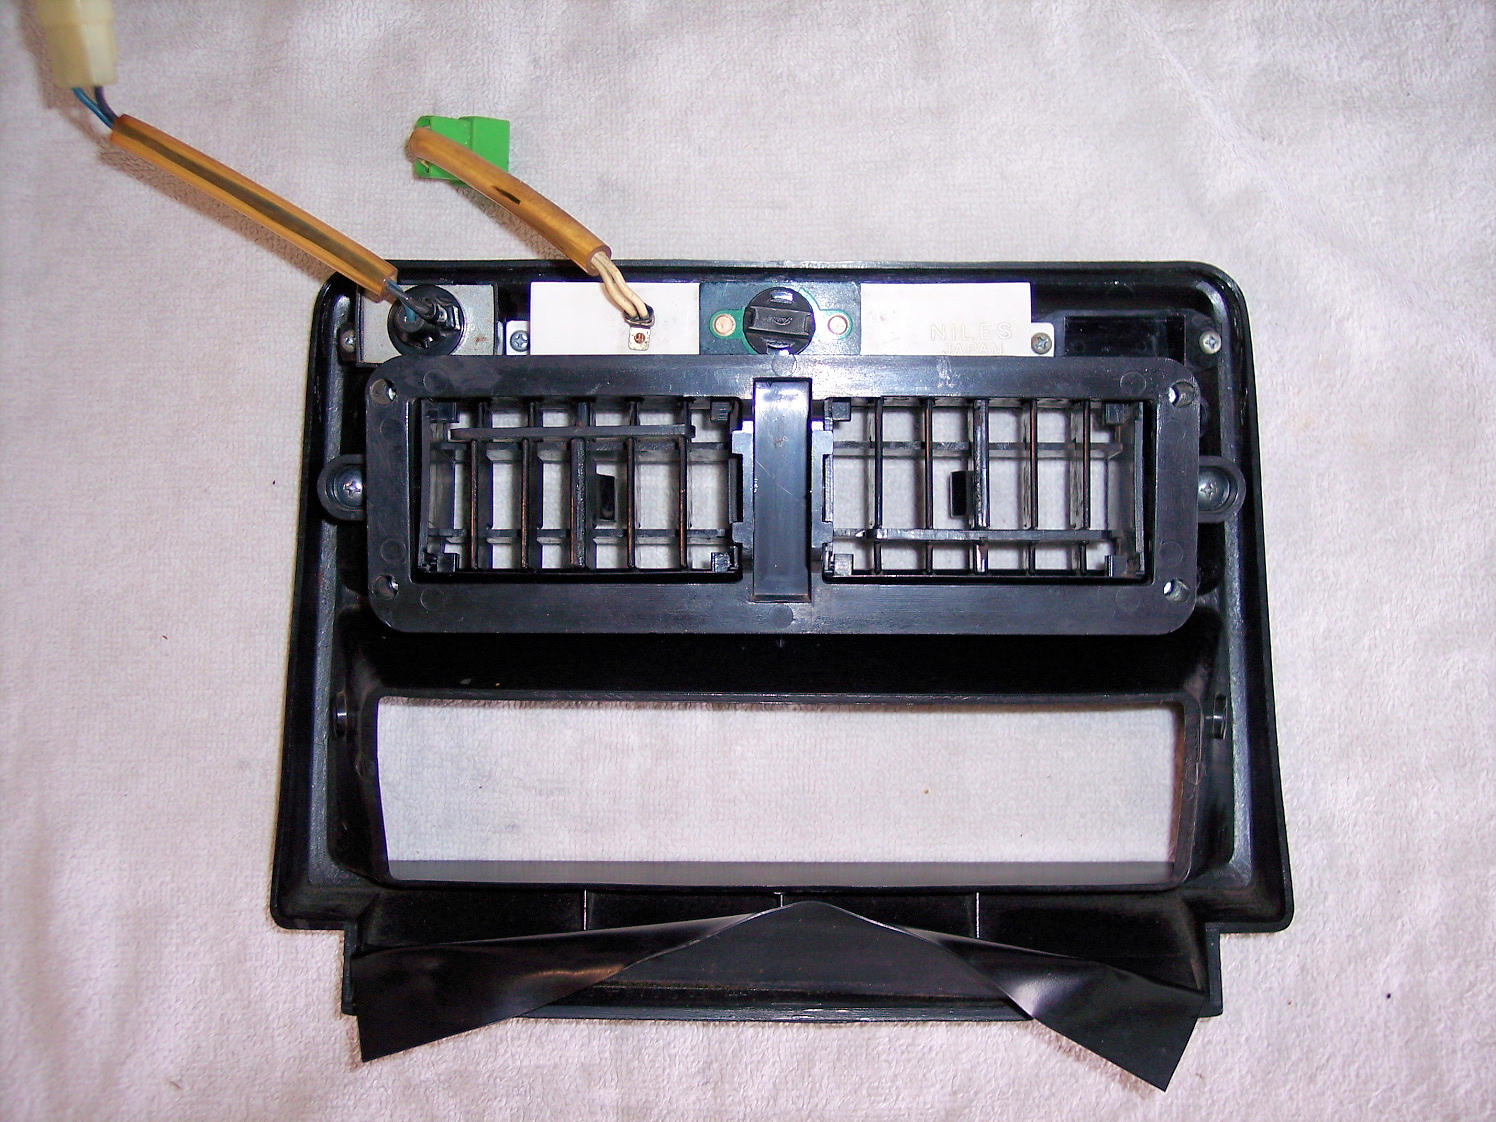
 2 pointsCenter dash bezel in excellent condition. Louvers in perfect condition - no cracks or breaks, smooth operation. No scratches or scars. Fuel light works, map light needs a new bulb. Small stress crack in top left screw hole, not readily visible. $60 via PayPal, includes standard domestic shipping. PM if interested, thanks.
 2 points
 -
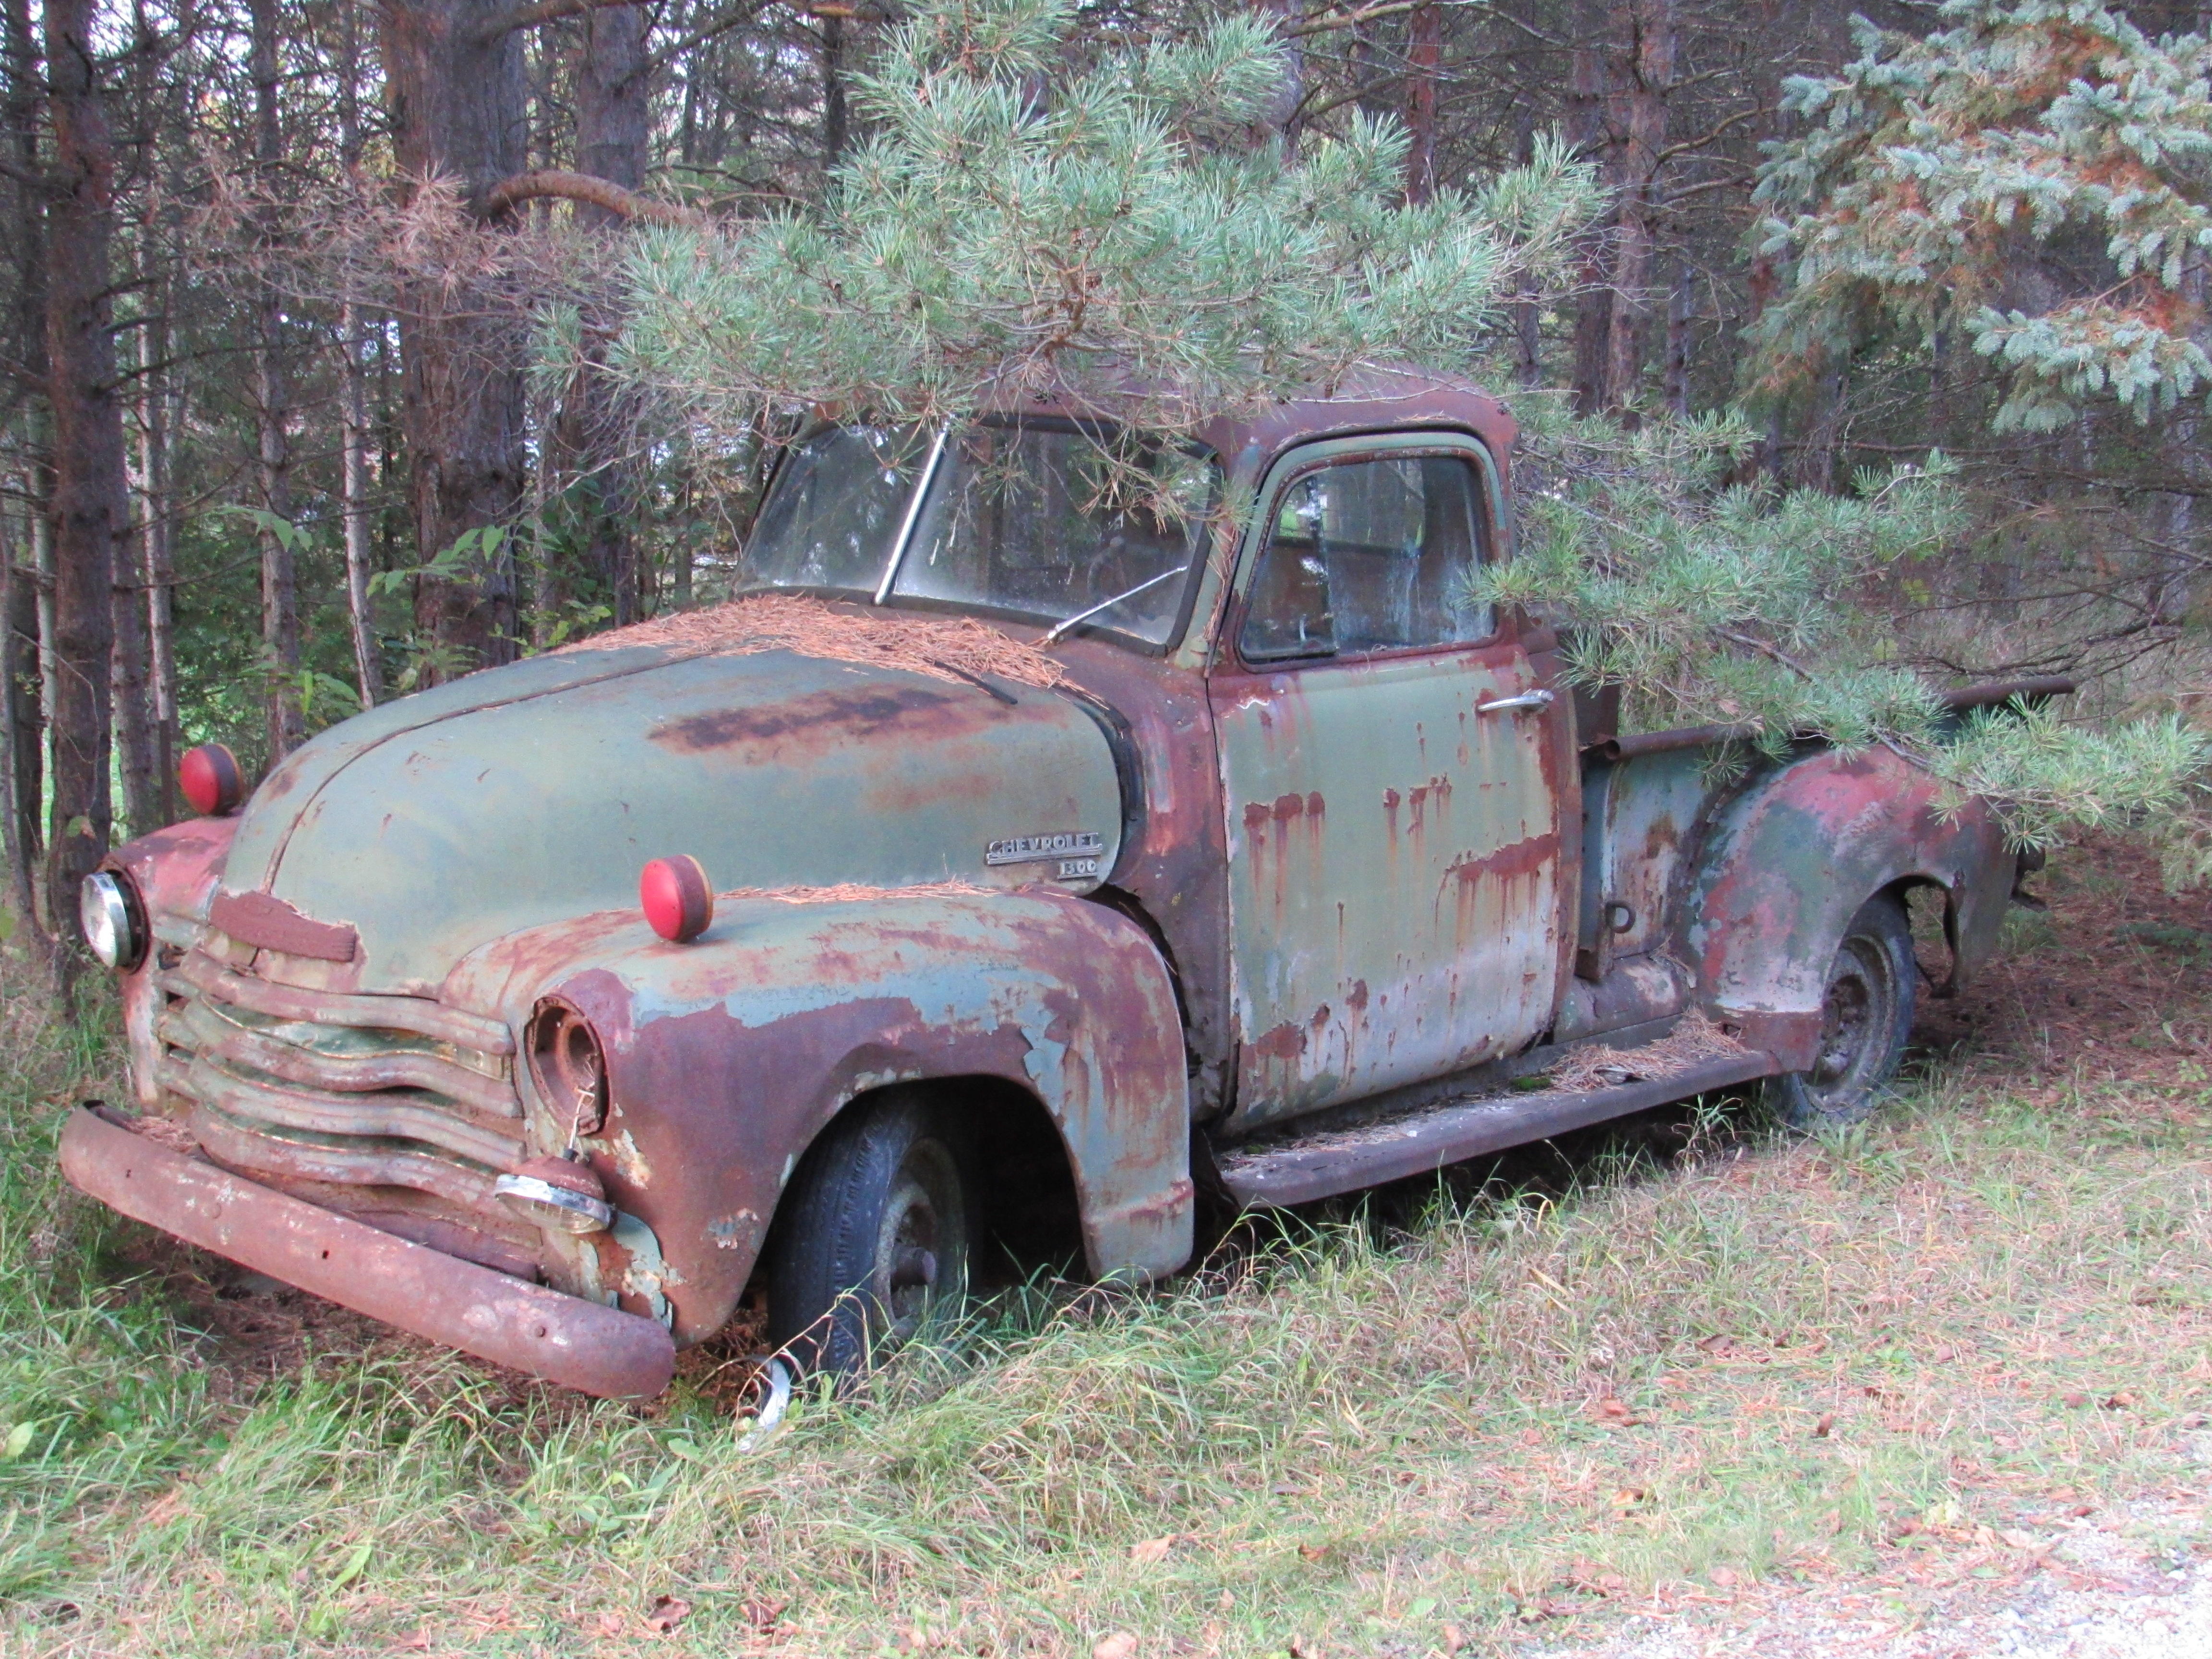
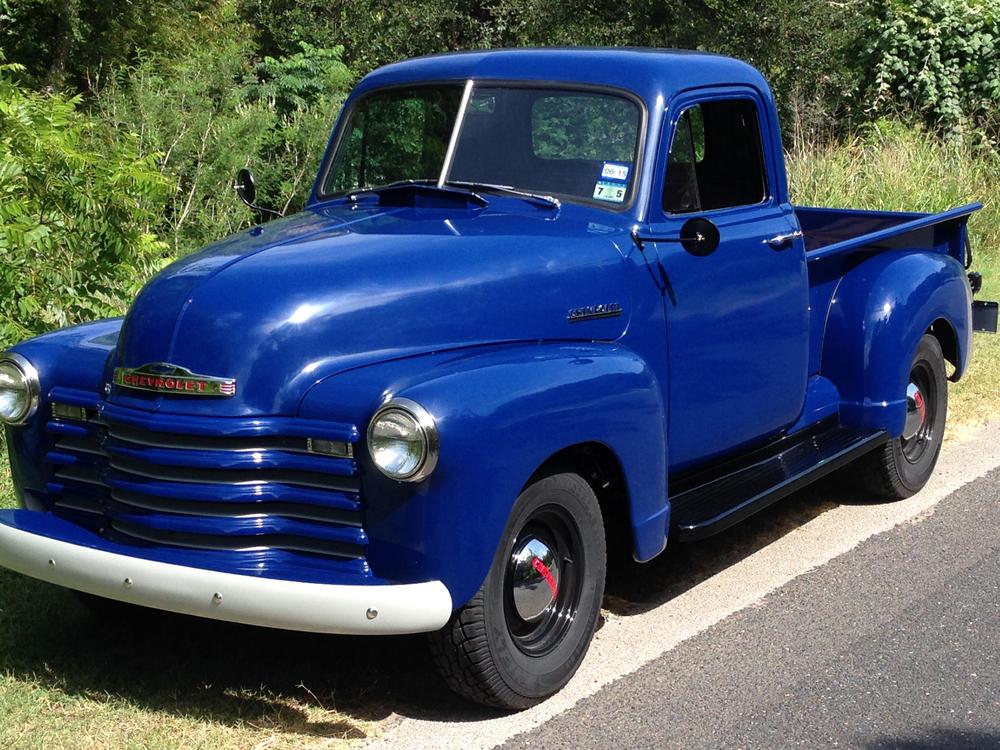
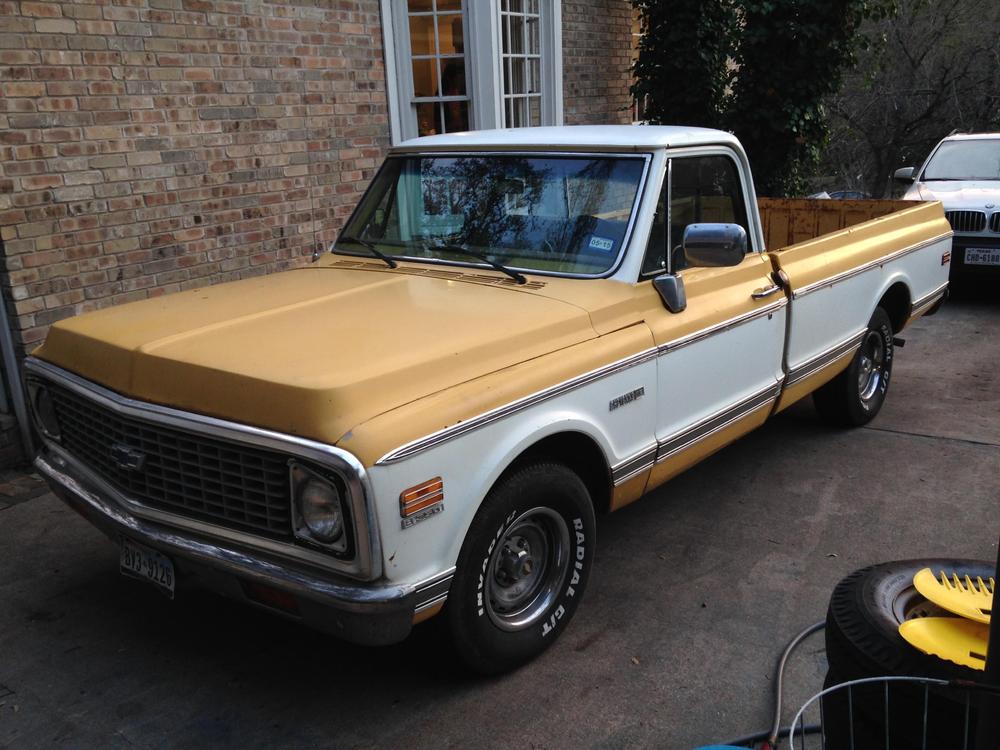
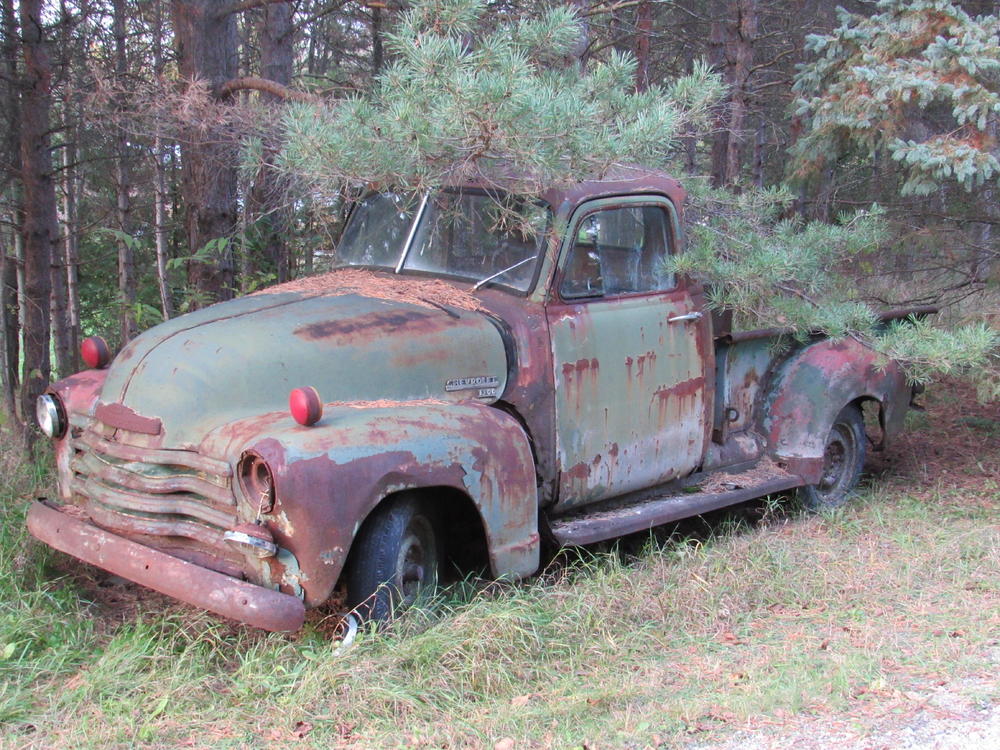
 2 pointsOh good, were sharing photos of trucks! Here are my two classics: From this... To this... And the other one yet to receive beauty tips...
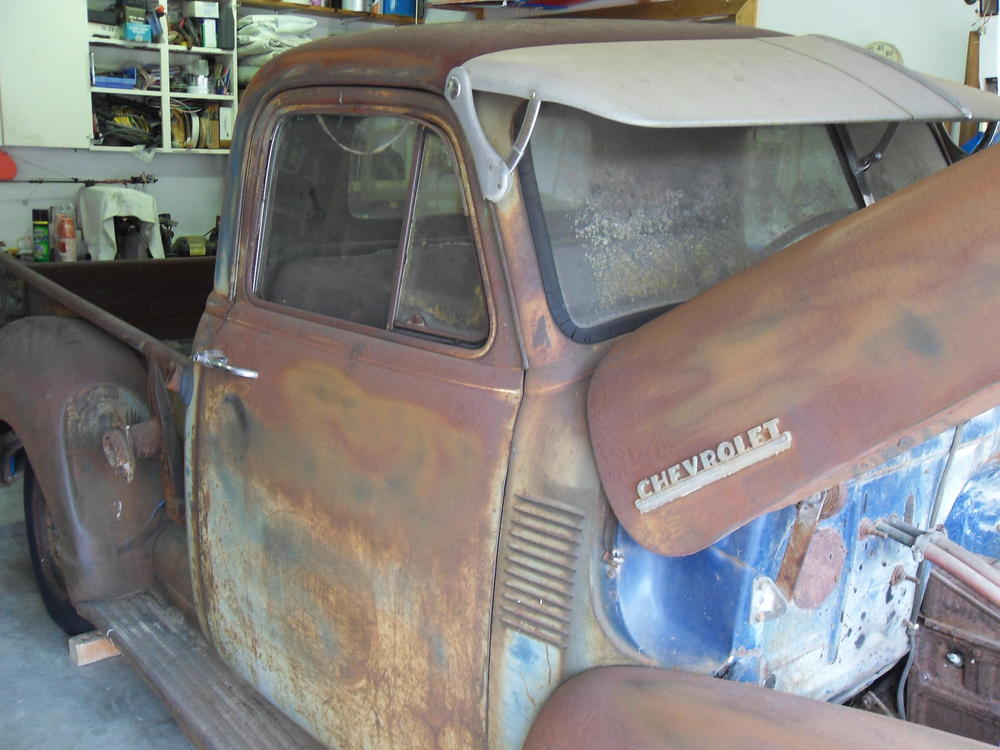
 2 points
 -
 2 pointsThat is so cool. I love that body shape, I would love to build that as a rat rod with a new chassis, but leave the patina exactly like it is!2 points
 -
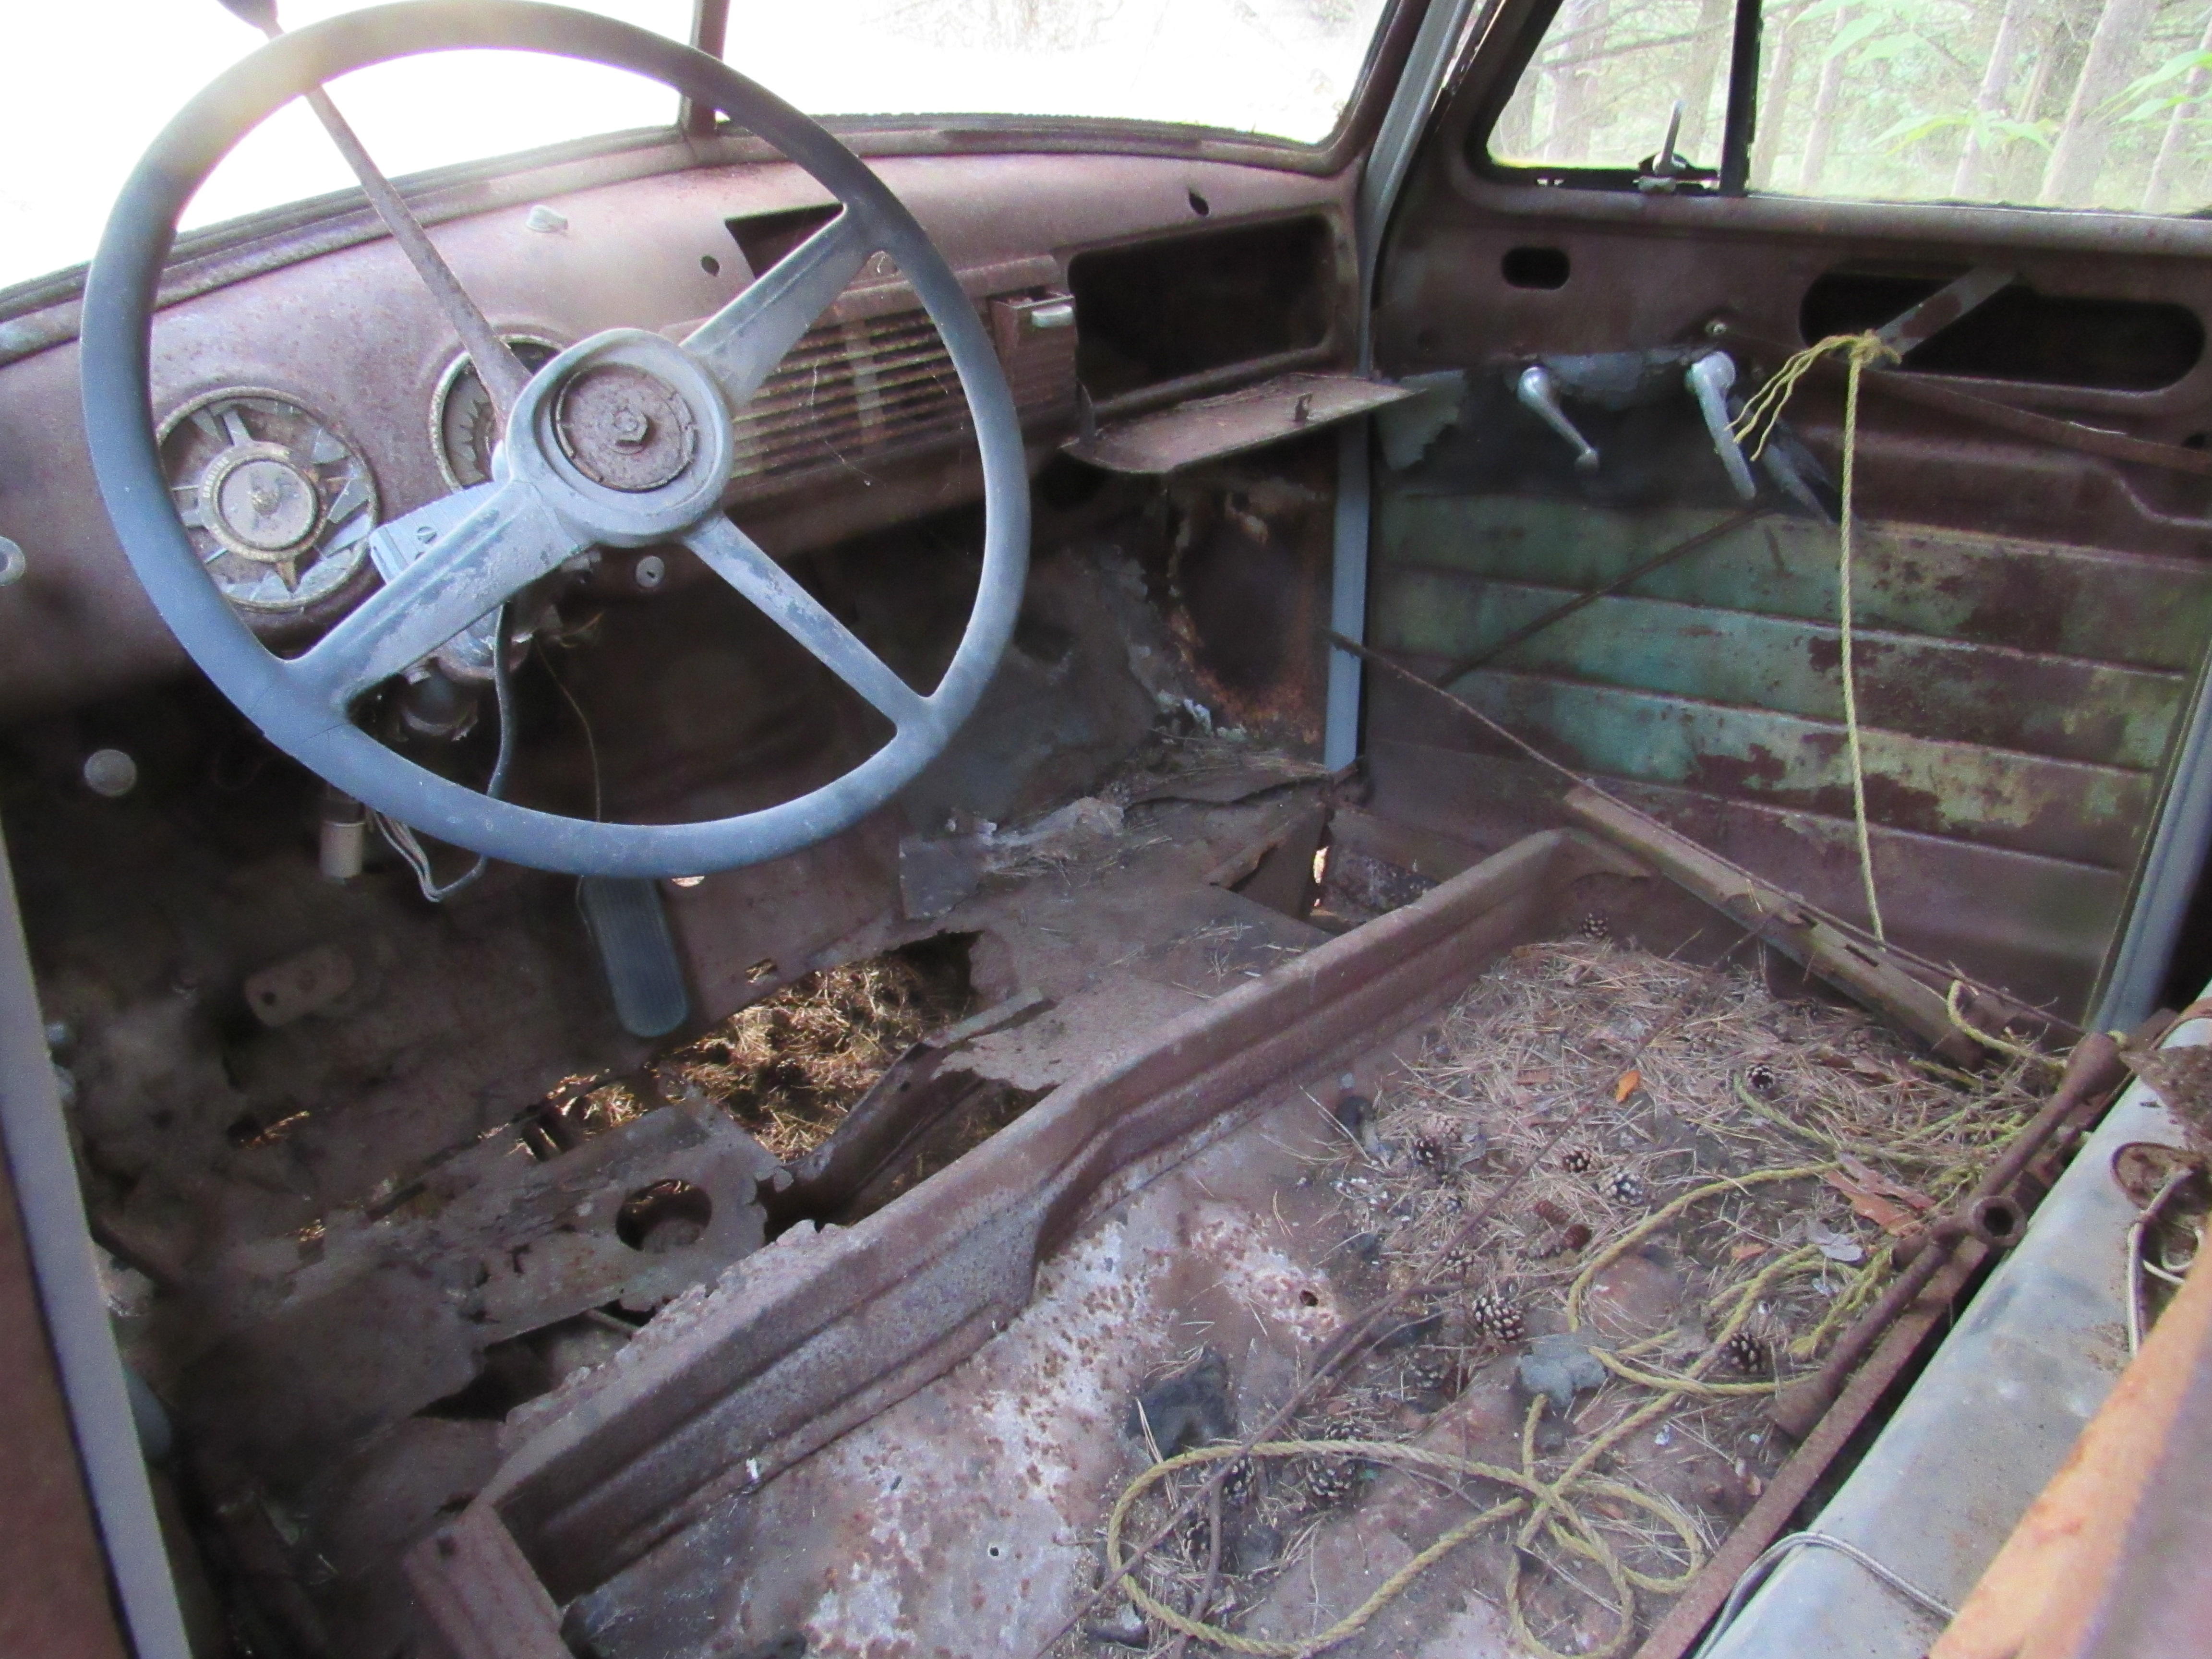
2 pointsWell Jeff, here you go, this is my 5 window /52. How soon can you start? It's a nice lawn ornament, looks great with snow on it.
 2 points
 -
1 point
-
 1 pointWe used to play in even older trucks as kids. Our family moved to a very rural area with abandoned small saw mills. They ran the mills using trucks on blocks with belts fastened to their rear rims. As kids we had the "run of the mill" in the abandoned sites. ?1 point
 -
1 pointAbsolutely, make it mechanically new and reliable on the inside but with the moss still growing on the paint.1 point
-
1 point@Patcon, there is a lap weld on the rear section like the second set of photos. I’ll reshape the pan tomorrow to try to get it snug like a bug in a rug. Sent from my iPhone using Classic Zcar Club mobile1 point
-
 1 point
 -
 1 pointNot a bad plan. I was going to try and sand them down to bare metal first. As long as it’s just surface rust...1 point
 -
1 pointDude! How did you end up with my old chevy??? Mine looked about like that with one shock replaced with baling wire. When we brought it home I coated my wifes windshield with oil blow by Apologies for the side track Jeff Jeff can you source a truck like that in Aussie land? They are getting more expensive here, much less there1 point
-
1 pointMy first thought was cut and fill, but then I thought about it. Do you really have to cut it out first. Maybe you could just strip the area of paint and filler. Treat the rust, then weld a panel in flush with the quarter. If it ever became necessary to reverse the procedure, most of the metal would still be in place. Plus the edges of the relief will help prevent warping.1 point
-
 1 pointHere's where my wife's started when she inherited it in 1993 - sitting in the same place of the picture taken in 2017. Edit: Sorry this got dragged so far OT.
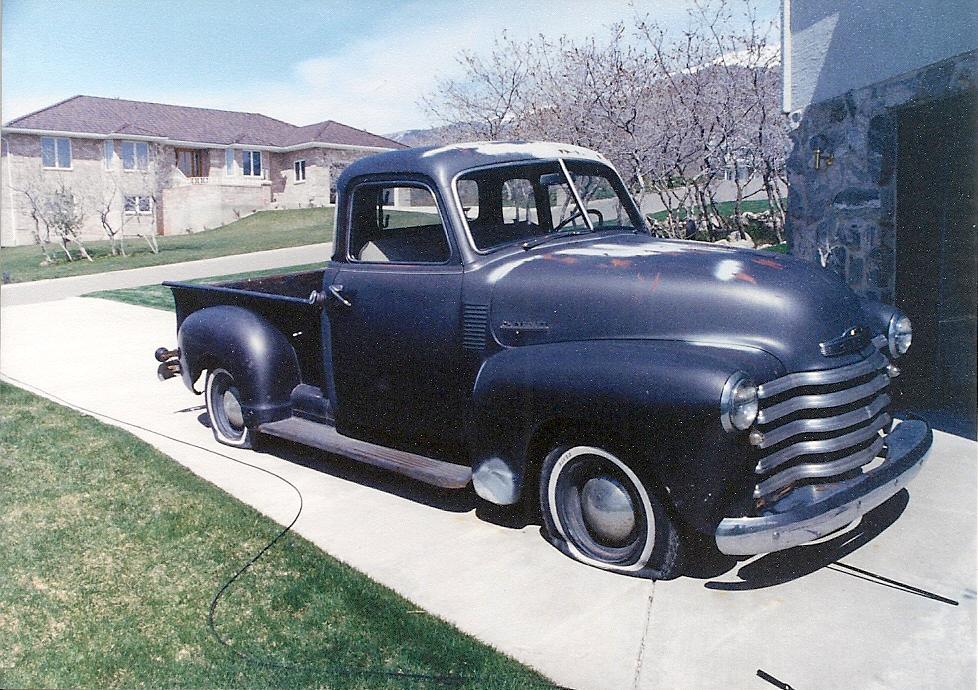 1 point
 -
1 point@Patcon @grannyknot So I formed the a pan with two 1/2" beads in the middle with a 1.5" strip between them. Im running into some different ways to get the pan welded, and with that formed to the contour of the bottom of the car. The first way is to do 3-butt welds (front, trans side, rear) and plug up some of the holes I made, and have the rocker panel spot welded + glued. The second way is 2-butts (front , trans) and have the rear section overlap like OEM, rocker is spot welded + glued. I'll need to massage the pan again to get it to fit properly on the rocker side, but probably take me 20 min. EDIT* I also would need to drop down the section thats on the frame rail that connected to the round portion of the old pan, I think cutting a slit and hammering it flat to be welded to the new floor pan should work.... Ultimately I understand that its not going to look perfect, but im okay with the compromise. Better than the old section that feels like a taco shell thats been sitting outside for days.1 point
-
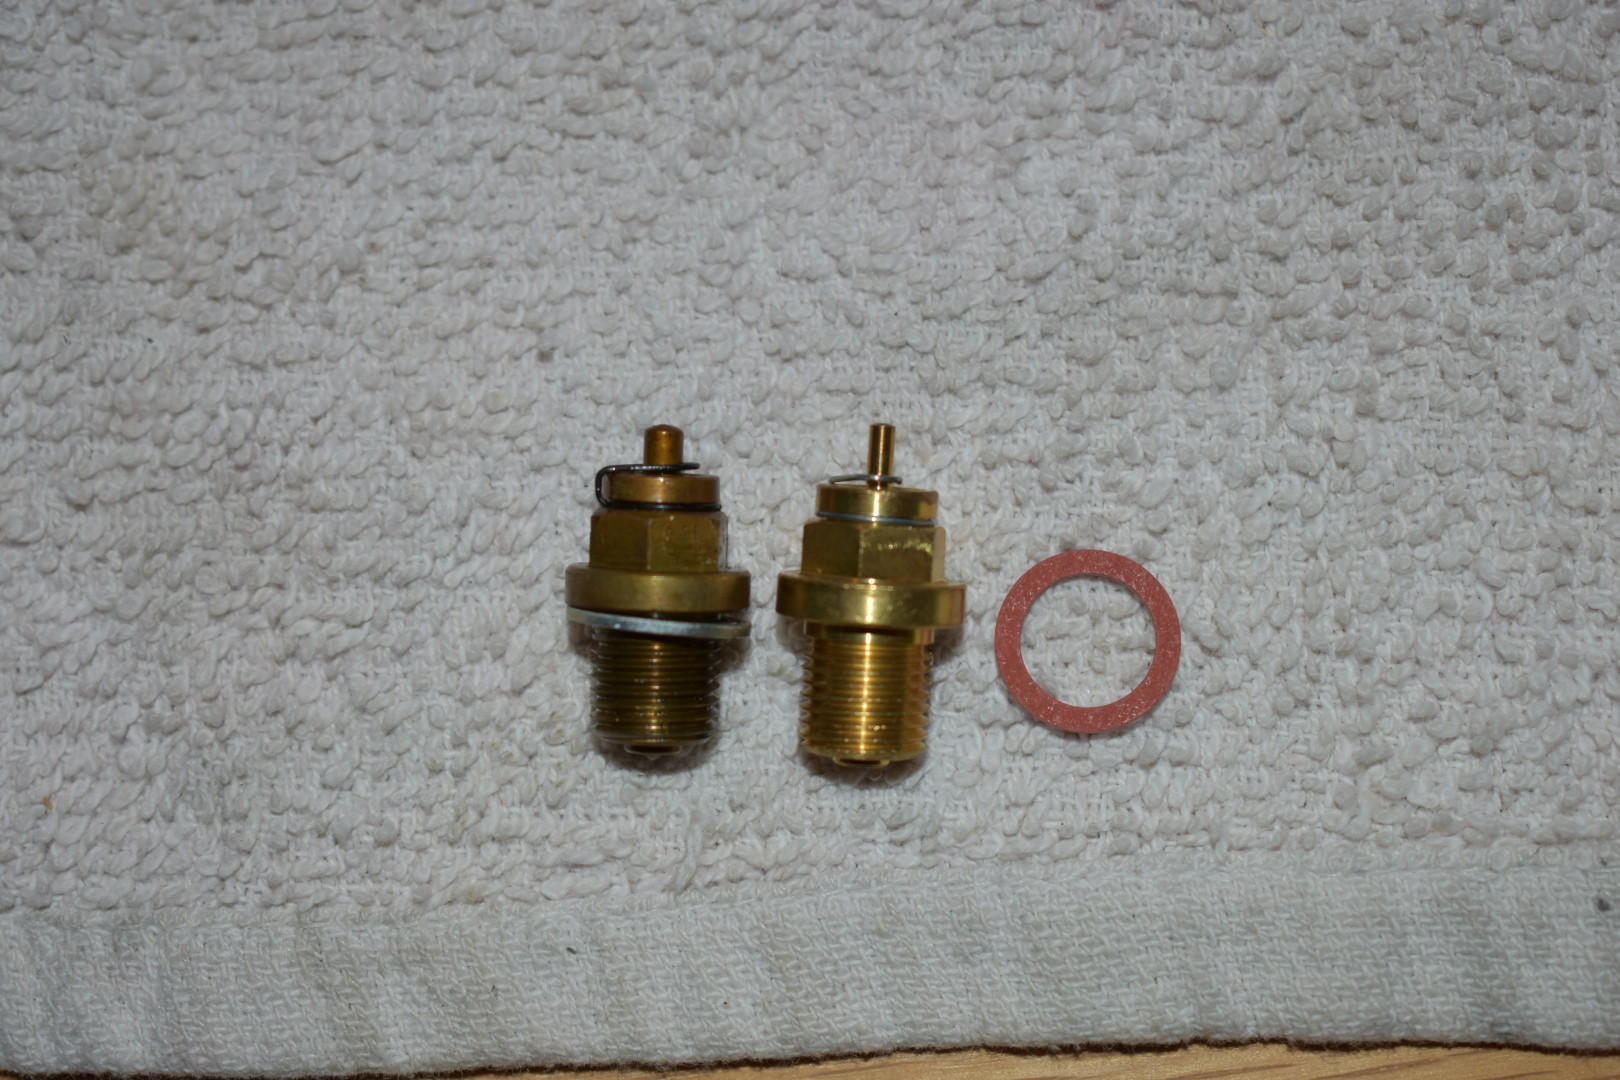
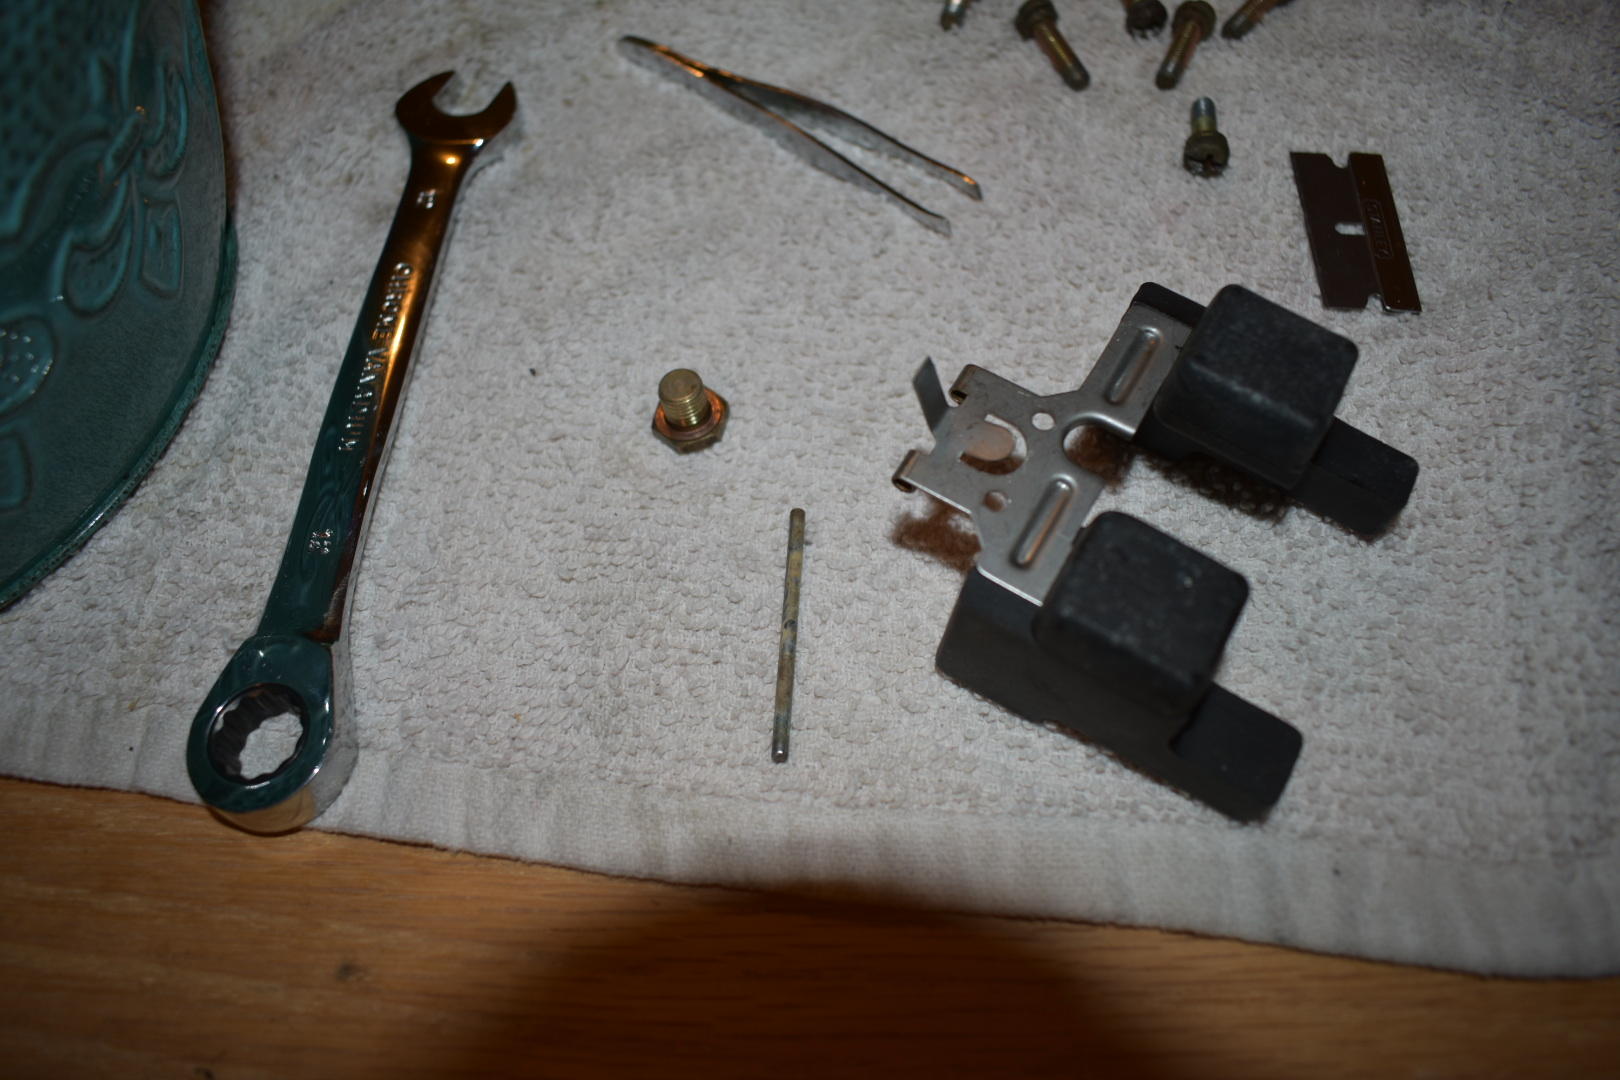
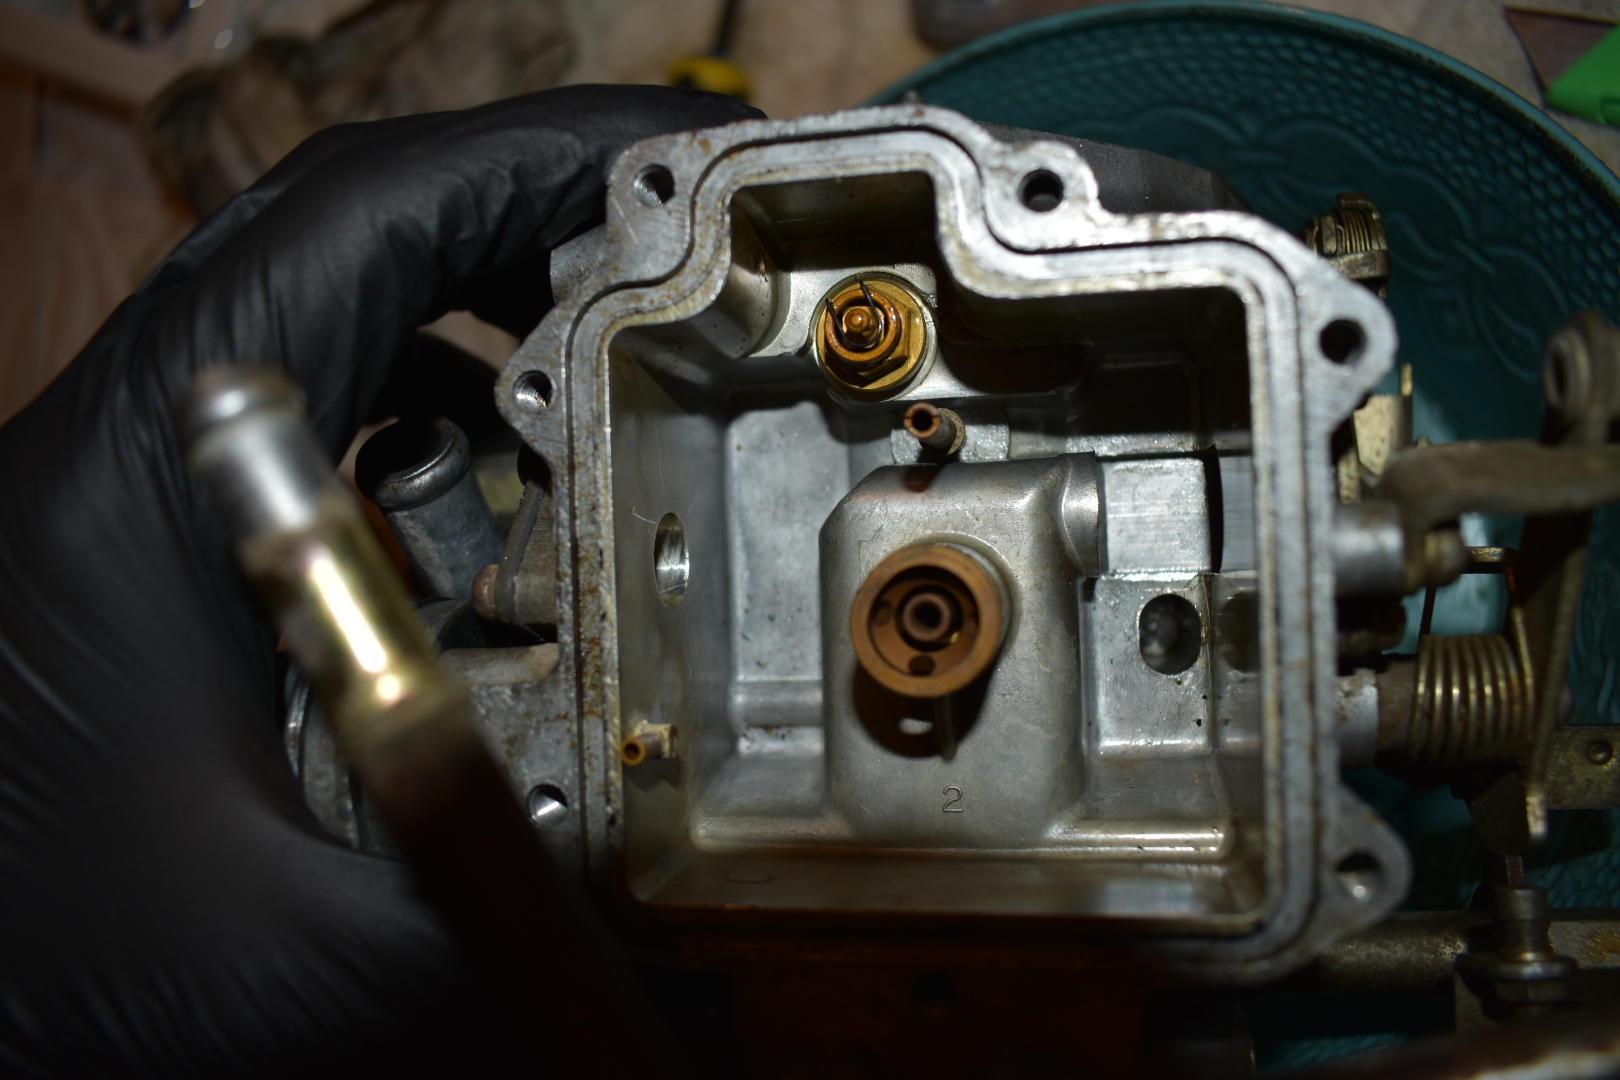
 Good news! Letting that pin sit in some carb cleaner long enough got it loose. Got the utility knife blade in there next to the float like you mentioned @Captain Obvious and was able to push it out and grab it with the tweezers. I like your new float pins! I've got a machine shop at work, maybe I can talk one of the guys into making me a couple new pins and modifying the cap like yours. Started on the second carb tonight as well. Again the pin is quite stuck. Will give it a few rounds of carb cleaner and try again in a few days. Comparison pic of the old valve seat (left) and new one from the rebuild kit. The pic doesn't show the exact height of the valve as they were a little closed, but the new one does seem a bit longer. Will have to adjust that tang on the float maybe. Going to wait until I have both carbs ready and then redo the fuel level measurements.

 1 point
 -
1 pointI think in the later cars maybe the 280zx had orange lettering. I am not sure a 280zx speedo has that shape to the housing. IIRC, In the states the 280zx cars did not have high speeds listed on the speedos because at the time the government didn't want to have them read very high. I think they read to 85mph. The rest of the world might have gotten 160mph units in the 280zx. My other guess would be it has been re-lettered with orange. I sort of doubt that though.1 point
-
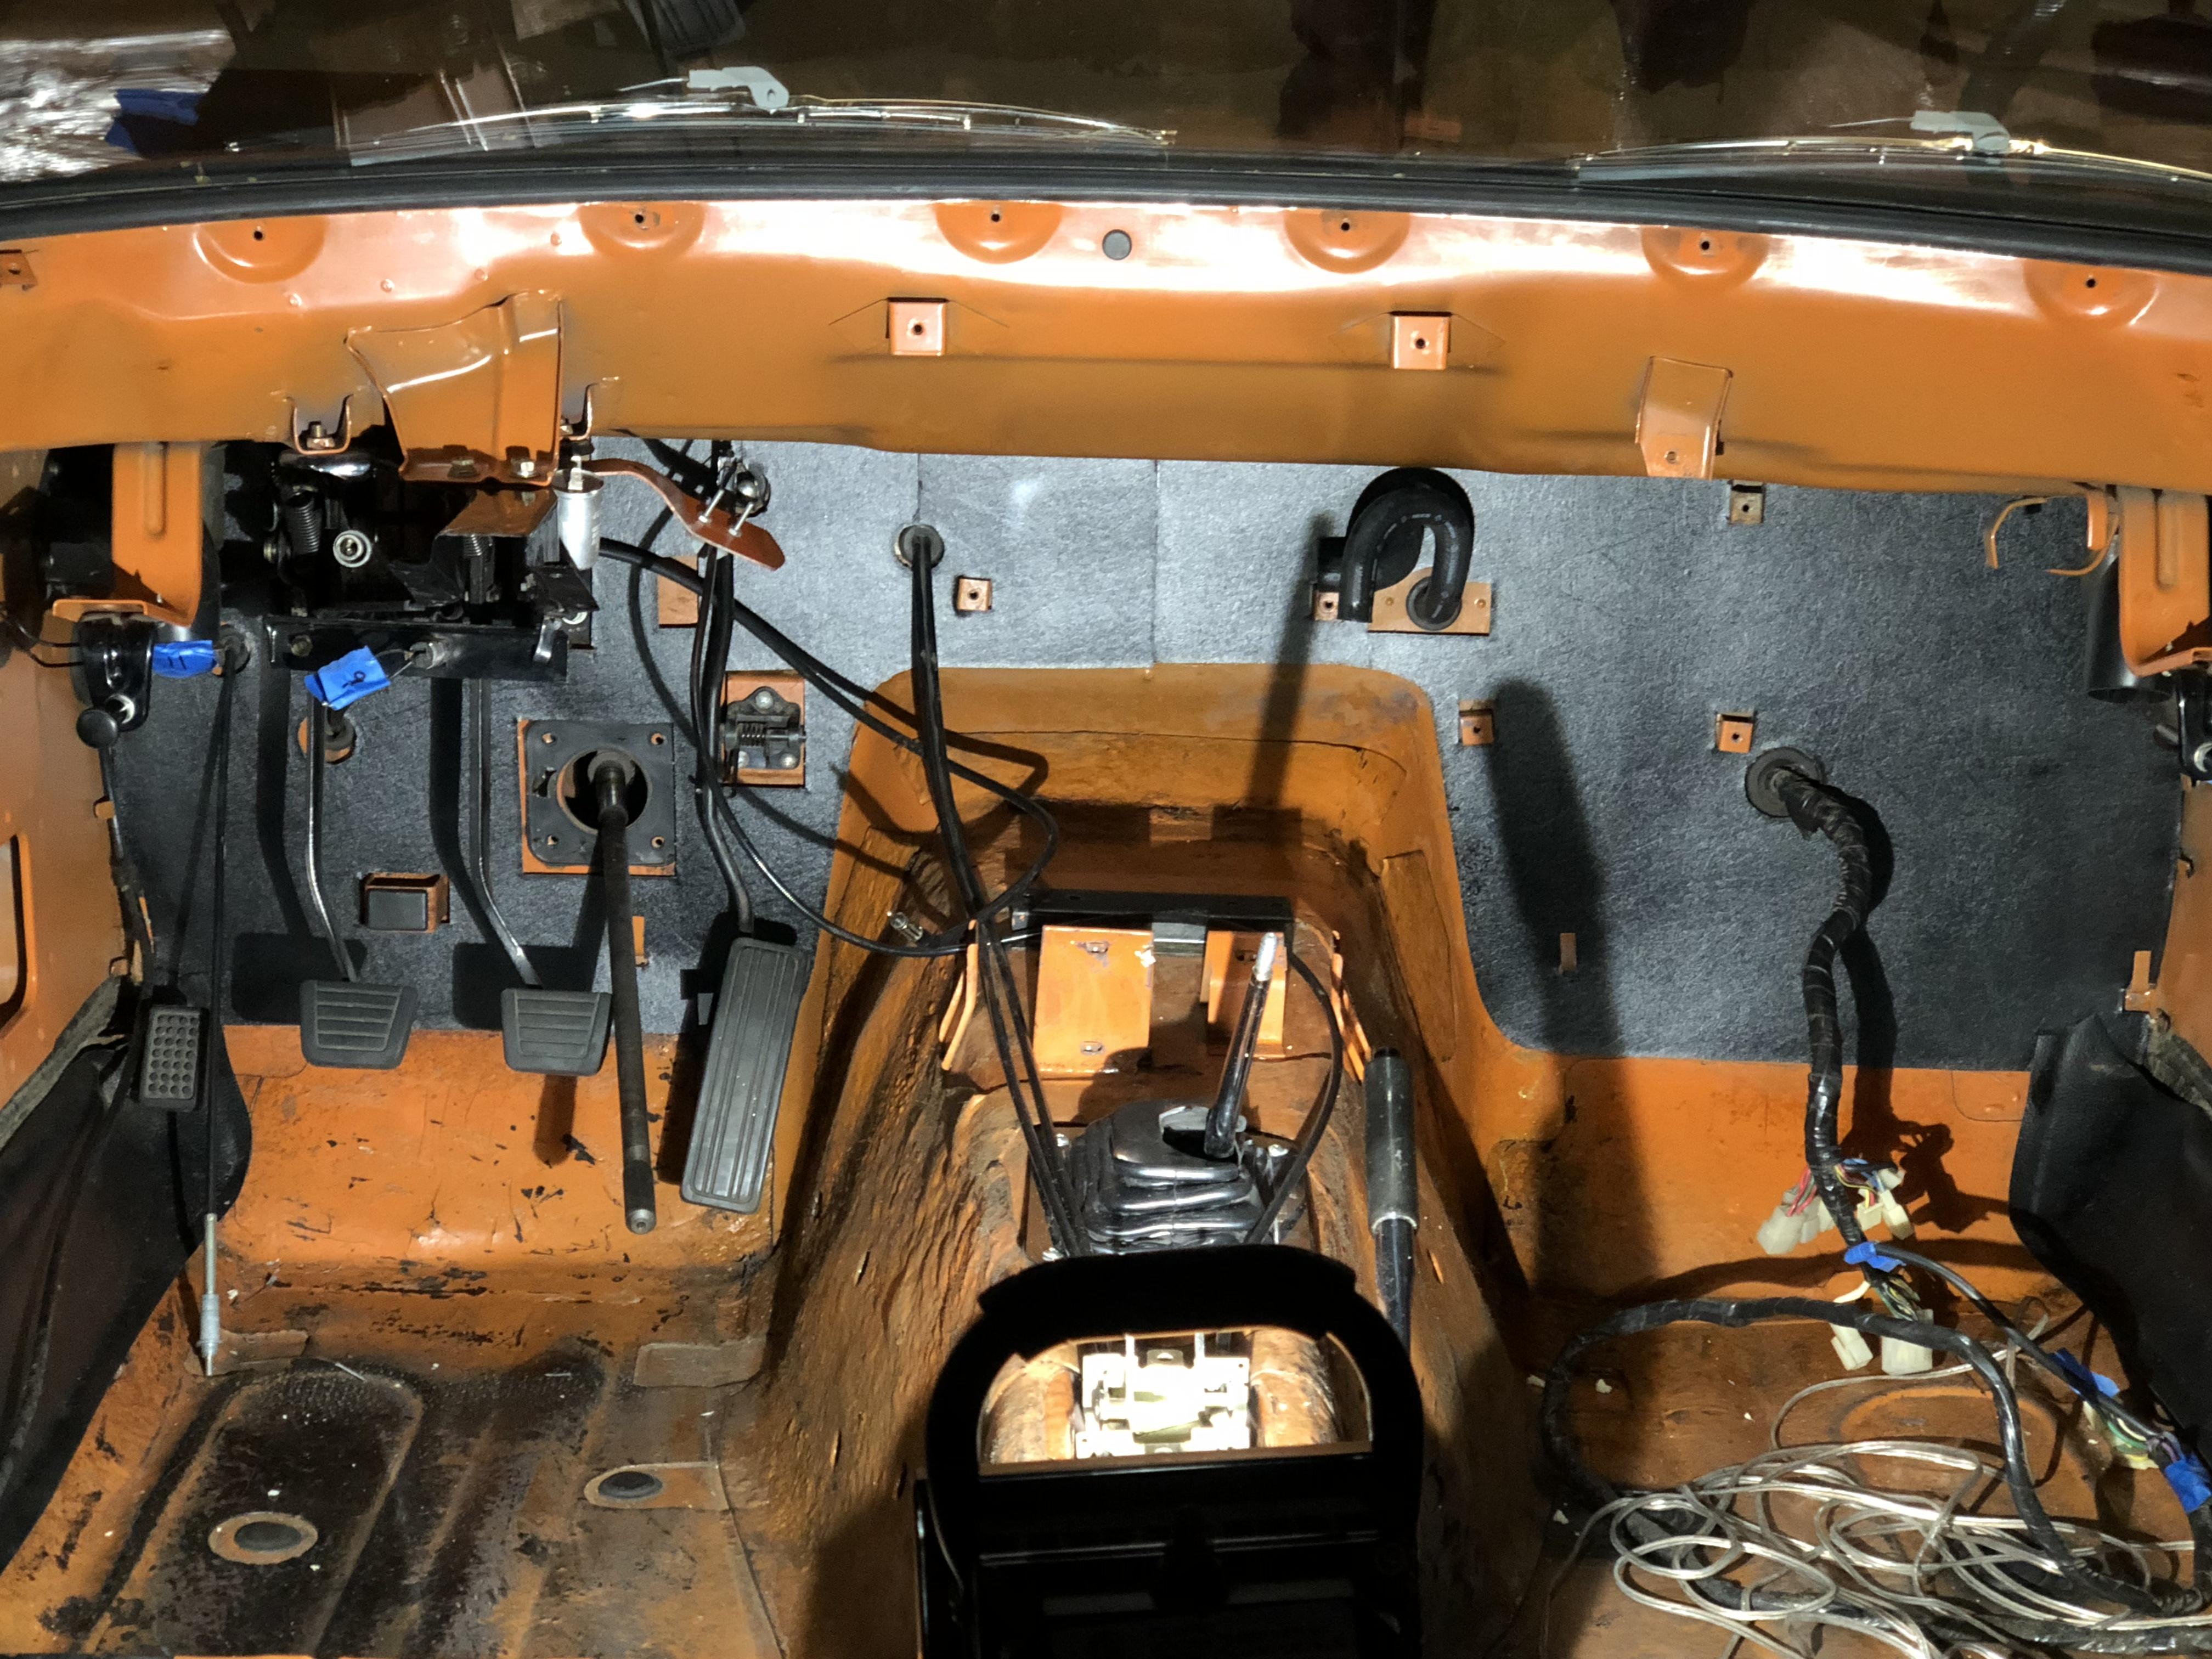
 1 pointFinally installed a new part into the stripped out interior. New firewall insulator. I added a sheet of vinyl to the cardboard because it looked a little cheap. Looked great with the vinyl and fit pretty darn well with just a little trimming need.
 1 point
 -
 I like the bmw cohiba brown interior for the seats and door panels. Would look great with the green. I always said that if I had a green Z the interior would be the cohiba brown.
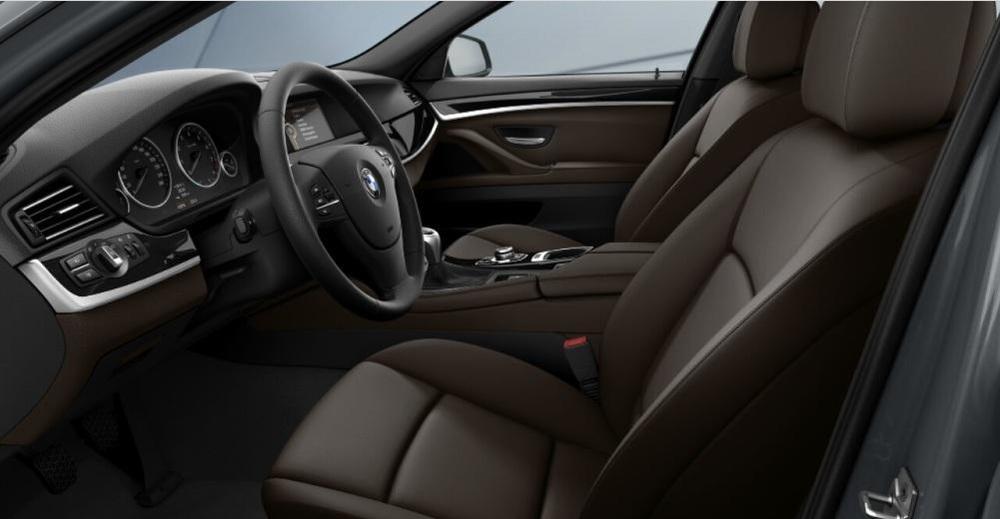 1 point
 -
1 point
-
 0 points