


Leaderboard
-

lonetreesteve
Free Member4Points1,700Posts -


Av8ferg
Free Member4Points1,538Posts -

wal280z
Free Member4Points514Posts -

conedodger
Free Member4Points11,316Posts
Popular Content
Showing content with the highest reputation on 11/11/2018 in all areas
-
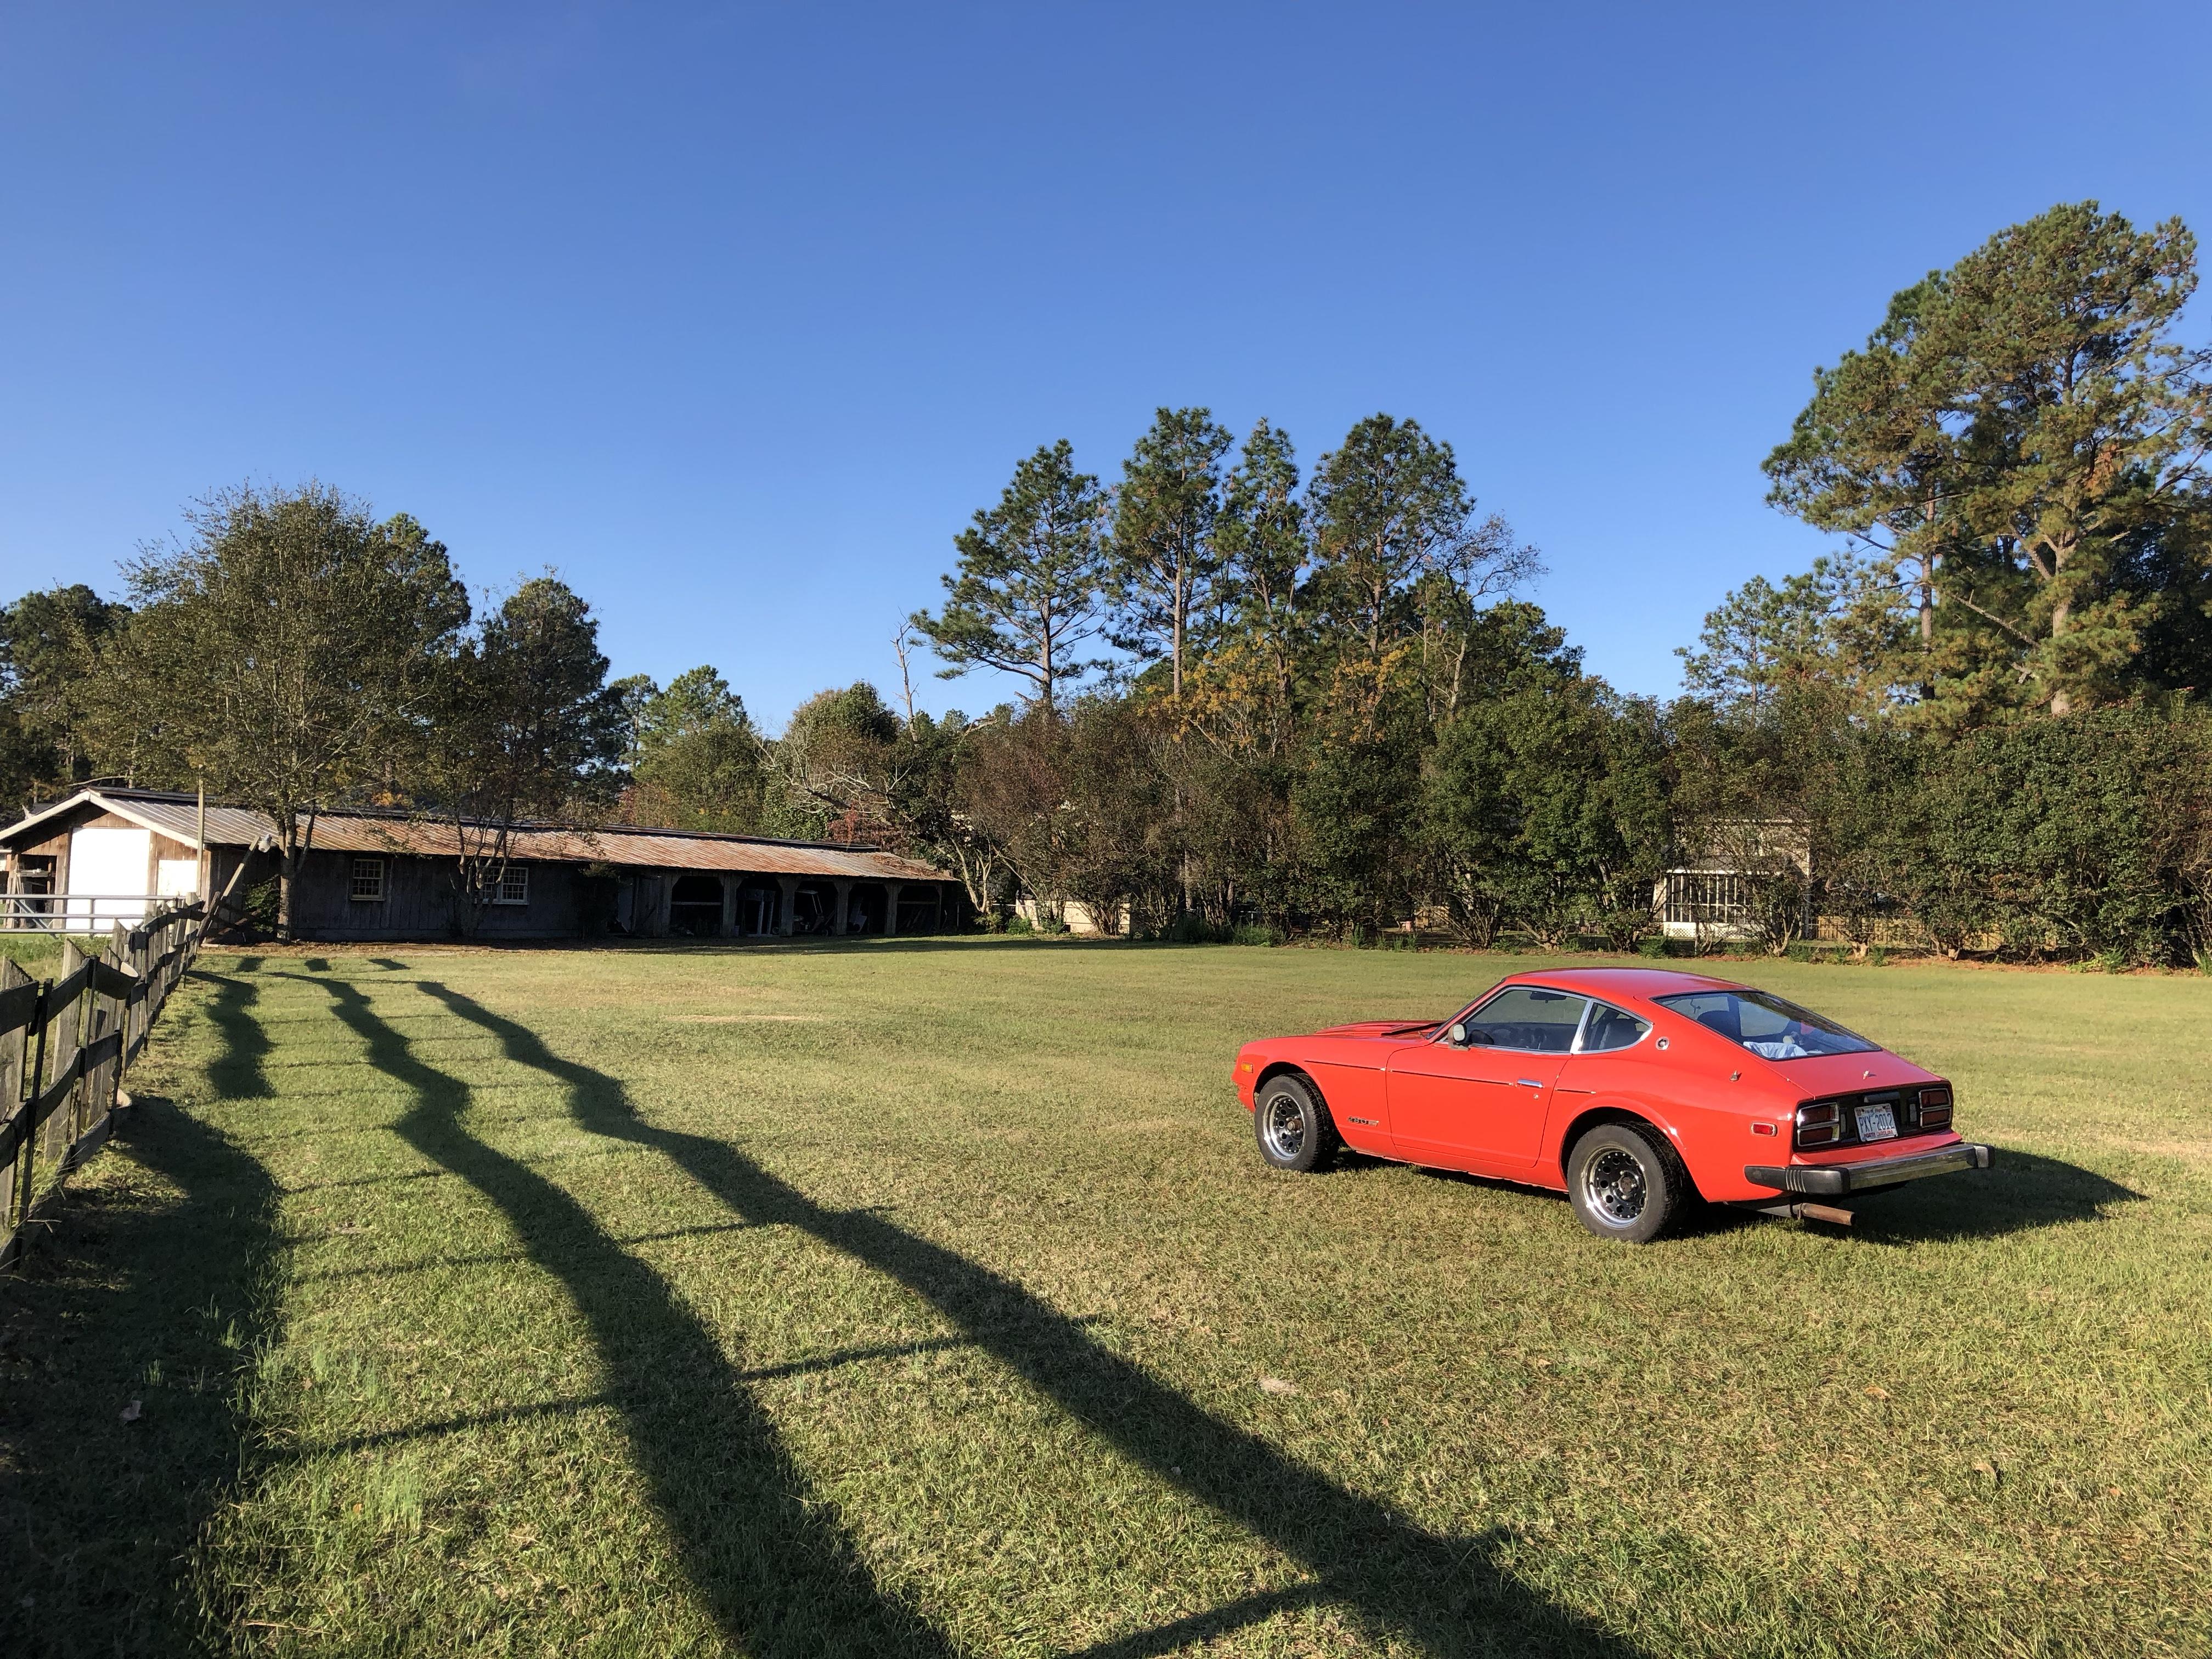
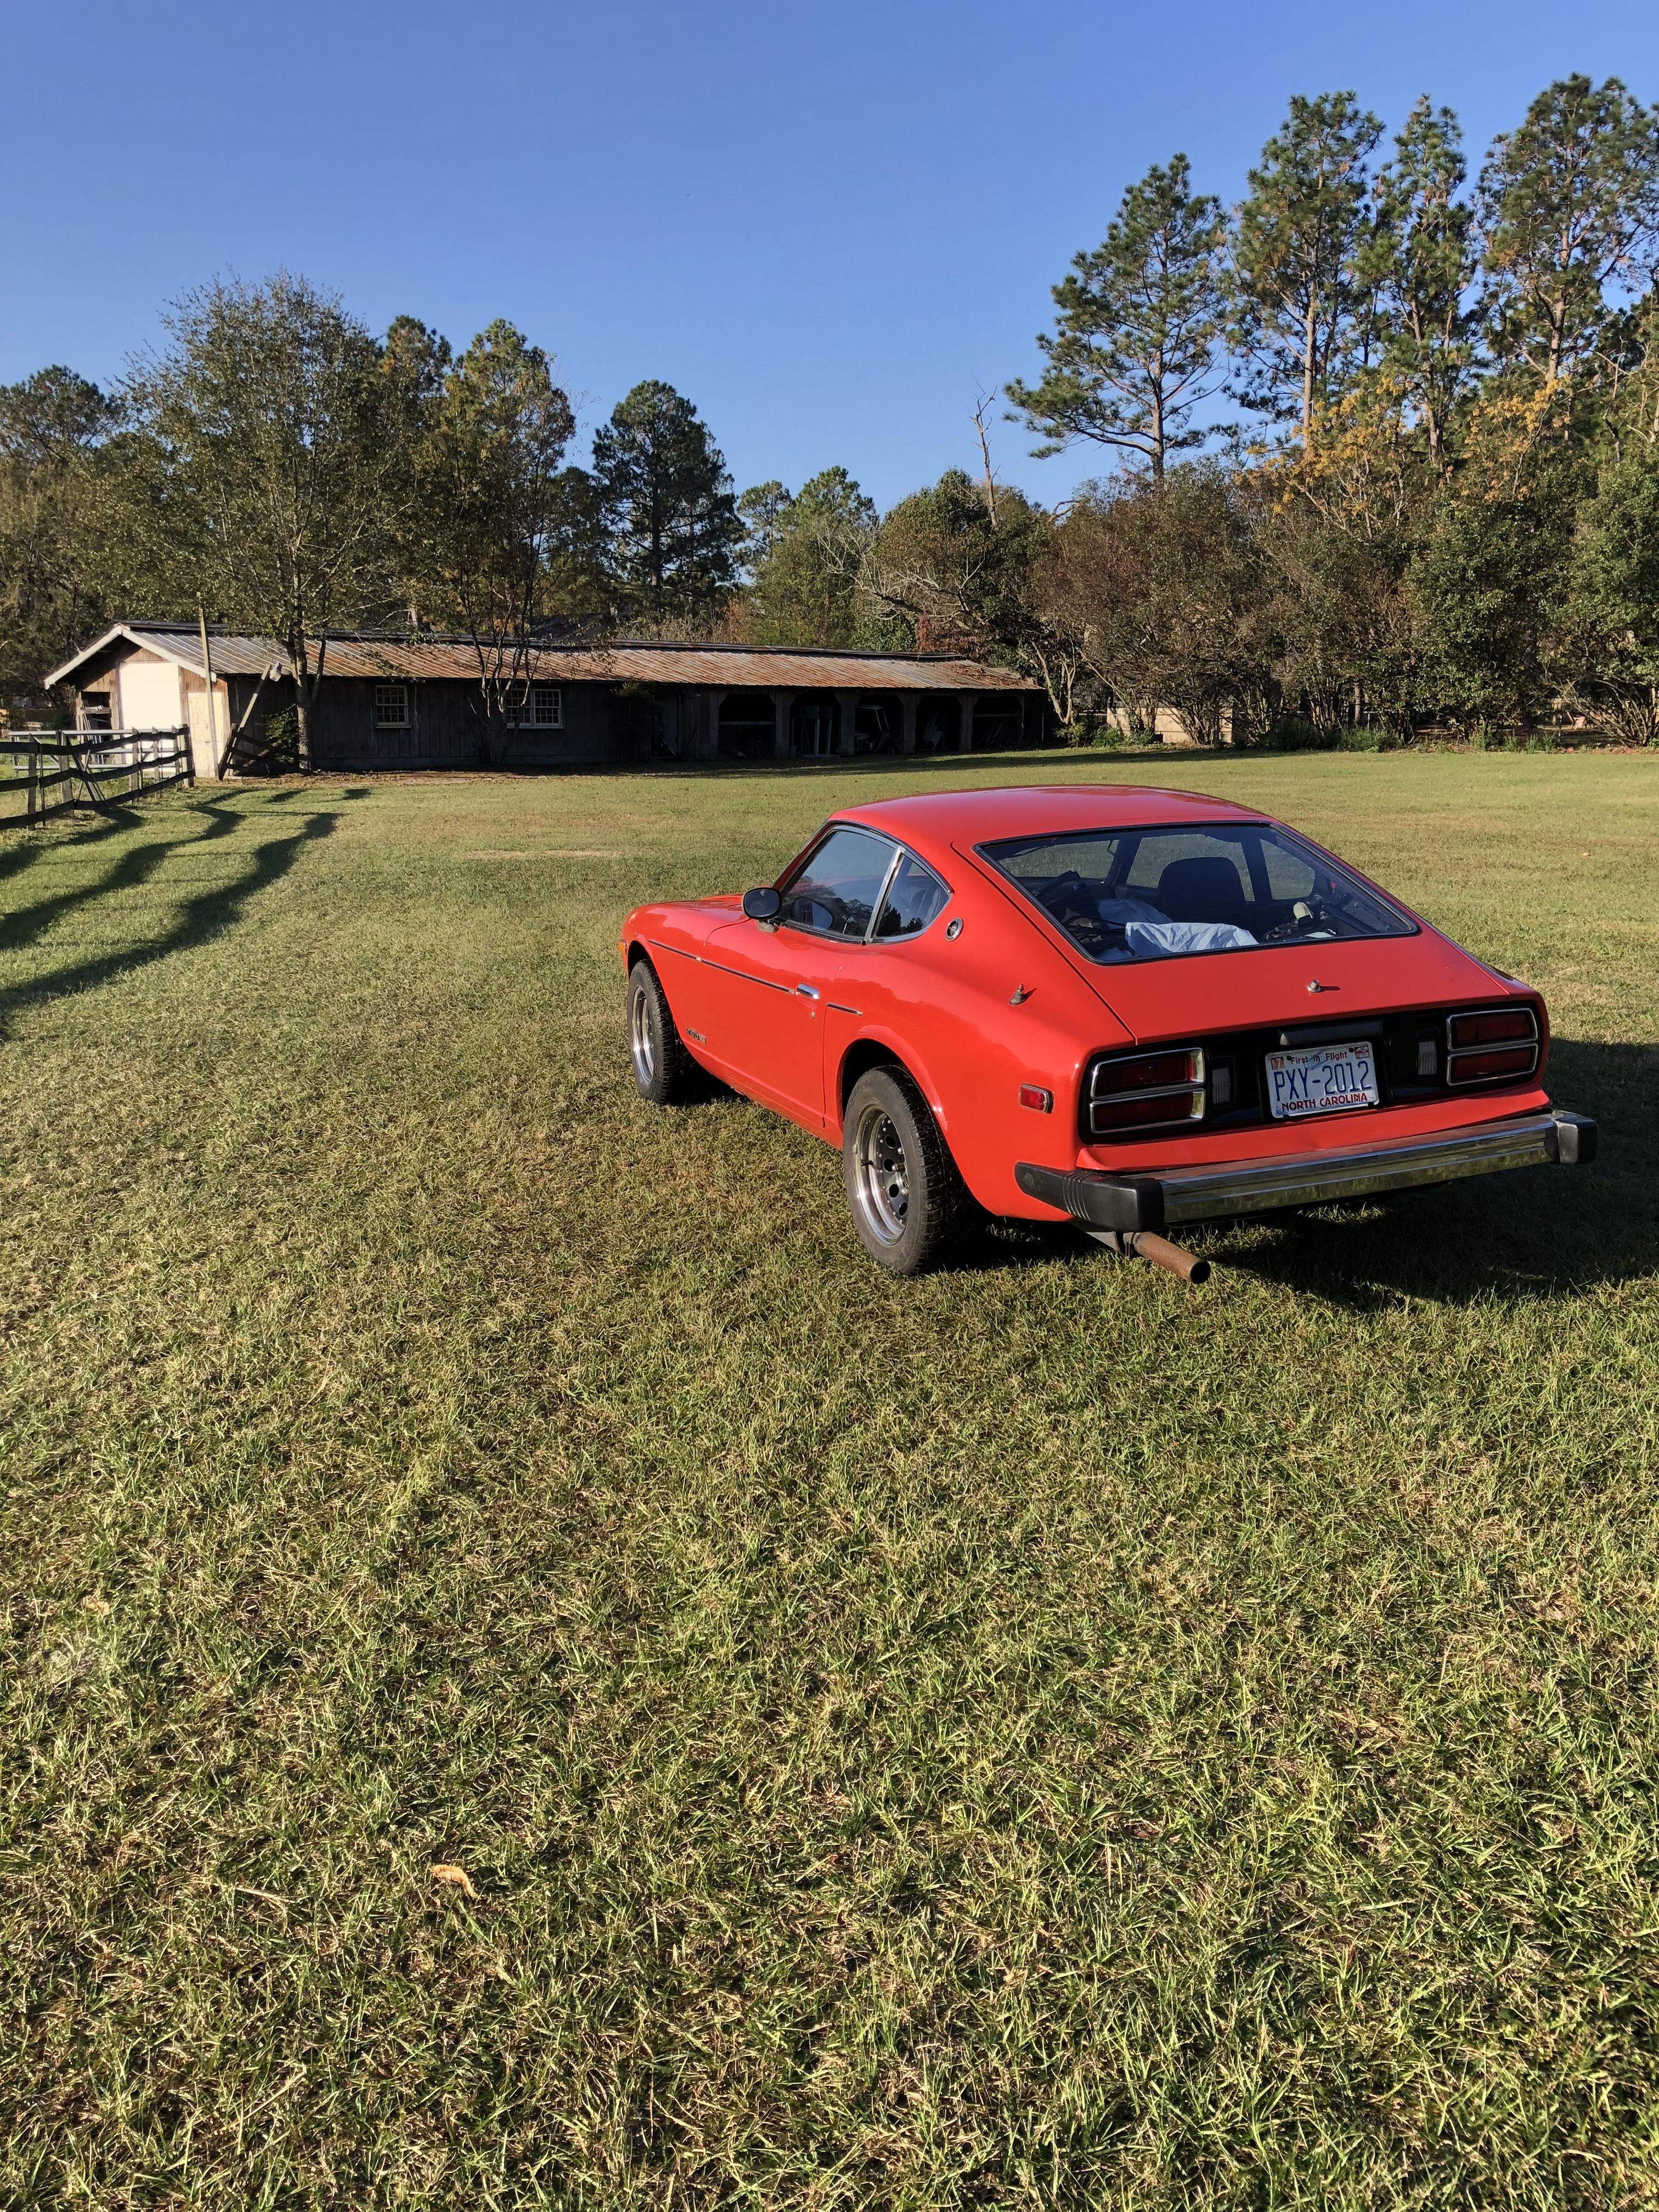
3 pointsI’ve arrived safely. Here’s her new home for the time being. She’ll be in the barn. Thanks for all the support. 0614717B-3788-48B1-8AFC-1CA4BF3E299D.MOV
 3 points
 -
 2 points
 -
2 points
-
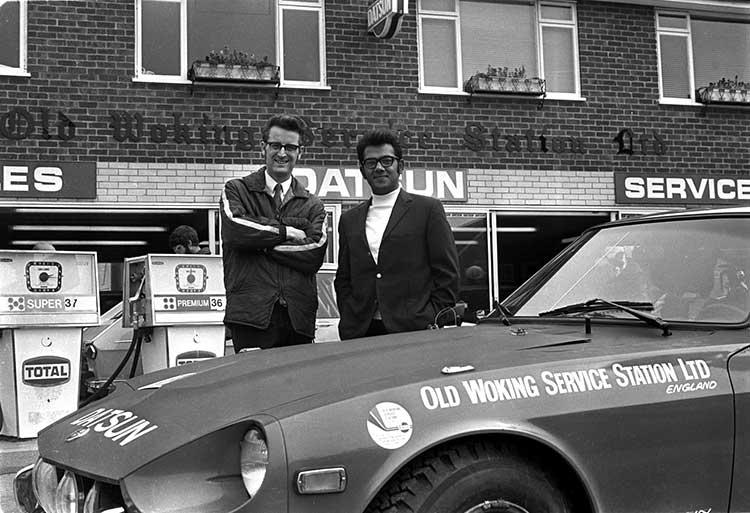
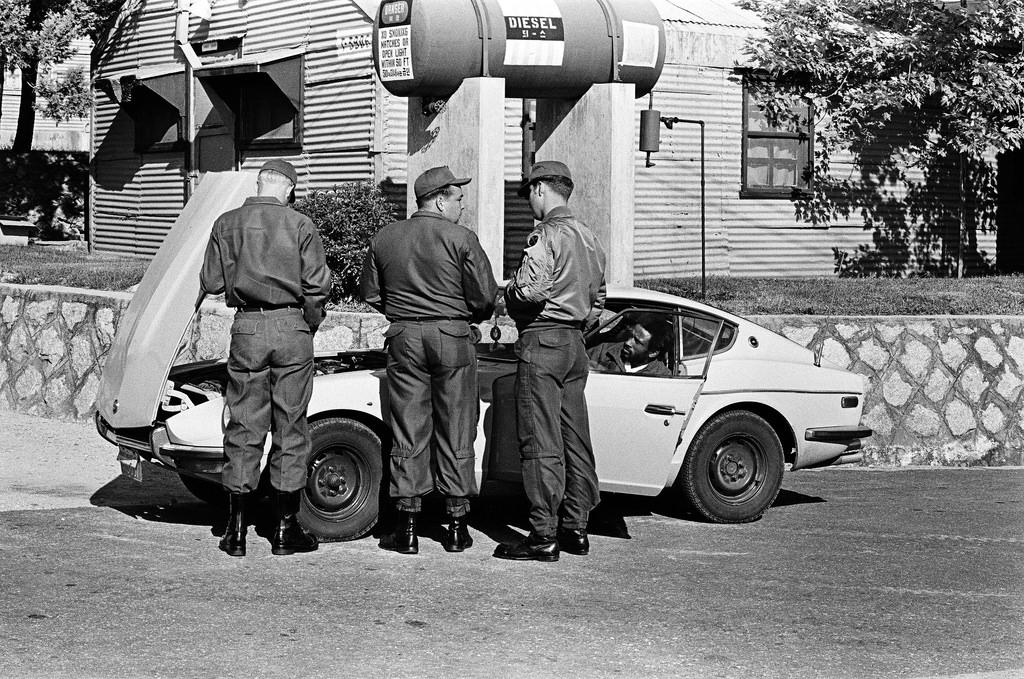
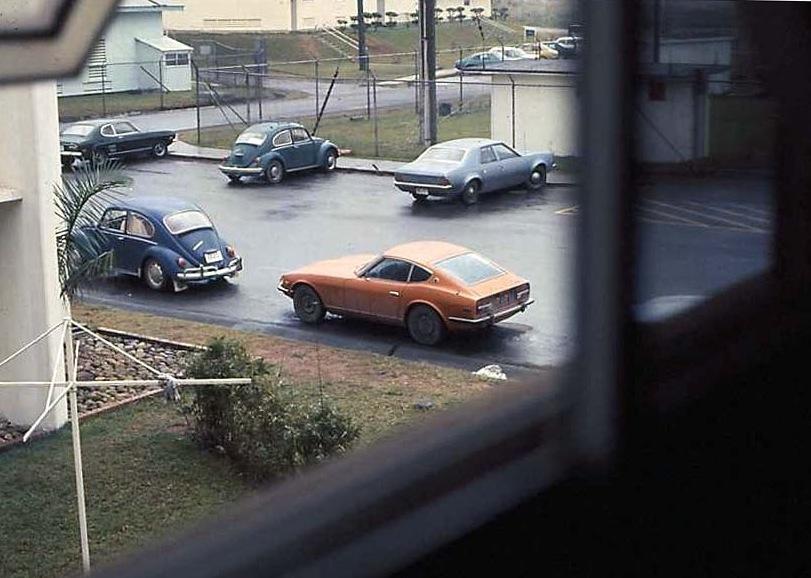
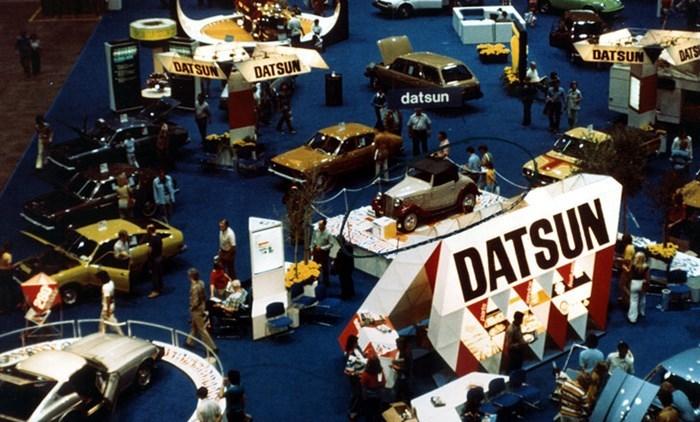
2 points@240260289 You are correct, it was in Europe. The picture was taken at the Autorama in Portugal almost 50 years ago.2 points
-
 2 pointsSiteunseen - this is great. Thanks for taking the time to help. I appreciate it. AND, definitely no texture. CantechZ - if you're out there - thank you as well.2 points
 -
 2 points
 -
1 point@Av8ferg that's some nice land your dad acquired... Glad to hear you made it back to NC safe. PM me when you get settled. Wayne1 point
-
 1 pointGo as far as you are comfortable with it. I think I previously said the doglegs were the worst area on these cars to fix, I was wrong, the worst place is the A pillars. There is just no room to work, all you can do is drill the spot welds and try to open it up, or cut it out and replace with an A pillar from a donor. If you take it down to bare metal there is a good chance you can correct a lot of the dent with hammer and dolly, many body shops won't go to that trouble and just mud it up and sand. But sometimes I've removed all filler to find the previous guy did a good job filling and now I have to re-do the same job he did. If there is thick bondo you know there are problems there that will need work, if the filler is thin and there was no bubbling of the paint before hand then you could leave it. Just seal it with a 2k primer.1 point
 -
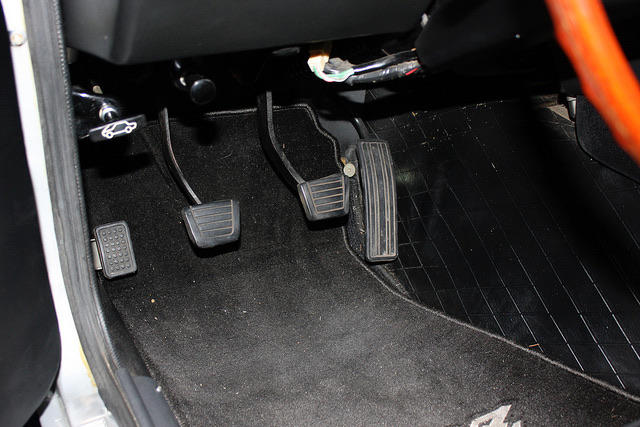
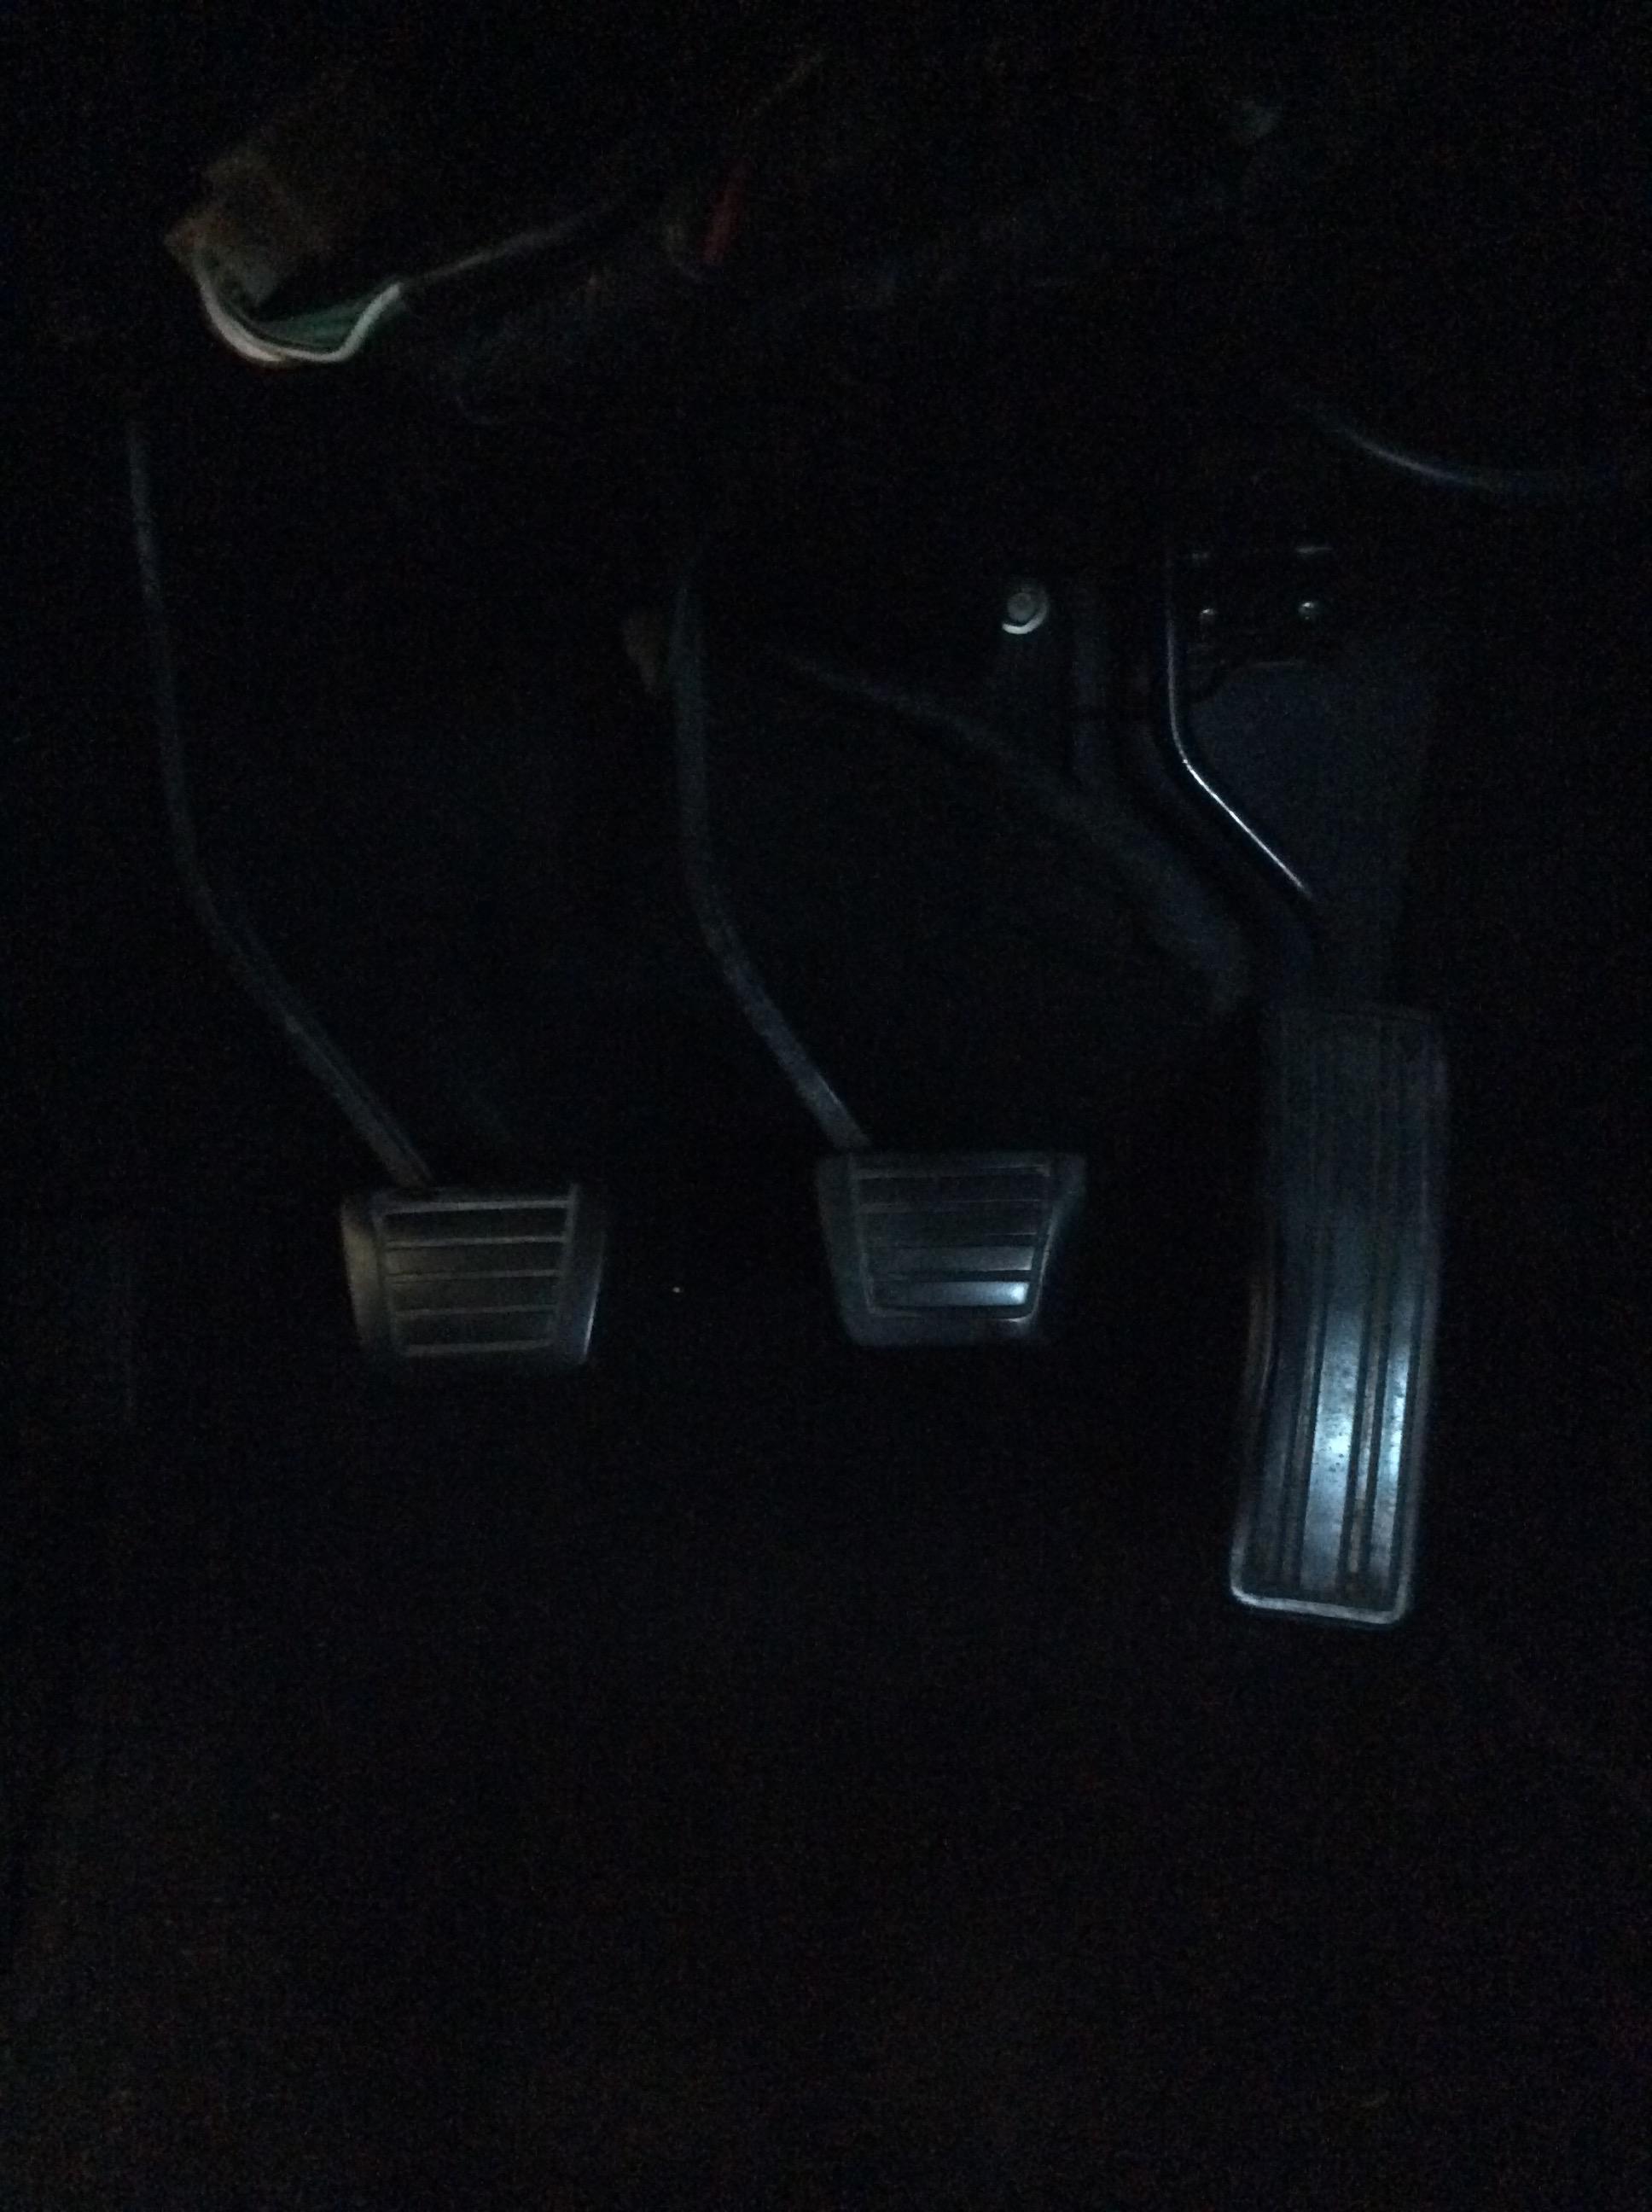
 1 pointHere’s a thread I started on my 73 auto swap. Seemed to me I initially went with an early pedal and it worked, but at an awkward angle. I later installed a 73 pedal. The 2nd pic is from my thread with the early pedal....the 1st pic (dark pic that I just ran out and took for you) with the 73 pedal. Note how much closer to the brake pedal the 73 is (correct geometry). I’d go with the 73 pedal if it were me. IMO
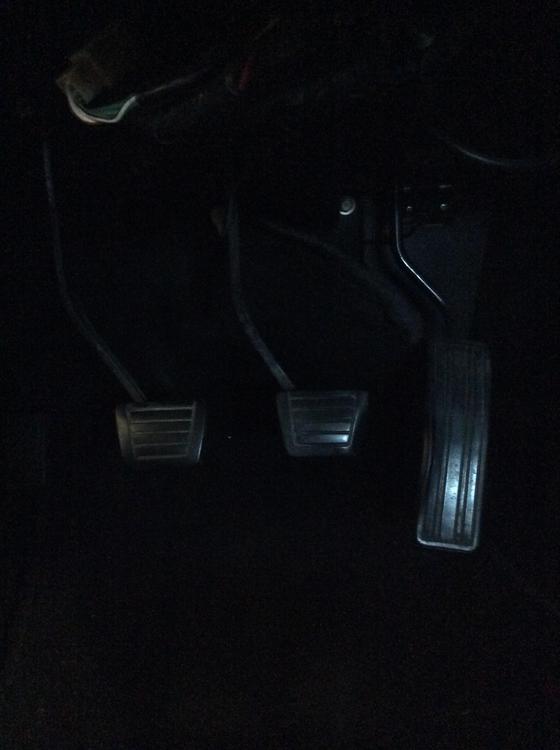
 1 point
 -
 1 pointThe 73 clutch master is spaced farther from the brake master as the booster size increased. The clutch pedal has an extra little L bracket welded to it that the slave arm attaches to, that gives it the over -to-the-left offset it needs. Earlier pedals with bolt in (main pivot bolt), but you will have to add your own little L bracket to get the master rod to line up.1 point
 -
 Well I'm pleased to say that the car is back and tucked away in the garage for now. Picked the car up on Saturday morning and was straight over to Wheels in Motion to correct the alignment on the car which needed to be redone on all four corners due to the complete overhaul done on the car this year. Safe to say there were some hairy and slightly sideways moments on the way over there with every corner having its own idea of where it should be going. The good news was despite the monsoon weather and all of the standing water I was driving though on the way home the car felt completely planted and much more sure of itself and its even fair to say that the windscreen wipers performed valiantly getting me back in one piece. The car has been away for a variety of reasons however the vibration we were suffering from was ultimately prop related and the installation of a new single piece custom prop which was uprated with larger greaseable joints which has completely removed the issues. With the suspension setup and solid diff mount there's still more feedback going through the chassis that originally however that seems to be expected. The upside is now with those issues resolved and drivetrain overhaul the car seems to be happy to shift up to around 6k rpm which is higher than I previously thought however it really needs a dry day to properly explore the current levels of performance both engine and suspension wise now. I'm even thinking that the very hard all season michelins may get scrapped in favour of some much stickier Yokohama AD08R's given they're availability in the perfect size which will hopefully step the handling up another notch again. Underneath the front of the car the new front anti roll bar mounts have been bolted in place and I must praise Iain as he really has outdone himself with the work on these, they are very subtle but have really beefed things up so that we don't have any concerns. At the same time the entire headlight wiring loom has been removed and used as a template to build a completely new and more weather proof wiring loom with the addition of the relay kit from the US to massively improve the reliability. While I was there we've dropped some Osram Night Breaker Lazer bulbs in which have massively improved the lighting and was very noticeable from my limited use coming home in the rain, there seems to be plenty more light upfront now. While in there sorting the wiring, Iain also noticed that our sidelights had previously had their wires cut to be removed from the system with the bulbs hijacked for our indicators in the past. That's since been rectified and the wiring reimplemented so we now have independently working side lights and wing lights working as well. Some areas of the chassis have been treated from very minor surface rust that had developed and been covered in wax oil for protection however I seriously need to get the car professionally undersealed to protect the chassis for the UK climate. If anyone has any recommendations in the South of the UK I'm all ears for suggestions? Minor tweaks have also been done to tidy up the engine bay wiring including the movement of the electronic ignition module to move things along, there's still plenty to be done though. The exhaust has been repainted in VHT paint to tidy it up but its really highlighted how restrictive the exhaust becomes by the silencer, I have no idea what the diameter is however I have high hopes for the full Z story system that's arriving for the car in the new year. I'm sure there's more however those seem to be the highlights, we're getting closer and closer to getting the car where I want it to be. Lots of little details and mods here and there to get her where she should be and I'm desperate for a dry day to have some fun but that's enough for now. On to the exciting bit now, the shiny bits. IMG_8147 by Mark Woodrow, on Flickr IMG_8148 by Mark Woodrow, on Flickr IMG_8203 by Mark Woodrow, on Flickr IMG_8150 by Mark Woodrow, on Flickr IMG_8180 by Mark Woodrow, on Flickr IMG_3526 by Mark Woodrow, on Flickr IMG_3529 by Mark Woodrow, on Flickr My exhaust restrictions, no idea how much difference to expect with the shiny Story one going on... IMG_8168 by Mark Woodrow, on Flickr Where we now stand IMG_3531 by Mark Woodrow, on Flickr1 point
 -
 1 point
 -
 Why, of course if they were classy enough, they would call it .......wait for it......flogging the deceased equine. Dennis1 point
 -
 I was thinking more like beating a dead... Know what? Forget I said anything.1 point
 -
 1 point
 -
1 pointYou are clearly way smarter than I am. Didn't finish today. I cut it twice and it's still too short.1 point
-
Sorry, I was just wiping off the drool on my screen when this got posted... Congates @hiyabrad for being on top of things..... I'm always just a day late and a dollar short...1 point
-
1 pointLearn something new everyday! Whereabouts in NC is the homestead? If it is anywhere near Raleigh, it's only a 4 hour drive from the beach. I have lots of parts and work for food. Well, food and beer.1 point
-
1 pointWell, to tell the whole truth, I traded mine to my engine builder for services rendered. Errr, better re-phrase that around THIS crowd.1 point
-
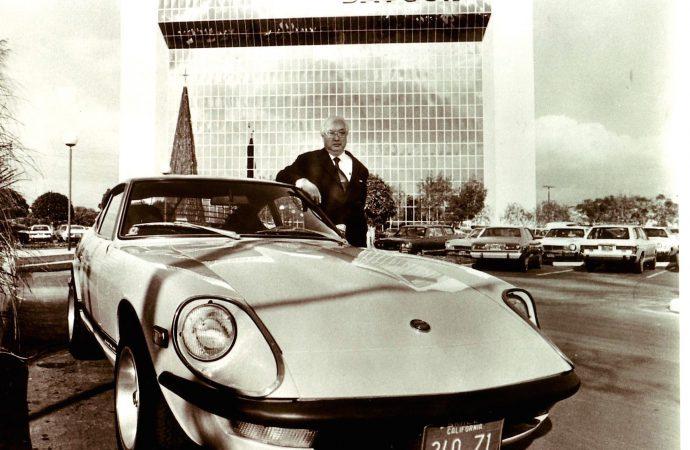
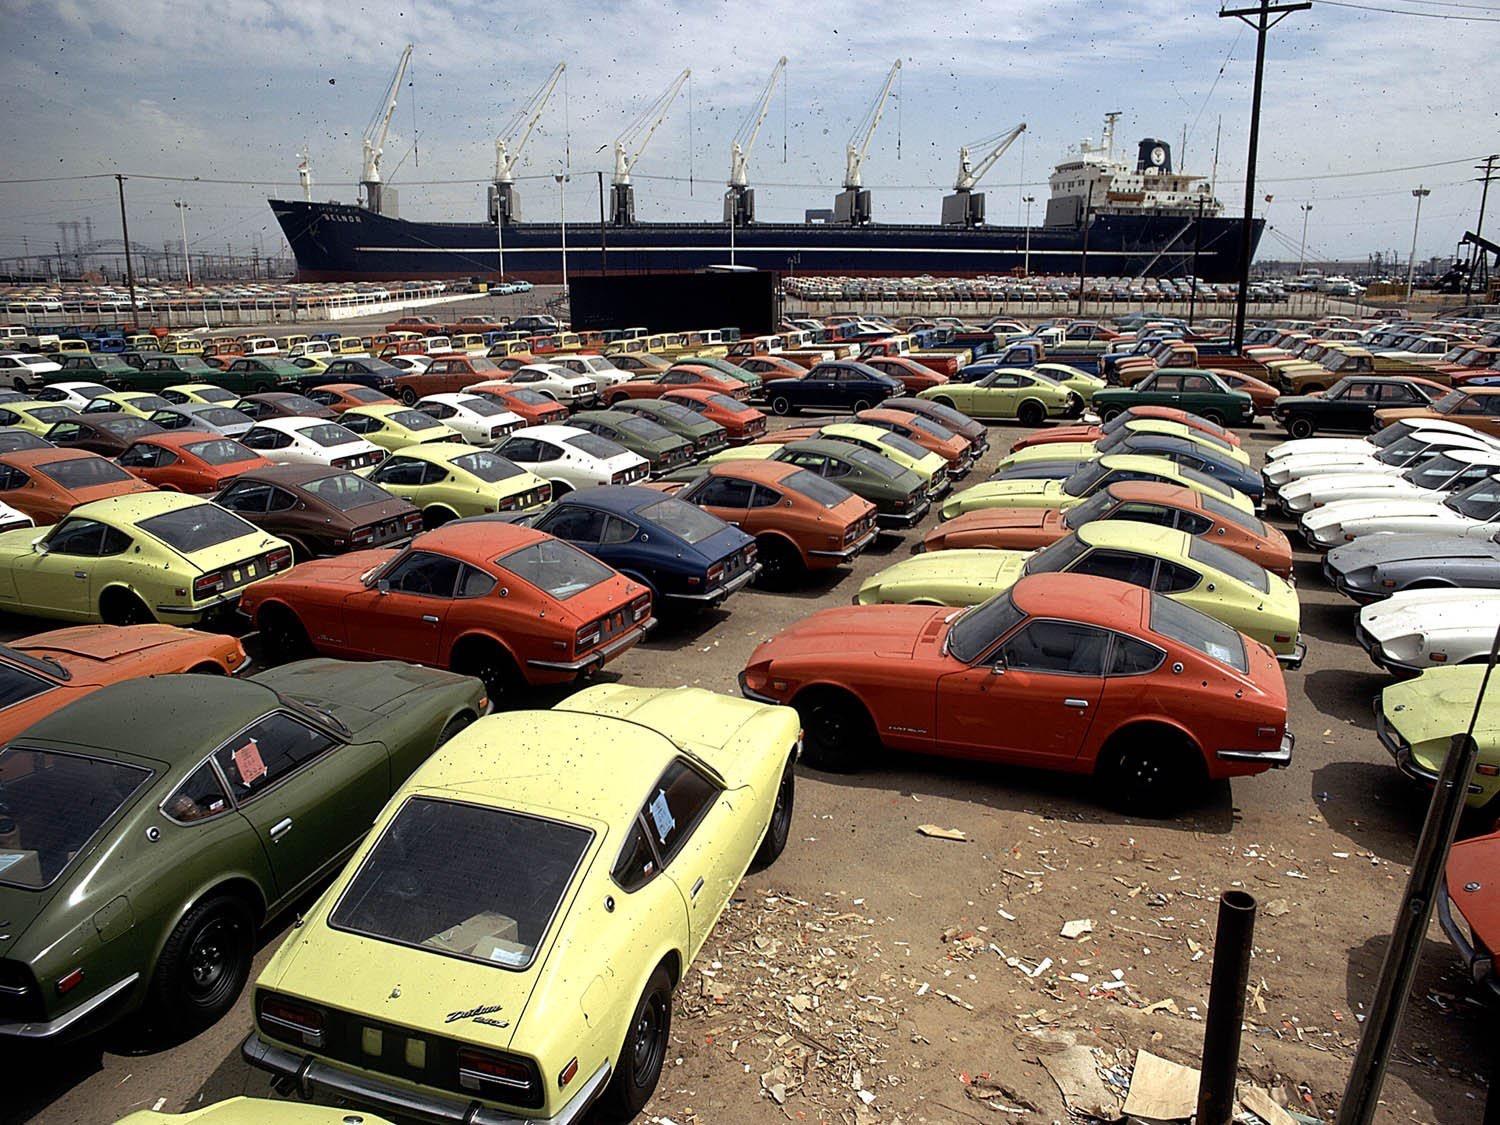
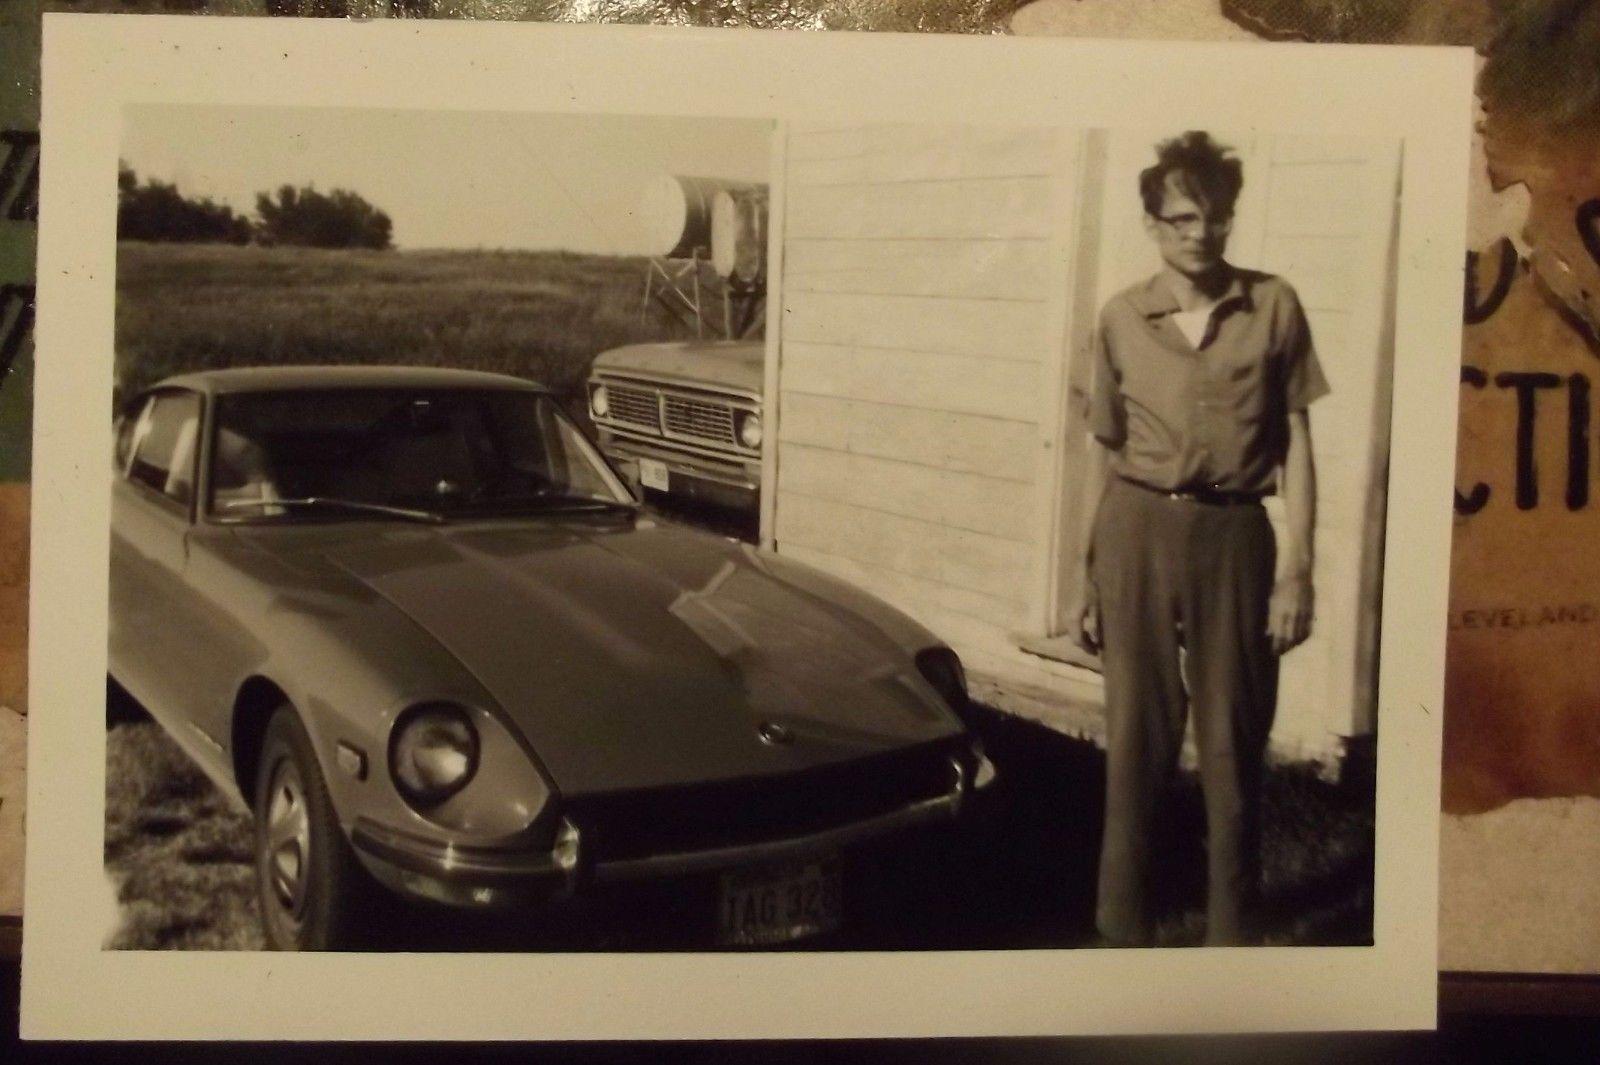
Here are some old black and white photos. The last picture has an interesting story about a former Boeing engineer in Washington state. Here's the link:
.thumb.jpg.c64260f6efed3e62a91648e7b32a9cea.jpg)

 1 point
 -
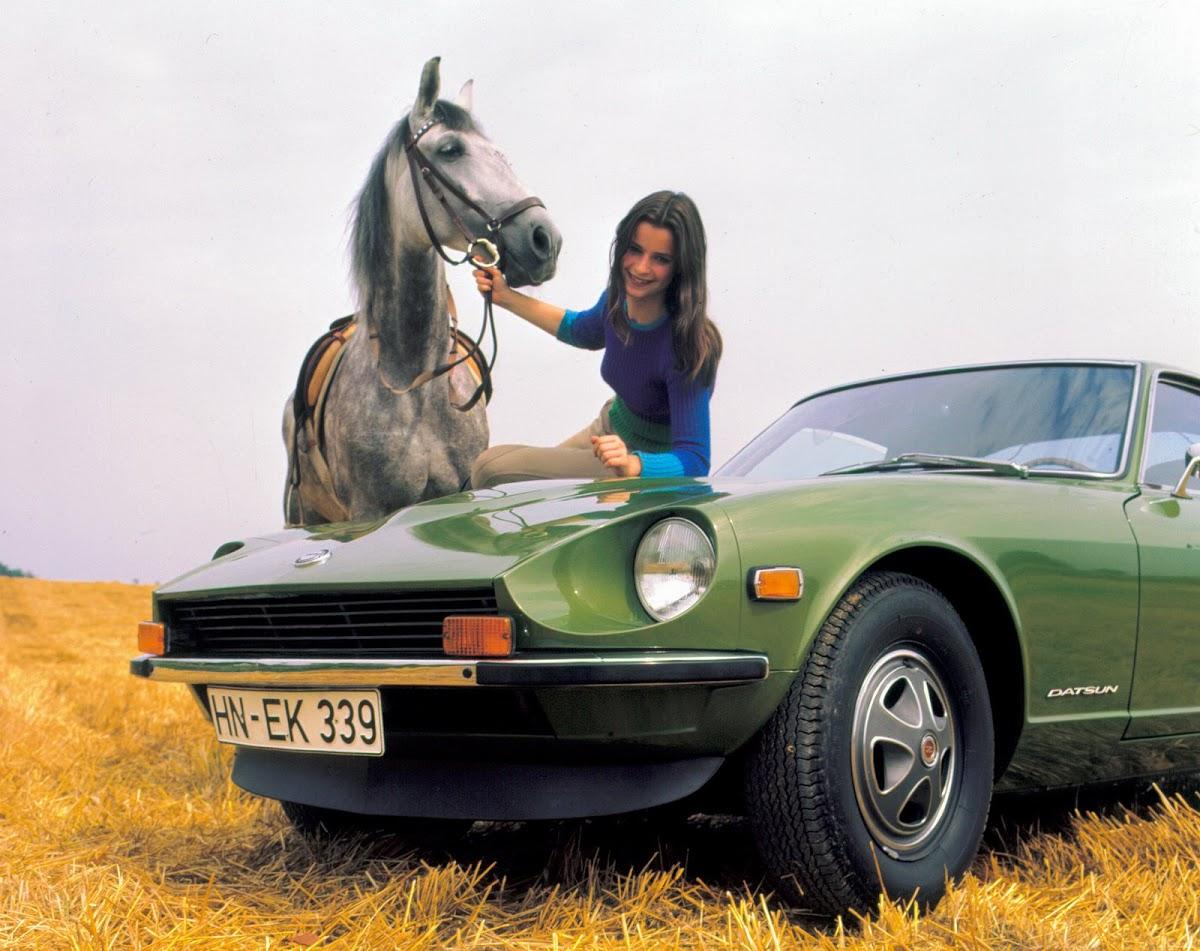
Be polite. Remember, the lady in the pictures is now almost 70 years old and the horses are dead. Dennis1 point
-
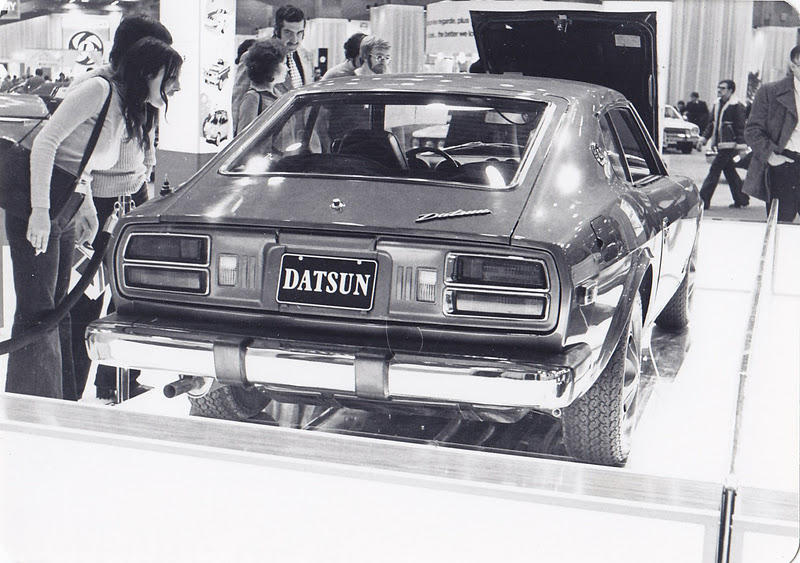
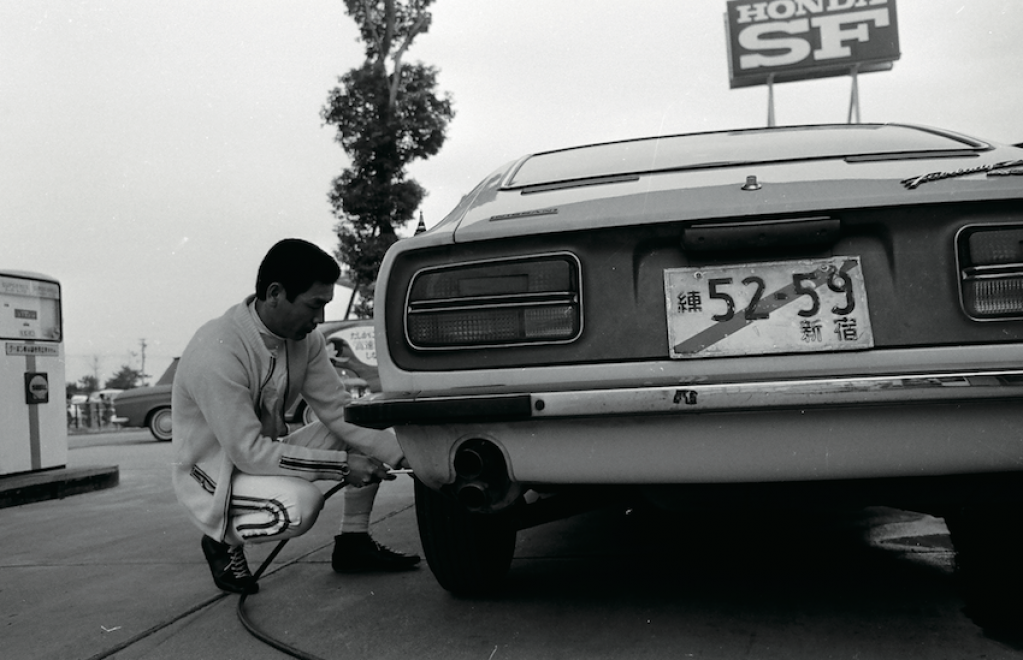
 I guess you will like this one. Btw those are two German Fairladys including old german style plates and euro spec airdam. Oh and she likes horses too:
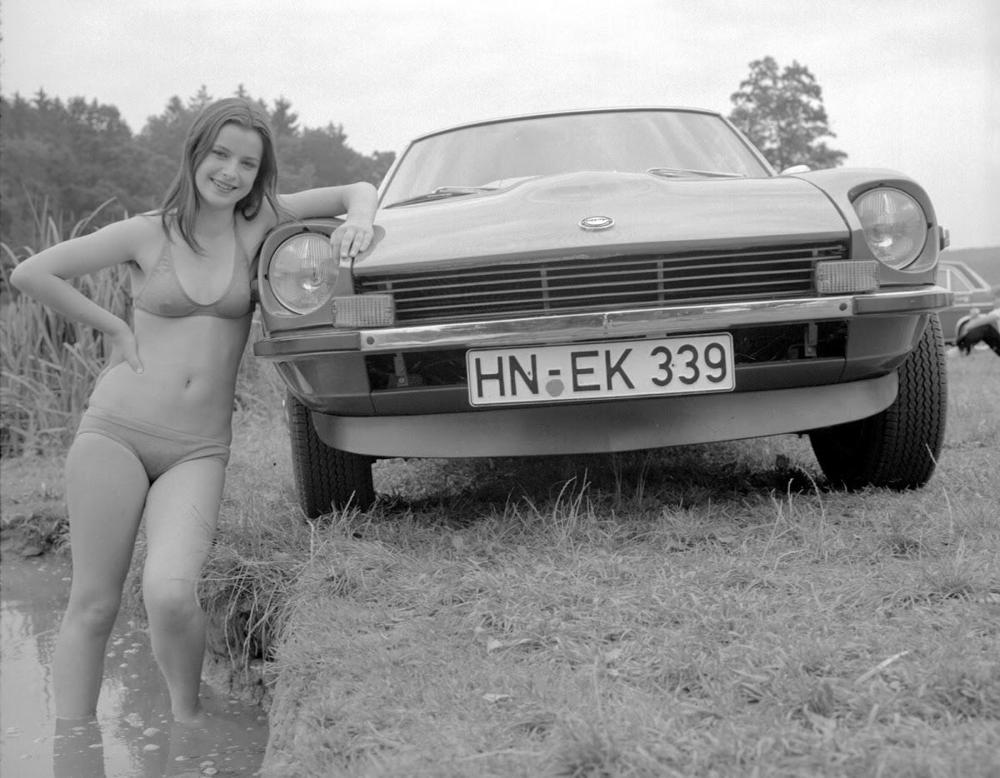
 1 point
 -
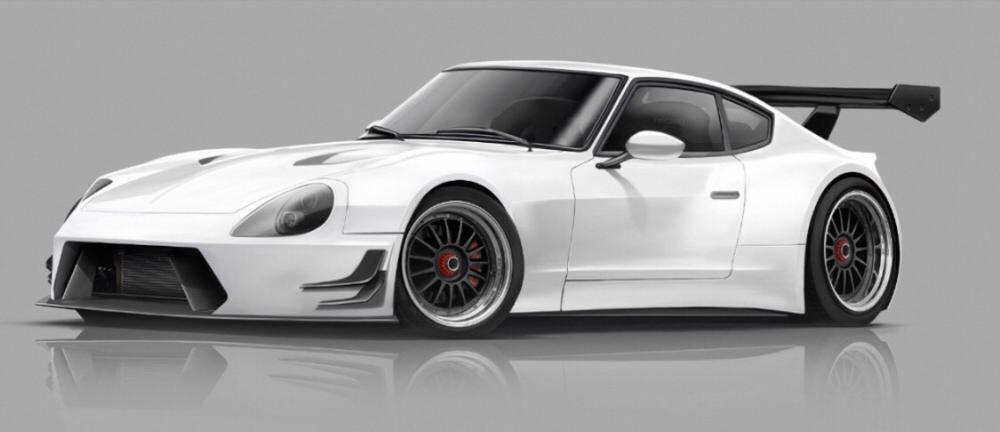
1 pointIf the wing was to be minimized, the canards and ground effects made more subtle and the ride height brought back to reality.... this would be a winner in the sales department. Even a Singer style interior would be a hit I think!
 1 point
 -
1 point
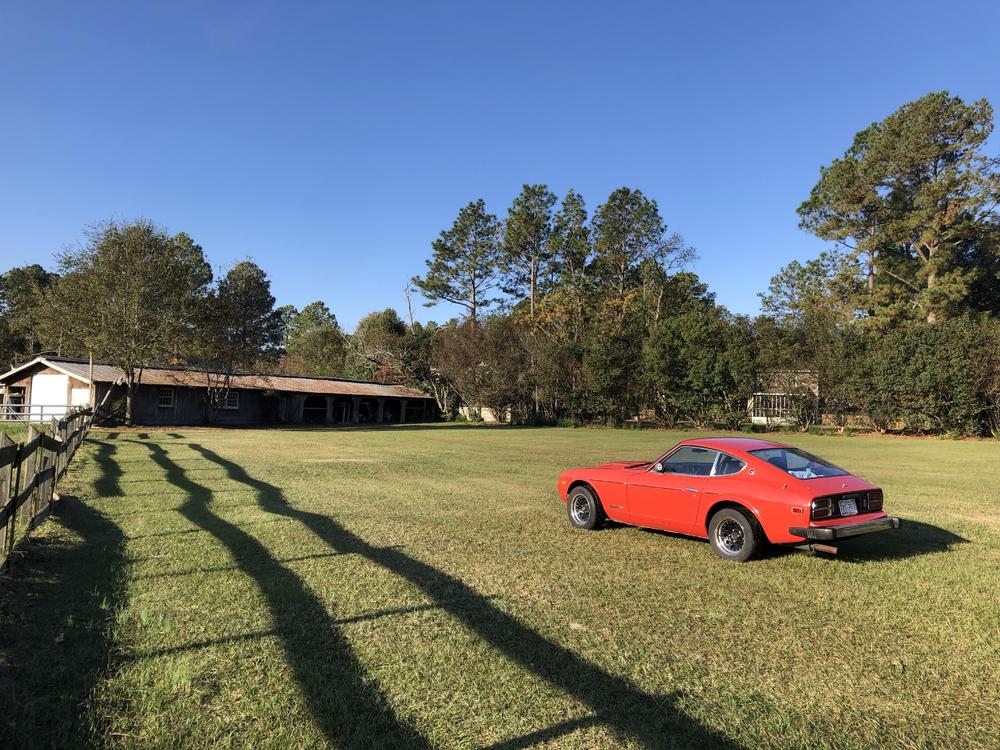
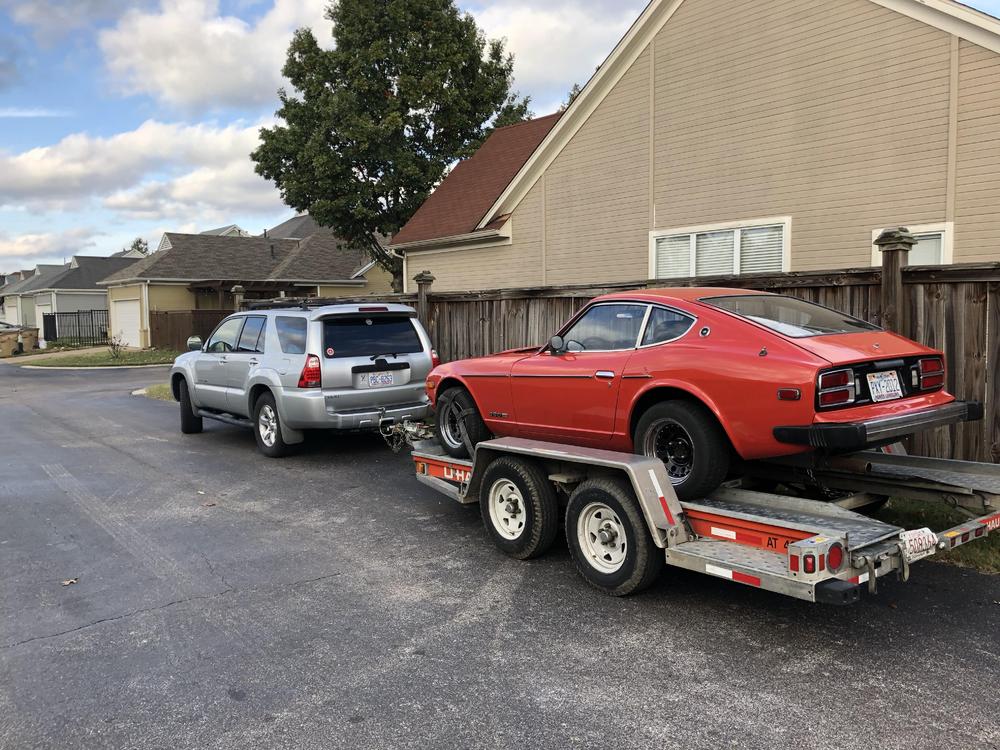
1 pointWell gents it’s finally time to move the Z from Memphis to North Carolina. I’ll now have more access to it so I can really start getting this restoration going. Again I appreciate all the help up to this point it was great to be able to drive it up onto the car transport. I’ll be on the road all day today headed through Birmingham, Atlanta, Florence and then North Carolina
 1 point
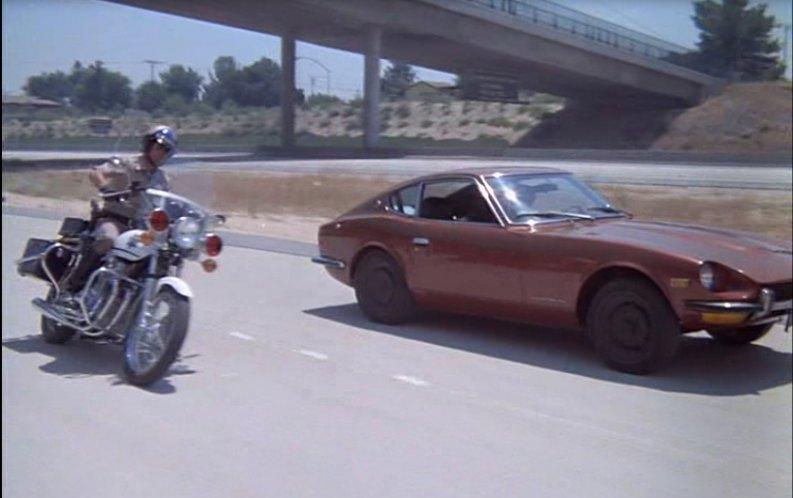
 1 pointThe images you see on this thread are merely plucked from the sphincters of random people with no affiliation to Nissan. Any resemblance to future Nissan designs is merely coincidence.1 point
 YES! I would love to see a thread based on S30 activities in Japan in 1969.1 point
1 point
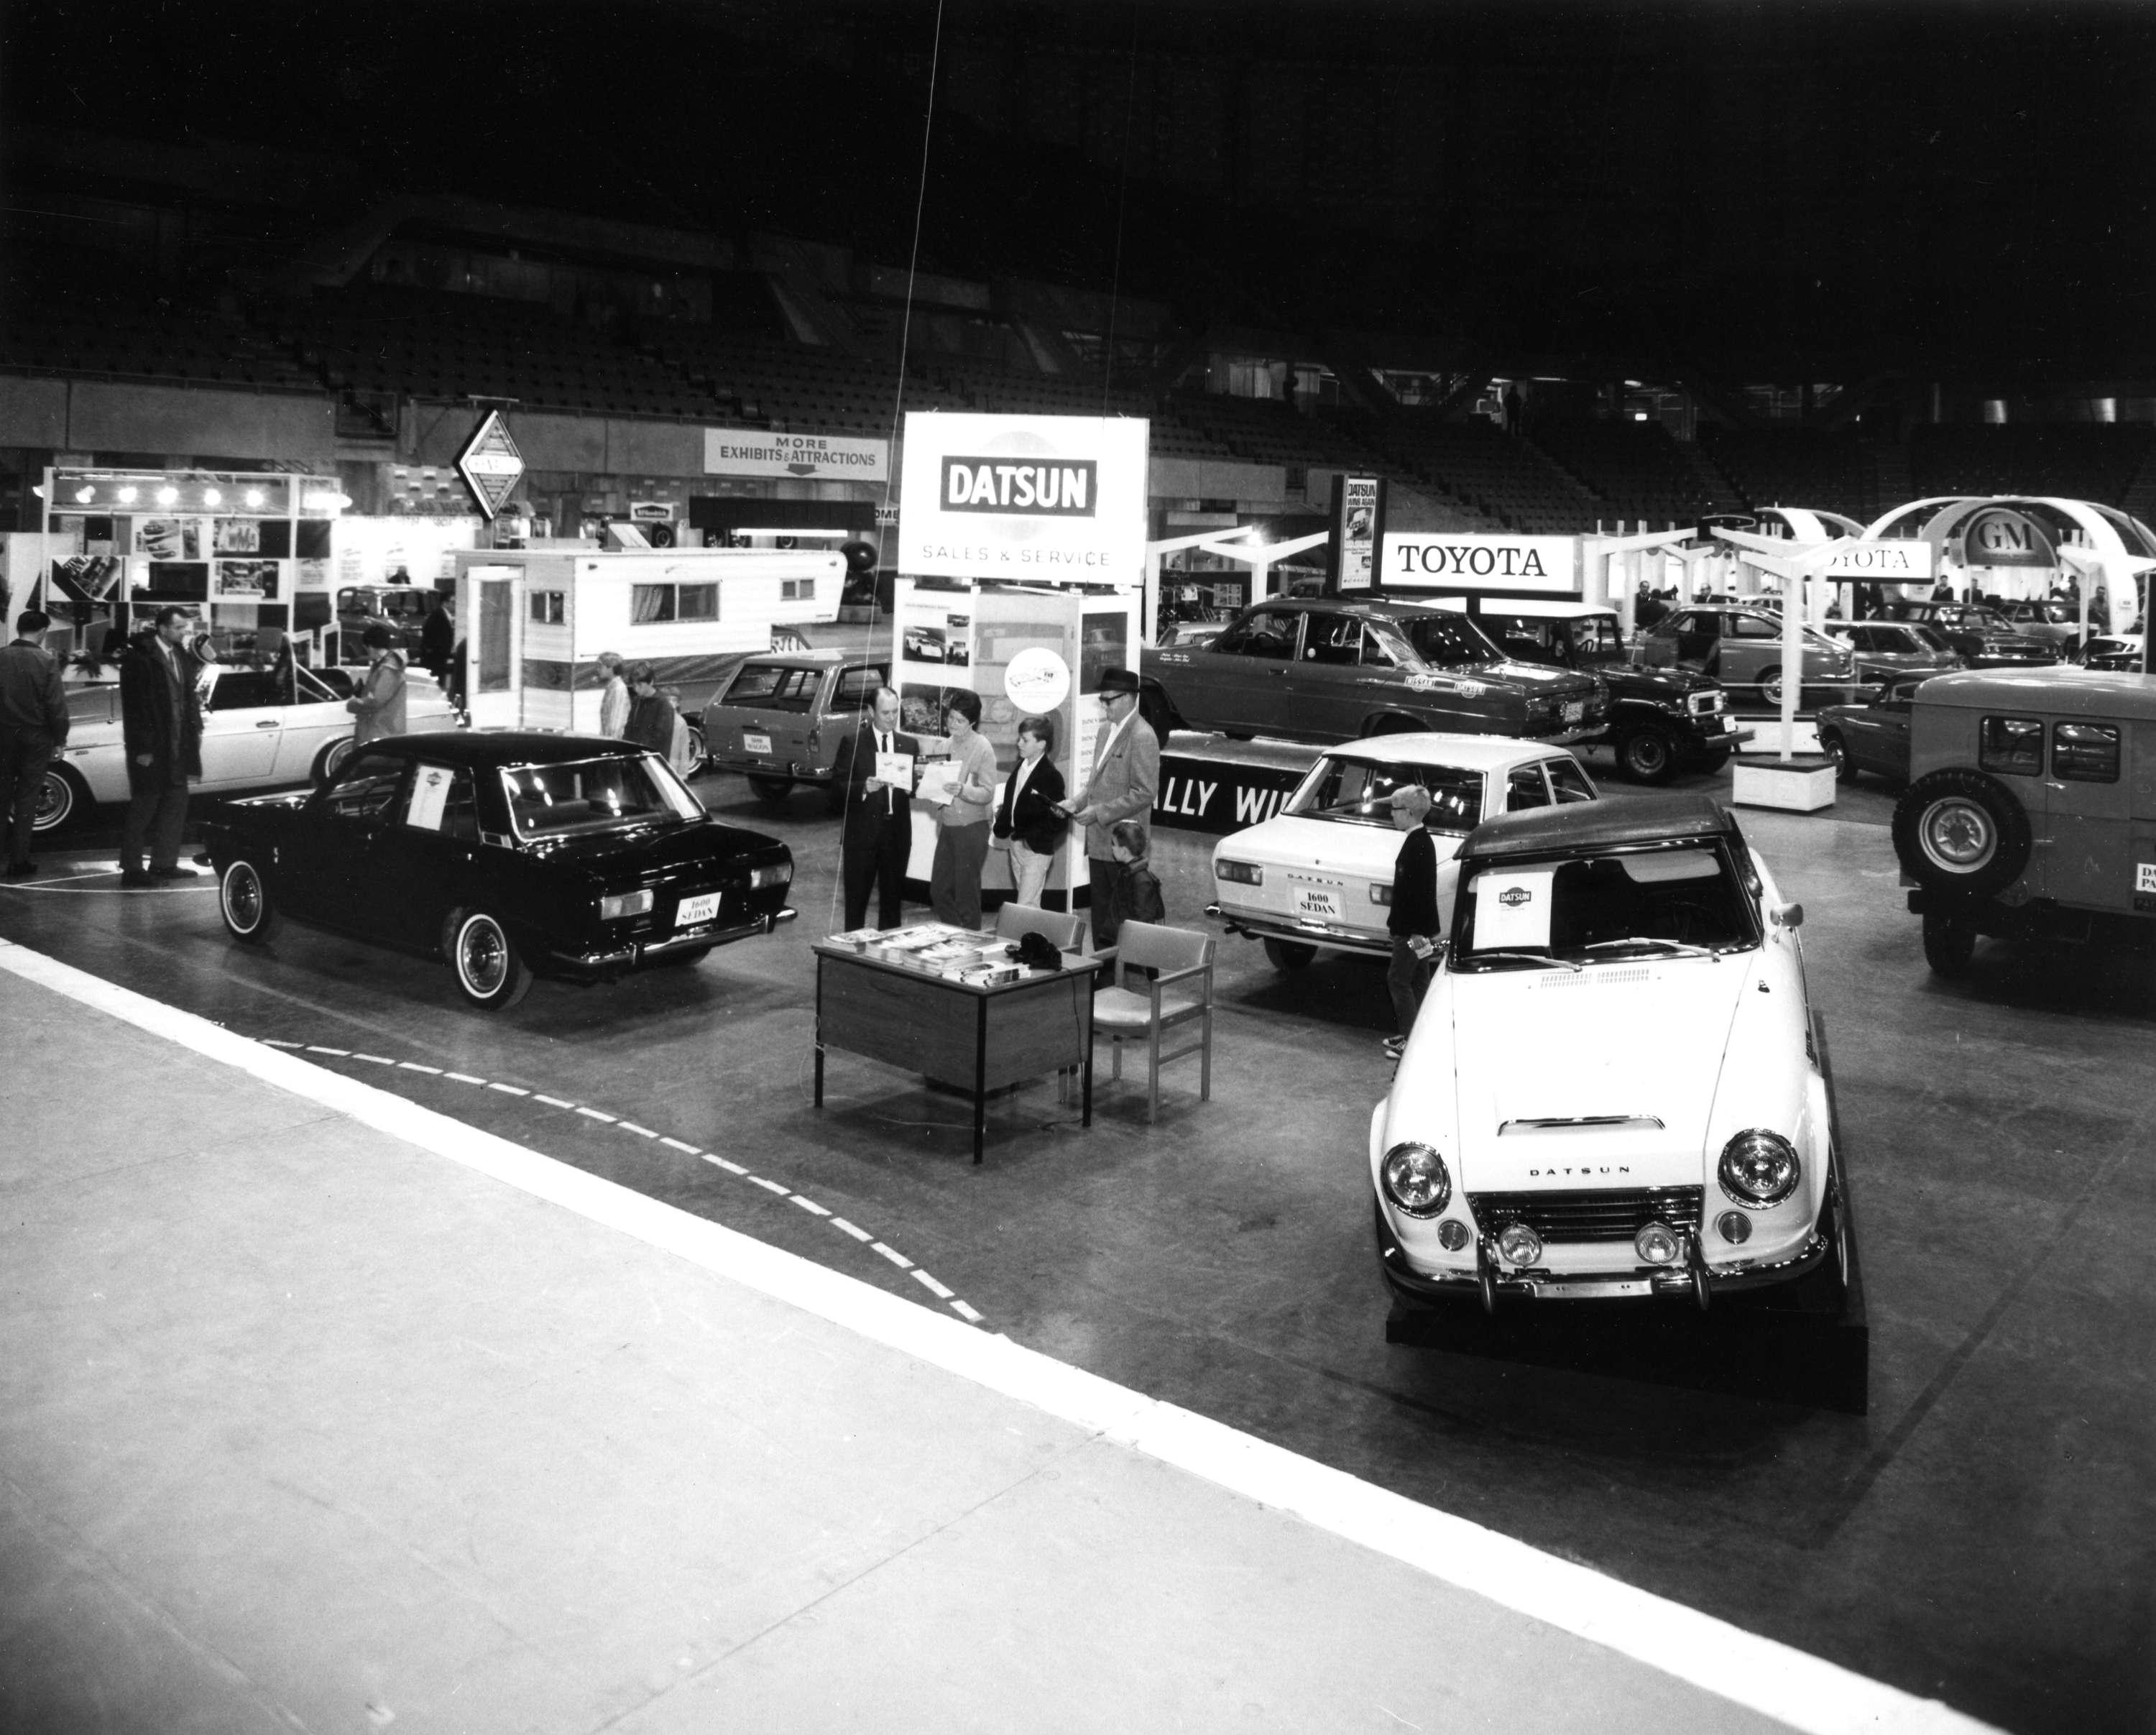
YES! I would love to see a thread based on S30 activities in Japan in 1969.1 point
1 point Here is a link of an old magazine , some Z432 pictures are there . https://motor-fan.jp/tech/10005253
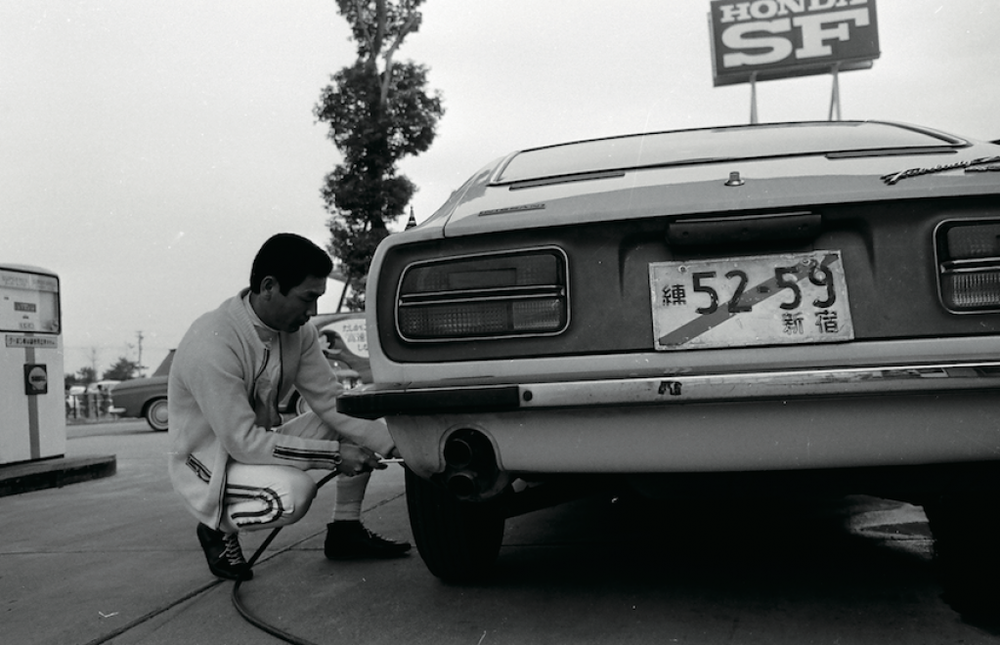 1 point
 1 point
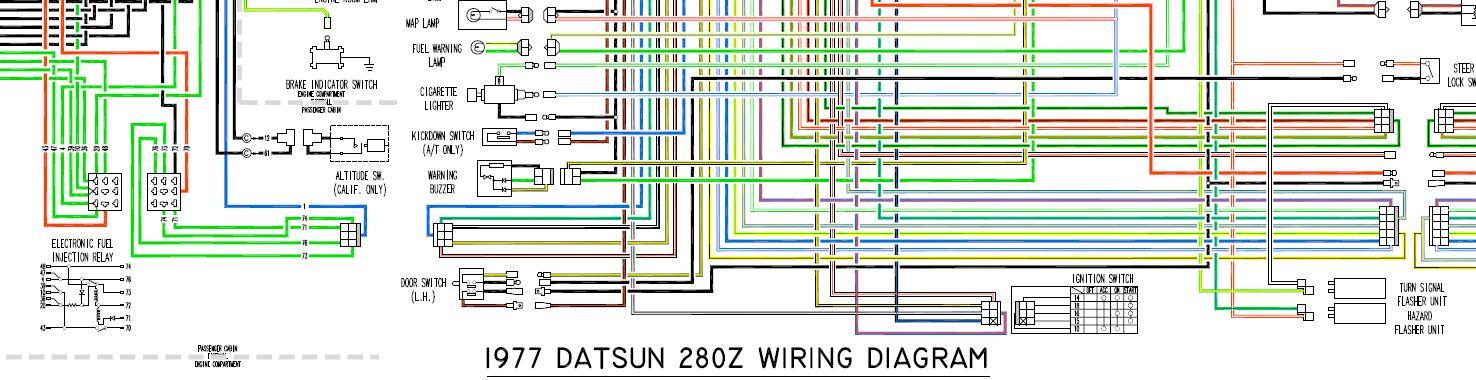
Here's something about a resistor for the tach I found on atlanticz's Tech Tips. It's not saying if it's by the ECU or the TIU though, but Fastwoman's right as usual. This is the original wiring on my 77 280z (Credits to Wayne Lewis!!!) Notes: Red and Green carry trigger signal to ignition unit. (These will not be used) Blue wire to -neg post on ballast block will now go directly to -neg post on coil. (the small blue jumper wire can be discarded). This wire carries the ignition pulse to the ECU's pin 1 and it also goes to the tach after passing through a resistor (see pics above for ECU and resistor). The ECU triggers the injectors from this pulse.1 point
1 point
Here's something about a resistor for the tach I found on atlanticz's Tech Tips. It's not saying if it's by the ECU or the TIU though, but Fastwoman's right as usual. This is the original wiring on my 77 280z (Credits to Wayne Lewis!!!) Notes: Red and Green carry trigger signal to ignition unit. (These will not be used) Blue wire to -neg post on ballast block will now go directly to -neg post on coil. (the small blue jumper wire can be discarded). This wire carries the ignition pulse to the ECU's pin 1 and it also goes to the tach after passing through a resistor (see pics above for ECU and resistor). The ECU triggers the injectors from this pulse.1 point I'm wondering the same thing about the webbing as Zhead240 ... I got the webbing set and looking at your installation pics and writeup (very good by the way) I don't see where the webbing is used in the 1971 Z. Could someone illuminate this please?1 point
 Hi Jake, Welcome to the club. I had the same problem you are having, but as you already sugested and check, my problem was the harness connector to the hazard light switch. If you are getting power, it could be the flasher can? Something common to all indicator lights. Here are some handy links that might help you track down your problem. FSM (Factory Service Manual) XenonS30 280Z Colour Wiring Diagram Rev K. http://www.classiczcars.com/forums/electrical-s30/13131-color-wiring-diagram-280z.html The last revision has a couple of changes for the Hazard light relay. I had it printed on A1 paper and use it in the garage a lot. Thanks to Wayne (wal280z) for the effort he put into it. PS I would love to have one of those tyre inflators, some people have all the luck. Oh and that "stupid light under the hood" is one of those funky little Datsun things we Zed owners have grown to like. Cheers Chas1 point
 Rich: Post #29 here: http://www.classiczcars.com/forums/interior-s30/47534-240z-seat-belt-hangers.html "From the center of that top chrome phillips oval head machine screw that secures the top of the seat back bracket to the center of the small phillip self tapping screws that fastens the small J-hook to the outer side of the seat back measures exactly 8 1/2". "1 point
 Greg Ira won both races last weekend at the Oak Tree National at VIR. Here are a couple of my favorite shots I got.1 point
 Hello Folks, I bring 2 pieces of good news. After looking at multiple spider legged 91 civic motor, I started doing some digging. It turns out I can verify the motor is the correct motor in a 92+ civic, which broadens the scope to: ACURA INTEGRA GS (1997 - 2001) ACURA INTEGRA GSR (1994 - 2001) ACURA INTEGRA LS (1994 - 2001) ACURA INTEGRA RS (1994 - 1998) ACURA INTEGRA SPECIAL EDITION (1995 - 1996) ACURA INTEGRA TYPE-R (1997 - 2001) HONDA CIVIC CX (1992 - 1995) HONDA CIVIC DEL SOL S (1993 - 1997) HONDA CIVIC DEL SOL SI (1993 - 1997) as well as 92-95 civic dx and ex's. Now with this list there is a word of caution: The wrong motor might still be on the listed cars, but in the right place. So take EXTRA care The spider motors were inside the engine bay and didnt resemble thr right motor making it easy to spot them right away...The wrong motor is not the spider type but resembles the right 3 legged motor very closely. They are both under the plastic trim near the firewall/windshield I pulled the wrong motor out of a 94 civic. One difference I noted before I pulled out the second motor, is that from the back/top of the motor the right motor has its wire bunch going on top of its neck while the worng one didnt. the right one also has 3 mounting holes in a triangle while the wrong one only has 2 and a 3rd post with no threads in it. Study the pictures of the right motor before you go. Having a motor built in 2001 in a 70s car....Priceless Also these motors have the right shaft so you can just drill the mounting holes and bolt it in. And next piece of good news... Here is the wiring for a 280z using stock delay module: 77' Datsun 280Z __________________ 92' Honda civic wiper motor ---------------------------_________Pin 86 -----blue/white Yellow/black--------Pin 87A ________ Pin 87-------blue ----------------------------________ pin 30--------Chassis Ground Blue/red----------------pin 85---------pin 85----------green/black Black----------------------to------------------black Blue/yellow----------------to-------------------blue/yellow Fast, slow speed, intermit. and park all work with this setup. Ill double check this when I get home just to make sure im remembering it correctly, and Ill add a diagram of what is what incase your wiring is different and you have to figure it out,as its easier to figure out a circuit difference than the difference in car make/models. You can also buy a 4 prong relay if its all you can find instead of the 5, just put 280z yellow/blk and civic motor blue on the same 87 prong. Enjoy those bolt in 2001 motors that work with all settings and stock windshield wiper stalk control hehehehe AWESOME. ,Ryan1 point
0 points
Hello Folks, I bring 2 pieces of good news. After looking at multiple spider legged 91 civic motor, I started doing some digging. It turns out I can verify the motor is the correct motor in a 92+ civic, which broadens the scope to: ACURA INTEGRA GS (1997 - 2001) ACURA INTEGRA GSR (1994 - 2001) ACURA INTEGRA LS (1994 - 2001) ACURA INTEGRA RS (1994 - 1998) ACURA INTEGRA SPECIAL EDITION (1995 - 1996) ACURA INTEGRA TYPE-R (1997 - 2001) HONDA CIVIC CX (1992 - 1995) HONDA CIVIC DEL SOL S (1993 - 1997) HONDA CIVIC DEL SOL SI (1993 - 1997) as well as 92-95 civic dx and ex's. Now with this list there is a word of caution: The wrong motor might still be on the listed cars, but in the right place. So take EXTRA care The spider motors were inside the engine bay and didnt resemble thr right motor making it easy to spot them right away...The wrong motor is not the spider type but resembles the right 3 legged motor very closely. They are both under the plastic trim near the firewall/windshield I pulled the wrong motor out of a 94 civic. One difference I noted before I pulled out the second motor, is that from the back/top of the motor the right motor has its wire bunch going on top of its neck while the worng one didnt. the right one also has 3 mounting holes in a triangle while the wrong one only has 2 and a 3rd post with no threads in it. Study the pictures of the right motor before you go. Having a motor built in 2001 in a 70s car....Priceless Also these motors have the right shaft so you can just drill the mounting holes and bolt it in. And next piece of good news... Here is the wiring for a 280z using stock delay module: 77' Datsun 280Z __________________ 92' Honda civic wiper motor ---------------------------_________Pin 86 -----blue/white Yellow/black--------Pin 87A ________ Pin 87-------blue ----------------------------________ pin 30--------Chassis Ground Blue/red----------------pin 85---------pin 85----------green/black Black----------------------to------------------black Blue/yellow----------------to-------------------blue/yellow Fast, slow speed, intermit. and park all work with this setup. Ill double check this when I get home just to make sure im remembering it correctly, and Ill add a diagram of what is what incase your wiring is different and you have to figure it out,as its easier to figure out a circuit difference than the difference in car make/models. You can also buy a 4 prong relay if its all you can find instead of the 5, just put 280z yellow/blk and civic motor blue on the same 87 prong. Enjoy those bolt in 2001 motors that work with all settings and stock windshield wiper stalk control hehehehe AWESOME. ,Ryan1 point
0 points
.jpg.c5c2484924b5e925fefa1adeac97085c.jpg)


Important Information
By using this site, you agree to our Privacy Policy and Guidelines. We have placed cookies on your device to help make this website better. You can adjust your cookie settings, otherwise we'll assume you're okay to continue.