Leaderboard


Popular Content
Showing content with the highest reputation on 11/24/2018 in all areas
-
3 pointsIn theory, what you do exactly is measure the voltage generated by the sensor, look it up in a table to find the experimentally determined and theoreticaly backed o2 concentration that corresponds to and then look that up in another table to find what the AFR would have been in the chamber to result in that residual o2 concentration in the exhaust. That o2 concentration to AFR table is also experimentally determined and theoretically backed. The experiments show that, consistently enough, for a given AFR in the chamber, o2 concentration in the exhaust will be constant regardless of other variables. For a narrow band sensor, its responses are only trustworthy in a narrow range either side of lambda=1 or stoichiometric AFR. Outside that it can only tell you lean or rich. A wideband sensor is accurate in a wider band of AF ratios, around 10:1 to 20:1. An odd first post I know.3 points
-
3 pointsI think I got this now. I watched a video that was very helpful: I found that using a socket wrench to rotate the engine (thanks to the video) seemed to work great after I realized I needed to take the car out of gear ; ) Thanks for the help guys.3 points
-
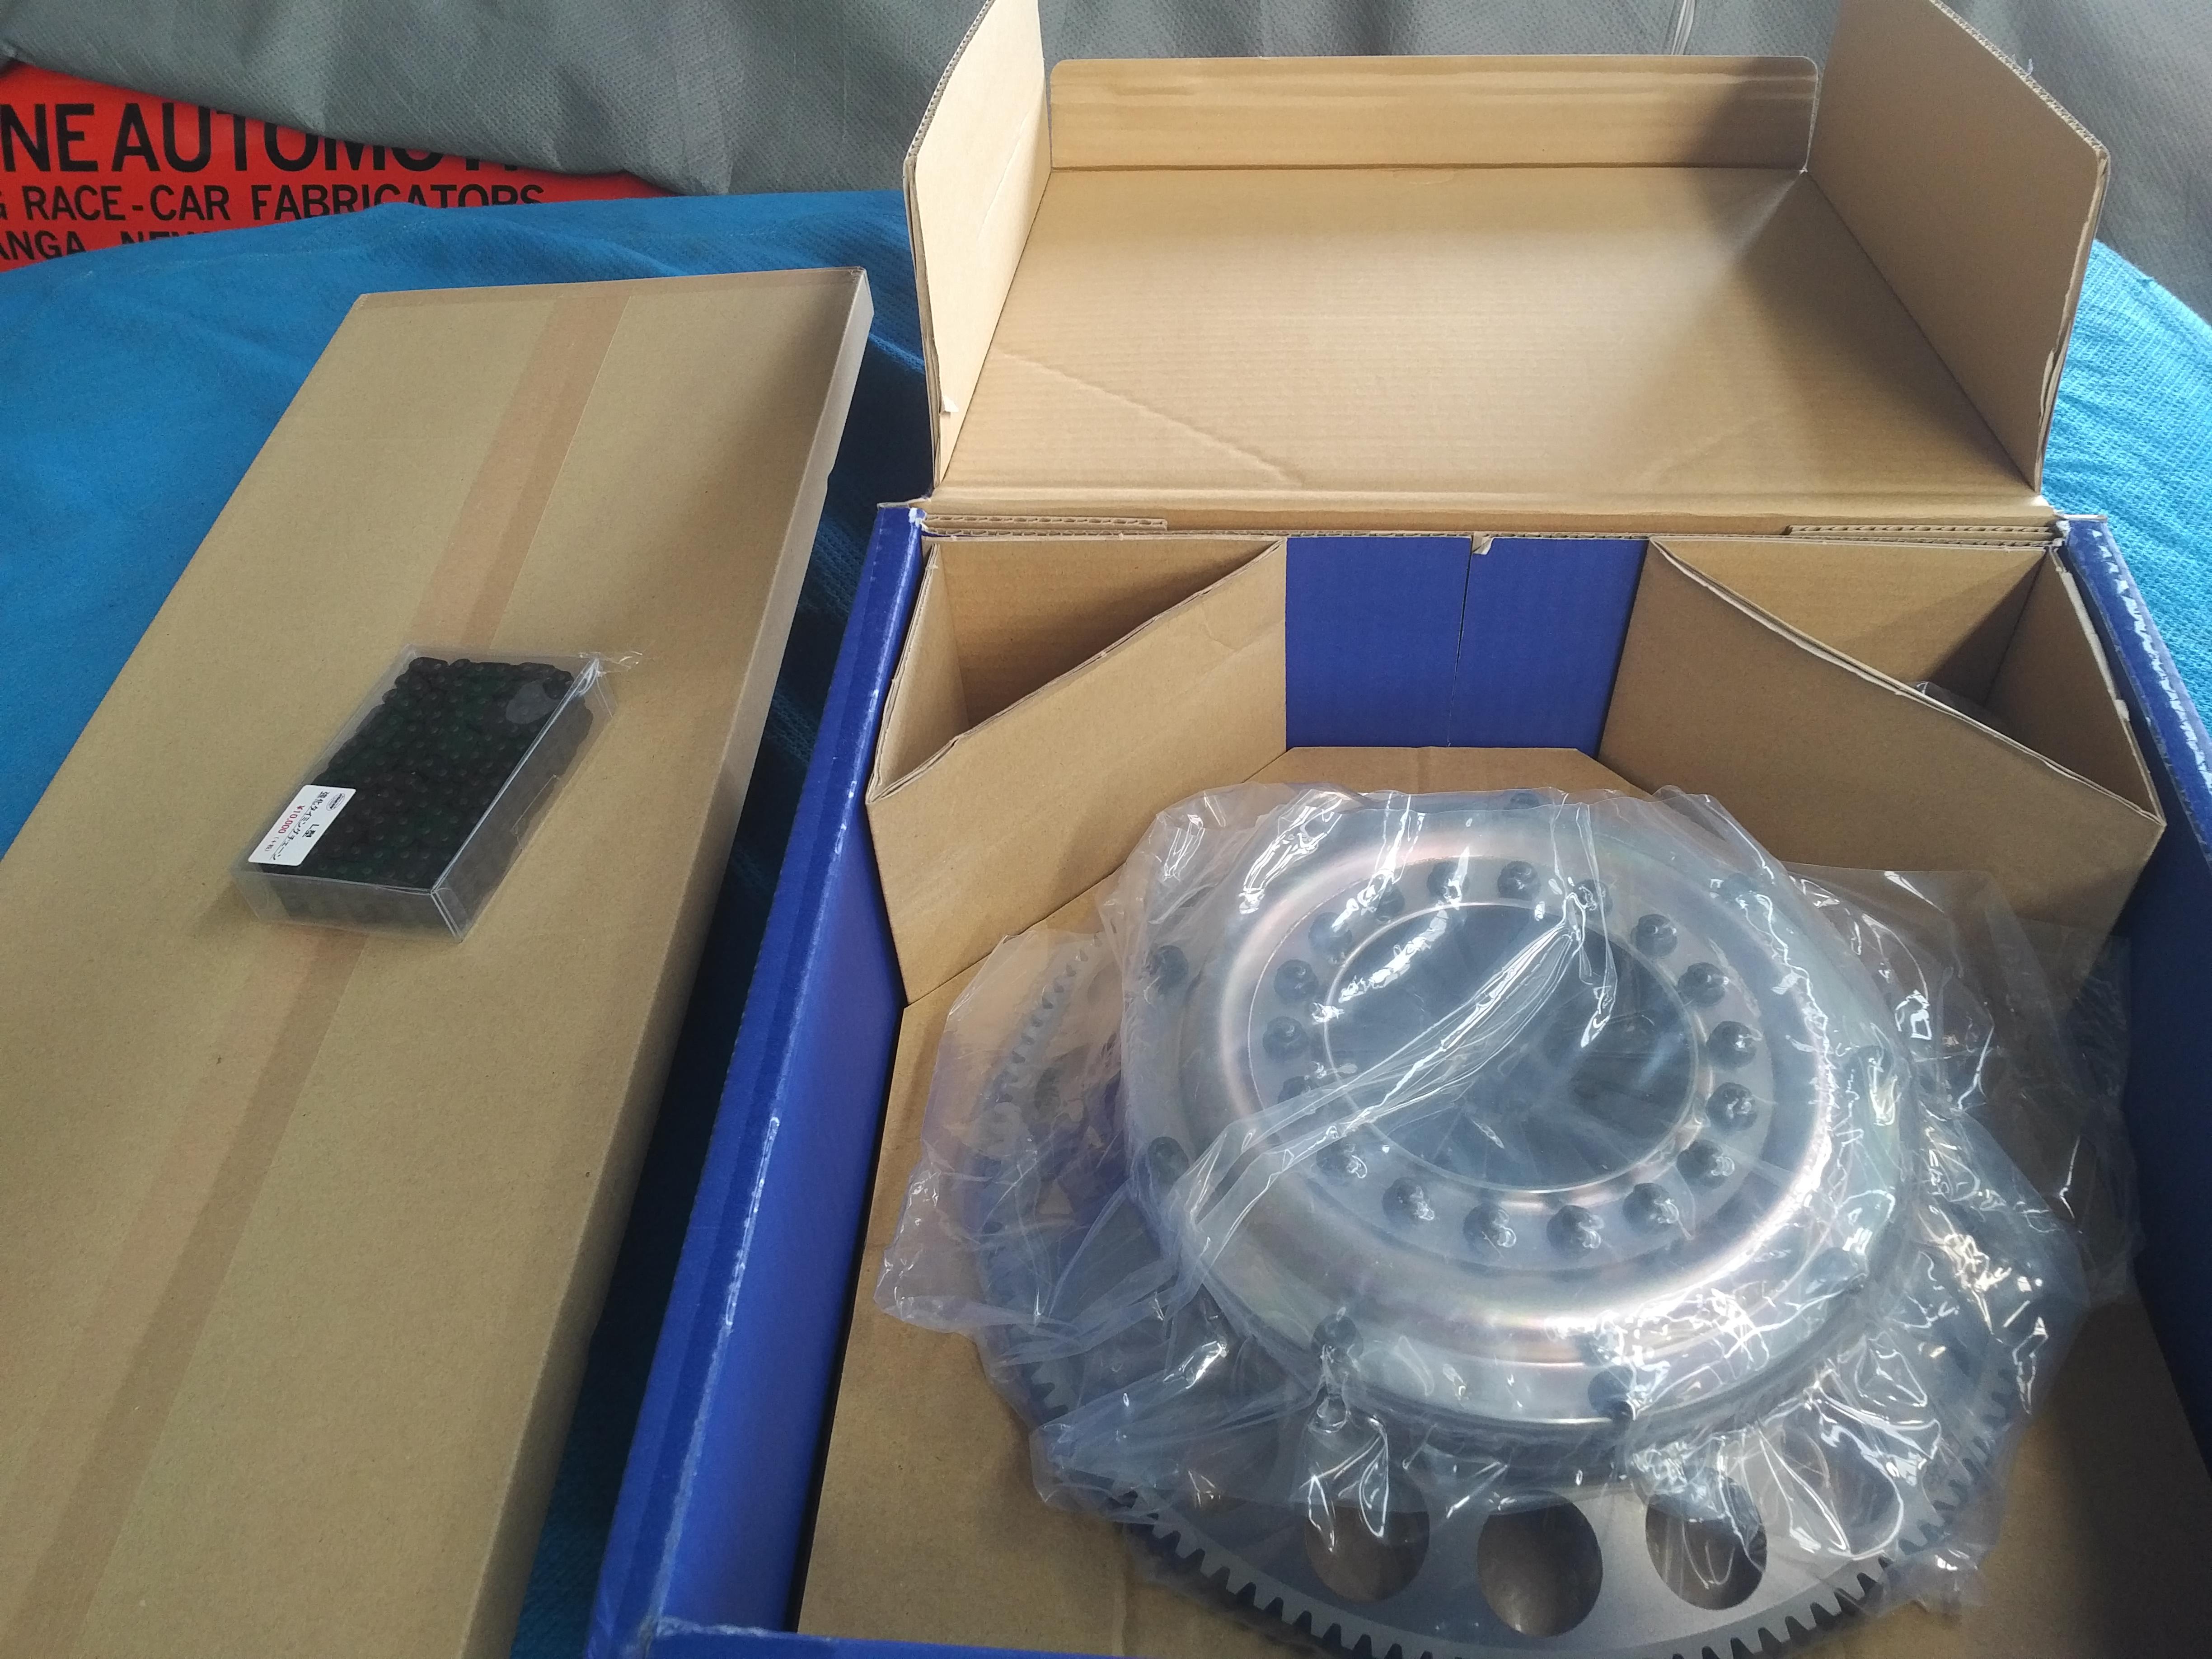
3 pointsHi, here I come again with fresh news! This weekend we made a new up-grade on some parts, and finally we start the assembling…slowly, but started… During the last week, I got most of the important parts to assemble the car, parts like bolts kit, rubbers kit, details for doors and some engine bay parts. I’ll make a list as lonf as we will put them on the car. Most parts are original and the aftermaket ones are excelente quality, Today Mr.Vitorino woke me up at 8:00 o’clock… - Hey, where are you???? - I’m sleeping…jump off the bed and come immediately to work on the car!!!! And so I did…ehehehehe A stubborn bolt…it broke when we dissemble the engie…but Mr.Vitorino saved the day!!! This is the resulto of the sandblast and metalization…this part is not ended yet, it will be painted with high temperature paint. This was missing part for the gearbox… New parts arrival and some care on organization! Center console up-grade My car is a second series from March 1971, but the previous owner changes some details, and the center console was one of them. I bought a series II to make this up-grade to make the car as much original I can. This console is much more attractive than the other…I’m extremely happy with the final result. 0https://i.postimg.cc/sf80mzk1/IMG-20181117-143115.jpg Even the leather pattern has small disserences… And this is the beginning…the first part that goes to the car…the exterior chrome trims… Mr. Vitorino cleaning them with a moisture to make them bright. And the final result…applied on car… Hope you enjoy this weekend work…next week will have more news…we will strat with the rear end! Regards Mário3 points
-
2 pointsI don’t get this thread. Why are we arguing the science behind a device that is so widely accepted in the industry. It works - use your time for something else IMHO2 points
-
I had the same problem on my '71 240Z. Car would crank and start fine but as soon as I let the key return to the "ON" position it would die. I replaced the ignition switch thinking that was the most likely source of the problem but it didn't make a difference. I finally tracked it down to a loose/dirty connector on the ballast resistor. I removed the connectors, cleaned them real well, and made sure they were nice and tight when I put them back on and everything works fine now. I believe on the 240Z the ballast resistor is bypassed when in the START (ie. cranking) position but comes into play when the key returns to the ON position. I haven't looked at the 260Z electrical diagram but I would imagine that it might be similar.2 points
-
Get at least a test light. Turn the key to On. Clip the wire on the test light to chassis ground. A common point is one of the bolts on the shock tower. There are three wires on the ballast resistor: white/black, black/blue, and black white. With the key in the On position, you should have voltage at the black/white wire. It has the arrow next to it in the picture Lift the cap on the black/white wire and touch the pointer of the test light to the wire. If the test light lights up, lift the cap on the white/black wire (opposite side of the resistor from the arrow) and touch the test light to that wire. If you didn't have a light on the black/white wire, you have a loose/bad connection or bad ignition switch. You might want to talk to me on the phone about tracking that down. If you have a light on the black/white but not on the white/black, you have a bad ballast resistor. You can move the black/white wire to the same terminal as the white/black, but you shouldn't run it long that way.
 2 points
 -
2 pointsGreat work, congratulations! The car is looking beautiful, you have a very skilled and talented man leading the way.2 points
-
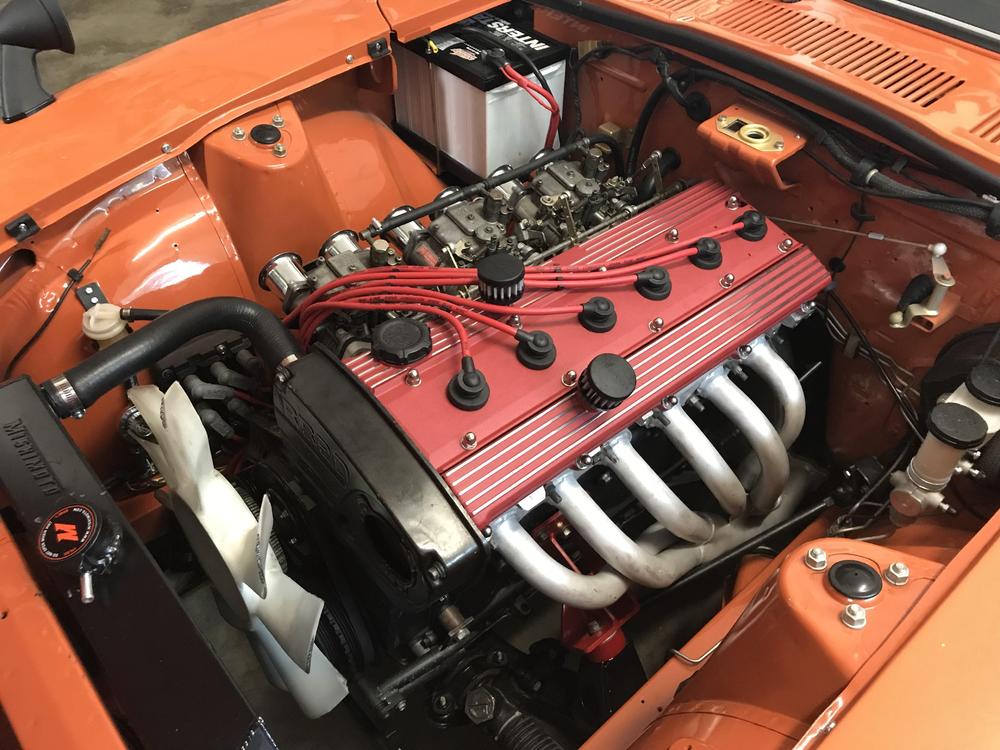
2 pointsThe ignition is a Megajolt with ford edis. I mounted the coil pack to the inner fender to allow the plug wires to follow a similar route as the S20. The RB was never sold in the US and I can't think of any LHD vehicles that have it. Another option for DOHC would be the Datsunworks head. http://forums.hybridz.org/topic/119641-twin-cam-head-for-the-l6-from-derek-at-datsunworks/2 points
-
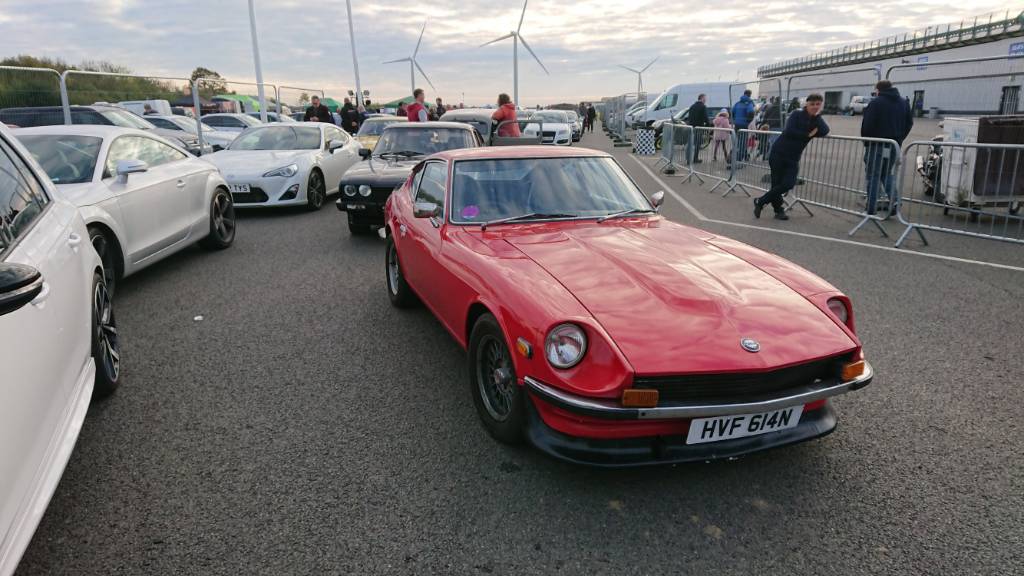
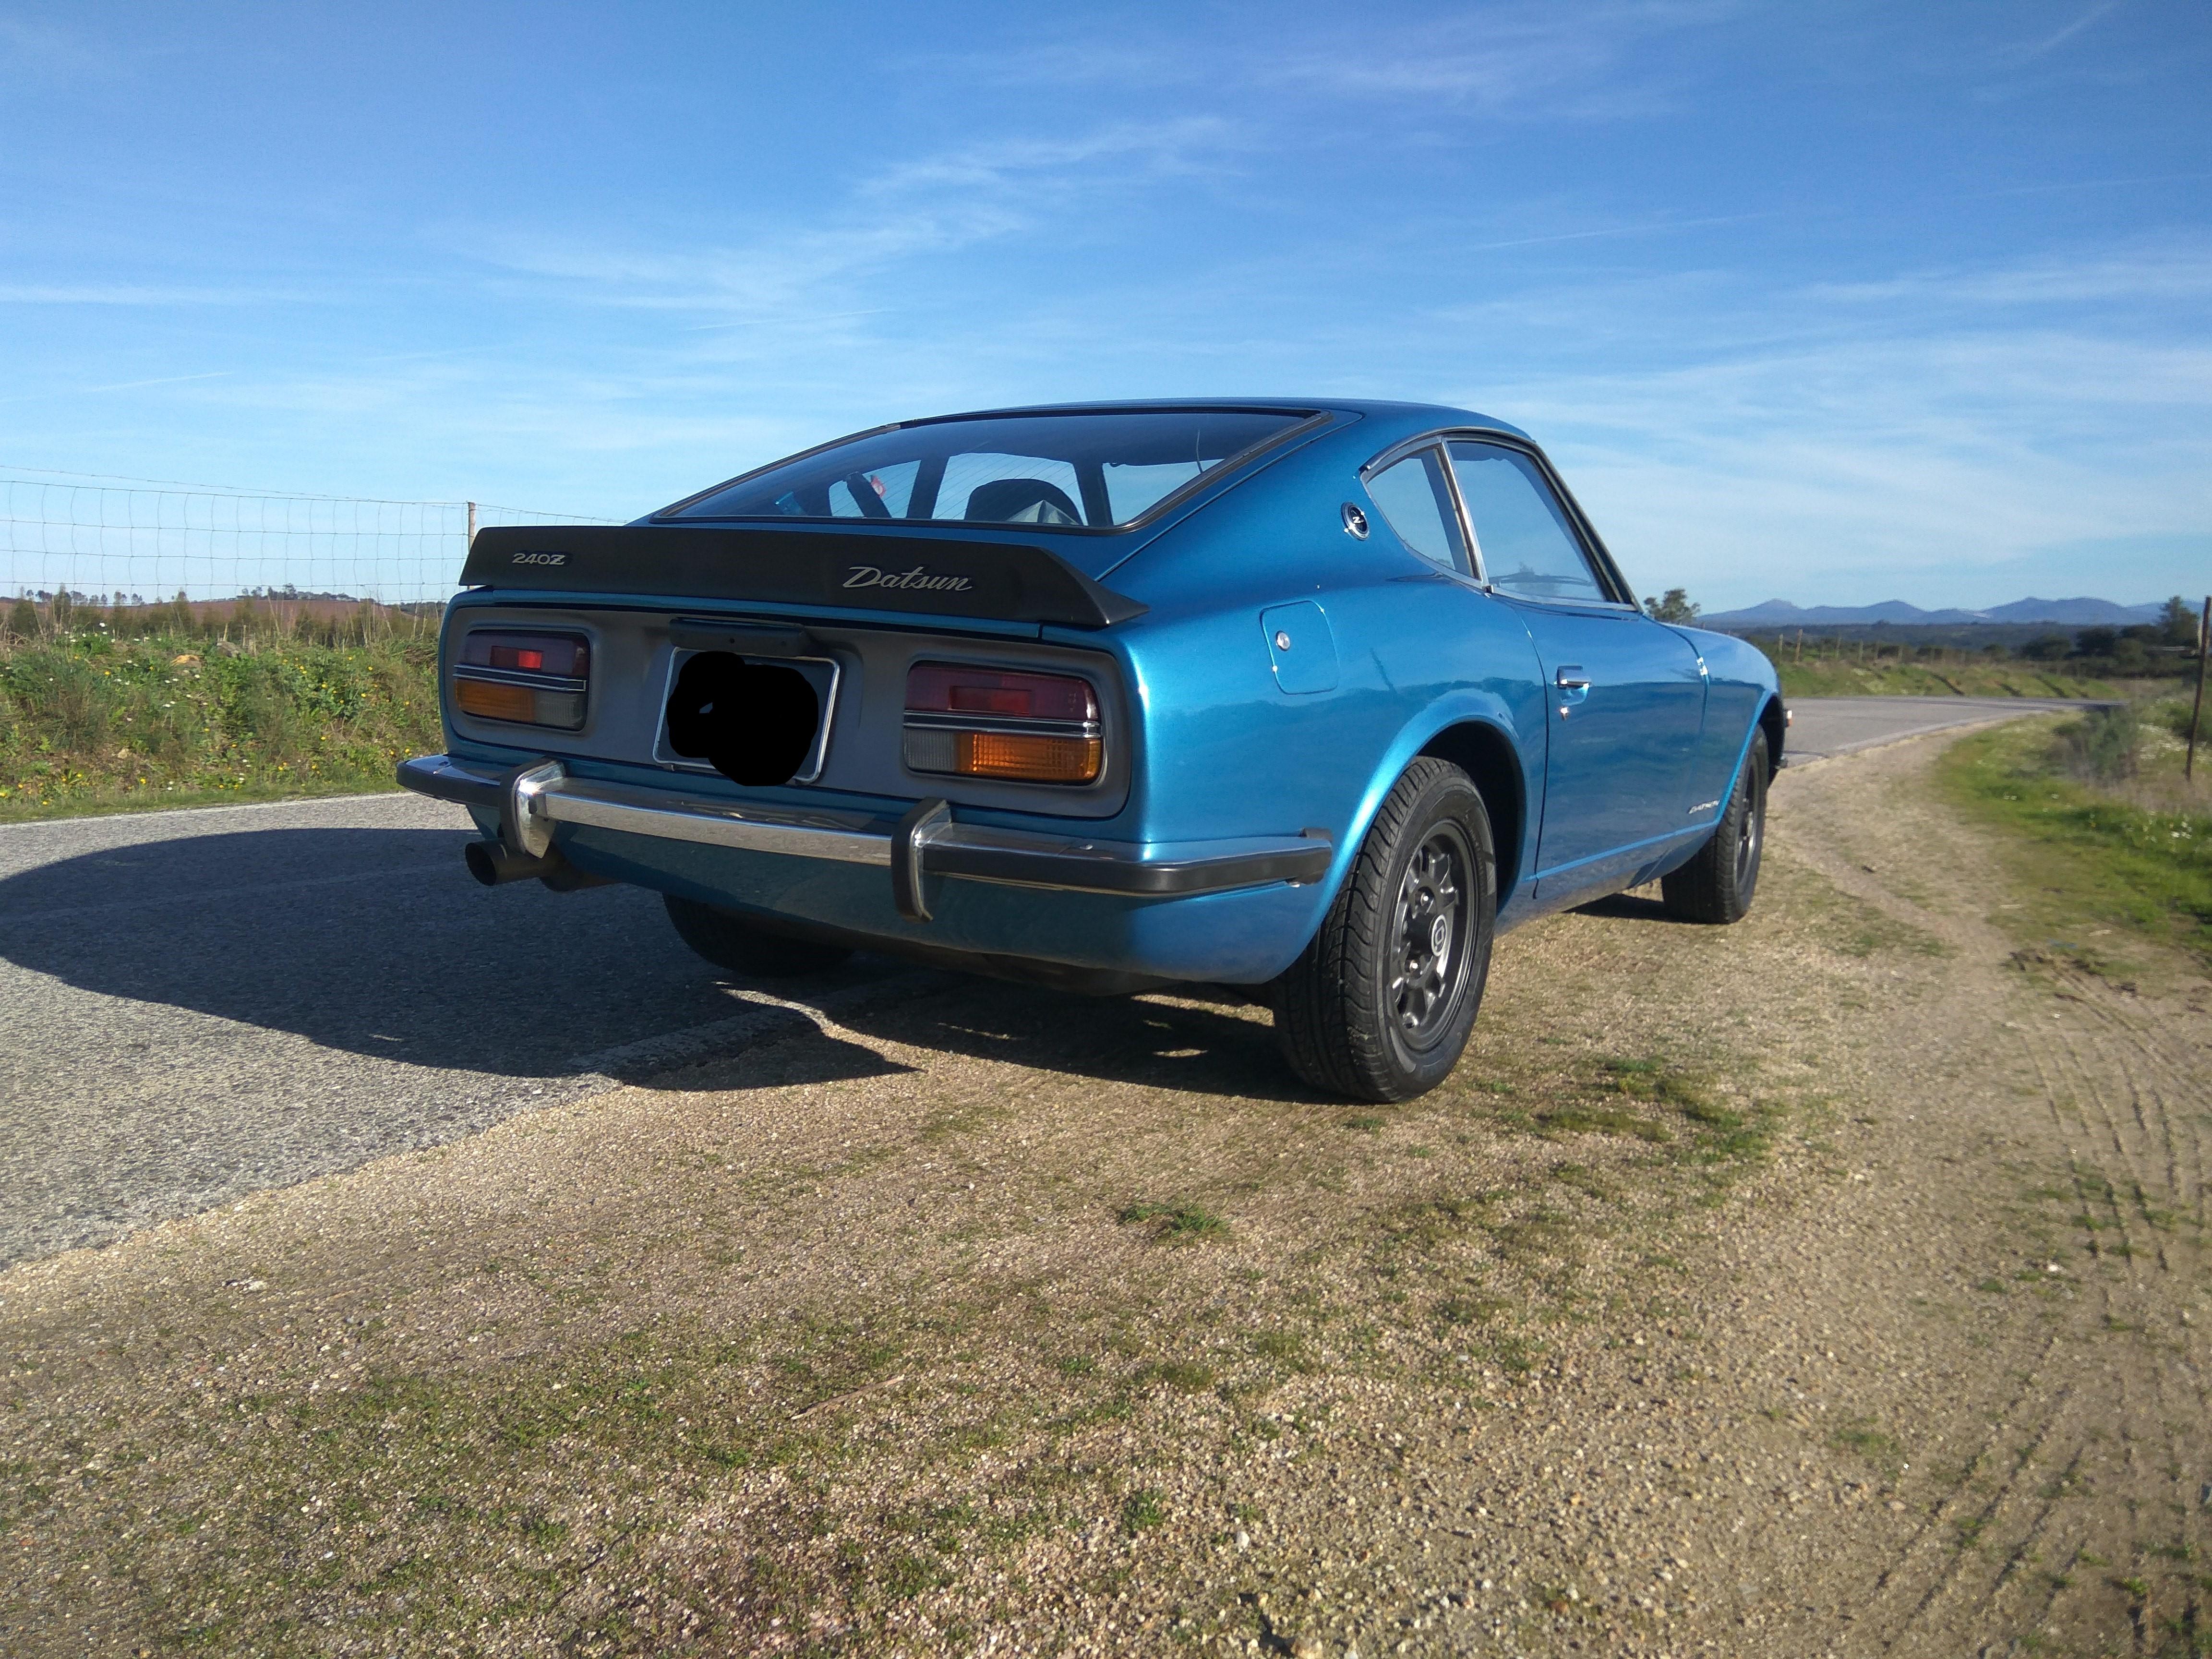
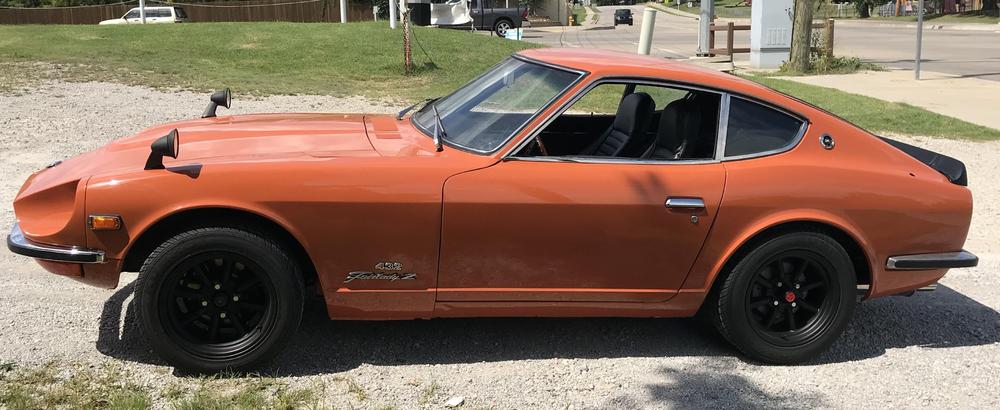
1 pointHello, I've been reading the forum for a long time and I'm overdue introducing myself. I'm Jon, I'm in the UK and have had my 260z since 2002. For the most part I've been keeping it in good standard shape but for the last few years I've been in a bit of a performance improving cycle prompted by a bit of drag racing. Hopefully I can stop soon. [emoji102] Here's a pic of it.
 1 point
 -
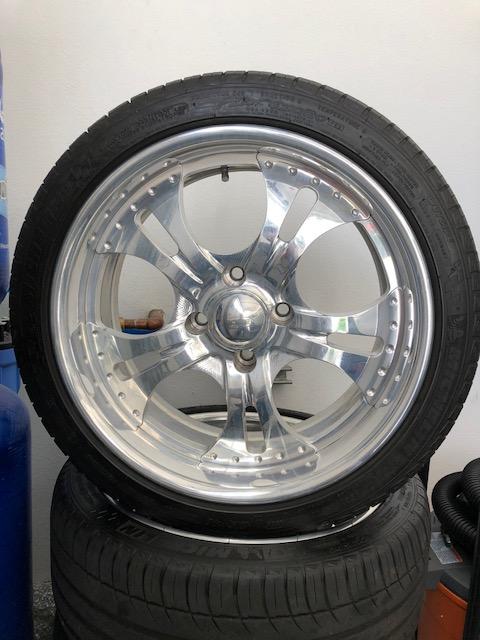
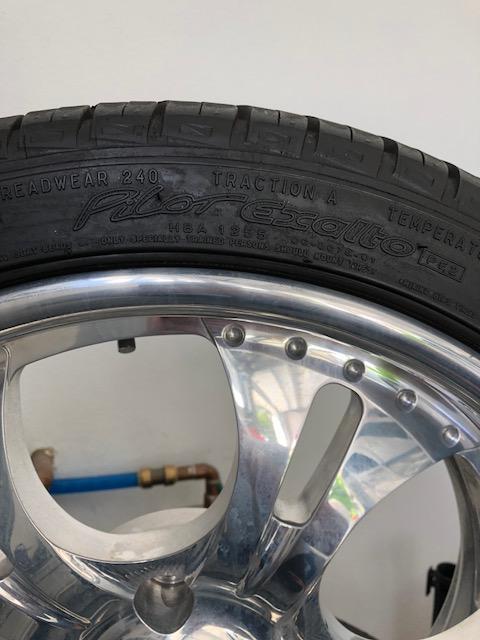
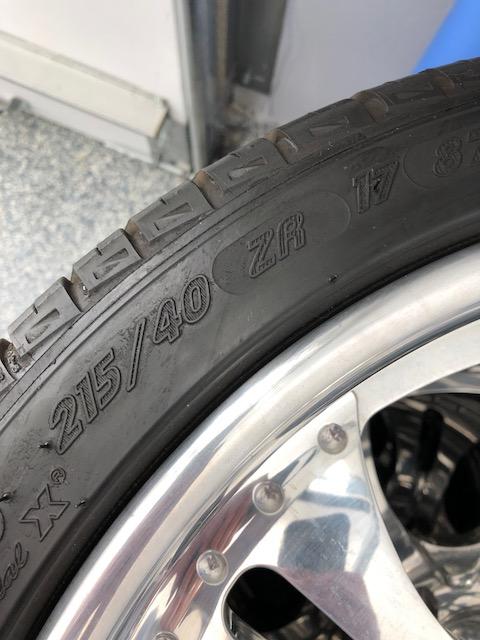
Boze Fatal billet wheels. 17x7 with 215/40-17 Michelin Pilot Sport tires. Rims in great condition, tires in good condition with about 2,500 miles on them. Bolt pattern of 4x114.3 or 4x4.5. I'm in Orange County, CA. Looking for $525 OBO. Thanks!
 1 point
 -
It is good they are all the same. I think the test gauge is the problem. If you have the spindle in the normal spot, try starting it up!1 point
-
I buy a lot of pads from Adams polishes and products. Their swirl and haze remover is amazing.1 point
-
Hi, finally found the time to check both problems. For the Shift Knob it was really the inlet buzzing (without knob/ with knob without inlet everything is fine). So I will try to glue it back in place with some better glue. The drum brake noise came from a bent edge on the backplate (thx for the hint zed head). Wheelbearing play was minimal. After pulling the drum it was pretty obvious which part was rubbing (ground some nice groove into half of the cooling fins). Thank you all for your help.1 point
-
Very nice Mario! It's great to see the experienced hands of Mr. Vitorino at work.1 point
-
1 point
-
Mario, she's a real beauty, looking forward to your next post.1 point
-
These chambers can handle “ping” better then the ordernery E88/N42 chambers. The bigger cam will also help. Will see how it goes but I don’t see a big problem with it as many people seams to make it work with these type of heads. Will be running pump fuel 95 or 98.1 point
-
After you finish, double check every "mouse trap" spring to ensure it is clipped correctly. Wrenches can bump them off.1 point
-
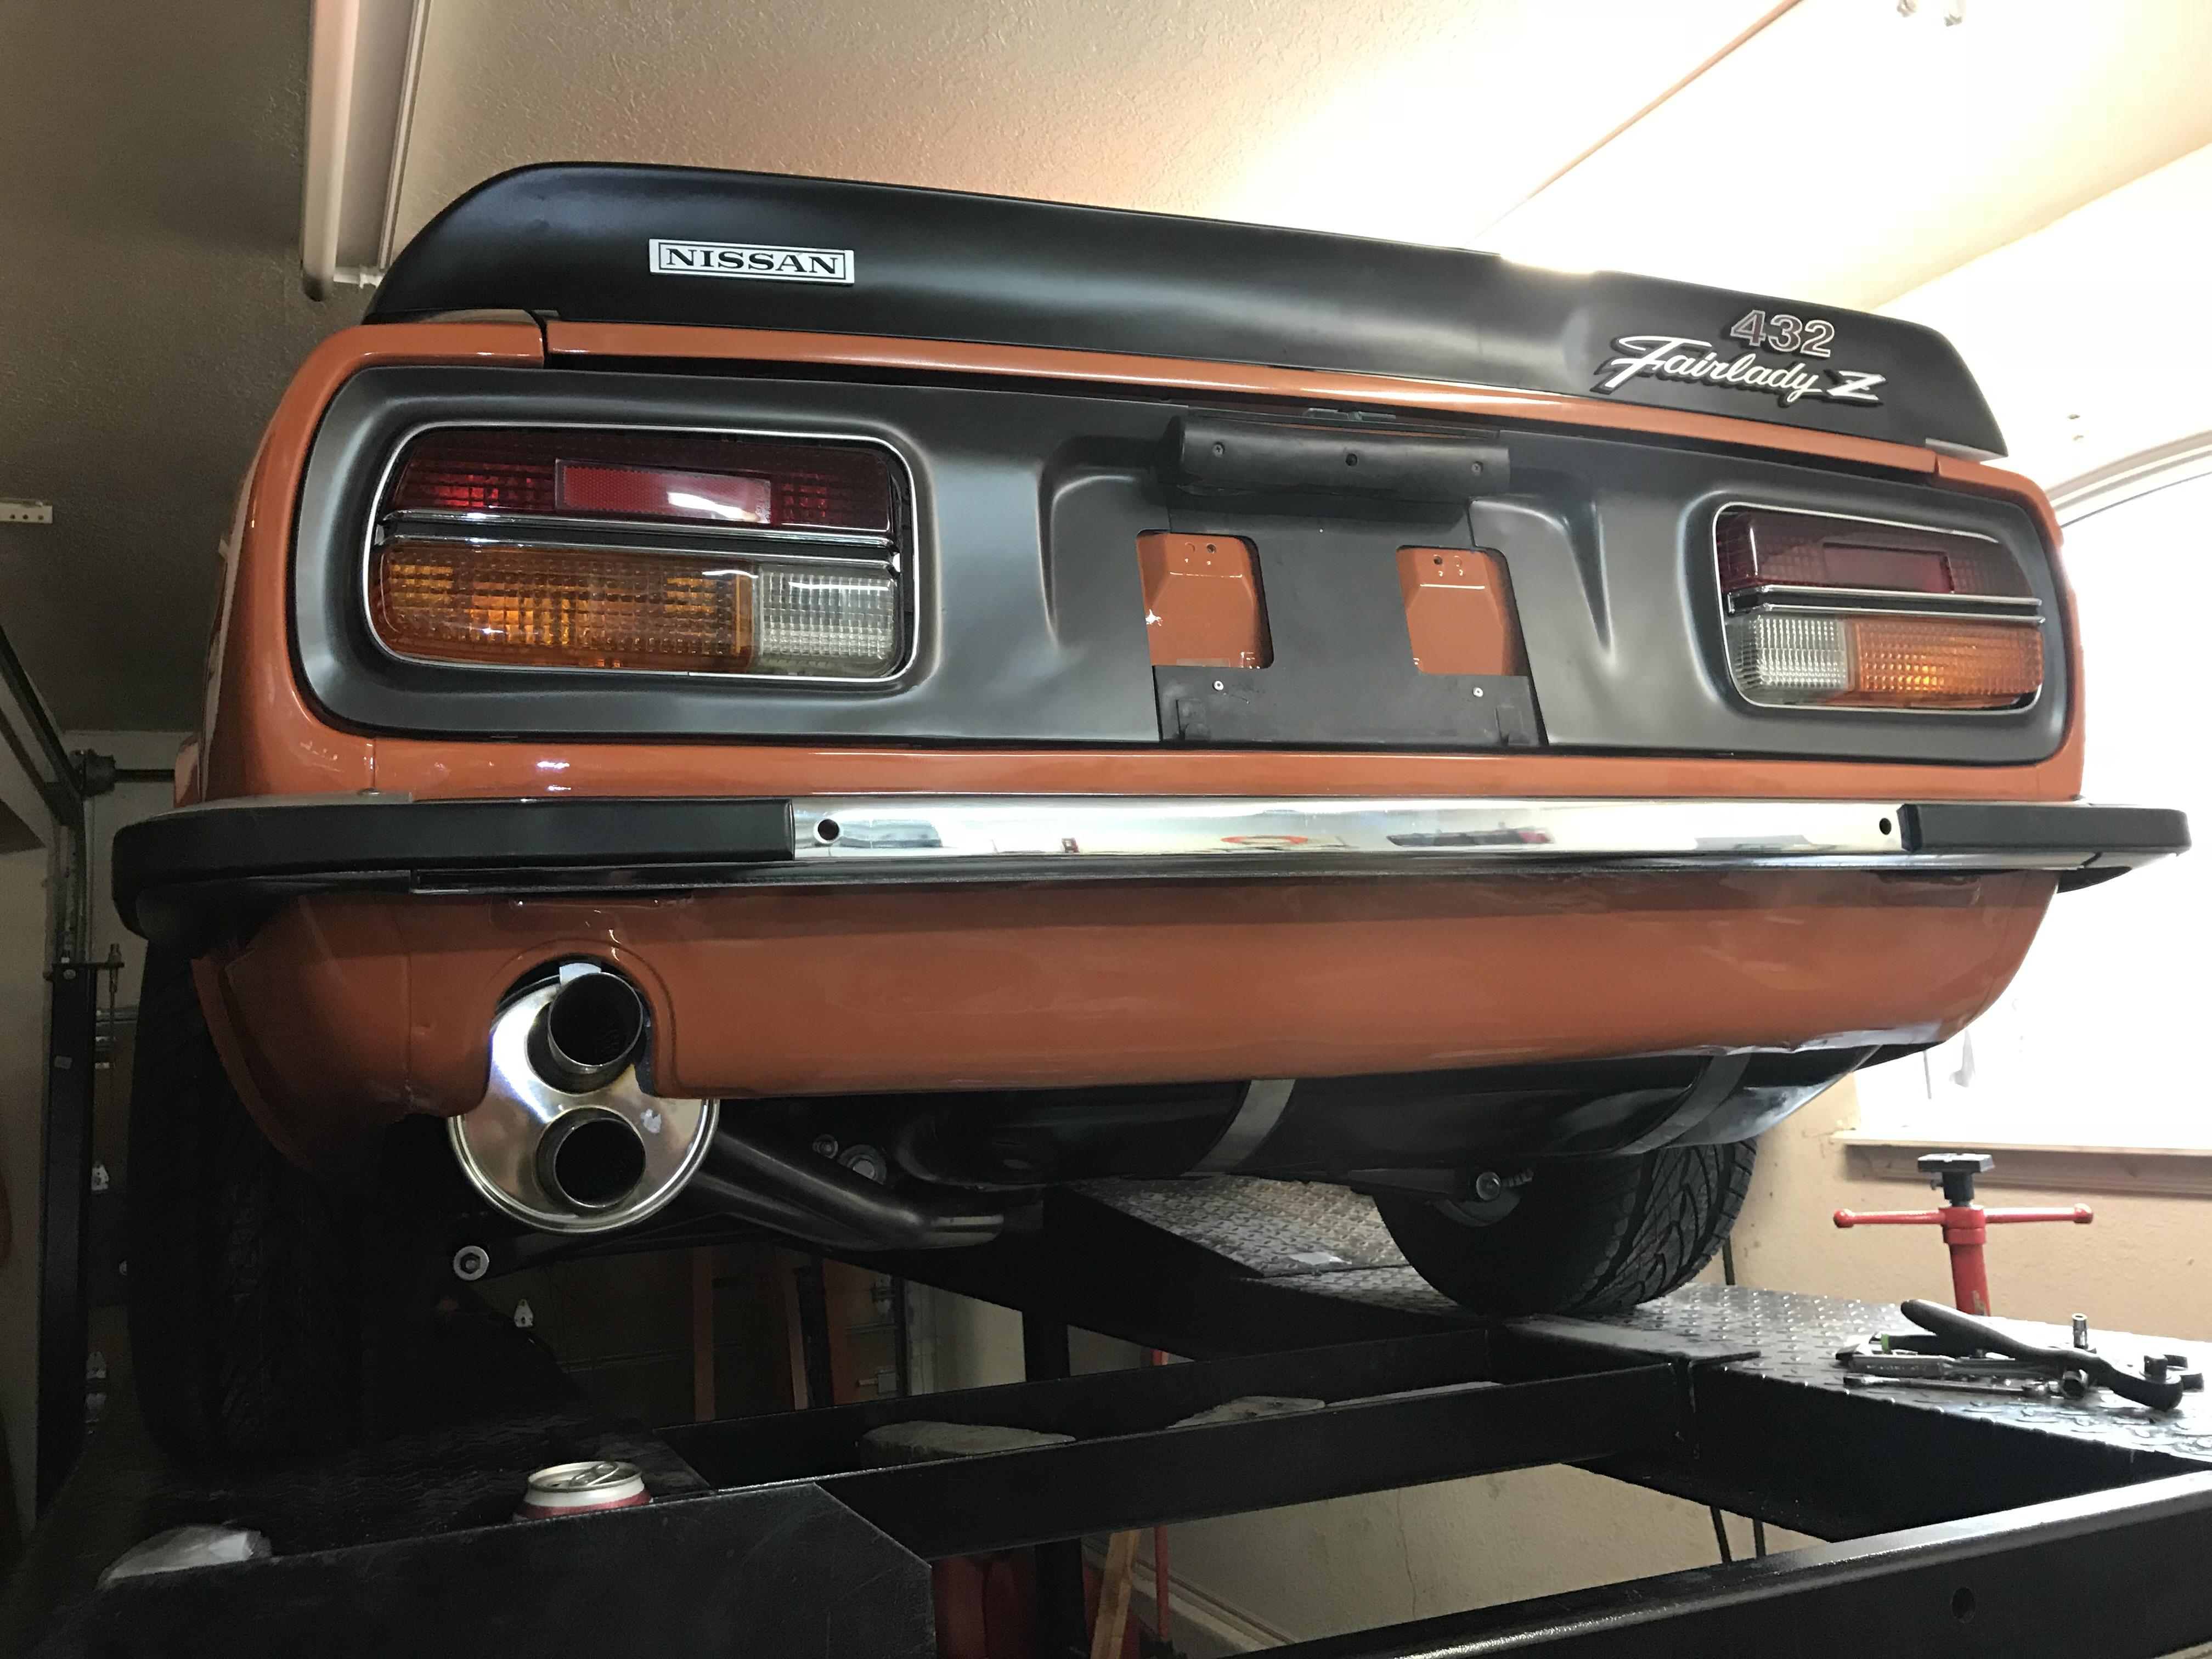
Very beautiful!! Please keep update for us . And super rare magnesium wheels ! I wish I can have 903 on my car one day . Kats1 point
-
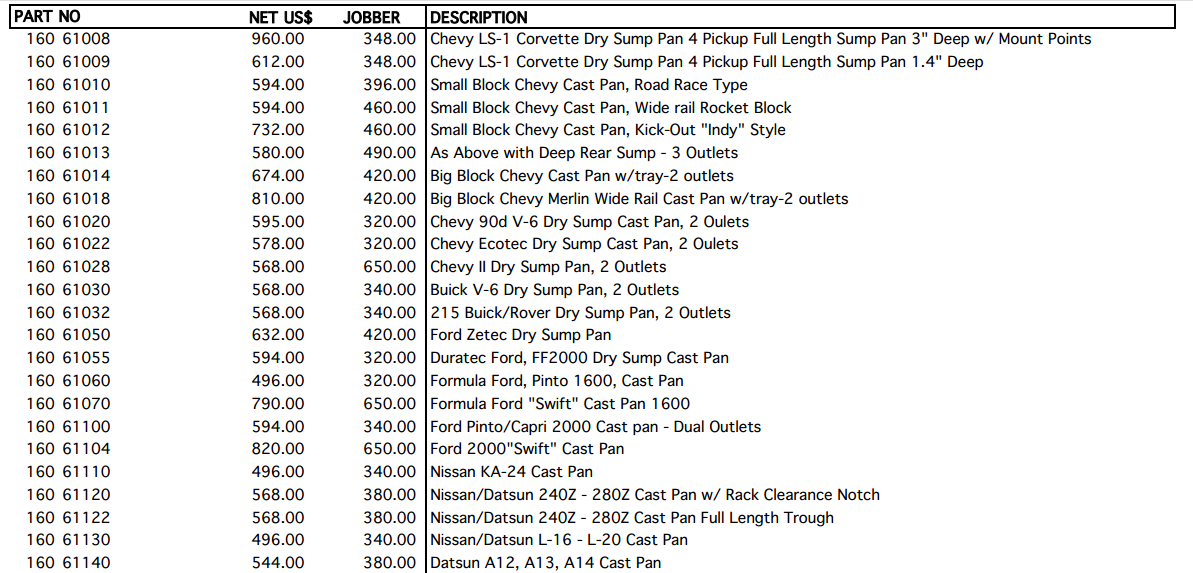
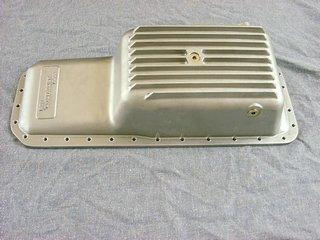
1 pointThe original Aviaid pan is sheet metal not cast. I do like the cast pan. I am just a little sentimental to the original racing pan from the 70's.1 point
-
1 pointArizona Z Car is selling the cast aluminum oil pan, $500 I had one once, very well built. http://www.arizonazcar.com/pan.html
 1 point
 -
You are doing it right. Sand, polish, check. Repeat. You can always sand a little more, never a little less....1 point
-
If it were restricted to water, it would be fine piddling out behind the fender, but inevitably leaves and pine needles and debris goes down the drains and end up packed behind the fender at the bottom. This soggy mess trapping moisture in there full time is source of rust. There is a mod discussed here where you add a 90 deg elbow and an addition hose to the cowl drain hose that runs all the way down and empties into the wheel well. Pokes out where that little rubber flat is located at the bottom of the fender/inner wheel well plate is. This makes sure WHATEVER comes down that hose ends up in free air behind the wheel, not trapped behind the fender. 1.25 elbow and hose I think is the size.1 point
-
1 point
-
1 pointJughead.....Yes the dogleg is a factory piece. I bought that piece from Danny’s Datsun (no longer is business). I’m not sure what year the dogleg is, but the car is a 71. We had them cut the dogleg forward of the seam so that would remain perfect. We also took care to keep the “dimples” on she edge of the inner fender to show that there was no rust in the metal......important not to fill those dimples IMO.1 point
-
1 point
-
1 pointHello All, I have recently completed a project that seems relevant to this thread. My objective for my z432 tribute project was to as closely as possible replicate the z432 driving experience in a LHD configuration. I started with a '72 chassis which underwent a full rotisserie restoration. For the drive train I backdated a RB20det motor with Triple Mikuni's and dyno-tuned to 209 fwhp @ 8250rpm w/ 193 ft lb tq. The motor was mated to the RB20 5 speed and a R192 4.44 LSD. Brakes were changed to the MK63 calipers in the front. The most challenging part of the project was getting the 10k RPM tachometer to work with the electronic ignition system. When the weather improves I'll post more pictures. Danny
 1 point
 -
Hi, I'm back with fresh news! Here is the car after the painting job!!! It looks awesome!!! I'm very happy with the results!!! The colour is the original...I´m waiting for the final result!!! The comparison... Regards Mário1 point
-
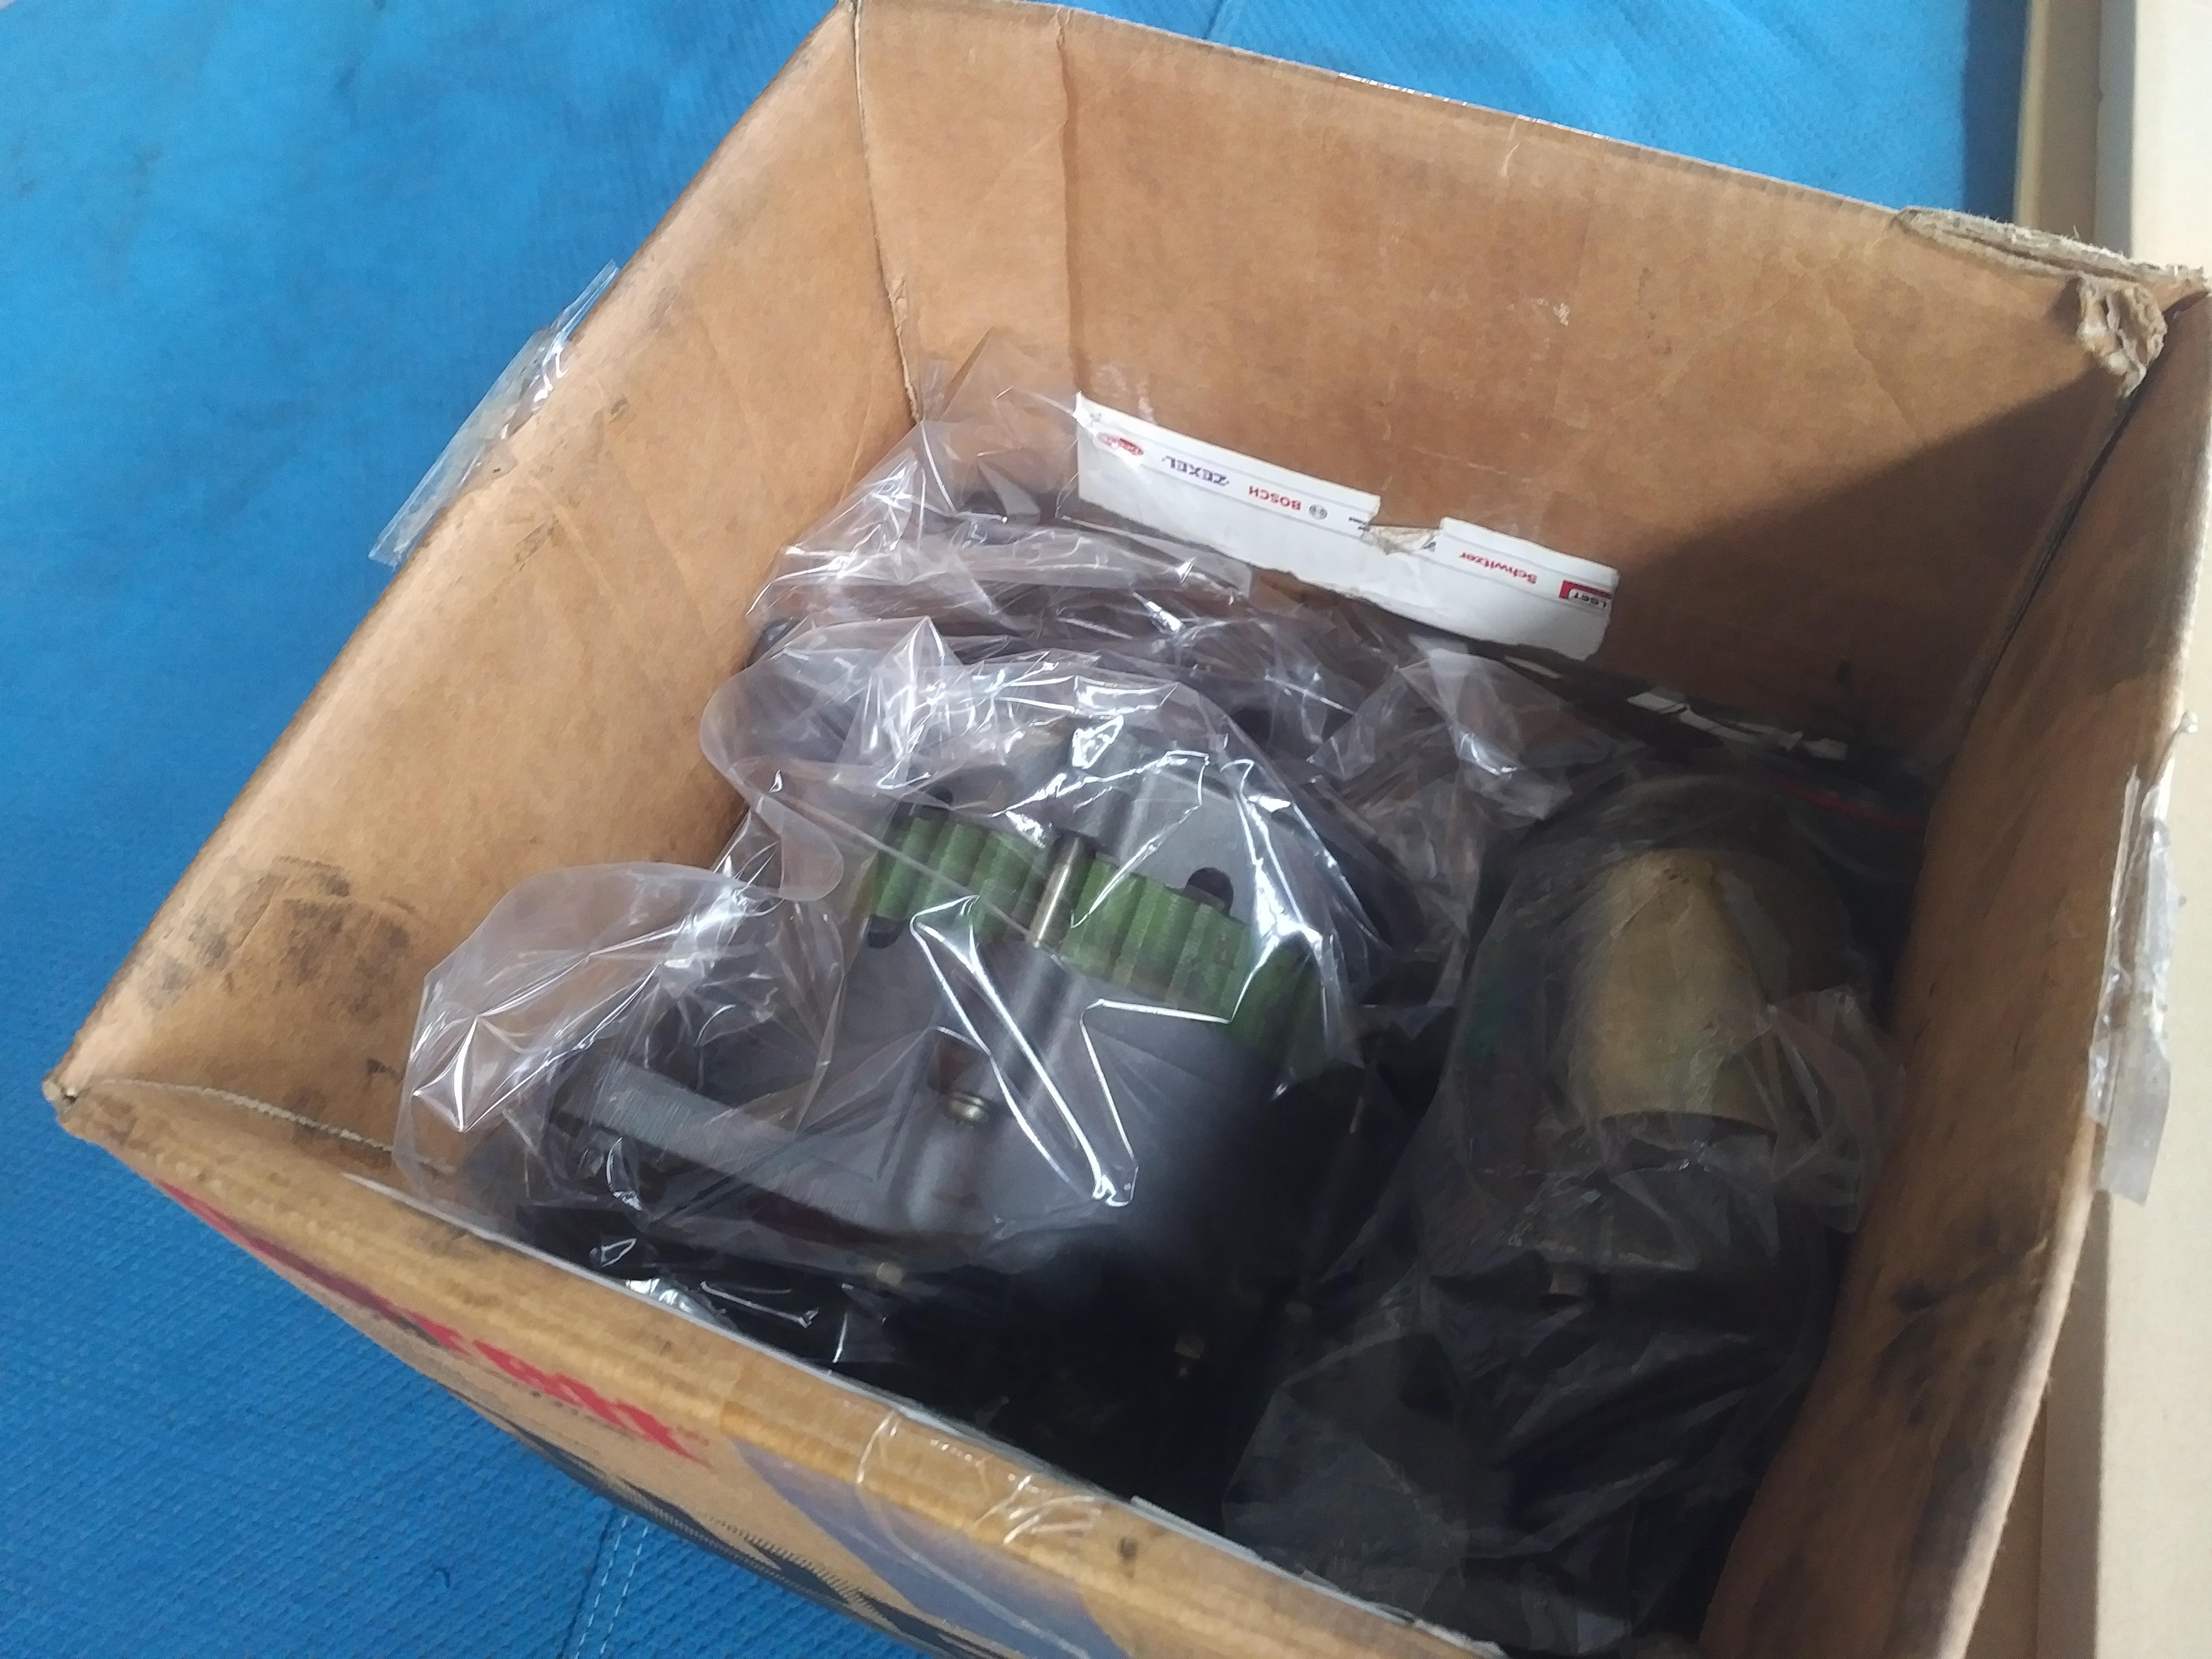
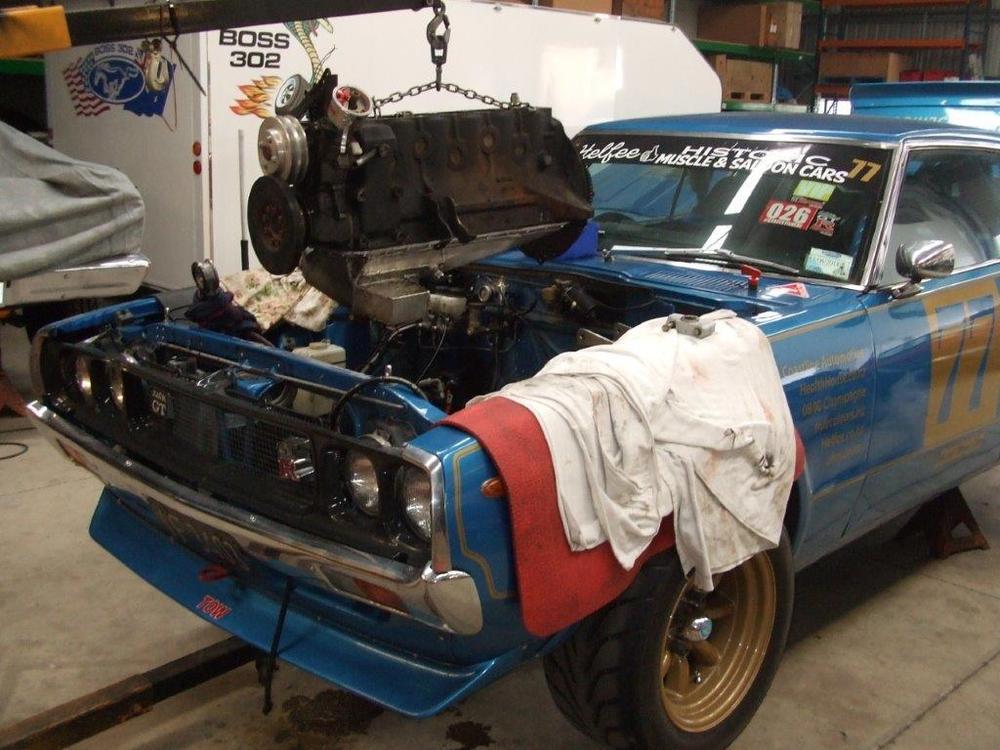
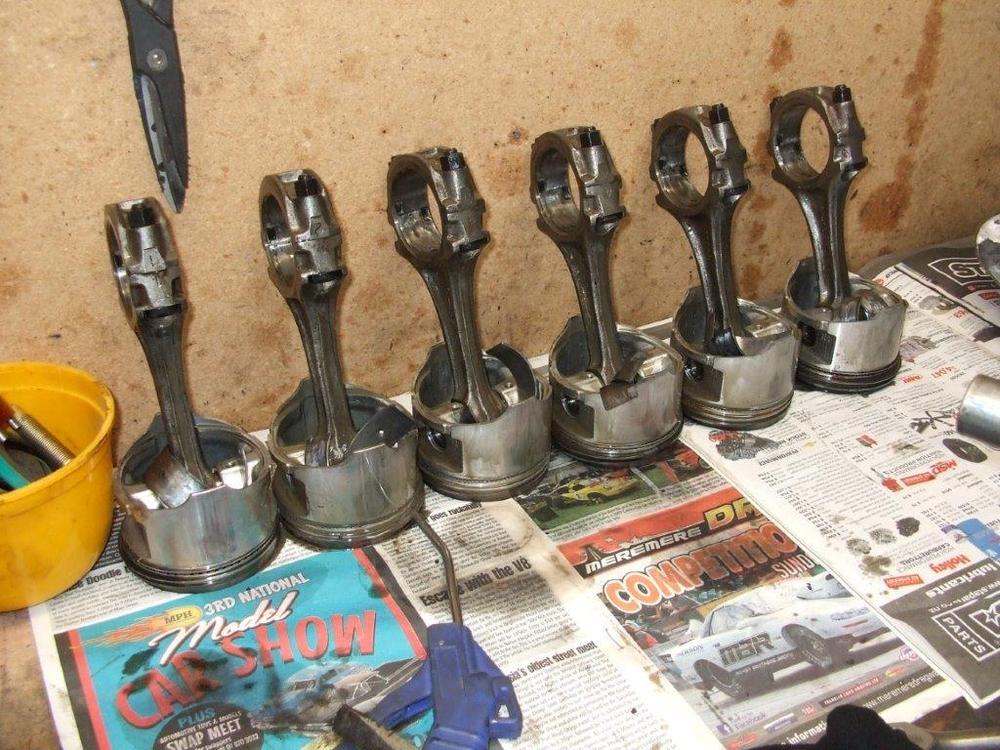
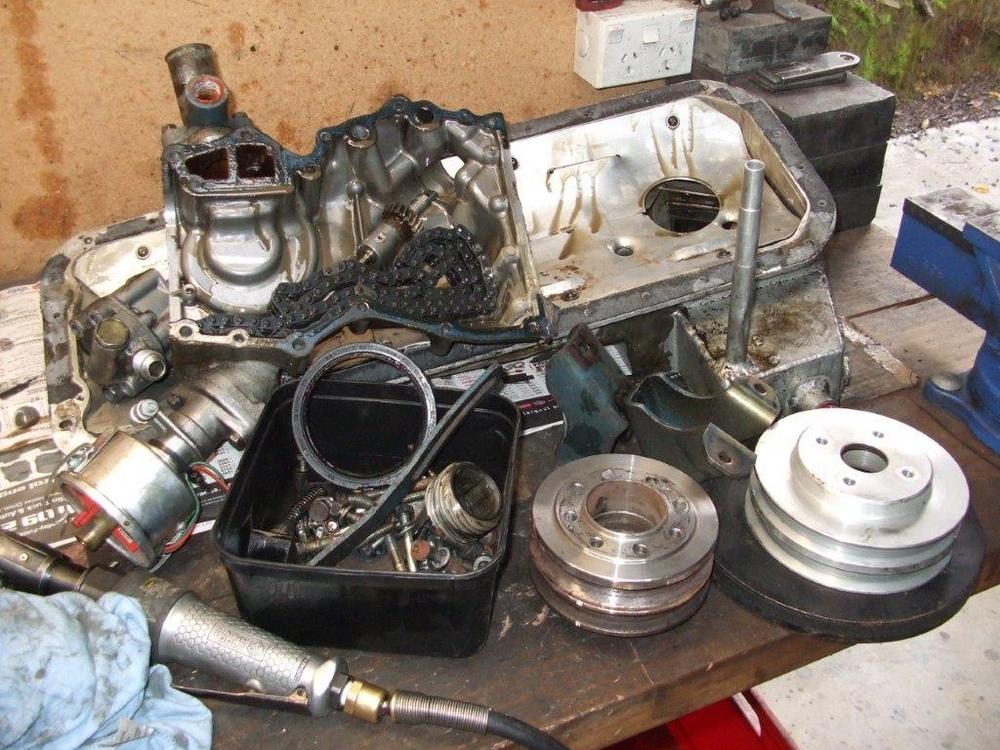
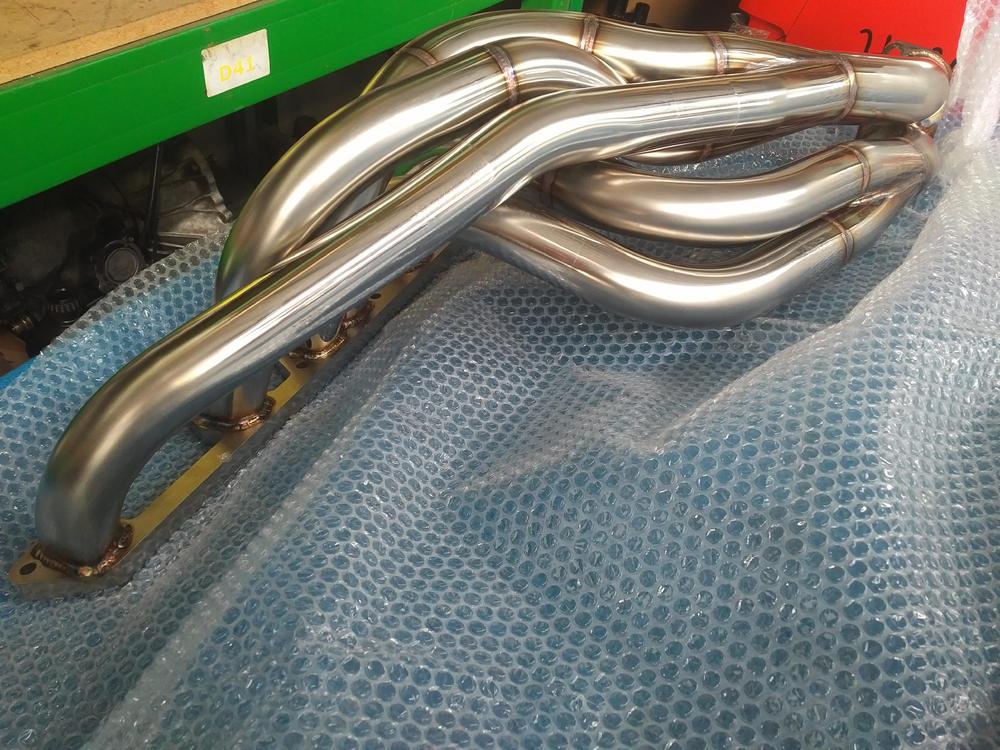
1 pointWell the plan was to just a simple freshen up, but that is not going to work. Engine out and inspected. The block was already bored to around 89mm so after sonic checking, we could not even get a hone, the leaking headgasket has scoured the bores. So luckily found a fresh unmolested block (thanks Don - who sold me the car for letting me have one out of his collection). This is currently off being linebored and we are going to reuse the deisel crank and 260Z rods as they are in good shape. We are going to put in forged pistons, but waiting on some calcs before deciding how much to bore as we will be running around 10:1 compression. I run the car on Av-gas (aviation full 100octane) so there is no reason to not up the compression. The old sump is looking a bit sad as it has been modified a lot of times and the exhaust headers are rusted out from running the leaded gas (and their ten years age). So had my first delivery from Japan. new exhaust manifold, new clutch and had the starter motor and alternator rebuilt. Next .... finding a head and .....


 1 point