Leaderboard
-

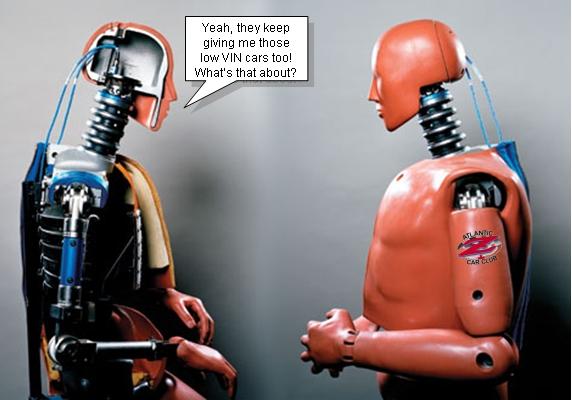
Captain Obvious
Free Member6Points9,866Posts -

Rod's Garage
Free Member3Points29Posts -


240260280
Free Member3Points4,441Posts -

EuroDat
Free Member3Points3,308Posts
Popular Content
Showing content with the highest reputation on 02/10/2019 in all areas
-
3 pointsPOR-15 is a moisture cure polyurethane coating. It doesn't "dry" in the common sense, It "cures" with combination from humidity moisture in the air. If it's cold and very low humidity (like it may be in Canada at this time), it would certainly slow the cure. It'll be ready by spring.3 points
-
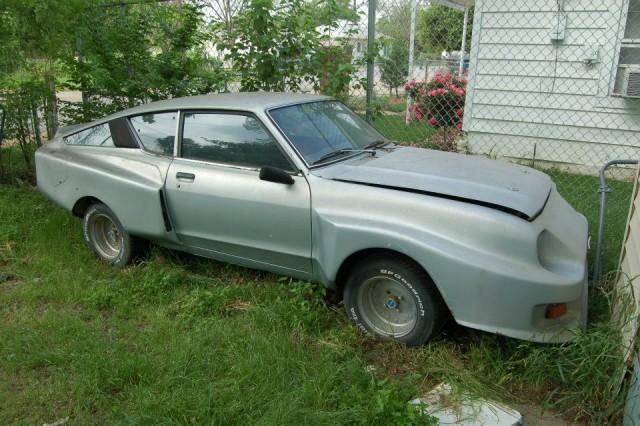
2 pointsI have to admit, it has some neat body molding work, just not my taste. If you want a porche, save up and buy one. I'm not into using a datsun or what ever to clone an "exclusive" sports car.2 points
-
 2 points
 -
 2 pointsThank you @hiyabrad and Rod for giving us the unique opportunity to follow the restoration of this historic Z.2 points
 -
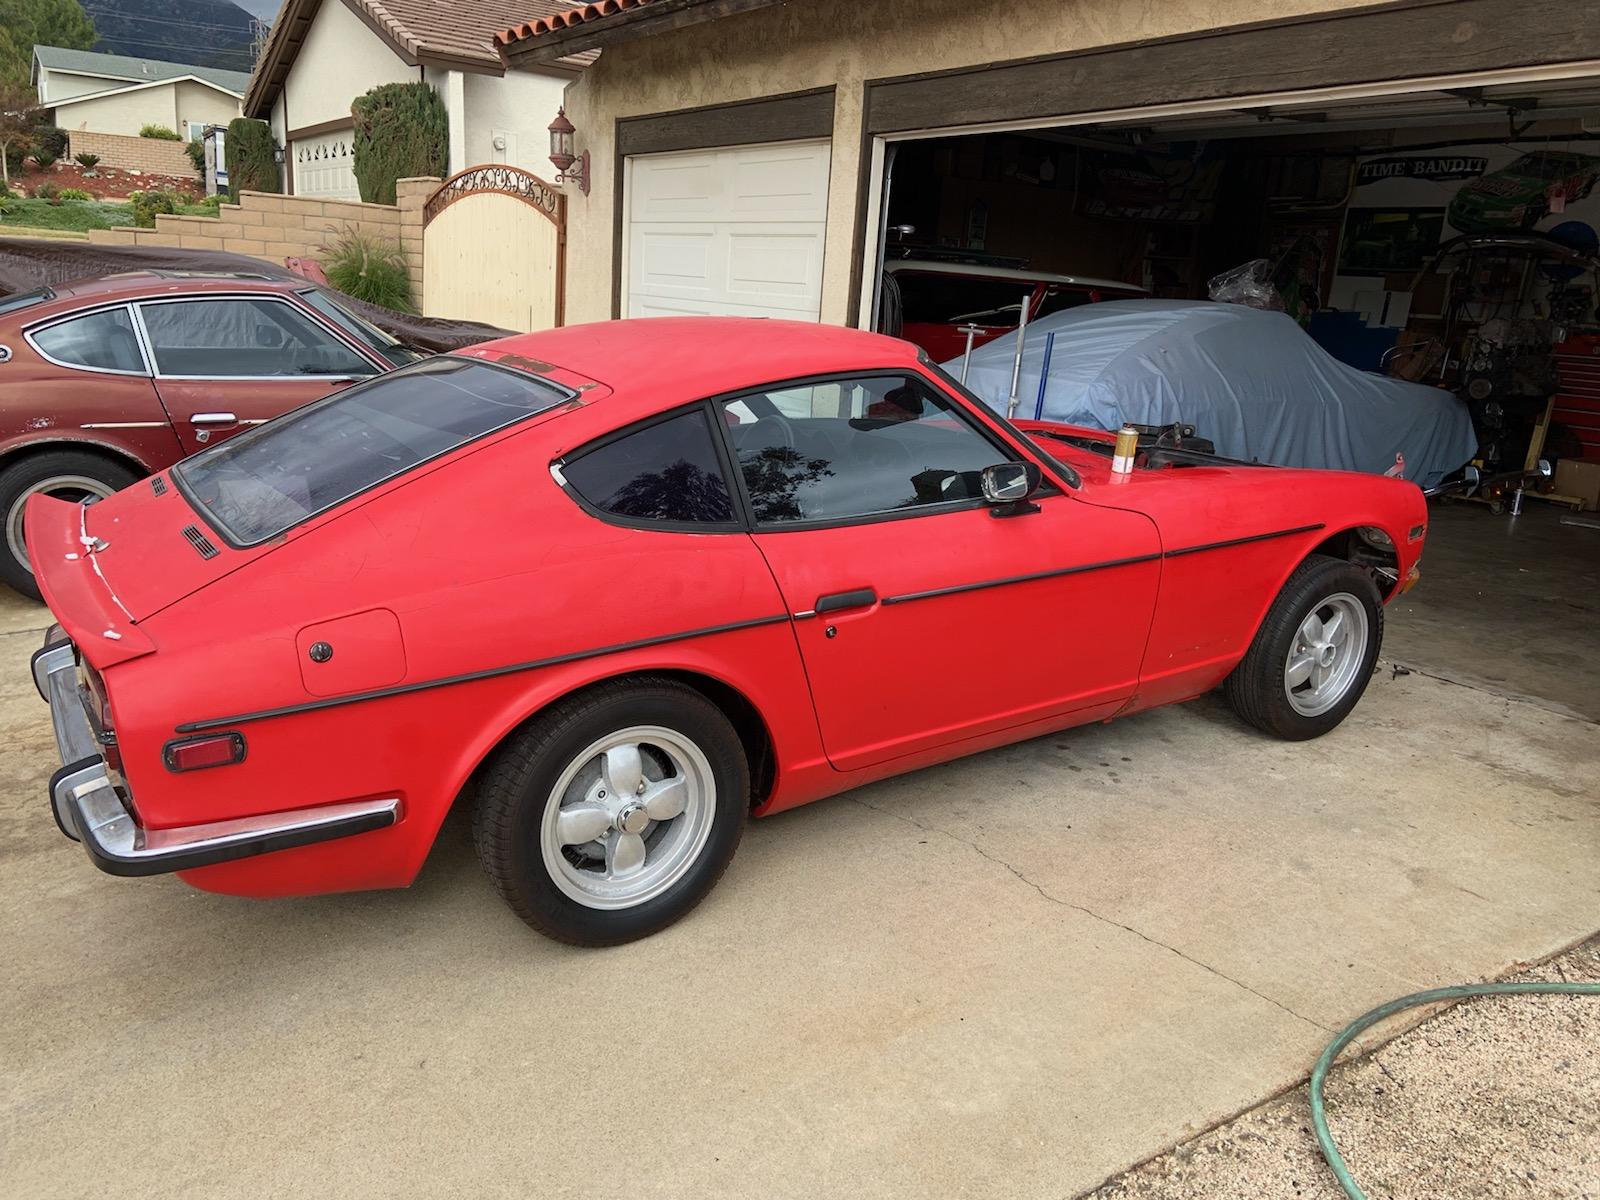
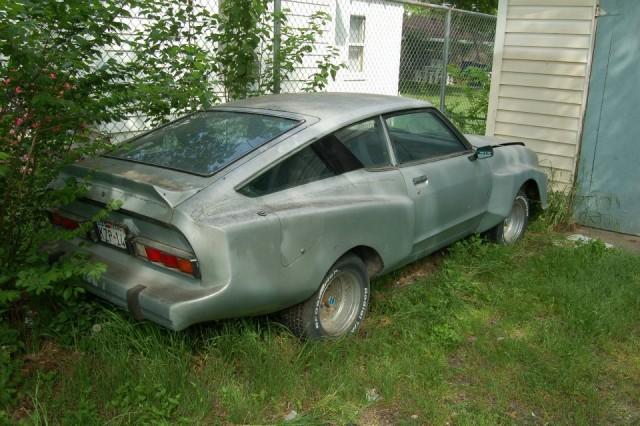
2 pointsHere's some pictures of before tear down. Tear down pictures to follow.


 2 points
 -
 2 pointsLooks like I have one coming, already! I thought it was going to be harder to find. Our good friend Wayne (wal280z) is shipping one out to me for just postage! Will post results and may even, time permitted, open up the entire non working bcdd to see what I can find. And just for fun. There is another thread on it but I want to open mine up to compare.2 points
 -
 1 pointMotorsport has joined forces with KONI to create an exciting new product, one of the most requested upgrades for early Z-Cars we've had, to replace (and improve upon) the long-departed Tokico HP & Illumina Adjustable Struts. Completely new, constructed specifically for 70-83 Datsun 240Z, 260Z, 280Z, & 280ZX, these externally-rebound-adjustable, twin-tube low pressure gas-charged KONI Sport (Yellow) Struts are designed for use on both stock & modified street cars, as well as autocross & track day cars. Built to give a good balance of street ride quality and handling at the softer end of the adjustment range, the KONI Sports can easily be tuned up to nearly double the rebound damping force for more aggressive control needs: simply open the hood or rear hatch and turn the KONI adjuster knob. Not only can you tailor the struts to your local road conditions (and to your taste), you can also quickly and easily change the settings for a blast at a weekend autocross or mountain run, then easily re-set them for a relaxed ride home. Whatever suspension behavior you need is literally at your fingertips. Also, if you race on different tracks and race conditions, the adjustable damping gives you an edge in setting up your car specifically for any track or autocross course. Koni believes they will work great with Eibach Springs, and will be fine with even lower springs, as long as a proper bump stop is used. Let us know if you have any questions, James@TheZStore & I will get you an answer. The first shipment, for 70-8/74 240Z & Early 260Z, is expected to arrive in the U.S. this March. We expect to receive the 9/74-78 Late 260Z & 280Z Struts 3-4 weeks later, and then the 79-83 280ZX Struts/Spring Seats 3-4 weeks after that. To reserve your set from the first shipment, the Pre-Sale is on now at https://www.thezstore.com/page/TZS/CTGY/classic20b041 point
 -
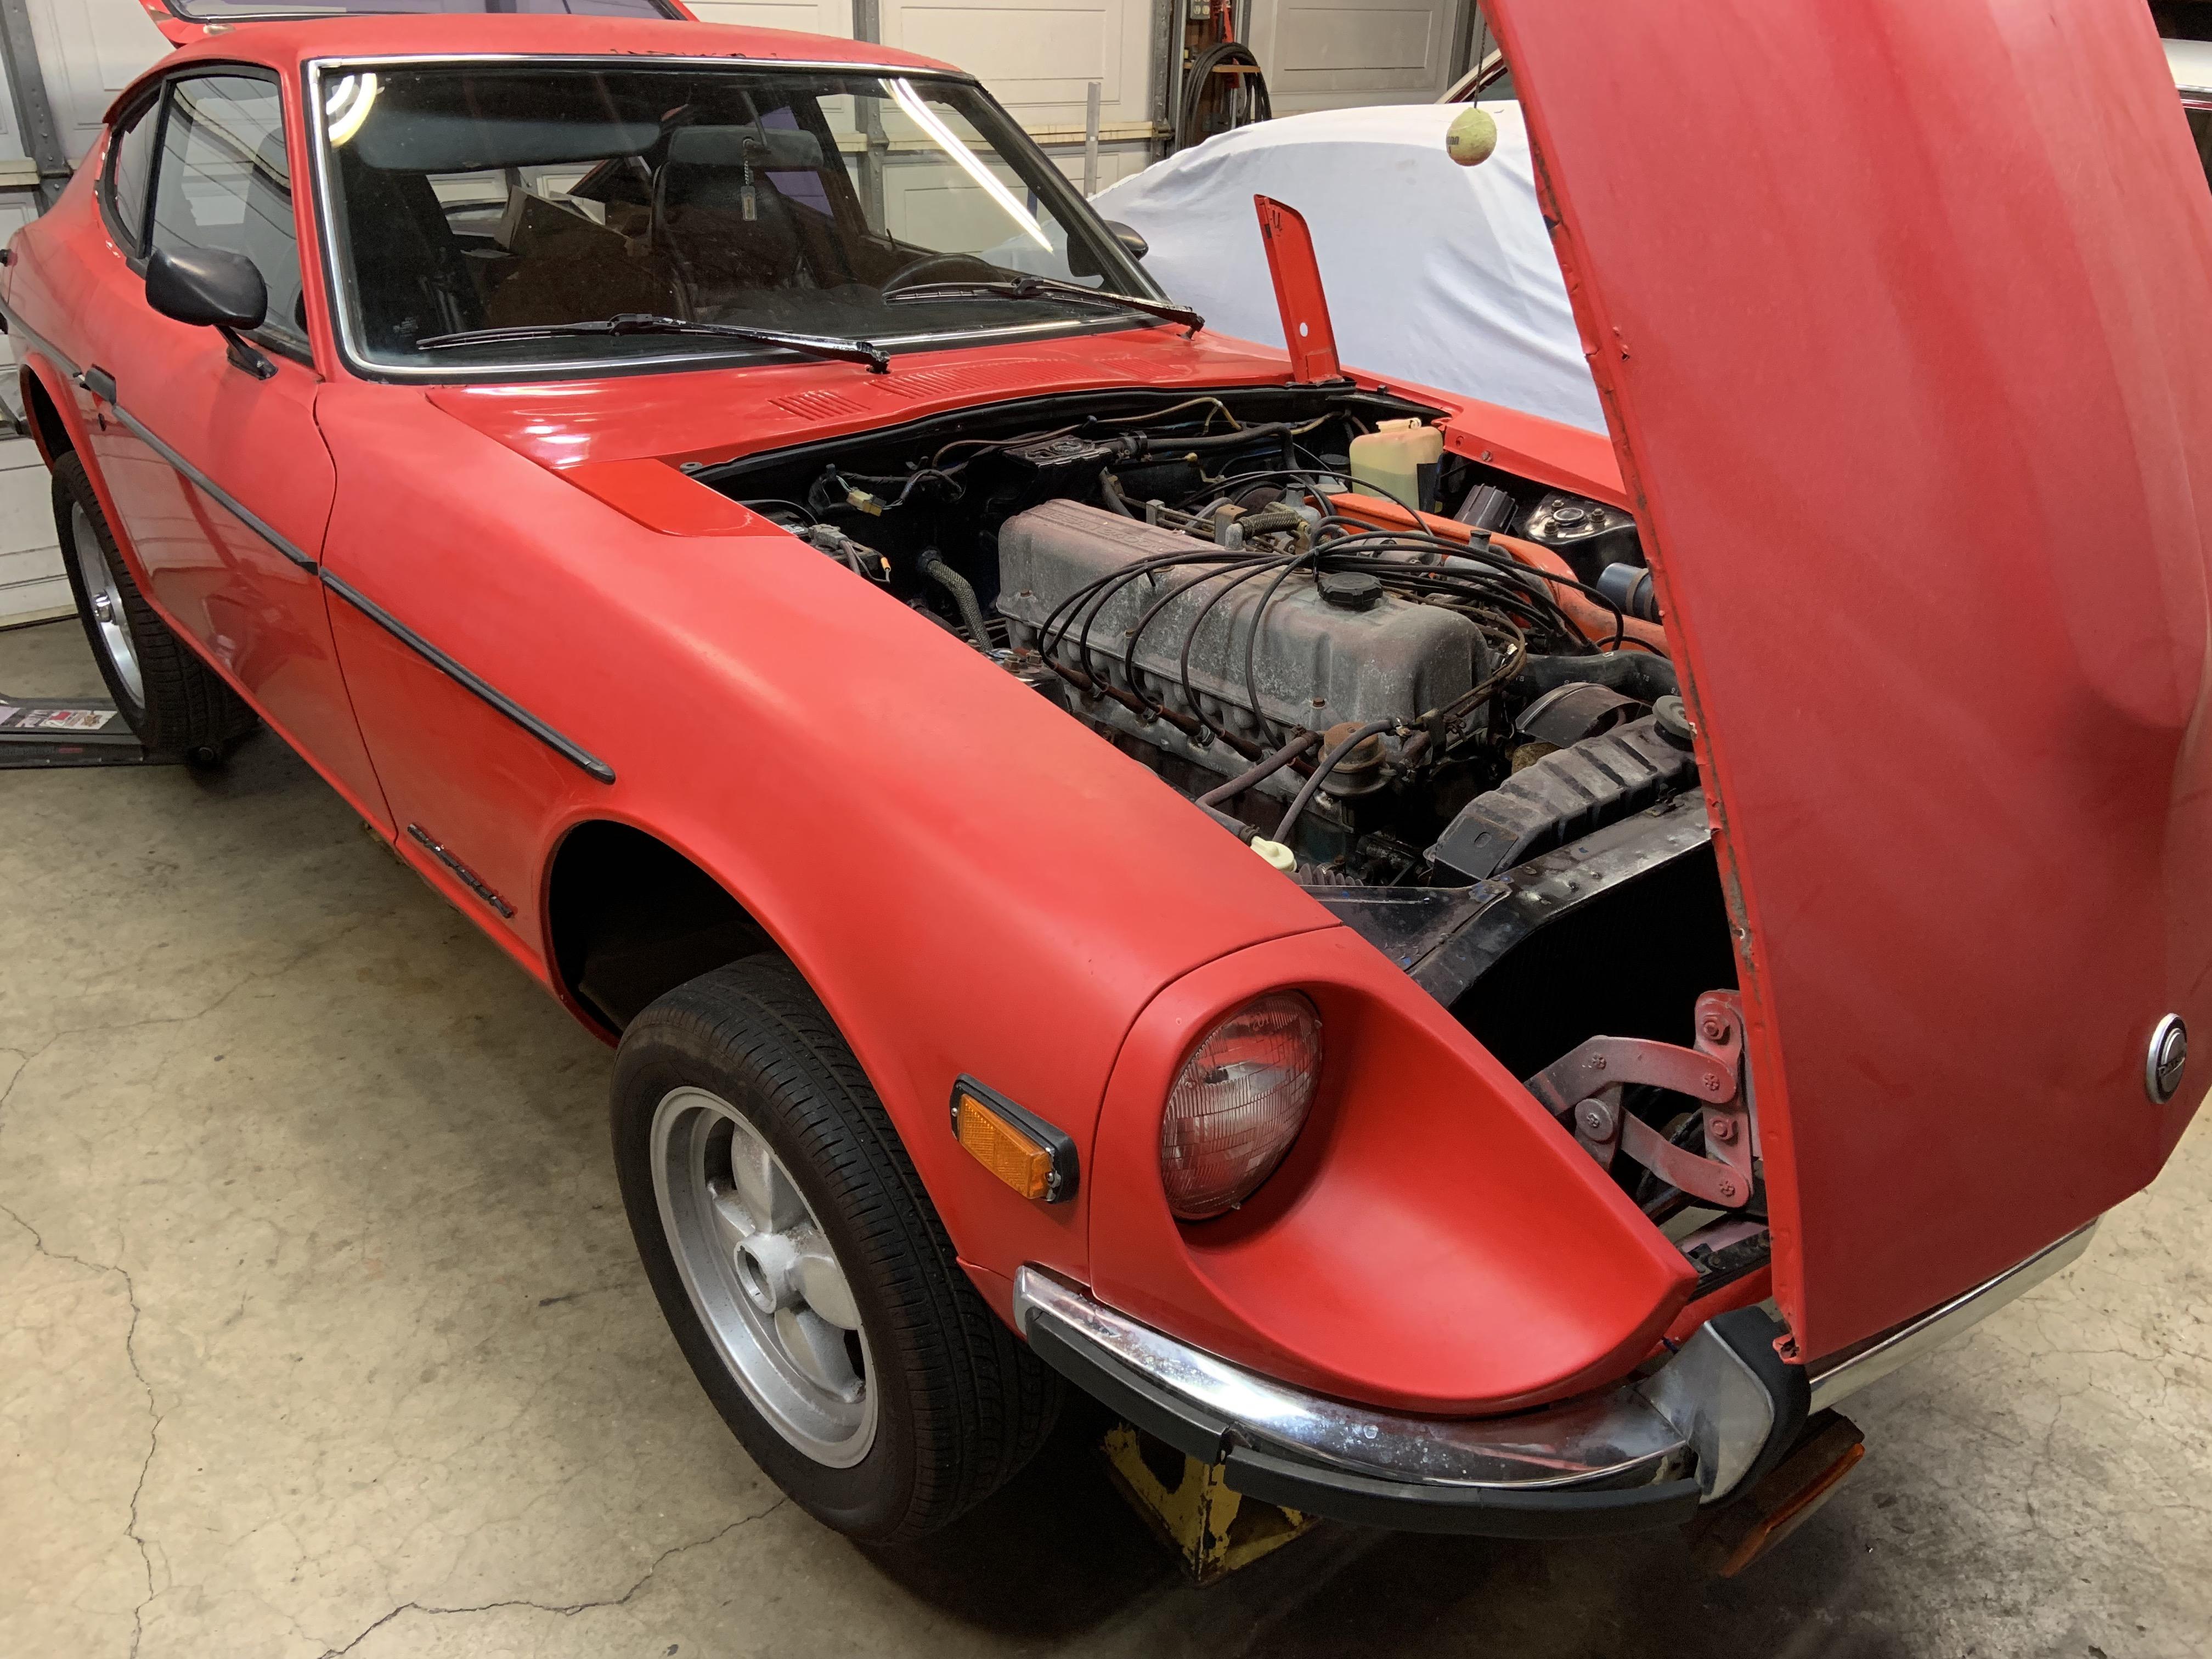
1 pointHello everyone. My name is Rod Schmitt. I've been working on Z cars for over 30 years. I am the one that did the restoration on the engine in car #187. The owner of that car introduced me to this site when he started to post my work. I like what I see here. I am now doing a complete restoration on car #304 and will be documenting it on this site for everyone. I'd welcome any input as the project goes along. Here's a picture of the car. Will be posting more soon.
 1 point
 -
 Hi again! Another great weekend!! The Z is getting shape!!! And all the weekend was dedicated to it! Now it looks like a Z…I’m very happy with all the results! But it’s a hard car to work!!!Too many bolts and tunning around the parts! I started with the lower and center valances, then the headlights and finally the surroundings.~ On the lights, my car is from 2/71 and had the 3rd series front, now I’m restoring it to the original shape. Now I placed the original Toshiba headlights and get rid of the wires excess, even the lamps!!! After a deep cleaning all went simple and clear! I’m waiting for the test… About the grill, I’ll keep the original one, but I don’t know if I will put the 432 instead! But only for the aesthetic reason! Let’s see the photos…. The sill plates were on the shop and I decides to install them! These ones are original, second hand, because the new ones from Nissan are just aluminium made, and these ones are covered with vinil with the same pattern as the seats and interior plastic covers! The headlghts…before… https://i.postimg.cc/FsYycdPv/IMG-20190209-120041.jpg] In the end…. Valances… Installed… The grill… Installed…. The headlights...and the gift… Then work and pacience…ehehehehhe In the end, only the right side of the car needs a hand…only tunning, but it’s a work for Mr.Vitorino…not me!!! Hope you are enjoying so far!!! Regards, Mário1 point
 -
 1 point
 -
1 point
-
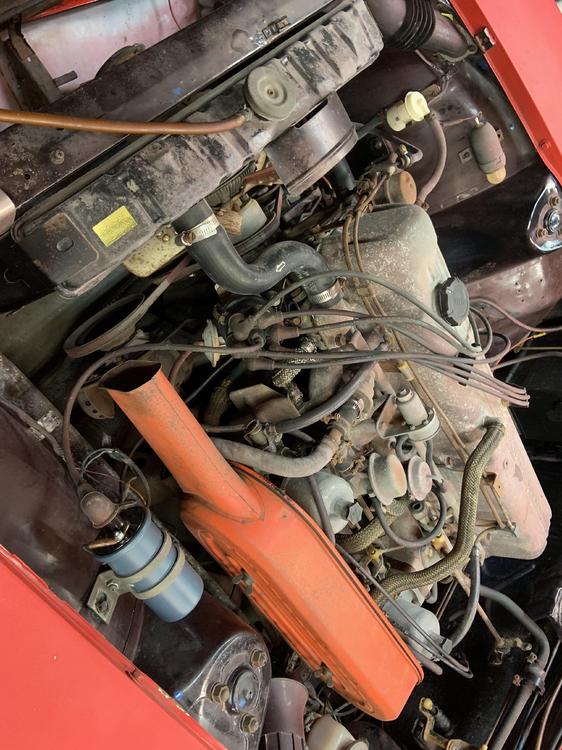
1 pointIt's also a good idea to replace all the rubber fuel lines from the tank to the carbs.1 point
-
 1 pointThat looks like the rear defroster switch, which I use for my fogs as the rear defroster isn’t ever needed Sent from my iPhone using Classic Zcar Club mobile1 point
 -
 1 pointI would check/set the valve lash, since you already have the cover off. The early engines had weak valve seats, designed for leaded fuel. Then you won't have to wonder about it if odd things happen. It's the very first item in the Nissan tuneup sequence also.1 point
 -
1 pointI'm no expert, but... 1. No. You need the engine turning faster than can be accomplished by hand in order to get good compression test results. 2. I've dissected several brands of oil filters in the past and have been dissatisfied with the internals. As a result, I've now switched all my vehicles over to Denso filters that I get from Rock-Auto. It's a pain because you have to plan ahead and can't just run down to the local parts store, but IMHO they're really better. 3, Not Champion. Use Japanese plugs in a Japanese engine. Denso or NGK. 4. If the points aren't all burned up, cratered or have a lump of material migrated from one side to the other, then you can probably save the replacement for later. You should replace them once you get out of the "just trying to get the engine running" stage though. 5. Ask Wheee! 6. "Did I forget anything?" Yes. Of course you did.1 point
-
 1 point
 -
1 pointAwesome! My kind of problem!! A non-problem! So either it was just the wiener in the warp drive from taking off the AAR and starving the engine for air, or there's an electrical intermittent connection in your wiring tangles. You'll find out at the most in-opportune time. But even if it isn't keeping you from passing smog, you might want to take some time off from other projects on the car and clean that stuff up. I've found a great sense of peace knowing that all my EFI connections are new, clean, and tight.1 point
-
 1 pointCheck out the 240Z Guild on Facebook - Robert Jackson is the owner. They restore cars for sale, might help you out. They are located in OK.1 point
 -
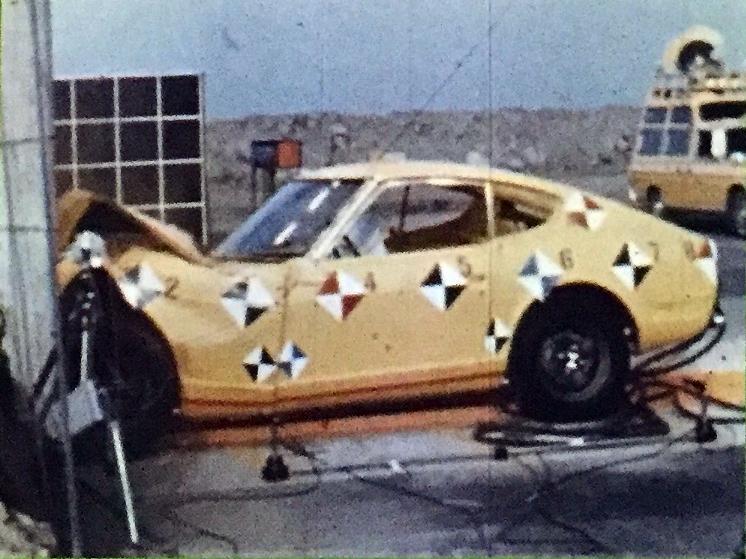
1 pointCrape. That looks like something out of that old series Logans run. Mmm, I might be showing my age with that statement1 point
-
 1 pointAt least more reproduction parts are available now. Steve Nixon makes several of them that some of us have provided samples for. I have four 1969 production cars and three were very complete original cars when I got them, but I wouldn't same any of them are "as if it just rolled out of the factory".1 point
 -
 Thanks so much for all the replies, no rush while I wait for the right one, i've wanted this car for years and finally saved enough. As soon as I get "project Z" i'm sure i'm going to be super active on here ?1 point
 -
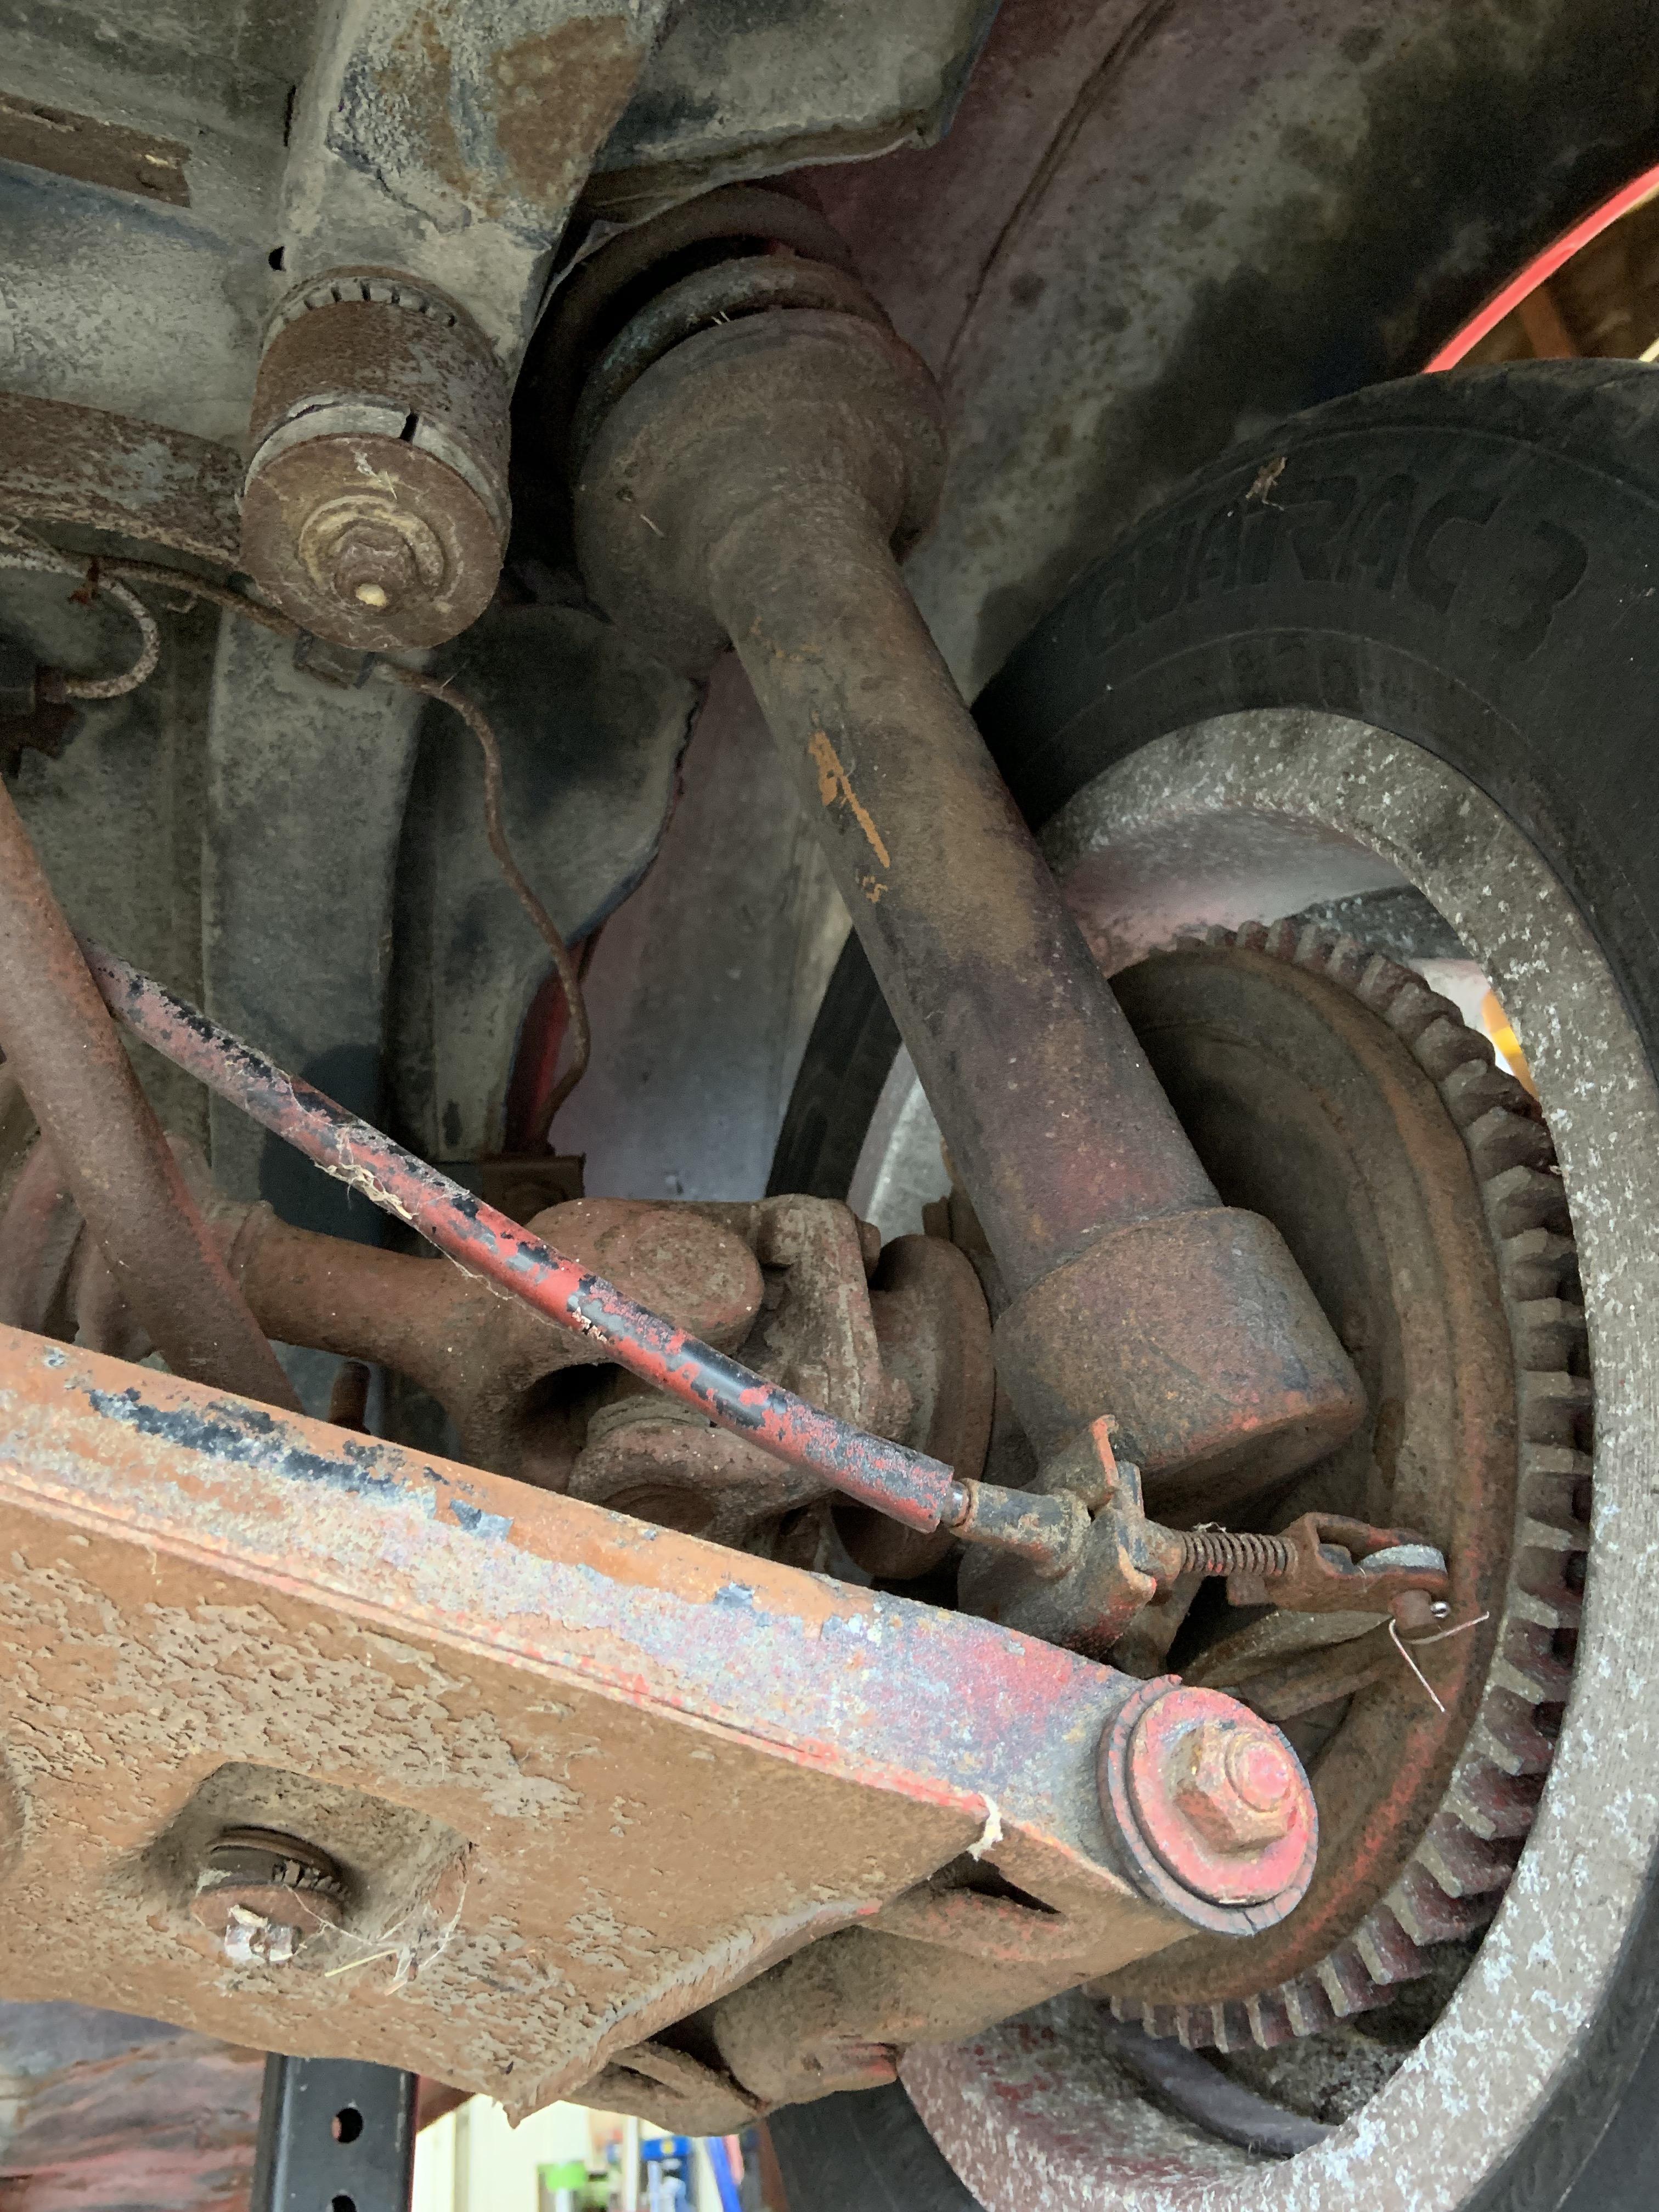
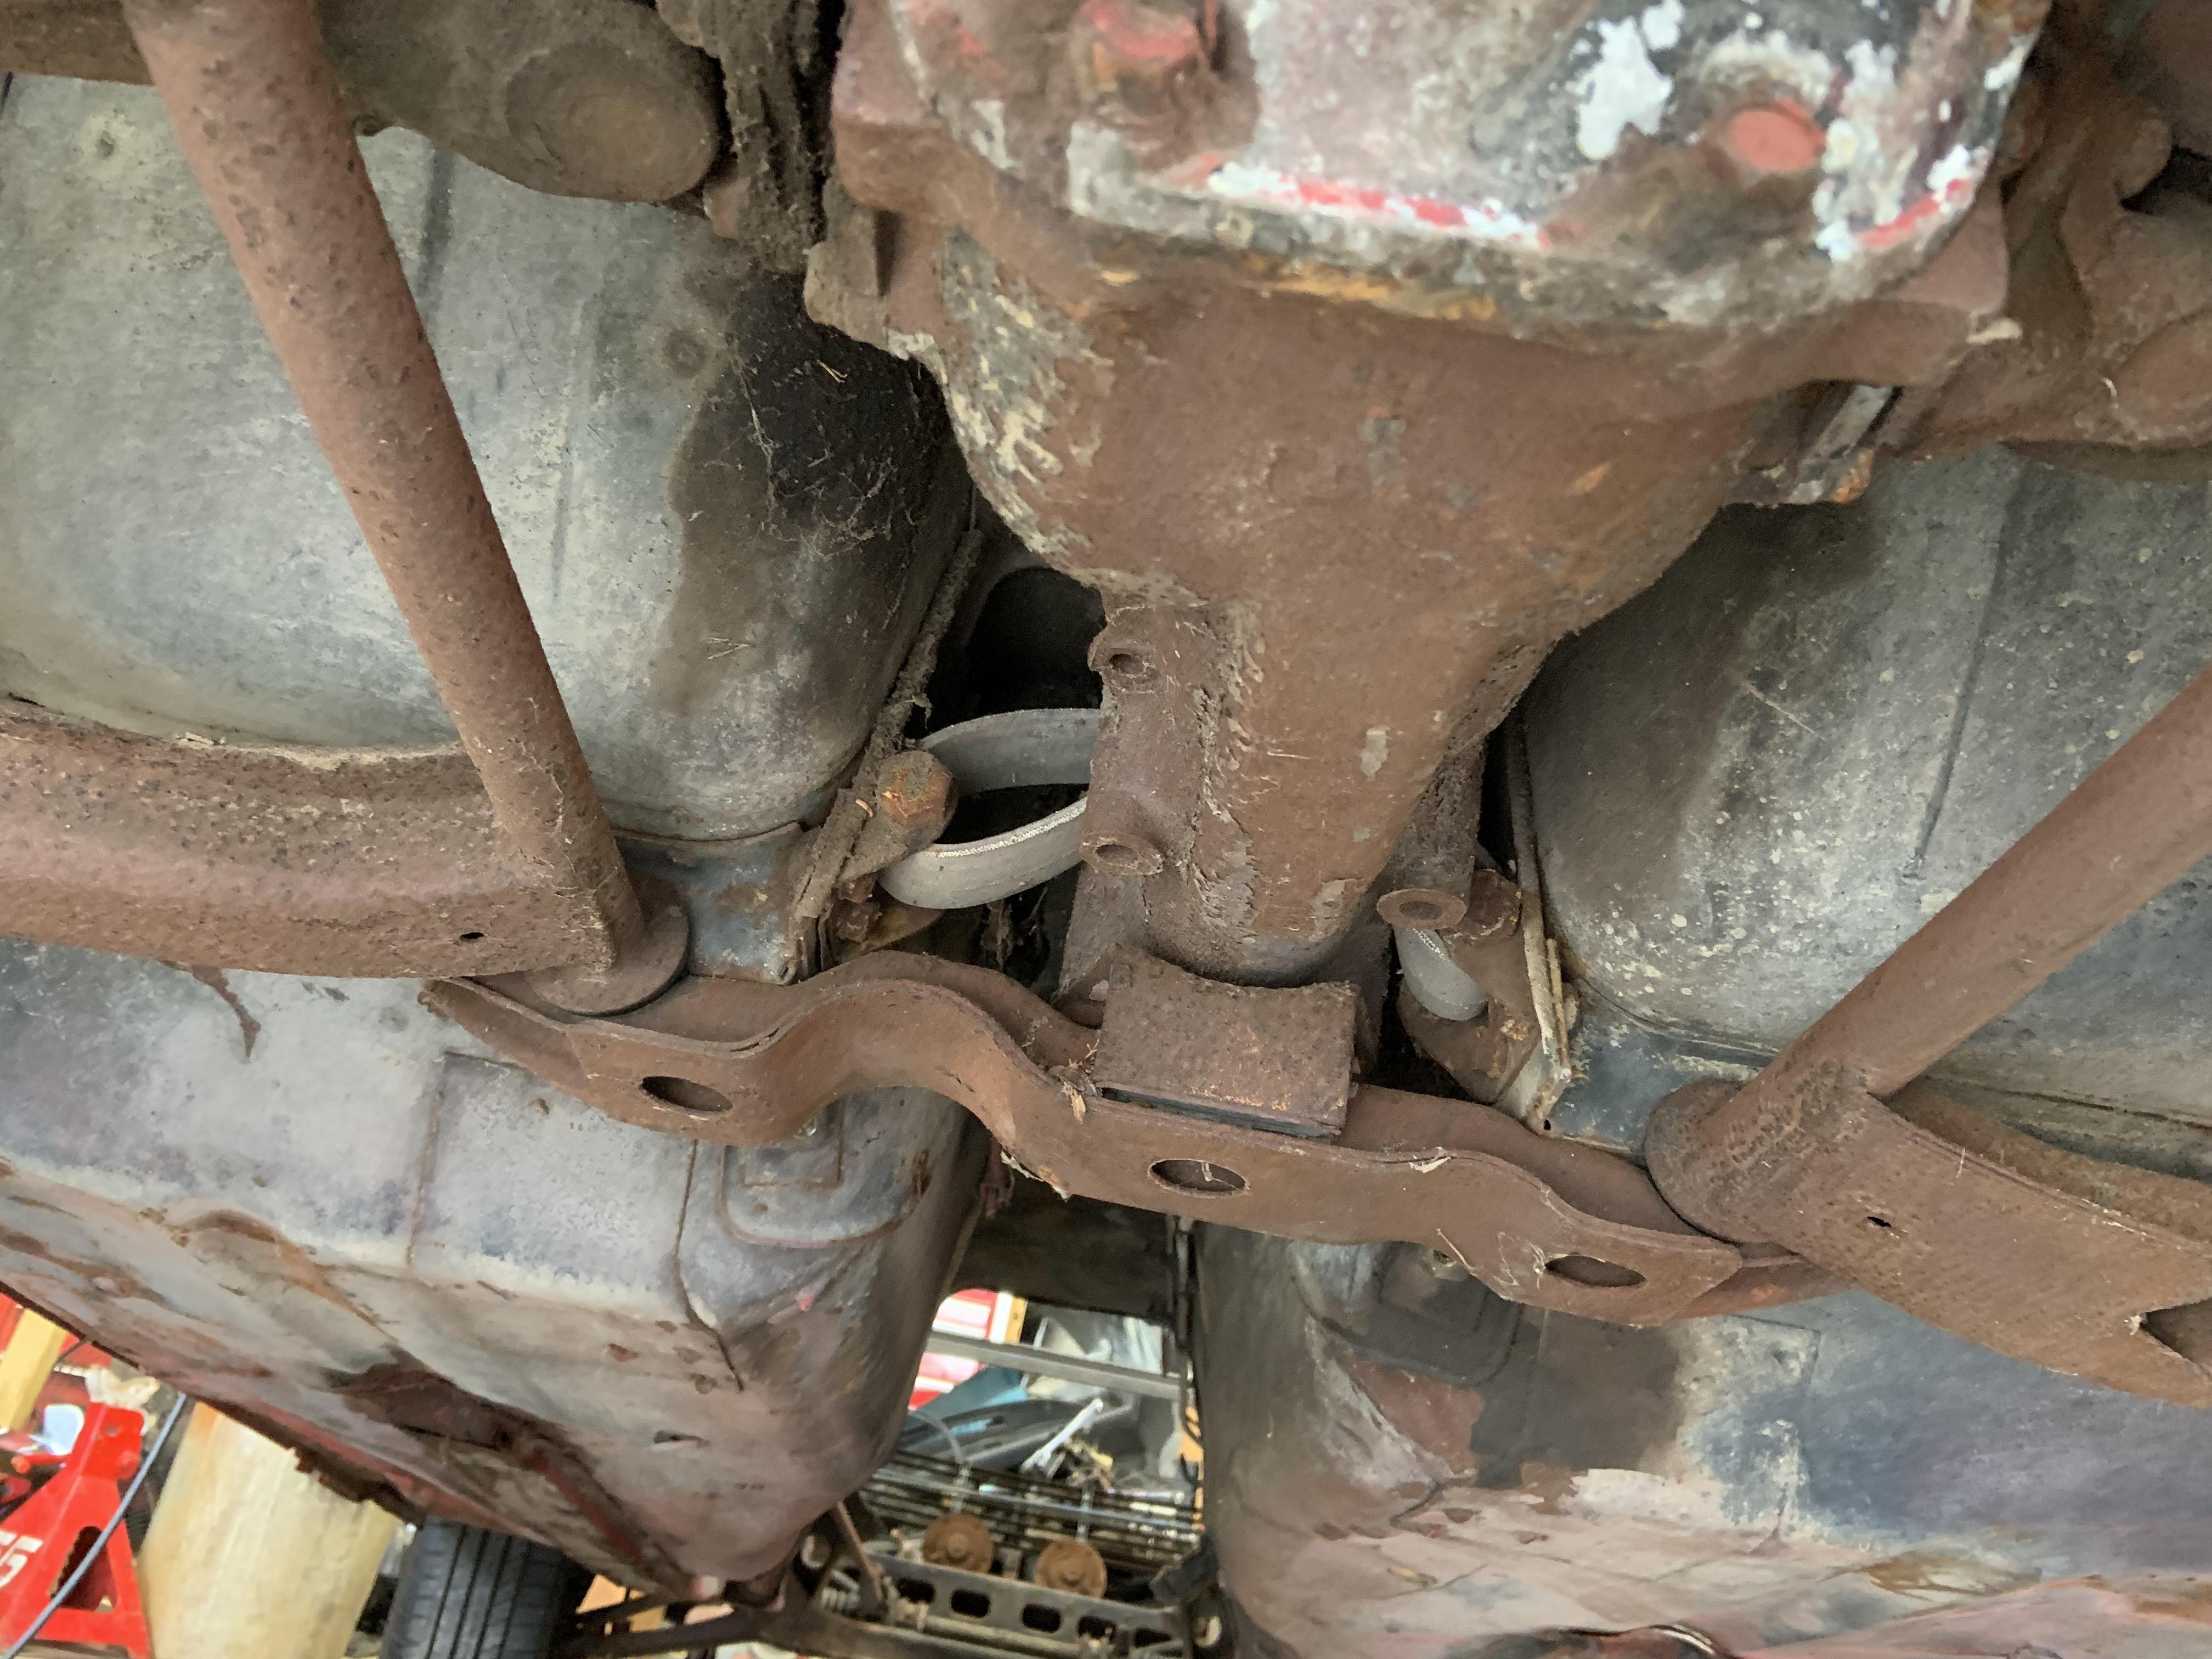
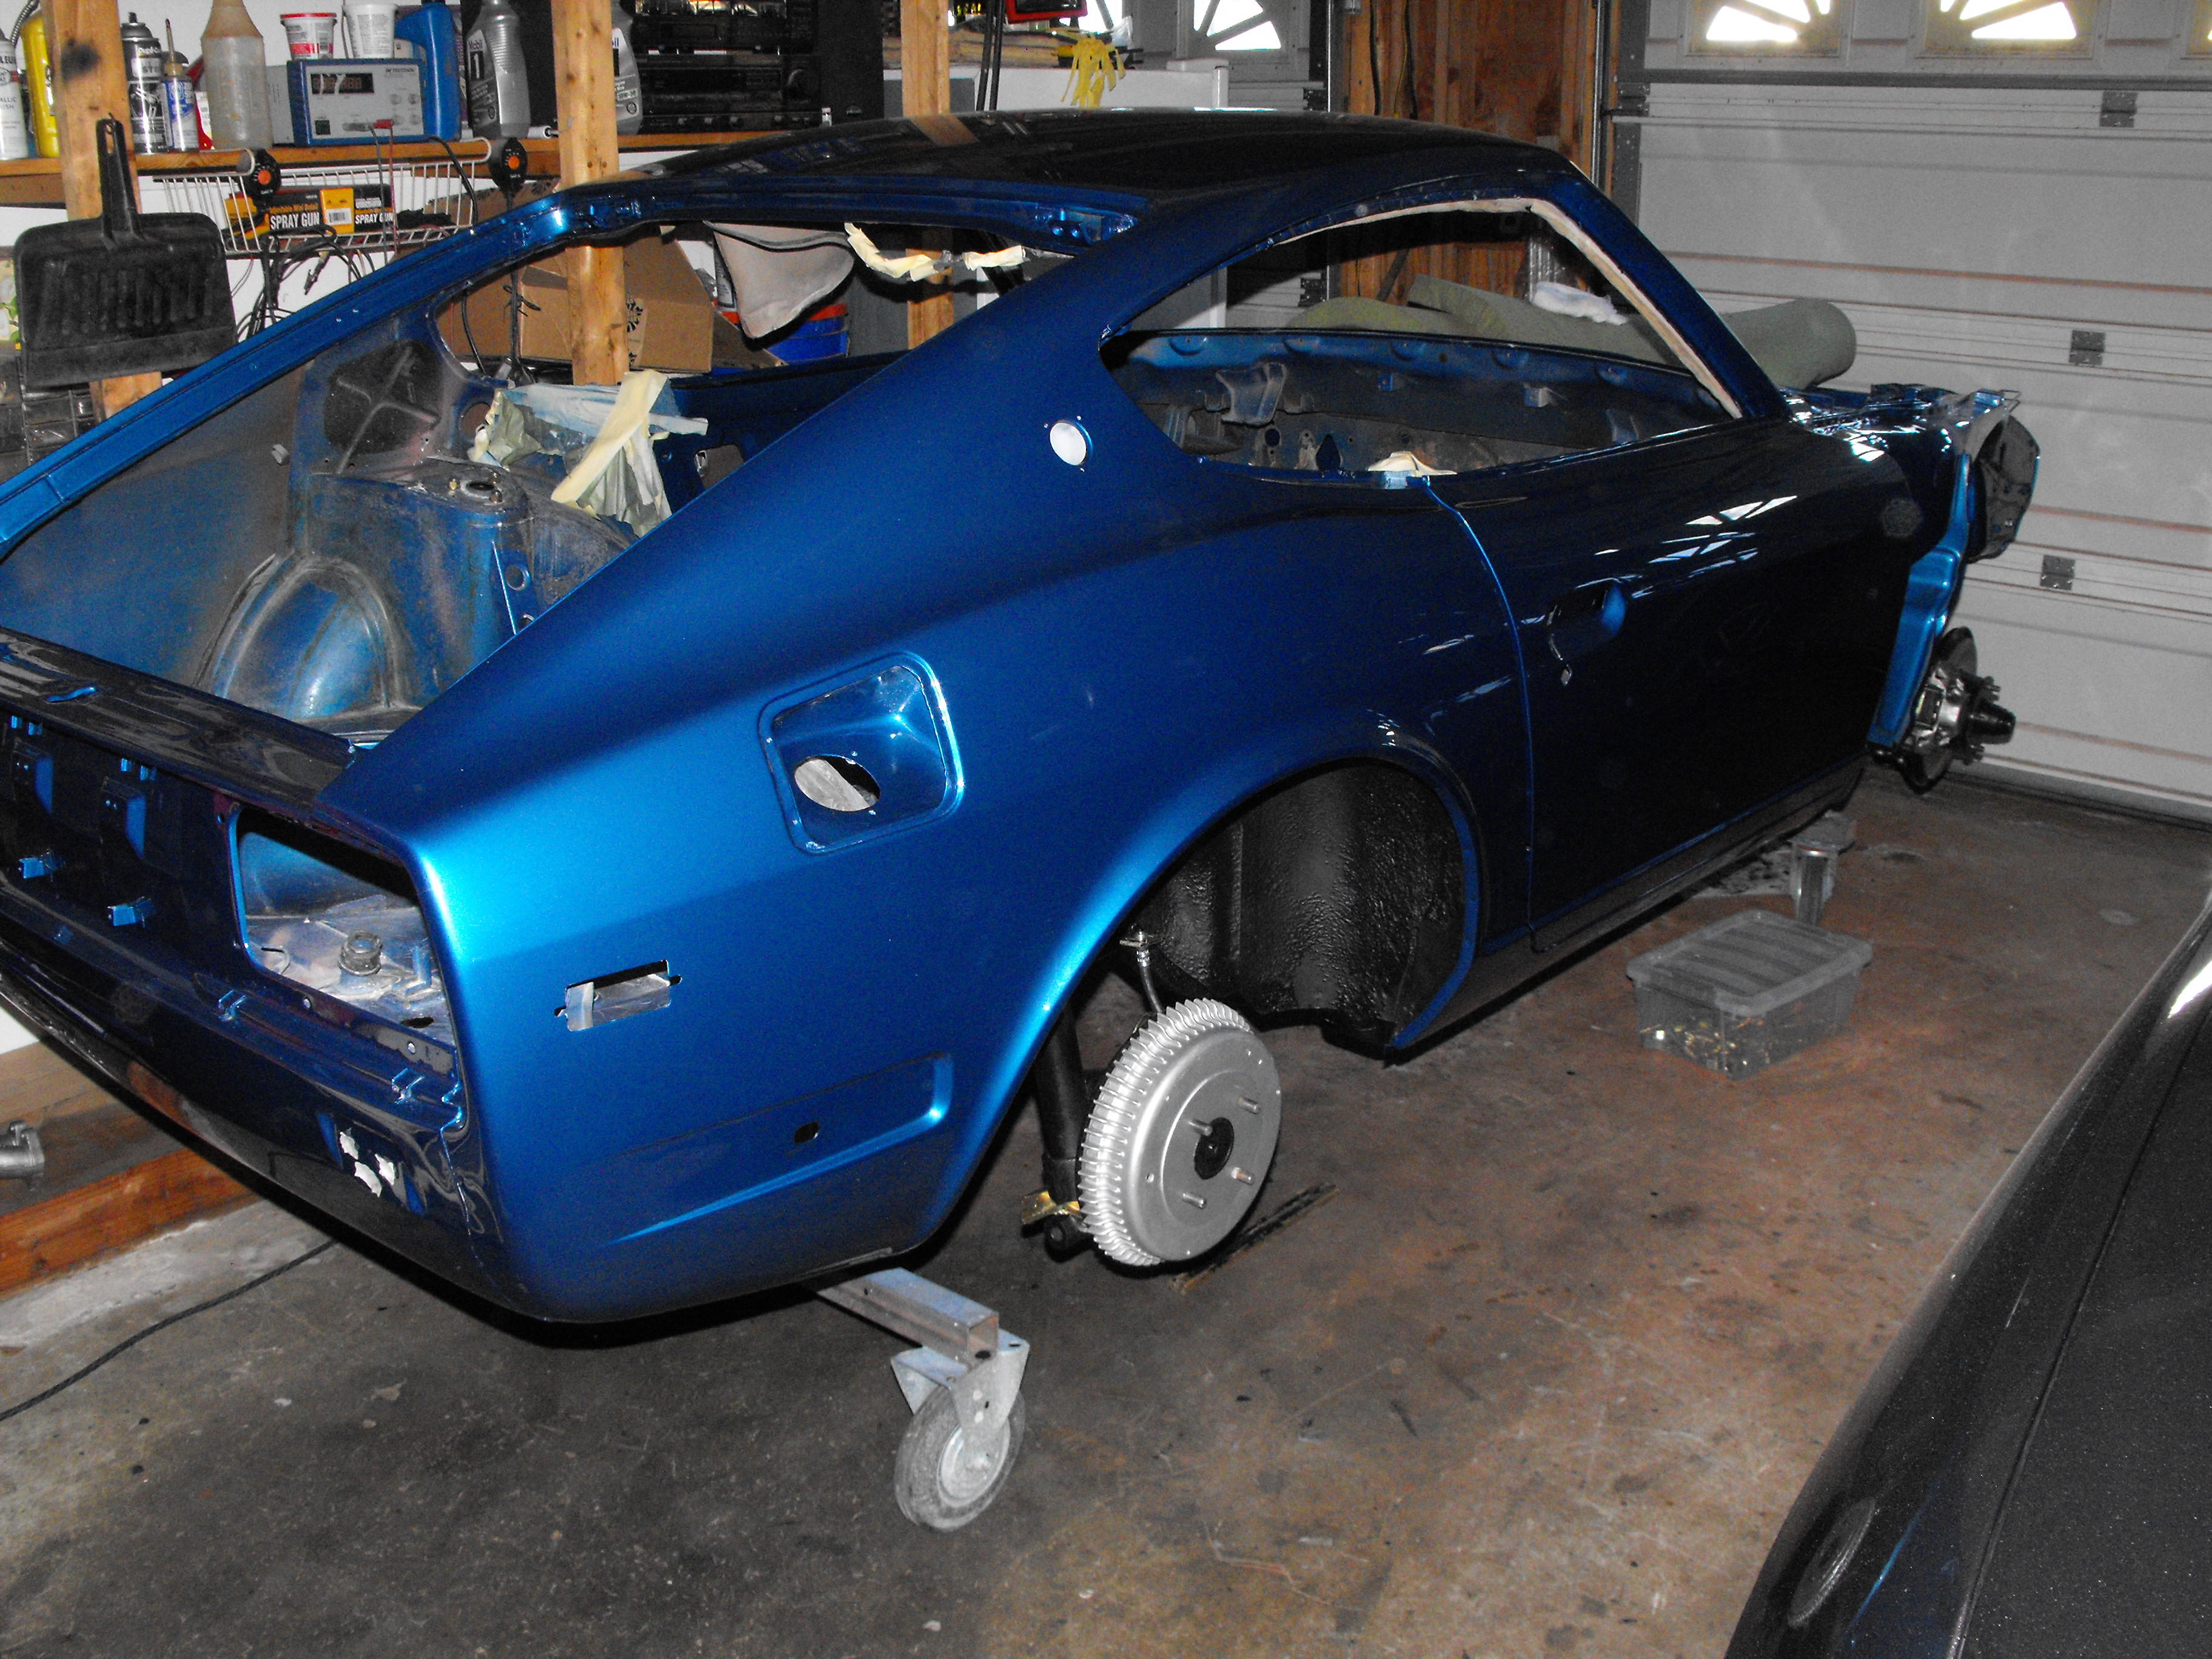
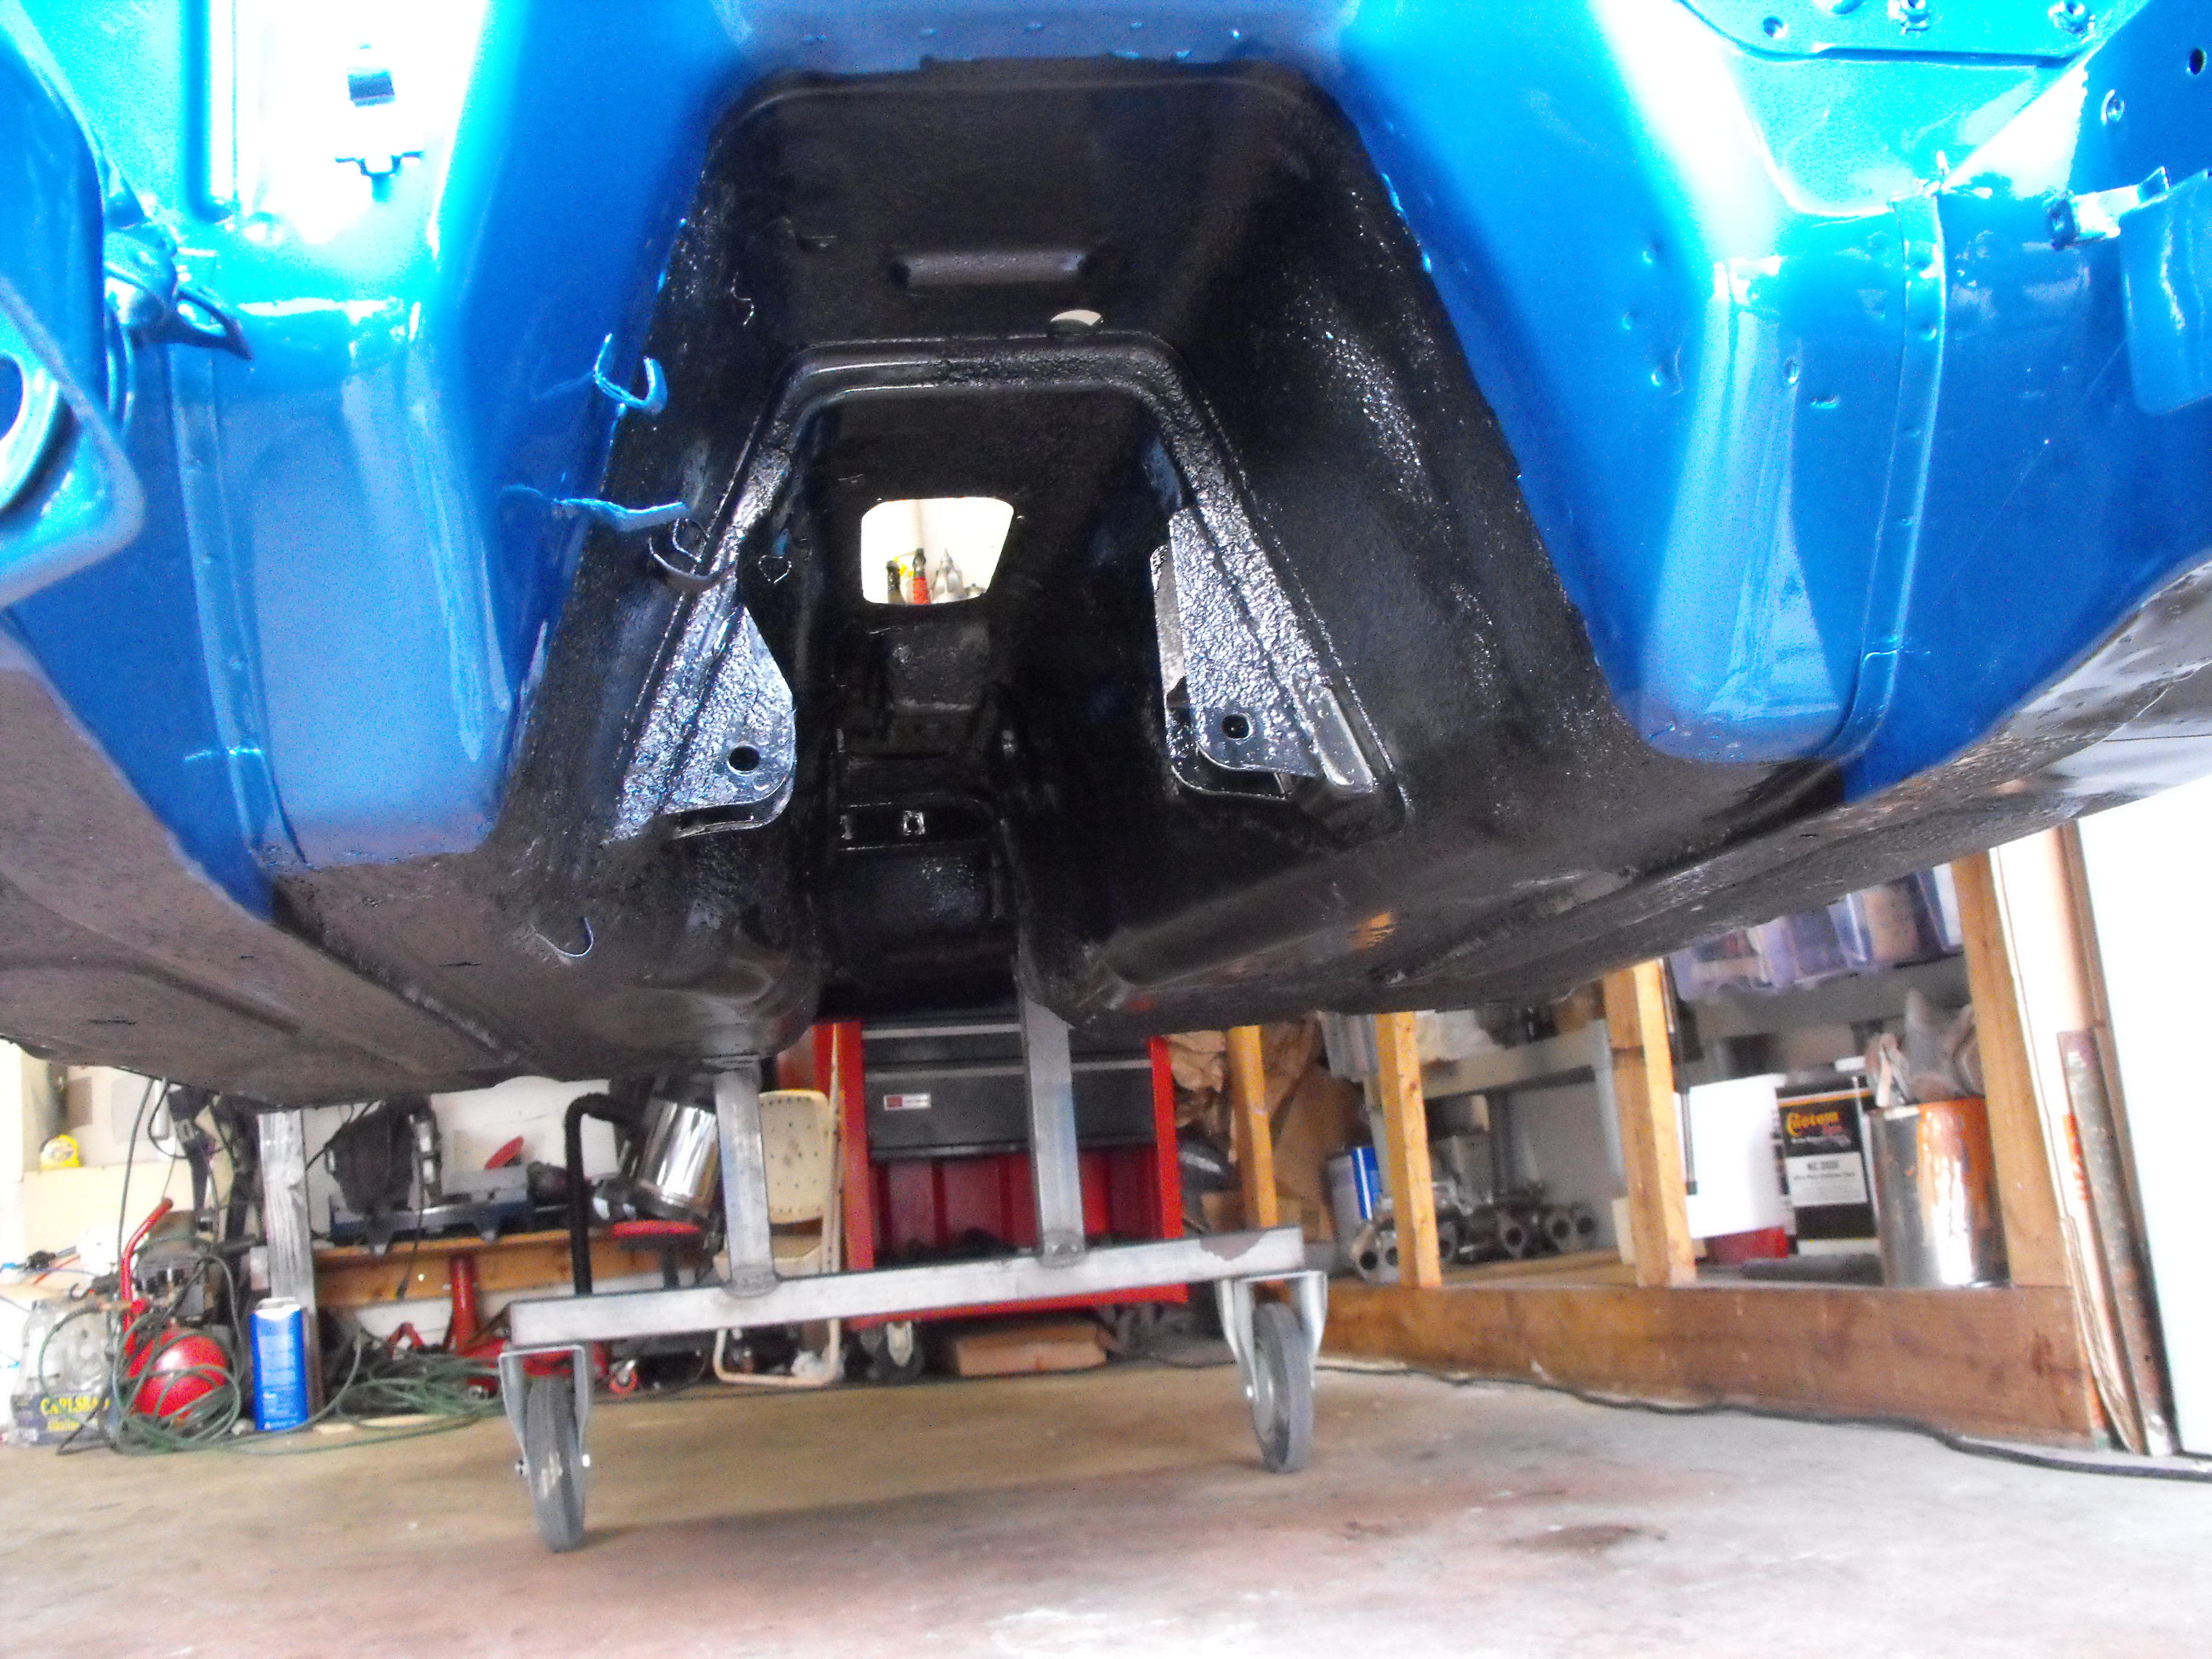
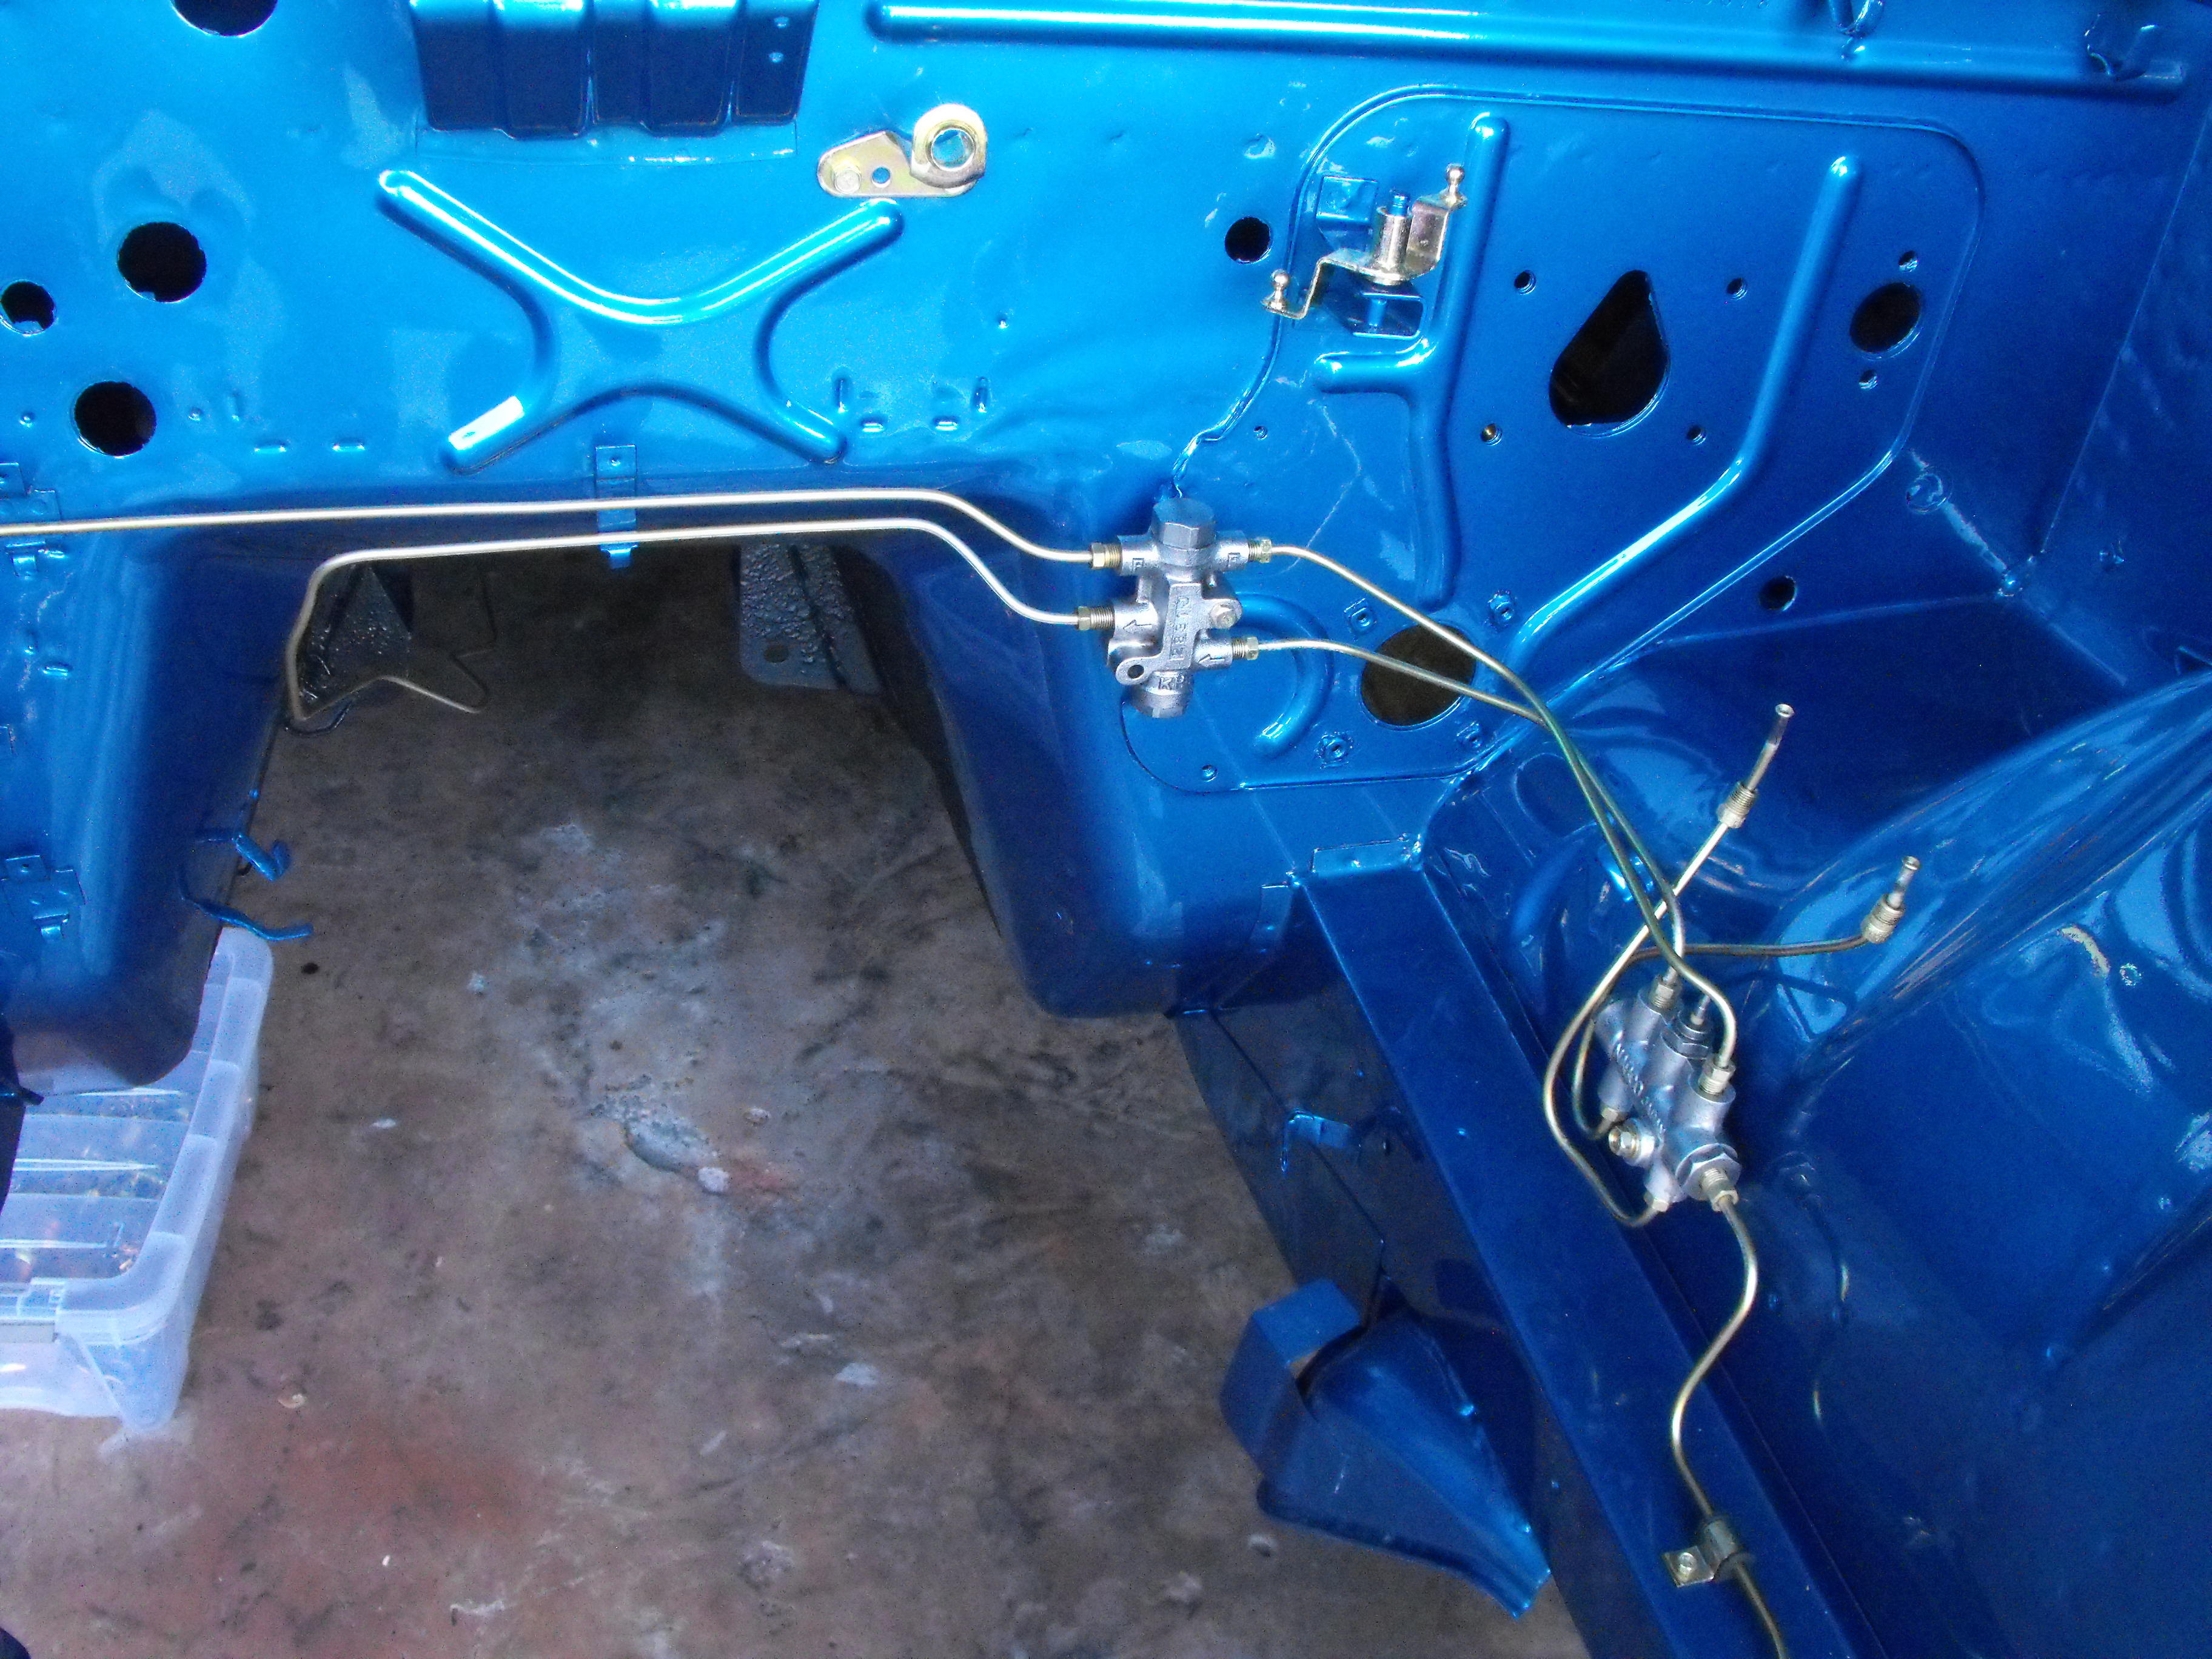
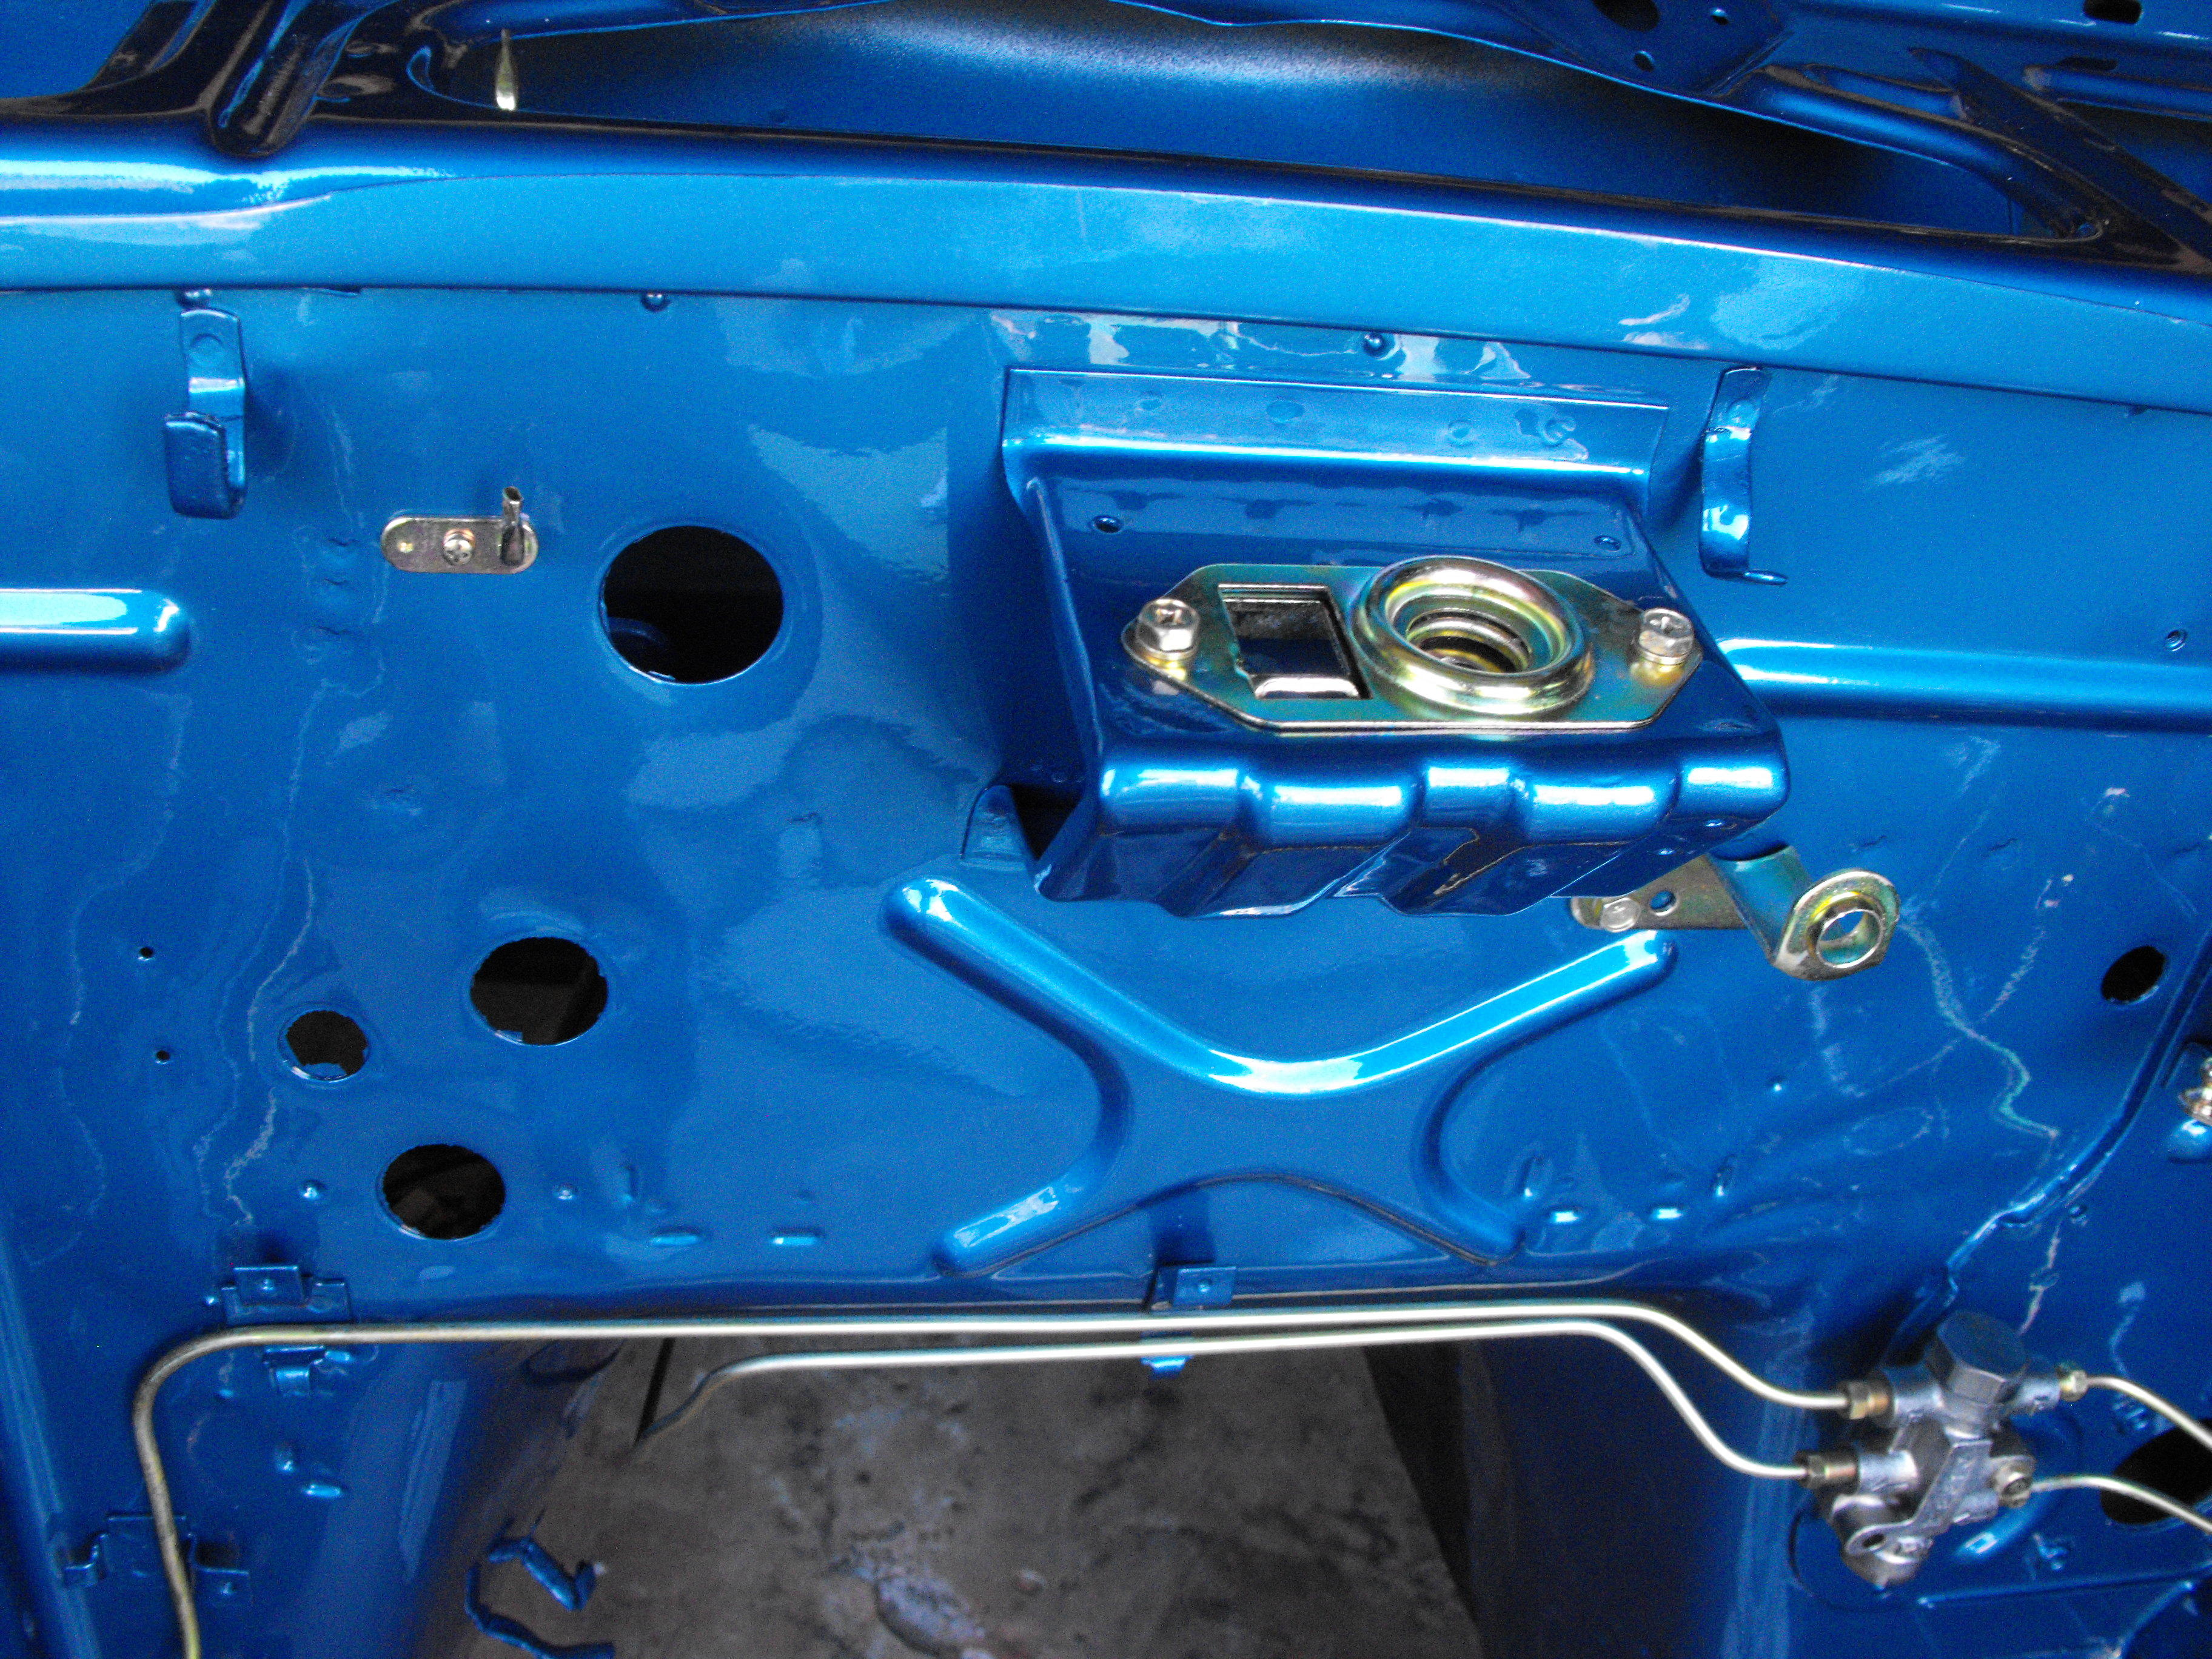
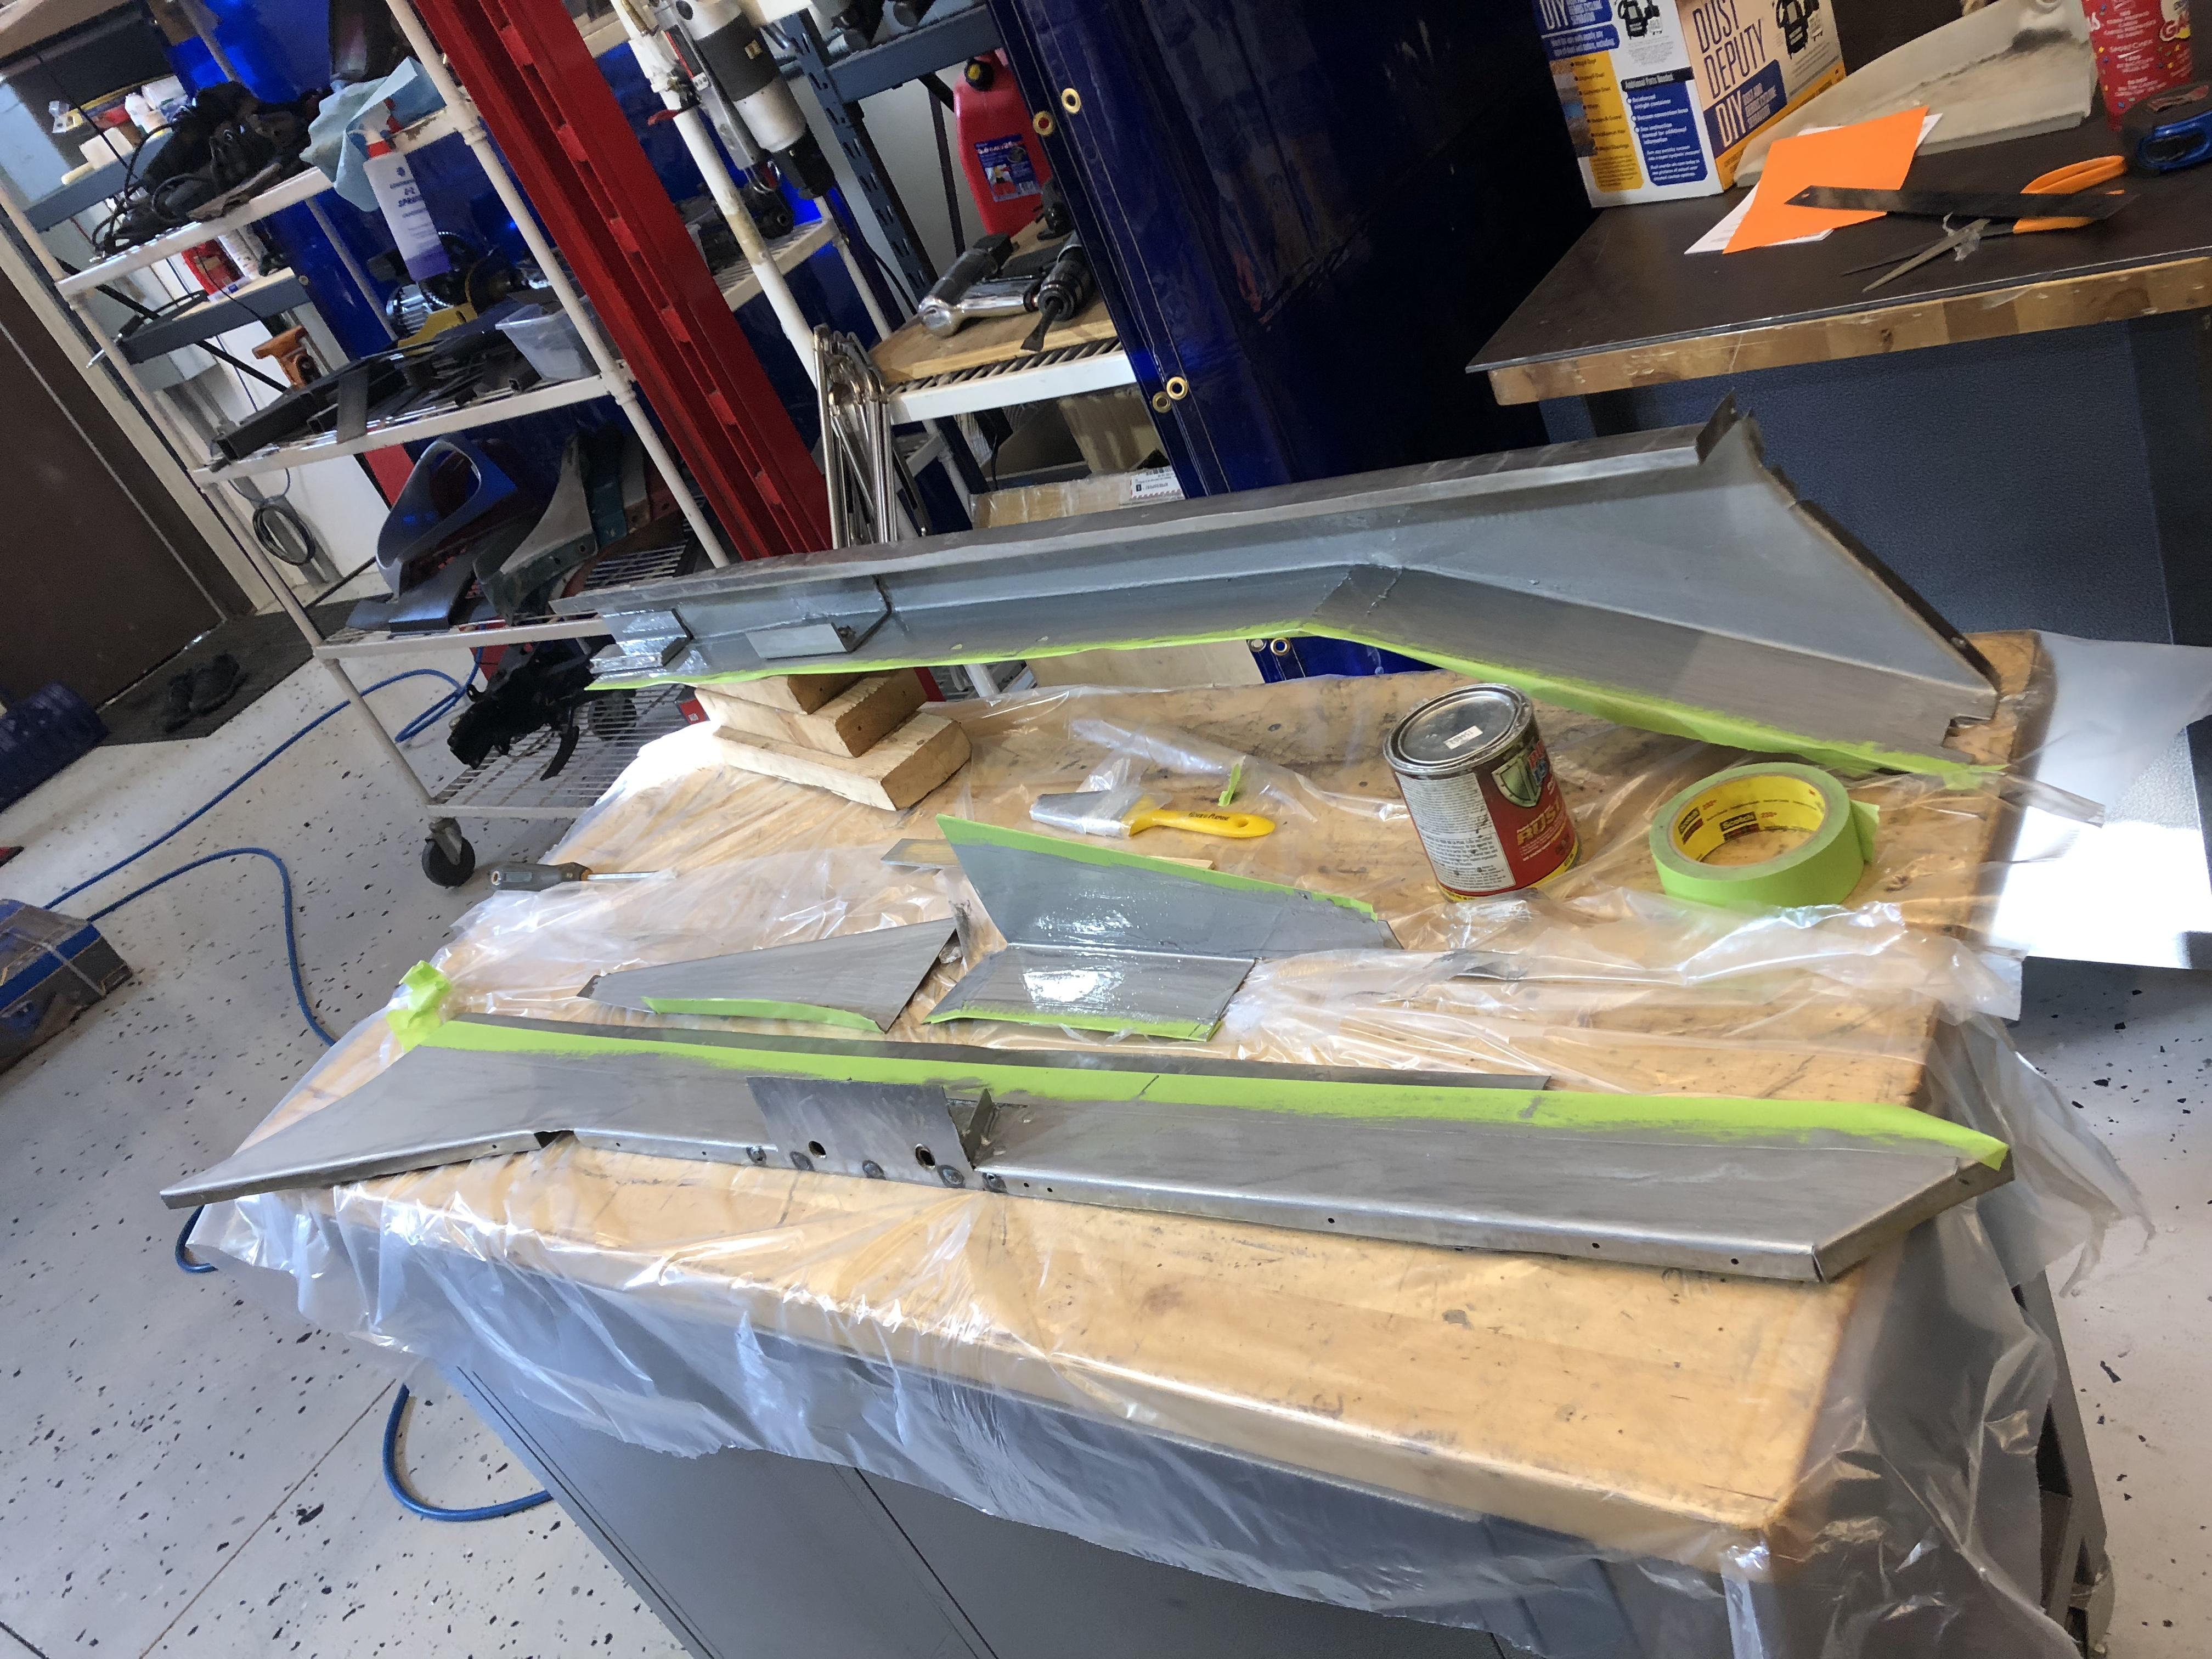
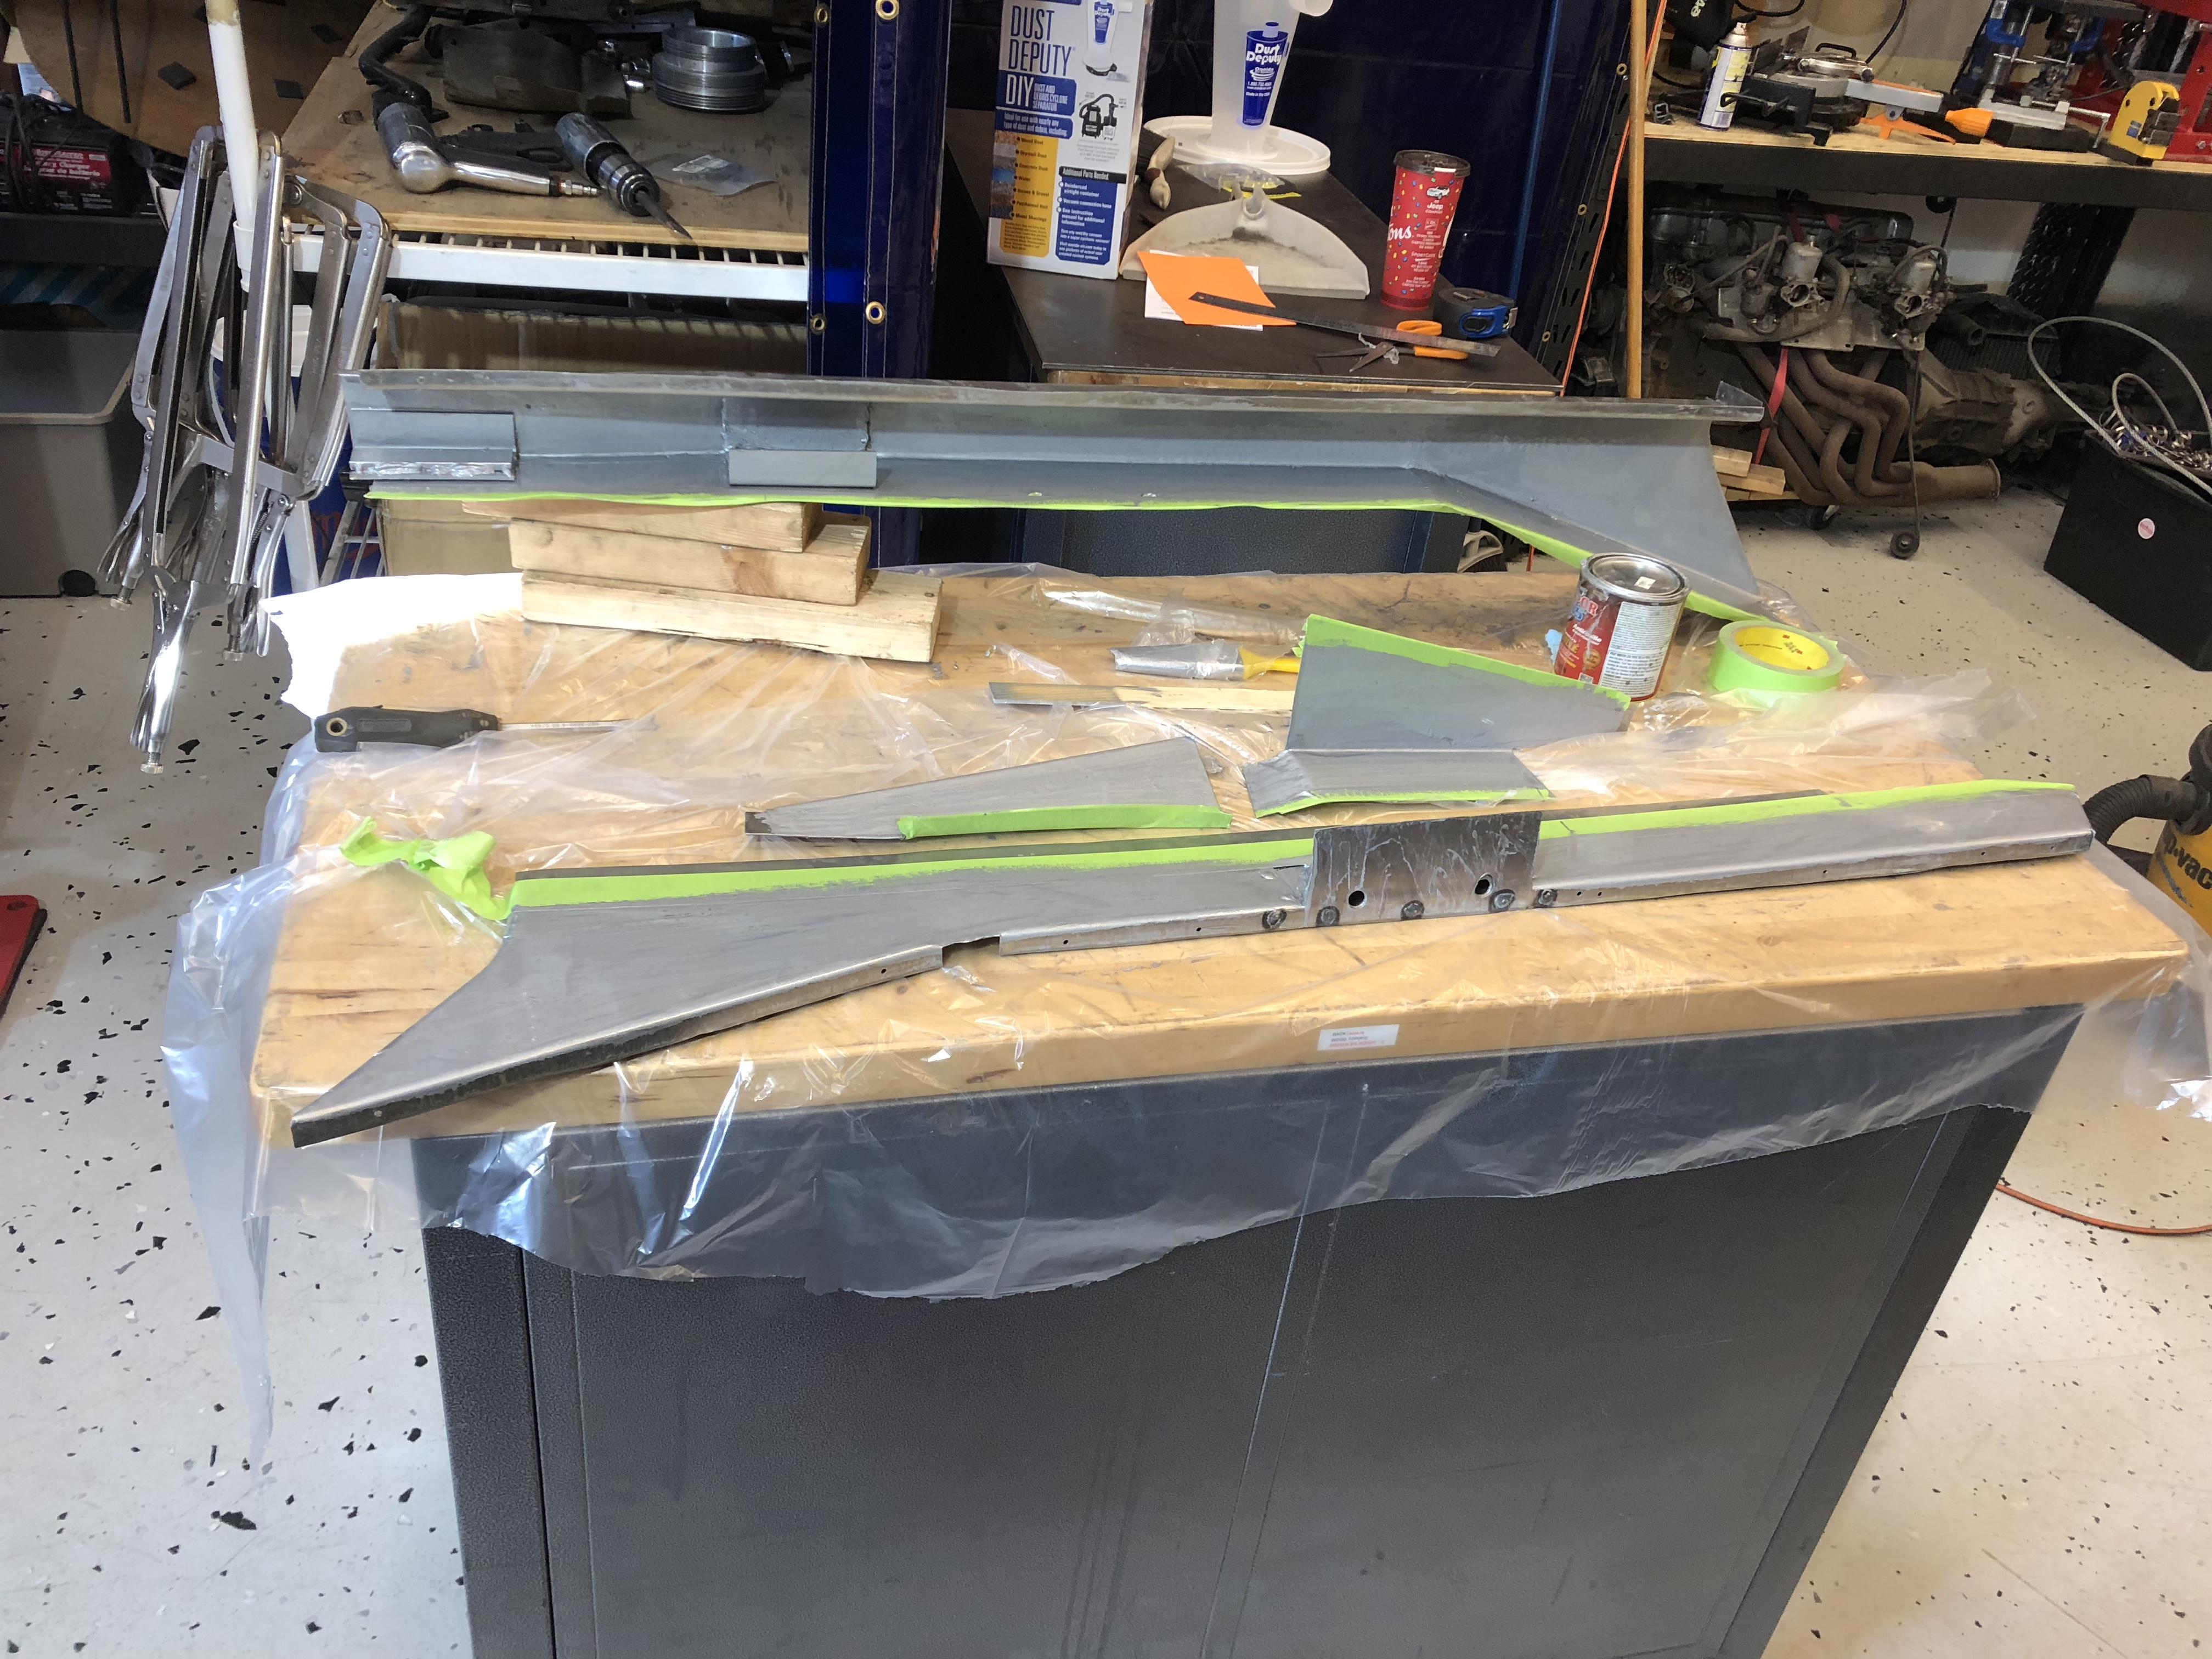
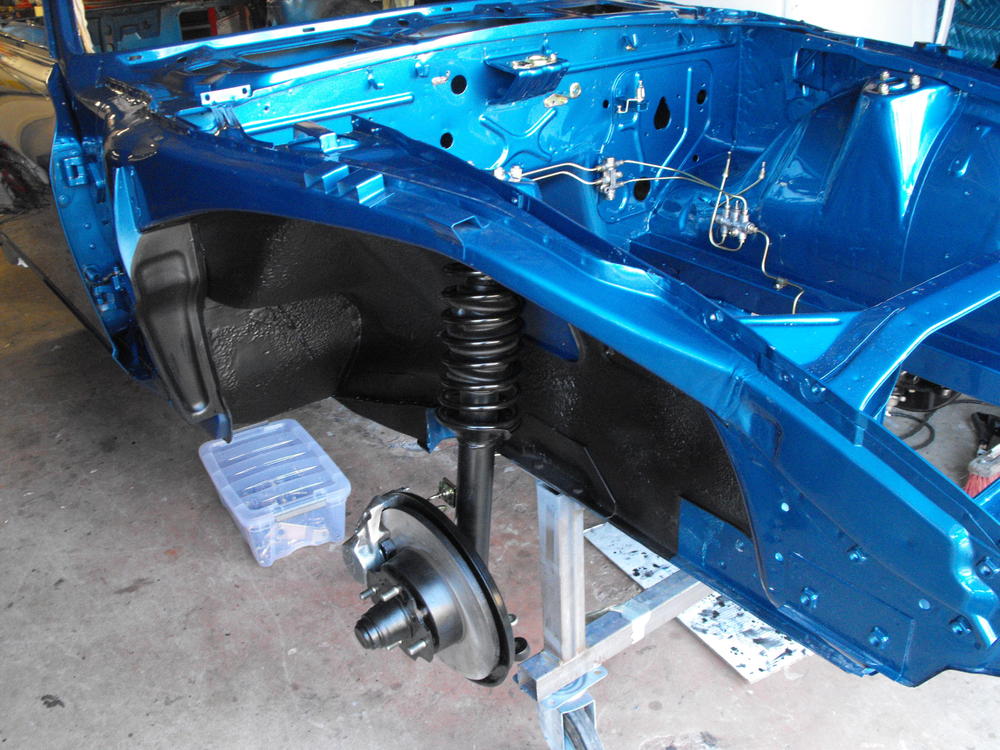
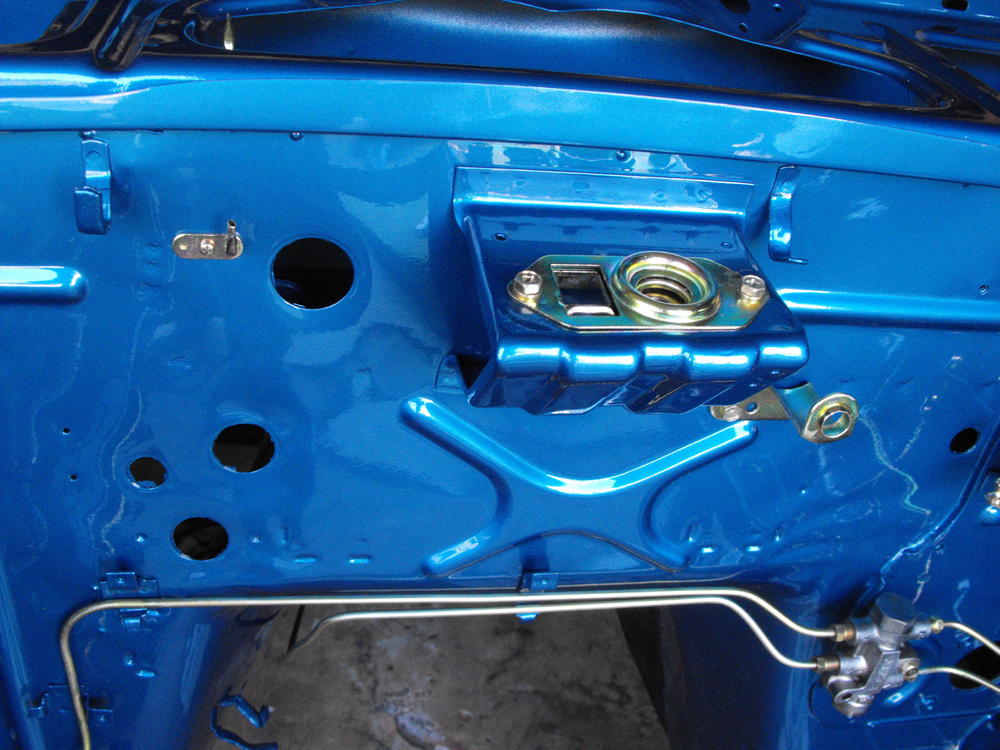
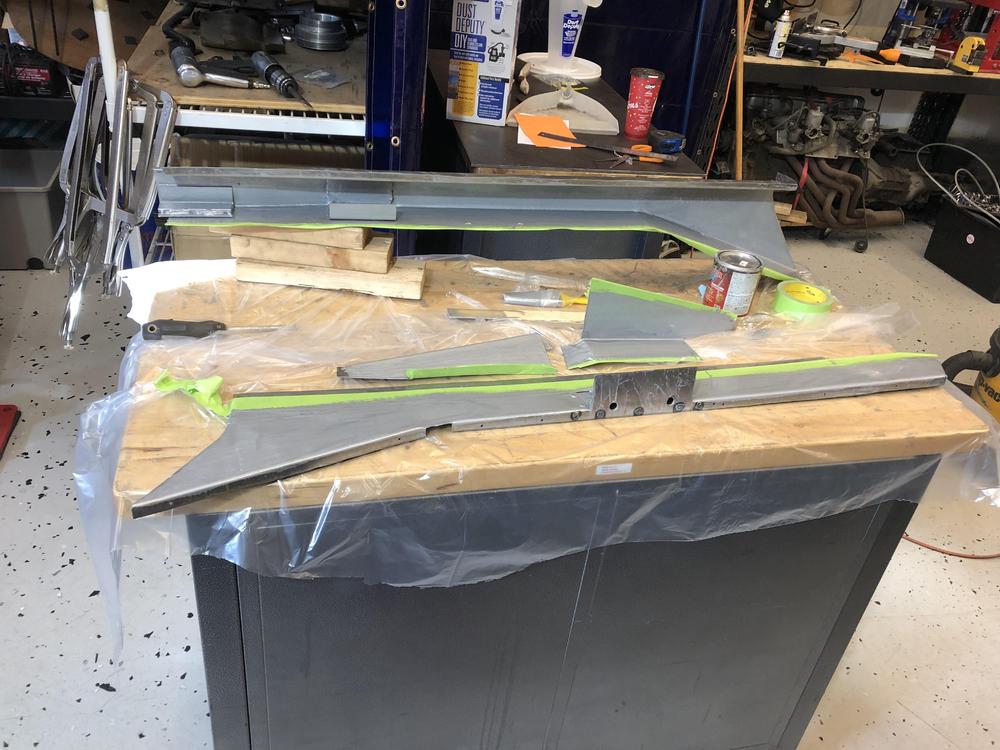
 Finished the complete underside with POR-15, then added undercoat. Started assembly. Put on the 4 struts and started the brake line installation. Camera does not do the car justice. Not sure why the plating looks too silverish....paint too glossy.


 1 point
 -
-
1 point
-
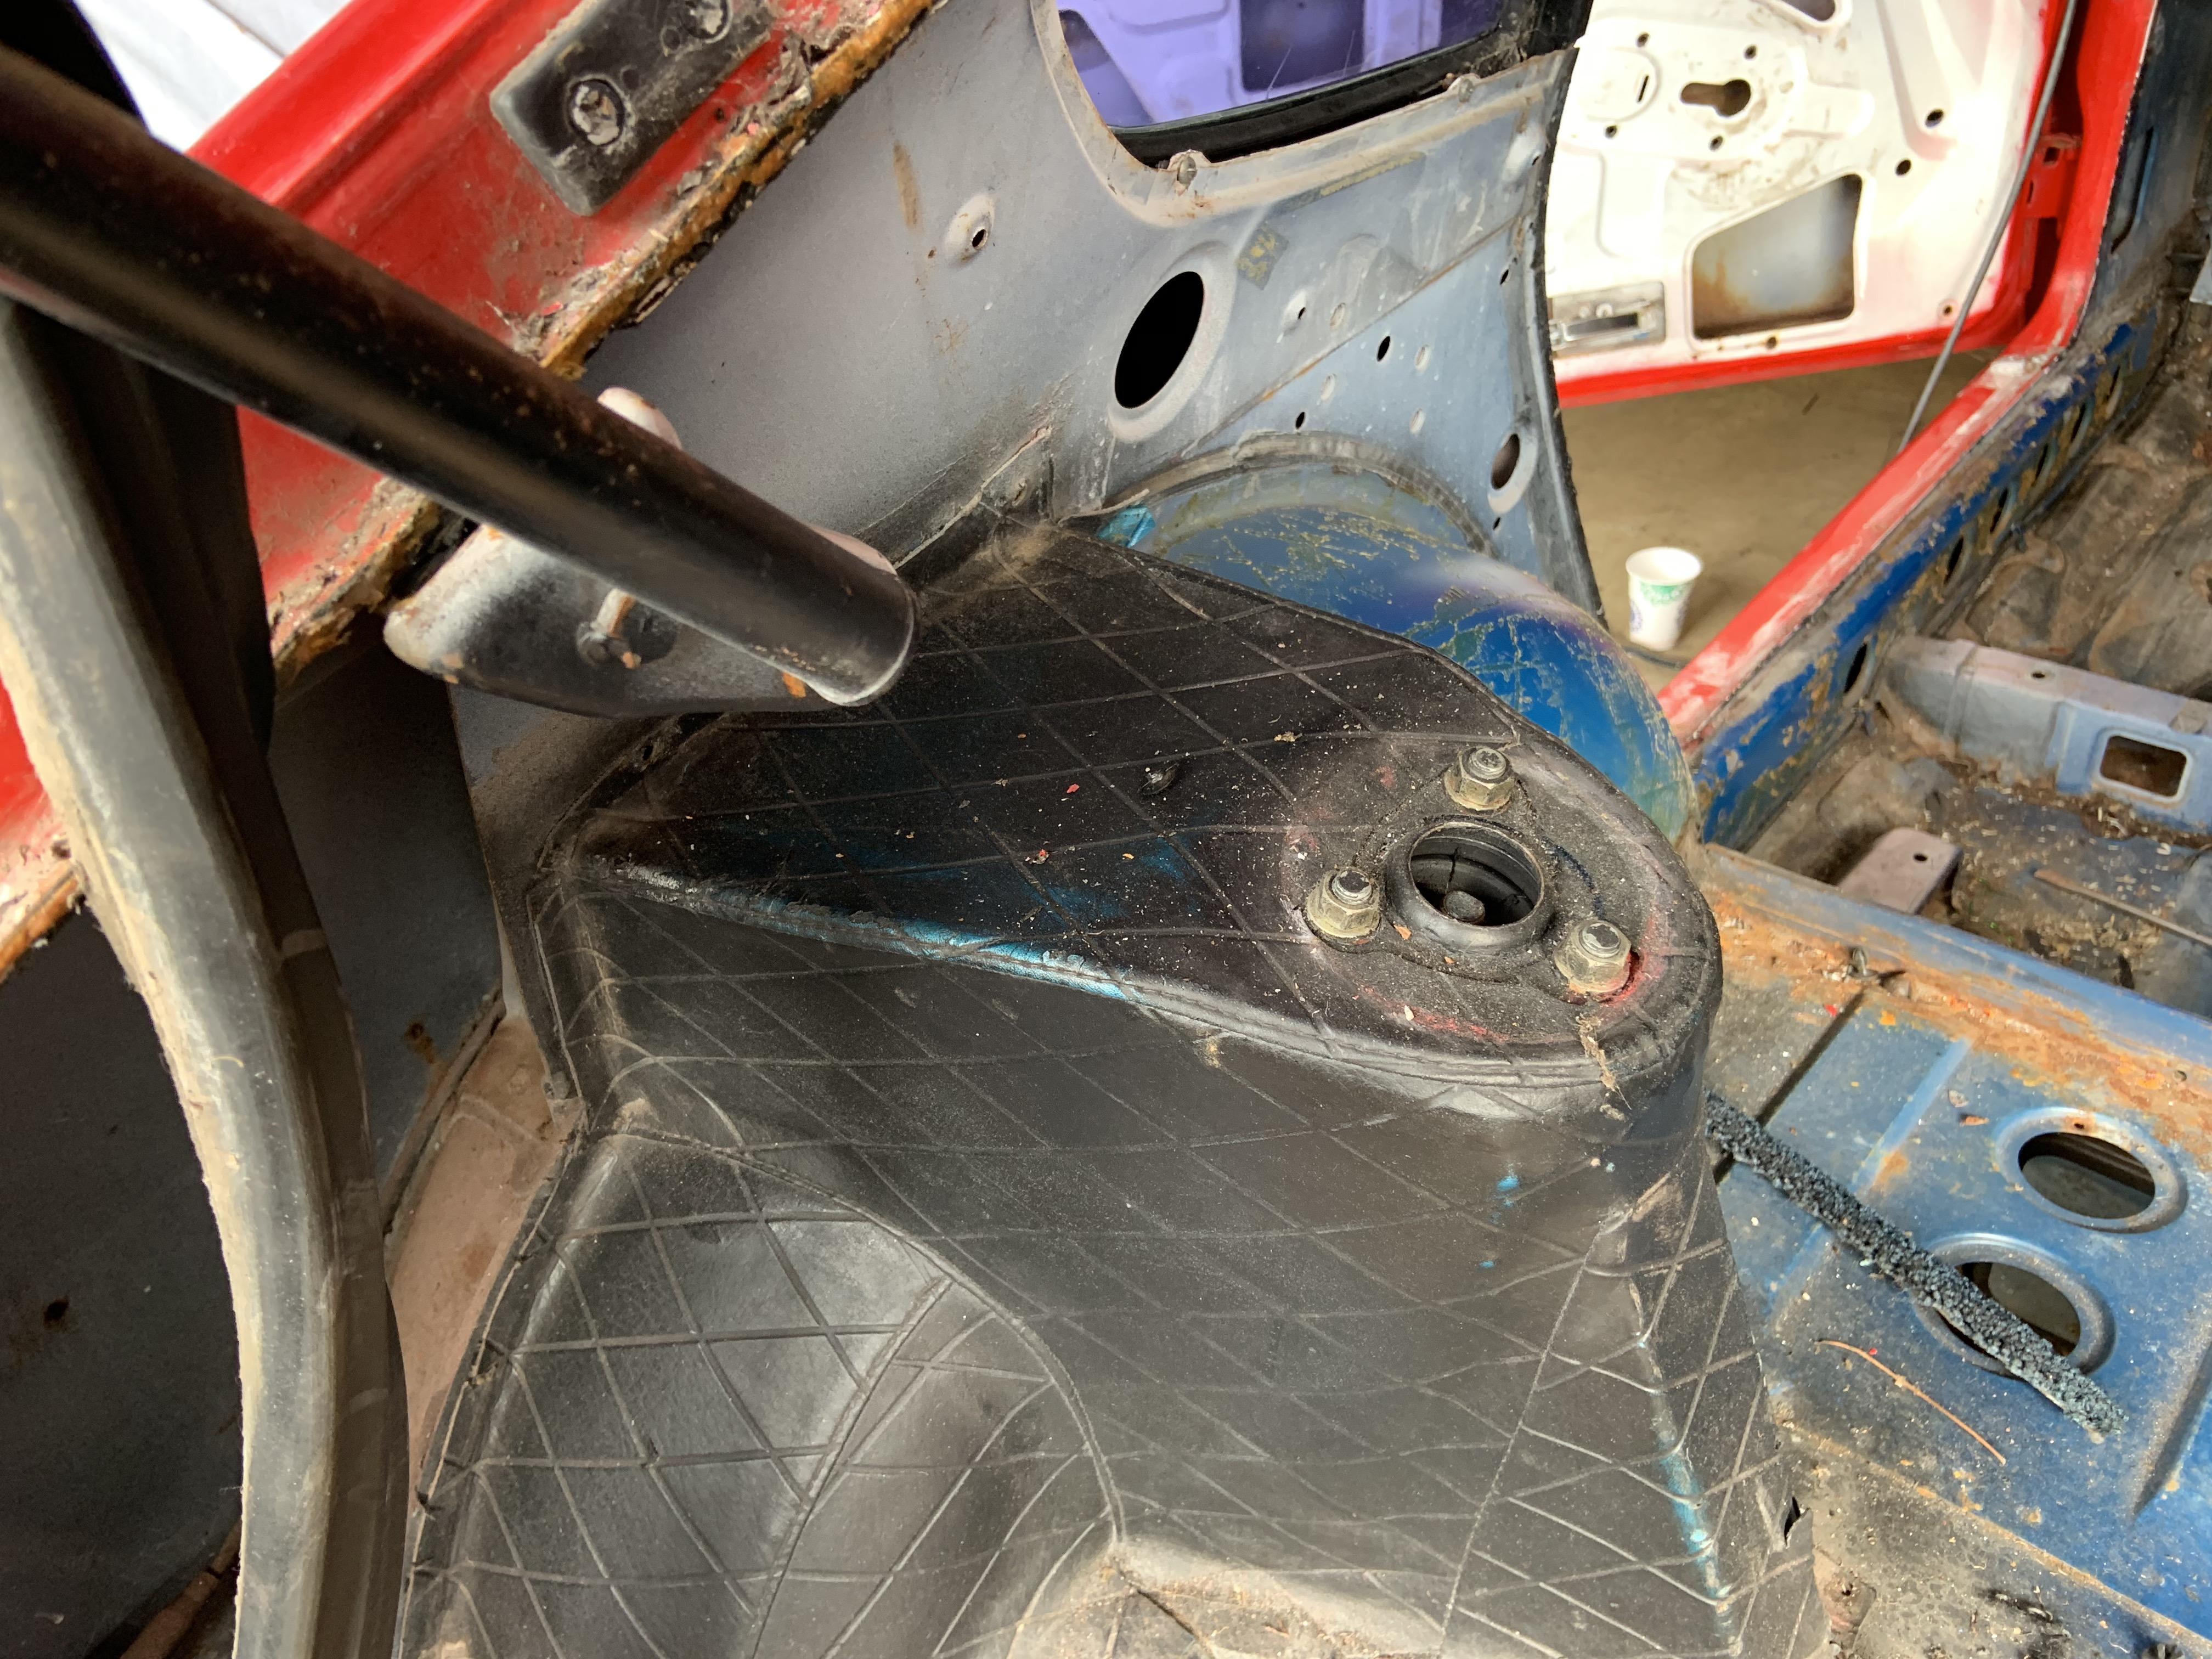
 1 pointWell ... I forgot how slowly Por15 dries ... no welding today ?
 1 point
 -
 1 pointThat's old car smell..... Otherwise, rip out all of the odor retaining fabrics, wash or replace as needed. Note - fabrics can include but are not limited to: carpet, jute (carpet backing and sound insulation), seat foam...... Personally, I think it add character.... I mean, I've showered for all these years and still can't get rid of the funk that follows me... Wayne1 point
 -
 1 pointCar runs! I put the rail back on, opened up the idle screw one full turn and it fired right up. Tried to turn it back a bit and it died. Looks like it had been turned in too far to compensate for the stuck AAR. Air, fuel, spark. In retrospect, I got too hung up on it running once after removing the AAR. And took for granted that it was getting air. On the plus side, I saved a trip on a tow truck with the burst hose. And it's idling better, so I'm ahead of where I was at the beginning. That's what got this started to begin with. And yes Capt, that mess of wiring has been on my to-do list since forever. It keeps working and passing smog, so it never moves up. Many thanks to all for their help. Sent from my SM-G950U1 using Tapatalk1 point
 -
The only time the BCDD does anything to decrease emissions (reduce HC) is when you are coasting and have a high intake manifold vacuum. So unless they measure the HC while they are decelerating driving the car, or blipping the throttle and seeing what the HC's do while the RPM's are coming back down to idle, then the BCDD won't make any difference to your emissions test. Under steady state conditions like idle or 30mph steady cruise, the BCDD doesn't do anything and has absolutely no effect on performance or emissions or anything at all. Under steady state conditions, it's just a closed valve. However... Don't get me wrong. I'm a tree hugger at heart and am glad to hear that you are proceeding with a plan that keeps your BCDD intact. Just clearing up some of the technicalities about the operation. Oh, and Wayne is the man.1 point
-
1 pointCheck for mouse nests. They like the blower housing and the top of the glove box.1 point
-
 My condolences re: your EFI woes, especially being forced to deal with it by the municipality. Seems a Kafkaesque nightmare. I did sell my 78 EFI setup, but I have a complete one from a 79 ZX (entire manifold, ECU, TB, etc) that’s been gathering dust under my work bench for several years. Let me know if any bits would be helpful. PS: The SU’s are still performing beautifully...1 point
 -
 1 pointOh I'm still on top of the world here. It's always nice to get a great deal. It's like a new girl friend, but without the drama, and my wife approves. ?1 point
 -
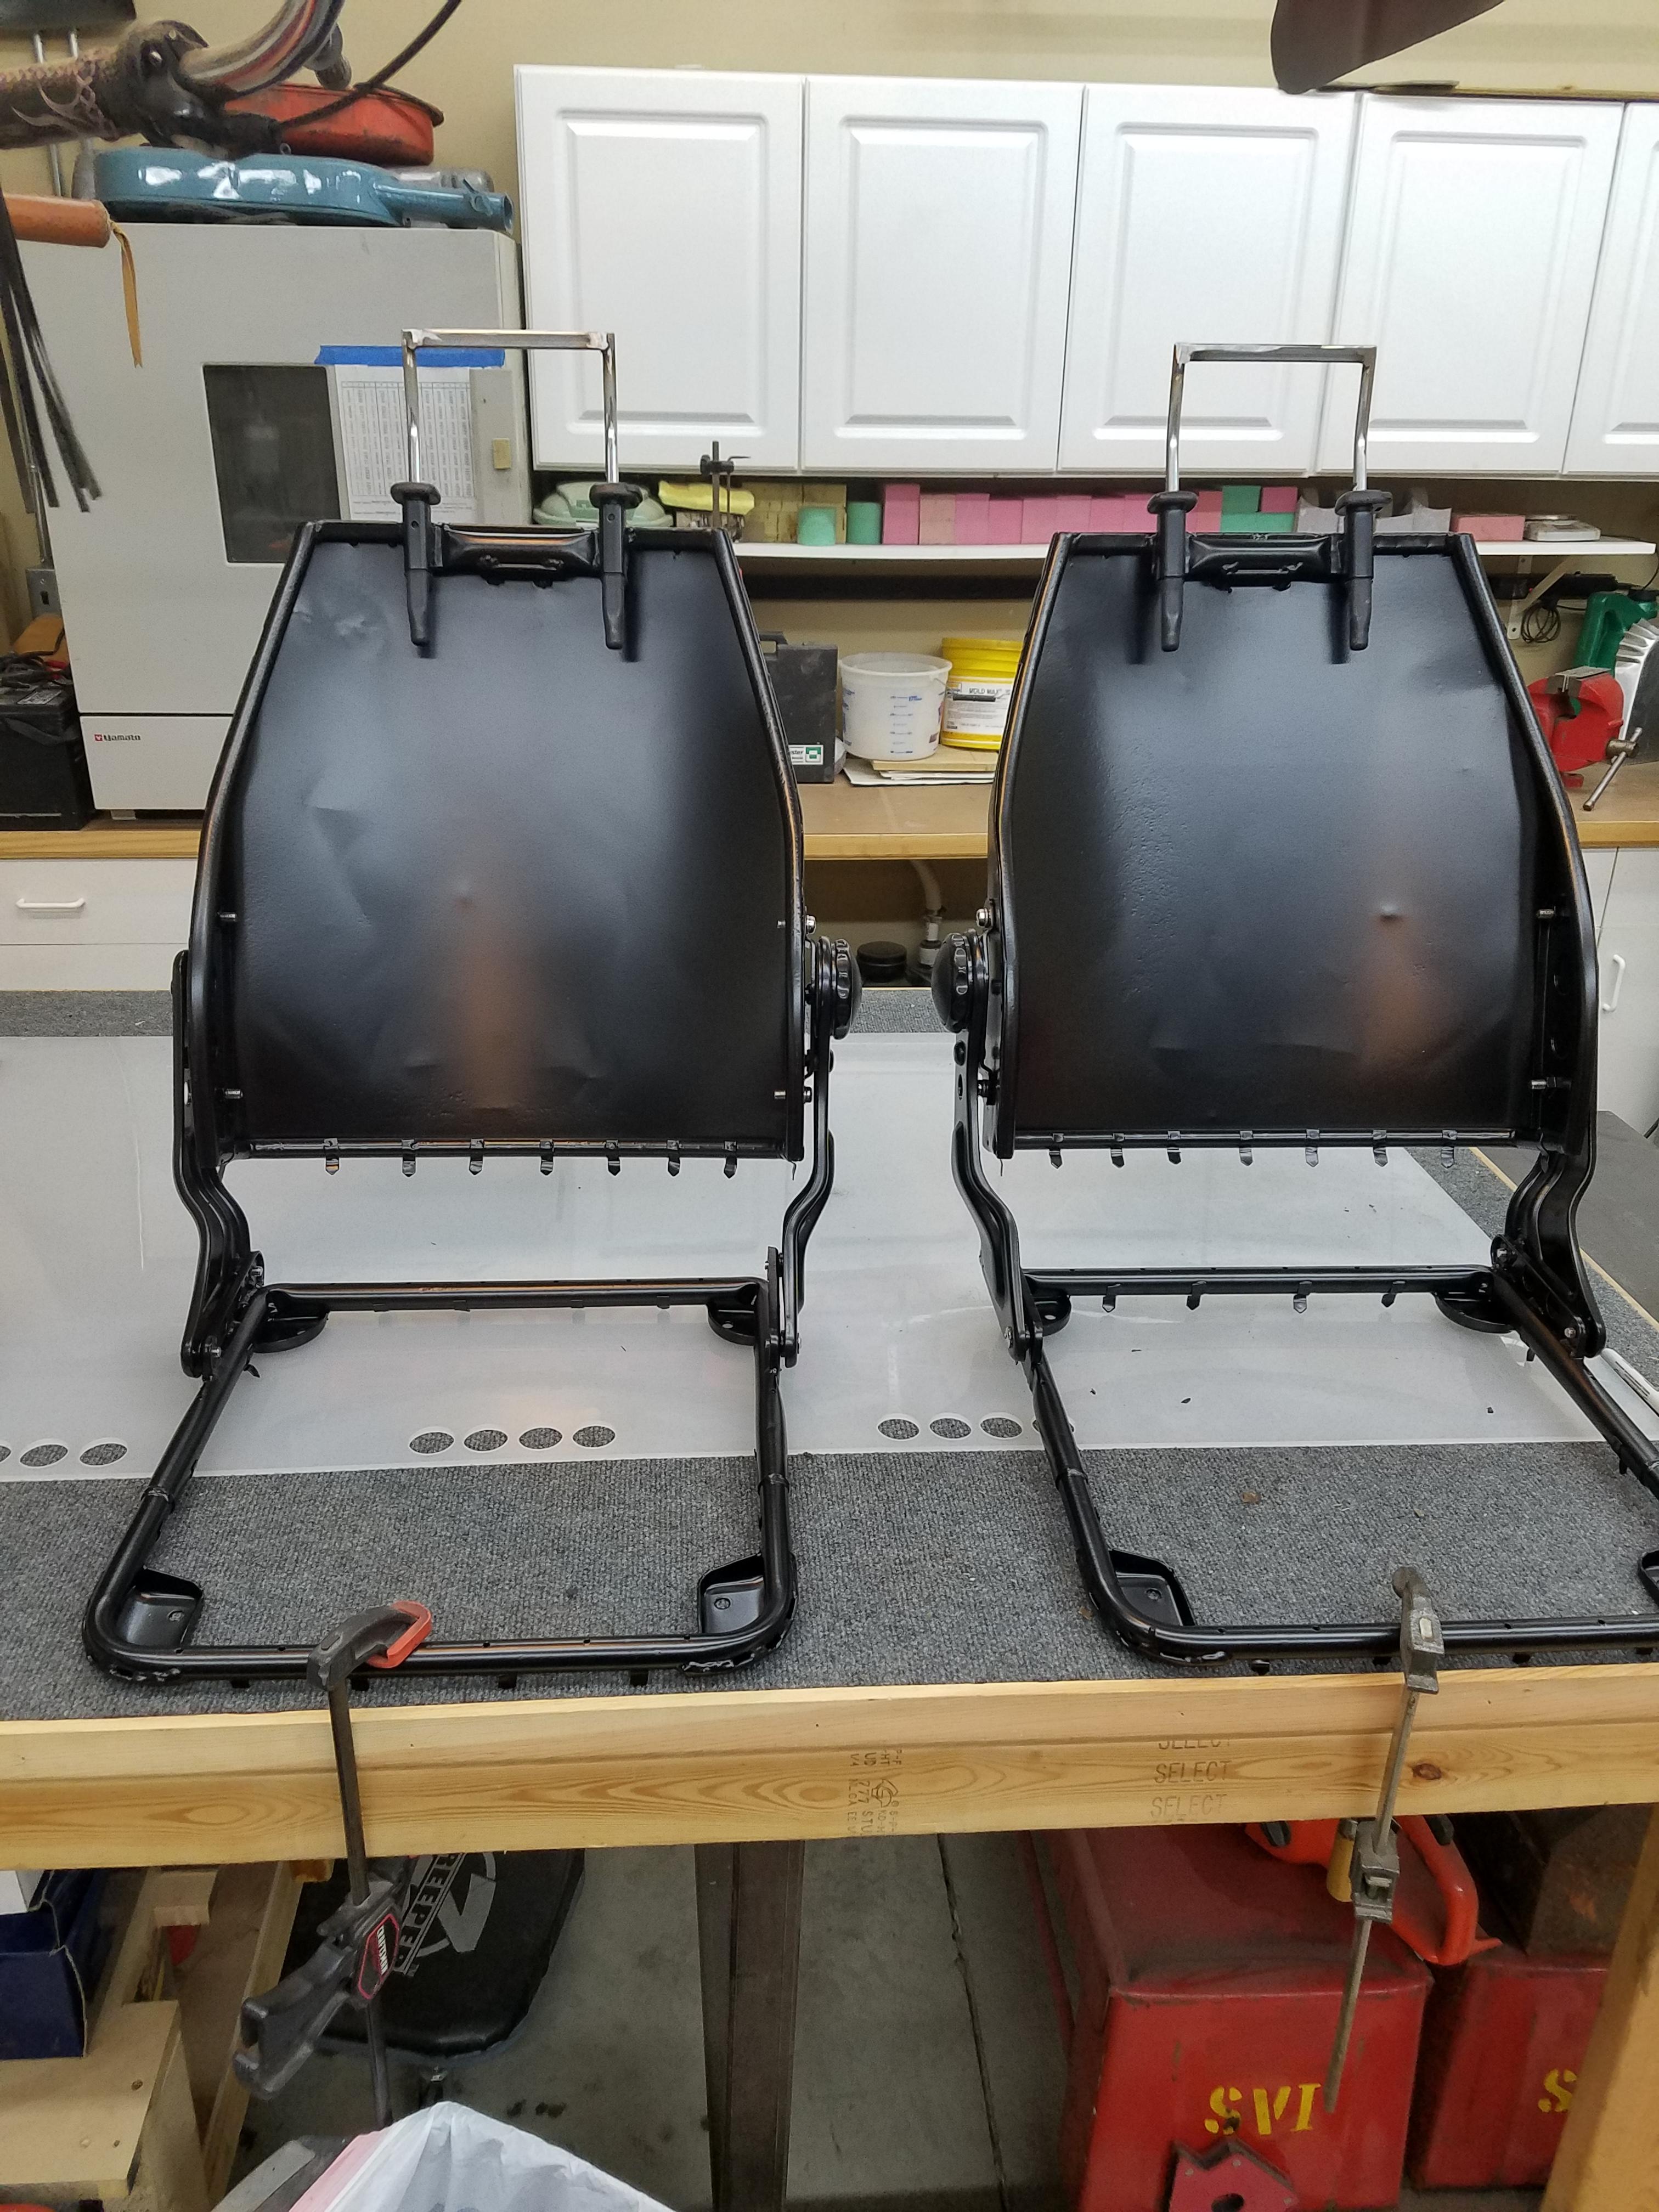
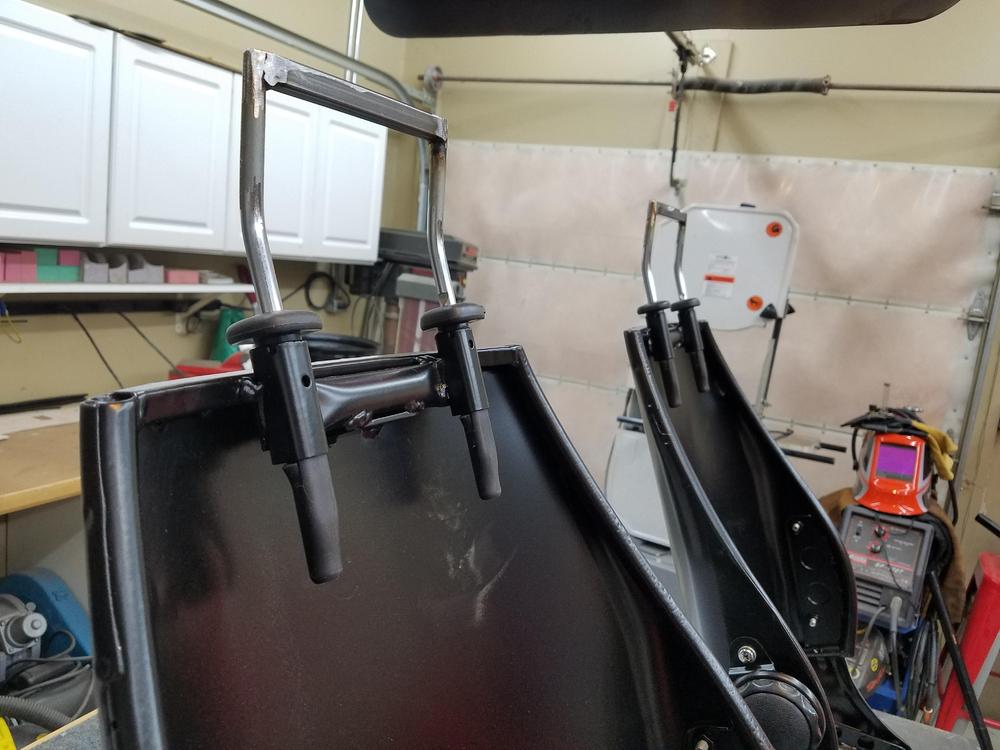
 1 pointSeat frames are powder coated and off to the trimmers. Haven't had time to get farther along on the interior though.
 1 point
 -
Hi everybody! Today I bring fresh news!!! During the last weekends we were working on the car…but some minor bad luck happened…we didn’t progress as we like!!! But bolt by bolt we are assembling the BIG puzzle!!! At this moment there is a willfull rubber, the one from the hatch glass…it will go directly to the litter! I bought an original in japan and I’m waiting for it! Then the doors…we didn’t finish the driver’s door because the inside locker is broken and we were unable to tune the door properly. I’m getting bored with all these tasks…only adjustments and tunning and…and…and… too much time spent on each part!!! The only goal that is keeping me excited is getting her to it’s original condition…and it’s almost done! Let’s see the photos!!! Plated and zinc parts… The fuel filter stand is originaly painted black, but I’ll leave it zinc…it’s cleanerto the engine bay…I think! New horns…before there were the giant vintage bosh… New heater grommets… Installing the door. New key lockers, new door handles, glass elevators and the main lock. This last one borke down. I suspected before the resto, that it didn’t opened the door properly! New hood handle...the previous one wasn’t original and didn’t match S30! New rubbers for hood handle and km mark. Cleaning and installing the side markers. Installed..they fit very well! And left side almost ready… Rear bumper installation! What an enormous task!!! 3 hours until the end!!! Too much parts, rubbers, guards, bolts, tune and so on…luckily everything is original and fitted well!!! All the new parts… The result before it goes to the car! Before the installation we cover the sides with sphincter to avoid some scratches! Annoying car said Mr.Vitorino... Almost!!! And here is the result!!! Seat in it’s place… With a Zelfie I finish this report… Hope you enjoyed all the results…next week some more news…I believe!!! Regards Mário1 point