Leaderboard


Popular Content
Showing content with the highest reputation on 03/16/2019 in all areas
-
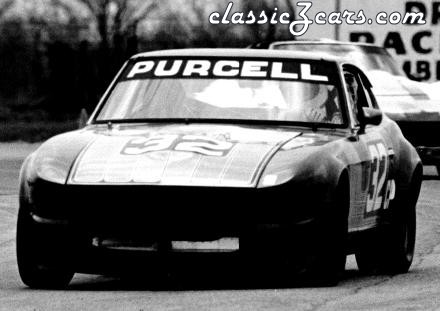
 I had a set with my race car years ago and cannot remember where they got to. I have been looking for a set for a while now and will say that I "paid up" for this set. They do seem to be in good shape and reportedly, not that it matters, were from a combination of the BRE cars and Logan Blackburn's car. Logan was my instructor at my first driving school at IRP, which if these are some of his brings this full circle.3 points
 -
I have been looking for a set of original magnesium AR LeMans wheels, found and purchased a set this week along with an NOS JDM Grill. Excited and can't wait until they arrive.2 points
-
 2 pointsFixed ! Got a set! ( I know no one will see it later but) Damn! That looks so much better than the patch job ....
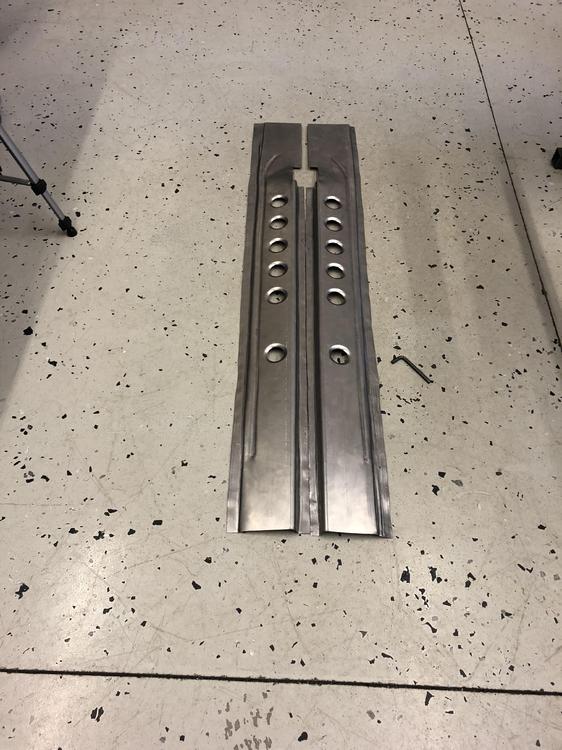

 2 points
 -
 2 pointsIt's Whatsapp. Edited, never mind. No need to be insulting. Not a good look for you.2 points
 -
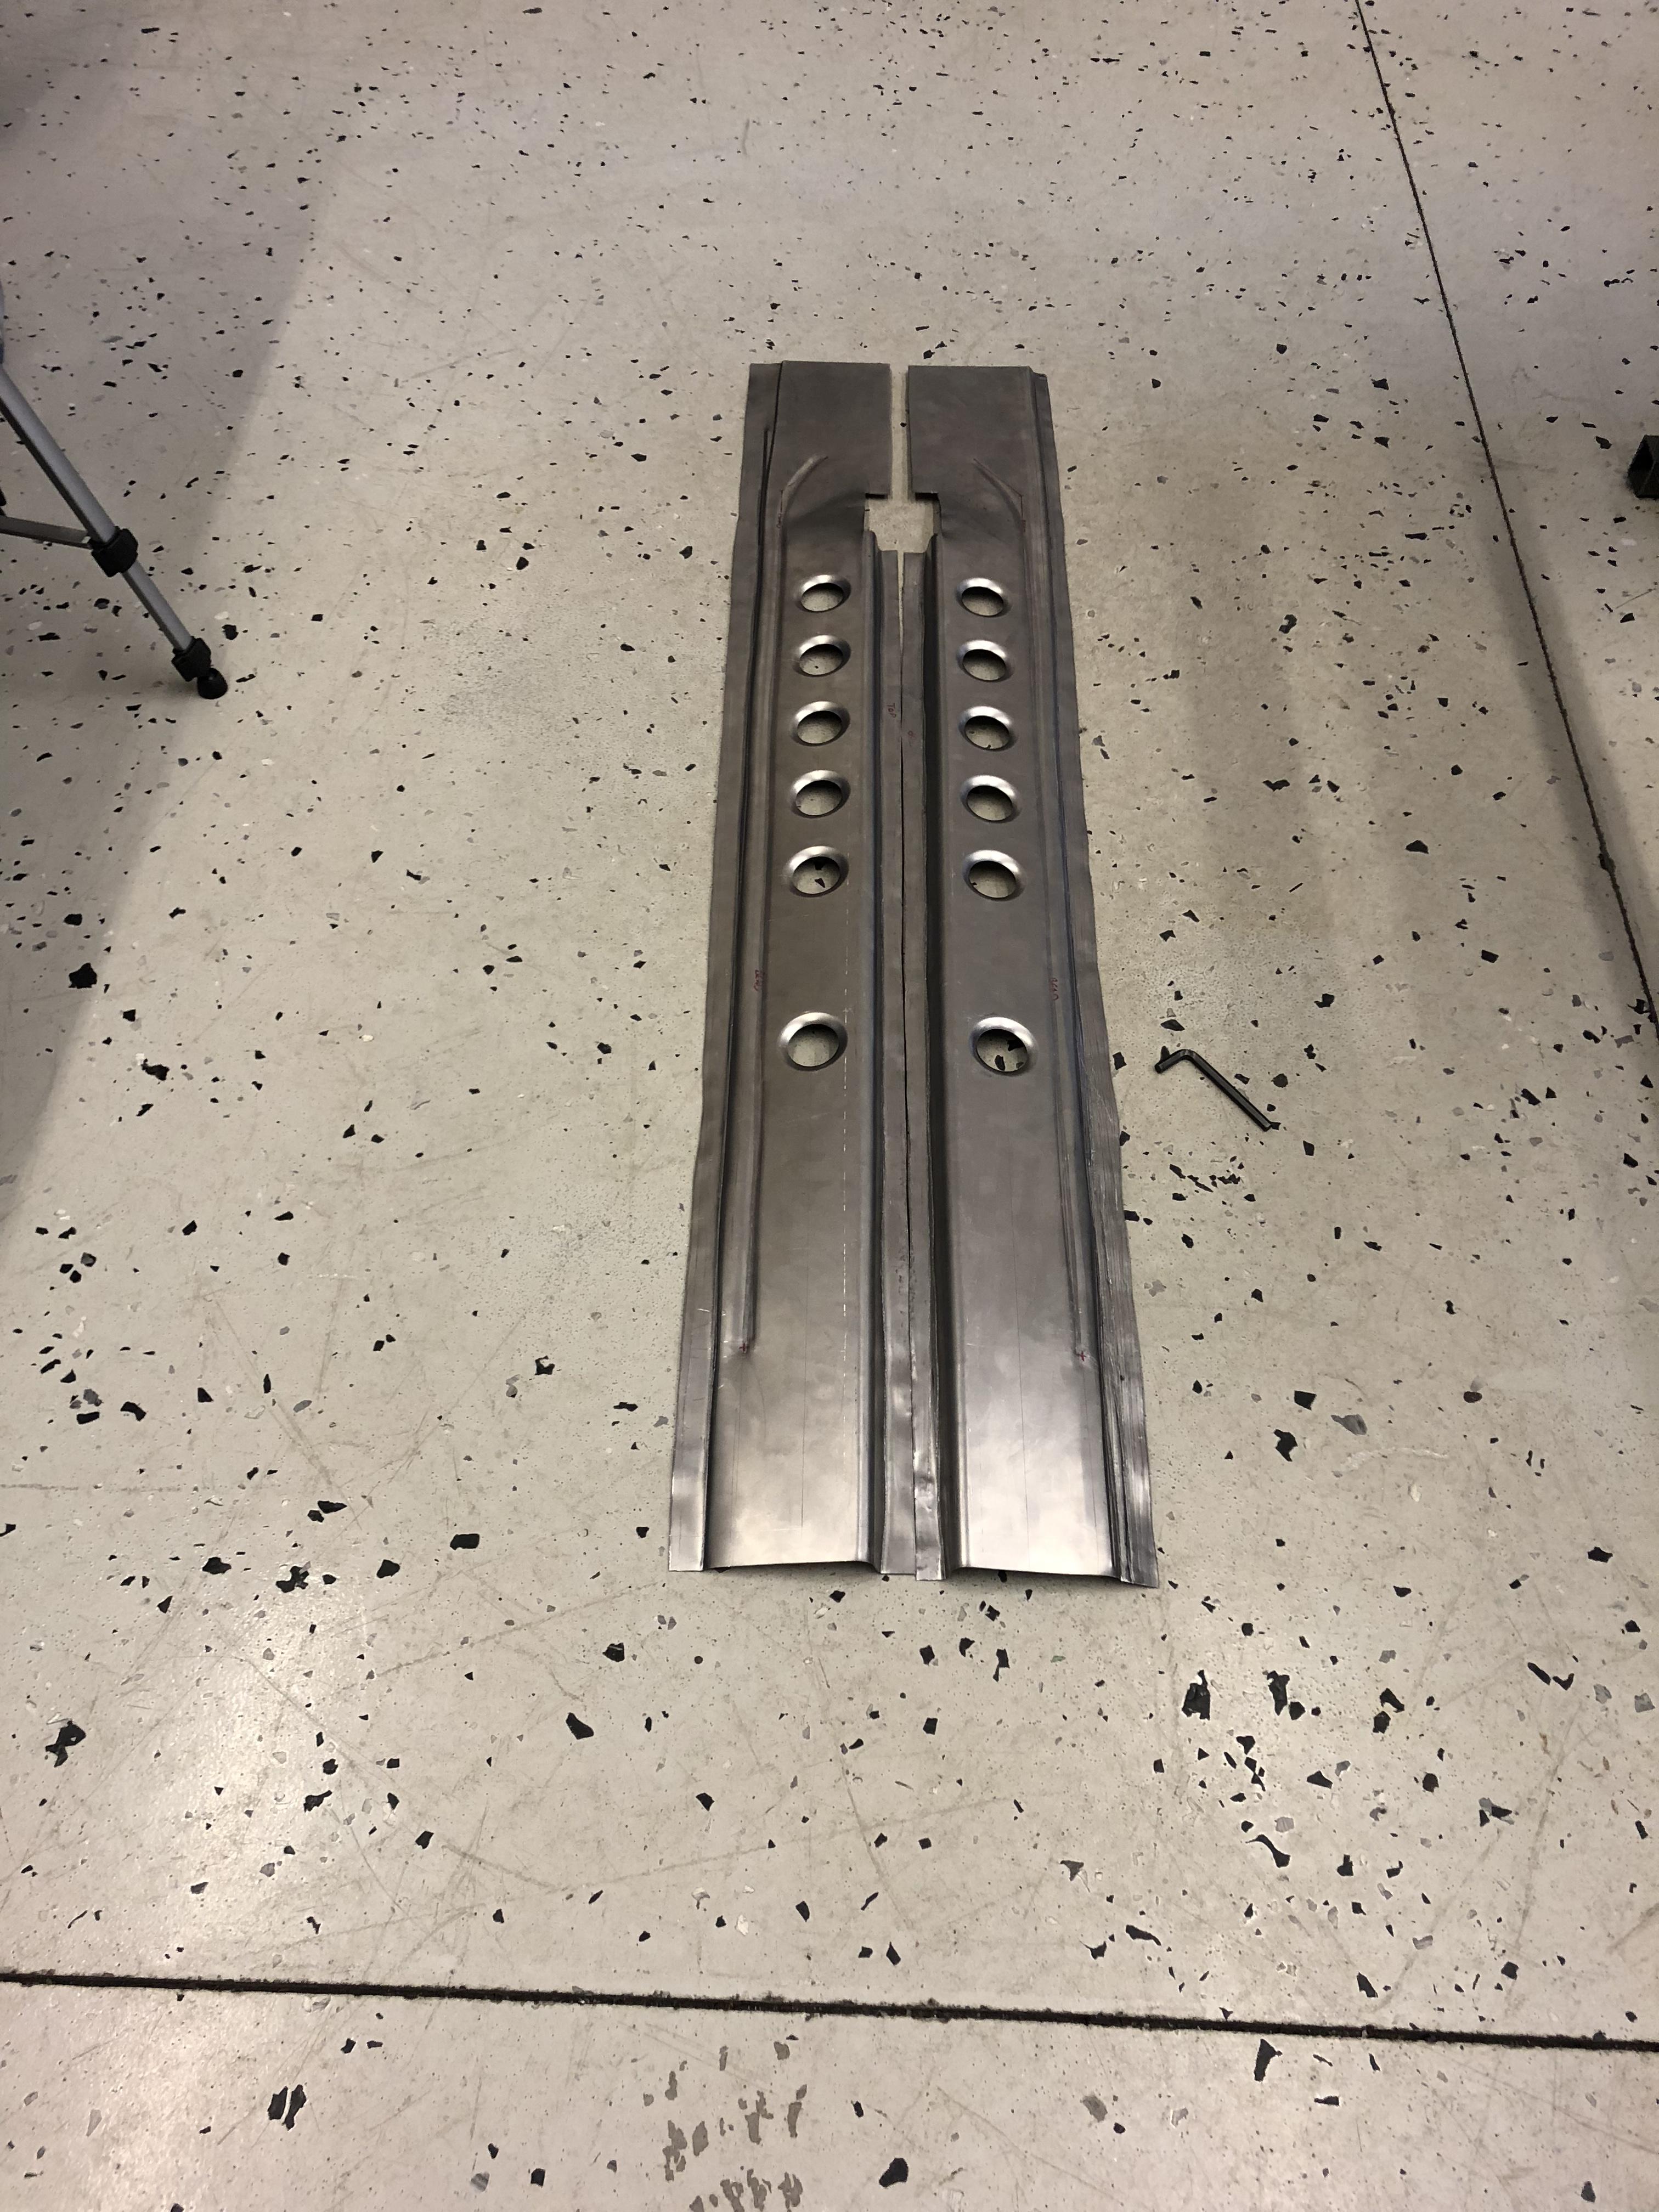
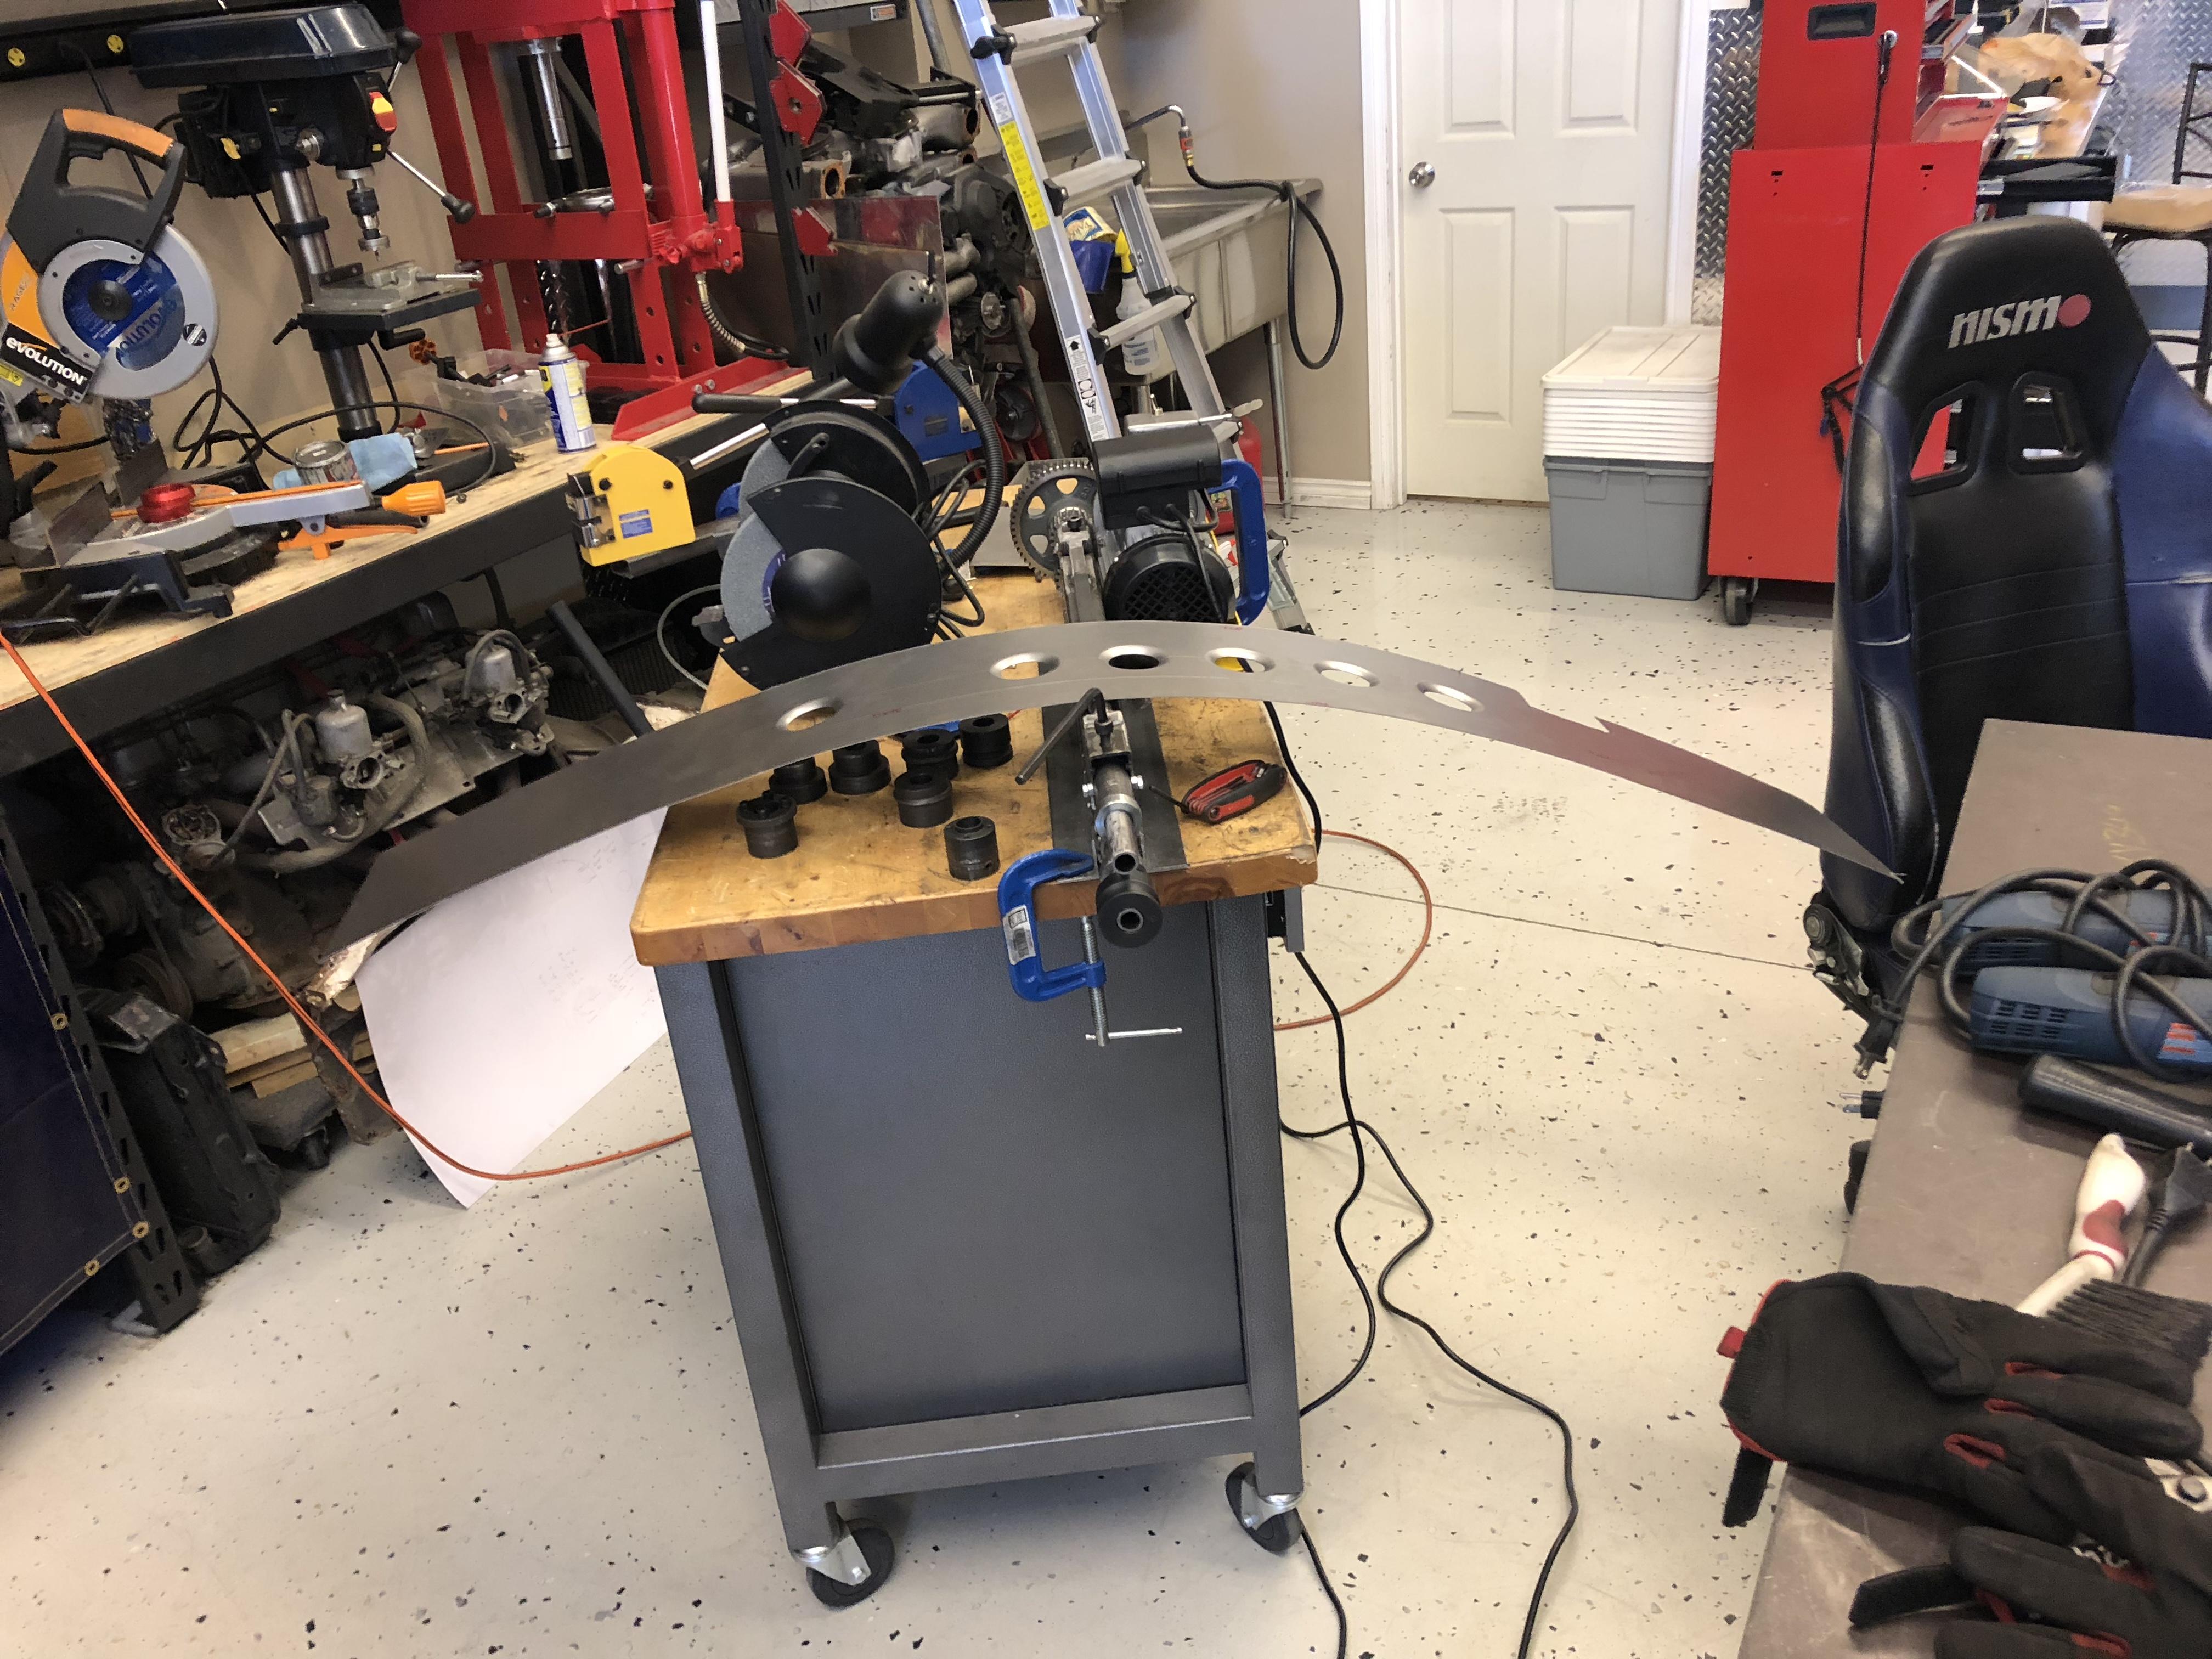
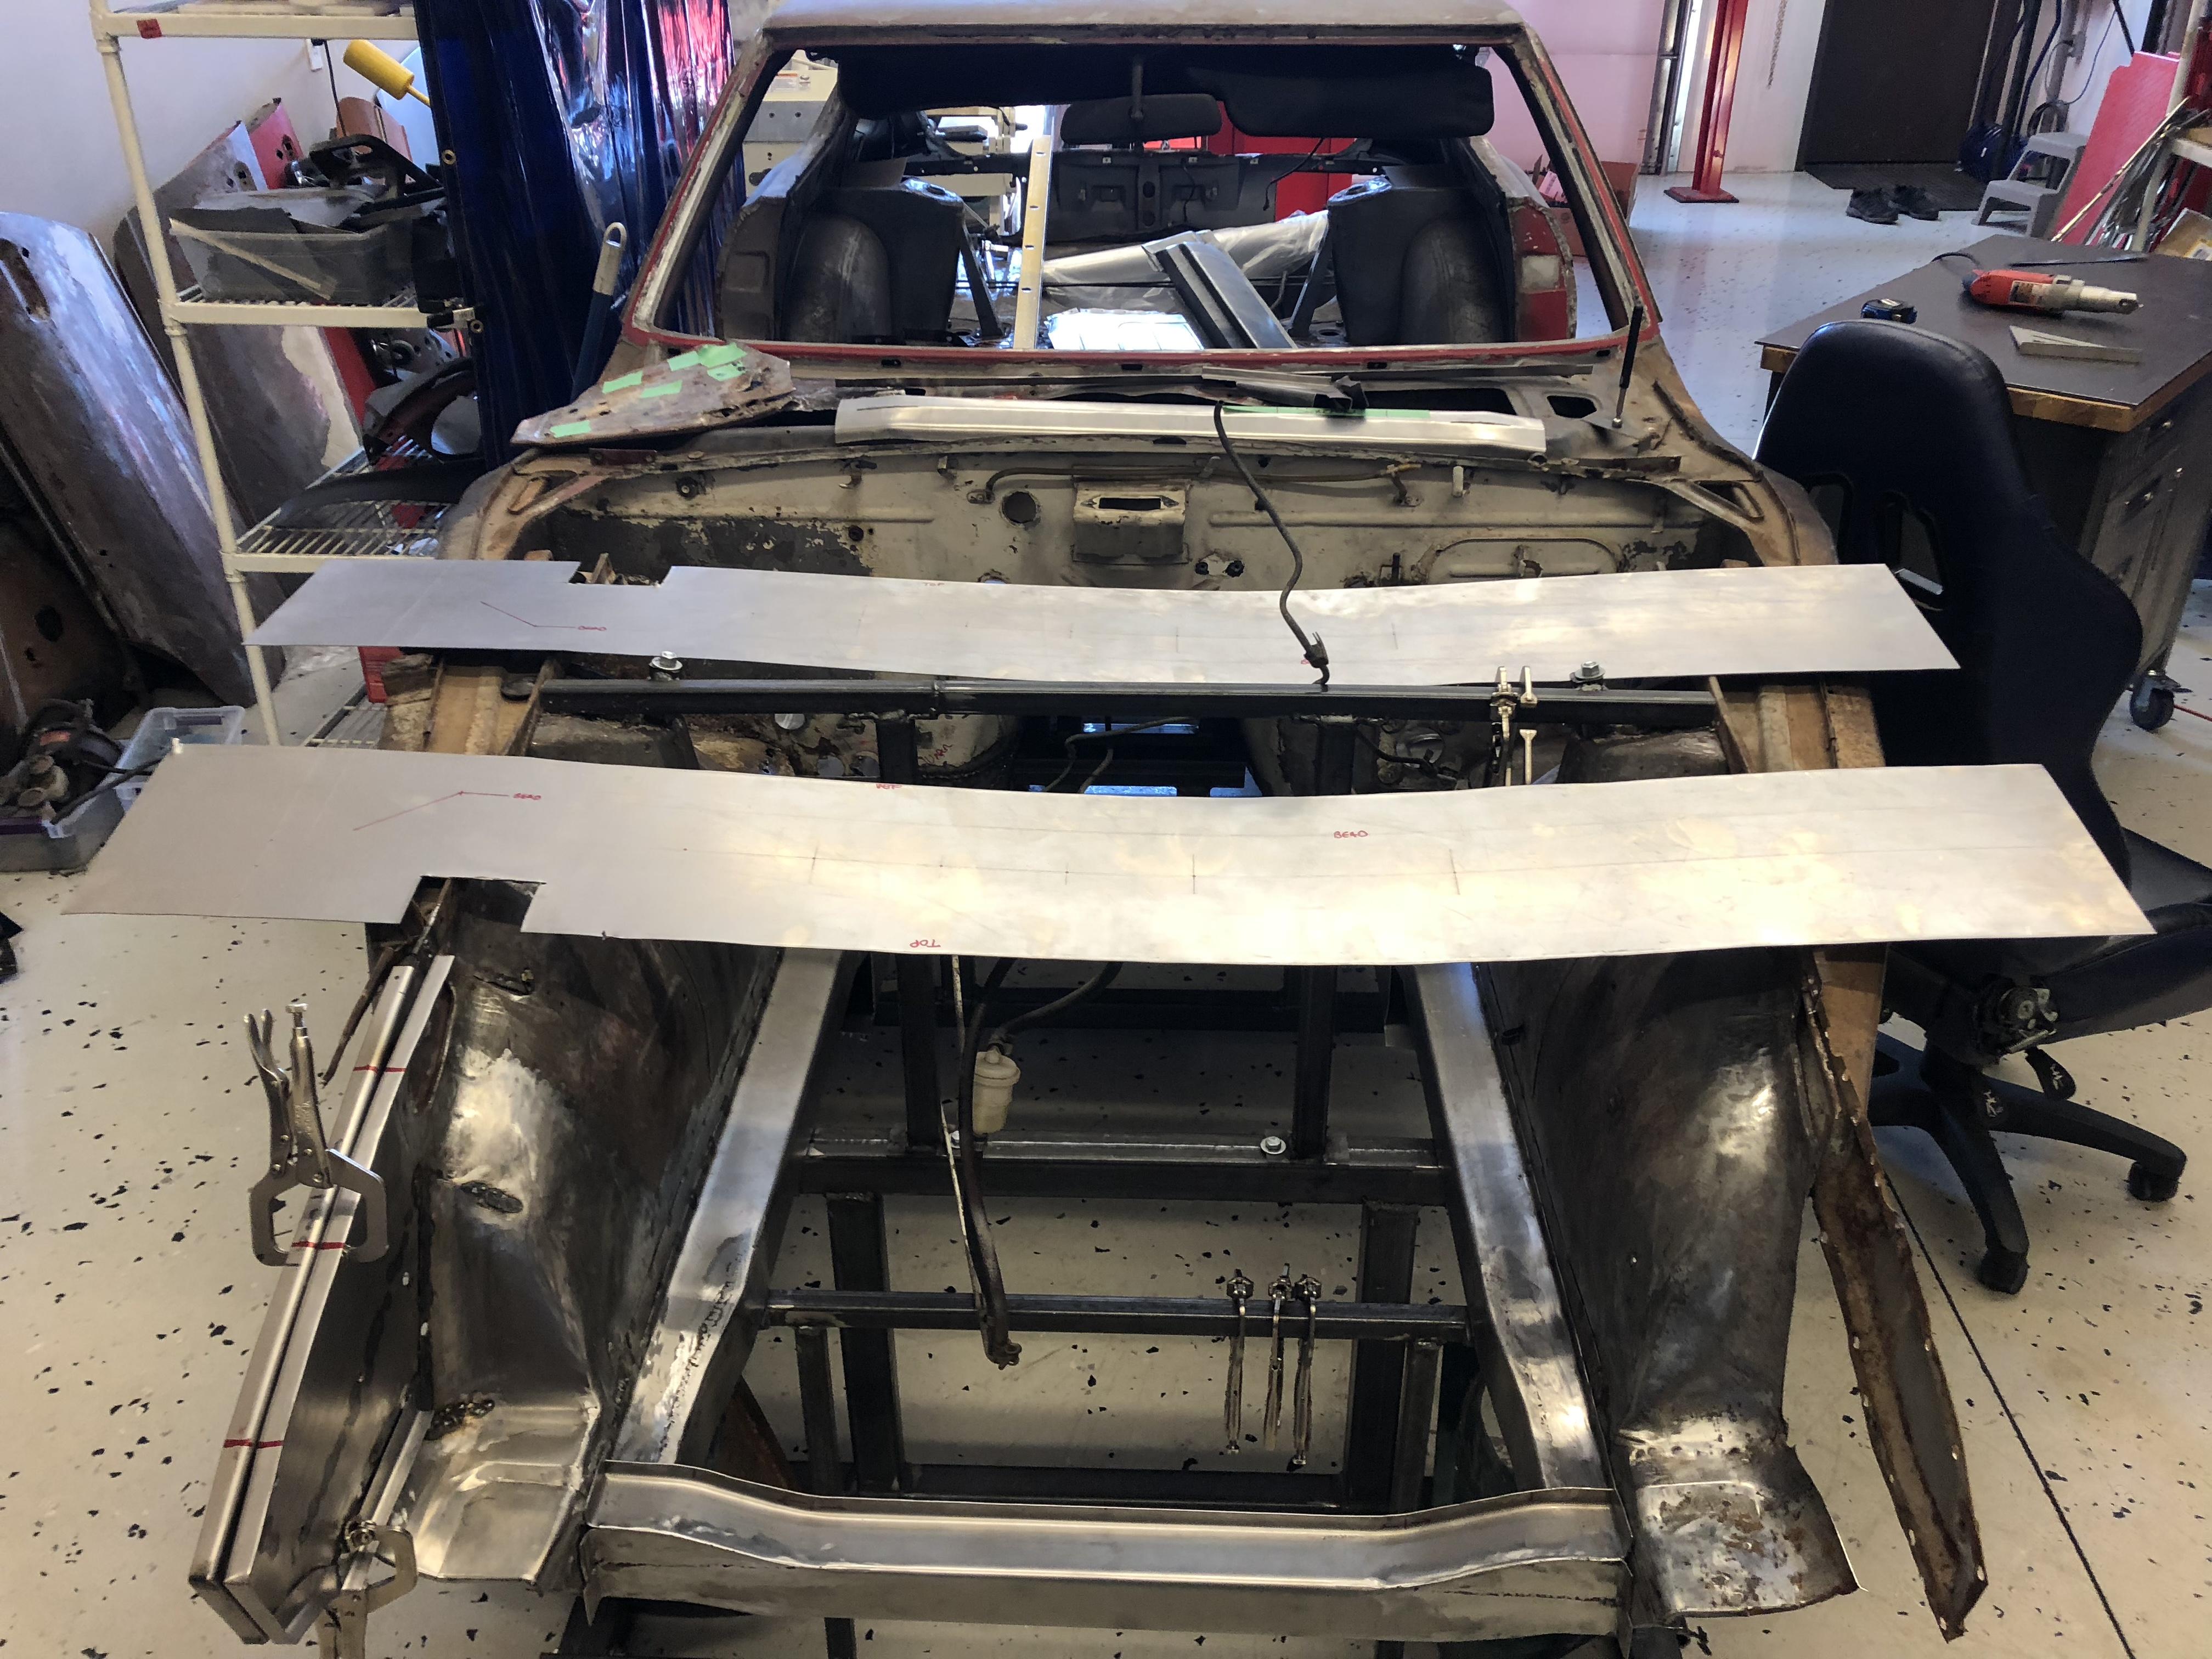
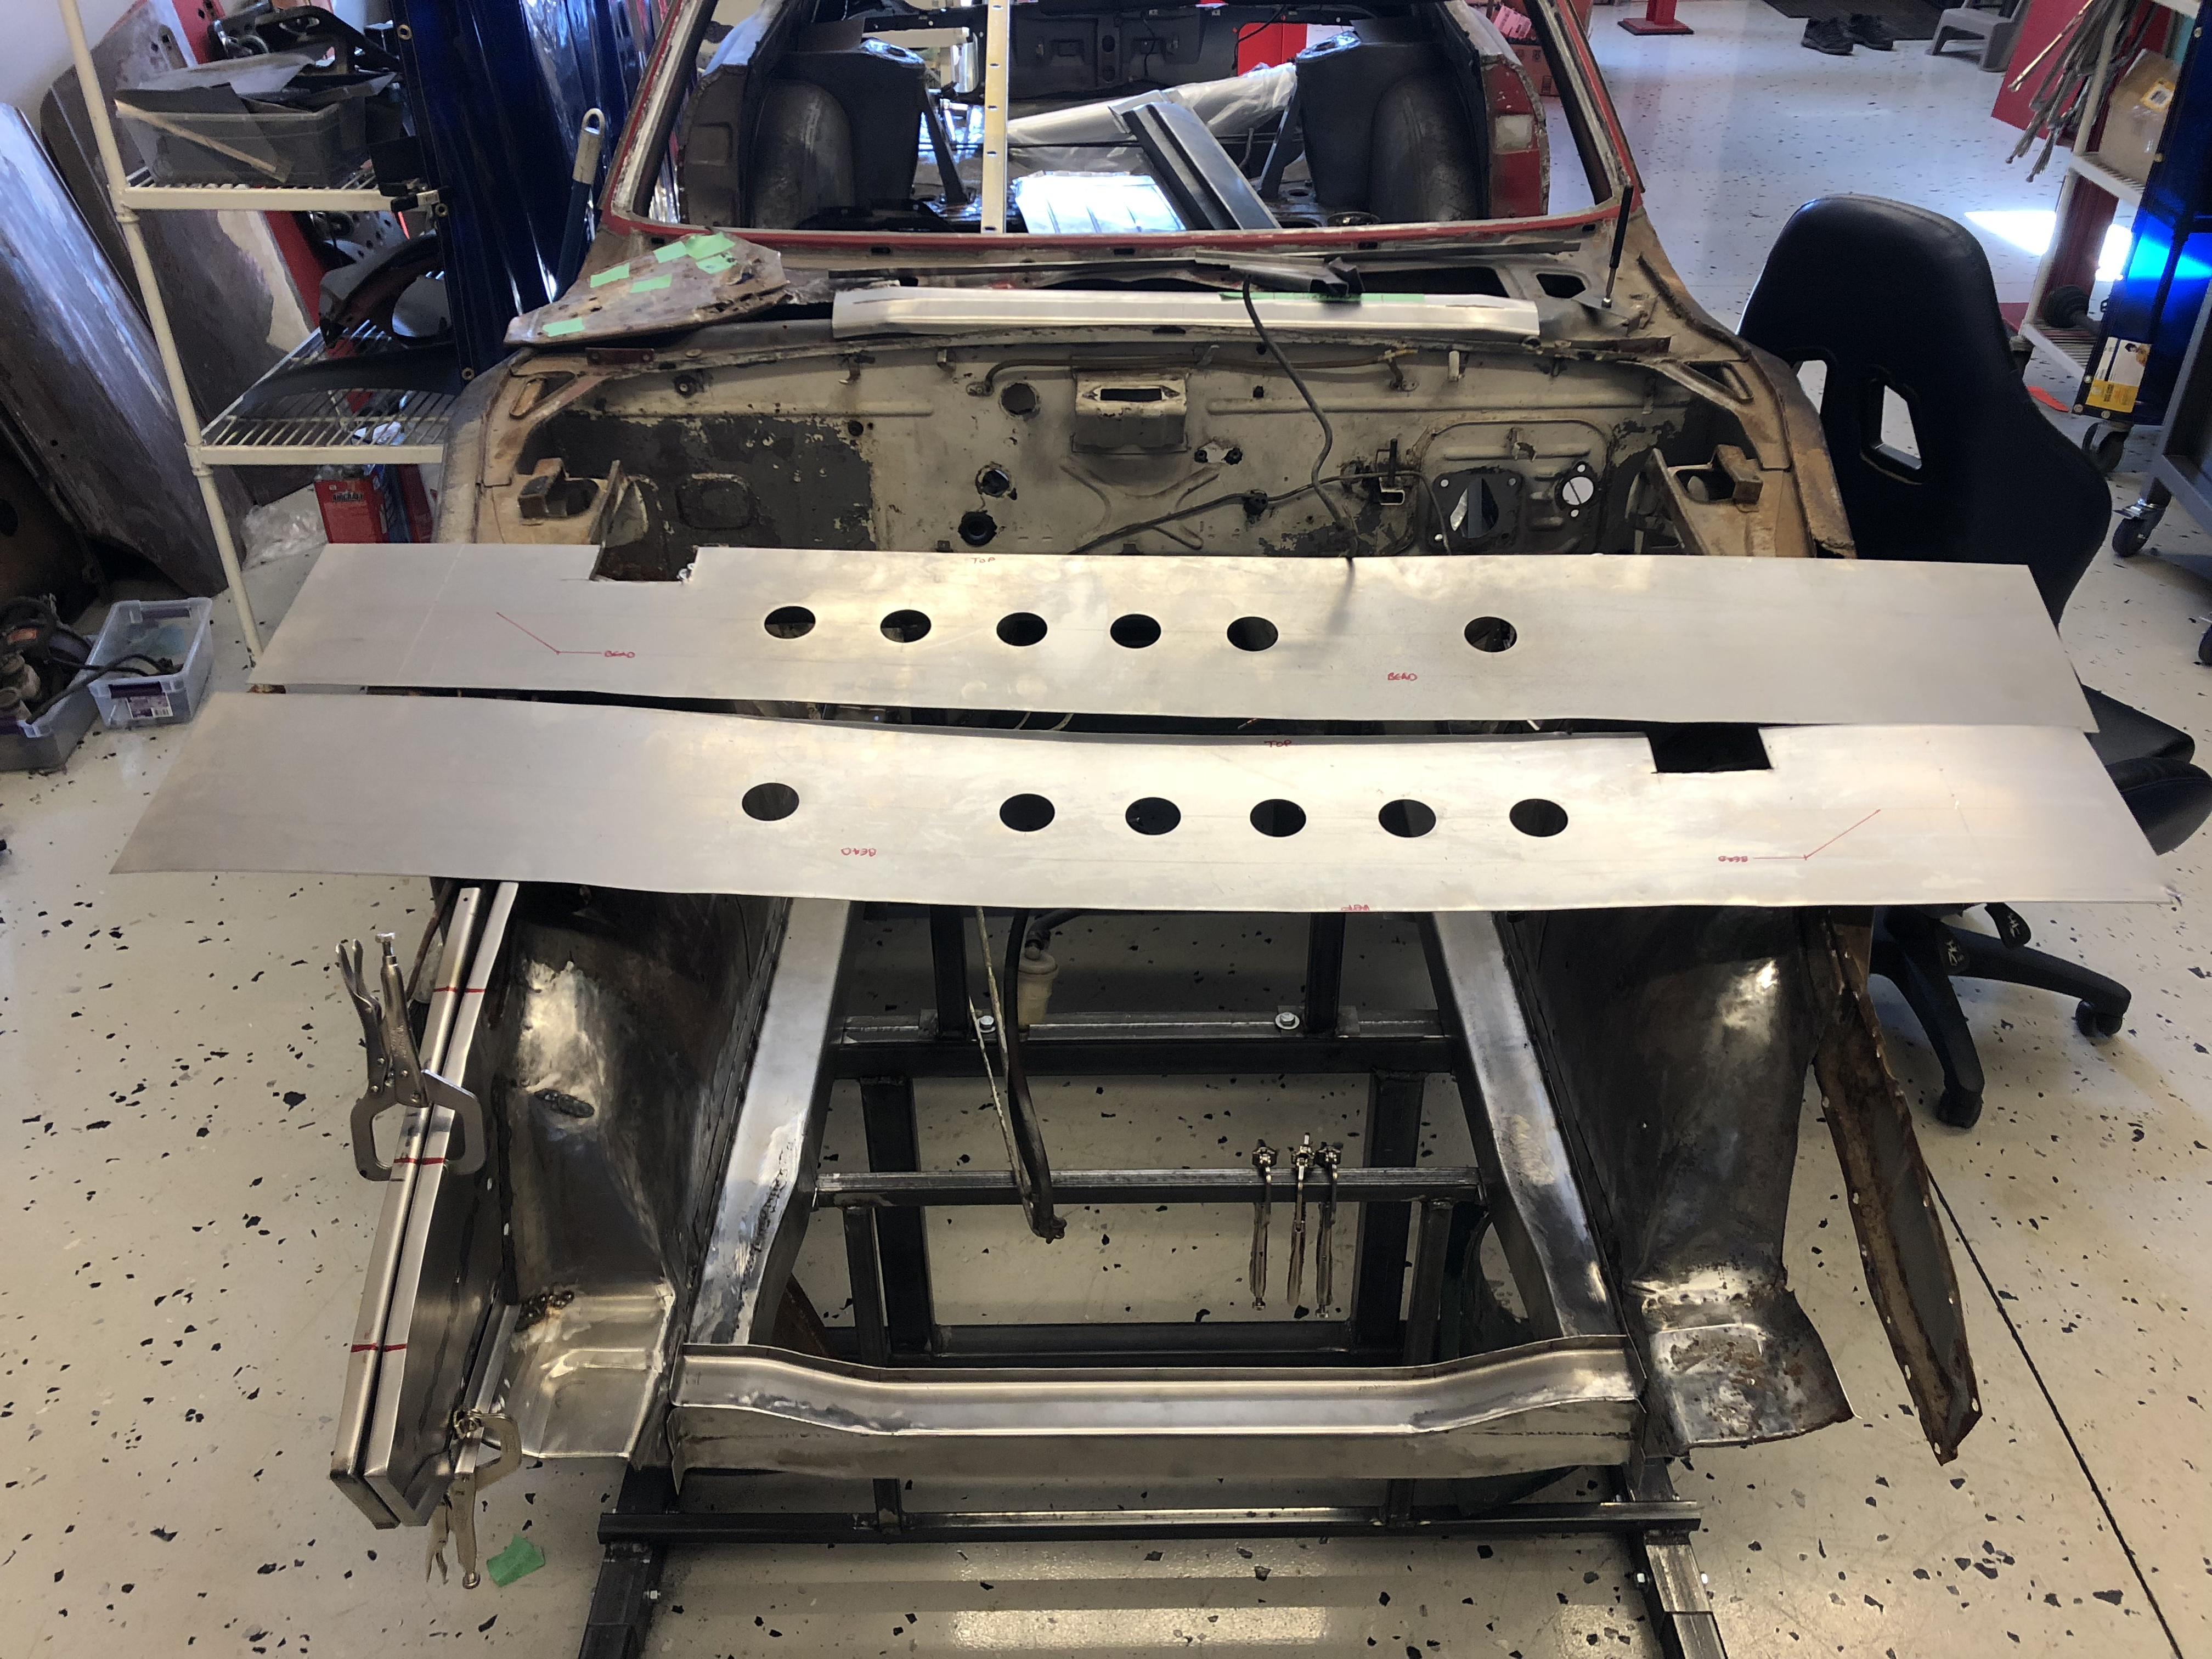
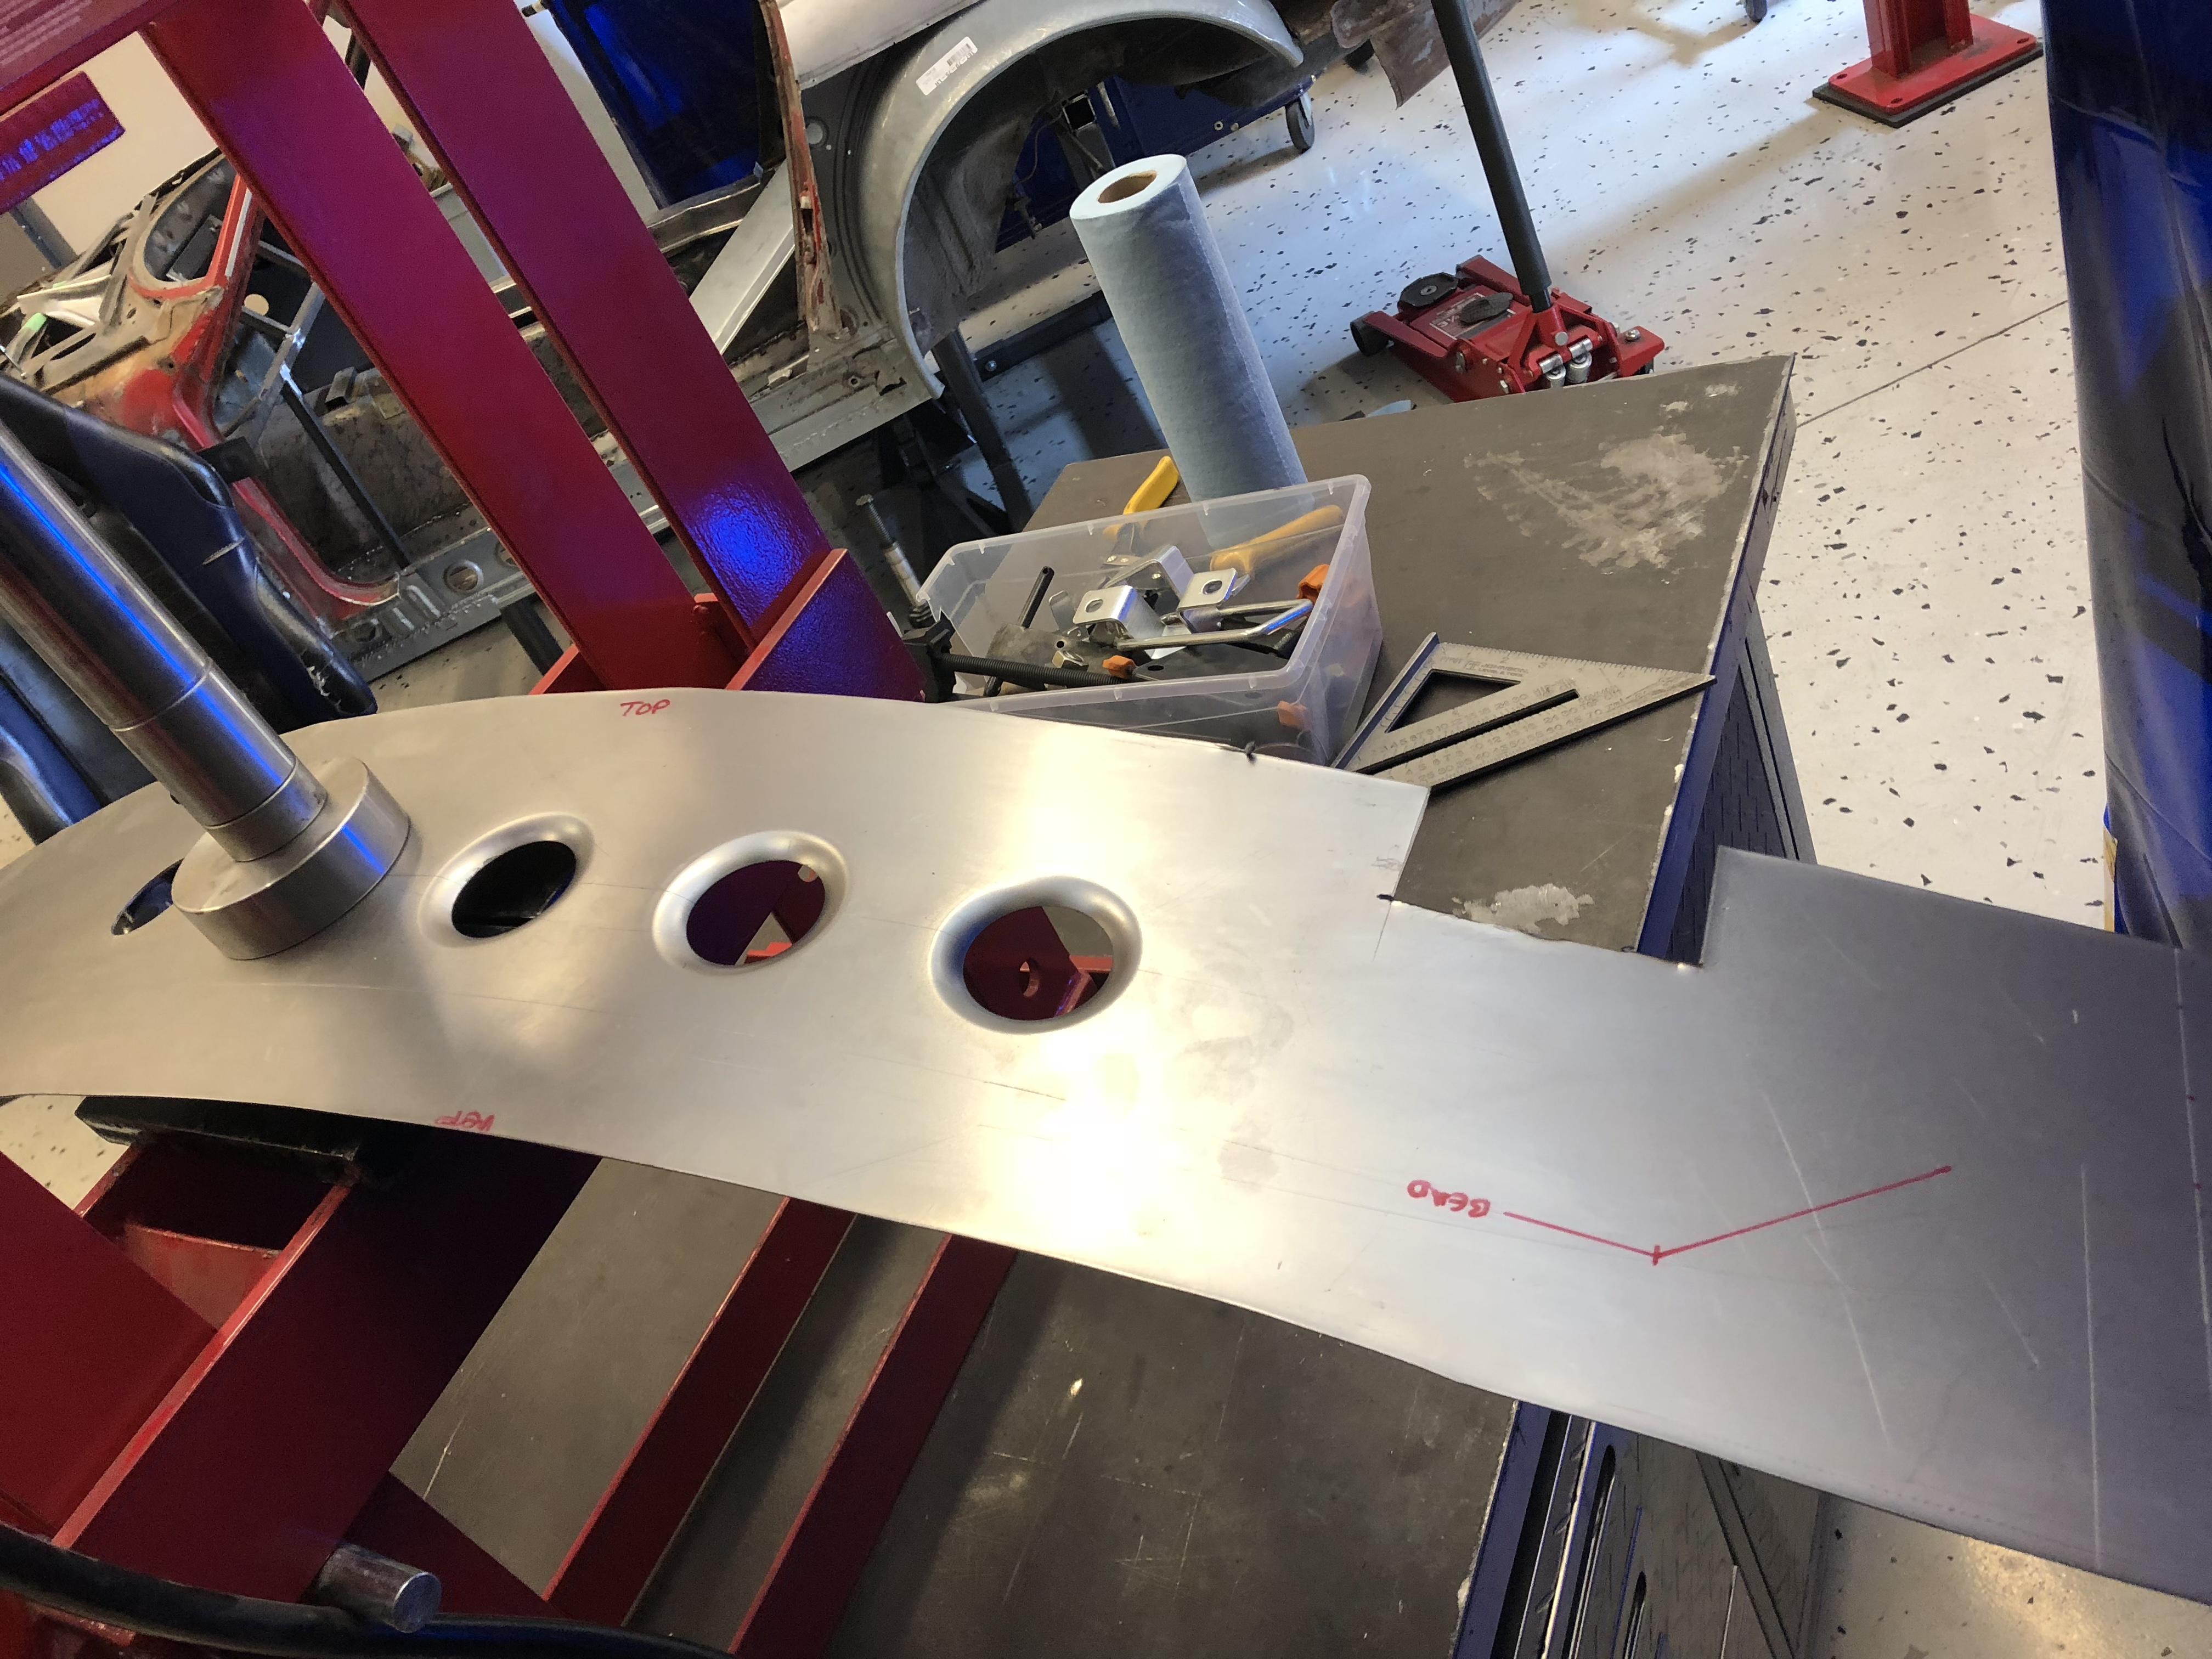
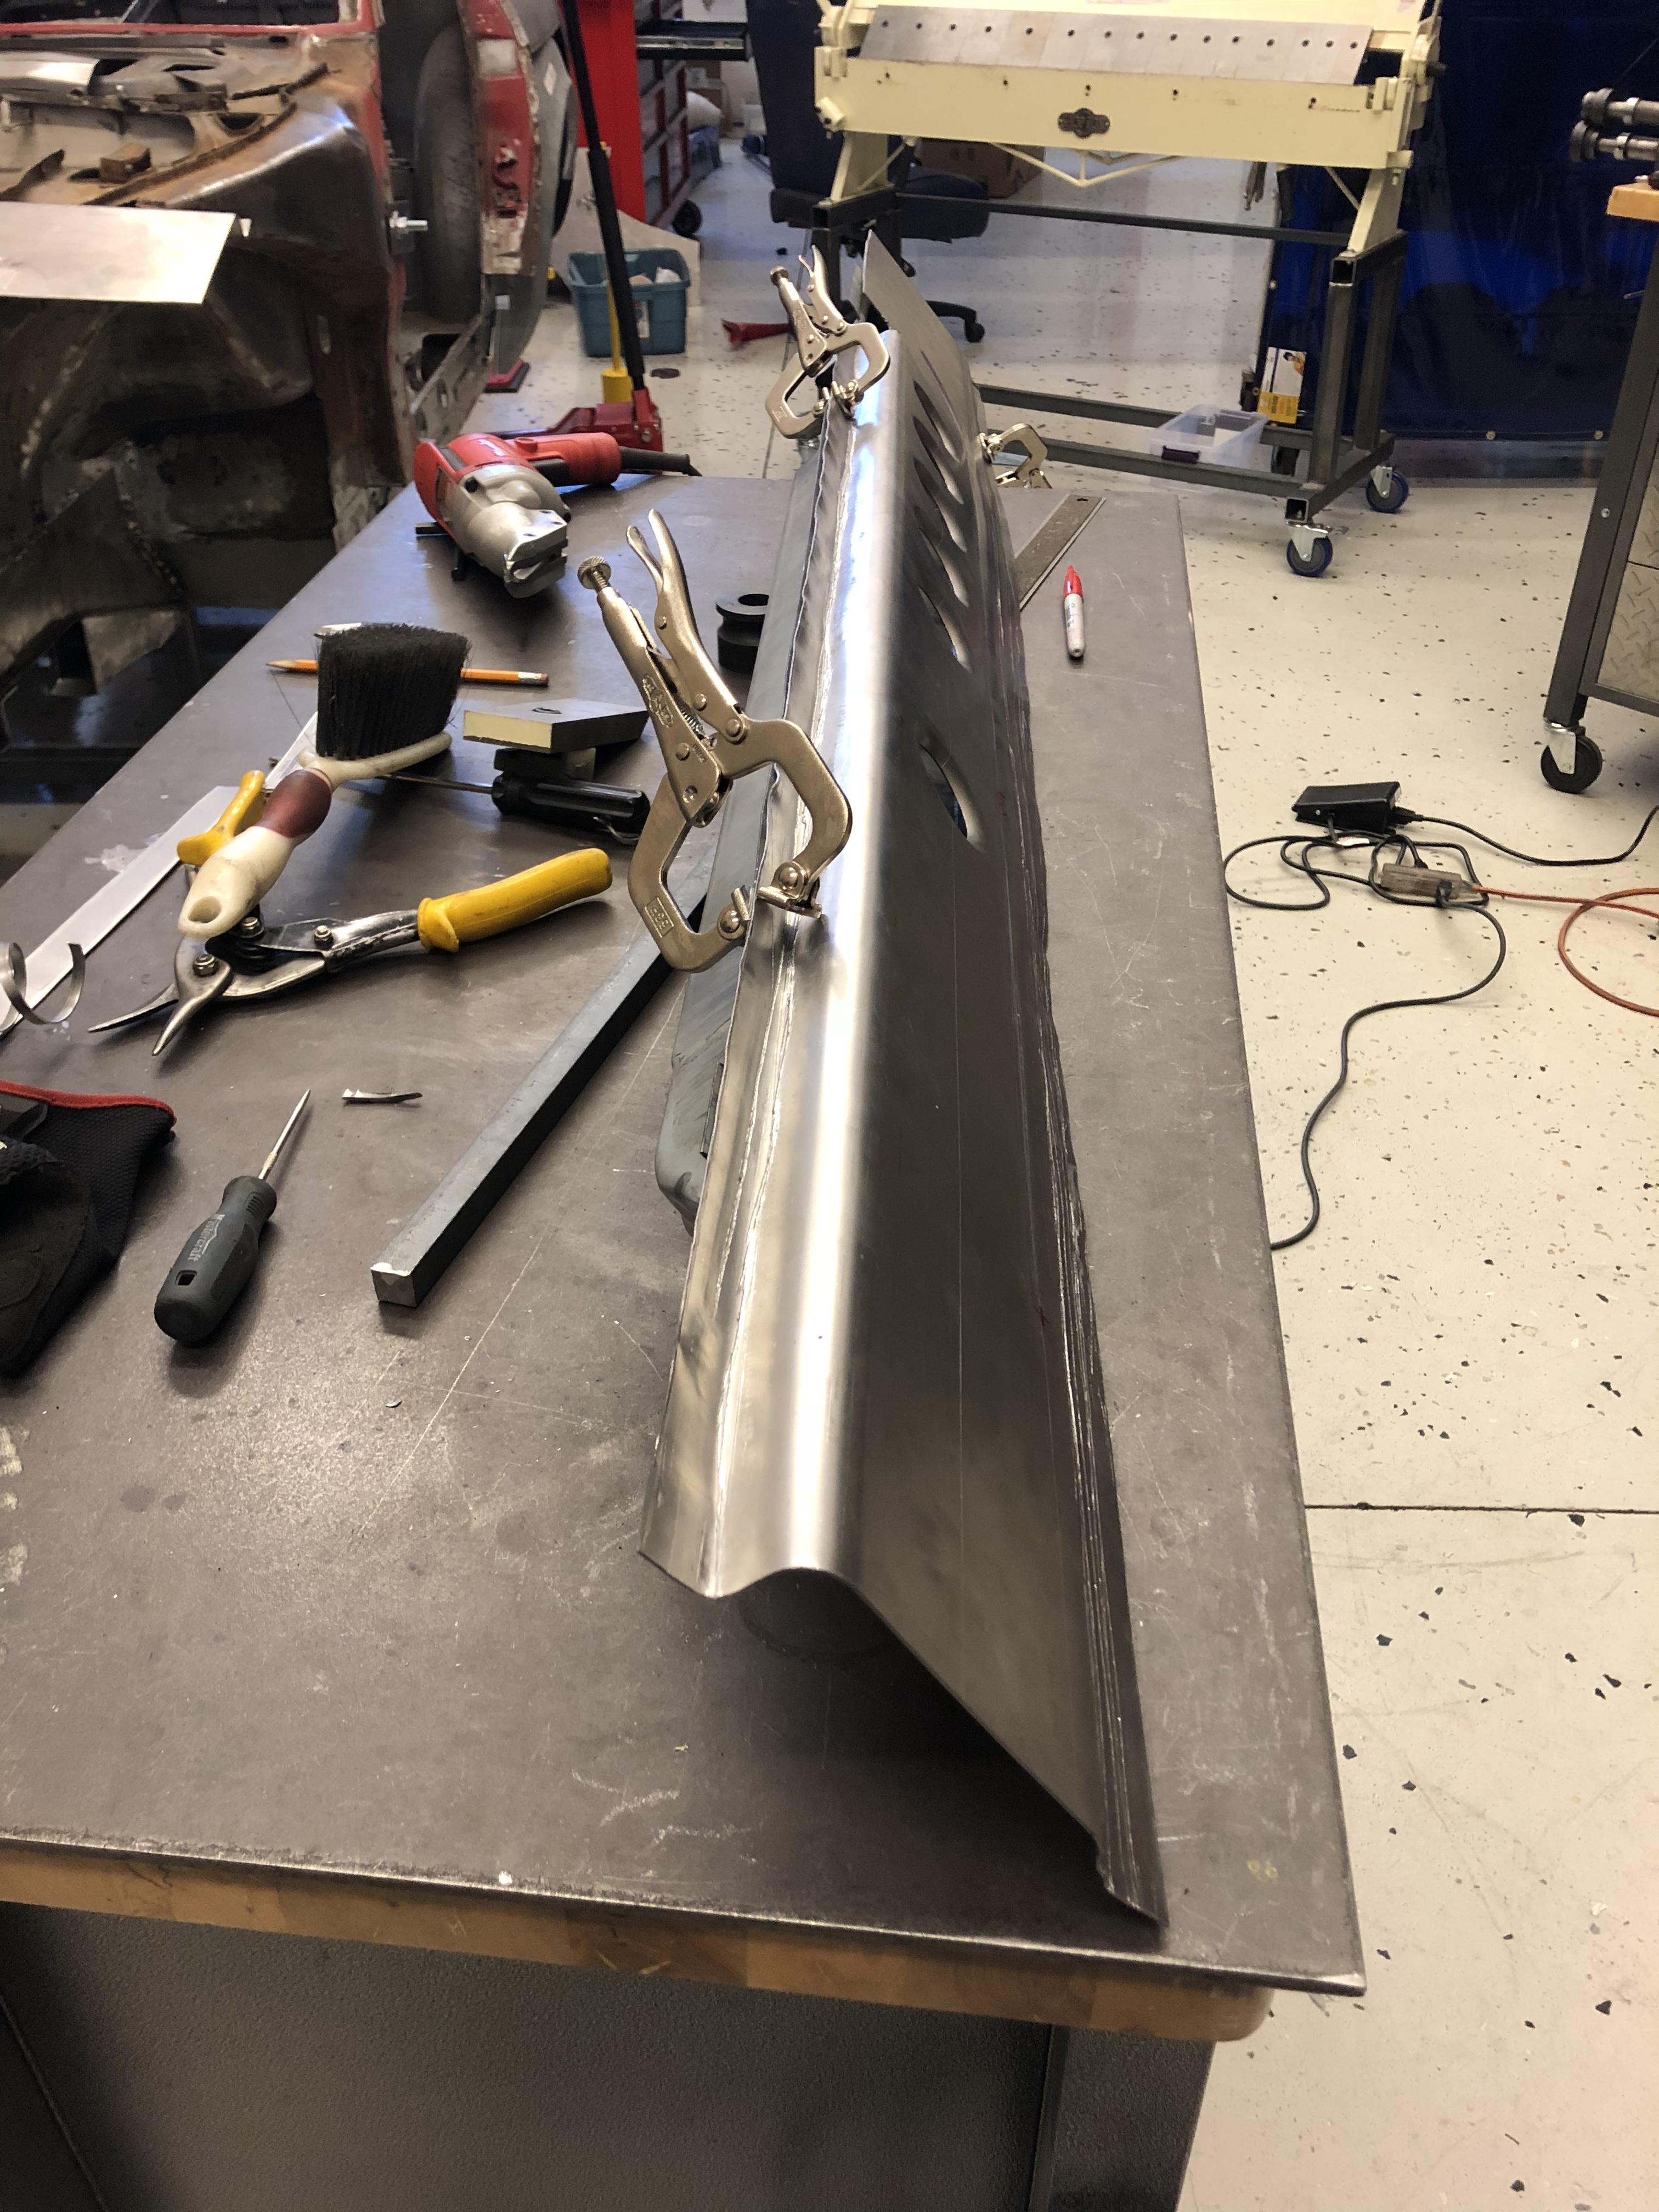
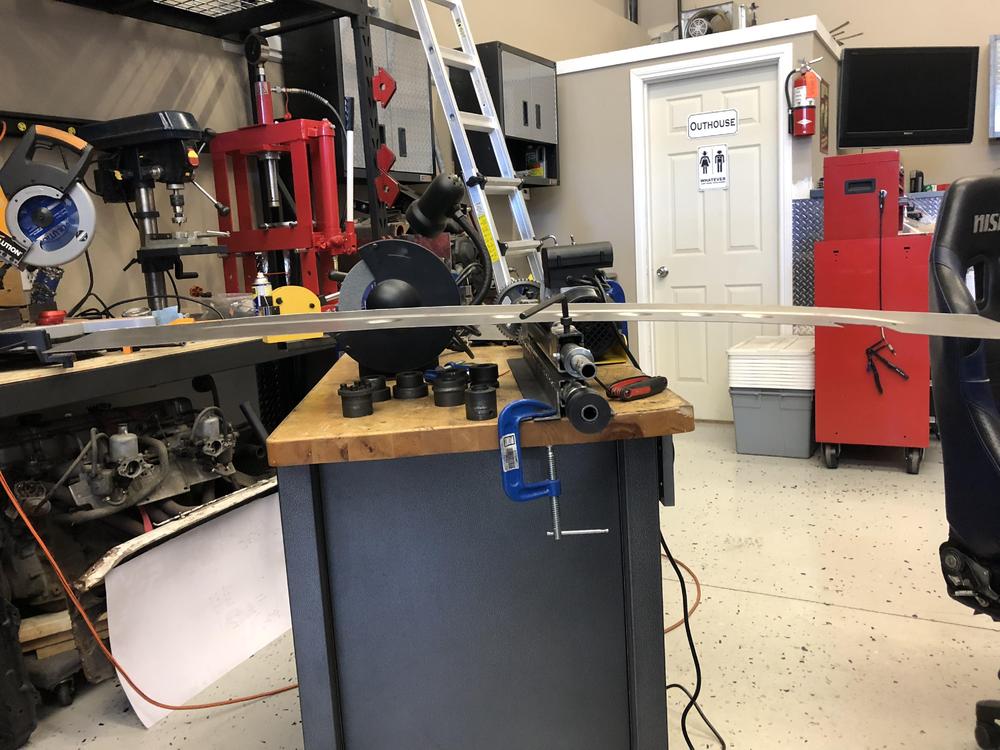
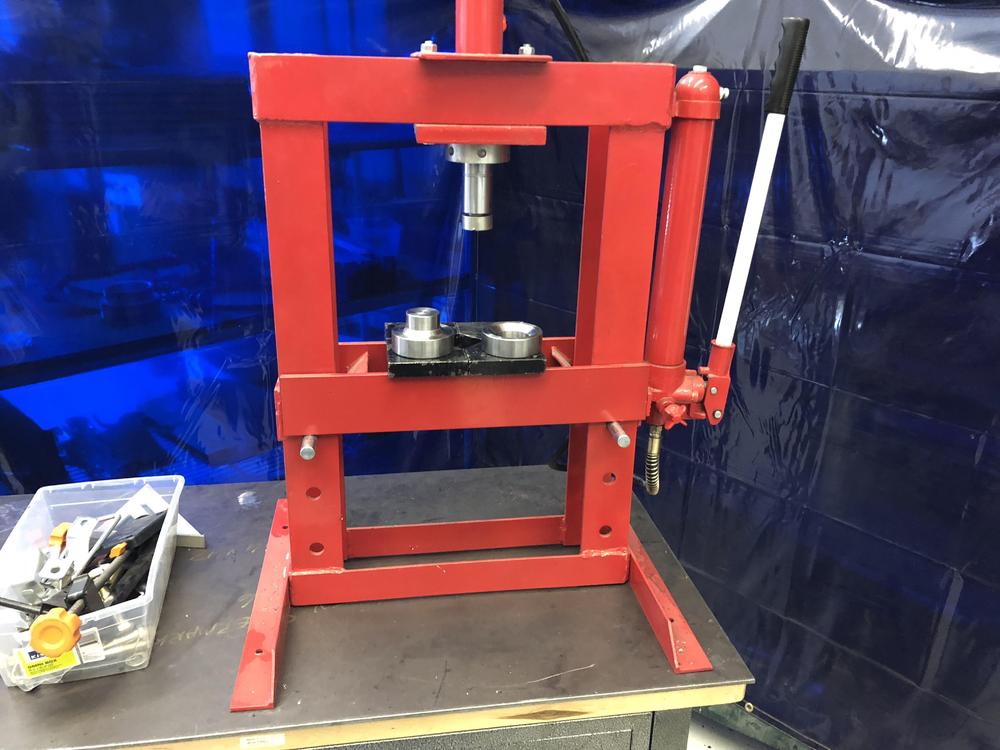
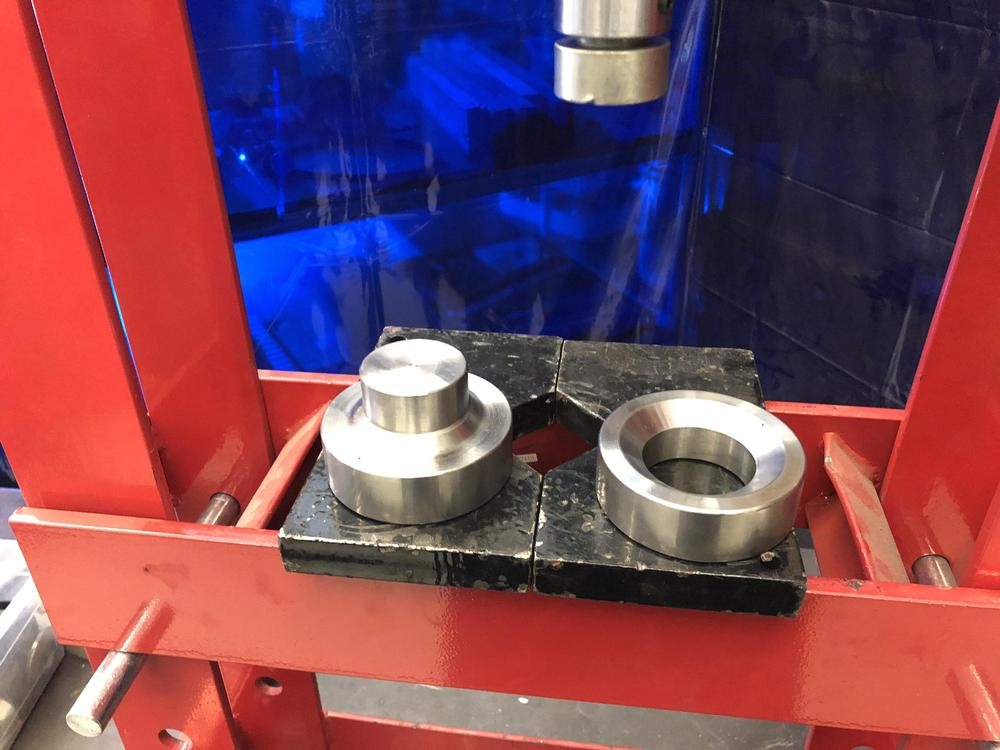
2 pointsPS ... Sometimes I hear people ask if the bead is really necessary? (Probably because it isn’t that easy to roll a bead in 18 ga...) Well, dimples but no bead ... Versus dimples with a bead ... Notice how much stiffer the panel is? It can basically support its own weight while balancing on Bertha. So, yes, the bead is important !
 2 points
 -
 2 pointsOur Test Pilot Hector Cademartori got back from Daytona and finished his write up about the new Koni Sports (and for you racing fans, a bit about Daytona). Apologies to Hector, he finished it weeks ago, I finally just caught up to him (which is far easier to do while NOT on the racetrack). The article is fairly in-depth, so instead of posting the whole thing here, I'm just including a link to the Test Pilot Page in our store. As a reminder, 70-8/74 Koni Sport Struts are in stock now. We hope to hear the arrival date of the 74.5 to 78 Struts from the Netherlands any day. There should be plenty of time to get your Z ready for all the fun you'll have this summer on track or at your favorite mountain pass. Thanks Hector!2 points
 -
 1 point
 -
 1 pointI think I see what Zed head is saying. If you look at the drawing, the number 5 points to the rear two fusible links and the front engine side link. Number 6 points to the fender side link. That all makes sense now we know the layout is 3 brown links 0.3mm2 and one black link 1.25mm3. Looking at the table, I read Key number 5 is one link with 1.25mm2 rating and key number 6 is three with 0.3mm2 rating. When you look at the documentation, you find a number of inconsistencies or mistakes. For people that know the cars and worked out the problems it's not a issue, but for someone new to these cars, it's confusing at least.1 point
 -
 1 pointOh, here too! Although I'm getting better. I'm slow but not terribly slow any more. It makes a person understand why this kind of work is so expensive in a shop, even with relatively low shop rates.1 point
 -
1 pointReally just want to know where MSA and others get their red links, and what I have on mine. I don't know if I have 0.69 new red or 0.3 old red, or if new red is 0.3 after all. A test for other people would be nice too. Plus, sometimes I test things even though they're not a problem. I can't easily get to the conductor to measure it with the fittings on the end. Surprised that the MSA guys didn't reply. They've been around, on the Koni strut thread.1 point
-
 1 pointLooks like the issue is pretty much fixed. Once we got the wndow crank off (PO had used a mangled homemade clip), things flowed pretty well. By positioning the window up and down to see what we had access to in various positions, we realized what the problem was. The nylon nut at the end of the rod from the outside handle needed to be adjusted down (loosened) because the handle was running out of travel before the rod was pushed down far enough. In addition, cleaning and re-lubricating the rotating points we could reach, the whole thing is working better than ever. I thought that once we had removed the door panel we'd have better access to things, but the inside of the door stamping itself gets in the way a lot. Not looking forward to the day we need to do serious work on the door mechanisms. Thanks again for your help.1 point
 -
 1 pointThanks Steve. You just pointed out that I slipped a decimal point in one of my earlier comparisons. I had said that .3 was similar to 32 ga, but it's not. That would be .03, not .3 Wonder if it's too late to edit my previous incorrect info... Not too late. Fixed it.1 point
 -
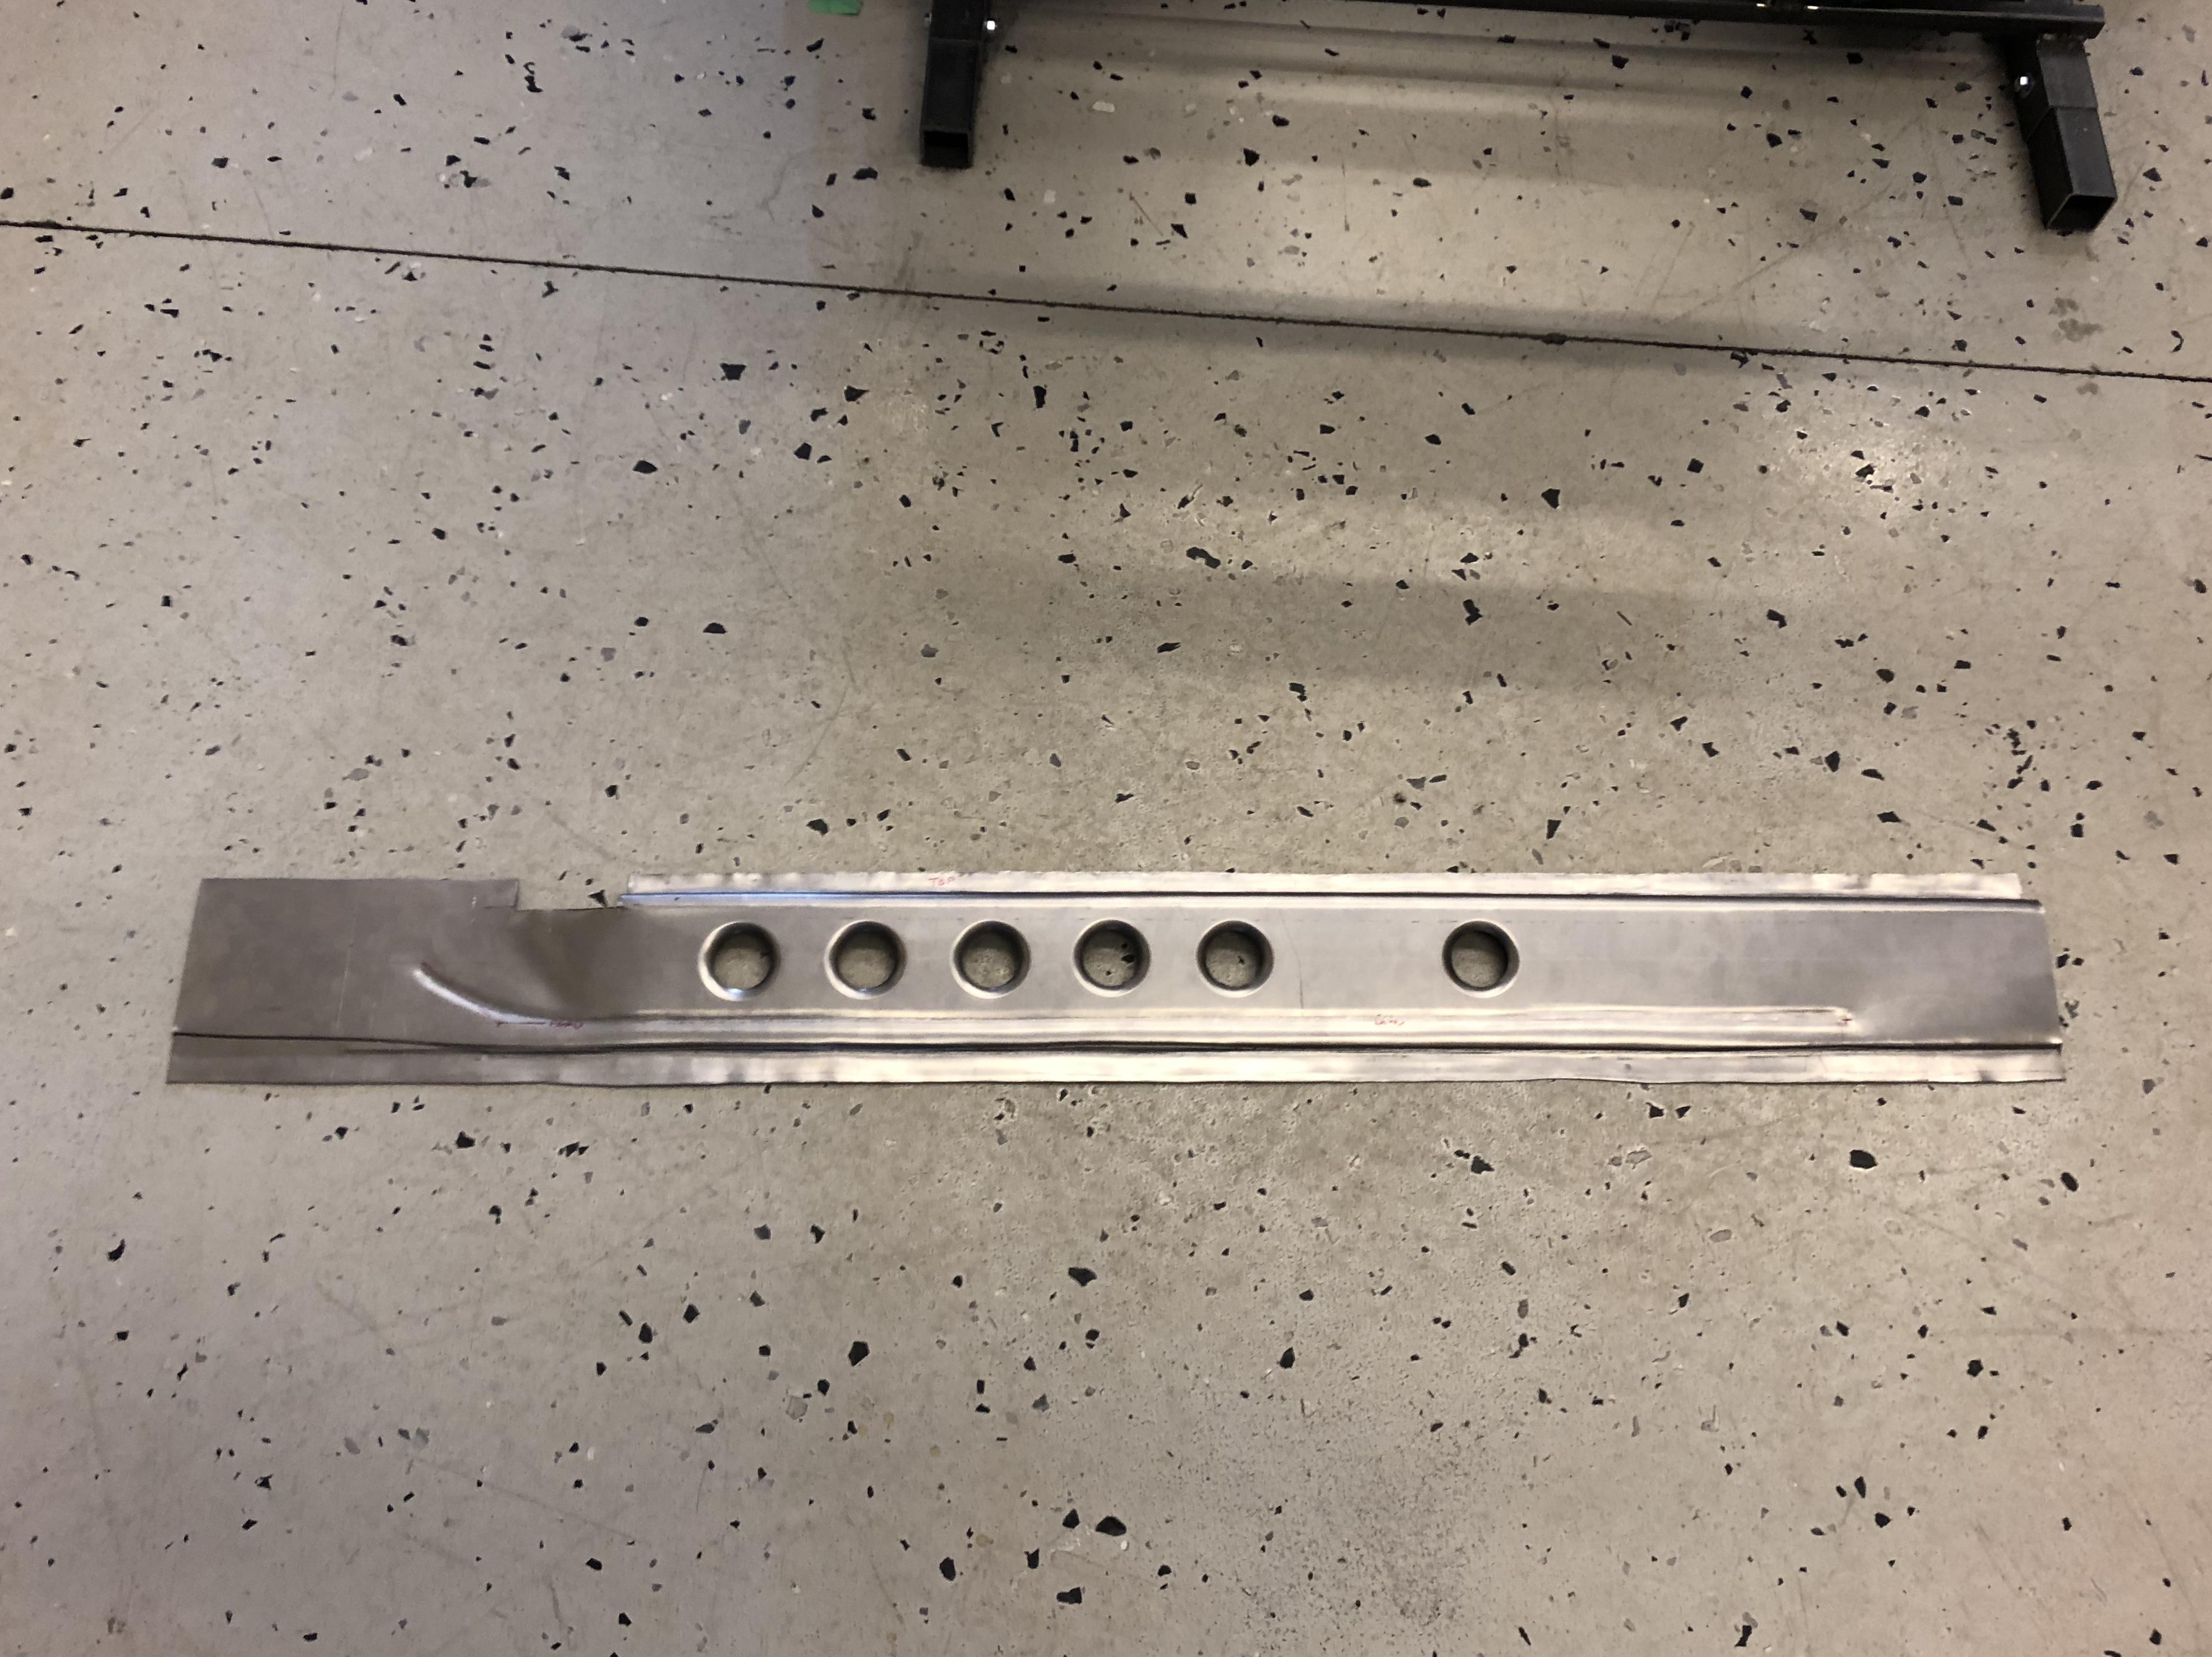
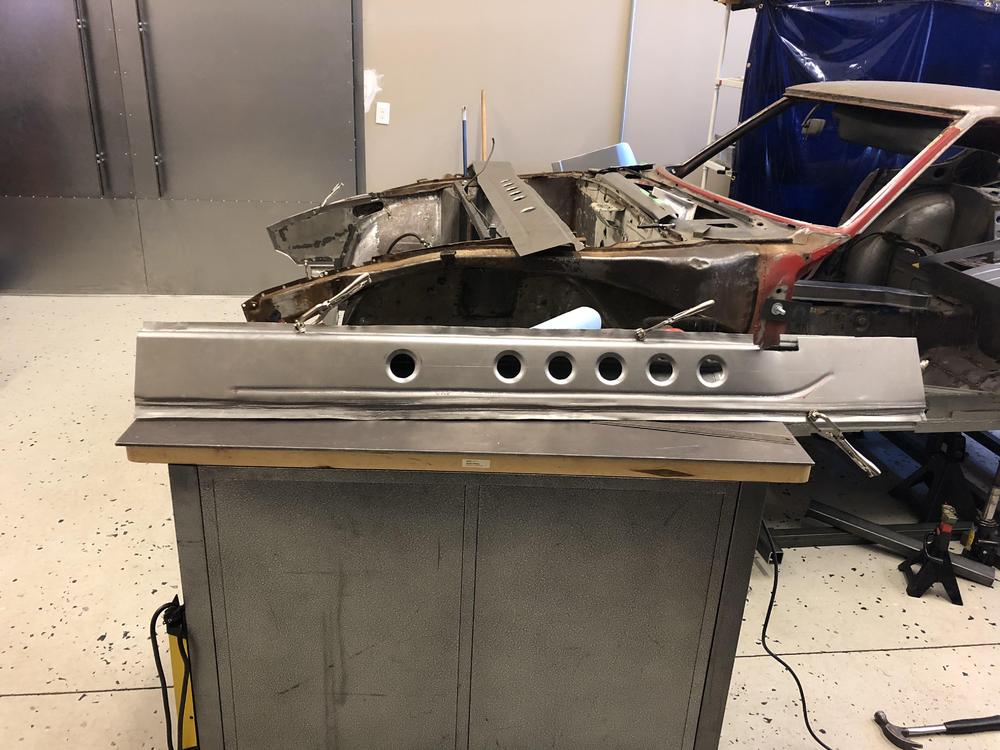
1 pointPassenger side came out fine ... practice practice ? now back to work to (hopefully) clean up the driver’s side ....
 1 point
 -
1 pointTrue, and time. If I had to get paid for this I would starve to death1 point
-
1 point
-
1 point
-
1 point
-
 View Advert Early 140 PSI Oil Pressure Gauge Required for 1969/1970 authentic restoration. These are rare as a Technical Service Bulletin called for their replacement by 90psi units. The 140psi gauges were installed from August 1969 until December 1970. p/n: 24830-E4400 Advertiser 240260280 Date 03/16/2019 Price $300.00 Category Parts for Sale1 point
 -
Very nice and look to be in decent shape. Can I ask what those set you back?1 point
-
 1 pointJeff make sure you have the right length screws for mounting the locks. A screw too long can interfere with the operation. Try backing the top screw out some to see if that helps. 72 body and block, everything else 71, Tokico springs, Illumina, R180 CLSD, 83 close ratio, 3.90 gears, Ztherapy SUs, BRE 15X7 Libre wheels and BRE front spoiler.1 point
 -
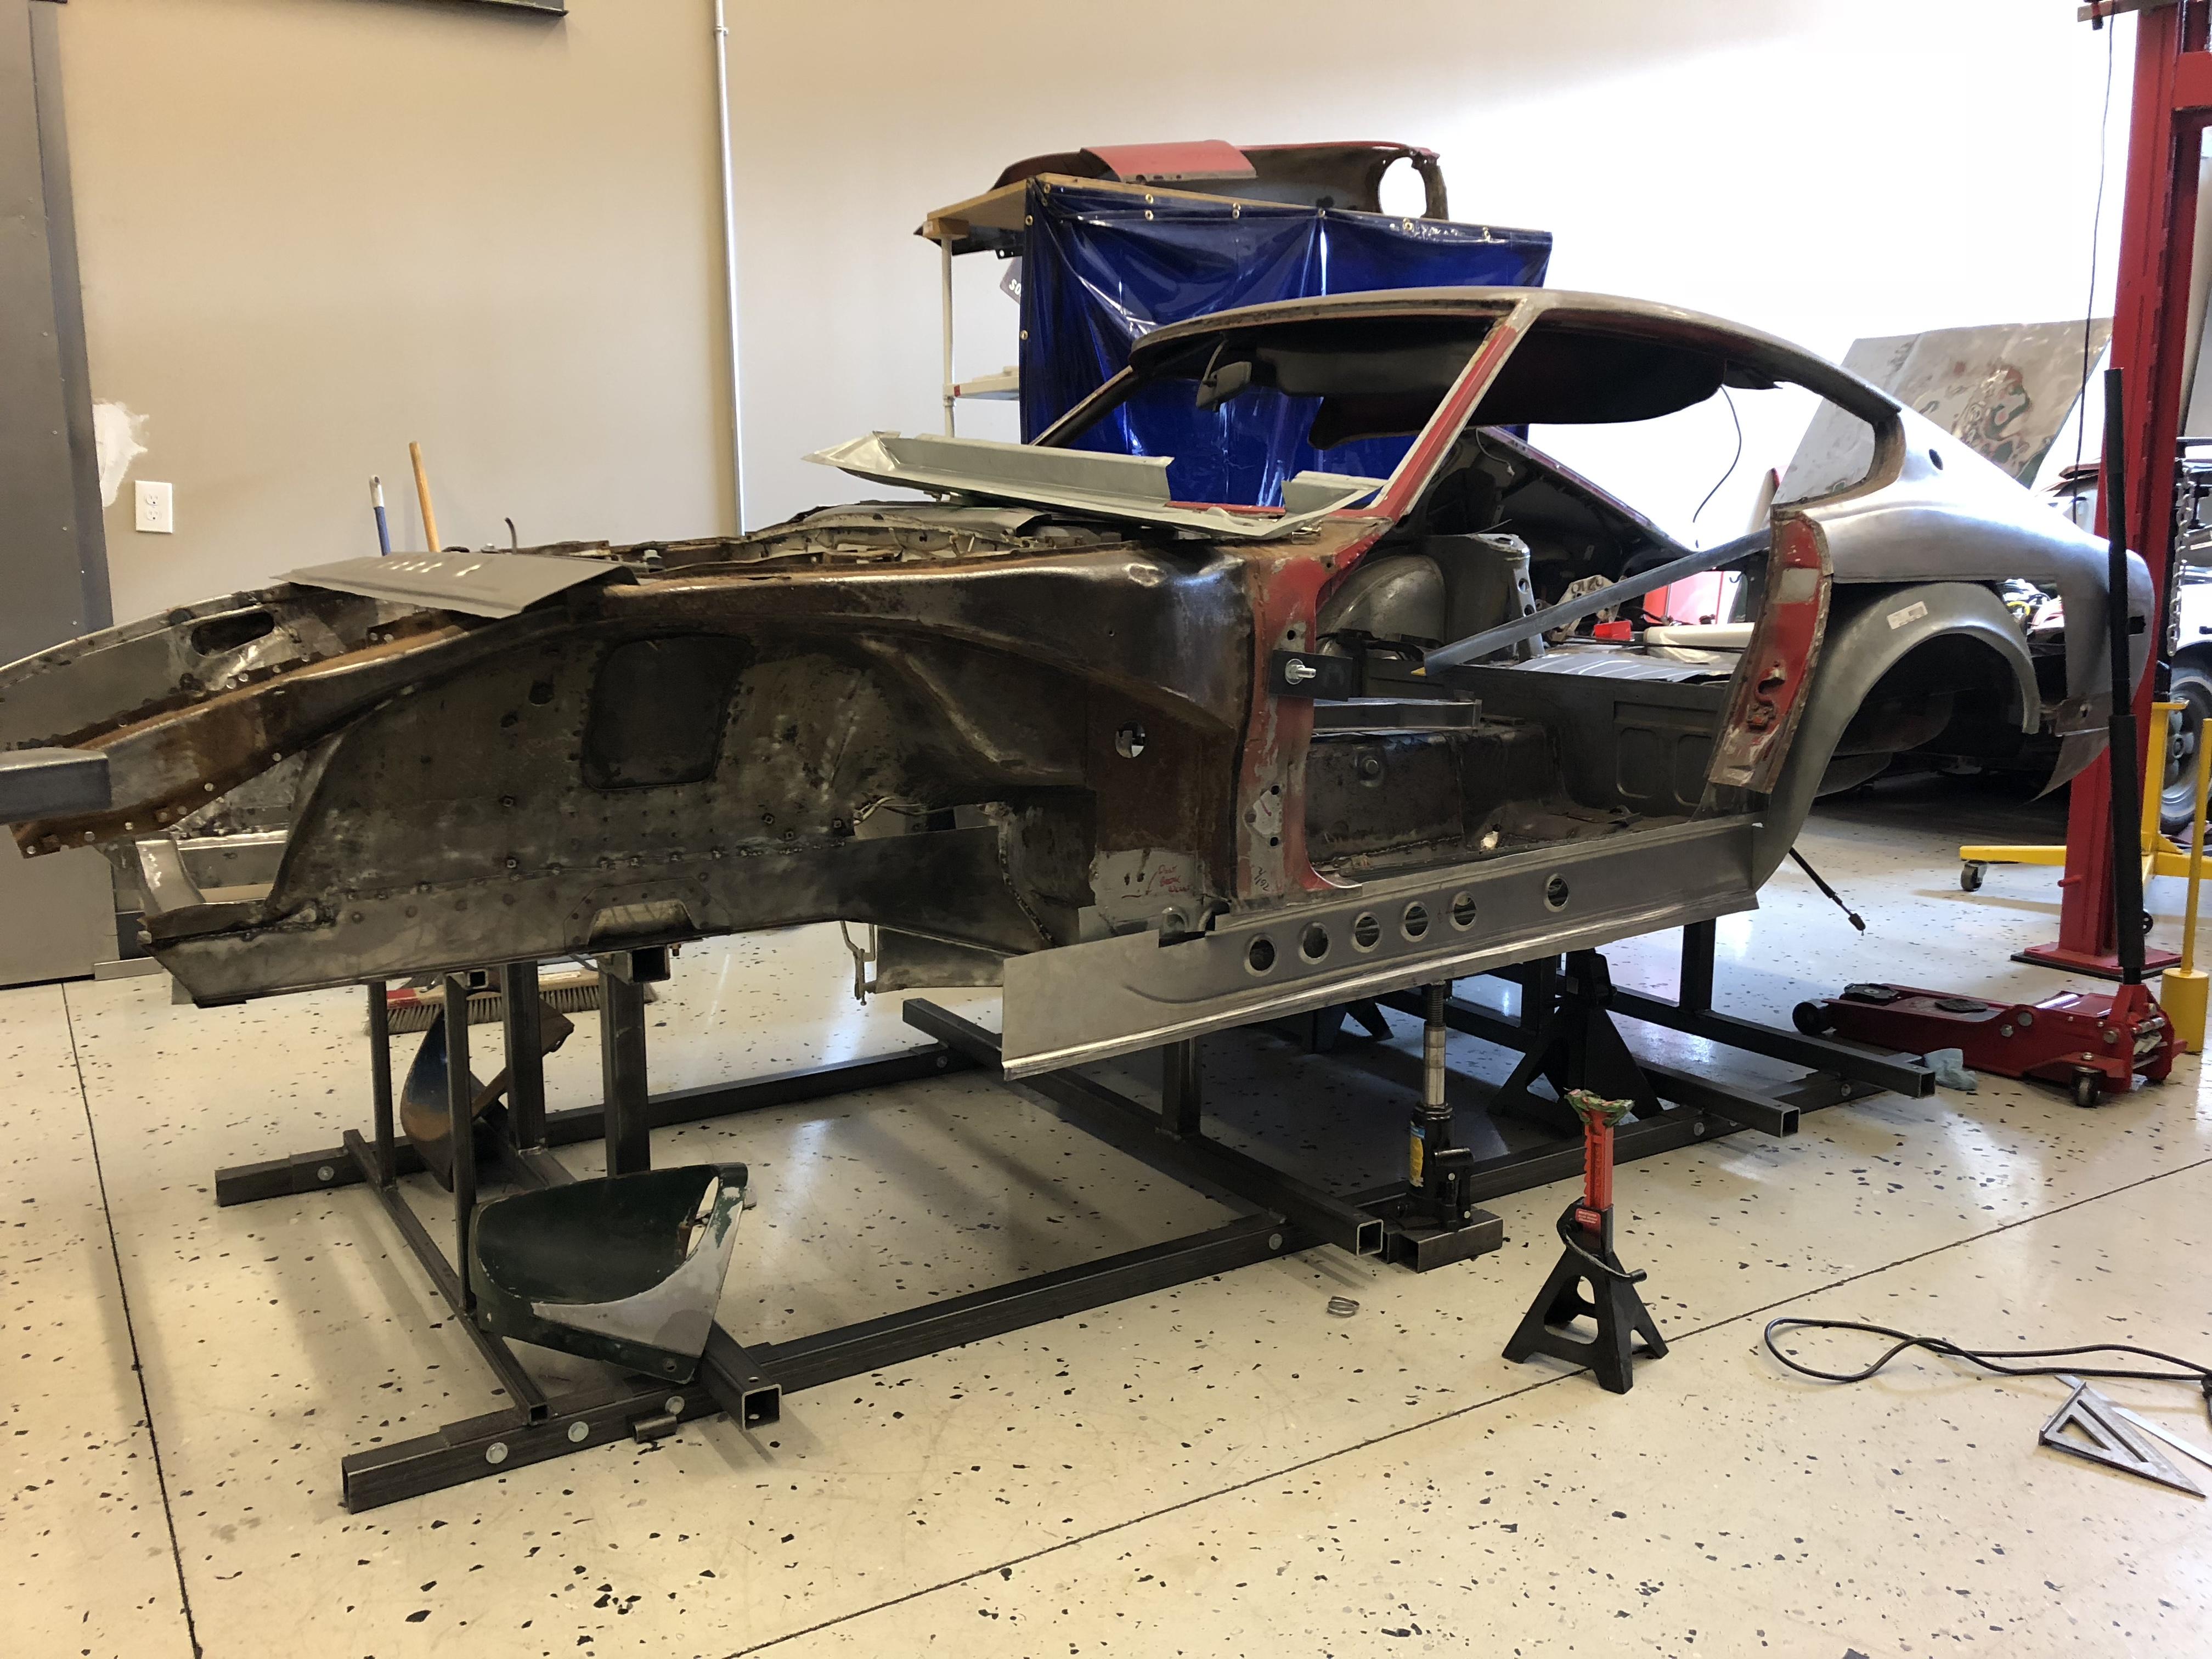
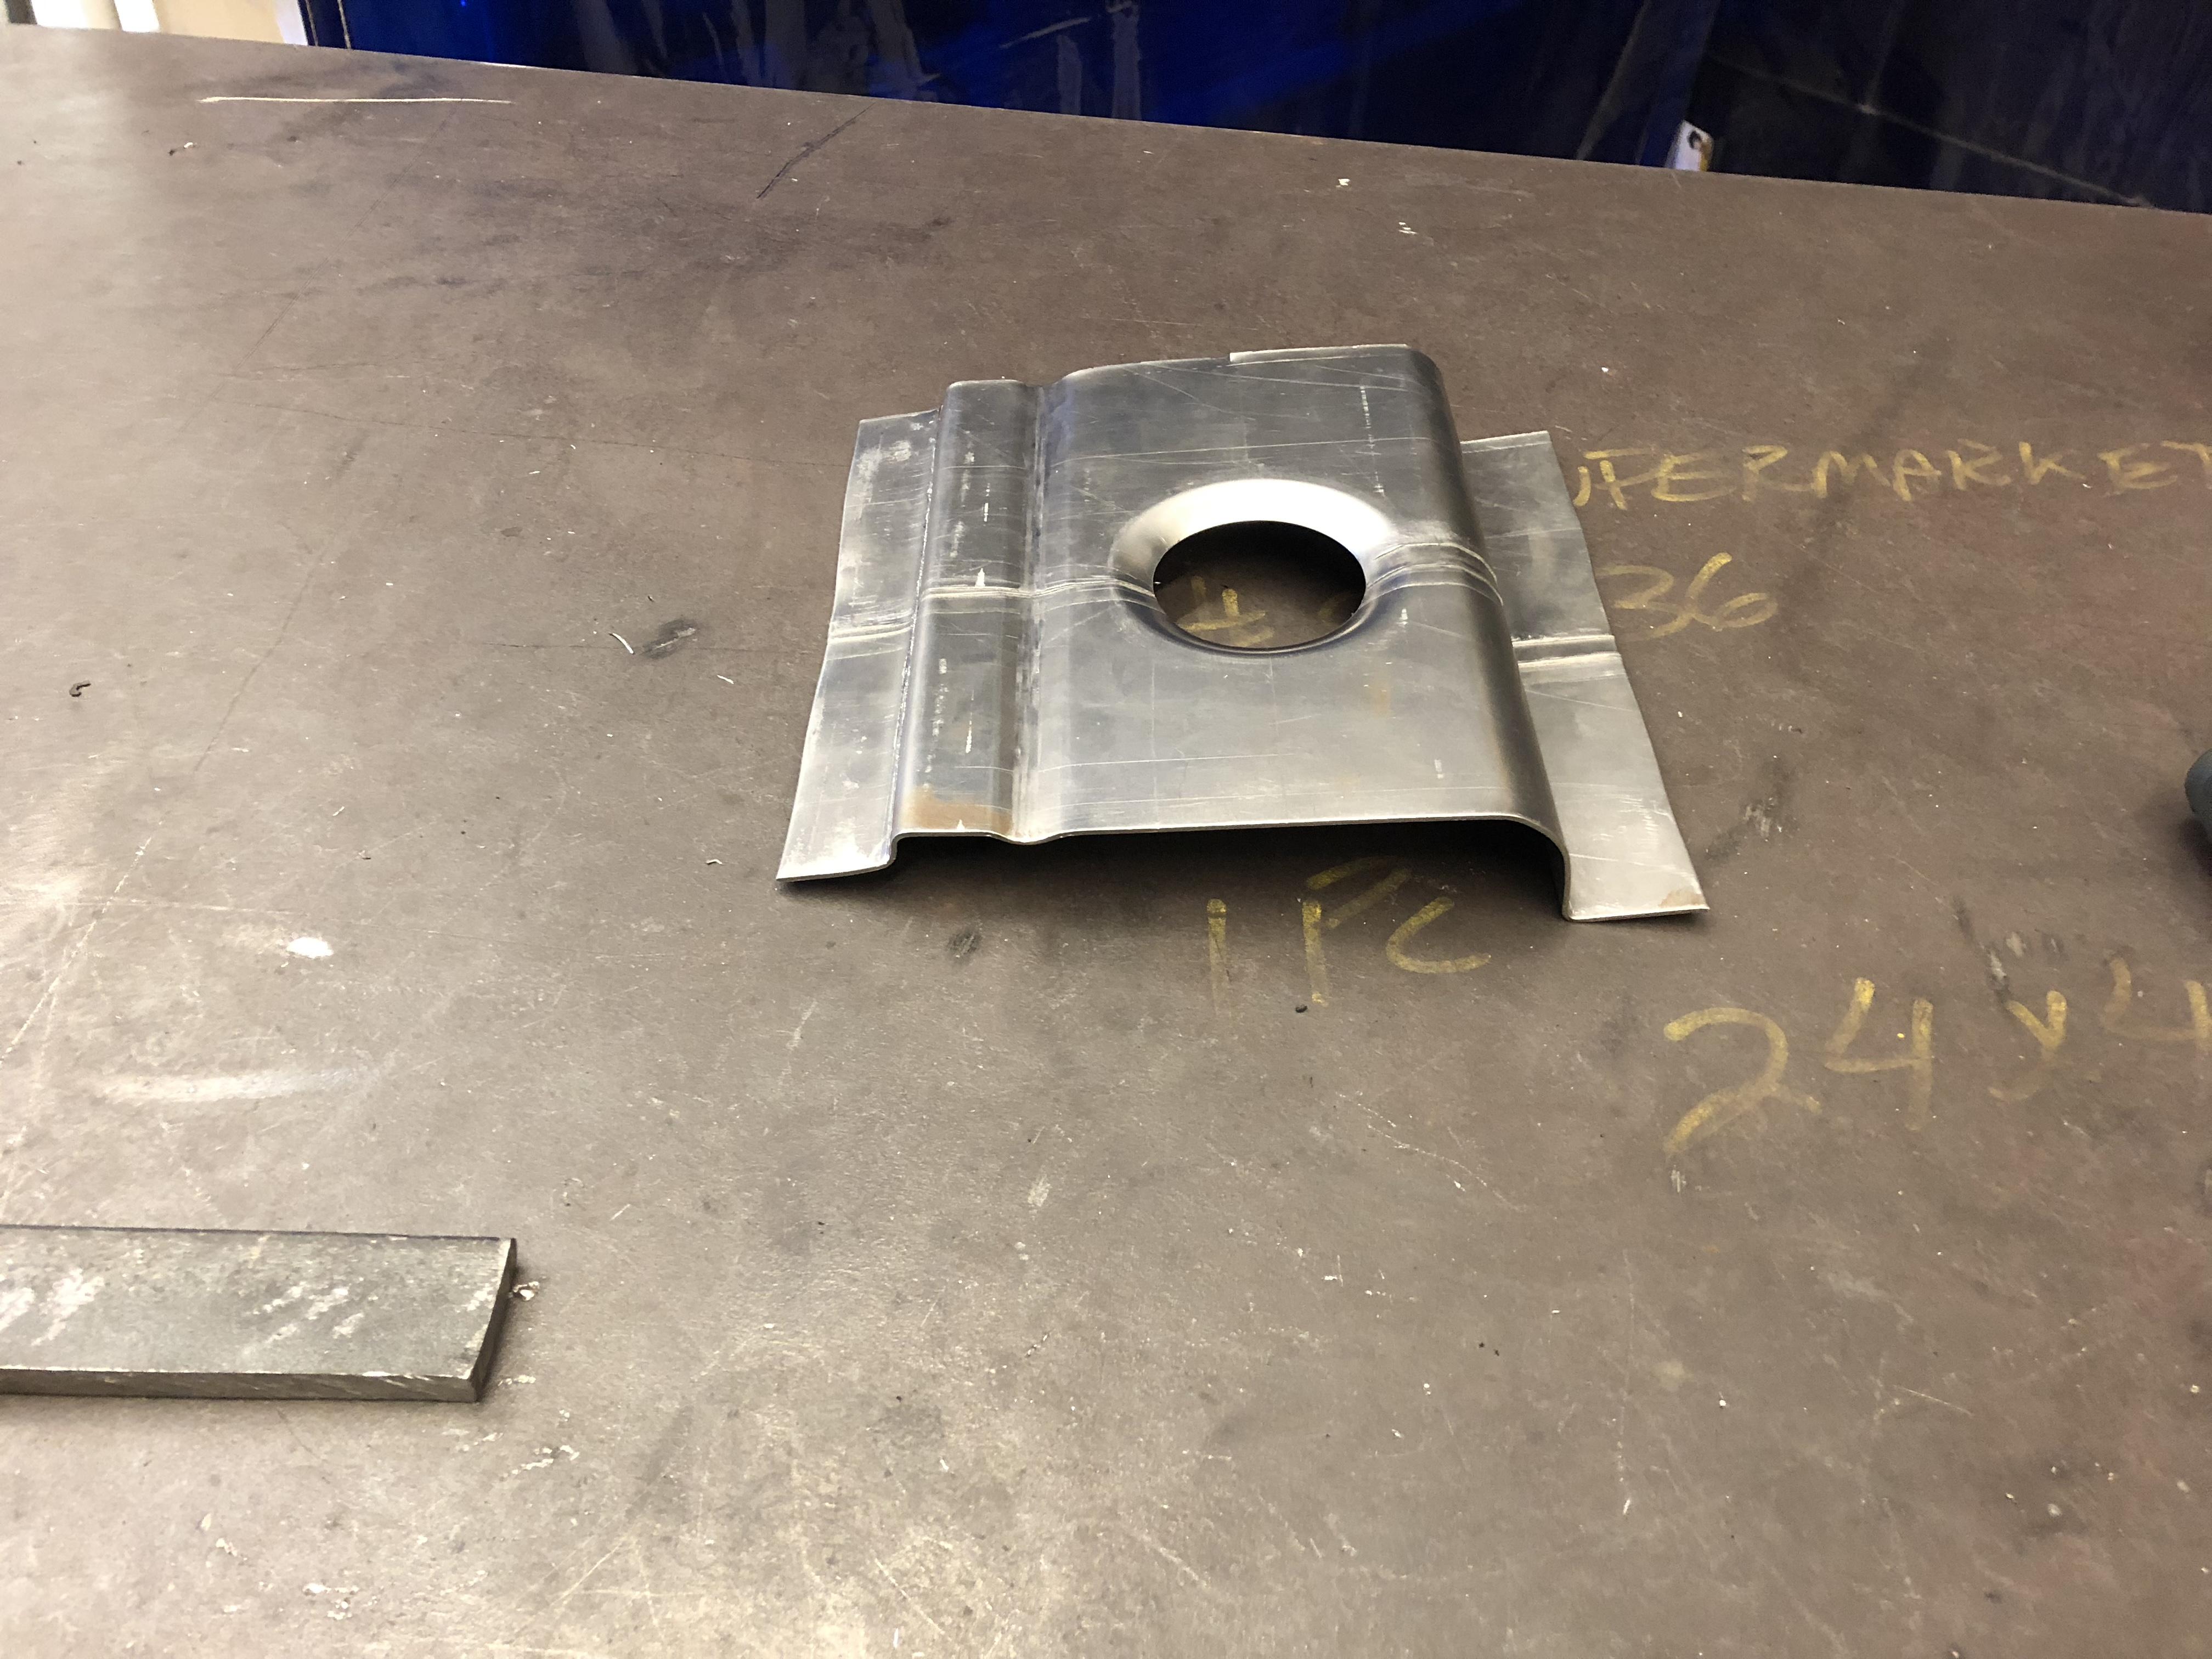
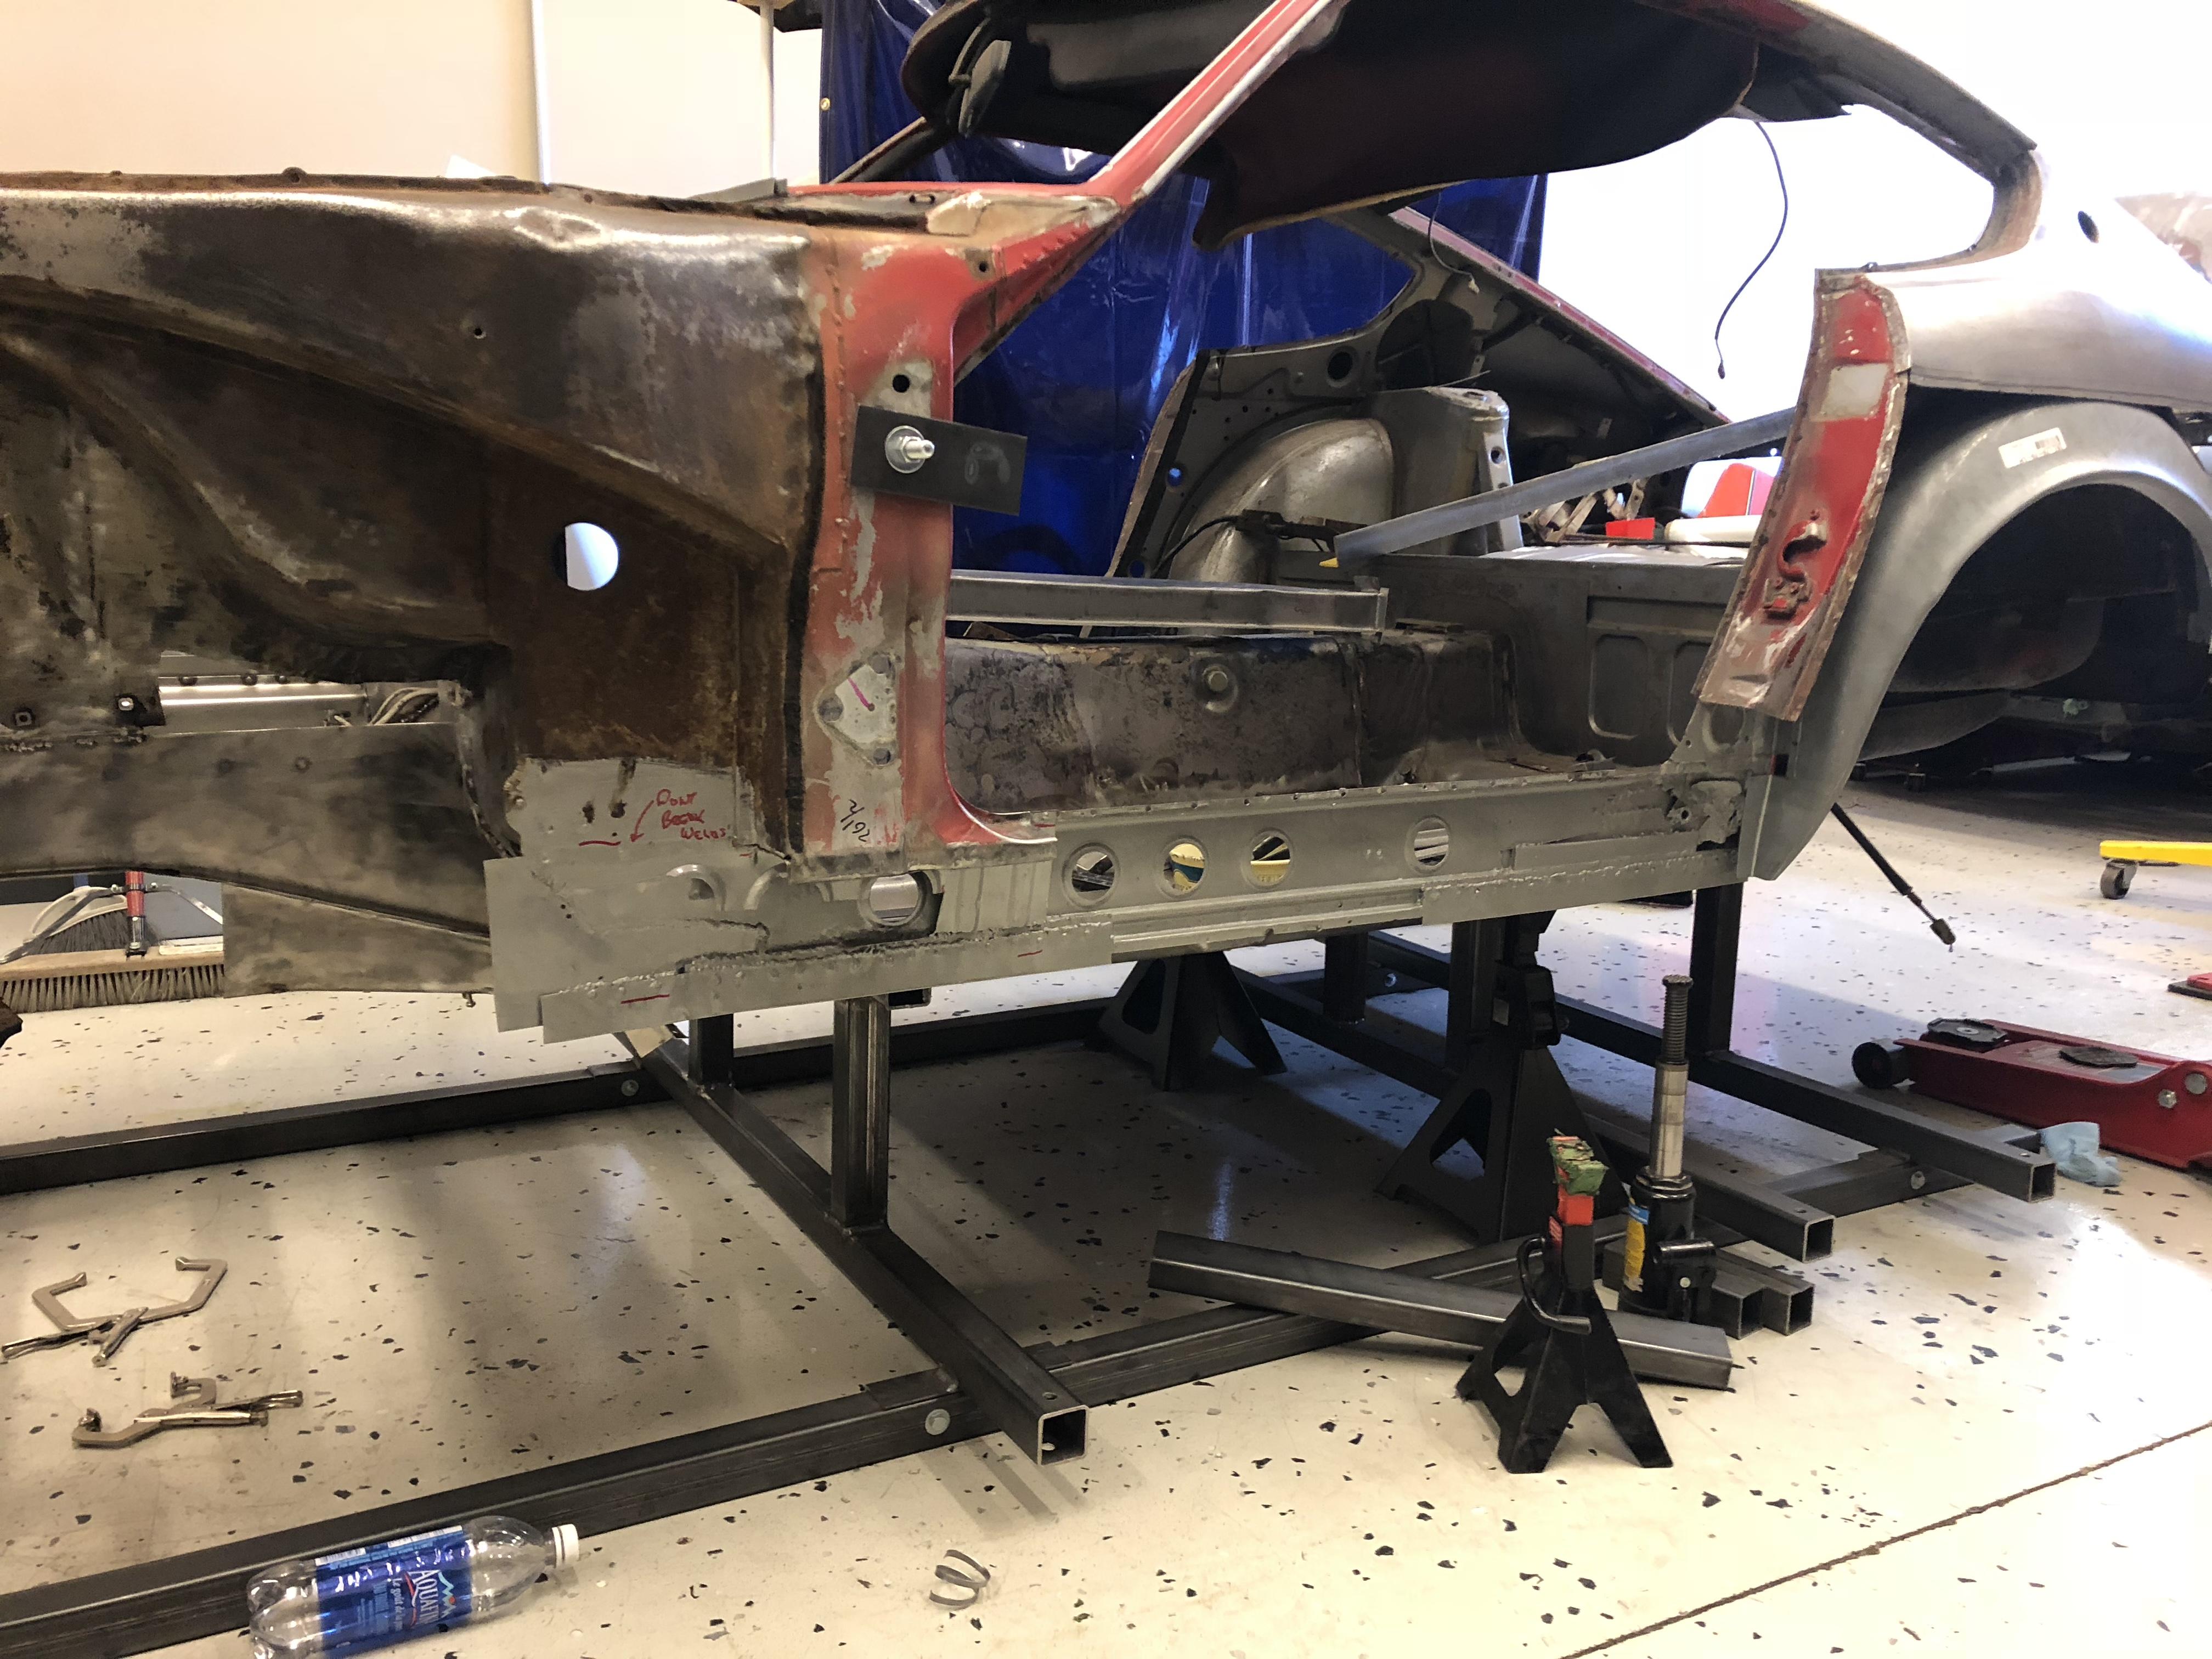
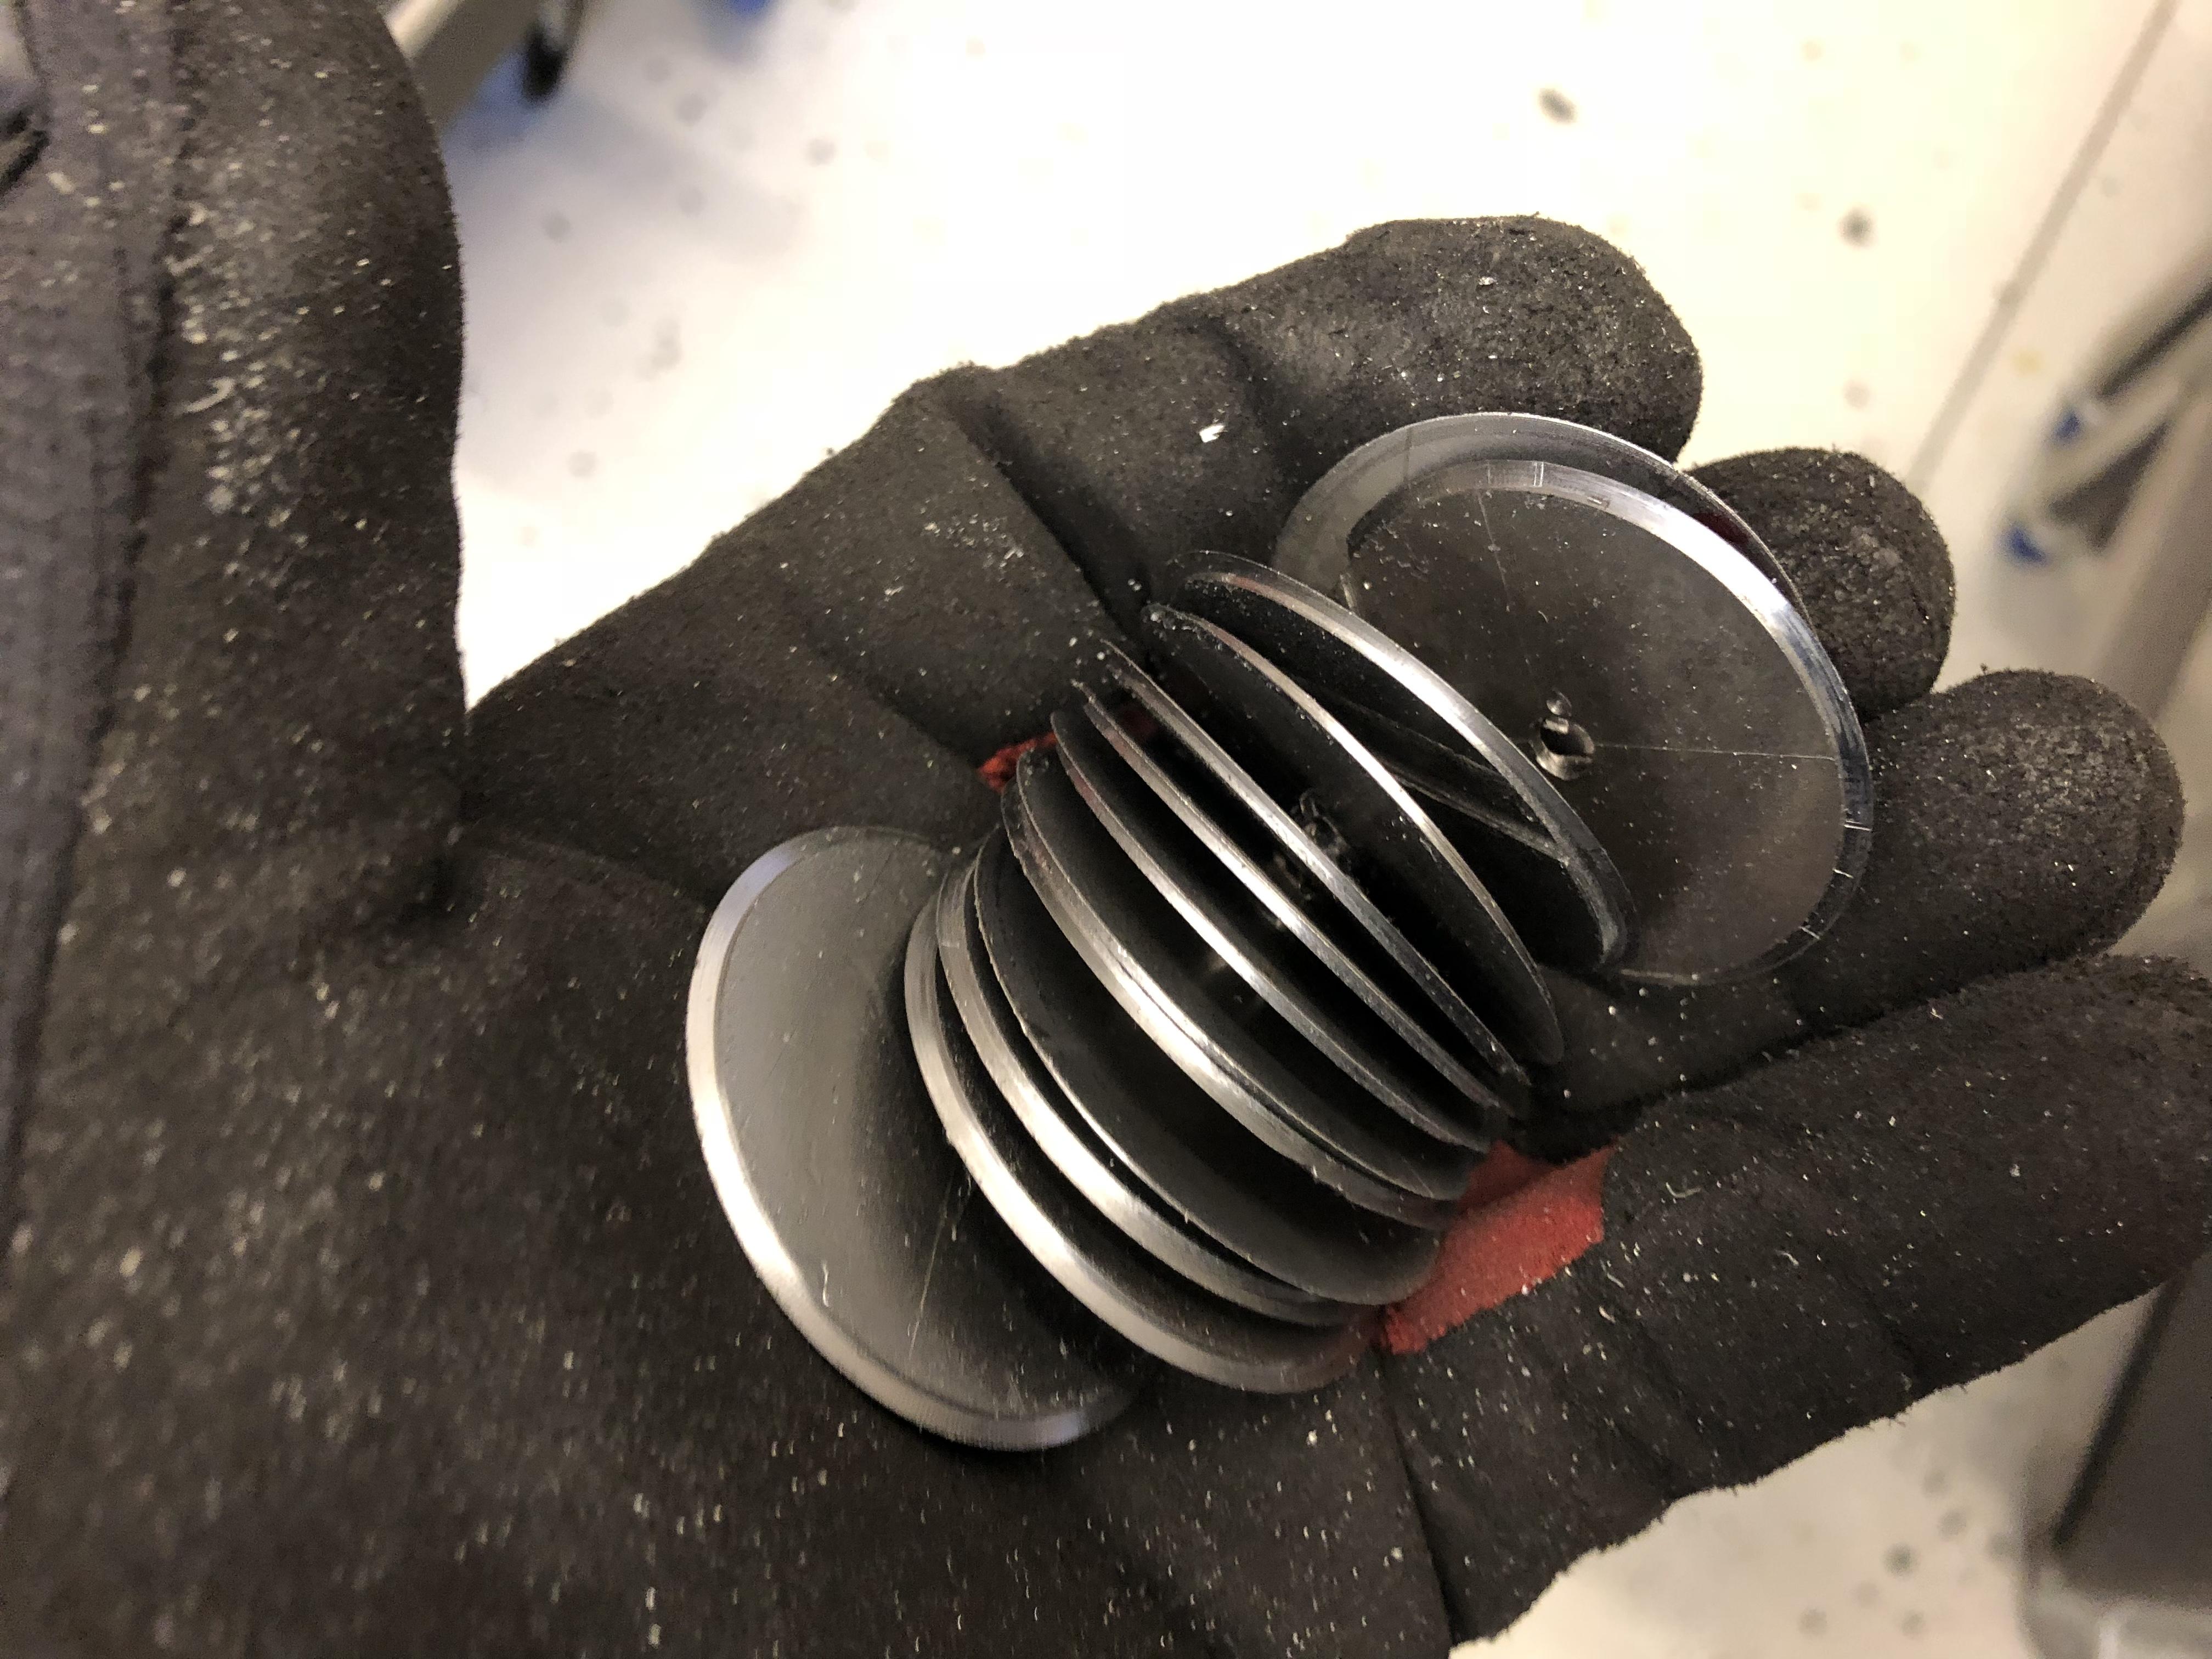
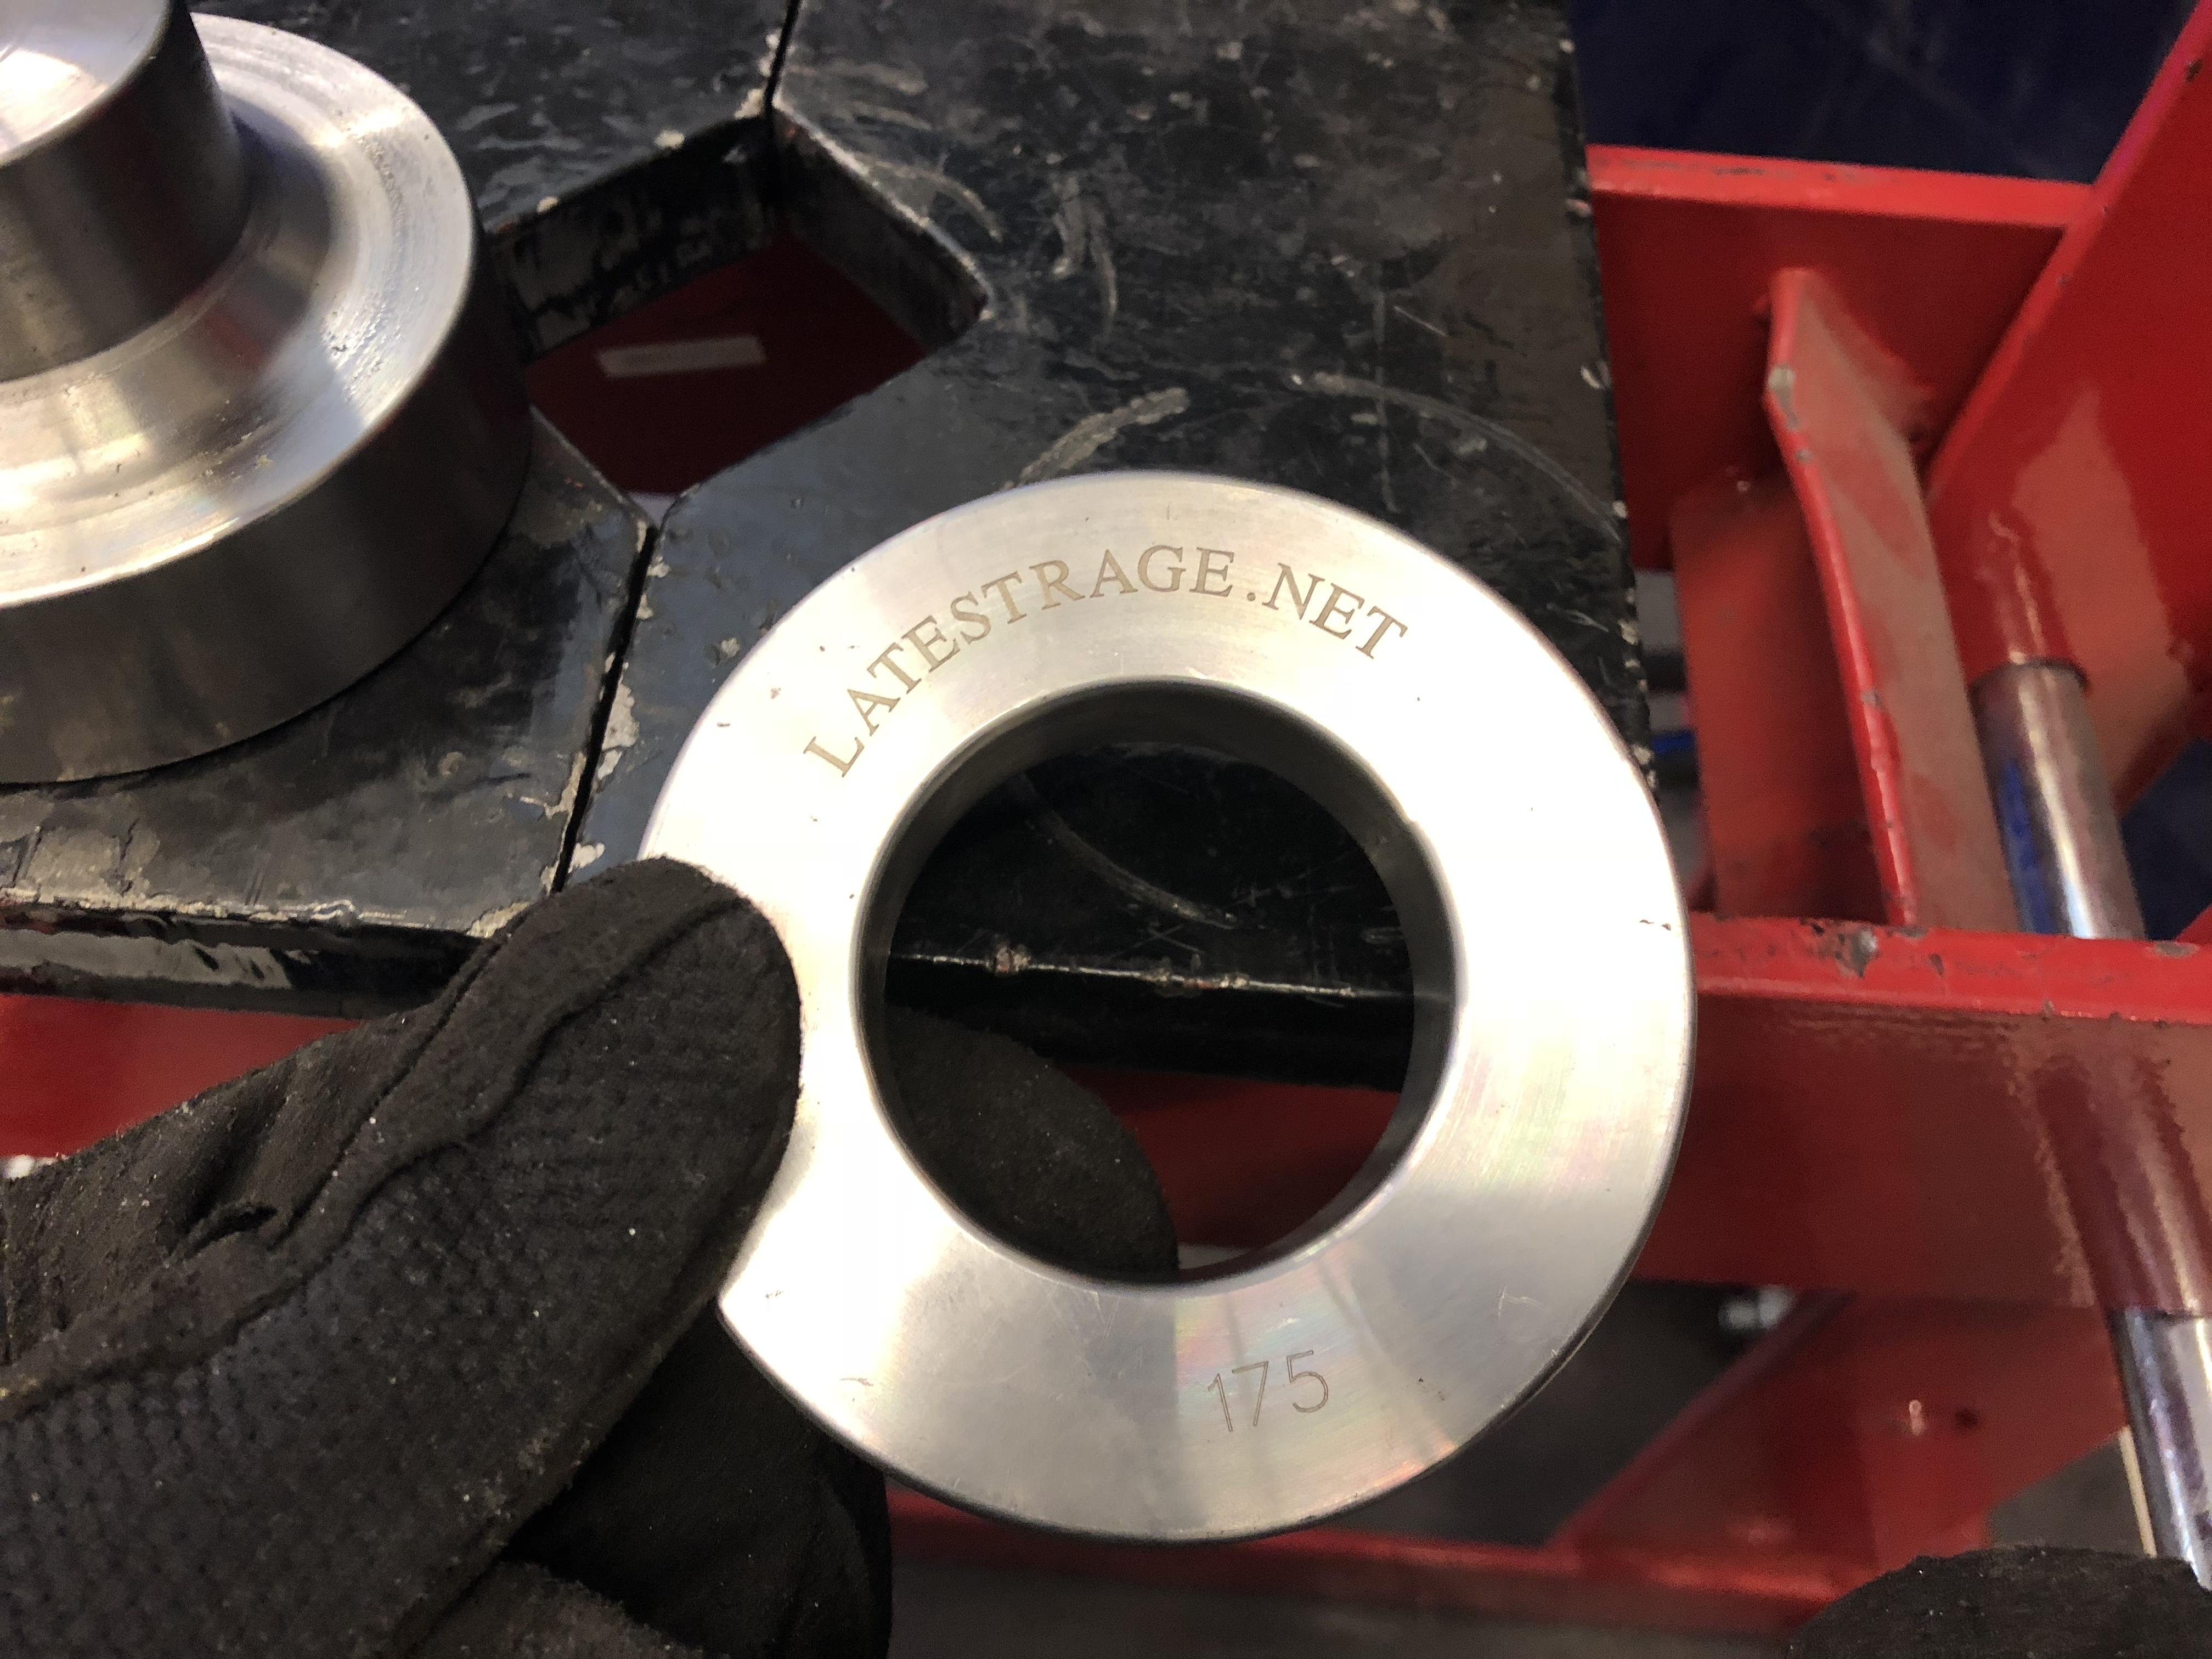
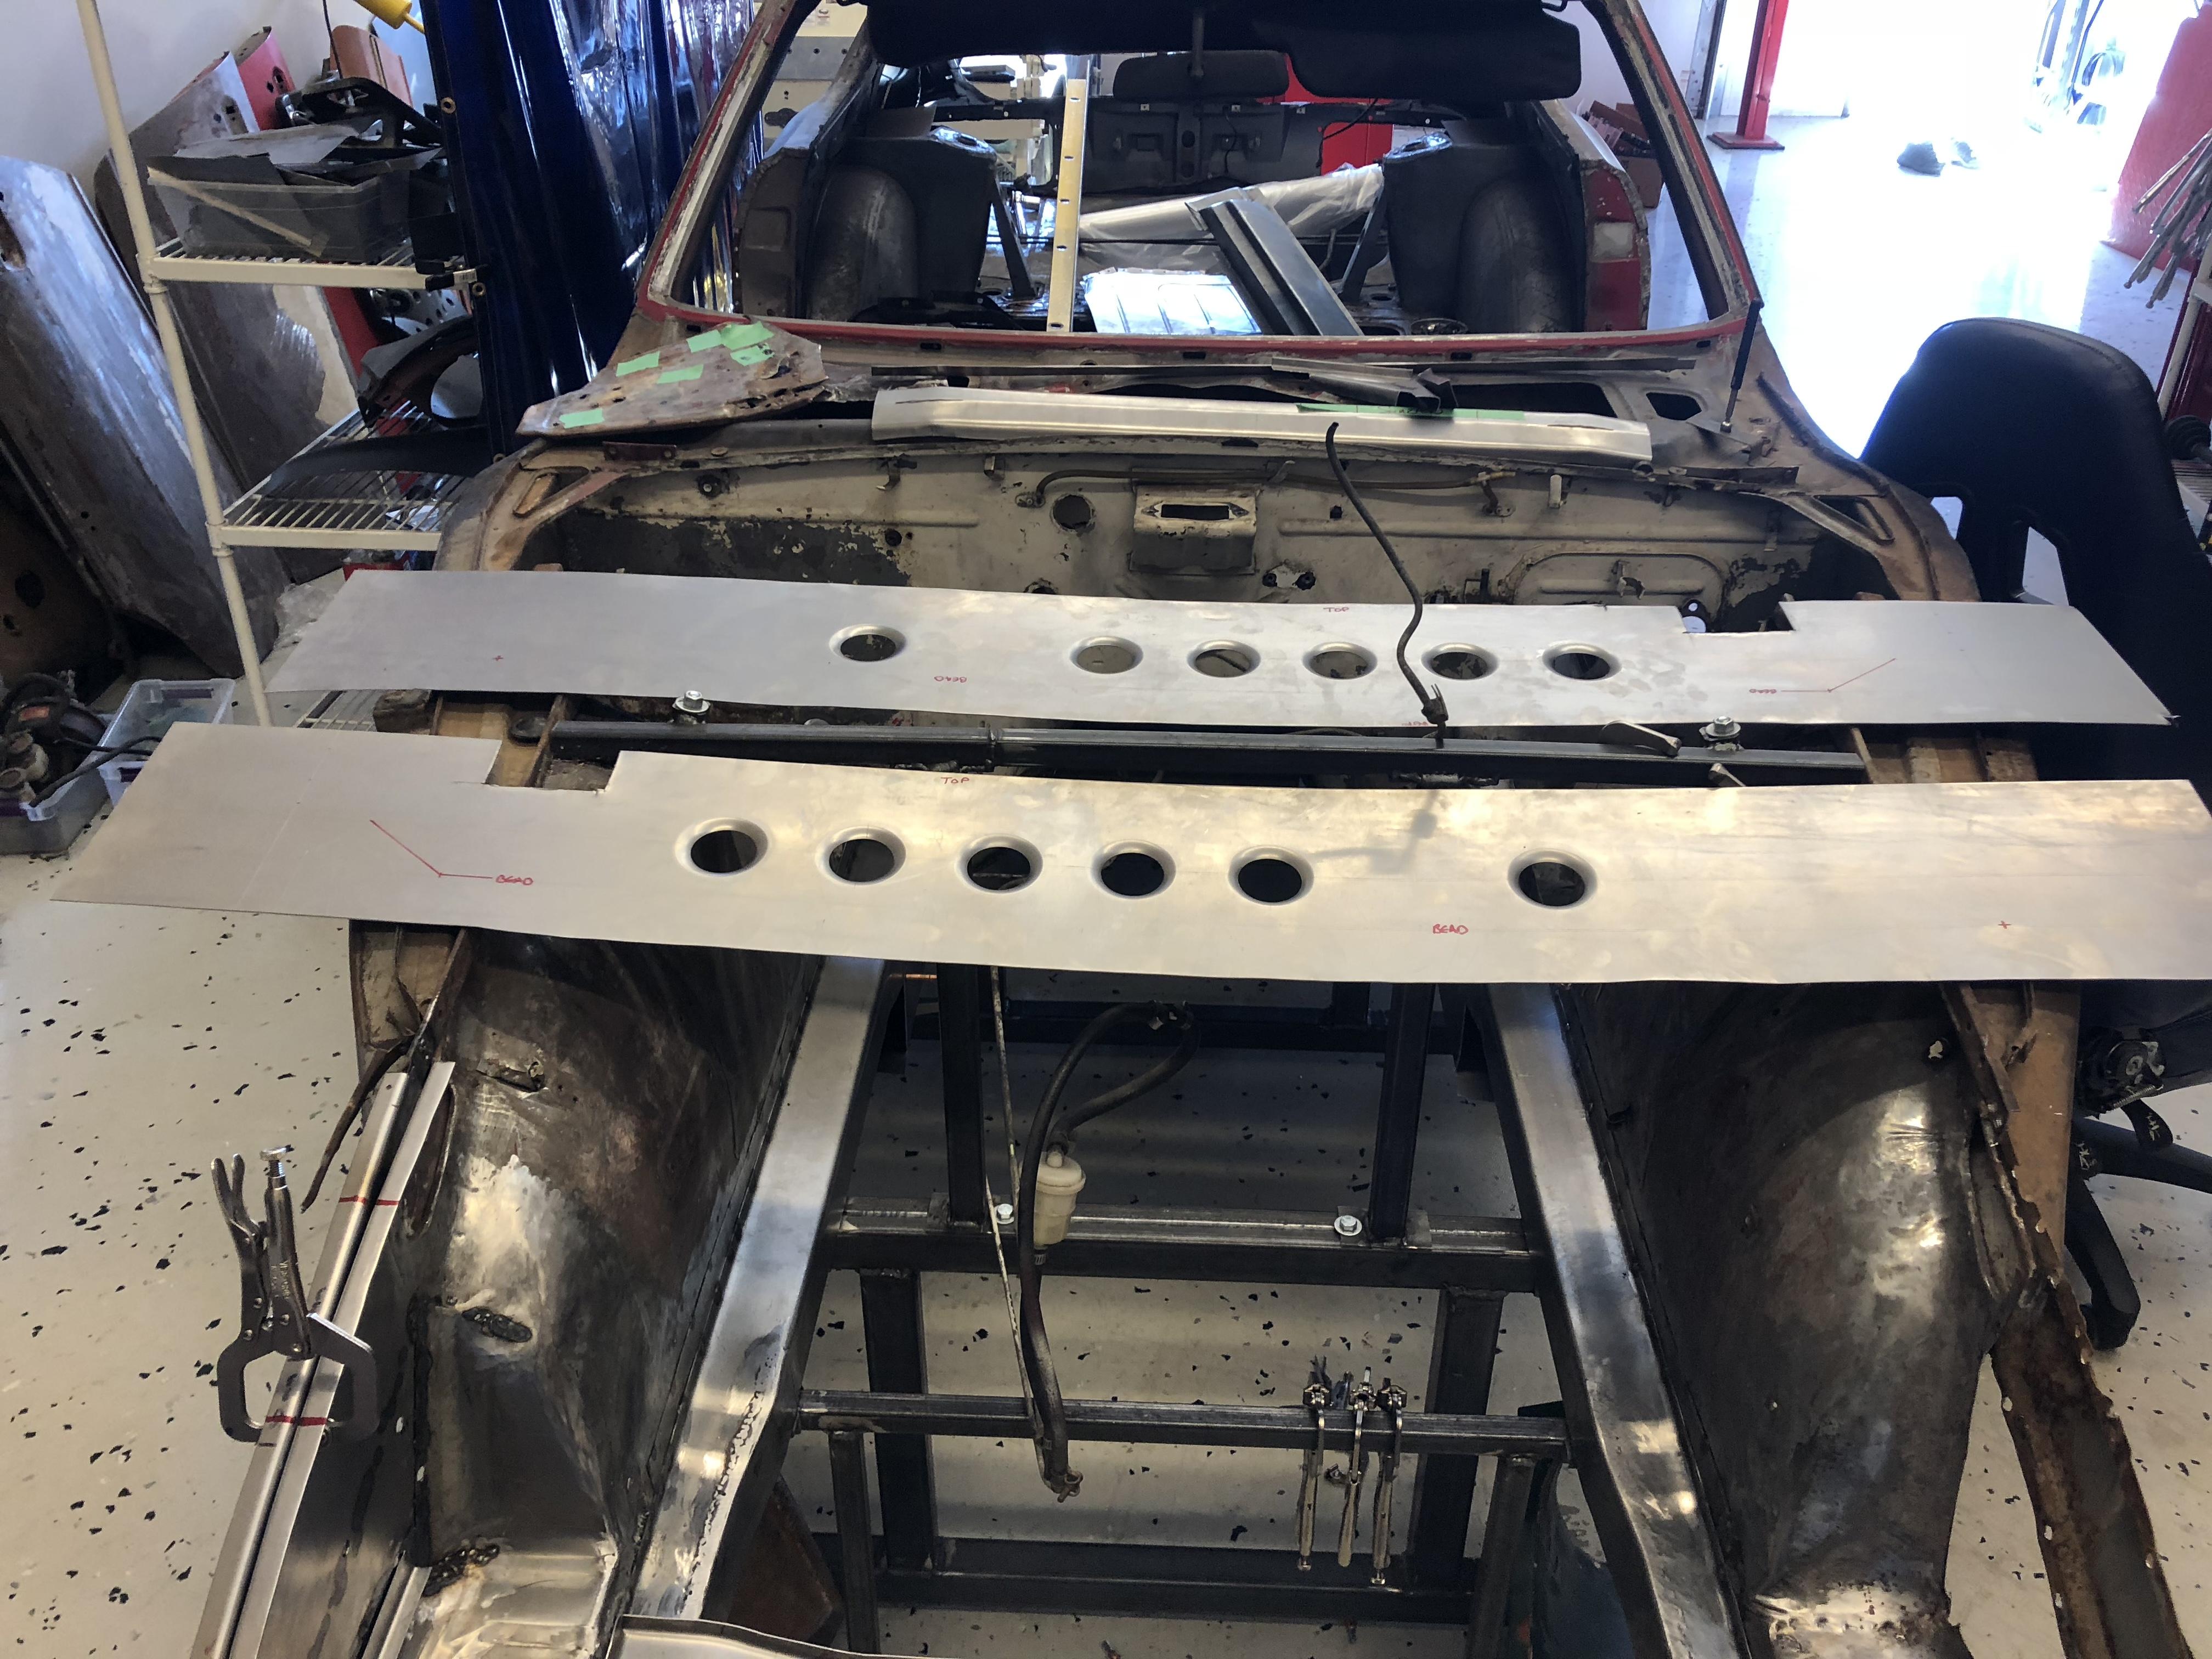
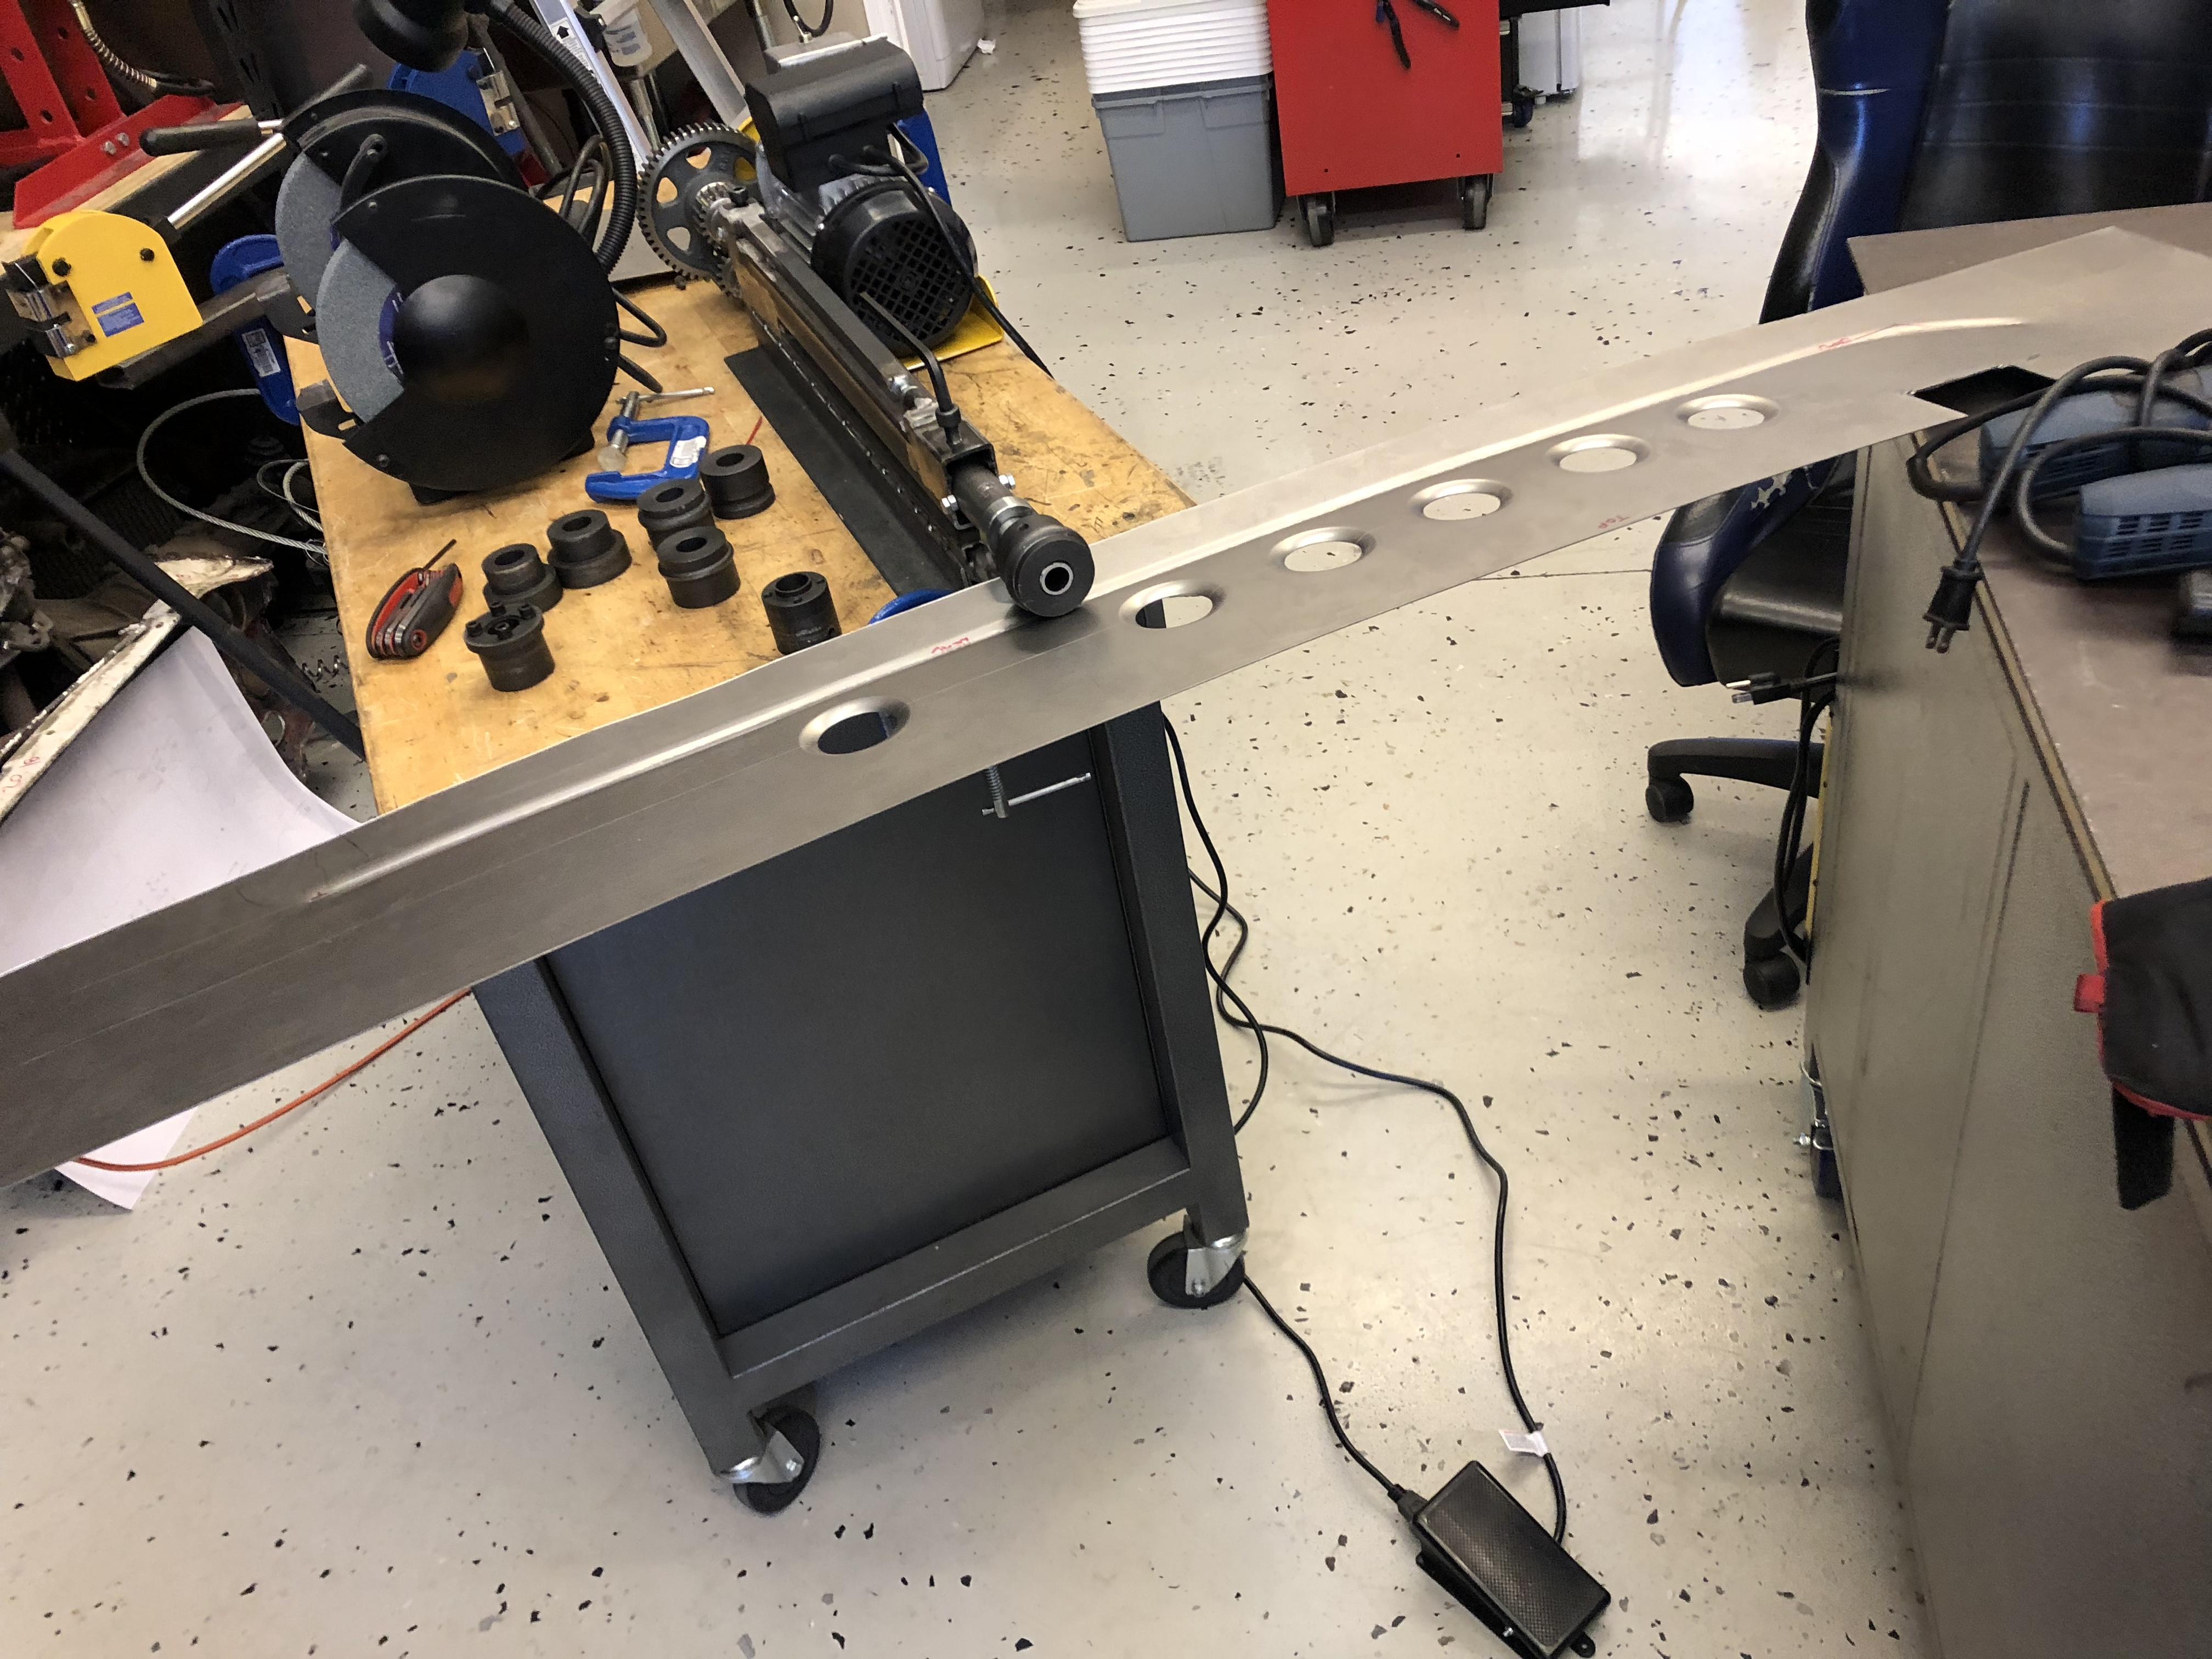
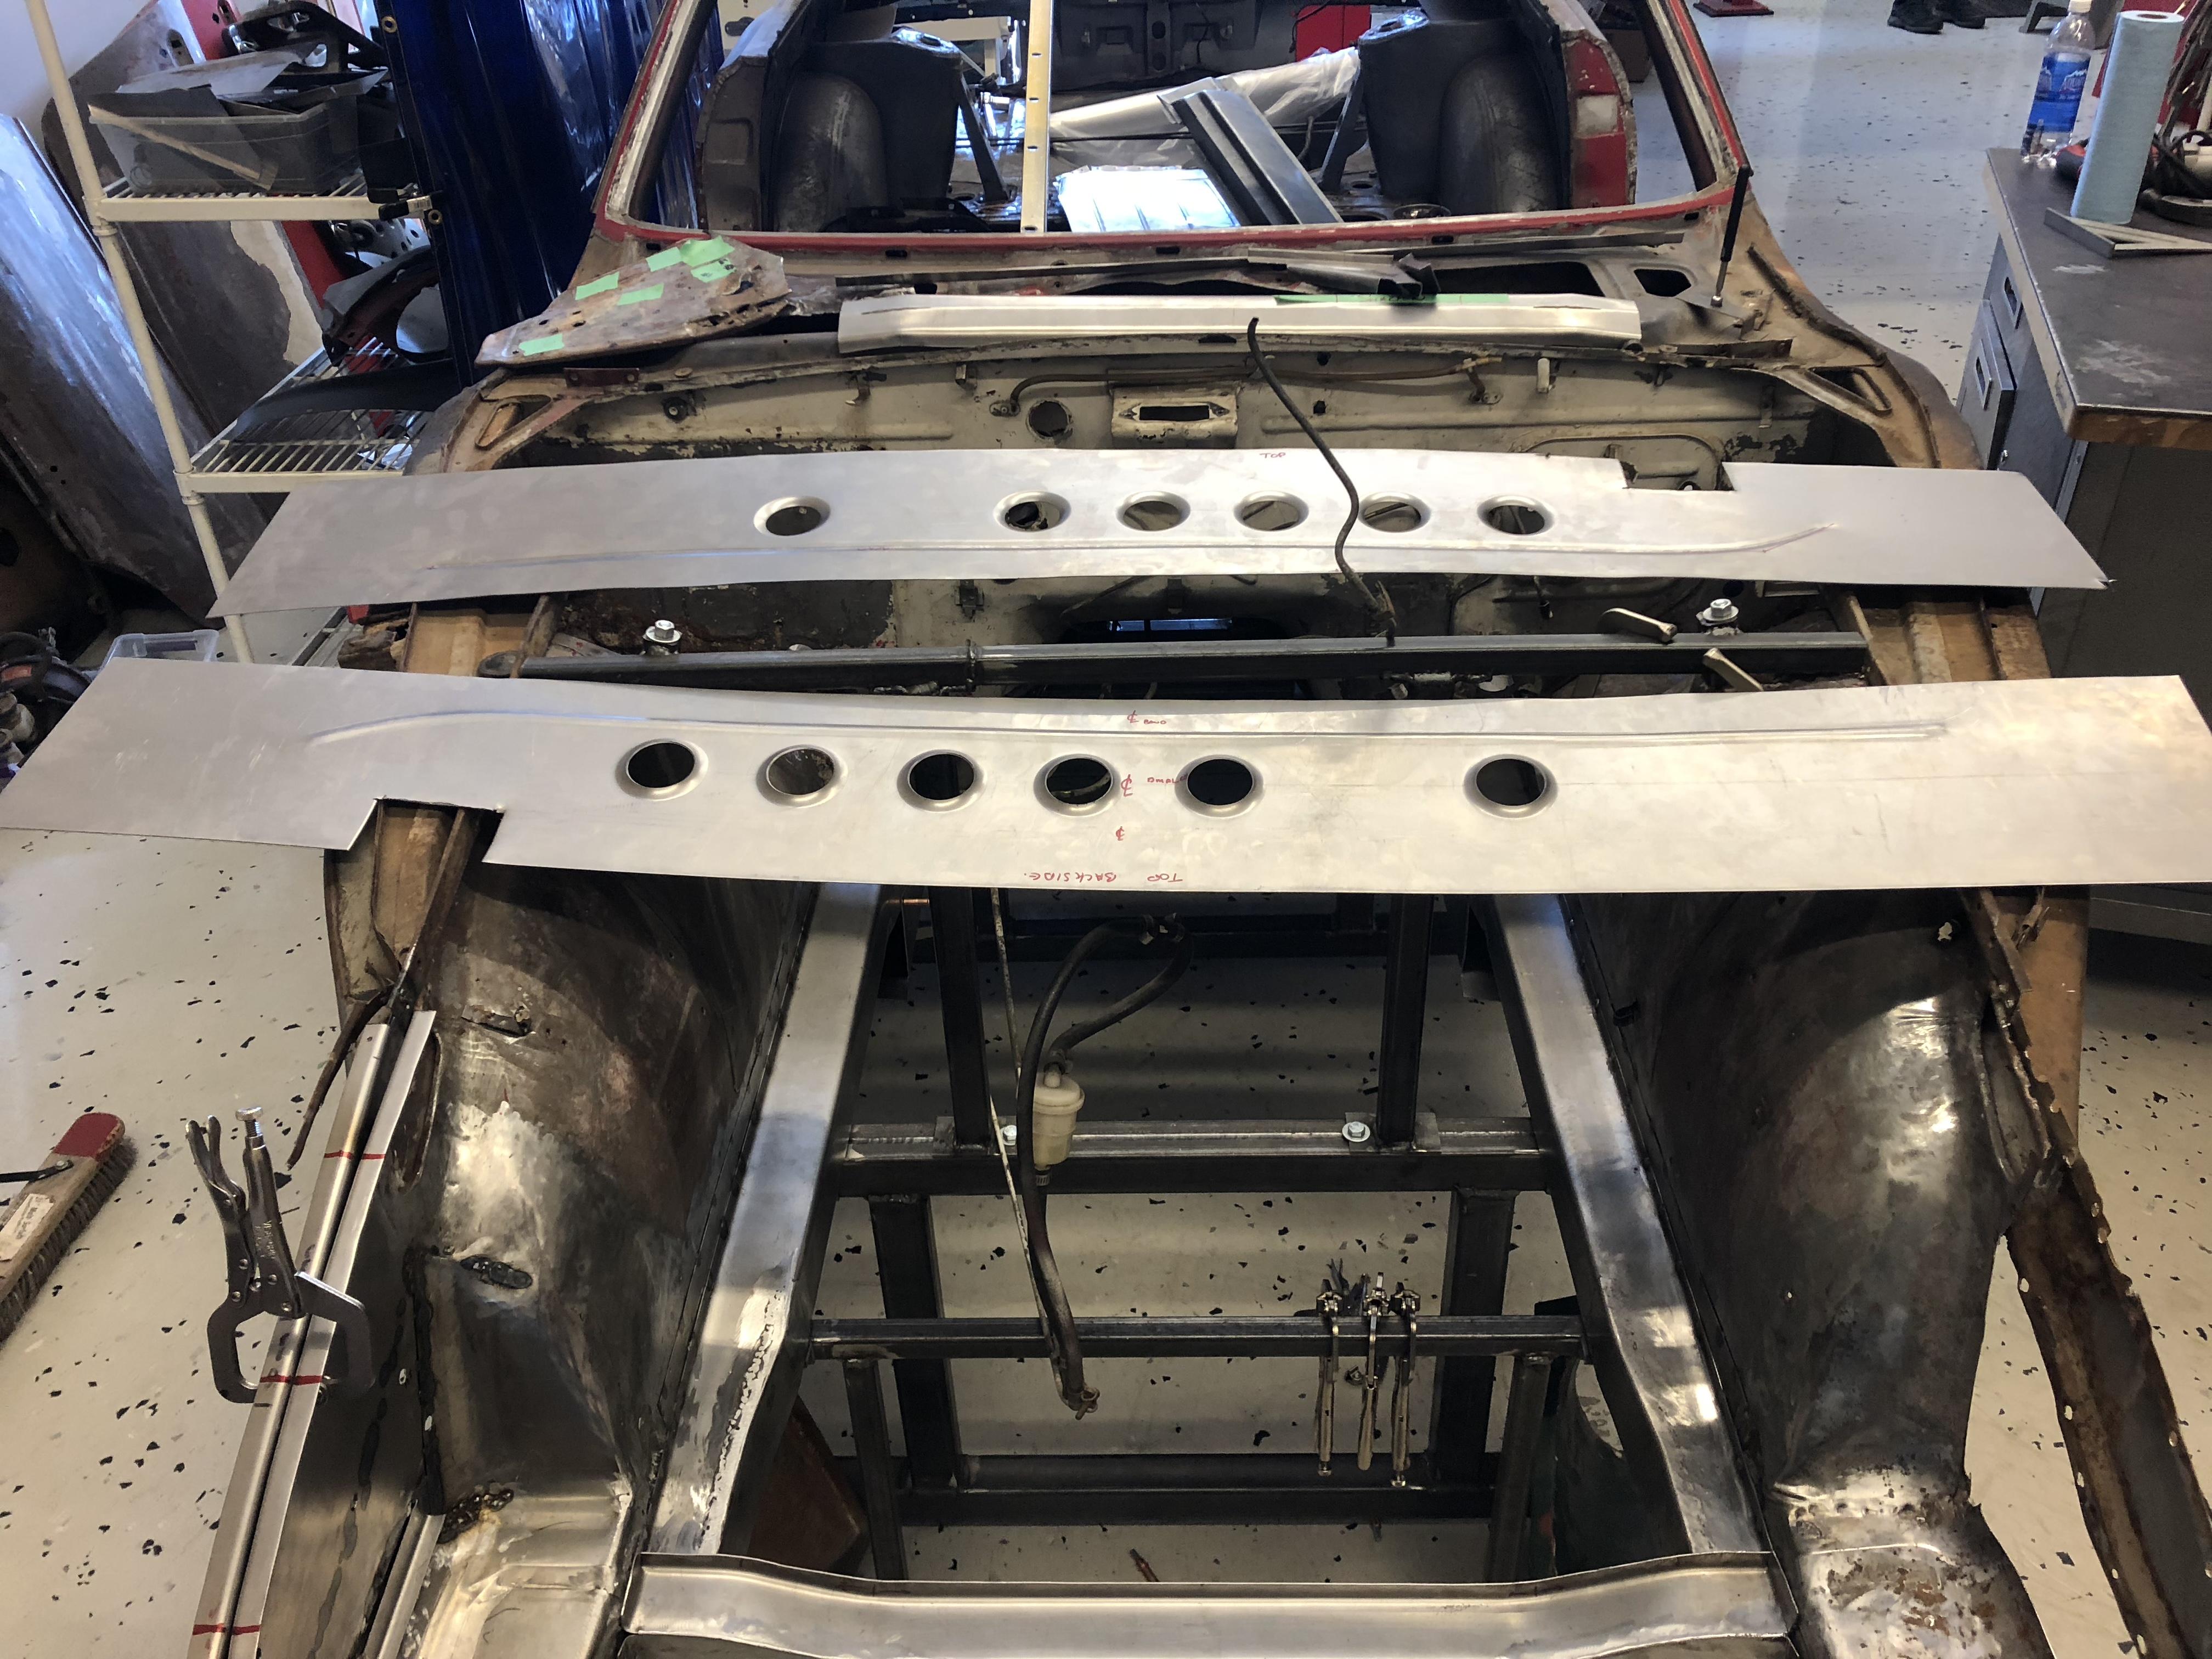
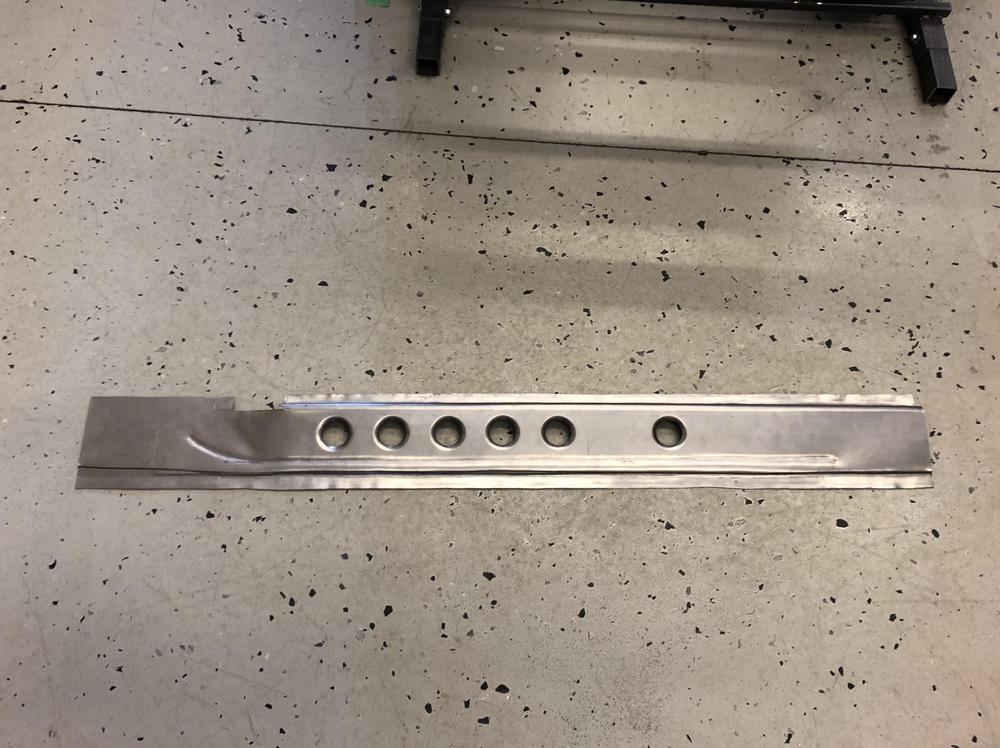
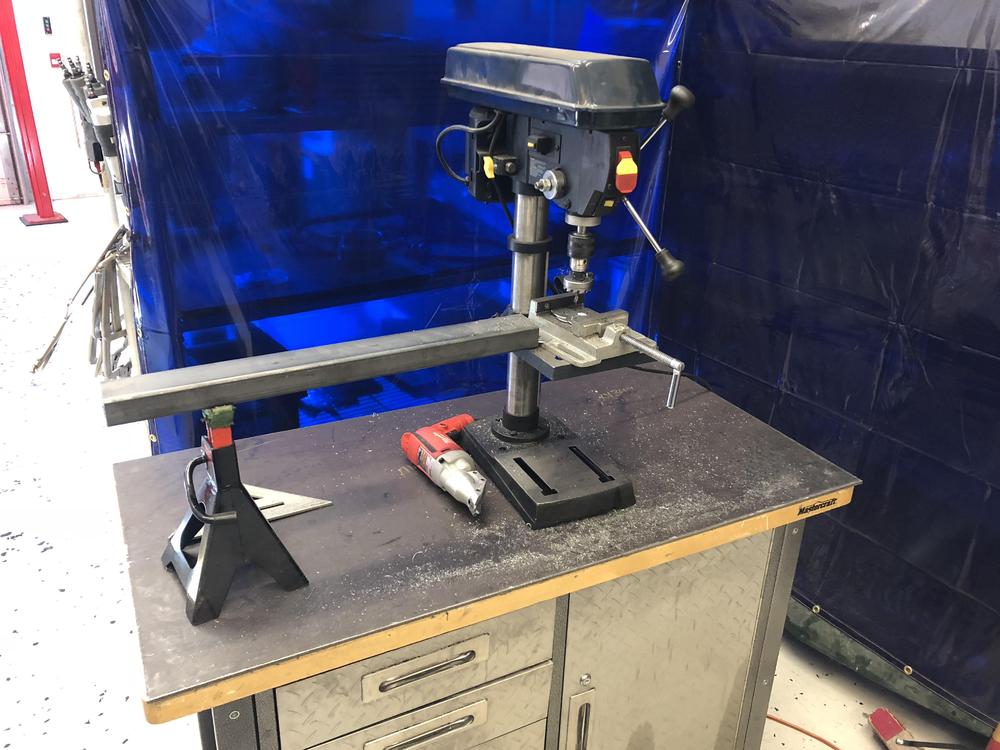
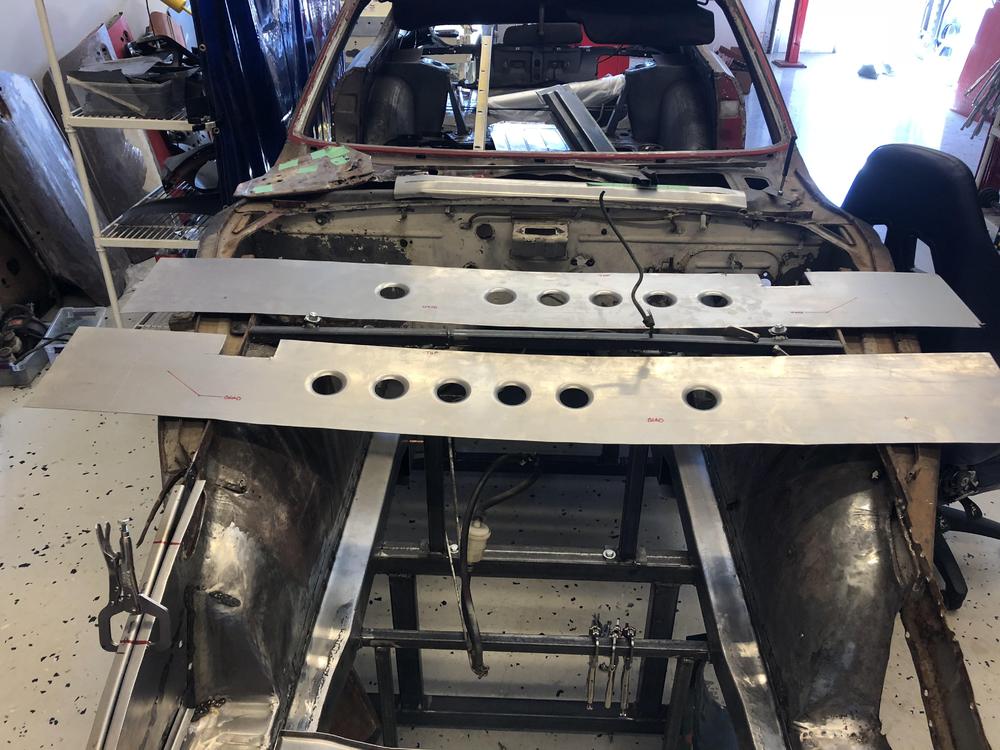
1 pointBeen a busy (non-240z) week. Finally got some fun time at the shop .... You can guess where this is going ...basically with all the work I’ve put in on this chassis, the following patch job was not going to be acceptable: Yeah I know no one will see it, but I’ll know.... @disperyon recently covered how to fab these so Just the highlights: Laying them out on 18 ga ... Drilled out with the Blair hole cutter (Amazon)... A new cryptocurrency? Dimple dies and the press .... Rolling the beads with Big Bertha .... And voila ! I made a mistake marking the lower edge so it is a bit messed up. Hopefully I can clean it up and finish the passenger side tomorrow. For those with a keen eye, yes they are deliberately a little different than factory. I left the rear section boxed so I can run it straight off the edge of the floor kit (Zeddfindings) to the rear wheel arch. And at the front I left it a little longer so that it follows the edge of the Zeddfindings floors and left an unfinished piece to tie in to the firewall. Should look a lot better than the patch (even though no one will see it LOL)


 1 point
 -
 I'm going to use one in my 510 build this time around, I'll take it apart to clean it and let you know what I find. No doubt someone on amazon and or ebay has activated charcoal for sale.1 point
 -
 1 pointI was thinking I was an isolated nut case..... I'm not the only one that does that!!!1 point
 -
 1 pointhttps://www.virginiamotorsports.com/drag/schedule/2019/april5/ April 5th.......We’ll be there.....look for the two little Datsuns in a field of noisy Chevys and Fords!1 point
 -
 1 pointI think I will make this one a stock restore. Let someone else mod it to their tastes. It will be for resale eventually.1 point
 -
 1 pointThat's right, just a jumper across that blank fuel pump plug in the loom sends power to the pump. Any safety device like your oil pressure detector or if you use a inertia switch, they just go in that jumper loop. An inertia switch would allow the pump to run when the key is on without oil pressure being detected. My own preference is the inertia switch in the jumper loop so the pump runs anytime the key is in the on position. This allows me to pressurize the fuel system before I actually start the car and will cut power to the pump in the event of a crash. The oil pump detector method requires a circuit that will run the pump with the switch in the start position without oil pressure. This thread covers the circuit you need for the oil pump switch method.1 point
 -
1 pointAs the booking agent for Kent’s shop, we will be organizing a three day ZCon Calgary event this summer for shop demos, select huge horsepower burnouts and track events in any of his Porsche, Nissan, or NSX whips, followed by an Alberta BBQ for the record books... Interested parties PM me with your PayPal info and I will send an invoice for an absurd amount of money to pull this off.... [emoji2957]1 point
-
 1 point
 -
 I enjoy playing with numbers sometimes (and I know this will drive @Captain Obvious crazy), so: At 510 lb, the entire S30 unibody would crush down into a block of steel that measures only 12" x 12" x 12" . (Which reminds me of the scene from the old James Bond movie, Goldfinger, where the crushed remains of an early-60's Lincoln Continental (an early American unibody) are dropped into the bed of a waiting Ford Ranchero pickup for 'disposal'. That block was probably about 3 cu.ft. but it included all of the bodywork, interior and glass too.) The S30 unibody weighs a bit less than 5 of Grannyknot's anvils. The S30 has plan-view measurements of about 162" L x 64" W. If the entire unibody was fabricated from 20-gauge sheet (0.036"), you'd need a single sheet measuring about 350 SF. If you wanted to make your own from 4' x 10' sheets of 20-gauge, you'd need 9 sheets. But then, allowing for scrappage from the cut patterns, you probably need to actually buy about 30 sheets. A 4' x 10' sheet of 20-gauge hot rolled steel sheet currently costs about $90, so that means your bill out the door of the metal supply shop would be about $2700. You could probably recover half of that by selling the scrap to a recycler. So let's call it $2000 for the material needed to make your own S30 unibody. Freight, taxes, and labour costs extra, of course. If you started with a single 348-SF sheet of 20-gauge that was 64" wide (same as the length of of S30) and laid it crosswise and centred under the car, it would extend two car widths on either side of the car outline.1 point
 -
 1 pointLooks like they just shaved all the emblems. Definitely bring that one home.1 point
 -
1 pointAre you going to let the rest of us in on this joke? I need to go to the next ZCON so I don't have to read between the lines.1 point
-
 1 pointHighly doubtful Nissan would have kept such records for this long. You'd have better luck finding out how many total cannon balls were fired by the Confederacy at Gettysburg.1 point
 -
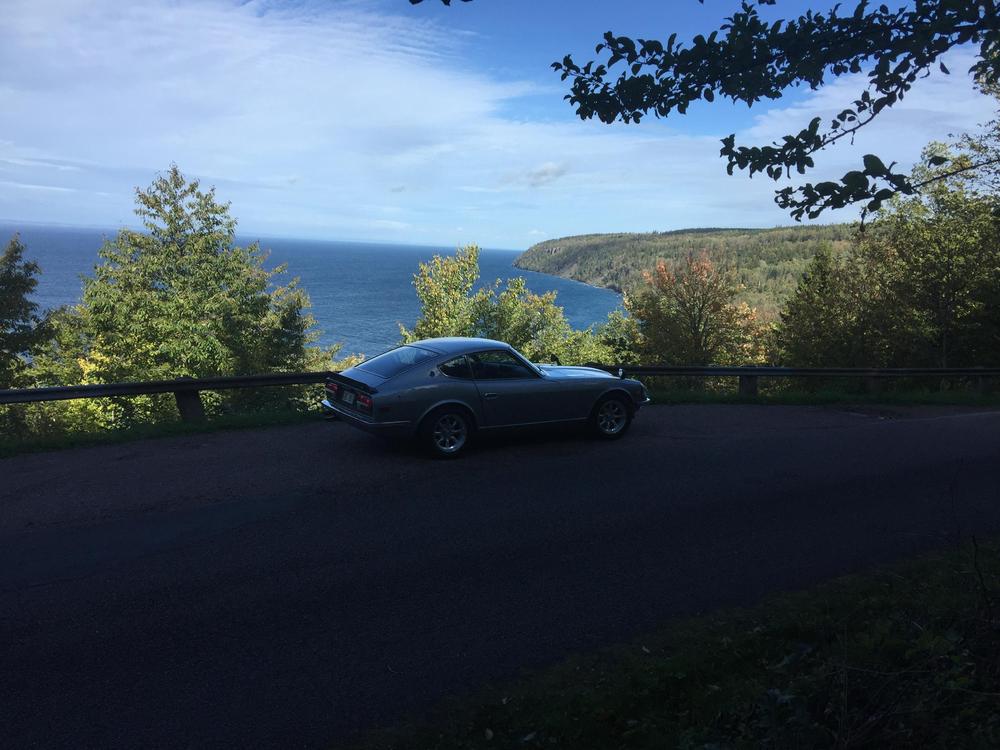
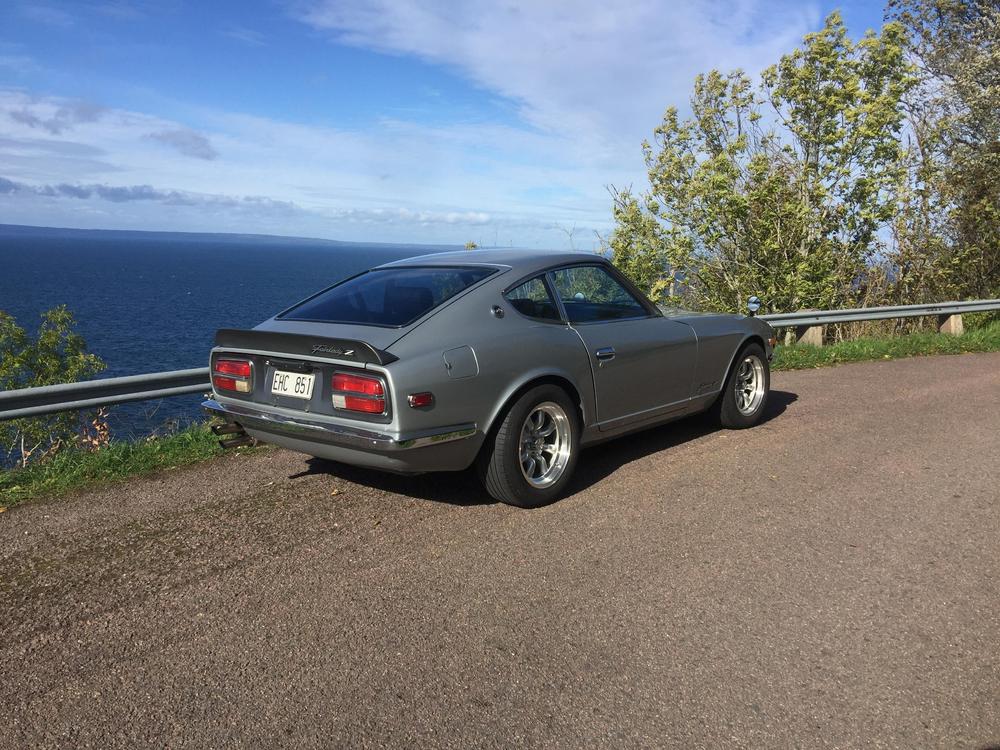
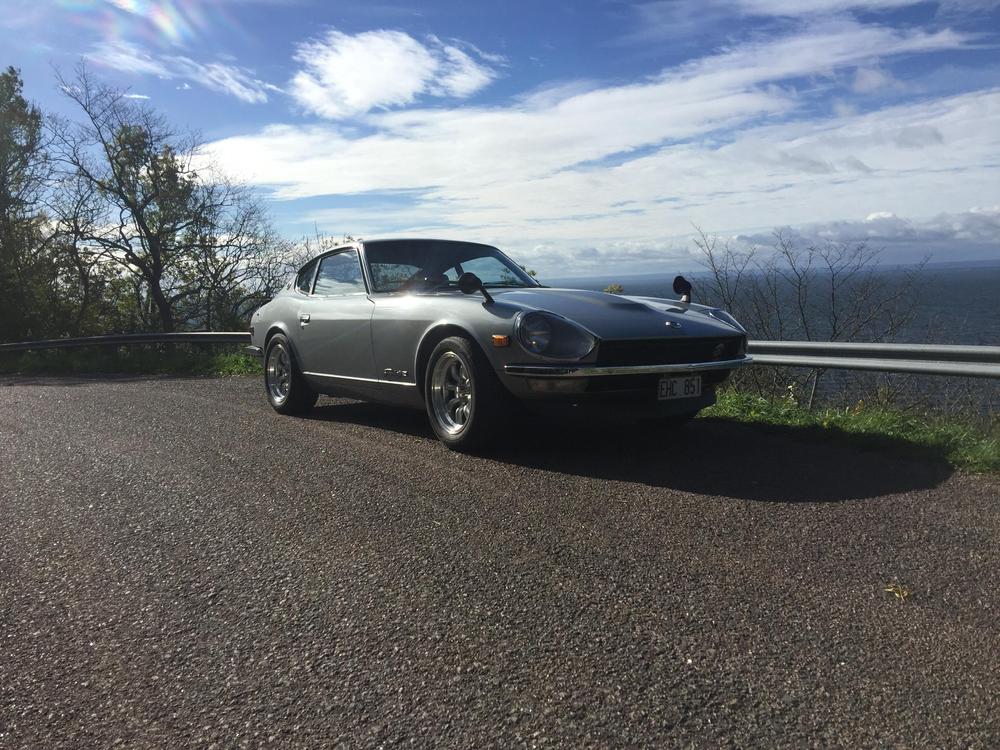
 Storage time closing in. New cam, probobly also a new head, a new transmission and new clutch going in to.
 1 point
 -
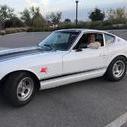
 1 pointMaking progress removing the multiple layers of paint. The original color was gold found in the interior underside of storage lids. At some point the car was stripped and painted fire engine red, then painted white. Kleen Strip Aircraft Paint remover works well, I have a can of Eastwood coming soon, we'll see if that makes a difference. Sent from my iPhone using Classic Zcar Club mobile1 point