Leaderboard


 Subscriber


Popular Content
Showing content with the highest reputation on 04/29/2019 in all areas
-
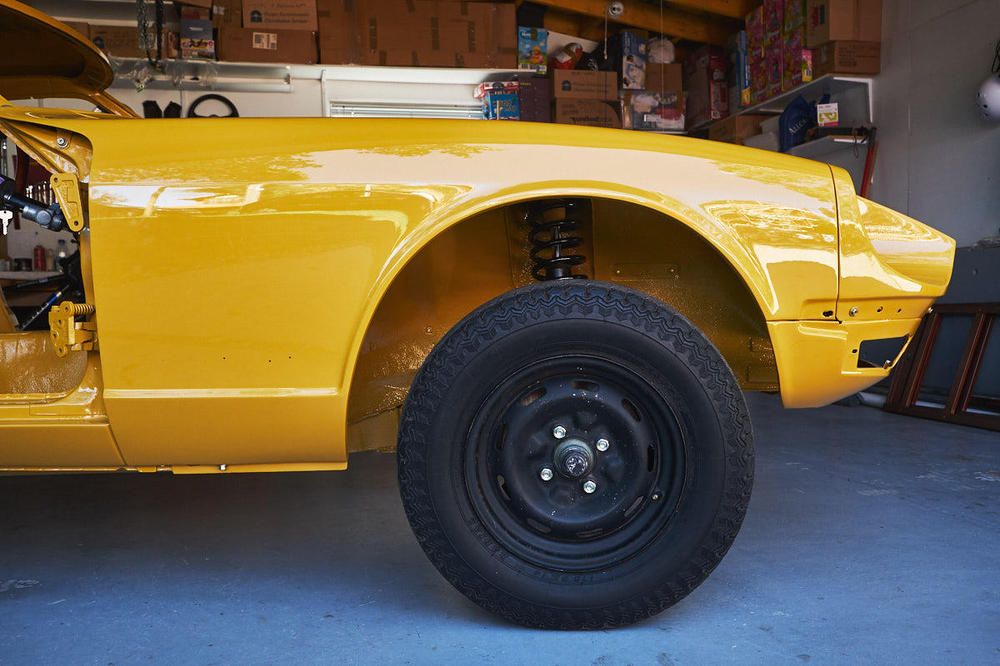
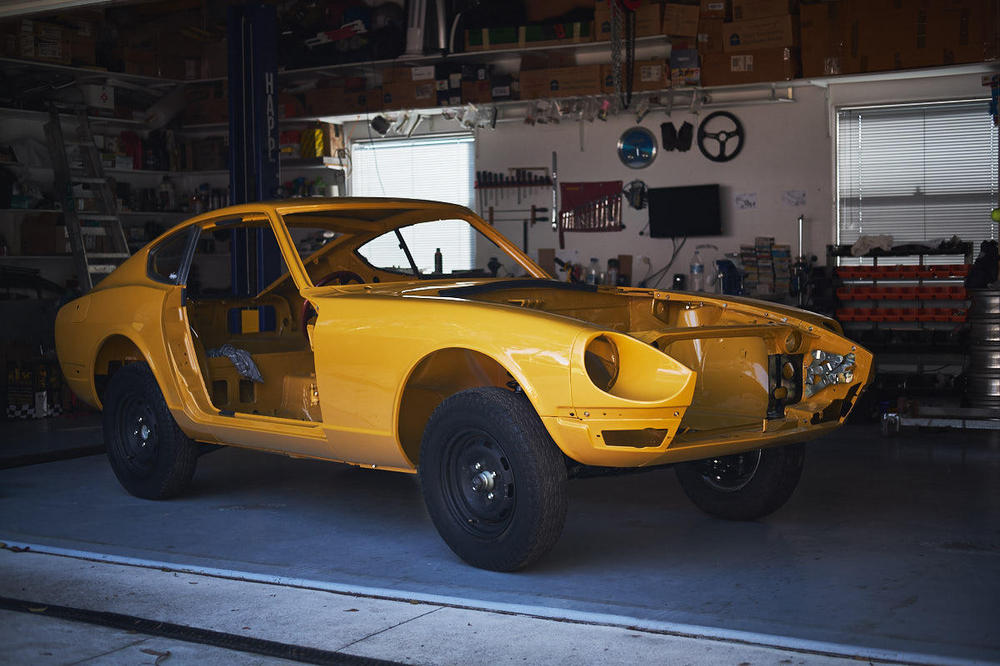
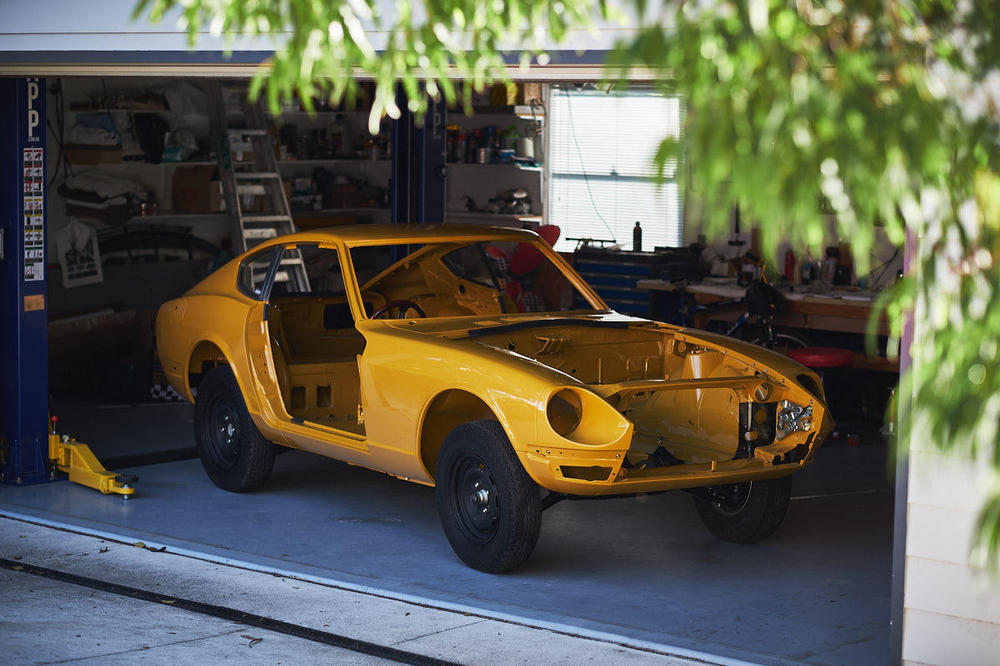
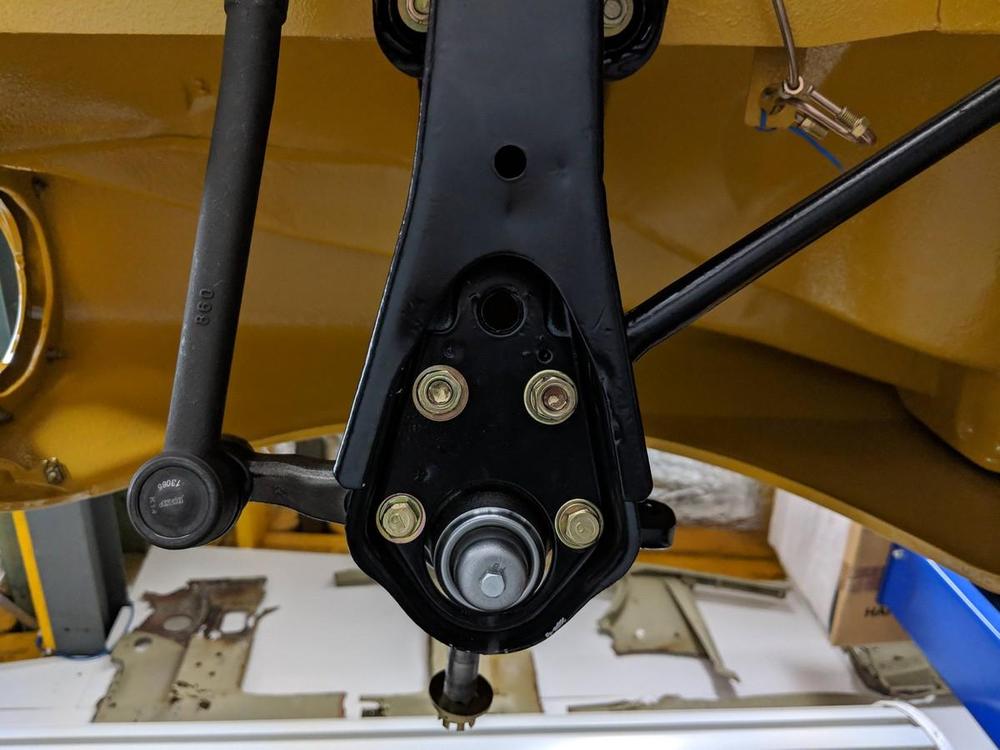
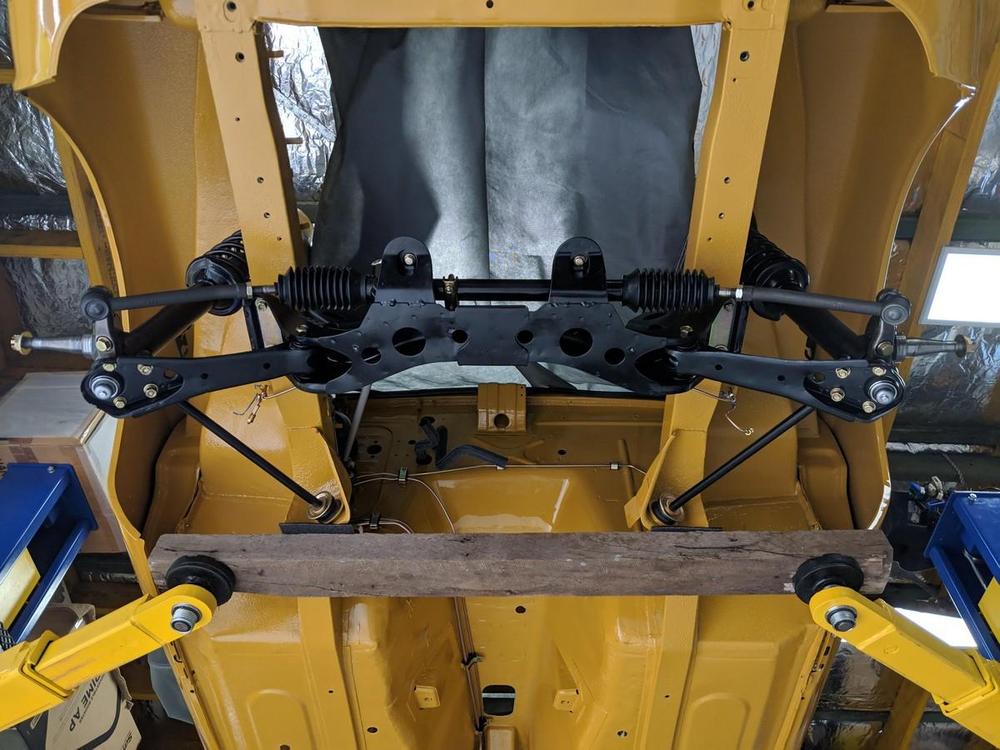
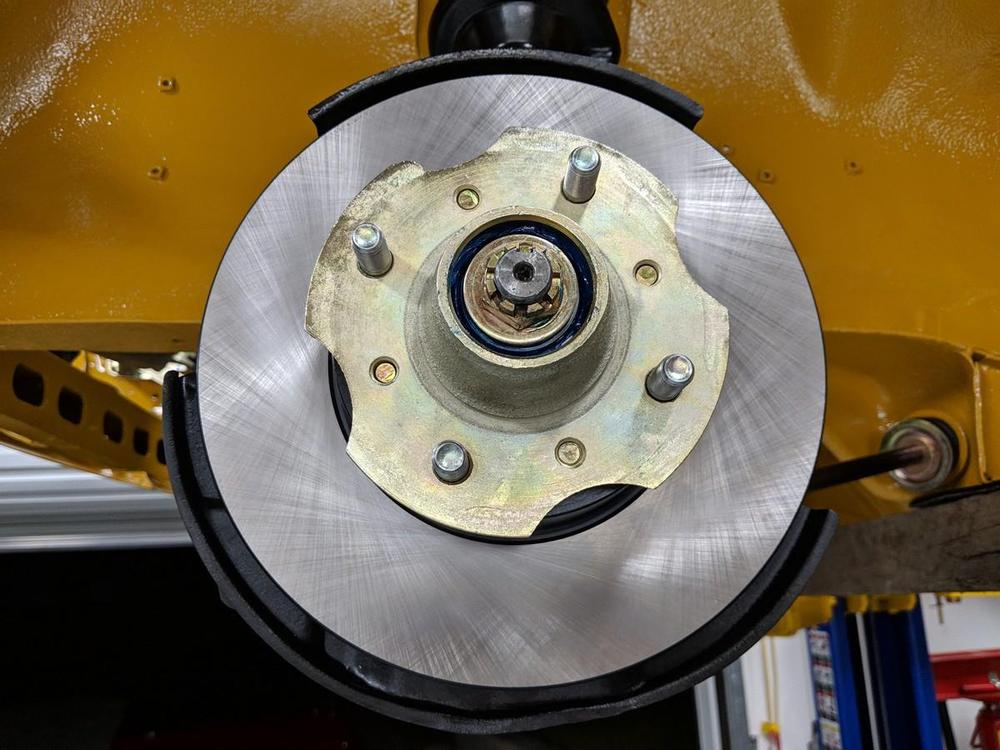
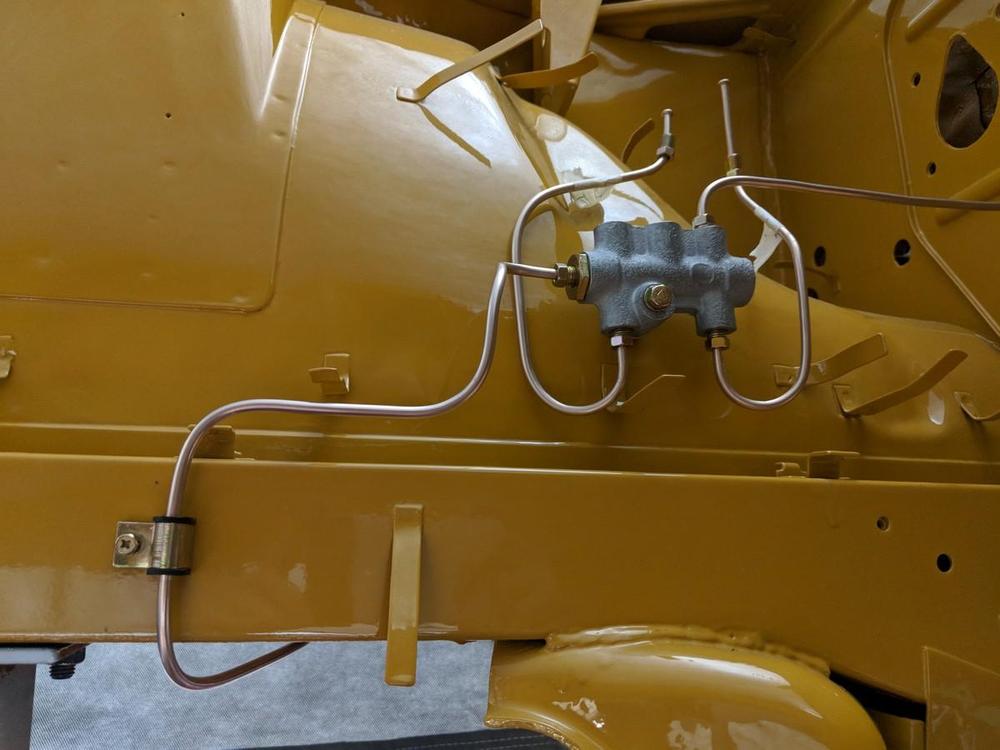
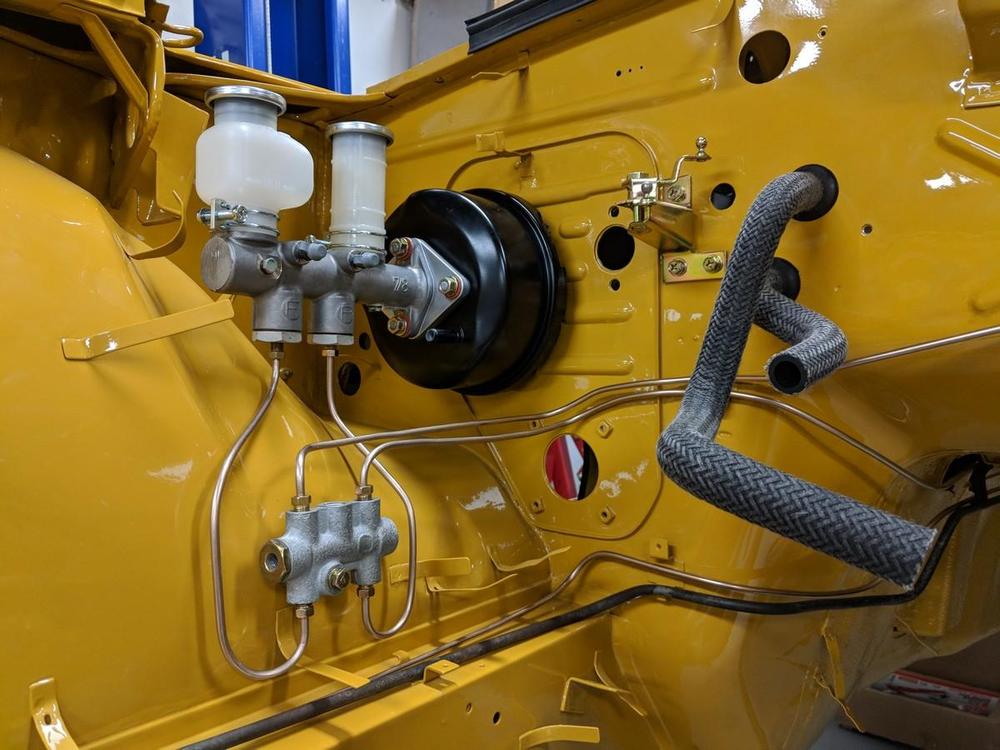
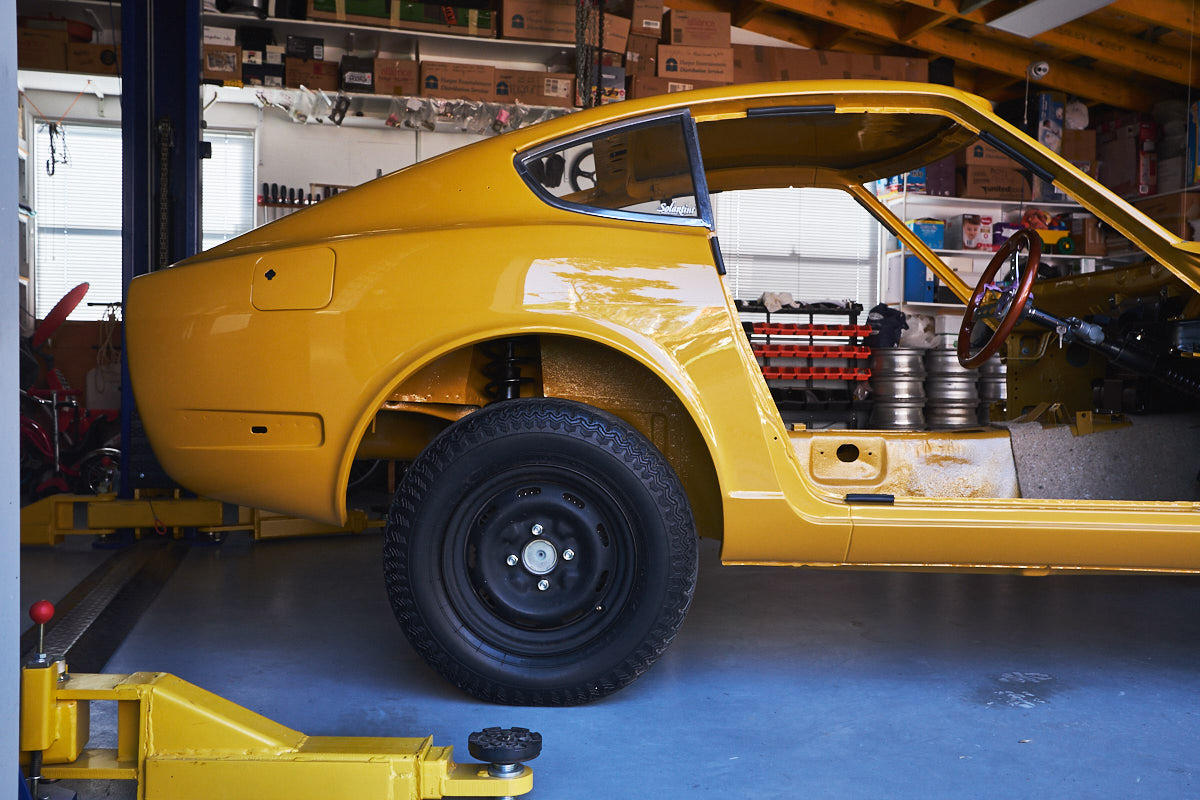
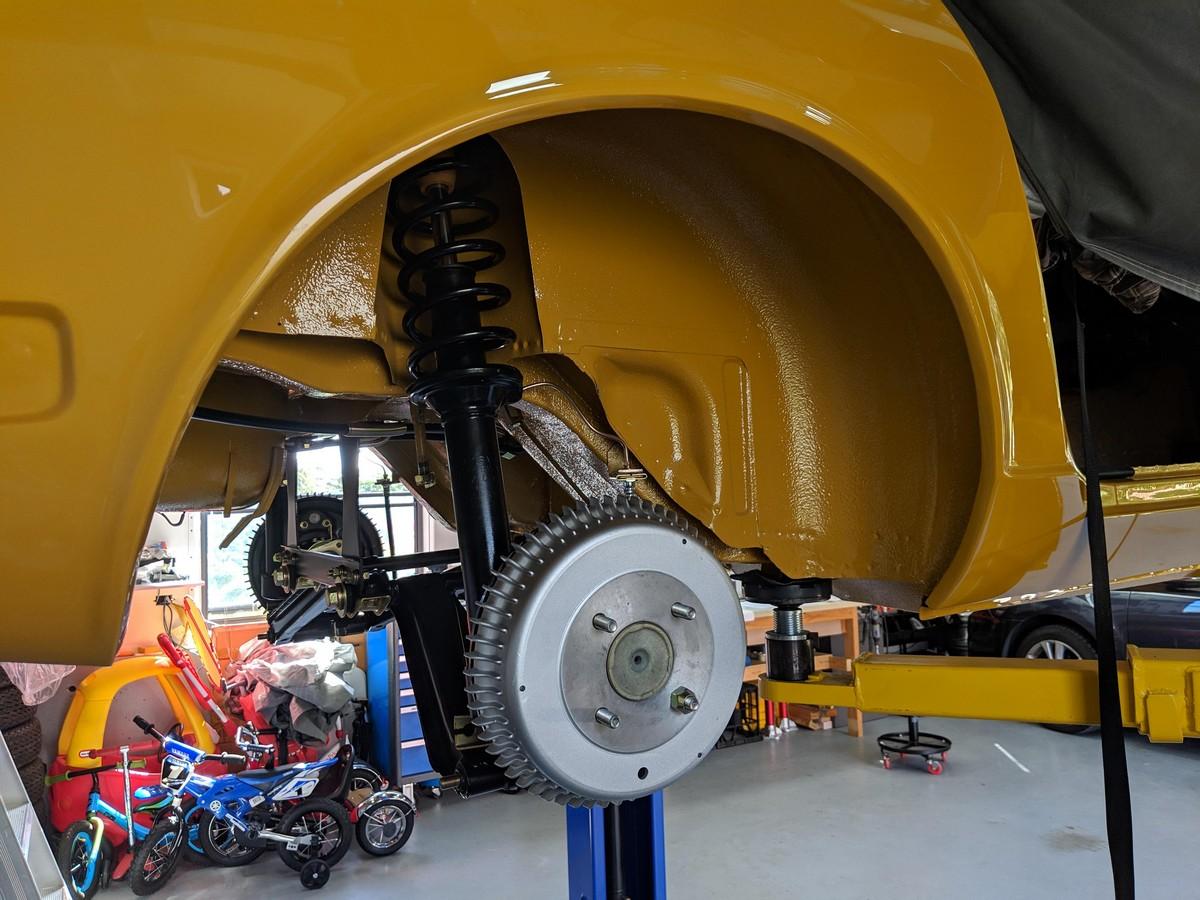
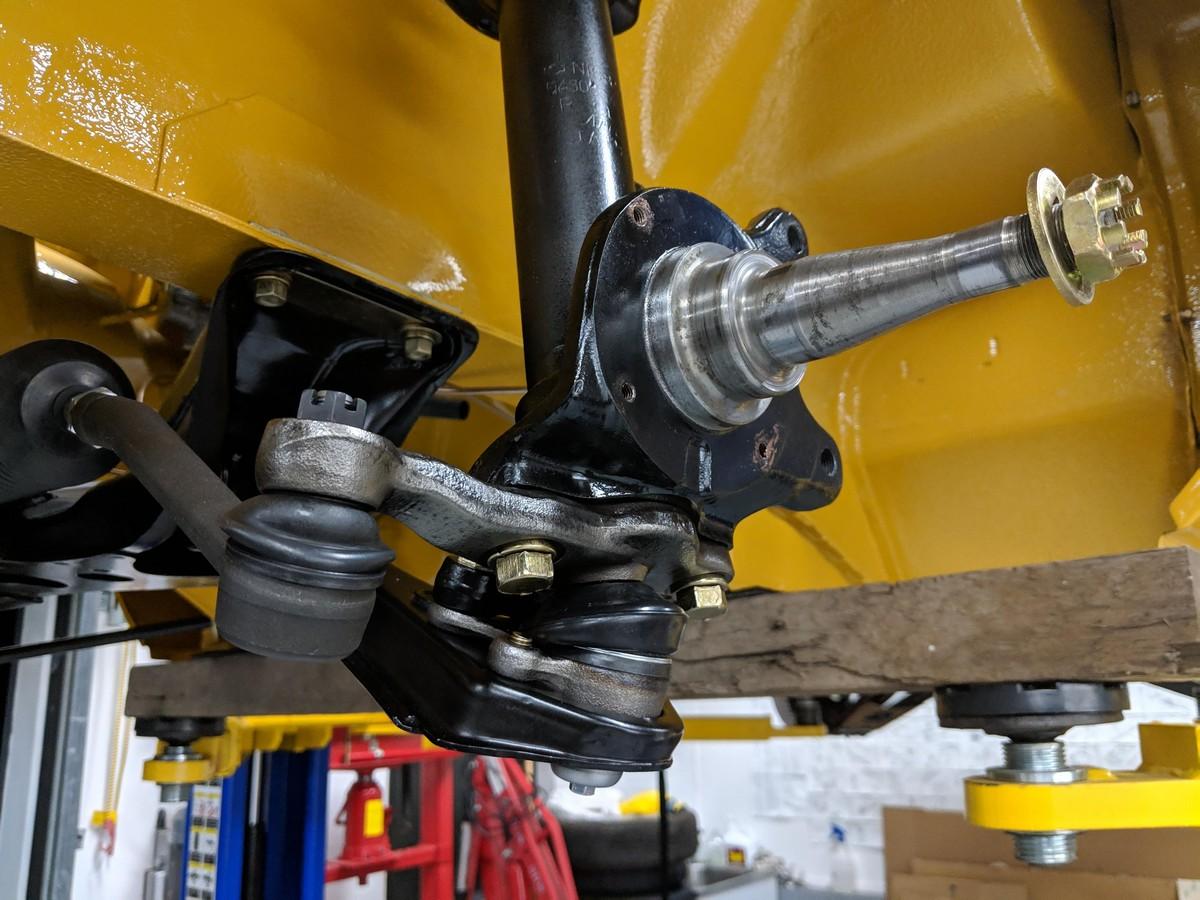
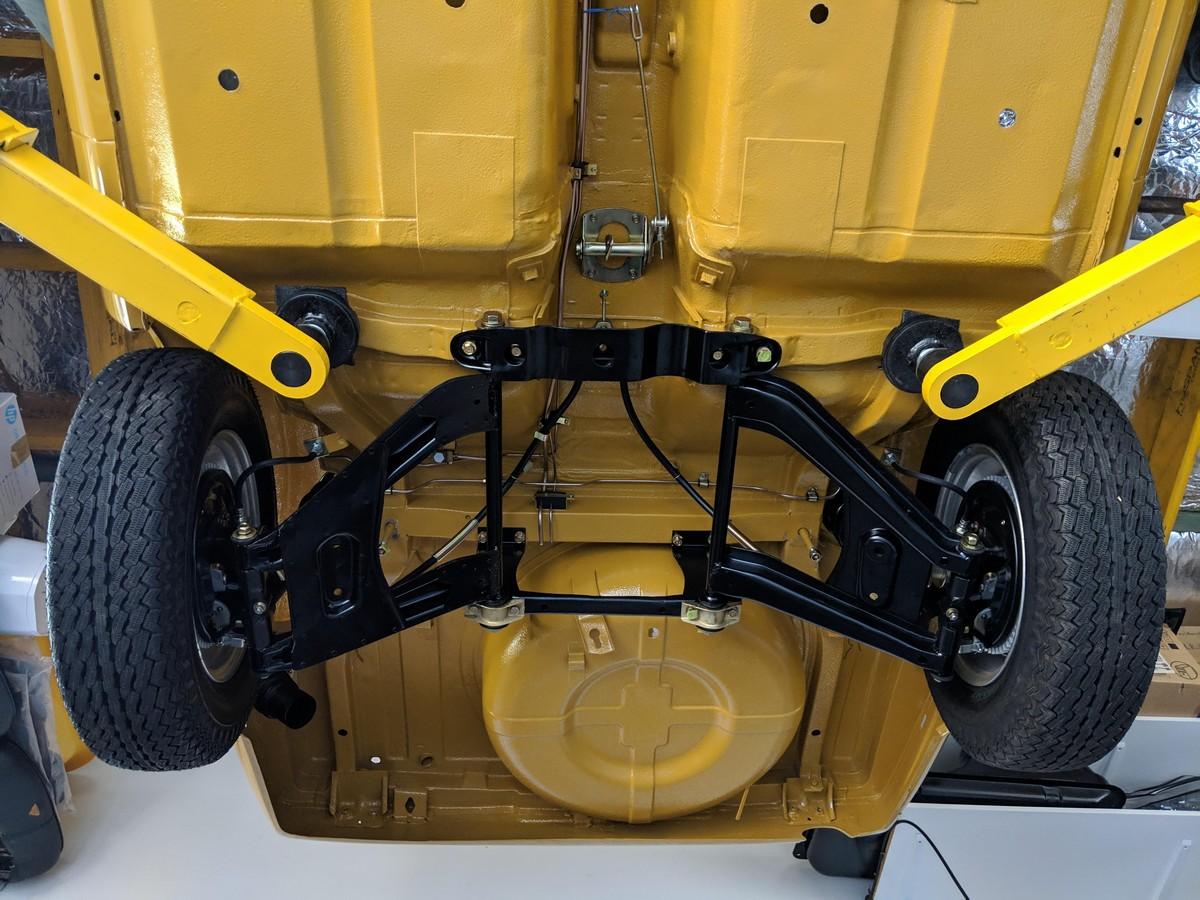
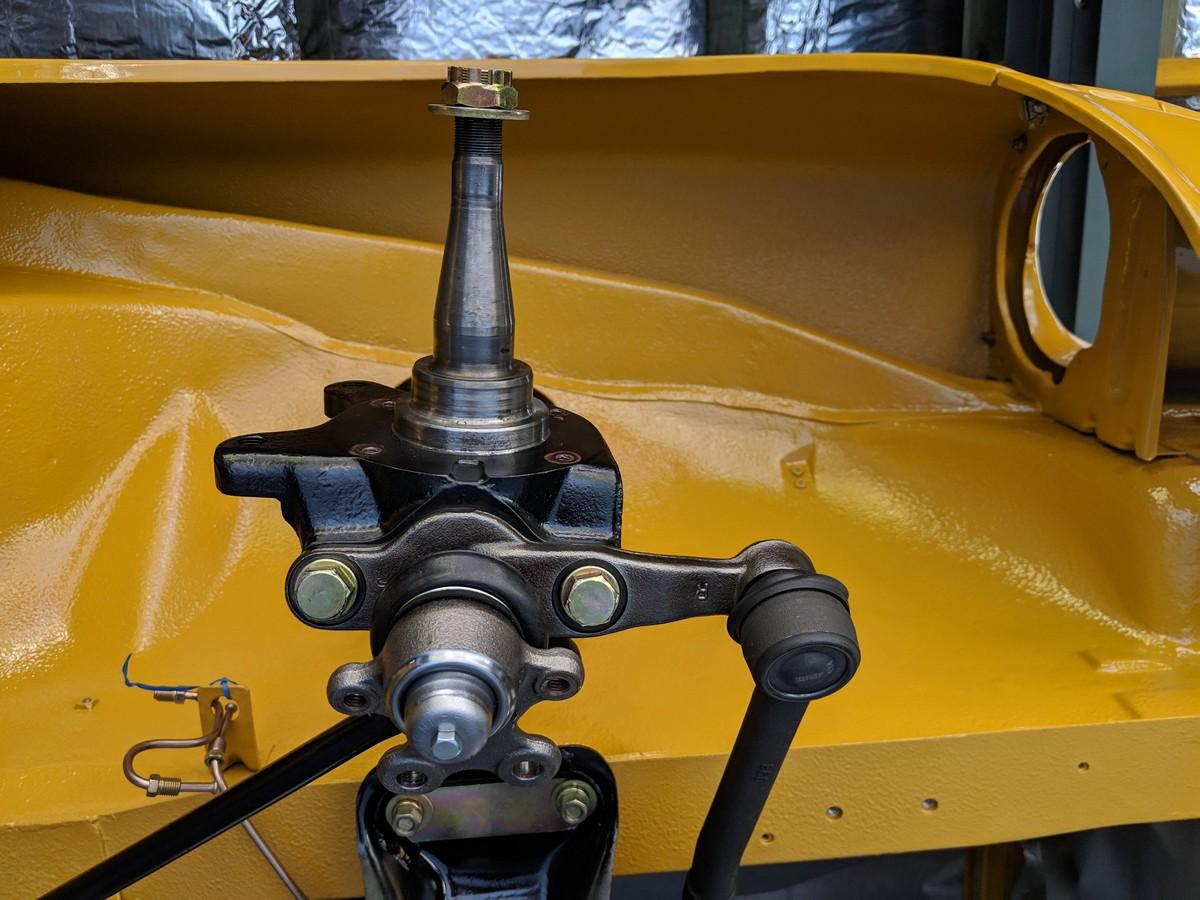
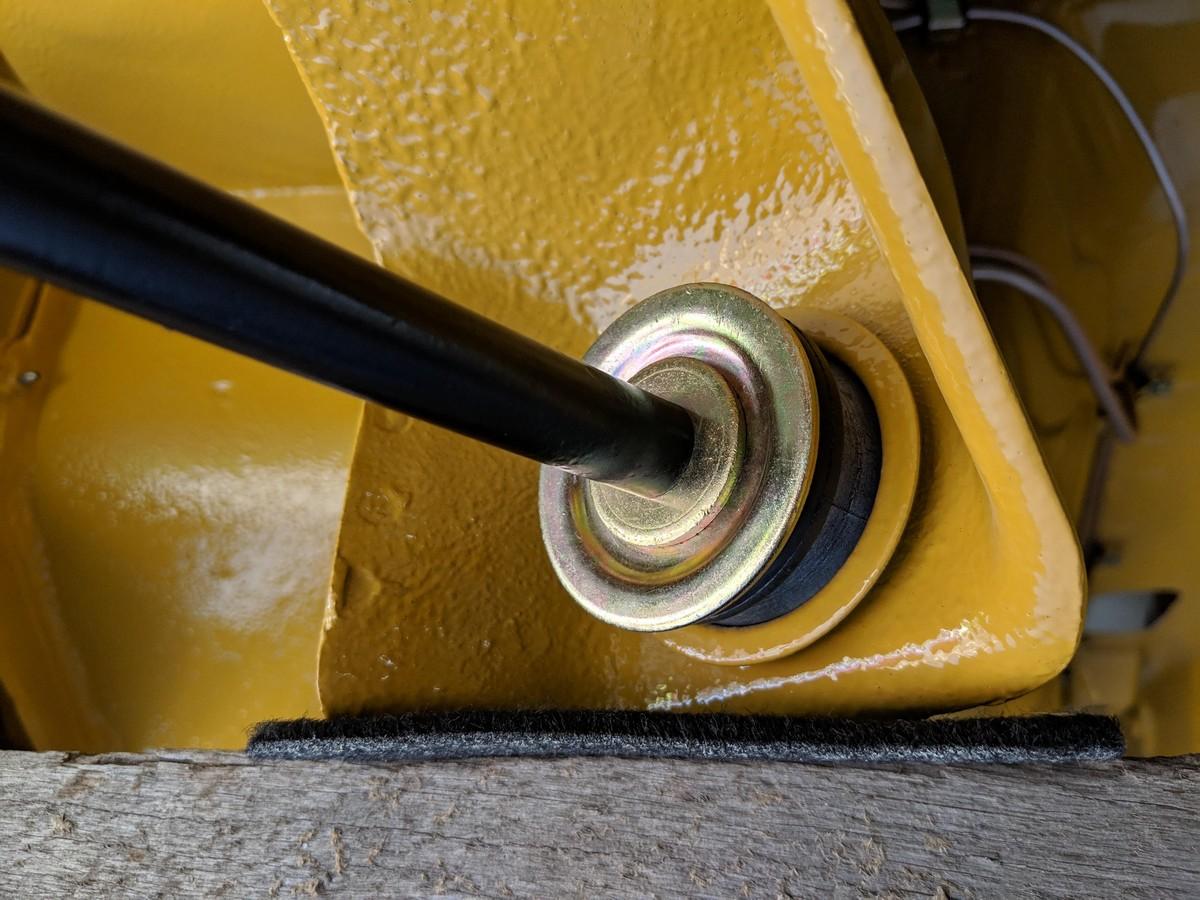
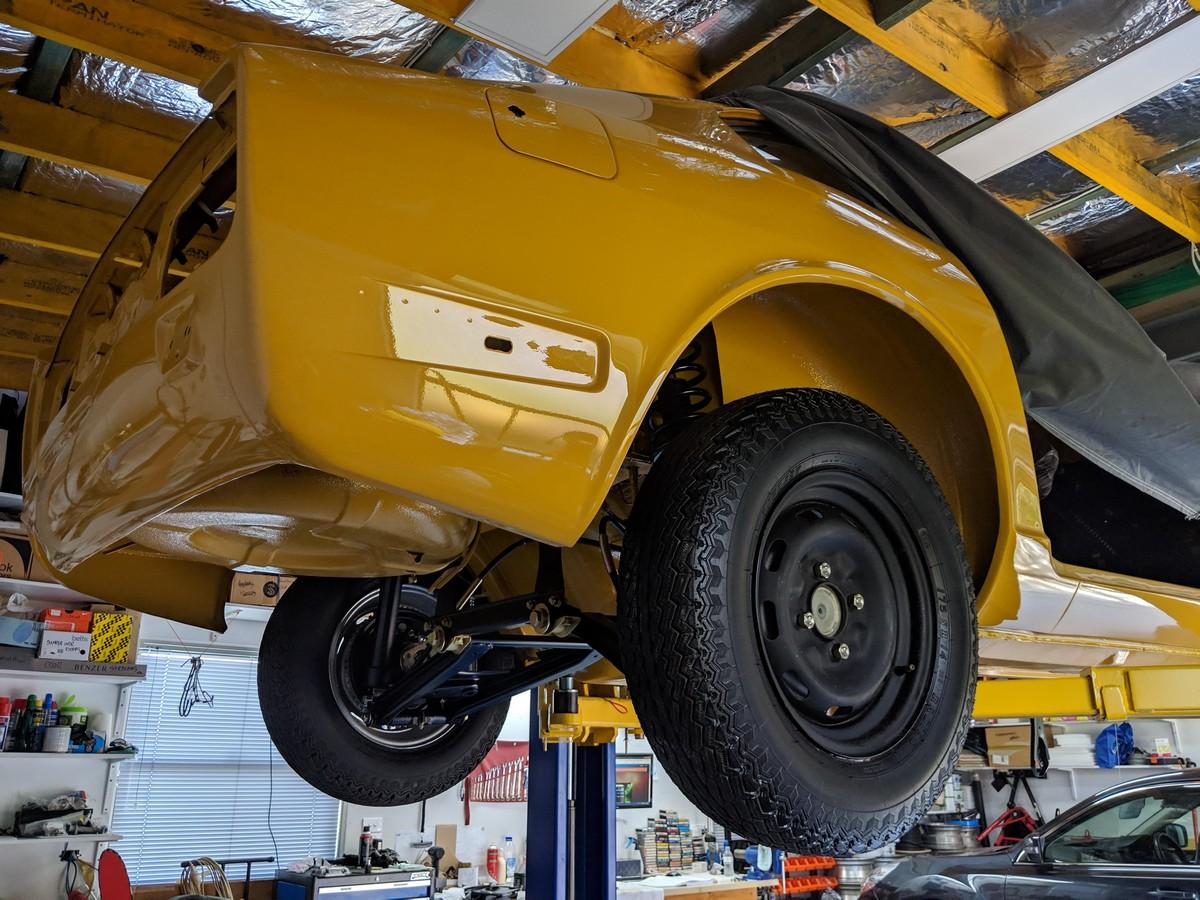
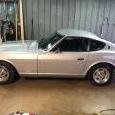
Big milestone last week. Car is back on wheels 5 years after I stripped it down.


 12 points
 -
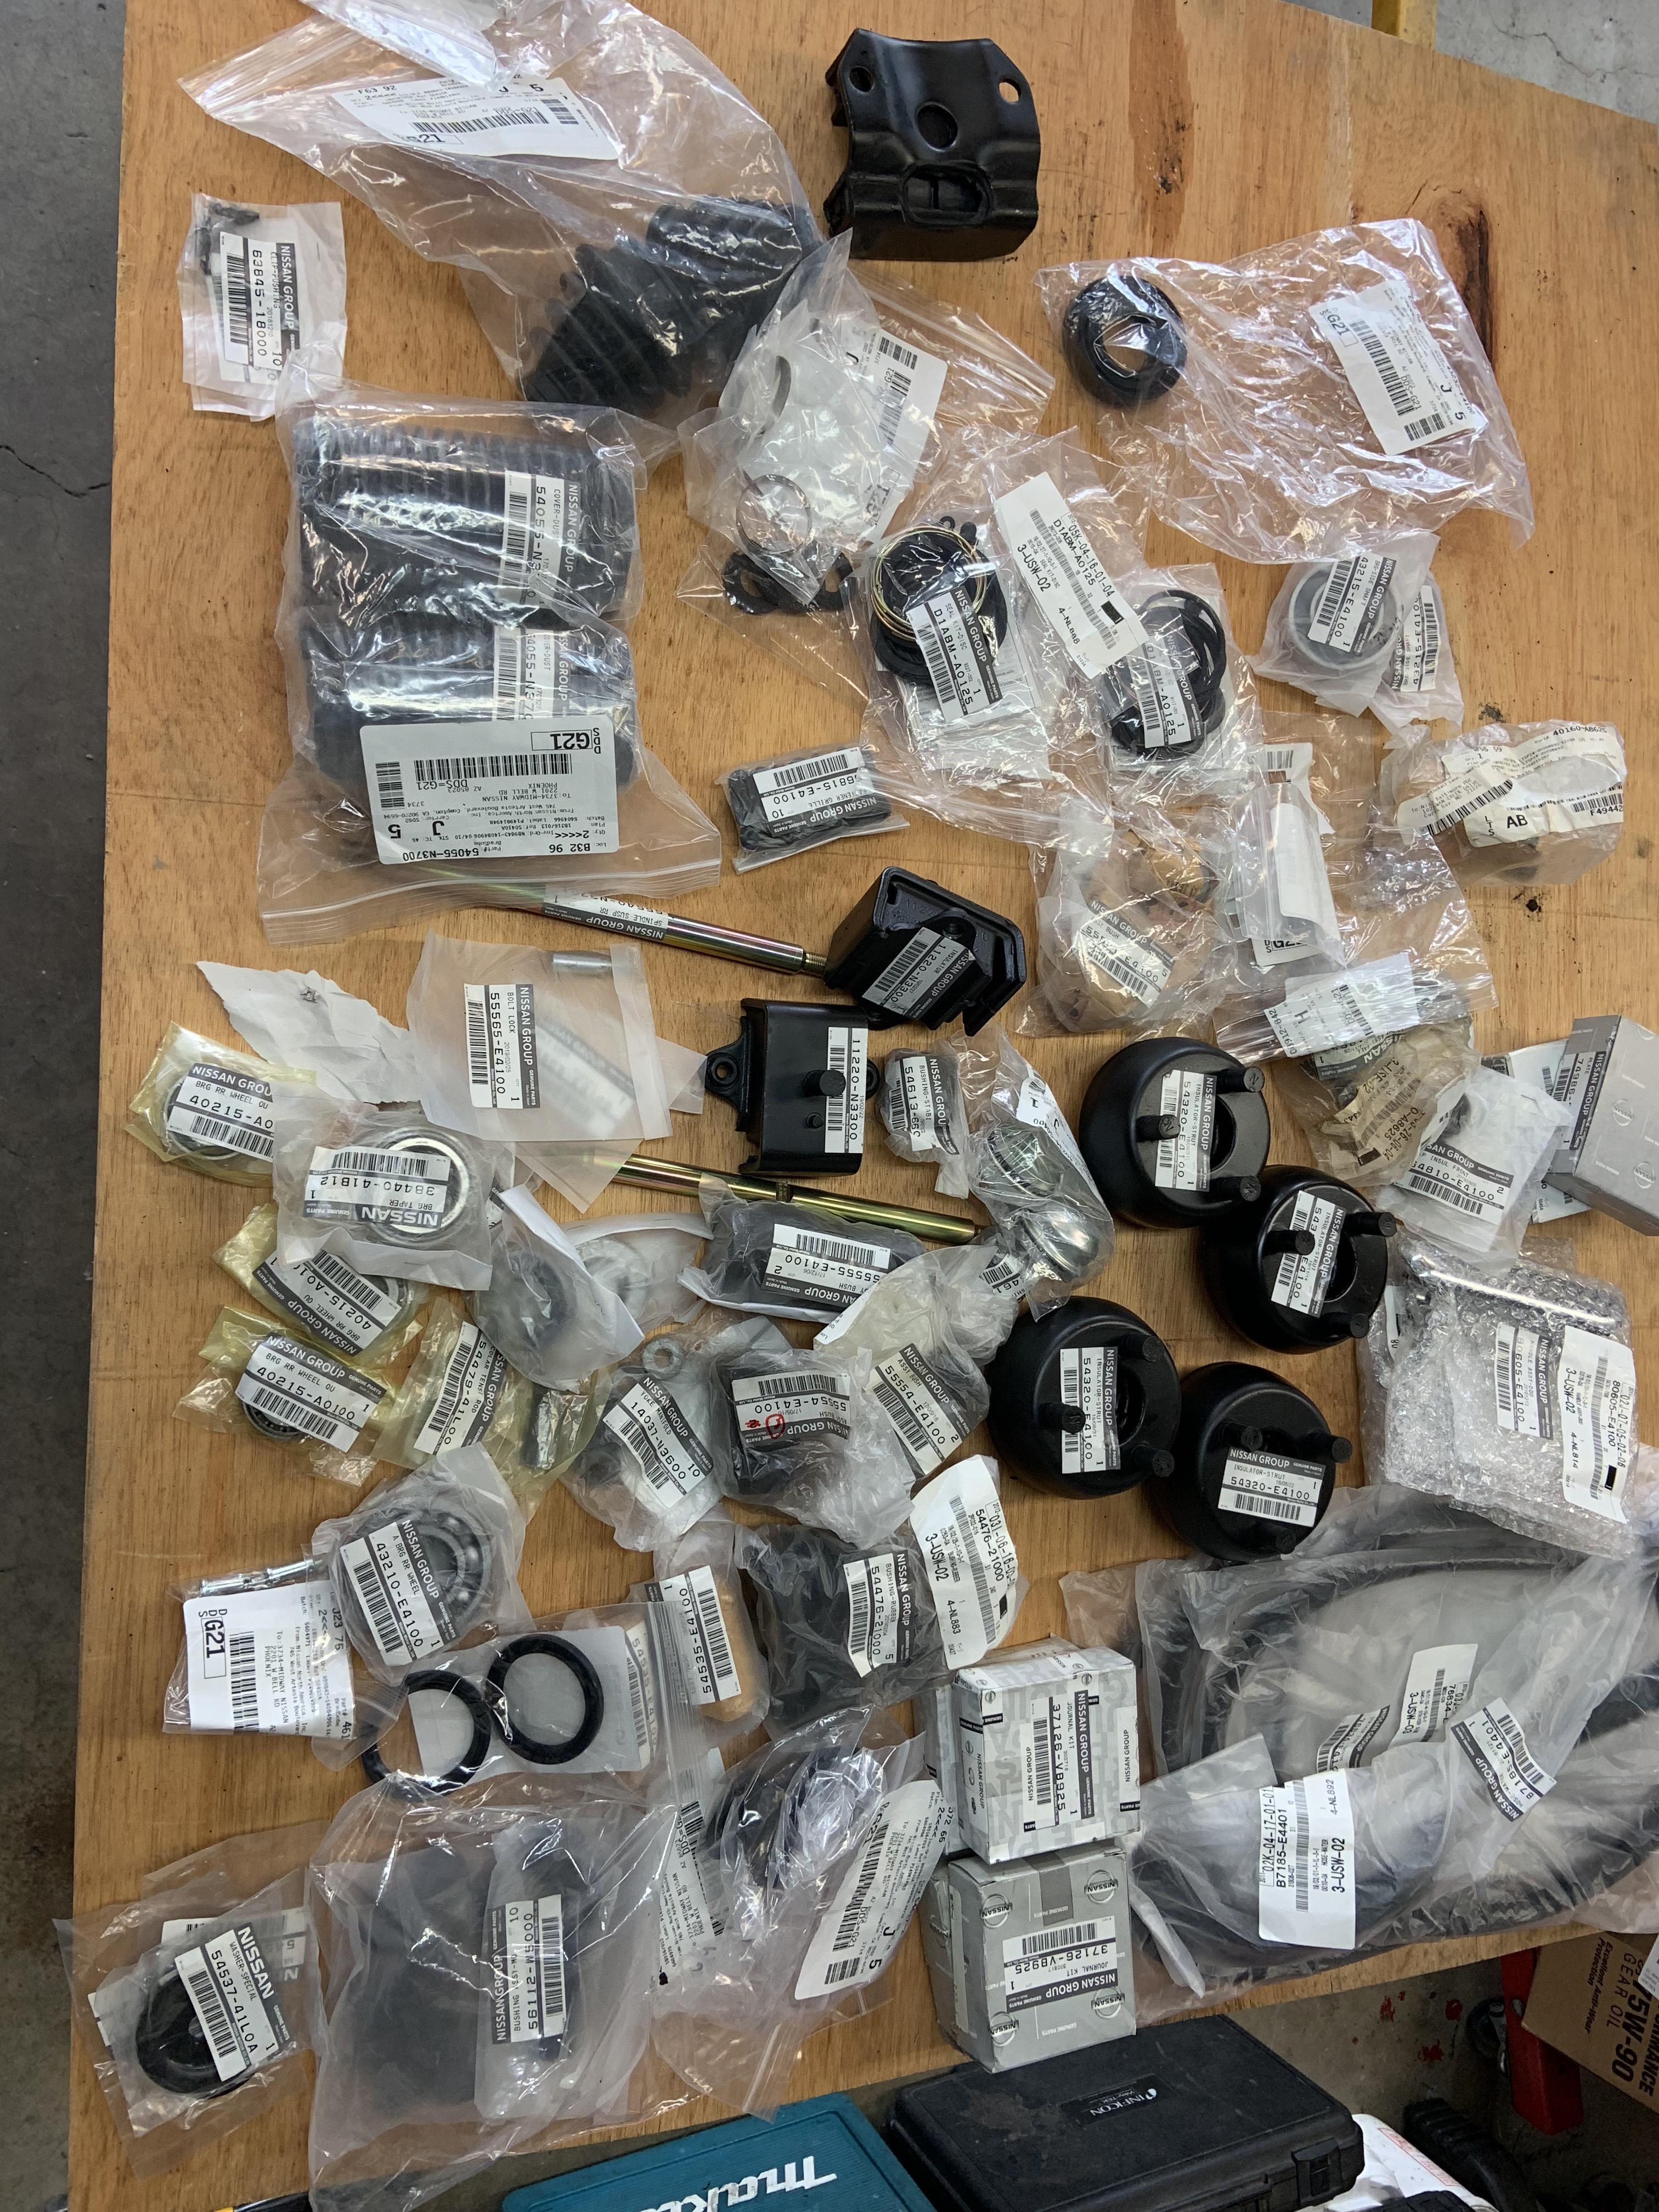
Just for fun here's a picture of the 1st shipment of parts from Nissan.
 3 points
 -
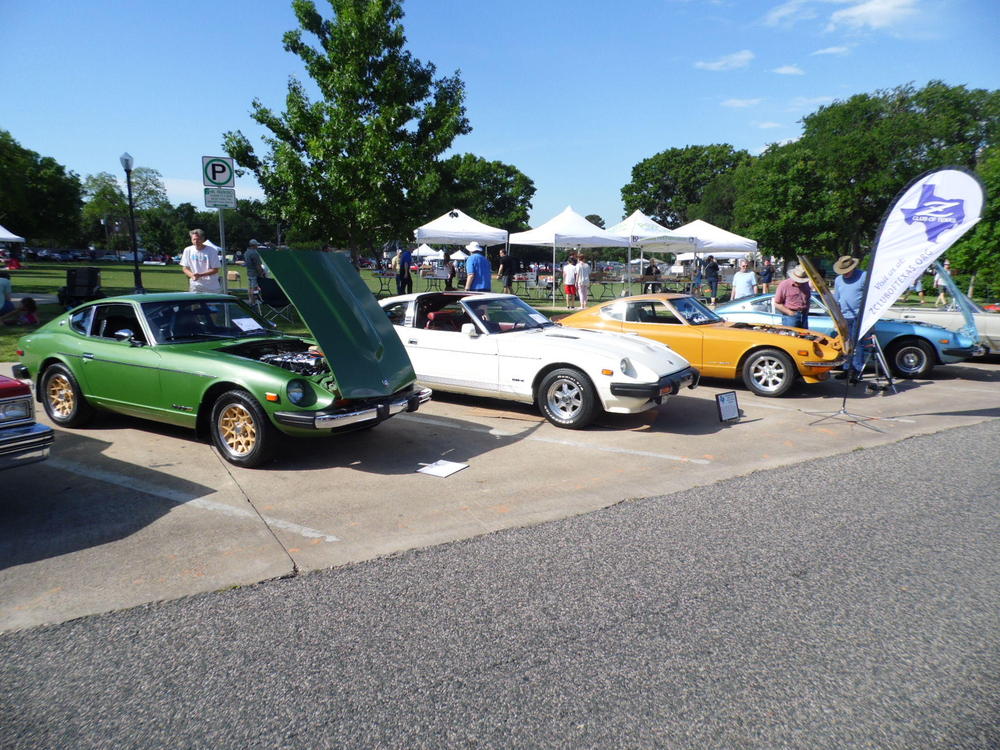
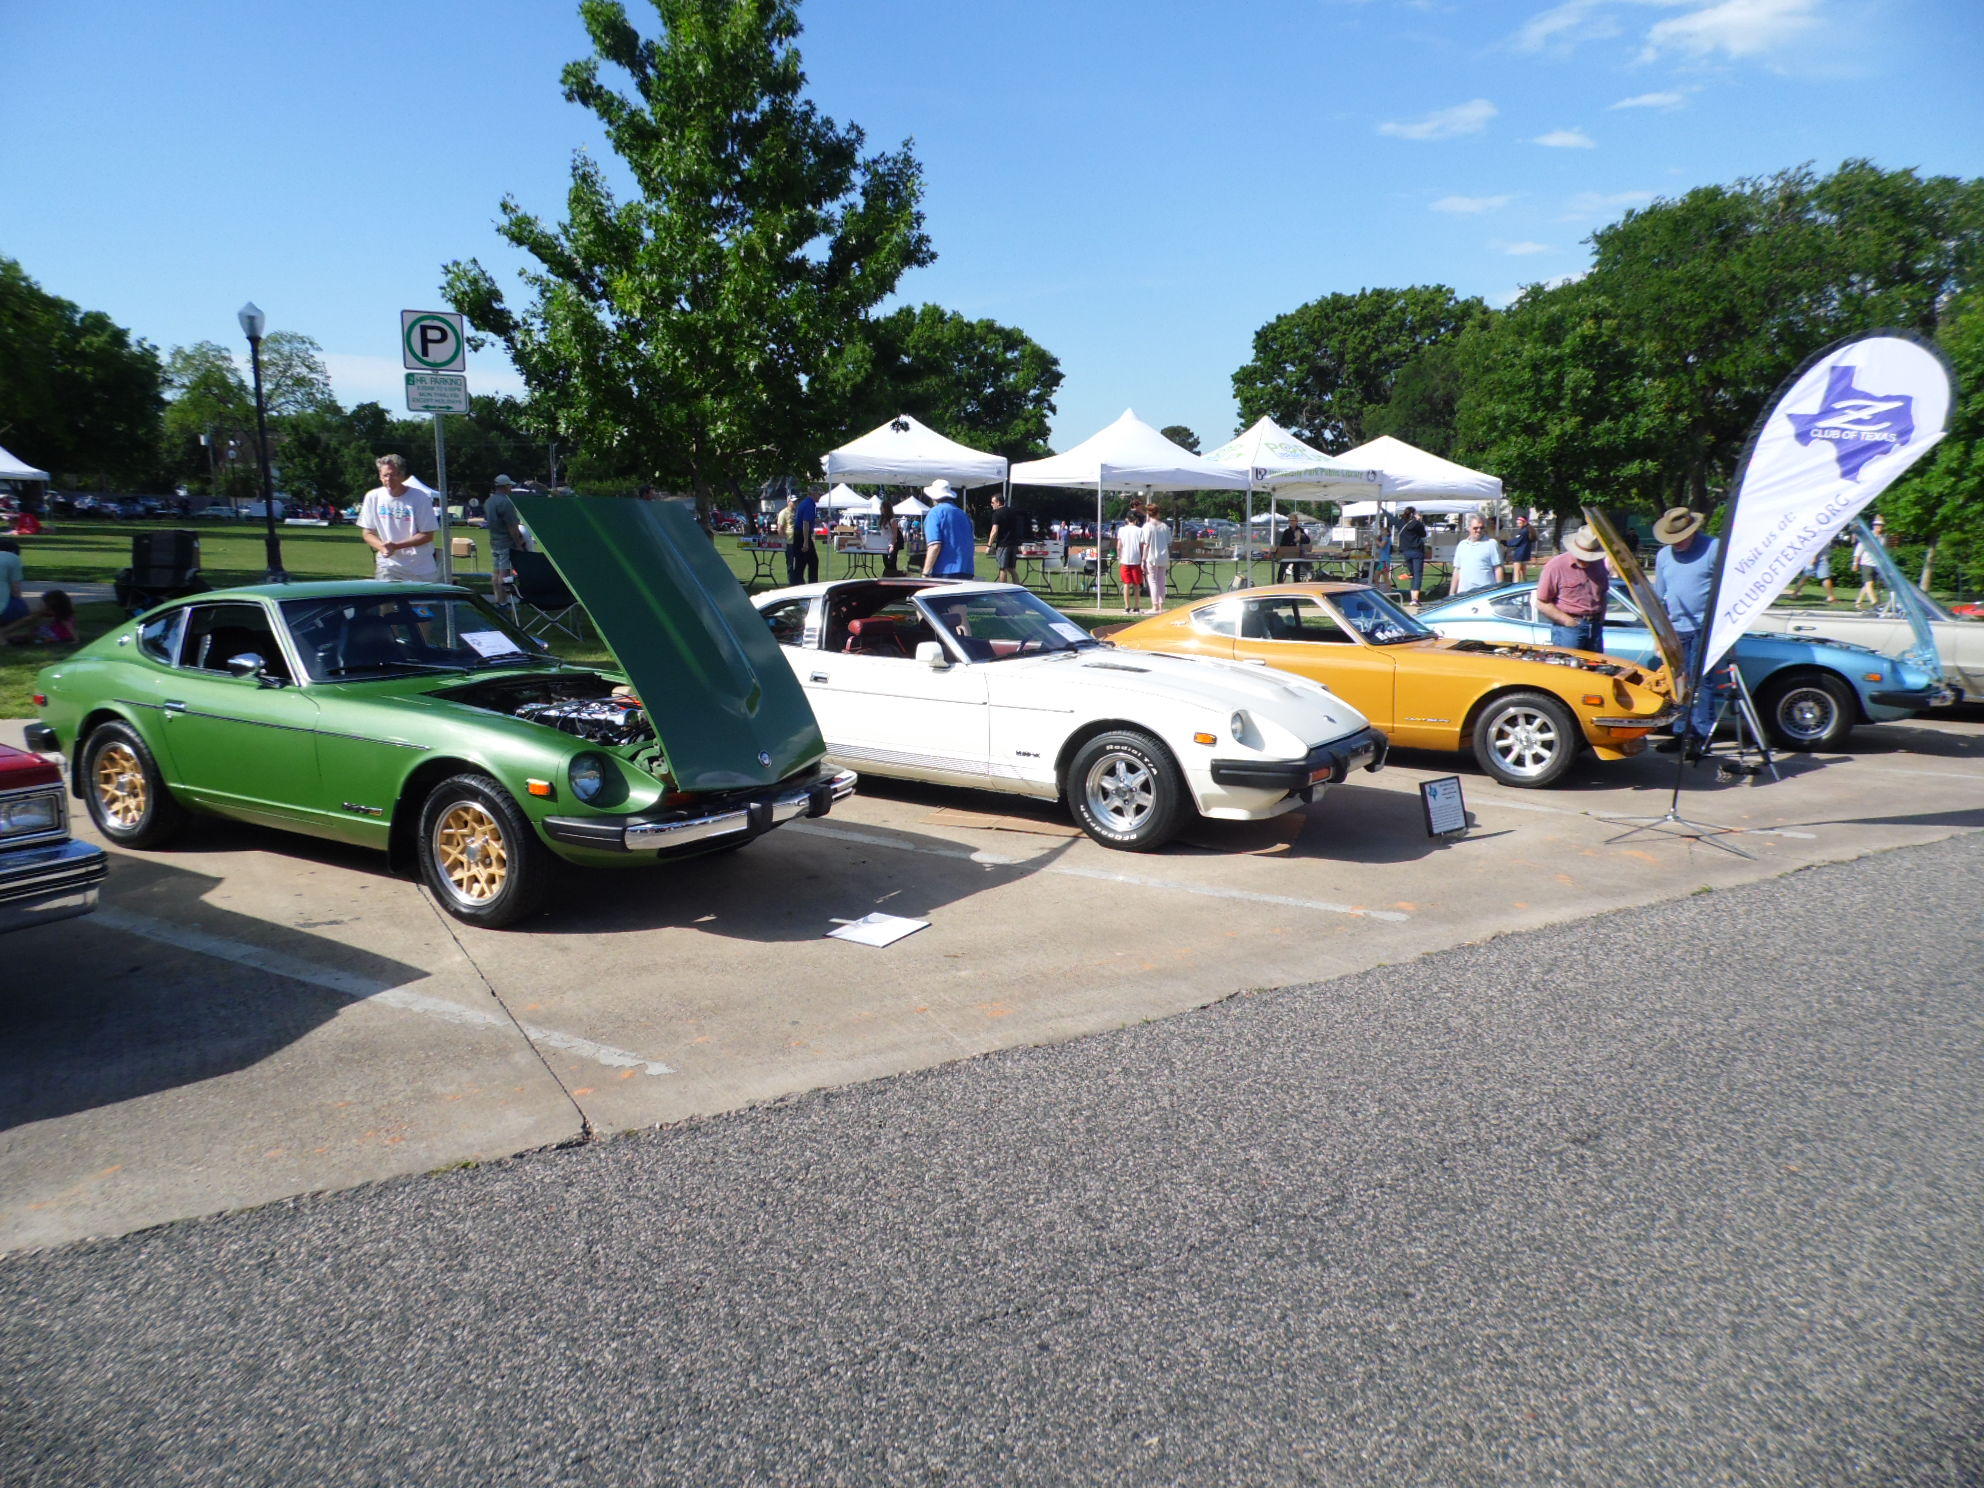
Similarly, made it to a local show yesterday - about 125 entries. Four members of our club attended, I managed to snag a Best in Class award in the Post-War Import class. Voting was a People's Choice process by the entrants, a nice recognition for my car from peers. Quite a few rare and unique cars entered in addition to domestic restorations and rods. Check out the FB link below for pics of some very interesting cars. https://www.facebook.com/media/set/?set=oa.2425401730816296&type=3
 3 points
 -
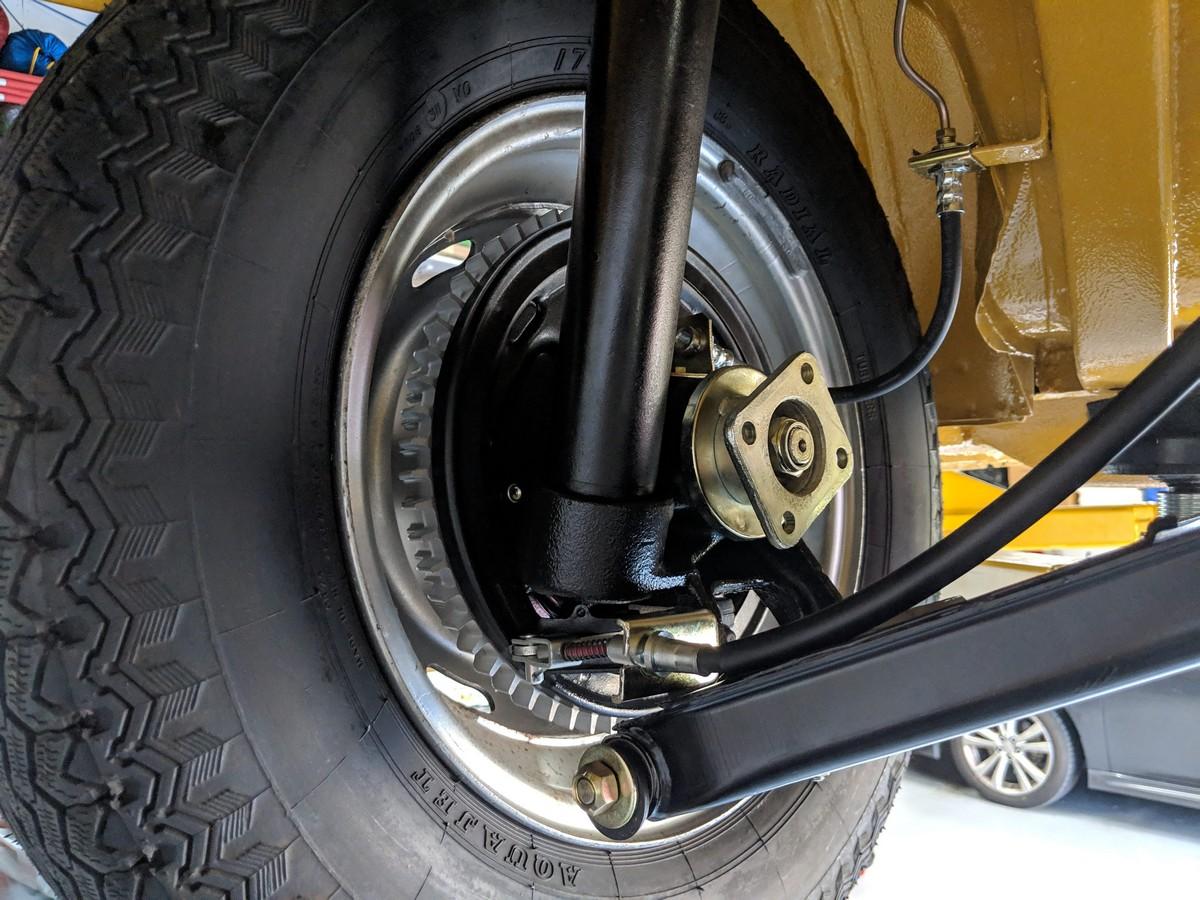
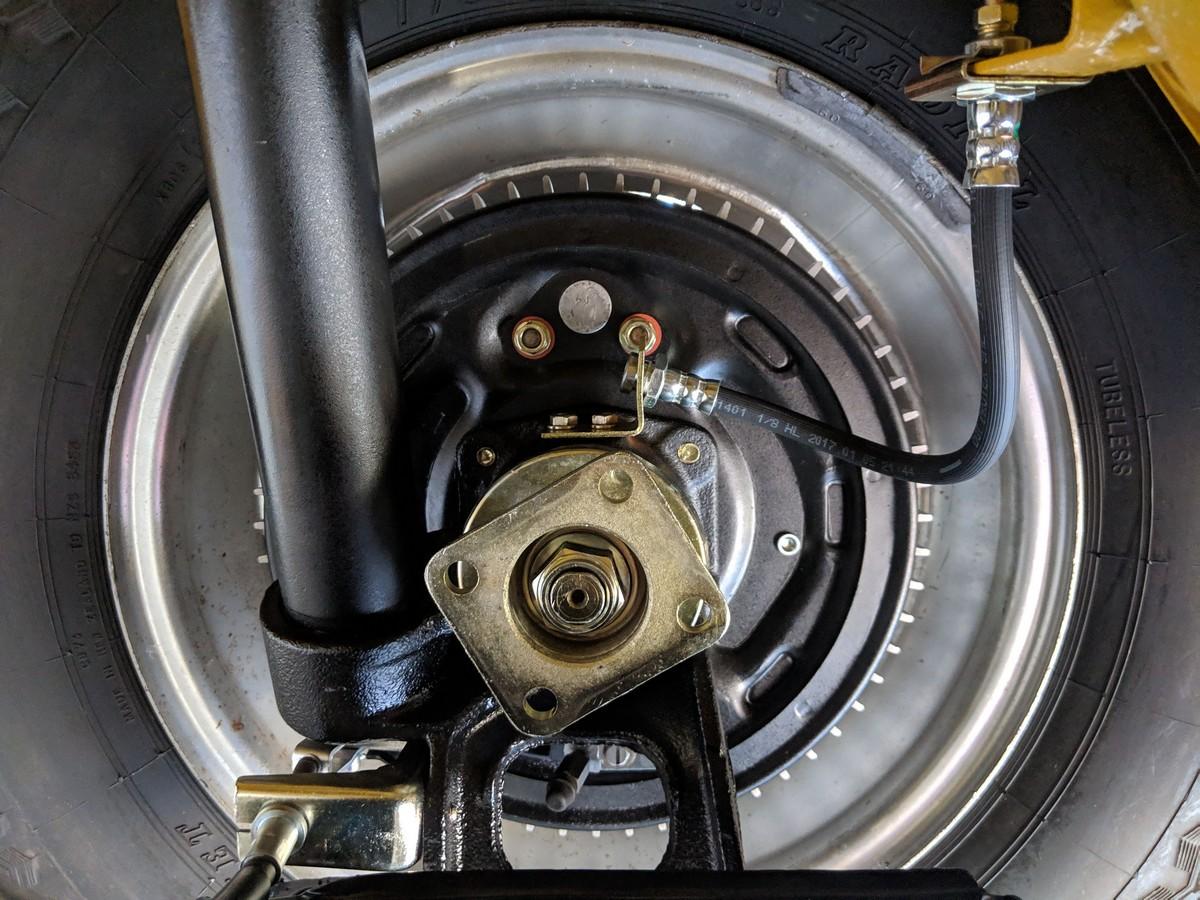
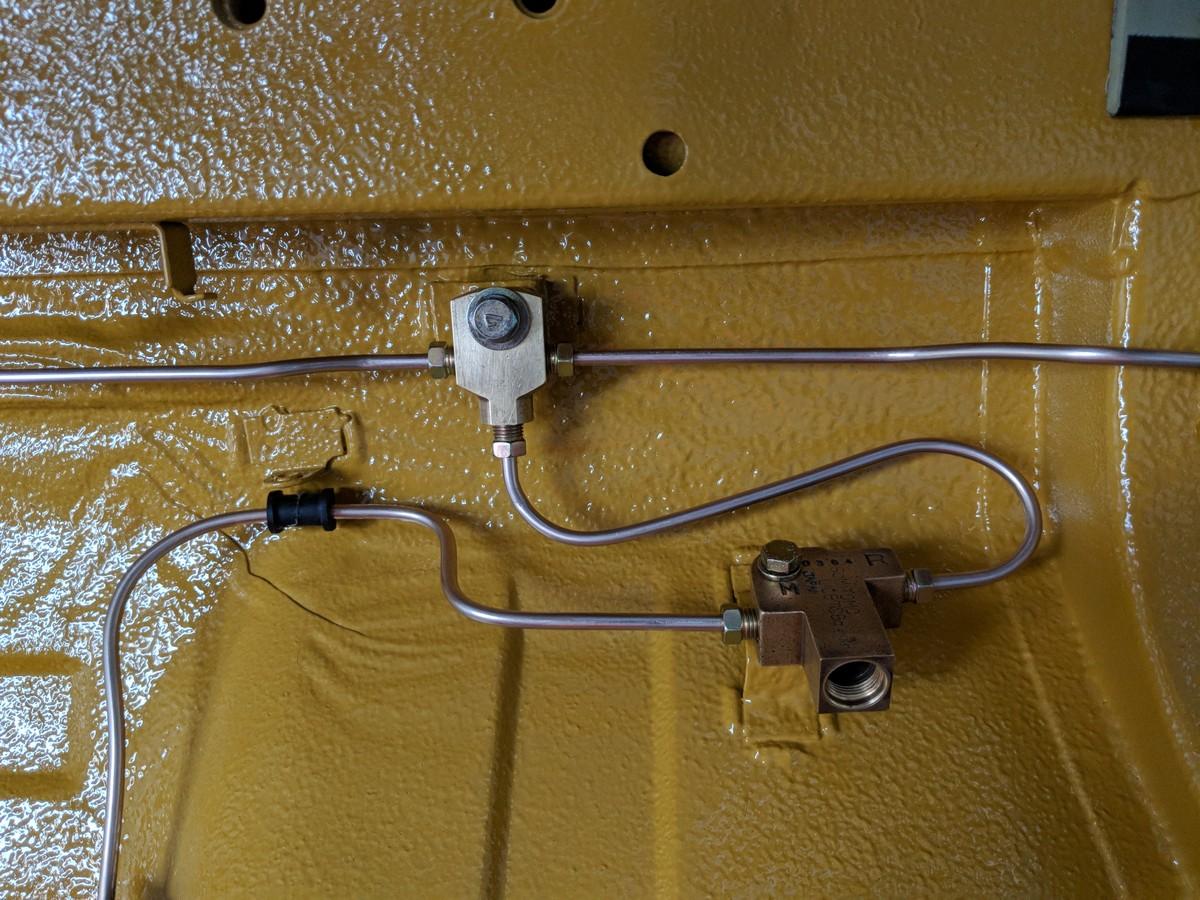
Those white plastic rings are called "bump plates" and they are intended as an extra layer of protection for the piston rod seals for when the car compresses fast enough for the bump rubber to make contact with the end of the damper body. The bump plates have two different designs, one a closed ring with a somewhat waffle shape and the other are flat and C shaped with a gap in one side. Because bump rubbers are round, fast moving, and soft to compress, it is defintiely possible for a bump rubber impact to the top of the strut to drive a puff of compressed air and possibly some road grit into and past the seal lip and into the damper. The waffle or C shape gives a path for this to just blow out to the side and help protect the seal that much more. Because KONI dampers are expected to last a very long time, some extra seal protection can be helpful for longevity. After tightening the gland nut, the first step of reassembly is to just drop the bump plate ove rthe piston rod then reinstall your bump rubber, dust cover, etc. The Miata forum thread calls the bump plates "packers" which is a relatively common name from the Oval Track Racing world where you might stack several of them to make bump rubber contact happen sooner for a number of possible reasons but you also risk handling and tire grip issues as well. The comment about them being related to an old, multi-piece style of piston rod seal is something that the poster has made up themselves. Yes, in the early to mid '80s there was a change in the seal design (I talked about ti earlier in this thread) but bump plates having some involvement with that is just someone interjecting their own assumptions. I have explained the bump plate installation and usage many times over 23 years but never heard that one before.2 points
-
Culprit has been found (thanks everyone!). The driveshaft bolts were loose.2 points
-
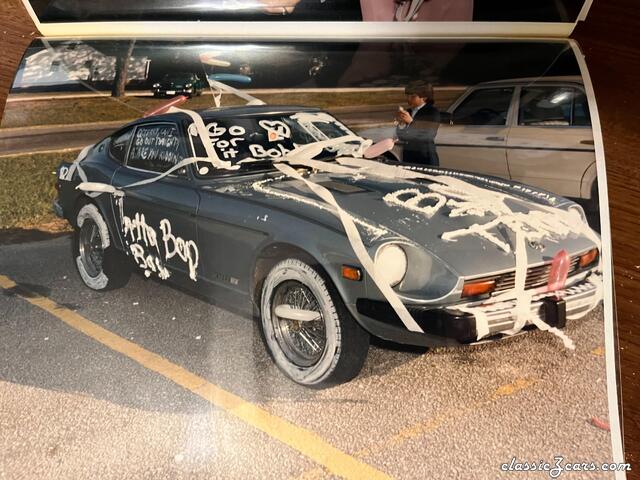
Nice shot. Don't forget to take a matching, 'After' picture when the car is finished.2 points
-
I sent him a PM and reached out. What seems to be the issue. I will do whatever I can to help you out. May have to be in the evenings when the kiddos are asleep, but lets work out a time to meet! Send me a PM of the issues you are having and let us start from there! ? Always happy to help out a fellow Z guy! ?2 points
-
Plenty of online discussion about these, according to google search, but the Miata gang sums it up well in the meantime: https://forum.miata.net/vb/showthread.php?t=3399142 points
-
I just ordered the QuickJack BL-5000SLX for $1099 at HomeDepot Online. From my research, that was a very good price. Shipping is free. If anyone is interested, I'll post an update as to how well it works on my 240Z. https://www.homedepot.com/p/Quick-Jack-BL-5000SLX-5-000-lbs-Capacity-Portable-Vehicle-Lifting-System-BL-5000SLX-AC-110v/307393222?cm_mmc=Shopping|G|HC|D25T|25-31_GARAGE/AUTOMOTIVE|NA|NA|71700000037147756|58700004942559535|92700042867443626&gclid=CjwKCAjwwZrmBRA7EiwA4iMzBAfISSJB1zuHA3oh0RZ_5KwJDX4aoohJLIBS0n1oh-Nu_V8IfJrLgBoCwisQAvD_BwE&gclsrc=aw.ds1 point
-
Okay, anything new on the Zcon front? I'm bringing my girl this time. ZCon #5, and first time not alone.1 point
-
To be honest, I thought life would get in the road before you would get this far. Dedication, nothing less. Congrat George.
 1 point
 -
If you plan to "stay somewhat stock" I wouldn't spend to much time trying to figure out how to fit a 6 speed. It's just not worth it. Look for a 280ZX coupe with a "close ratio" 5 speed and grab the R200 diff while you are at it. The 5 speed in the 280ZX coupe is known as a close ratio and the diff has 3.7 or 3.9 to 1 ratio which makes a nice sporty combo in the S30 models. You will need to find a donor 280Z for other parts. The diff in your automatic 280Z is a R180 with 3.545 to 1 ratio. It will work fine, but it's a little high for the close ratio and slow of the mark. It's is the standard diff ratio for the "wide ratio" 5 speed in the 280Z and 280Z 2+2. See document for the different FS5W71B transmissions. How to identify - F5W71B Wide and Close ratio transmission (2).pdf1 point
-
6 speed is not a bolt in conversion. As these cars are getting more valuable, I would stick with bolt on / bolt off conversions. Any of the z car 5 speeds are basically a bolt in affair. Although driveshaft length can be an issue and transmission mount can be an issue. 240z front end conversion looks nice and is reversible. Same with the auto conversion and pedal box conversion. I would suggest you don't get rid of any of the automatic parts. So many young people can't drive a manual. I suspect auto cars will become more desirable in the future.1 point
-
Thanks Carl, I knew I had seen something like that. That looks like a pretty simple part. I may just make that at home myself. If I get ambitious, I may even draw up a PDF of the part and post it here or on the thread that discusses this item. I doubt that it is patented.1 point
-
started right up no need to monkey with WTS. Think ZH was on to something about the signal to ign module. Going to have to hit up Jeff to see if he has a tach laying around, I would like to know I have that part of the circuit working right. I don't want to just assume I have the resistor hooked up right. Curious about the RPM anyway as I would like to see if its idling correctly. Will get video later, but it started instantly from a warm start. I am reading about 40 ohms on the water temp gauge sender which I have previously check as 185 on the gauge. Jeff, I will be hooking up that oil pressure and water temp gauge later.1 point
-
Well we're back again, its been another busy but productive weekend. I'm pleasesd to say that the car now has a fully functioning forced cold air intake fitted! I just wanted to start by giving a shout out to Richie, I completely hijacked this setup from his recent work and used his suggestions and parts list to make this possible. It goes without saying that this setup is entirely custom, with all of the parts having been sourced from ebay with the exception of the airbox from MJP (this effectively comes in flatpack form though). This setup previously seems to have only been used on tripples rather than SU's from what I've seen to date though... First up was to protect the airbox itself, arriving in naked firbreglass it looked a bit dull and looked like it would benefit from some protection. Also the lip of it was white in places from the raw finish and gave it a rugged look, having gone round with a black shapie everything was blacked up to match in. Following a quick degrease and a few coats of laquer using a rattle can in the garden the results the next day were much better and give it a more premium finish. Saturday afternoon started by getting the carbs back to basics to allow me to get in with some masking tape to make a transfer outline of the bolt holes and carb intakes before transfering this across to a cardboard template of the airbox. Having carefully cut this up I could test fit the cardboard for fitment until I was satisfied, with that done I transfered the outlay onto the airbox backing plate marking it up with a Chrome Pen. So as to not rip the fibreglass up, a dremel was used to drill around the areas before opening up the gaps annd sanding them back to get the desired fitment. This was a bit of a sod and took some patience as you only get one shot to get it right. With that done the rubber sealing trim was installed and the clips/brackets that secure the airbox offered up for positioning and drilling, being patient with the dremel and drill got all of the holes in place. These has now been locked down using M4 Bolts and Nylocks on the inside to give a flush fitment and cause the least disturbance while remaining removable. Long term if there's no issues, I'm still tempted to move to rivets however we will see. Come Sunday, next up was taking the CRX induction pipe to mark up and chop up using an angle grinder. With my small one out of action the hacksaw came into play as the 9inch grinder I had turned out to be too man for a precision job. This was a case of more patience and conservative cuts to get the desired length (I still think the pipe may be a tad too long with the airbox being very snug pushed up against it). In order to hold it in place a silicone joiner hose was inserted through the bulkhead, this was an absolute just fit and had to be heated in hot water to be made pliable enough to slot in place and is now going no where. With alot of squeezing the ali pipe was dropped in place with some pushing, pulling, cursing and swearing before being tightened up using jubilee clips. With all of that done, all that was left to do was cut the 90 degree bend pipe out of the front to fit up a suitable cone air filter, the pipe was a bit too heavy duty so took some time with the grinder but seems to have done the job. This slotted in place with jubilee clips and has had a generic ebay red 3 inch cone filter added onto the end. Having covered it in K&N filter oil it looks to be more than up to the job of keeping out all necessary debris and flies etc. Only time will tell how durable it will be! Overall it seems to be gone very well, its snug but has good clearance in all of the right places. I may cut down the pipe from the airbox to the bulkhead to allow for easier fitment and removal going forward however its ready for the shows this weekend. Having taken it around the block it seems to be running smoothly however the extended roadtest of a couple of hundred miles should reveal all. Fingers crossed I can get it to a Dyno soon to have a proper tune up and see what all of our hard work has gained us, the performance certainly seems stronger. In other news we're getting close to our big brake upgrade on the front, pads have arrived, fitting kit cleaned up, disks and brackets on their way. I'm just waiting for the brake calipers to be done by BiggRed and then we'll be looking to get them fitted up. More than likely a job for next week to take the pressure off assuming the clipers arrive before then... Fortunately the car is all fueled up, polished and stowed away in the garage for the weekend waiting to go this year, no more water pump fixes at 11pm the day before please! A little detail I've been meaning to do something about for a while now! IMG-9845 by Mark Woodrow, on Flickr IMG-9875 by Mark Woodrow, on Flickr One Template IMG-9818 by Mark Woodrow, on Flickr Test Fit IMG-9820 by Mark Woodrow, on Flickr Transfer Across IMG-9823 by Mark Woodrow, on Flickr Cutting IMG-9825 by Mark Woodrow, on Flickr IMG-9830 by Mark Woodrow, on Flickr IMG-9847 by Mark Woodrow, on Flickr IMG-9848 by Mark Woodrow, on Flickr IMG-9834 by Mark Woodrow, on Flickr The business end! IMG-9858 by Mark Woodrow, on Flickr IMG-9864 by Mark Woodrow, on Flickr IMG-9884 by Mark Woodrow, on Flickr IMG-9891 by Mark Woodrow, on Flickr IMG-9901 by Mark Woodrow, on Flickr IMG-9920 by Mark Woodrow, on Flickr1 point
-
And that’s how it should be done folks... ...mic drop!1 point
-
Beautiful work! A rebirth for this one!1 point
-
@Av8ferg, Where did you get the O-ring and lock ring for the fuel sender? I'd like to pull mine out and figure out why it's not accurate, but I would like have an O-ring and lock ring on hand before I take it apart. I'm assuming if I have new ones here, I'll be able to re-use the old ones.1 point
-
siteunseen, that photo you are talking about was taken at least 6 years ago. It was in the center of what is PPG office buildings, it was a car show on a Wednesday that is held in conjunction with the Pittsburgh grand prix that is held here every July. They have different location's throught the city to park cars. It's a great time to show off cars at different areas in the city and to people that would not normally go to car show.1 point
-
They are notorious for leaking when they get old. Time for a new one. ZcarDepot or MSA have them.1 point
-
If it's safe to be under it, with good solid jack stands, just crawl under there and spin the wheels and see if you can locate the noise. You might have to lift the wheels up some by the control arms though because the u-joints will be at an extreme angle with the wheels hanging. Check the flanges on both ends of the halfshafts for loose nut and/or bolts. The noise sounds a little bit like loose parts. Might even be loose lug nuts, better check those too.1 point
-
Thanks. We had the S30 series totally covered with my 240Z, the green 260Z, and blue 280Z. The 280ZX 2+2 GL is true survivor: one owner, 485k miles on the odo with the engine NEVER having to be opened up. Most of the miles are highway as a saleman's car, religious about oil changes and valve adjustments.1 point
-
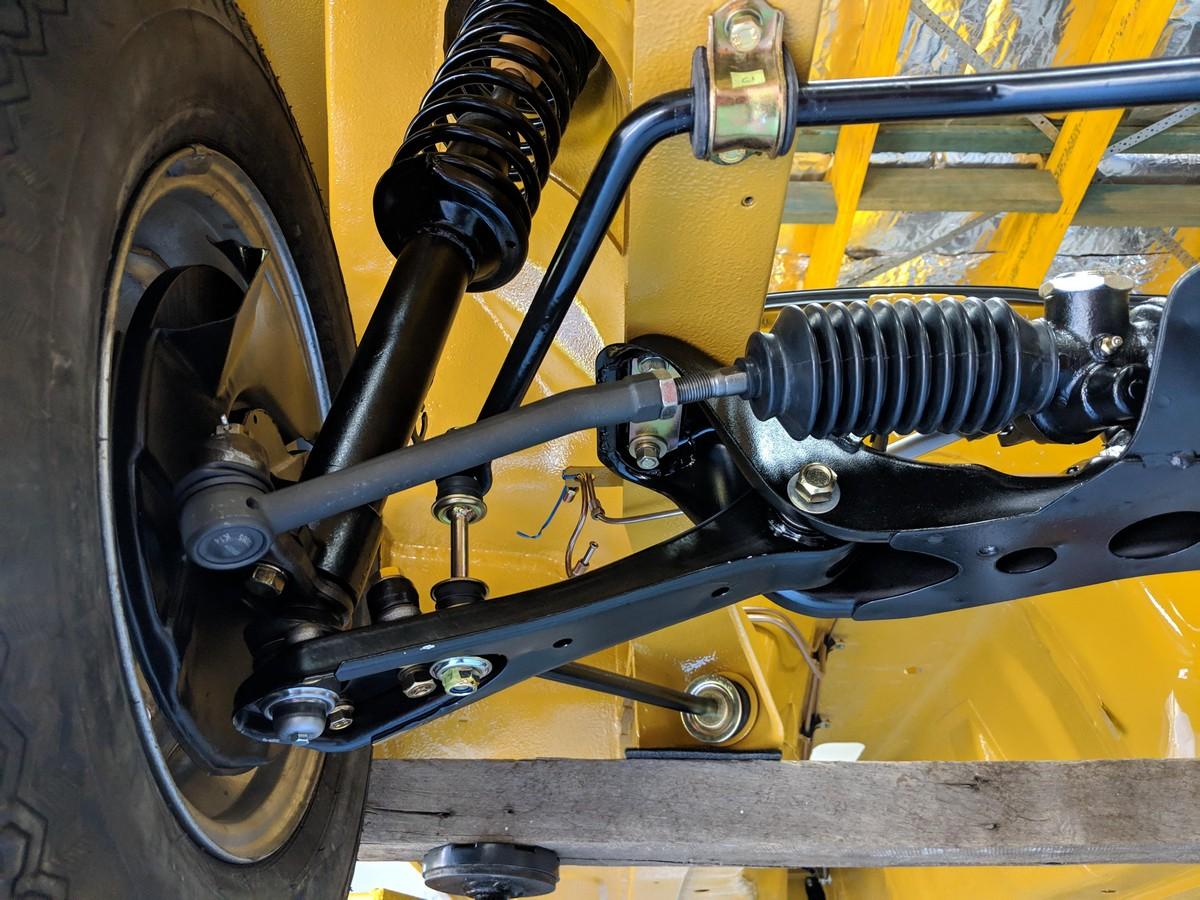
There are a number of very good steering rack rebuild threads in the archives that go into detail on the procedure. When I rebuilt my 77 steering rack I used a slide hammer to remove the pinon shaft and upper bearing, the upper bearing and grease seal are still available and inexpensive, not sure about the lower bearing. As I remember, that white plastic plug was actually poured in to the rack as a melted liquid and holds and seals the rack and housing together, don't f--k with it. @zKars sacrificed the life of a steering rack to bring us that info1 point
-
1 point
-
Late to the fight but for future readers, this may help:
 1 point


-
-
Forum Statistics
-
Total Topics66.4k
-
Total Posts664.8k
-
-
Gallery Statistics
-
Blog Statistics
-
Total Blogs167
-
Total Entries251
-
-
Download Statistics
-
Vehicles Statistics