Jump to content
Remove Ads

Leaderboard

Popular Content

Showing content with the highest reputation on 05/10/2019 in all areas

  1. If you follow the wiring path from the circuit diagram: 20amp fuse -> GY hazard (6) -> hazard (7) GY -> brake light switch -> GY turn signal switch -> WR AND WB -> (harness that runs under dash & connects to body harness near glove box, runs down right side of car to rear -> GB AND GR at taillights. If you disconnect both GY from brake switch, ONE them should have constant battery voltage. The other should not. IF neither have battery voltage, problem is in the flasher switch. IF voltage is present on one, connect them together and check for voltage on GY at turn signal switch. IF voltage, check for voltage on both WB and WR on turn signal switch. IF no voltage, turn signal switch is bad. IF voltage, check the connectors between the dash harness and the body harness near the glove box then go to rear of car and check harness and connectors to tail lights.
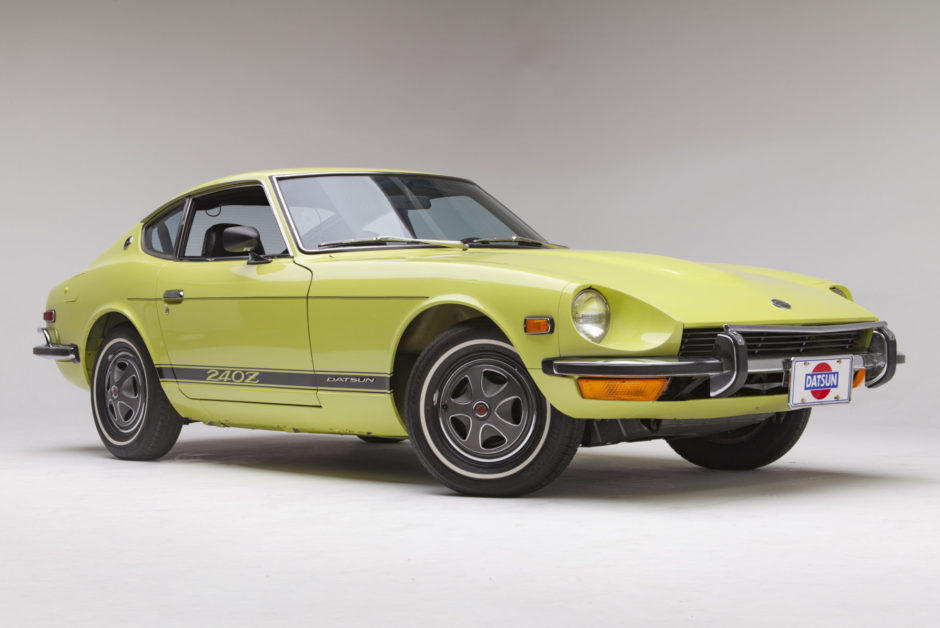
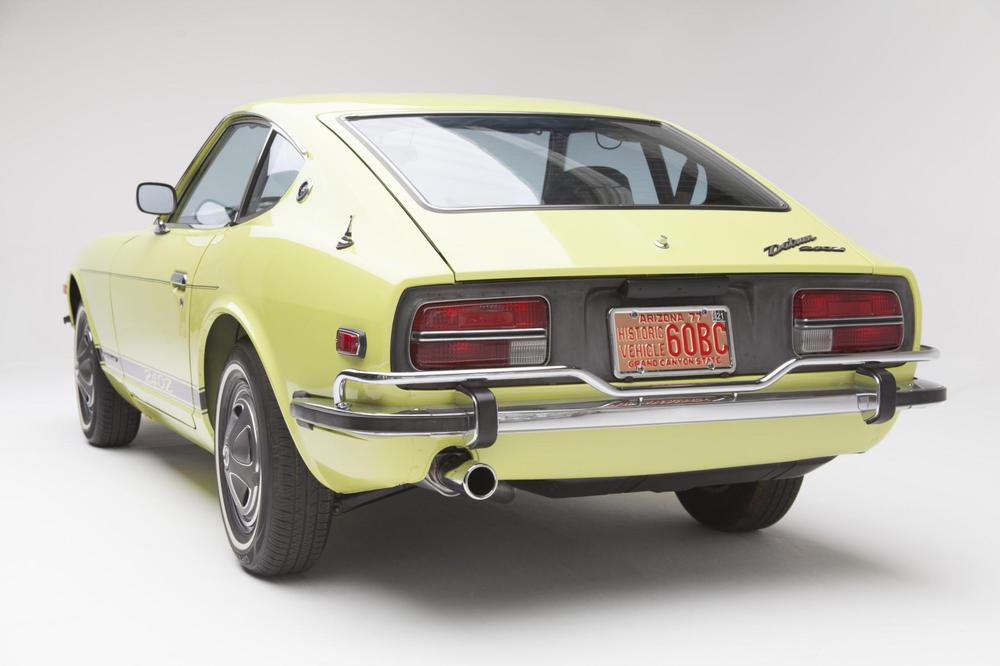
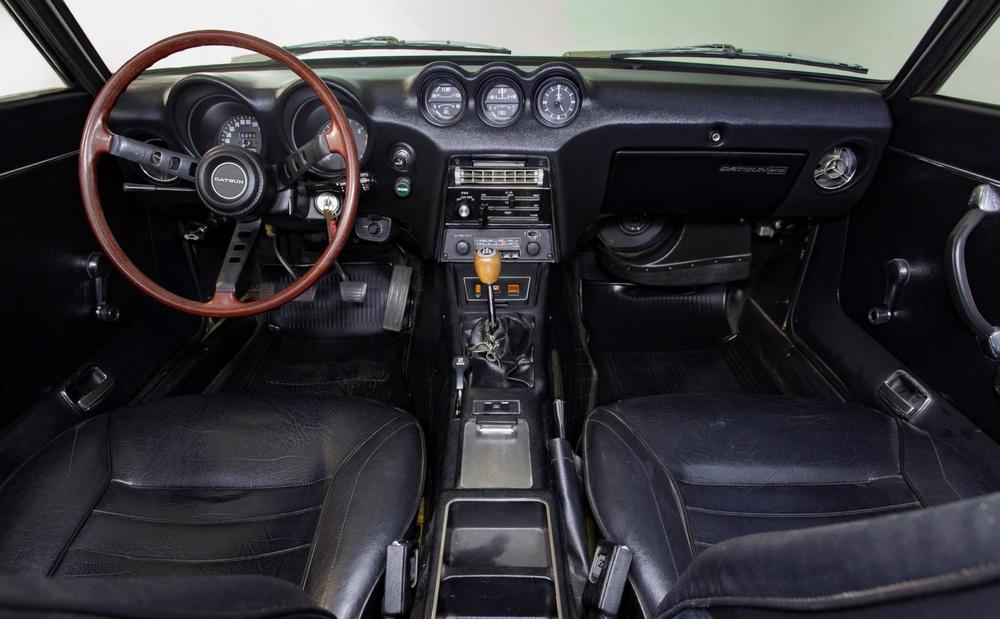
  2. Here's the link: https://bringatrailer.com/listing/1973-datsun-240z-91/
  3. Sending you PM...
  4. You're lucky that the over spray of primmer is pretty light and should clean off easily, you don't have to remove the the plate but it makes the job cleaner considering you still have to paint that area. A 1/8" drill will remove the rivets and most hardware stores carry assorted aluminum rivets and rivet guns. If the primmer is rattle can stuff then squirt some WD40 on a a cotton rag and gently rub the primmer, go slowly with not much pressure, the lettering is paint and pretty tough but still you want to be cautious. If the primmer is epoxy the wd40 won't be as effective but still works but you might have to use some compound polish or tooth paste on a soft cloth or Q-tip, they are both abrasives so be very gentle! After the plate is clean wash it with some hand soap, dry and apply a coat of car wax. After having lost a vin plate before now I keep the door, engine and dash tags in an envelope nailed to the shop wall in a prominent spot. This cleaning method is my own personal experience of trial and error and has worked well on 7-8 tags so far.
  5. https://www.yelp.com/biz/power-brake-exchange-san-jose these guys do a very nice job rebuilding mine; i think they powder coat for an extra $15? $135 out the door, but im local. I think they have a so-cal spot.
  6. @Zup This should give you an idea of how much too low your insurance coverage is! ?
  7. If you are willing to cross the border, there is a gentleman in the west Montreal region who has a significant collection of S30 body panels. I do not know if he is set up to ship (or is interested). PM me if you want contact details.
  8. Early on the L24’s suffered premature water pump failures with the 7 blade metal fans. Nissan redesigned the water pump castings to strengthen them. Still the metal fans were wearing out the water pump bushings, and in some cases coming loose from pump and damaging hoods and radiators. The 7 blade nylon fans reduce weight on the end of the water pump shaft increasing the useful life of the pump.(as well as protecting the radiator and hood) The first 8 blade nylon fans were incorporated to improve cooling, as one of many attempts to get the 1973 Emissions Carb’s working in a reliable manor. First an “air seal” was added to the radiator core support at the Dealerships, which sealed to the hood when closed.(inverted V shape metal with a rubber seal on top) It was intended to prevent the fan from drawing air over the top of the radiator. Early production 73 240Z’s were equipped with 15” - 8 blade nylon fans. Later the “air seals” on the radiator core support were put into production. The one’s put on at the Dealerships were bolted on - the “air seals” put on at the factory were spot welded on. Finally a larger diameter 15 3/8’s 8 blade nylon fan was installed as part of the V-3 Modification Kit. The part number for the 15 3/8’s inch fan 21060-N3310 for the V-3 Modificaiton Kit.
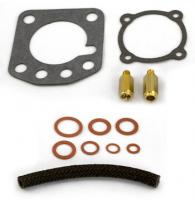
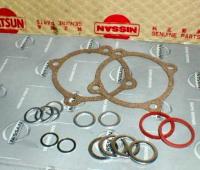
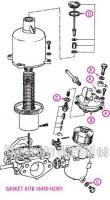
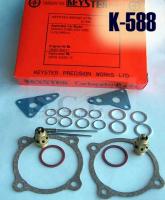
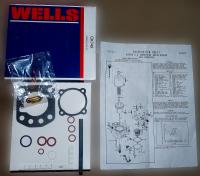
  9. Just to update this thread (6 years later on): It is interesting that prices have not changed much! I just picked up two SU kits from Black Dragon (Victoria British) and the quality was poor thus the spur to revise this post. Black Dragon Manufacturer: Wells Part Number: CK749 It only includes: - Fuel bowl needle valve assembly and gasket (much shorter assembly than the two I have in the carbs and not easy to disassemble like the originals). - Fuel bowl top gasket (very thin paper material) - Carb to manifold gasket (very thin paper material) - Rubber gasket for plunger (very thin rubber) - Clear plastic spacer for spring base (very thin clear plastic) - Fuel bowl drain gasket - 2 paper washers different colours and materials (for fuel banjo I assume?) I was hoping they would be aluminum like the existing ones. - 3 mystery paper washers (not sure where they go? ID of hole is 10mm and OD of washer is 14mm) Any ideas? Cooling passages? - fuel hose (best part of kit) The gasket paper changed between the two kits I received. The documentation was generic and did not show where gaskets go however it was informative: Page1:su carb.PDF Page2:sucarb2.PDF This is my 2nd kit. At least the gasket material is the same in this one. Comments: This kit needs front gasket for carb and metal banjo gaskets then it would not be so bad. A fuel filter sock, taller needle valves, and better quality paper would also be improvements. Z Therapy ZT150 $180.00 Complete Tune Up Kit for 2 carbs (Needle & seats, SM, N27, N54, or N58 needles, ZT Nozzles, float gaskets, gas lines, banjo seals,4 insulator gaskets, JustSU's DVD) This cost includes a $50 CORE CHARGE on your old nozzles. Send back your old nozzles for $50 refund. Comments: The ZT kit is more of a serious overhaul kit than a refresh kit. It has too much core stuff that I do not need to change (DVD, Nozzles, Needles) . As well the core hassle for nozzle exchange is not my cup of tea. I think ZT would benefit from adding a basic refresh kit to their product line. (quality gaskets & hose & needle valves) Motorsport Auto I looked at the MSA kit and it looks a lot like the kit I received from BD only it is ~ 50% more expensive. Even the way the wire holds the needle assembly is the same. Ebay This all Nissan kit from Japan is good value for $30. Does two carbs. Best Value seems to be this 72 240z Keyster Kit for $30. It does two carbs and has needles too! Needle valves look aftermarket.
Remove Ads

Important Information

By using this site, you agree to our Privacy Policy and Guidelines. We have placed cookies on your device to help make this website better. You can adjust your cookie settings, otherwise we'll assume you're okay to continue.