


Leaderboard
-

zspert
Free Member13Points313Posts -


siteunseen
Free Member10Points14,903Posts -


240260280
Free Member5Points4,441Posts -

grannyknot
Free Member5Points5,158Posts
Popular Content
Showing content with the highest reputation on 07/27/2019 in all areas
-
I only had a chance to look at the BAT listing briefly before it was purchased. As is the case with so many of the BAT Z car listings, many of the comments were from what I call "internet experts". We all know the type, had a Z for 6 months and are now one of the wanna be recognized experts. I get a call from one of these types from time to time. Anyway, getting off course. This car was from the first batch. I can tell because the air filter housing decals were painted around rather than replaced with my reproductions. Had their been pictures of the ID plates perhaps I could have pinned it down a bit tighter. It was mid/late in the first batch, all Pierre cars, when Nissan started to use my products as well as the soft trim from Distinctive Industries. Sad thing about the early first batch, almost of the diamond pattern vinyl was reused as there just wasn't any left in the parts dept. It was about the time that the second batch cars got started that Nissan commissioned me to significantly expand my offerings. Second and final/third, batch cars had the full compliment of my reproduction parts and DI soft trim which made them so much more desirable. The whole story is much broader than my musings here but it's late and I'm tired. Cheers PS While the DI Wilton Wool carpets aren't correct they sure are nice!6 points
-
3 pointsHe found those on ebay, NOS. They're no longer on ebay either 'cause... I mentioned wanting a set in a post above, he found those and, drum roll please, they'll be here next week! ? I love that man.3 points
-
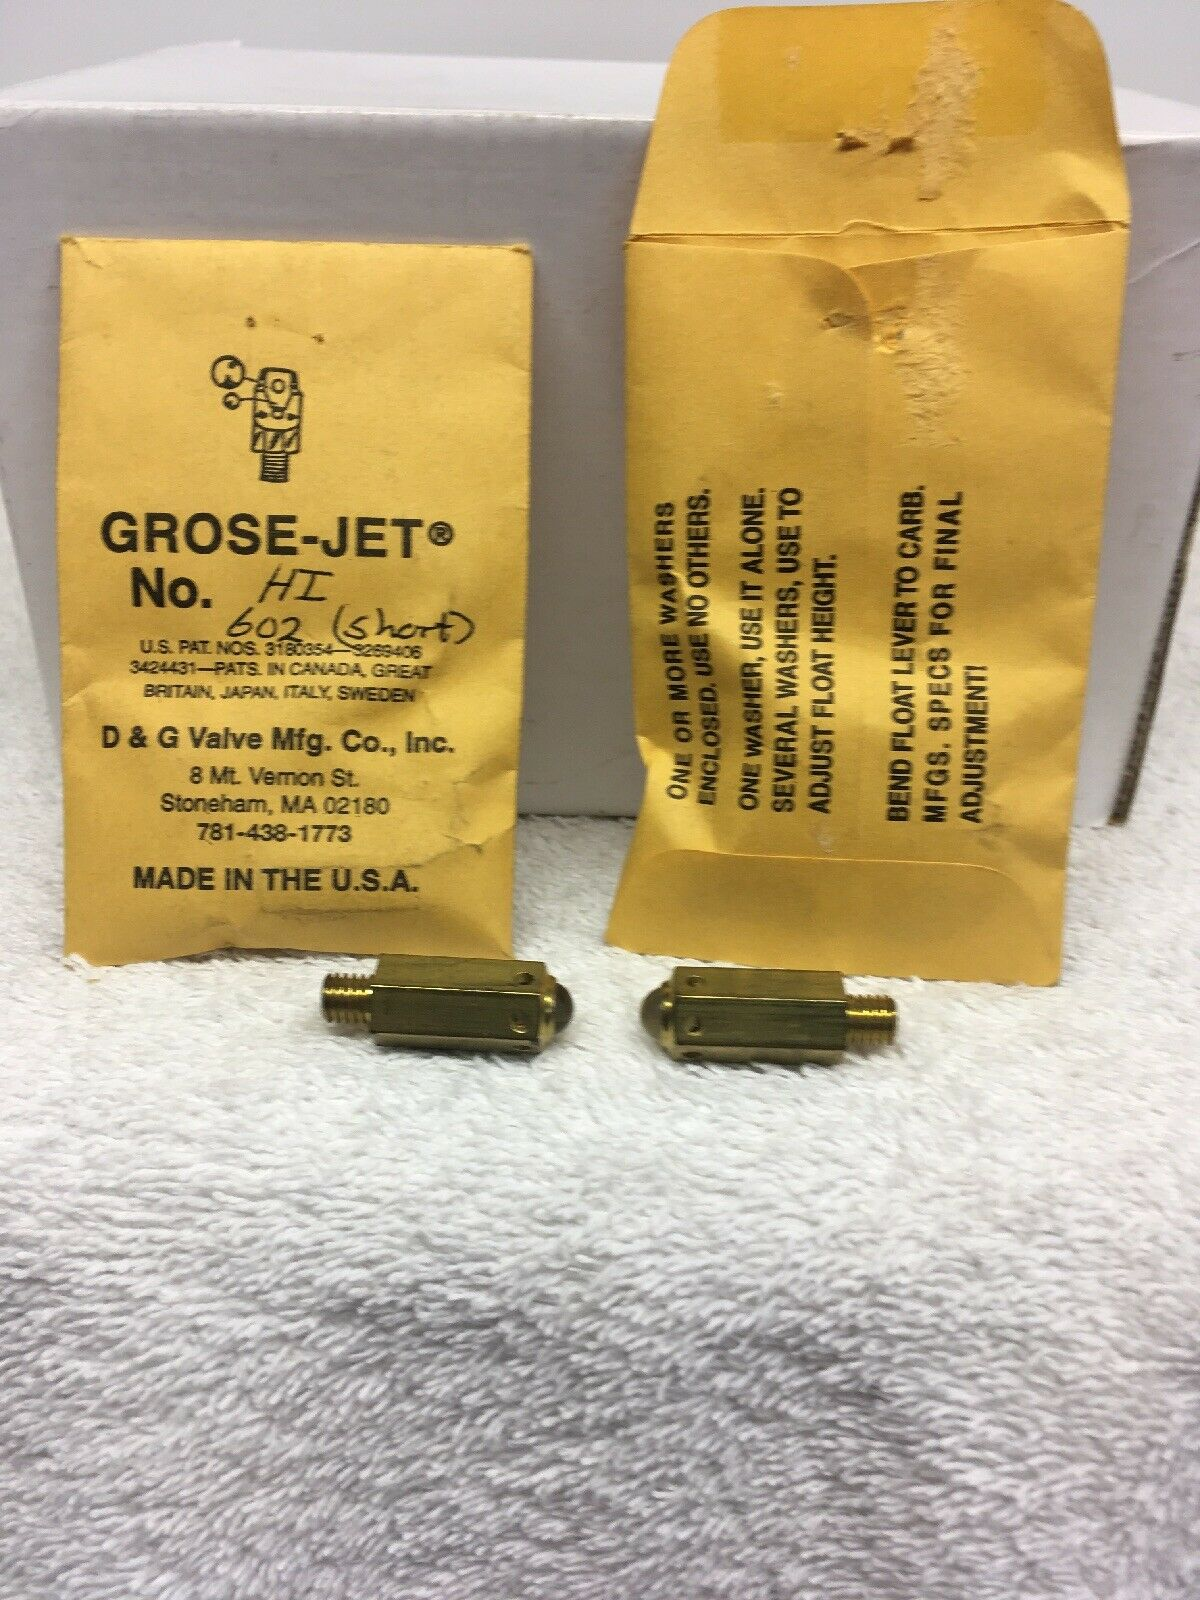
3 pointsFrom the www One day I decided to drive up to Stoneham, near Boston, and pick up a Grose Jet. This was in the days before Mapquest or GPS so I looked up the address in the ad and found a map of the town. It was called D & G Valve Mfg. Co., Inc. on 8 Mt. Vernon Street, and I really did not know what to expect. Would it be a large brick factory with chain link fence and guard house? It turned out to be a house in an old Stoneham neighborhood. I went to the door and knocked. A large man with a machinist apron on greeted me and invited me in to the manufacturing shop set up in the basement of his house. He wanted to know what model of carburetor I needed a gross jet for. Since I was there I picked up one for the Quadrajet on my mother’s Pontiac as well as the Holley on my VW. He took the time to show me how his jigs were set up to manufacture the different Grose Jets. For motorcycles he used glass for the larger ball to keep the mass down and deal with the vibration better. He pulled two Grose Jets out of the drawers of his cabinets and sold me what I was looking for. I drove home enlightened to see what a Yankee inventor could produce out of the basement of his house and become famous for in an underground sort of way. Look up D & G Valve on the Internet, you can still find it. Amazing.3 points
-
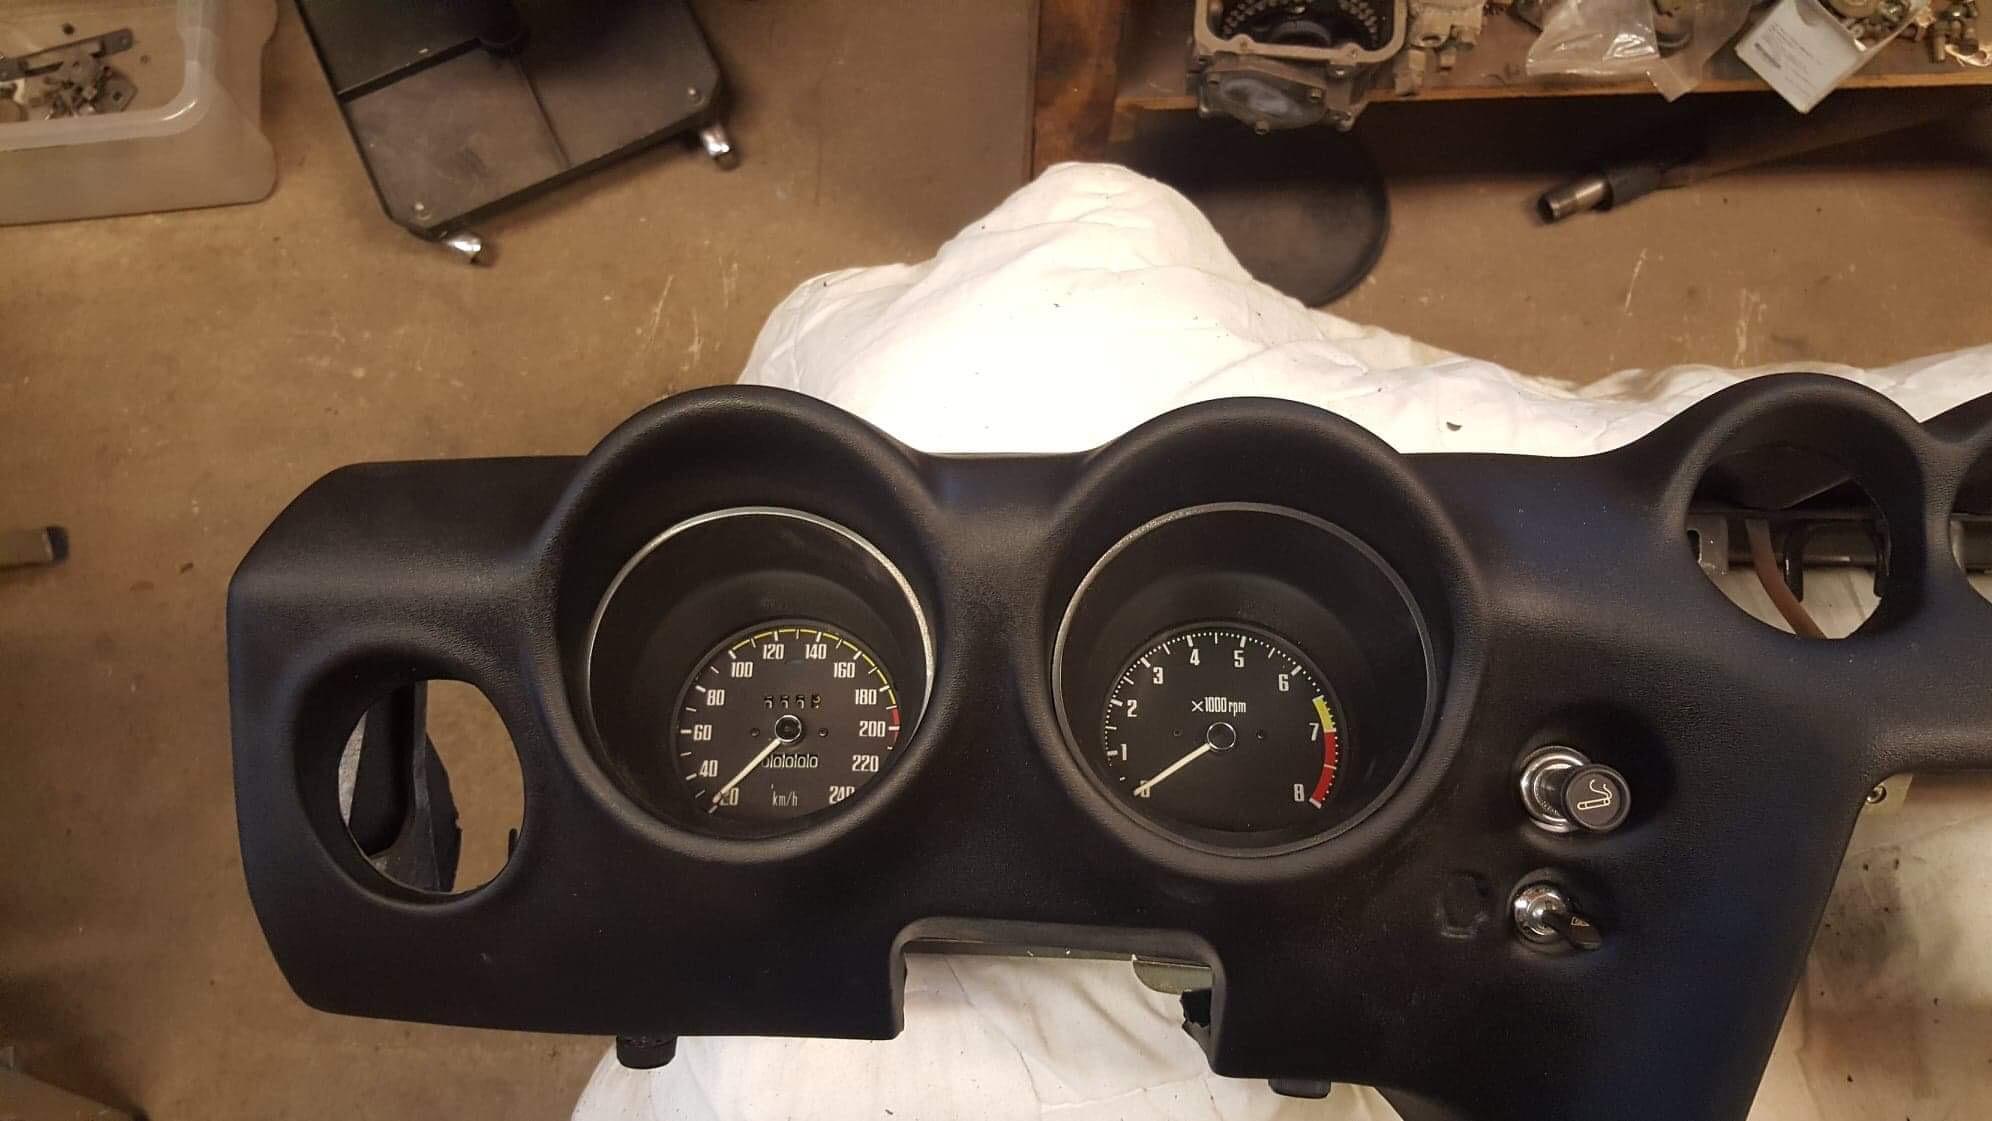
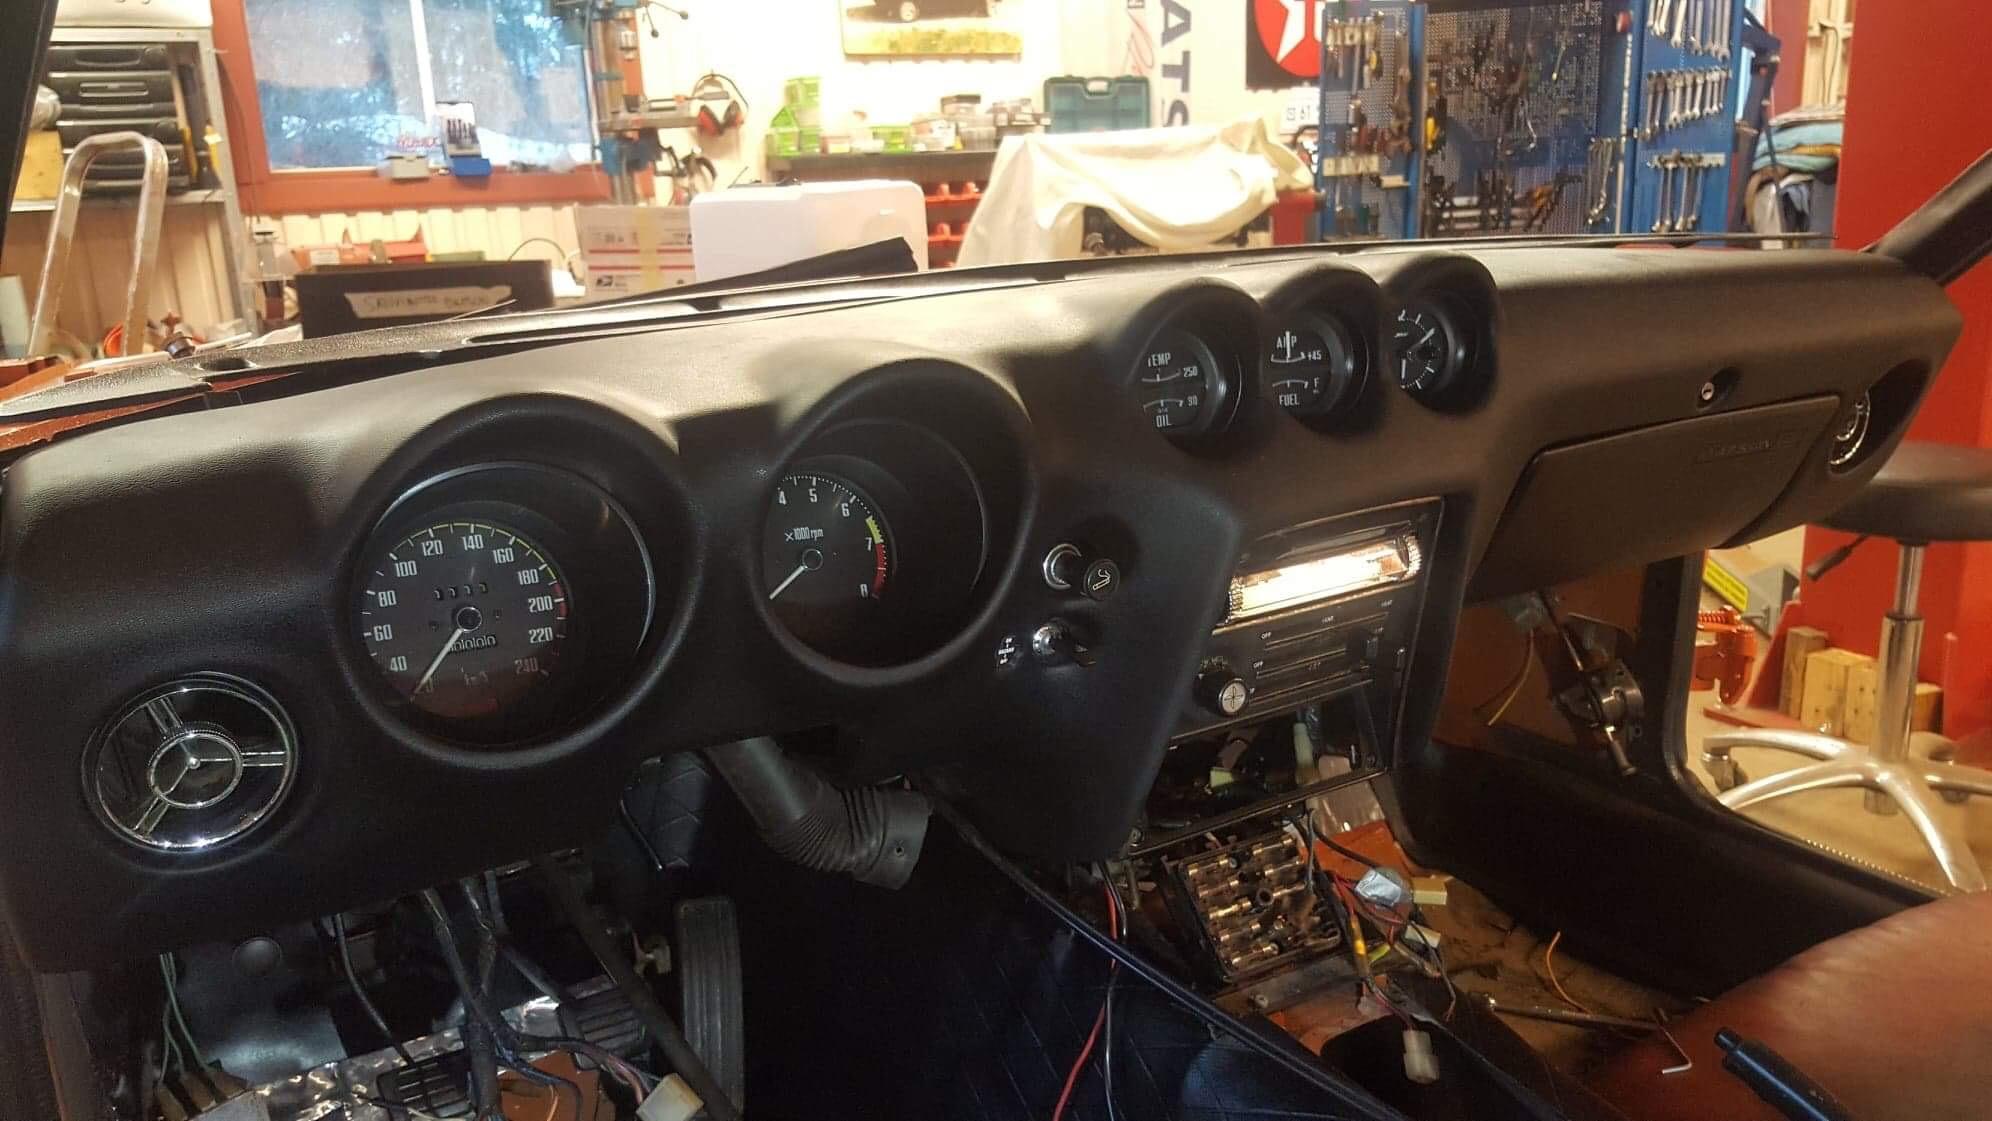
 3 pointsHere’s a new dash from Vintage Dashes with a km/h face swap. There may be a small stock of the dashes (If it was a 240z you had) here in Europe if you are interested @EuroDat //Andreas

 3 points
 -
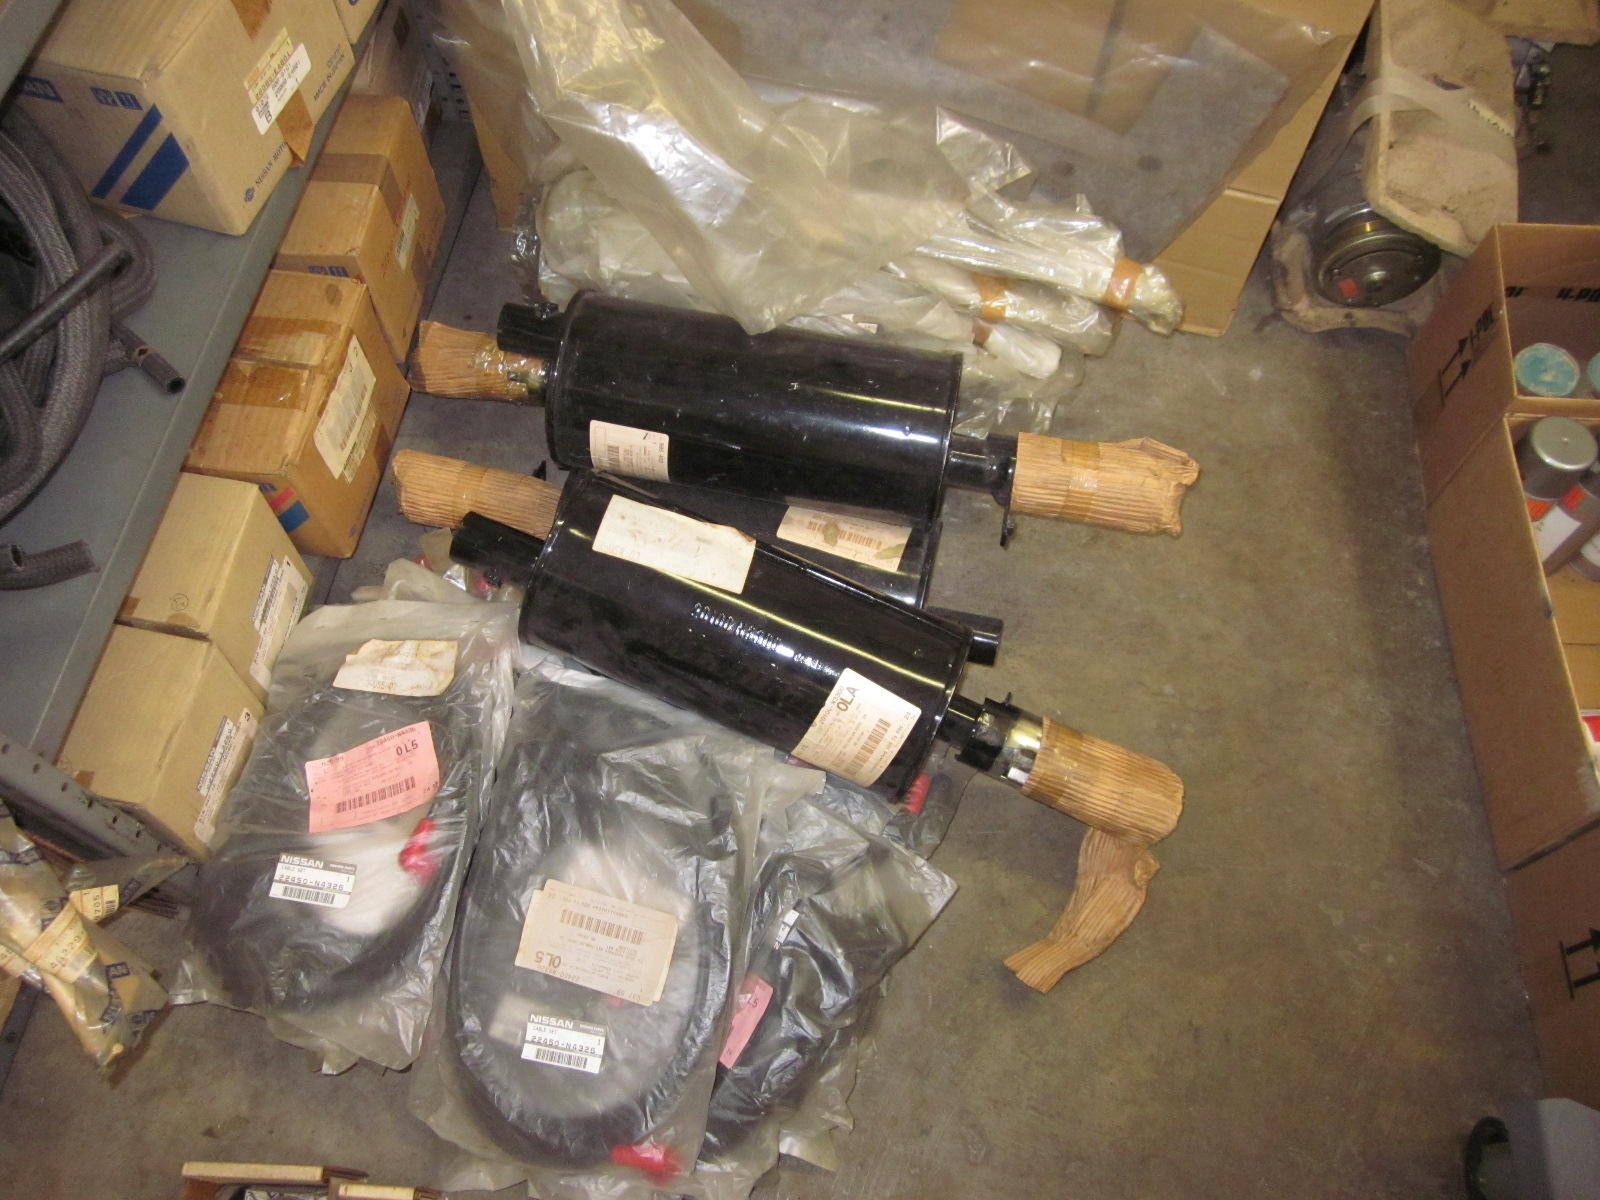
 3 pointsUpdate: the clutch was glued to the flywheel by the green paint, I had to rip it off and use acetone to clean off the paint and it works fine now. Now the only thing left is the fact that my car wants to run rich still3 points
 -
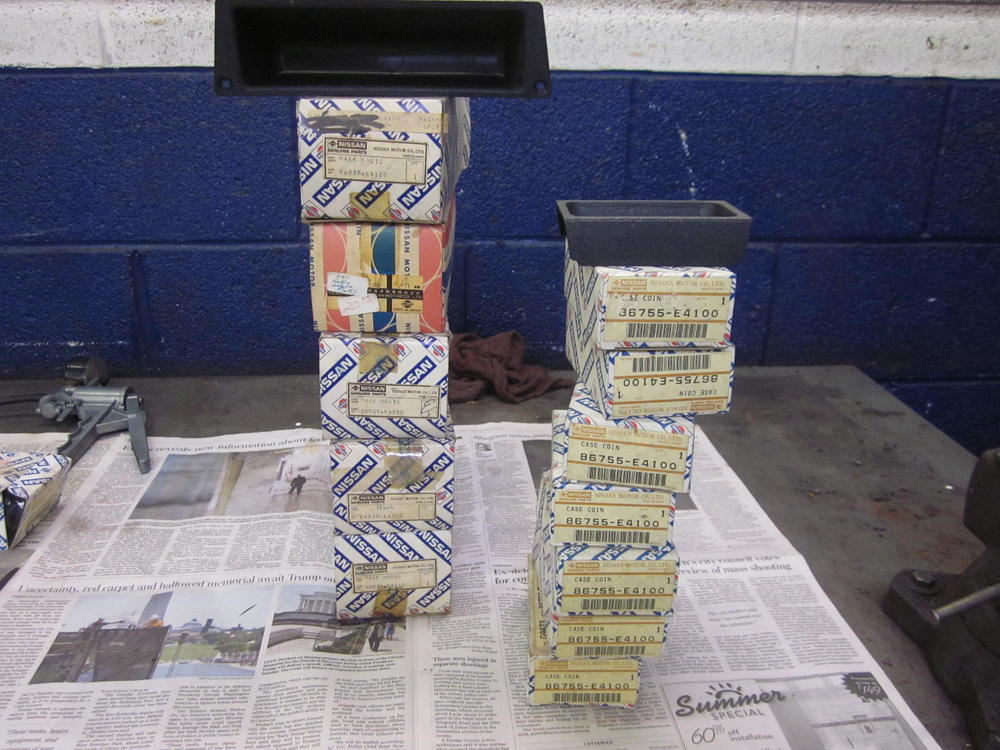
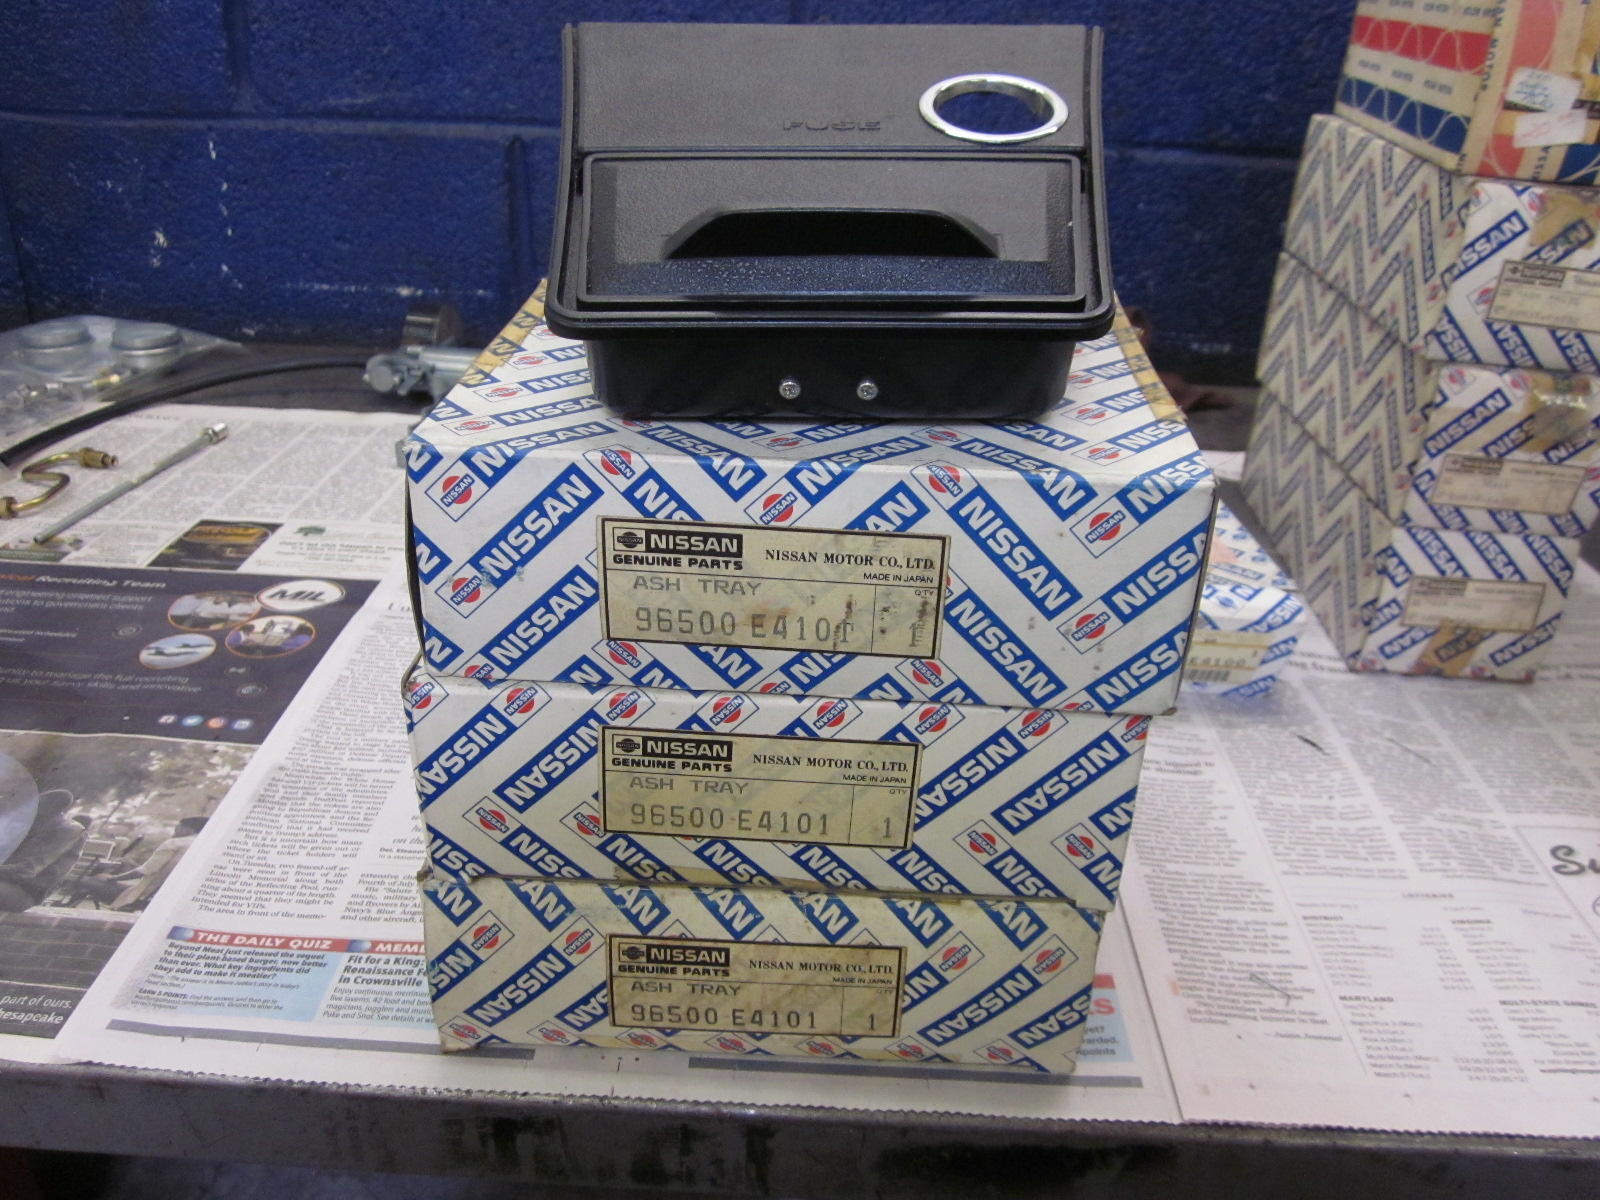
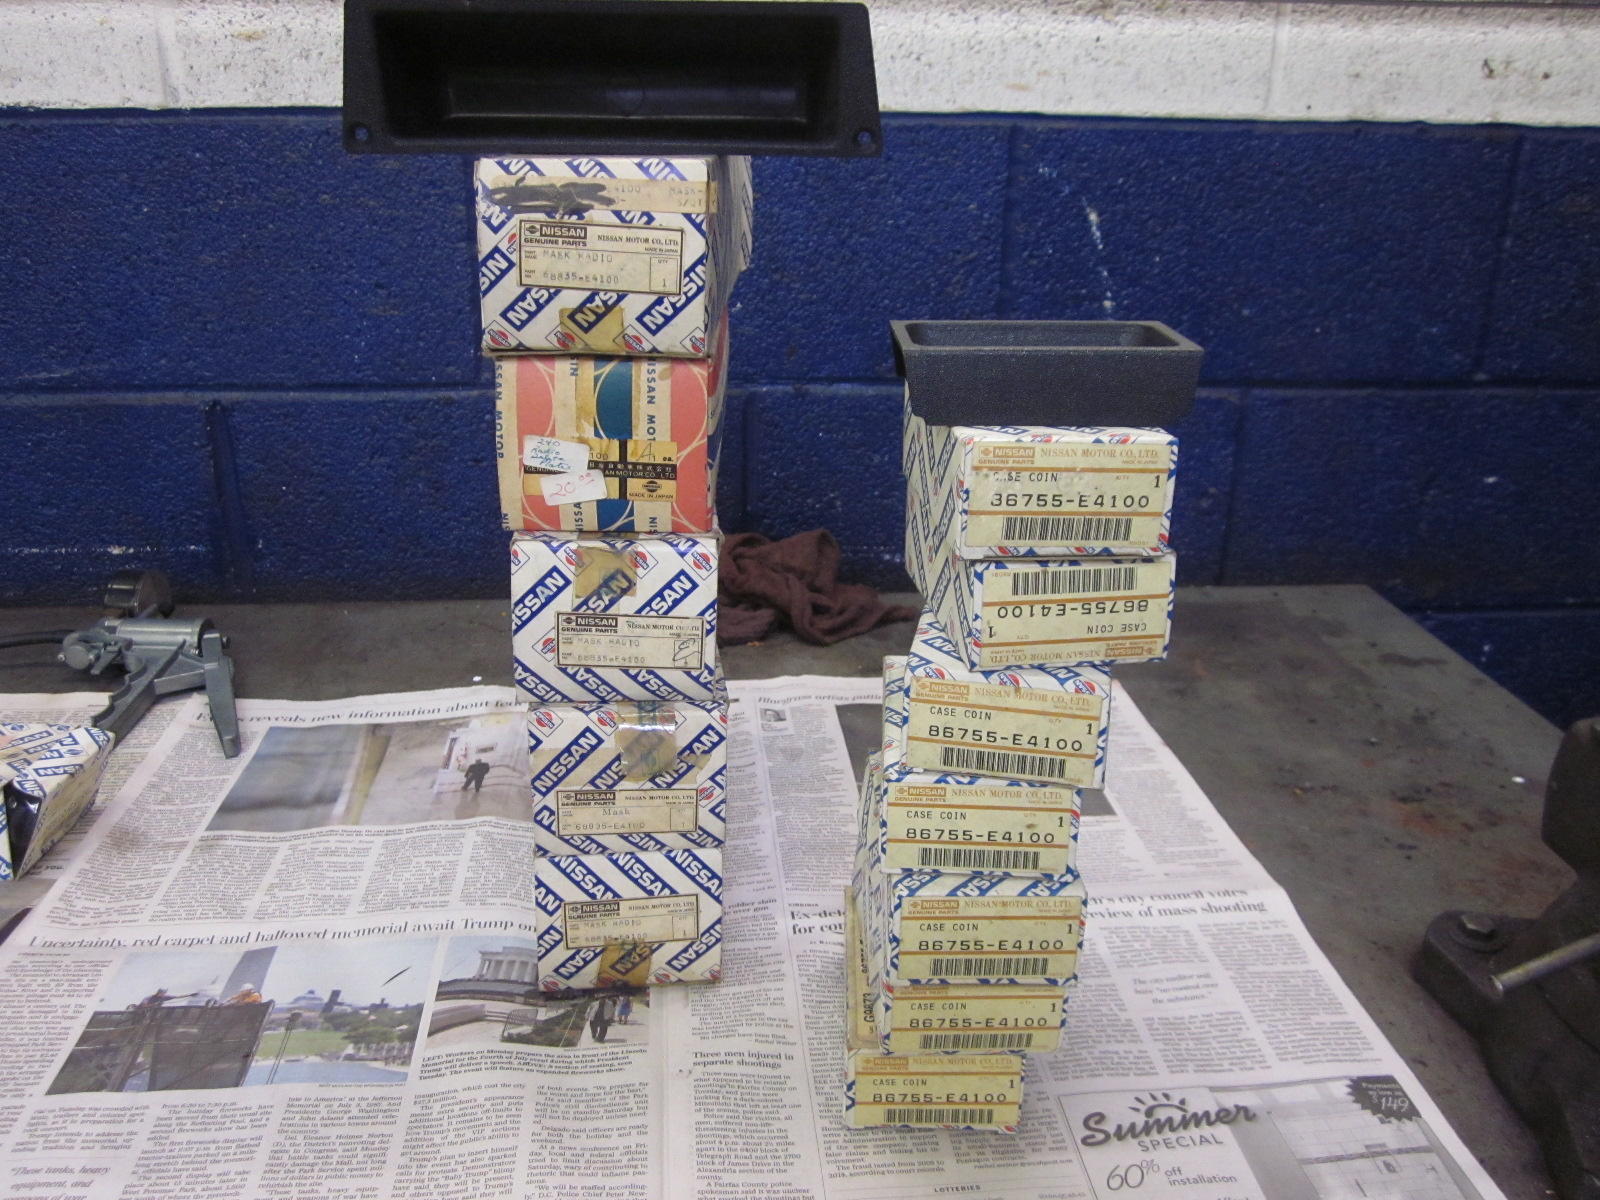
A sample of some of the Holy Grail parts collecting dust at the shop


 3 points
 -
Guys, Guys, Guys, don't over do it!!! I'm in the process of prepping what should be the next 240 Gold medallion car for the 2020 convention. Here's the way I apply the yellow to achieve the correct look. I buy a can of School Bus Yellow spray paint at Lowe's/Home Depot, brand not important. At the same time I buy 3-4 1 inch foam brushes. Spray the paint into the plastic can cap, dip the foam brush into the yellow and apply. Results aren't too neat and the paint is thin, just like Nissan did it. Very interesting discussion about the red trans marks. Absolutely not the same from car to car and not always red. My last restoration, 10/71 Red with white, had a multi color piece of art on top of the trans. Difficult to reproduce but I think I did that line worker justice. Unfortunately can't seem to be able to find the picture I can't be sure I took, damn! Oh Yeah, don't forget the blue assembly marks on the balance pipe freeze plugs. AND the blue dot on the 240 fuse link. Just scratched the surface of this topic and have created enough confusion for now. Cheers2 points
-
 2 pointsYes and no. It is from their next shipment, but has a few cosmetic flaws (will post some more pictures later when I get to it). I happened to be in the area yesterday so went and picked it up. The flaws are very minor and would need to be pointed out (to me at least) to be noticed.2 points
 -
2 points2 points
 2 pointsI'm waiting for new ones to arrive. I ordered new dowels for the head to the block, and also a complete set for all the cam towers. Under closer scrutiny, my cam tower alignment dowels were pretty badly abused. Even the ones that I thought were OK (because they fit into the holes) only fit because my PO had already filed off the pliers he used to man-handle them out of position. Forget it.... I ordered all ten. And I figured that since I was already paying for shipping, I got two new dowels for the block. The status of the head at this point is all the valves are in. All the seats are clean and the valves all seal. All the springs are oriented the correct way. Didn't forget any of the hardened washers. Didn't forget any of the valve stem seals. The valve cover holes that I plugged with the aluminum inserts have been drilled and tapped. The head is sitting on the bench in a holding pattern now waiting for the tower dowels to arrive. Once they get here, I can put the towers on and get the cam installed. About the only new item of interest is that I found burrs kicked up on the inside corners of a couple of the valve retainer wedges. The tips of the burrs were shiny with the implication being that the burrs were contacting the valve stem at the bottom of the locking groove that the retainers lock into. So... Basically, some of the valve retainers were not seating in that groove completely because the burrs were in the way. The burrs look like they were caused when the retainers were forcibly pushed into place when the valve spring really wasn't compressed enough. Hit the retainer on the hilt with a hammer and screwdriver and it'll snap into the groove. But it may take a corner out on the way! With my valve contraption, I was able to compress the spring to the point where the retainers fell into place. No forcing required. I look back at some unexplained weird engine behavior over the past couple years and I think it's all coming together. Things like... I set the valves. Then check them again in a couple hundred miles and they're off far enough that I readjust. Then check again in a couple hundred more and they're off the other way. I think stuff like the cam towers not being seated properly and burrs on the retainer wedges are the reason for the instability. And since some of the head bolts go through the cam towers, it couldn't have been doing good things for my head bolt clamping pressure either. Which probably explains my slow minor coolant loss. I think it's all related.2 points
 Hi Alan , thank you so much. I have nothing to add your words . And many people hit the “ likes “ button, it is a lot . My pipe dream is , based on yours , I wish we had a performance demonstration (might not really need to be competition) of each models in stock condition. ( We can’t ride on the old Bridgestone for the dynamic demonstration, so tires are OK for current model ) . Use the data of magazines which they tested when Zs were sold to the public .In the demonstration , a car must show what written in the magazine which was issued for the car’s destination . It would be nice if we can share the experience of how each S30s behave . I am more interested in handlings, road holdings, distributer advance curve etc of the variants than that of appearance . We have so many kinds of pairs of gearing in transmissions and rear differentials . A car is meant to be driven. How about this , a competition for stock class is two- stage , the one is static display point . And the other is dynamic demonstration point . Kats2 points
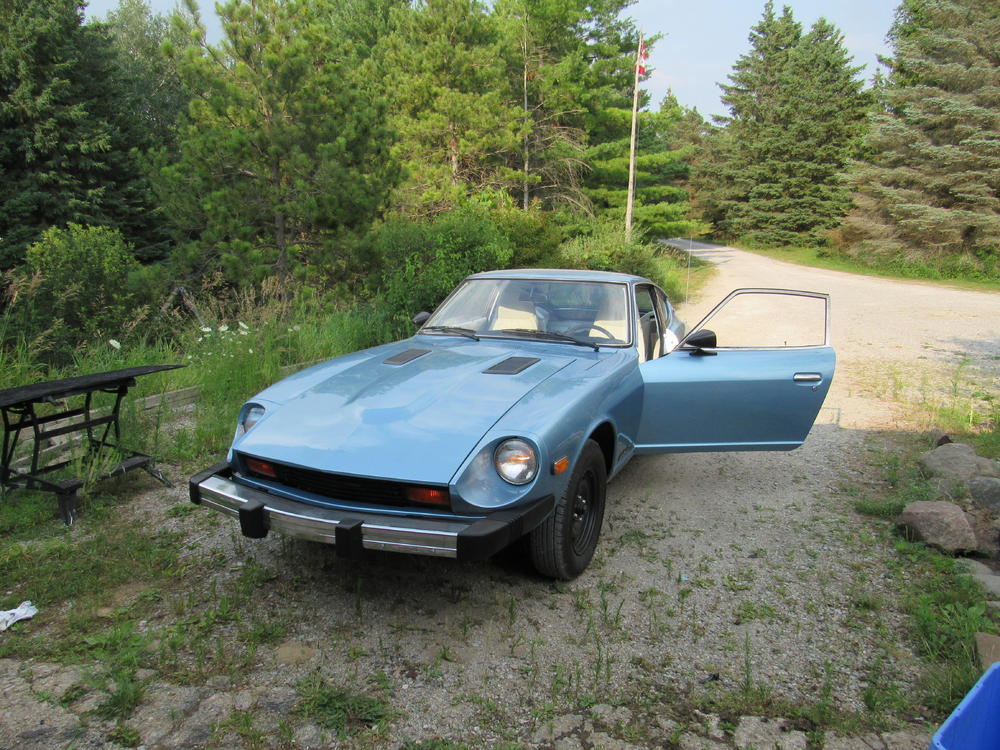
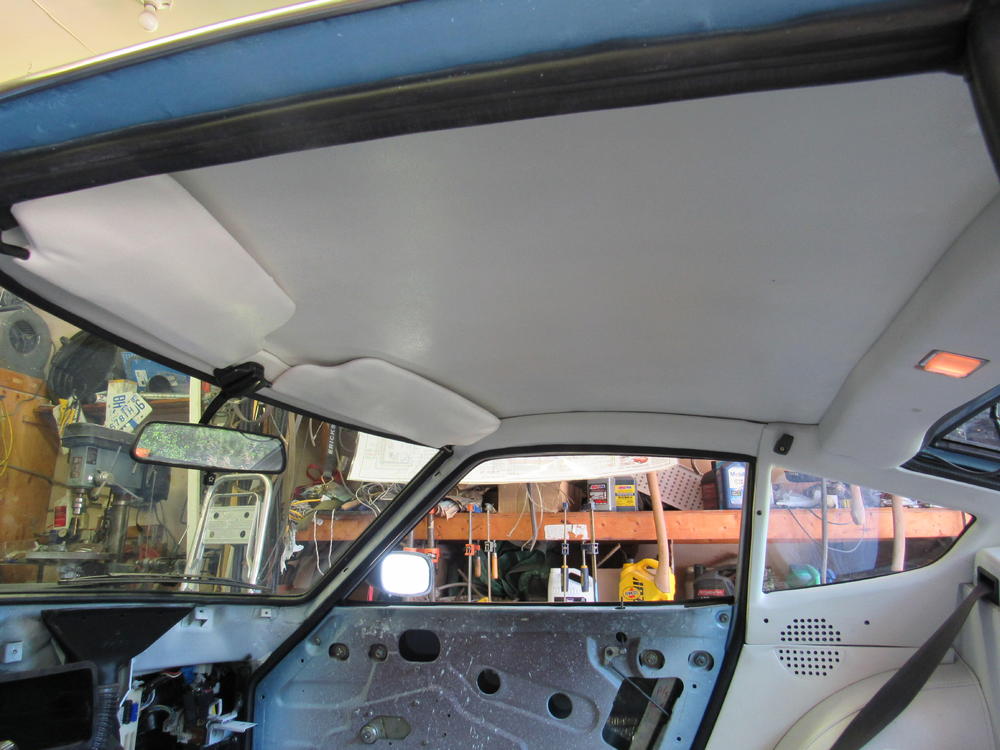
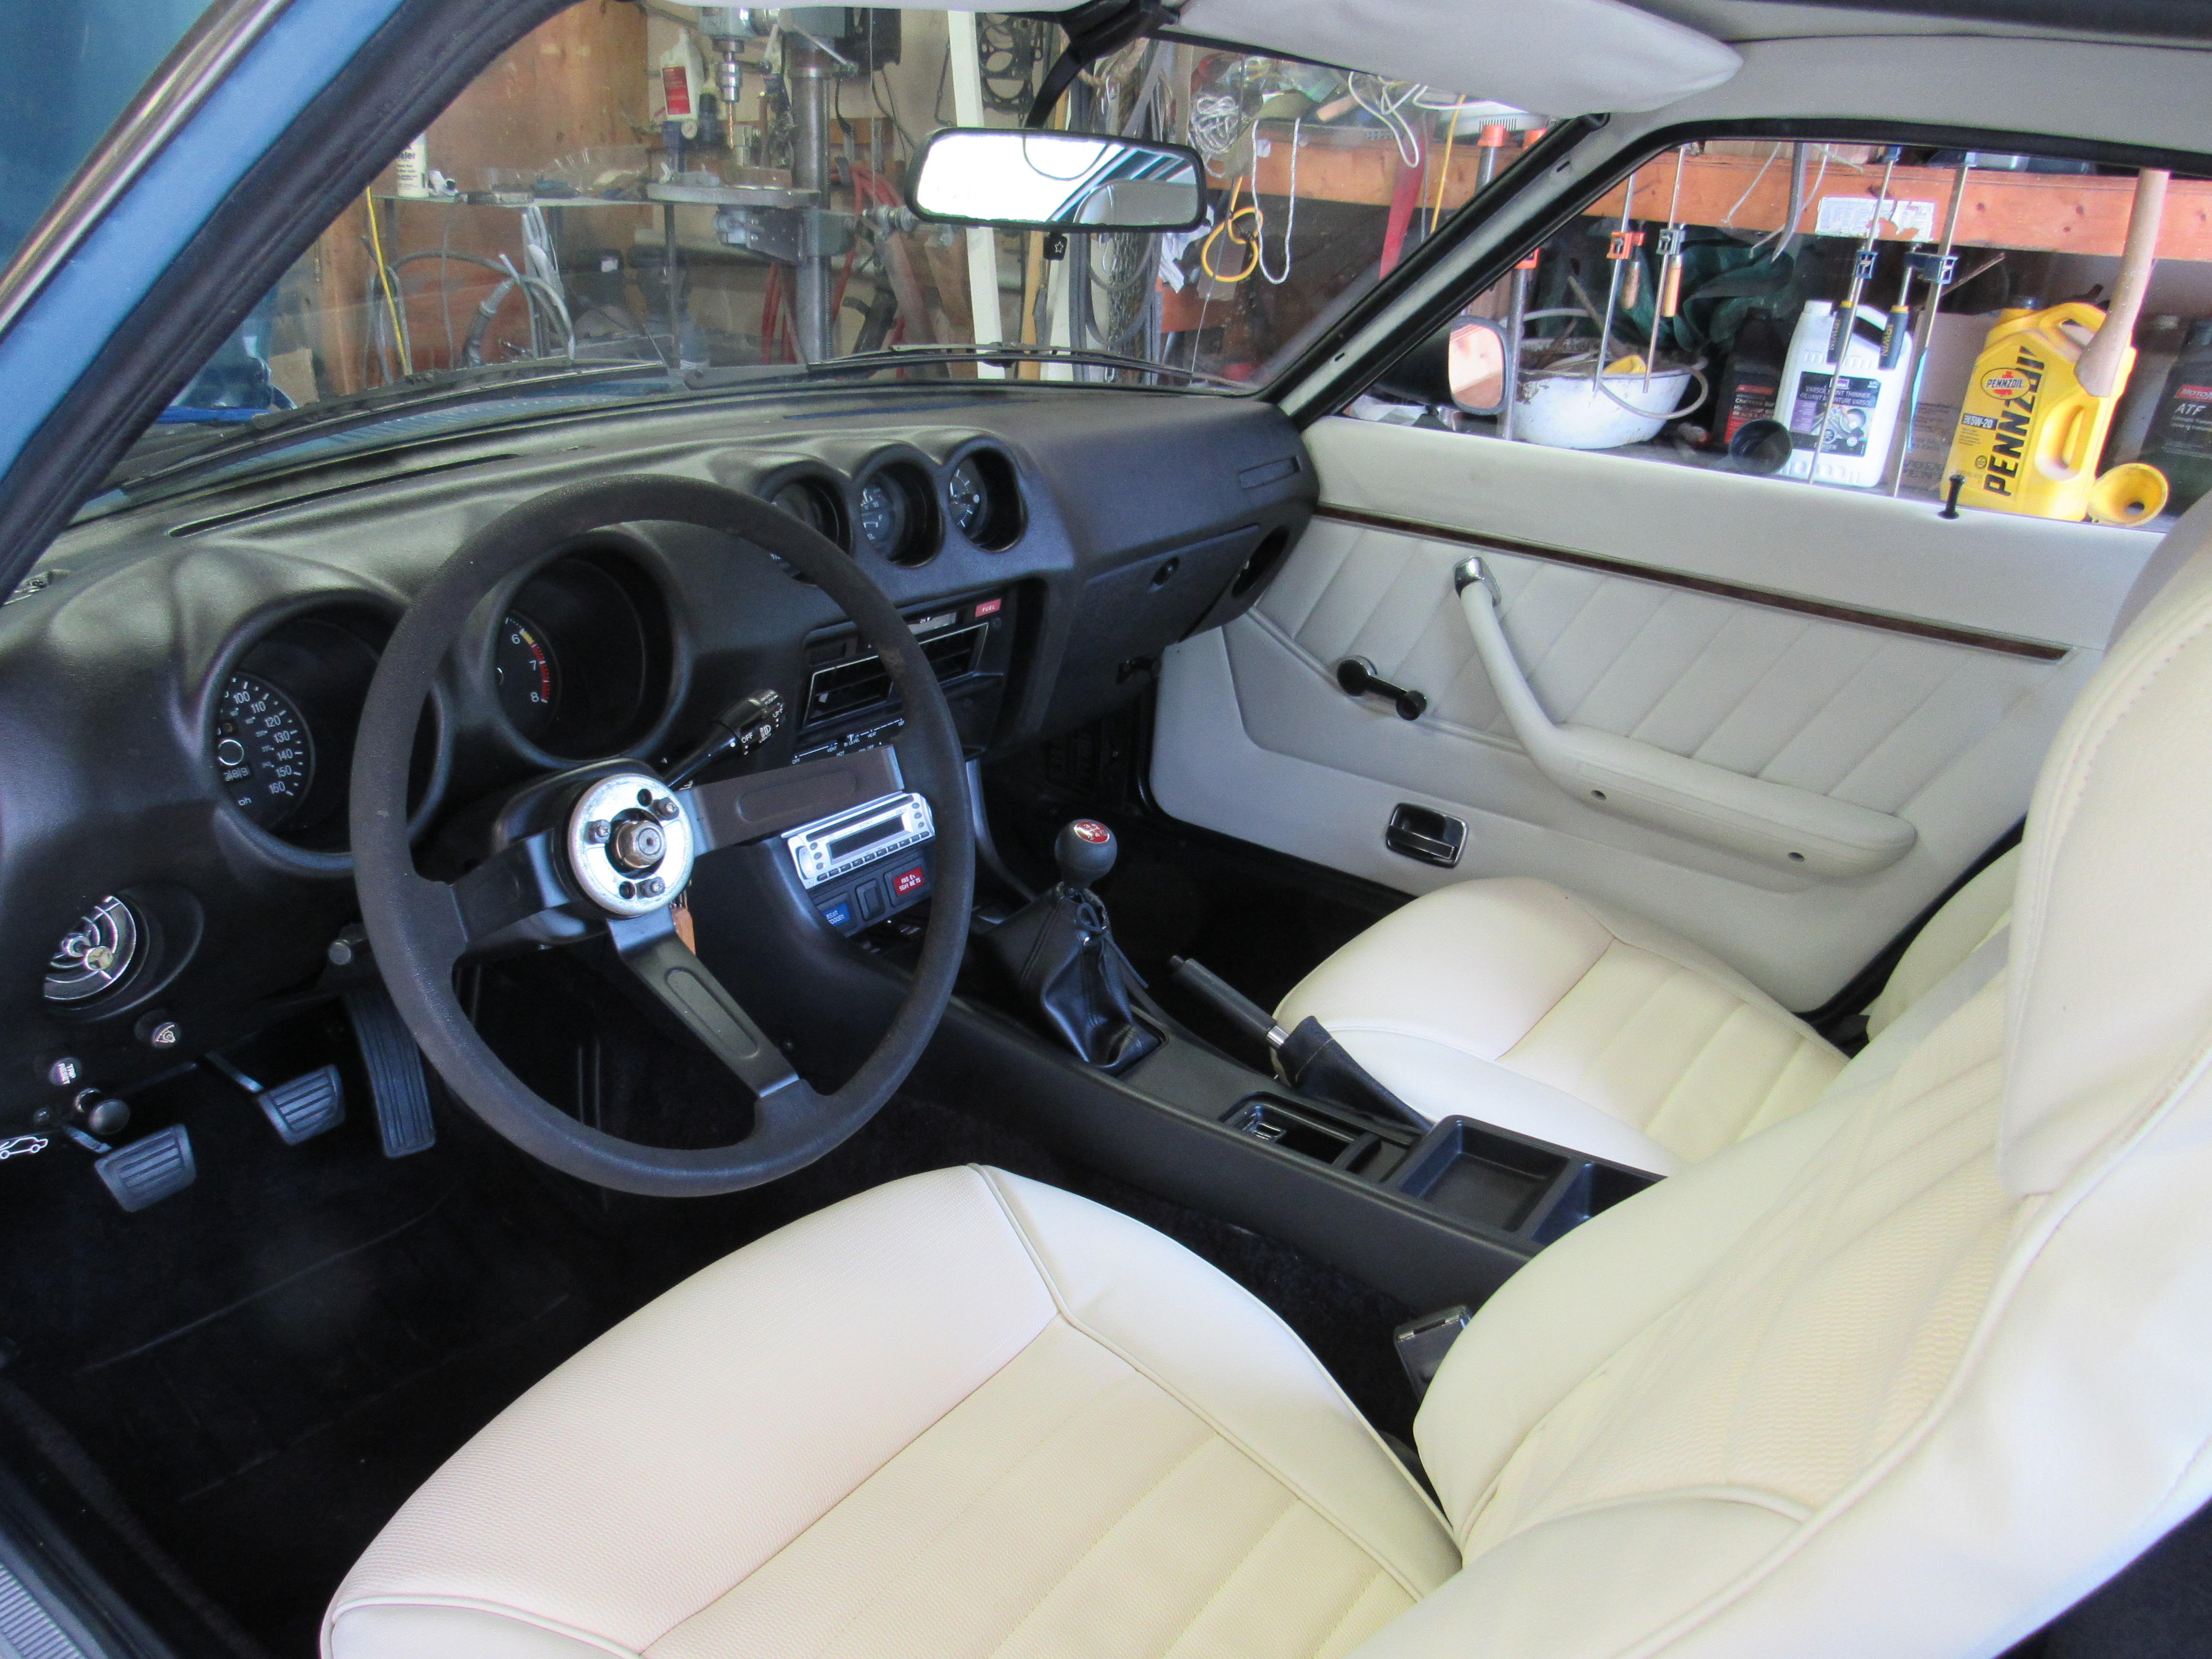
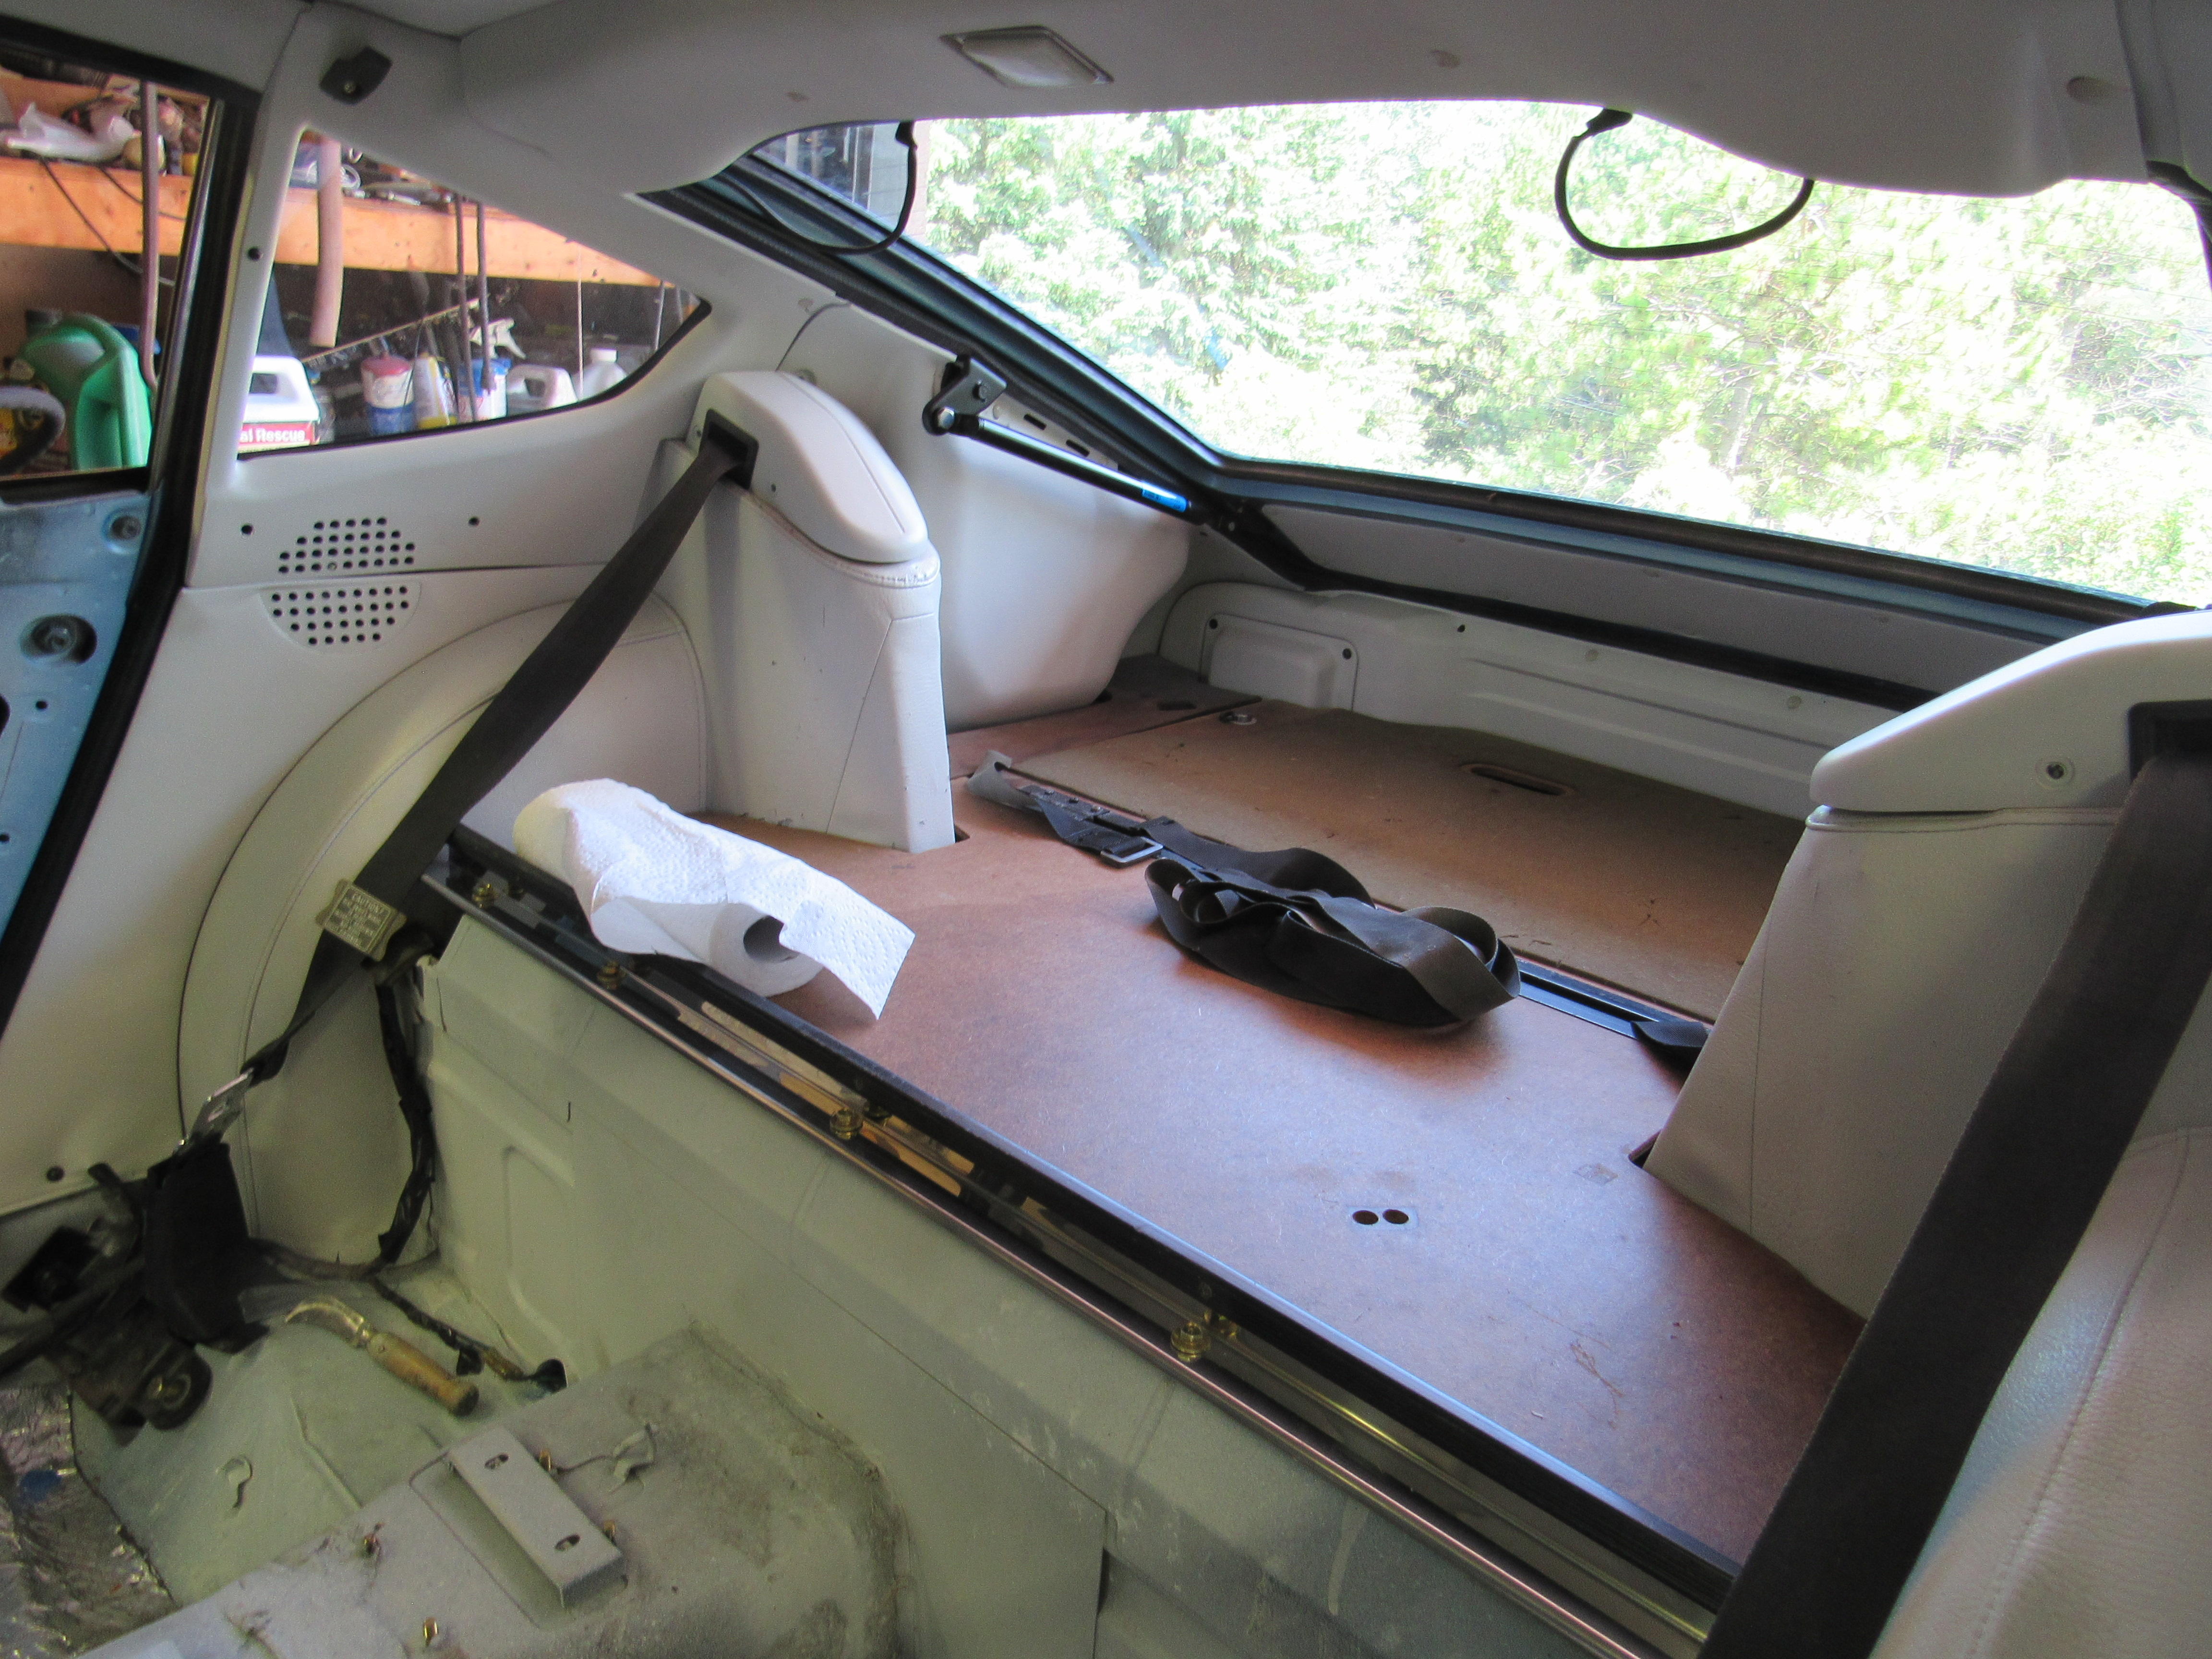
She's road worthy! Just took it out for an illegal run up my back road and it was beautiful. I had forgotten how nice a stock car is, so tomorrow I need to tweak the wheel alignment on the front and torque down the control arm bolts. I was hoping the rear end was going to sink a bit more and that 2 mile drive did the trick.
Hi Alan , thank you so much. I have nothing to add your words . And many people hit the “ likes “ button, it is a lot . My pipe dream is , based on yours , I wish we had a performance demonstration (might not really need to be competition) of each models in stock condition. ( We can’t ride on the old Bridgestone for the dynamic demonstration, so tires are OK for current model ) . Use the data of magazines which they tested when Zs were sold to the public .In the demonstration , a car must show what written in the magazine which was issued for the car’s destination . It would be nice if we can share the experience of how each S30s behave . I am more interested in handlings, road holdings, distributer advance curve etc of the variants than that of appearance . We have so many kinds of pairs of gearing in transmissions and rear differentials . A car is meant to be driven. How about this , a competition for stock class is two- stage , the one is static display point . And the other is dynamic demonstration point . Kats2 points
She's road worthy! Just took it out for an illegal run up my back road and it was beautiful. I had forgotten how nice a stock car is, so tomorrow I need to tweak the wheel alignment on the front and torque down the control arm bolts. I was hoping the rear end was going to sink a bit more and that 2 mile drive did the trick.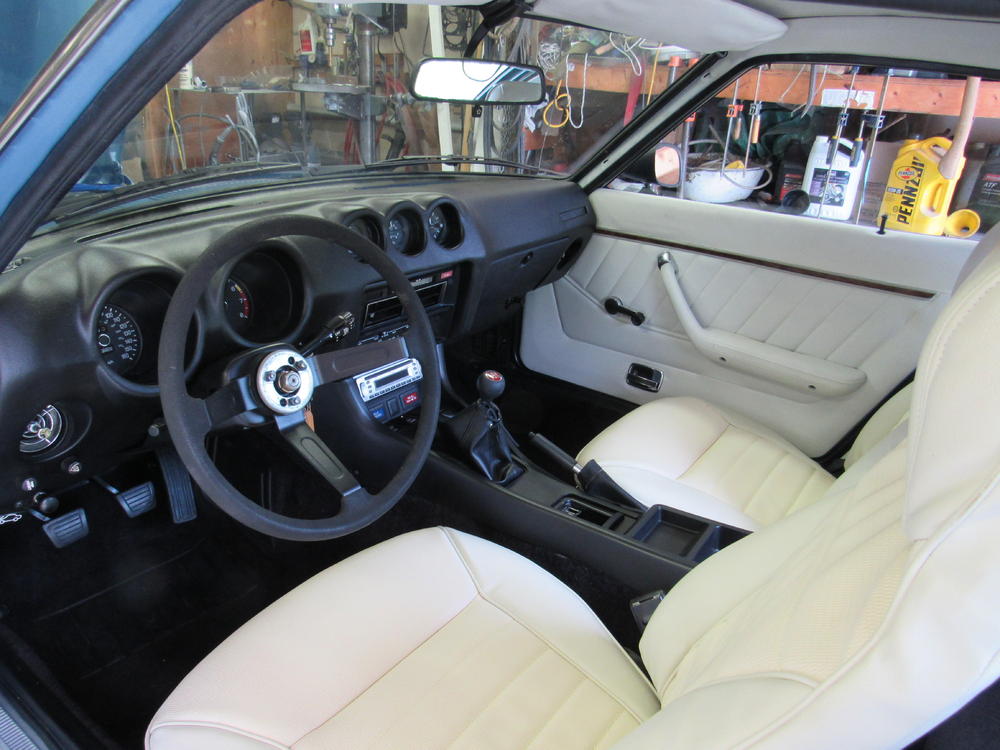


 2 points
 1 pointPlease, one of you two send (lend) a set to The Capn' so he can start making more.1 point
 Okay, this is a good start. If you have not already done so, download a copy of the FSM from this site. (If you are on a computer, the link is in my signature.) Also, look at Blue's tech tips for a copy of the full wiring diagram. I think there is even a color copy of the wiring diagram floating around this site somewhere. On page BE-14 of the FSM, you'll find the reverse light circuit. The diagram shows that one side of the switch gets power from the fuse box, and the other goes to the taillights. Neither side should be grounded. Since you say one side of the switch is grounded, let's assume that is the side with the bulb sockets. Unplug both of your taillights at the taillight panel. Check the wire that had continuity with ground to see if it is still grounded. If it is not, the problem is at a taillight. That might also correspond to the dying problem happening with the turn signal. If the wire is still grounded after that test, break the connection at connector C-4. Test again. If it is grounded, the problem exists between the switch and connector C-4. If it is not grounded, there is a chance the body wiring harness is damaged, probably by a screw and is grounding out. To trace the path of the body harness, look at the BE section of the FSM. If my instructions don't make sense, send me a PM with your phone number. Sometimes I can explain this over the phone more easily than I can type it up.1 point
1 point@Patcon Well, I did not want Cliff to feel special so a set are also going to you Charles. btw your's is the last set on Ebay. Cliff is Mr. Penultimate. DatsunDan in Alabama is sending them so they should get there soon!1 point
Do the clutch slave cylinder adjustment and the correct distance from floor to pedal. You can google "240z slave cylinder adjustment classiczcars.com" and find the info. Good luck, don't want to drop the transmission if you don't have to.1 point
1 point
Okay, this is a good start. If you have not already done so, download a copy of the FSM from this site. (If you are on a computer, the link is in my signature.) Also, look at Blue's tech tips for a copy of the full wiring diagram. I think there is even a color copy of the wiring diagram floating around this site somewhere. On page BE-14 of the FSM, you'll find the reverse light circuit. The diagram shows that one side of the switch gets power from the fuse box, and the other goes to the taillights. Neither side should be grounded. Since you say one side of the switch is grounded, let's assume that is the side with the bulb sockets. Unplug both of your taillights at the taillight panel. Check the wire that had continuity with ground to see if it is still grounded. If it is not, the problem is at a taillight. That might also correspond to the dying problem happening with the turn signal. If the wire is still grounded after that test, break the connection at connector C-4. Test again. If it is grounded, the problem exists between the switch and connector C-4. If it is not grounded, there is a chance the body wiring harness is damaged, probably by a screw and is grounding out. To trace the path of the body harness, look at the BE section of the FSM. If my instructions don't make sense, send me a PM with your phone number. Sometimes I can explain this over the phone more easily than I can type it up.1 point
1 point@Patcon Well, I did not want Cliff to feel special so a set are also going to you Charles. btw your's is the last set on Ebay. Cliff is Mr. Penultimate. DatsunDan in Alabama is sending them so they should get there soon!1 point
Do the clutch slave cylinder adjustment and the correct distance from floor to pedal. You can google "240z slave cylinder adjustment classiczcars.com" and find the info. Good luck, don't want to drop the transmission if you don't have to.1 point
1 point 1 point
Excellent quality reproduction Ever Wing interior mirrors are already available from Banzai Motorworks www.zzxdatsun.com1 point
1 point
1 pointExcellent quality reproduction Ever Wing interior mirrors are already available from Banzai Motorworks www.zzxdatsun.com1 point 1 pointI agree. If I do a good job of masking joints for a soft blend then I should be good to spray most of the car assembled.1 point
My last email from them a couple of days ago said the first shipment is arriving next week. That stock is all spoken for. The next shipment is due in September and has extra stock.1 point
1 point1 point
1 pointI agree. If I do a good job of masking joints for a soft blend then I should be good to spray most of the car assembled.1 point
My last email from them a couple of days ago said the first shipment is arriving next week. That stock is all spoken for. The next shipment is due in September and has extra stock.1 point
1 point1 point OK - now you have to tell us how this all came about. How does one accumulate all that? - that's the question I have ever time I watch "American Pickers". I know how I wound up with a bunch of NOS parts - every time I needed a part for a 240Z, I'd order 2 or 3 because the cost of shipping was usually more than the cost of the part. So I'd order 2 or 3 so I wouldn't have to pay the shipping costs again later.1 point
1 point
OK - now you have to tell us how this all came about. How does one accumulate all that? - that's the question I have ever time I watch "American Pickers". I know how I wound up with a bunch of NOS parts - every time I needed a part for a 240Z, I'd order 2 or 3 because the cost of shipping was usually more than the cost of the part. So I'd order 2 or 3 so I wouldn't have to pay the shipping costs again later.1 point
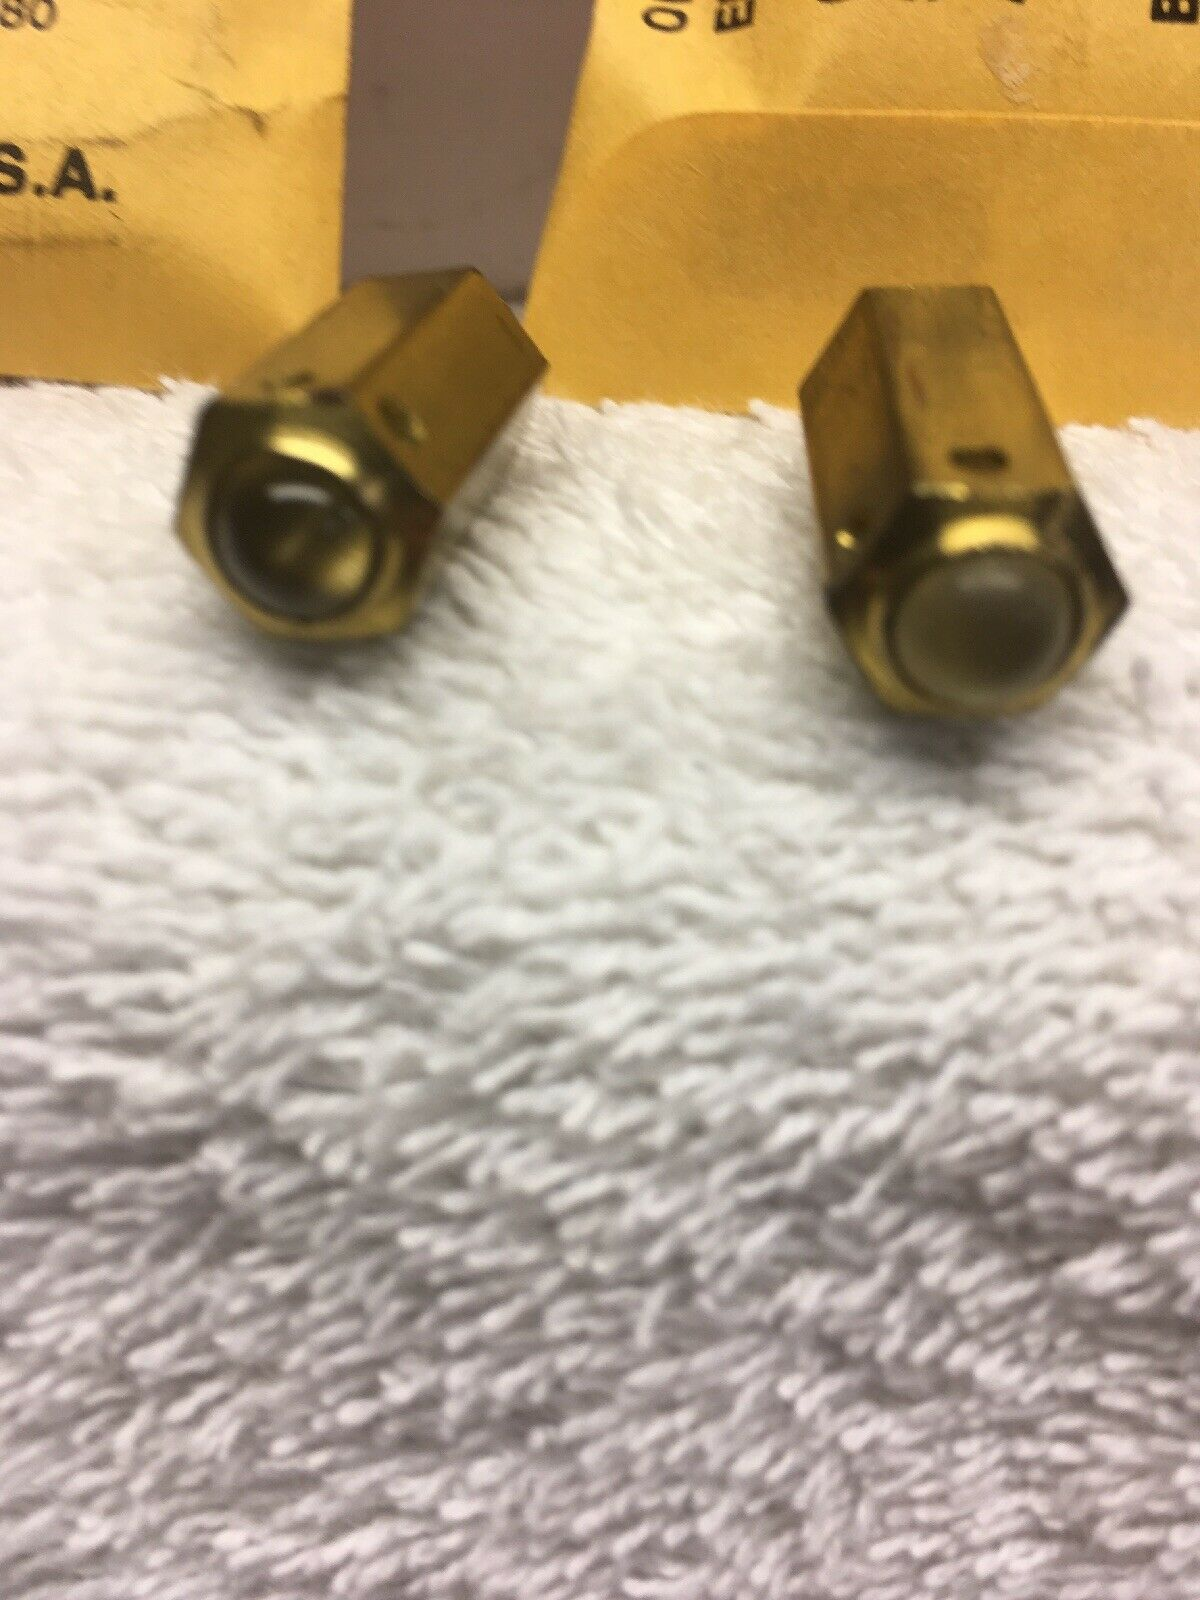
1 point 1 pointIt was a needle and seat / jet alternative that was available for our Hitachi SU carbs at one time. I don't know when they stopped being available. They are still available for other SU carbs. I have never used them so I don't know first hand how well they work but just based on the photos and concept I would think they would be an improvement. The photo below is a grose-jet for a Triumph but it shows the concept.1 point
 1 point
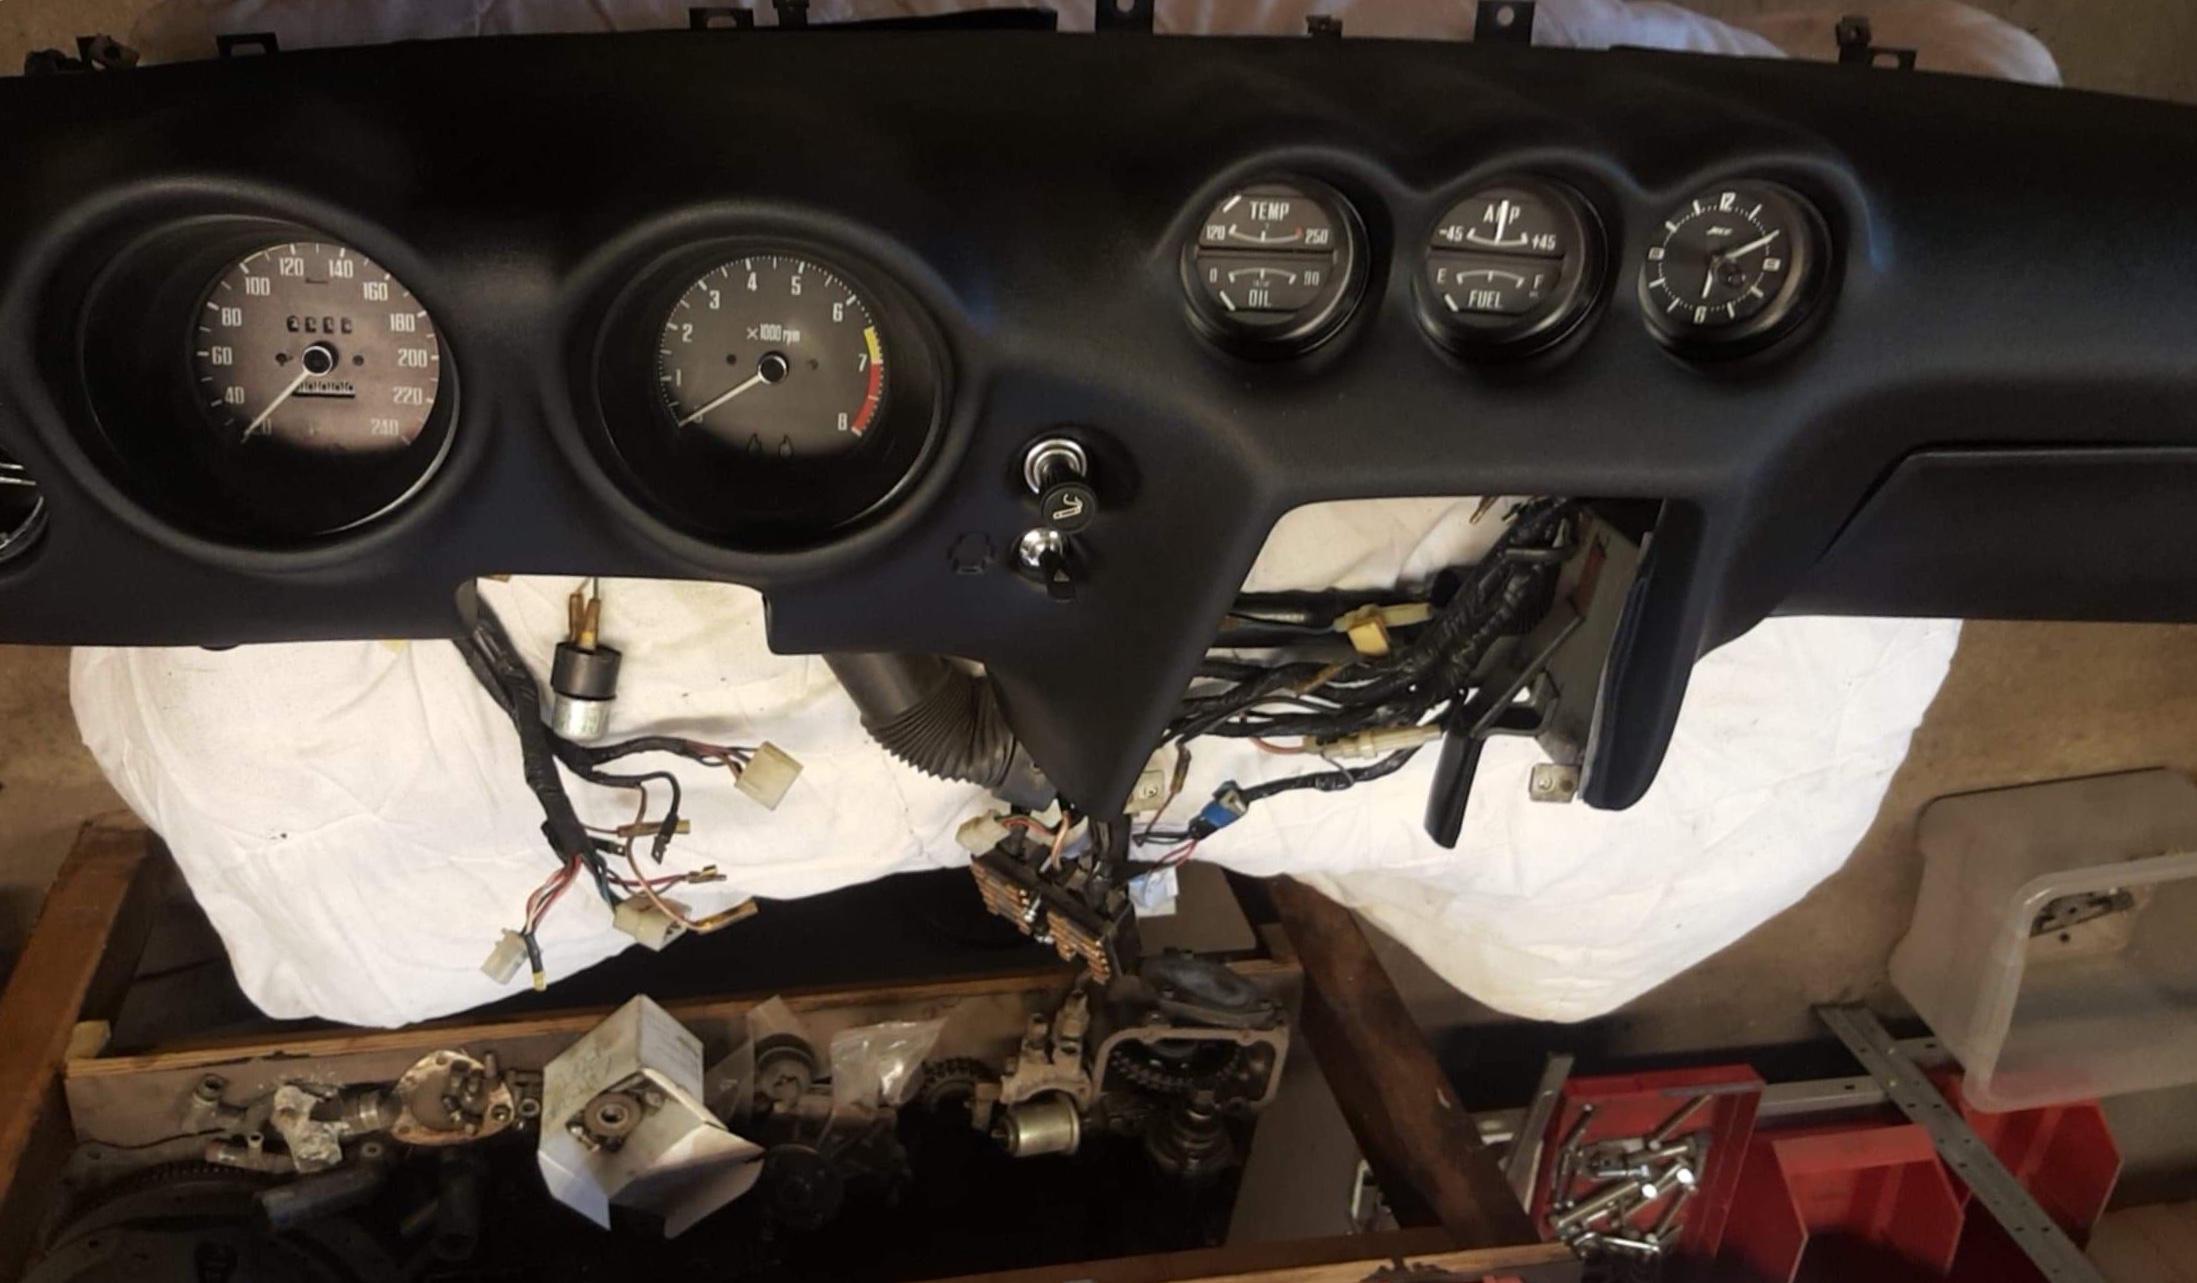
So that is actually a full new dash - as opposed to a dash cap - courtesy of Vintage Dashes in Albany. That being said, I will definitely be giving the gauges a once over and replacing/upgrading all of the bulbs before it gets installed. I'm really thinking of fitting the dash to the frame, and then farming out the installation. I definitely like the feeling of doing as much of the work as possible myself, but there are certain areas that I just know are better handled by the professionals ?1 point
1 point
So that is actually a full new dash - as opposed to a dash cap - courtesy of Vintage Dashes in Albany. That being said, I will definitely be giving the gauges a once over and replacing/upgrading all of the bulbs before it gets installed. I'm really thinking of fitting the dash to the frame, and then farming out the installation. I definitely like the feeling of doing as much of the work as possible myself, but there are certain areas that I just know are better handled by the professionals ?1 point Just make sure your tach and speedo are up to par maintenance wise. Bulbs, etc. are good. Because once you install that dash cap you will NOT be able to remove the tach and speedo. I have tried several times to remove mine with no luck! And the cap won't fit without some finagling. Mine required heat to make it fit "better", not perfect by any means. To this day I wished I had just covered all the cracks with a dash mat instead of a cap. Was lazy and had an upholstery shop, that a friend recommended, do it and they put freakin' silicone all over the dash which is incorrect. But I didn't find this out until I made an attempt to remove it at a later date! Biggest mistake I've made with this Z besides the cowl induction hood, which is going away soon.1 point
1 point
Agreed, I think I'll pick up that motor next weekend and work on it in parallel with the rest of the build. In other news, I managed to get myself another steal this morning.. ?
Just make sure your tach and speedo are up to par maintenance wise. Bulbs, etc. are good. Because once you install that dash cap you will NOT be able to remove the tach and speedo. I have tried several times to remove mine with no luck! And the cap won't fit without some finagling. Mine required heat to make it fit "better", not perfect by any means. To this day I wished I had just covered all the cracks with a dash mat instead of a cap. Was lazy and had an upholstery shop, that a friend recommended, do it and they put freakin' silicone all over the dash which is incorrect. But I didn't find this out until I made an attempt to remove it at a later date! Biggest mistake I've made with this Z besides the cowl induction hood, which is going away soon.1 point
1 point
Agreed, I think I'll pick up that motor next weekend and work on it in parallel with the rest of the build. In other news, I managed to get myself another steal this morning.. ? 1 point
 Just tested the ignition switch as the FSM details and it has continuity across the correct pins at the correct positions.1 point
1 pointI agree 100%. I would love to have Grose valves. I bet someone could get the patent and start remaking them. Seems like they were in Massachusetts maybe? Anyway... @Captain Obvious I'd buy four.1 point
Just tested the ignition switch as the FSM details and it has continuity across the correct pins at the correct positions.1 point
1 pointI agree 100%. I would love to have Grose valves. I bet someone could get the patent and start remaking them. Seems like they were in Massachusetts maybe? Anyway... @Captain Obvious I'd buy four.1 point 1 pointFloats need to sit correctly in the float bowls, otherwise they can stick against the sides of the bowls. Adjusting (bending) the hinge tab and/or a light touch with sandpaper on the float will fix that. If the valve isn't new it could have some gunk in it - fix with carb cleaner. The other answers are also correct.1 point
1 pointI'm stumped on all of the sudden overflowing but here is what Mark is referring to I believe. When it's assembled and overflowing I would suggest sticking a red straw from a can of WD-40 down the overflow bung to make sure the float isn't stuck somehow once the lids are on.1 point
Disassembled, cleaned, and lubricated all switches in the turn signal, light, and wiper controls. I now know them very well.1 point
1 point
1 pointFloats need to sit correctly in the float bowls, otherwise they can stick against the sides of the bowls. Adjusting (bending) the hinge tab and/or a light touch with sandpaper on the float will fix that. If the valve isn't new it could have some gunk in it - fix with carb cleaner. The other answers are also correct.1 point
1 pointI'm stumped on all of the sudden overflowing but here is what Mark is referring to I believe. When it's assembled and overflowing I would suggest sticking a red straw from a can of WD-40 down the overflow bung to make sure the float isn't stuck somehow once the lids are on.1 point
Disassembled, cleaned, and lubricated all switches in the turn signal, light, and wiper controls. I now know them very well.1 point
1 point I think it is natural for people to have a bias toward their local market variants, and in pre-internet days not so many people got to see other market variants - so they didn't even consider them. What I do not understand are people who tell us not to look, or that a particular market/model is not worthy of attention. It is bizarre. Every variant has its own significance and the more contemporary variants you look at, the more you learn about them and your own market variant. There is always something to be learned. I own variants from three different markets; Japan, UK and North American, and two different models from one of those markets (Japan). Each one informs not just about itself, but also teaches us something about the others. I find it fascinating to compare them, and I'm still learning something new every time. I contend that you cannot understand each model/variant fully without looking at its production line and showroom siblings. It's a pipe dream, but I'd like to have an S30-series Z event where we managed to corral at least one of every variant/sub-variant and market model, and every different production spec and showed them all together in one space with full access. No velvet ropes around the cars and no cars locked. I think it would be both interesting and informative. Just a pipe dream though...1 point
Kats, that may be true of guys from our generation but the younger guys I see at car shows are JDM crazy and when they get a chance to look over a 240z in person they really appreciate it, left hand drive JDM cars always have a crowd of young guys around them. There is hope yet.1 point
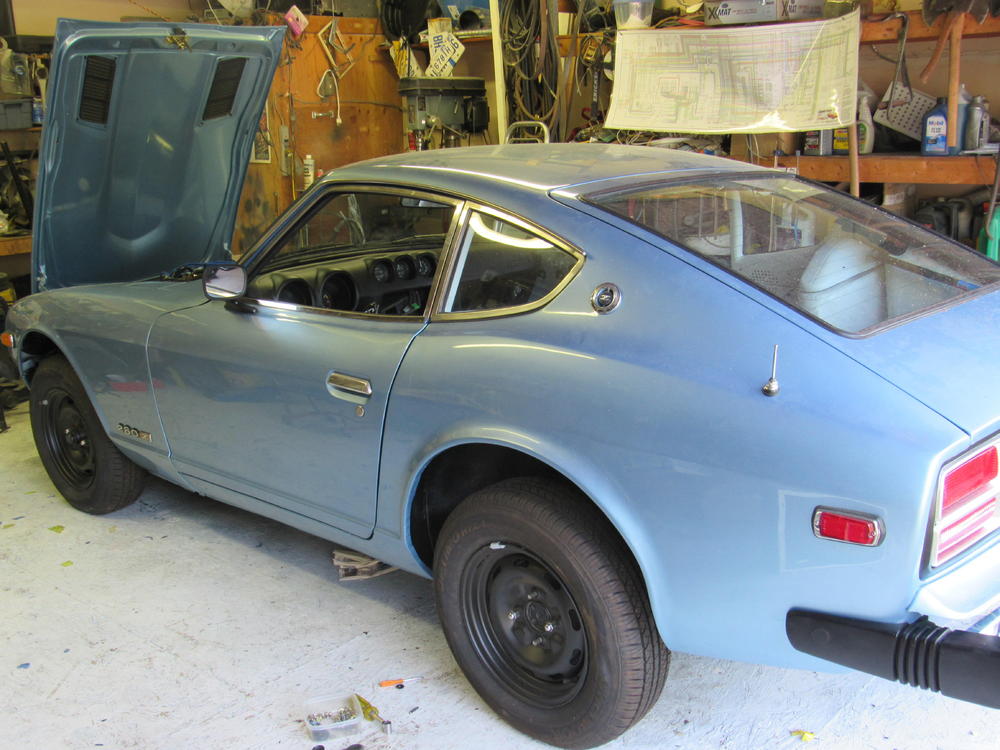
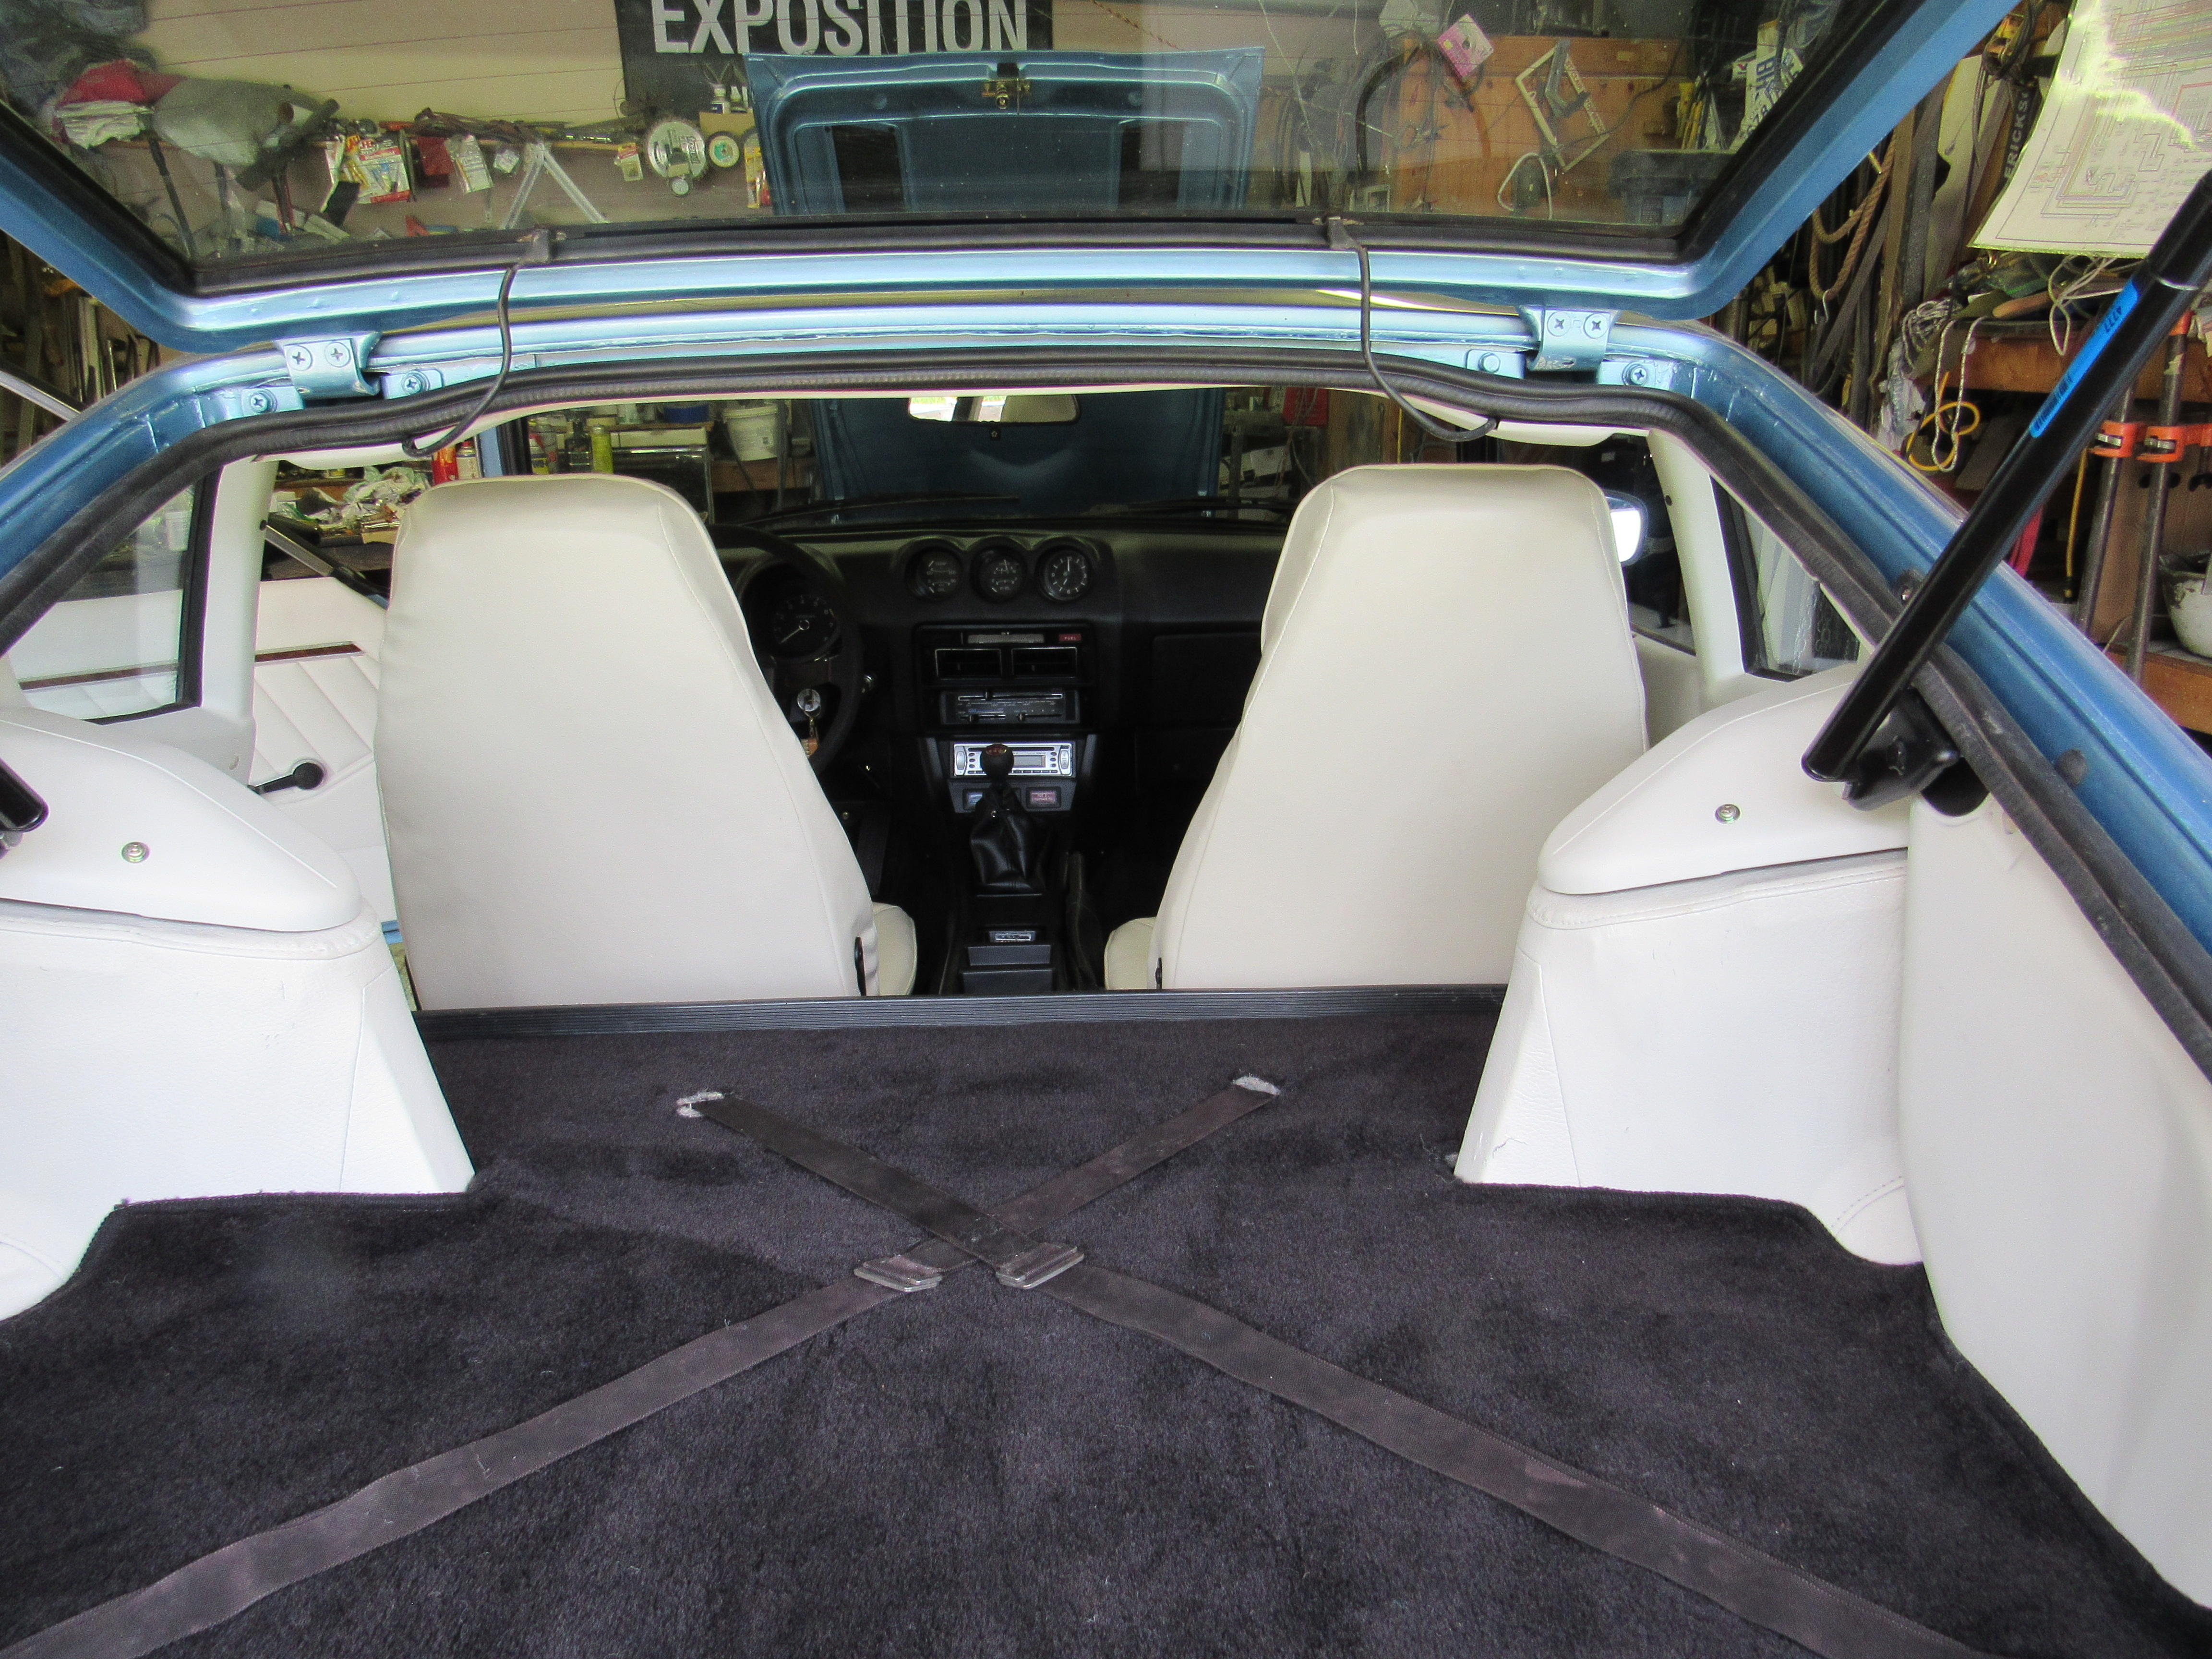
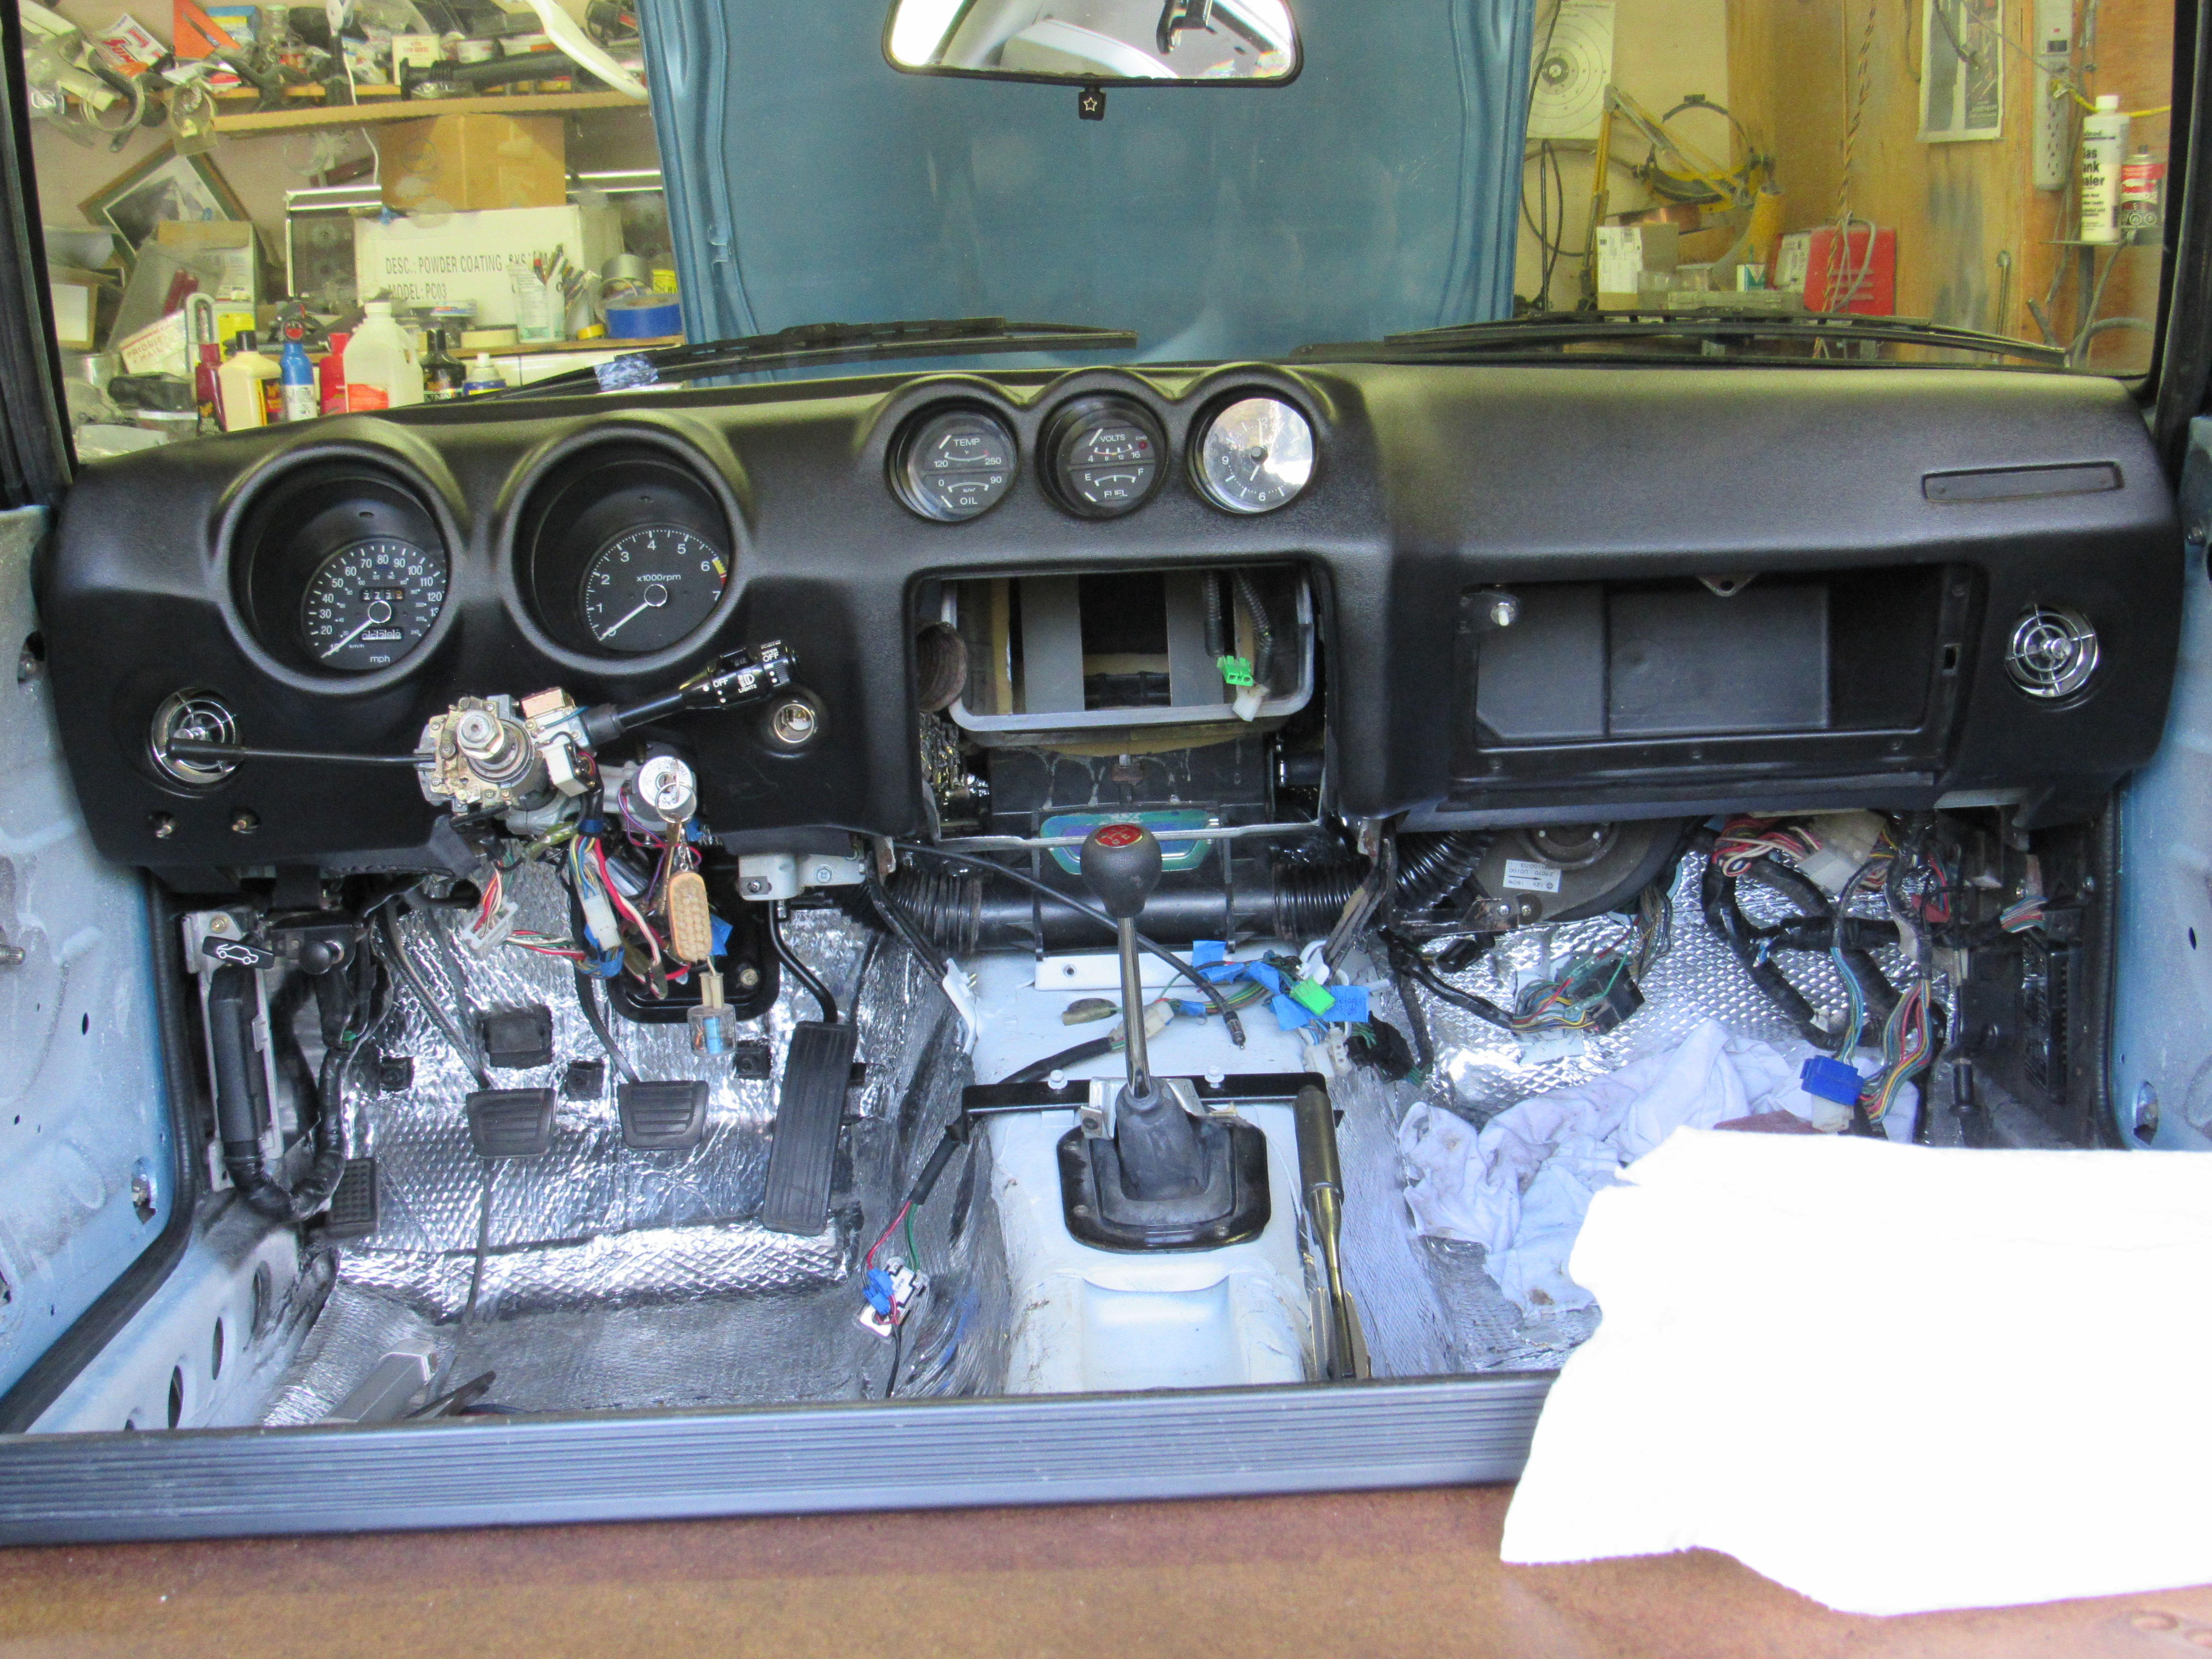
Some big progress today, bumpers on, dash in, emblems on. Just have to pick up a fresh battery tomorrow, throw the drivers seat in and take it out for a drive! In case anyone is interested the total weight of all the bumper parts comes to 80lbs.
I think it is natural for people to have a bias toward their local market variants, and in pre-internet days not so many people got to see other market variants - so they didn't even consider them. What I do not understand are people who tell us not to look, or that a particular market/model is not worthy of attention. It is bizarre. Every variant has its own significance and the more contemporary variants you look at, the more you learn about them and your own market variant. There is always something to be learned. I own variants from three different markets; Japan, UK and North American, and two different models from one of those markets (Japan). Each one informs not just about itself, but also teaches us something about the others. I find it fascinating to compare them, and I'm still learning something new every time. I contend that you cannot understand each model/variant fully without looking at its production line and showroom siblings. It's a pipe dream, but I'd like to have an S30-series Z event where we managed to corral at least one of every variant/sub-variant and market model, and every different production spec and showed them all together in one space with full access. No velvet ropes around the cars and no cars locked. I think it would be both interesting and informative. Just a pipe dream though...1 point
Kats, that may be true of guys from our generation but the younger guys I see at car shows are JDM crazy and when they get a chance to look over a 240z in person they really appreciate it, left hand drive JDM cars always have a crowd of young guys around them. There is hope yet.1 point
Some big progress today, bumpers on, dash in, emblems on. Just have to pick up a fresh battery tomorrow, throw the drivers seat in and take it out for a drive! In case anyone is interested the total weight of all the bumper parts comes to 80lbs.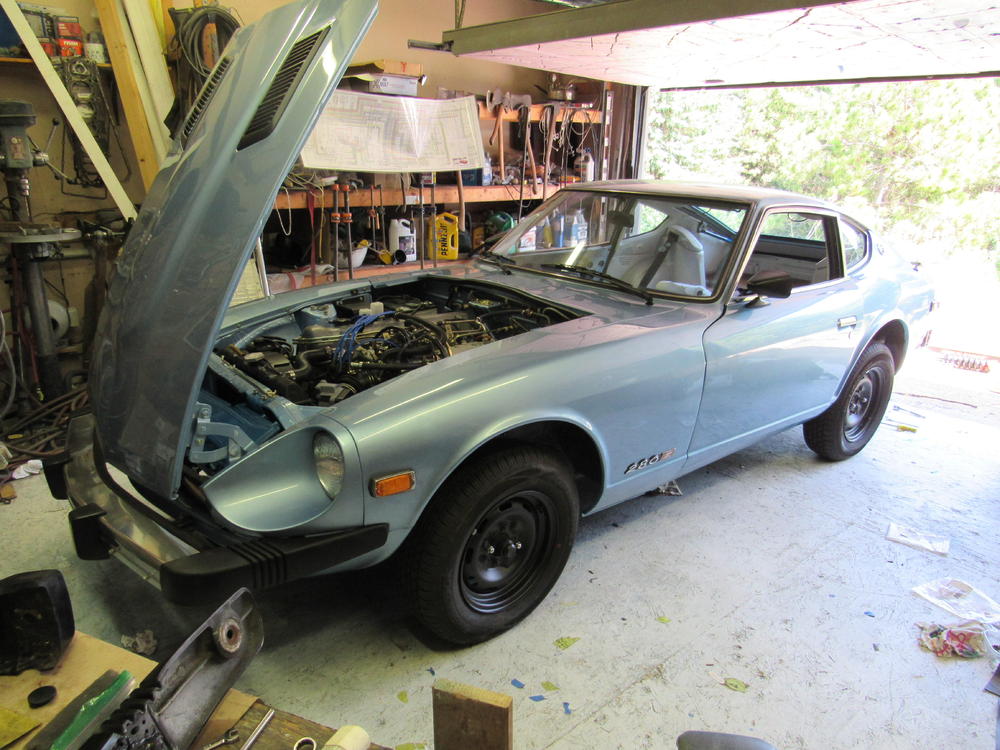


 1 point
 1 pointA couple of threads about the green stuff. http://www.fidanza.com/wp-content/uploads/2015/03/NEW-GREEN-COATING-ADDS-STYLE-PROTECTION-.pdf Not sure where this guy ended up -1 point


Important Information
By using this site, you agree to our Privacy Policy and Guidelines. We have placed cookies on your device to help make this website better. You can adjust your cookie settings, otherwise we'll assume you're okay to continue.