Leaderboard
-


siteunseen
Free Member8Points14,913Posts -


240260280
Free Member4Points4,441Posts -

conedodger
Free Member4Points11,316Posts -


Diseazd
Free Member4Points3,336Posts
Popular Content
Showing content with the highest reputation on 07/29/2019 in all areas
-
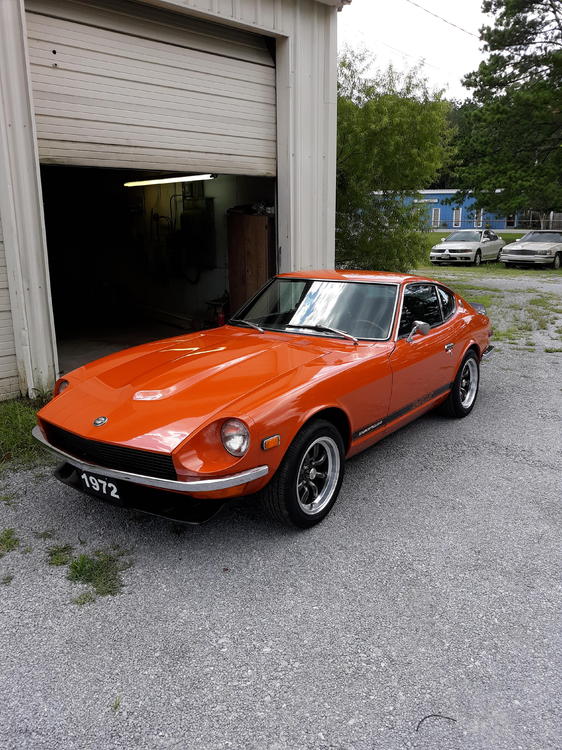
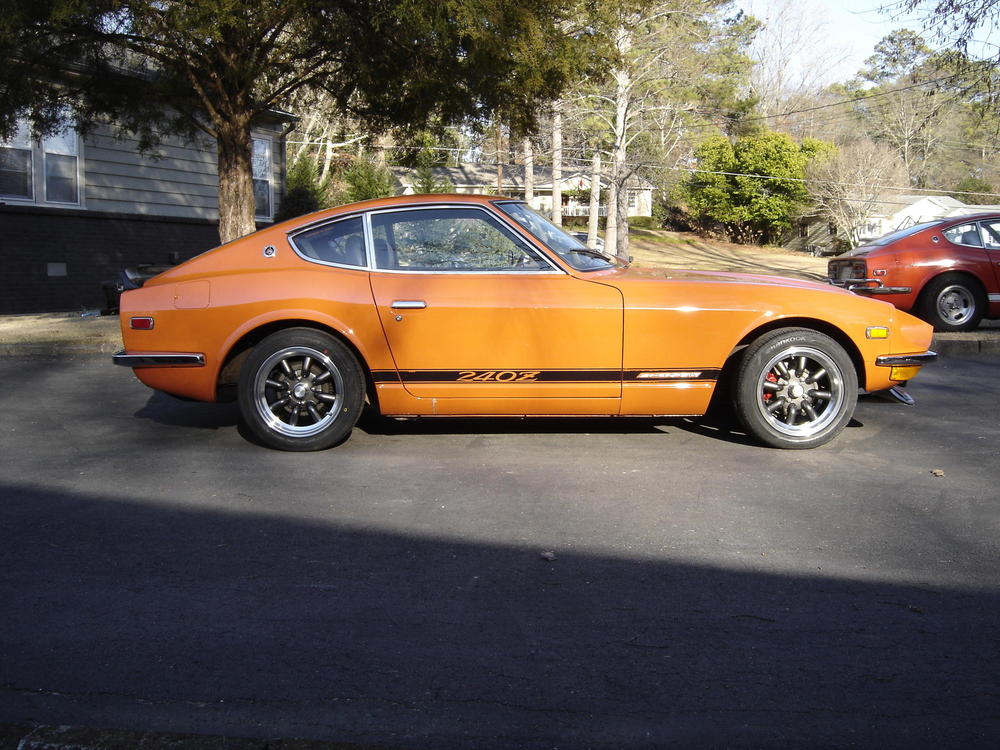
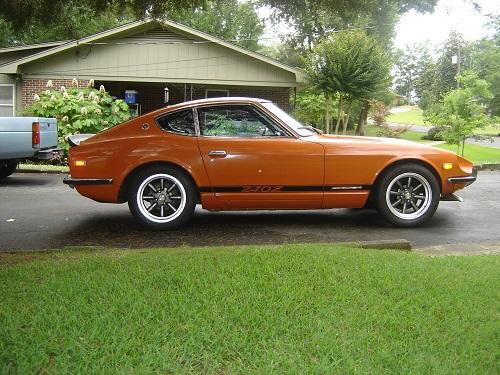
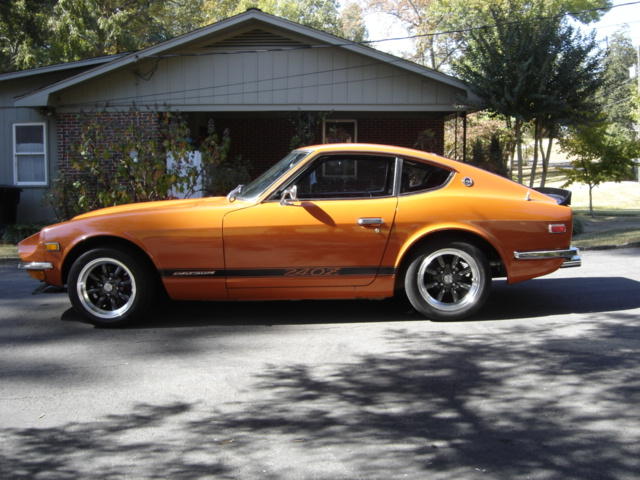
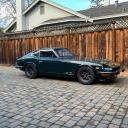
3 pointsI just had mine cut down and waxed. It looks different to me every other day. I know this doesn't help you but it does me.

 3 points
 -
 3 pointsI run a 10lb Fidanza flywheel on an OEM clutch. It has stock-like tractability but revs much quicker. The car dynoed at 195whp and 180ftlb, the clutch holds just fine. I run an 8lb flywheel with OEM clutch in my S2000 which made a more notable change in tractability as it doesn't have nearly the low-end torque of the Z. Still much better than the 23-pounder it came with. Both cars are driven in SF Bay Area traffic without issue.3 points
 -
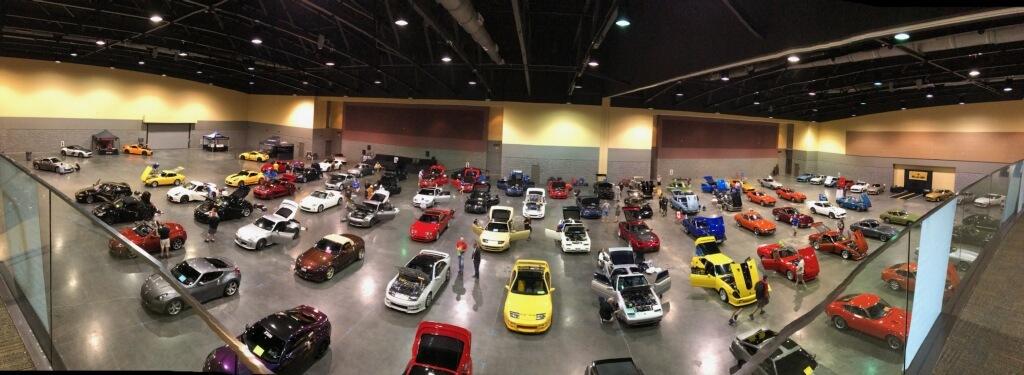
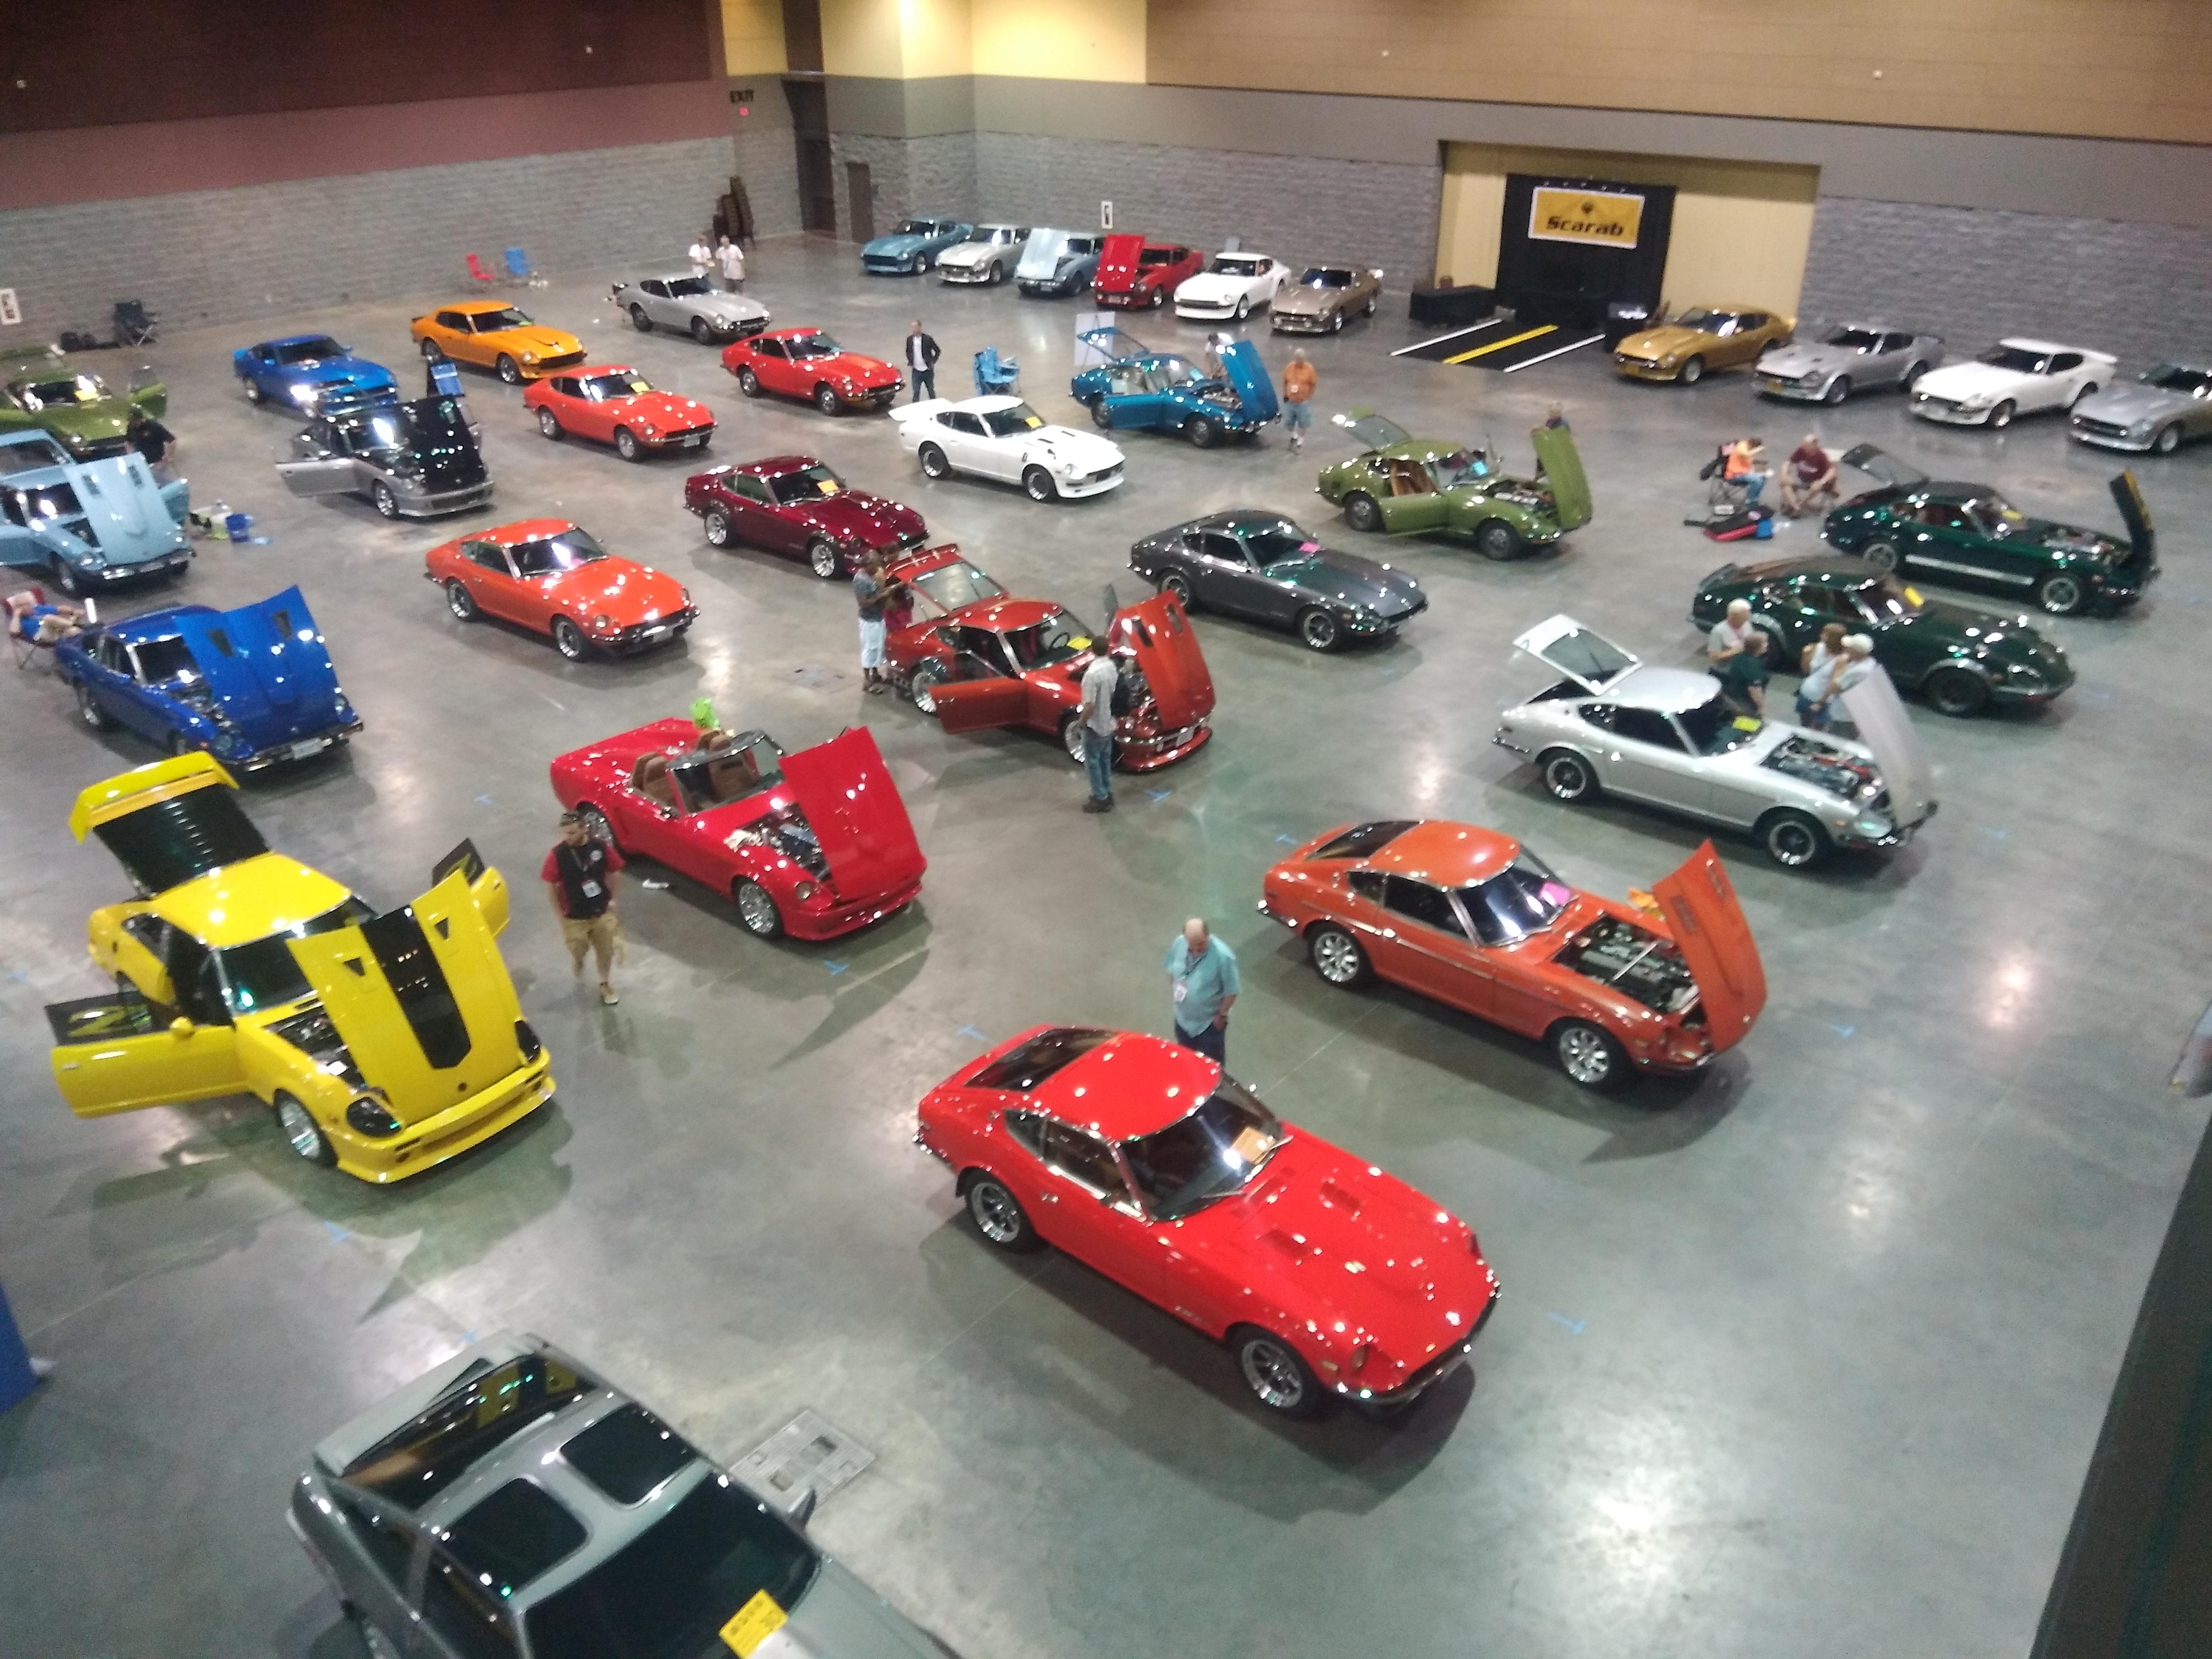
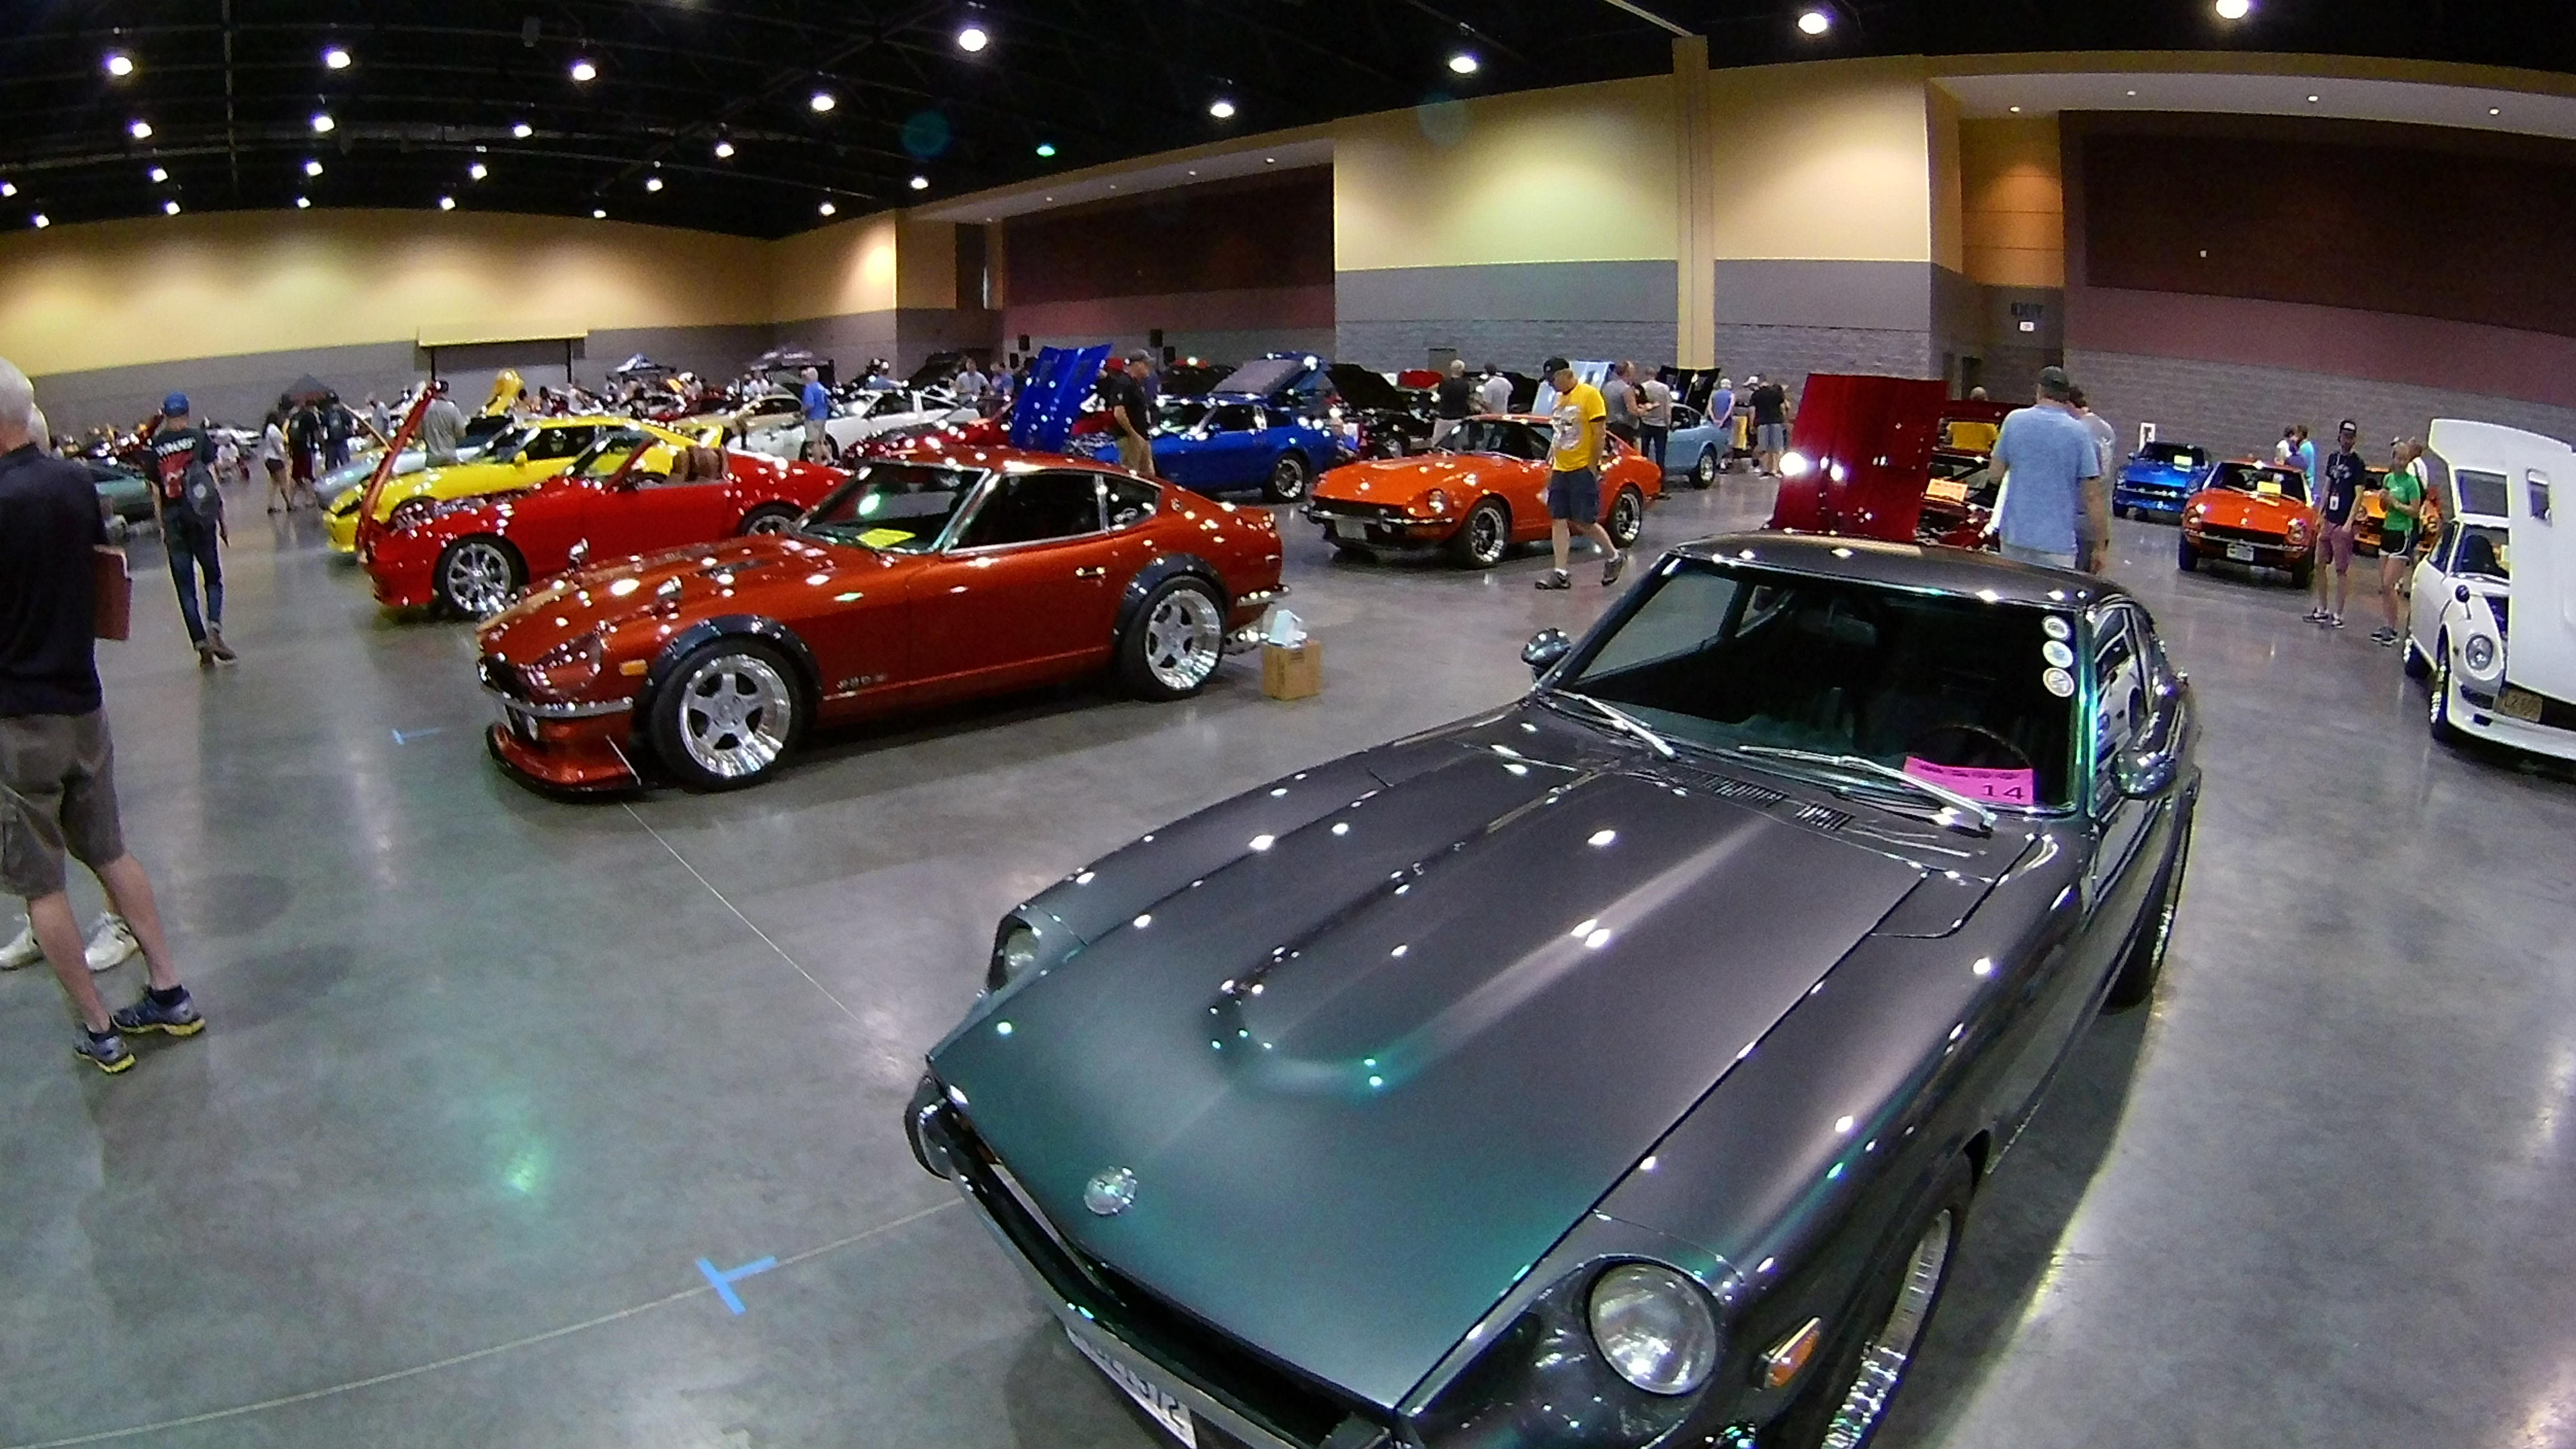
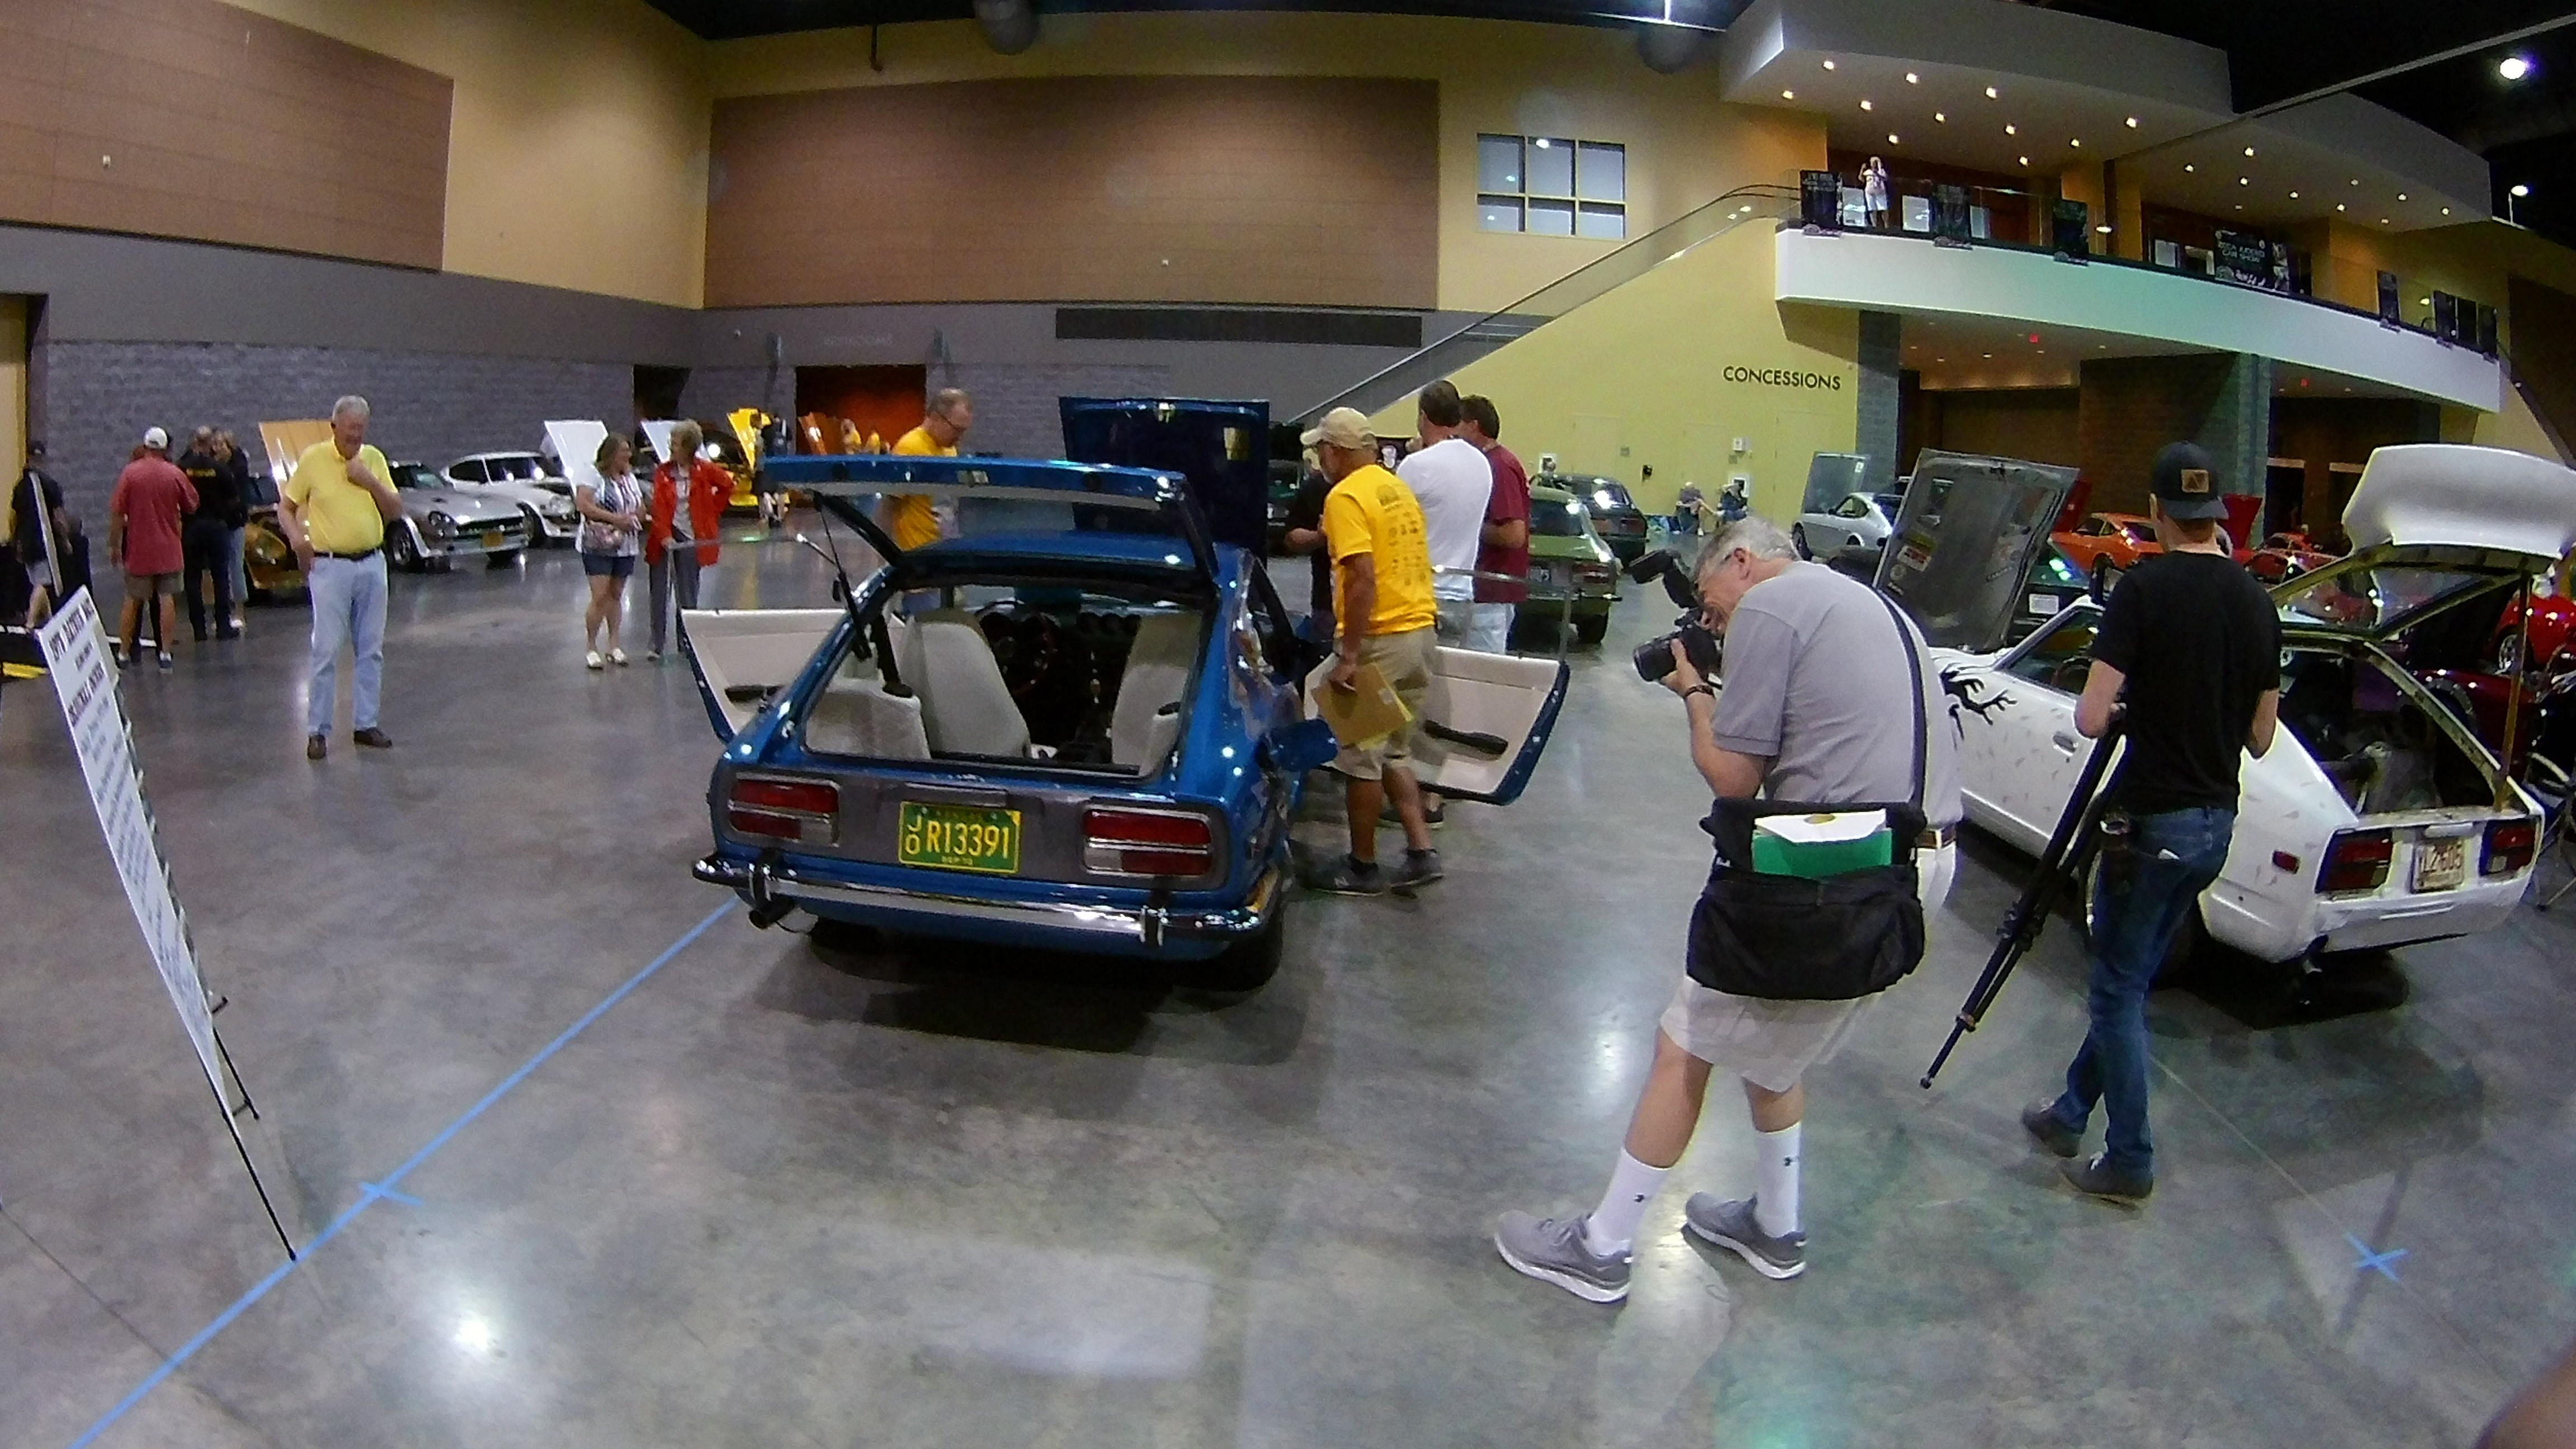
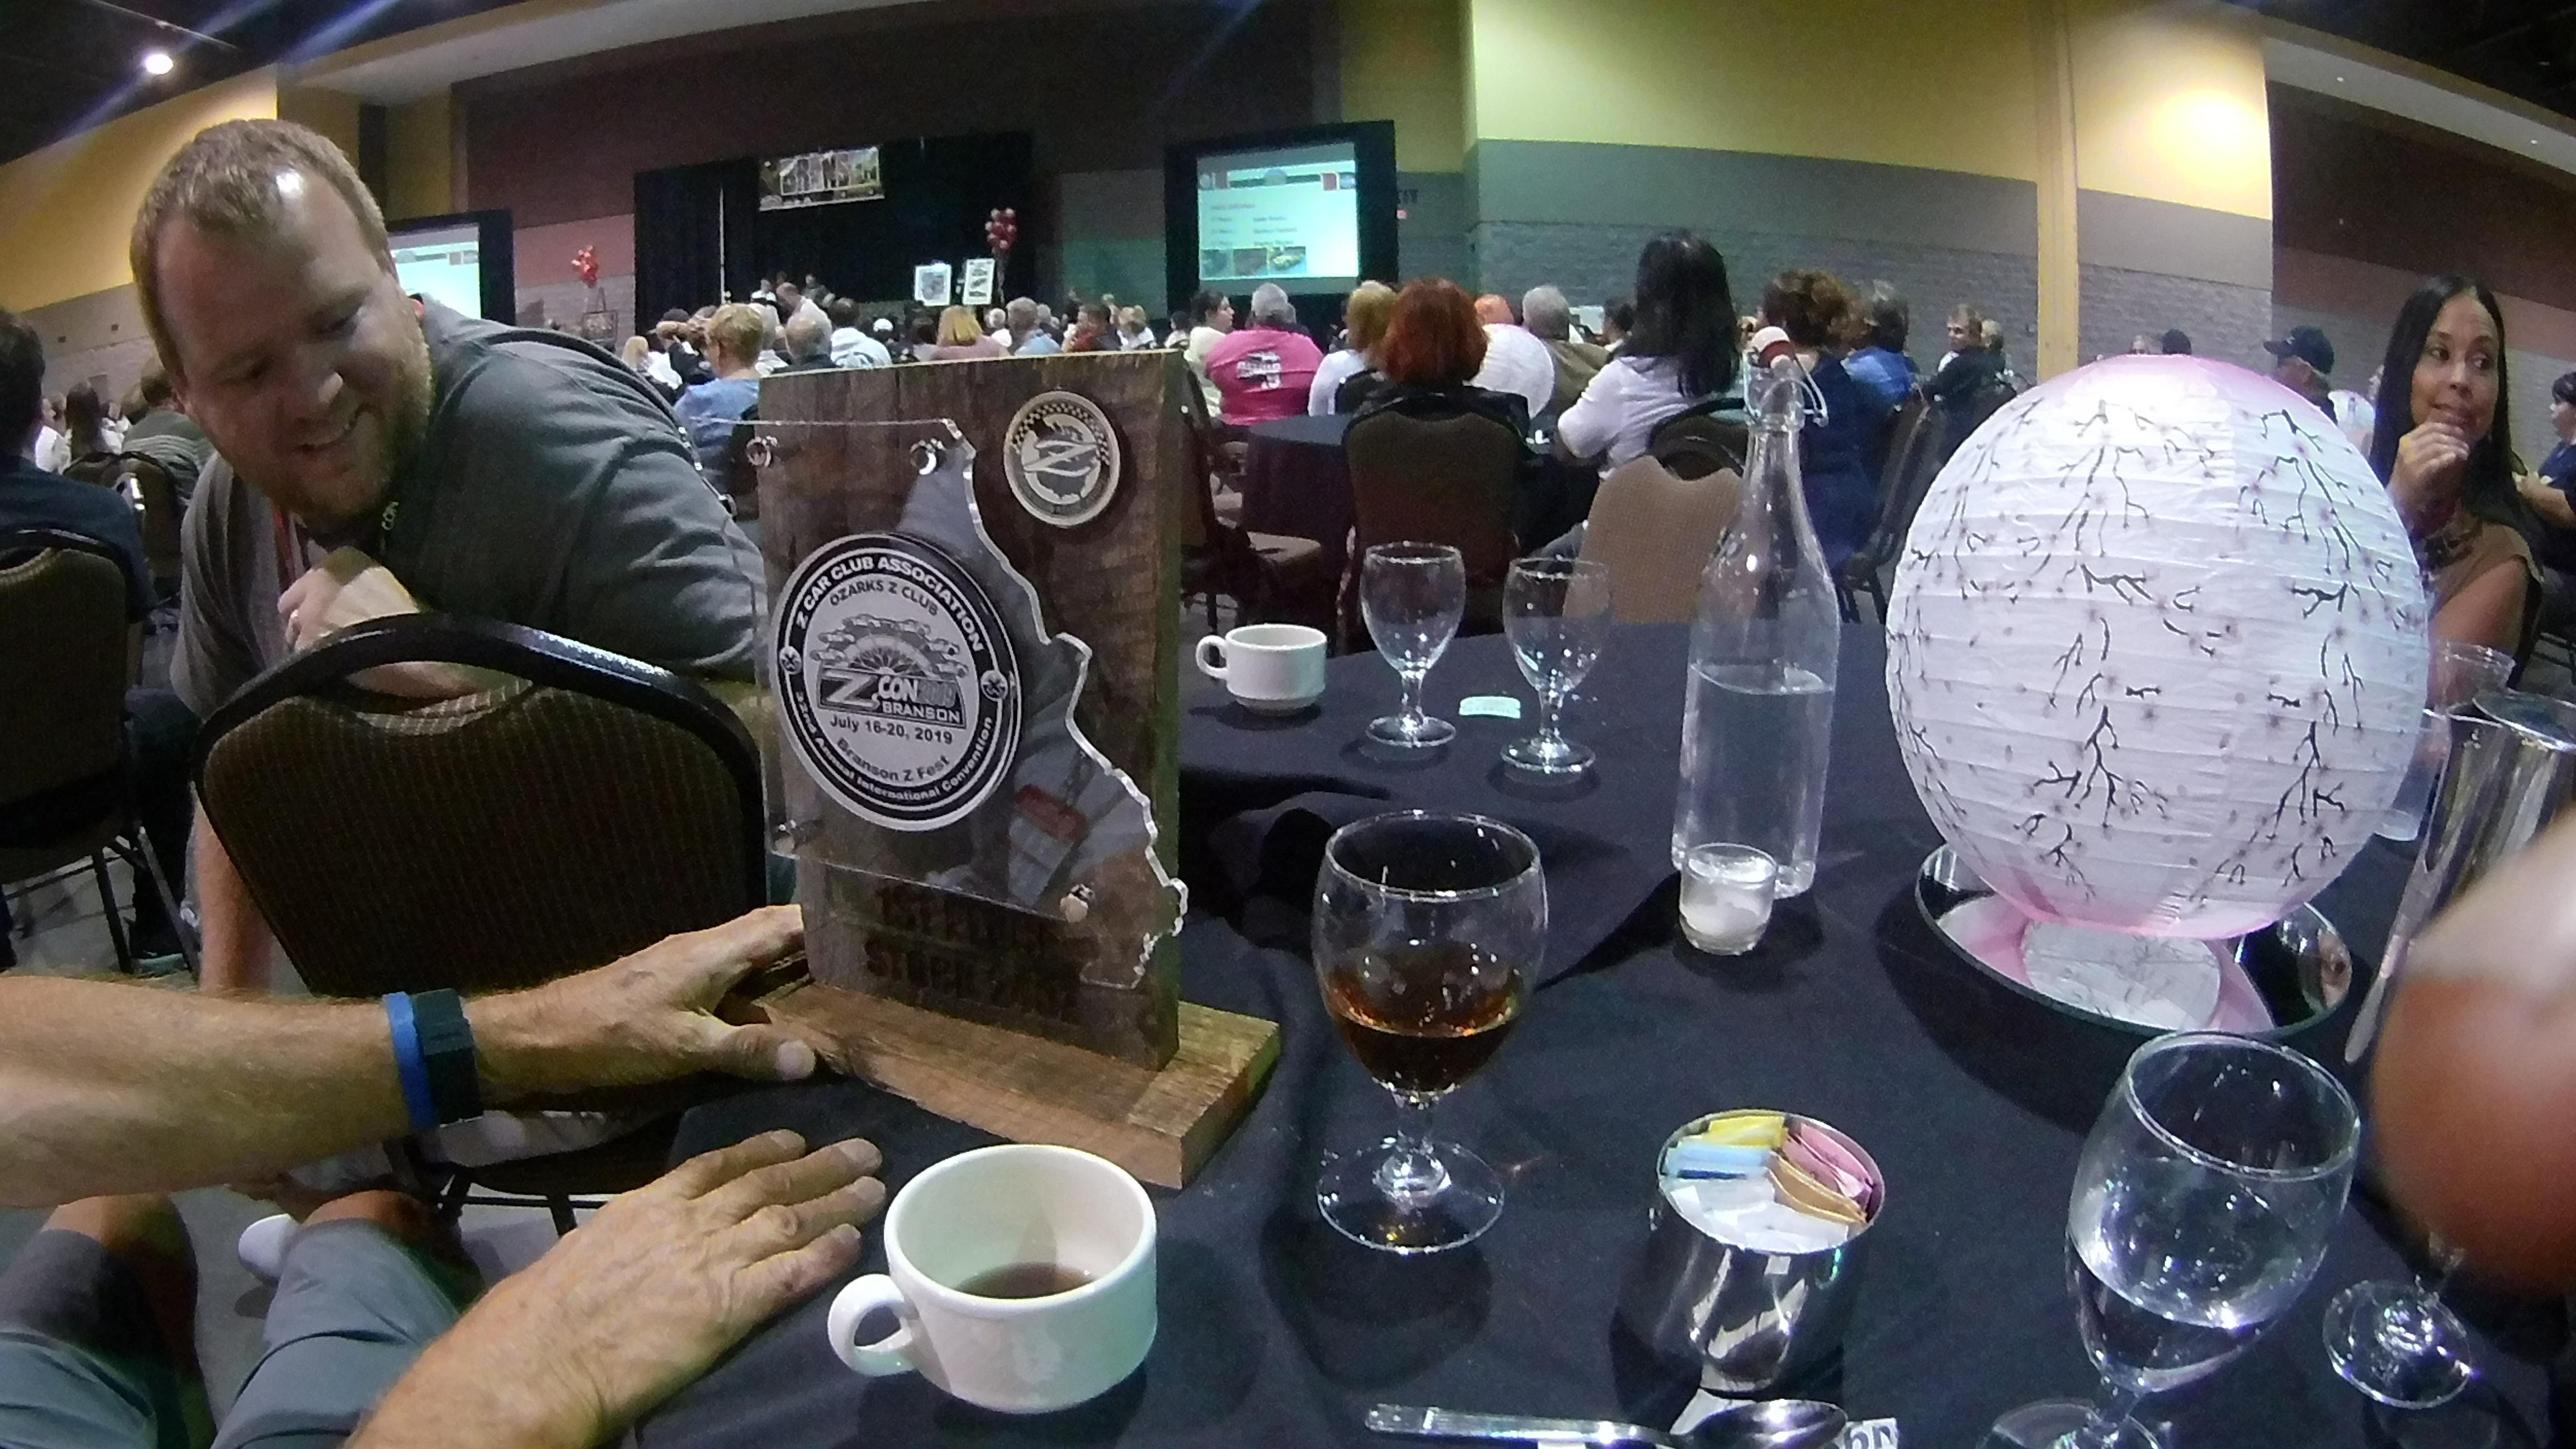
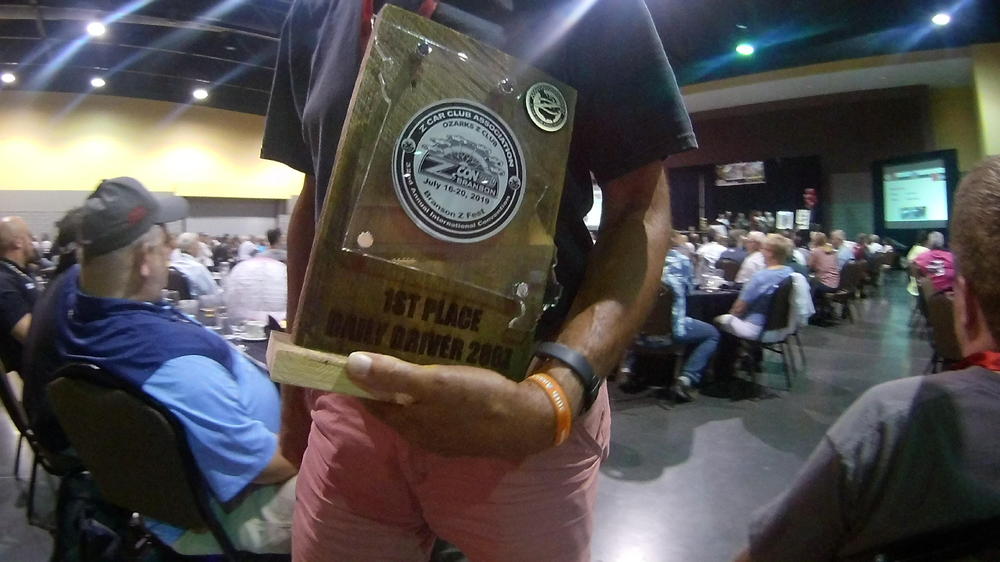
 2 pointsHere's a nice stitched panorama of the Zcon judged car staging the night before the show. (Photo courtesy of Kim Taylor--- author (with collaboration) of the first ZCCA judging rulebook.)
 2 points
 -
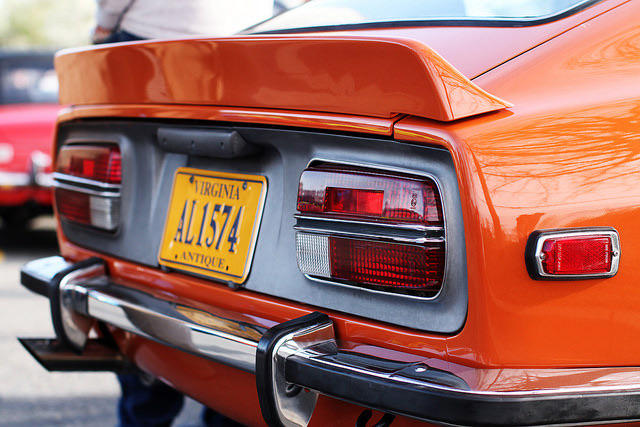
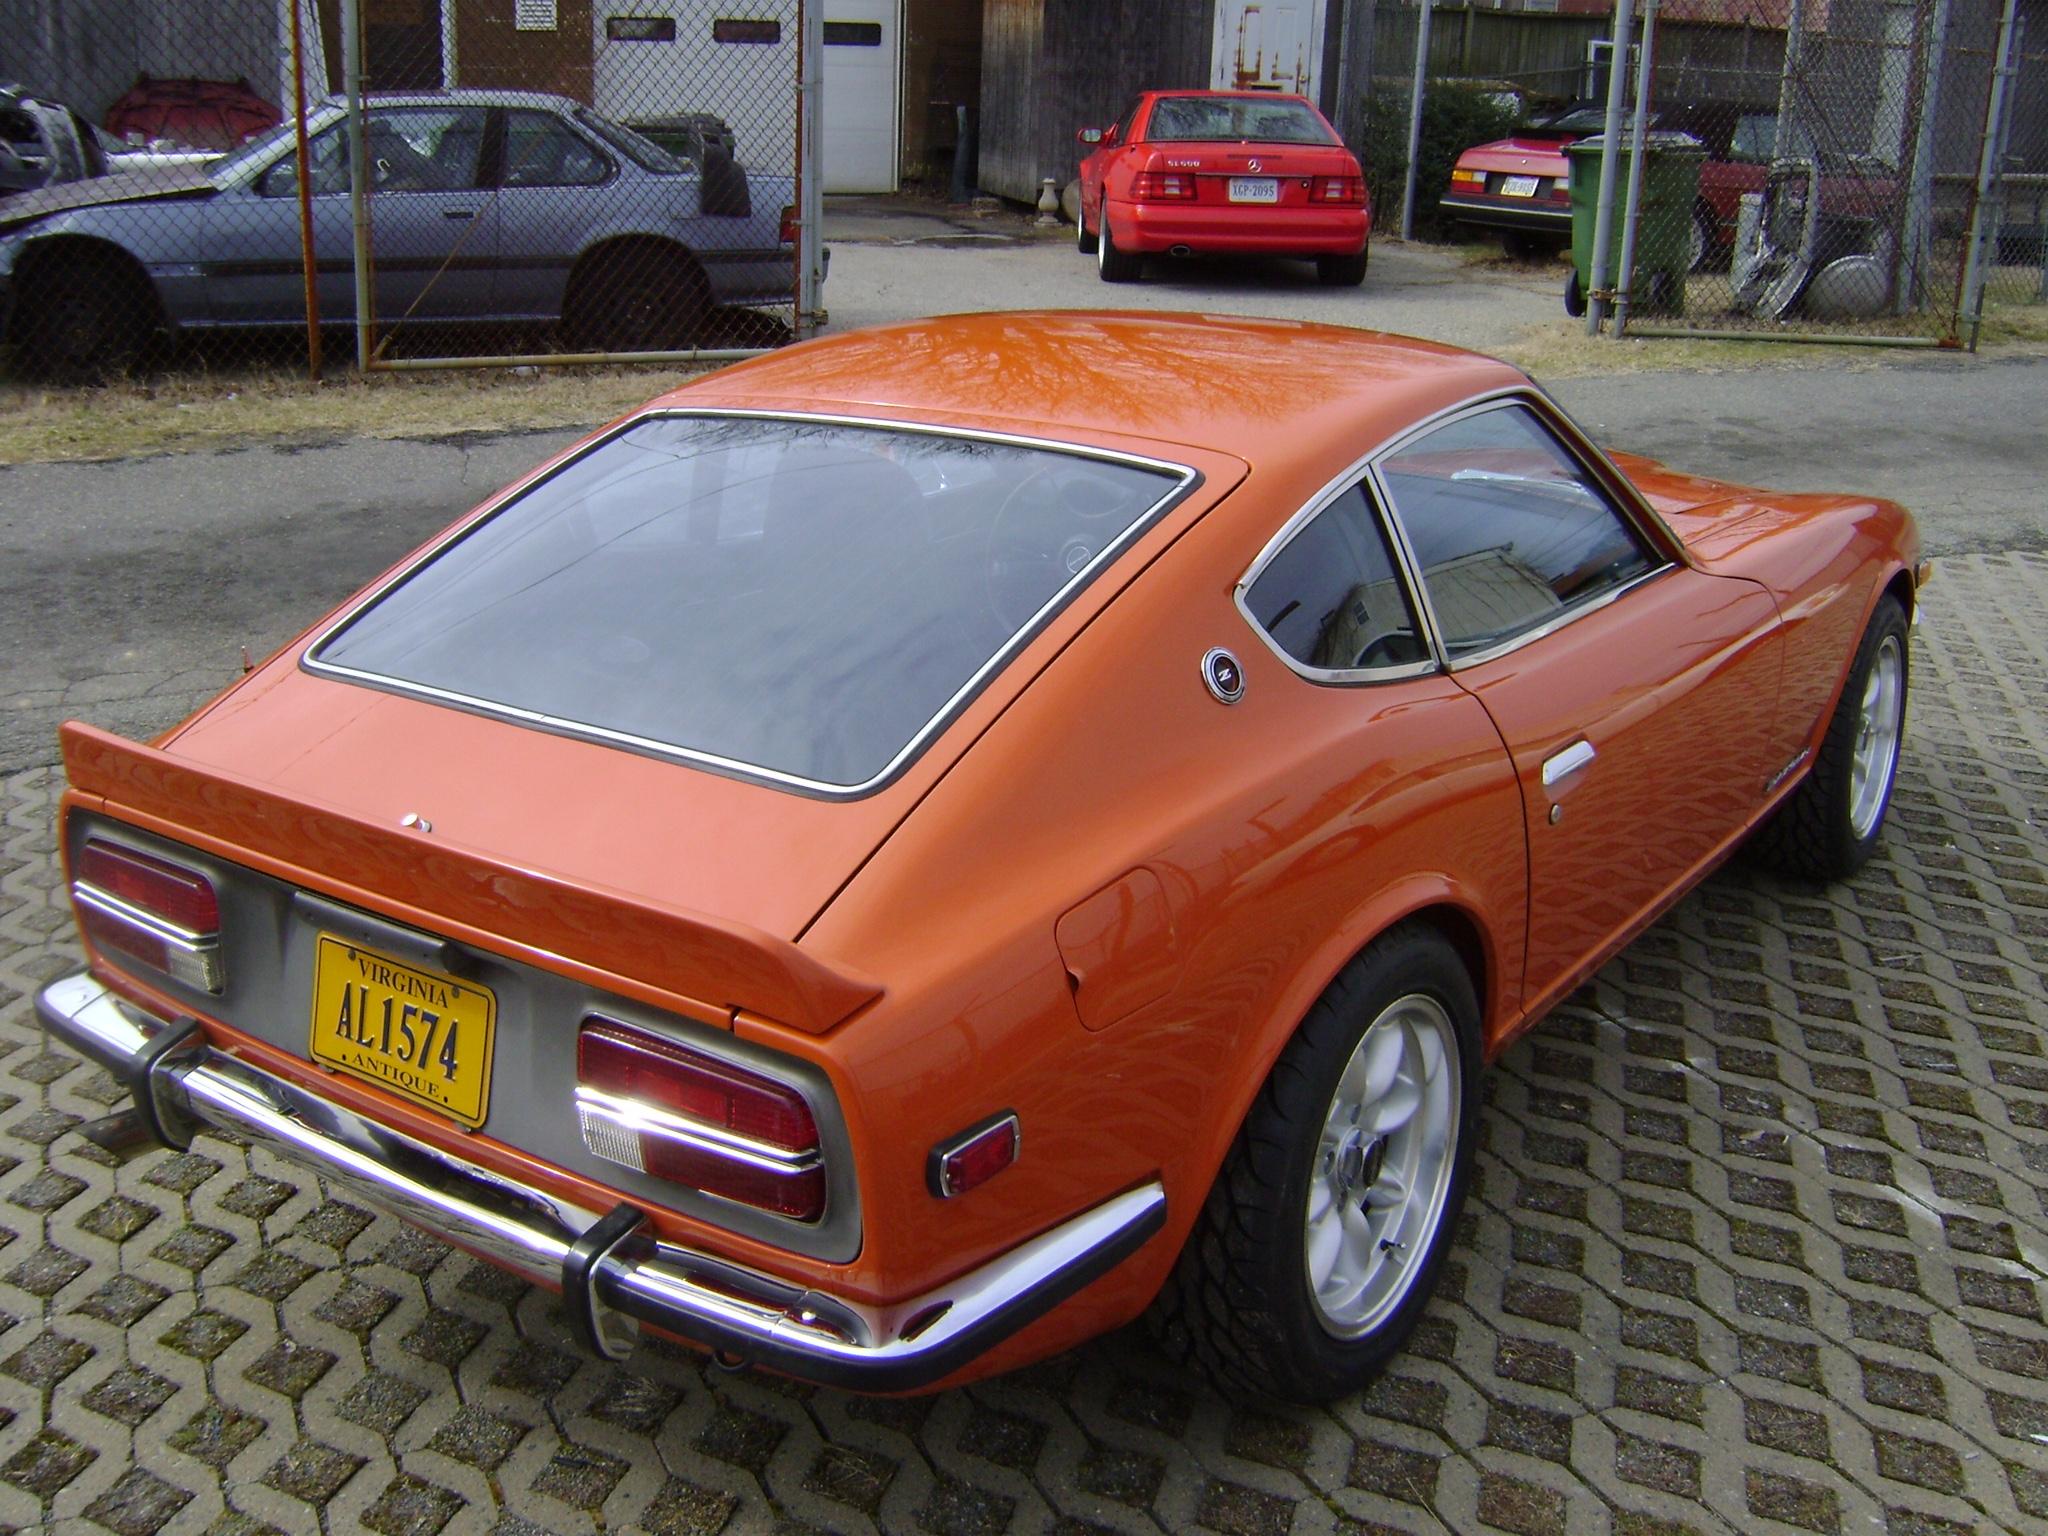
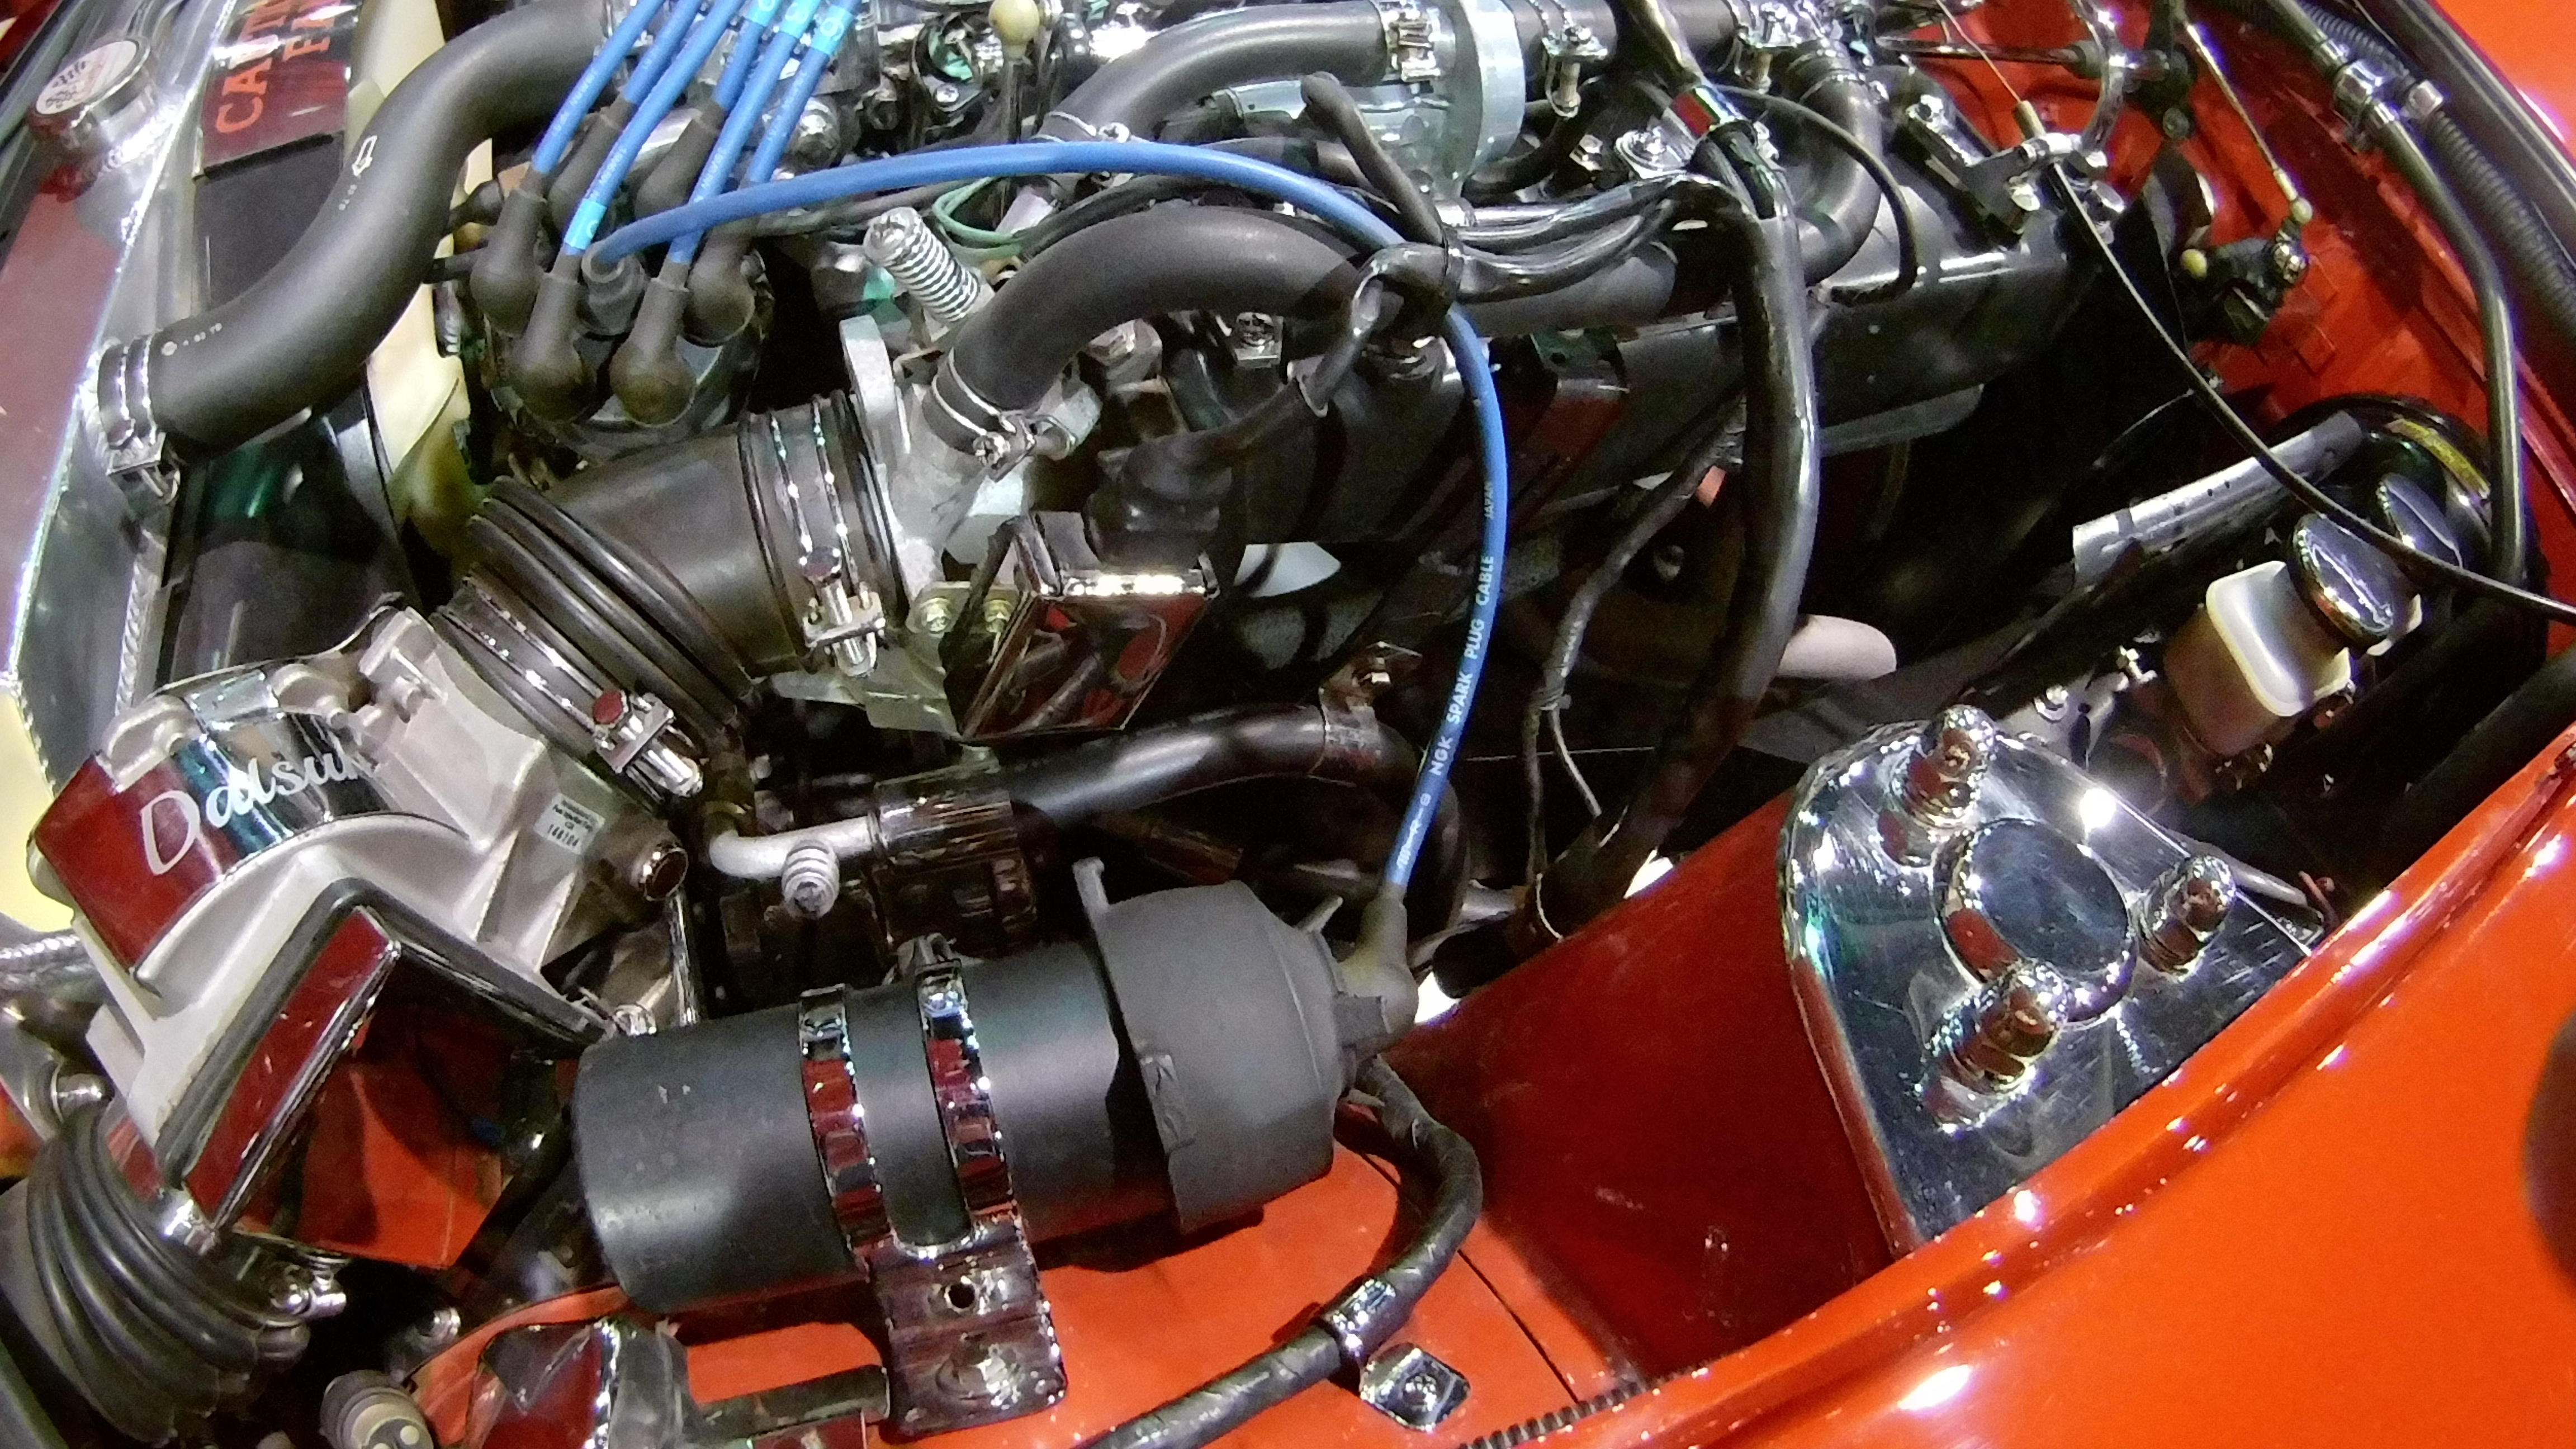
 Is it me or does this taillight harness appear to be spliced? (black heat shrink)2 points
 -
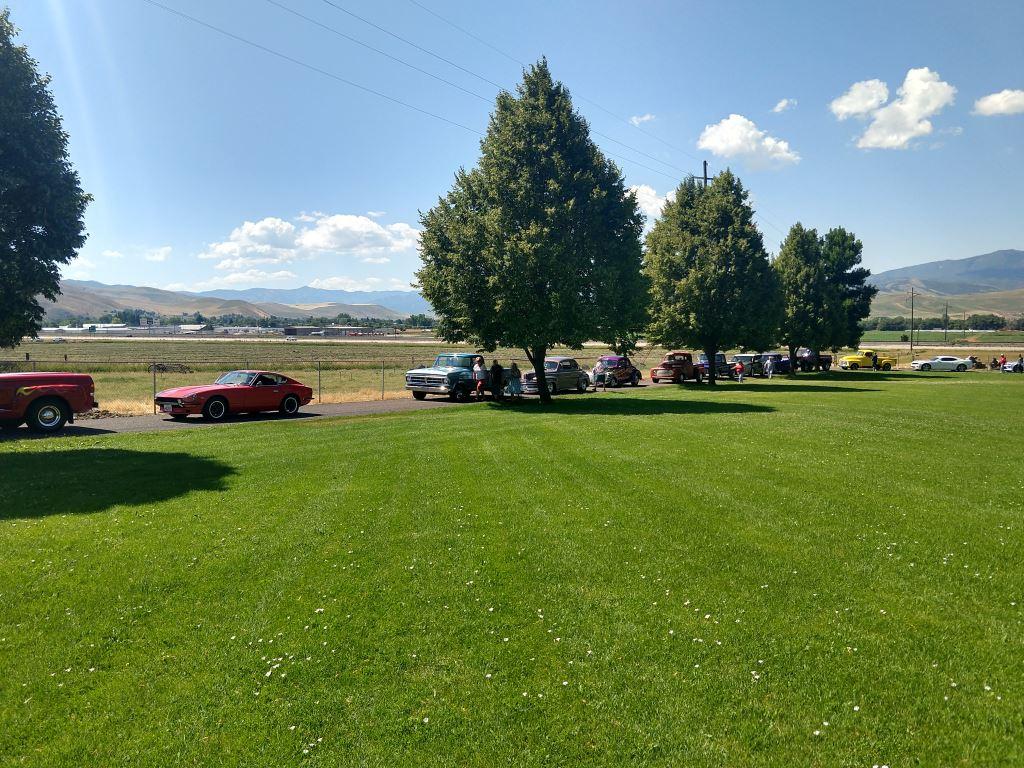
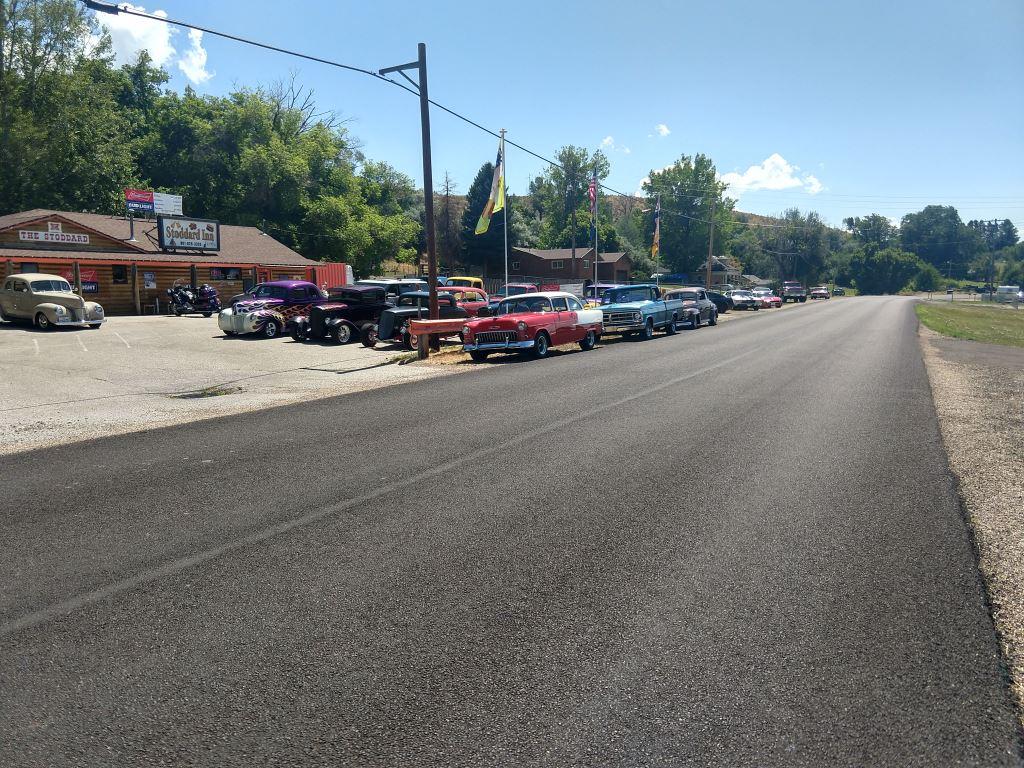
 2 pointsNot too many Datsun people out here in northern Utah, I think the winter salt has killed most of the old Datsuns like it did to my 73. So I just go with the regular local hot rodders. But note how much room they give me when we parked in this cemetery! And I took low hand for $80 in the poker draw!
 2 points
 -
2 points
-
 I checked my timing before swapping the dizzy's out. 20 at idle and 37 at 3K+ So, I guess I did only have 17 degrees in the old one. 280zx dizzy is in but I need to adjust the timing tonight and go take her for a test spin.2 points
 -
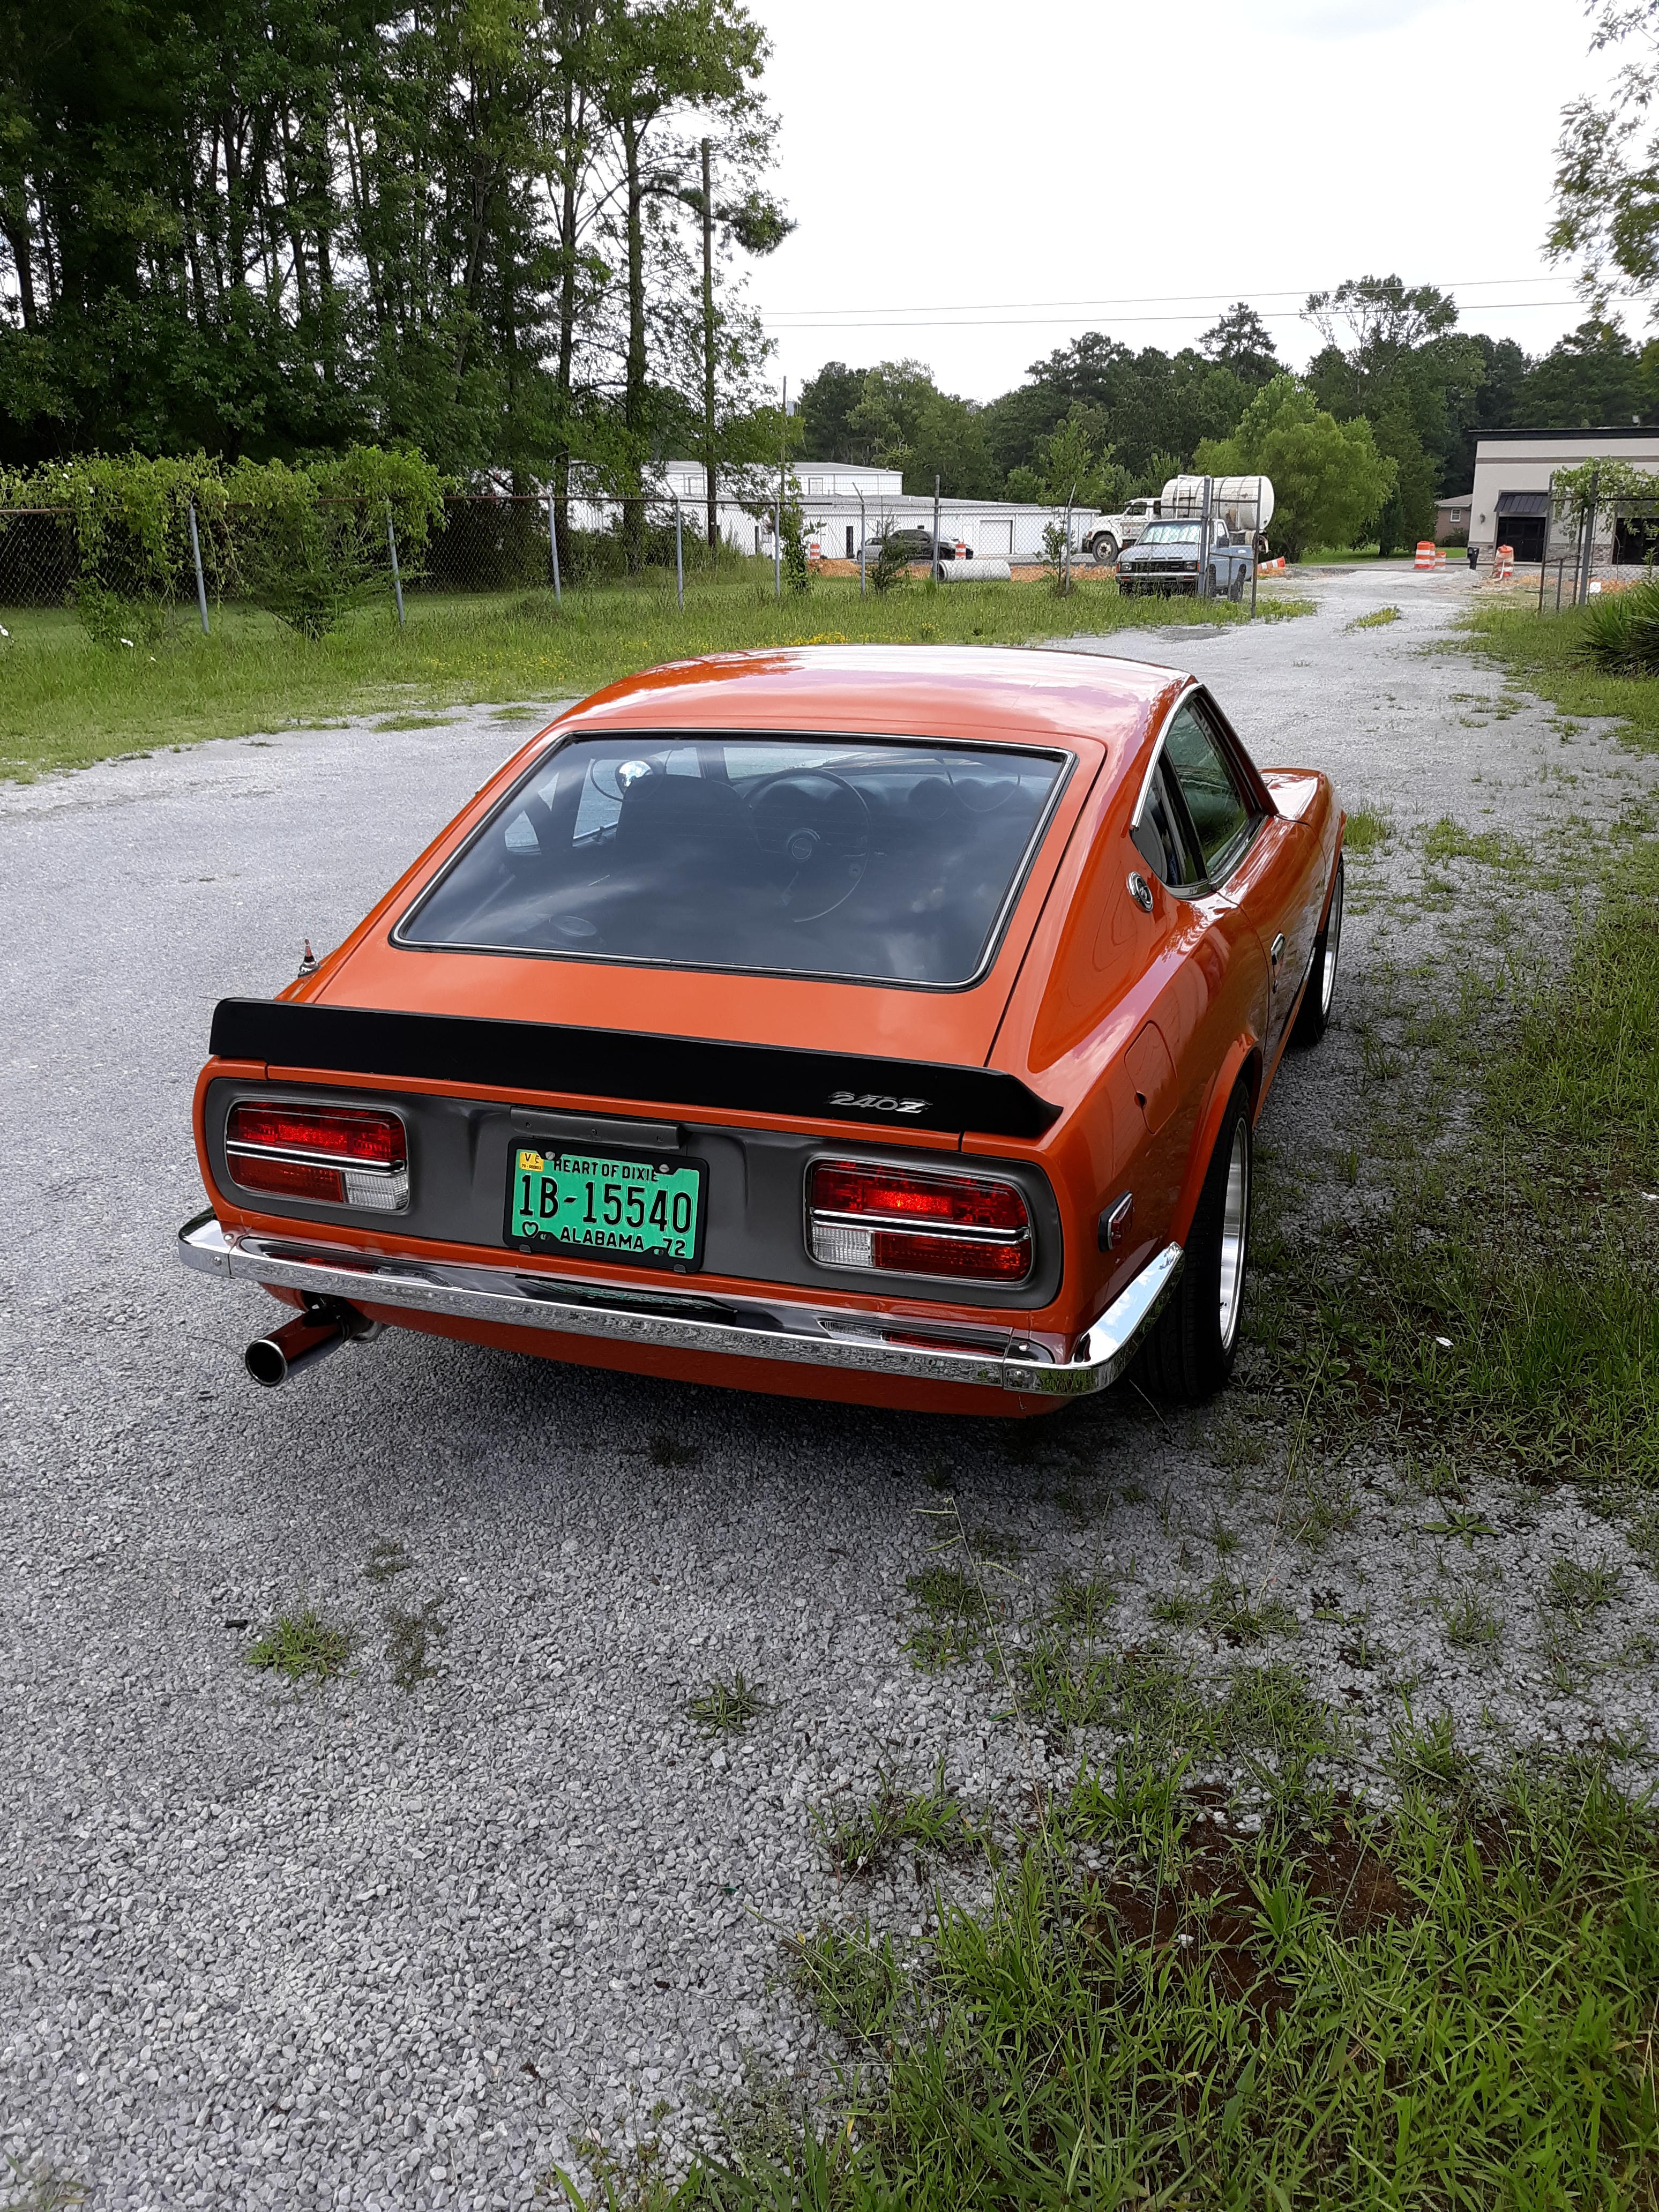
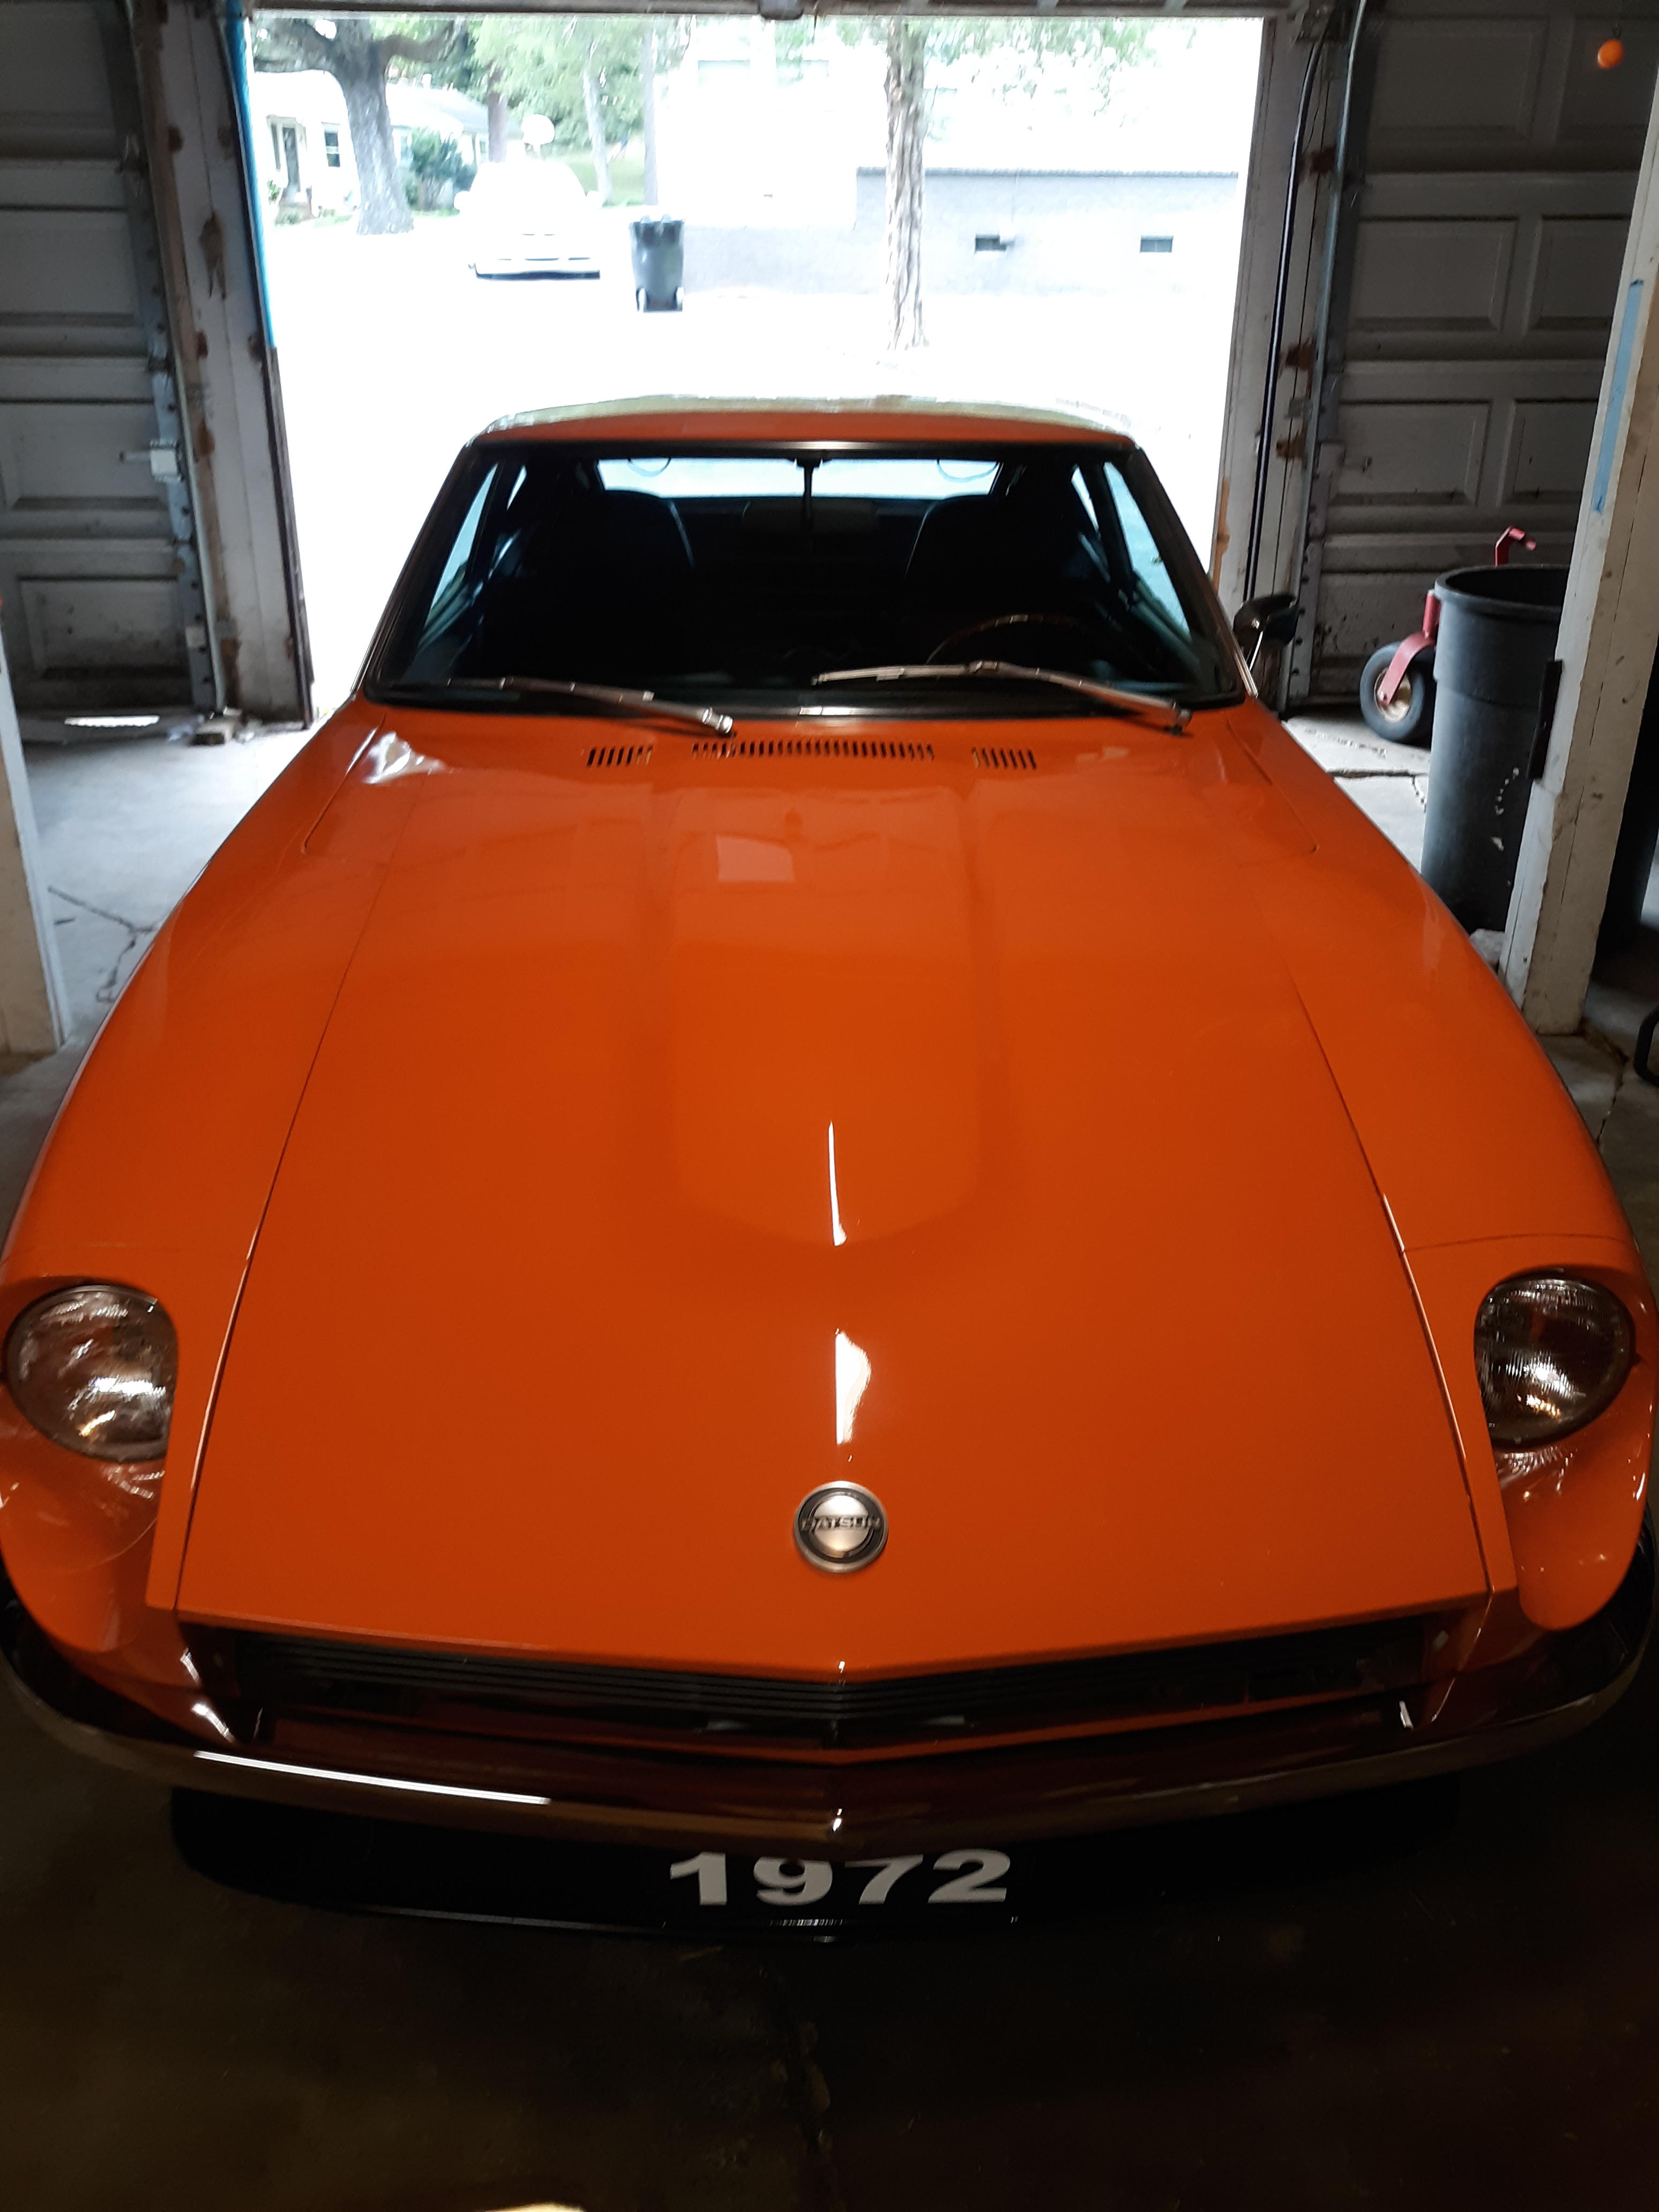
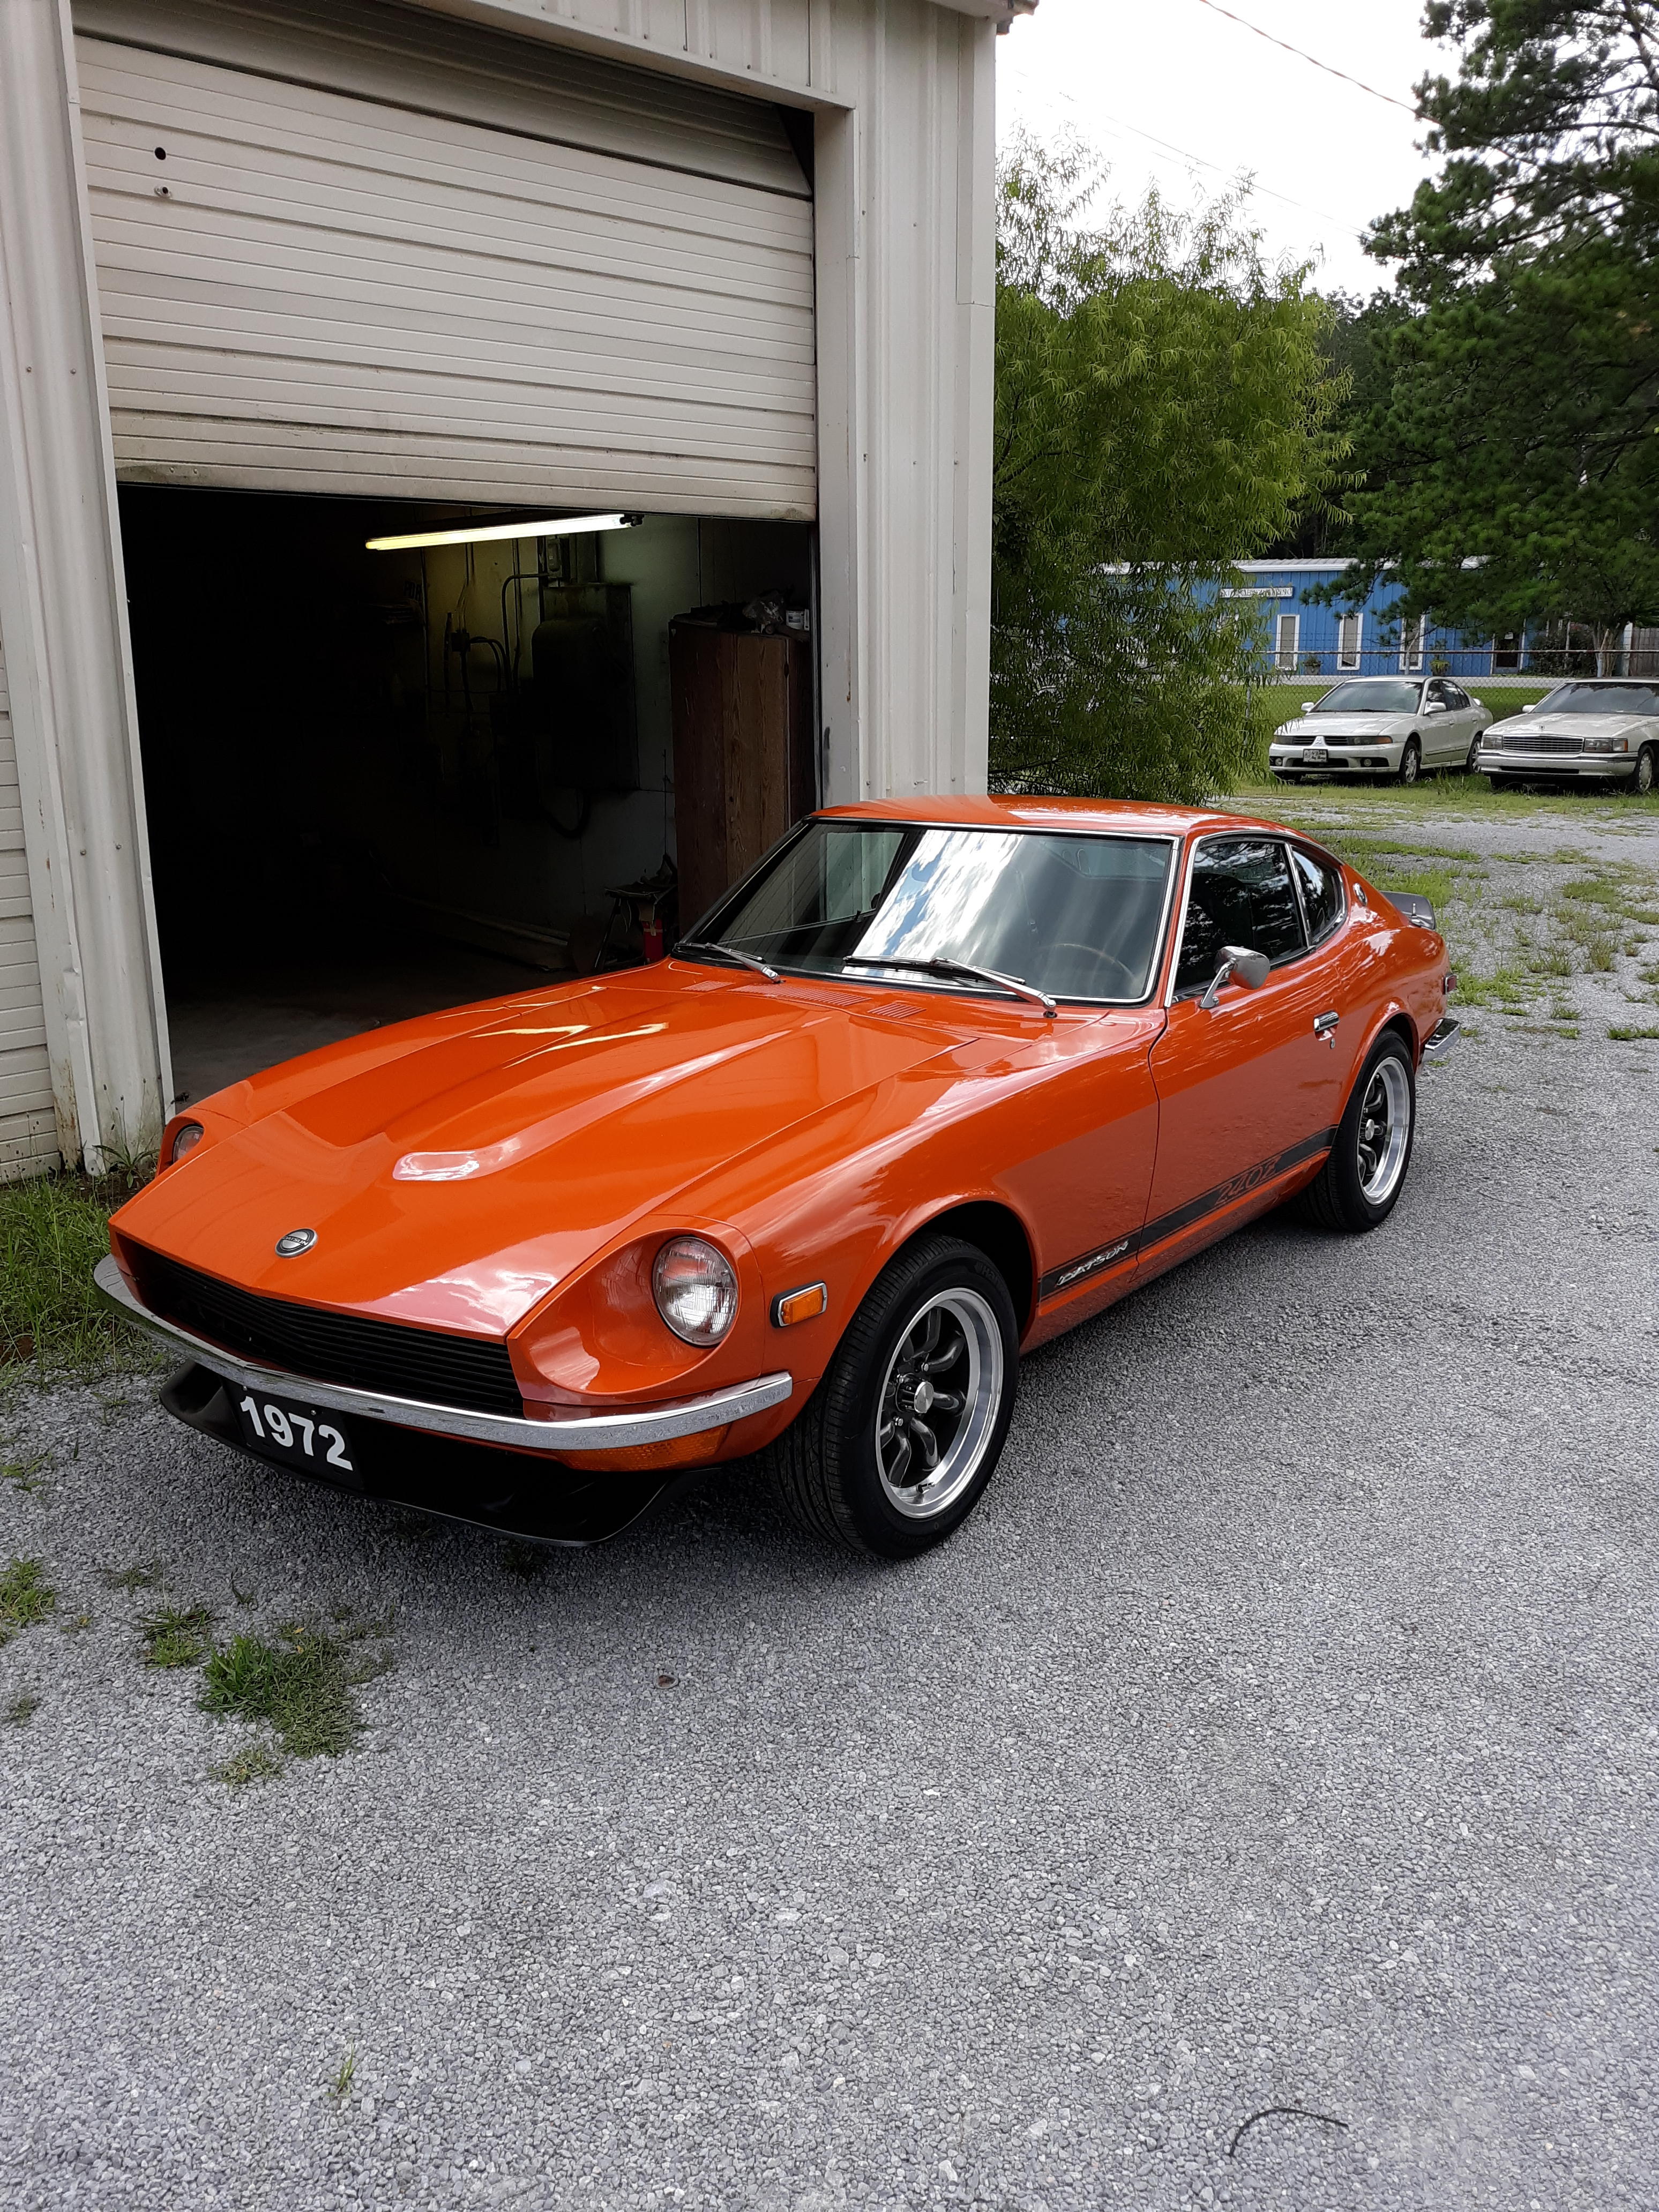
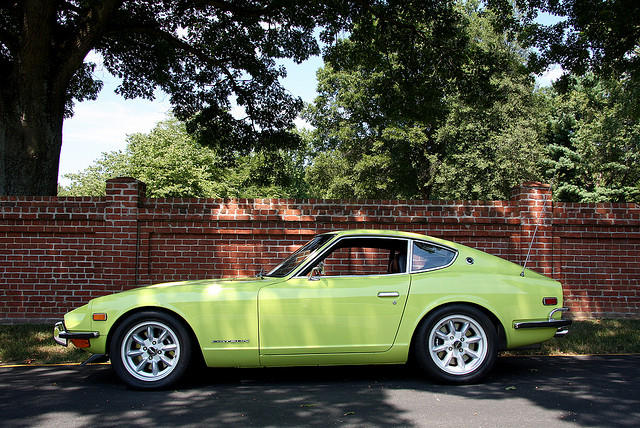
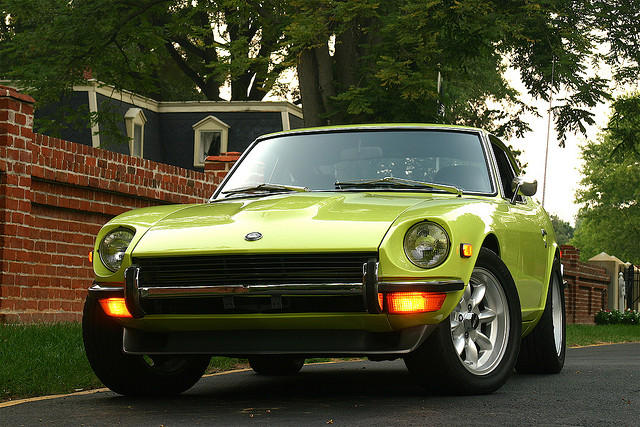
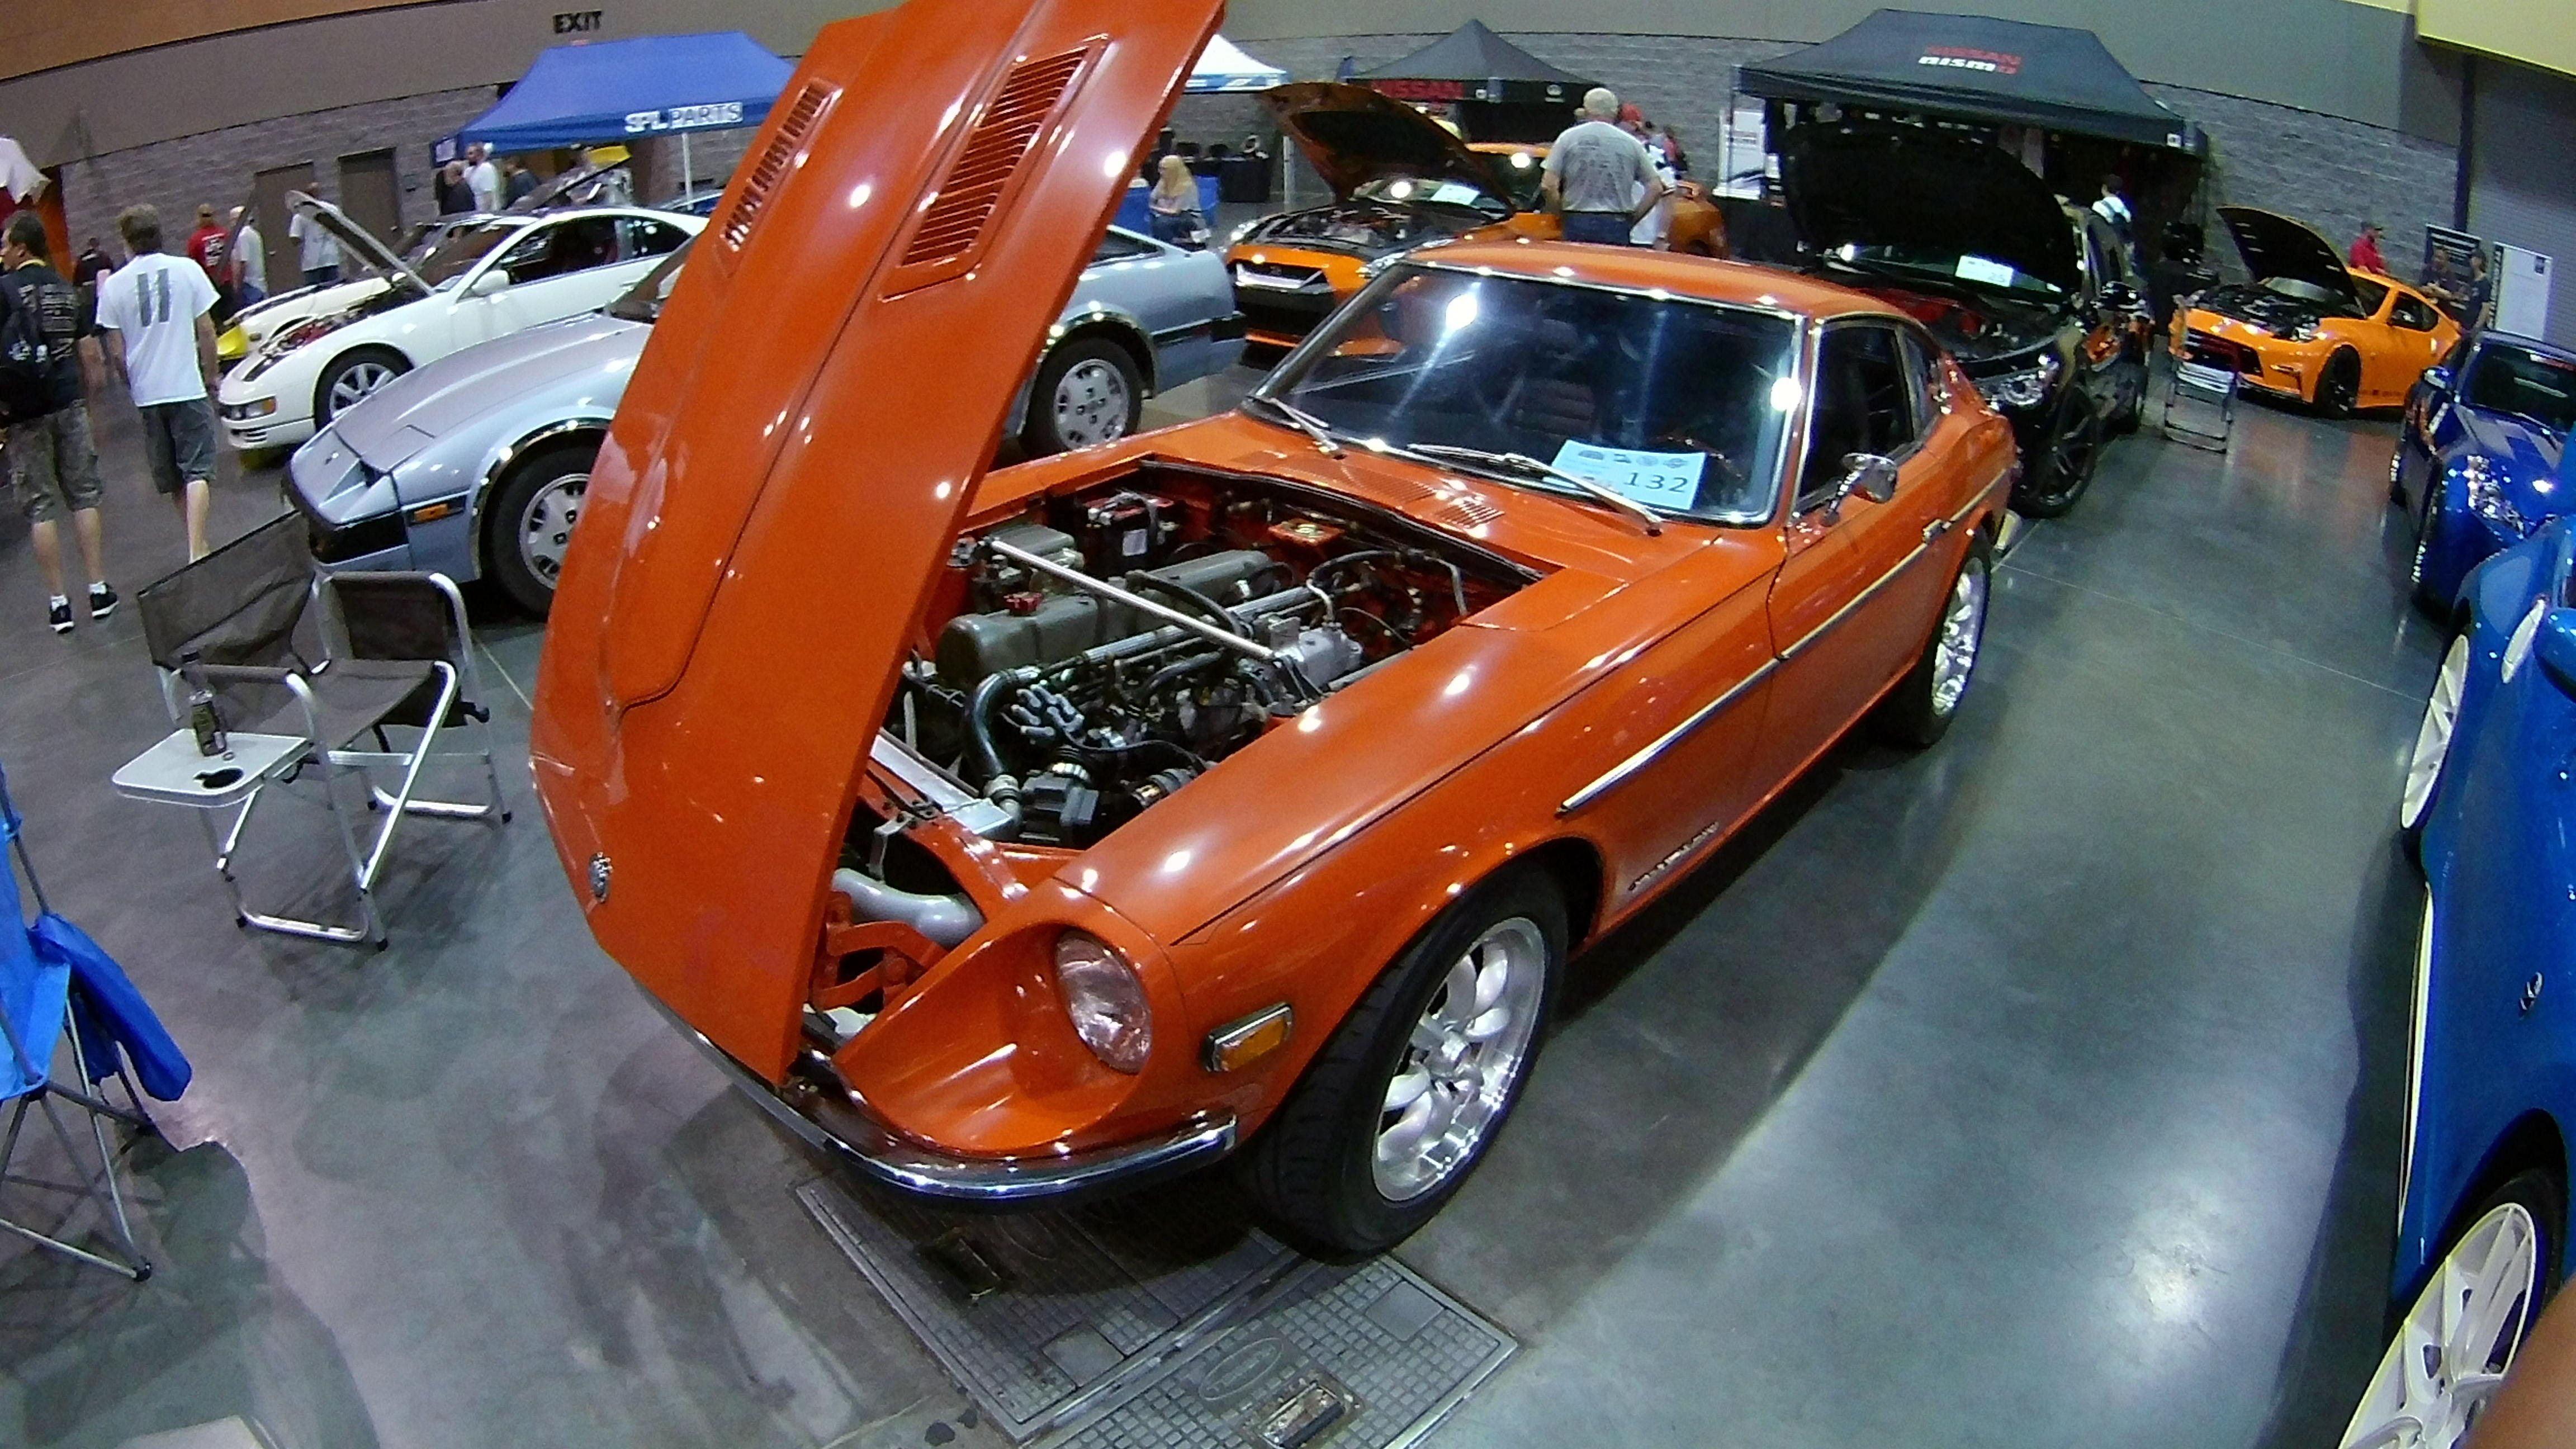
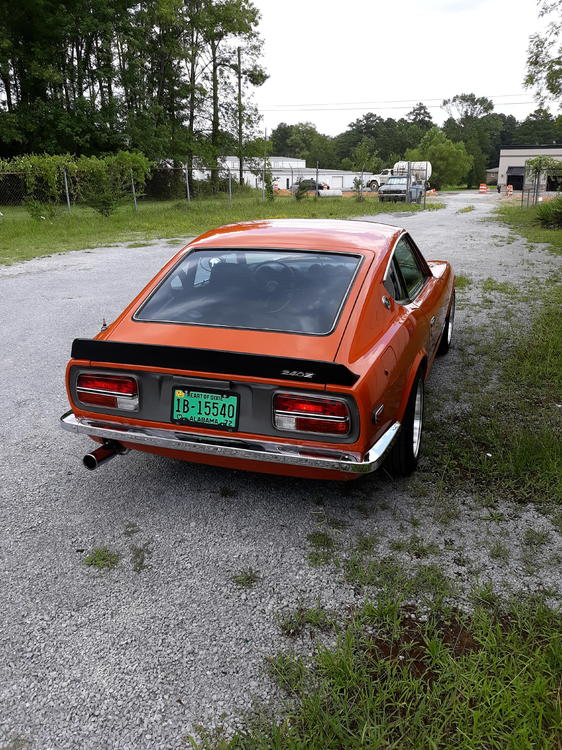
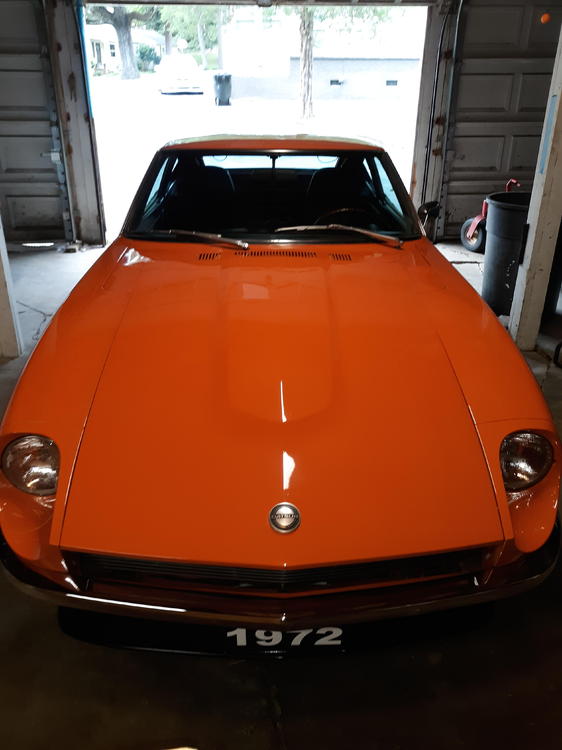
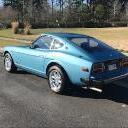
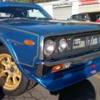
 2 pointsCliff, This is hands down my favorite Z color. I might strip my car down and paint it this color. Mine is currently stock the stock persimmon red 110 and while its not bad, the Orange is just amazing. Sent from my iPhone using Tapatalk2 points
 -
 FYI to the reading public, @Usain_Boat and I have talked on the phone. He is going to examine the body wiring harness for signs of damage. The cutting off may be happening with the left turn signal, too. The common path is through the body wiring harness. Fortunately, the interior panels are off so he can trace it more thoroughly.2 points
 -
2 pointsTalk to Hank. I recommend "Hemmings". Prestigious, lots of photos, and a long selling period. https://www.hemmings.com/classifieds/?makeFacet=Datsun&modelFacet=280Z&adtypeFacet=carsforsale&year_min=&year_max= BAT seems popular but not sure if cars in Canada sell easy. For best time, with 50th anniversary of the Z coming up, the whole year will be hot.2 points
-
1 pointGreat picture Jim... If this was a gathering of British made vehicles, the floor would have to be mopped for oil. LOL. I say that in jest, but ya'll know it's true.. ?1 point
-
1 point
-
1 point
-
1 pointKidney? https://www.ebay.com/itm/Datsun-240Z-SU-Carburetor-Carb-Floats-Set-Hitachi-NOS-Factory-Original/272502363687?fits=Make%3ADatsun&hash=item3f72681627:g:80wAAOSw4CFYnjd41 point
-
1 pointMy something learned today, thanks to @240260280. I can go to bed now. Penultimate... pe·nul·ti·mate /pəˈnəltəmət/ adjective last but one in a series of things; second last. "the penultimate chapter of the book"1 point
-
 1 point
 -
1 pointI tried my Nissan parts guy for some new floats, p/n 16061-E4310, big ole "nada" as in nada available anymore. I'd read this before and he also said the same. The floats are made of some lightweight fuel resistant foam and are solid so they can't absorb fuel. He suggested sanding them and carefully bending things back into shape. I wanted new floats to go with my new Grose valves.1 point
-
 Like this: Note that the square-ish wheel hub is hanging free between those two support bars. The axle is usually not in there real tight. Doesn't take a lot of force.
 1 point
 -
 Should you? No. Have I? of course. thread the nut on all the way. use a piece of hard wood to beat on, use a heavy hammer (2lb min), solid support for the strut. If you can't hit straight and hard, don't do it.1 point
 -
 1 pointAs mentioned, I sold the silver 71 Z restomod through Hemmings to a great buyer in Houston. The on-line version allows for loads of space to describe your ride, as well as multiple pics. Good luck with the sale. Hank1 point
 -
1 pointUpper and lower voltage limits are important for some components. For instance, don't run a standard sealed beam headlight at 17 volts. It won't last long, and the fuse won't blow.1 point
-
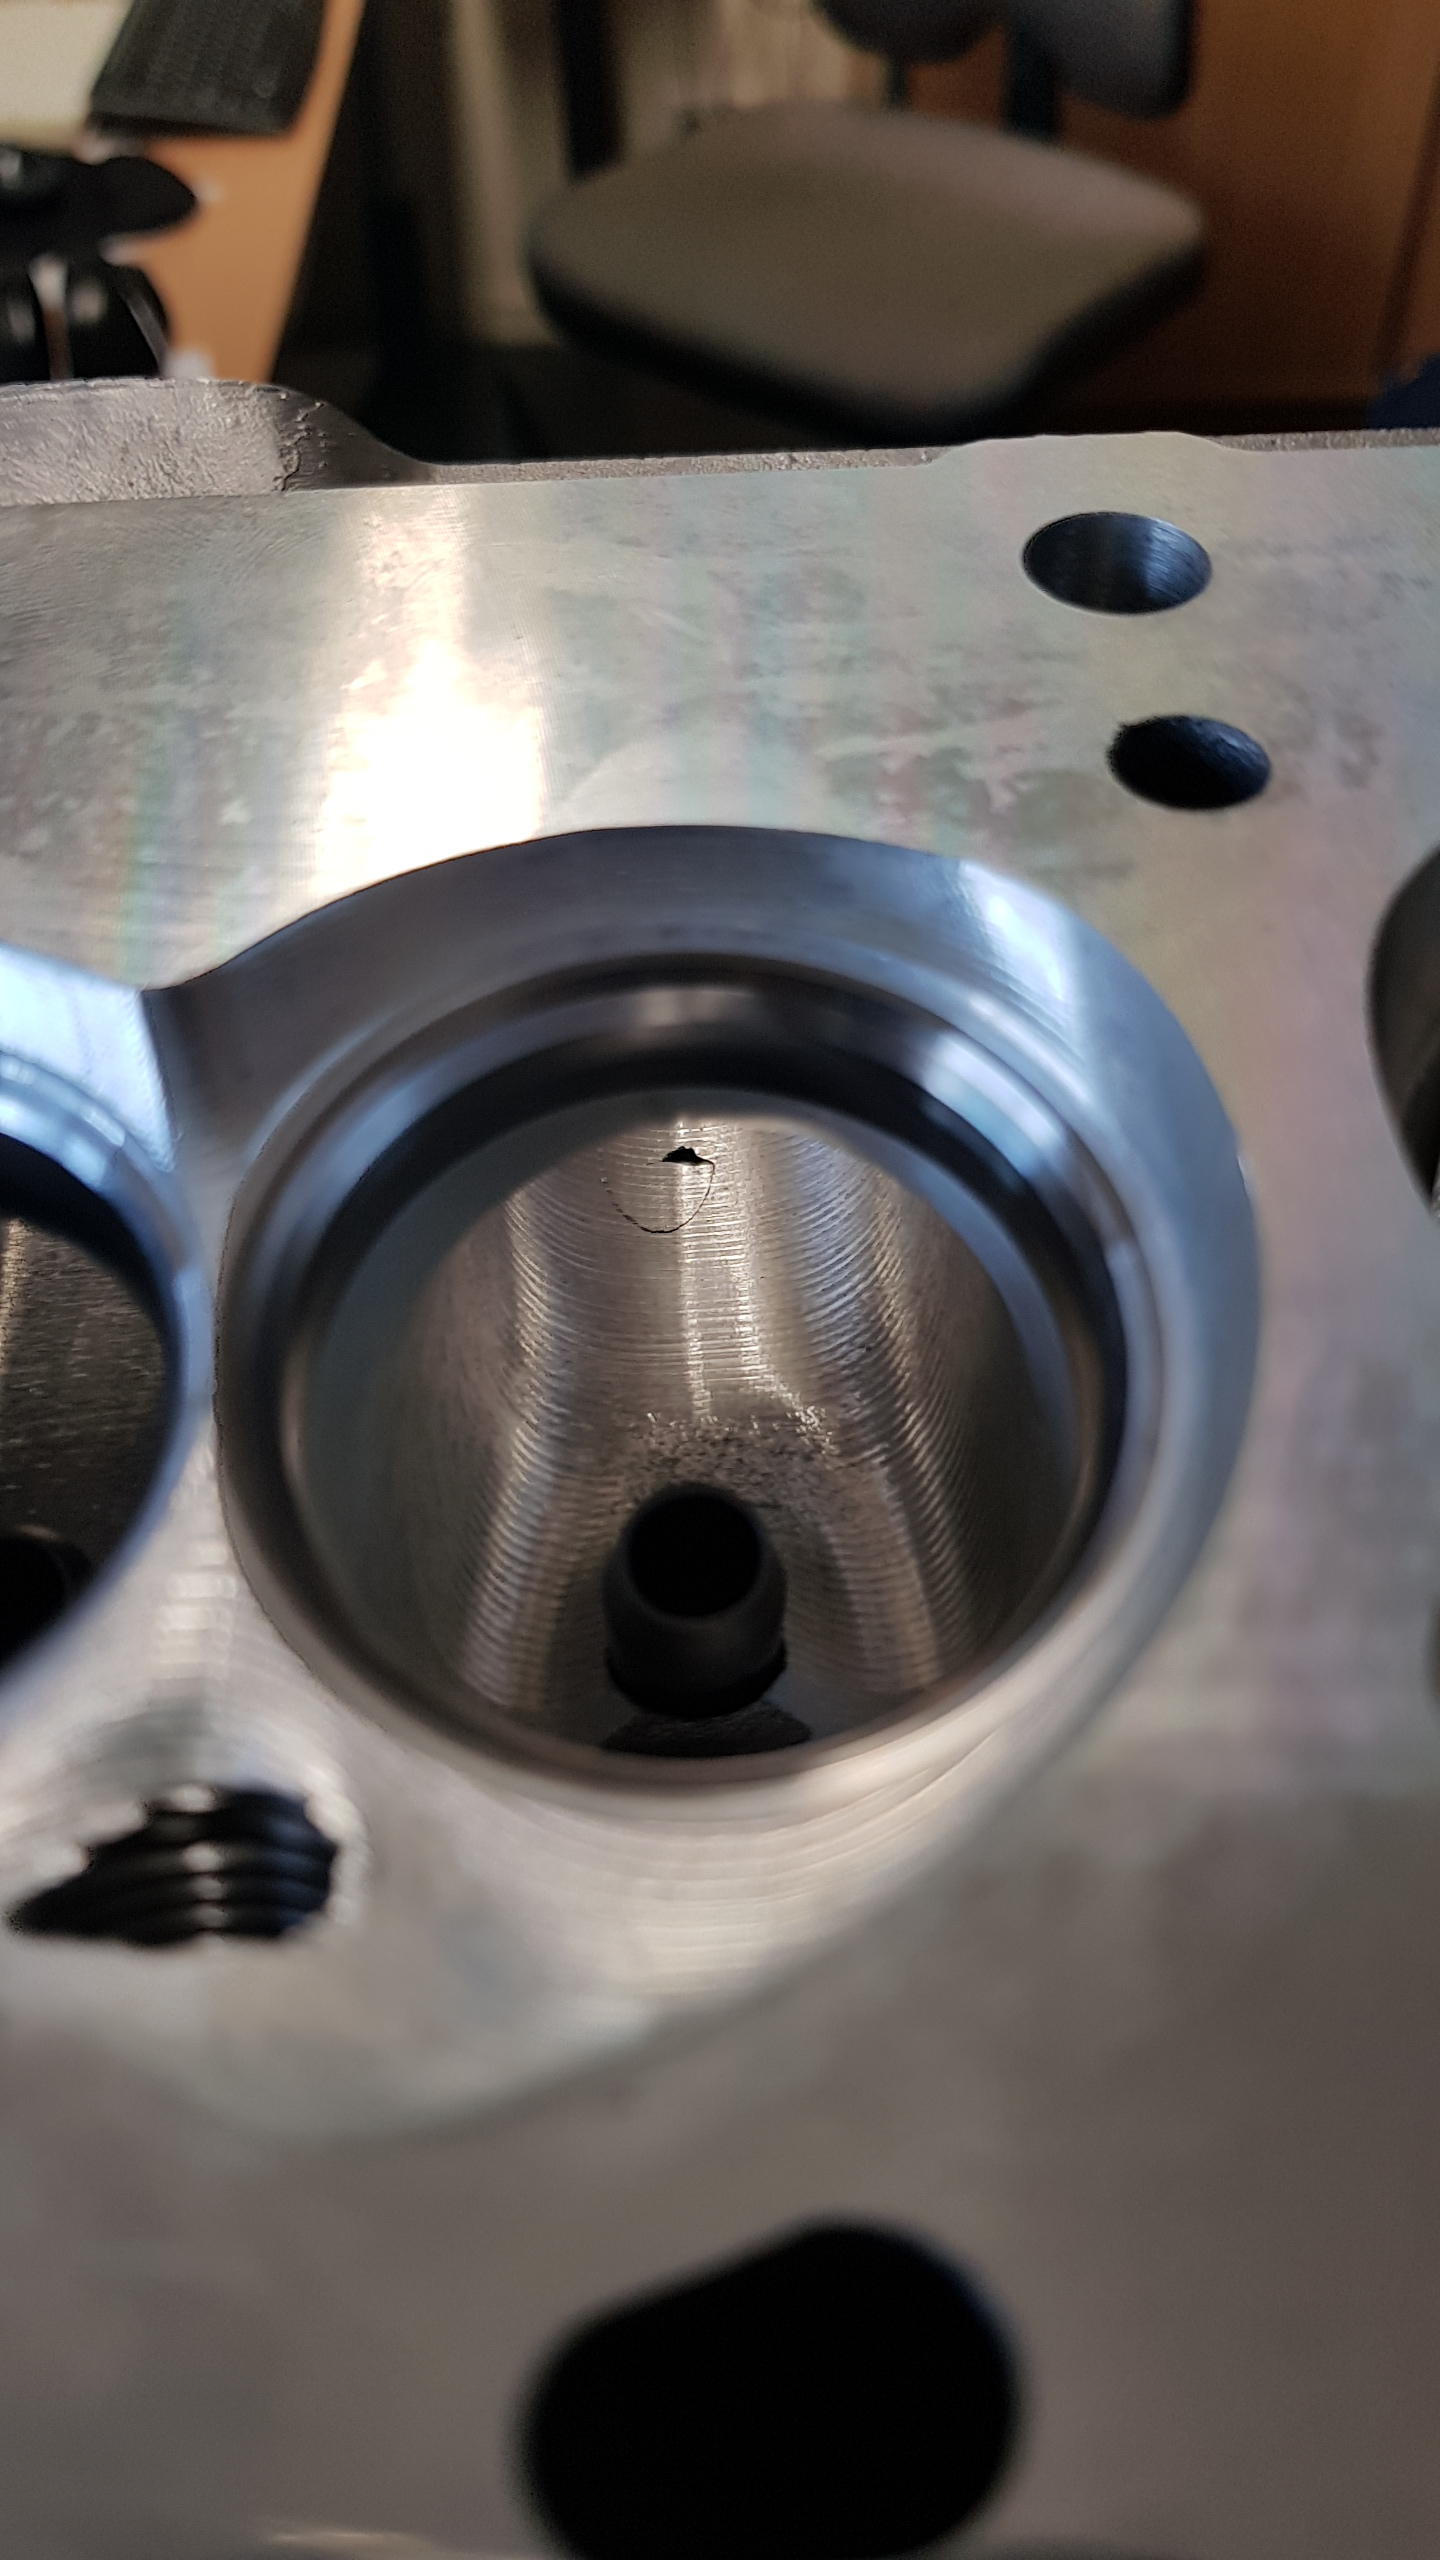
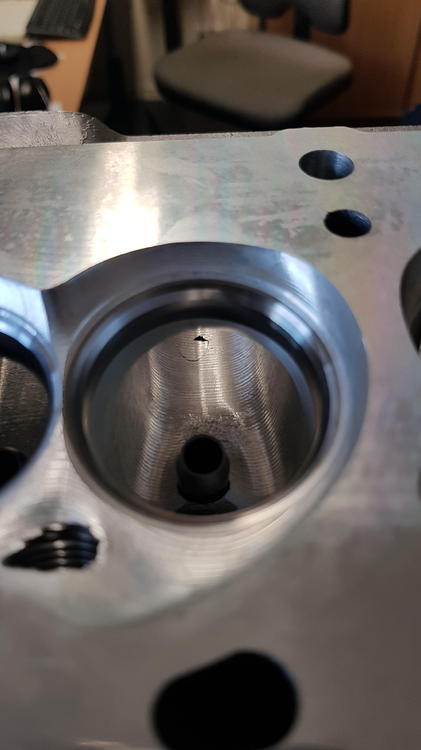
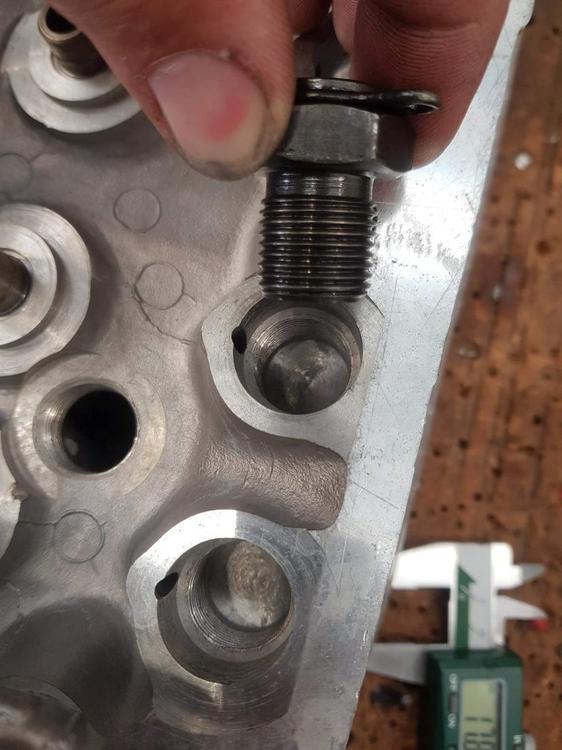
 Might be for assembly in the factory or servicing. A lifting bracket might install there.1 point
 -
Woof. That's never fun. That's why I let Greg do the under dash investigation.1 point
-
Actually I'm pretty sure those threads are stock from the factory. First off, they are straight and not at some screwed up angle, so I doubt that my PO did it. And second, that same hole is threaded on my F54 block, and I don't think that engine has ever been apart until I did it. And interestingly enough, the water jacket hole at the rear of both blocks on the same (left) side is threaded as well. That's exactly what I was thinking, and actually, why I asked. I've been looking into head gaskets and the 83 gasket uses a smaller hole there than the previous versions. I was thinking I could run a restrictor plug into that threaded hole.1 point
-
1 point
-
Okay, here is an explanation of the fuel pump control relay and fuel pump relay 78 Fuel Pump Relay Notes There are two relays 1. Fuel Pump Control Relay 2. Fuel Pump Relay Fuel Pump Control Relay: Positive coil voltage comes from the white/black wire (Origin is the Ignition Relay) One coil is grounded through Alternator (blue wire). The other coil is grounded through the oil pressure switch (yellow/black). The relay has form C contacts. A contact puts wiper (white/black) in contact with power from ignition relay. B contact puts wiper in contact with power from engine cranking (black/yellow wire). (Note: This is opposite of how it is drawn in the factory wiring diagram, but how it is drawn does not make sense.) The wiper provides coil power to the Fuel Pump Relay. Fuel Pump Relay: Positive coil voltage comes from the white/black wire from the Fuel Pump Control Relay wiper. Form A contacts connect two green/blue wires. One side comes from a fusible link. The other side goes to the fuel pump. Theory of operation: When cranking the engine, within the Fuel Pump Control Relay, the second white/black wire mentioned above is connected to the start position on the ignition switch. This energizes the Fuel Pump Relay and powers the fuel pump. If the engine starts, the key is released to the ON position, and the first white/black wire is energized from the ignition relay. The blue wire is grounded through the alternator and the coil is energized within the Fuel Pump Control Relay. This closes a set of contacts within the Fuel Pump Control Relay that allows the second coil to energize, provided there is sufficient oil pressure. With the second coil energized, the power from the ignition relay is providing power to energize the coil on the fuel pump relay. How this applies to your problem: The odds are that the voltage is dropping on the white/black wire coming off the ignition relay. List of components fed from the white/black wire from the ignition relay: Fuel Pump Control Relay Electronic Fuel Injection Main Relay Flasher fuse (Green wire) Fuel Gauge fuse (Blue wire) The loads off the Flasher fuse: Brake Warning Lamp Check Relay Turn signals Seat Belt Warning Timer Unit Fuel Level Warning Lamp Reverse Lights The loads off the Fuel Gauge fuse: Fuel Gauge Water Temp/Oil Pressure Gauge Tachometer Process of Elimination: There are several components here that we can definitely cross off as problematic: Fuel Pump Control Relay, EFI Main Relay, Seat Belt Warning Timer Unit, Fuel Level Warning Lamp, Fuel Gauge, Water Temp/Oil Pressure Gauge, Tachometer. So IIRC, you said that the car would die when using turn signals or putting the car into reverse. Those are BOTH powered off the flasher fuse in the fusebox, and the flasher fuse gets its power via the white/black wire from the ignition relay. There is even a common point for these two circuits that initiate the problem: the right rear taillight assembly. Here is a simple test. Disconnect the wiring harness going to the right rear taillight assembly. Start the car and try to put it into reverse. If it does not die, try turning on the right turn signal. If it does not die, you have confirmed that the issue is at the right rear taillight assembly. You may have to take off the plastic panel to access the connector.
 1 point
 -
 1 pointJust a follow up...and thanks to all who responded!!! Tach still not working but rough idle and rough running problem was the ground at the distributor. Still working on the tach issue... UGH!!!1 point
 -
1 pointCheck msa's ceramic coated header and the 2.5 premium exhaust. Seems like it was around $500 on Black Friday. Take those savings and buy some nice wheels and tires.1 point
-
 Thanks zspert. The support you gave me was a major factor in my car’s Gold Medallion success. There are few with your depth of knowledge and experience with respect to factory originality when talking about the Datsun 240z. The Z community will always benefit from your successes.1 point
 -
1 point
-
 When I'm done in a couple of months I'll post some pix.1 point
 -
Using a block of wood is a good idea. I've messed around with removing and replacing those pins and they are difficult. You can build a little holding jig, two blocks of wood next to each other, to sit the piece in the groove between, to keep it from rolling. Filing the end of the pin down to a sharper point to give it a better start helps also. The end of the pin doesn't matter once it's installed.1 point
-
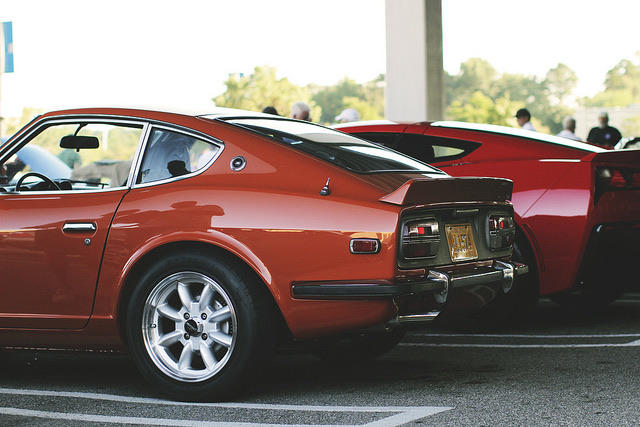
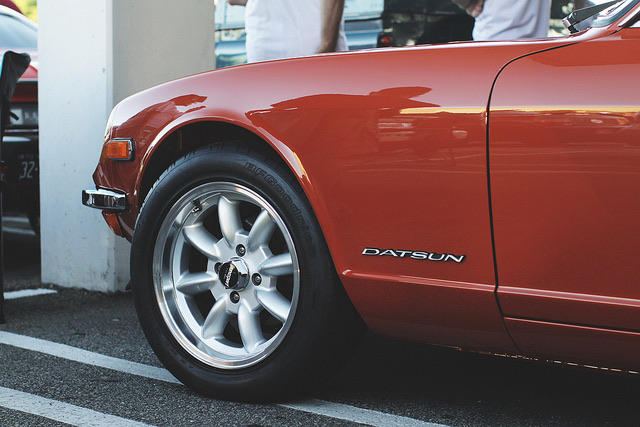
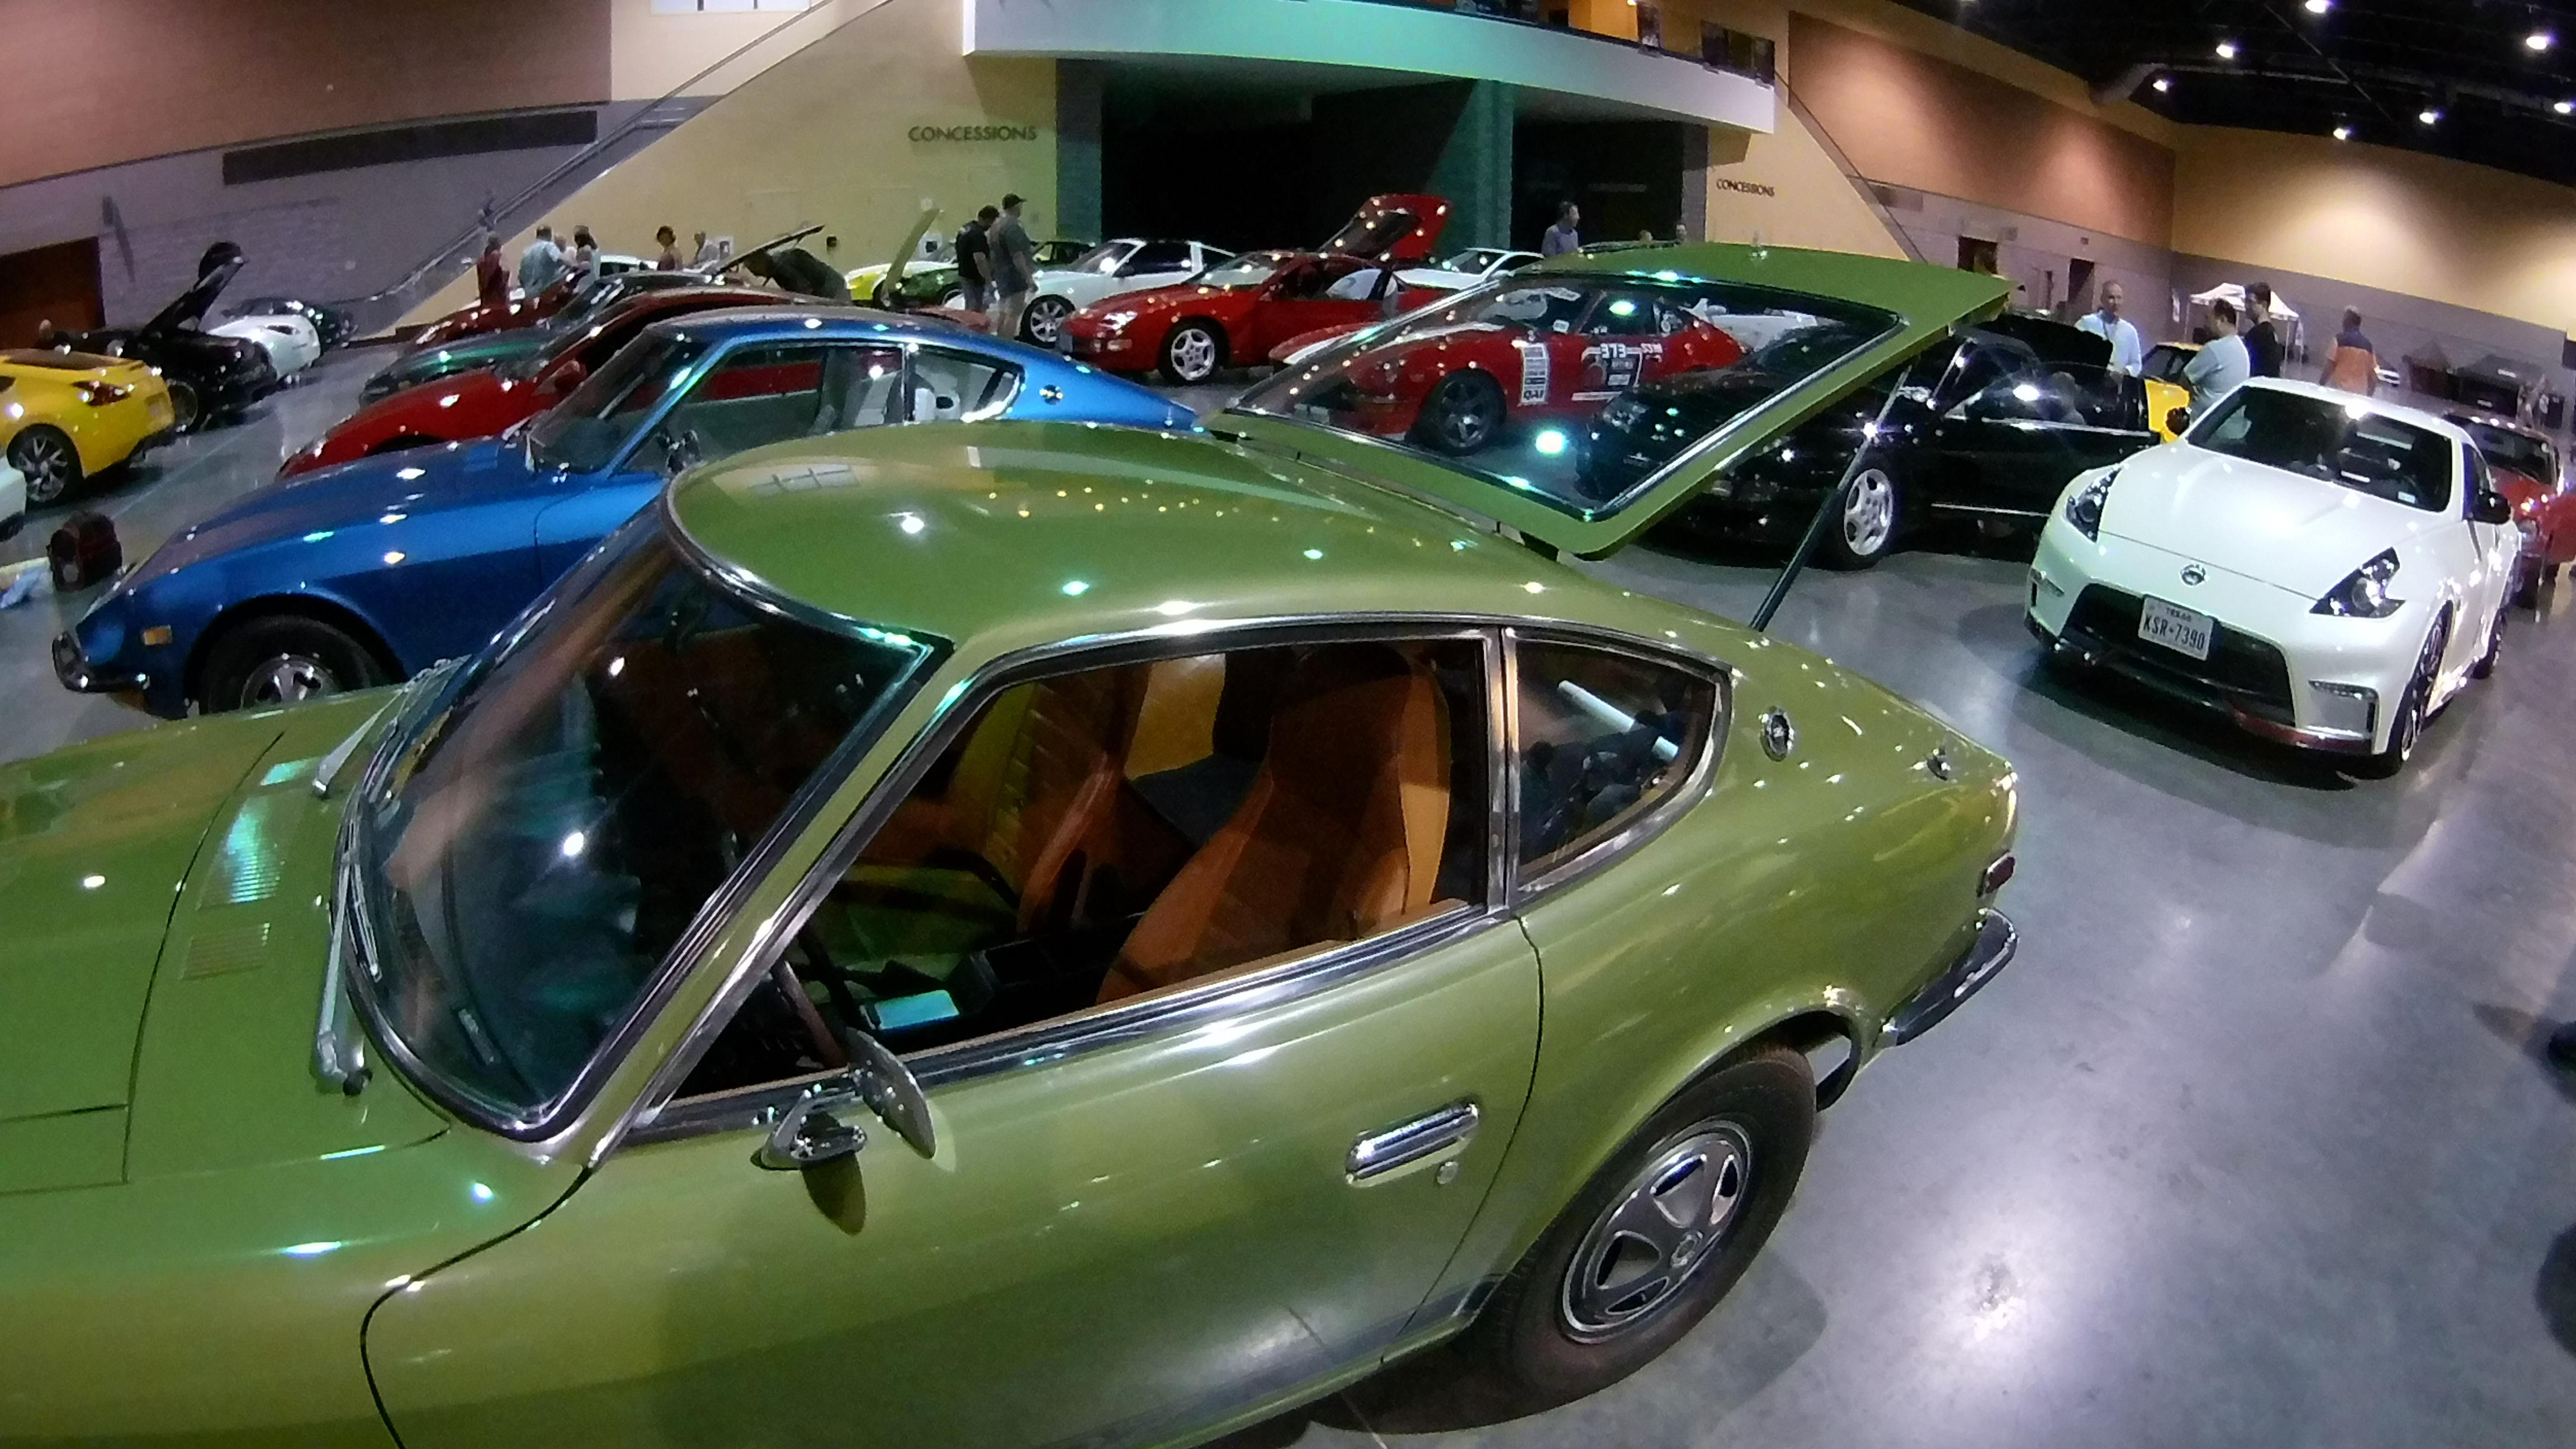
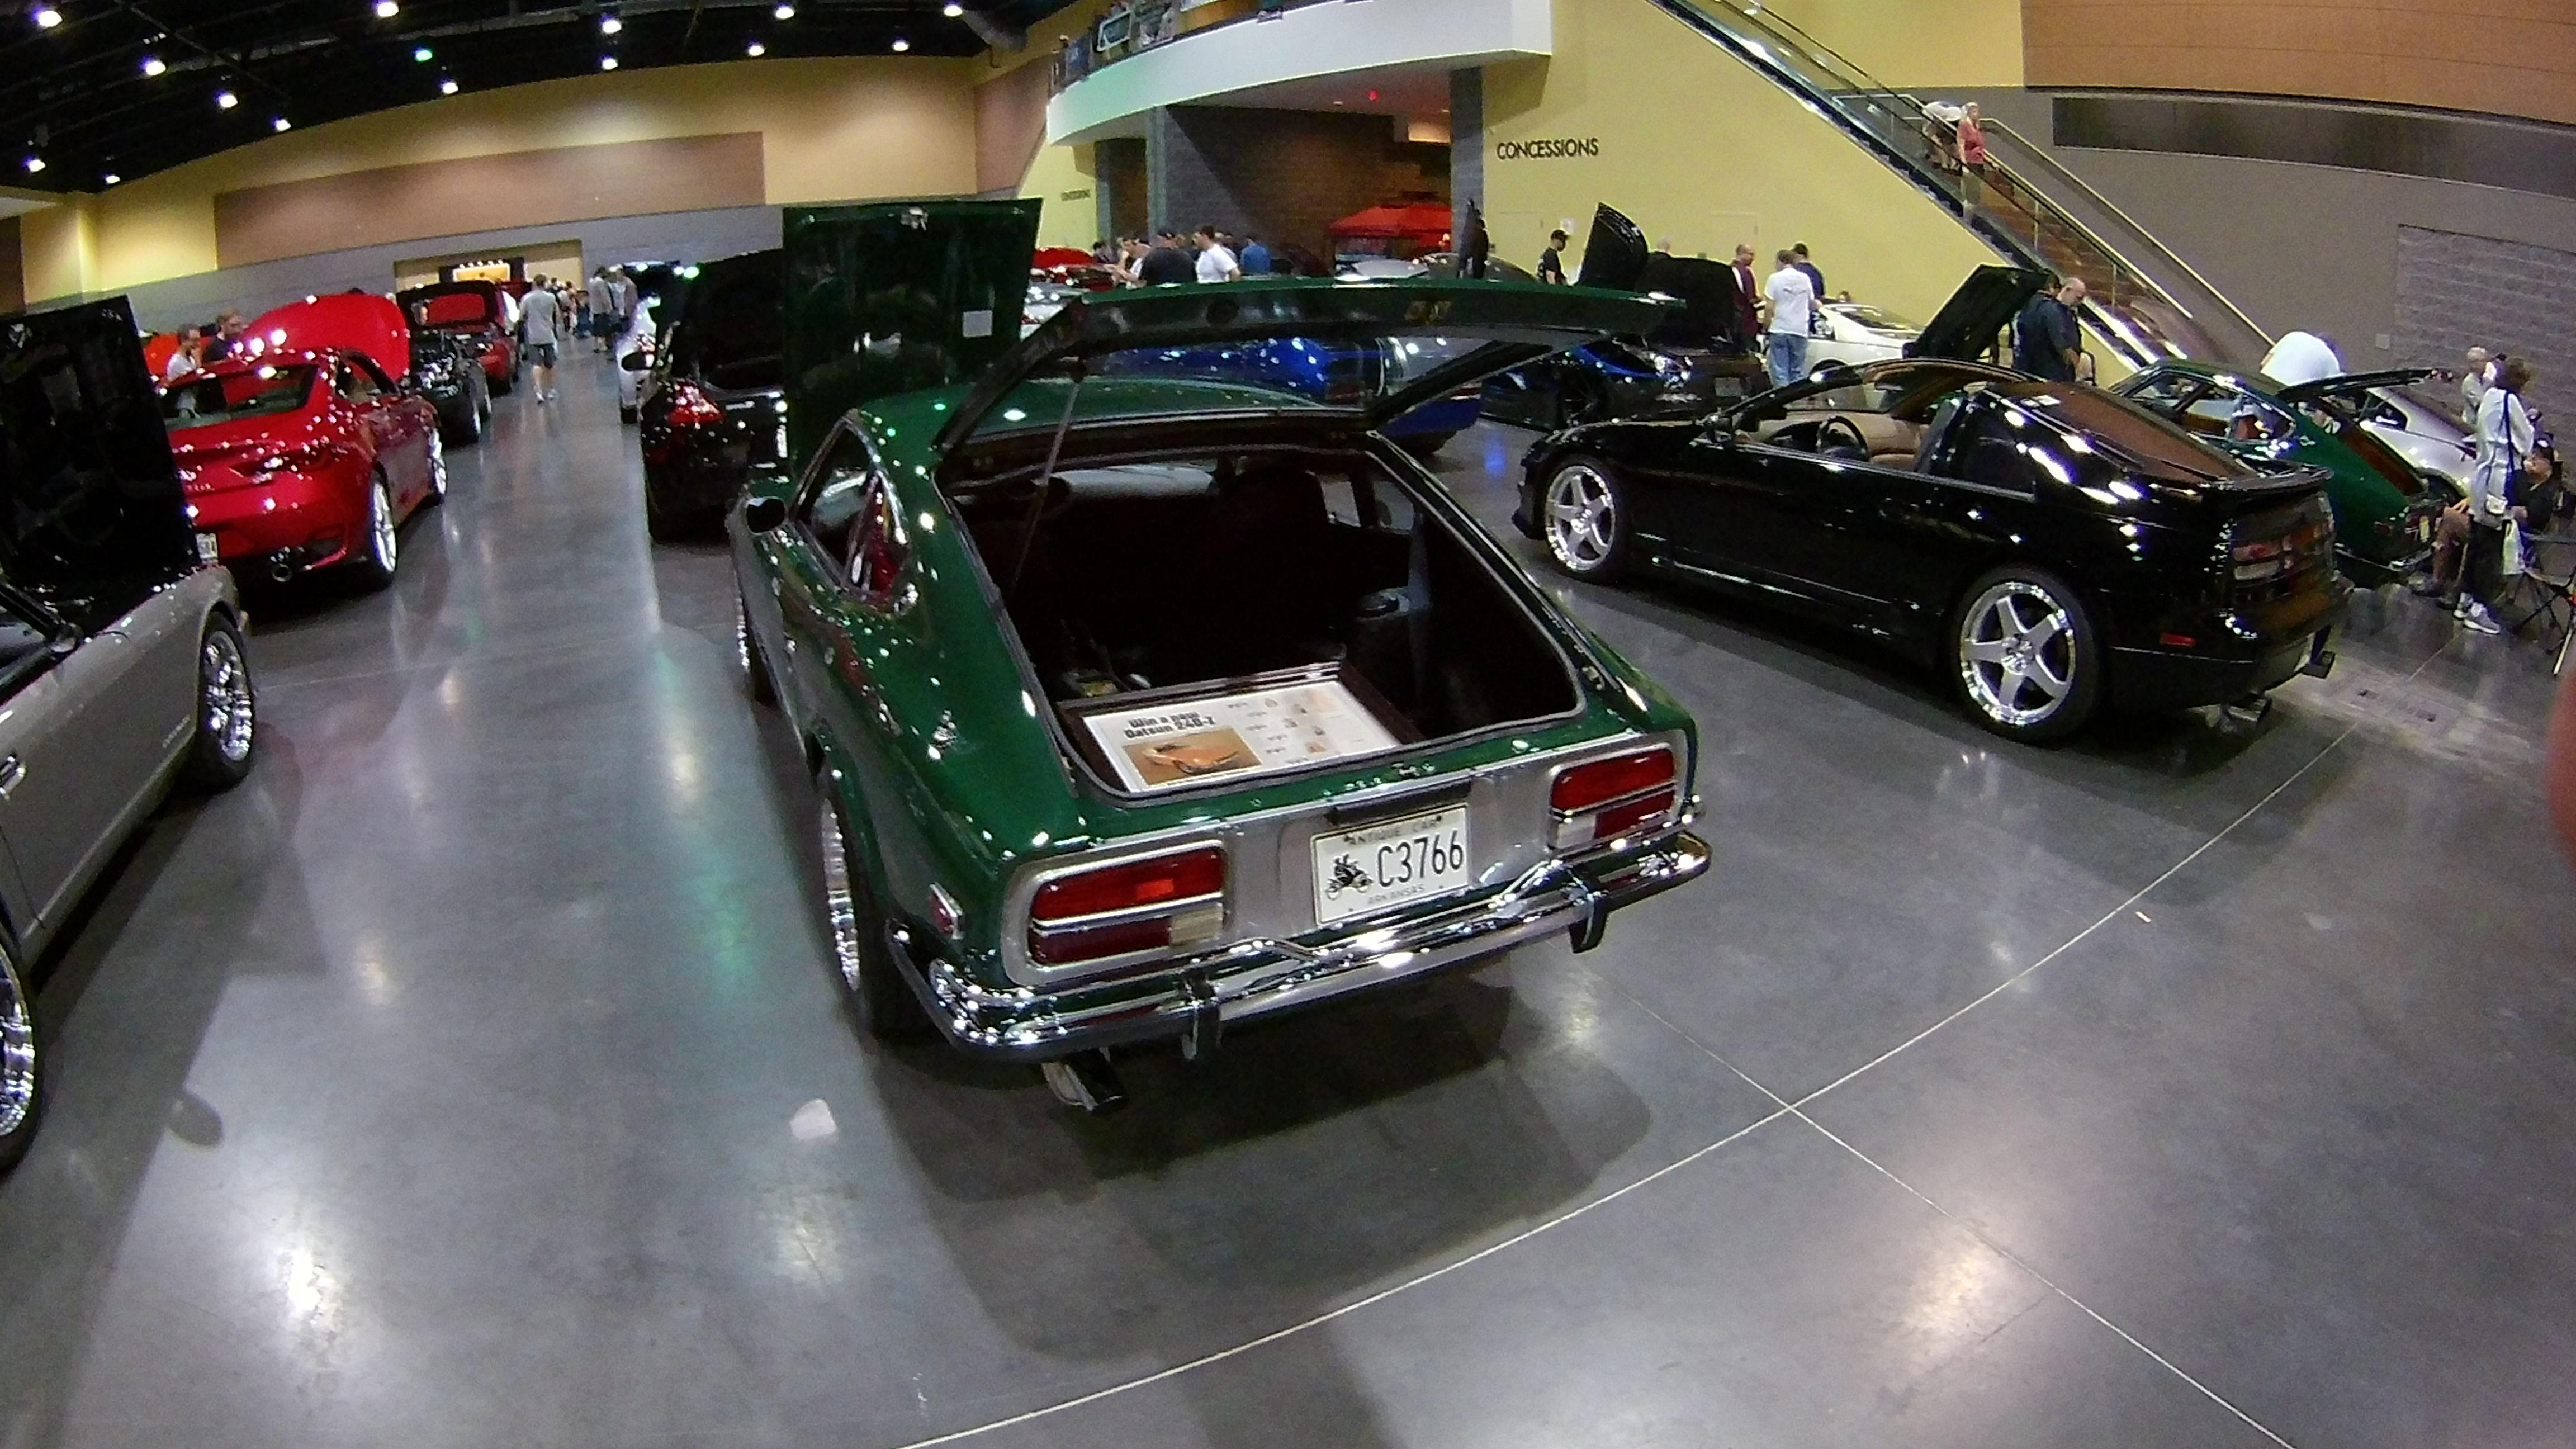
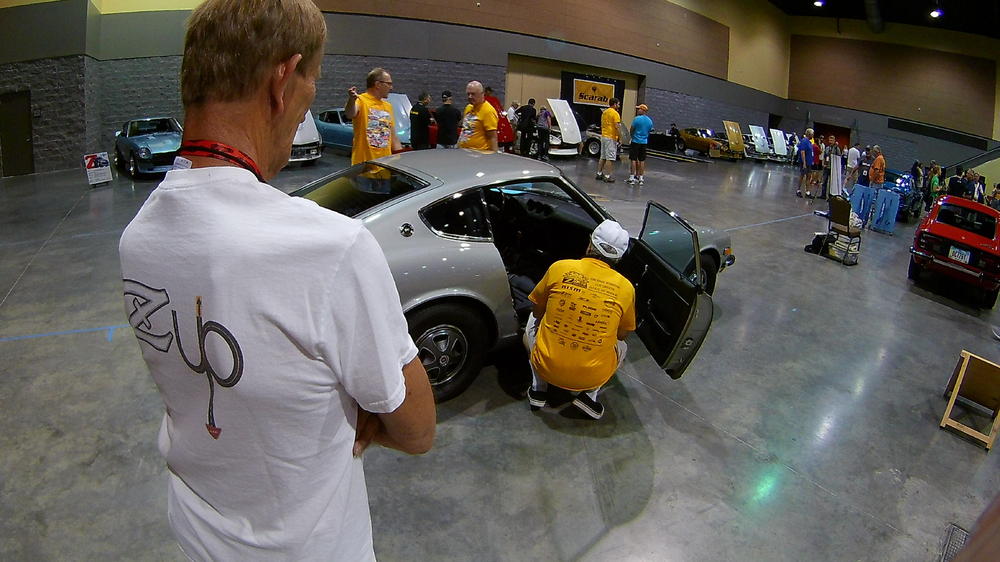
 1 pointSome random Zcon 2019 beautiful cars, some of the very best of Mr M's timeless vision .....
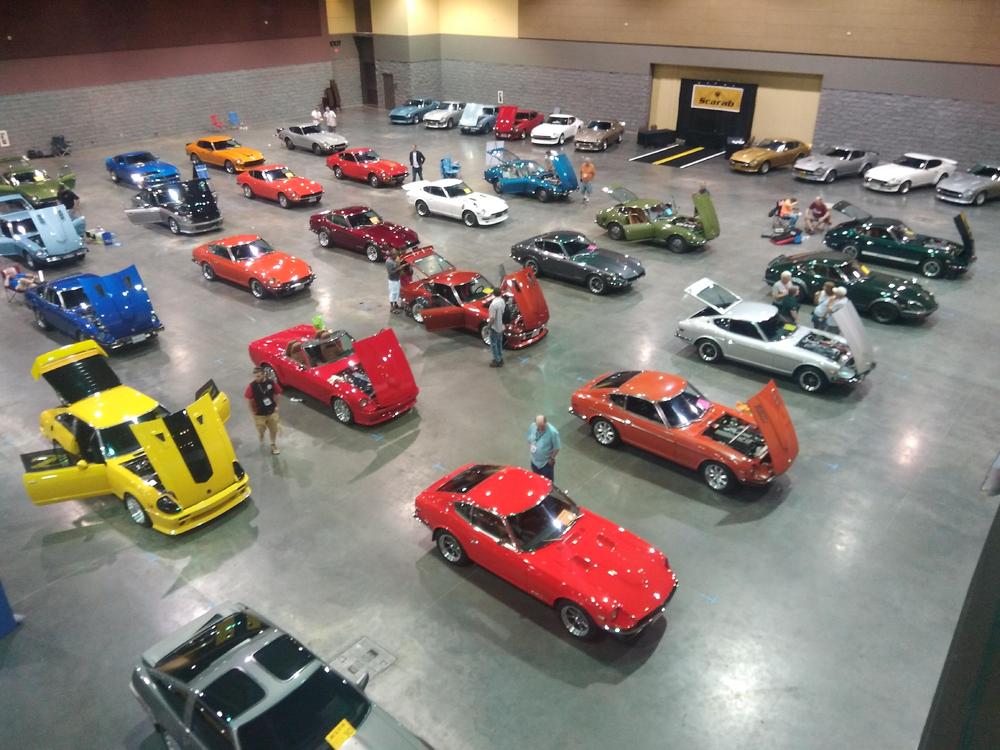


 1 point
 -
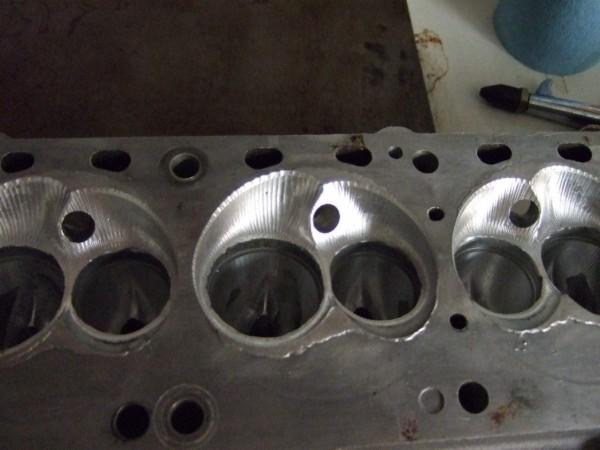
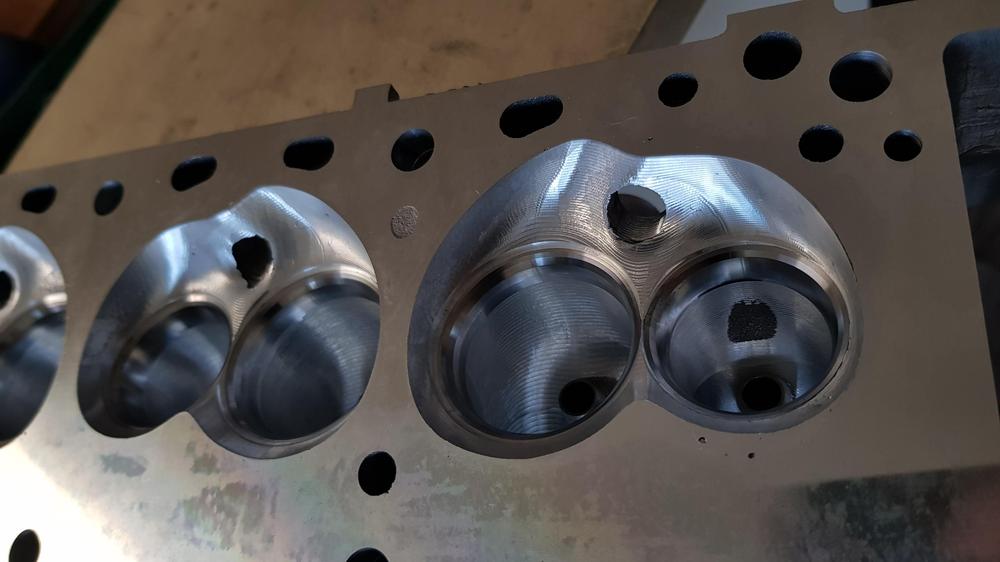
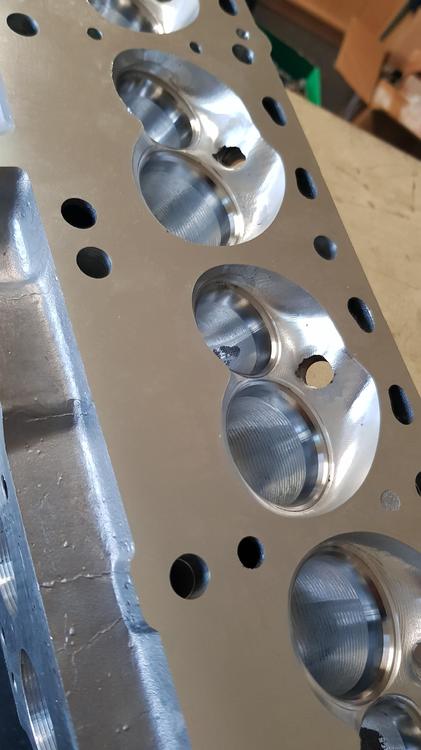
 1 pointHead Work Done Weld combustion chambers and Straighten head and re machine front and back. Then Weld injector holesand CNC porting 1head Then from Kevin Bann - Horsepower heads - "Write intake and exhaust programs to suit the build specification. The intake port is sized to 'choke' at 9000 rpm and provide peak torque at around 6000 rpm. I had to move and skew each intake program individually to line up with existing manifold. A lot of re-welding and re thinking the chamber because of the different chamber roof heights between this head and the old head. I ended up buying deeper valve seat inserts and lowering the chamber roof to gain compression while retaining flow past the valve. This will keep a stronger deck in the head as not so much needs machining off it versus keeping stock valve height." Then Supply 12 extra deep valve seat inserts, machine and fit CNC machine valve seats and Surface grind head 1.6mm Then we found the P90A head had hydraluic lifters which you can no longer source. So bugger, but bought some inserts and fitted the stock solid lifters. Just got in some 3.5mm lash caps from Kameria and now we can get the final cam grind done. Heads should now be done in a couple of weeks, Bugger my engine builder is in holiday in Europe. We decided to fit the 260Z stub axles while waiting as they are a weak point. Supposed to bolt straigh in! Well maybe for the 240Z but definately not for the 240K. Well thats another story. Specs are 228cfm at .550" lift - Chambers are 38cc - compression hopefully around 11:1
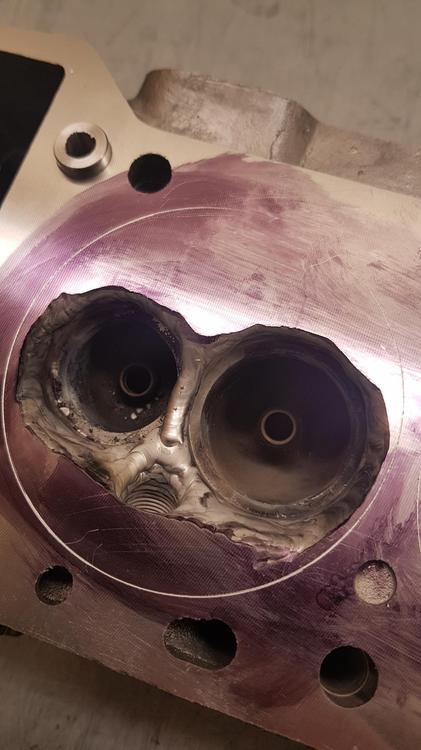
 1 point
 -
 1 point
 -
It's 2.5 from the top. Turn them clockwise until they snug then go counterclockwise down two and a half.1 point
-
 I've either cleaned them or replaced them if the needle tip shows wear. The problem is likely crud in the needle and seat. Check the filter in the banjo fitting while you're disassembling things again. Have you made any carb adjustments since the problem started?1 point