


Leaderboard


 Subscriber
Popular Content
Showing content with the highest reputation on 10/10/2019 in Posts
-
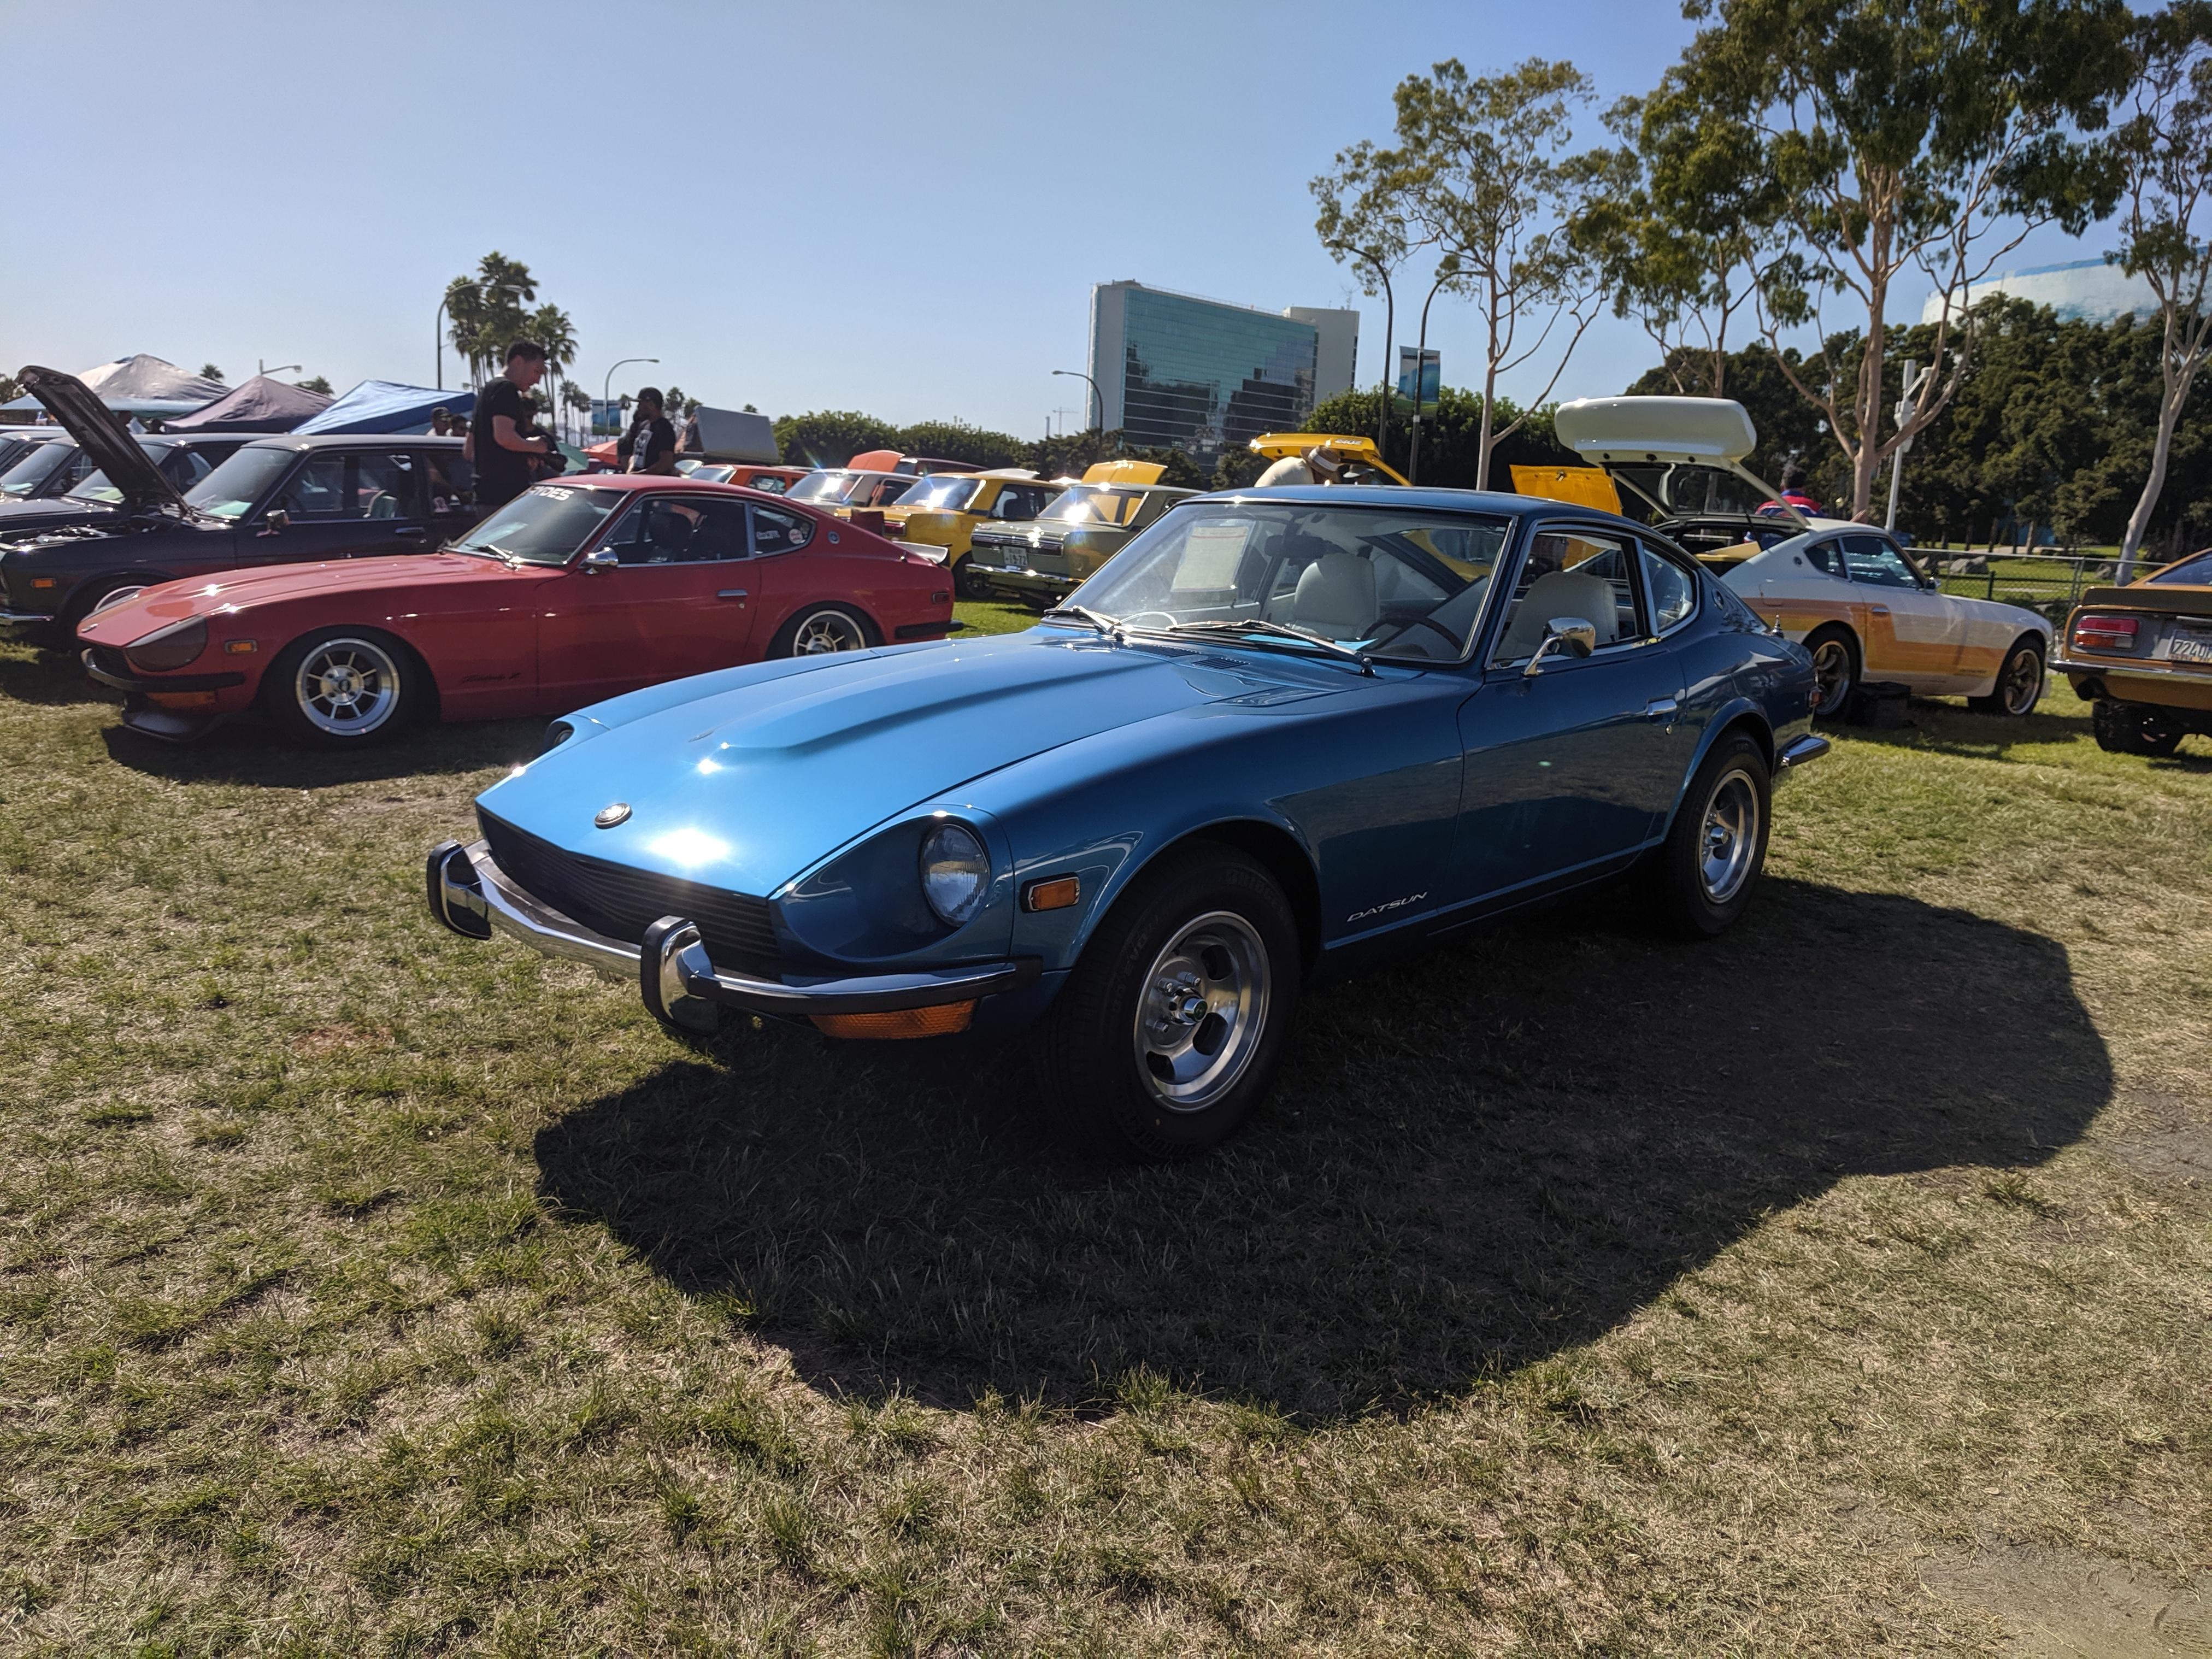
 5 pointsOK, tried my hand at my first Concours (not counting ZCON). Entered the Neillo Concours at the Serano country club in El Dorado Hills, CA this last Sunday. Drove my '73 240Z (restored my Motorman7) up from my home in the East Bay suburbs of San Francisco, about 100 miles one way, mostly on Interstate 80. I was in the Foreign Sports Cars, 1963 to 1979, Under $5,000 class. There were only 2 cars in the category, mine and a Volvo 1800. No MGs or Triumphs, which surprised me. All the Concours in N. California are judges by the SCCA San Francisco Region, which does not provide judging sheets ever. So other than what feedback you can get from the judges when they are at your car, you never get any information of how or why they scored your car. I do know that they subtracted points for one of my headlights (original Koitos) that did not have a working low beam, probably took off points for a pinhole leak they noticed on the radiator, and a loose Datsun emblem on the hood. So I came in 2nd to a '66 Volvo 1800 from a fellow who had survived the Paradise CA fire last year, and had photos showing the Volvo on a trailer being towed through clouds of orange smoke. (His very nice wife told us of the 5 hour traffic jam trying to get out of Paradise with the fire on their heels!) He also had photos of his burned out house and his 5 other destroyed classic cars there. Sort of hard to beat that for tie breaker points... I'm guessing the judges did not know anymore about Volvos than Datsuns, and can only judge on paint quality, cleanliness, obvious problems, the light and safety checks. Originality is likely hard to know for judges not familiar with a brand or model. So I got 2nd place. Out of 200 cars (heavy with Bentleys, Porches, antique Rolls Royces etc) mine was the only Japanese car there. When getting my 2nd place trophy at the reviewing stand (on foot, only first place winners got to drive past) they said something about hoping for more Japanese "Domestic" cars at their events. There were some cheers from the audience in the reviewing stands when they announced a Datsun getting a trophy. So there is that. (no cheers for the Volvo...:-) Made me wish they had a Peoples Choice award! This was the last Concours of the year in N. California, so I think I'll keep trying for a while. And I'm thinking of volunteering to be a SCCA judge and see if we can get more involvement with the Japanese car community. "If you can't beat em, join 'em"
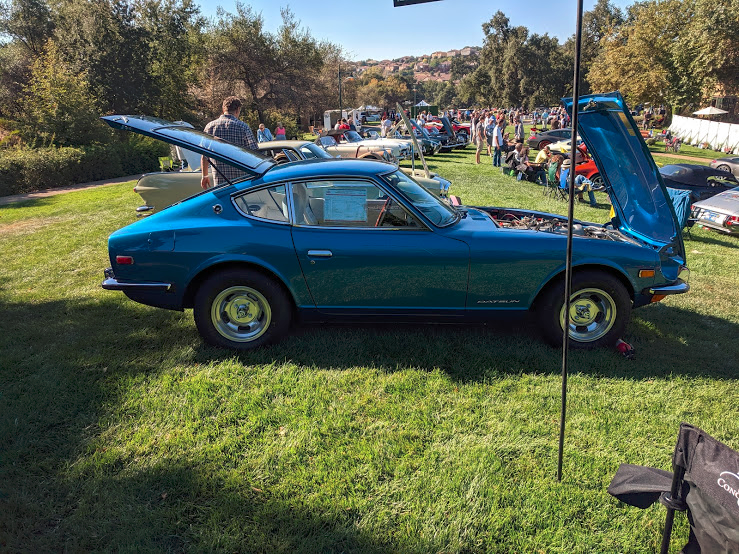 5 points
 -
 2 pointsMine was the heater core itself but my on my son's '76 it was the valve. He replaced the valve and hoses. I'm an Idaho boy in Arizona so I've never needed a heater - mine is blocked off... I'm not looking forward to replacing that heater core. Check it all though, you'll only want to do it once.2 points
 -
 2 pointsBAMMMM. Trigger pulled. I have SO many sets of lovely wheels that don't fit my overkill TTT BIG brake kit on my 510 it's making me mad. No more. Anybody want a set of Big front brakes for 280ZX? (And 510, but nobody here cares.... snifff). Gonna be available in a couple of weeks.2 points
 -
 2 pointsEngine bay is wired Now to hook up the fuel pump, keyed ignition and tach
 2 points
 -
 If you look further at your car you will see other details that were added because the parts/assemblies were common with those used on other variants and other market models. For example, your radiator support panel has holes and captive nuts to accommodate the fitting of an oil cooler, radiator overflow reservoir tank and air filter box/ducting. Your front differential crossmember has double cutouts and double captive nuts to allow the mounting of a twin pipe exhaust system. There are many details like these on our cars. The holes for the splash pan mounting screws were added to the relevant structural parts of the monocoque when they were made and those components were shared across other variants/markets, so their presence does not necessarily indicate that the car was originally fitted with a splash pan. More that the structure was designed and manufactured with the ability to accommodate one. I think that's a pretty good guess. It seems that some climates considered wet/snowy got the splash pans, whilst others possibly considered predominately 'dry' (except when I go there on holiday...) did not. A little like the initial heated rear window situation for the HLS30U, perhaps? There's also the possibility of a cost factor - however minor - being involved. Some of the decisions made about the HLS30U variants seem to be about cutting costs wherever possible in order to mitigate the chosen selling price. In my experience the splash pans - it does what it says on the box - are very effective. Perhaps a little too vulnerable, and they get in the way when you want to work under the car, but they work.2 points
 -
 1 pointTechno Toy Tuning has released a micro BBK that fits under 14” wheels! Even some 13’s according to their site! Looks cool and should allow people to run vintage Watanabe style wheels. https://technotoytuning.com/nissan/240z/240z-micro-big-brake-kit1 point
 -
 That is a white plastic air breather with some undercoating on it, the wire, no idea.1 point
 -
1 pointYou can paint over POR but there is a process to follow or it doesn't adhere. And yes, the signature paint is what I have on so far. More to come soon! PPG E2335 British Racing Green1 point
-
 Here are some measurements for you. I opened up my 72 3 screw carb set from my 24k mile 240z I am refreshing. I don't think these carbs have ever been touched. They even have the original needle jets. Anyway, the front carb has the caps with the longer ears. The length of the front cap ears from cap to the end of the ear is approximately 18.1mm or .7125 inches. The length of the front cap ears from the cap to the approximate center of the pin hole is 14.15mm or 55.70 in. The rear carb has the cap with the shorter ears (same as what your 4 screw carbs should and do have both front and back). The length of the rear cap ears from cap to end of the ear is approximately 12.78mm or .5035 inches (consistent with what you measured). The length of the rear cap ears from the cap to the approximate center of the pin hole is 8.52mm or .3355 inches. So here is what I think and others can weigh in as to whether I am understanding correctly. You have 4 screw carbs that have the correct float bowl lids with the short ears (or towers) both front and back. The problem is, someone installed a needle jet kit at some point that is for a 72 carb setup so your rear carb has a long needle jet and a short ear lid....which will / should never work. I think that if you install two short needle jets and set the float levels you should be in business. Wells makes rebuild kits and they sell short or long needle jets. If my notes are correct, CK749 is the short needle jet kit. You could also just order needle jets from ZT because I think all they sell is short. If I remember and understand what you wrote above you are struggling to install a short needle jet on the rear carb. What the prior owner probably did is severely bend the adjustment tab to force accommodate the long needle jet. So, you may need to do some tab reshaping. Use your front carb cap tab as a guide. Hope this helps.1 point
 -
1 pointtee hee... I figured you would be on the list for the 510 brakes! lol1 point
-
 1 pointYes, the old booster is toast. The rod that holds the disc is rusted in place. Luckily I did have a spare booster that's in good shape. I'm painting and swapping it in now.1 point
 -
 If you want to have a go at refreshing your SUs get Ztherapy's video "Just SUs" along with your rebuild kits. You'll be an SU expert.1 point
 -
 @siteunseen @Mark Maras Thanks for your responses. I can tell that the braided hoses I have from another source are not right. They were actually too large for the original hose clamps, although I was able to get them on with some help from a needle nose pliers. I will get some proper replacements. I think I have moved to either getting the ZTherapy rebuilt kit or have them do it for me. That's been a bit of a dream for 20 years! (About the last time the updated the look of their website! Good information, old design.) Finally, while the suggestion is logically sound, there is no way that I could add enough washers to position it correctly. The difference is greater than the length of the threads on the valve. -Dann1 point
 -
 Here's the hoses you can get from Nissan. I bought these a year or so ago. Maybe they're still available? Zcardepot.com has them also. They definitely aren't braided. My needle valve advice from Bruce at ztherapy.com was to stack those small washers to get the height you need. All those pics are on my laptop. I can post up what I have later today. Cliff
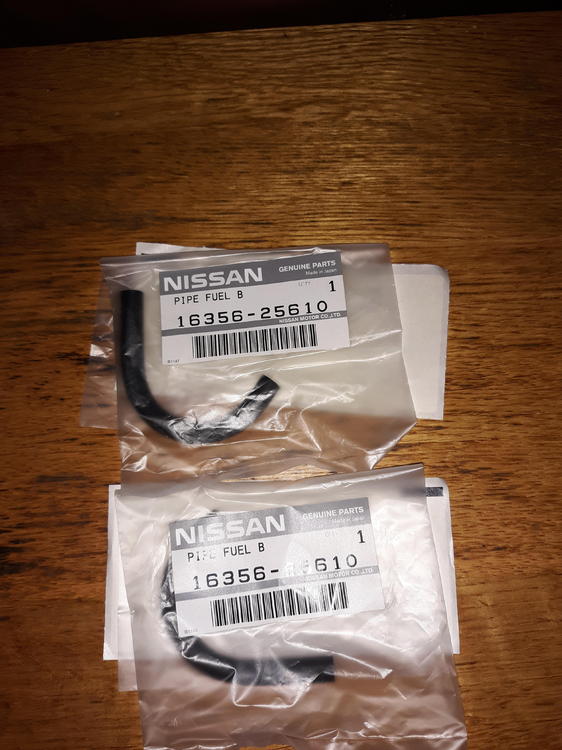 1 point
 -
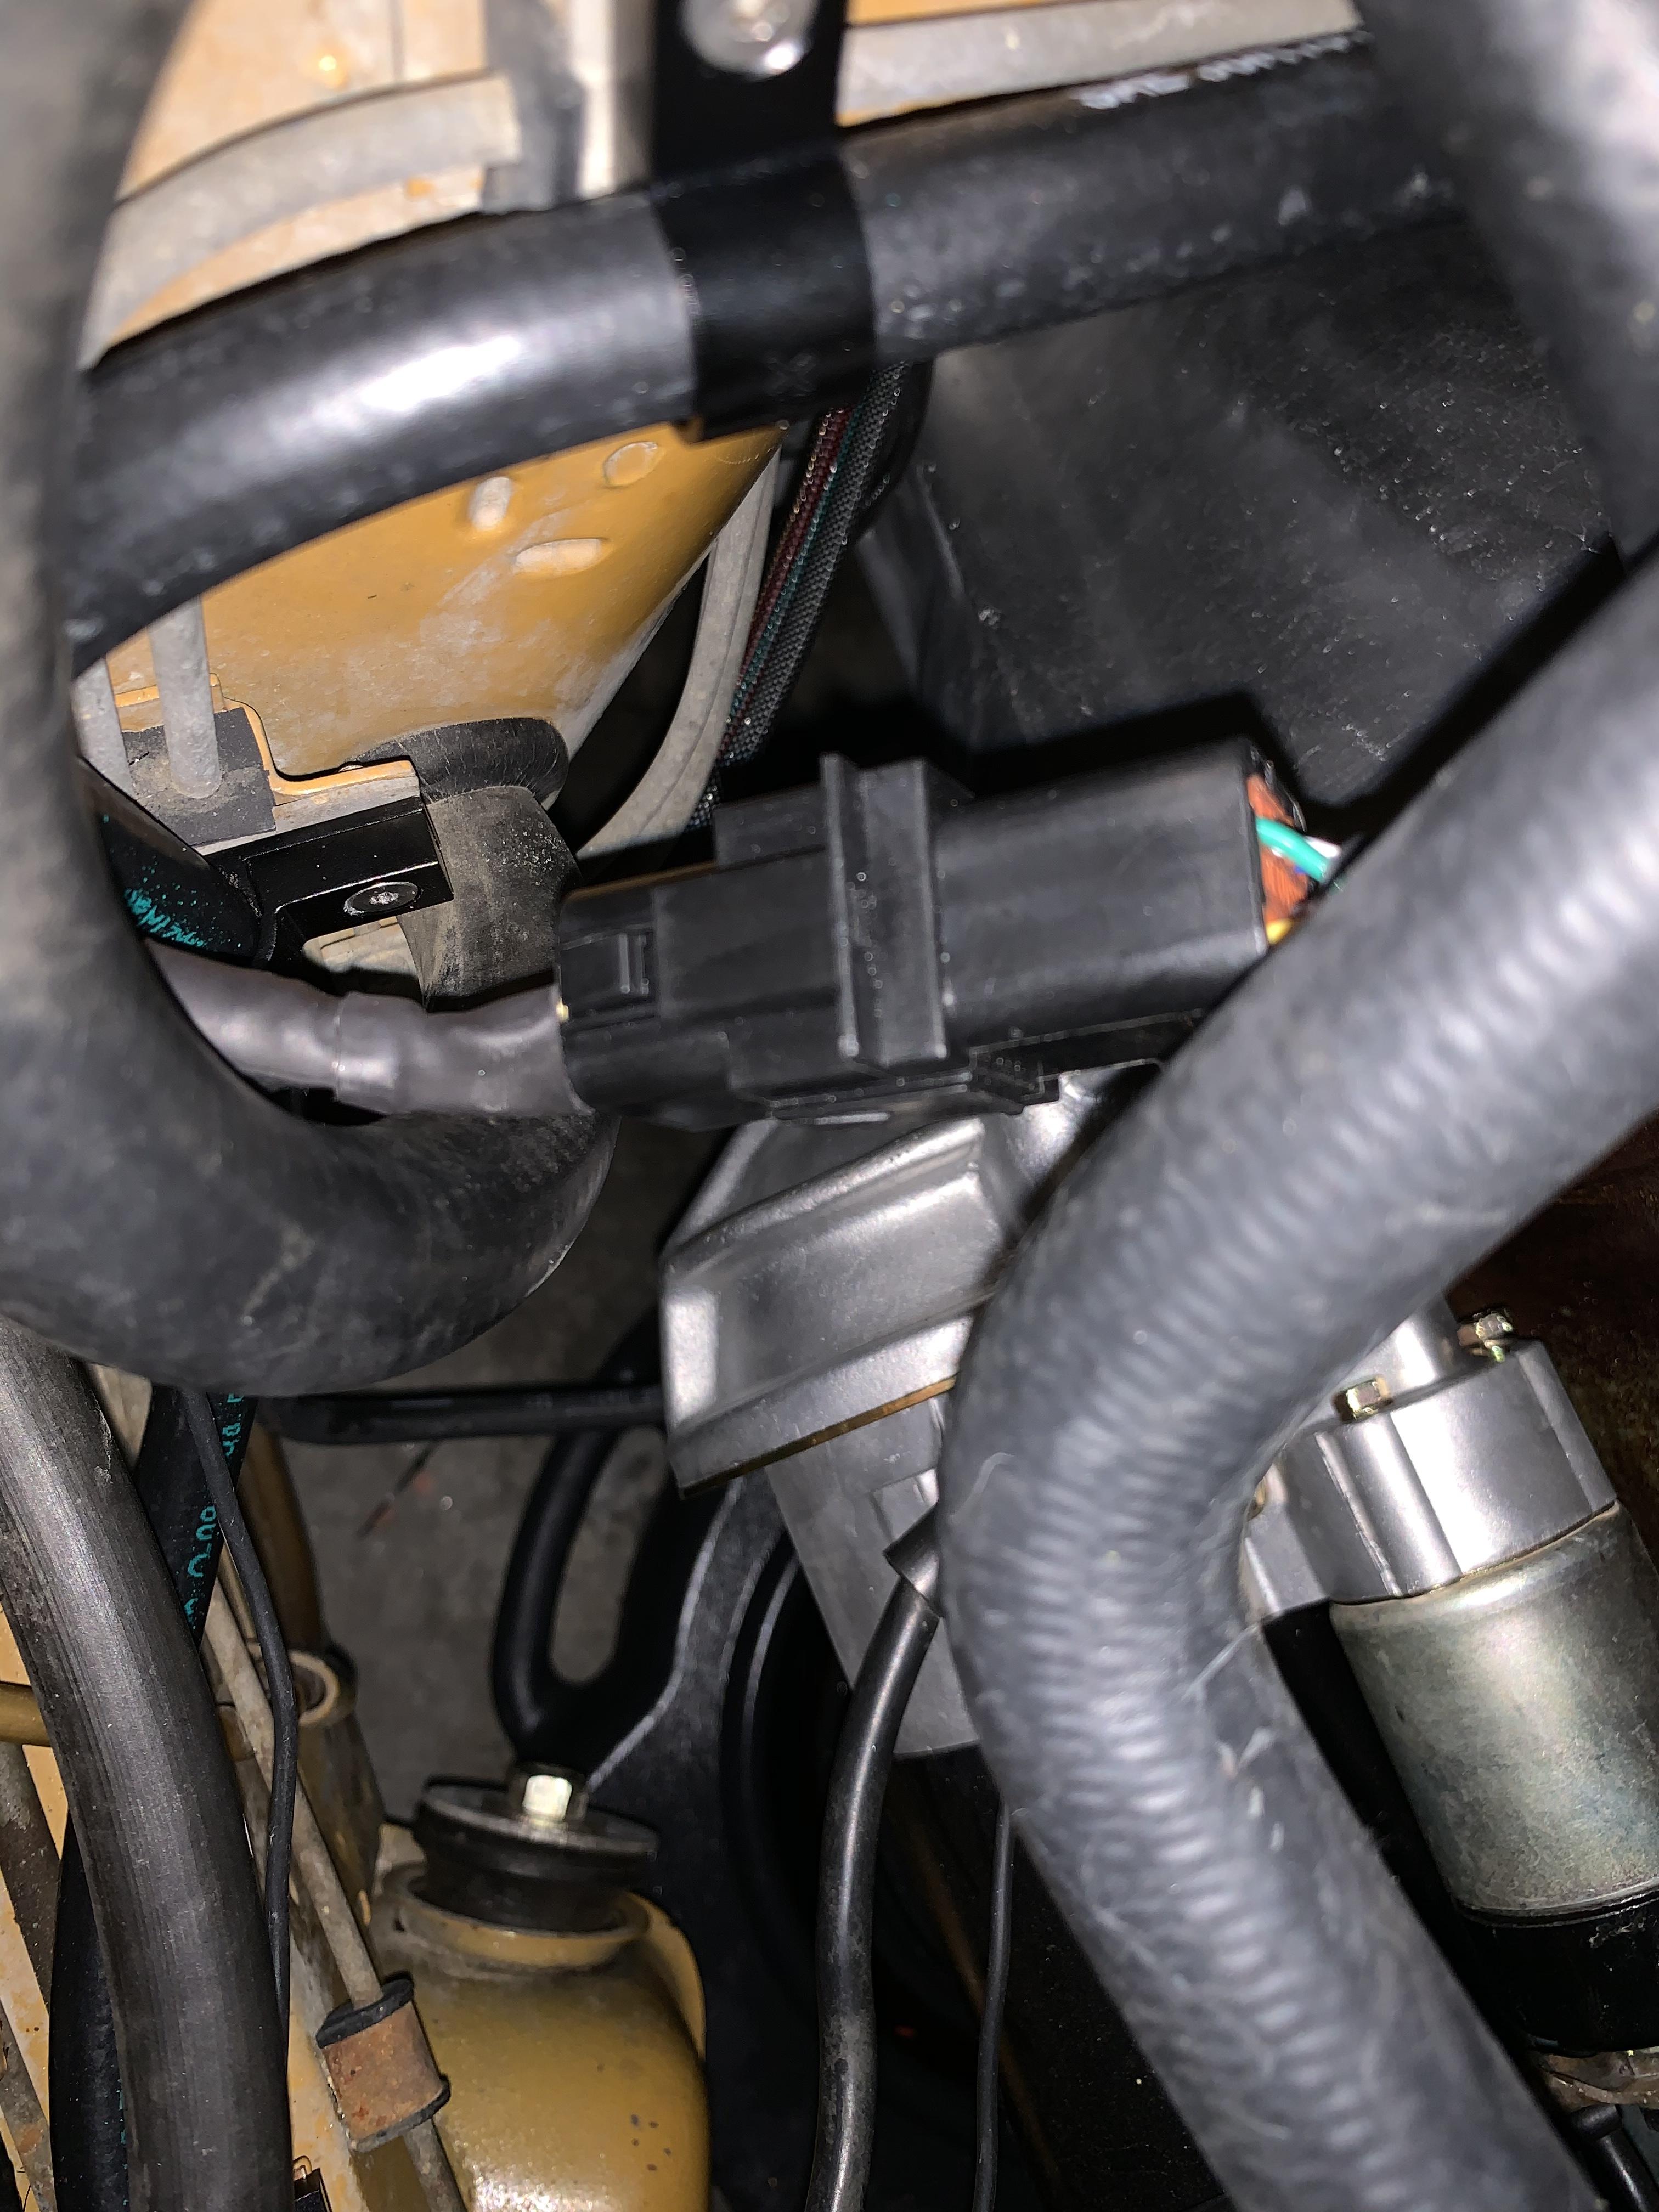
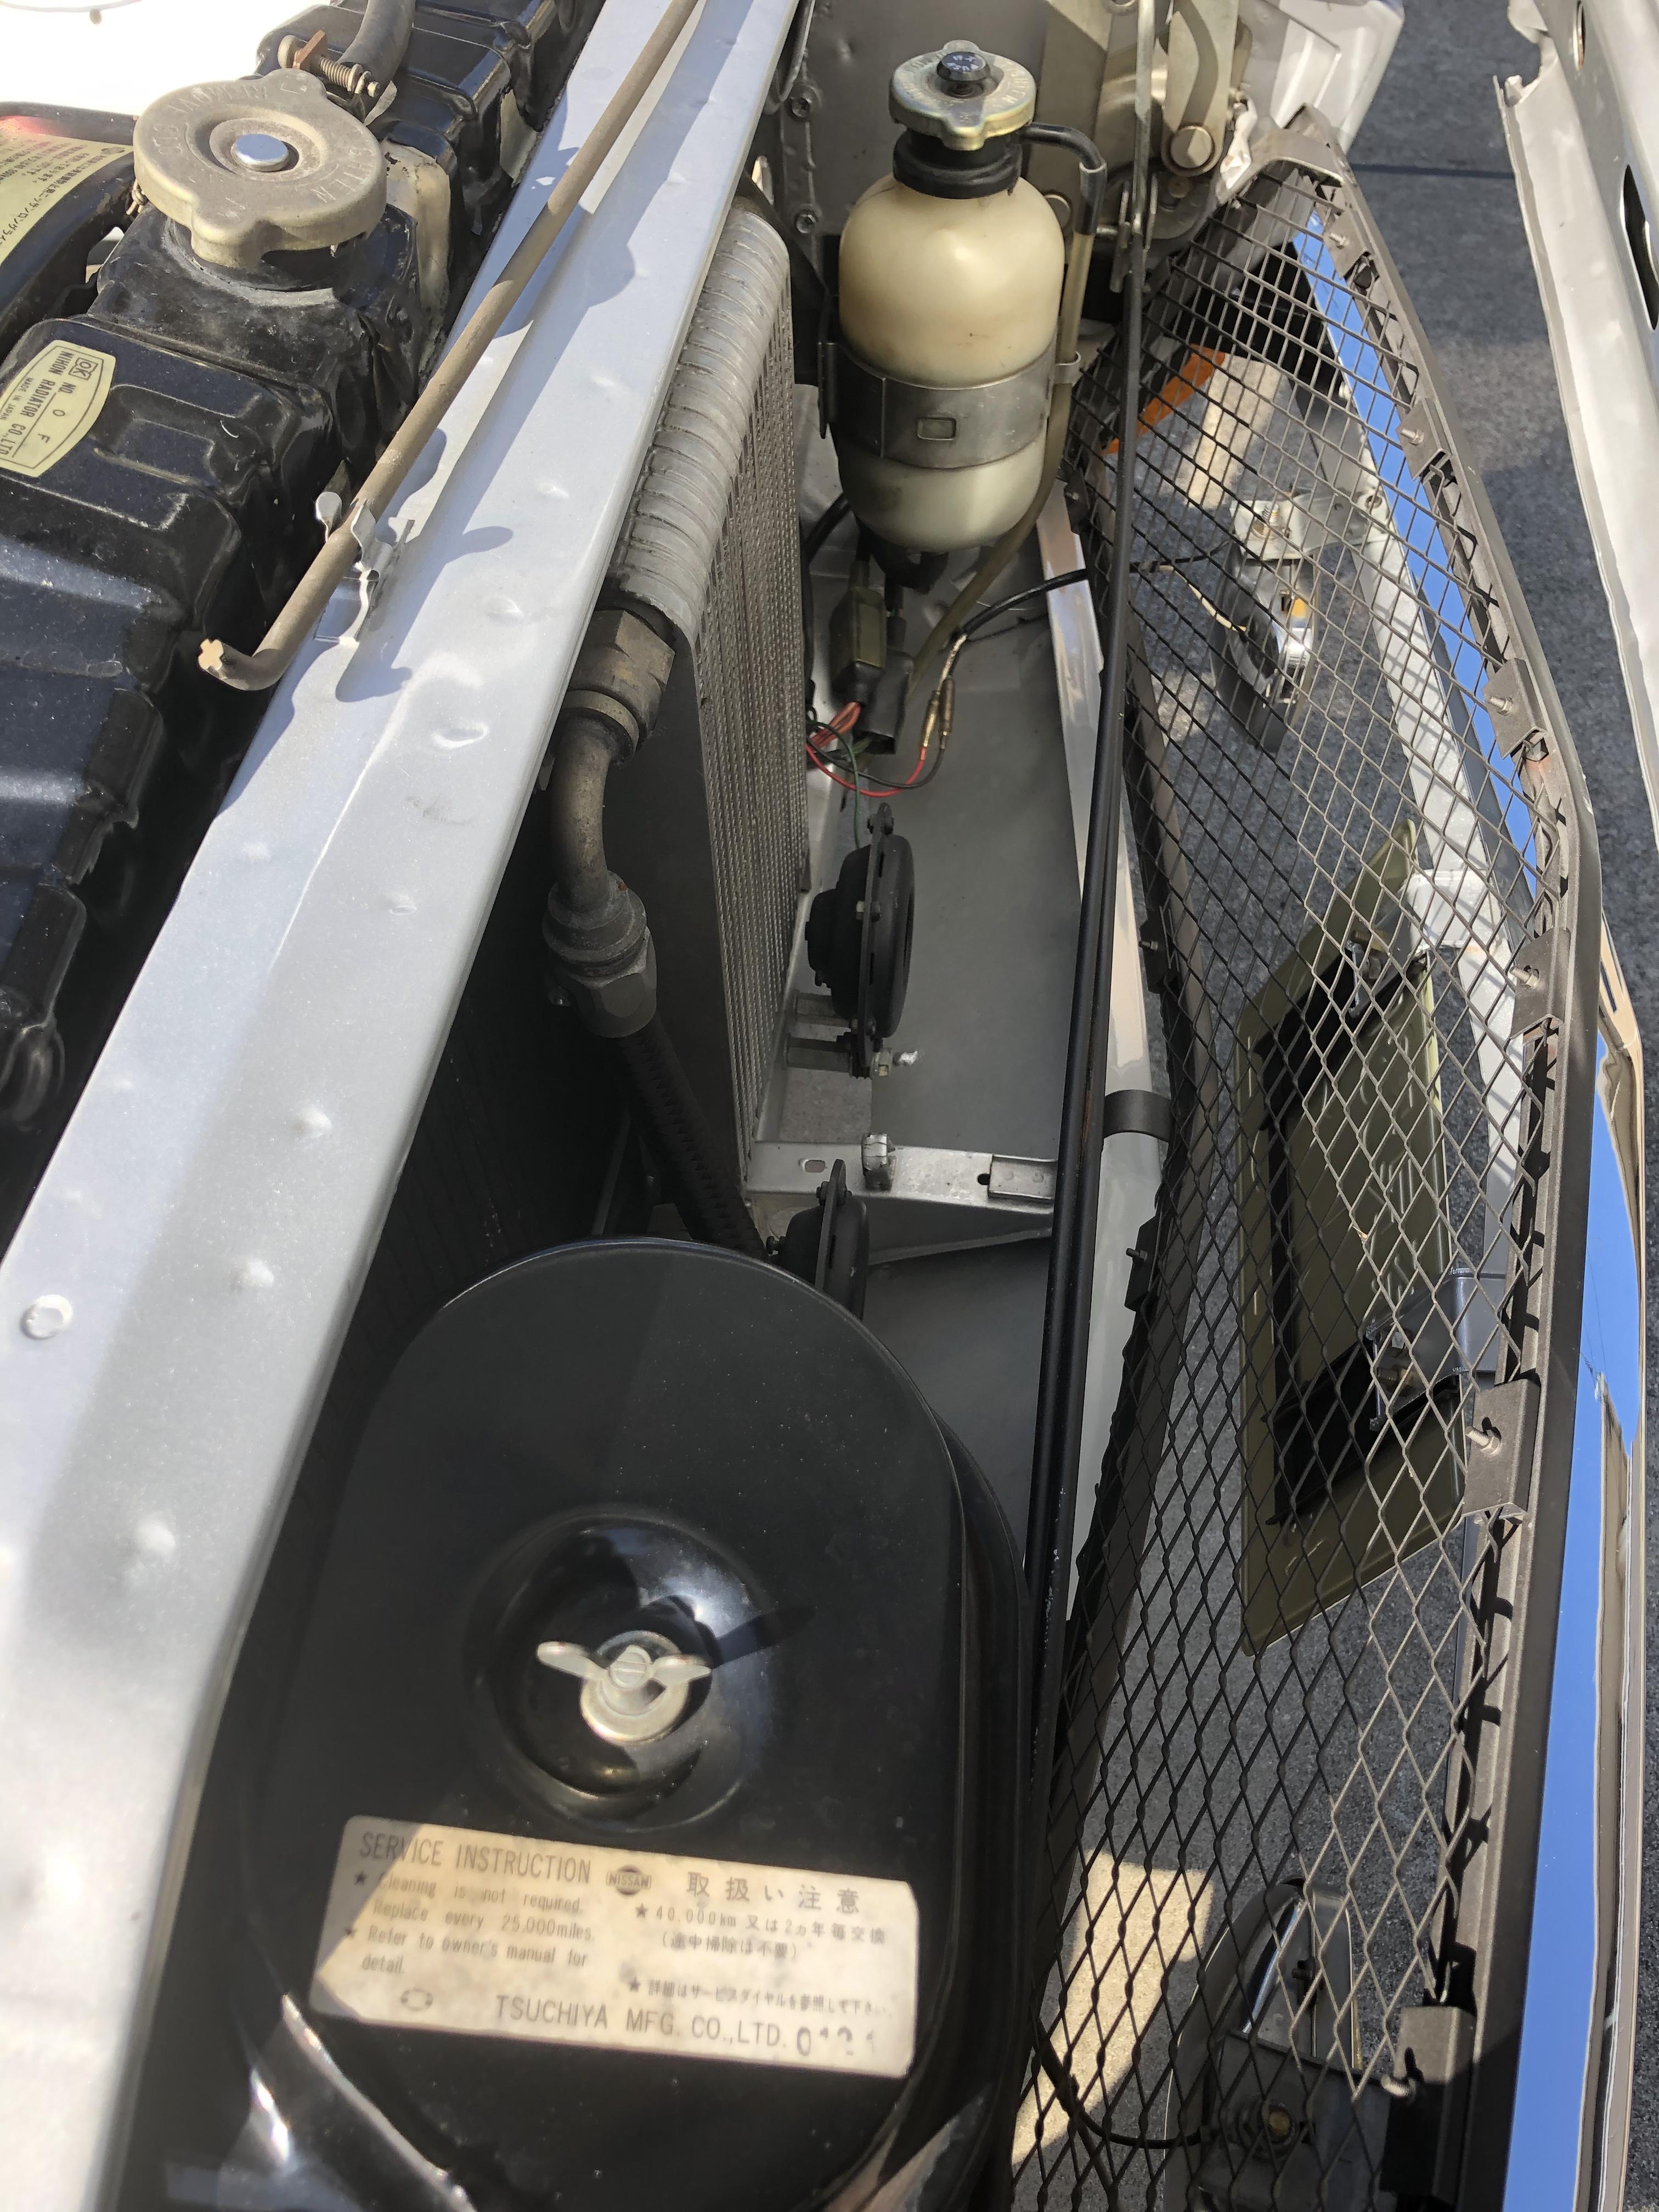
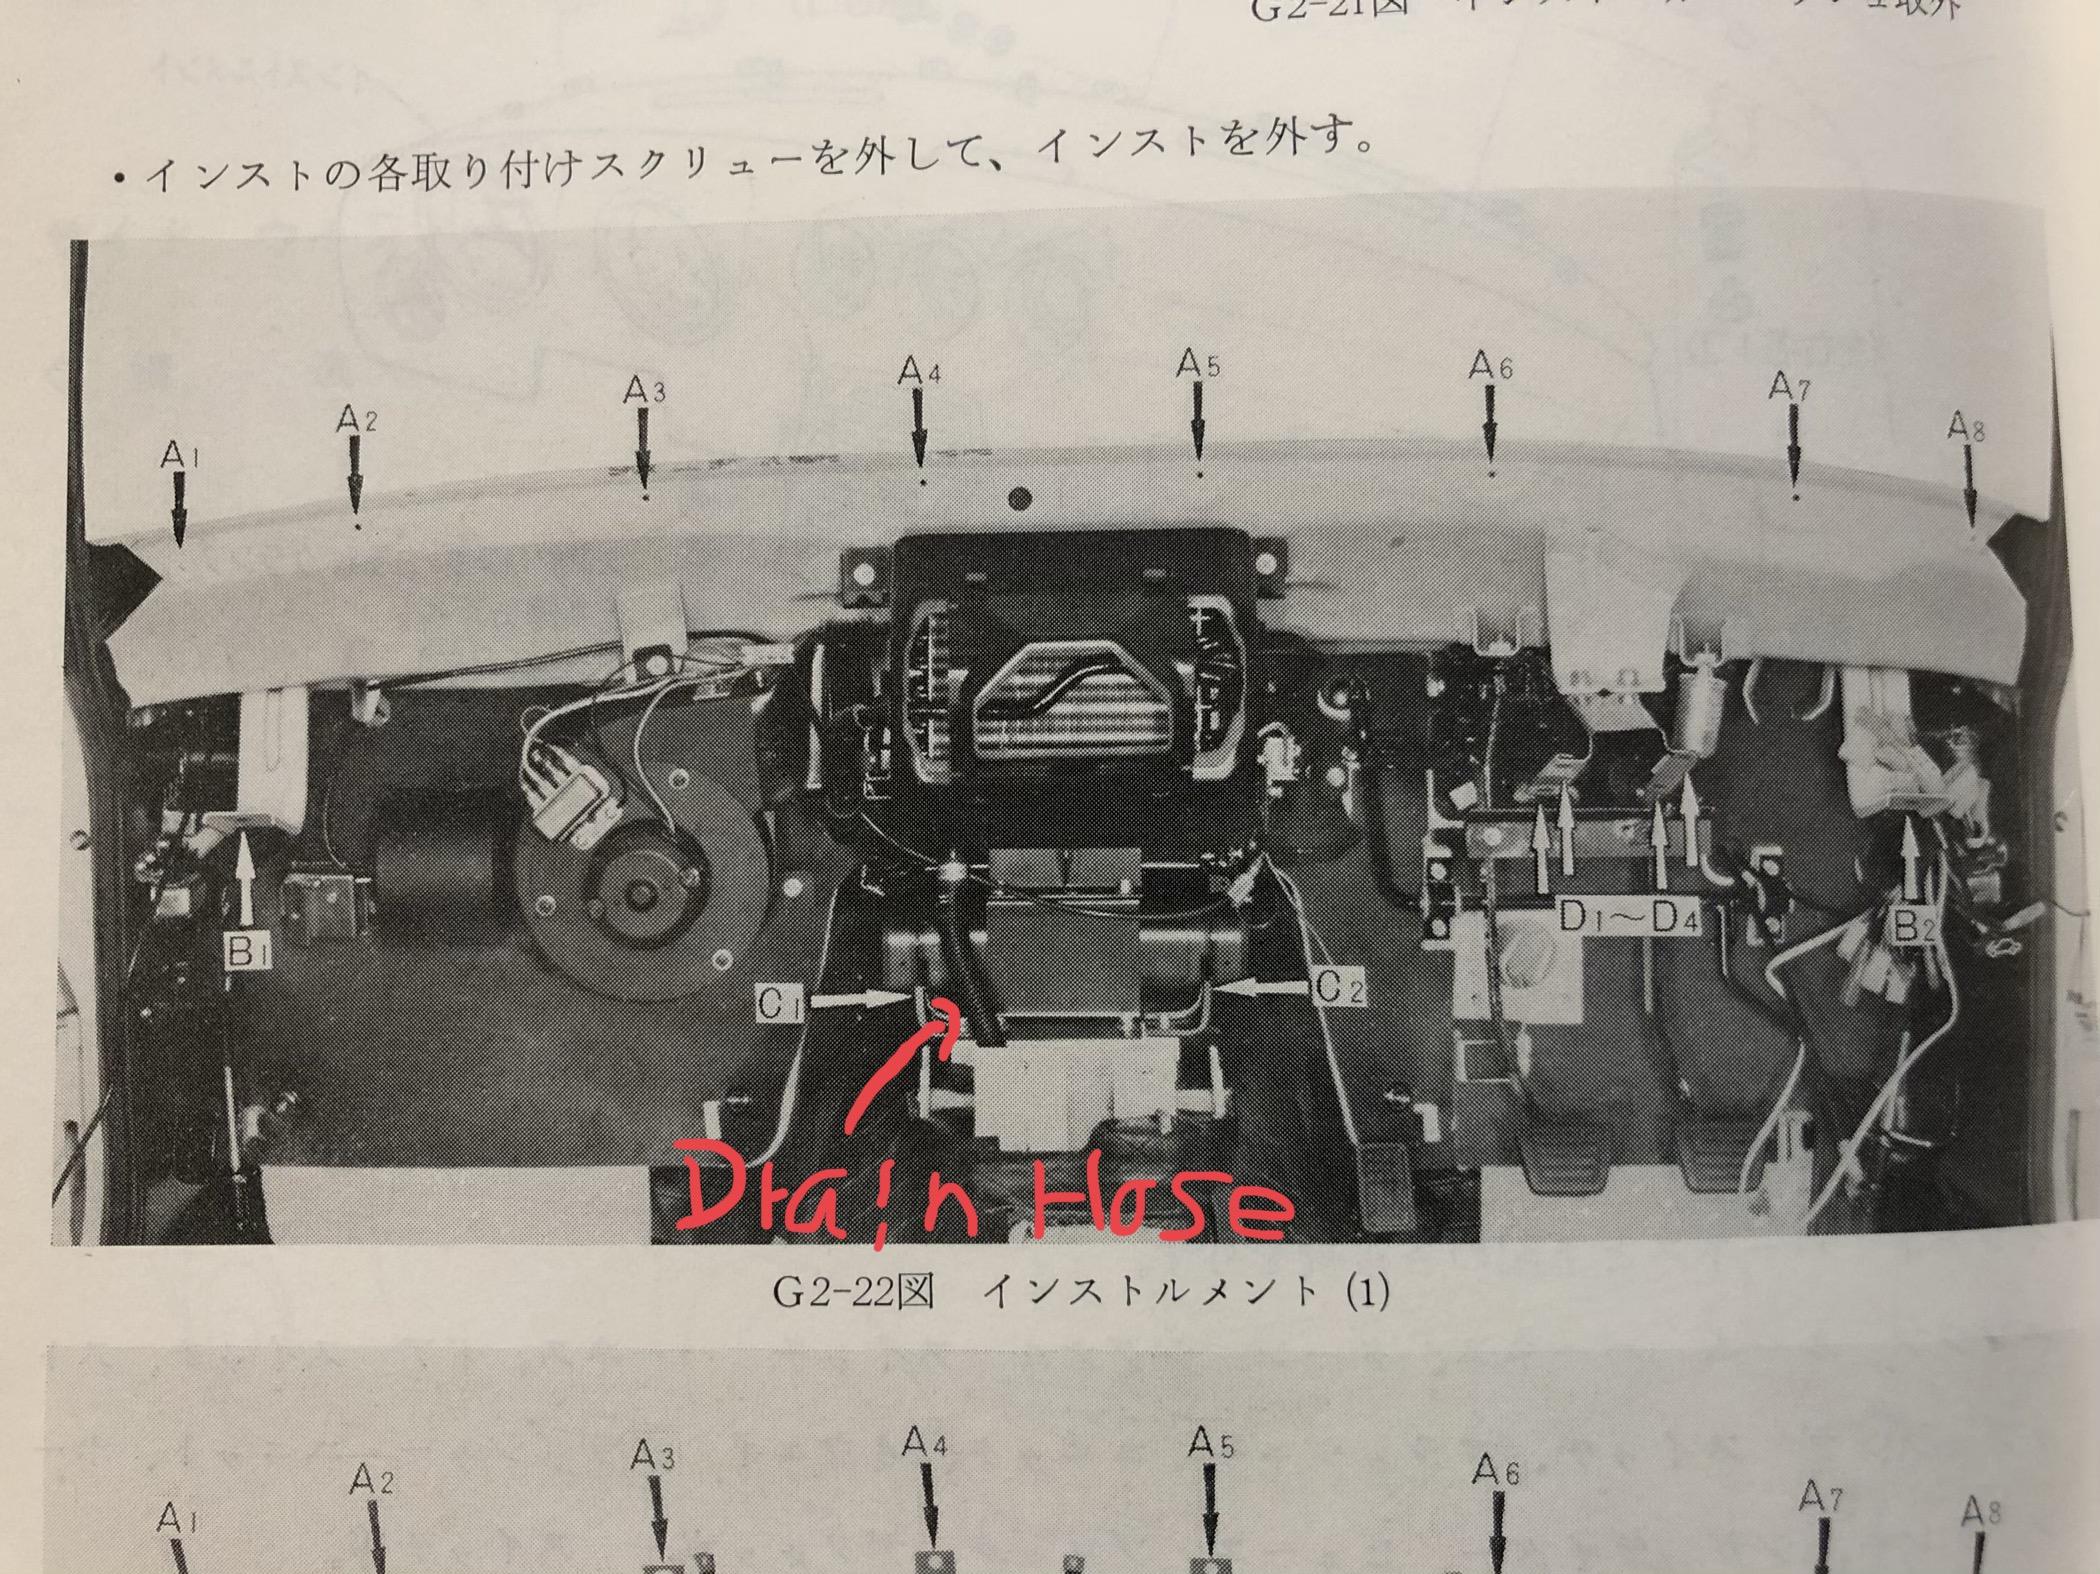
 I would like to show the examples of what Alan is describing. These goodies are easy installation . And everyone can install the fog lamps because the wires are already there . Look at the underneath of the radio , our cars all have a big rubber plug for the drain hole of the factory installed air conditioning system. No matter where cars were designated their destinations. Even Z432 which had never been applied air conditioning from the factory has the plug, it is interesting to see. Kats
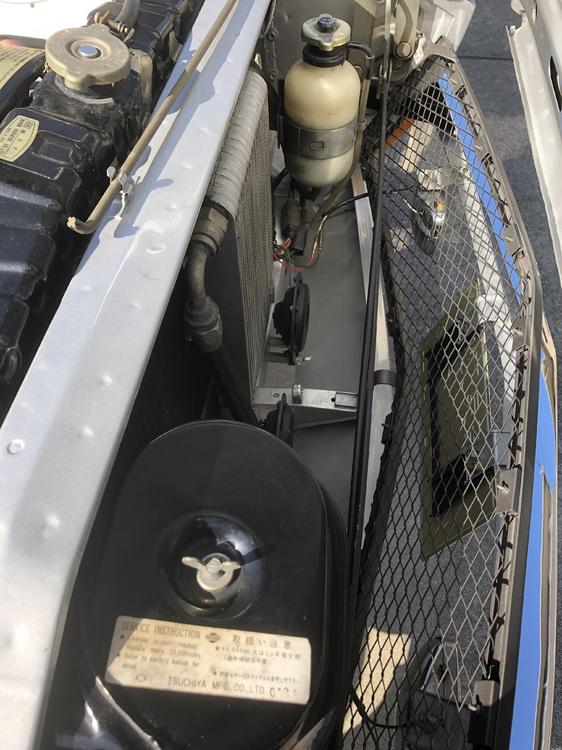
 1 point
 -
 1 pointAlso you can rotate your fan pattern down to a small round dot and turn down the paint volume. If you dont reduce the volume alot you will have sags and runs. Keep a piece of cardboard close by for testing spray patterns and volume. That makes it easier to shoot down inside the holes to get it further inside the structure. Before I did any of that I used Eastwoods internal frame spray cans with the long tubes to help coat the insides of the structure on the hood and many other places on the car.1 point
 -
 1 pointOh no - I can’t be that lucky . Machinist finished up the parts and when I got home I realized he scratched the head surface with his valve seat tool. I drove home 25 miles to realize he didn’t give me the actual valve he touched up- left it in the table. Then I stared at the valve seat and realized he ground it wrong . Plus I see a huge scratch on the head surface . I’m not even mad though- it was one of those days . My truck started to run bad in the way home - dying every time I stopped . Can’t be mad at my machinist either . He’s 72 and nearly died a month ago from a broken stent in his leg. He’s hands shake pretty badly , but he presses on . He was finishing up the head as I waited and I think I rushed him . He feels bad and wanted me to bring it back this evening . Looks like I might have to adjust my CR calculation . It will take at least 15 thou to clean this up . Maybe it will take most of the dents out too -lol.1 point
 -
@siteunseen Cliff is the expert on needle valves. The hoses from the float bowls to the nozzles were not braided as I recall. The hoses need to be SUPER FLEXIBLE (think al dente pasta) otherwise the hoses will bind the nozzles, usually preventing the nozzles from sliding up (returning) to the unchoked position. Ztherapy supplies very nice hoses that I believe are made of silicone.1 point
-
1 pointThanks Patcon. I ended up putting a bicycle pump on the outlet of the filter and blew back toward the tank. There was a blockage somewhere, probably at the fuel pick-up. Problem solved. Now, onto the OTHER problems (;1 point
-
 Okay... well then i'll leave it off.1 point
 -
 I have a 3/73 240z and the only "option" listed as additional charge was the console armrest....and it has the stone guard under the engine.
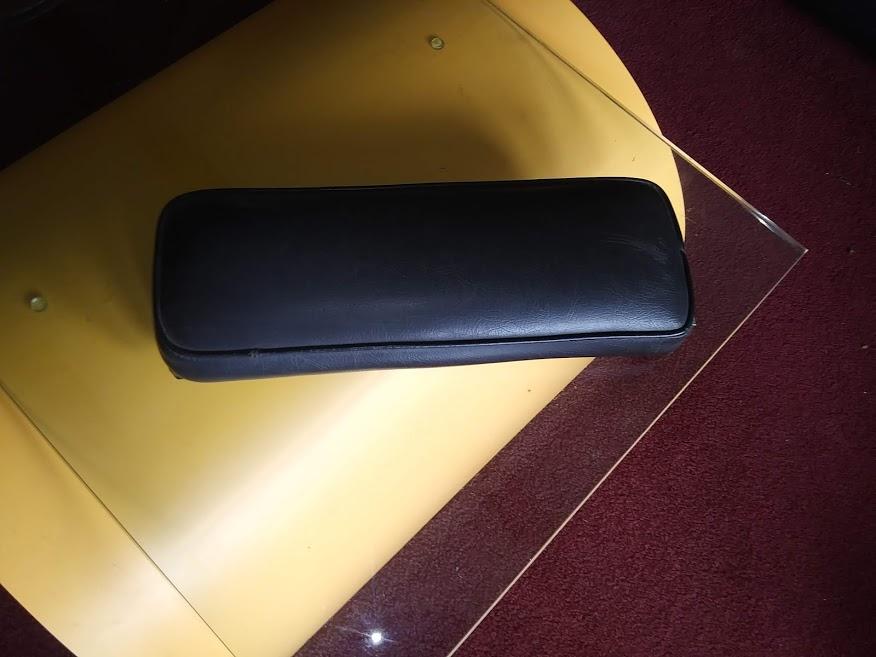 1 point
 -
See.. new information is coming out, glad I started this topic. My 240Z I checked the drilling holes for the splash pan, and they appear factory stock, not added later.. but I could be wrong here offcourse. Could it be that the Z's that went to midwest or east ( colder ) parts of the USA did got the splash pan, and Z's from the west coast dryer parts ( California etc ) didn't have one ?1 point
-
1 pointI have replaced the "blade" style OEM seals with a "Bulb" style weatherstrip like the door seals. The bulb has to be on top of the pinch weld rather than on the side like the door seals. I got mine from McMaster Carr. I can find the part number. 1120A122 for 1/16" edge, 7/16 bulb diameter https://www.mcmaster.com/catalog/125/3615 The OEM style seems to be about the least effective way to make a seal I can imagine. I think I kept a few of the OEM clips that hold the OEM weatherstrip on if you decide to get the reproduction of them.1 point
-
 1 point
 -
1 pointOk time to ask the experts... Does anyone have a good picture of the rubber seals under the fenders and how the fit, mount etc? Mine are destroyed and I need to reproduce them. The ones that go on the fender ridge. And does anyone have an alternate source for these inner fender seals?1 point
-
1 pointJust saw this thread, thanks to Motorman7's recent post. My car was just restored by Motorman7 and we took it to ZCON in Branson (which has a Stock judging category) and also to JCCS last Saturday. It was no surprise that my '73, which barely missed 1st place at ZCON in the Stock category, did not get a sniff at JCCS. And the car Motorman7 restored just before mine, did not get anything at the new northern California Golden Week Kyusha Festival held May 4th in Richmond, CA. That car has also been to a couple of Concours events this summer, and found that the judges (from the SCCA SF Bay area region) do not have any experience with classic Japanese cars. I had Motorman7 restore my Z to stock, not because I was looking for trophies, but for a (Highly Successful!) attempt to recapture my youth. But, thanks to Motorman, I do want to show the world what a wonderful car the original Z was. and so I am taking it to both Japanese classic car shows and local Concours events. And having too much fun doing that. (just ask my wife...) The last Concours of the season in N. California is in Sacramento (Neillo Concours Serano at El Dorado Hills), and the only traditional Concours I can get to this year. I plan on having fun there too, and may bringing a little more visibility for classic Japanese car to that stuffy old crowd. I will report. 1973, two weeks after I bought it. Near Whidbey Island Naval Air Station, Washington Daily Driver 1973 to 1988. 1983, Irvine, CA: Loved by the whole family... 1990ish to 2007: Being Preserved for Restoration (yeah, that's what I'm calling t!) N. California 2007 to 2018: a better "preservation" location At ZCON, 2019: Motorman7's work being judged. 287 points! 2019 at JCCS, no awards, but LOTS of interest. Back home! Still loved by the whole family


 1 point
 -
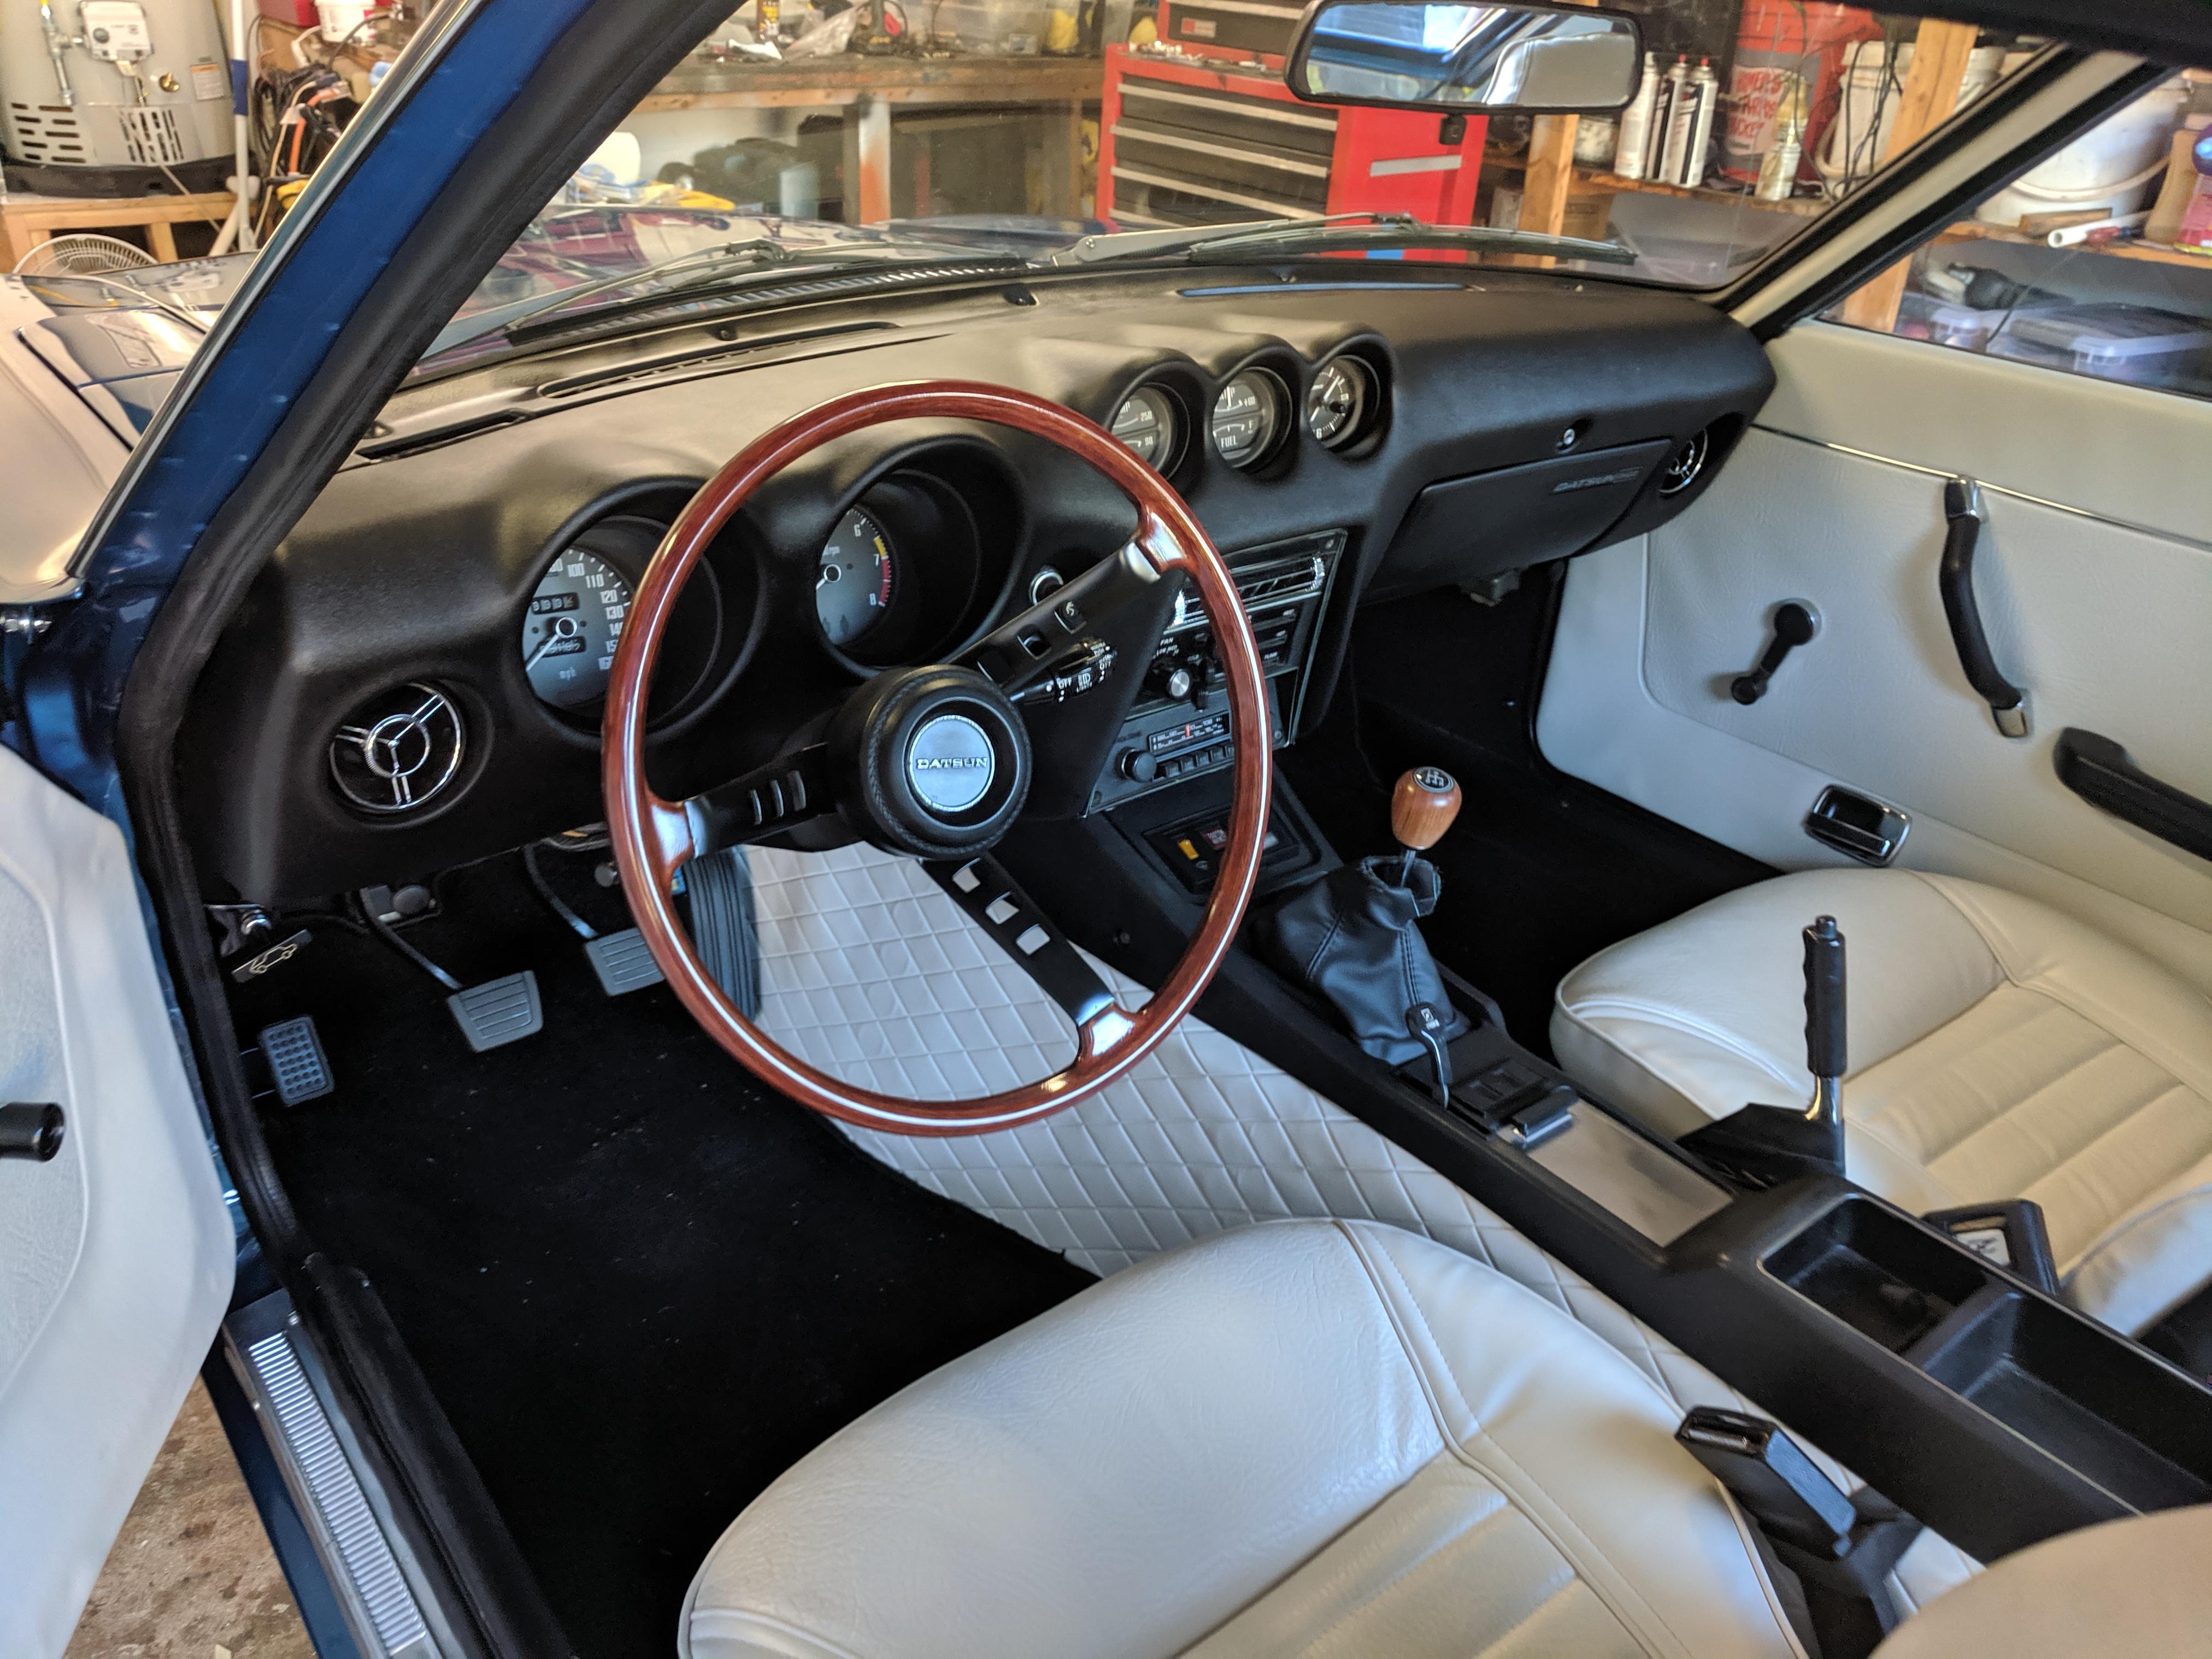
1 pointMy Vintage Dash discussed earlier in this thread is now installed in my '73. Here is how it looks now. (Installed by Motorman7)
 1 point
 -
1 point
-
1 pointYour '71 came with a jack, jack handle, lug wrench and wheel chocks. It did not come standard with any of the pliers, screwdrivers, wrenches shown in Kat's thread. Those tools were optional and would have been a parts order from the dealer. None-the-less, that's what they looked like.1 point
-
1 point
-
 1 pointTwo completely independent posts on the exact same fix. Has to be good!1 point
 -
 New old stock Nissan tools with tool roll bag. New, vintage, still in original plastic bags---- not a reproduction. Not specific to the Z car alone, but available with many Datsun and early Nissan models as a Dealer available accessory item. Even includes a points file for you purists!
.thumb.jpg.e160be79344af296bfaadee5a0524d91.jpg)
.thumb.jpg.496d6780448114fdab6144d5e1dc1eeb.jpg)
.thumb.jpg.890931f98cb09a1ca34e77cc35c37e73.jpg)
.thumb.jpg.1ed11b12196c9caa2c1c37f921c88a38.jpg)
.thumb.jpg.2f49d3d2b4e12a173fccfa91ceb1d4c5.jpg)
.thumb.jpg.3b68234c5921b9be0af0c104bd7f8269.jpg)
.thumb.jpg.b6c1f9c7eb42bc1c520160e3311e5e59.jpg)
.thumb.jpg.1800c54846082d030c341b545effd1d9.jpg) 1 point
1 point -
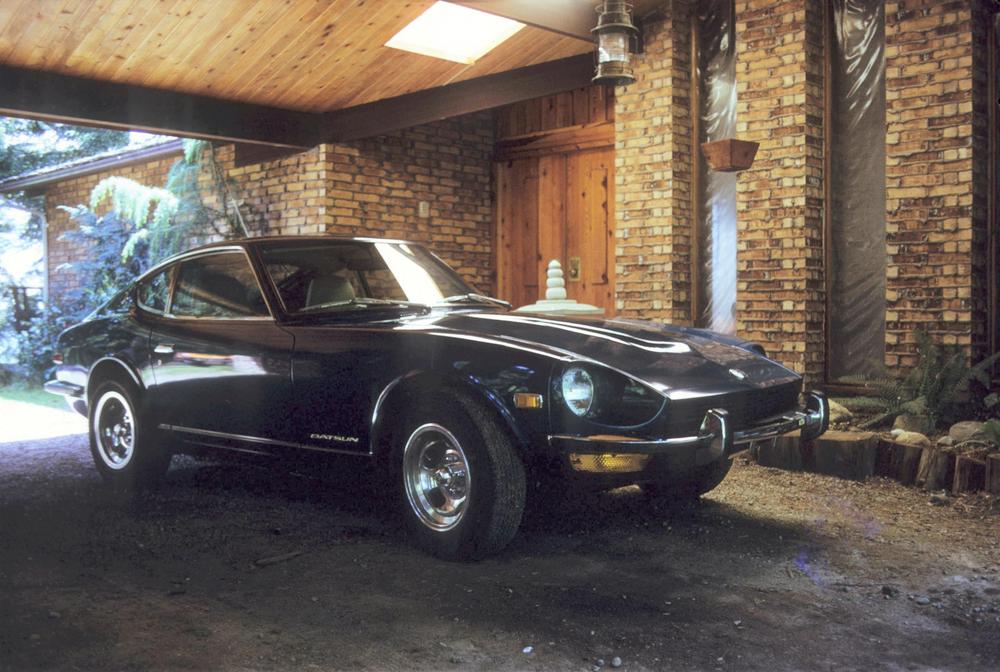
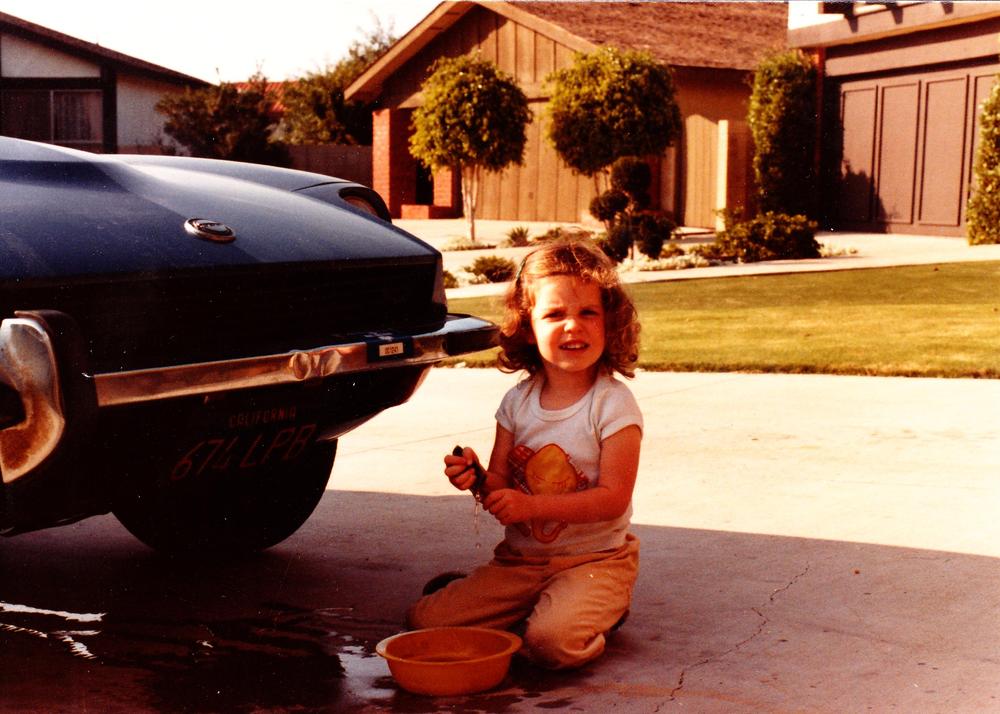
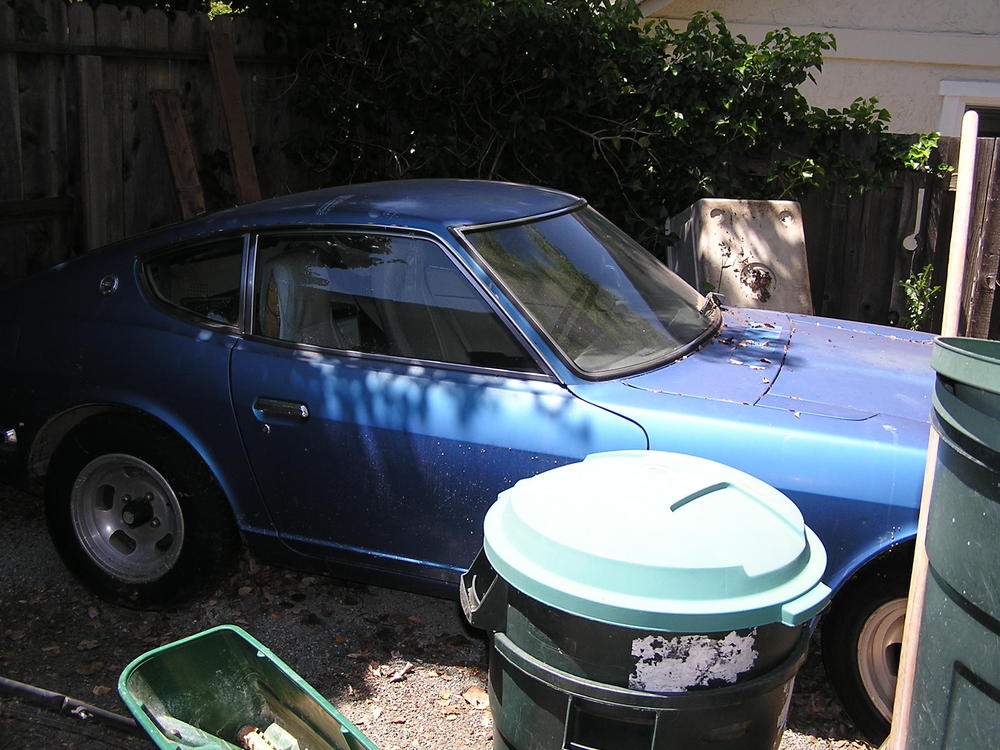
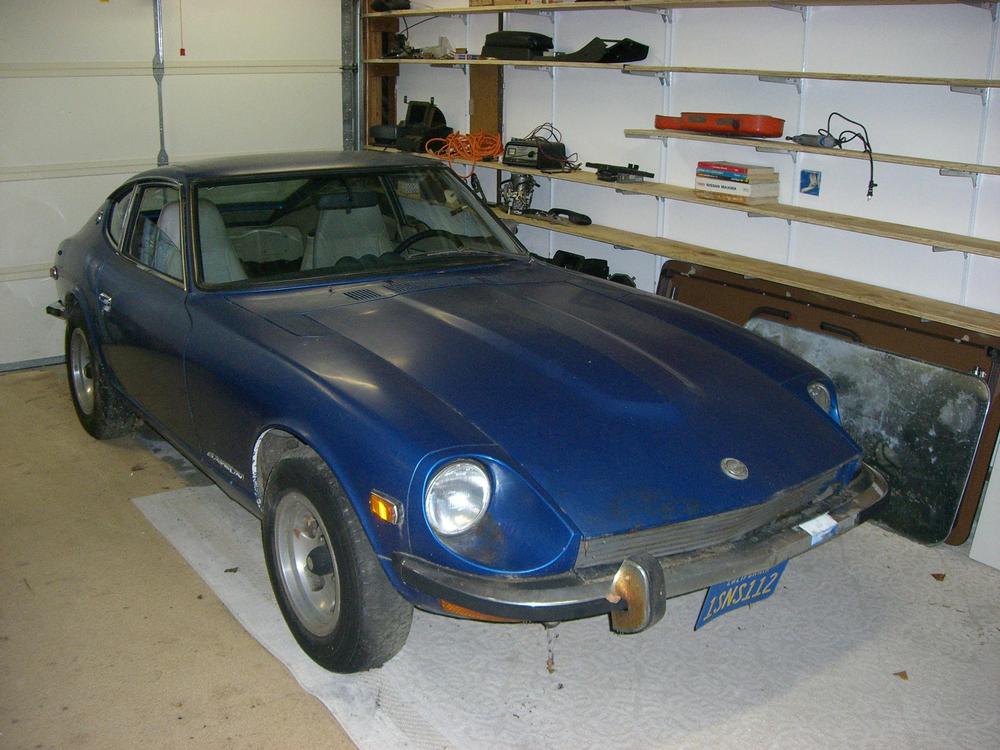
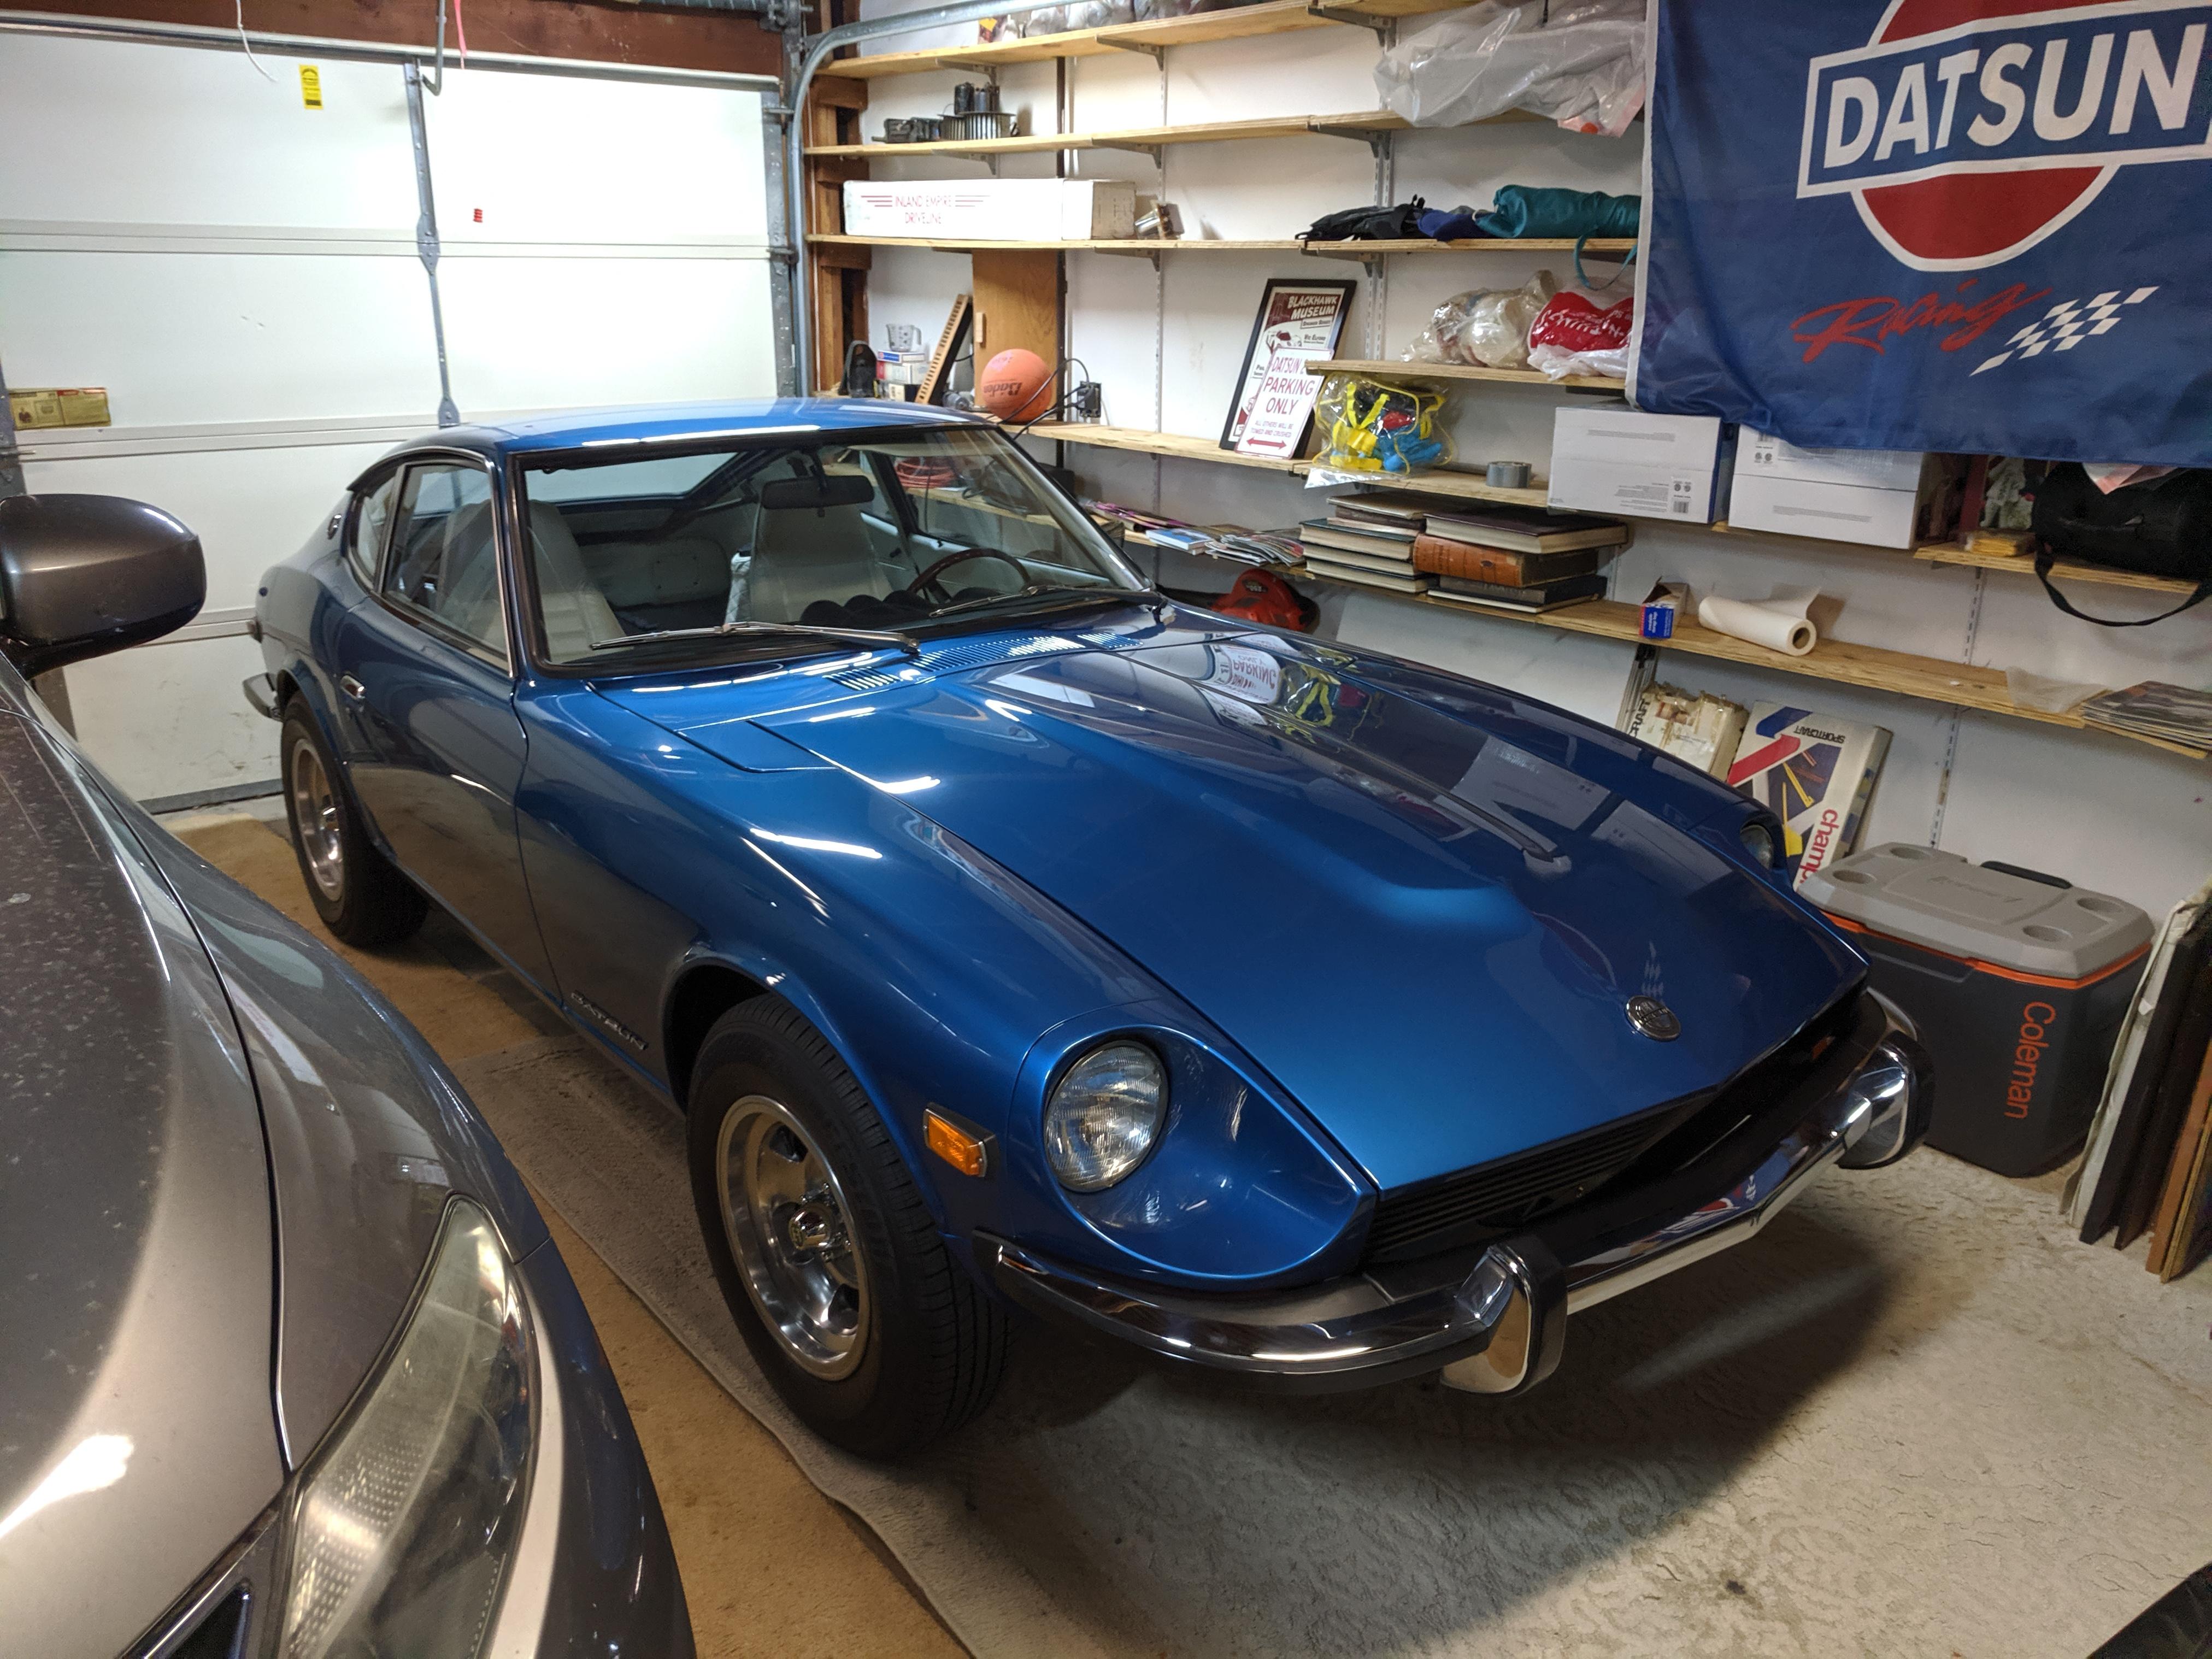
 1 pointMy 1970 Z has been in the family for nearly 49 years (4/70 build date). I was 9 years old when my dad brought the car home brand new and I distinctly remember the day. It was purchased in Florida (I have the original receipt), where dad worked on occasion, but driven to California where we lived for a number of years. My dad owned it and took excellent care of the car for about 38 years. He passed the car onto me several years before he passed away. The car is very original and mostly unrestored (I did clean up the engine bay). The paint is the original 49 year old factory paint job. The interior is pretty much untouched and still has the original uncracked dash, slightly worn seats, radio, carpet etc. Undercarriage, glass, chrome, and weather stripping are also all original and have never been removed. I don’t really do anything to the car other than drive it several times a year just to stretch it’s legs and keep things moving. It has pretty much been garaged it's entire life. The car still runs very smoothly and is a nice driver. It has a little over 98K miles on it.1 point
 -
 There are two common aspects to fume intrusion, both are related to age and maintenance. First is the length of the exhaust pipe. It should extend beyond the rear valance by several inches so the exhaust gases mix with air that has separated from the body. Second is deterioration of the grommets surrounding the vent hoses entering the passenger compartment behind the vinyl finishing pieces at the rear bulkhead. Some have cited air turbulence caused when the rear tires rotate upward into the rear of the wheel wells. They suggest adding mud flaps there to break up the turbulent rearward of the wheel well. This of course also existed when the cars were new and didn’t cause fume intrusion. While you are at it, check the rear hatch gaskets. Both the one around the perimeter and the air exhaust vents in a series I car. These exhaust vents have rain drains with gaskets that can be compromised over time. Properly maintained, your Z should not suffer from fumes. Don’t settle for less than fume free.1 point
 -
 1 pointJust did this job myself. To confirm for you, the lip faces away from the hatch opening (i.e. faces to the front of the car for the section that goes over the top of the hatch). Before you get started with the adhesive, use a paint-friendly cleaning liquid to clean both the pinch strip surface and the surface where the lip will seat. Use the same cleaner to clean the inside groove of the weatherstrip, as well as the bottom surface of the lip. Apply a light coating of weatherstrip adhesive to the inboard edge of the pinch strip. Also apply a thin smear of adhesive to the underside of the weatherstrip lip. Forget about applying adhesive "to both surfaces" (overkill). When installing the weatherstrip, start from the centre of the top of the opening and work outward to one side and then down. Then go back and do the other side. The weatherstrip will stick pretty firmly right from the get go, so go slowly and avoid creating wrinkles. Be extra careful around the upper corners of the opening. The pinch strip isn't very tall and it's easy to miss the actual contour of the corner when you're pushing the weatherstrip into place. Pushing a length of clear-vinyl tubing (1/2" diameter?) down into the groove so that it presses down on the lip will help to seat the weatherstrip properly (especially around those two corners). If you don't remove the hatch from the car, it will be a bear of a job (maybe impossible?) to install the weatherstrip properly over the top of the hatch opening. Probably a good idea to apply painter's cling-film over the roof and rear quarter panels around the opening before you get started with the adhesive.1 point


.jpg.851f02bce46f59918e2da02a7e112433.jpg)
.jpg.236642ab0be4cf709eaa15096b357598.jpg)
.jpg.ff7da2e3f7639fbee3f3bf574f3642be.jpg)
.jpg.e9bb57c6eee23cdce08ede7be946d482.jpg)
.jpg.cecef215f8244bfbf22e0a4e21aa9a5c.jpg)
.jpg.dbbfc575587d75b8e02f7570cd4c03f1.jpg)
.jpg.725ffccc07c3a37d32debde8733536f4.jpg)
.jpg.383b640bca5e370445f66c02042658f6.jpg)