Leaderboard
 Subscriber


Popular Content
Showing content with the highest reputation on 10/14/2019 in all areas
-
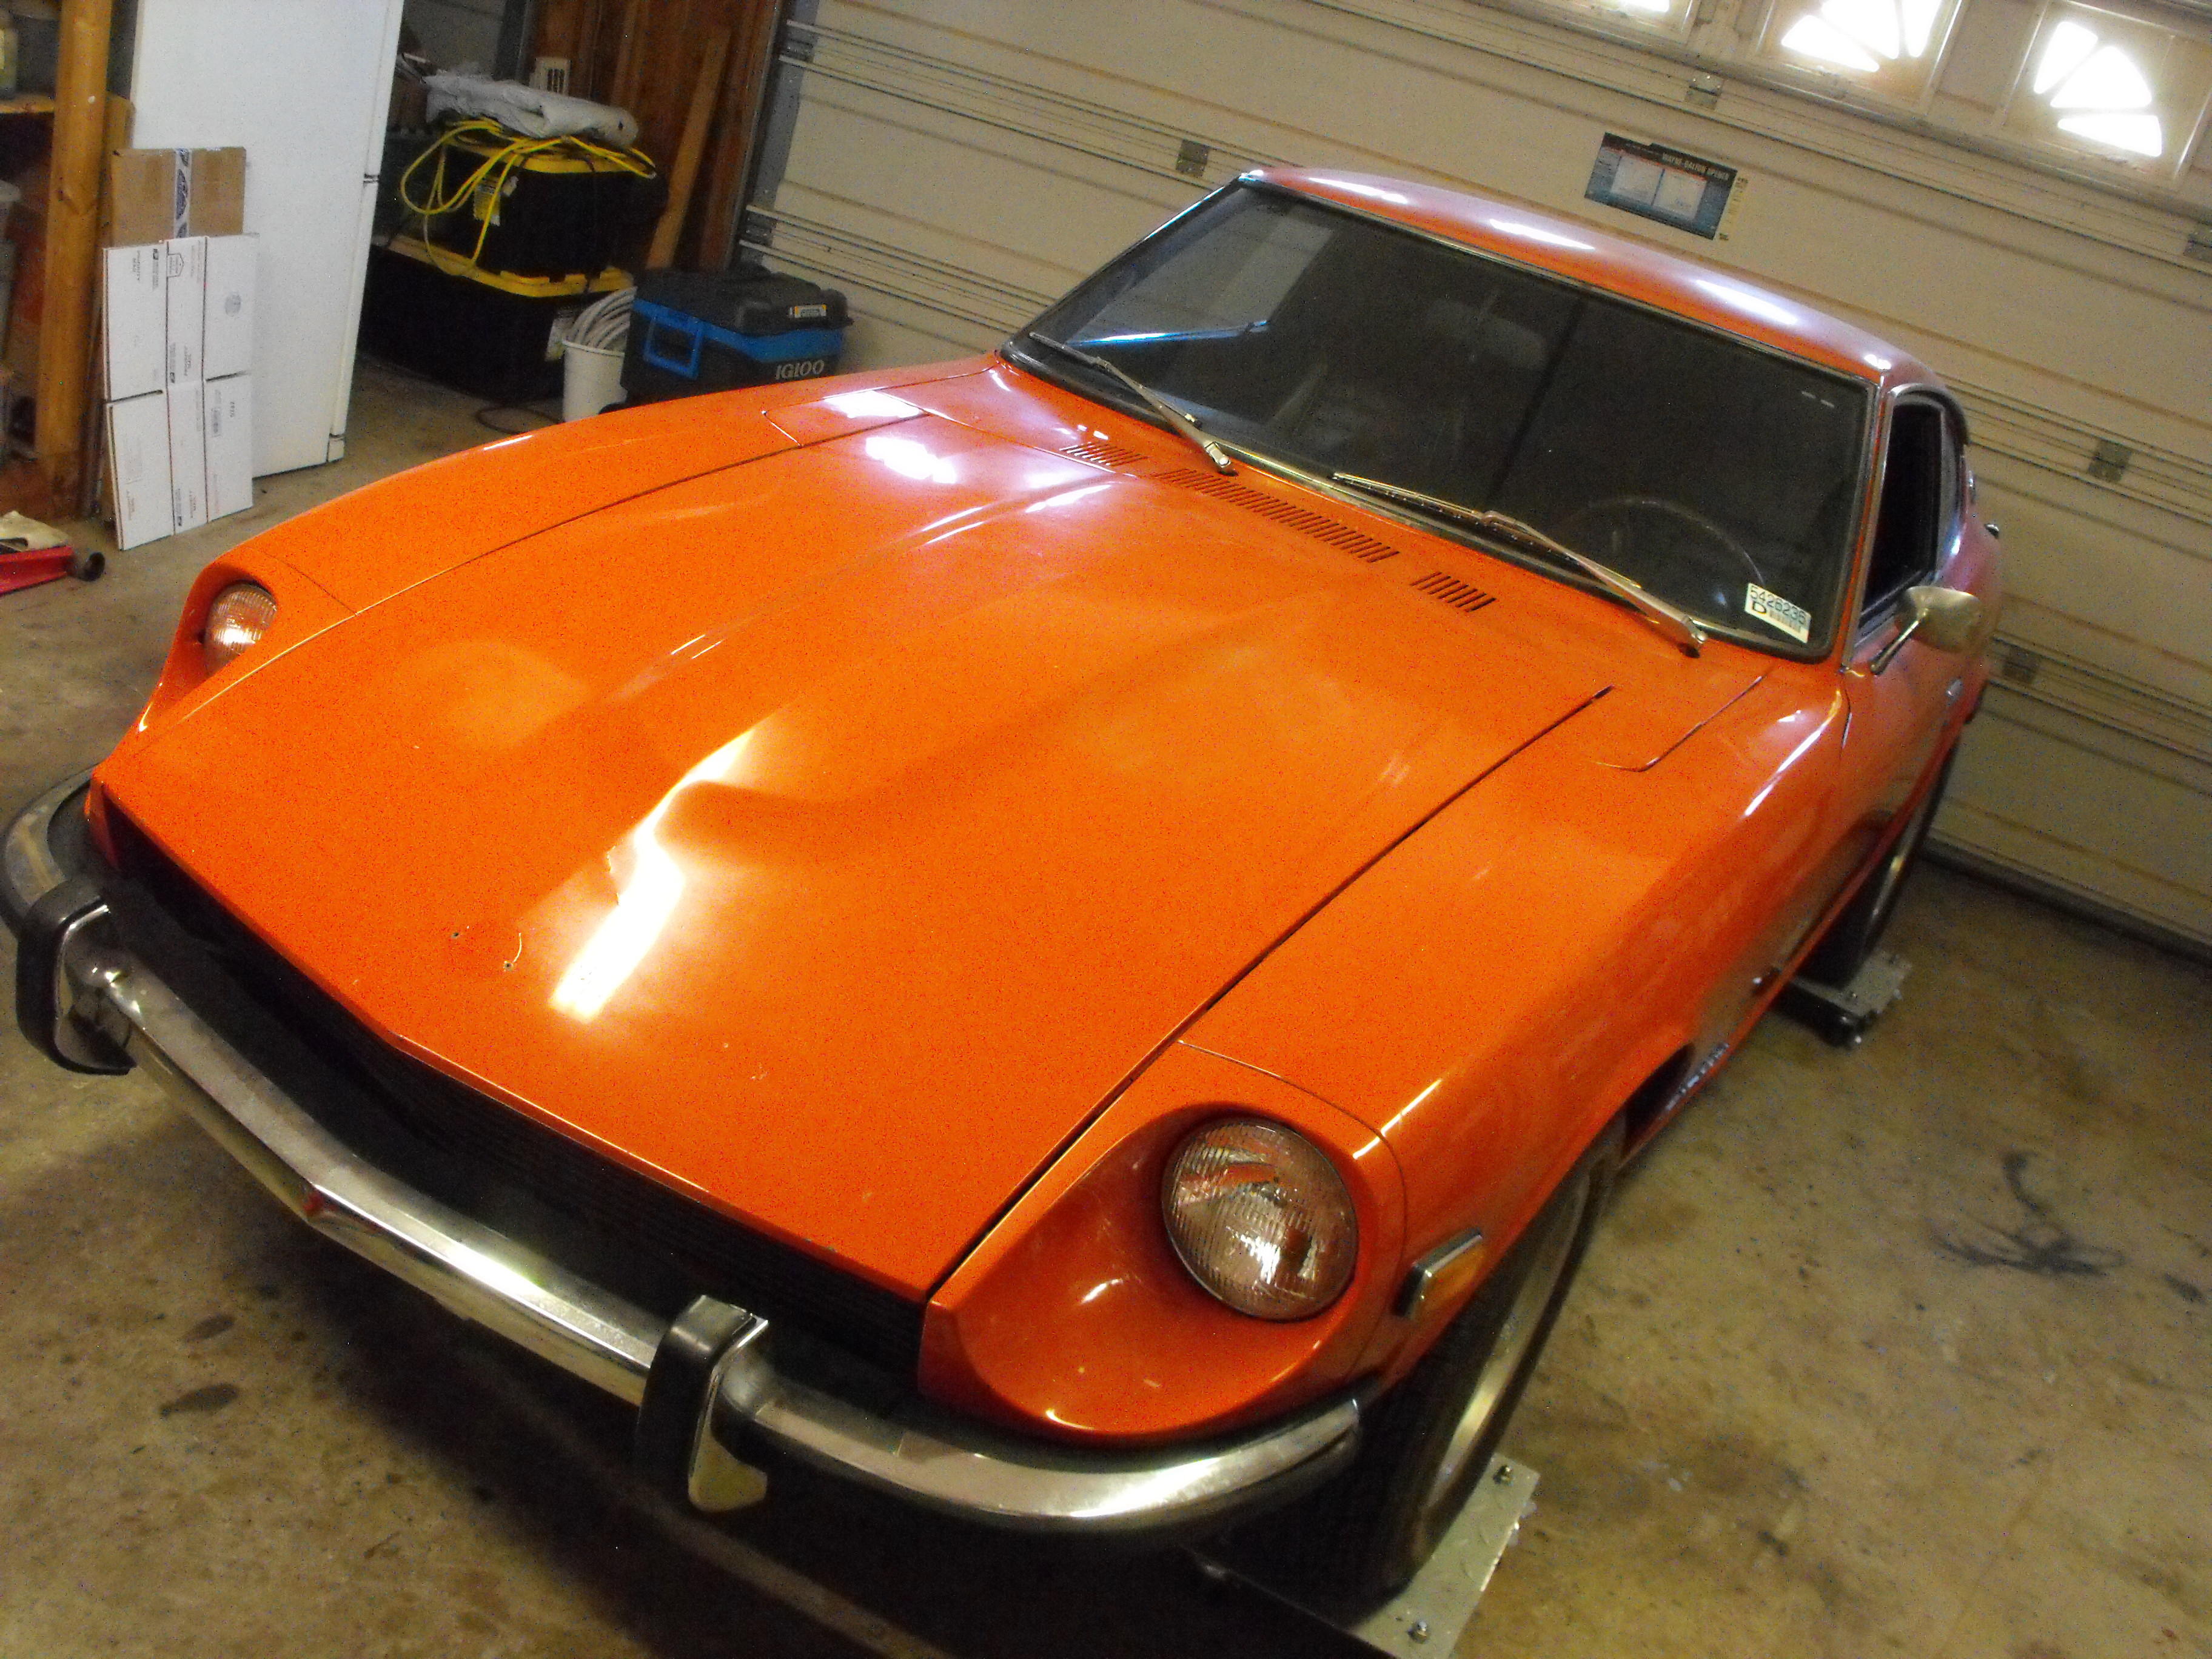
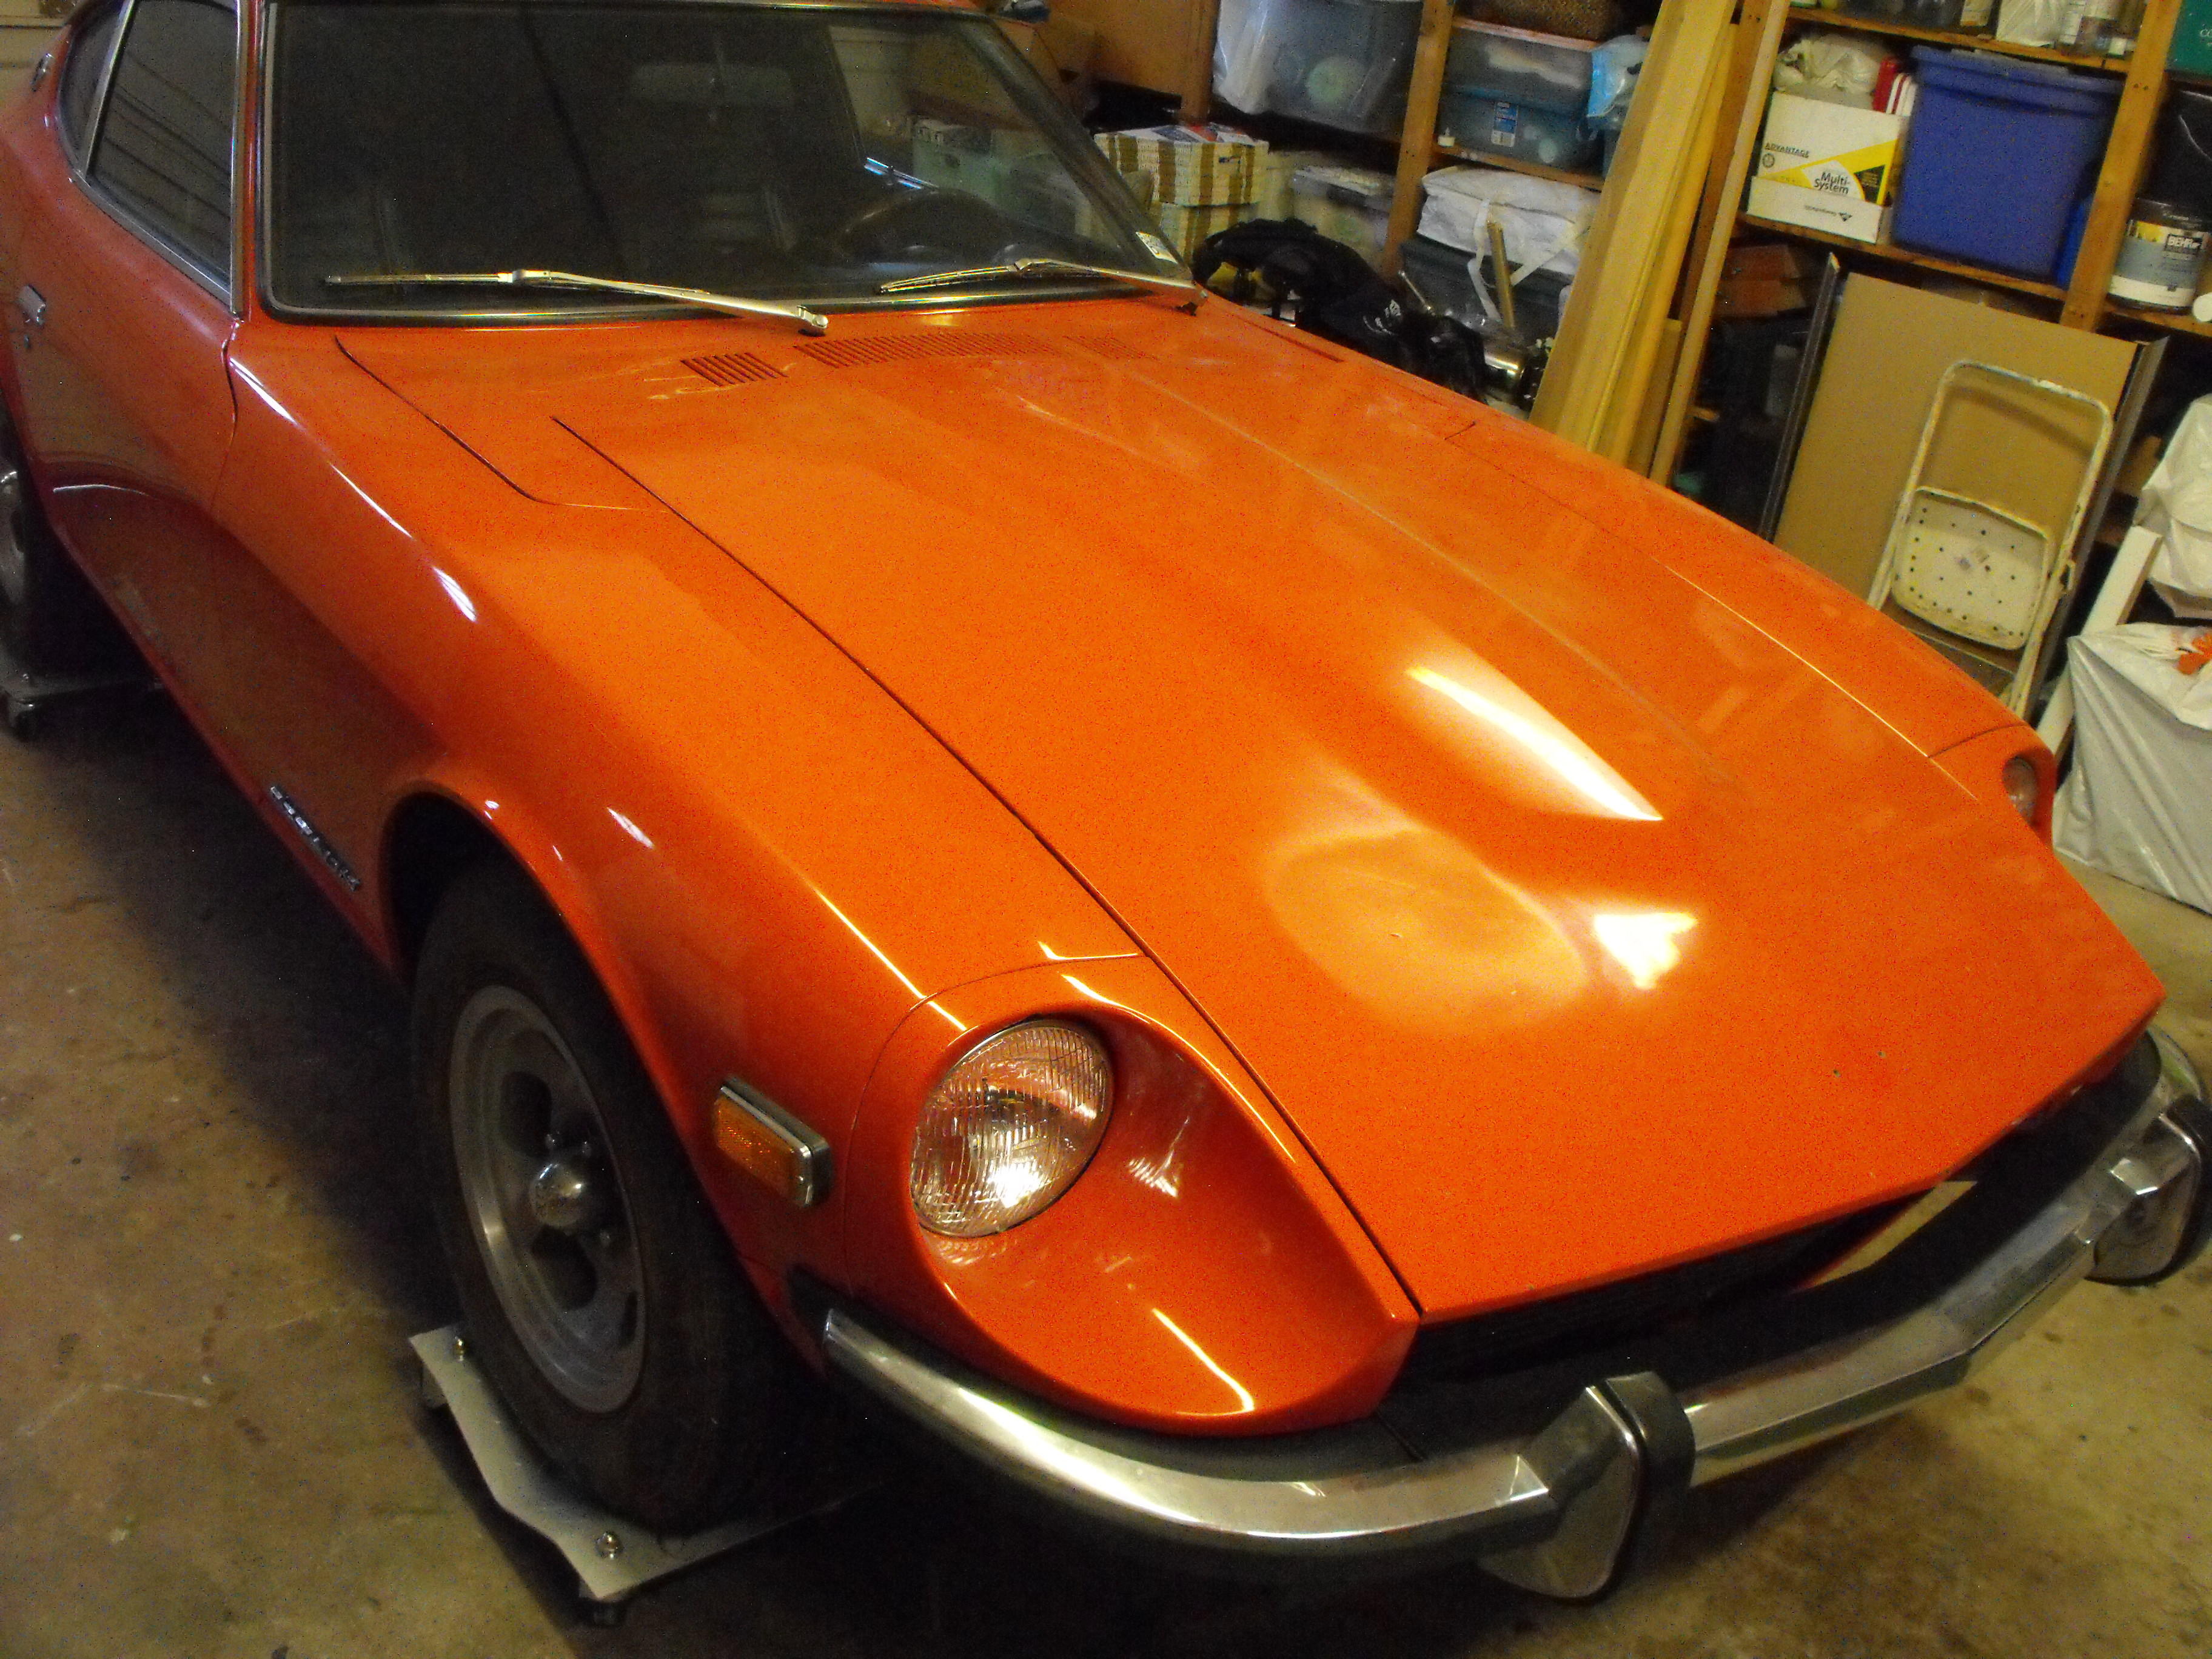
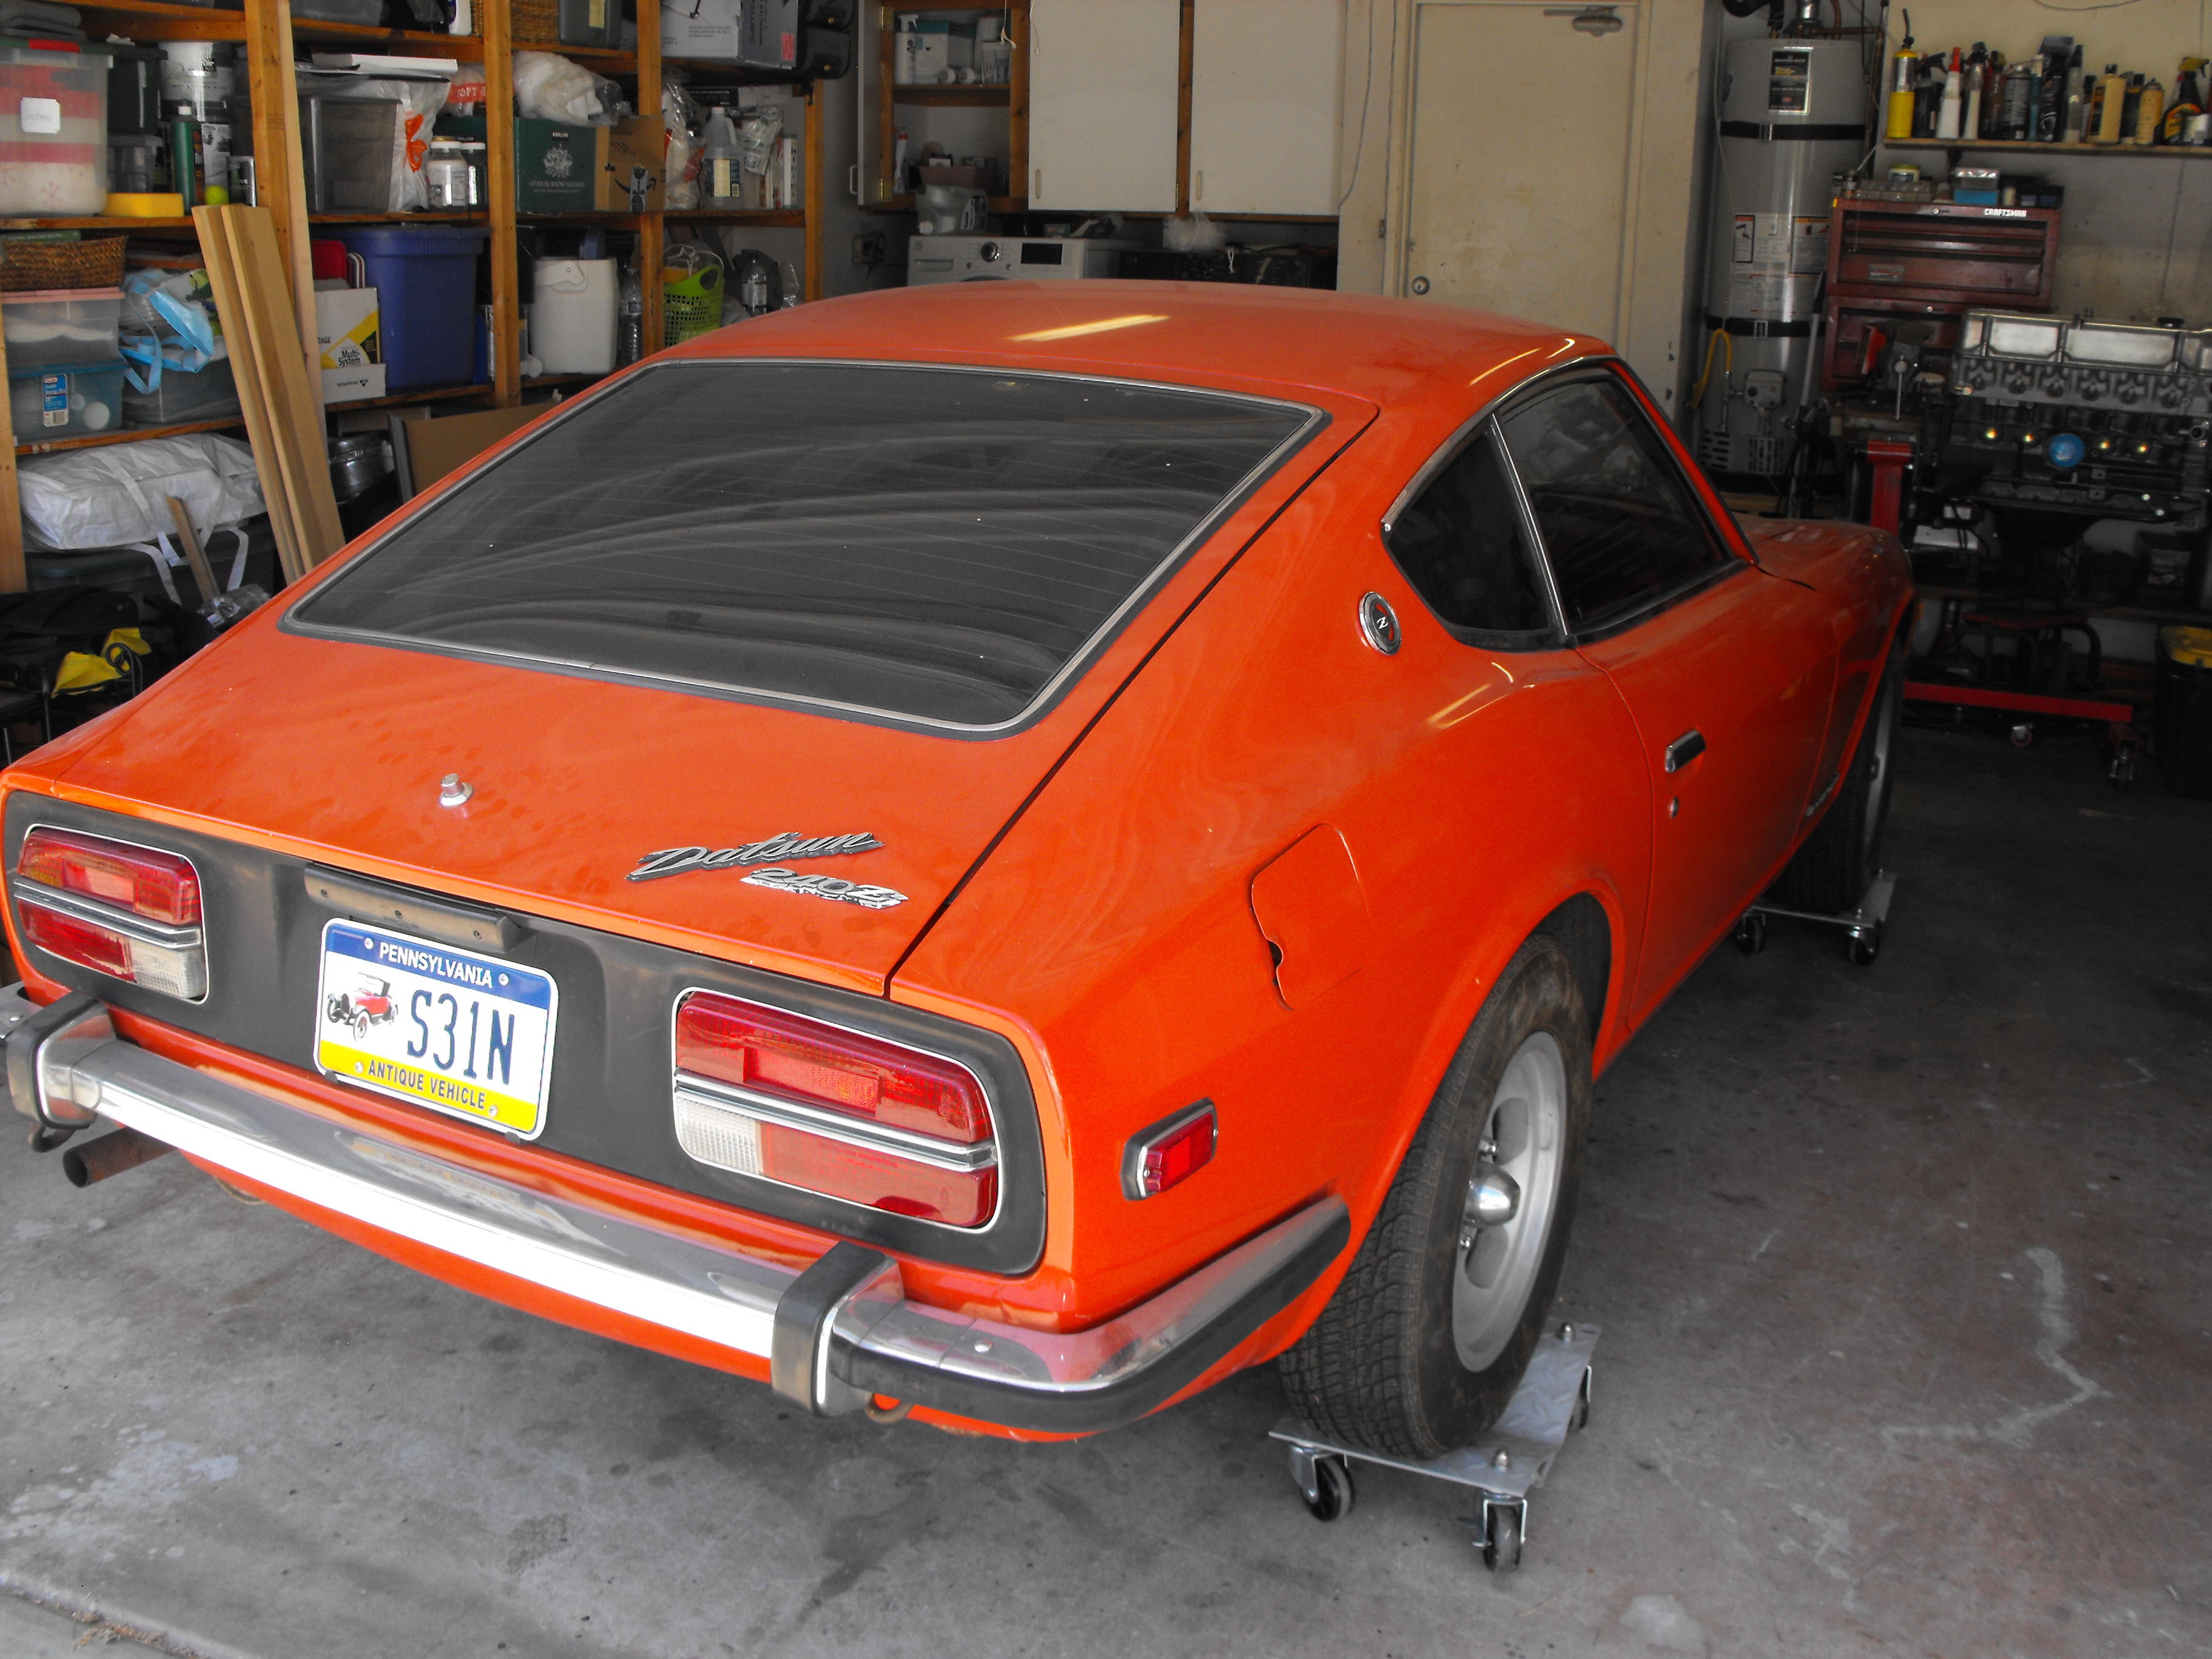
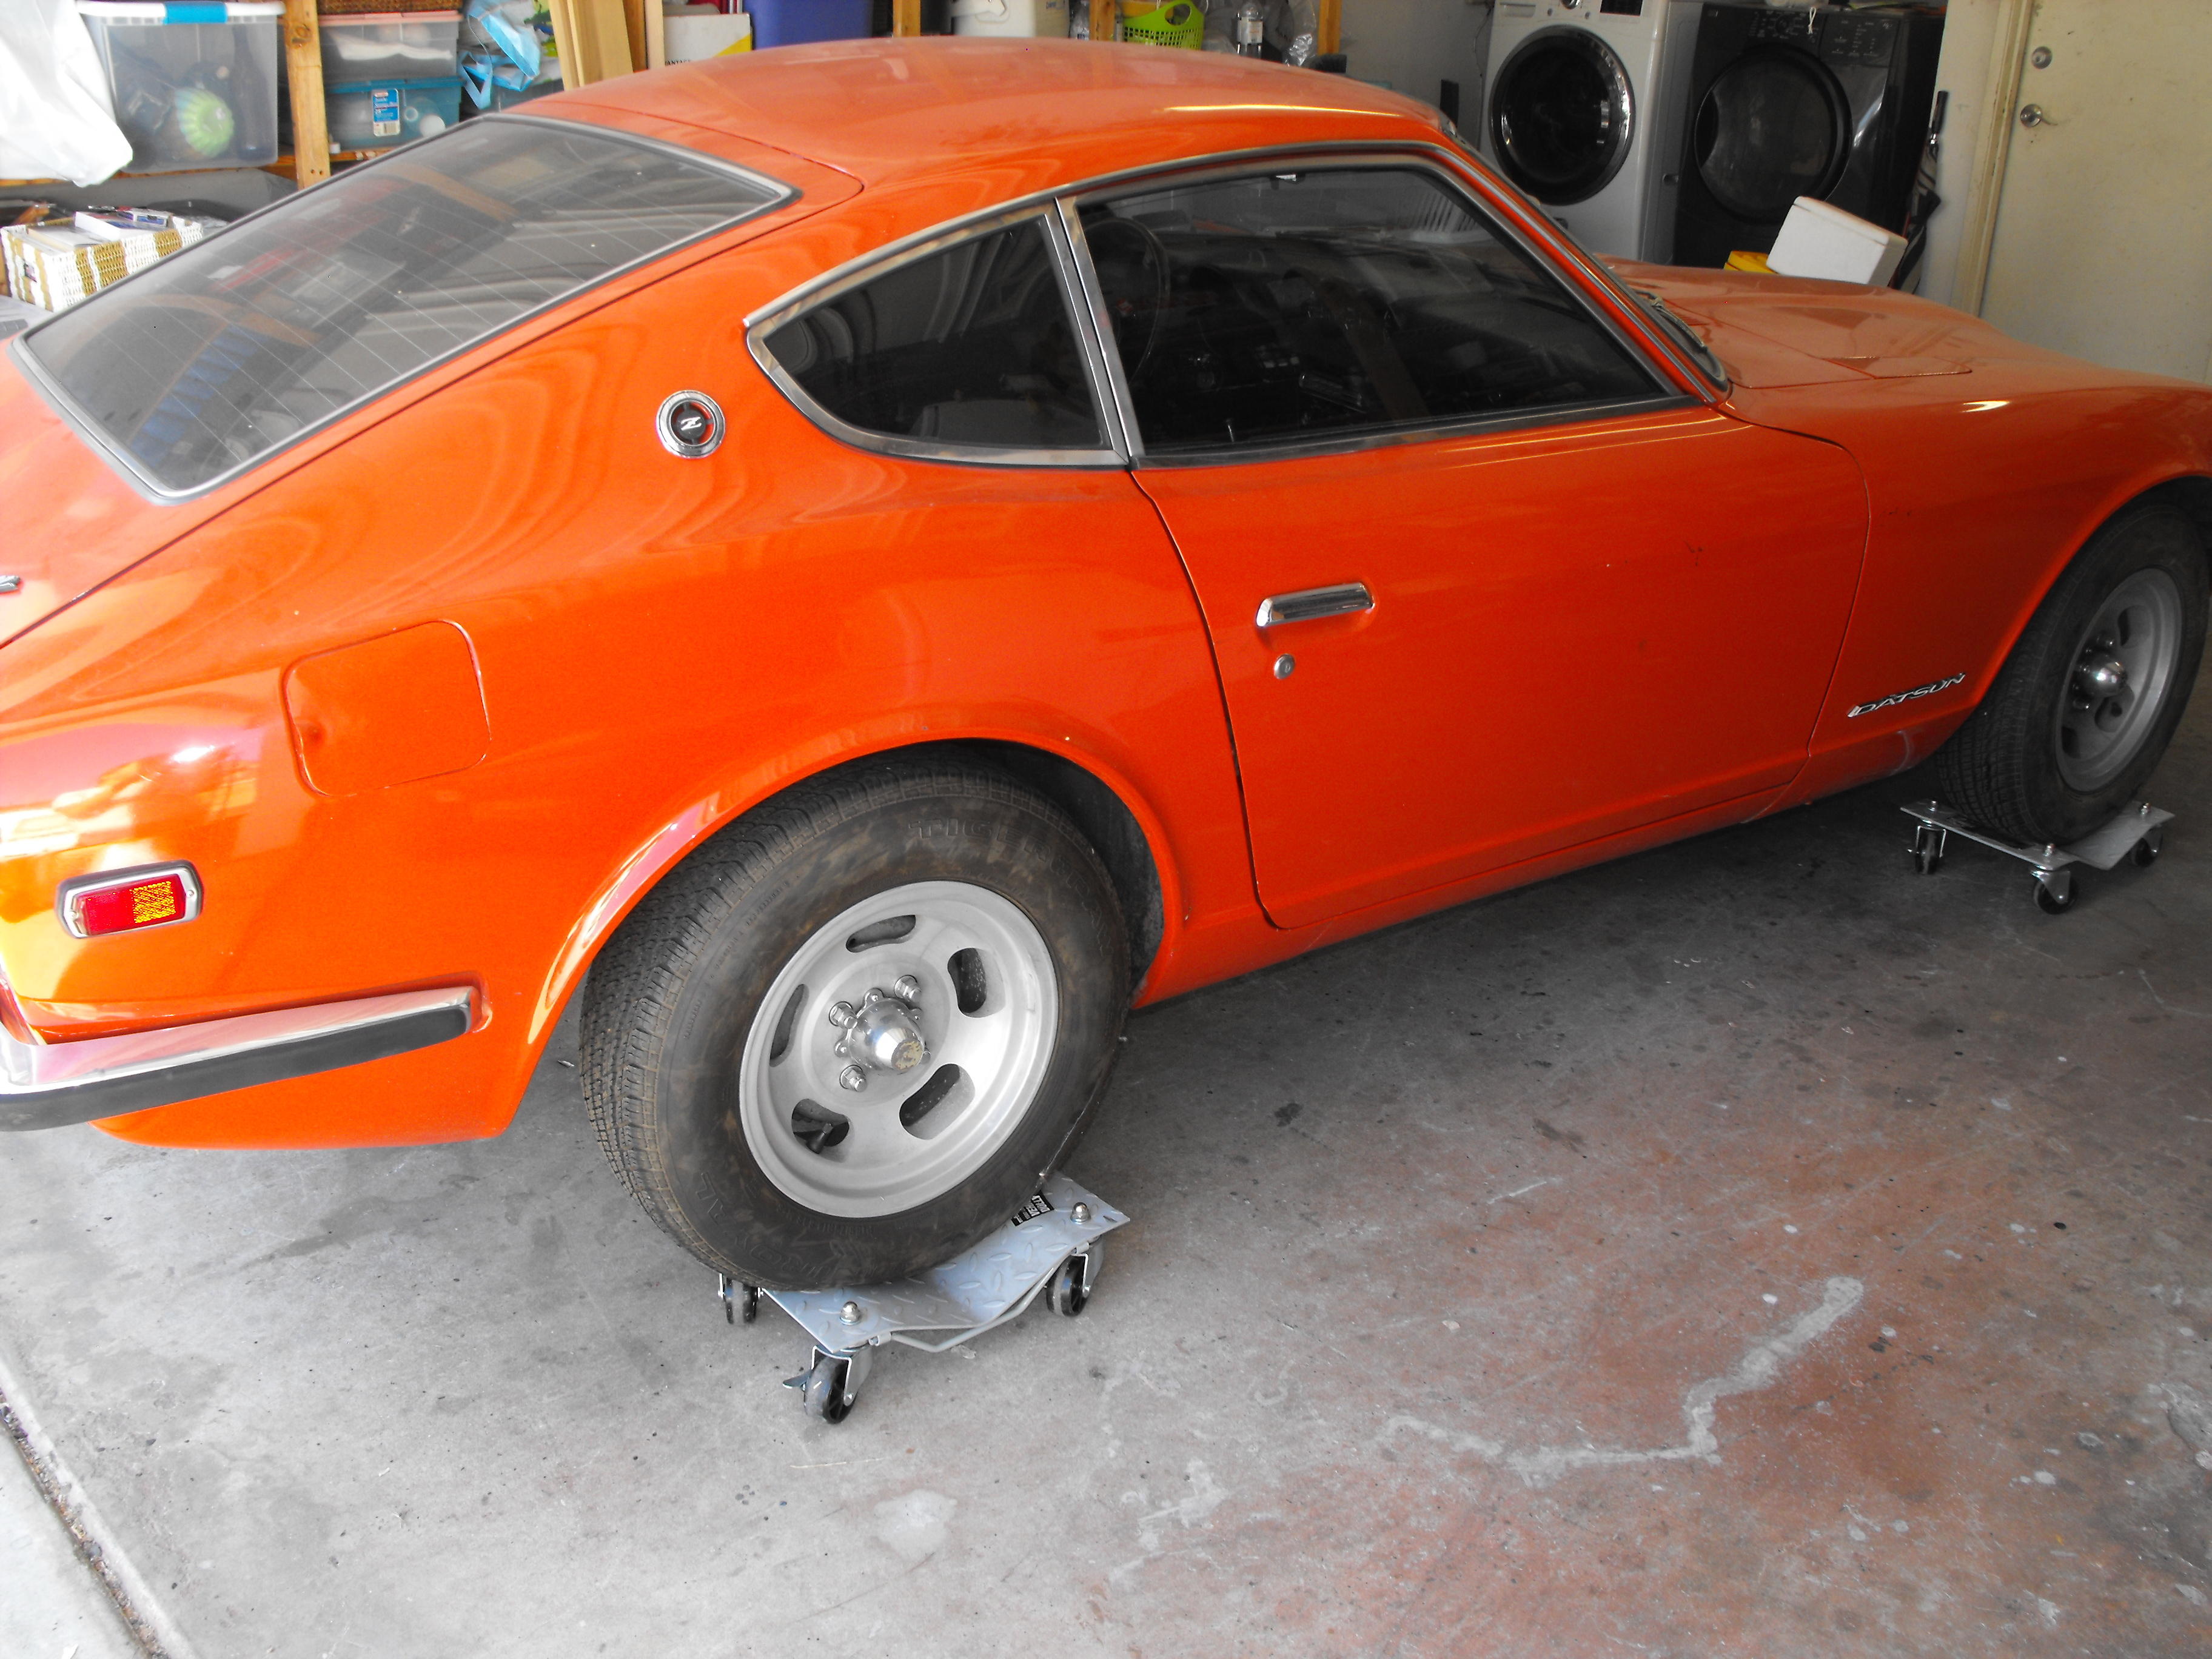
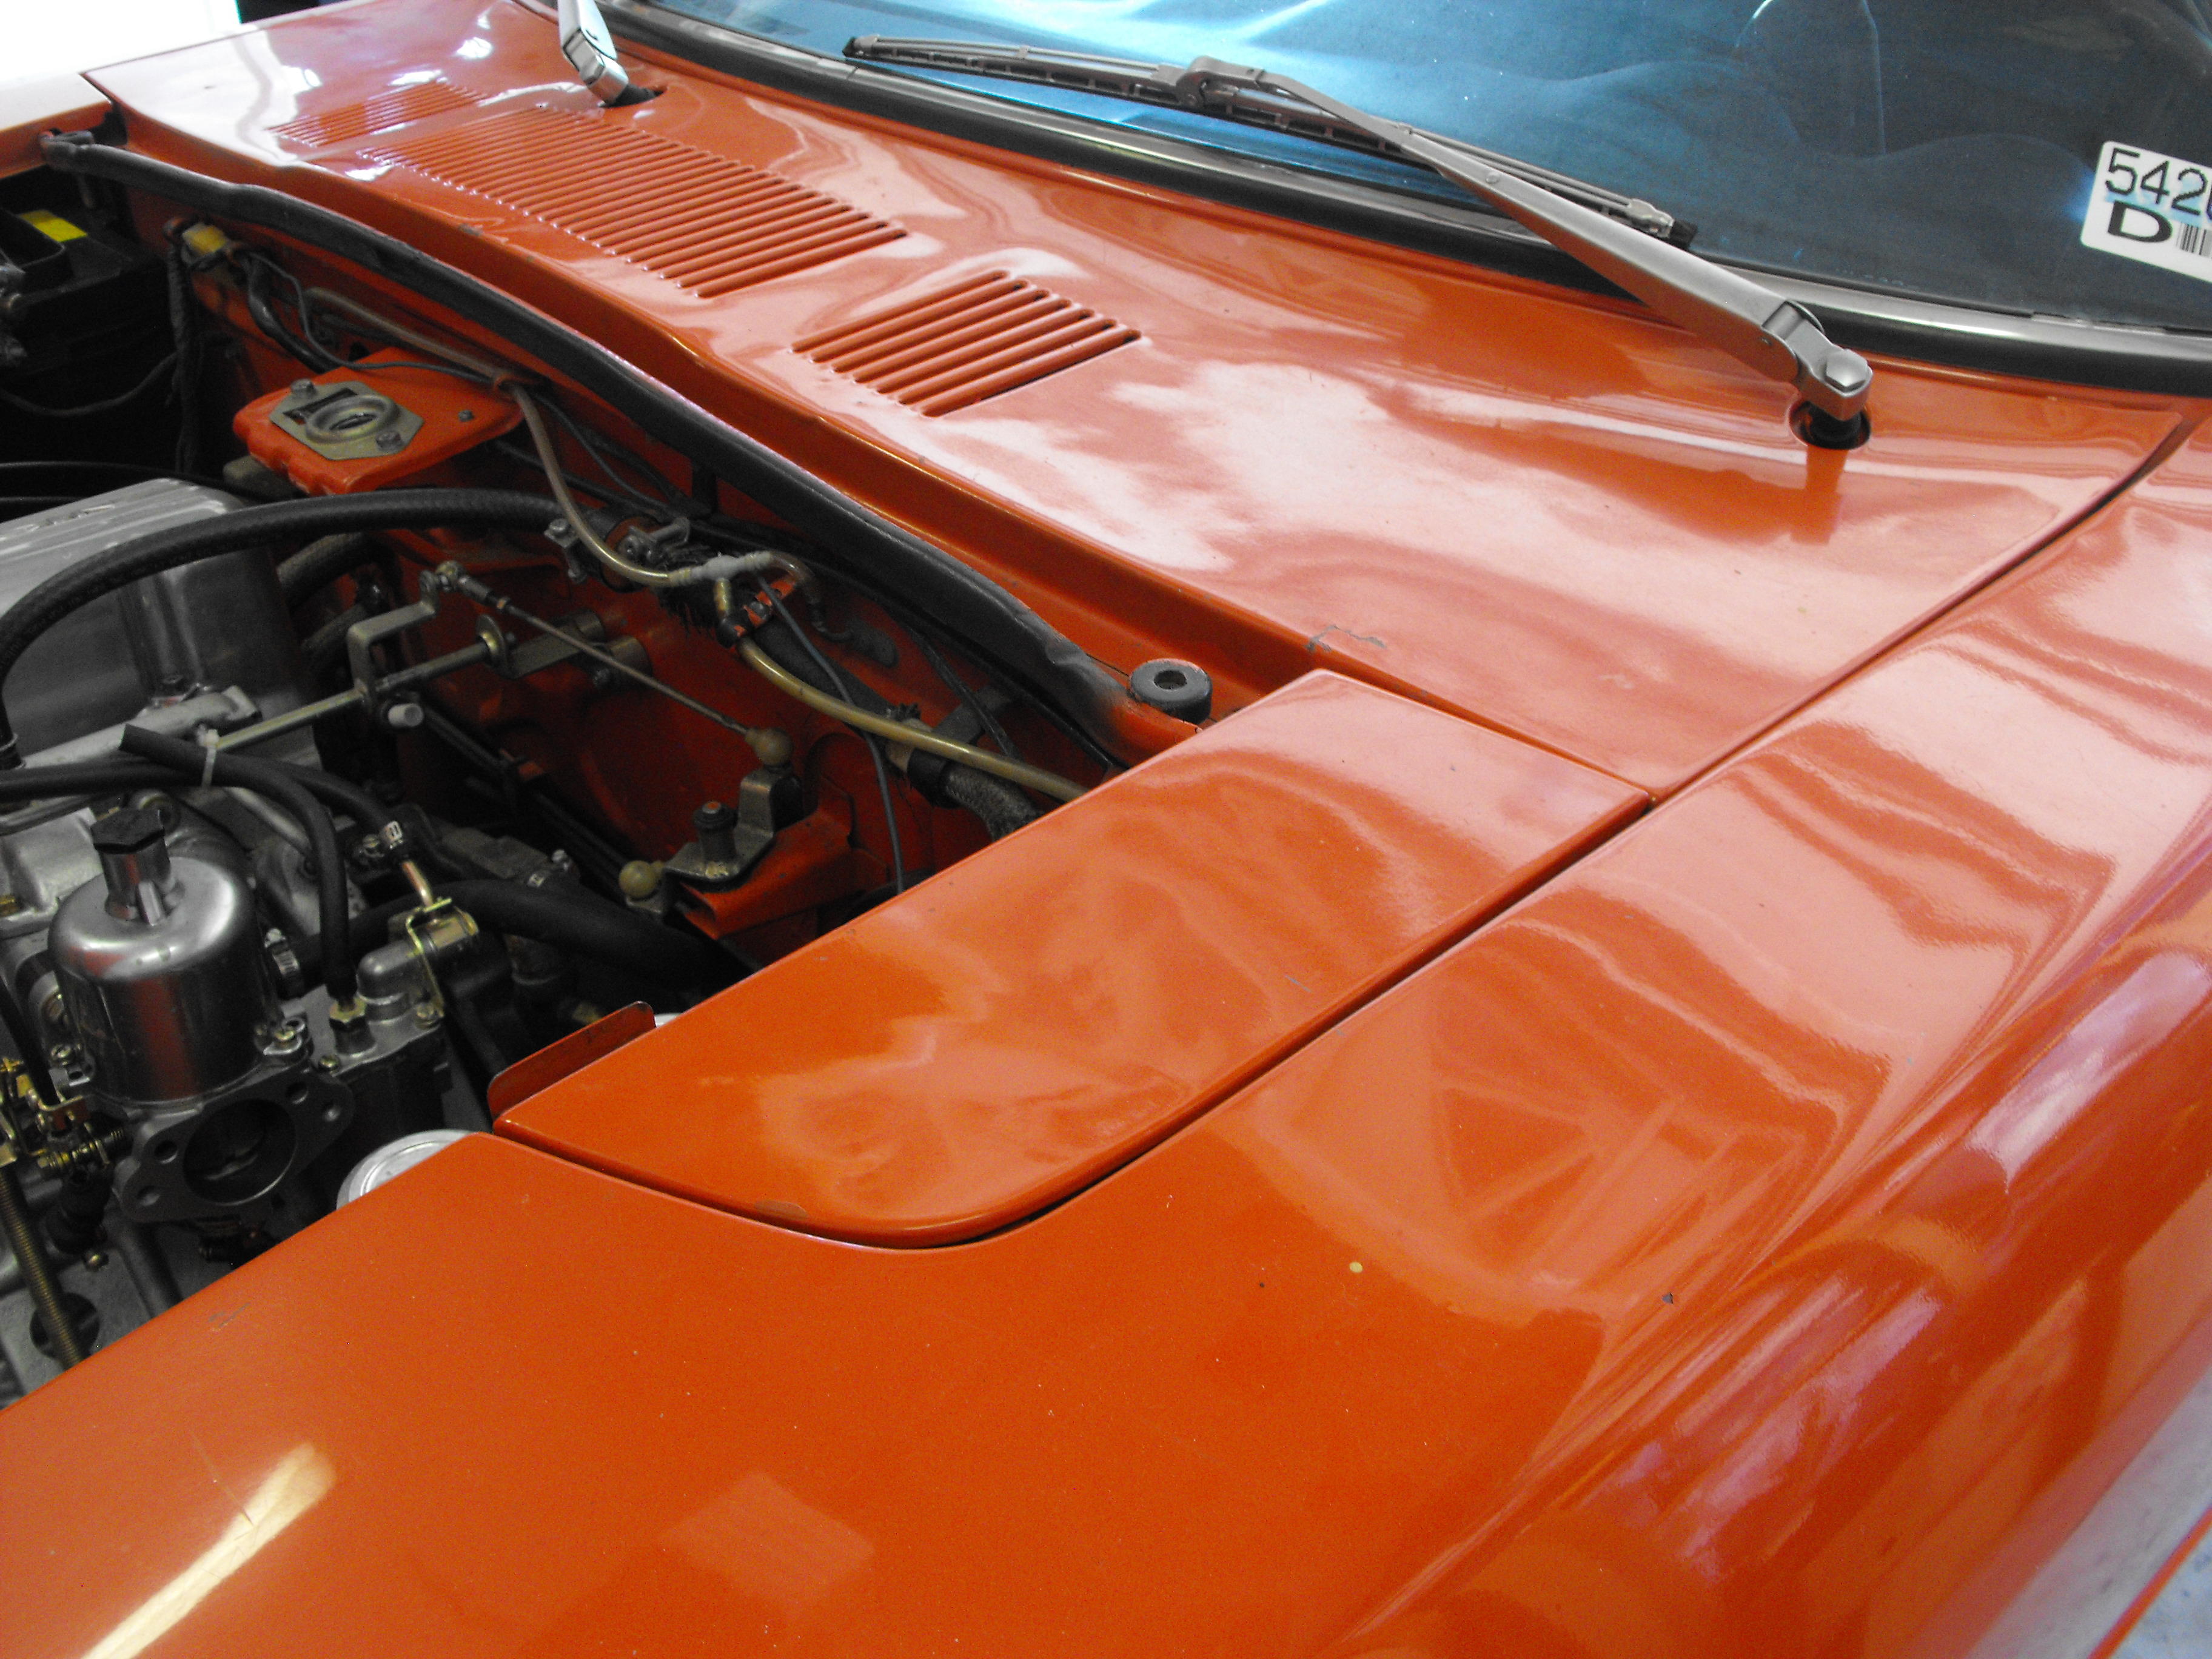
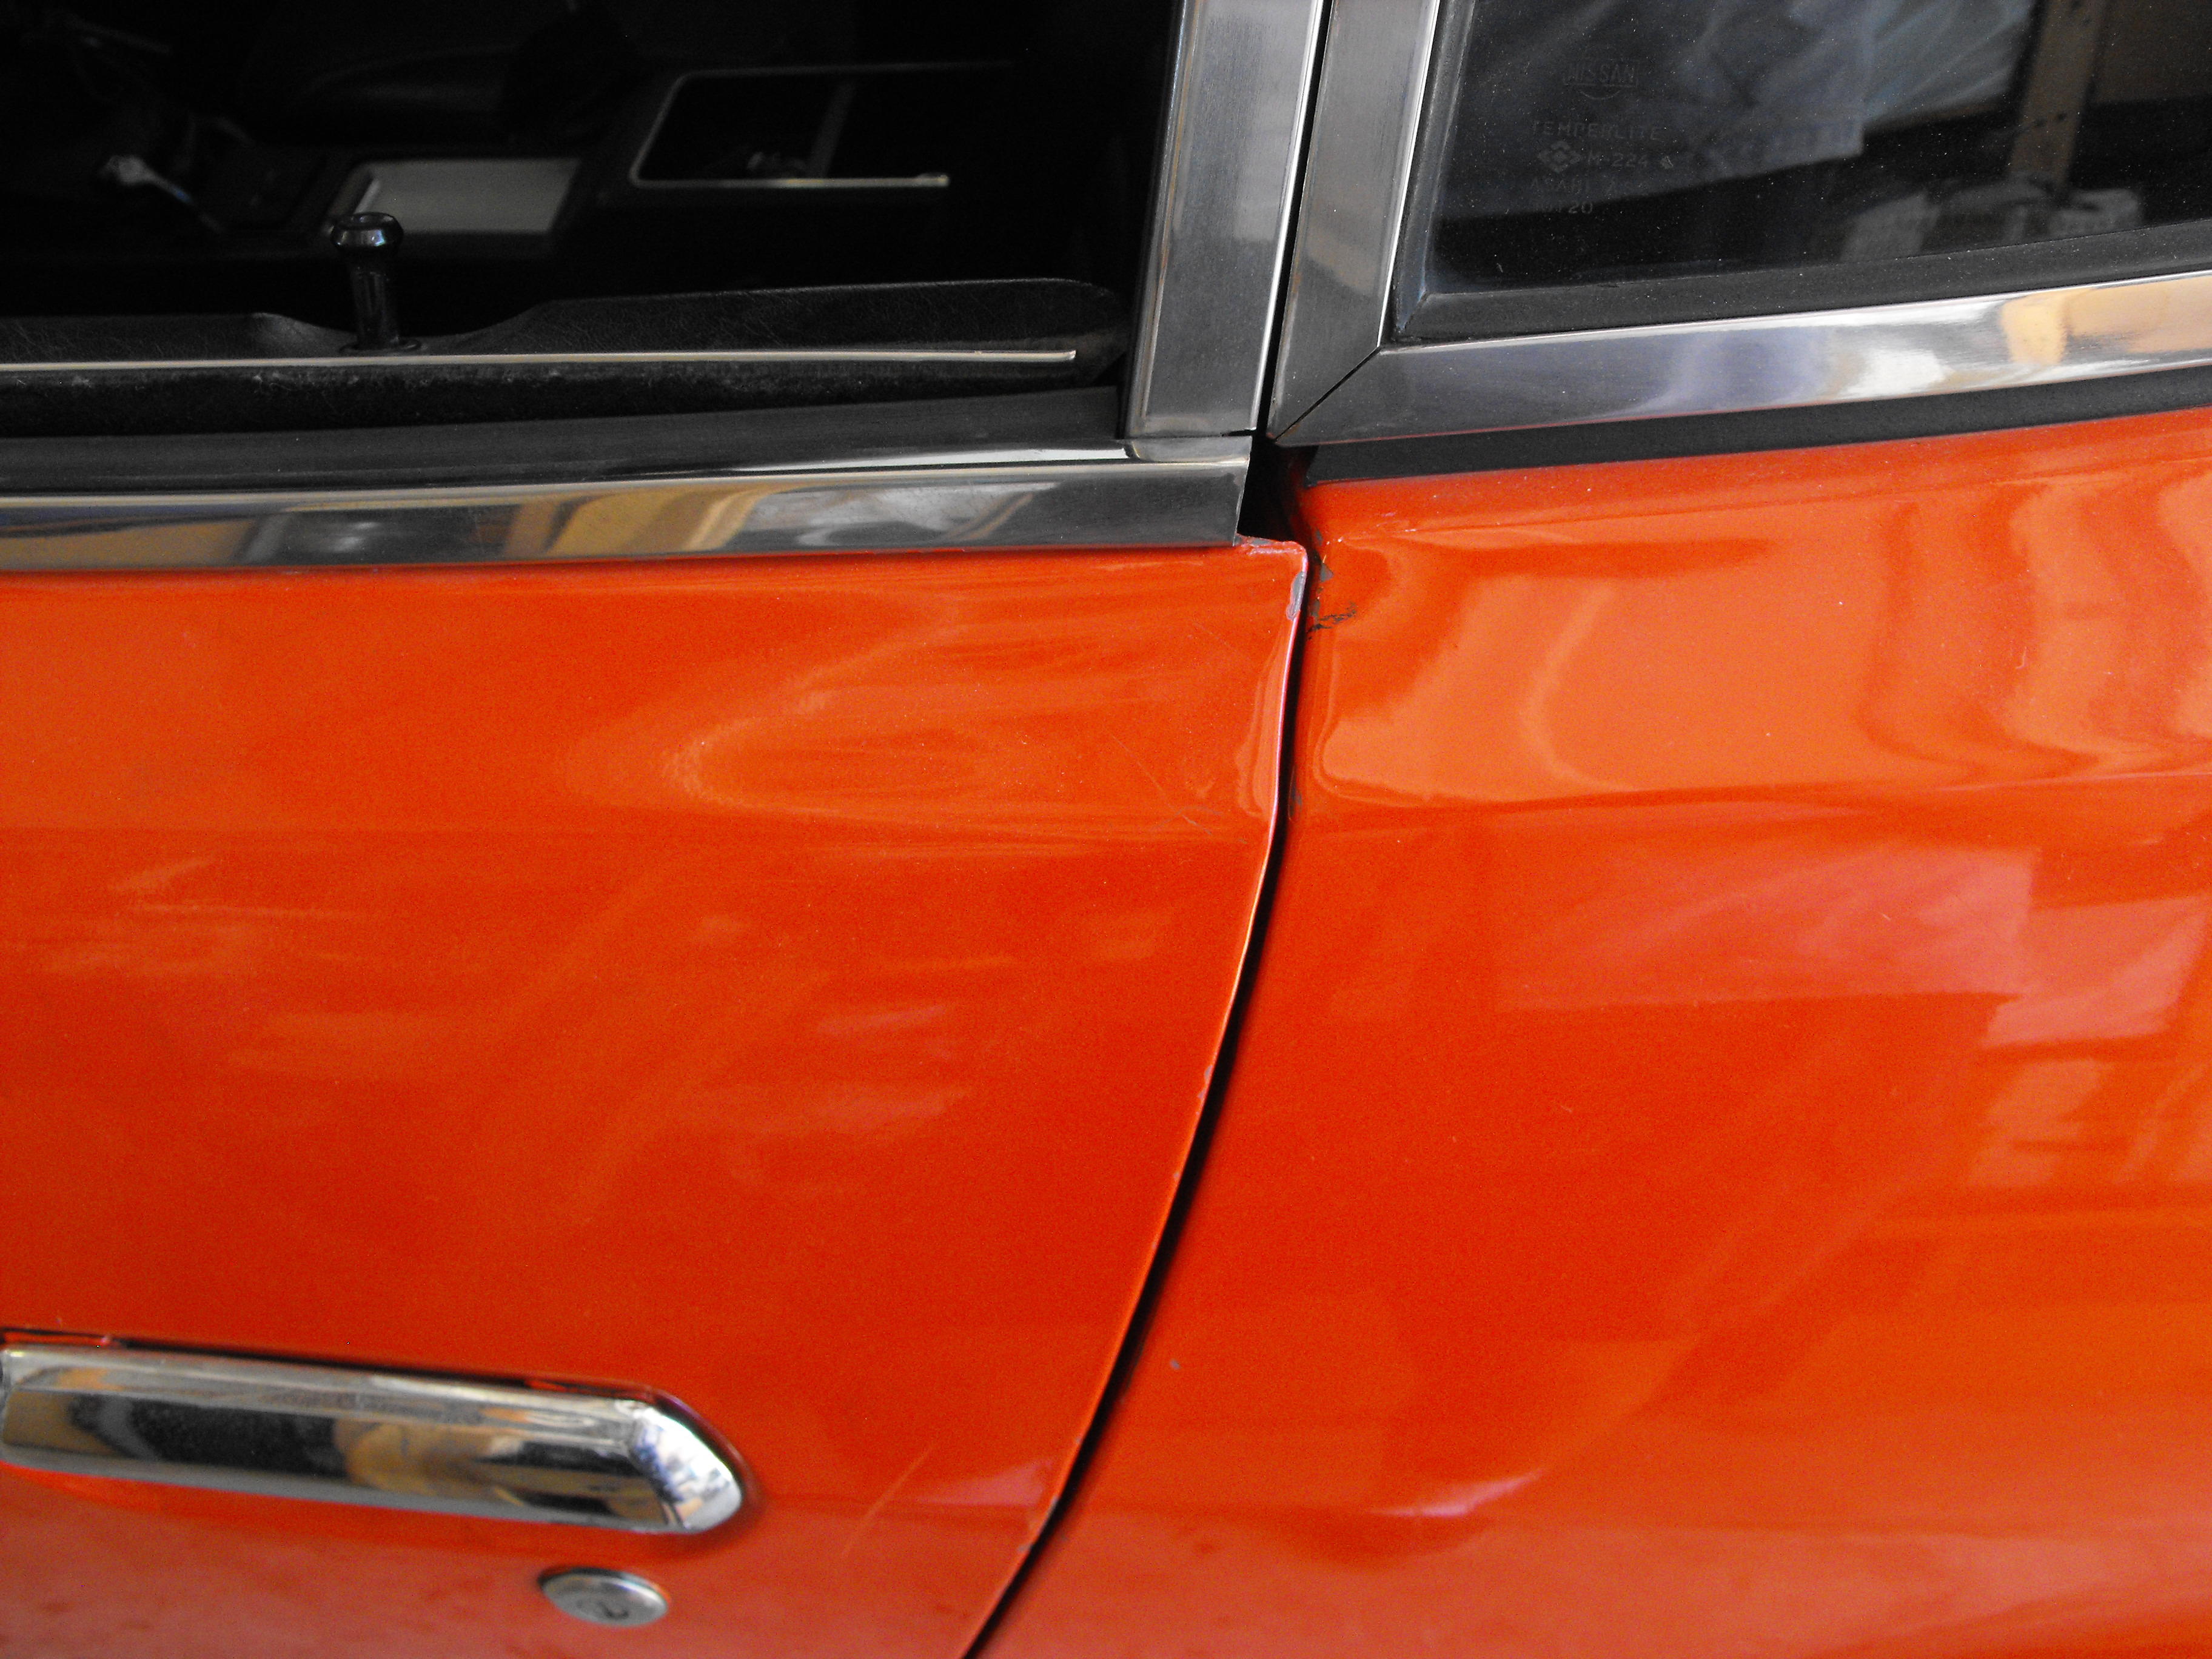
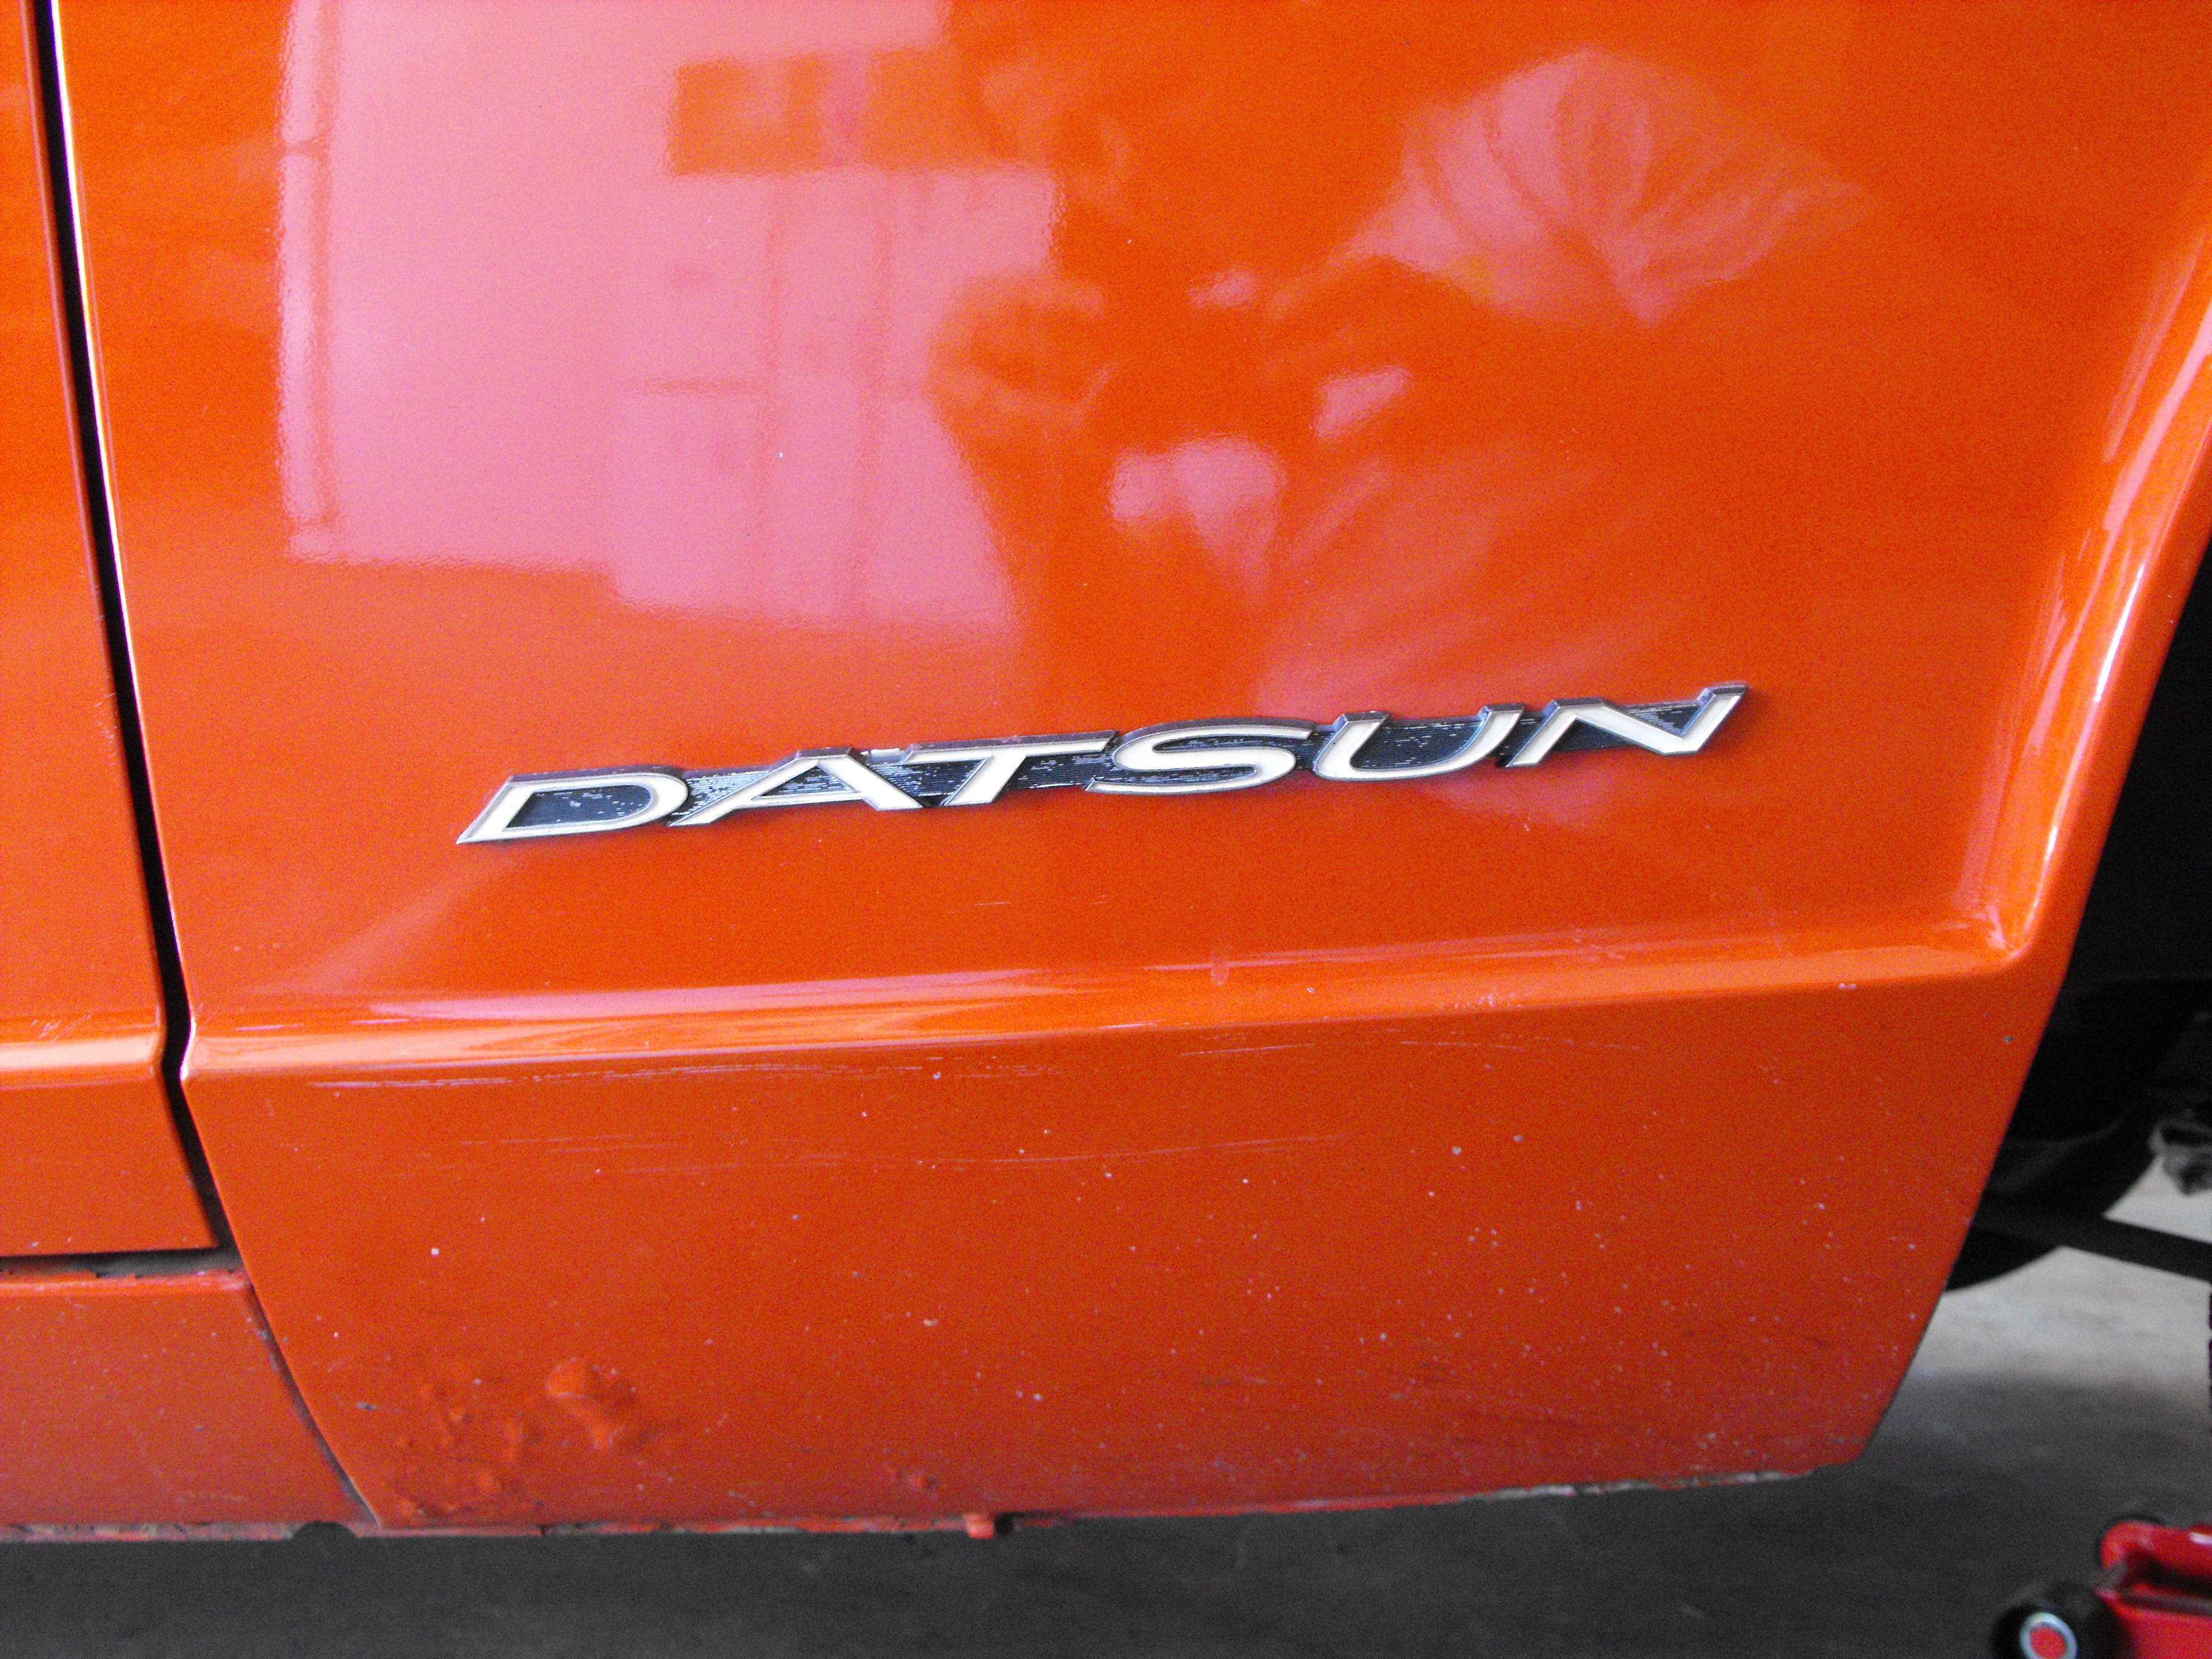
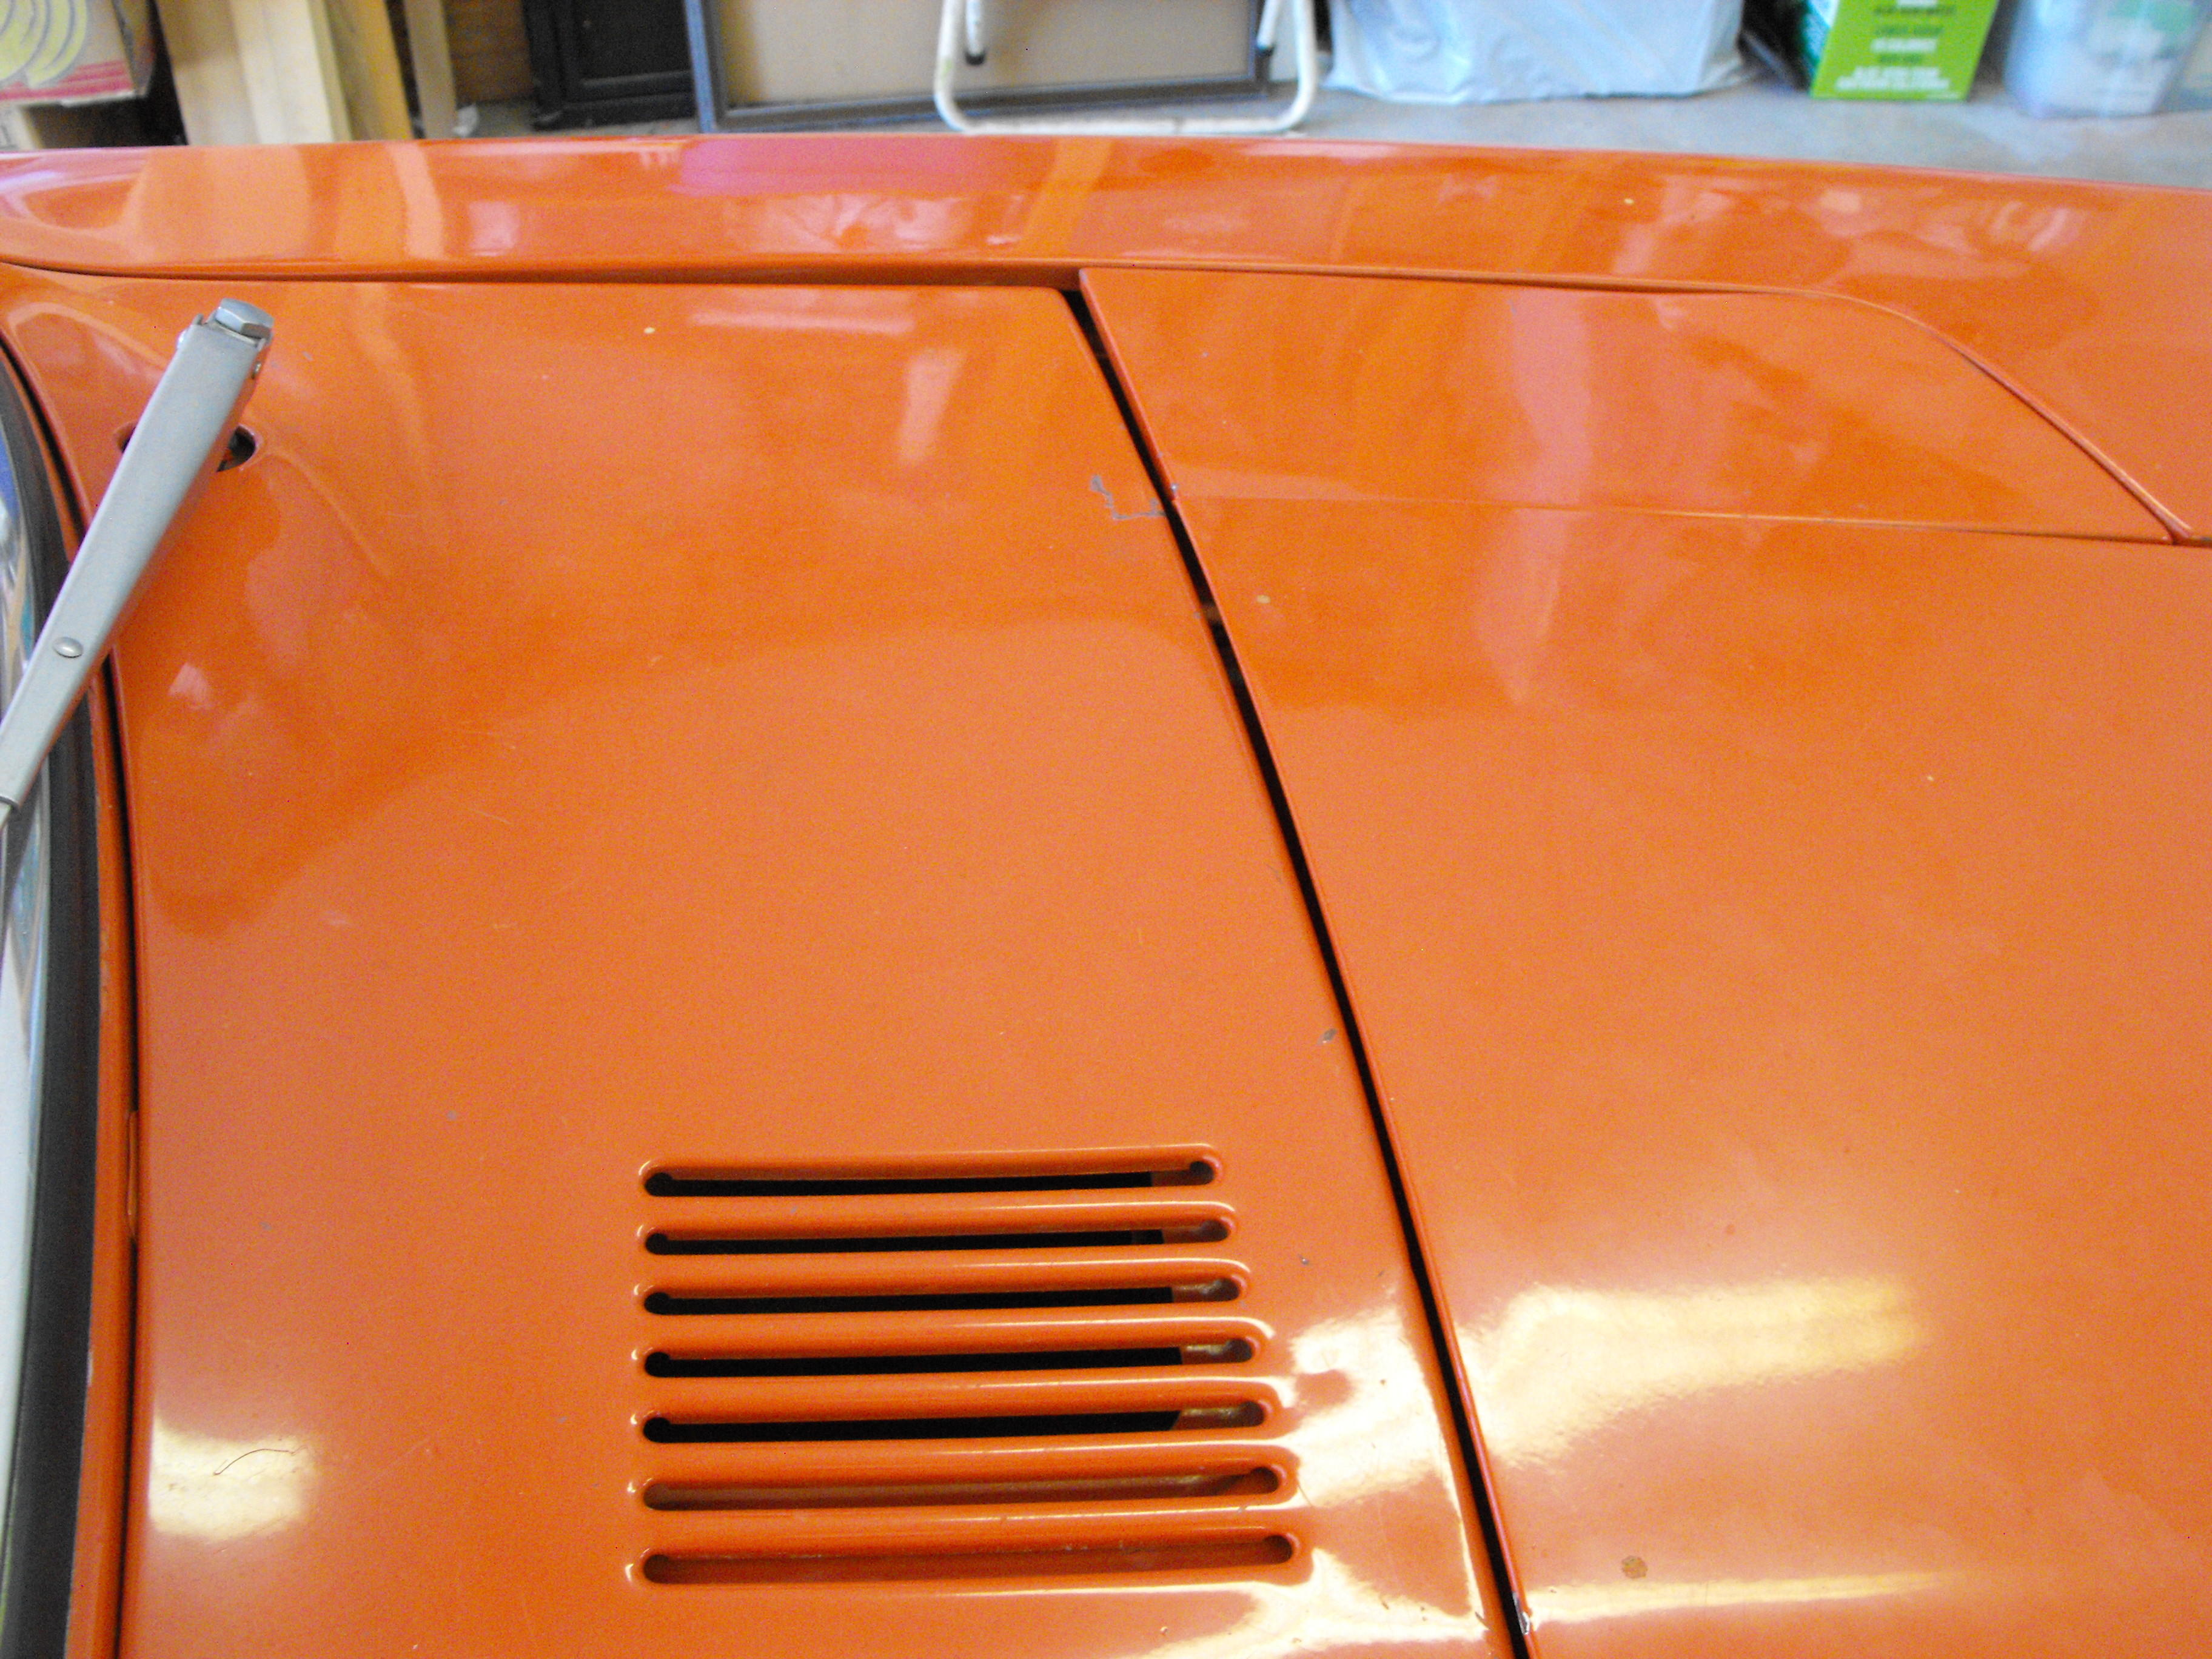
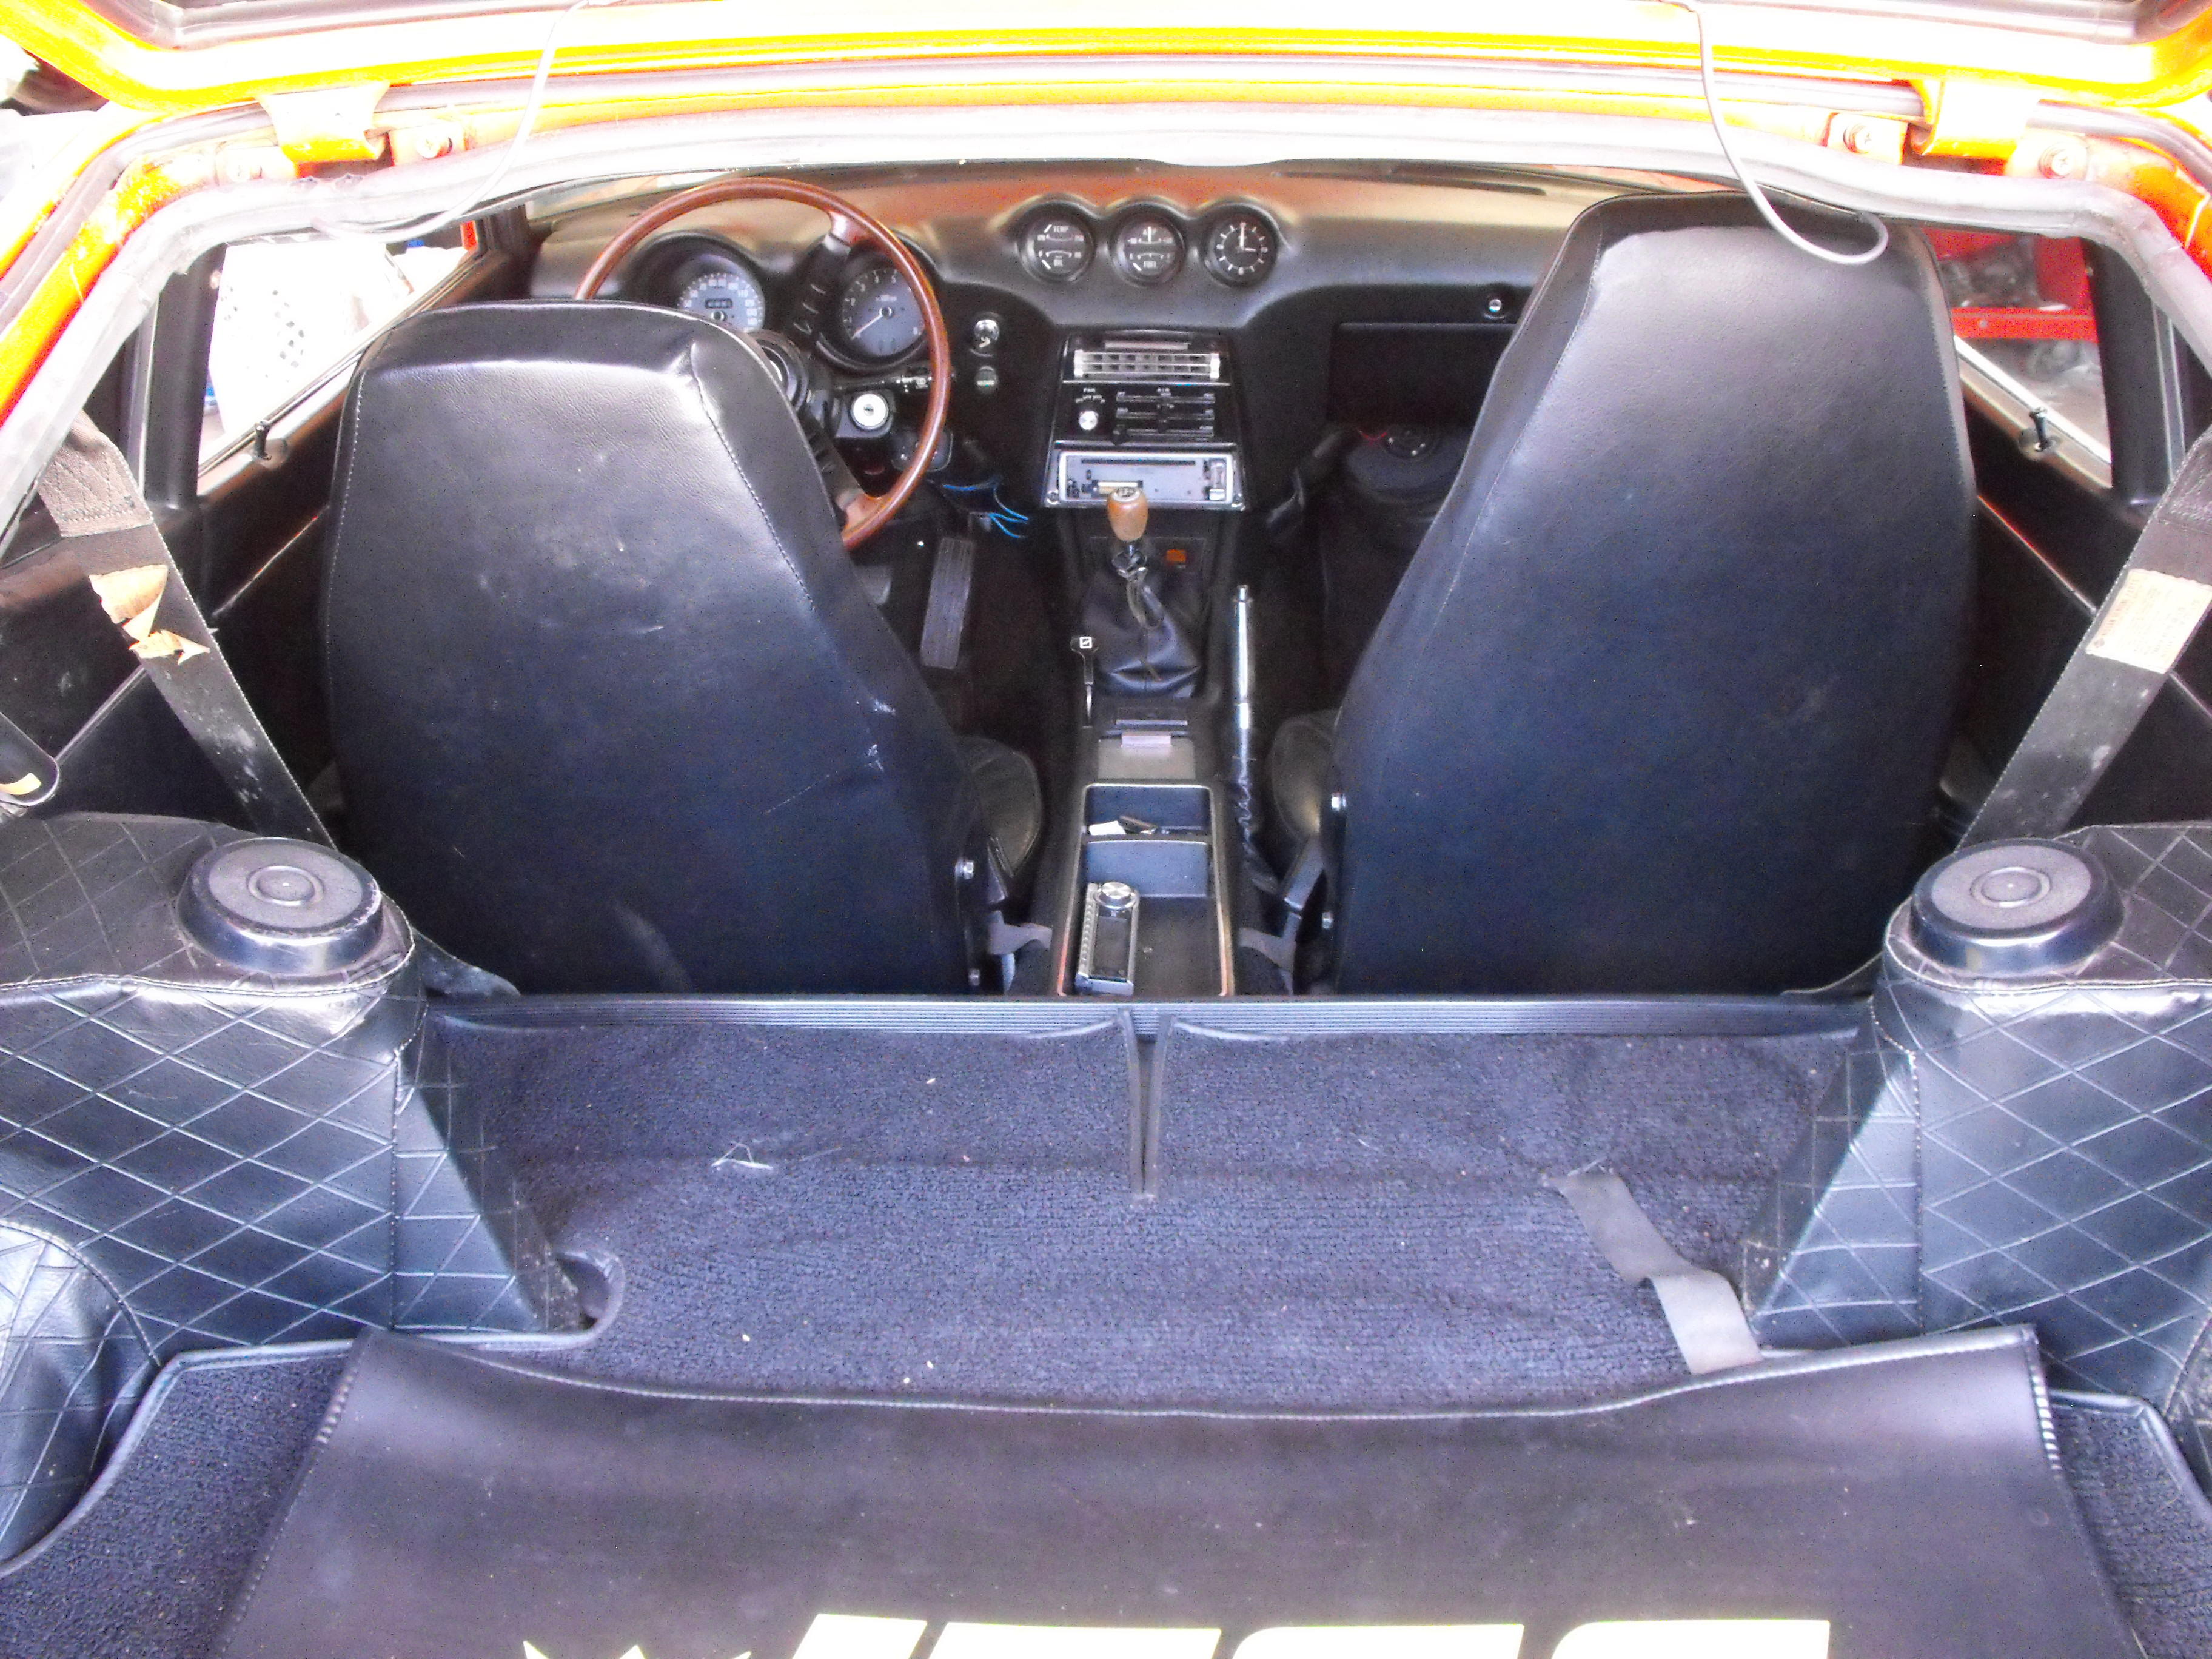
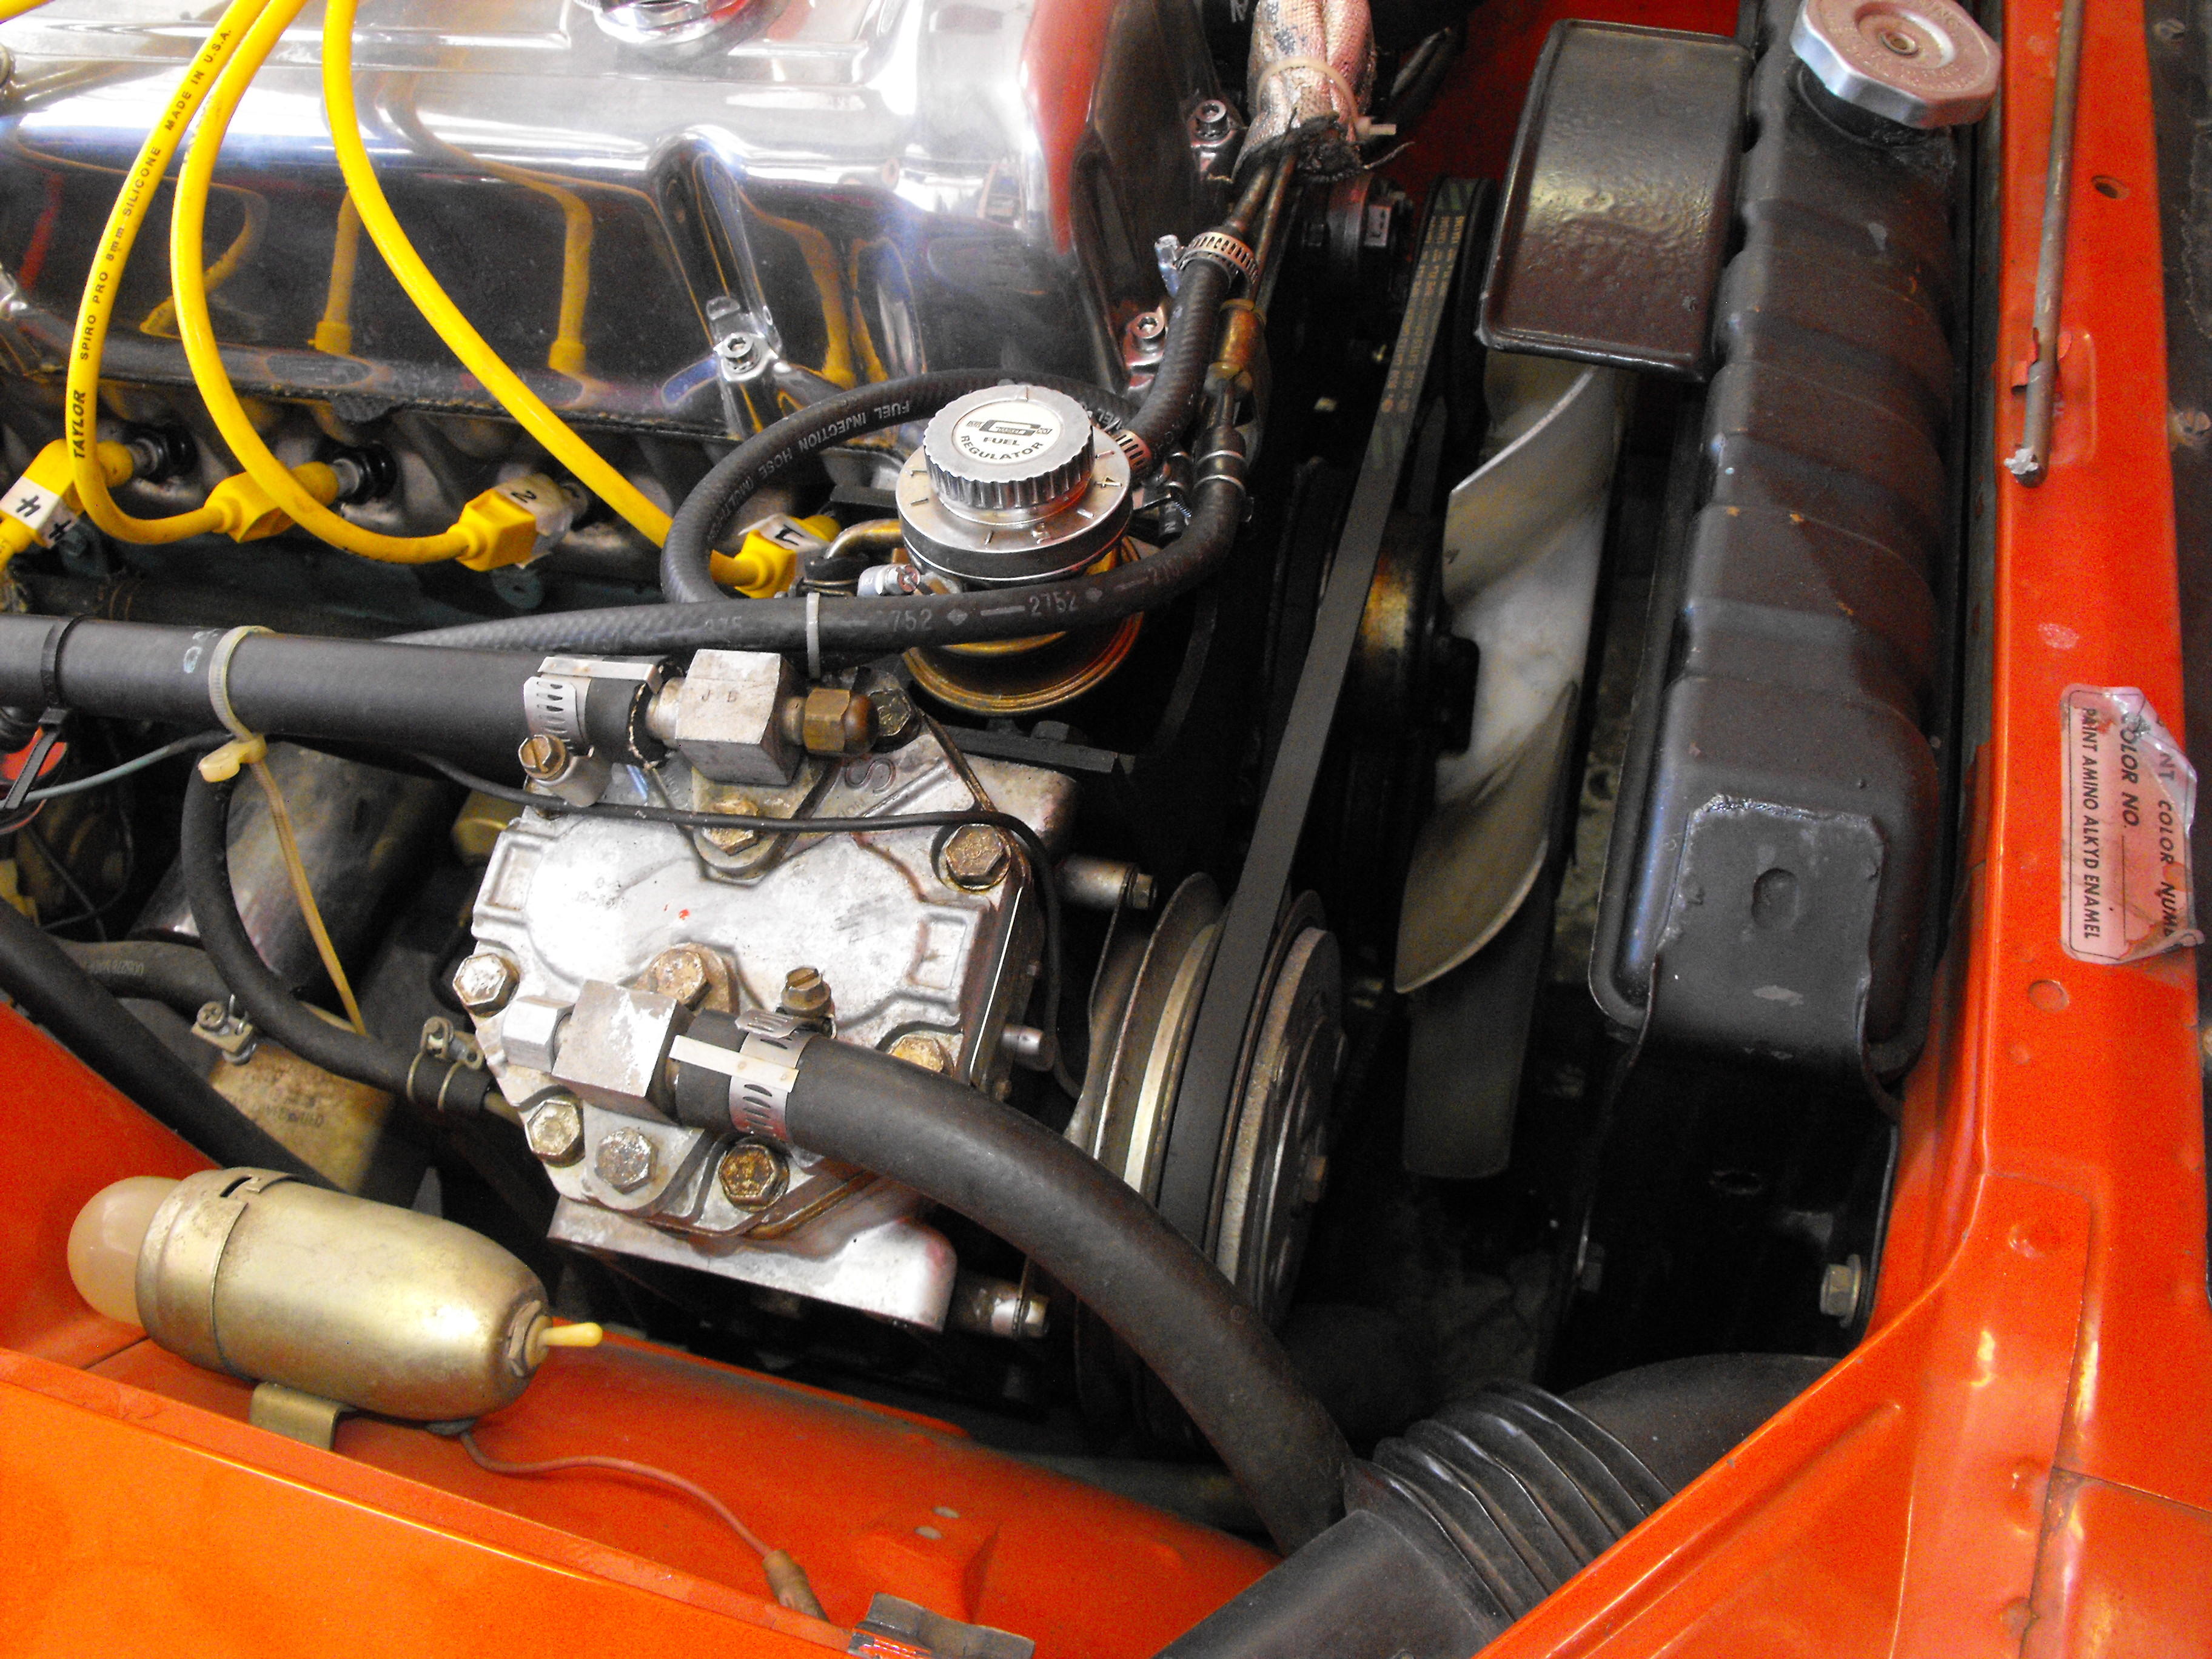
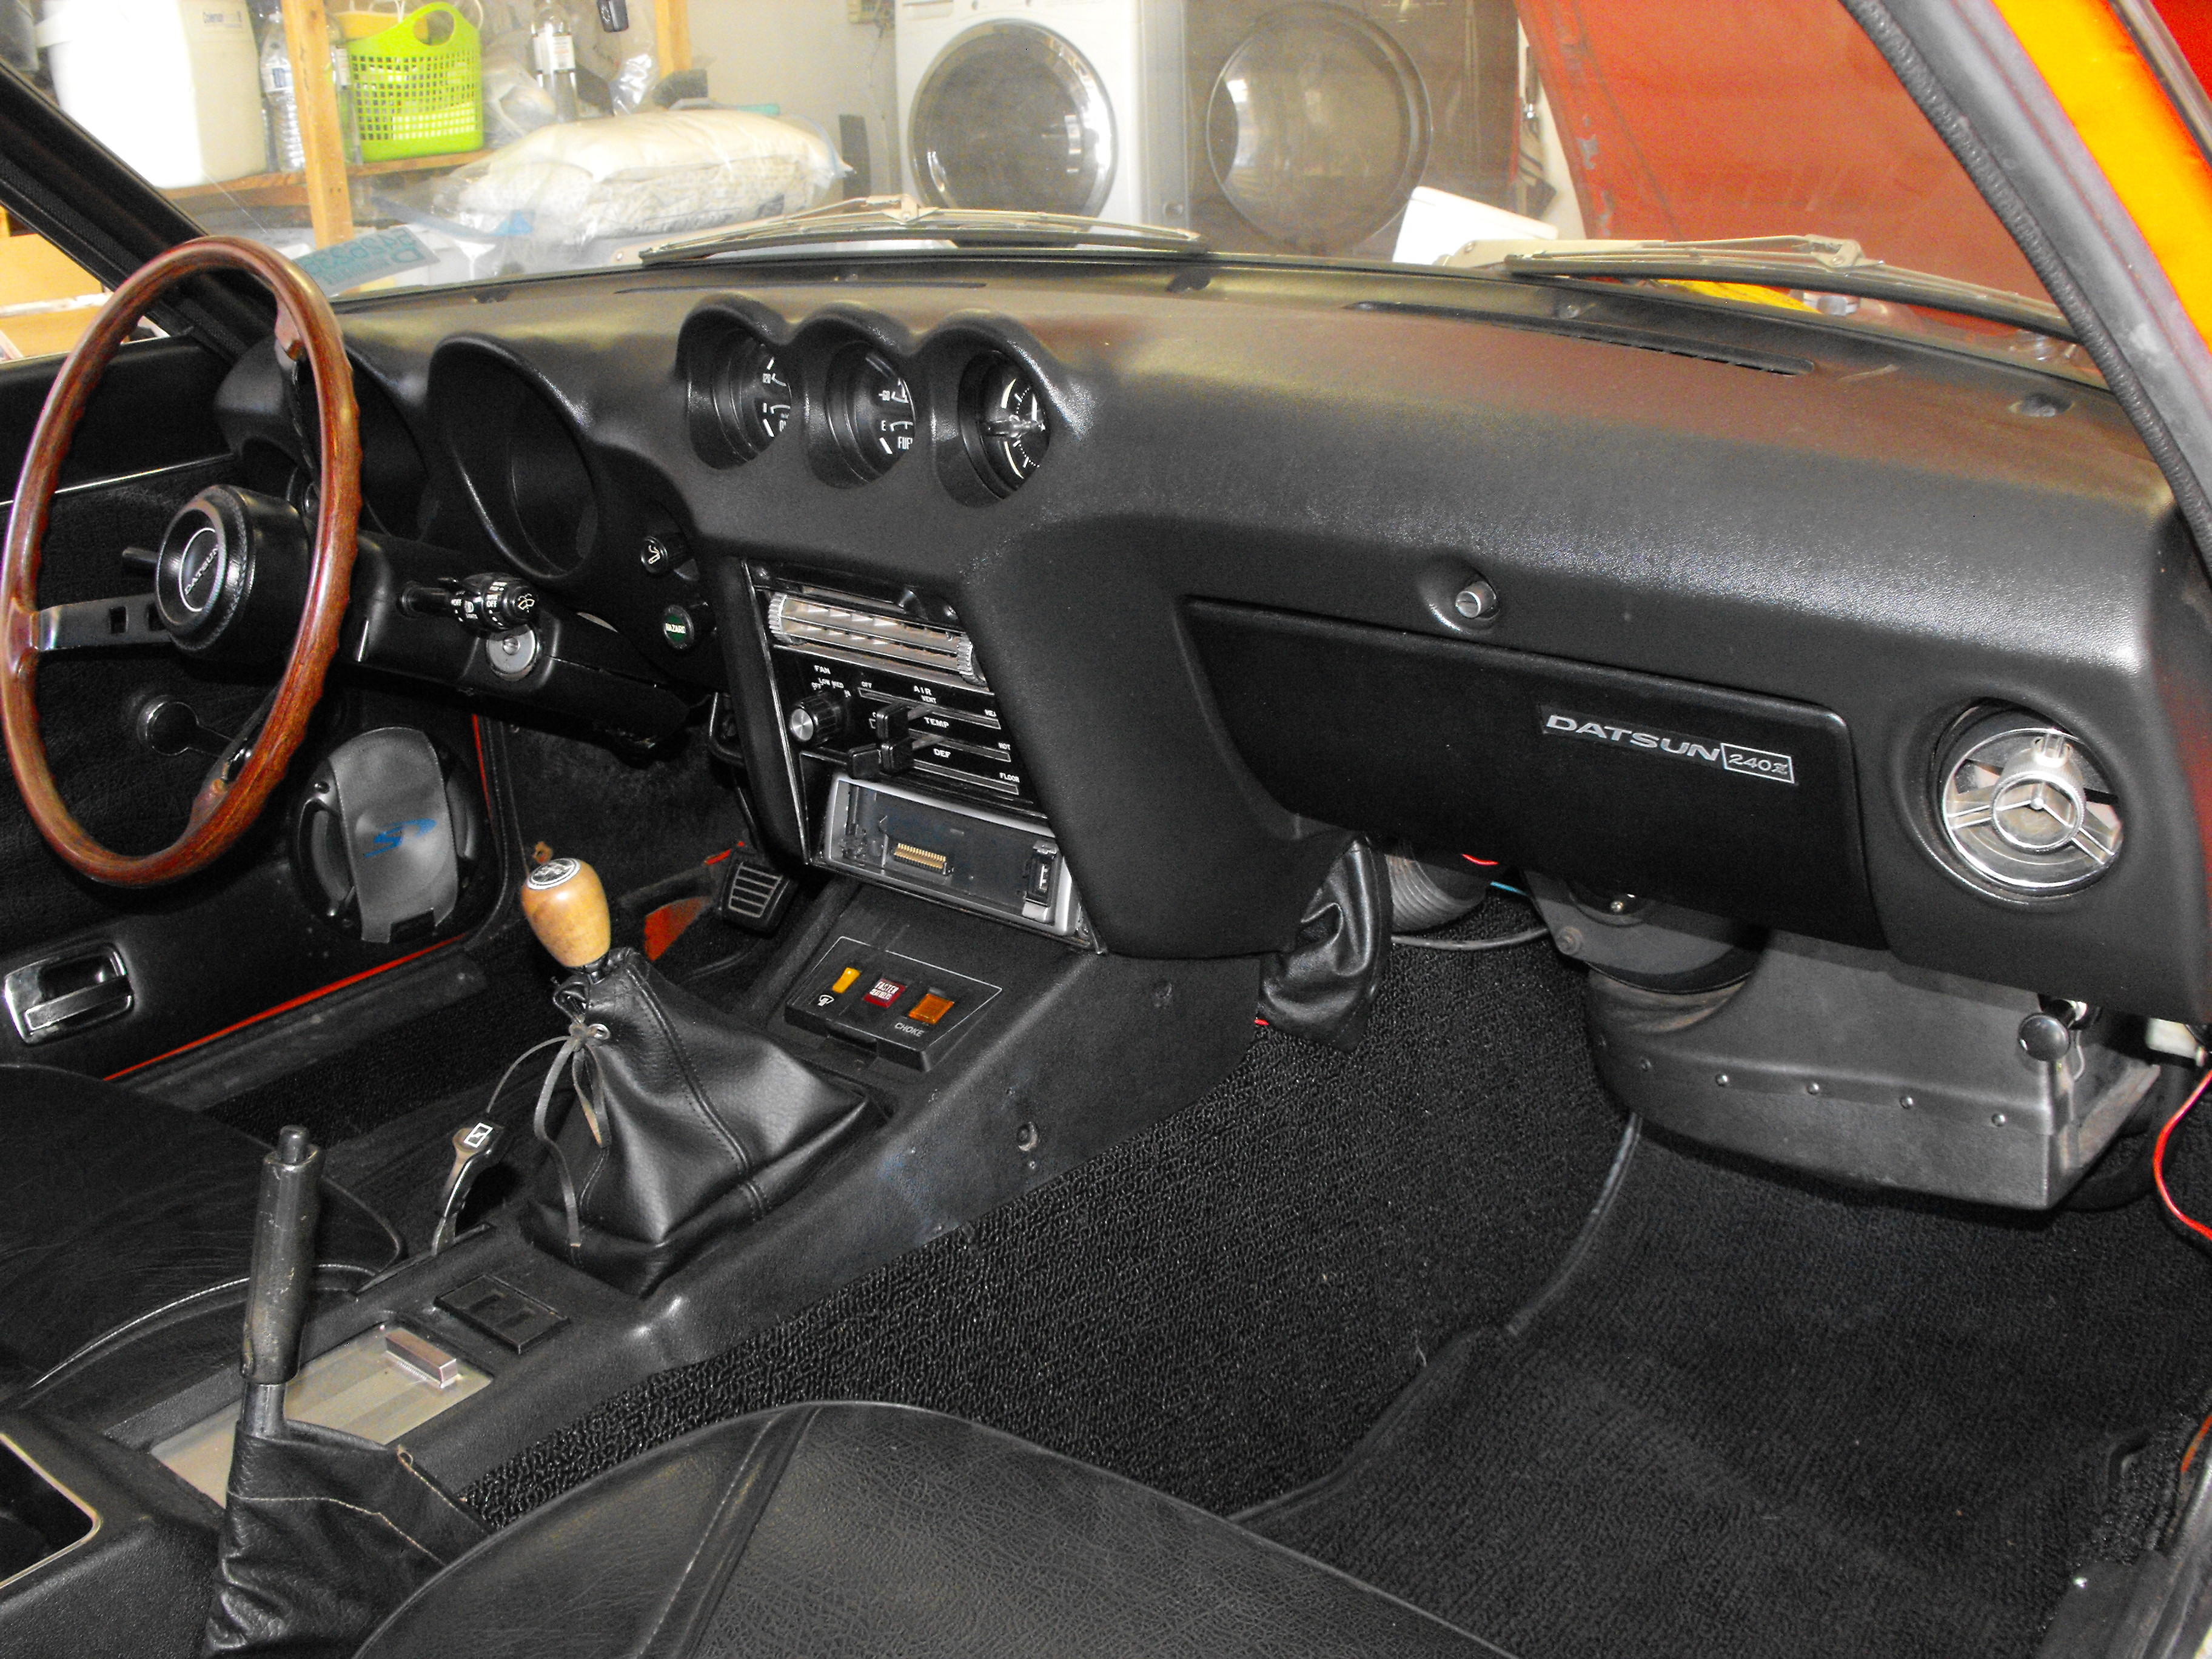
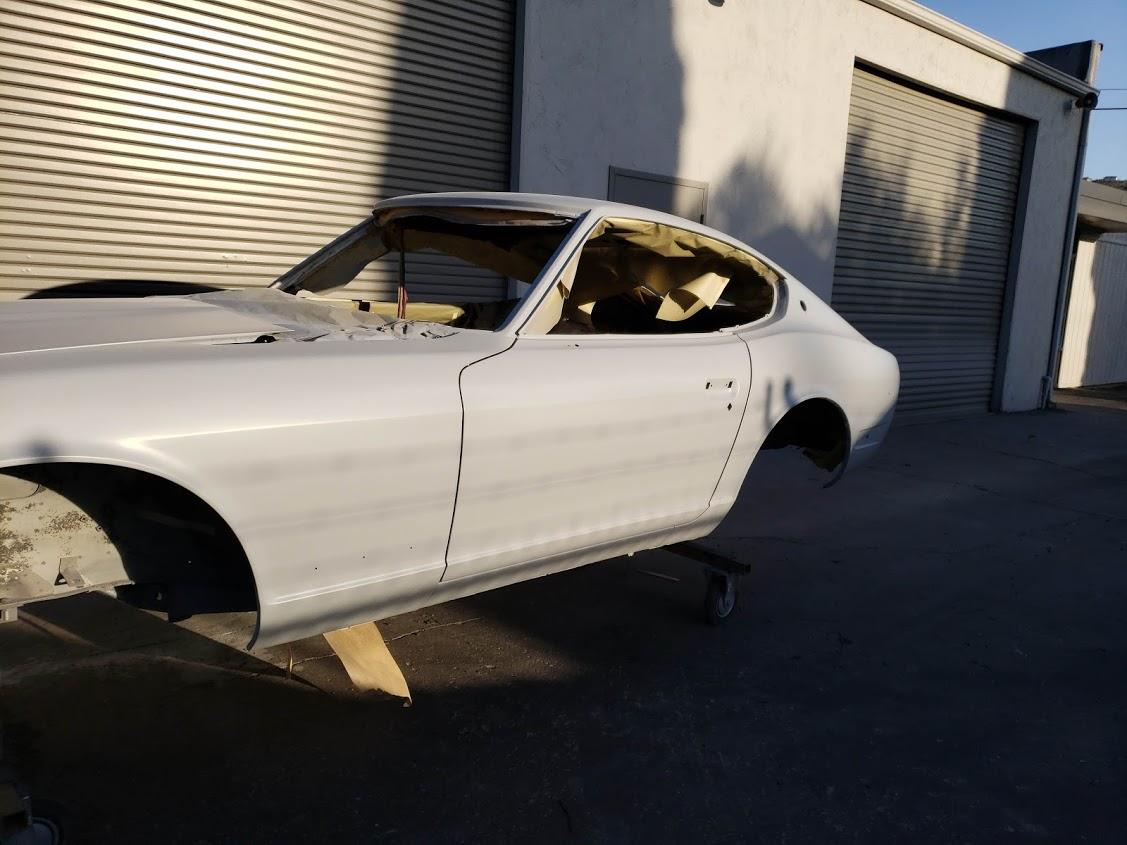
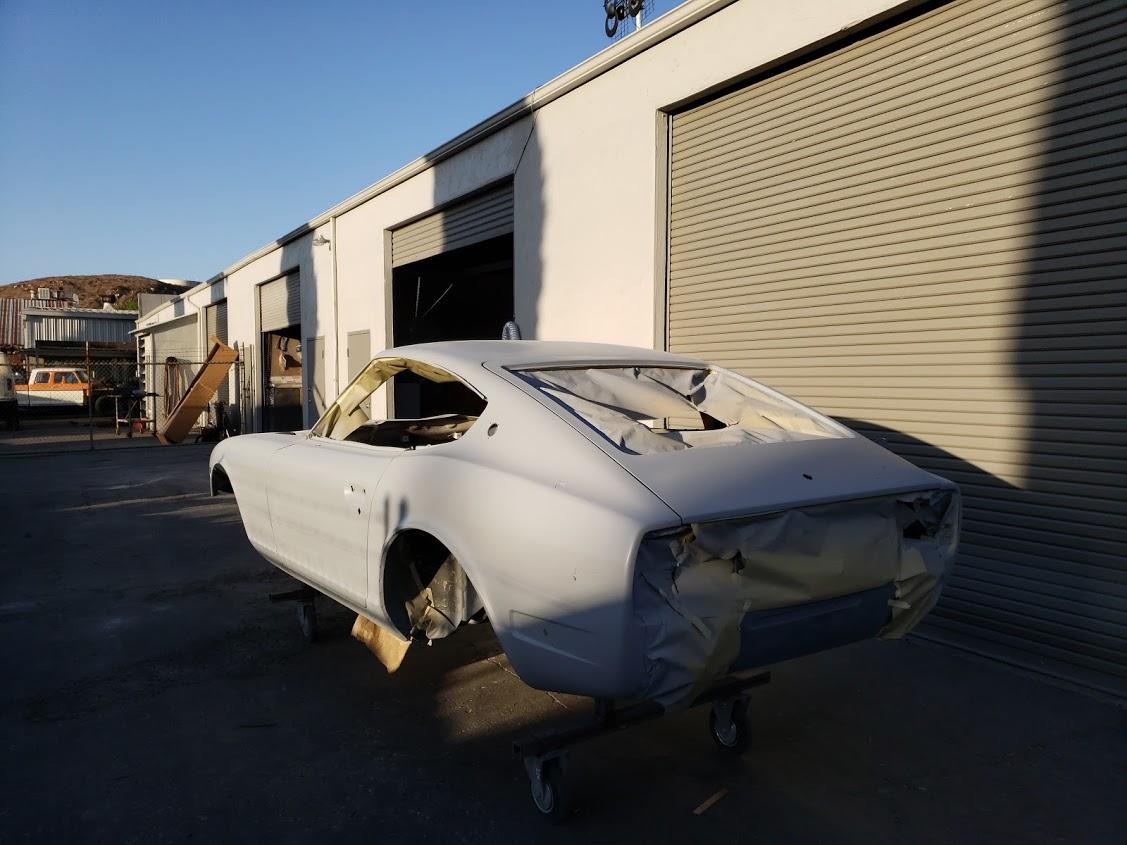
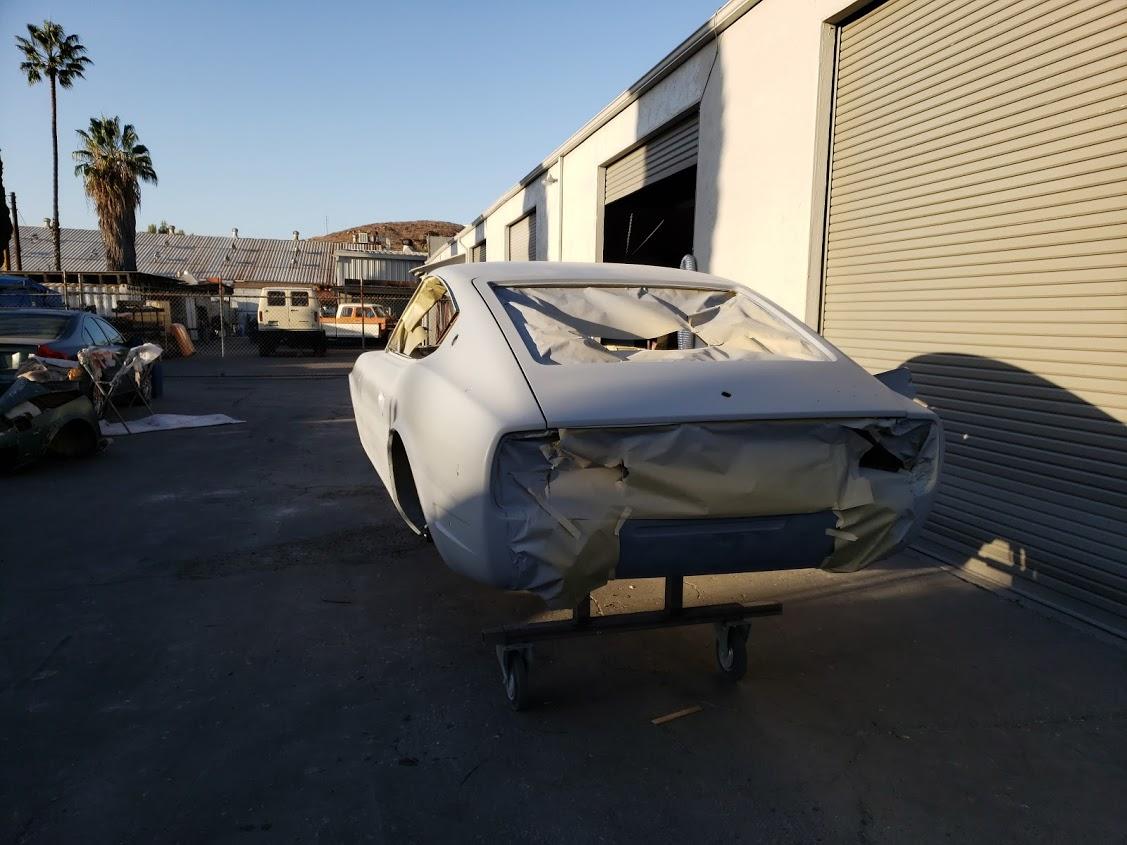
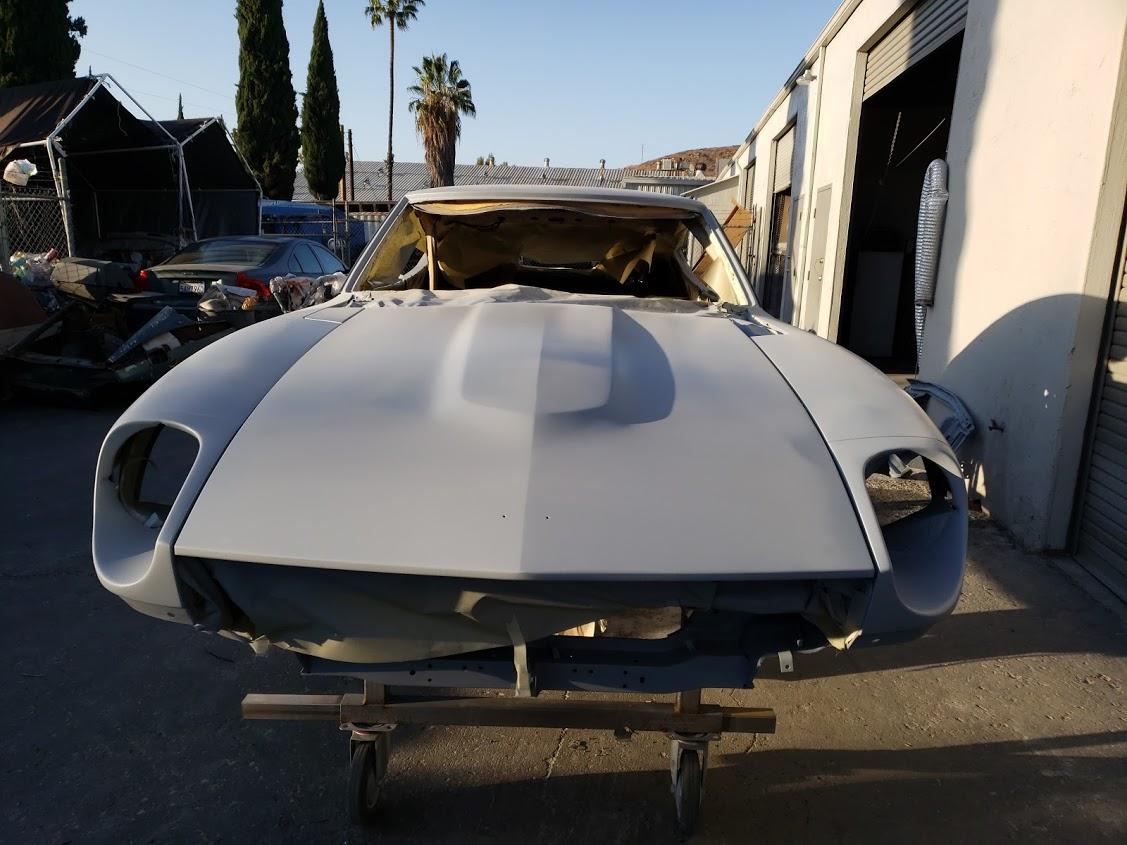
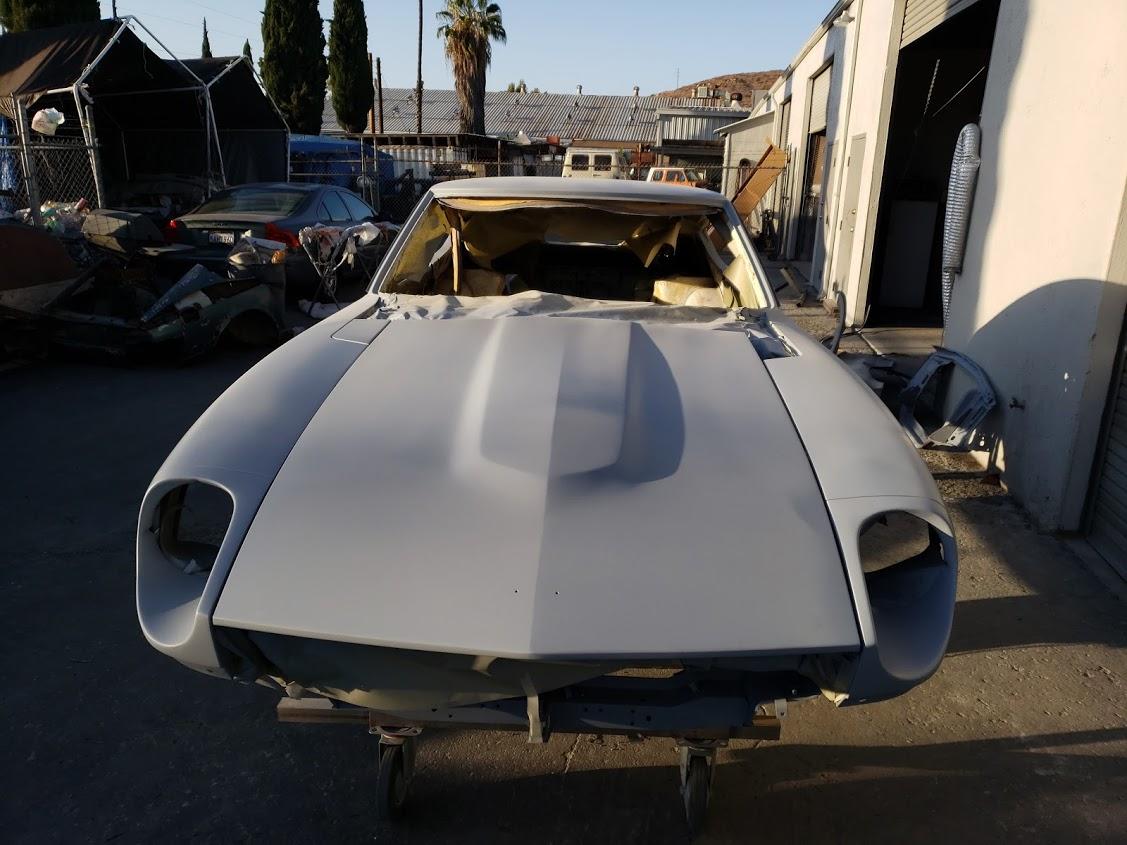
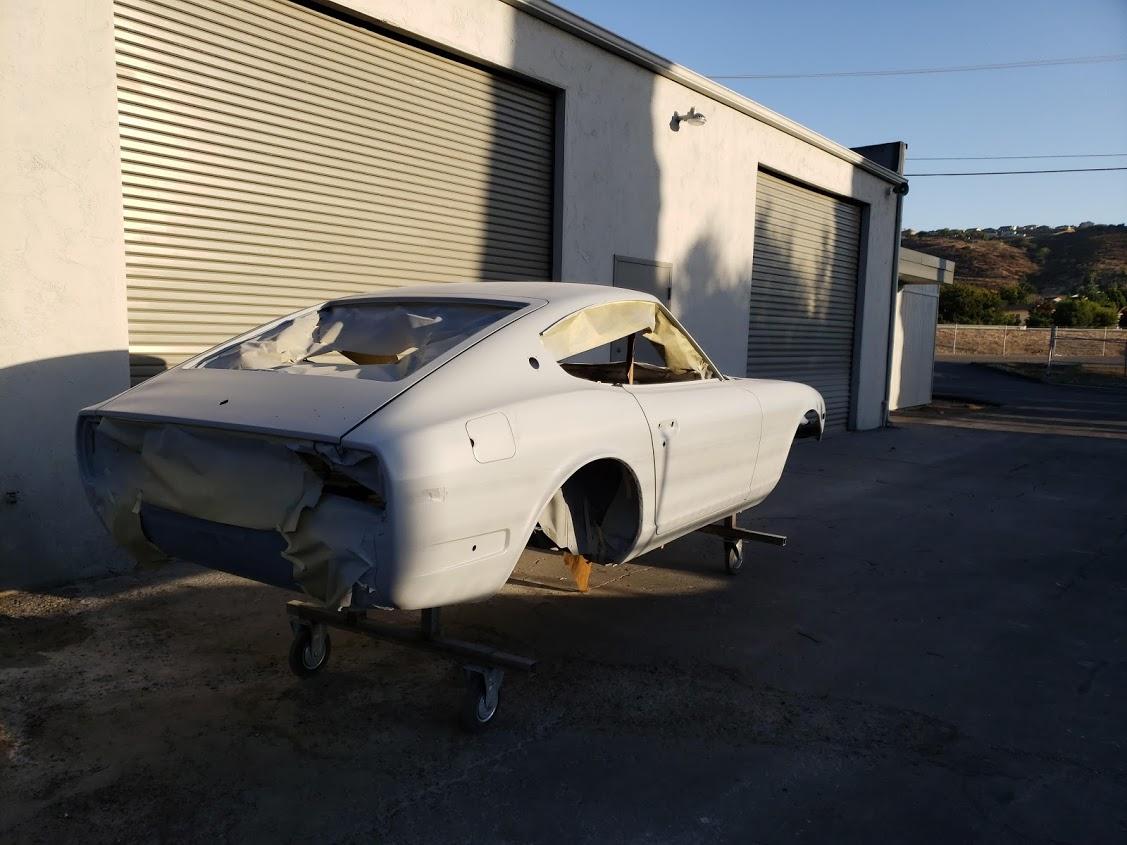
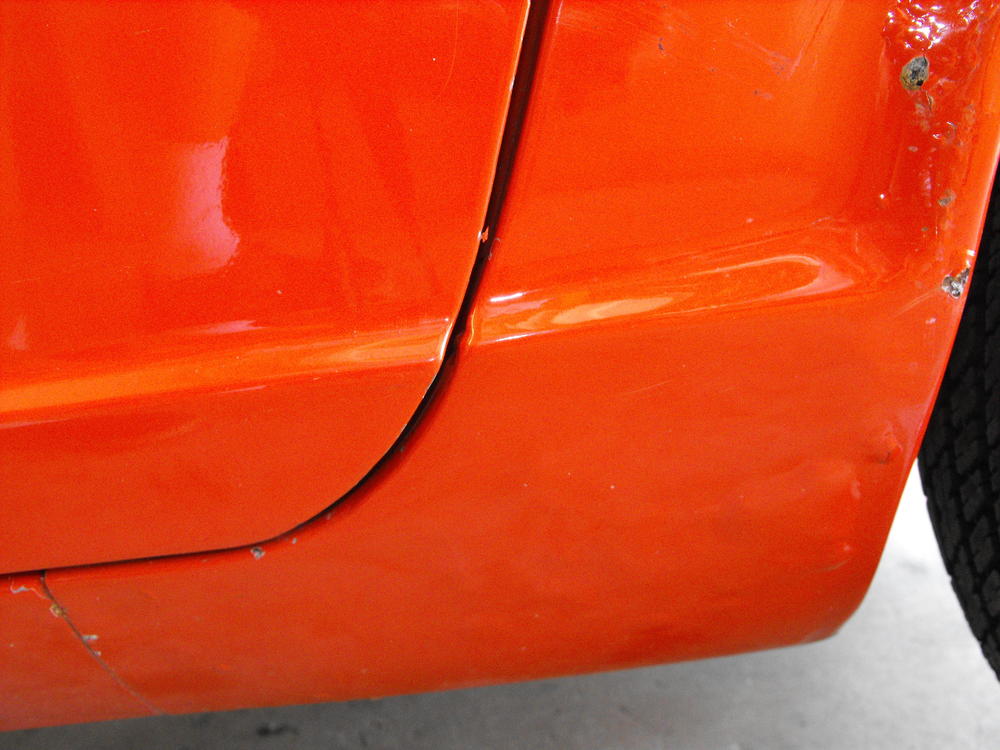
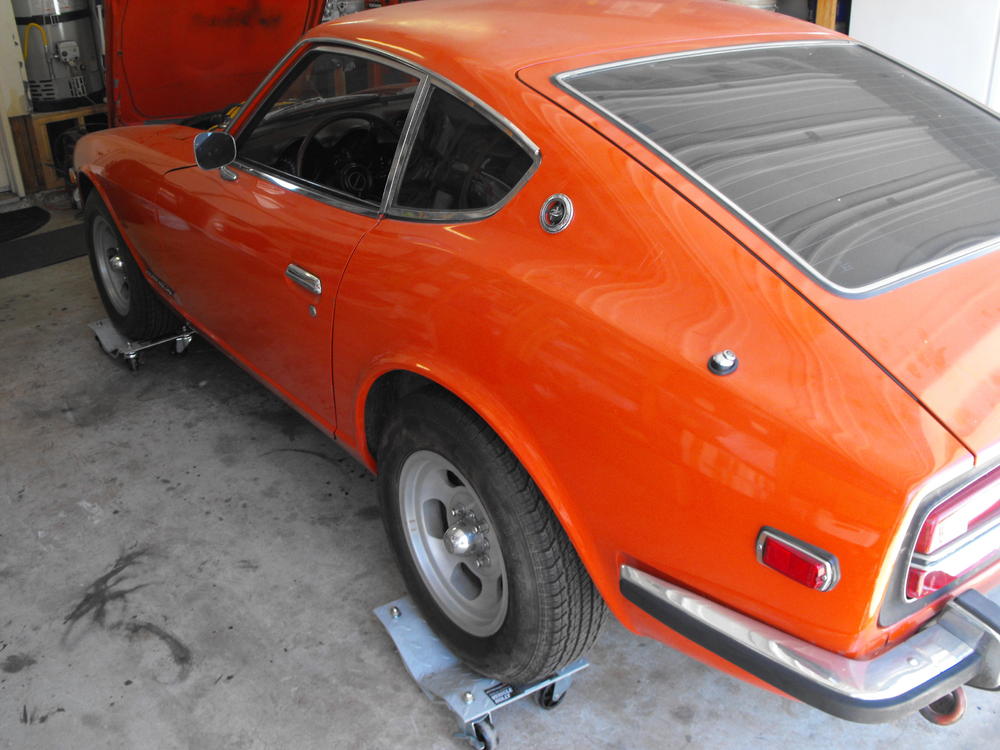
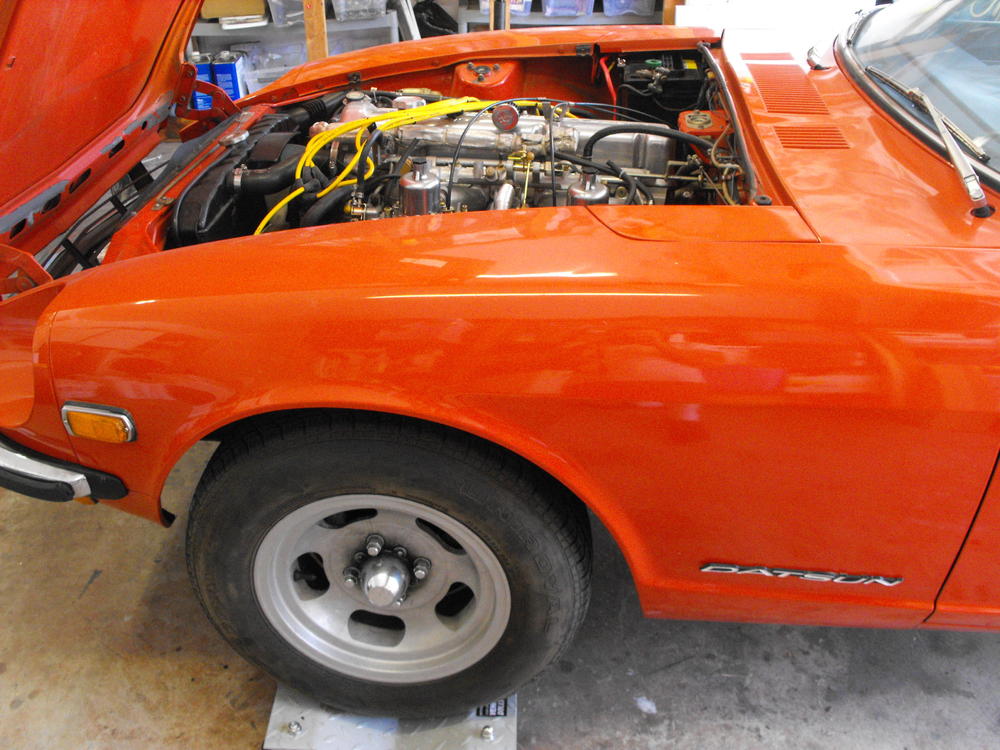
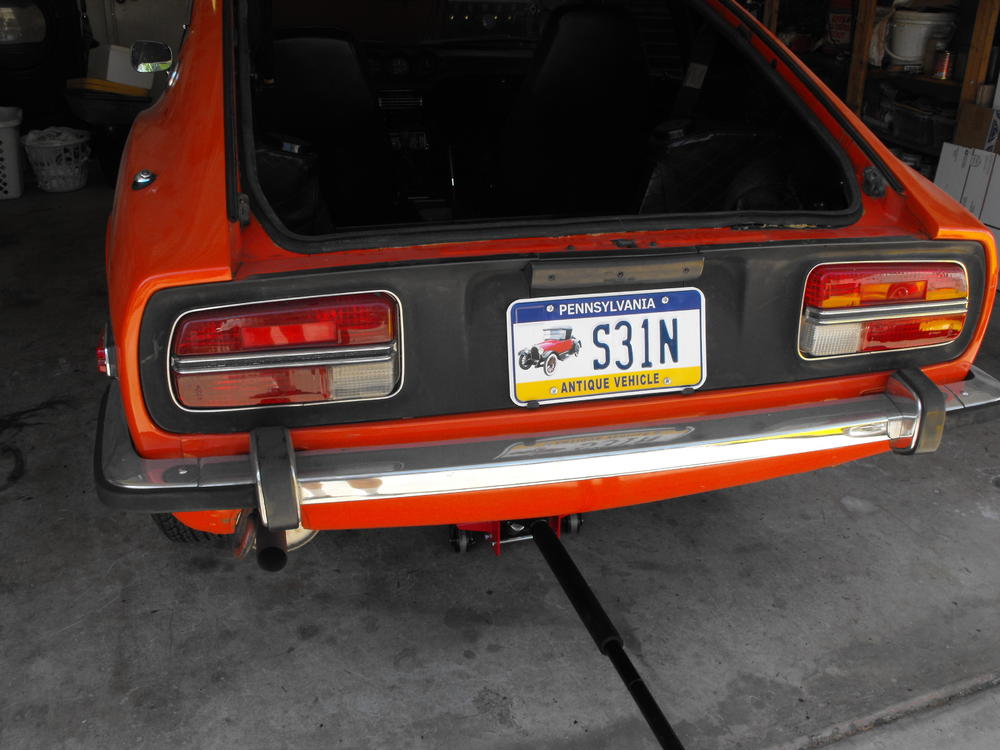
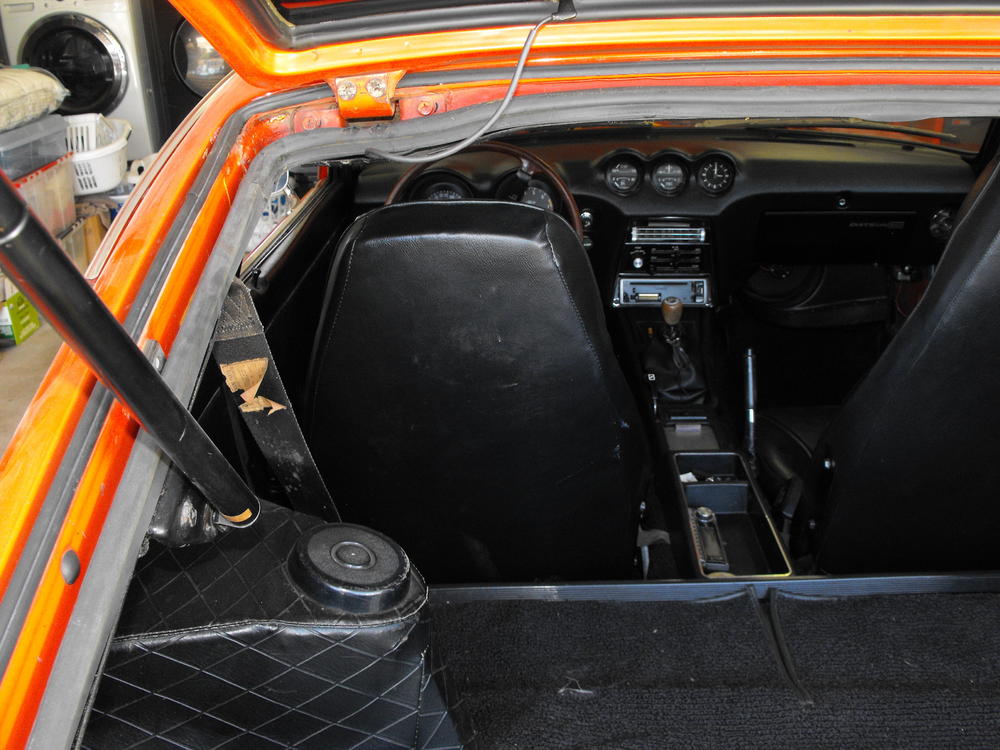
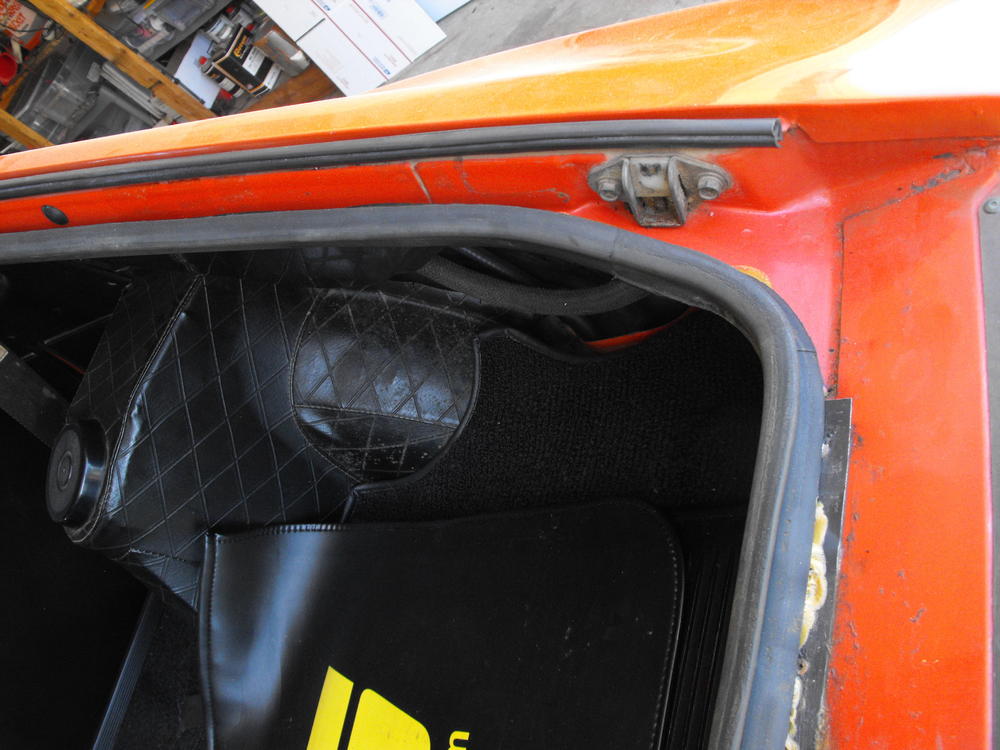
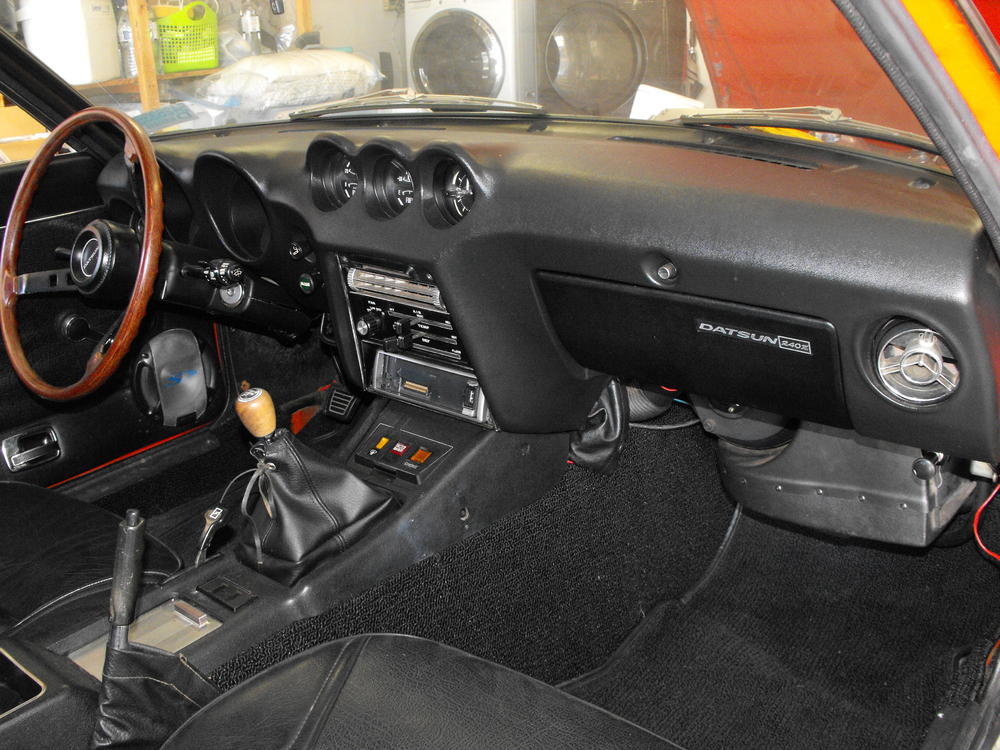
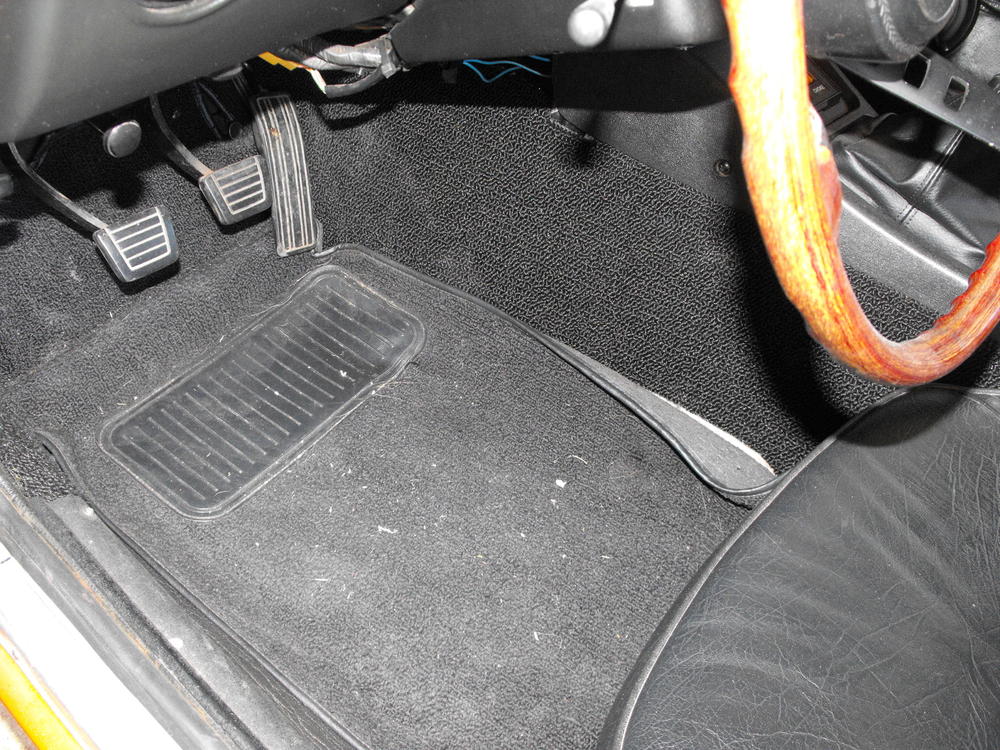
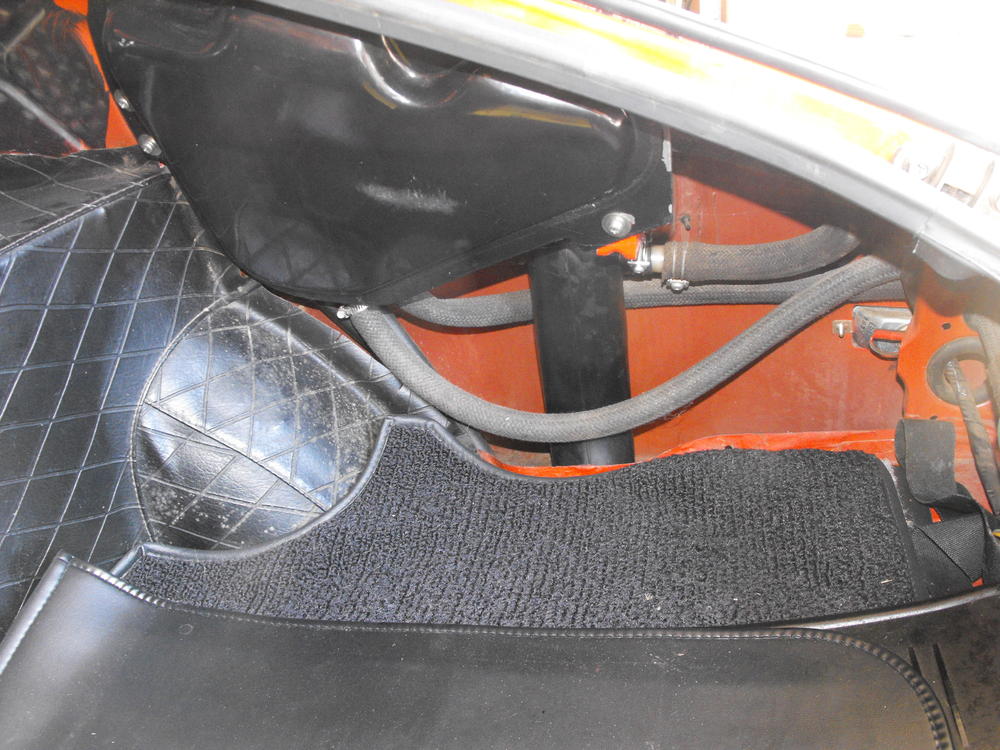
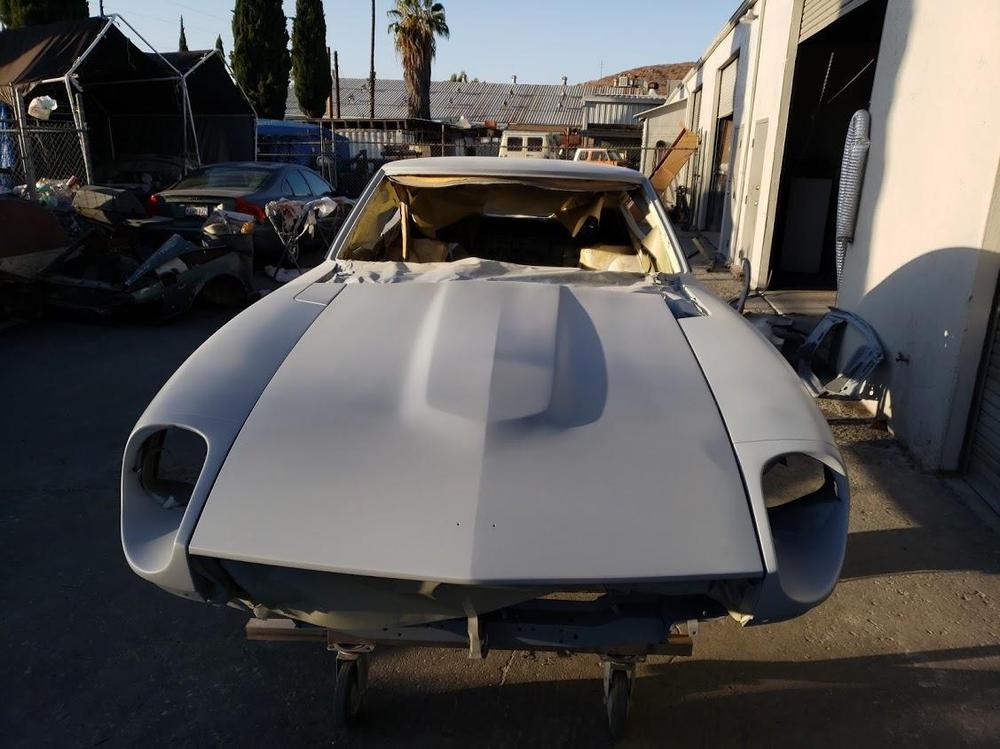
 2 pointsI am starting a new restoration for a local owner. This one has a good history,so I am looking forward to the build. The brief background is that the owners family had an Orange Z (looks to be a Series 1) growing up and apparently the car was sold some time later (Not really sure on that part). The family referred to their Z as "The Orange". To make a long story very short, The dad, the original owner, retired and the kids bought him this orange Z for him to work on in his retirement and bring back the memory of his youth. Gee that sounds familiar. Unfortunately, part way through the restoration, the father passed away and the Z is now owned by the daughter, shown in the first picture here. The owner contacted me and asked me to finish the restoration ( I will fill in a bit more background on this later). So anyway, the plan is to finish the restoration that the father started. And of cou rse, we will take this to a very nice level of restoration, similar to my previous two cars. We still have some decision to make on the AC, and we will most likely stick with the mags and the round tops, but otherwise we will keep this very stock. Below are some pics of the car. Other than the body, the car is in very nice condition and was derivable. Also, car has an original uncracked dash and a nice assortment of restoration parts to be installed later. Also, the passenger seat is original and in great condition. That is pretty rare. So, Lots of pics of the car are shown below. Will document the build here as things progress.
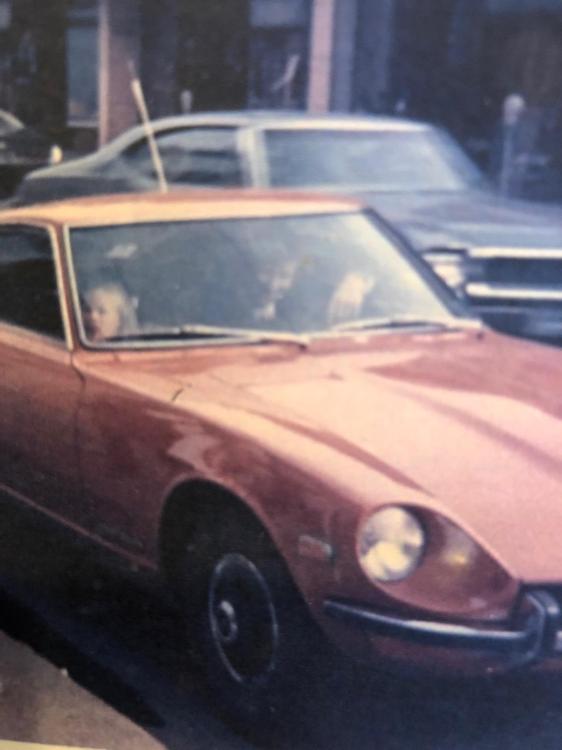


 2 points
 -
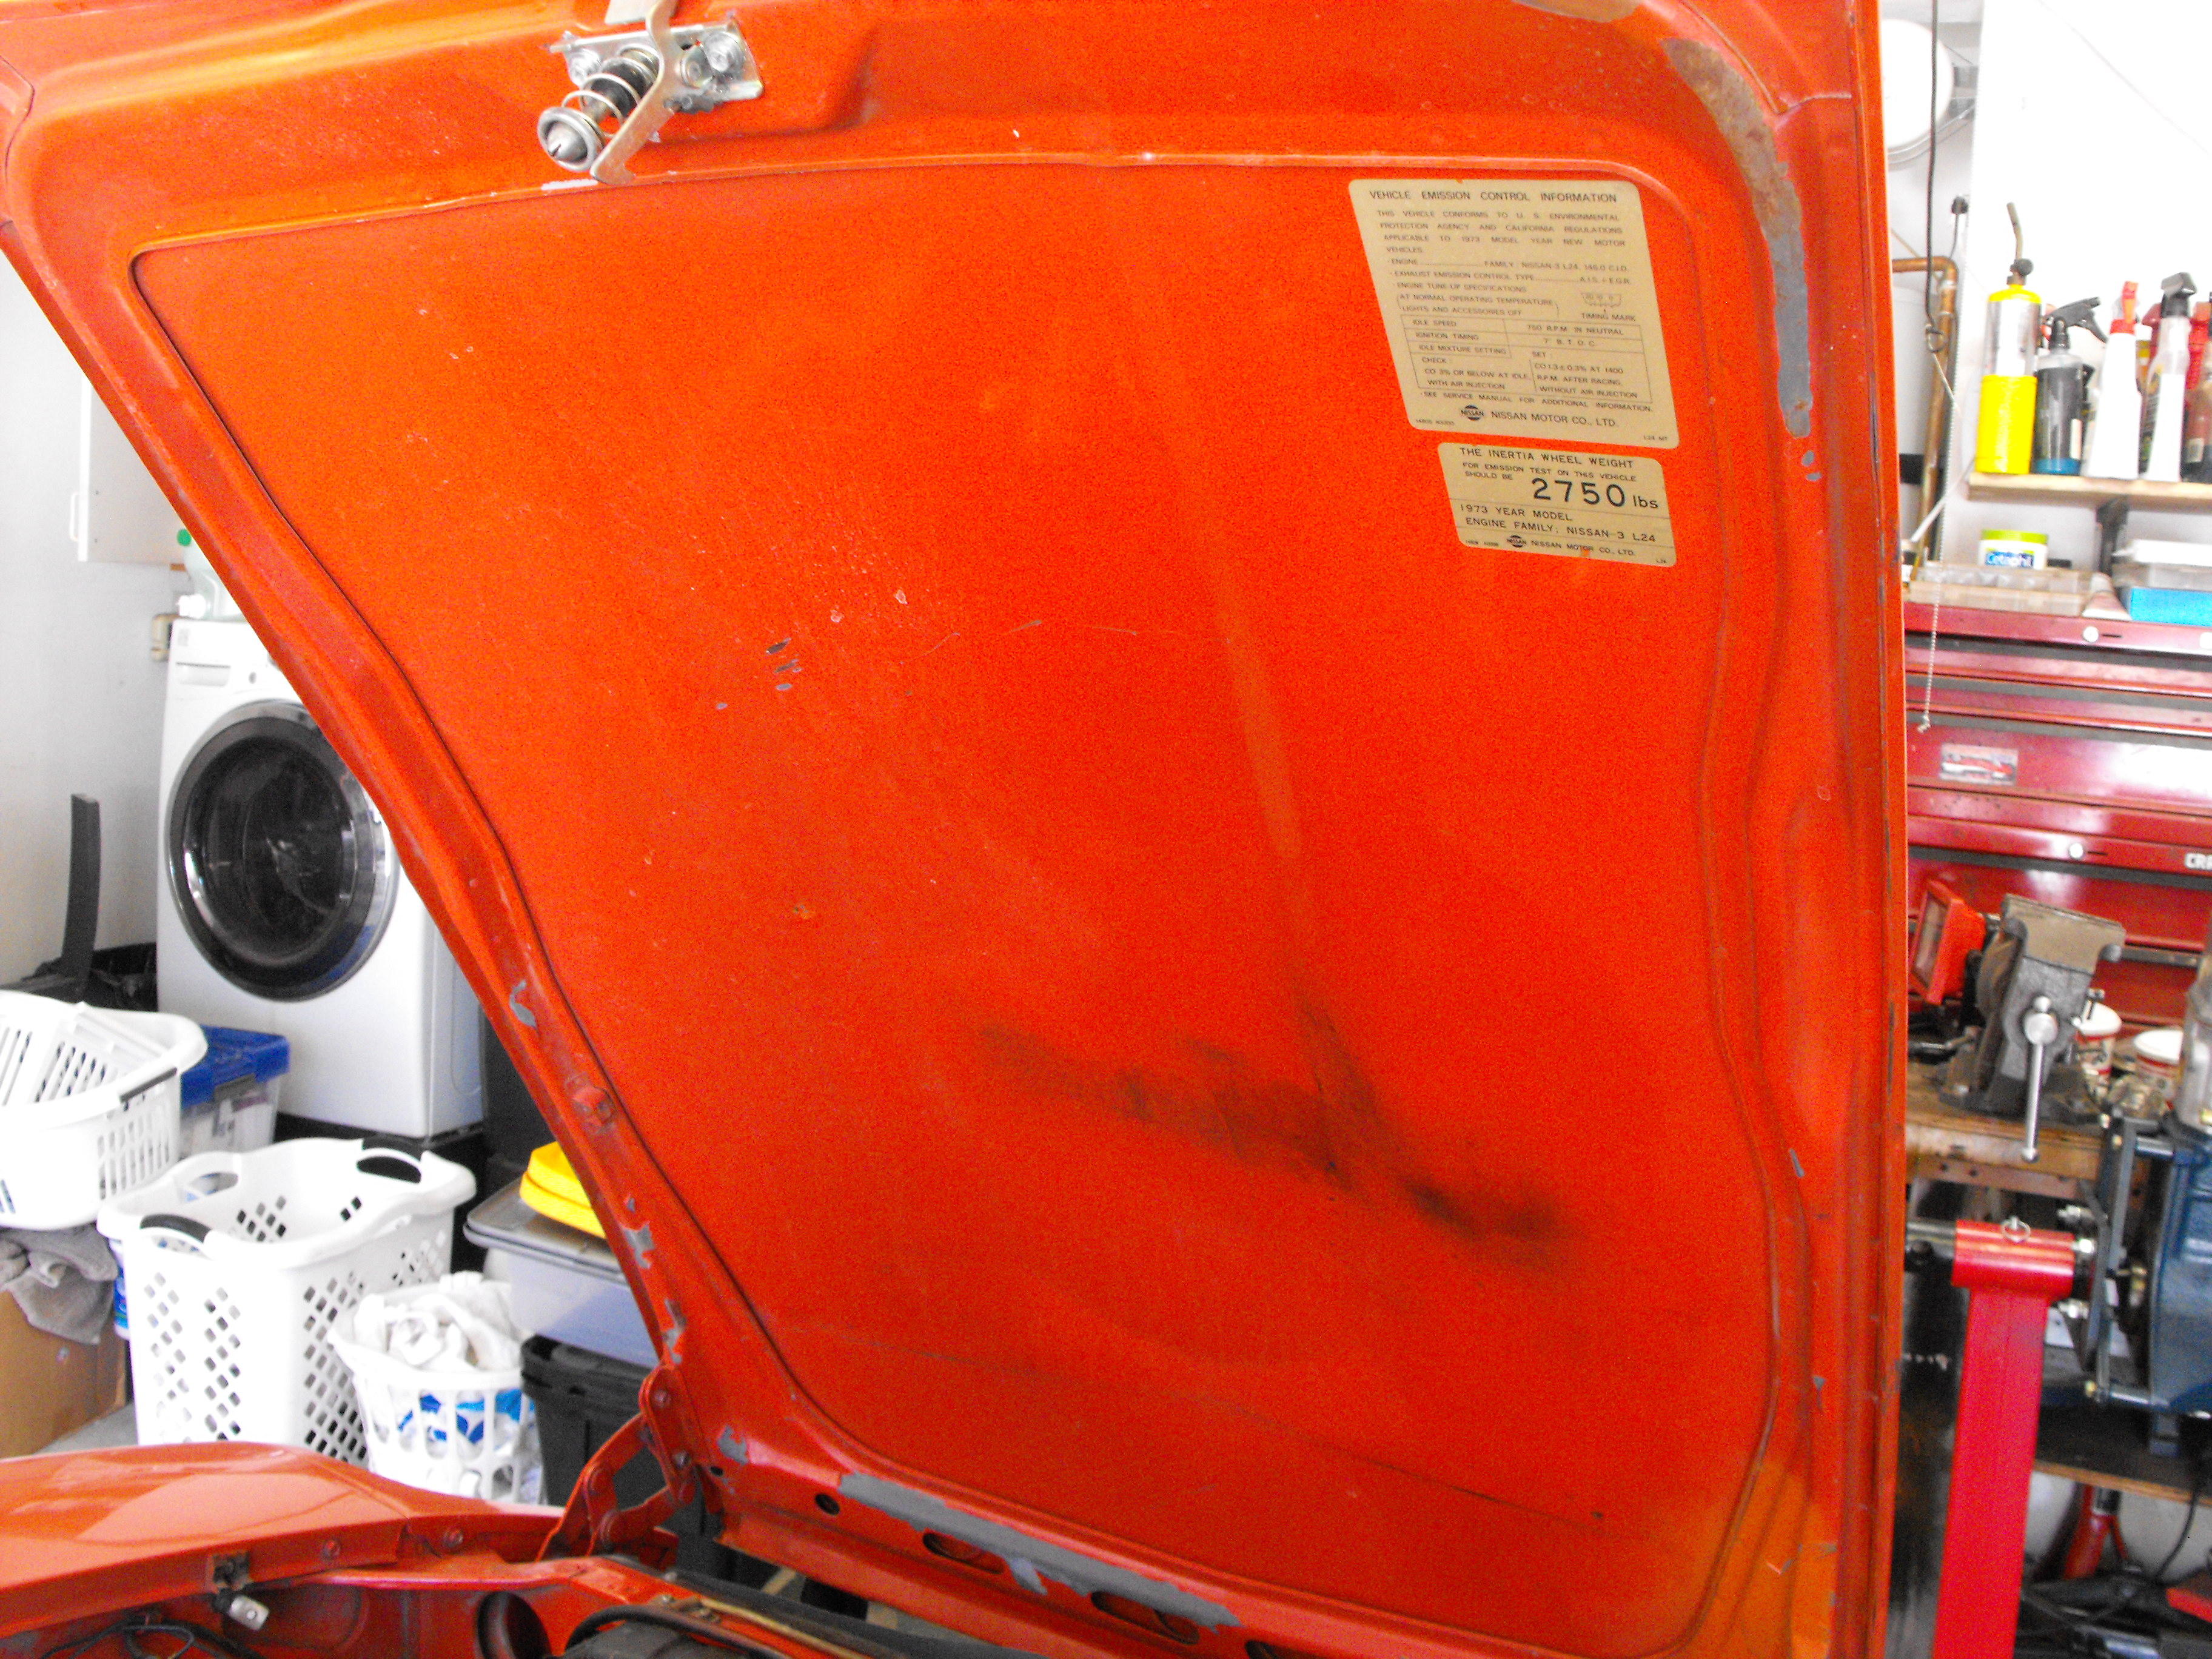
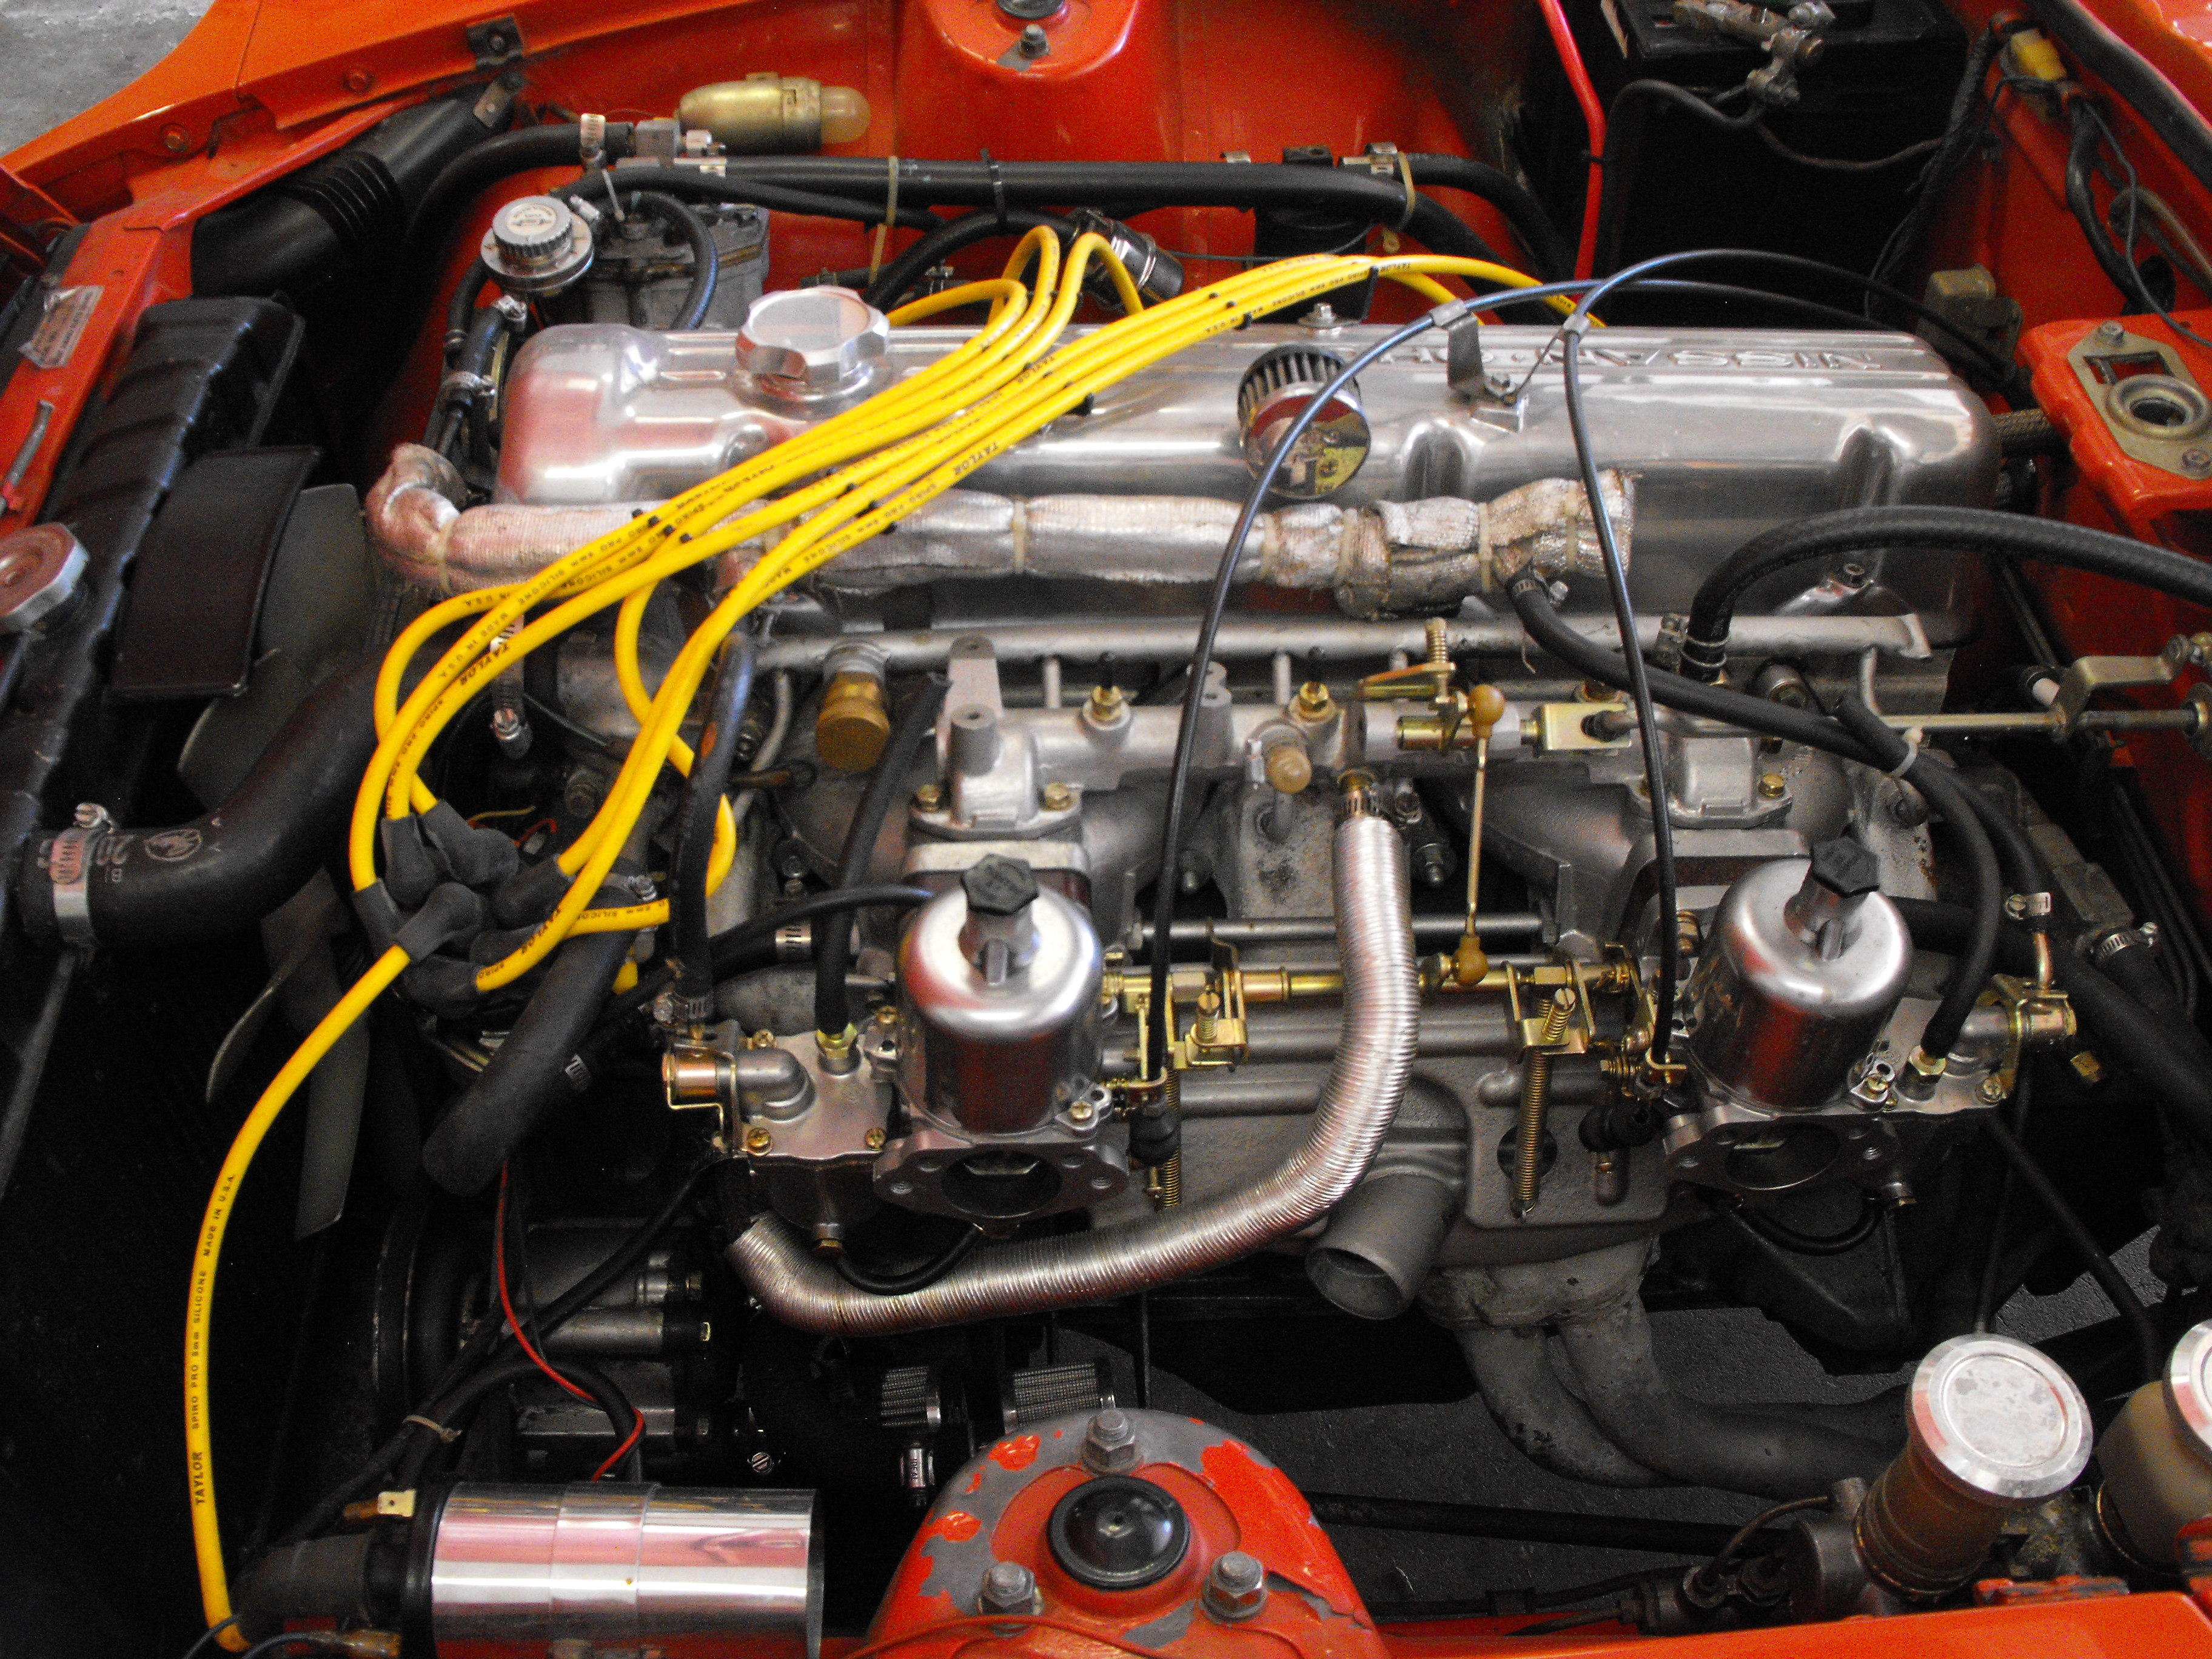
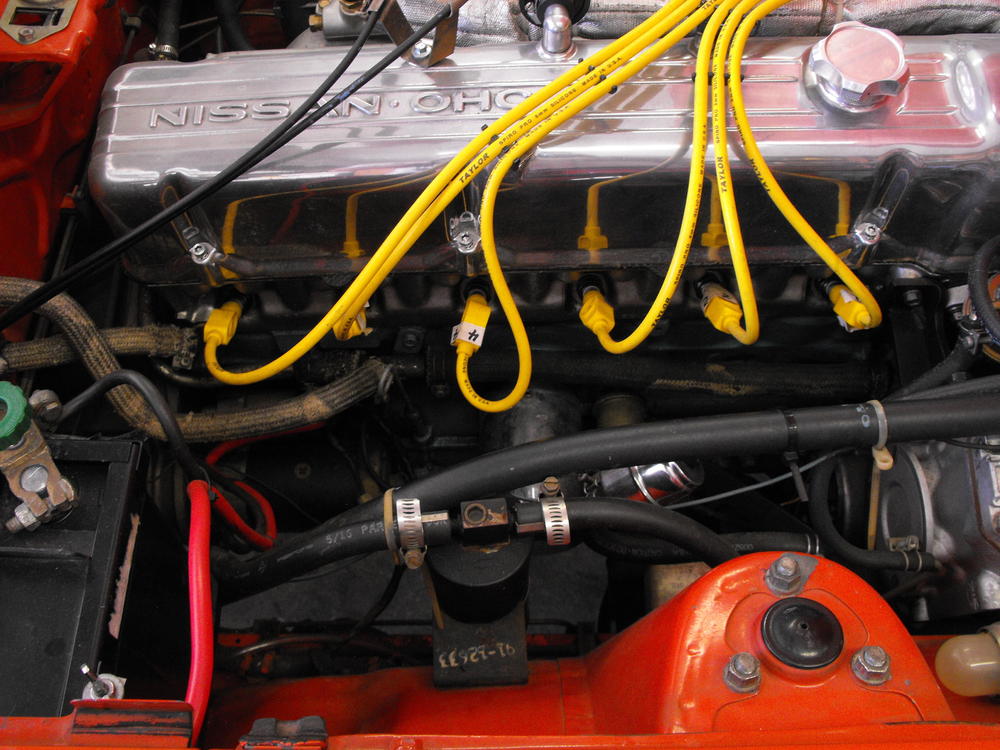
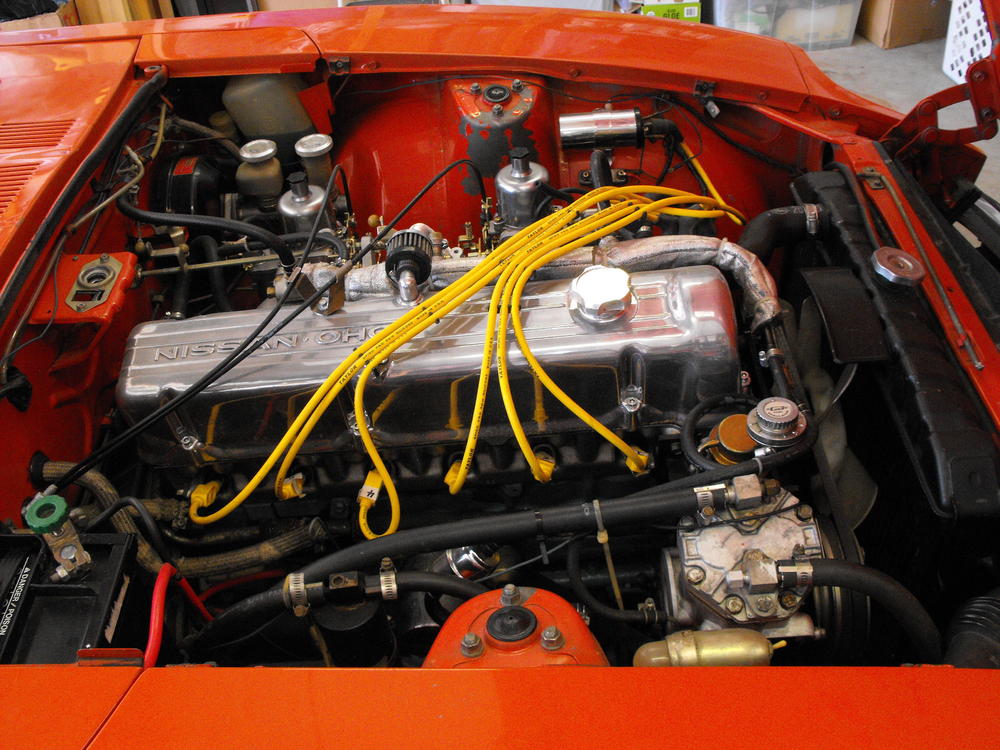
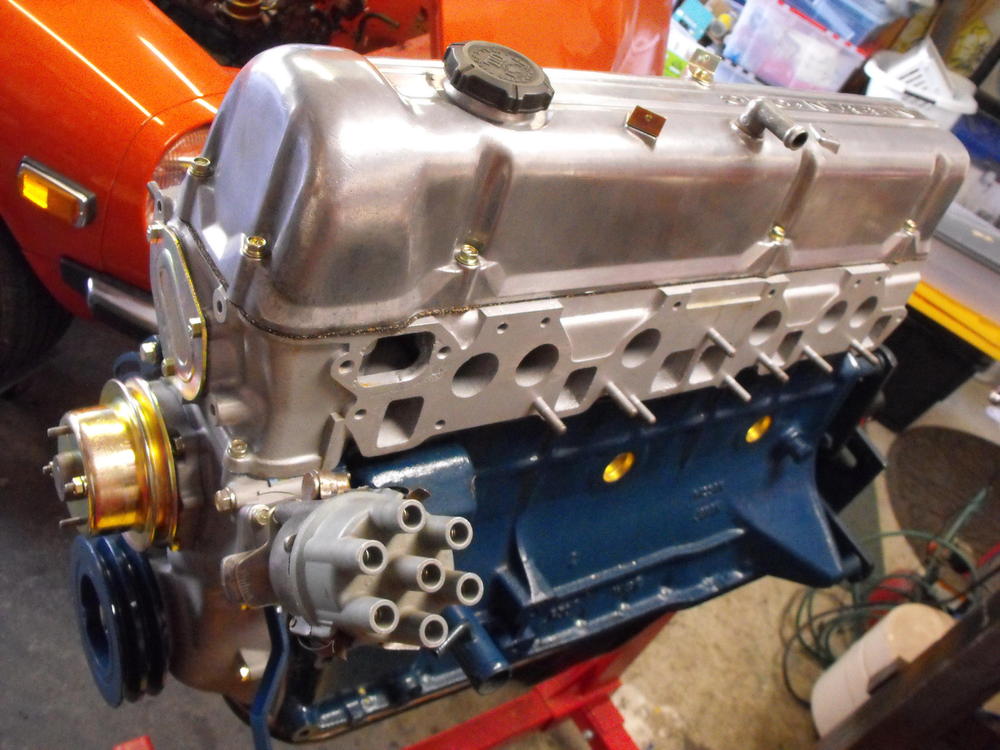
2 pointsGood to hear from you! Look forward to your comments and input as the build progresses. Here is a little more background. This car is a very early '73 with a build date on the drivers side plaque of 9/72. The serial number is 122XYZ. The owner of this car contacted me after meeting the new owner of the orange Z that I sold last year. The owner of my orange Z provided the information to her and we were able to discuss the restoration of this car. Funny how things work out, small world. Early on, we were discussing moving back to the original Flat Tops, however, after reviewing the extra parts, there were no Flat tops or original balance tube. Also, a number of the unique '73 tubes were also not present. So the better way to go was to stick with the current SUs. And, since the SUs and balance tube look near brand new, we will stick with these. For the interior, the only changes we will make is to install an original radio and install the diamond vinyl onto the center console. The rest of the vinyl looks like it just needs to be cleaned up. For the seats, there are new, good quality seat covers and foam that we will install so that the seats match. I will be very careful removing the original vinyl from the passenger seat. We will want to save that.2 points
-
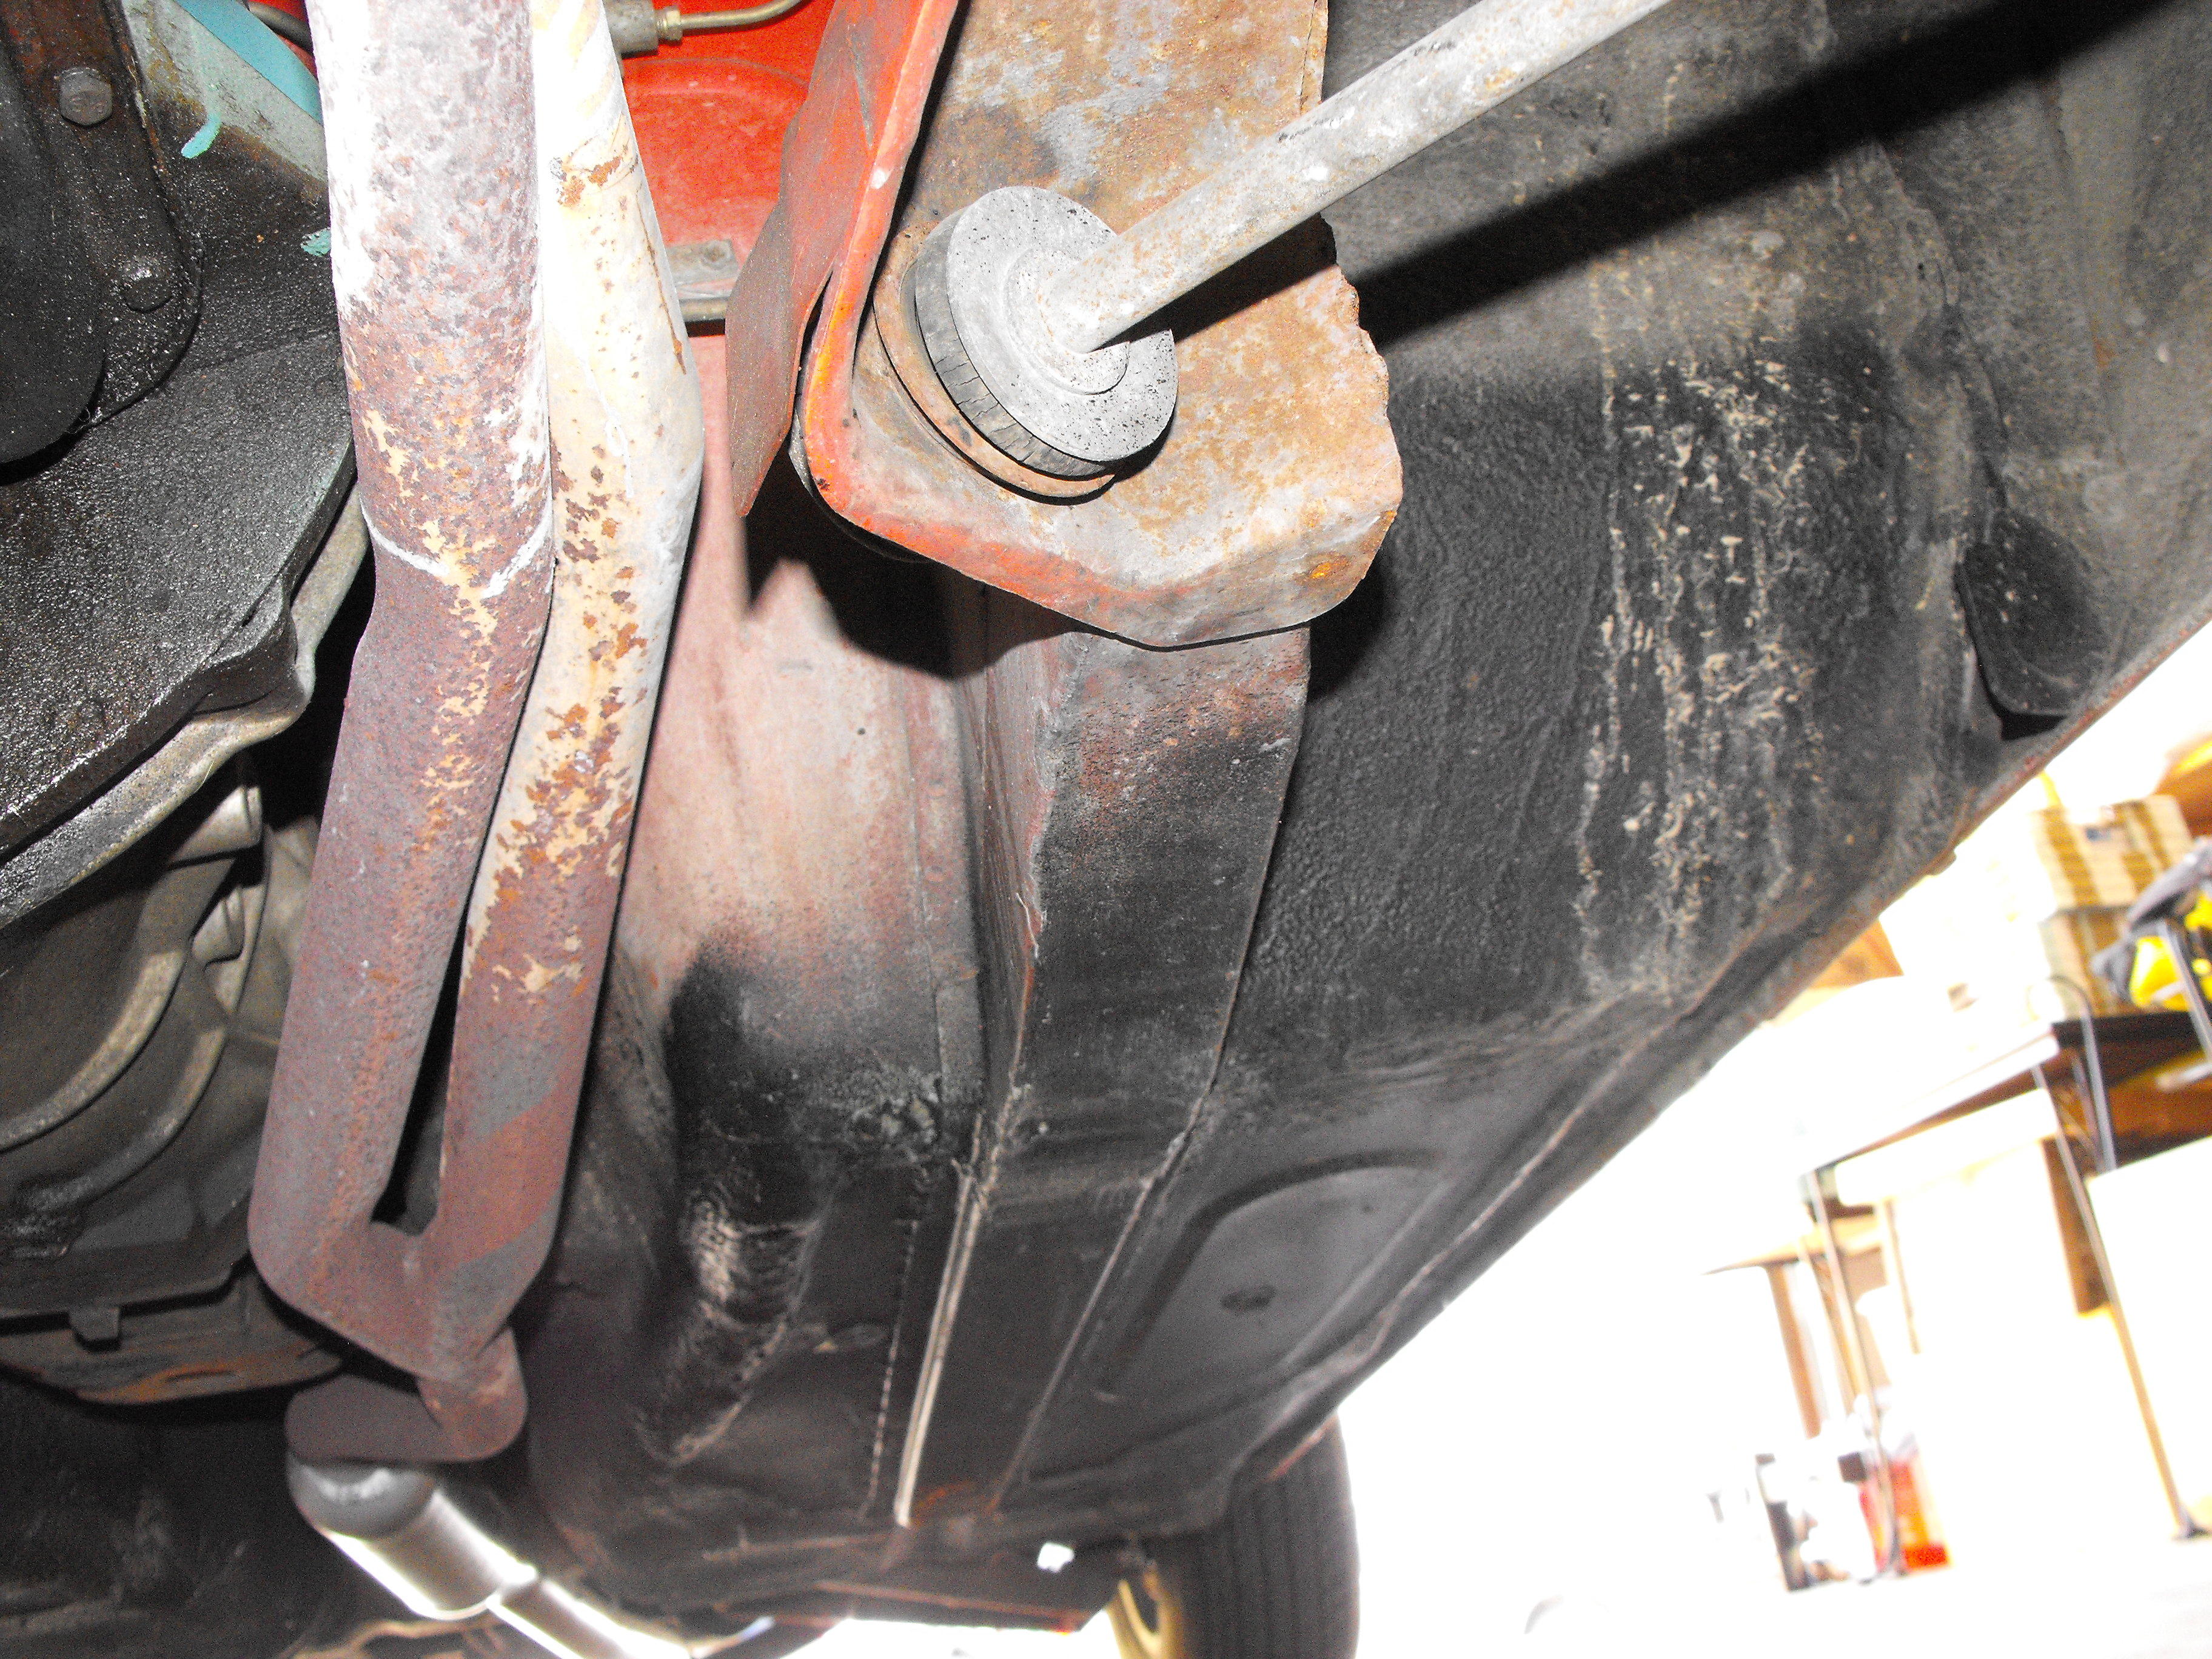
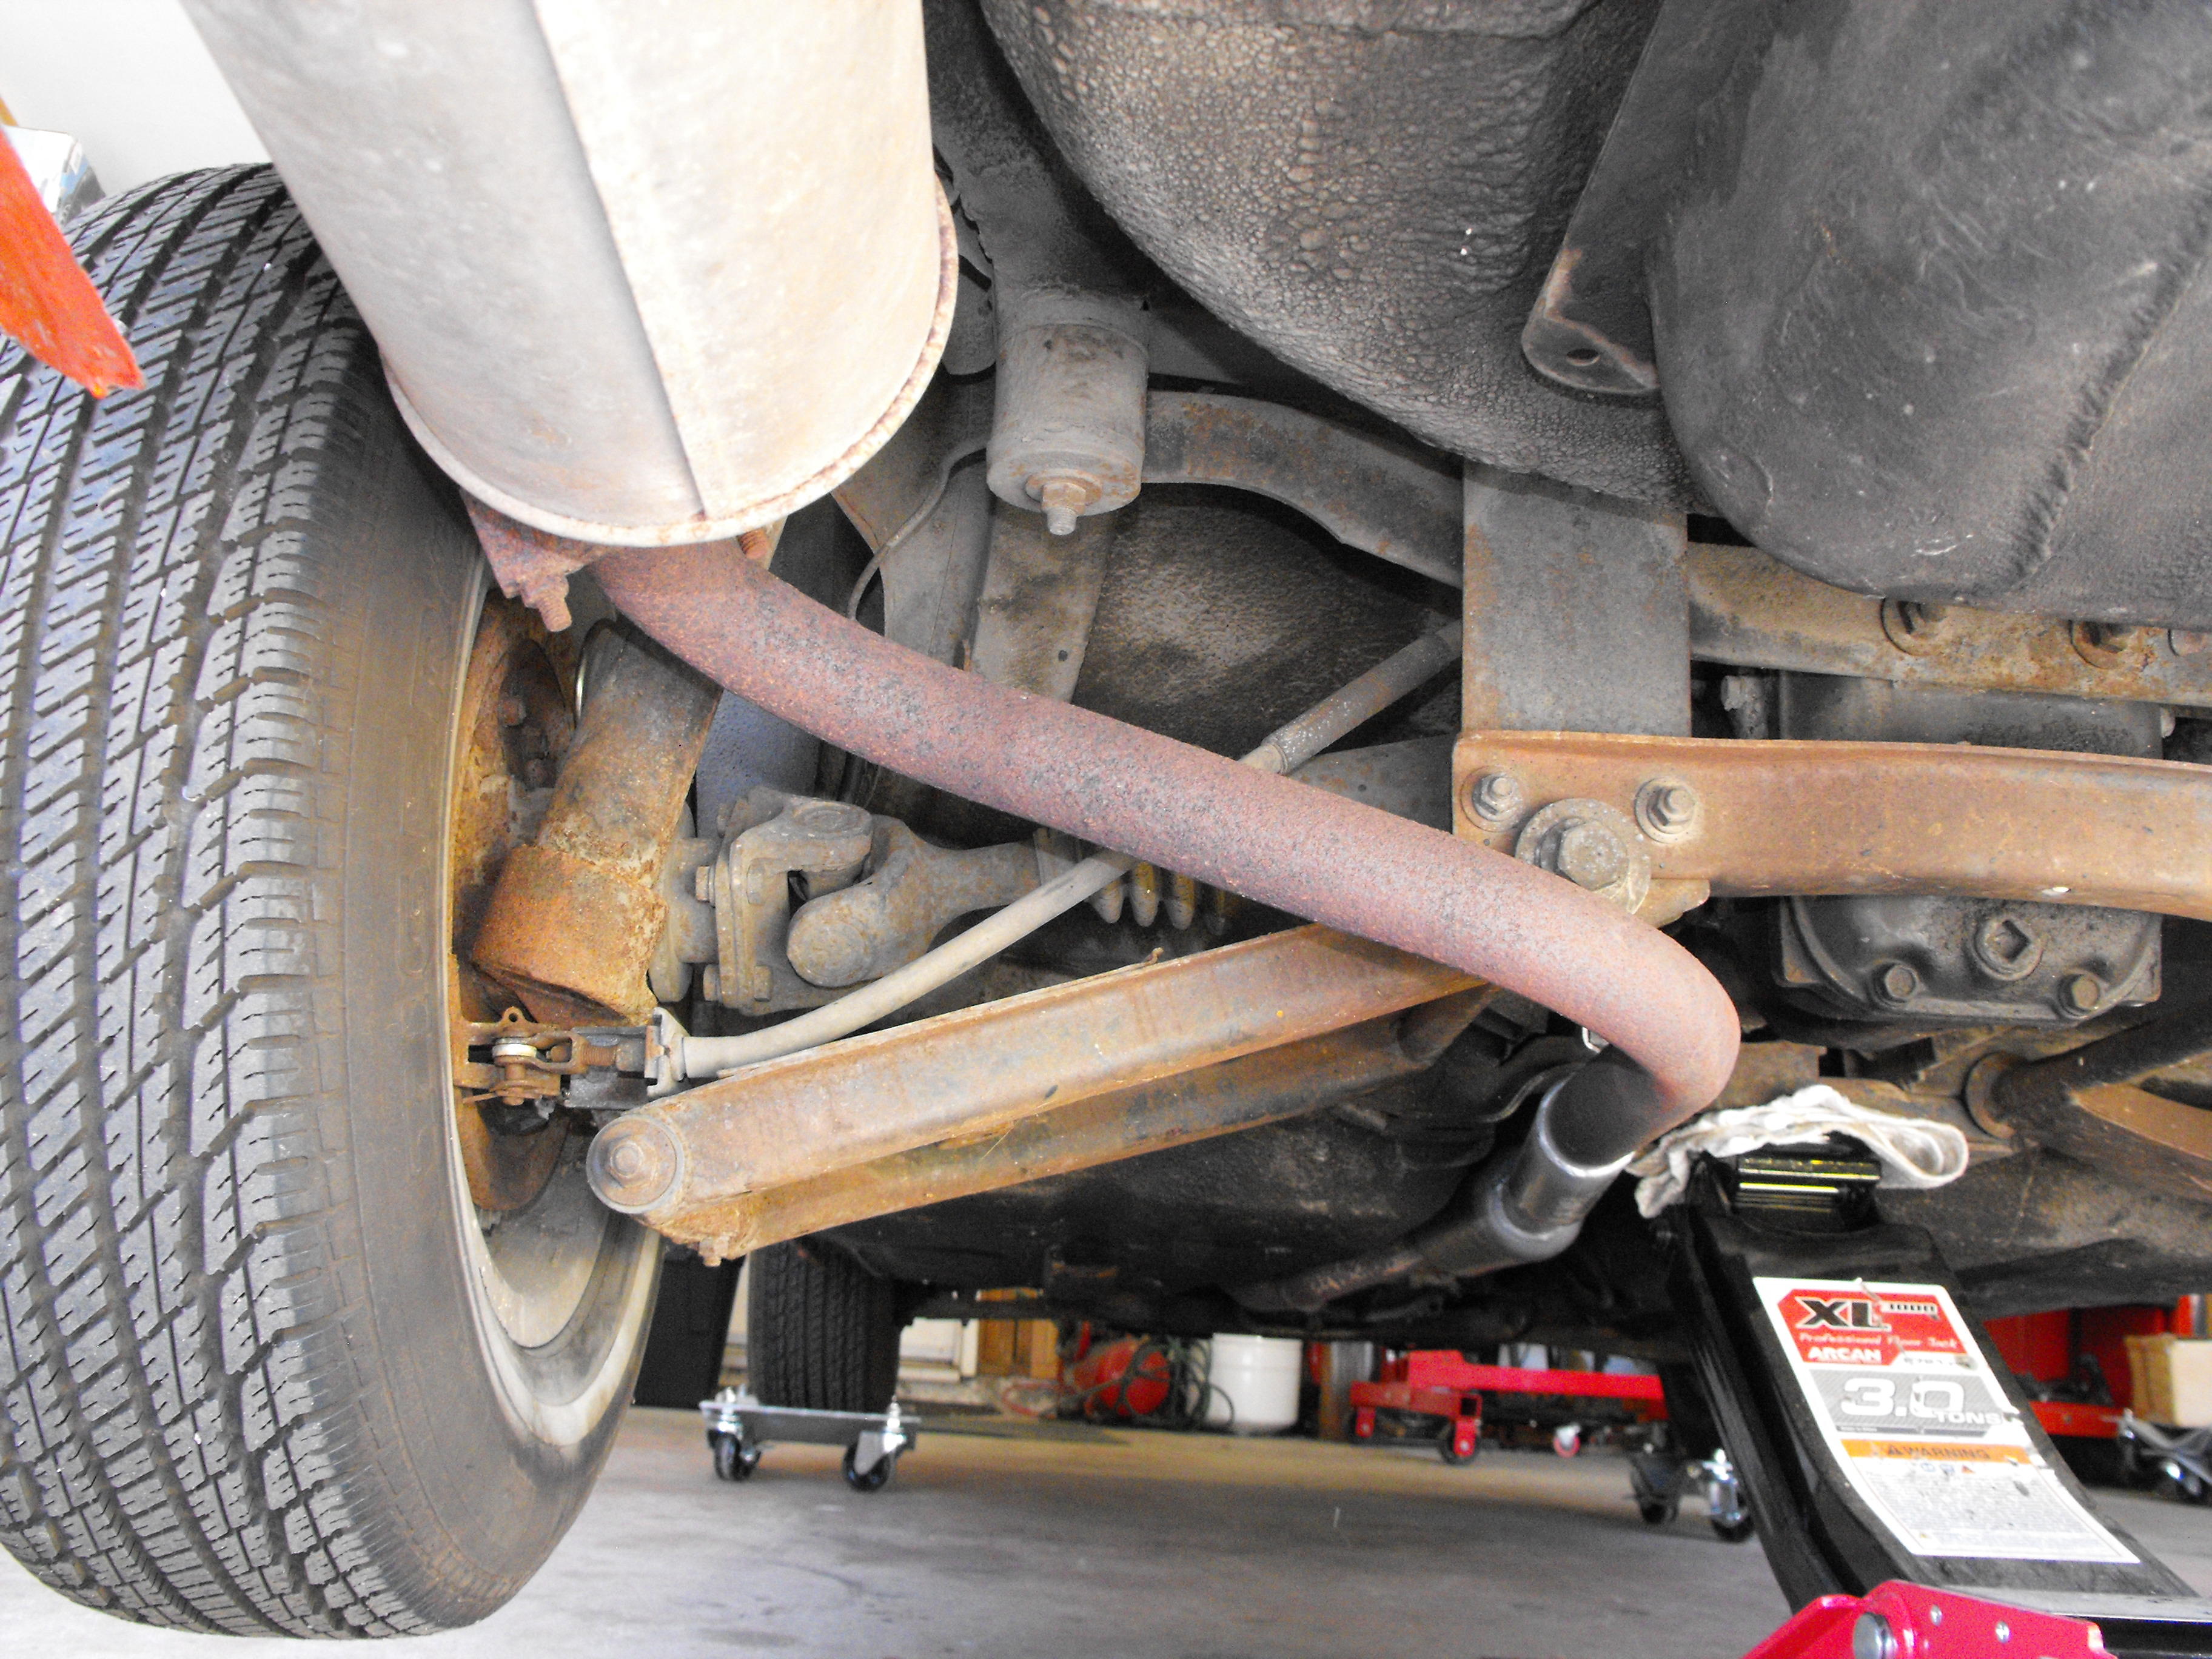
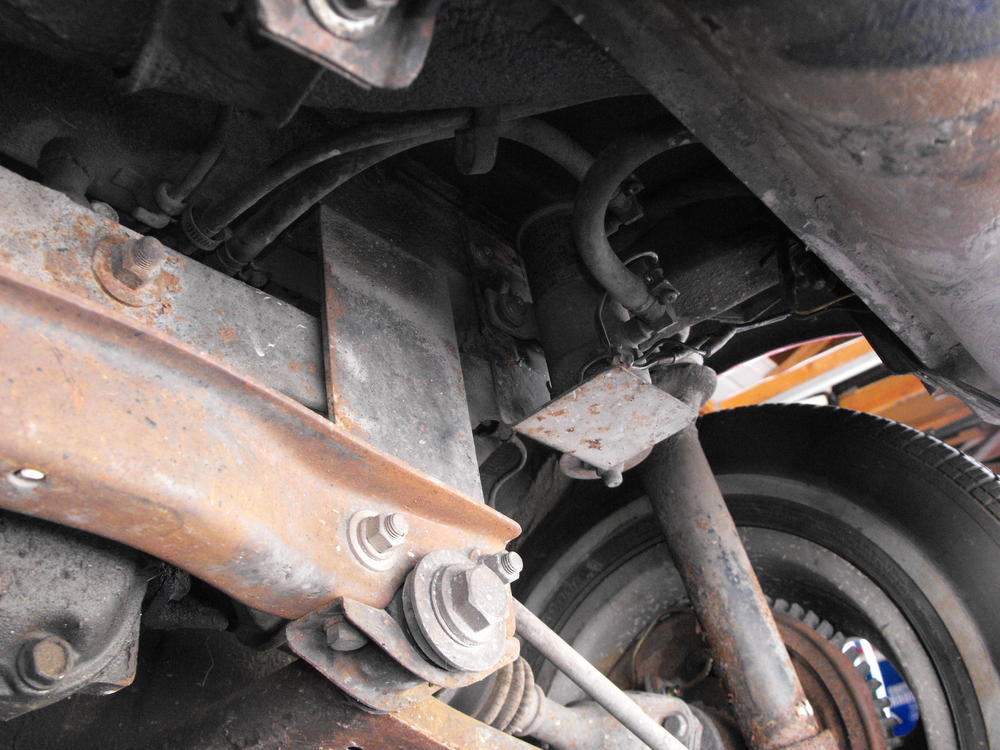
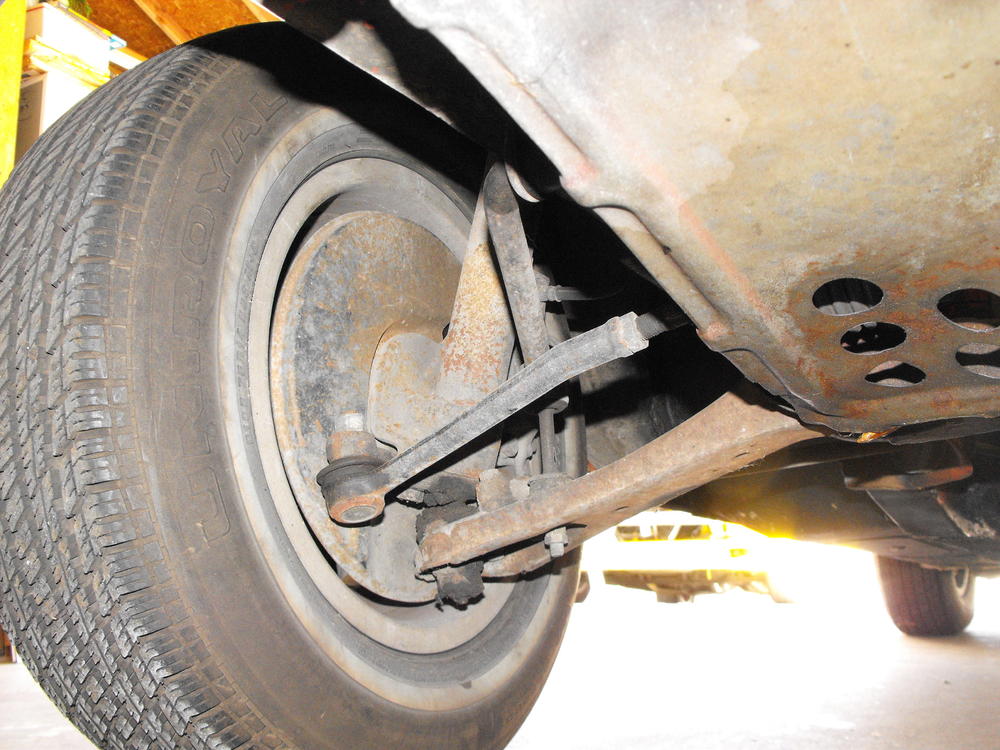
 2 pointsGood news to report, my Samurai sold so I now have the room to start disassembling my car, and no more excuses not to start, LOL. The first order of business was to document the existing condition. In a addition to taking countless pictures I shot several videos of the exterior, engine bay, interior and chassis. Hopefully these will be a help when it comes time to put my car back together. It's amazing to me that no matter how many pictures I take to document things, I still manage to miss things. For those you are interested, I am posting the videos here. Just a warning, I will not be responsible for the time lost if you watch them. They are quite long. Exterior condition; Engine bay condition: Interior condition (1 of 2): Interior condition (2 of 2): Chassis condition (1 of 2): Chassis condition (2 of 2): Oops this is 1 of 2, don't seem to be able to delete a video link here is 2 of 22 points
 -
 2 pointsI would think with 150 miles per qt you would be blowing big time blue smoke if its not leaking on the ground. Good compression could be too much oil getting past the oil control rings?2 points
 -
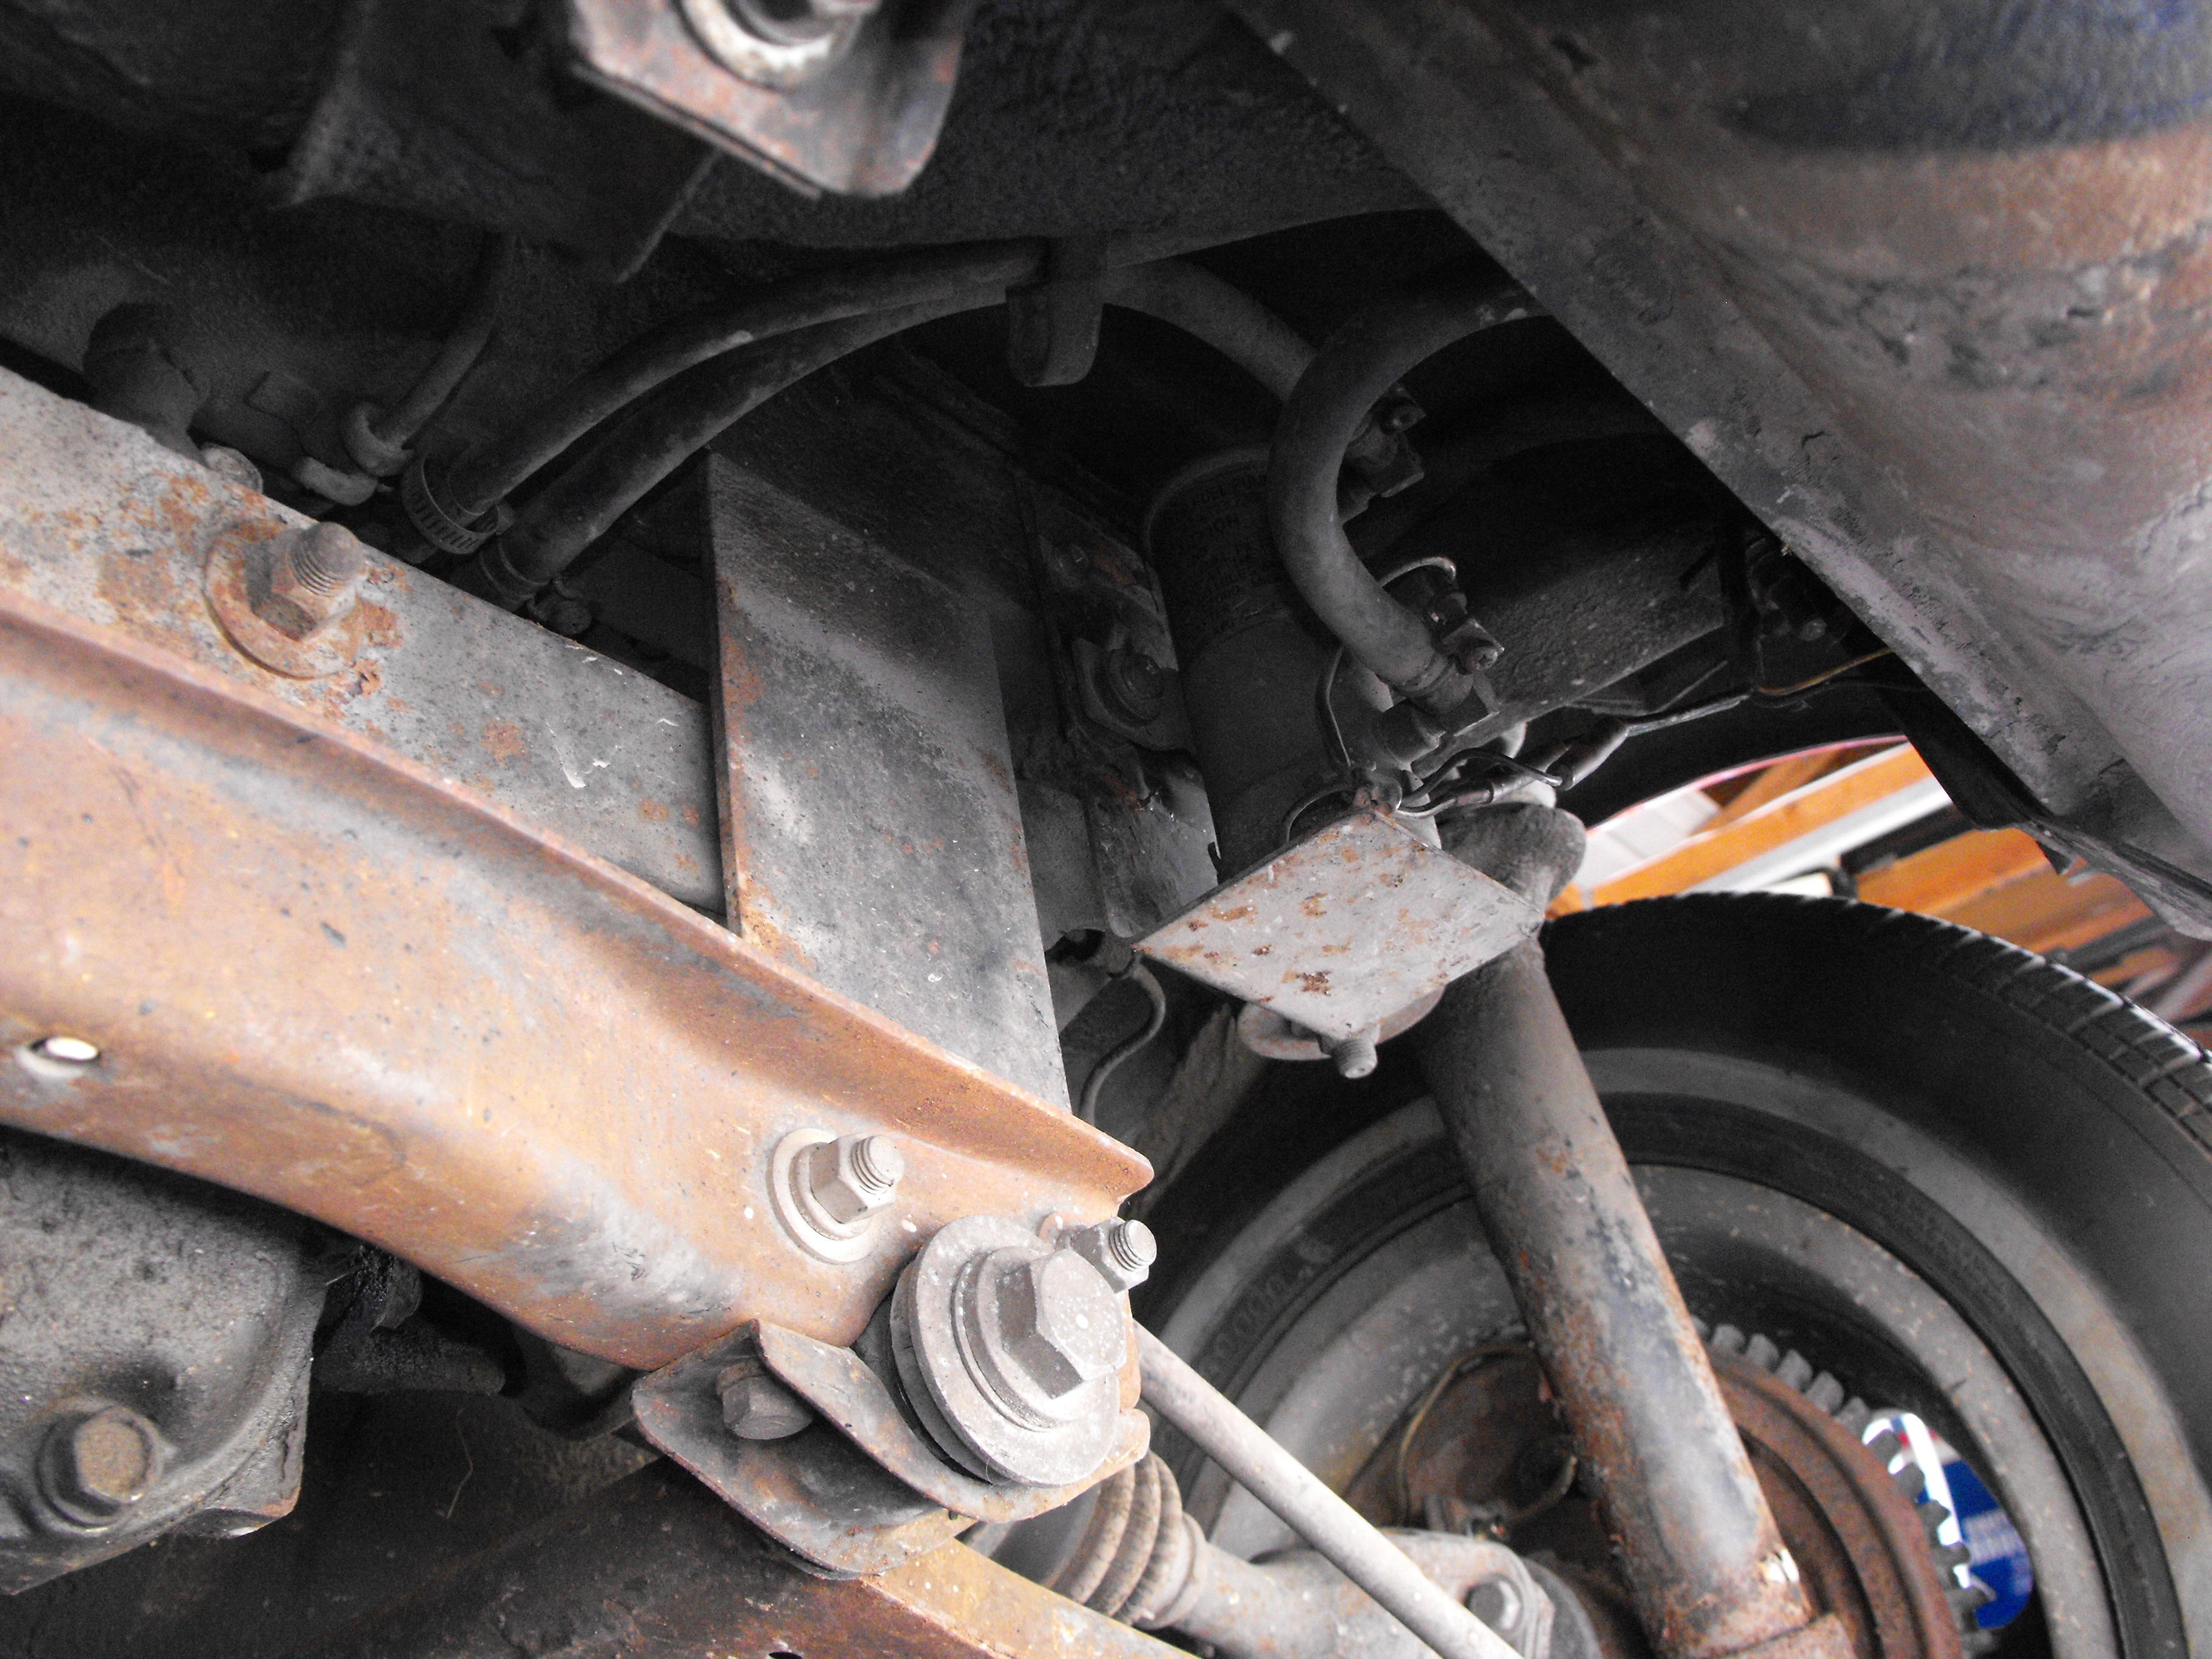
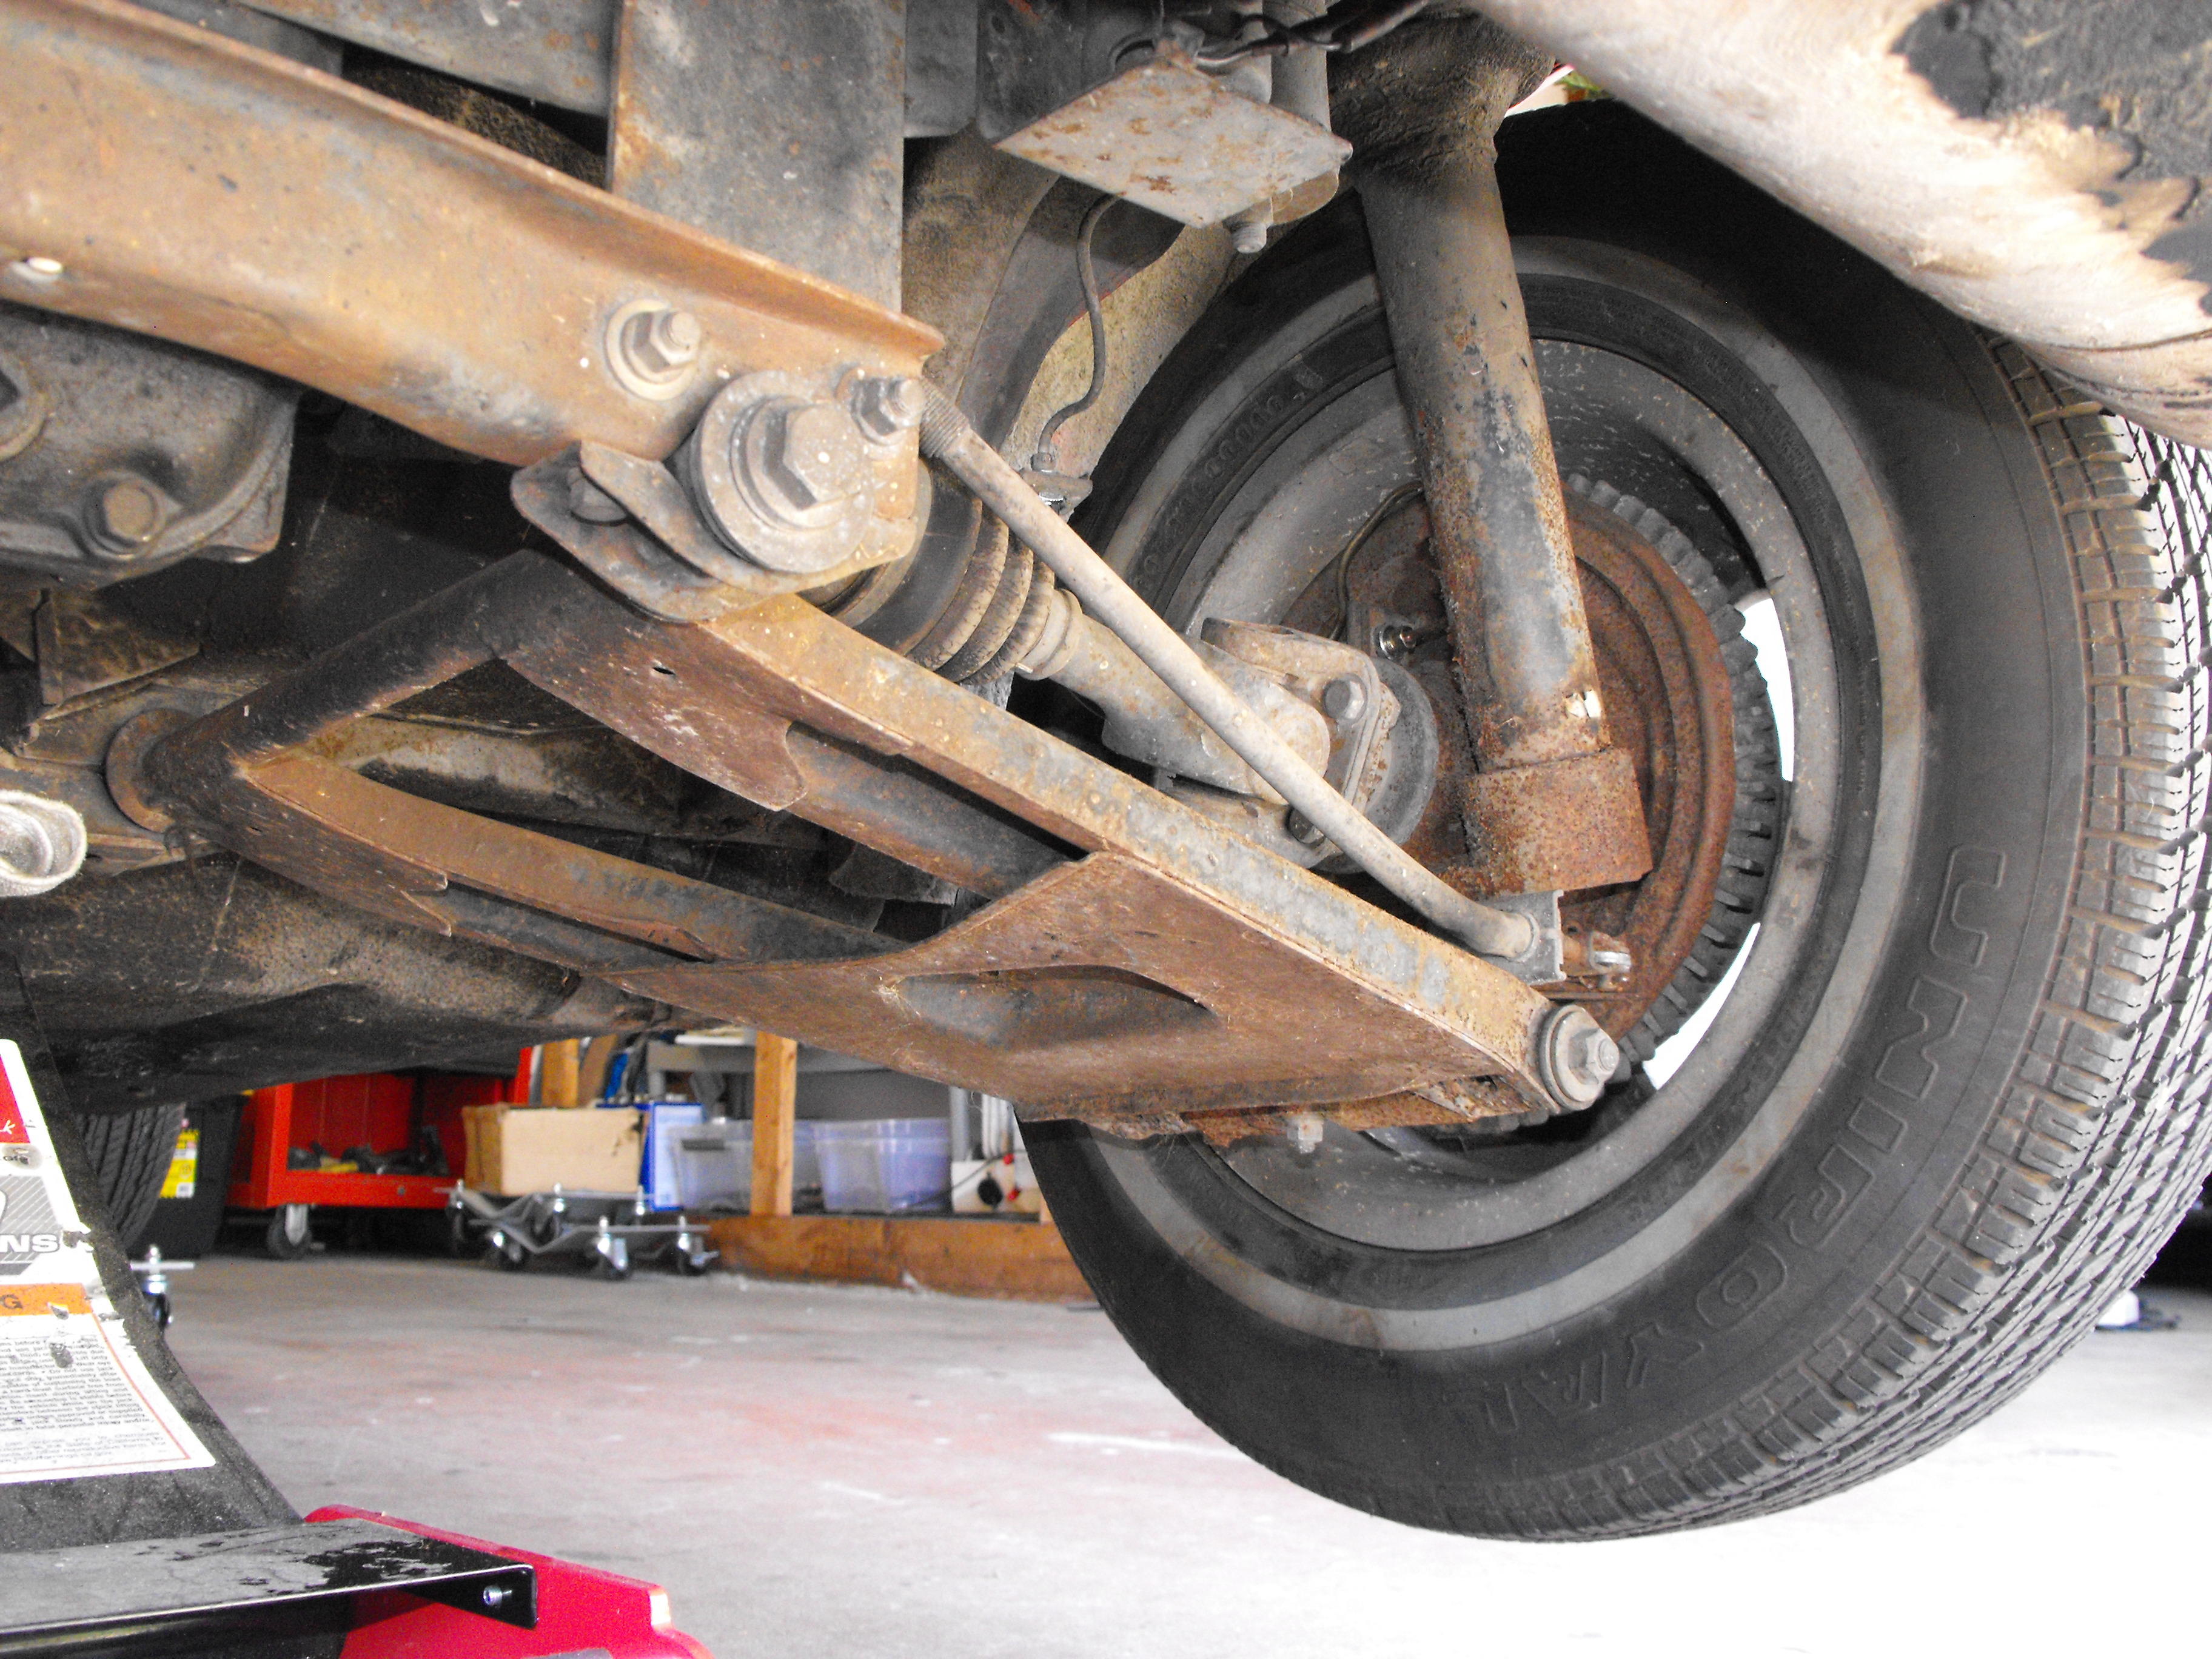
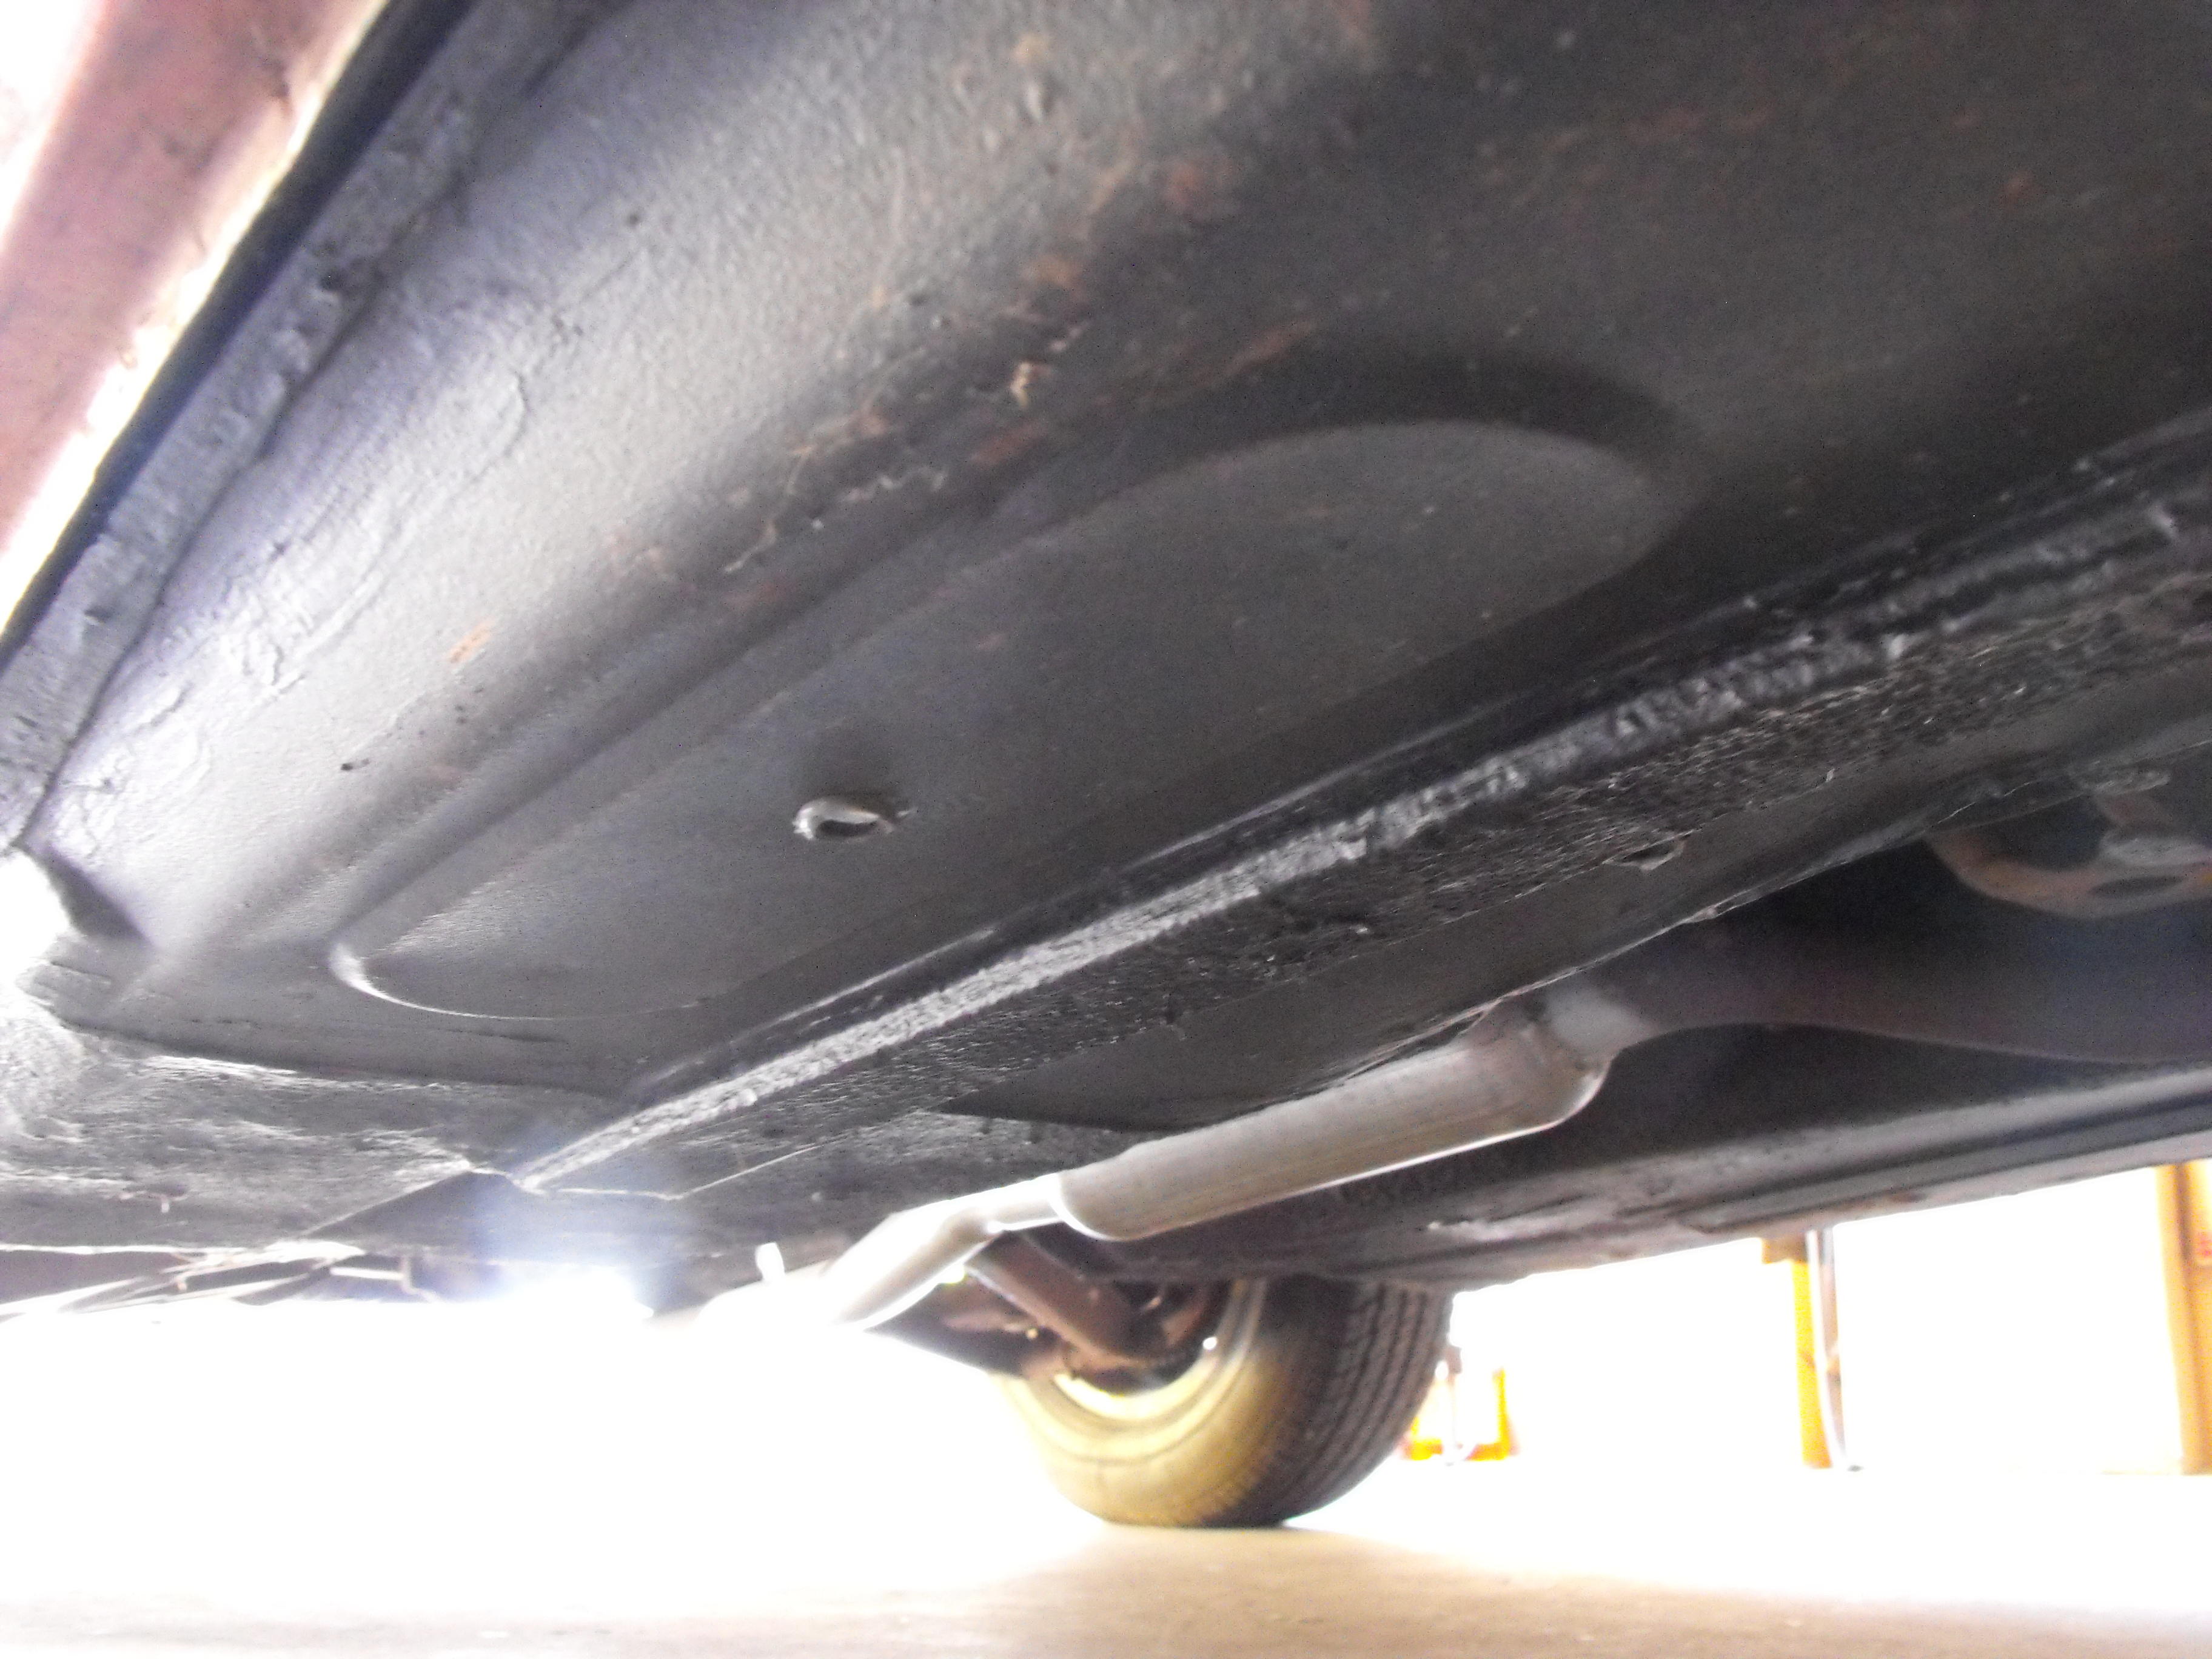
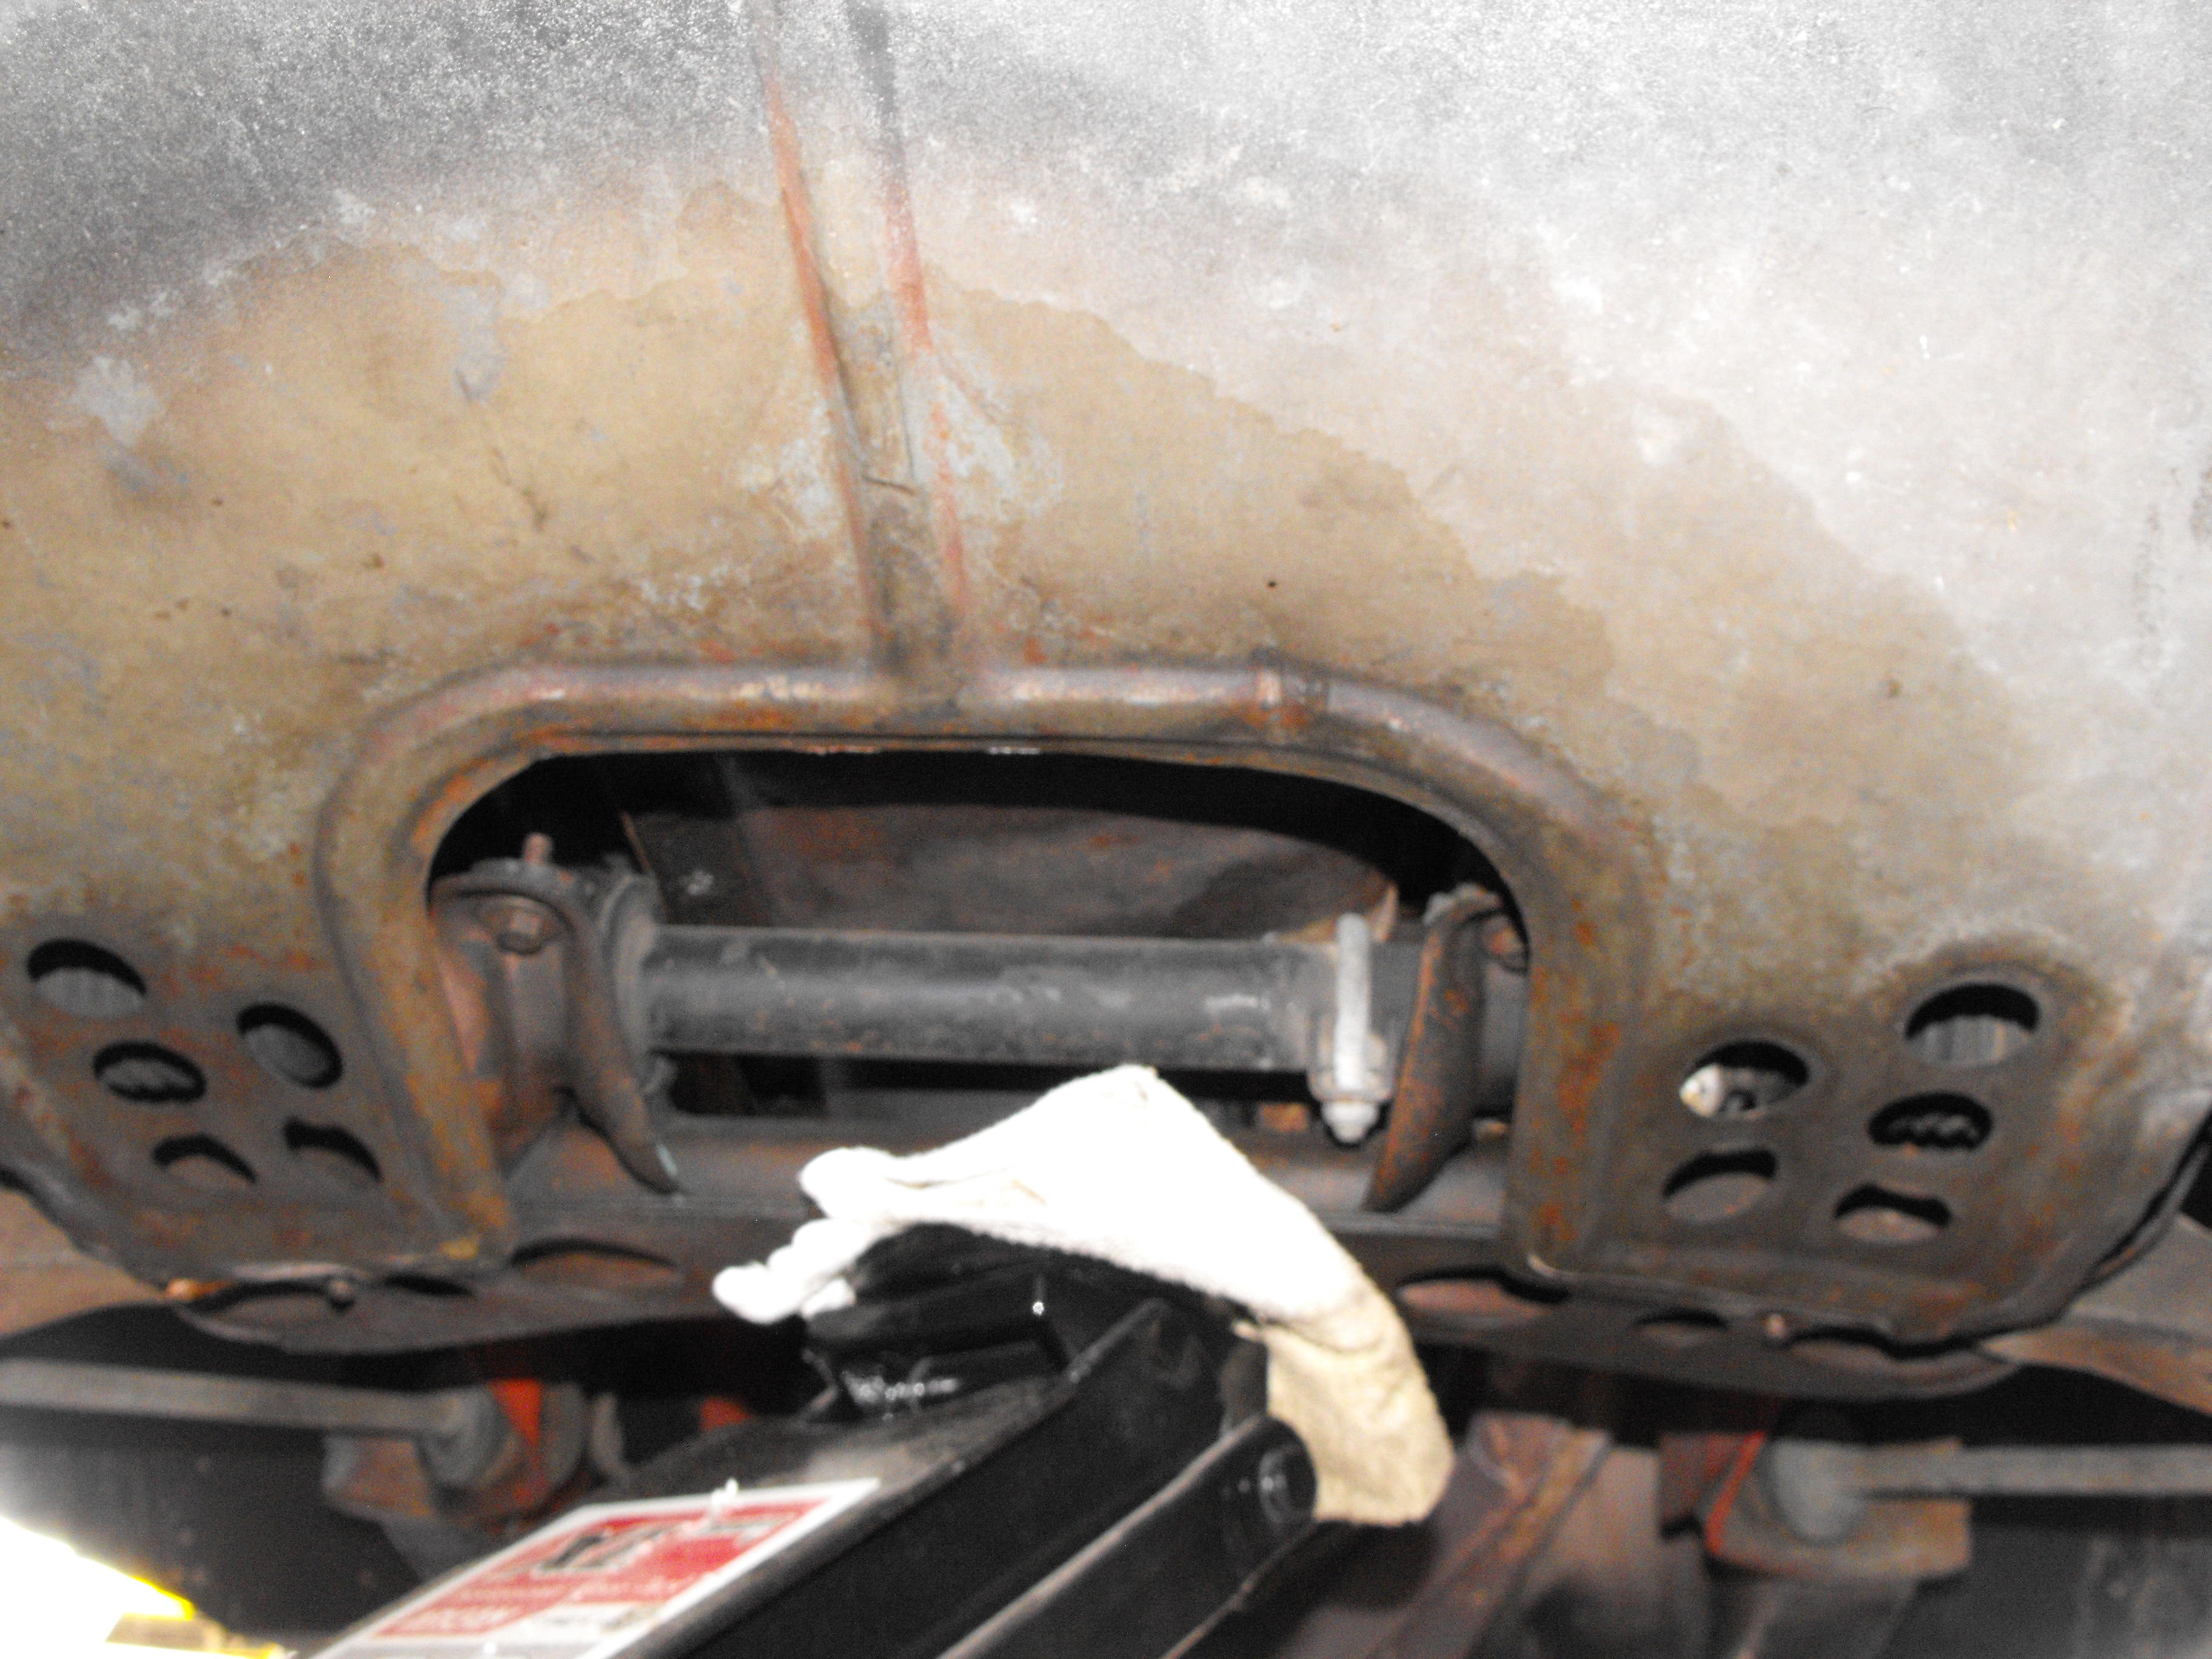
1 pointBasically I'm doing what I should have done during my first restoration back in the 80's. I recently cleaned off most of the old undercoating and discovered more chassis rust than I expected to see, probably will replace the front frame rail on the left side and replace the let side floor plus other rust repair as required. Before I bought the car in 1978 it had a cheap paint and bondo over rust paint job. As it has had two re-paints I will go to bare metal and then go back to original color, it is currently Ontario Orange Metallic, a '71 Corvette color. This will be a glass out, drivetrain out complete job. I will get into more detail soon as well as describe in more detail what was done during the first resto.1 point
-
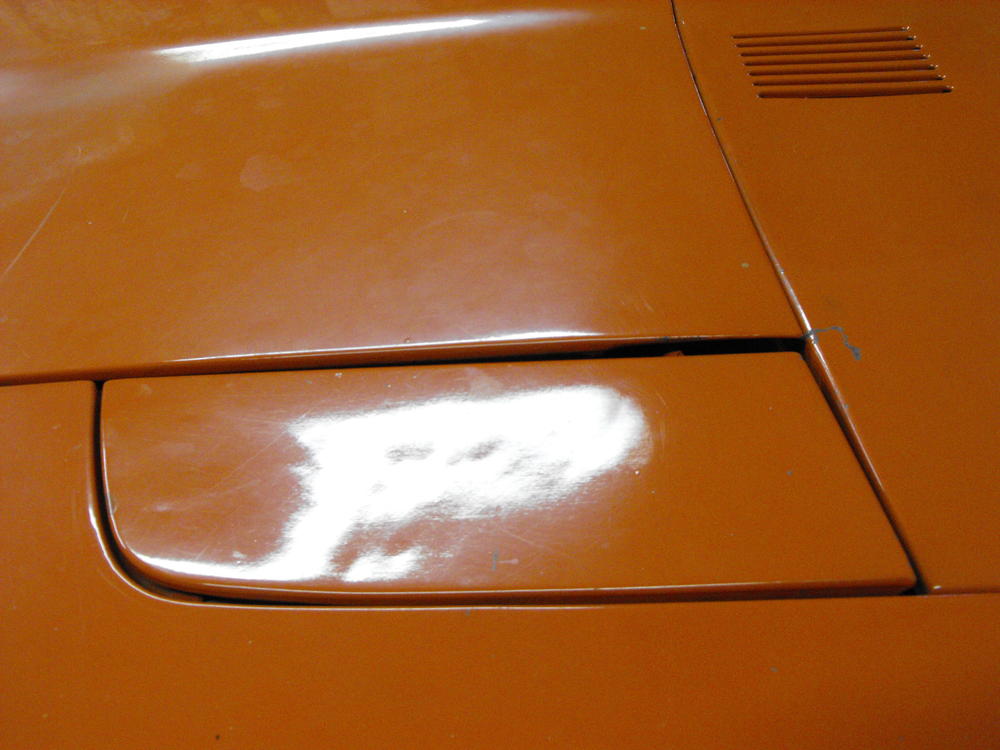
 I like those! My Mom has a closet full of old leather purses. I'll have an Aigner fuel flap. My rubber/plastic one, where the fold up is, pushes my fuel door open sometimes.1 point
 -
 I've done the other side, I think what was happening is that when I pressed the hub side in, it was pushing the bearings back out on the inner side, and vice-versa. Once the nuts turn up i'll torque and check. Either that or I had an issue with both my original stub axles. What I did do was fit a grease nipple so I can load the hub up with grease as part of a 'service' so hopefully, once done they should last my lifetime.1 point
 -
 1 pointLooking forward to this project. I am a friend of the owner and strangely enough, although I have always loved Z cars, and owned a '70 240 and a '78 280, I did not know she had this car! Came up over dinner a few months ago and when I received the link to this blog it was no surprise I was already a member of the site!1 point
 -
 1 pointThe TVS was showing no continuity at idle. I set it so that it shows continuity at idle and no continuity as soon as it senses moving the throttle away from idle. The connection on the thermostat housing for the temperature gauge on the dashboard was not fully connected. It required some slight crimping to get a good fit. The temp gauge in the dash was giving inconsistent readings. I have it topped up, and will drive it while monitoring oil level. It's been about 29 miles since I topoed it up today and I see no change on the dipstick. Seems like with a quart every 150 miles I'd start to see evidence of consumption pretty quick. I'll still be watching and hope I'm out of the clear in a few hundred miles. Sent from my Coolpad 3310A using Tapatalk1 point
 -
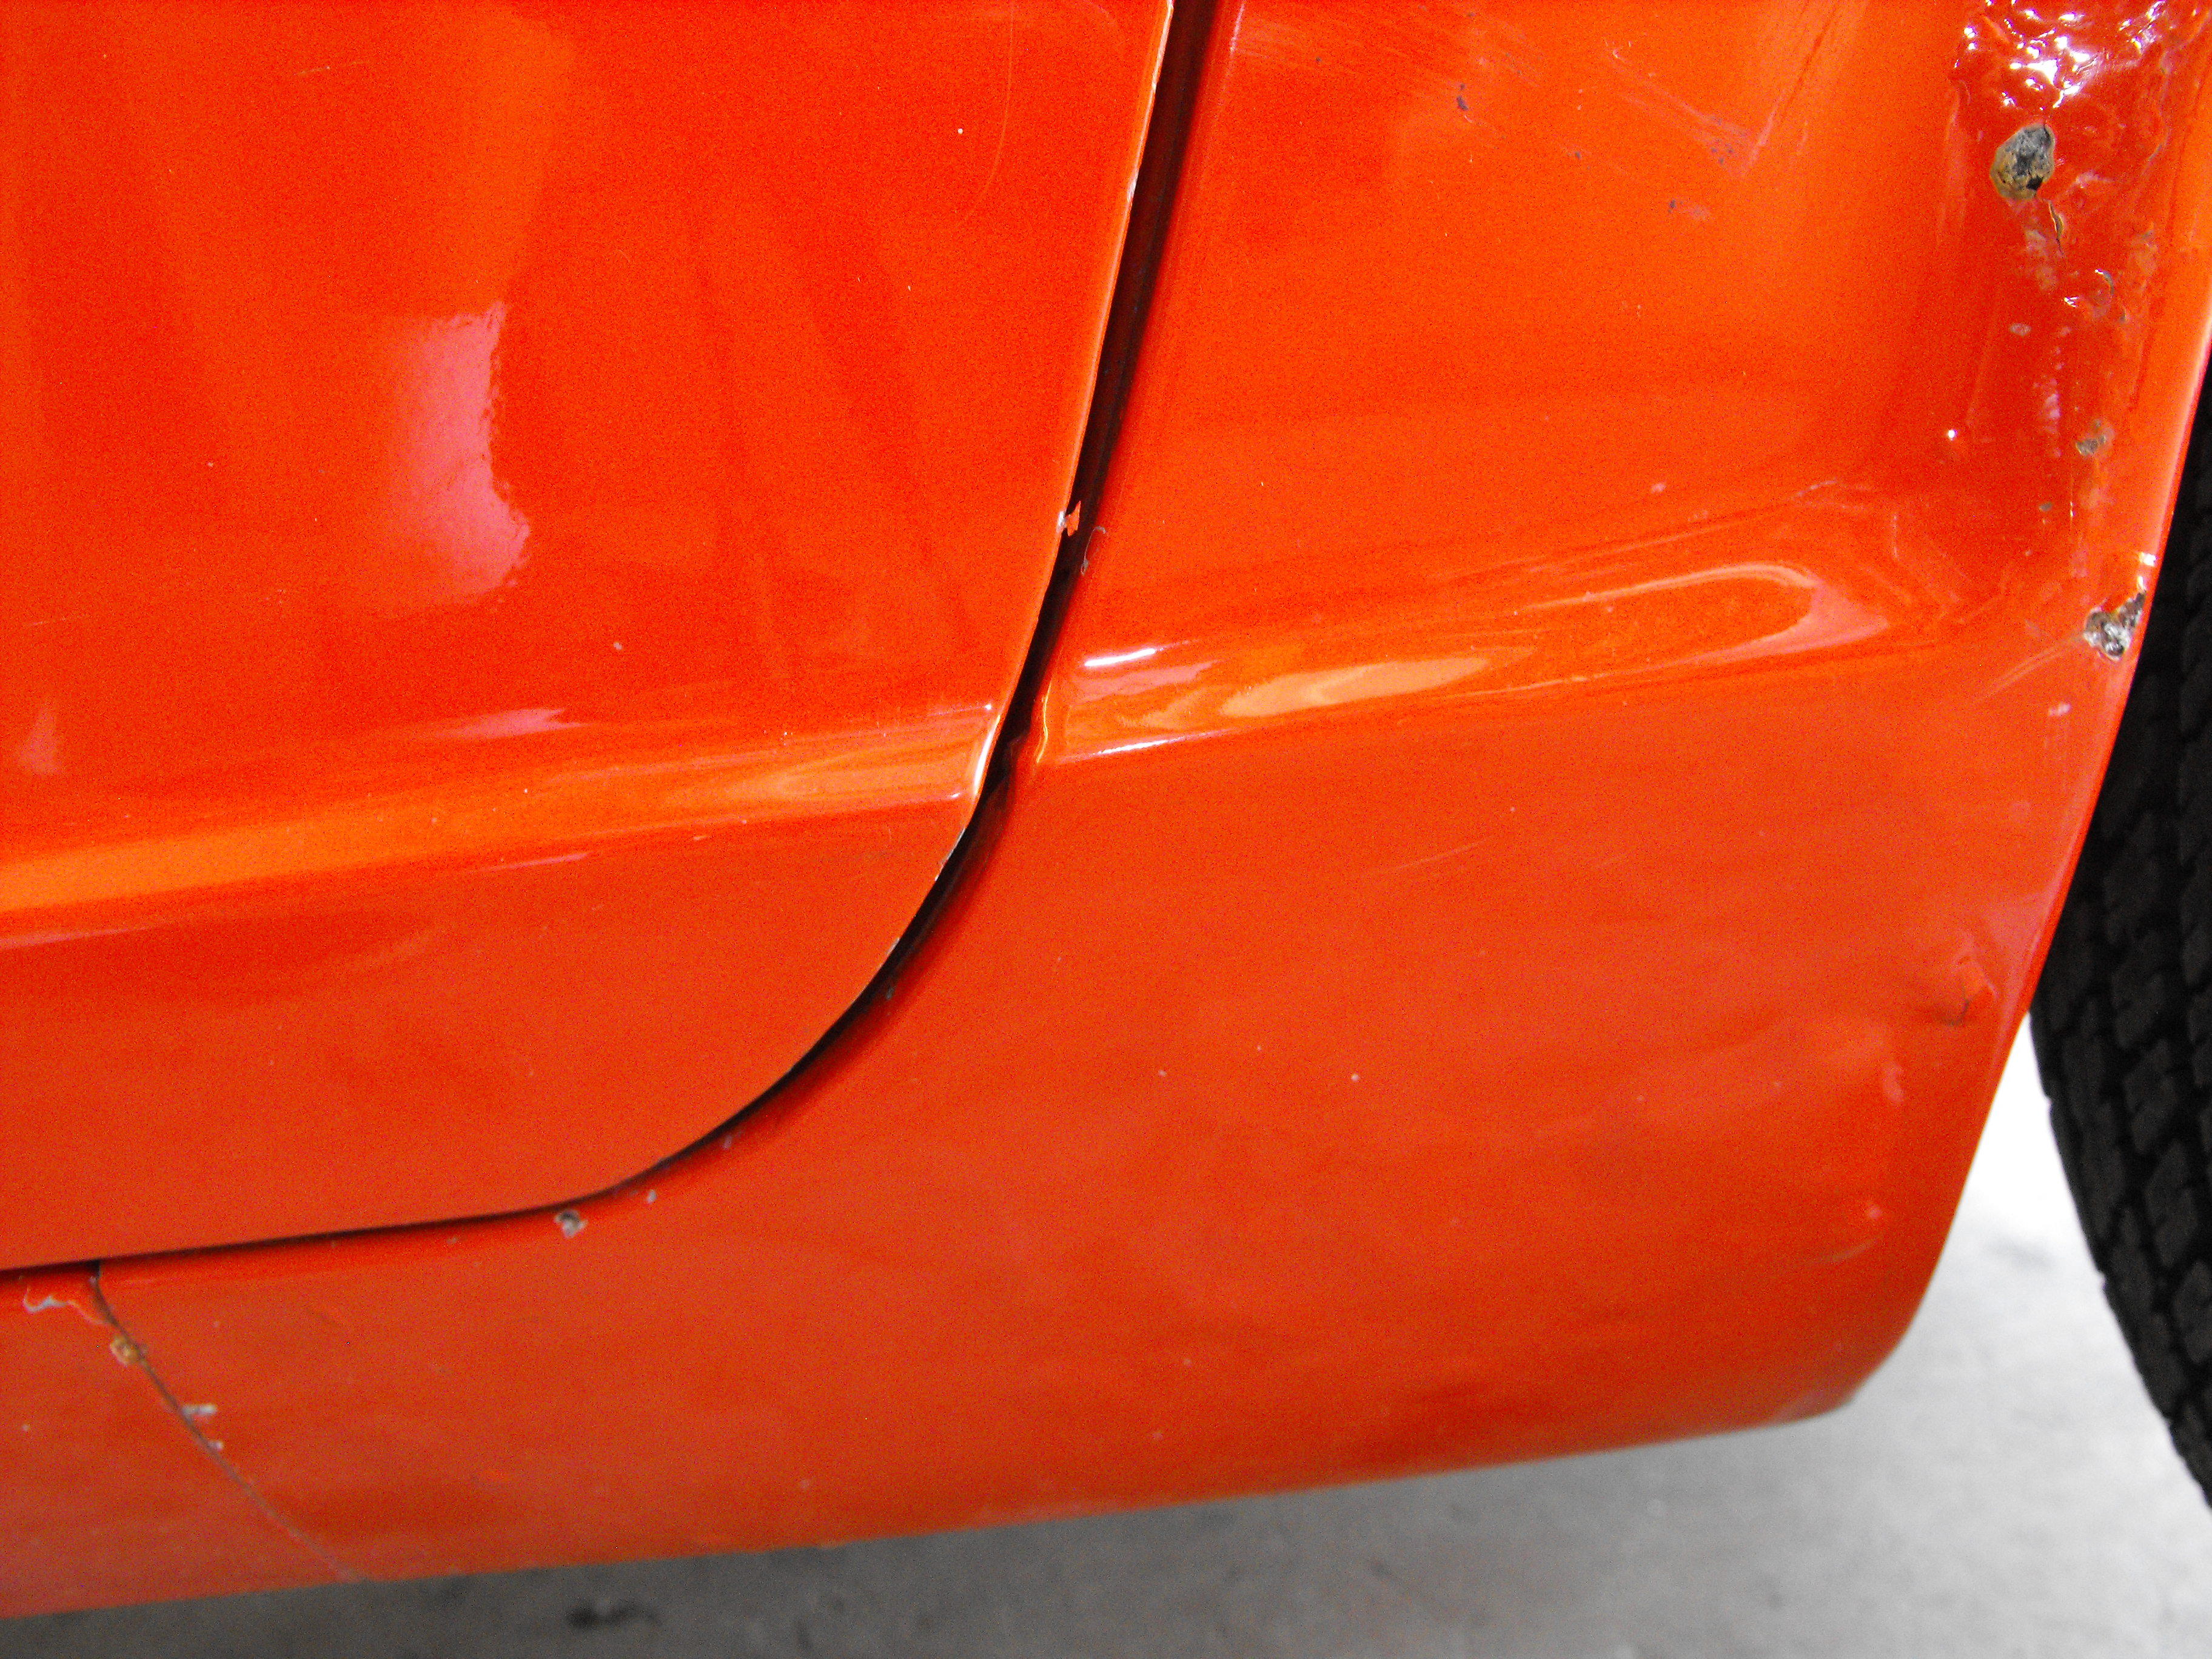
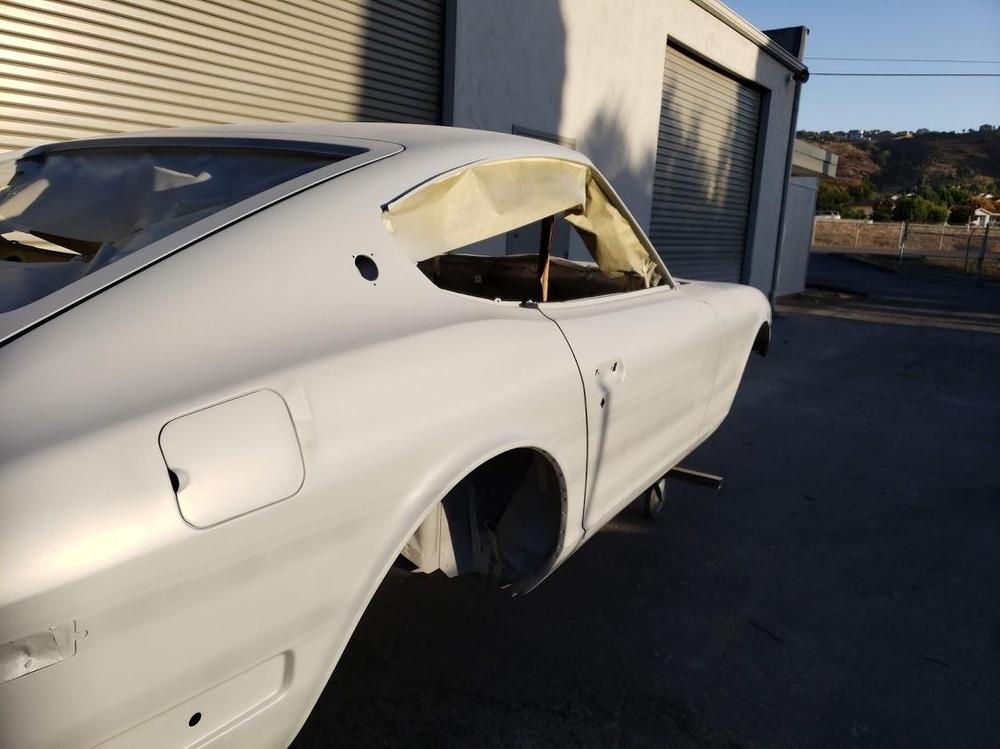
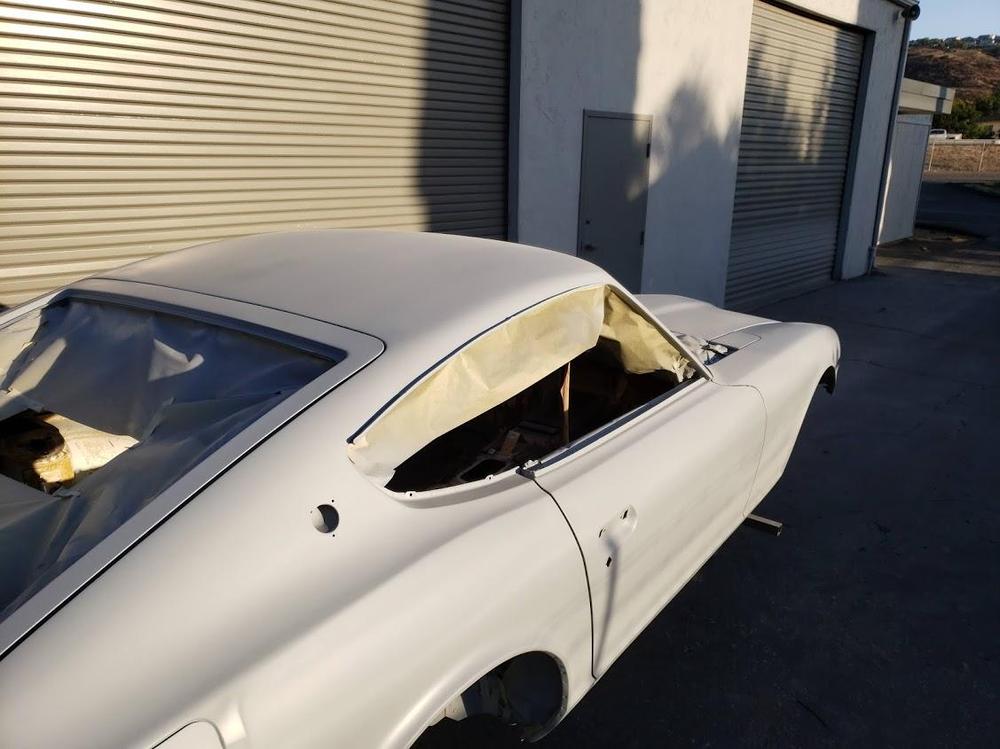
1 pointYes, the underside of the car is one of the best I have seen. Just a few minor depressions in the frame rails which I may just correct with some filler. Otherwise the floor pans are near perfect. There seems to be a number of bondo areas on the car itself and the doglegs are pretty rusted. Probably a result of its time in Pennsylvania. Miguel will cut these areas out and weld in new patch panels.1 point
-
 1 pointDid you check oil level after the first early start up? If not then I wouldn't be confidant your oil consumption is as high as you think. A quart every 150 miles is a little like fogging for mosquitos! Quite noticeable Get the oil full and on the stick where it's easy to confirm, reset the odometer and put a few more miles on it.1 point
 -
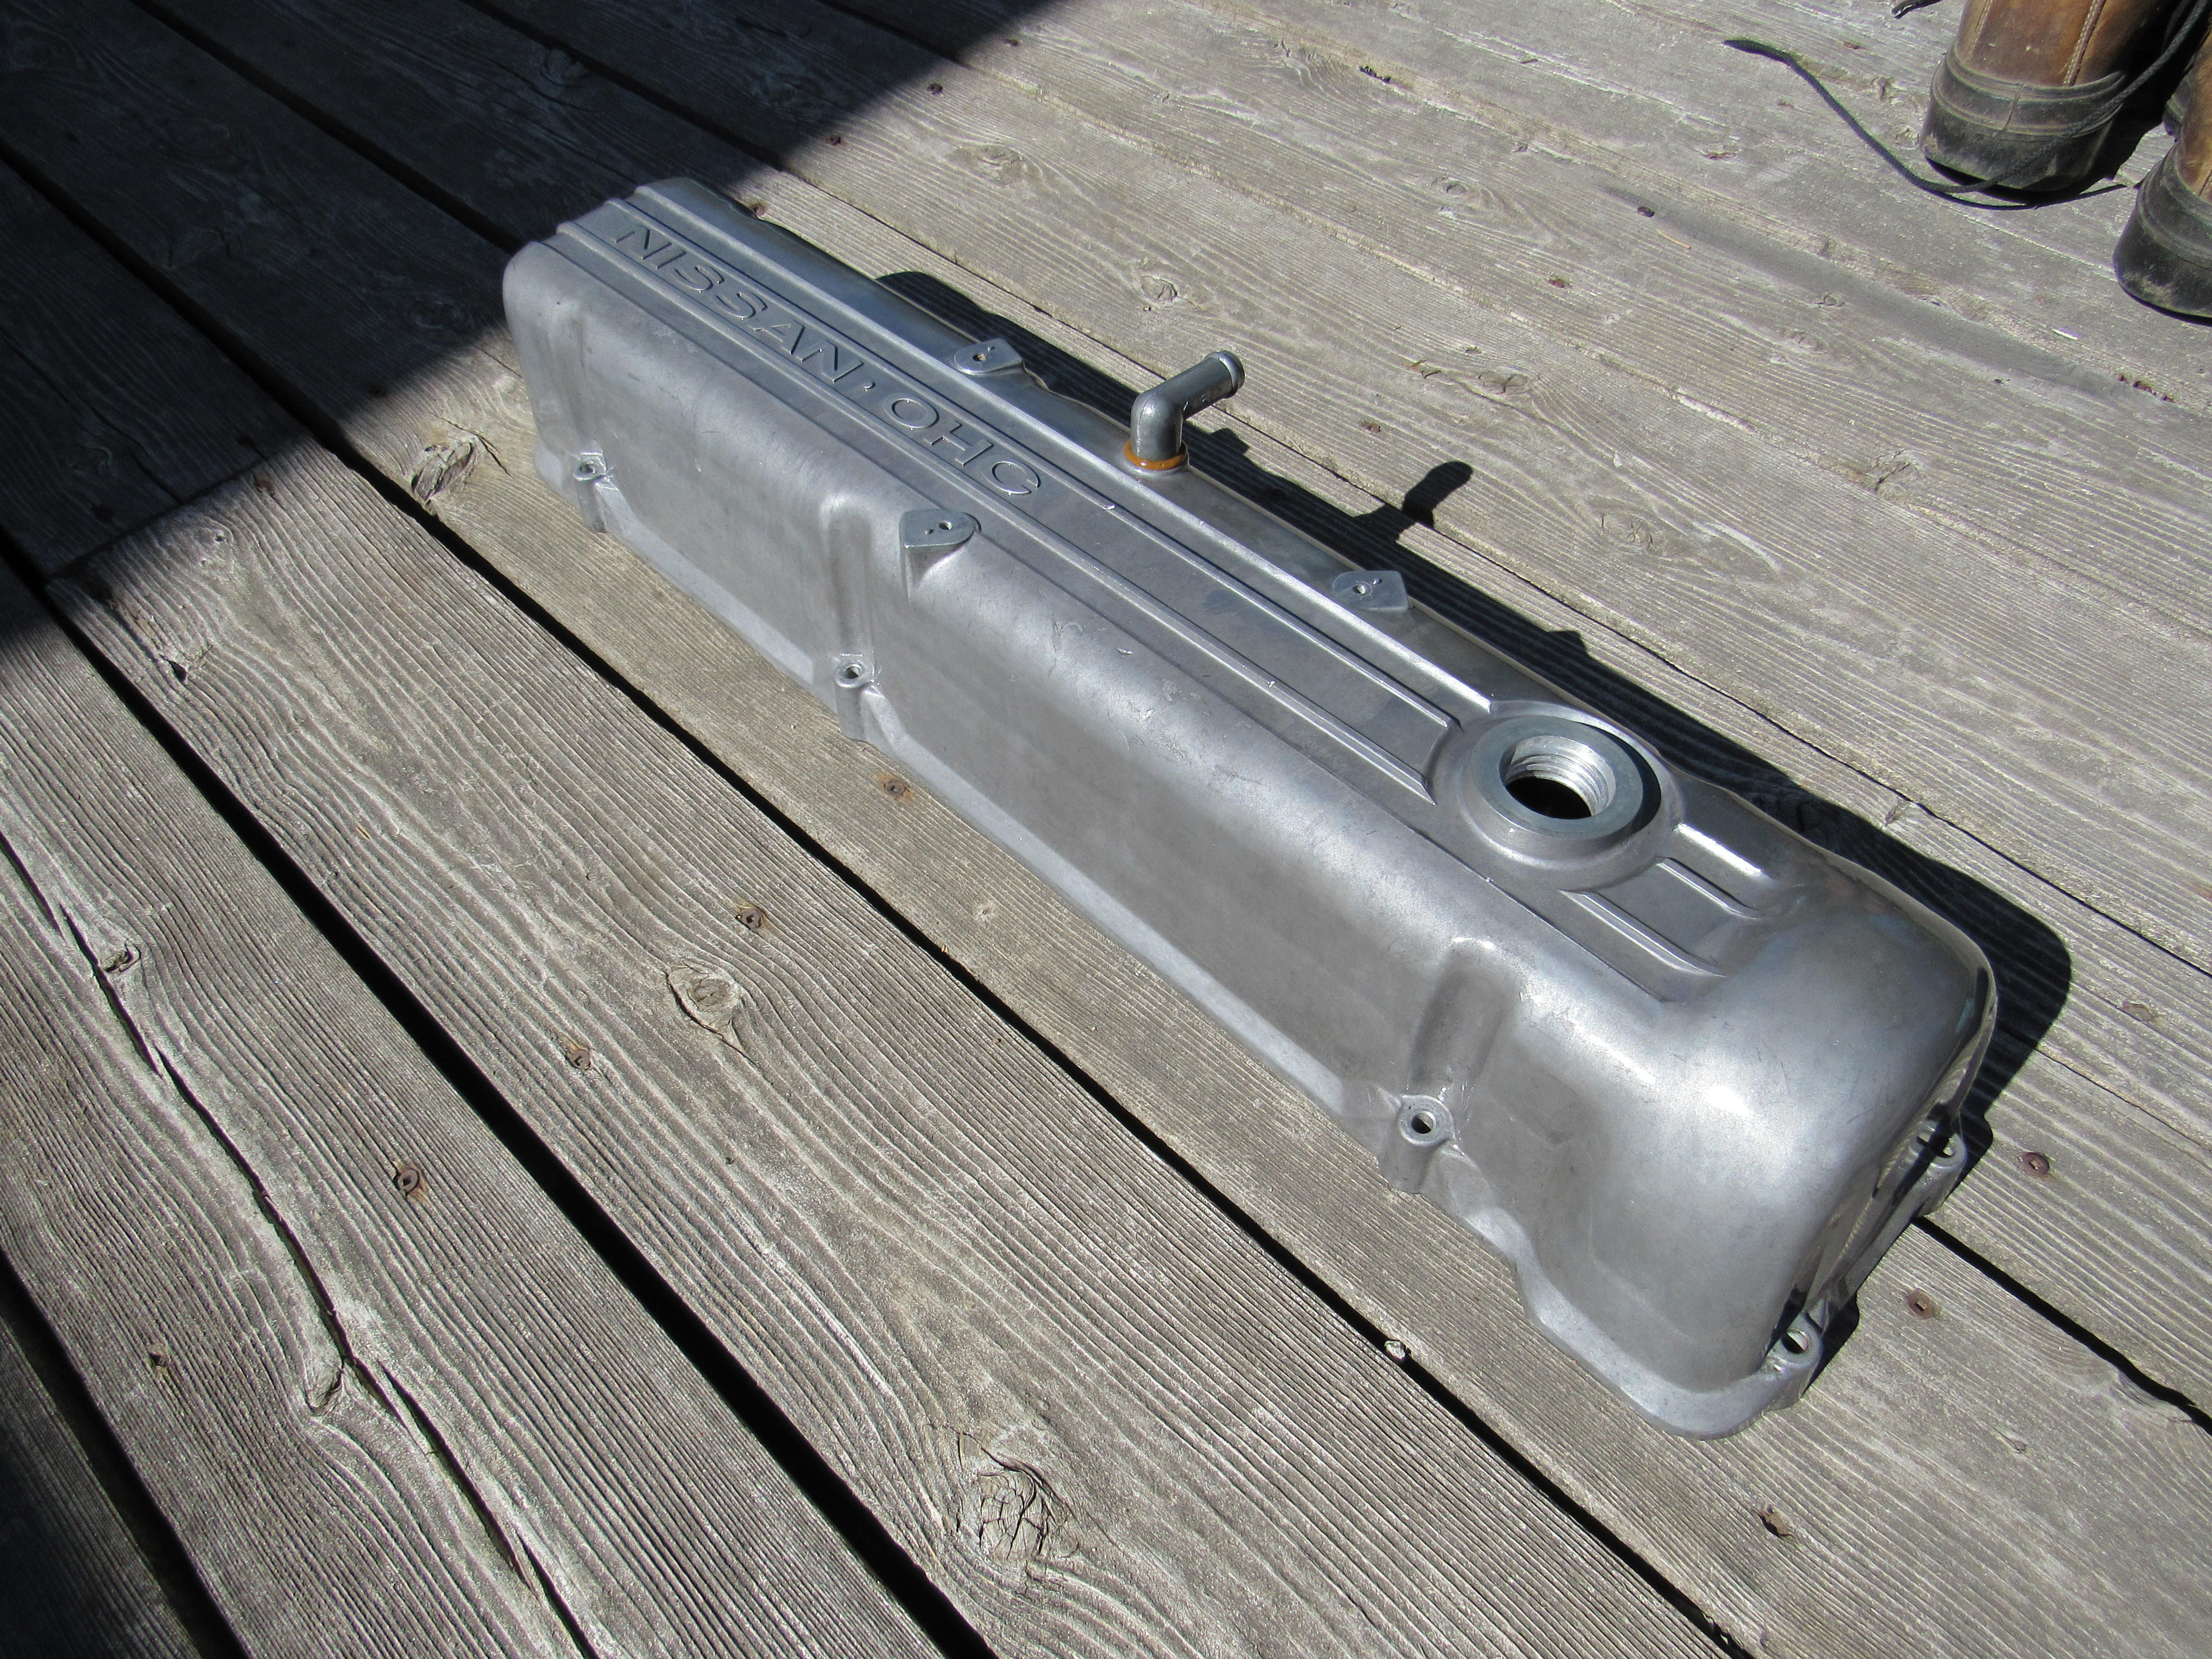
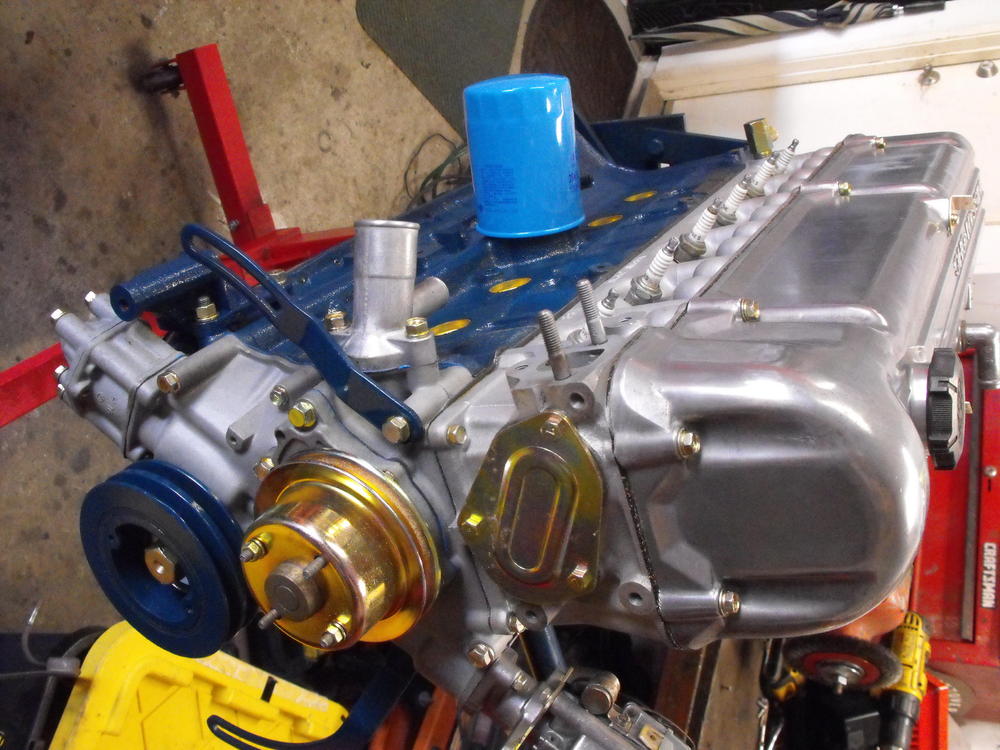
Just saw the thread on the valve cover finish. Will have to check that out a bit closer and see how it looks with mine. I used '0000' steel wool and phosphoric acid for the initial clean (wear your gloves and goggles boys and girls). It looked a bit dull after that. Then went over it with '0000' steel wool and mothers mag polish. I think the look is close, but will read up on the valve cover finish thread. Got the latest pics from Miguel. Body is not primered.......Woo-Hoo!


 1 point
 -
 1 point
 -
 1 pointMaybe bead blast or vapour blast then leave in the rain for a few weeks? Your bead blast looks very close.1 point
 -
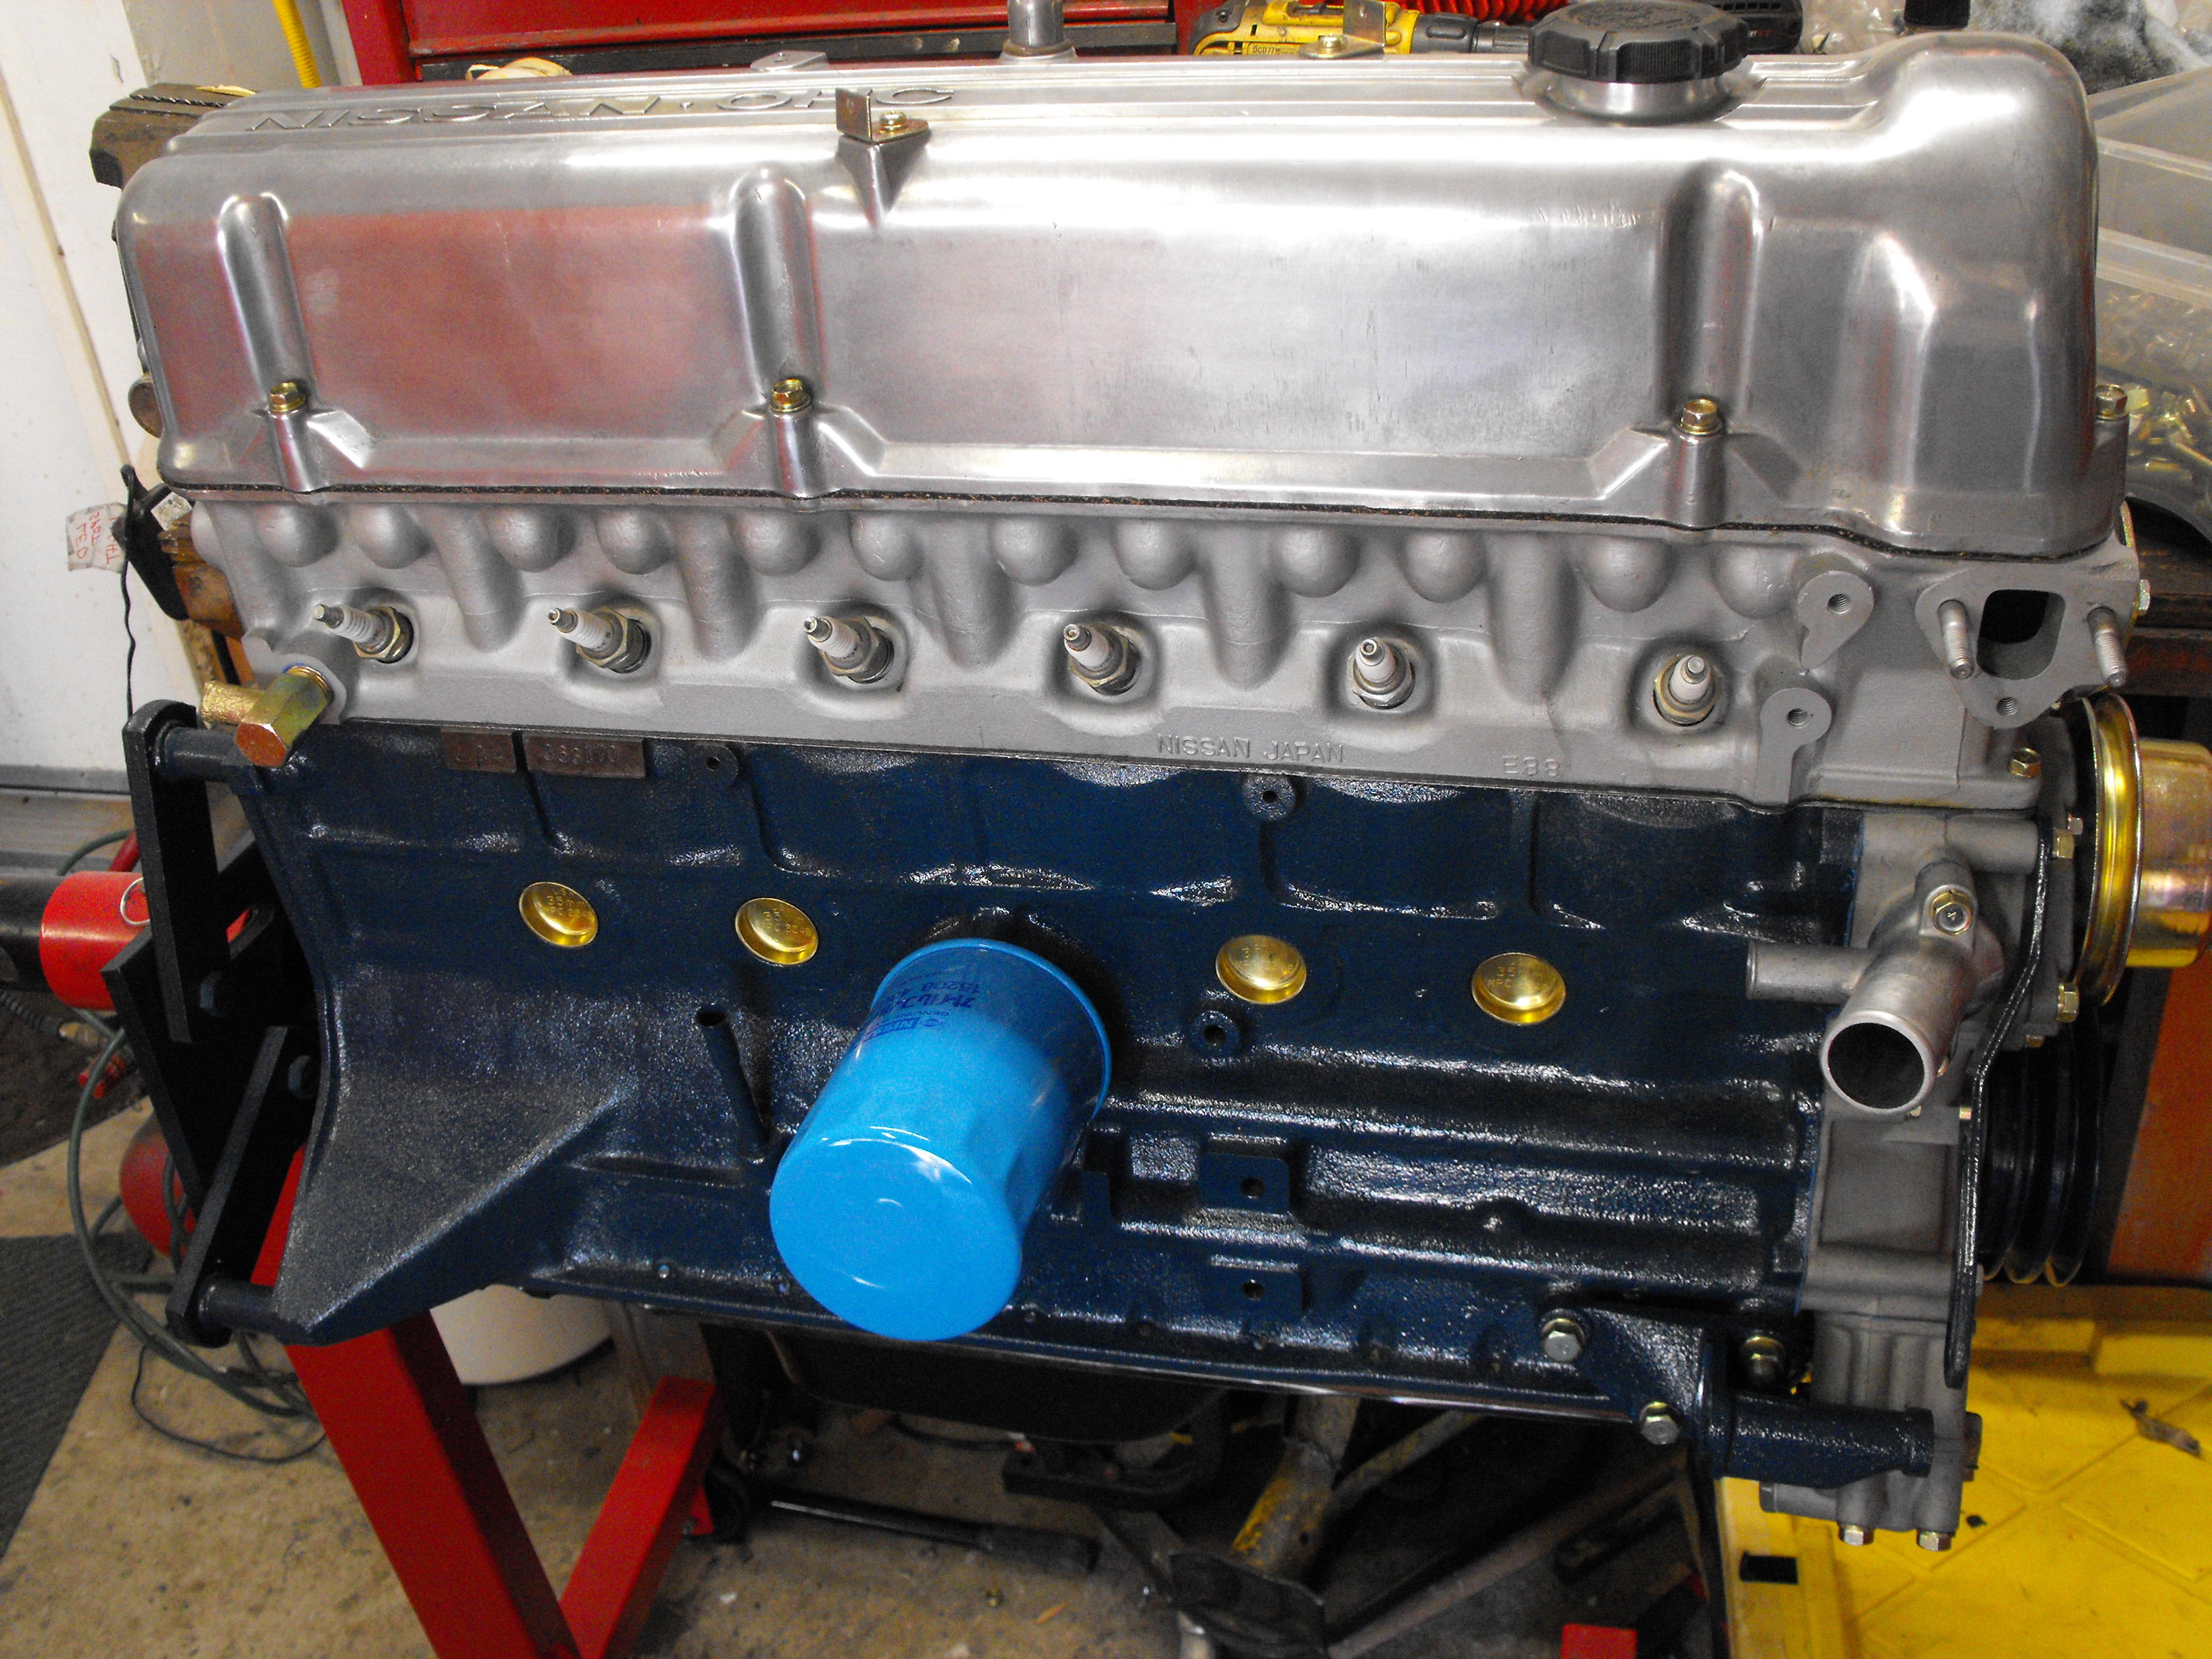
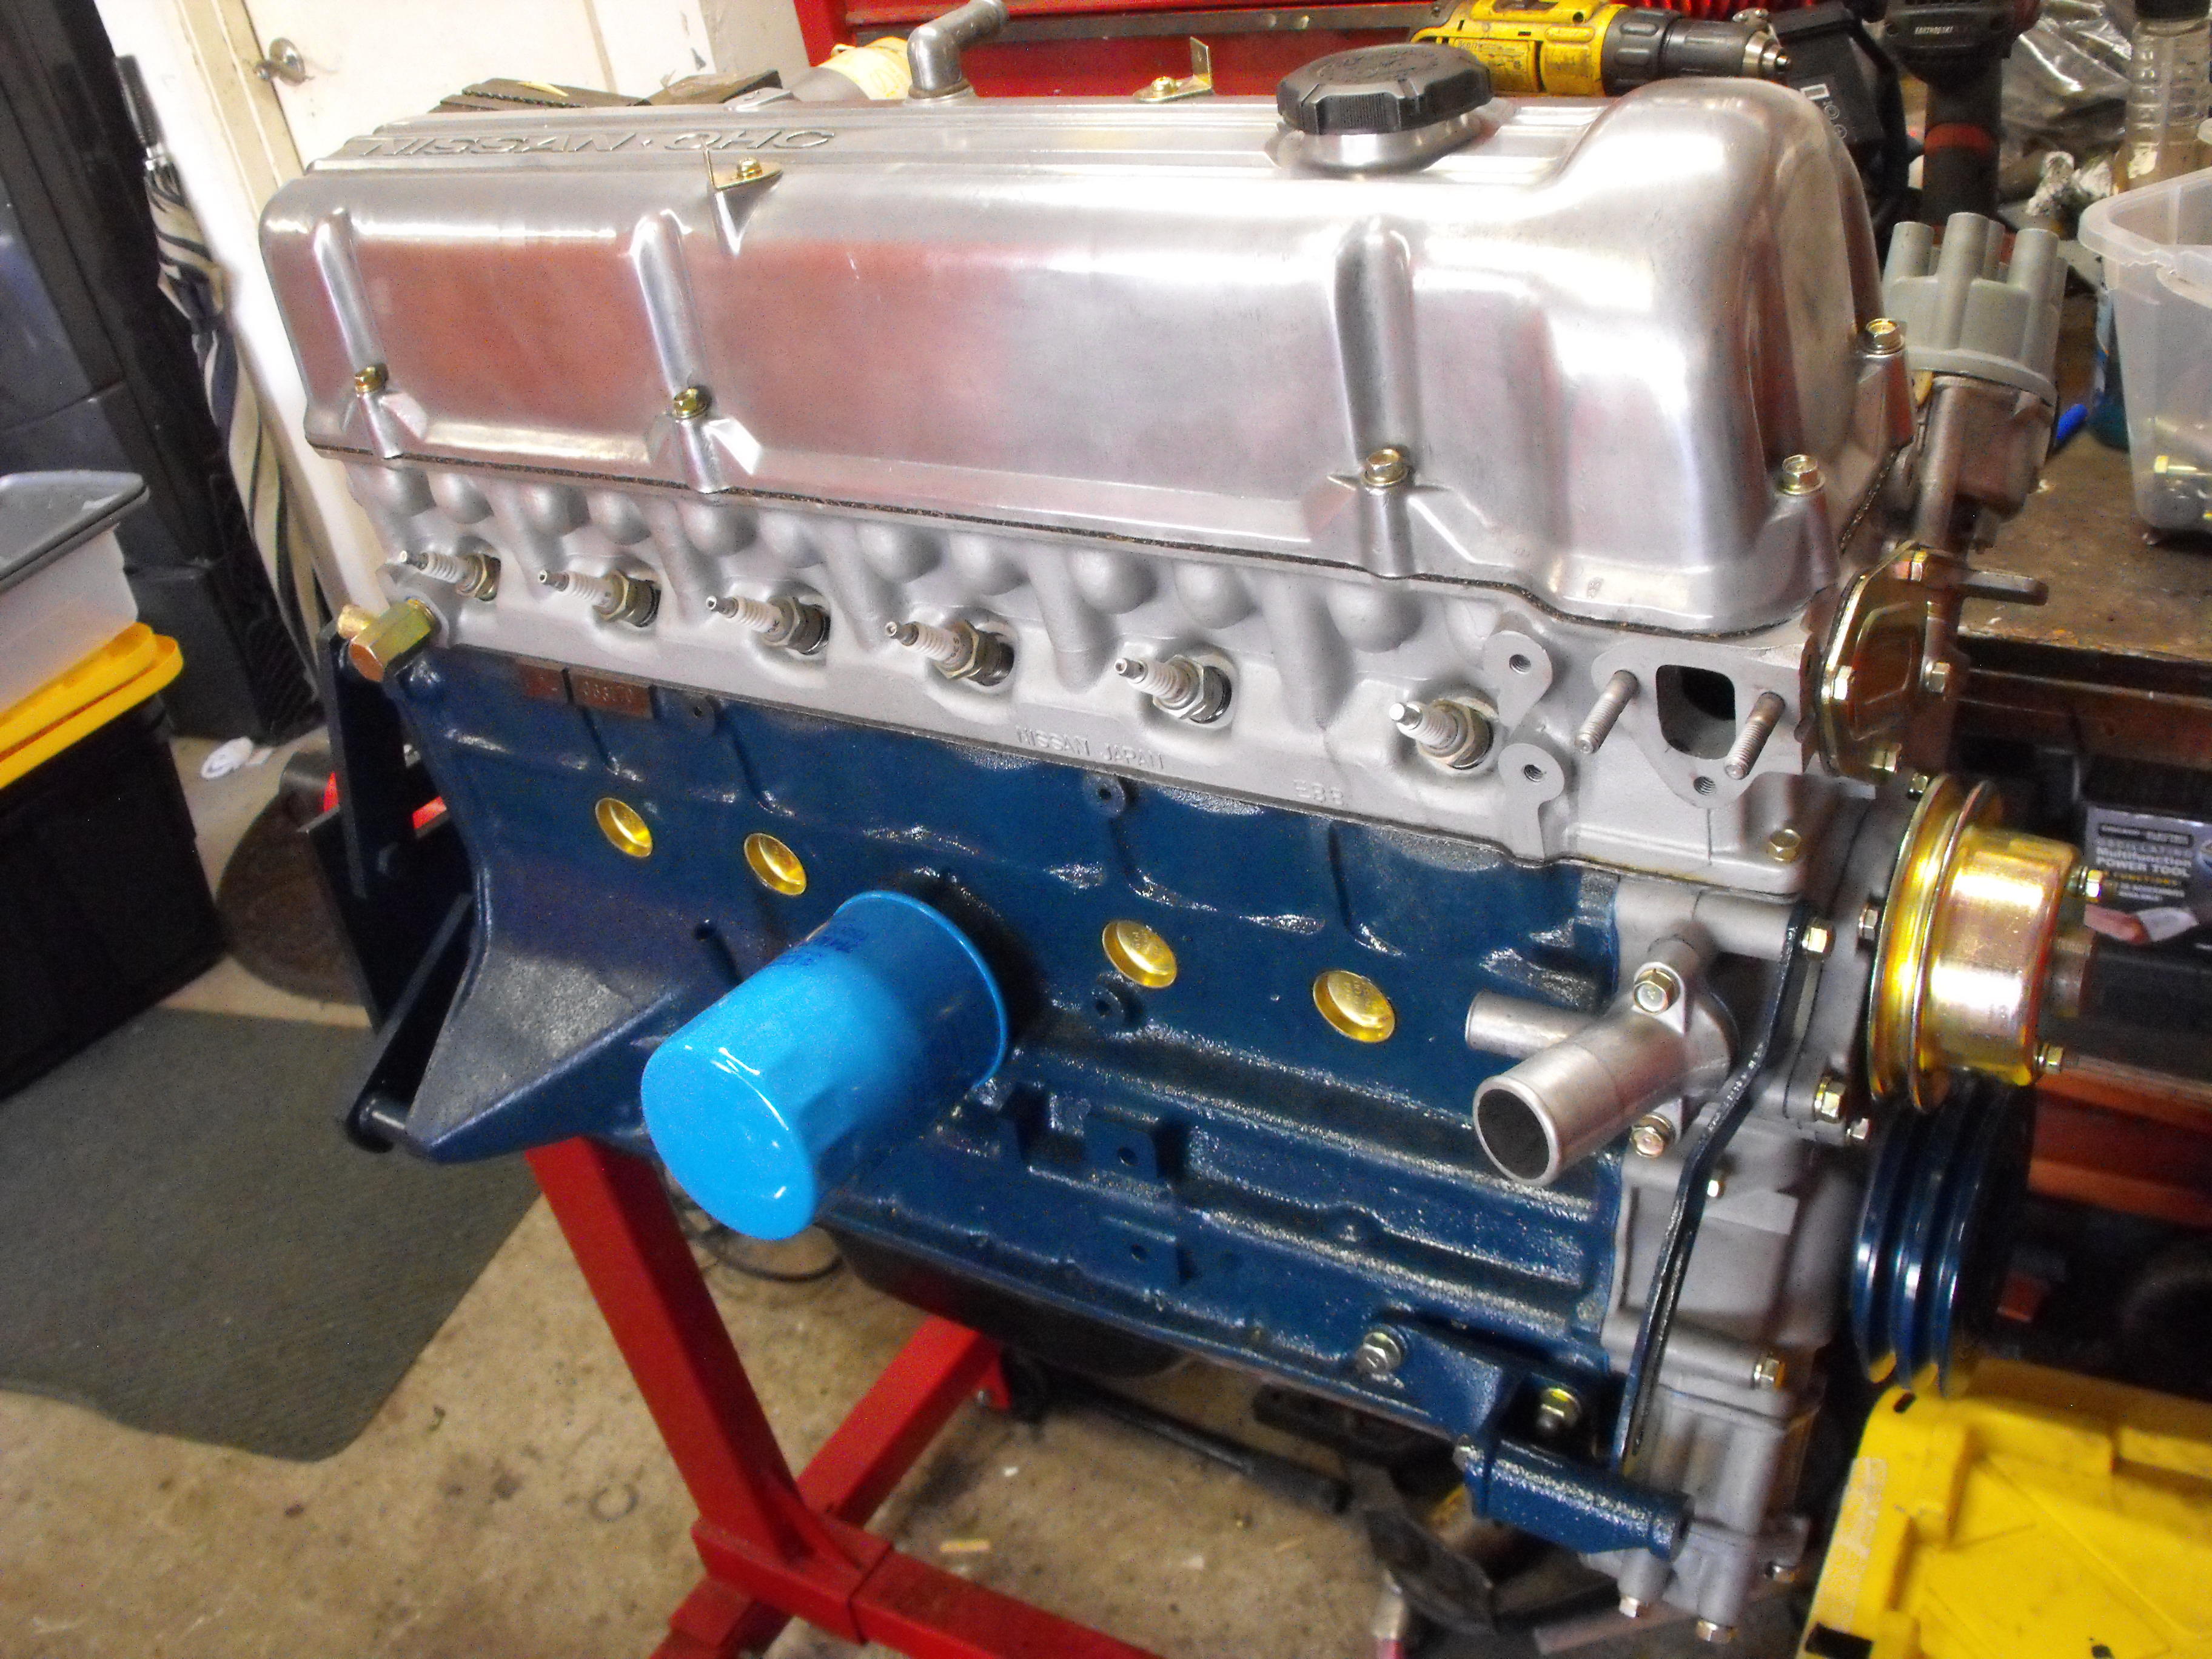
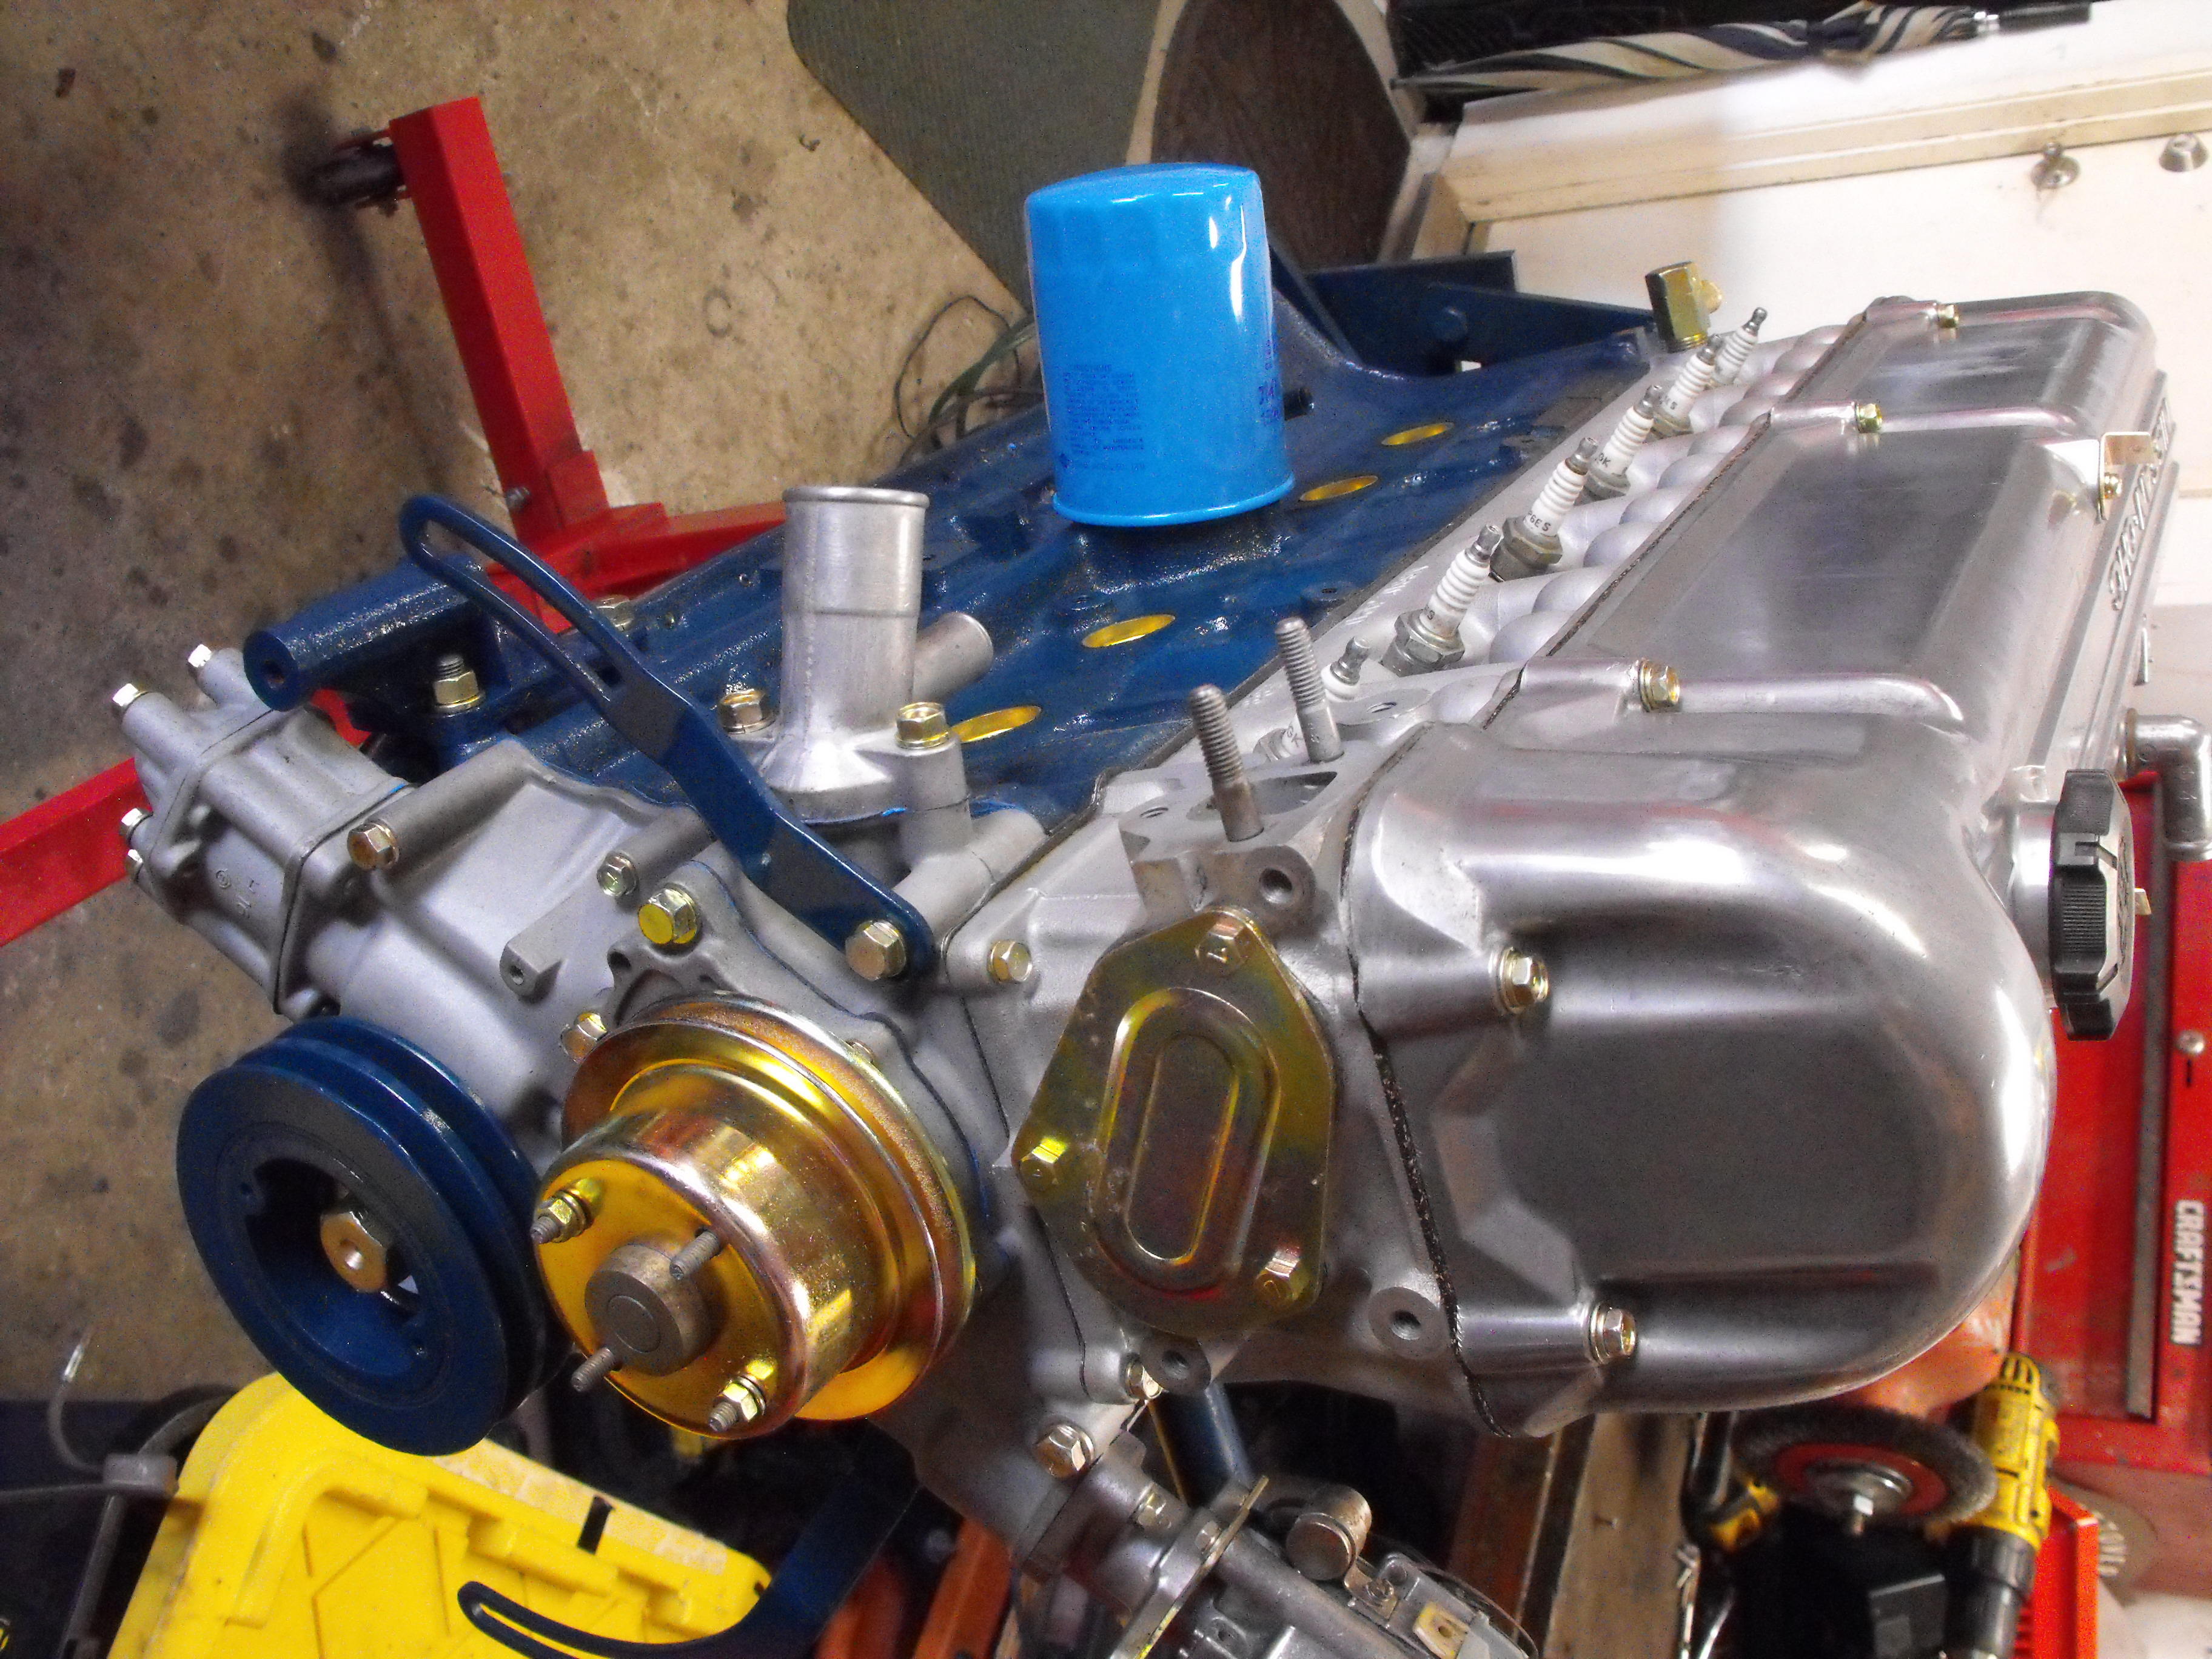
 1 pointThis a valve cover wet/vapour blasted with my home made unit, not enough air pressure so not very aggressive. Very fine glass beads then Gibbs oil.
 1 point
 -
 1 point
 -
So, it now seems to be 'fixed'. Need to torque the hub nut up properly, however for some reason, another shaft/rear wheel hub seems to have sorted it. Going to torque it up correctly shortly to be 100%.1 point
-
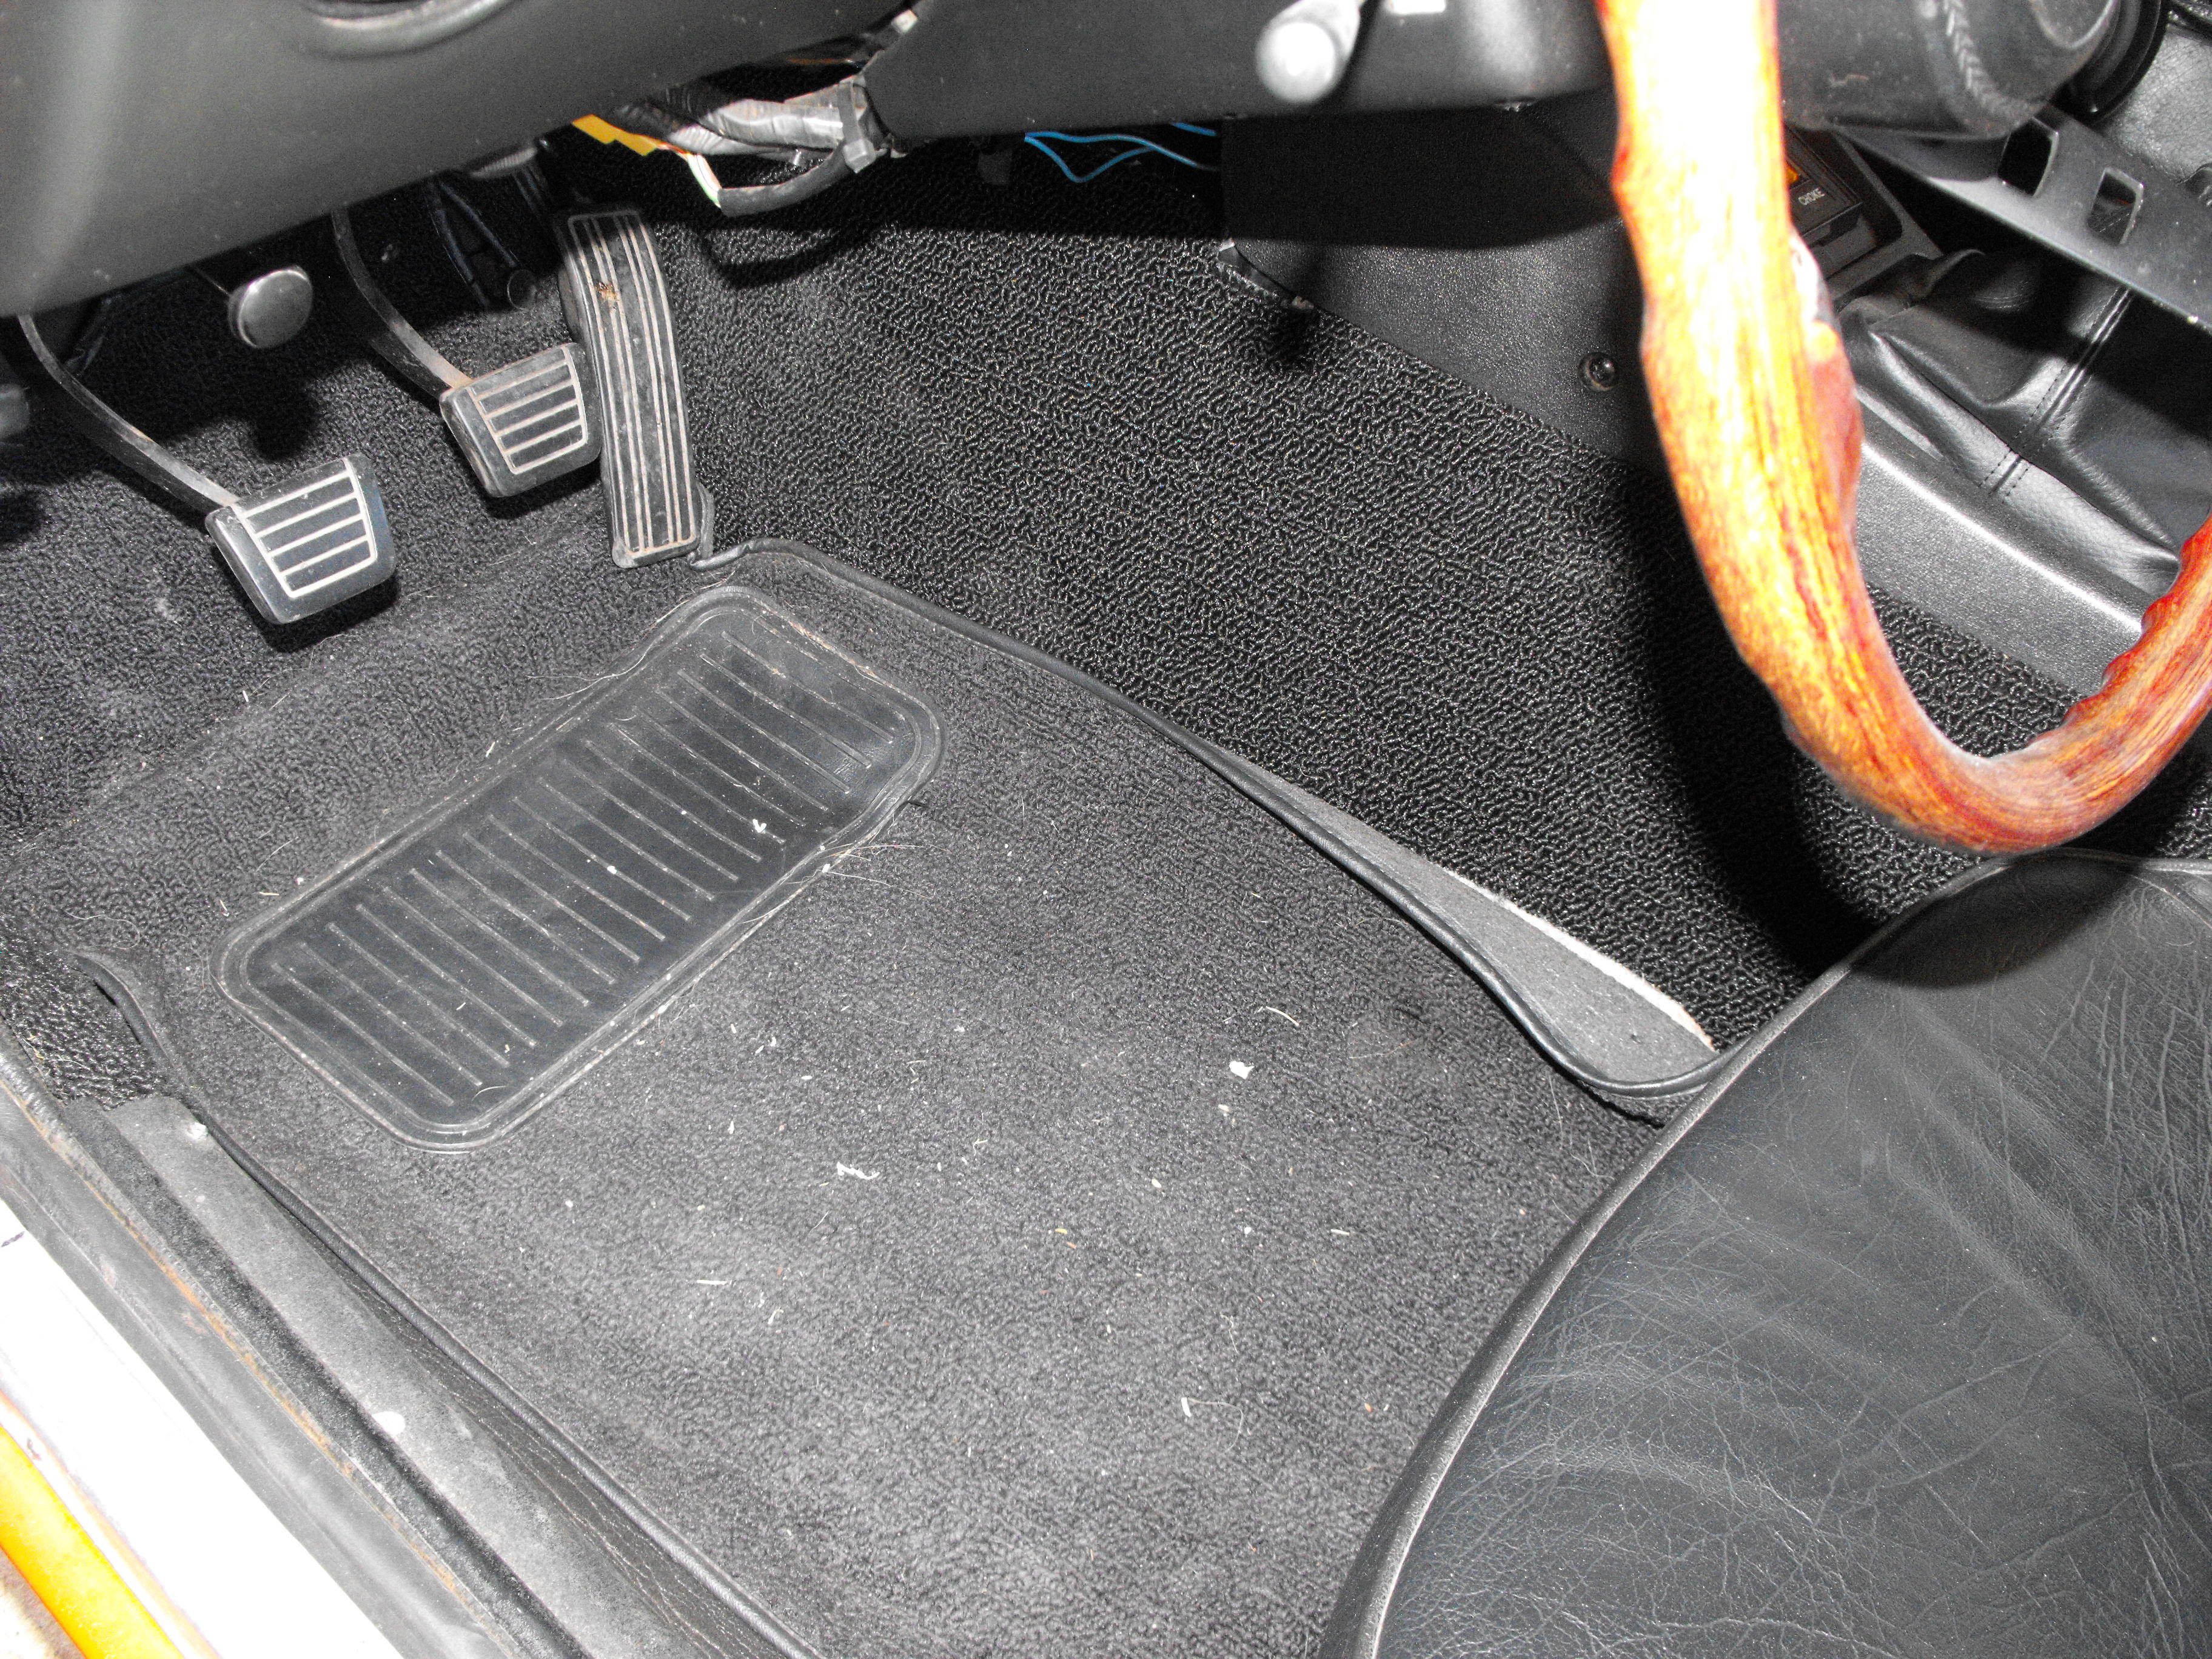
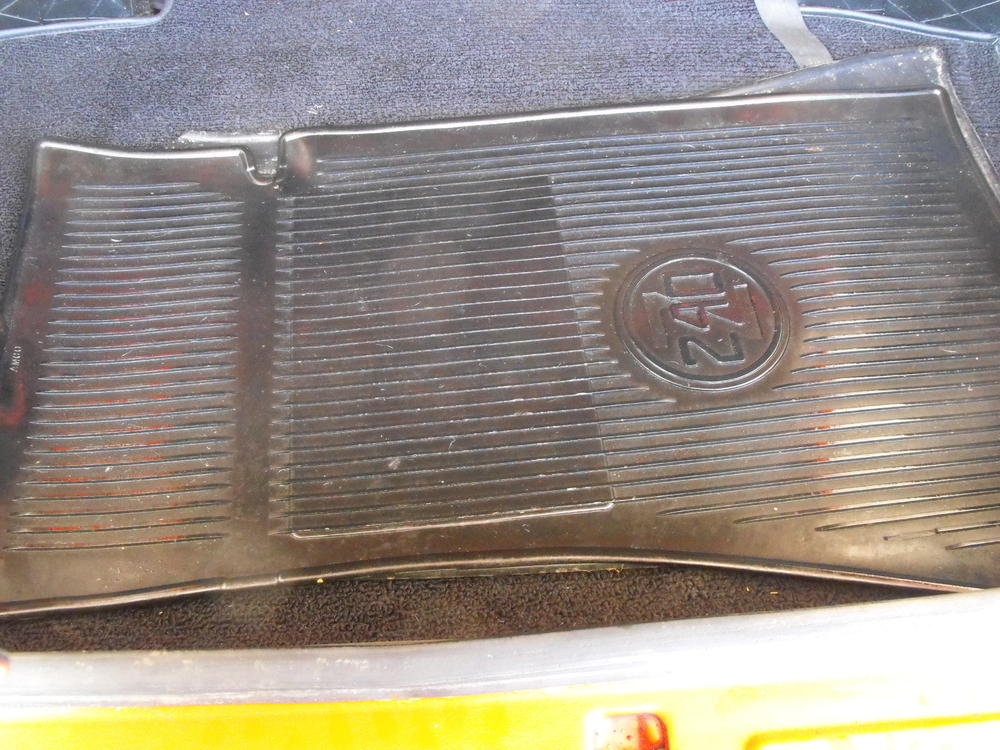
 Add to that list....soaks and holds moisture to promote corrosion, absorbs gasoline drips and overflow to maintain that delightful fresh gas smell mile after mile, and dries out and cracks like an old shoe. But, after all the silly things I've done to my Z since 1971, who am I to judge? ? Dennis1 point
 -
 Easy to make. It's flat with some holes. And you get to pick the leather you like, or have it dyed to match or contrast your paint! Adjust the size to your liking, add fancy engraving, make it look like a saddle, go nuts!1 point
 -
 1 pointRon, I'll have to look at the schematics again and see where else that wire runs to. It sounds like you are on the path though. As for the HellFire, as Steve said it's a drop in replacement for the stock analog ECU. Unplug the stock ECU, plug in the Hellfire, hook up the laptop and you can look at every sensor, configure every table, adjust for any engine modification. Plug and Spray! Len1 point