


Leaderboard
 Subscriber


Popular Content
Showing content with the highest reputation on 10/19/2019 in all areas
-
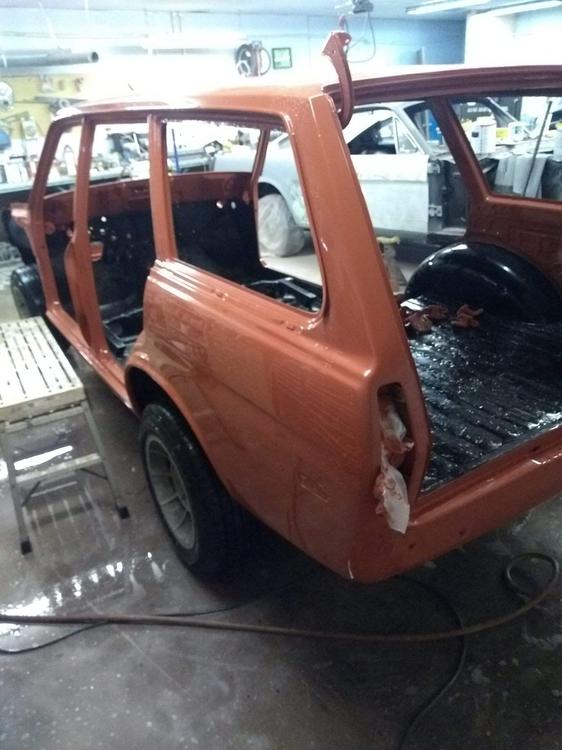
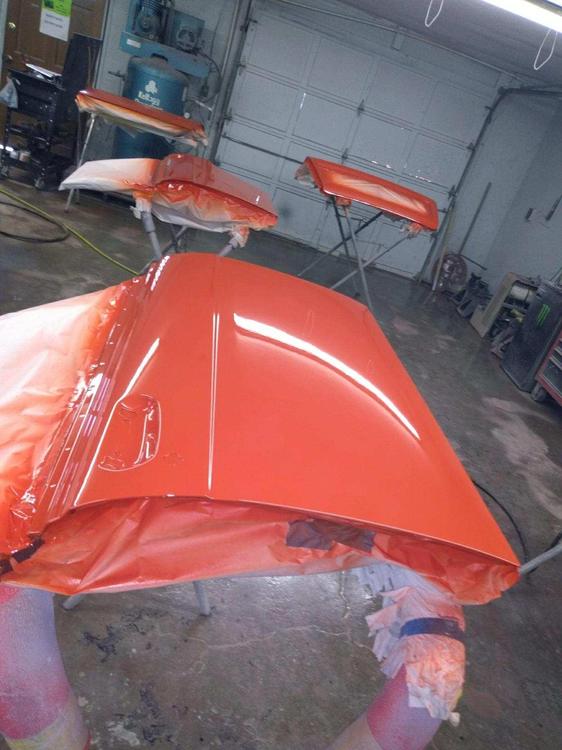
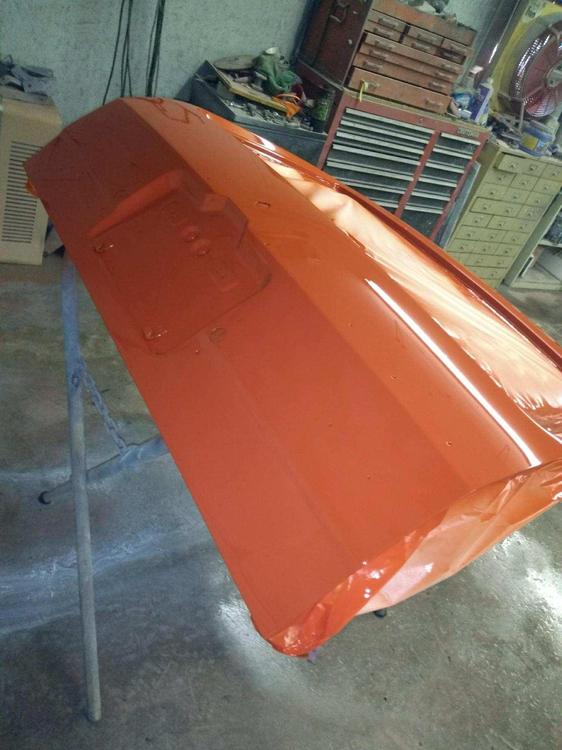
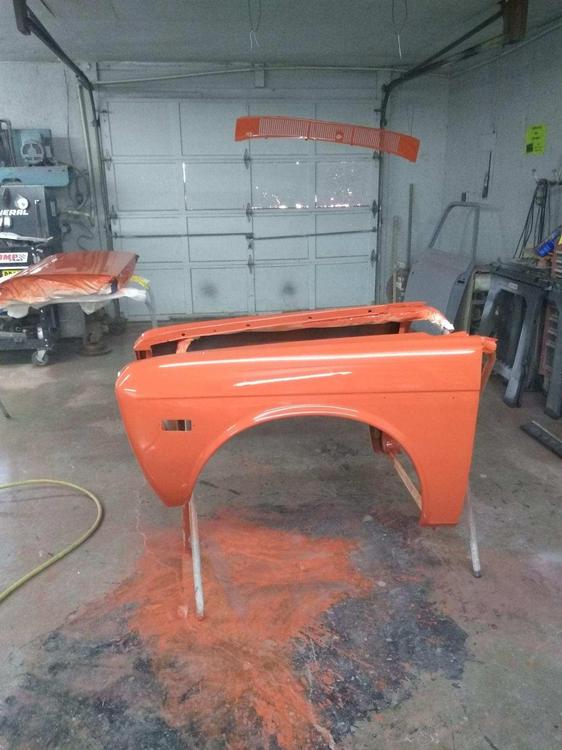
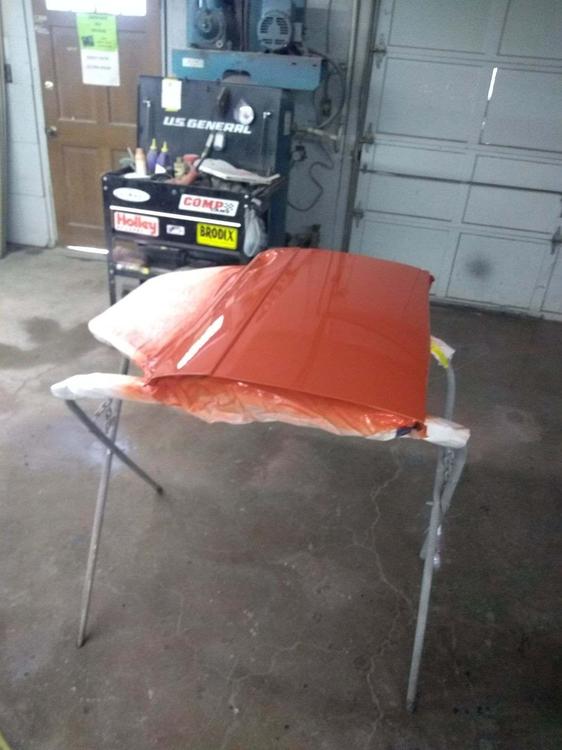
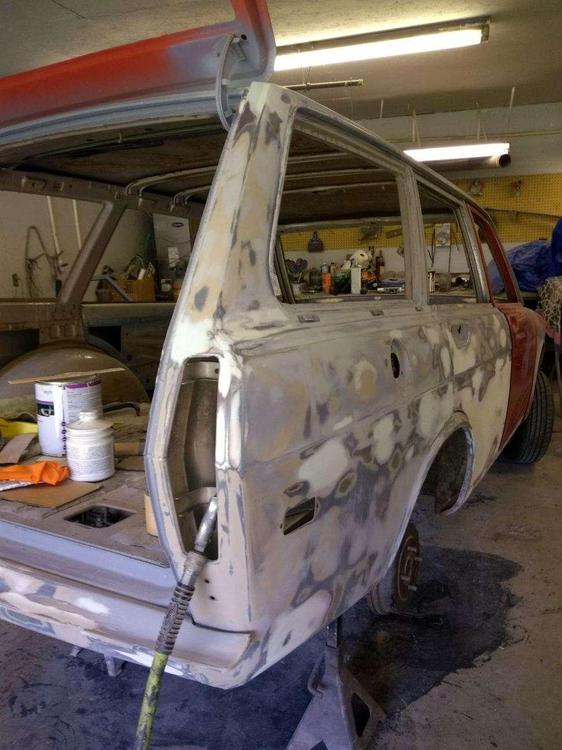
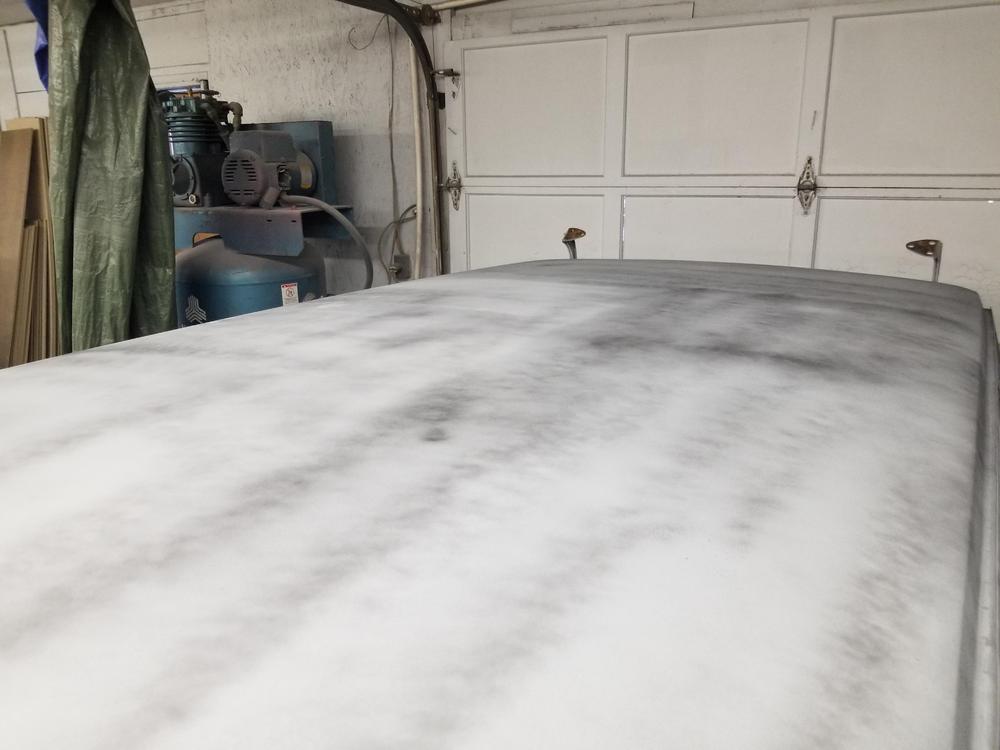
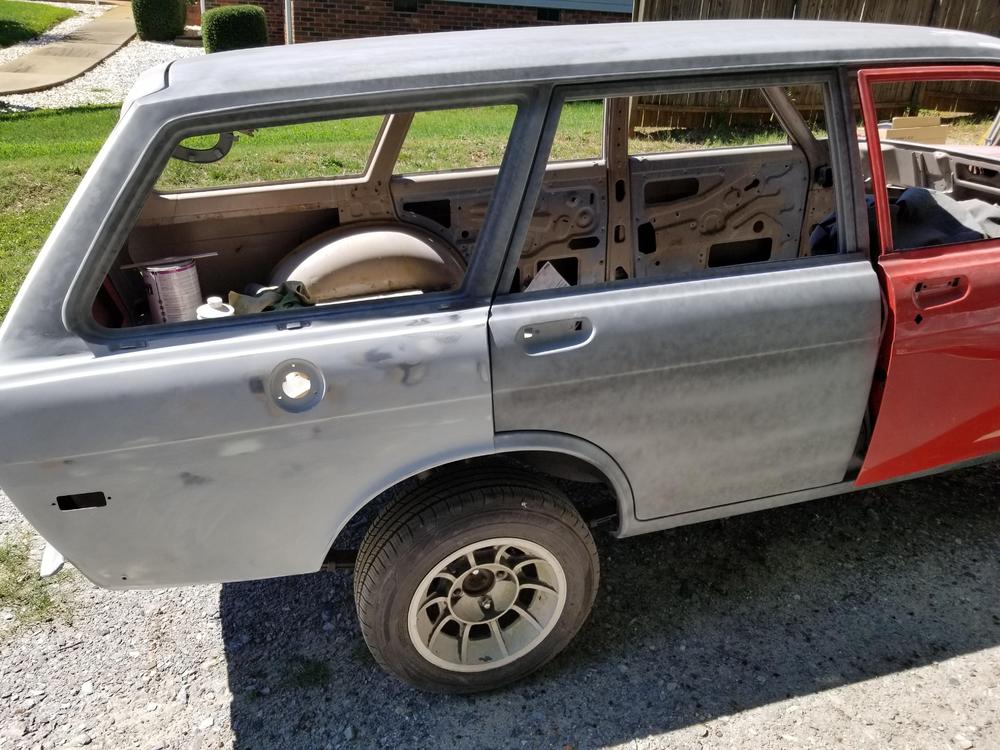
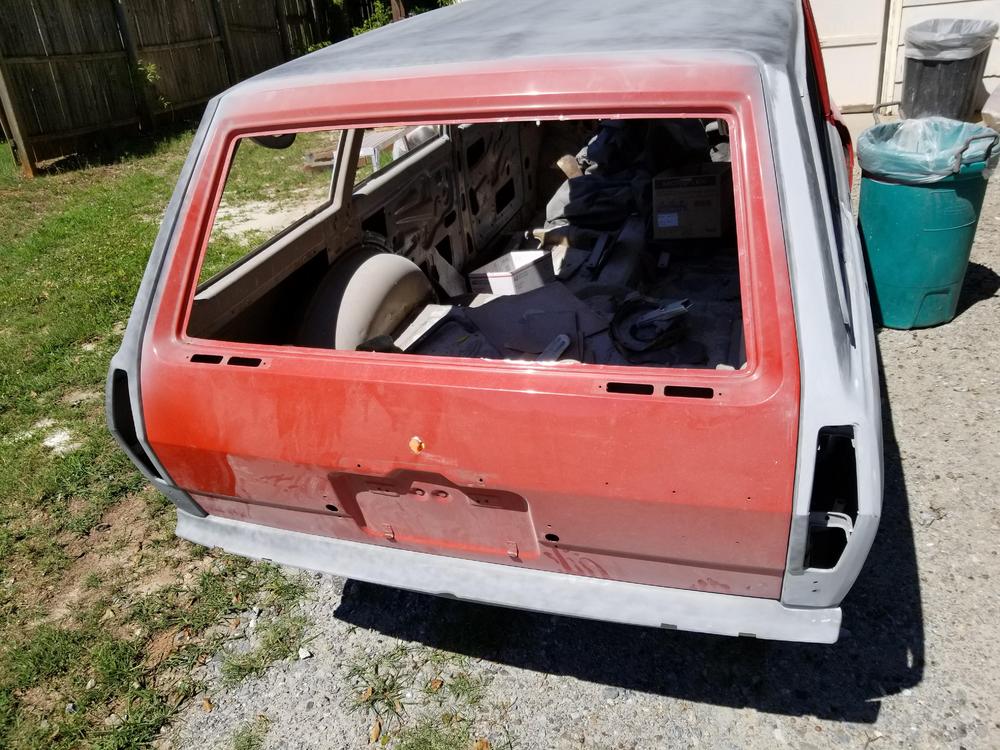
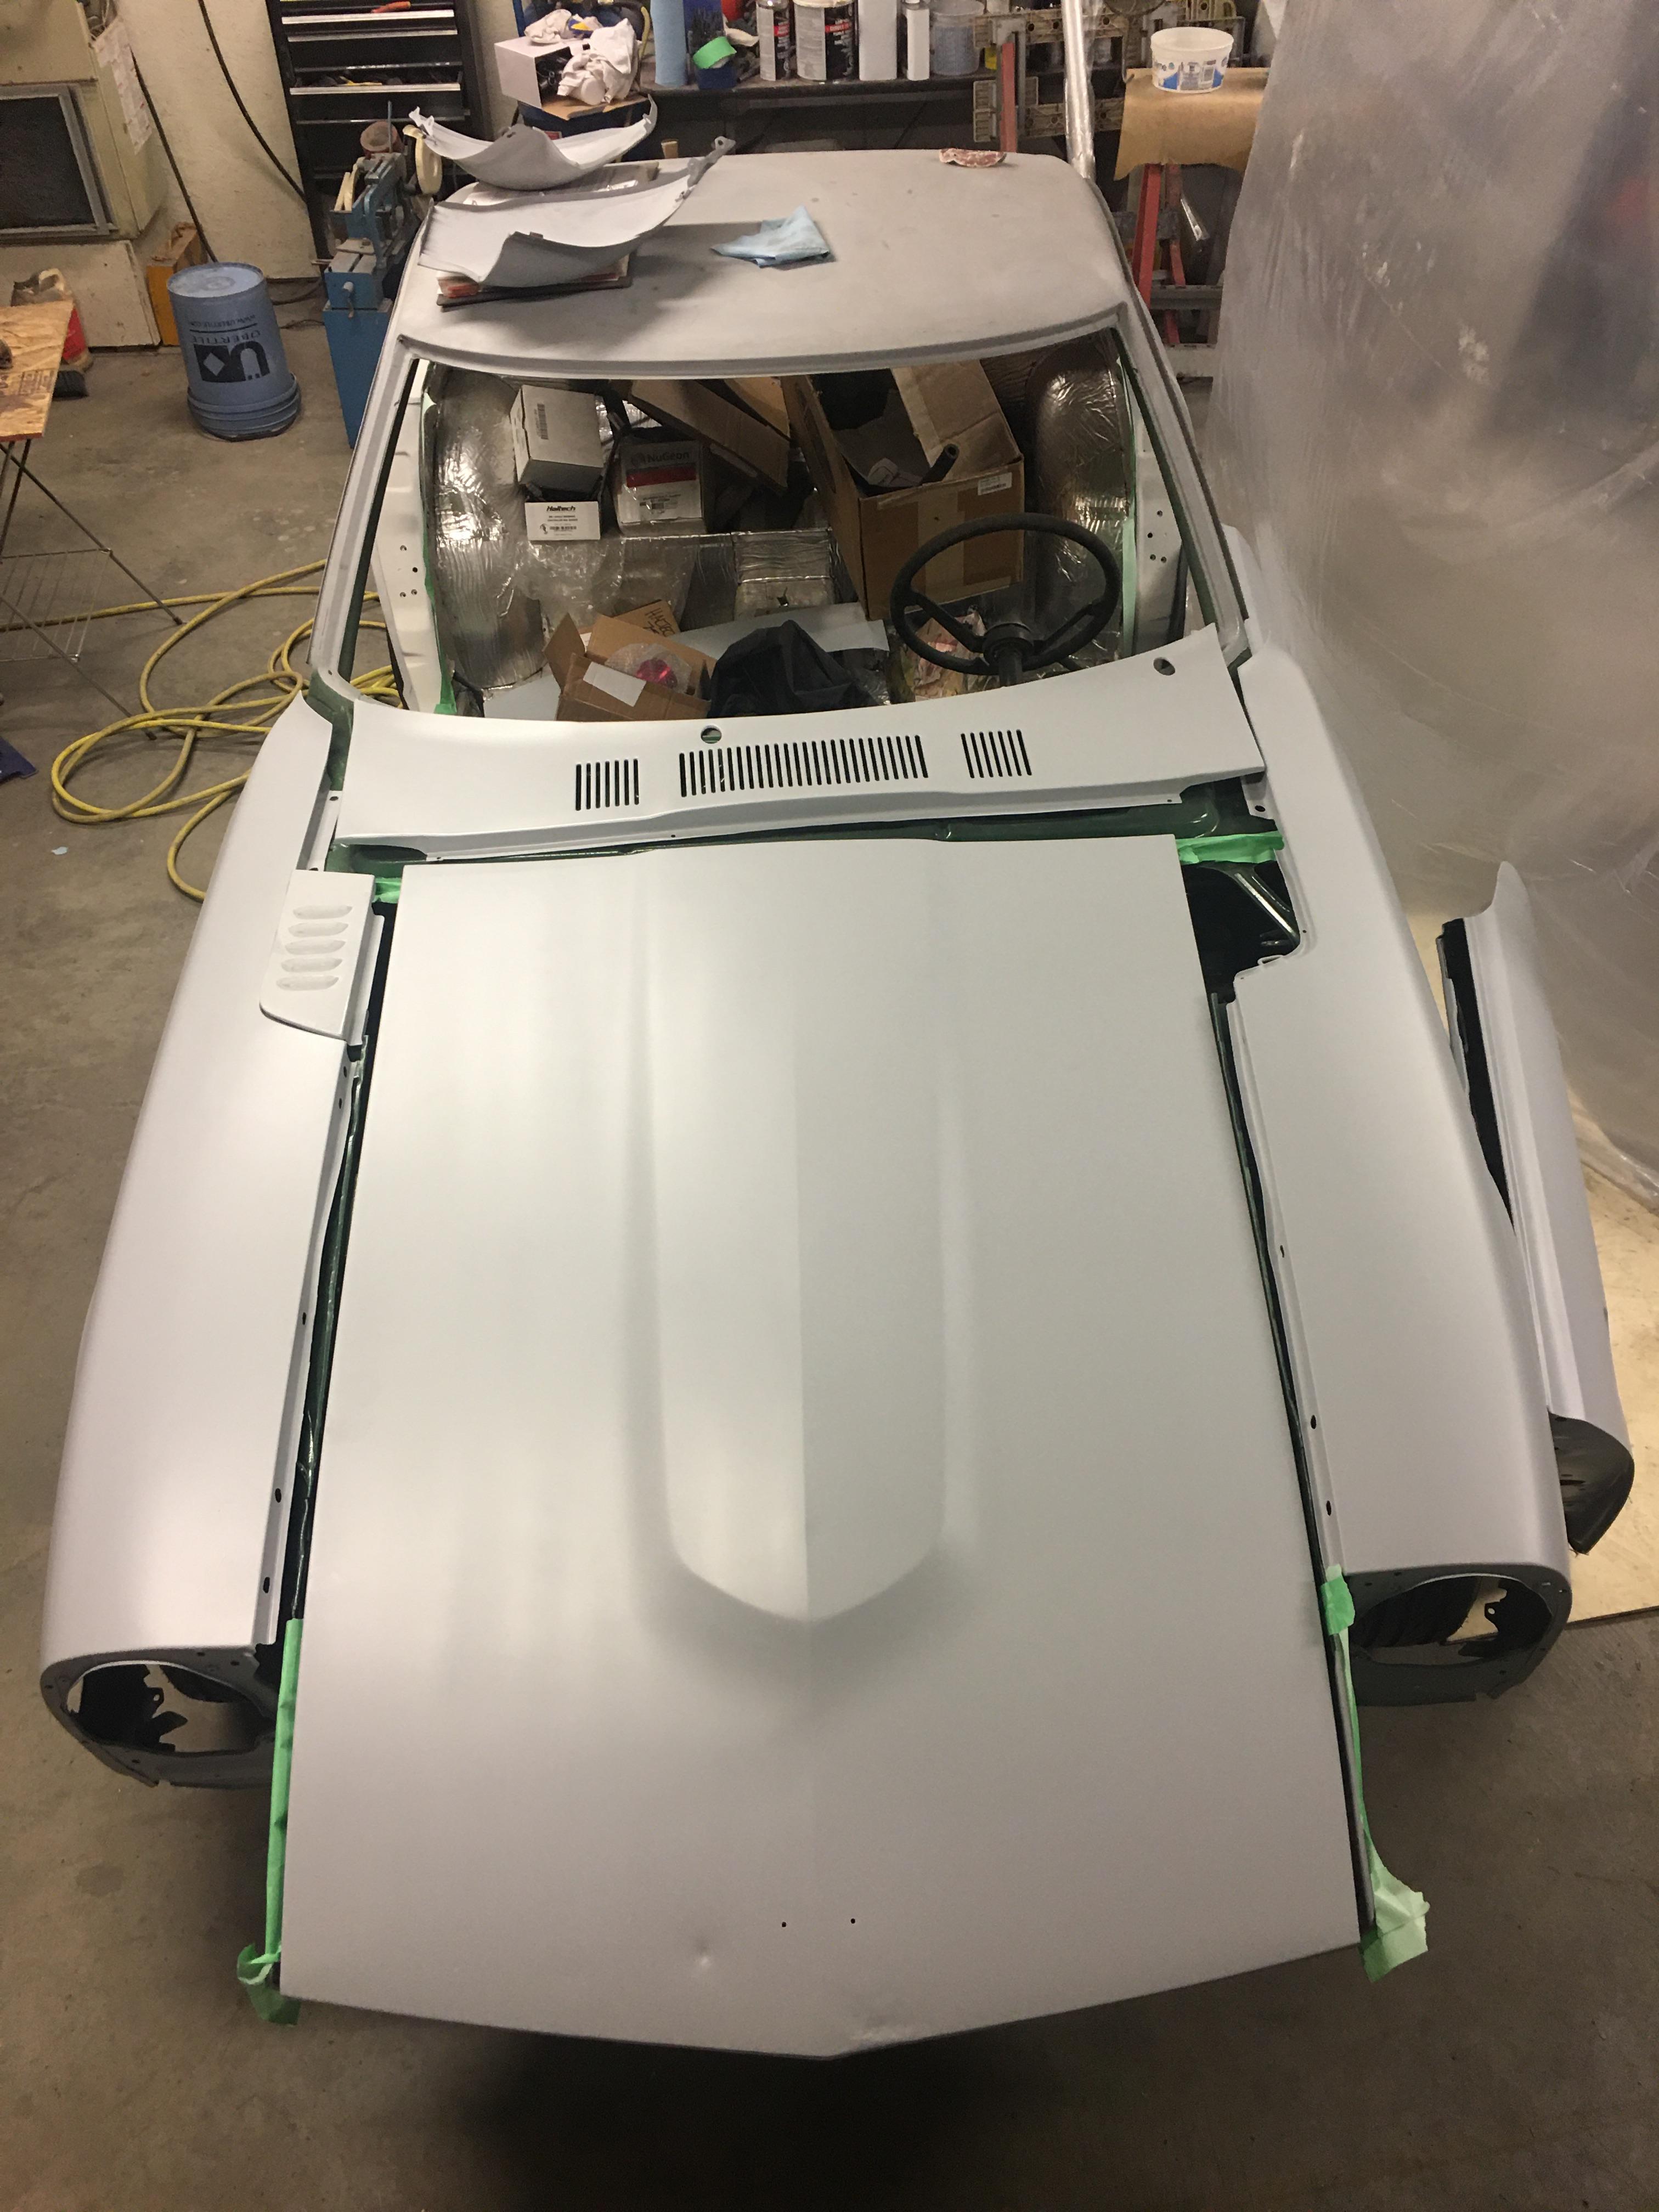
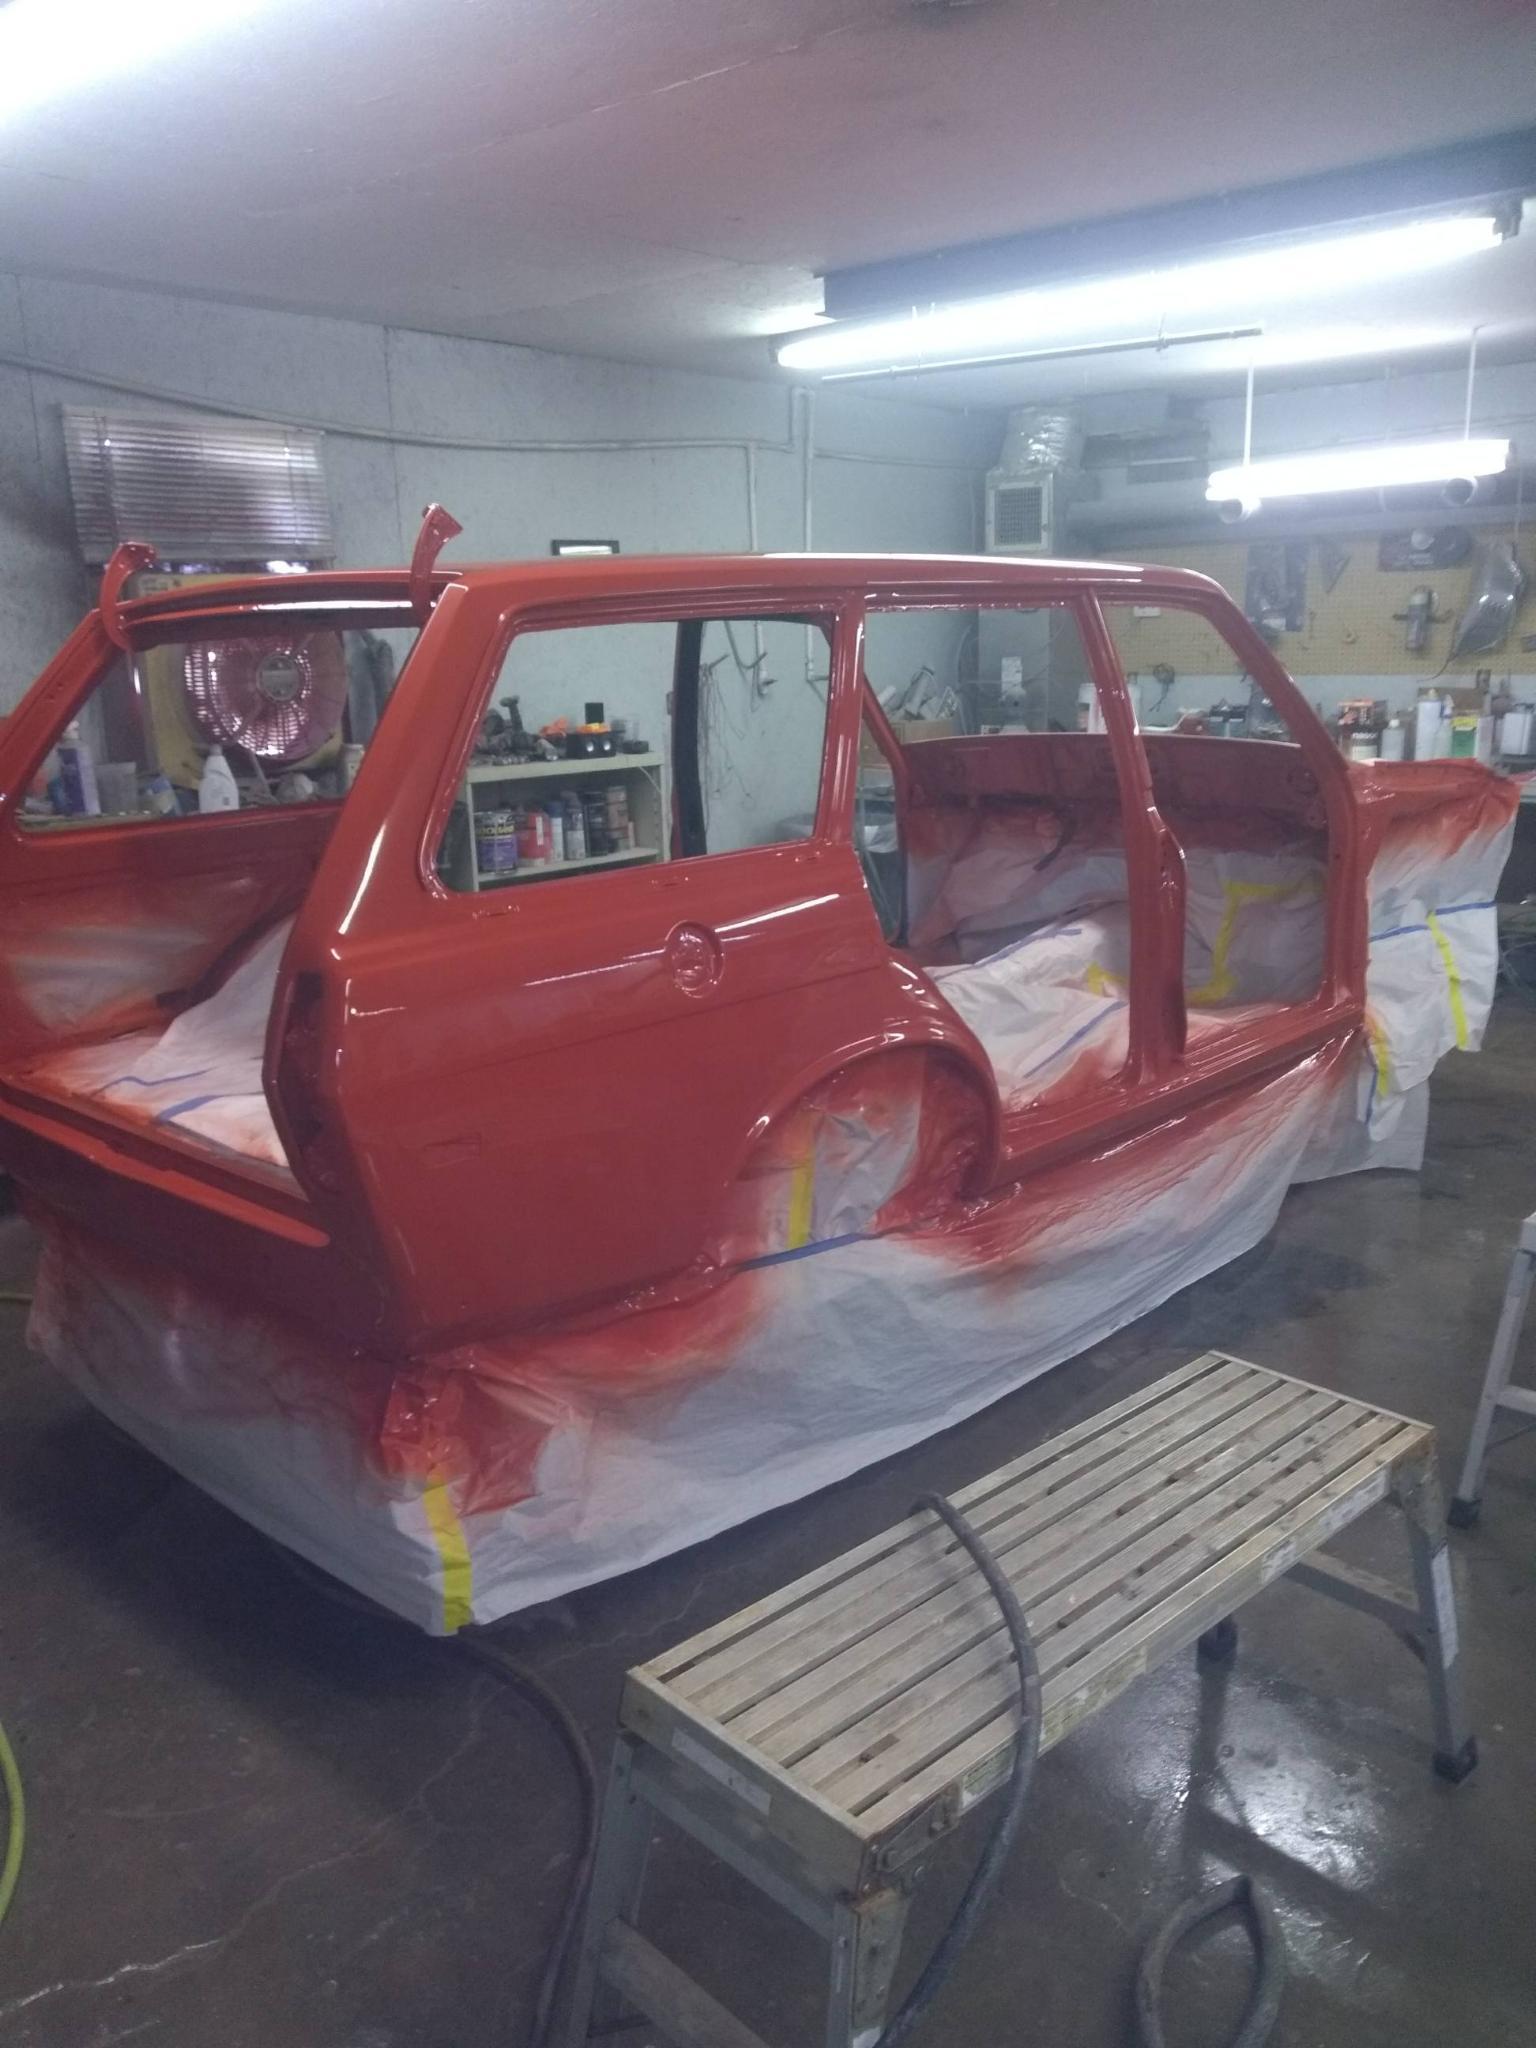
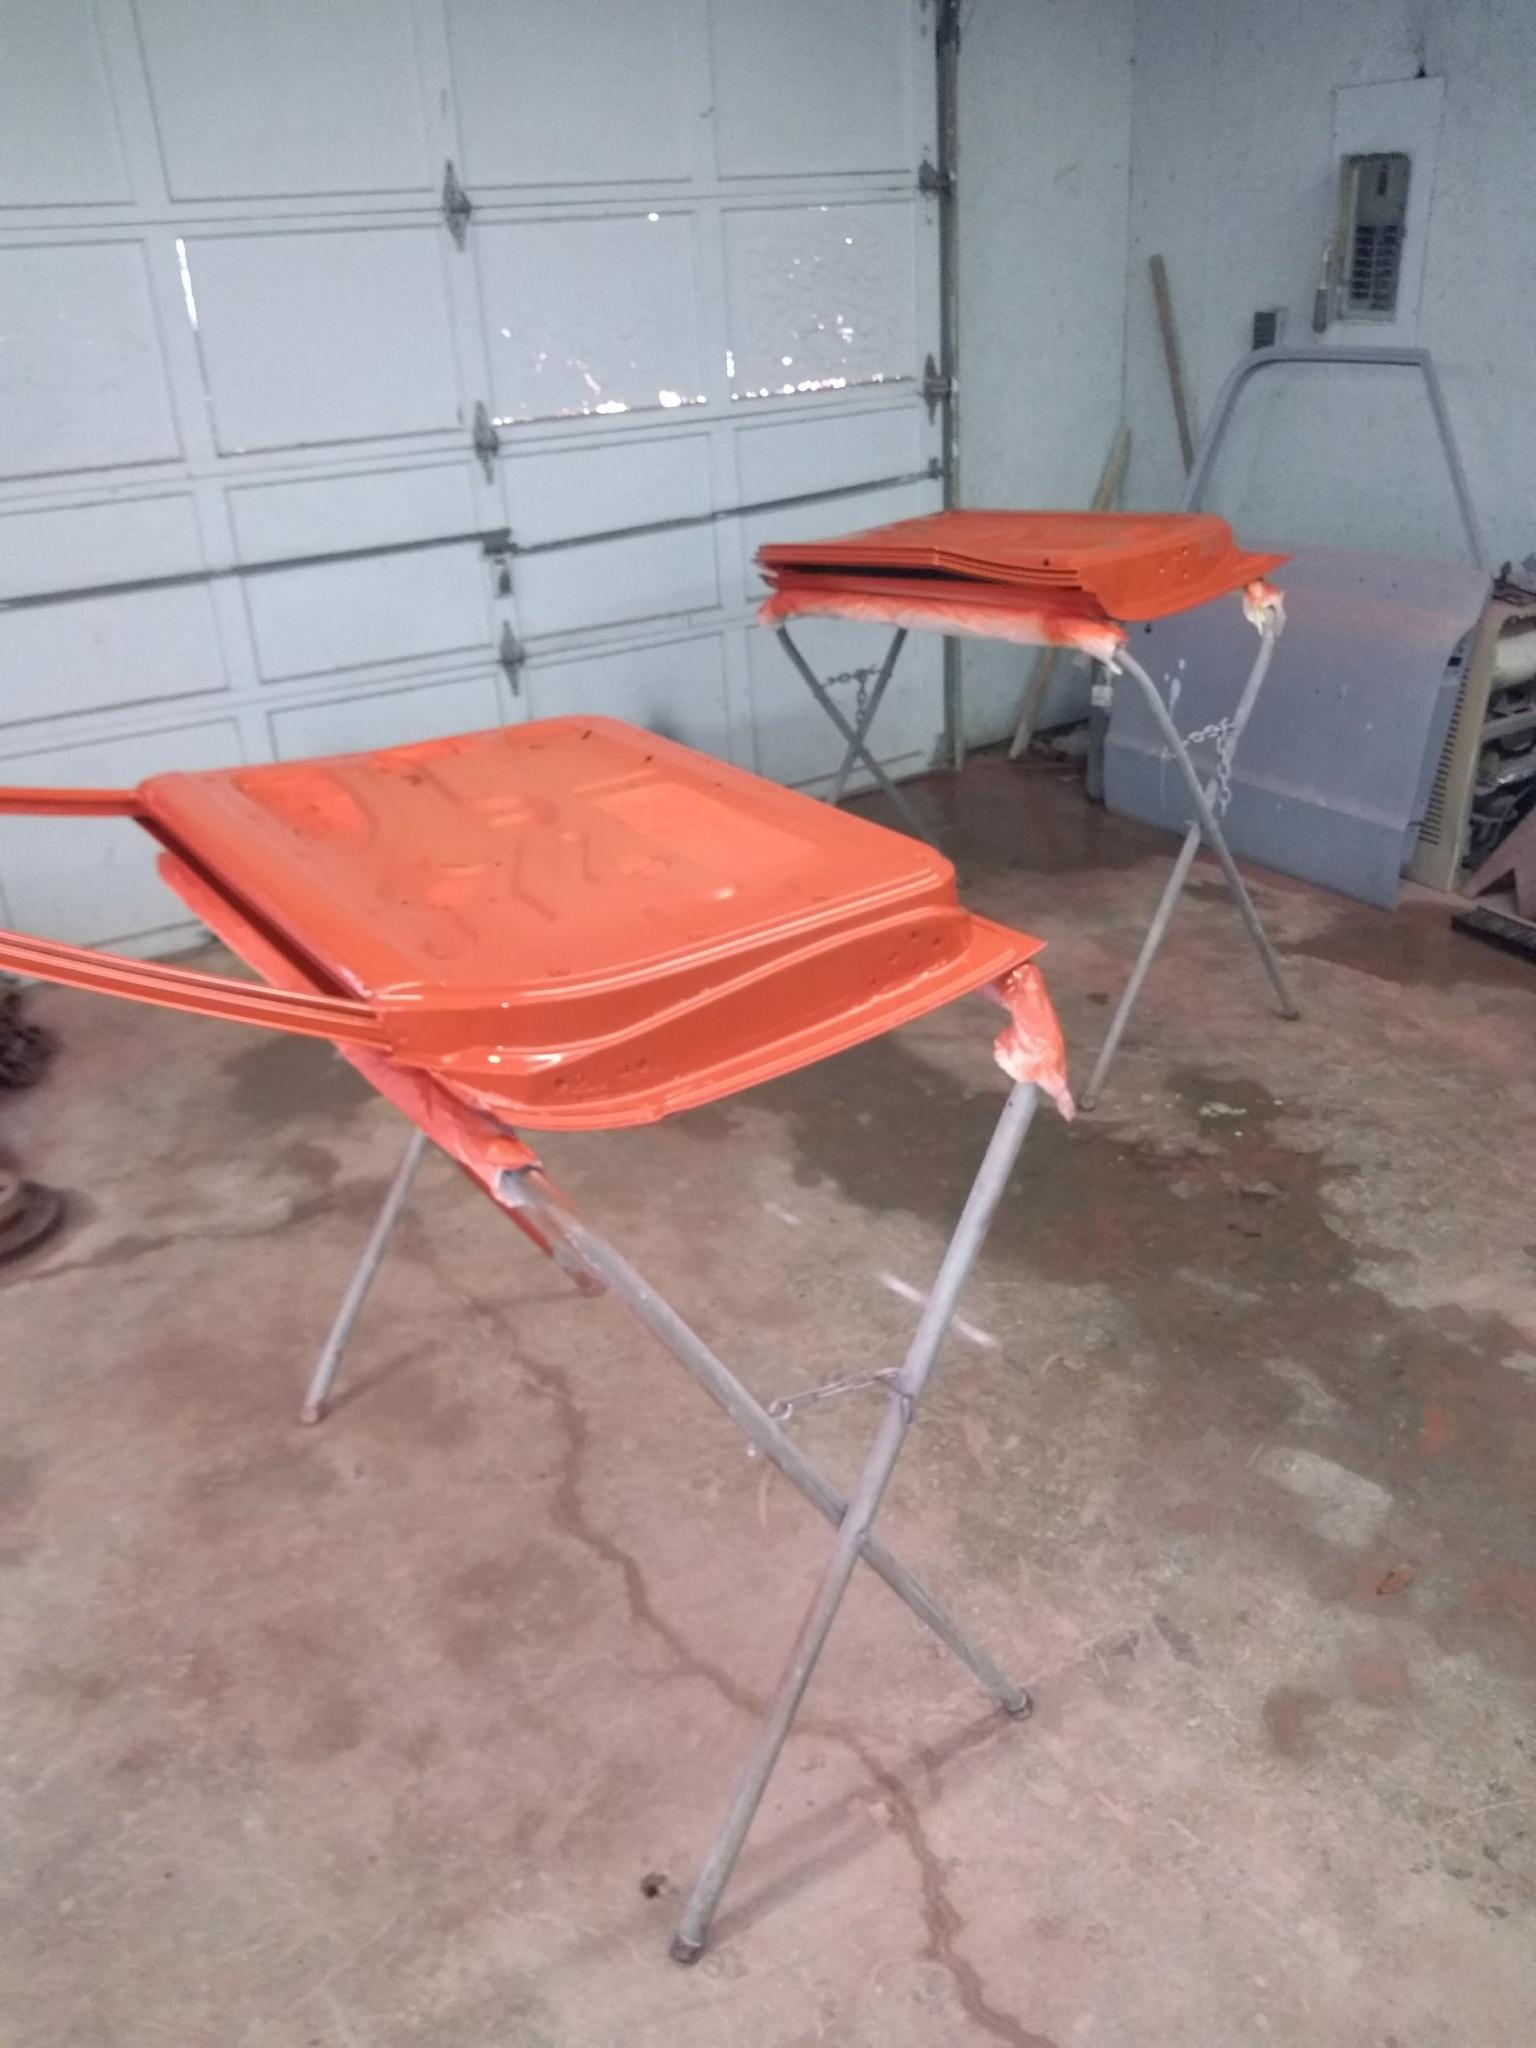
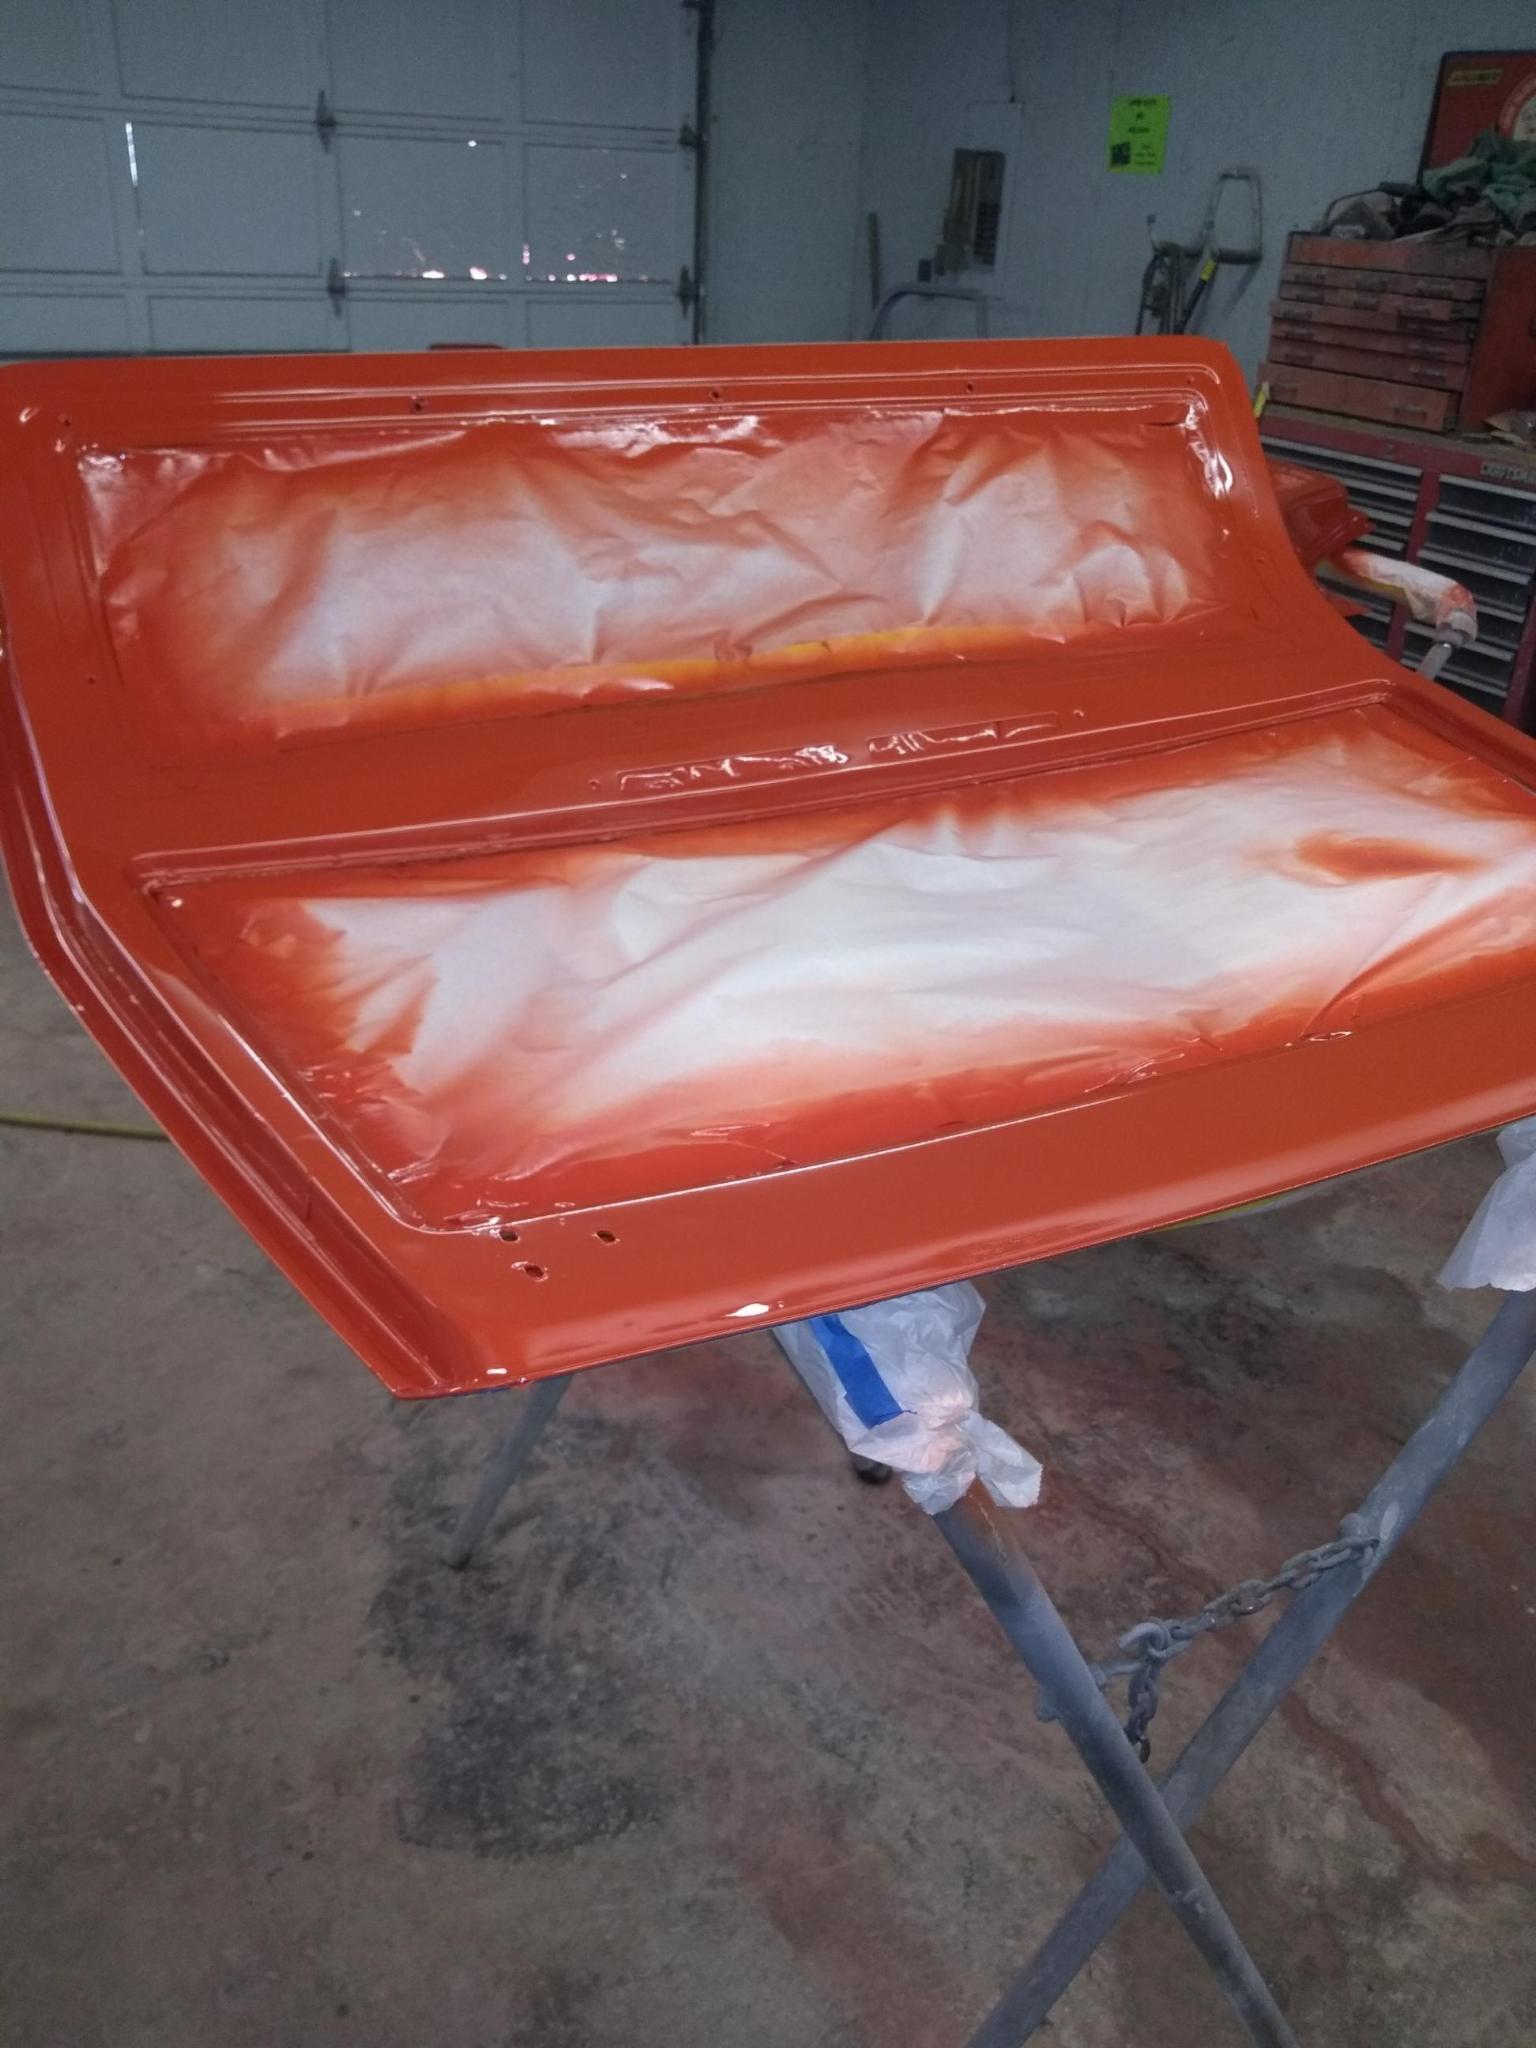
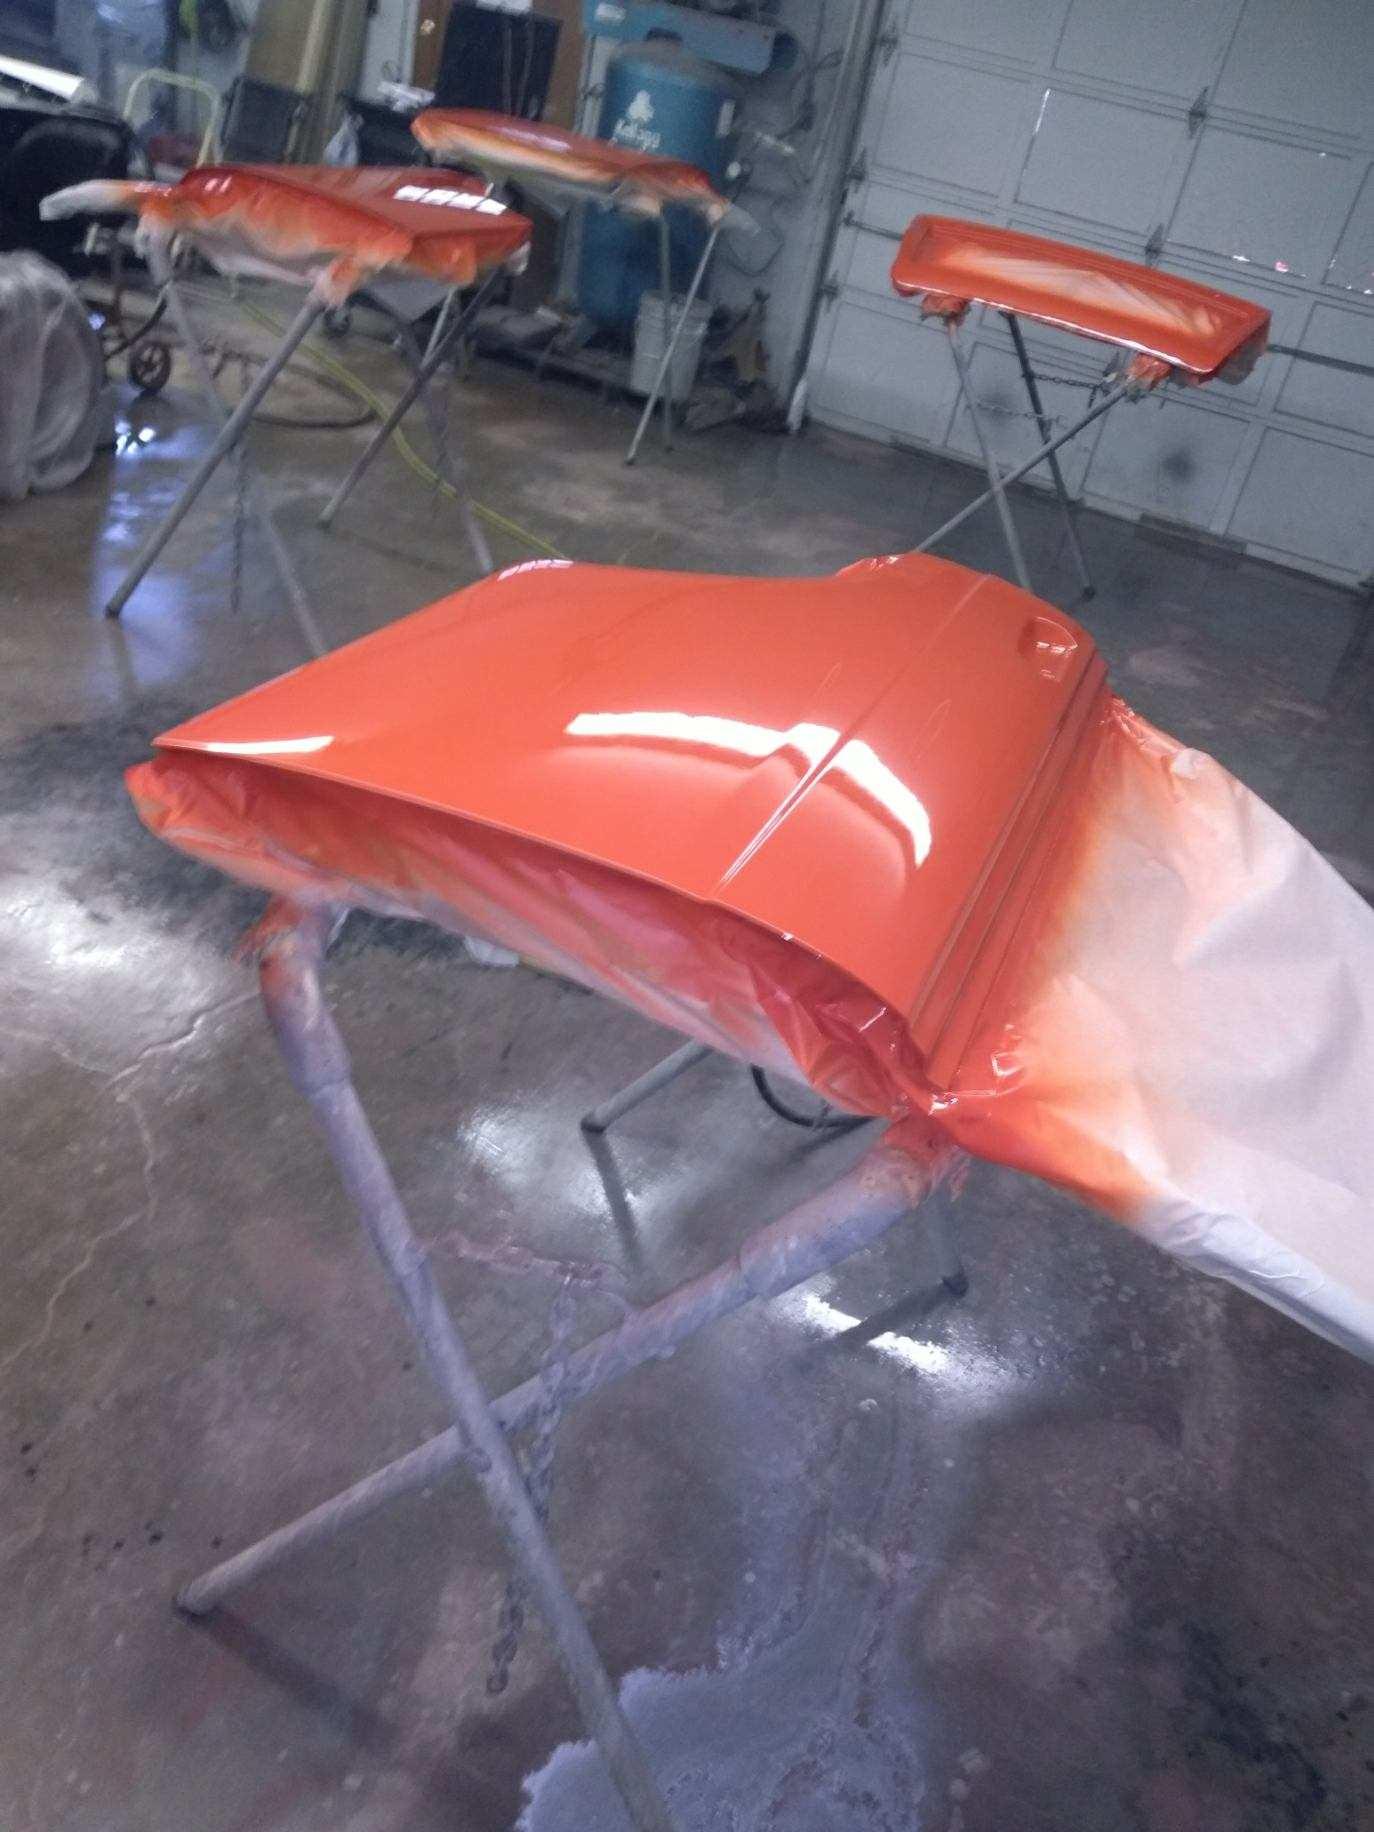
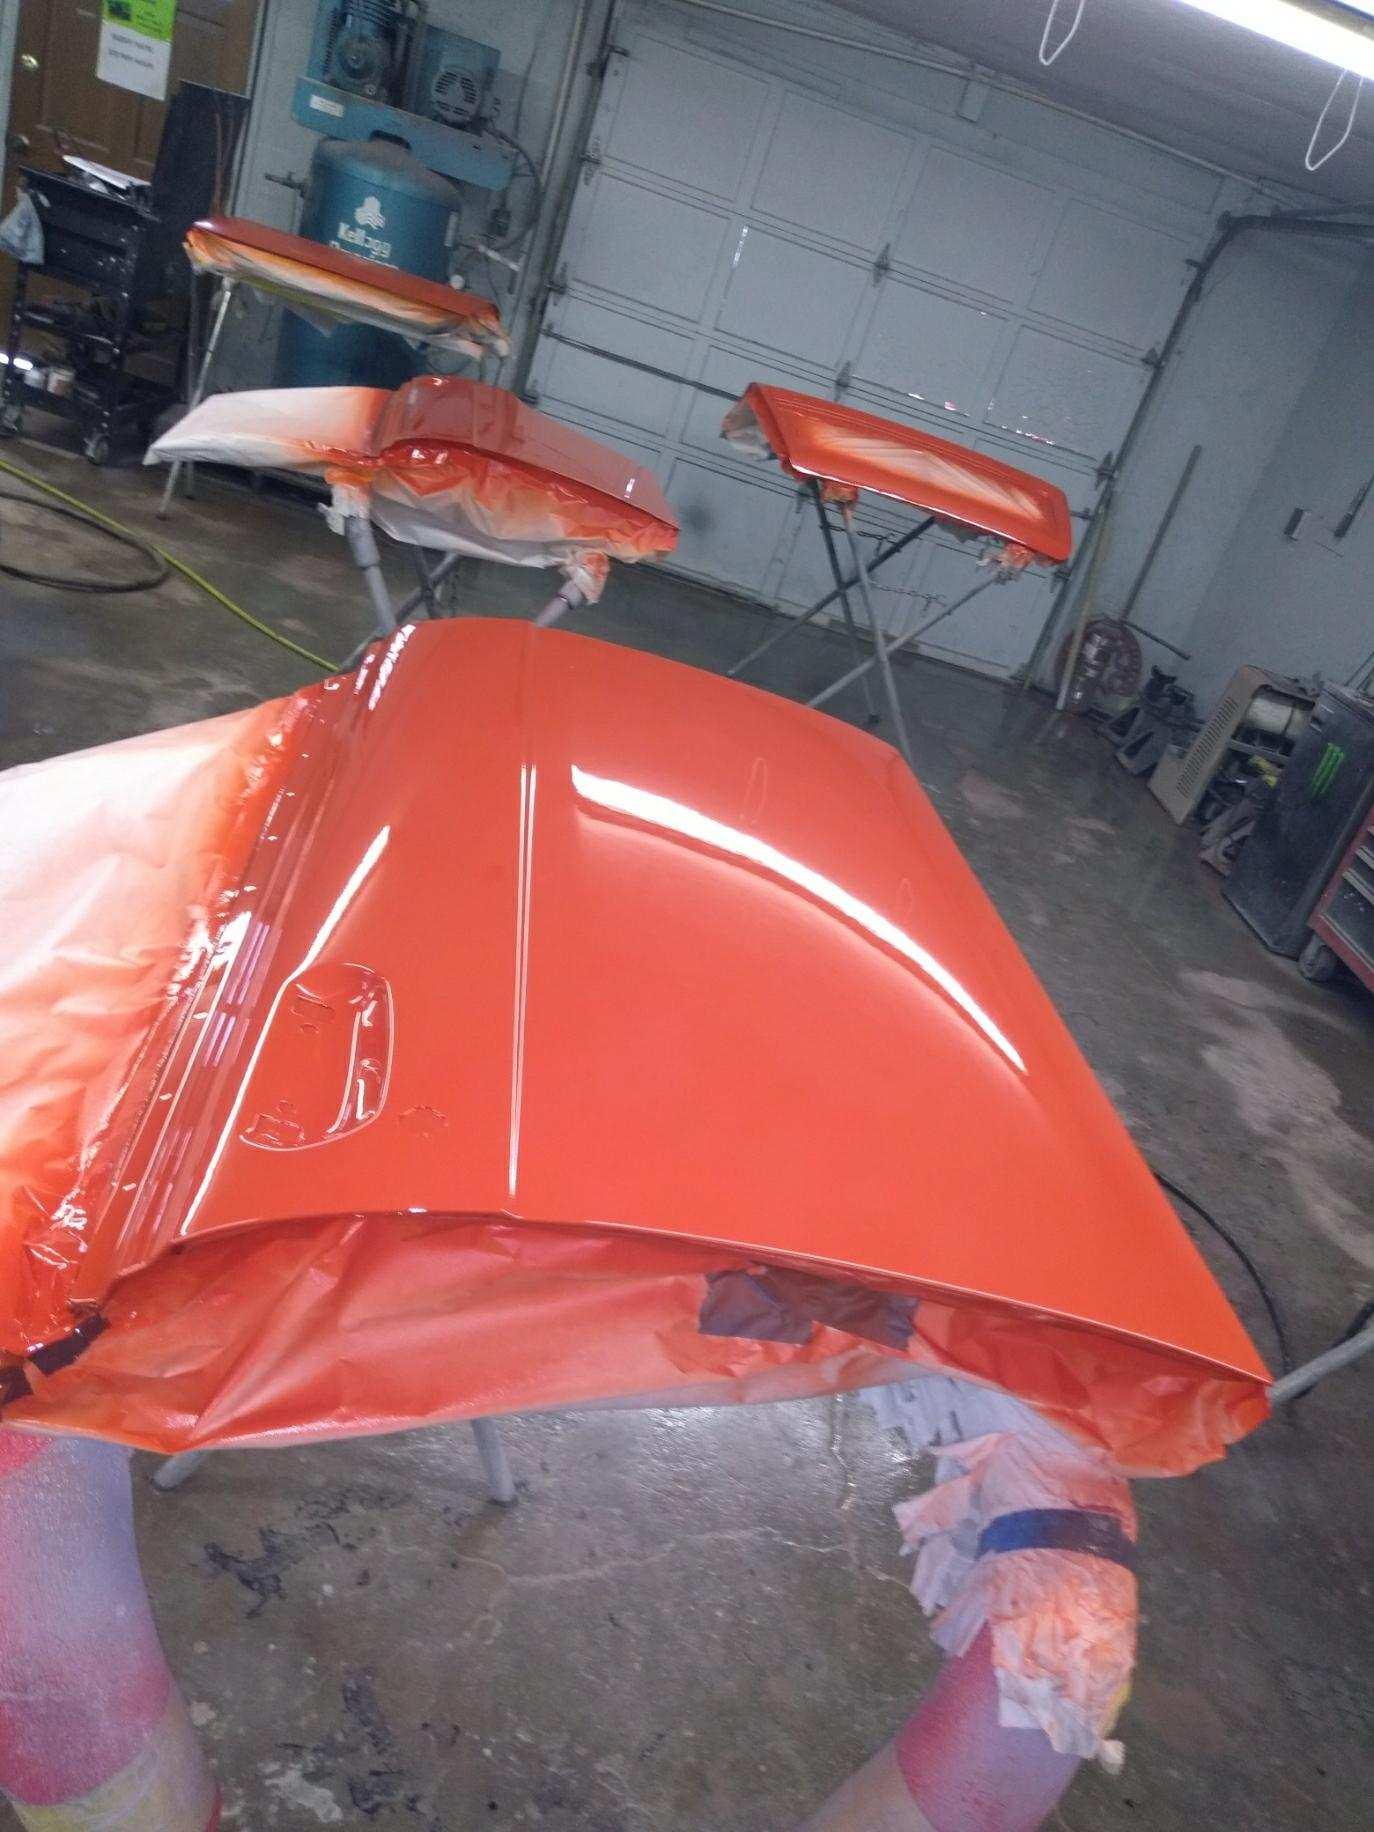
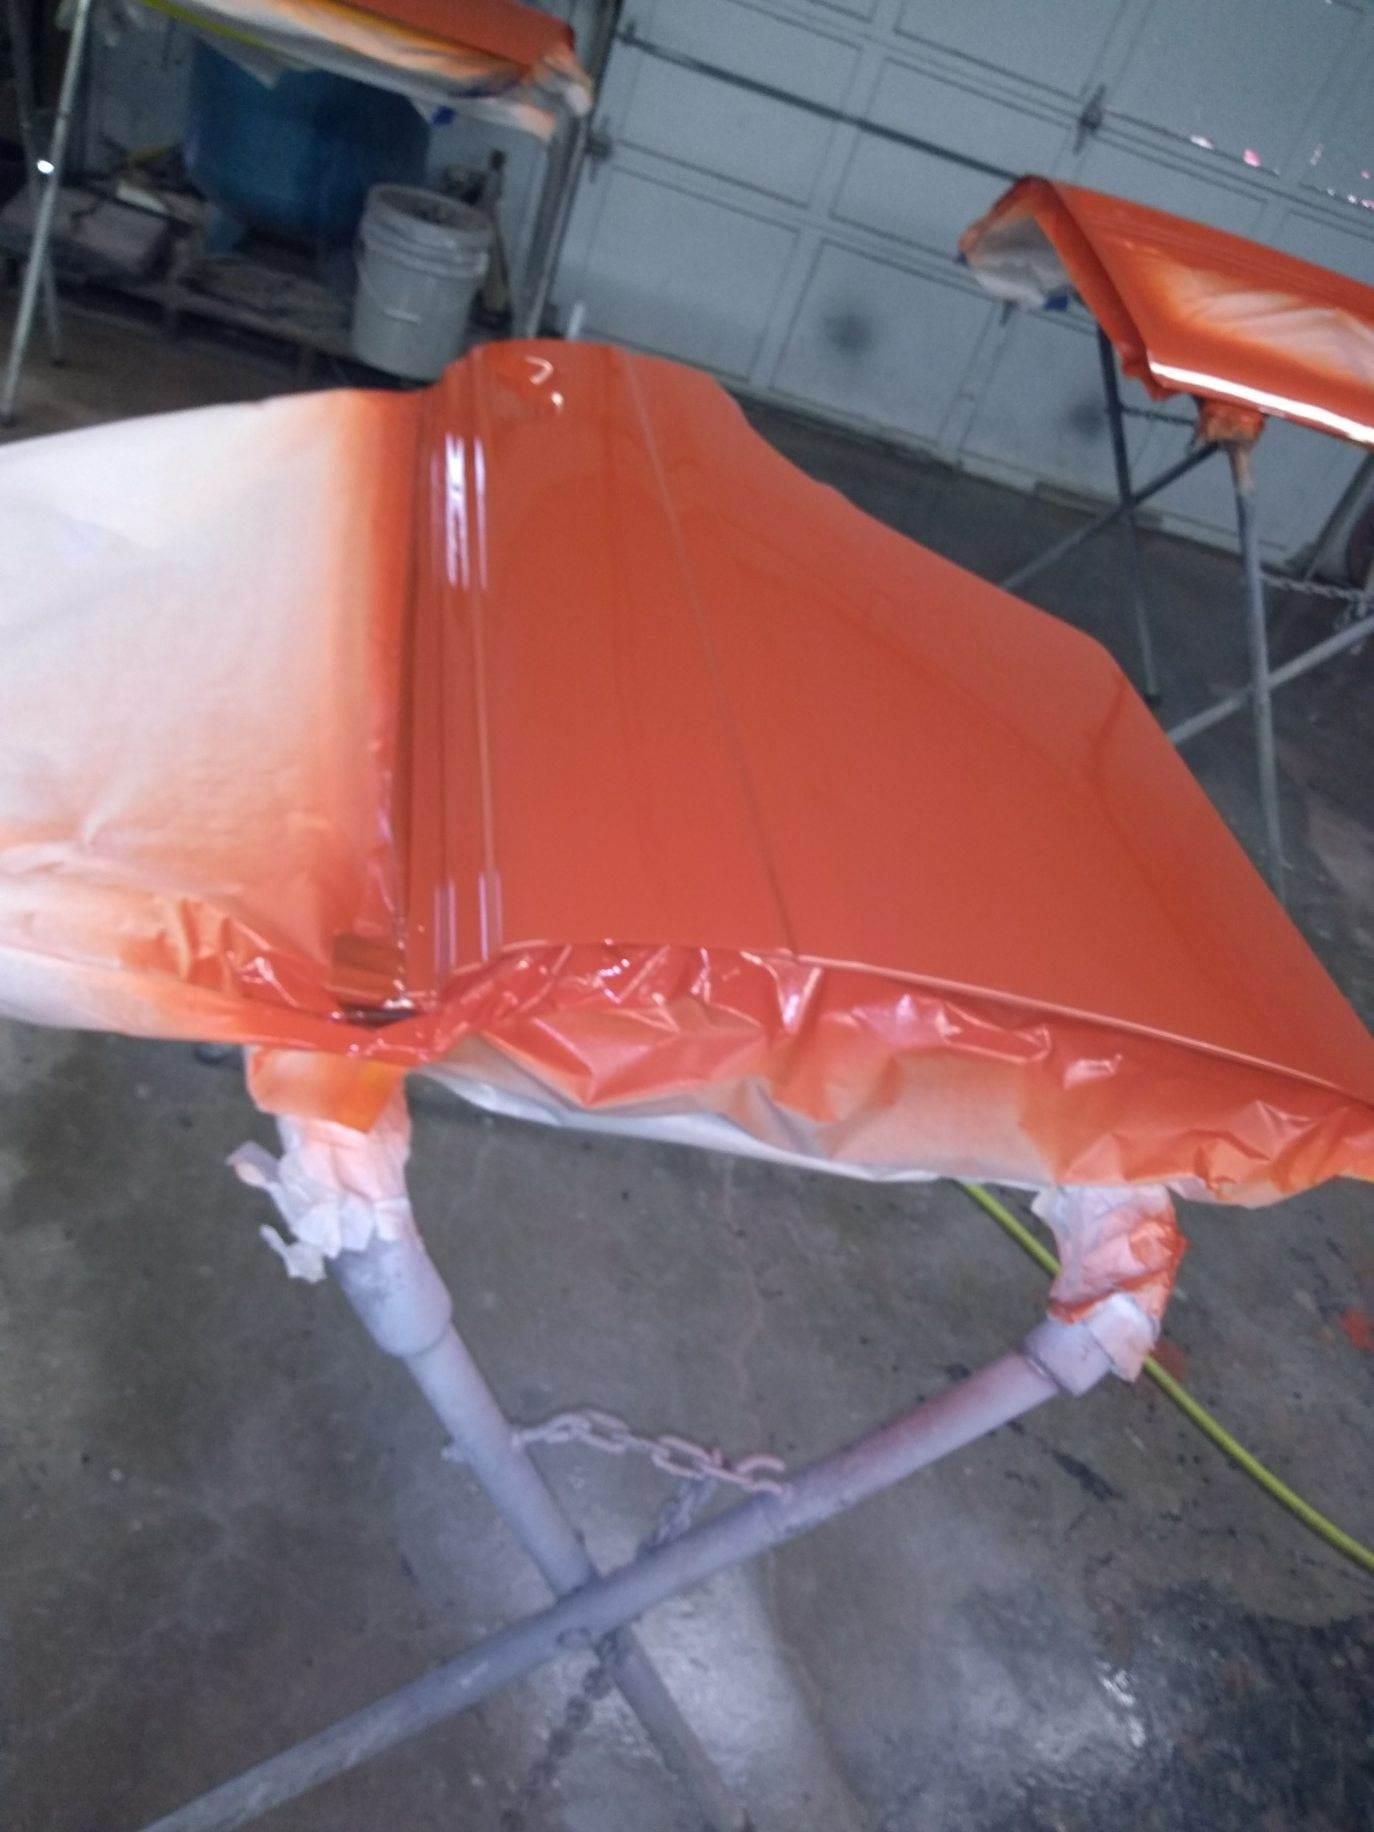
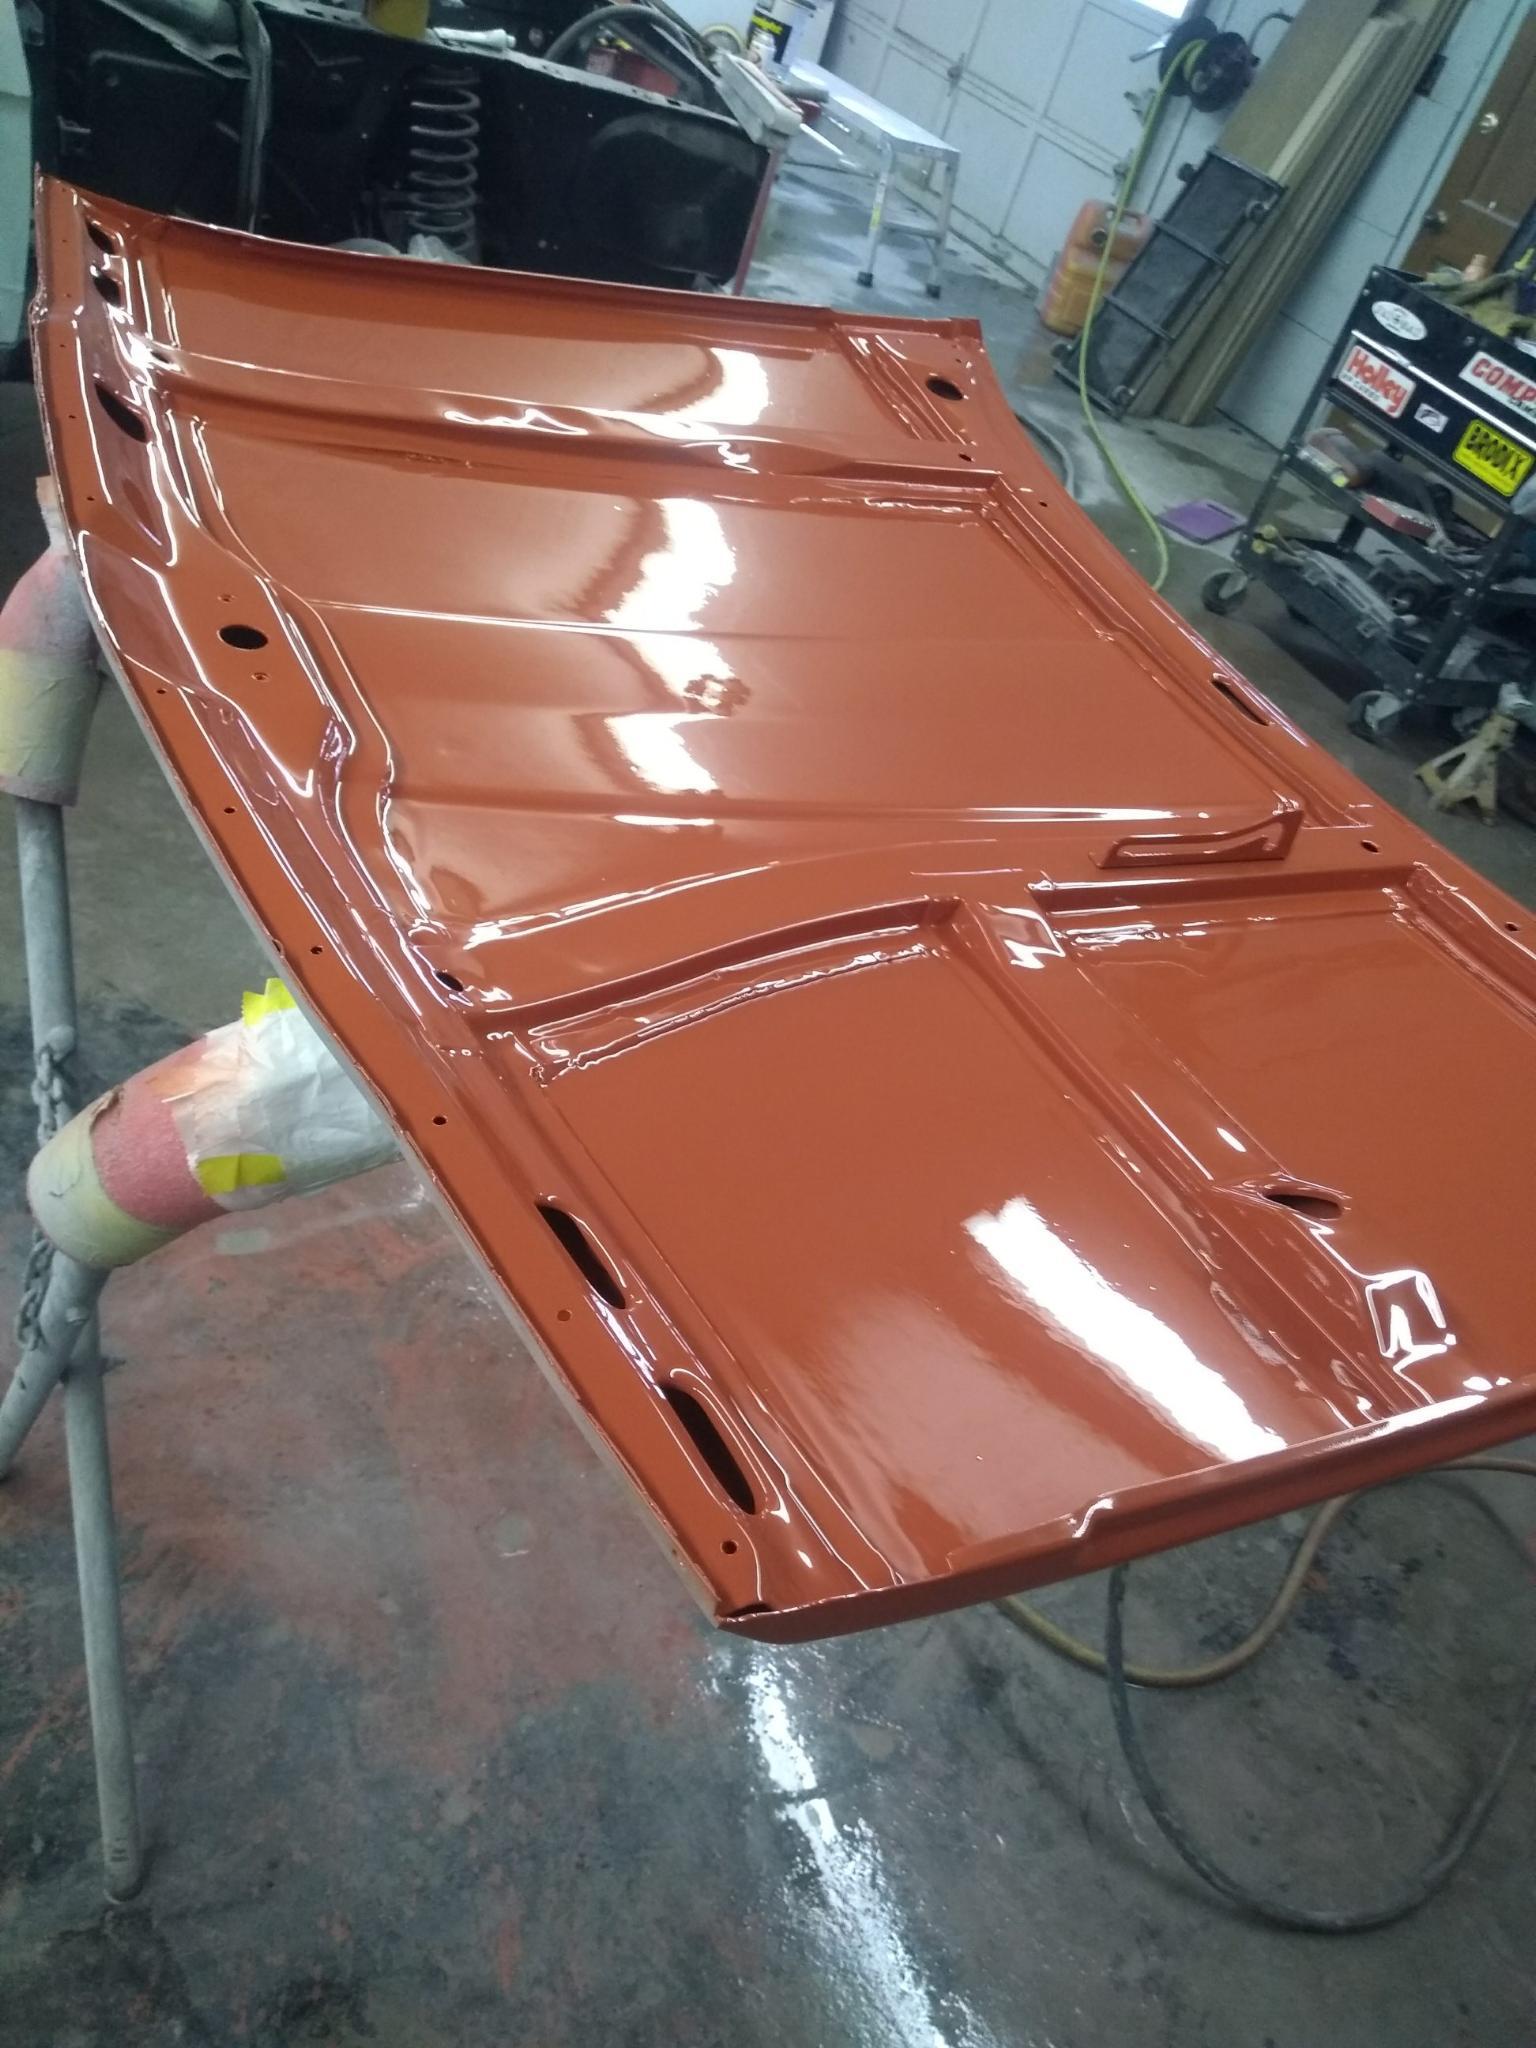
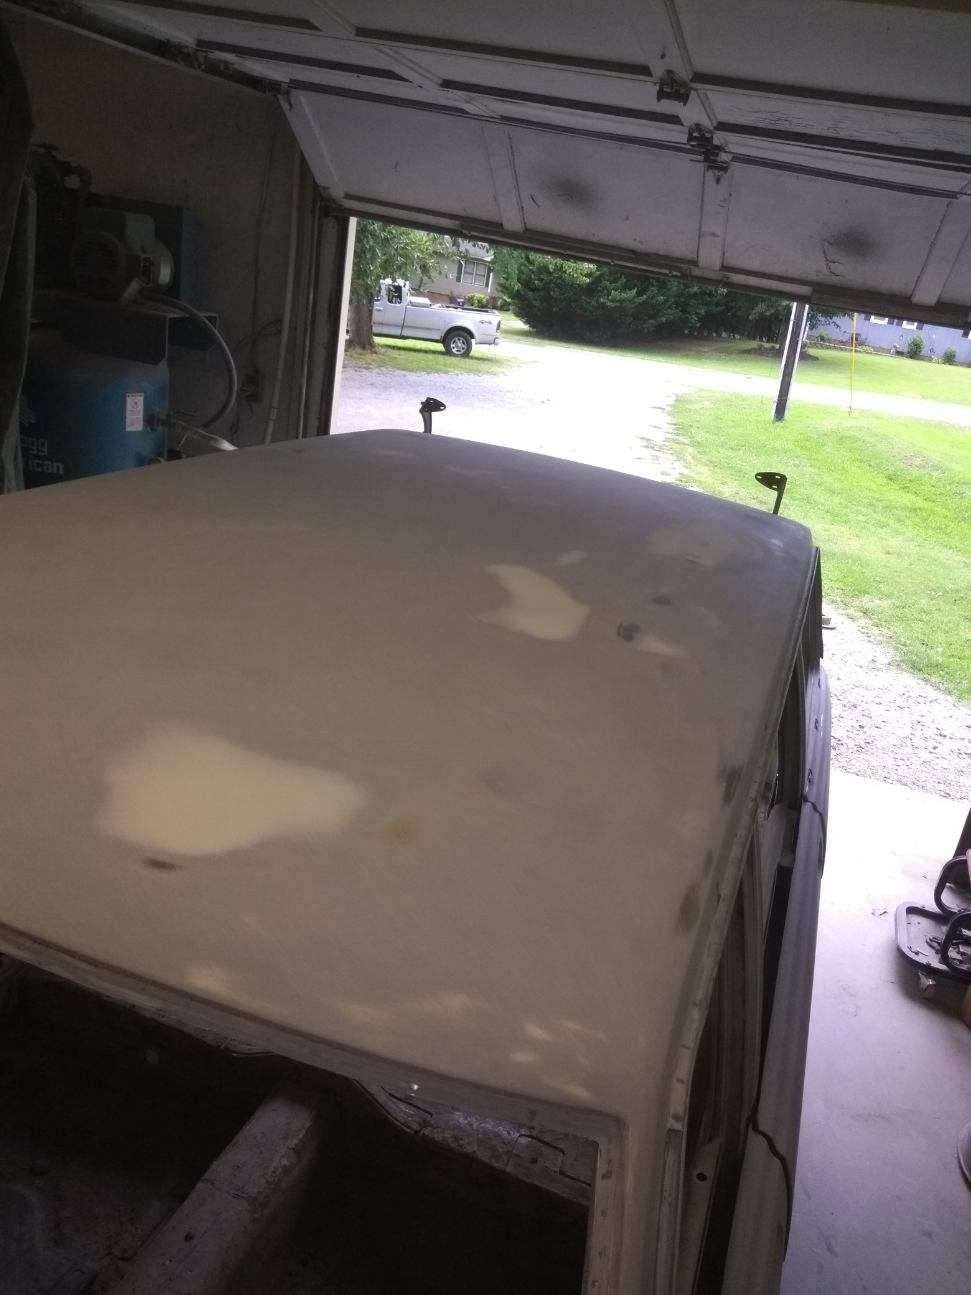
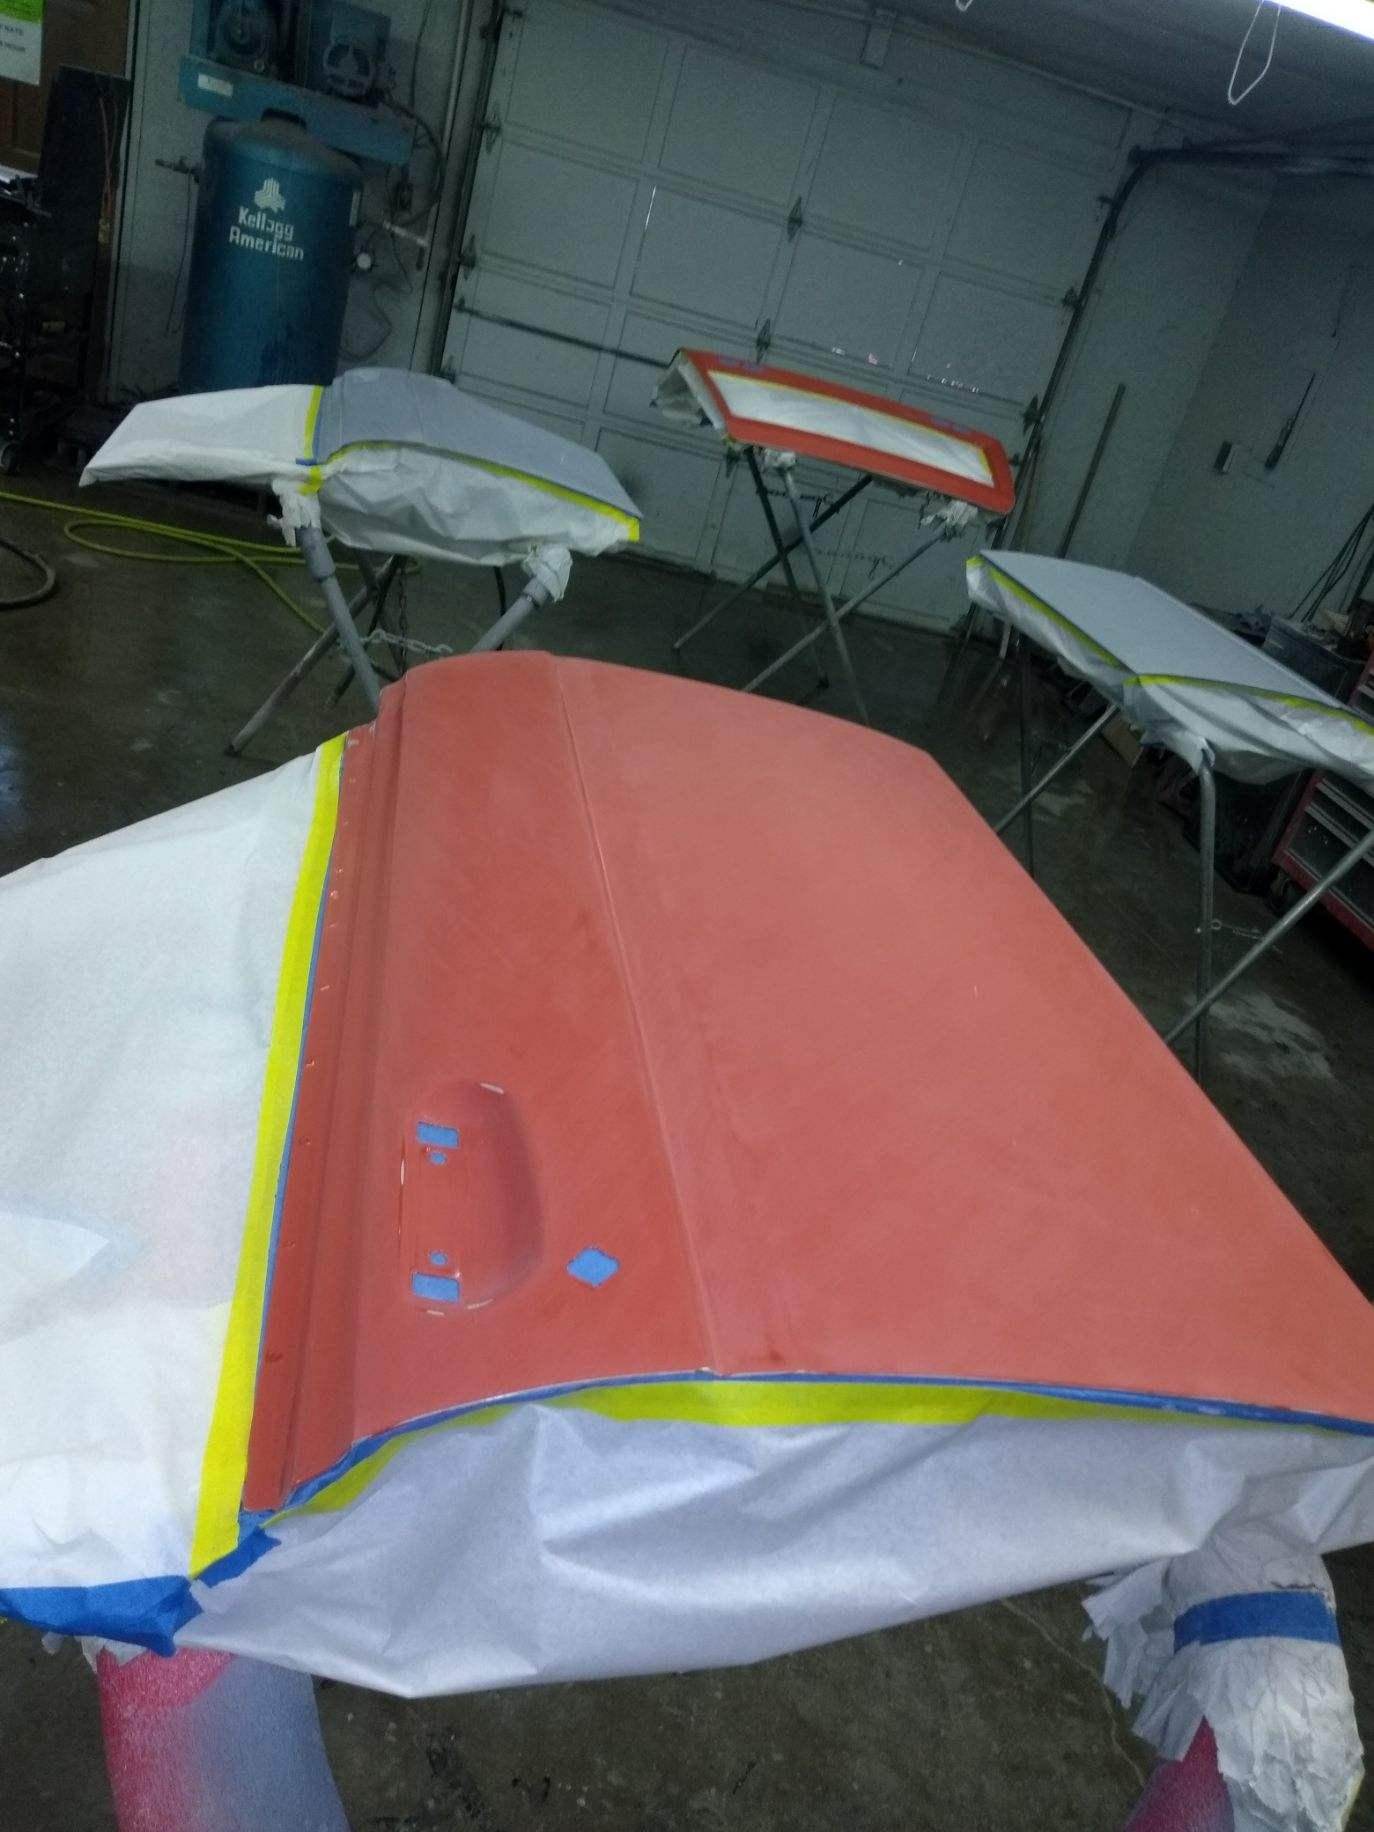
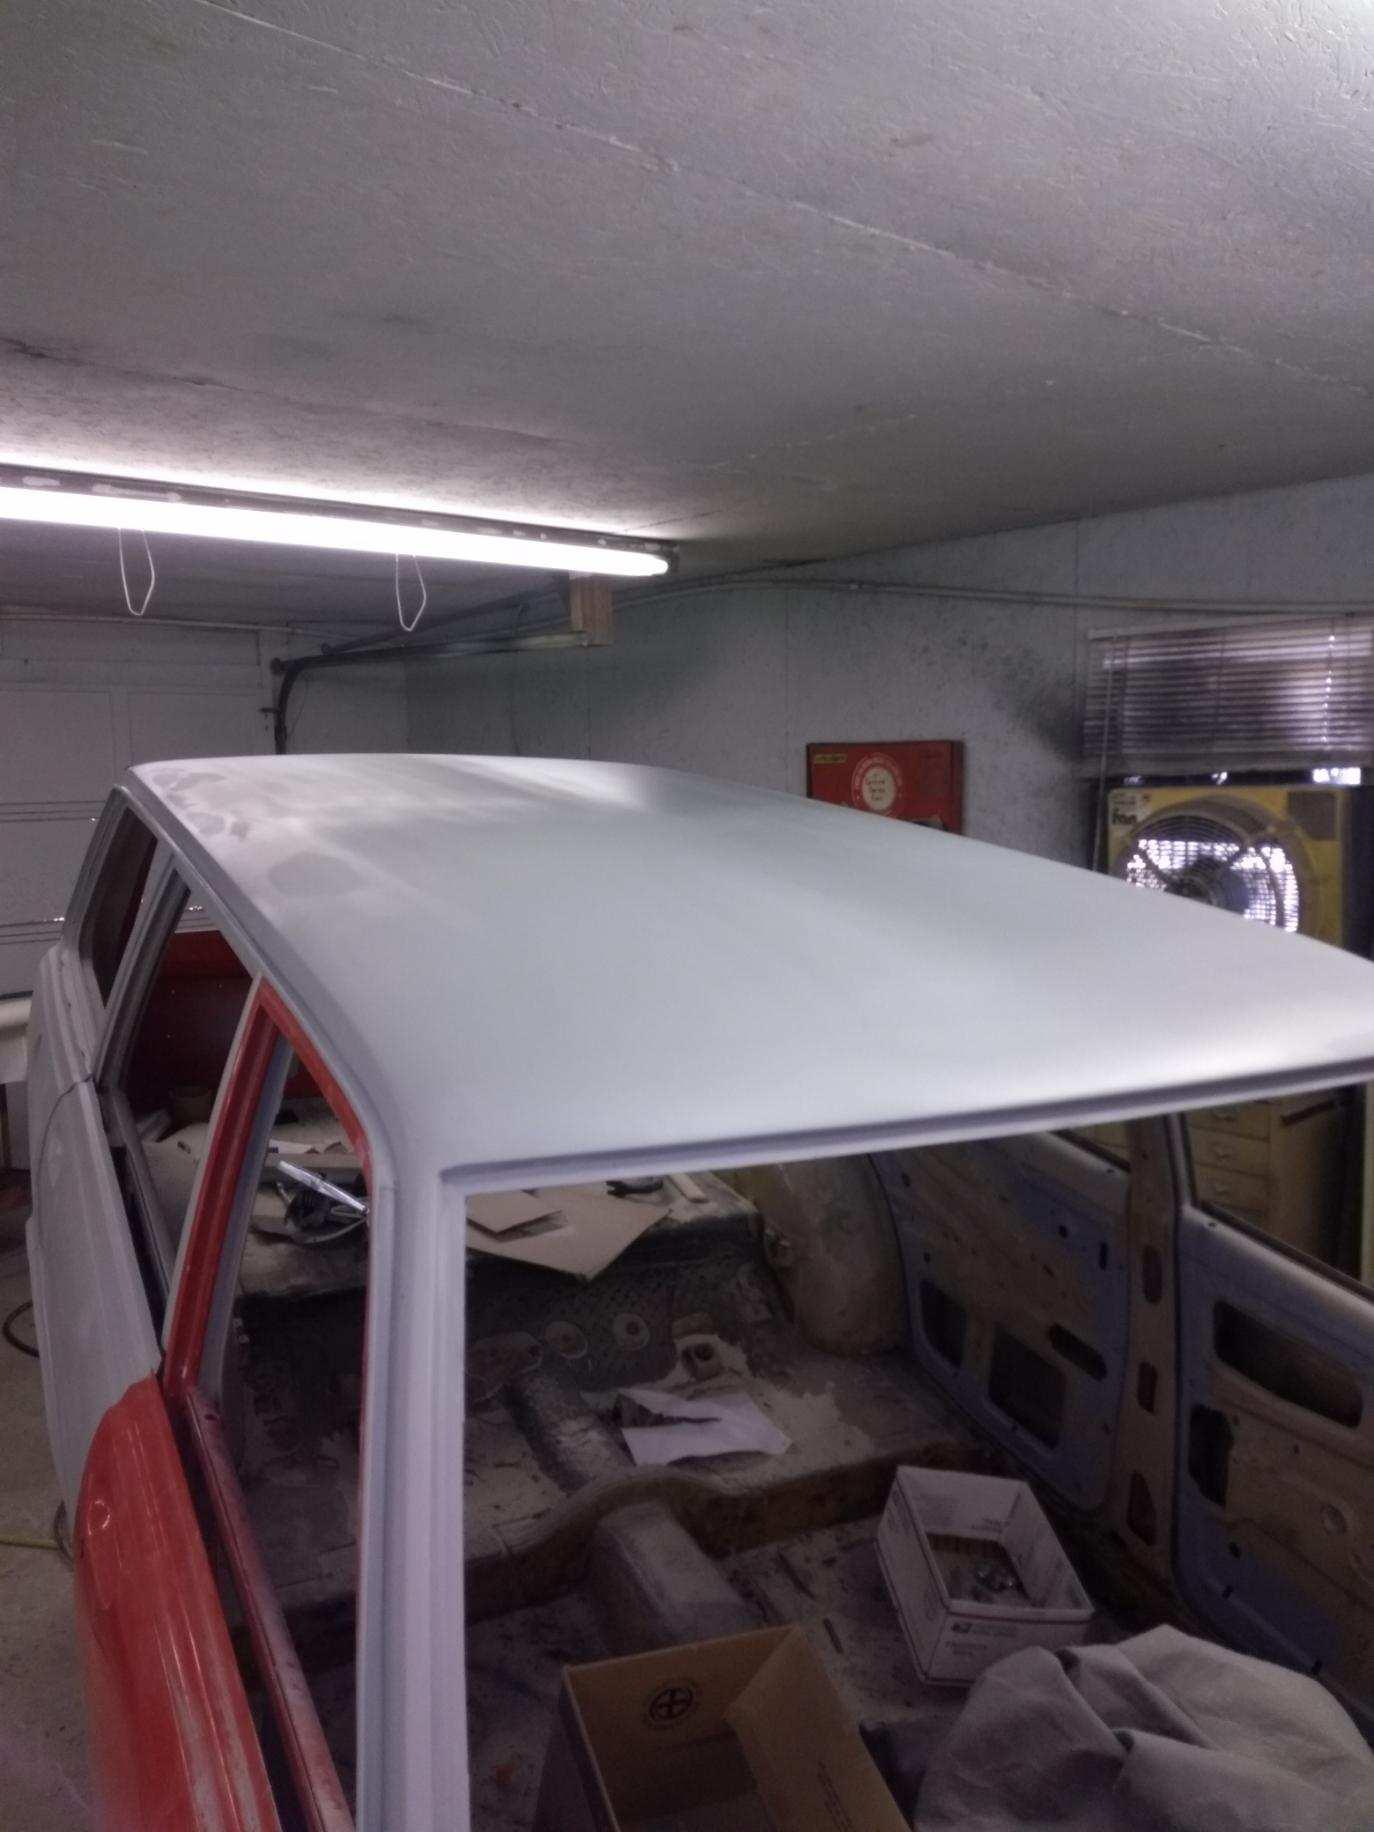
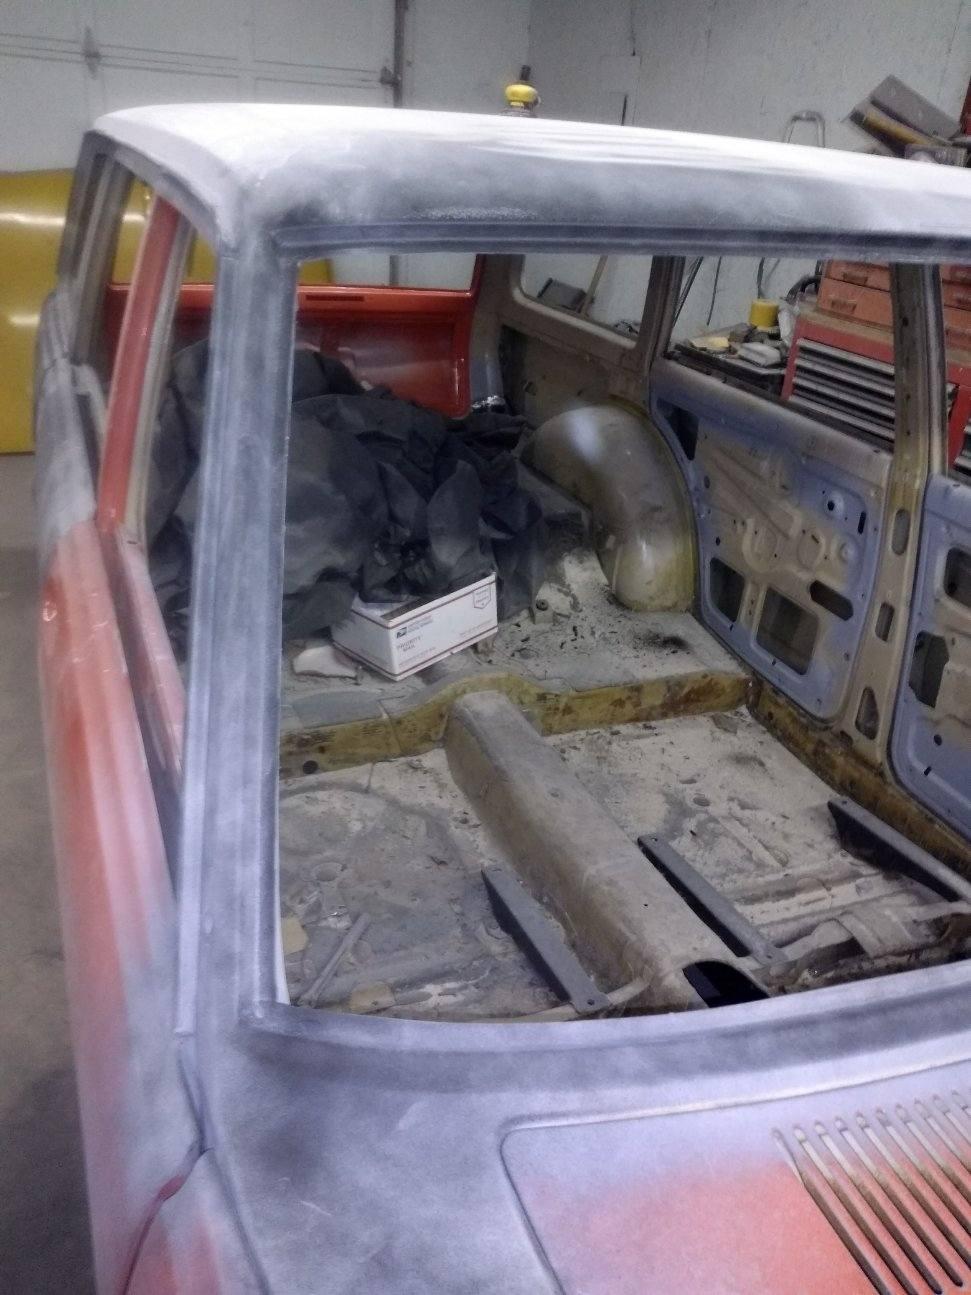
 3 pointsI just couldn't think of a way to build a booth in my garage and have any room to move so I blew the place as well as I could, draped everything and soaked the floor down and it turned out pretty well. Some trash but nothing a nib file couldn't handle.
 3 points
 -
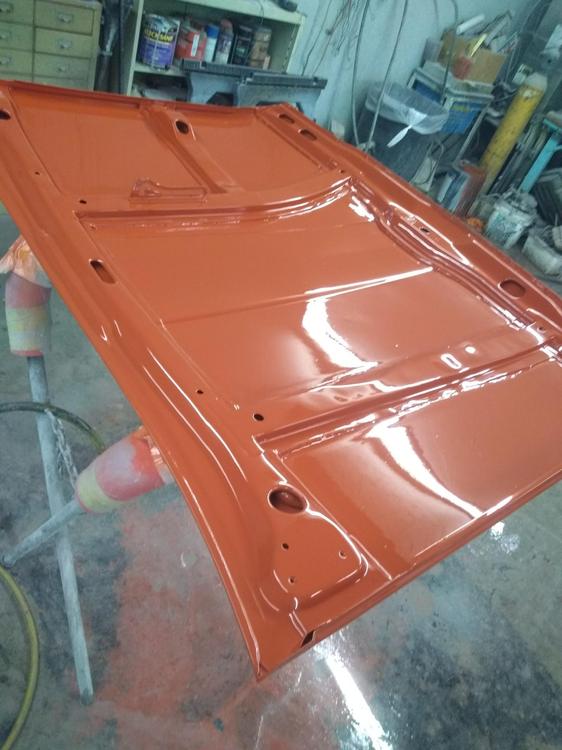
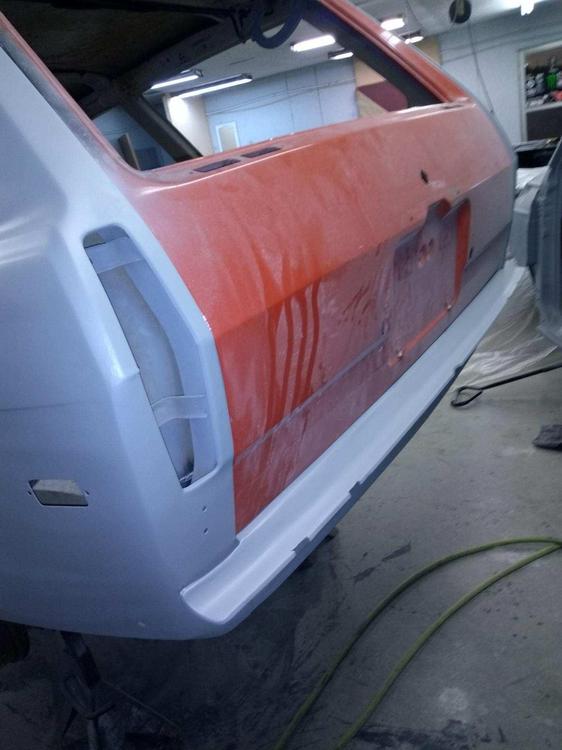
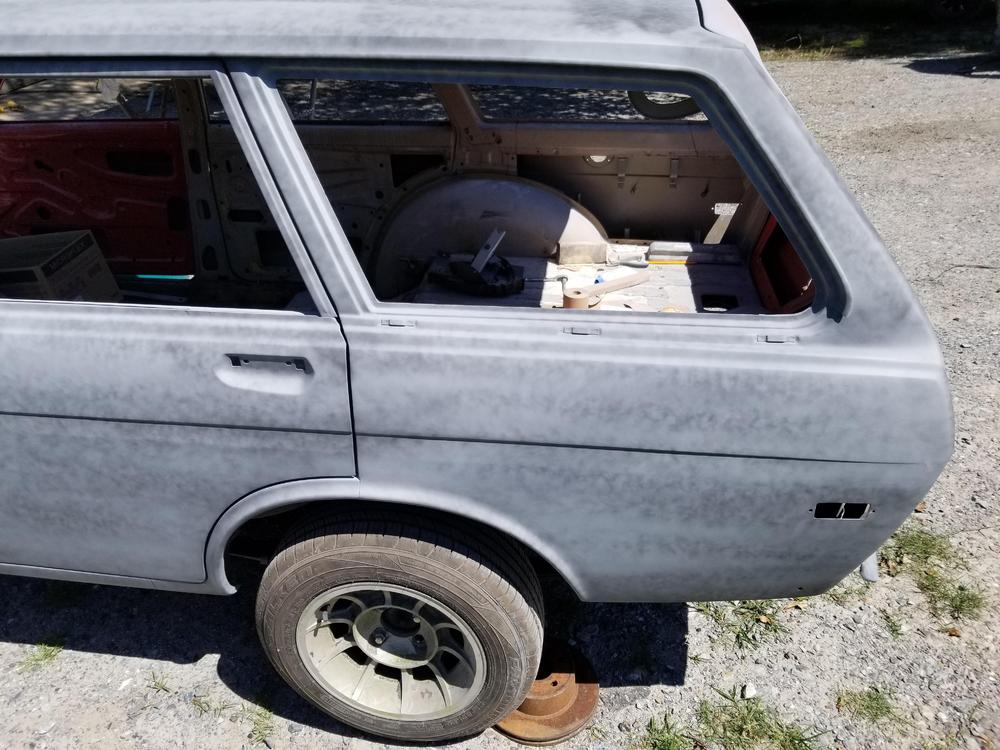
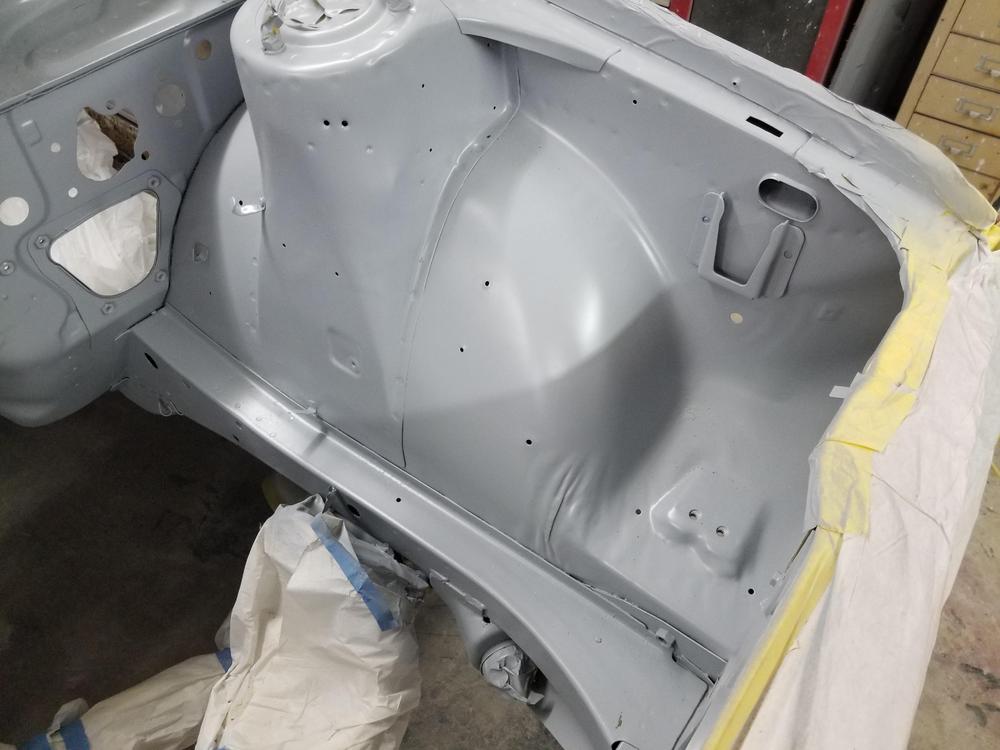
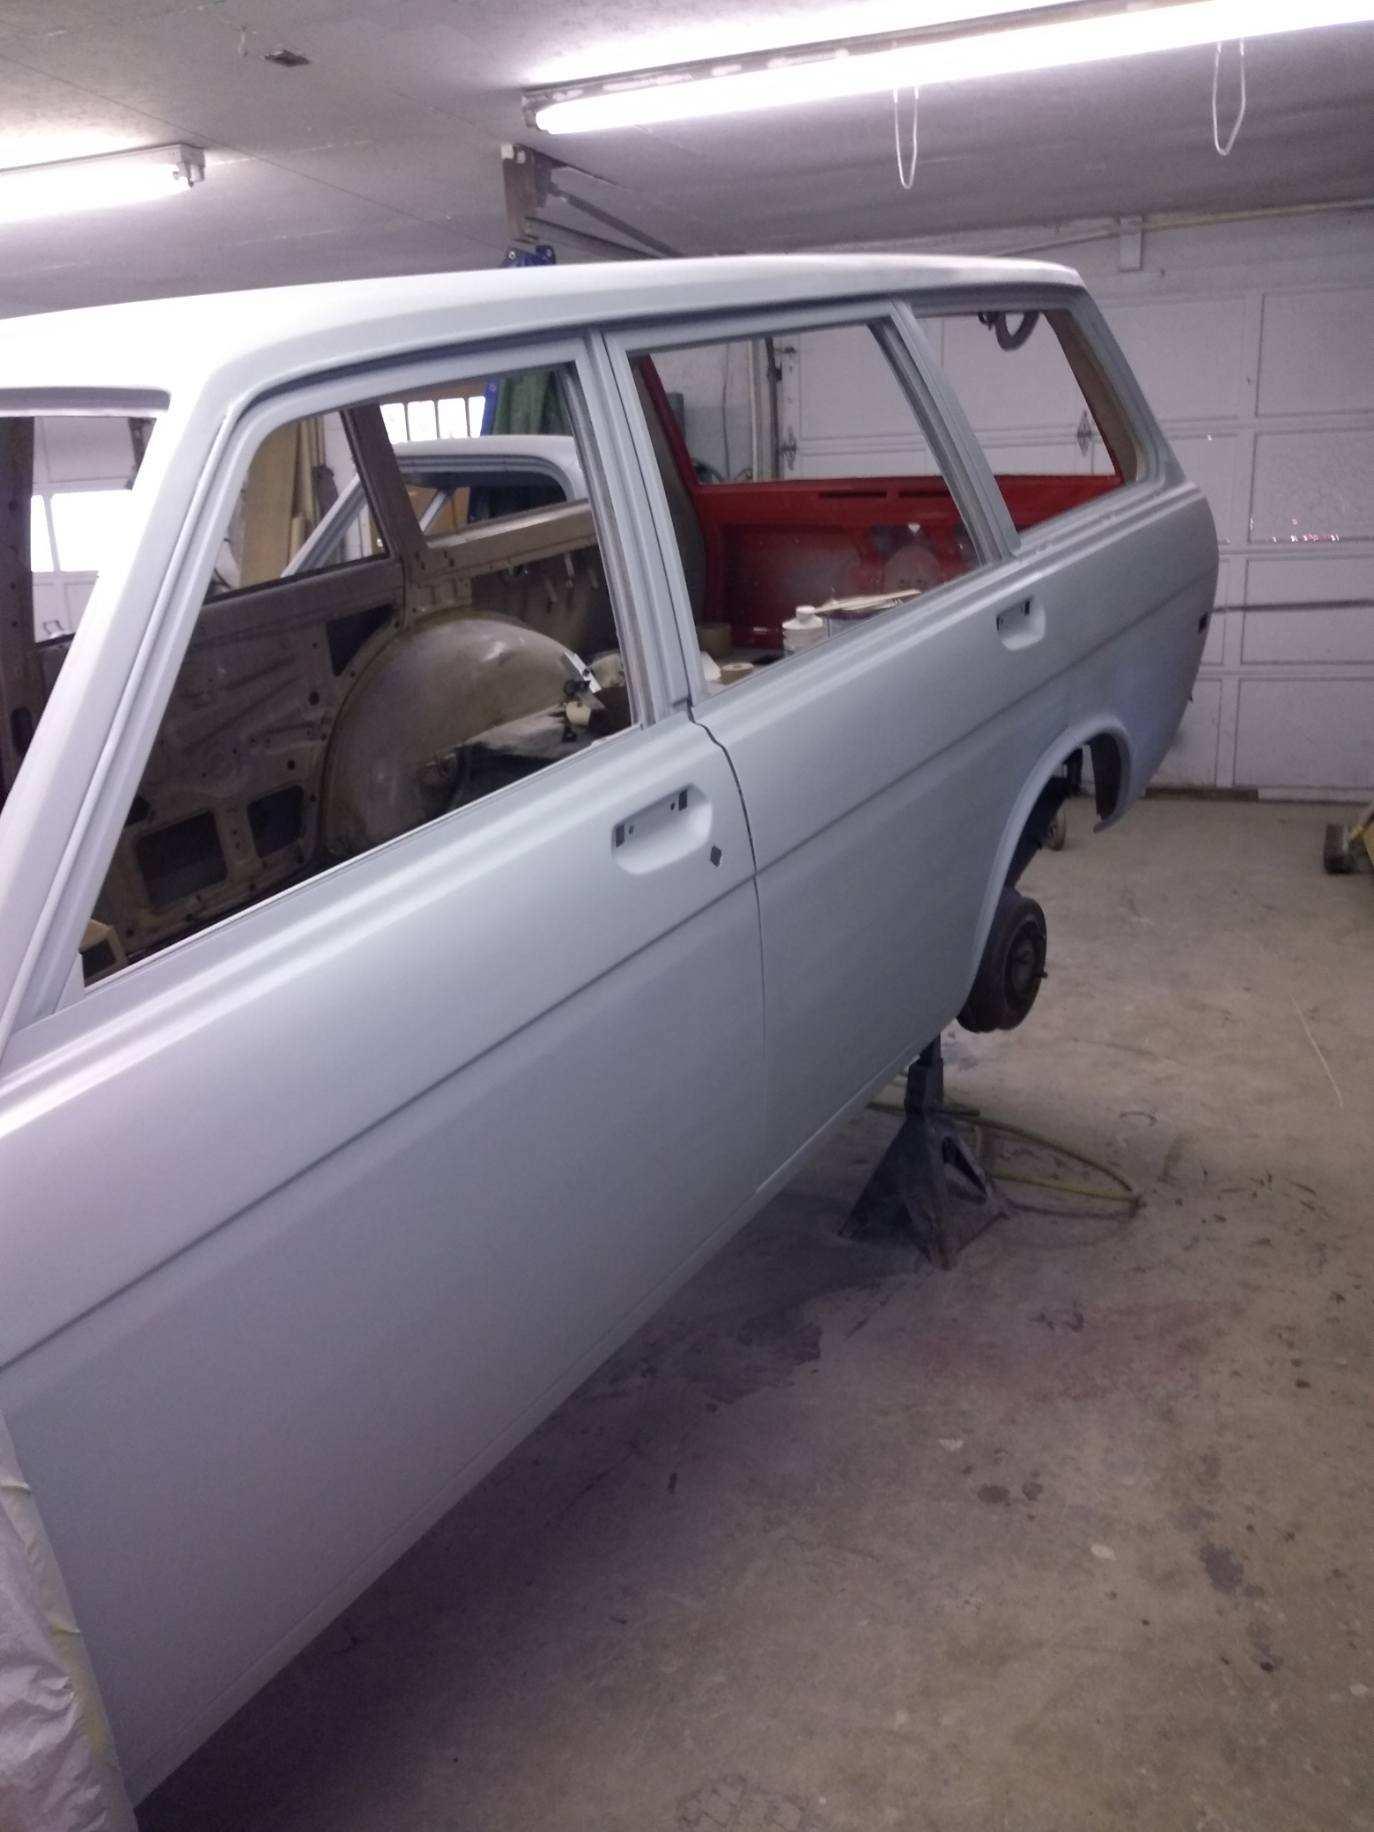
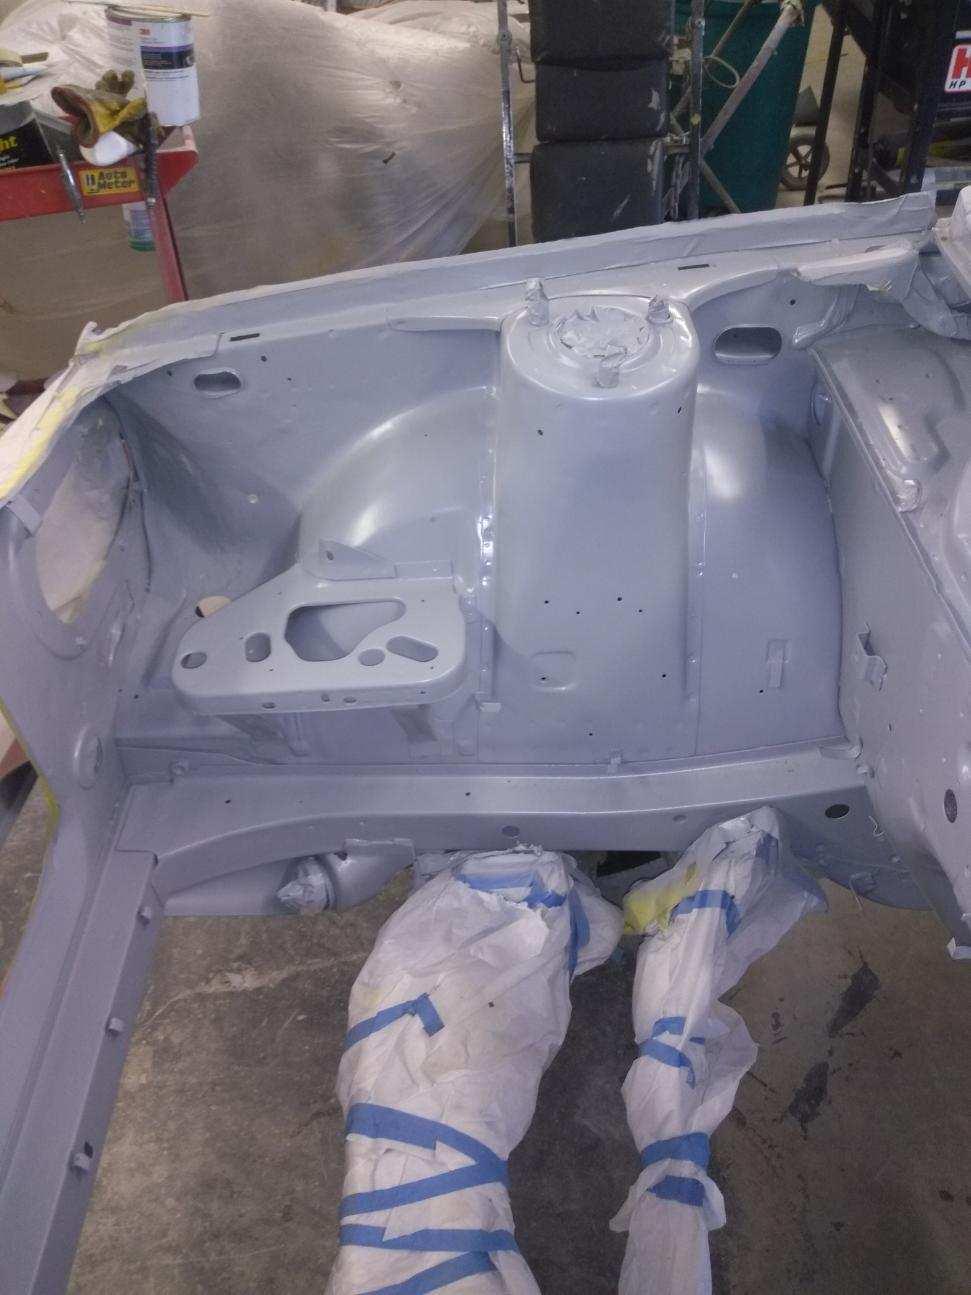
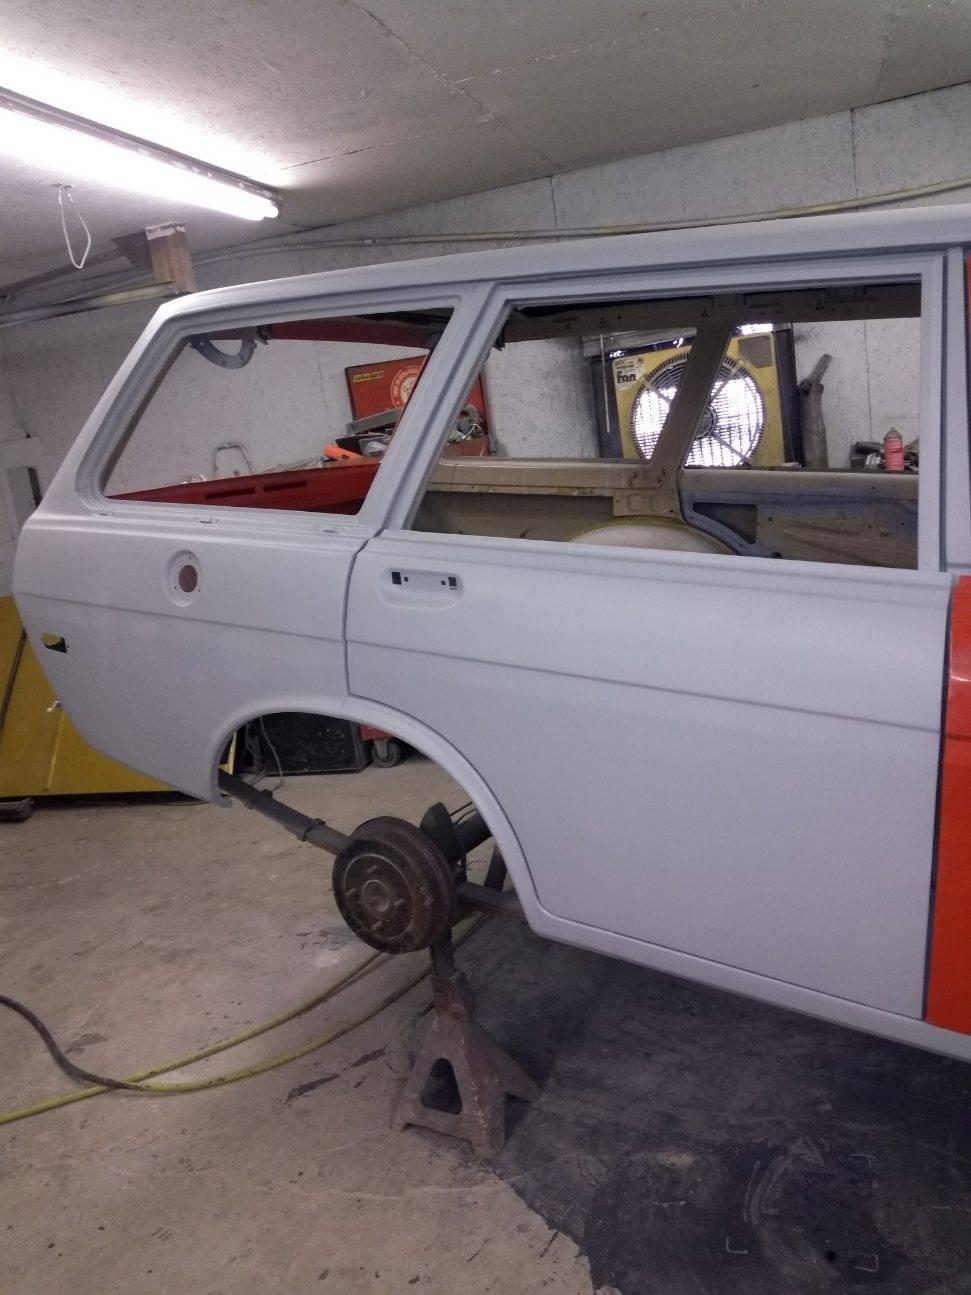
 3 pointsLooks like it’s assembly time! Well, soon anyway! Still have to paint the inner panels.
 3 points
 -
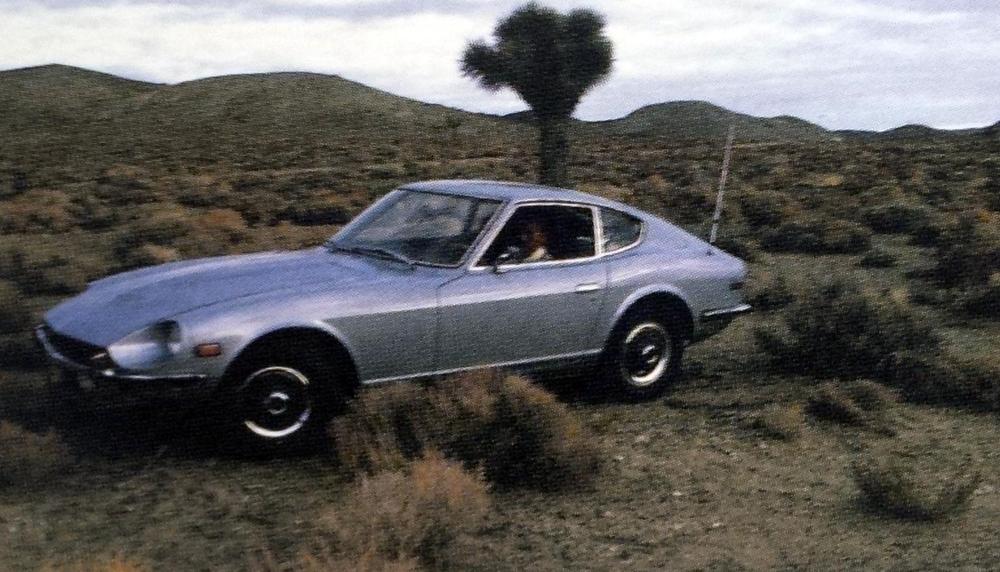
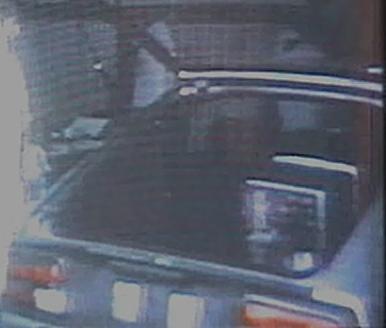
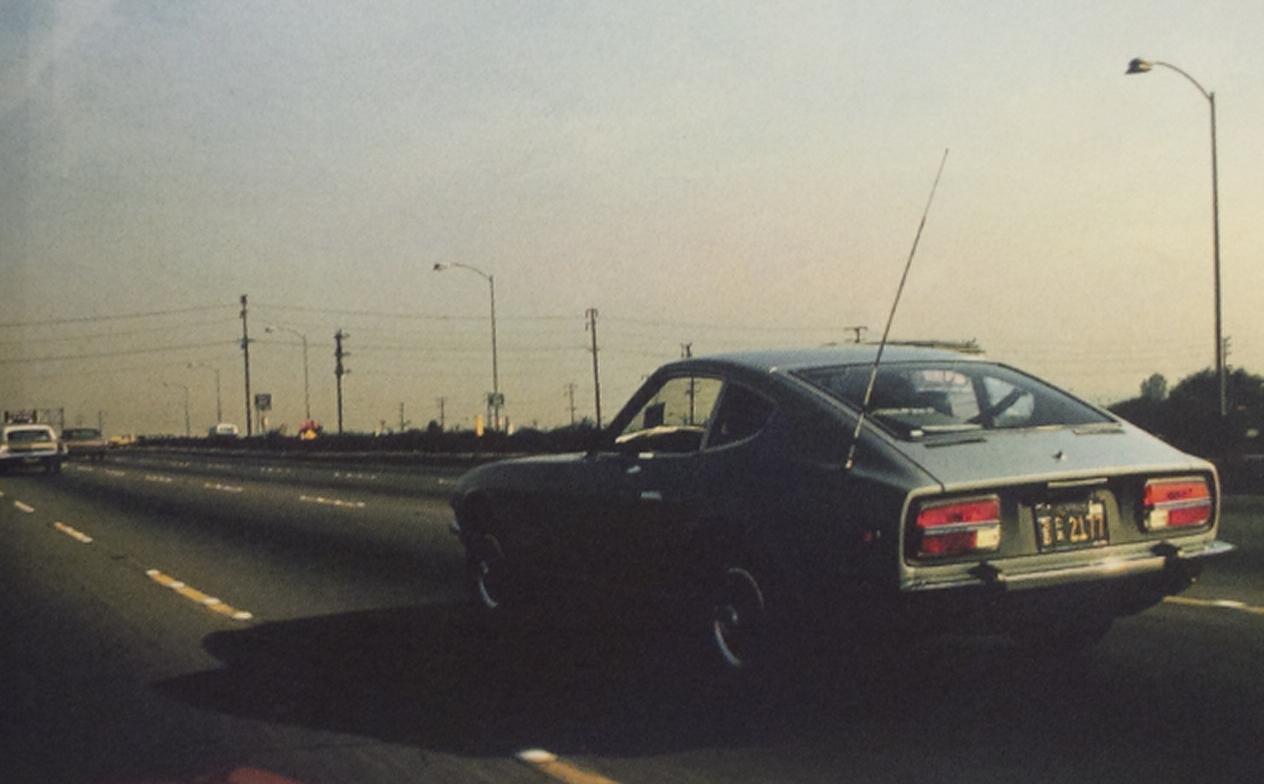
 Testing Begins! Another Video from @kats. Music: 1969 Iggy Pop and the Stooges RoadTestingInUSA.mp4
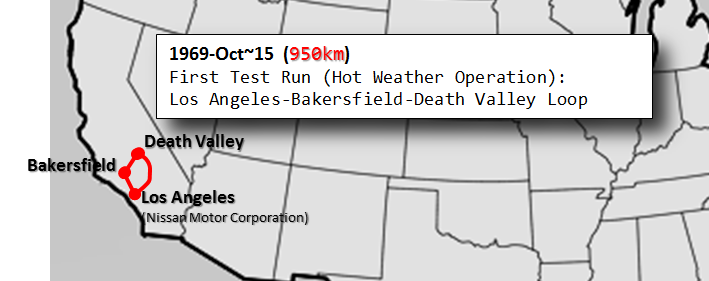


 3 points
 -
 That's what we did. The biggest change was the float was not tipped up quite as much as in the picture and the level was slightly higher. We set both carbs to the same level and that is where we will begin the tuning process.2 points
 -
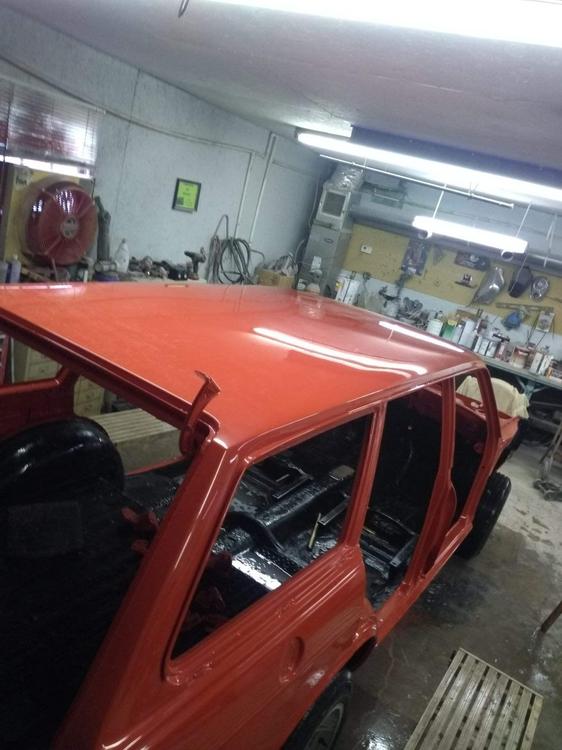
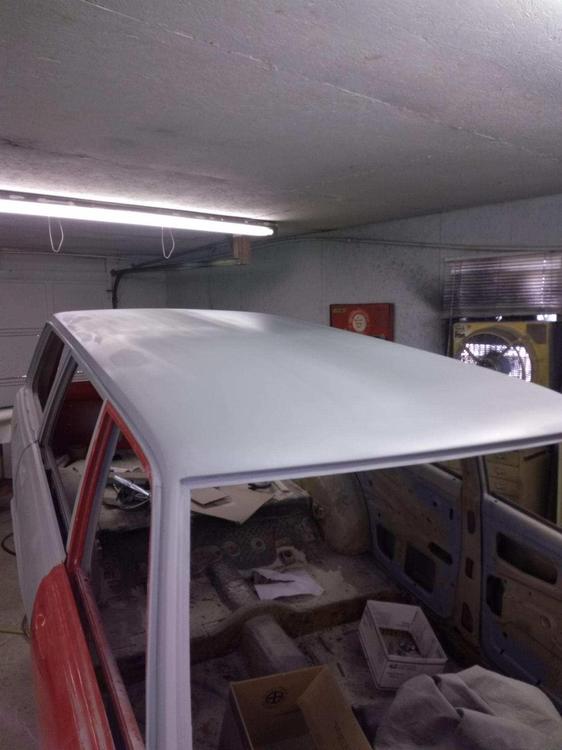
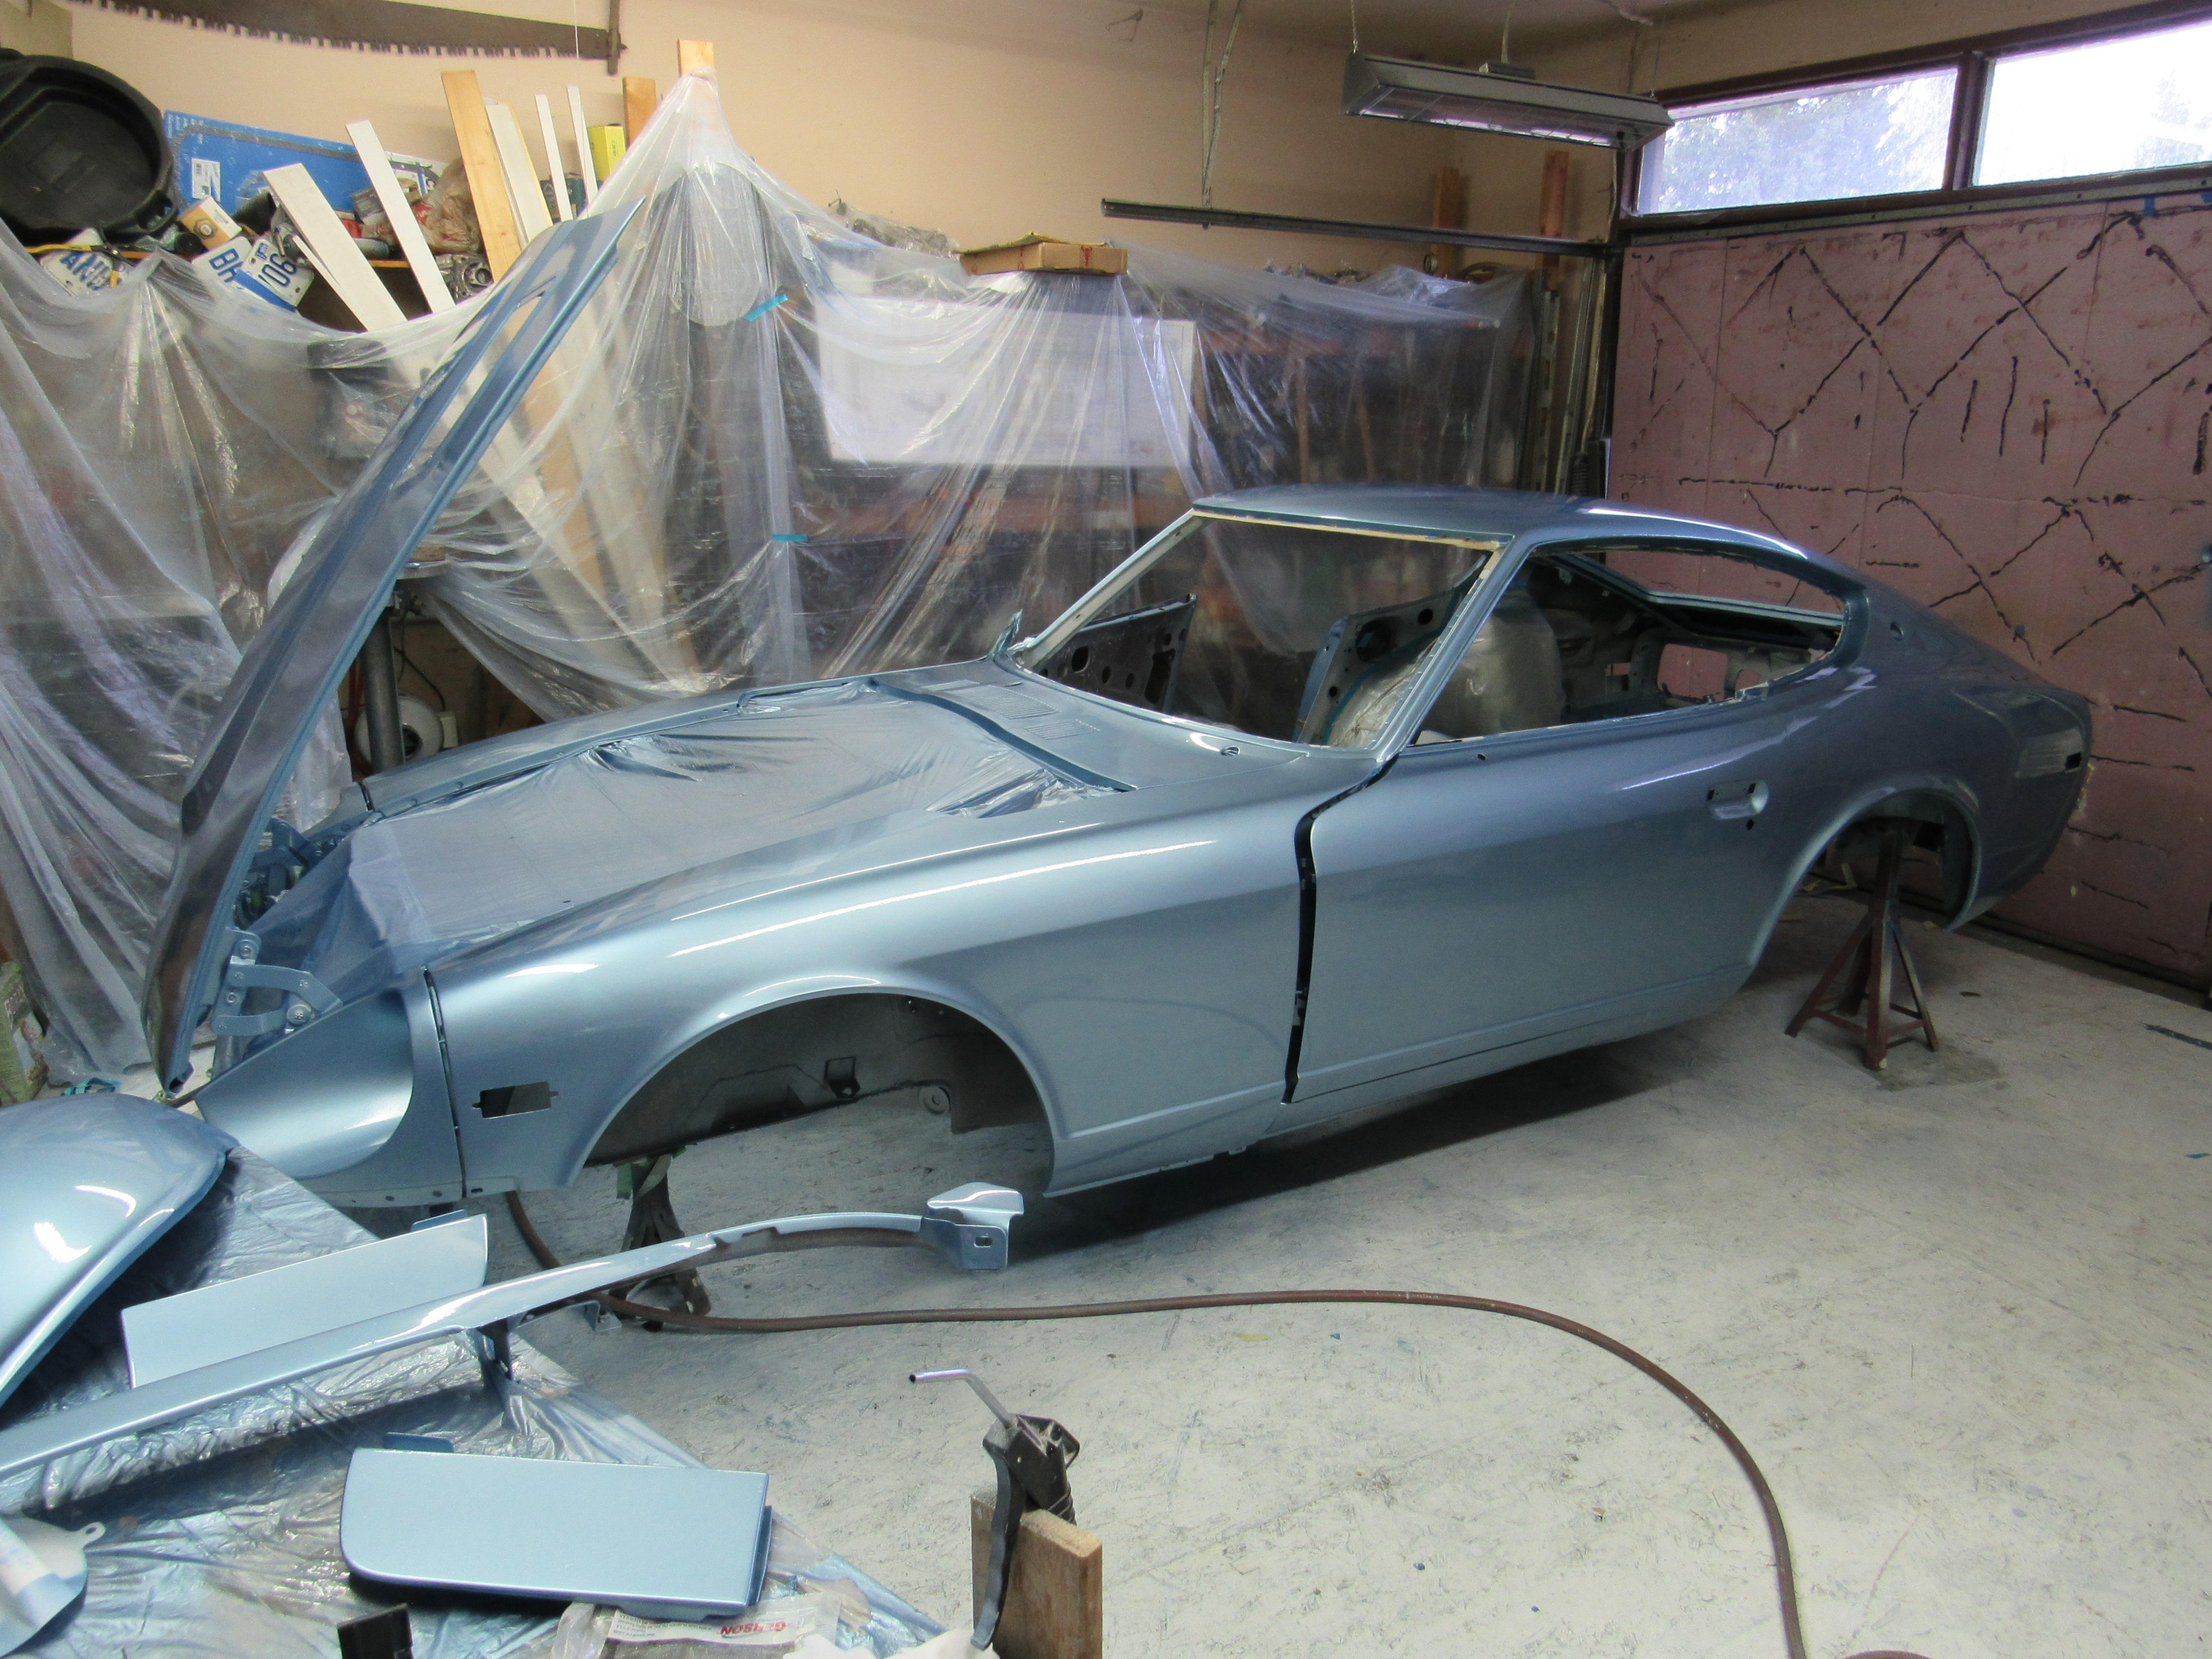
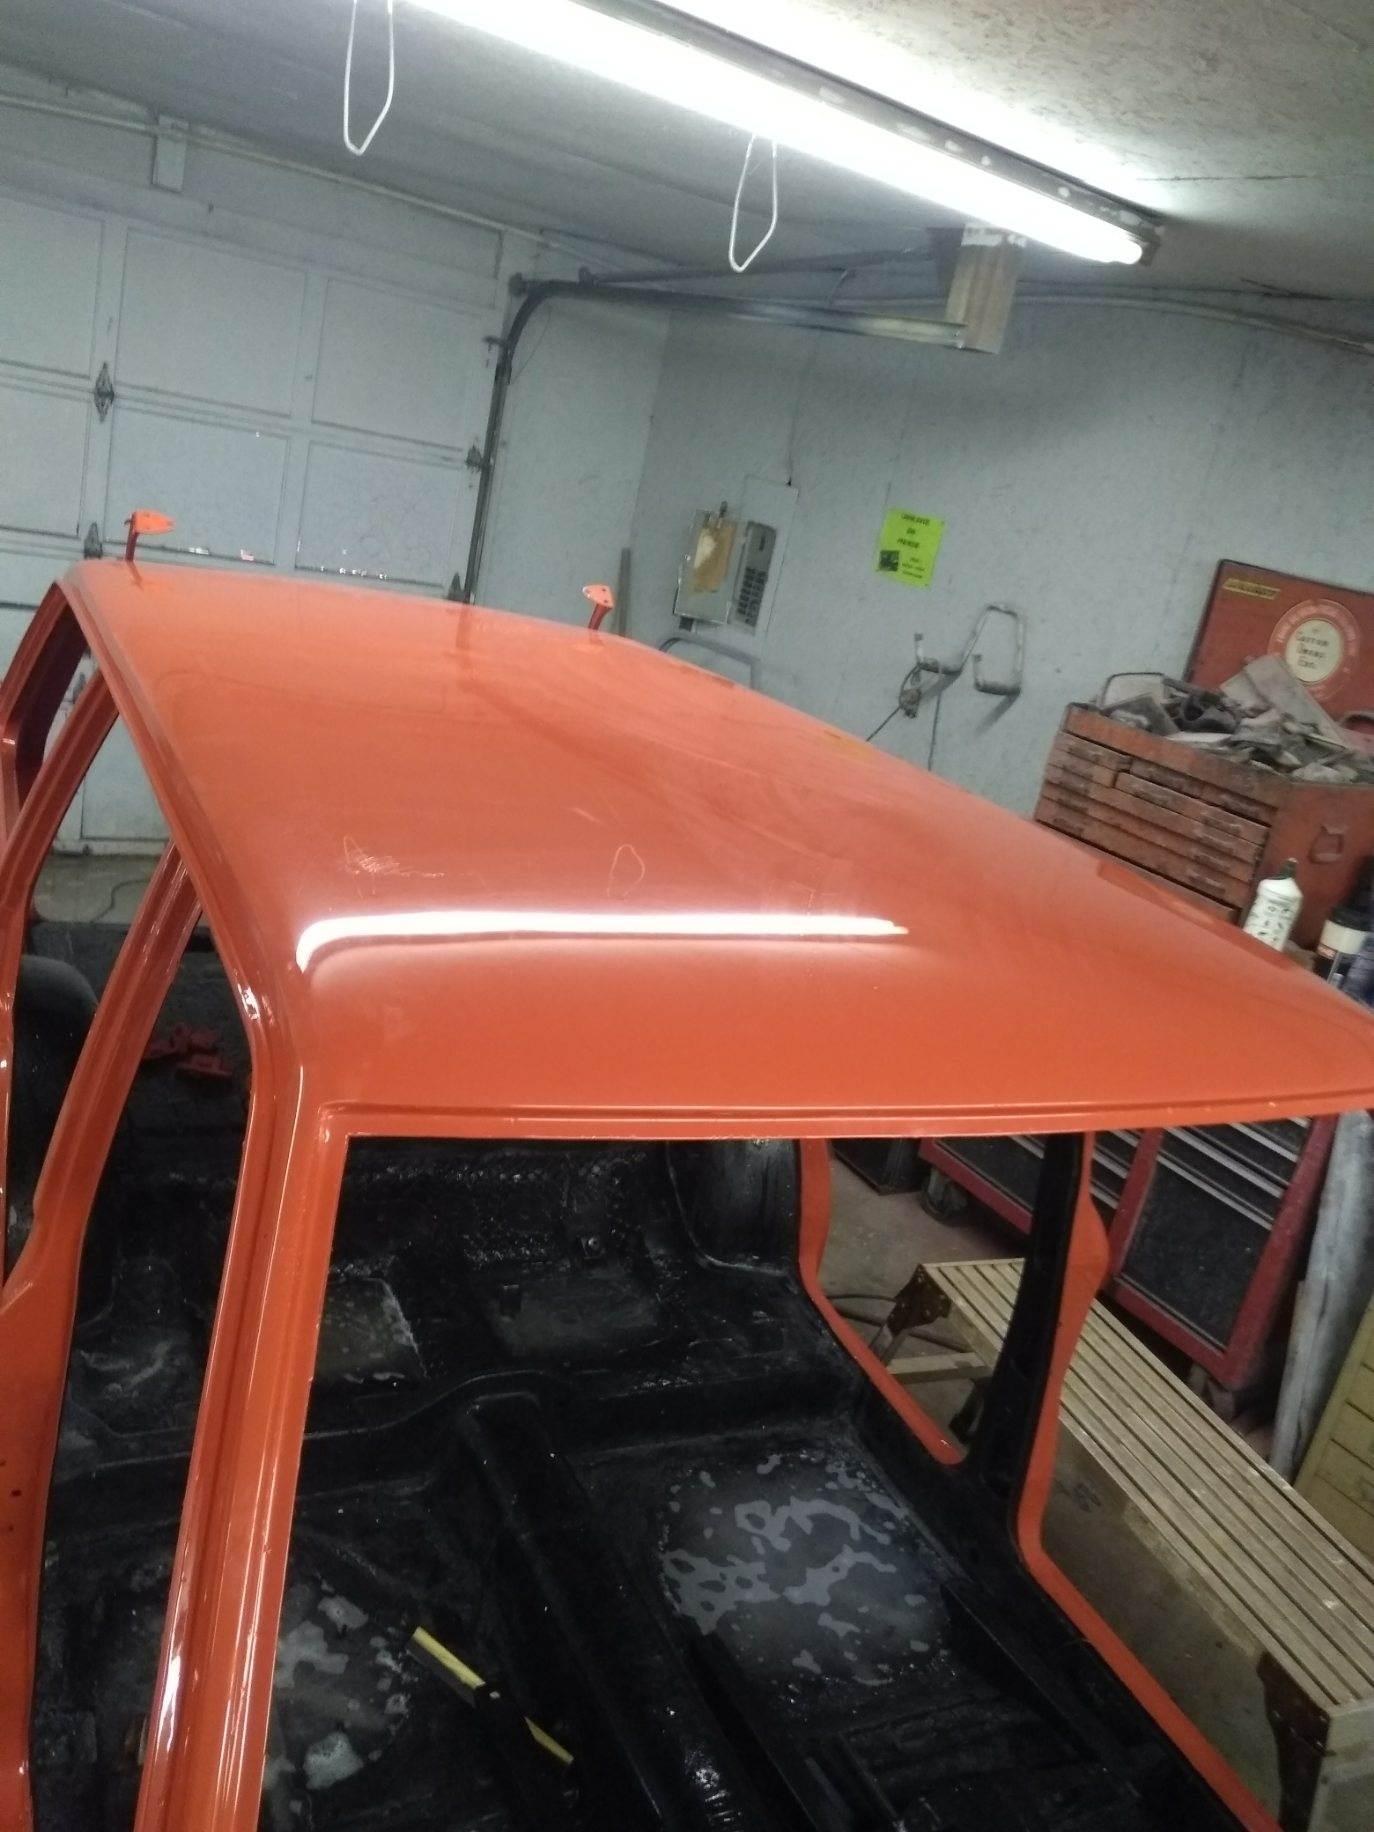
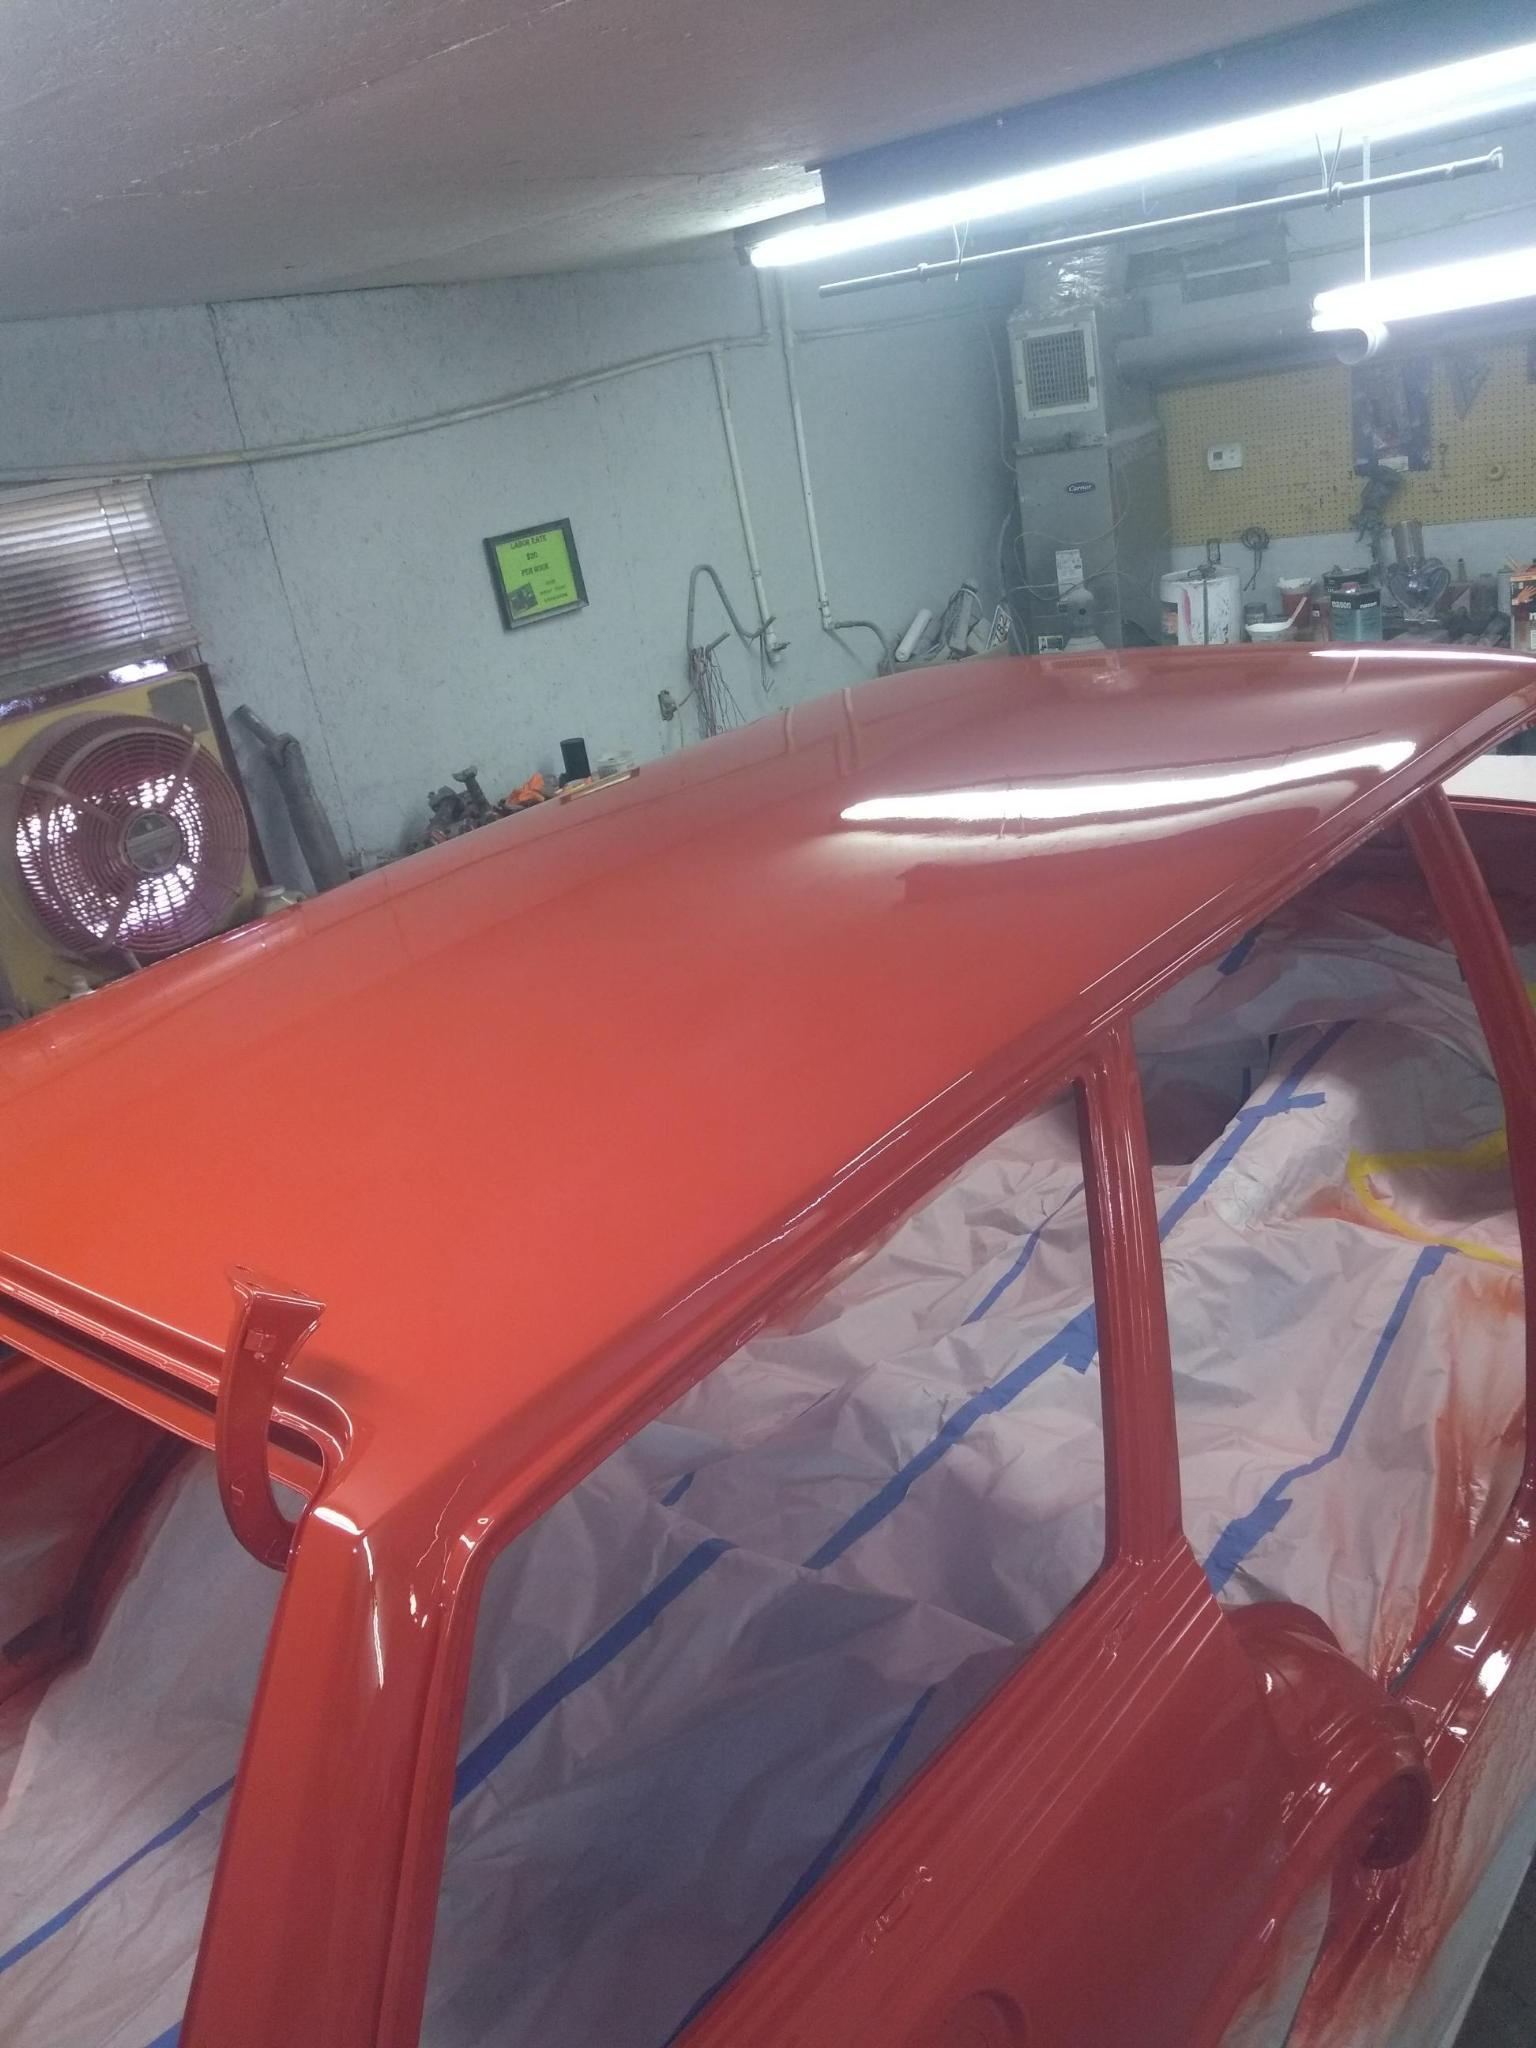
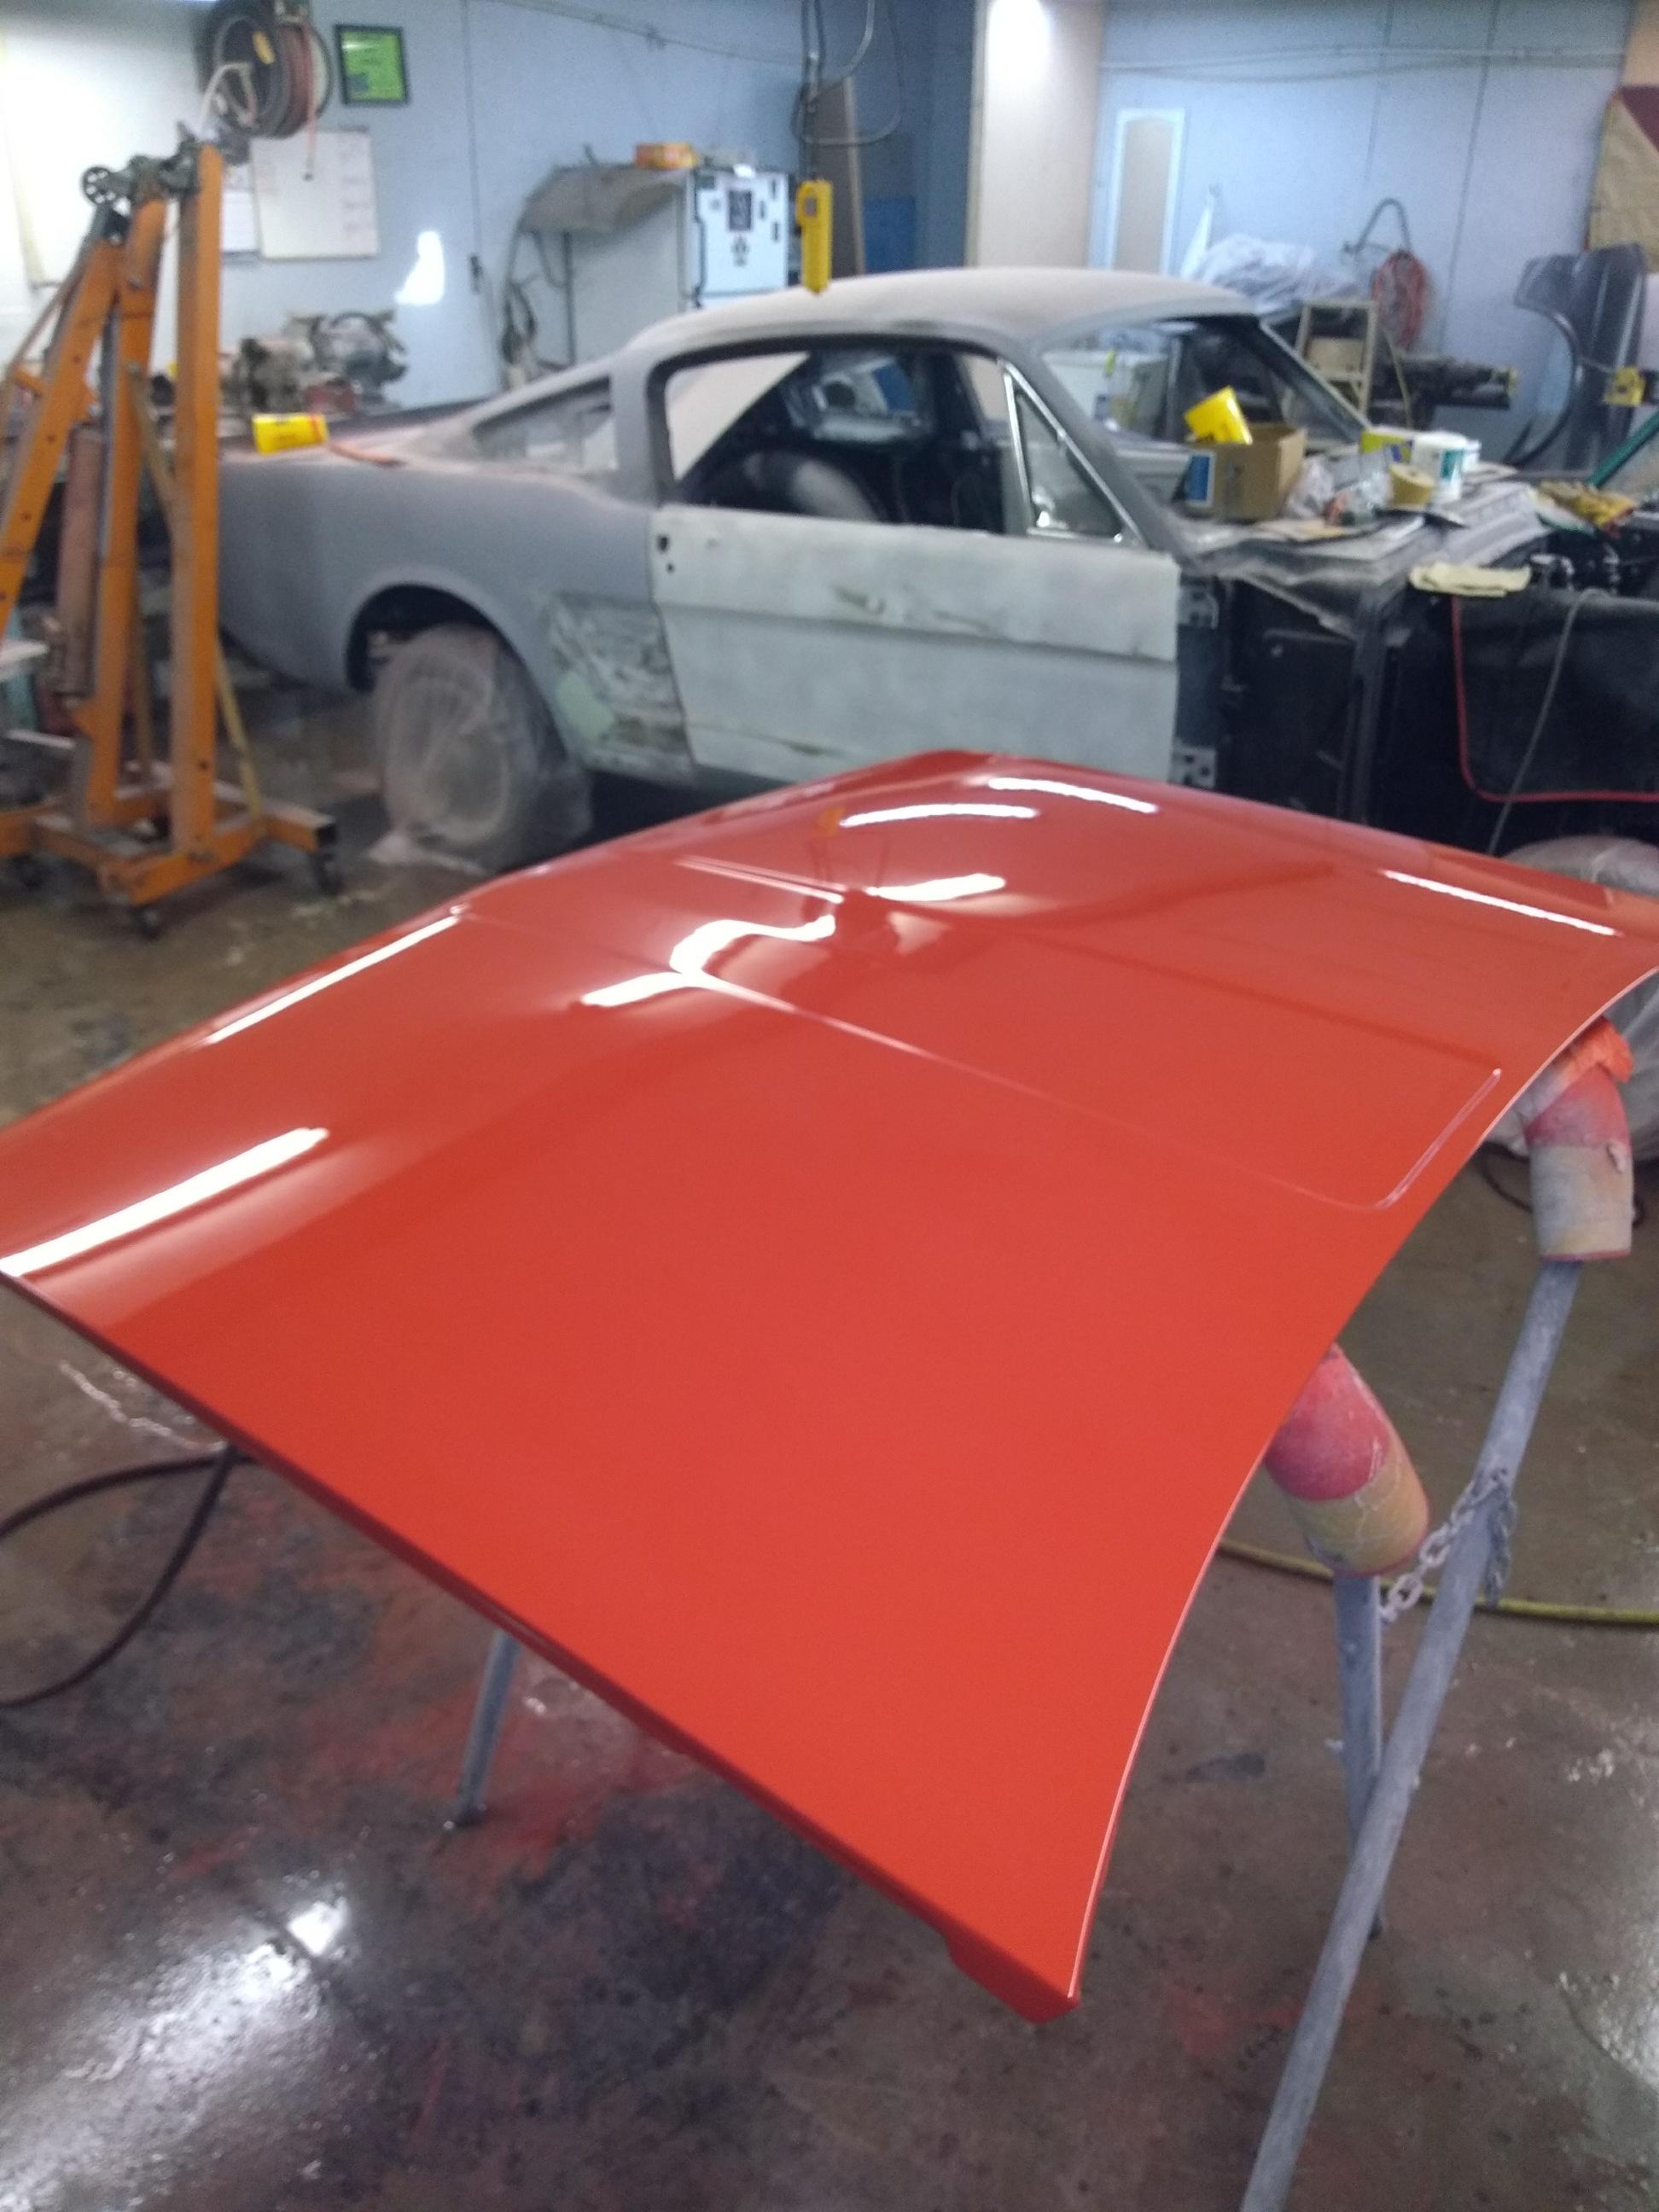
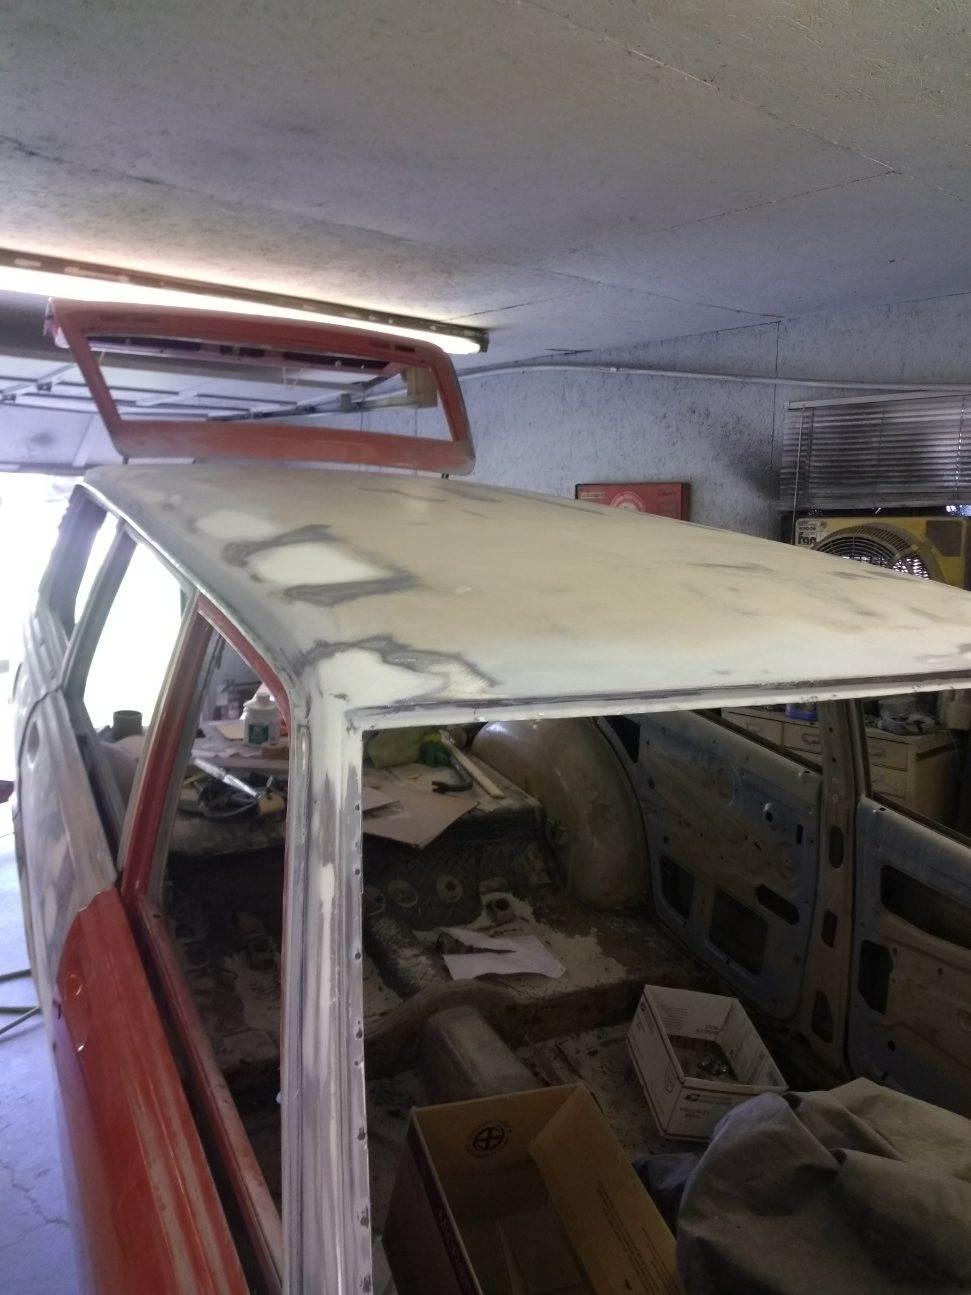
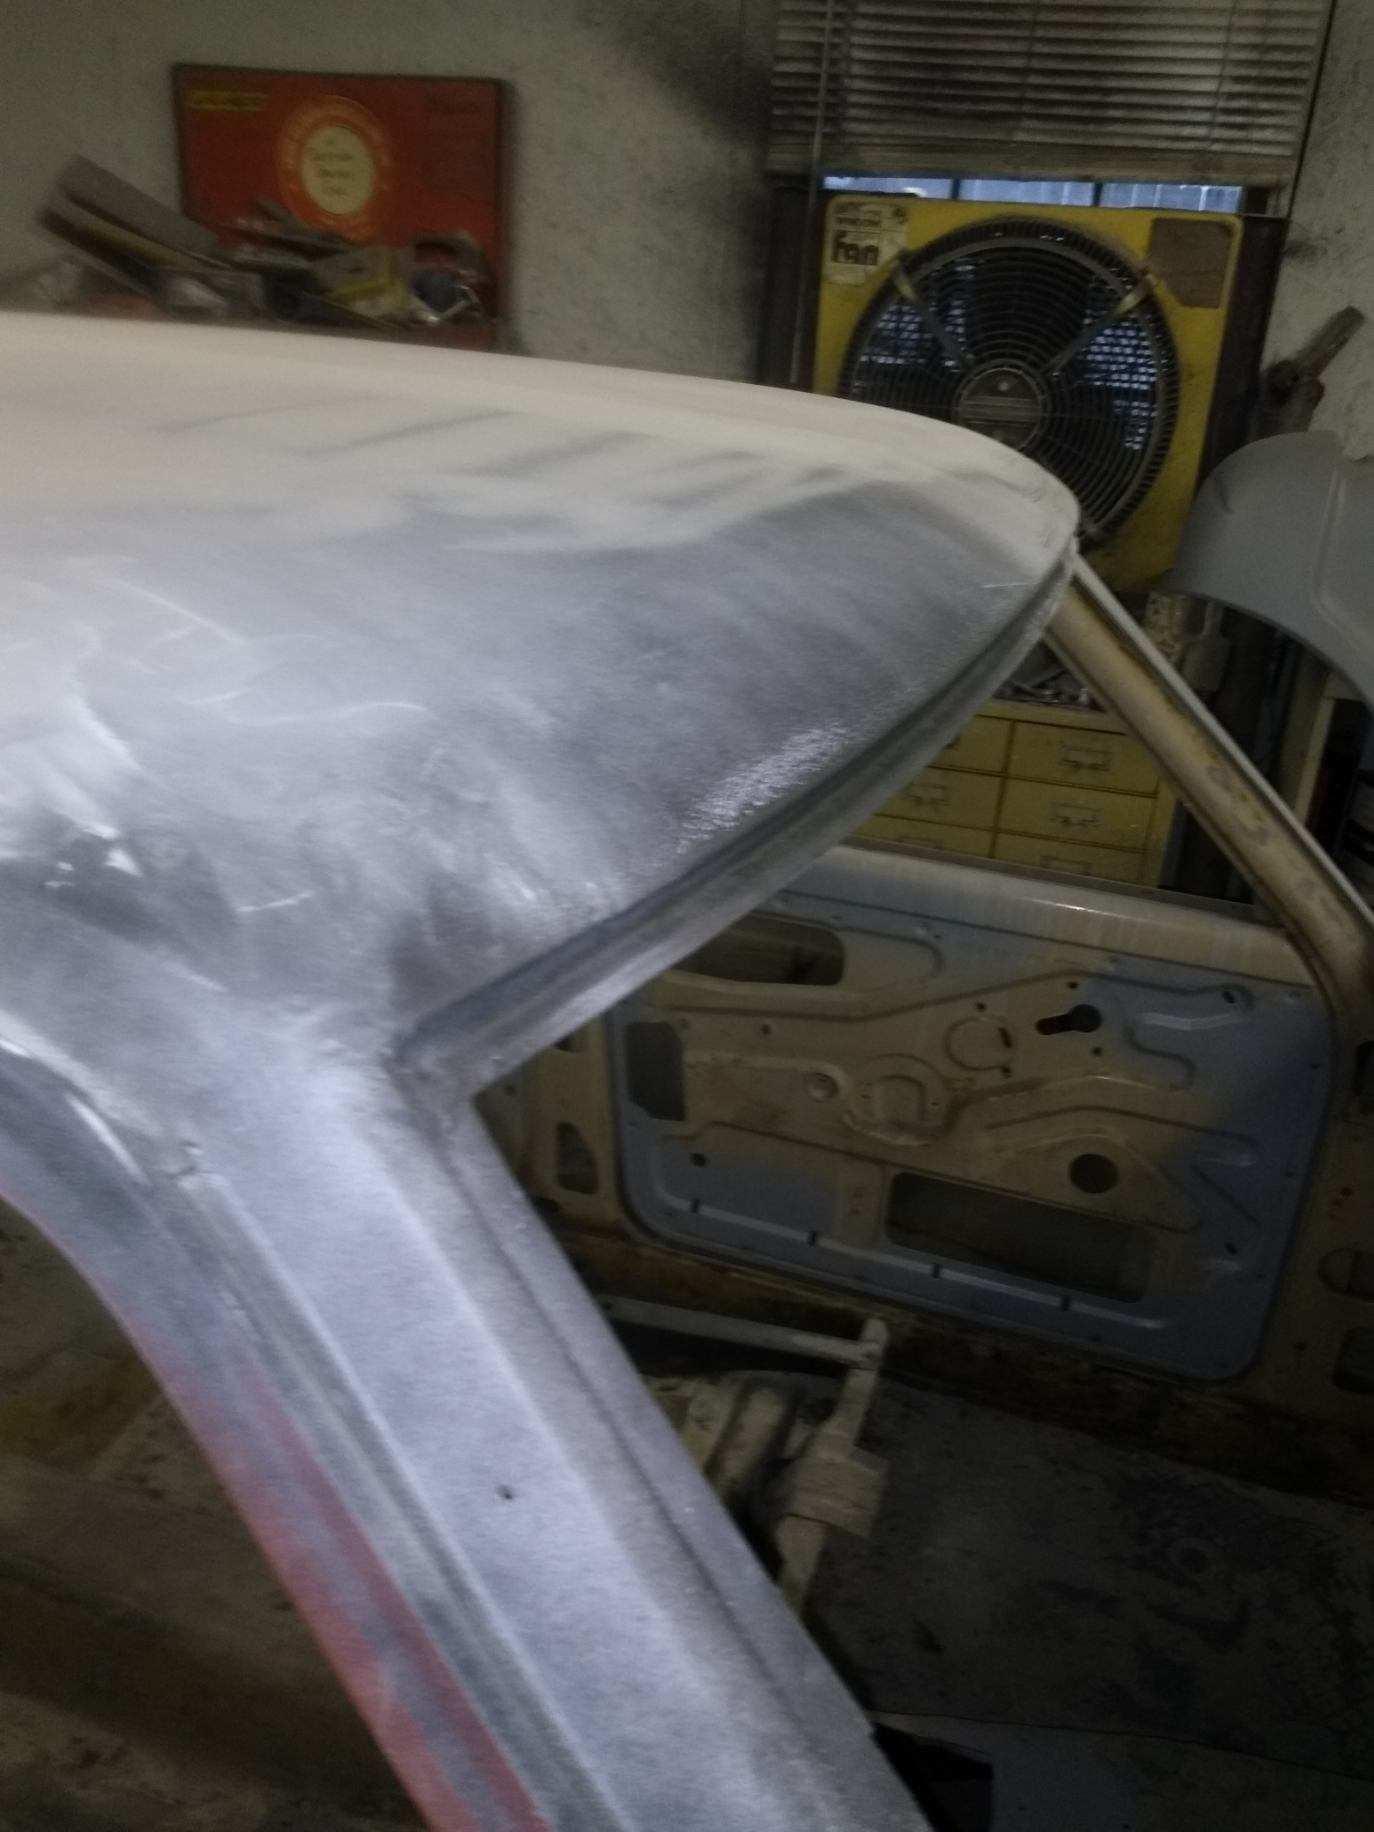
 2 pointsPainter was buffing today. He said the roof was a challenge. Said he wished his Chevelle looked this good
 2 points
 -
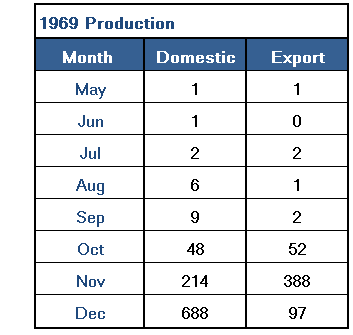
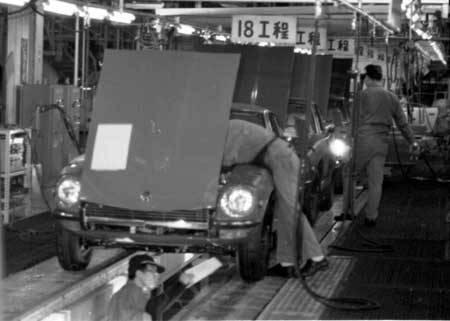
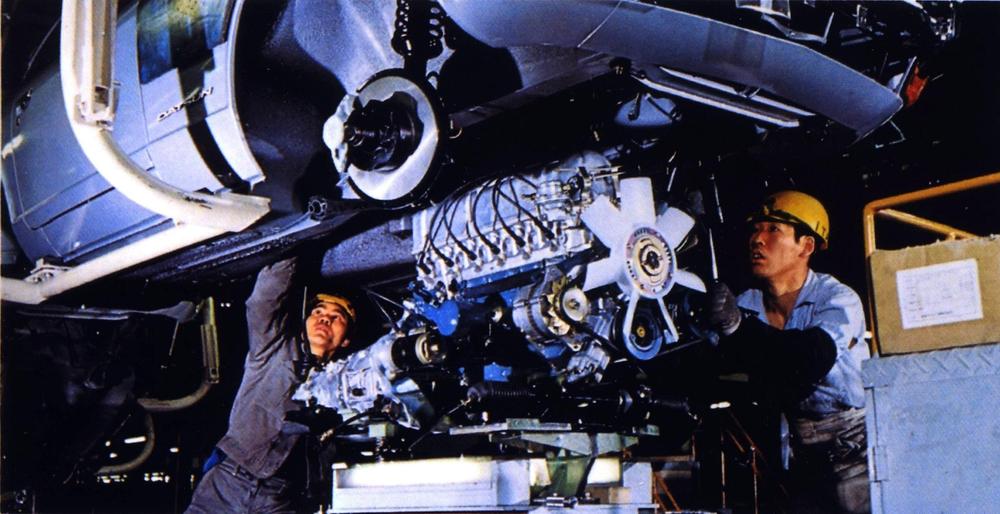
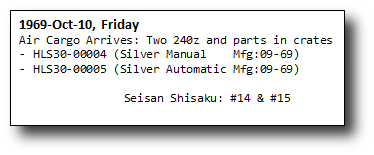
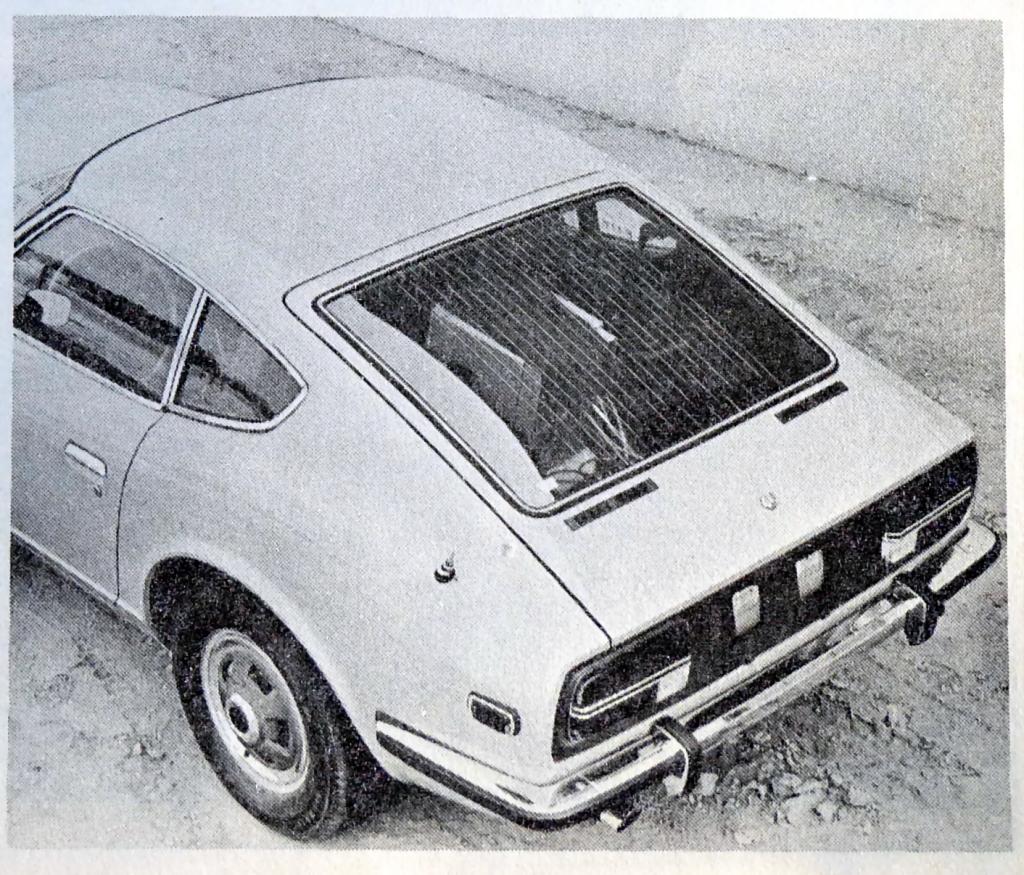
Meanwhile, back in the factory, production is in full swing. 100Z's made in Oct. 1969:
 2 points
 -
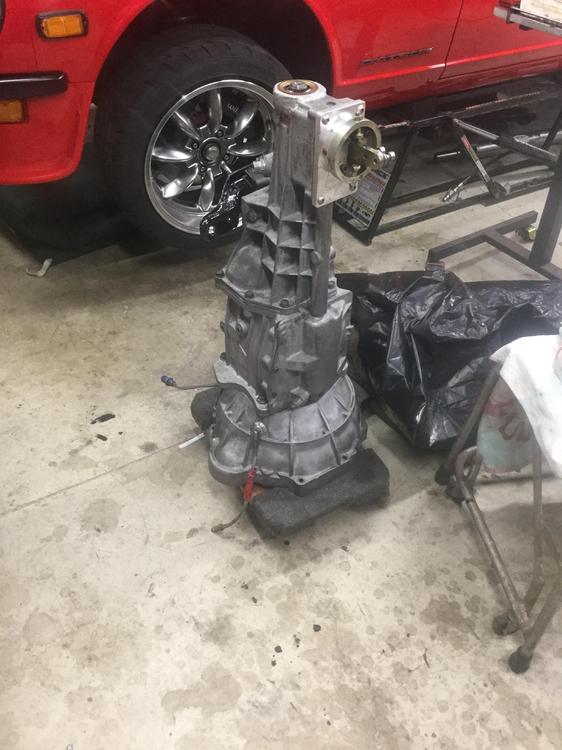
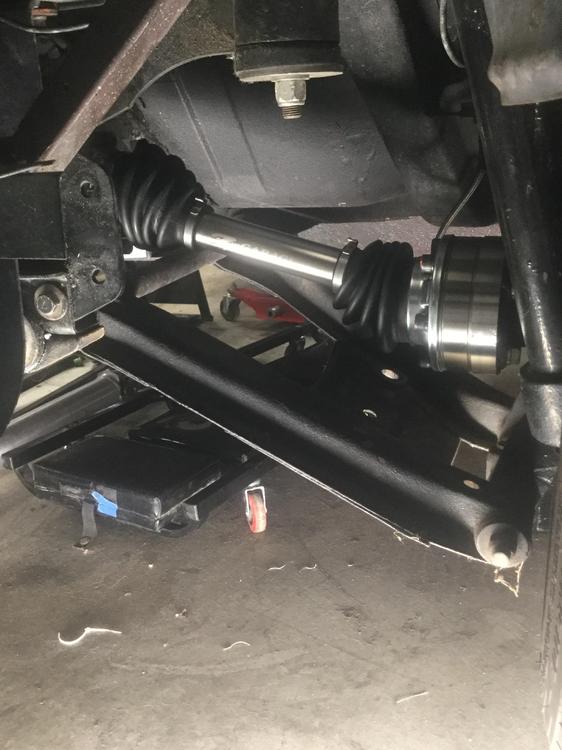
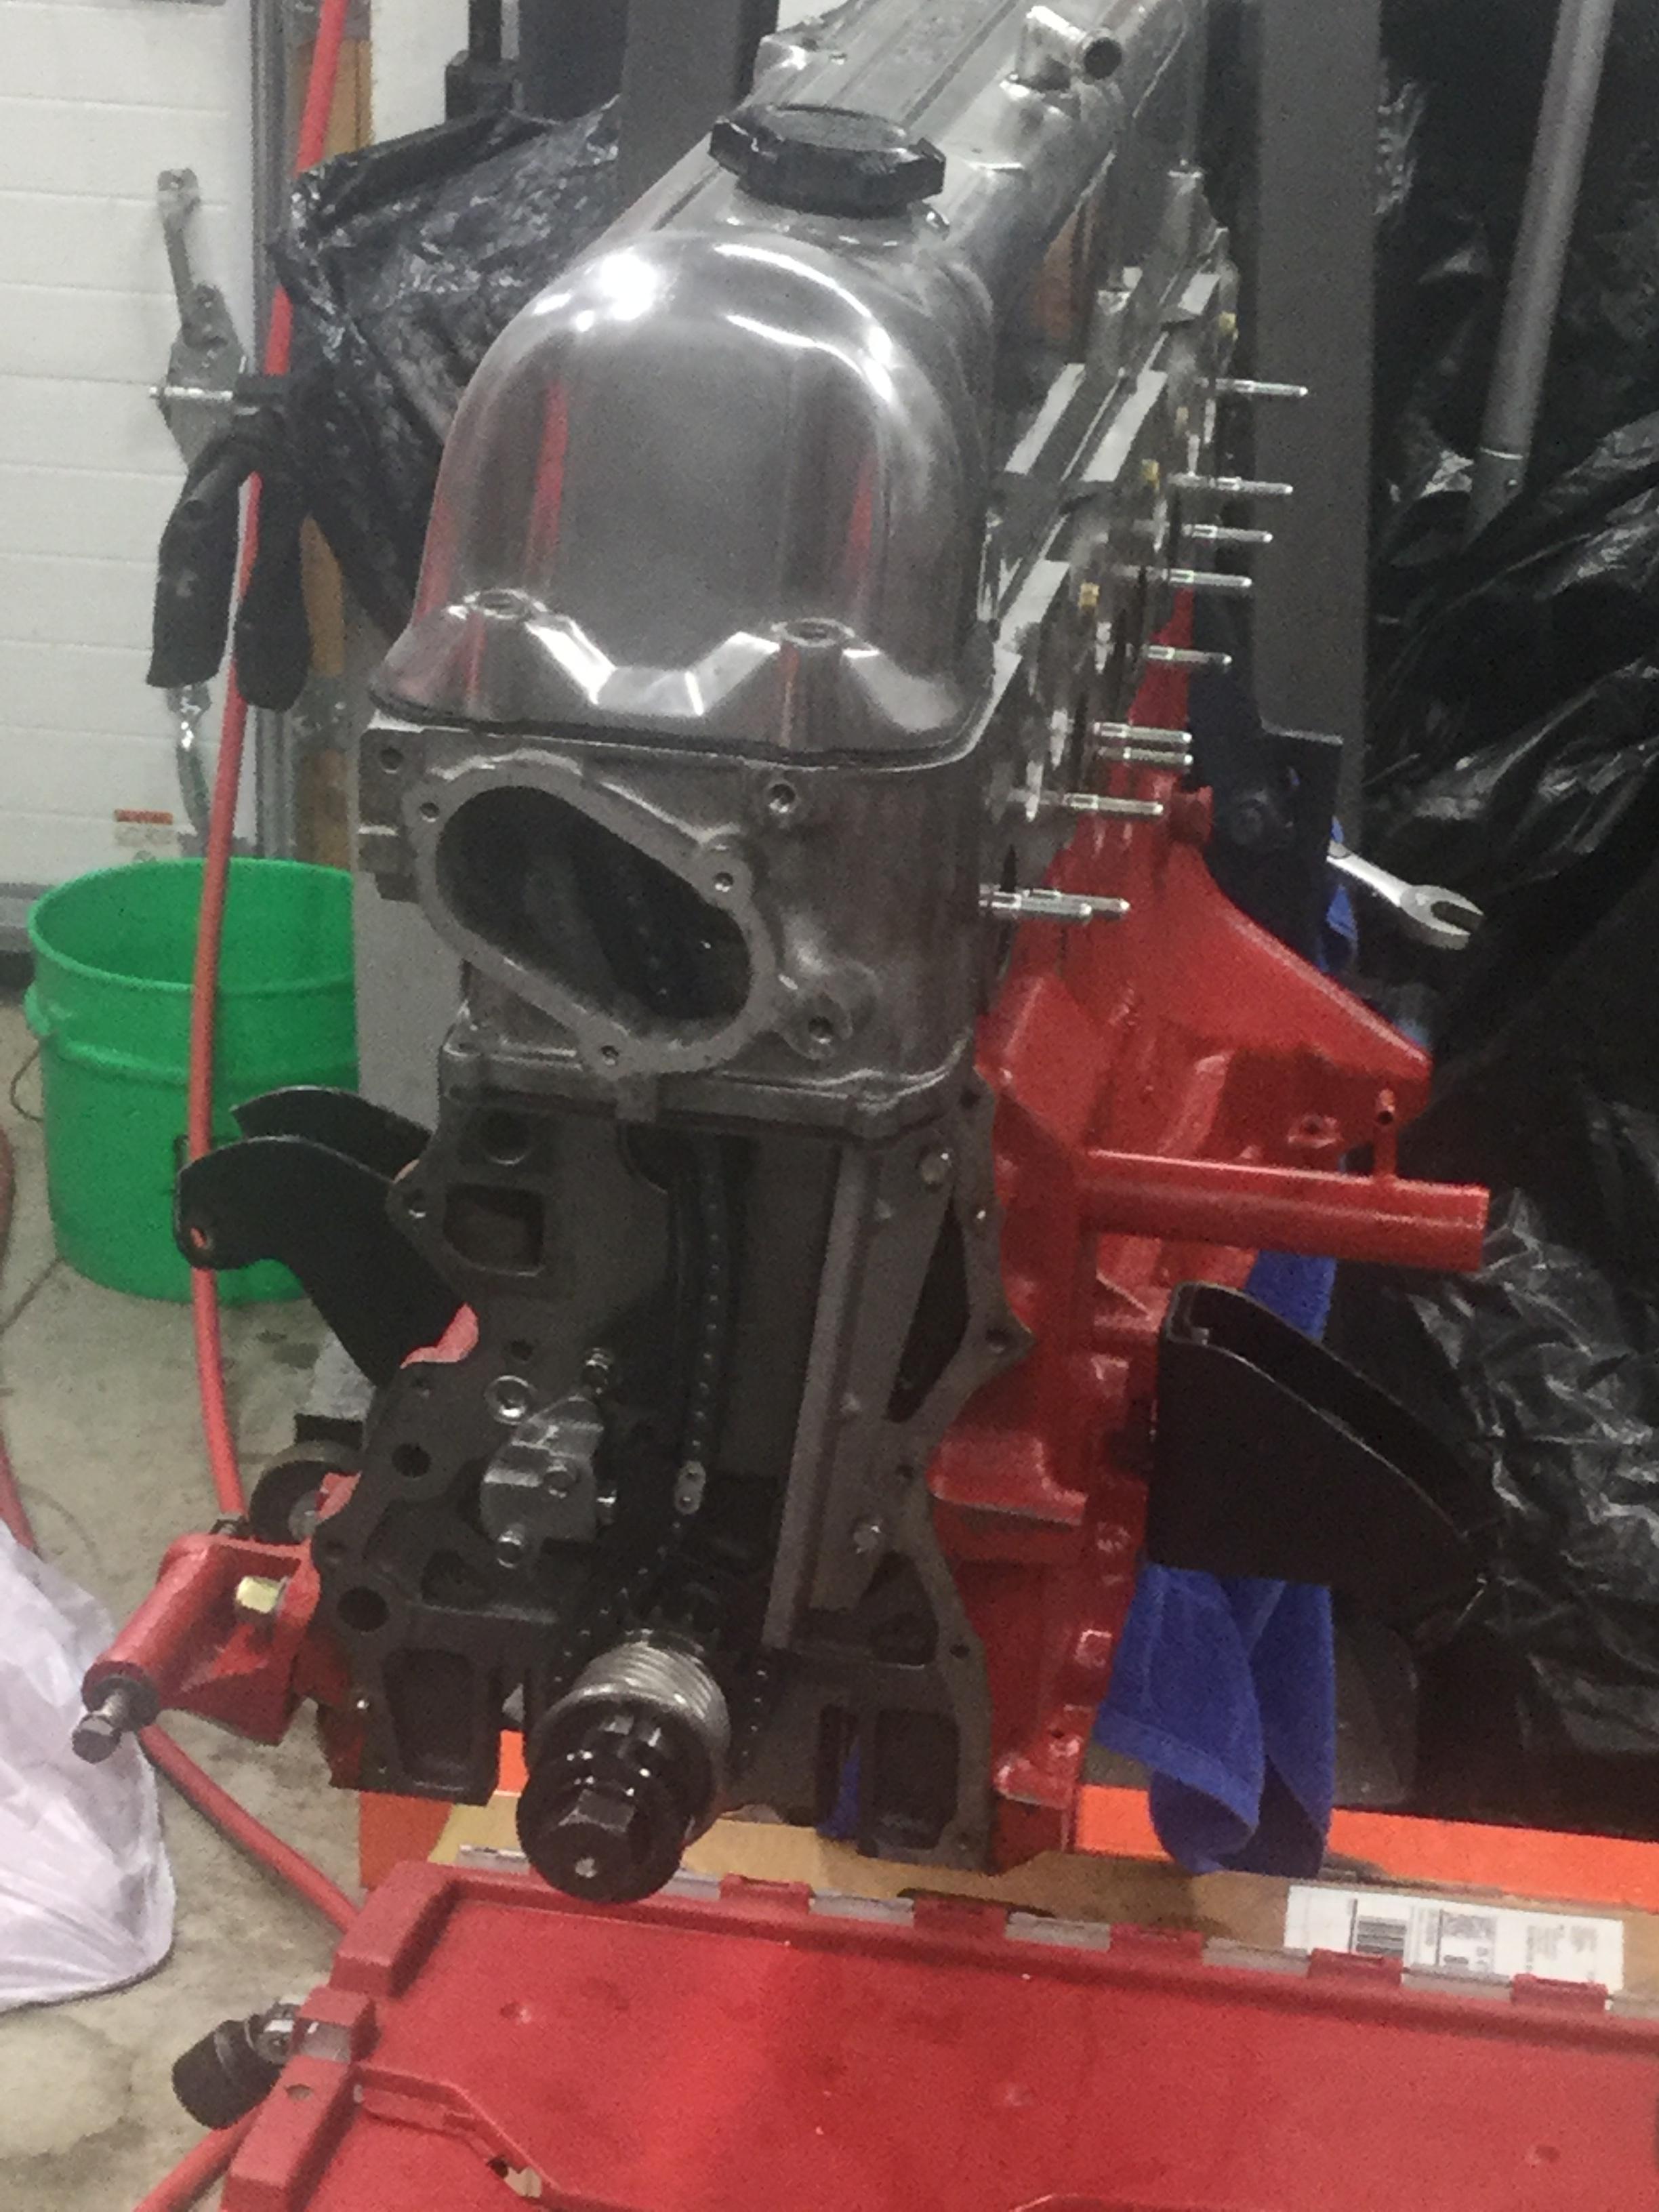
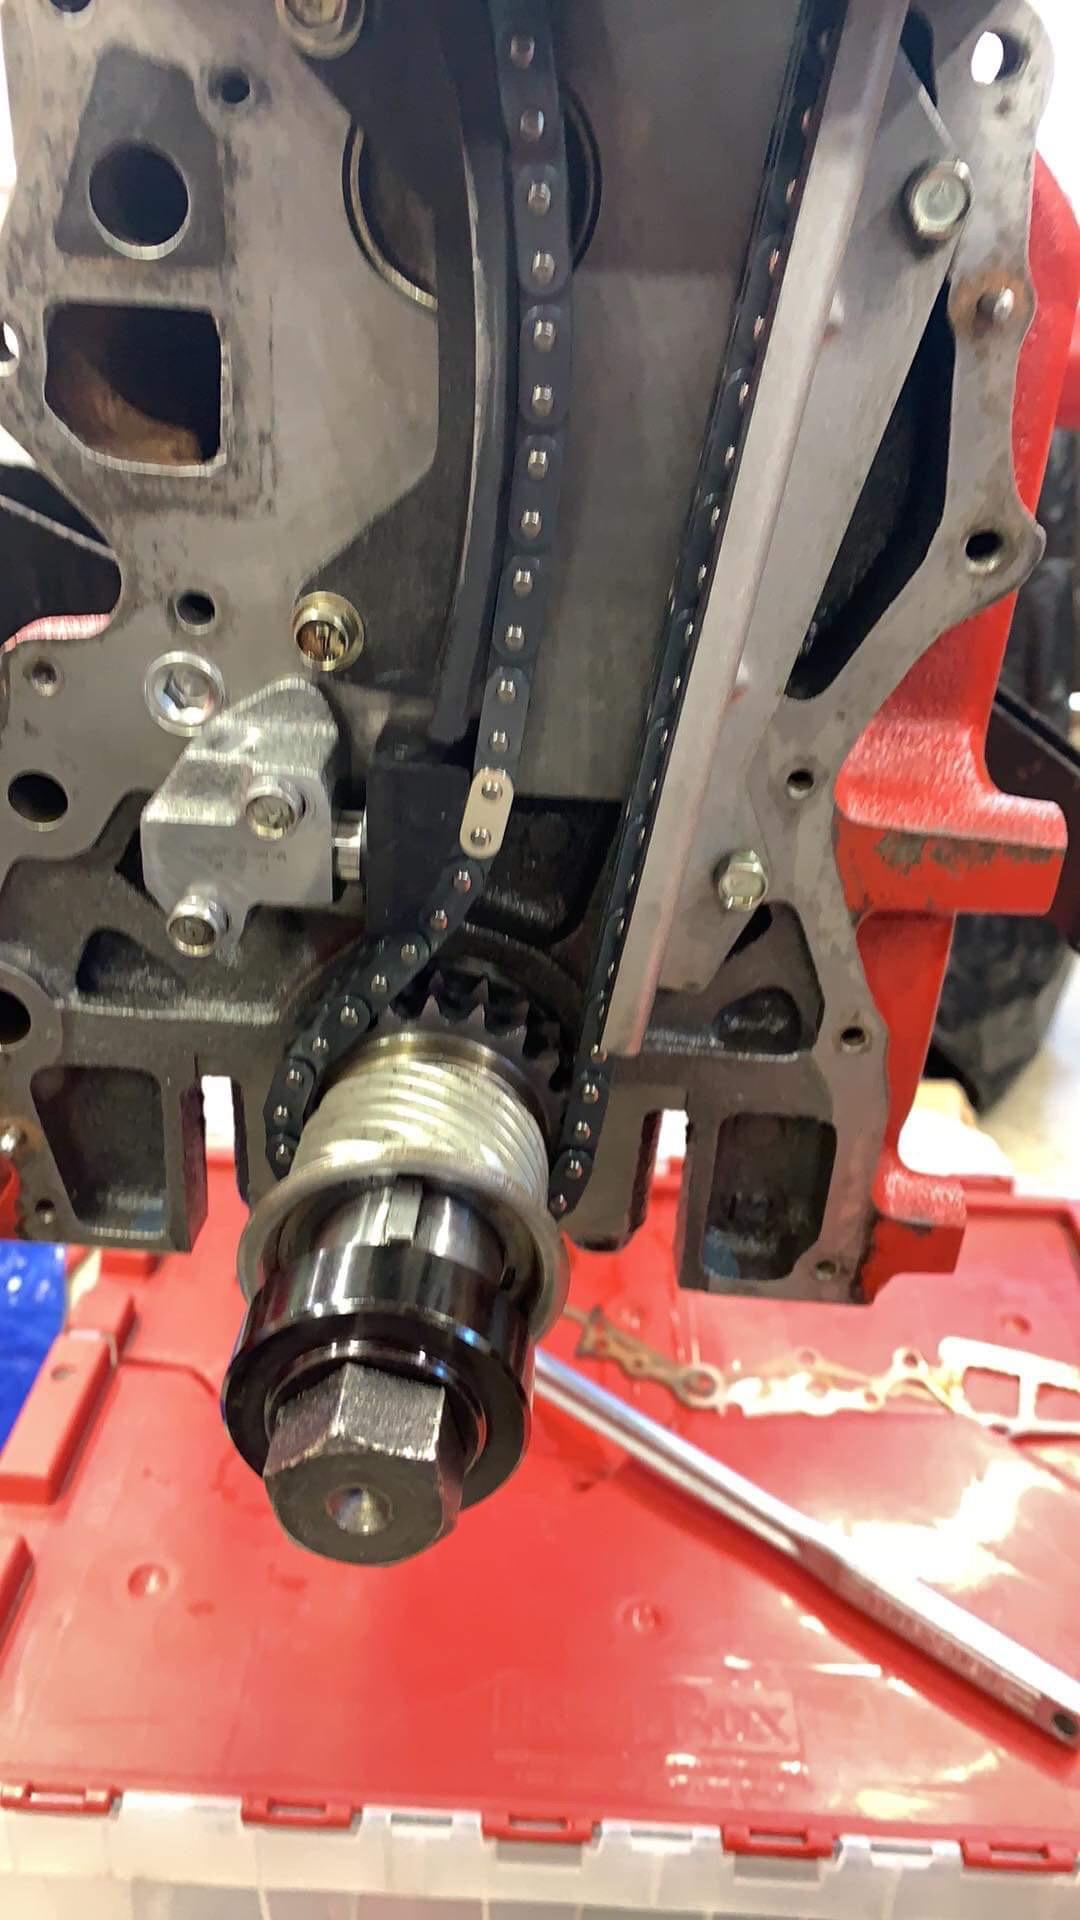
 2 pointsAbout a day away from MN/47 part 2. Just finished adjusted chain guides and tensioner to take up some slack! I gained about an 1/8” or so on the chain tensioner which meant the plunger wouldn’t be hanging out as far. I probably have about .030 removed from the total distance , so the slack was real. It actually seemed more prevalent then my L24 set up where I had as much as .050 removed. This time around I’m installing my newly acquired G- Force T-5 . It has a McLeod hydraulic TOB , we will see how that works . Also bought these sweet CV axles from Datsun Garage. Very nice pieces . This might be a whole new driving experience ?

 2 points
 -
Bend the tab down slightly. That will close the valve later and allow more fluid to enter1 point
-
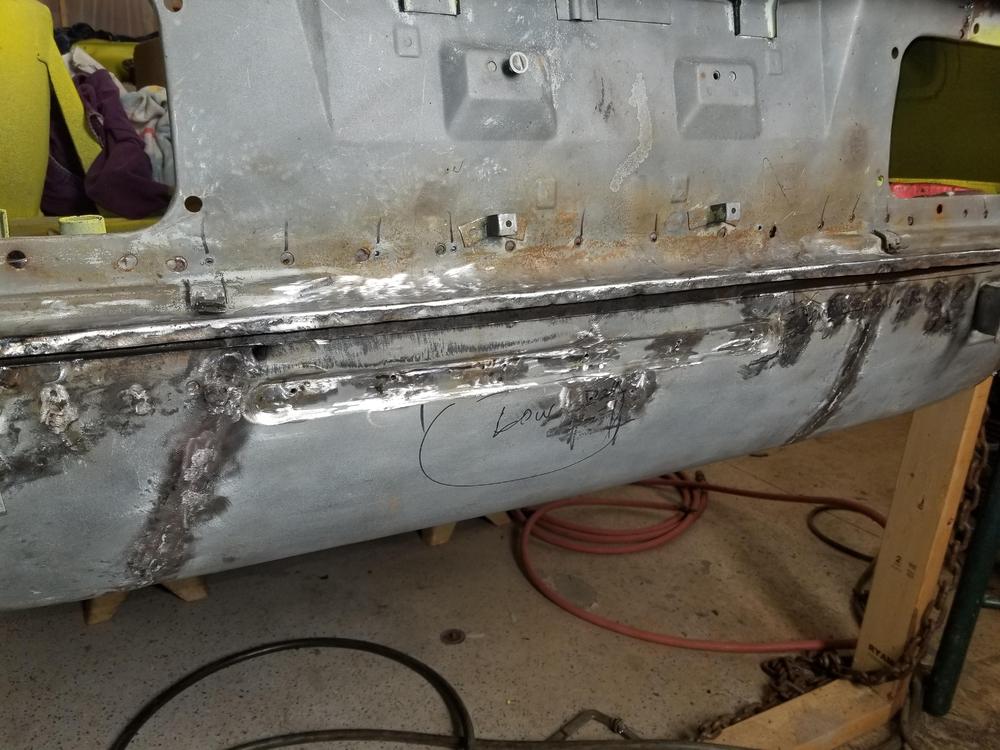
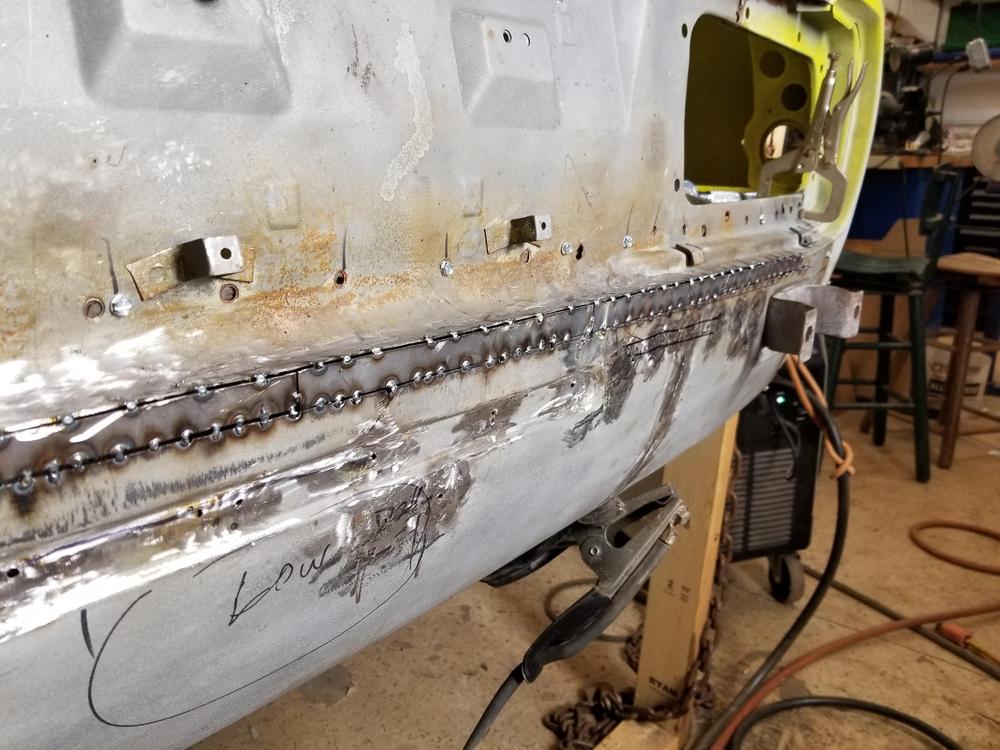
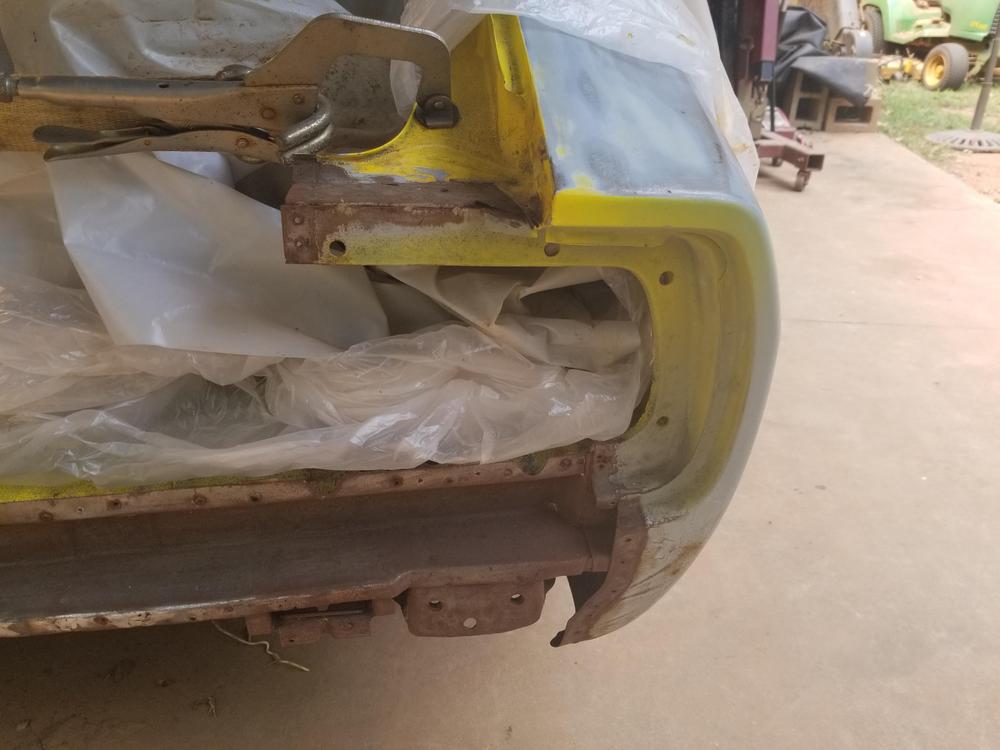
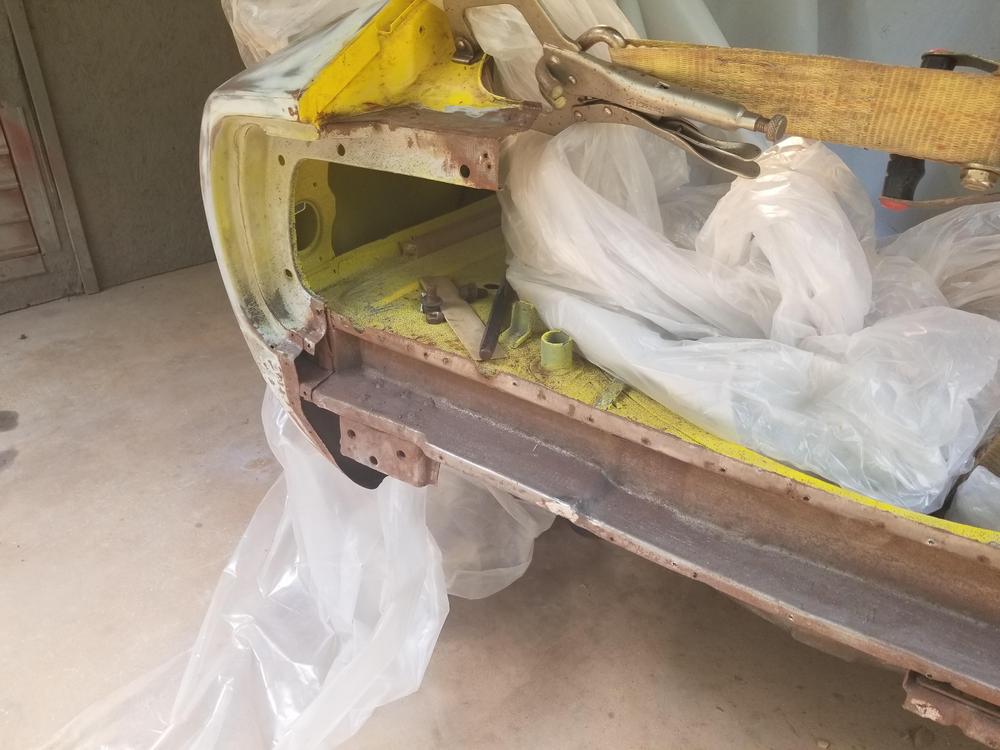
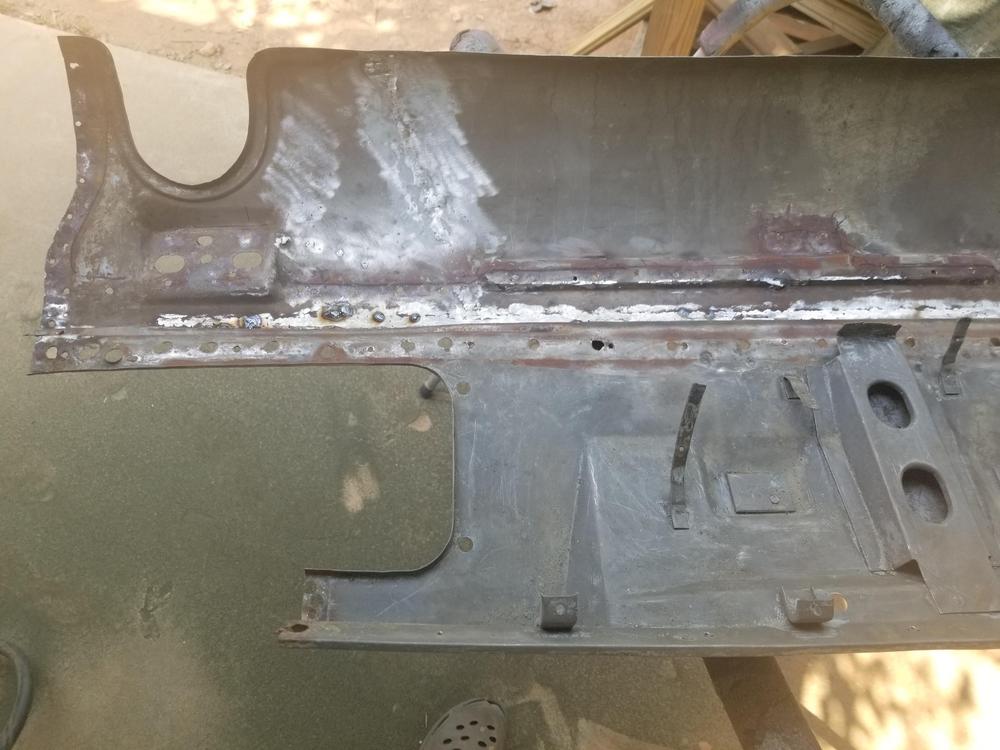
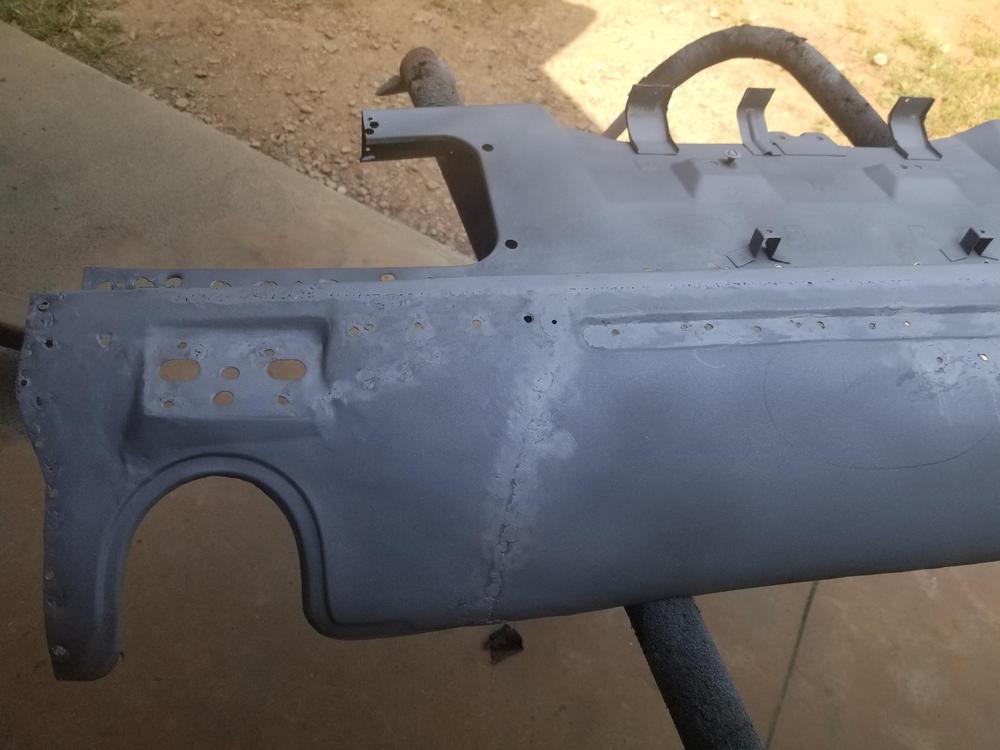
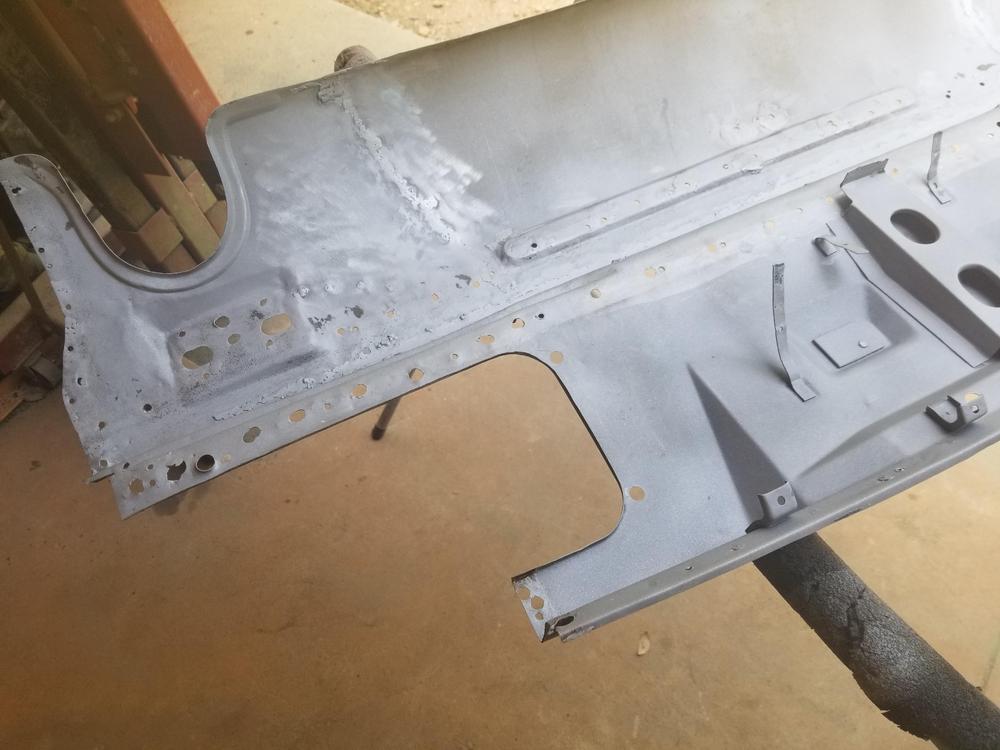
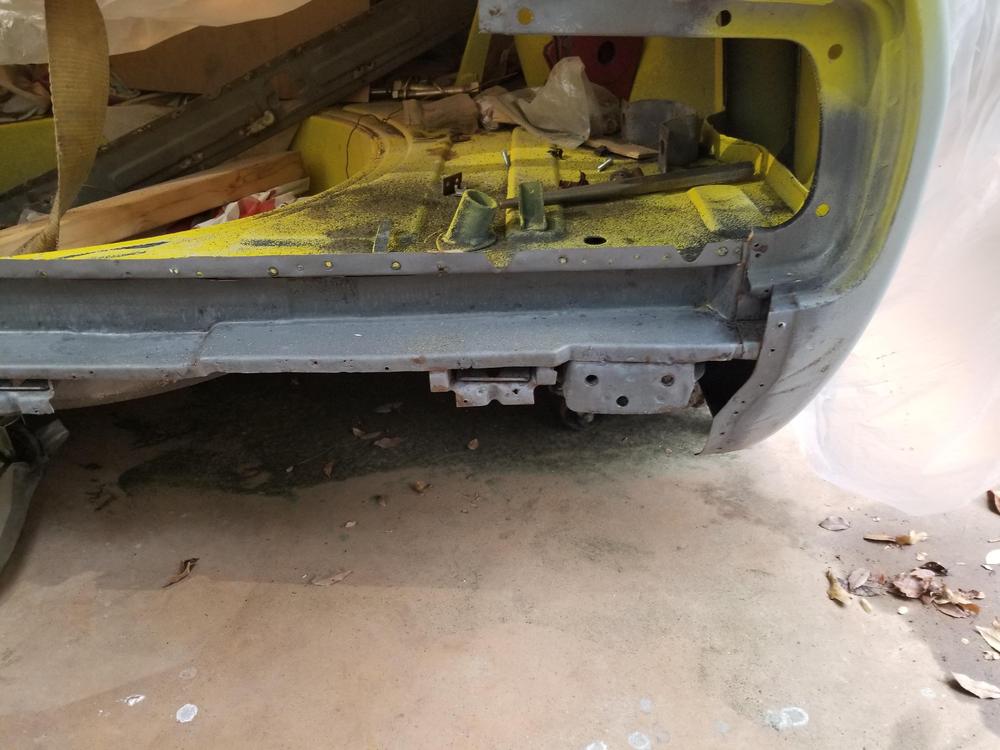
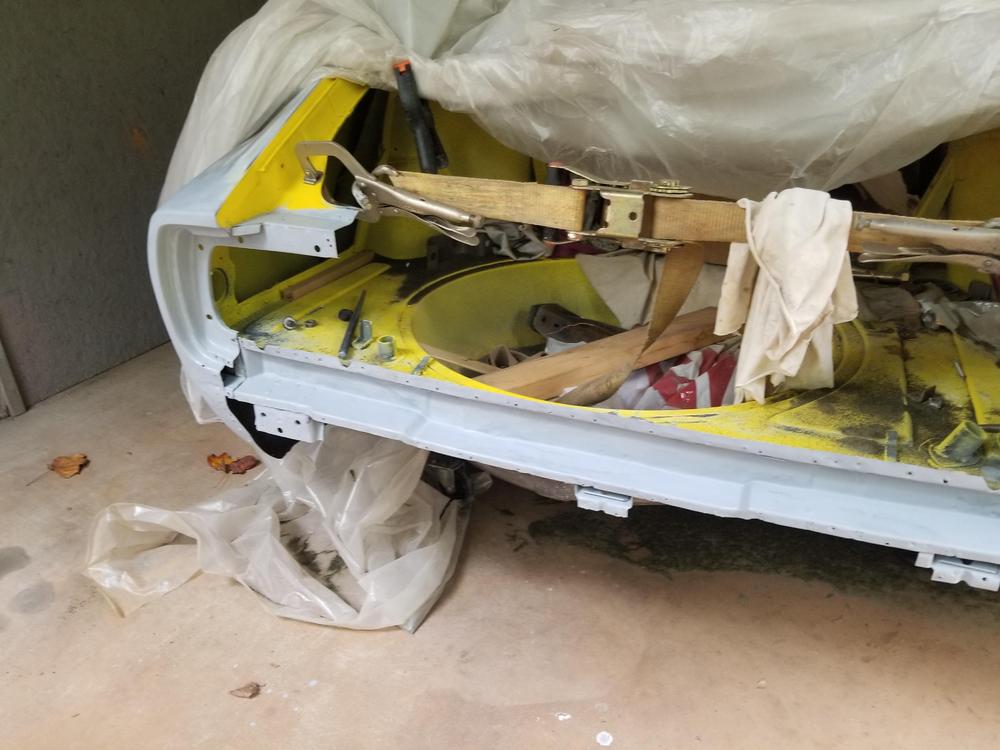
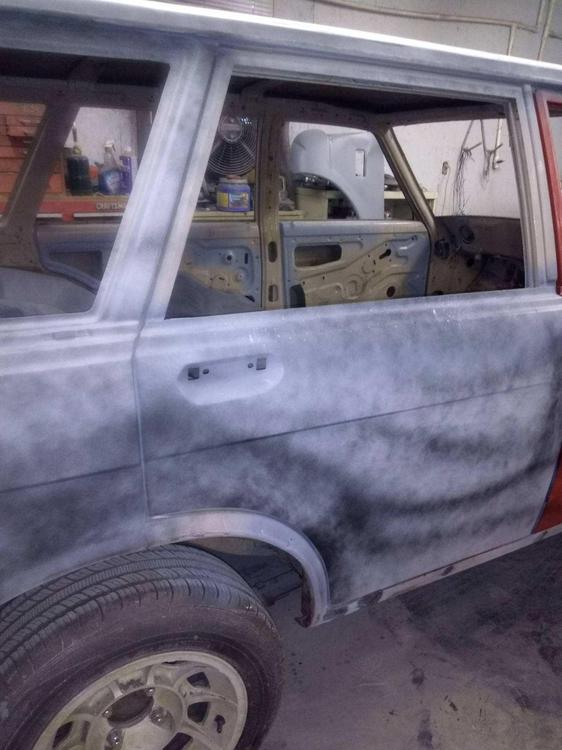
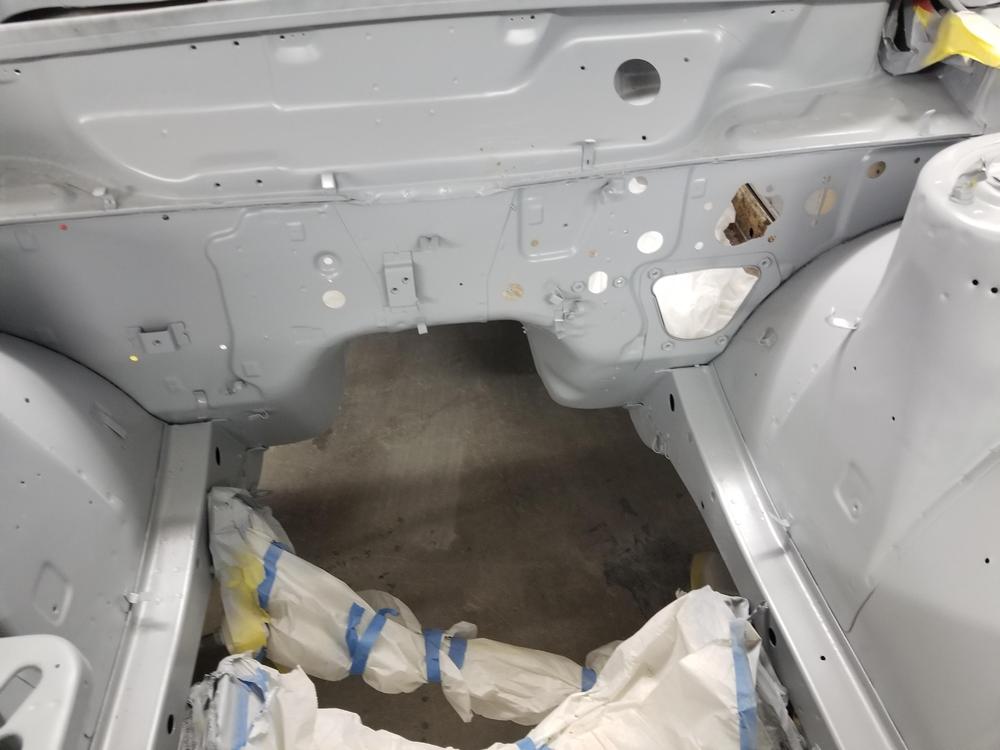
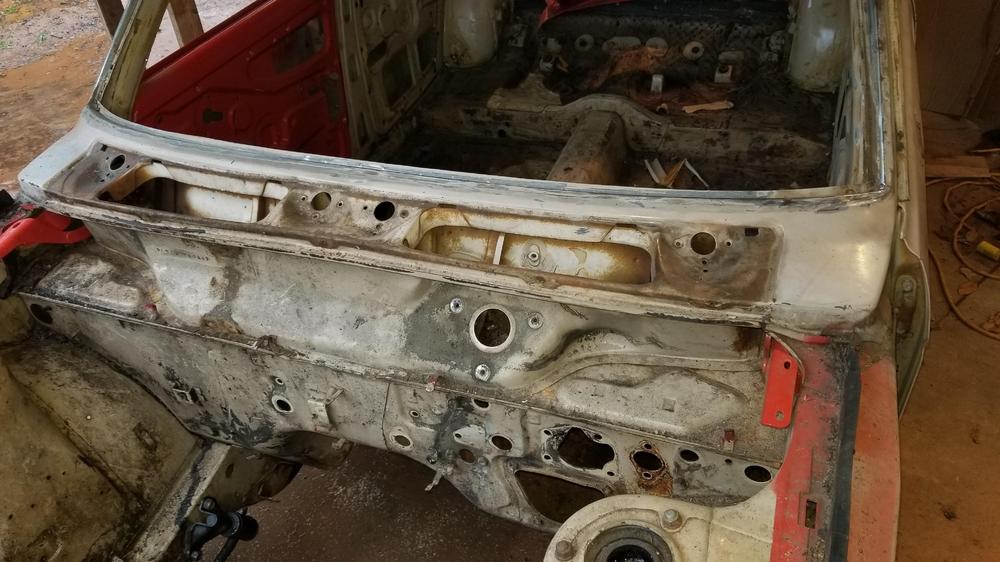
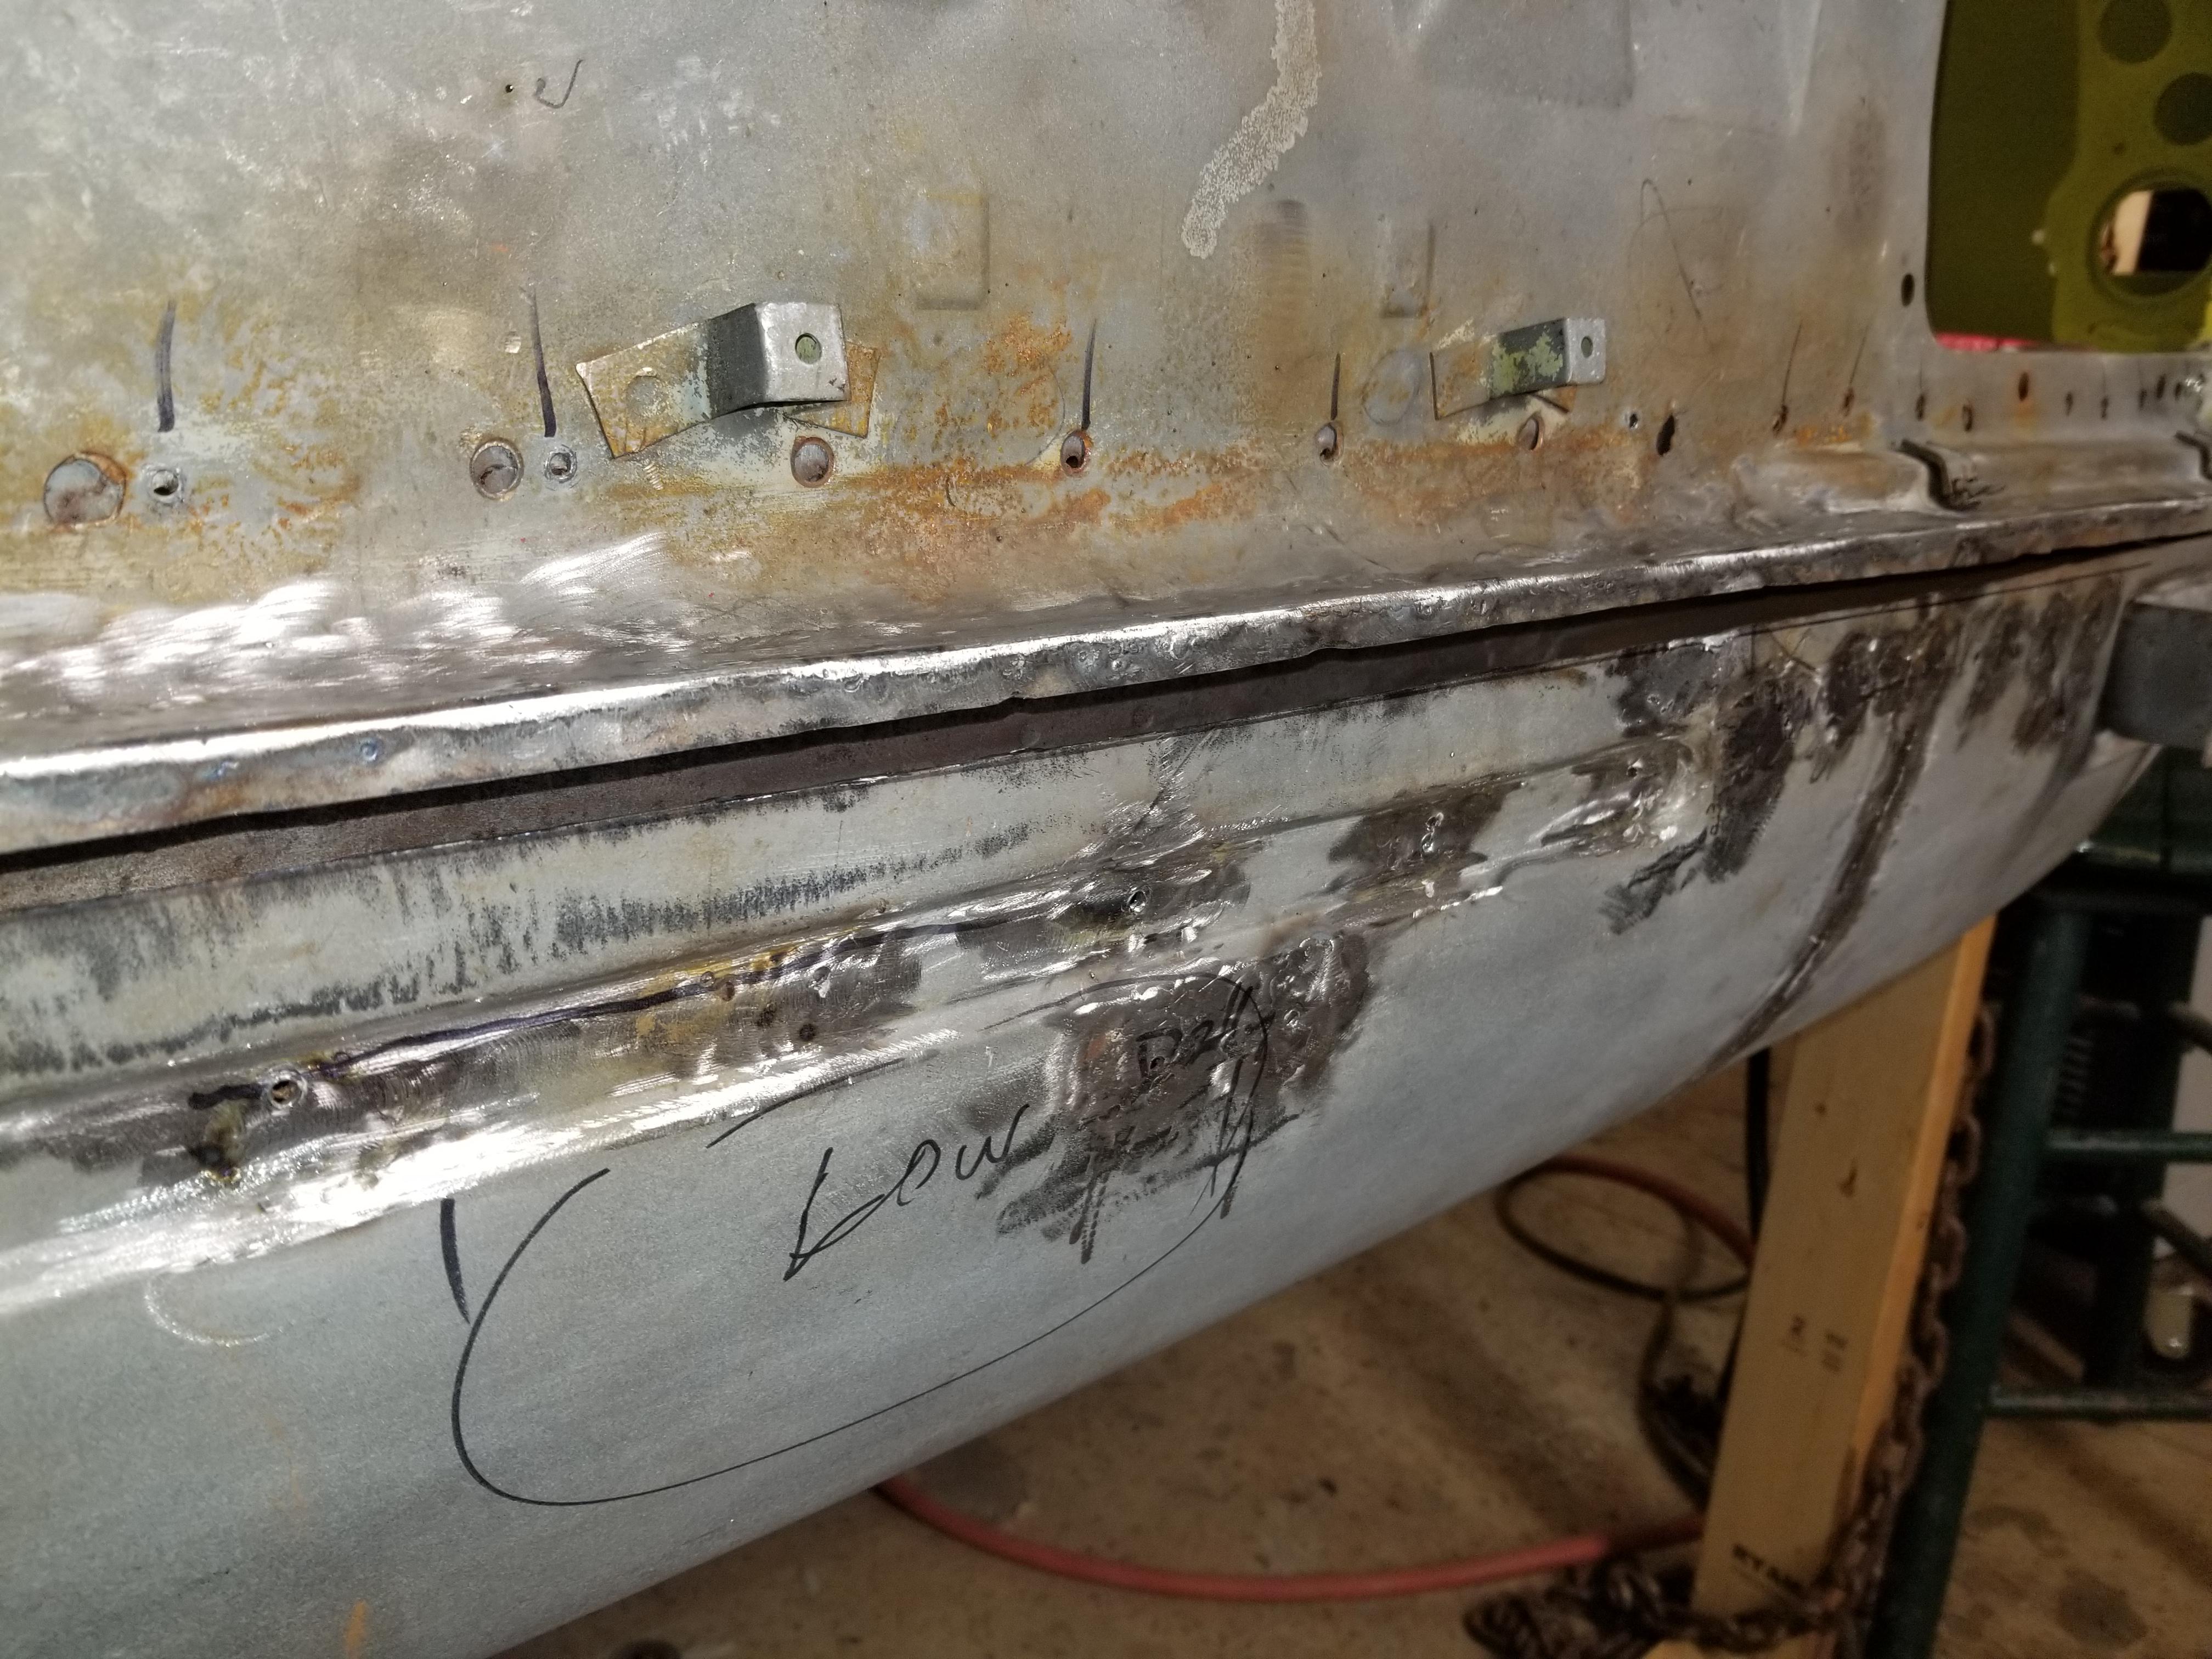
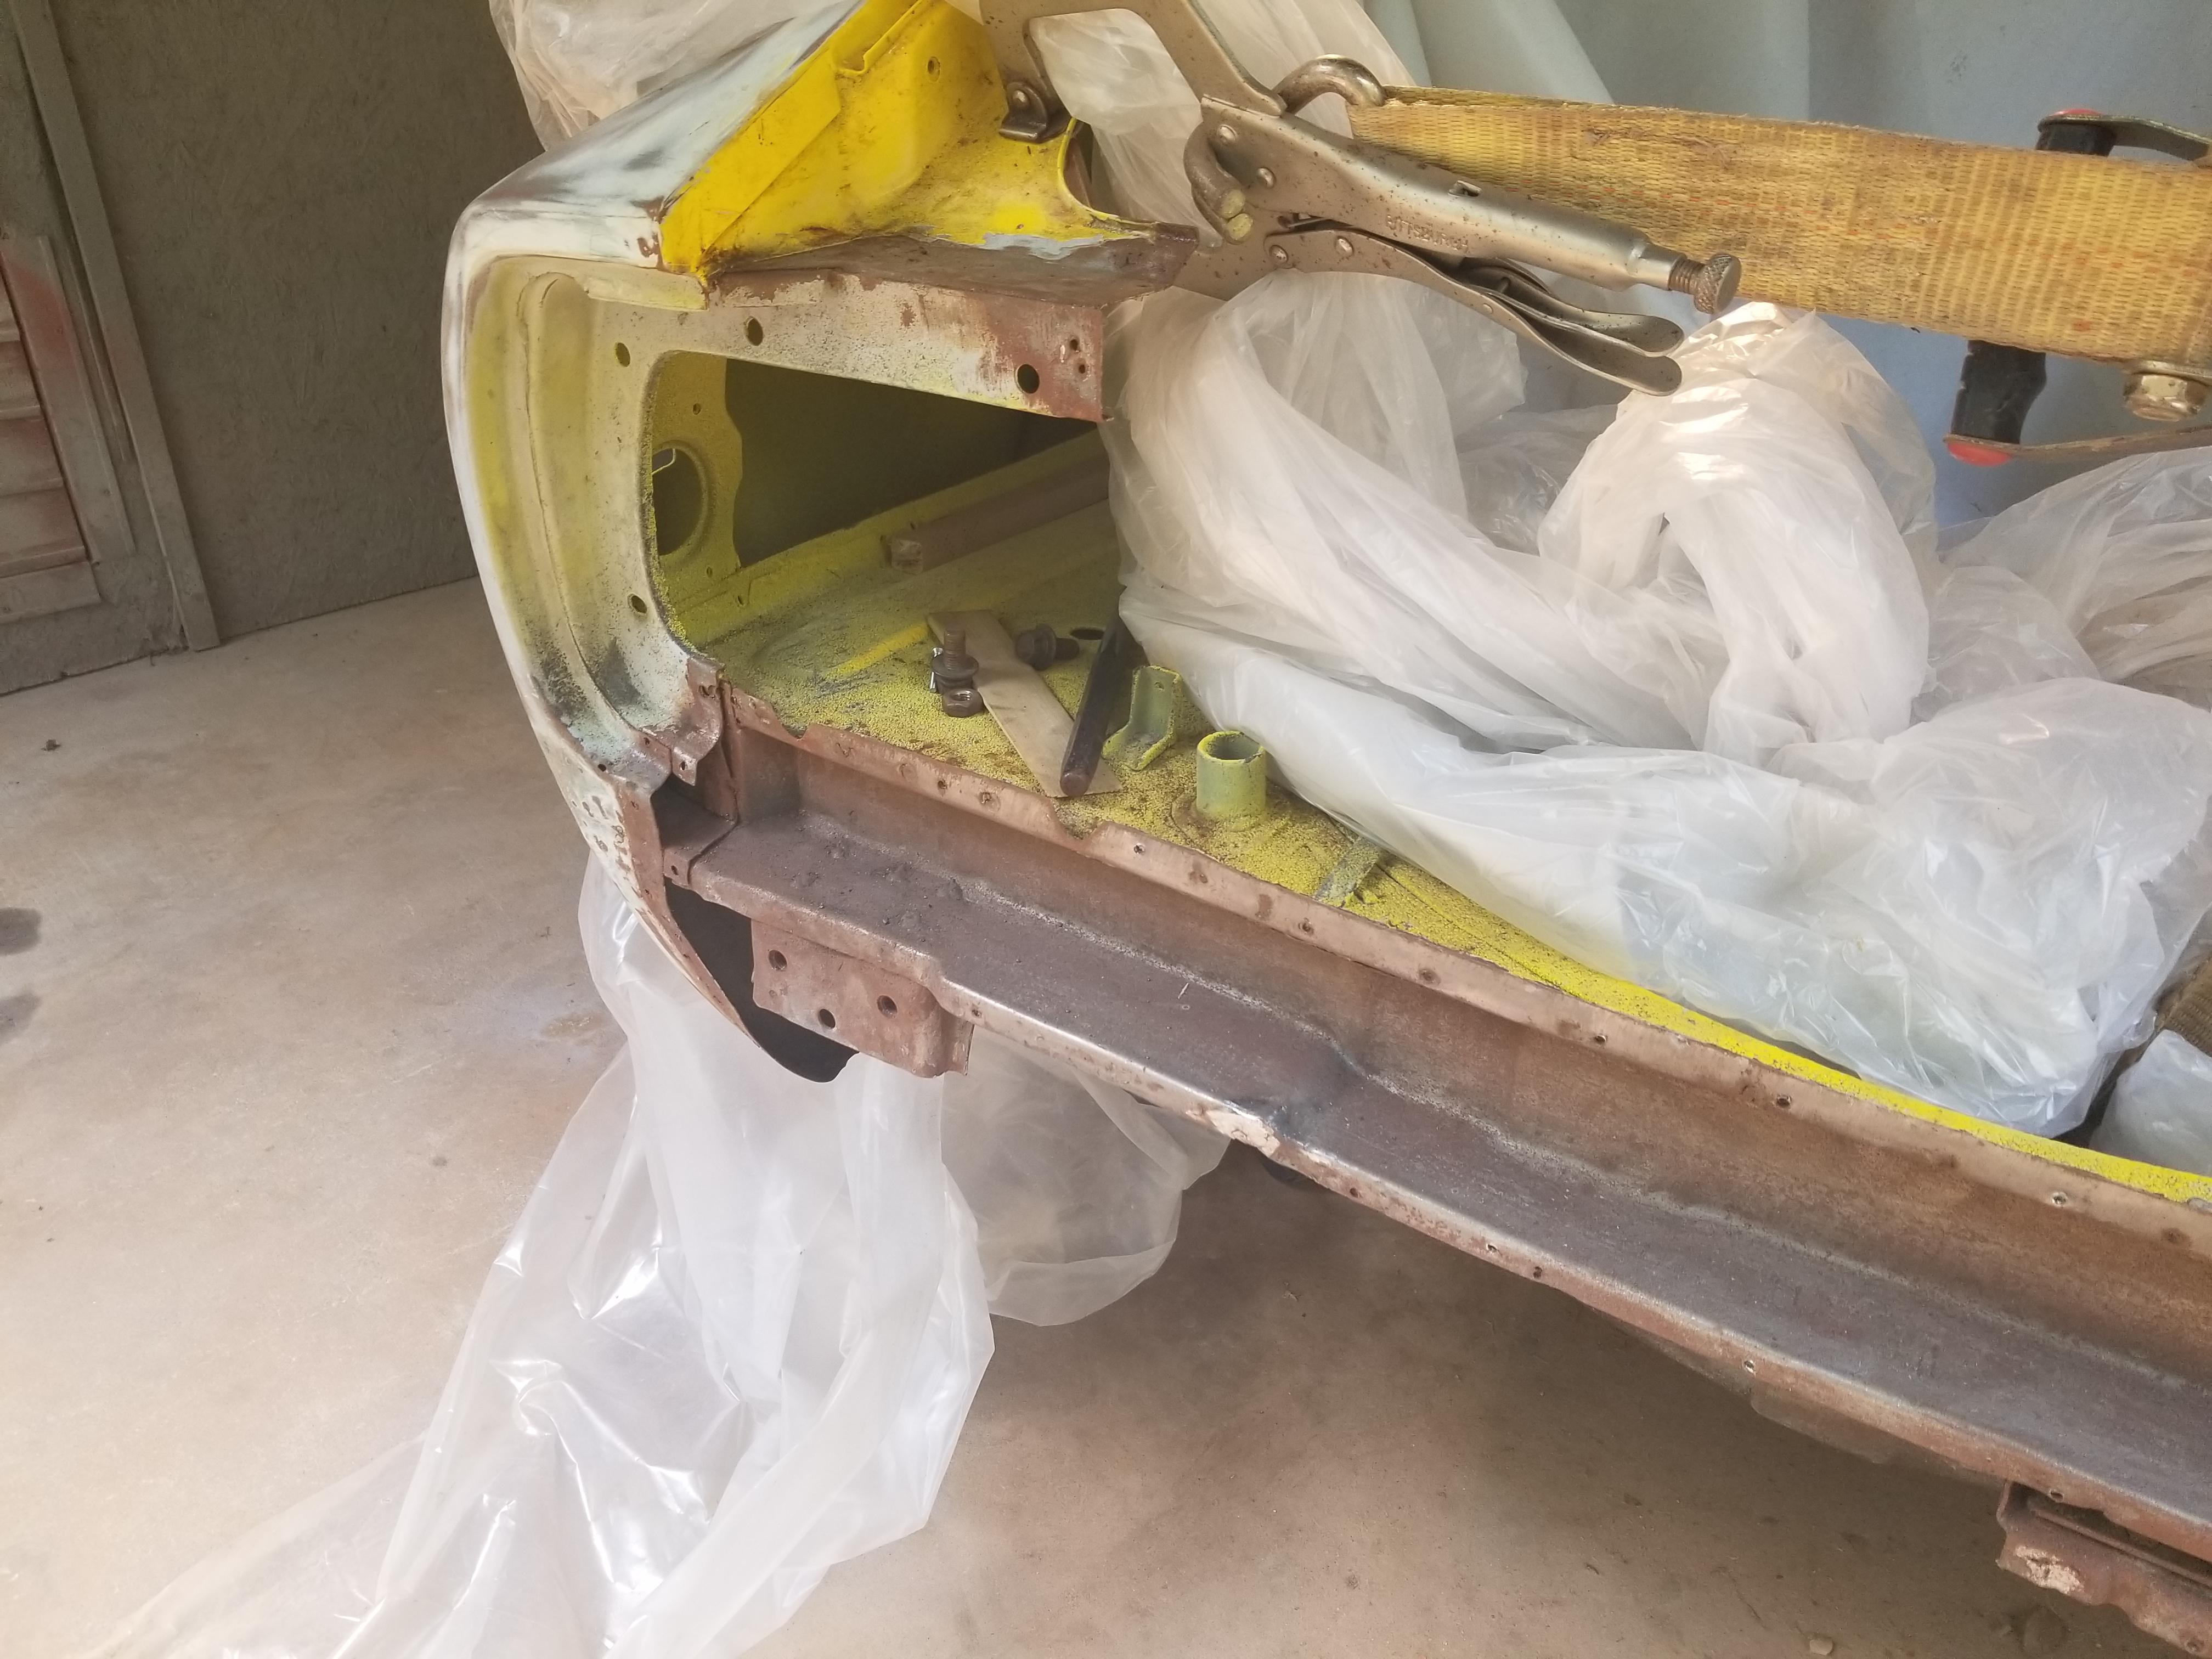
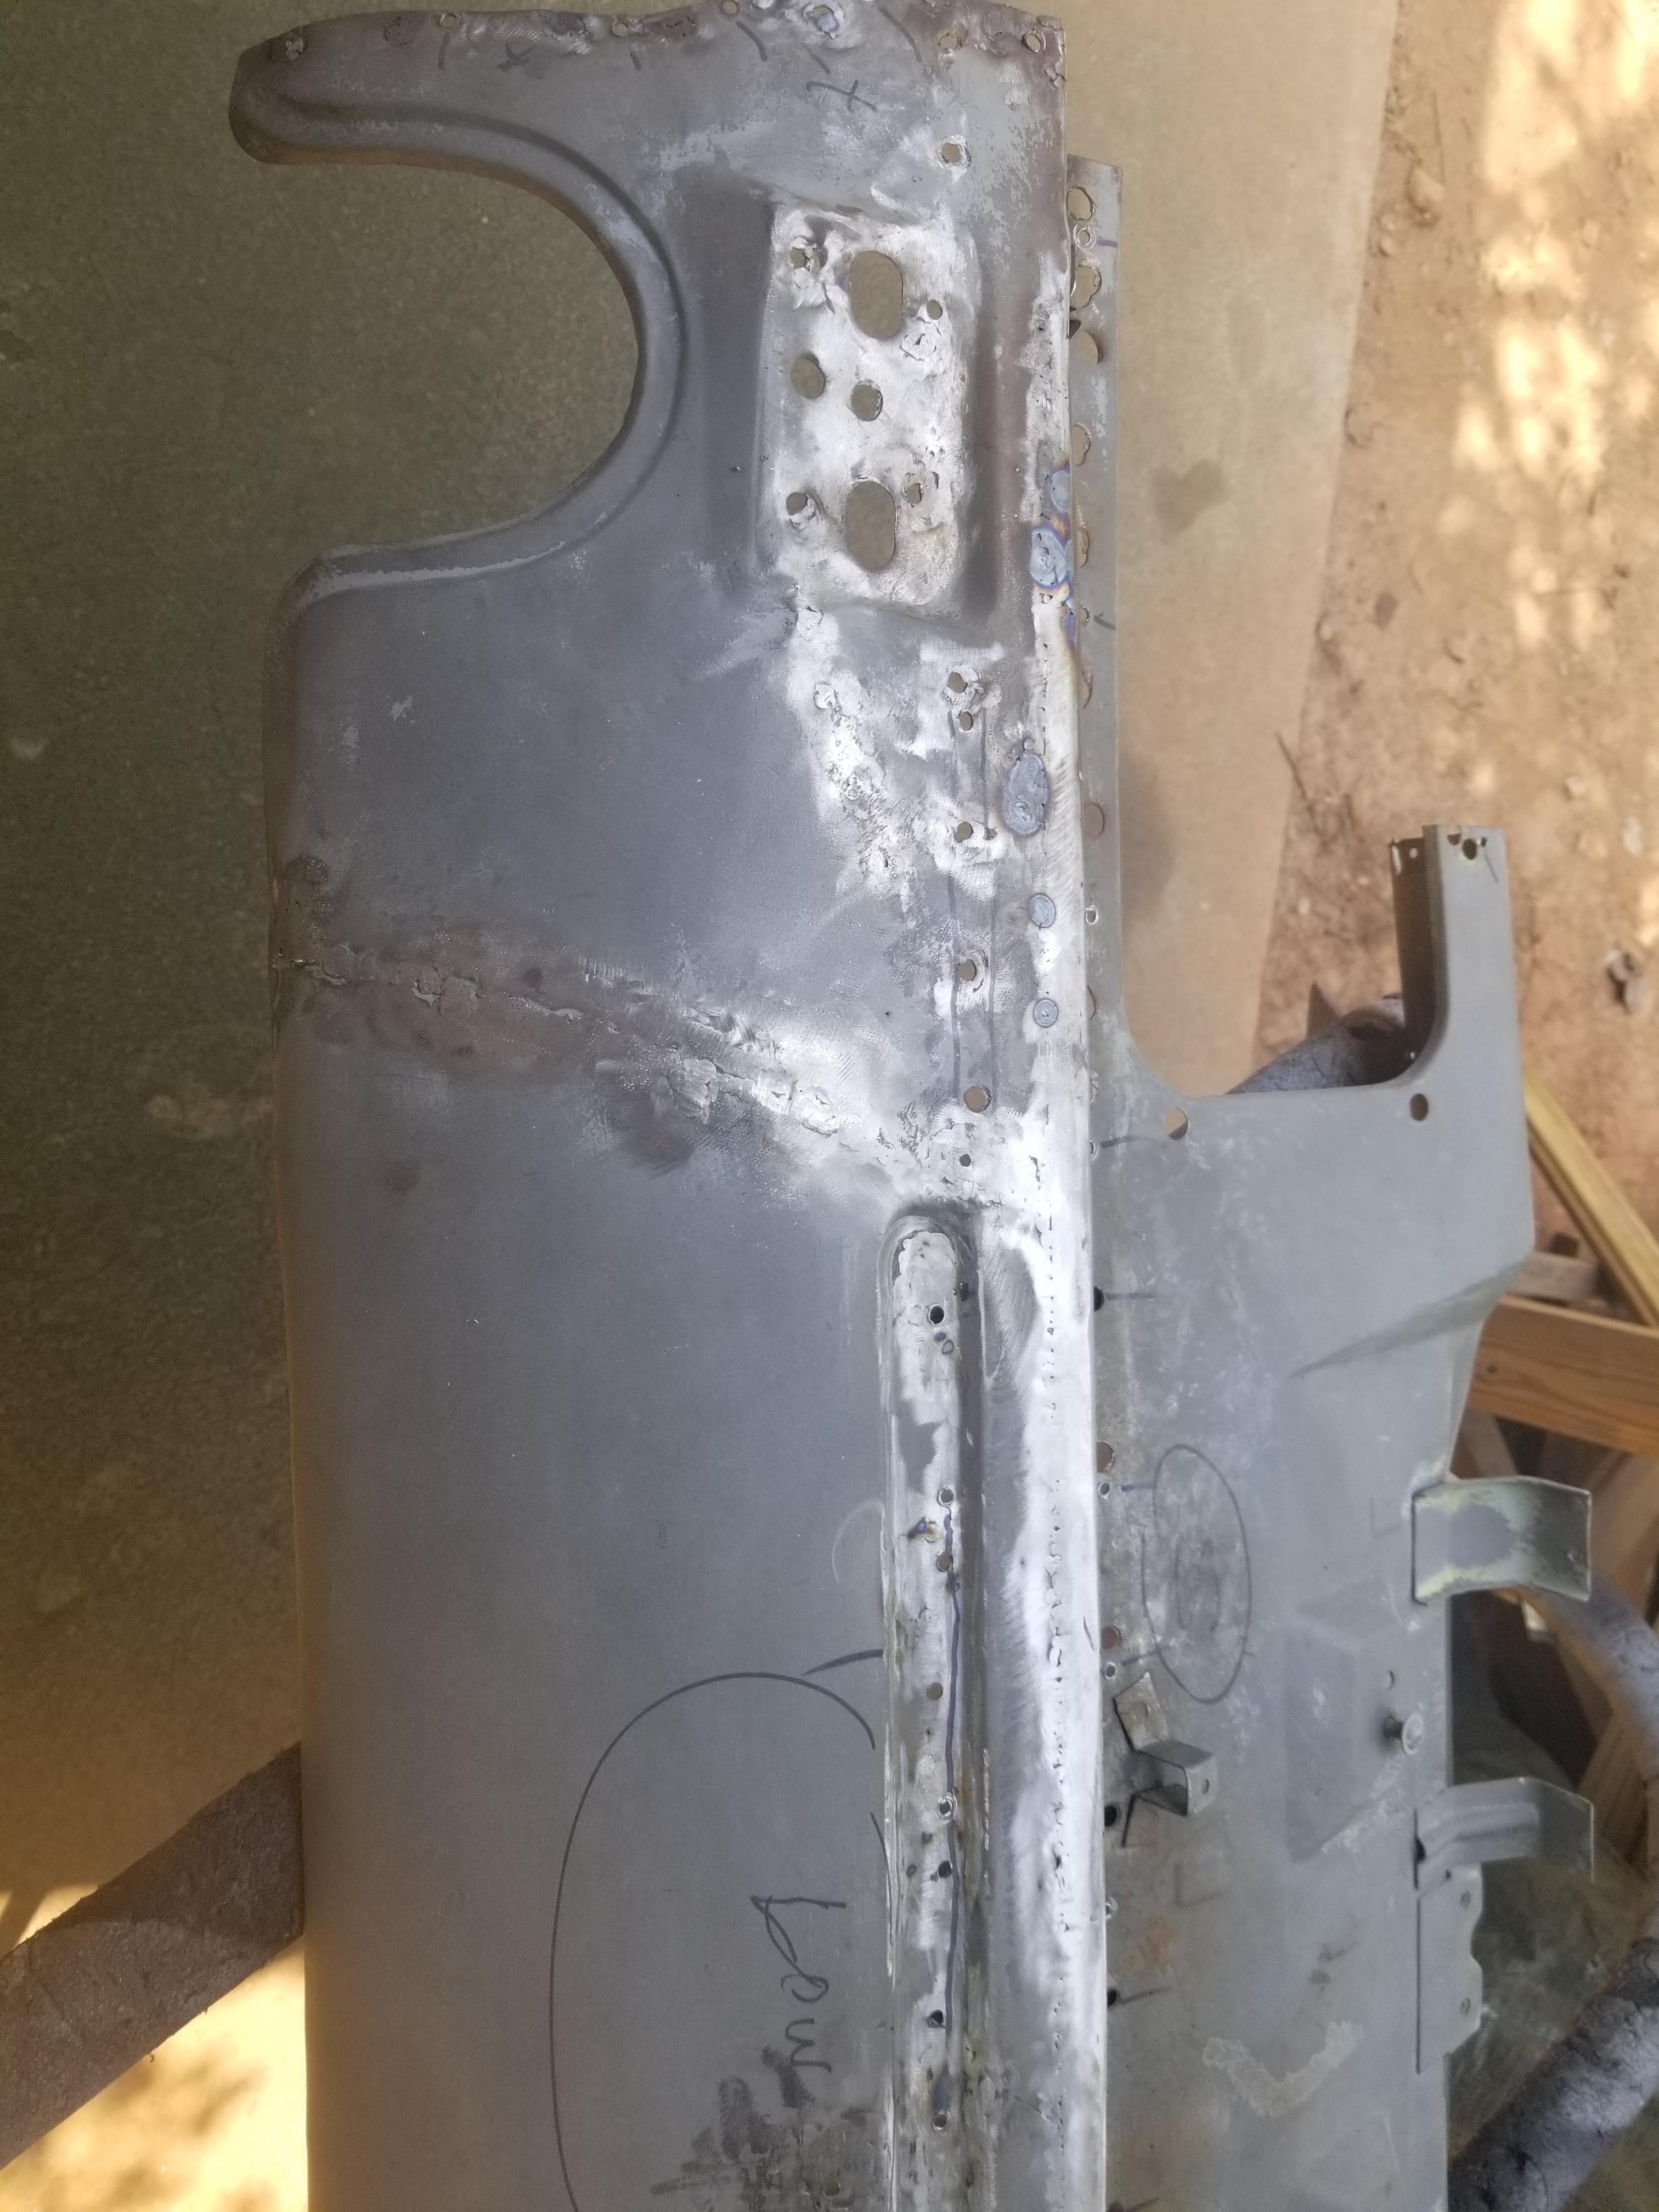
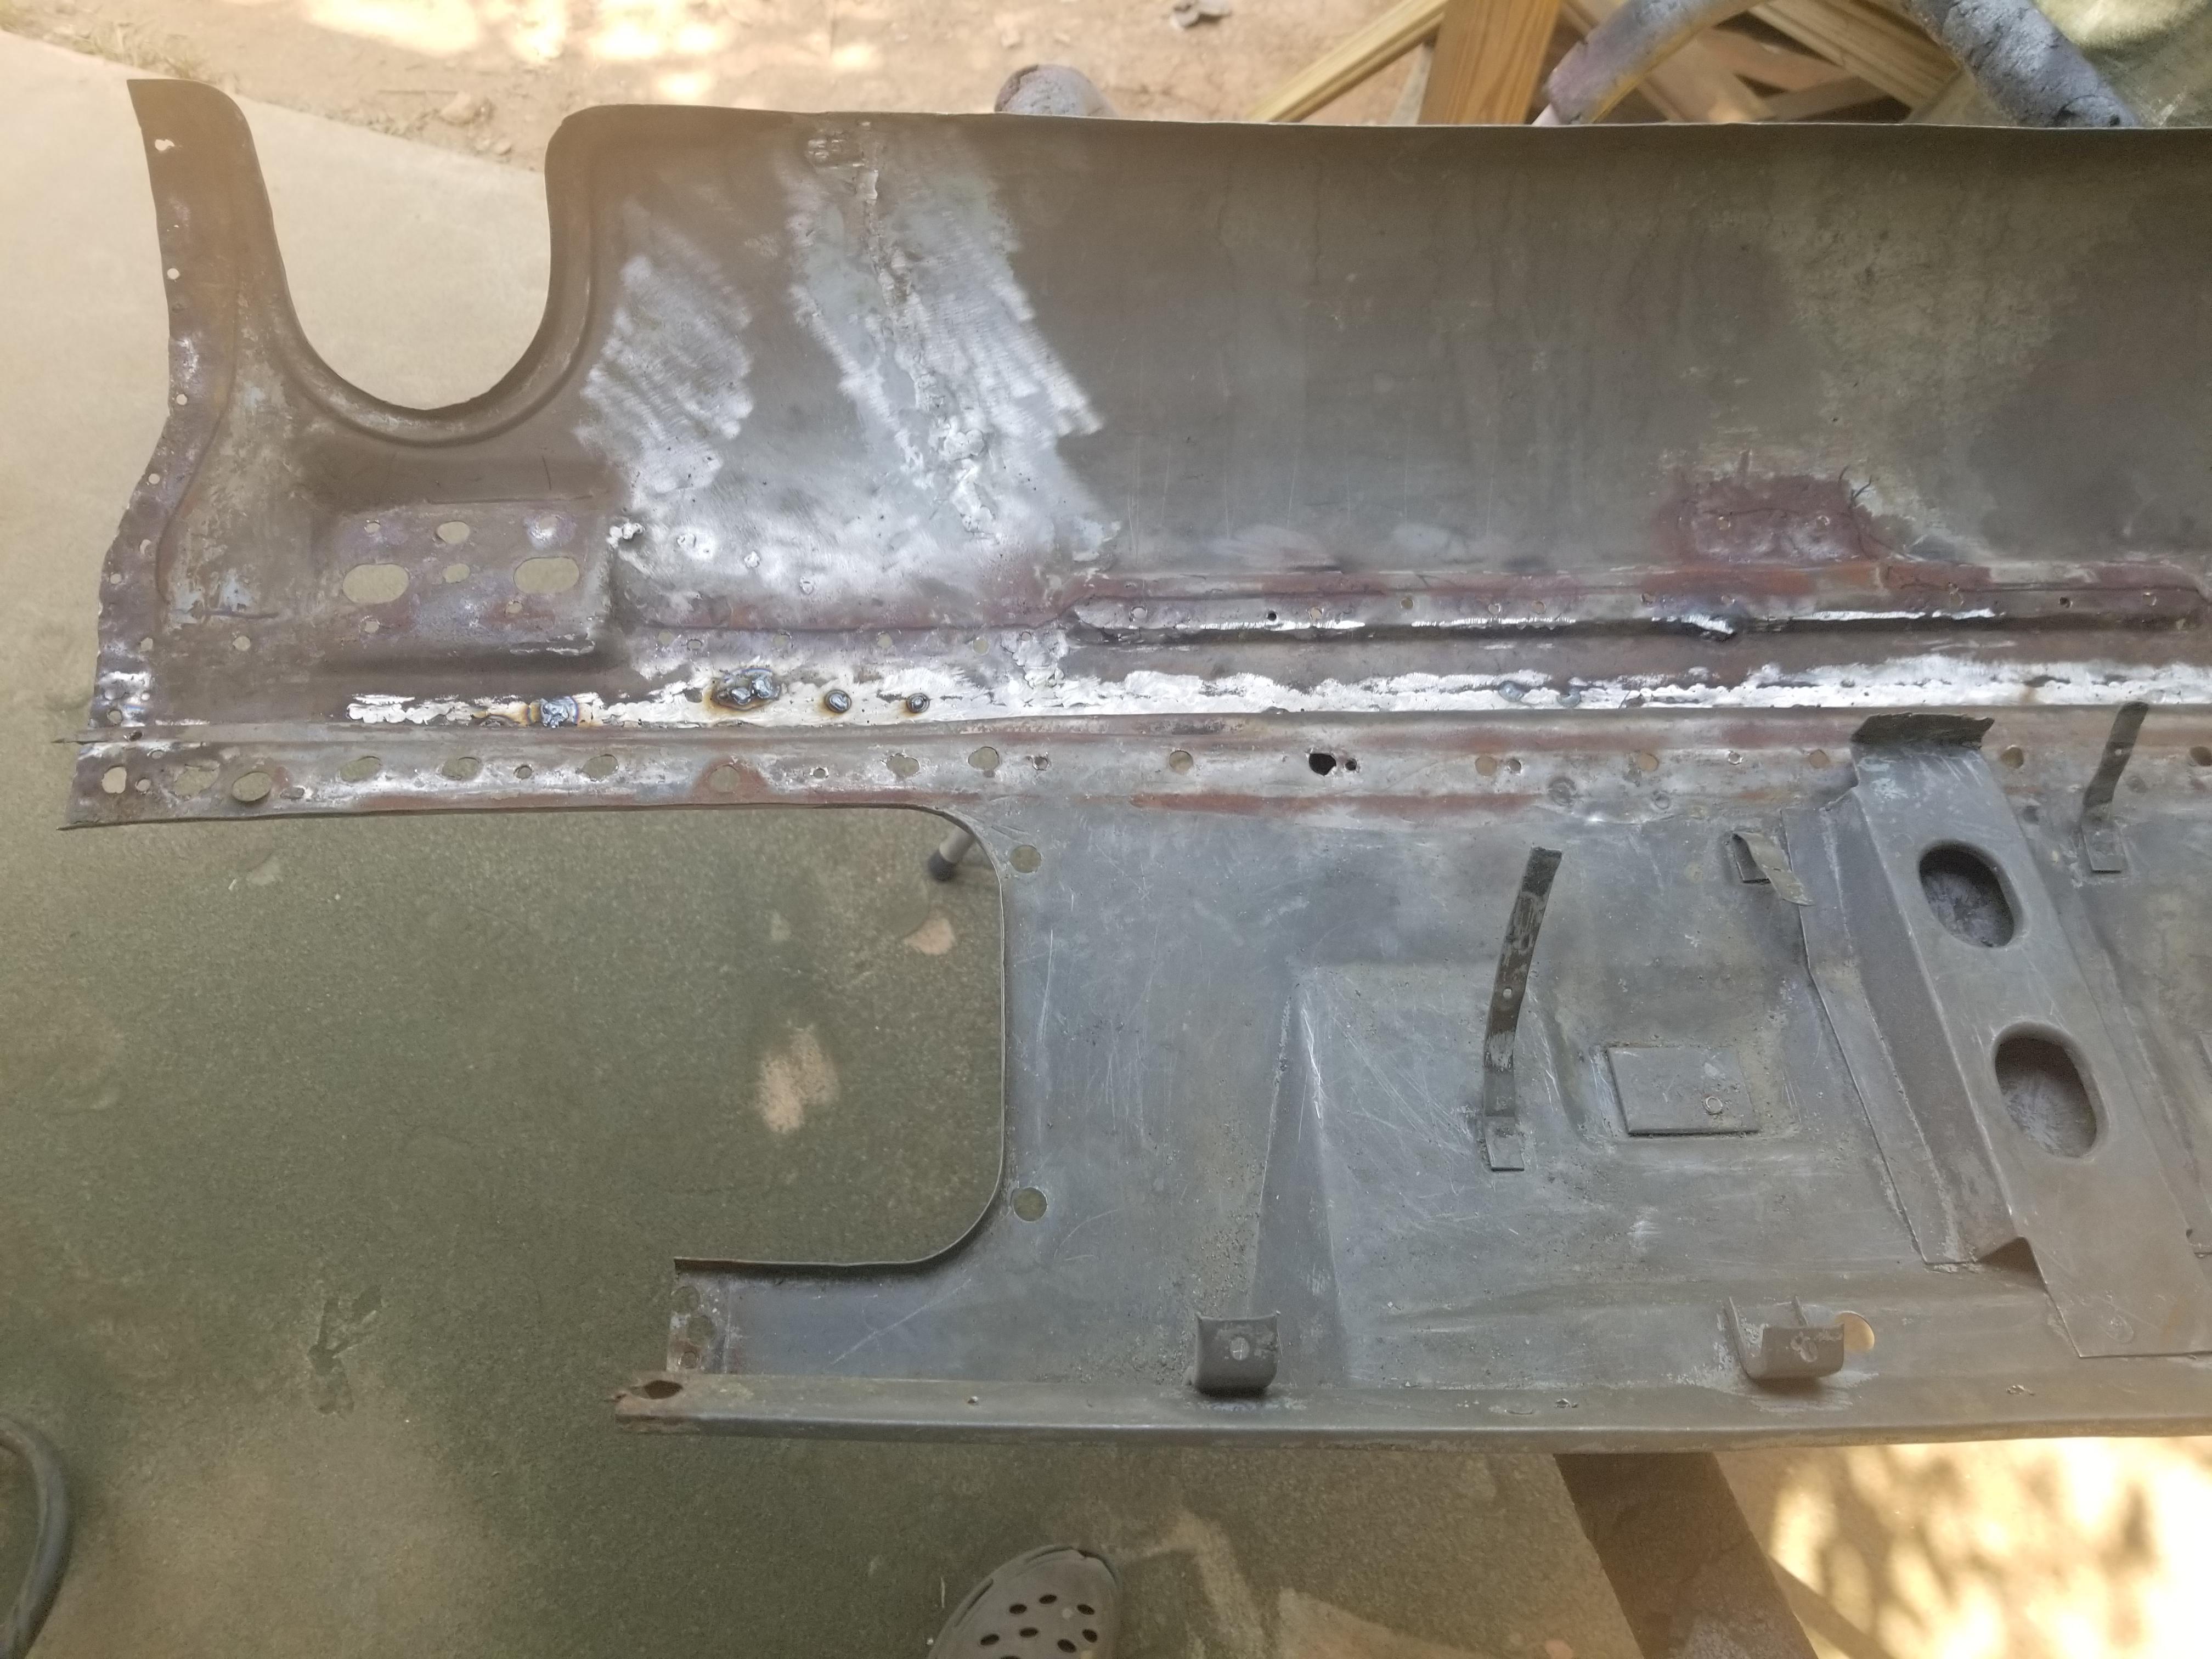
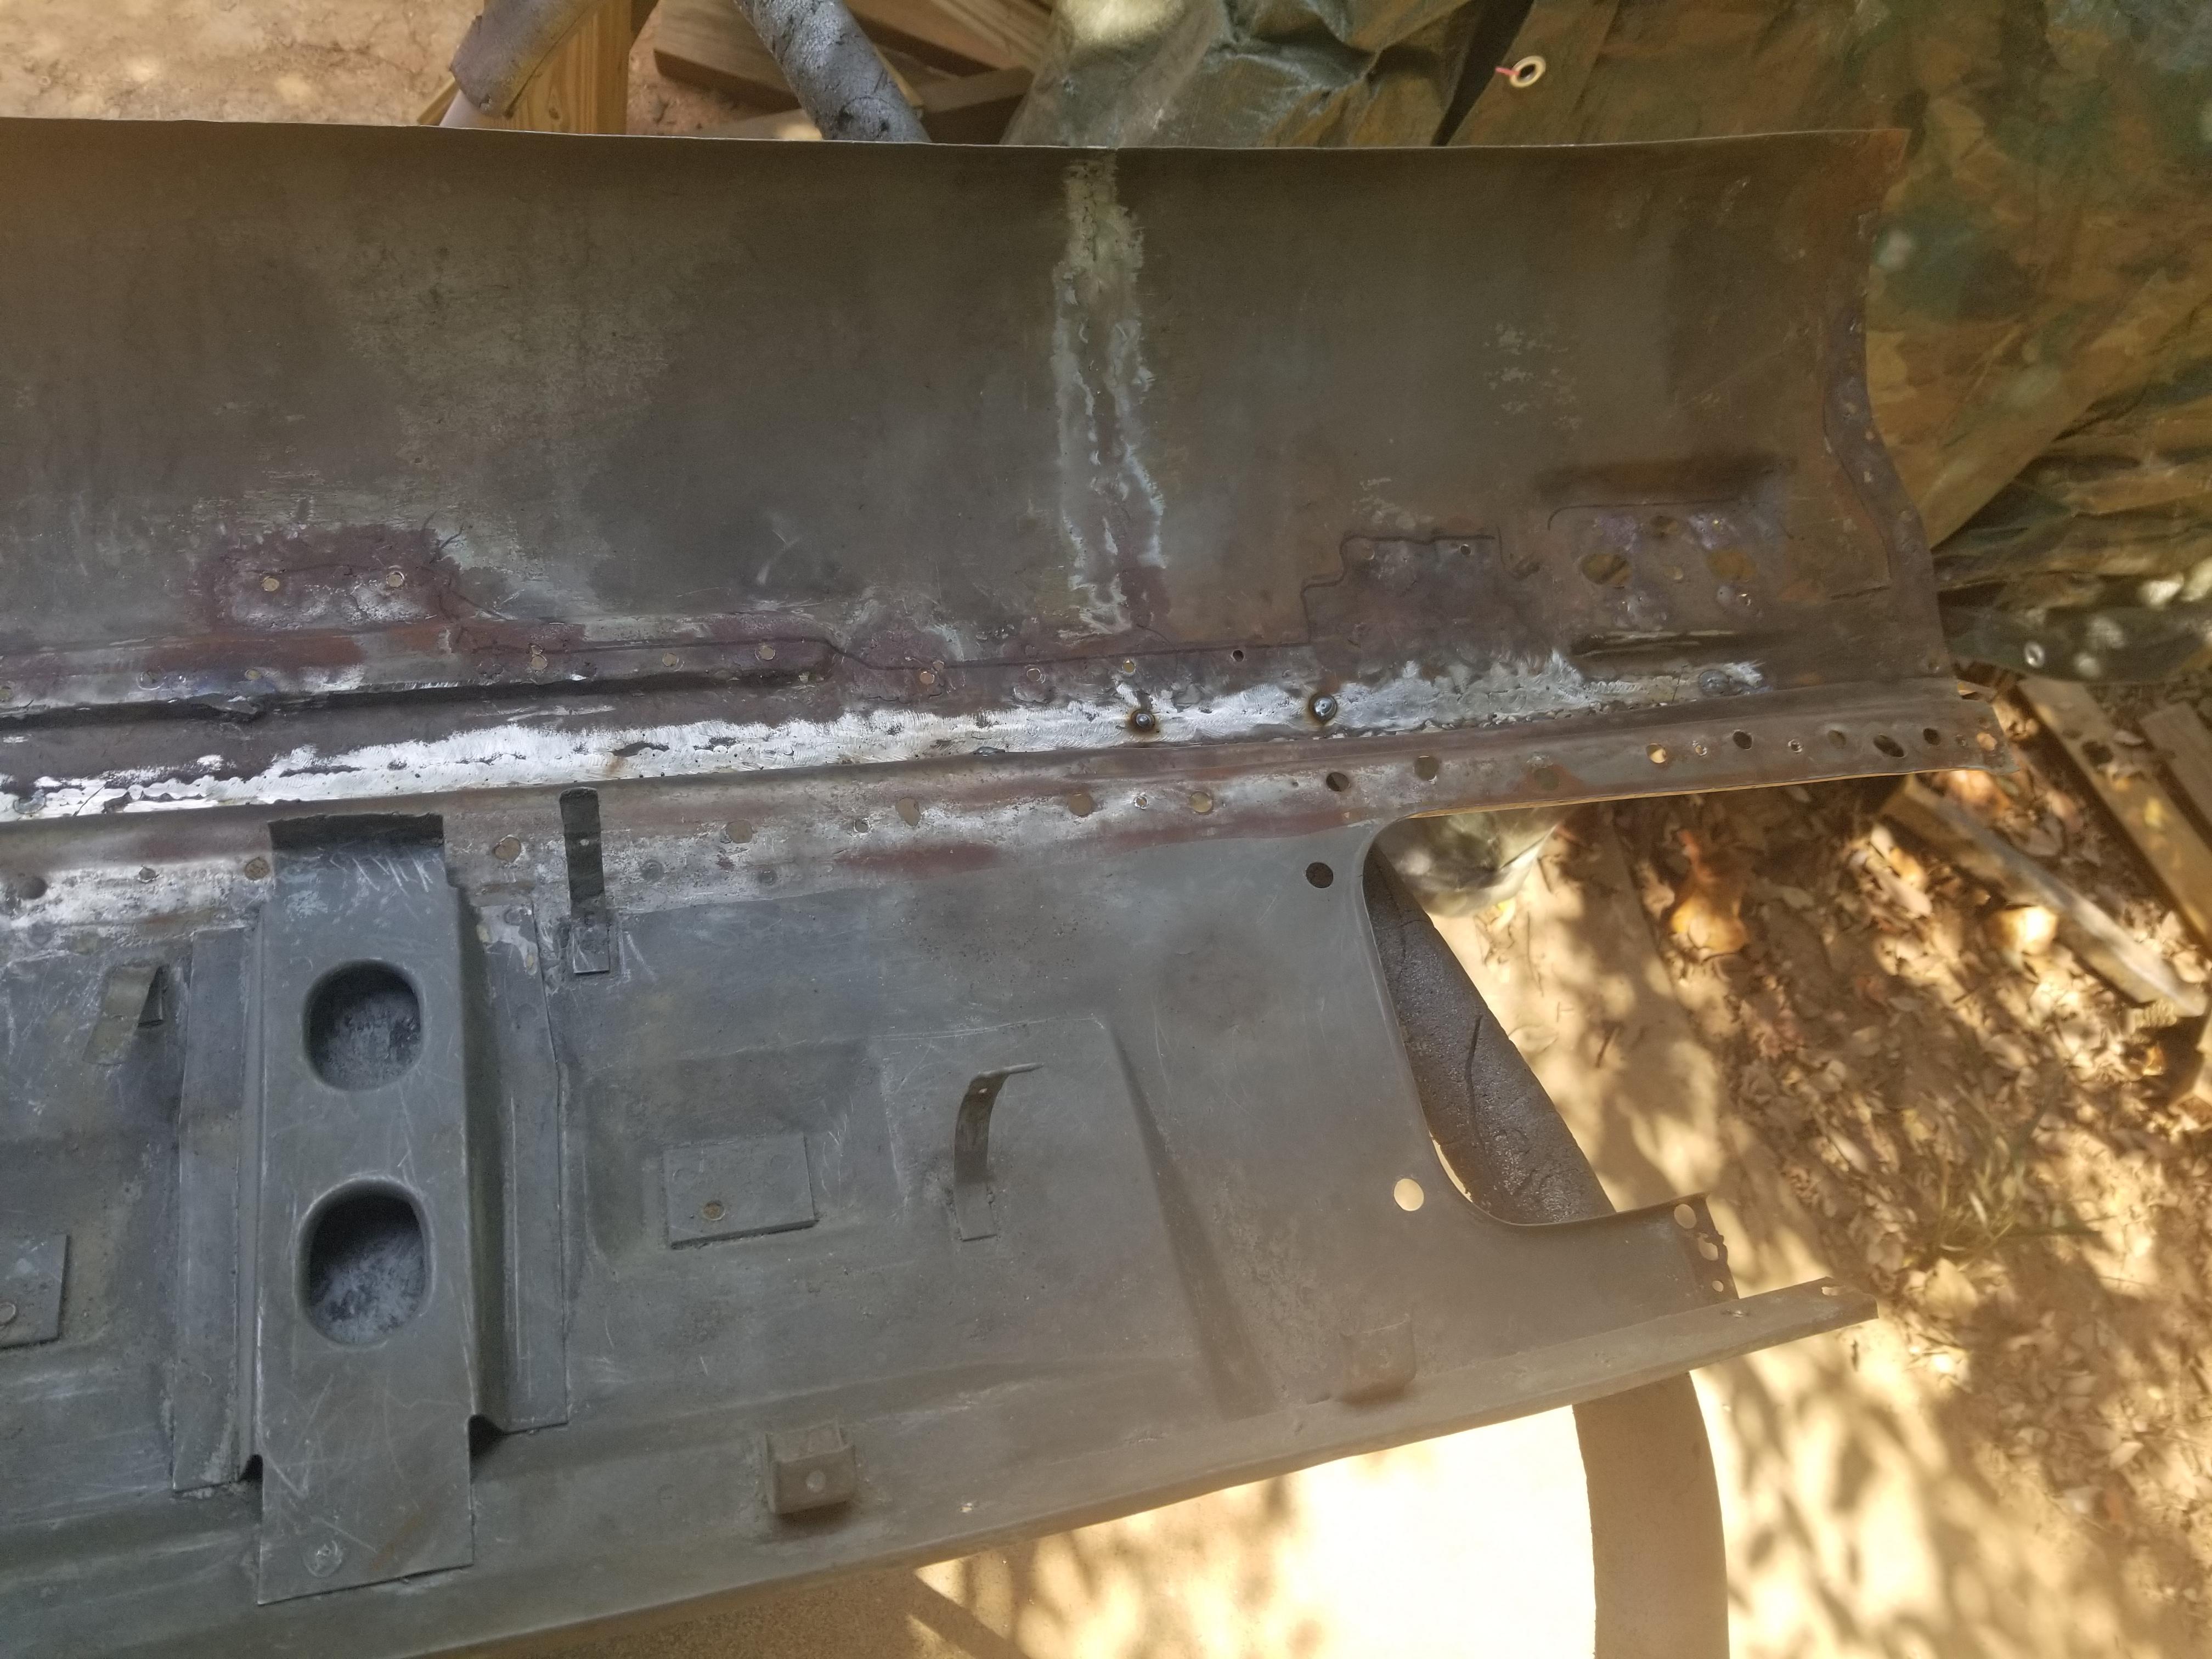
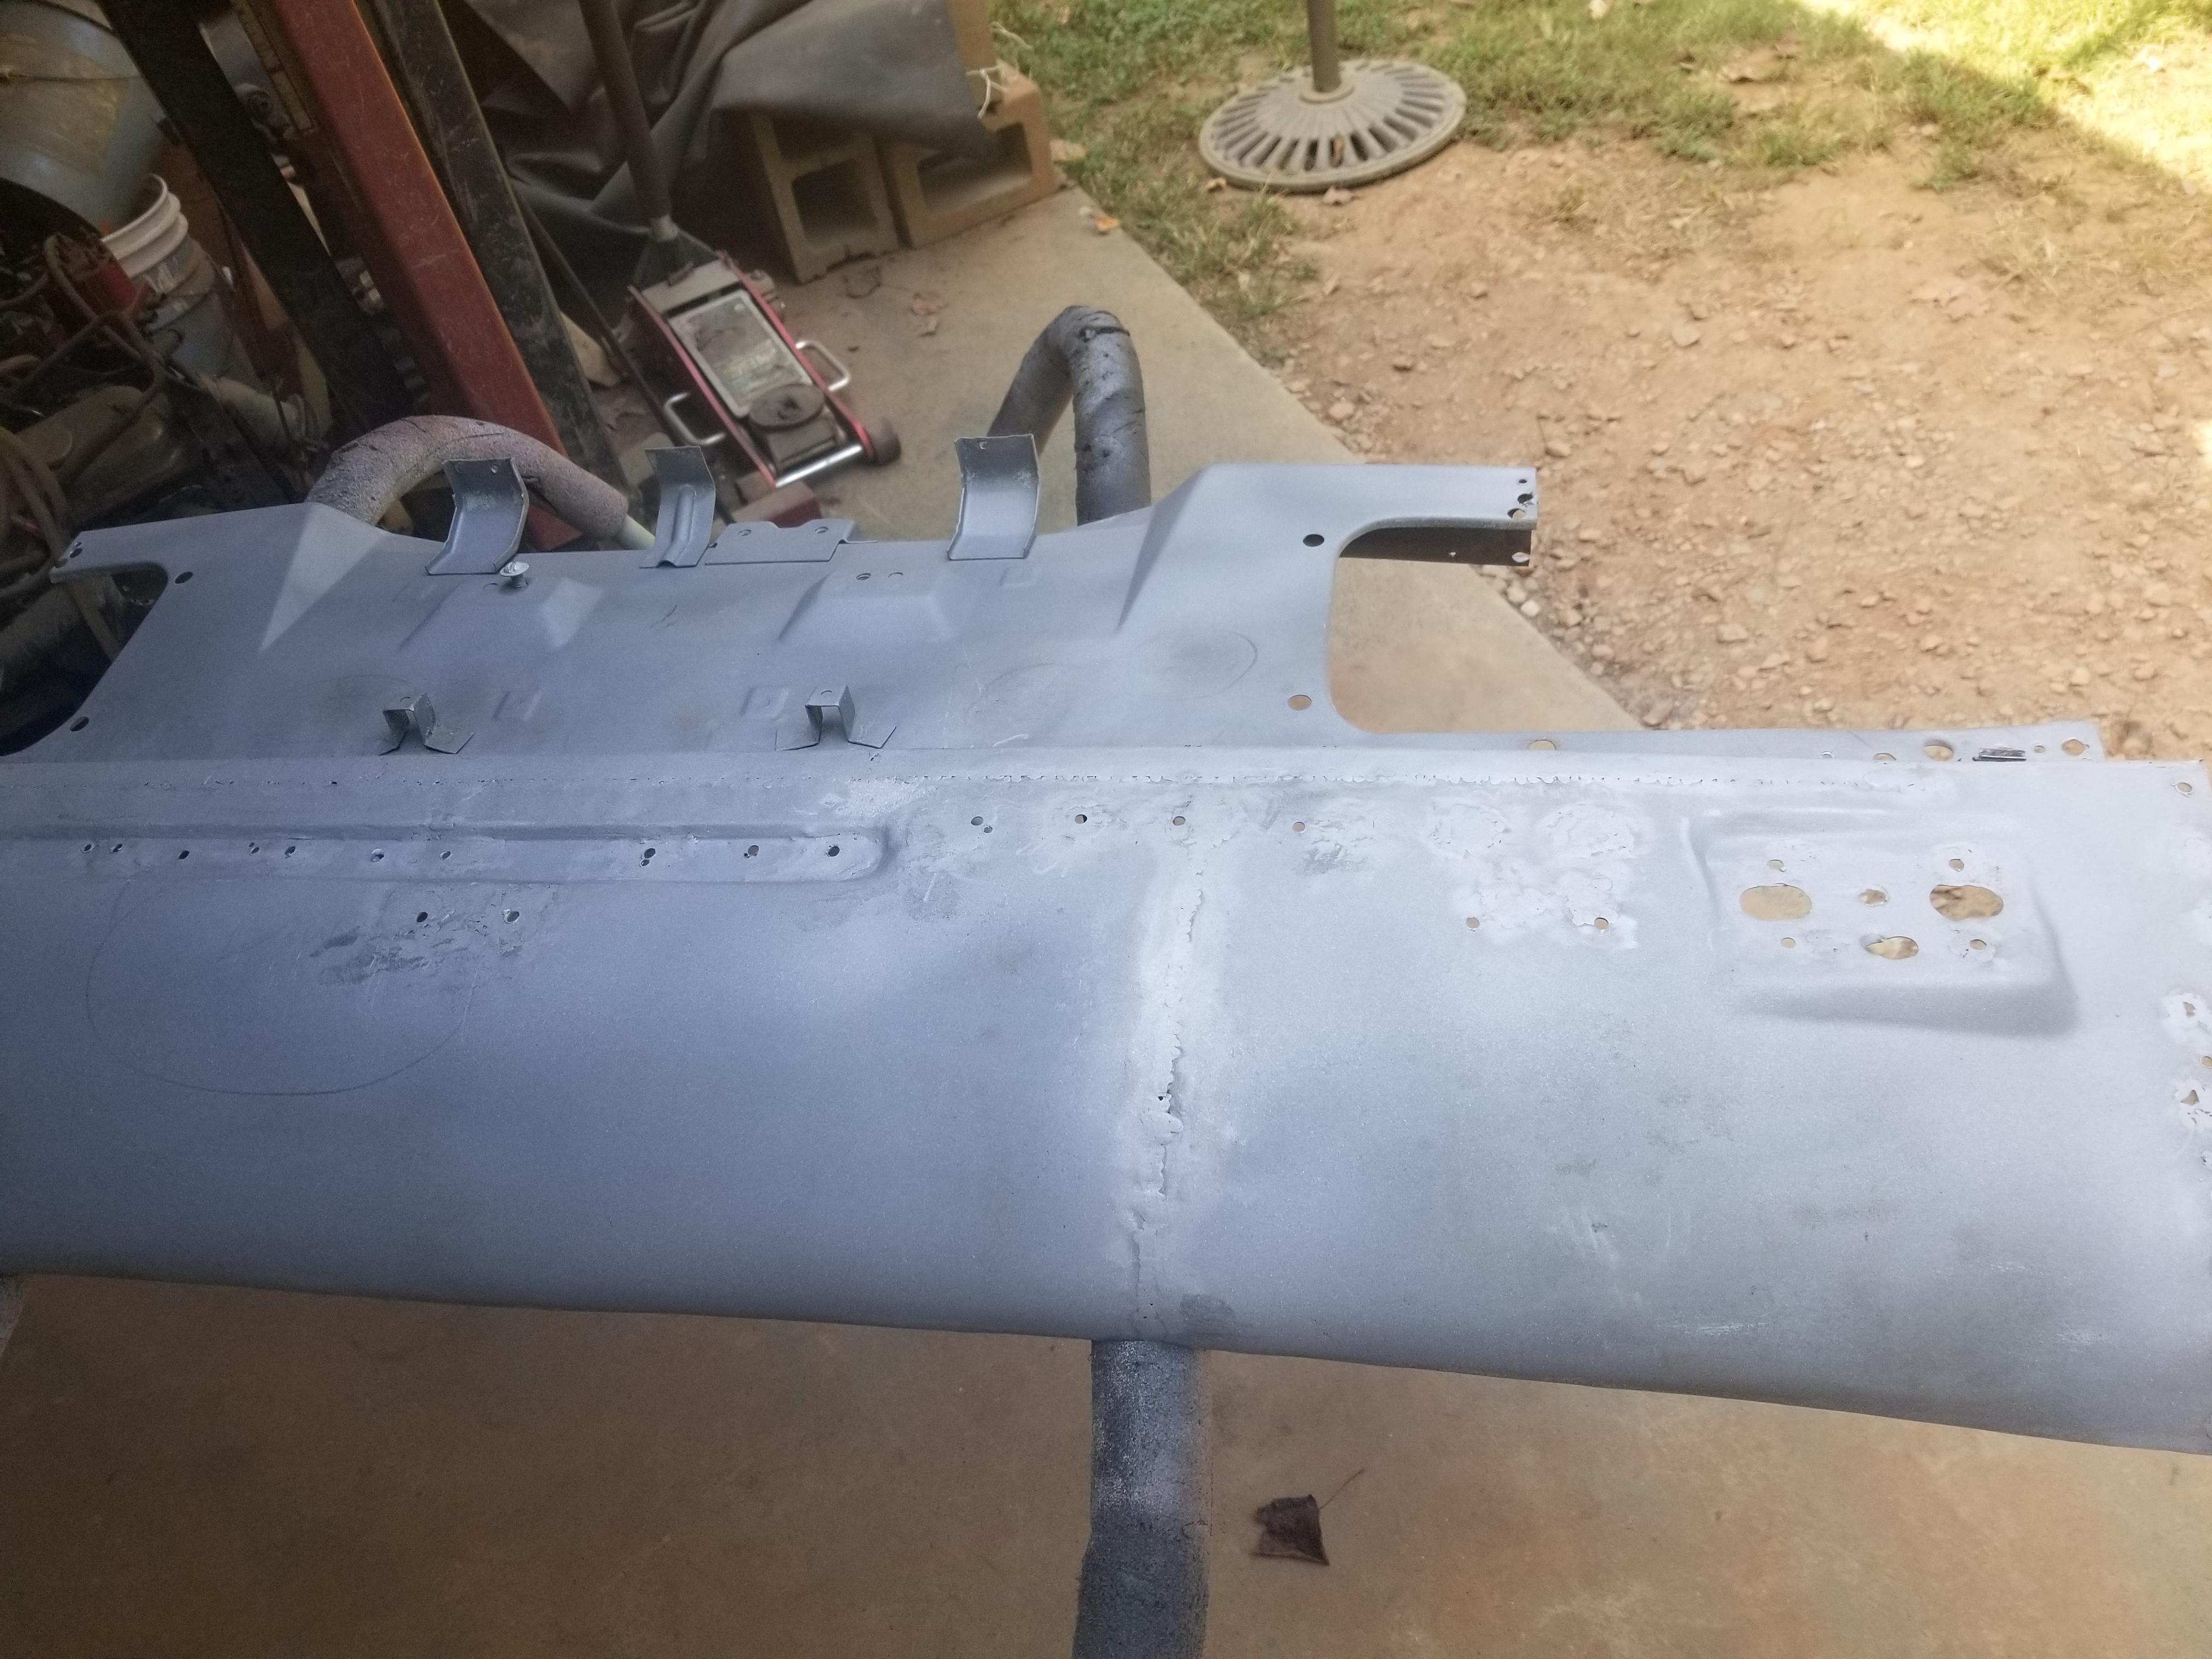
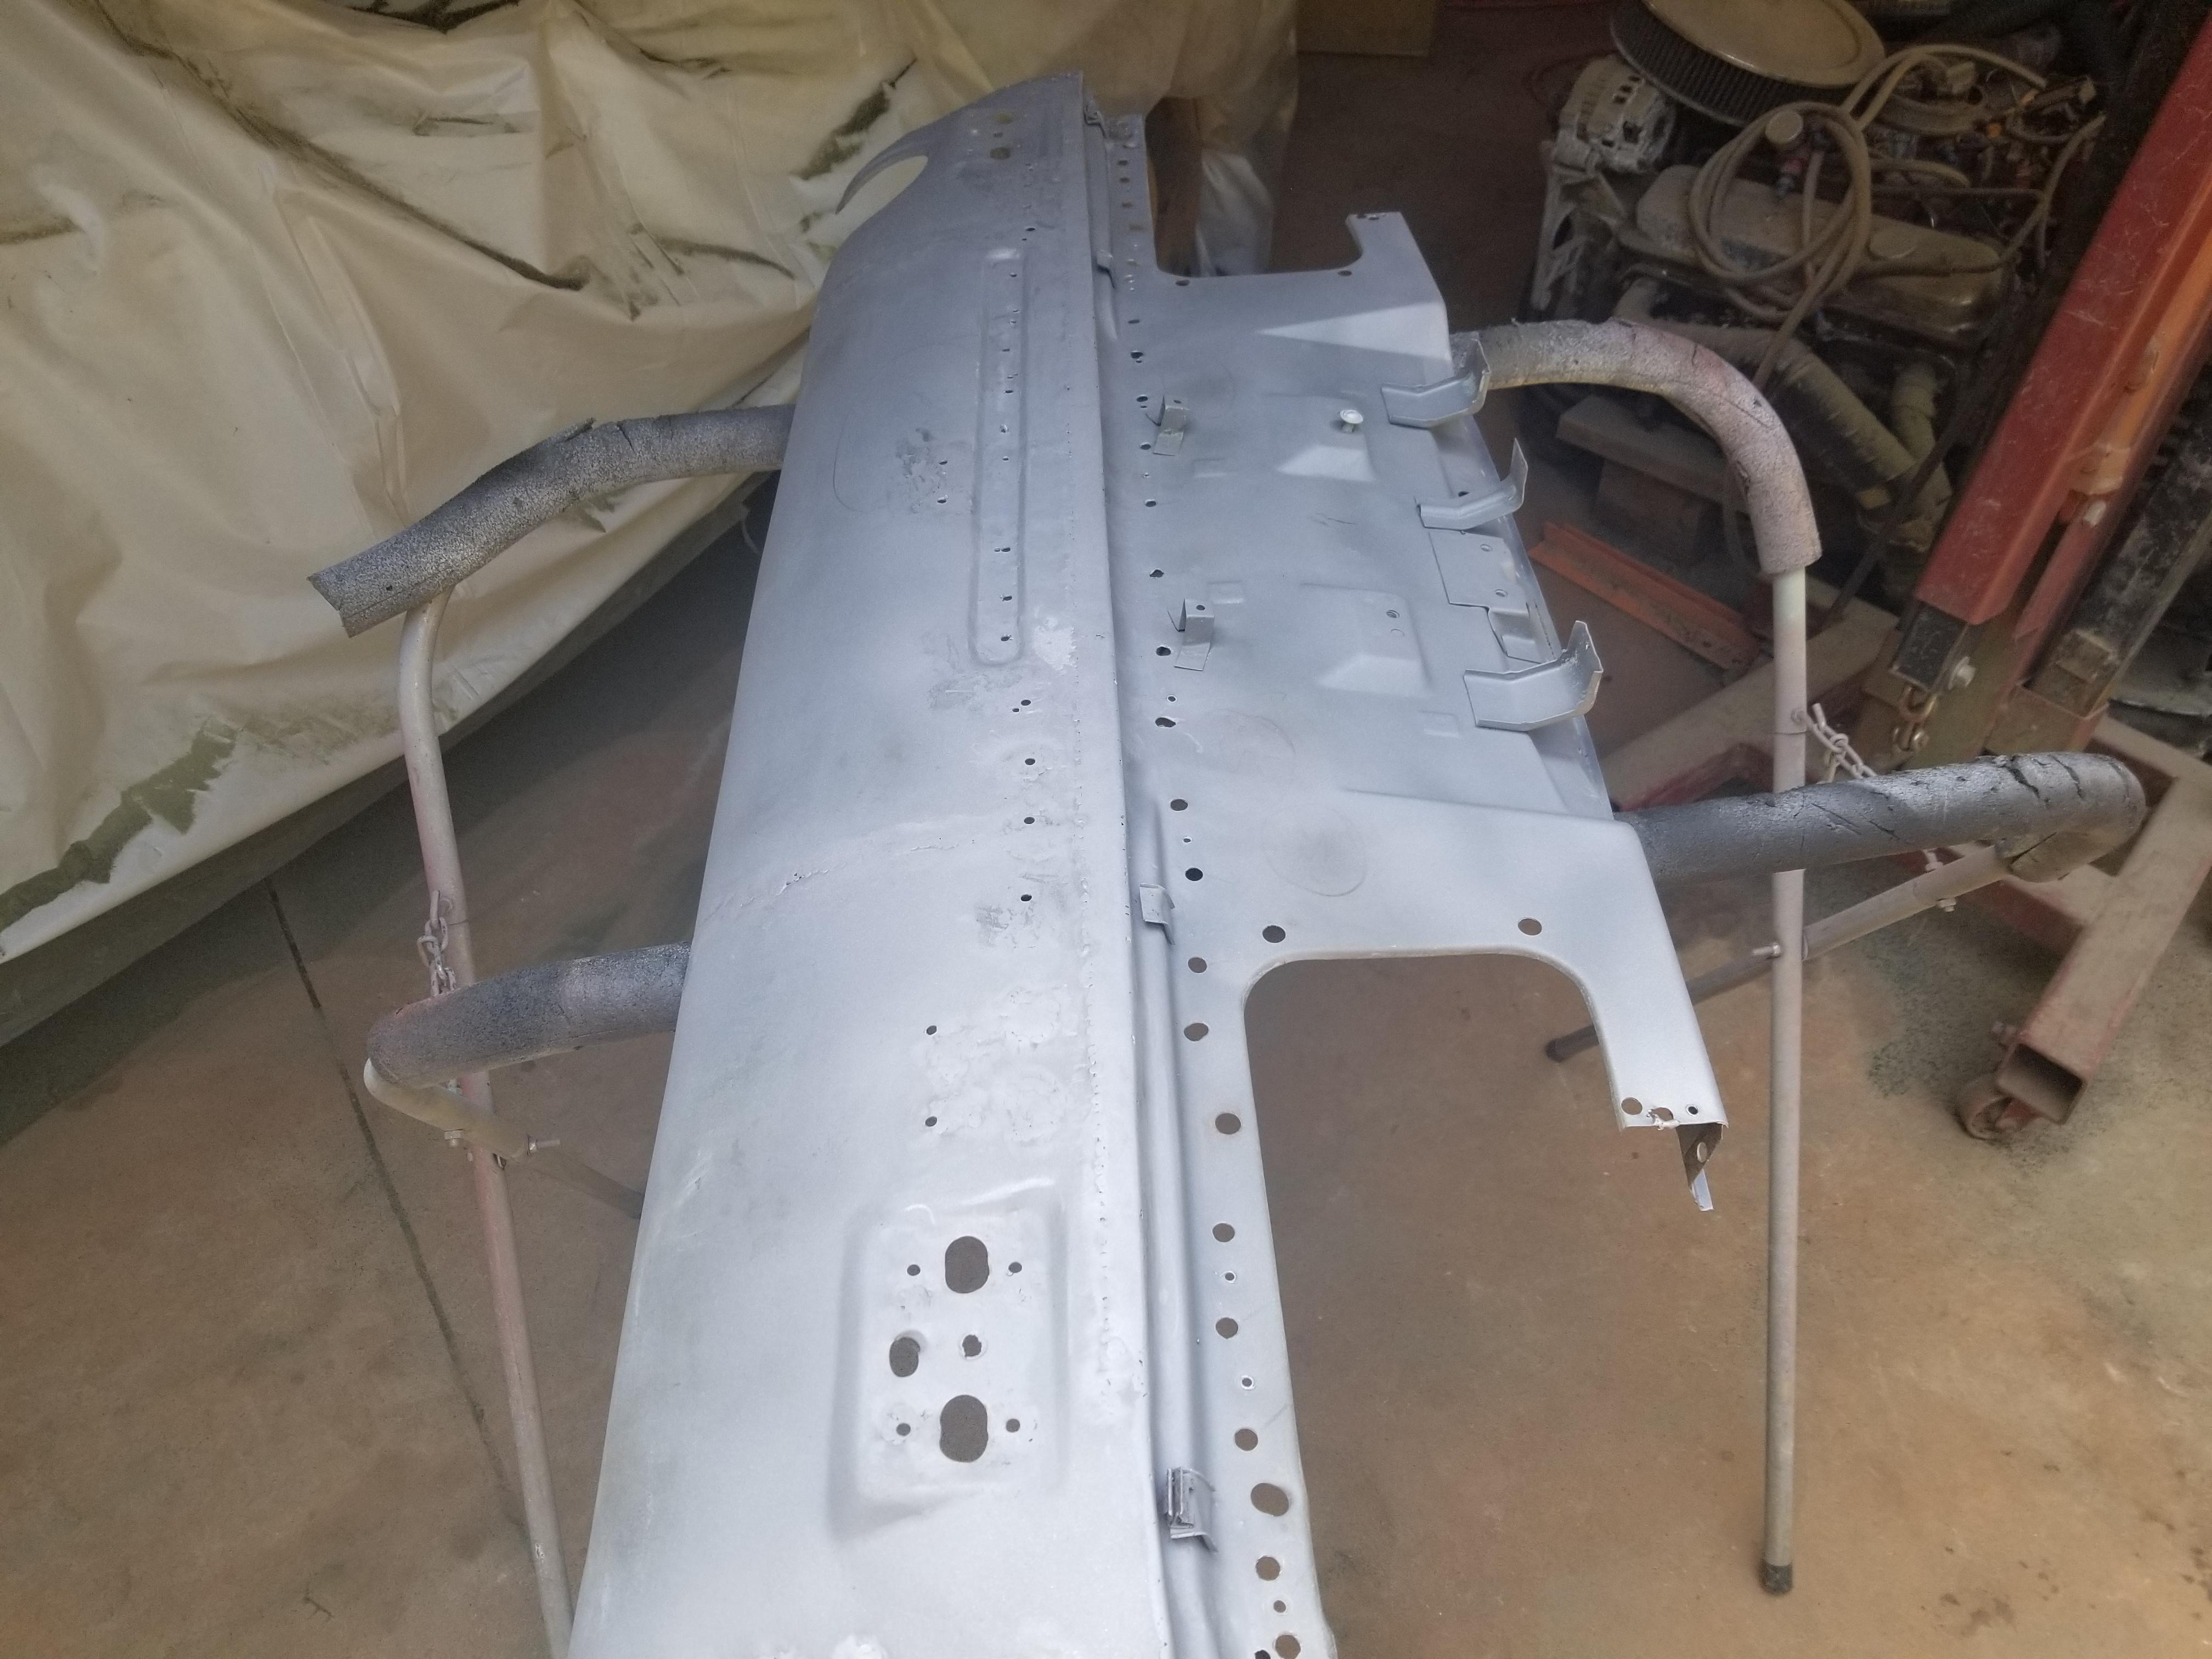
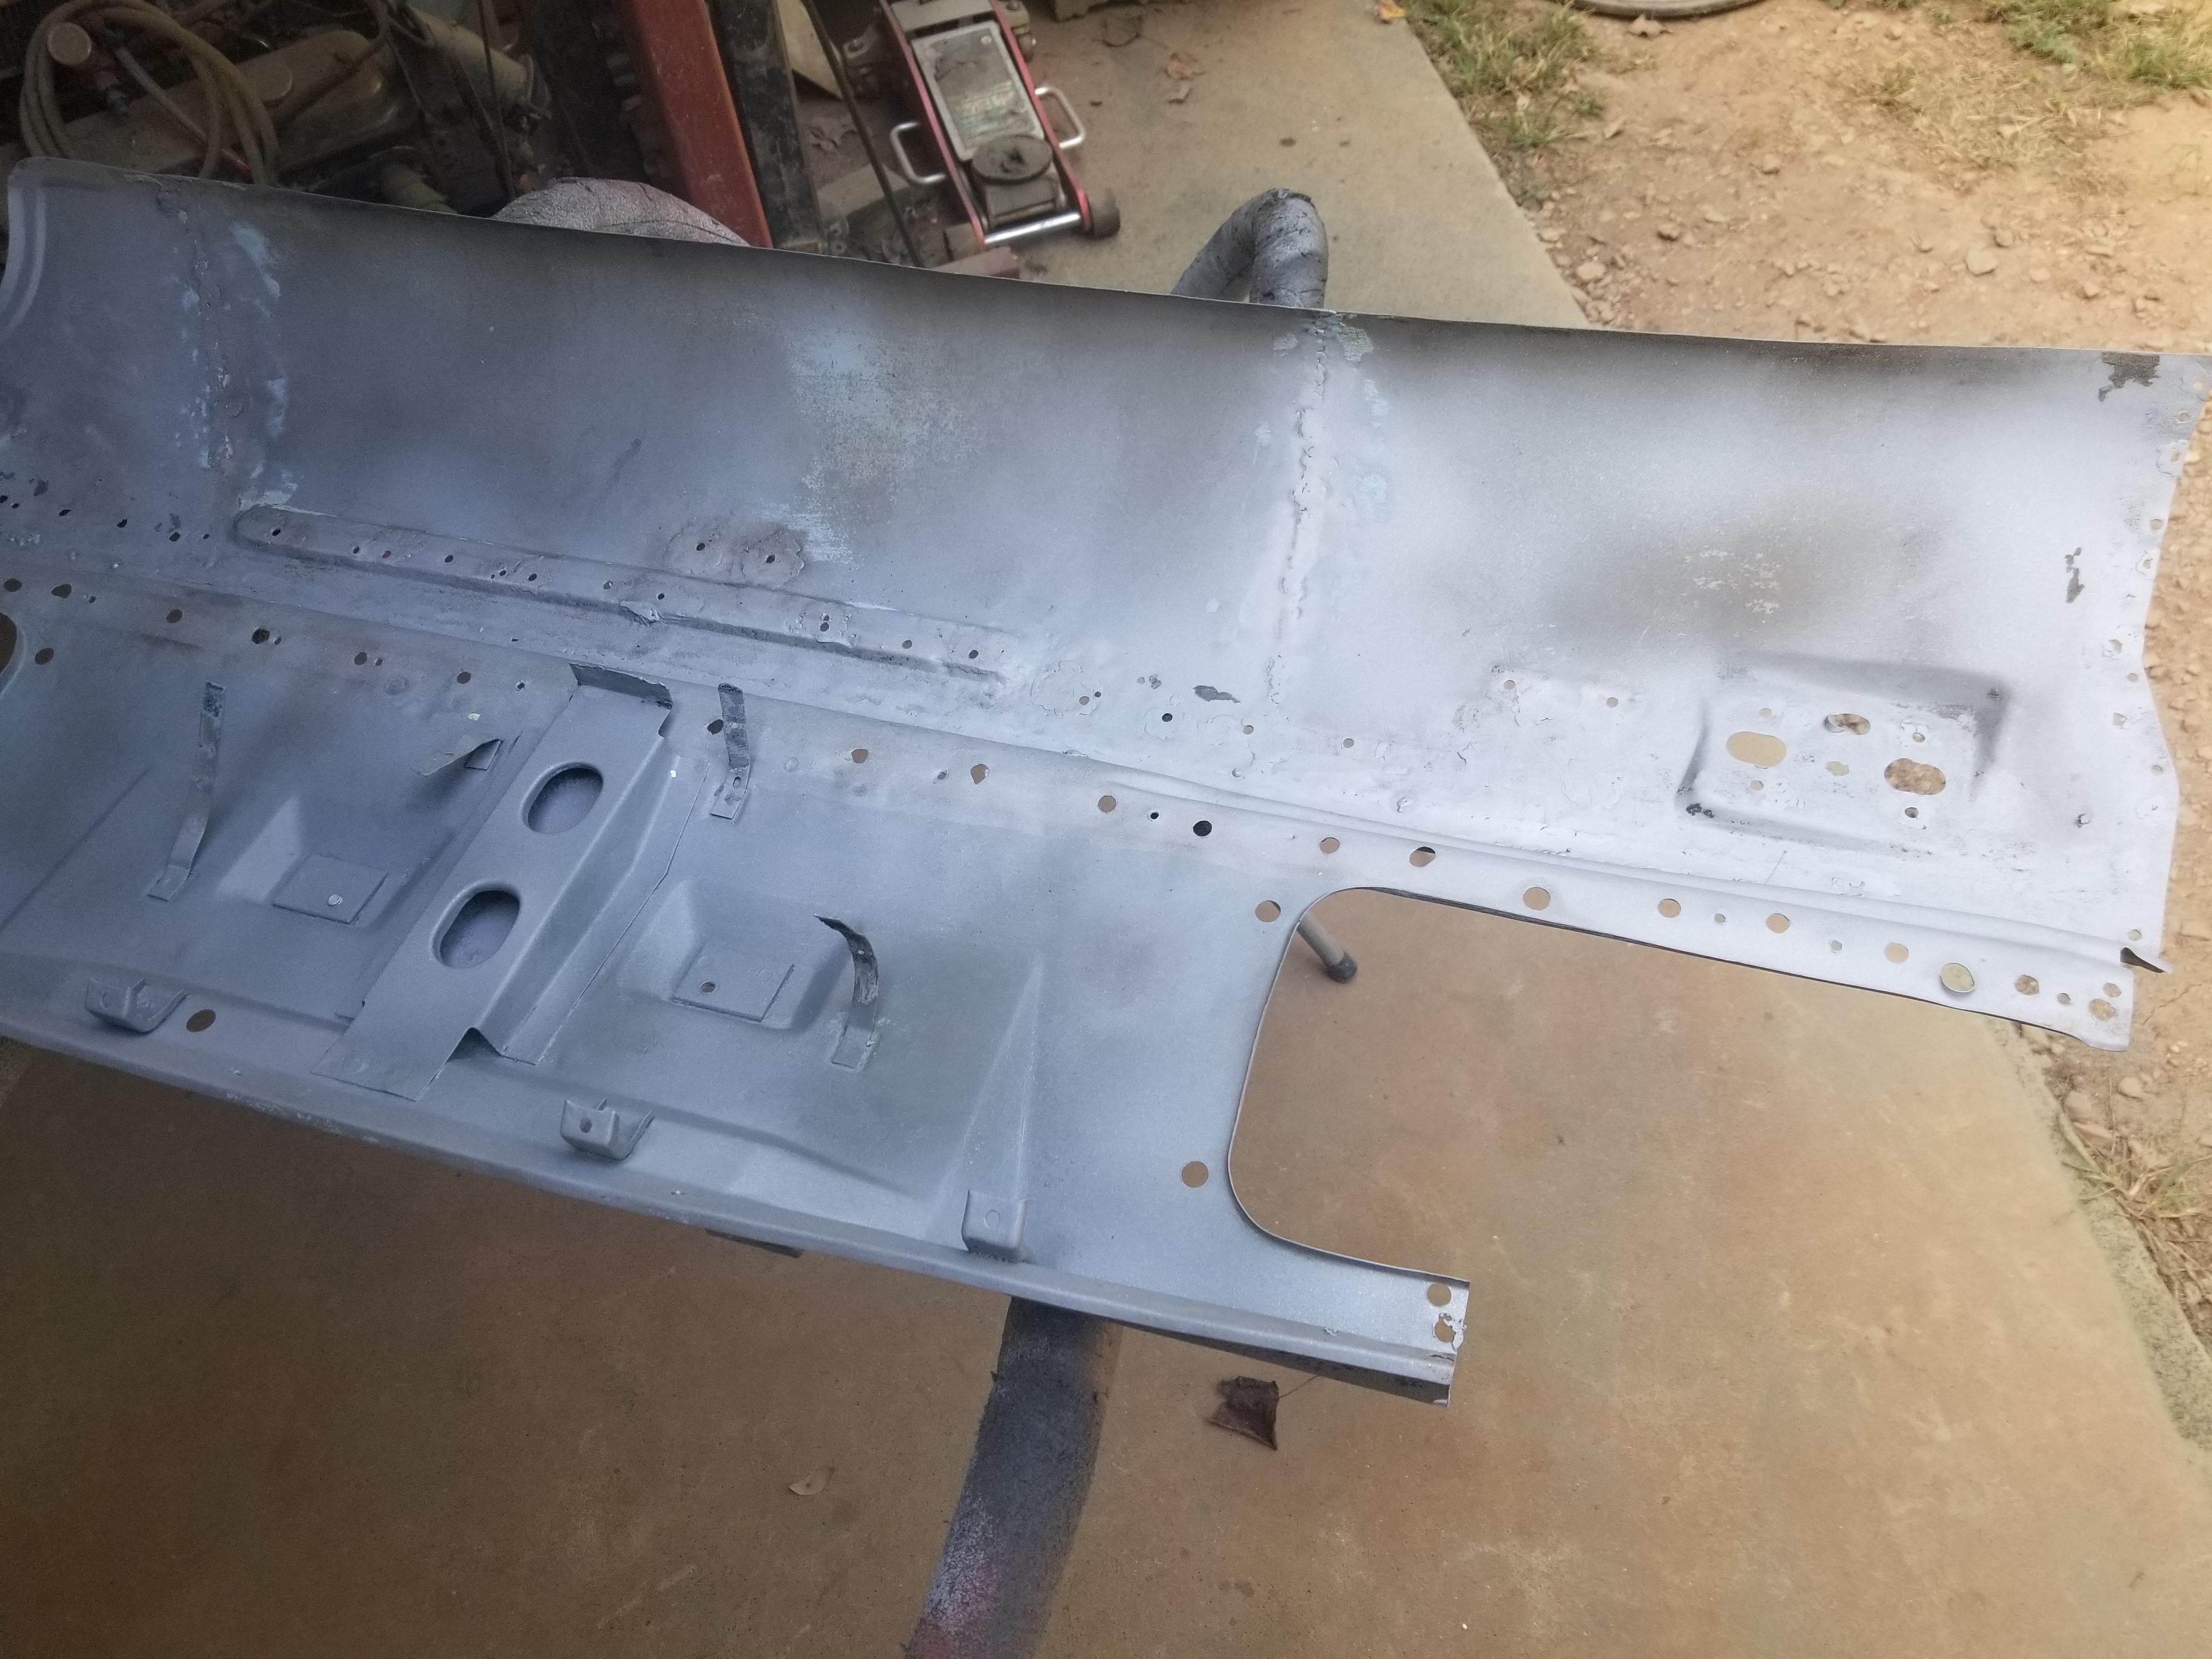
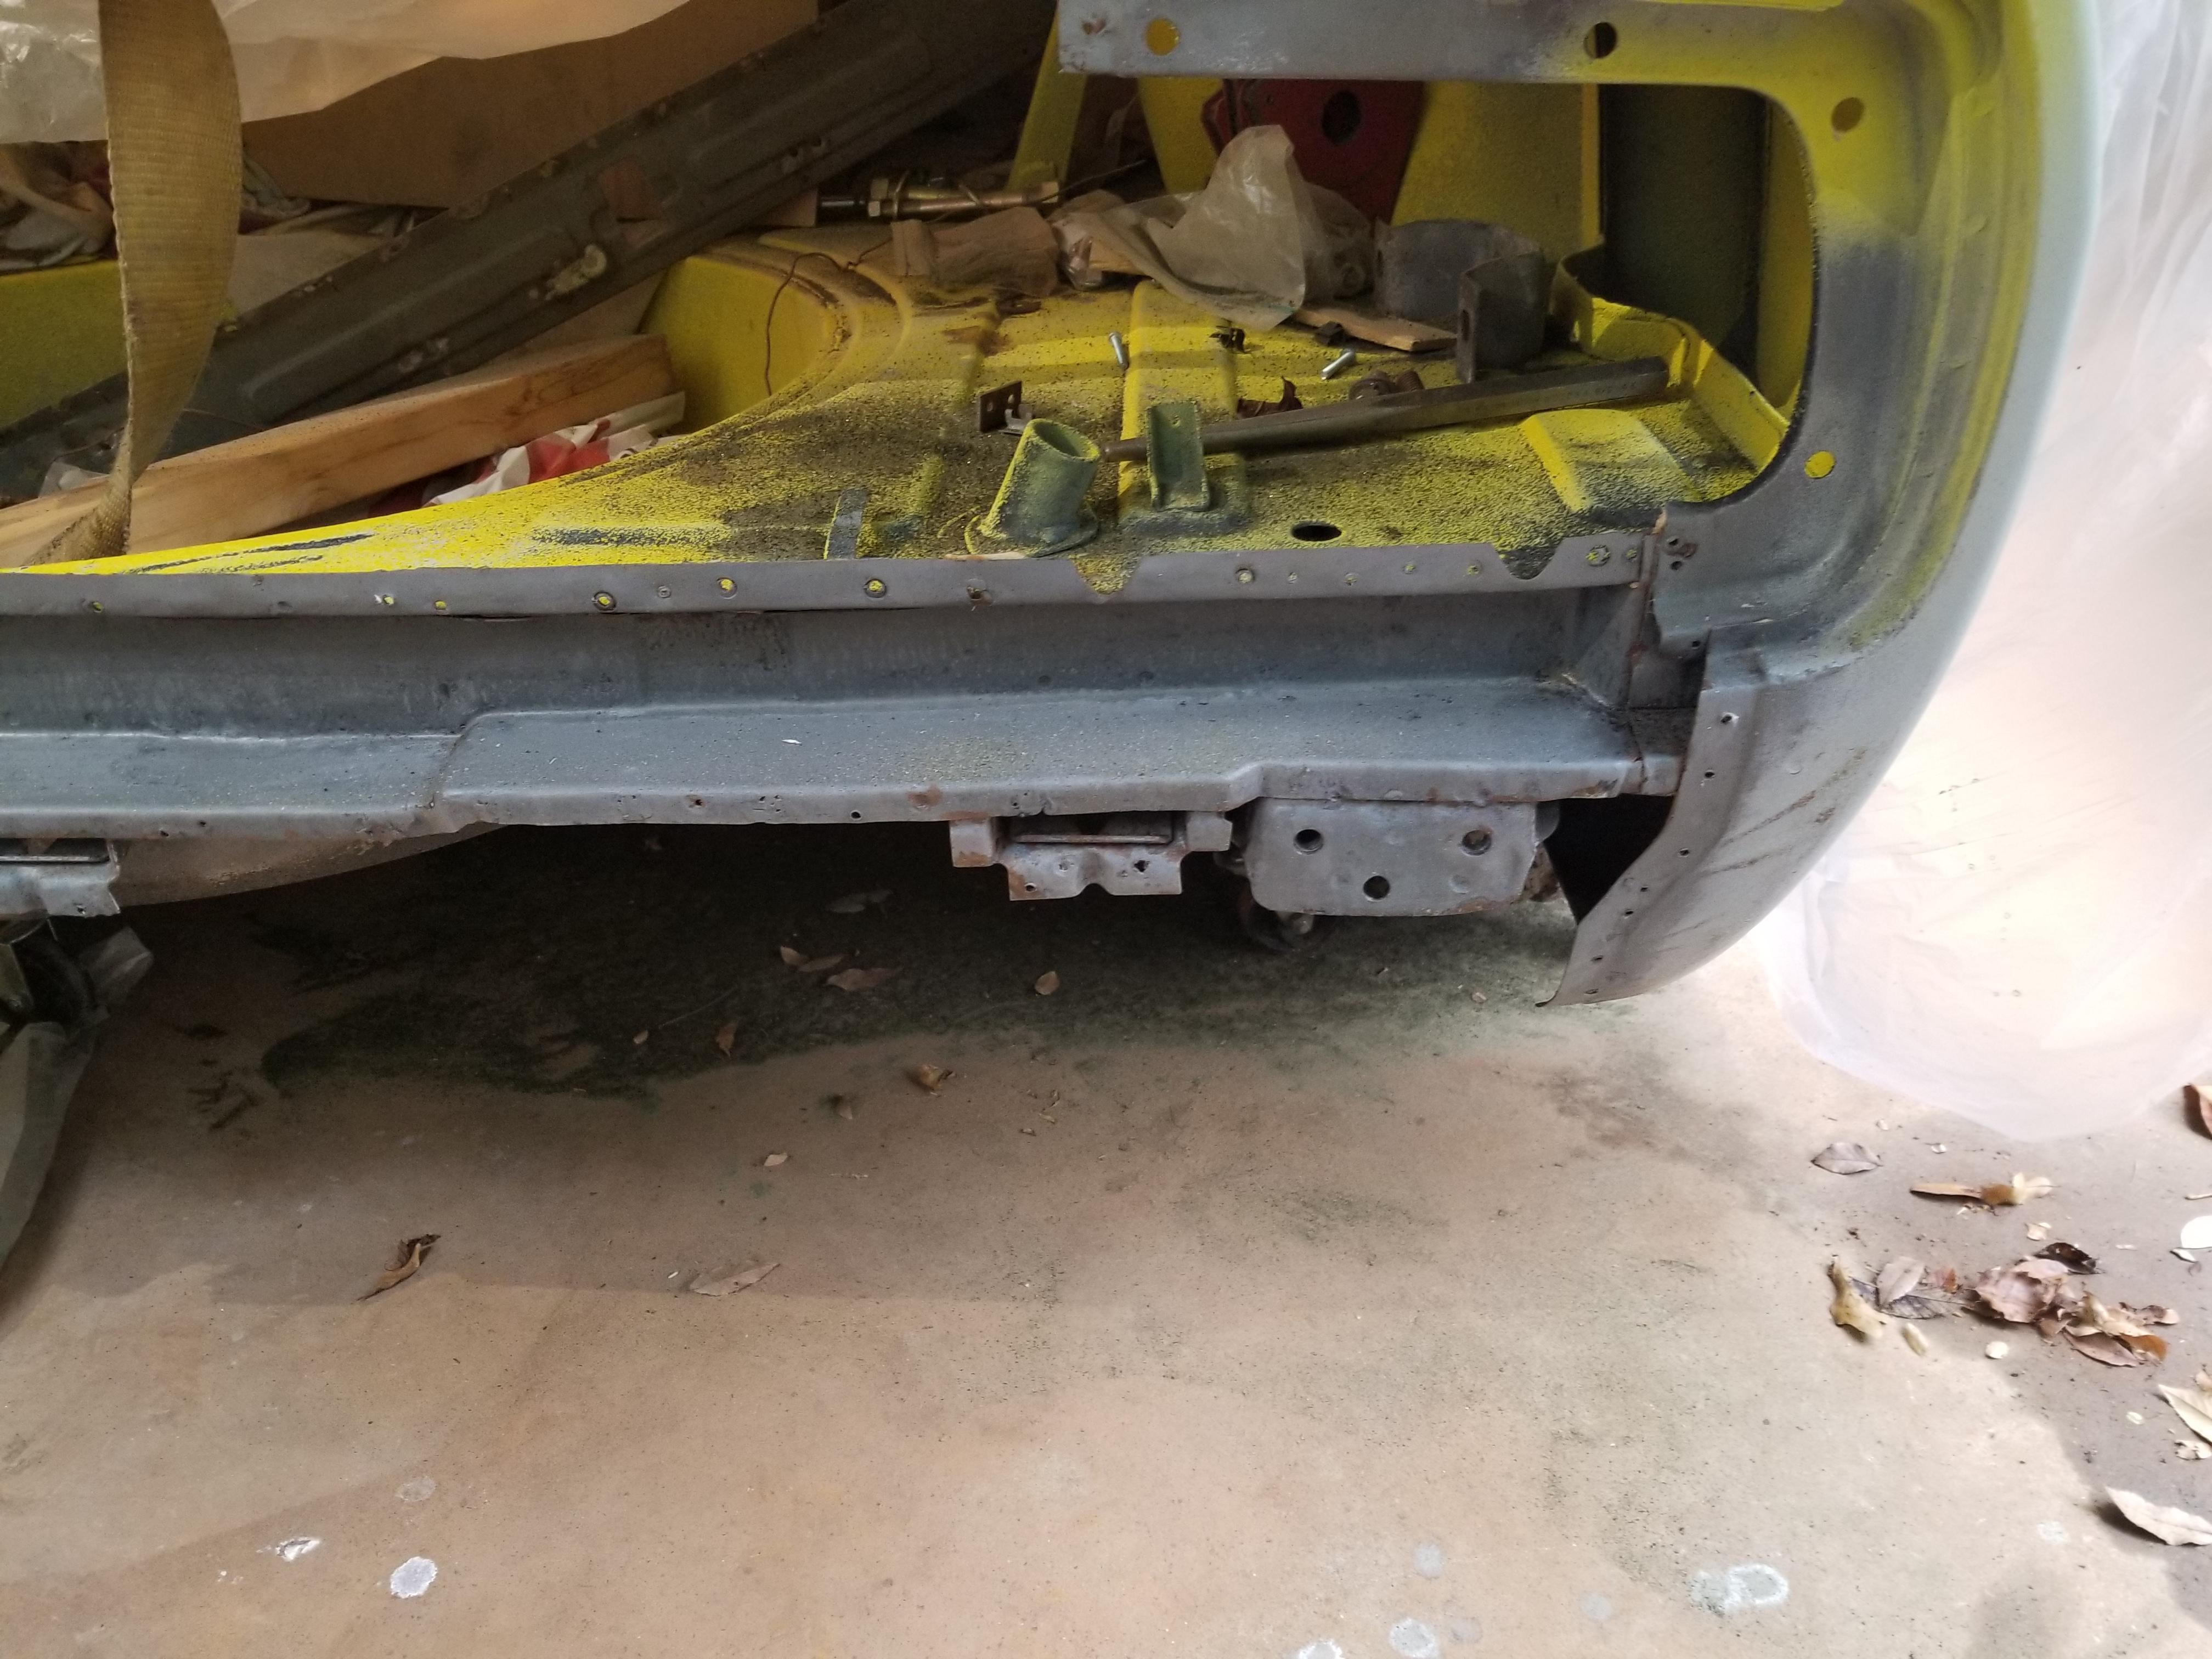
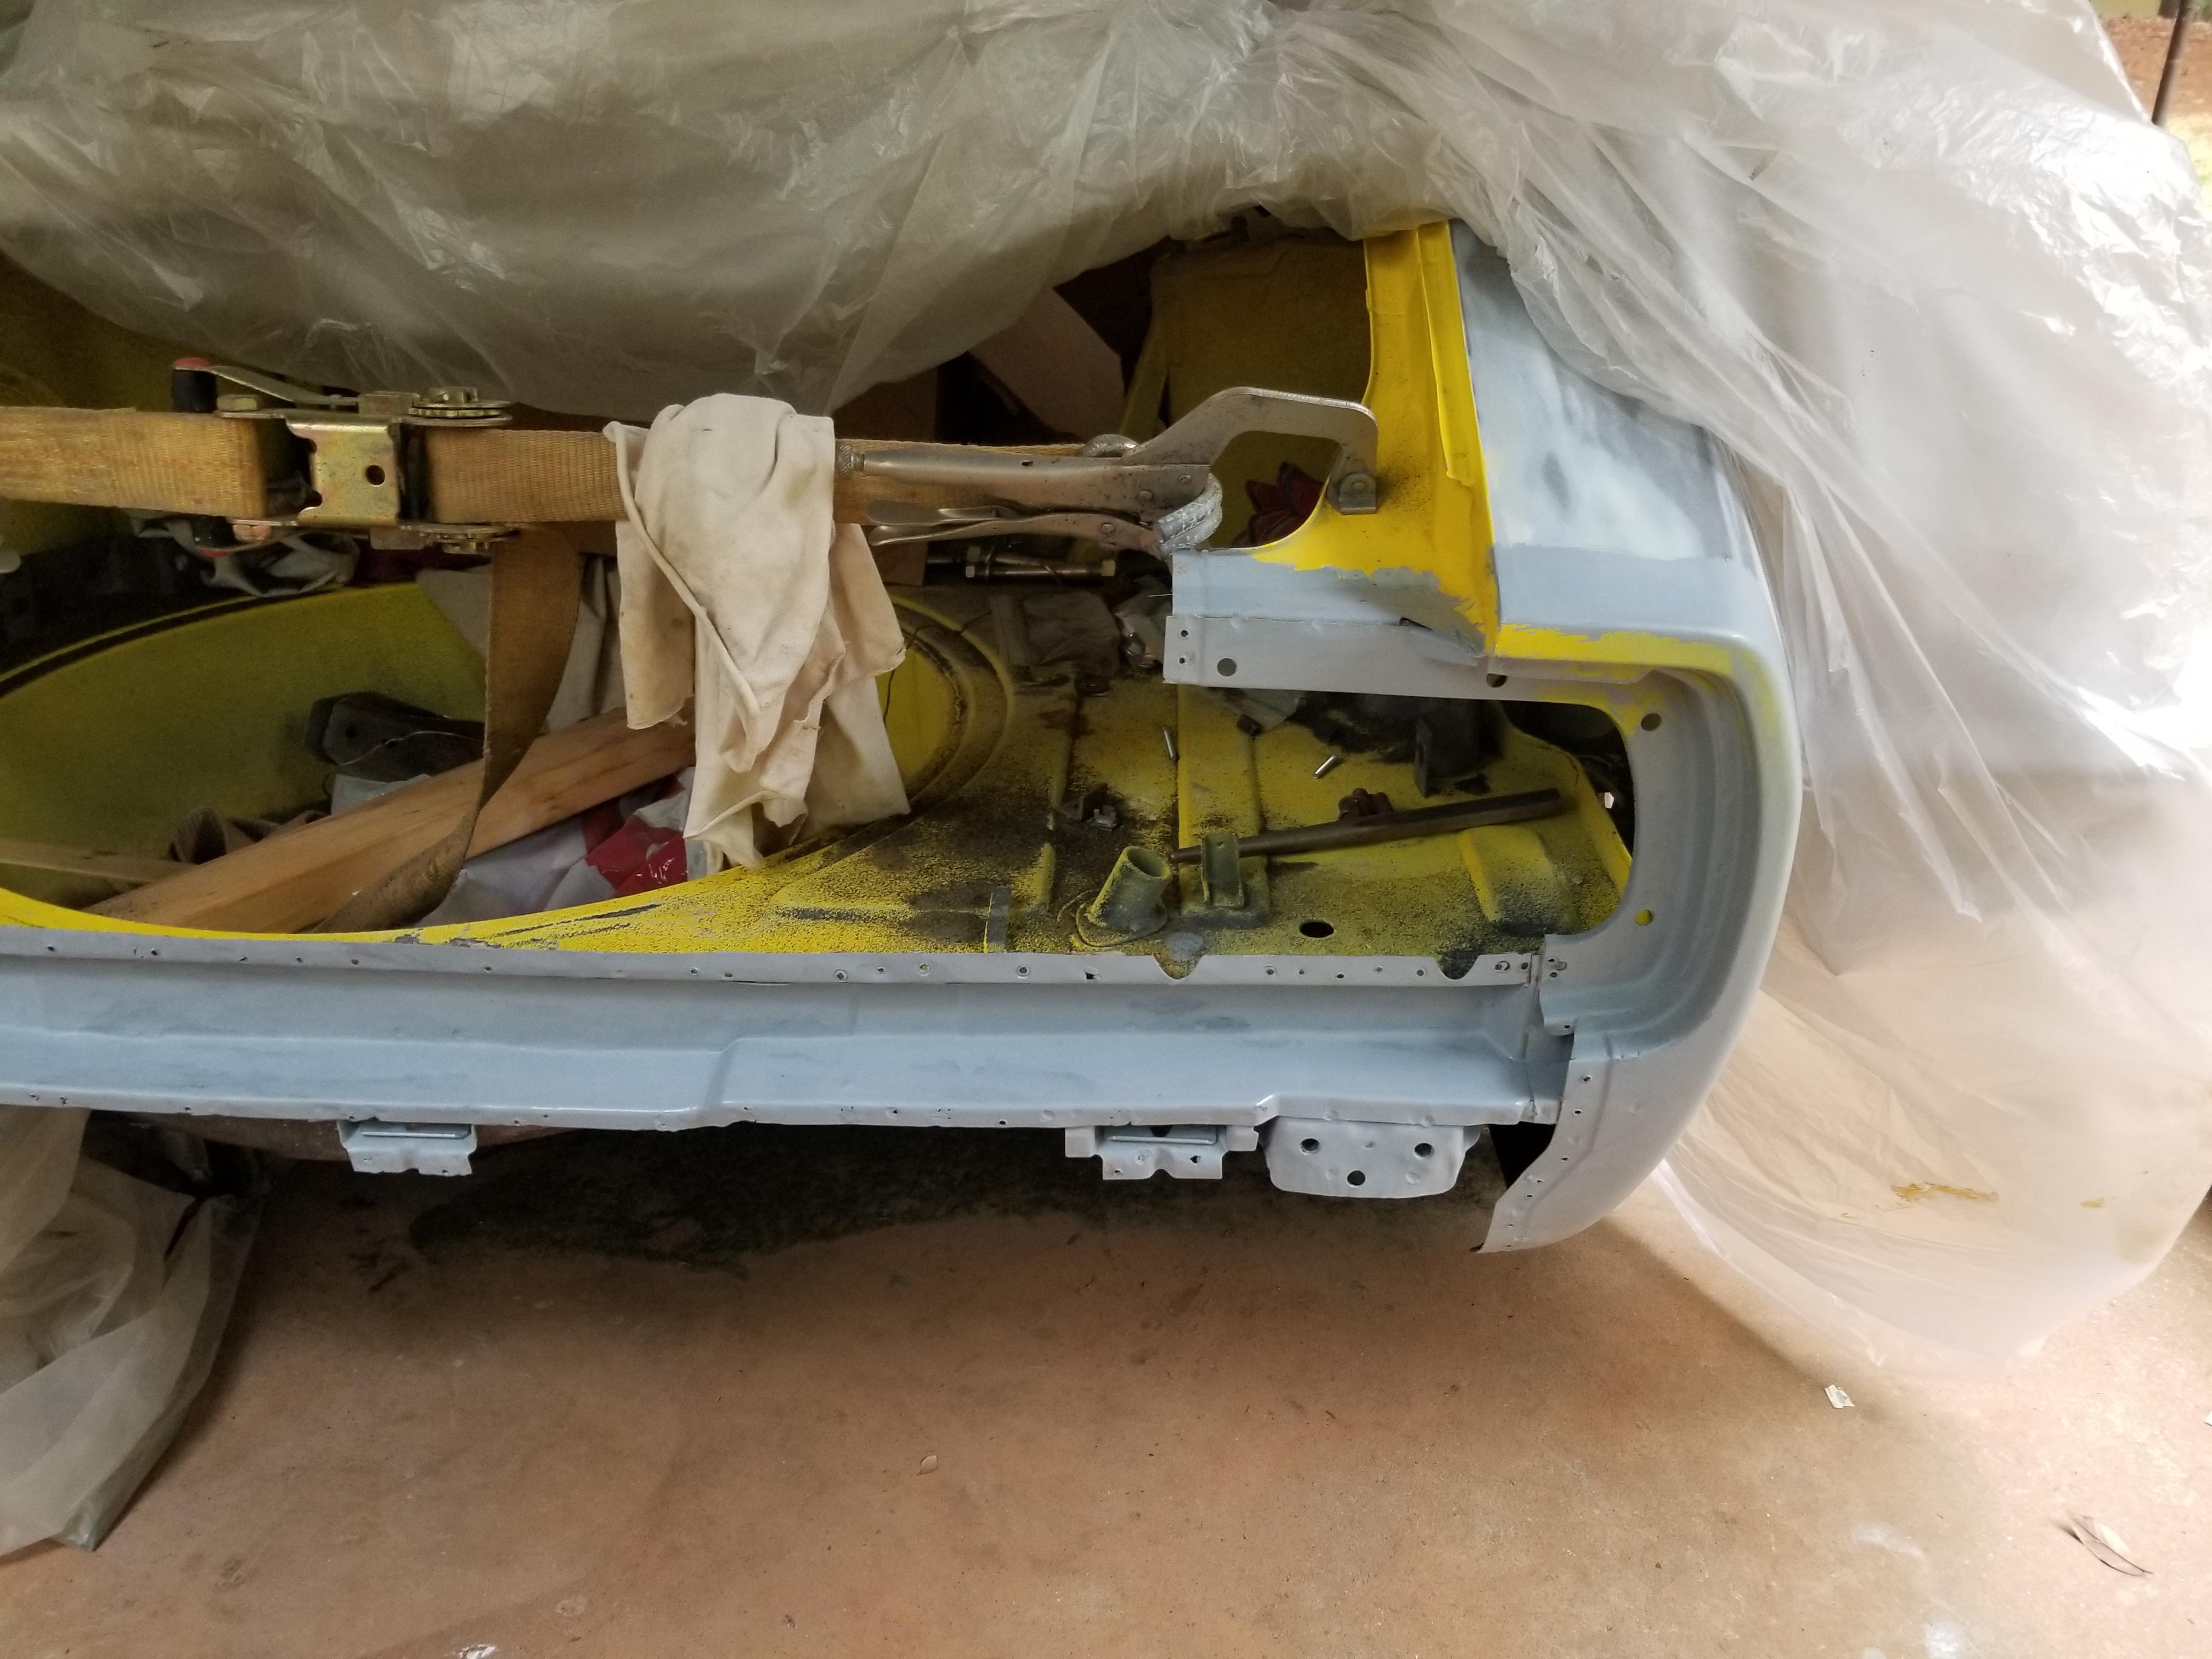
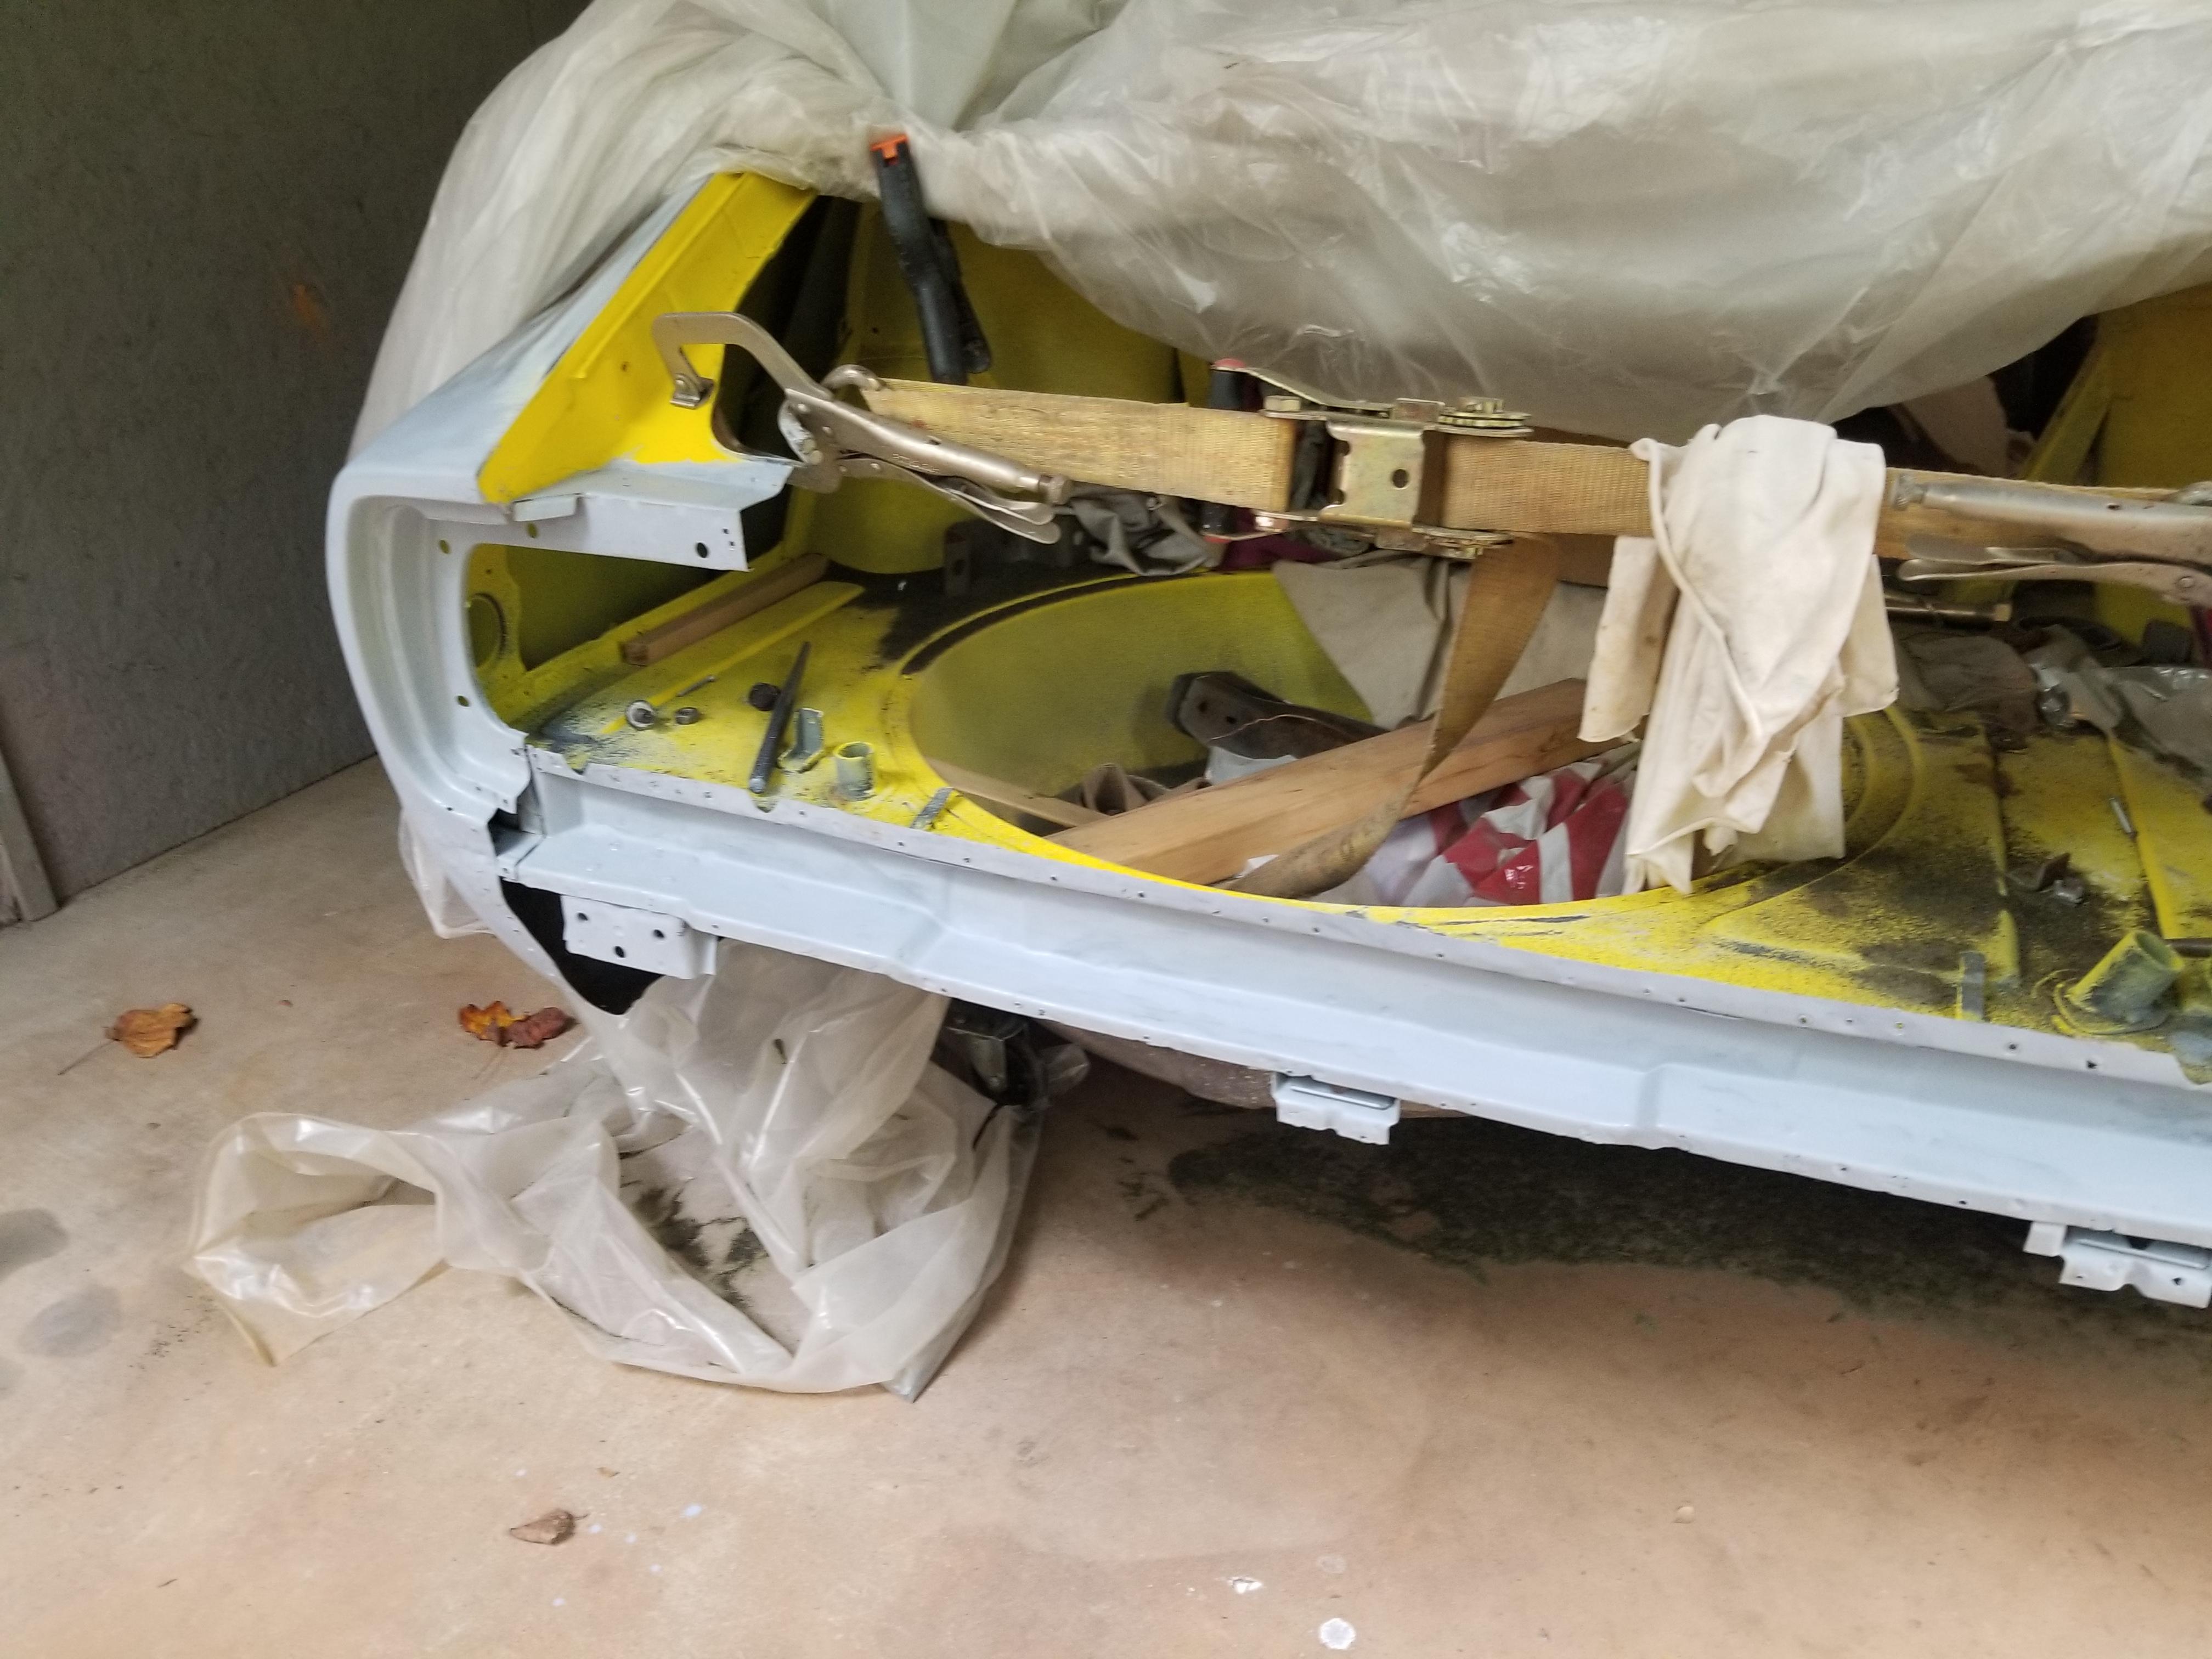
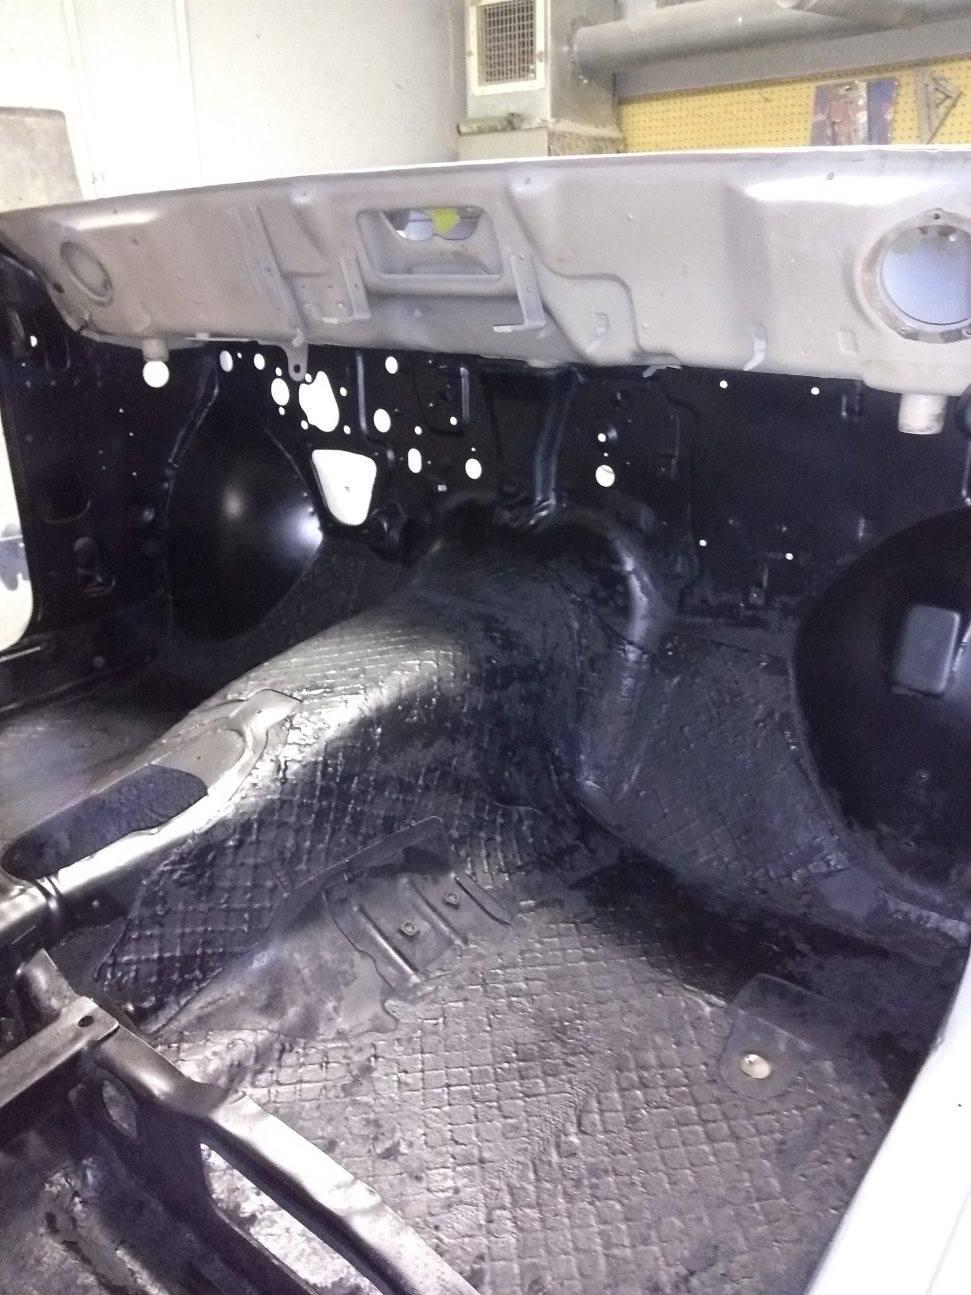
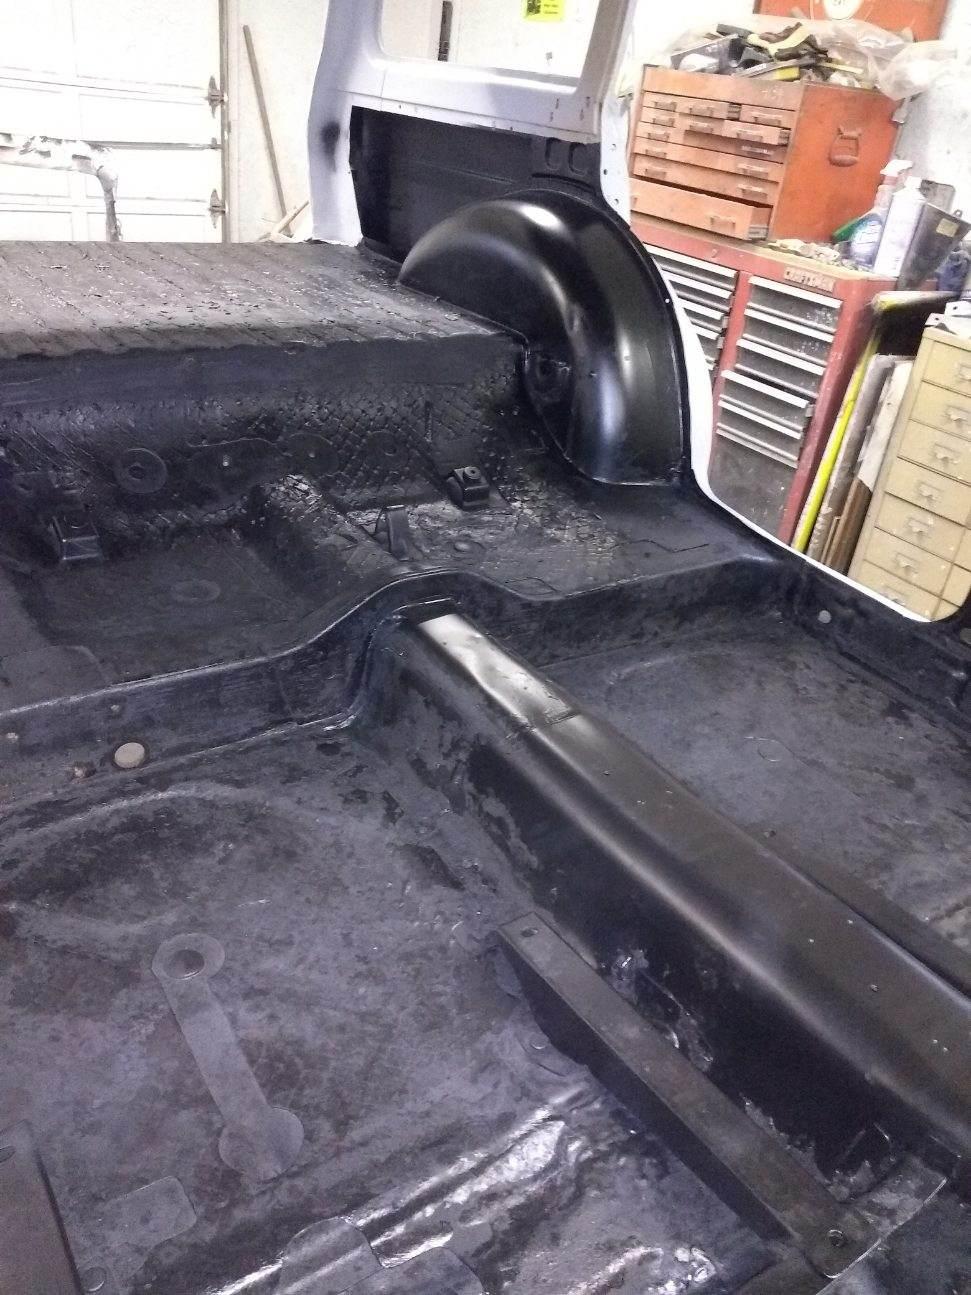
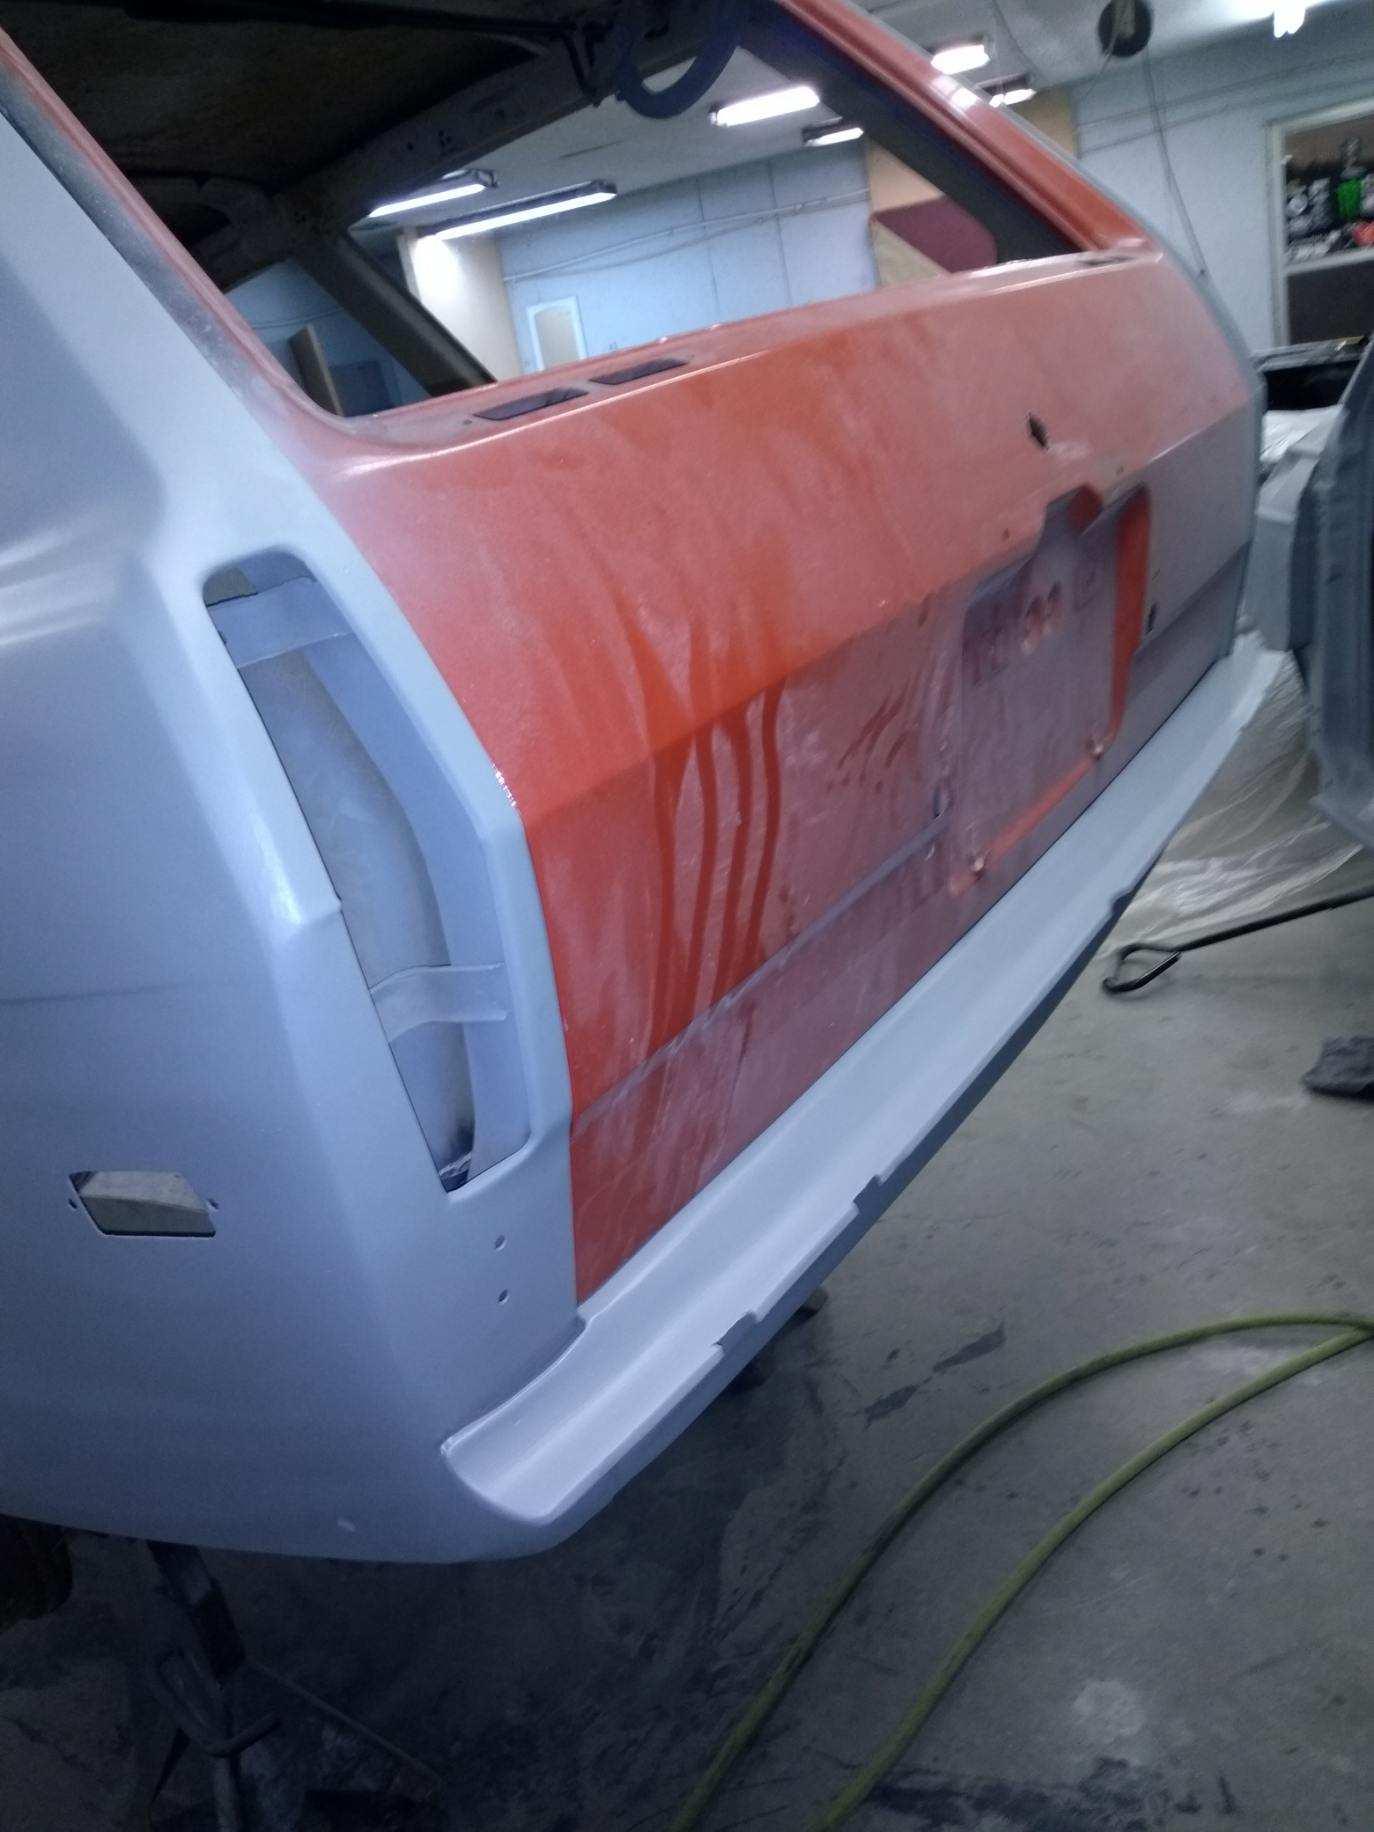
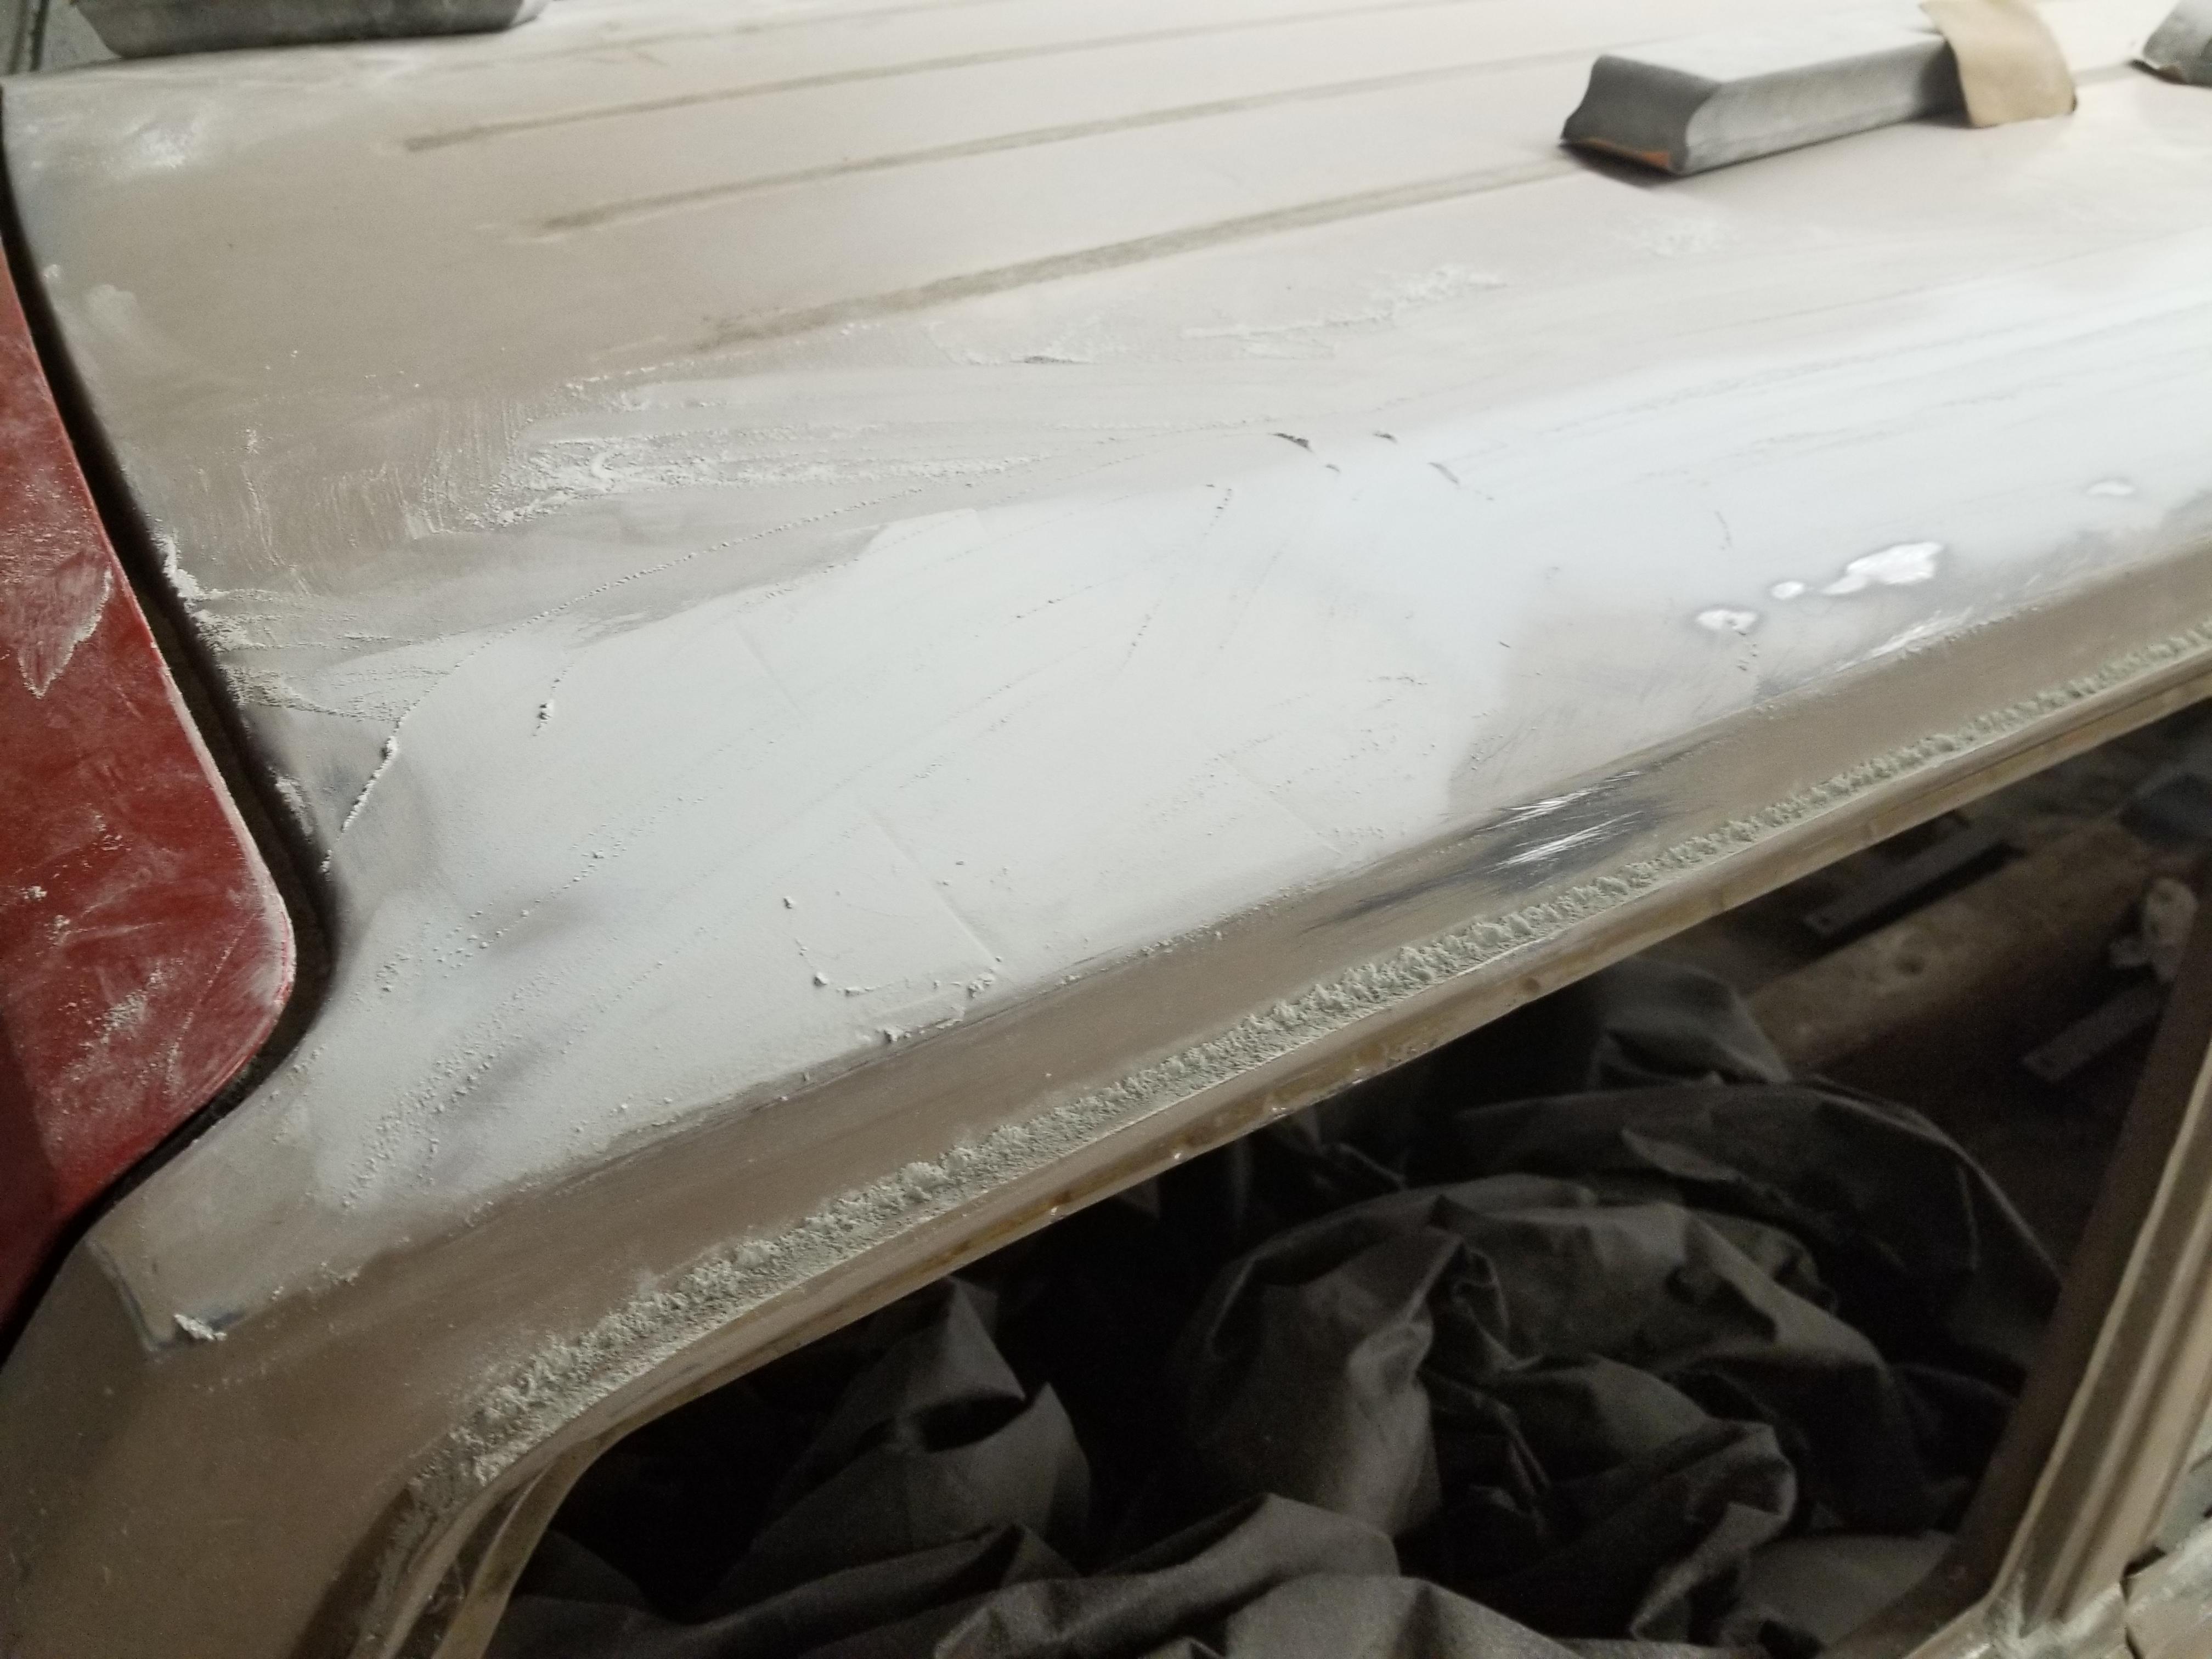
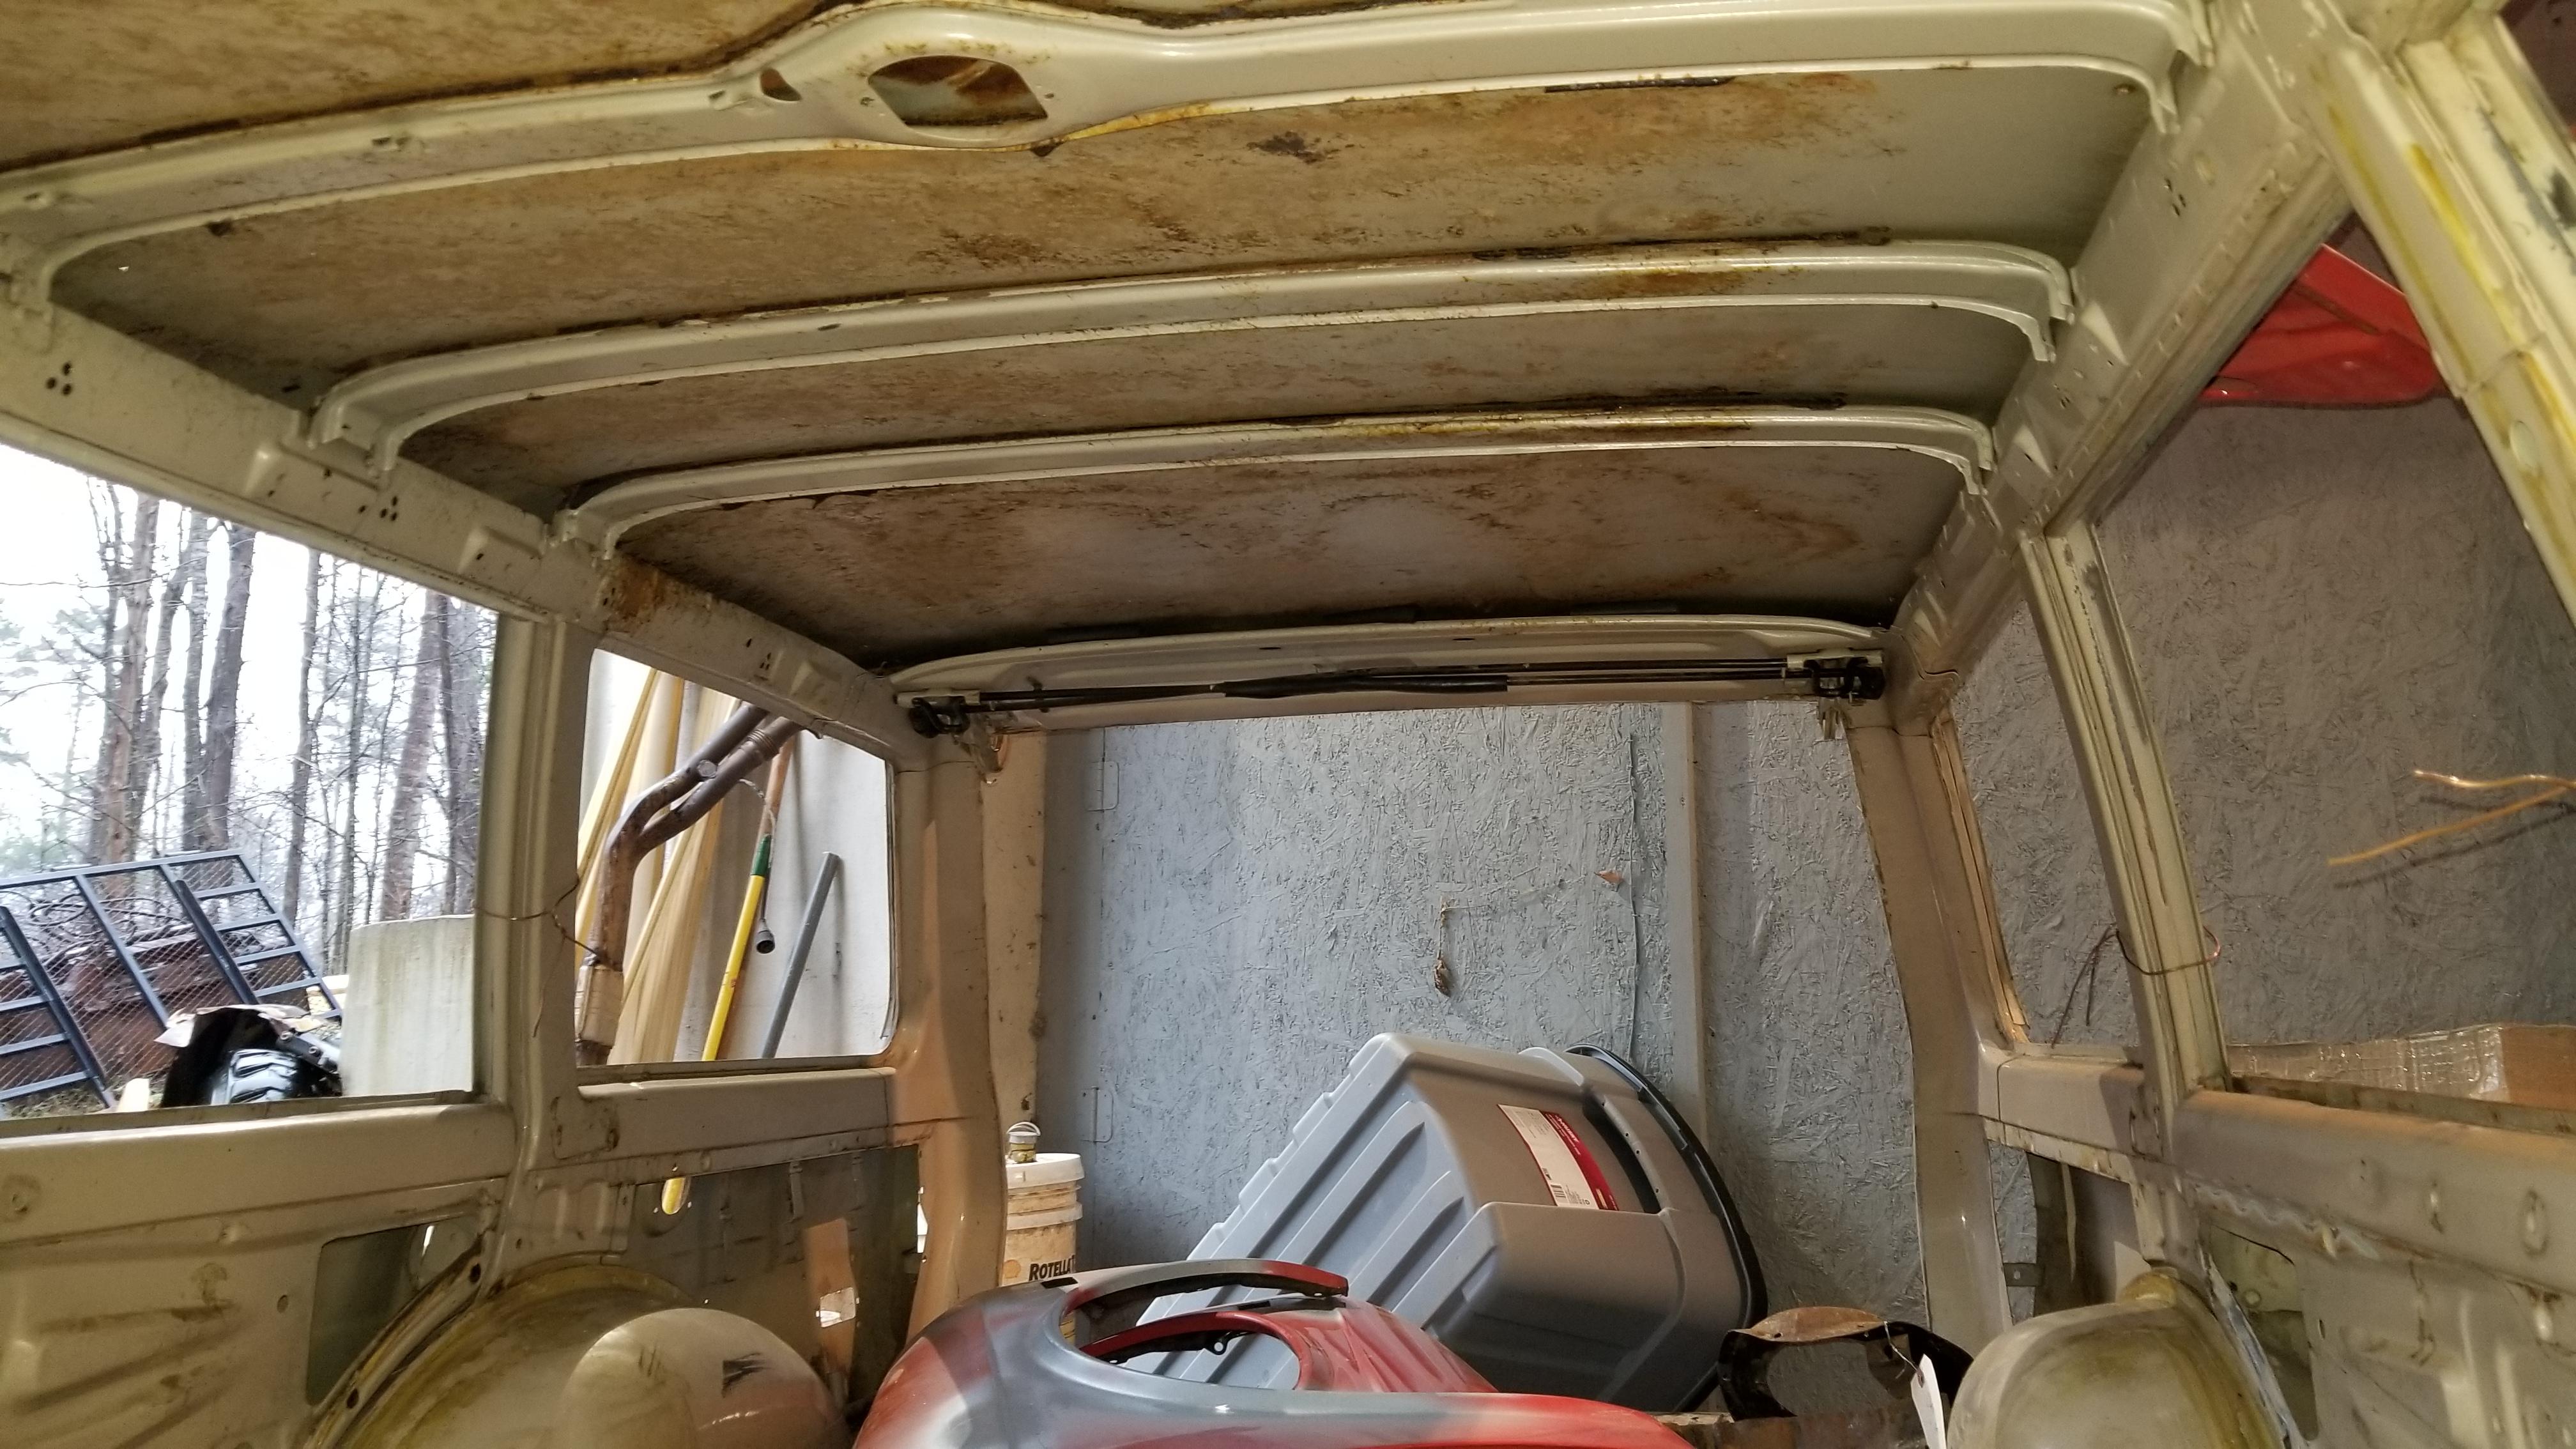
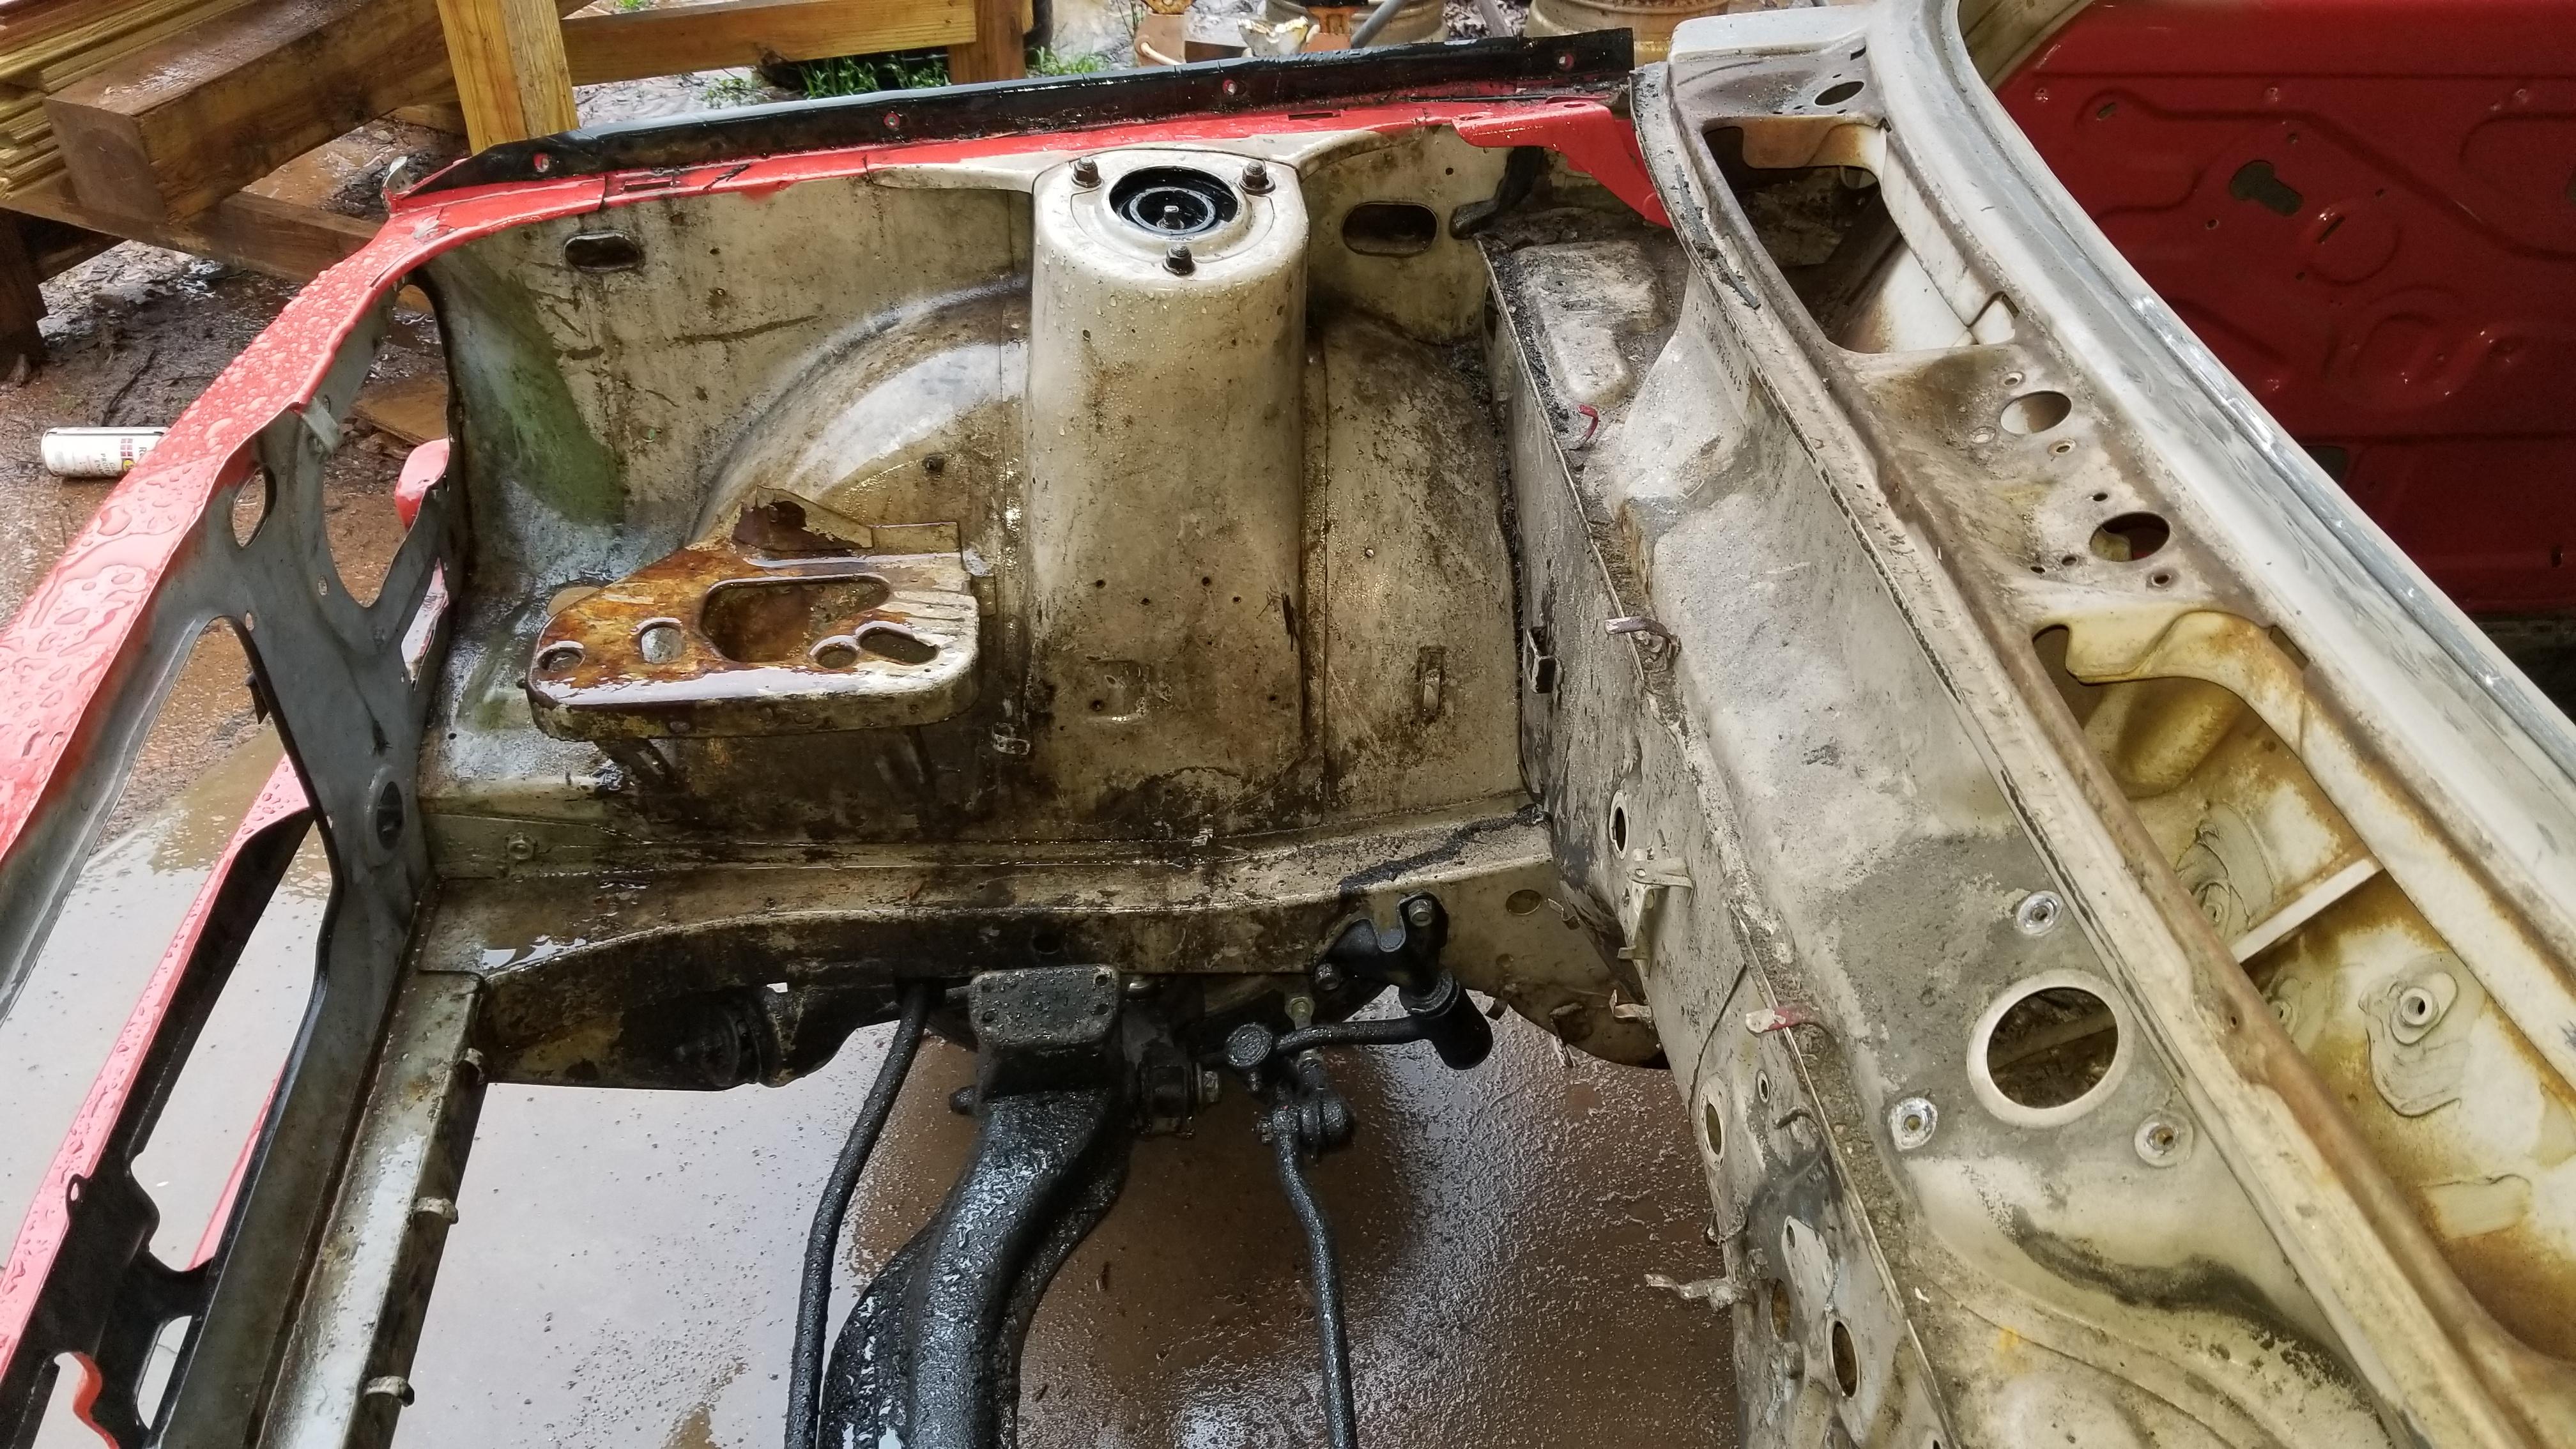
1 pointSo I cut again finishes and all ground down I had some surface rust appear in the rear frame rail. I tried to use some Eastwood liquid rust remover but it seemed to make it worse. So I brought the panels outside and used the 90# pressure pot to quickly clean them off 150#s of Black diamond and here it is Brushed on some epoxy primer on the frame and the rear valance. I think I am ready to put it back together. It's still not quite the way I want it but I have gotten to the point where I don't really care. I figure I won't be able to see it from the drivers seat. So I am going to keep pushing forward. I really want to finish color before it gets too cold


 1 point
 -
1 point
-
Sorry I missed Oct 10th. BIG DAY. @kats Here are some videos of arrival of first Z's from Kats (BIG THANKS!) . Music: "These Days" Nico and Jackson Brown USAArrival&Prep.mp4


 1 point
 -
Looks like I need to go out and buy myself some dried beef! ? Thanks for all your help. Have a great weekend.1 point
-
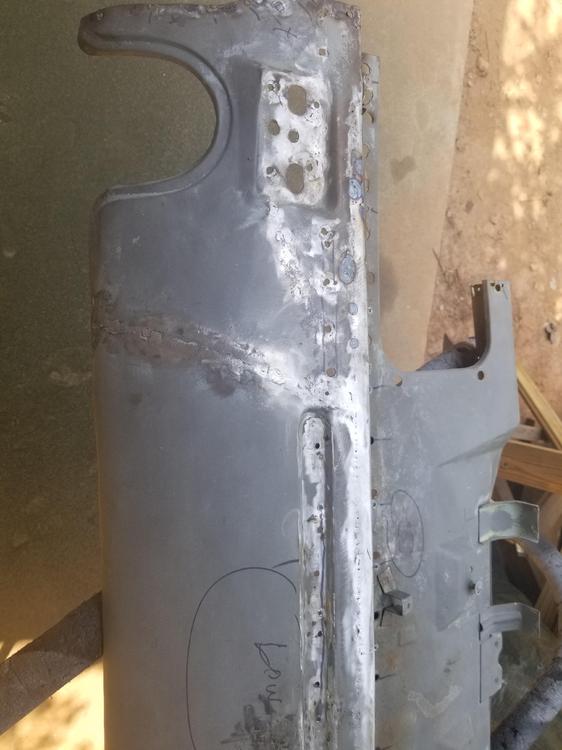
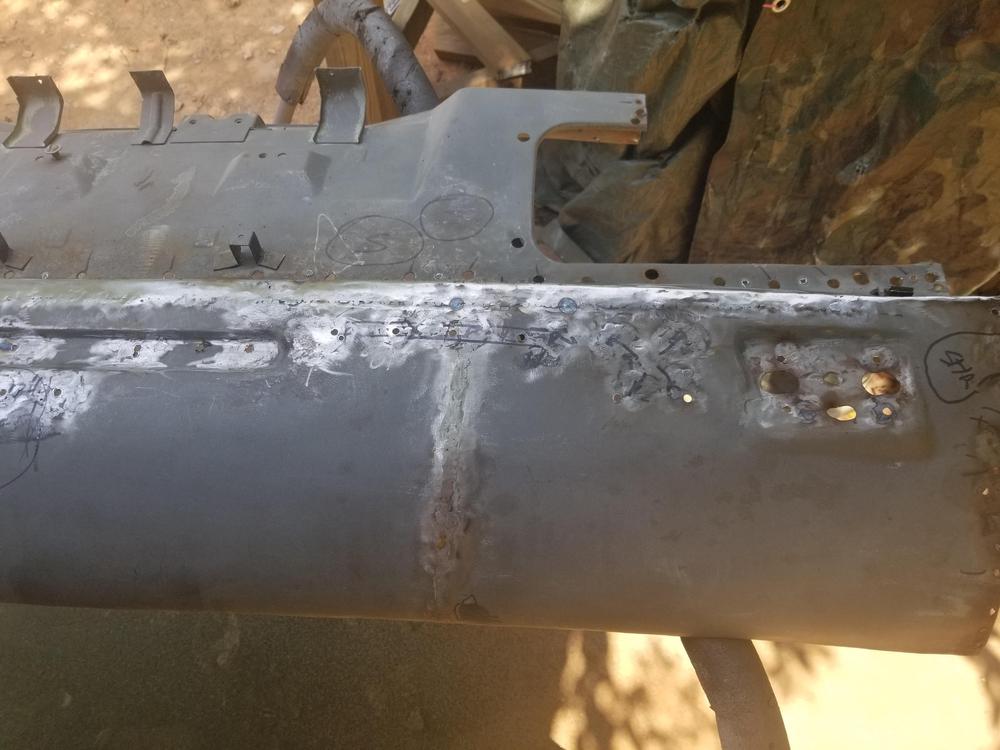
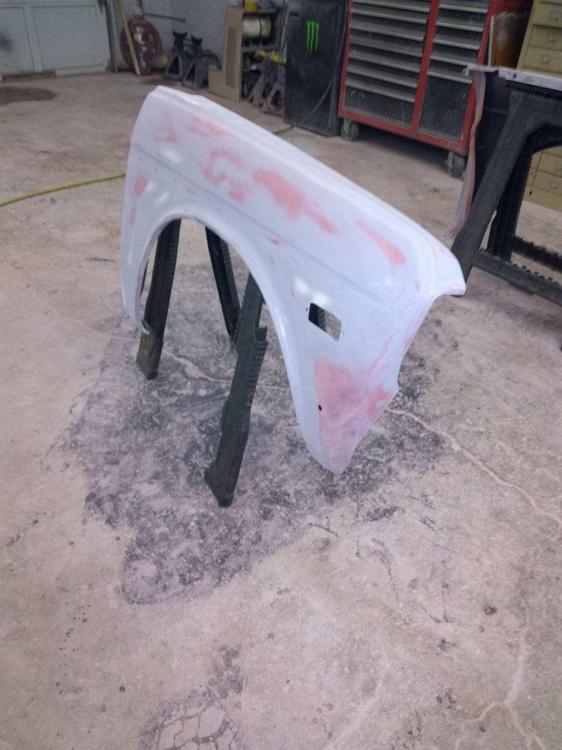
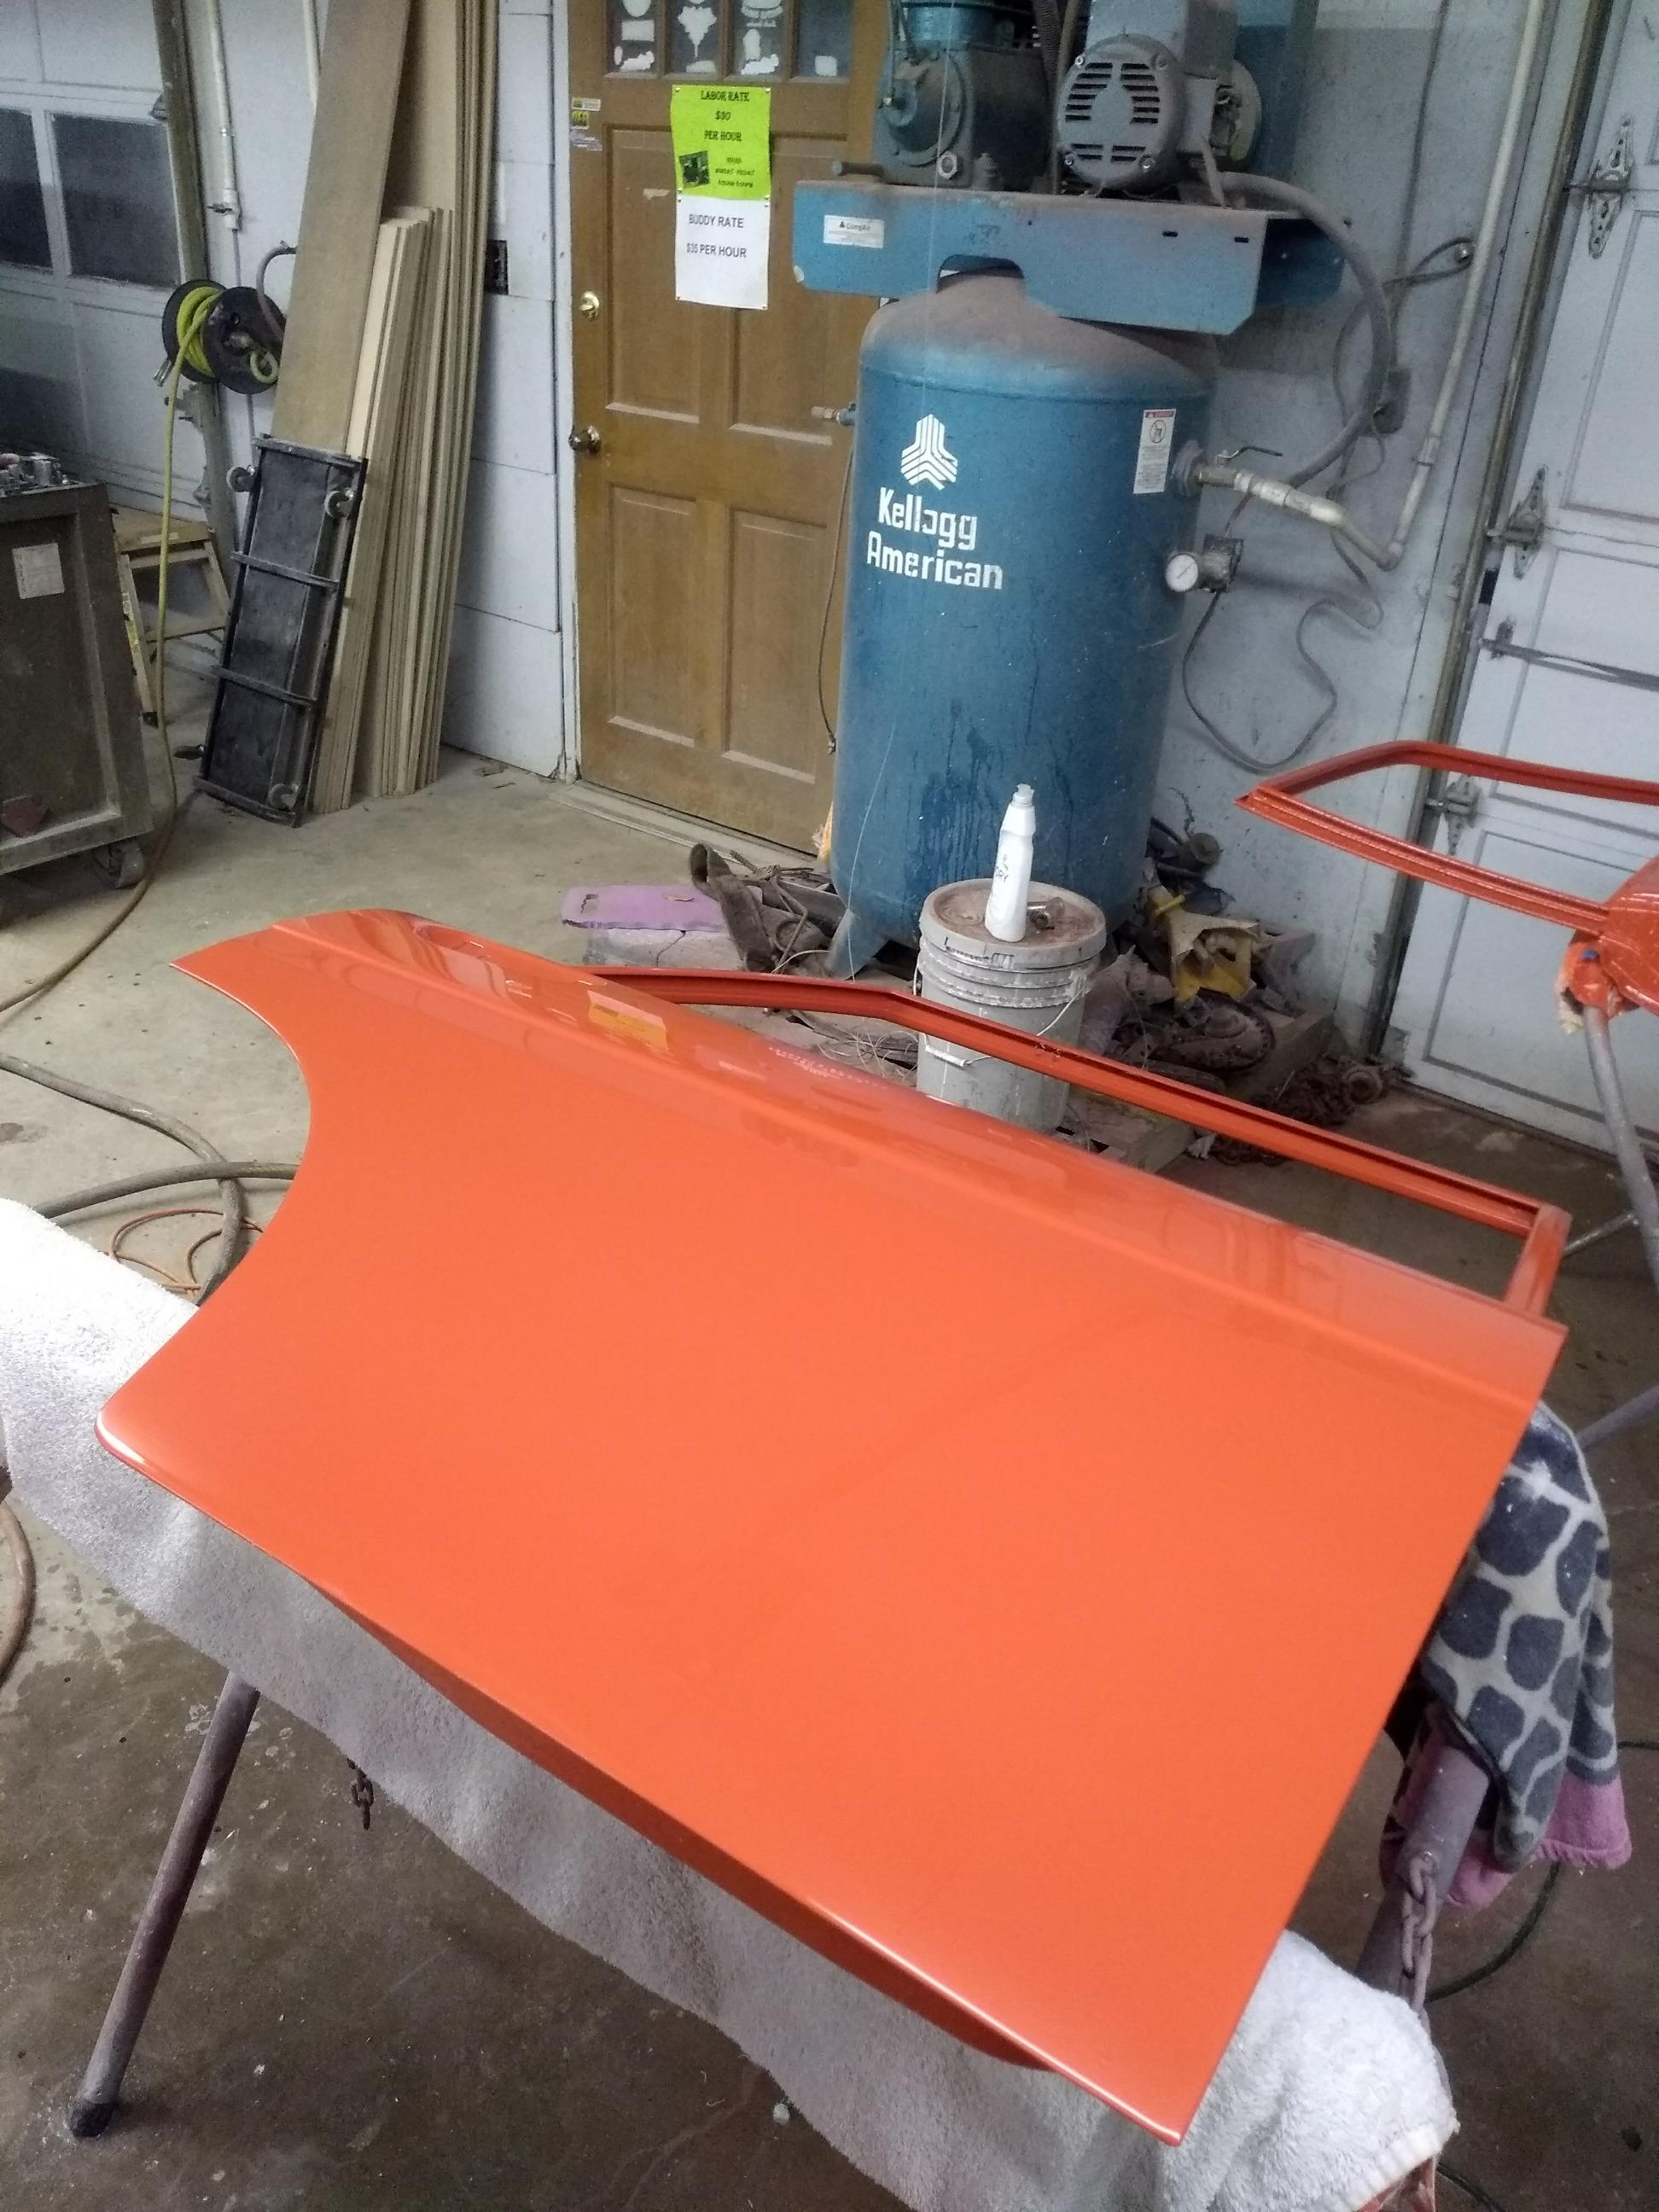
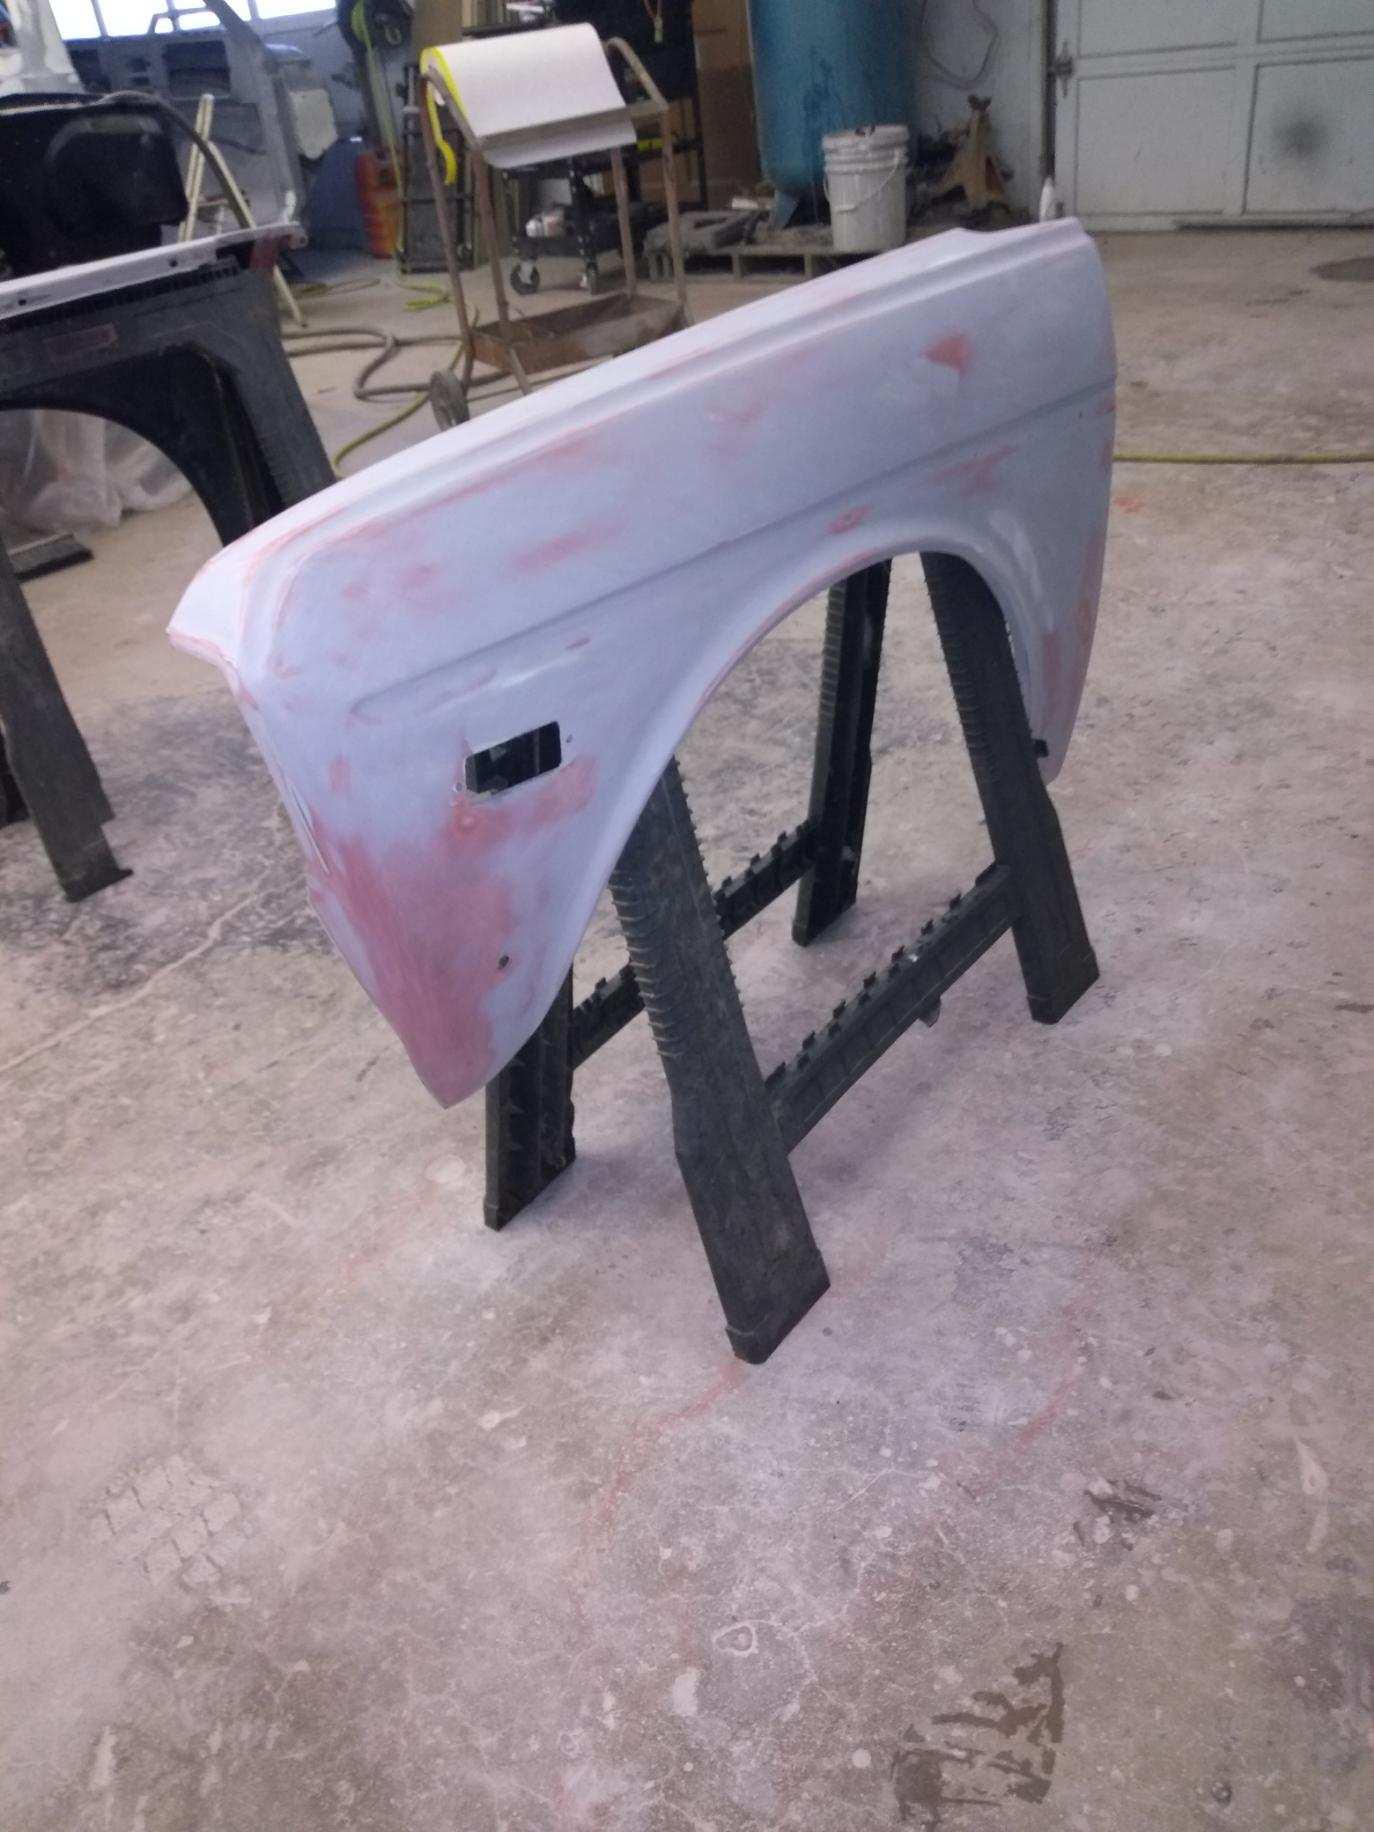
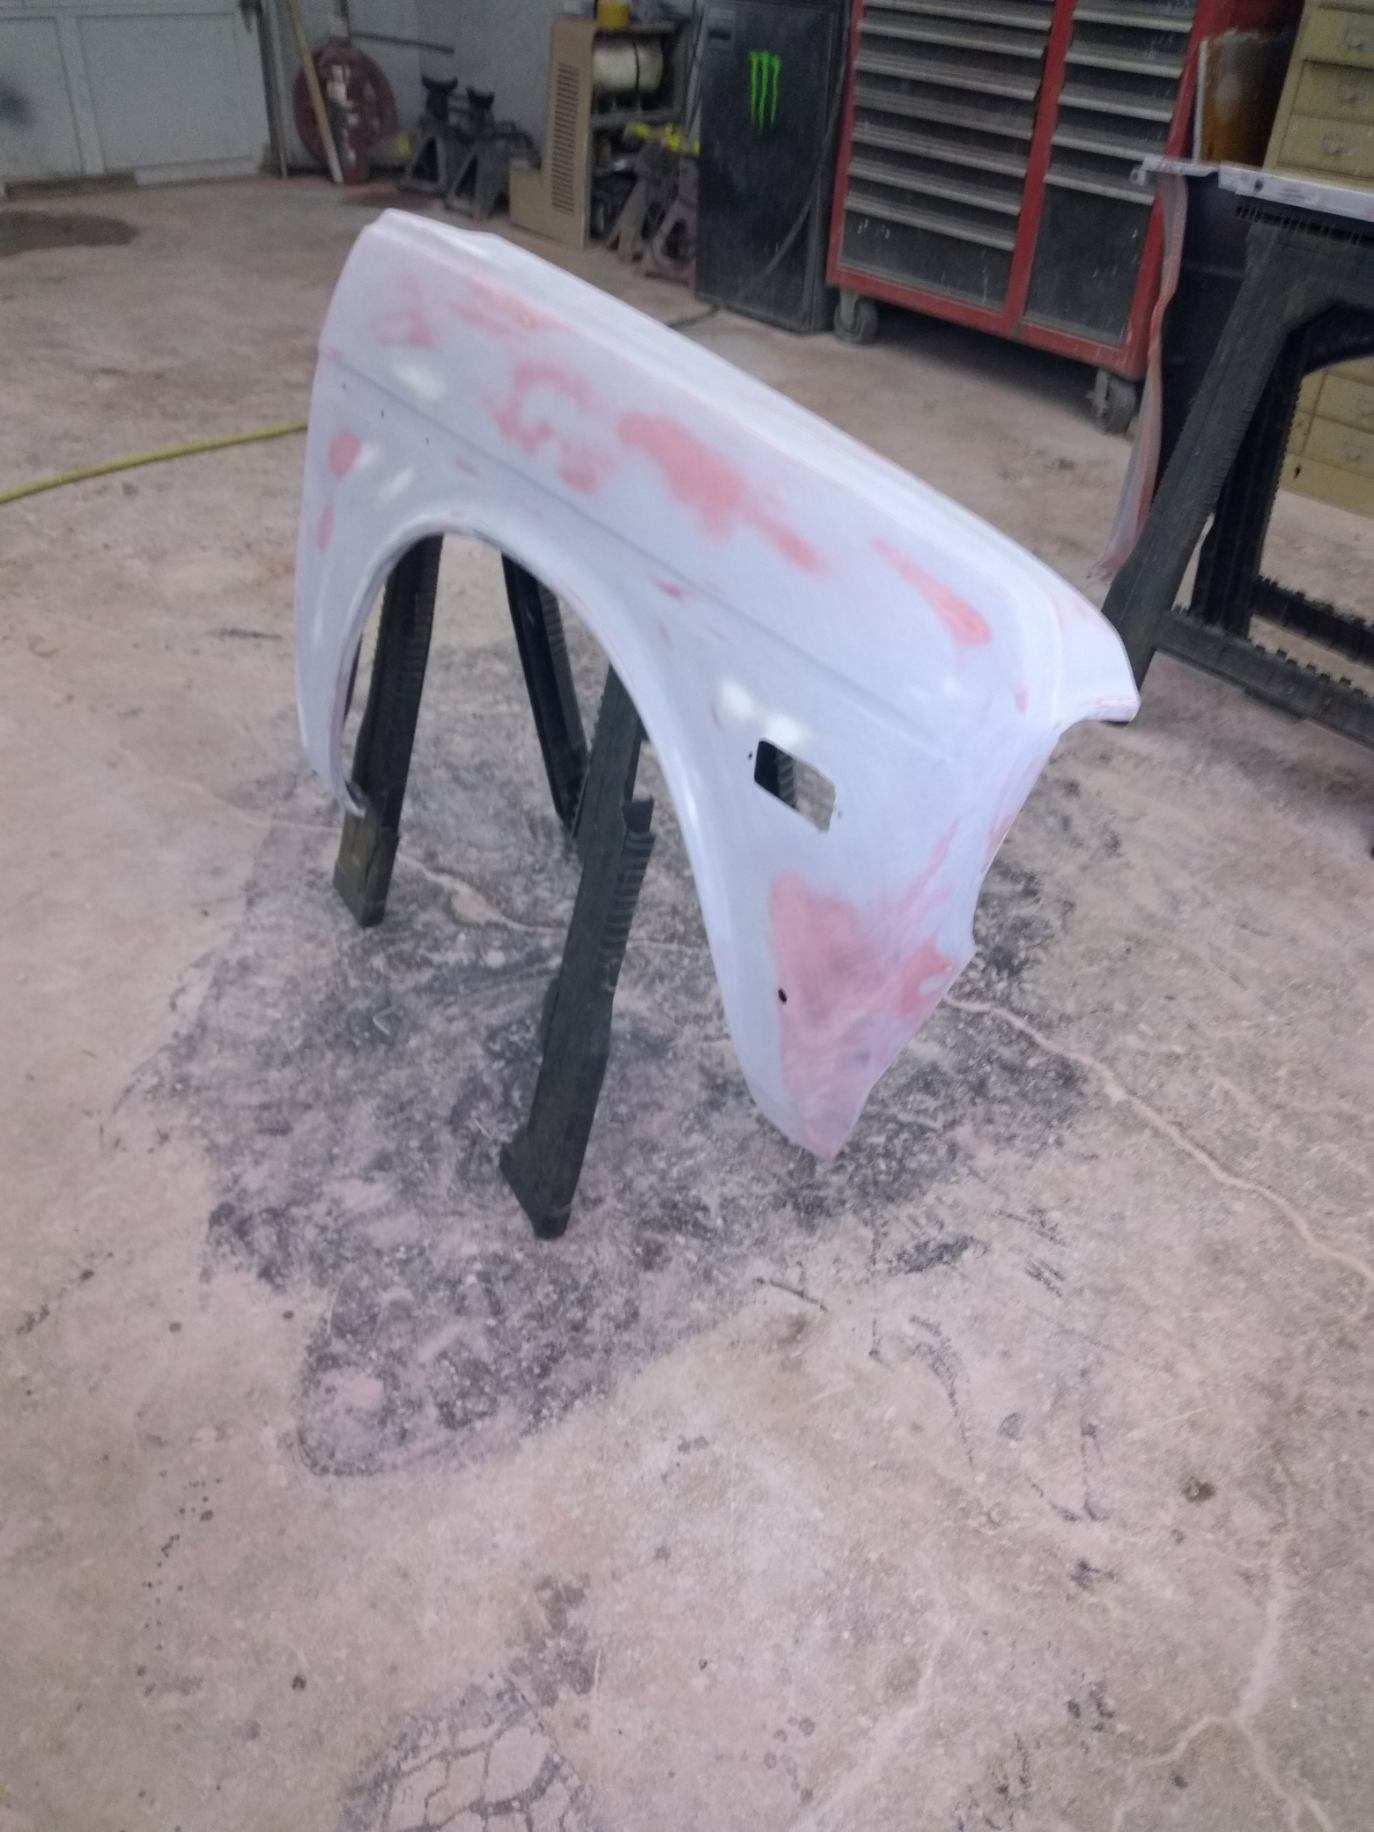
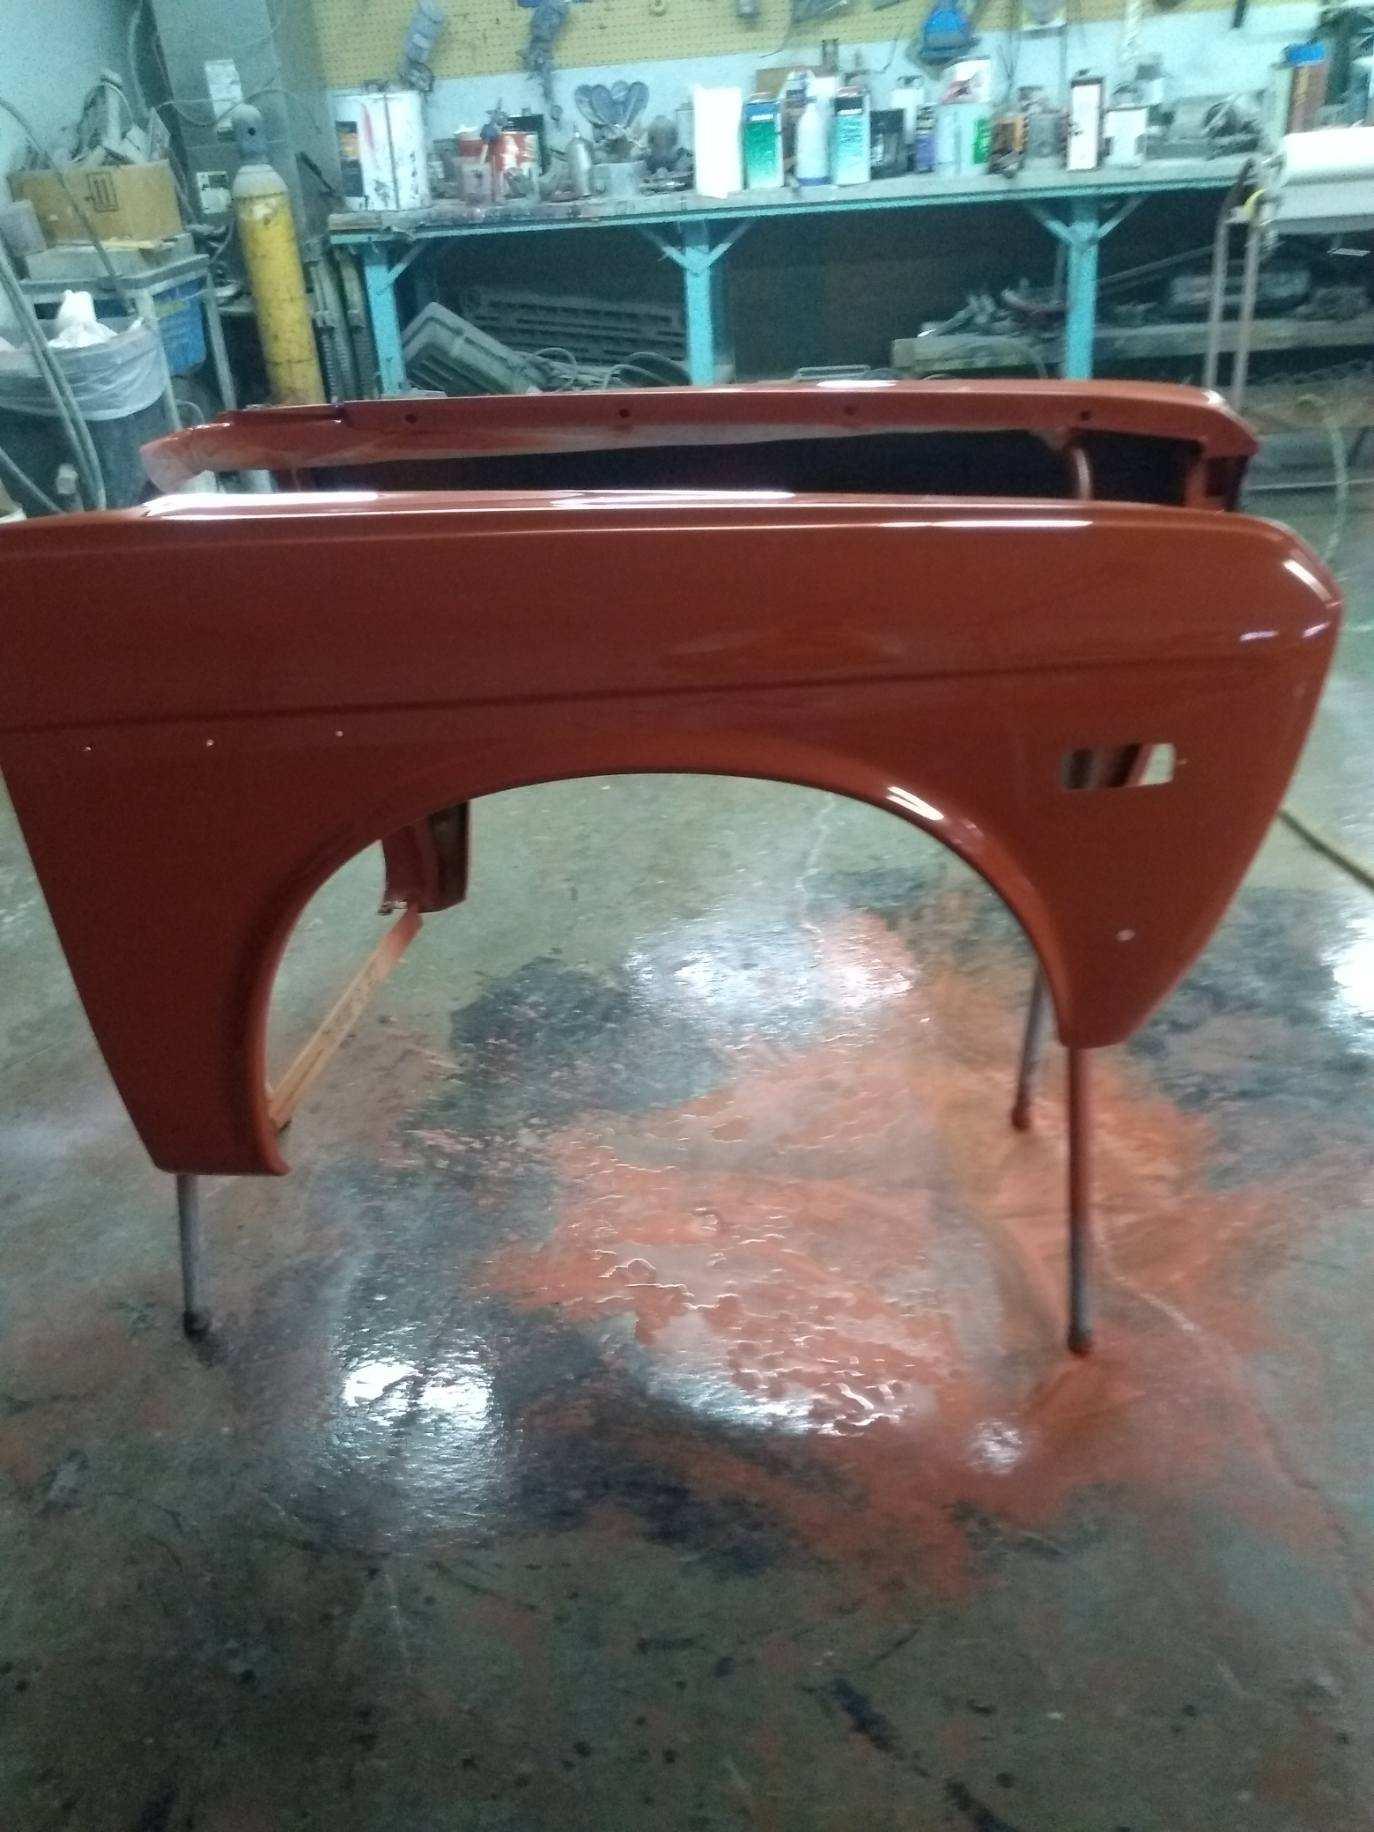
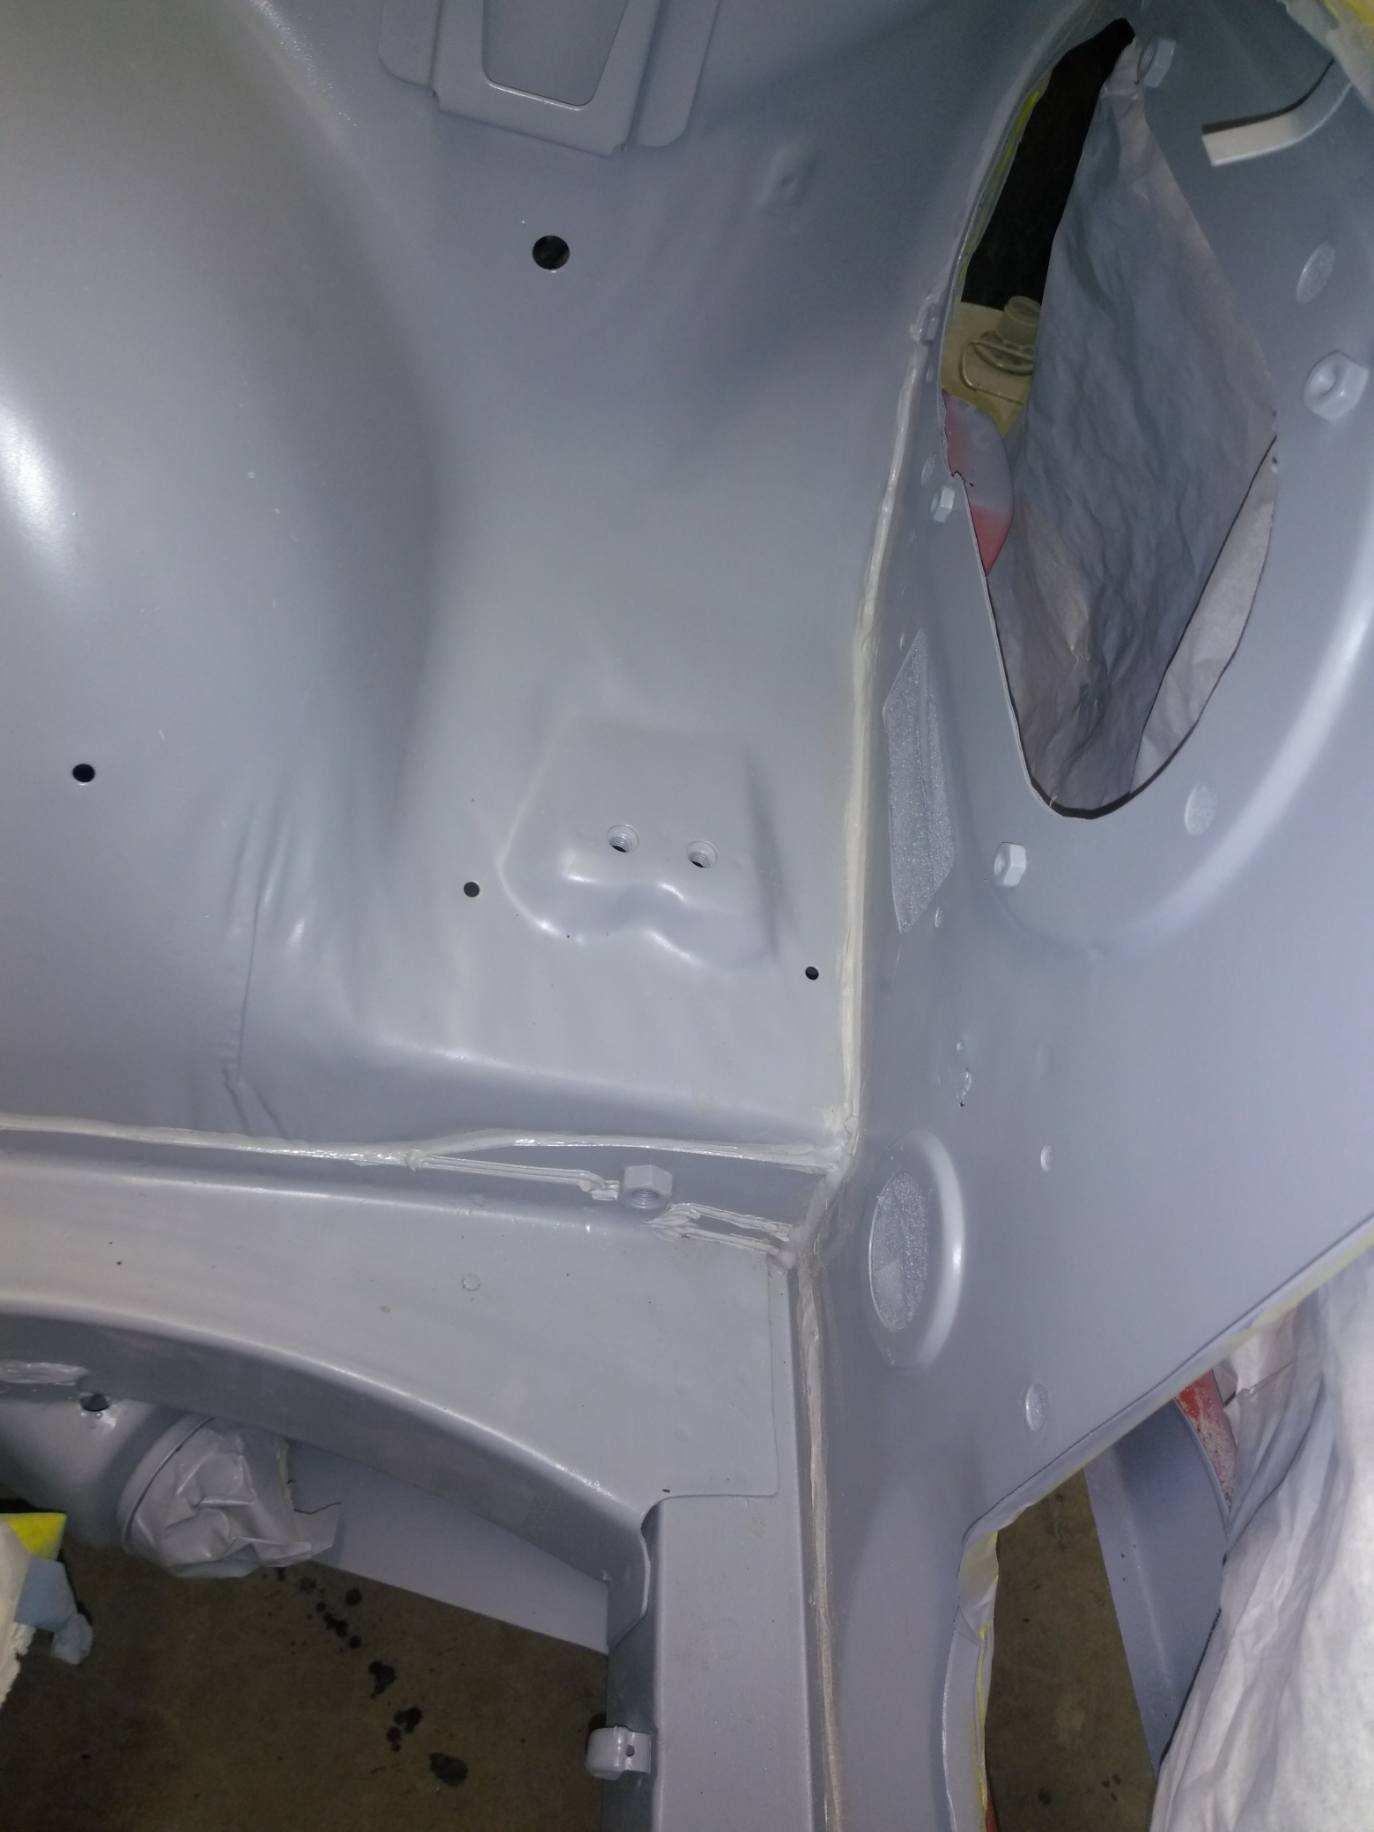
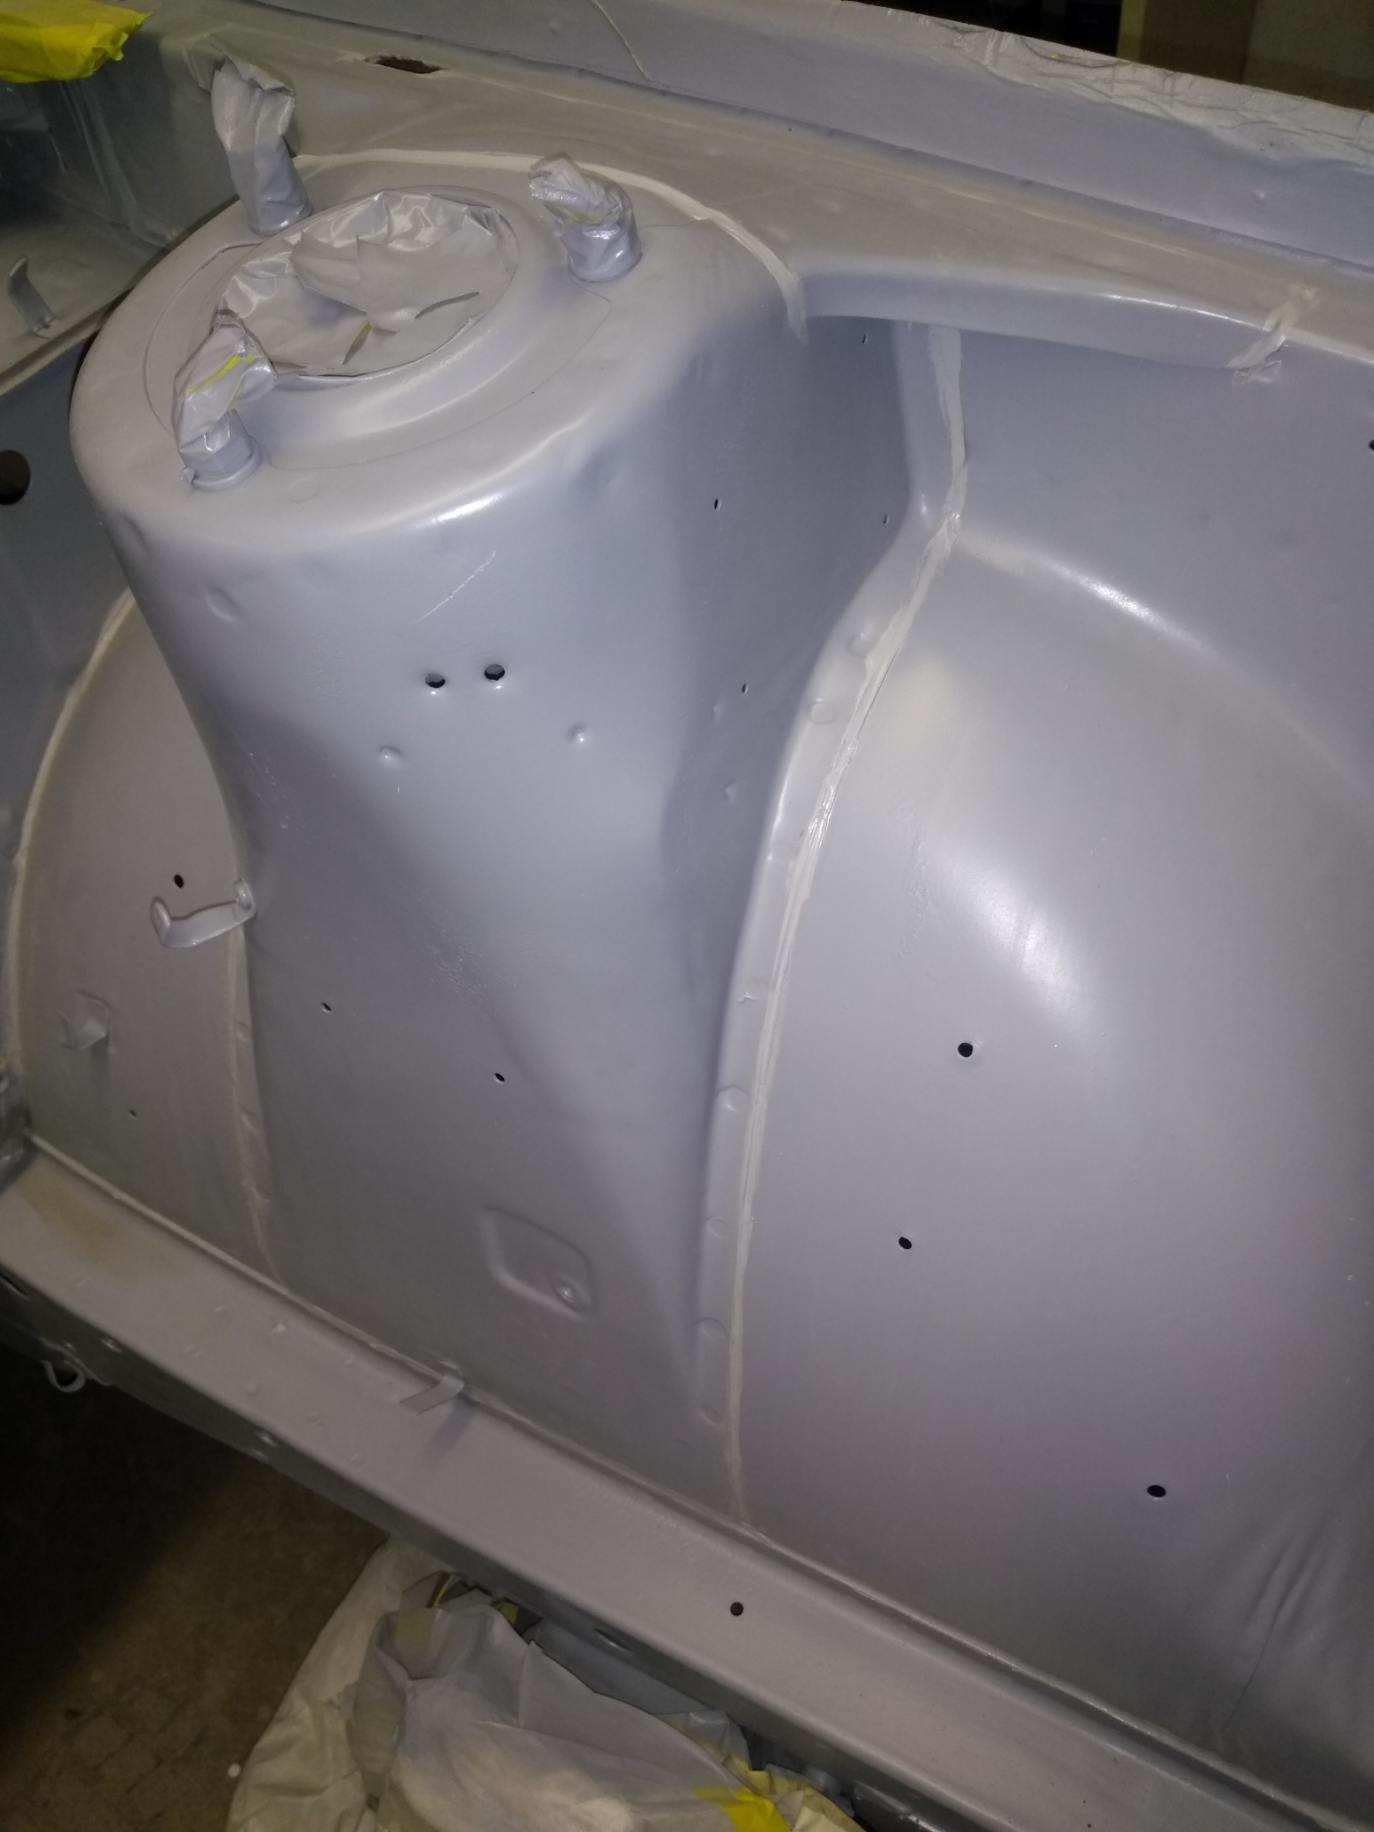
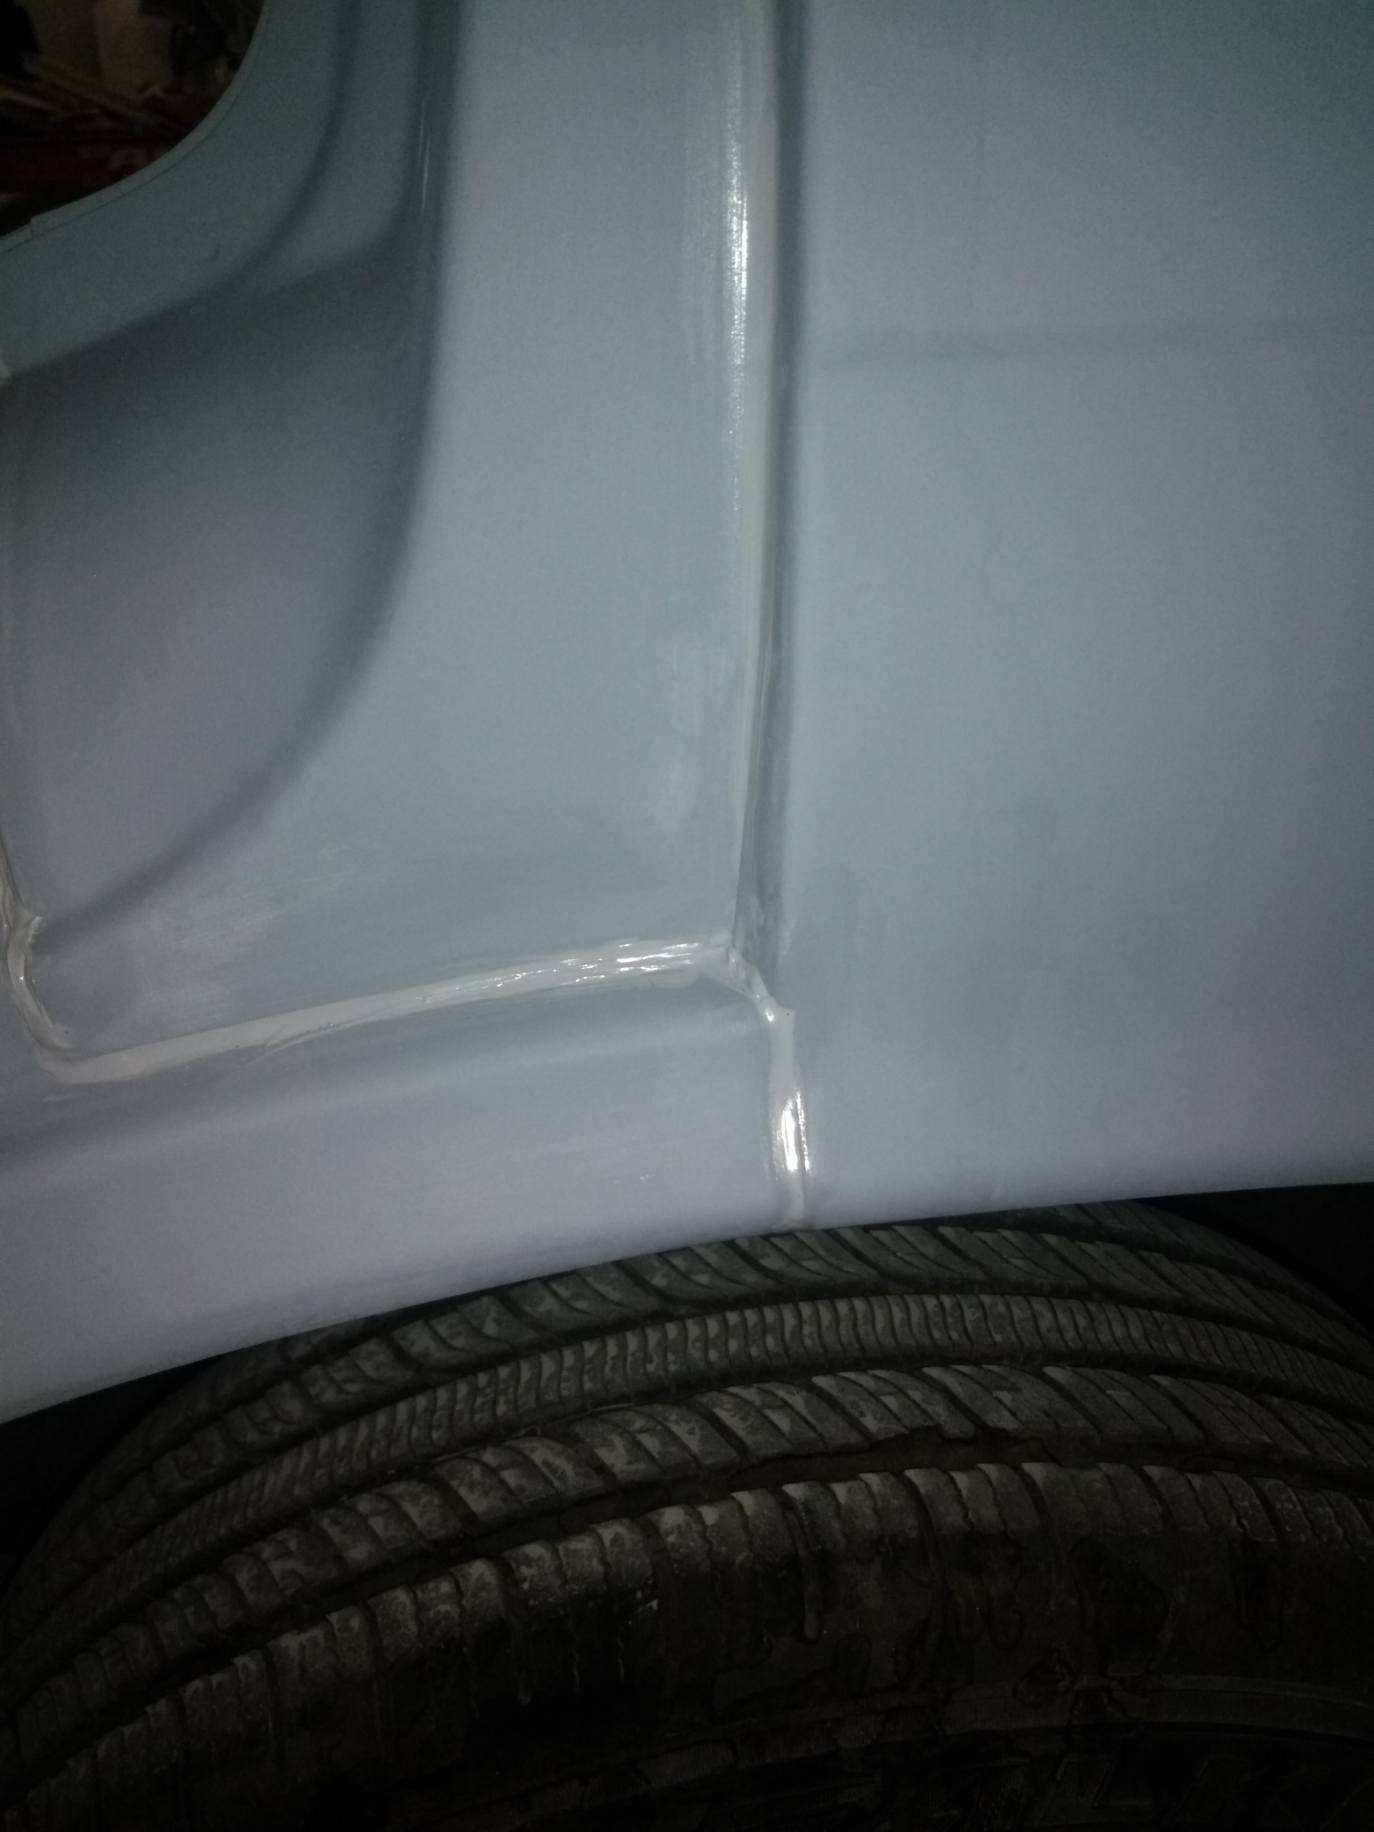
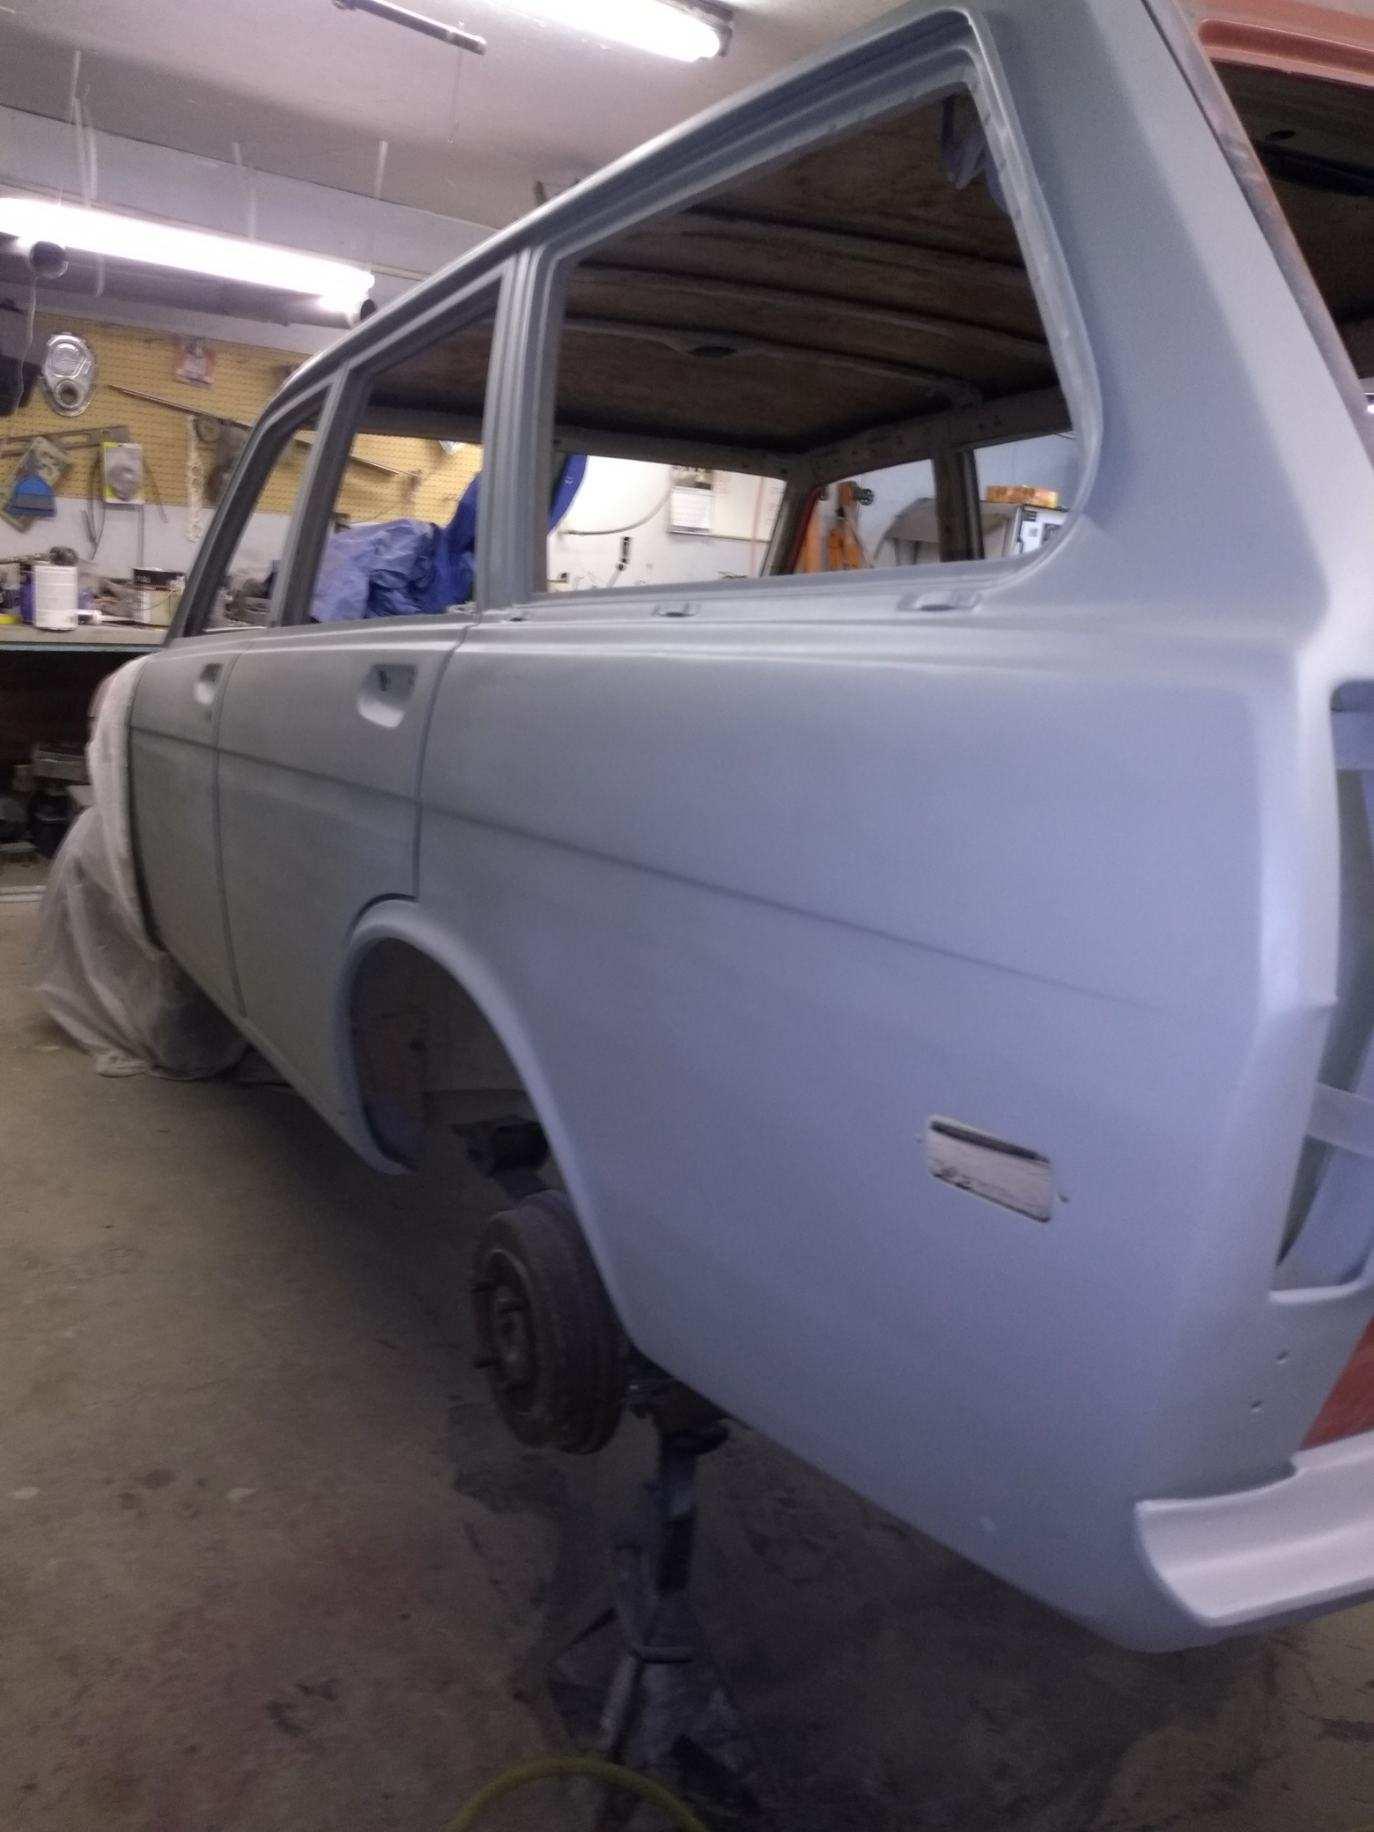
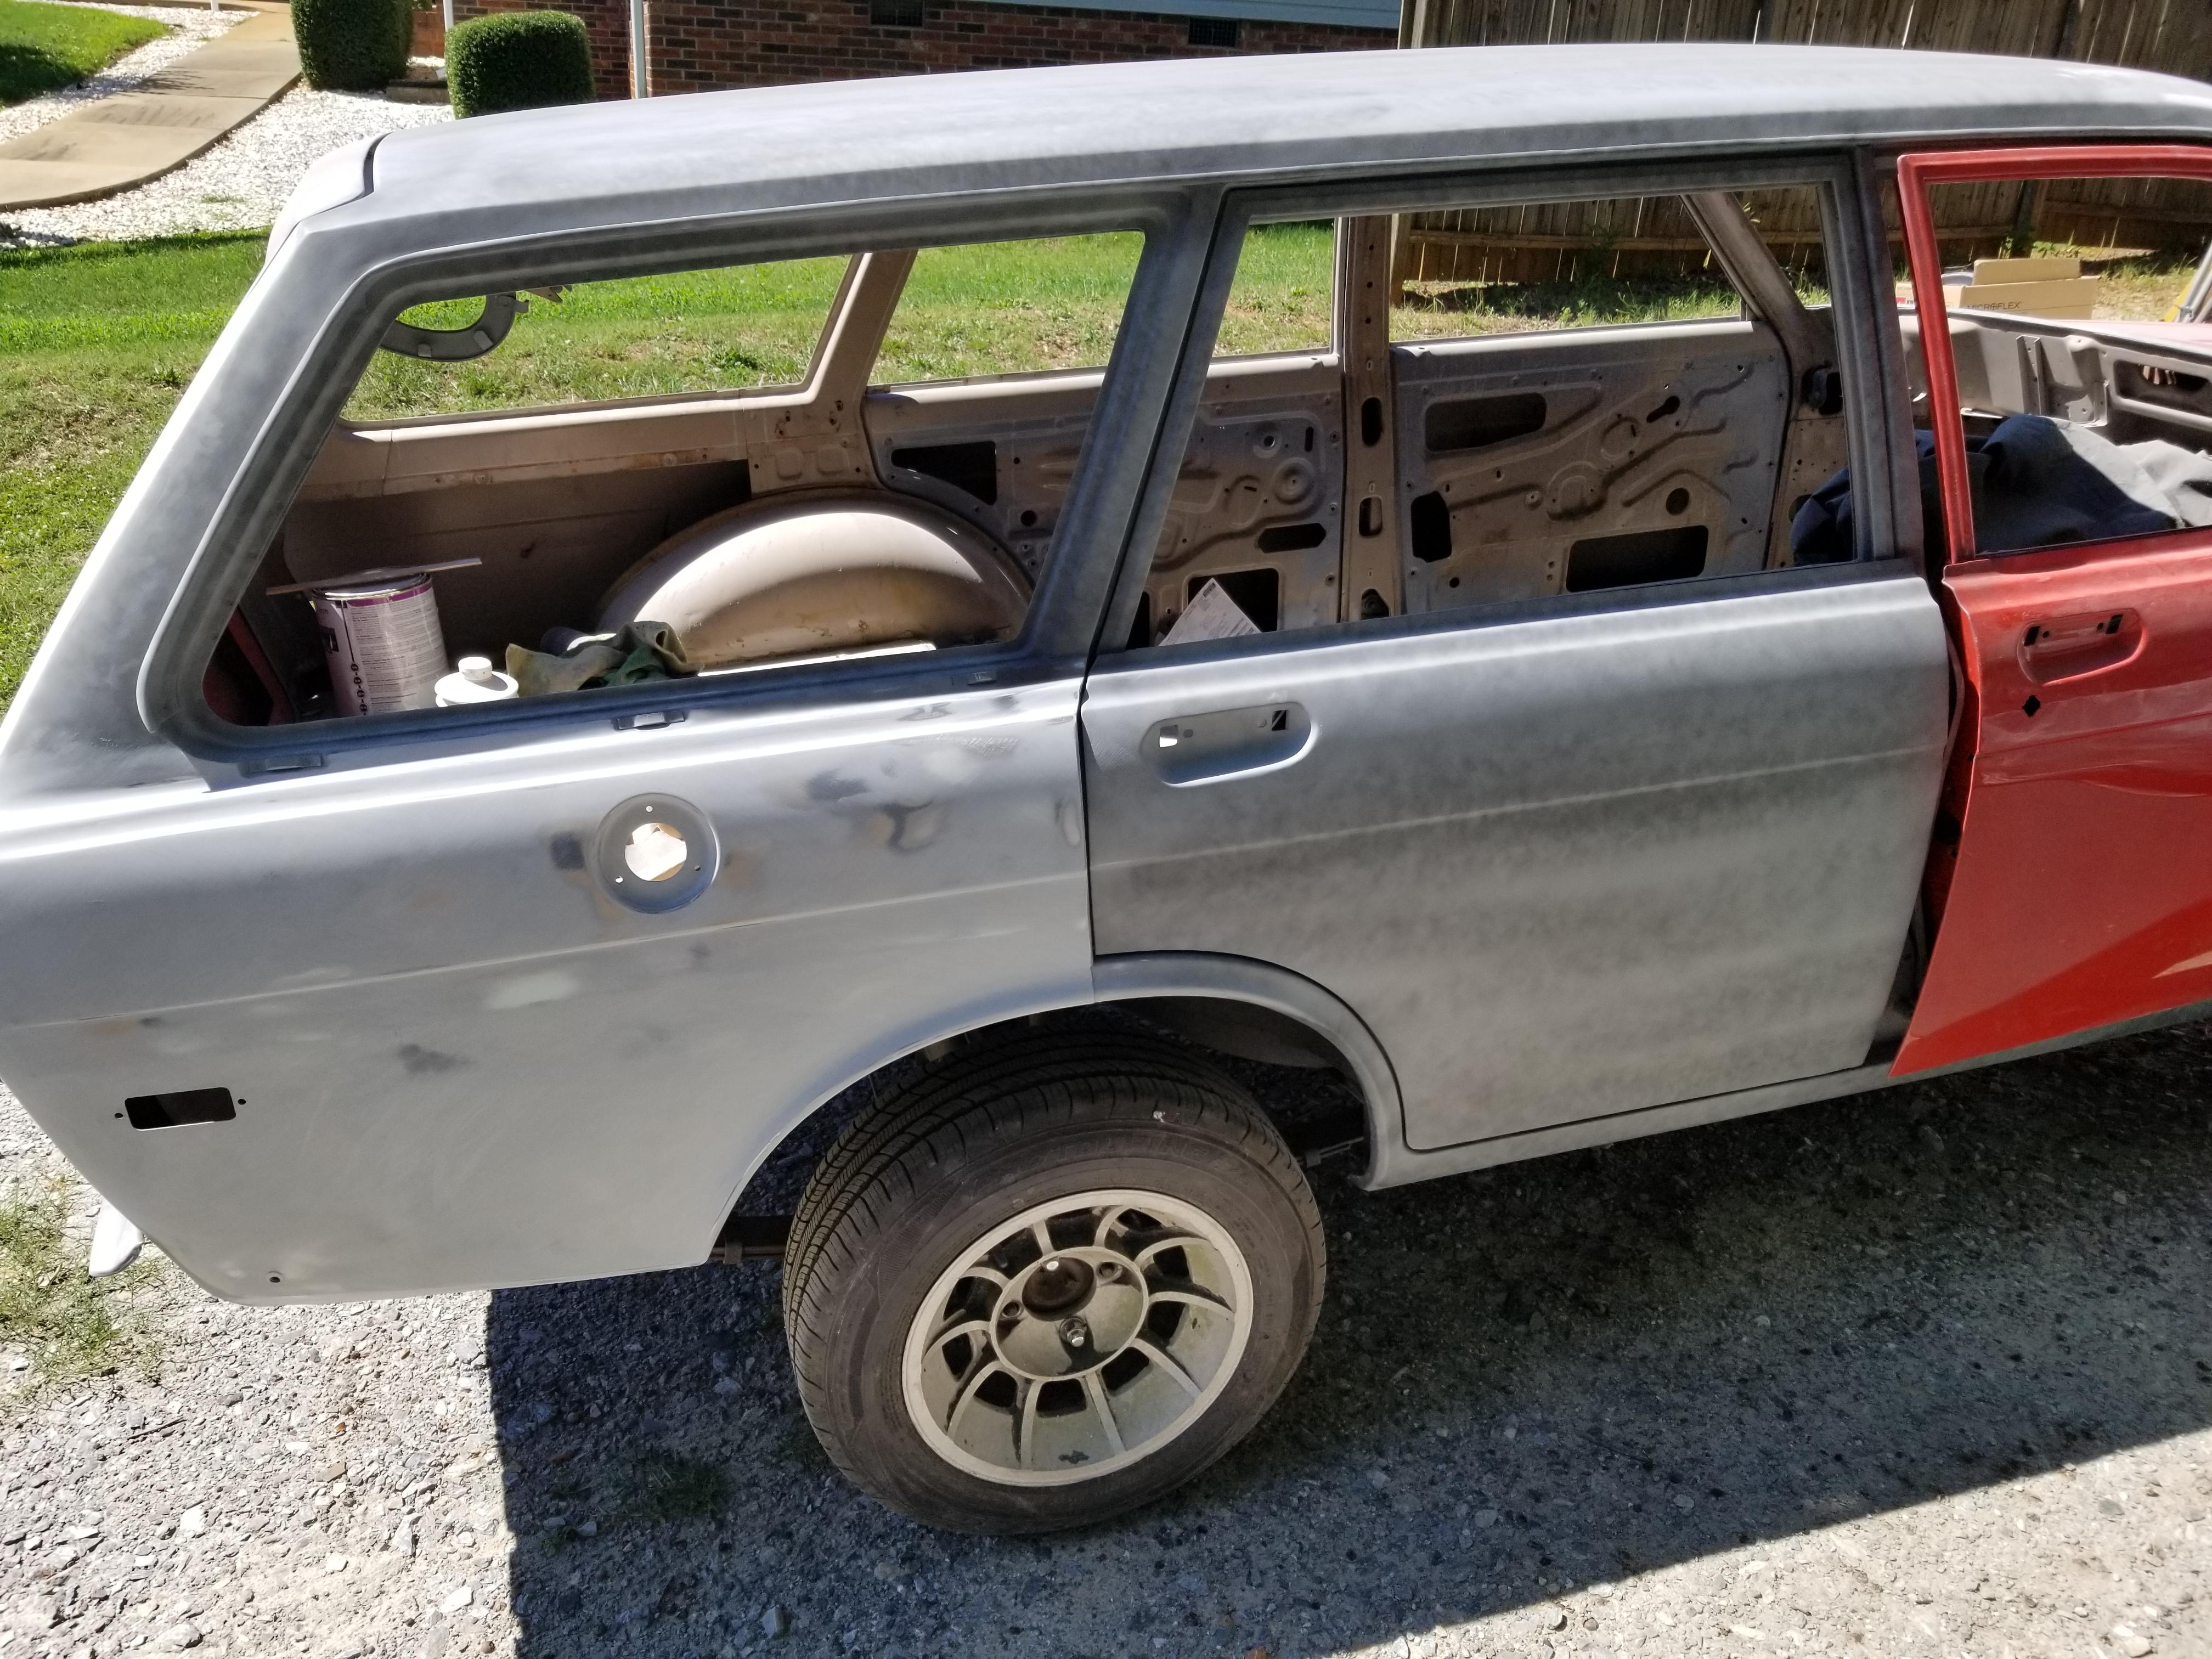
1 pointSo now that the fenders are epoxy primed, I am coating the insides with truck bed liner to give them a rubbery water proof finish. This should protect them from rock chips etc and keep them in good shape.1 point
-
 That looks like new! I mearsured from the roof of the lid down 23mm and made my line on the small jar. Then when my fuel leveled out at that line I considered that right. Put it all back together and it runs better than ever. My clear pre fuel filter filter stays completely full now as before it was always filling itself at idle that I could watch in my garage. There's another popular way but I haven't tried it. I think it would be easy for you now that you have yours apart somewhat. Google "fuel level 10 turns down classiczcars.com". Here's the jar I used, figuratively. Close anyway. You might take the opportunity now to, fuel resistant RTV, "glue" the cork gaskets to the lids. I'm using my phone now but can try and clarify this post better Saturday. Waiting to be seated, patiently...
 1 point
 -
 1 point
 -
1 pointHopefully it's good, but I just can't picture him as a convincing Carroll Shelby since he looks nothing like him. We are getting a private screening a few days before it comes out, so if it's crap, at least I won't waste any money.1 point
-
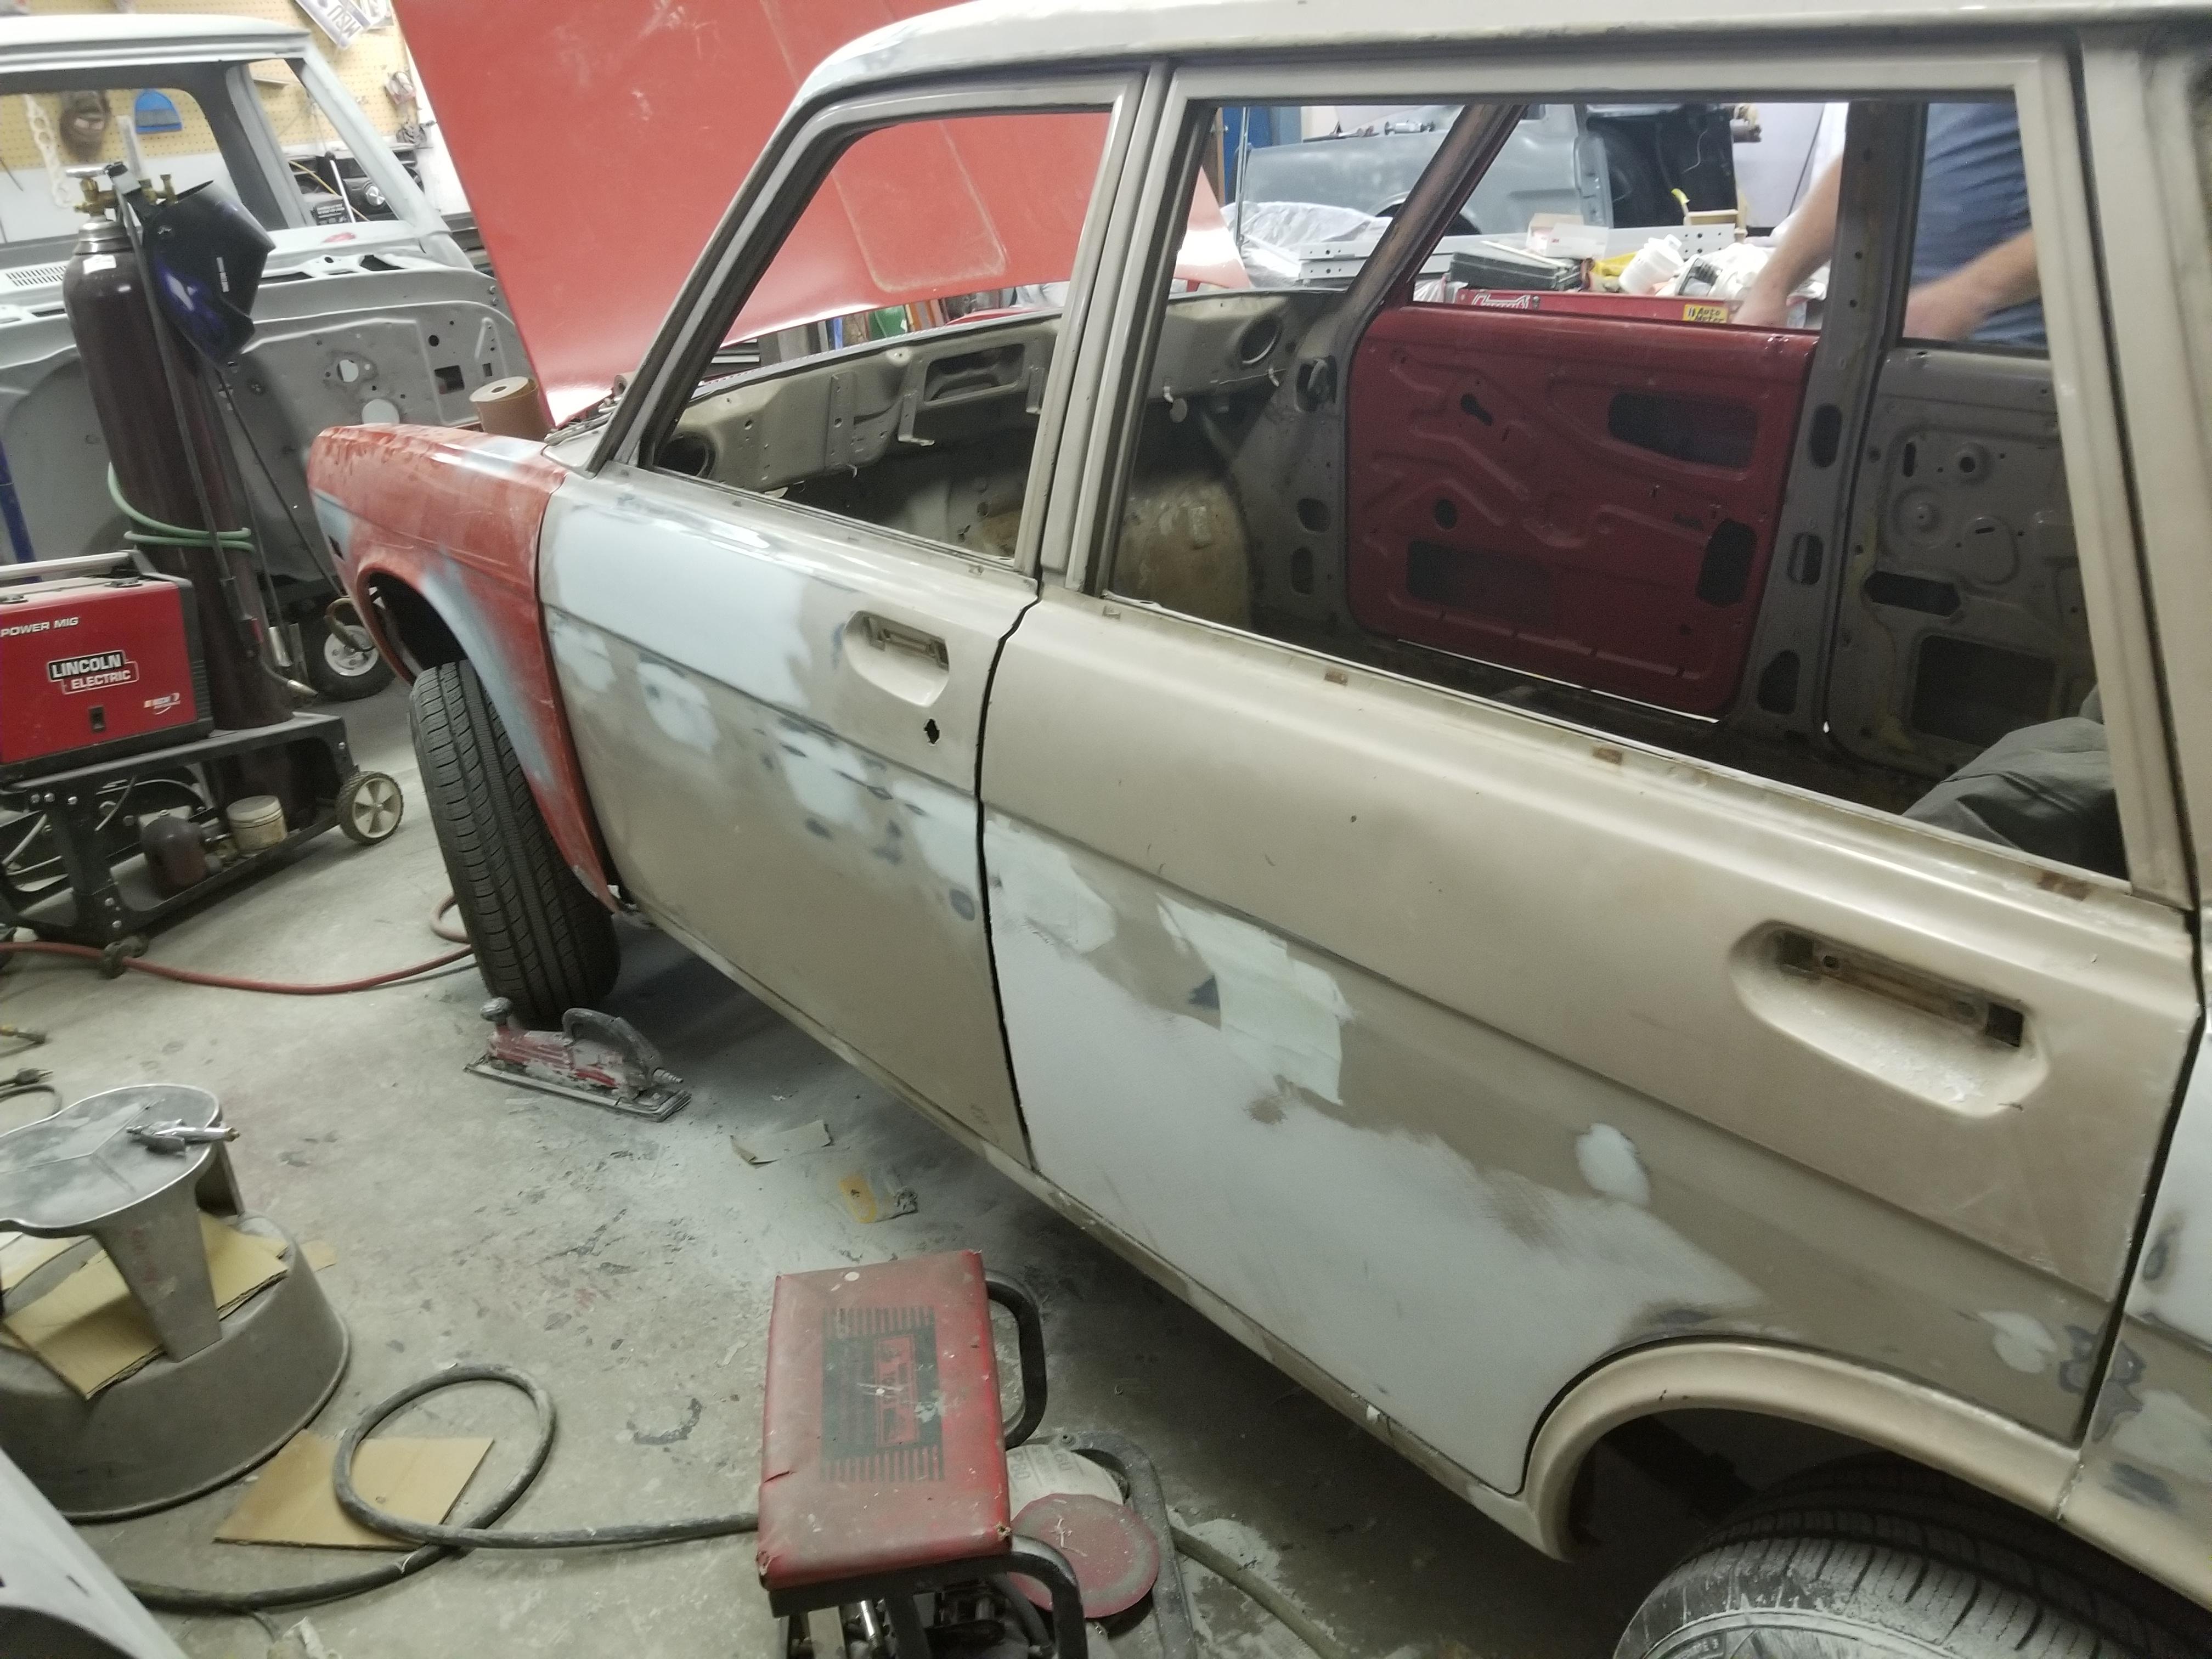
1 pointThis is my first car restoration project and I have taught myself everything so far. Welding, bodywork, painting, mechanical, electrical. Nothing is impossible if you have a good attitude and are willing to take the time to learn how to do things. Often, being a neophyte lets you tackle jobs others never want to do again... (spindle pins, coil overs!). Ignorance can be bliss!1 point
-
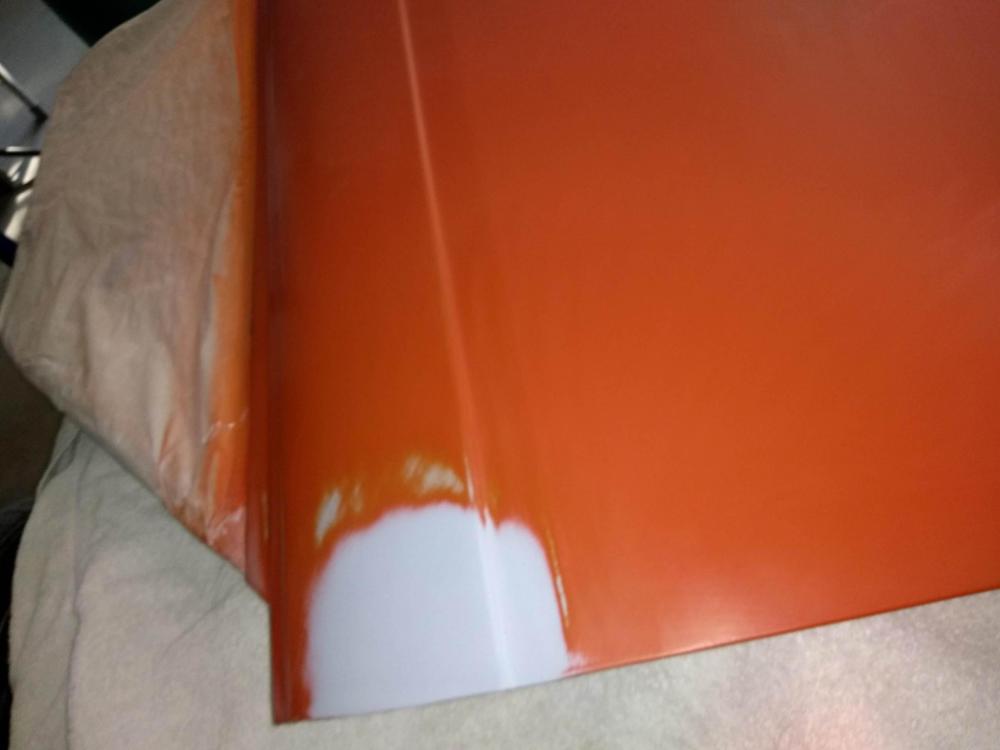
1 pointHe started buffing this week He says it looks like an "orange mirror" We will see if Cody can get it running before Zcon 2020
 1 point
 -
1 point1 point
1 pointSo he paints in a 2 car garage, where he also does filler and metal work with just a window fan for ventilation He wets the floor down but that's it and I swear he has way less trash in his paint than I do in my plastic booth!! .


 1 point
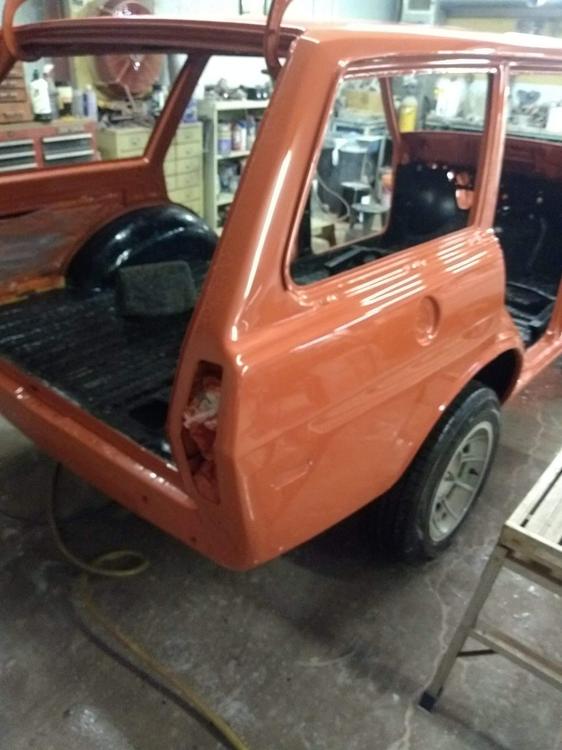
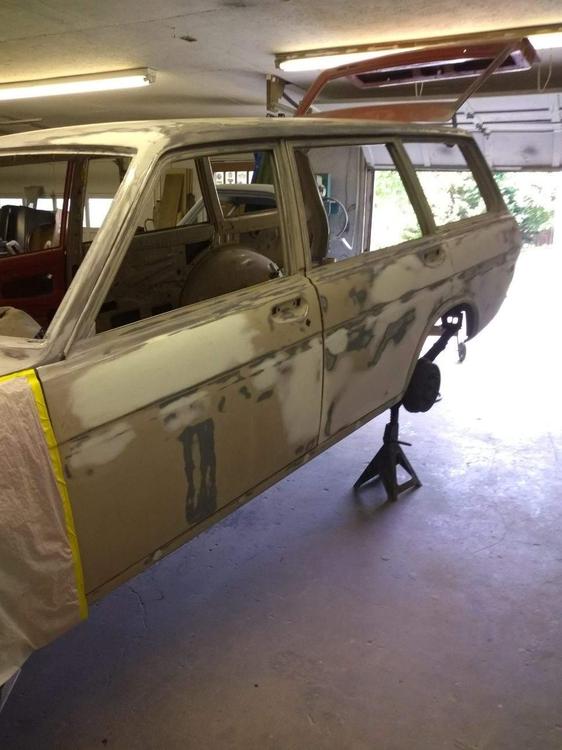
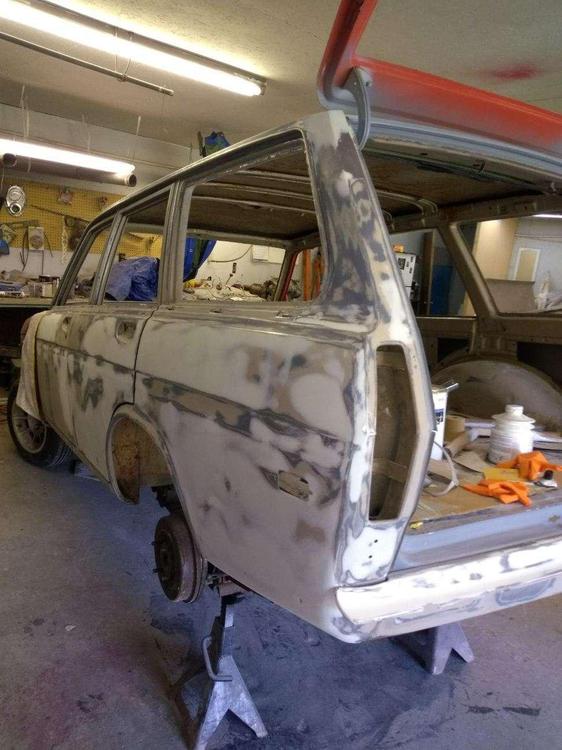
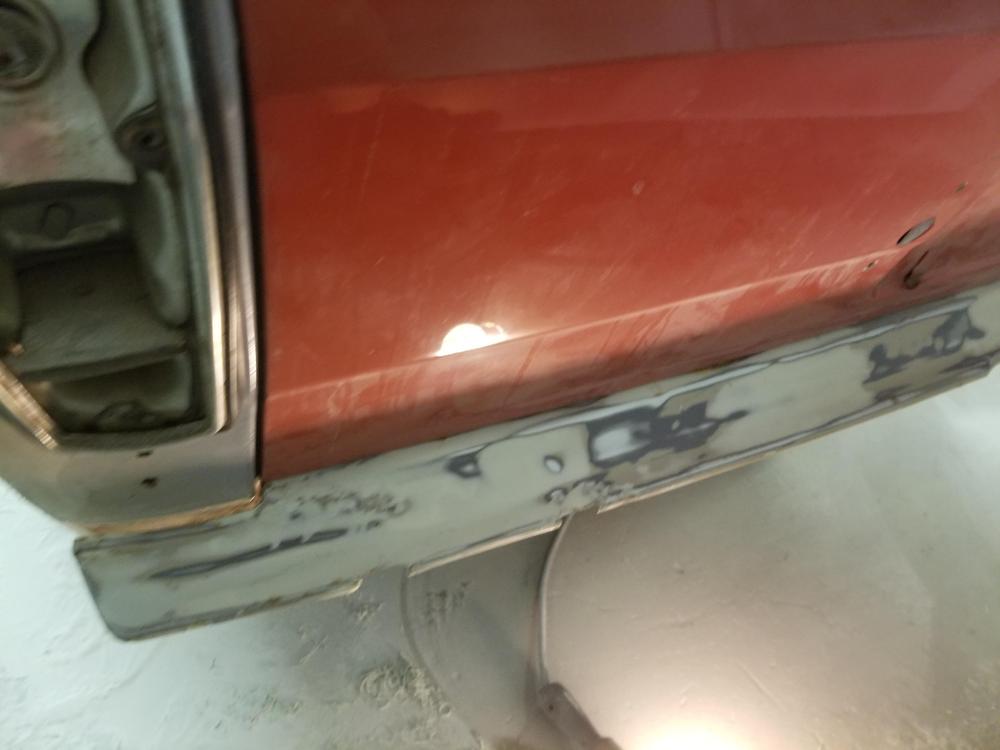
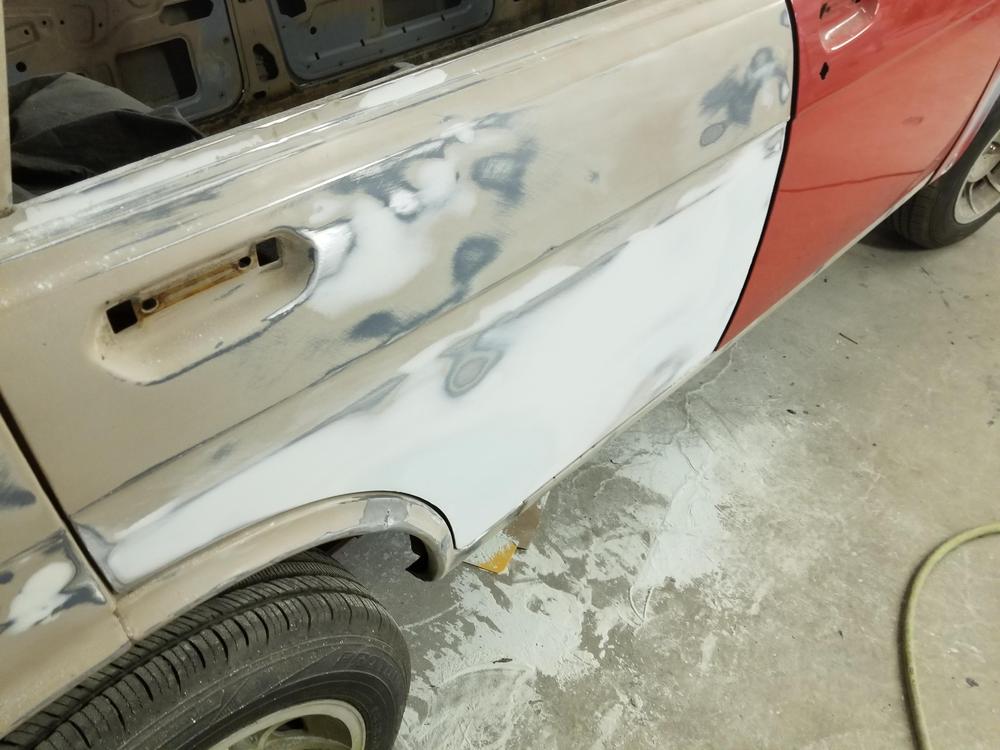
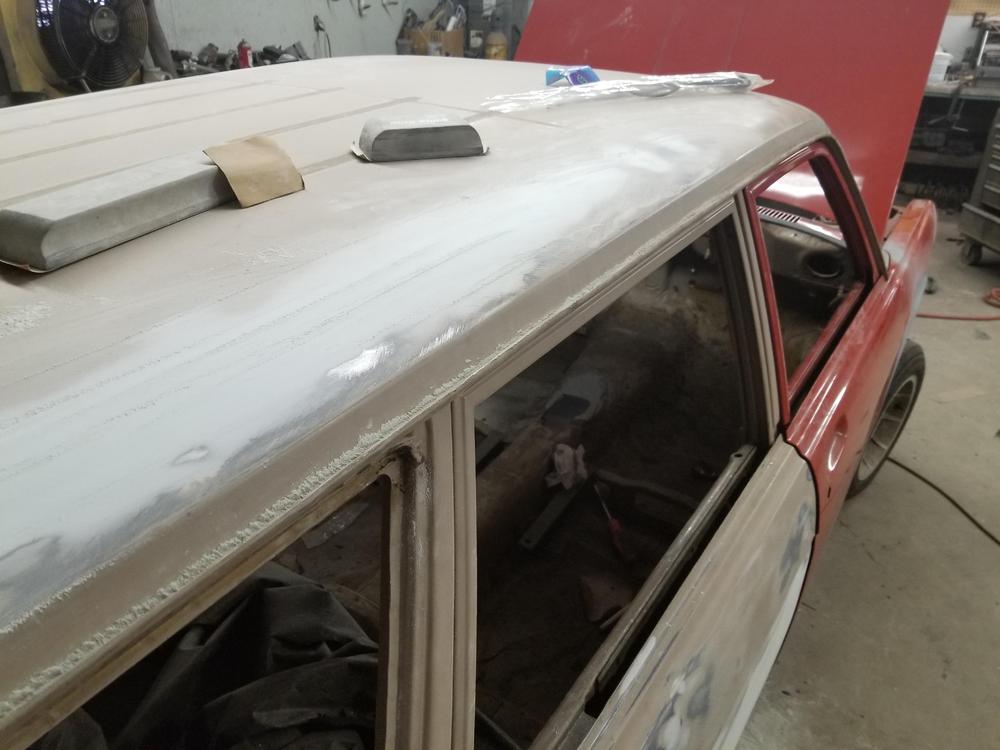
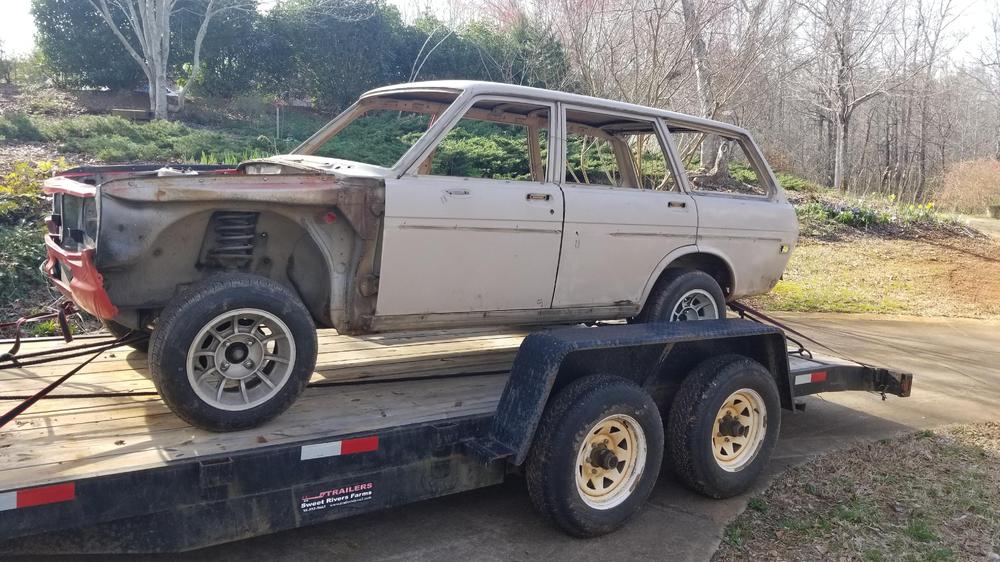
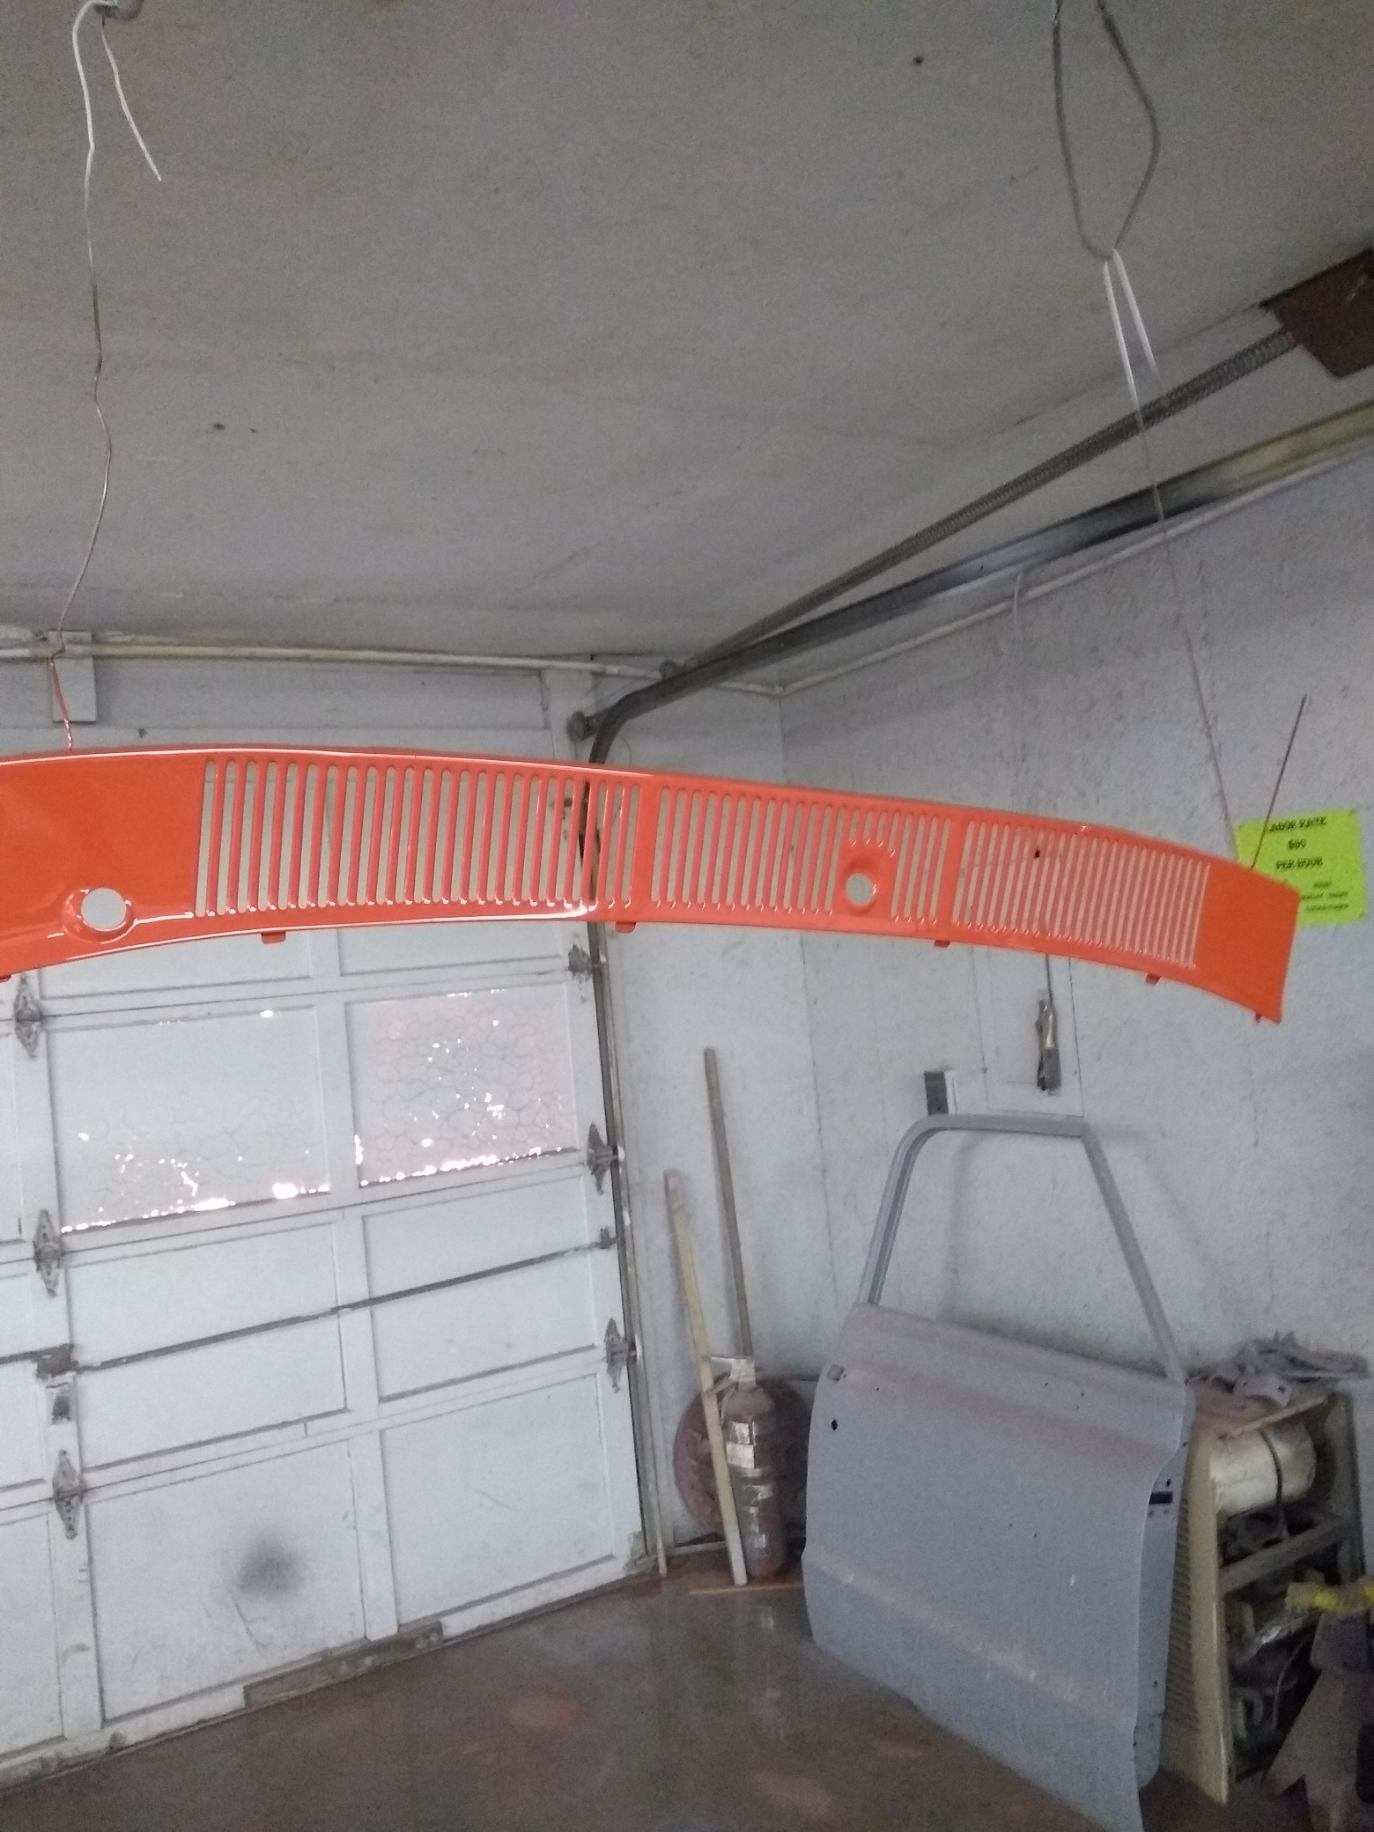
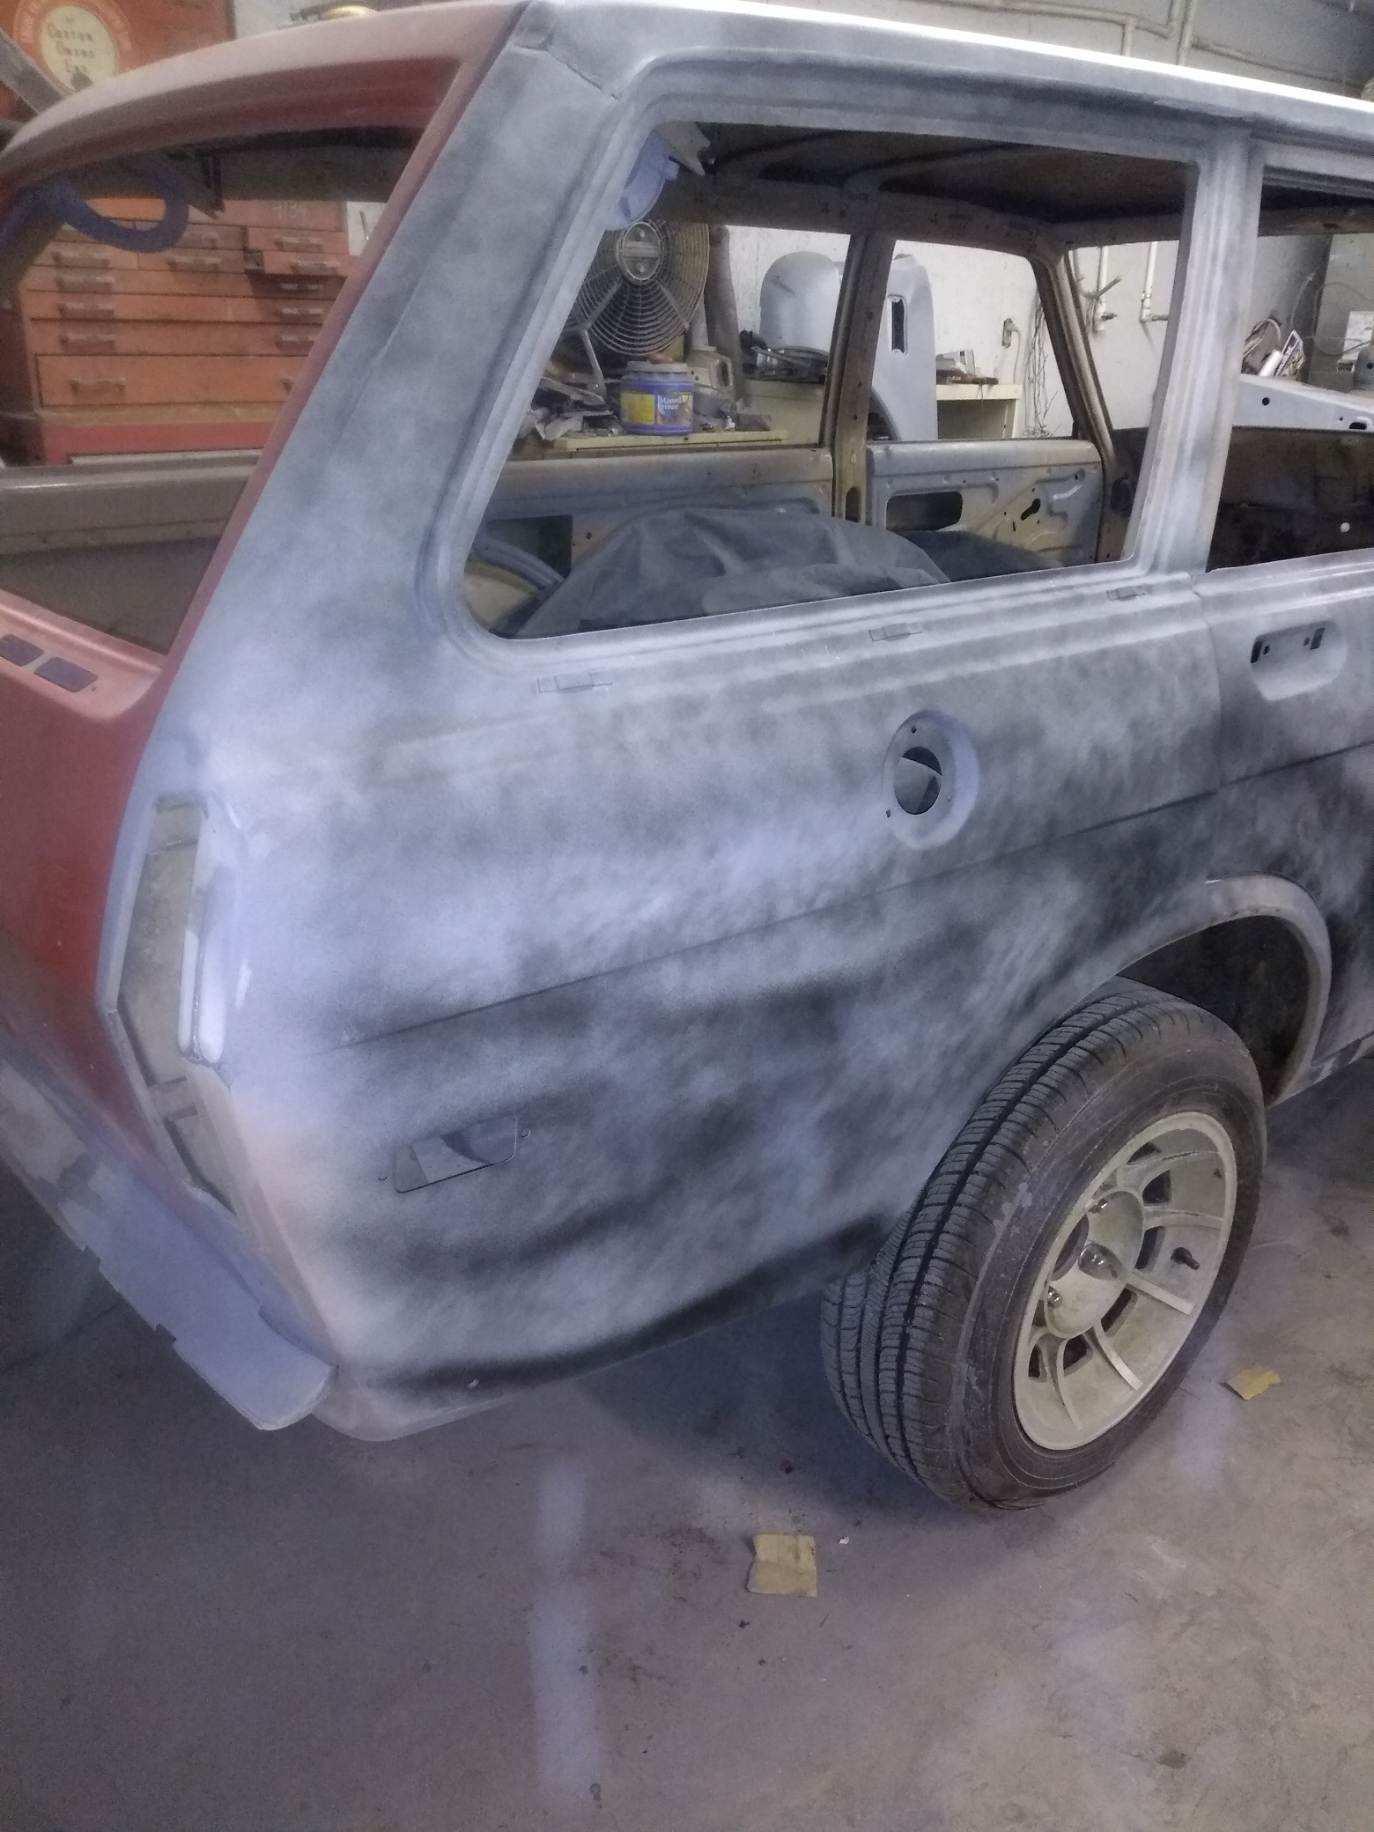
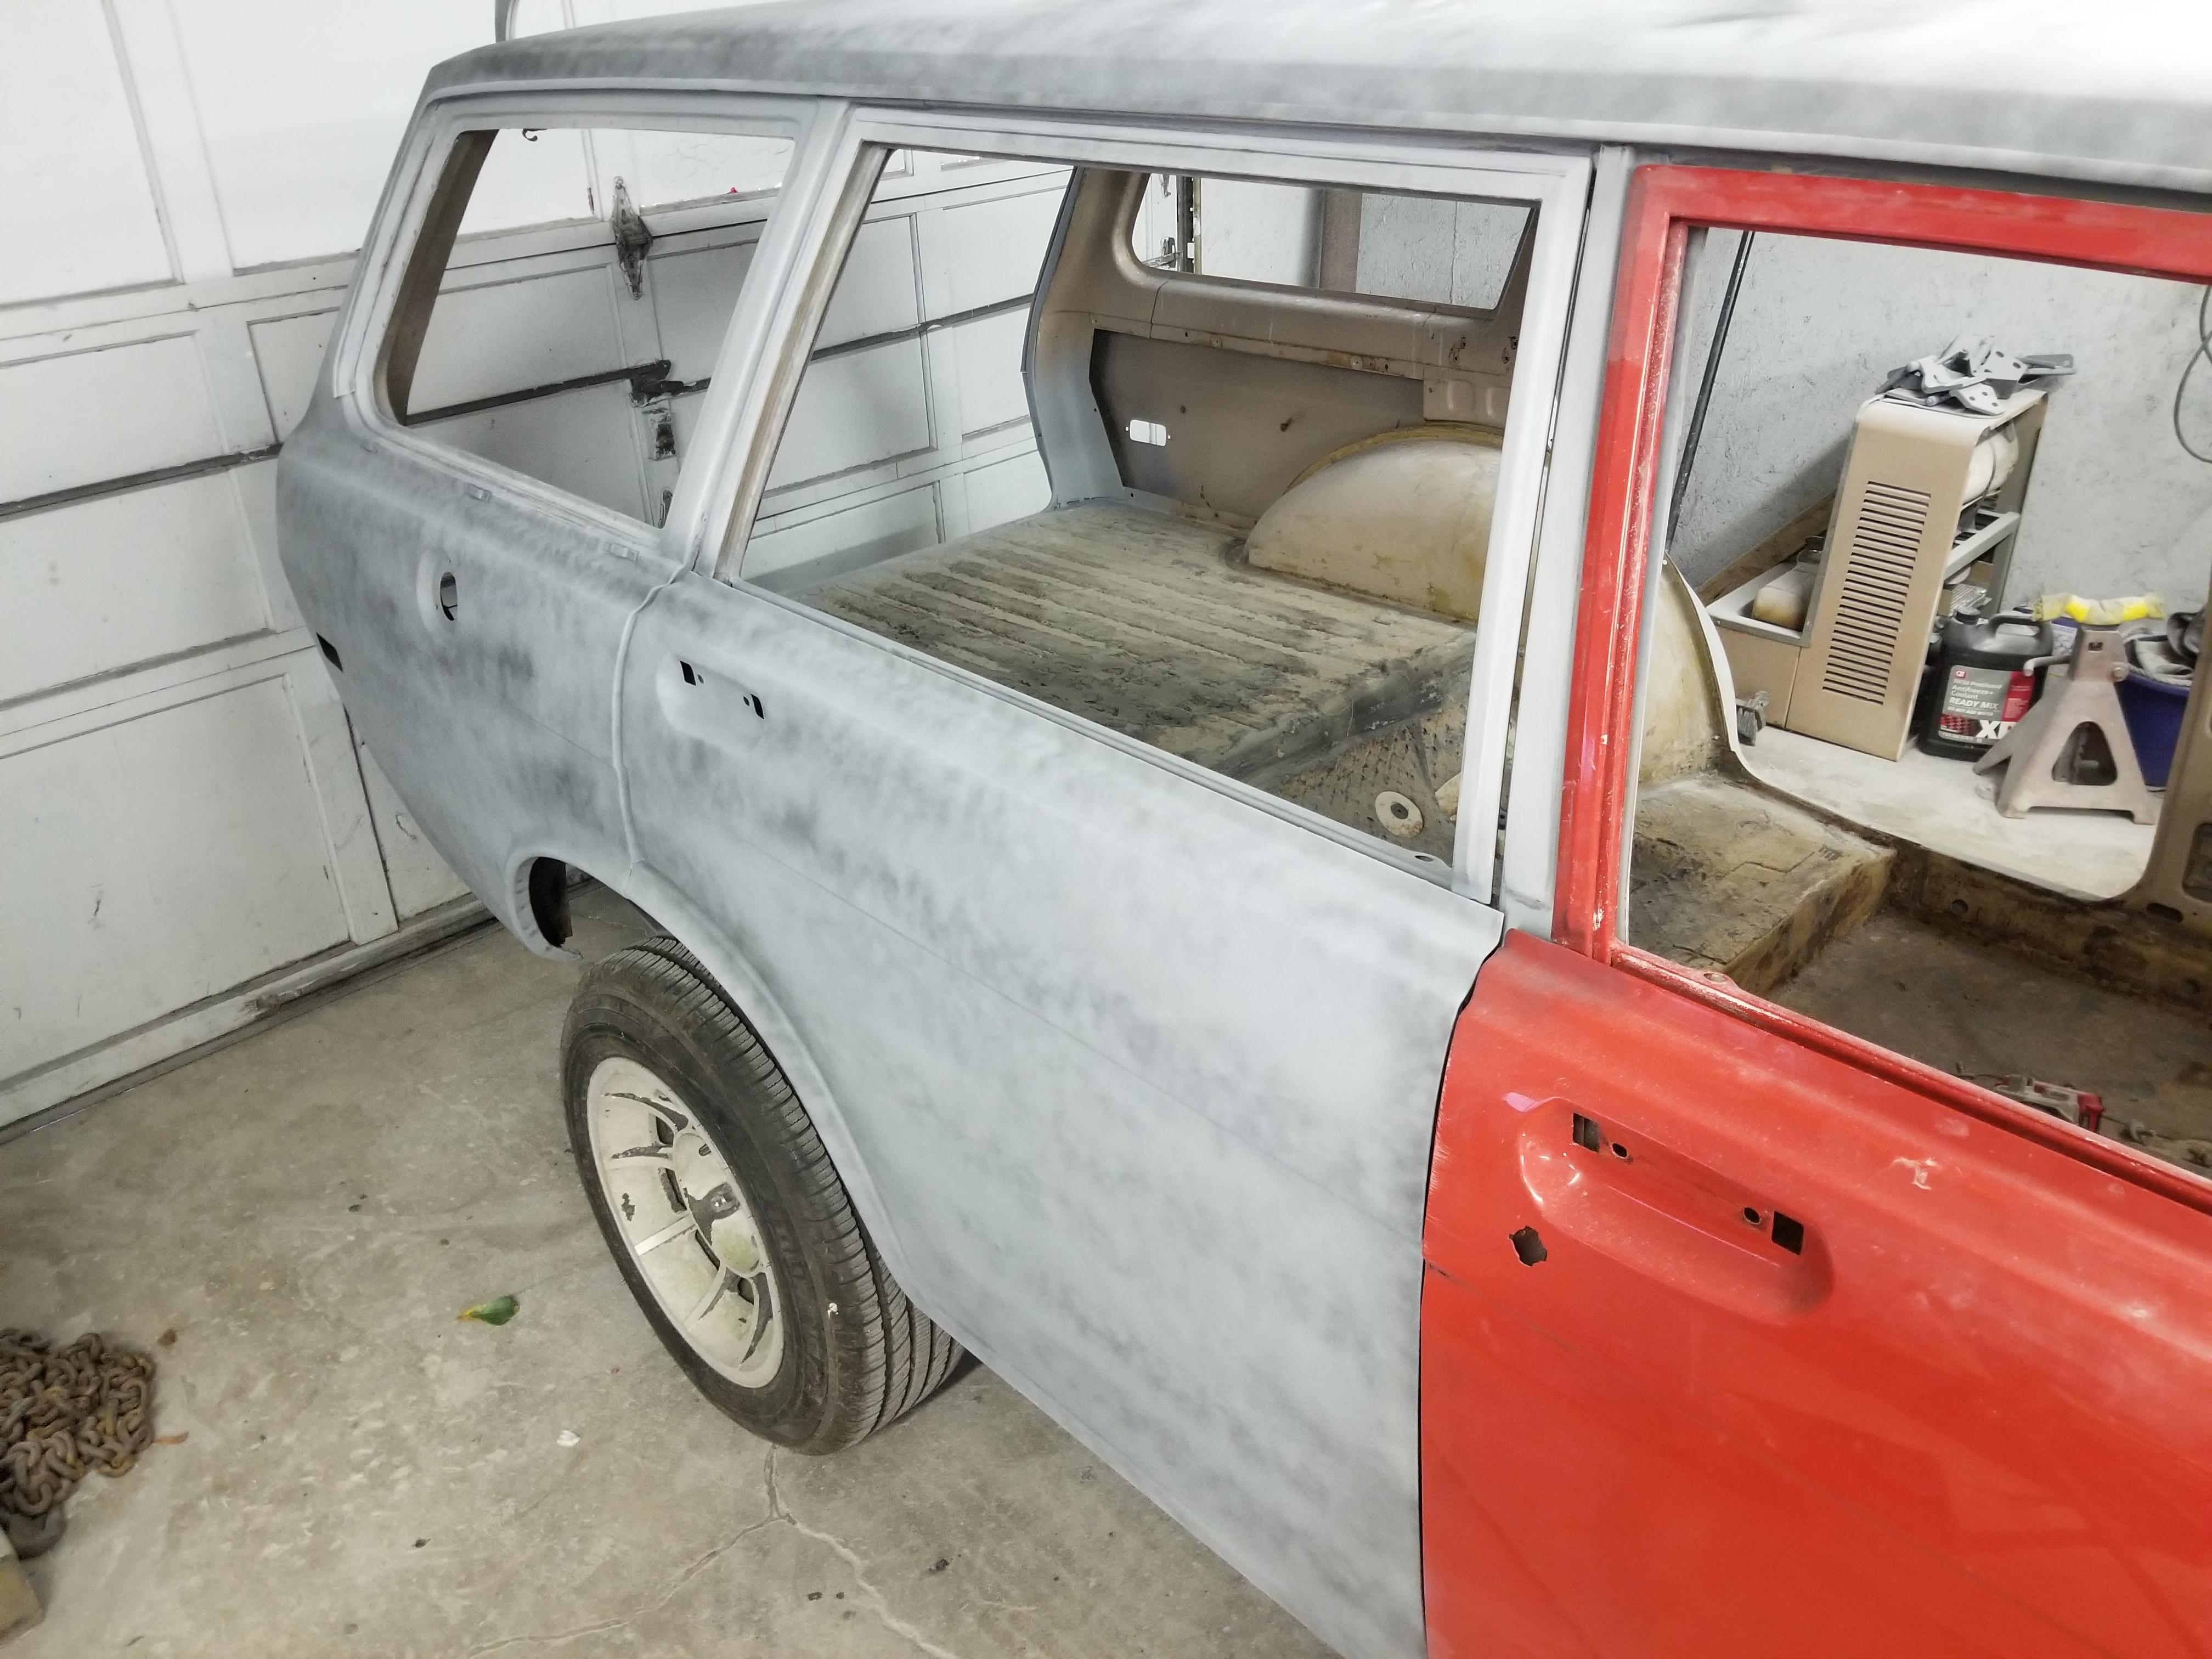
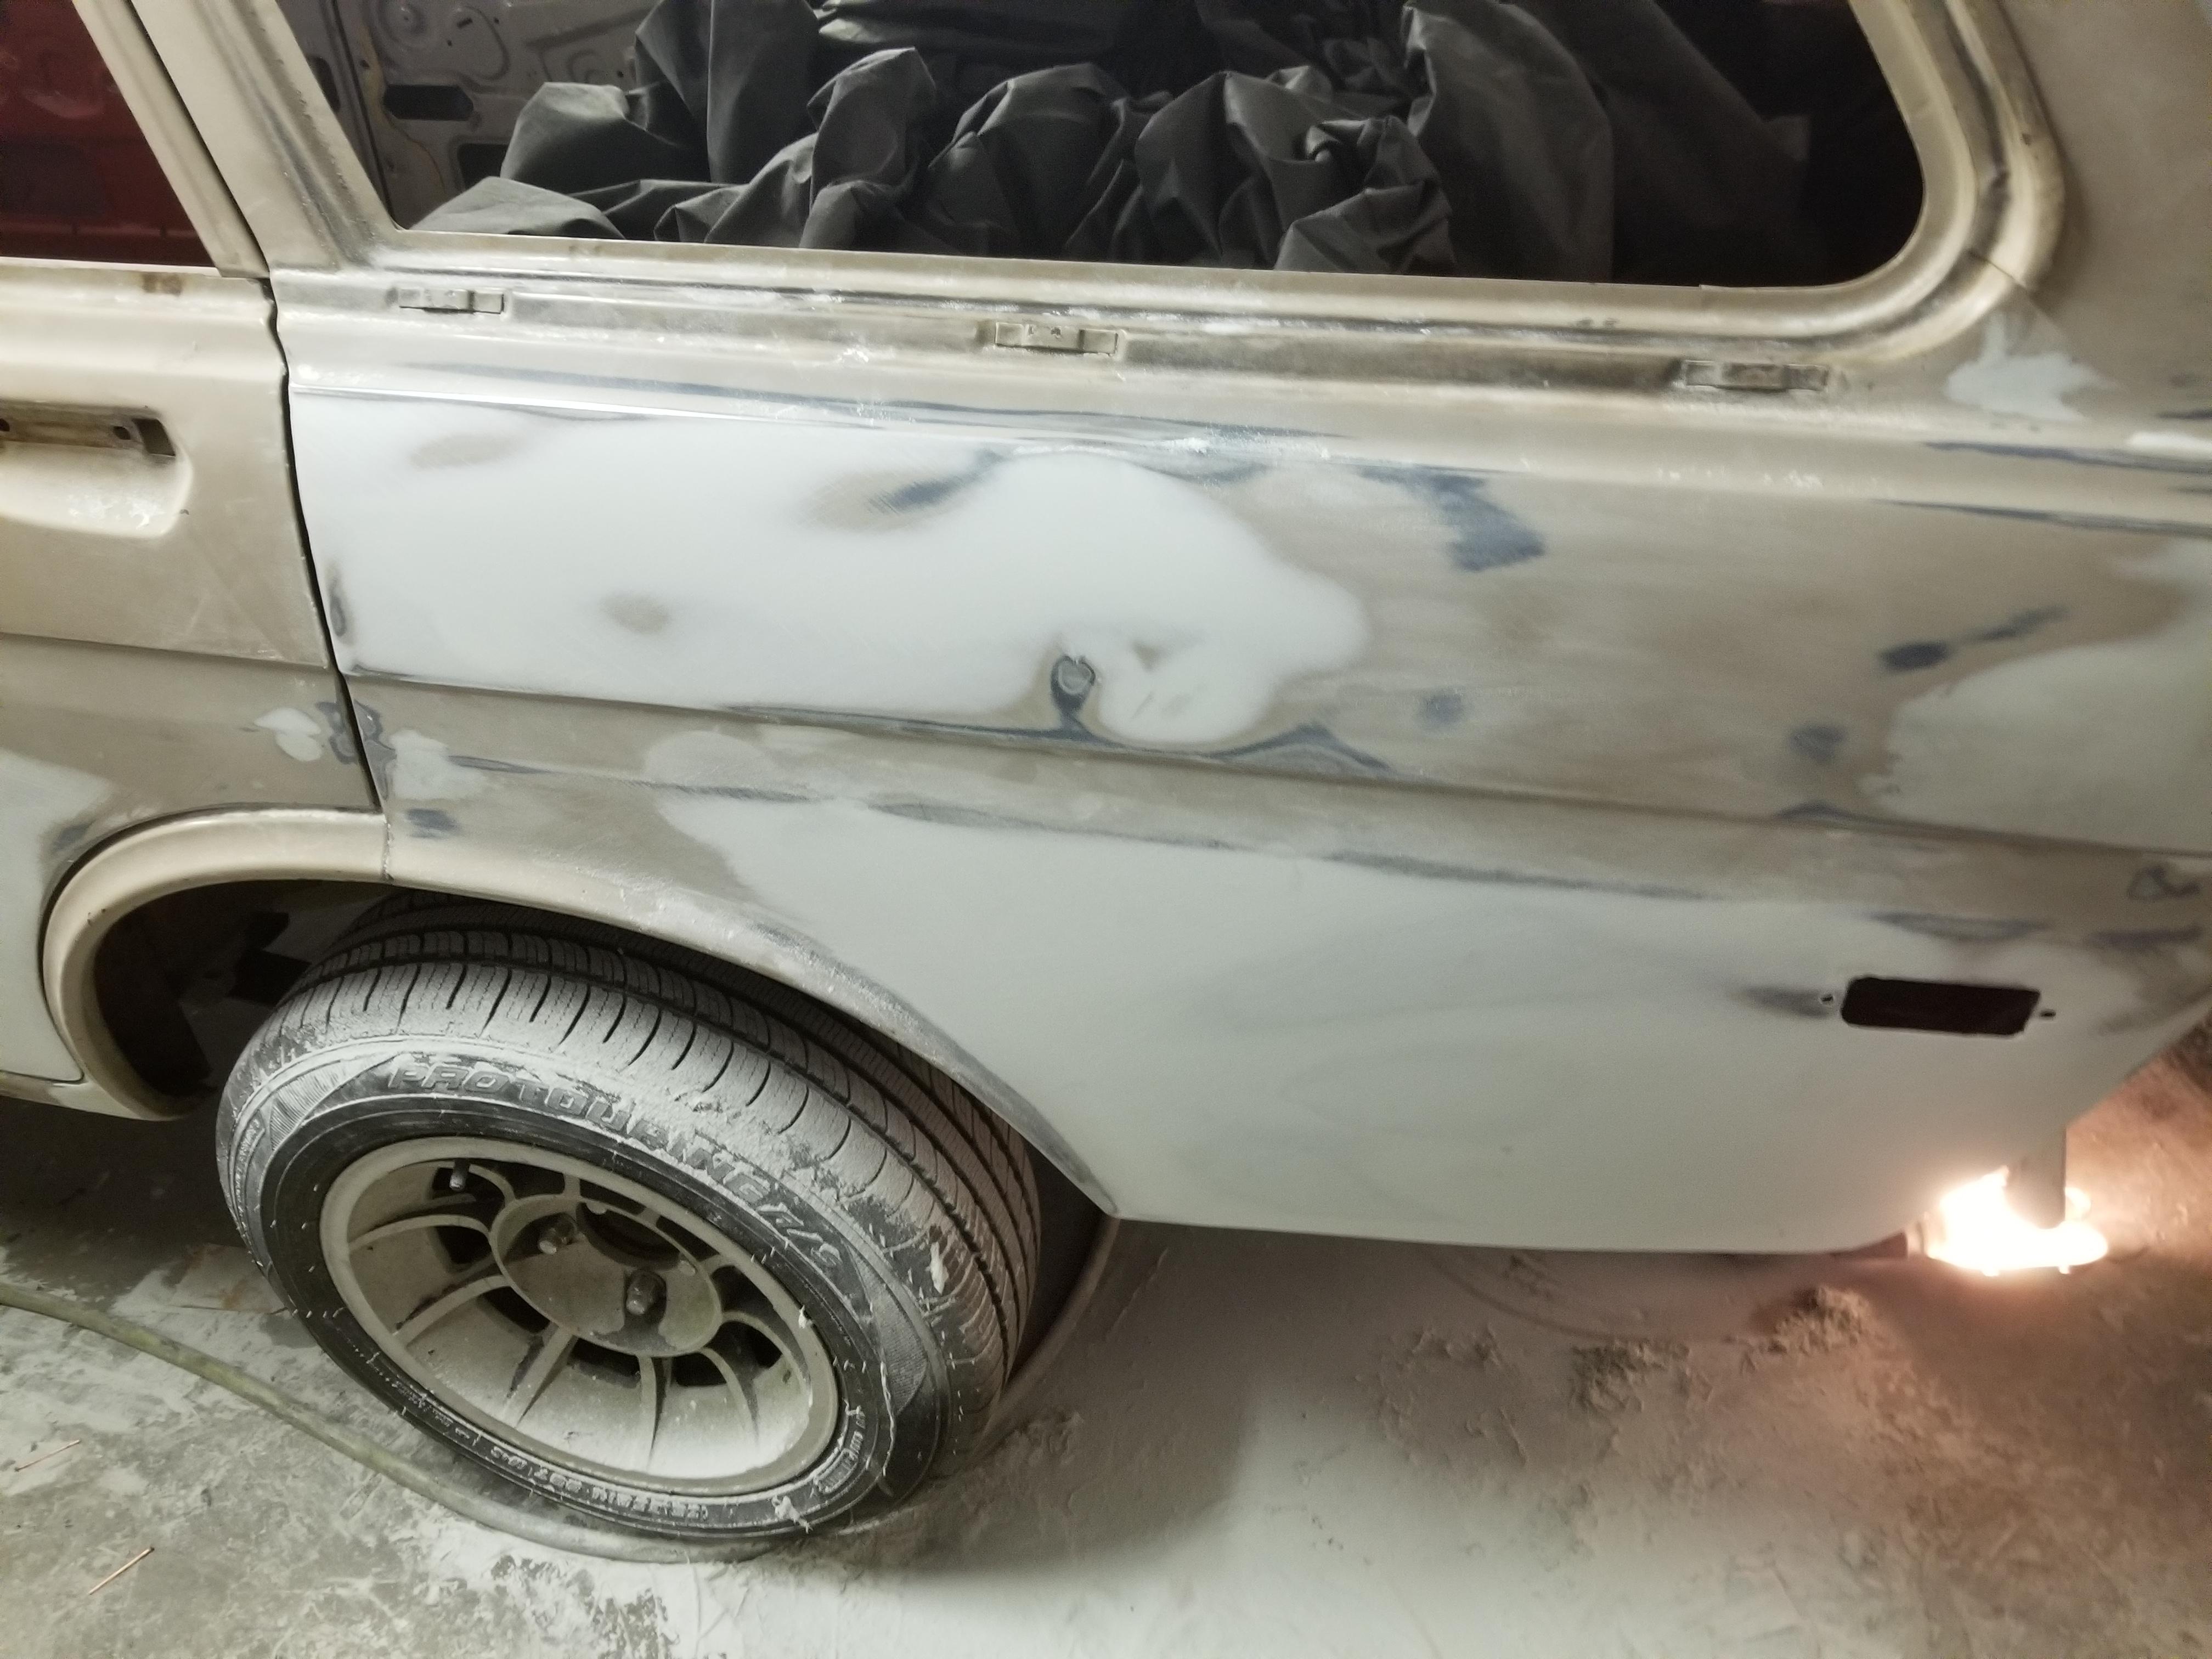
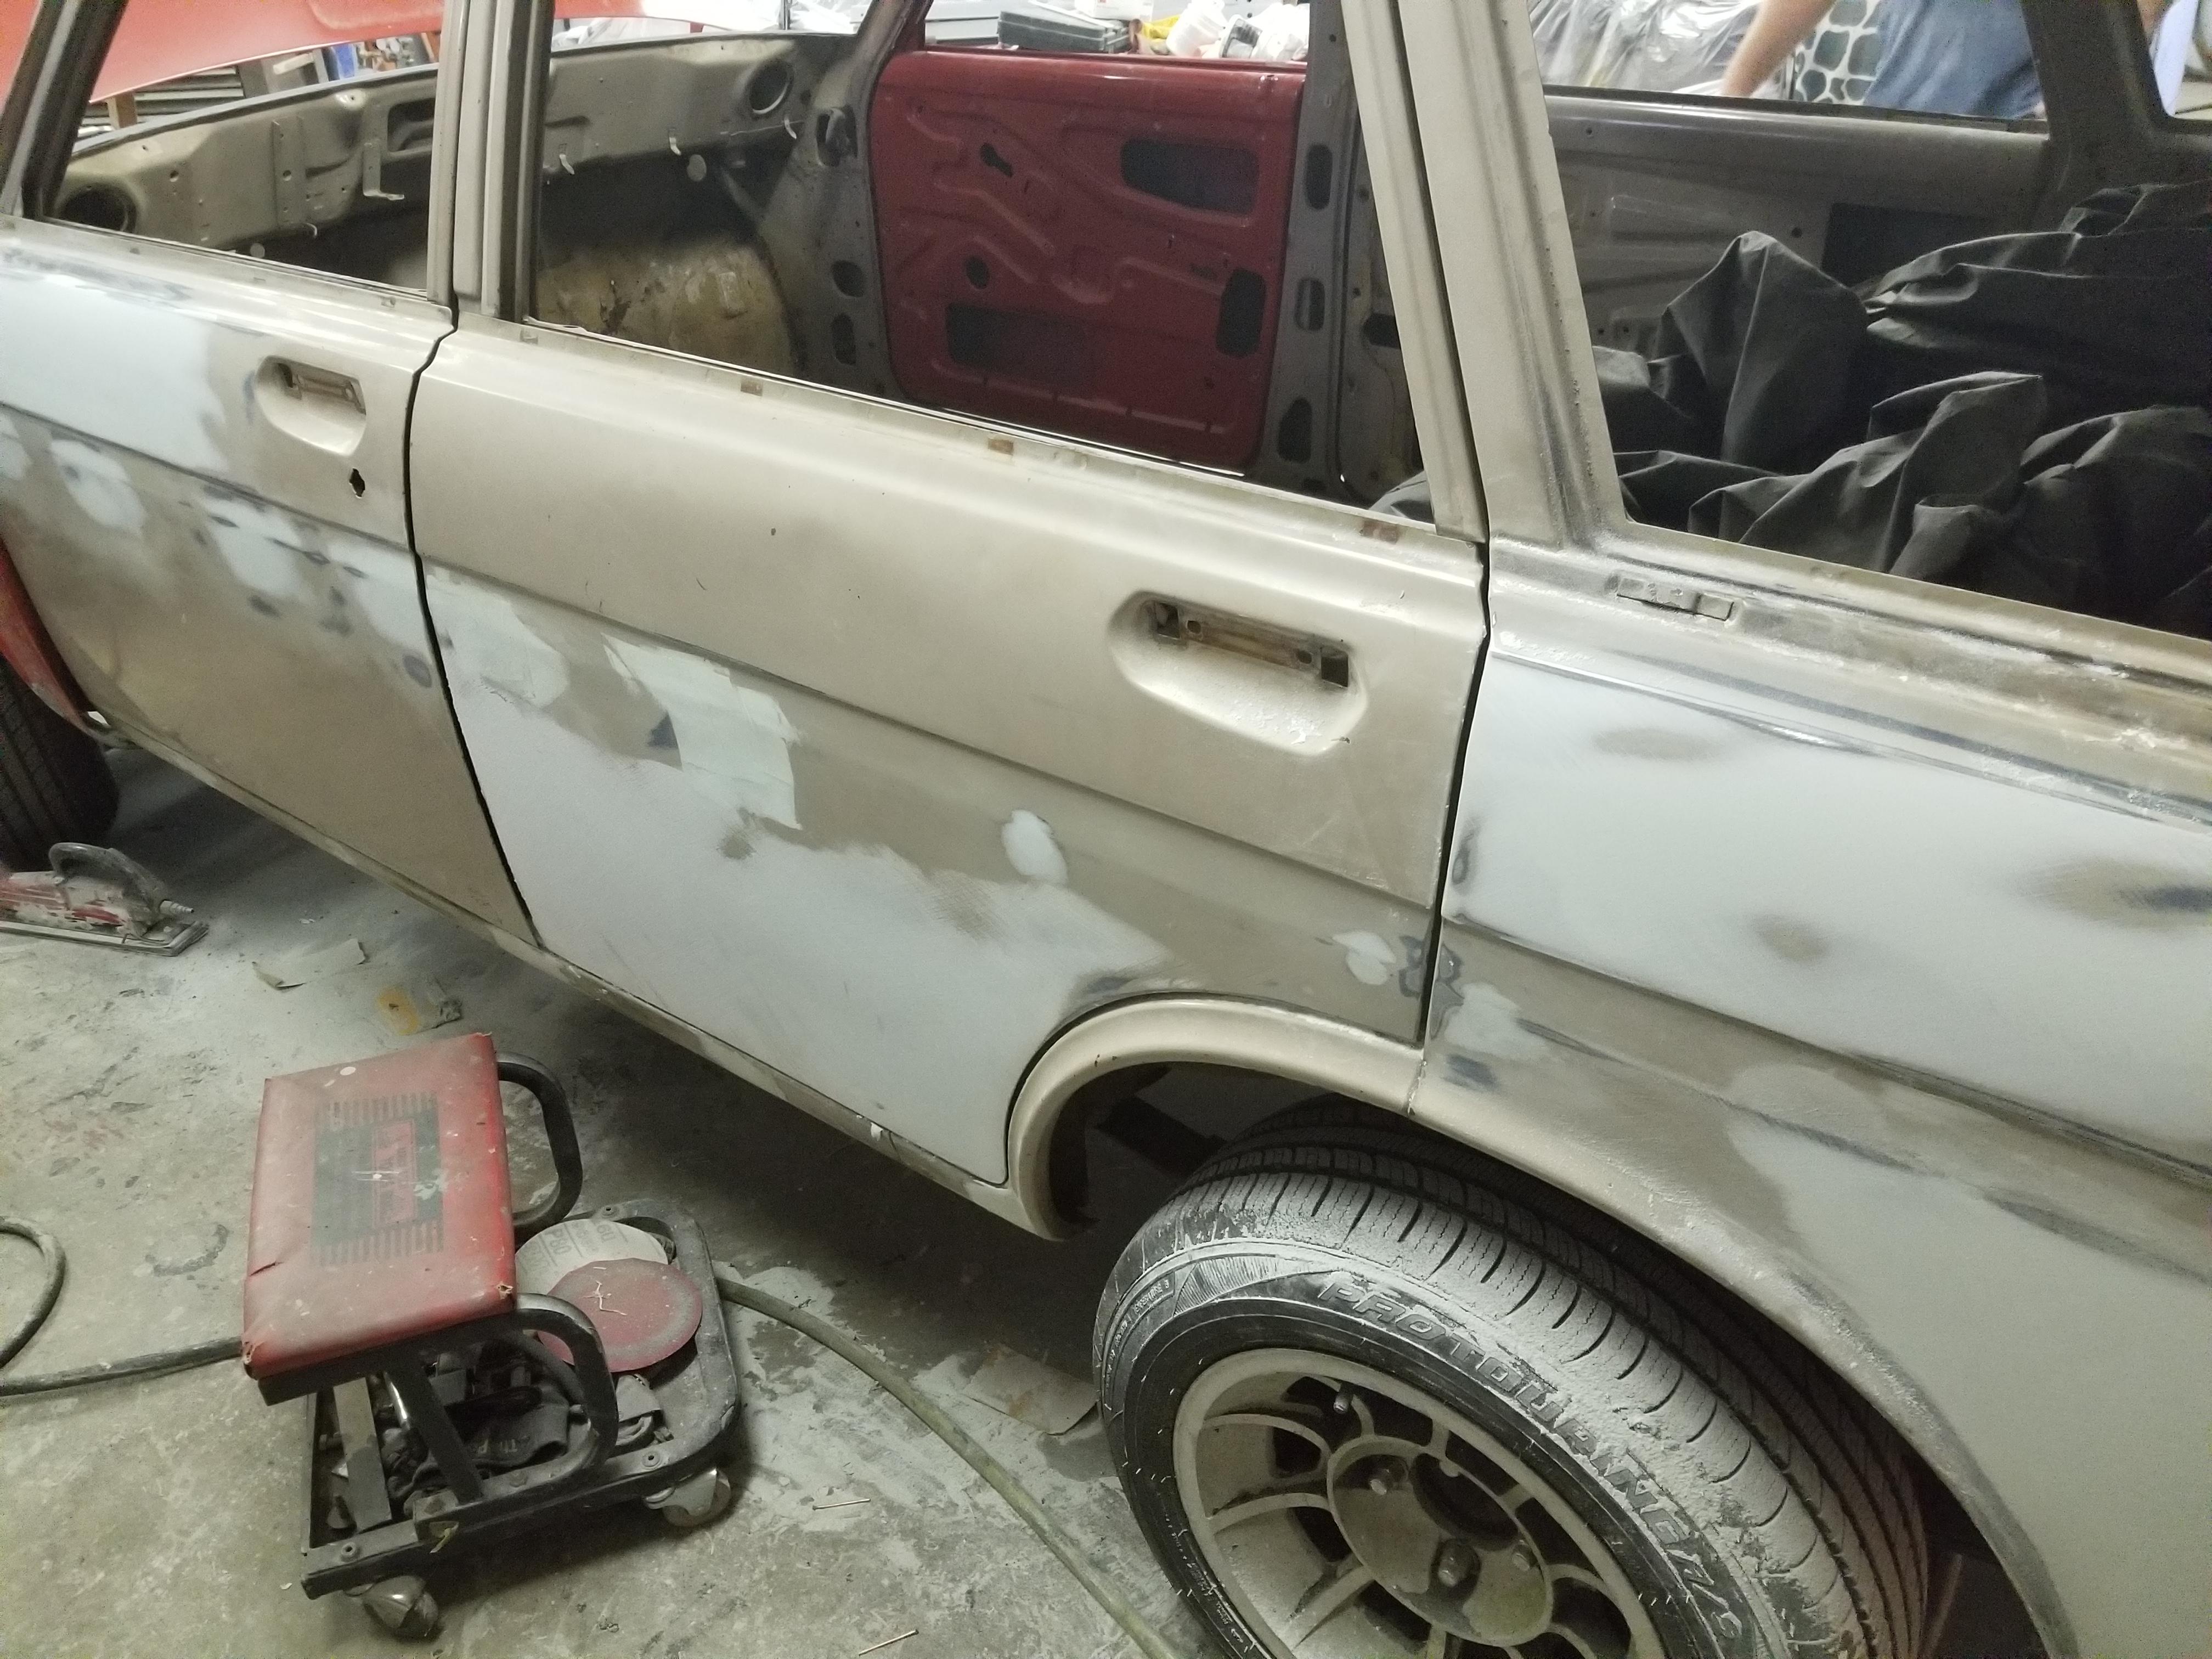
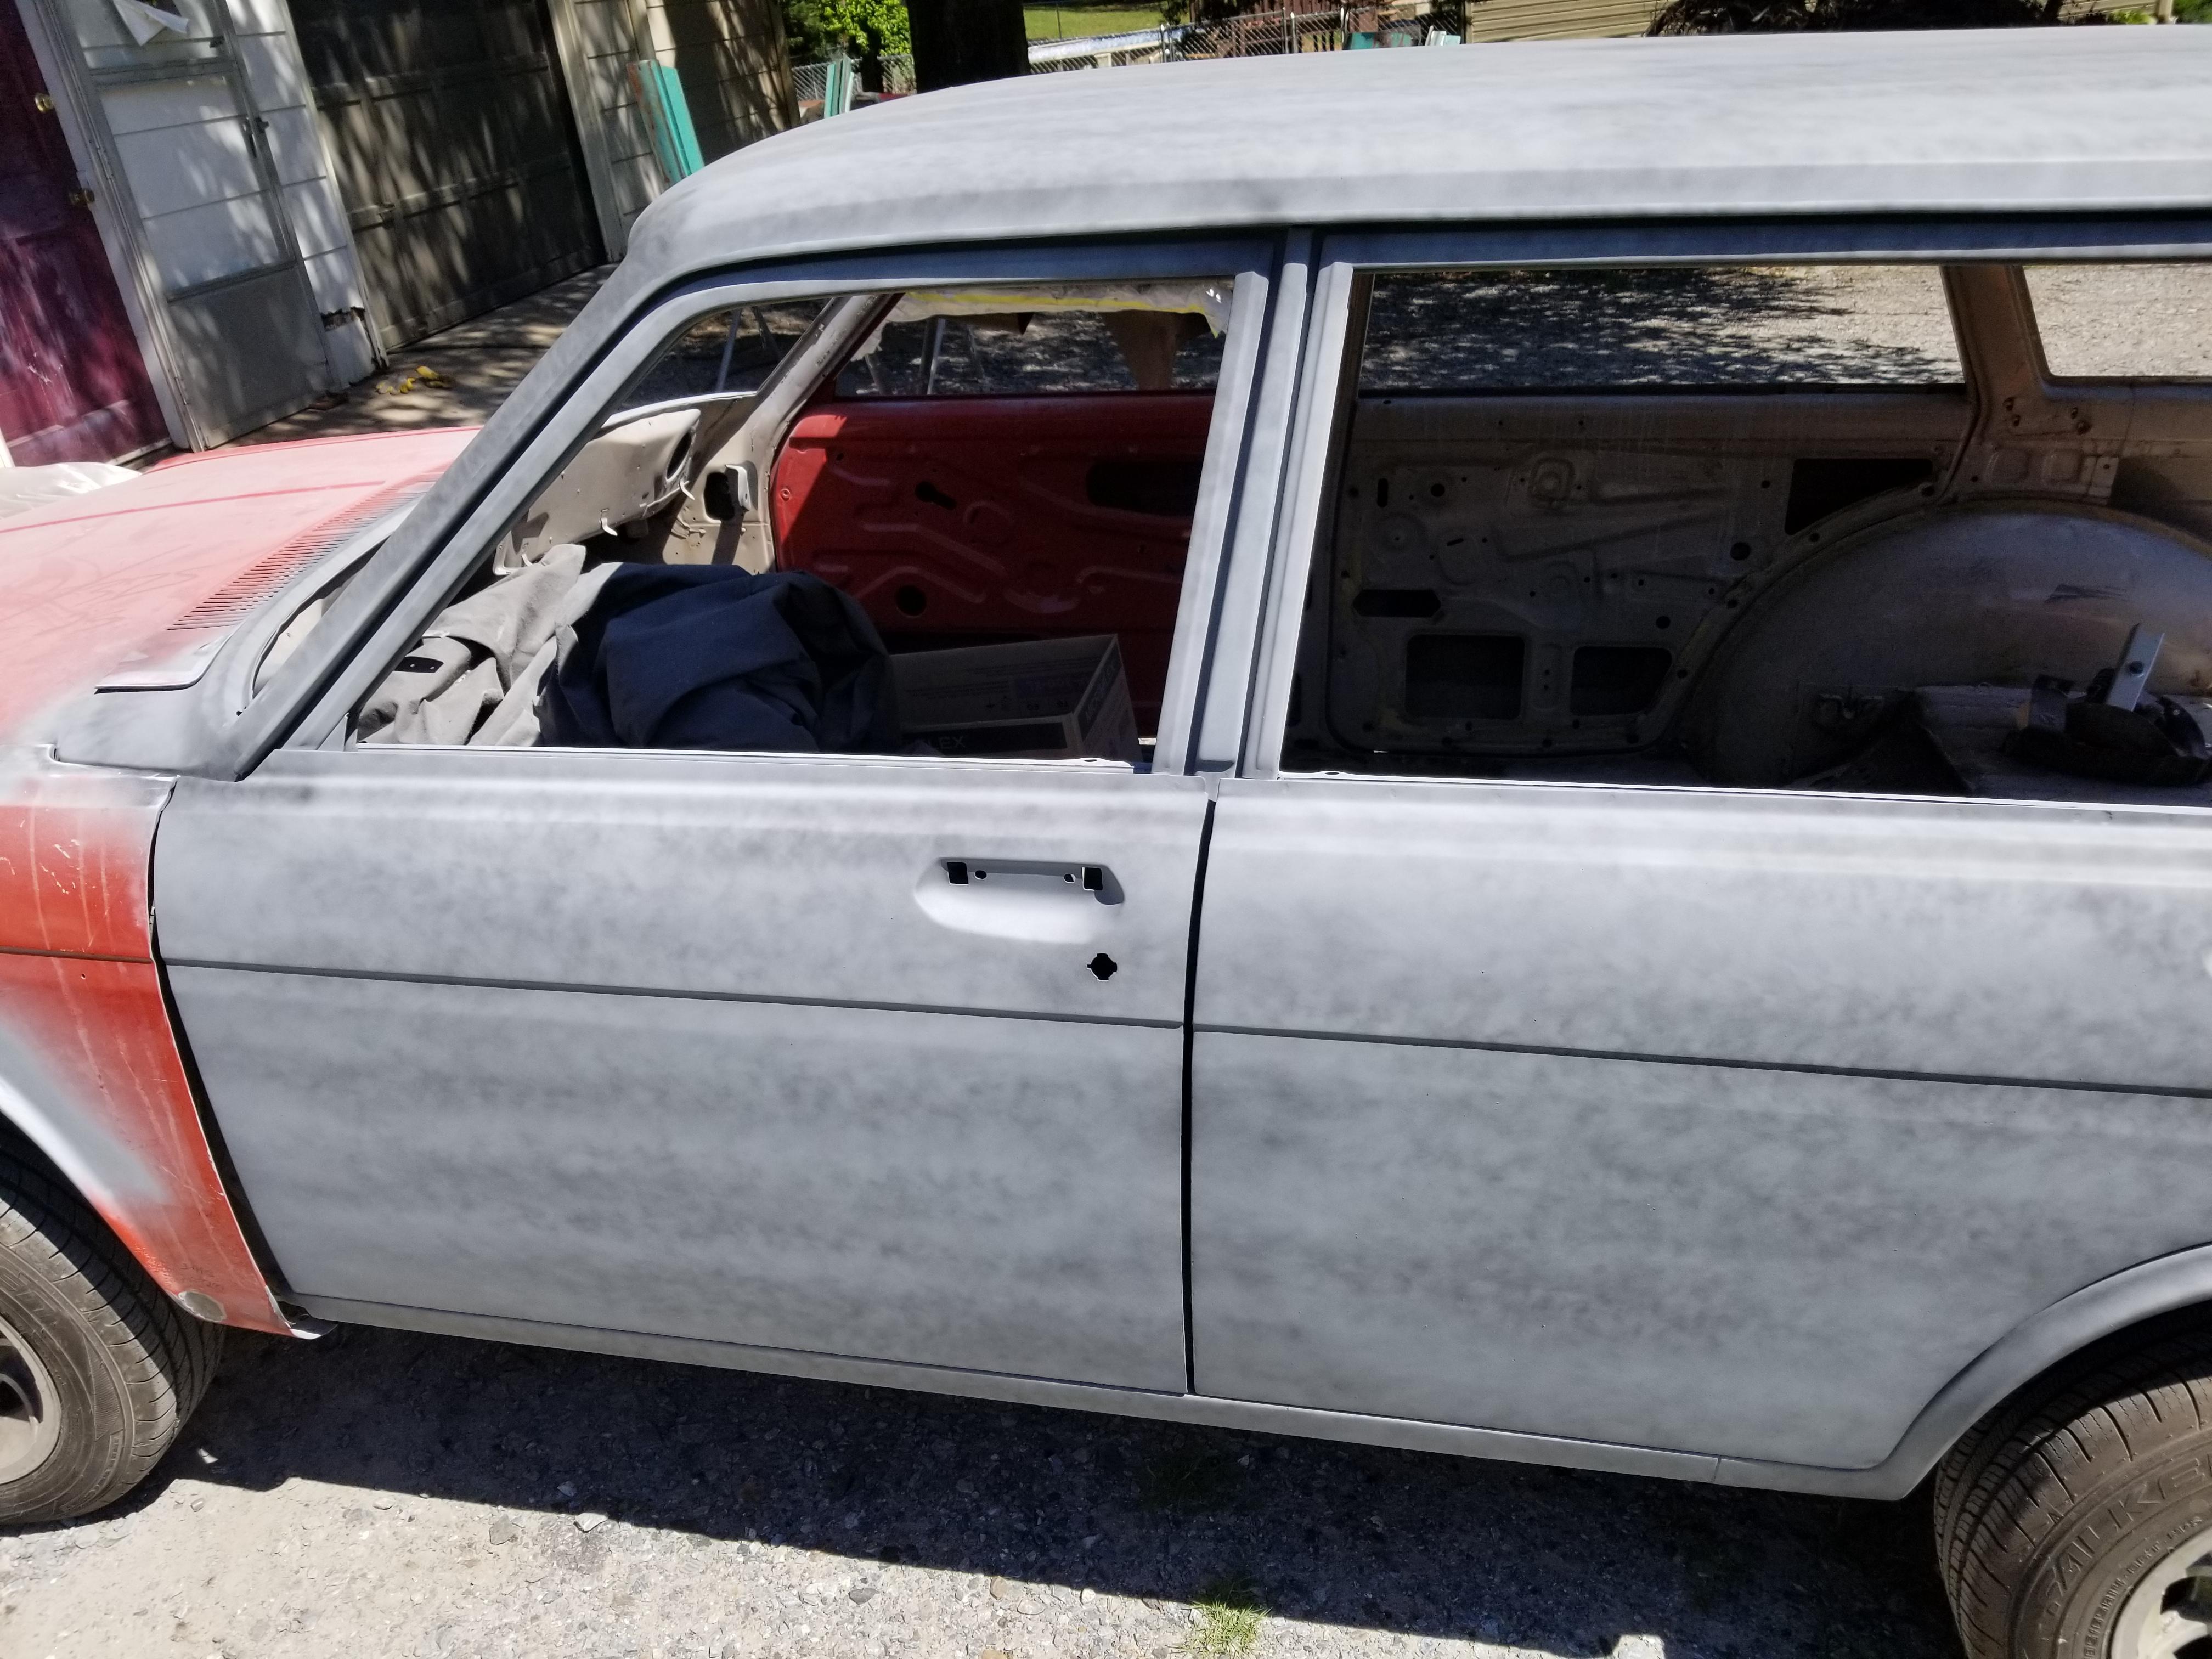
1 pointWe deleted the roof rack (so if anyones interested) and we deleted the stainless trim along the rocker panels. I like it but it's a dirt magnetic and the holes are prone to rusting so we got rid of it
1 point
1 point
1 pointWe deleted the roof rack (so if anyones interested) and we deleted the stainless trim along the rocker panels. I like it but it's a dirt magnetic and the holes are prone to rusting so we got rid of it


 1 point
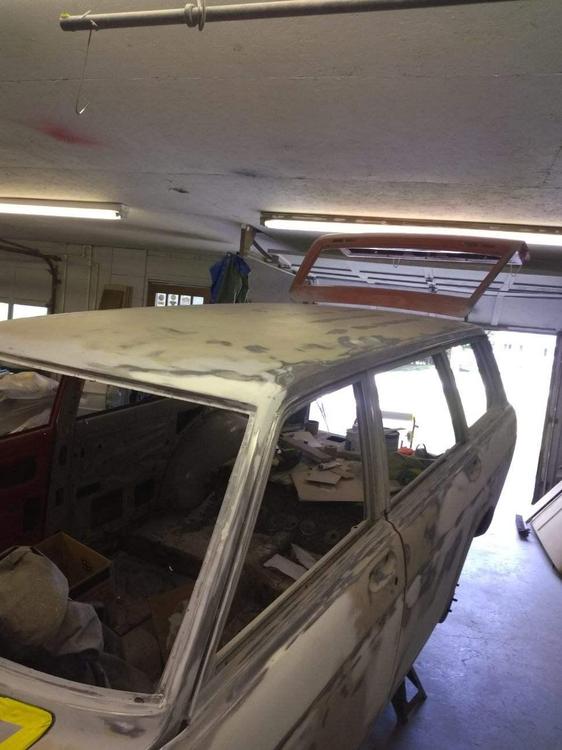
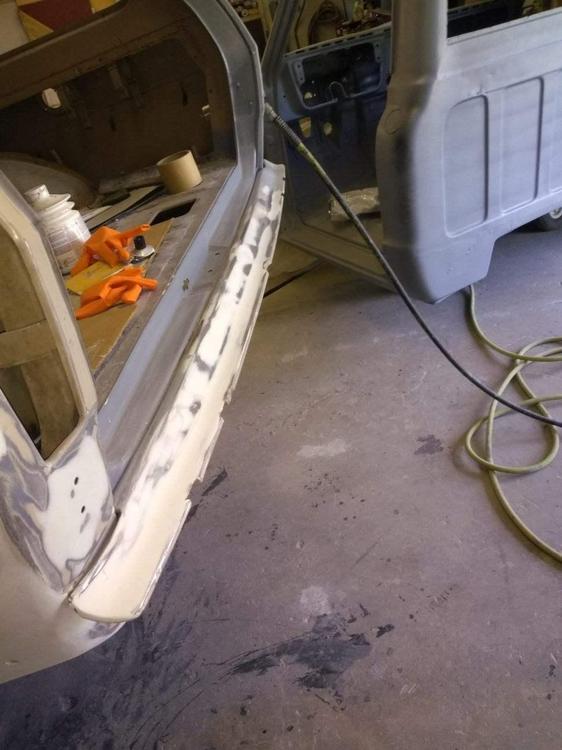
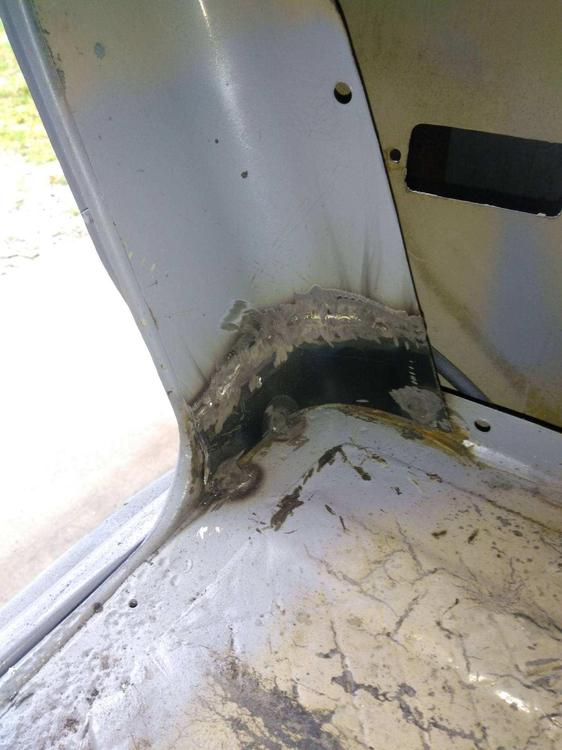
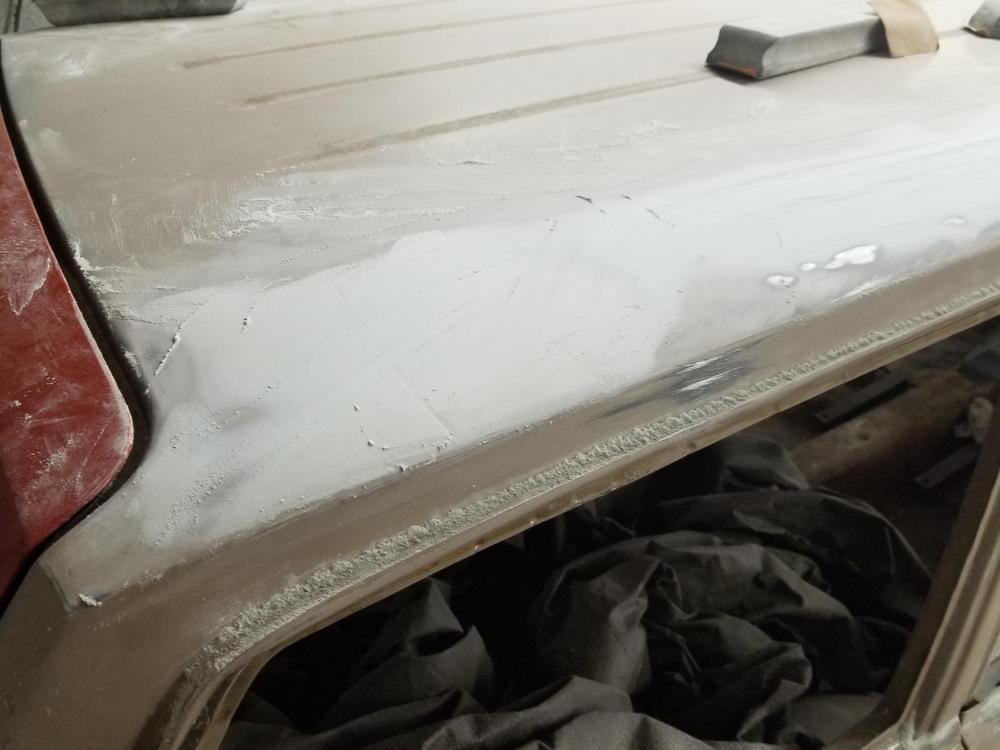
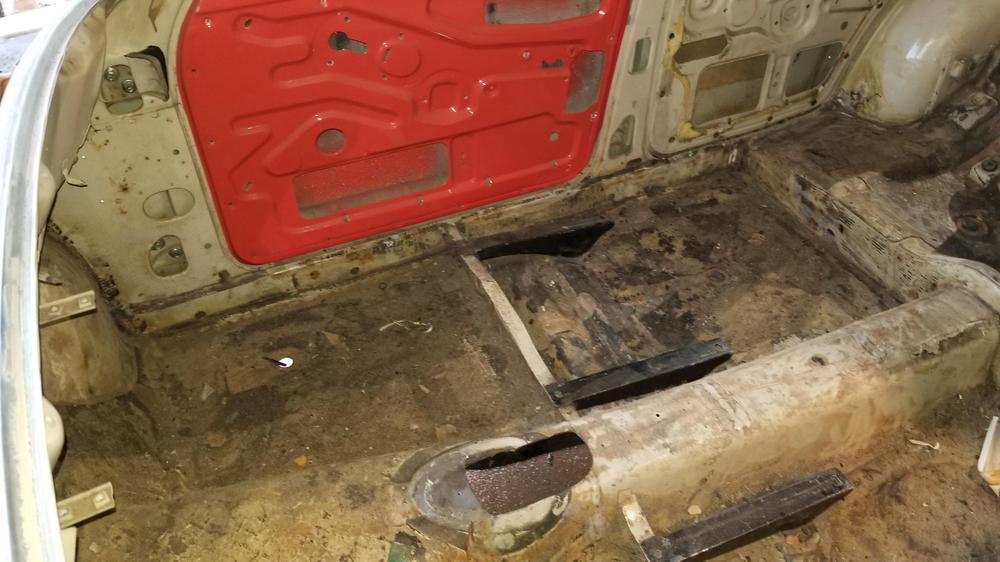
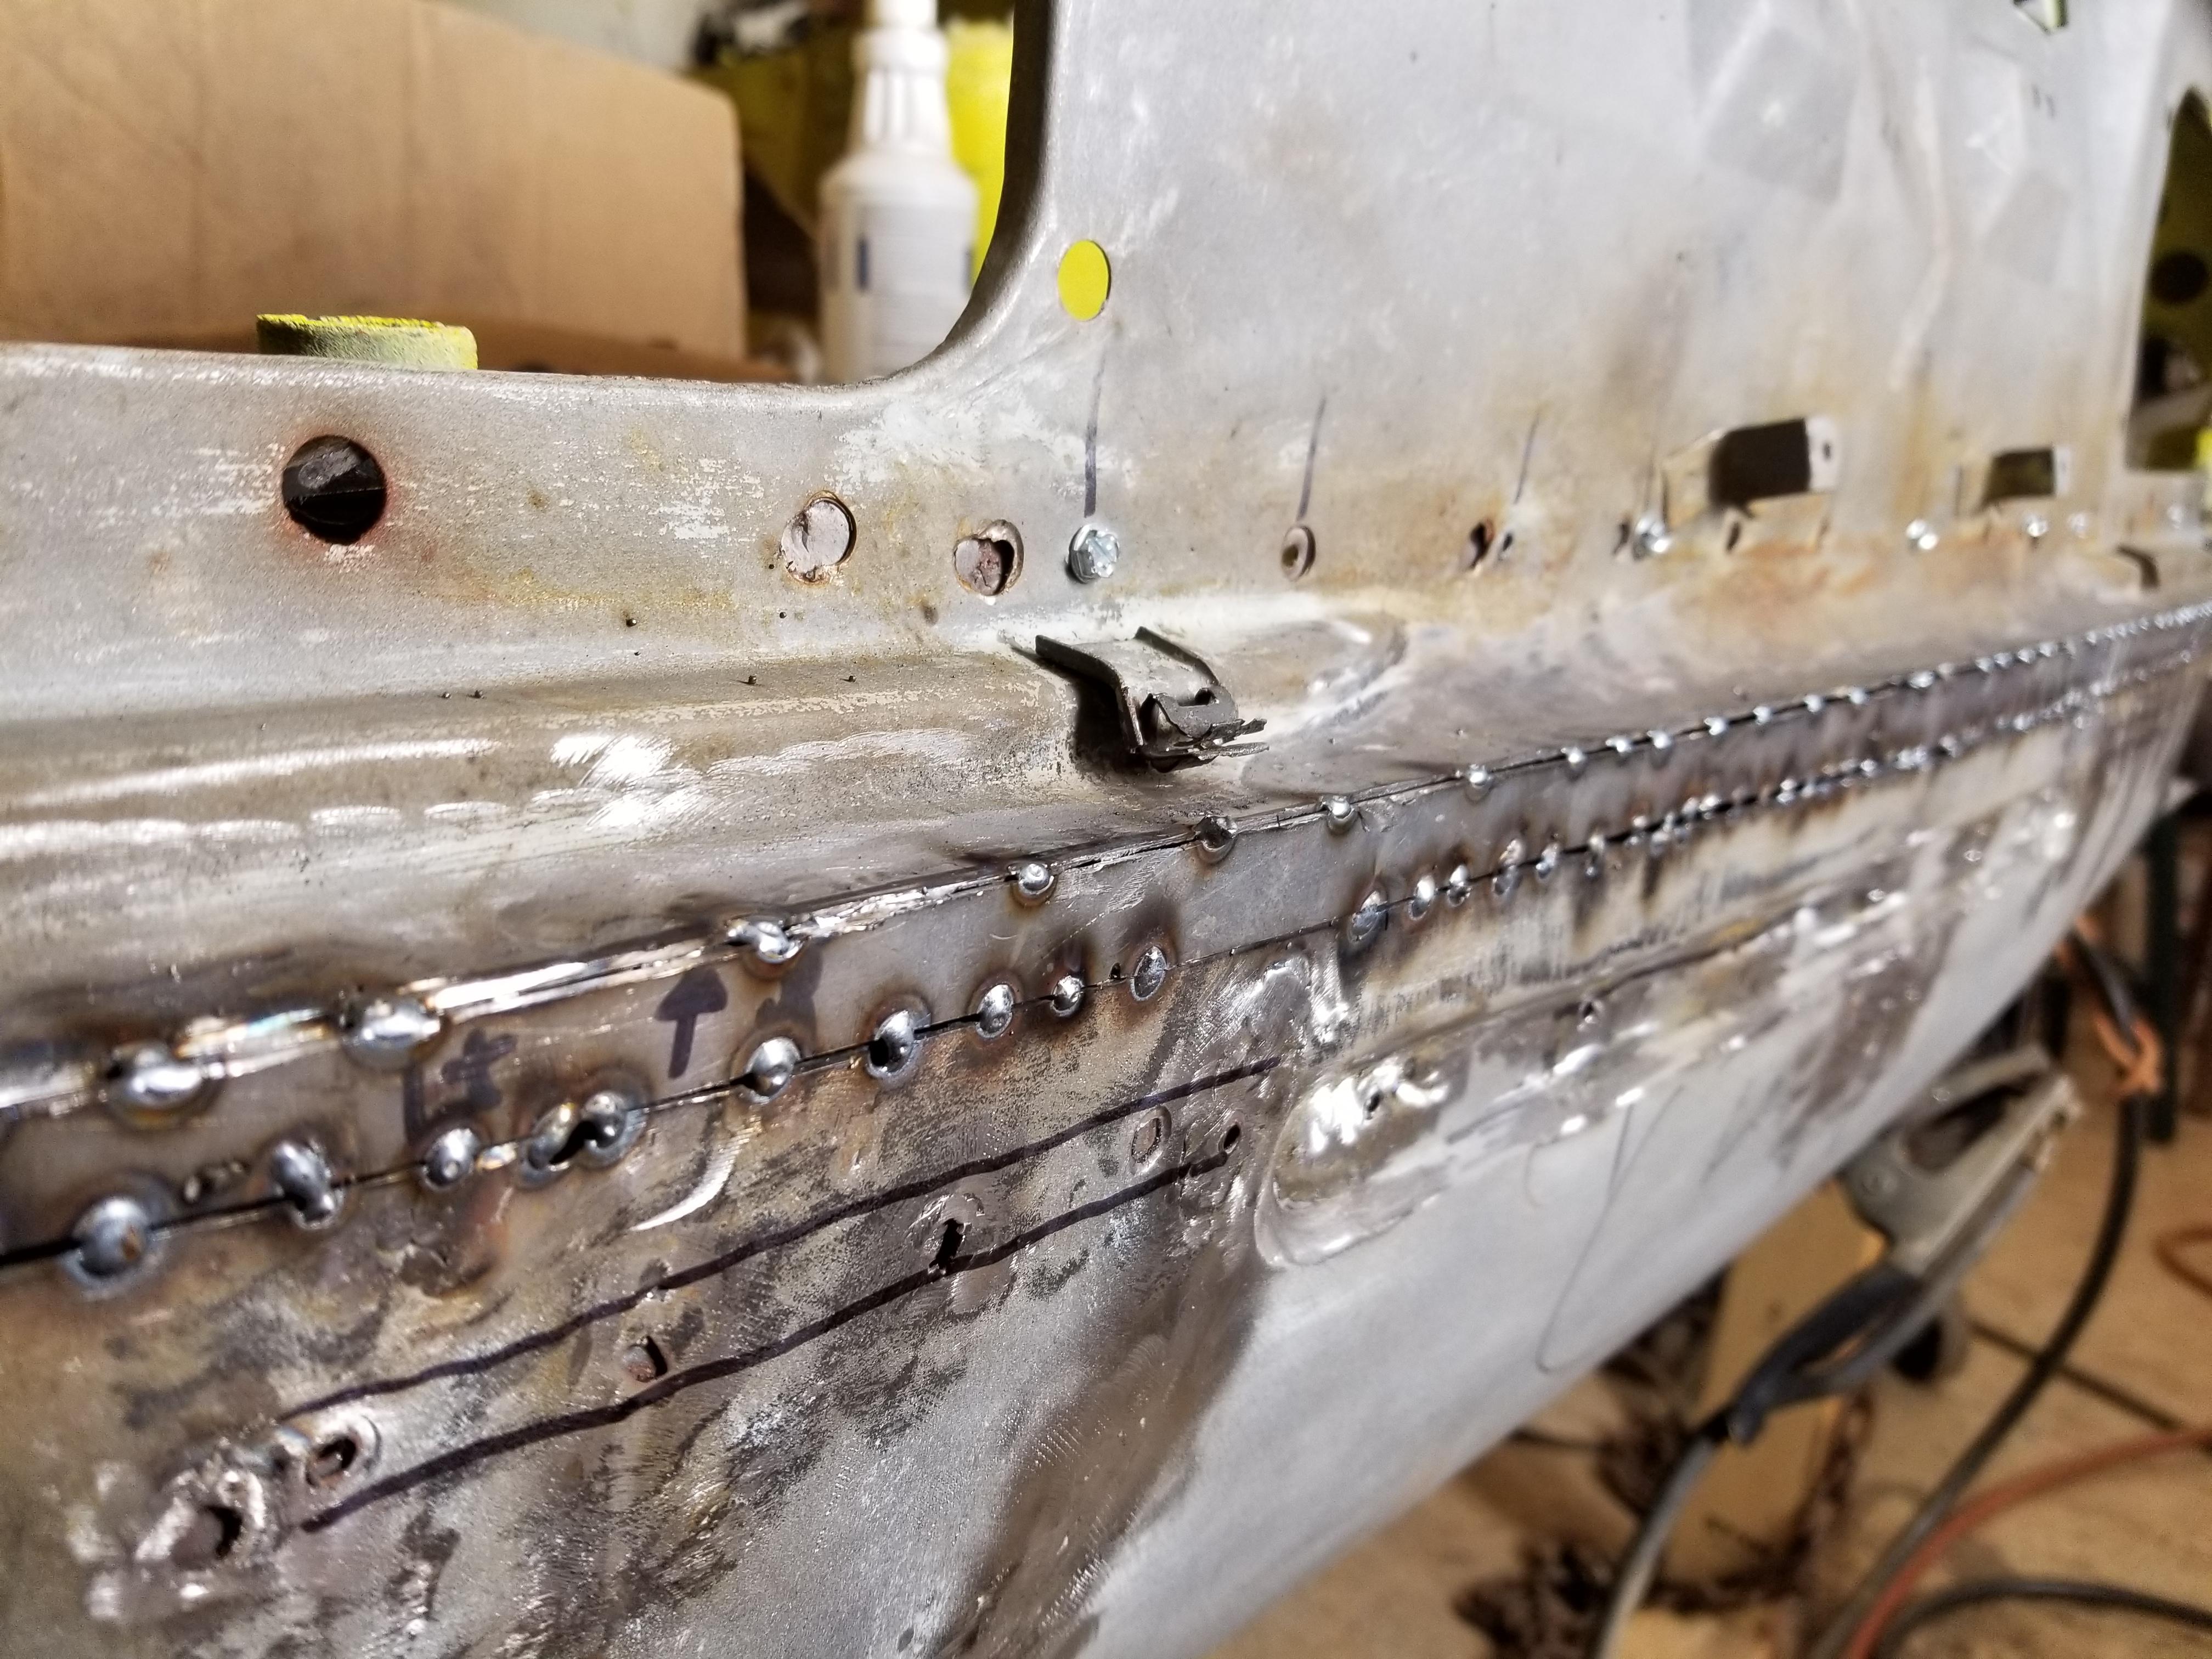
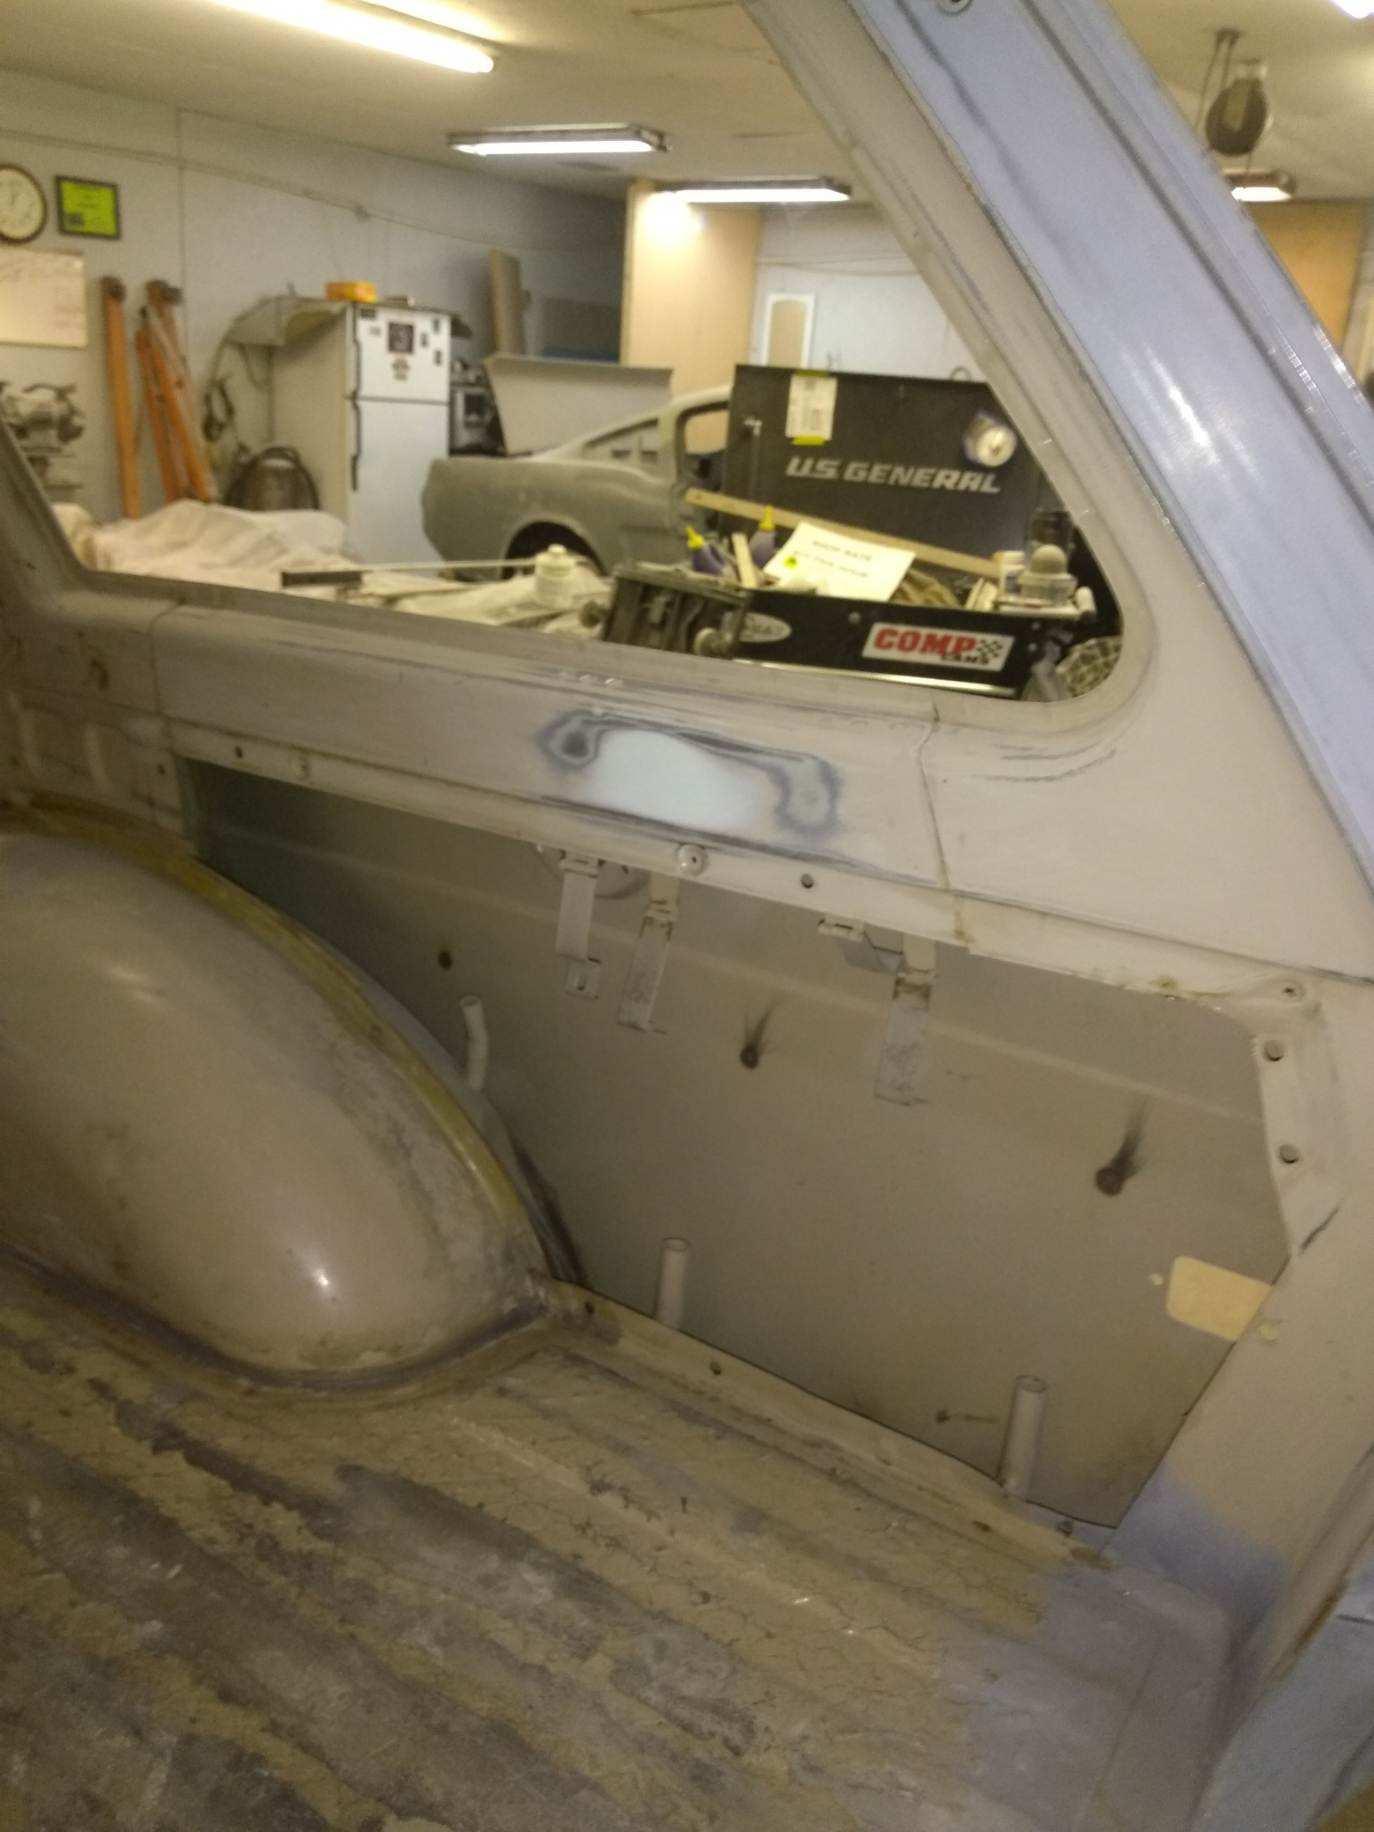
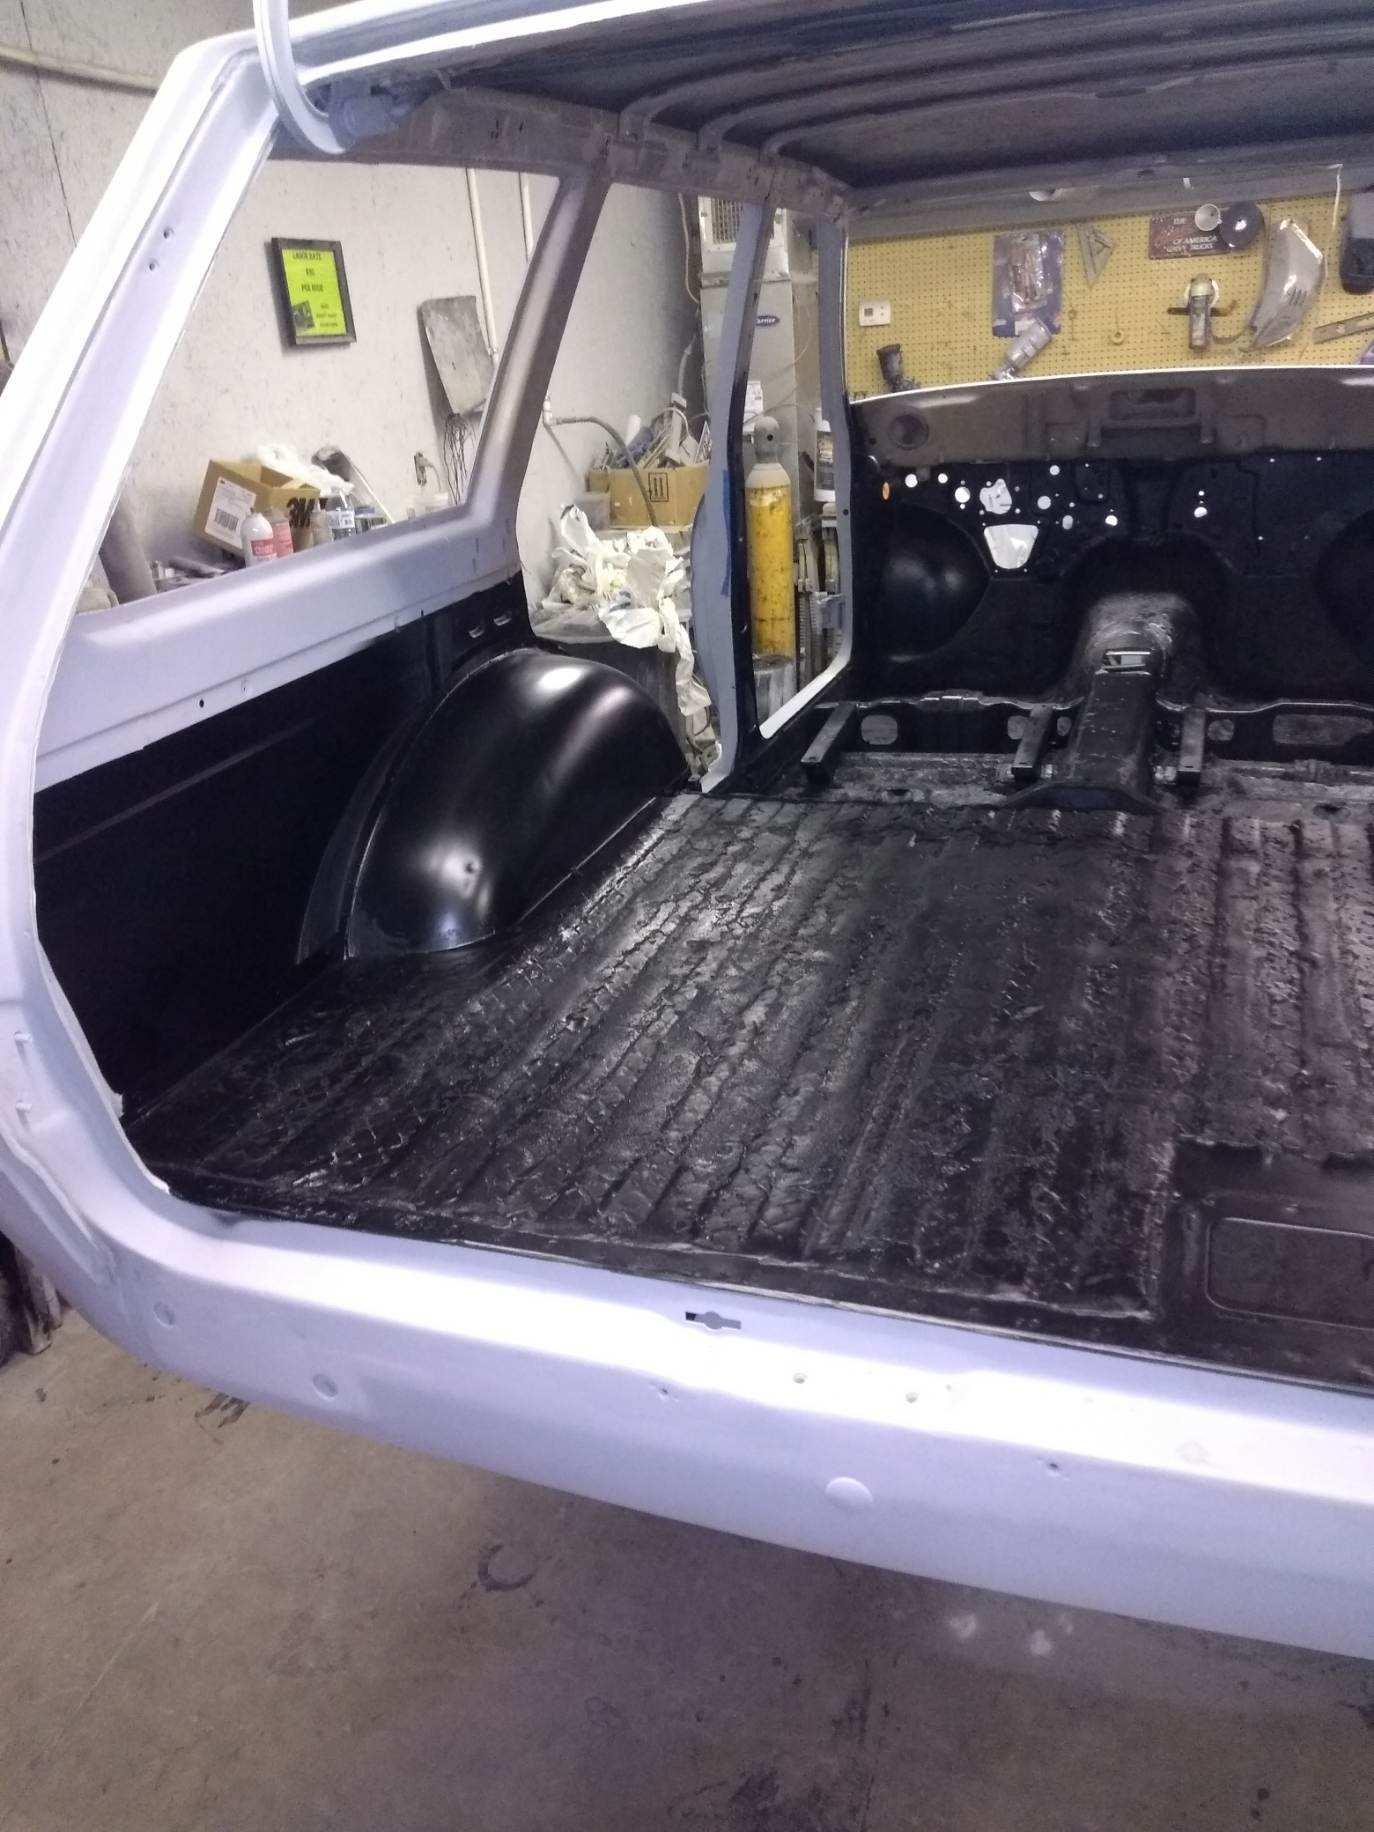
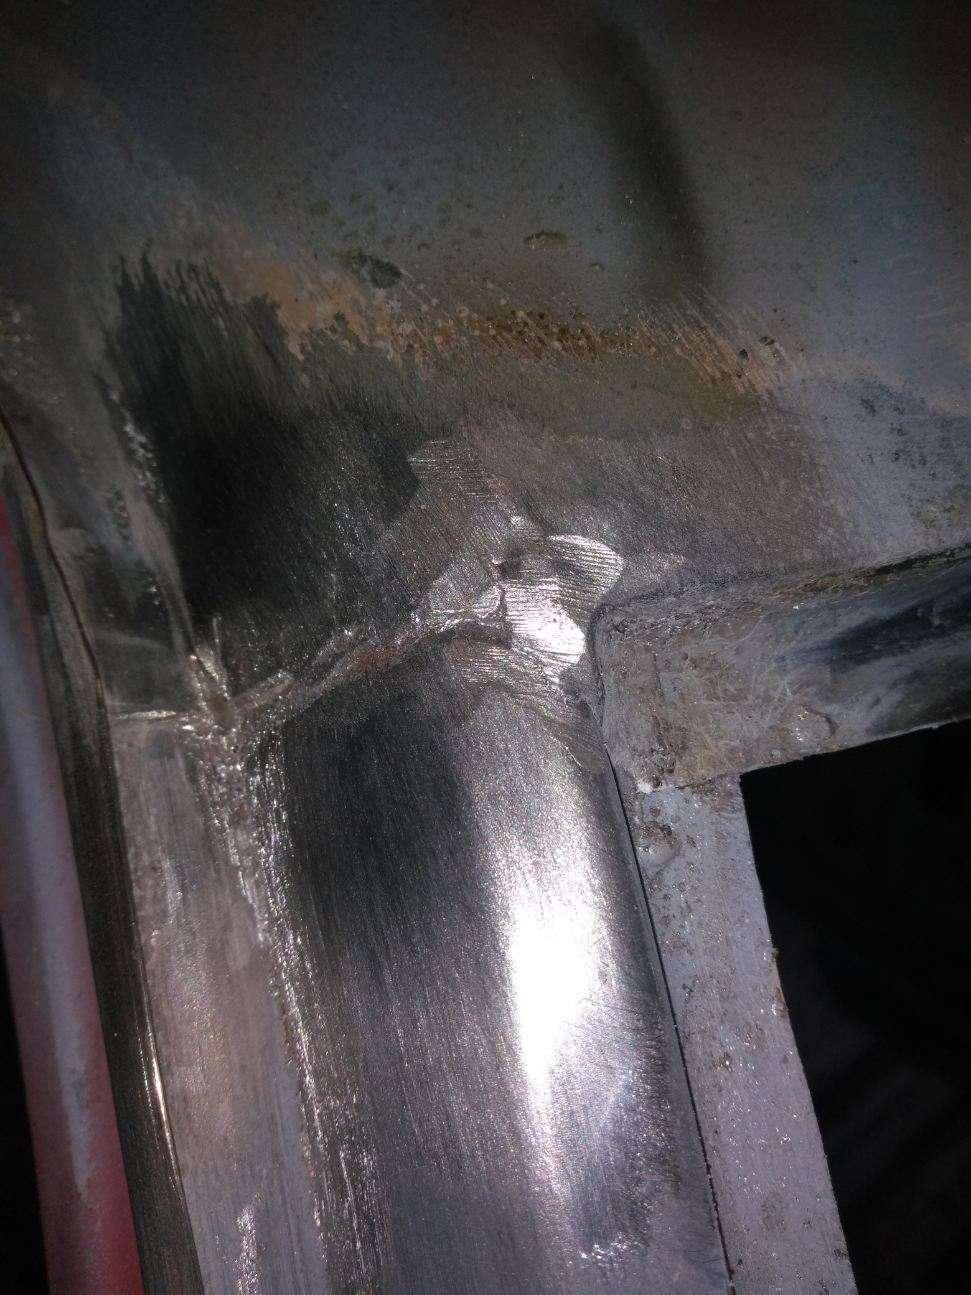
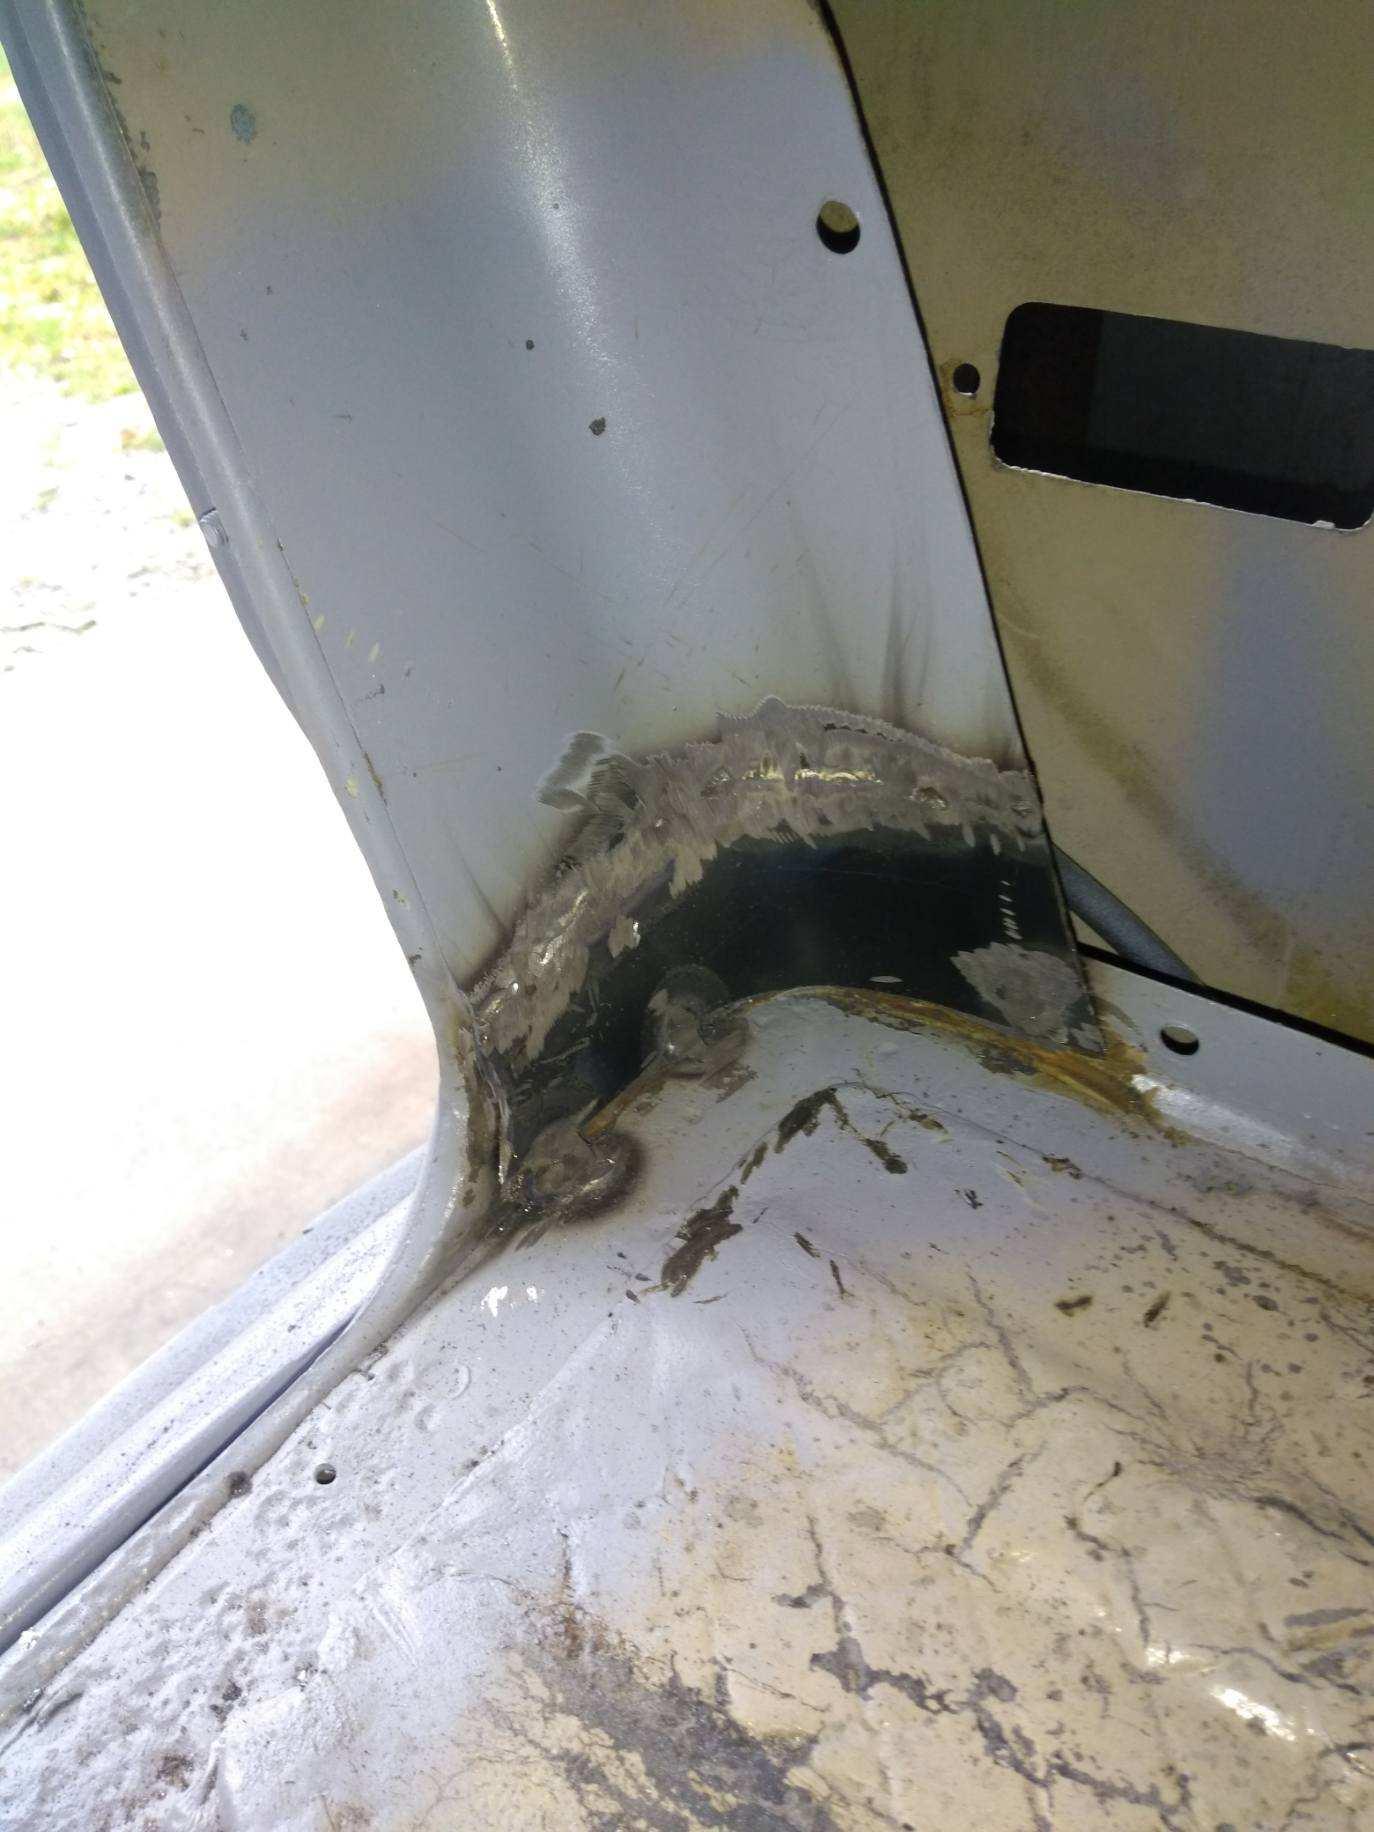
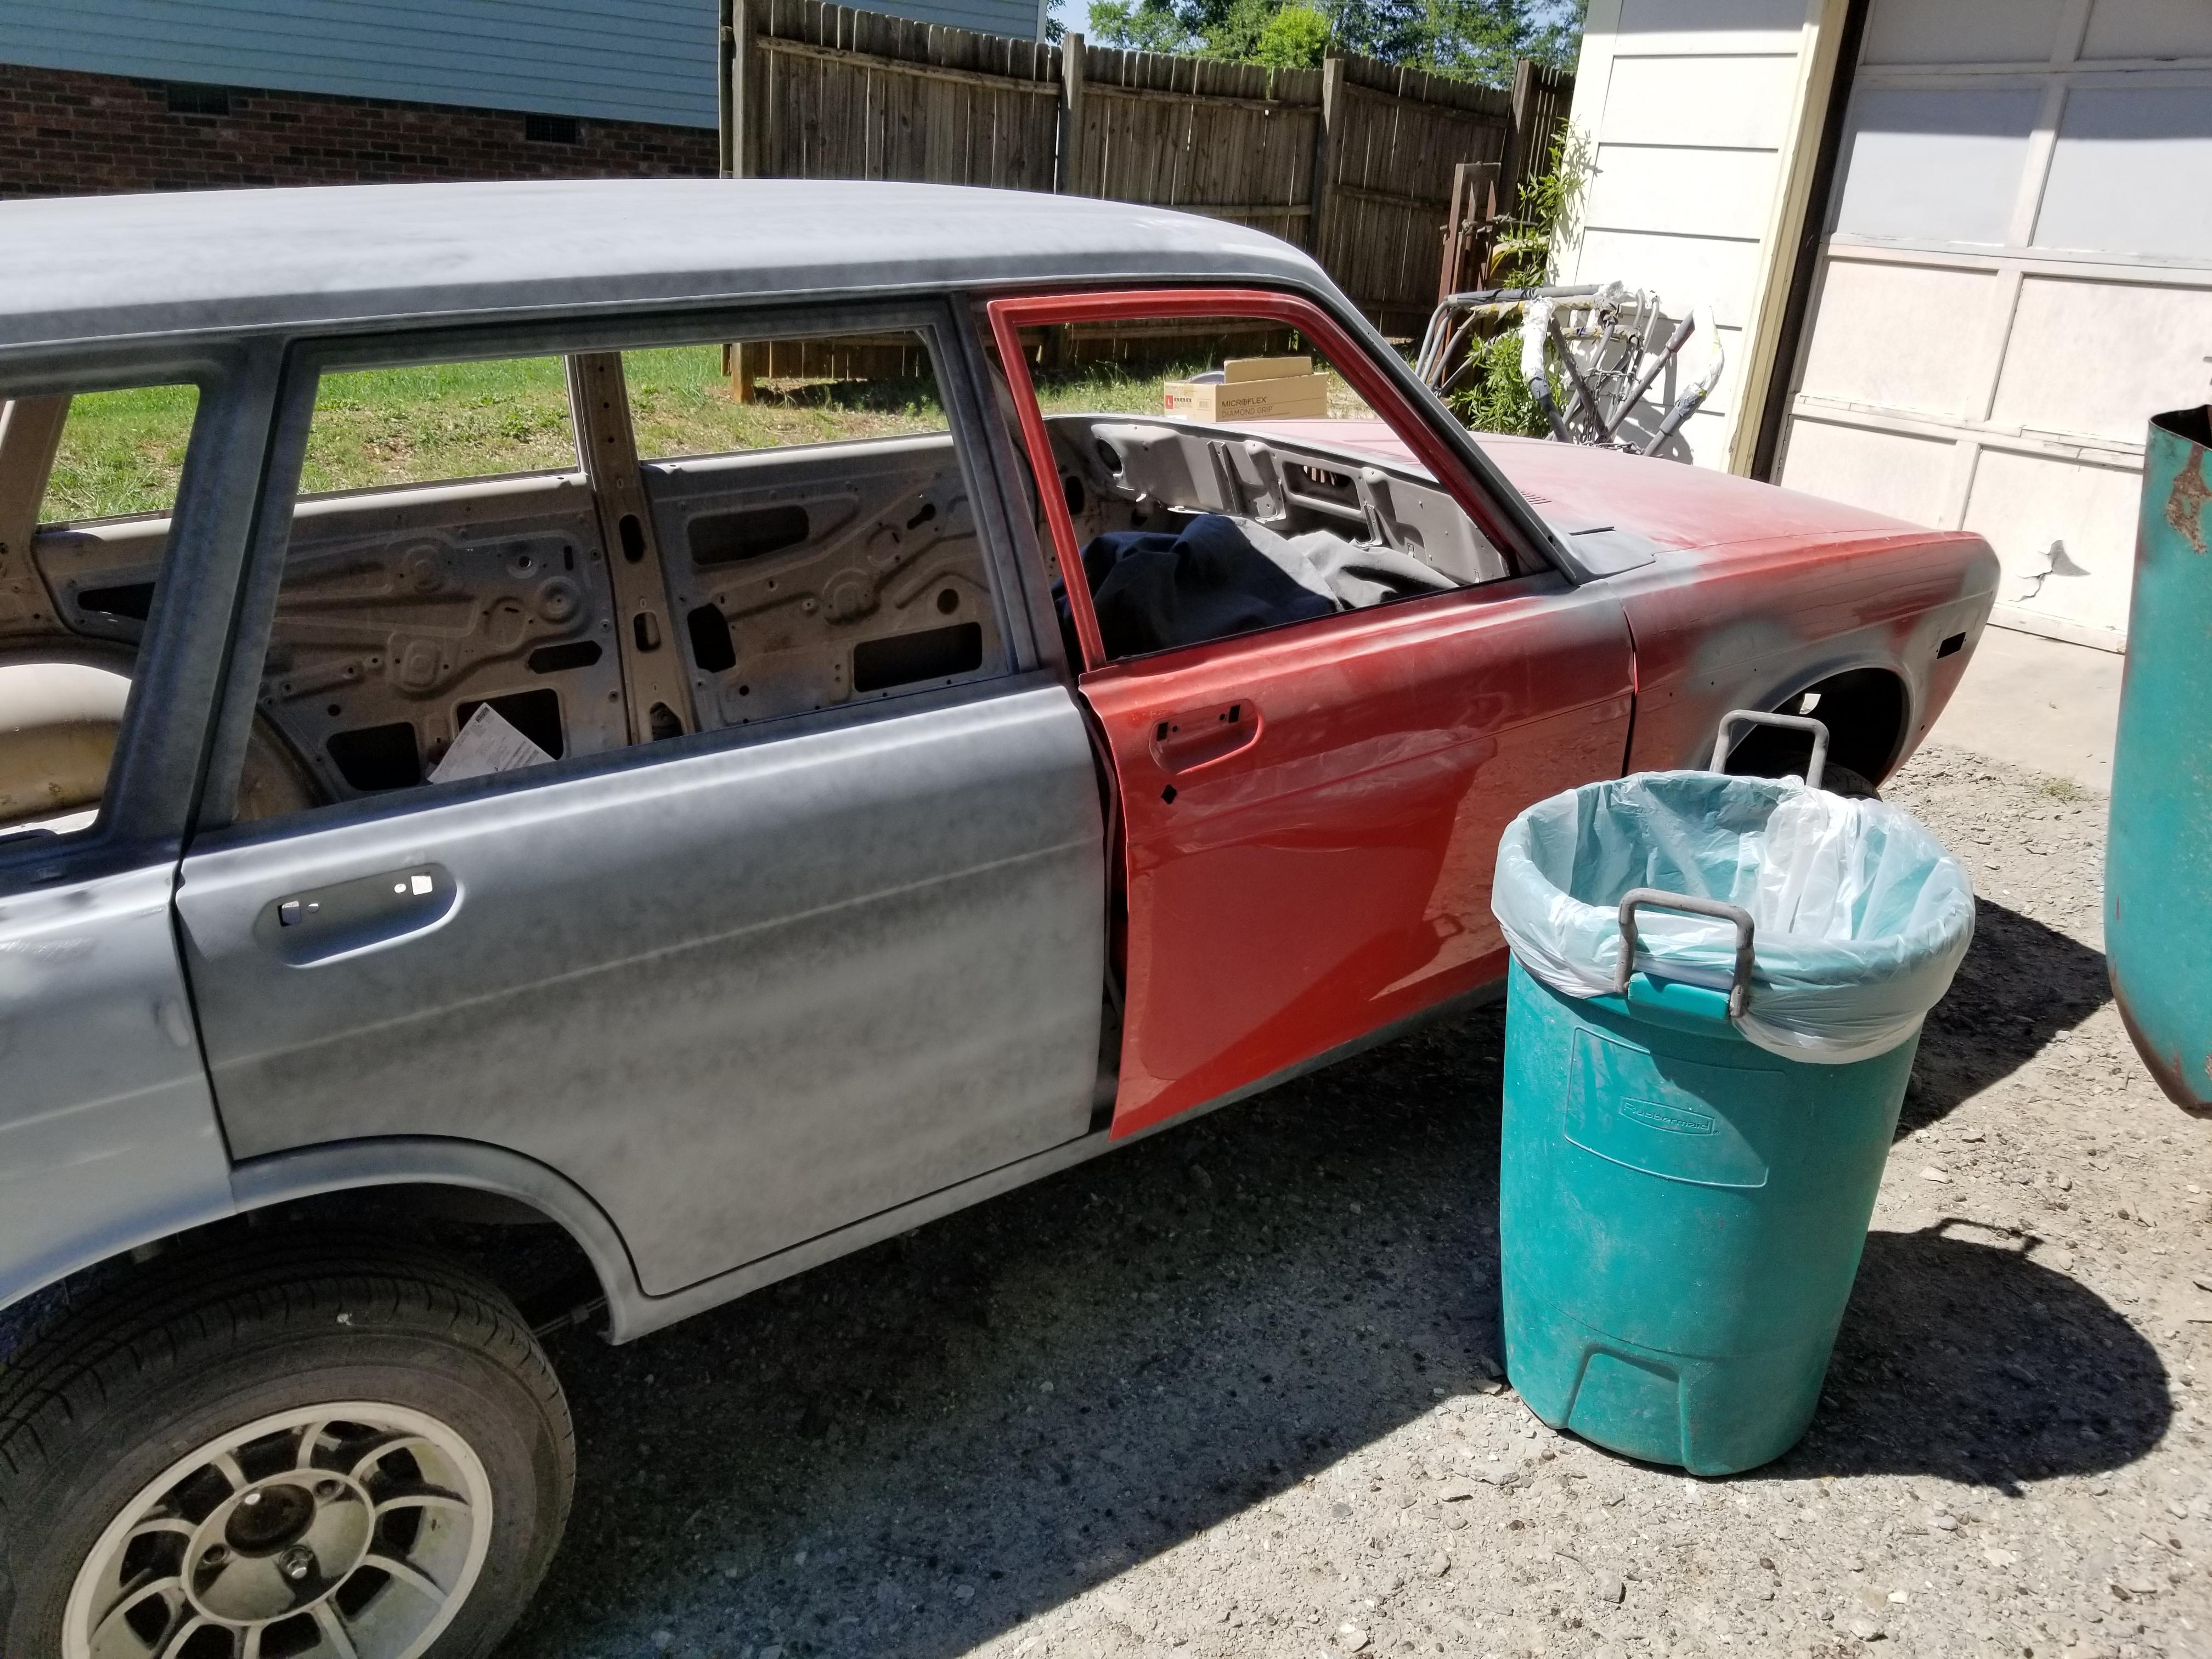
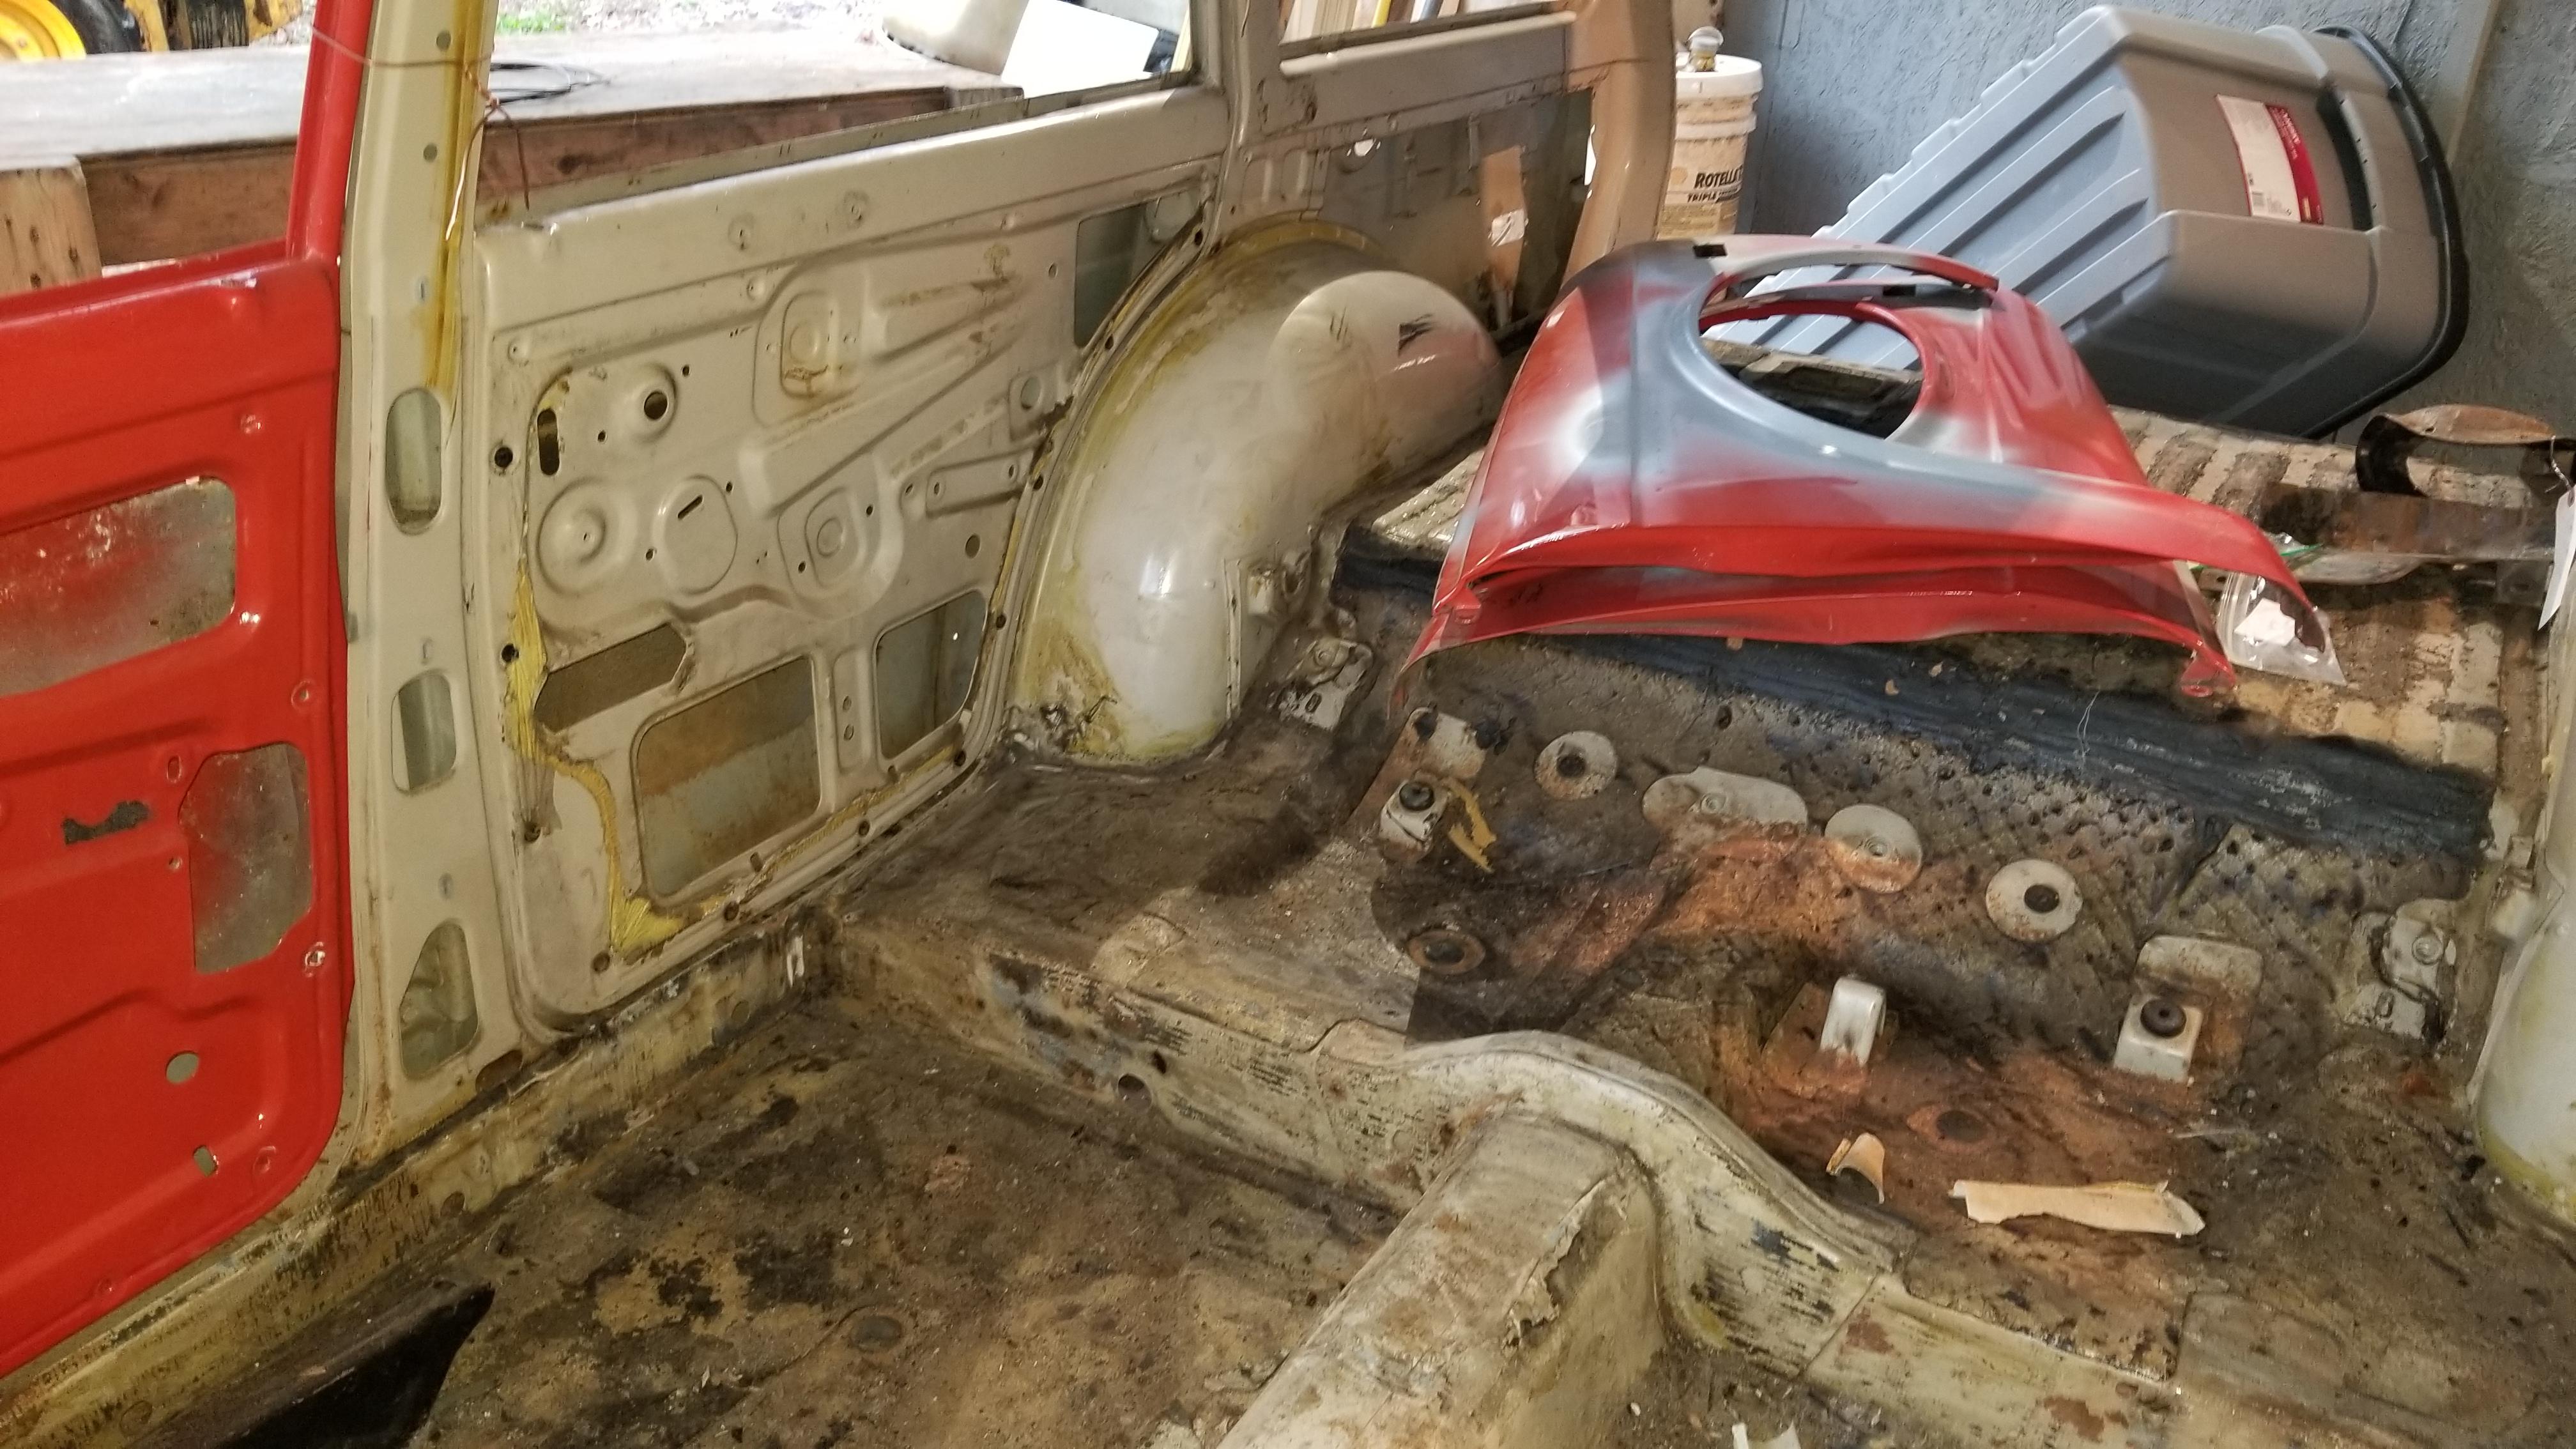
One of the few rust spots on the car was the inside drivers rear corner. Maybe the exhaust contributed to that. We also redid all 4 lead roof joints because they were cracking
1 point
1 pointOne of the few rust spots on the car was the inside drivers rear corner. Maybe the exhaust contributed to that. We also redid all 4 lead roof joints because they were cracking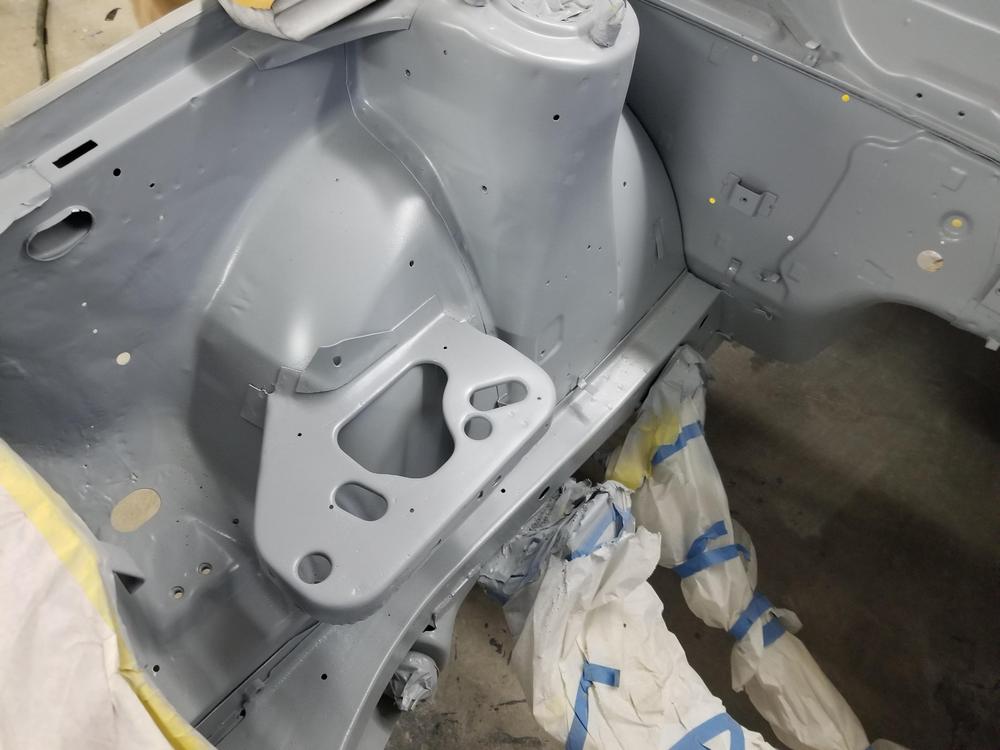


 1 point
So off to paint jail in March ...2-3 months to paint $2500-3000 plus material to paint... Should get it back in the next couple of weeks 4-5k in labor plus materials
1 point
1 pointSo off to paint jail in March ...2-3 months to paint $2500-3000 plus material to paint... Should get it back in the next couple of weeks 4-5k in labor plus materials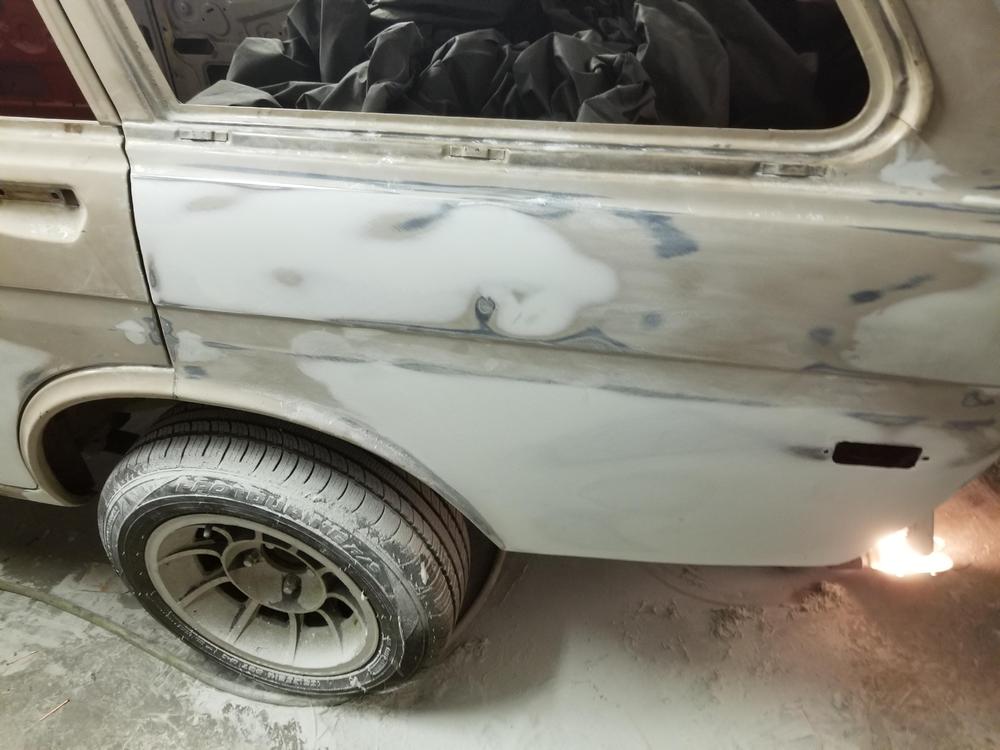


 1 point
 1 pointNo only if you use it on mondays and fridays you need the upgrade Sent from my iPhone using Tapatalk1 point
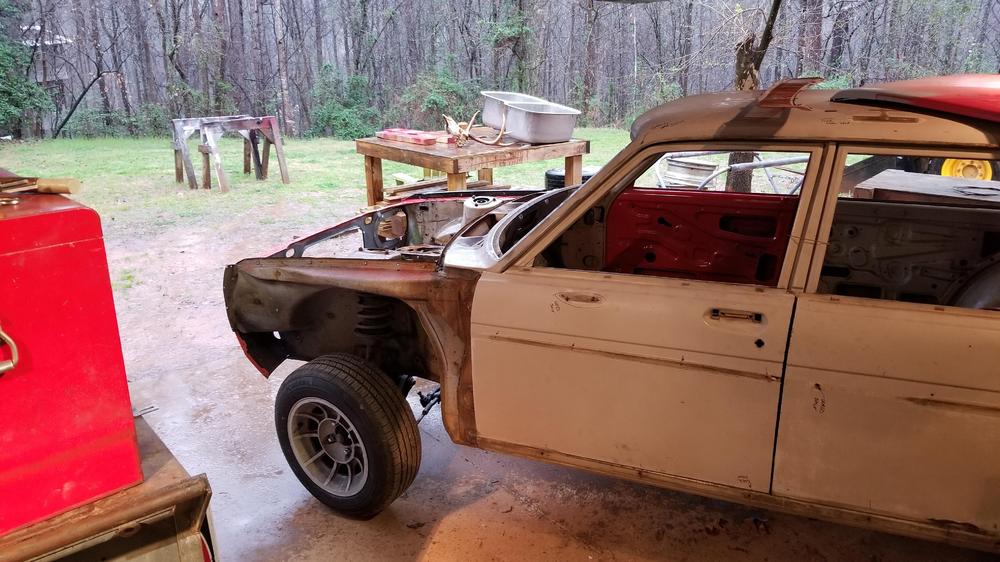
Looks like the car is sitting just right! Nice job on the diff and suspension.1 point
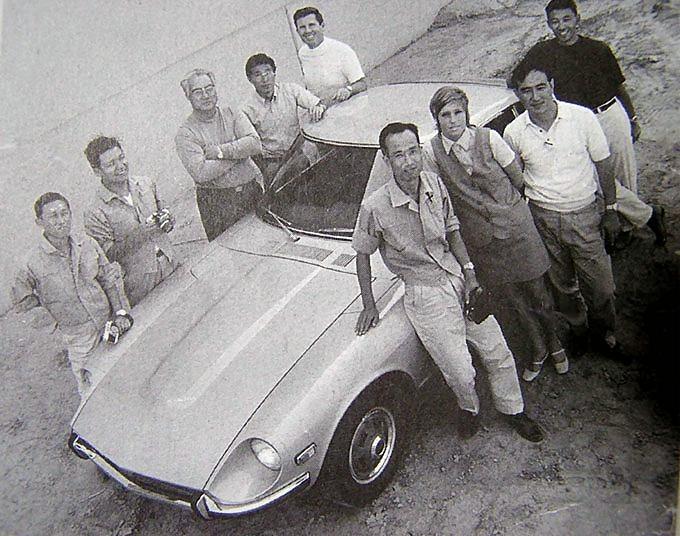
Oct 1969..... first Z's coming to North America... first the test team!
1 pointNo only if you use it on mondays and fridays you need the upgrade Sent from my iPhone using Tapatalk1 point
Looks like the car is sitting just right! Nice job on the diff and suspension.1 point
Oct 1969..... first Z's coming to North America... first the test team! 1 point
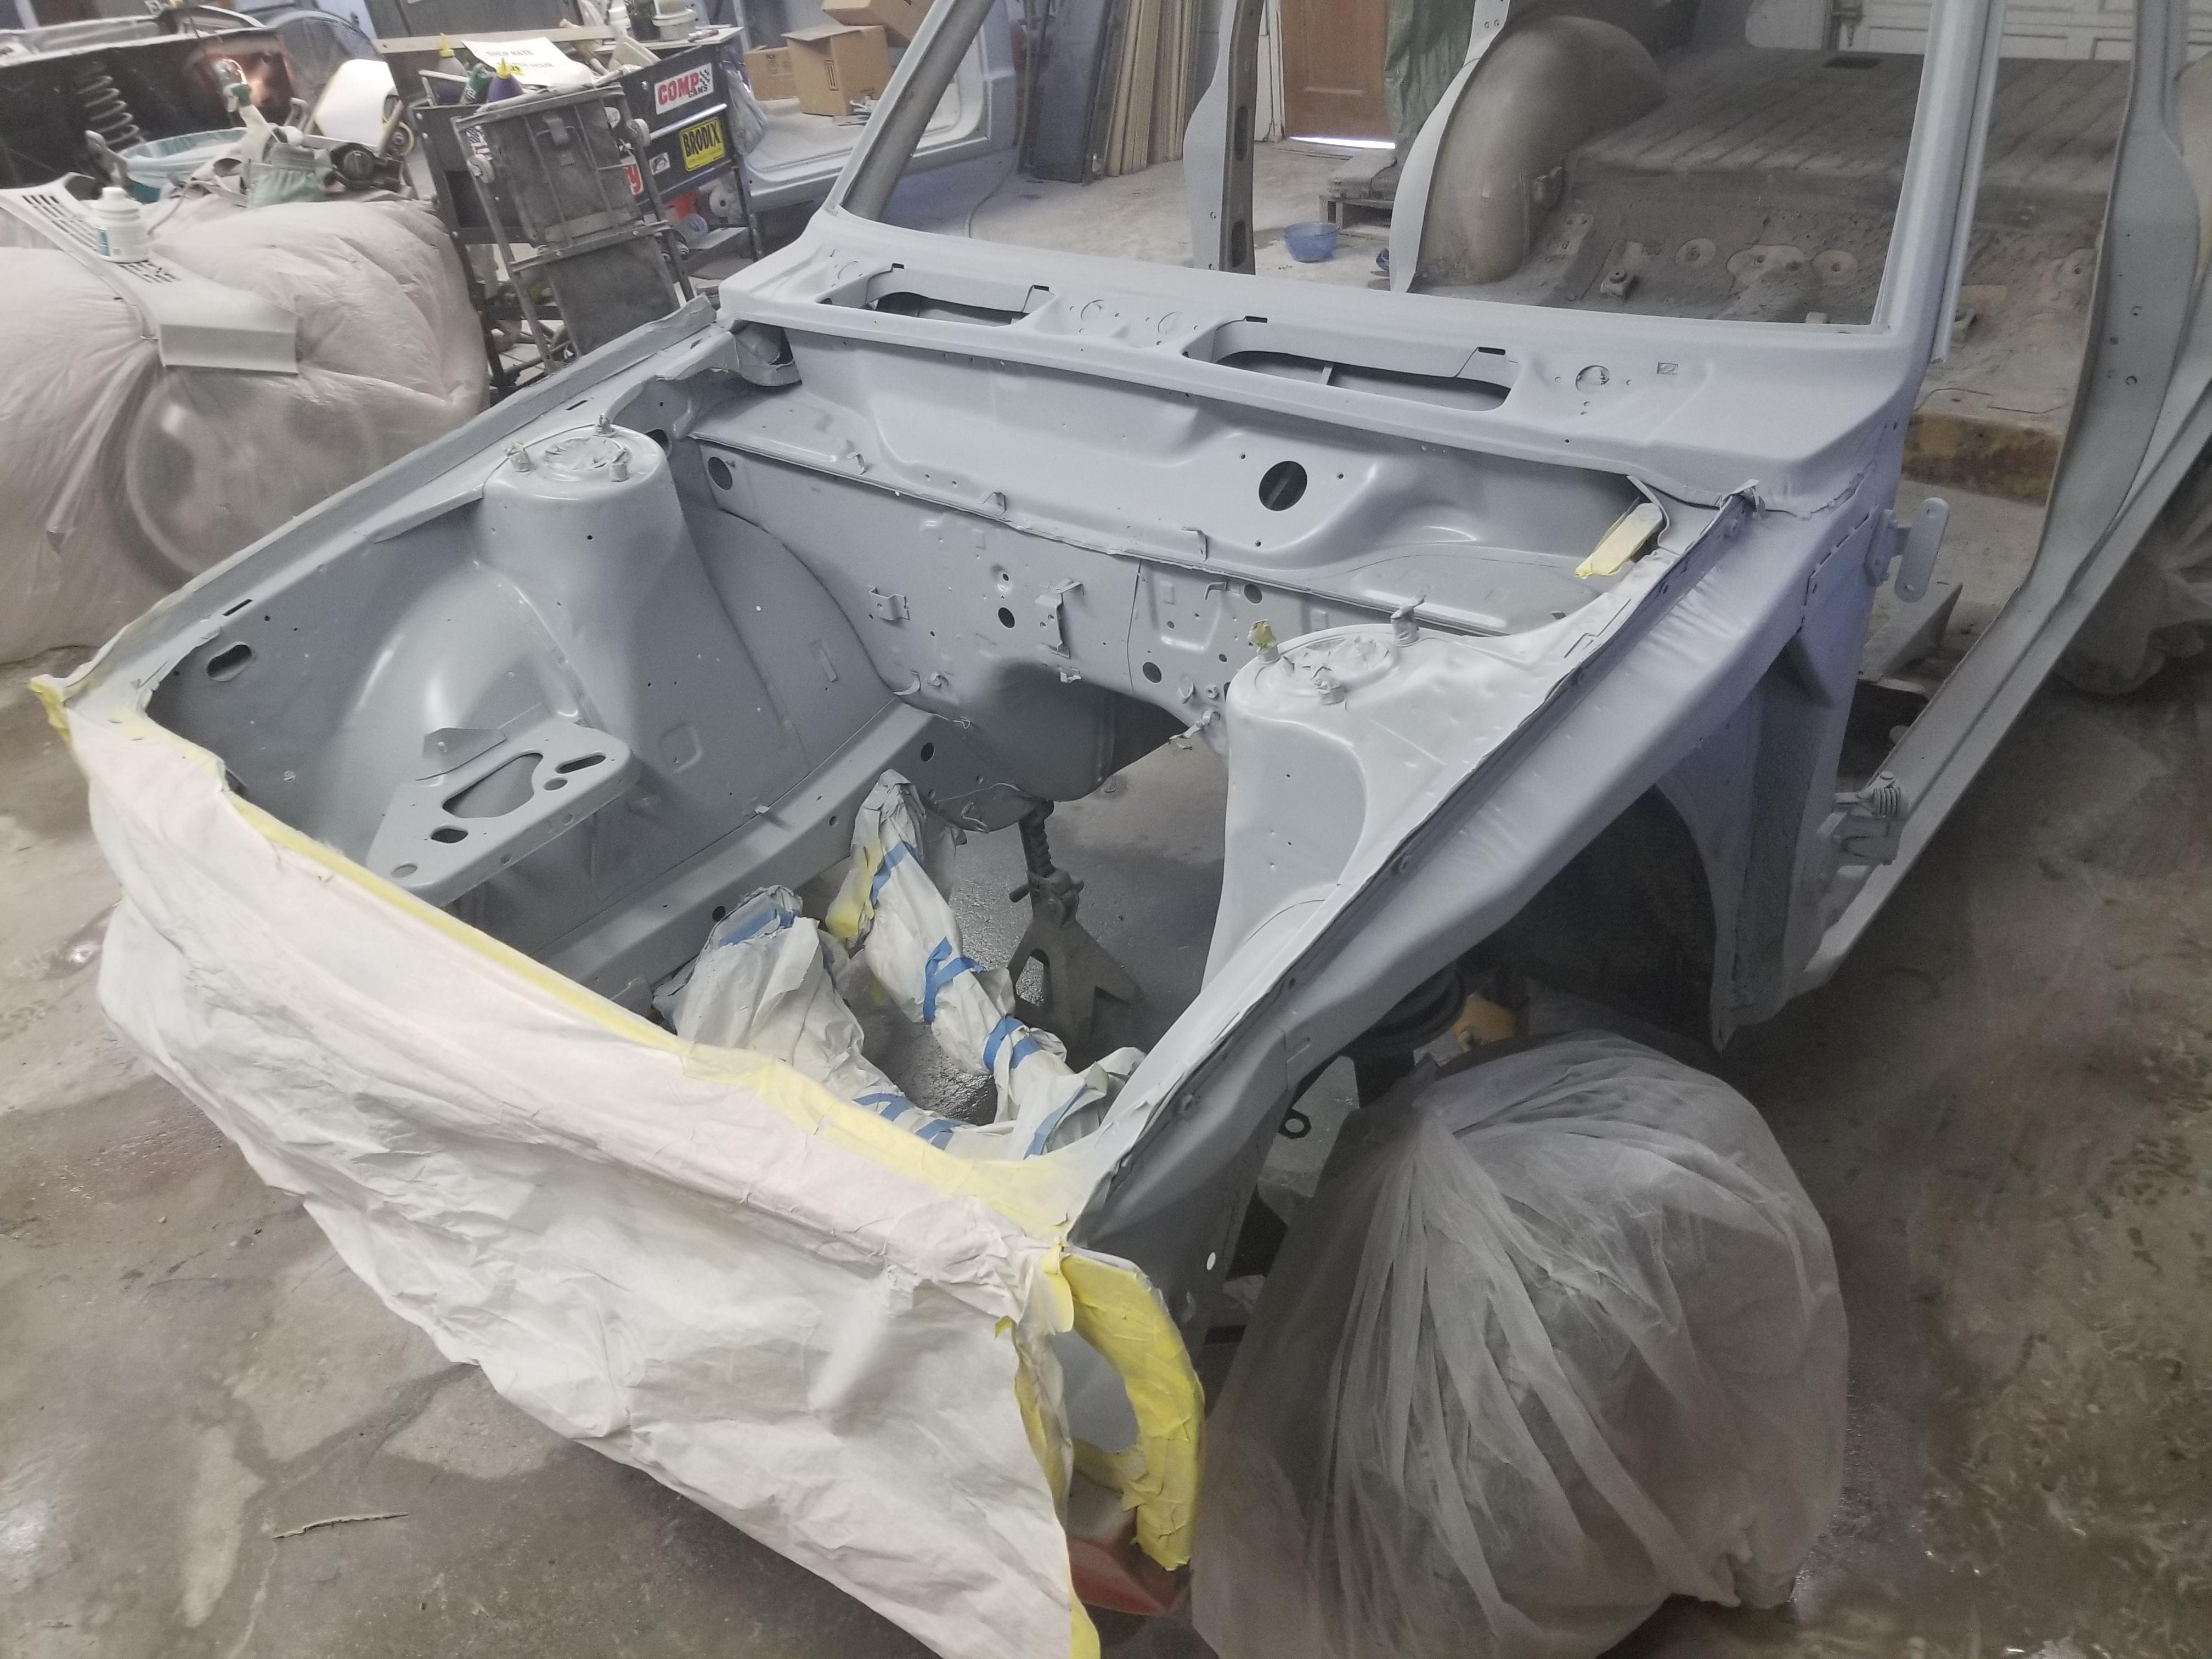
Off to paint jail On another note, is that flattened section behind the valve cover at the fuse box level supposed to be that way. It is hard to tell if that is a factory condition or not
1 point
1 pointOff to paint jail On another note, is that flattened section behind the valve cover at the fuse box level supposed to be that way. It is hard to tell if that is a factory condition or not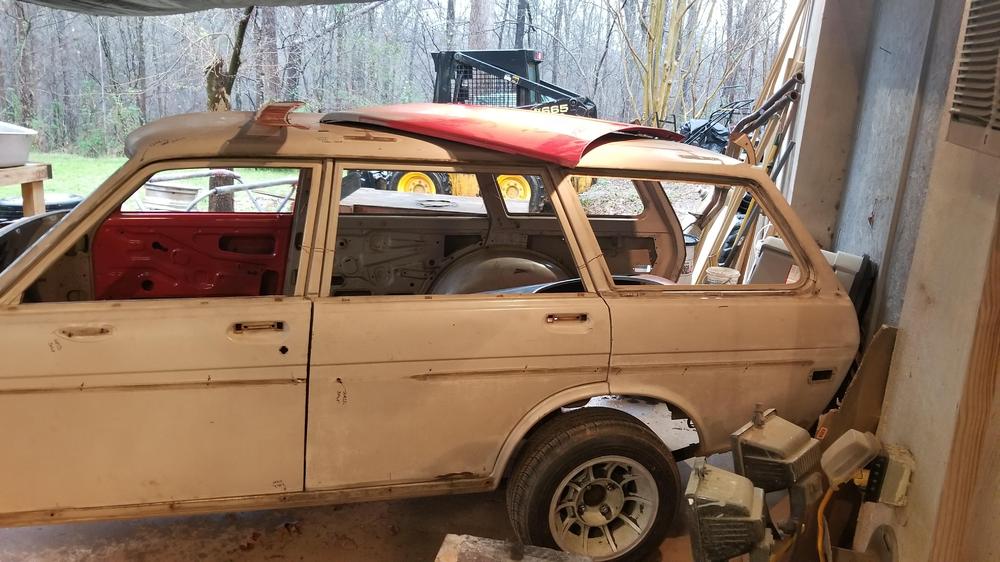


 1 point
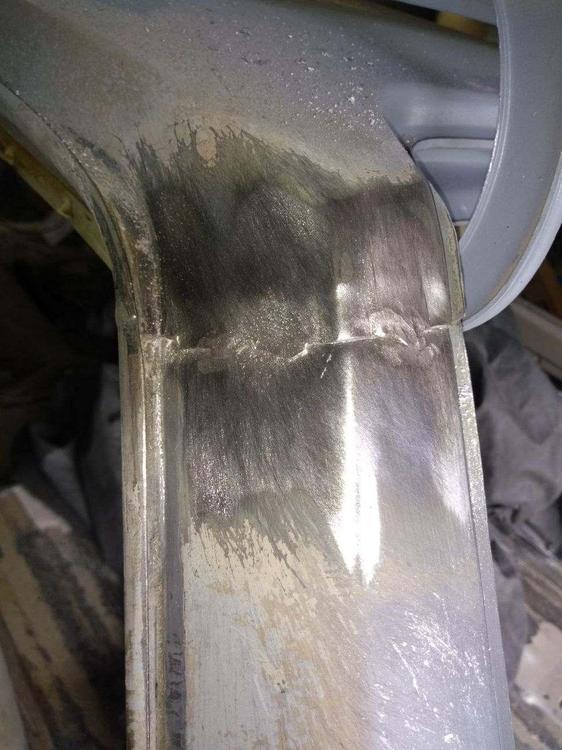
 0 pointsThis is what my window trim look like after a split second of not being real careful with a bench polisher. Lucky no fingers were lost.
.thumb.jpg.6e7479b73b8c52a42e037c95d7092a75.jpg) 0 points
0 points


.jpg.e44bcad0808b01b245c972207747106f.jpg)
Important Information
By using this site, you agree to our Privacy Policy and Guidelines. We have placed cookies on your device to help make this website better. You can adjust your cookie settings, otherwise we'll assume you're okay to continue.