


Leaderboard
-


wheee!
Free Member7Points4,607Posts -


siteunseen
Free Member5Points14,903Posts -

1jzs30
Free Member2Points13Posts -

colinc
Free Member2Points92Posts
Popular Content
Showing content with the highest reputation on 10/22/2019 in all areas
-
3 points
-
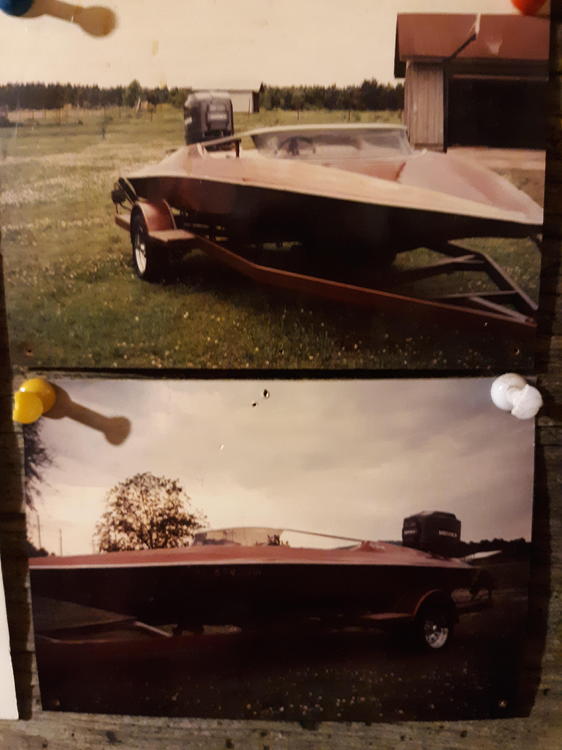
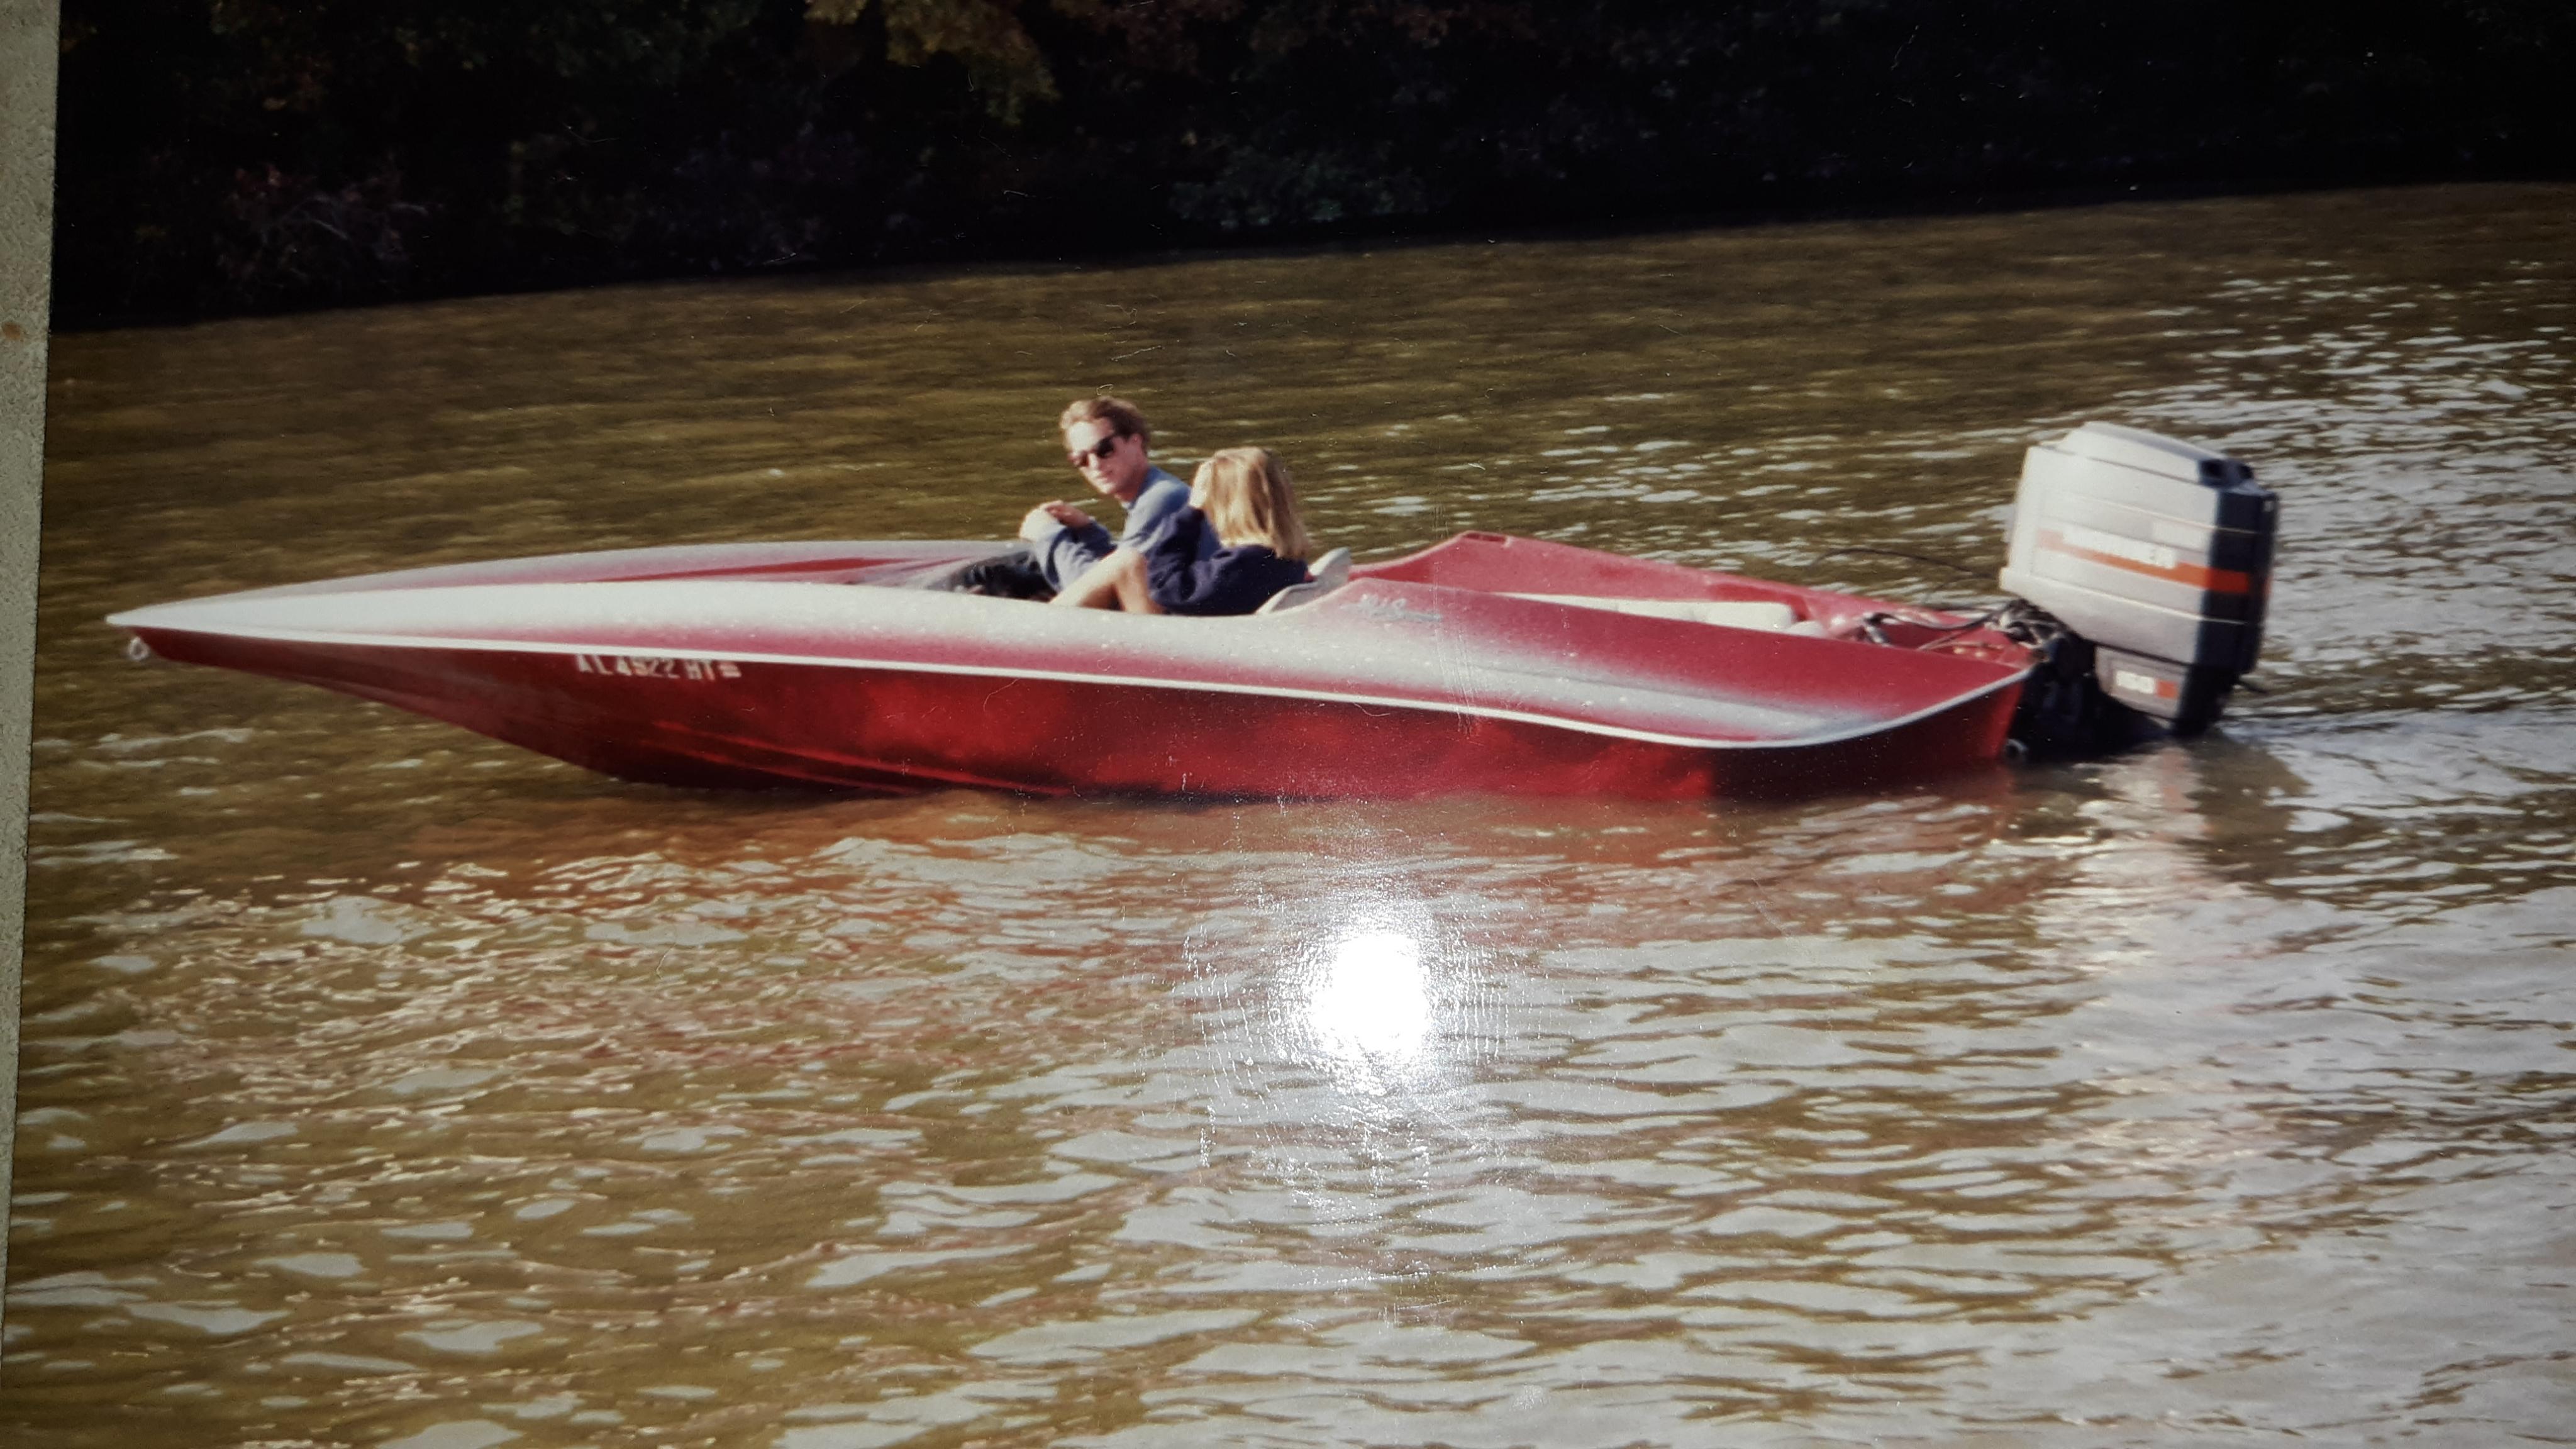
3 pointsI like to show my other interest too. Here's a boat I had that was really fun for about 10 years. This was taken the first weekend with the stock 150. I went way "overboard " with a 2.5 liter 200 horse Mercury motor that cost more than the boat. My Dad had one too but it was the family boat. I could flood him out with the "rooster tail" off mine. those were the days... $1.50 a gallon gas then we got "Katrina-ed", $3.00 to $4.00 a gallon. ☠️

 3 points
 -
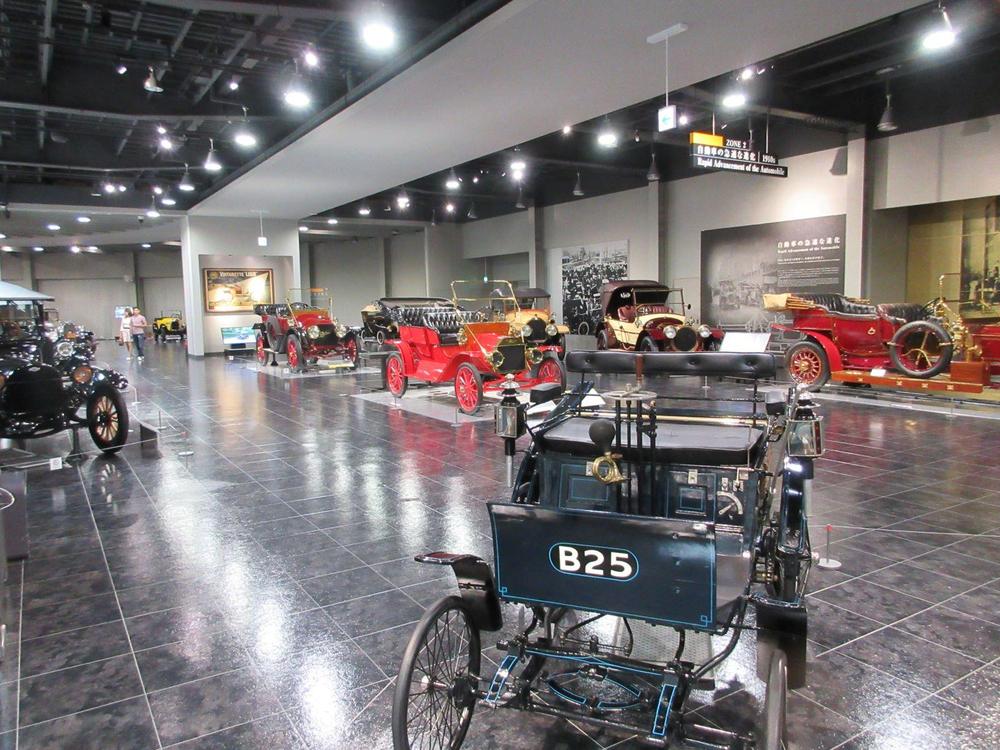
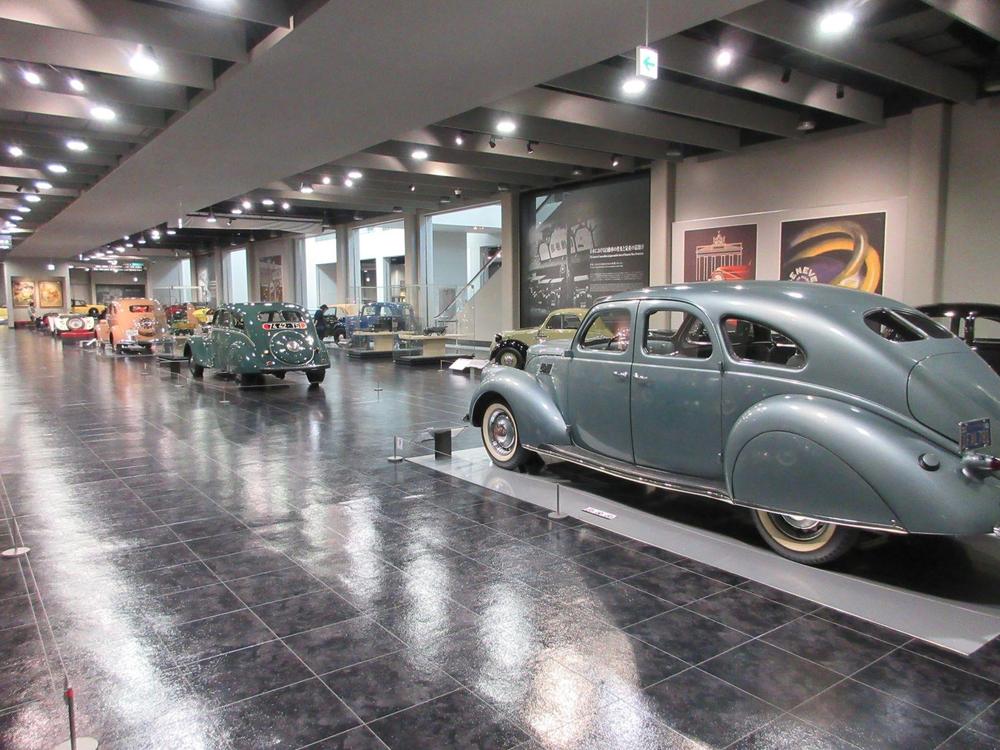
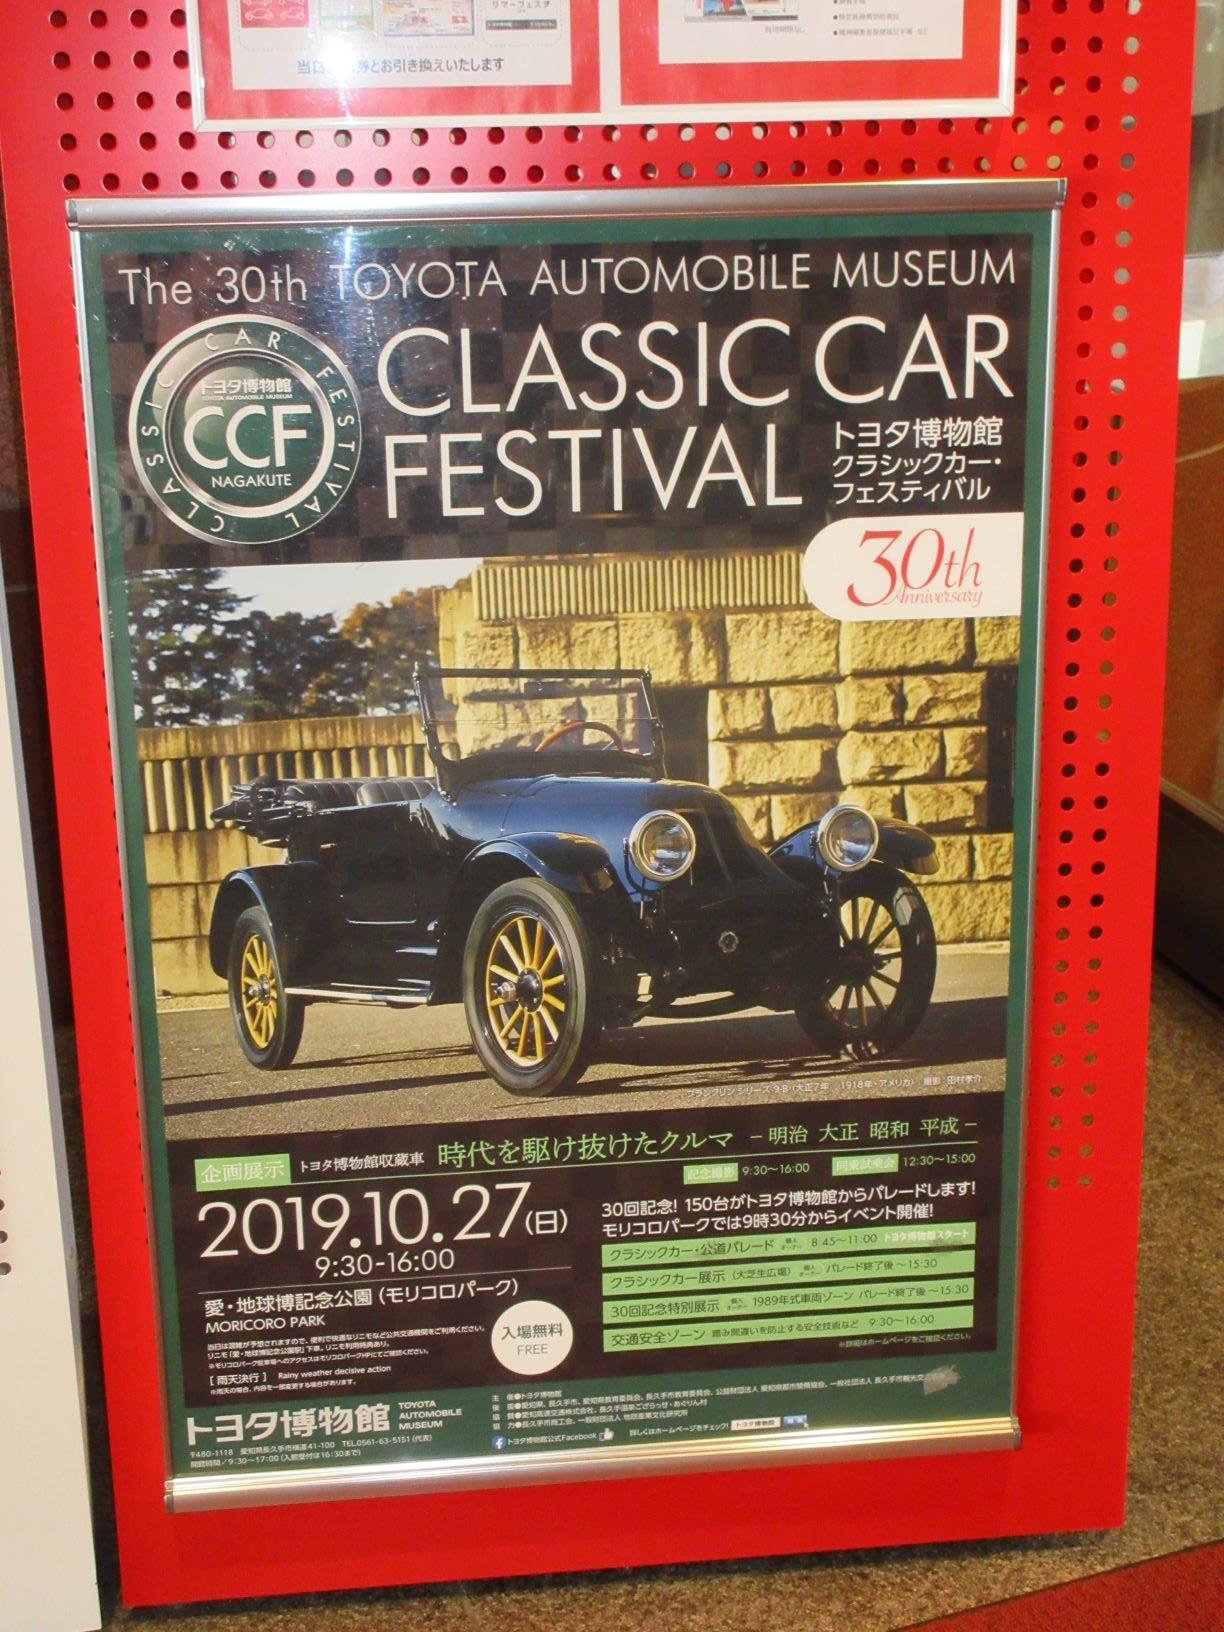
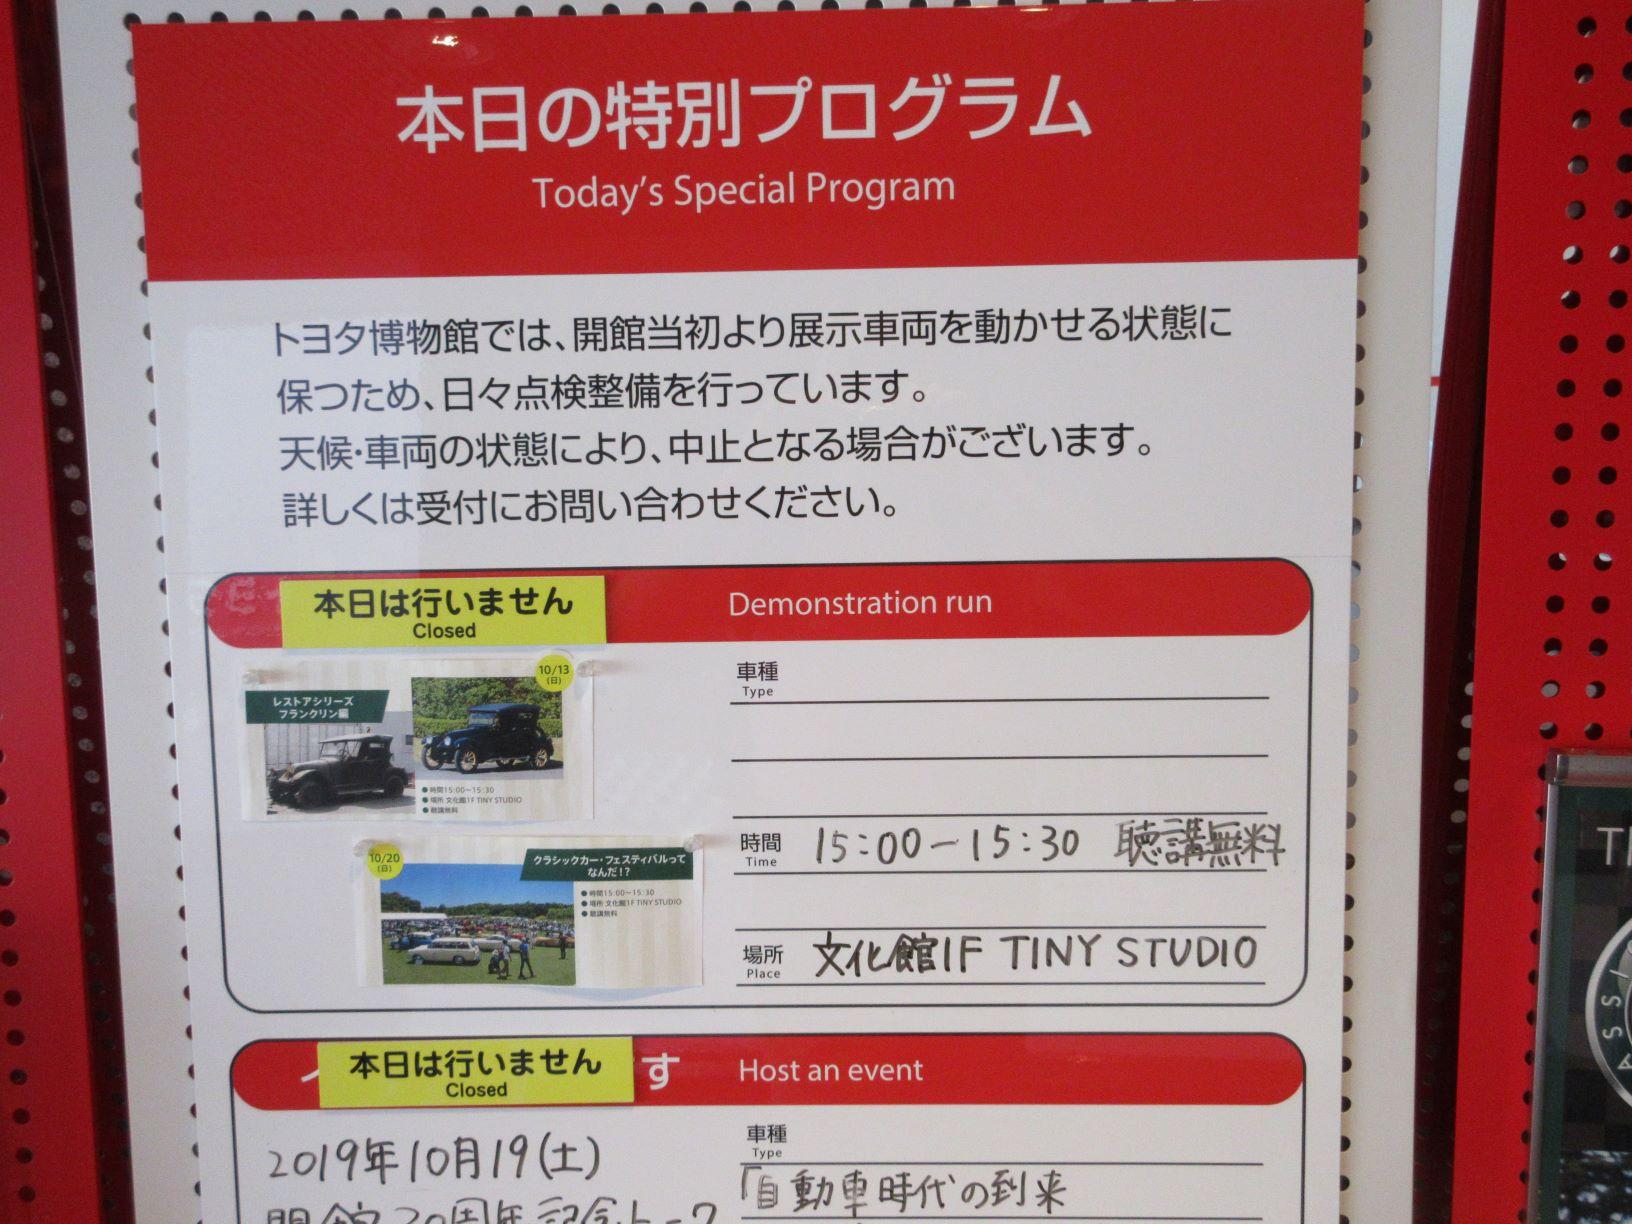
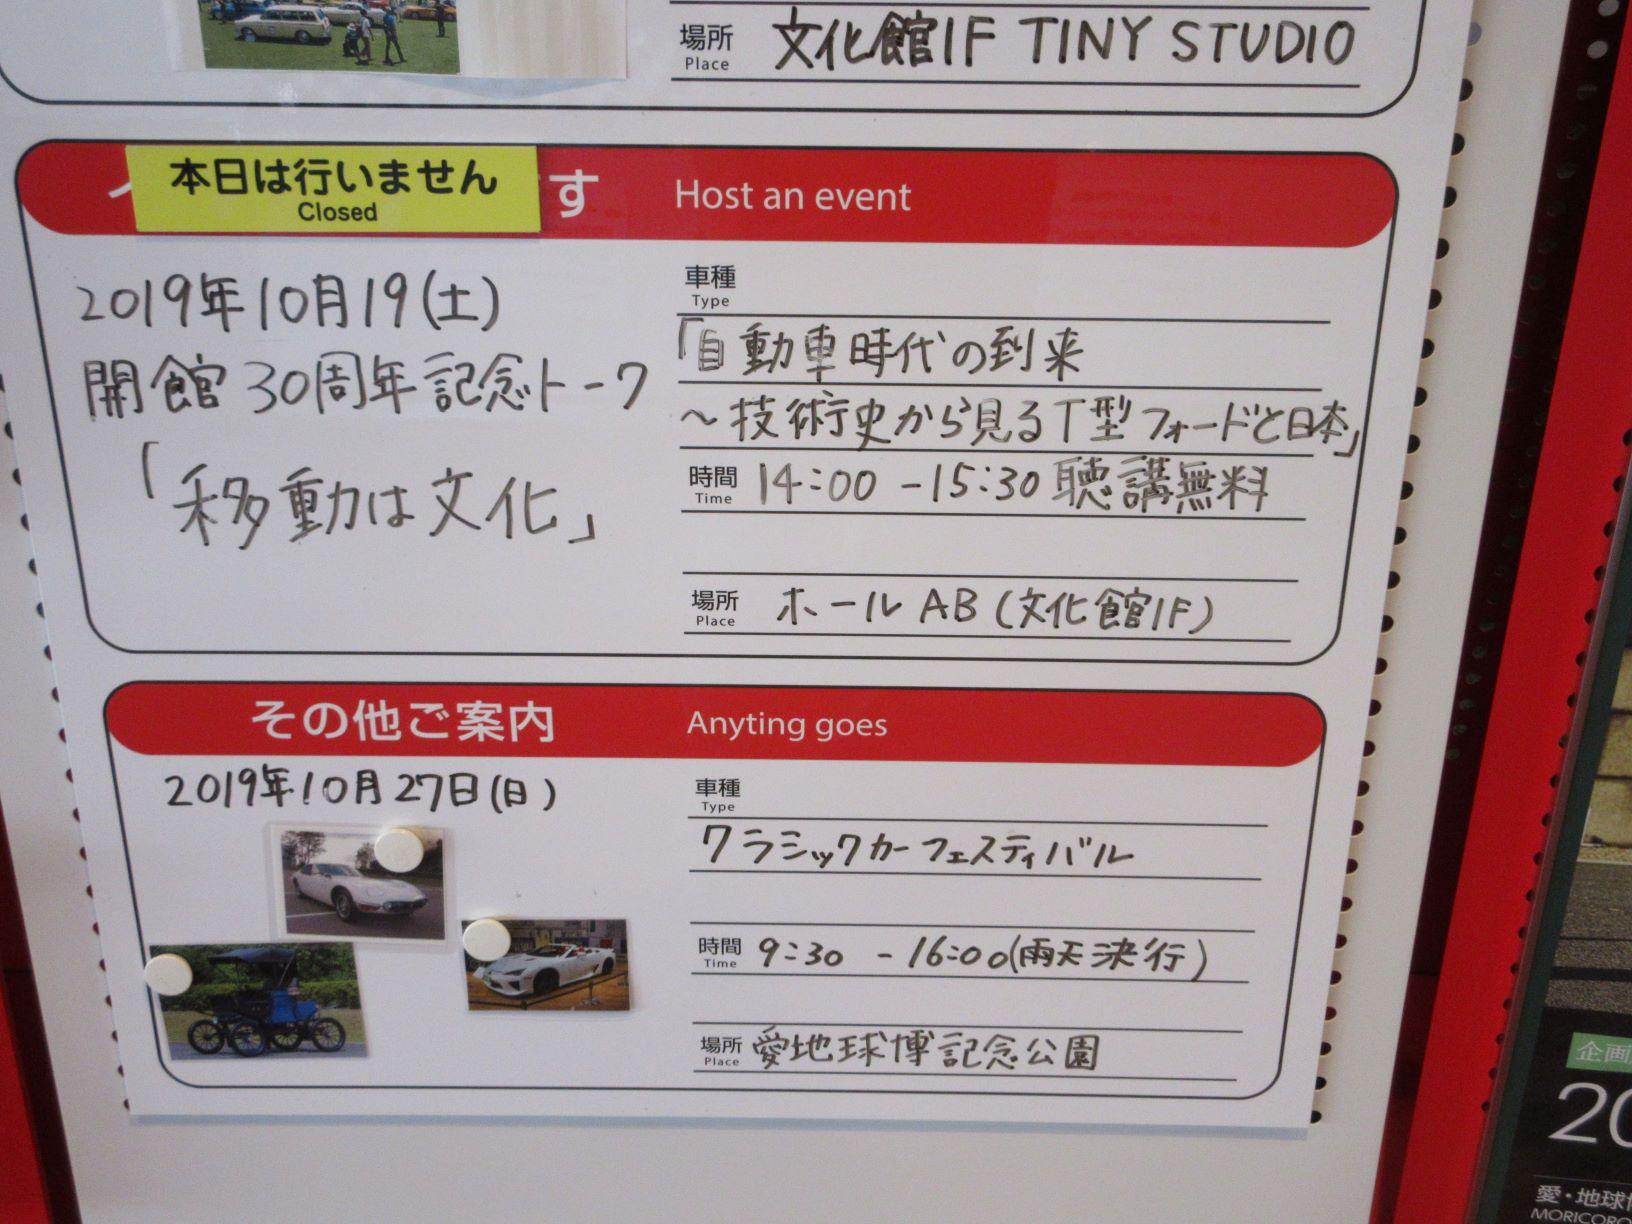
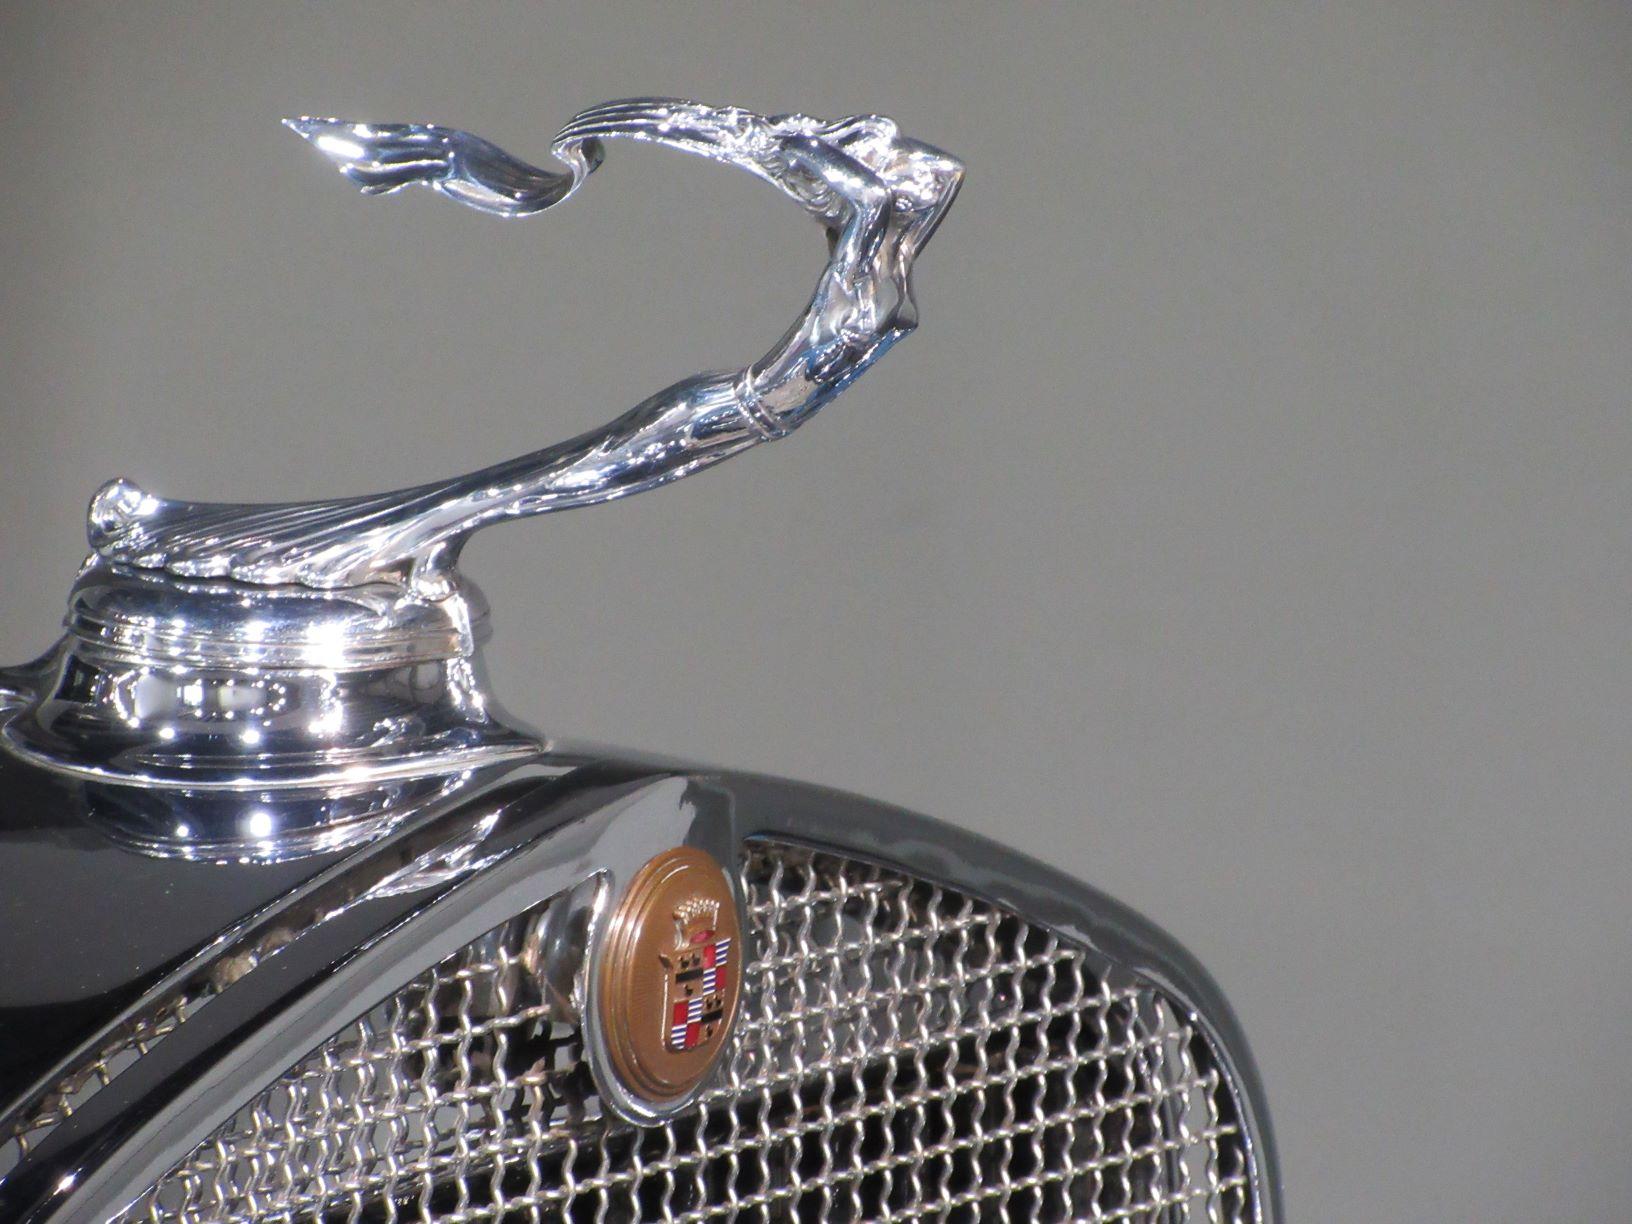
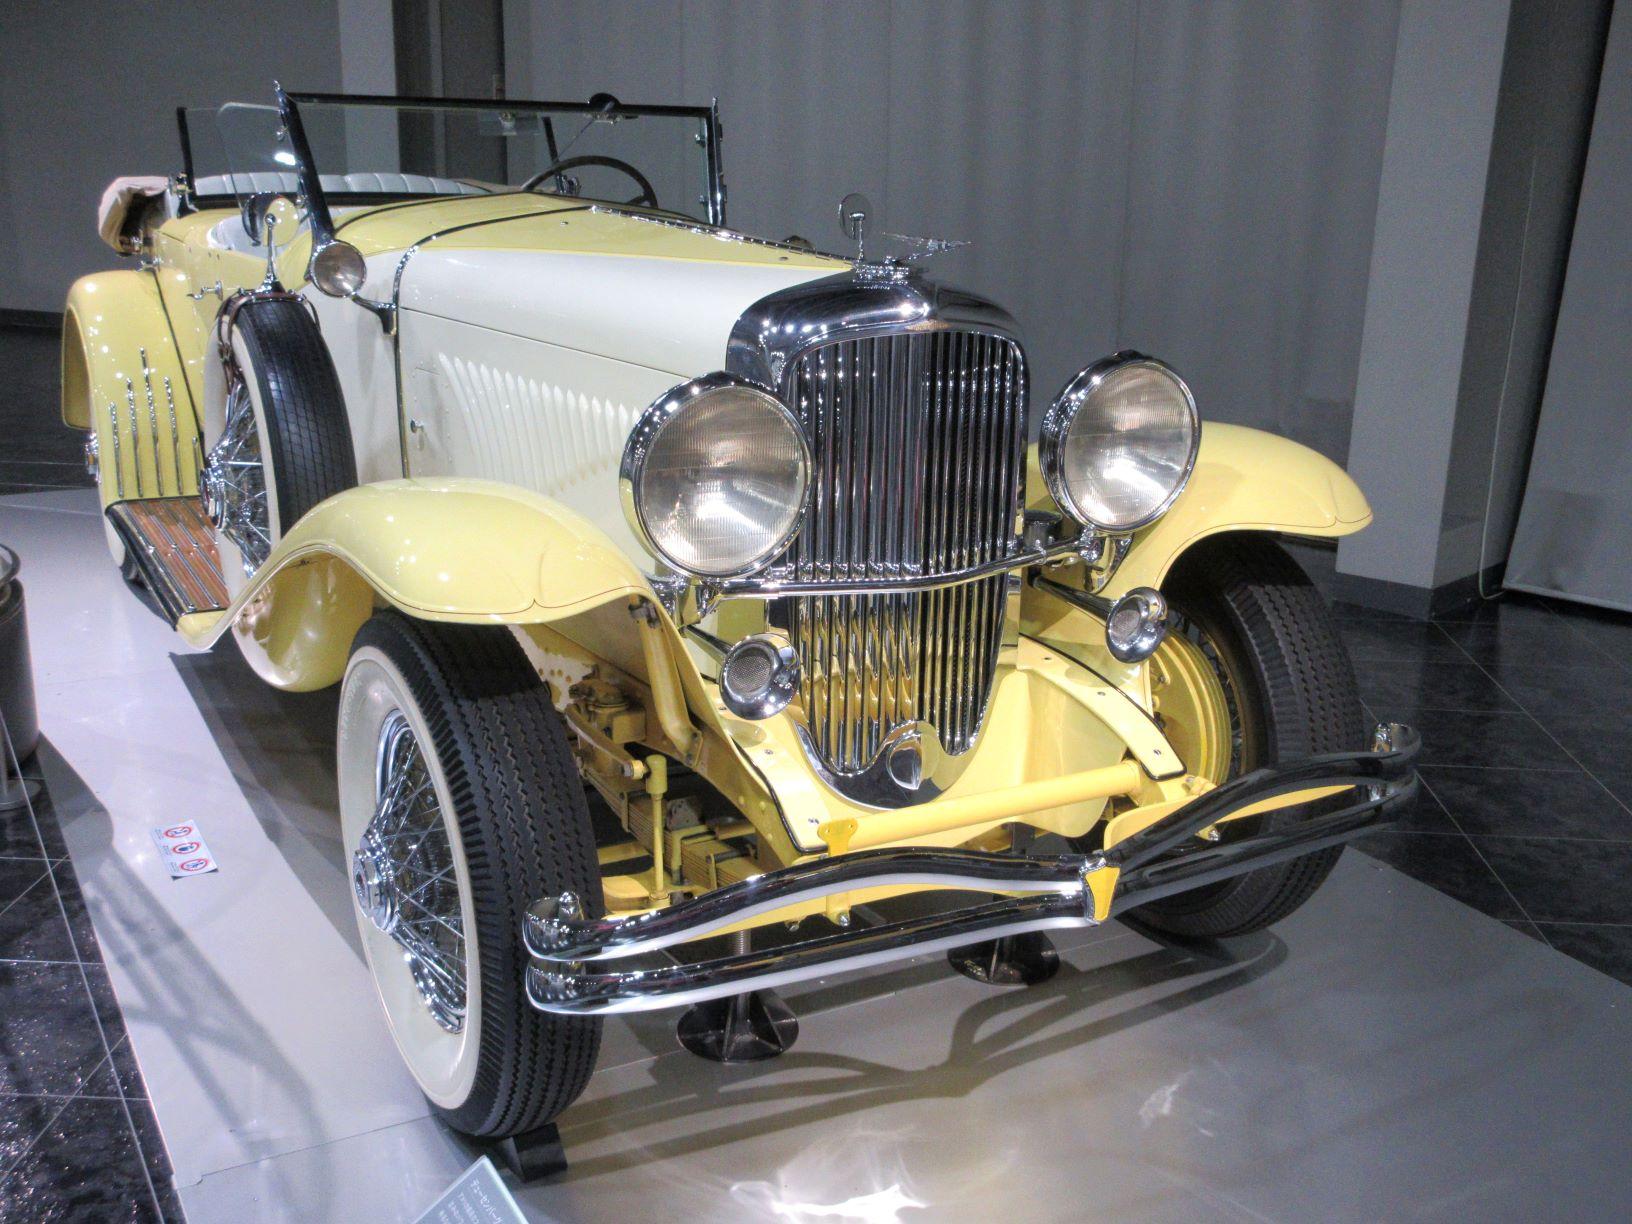
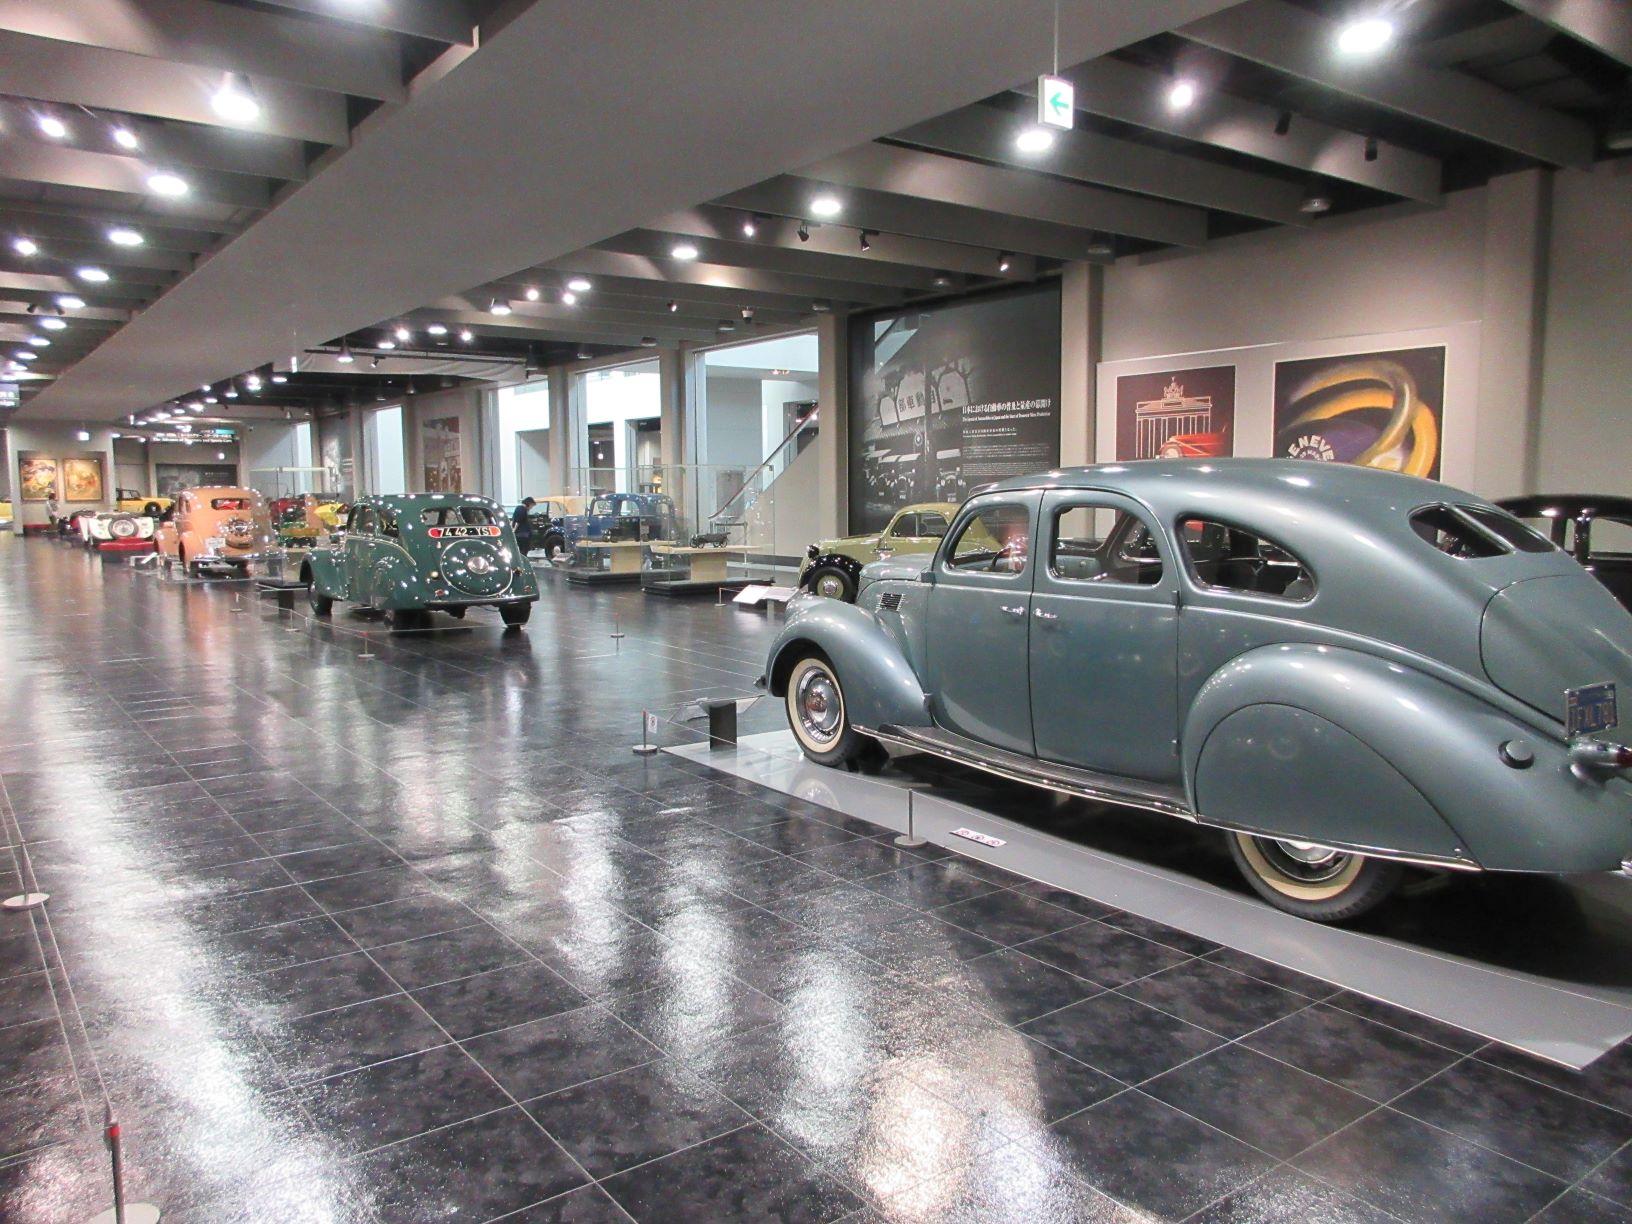
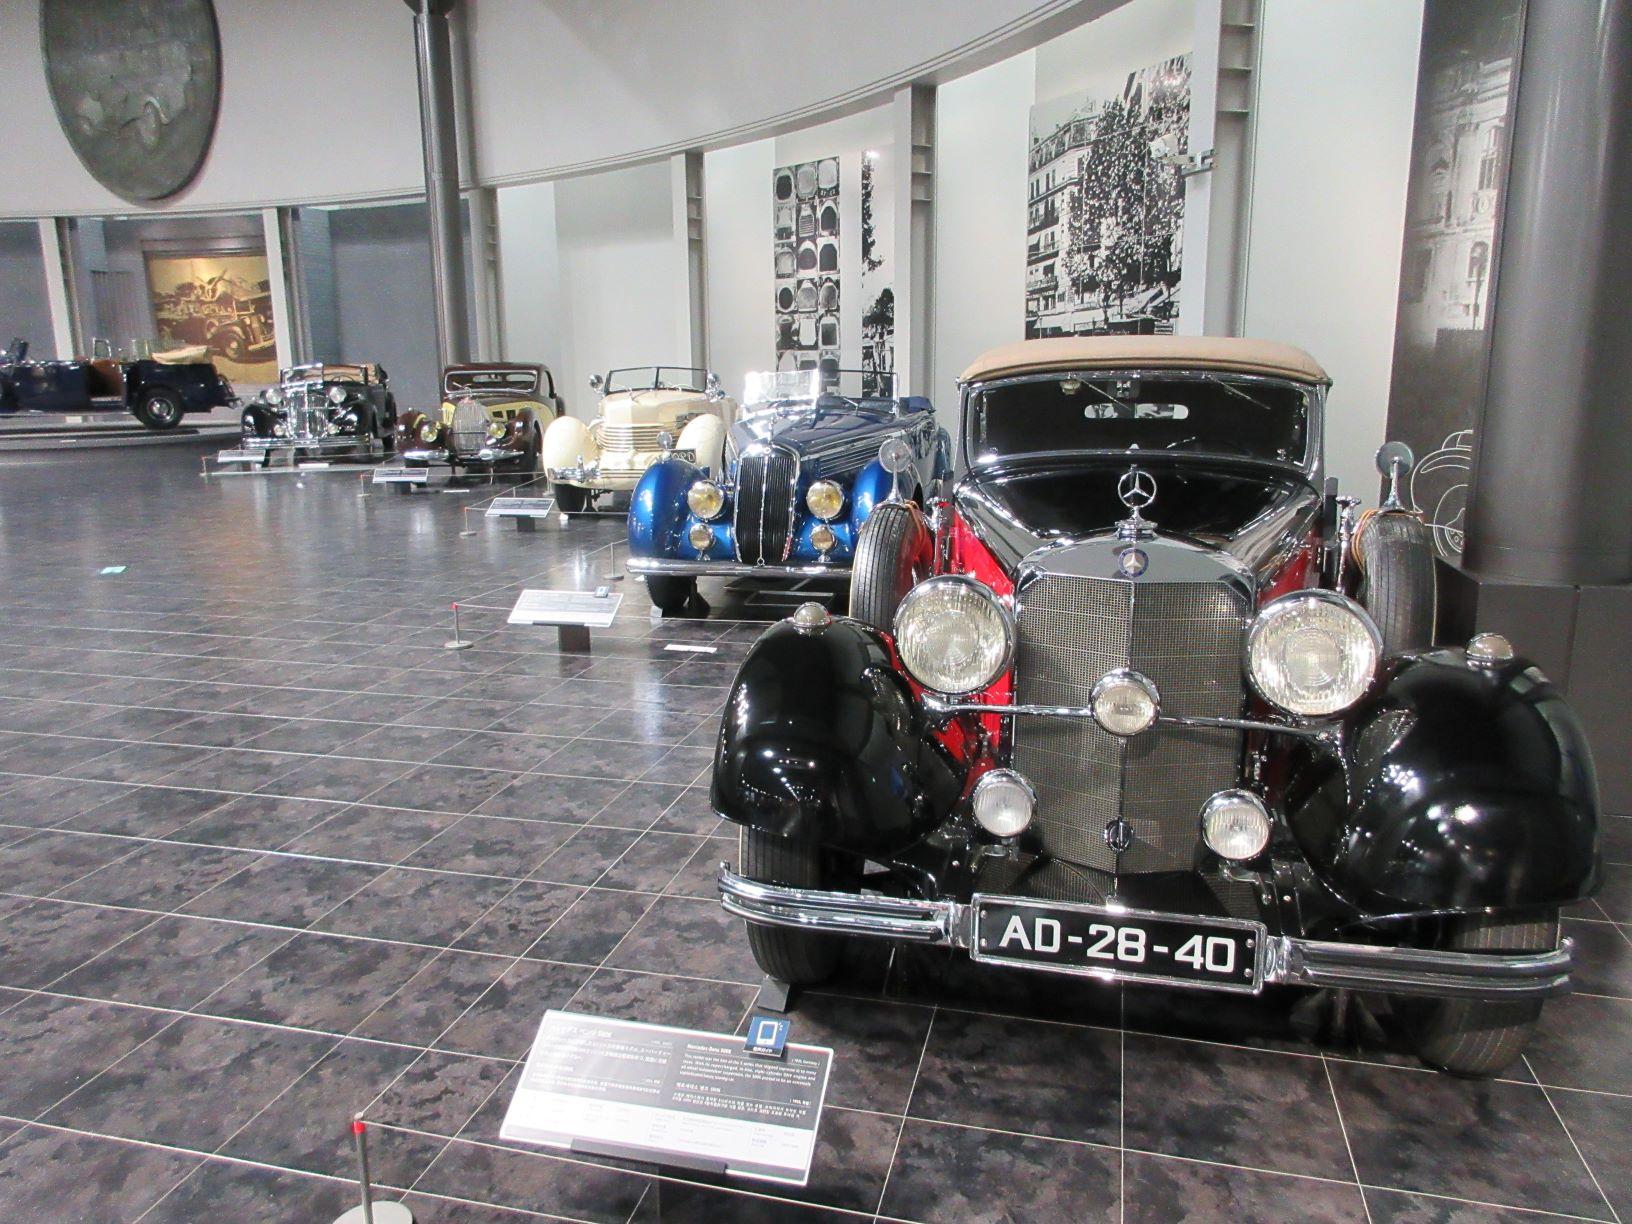
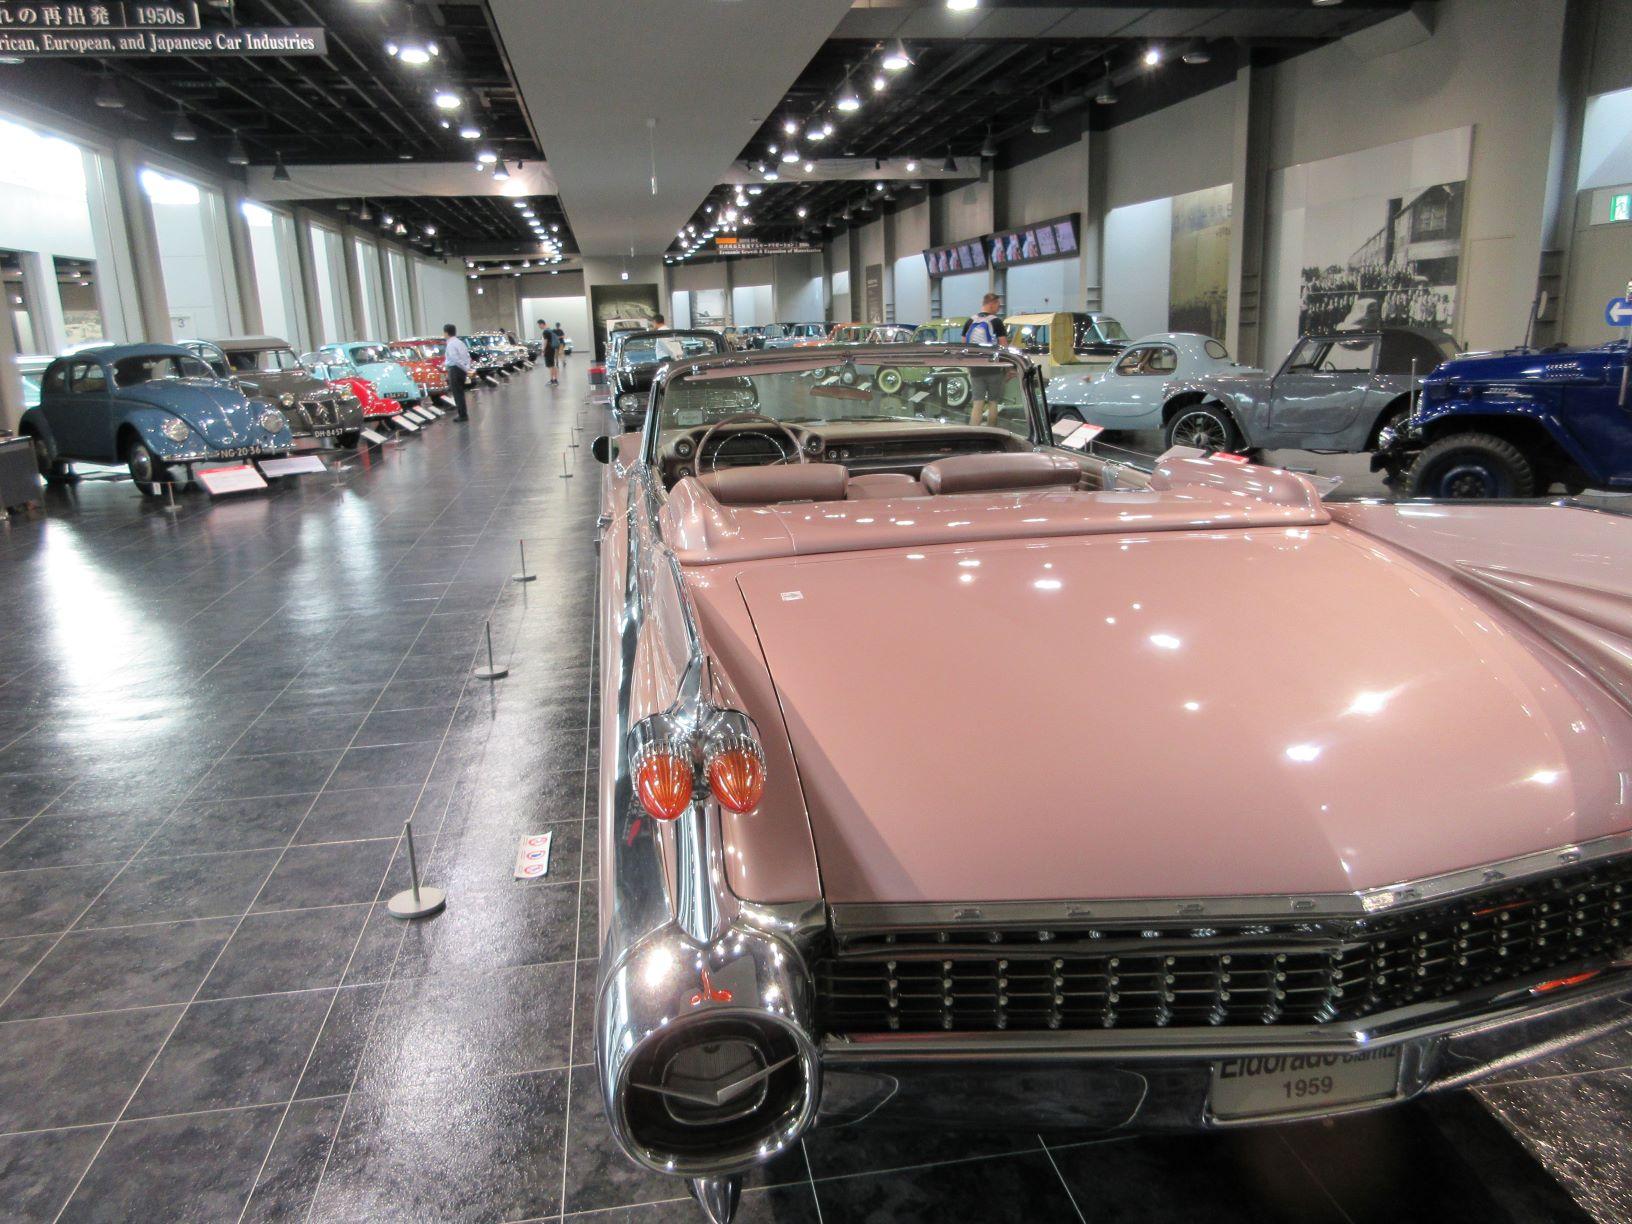
 Next installment: Here's an initial group of some photos I took in the Toyota Motor Museum. The museum's collection is surprisingly egalitarian when it comes to the inclusion of examples of Japanese marques other than just Toyota. I'll post some photos of the Datsuns on display later in the week. The pix below will give you a sense of what the museum looks like. Some background details as a lead-in: The museum is located on the eastern outskirts of Nagoya (a major city, situated on the south coast of Honshu island, about midway between Yokohama and Osaka). It's about a 30-minute trip from the central Nagoya rail station and can be accessed by the Nagoya subway/metro, followed by a 10-minute ride on the 'LiniMo' magnetic-levitation (seriously, I'm not making this up) urban train. As you'll see from the lead photo, the museum building is big and ultra-modern. Inside, there's a three-storey main building and a single-storey satellite building. The main building includes a very nice restaurant where you can order a sit-down meal (fixed menu with daily specials) with table service. Includes a beer-and-wine selection. The museum collection is split up according to six 'themes'. For example: Early Pioneers, Sportscars, Classic Era, and Modern. The satellite building focuses on 'automotive culture' in Japan. Museum staff carry out daily running demonstrations of two or three vehicles on the property. It become quickly obvious to me that Toyota has spent a lot of money to assemble and display this collection. Building interior finishings, lighting, and display materials are all first-class. The vehicles are in immaculate condition and the choices -- of both which vehicles to include and then, which particular vehicles to buy -- look like they were made by some people who really knew what they were doing.
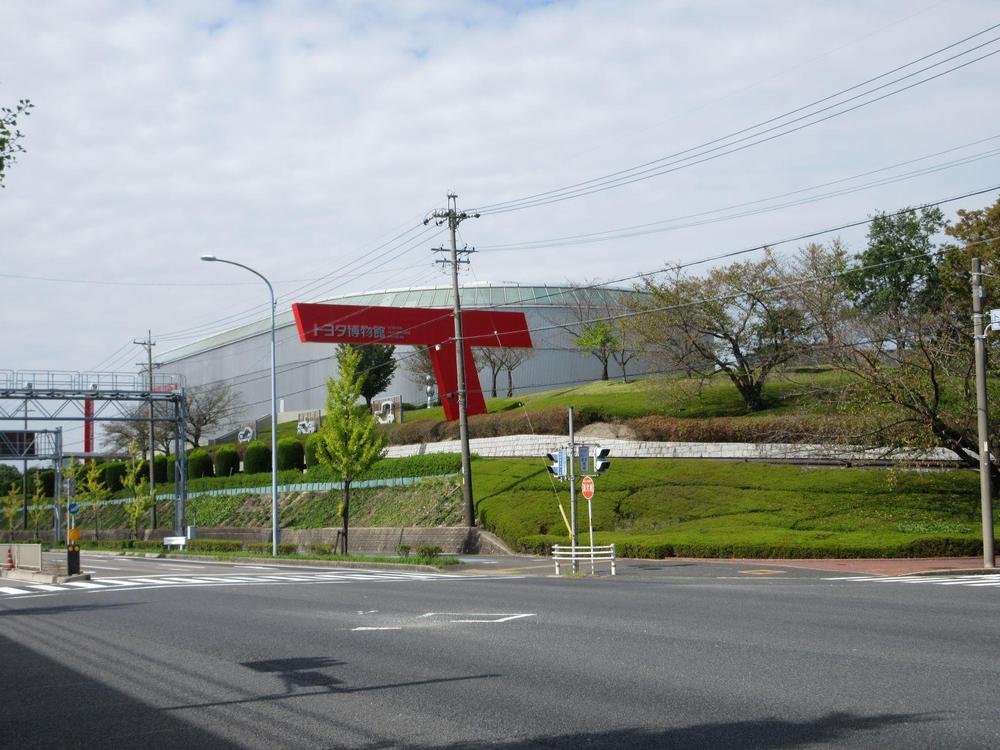


 2 points
 -
2 points2 points
2 pointsI just had a similar issue. I had replaced the mechanical fuel pump a few weeks ago. This past weekend the car died while idling in the driveway. I had just been out for a drive and had let the tank get fairly low. I did put in about 20L 5 minutes before pulling in. I checked fuel at the carb and there was nothing. I immediately assumed the new pump had crapped out so I re-installed the old one. The old one was working fine but I had been chasing a ticking noise at the time and had replaced it to no avail (another story that I think is a small exhaust leak). After waiting a day for the gasket to seal up I still had no start and no fuel at the carbs. I noticed I was getting no fuel in the filter. I remembered a problem I had experienced with one of my other zcars where crud from the tank got caught in the fuel lines when when the fuel got low. I blew some compressed air back through the tank and could hear the air bubbling in the tank. Tried to start again but nothing. I came inside and did a search here. After reading this thread I tried priming the carbs, pump and filter. Started right up and ran beautifully. Thanks!2 points
 1 pointThanks sooo much 240260280!!!!!! First I clicked on "reputation activity", and there were no pictures under "gallery". Then I clicked on "see their activity" and there were my pictures. Never would have found it without help. Thanks again.1 point
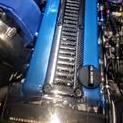
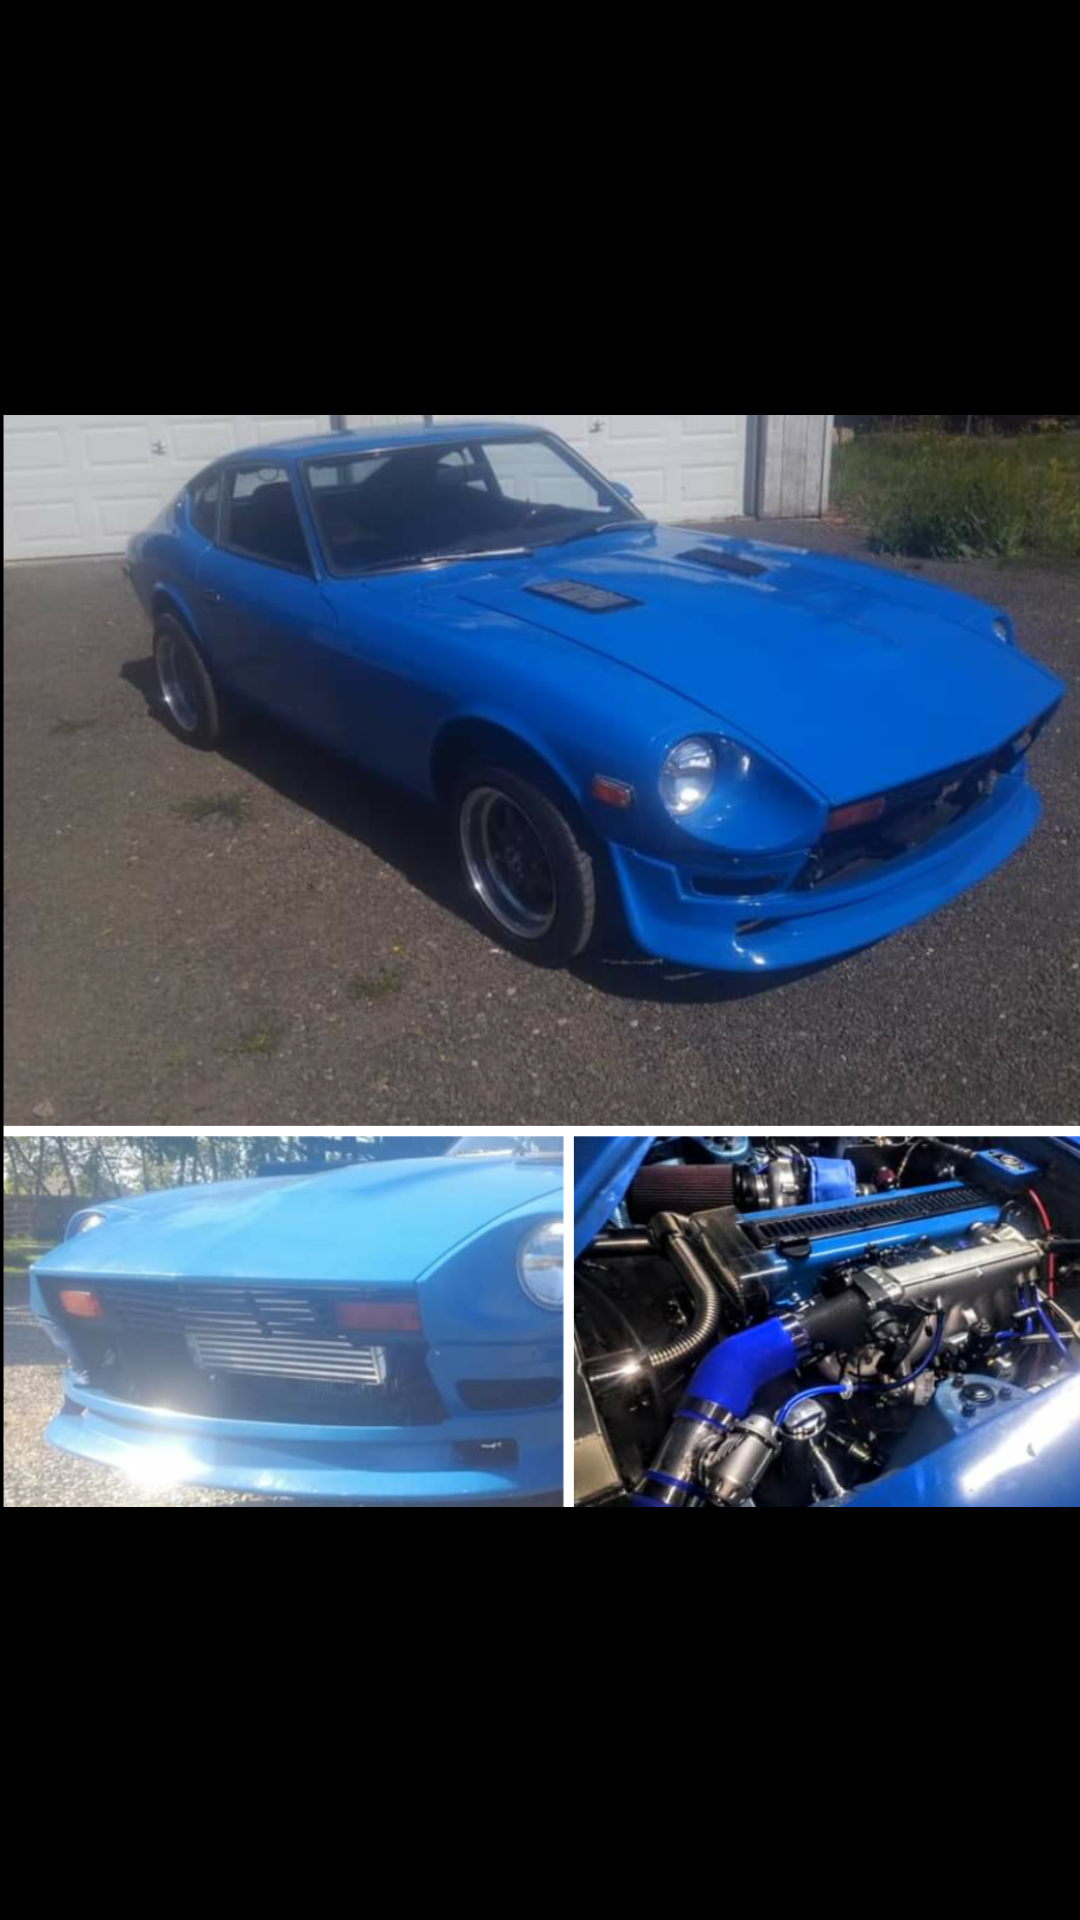
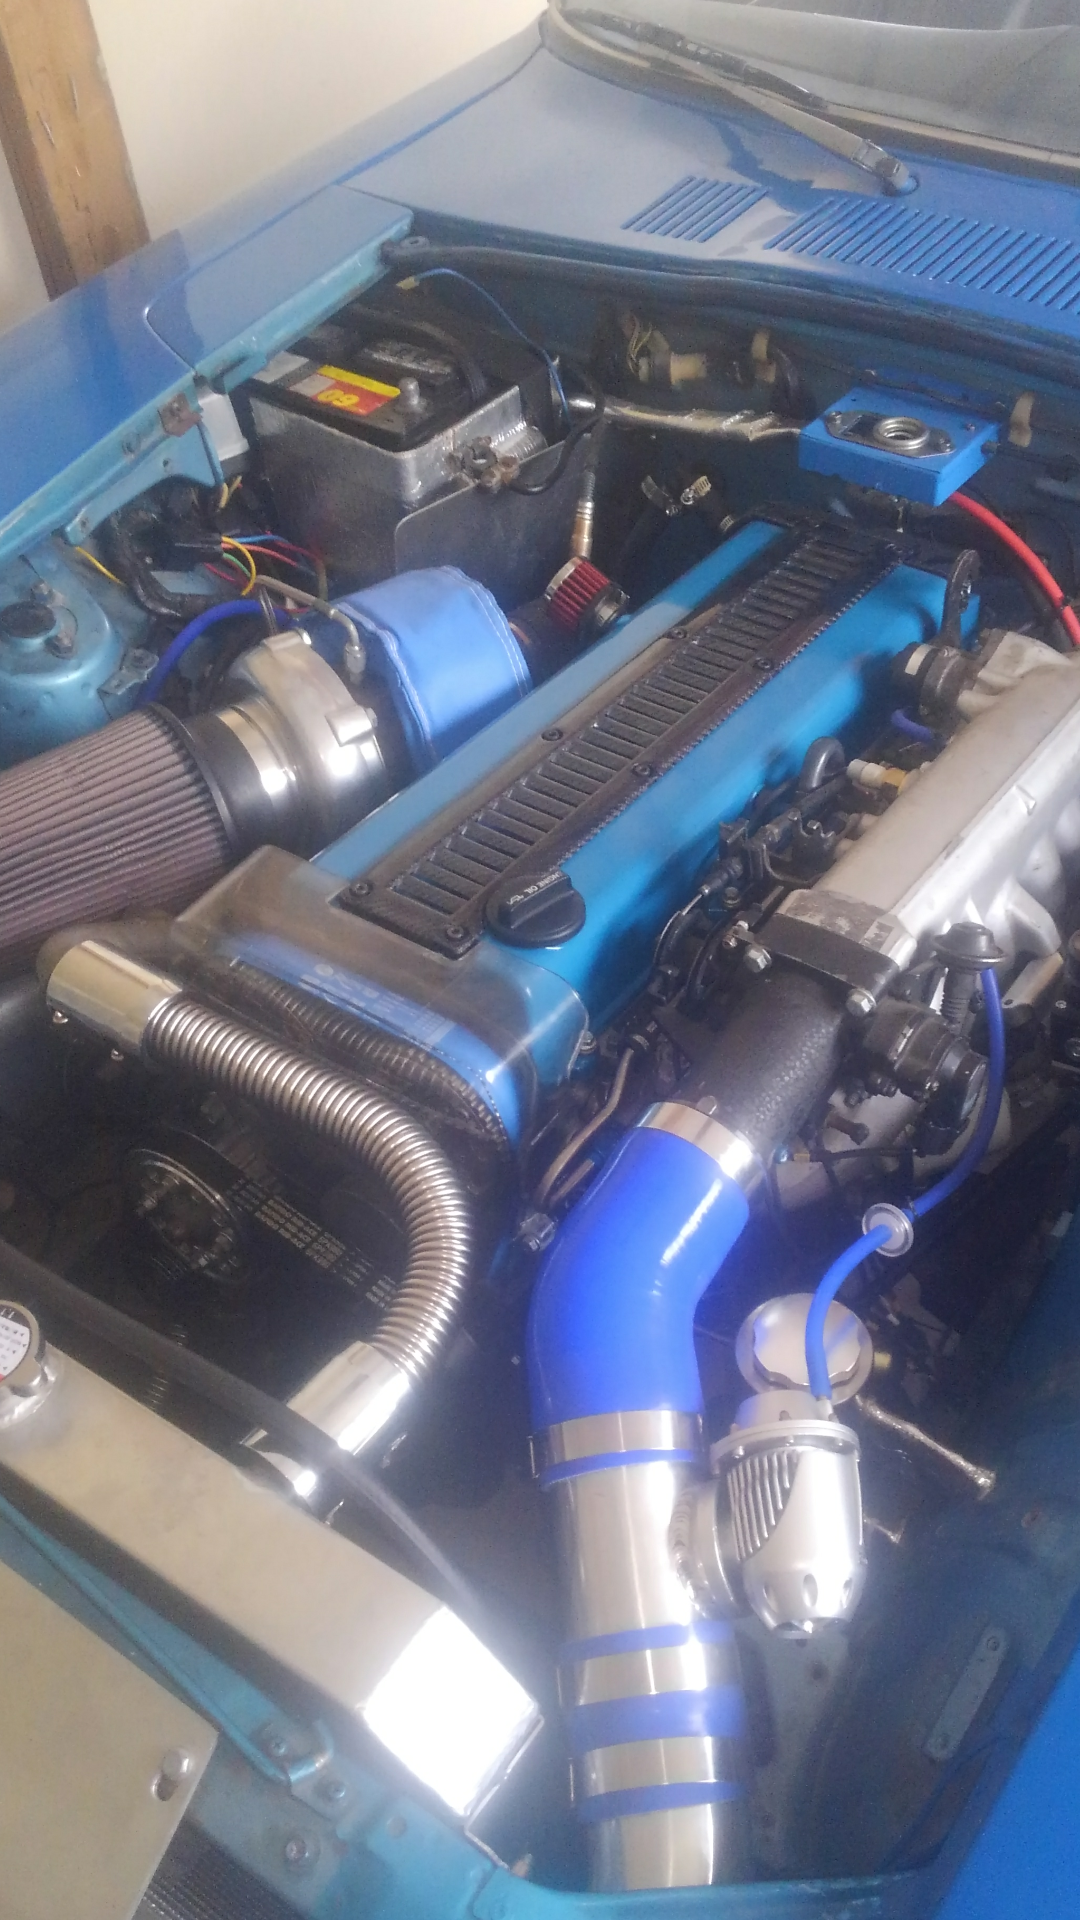
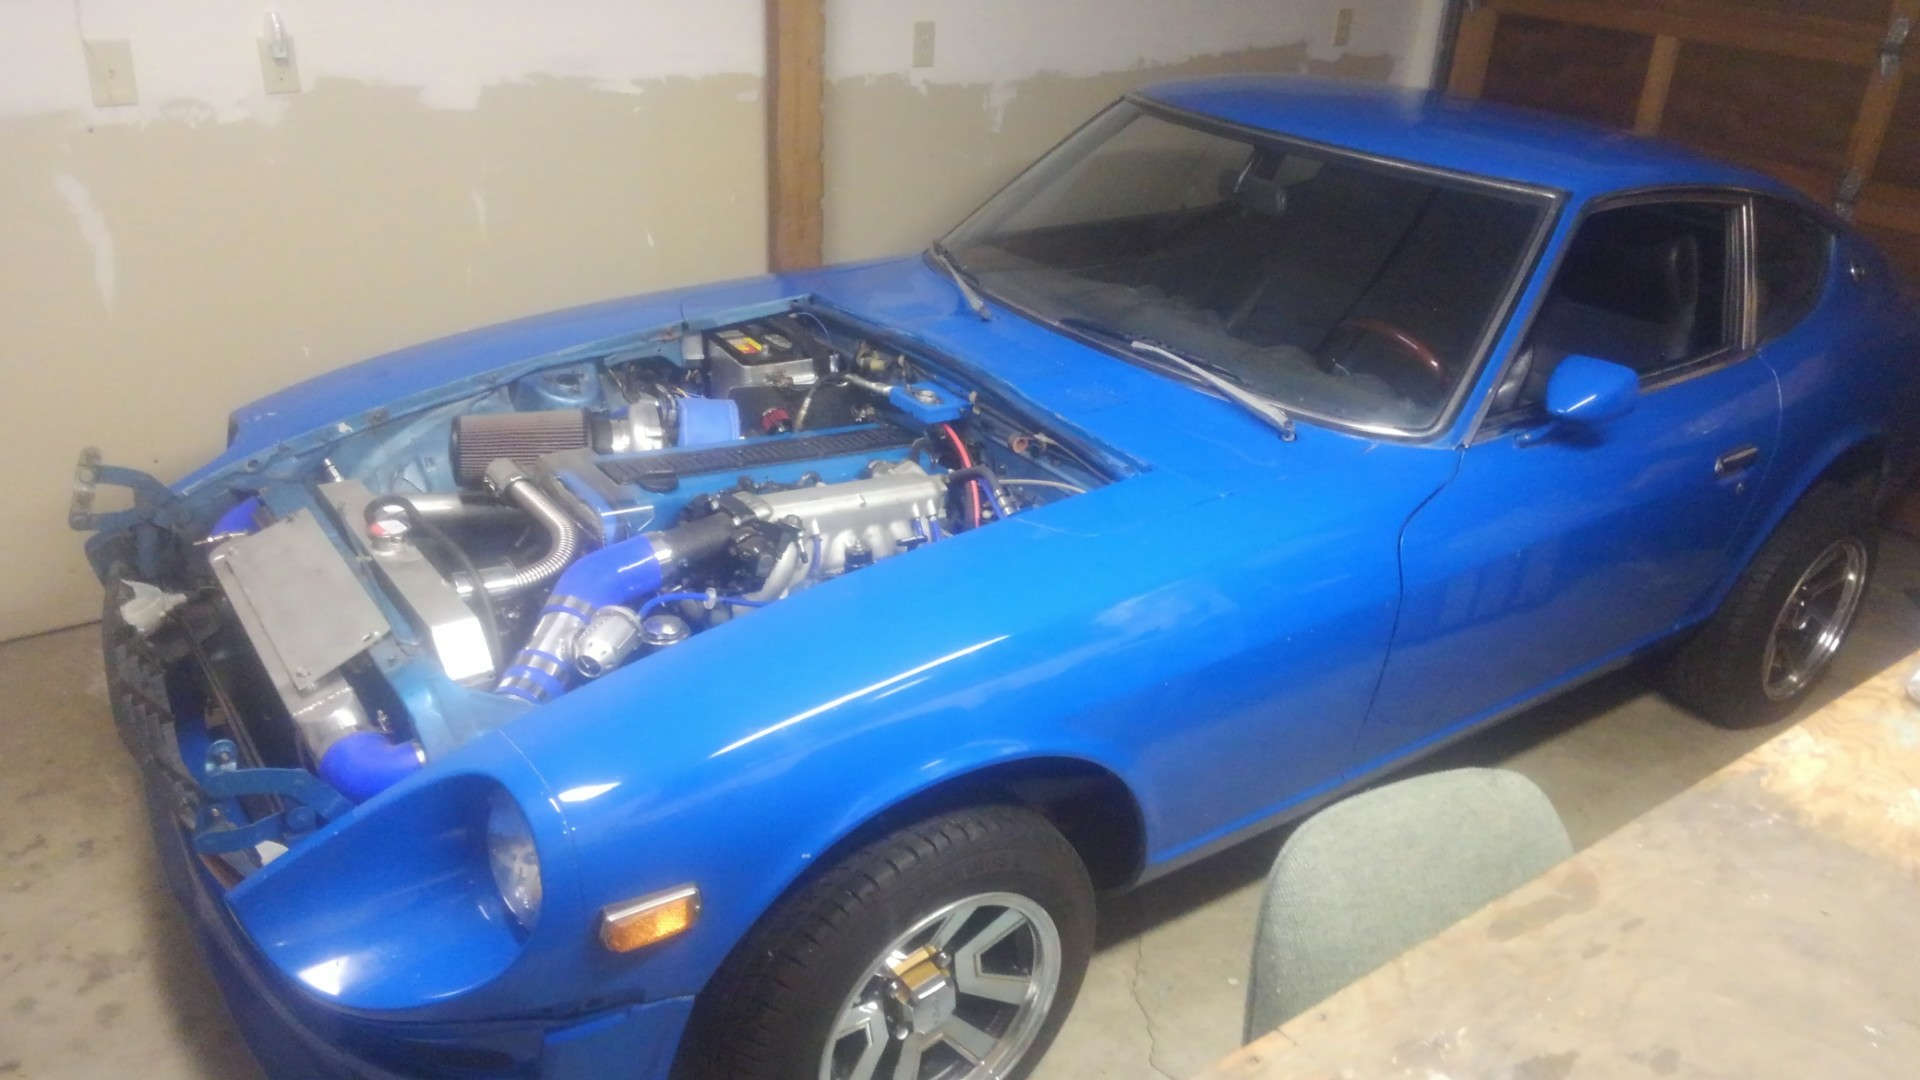
 Thanks all for the replies, some good info in the thread that I didnt know. Update: The hiss was from the new IAC I installed to communicate with the new ECU. Vacuum system was sealed and good to roll. The vacuum source I had hooked to the MAP sensor was too weak to register with the new ecu (notice in the pic above it's pegged at 100). A speed shop noticed this and hooked it up to the brake booster instead. I toned the accel fuel dump way down (was AFR was way too rich) they did some config on the injectors and boom. Car is running solid and now a good daily driver w 50k original miles!1 point
When I rebuilt my motor I thought I had the linkage right in between my carbs. Boy was I off! I had those flat stops next to the carbs out of order and on the first crank of a anxiety filled rebuild it shot up to about 3,000 rpms with the pedal rod off. Just about scared me to death.1 point
Thanks all for the replies, some good info in the thread that I didnt know. Update: The hiss was from the new IAC I installed to communicate with the new ECU. Vacuum system was sealed and good to roll. The vacuum source I had hooked to the MAP sensor was too weak to register with the new ecu (notice in the pic above it's pegged at 100). A speed shop noticed this and hooked it up to the brake booster instead. I toned the accel fuel dump way down (was AFR was way too rich) they did some config on the injectors and boom. Car is running solid and now a good daily driver w 50k original miles!1 point
When I rebuilt my motor I thought I had the linkage right in between my carbs. Boy was I off! I had those flat stops next to the carbs out of order and on the first crank of a anxiety filled rebuild it shot up to about 3,000 rpms with the pedal rod off. Just about scared me to death.1 point 1 pointMost of the fuel rails don't hold pressure forever like a modern car does. If the car is not hot then some fuel loss won't be a huge deal. Just cover it with a rag when you loosen the clamp. then put the rag outside to evaporate off.1 point
1 pointYou are making great progress So to John, the base is uncatalyzed and the clear is catalyzed. Most times, when I shoot base, I don't catalyze it. I am shooting a solvent based basecoat. When I'm done I can pour the excess back into the can. So no waste. The only downsides are, the base needs to be top coated soon, preferably 24 hours and uncatalyzed base really can't be scuffed or sanded1 point
1 pointMost of the fuel rails don't hold pressure forever like a modern car does. If the car is not hot then some fuel loss won't be a huge deal. Just cover it with a rag when you loosen the clamp. then put the rag outside to evaporate off.1 point
1 pointYou are making great progress So to John, the base is uncatalyzed and the clear is catalyzed. Most times, when I shoot base, I don't catalyze it. I am shooting a solvent based basecoat. When I'm done I can pour the excess back into the can. So no waste. The only downsides are, the base needs to be top coated soon, preferably 24 hours and uncatalyzed base really can't be scuffed or sanded1 point Not pictures but here is a video of my engine bay, 7/70 car, that I shot as a reference before dismantling for a restoration, it's long but I hope it helps. Cheers Mike1 point
1 pointWater based. Once it air dries it is done. Not sure if there is any form of catalyst as there is no odour at all. Only use a mask for particles as there is no organic vapour risk. The paint comes pre-mixed and requires nothing other than spraying. Then a regular catalyzed clear coat on top.1 point
Not pictures but here is a video of my engine bay, 7/70 car, that I shot as a reference before dismantling for a restoration, it's long but I hope it helps. Cheers Mike1 point
1 pointWater based. Once it air dries it is done. Not sure if there is any form of catalyst as there is no odour at all. Only use a mask for particles as there is no organic vapour risk. The paint comes pre-mixed and requires nothing other than spraying. Then a regular catalyzed clear coat on top.1 point 1 point1. Click on you photo in your post to go to your profile 2. Click on "See their activity" It is not your fault. Most modern software sucks. It is usually written by contractors for the lowest price by people who never use it or have a clue about the software's intent. My cell phone lights up the whole @@#$$ room when I hit the snooze button... obviously the programmer know **** all about sleeping.
 1 point
 Both carbs are rebuilt and back on the car. It took a bit to get the fuel supply, but it fired up nicely. Of course, much tuning still needed. You are right about the needle jet lengths. I found that someone had replaced the rear jet with the long jet! The one that came in the Walker kit were right. They were the shorter version and I now have them in both lids. After a lot of discussion help and trying options, I have to say that the Walker 15566 is the correct carb rebuild kit for my early Z. The gaskets fit and the jets are the right length. I tested three fuel lines. 1) Braided fuel lines were a failure. Too large and inflexible. 2) The set of ZTherapy lines were supple and easy to install. 3) The kit's fuel lines were only slightly stiffer than those from ZTherapy. I recommend that you give them a try.1 point
 1 pointYeah I did clean my cold start valve (CSV) and after putting it back in, it leaked as well due to old hose/clamps (and because the previous owner not using FUEL hose here). A quick trip to parts store to get a few inches of fuel hose (I believe the Inside diameter was ~8mm) and some new clamps fixed the leak right up. You might be able to swap the hose without taking the CSV out of the intake manifold, but it's probably tough/impossible. If you do unscrew and remove the CSV, there will be a gasket in there that you may want to replace. Right now I'm running without a gasket: since the intake is under vacuum, I doubt it will leak fuel there, but it may let some extra unmetered air through ?♂️ https://zcardepot.com/products/cold-start-valve-gasket-280z-280zx?variant=19280903962737#1 point
1 pointI mixed 4:1 as per the directions. I just laid a thicker pass than the last time I sprayed clear. Especially the final coat.1 point
1 pointBetter fan pattern and air control. Plus I laid it down a lot thicker than the last time and still had no runs.1 point
1 pointPPG water based E2335 British Racing Green. Very close to stock colour code 240 but more metallic and a bit lighter.1 point
1 pointYeah I did clean my cold start valve (CSV) and after putting it back in, it leaked as well due to old hose/clamps (and because the previous owner not using FUEL hose here). A quick trip to parts store to get a few inches of fuel hose (I believe the Inside diameter was ~8mm) and some new clamps fixed the leak right up. You might be able to swap the hose without taking the CSV out of the intake manifold, but it's probably tough/impossible. If you do unscrew and remove the CSV, there will be a gasket in there that you may want to replace. Right now I'm running without a gasket: since the intake is under vacuum, I doubt it will leak fuel there, but it may let some extra unmetered air through ?♂️ https://zcardepot.com/products/cold-start-valve-gasket-280z-280zx?variant=19280903962737#1 point
1 pointI mixed 4:1 as per the directions. I just laid a thicker pass than the last time I sprayed clear. Especially the final coat.1 point
1 pointBetter fan pattern and air control. Plus I laid it down a lot thicker than the last time and still had no runs.1 point
1 pointPPG water based E2335 British Racing Green. Very close to stock colour code 240 but more metallic and a bit lighter.1 point 1 pointThe drums have a maximum wear spec for the steel liner, it is stamped on the oem drums. Measure & compare. Inspect the wheel cylinders for evidence of leakage, also check the adjuster to ensure it moves easily for the self adjust feature. Clean assembly before reinstalling drums and final adjustment.1 point
I have the size to go sideways but those darn verticle supports won't allow more than my mower. There's an apartment overhead so I probably should leave them.1 point
1 pointThe drums have a maximum wear spec for the steel liner, it is stamped on the oem drums. Measure & compare. Inspect the wheel cylinders for evidence of leakage, also check the adjuster to ensure it moves easily for the self adjust feature. Clean assembly before reinstalling drums and final adjustment.1 point
I have the size to go sideways but those darn verticle supports won't allow more than my mower. There's an apartment overhead so I probably should leave them.1 point The 48" tanks are at the local plating shop which I typically only use for quick turn around. Personally, I think the plating at my local shop is too dark and not shiny enough. I spoke with Sav-On and they said they could handle parts up to six feet. This works well for the brake and fuel lines because then you only have to fold them in half. This makes for a better bend location as the middle portion that you bend would be in the transmission tunnel and not very visible. Also, it is in a straight section which is easier to manage. Folding in 48 inch lengths is not as good as the bend now is in the engine bay area of the tubing and there are other bends in that location. This makes things a bit more challenging. The cost for the larger tank items is more than the 5 gallon bucket items. These large parts get charged individually so the price is a bit higher. I do however, really like the quality of their work. They do a great job. When i send in the fuel and brake lines, I will cap them with tight fitting caps.1 point
 Hey folks, We are all good! Had a very noisy and wet night. Got all the cars into the garage yesterday afternoon in anticipation of possible hail. Our home is in NE Richardson a couple of miles north of the tornado track. Thanks for thinking of us. JIm1 point


Important Information
By using this site, you agree to our Privacy Policy and Guidelines. We have placed cookies on your device to help make this website better. You can adjust your cookie settings, otherwise we'll assume you're okay to continue.