


Leaderboard

 Subscriber
Popular Content
Showing content with the highest reputation on 11/04/2019 in all areas
-
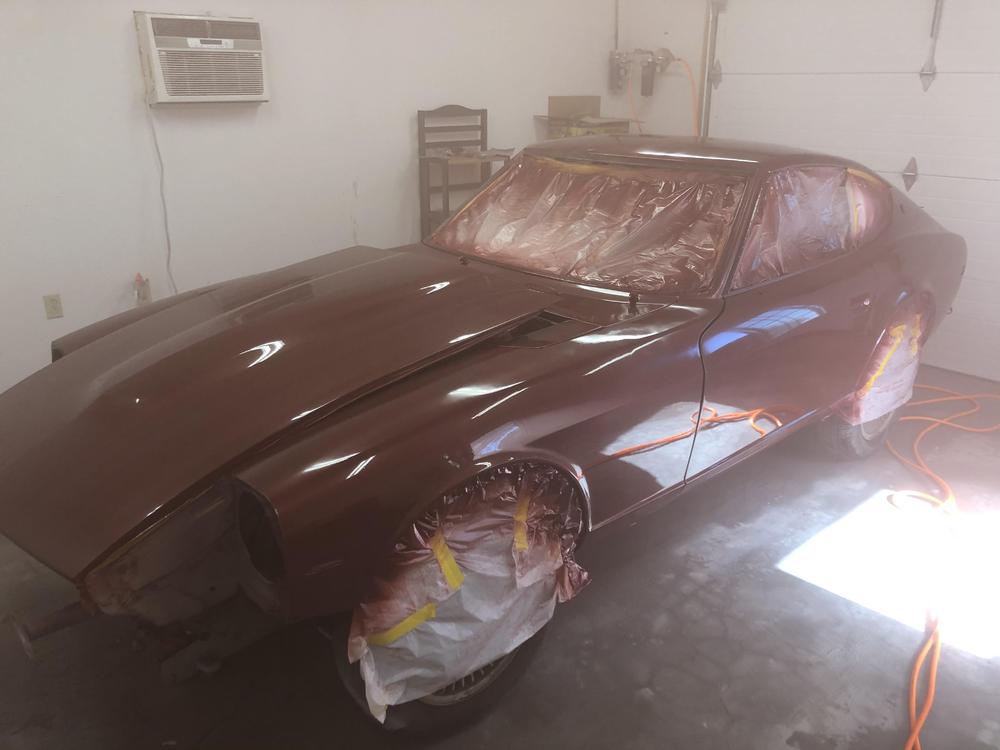
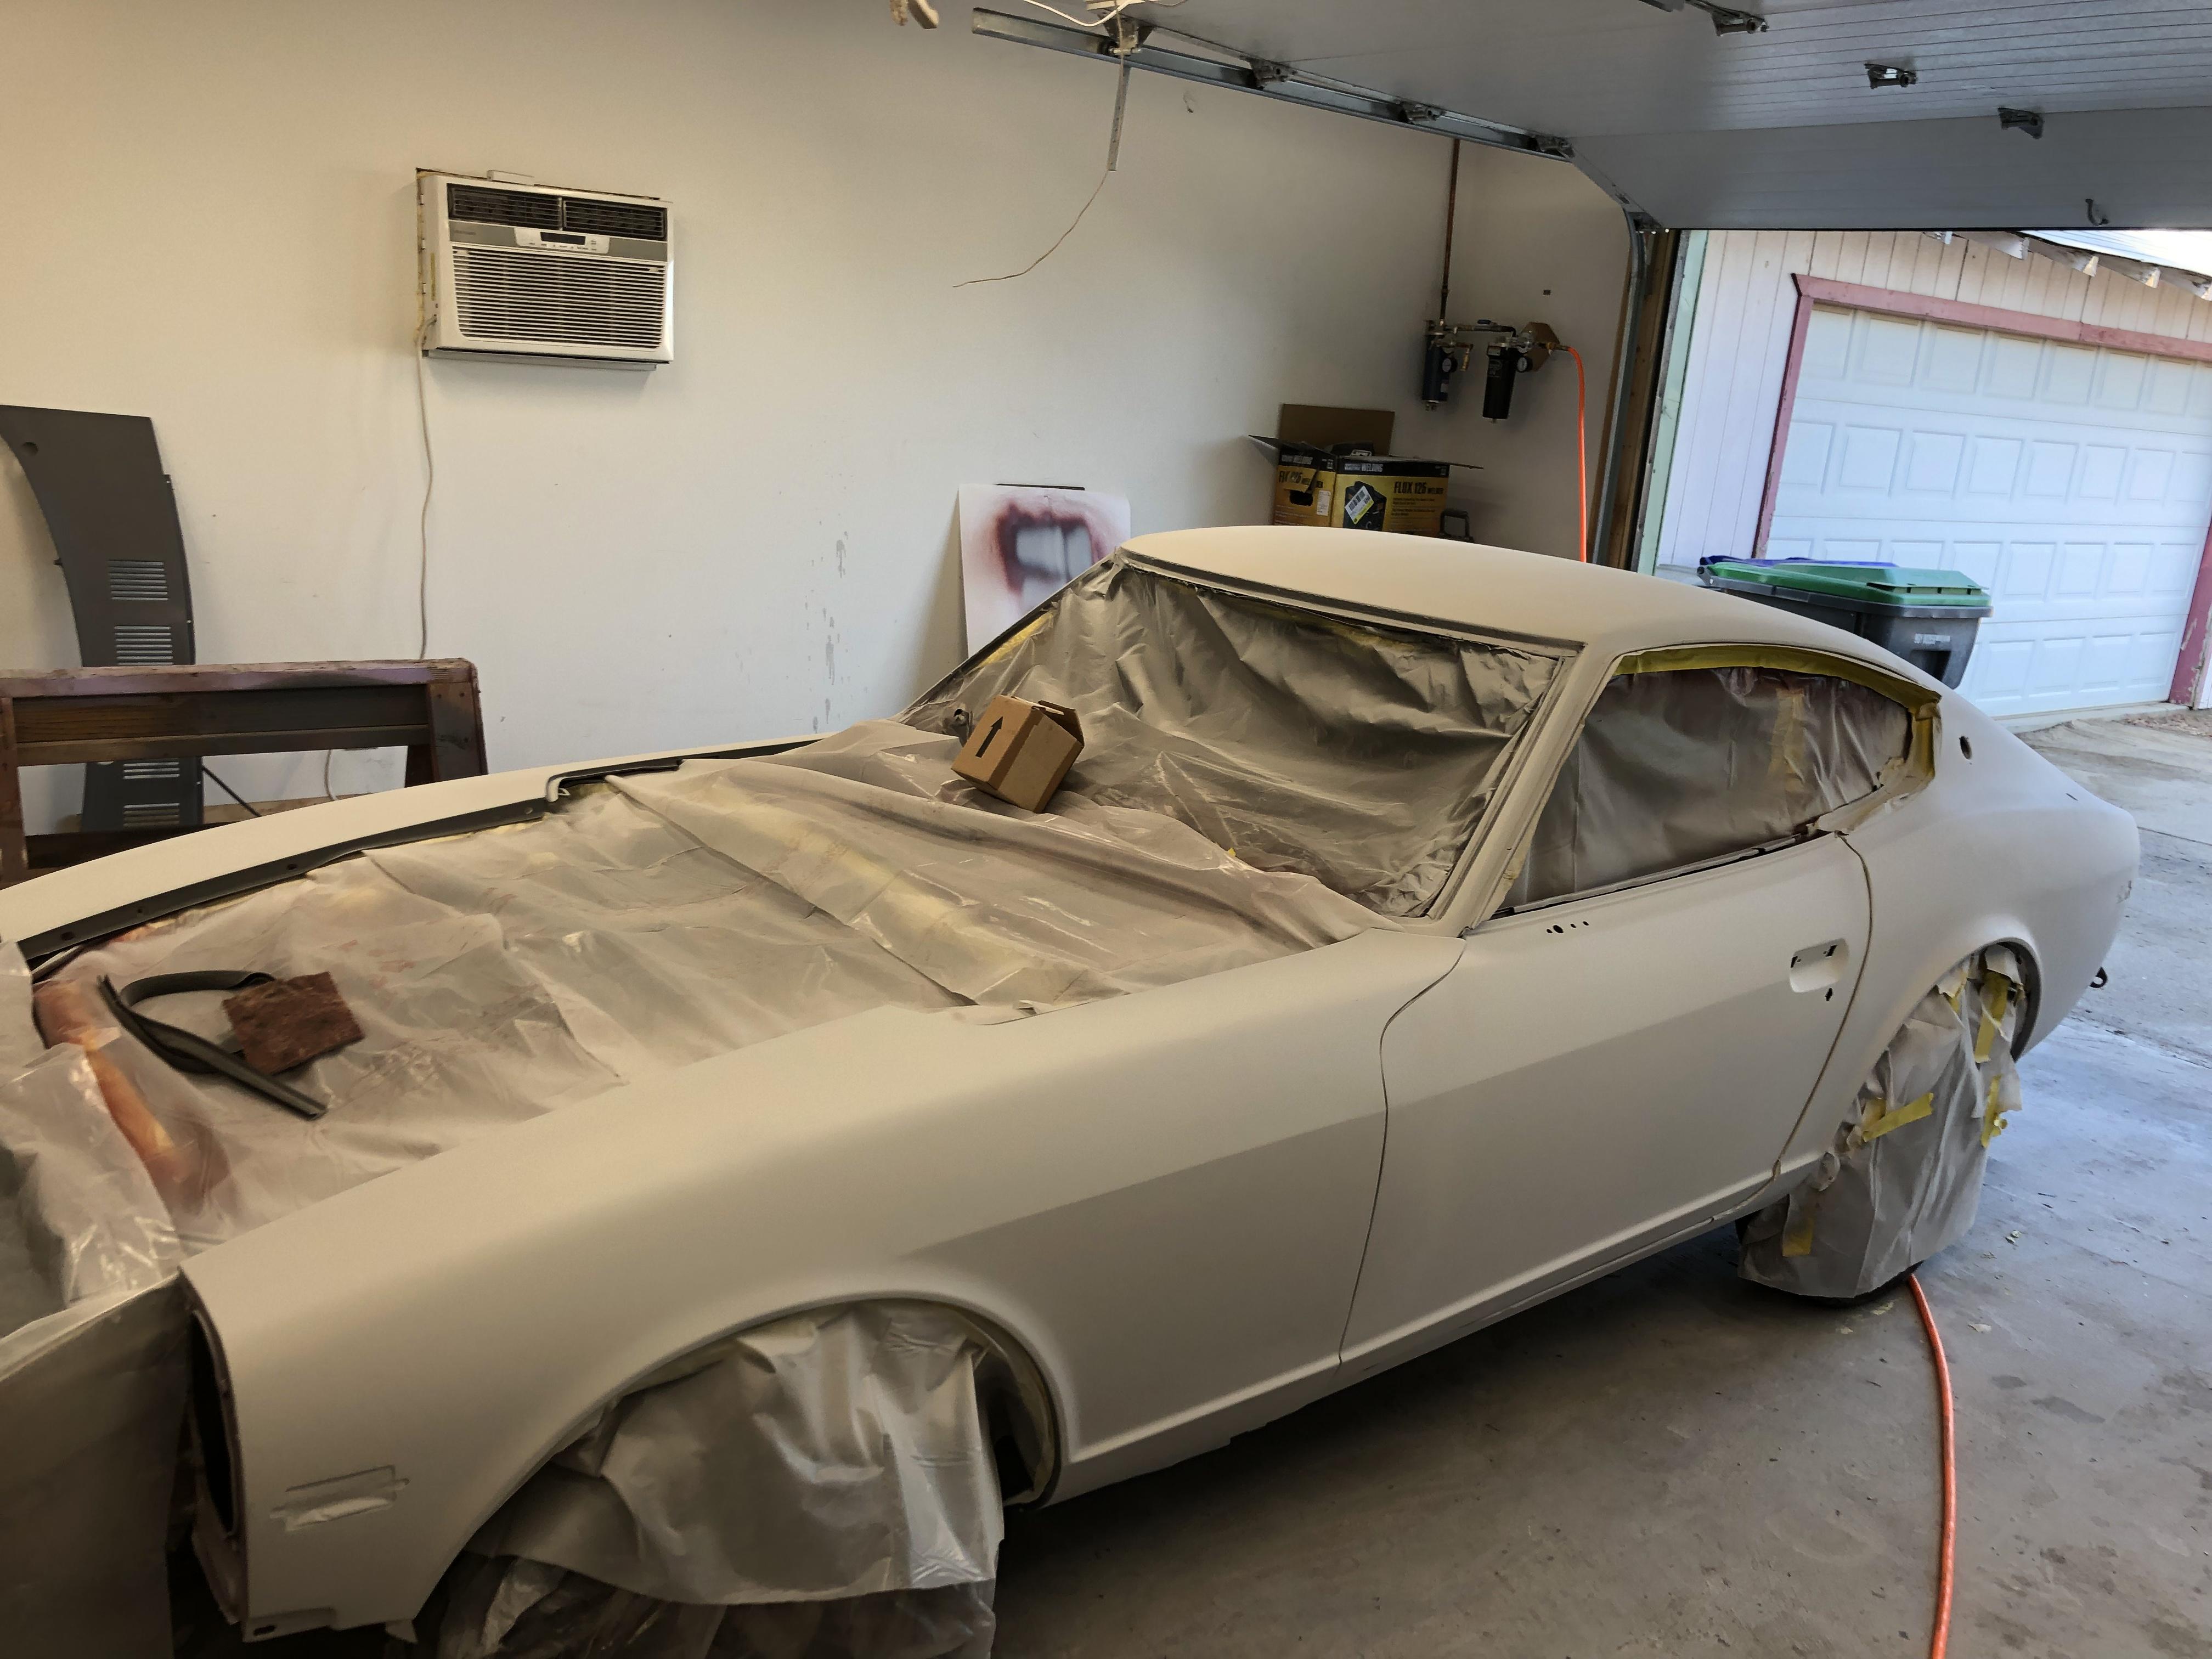
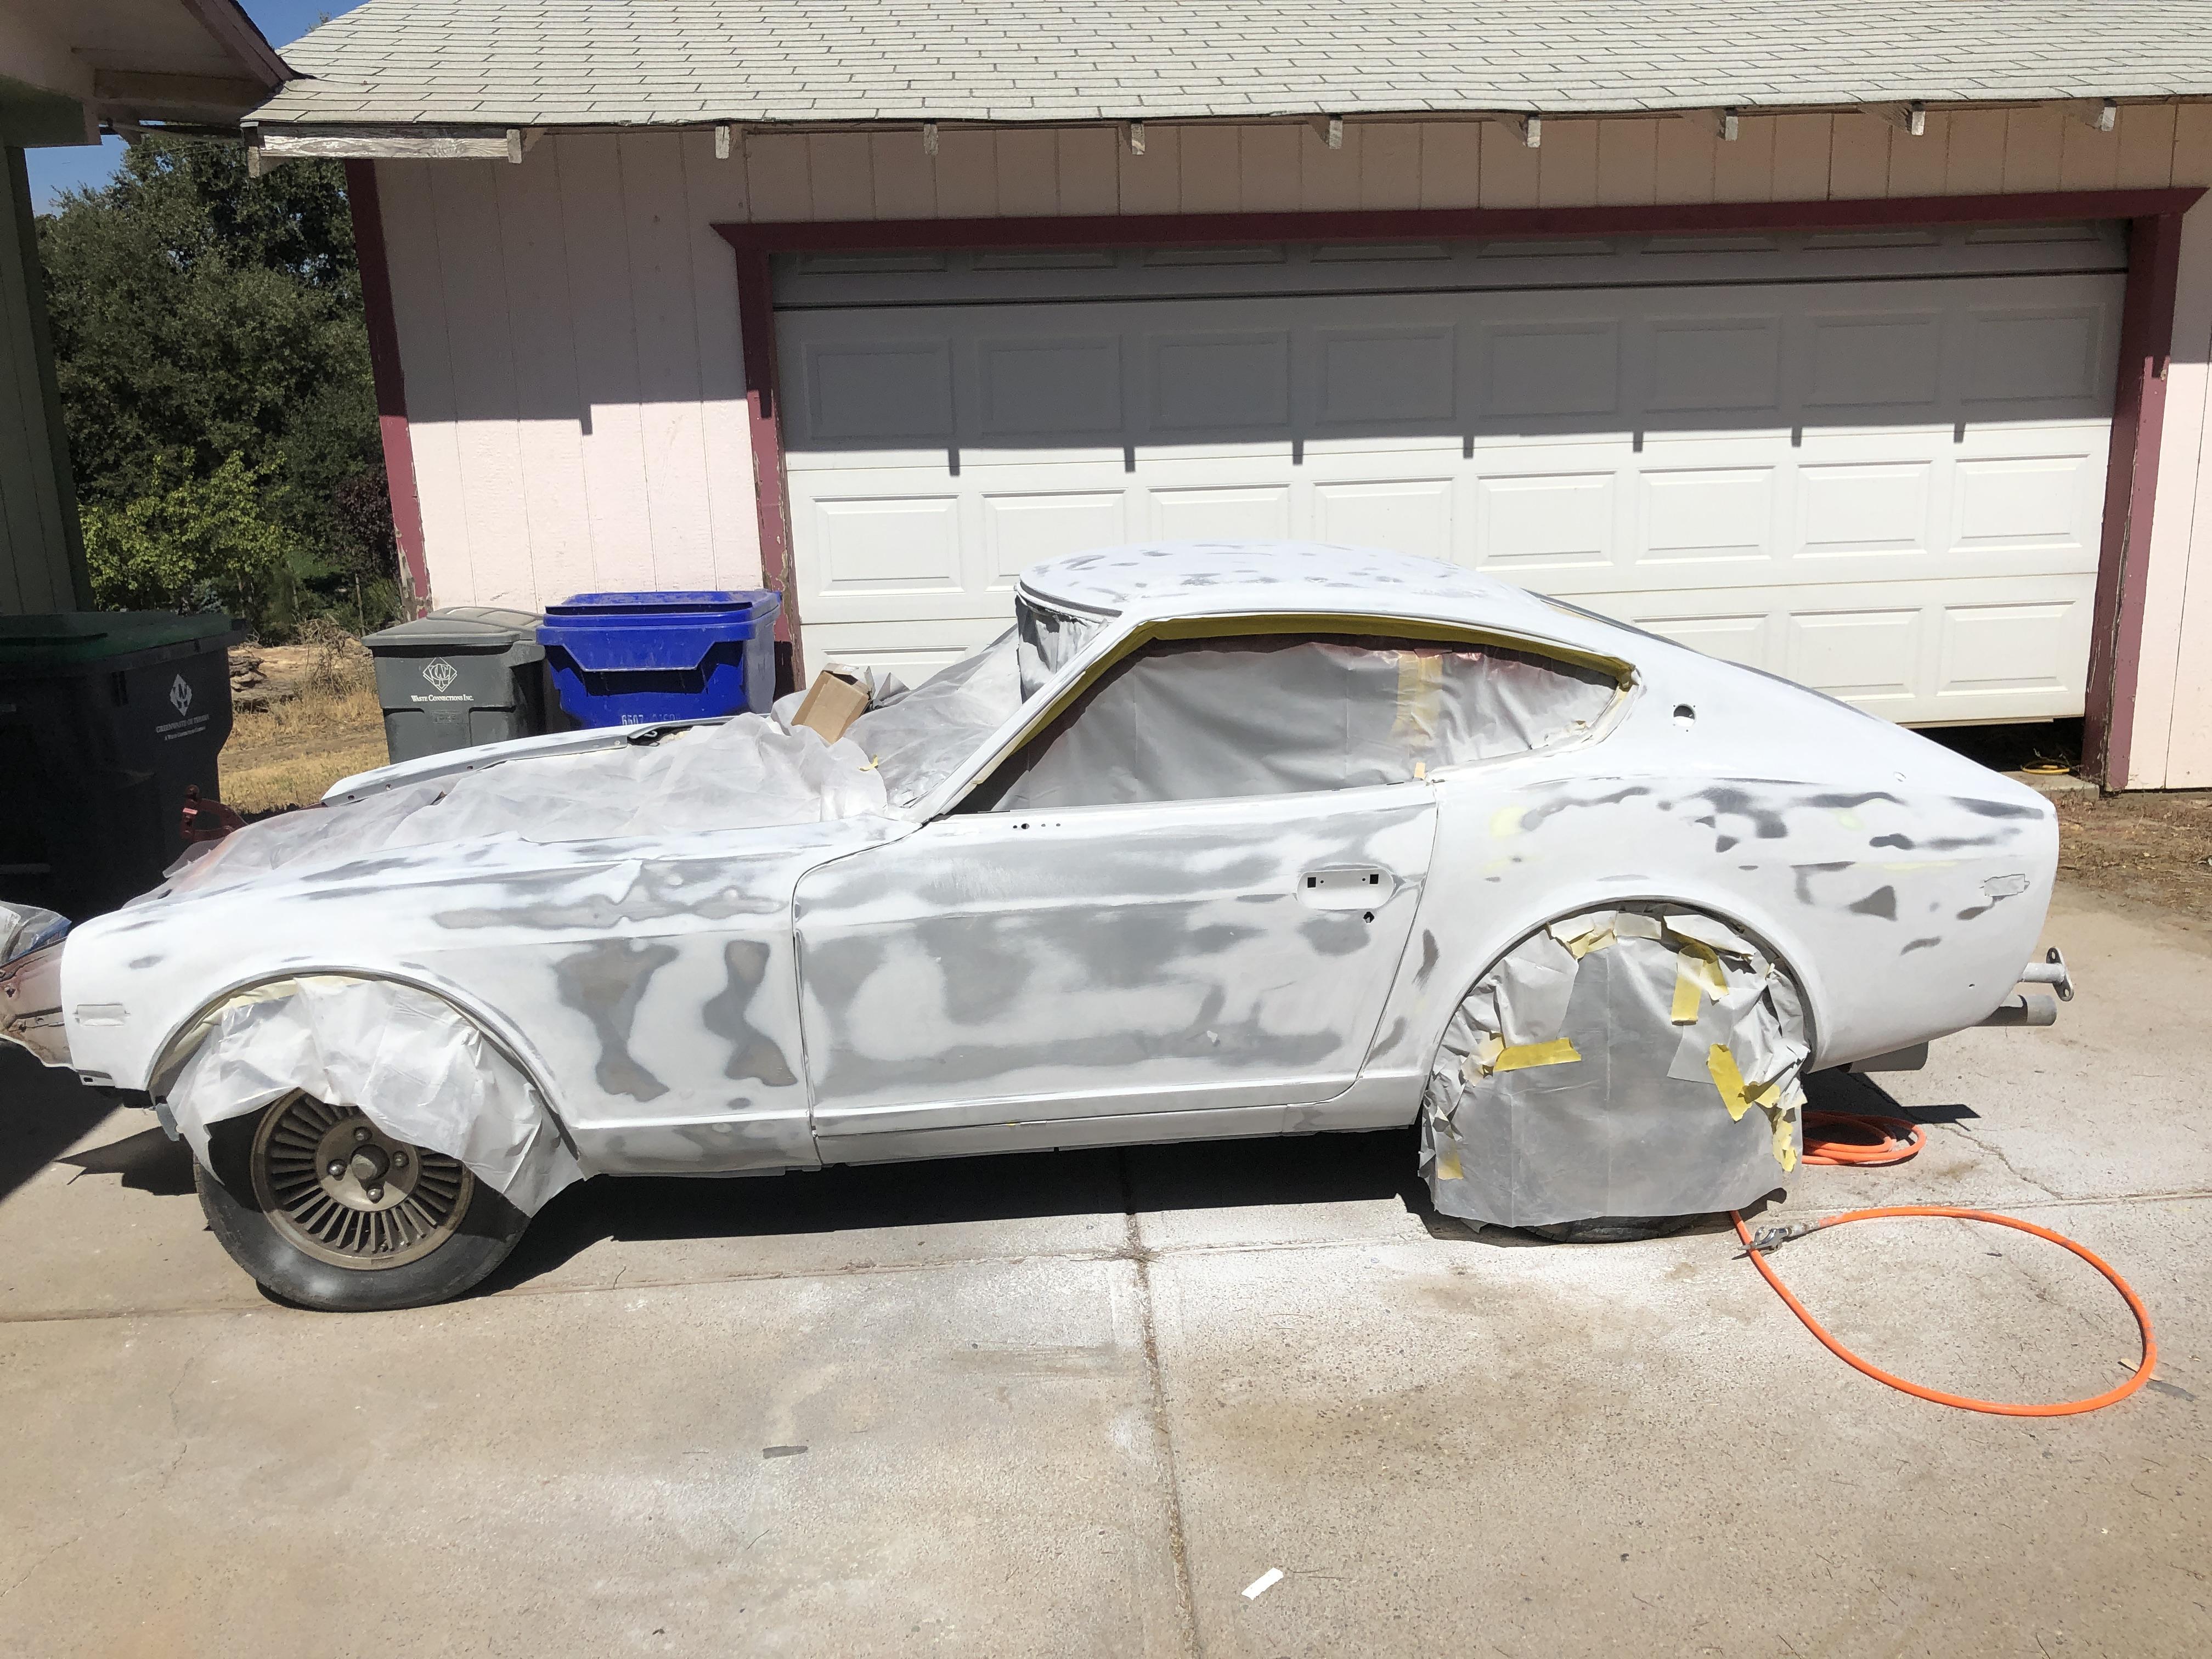
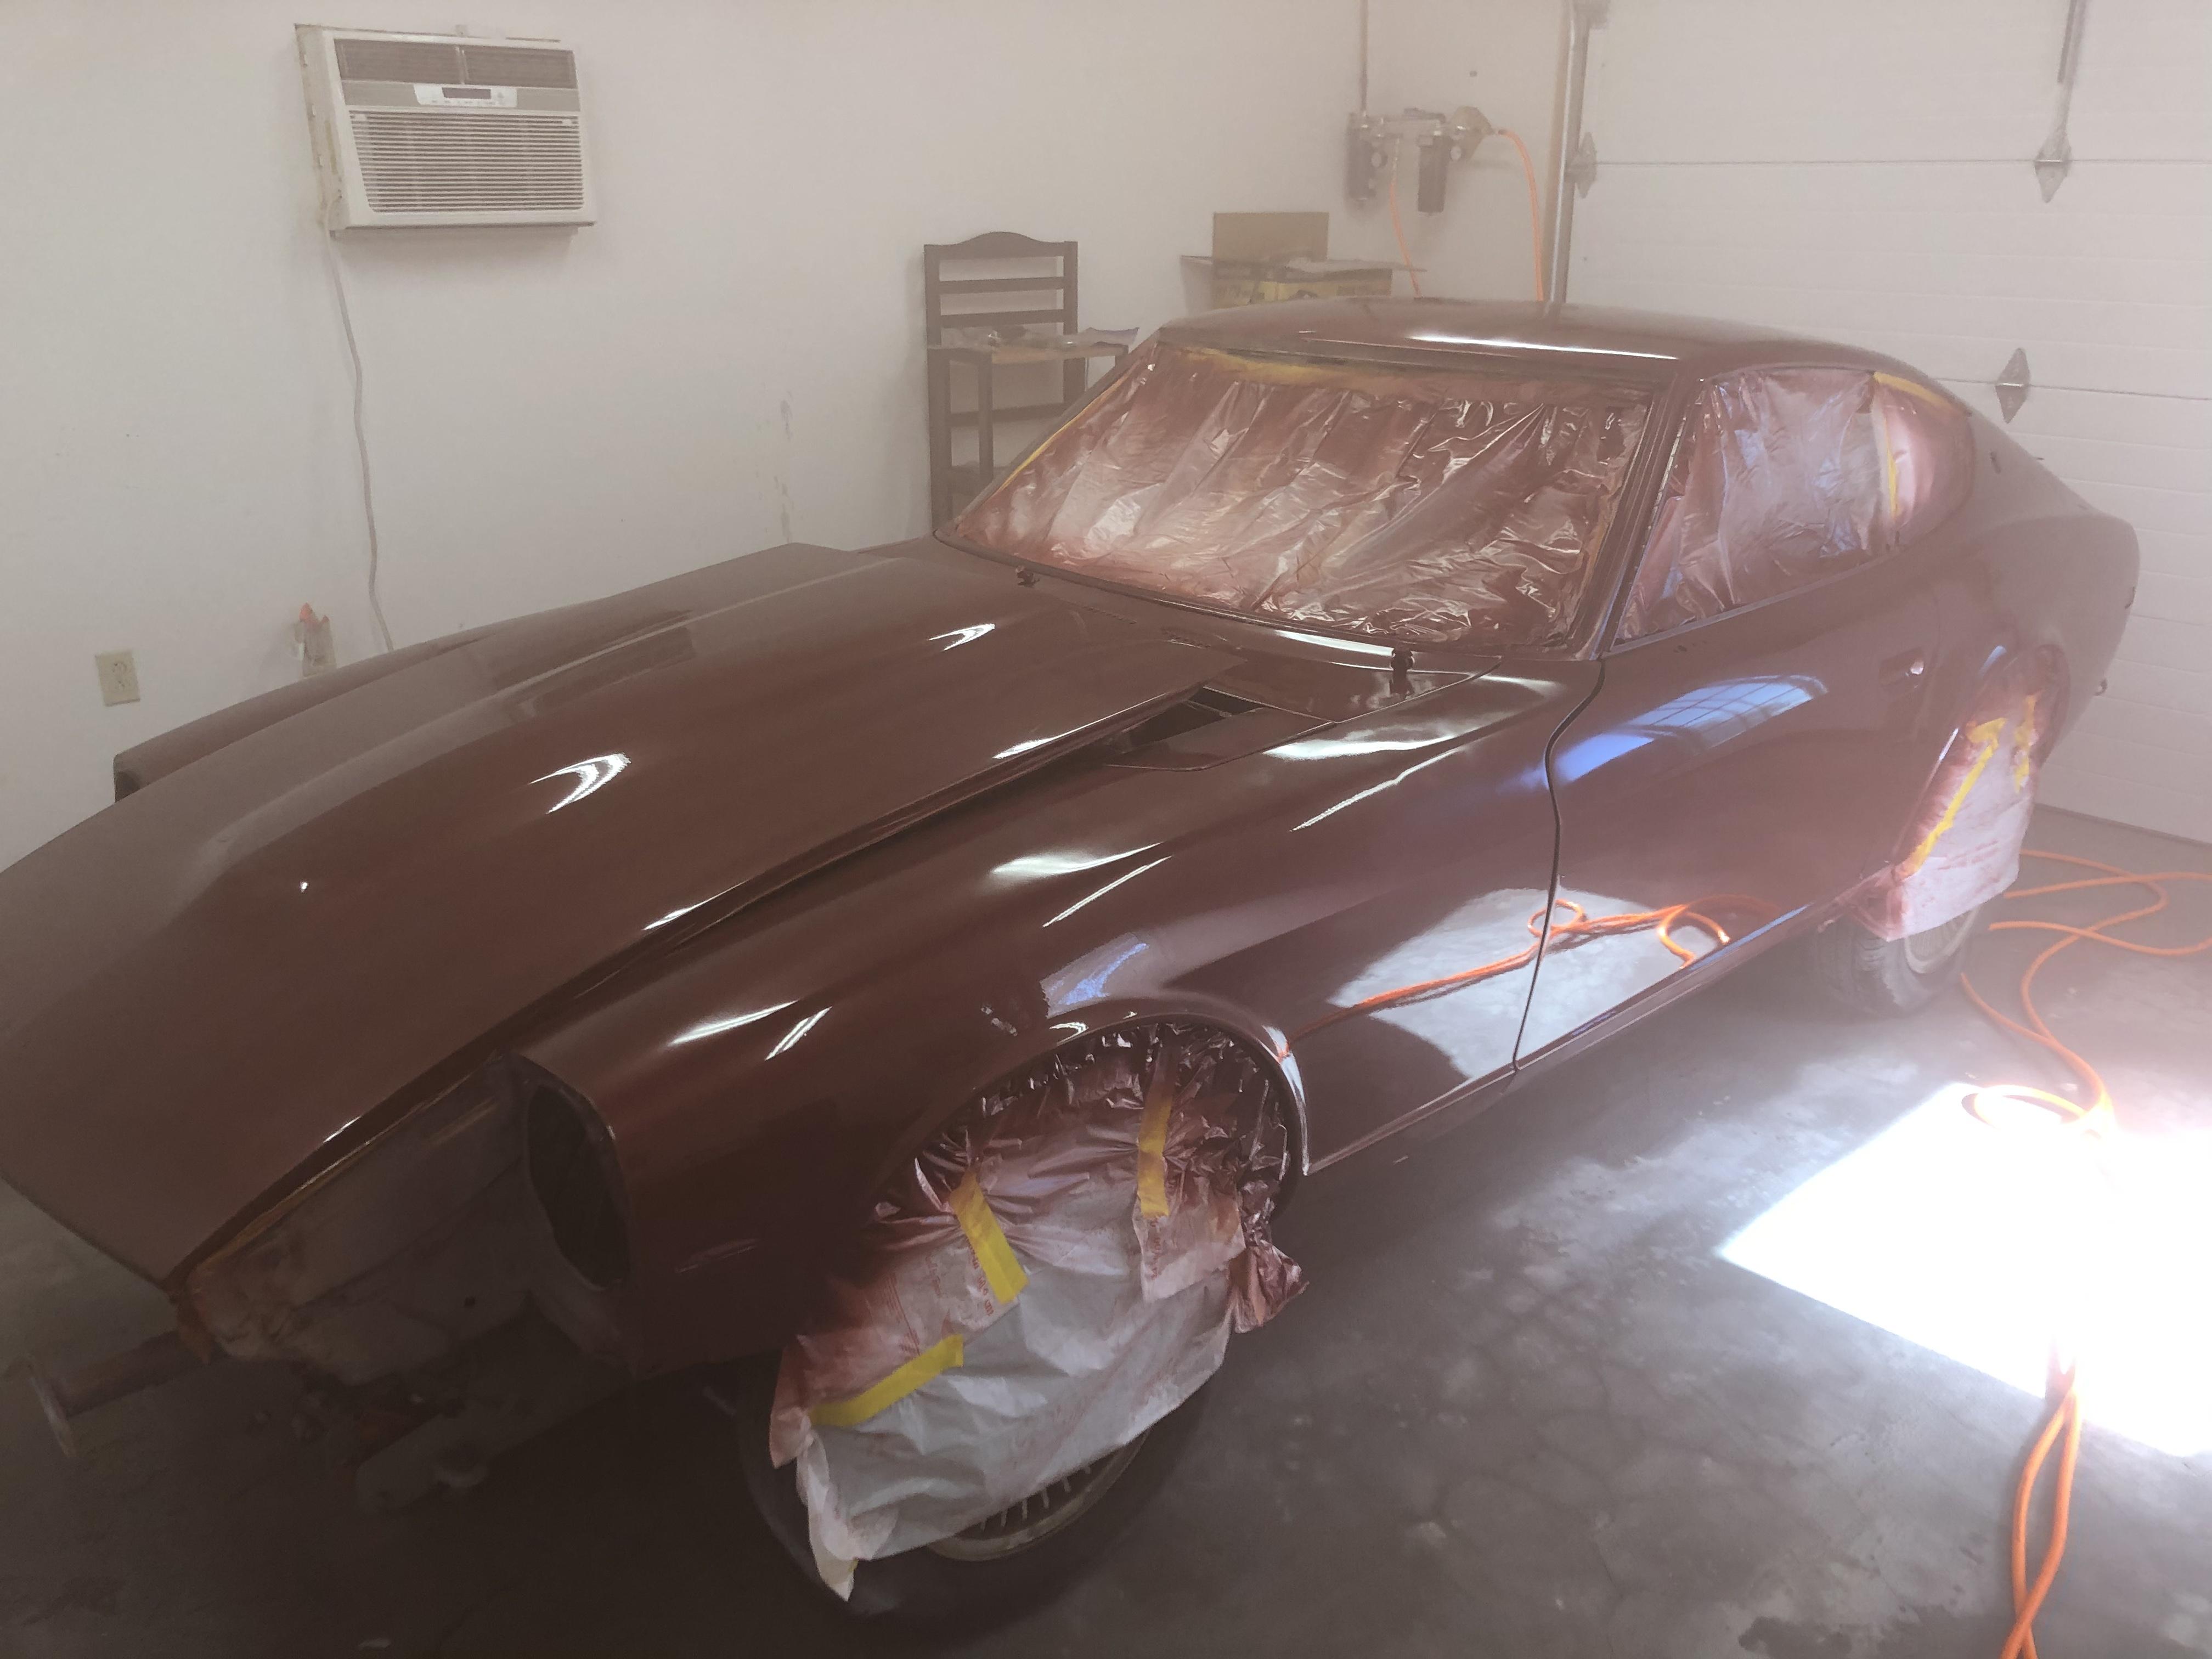
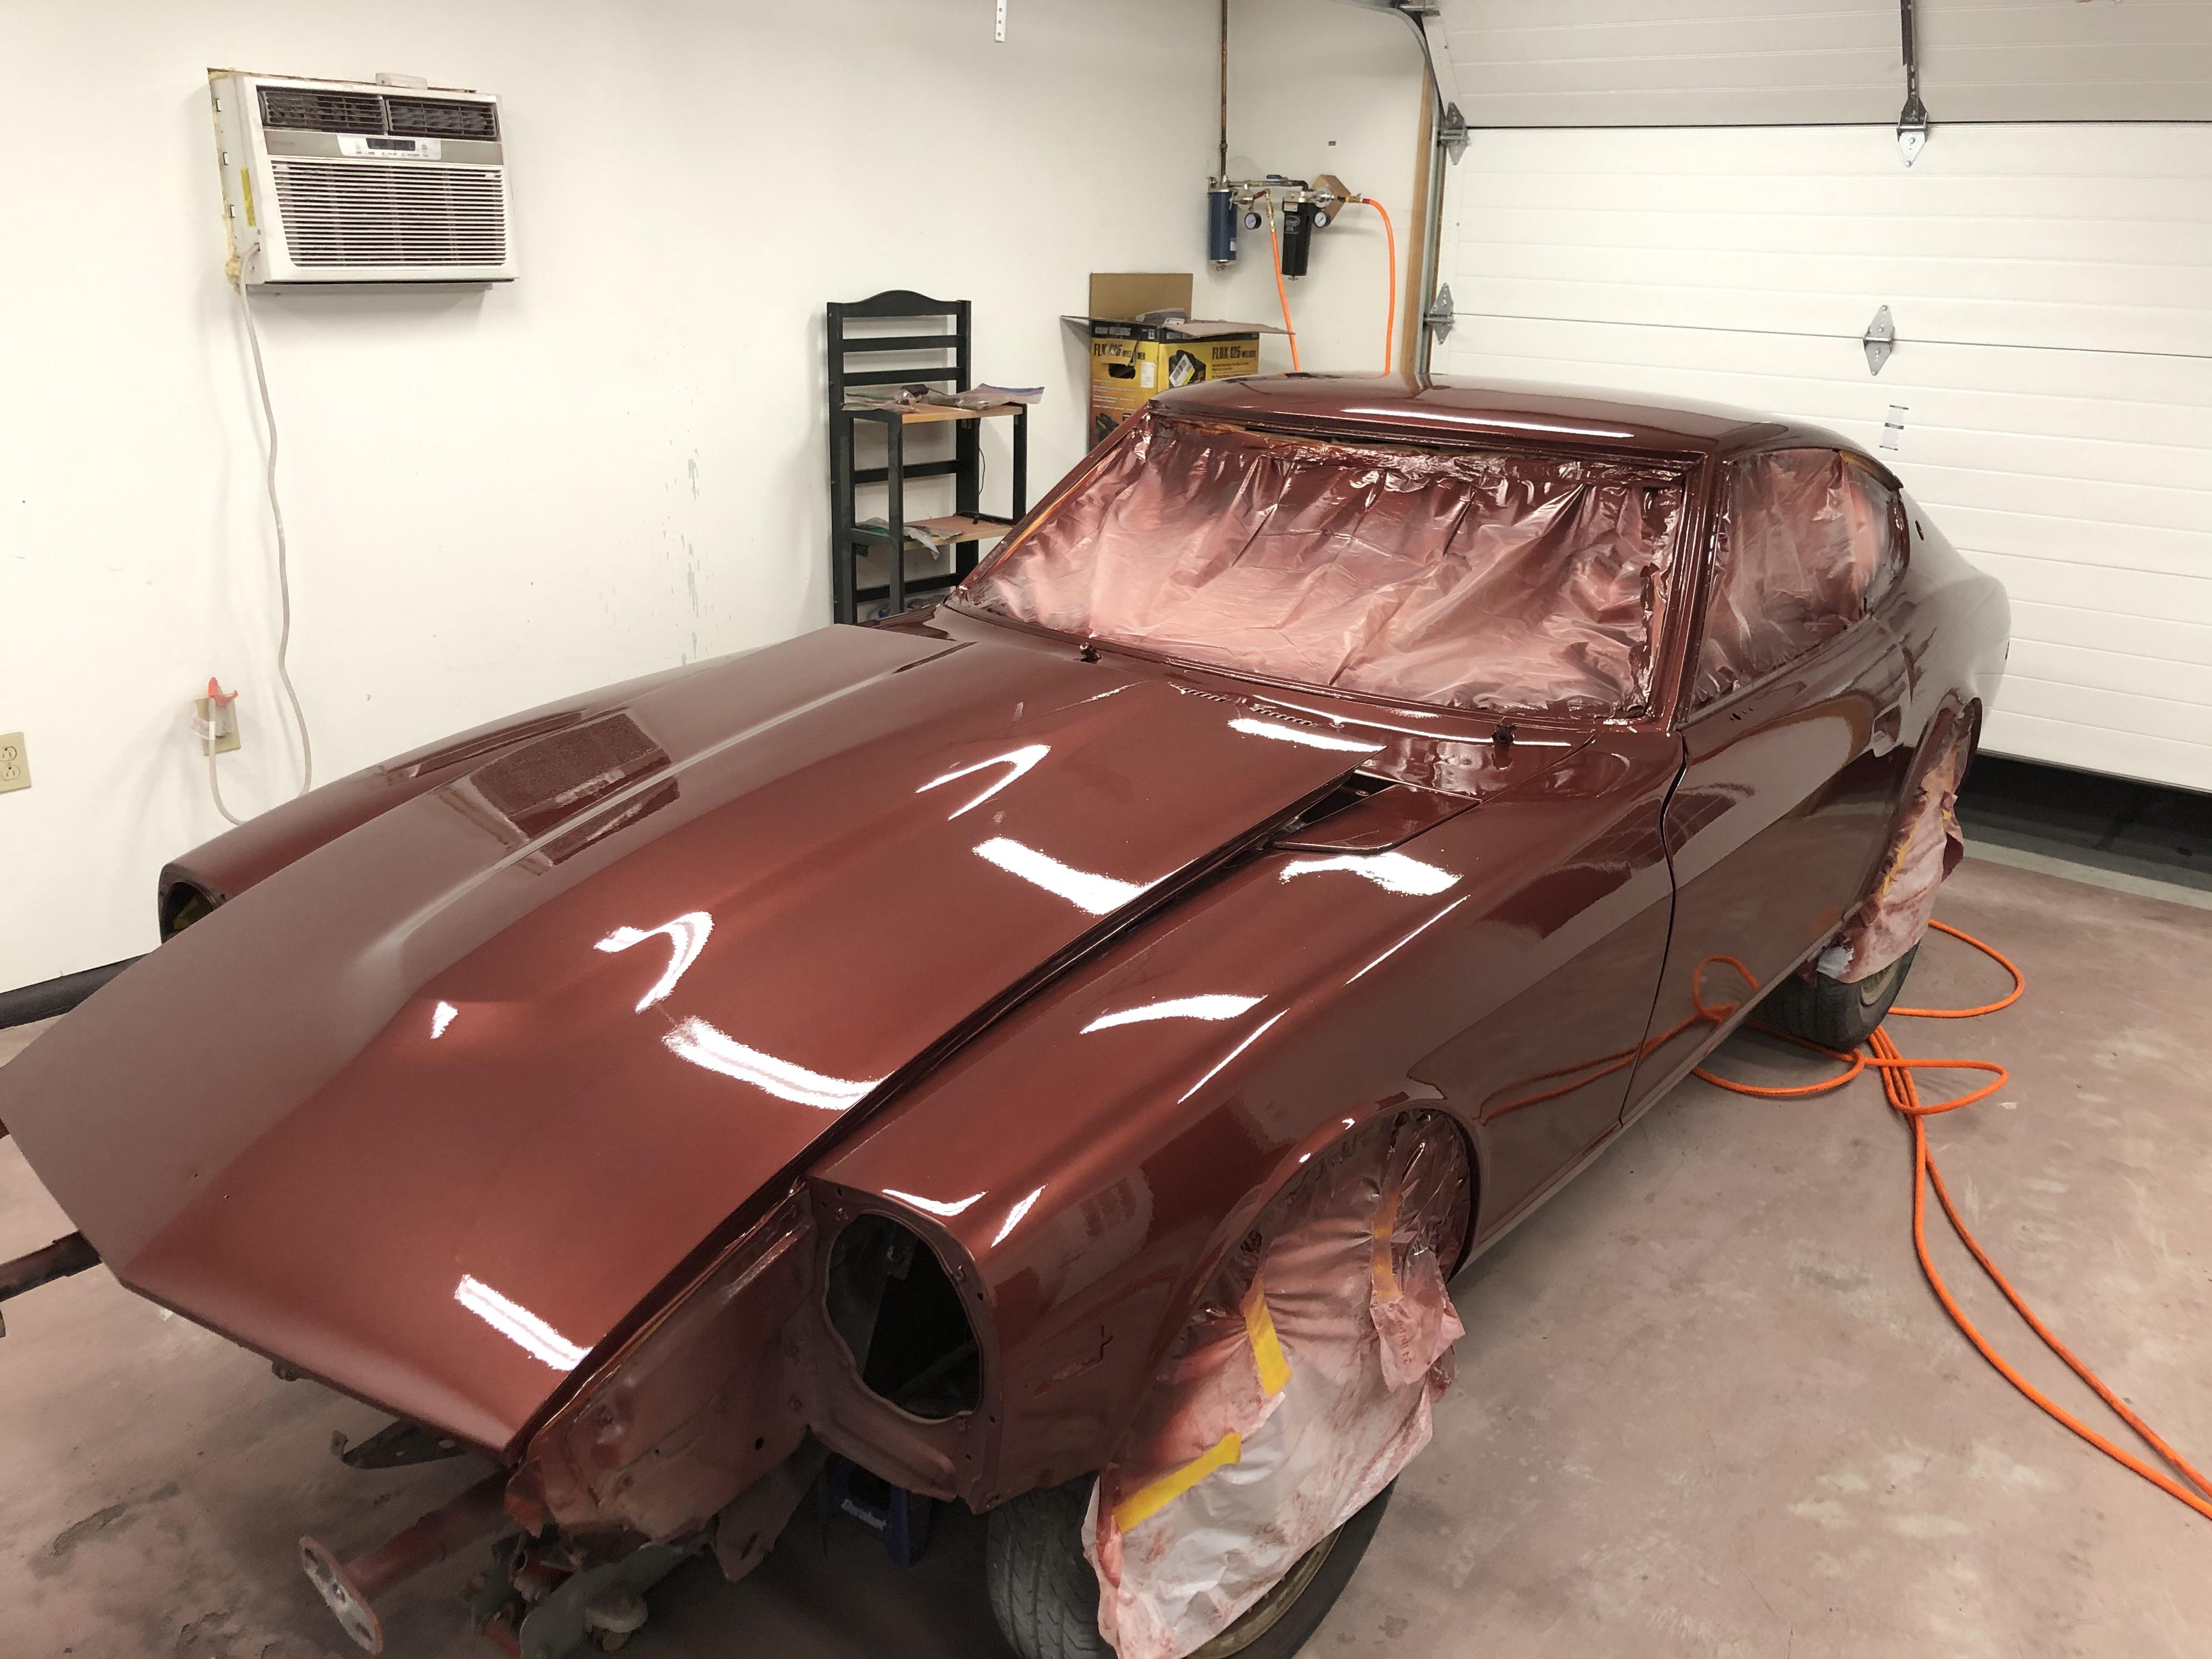
 4 pointsIt’s been awhile, but since the car has been covered with a gallon of sprayable fill, sanded, sanded some more, sanded again, then painted and coated.


 4 points
 -
 4 pointsI don't have any issues in the hills of San Francisco with a 10lb flywheel. The stock pressure plate and disk allow for easy engagement and an L28 with a 3.9 is plenty torquey. You're overthinking it.4 points
 -
 Philip, I believe this is a timing issue. Carry on... C3 points
 -
 2 points
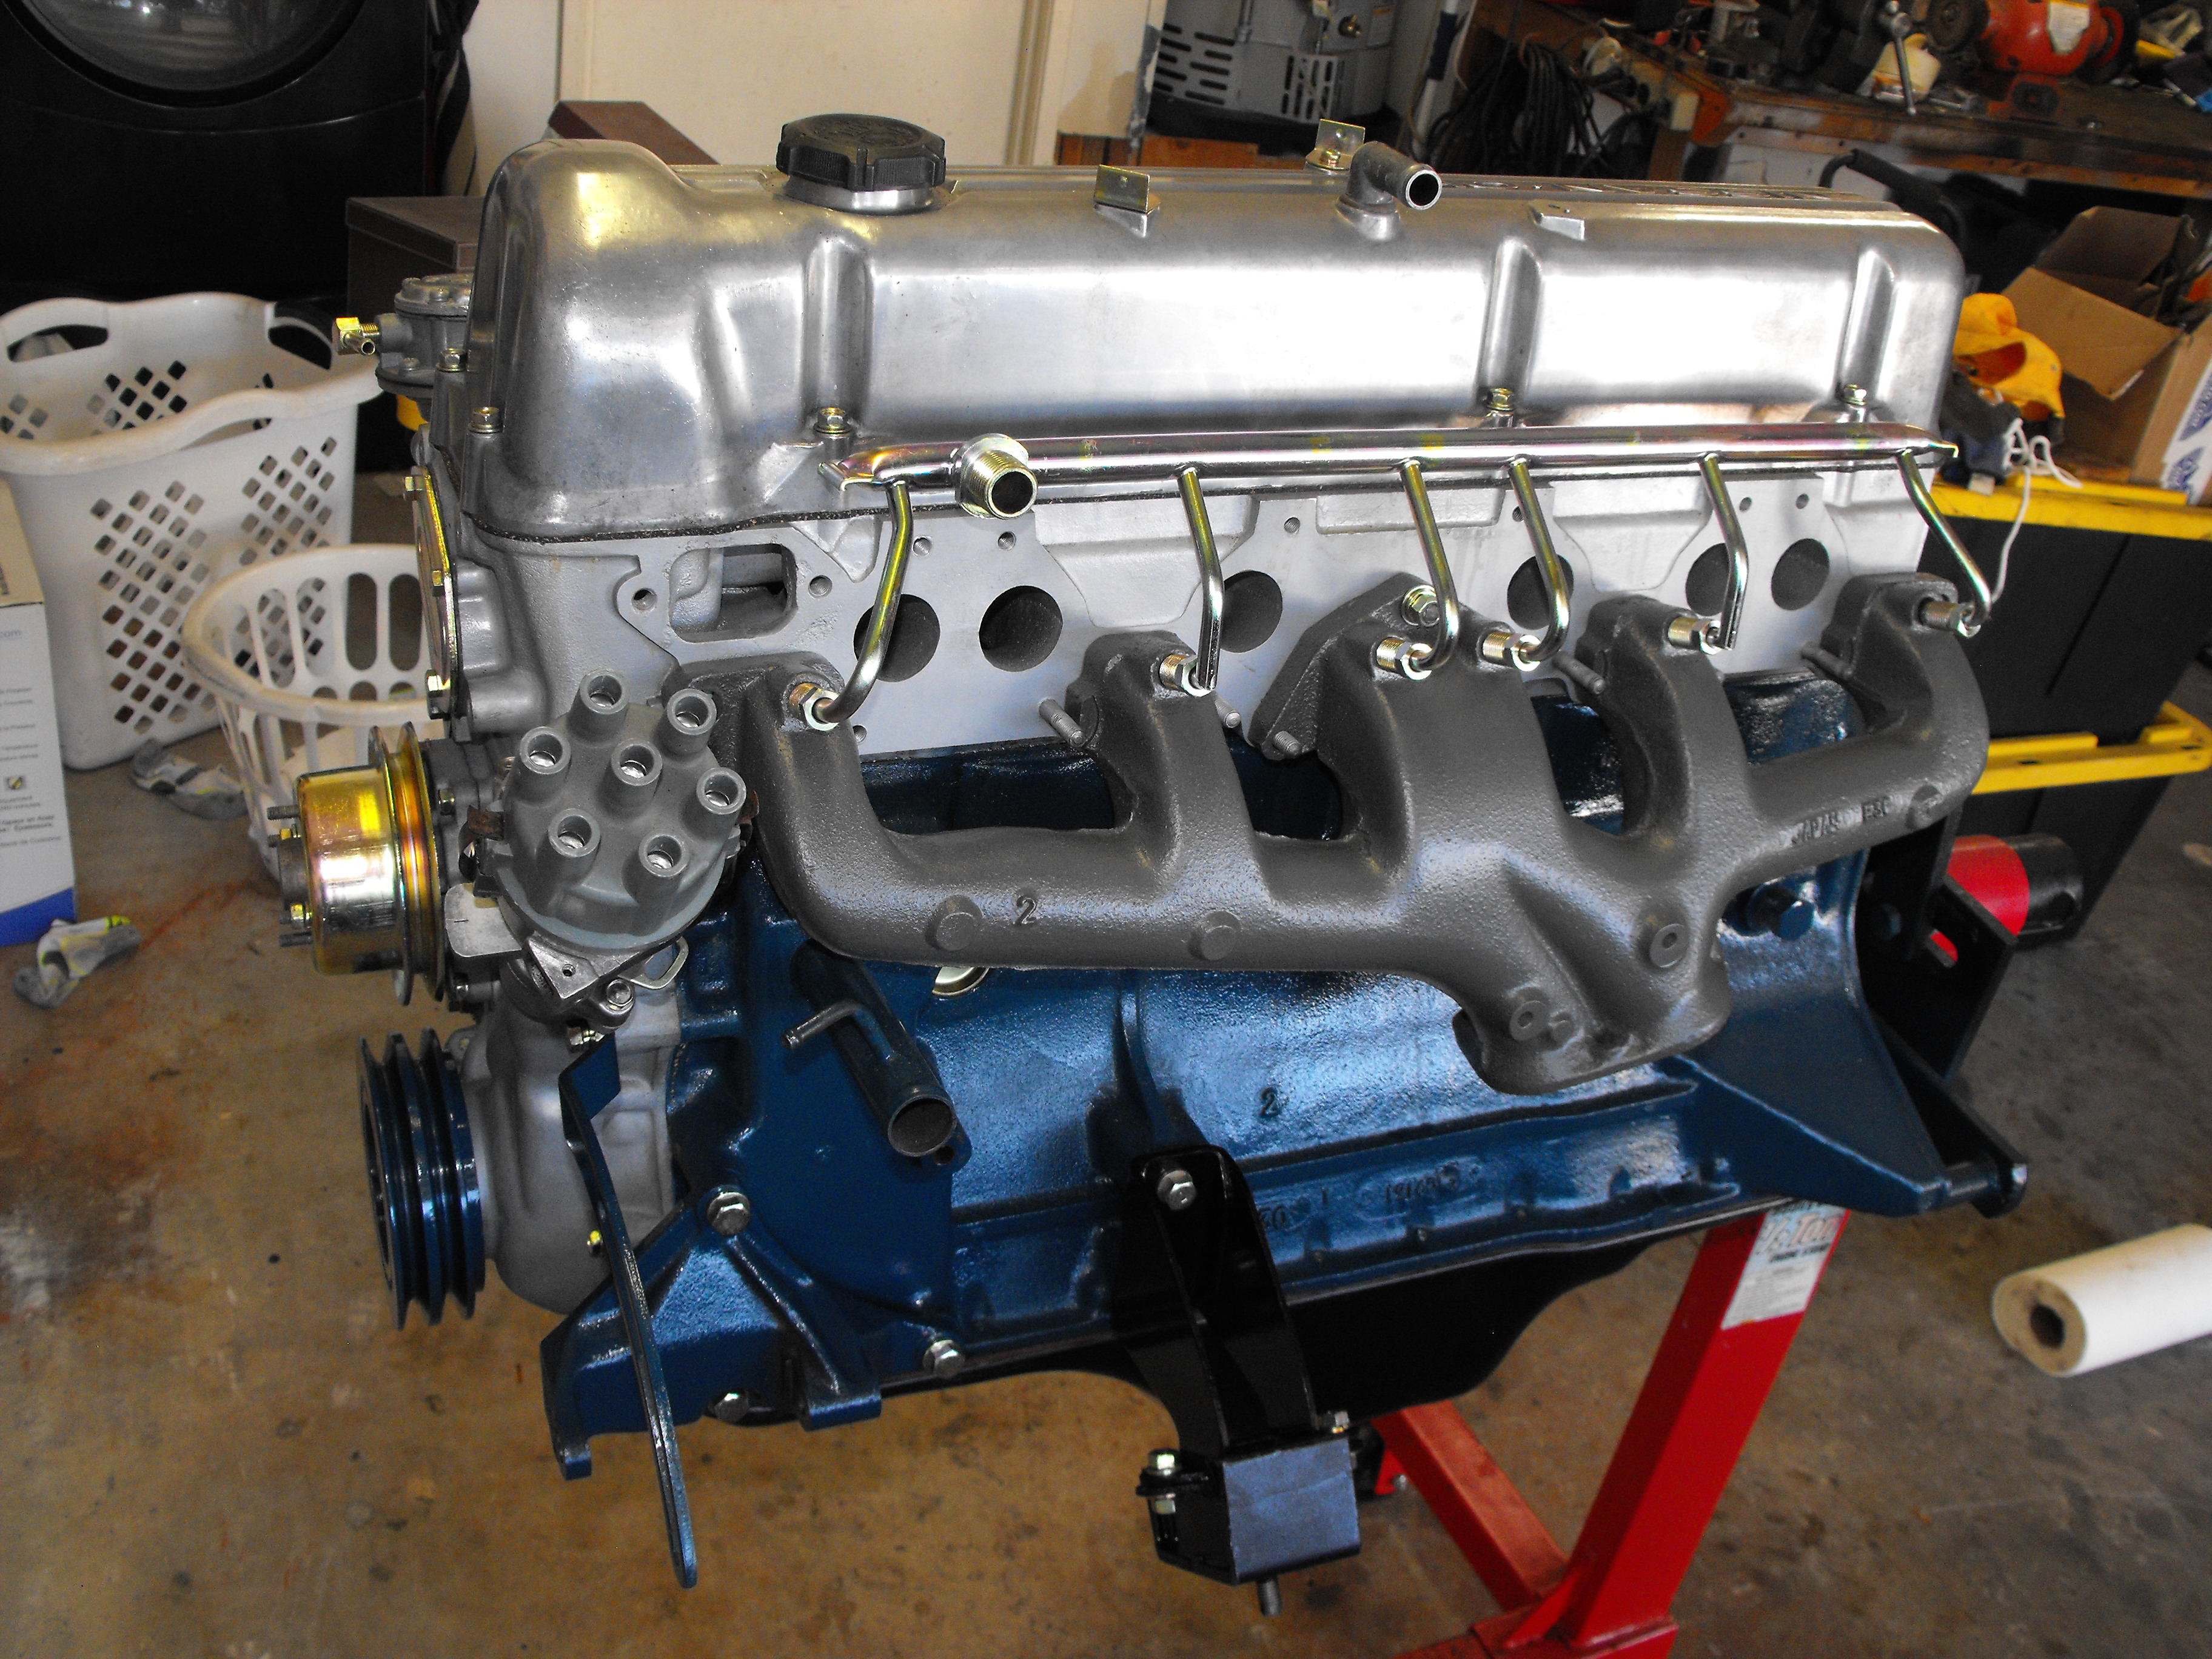
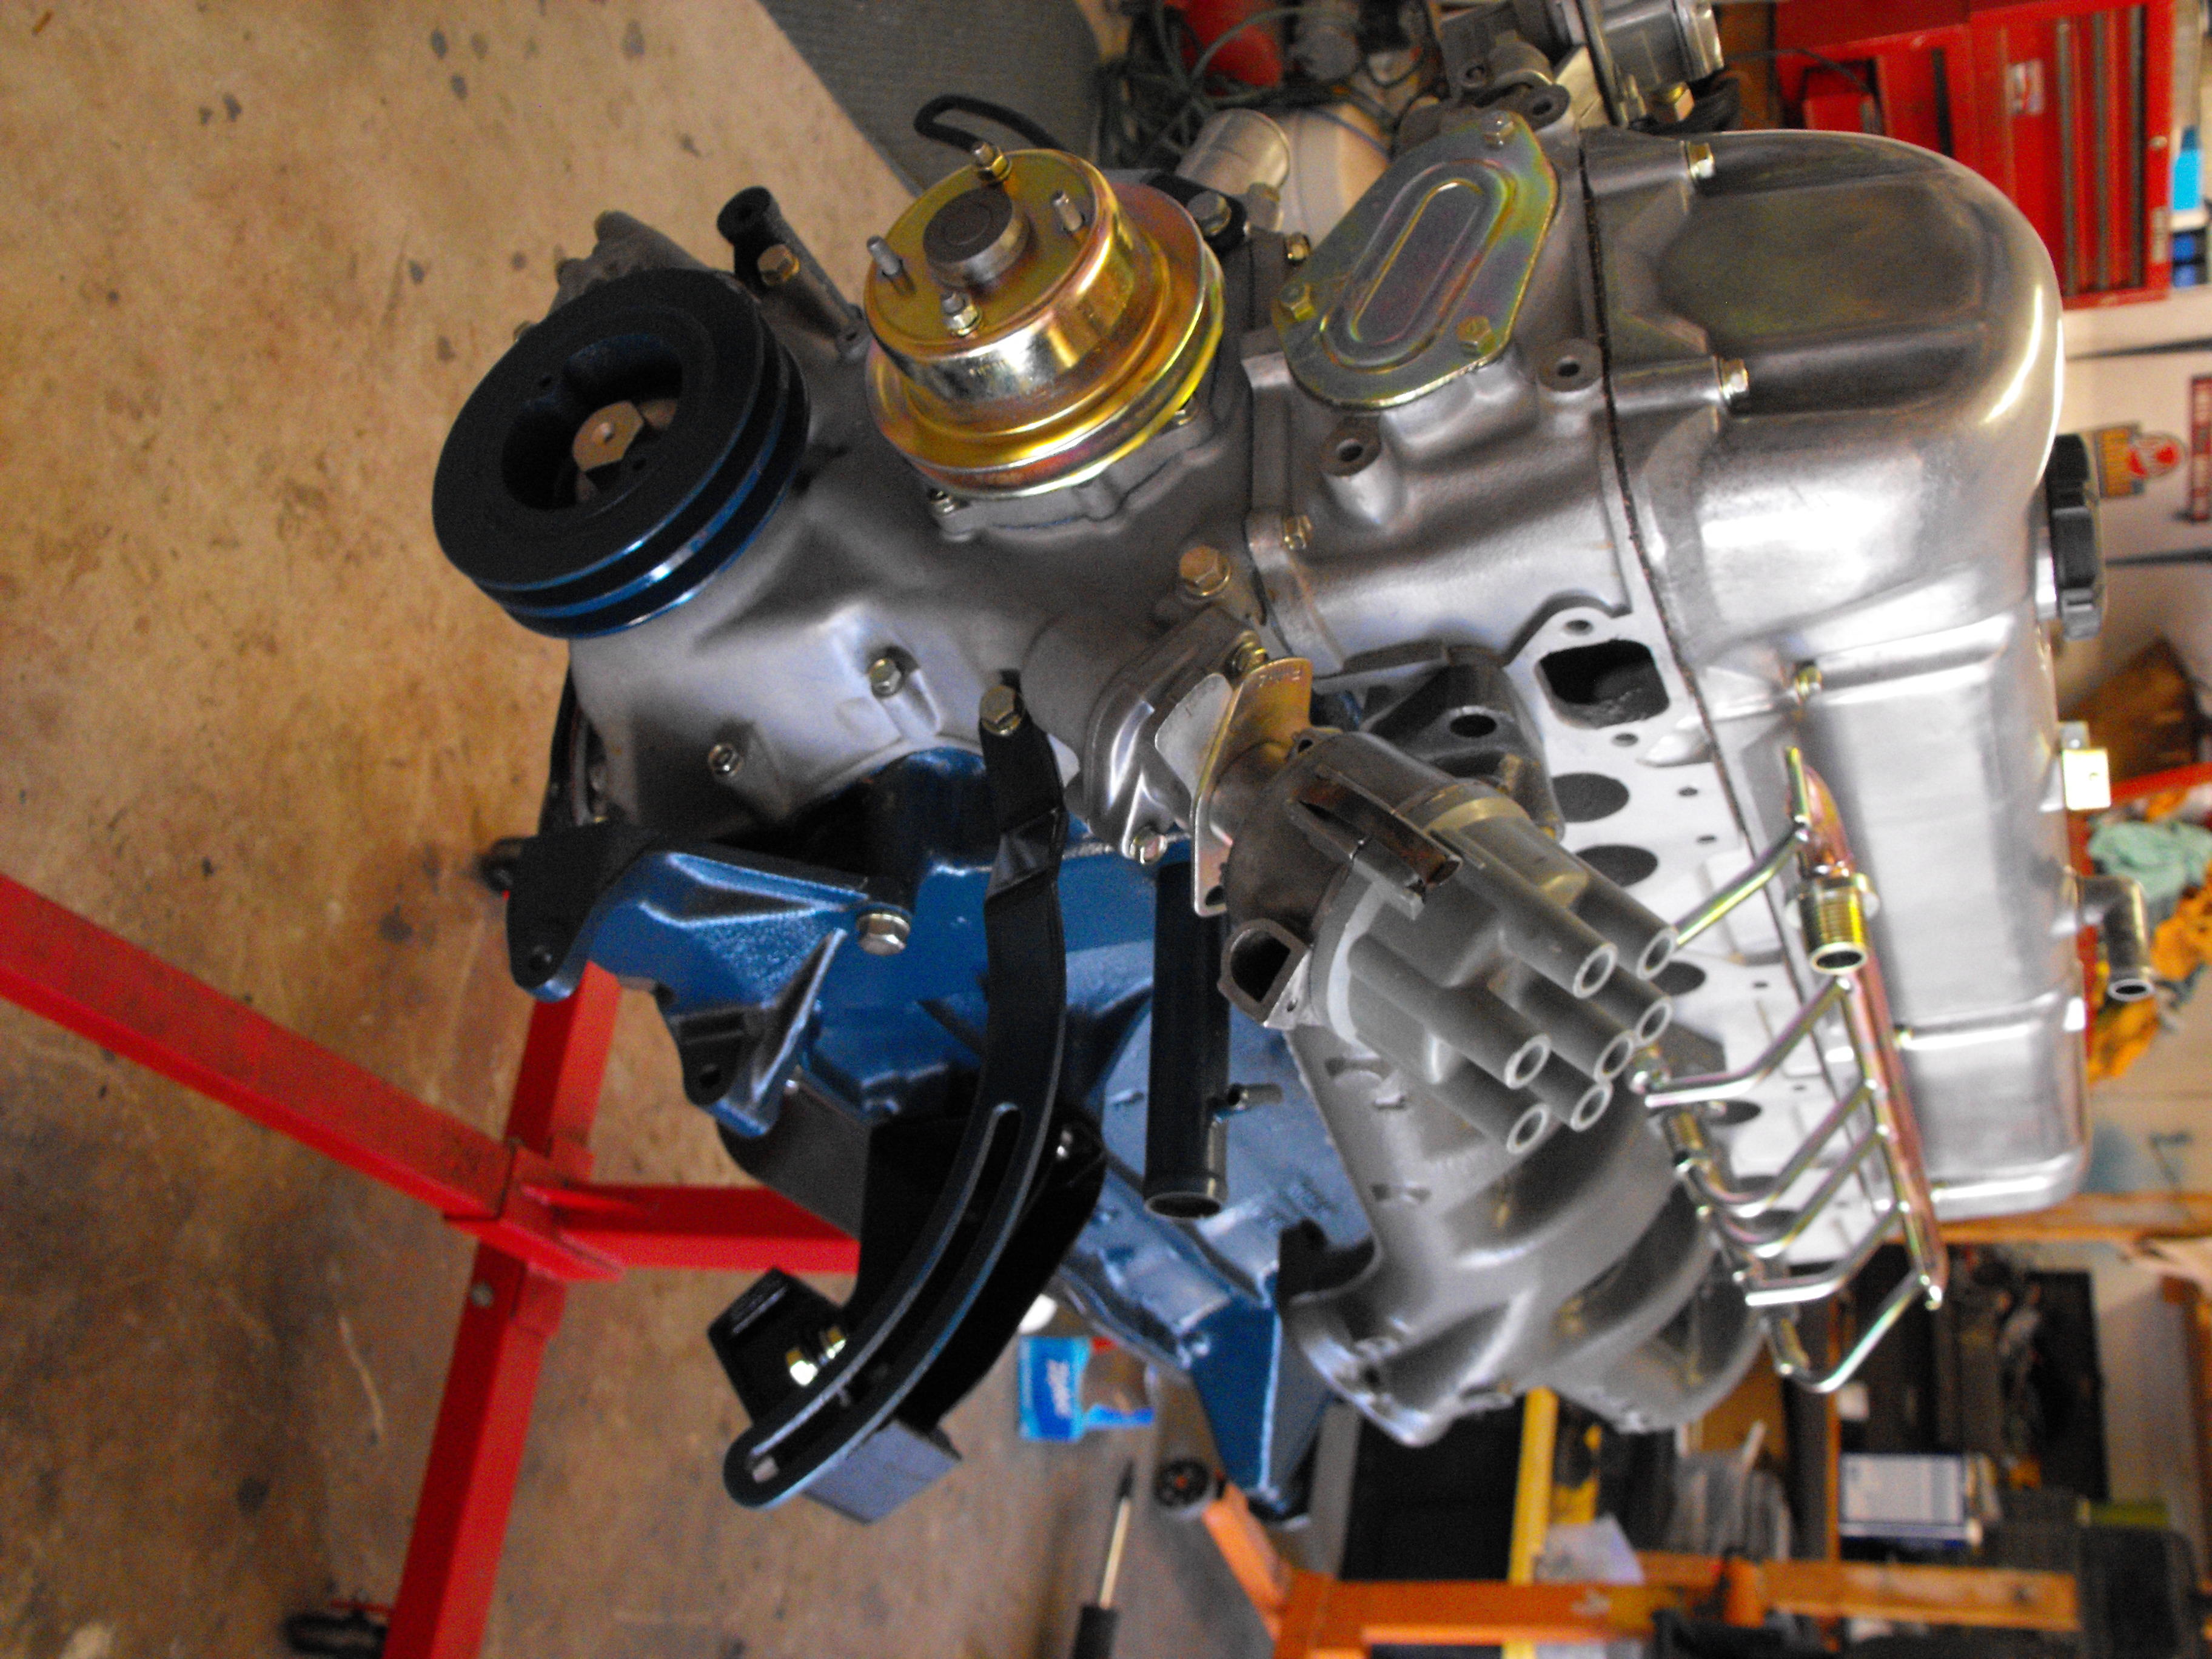
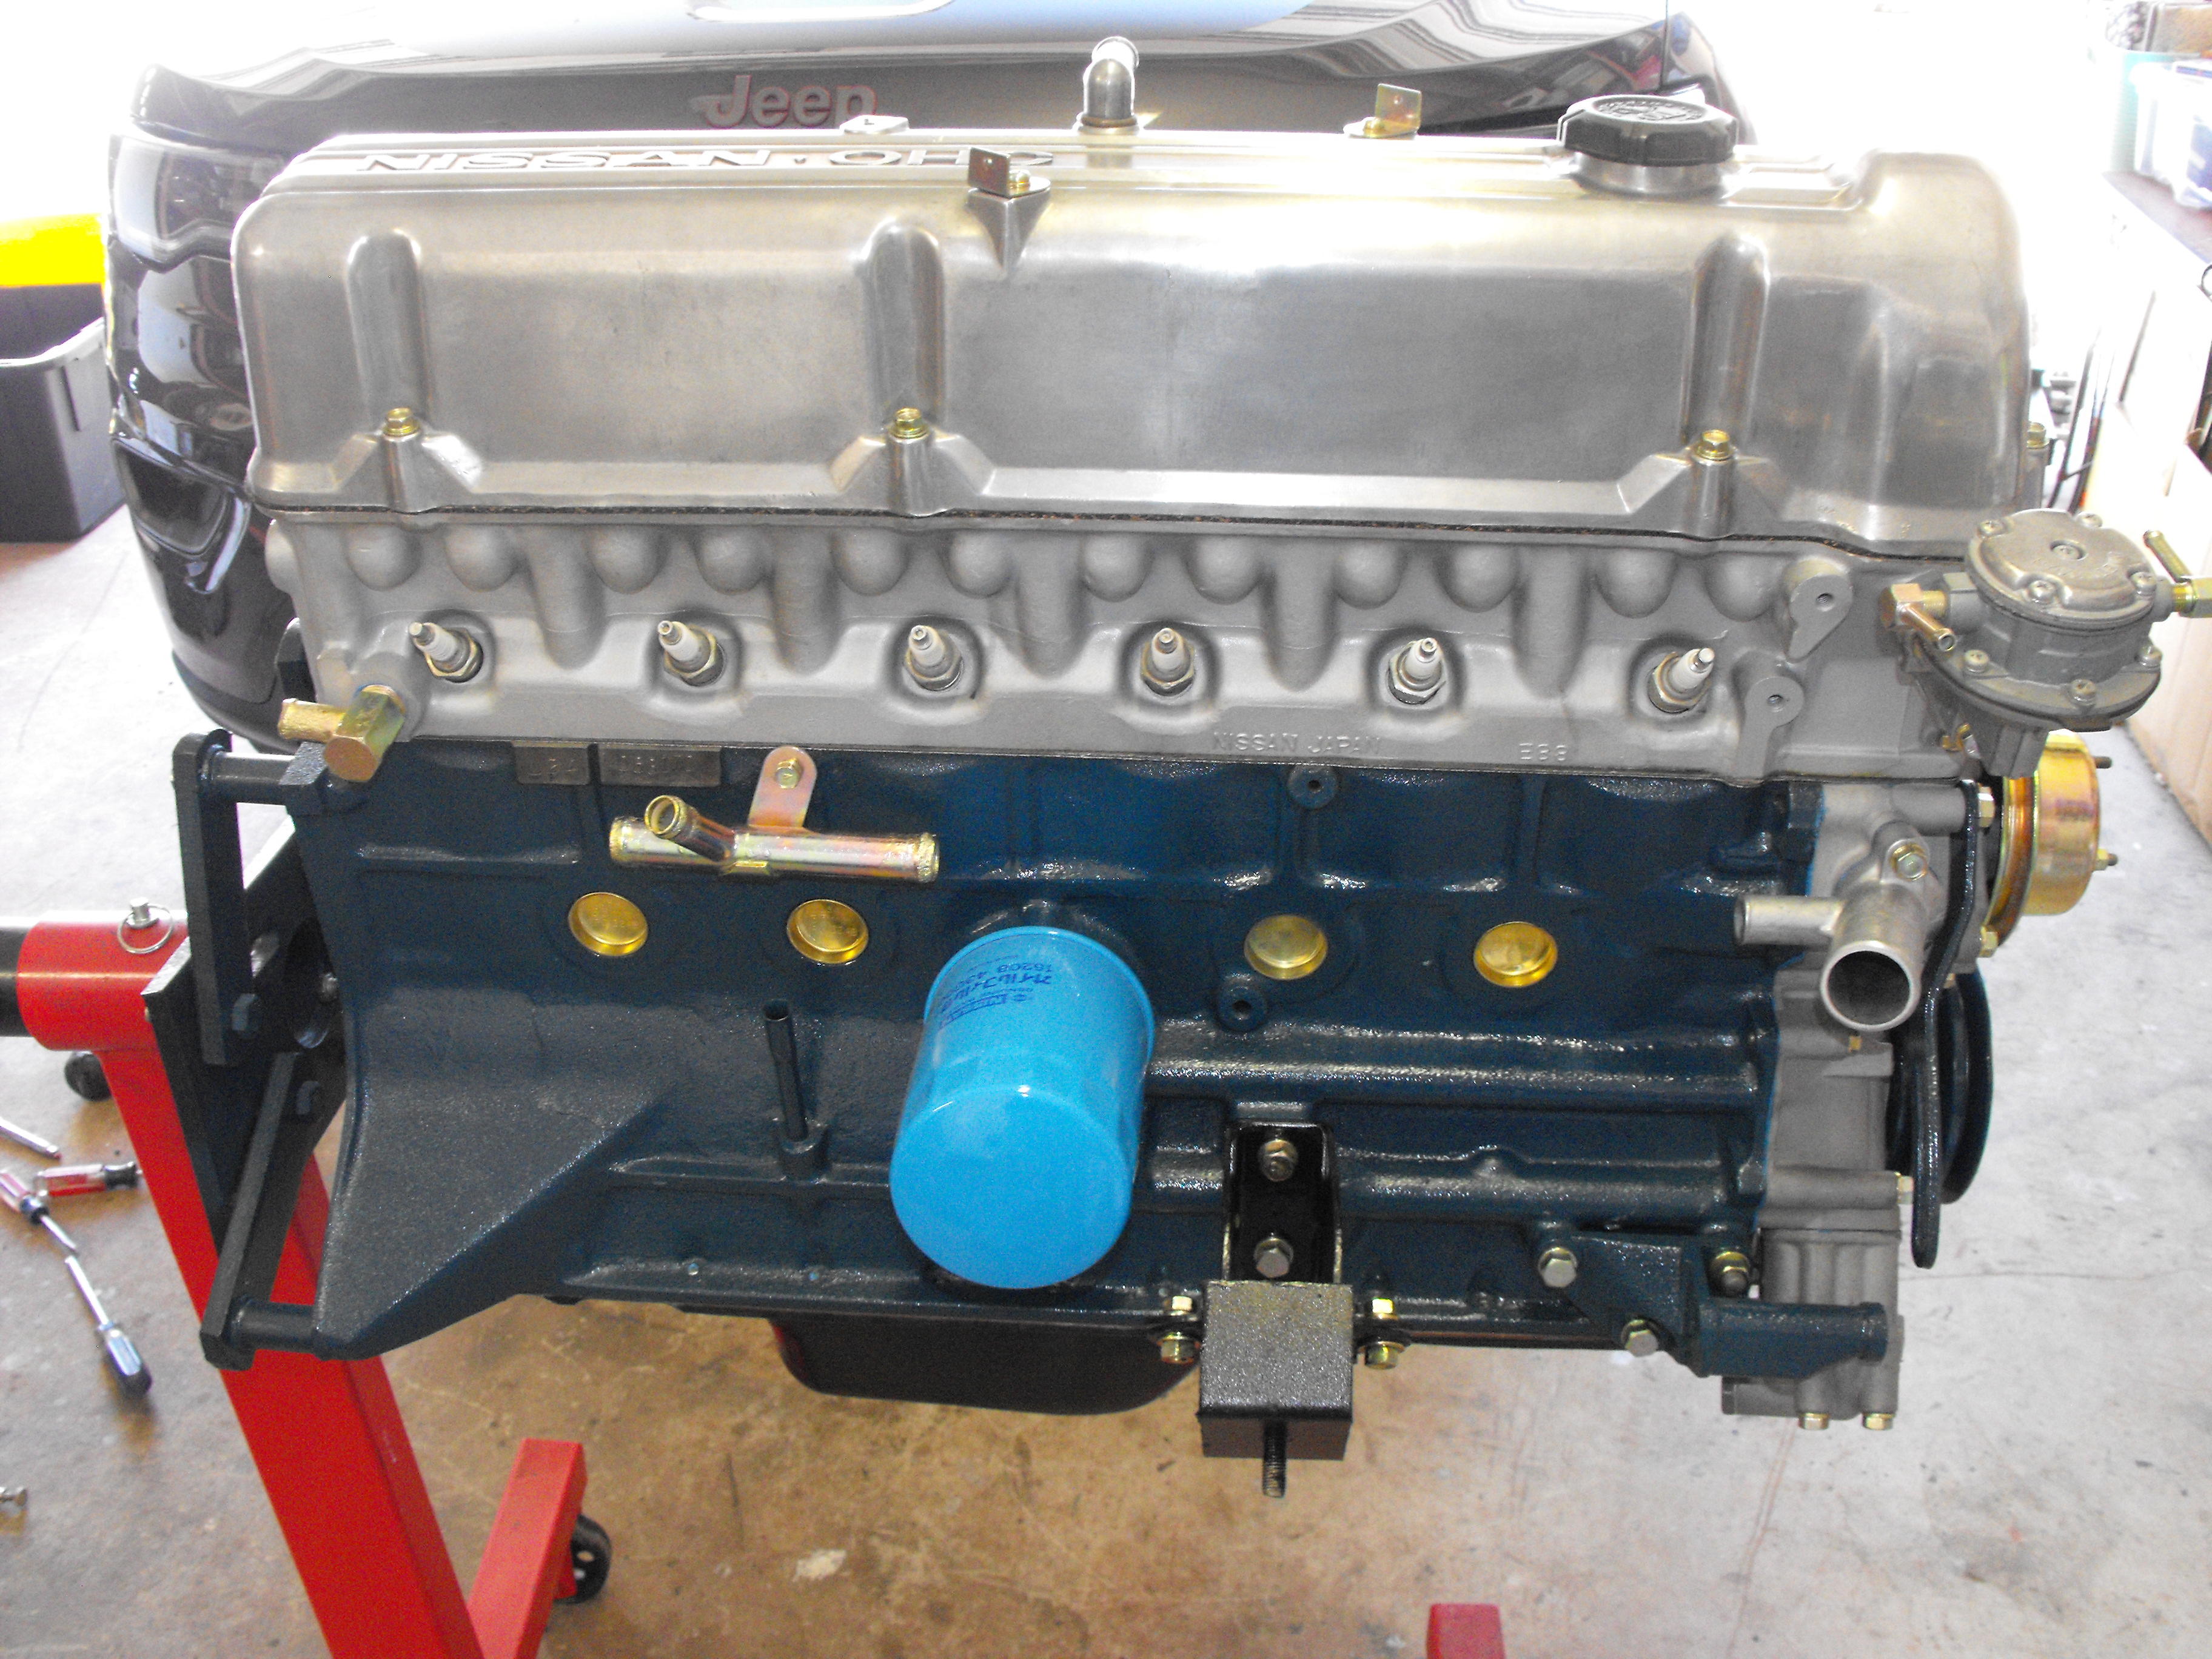
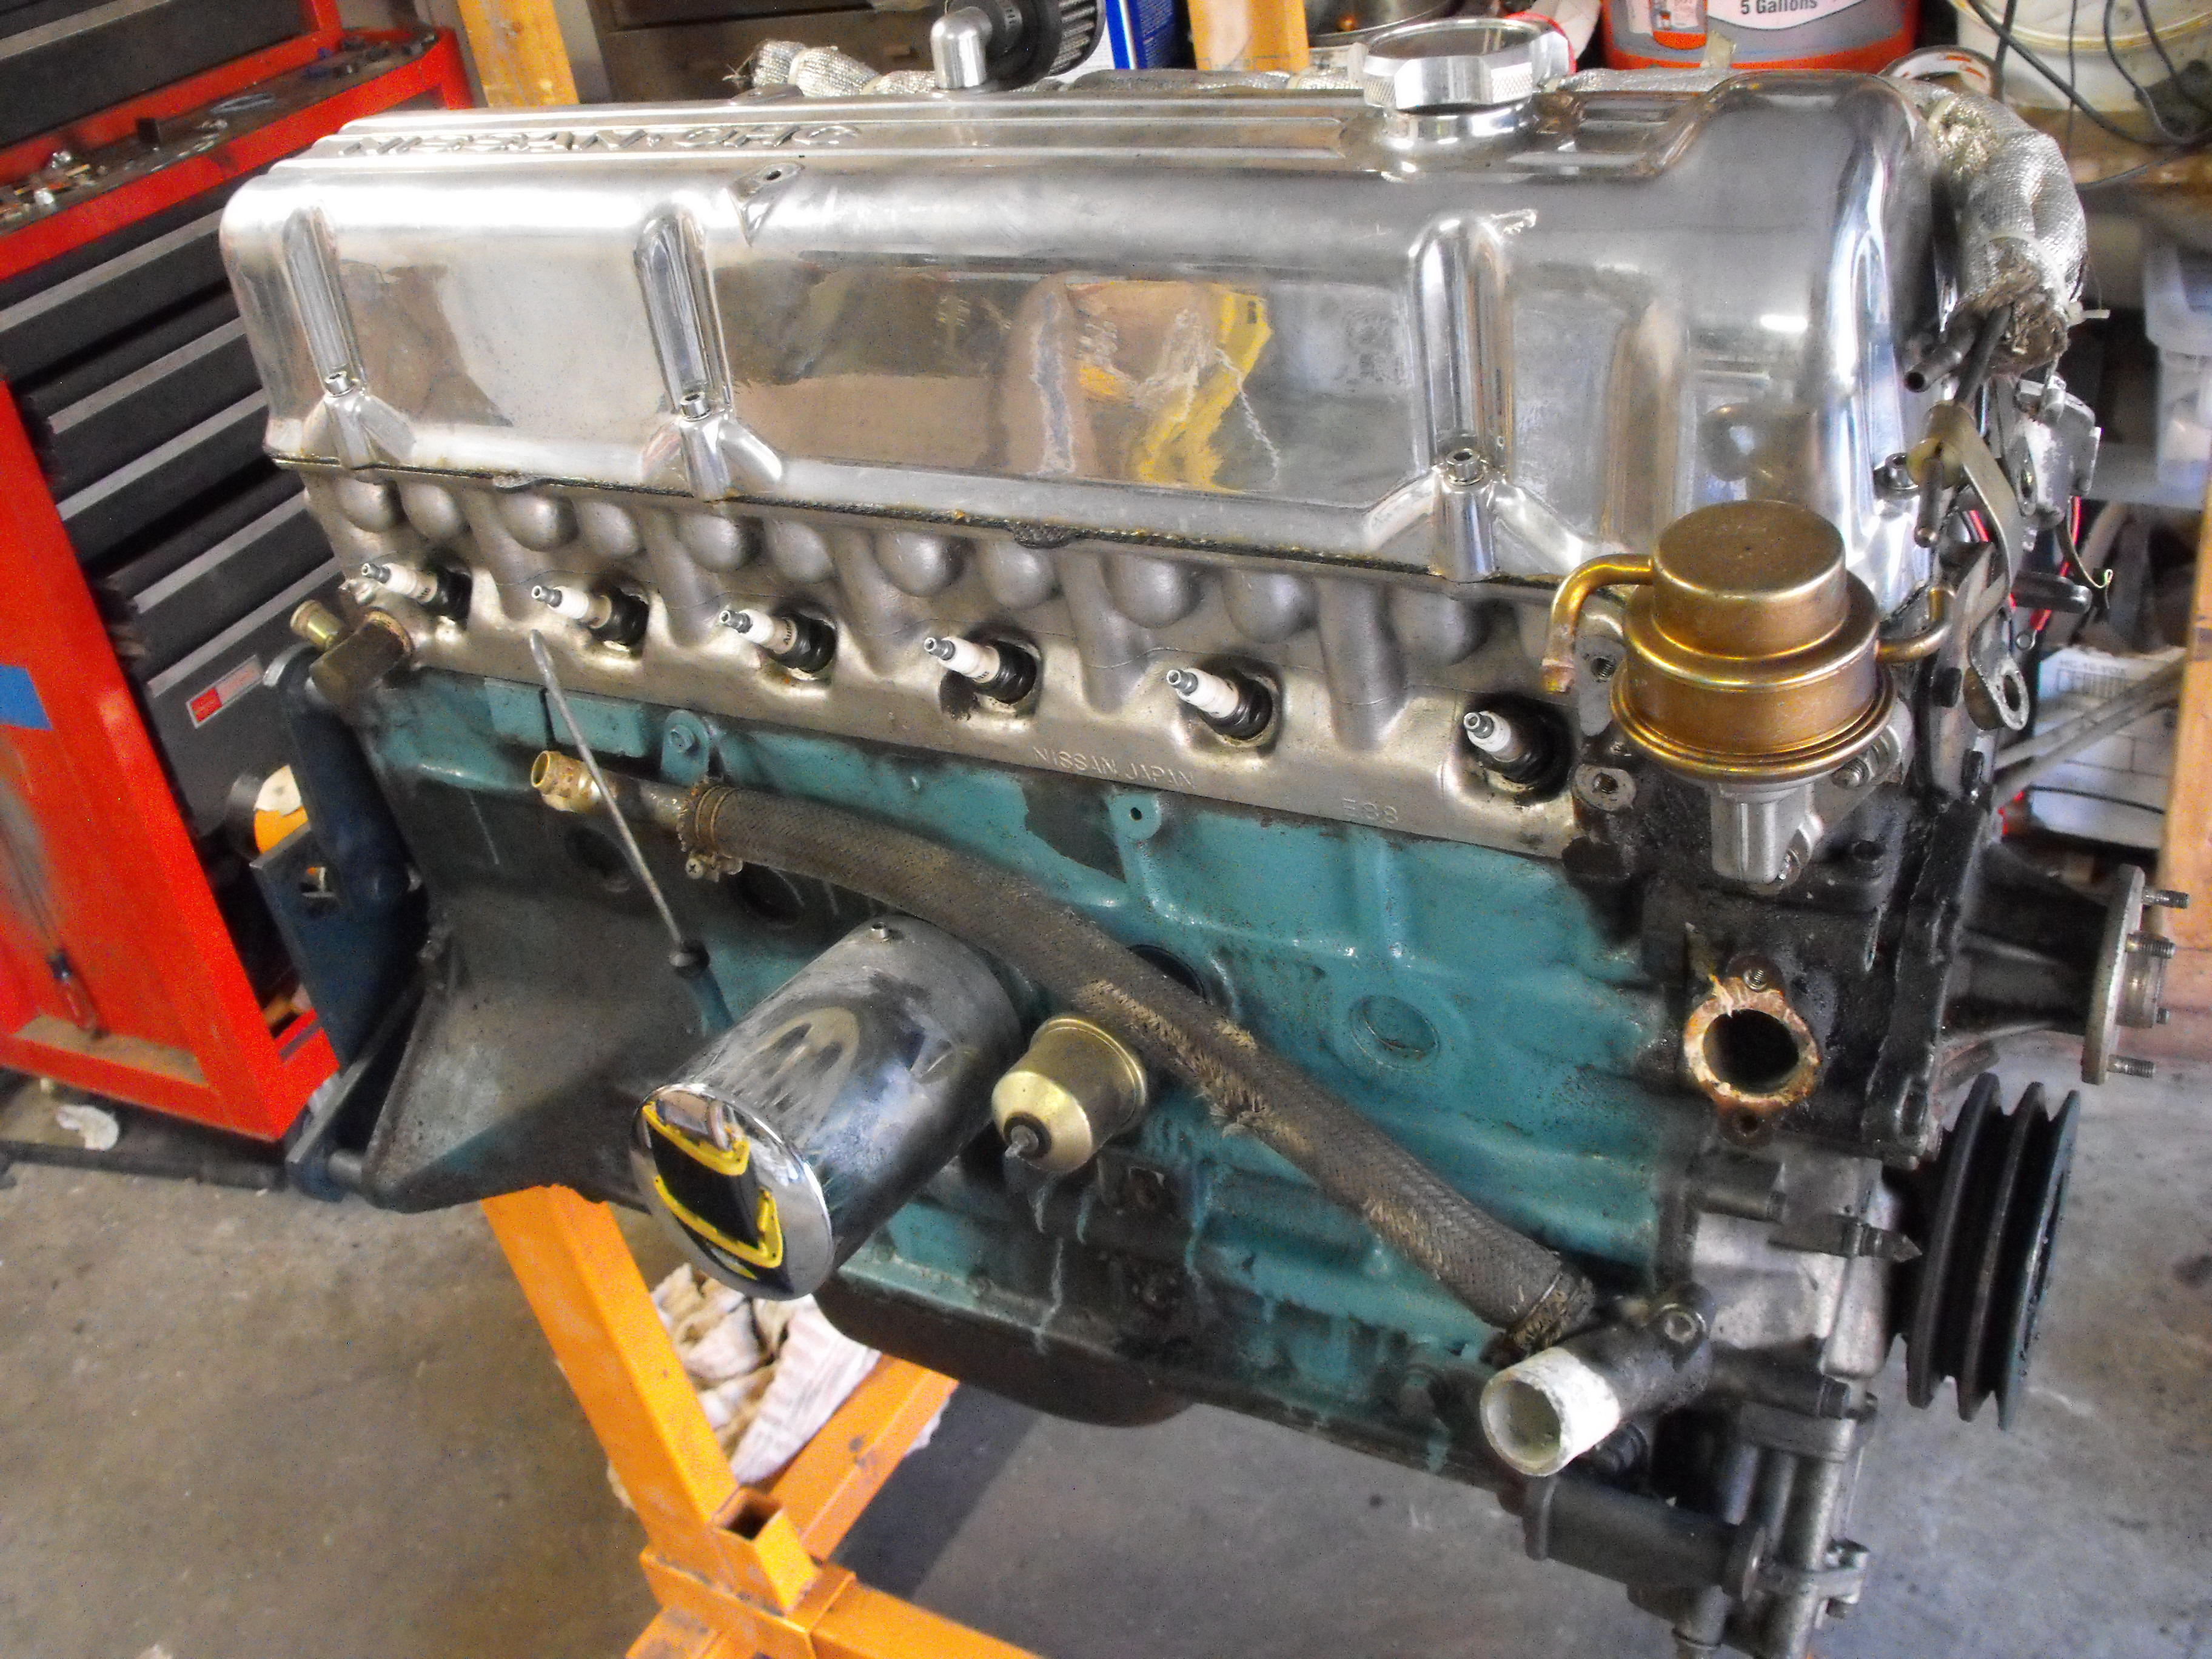
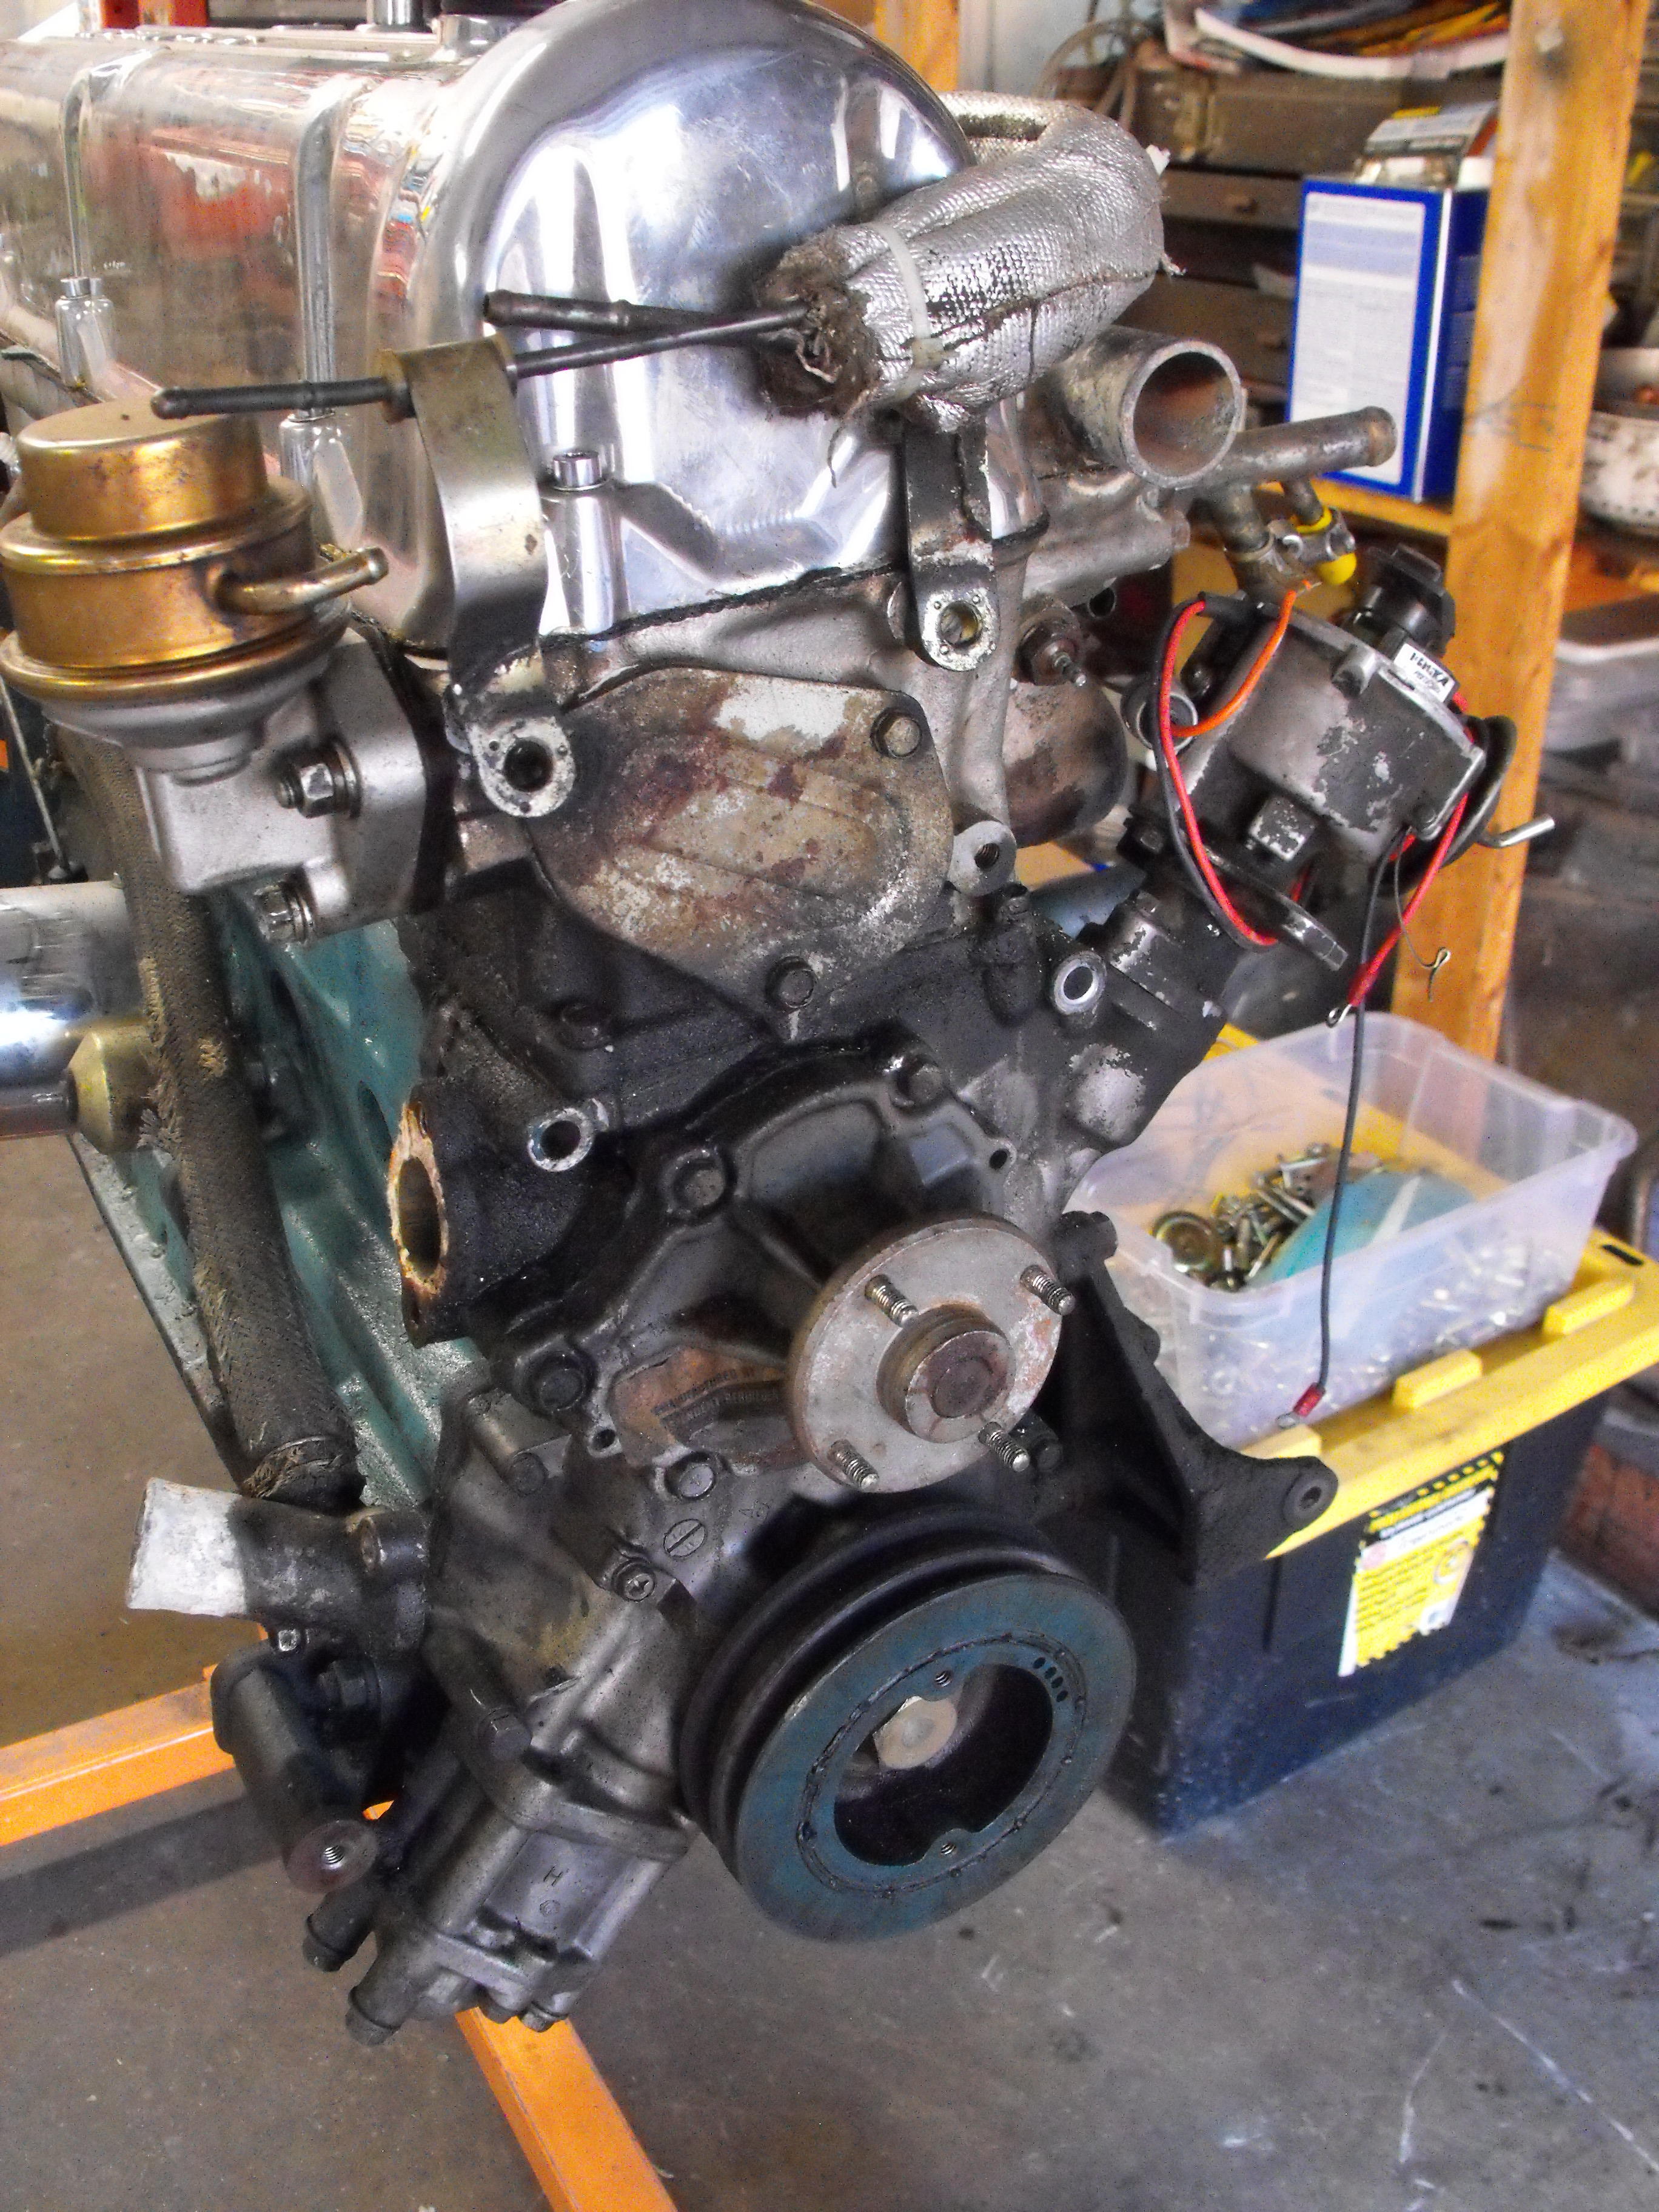
 And a few more engine pics. Haven't really done that much here....just temporarily added a few parts to the block so i can keep track of them.
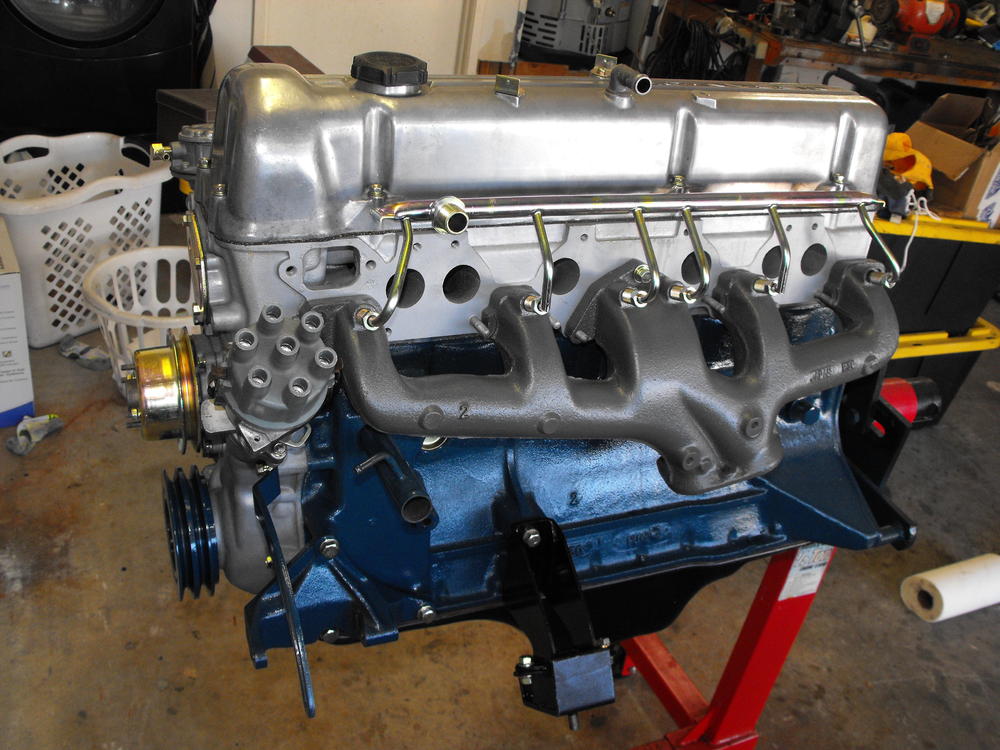

 2 points
 2 pointsLeon V suggested the cheap stock oem clutch and pressure plate was fine, and it was/is. Exedy 6009 I think from amazon, $100. Works great. Thanks again @LeonV Saved me some $. I was about to go with a $300 stage 3 kit from Center Force.2 points
PM me your phone number and I can walk you through getting it going. You seem to know what you are doing!2 points
1 pointOn the outside near the bottom by the drain. Metal floating will stick to it. Pull it off before you drain and the metal will flow out.1 point
2 pointsLeon V suggested the cheap stock oem clutch and pressure plate was fine, and it was/is. Exedy 6009 I think from amazon, $100. Works great. Thanks again @LeonV Saved me some $. I was about to go with a $300 stage 3 kit from Center Force.2 points
PM me your phone number and I can walk you through getting it going. You seem to know what you are doing!2 points
1 pointOn the outside near the bottom by the drain. Metal floating will stick to it. Pull it off before you drain and the metal will flow out.1 point Absolutely. I got the MSA Type 1 Style air dam and even at high speeds (did 140mph / 240km/h GPS speed) I have a very stable feeling car. German autobahn ? Both my diff strap as well as the lower diff mount need to be replaced. So I don't think the car gets shaky due to worn diff mounts.1 point
 Thanks for the kind words... and the call yesterday!! As soon as I'm home from the office this evening I'm getting to work with the goal of moving under it's own power.1 point
 I like the long G-nose.. but the front is already very long.. Haha.. yeah.. few summers ago i was on the german highway with Bart from Bartscooterservice @bartsscooterservice driving my red 240z and a audi came aside, the man behind the wheel looked like: what the hell is this?? We where going 160-170-180-190 kph and the eyes became bigger and bigger from the audi driver.. at 205 it stopped.. then he took his car in front of mine and 215 was the max we drove!! Haha.. ask Bart, he was even more shaking then my car i believe hihihi…. just kidding Bart! ?1 point
 1 pointThe answer was simple (35 divided by 8 = 4.375) Ring - 35 and Pinion - 8 It will serve as the back-up to the R180 Giken 4:38. Thanks for your suggestions and inputs. I was hoping for something really rare but another 4:38 (not in a "K" case) is great. Been brain dead for the past few days after working on a new project.1 point
 1 pointYou can get BSP to NPT adapters from McMaster Carr. Can't remember the exact size I think I've posted about it before. I wouldn't trust the dash gauge. https://www.mcmaster.com/standard-pipe-fittings1 point
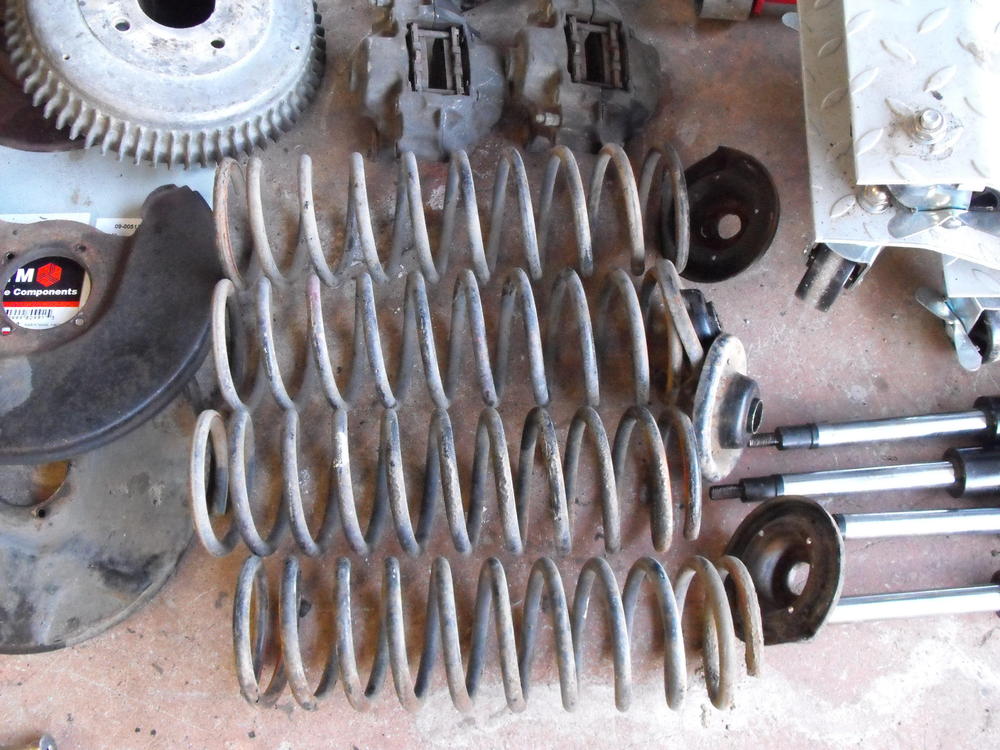
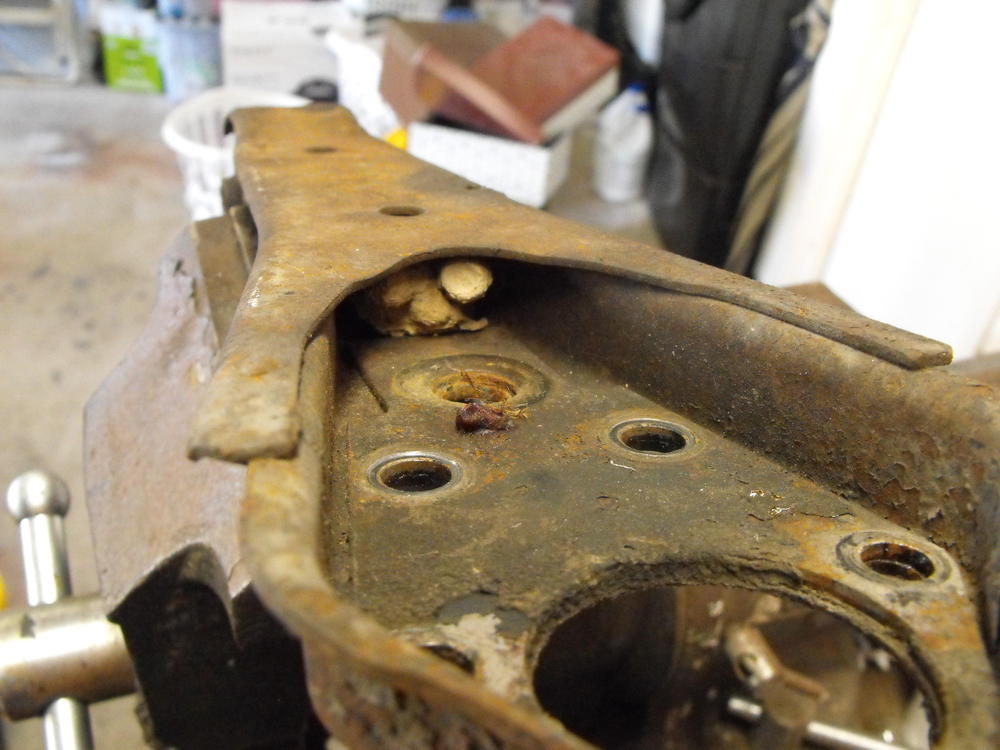
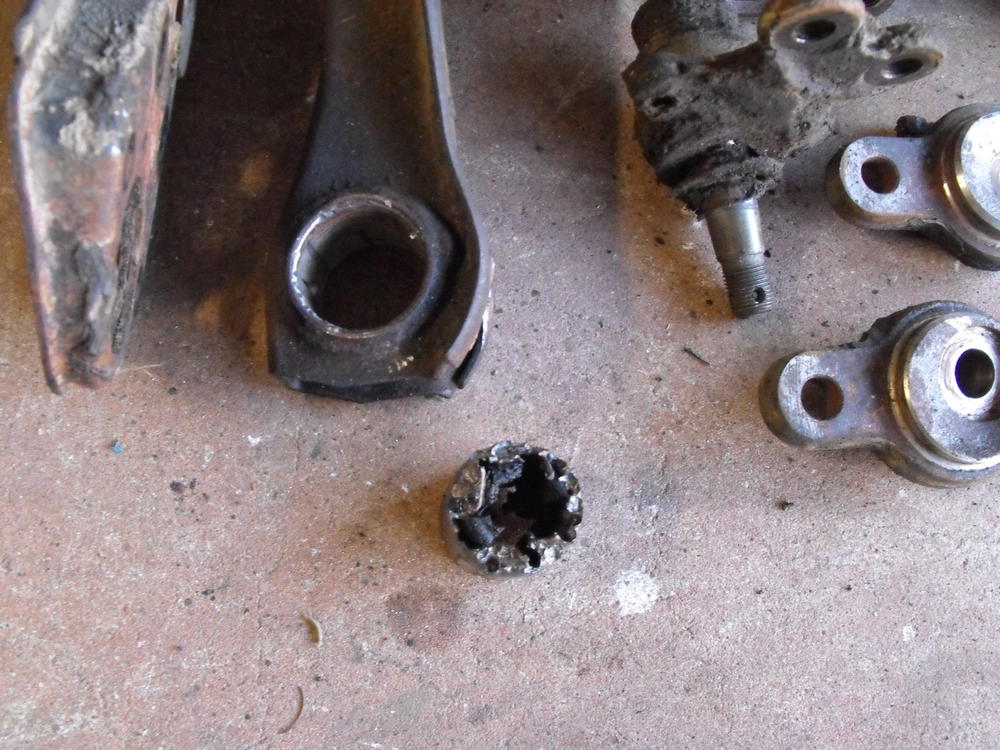
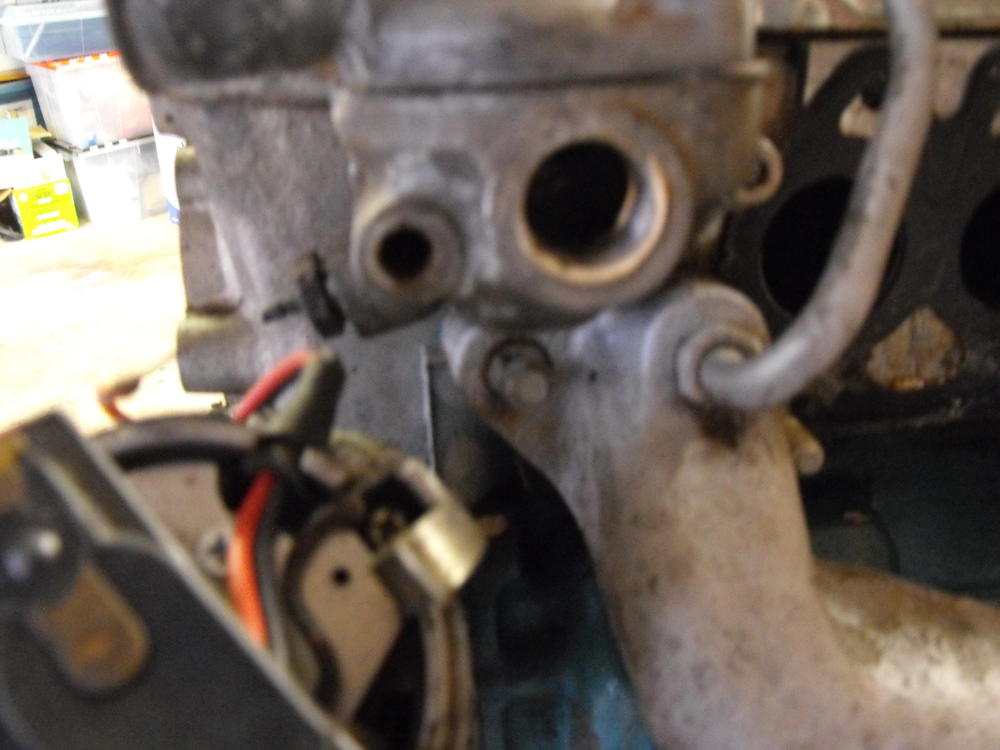
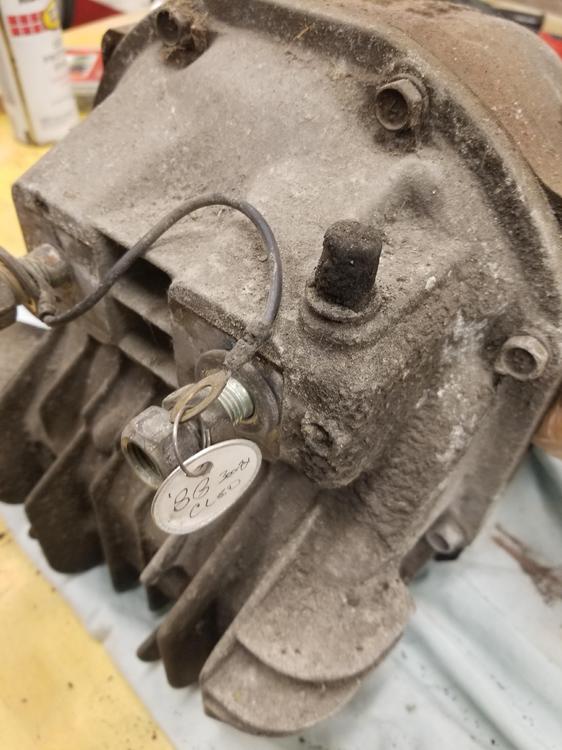
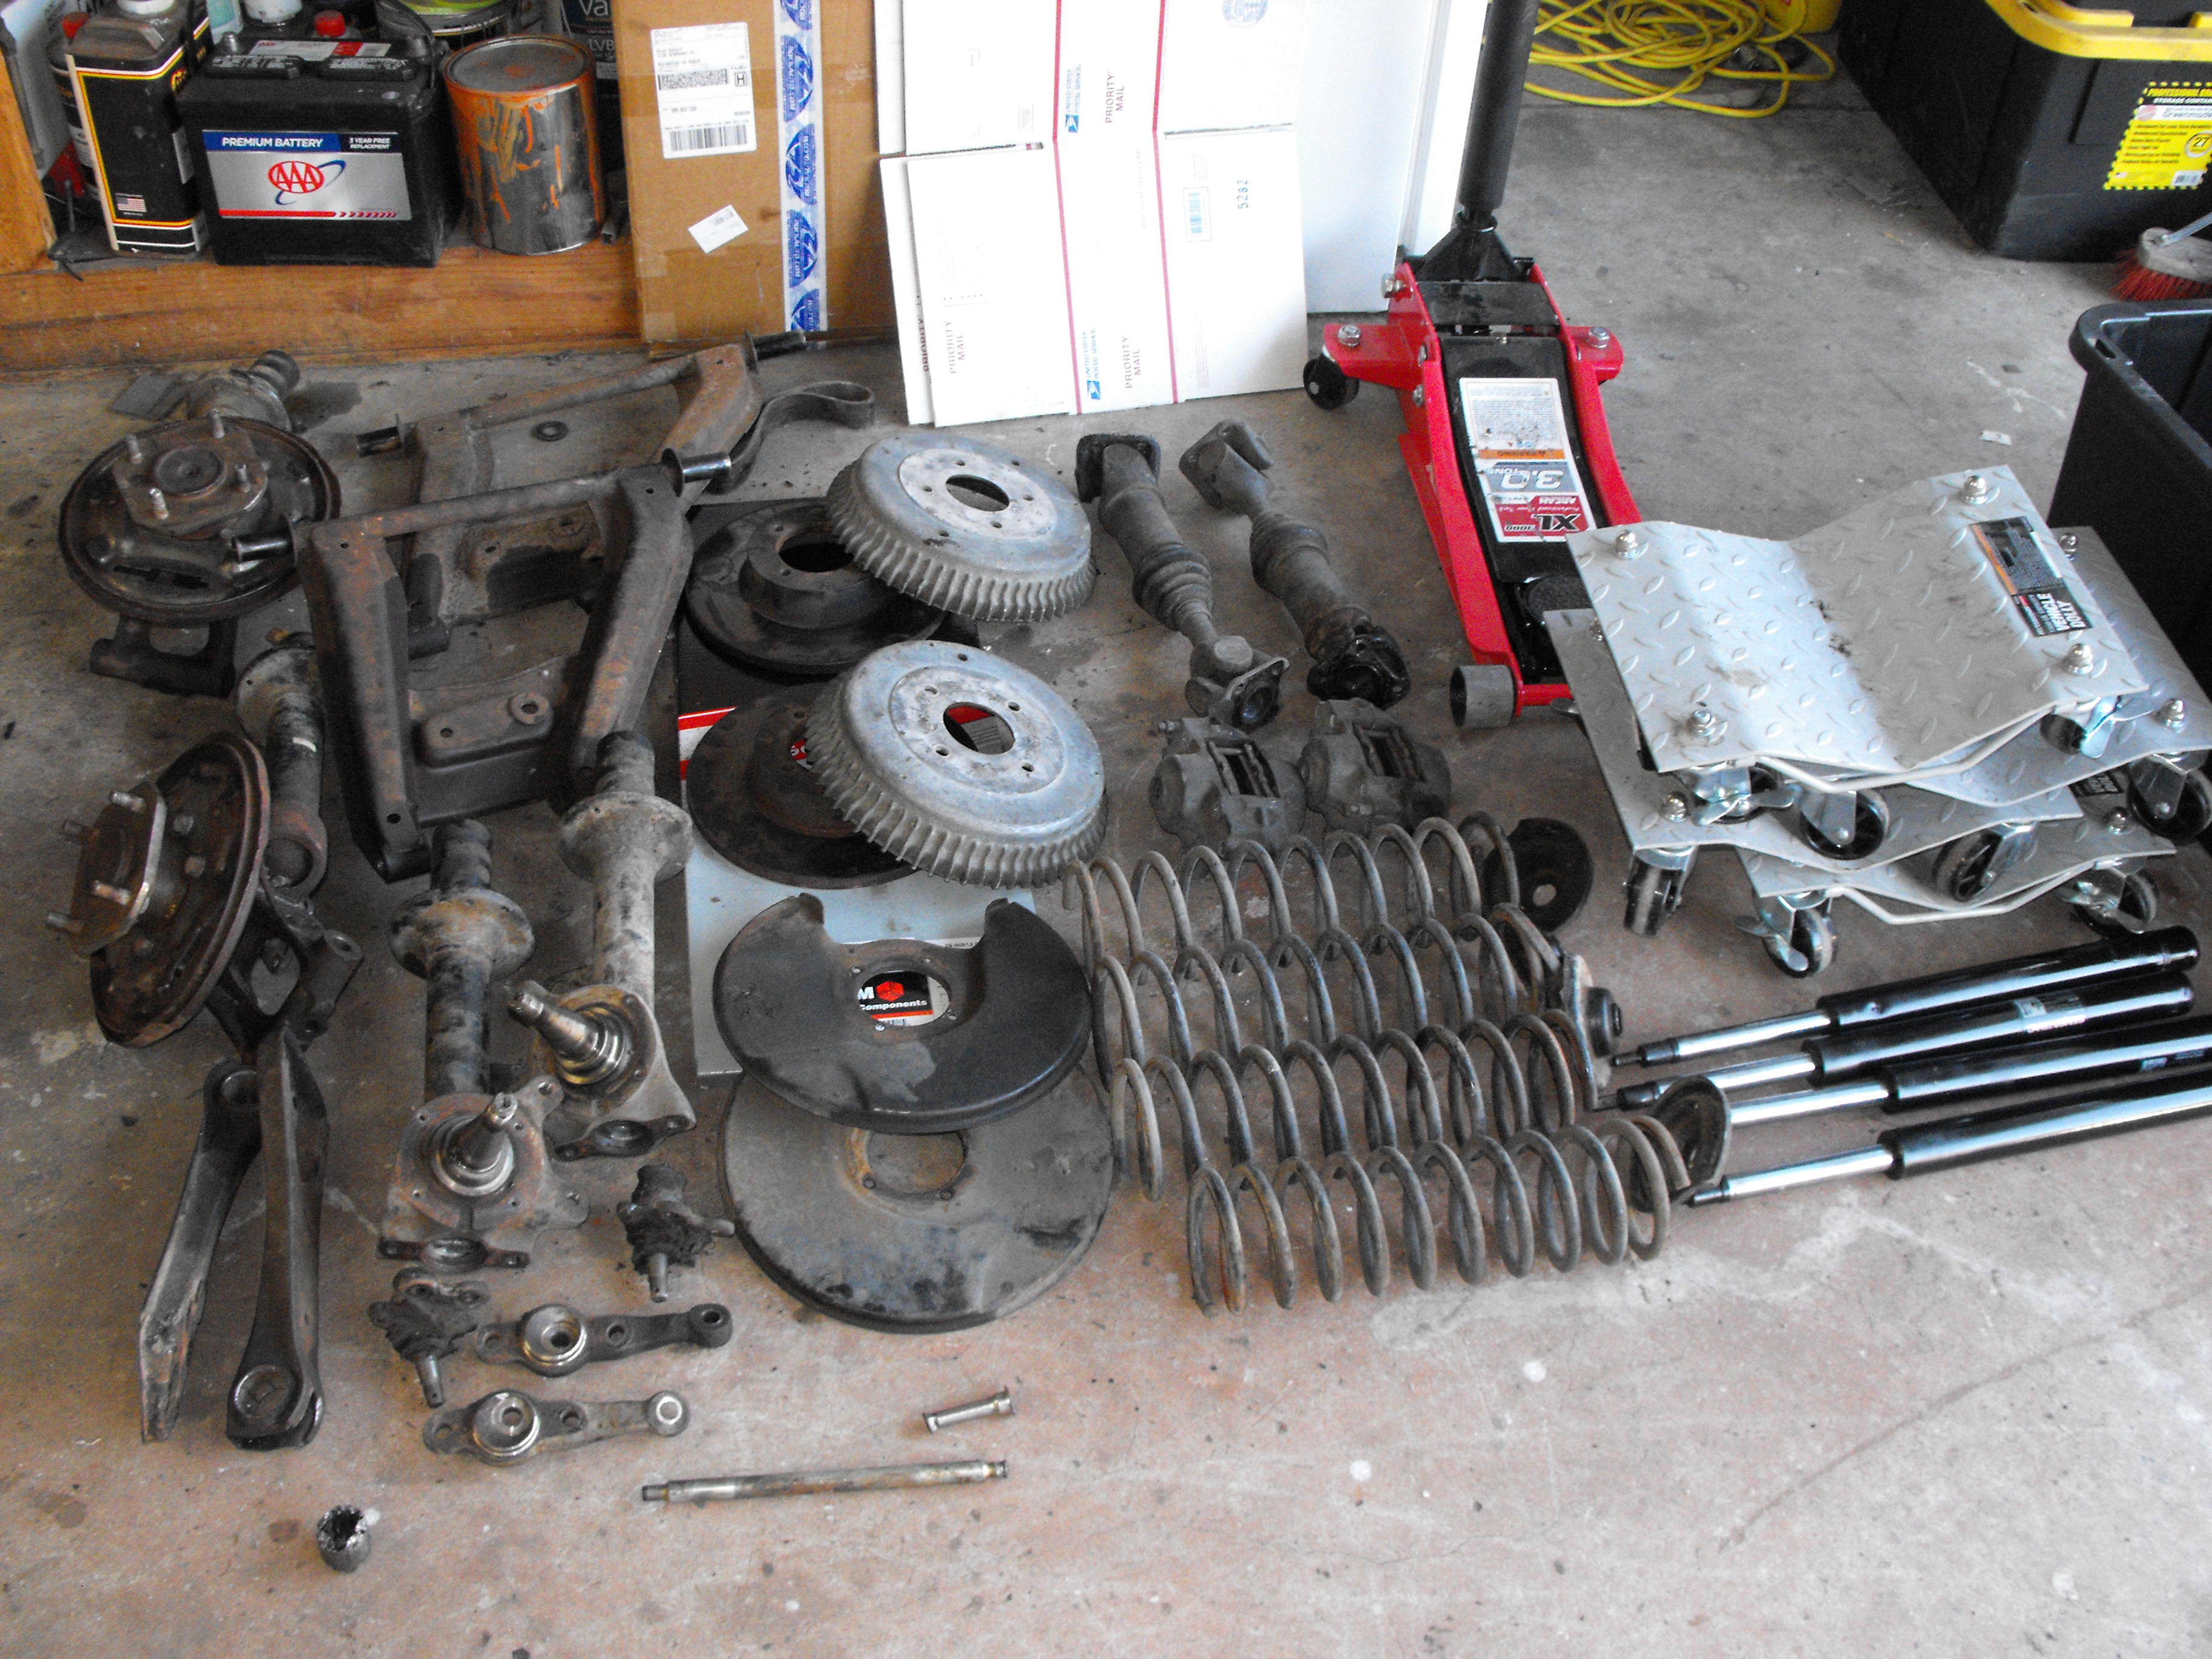
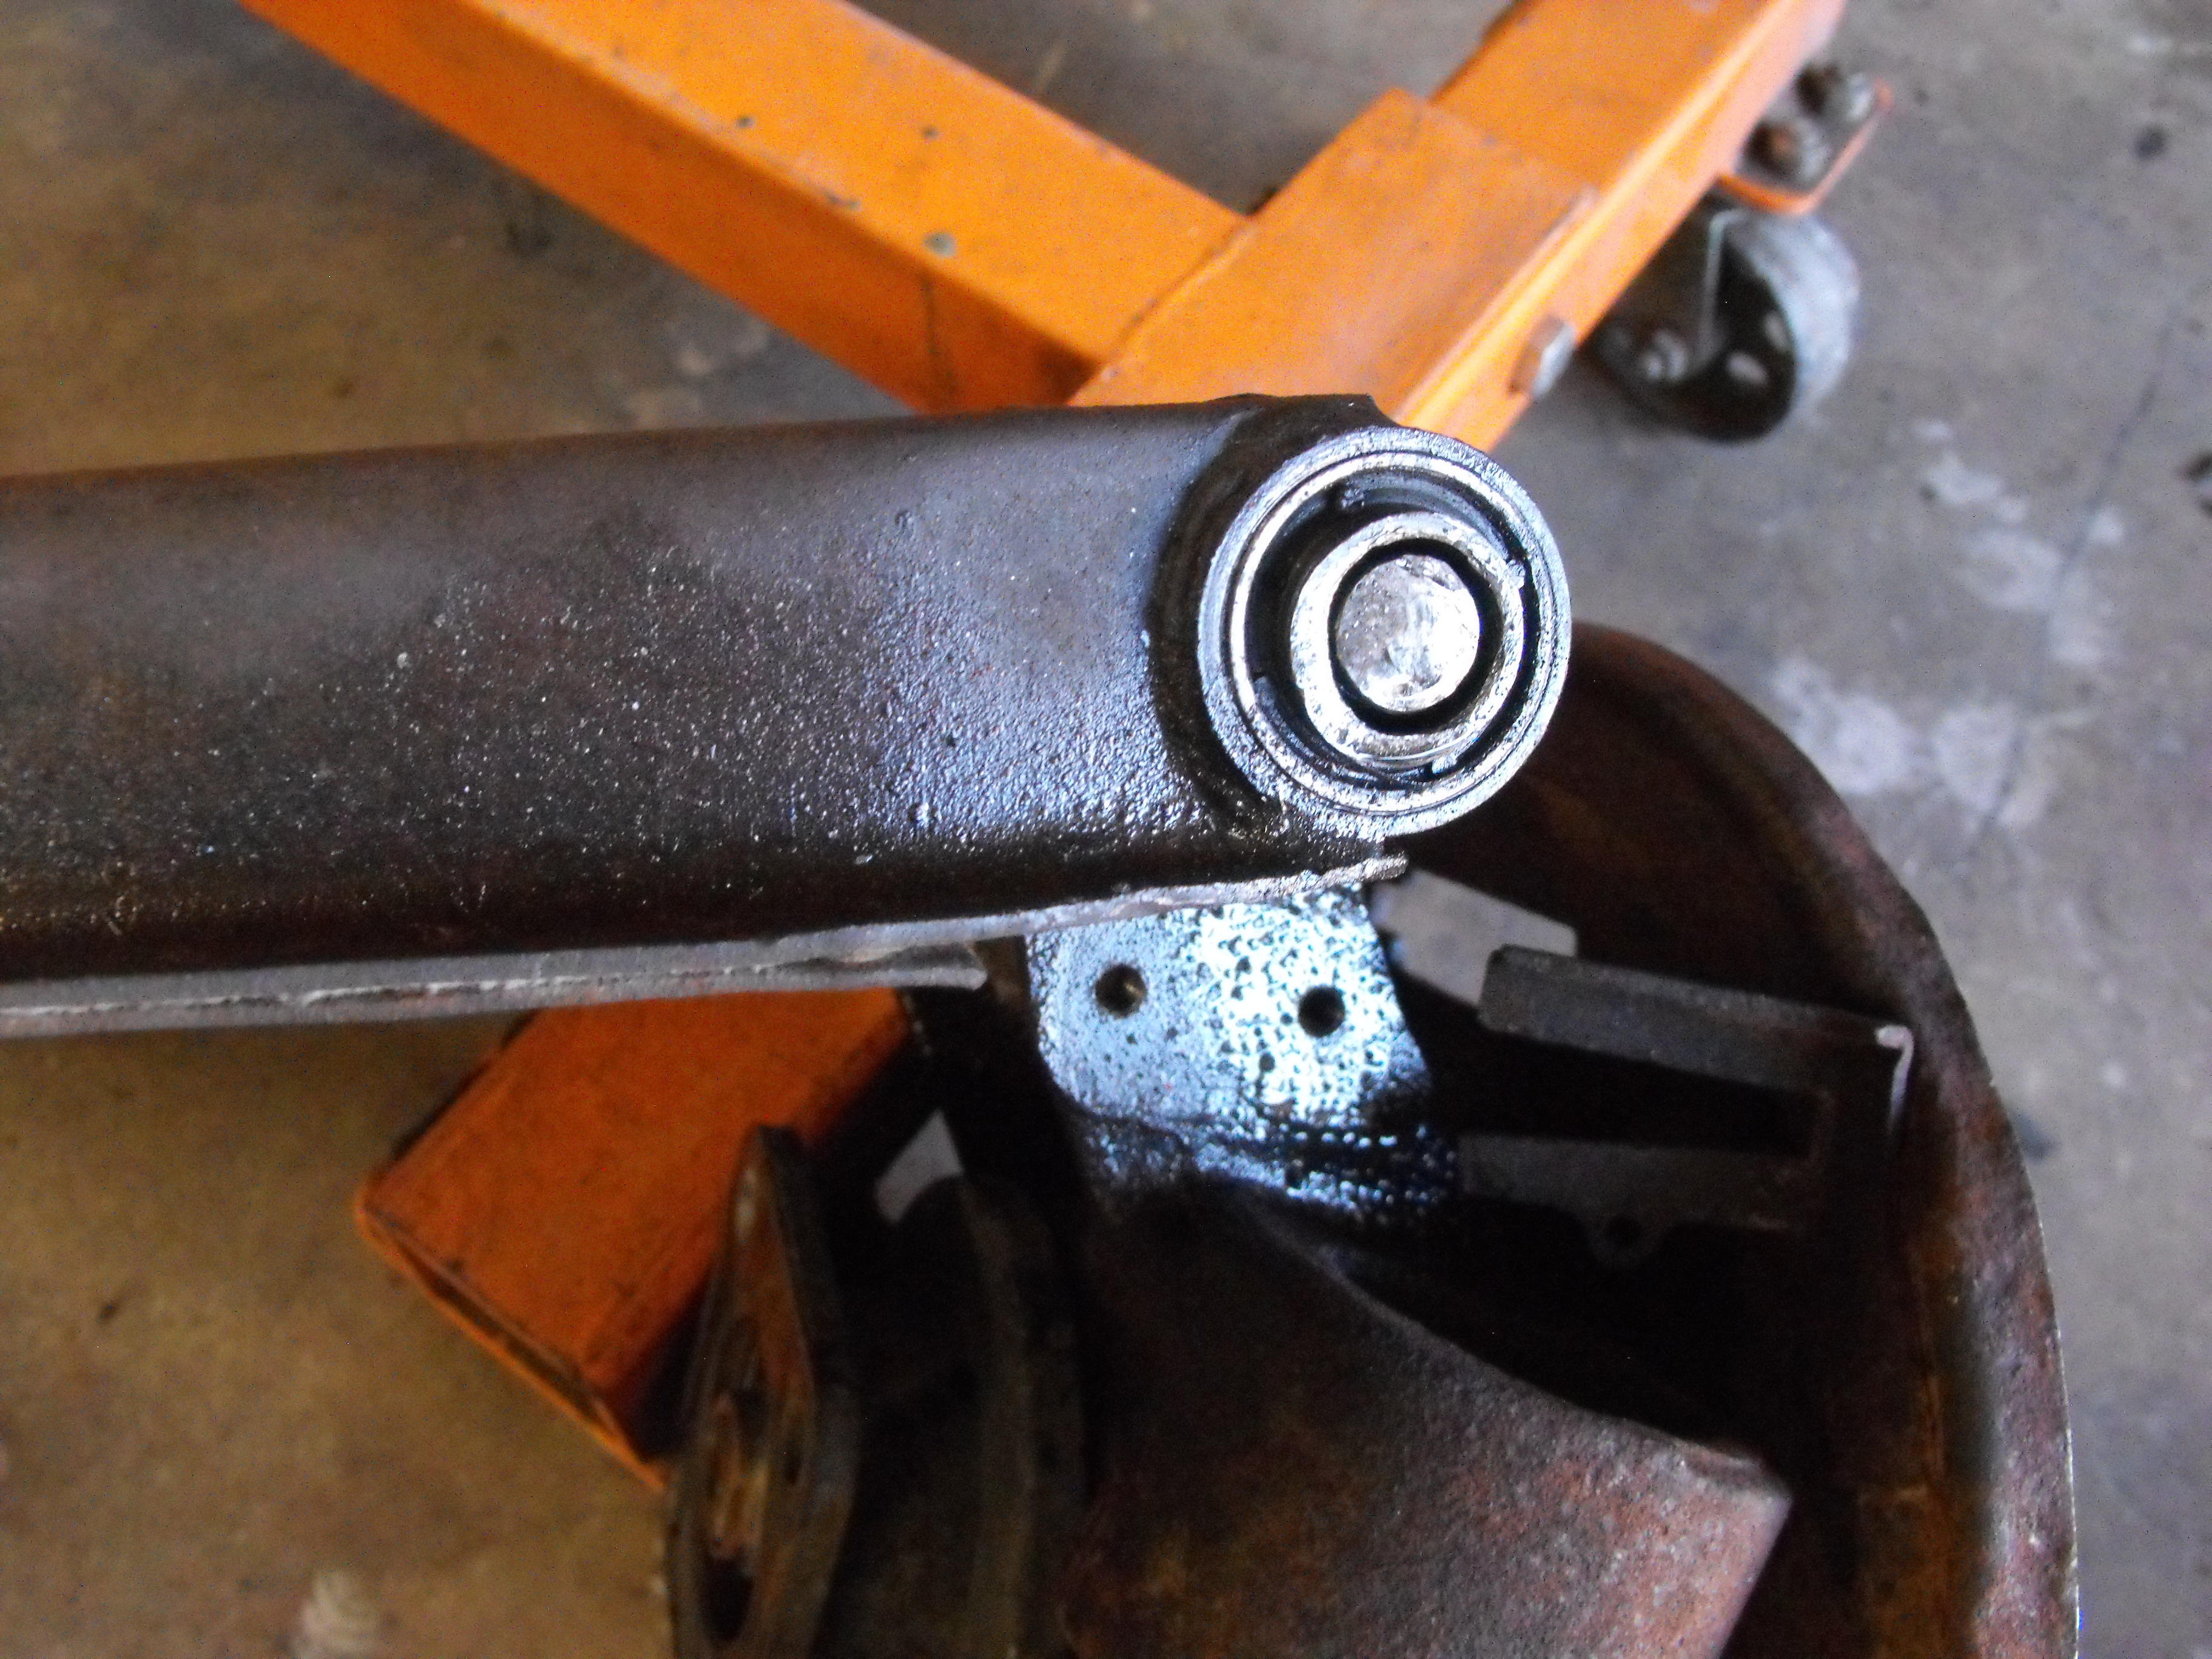
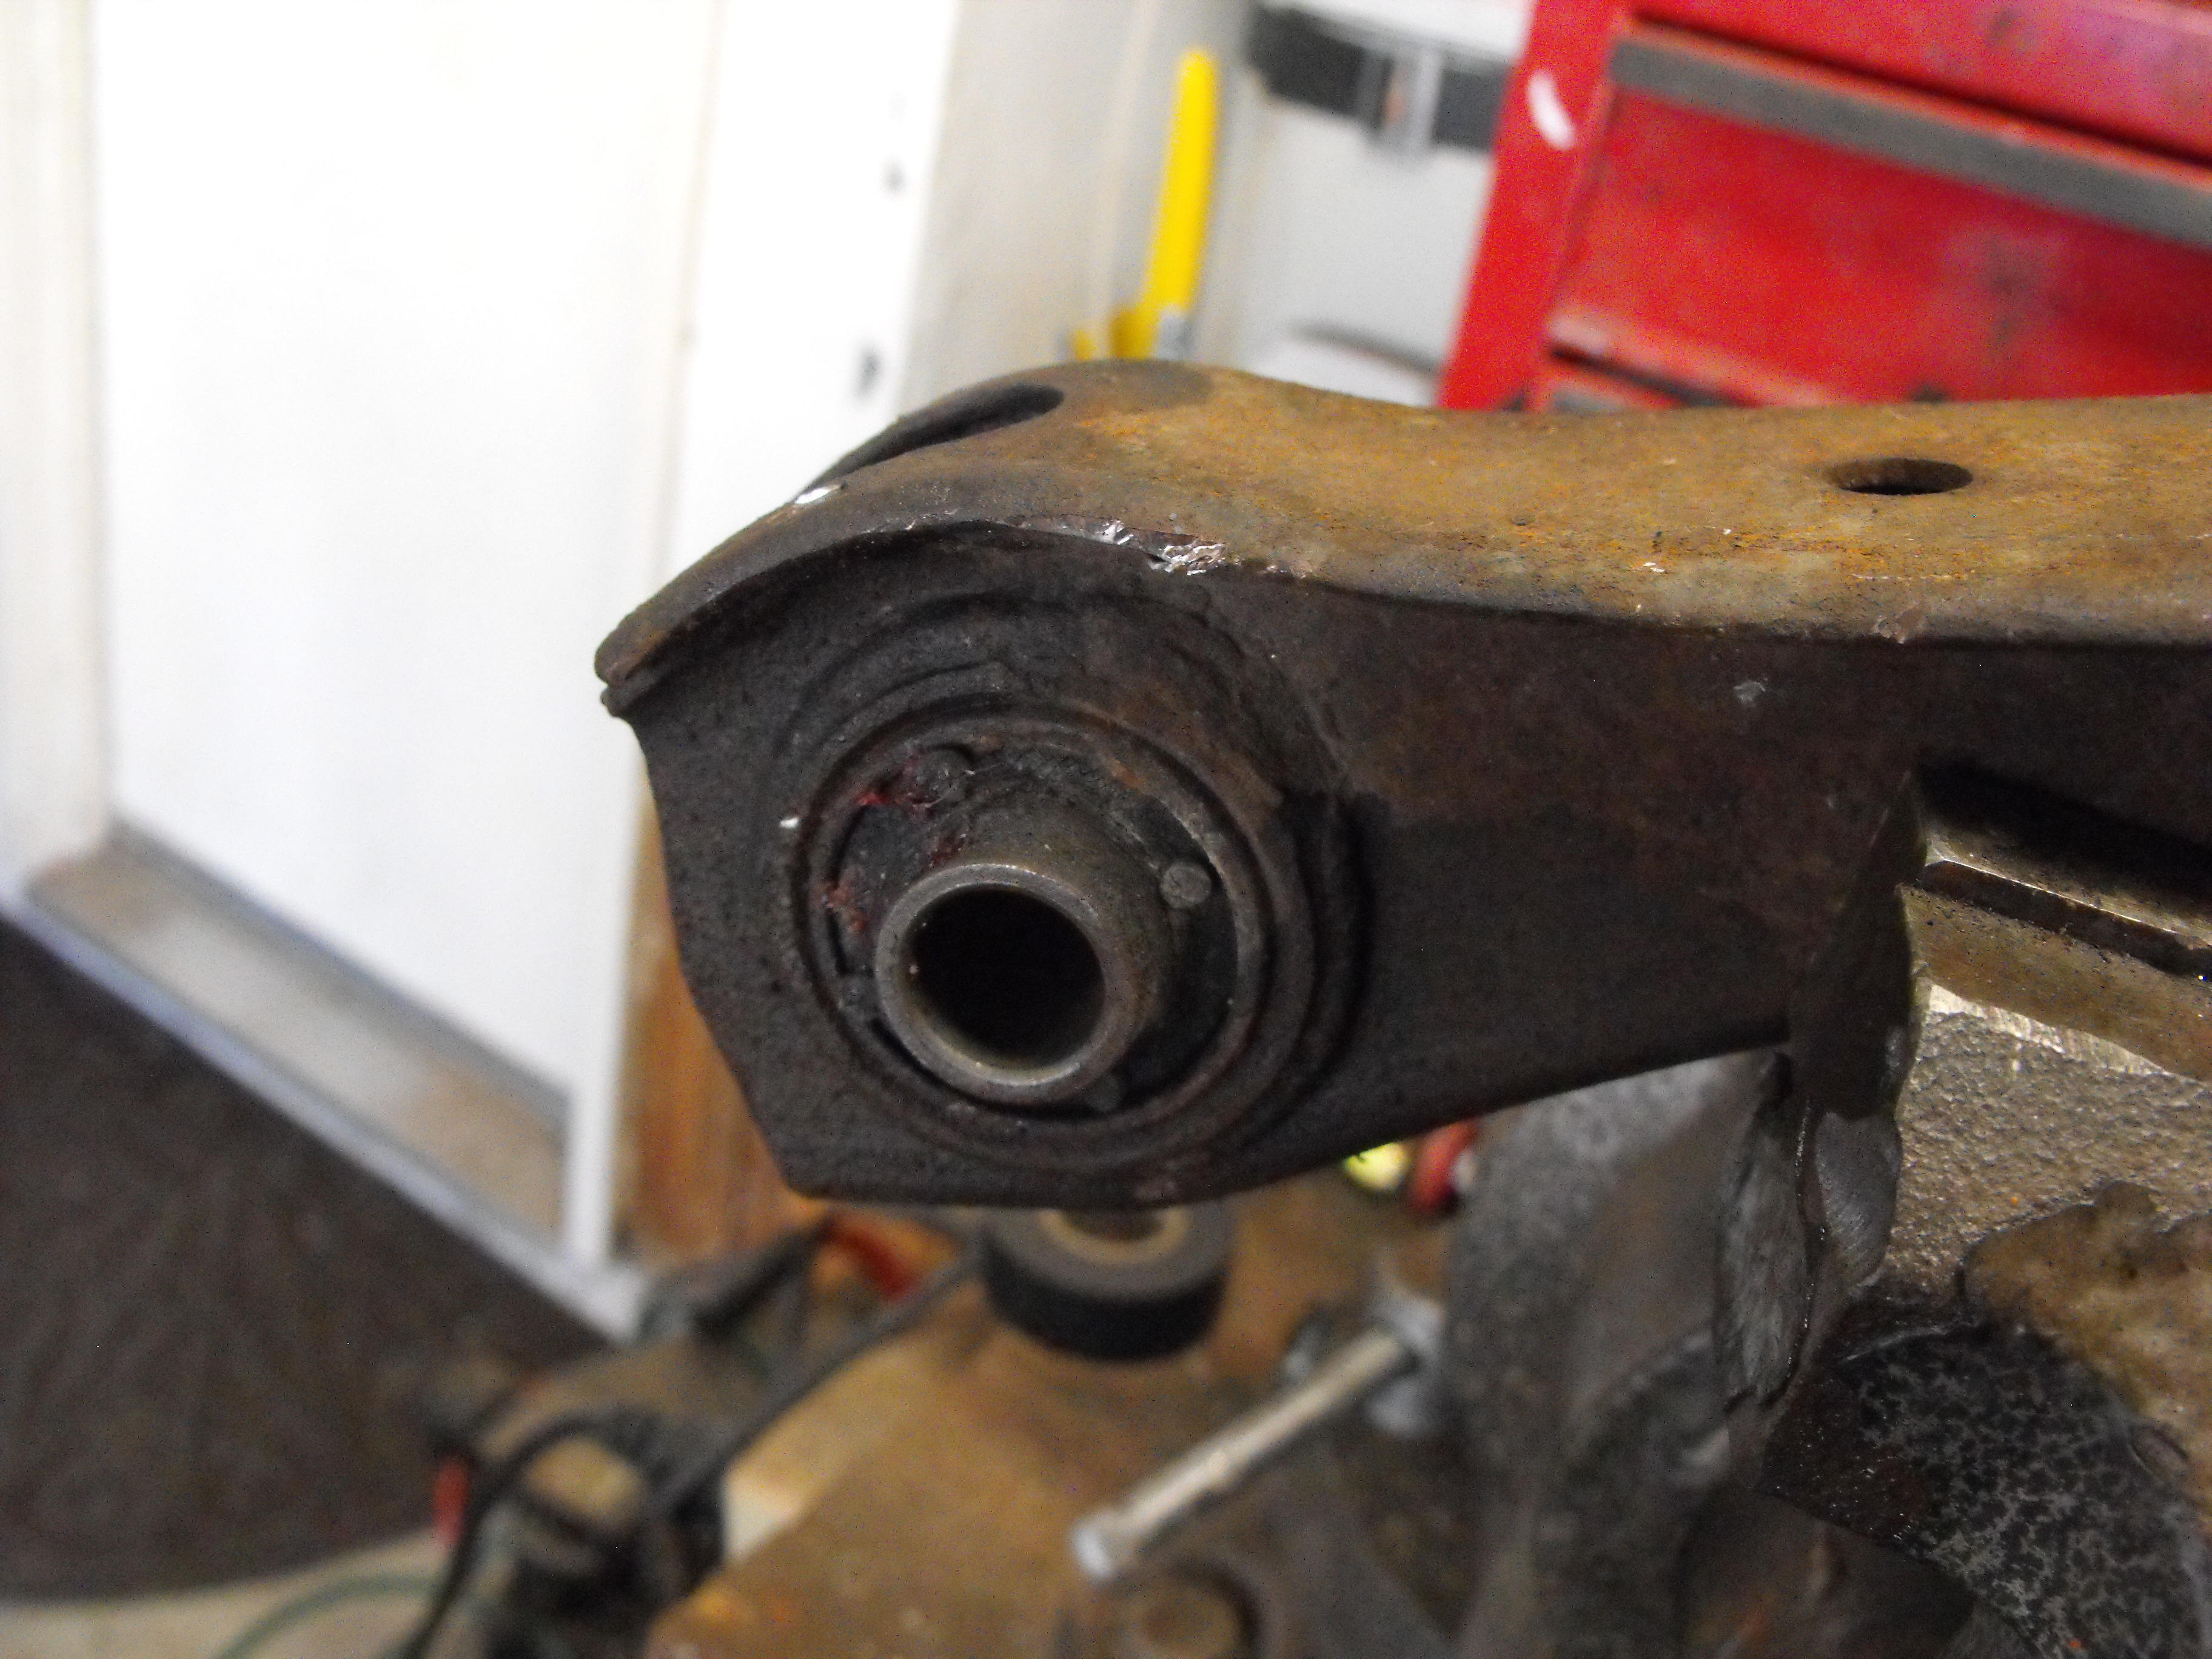
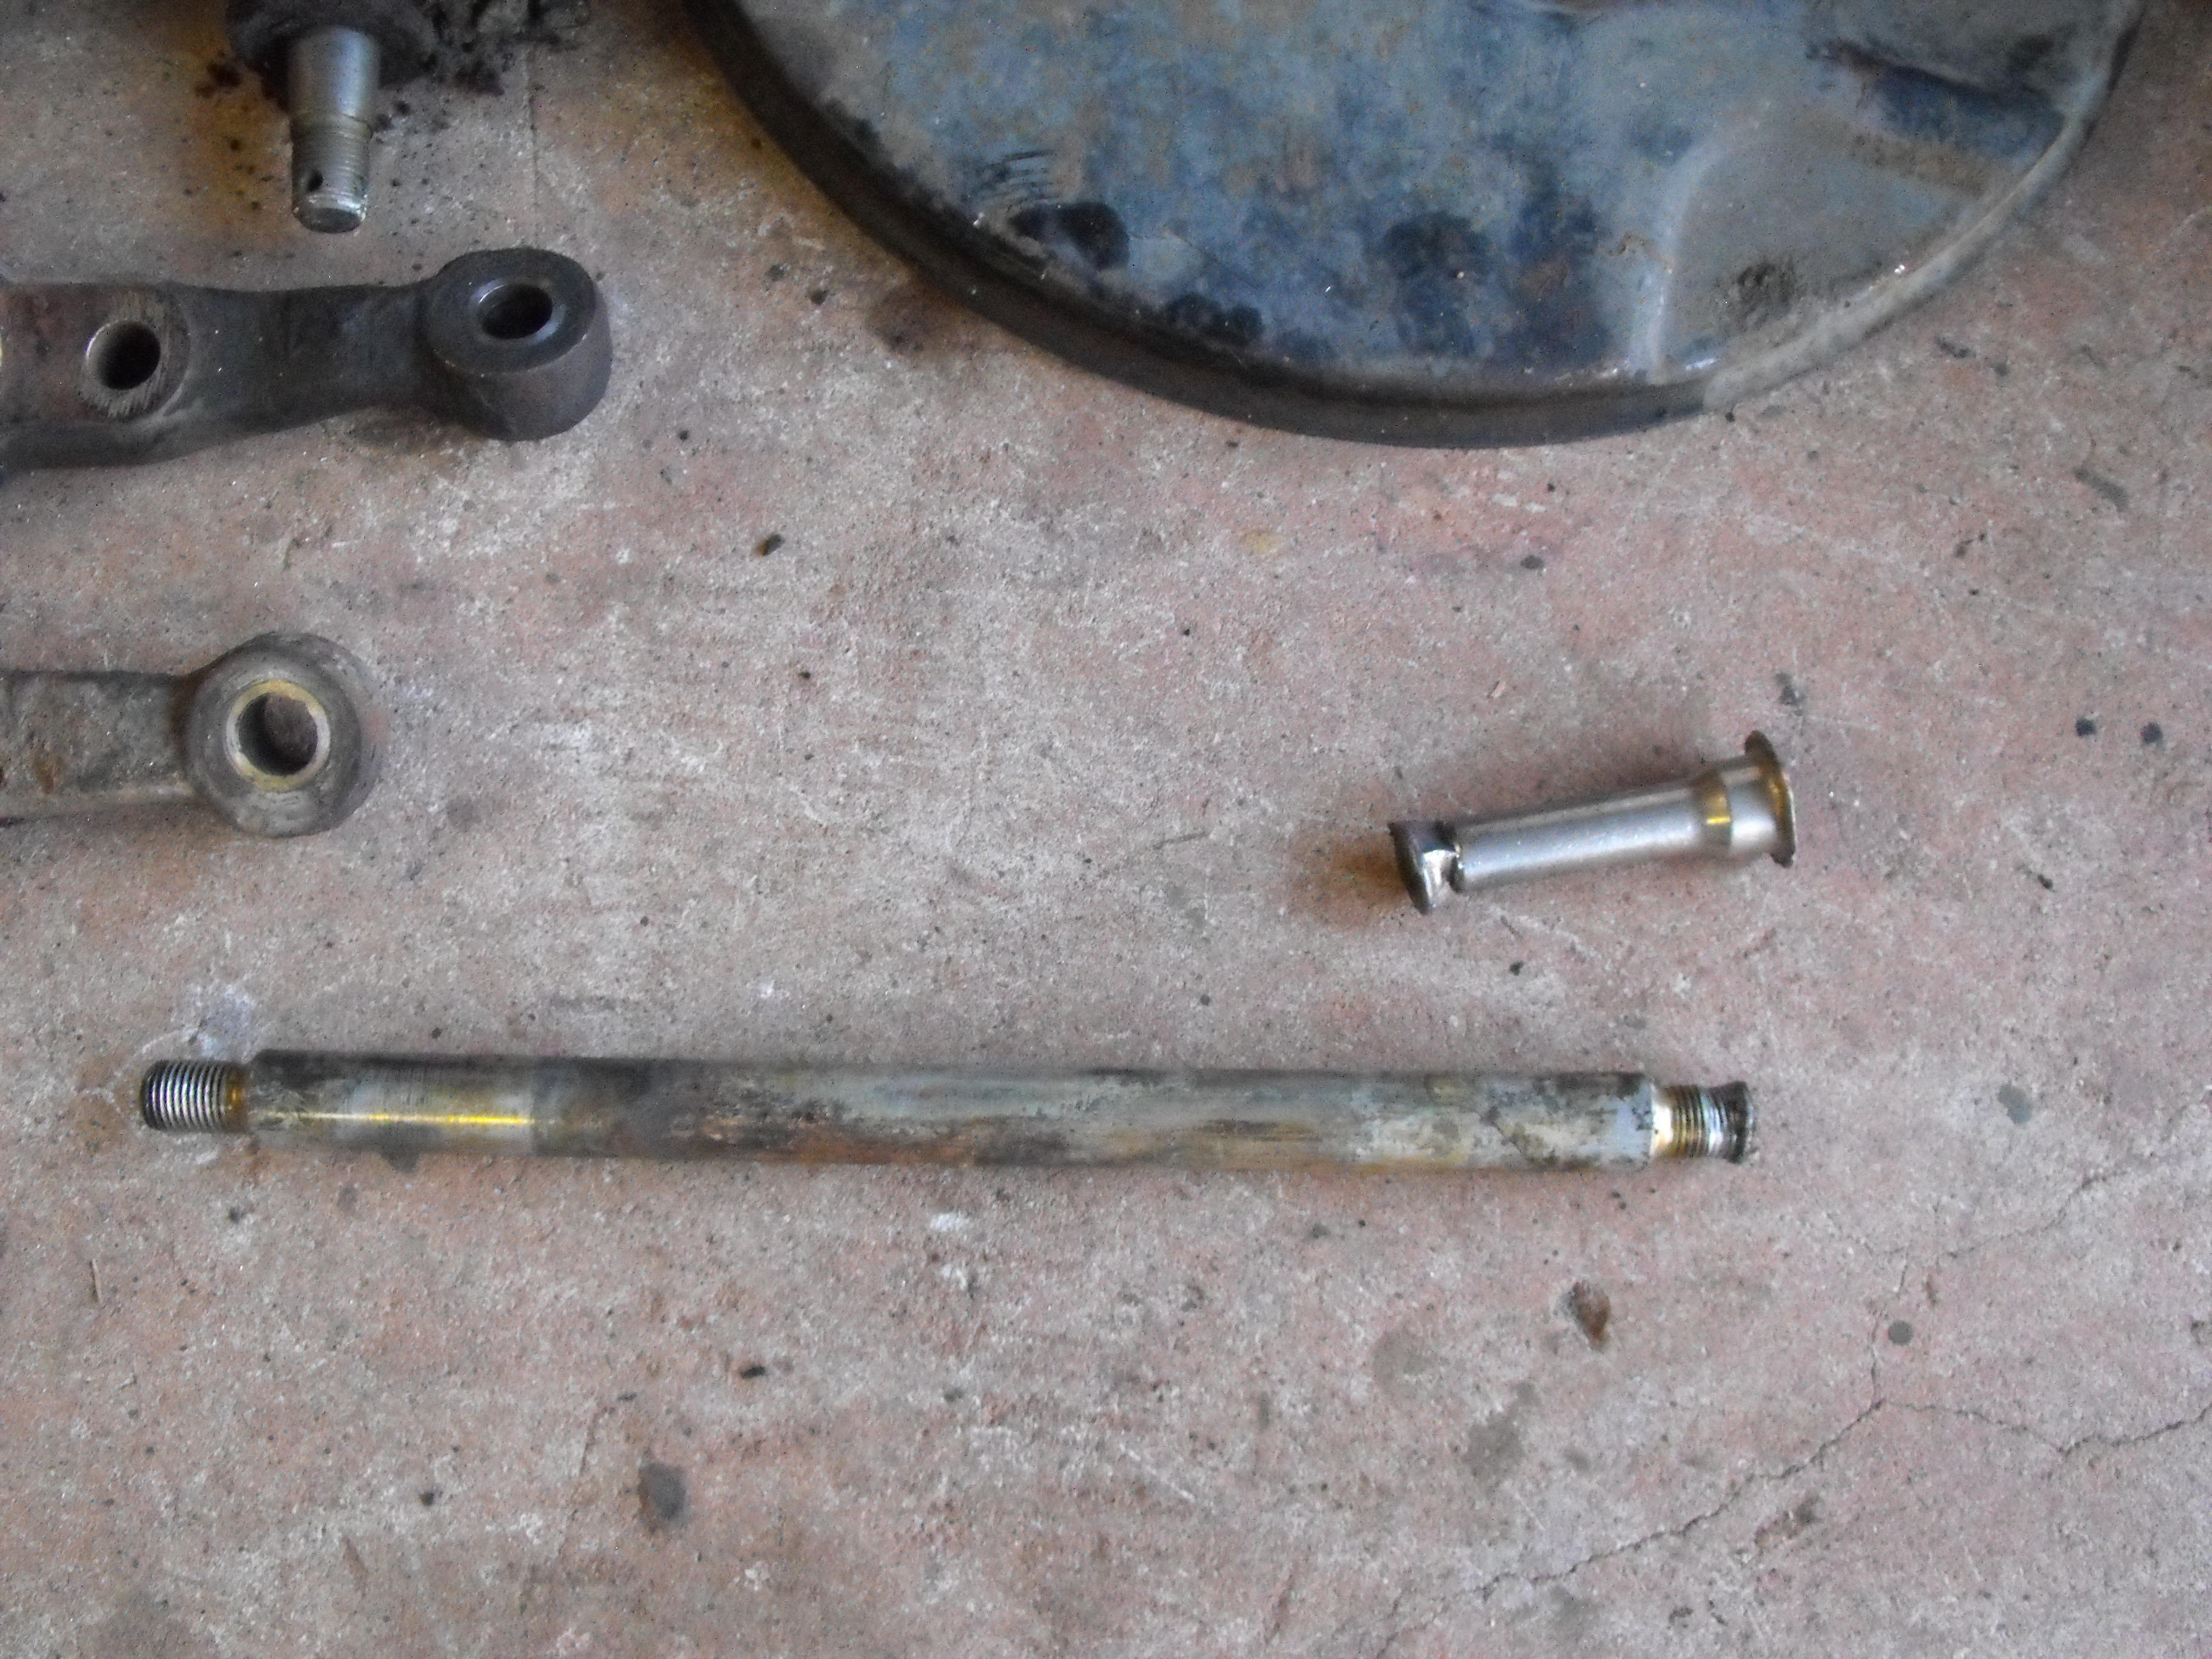
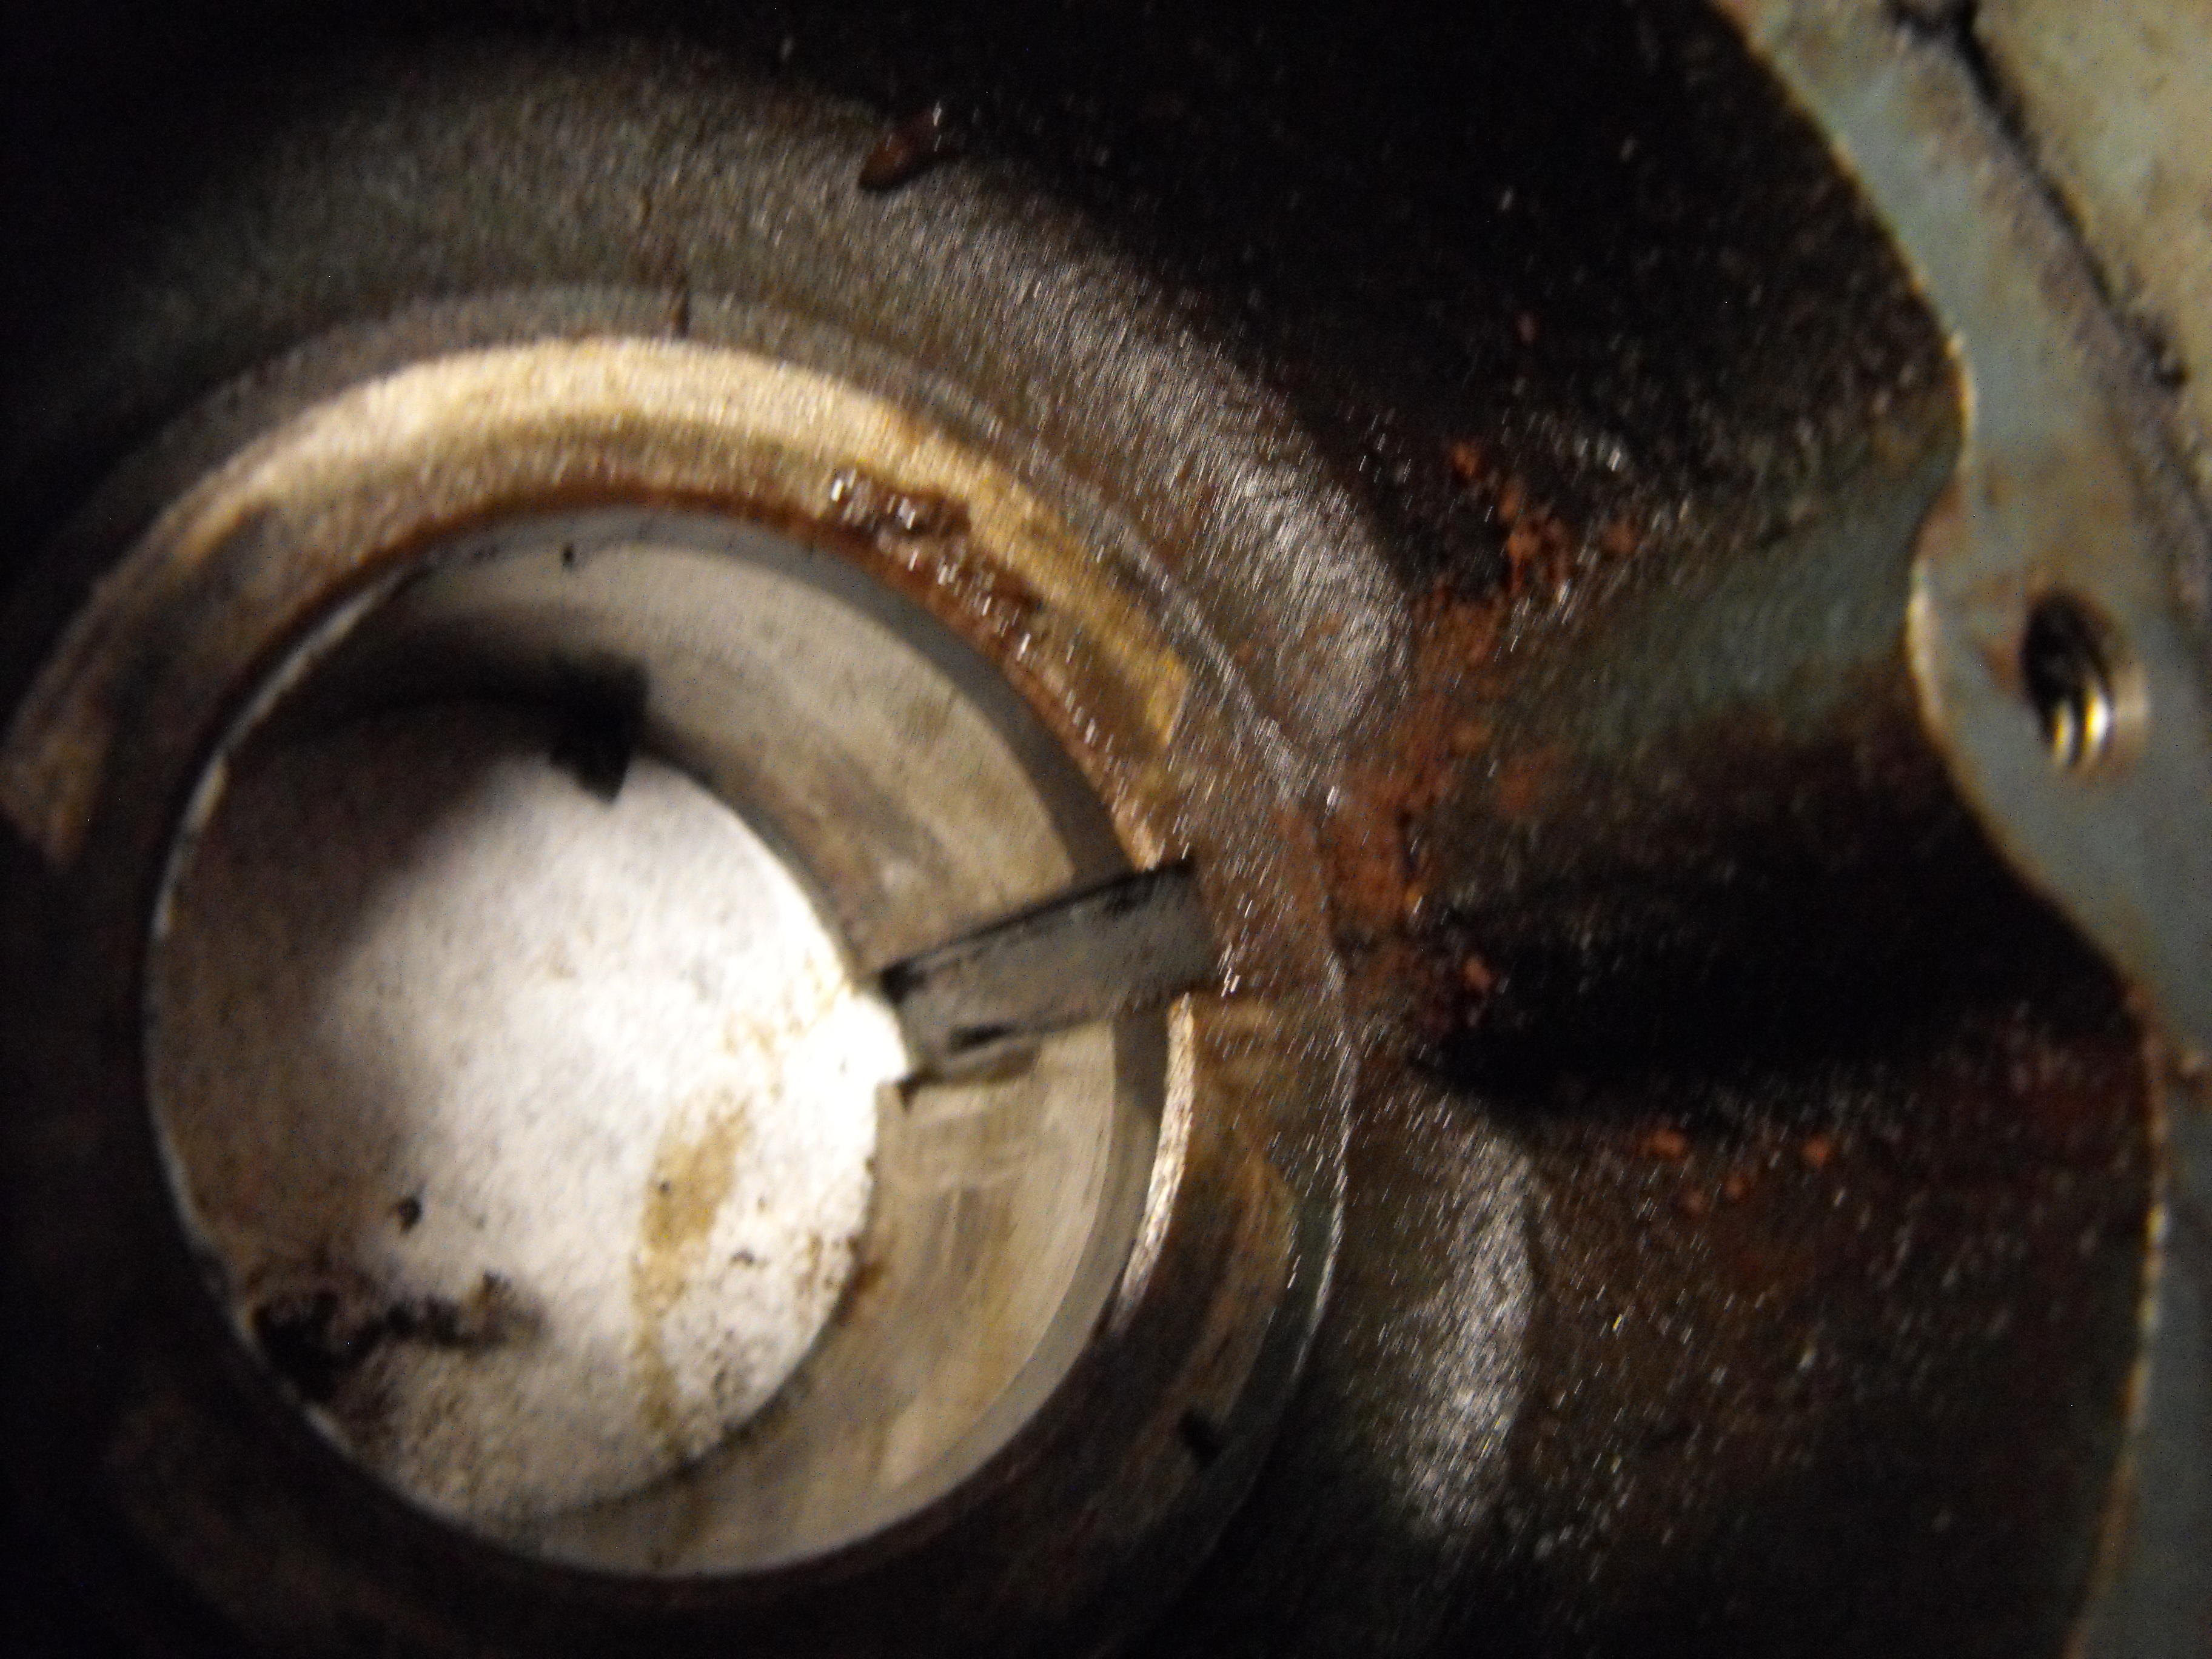
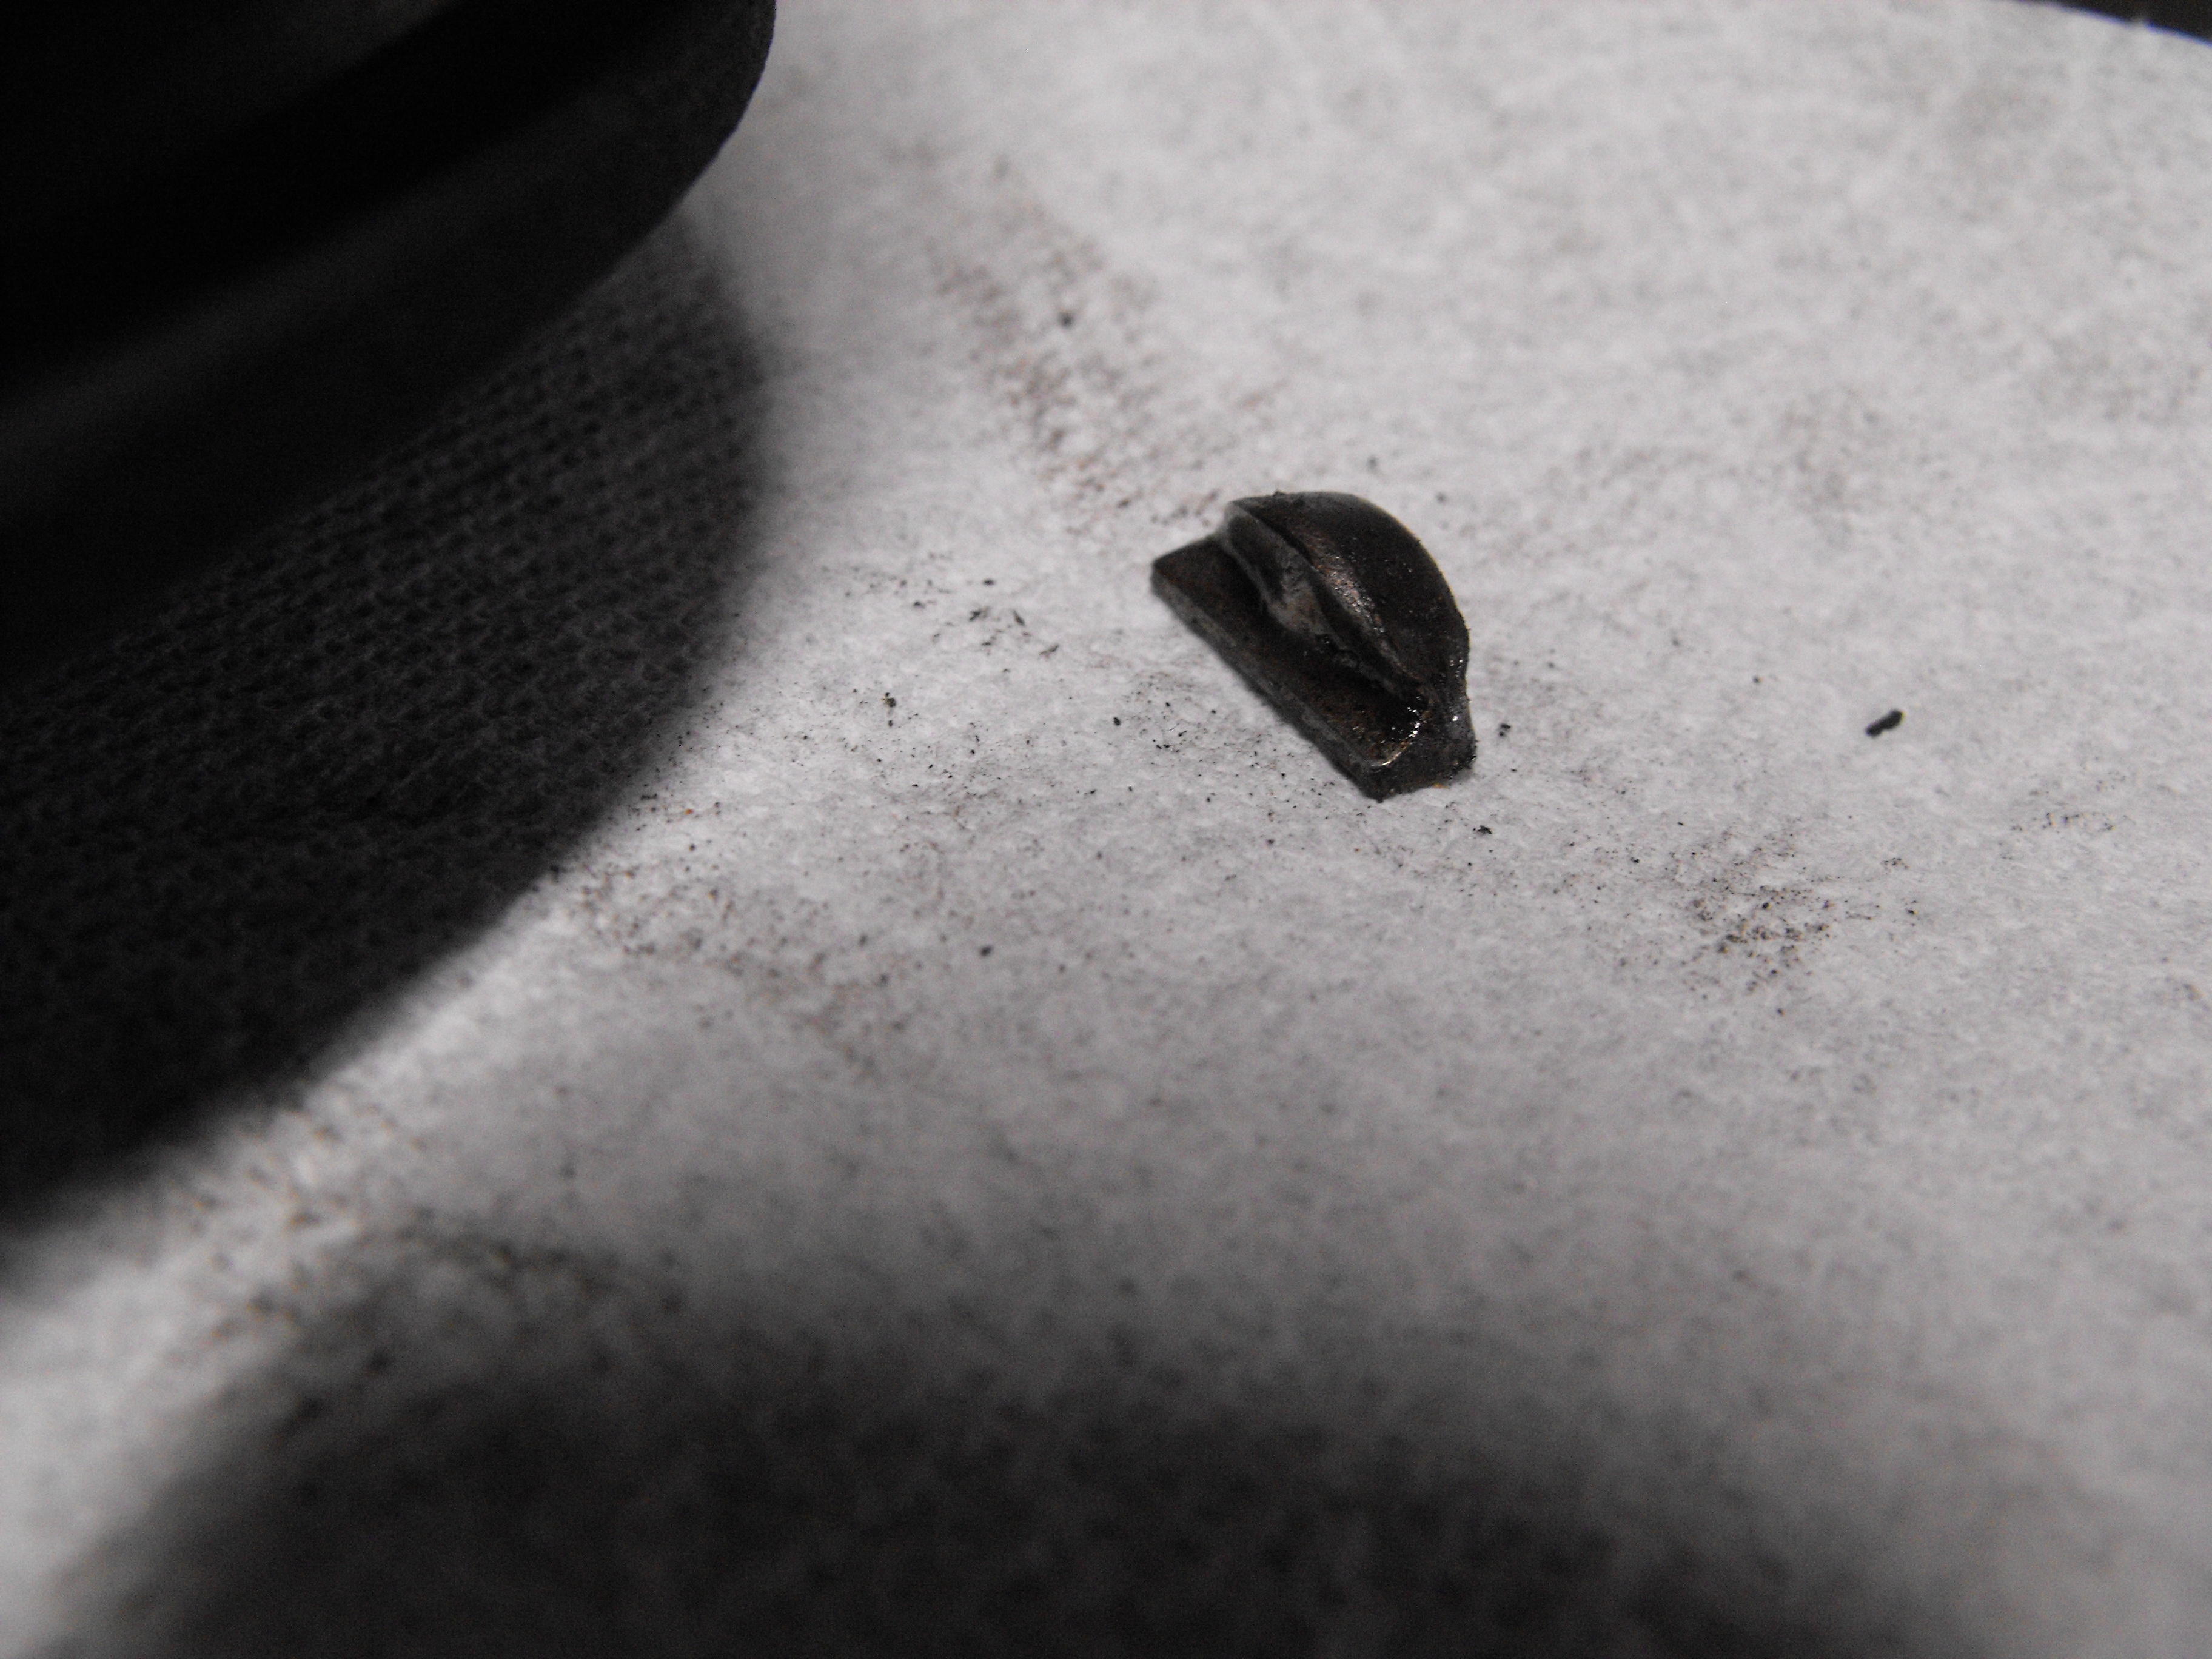
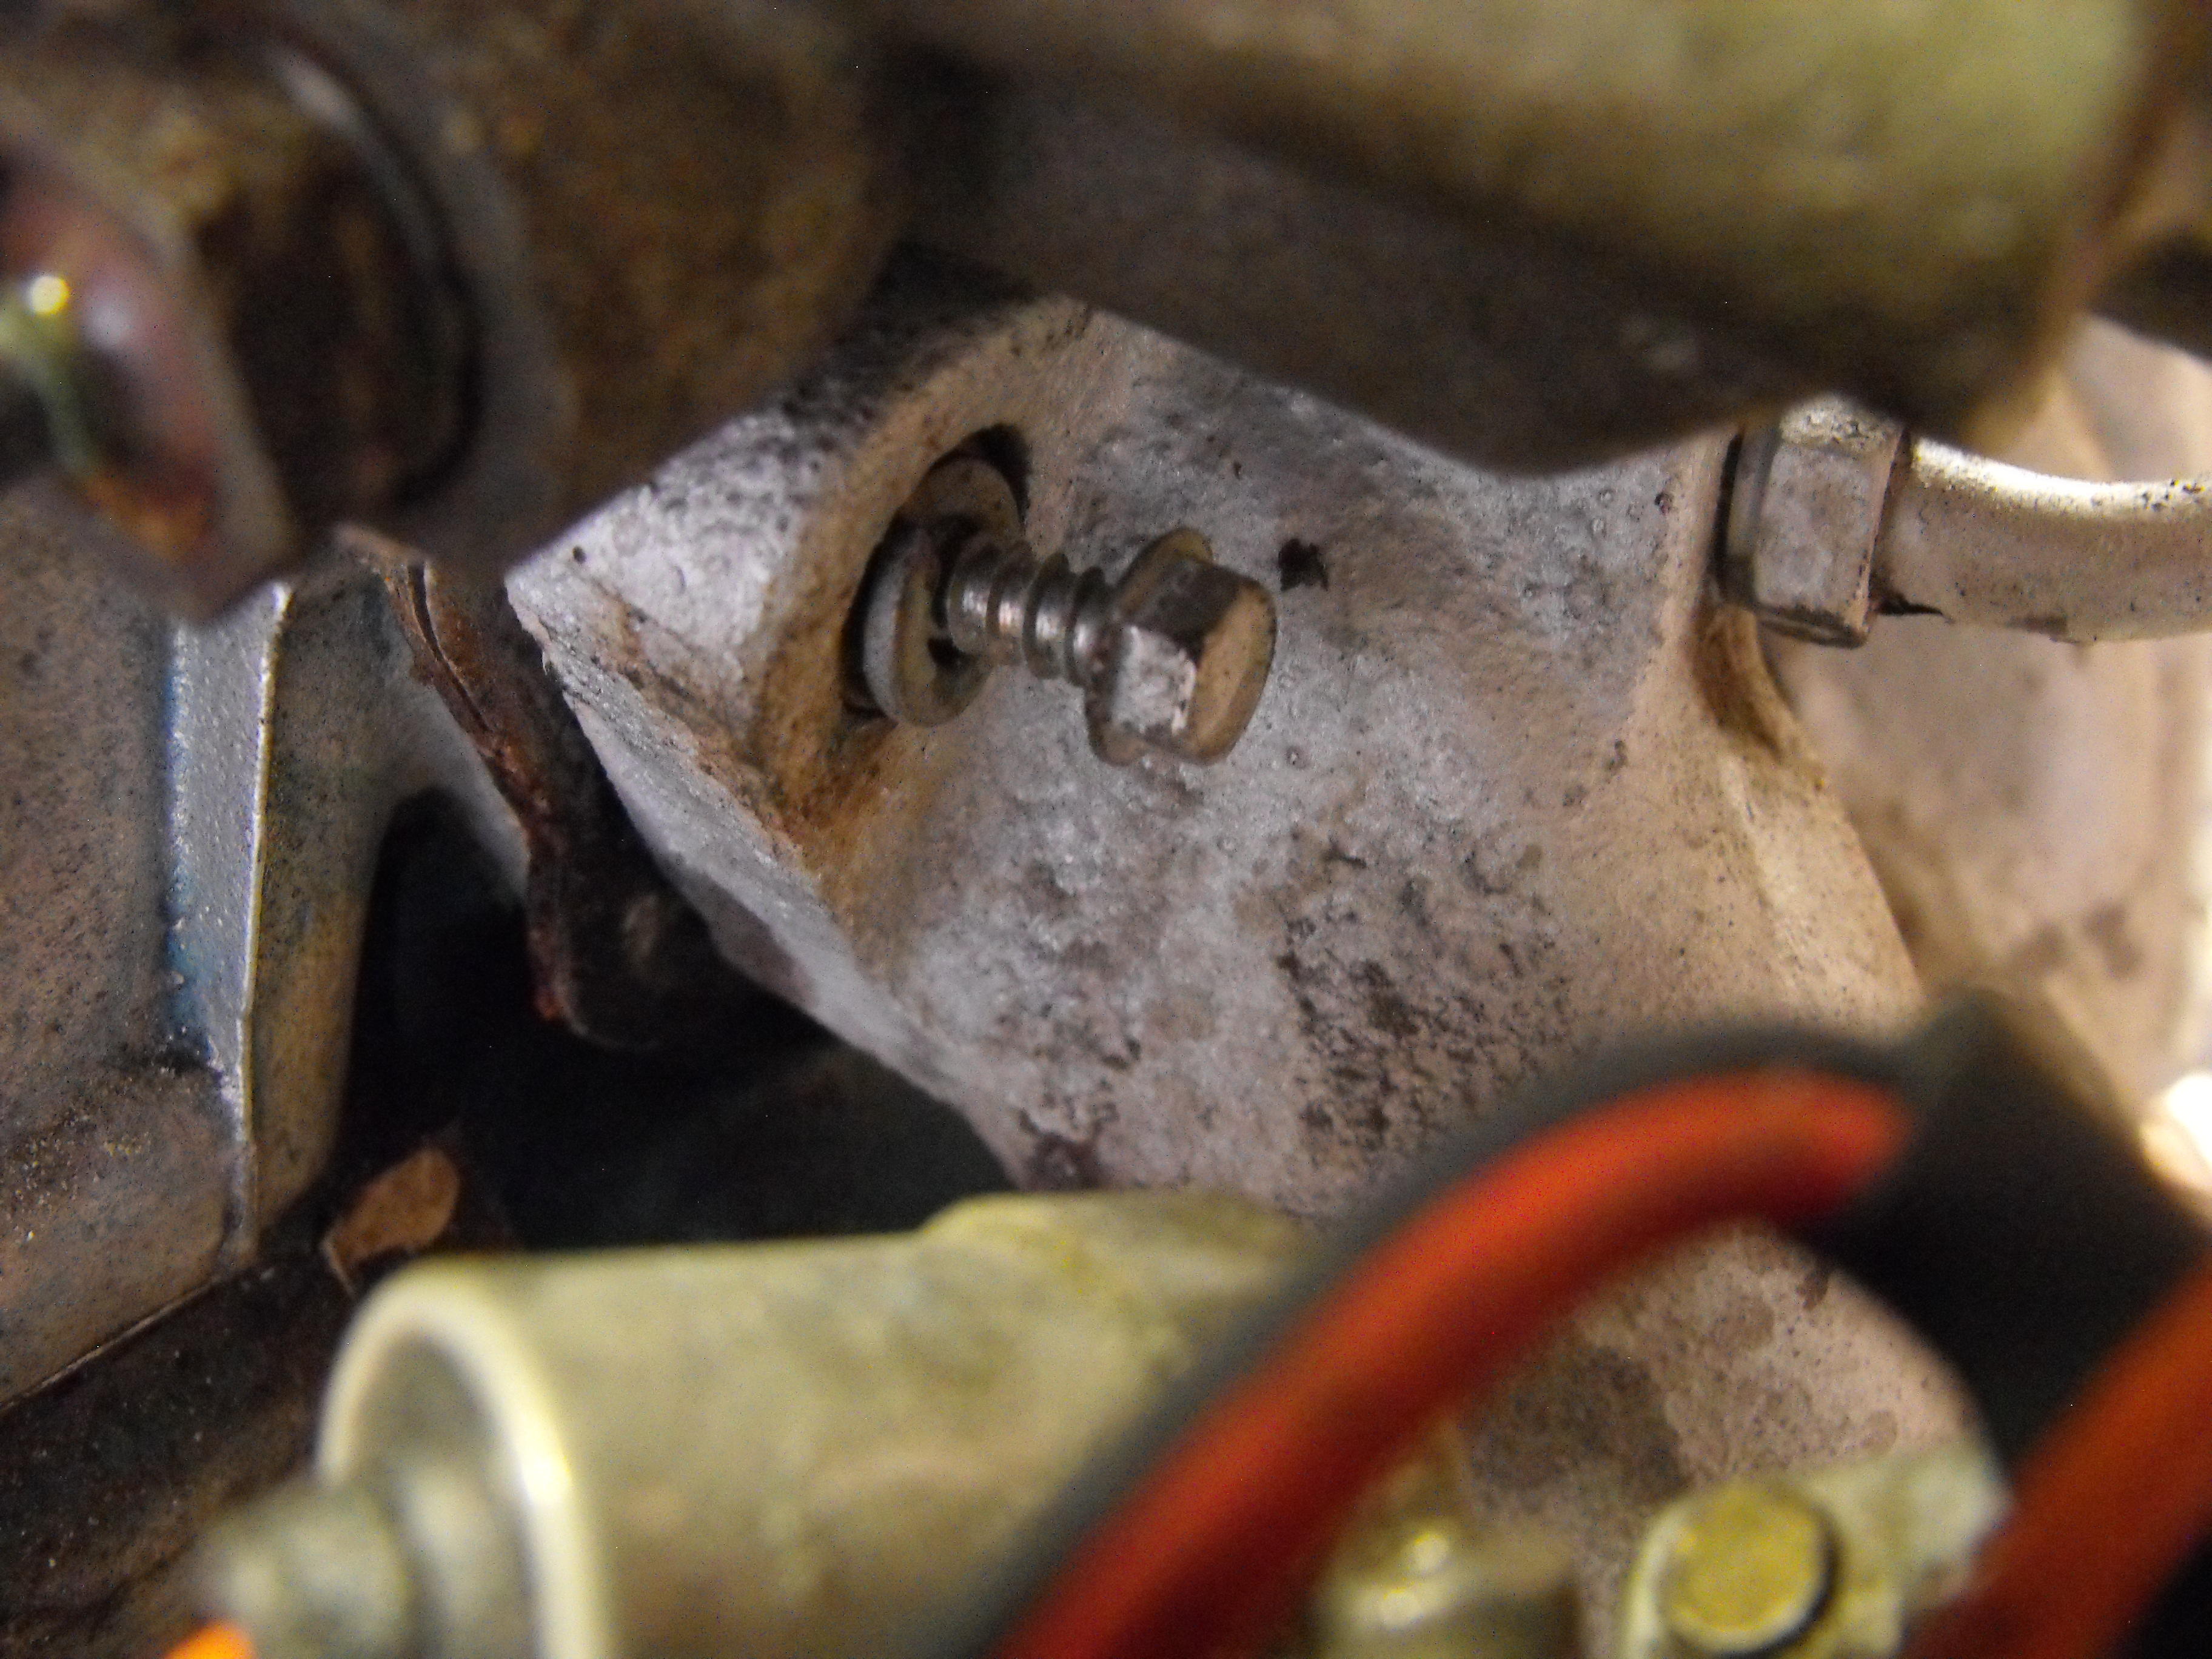
1 pointDisassembled all of the suspension components today. Most of this will be sent out for powder coating. Will look nice when it comes back. Got both the spindle pins out. As always, one was pretty easy to remove and is probably re-usable. The other took a lot of pounding to remove as you can see in the pics. Probably won't be using that short extension anymore. Same thing with the front suspension lower arm, one bushing came out pretty easy, the other was a challenge. (wasp nest included) Not sure why this happened to the front crank key, but definitely will replace this part. I am thinking that the pulley bolt was not torqued which led to the key being deformed. Interesting, first time I have seen that. And yes, that is a wood screw 'securing' the manifold to the head. Probably just need to tap the hole so I can put in the correct fastener here.
1 pointYou can get BSP to NPT adapters from McMaster Carr. Can't remember the exact size I think I've posted about it before. I wouldn't trust the dash gauge. https://www.mcmaster.com/standard-pipe-fittings1 point
1 pointDisassembled all of the suspension components today. Most of this will be sent out for powder coating. Will look nice when it comes back. Got both the spindle pins out. As always, one was pretty easy to remove and is probably re-usable. The other took a lot of pounding to remove as you can see in the pics. Probably won't be using that short extension anymore. Same thing with the front suspension lower arm, one bushing came out pretty easy, the other was a challenge. (wasp nest included) Not sure why this happened to the front crank key, but definitely will replace this part. I am thinking that the pulley bolt was not torqued which led to the key being deformed. Interesting, first time I have seen that. And yes, that is a wood screw 'securing' the manifold to the head. Probably just need to tap the hole so I can put in the correct fastener here.


 1 point
1 point
1 point 1 pointWith 3.90 gears I drive around town in third gear with my TEP lightened flywheel . That was with a 2.4 with a 490 cam. If your engine is strong with those gears you will be fine.1 point
 1 pointI did go with the stage 3 Center Force unit and it was complete overkill, the stock clutch would have been more than adequate, I know now.1 point
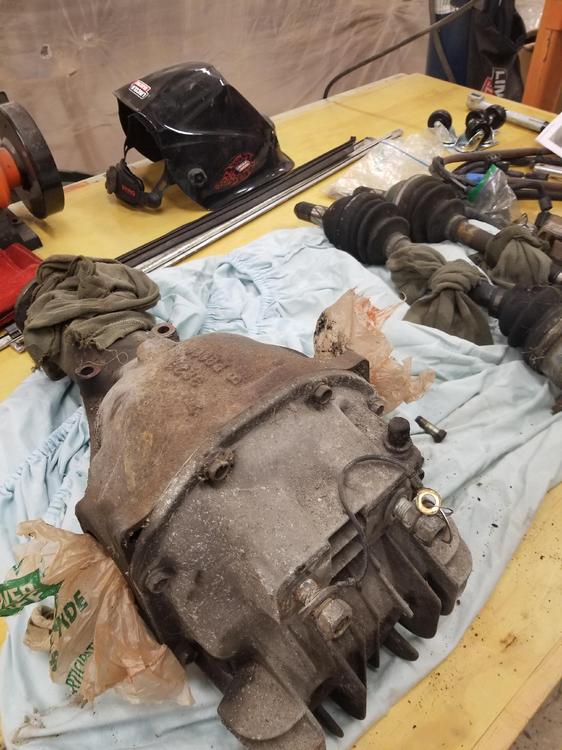
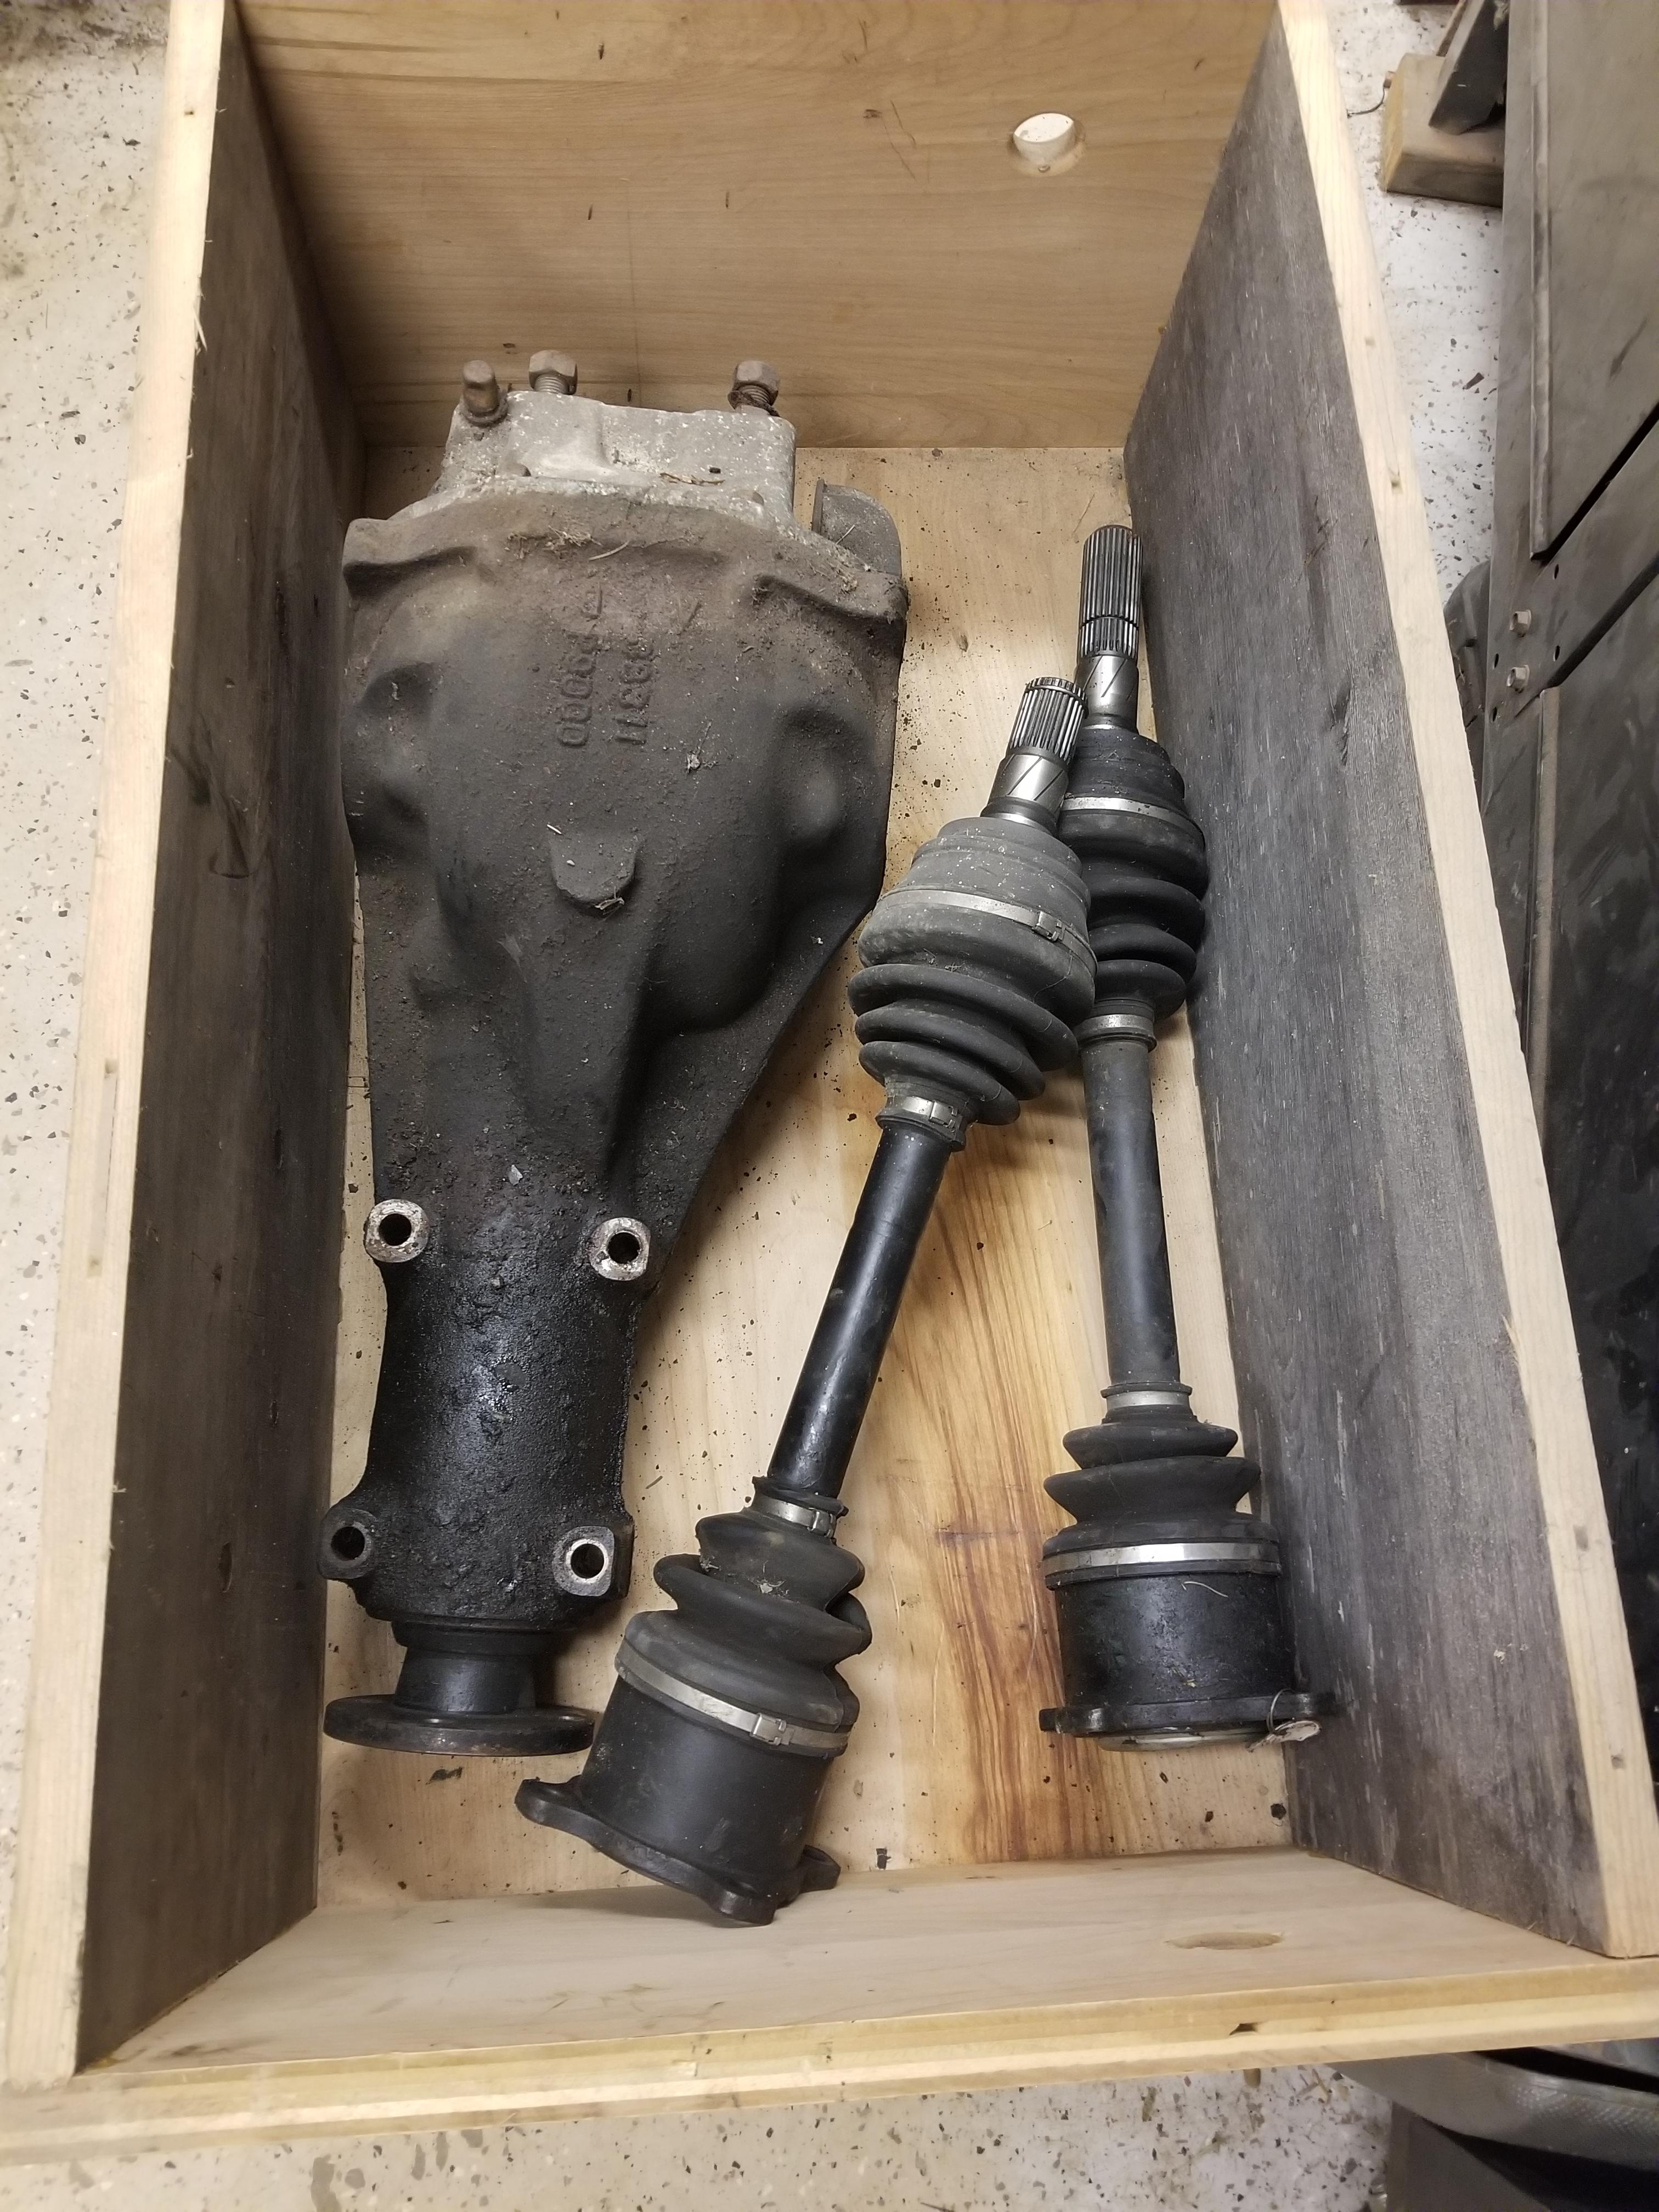
1 pointSo I have been trying to make some progress, even though the paint booth is occupied. So I pulled out my 2 LS differentials. I have done some searching but haven't found the info I wanted. I have a CLSD and a VLSD avaialble complete with drive shafts Here is the VLSD from an 88 Shiro Here is the CLSD on the bench with the driveshafts I want to make up something like this. So I can use the finned cover 2 I tried to contact Savage 42 by PM at HybridZ but never got a response. He said he would post up dimensions in the thread I found this in. I was hoping to get some dimensions for a template, but I guess I will have to start from scratch. So any thoughts on this? Also is there a way to inspect the condition of this diff before I install it?
1 pointI did go with the stage 3 Center Force unit and it was complete overkill, the stock clutch would have been more than adequate, I know now.1 point
1 pointSo I have been trying to make some progress, even though the paint booth is occupied. So I pulled out my 2 LS differentials. I have done some searching but haven't found the info I wanted. I have a CLSD and a VLSD avaialble complete with drive shafts Here is the VLSD from an 88 Shiro Here is the CLSD on the bench with the driveshafts I want to make up something like this. So I can use the finned cover 2 I tried to contact Savage 42 by PM at HybridZ but never got a response. He said he would post up dimensions in the thread I found this in. I was hoping to get some dimensions for a template, but I guess I will have to start from scratch. So any thoughts on this? Also is there a way to inspect the condition of this diff before I install it?
 1 point
 1 point
 1 point1 point
That's what brought you here I'd bet. I did the same thing! Your in good hands with "Allstate" guys here, solid information from lots of experience. Good luck and hopefully you'll be up and running shortly.1 point
Top open hole in picture is for throttle control for emissions. The other is for PCV and a hose connects it to the crank case vent. Cap it for now. Deal with these minor things after you are tuned.1 point
The jets move freely with the choke lever pulled and released. I'm not sure if this is how it's supposed to be done, but I disconnected the set screws that hold the choke cables, drew the lever all the way back, and opened the jets to their full-down position- then reattached the choke cables. My thinking here was that I'd pull up all the slack and ensure that they're in "full-down" when the lever is all the way back. ?♂️1 point
Yes, that's how the system works. Fuel passes through the regulator back to the tank after 36 psi is reached. The fact that it leaks down after the engine dies might affect starting time but won't affect how it runs once it starts. You have a running problem not a starting problem.1 point
1 point1 point
That's what brought you here I'd bet. I did the same thing! Your in good hands with "Allstate" guys here, solid information from lots of experience. Good luck and hopefully you'll be up and running shortly.1 point
Top open hole in picture is for throttle control for emissions. The other is for PCV and a hose connects it to the crank case vent. Cap it for now. Deal with these minor things after you are tuned.1 point
The jets move freely with the choke lever pulled and released. I'm not sure if this is how it's supposed to be done, but I disconnected the set screws that hold the choke cables, drew the lever all the way back, and opened the jets to their full-down position- then reattached the choke cables. My thinking here was that I'd pull up all the slack and ensure that they're in "full-down" when the lever is all the way back. ?♂️1 point
Yes, that's how the system works. Fuel passes through the regulator back to the tank after 36 psi is reached. The fact that it leaks down after the engine dies might affect starting time but won't affect how it runs once it starts. You have a running problem not a starting problem.1 point 1 pointFYI, just a little bit of the gasket maker, and install quickly along the bottom edge per the book. You don't want it creating a gap by starting to setup. If I was doing over again I would use the Permatex anaerobic stuff, stays liquid (more like gel actually) until after assy, then setups up in absence of air. I doubt its a big deal but just saying that is how I would roll today after using some of the stuff. think its call 513 or something like that. I ended up using the after market with the slide in parts, no leaks (I checked it recently when I found my main seal leaking do to my poor install the 1st time.1 point
 Yes, the Allen key is what goes into the head. I've heard them called all sorts of things here including Allen screw, but I believe the official name (here) is Socket Head Cap Screw (SHCS). I'd rather call it an inbusbout. I like it.1 point


Important Information
By using this site, you agree to our Privacy Policy and Guidelines. We have placed cookies on your device to help make this website better. You can adjust your cookie settings, otherwise we'll assume you're okay to continue.