Leaderboard


Popular Content
Showing content with the highest reputation on 11/08/2019 in all areas
-
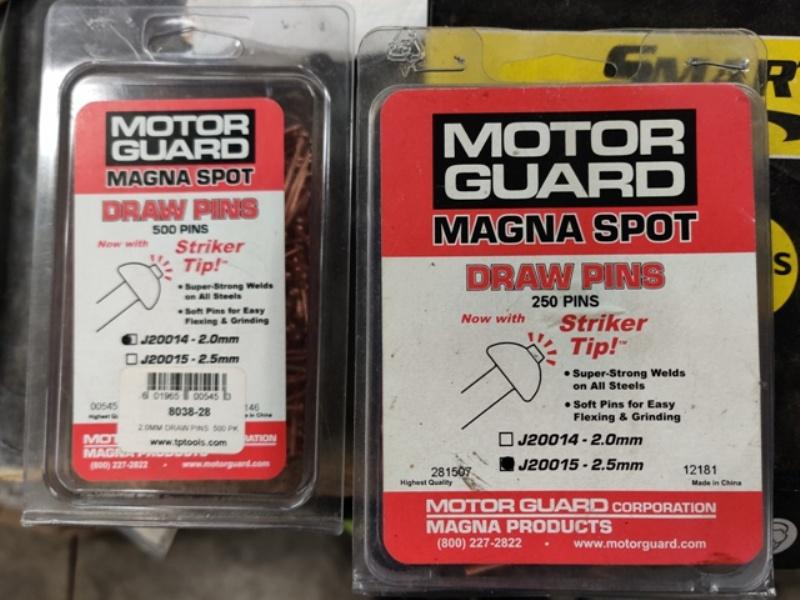
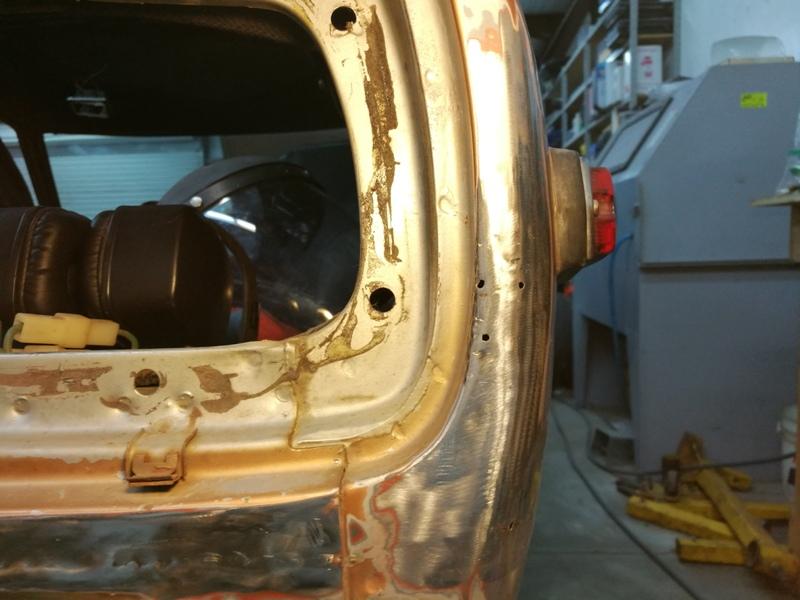
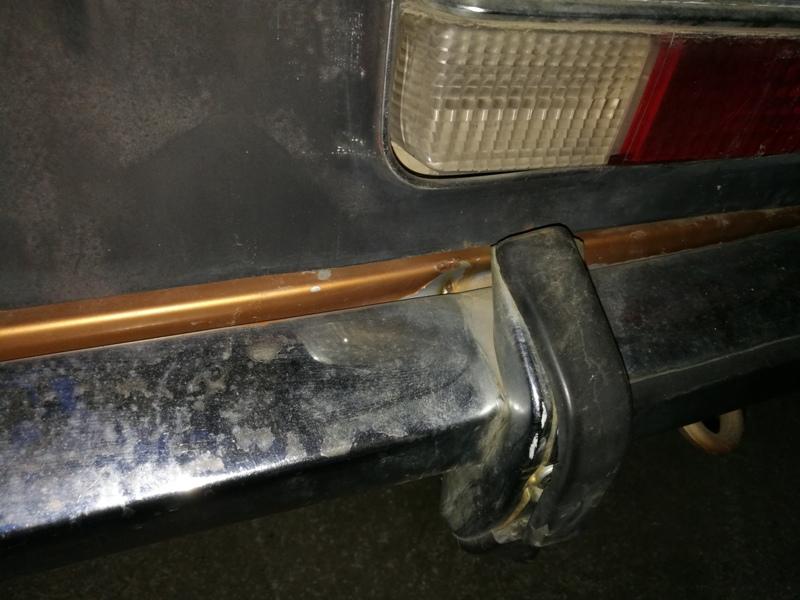
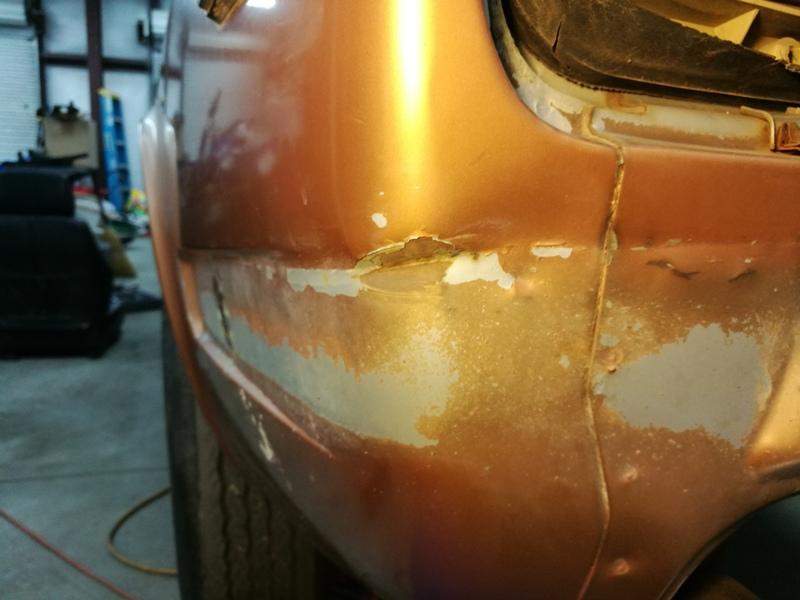
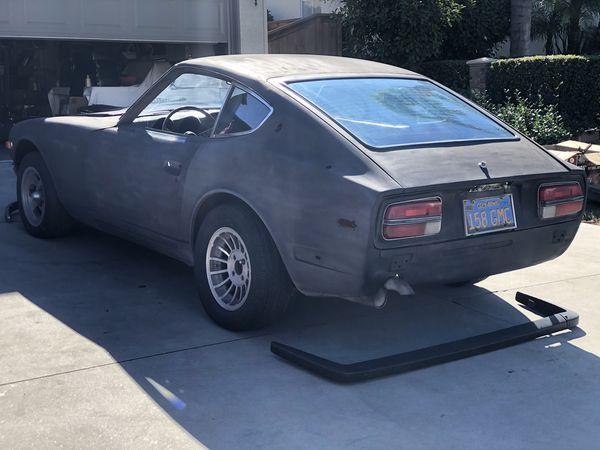
 One of the new tools I bought to utilize with this restoration is a stud welding gun: I also got two sizes of pins, 2.0mm and 2.5mm: I had never used one before and was looking forward to learning how to use it well. It's important to me to improve skills and to become good at doing a thing because it becomes much more enjoyable when you can spend a 1/4 of the time (than you used to) to get results that are twice as good as your original efforts. Here was the one of the first dents that I worked on at the rear edge of the right quarter panel. Note that the metal is pushed in enough to bulge outwards on the left side into the tail trim panel opening area. As I welded pins on and used a slide hammer to pull on them, I had to work that area back flat as well. Here is after my efforts. Three of the pins broke loose causing the small holes. I think I could do it better, without making holes, now that I have more hours of experience behind me. A touch up with the welder will fix these holes up. If you look closely, you can see other areas that have been worked with the stud welder and pins: This car was hit lightly in the rear, and the bumper caused some indentations in the tail panel and quarter panels: A couple of in progress pics:
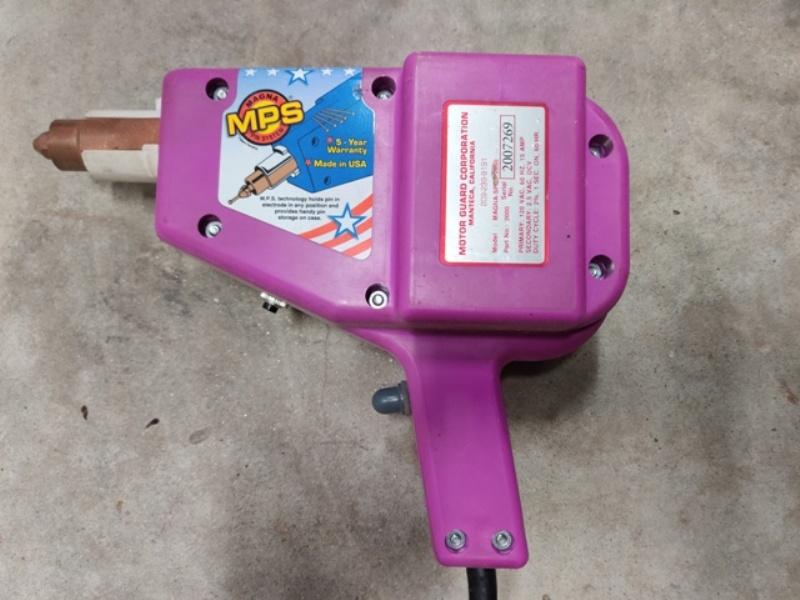


 4 points
 -
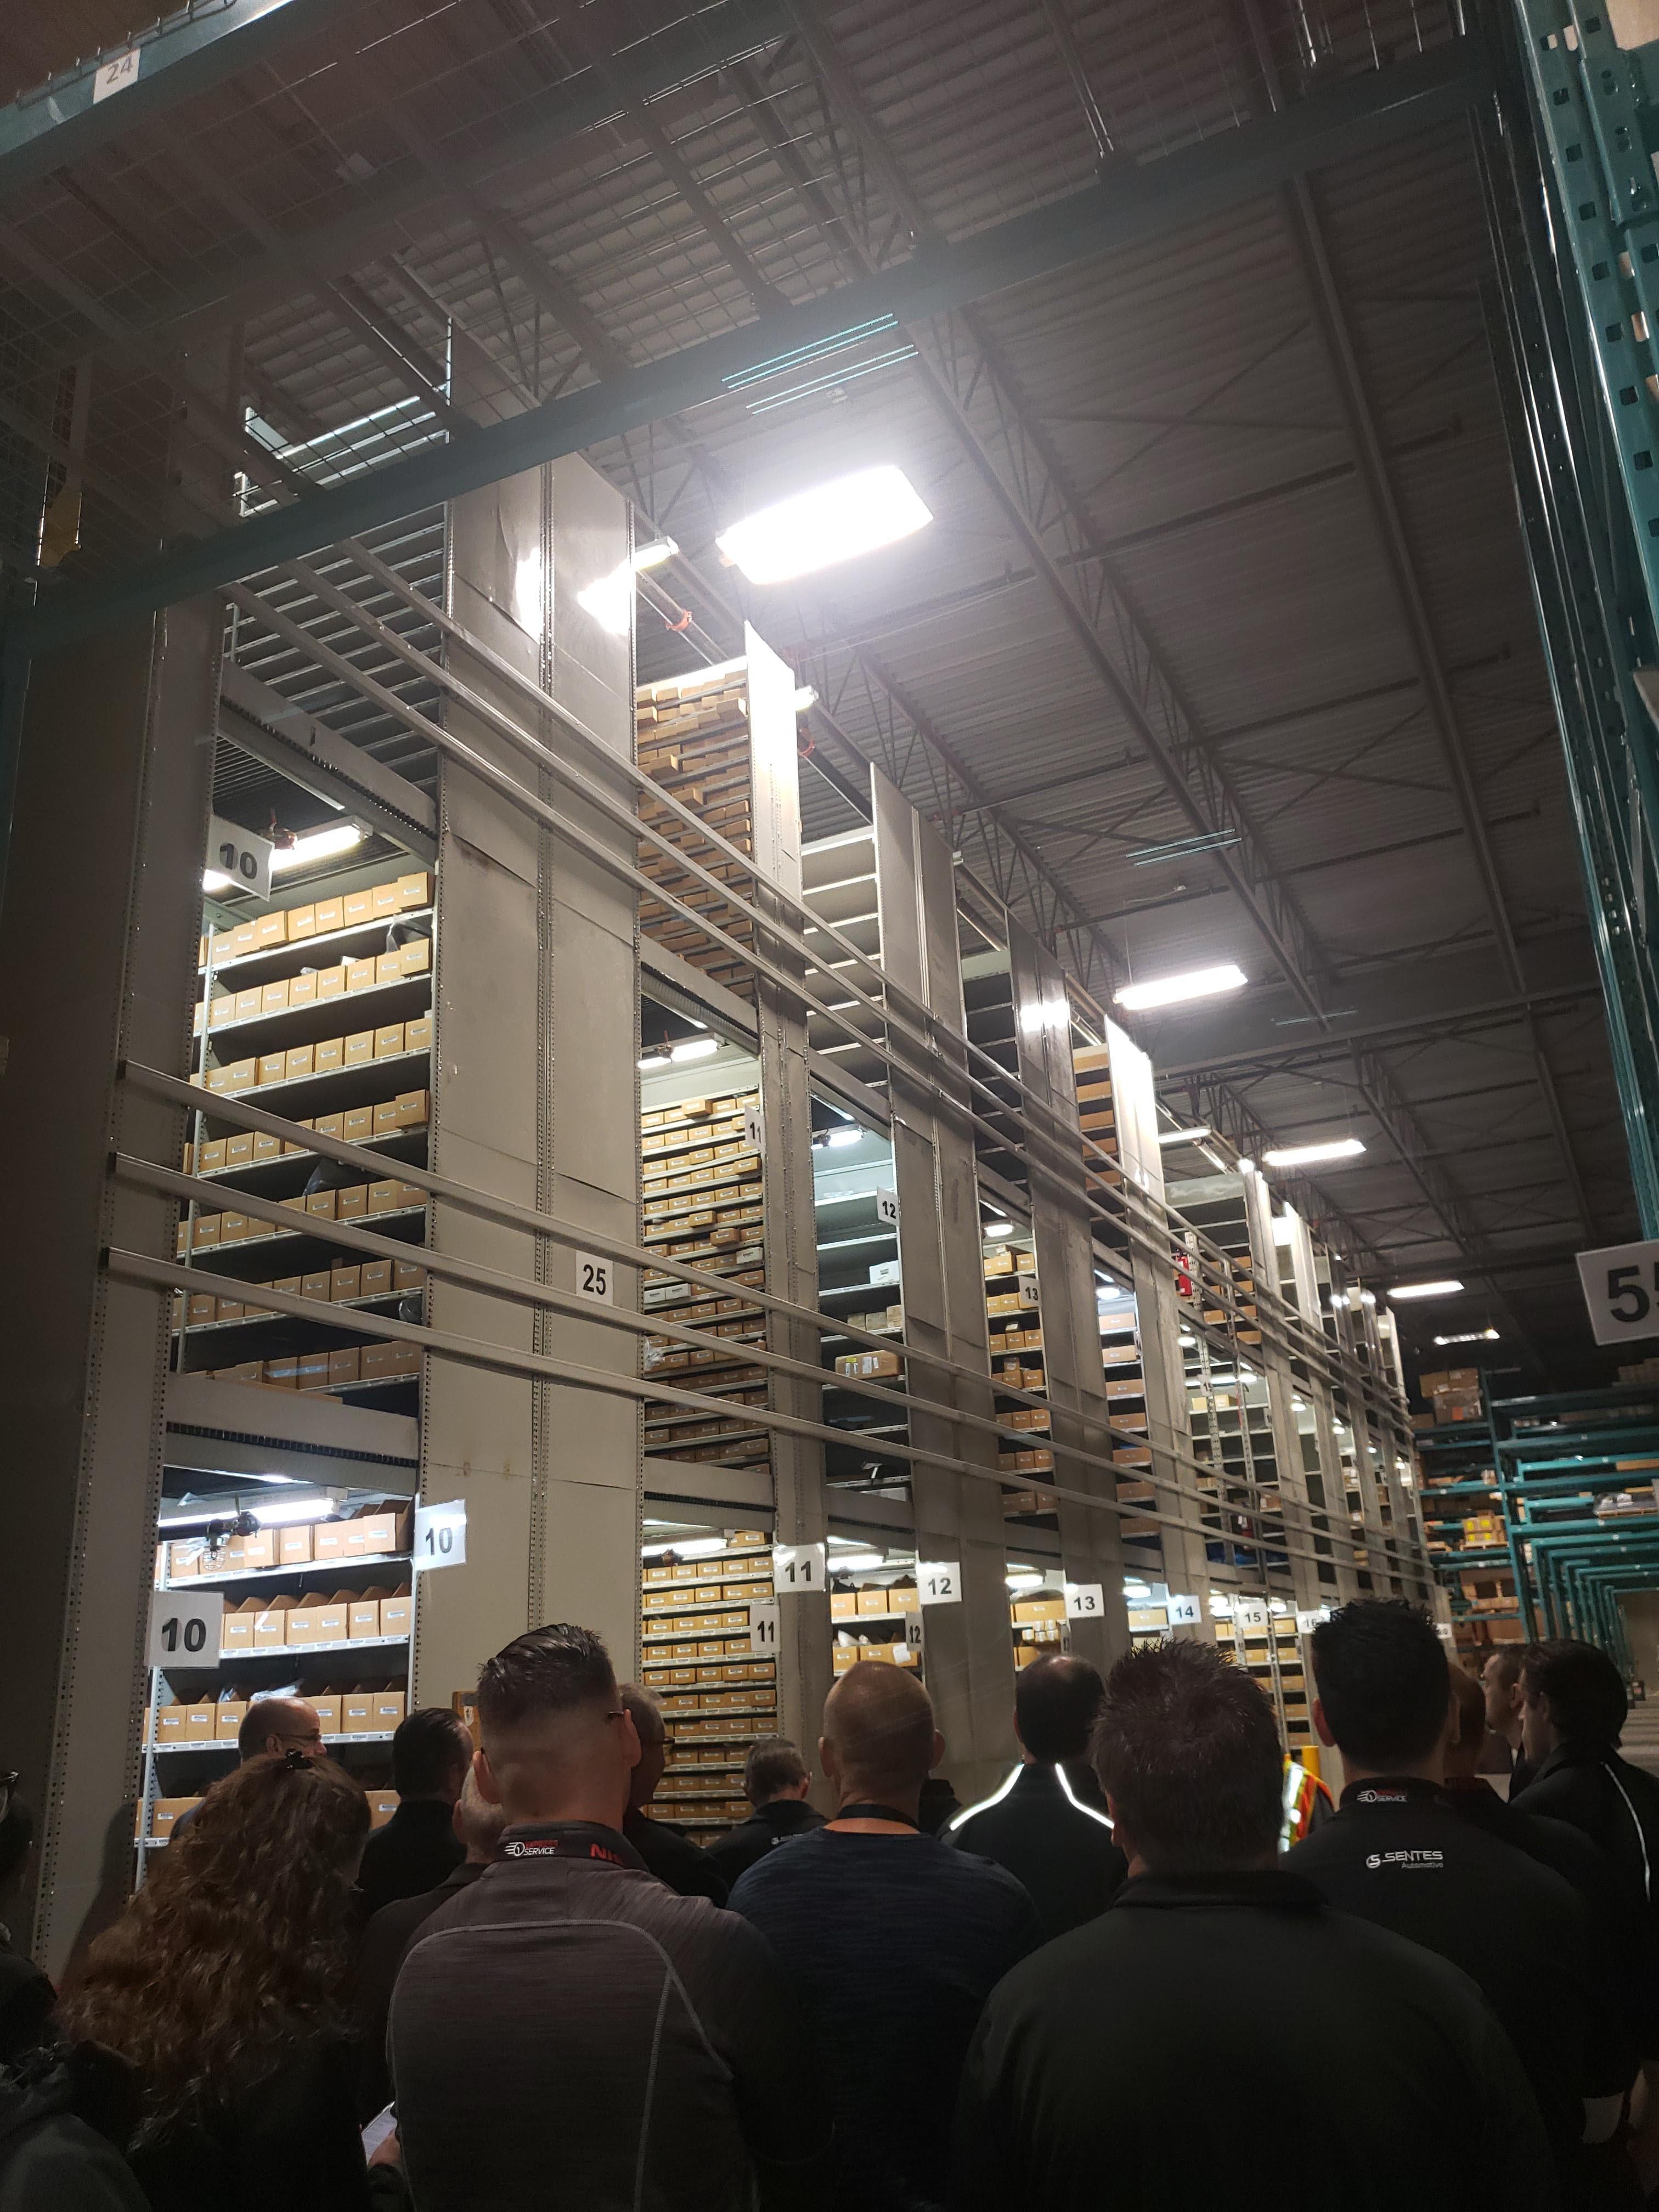
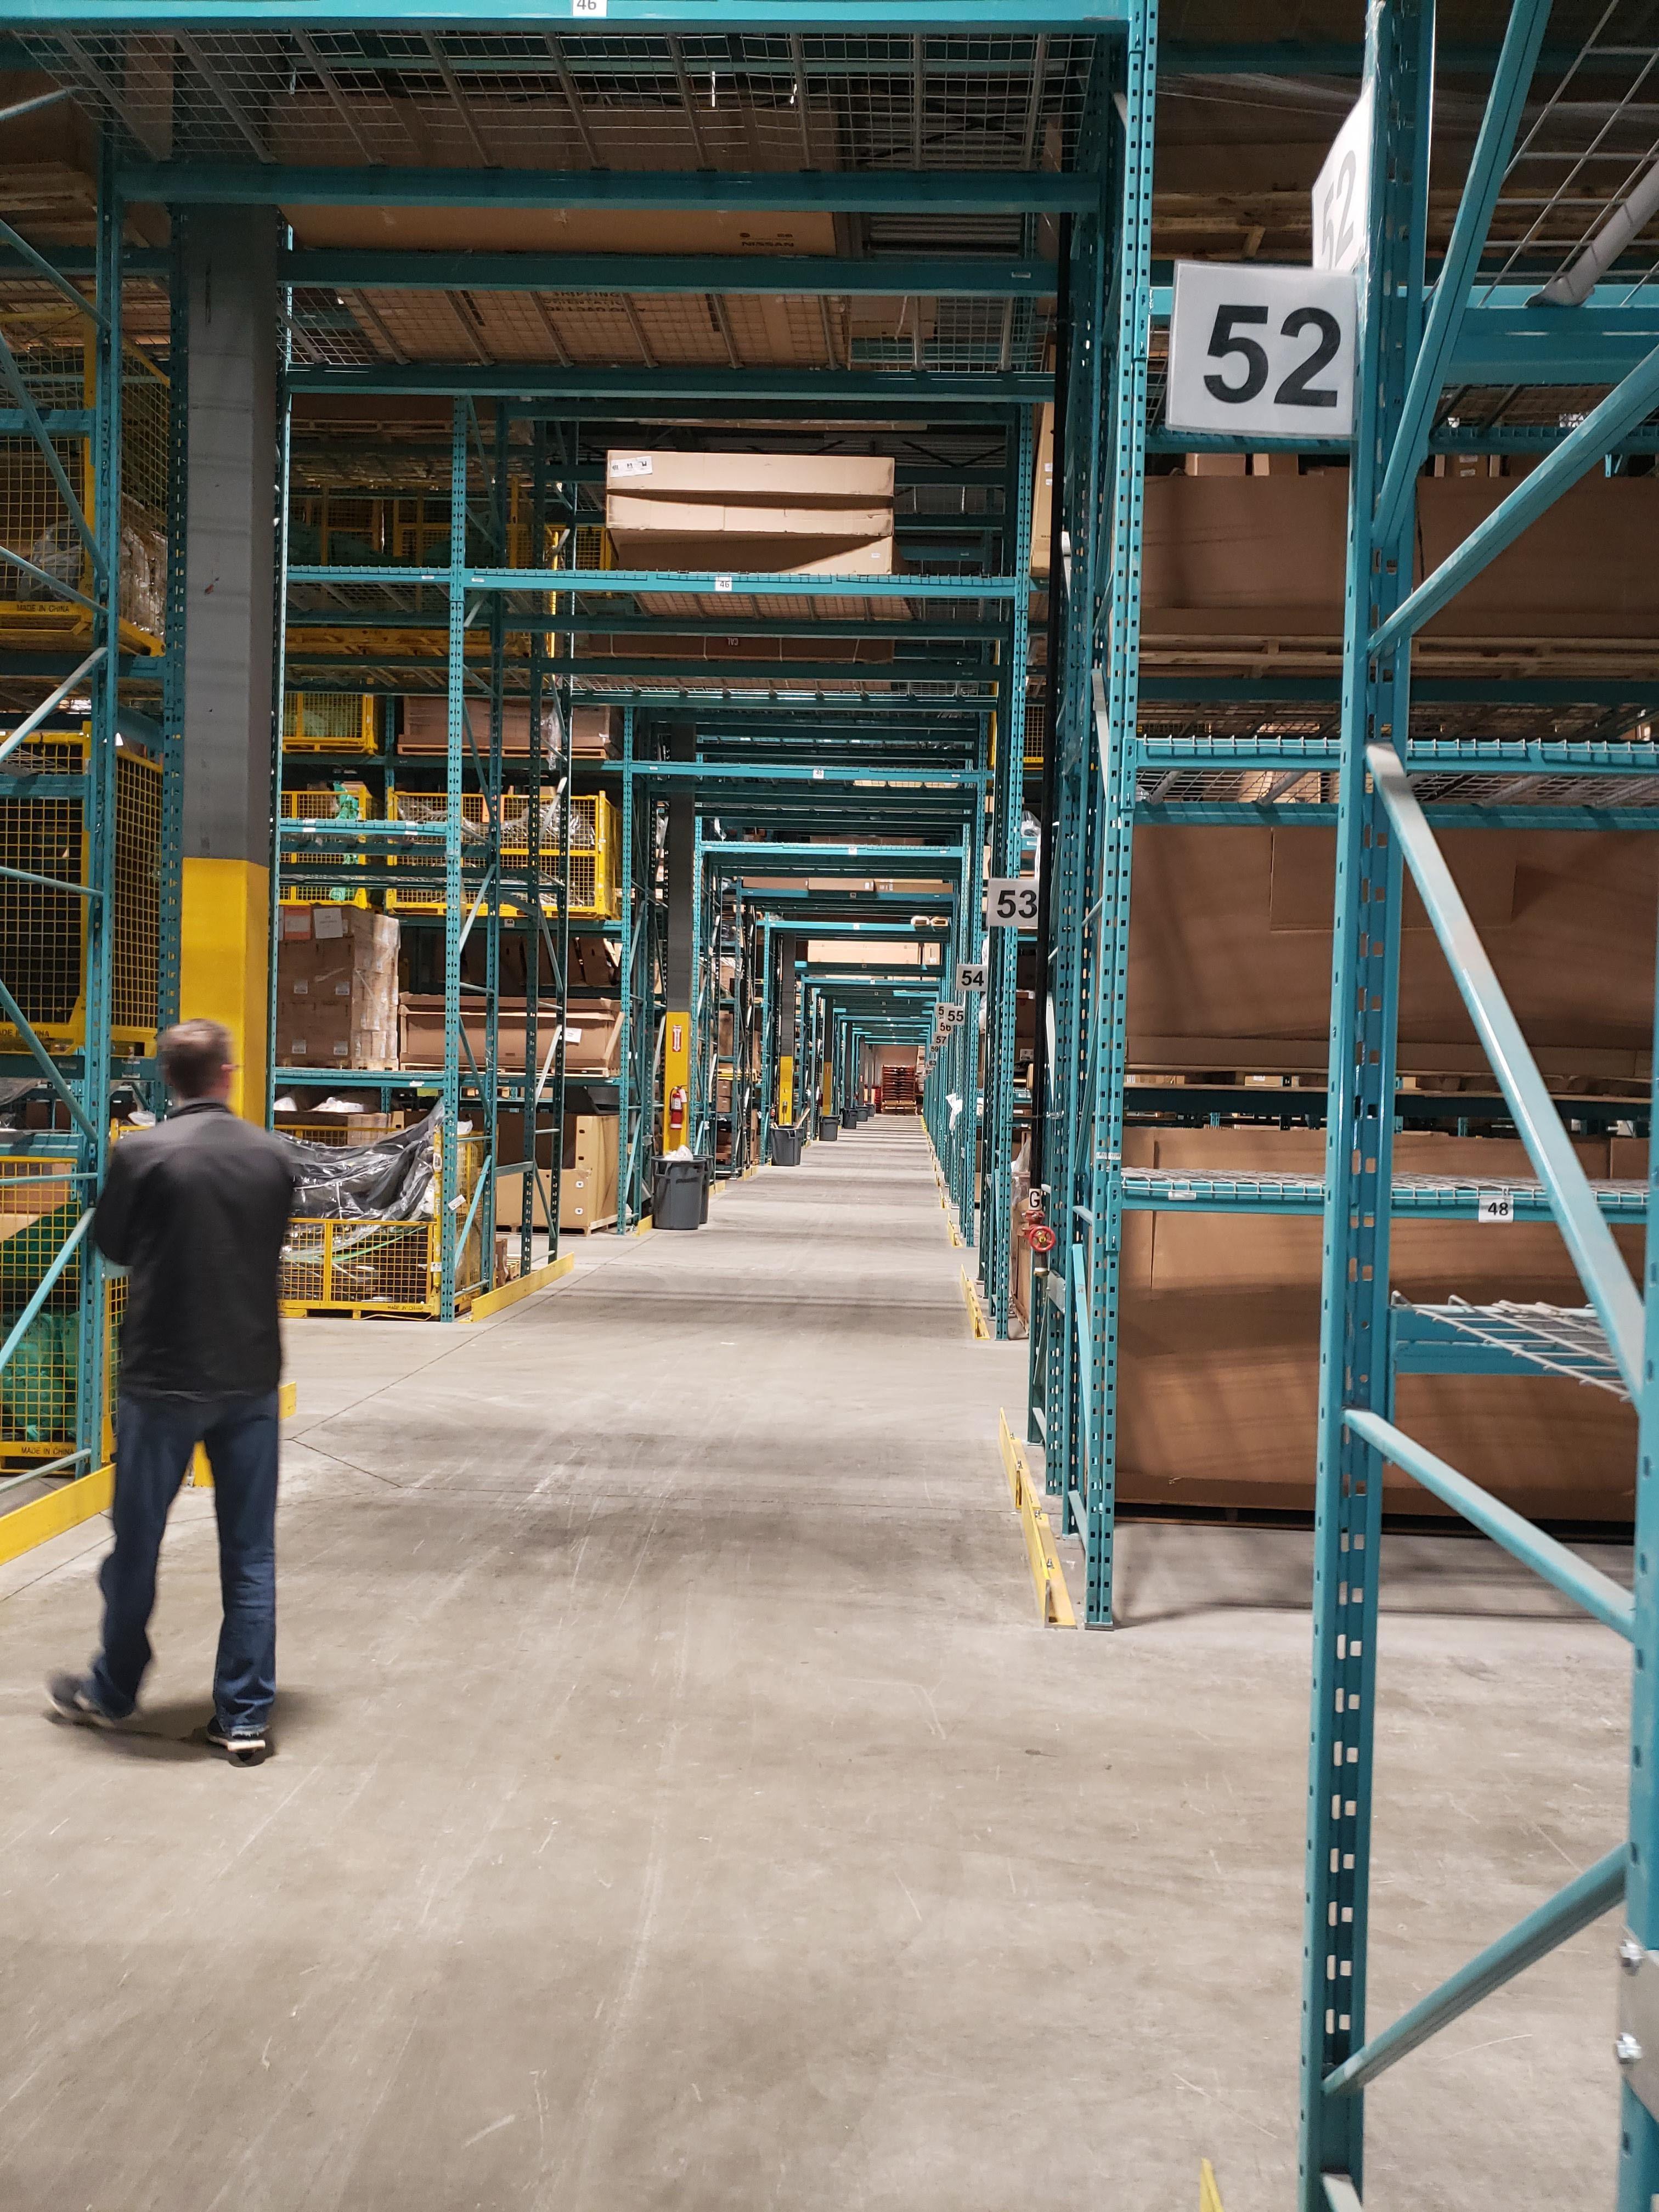
 3 pointsYup. They all seem amazed when they find a 40 year old part in inventory. I ordered and received a new front drivers fender, fender badges ($35), sail pillar Z badges ($35), and lots of little things over the years that sell for stupid amounts on ebay etc as people believe them to be NLA.3 points
 -
3 points
-
 3 pointsMost of you know Hector Cademartori, the renowned Automotive & Racing Artist, and have seen his great work. We have many of his creations available on our website. Some may not know that he makes a Classic Datsun Z Christmas Card every year. With all of the same old winter scenes and Christmas trees repeated over and over most years, these cards are a fresh option if your family sends out Christmas Cards. They also make great collector's items. This is the fourth edition Hector has created (these are prints, the original of course was painted by hand). Here is what the Artist had to say: The Christmas cards are the highlight of my year. I produce five or six every year for different clients, all of them involving cars or motorcycles, and I've been doing them for over 25 years. Since Christmas cards don't have a commercial target (beyond their retail price), I have plenty of freedom to come up with situations involving Santa Claus, his helpers and all the elements of a Christmas scene around cars and motorcycles. It's fun to come up with new ideas and enjoy adding elements in the background pertinent to the subject matter. I get comments from the most observant in the audience about a poster on the wall or a little racecar in a dark corner. For instance, in this year's art I included a toy fire truck. It's my friend Dan Banks', a well known Datsun collector and historian from Maryland who owns the real thing. We included some sequences from rough sketch to final art. Thought they'd be of our customers' interest. This is my fourth Datsun Christmas card and I look forward to next year's design. Merry Christmas and Zeason's Greetings! Hector Cademartori Find all 4 different editions here.3 points
 -
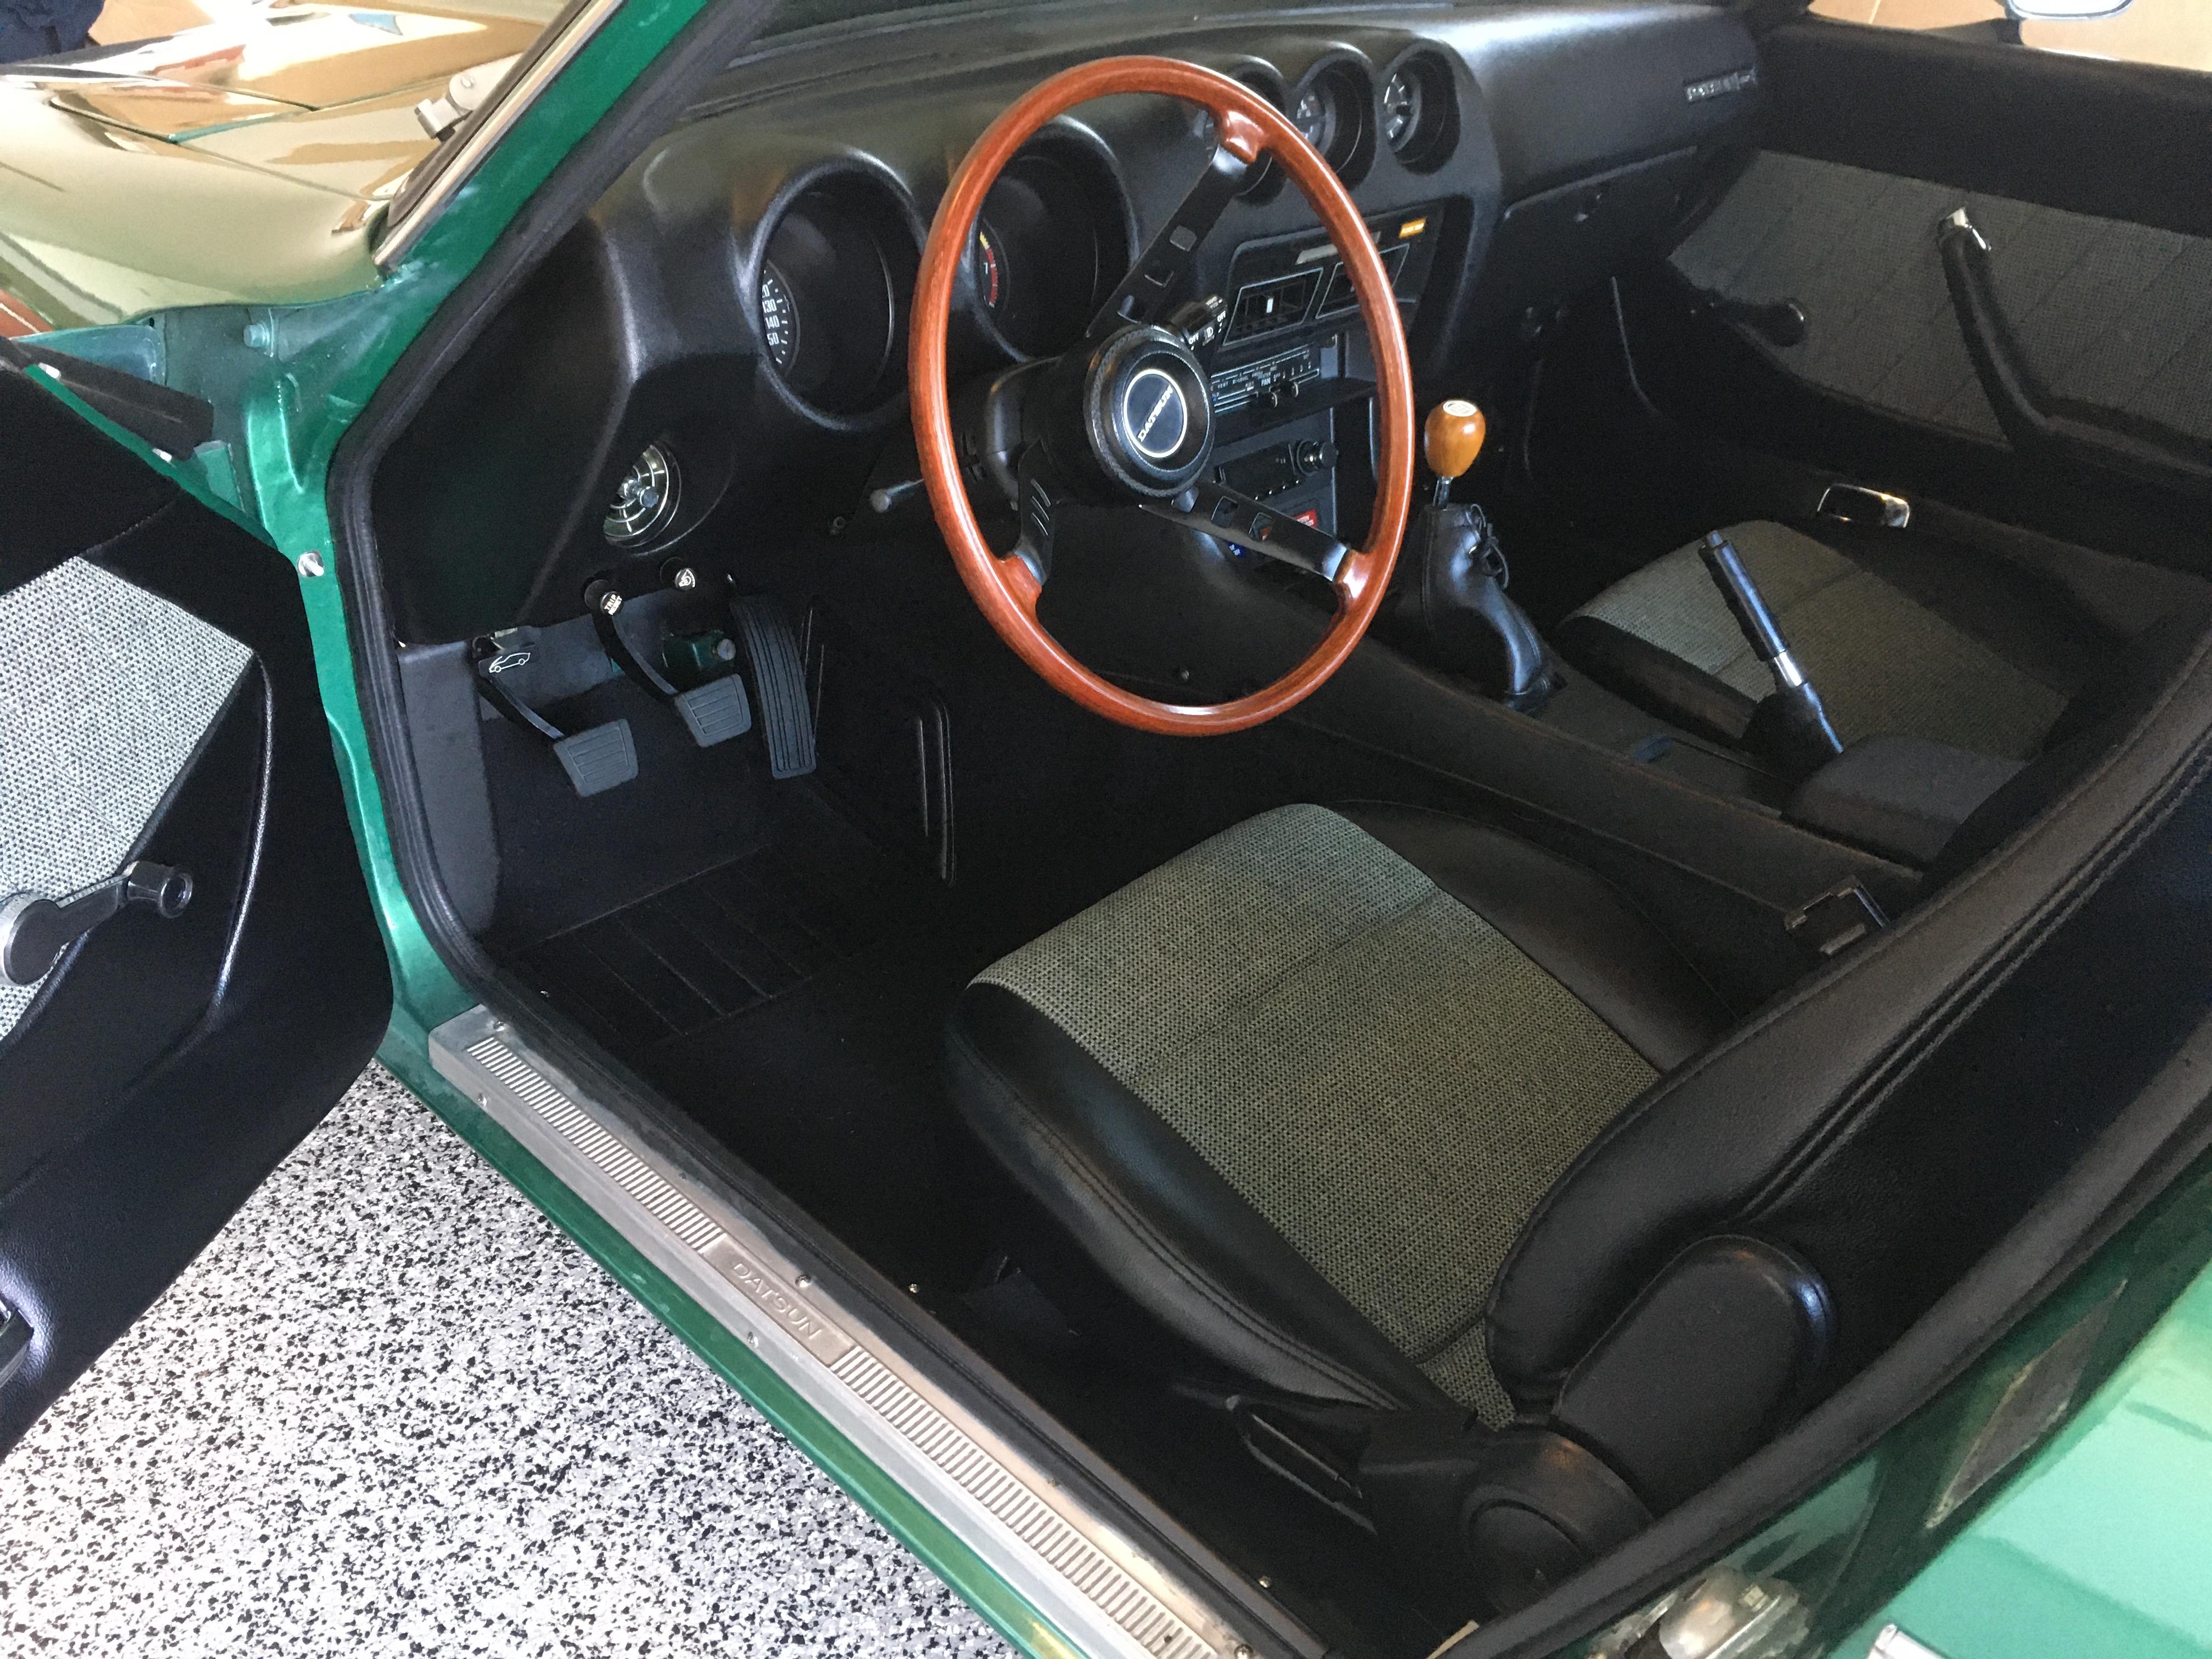
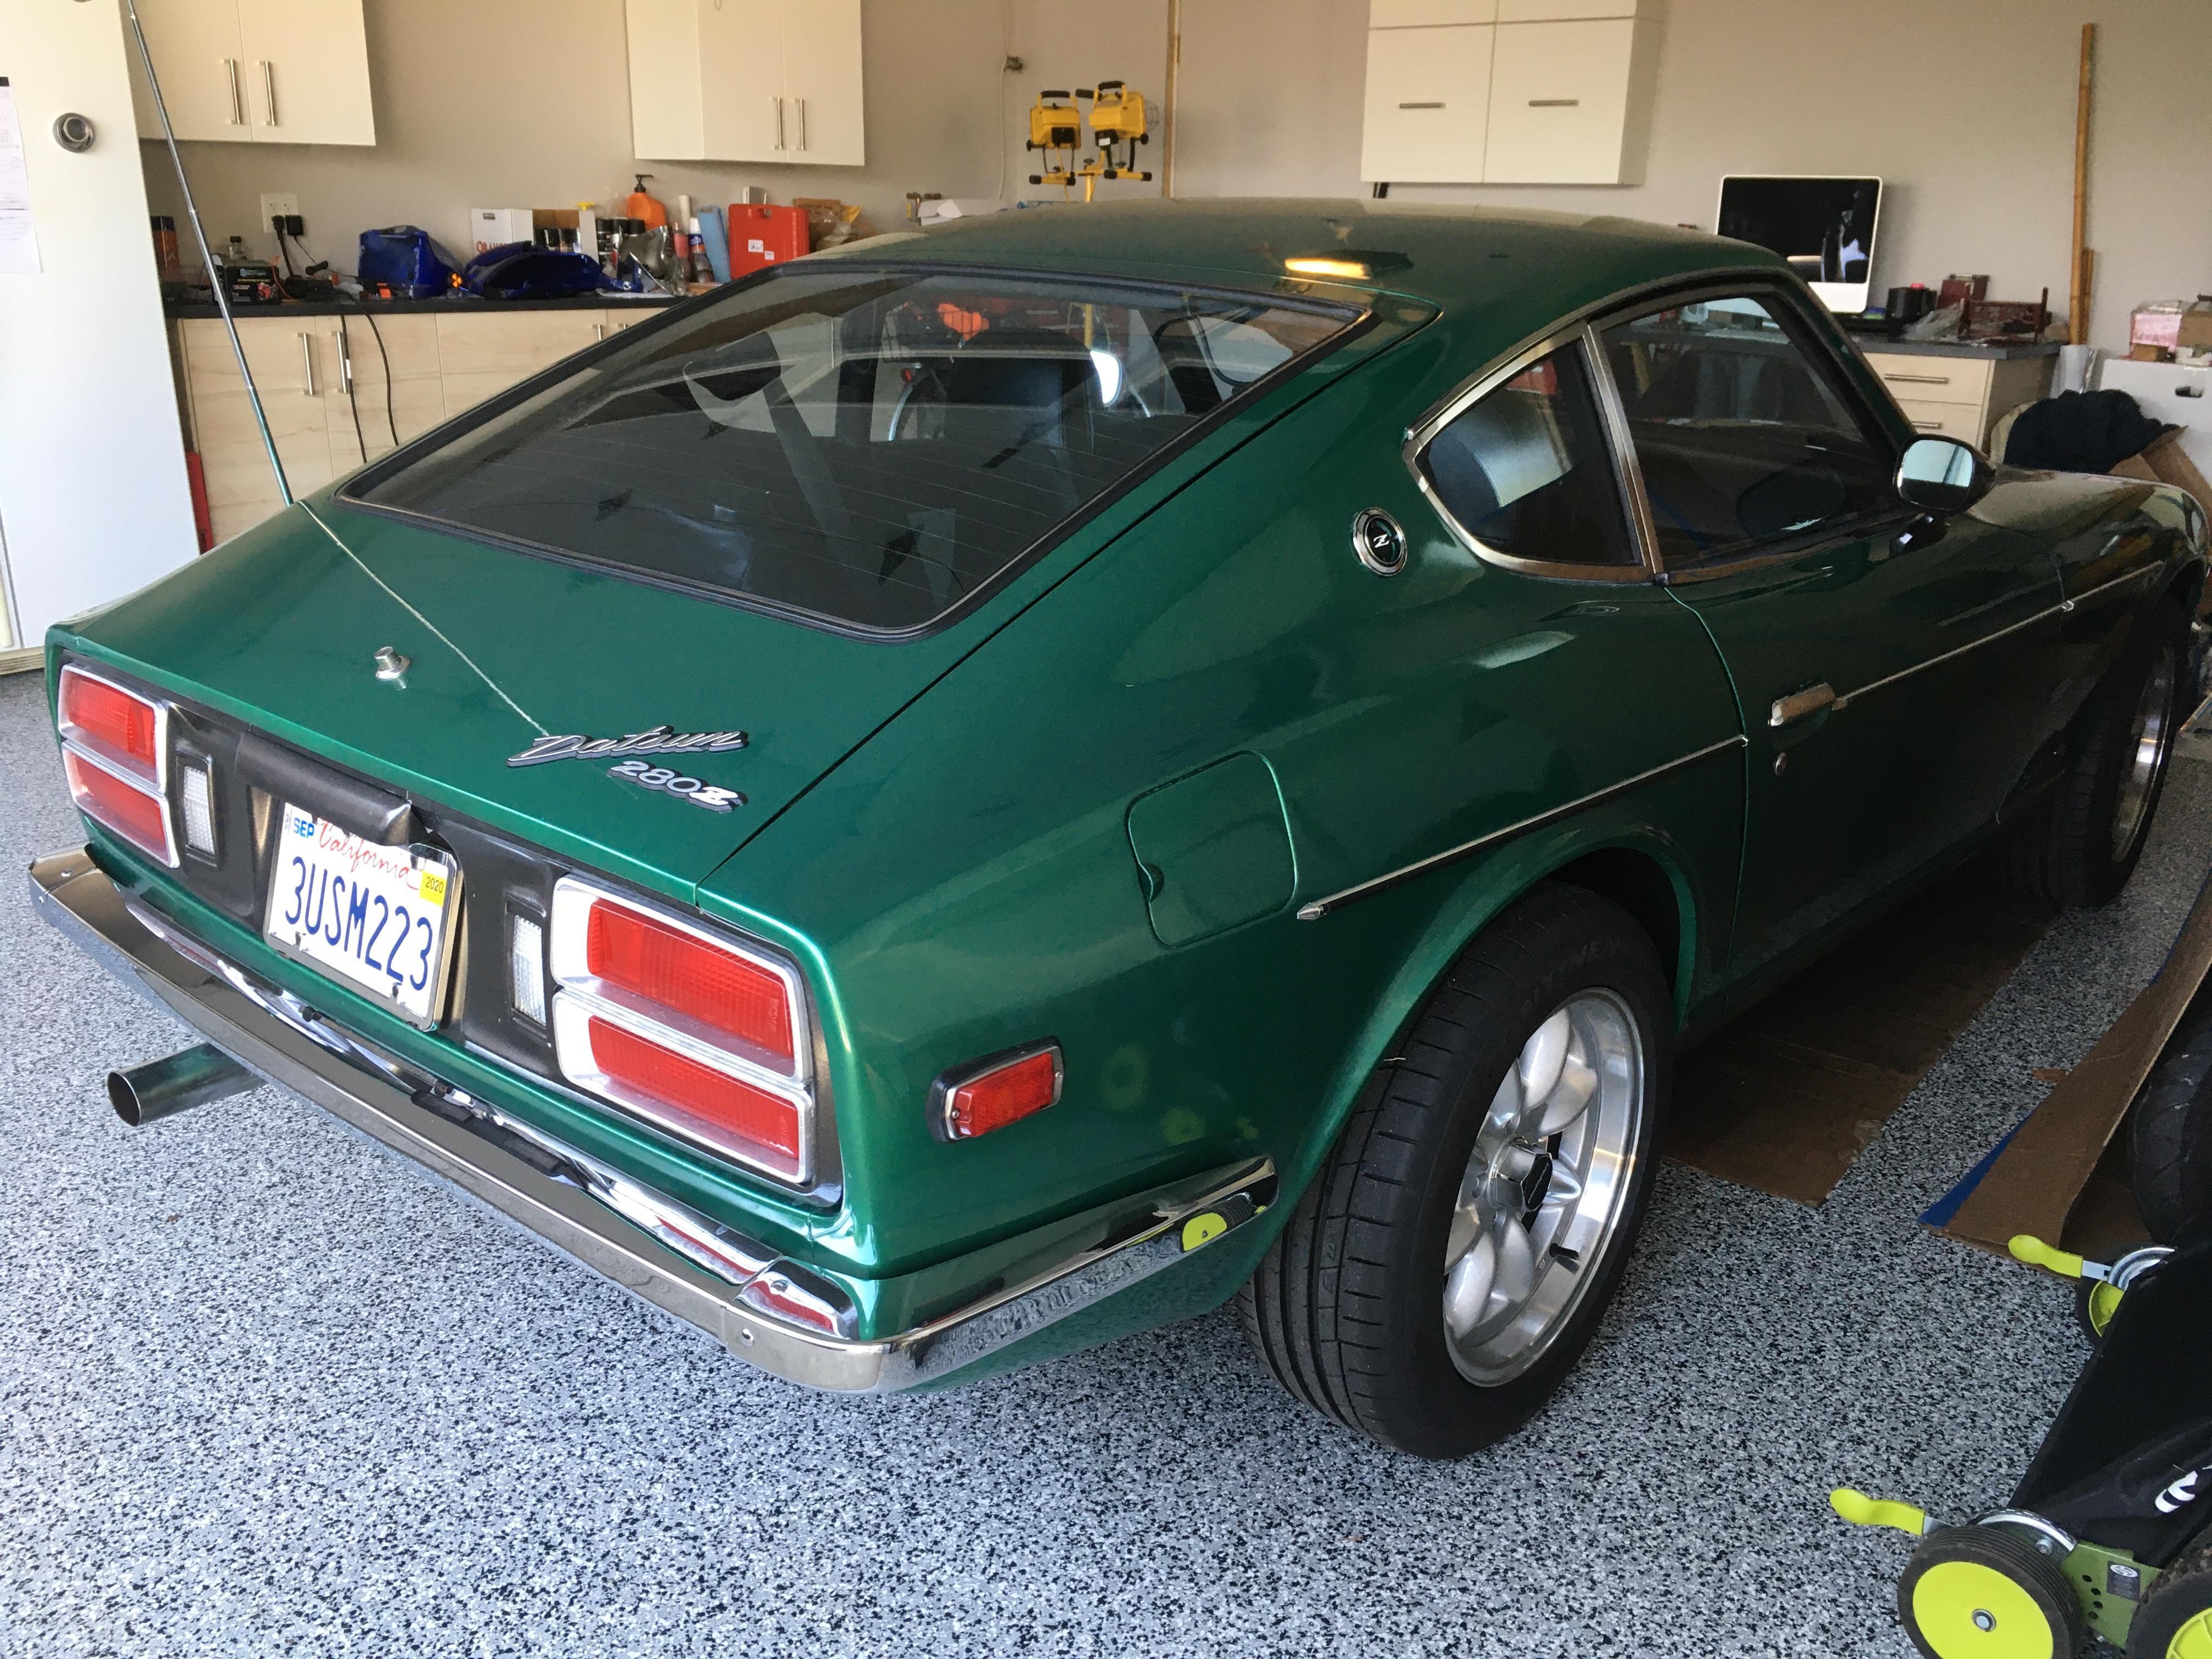
 I concur with Mike. You’ll have at least $20k-$25k sunk into that Z to renovate it. Maybe $10k-$15k sunk into it (including purchase price) just to make it a halfway reliable driver. I bought a ‘75 Z about 1 1/2 years ago in NorCal for $6700. No rust, except a little surface rust on the interior at the firewall and a bit on the underneath side of the car. It had been sitting for 16 or so years. Just to make it a reliable driver, it would’ve needed fuel lines replaced, gas tank cleaned, and new tires installed. Of course, I jumped right away into a major renovation of the car instead of just making it reliably roadworthy. ? Let’s just say it hasn’t been cheap. ?

 3 points
 -
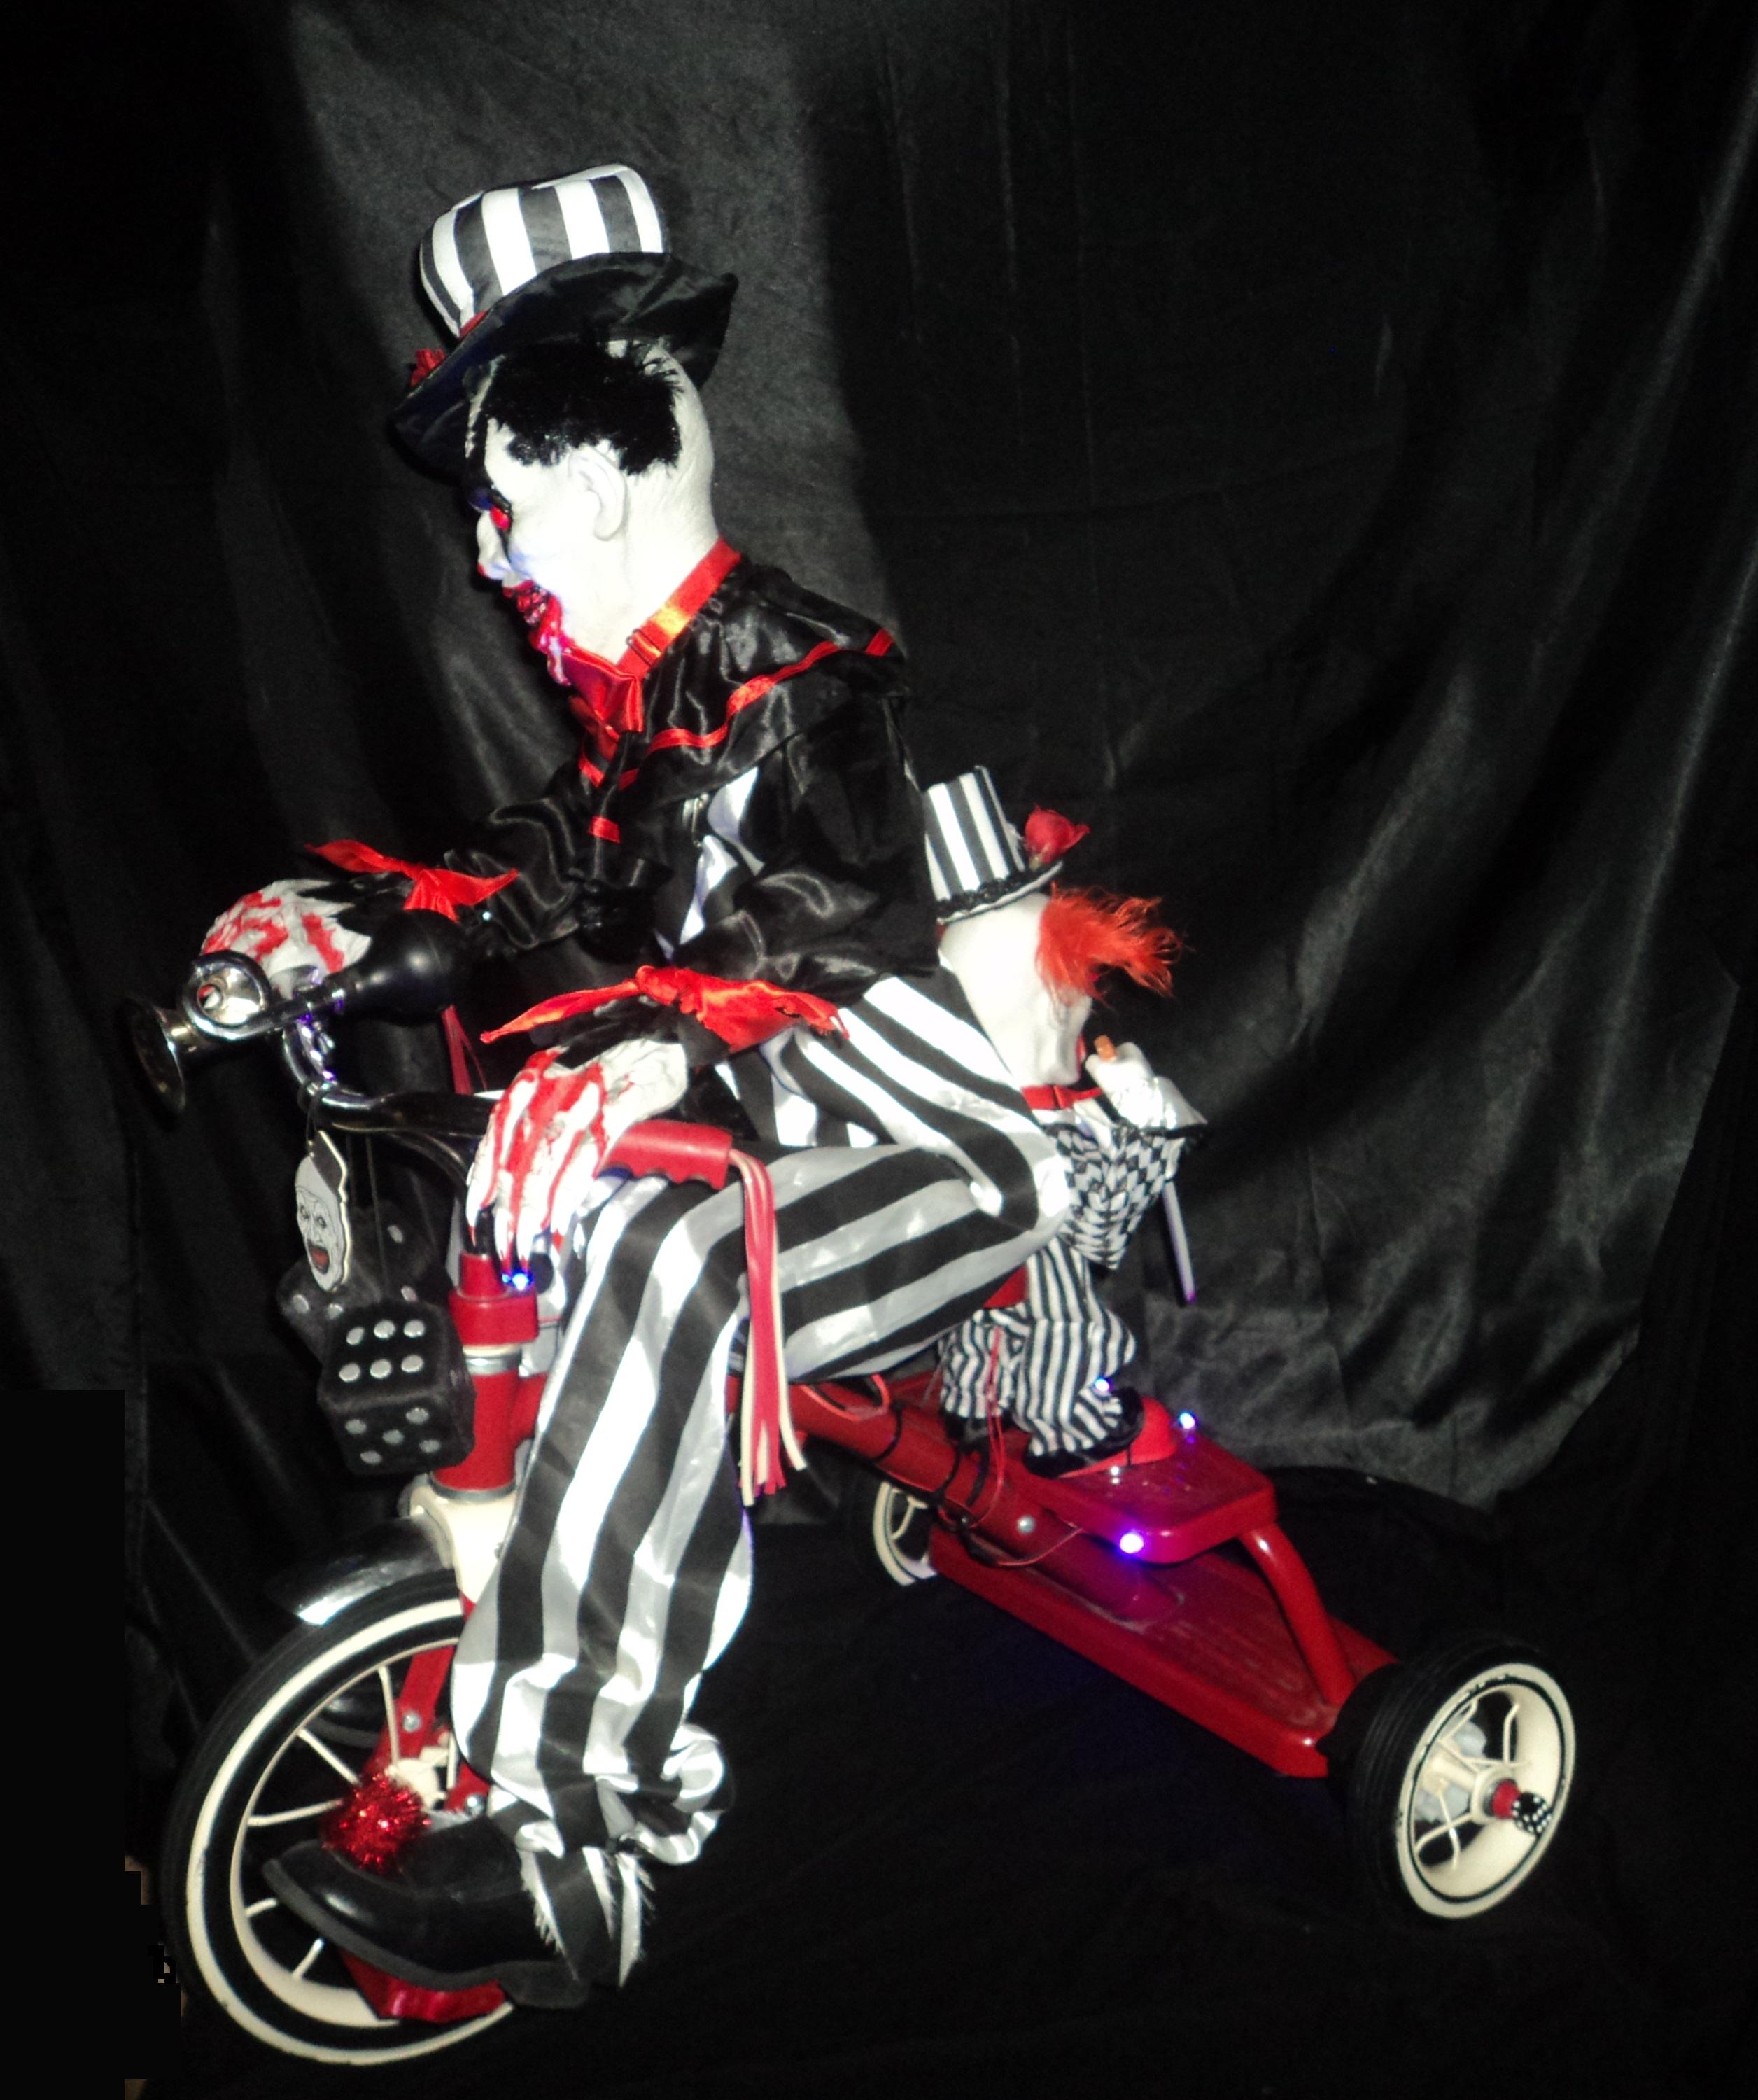
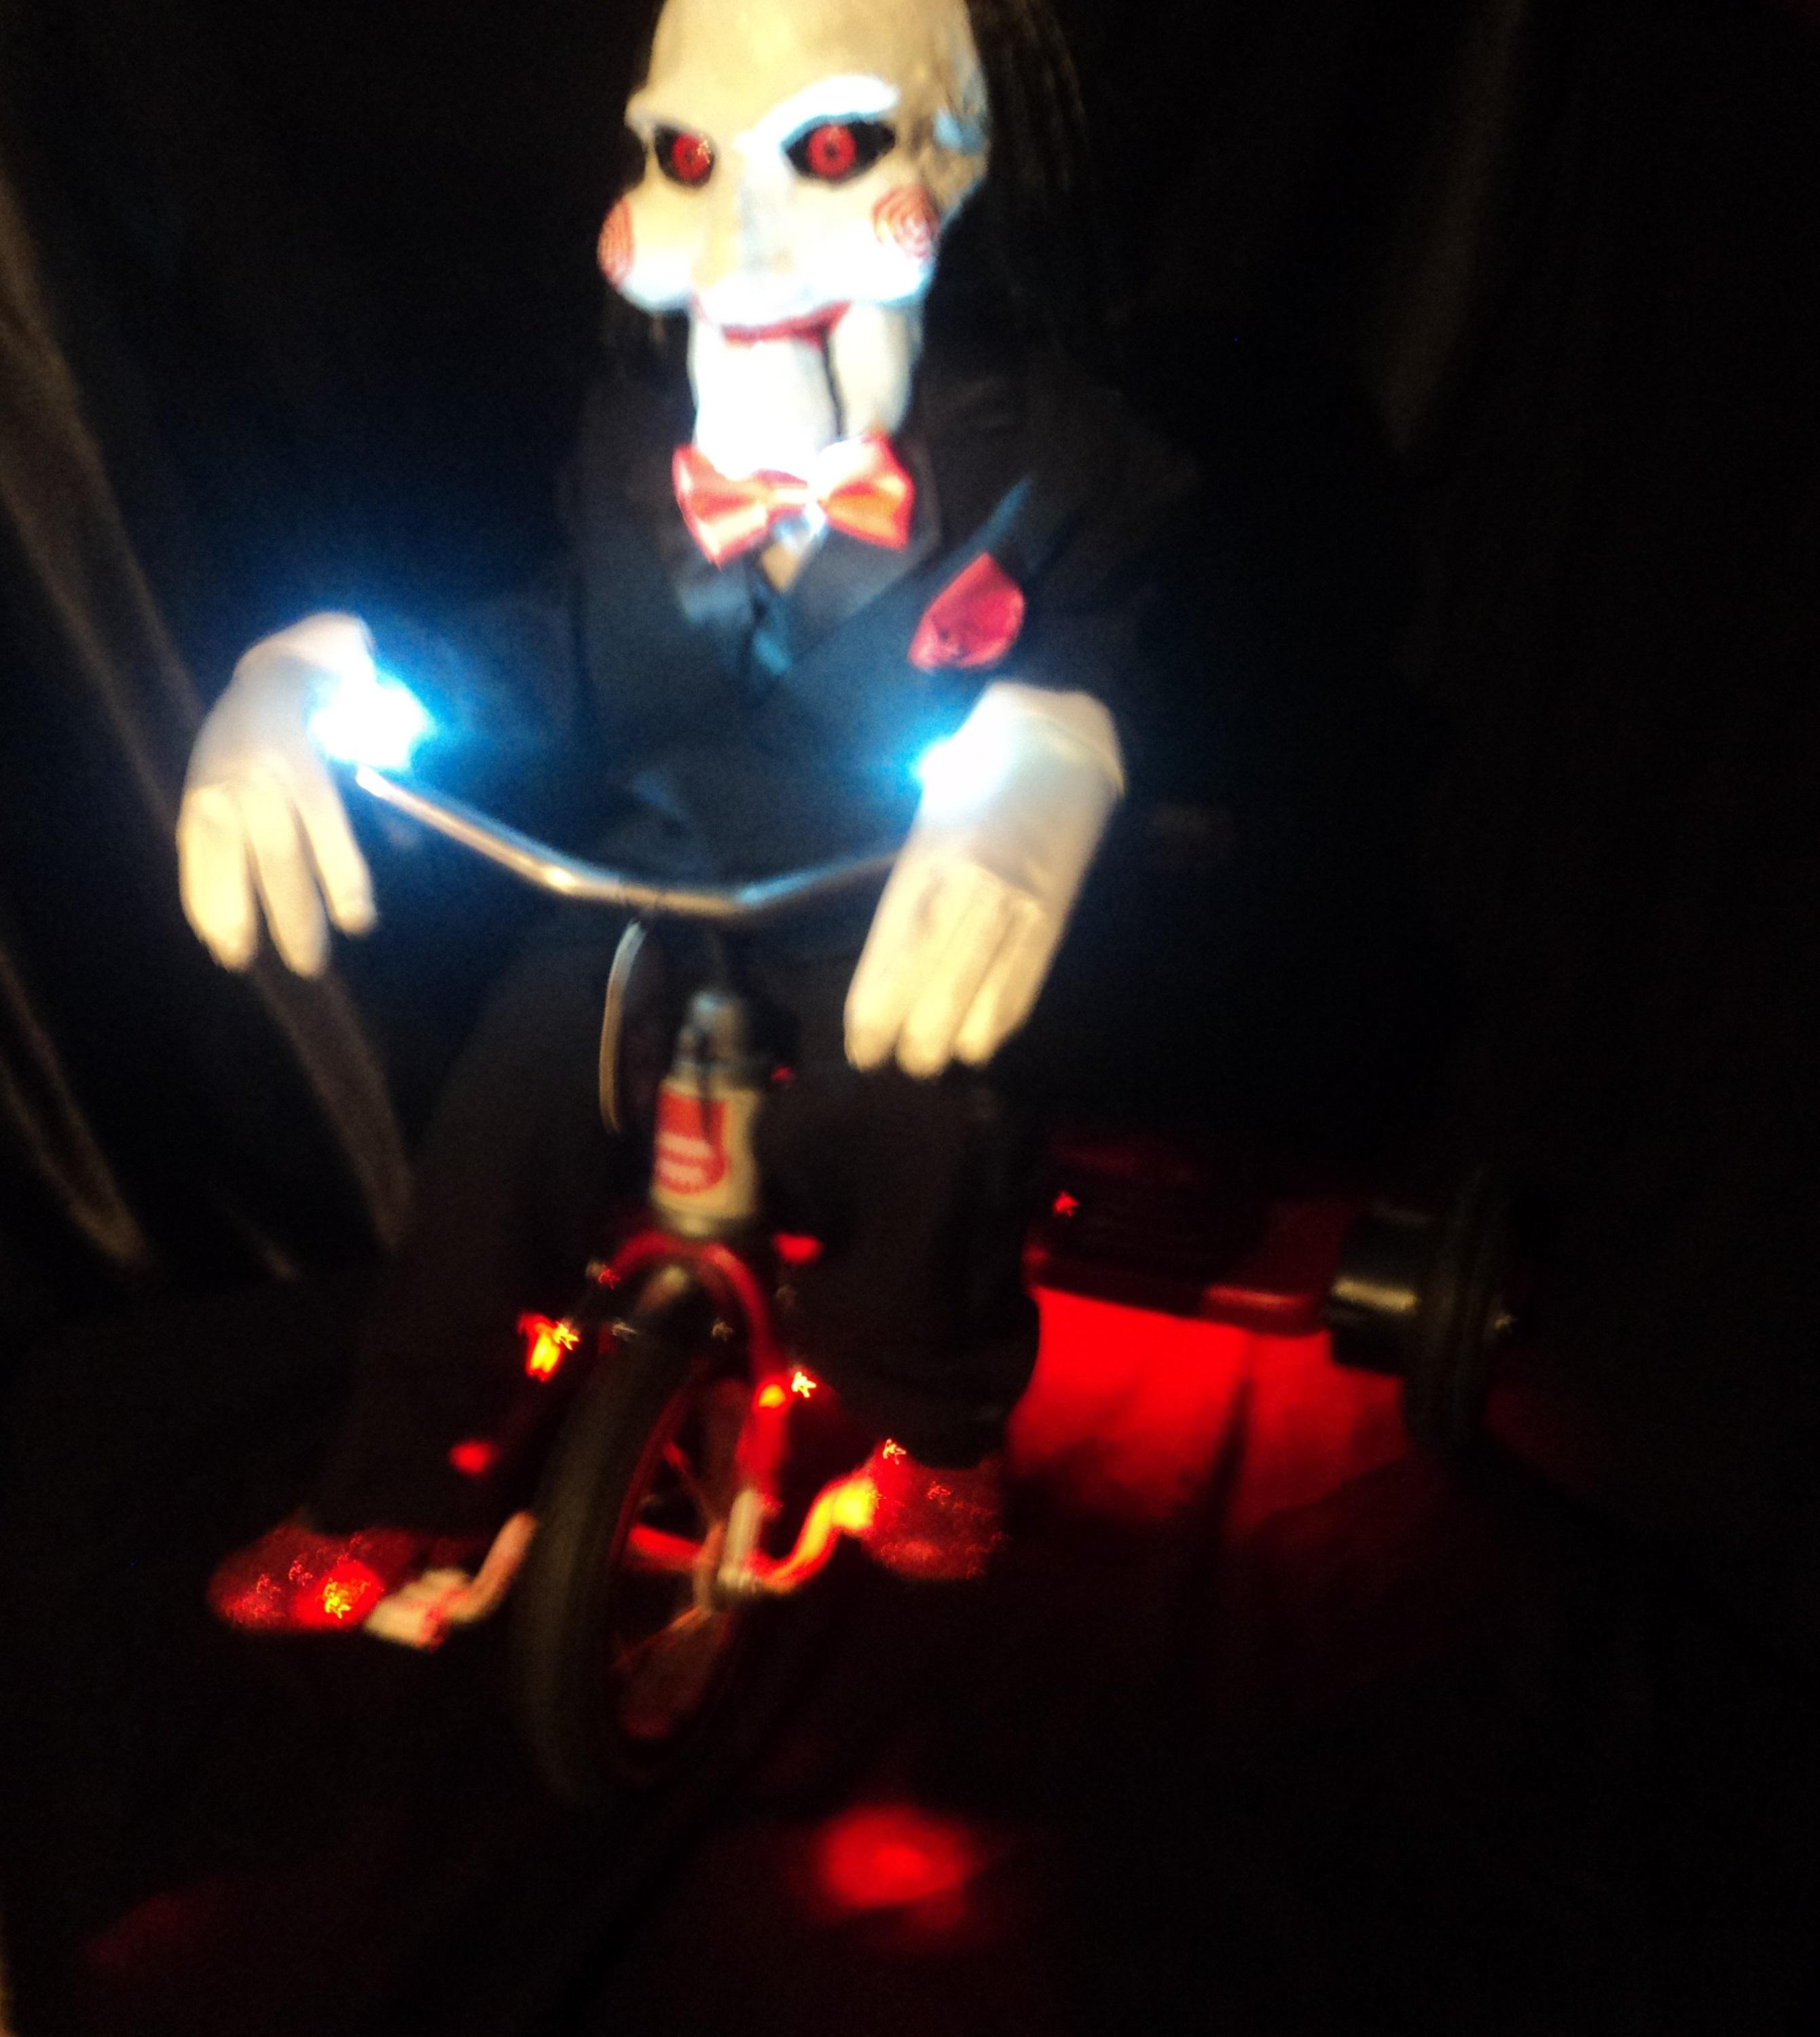
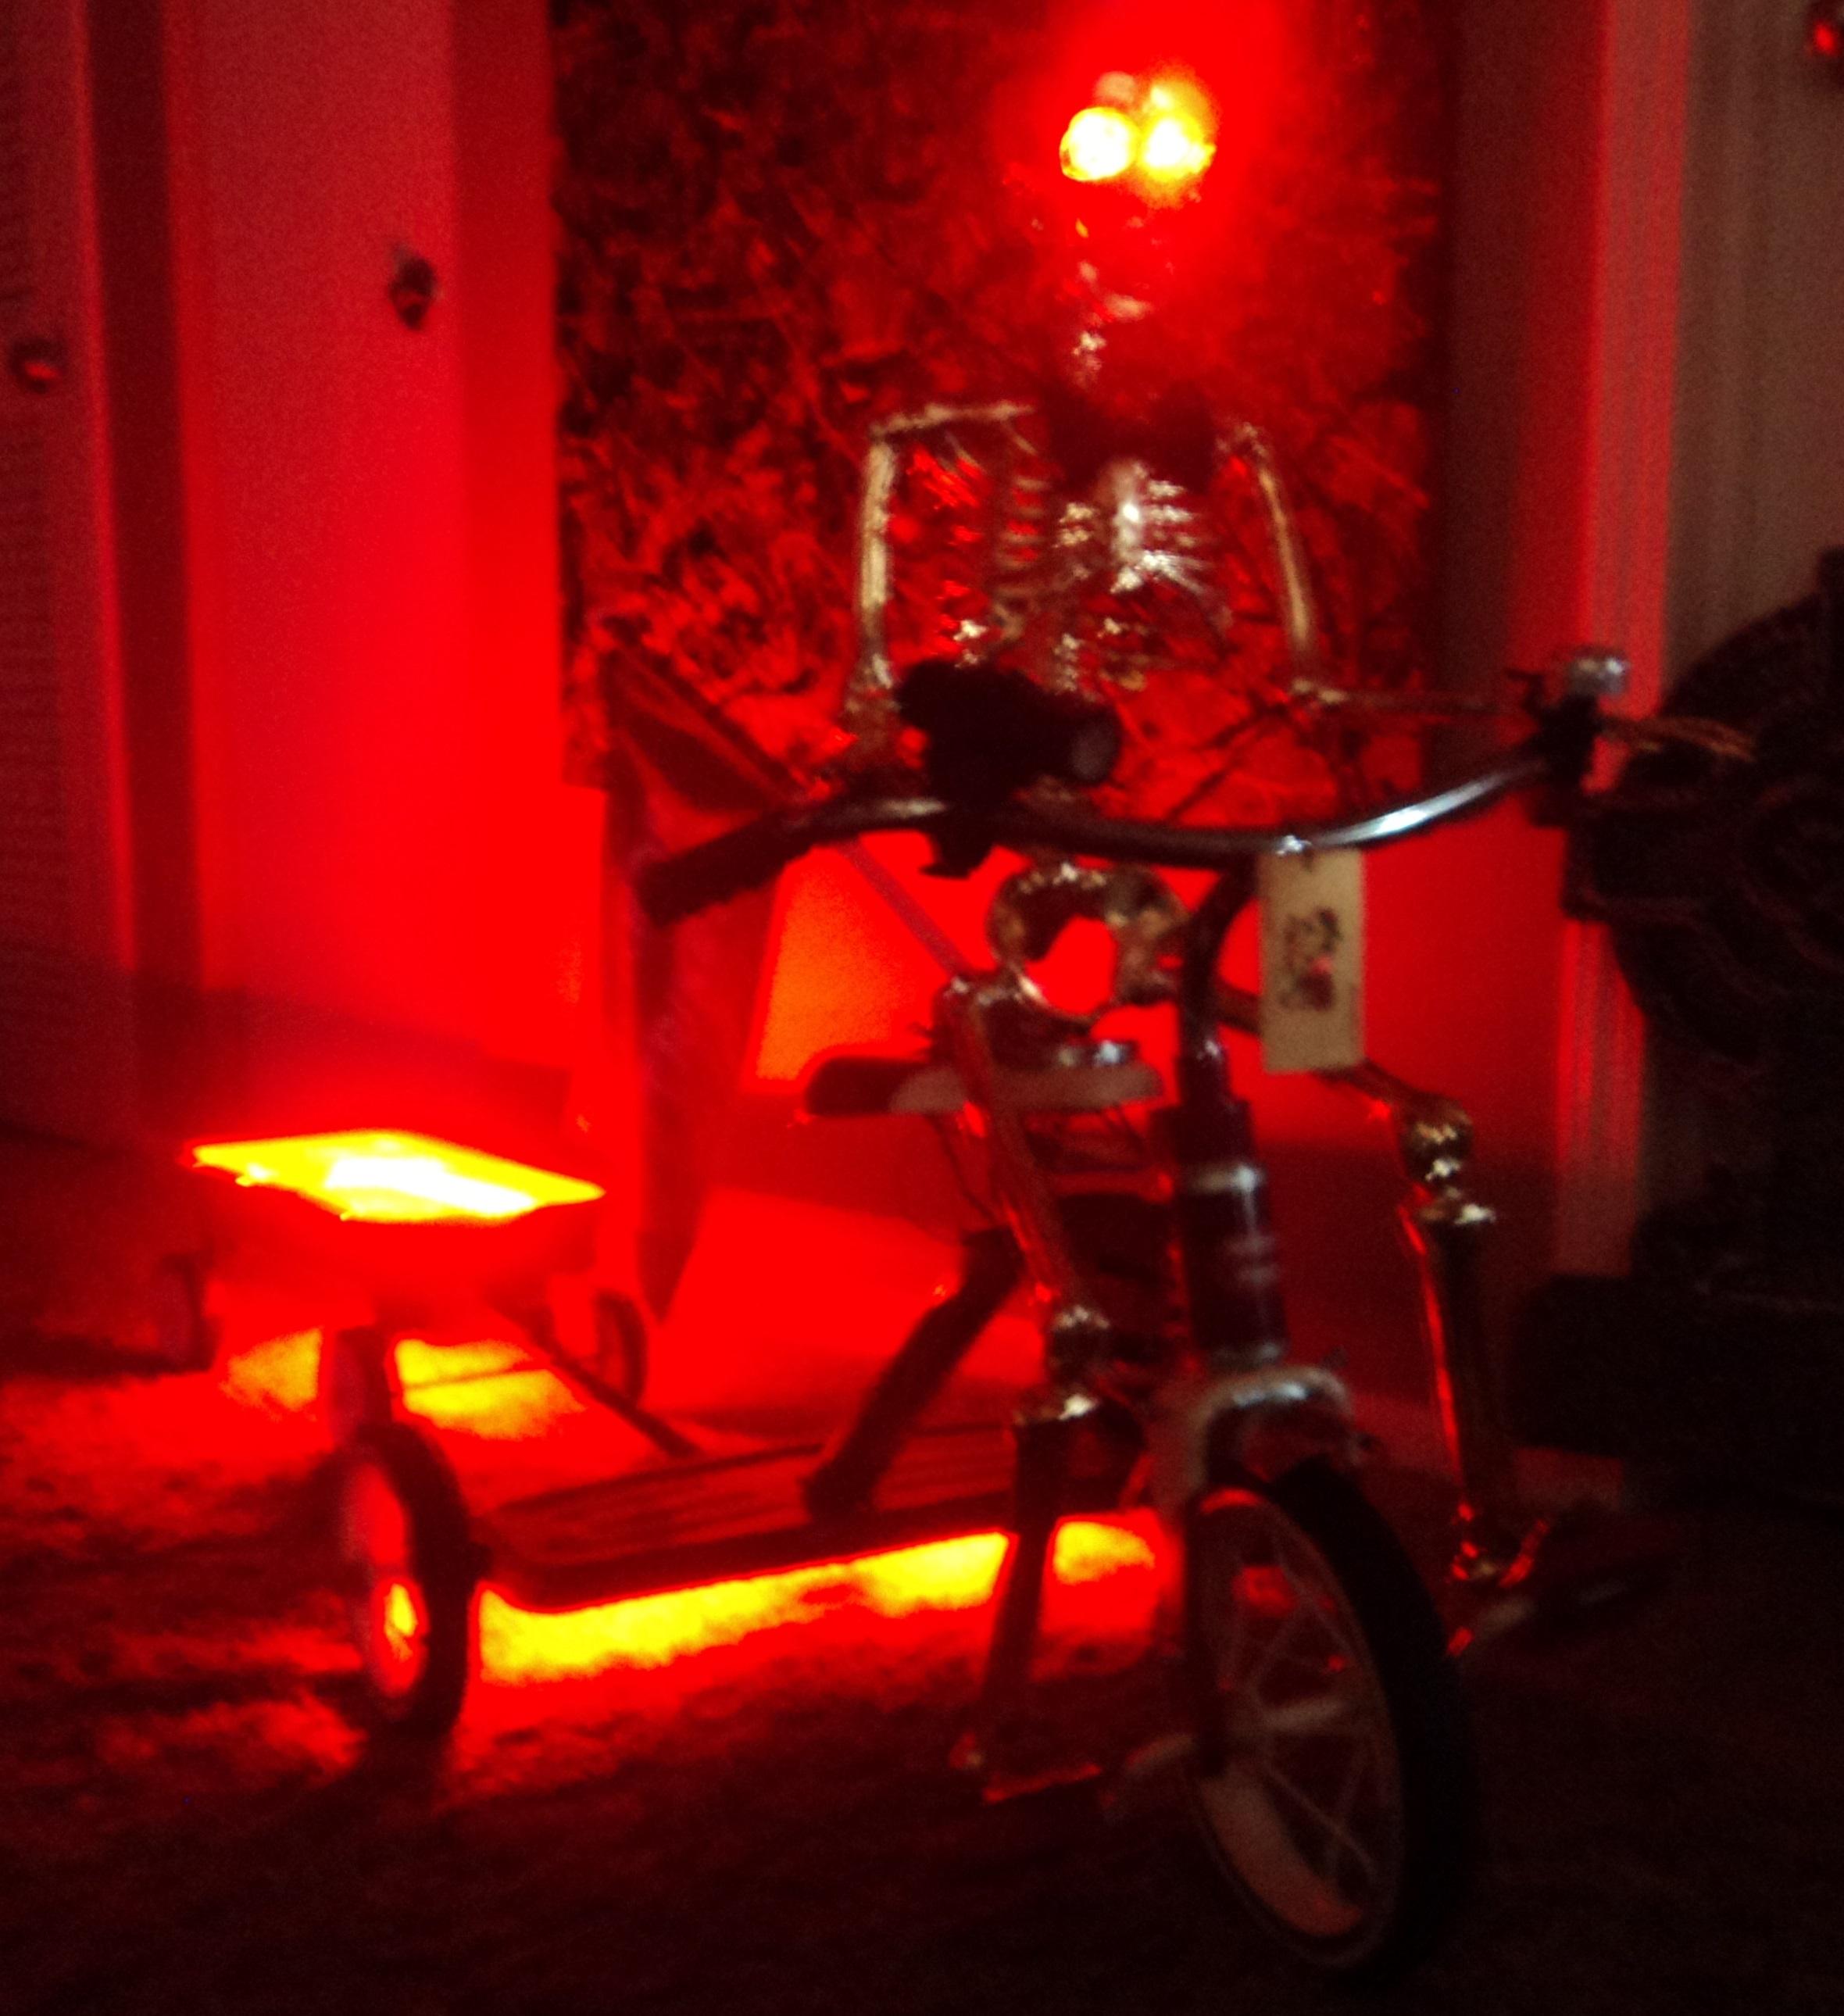
 Thanks! Here are a few pics of the other prototypes I have. I think the lighting really adds to it!


 2 points
 -
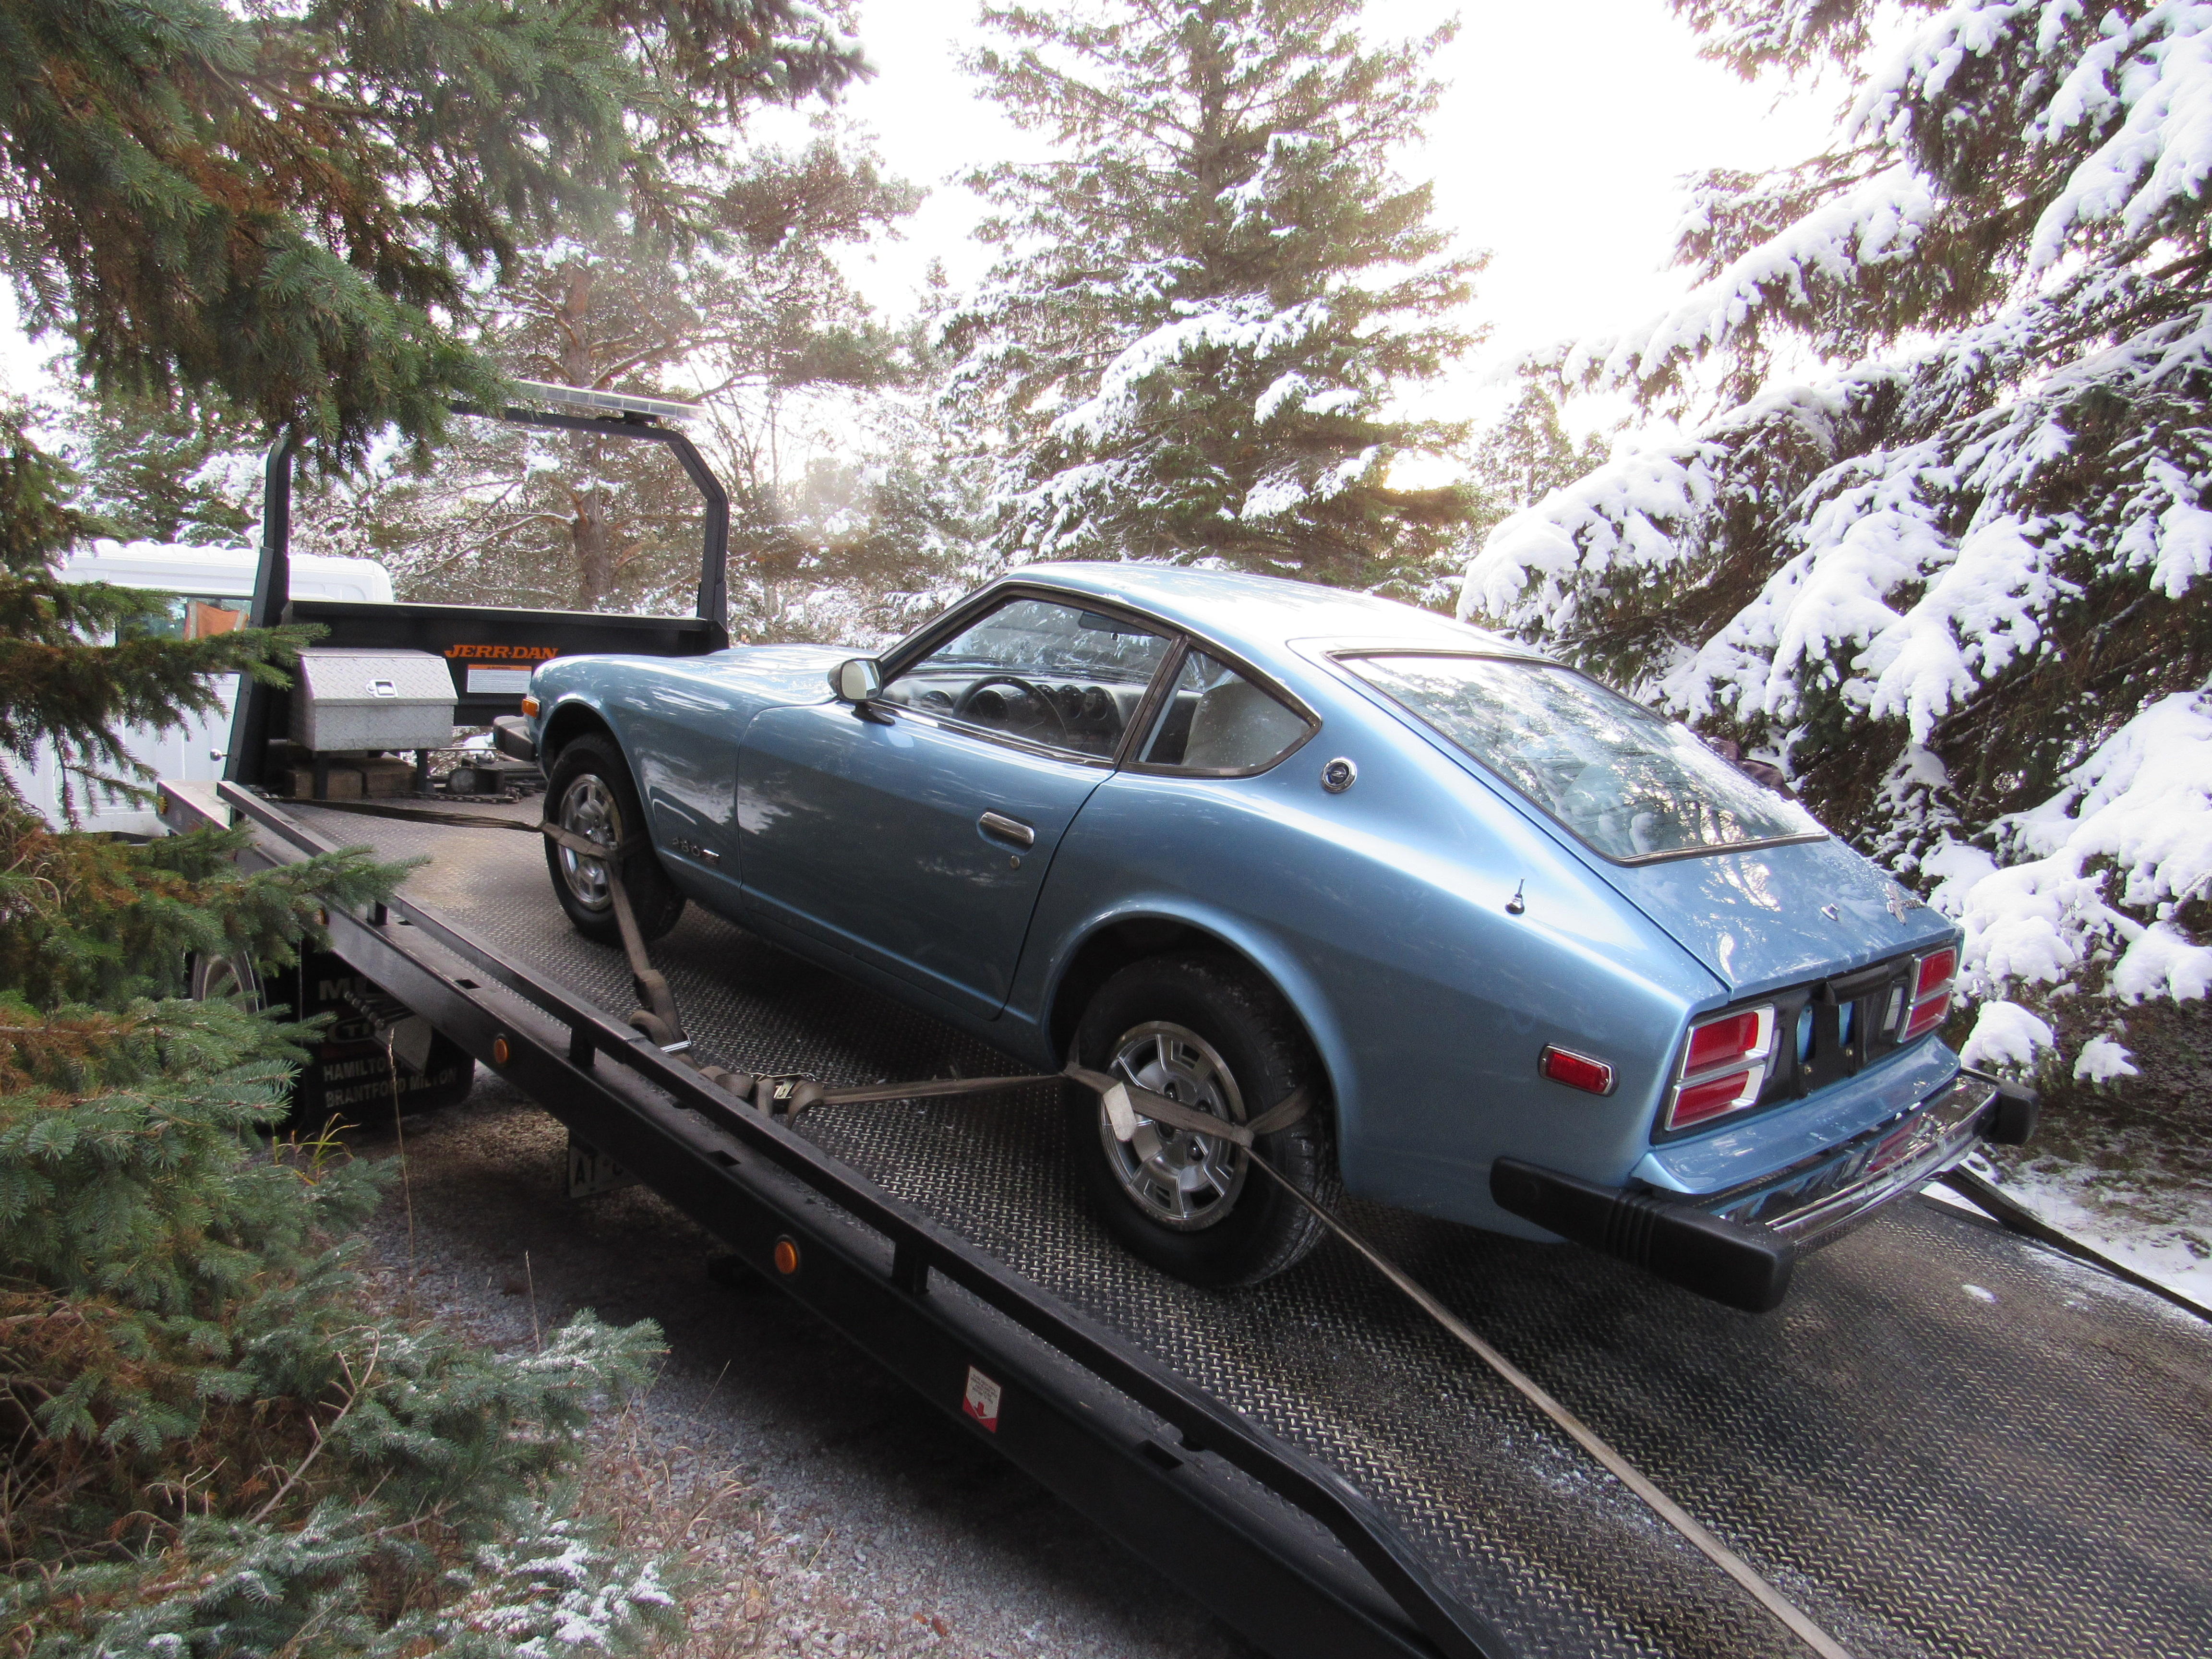
 I've printed your comment and passed it along to my mechanic to use during my next maintenance interval visit. It's good I still have the tie down hooks on the rear so he can easily attach the chains. Dennis2 points
 -
Be thankful they don't run into stationary objects to test the seatbelts. ? Dennis2 points
-
 2 points
 -
Hoonigan.... I don't do burnouts in my own cars. Why would I let or encourage anyone else to do so? That's just a way to create a possible problem by looking for it. Now if it was a track car, purpose built for abuse, then that's another story...2 points
-
 Well it could be the TVS. It is a switch on the side of the throttle body. It sends a signal to the ECU when at idle and when at WOT. The if the RPMs are high and the TVS is at idle (foot off the gas) the ECU cuts the fuel. If the switch is stuck at idle, it will act as a rev limiter when the rpms reach a certain point. Usually corrosion holding the contacts together or an incorrectly rotated switch can cause this problem.2 points
 -
 1 point
 -
 Brad’s explanation for the burnouts is cut and pasted directly from his email. Perhaps next I’ll post his explanation for SZR’s failed electrical work.1 point
 -
1 pointcarpartsmanual.com has the part numbers and pictures. I am working on a way to get Nissan Canada to download a spreadsheet of their part numbers without sensitive pricing data etc so I can sort it out based on part numbers for the S30 chassis. It may come down to being too sensitive of data for them to release; so other than getting a part-time job at Nissan.... I might be out of luck.1 point
-
I am guessing possible Ujoint Damage, differential damage, clutch damage, Front Differential Mount Damage, maybe differential retaining strap damage and a louder clunk.1 point
-
How about cap and rotor? Some suffer manufacturing flaws lately.1 point
-
 1 pointYes, I typically use the complete Energy Suspension kit, except for maybe the steering arm piece. I prefer the original rubber in that location if the part is in good shape. https://www.energysuspensionparts.com/7.181011 point
 -
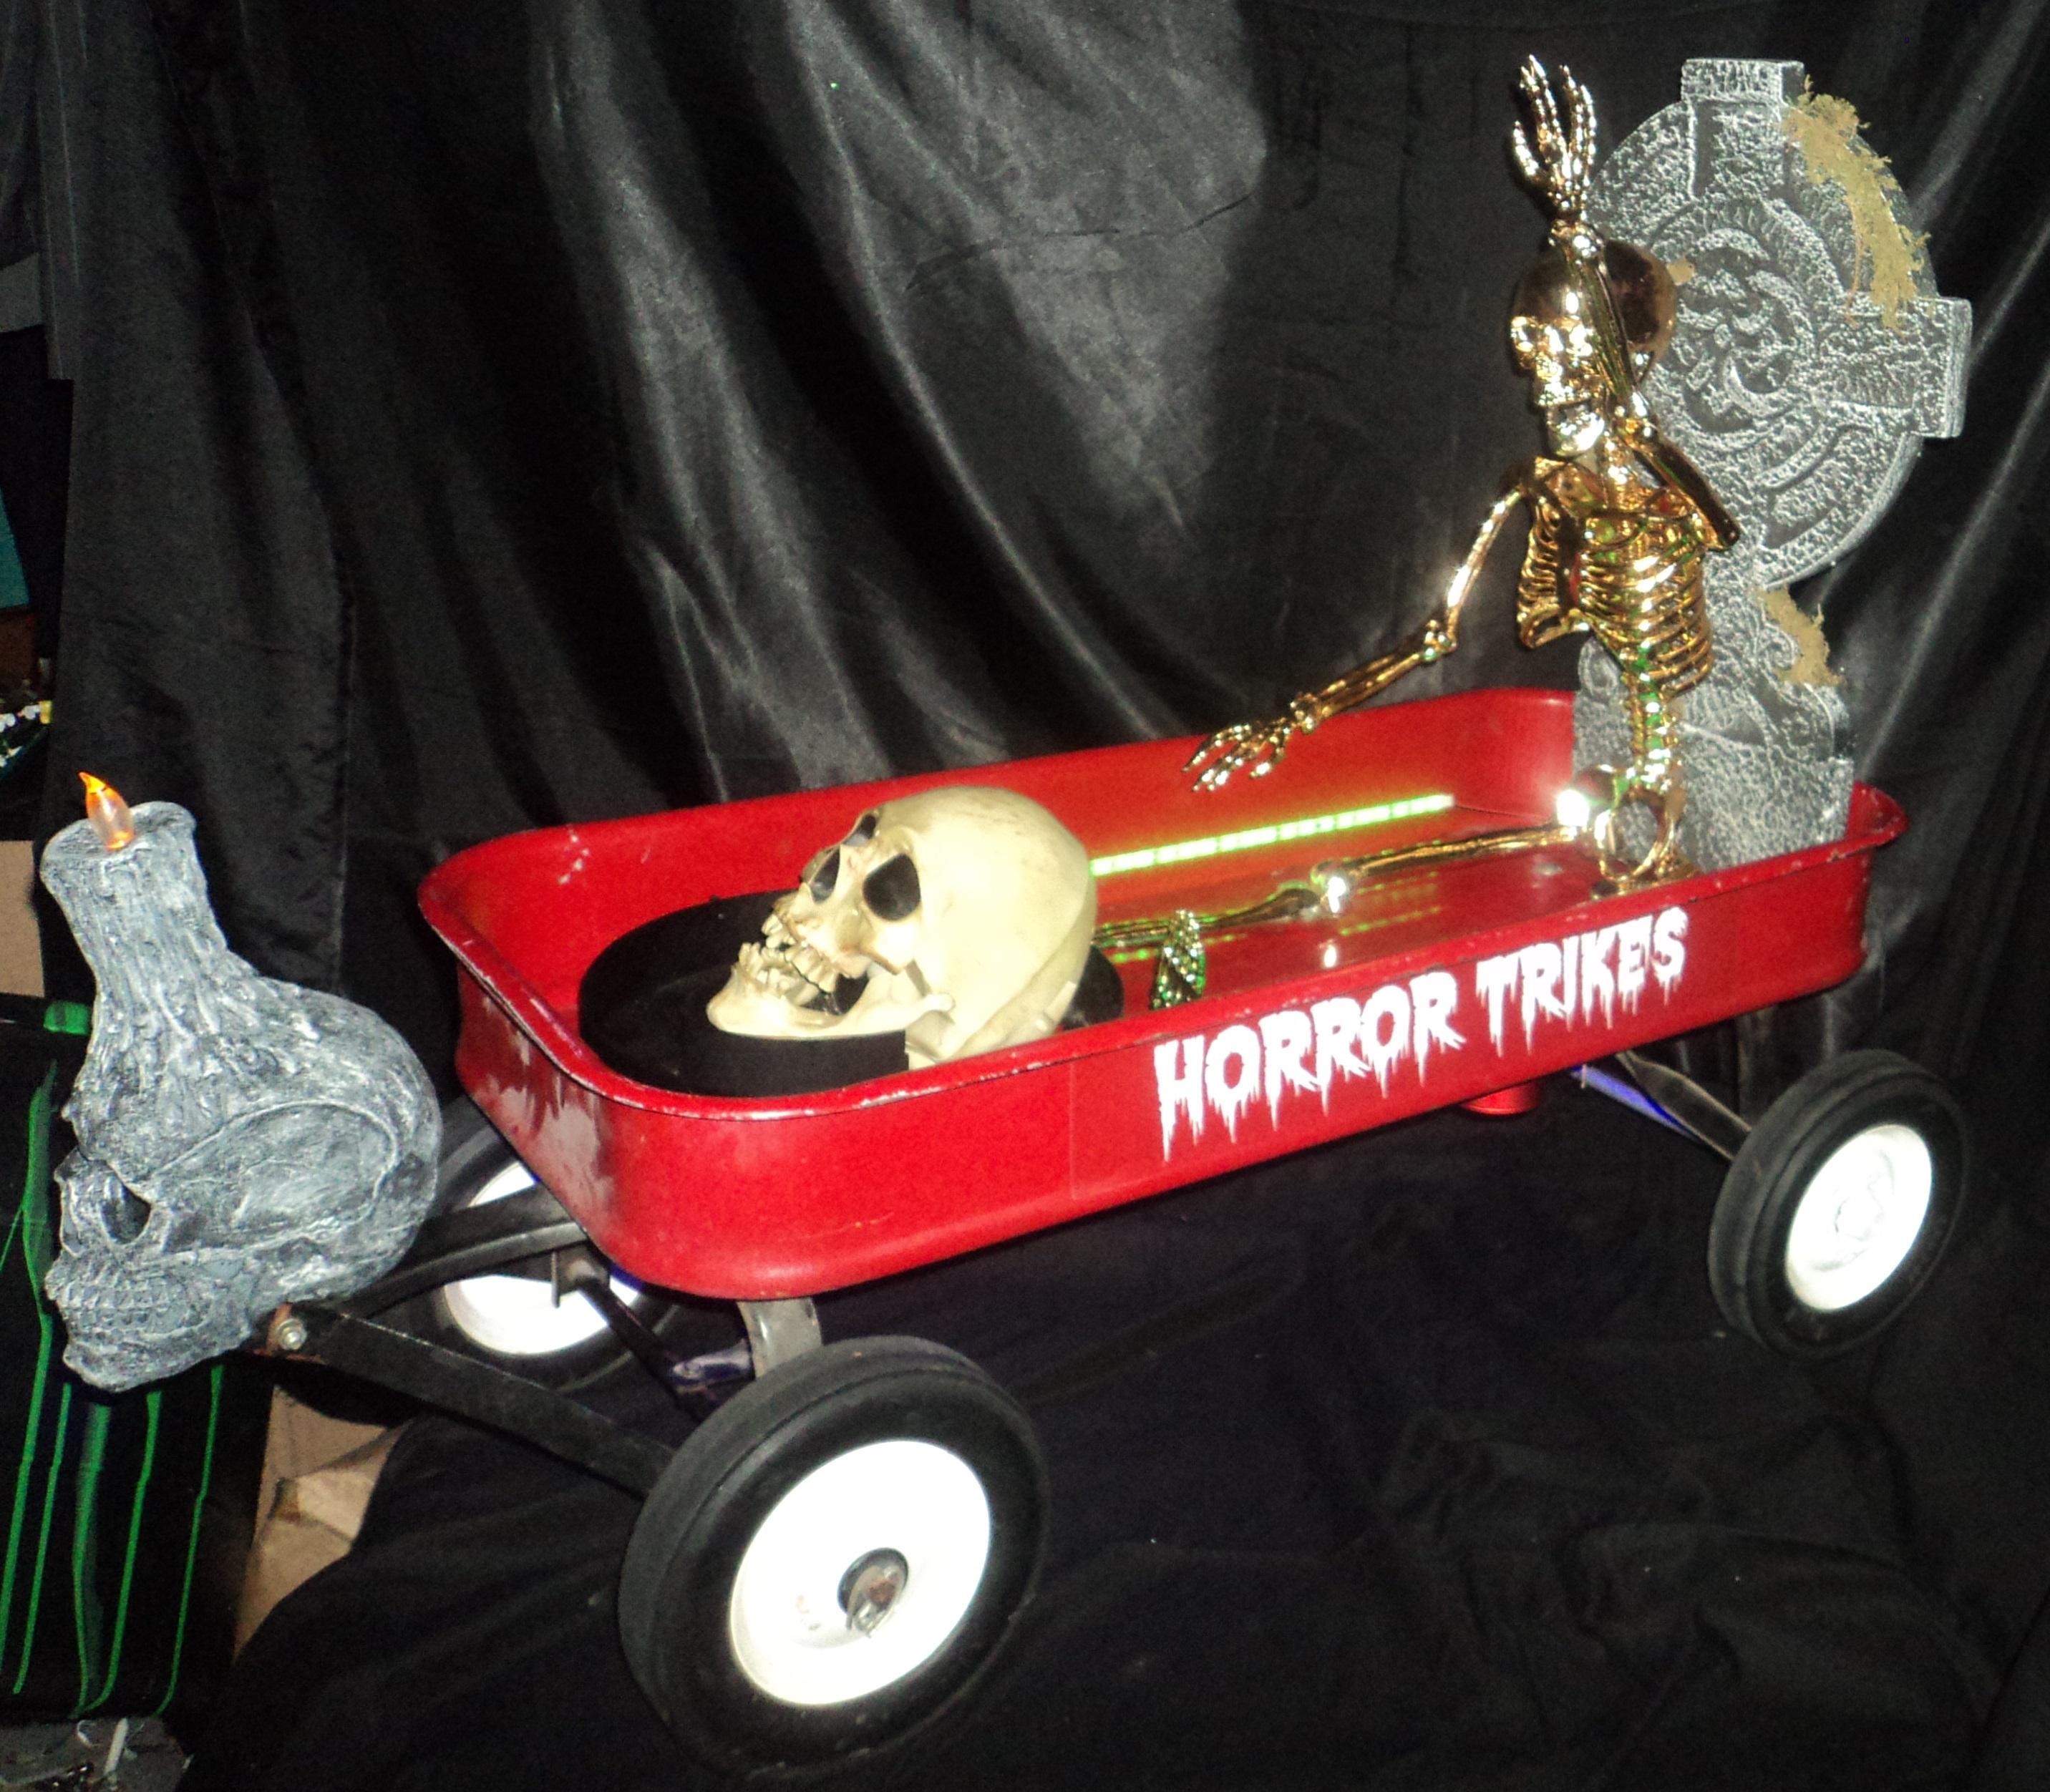
 Nice, I like the wagon with the golden skeleton.. ?1 point
 -
Awesome! Very fun stuff, nice work. Grabbed a snapshot.
 1 point
 -
 Too many Gas Monkey episodes in my opinion.1 point
 -
Yes, many possiblities! The zombie is a good one... I've already put ghosts and clowns on other ones. The motor seems pretty stout, I think the connection to the wheel is the weak point. I made one of those big wagons like this too, which is about 30 pounds. Yes, just one works fine. But it wouldn't bee too hard to get both to spin.1 point
-
Don't be silly. You don't test seat belts that way. You attach heavy chains to the rear bumper with some slack. Then you accelerate quickly. Once the slack has been removed, the car comes to a sudden stop, and the driver and passenger test the seat belt integrity. At least that's how my mechanic checked mine.1 point
-
 1 point
 -
 Yes, they most certainly are. Still working on them but most of the flaws have been worked out ?1 point
 -
 1 point
 -
Matthew, I hate to say this on a Z car forum, but your budget would, for example, land you a pretty nice Miata vs. a clapped out Z car. Food for thought, and best wishes on your search!1 point
-
That is hilarious, now turn him into a zombie with one foot pedaling and the other one missing or dragging on the ground. The possibilities are endless, how much weight can the motor handle?1 point
-
Well that's cool as all get out! I hope you sale thousands. ?1 point
-
 Like the others said, $4300 is a good price for that car if you're planning on spending 3x that to restore it or fix it up. If you have $7300 to spend to get something that runs and can be enjoyed, you should probably look elsewhere. Truthfully, there doesn't seem to be as many Zs on Craigslist as there once were (I still have the same alert set up from when I got mine 4+ years ago), so you might need to be patient. This might be the best/only candidate in the LA area on CL right now: https://losangeles.craigslist.org/sfv/cto/d/tujunga-1975-datsun-280z-280-clean/7015067719.html1 point
 -
Please get a real web site. The great wall/iron curtain of facebook is a pain in the arse.1 point
-
This does look like a good deal. HOWEVER, be warned the condition of this car will likely chew through the rest of your budget and then some. You will likely spend more like another $10k-15k if you include bodywork and paint. Go into this project with a plan and you'll have a great time!
 1 point
 -
 Charles, we're working on two opposite ends of the car. Jalex, If you don't fix the fuel line in the rear now, you'll be doing it later and it will dictate when and where. Run the fuel level down as far as possible and drain the remaining gas via the drain plug on the tank.1 point
 -
 I've only messed with ZX's, so someone will have to chime in if I am wrong, as my S30 knowledge base is pretty low. However, on the S130's you must raise the engine a bit to make enough room to get the oil pan out from in between the engine block and crossmember. I've heard of people turning the crank in such a way as to position it so that the gasket can be slid in between the pan and block for installation, without raising the engine and removing the oil pan, but that doesn't seem to make a proper cleaning possible. If you have to hoist the engine, then perhaps now is a good time to replace engine mounts.1 point
 -
$7,300 isn't going to get you a running car that you can drive but $4,300 is about as cheap as you will ever see for a Z these days. I say buy it and think of it as a long term project, as money comes available do some work on it. It doesn't look too bad from the pics but he has not shown any of the problem possible problem areas. The carbs are round top SU's so are pretty easy to work on. At a minimum if you find that it is beyond your skills you can sell it and get your money back or even make some money on it.1 point
-
 Just my opinion, these cars don't rust as bad as you hear. They rot from the inside out. If that has been primied, I bet there are some serious problems lurking on this car based on the condition of the passenger door. I would look close at the wheel arches. If you don't see spot welds, they may have been bondo puttied to look presentable. I would also look close at the frame rails and inside the front fenders. These are rot areas along with the battery tray. Then there are the floors and rockers. Then the doglegs in the front of the rear tires. If the car still has the original carbs as the owner states, most people would say that is a bad thing. '73 is the least desirable of the 240. The bumpers are unique to the '73 and worse yet, the carbs are constant problems for many owners (I owned a '73 years ago and it never ran right). It is difficult if not impossible to know how good of condition the car is in from the pics. I bought a '70 a couple years ago. It was rough but not repainted so nothing was hidden. In my case, my car was sitting for a long time too. I assumed the brakes, clutch, etc was non functional. I have over $10k in the body work and its no where near ready to be driven. As I said previously, it is difficult to say what the condition is based on a few pics but I suspect you will have well over $7.3 in this before you drive it. You may want to hold out for one you can actually drive so you can do the math on the broken things. In this case, you have to assume all is non functional.1 point
 -
 1 pointI have a fidenza 10.5lbs with a exedy 280z clutch and it's a perfect match I find. Light pedal, easy modulation.1 point
 -
 A final update on this topic: After chasing down random wiring issues and corrosion, I found the core of the starting issue. It was ironically simple: the aftermarket ignition relay was not wired correctly. If anyone else finds this thread in the future, the problem/solution is described below: The previous owner purchased this part (again a Zcardepot part), https://zcardepot.com/products/starter-relay-upgrade-replacement-280z# It looks like it comes pre-wired from zcardepot but I can't confirm that since I didn't order/install it. If it was pre-wired then it's not plug and play, at least for the way my car is wired (78 280z) and requires swapping the two blue wires. Anyways, as many probably know, the "ignition relay" is basically two relays in one: one relay to power ACC (accessories) circuit and one relay for IG (EFI/fuel pump/etc). In my case, the output of the relays was swapped. Meaning that my EFI/Fuel Pump/etc were getting power when the ignition switch was outputting +12v for ACC, which is when the key is in ACC or ON position. But as many know, with most cars, when you turn the key to "START", the ignition switch does NOT output to the ACC circuit ?♂️, explaining most of my issues... Therefore, the solution was to simply to swap the two output wires on ignition relay harness (the two blue wires in the harness). For reference, tests on page EF-27 from the FSM will help identify the problem (you'll find Fuel Pump relays aren't getting power when ignition is in START position). Essentially the two ignition relays should be wired as followed: • IG relay: WB is the relay "output". WR is constant +12v. BW is relay on/off, connected to IG of ignition switch • ACC relay: LW is the relay "output". WR is constant +12v. LR is relay on/off, connected to ACC or ignition switch Thanks again for everyone's help. A lot of terminals a definitely a lot cleaner than before, ultimately the FSM wiring diagrams helped me backtrack through the wiring issues with the starter unplugged..1 point
 -
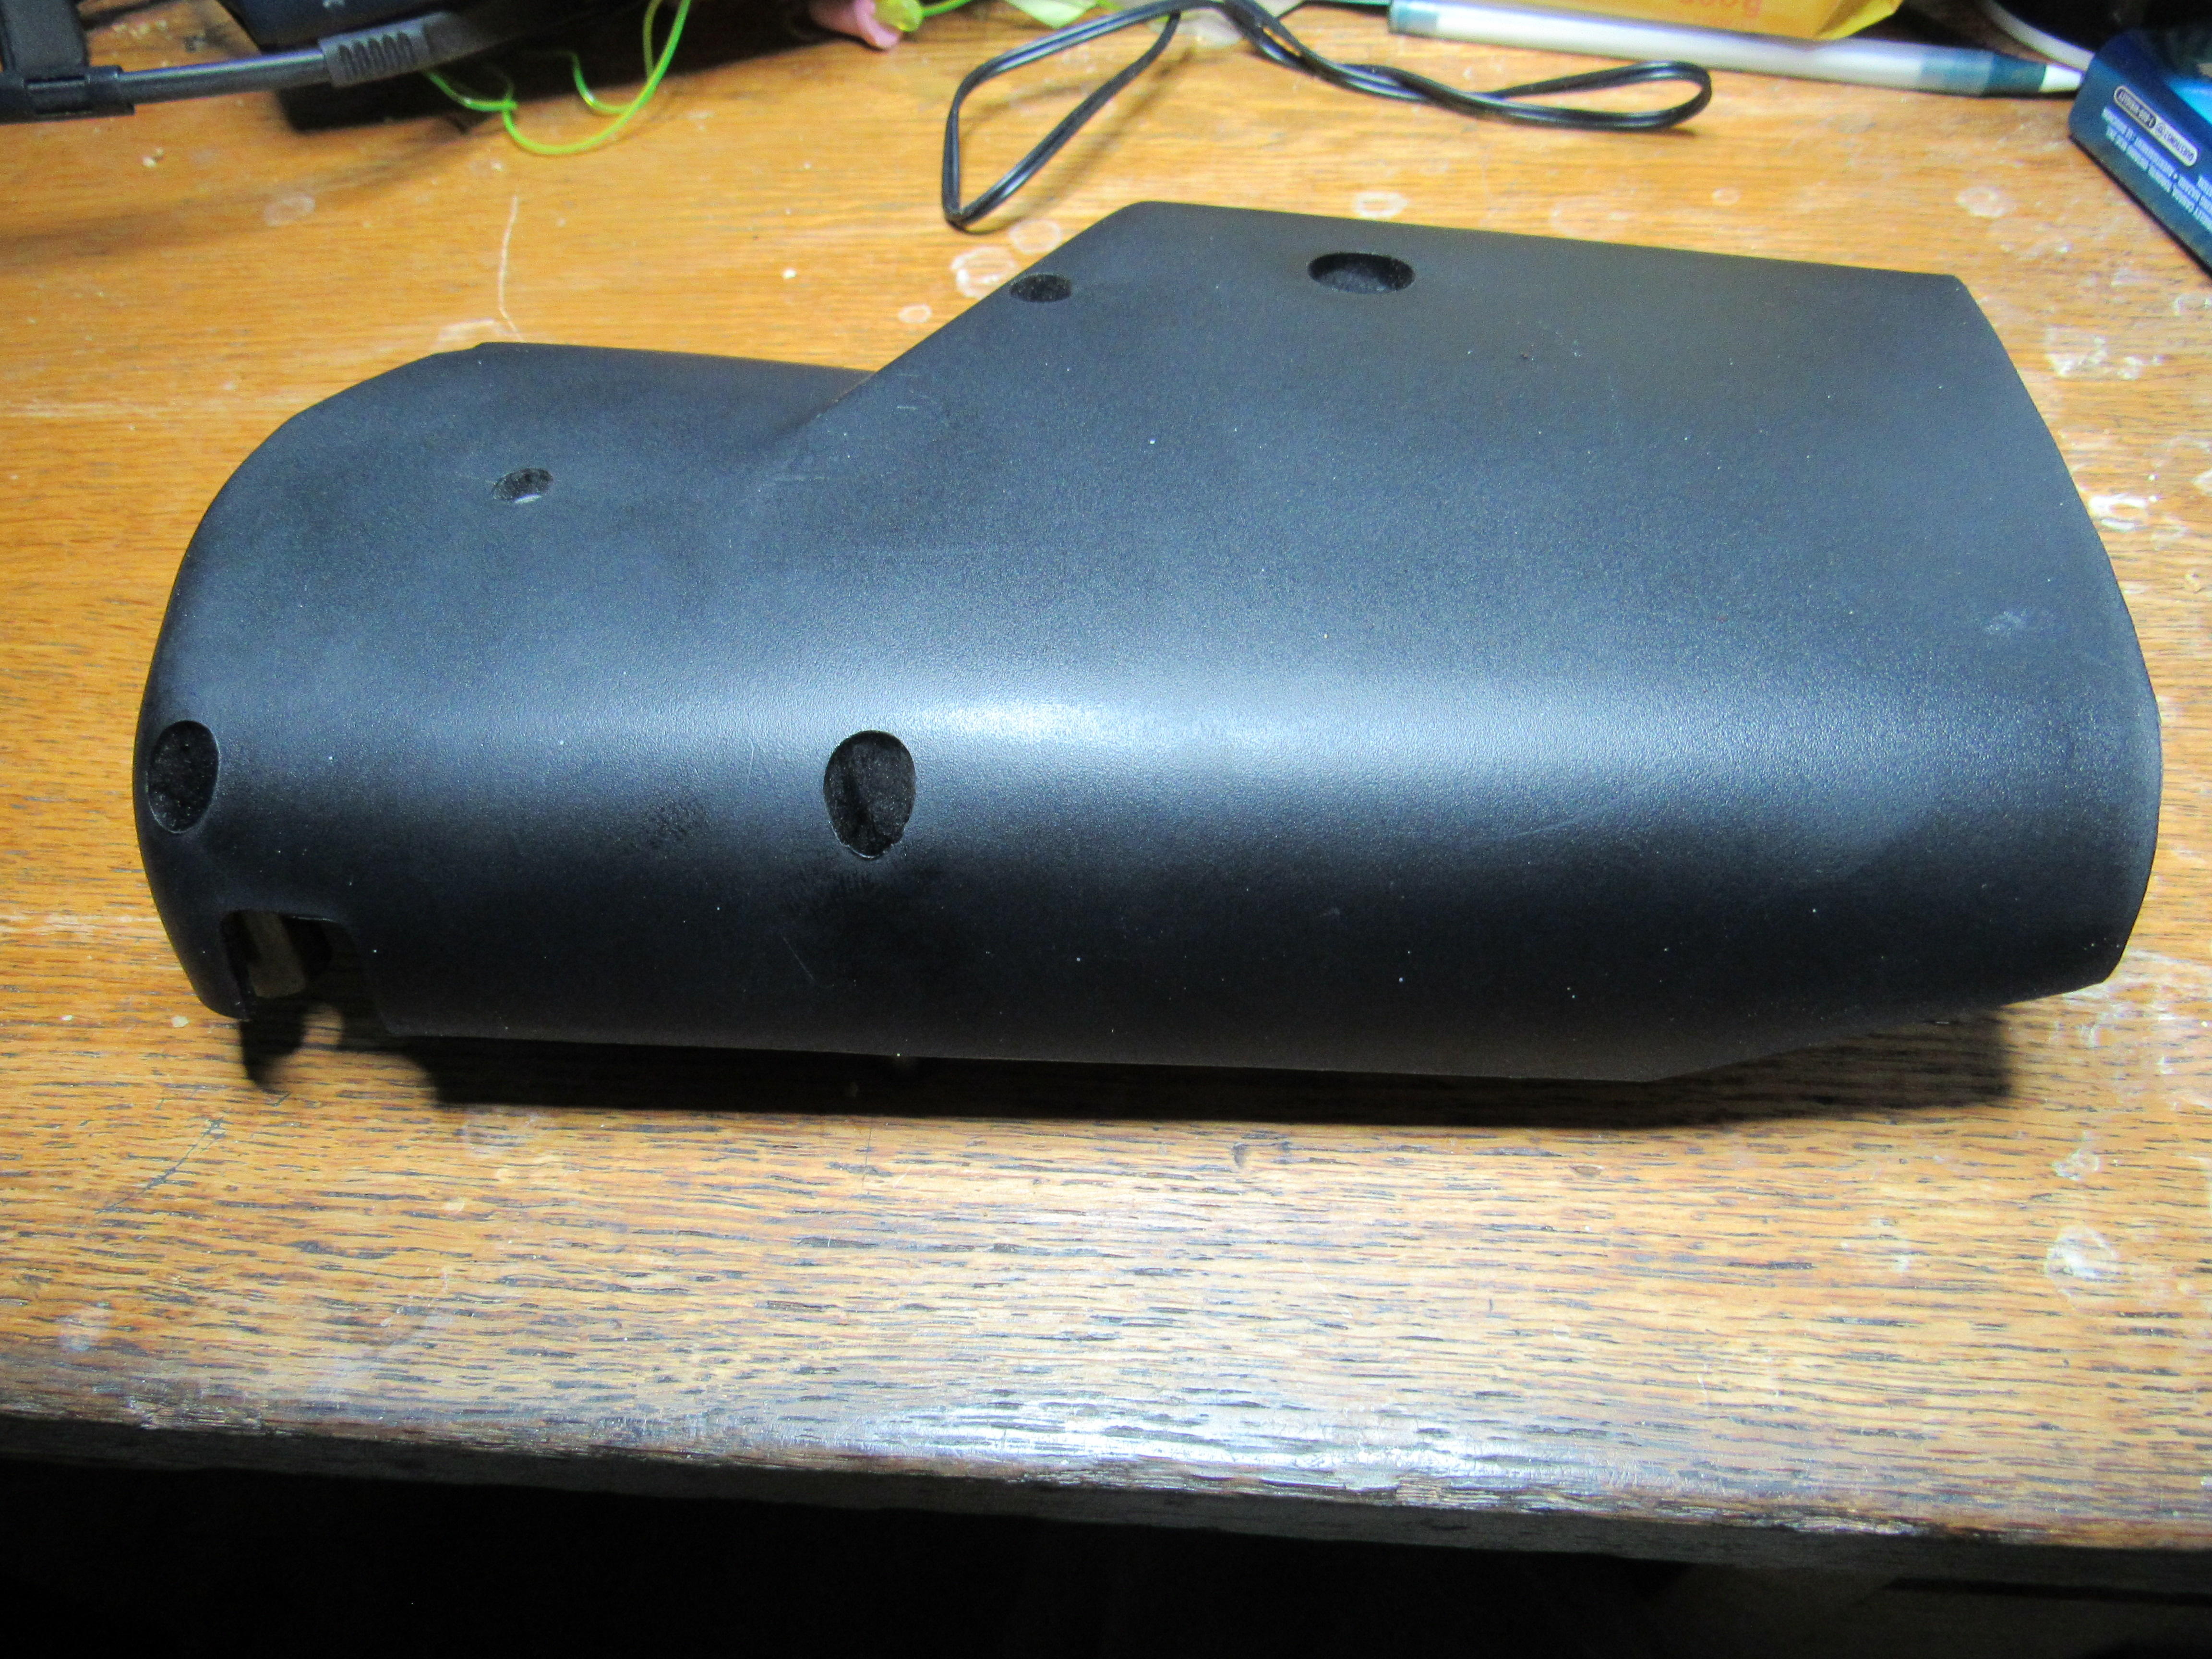
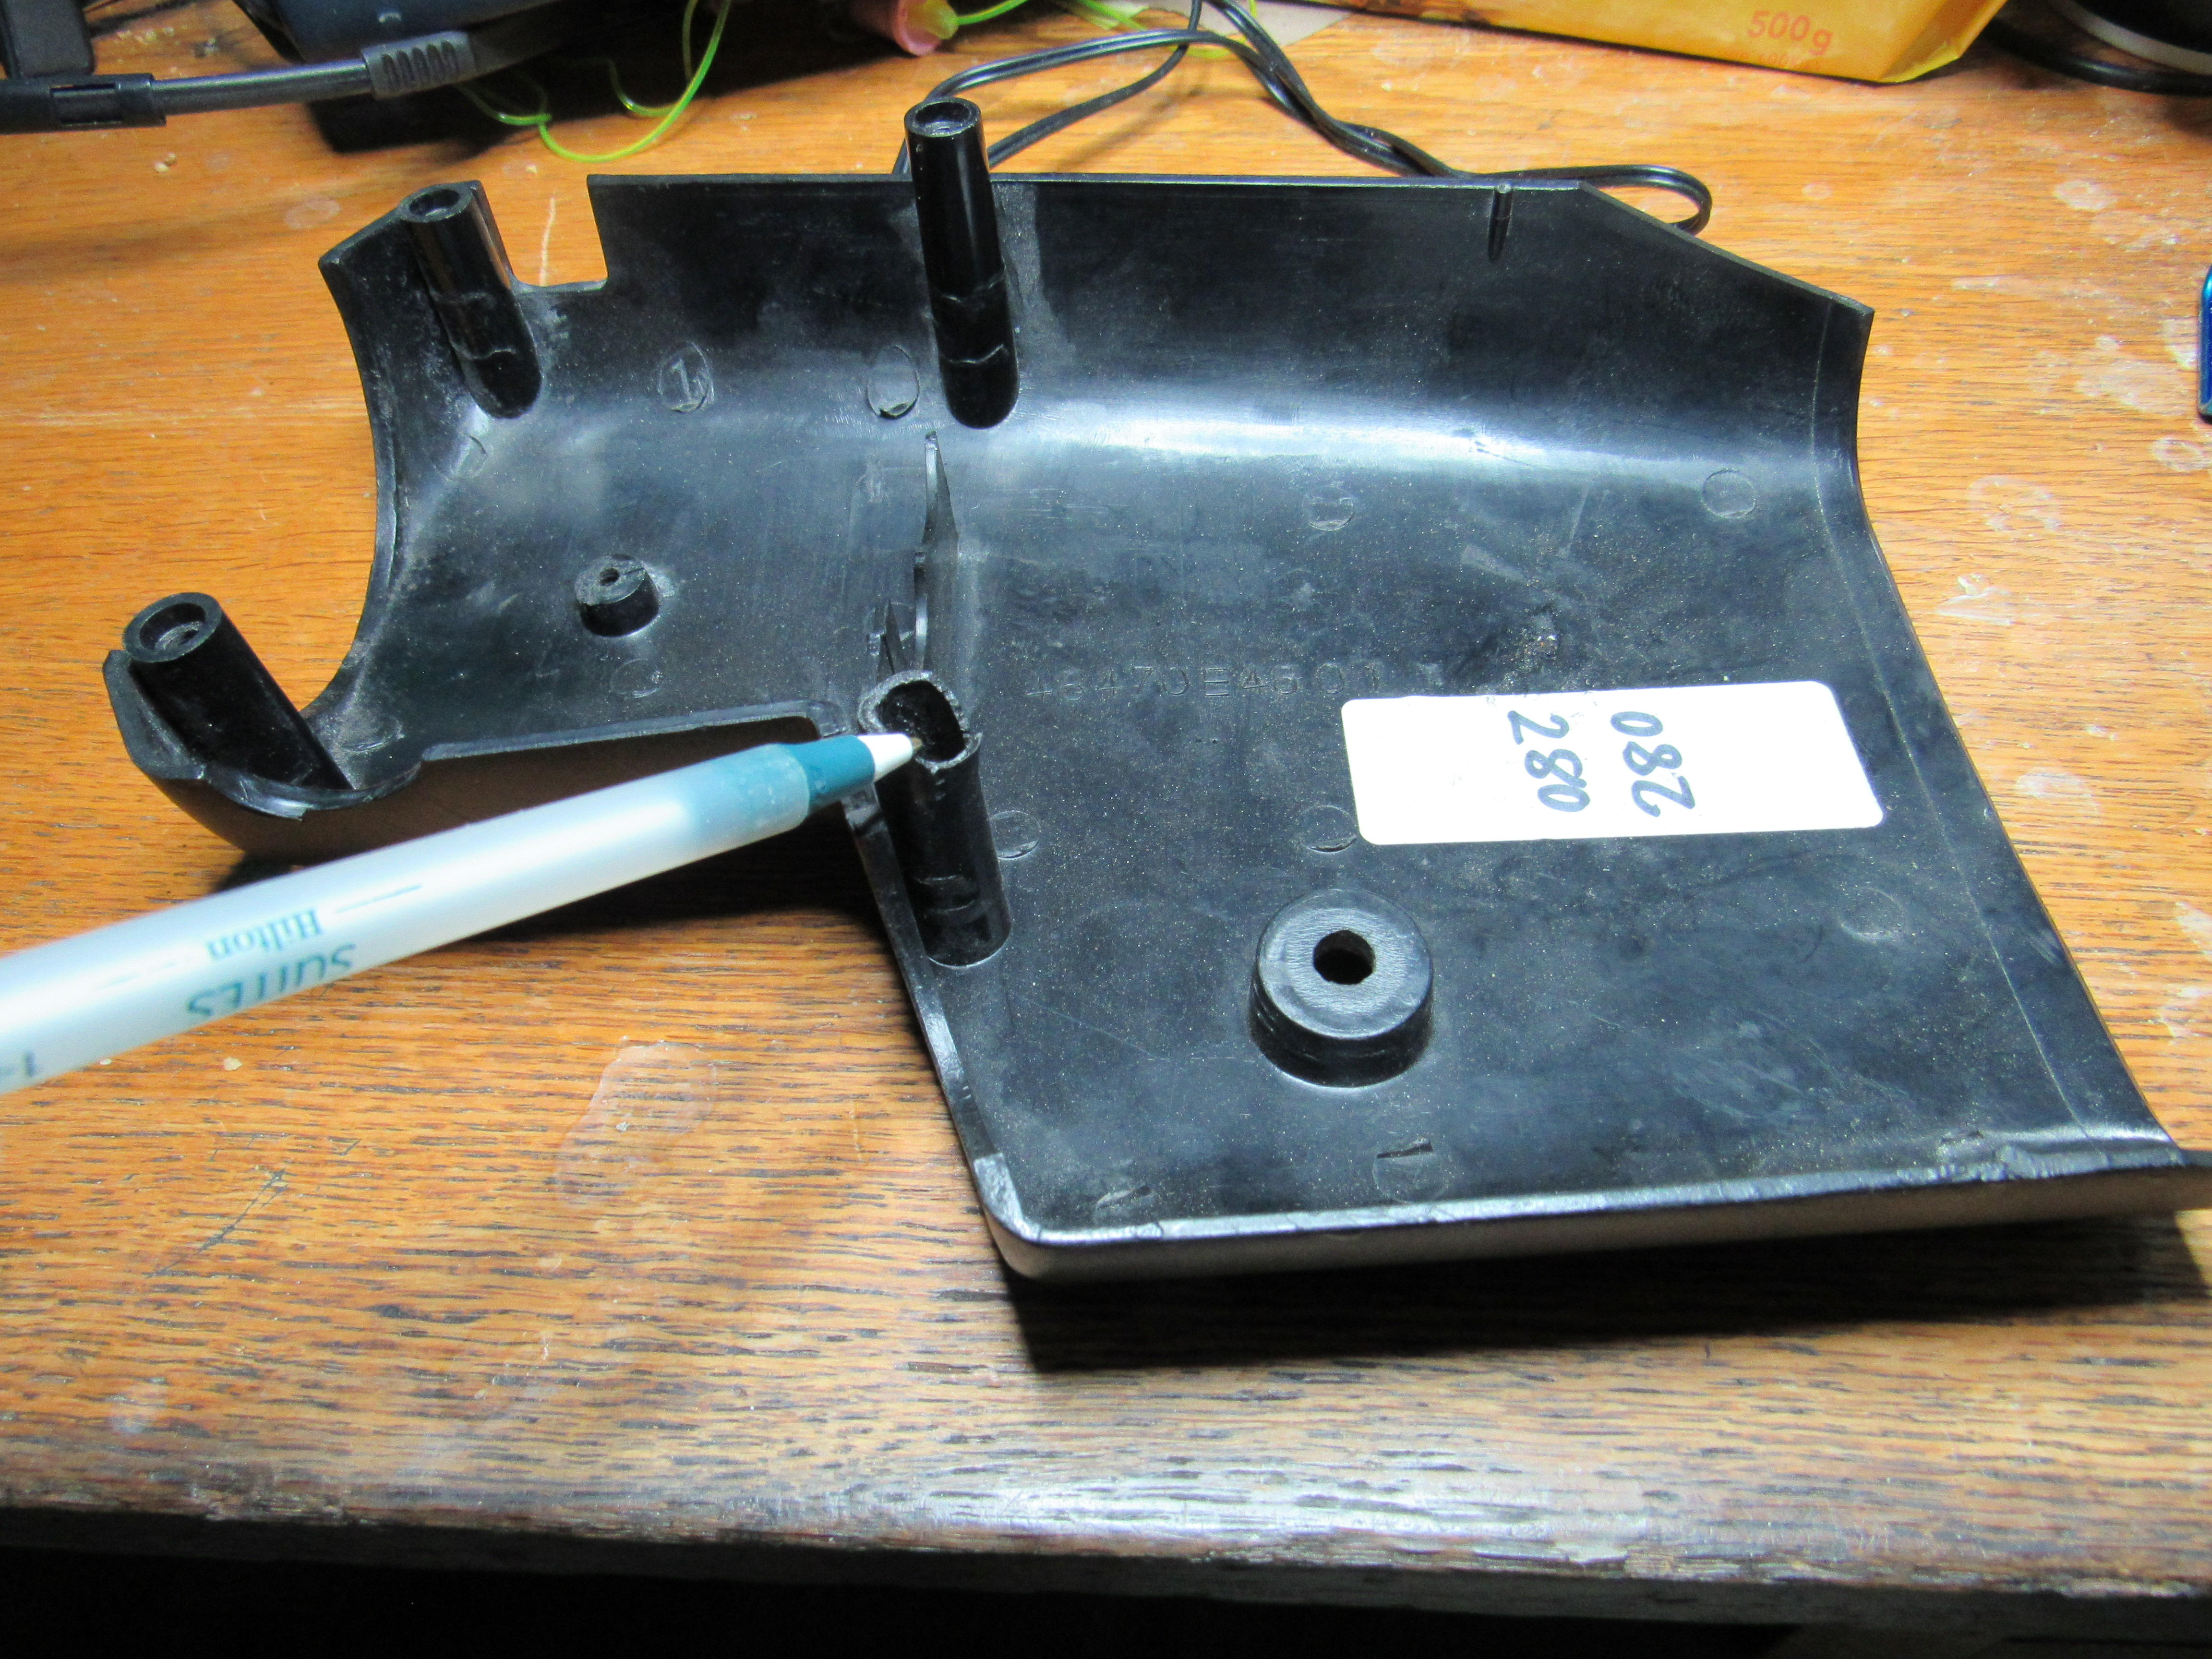
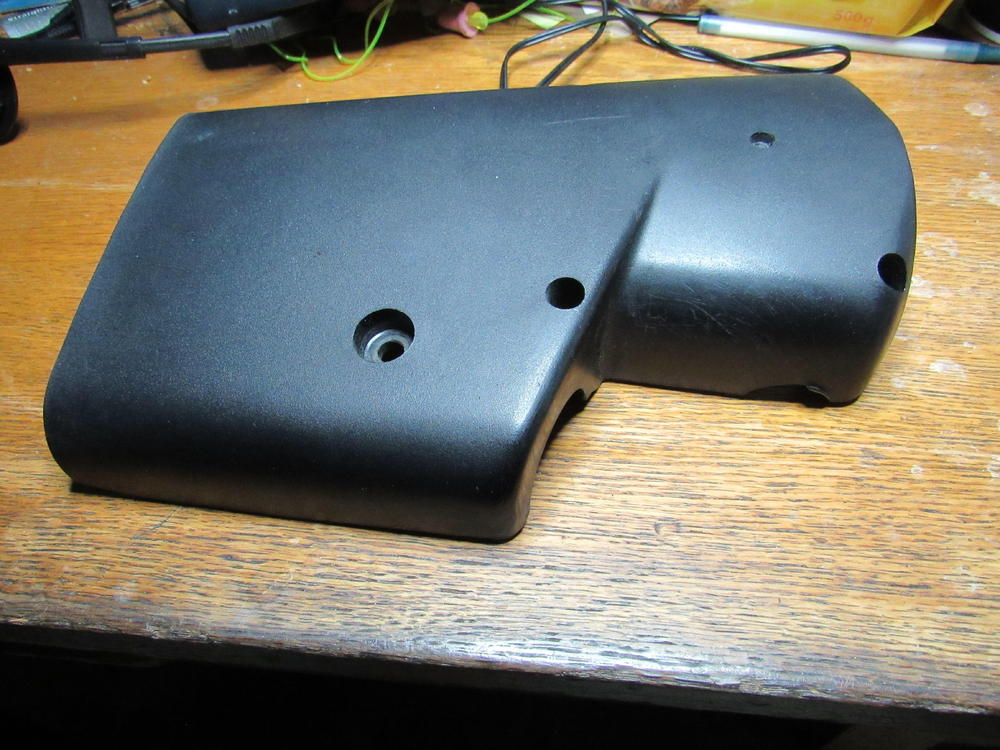
1 pointPicked up a splash pan! Can’t believe I found one locally in great shape. A little dollying and media blasting and it is ready for powder coat. I’m thinking a nice satin silver.1 point
-
1 pointStock flywheels are single mass, dual mass flywheels were not around when these cars were built. A light one won't be any more noisy than OEM.1 point
-
1 pointNo I didn't modify it in any way, the only real flaw is the broken top for one of the screws.

 1 point
 -
 1 pointOh, I wouldn't use anything as strong as steel wool. That "chrome" is a silver mylar coating over plastic and the green stuff you see is silver corrosion in the mylar. Use silver polish or my preference is "Eagle One Nevr-Dull". It comes in cotton wadding in a can. It will take off the corrosion and you will find that the mylar will be pitted. Liquid silver polish is much softer and it won't take off the corrosion as well. Both, though, will shine up the silver mylar to your best expectations.1 point
 -
https://www.historicracingnews.com/Article/Morton-and-his-240Z-Confirmed-for-Classic-Daytona/28291 point